MORE HANDBOOKS ARE ON THEIR WAY! We will let you know when they get here.
×


mar3kl
-
Posts
178 -
Joined
-
Last visited
Content Type
Profiles
Forums
Gallery
Events
Everything posted by mar3kl
-
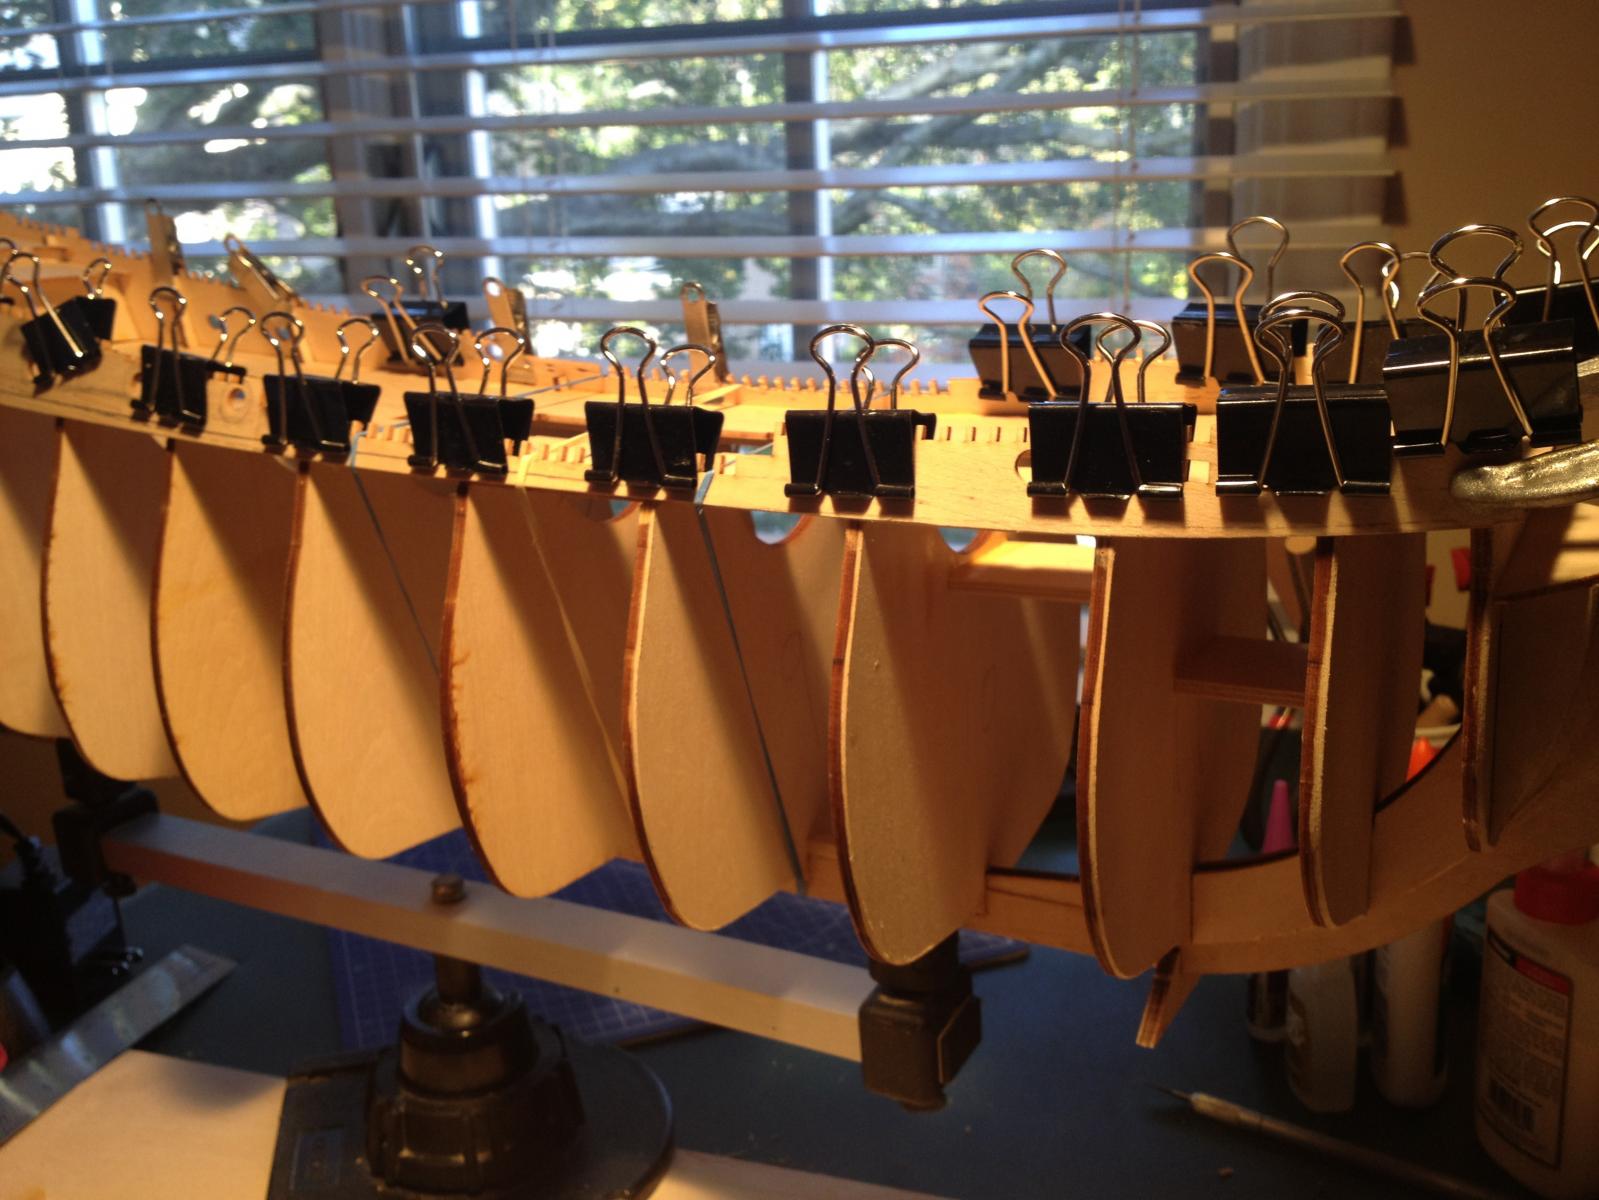
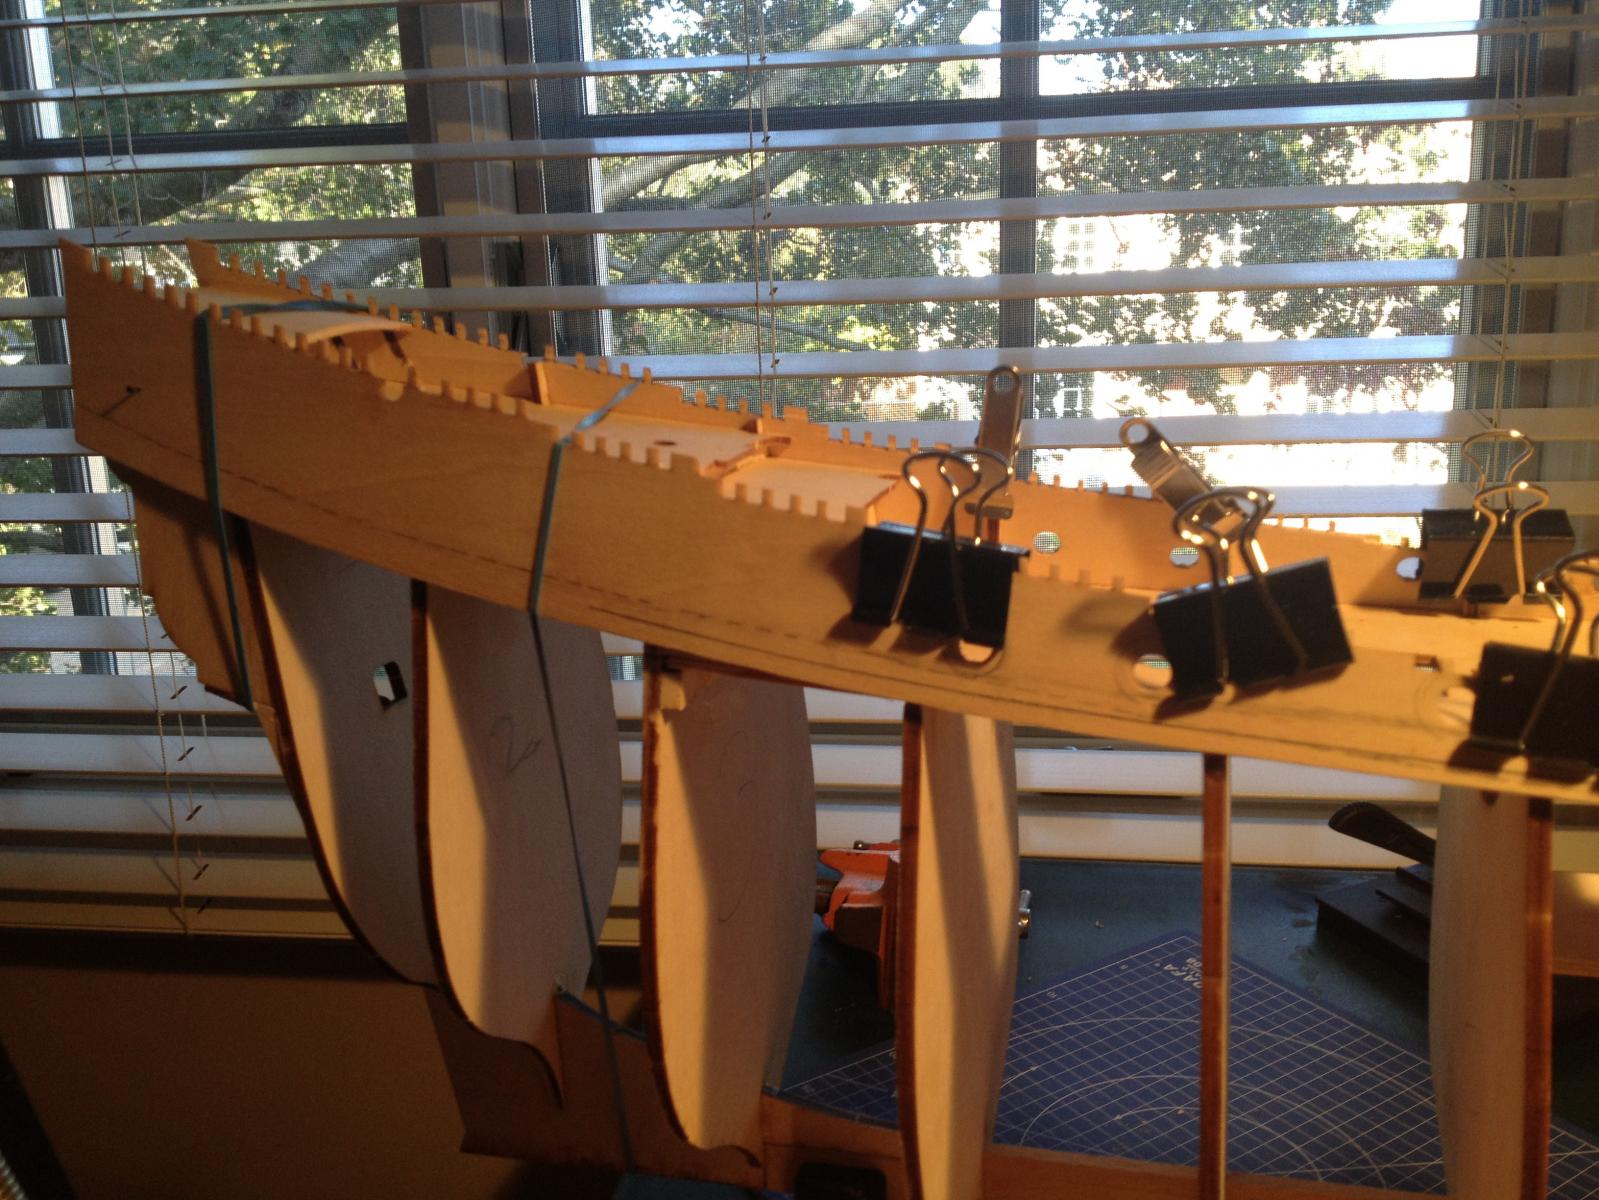
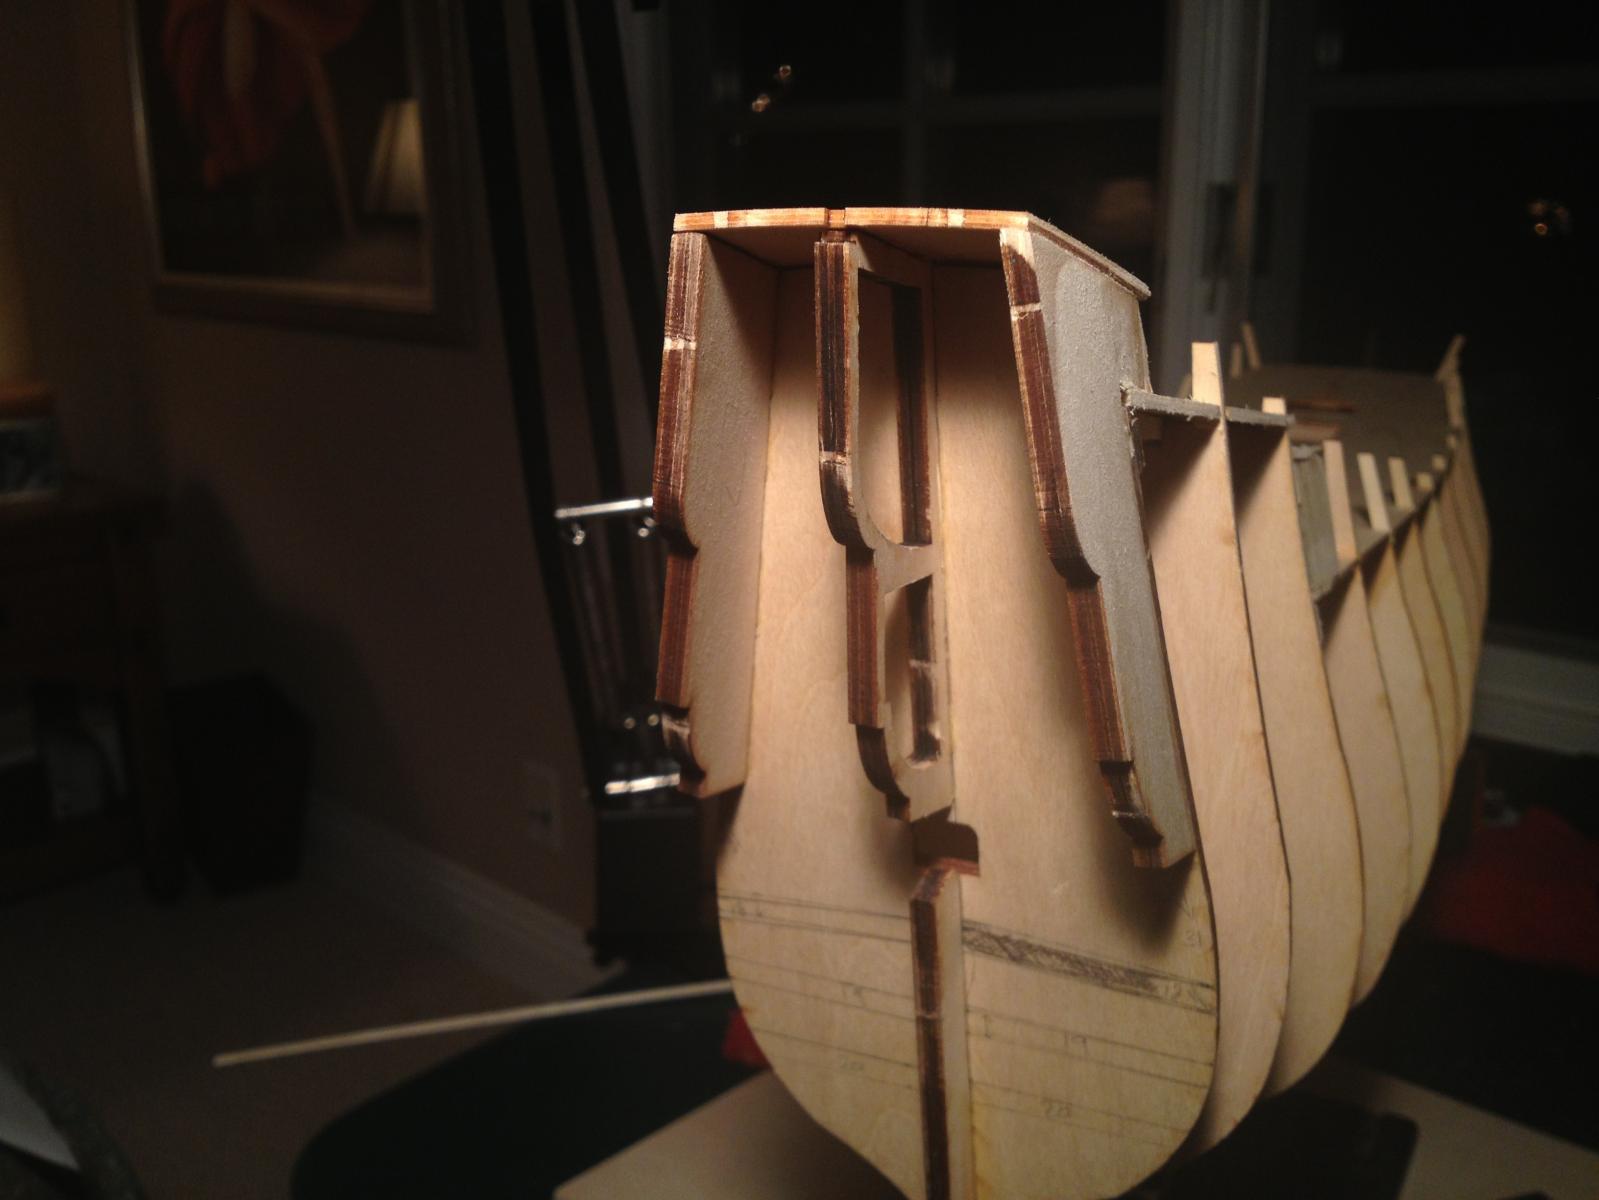
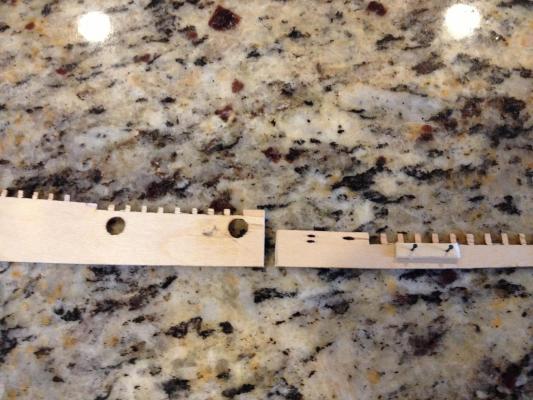
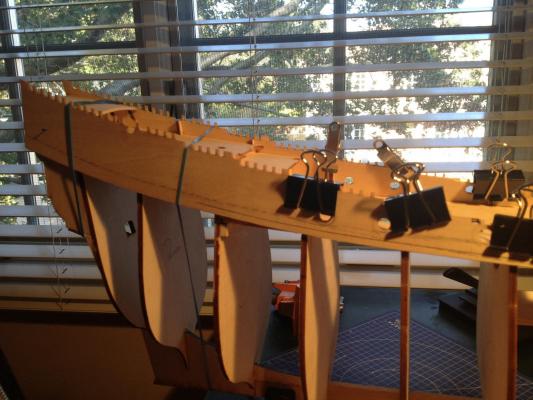
The next part was tricky, and I ended up redoing it because I didn't like the way it turned out. The kit supplies pre-made bulwarks with gunport holes and fiddly little crenellations. Unfortunately, for whatever reason the bottom of the bulwark doesn't match the curve of the decks, which means the hull planking won't follow the lines of the decks either. In addition to looking odd, it means you'll then have alignment problems when you attach the wales, plus more alignment problems if you want to make gunports to replace the poor gunport design provided by the kit (more on that later). So my first idea was simply to cut the bottom of each bulwark piece to match the curve of the top, solving my alignment problems. You can see the area to be removed in the pictures below: In addition, the piece twists as it gets to the front of the hull, so it would need steaming. Since it's large (full length of the hull), I cut it in half to make it easier to steam. I then made temporary locating jigs at the base of the bulwarks to align them properly with the main deck: Finally, I glued and clamped the pieces to the bulkheads and the decks: In theory now the bottom of the bulwark follows the curve of the decks. Furthermore, the bulwark ends right where the first wale below the clinker planking of the upper hull is located, so you won't see any odd boundaries anywhere.


- 249 replies
-
- 5
-

-
- billing boats
- vasa
- (and 1 more)
-
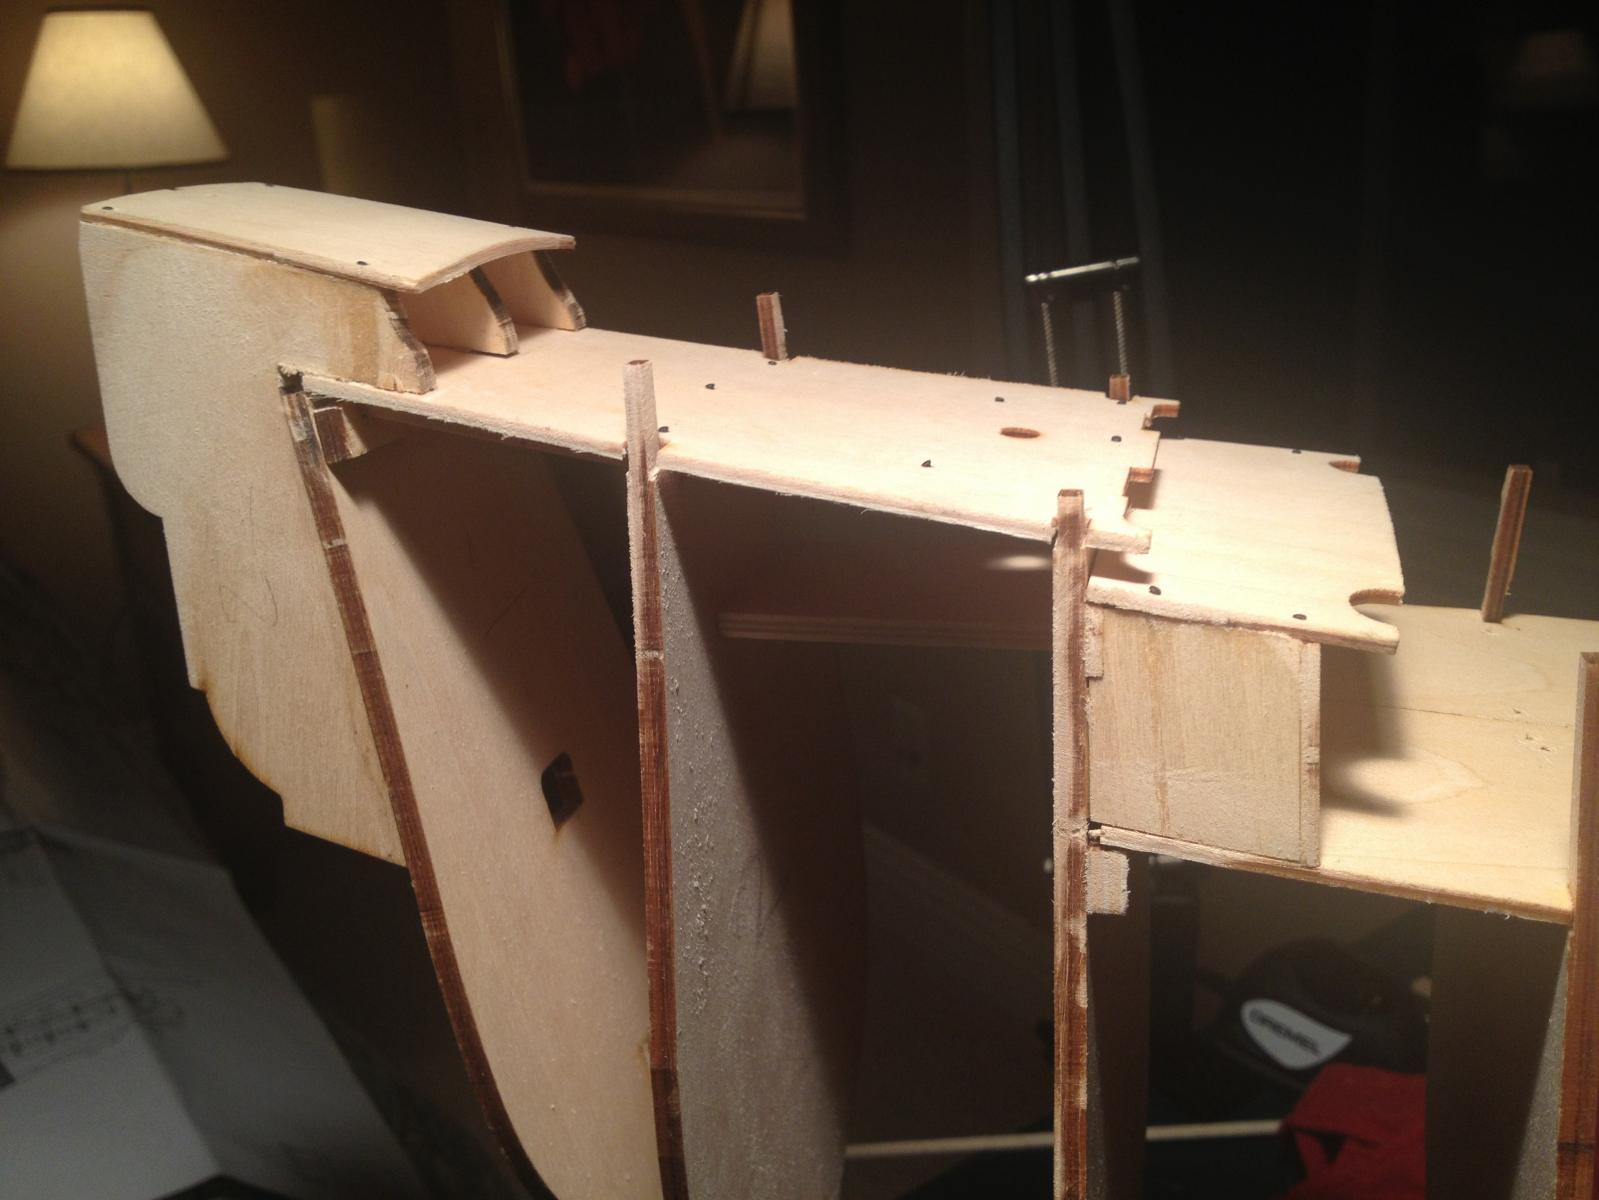
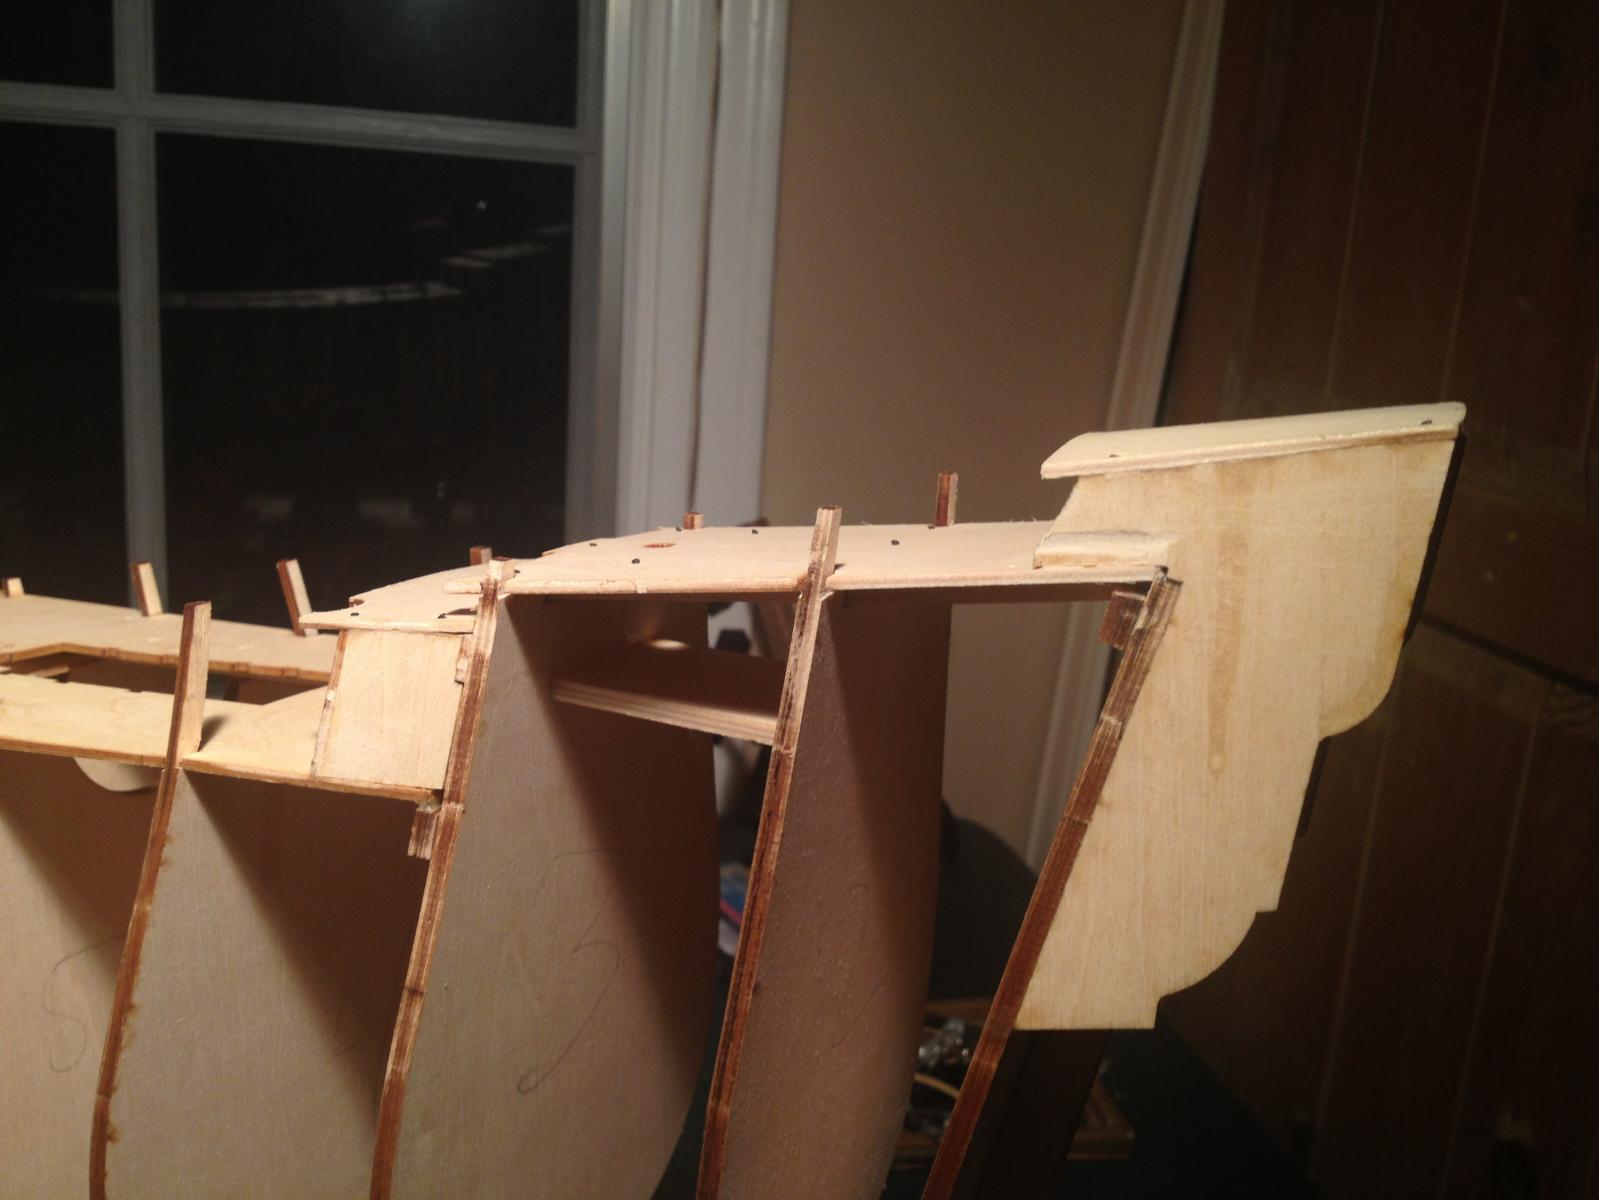
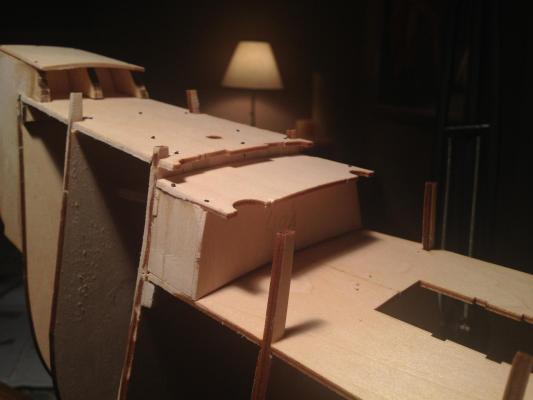
Next step was framing the stern castle structure. It's a complex bunch of pieces and alignment is critical because the quarter deck, helm deck, poop deck, and quarter galleries all build on this structure. The kit pieces fit together without much shaping required, so it was just a matter of making sure the resulting shape was accurate in all three dimensions. I find doing that by eye easier than measuring everything exactly, and it seems to have turned out fine. The decks are slightly curved, which meant temporarily nailing them to the bulkhead tops. The plywood is thin enough that it doesn't need steaming (steaming would also risk delaminating the plywood).


- 249 replies
-
- 4
-
-
- billing boats
- vasa
- (and 1 more)
-
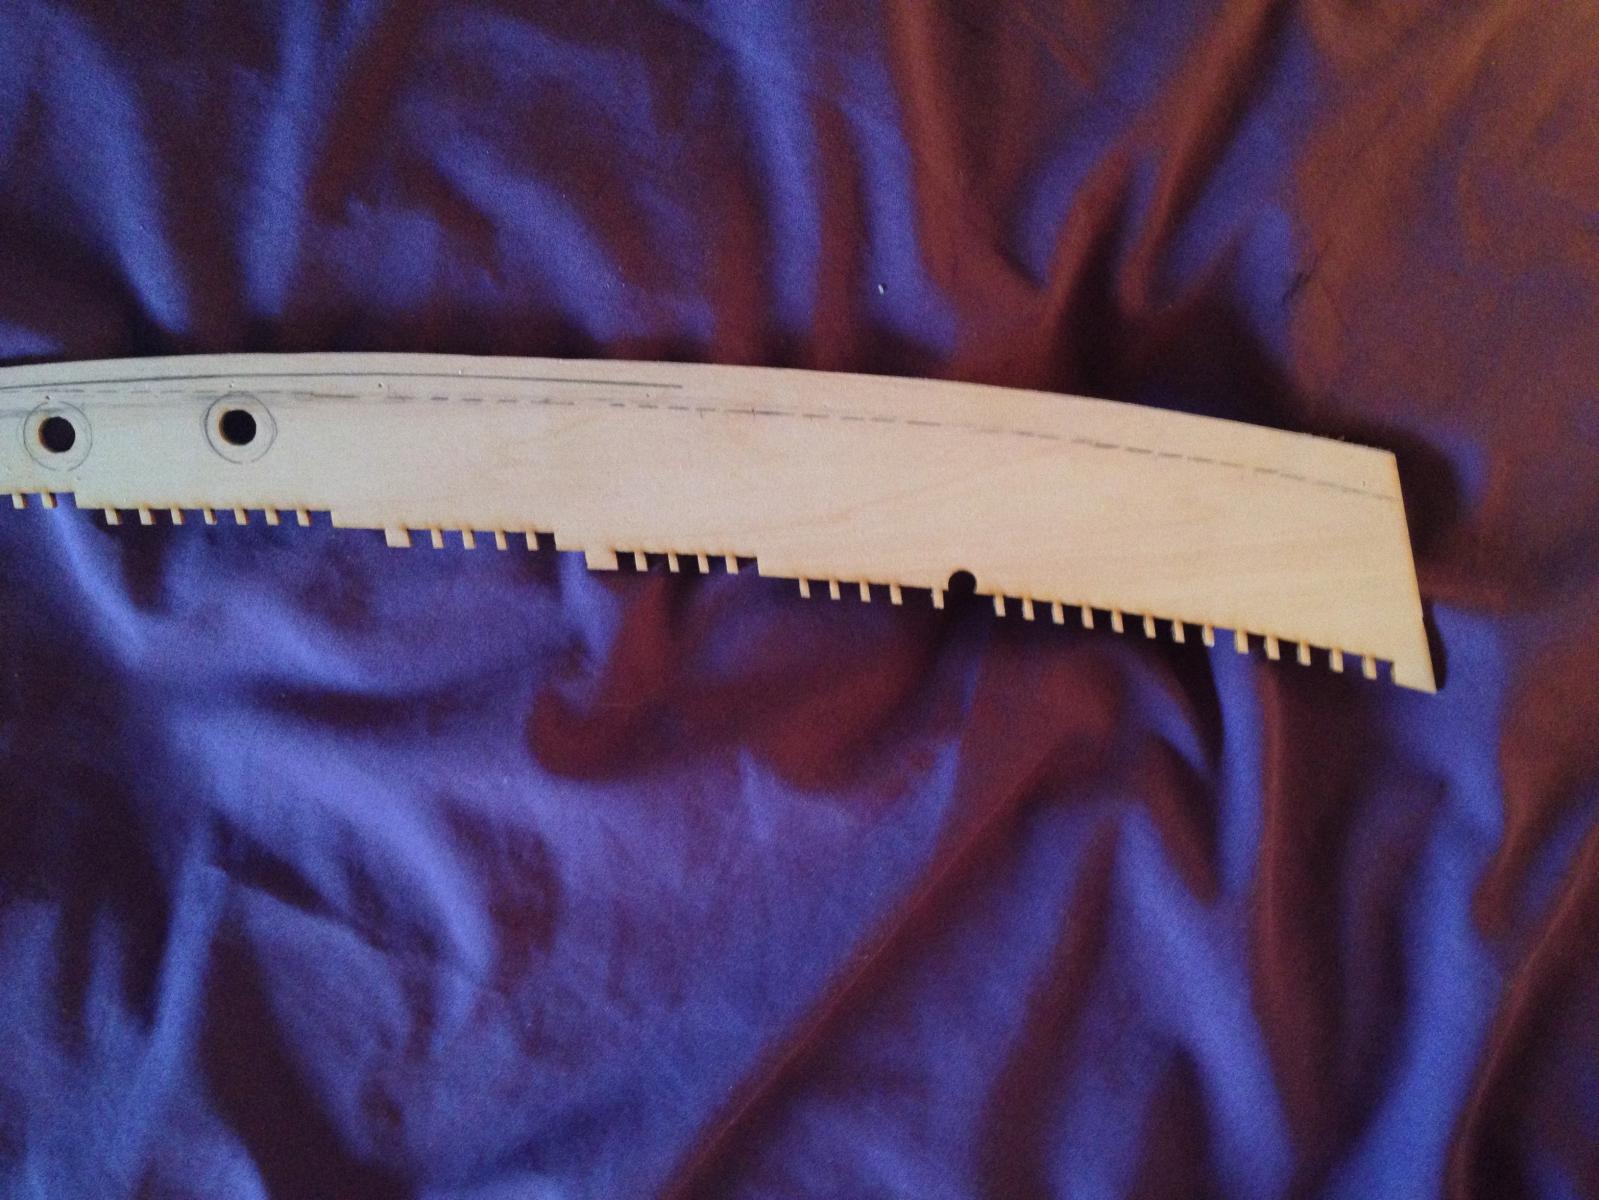
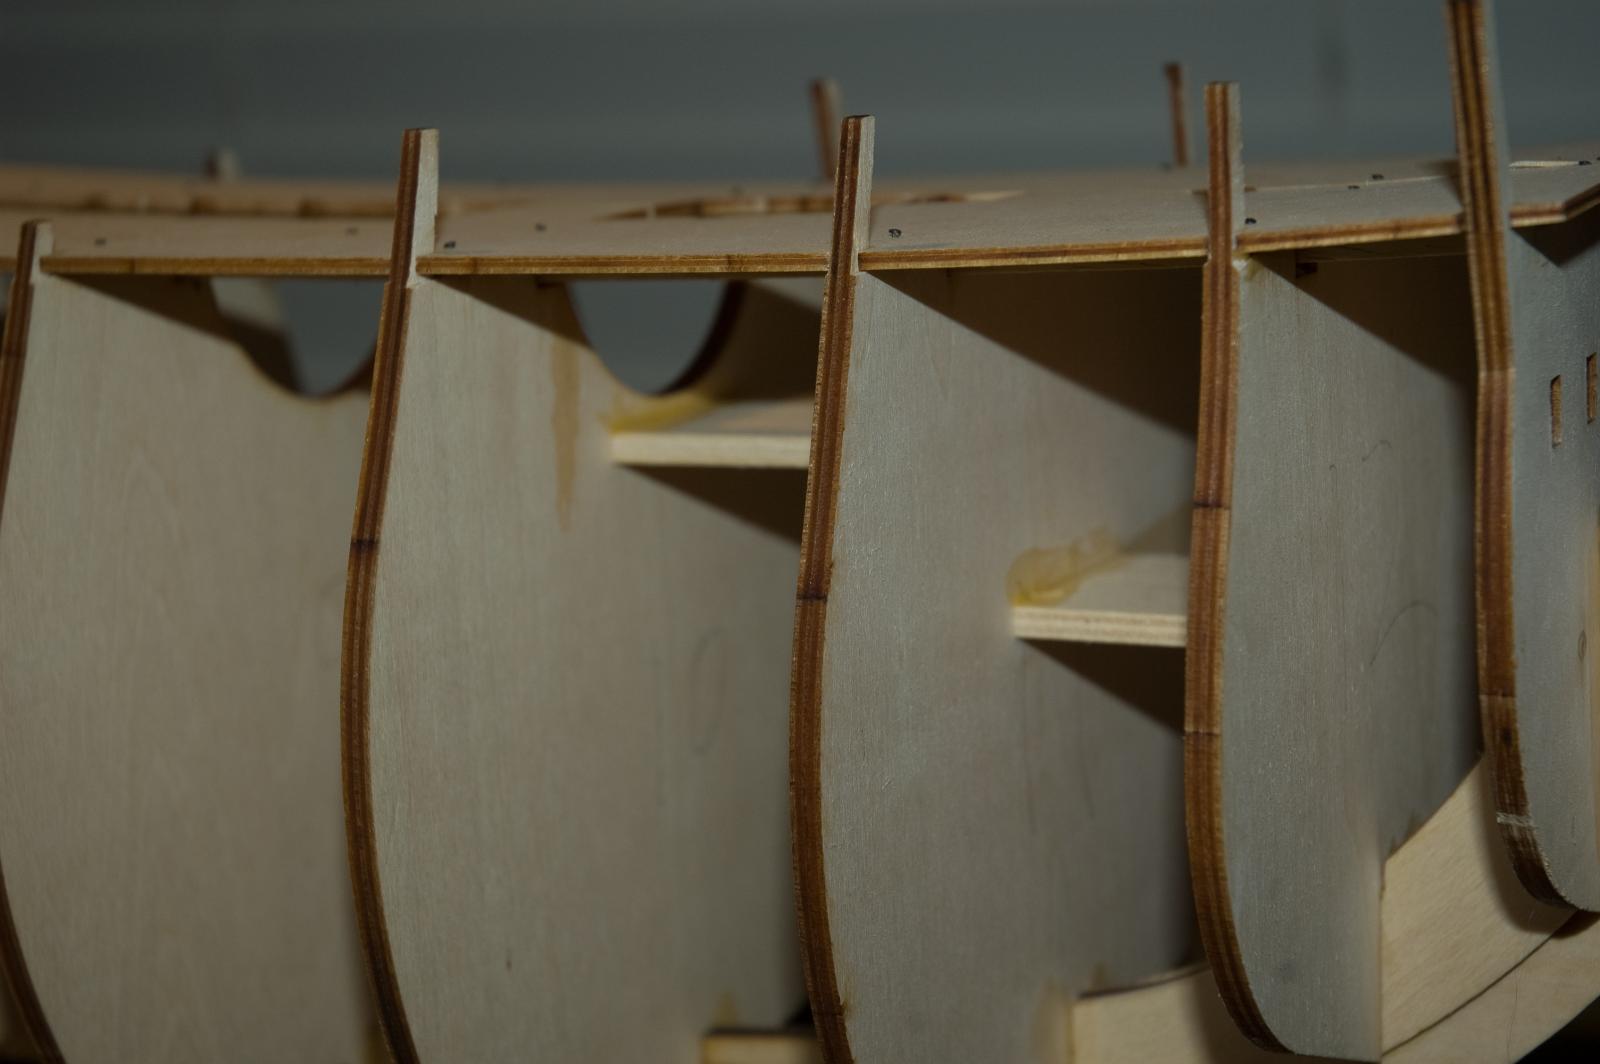
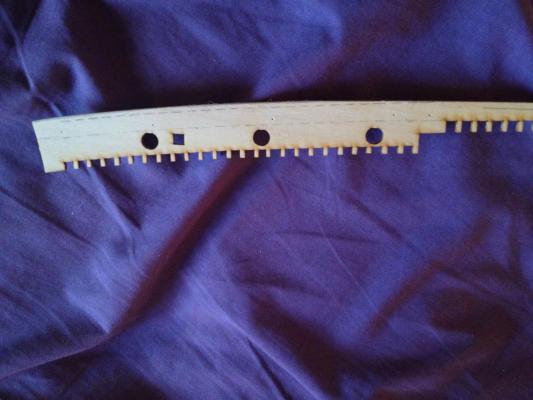
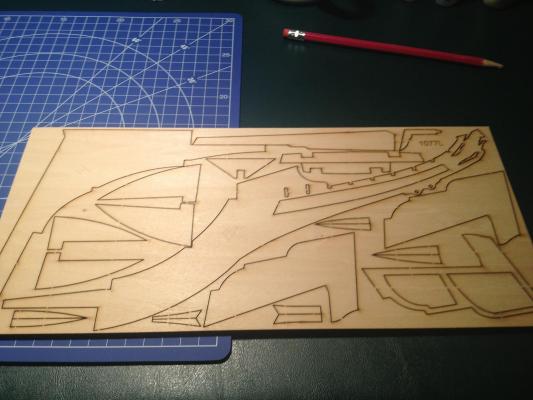
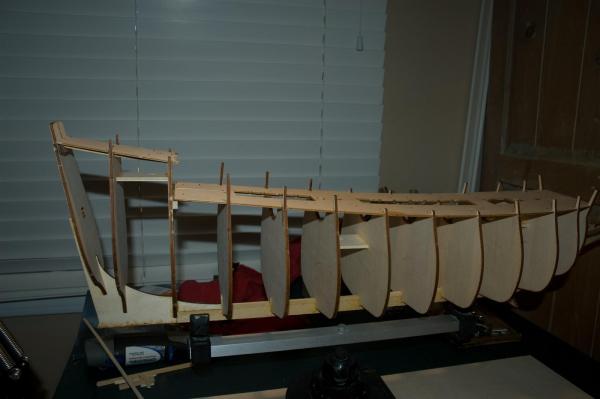
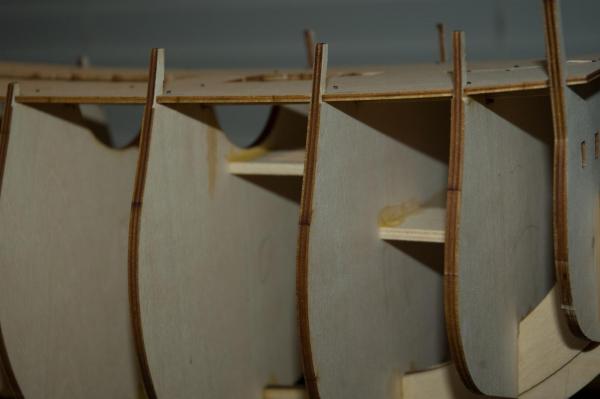
Greetings to all. I started the Billings Vasa about 8 months ago and it's taken me until now to get my act together and do a build log. Matti has done such a detailed job with his that I wasn't sure there was anything more for me to contribute, but I have done some things slightly differently from him, so maybe the comparison will be useful. This is my second wooden ship model - the first was the Corel HMS Bellona, which I did 14 years ago. I visited the Vasa museum when I was a child back in the early 1970s, which was a wonderful experience that stuck with me, and I always wanted to build a model of it. Also I also grew up painting a lot of fantasy miniatures and the idea of painting so many sculptures on a ship was very appealing. So last December I started the project. A bit about the kit, just to add to the information already posted by the other folks building it. All in all it's a decent kit. The hull shape is quite accurate, and I'm very happy with the plastic sculptures - easy to shape and to paint, and reasonably accurate given the constraints of building a kit to a price point. That having been said, I don't think it's a good choice if you don't have modeling experience. The instructions are, to put it kindly, spartan, and the full scale plans are minimal, if accurate. The strip wood provided with the kit isn't all that good, even for a kit (very soft and with a tendency to split), and the hull planking in particular is out of scale. The gun port design is very poorly thought out and in my opinion just unacceptable for a kit of this cost. The laser cutting of parts is nice, but the plywood sheets aren't always well glued and can de-laminate. Most challenging so far has been that the part manifest for the laser cut sheets doesn't match the sheets themselves, so you have to go on a bit of a treasure hunting expedition to match up numbers with shapes. As I write this, all of these things make it sound like the kit is to be avoided, but it's actually not that bad; you just need to understand what you are getting into. The most important part for me was hull shape and sculpture accuracy; I enjoy scratch-building things and solving design problems, so for me addressing the kit's shortcomings have just been part of the enjoyment of the project. So on to some photographs. This set shows a sheet of laser cut parts for the hull structure. The kit is single layer plank, which is challenging because you can't fix hull shape mistakes as easily as with double layer. But the nice part is when you're done planking, you don't have to start a second layer so it ends up being faster if you're accurate. Here's one of the laser-cut sheets with some of the hull bulkheads. Easy enough to cut out with an x-acto knife, but you have to be sure to completely scribe the other side or you'll get splits in the wood. This is the keel and bulkheads glued together. The keel comes in three parts which is actually a good thing since it's less likely to be warped. And this is a close-up of the bulkheads with the pedestals for the mast glued in place. More later...
- 249 replies
-
- 3
-
-
- billing boats
- vasa
- (and 1 more)