harlequin
-
Posts
746 -
Joined
-
Last visited
Content Type
Profiles
Forums
Gallery
Events
Everything posted by harlequin
-
Hi Hamilton.....the ships boats that I tried didn't look right for Greyhound so I stuck with the supplied one, but a mod to make the POF boat slightly narrower in width would do the trick. The two I tried were too wide to look right.
-
it certainly is coming along nicely.........once you get to the ratlines you will prefer the shimming.
-
15/4/13


-
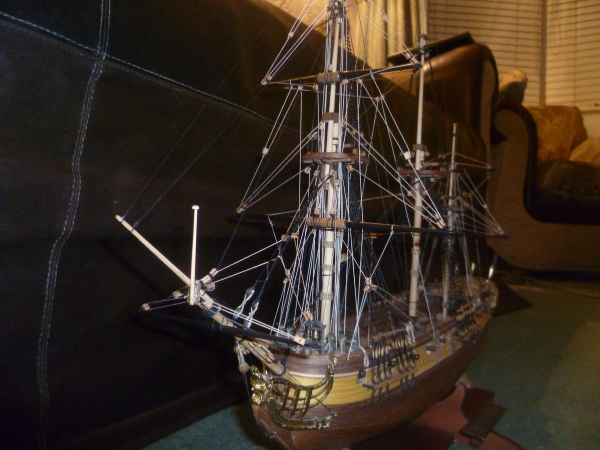
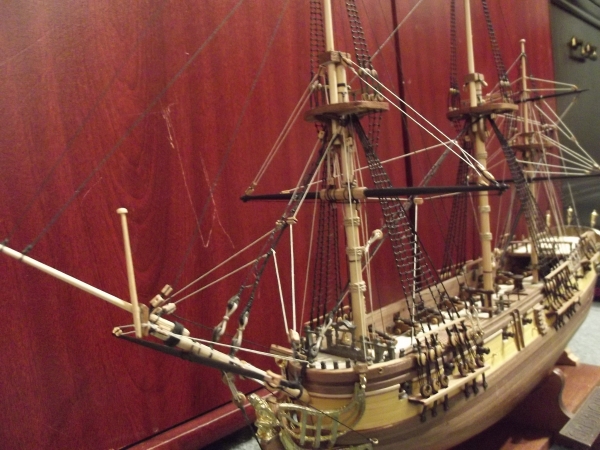
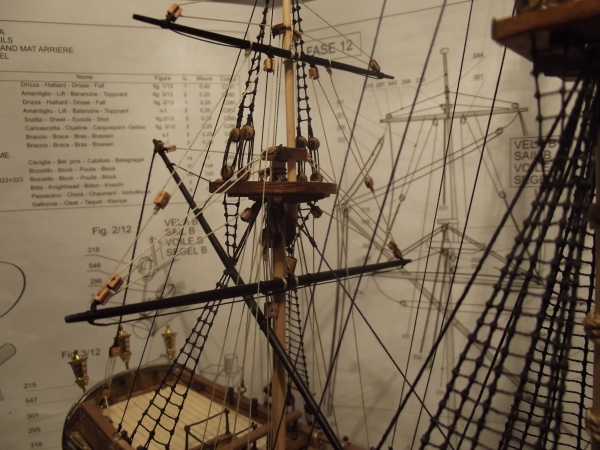
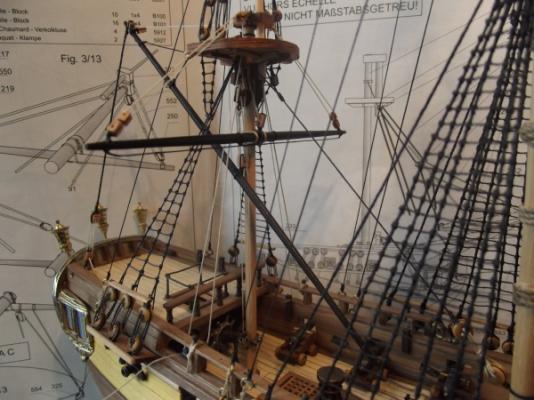
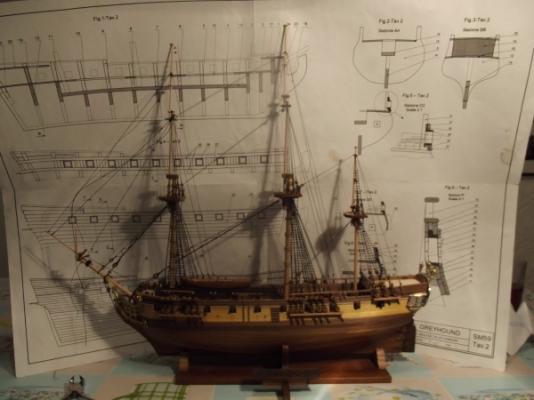
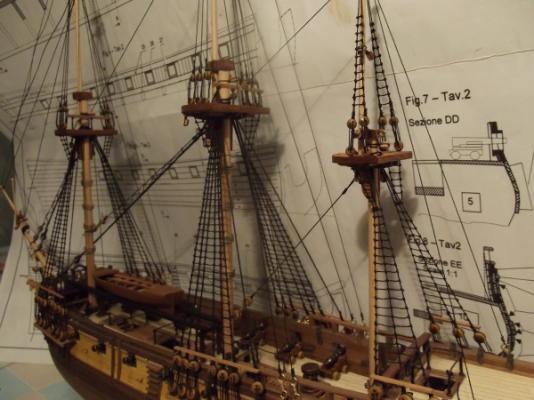
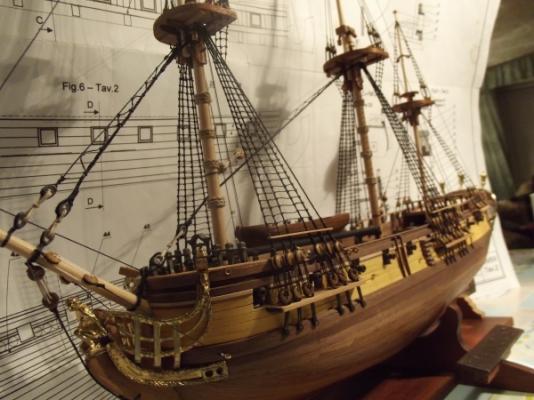
Hamilton I'm equally looking forward to seeing your kit of greyhound progress especially with the planned improvements. The rigging is proving to be as awkward as the rest of the kit but I would have been disappointed if it were not. There will be several (loads) of inaccuracies with the rigging on my kit but I am using my completed corel kit HMS Victory as a guide and can live with the mistakes I have made. I am a builder who is not overly concerned if my build includes historical inaccuracies. She is now coming alive as you say, in fact I too am beginning to smile as I look at her. I am sure you will improve on my build and as you progress if I can help I will. With the rigging you will undoubtedly do it different to mine. You will notice in the greyhound instructions that the book differs from the sheet plans which differs from the picture on the box. Confused you will be, but your pre-planning regarding the belaying will prove invaluable. When all is done and dusted Greyhound looks beautiful and you will have bad moments and good moment but will end up with a model you will be glad you have completed.
-
getting there.

-
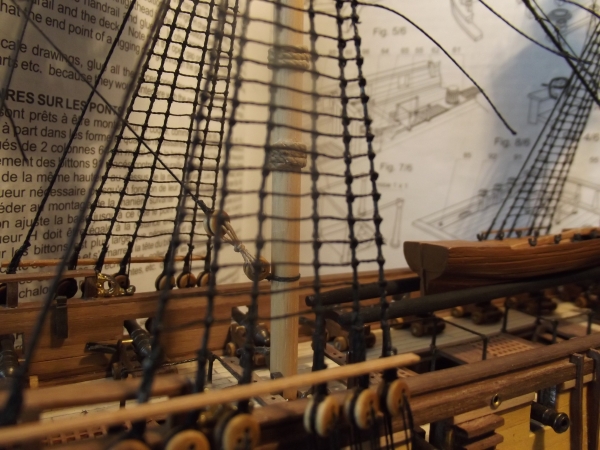
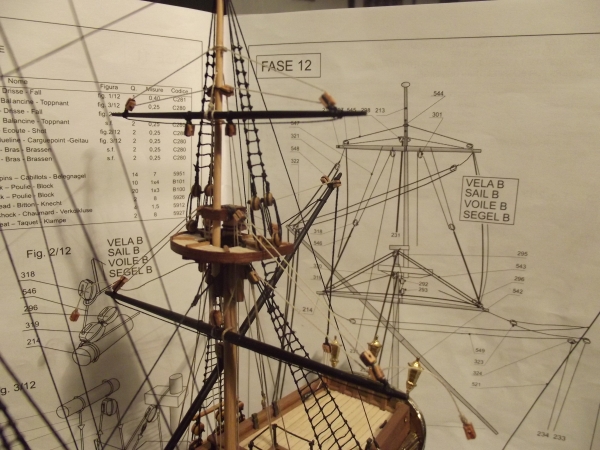
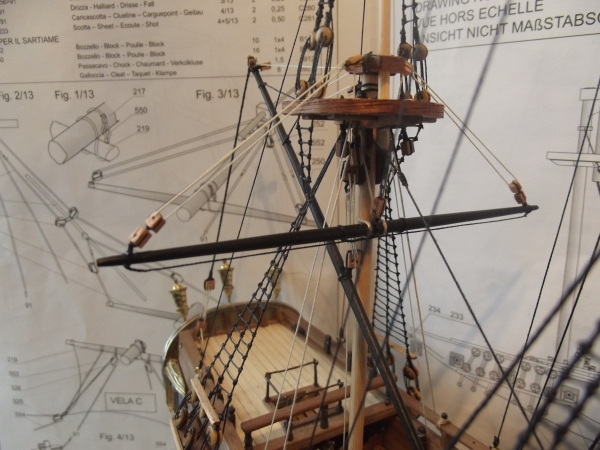
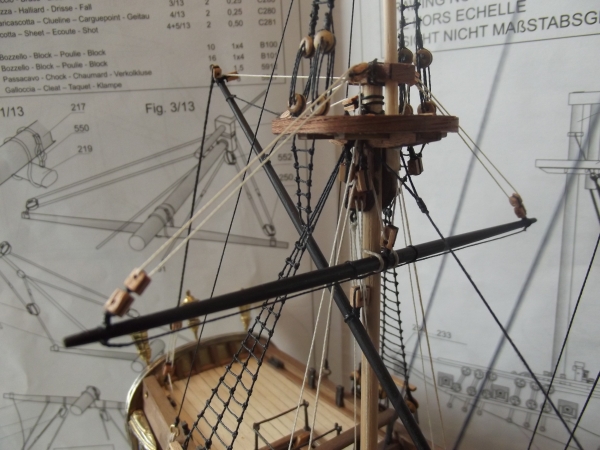
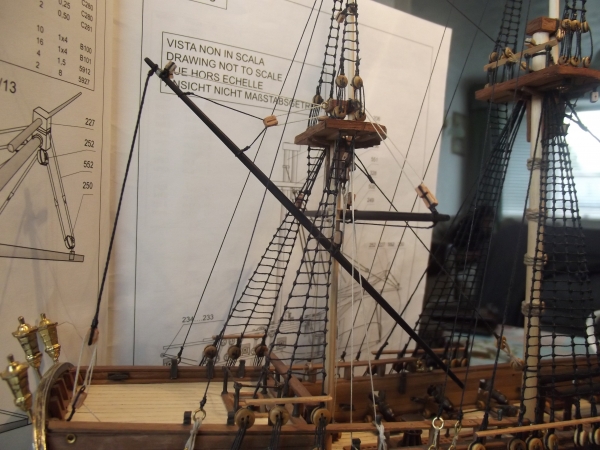
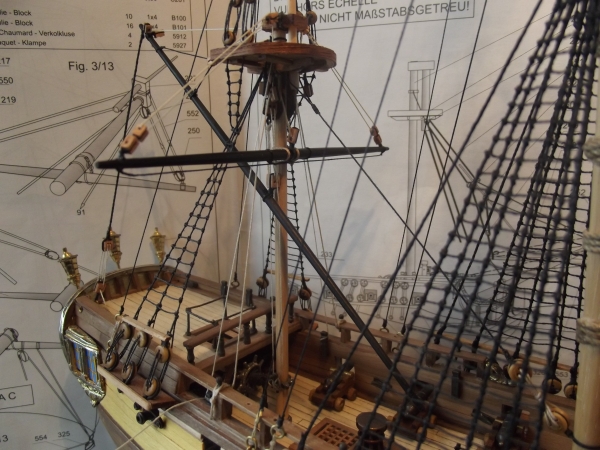
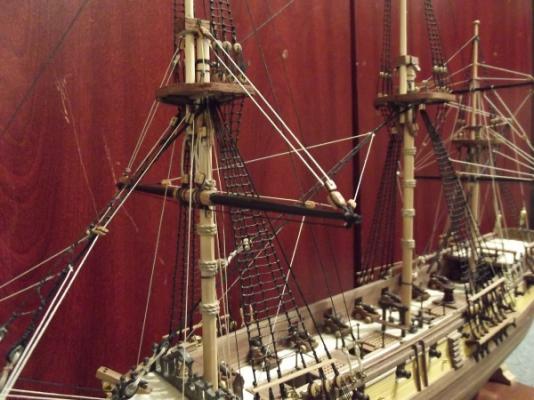
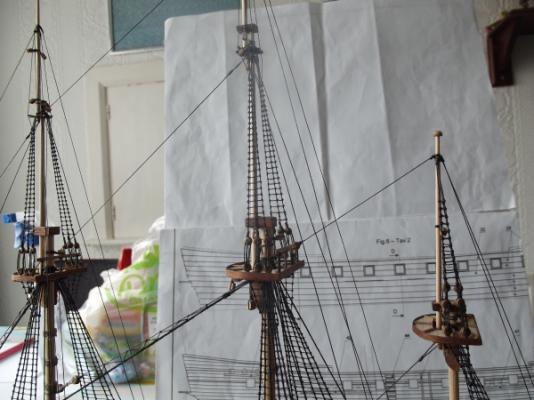
slow going especially with no real concrete proof of where the lines are belayed. Trial and error is the norm.


-
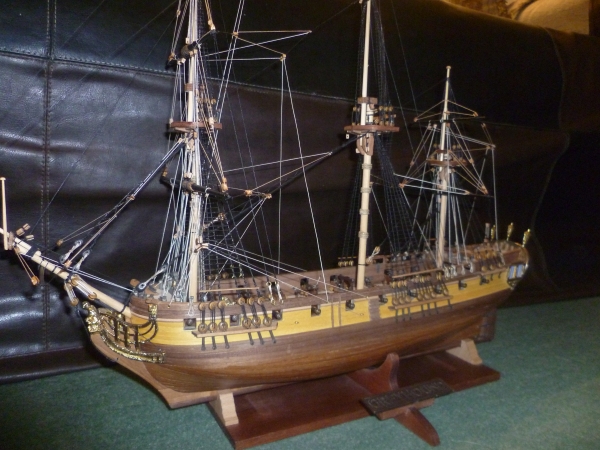
Right, Bellona has been unboxed and i've dry fitted the keel and frames. A little minor sanding required to get a nice fit between the two which after the wrestling match that was HMS Greyhound this comes as a relief. I will post some pics soon. Again I'm going for the full wooden look for the entire hull without any paint or colouring. Its great to get my hands on wood again after the shroads and ratlines fiasco of Greyhound. I have now tied over 20 million ratlines since January.... . I do love the look of Greyhound though and she has definately grown on me. Bellona looks like a mighty fine ship too. Anyway watch this space for the photos.
-
I must say the frames and keel on Bellona are a much better fit than on Greyhound, so none of the early hair pulling and gnashing of teeth so far.
-
Bellona has had its box opened and a first dry fit of the keel and frames. My daughter plays rugby for a club side(Liverpool St Helens) a county side(lancashire) and a divisional side(The North of England) so have been busy getting her to matches and training sessions so have not done much on Bellona yet. Watch this space.
-
very neat job there. I think you will negate those little problems without too much difficulty. I like the fact you are adding to greyhound to enhance what is a very fine looking model despite its peculiarities.
-
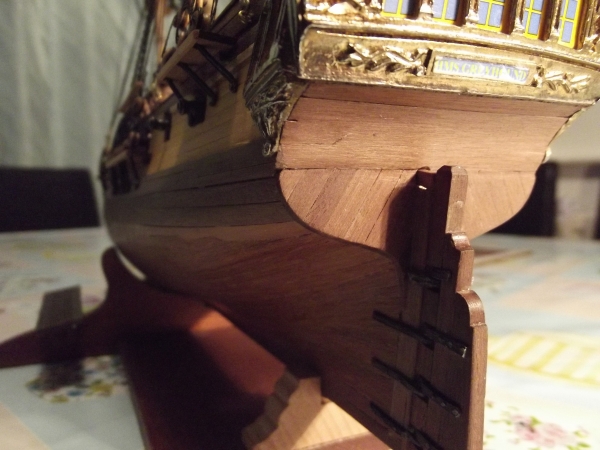
I'm beginning to remember. Rather than the flimsy little supports supplied in the kit, I used a balsa wood filler and sanded to the required curve after fitting the two side pieces of the transom thereby using the curve of those pieces as a guide, then a little more filler attatched to frame 13 to support the angled planks, although I do recall having a little bit more space than you have in this area, but only by about a mm. It was a trial and error job that owed more to luck than judgement. It is a pig of a kit as you say but really is worth percevereing with it.
-
I'm struggling to recall exactly how i completed the planking below the transom other than it being a real nightmare. I didn't take any photos of the area either so cant pull those out of the hat. I know I used some filler at some stage to give an additional surface area for a good contact. I 'll give my model a good study and get back to you on this one. I know I altered something to get everything to fit but exactly what I did requires some memory recall (gulp).
-
hope these are ok. It took some doing and is far from perfect but not too bad a job considering.


-
The thin strip lower deck doesnt look too bad once everything is in place. I would at this point colour or stain the frames a darker shade so the white colour of the frames is not as noticeable once the main deck is in place. Lagavullin is a great whisky by the way....
-
Hi Hamilton, I'm trying to remember what I did to get round this problem. If memory serves me right I carried on with the build as if the two offending frames were correct. I got as far as trimming the fore and aft frames ready to accept the first planking. I then put temporary planks in 3 or 4 places along the hull but making no attempt to attatch the planks to the two incorrect frames. This gave me a rough idea on the amount of building up of the frames was needed. I used several pieces of 0.5 mm plank I had spare from a previous build to alter the frames, I then used some filler once the first planking had been put in place to make the line of the hull more even where there was a slight dip corresponding to the two offending frames. It was frustrating to do but I achieved a reasonable result.
-
as good as they are going to get..
-
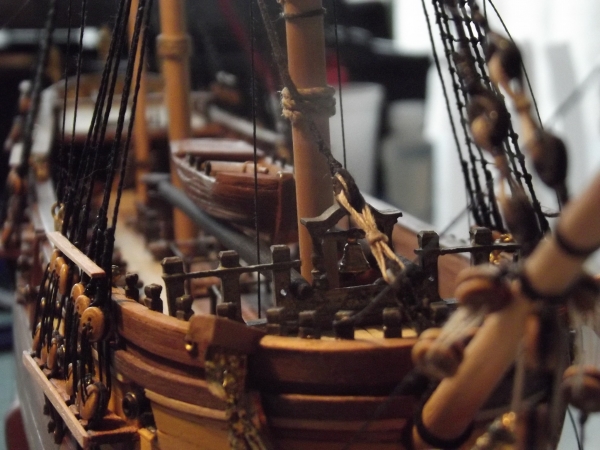
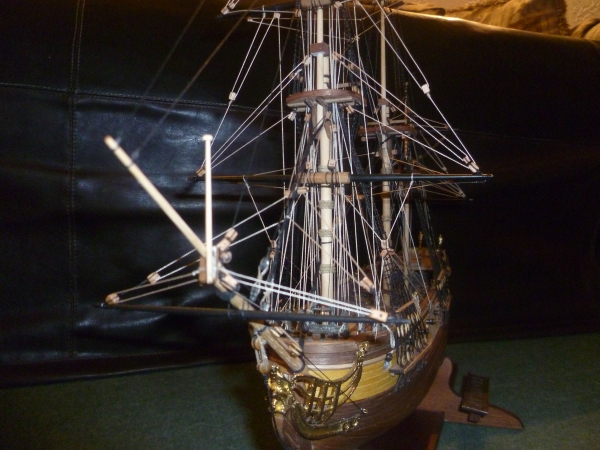
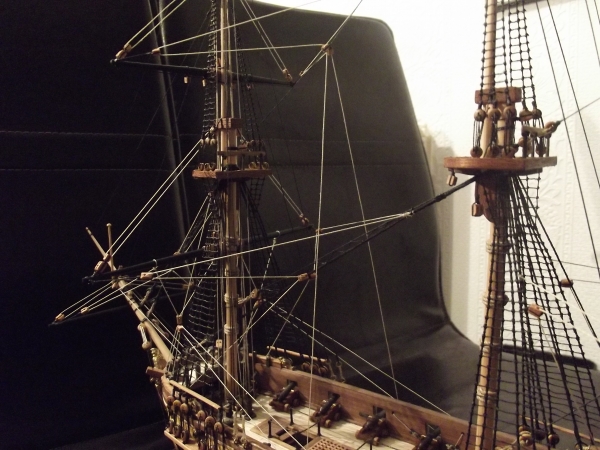
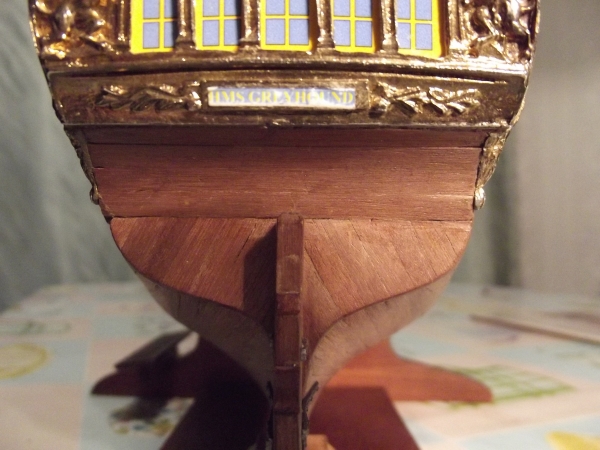
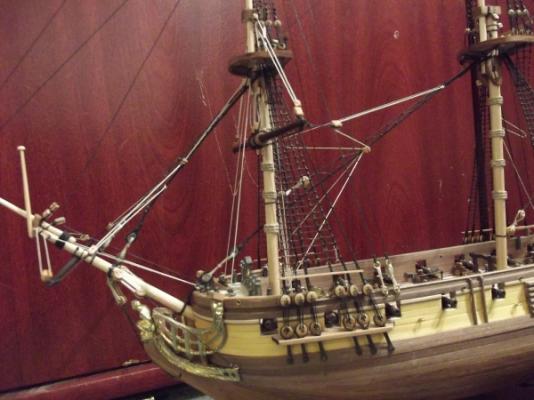
I've got the seating of the bowsprit in my model wrong, but I really cant be bothered taking it out and re-seating it. You will have to reshape/remove part of the the keel to get it to fit correctly and it eventually sits flush with the modified keel and on top of the figurehead. I also purchase several other ships boats but none looked convincing so i returned to the metal one supplied. It is a very awkward model to work with. I found corels HMS Victory far easier to complete. The plans are full of descrepancies and even the picture on the box is markedly different than the plans are. I too have purchased lots of black rigging. When I build kits I try to use all what is supplied in the kit, I'm a builder who is lazy in that I really cant be bothered scratch building anything unless I break something or lose it. If I can help in any way feel free to ask but I have a sneaky feeling you wont need my help. It will drive you to drink copious ammounts of alcohol but thats one of the benefits of building HMS Greyhound. I'll follow with interest.
-
Hi Hamilton, yes this kit will frustrate and annoy, I have made several changes and i dont think they are historically accurate changes I have made but I can live with them. The cat rails are nowhere near the shape they need to be but I found bending them cold was the best method of obtaining the best shape. They did crack in areas but i filled the cracks with a little filler and painted over. Believe me I nearly launched this model against the nearest wall several times it is that maddening. But persist with it. The ships boat is not brilliant but after several attempts I have acheived a reasonable result. You can always spend more time than I did on the ships boat. If you look at my build you will be able to improve in many areas on yours, but I am reasonably satisfied at the result so far. Get several bottles of decent single malt whisky and you will produce a very fine if frustrating model. If I was unsure of anything I just went for it and if I didnt like the results I'd take it off and try again. The shrouds and ratlines have been on and off more times than a brides nightie. Good look and I look forward to your build.
-
few days off work so should see a decent ammount of progress.
-
probably begin next week, after Easter. Sorting out a workstation. I've already dry fitted the keel and frames so start work on her soon.
-
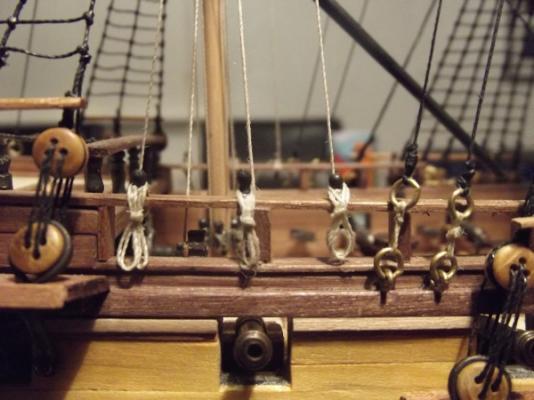
Also about rigging the cannons. I was going to add some rigging but have changed my mind again and decided against it. I am quite happy the way it looks without added rigging.
-
bit more progress. The kit ran out of 3mm deadeyes or i lost them either way progress has been slow.