harlequin
-
Posts
747 -
Joined
-
Last visited
Content Type
Profiles
Forums
Gallery
Events
Everything posted by harlequin
-
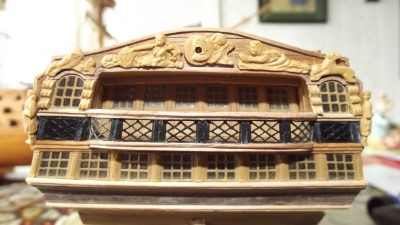
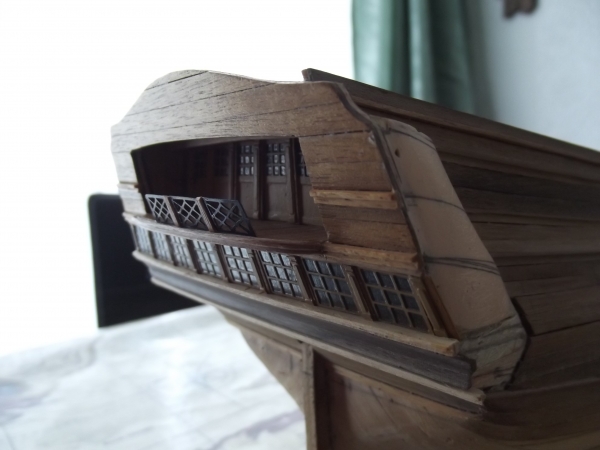
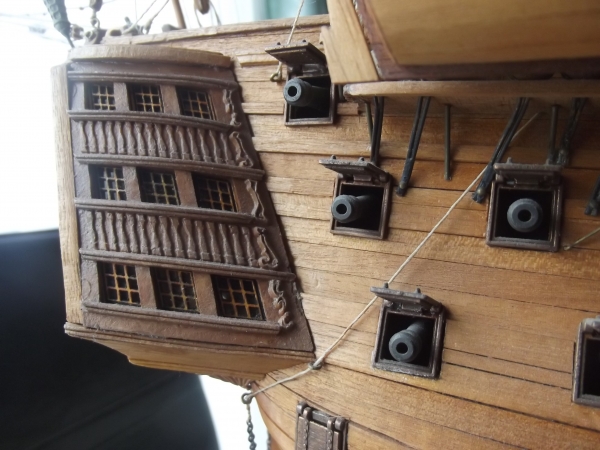
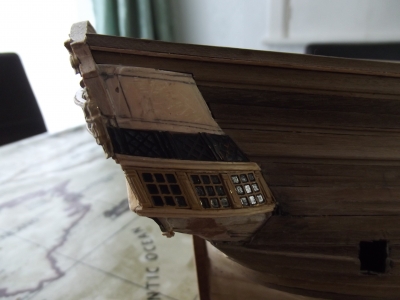
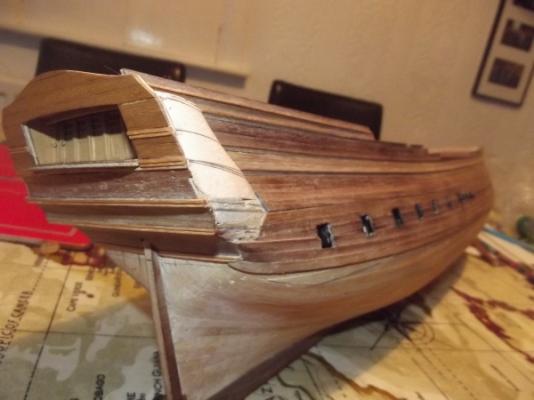
I always have trouble with quarter gallery's...don't know what it is.....after much struggling and many swear words its coming along.

-
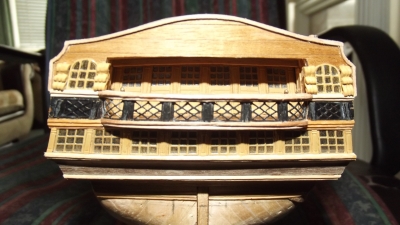
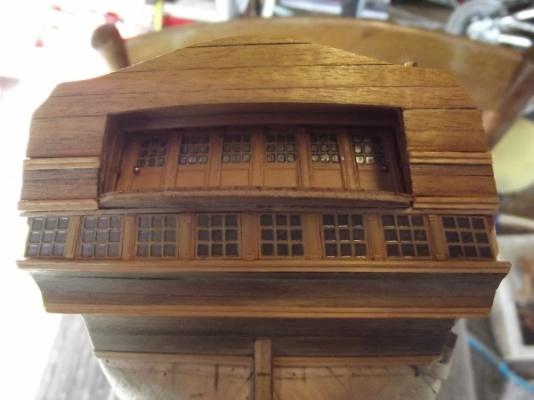
incidently....the moulding over the arched windows and balcony was cut from a 5mmx1mm beech board. The plans called for a 1mmx1mm beech board to be used but it just kept splintering.
-
I don't often use colour on my ships tallshiptragic....just the odd bit here and there.....will probably do the cannon carriages and that's about it really.....I tend to make a balls up when I use paint.
-
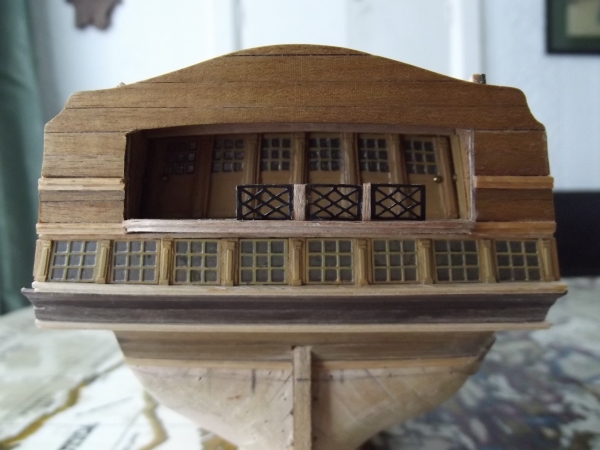
decided to go for yellow ochre for the decorations. I also made the scrolls a lot thinner. And a couple of figures added.

-
its amazing what you see in a photograph that you dont with the ship directly in front of you....the decorative scrolls next to the arched window look too wide in this pic.....will have to check on them when i get home from work......thanks for the compliment....it all needs a final touching up yet and several more bits to add.
-
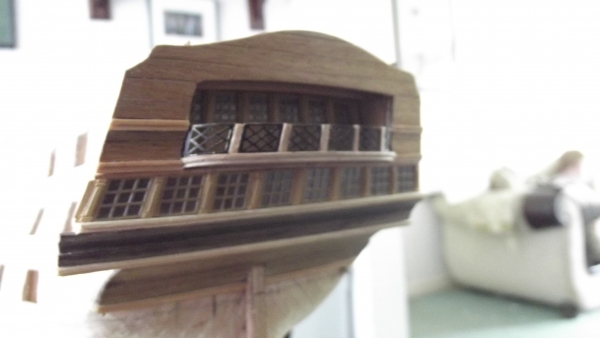
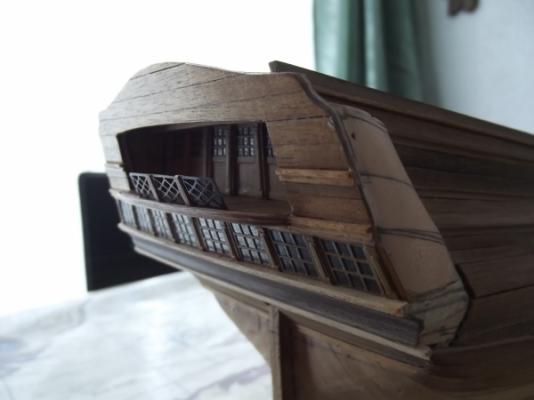
the only problem with doing the transom first is that it may suffer damage later on....i'll just have to be careful.
-
good looking build so far........they say you are not a proper model ship builder untill you have to deconstruct part of it.......on my current build i have deconstructed parts of it at least three times....cest la vie.
- 389 replies
-
- 3
-

-
- scottish maid
- artesania latina
- (and 1 more)
-
Thanks Augie.....there are a lot of decorative bits to add and not sure what to do with those yet. May paint them, may blacken them. Then i'll finish the whole transom and starboard quarter galley before returning to the hull second planking. Your build by the way is awesome.
-
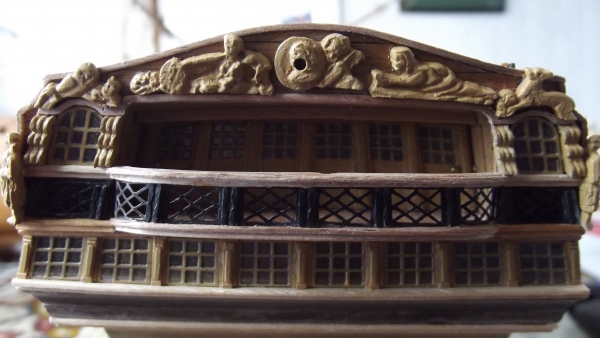
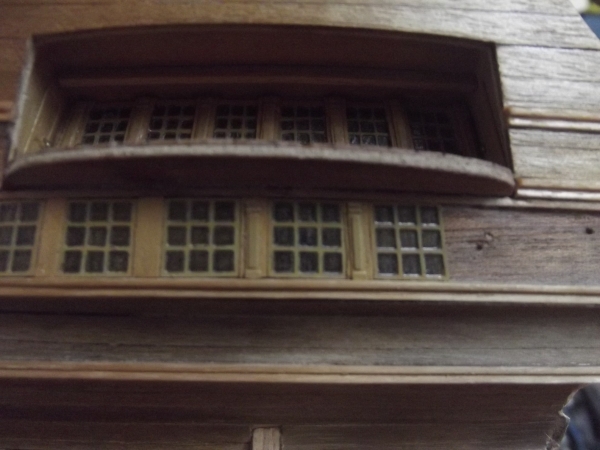
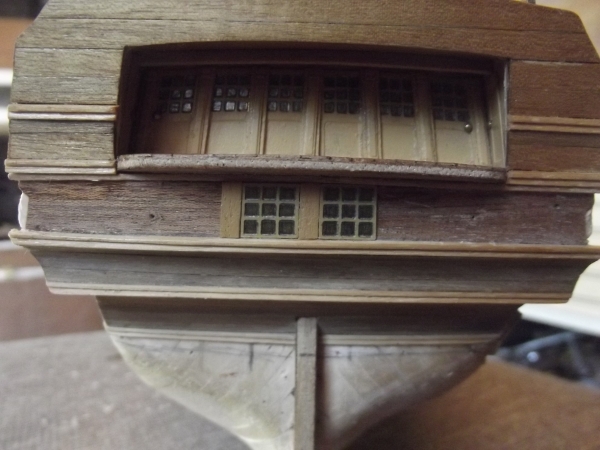
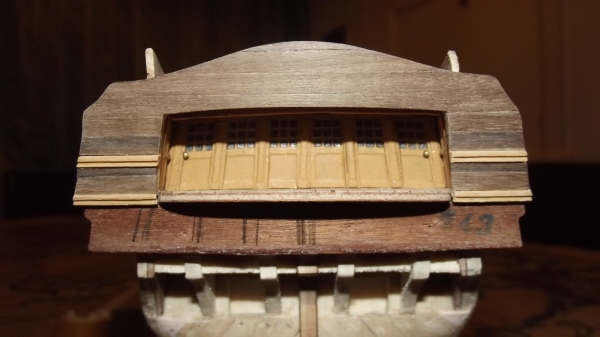
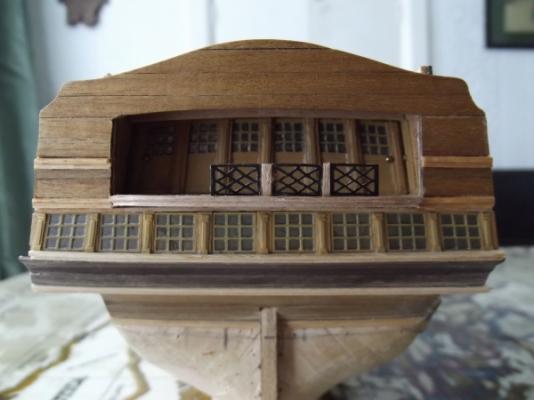
little more detail added to the transom......I used brass blackener on the photo etched parts...
-
my advice..........just go for it........and refer back here. My second build which you can view in the gallery of completed ships was corels victory.....loads of errors on it but a rather nice model once completed.
-
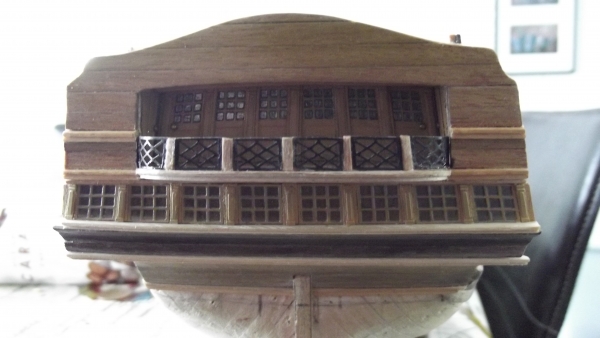
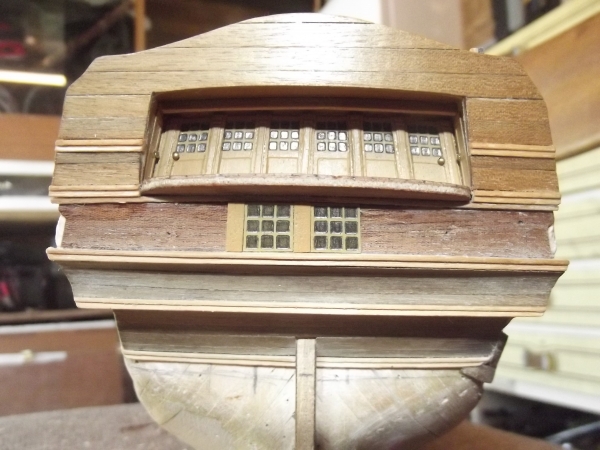
few more transom windows added, along with the ornate columns. End columns yet to be added.

-
Taking a little time of from planking to work on the transom windows. Photoetched frames were primed with etching primer then followed by a yellow ochre finish. Fixed in place using a little white wood glue to allow movement for final placing.The windows were coloured first using a 2H pencil then followed by a softer HB....may need a softer pencil to provide a darker colour.


-
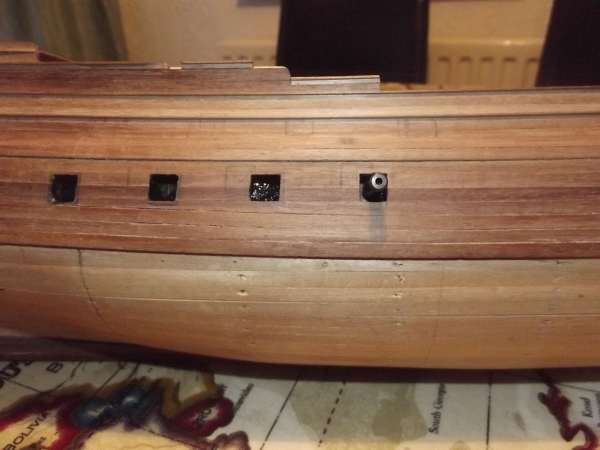
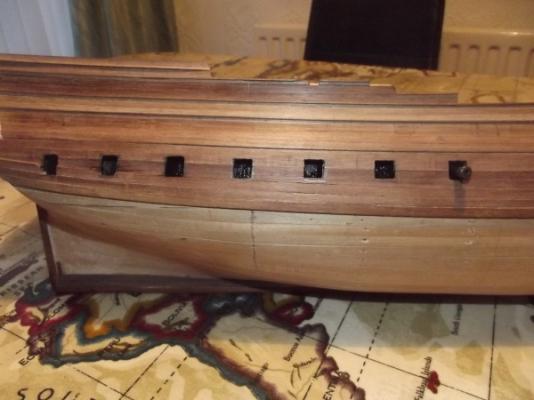
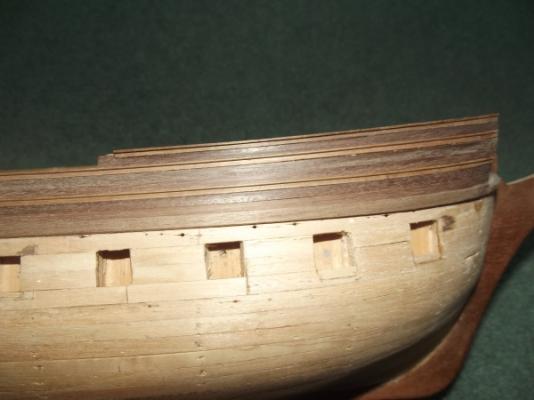
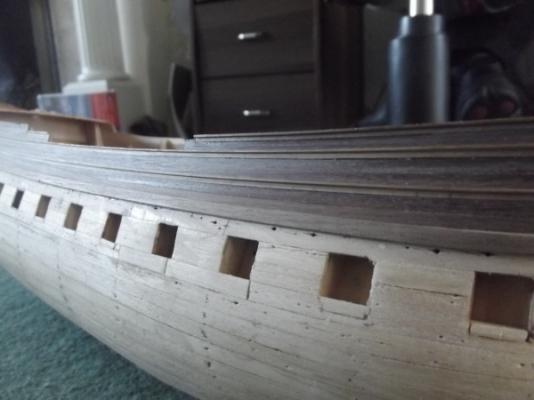
roughly cut a few gun ports, they require enlarging for the finished size, but it gives me an idea of what the finished ports will look like.

-
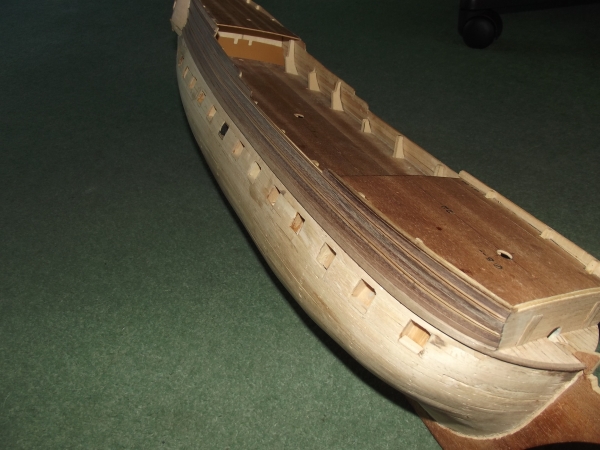
Right a few 2nd planks fitted......after ripping off the original second planking due to it fading,damage was caused to the gun ports but I've patched those up reasonably well and 2nd planking under way for a second time.

-
second planking has started again on Bellona.....pics to follow...........took me the best part of today to dust Victory down as well as HMS Greyhound.......all ready to collect dust again.
-
One of the reasons I have not been building Bellona is remedial work on my Victory model. I have greatly improved the quarter galley area....not perfect by a long way but a lot better than previous galley.

-
will do cnemo....................my young son (14) is also having a go at Pandora by constructo...........not the best kits by a long way but great to practice on.
-
right after several false starts I am again continuing with Bellona.......I will have to strip back several bits of second planking as they have faded to a slightly different colour to the originals.........watch this space..................again.
-
yes it is a gorgeous model...........will start with bellona again in the new year.
-
Sorry bill24 not been on here for ages so i presume you are way past the transom stage now.
-
A bellated well done from me Hamilton.......not been building much as of late but will start again soon on Bellona.