


Ulises Victoria
-
Posts
1,790 -
Joined
-
Last visited
Content Type
Profiles
Forums
Gallery
Events
Posts posted by Ulises Victoria
-
-
Update.
Ok... I've been experimenting A LOT with my machine and I think I got it now.
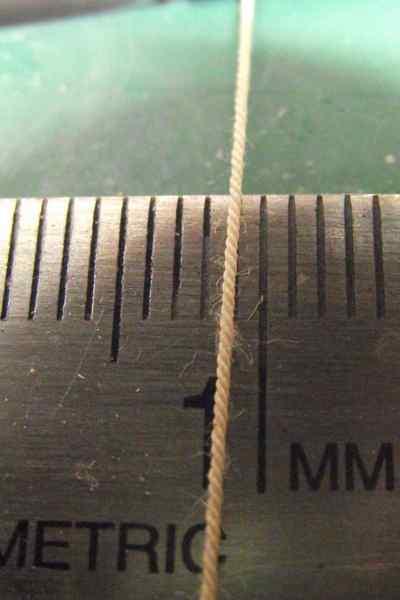
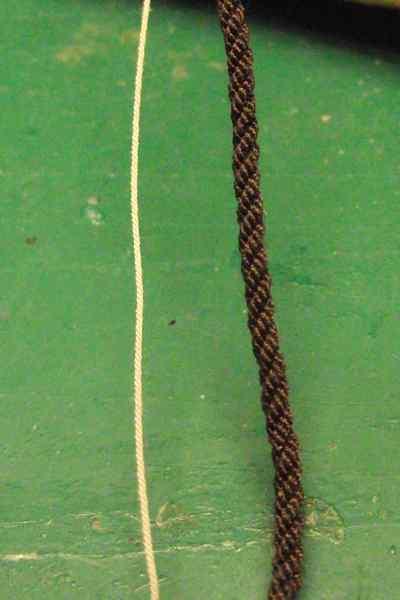
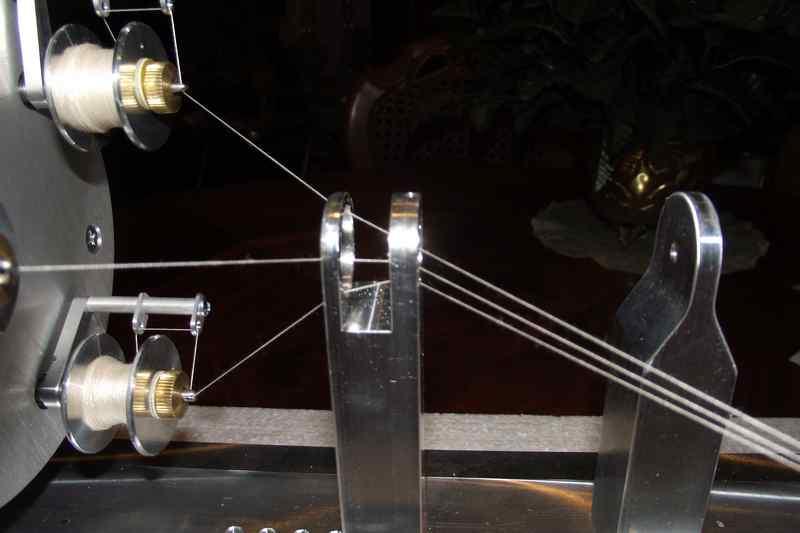
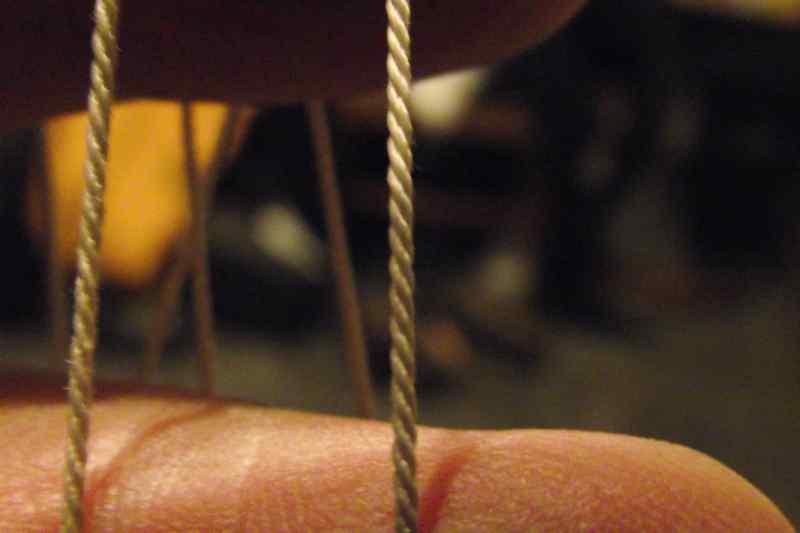
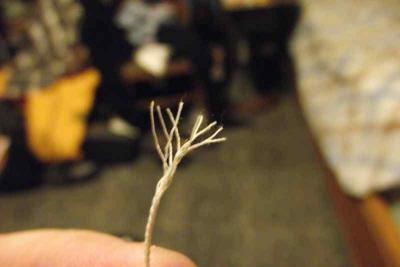
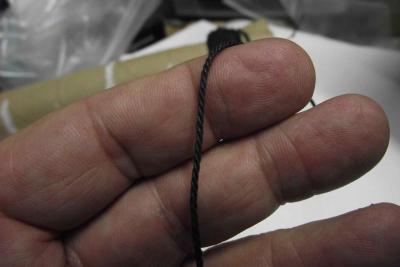
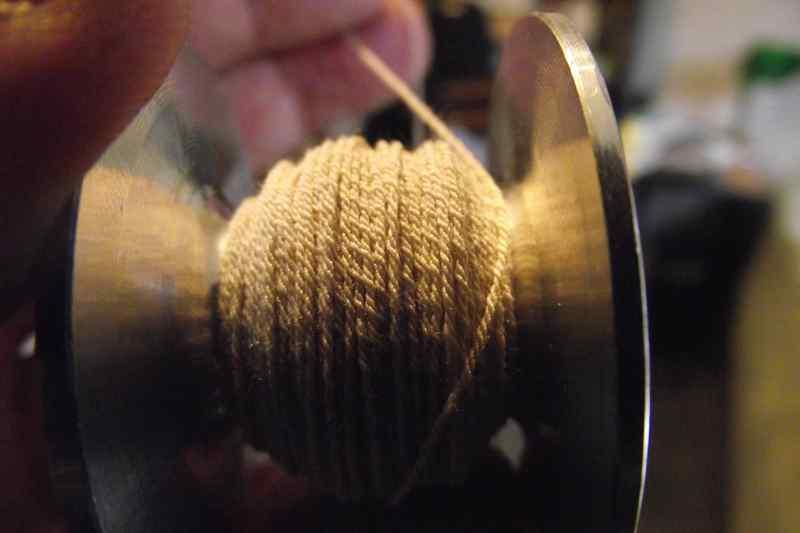
Here are photos of one thin (3 strands) thread in light beige, made with 3 strands (1 per spool) of Gutterman quilting thread. (It looks fuzzy, but every rope that goes onto my ship, passes over a lighter flame first to eliminate that.) This is the thinnest I may be able to do just because it's the thinnest thread I can start with. I found out that the problem I had making thin ropes was not the die hole diameter, but the speed. I managed to make this rope (less than .5mm) using the die that came with the machine, which is way wider than this thread, but at a very slow speed. In fact, I just learned that by letting the twisting point to remain half way between the large eye before the die, and the spinning head, the thread came up more smooth and tight. I would love to hear some others experimenting with this.
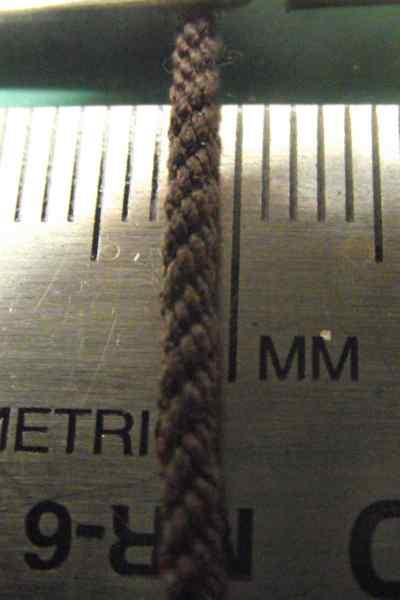
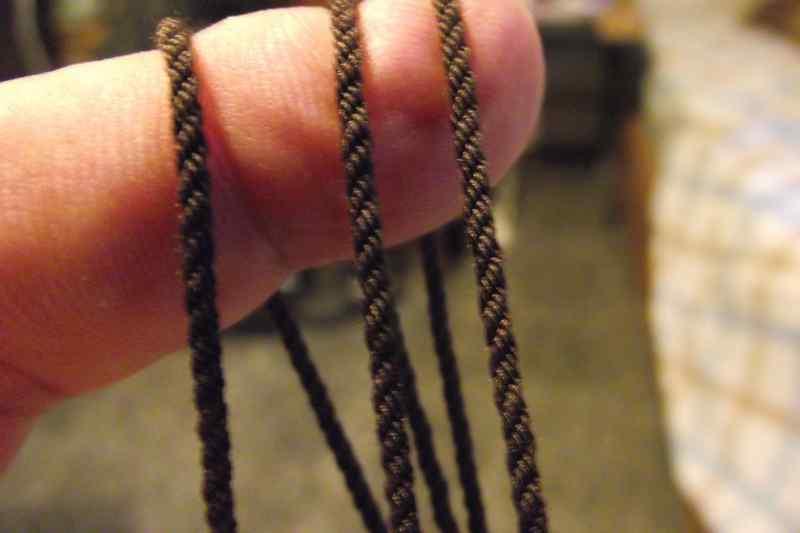
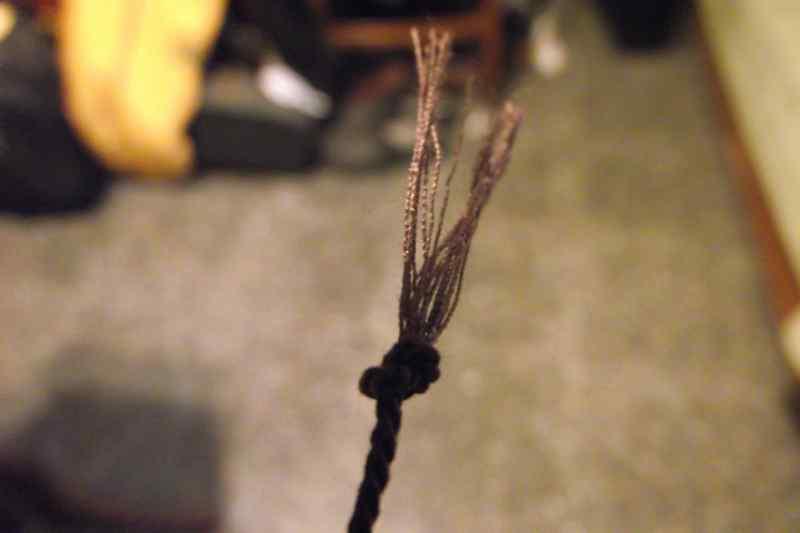
The dark brown (36 strands) was made with 4 threads per spool spun into 1, (4*3) and then, 3 of these spun into 1
(4*3*3=36).
I feel that if I can make these, I can make anything that's inbetween.

So the options to make thick ropes are now 3:
1.- (The longest and more tedious, but maybe the more accurate) Start by twisting several (many many) meters of 1*3 rope, use those to make 1*3*3, then use these to make 1*9*3, etc
2.- Use 1,2,3,4,5,6,7,8,9 strands per spool. You will get a different thickness with each.
3.- Use different diameter threads to start with.
(Or any combination of the above)
-
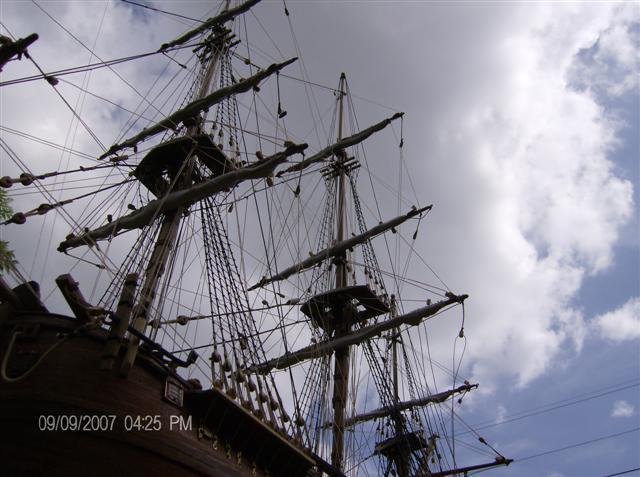
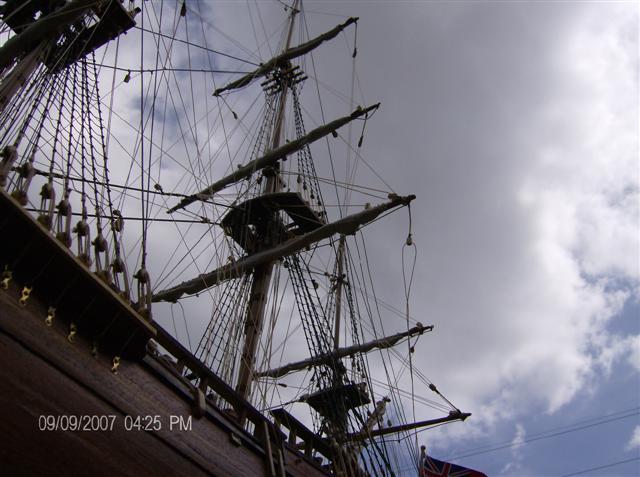
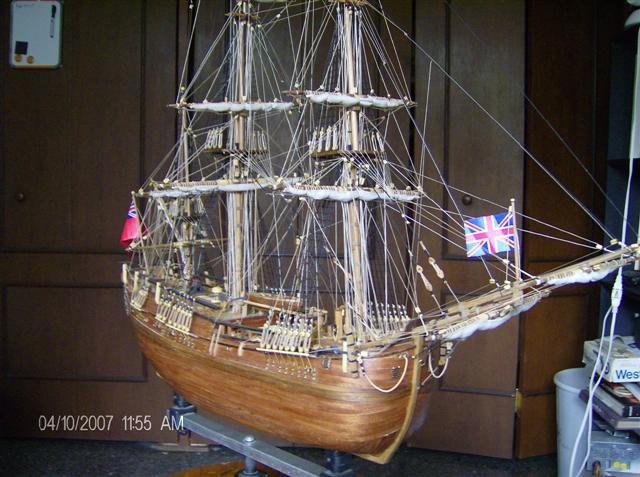
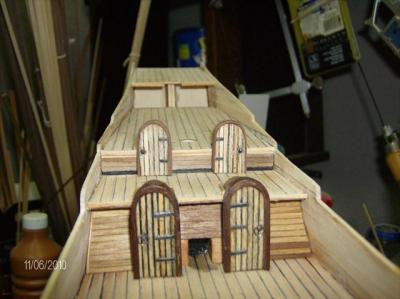
I think I lean more towards furled sails. That way you can have both standing and running rigging, and not having the sails to cover your rigging. Here's a few photos of my A.L Endeavour
-
Check
http://www.modelexpo-online.com
and search for "nailer"
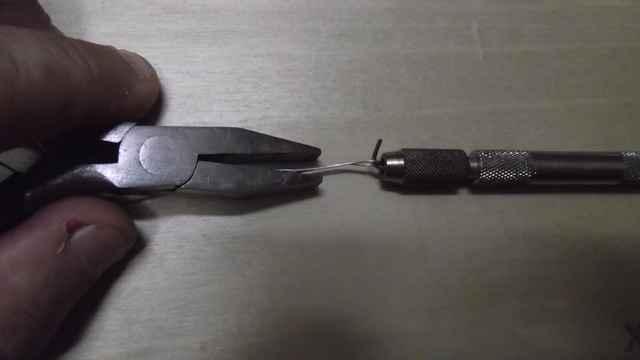
I have found that grabbing the nail with some tweezers and driving it with a small hammer is more accurate for me.
-
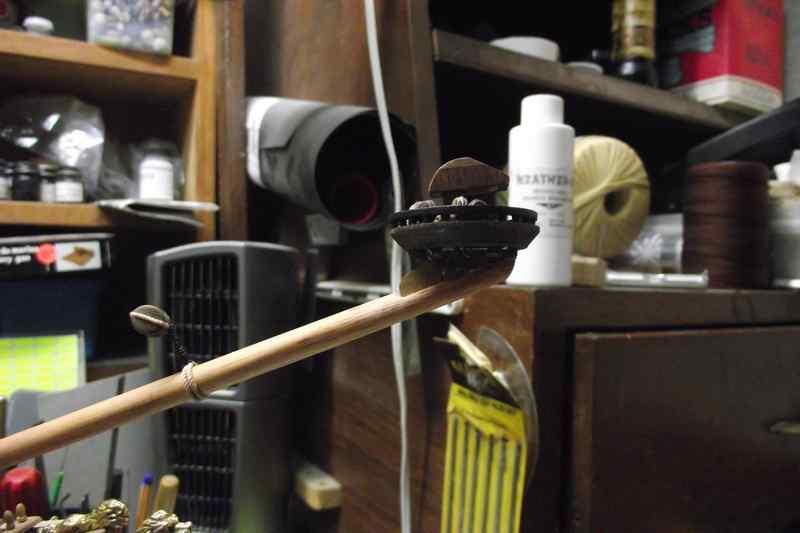
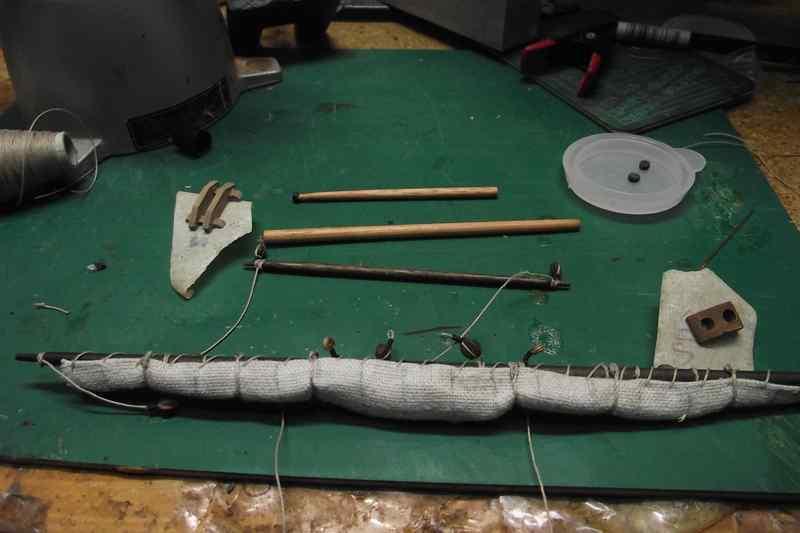
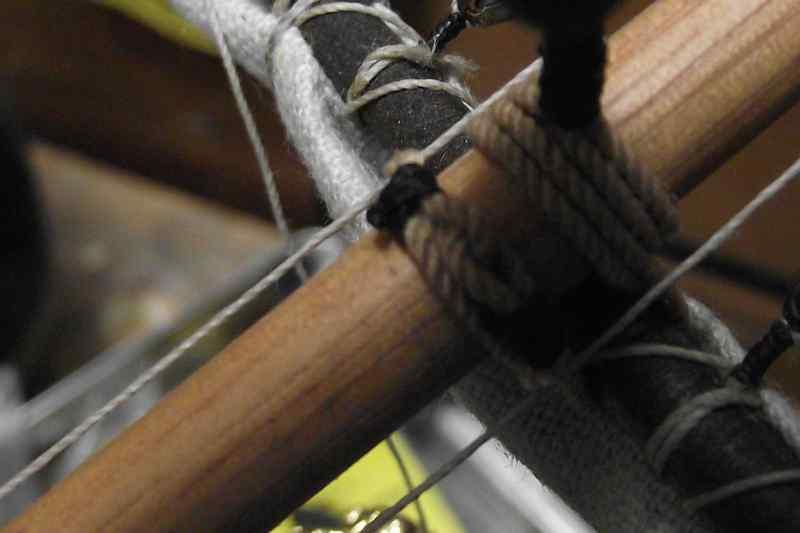
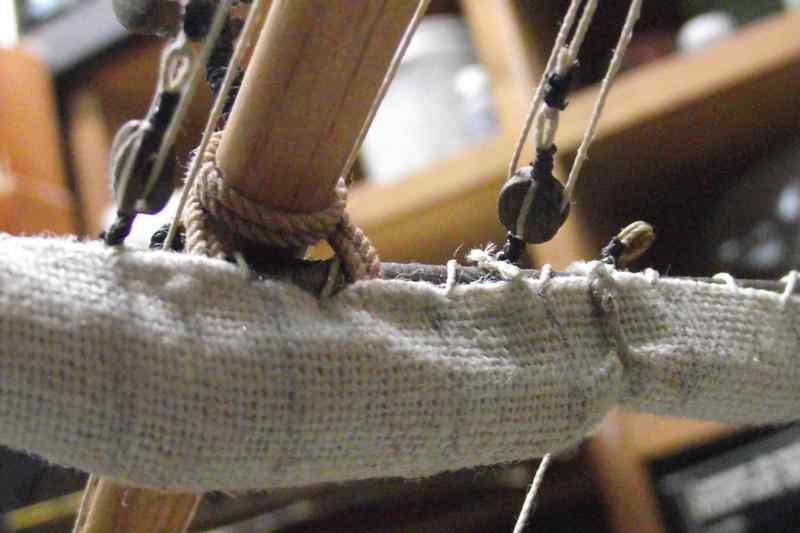
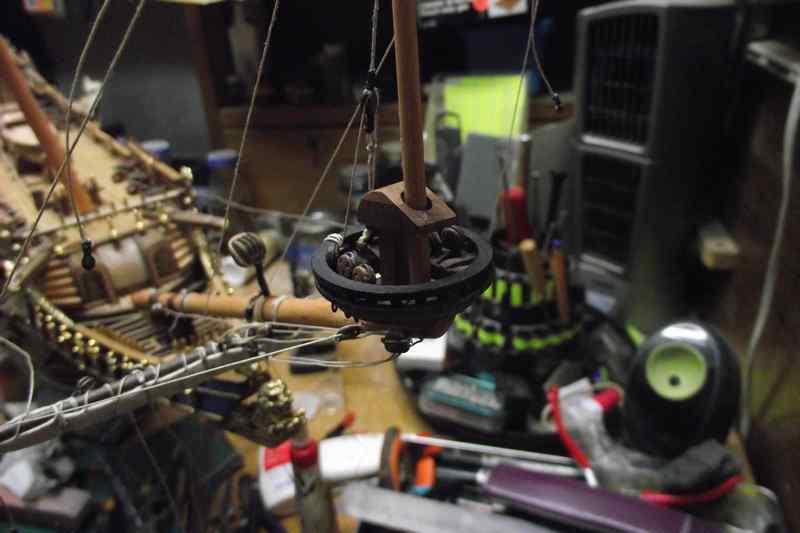
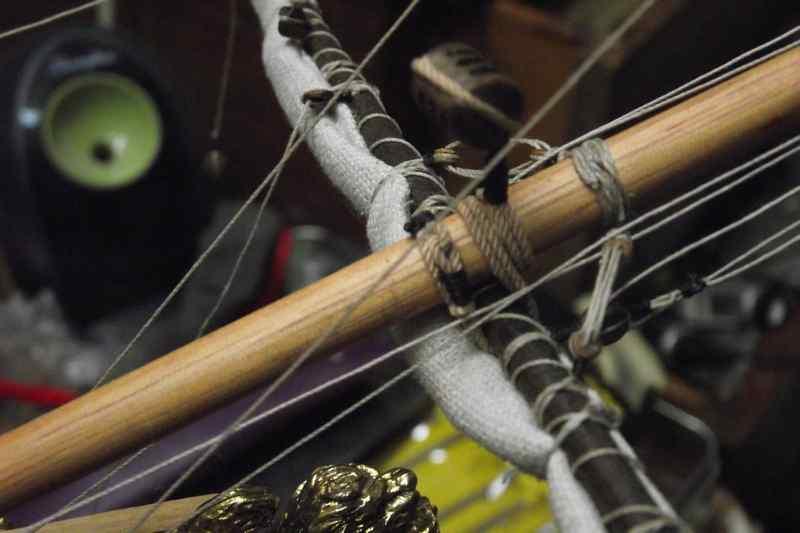
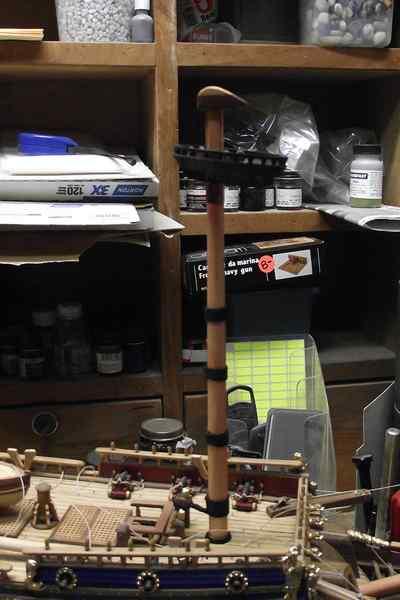
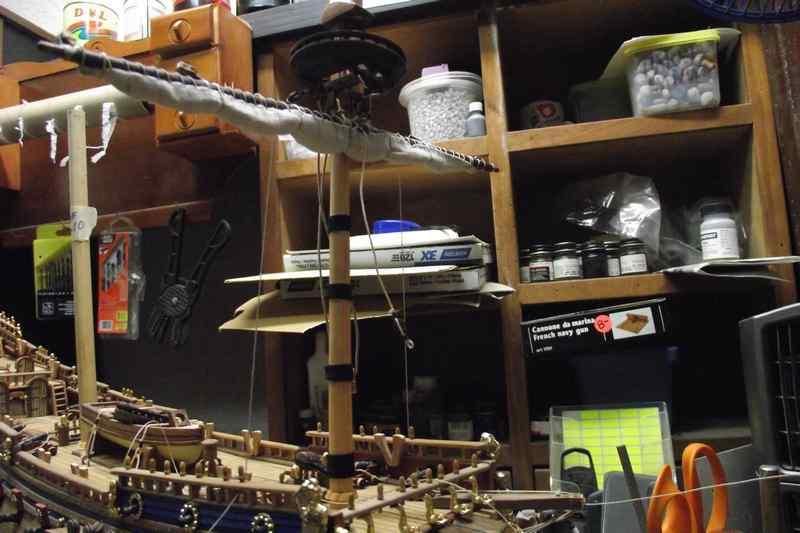
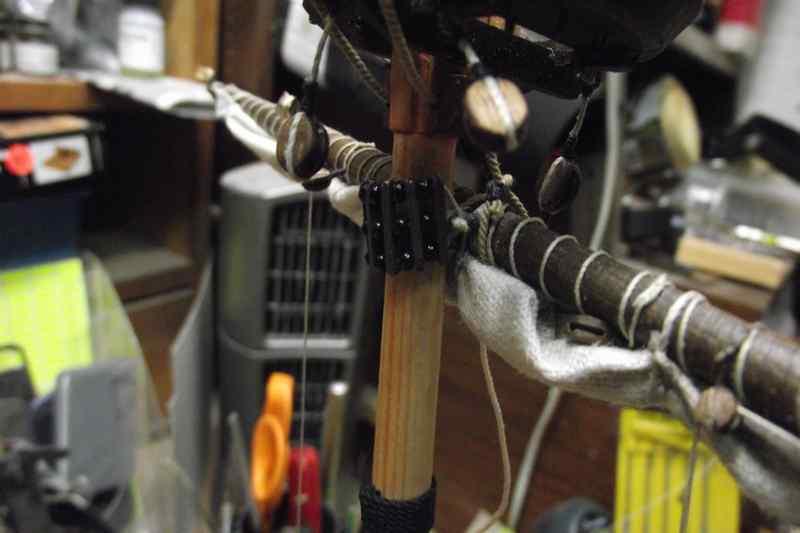
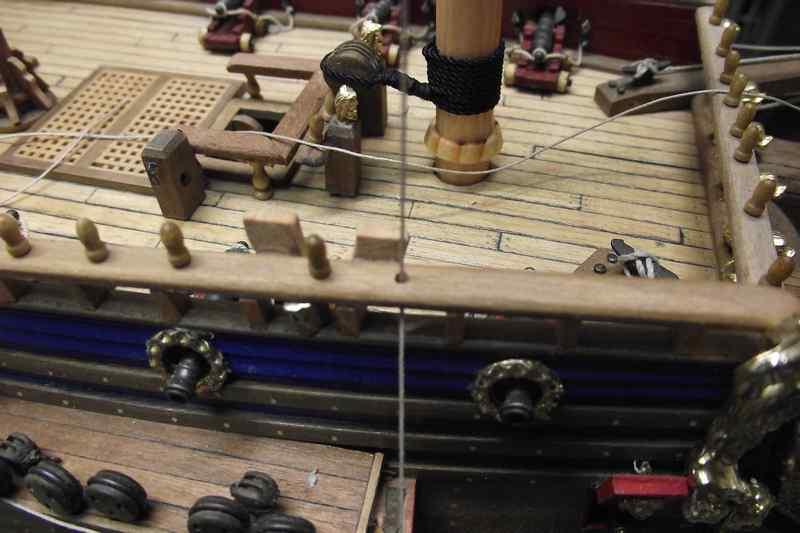
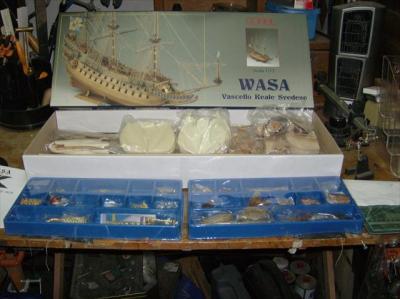
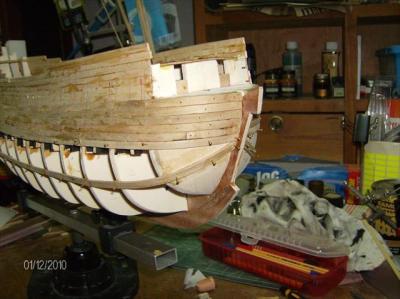
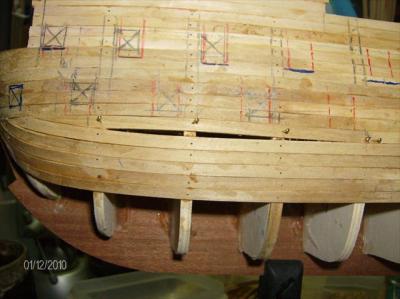
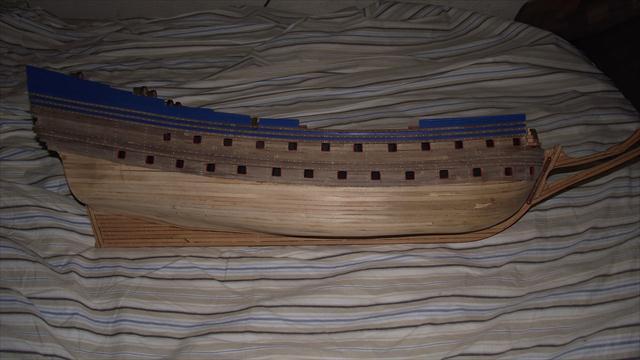
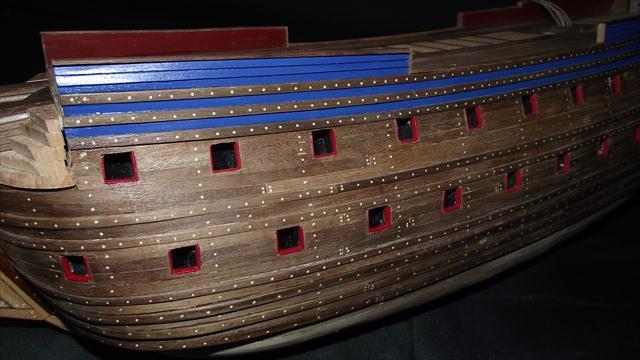
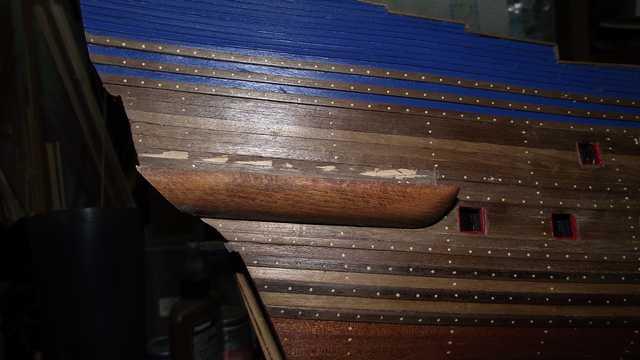
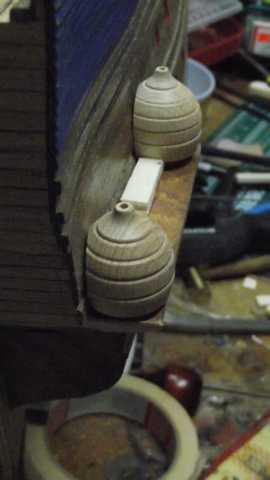
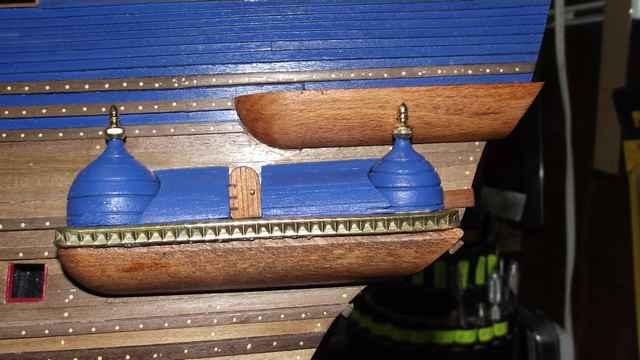
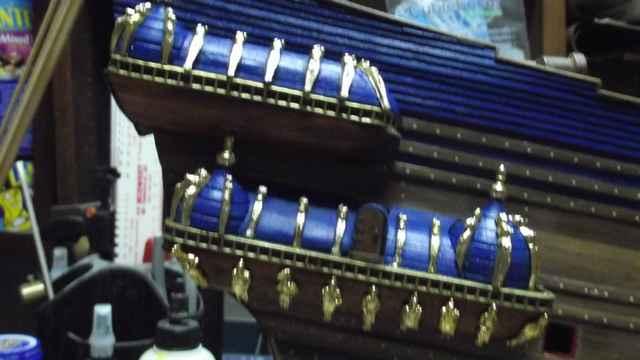
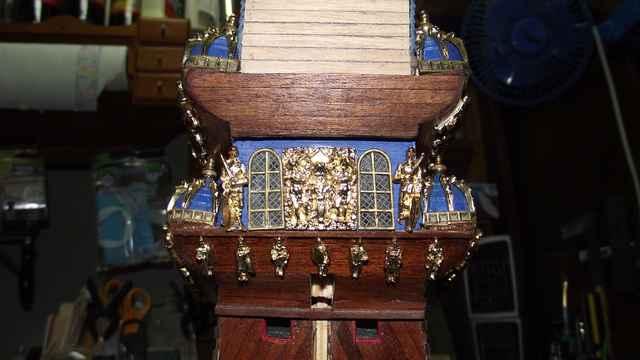
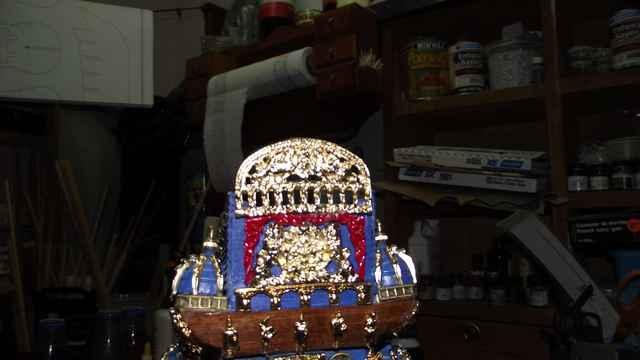
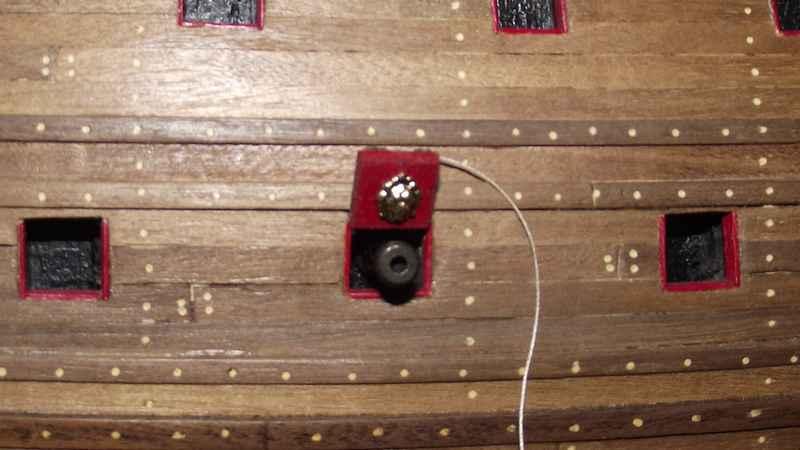
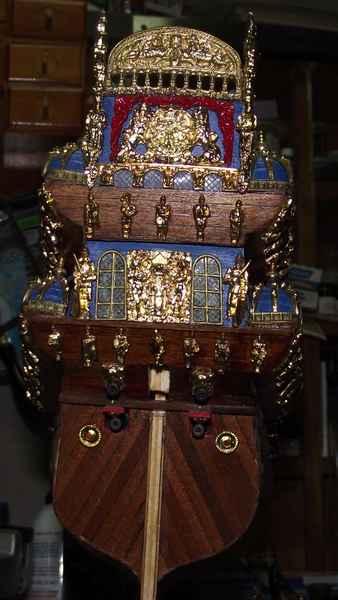
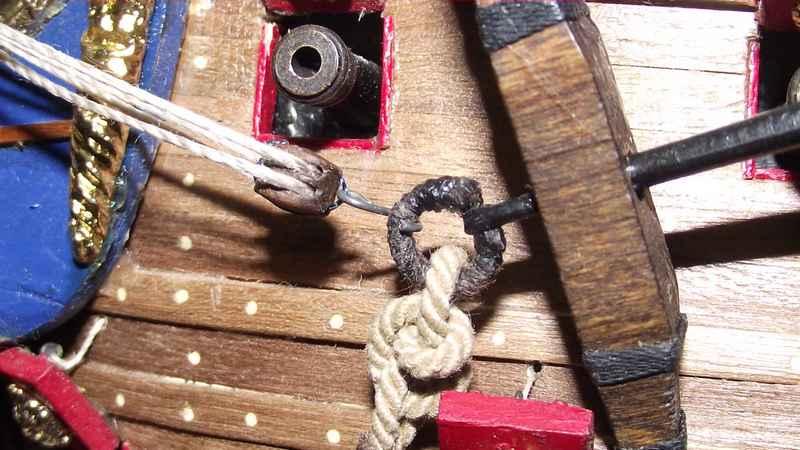
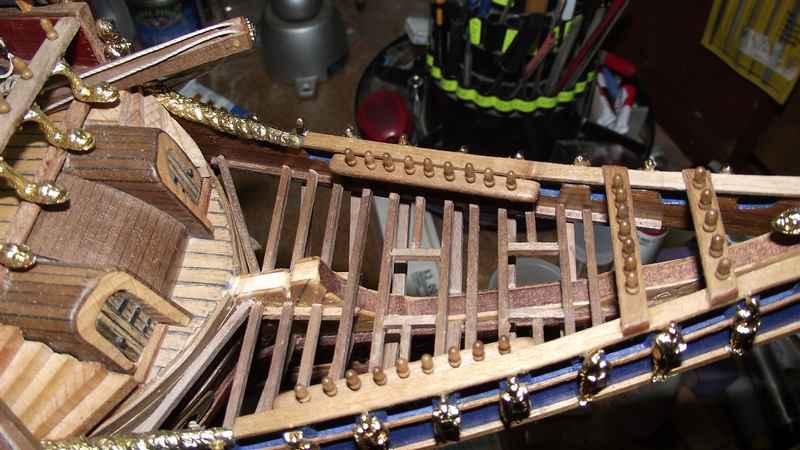
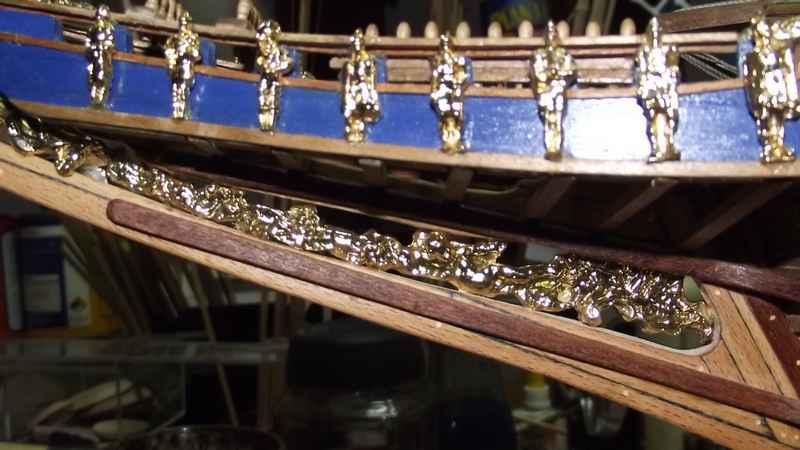
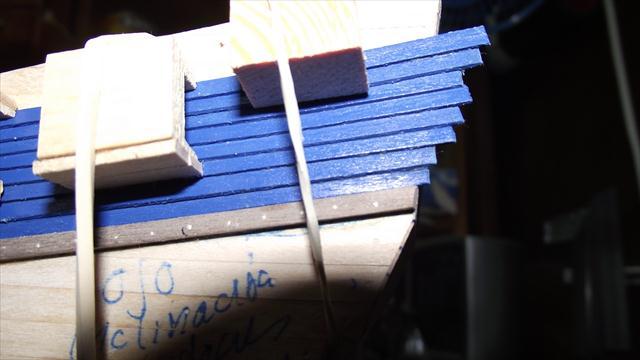
Vasa photos.
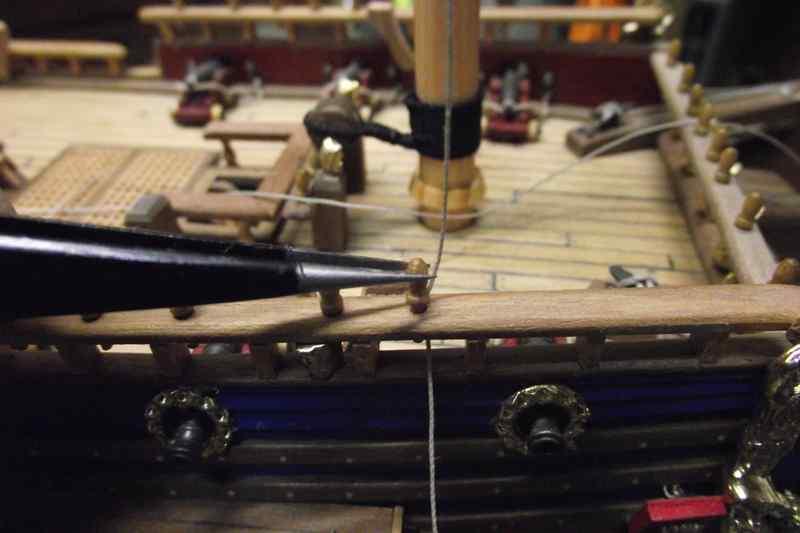
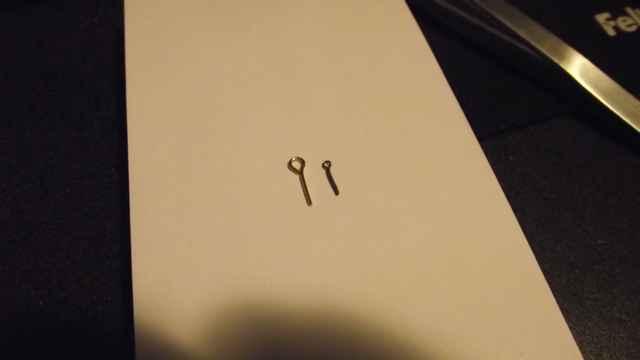
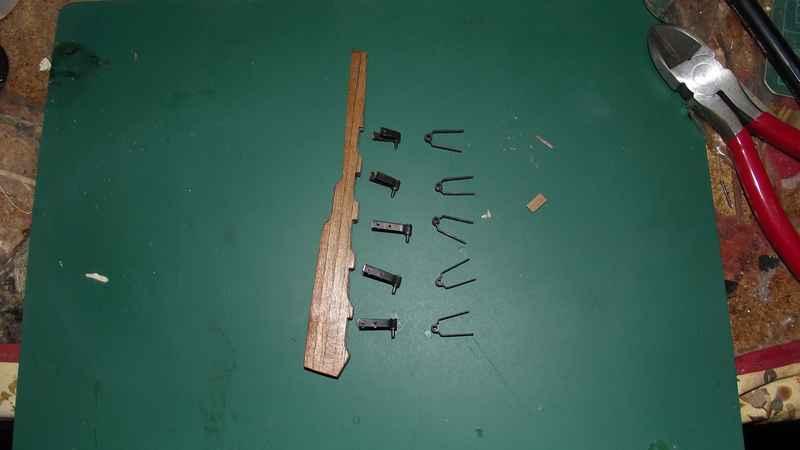
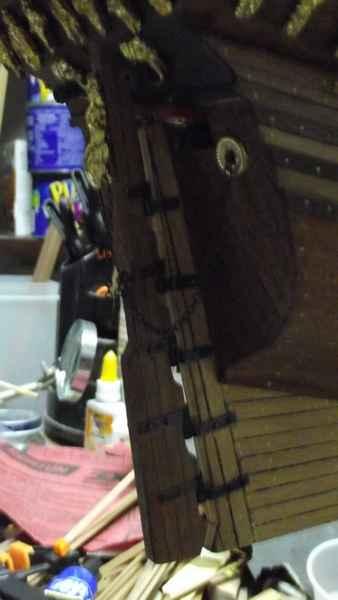
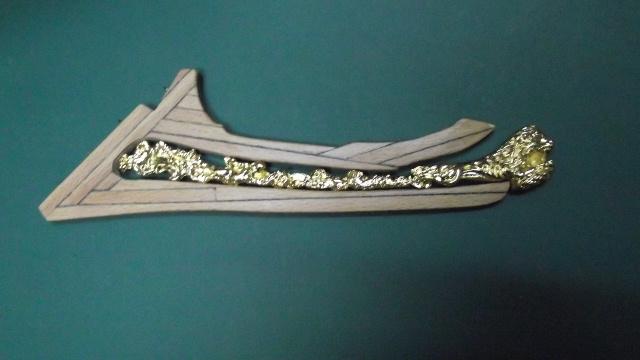
At the end of this post, I'm showing how I "cheat" when tying the lines to the belaying pins. I pass the rope through the hole, and then plug it with the pin itself. This allows for a much much easier and precise way to adjust tensions later. Once everything is as it should, I place a minuscule drop of glue on the pin and put it in place. Coils are made and added later.


-
Thanks a lot Michael.
Yes, I am the happy owner of a Byrnes Ropewalk machine which I am just learning how to use. However, the cable in my anchor did not come out from that machine. I honestly don't remember where I got that particular cable from. I have a drawer full of all kinds of threads and ropes
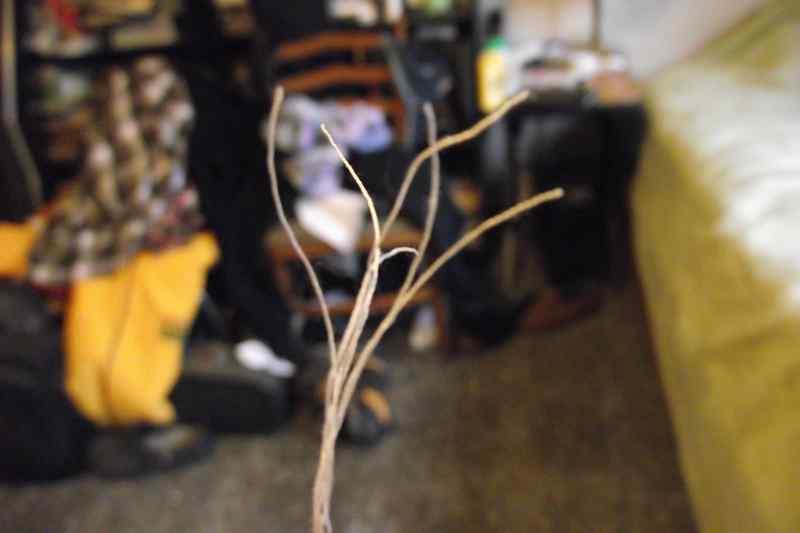
If you want a 9 ply rope for your anchor, (see first photo) I can make you a couple of meters, free of charge. Just let me know which color and approx. thickness and I'll try to do my best to match it.

-
-
-
Michael... you are definitely putting a lot of extra effort in your build. Makes me feel like I'm a lazy fellow.

I did some modifications in my build, but nothing compared to what you're doing.
One thing I thought was that this is a 30+ year old kit. There was not so much information on this ship back then as there is now.. starting with the colors.
I wouldn't paint my ship the way it was originally painted, mind you.
I will keep following your build.
-
Ulysses
You can make very tiny rope with the machine. I got 3 spools of .005 diameter thread from my local sewing supply store, 200 yards each. 200 yards of .005 thread all fits on 1 supply spool so I loaded up all 3 and wound it all into .012 diameter LHR without a problem. It took me over an hour to do it. I stretched it around the shop to harden it overnight and then re strung it on the machine and made .026 diameter RHR out of that.
Jim
Jim: What was the diameter in the die hole when you did this?
Meredith: I am really excited. I finally can see that the investment I did on this machine is paying off. But also... In one weekend I can make all the ropes I need for all the ships I have in my stash. So I'm thinking about start making ropes to sell

-
OK I won the race!
 First photos of RH Rope!!!
This is 4x3x3 Gutterman sewing thread which means I twisted 4 strands into a 3 LH rope and then 3 of those into a RH Rope, so there are 36 strands in this rope.
I am going to try some Uni Thread used by fly fishermen to make their fly hooks. Someone mentioned getting very good results with it, it's available in many colors and many thickness. Will post results as soon as possible
http://www.amazon.com/gp/product/B005TIO8RO/ref=oh_details_o00_s00_i00?ie=UTF8&psc=1
Meredith: as far as I know, you should NEVER let go the left hand from the wheel.
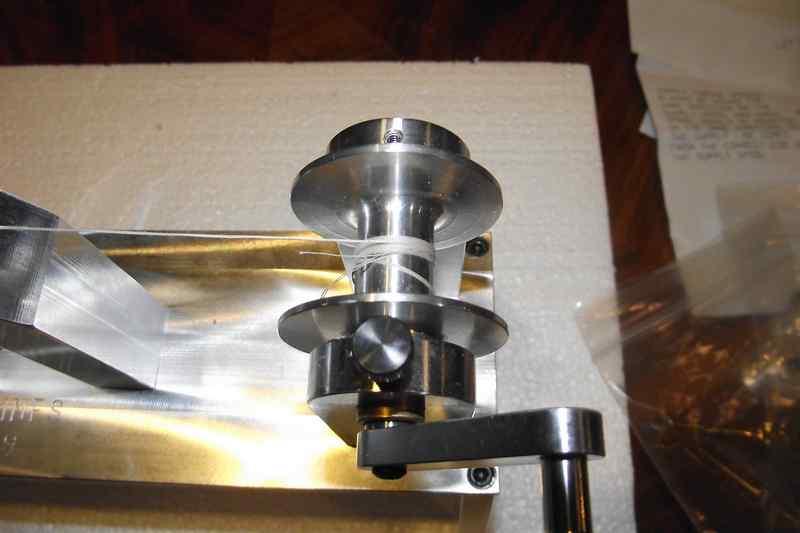
Jim: I just found out that the handle of the take up spool can be pulled out to free the spool. This is something that is not mentioned anywhere as far as I know.


-
Looks like you guys and girls are getting the hang of it. Meredith, good looking rope, you too Ulysses. By now you probably know more about the machine than I do. Anything you think I should add to the manual for the next victims let me know. Pat, lets see some of your rope
Jim
Jim... did you intend the machine to make really thin ropes? If so... I think you should have included a much smaller hole die with it. In the photos here, I managed to pull 21 Gutterman sewing threads (7 per spool) through the hole in the die that came with the machine. I like this result, but I have not been able to make thin rope so far.
I am using this rope here for the shrouds in my Vasa.. And tomorrow I will probably start my trials at RH Rope.
Oh Jim, and I think you should put some dies for sale along with the extra spools and belts
-
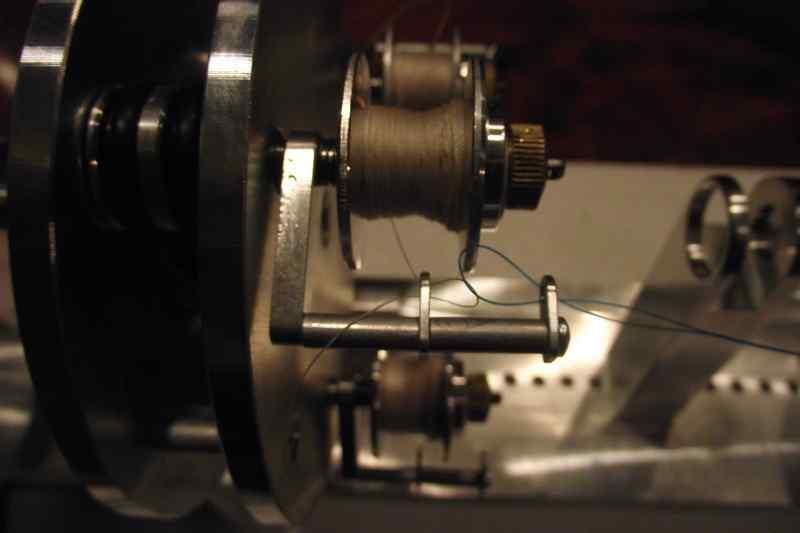
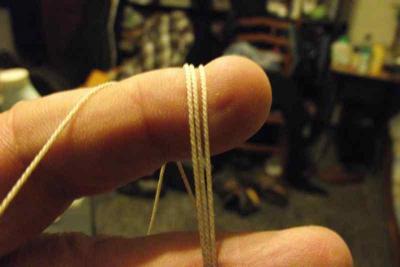
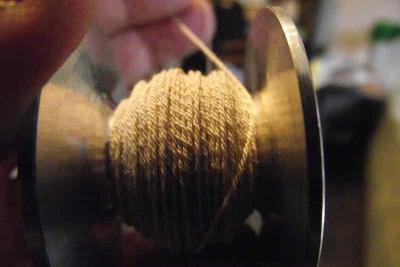
Hello all. I made some more testing. The first 3 photos are of a 9 strand rope. I loaded 3 strands of Gutterman sewing thread per spool and the result got me really excited. This opens a million of possibilities as far as scale is concerned. How many different diameters of rope can we make if we have, say, 3 diameters of thread, and can load 1,2,3,4,5 or 6 strands per spool?
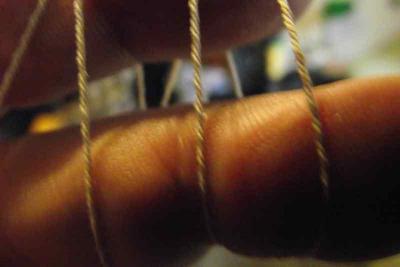
The last 3 photos are of a 2 strands per pool or 6 strands rope. Not very good. Seems like the thinner the rope I want to make, the more difficult it is. I am thinking that I may need a smaller hole in the die as this time I noticed the spun rope was too loose in the hole... but I ran out of dies.
 Drilled them all to larger diameters than the one we got with the machine.
Anyway, I was thinking that there is no need actually to try to make very thin rope. In scale, this would not be noticed.
I would love to hear someone else's opinion.
Oh and I'm sorry for the quality of my photos.


-
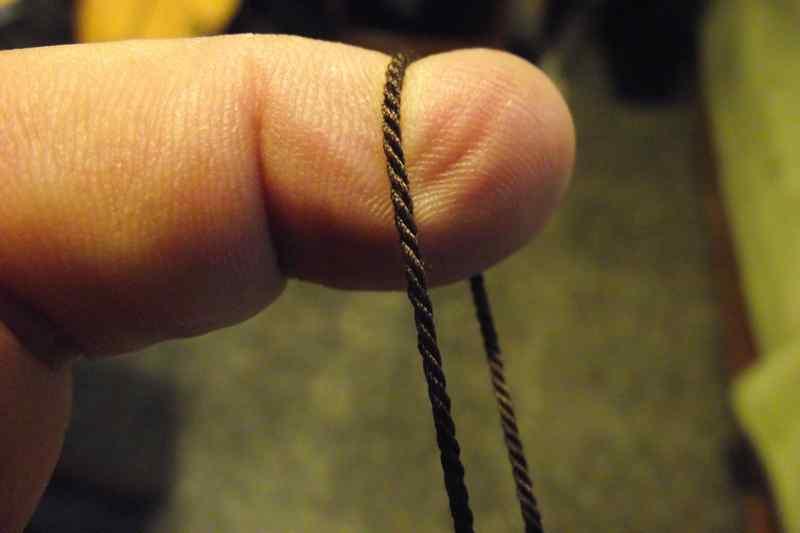
Same here Meredith. I made another trial today, changing the die for a smaller one and reducing the speed. This is the result and it's very encouraging! (If only the rope was as clear as my fingerprints)

Morope, here I come!!!

-
Instead of just one strand wound on the feeder spools - I used 3 on each spool - 2 strands of silk and one strand of cotton on each spool - x 3 spools.
The three strands on each spool acually twist together before they hit the die and then twist with the other spool feeds... So in fact on some types of threads - I have had better sucess with more than one strand on each feeder spool.
Hmmmm I thought of doing that in my very first runs, but somehow I didn't think it would work, so I didn't .
-
Thanks JanV. I was just about to reply to your mail, saying that I am rebuilding my Vasa Log. Since it is now way easier and faster to add photos in this new forum, I will be adding more photos than I had before. Gone are the days in which you had to select your photos in the order inverse you wanted to show.

-
I think this is right...
Starting from the left side
.39mm rope made from silk
1.0mm rope - cotton Gutterman 12
.92mm - cotton - crochet/perle
.93 - 6 strands of silk and 3 strands of cotton
1.87 - 6 strands of size 10 perle cotton
1.56 - 6 strands of size 40 perle cotton
.82 - 3 strands of size 40 cotton
I can get the exact brands etc - this is just a rough list - I have a whole lot more to try out. Although in person the 3 strands of cotton and 6 strands of silk is very nice.
Meredith... what do you mean when you say "6 strands"?
-
Meredith!!! You are having way better results than me. The good thing is that now I am convinced that it's me not the machine who is getting bad results.
Can you elaborate on what threads sizes you used? Did you try to make one thick line by starting with thin thread and then using that same thread to make a thicker one?
I have followed all of Jim's advise and tips above, but I think my mistake is in the size of the die hole I am using.
@Jim: What if I drilled my dies wrong? Can I purchase some more? And I am sure I will eventually lose one of those plastic washers. Can I purchase some more too?
-
Hello all. I was also very frustrated today. I made several attempts and did not get anything right. I used several diameters of thread and the result always unraveled. (Left handed rope is that that tightens when you twist it from right to left?) I put the machine to spin CCW. My only doubt is the diameter of the die. It maybe was too loose. Would this cause the rope to unravel. It feels like it would need more torsion to keep it together.
Not very happy so far, but I will keep experimenting.
-
-
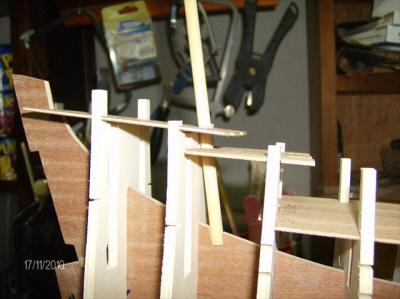
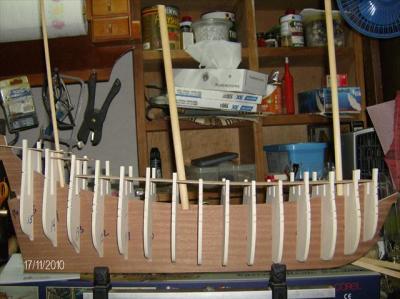
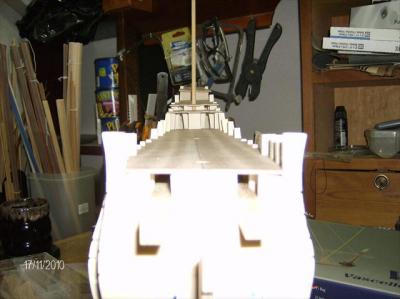
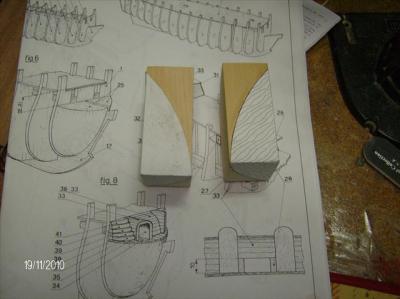
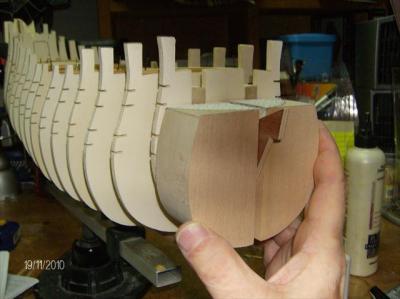
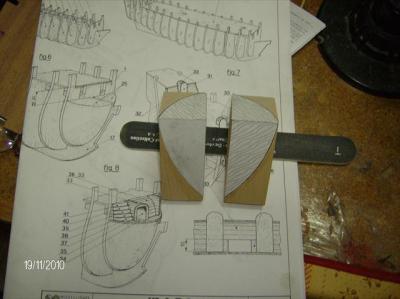
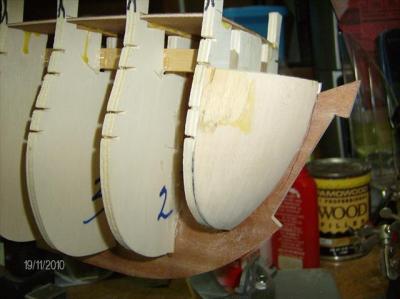
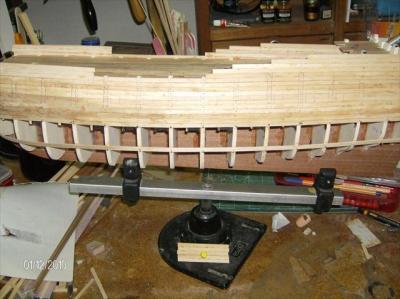
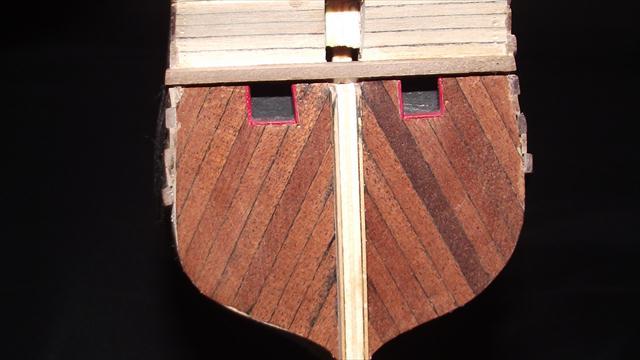
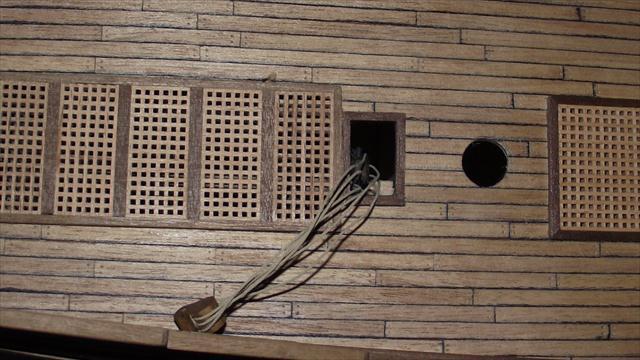
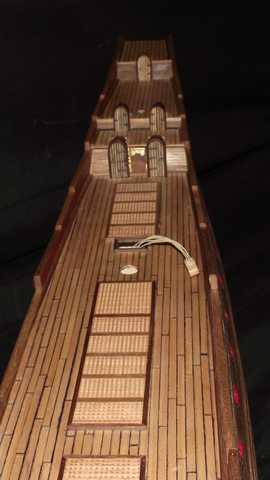
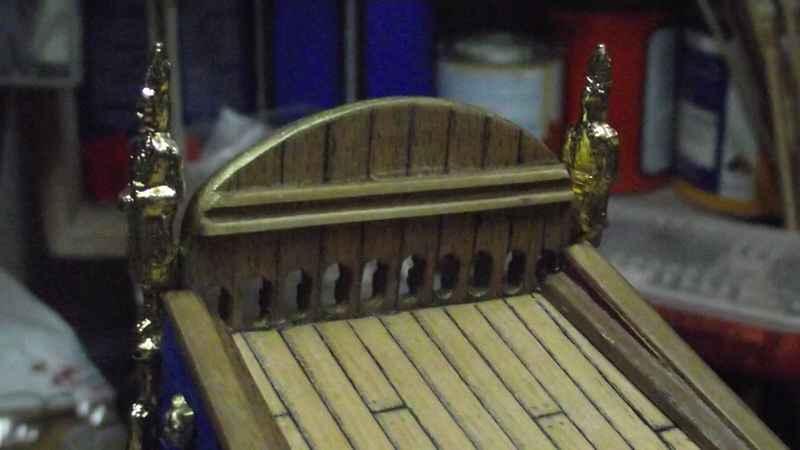
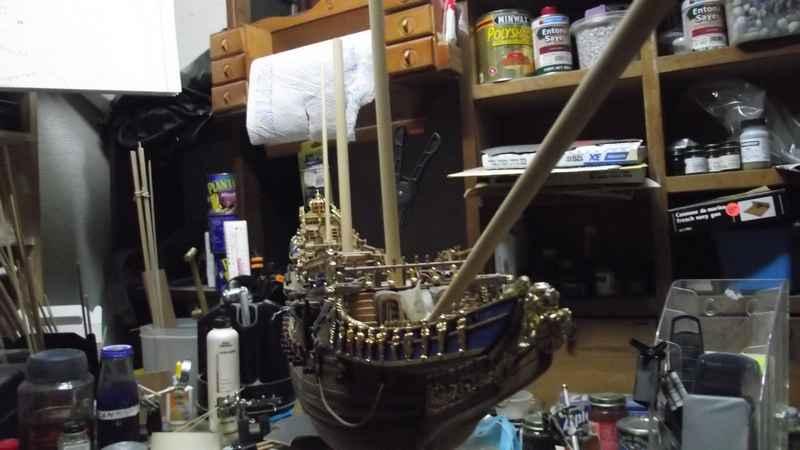
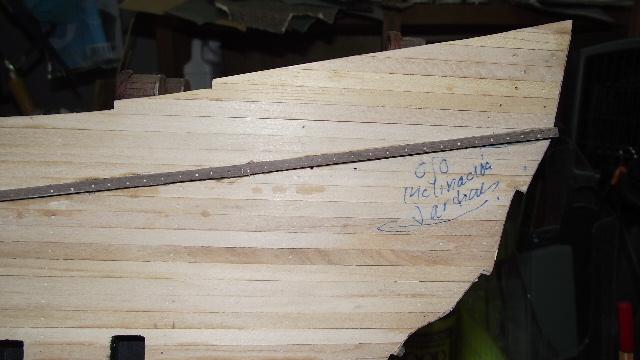
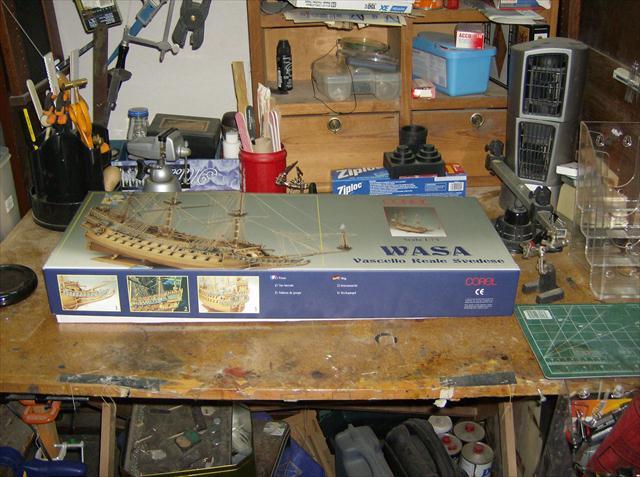
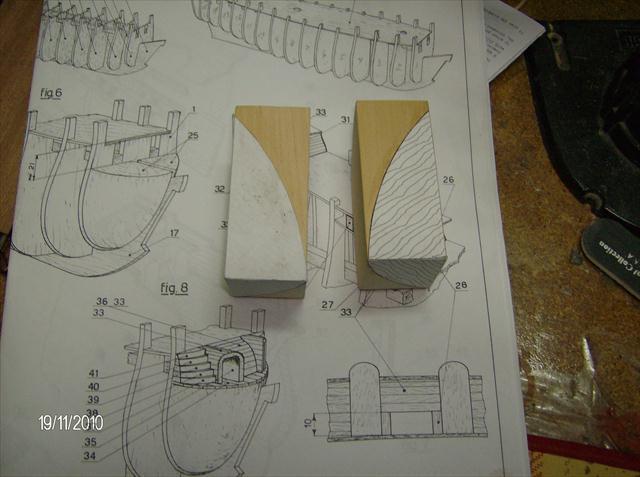
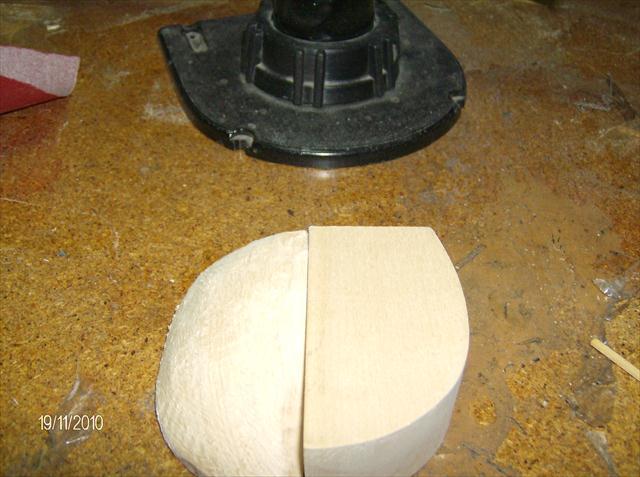
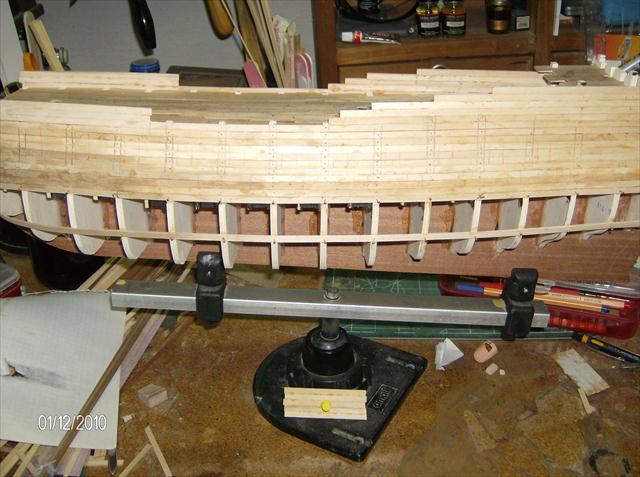
Hello all. I will start posting photos of my Vasa build again. Please be patient. I have about 600 photos of my build already and I will select the most significant ones.
General impression of the kit

*
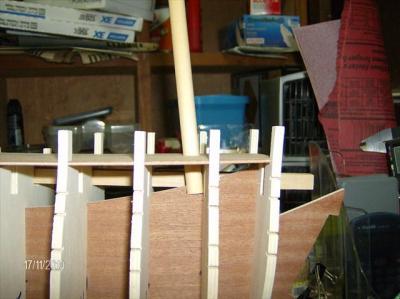
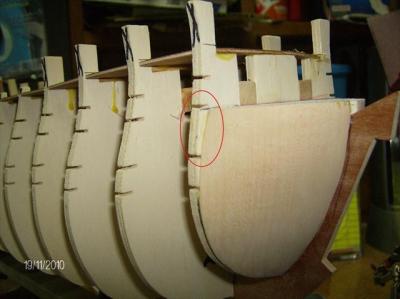
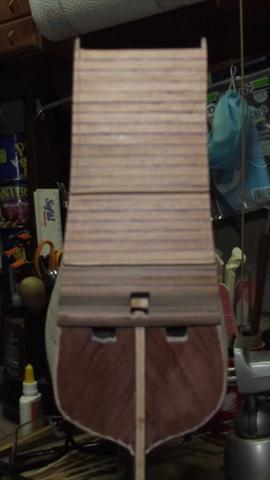
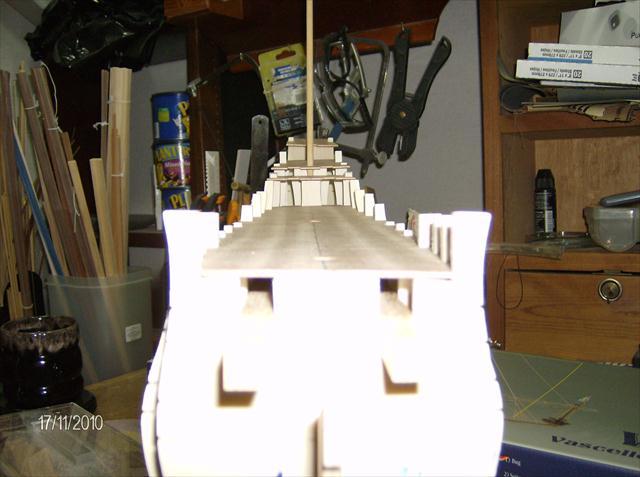
This error had to be corrected. Slot too small for main mast.
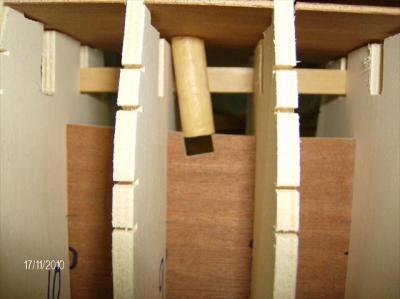

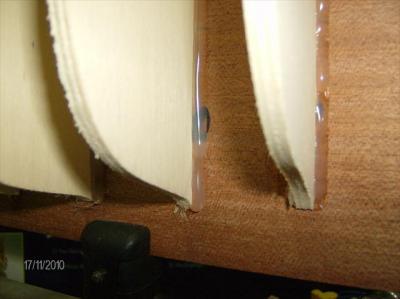
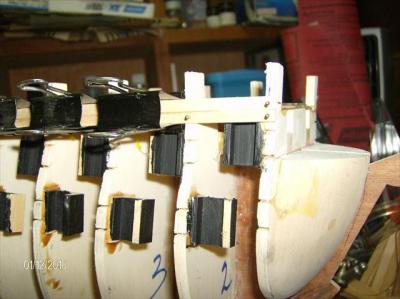
I used two glues here. Regular wood glue in the inner joints and then I ran a string of hot glue over the outside joints. Seems to have worked pretty well.


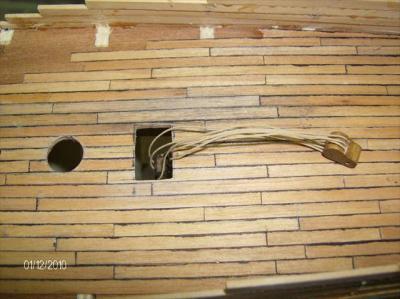
Rig this piece BEFORE attaching the deck
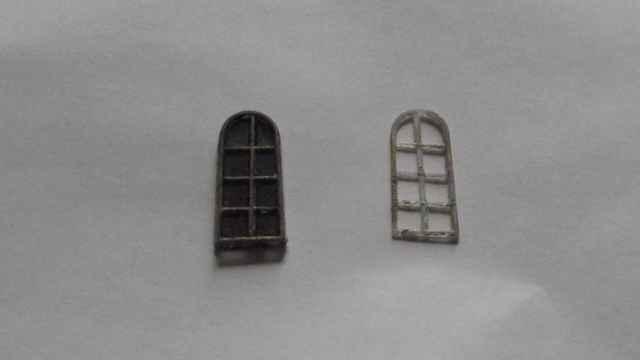
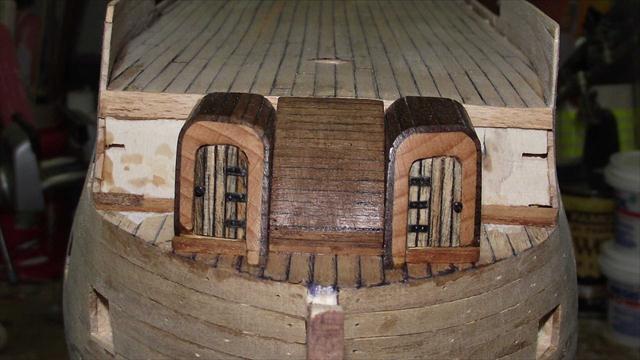
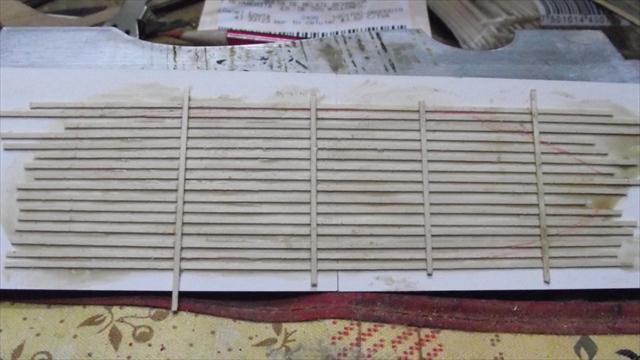
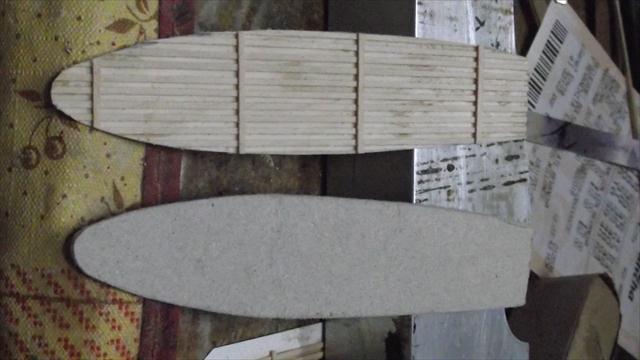
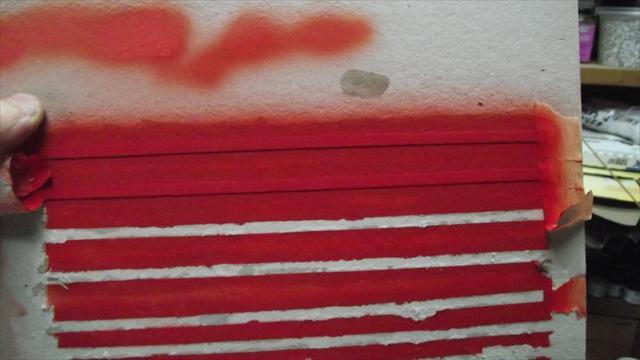
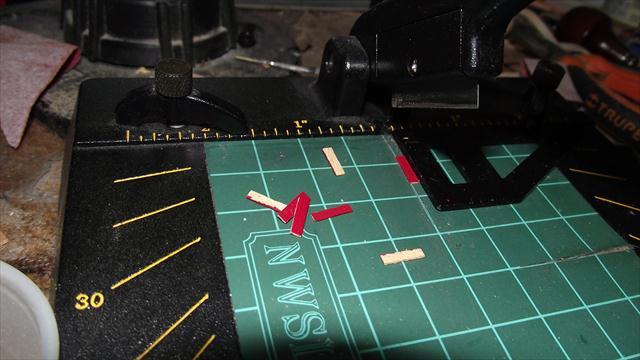
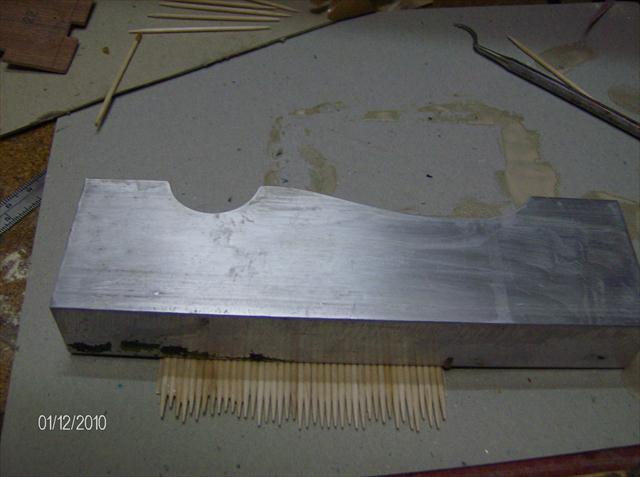
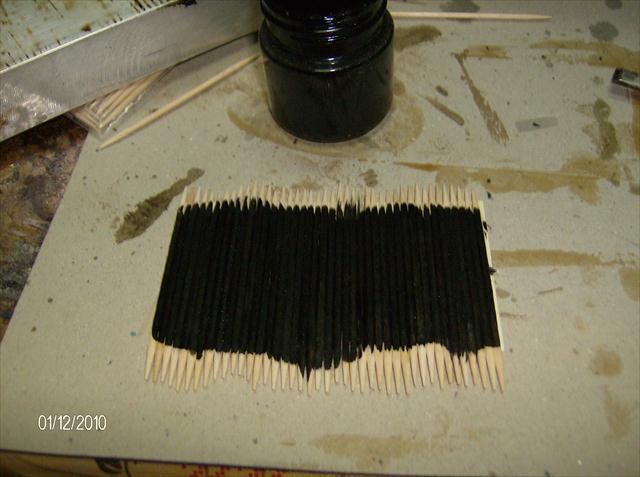
Building wooden doors: Spread glue on a business card or similar cardboard
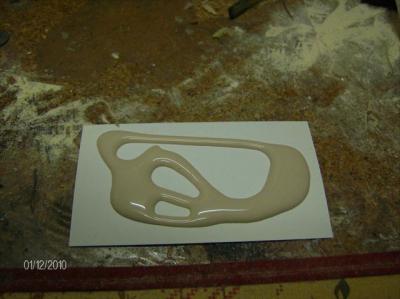
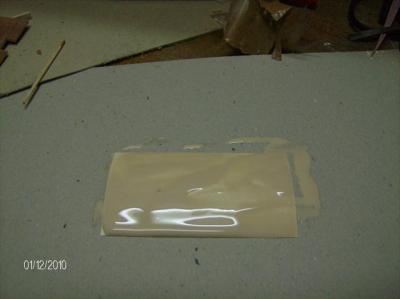
Cover it with round toothpicks, put some weight over them and wait to dry

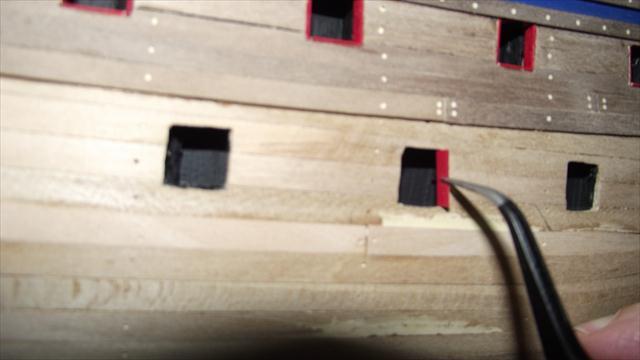
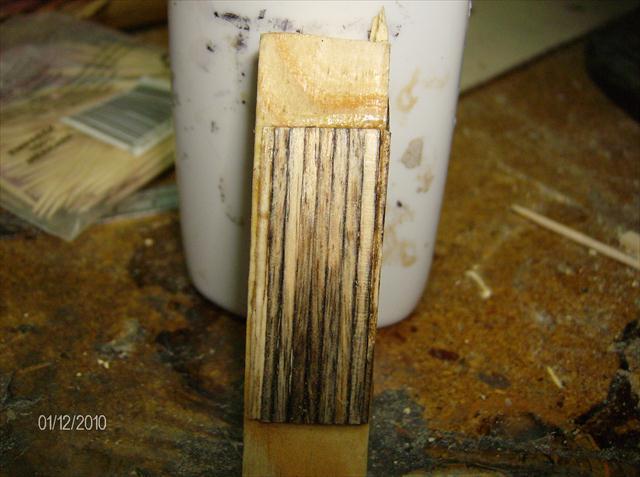
When dry, paint with black paint or ink, taking care to let paint go thoroughly between the toothpicks
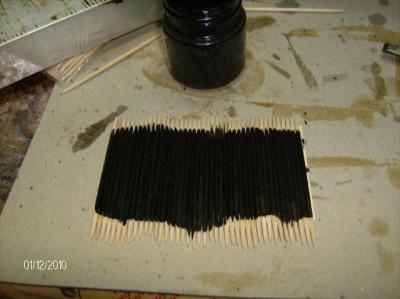
When the paint is dry, sand flat the toothpicks, which will leave a dark line between them

- canoe21, Auvergne, lamarvalley and 3 others
-
 6
6


Byrnes Rope Walk
in Modeling tools and Workshop Equipment
Posted
Yes Chuck... a quick pass over a lighter flame gets rid of it totally. No rope goes on my ship without this treatment.