
DBorgens
-
Posts
327 -
Joined
-
Last visited
Content Type
Profiles
Forums
Gallery
Events
Posts posted by DBorgens
-
-
John,
Thank you for stopping by. Your King is beautiful and the rails got my attention. They appear simple and easy but in fact are among the hardest. Well done.
-
Gil, I'm glad to hear your bride is getting better. You must be as good a nurse as you are a modeller. Take care and help her heal for summer.
Generals and Admirals loss in my book.
Dave B
-
-
I have used meduim CA almost exclusively on my Bluenose. Recently, I have developed a sensitivity to it (not an allergy, I am a pro at those) so my next build will switch to PVA (Titebond). Thin CA is good for hardening basswood for carving or making small parts, especially when basswood is all you have to work with. I still use it sparingly when parts are hard to clpam or align and need to set quickly.
-
Having some ancient sewing experience, I decided to make my own sails. Then after making two sets, thought I might save others from my pitfalls.
First, kit sailcloth is generally too heavy. I tried it for furled sails and it didn’t work, even with the sail sizes cut down by almost half.
Original fore sail in kit cloth, trial fit for furled appearance

Fortunately, I received some Amati cloth from the club. This is still a bit heavy but will look good on the ship. BTW I found the same cloth at the fabric store, just look for bleached muslin in the lightest weight they have.
It has been a long time since I last sewed anything serious on the machine and I learned a few lessons for sails.
- If you roll the hems as I did, cut the cloth about 5/16” larger than the finished sail size for seam allowance. I aimed for 1/8” hems and almost made it.
- Apply Fraycheck on the cutting lines and let dry before cutting, muslin frays in the wash.
- Fraycheck stiffens the cloth enough to make it harder to sew a small hem and keep it straight. Pressing the folds helps.
- Be very careful drawing guide lines in pencil on the sail. I did so to align reef points and the lines haven’t completely washed out after two hand washings and stain remover.
- Iron often.
- Use the smallest stitch your machine will make and experiment with thread tension.
- Finish all seams by hand, this will help hide the knot and thread.
- If you sew the fabric seam in the sails, use a matching thread. This will give texture without overwhelming the appearance of the sail. Personal preference!!
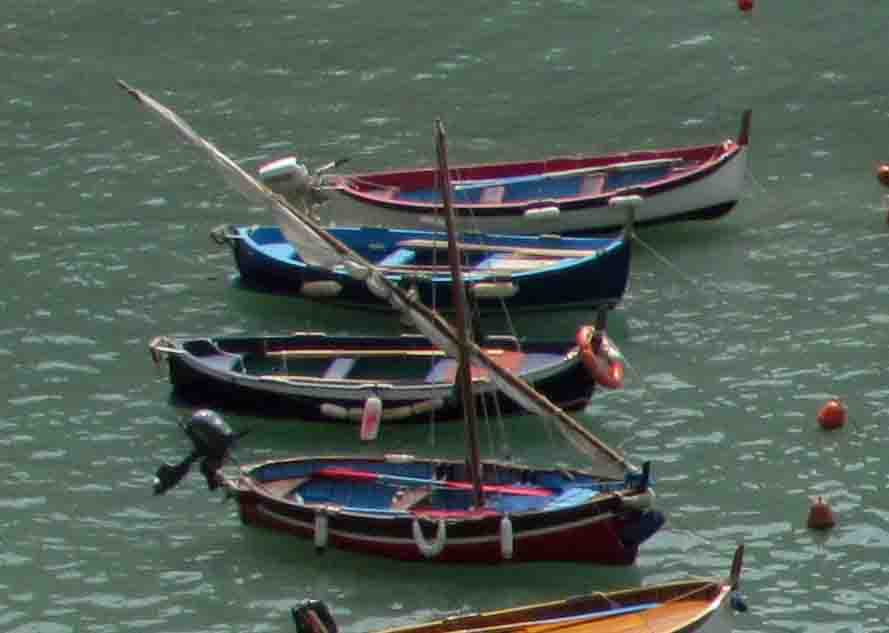
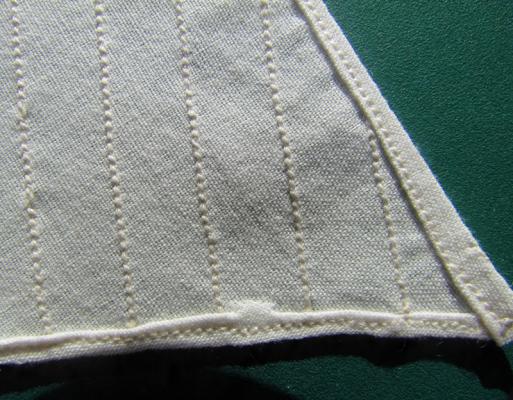
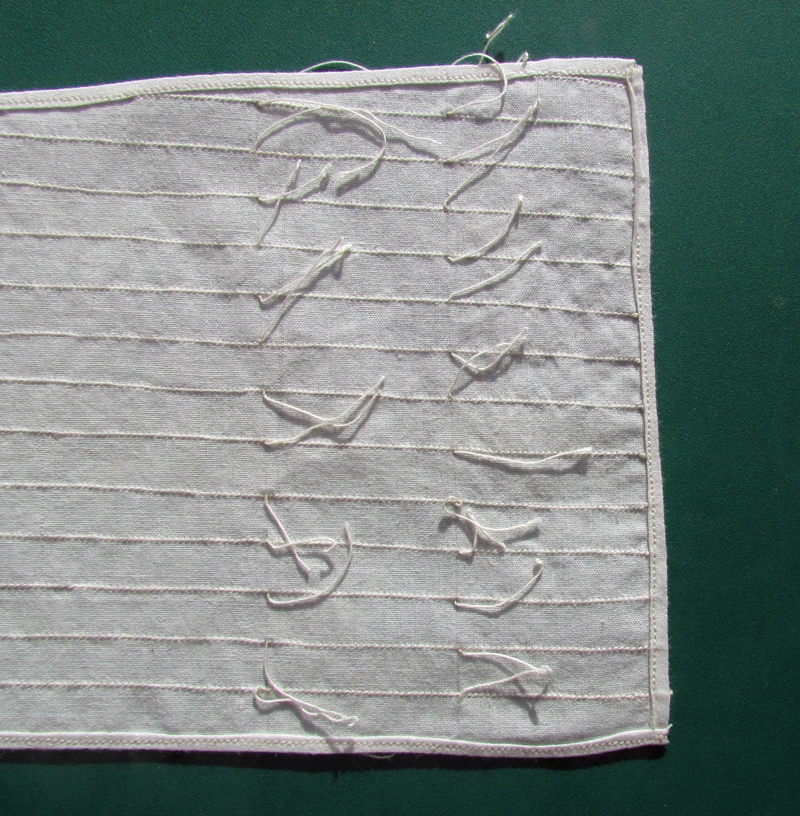
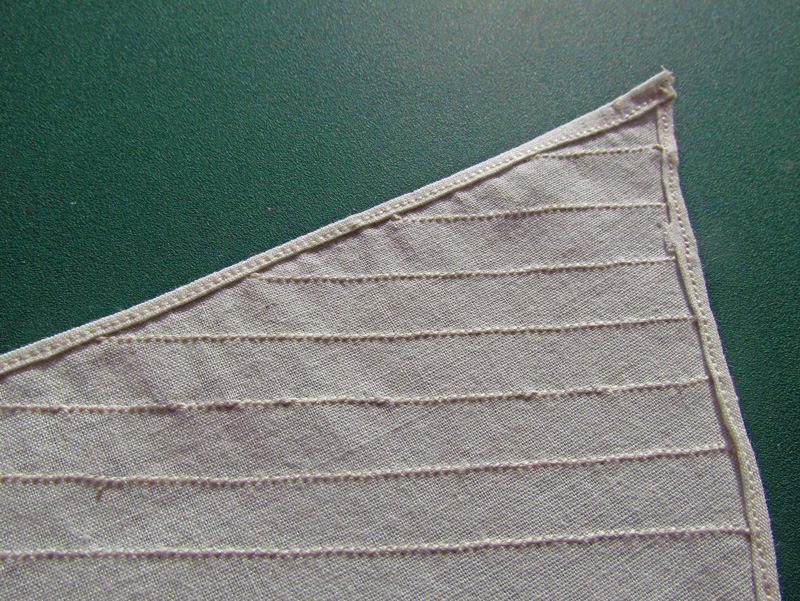
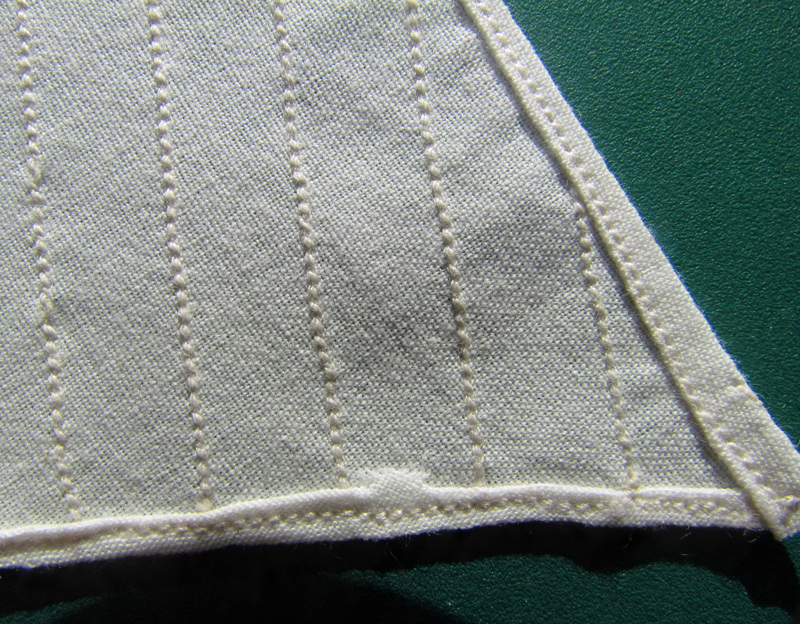
Photos of sails for 1/64 Bluenose, not close to professional (the close ups show all the faults! .
Fore sail, reef points not yet trimmed
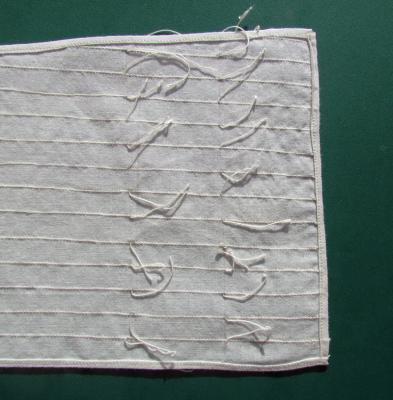
Jumbo jib
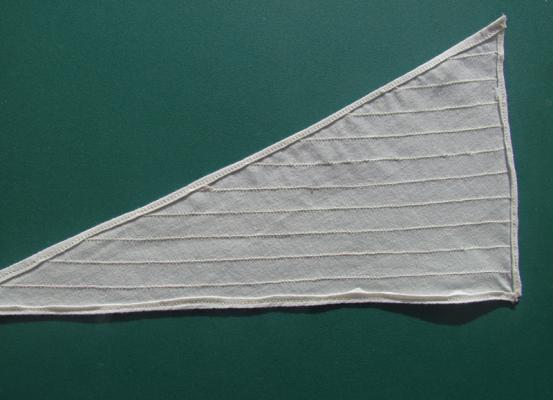
Jumbo jib close
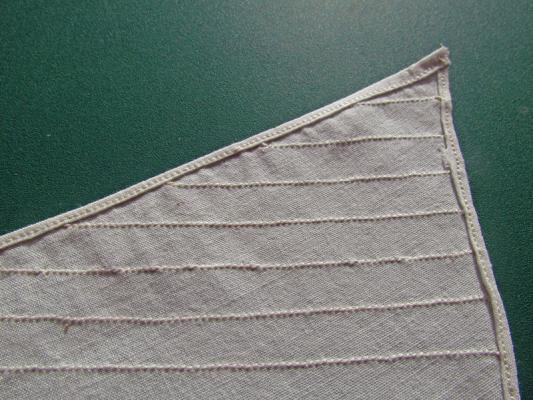
Jumbo jib closer
- Mirabell61 and capnharv2
-
 2
2
-
-
-
Hi Bob,
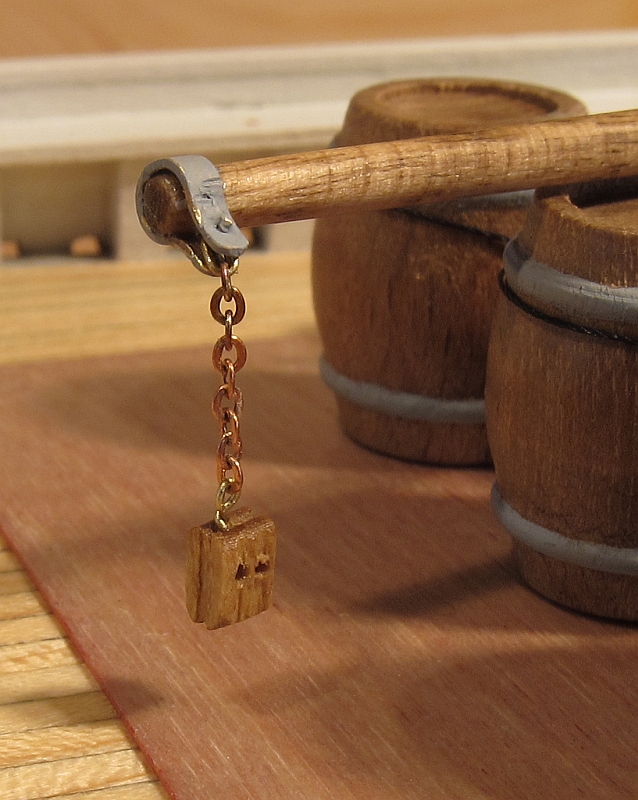
Thank you. I got time to work today and accomplished a good bit of odds and ends on the deck. I discovered I set the jumbo jib stay bail too far aft. This pushed the jib boom into the foremast. In moving it I also got the chance to shape it properly, I had missed the square section on top.
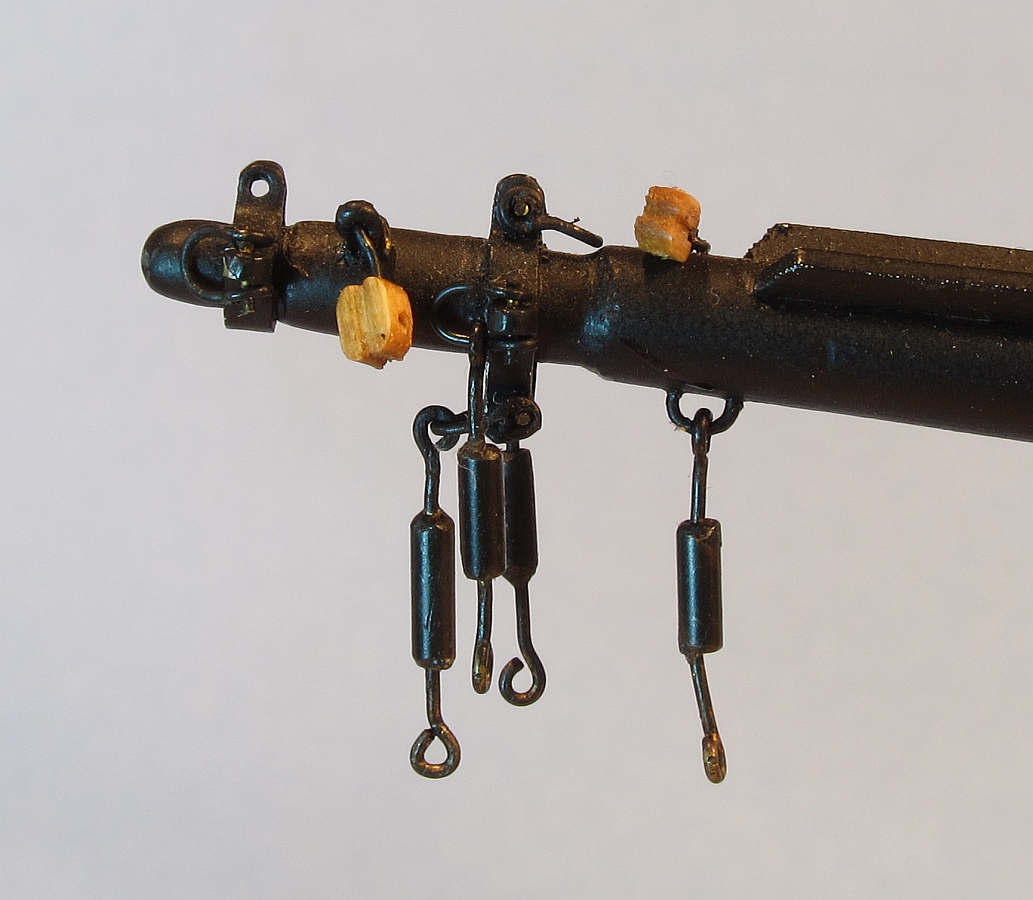
I did start to rig the bowsprit and remembered your build and the difficulty with the bobstays. I followed your lead (again!) and simulated eye splices. Was able to keep them tight for seizing and locking with thinned tightbond. Went together pretty well (pics still in the camera).
Questions, did you make the footropes out of wire or just the stirrups? Do you know what gage wire you used? I seem to recall you stripped it out of speaker wire. I've ordered some bare 30 AWG (.010") copper wire for the jib shackles and think it will work here as well.
I haven't forgotten your request and have some sail pictures I will post in a bit. Close up shots expose all of the faults but I believe they will look better on the ship (at least that is what I keep telling myself).
Dave
-
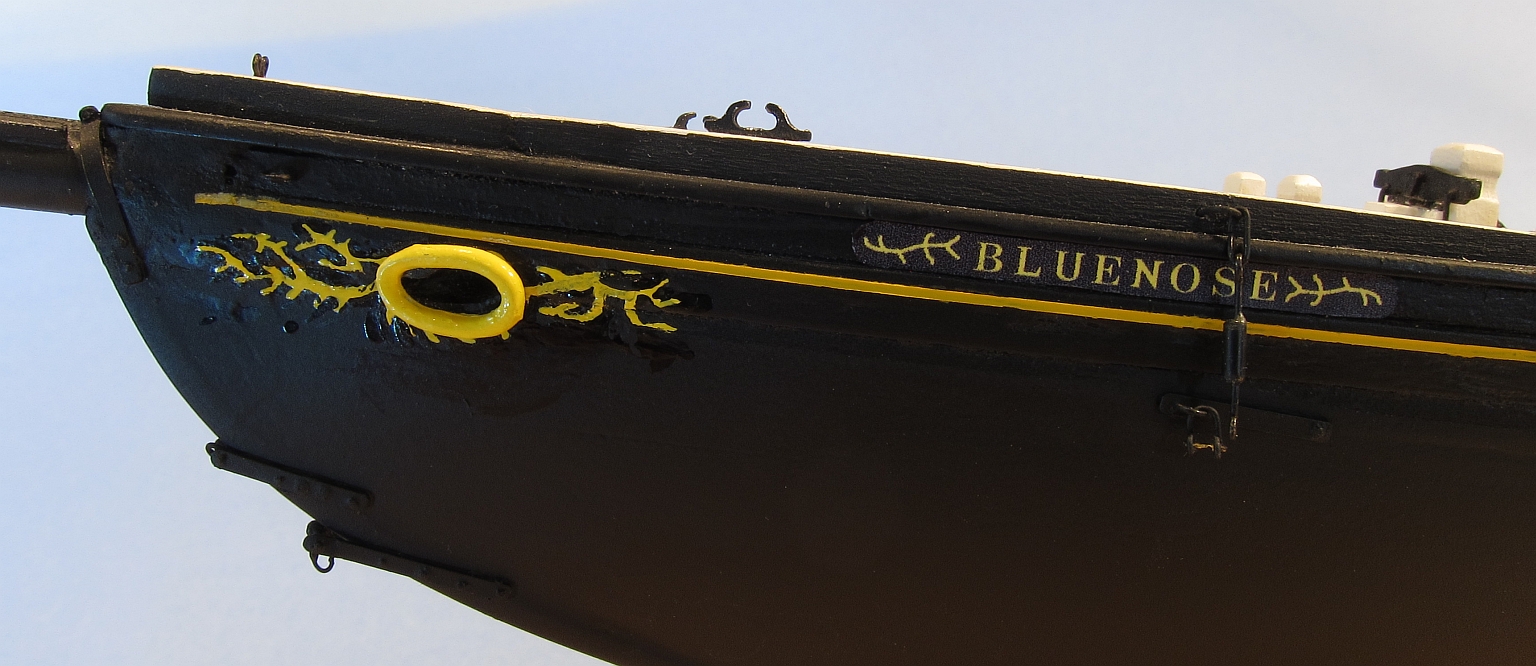
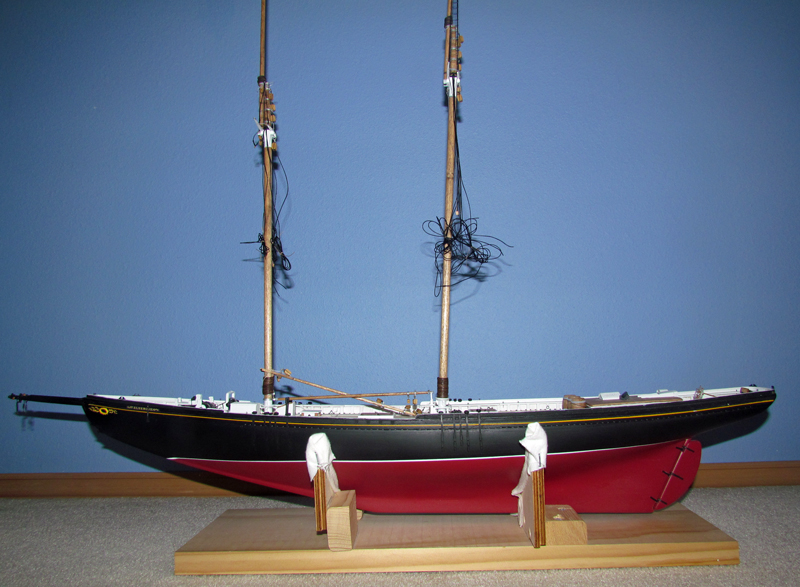
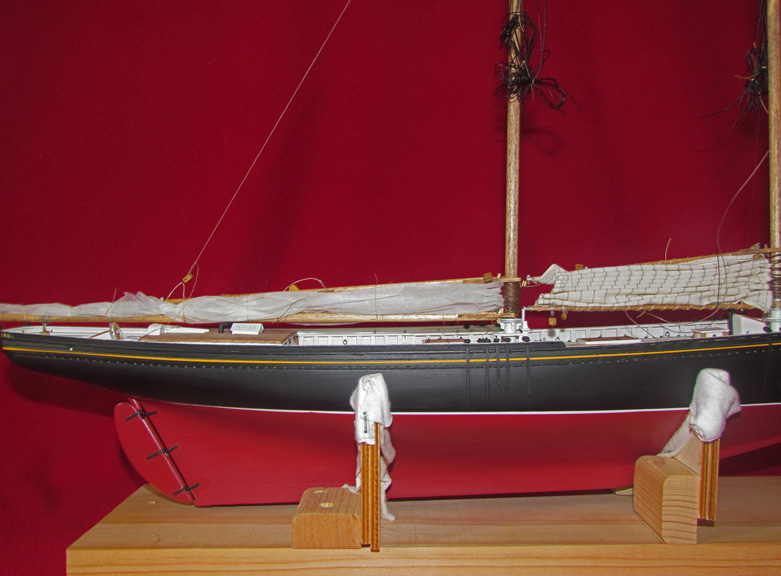
Restarting my Bluenose log.
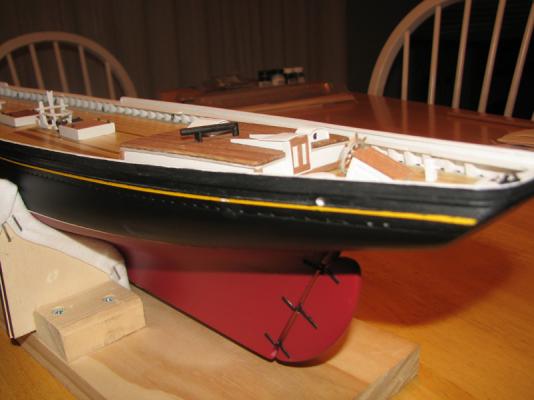
Since this is my first build, I am writing to share the many things I learn along the way and perhaps some of the solutions I have found. I started about four years ago and am getting closer to stepping the masts and starting rigging. I used Bob Hunt’s practicum, which was invaluable while getting started. This is how she looks today.

I originally planned to display bluenose with sails furled. The photo shows two attempts at the sails. The fore sail was made form kit fabric cut down to ½ the full sail size. It is still too heavy and far out of scale. The main sail is sillkspan, which looks better to scale. This sail was a quick fit for comparison. The silkspan looked good but it helped me change my mind and build her under full sail. After all, massive sail area is one thing that makes these fishing schooners so lovely. So I got to hone my sewing skills making a second set of sails. This is all part of the fun, we get to use so many different skills.

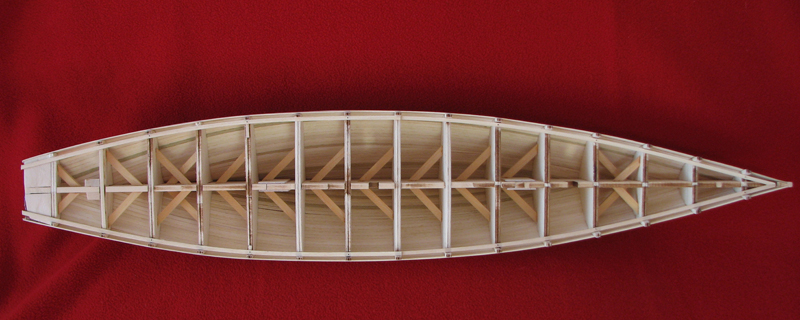
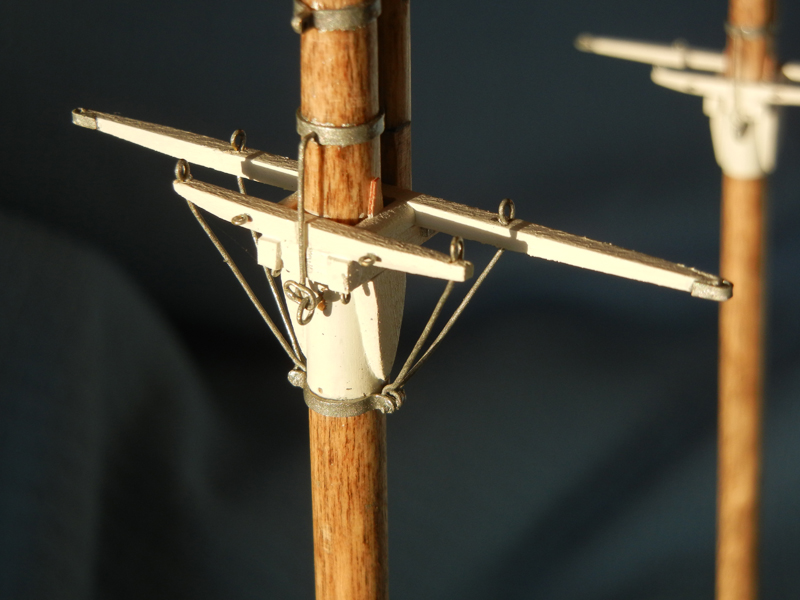
Some photos from the original log.
June 2009, completed planking. Photo shows frame bracing, not in the plan but I was afraid of damaging frames when fairing the hull. A little stiffness never hurts.

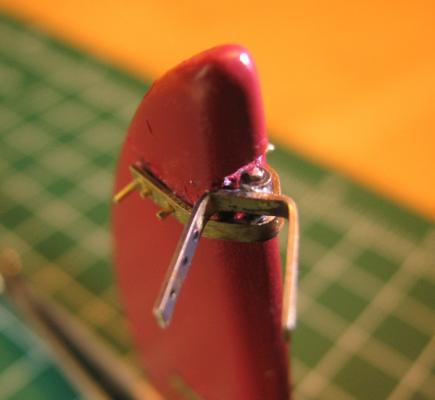
December 2010, pintles and gudgeons. The plans show forming the gudgeon out of brass strip. I could not make it work well so I soldered some brass tubing instead. Much easier.
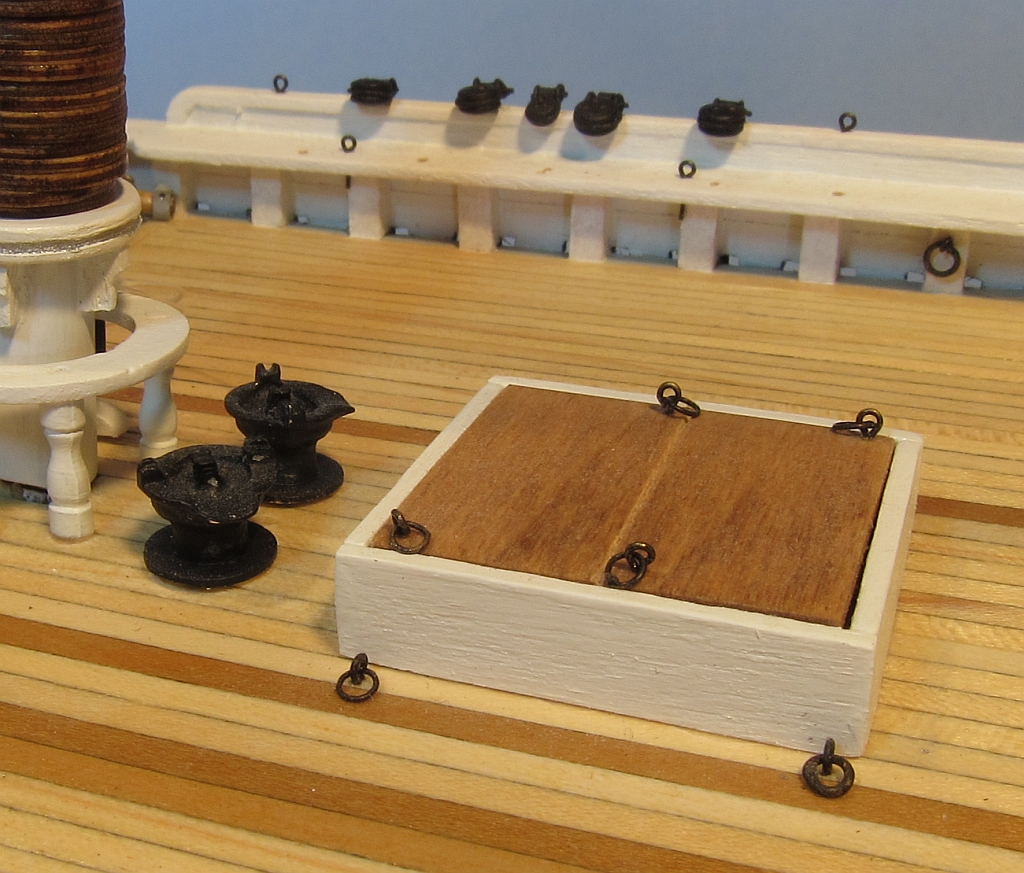
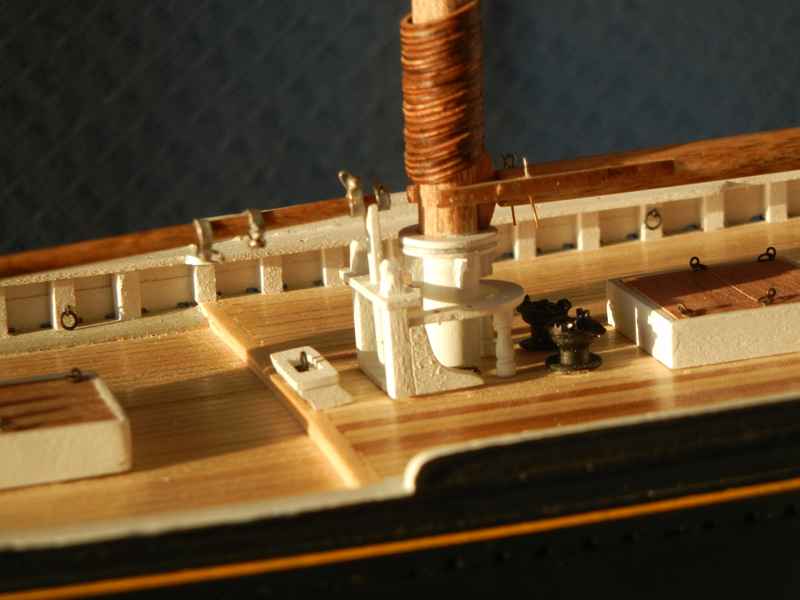
January 2011, most of the deck furniture is installed.

December 2011, masts and spars made while learning how to solder.


- Mirabell61, Blue Ensign, gieb8688 and 4 others
-
7
-
Bob,
Either choice appears to work well. If you are rolling your edge seams, I would use the lighter cloth since the seams will be triple thickness. One of the allowances for scale that we live with I guess. Floyd mentions 1/8 inch single fold, iron on, seam tape but I have yet to find any. Would be heaven if you can. Looking at the Bluenose photos the sails are a bit translucent when backlit by the sun (at lleast the seams stand out). Either way, you won't go wrong.
-
Gil,
I'll bring the champagne to the launch. Better to drink than break it anyway. I follow your log for inspiration and am not disappointed. Keep posting, 'cause she's beautiful.
-
Bob,
Good repair. The thin CA works well, I soaked a piece of boxwood for a replacement chock before carving and it worked well. BN builders note, it would be good to harden the ends of the gaff jaws with thin CA (I recommend before drilling) to prevent our breakage. If you ar elooking for sail cloth, I used off white muslin from Amati (thank you Floyd) but found the same material at the fabric store. Look for an off white muslin in the lightest weight they carry. This has worked well for me.
We're at the same place, preparing for rigging. Seems like there is too much to do. Ensure all the bits and pieces are on the masts and spars, finish any remaining work on the deck and all around cleaning up. If this is much, wait until our next build (ha!). Keep up the good work 'cause it is looking super.
Dave B
-
Bob,
I had the same problem with the parcels pulling out of the gaff. I've considered the same repair Alfonso describes, just need to get on with it. I like the way you did the jib boom fitting. Once again I'm copying your metalwork. Your ideas are much better than my own. Thank you for updating your build log, you have a great practicum going.
-
-
Gil,
Amazing as usual. I am glad you are posting so many photos since your Victiory is too large and fragile to travel. Your log will become one of my textbooks when I do a period ship. Perhaps you can give us at PSSM a lesson in worming and serving. Thanks for showing us how this should be done.
Dave B
-
Bob,
Welcome back and I am glad you are restoring some pictures. I still have the boowsprit rigging to do so thank you for those photos. I remember your trick with speaker wire, nice. If I ever get time to finish my sails (third try) I look forward to stepping the masts and starting rigging.
Dave B


Bluenose by LMDAVE - FINISHED - Model Shipways - 1/64
in - Kit build logs for subjects built from 1901 - Present Day
Posted
Dave,
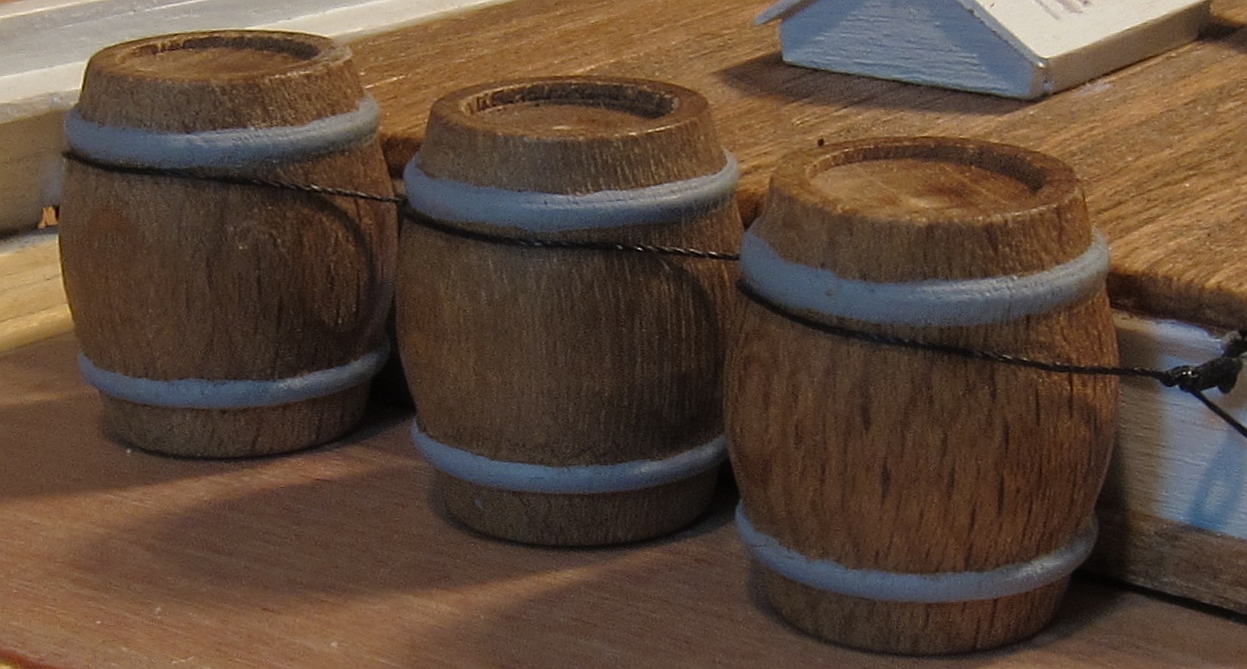
I just caught up with yoyr log and your rigging and sails look good. Can't wait to get started on mine. I like your barrels as well, and agree a few coils will finish them off nicely. It is fun to see three ships coming together at the same time.
Dave B