Search the Community
Showing results for tags 'j-class'.
Found 7 results
-
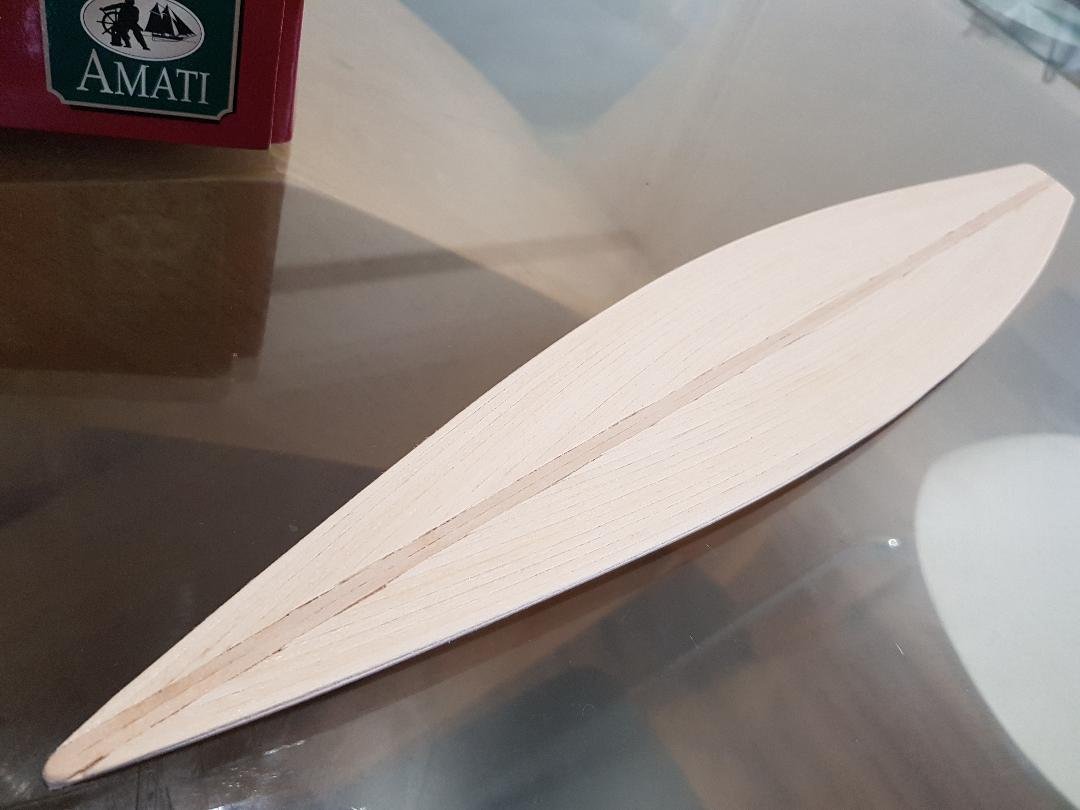
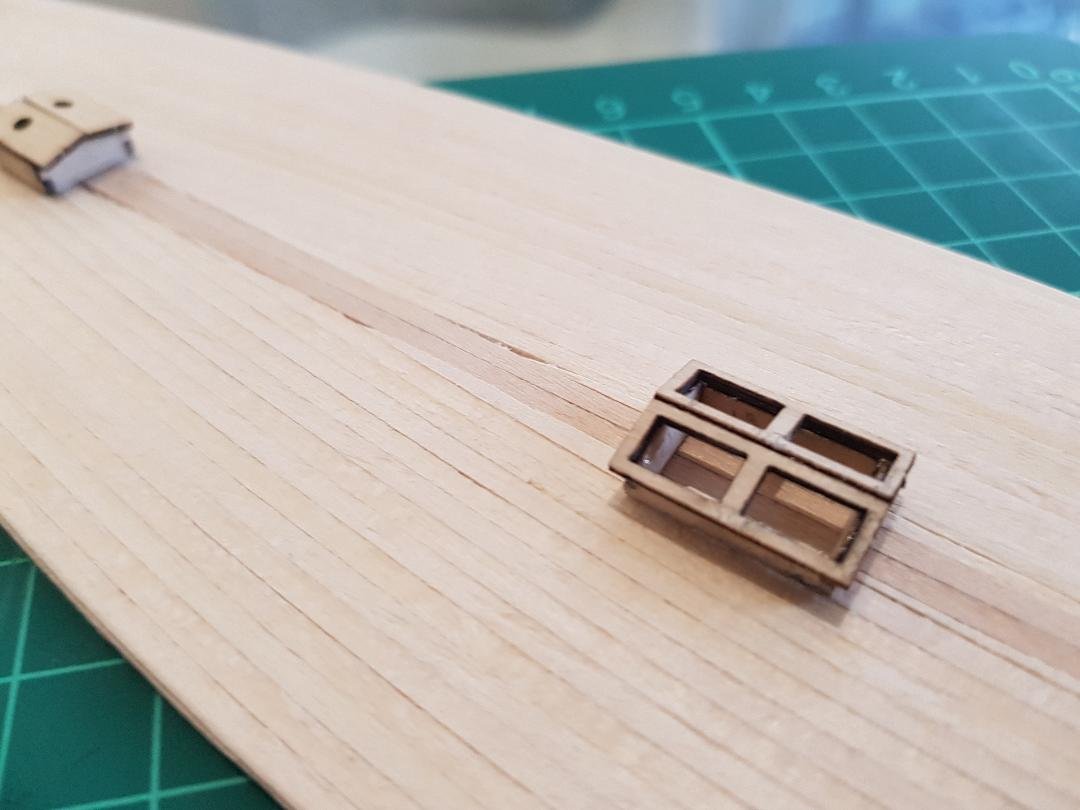
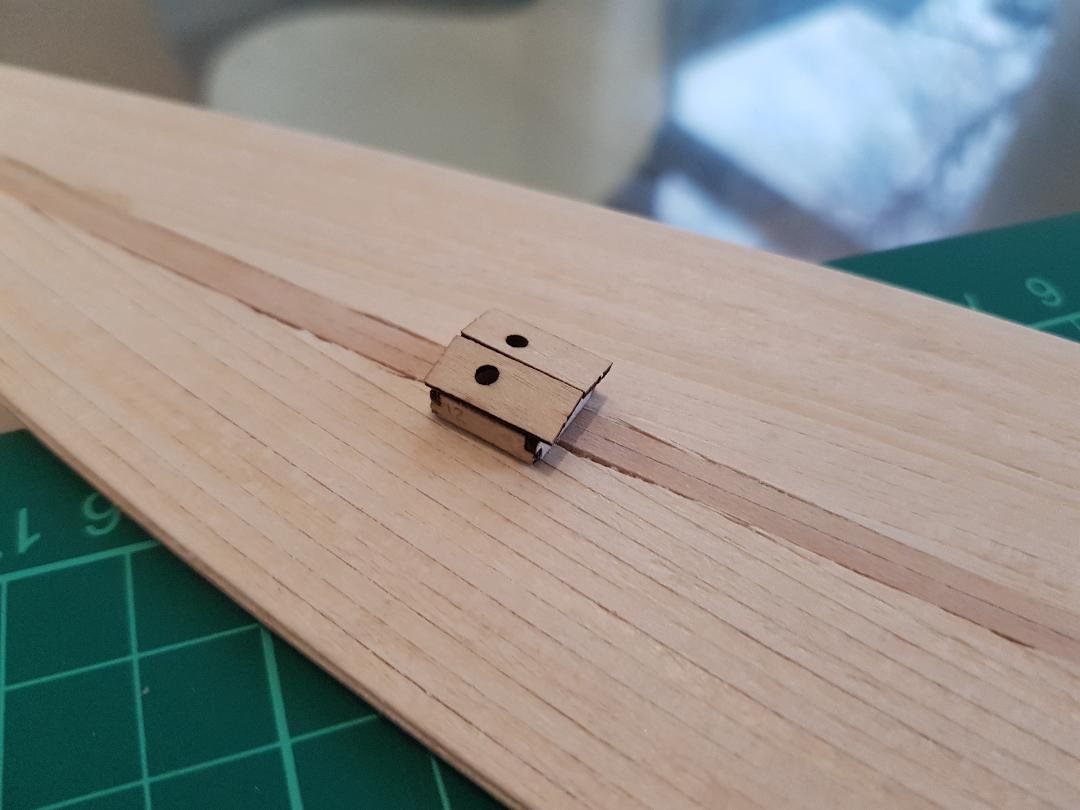
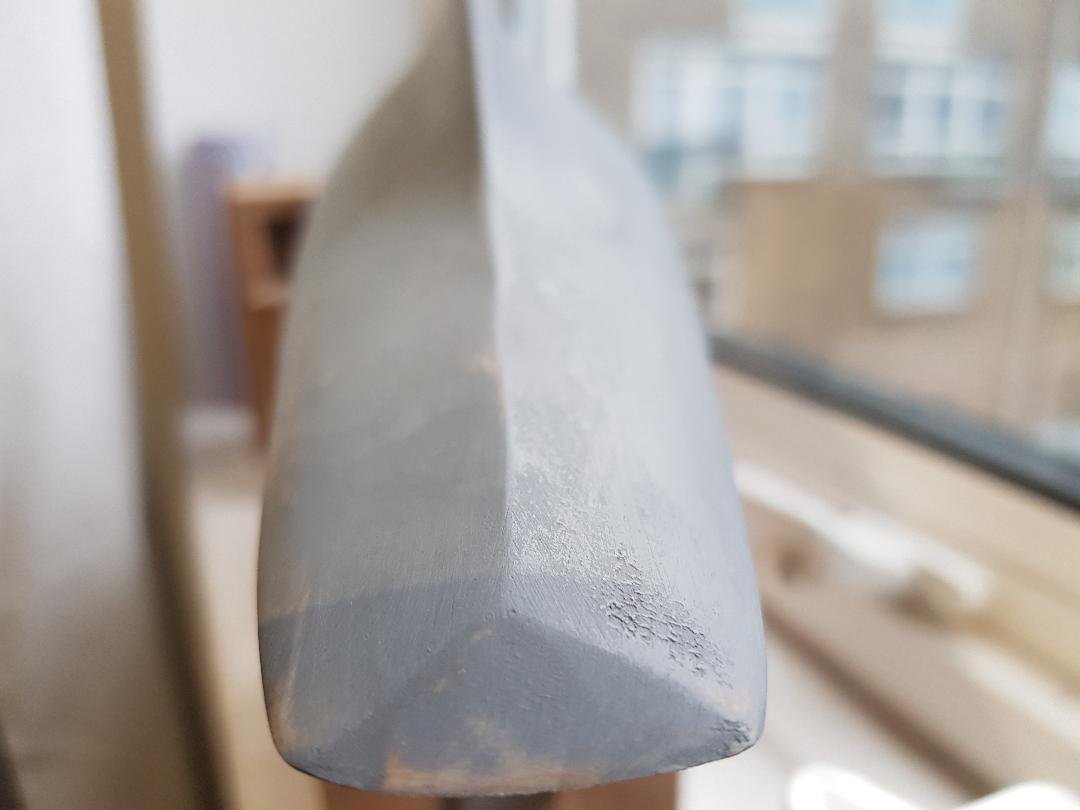
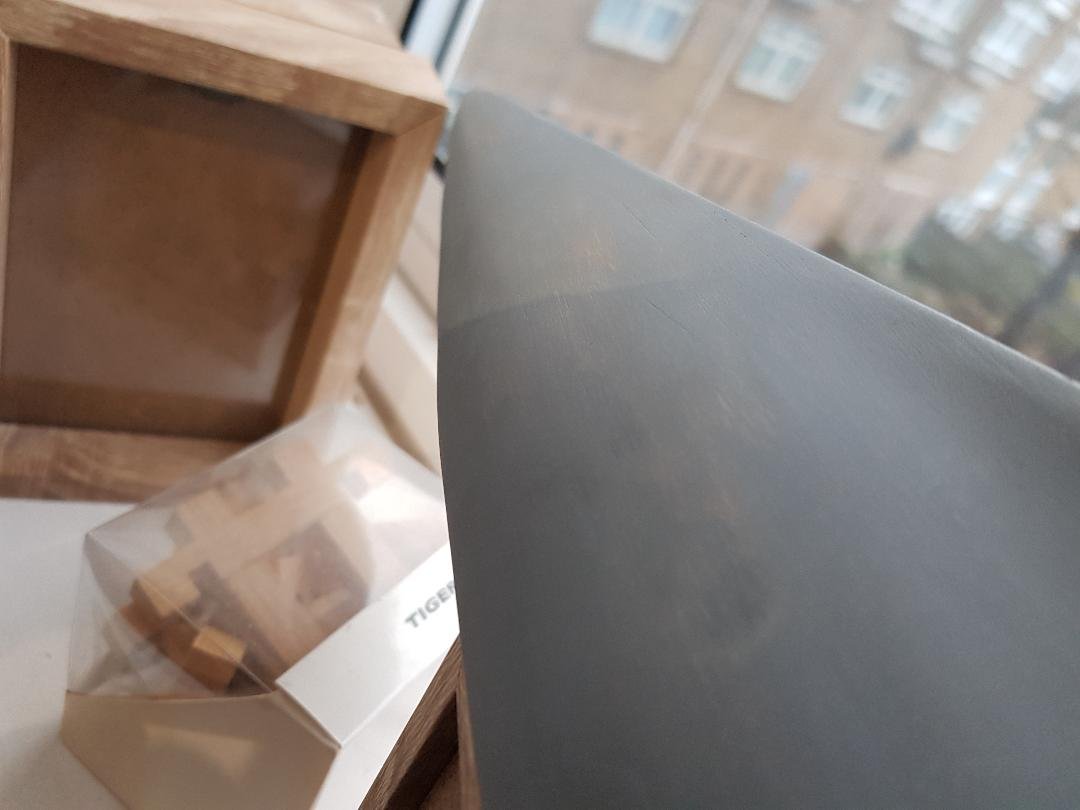
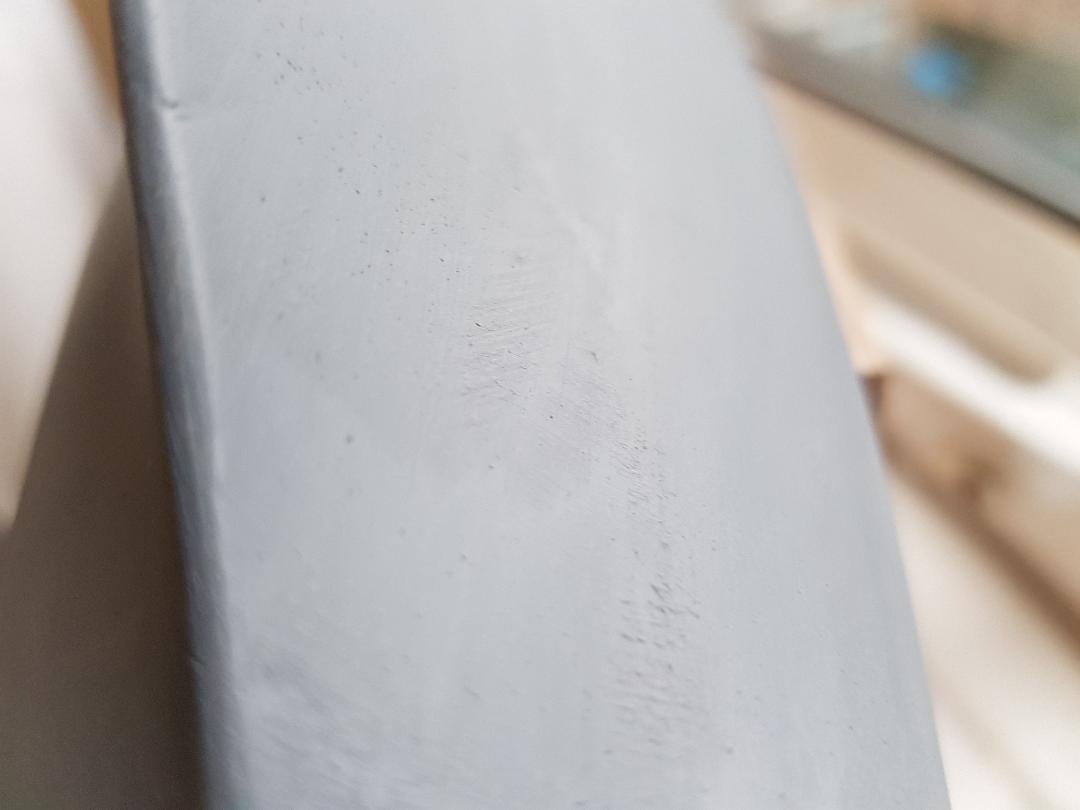
 Hi all This kit was collecting dust on my shelf for a few years. Gifted by my dad, I was delaying it for lack of time and (mostly) because intimidated by a wooden built. I previously built a couple of plastic warbirds, so this is all new to me! After setting up some time aside for myself and getting a bunch of tools (probably not enough but we'll see), I started looking at the content... to my surprise, the kit is different from both what's advertised on the box AND what I've seen online. It's a solid wood hull, advertised as a resin hull (with instructions for a resin hull) and most of the projects I've seen on the web are planks on bulkheads.. oh well, should be easier Also noticed that few pieces don't match very well, so will be making up some woodwork there! I've got a few requests for suggestions, hopefully you guys can guide me in the right directions so I don't capsize the project The box and its content The deck The deck base was laser cut, but, quite a bit bigger than the actual hull. As there was no wood for the planking of the hull I assumed it was a mistake in the plans or the cutting, so I contoured it enough to leave about 1 plank of space between the edge of the hull and the deck. Also, the planking design is not straight (not sure what the term is, so that was a bit tricky in places, might need to use some filler in places. I've got a couple of questions about the deck: How can I enhance the caulking? Should I use a very think black wash? Black wax? What do you usually suggest for a weathered Teak wood finish? Cabins These parts really did not fit well together, especially on the front cabin, the walls ended up plenty within the space for the window... Ideally I would like to give them a darker wood appearance but they require some filler and the laser burn might still push through (that was my mistake not to file them enough earlier). Looking forward for suggestions here The hull Aside of being smaller than the deck plan, the hull seems to be not very straight. Anyhow, I sanded it down a bit and primed it so that I could spot all the places where more work is needed. The finish will be a glossy bi-color white / dark red, so I'll need to make sure that the surfaces are as smooth as they can be. Clearly more work needed here Would grains 120-240 and 400 would work well enough for a gloss finish on wood? And that's it for now, would love to hear your thoughts and suggestions! Safe seas
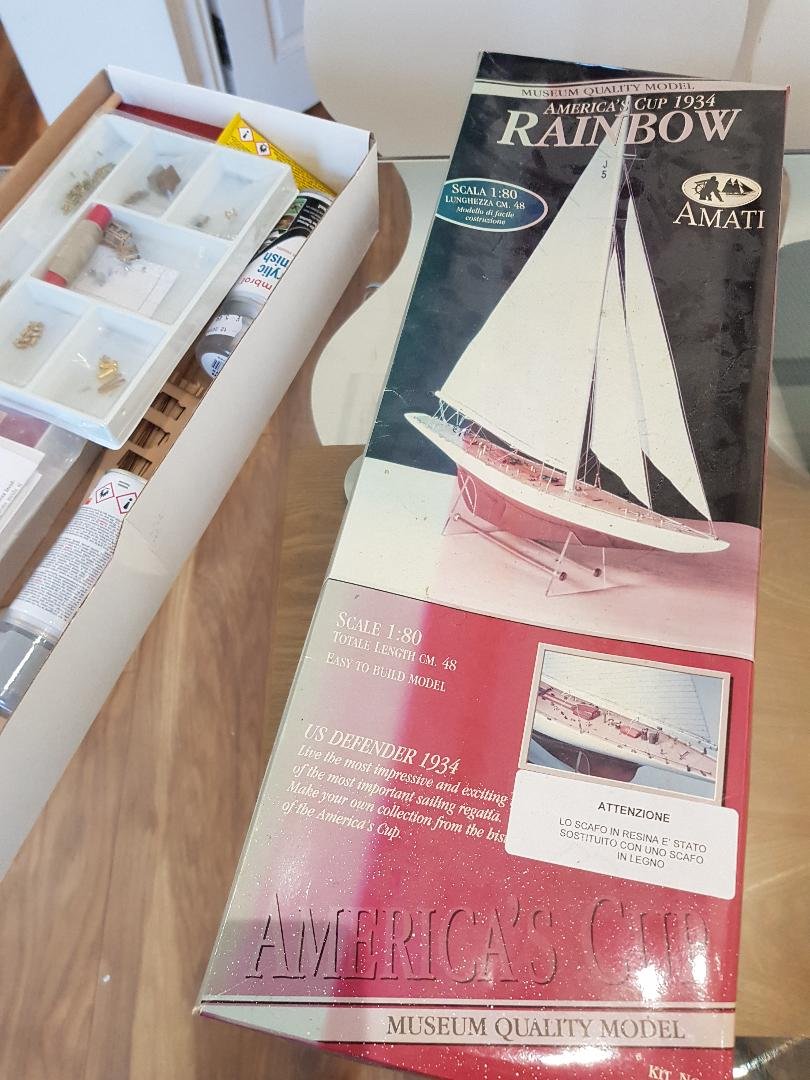
-
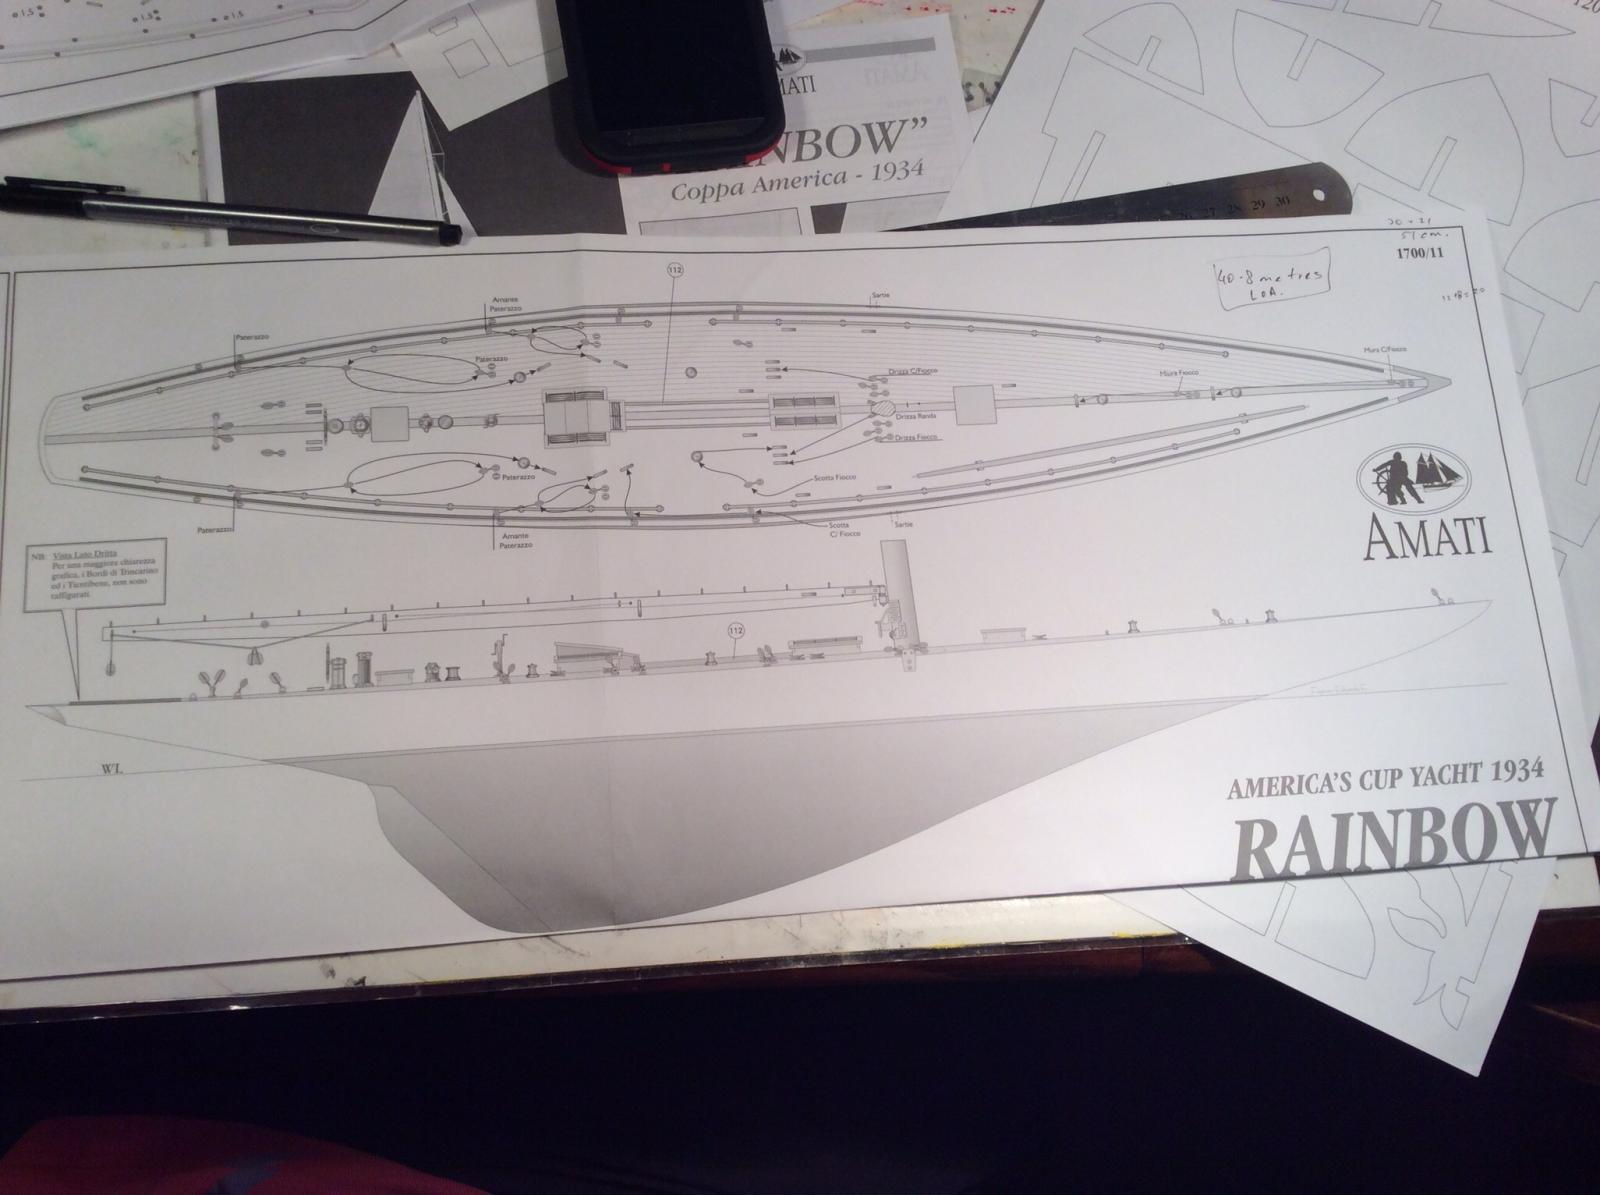
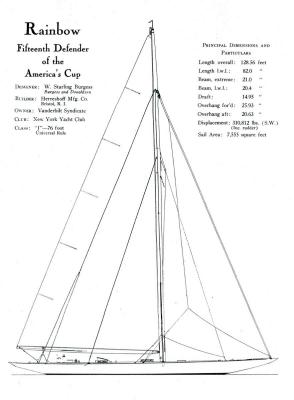
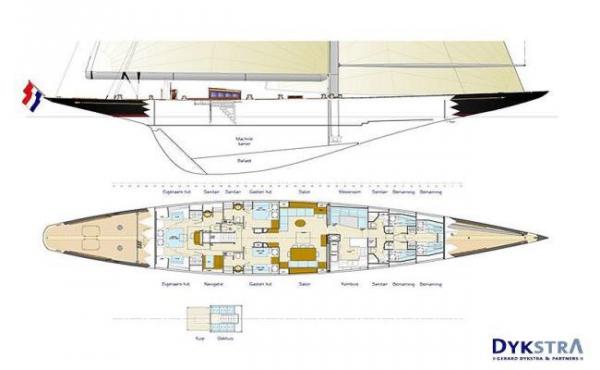
 Hi everyone Oh no! Not another J Class yacht model? Yes, I say! They are amongst the most beautiful racing machines ever designed...and Rainbow, is no exception. My model (loosely based on Amati plans) will be fully detailed inside; much the same as my previous models, eg Ingomar. The interior wil be viewable via an open deck and large cutaways of the hull. Hope you can join me on Rainbow's journey! All the best Patrick

- 427 replies
-
- 17
-

-
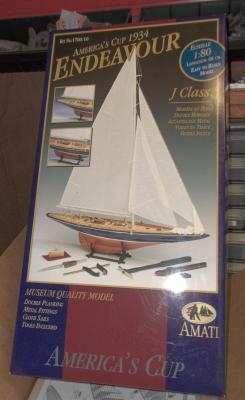
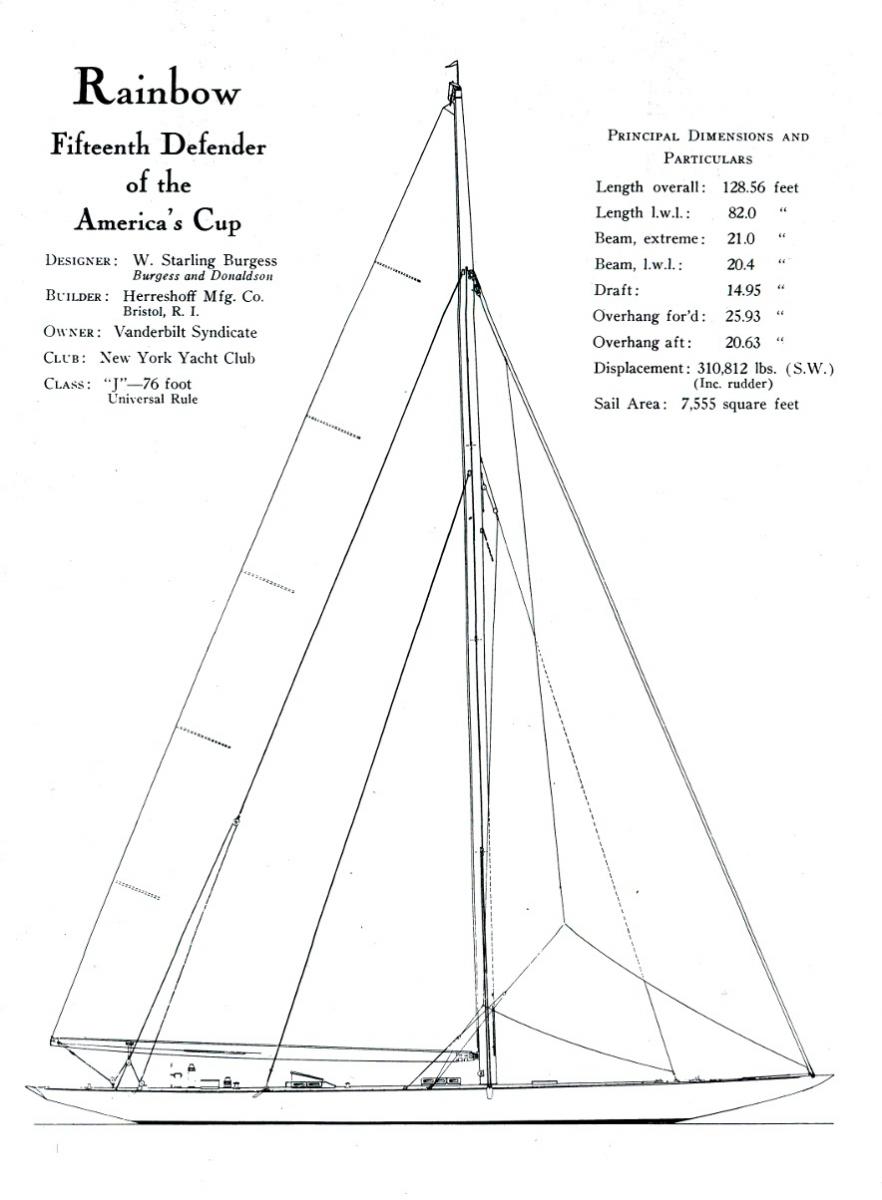
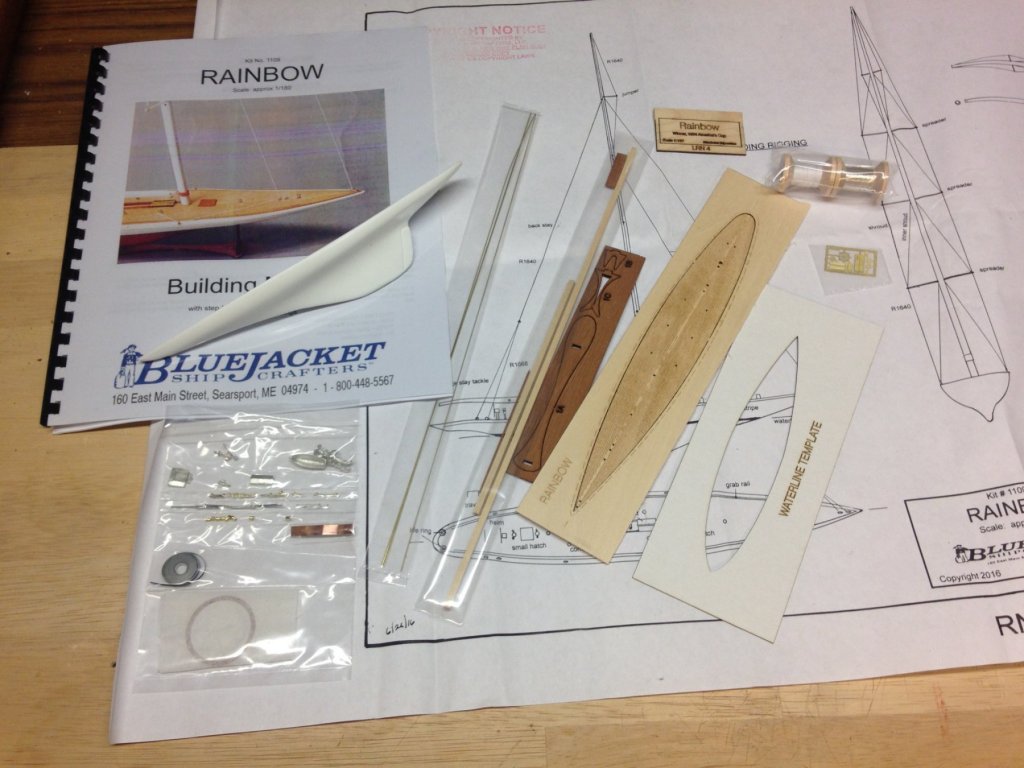
 I'm building this model to give as a Thank You to someone. It is inexpensive, easy to do, and looks nice. The Rainbow was the winner of the 1934 America's Cup race, followed by Endeavour in second place. Here's the box and the contents.
- 36 replies
-
- 10
-
-
 Hi everyones! I decided to give this building the separate log. Some time ago I bought a new material for the making of the sea for one of my current projects. I've never used this silicon, so I decided to first try it with some simple project. Thus, about one and a half years ago, I made this hull for yacht, but at that time I was not satisfied with the result, so that the hull was lying in the drawer of my desk all the time. Now I have decided to slightly improve this hull and use it for this project.
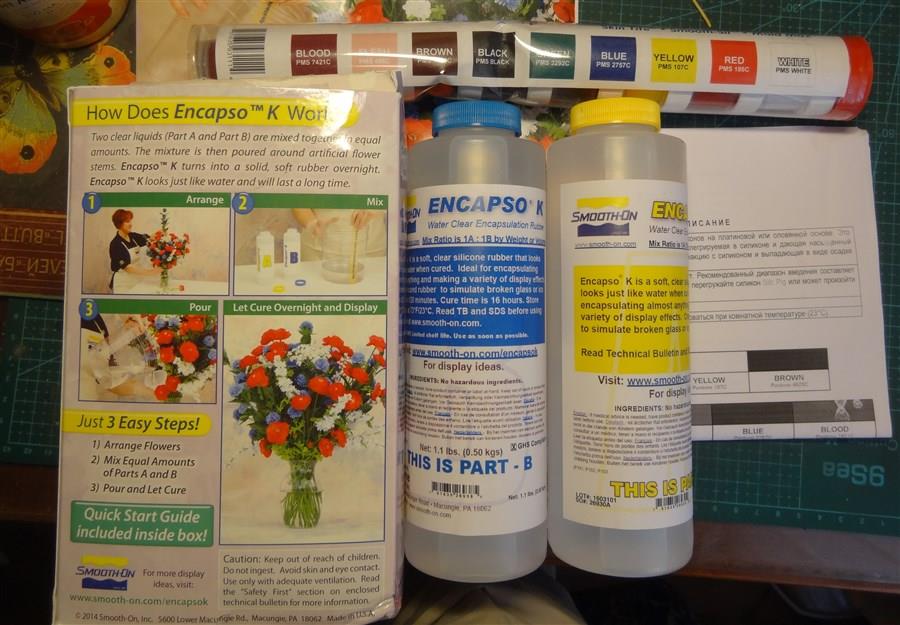
-
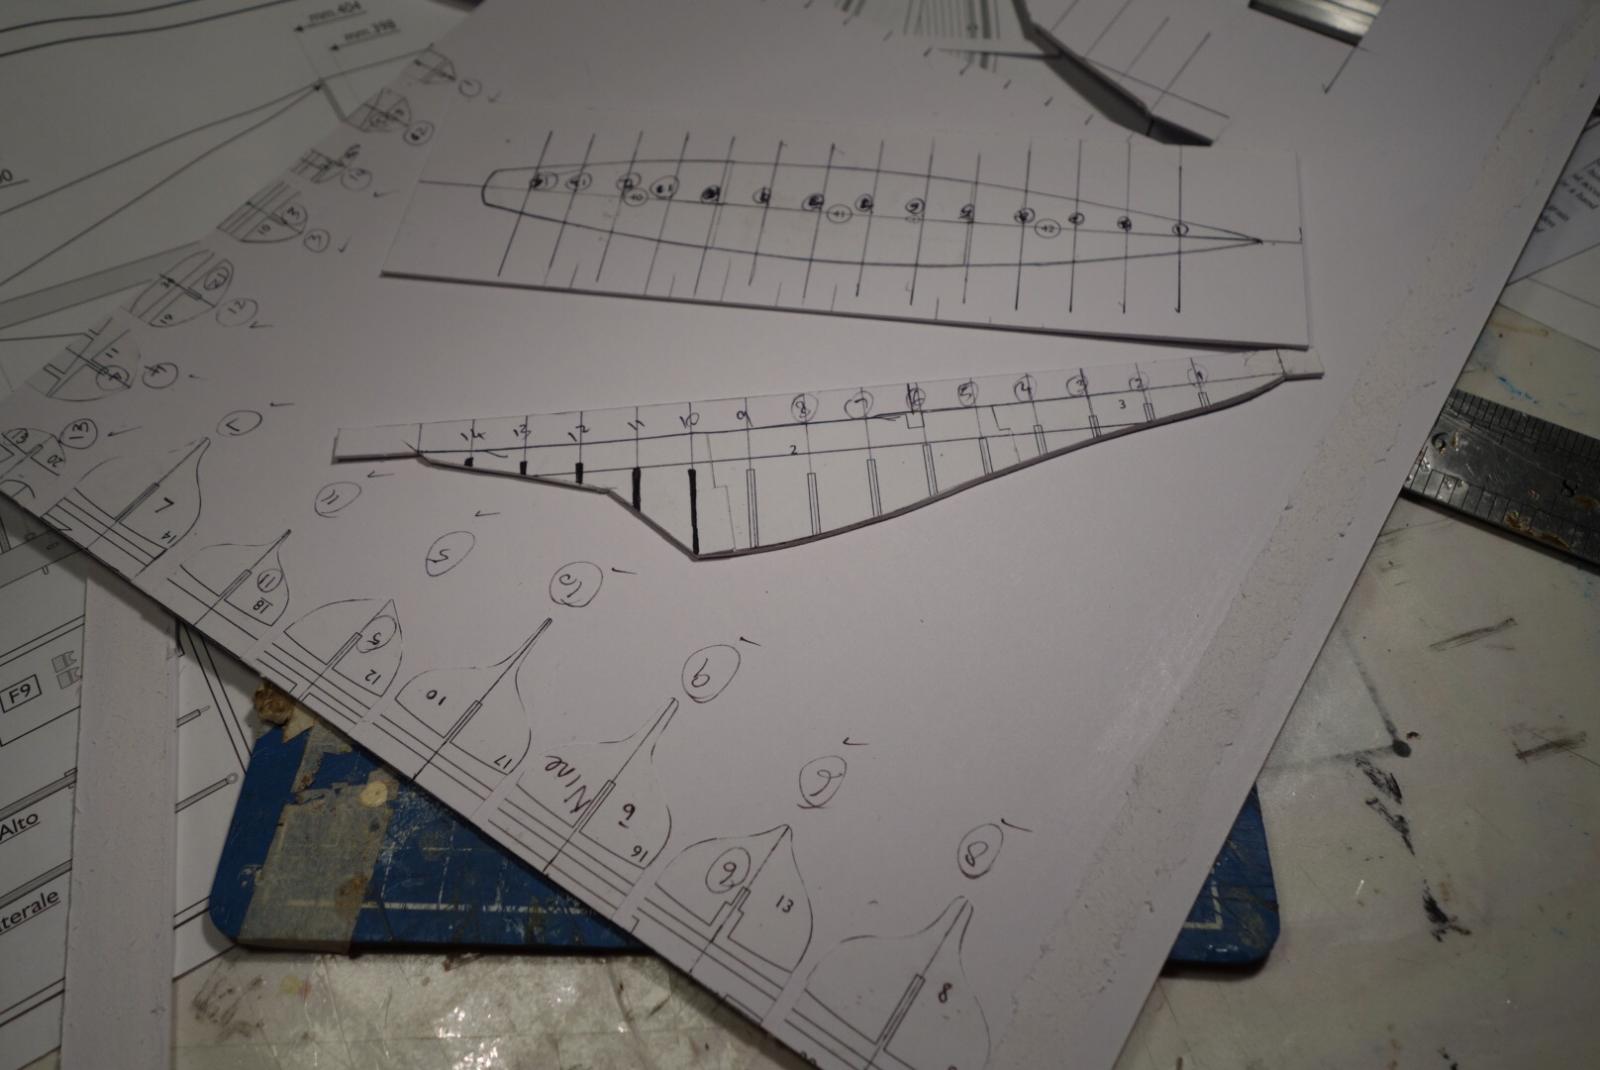
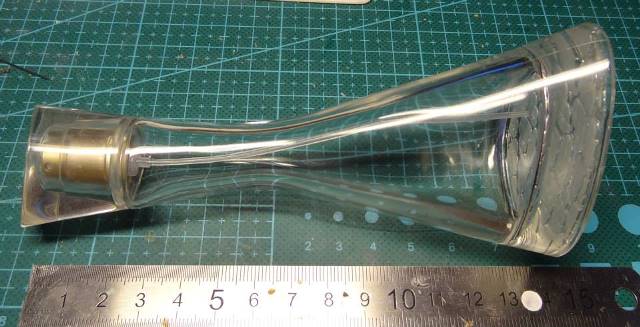
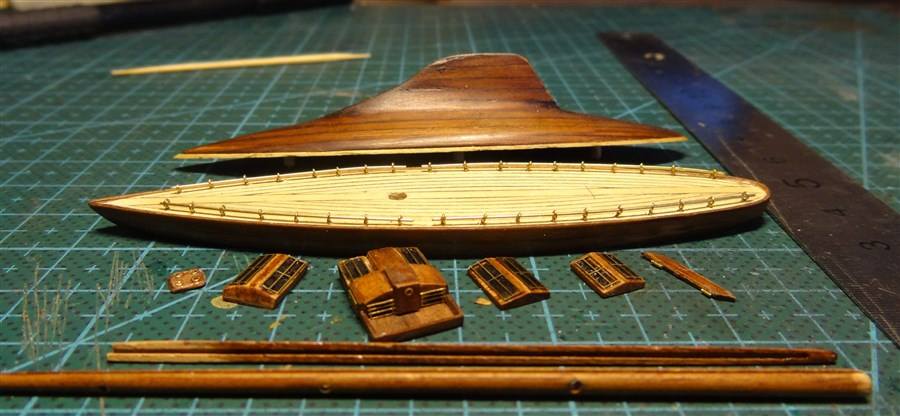
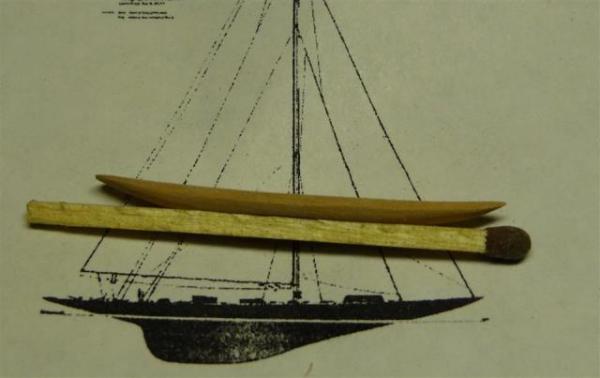
Hi everyone! Another my mini project here )) Some time ago my friends gave me the empty perfume flacon with the quite the unusual shape. The shape of the bottle did not leave much choice for the type of ship, the model which could be placed inside. So this will be a model of the yacht J-class. This model does not have a specific prototype and it is a kind of generalized image of these beautiful yachts. As usual, I am starting with making of the hull


-
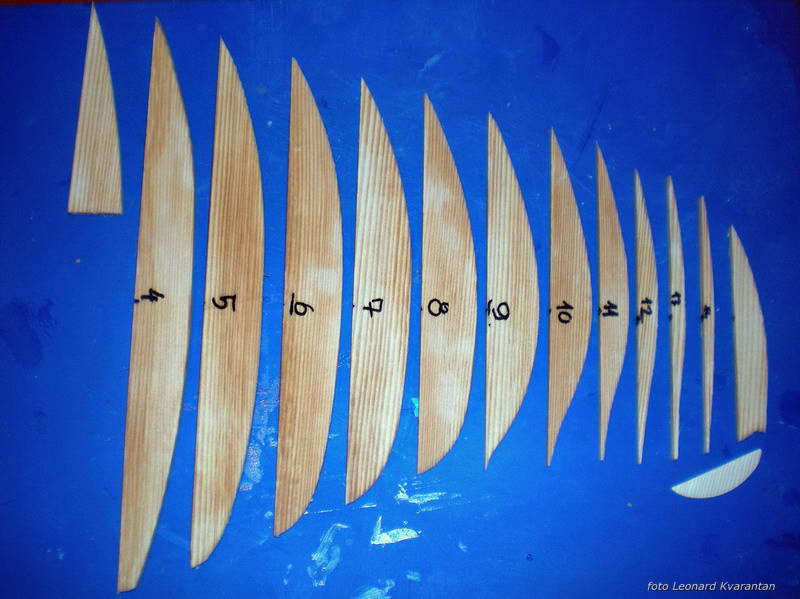
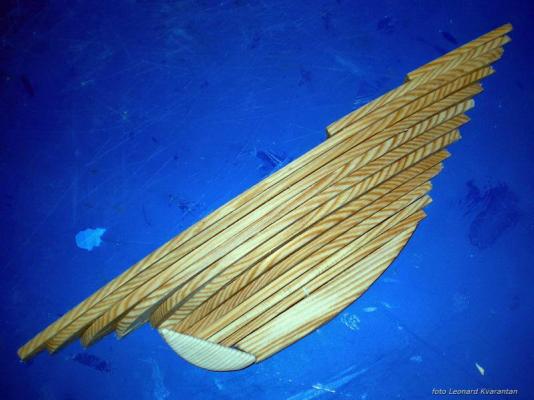
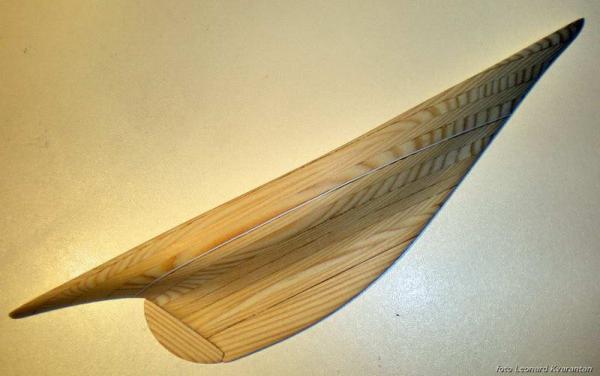
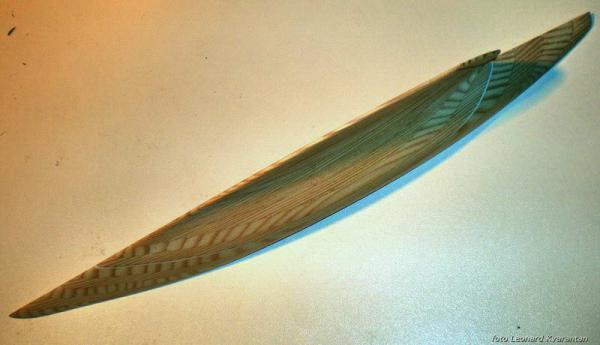
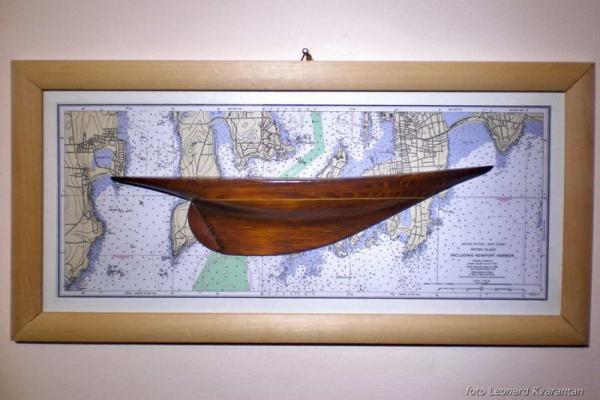
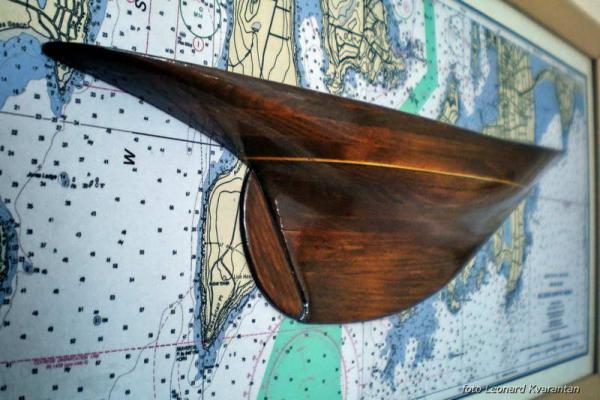
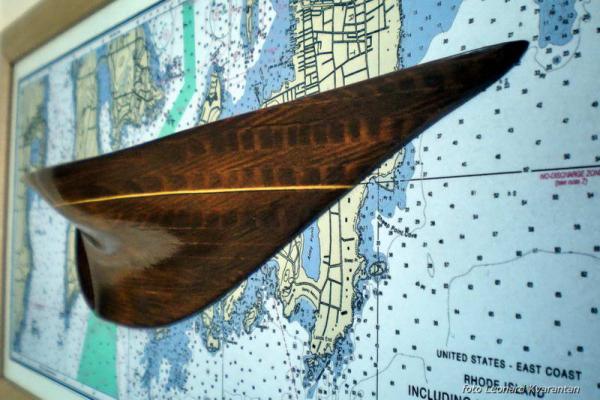
 This is old work but I decided to post , maybe it be interesting. I was always attracted by the America's cup sailboats , especially J class are interesting. From other side I appreciated the simplicity and clear lines of half-models and from other side I like small scales. When I found one small but nice and regular piece of pine wood i decided to made one half model. The scale came out from the thickness of wood and from the necessity that the final work had to bi in reasonable dimensions (otherwise would be difficult to had the approval of my "better half" for the place on any wall in home ) I decided for one generic drawing of J class, the sections taken from Nautical encyclopedia, probably closest to the "Ranger", but basically I was interested in lines of hull of this type. The work was simply, horizontal sections were cut with scalpel from wood (tick 5 mm) glued together and sanded to the hull's sharp. For the waterline i used a piece of plasticard (styrene) When the surface was sanded toned the whole semi hull with teak tone for wood, with 5 passes and sanding with very fine sandpaper and at the end two hands of gloss transparent. For the picture i downloaded the nautical chart of Newport, reduced and trimmed to the appropriate dimension, glued to the media-pan base . I planed to paint the border in the same tone of the hull ... but maybe in the future...
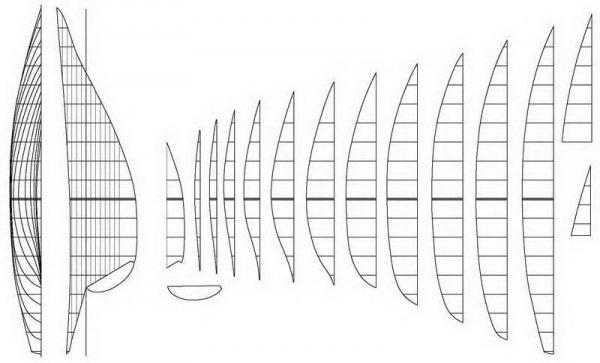


-
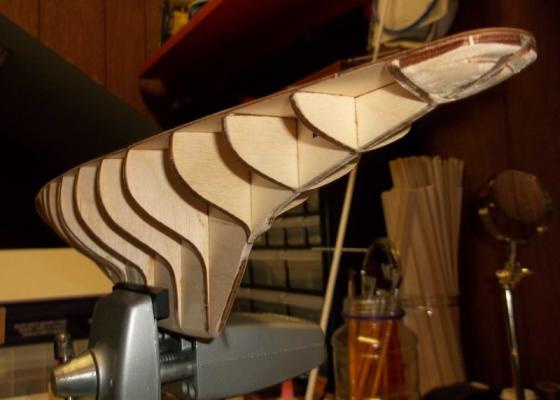
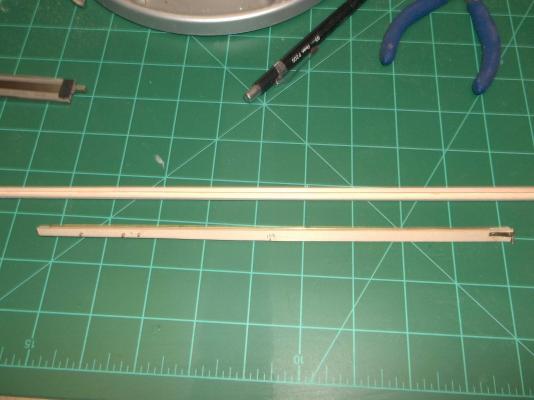
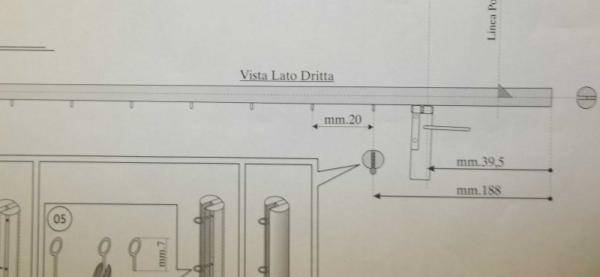
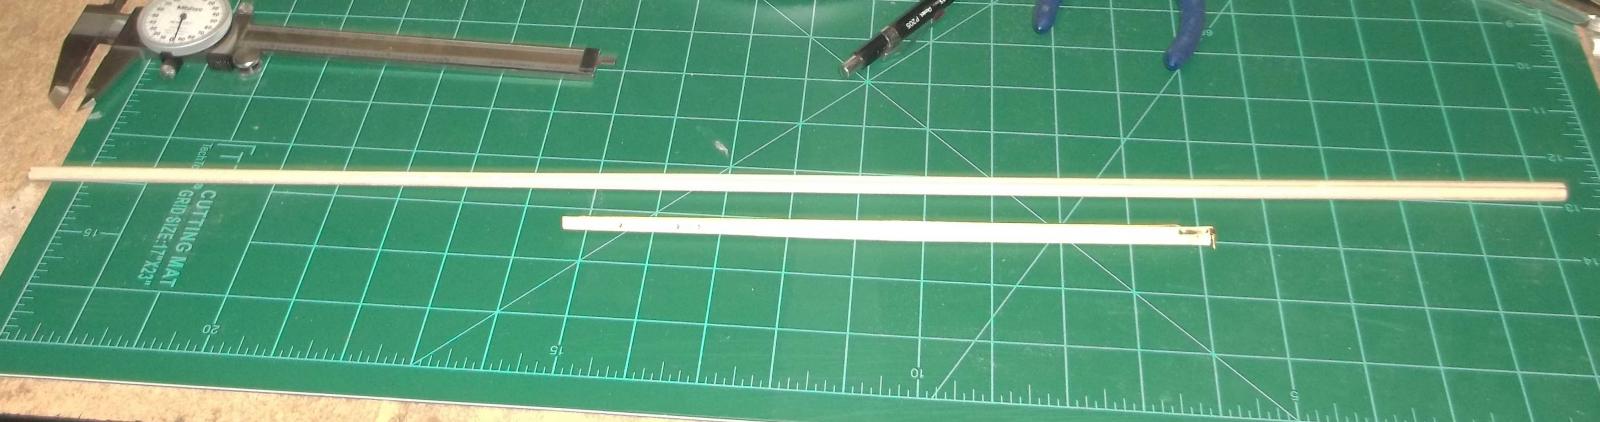
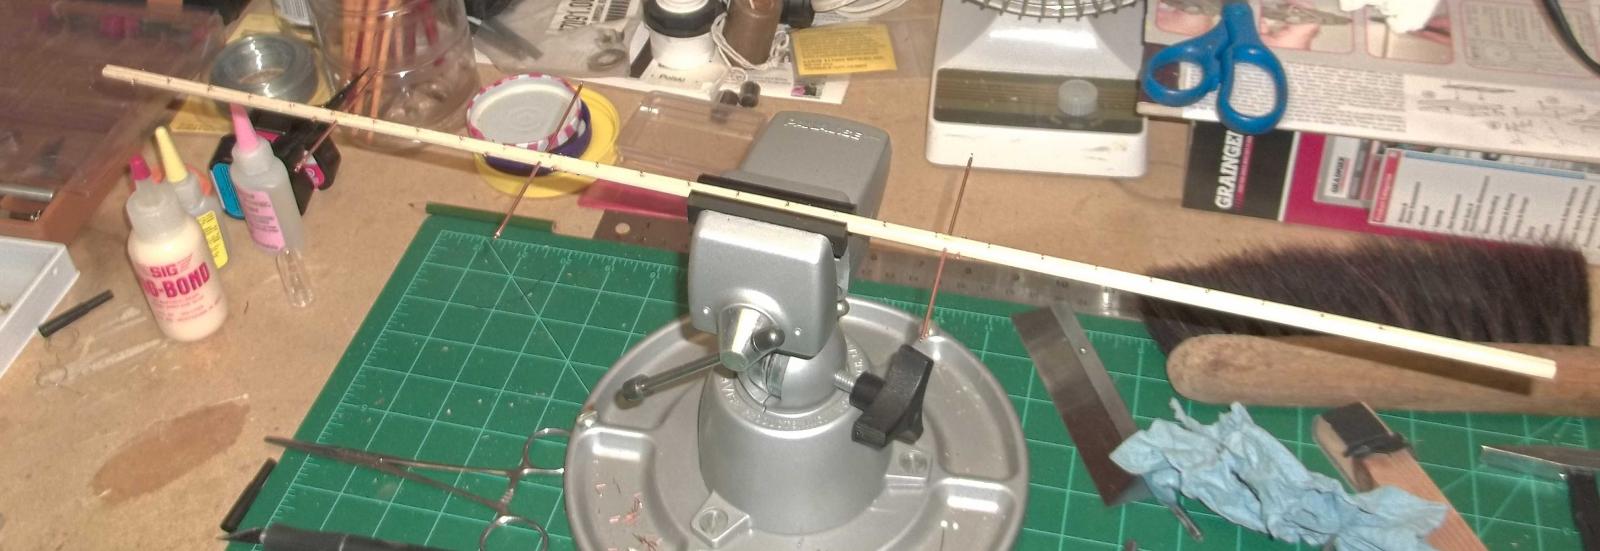
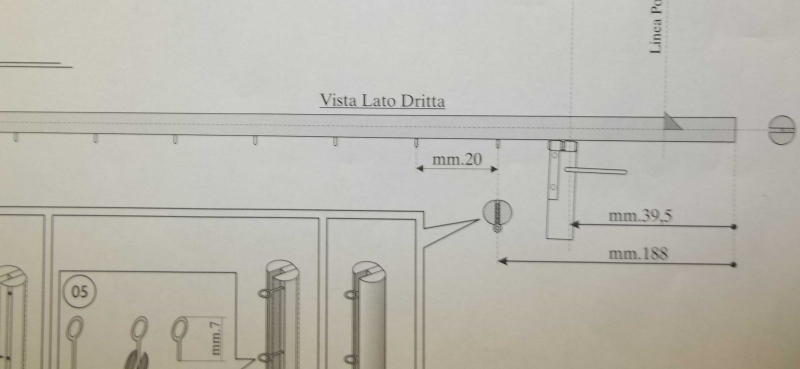
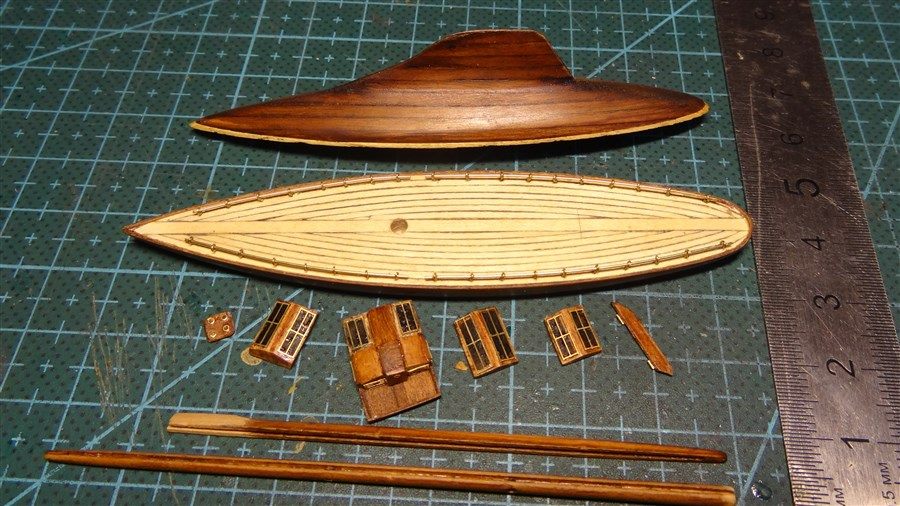
 !!!Correction to the scale 1:80 is what it should have been. Sorry for the confusion.!!! Well, I am finally starting my build log. After much help from Richard, Dave, Floyd and others, I have my planking started. I won't post the pictures of the materials as others have already done that, and I am past that point anyway. I did build the boom and mast to start as per the instructions. As we have seen in the other logs, they are not used at this time in the project anyway. I also have one coat of flat white paint on them. I must say again, the hinge that is nailed to the mast end of the boom was a pain for me. In the mast drawing, it appears that the measurement listed to the first ring of 188mm is wrong. It is no more than about 20 mm above where the boom hinge is attached. I just used the drawing to lay it out. I also did not get the holes as I would have liked. I need a small drill press and a jig to hold the item in the correct position.