mtdoramike
-
Posts
2,054 -
Joined
-
Last visited
Content Type
Profiles
Forums
Gallery
Events
Everything posted by mtdoramike
-
I maybe the only one to say, build it. You have it, start a build log first off and ask questions, post pictures of your progress. There are videos on Youtube regarding the building process of the SOS, which will help you tremendously. I also don 't agree with the need for scratch building or bashing of this kit in order to build a beautiful example of the SOS. Majority of kits will produce exceptable models without scratching or bashing unless your attempts are to make it your own. Disclaimer: Take the above advice with a grain of salt because it comes from someone who hides in the wings, waiting for guys that bite off more than they can chew and later swoop in and adopt those orphaned kits that wide eyed first time builders attempt and then later drop like a hot rock. The SOS is one of the orphaned kits on my list to adopt.
-
I can't wait to see how you progress with this beauty. Did it come with the set of plans? Did you buy this kit second hand?
-
Ships back in the day were built more extravagant than you would think , due to ships representing countries and their kings and queens. This is true even from poor countries. There were also drawings of ships earlier than people think, unfortunately a lot were lost in time. If you as a builder want authenticity in their model, then do as much research as you can on the particular subject you want to build. It's true model ship kits authenticity are questionable, but that is where you the builder come in. Kits are really only here to help you get started, but not necessarily the end all be all.
-
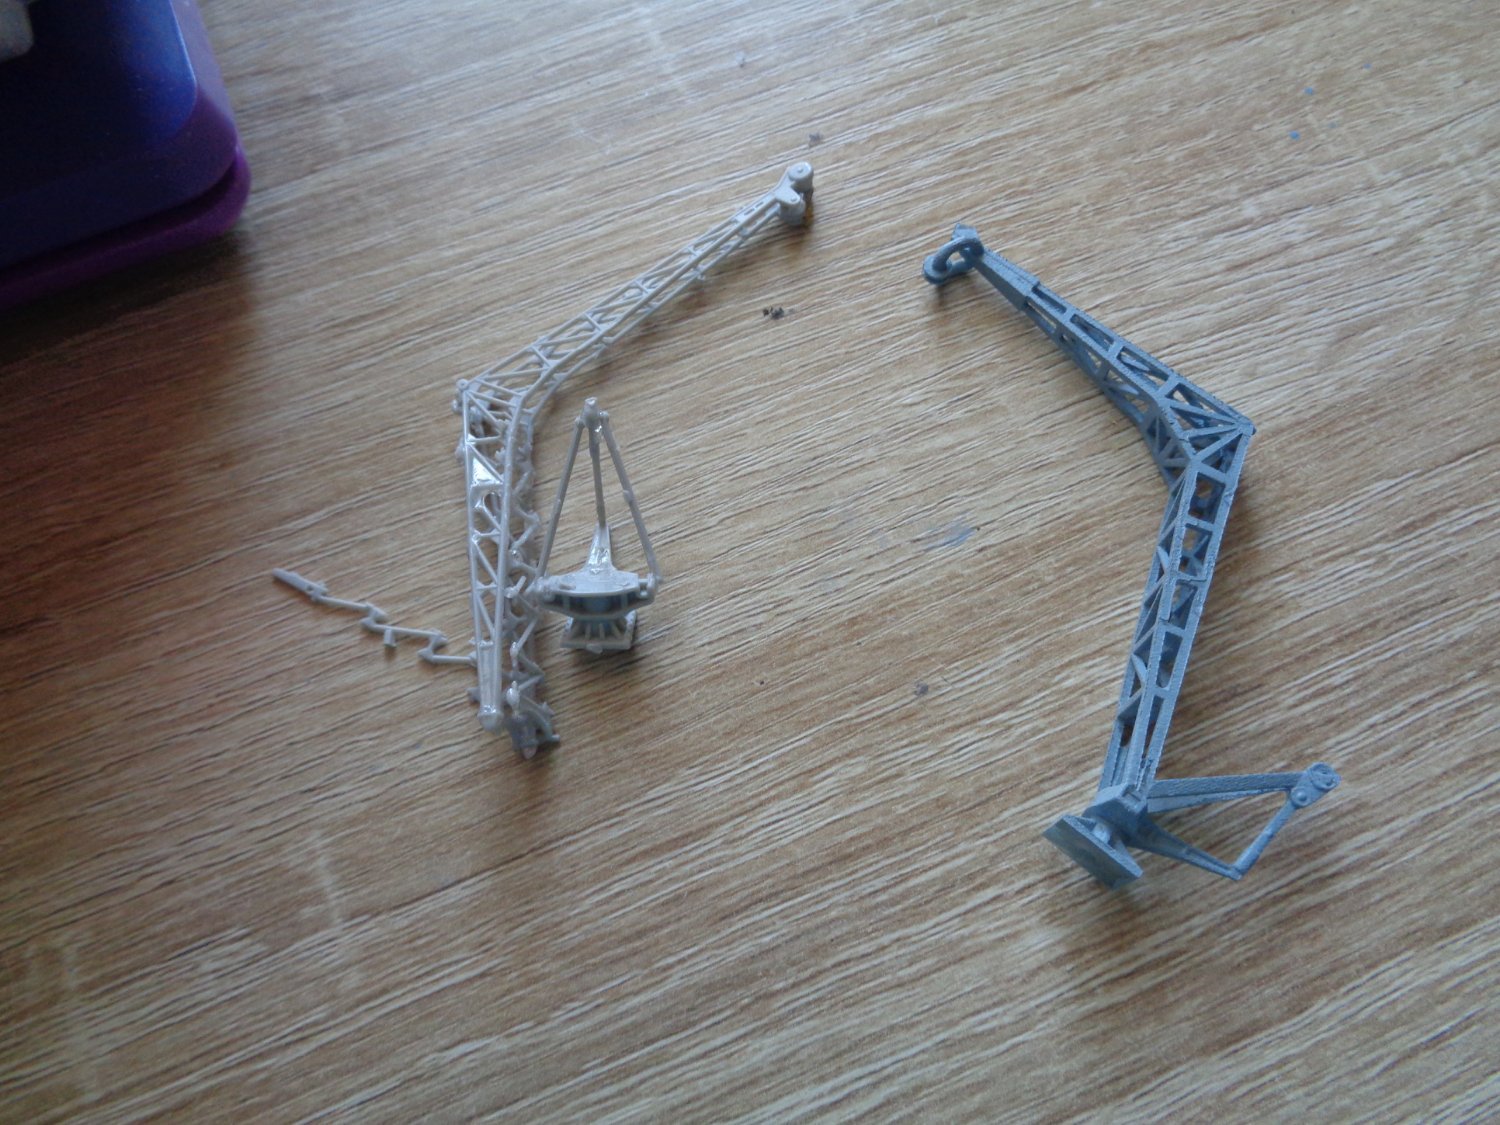
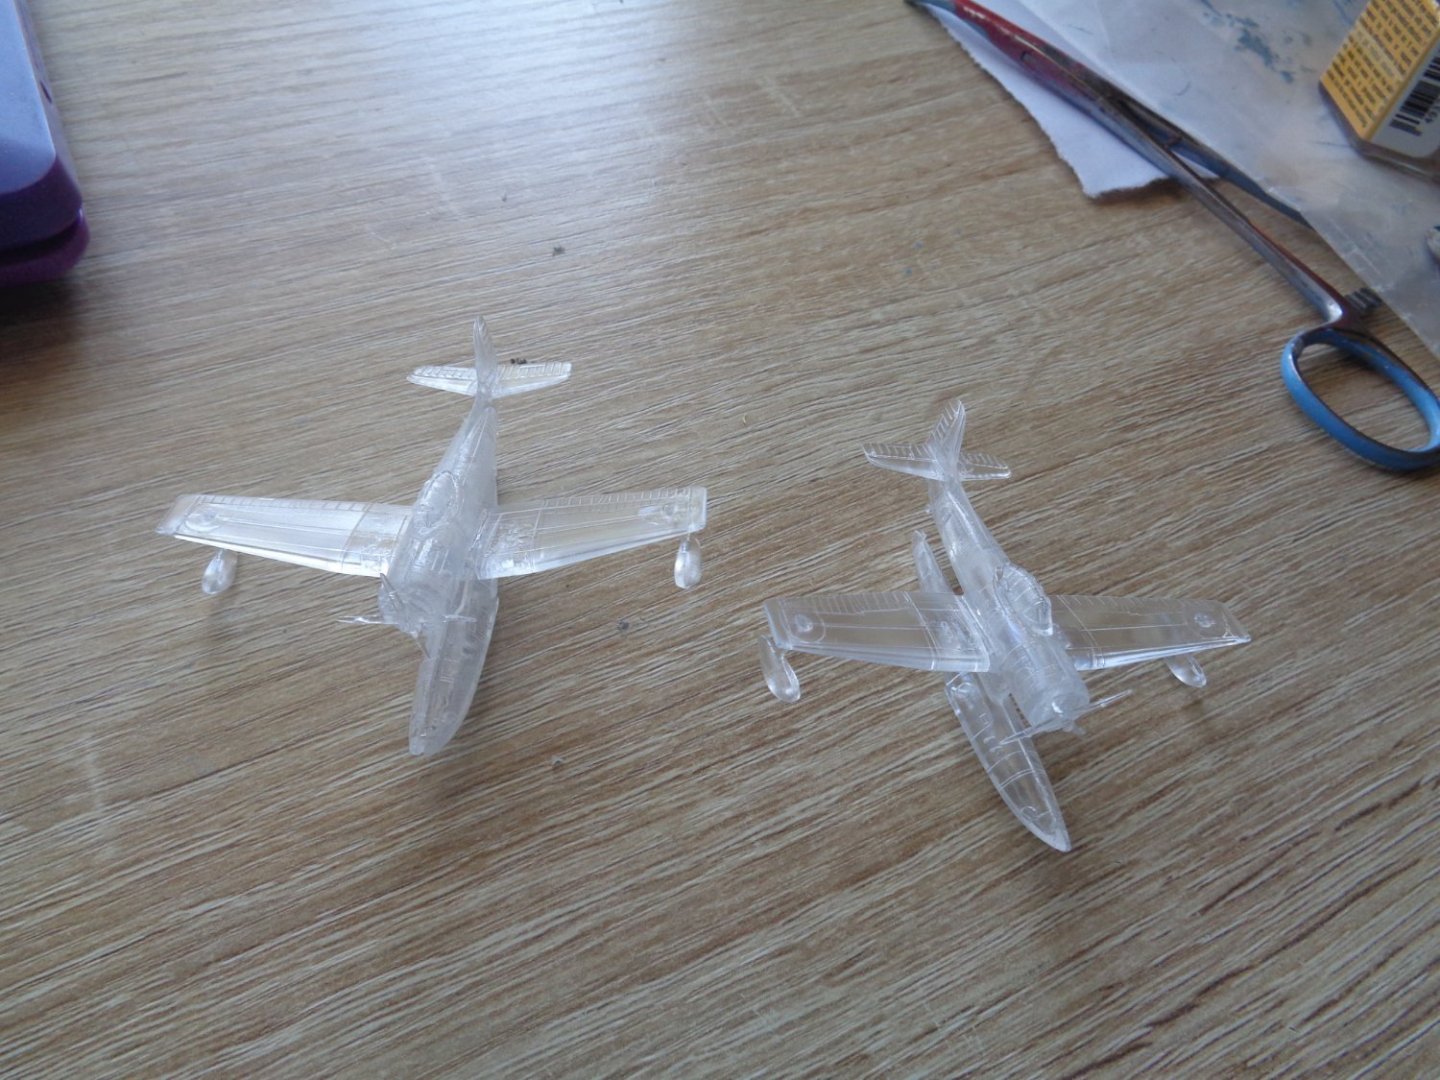
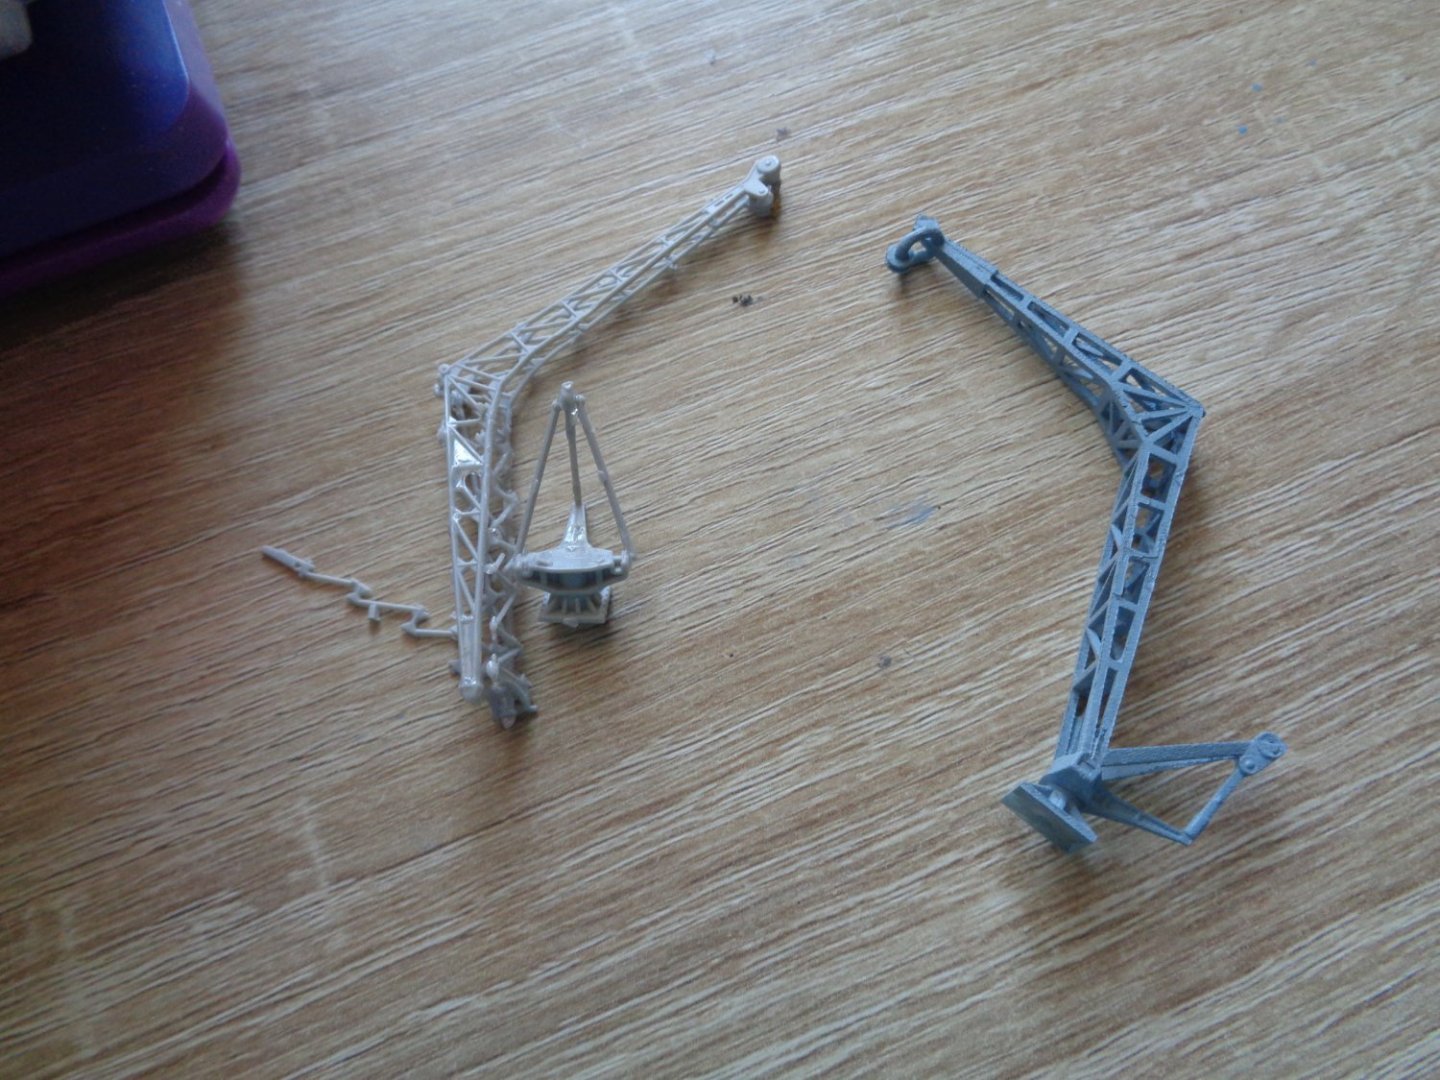
I spent a little time on the two planes today. I also received the 3D printed crane that I ordered. It's a lot better than the kit supplied crane. It's the one on the right. It wasn't bad for $15.00.
- 47 replies
-
- 11
-

-
Your right, if my fingers would have been in the way of the props, with those brass props, I would have needed stitches for sure.
-
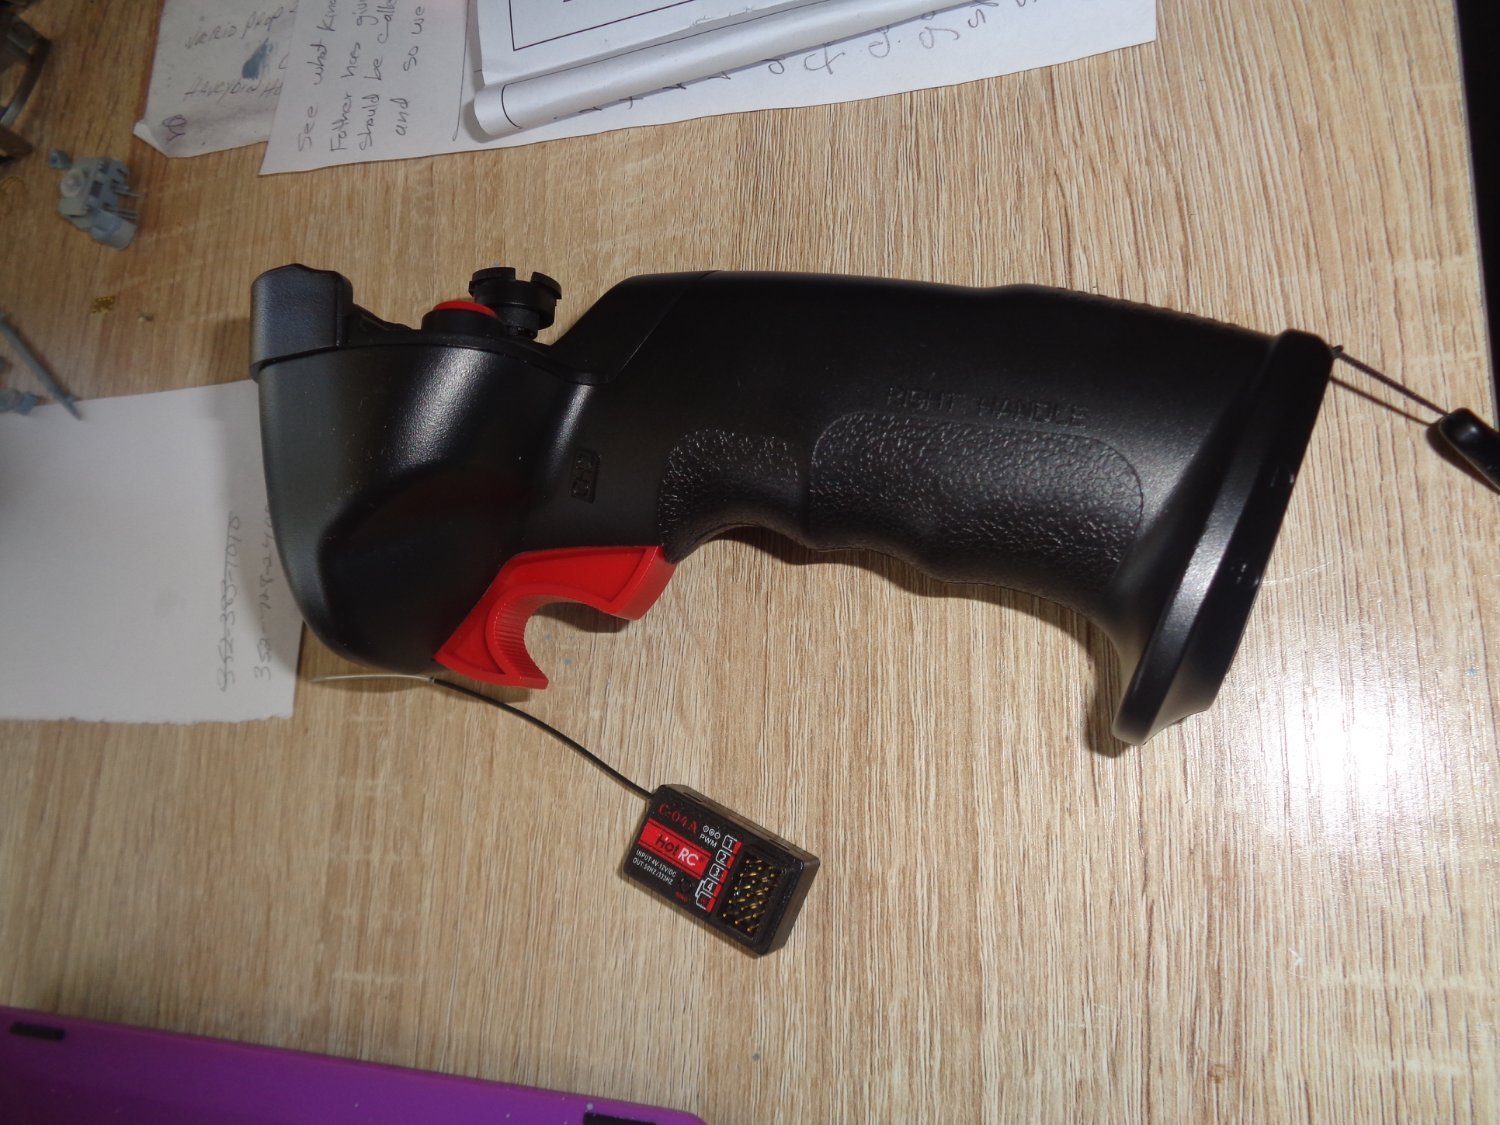
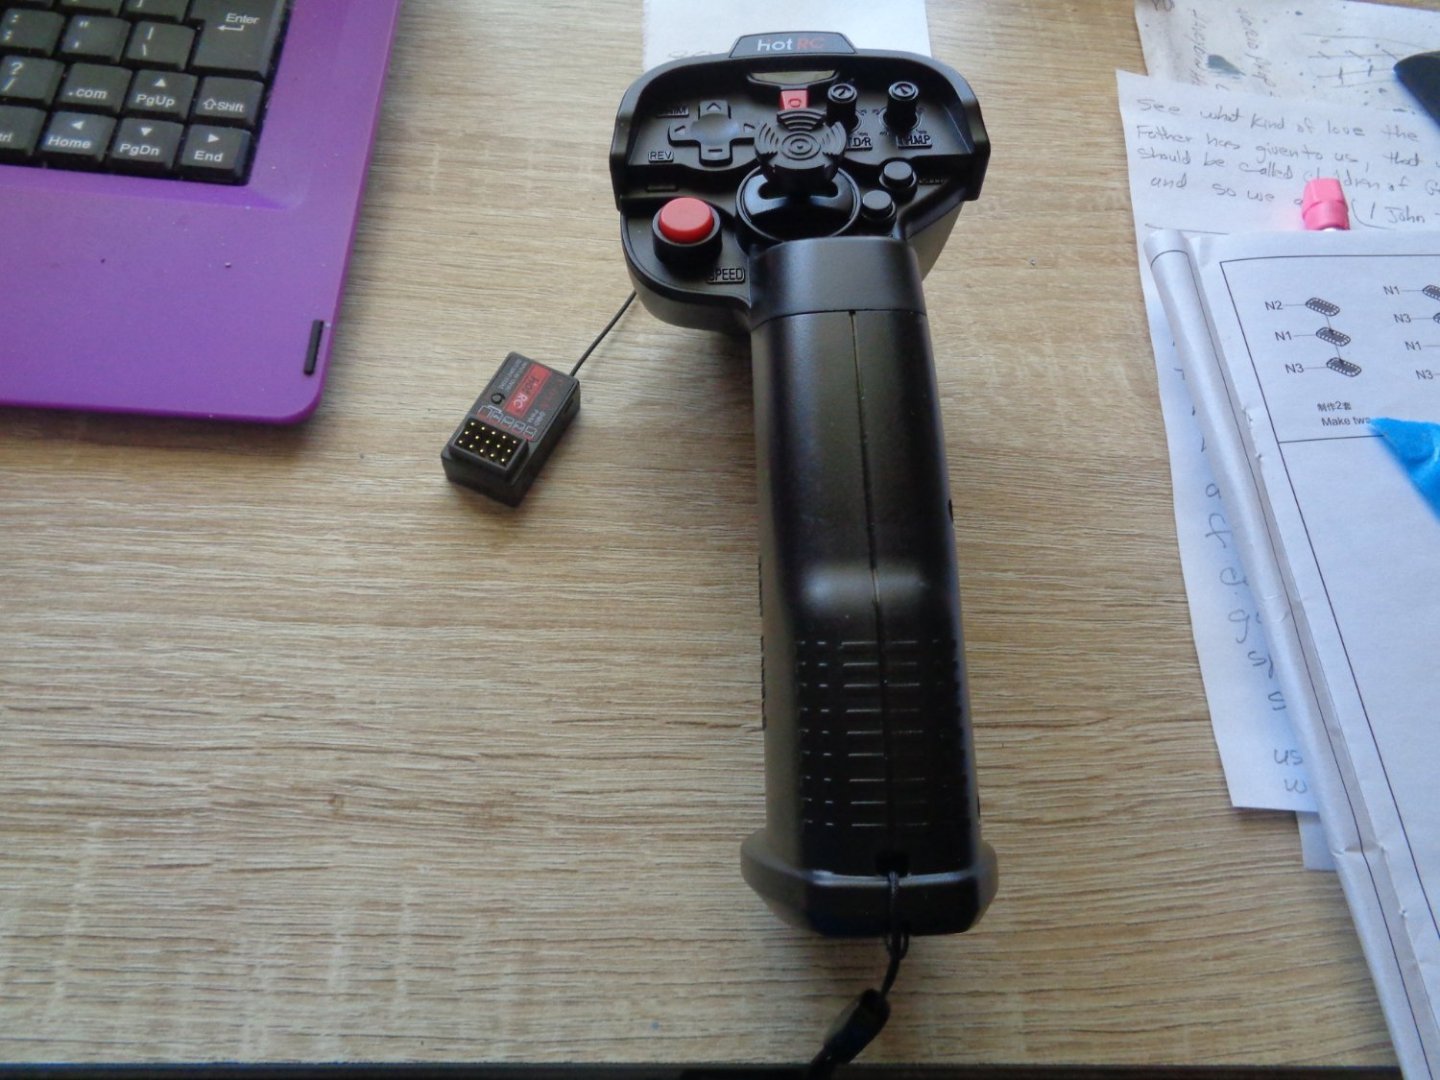
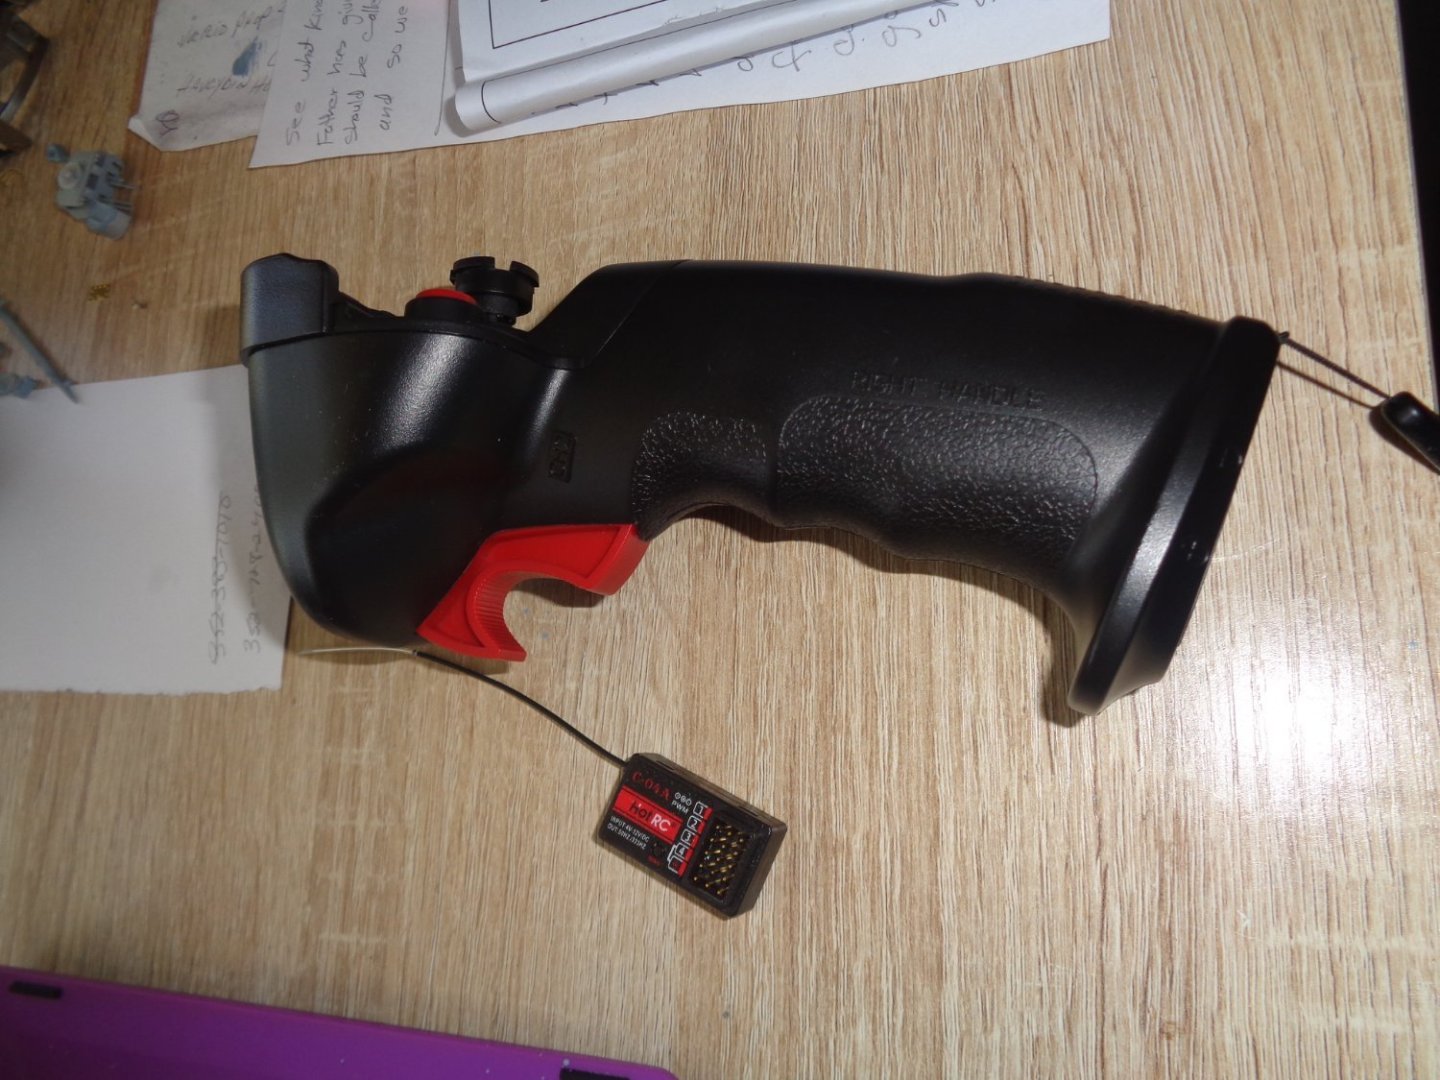
Yes, it came with the 4 channel receiver as well. It takes 4 AA's which fit into the handle of the TX. The red button on the left is actually a cruise control buttom, you set your speed, push the button and it will cruise on it's own and if you want to up the speed, just push the button again so you don't have to constantly hold down the trigger.With Tax, $31.00 with free shipping from Amazon.
-
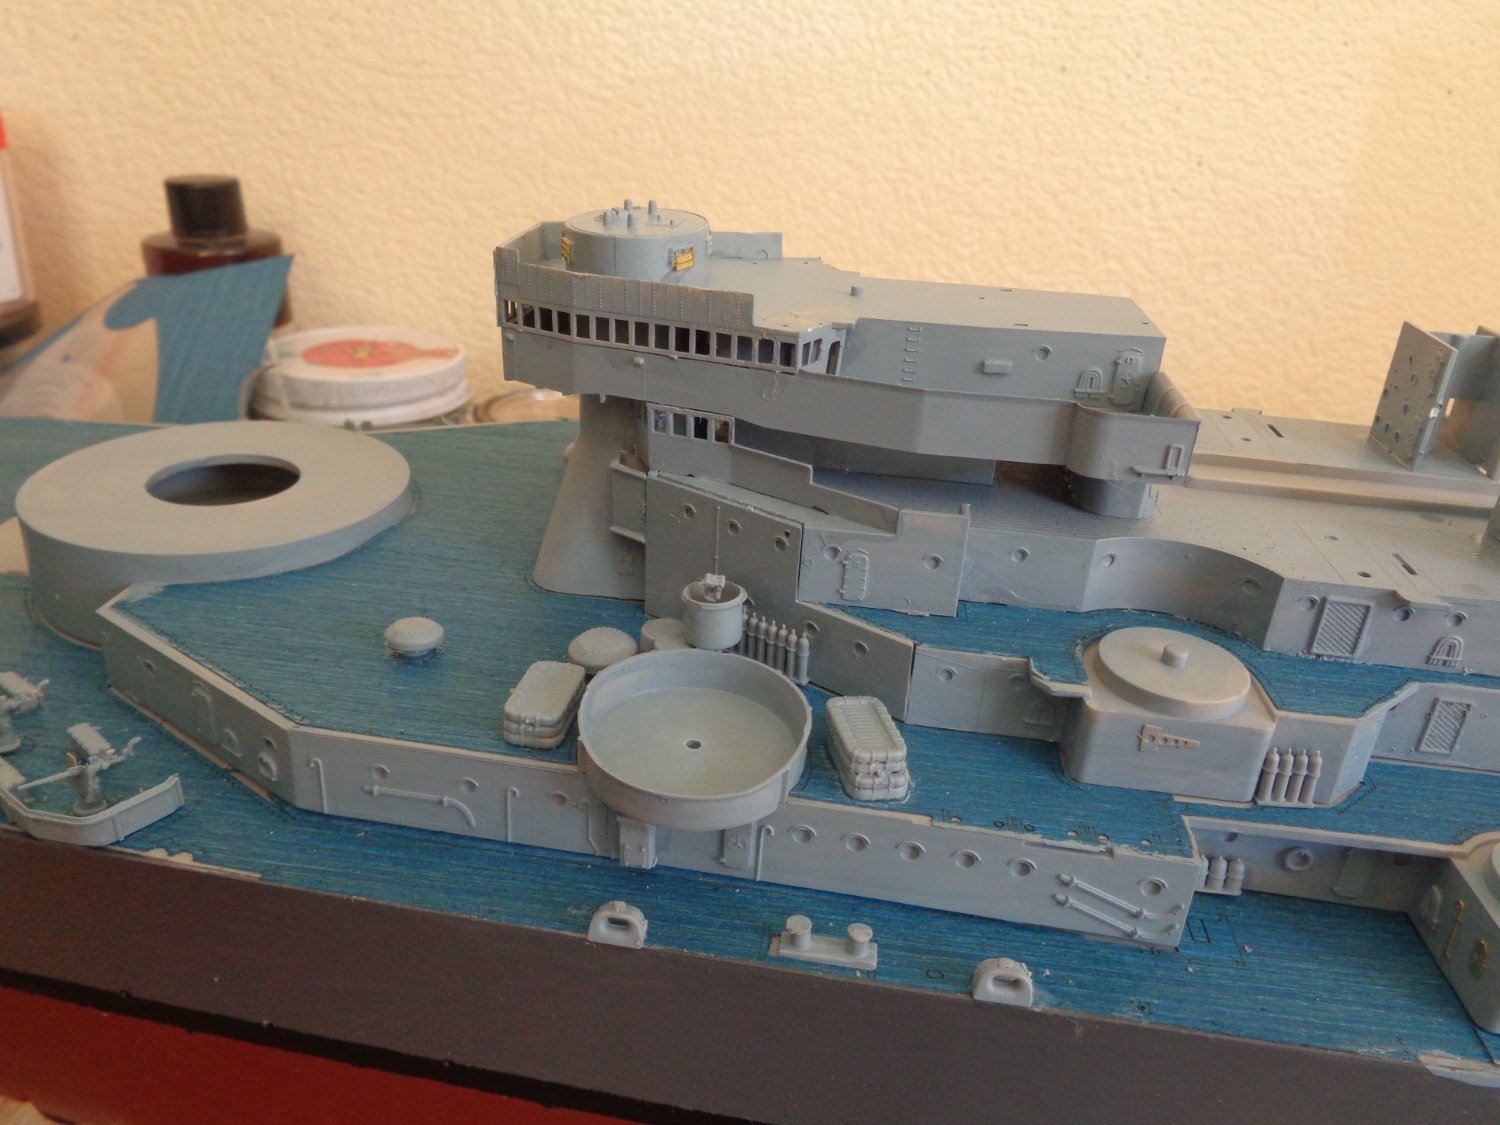
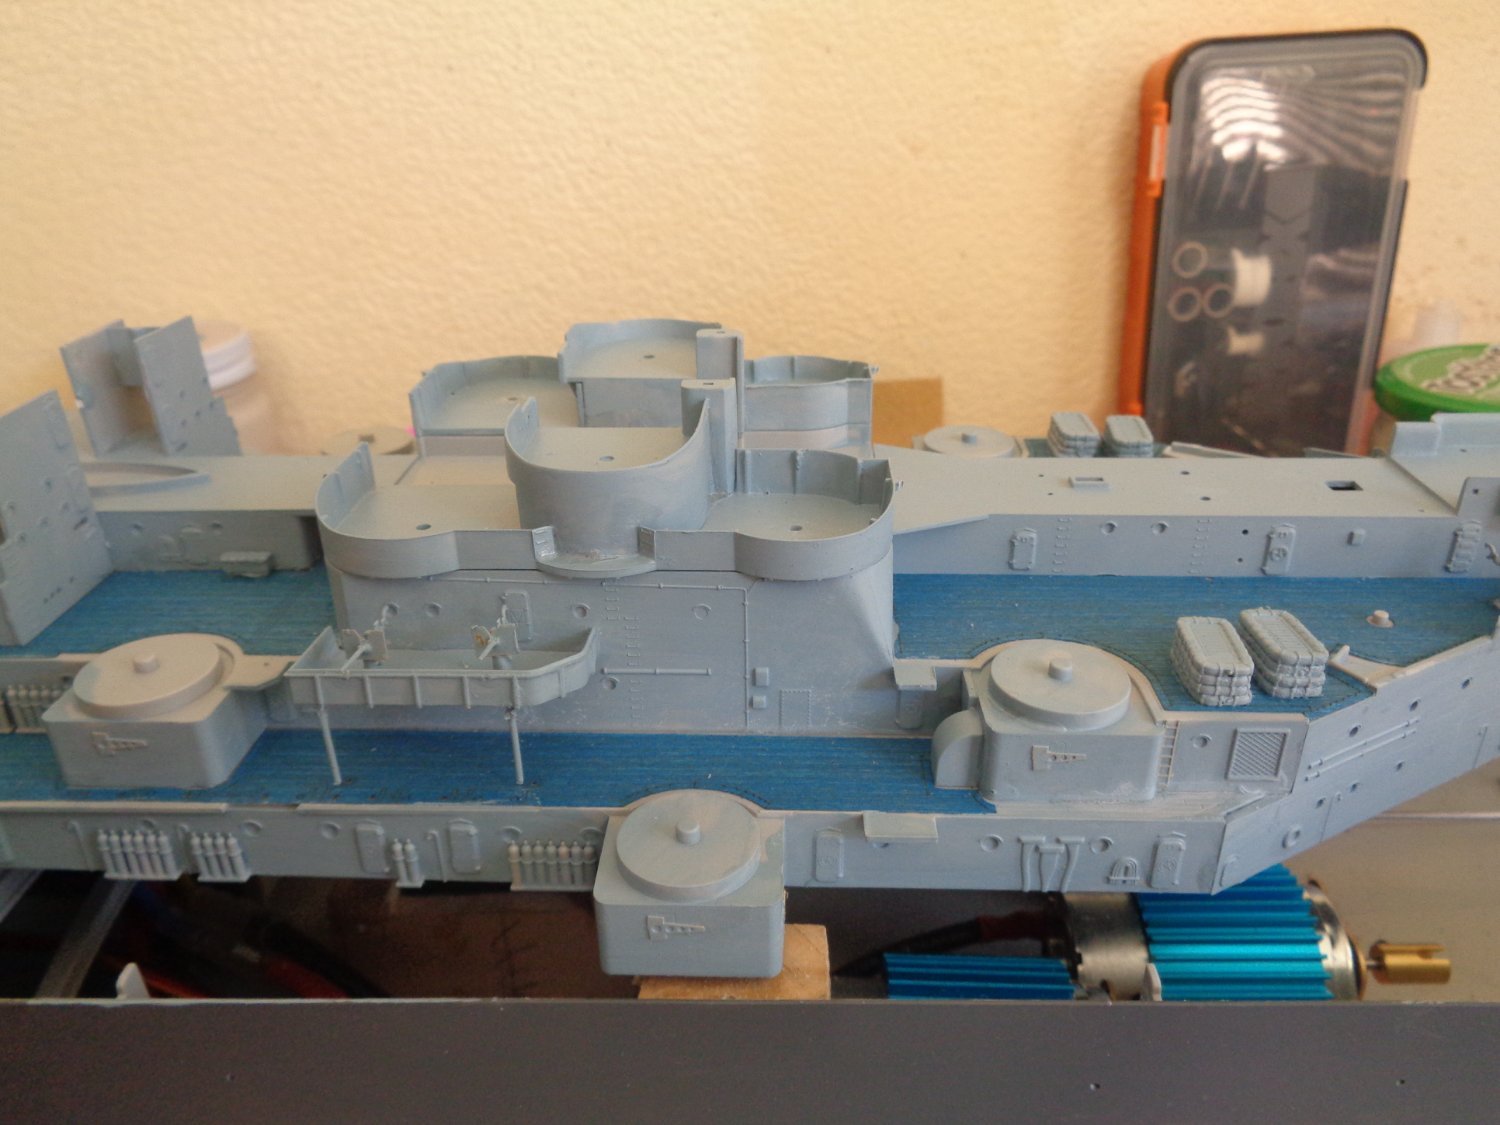
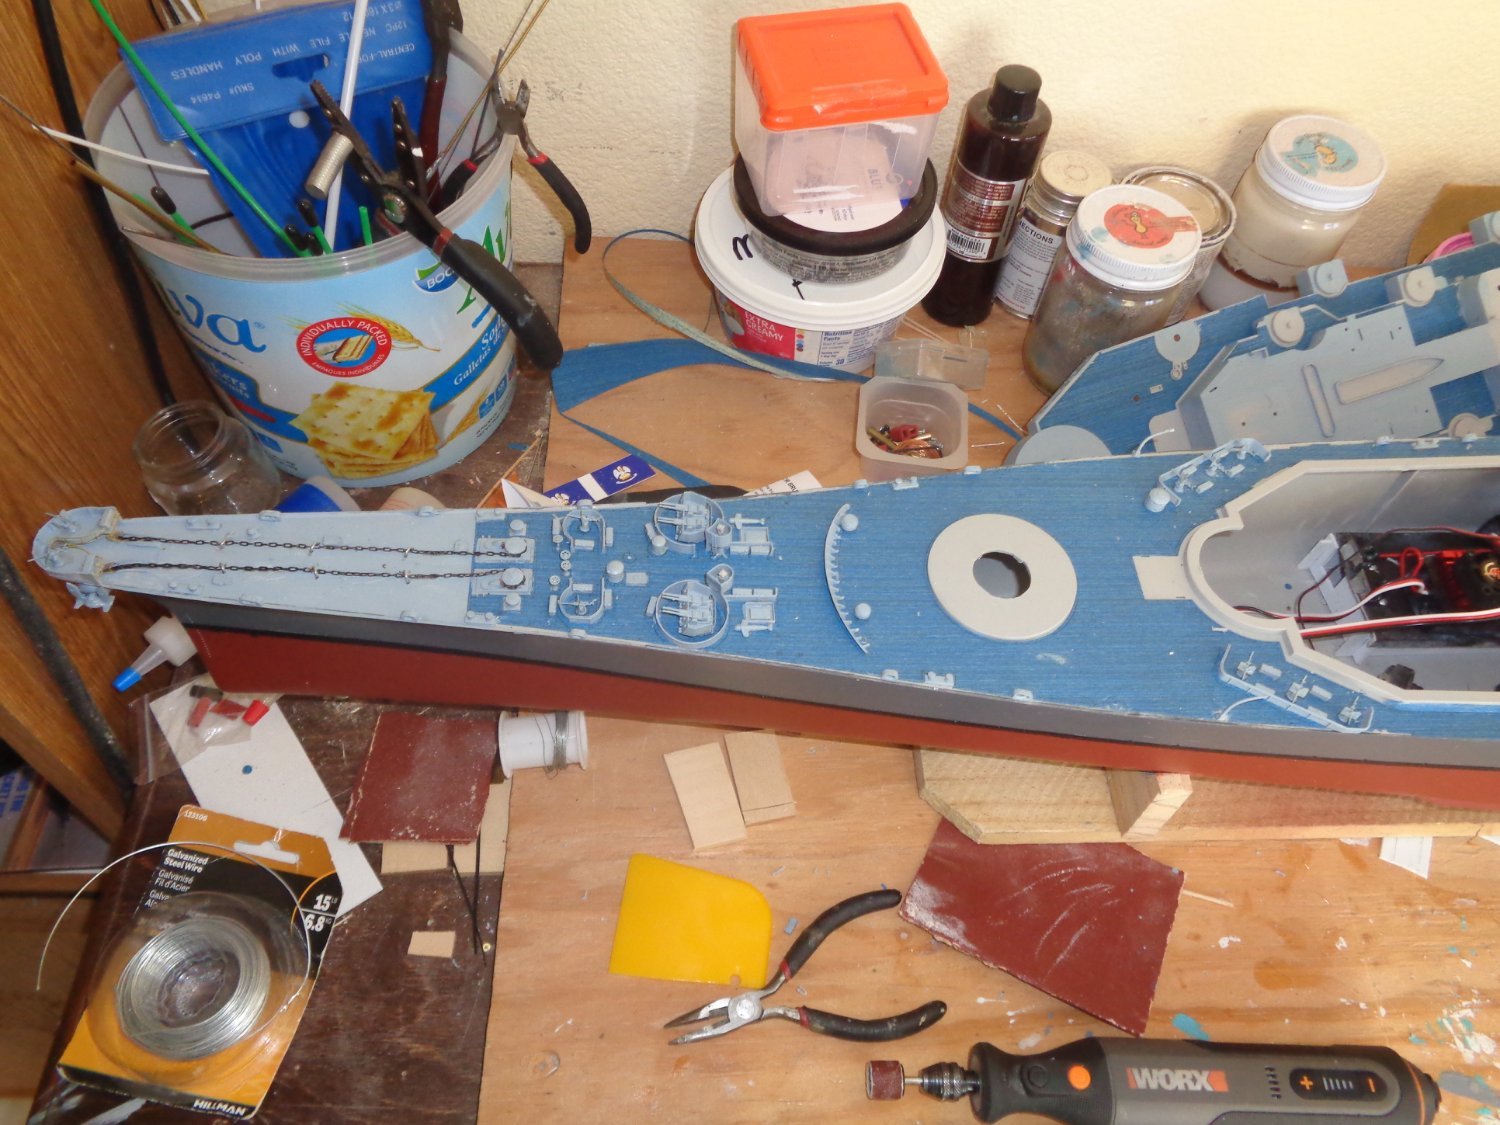
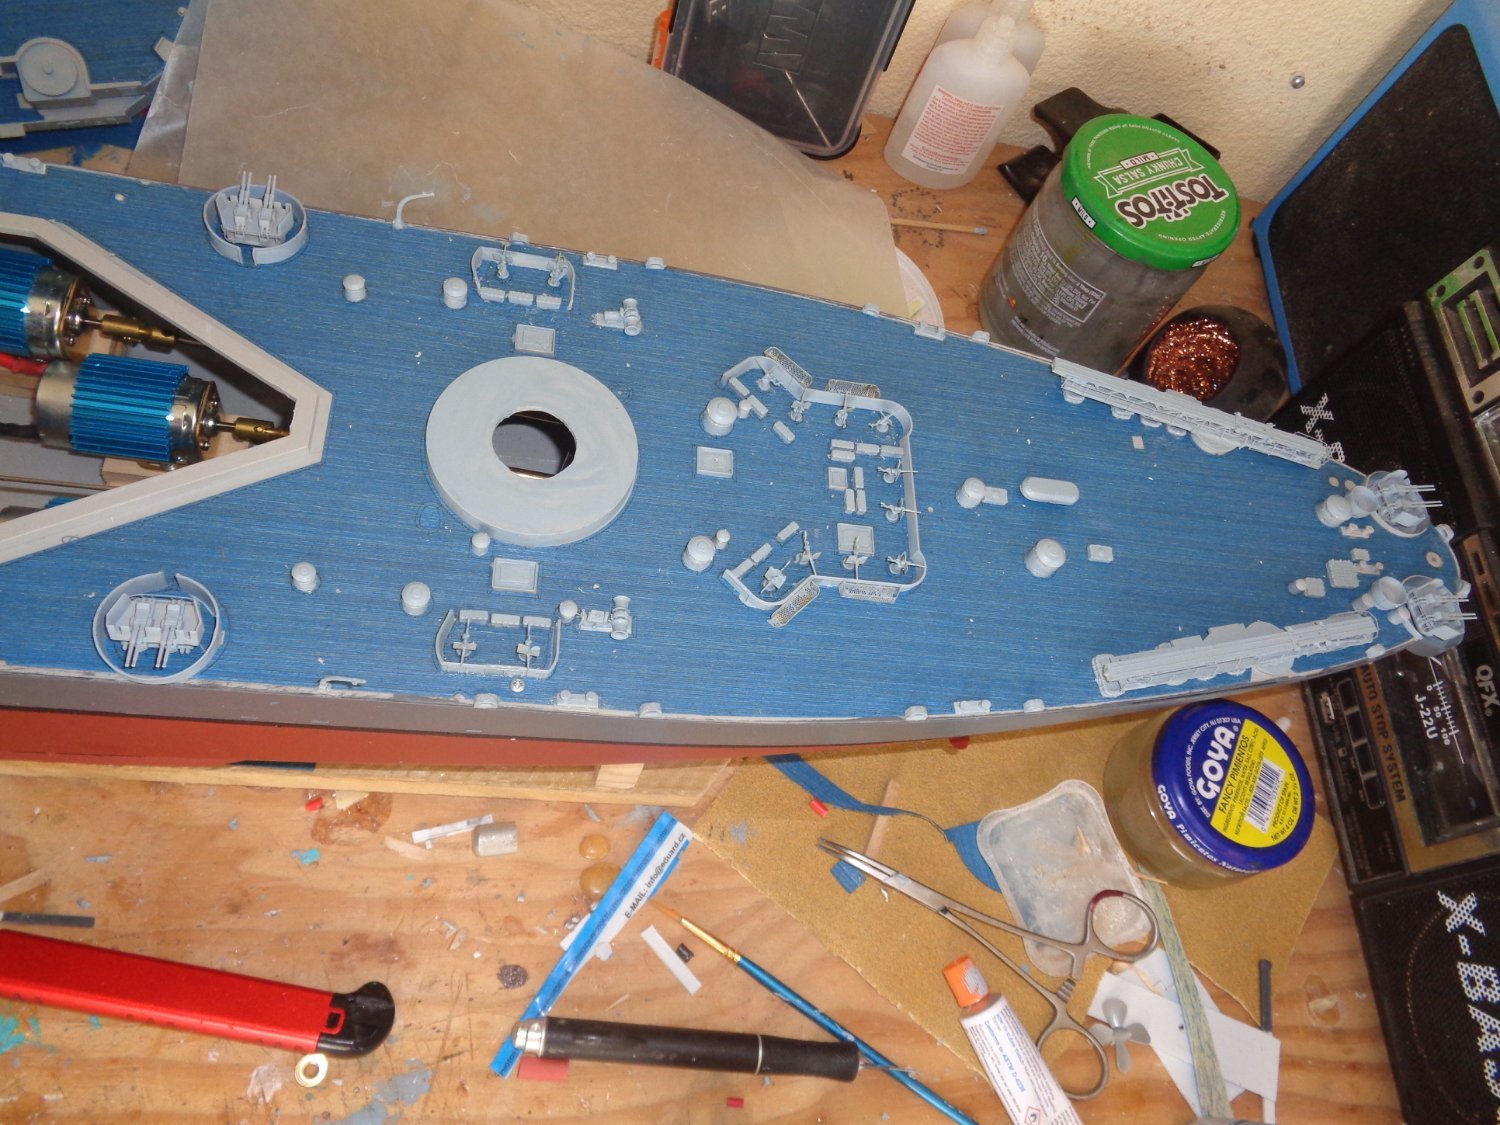
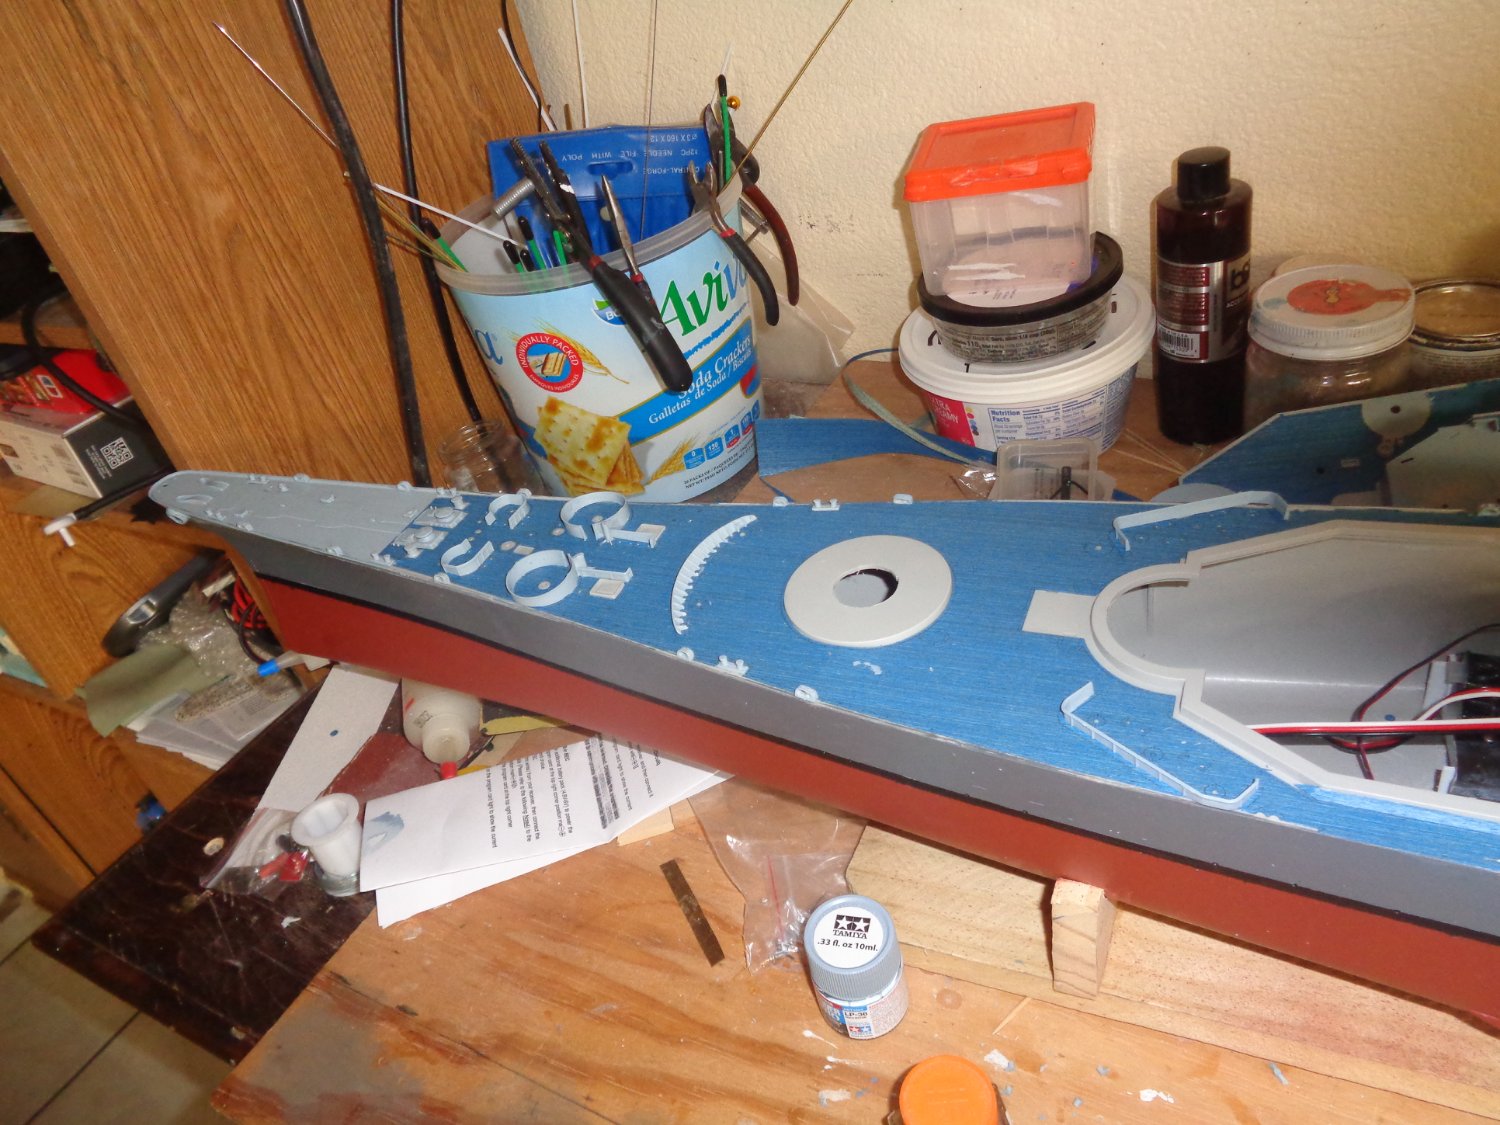
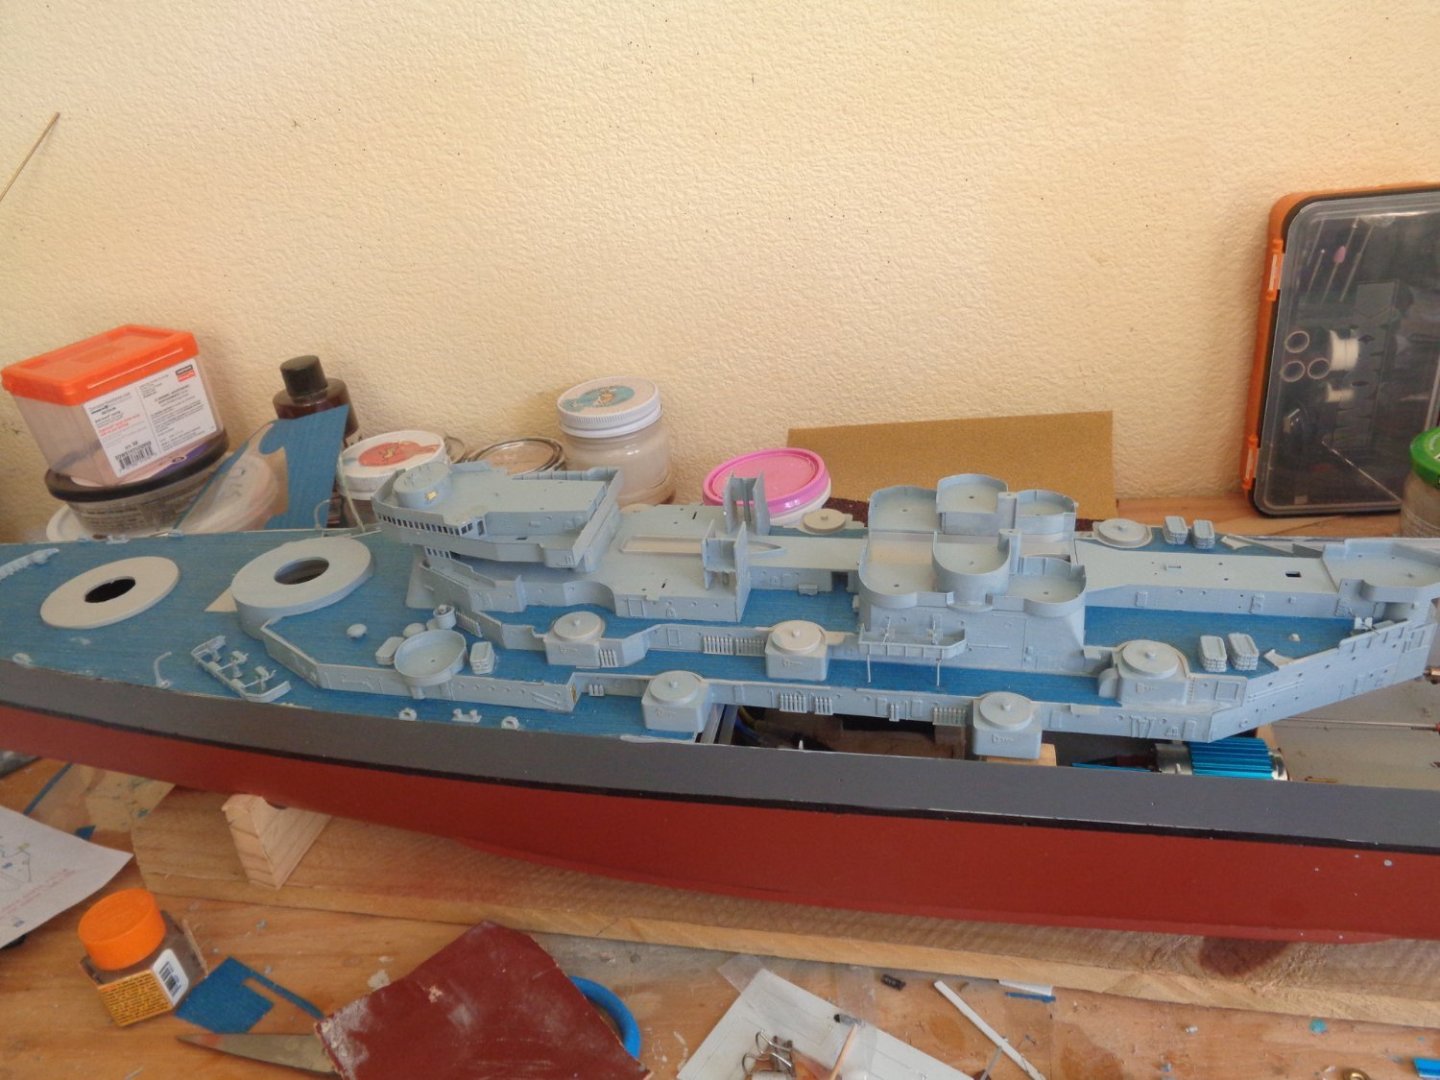
I have been steadily working on the Big Mo and getting some of the super structure built.


-
This is the transmitter I bought the other day that caused me such grief. Even with the mishap, I really like the radio, it looks like the stick of a jet fighter and great for one hand operation if filming and such. It was one of those Amazon purchases that my wife keeps questioning me about when the CC bill shows up in the mail. For $29.00 I just couln't pass it up, well I could, I just didn't want to.
-
Well......I hate it when a story starts out with (Well), but here it goes, I had a bit of a set back today with the Big Mo. I ordered a transmitter and receiver just for it so it can be offered ready to run with motors, speed controls, batteries, transmitter and receiver as well as the battery charger. The transmitter arrived today and while installing the receiver in the Big Mo and pulling out the old receiver from my old transmitter that I use mainly for RC builds, I decided to hit the throttle on the new transmitter without checking the throttle rates on the new transmitter and failing to make sure the propellers where clear of obstruction, I heard a sound that sent a shiver up my spine, kind of like two cats fighting in a brown sack. The transmitter was wide open, stuff went flying off my work bench. I was afraid to look, but I put on my big boy britches this morning and went for it. Yep, the two center brass props (5) blades no less were toast, stripped clean like a chicken leg when I finish with it. Not a blade left on either prop. Fortunately the two 4 blade outter props were fine. Those aren't petals from a flower folks, it's the blades from one of the props I was lucky enough to find.

-
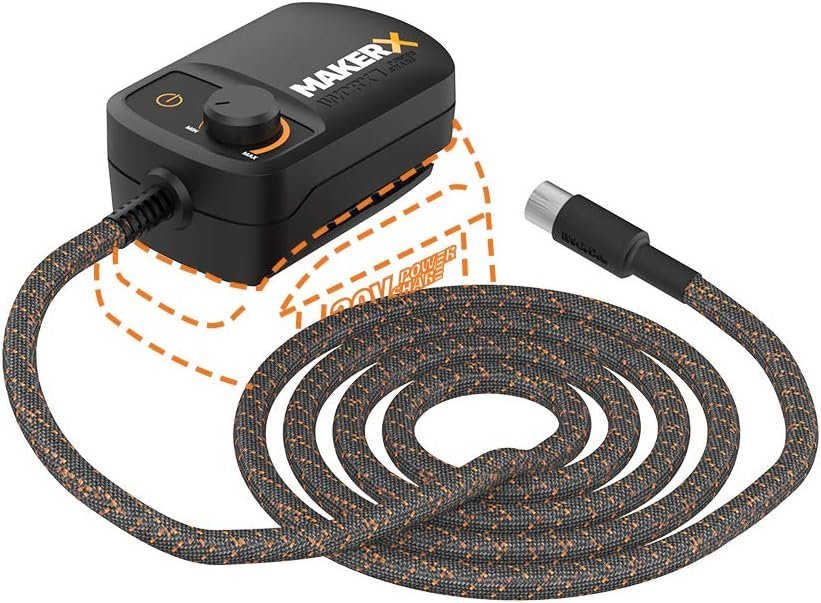
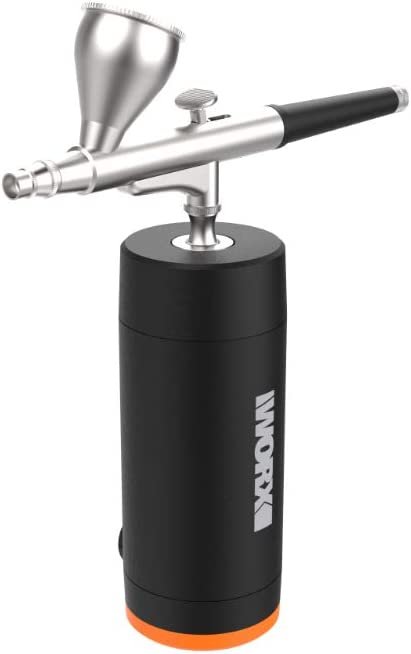
I have had a few people contact me about the portable airbrush from Worx. Now, I in no way ever intended to insinuate that the Worx MakerX portable airbrush could ever replace a regular airbrush with a real air compresor nor that it would equal a hobby grade airbrush setup. This system is mainly for light use and would be great for modelers who only use an airbrush on the rare occassion. It works perfectly for my application as a very novice person with an air brush with very limited experience due to it's ease of use, easy setup and cleaning. But, it ain't really that cheap. If you already have the Worx MakerX power share system like I do, it's a $50.00 investment for the airbrush. If you don't, then by the time you add the Power share Hub, 20v battery, charger and airbrush, you will have well over $125.00 invested, which isn't a lot less than most cheaper Hobby grade airbrush setups that come with airbrush and compressor. I hope this clarifies my earlier post a bit better.
-
I just tried the Makerx Airbrush on a bunch of the parts still attached to their sprues and I must say, I'm delighted with the results. I got a much better coverage with one coat versus two with a brush and it took a lot less time and I used a lot less paint. However, I'm not an expert with airbrushes and honestly, this was my first time using one. It's easy setup, compact, easy to use and best of all easy cleanup as well. So although this setup isn't what you would call a true airbrush system, for the budget minded, novice who only has limited usage for such a tool, it works perfect for my needs.
-
It kind of reminds me of one of those make up airsprayers for women to spray on their make up. I think it might work out OK form small craft applications, but not for bigger more complex stuff. I've yet to try it out, but when I do I'll post whether or not it's worth while.
-
It's a shame he didn't want the hull. Now the hull without the fittings is almost worthless. The Blue Jacket Constitution cost around $500.00 new, so even if he had to get then hull to get the fittings, he would have still gotten a hell of a deal and he would be stuck with the hull. I'm sure Blue Jacket will sell the fittings package separately, but it would cost $300.00 or more.
I made the mistake of adopting a partial built blue jacket model years ago and inquired about buying the fittings from blue jacket, who gladly sent me the fittings package for almost what the original kit cost.
-
Your right, but fortunately I painted quite a bit of the parts while they were on the sprues or parts trees, to try and minimize the painting once the parts are installed. My daughter bought me a airbrush attachment for my Worx Makerx rotary tool that she bought me last year for my birthday. So she showed up today with the airbrush attachment for this years birthday and might I say right on time. It's nothing fancy mind you, but it will get the job done and easier than the old brush on those small parts.
-
May I ask why you would sell the USS Constitution Hull separately from the fittings package you have listed below? I'm sure there are plenty of folks who would have gladly paid $100.00 plus shipping and even more for the setup me included had I wanted to build another Constitution.
-
I know what you mean, you can even find some orphaned projects at these venues looking for a new home.
-
I hope you win. I usually build a display/transport base for my models, which allows me to strap them down to the base when need be. As far as durability, I use Tamiya glue for the plastic parts, which causes the plastic to literally fuse together. On the metal parts or parts that I want to bond instantly so I don't have to hold them for 30 minutes and the PE brass parts, I use CA glue with a kicker, which causes the bond to be instant and strong. But, you better be right the first time because getting the parts apart is a bear.
-
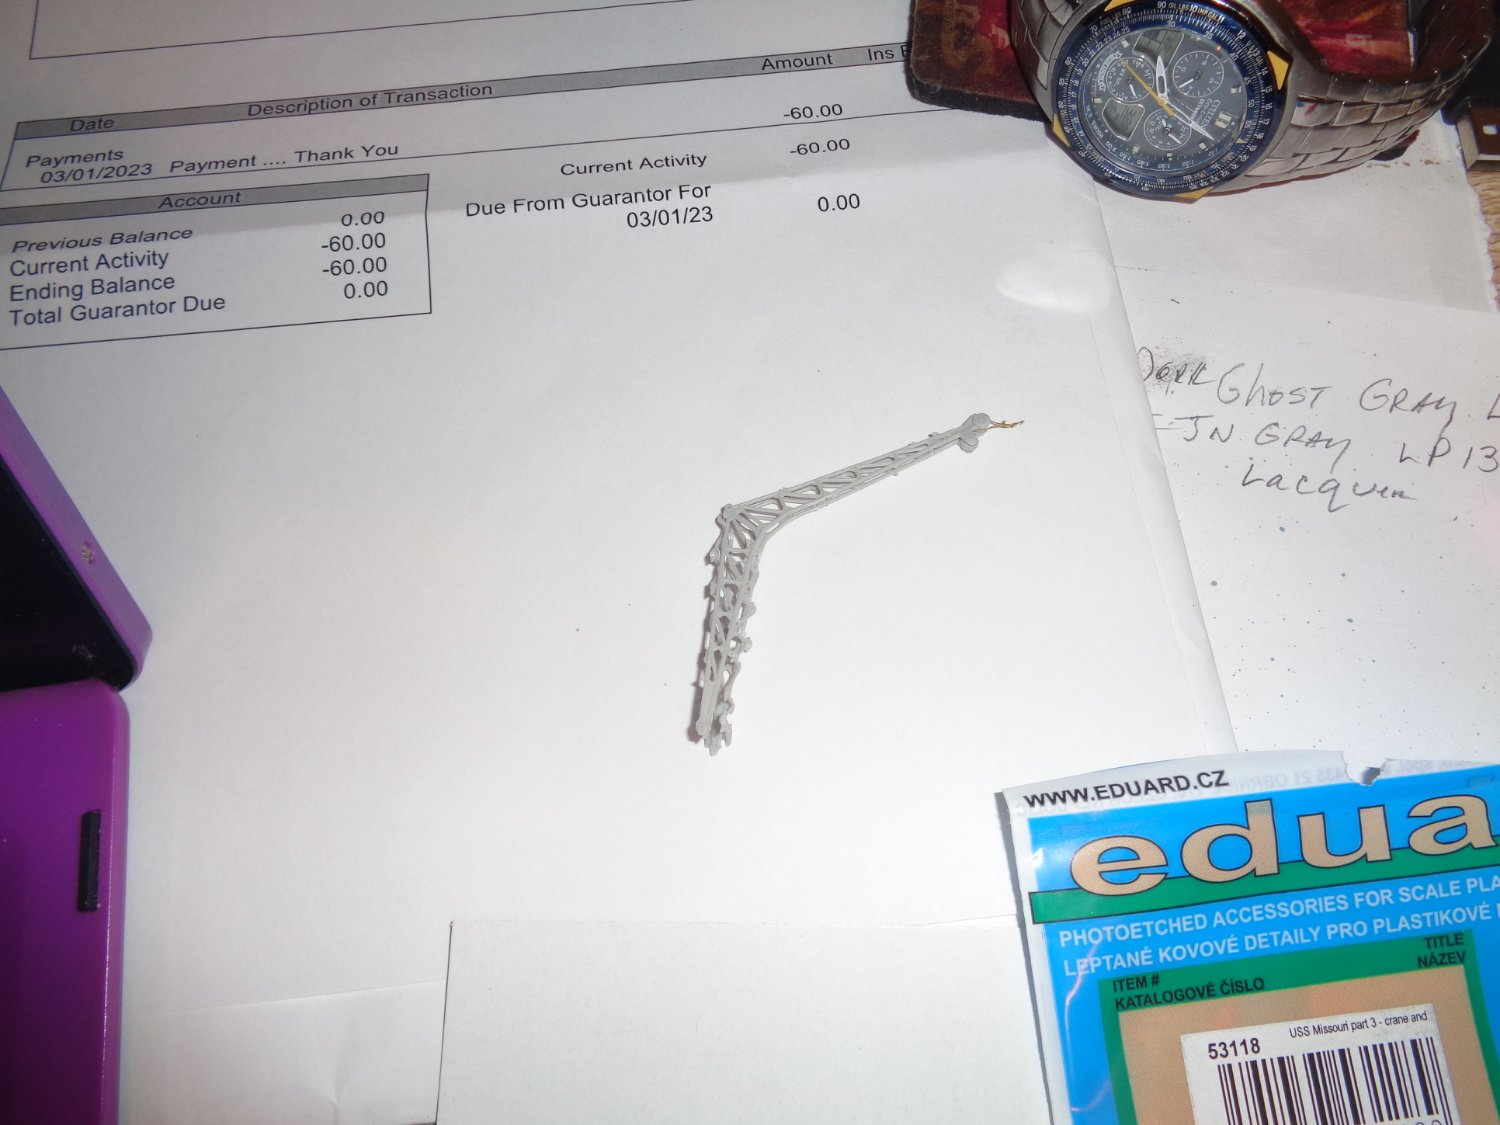
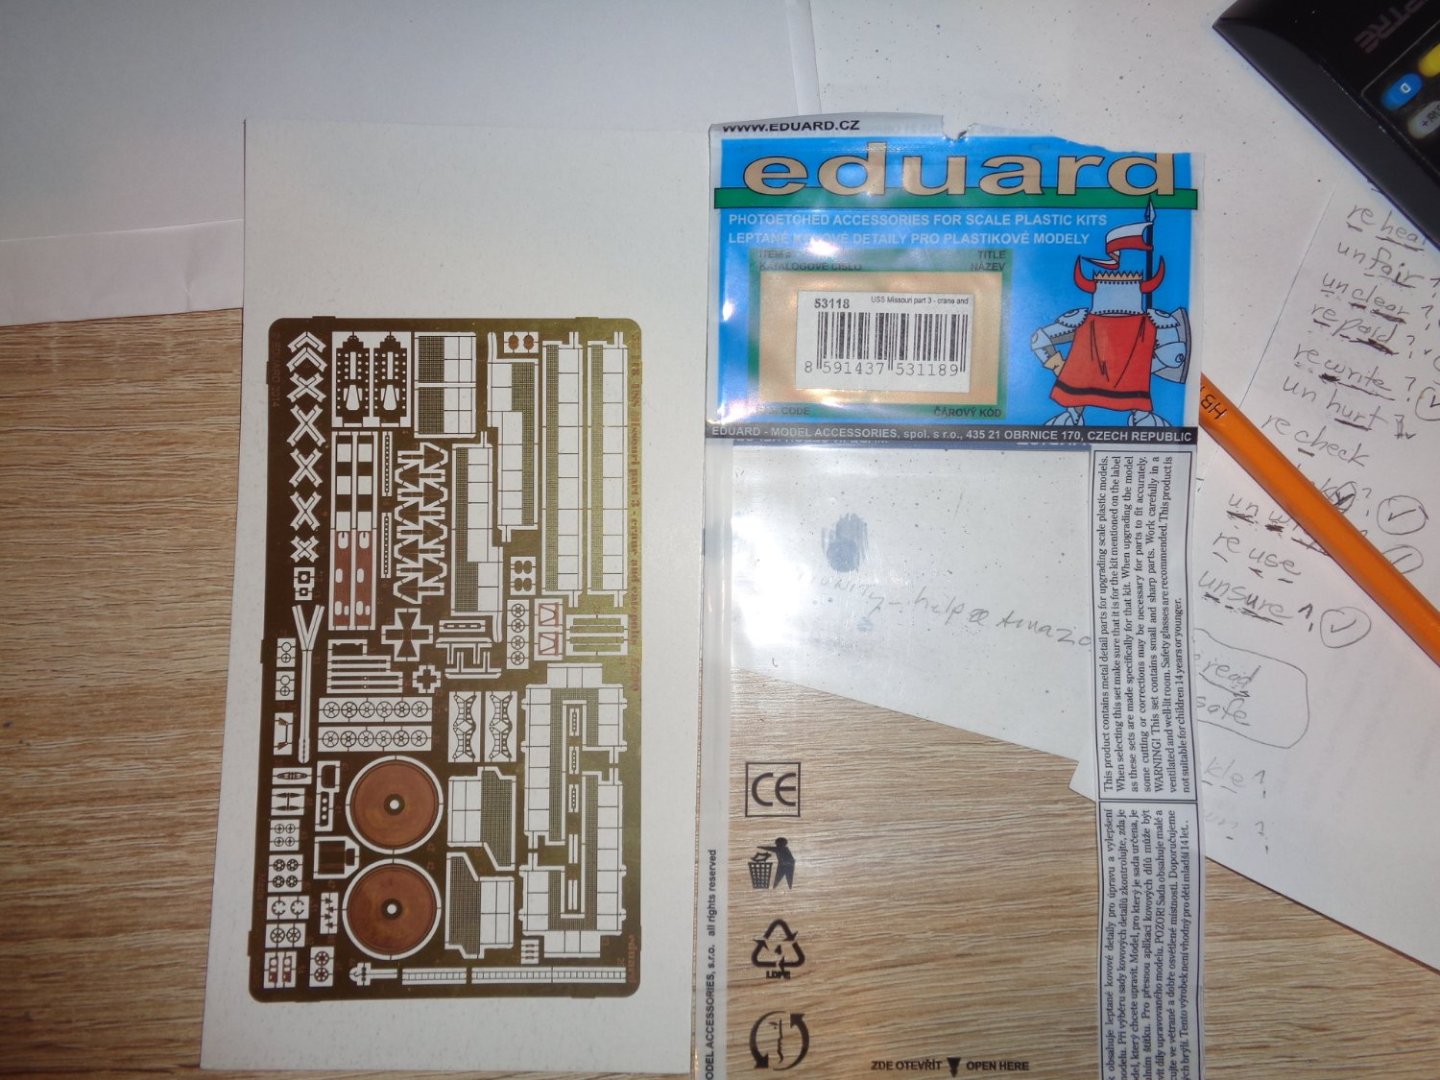
Well against my best judgement, I ordered a PE (photo etched) brass crane and catapult sheet from from Sprue Brothers for a sum of $34.00 shipped. I put together the plastic crane and catapult systems and although they were adaquate although a might rough they would be acceptable, but I thought maybe a photo etched crane out of brass would look more detailed. So I ordered the PE sheet and it arrived today. To my surprise, there were no crane unlike the what the description said. You have to use the plastic crane from the kit while using brass inner supports from the PE sheet. That blows!! So that was a total waste of $34.00 on a very misleading description.

-
Yep the old Ebay ship model kit purchase, I think we have all been there and done that, hoping everything is in the box when it arrives only to realize there are parts missing from parts of the model to plans and instructions. After your first or second model, you will toss the instructions, which at best are confusing and at worst down right misleading and build mainly by the plans or drawings. You will also learn that basically all ship models are built the same with only a few differences.
-
I'm using Tamiya IJN Gray LP13 flat lacquer paint for the upper portion of the hull and Dark Ghost gray LP36 flat lacquer paint for the super structure and deck fittings, which actually looks more like a light blue than gray, but I liked then name Dark Ghost gray.
-
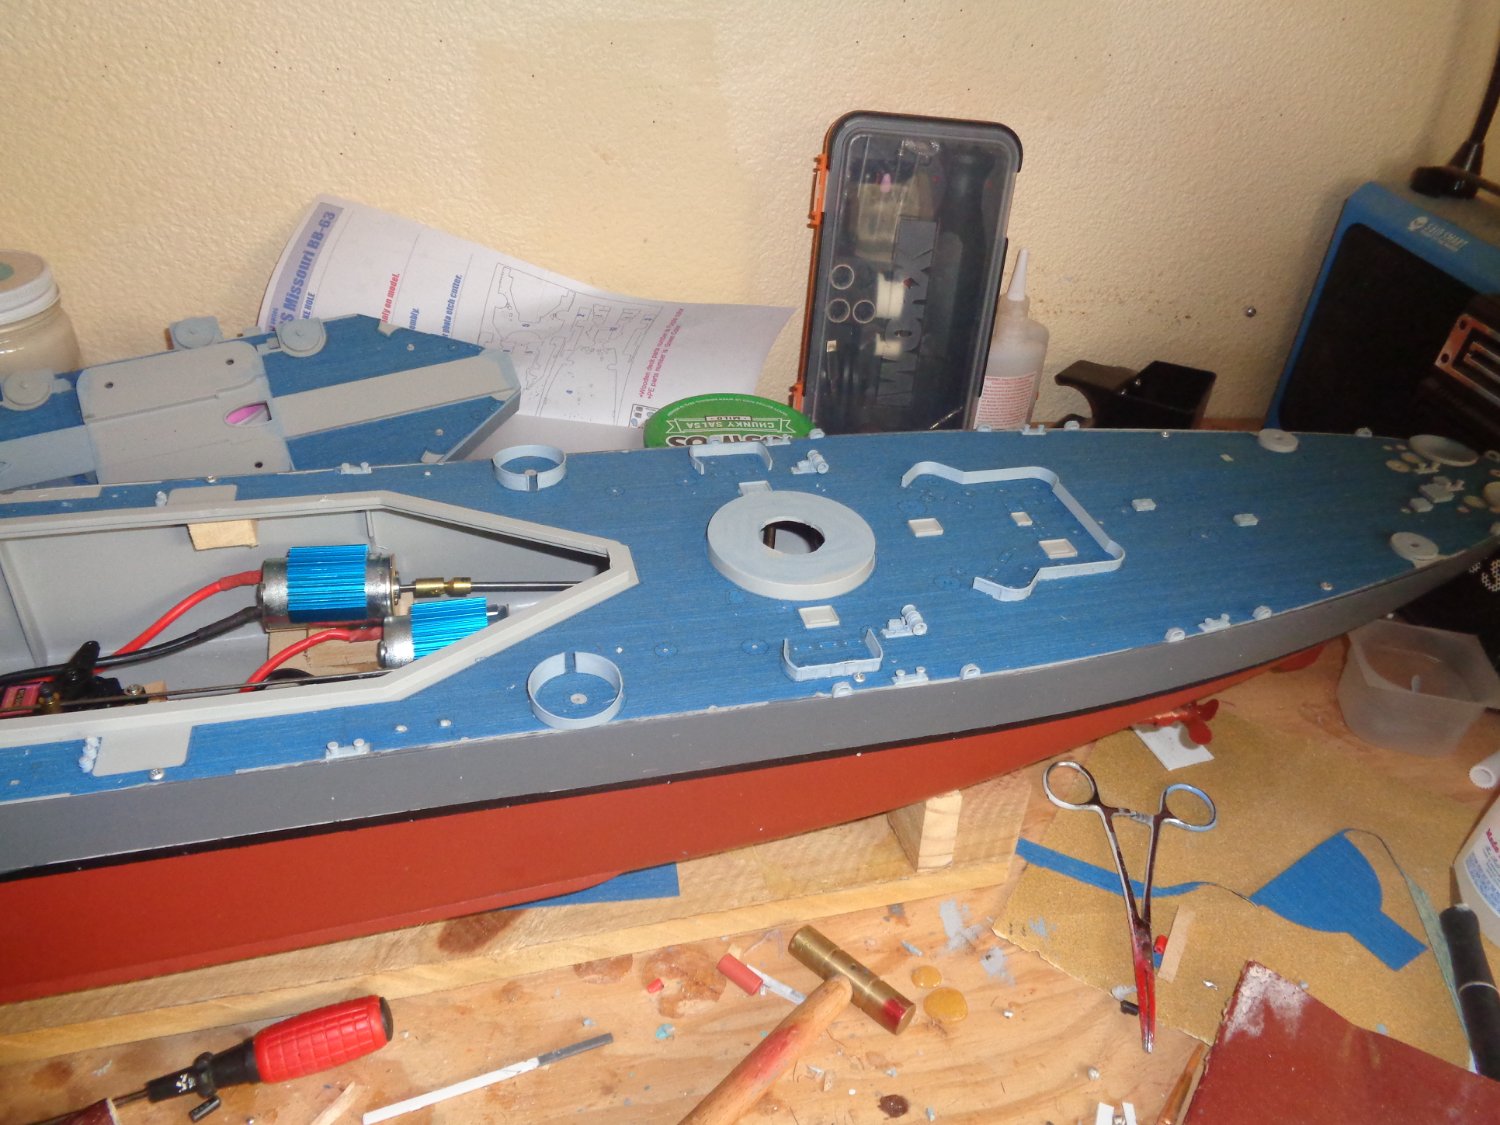
I was having a battle with myself on how to allow access to the stern portion of the ship once the deck was attached to allow access to the rudder posts and rudder arms, which do require adjustments at times. I finally desided to glue blockes to the insides of the hull from midship back to the stern which allowed me to screw the rear half of the deck down. So now if access is required, you just have to unscrew the deck rather than glueing the rear deck to the hull like was done on the front half of the deck.
-
Thanks CD, a fellow modeller built the Trumpeter 1/200 scale of the Bismarck and met with me at Lake Dora and floated it around the boat ramp area and it was magnificent.