mtdoramike
-
Posts
2,094 -
Joined
-
Last visited
Content Type
Profiles
Forums
Gallery
Events
Everything posted by mtdoramike
-
I'm pressuring the heck out of him hahahahahaha.
-
Alright John, I'm glad to see her being adopted to a worthy home and getting the care she so craves. Looking forward o the build.
-
I mentioned adopting another orphan and it didn't go over very well, I remember something about a moving truck, packing of bags, and needing another place to live. So I'm hoping someone else fairly close to you will step up.
-
Well, I would have loved to finish it because it would be a shame for it to wind up in the dust bin after all the nice work you have put it her. She deserves to be all that she can be. But alas, I'm a bit to far from you for pick up and shipping would be outragous. I would love for it to go to someone who will actually finish it and do a build log on here so we can see the finished product rather than snippers who just want something for nothing only to allow it to sit at someone else's home or workshop.
-
Looks like you are on a good start on the Biz. You got a smoking deal on it for sure. I'll be following along to see your progress.
-
1/200 Trumpeter IJN YAMATO - issued by MRC/Gallery Models
mtdoramike replied to yvesvidal's topic in REVIEWS: Model kits
I will not be displaying the USS Missouri when it's complete. My goal is to find it a good home with someone who would appreciate it and hopefully run it in their local watering hole, which will put the display burden on them. I try not to have buyers remorse and just try and make do with what I'm presented with, but it can be a might disconcerning at times.- 104 replies
-
- 2
-

-
- MRC/Gallery
- Yamato
- (and 1 more)
-
1/200 Trumpeter IJN YAMATO - issued by MRC/Gallery Models
mtdoramike replied to yvesvidal's topic in REVIEWS: Model kits
Well your review indicates you are loving this kit and having loads of fun building it.- 104 replies
-
- 2
-
-
- MRC/Gallery
- Yamato
- (and 1 more)
-
1/200 Trumpeter IJN YAMATO - issued by MRC/Gallery Models
mtdoramike replied to yvesvidal's topic in REVIEWS: Model kits
You think?- 104 replies
-
- 2
-
-

-
- MRC/Gallery
- Yamato
- (and 1 more)
-
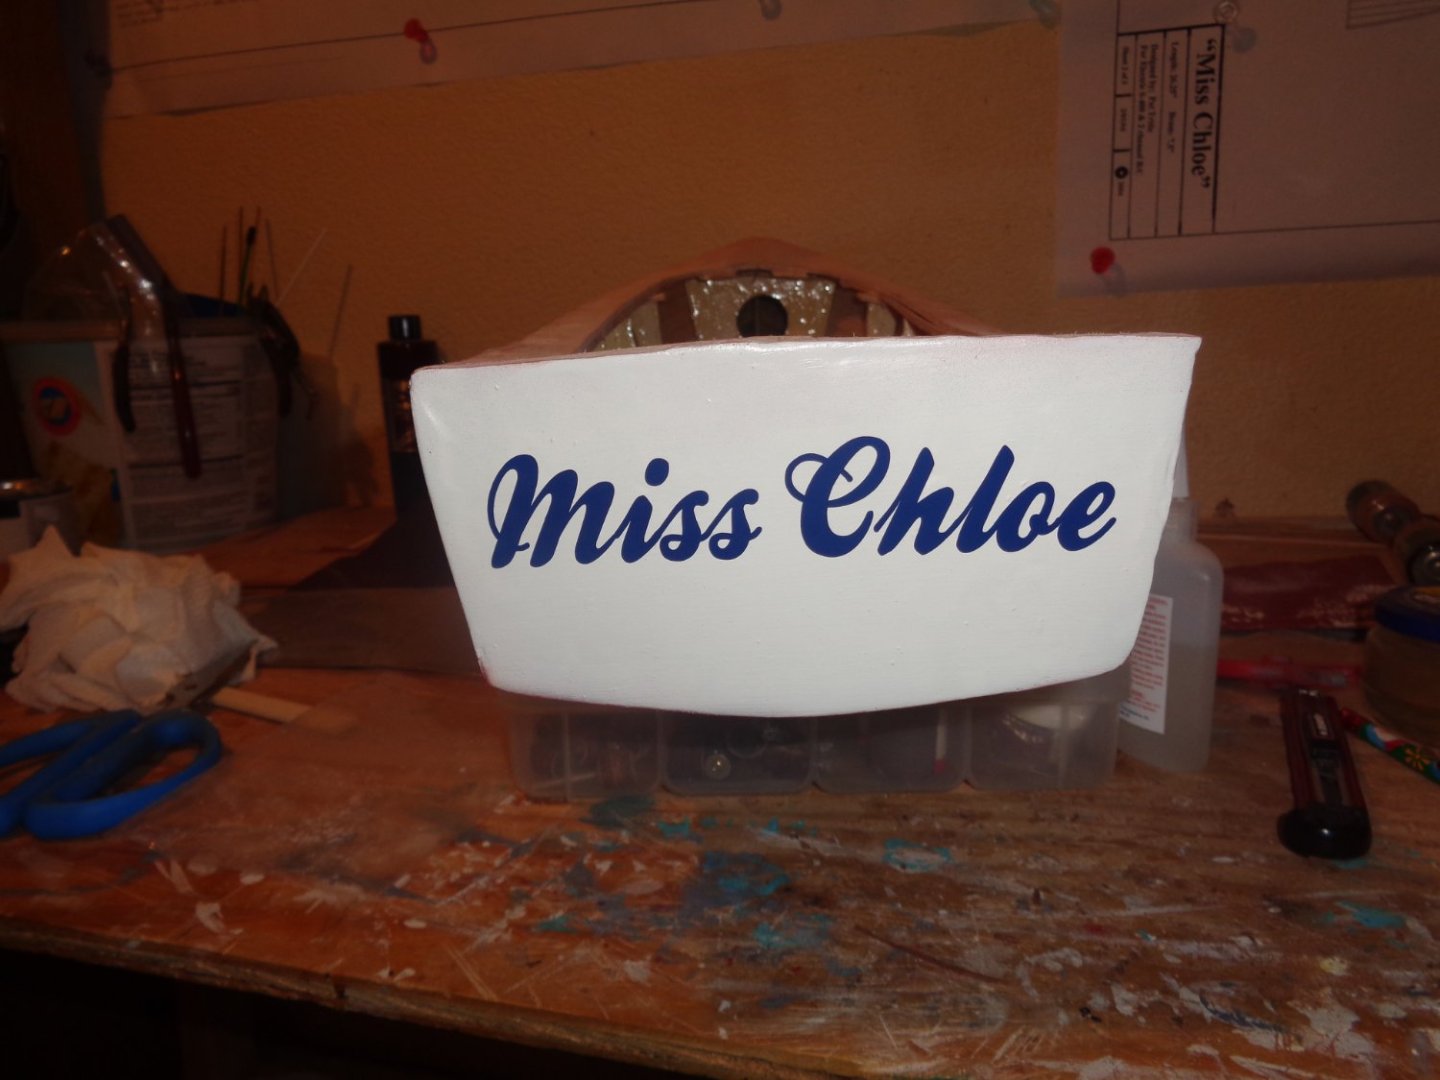
I got the hull painted and put the decal on the transom. I still have to seal the decal though.
-
Thye Mamoli 1/90 scale Victory retails new for around $800.00. The rulke of thumb is usually 50% of retail on resale of kits. But it really comes down to what you want and what someone is willing to pay for it. If it's an out of production kit and someone just has to have it, the sky is the limit. I have seen this kit go for $250.00-$300.00 on Ebay. I know this is probably not the news you wanted to hear.
-
The Santa Ana has always been on my to do list as well. I'm hoping to see it offered in the U.S. fairly soon.
-
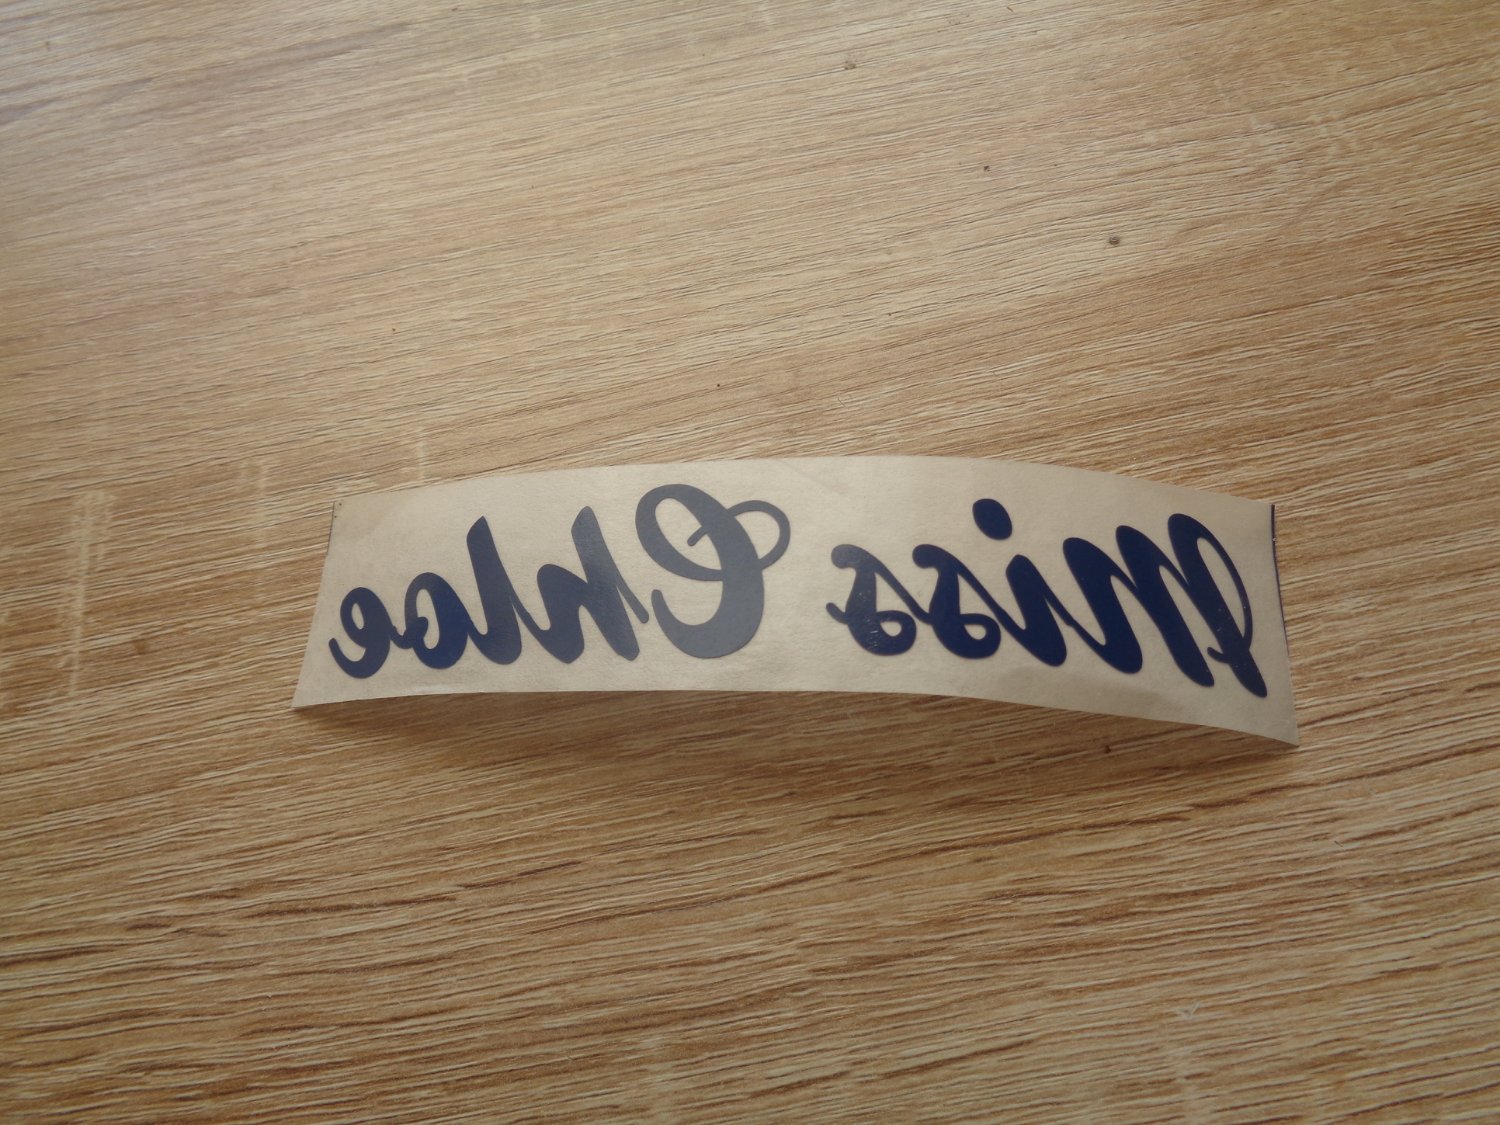
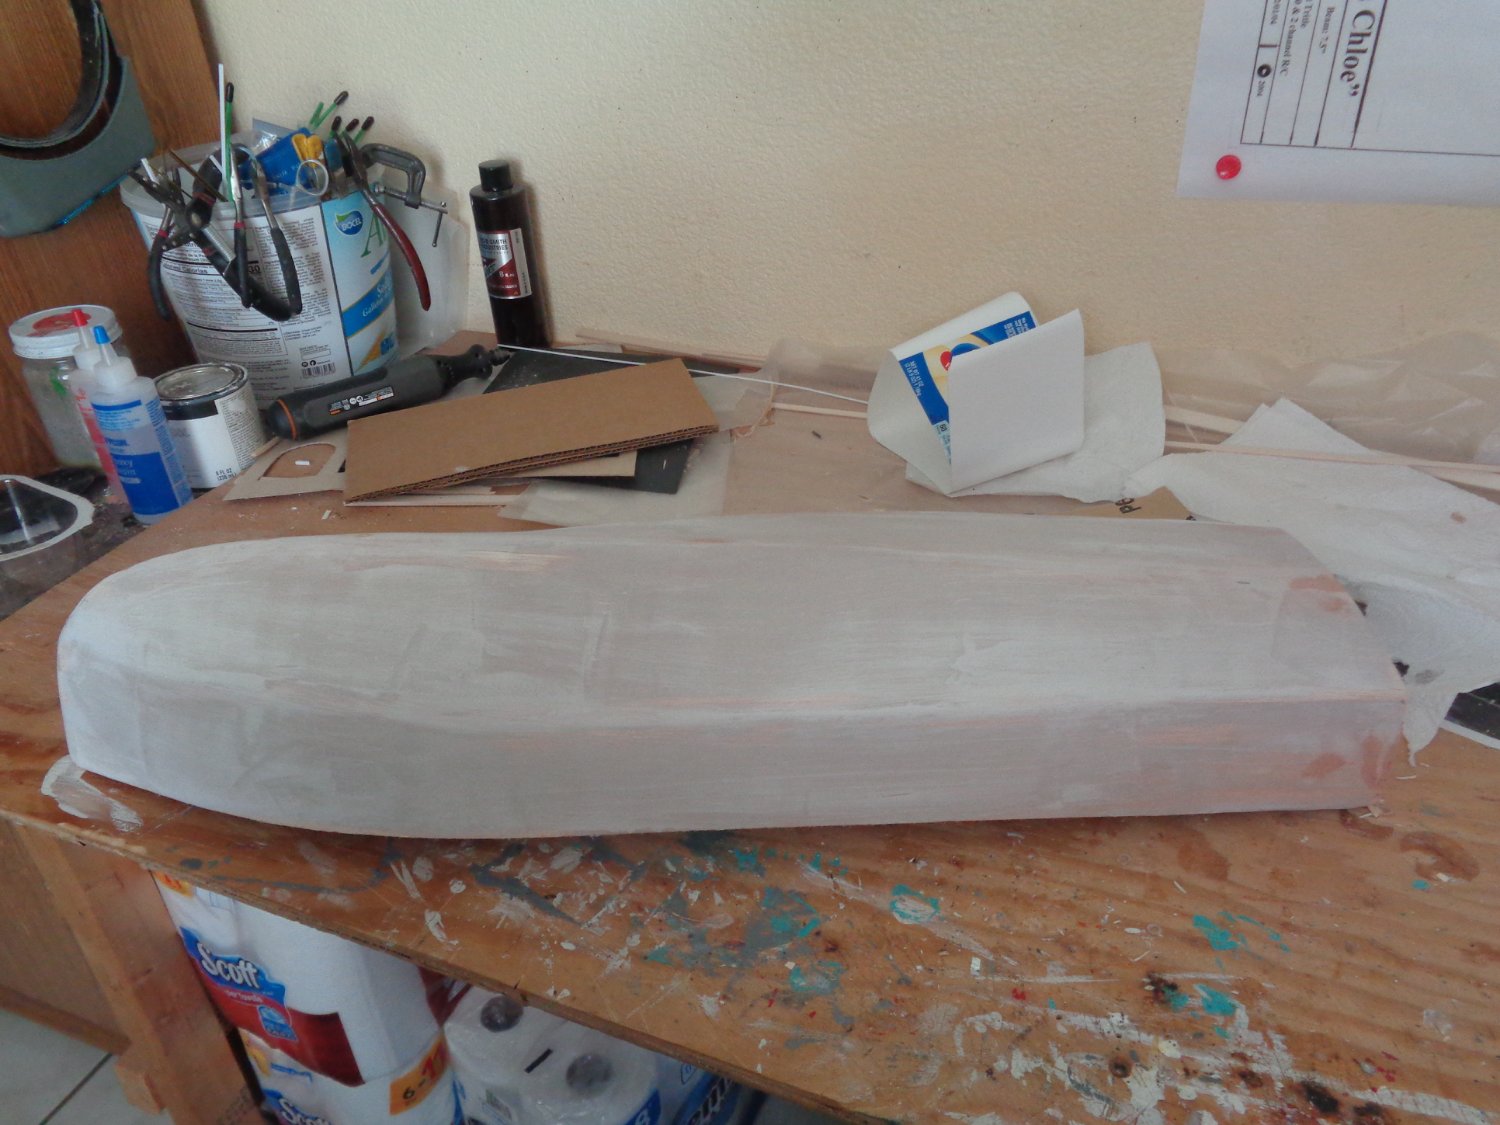
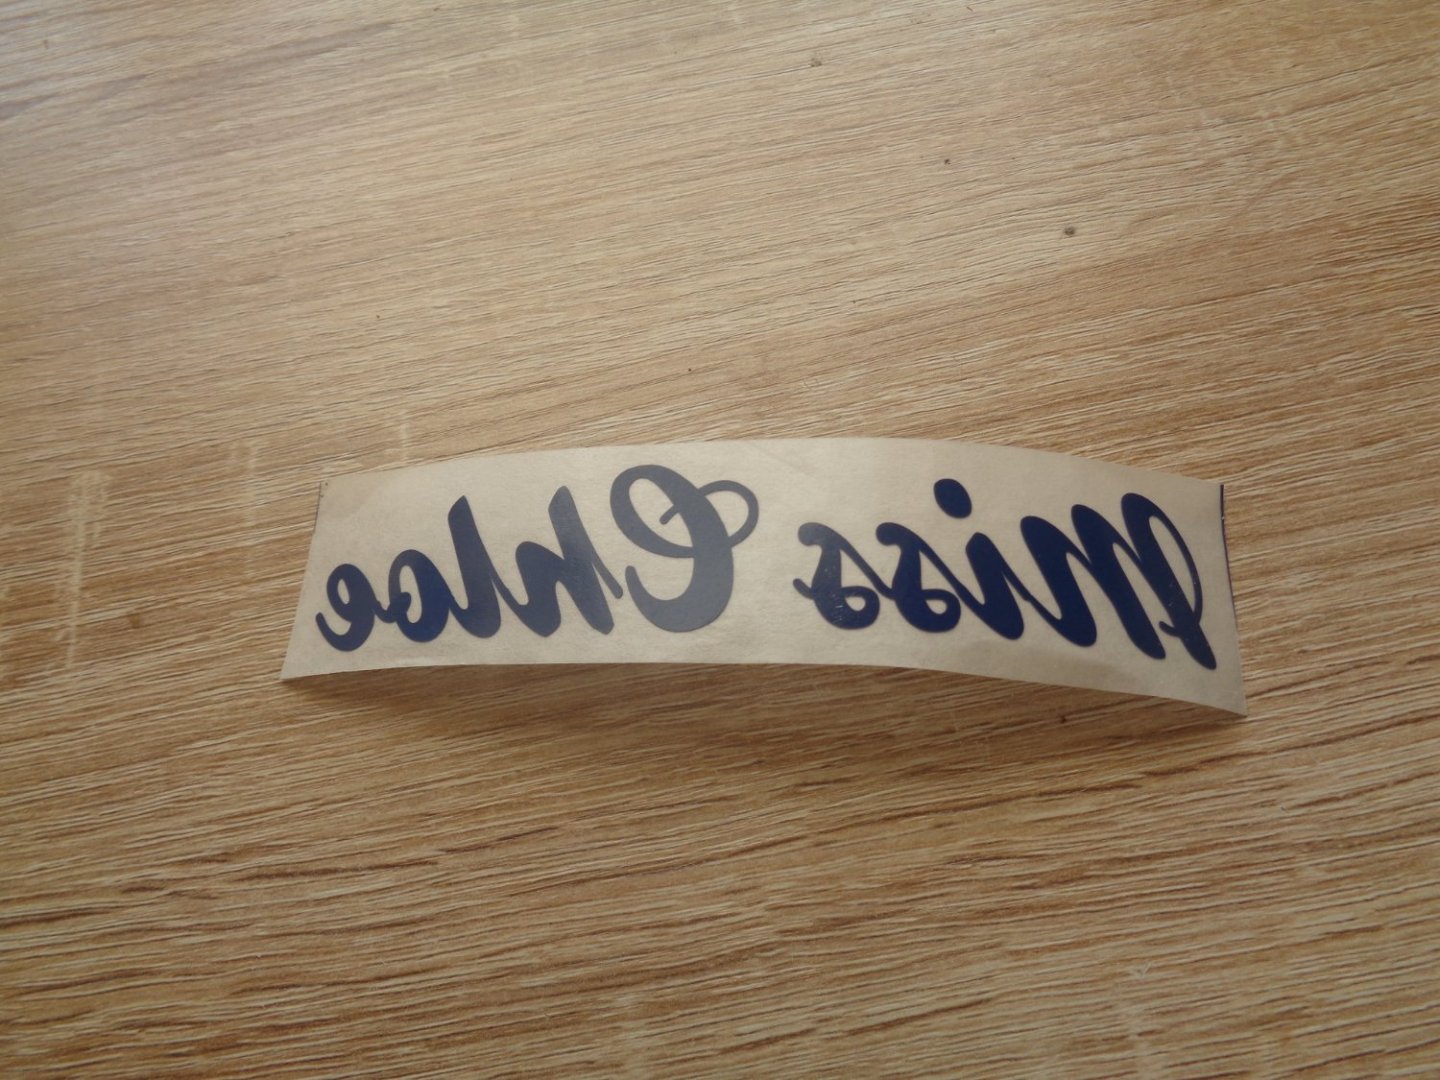
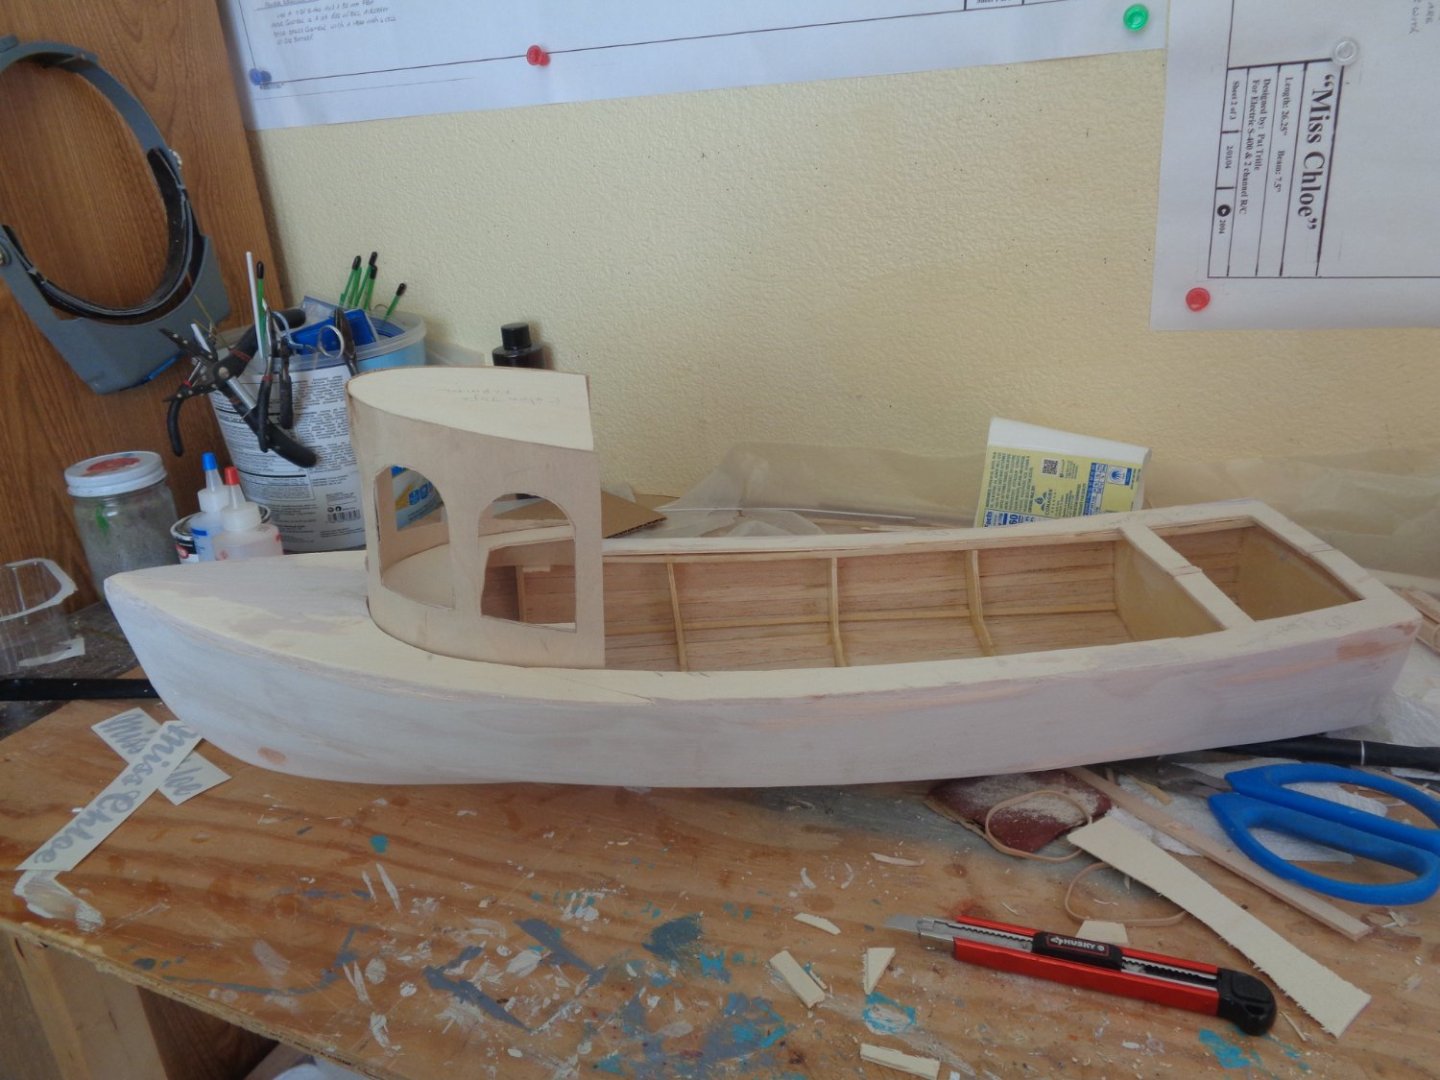
I laid down the cloth and resin in two coats after sanding inbetween. I also received the graphic for the transome the other day. "Miss Chloe in navy blue". Unlike the original, the predominant color of mine will be white.

-
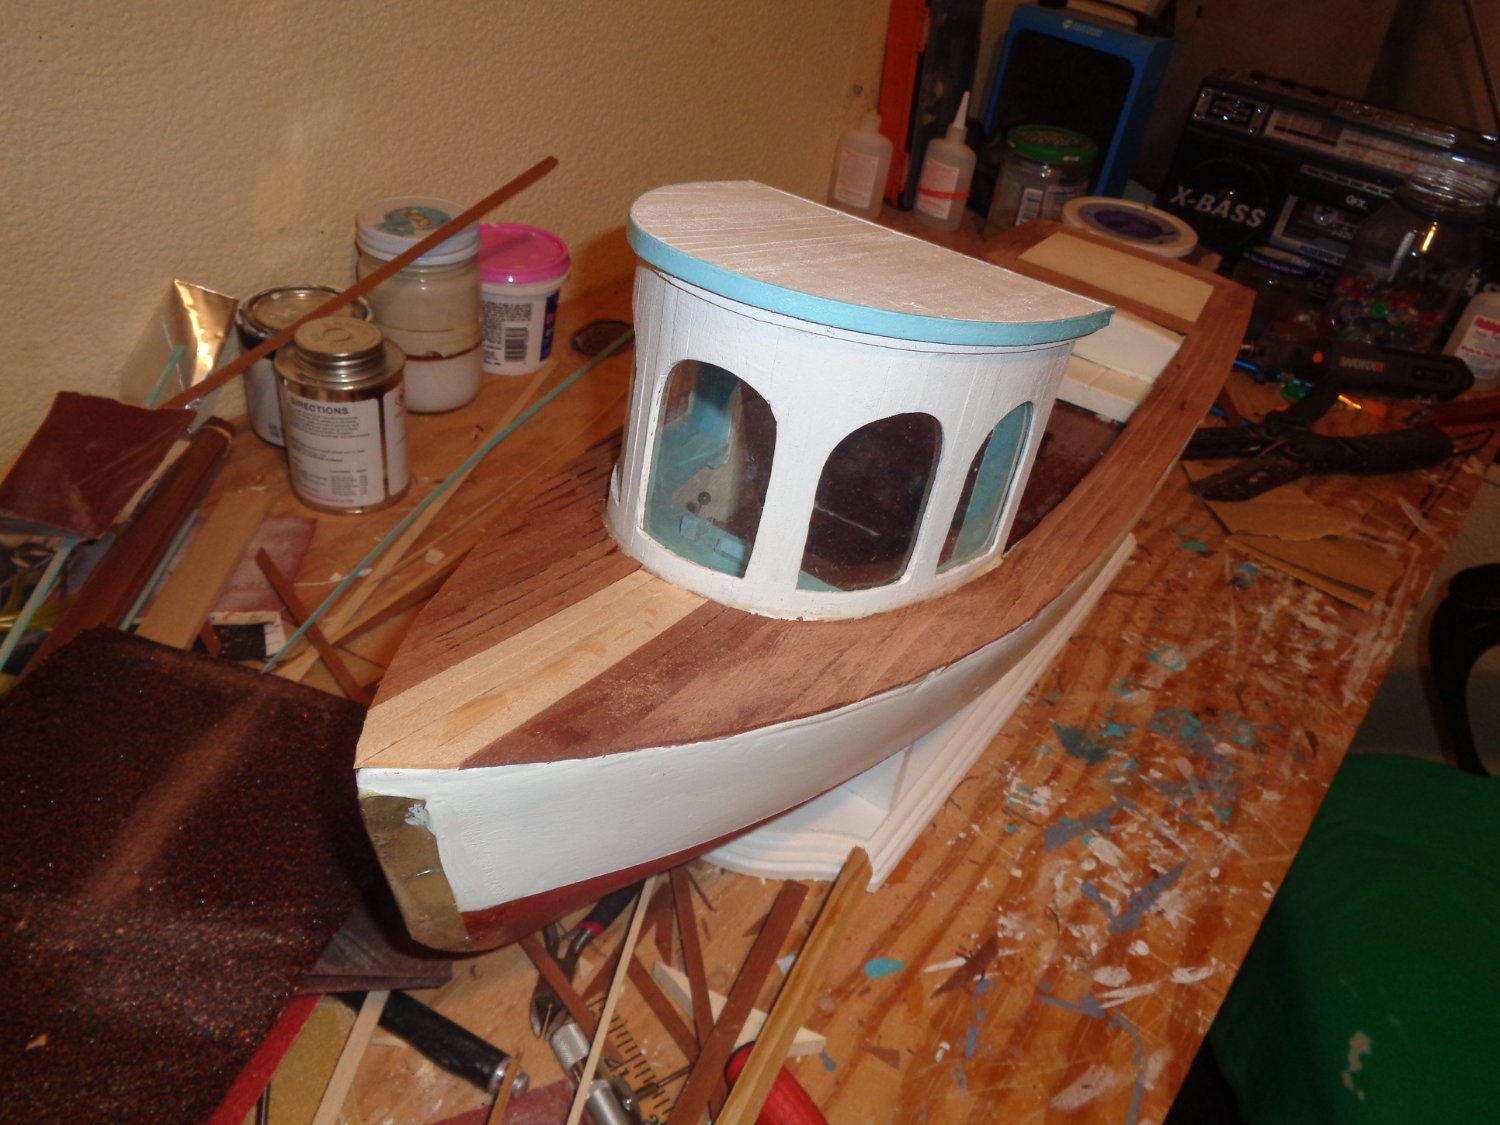
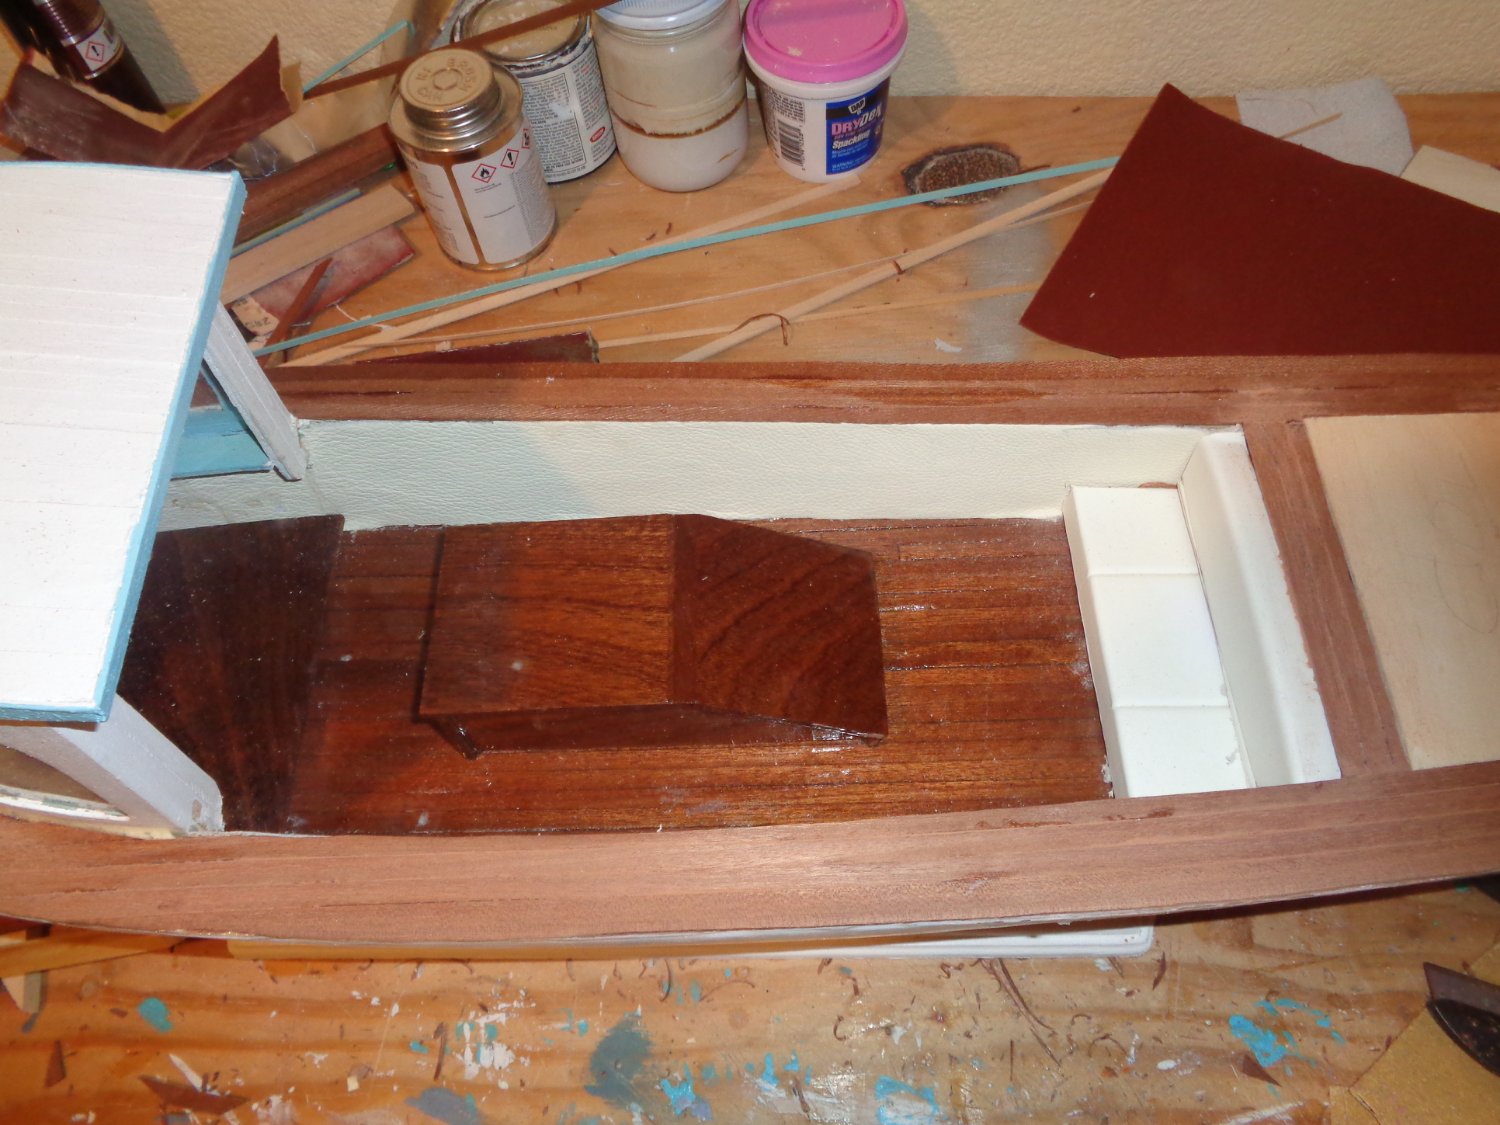
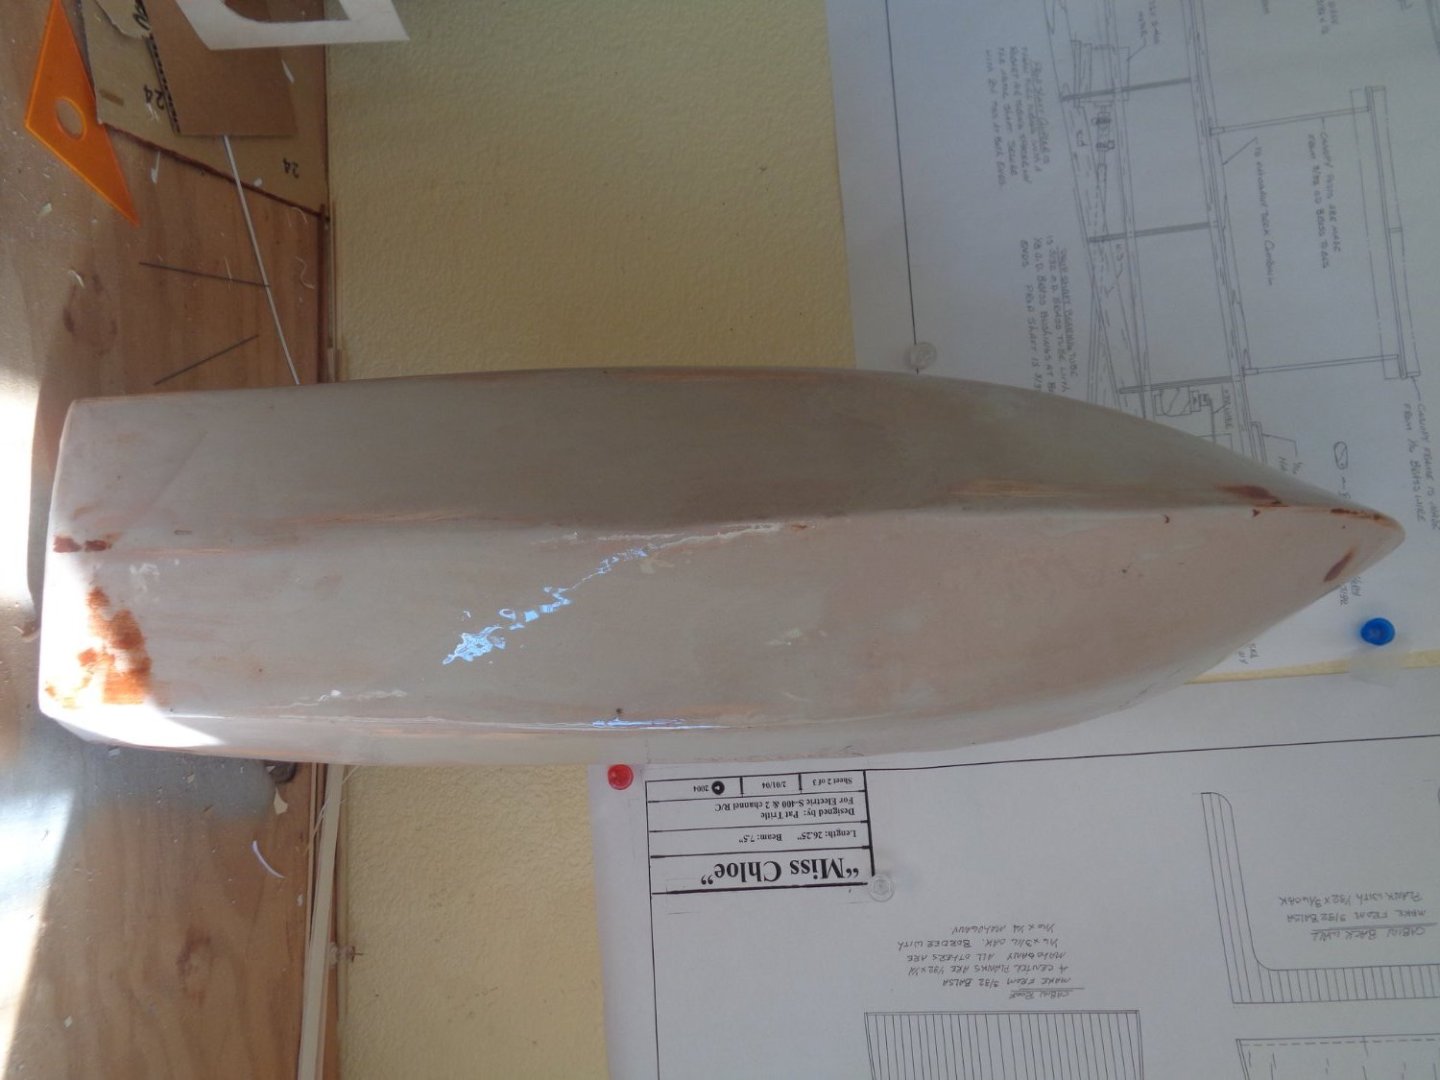
I got the hull all planked, skim coated with bondo. Next will be laying down the fiber glass cloth and resin when humidity lays down a bit. I also started working on the cabin structure.
-
I've finished planking the hull and skimming the exterior with body filler. I'll lay down the fiberglass cloth and resin when the humidity goes down a bit.

-
I tend to stay away from Modelers Central because of this.
-
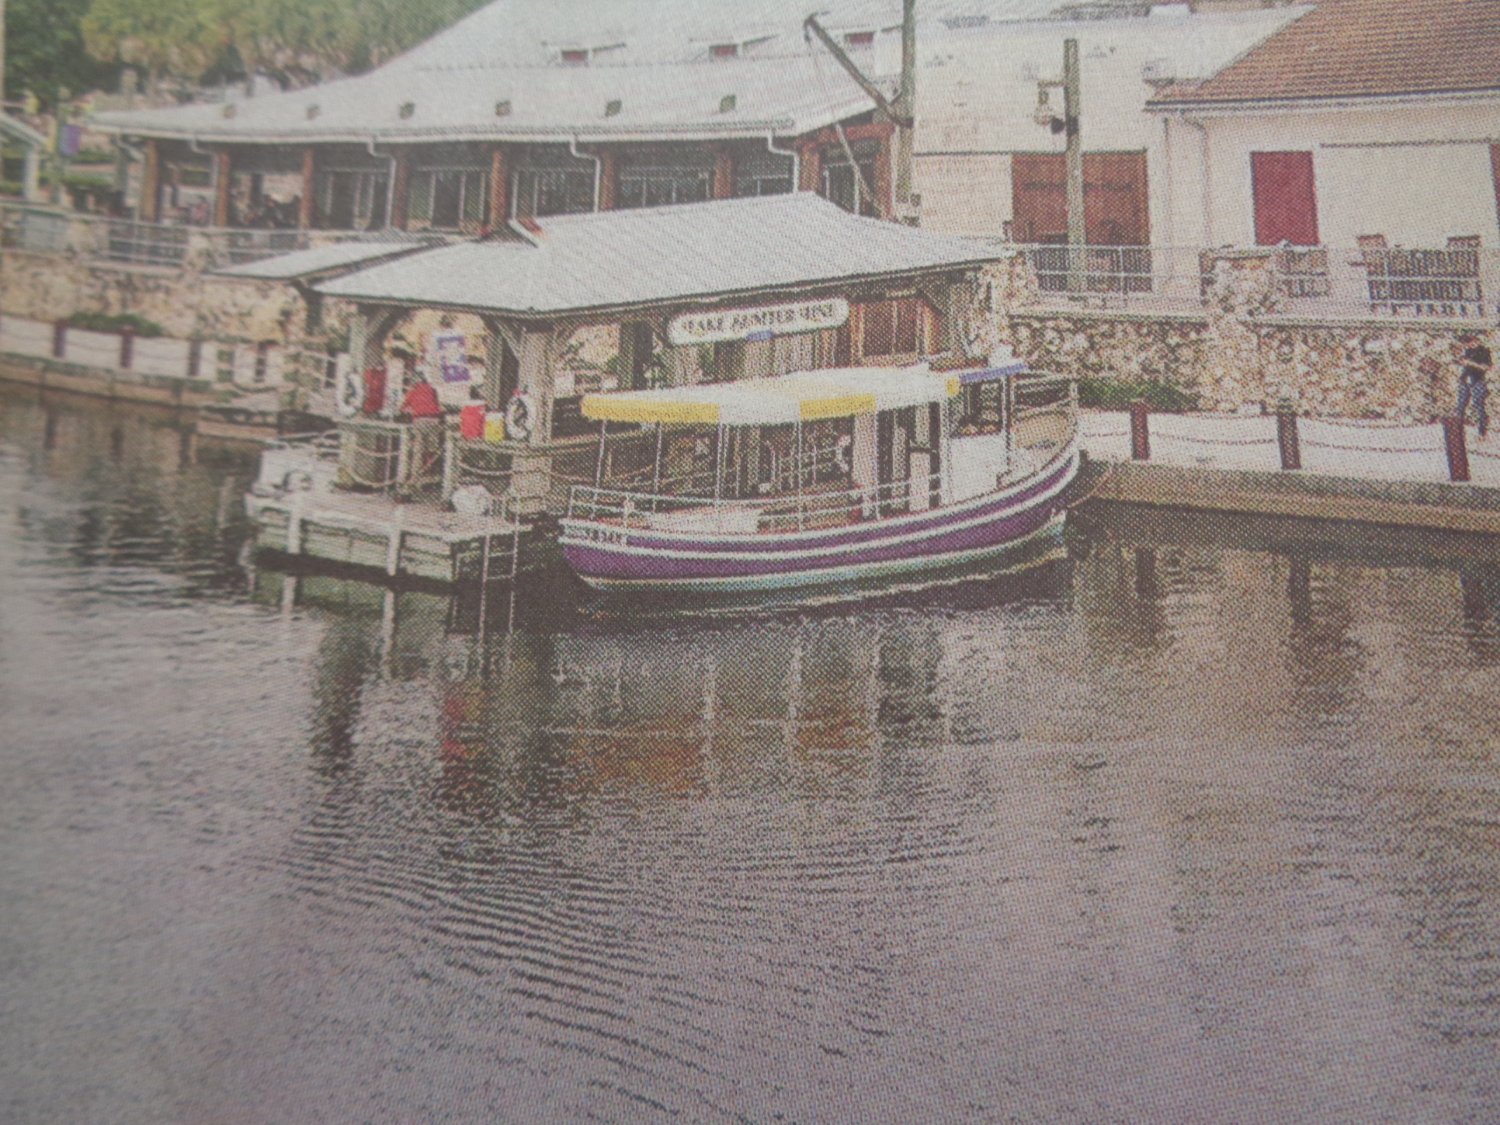
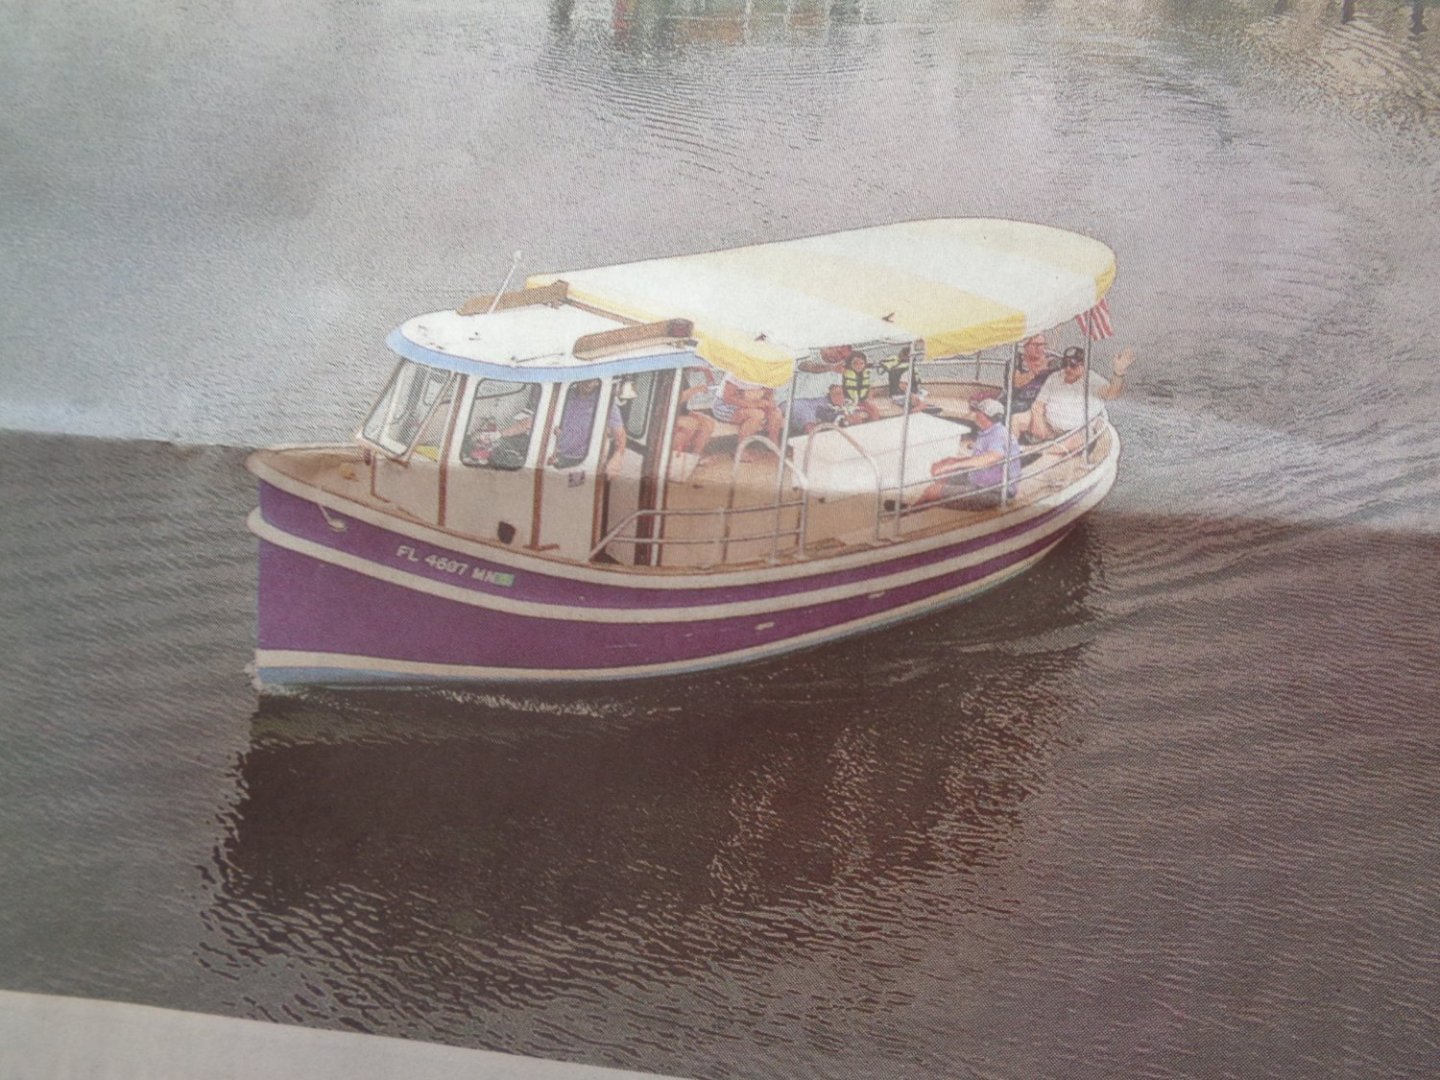
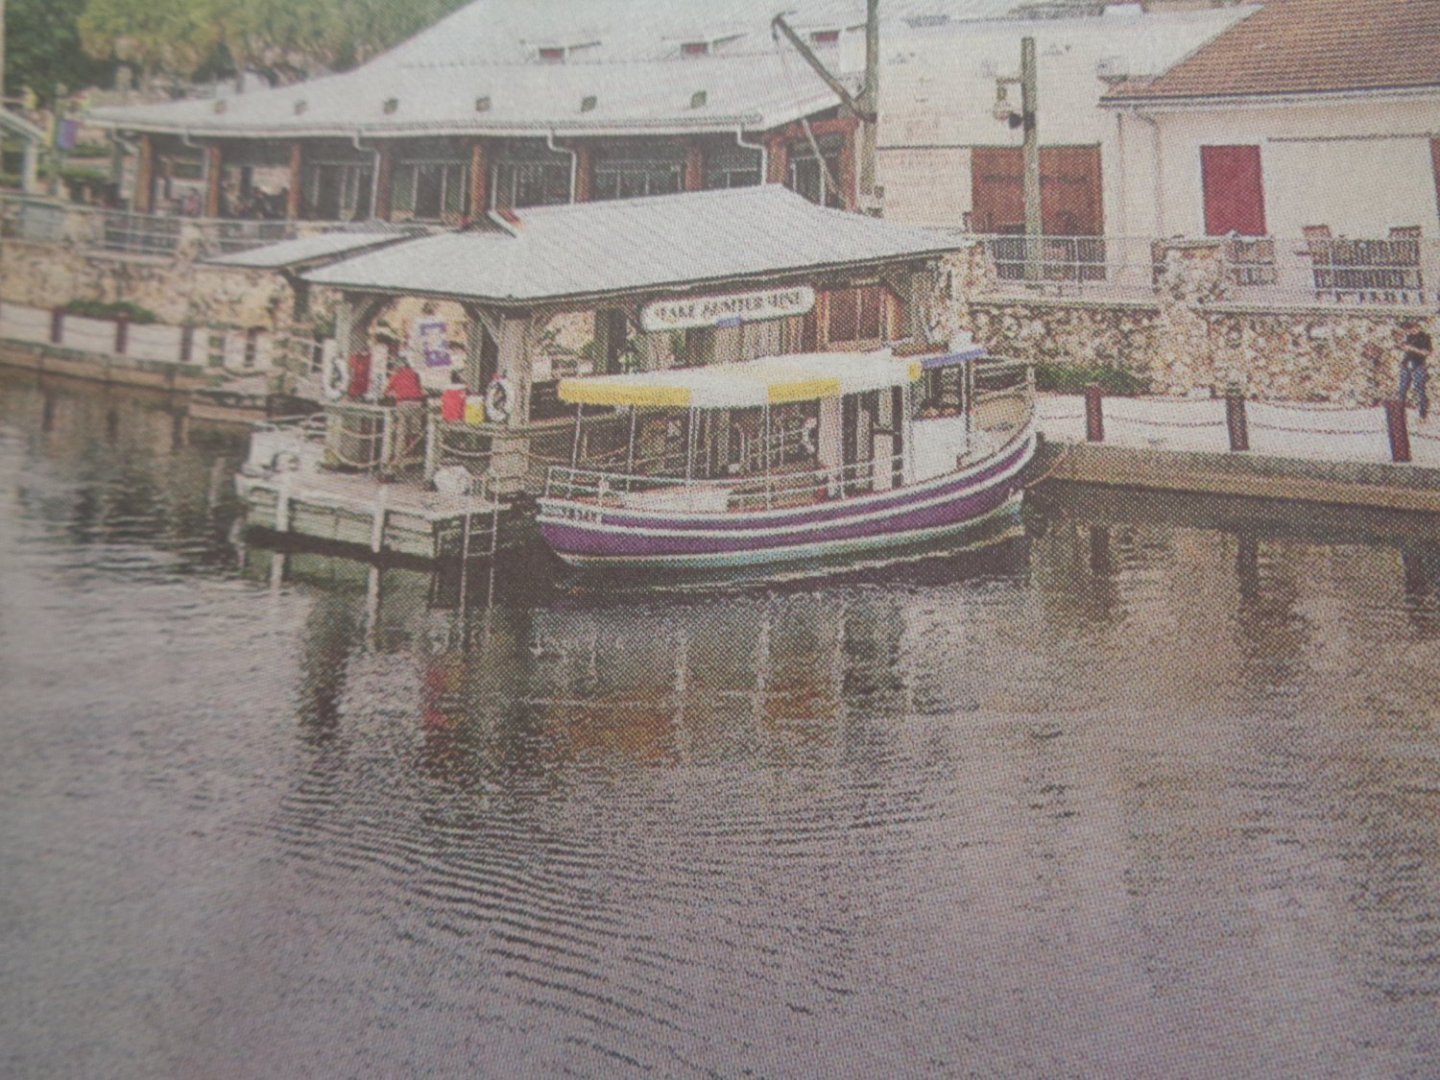
I happen to be reading the paper this morning and came across an article about the very style of boat the Miss Chloe is, and there are a few of them actually being used to offer boat rides on a lake not so near me. There are a few differences to these compared to Miss Chloe, like the rounded stern/transom and the canopy extending all they way up to the cabin. I'm going to have to take a little trip over there to take a ride on one of them. I actually like the rounded transom better than the squared one on the Chloe, but we'll see how she turns out, I can always make another one with a round transom.
-
Hi Harley, if you want the prospective buyer to check shipping cost, they will require the size of the shipping box, the weight and your zip code to get an idea.
- 1 reply
-
- 1
-
-
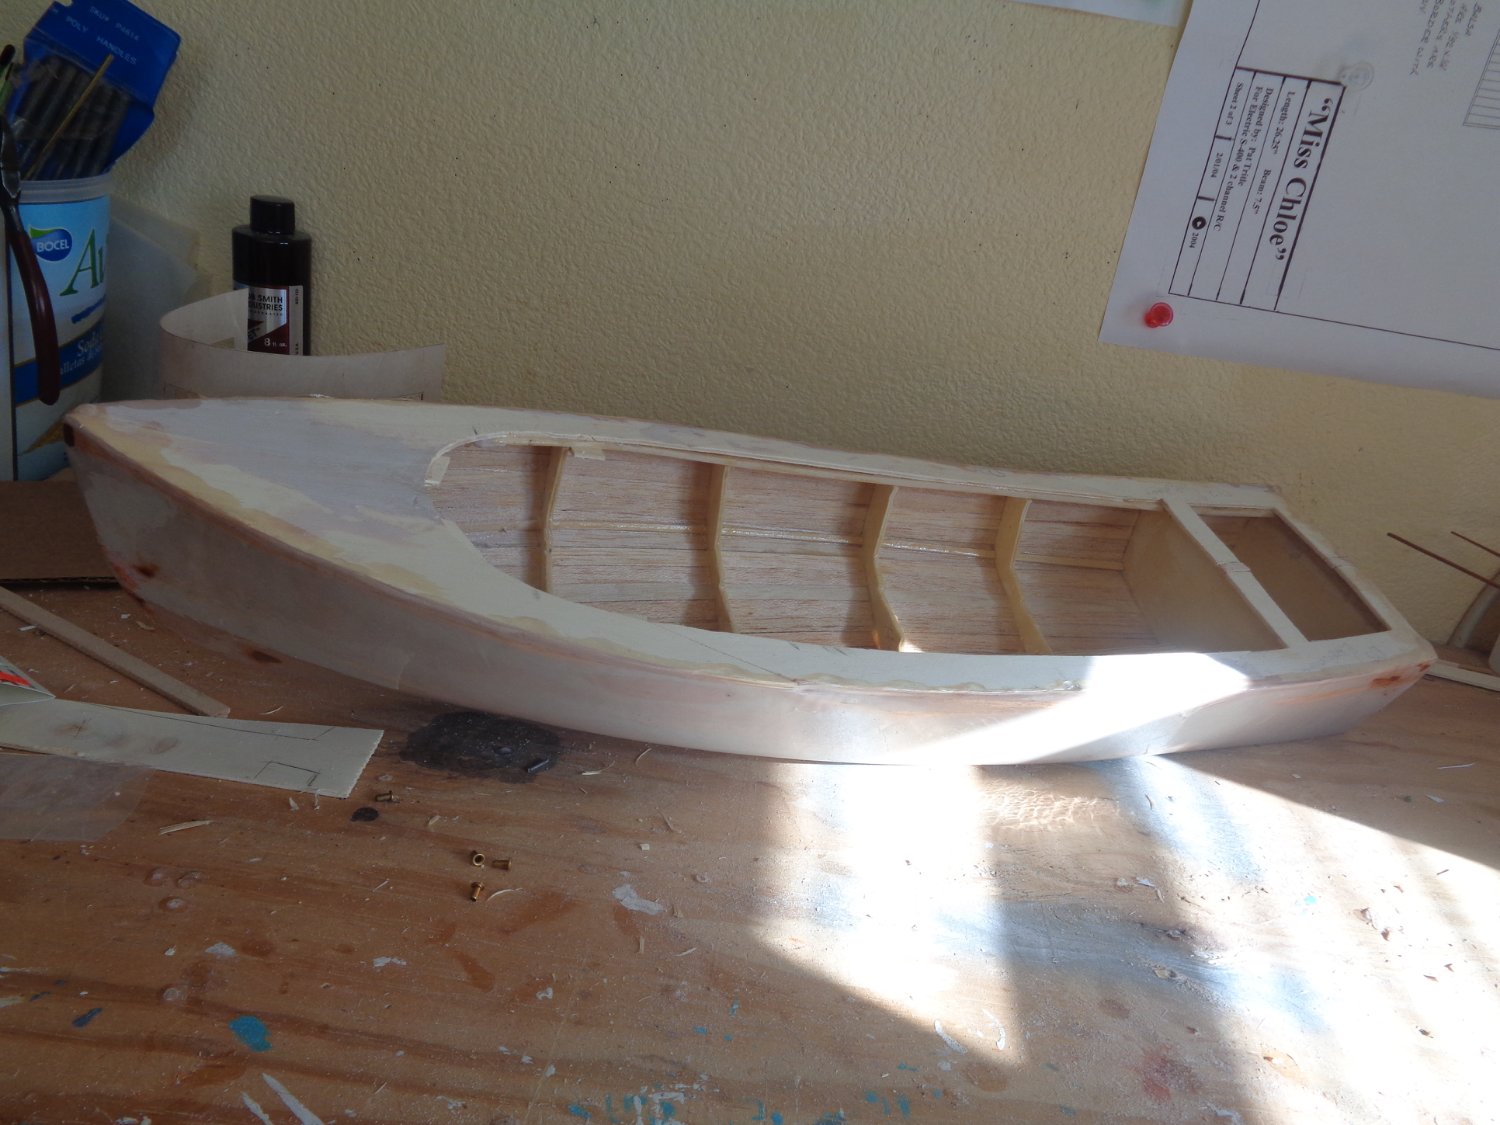
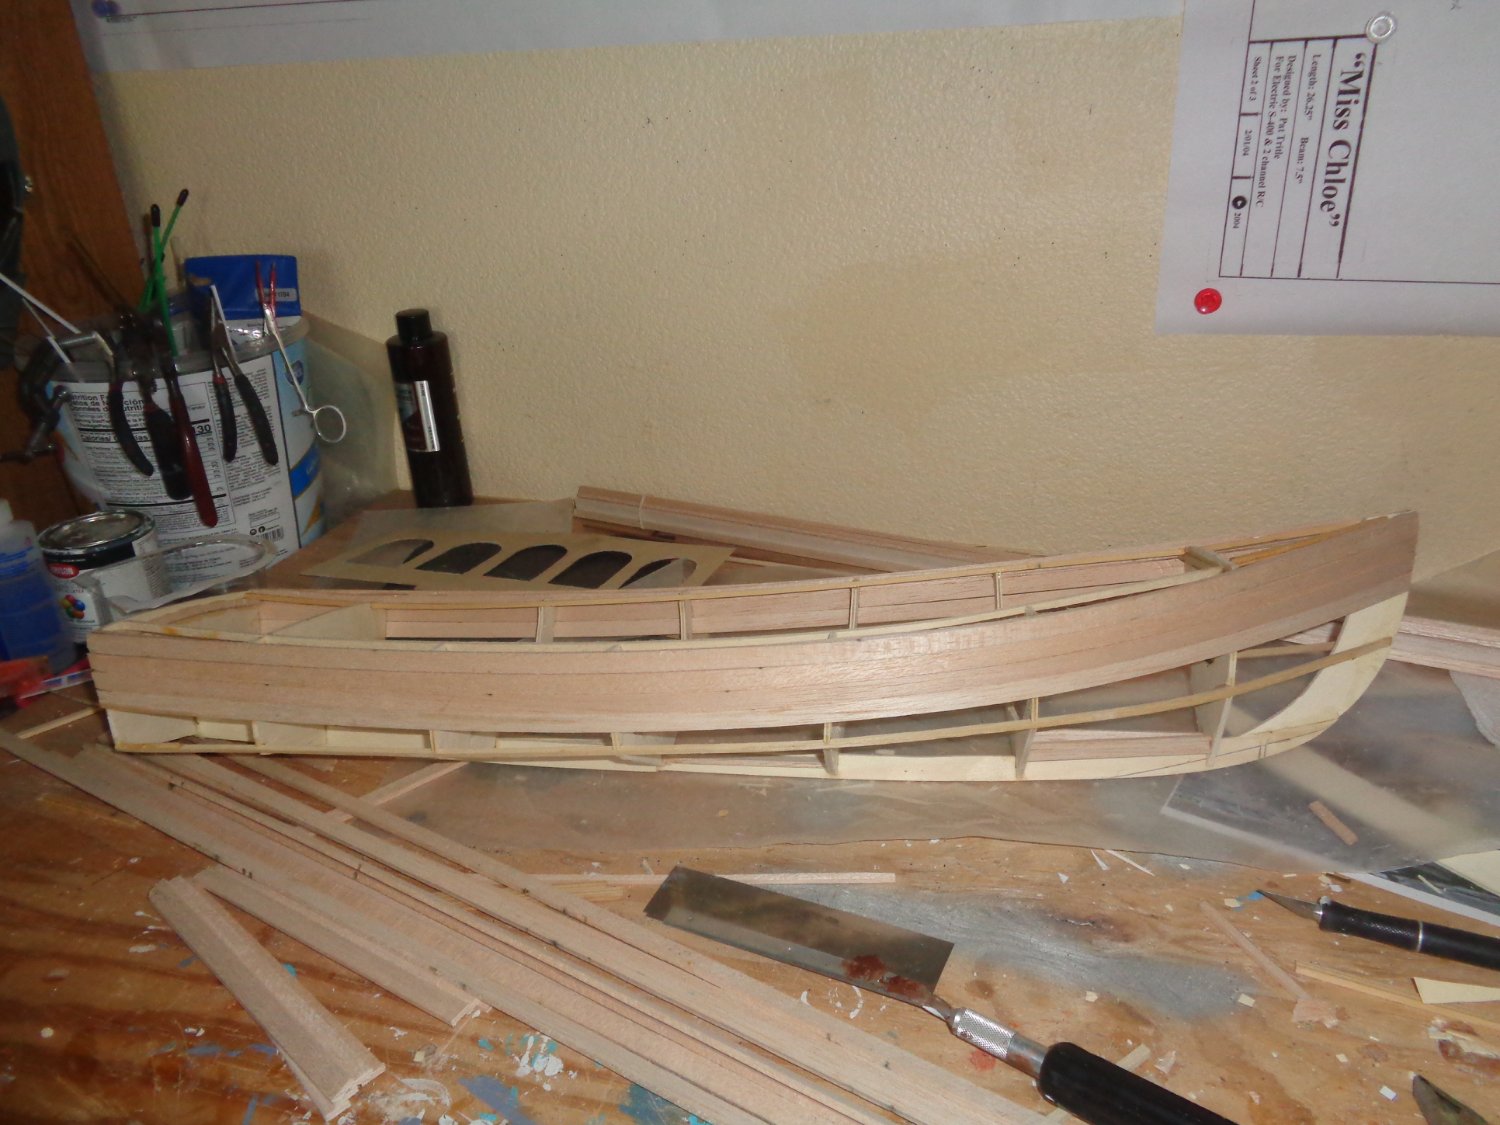
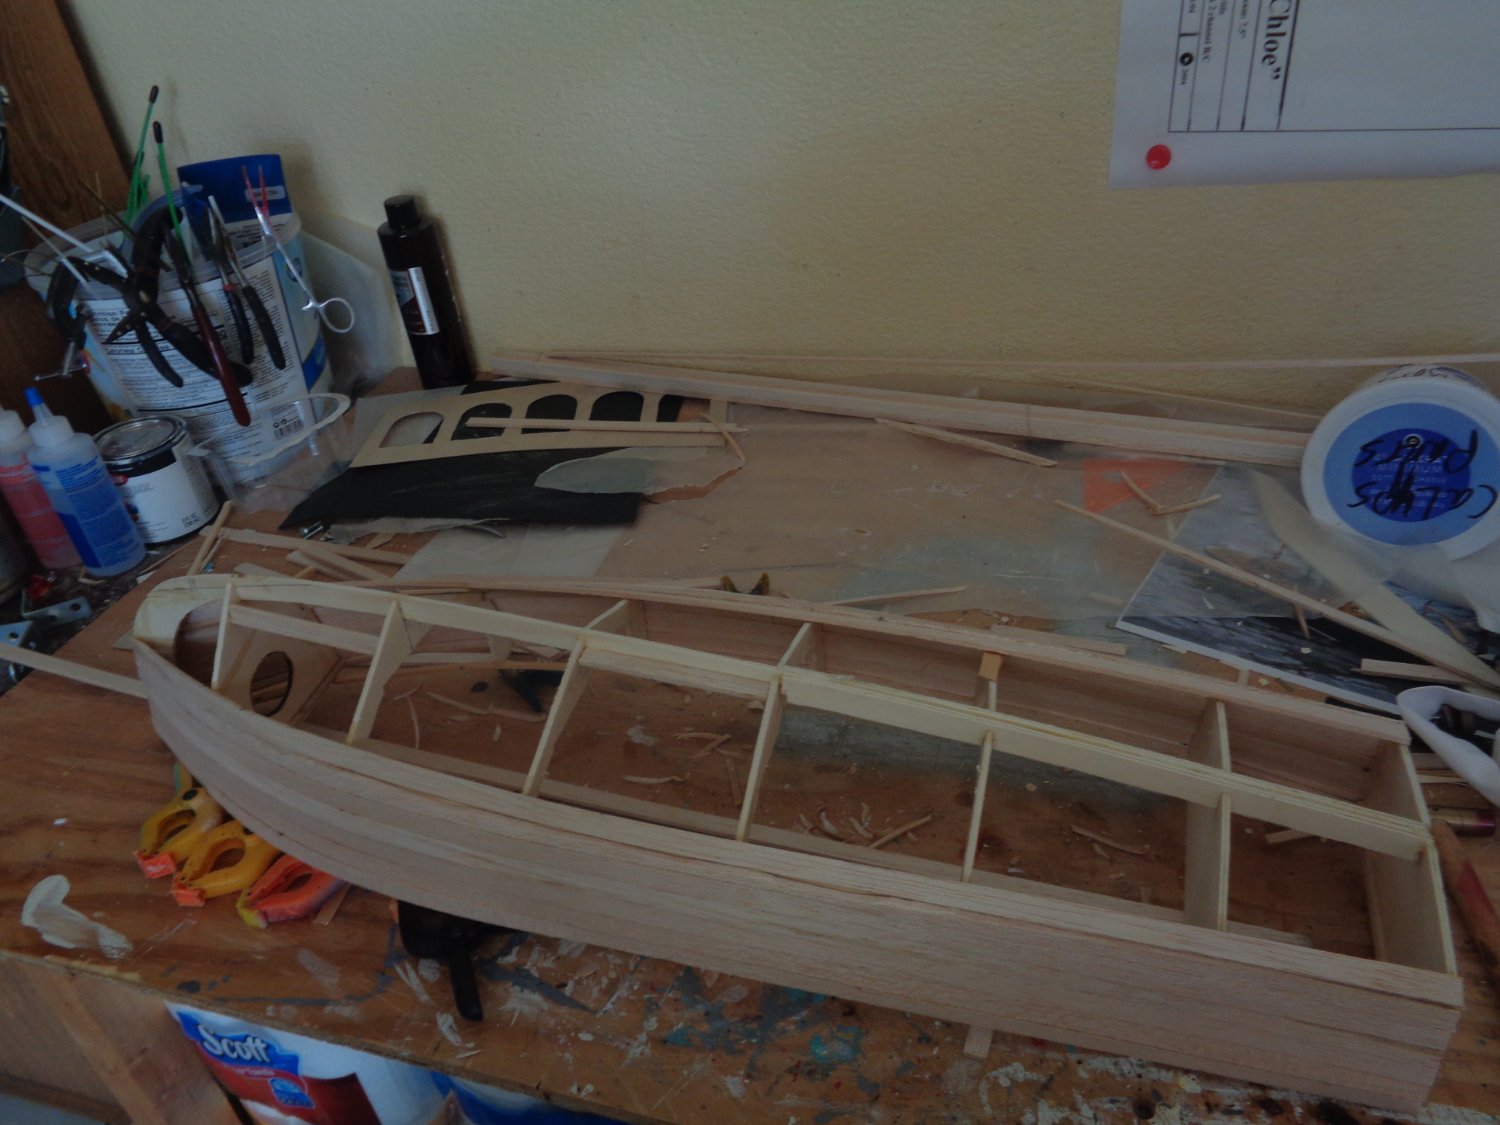
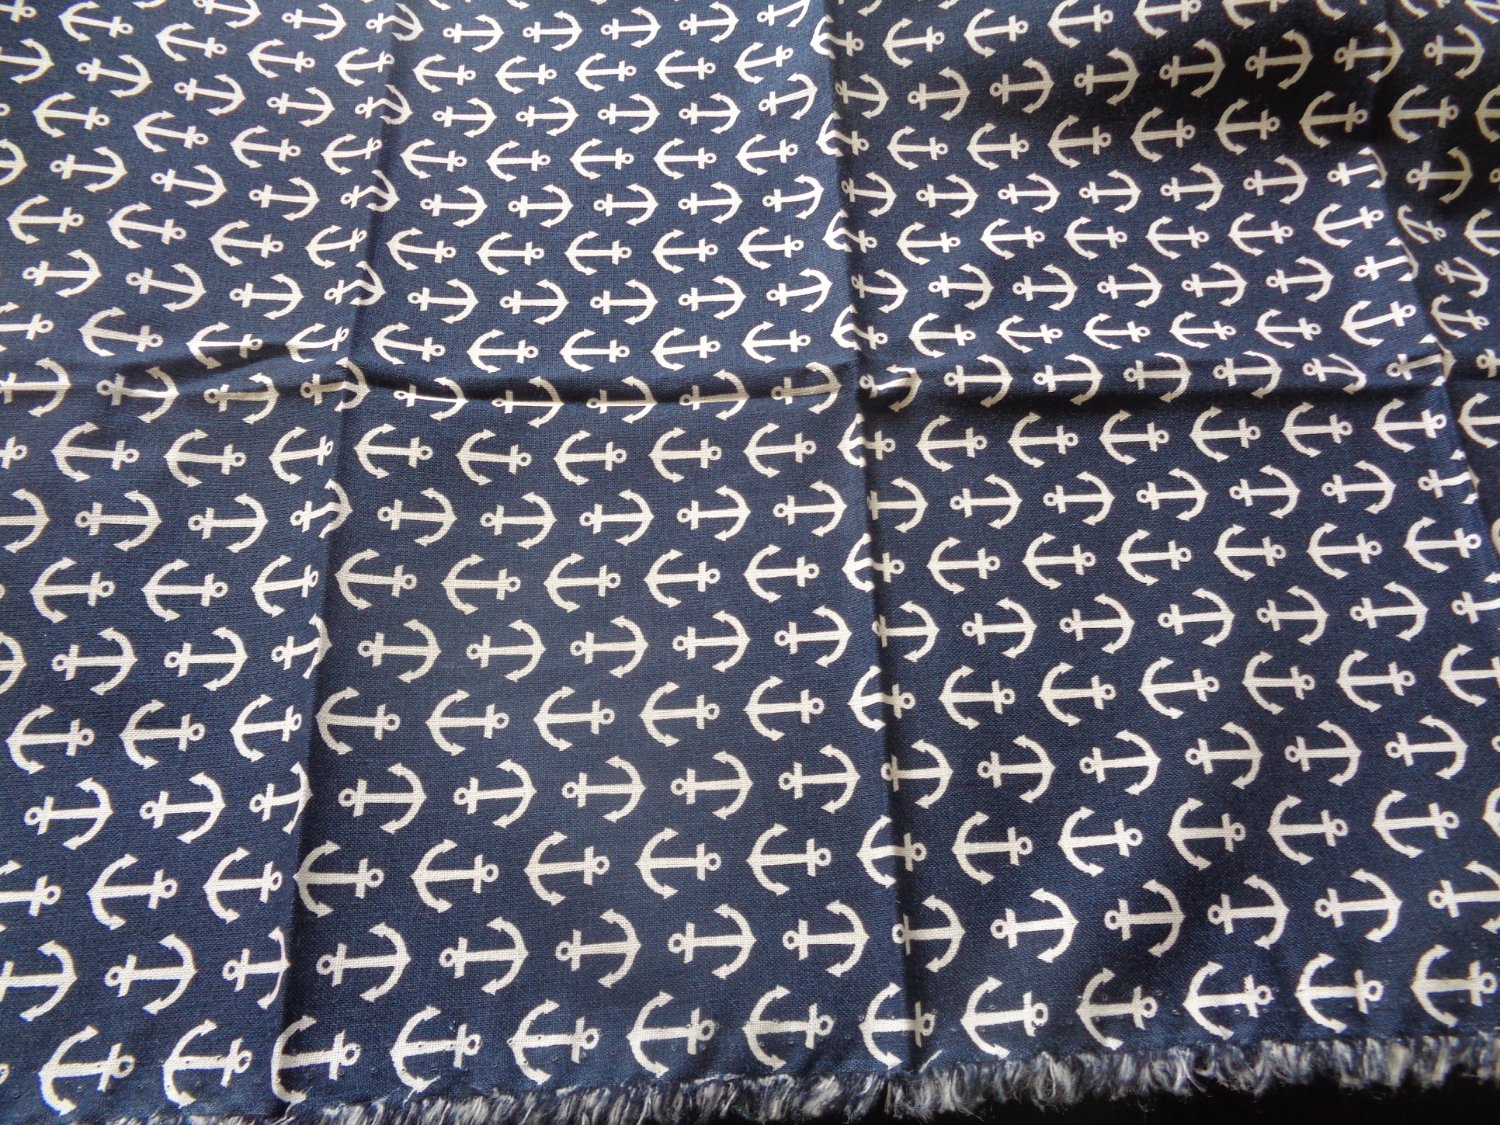
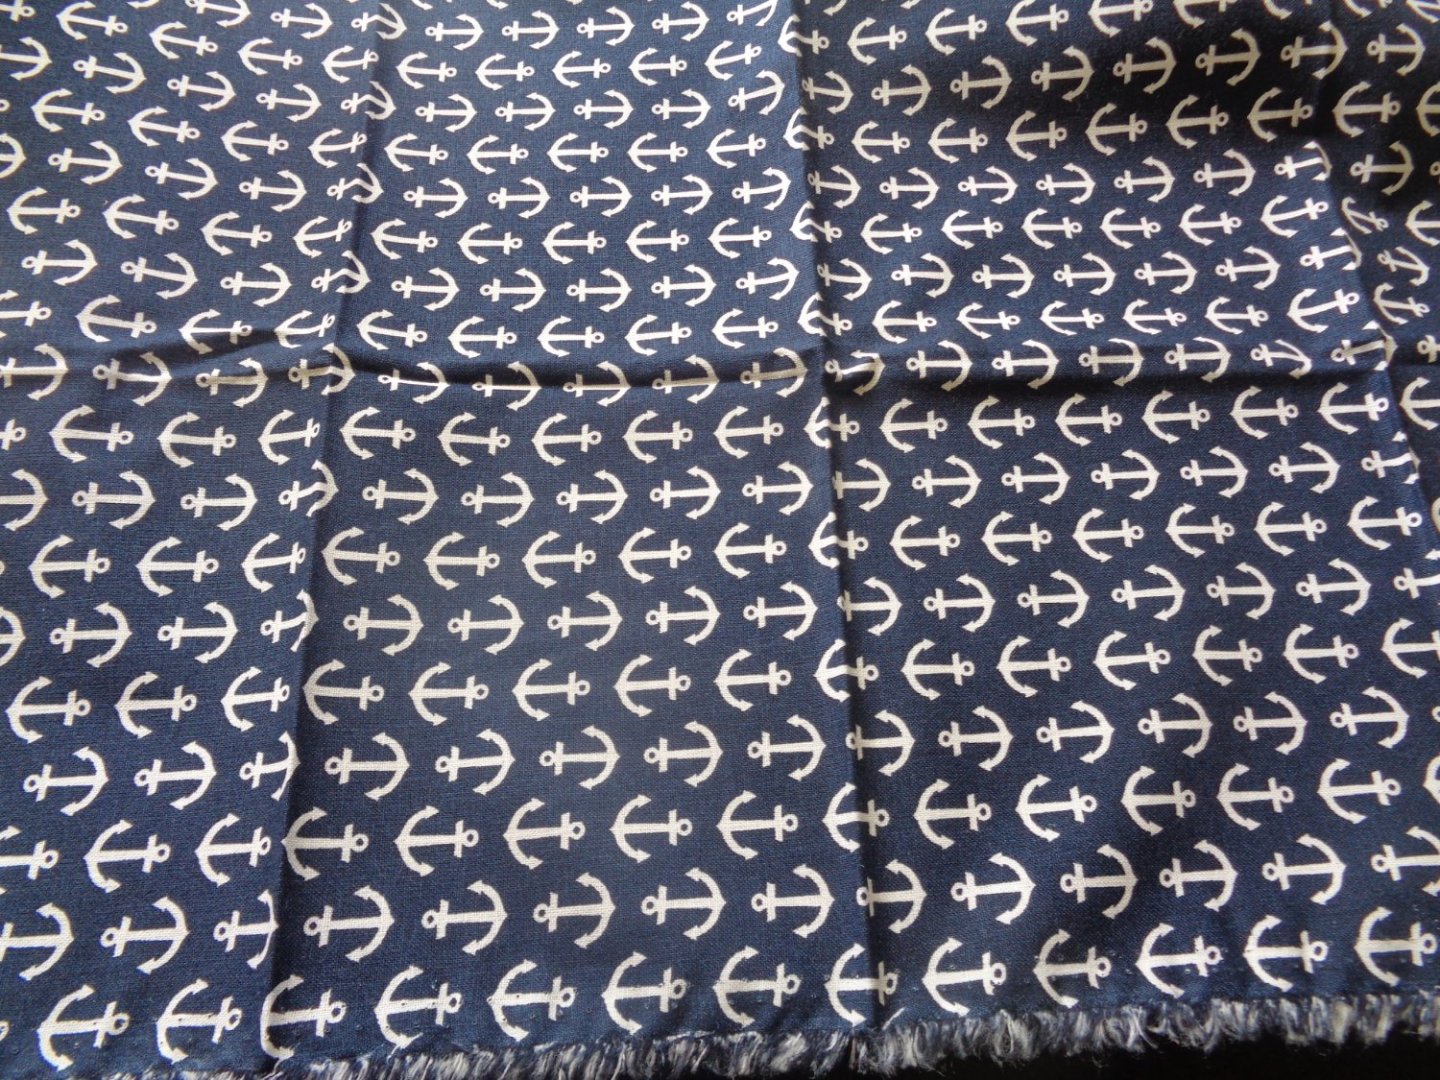
I cut out the keel and frames from 1/8" plywood and now planking the hull with 1/8"x3/8" balsa planking. I picked up a square of fabric that I thought would be appropriate and look nice and a bit different than the usual striped canopy top.


-
I just go by Harbor freight and buy their cheapo mini wire drill bits, yep, they break, yep they aren't true to size, but they are plentiful, cheap and just down the road from me. I've had $60.00 sets of mini to micro drill bits and found no difference in performance, however they do cut quicker when you first get them, but they quickly dull like they all do.
-
In order to make it water tight for R/C use, you would have to fiberglass the hull and preferrably seal inside the hull as well.
-
Don't you hate it when builds are started and never seem to get finished, especially when the object of starting a build thread is to possibly help others building the same subject who might get stuck on something and need a visual aid to get them started again? Blue Jacket is top notch as far as kits go.
-
I for one appreciate your opinions on the kit and hope that you do not refrain from do the same in the future. It's always better for modellers going in if they are aware of pitfalls or short comings of a particular kit.
-
I would like to add my appreciation to OCcre for producing a nice battle ship model in a worthy size. As for the stem and the planking, both of those issues can be overcome with little effort on the builders part. There is one major benefit to building a wooden battle ship like the OCcre kit versus a Trumpeter plastic model is with wood, you can fix about anything you dislike about the original kit where as with plastic, you are pretty much stuck with what you get out of the box, not a whole lot you can do about it. Like I tell newbies, a kit is a kit and only a starting point, it's up to the builder to make the model all it can be. So although there are a few things I nit picked about the OCcre kit, it still would make into a worthy model and I think easy enough to convert to radio control if that is your ticket with modifications and lightening up the super structure whetre it wouldn't be nearly as top heavy.