HOLIDAY DONATION DRIVE - SUPPORT MSW - DO YOUR PART TO KEEP THIS GREAT FORUM GOING! (Only 44 donations so far out of 49,000 members - C'mon guys!)
×

Chasseur
-
Posts
461 -
Joined
-
Last visited
Content Type
Profiles
Forums
Gallery
Events
Everything posted by Chasseur
-
 Omega and Dave, Thanks for the feed back and information. That's what I really love about this forum ... Jeff
 -
Mark, I checked out the links. I never knew how it came to be thanks for that, also ..... Murphy meaning "Sea Warrior" that's really cool! Jeff
-
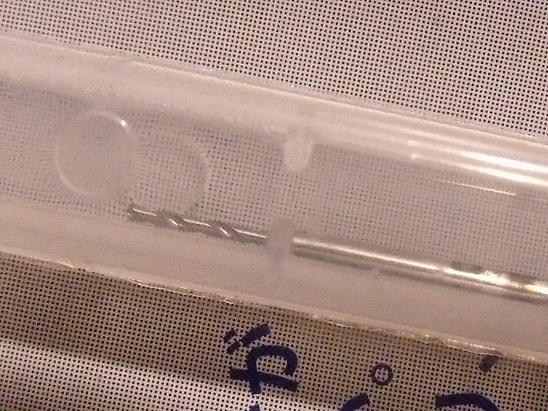
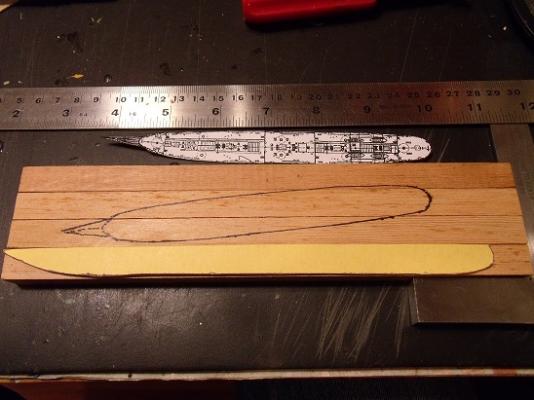
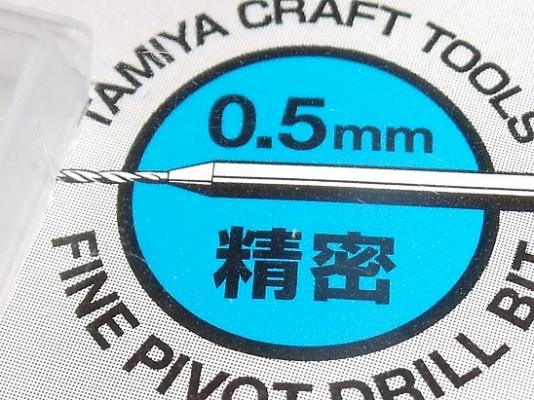
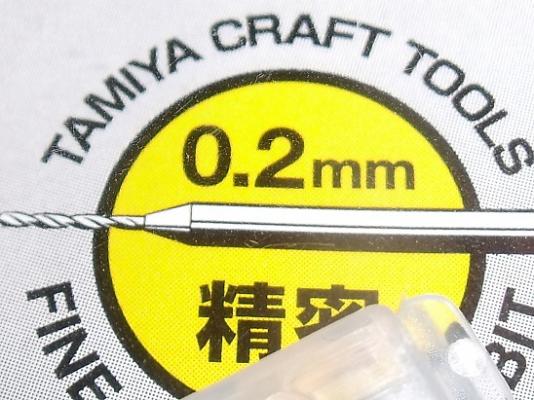
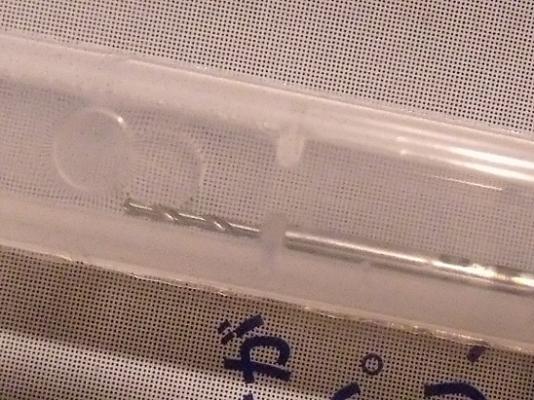
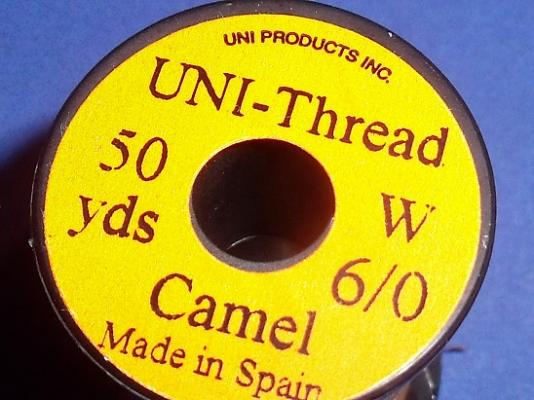
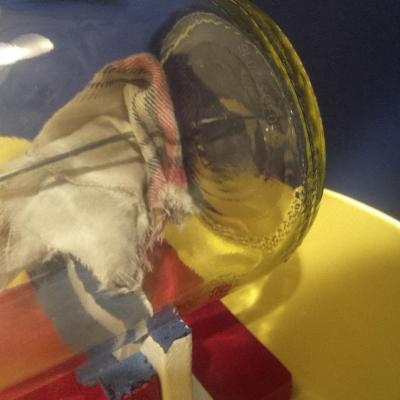
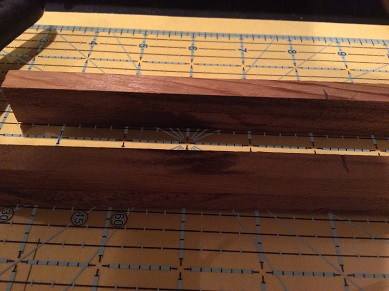
Today I finally got into my Man Cave for a bit. The last week saw zero modelling activity as I was fighting a bug I caught at work. I didn't miss any time just felt like crap for 5 days! I took some time to figure out how the hull should lay in relation to the seas. I took some advice from McCaffery's book page 124 Ships in Miniature (display and care) and figured I would put the ship in on an angle in the bottle. Also once it's built, I'll put it heeled over and off center to create tension and give the viewer a sense of movement of the ship. Also in this picture I laid out the template to show how to center the hull in relation to the size/length the fir had to be cut. Above just a close up of what I am referring to, to get the swells and waves right, and what the seas are going to look like close to the hull if ... I get my carving right! I must have cut out at least 8 templates, to figure out what the contour of the inside of the bottle shape actually is? Note to self ... bottles are anything but round and flat inside! I scored two specialized drill bits for drilling holes through masts and yards from my local model supplier. Tamiya came through big time for me. These drills cost me $18.88 for two bits. Yikes! Below is a close up. I don't dare remove this drill till I need it as it's really small and Murphy's law is... I'll loose it before I even need it. BTW who is Murphy anyway? Next two shots are of some ultra fine fly tying tread I got from the Fishing Hole. I'll use it for running rigging, stays, etc. So there you have it. Tomorrow I'll head out to purchase one specialized Dremel conical bit, (the one size I actually need I don't have) to start the carving process. I have everything else I need so "time to start carving," and making a big mess, with saw dust and chips in the Cave! Today more planning of how I am going to pin all four pieces of wood together in the bottle using a string and pin technique. Jeff


-
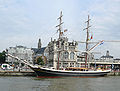
Wouldn't it be nice to own a full scale version. One of my bucket list items is to sail in a Tall Ship however the Ingomar would do just just fine and Bob can have my share of the Champagne! Jeff
-
Thanks Omega still gearing up however should start on carving the seas this weekend. Jeff
-
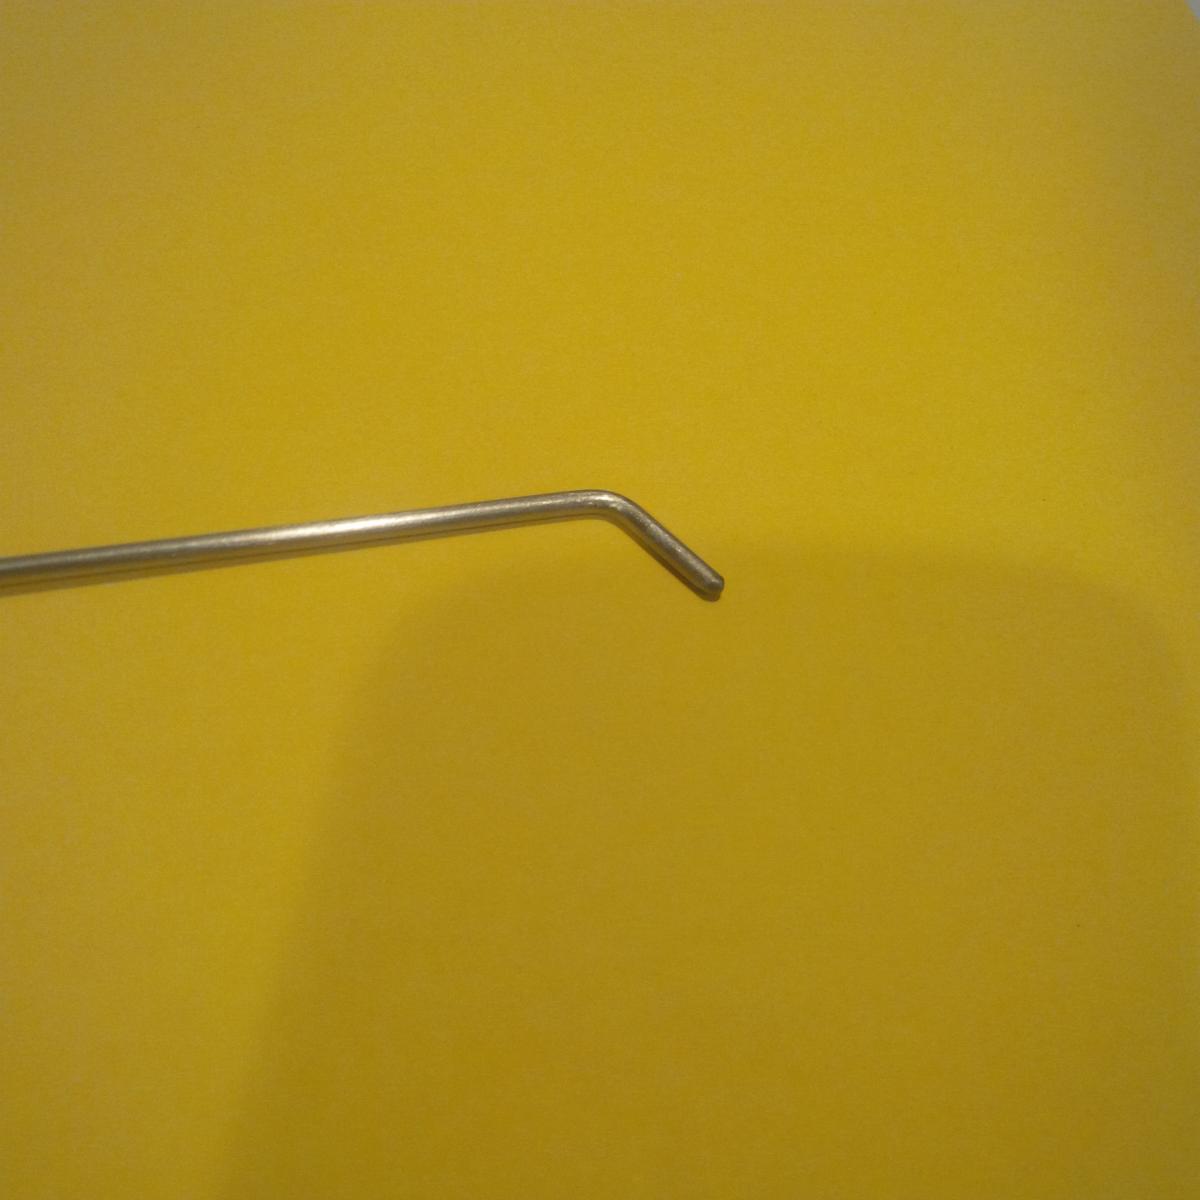
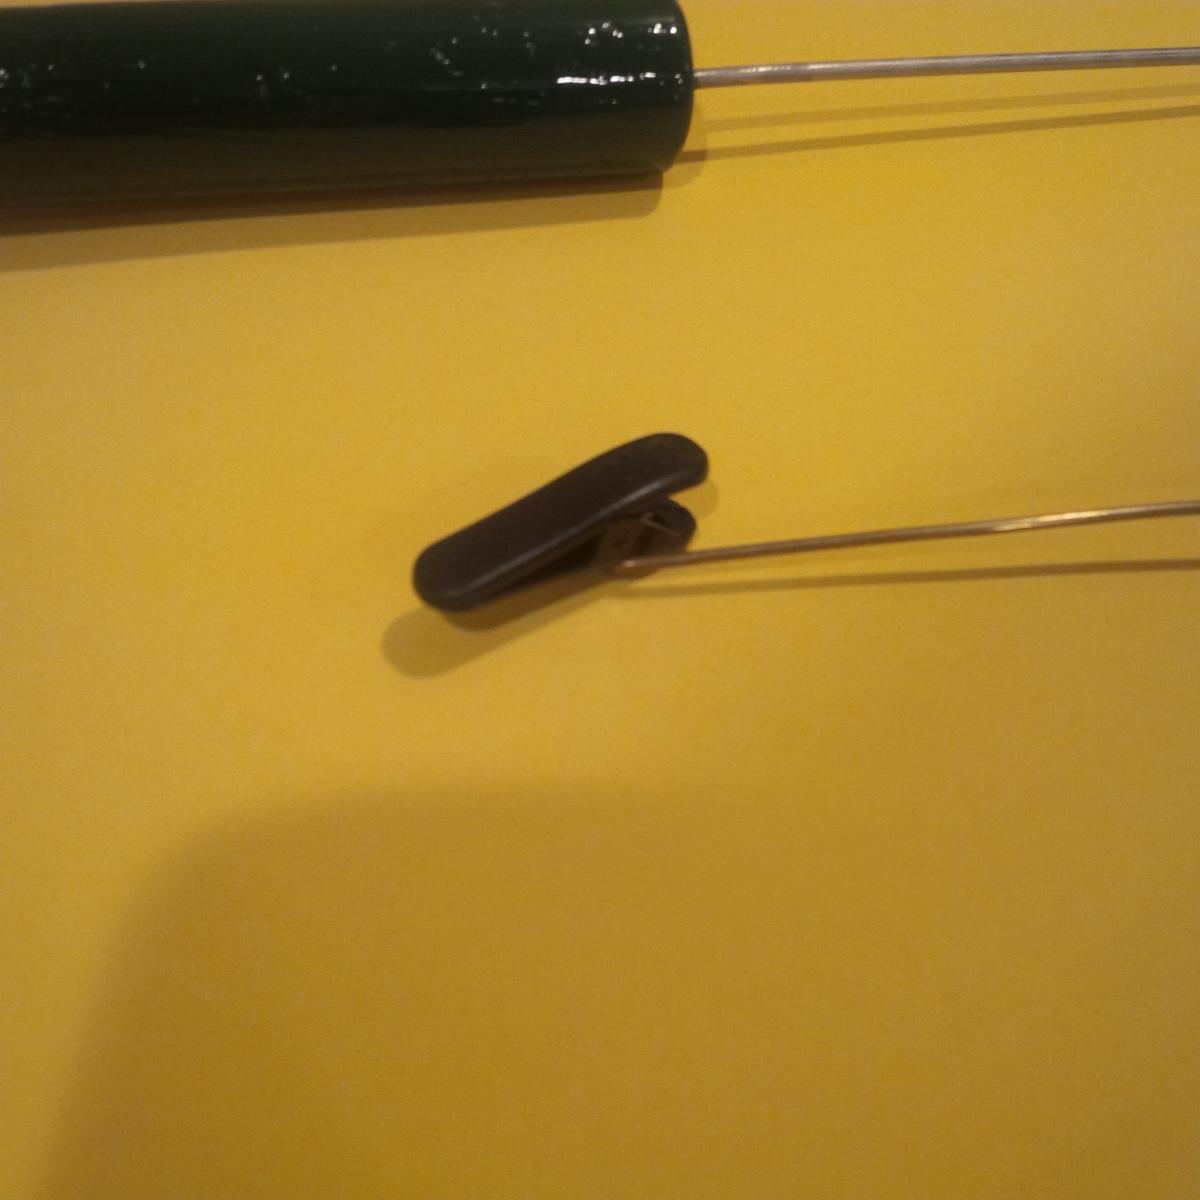
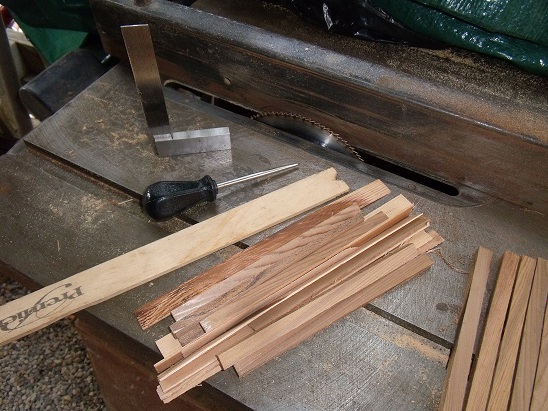
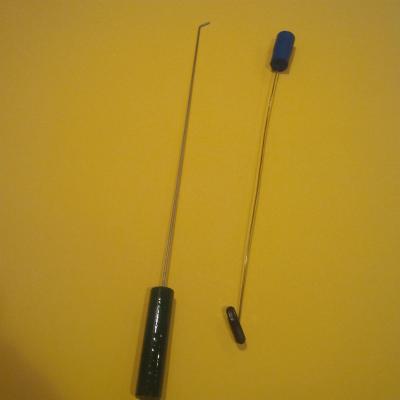
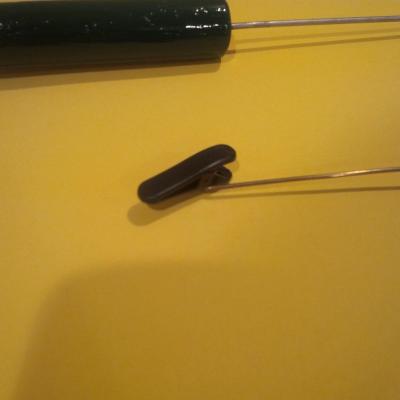
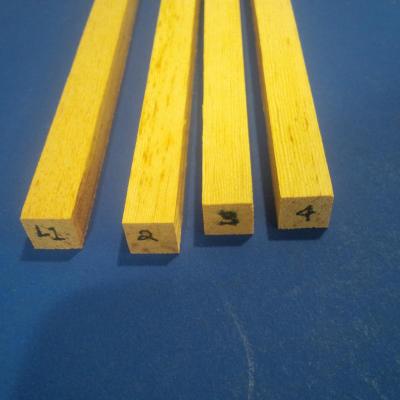
I had an opportunity to get into the man cave and do a bit on my project. The first image is a couple of custom tools I needed to make to work inside of the bottle to start measuring it up for the wooden seas and clearances etc. Next is a close up of the fiddle tool made from INCONEL ERNiCr-3 Tungsten Inert Gas (tig filler rod). This stuff is bullet proof and perfect as it has virtually no flex. Next is my flexible template tool made from some brass rod and a clip which came from the head phones of my BlackBerry cell phone. Perfect for slipping templates into the bottle. Next I show the filler rod tool being used to remove some water from the bottle. Final clean up will take place at the end of the build before the seas and ship is placed in the bottle. Next up I have my templates and I show my hand tool with a piece of razor blade for cutting out the templates. Finally I show my Douglas Fir which will be cut and formed for the seas and then carved with waves/swells/wake etc. It has to go into the bottle in 4 interlocking pieces. This is going to be fun! I also acquired some special dental bits from my Dentist to use to carve the seas with my Dremel tool. More to come ... Jeff


- 296 replies
-
- 10
-

-
Excellent Detail Work!
-
Thanks for the encouragement Omega. It's really nice when you don't have to rush and can think things through. Hopefully I won't make too many mistakes along the way and others can learn from the process. Blessings to you and Yours and have a great weekend! Jeff
-
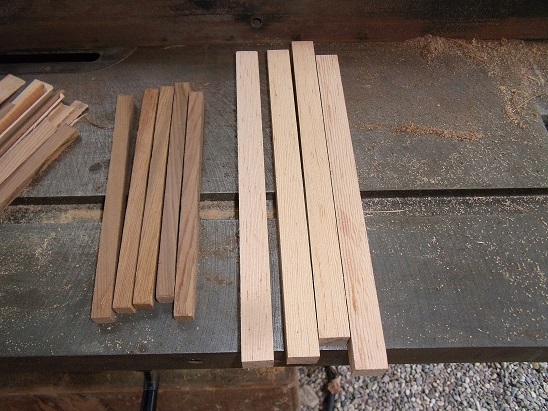
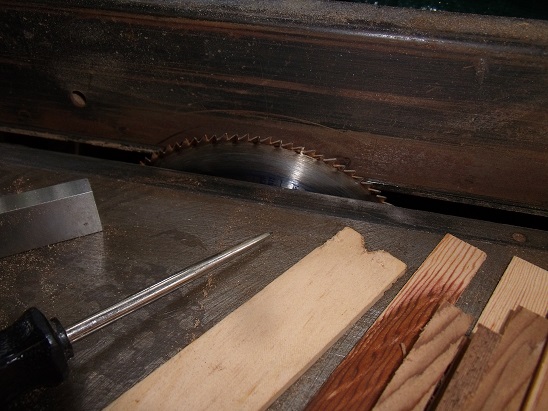
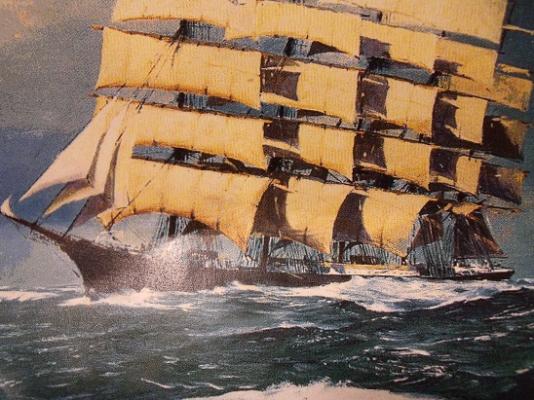
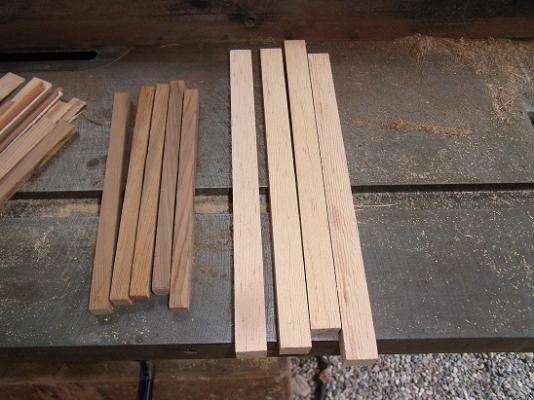
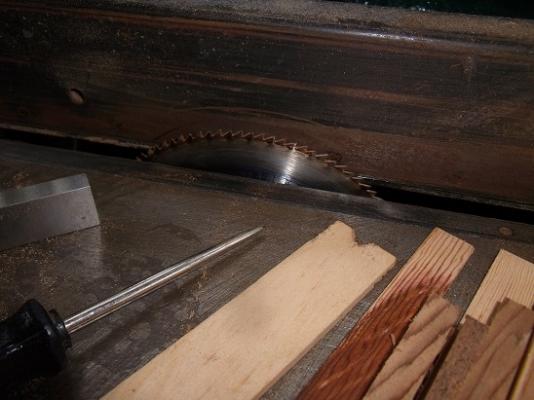
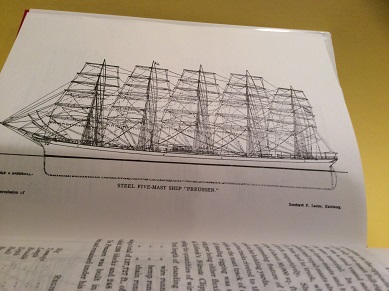
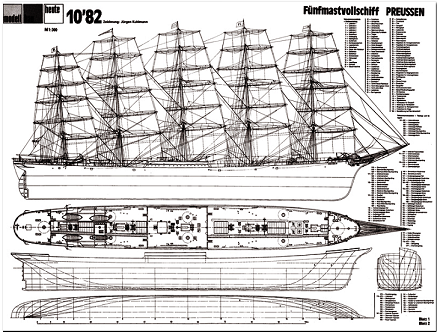
Life has got busy, and I got a new boss at work, however I found a bit of time to move my project forward. BTW my new boss is awesome! What an answer to prayer as the old boss was a professional bully. So here we are cutting up some cedar and Douglas fir. I put a 7" 100 tooth fine blade for finish cuts and it worked beautifully. Also a bonus was the cut off pieces for detail work later on with deck pieces, structures etc. I used an awl and a paint stick as a push stick to eliminate any risk to a hand injury. Also hearing protection, a face shield, and dust mask (N-95 respirator) was in order. The fir cut beautifully however cedar has a natural oil in in so henceforth a little discoloration. On the blade is the oil oxidizing. I love the smell of cedar as it's almost aromatic. I decided my clipper would fly a little less sail and be in a moderate sea with the intent of rounding the Horn. I wanted some action and she'll have a slight list as she tacks into the wind. Sails furled or gasketed are as follows: Flying Jib. Fore Mast - Royal and Upper Top Gallant. Main mast - Royal. Mizzen - Royal. Jigger - Royal and Course. And the Spanker with Royal, Upper Top Gallant, and Course. Rarely did a clipper ever fly everything unless the ocean was totally void of wind. In fact, the Captain of the Preussen claimed there was so much wind resistance from all of the rigging, yards, and masts that she could sail with every sail furled and stowed with a moderate wind! Sail Plans come from Mr. Underhill's book and the rest from the Internet. I used a printer to reduce to the appropriate scale, and an absolute must conversion tool is at www.craigcentral.com and mdmetric.com. I glued up the cedar in two sections so I can start the carving of the hull. I will use Lloyd McCaffery's technique for hull construction (page 57) and his sea carving and painting technique found on page 124 of his book. Of course I'll tweak the technique to suit my artistic needs. I bought his book exclusively for the aforementioned details. Below is a shot of the plans being developed. My motto think and plan ahead here! The next shot I show the two half's of the hull gluing up on the bench. I purposely did it this way. The center here where the two pieces are glued is the natural waterline. Also when the two half's of the hull are glued together then I have an instant center line of which to mark reference points. locate masts, etc. I'll post more in a couple of weeks. Respectfully, Jeff


-
Turned out excellent indeed! Looking forward to her in the bottle and on to the Esmeralda. Jeff
- 170 replies
-
- 1
-
-
- ogallala
- praire schooner
- (and 2 more)
-
Daniel, thanks for the encouragement! Jeff
-
I never thought about nylon stockings, very creative however very dangerous territory indeed. Jeff
-
Hi Dave, Mr. Wilson's model is impressive however the model I am referring to is at: Shipmodell.com/index_files/_PREUSSEN030.html Please hit the site and then you can scroll to the right and view all of the photo's of her. The model on this site is the best I have seen to date complete with riveted hull plates, rivet detail on the masts, complete with detailing for the wire and chain rigging. The model is outstanding IMHO. Jeff
-
Dave B., Yes it should be an interesting build and challenge my skills as a miniature model builder. I have never done a ship in a bottle just lots of 1/700 and 1/1200 waterline ship models of which I threw out when I was a teenager. Epic failure on my part as I had a lot of great models back then. Dave F., Yes I have thoroughly studied the photo's from the San Fran museum and there is another gent in Europe that has a fantastic model of the Preussen as well. Good suggestion on your part about the thread and I never thought about cigarette paper for sails. I will experiment with that medium when the time comes and I hope to include some stay sails however ... I will ensure that she'll not be flying a full compliment as she'll be in a bit of seas to add some action to the model. Thanks for that my friend. Blessings to both of you ... Jeff
-
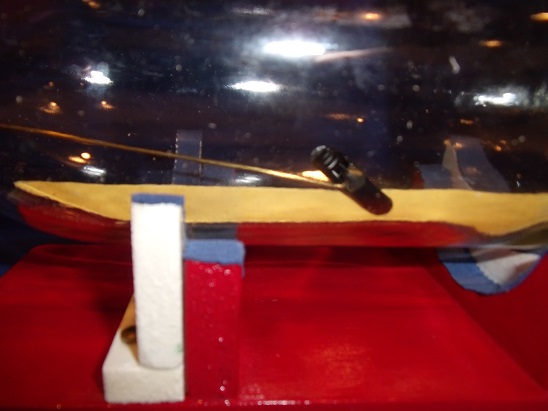
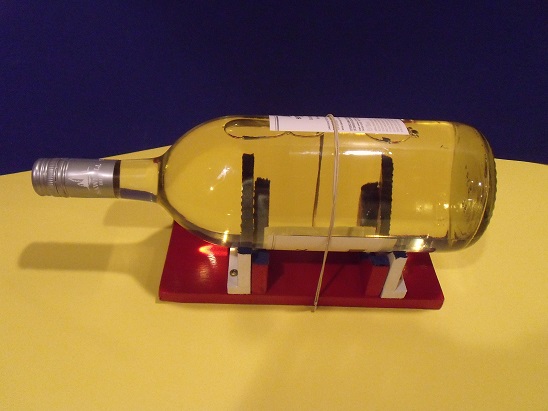
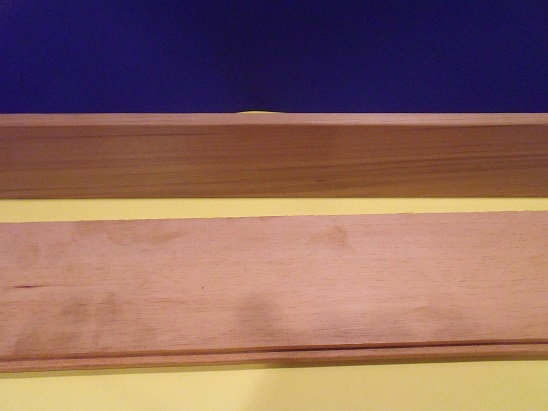
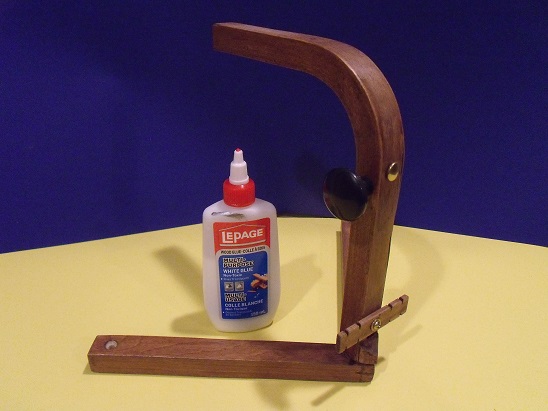
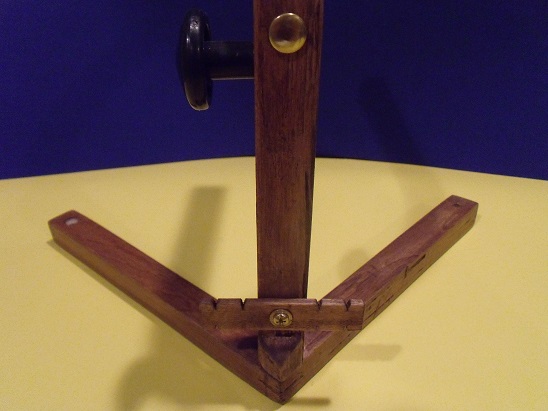
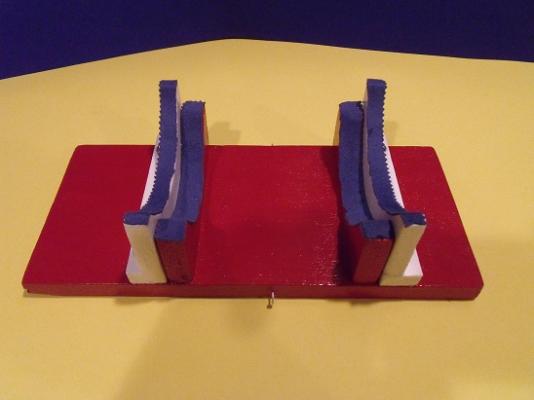
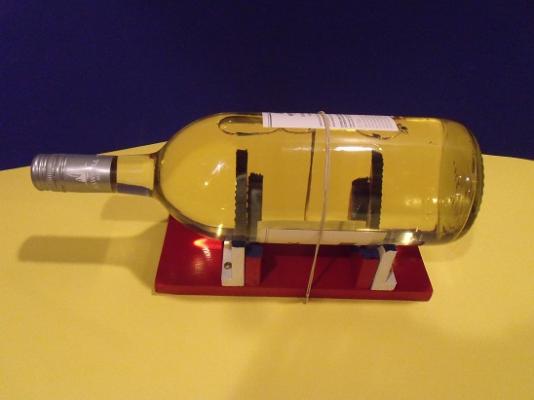
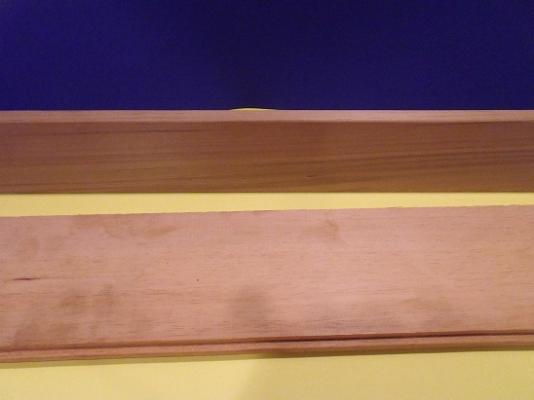
Preussen Clipper - Ship in Bottle - 1:857 scale Background For about six or seven years I have wanted to get into modelling ships in bottles. The last few years I have been tied up with miniature wargaming, editing a Naval Wargaming journal, and writing for another journal. There is a season for everything in life and the latter chapter needed to end. For the last 7 months I conducted extensive research into the hobby and read quit a few books on modelling ships, reviewed a few books in my current library, and read articles on the Internet. Books reviewed or purchased are; Ship models in miniature – Donald McNarry How to make a clipper ship model – E.A. McCann The ship model builder assistant – Charles G. Davis The Nitrate Clippers – Basil Lubbock – courtesy of ‘Davyboy’ from MSW Ships in bottles – Guy DeMarco How to make a ship in a bottle – Clive Monk Ships in miniature (a new manual for model makers) - Lloyd McCaffery Sailing ship rigs and rigging – Harold A. Underhill Ships-In-Bottles: A Step-By-Step Guide to a Venerable Nautical Craft Paperback - Don Hubbard Internet Articles read are; Preussen German 5 masted full-rigged ship 25’=1” – Robert A. Wilson The Five Masters – Nev Wade Recommended tools and equipment for scale modeling – Mike Ashey The Esmerelda build on MSW - Dave Fellingham BonHomme Richard as a ship in a light bulb model – John Fox III Heather Gabriel Rogers – Facebook Page Three masted ship in bottle – Michel Bardet Numerous other sites and activities concerning ships in bottles The Build What I have come to realize is everyone is different when it comes to modelling ships in bottles. There are 3 basic techniques however there are different styles of building and displaying ship models in bottles. My motto for my build is; “Go big or go home.” I have always wanted to model the Preussen in a bottle and to display the vessel in a carved wooden sea with painted waves and wake. The clipper is a sailing machine and the German Preussen is no exception. She is built for speed and everything about her is designed to haul cargo. The biggest issue I debated over with her initially was how much detail was I willing to model and … at a scale of 1:857 this was going to get dicey in a big way! Specifications Seas will be carved from Douglas Fir Hull will be carved from Western Red Cedar Masts, & bow sprit from aluminum, brass and steel Yards and spars from cherry wood veneer laminated and turned All running rigging, rat lines etc. from fly tying thread Sails from expensive paper hand drawn pen and ink Bottle is to be a 1.5 Liter wine bottle for display One of the biggest errors I see, and please this is my own opinion is … some modellers “get stuck on too much detail.” At a scale of 1:857 how much detail is really necessary to get onto a model to get it believable? I looked at a lot of pictures of the Preussen on the internet whether by; B & W photos, paintings, and various models of her. It’s all about perspective and what the eye sees. The real ship has 1260 blocks and 248 rigging screws so there was no way on this earth I am going even to try to represent the aforementioned. I’ll put some detail into it where appropriate and skip the rest. A bottle stand I knew I needed to build myself a bottle stand so my bottle wouldn’t roll off of my work bench. I built the following stand from some left over balsa wood and made it to fit 2 common sizes of bottles for now. Bottle in Position, note elastic band to secure it Some wood to carve, Western Red Cedar on top, Douglas Fir flooring plank on the bottom My home made stand to mount the hull on to work and keep all the running rigging from tangling up. A close up In my next post I talk about the plans, cutting the wood up and the carving details … Jeff


-
Very good thanks Dave! Greatly appreciated .... Jeff
-
Hello Dave, You had mentioned you drained a 1.5 Liter wine bottle for your build. Could you please do me a favour and measure the inside diameter of the neck? I am wondering if they are all at roughly 19.5 mm for these style of wine bottles? Jeff
-
Dave, as an X military figure miniaturist, and scale modeler, you're way too hard on yourself. The figure looks great at this scale. Well done and to be honest the shiny look is what a lot of miniaturists aspire to these days... especially in Britain, so you're spot on Mate! P.S. still researching and gearing up for my Preussen Clipper build. Jeff
-
Dave, Your work simply continues to amaze me. Good idea on your part about the cleats and the figure is coming along nicely. I am learning a lot from I you. Jeff
-
Very effective David! Amazing photography as well especially with the close up shot. Tough to do at this scale so Kudos to you my friend.
-
Excellent work Dave! Simply amazing at this scale and such detail. Looking forward to more and thanks for your generosity in sharing your techniques.
-
Awesome Dave!!!
-
Okay, and I keep forgetting how small all of this is. Looking forward to some more pictures of the sailor/man.