HOLIDAY DONATION DRIVE - SUPPORT MSW - DO YOUR PART TO KEEP THIS GREAT FORUM GOING! (Only 44 donations so far out of 49,000 members - C'mon guys!)
×

Chasseur
-
Posts
461 -
Joined
-
Last visited
Content Type
Profiles
Forums
Gallery
Events
Everything posted by Chasseur
-
 Wow Michael I had assumed you were gone! I trust all is well with you and yours? Hey Patrick life has a way of getting in the way sometimes and I feel blessed I have a hobby. This year has been extremely busy to say the least. Anyway looking forward to a couple of weeks off to recharge the batteries and chill in the Man Cave! Stay tuned Thanks Bob!
 -
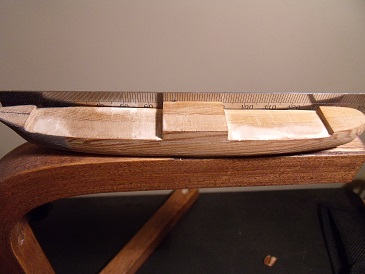
Life has been crazy busy at work and being stuck in the sandwich generation makes life challenging at the best of time. I have three projects on the go right now. Building a board game, writing an article, and of course the Preussen. I haven’t done much on this clipper however I hope to get a lot done over the Christmas holidays as I have two weeks off. If the Lord is willing and I don’t get too many intrusions a lot can be done on her. I plan to supper detail her and hopefully Saint Nick will bring me a Miniature punch set from RP Toolz out of Budapest. I found a dealer in British Columbia that carries this wonderful set of punches ranging from .5 mm to 2 mm. THE TOOL is great for punching out circles for portholes, and making miniature blocks/tackle. I was turned on to this set at a meeting I attended with Michael Mott. I have learned a lot from Michael and too bad he moved to B.C. I will miss him, a really nice guy! The following pictures show the Artwox decking installed, an anchor winch modelled and spotted, some deck hatches in place, and 4 out of 5 the mast locaters in place as well. I apologize for the pictures I took them with my IPhone as my digital camera is at work. More to come at Christmas … Jeff Links to the other two projects http://www.bottledshipbuilder.com/index.php?/topic/182-blockade-runner/ http://www.bottledshipbuilder.com/index.php?/topic/116-article-for-lone-warrior/

-
Hey Michael thanks for the encouragement! I trust you are moved in and all is well with you and yours ... Jeff
-
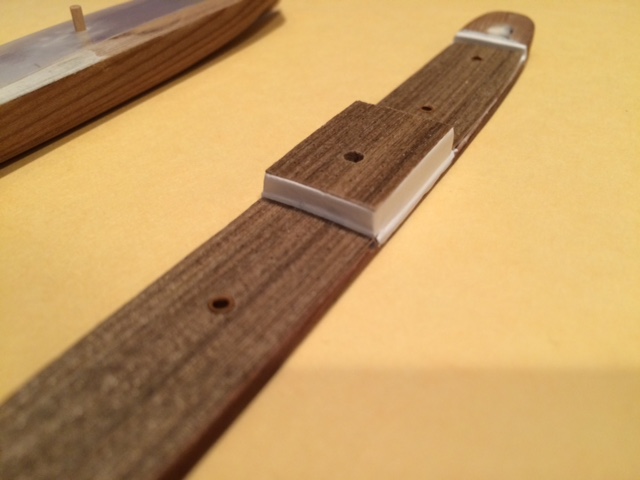
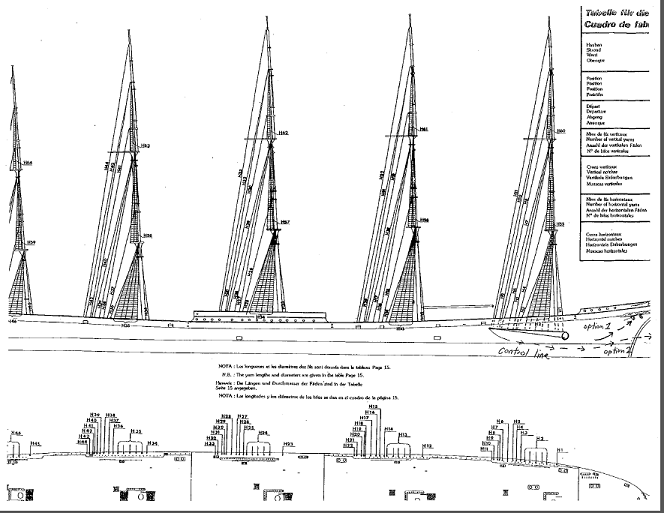
One of the things learned from reading Harold A. Underhill’s books is his methodology when it comes to naval design and thinking. For a while I was struggling with how to run all of the ratlines and backstays for the Preussen. The Lord works in mysterious ways and last night the answer came. I will devise a lever in which everything will attach to and the lever will be allowed to pivot downwards to apply tension. The masts will be stepped into a piece of brass tubing in the decking and will be removable. Once everything is inside the bottle then the masts can be inserted into the tubing one by one from the rear mast forward. Then all I’ll have to do is pull one control line for each mast and all of the back-stays and ratlines will be tightened and secured. Option 1 is to run each individual control line through a hawsehole or …option two is through a hole drilled in the front of the hull. I am leaning towards option two as I probably will run all of the running rigging through the hawse holes. 30 lines X 5 = 150 lines. God’s way is always perfect I’ll only need 5! Jeff

-
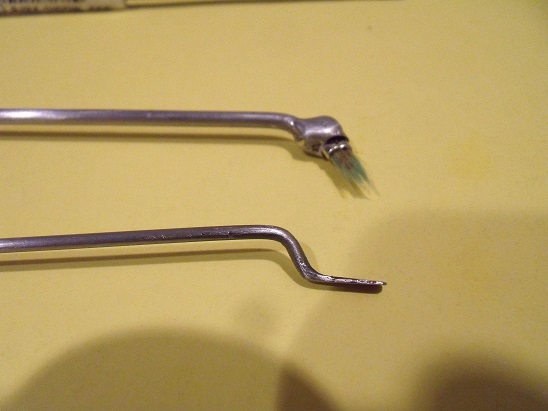
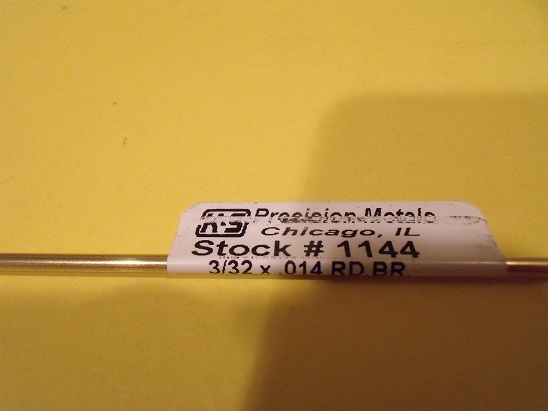
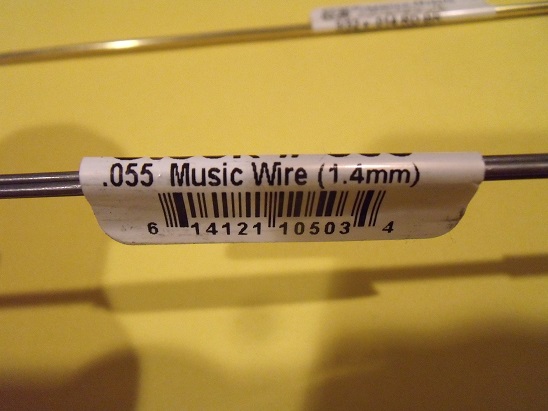
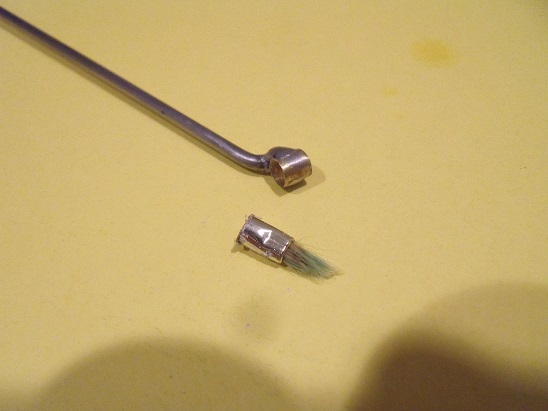
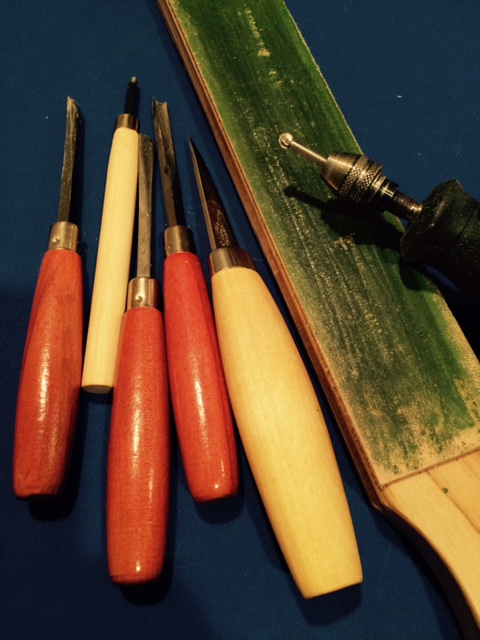
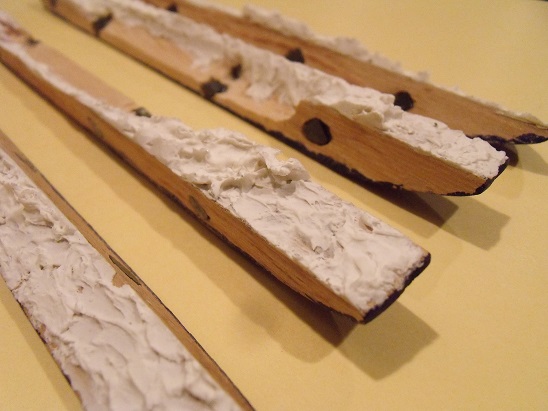
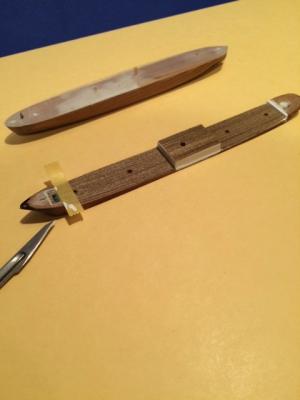
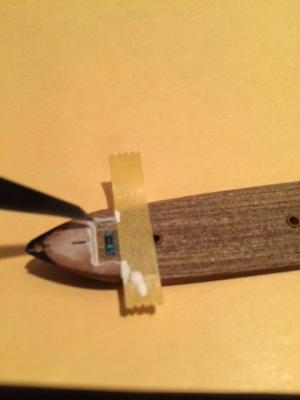
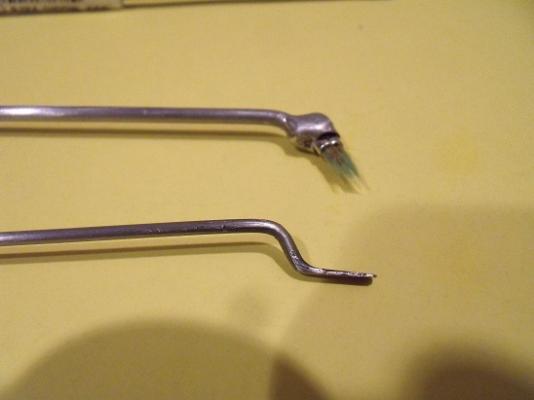
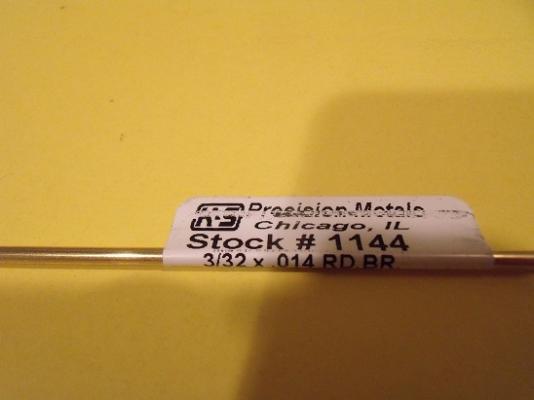
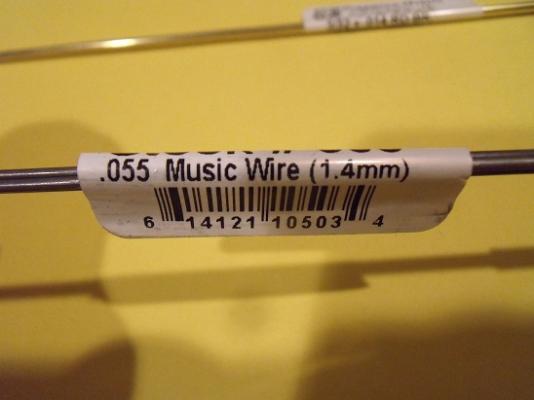
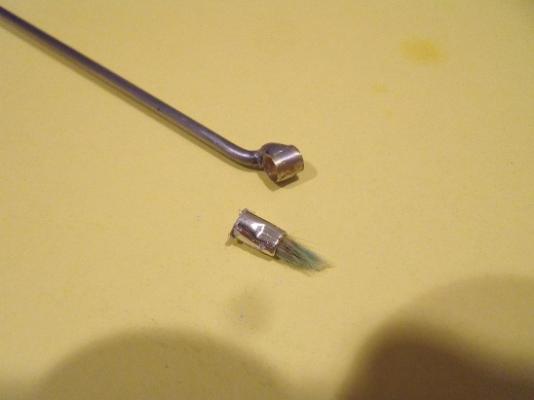
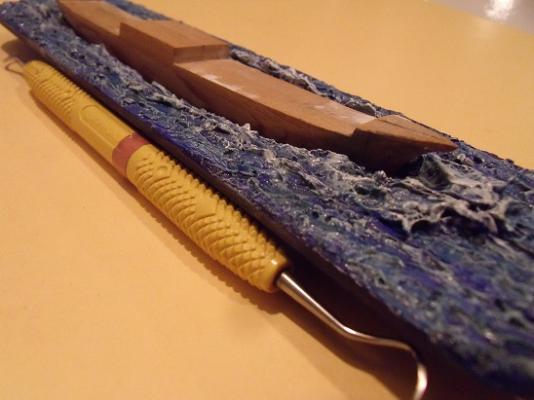
Life has been exceedingly busy. I rarely get into the man cave these days as work has me going constantly. As well I have a big shut-down coming up which will require me to work 20 days straight to supervise the safety aspect and I will be on-call 24/7. However every once in a while I do manage to get a bit done regarding the planning and implementation of the Preussen build. Lately I have been working on building a few special tools for inside the bottle work. My seas are ready to install but… I needed two special tools to proceed, and one more for inside the bottle finesse work. The first is a tool (bottom one with special bend) is to touch up the cracks/seams with some modelling paste. The second tool is to then mask the paste with some acrylic paint so henceforth an inside the bottle paint brush system with interchangeable brushes. The third tool is still in the design stage. It will be a spring loaded grabber type tool to maneuver stuff around inside of the bottle like yards, masts, sails, rigging etc. I purchased some brass tubing and bullet proof piano wire. I love the wire as I can heat it and beat it into whatever shape my heart desires. The last picture shows the tool with the option for interchangeable heads. So there you have it ... Jeff

-
I appreciate your critique Robin. I will acknowledge the work is still in copywrite for now. As far as I know no one else has tried this particular technique to date. Where it will lead only God knows! Jeff
-
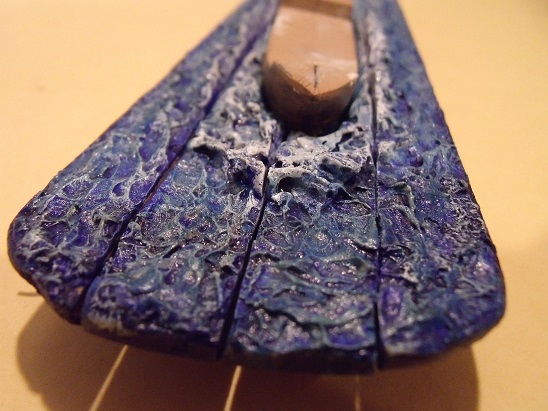
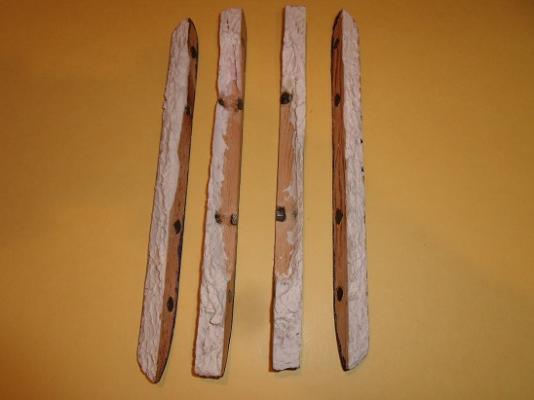
Once all 4 pieces are in the bottle and glued into place I'll hide the joints by blending in some modelling paste. Some paint touch ups and she'll be good to go. Thanks for asking a great question on your part! Jeff
-
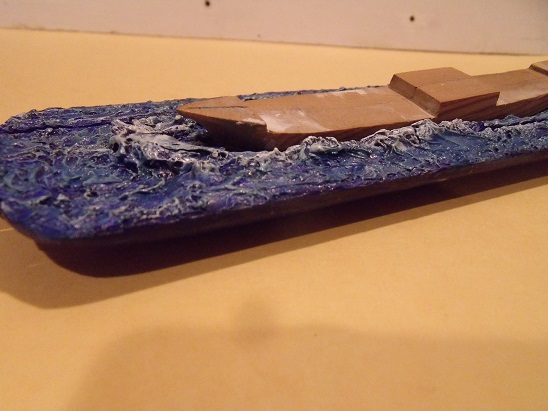
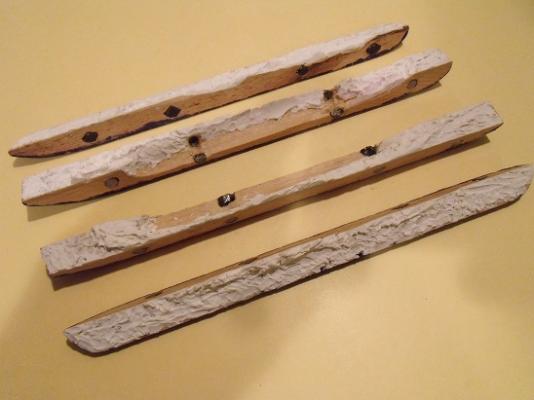
Life has been very busy however some progress has been made. Seas are painted up and final touch-ups will have to be done inside of the bottle. I have to also add; some spray detail by the hull, some Woodland Scenic water effects by the hull to show some transparency as well, aforementioned done inside the bottle. Steady as she goes! Dental pick to show the scale..... Happy Father's Day to all who read this.... Jeff

-
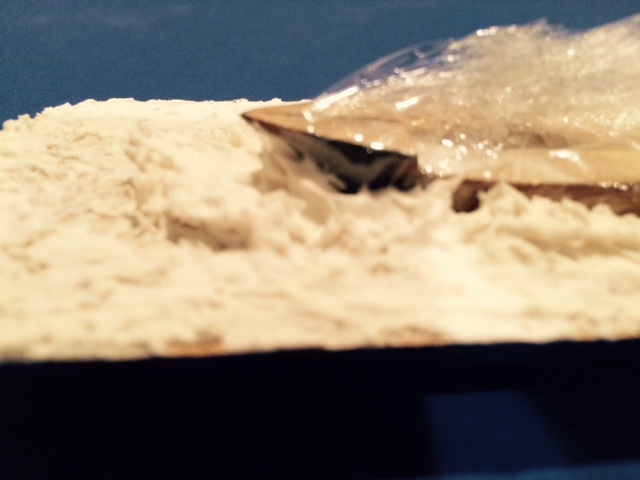
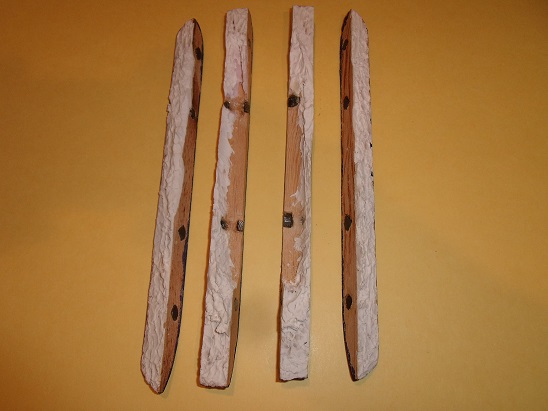
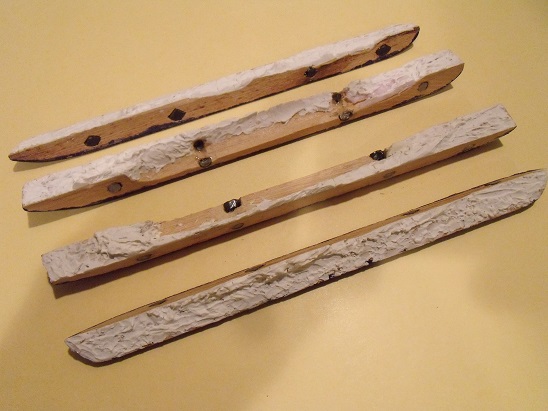
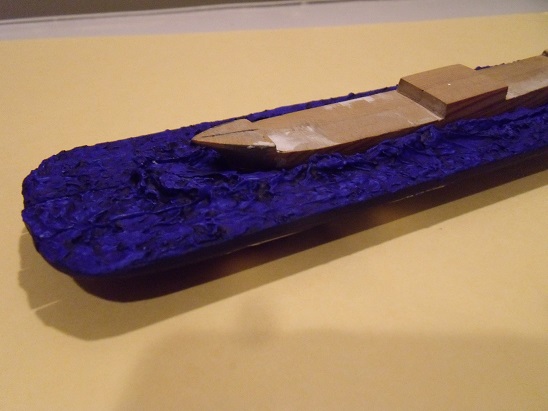
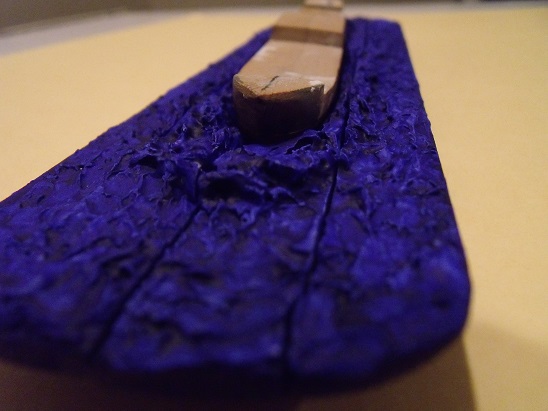
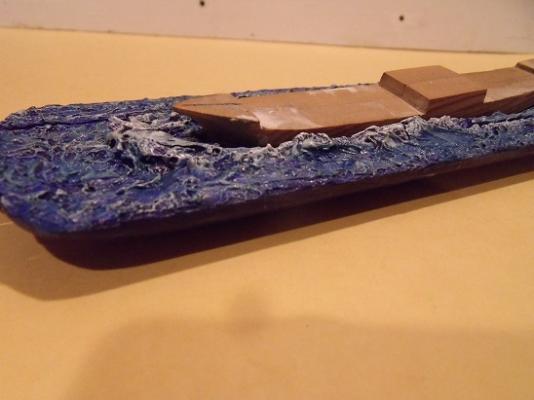
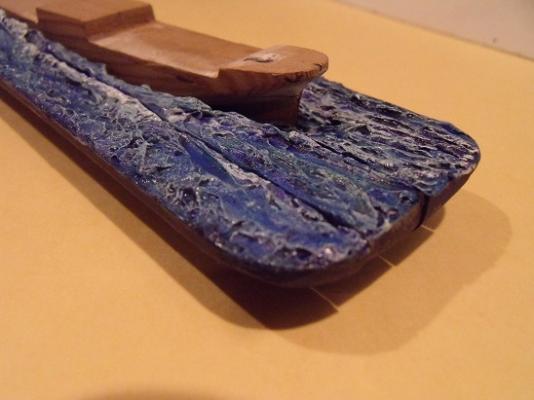
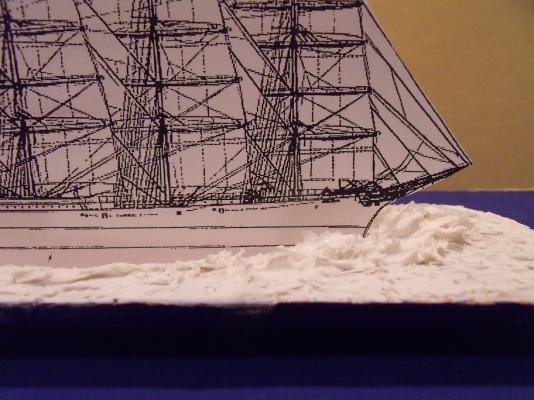
Well as usual life gets in the way with modeling however I managed to get a few days into the man cave to proceed. Steady as she goes the Captain said or... was it Jack Sparrow! After a lot of research, and prayer, things just fell into place regarding my seas technique. I decided Artist's Loft Academic Level 1 Acrylic Modeling Paste was the way to go and it proved correct. I wrapped the hull in some cellophane and sculpted the seas around the hull being carefull not to build it up too high as the individual pieces have to pass through the bottle neck. The first photo shows a little styrofoam where the keel/rudder will go. It was hard to carve an exact slot so... I carved it out, then spaced the styro accordingly and pasted. Next photo shows the appropriate tools. My hobbying has really improved since I purchased a strop to keep everything sharp! Next shot shows the hull in place and the sculpting with the paste. I can't say enough about the modeling paste. When dry you can even drill it out. Amazing stuff! Next photo shows the silhouette of the Preussen in the seas. Next three photo's show the magnets and corresponding plates installed to hold it all together. I really lucked out here as the strength is just perfect to allow alignment and manipulation inside of the bottle. All pieces were carefully cut apart with a razor blade after drying time. The next two pictures show the hull in the seas and one coat of Winsor Newton Galeria Acrylic Ultramarine Blue. From here some strategic coloring with some oil paints to give the ocean some depth, blend, and radience. Also I have to be aware that once the seas are inside the bottle and glued in place with the bottom half of hull installed; I'll have to backfill the seams and touch up the paint and blend it in accordingly. Then some modeling paste to froth up some spray right by the hull; a good coat of Artist's Loft Academic Level 1 Gloss Gel Medium to seal, then some Woodland Scenic's liquid water just beside the hull to show some transparency. Next up I have to finish the lower half of the hull with as much detail as my heart desires and figure out how to route all of the strings. Lot's of work ahead 'but hey'.... it's just a hobby! Jeff


-
Big decision here but a no brainer. I am sure you'll miss the minus 35 Celcius temperatures with 2 feet of snow LOL!,❄️ Congratulations you are now a member of Hoarders Anonymous! I did a big purge last year when I quit the war gaming gig. I gave a lot of stuff away and sold some of it. It's always better to give than receive. Blessings on your move ... Jeff
-
Patrick, We have got to get you to put one of these beauties into a bottle. You are definitely ready and have the skills to do it! You need to come over to the Bottled Ship Builder forum and please and sign up. Jeff
-
Igor, very ingenious. I shall remember this technique as I have port holes to model as well. It turned out very good. Way to go my friend! Jeff
-
Thanks Germanus, that is very sound wisdom and coming from you it is well received. Jeff
-
Michael, The carb reminds me a bit of the old side draft carburetor's you would see on the 1960 to 70's motorcycles I used to ride when I was a young fellow. I am interested to know what type of vacuum you'll achieve with your engine? If you get a decent amount of vacuum it should pull the fuel in naturally and all you'll have to do is throttle it with some type of Venturi/needle valve and she should be good to go for idle. Any idea what rpm it will produce? Beautiful machine work. You were not kidding when you told me you had all of the tools! Jeff
-
Hello Patrick, I just caught up to you here and man nice job especially on the sail technique. The weather vane is a nice touch! I love it. I finally get to see sails on your model. Yea .... Way to go ... Jeff
-
Gwyl and Patrick, Thanks for the encouragement! I hope to get some more work done on it this weekend. Jeff
-
Yeah that's a good one Daniel. You right once I get the hull down straight things should really take off! No rush though... Jeff
-
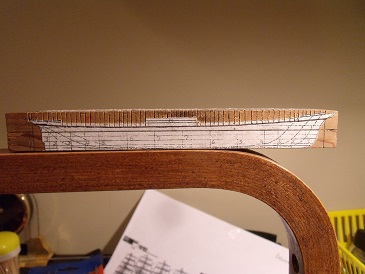
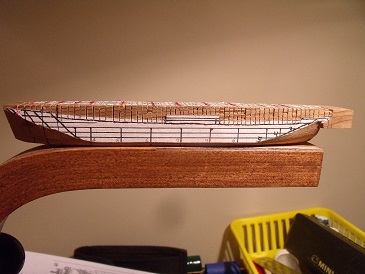
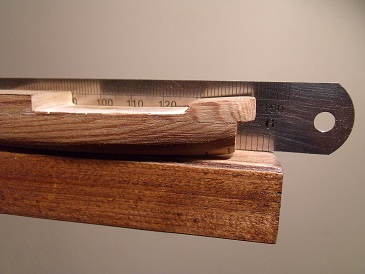
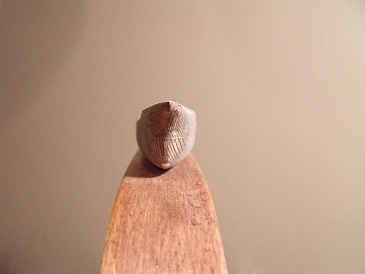
Life got in the way with more home renovations, the kids vehicles to fix, a brake job to do on my Wife's car, and overtime at work. Life is good as I got a couple of days in the Man Cave to work on the clipper. The first picture is completing the saw cuts to ease in carving out the hull. In the second picture I am starting the shaping process on the bow and stern with my new Swedish carving knife. The next few pictures show the progress of cutting things down and shaping accordingly to the sheer lines etc. If you look closly you can see the hull is split into two section's at the waterline... as well, there are no stantions/gunnels' attached yet. That will come later in the building process. The next two pictures shows work on the bow section. I am really appreciative of the German naval engineering with regards to the sheer and lines of the bow. Below the waterline I am reminded of the look of a fast Frigate bow shape and above the waterline the look is of a typical clipper with lines that will cut and displace water in a hurry. I used some grey primer on the bow to show where the low spots are and it also aids in sanding. I'll do the same when I reach the stern area. So there you have it a bit of progress and the stern will be a process in itself as the sheer has to incorporate the rudder section and the waist in this area tapers sharply. Measure three times, cut once, sand till the cows come home! Jeff


-
Guys thanks for the tip about Walmart. I shall have to pay them a visit .... Jeff