HOLIDAY DONATION DRIVE - SUPPORT MSW - DO YOUR PART TO KEEP THIS GREAT FORUM GOING!
×

yancovitch
-
Posts
813 -
Joined
-
Last visited
Content Type
Profiles
Forums
Gallery
Events
Everything posted by yancovitch
-
 very kind fellas,......could have been more accurate, but i guess i lay down the parameters as to how far i want to go......naaaa augie.....you'll breeze through the head build....it's hard, but so much fun.....never bored....focus is so strong....brain challenge, battling bad habits....learning new techniques........ha...when i finish something, i finally figure out how to do it......now if i can only remember it
 -
i thought i'd better just finish this off before hitting the cannons etc...
-
thanks augie, fraid it's as good as it's gonna get for me...just don't have the patience like some of the fellas here ...''figure'' it livens up the ship somewhat and i also may just leave the brass cannons brass...chuck went to the trouble of making them so it's a shame to cover them up................... also, i may make a mold of the wolf etc, like someone elsed did here, instead of using the white metal......
-
thought i'd post one more, before i back track and dive into the cannons etc ......

-
thanks chuck for this great kit!....i don't know why, but it seems to force me to make more effort to do a better job and overcome my impatience and bad habits....although they still desperately cling on to me like salt and sugar ........of all the ships i built, i'm enjoying this the most.....and i hope you will forgive me for various modifications i make, either through error, or mad impulses ..... not something that would net you piles of money, you must have sacrificed a lot to provide us with these educational builds......how you find the time to do what you do is beyond me...........a wise man once told me ...if you need to get something done, ask a busy man i'm sure my feelings are shared my many...cheers to you.................
-
i agree...very clean and very nice photos too...........
- 2,191 replies
-
- 2
-

-
- confederacy
- Model Shipways
- (and 1 more)
-
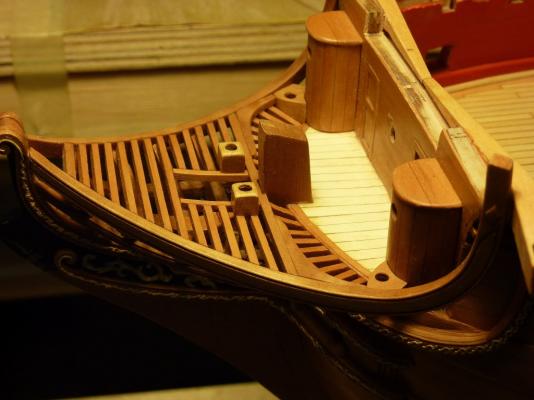
can't wait to see your efforts augie....oh....i rounded the cathead support more as shown in the plans...thought it looked sexier.......
-
cheers george
-
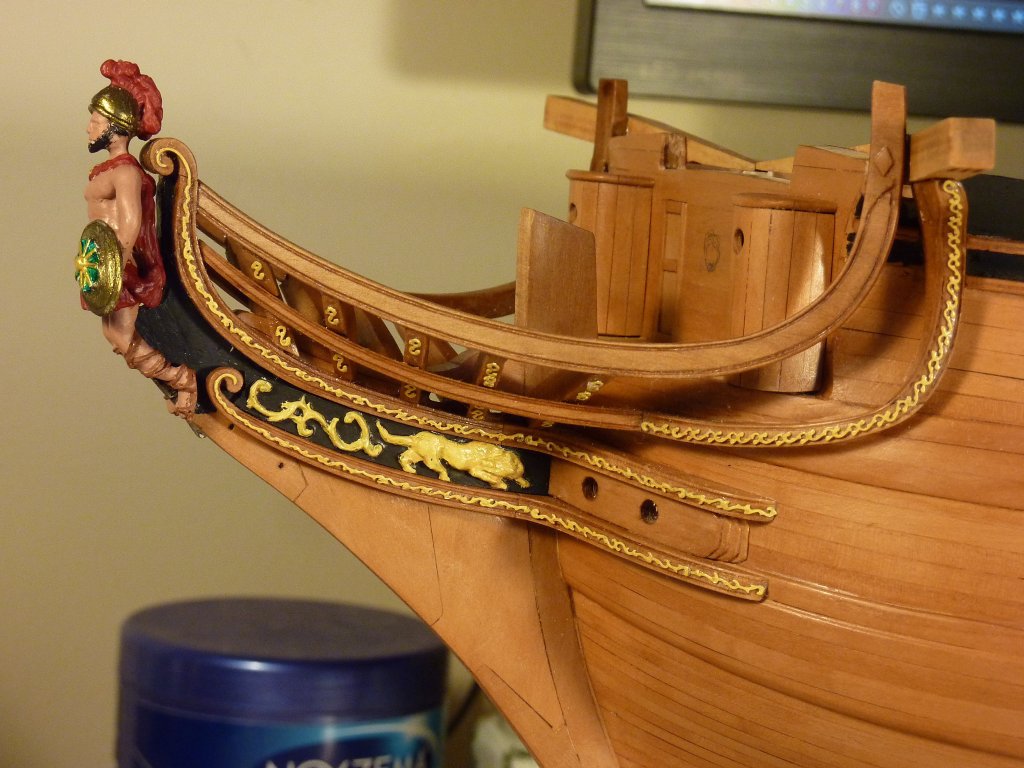
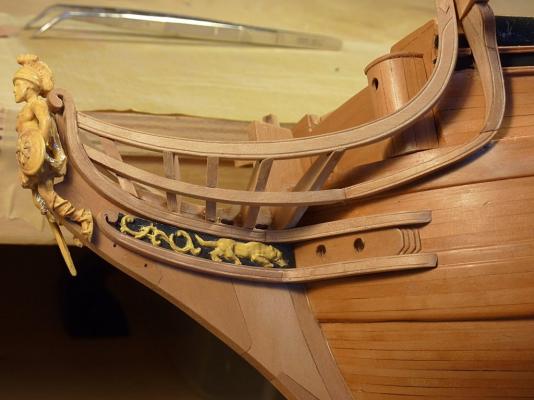
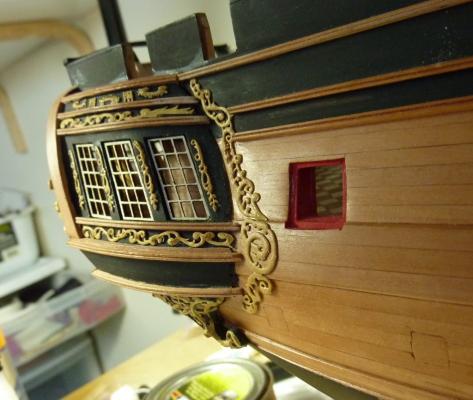
ok ....could be better, but one has to decide how much effort one wishes to put into doing one's best, and that's my limit for now .....will slim down the second rail......lots of finishing sanding to do, and in this case, sanding and shaping after the fact is preferable to me, as i can see where everything is in relation to everything eltz....decorations only on trial...and i notice the fellow with the thongs and the dolphin striker, has his lead underwear showing....hard to find a primer that sticks to lead ..will have to redo..... oh....i forgot.. ...i did add some meat to the forward bulkheads to reshape the bow a bit... and regretfully, i had to get pearwood for the stem and stern from a different source....as the color was different as you can see in the photo....nice if i could darken it somehow... maybe sound dumb, but i'l experimenting with applying stain after applying the rub on poly.....goes on more even and can build up a bit....then more poly.......we'll see.............. rudder done...still have to paint .....ran out of brass nails with the round heads......cap rail is a bit rounder..... that will be it for a while......(the cannons ) cheers...... oh....tremendous fun trying to shape those head timbers......close enough for jazz ha....i just discovered something.......i used rub on poly because the tung oil made this particular wood too dark...but the new wood i bought was lighter....so instead of staining the new wood to darken it, i put oil on it and it became a little closer to the color to my original pear wood............to late to try on the rudder etc...hinges all glued in place, but will oil the rails.......for what it's worth......
-
thanks mucho..........having a lot of fun with this one....not doing as many dumb things as i used to
-
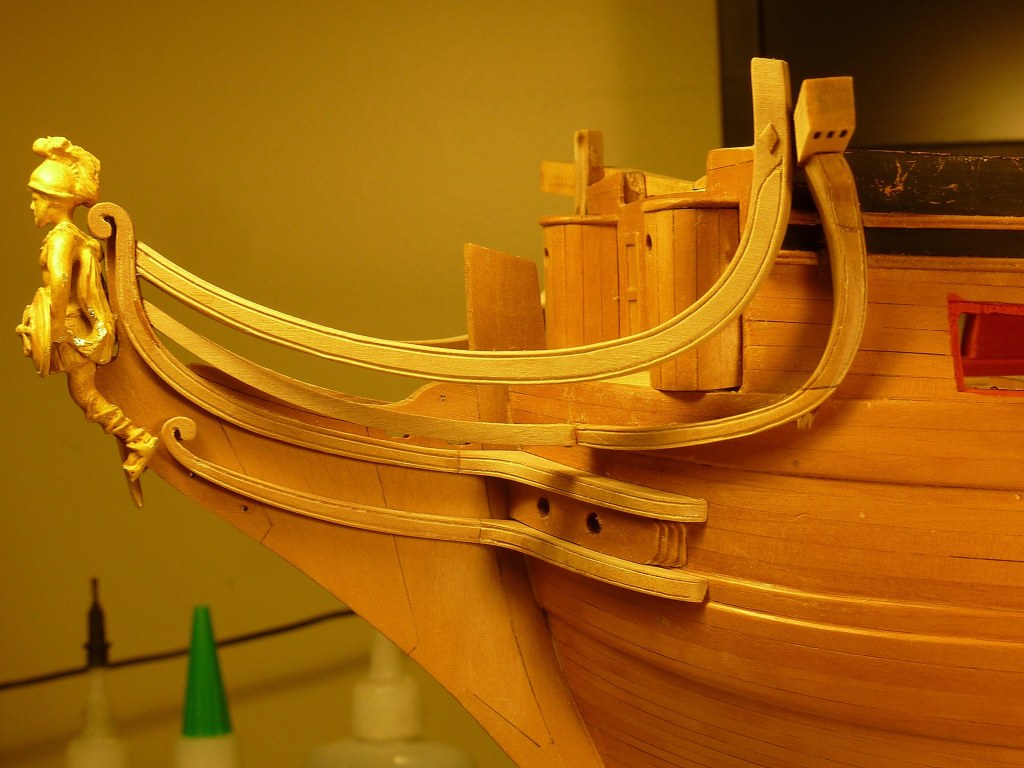
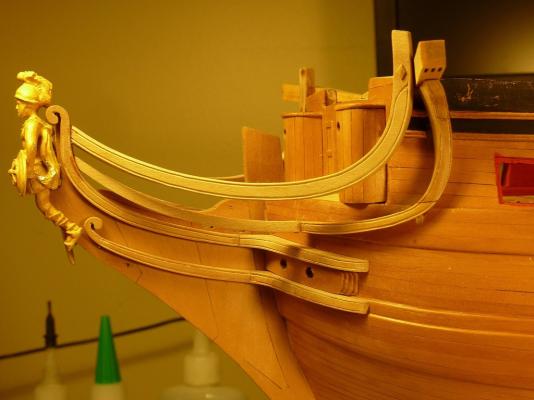
well..........i kept worrying about the front end ......so i decided to get the basics down before going on....cut it all out of pear...yea....it is a challenge.......still lots more sanding to do etc etc...but i had to get everything in place first to make sure it all fit ....anyone who built this part out of basswood, i take my hat off to him.....the head timbers shouldn't be a problem...though i don't mean they'll be easy .....i'd make cardboard templates first......i figure now the worst is over .............so much fun getting inspiration from the other fellas.......
-
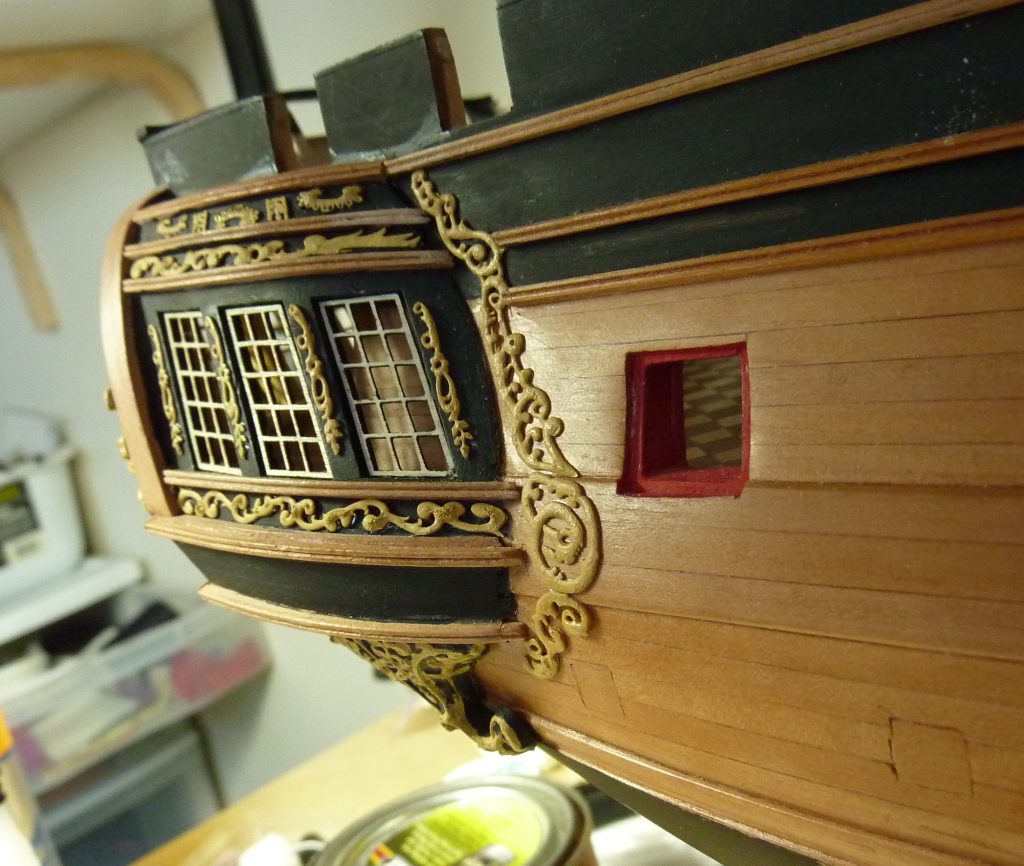
well..........it can be done, with the hands of a surgeon .....need a very sharp diamond tip to scratch the surface without pressure that would break the glass......when i receive the replacement windows.....i think i'll go for it.......may use contact cement instead of ca, but ca should work for something so light..we'll see..... hmmmmmm.....i always wondered what those little niches in the sides of the windows are for??
-
that looks really nice......soon, after the messy work, you can take the model up to your living room table to do the mini stuff
-
just found this log.....wow ...what an articulate imaculate builder.......i'm just a ''close enough for jazz'' kind of builder so it's quiet exciting to see the right way to do things congrats! keith
-
in the dental office they have a vibrator for removing bubbles in dental stone.....wonder if that:) would work....i used to have one but gave it away...dummy ..vacuum's the best though......but anyways..it's food for thought......even dumb ideas give birth to good ideas.....
-
sorry, but acetate is a no no for me......i saw advertised here some clear epoxy http://www.crystalclearepoxy.com/uv-poxy-clear/ thought it would be nice to fill the window panes with this stuff, but might be tricky...........maybe make a little frame on a piece of glass, spray with release agent, pour in a thin layer of resin, and place all the windows in the resin so the panes are filled.....let harden, remove the slab of windows and cut and trim them all.....just a thought
-
thanks augie....and the local hospital here is giving me a couple doz. cover slips.....the advantage of living in a small town ....so we'll see...
-
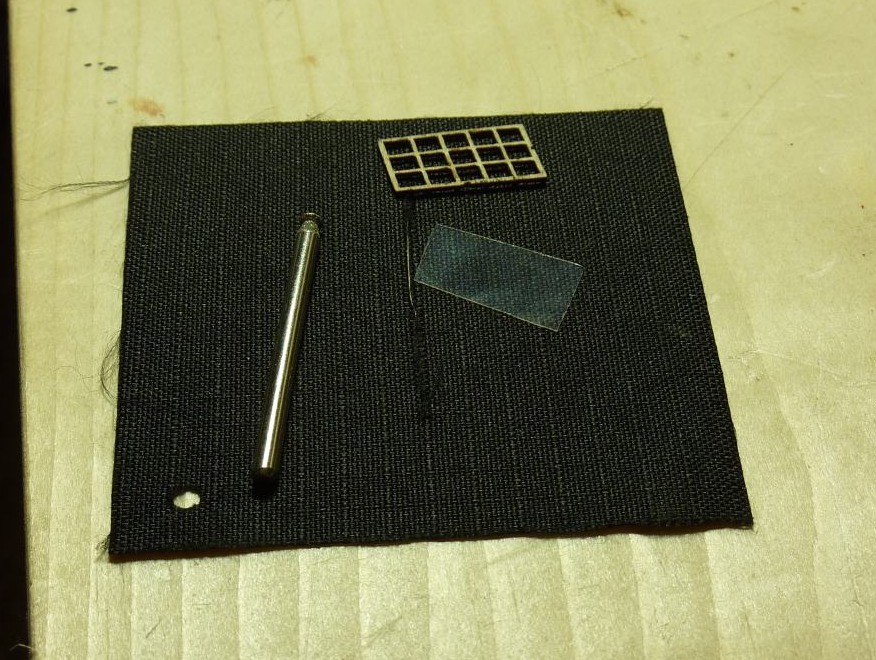
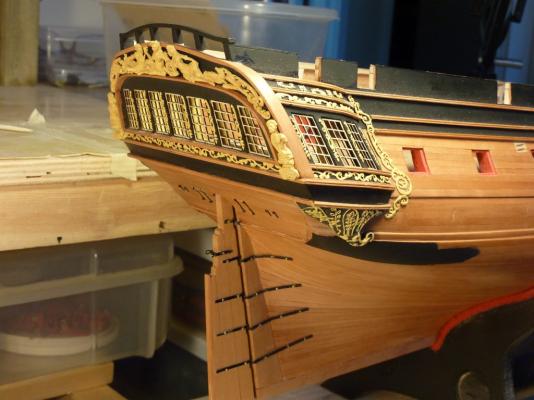
hello nils....you can see here.....i could have experimented more with putting on thinner layers so it wouldn't wrinkle as much when drying oh, i should mention one thing about using microscope slide glass for windows....not advisable to use ca as an adhesive, which may be obvious to most, but not to me of course .....although with the really fine glass mentioned here, it may not matter....i'll see after i acquire some.... ha...and i just noticed by looking at this photo, that i sanded a few sections of the hull without using a block ...the planking bends in towards the gunport.....being a fine sandpaper, i thought it wouldn't show......naughty naughty ..............
-
hi keithw....i sent you my email address......cheers, vic i also was wondering about cutting those glass slips......thought a diamond cutter would work.....that's what i used on microscope slides......would be nice to know ......
-
thanks for that nigel...will check it out.....never heard of it......
-
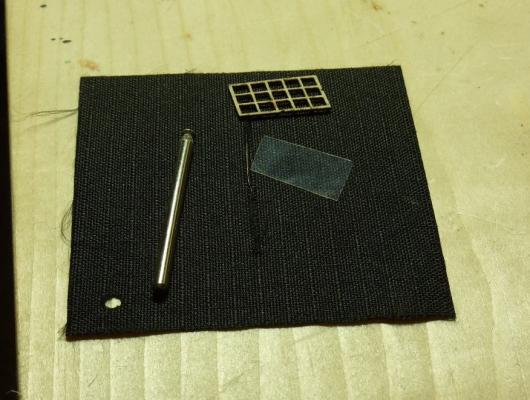
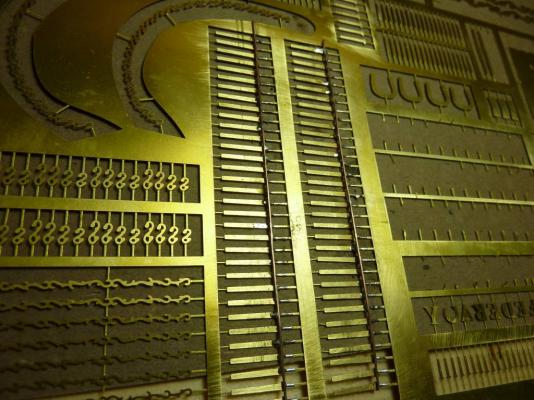
not sure if it's right, but i thought i'd put some hinges on the hinges (although maybe, in actuality the pins were reversed?? )....not sure if they're a bit, large but i could reduce if needed ...very limited resources here........oh...have to mention i'm so impressed with the extra parts included in the kit...so so thoughtful!!!.... ordered some blacken it....tried muriatic acid, but it didn't seem to do anything.......but will prime and paint if necessary...... sorry but i rounded of the heads a bit, cause it felt good...no other reason....more finishing to do.... so interesting.....i was watching myself as i was building, and suddenly realized that i always wondered why i couldn't build things like the pros here and discovered it was because i didn't want to, not because i couldn't....guess i got a built in limiter....like they put in the 50cc scooters so they don't go past 35mph (while most of the traffic is going 40mph like fear of perfection or whatever......but maybe that's something one evolves into......... it scares me that i'm getting so used to looking at this loooong ship so that other similar styled models look kinda chunky to me now .... again....a great kit...so much fun....

-
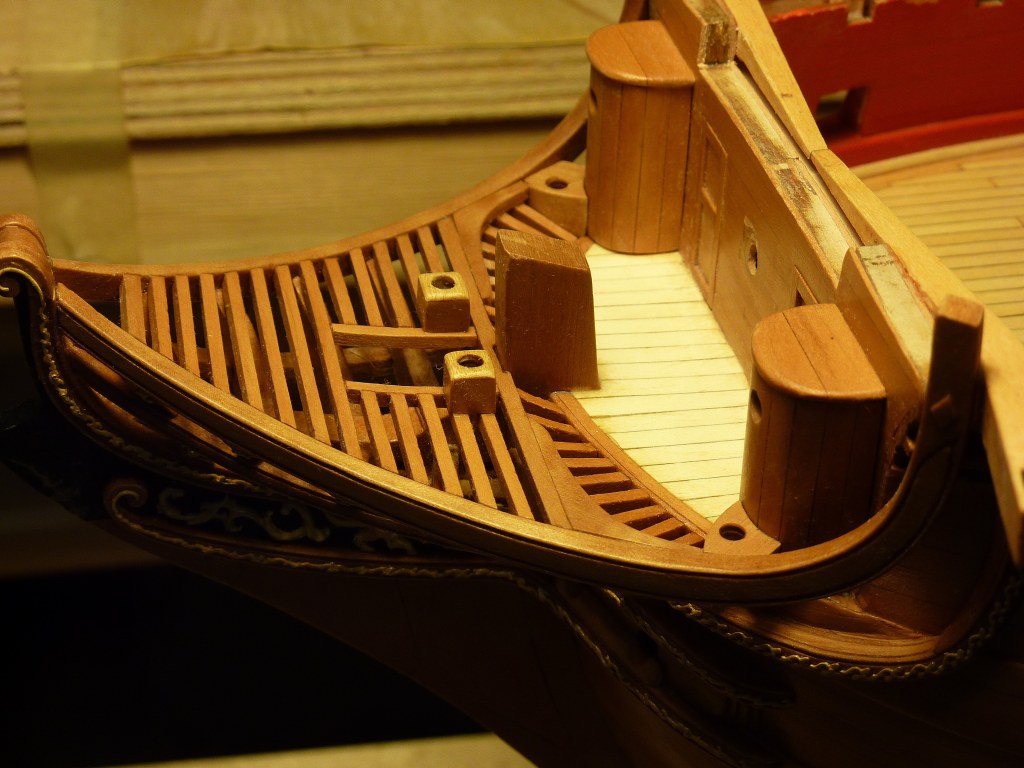
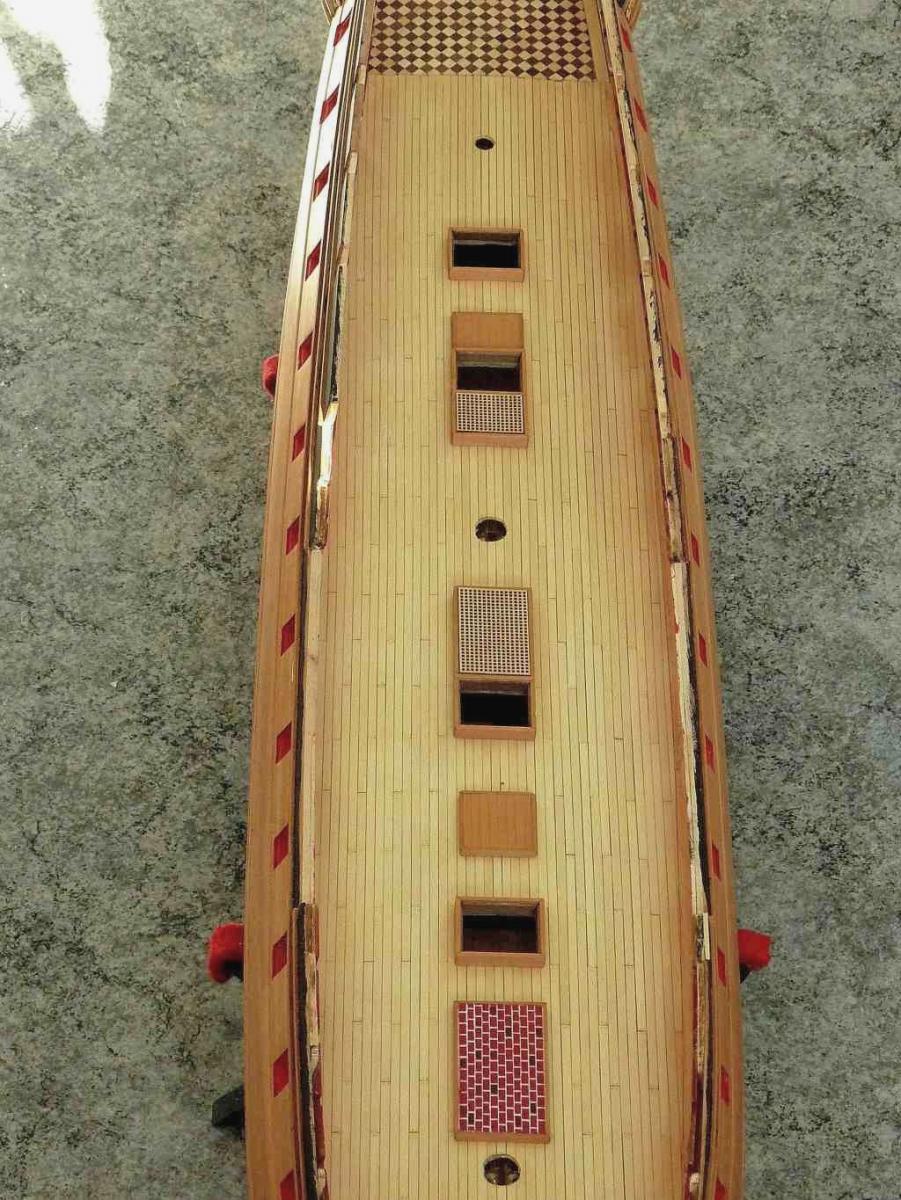
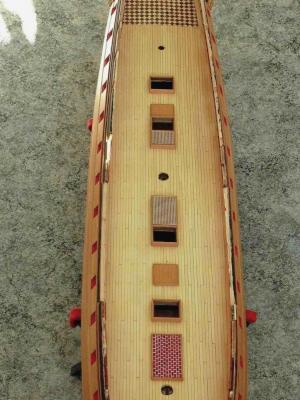
one more step........................oh....somehow missed getting some of the planking ends lined up properly ...will do better on top deck....
-
thanks chuck......seemed the logical thing to do......but thanks for the approval....
-
thanks schooner....on larger models i used glass microscope slides, and they were wonderful......too bad thinner glass isn't available ......interesting idea for the lettering.........