-
Posts
103 -
Joined
-
Last visited
-
 Nirvana reacted to a post in a topic:
Krabbenkutter CUX 87 by downeaster - Billings Boat - Scale 1:30
-
 Nirvana reacted to a post in a topic:
Krabbenkutter CUX 87 by downeaster - Billings Boat - Scale 1:30
-
 Nirvana reacted to a post in a topic:
Krabbenkutter CUX 87 by downeaster - Billings Boat - Scale 1:30
-
- 16 replies
-
- Billings Boat
- CUX 87
-
(and 1 more)
Tagged with:
-
- 16 replies
-
- Billings Boat
- CUX 87
-
(and 1 more)
Tagged with:
-
- 16 replies
-
- Billings Boat
- CUX 87
-
(and 1 more)
Tagged with:
-
downeaster started following Bluejacket Maine Lobster B
-
 yvesvidal reacted to a post in a topic:
Krabbenkutter CUX 87 by downeaster - Billings Boat - Scale 1:30
-
 yvesvidal reacted to a post in a topic:
Krabbenkutter CUX 87 by downeaster - Billings Boat - Scale 1:30
-
 yvesvidal reacted to a post in a topic:
Krabbenkutter CUX 87 by downeaster - Billings Boat - Scale 1:30
-
 yvesvidal reacted to a post in a topic:
Krabbenkutter CUX 87 by downeaster - Billings Boat - Scale 1:30
-
 yvesvidal reacted to a post in a topic:
Krabbenkutter CUX 87 by downeaster - Billings Boat - Scale 1:30
-
 king derelict reacted to a post in a topic:
Krabbenkutter CUX 87 by downeaster - Billings Boat - Scale 1:30
-
 king derelict reacted to a post in a topic:
Krabbenkutter CUX 87 by downeaster - Billings Boat - Scale 1:30
-
- 16 replies
-
- Billings Boat
- CUX 87
-
(and 1 more)
Tagged with:
-
- 16 replies
-
- Billings Boat
- CUX 87
-
(and 1 more)
Tagged with:
-
- 16 replies
-
- Billings Boat
- CUX 87
-
(and 1 more)
Tagged with:
-
- 16 replies
-
- Billings Boat
- CUX 87
-
(and 1 more)
Tagged with:
-
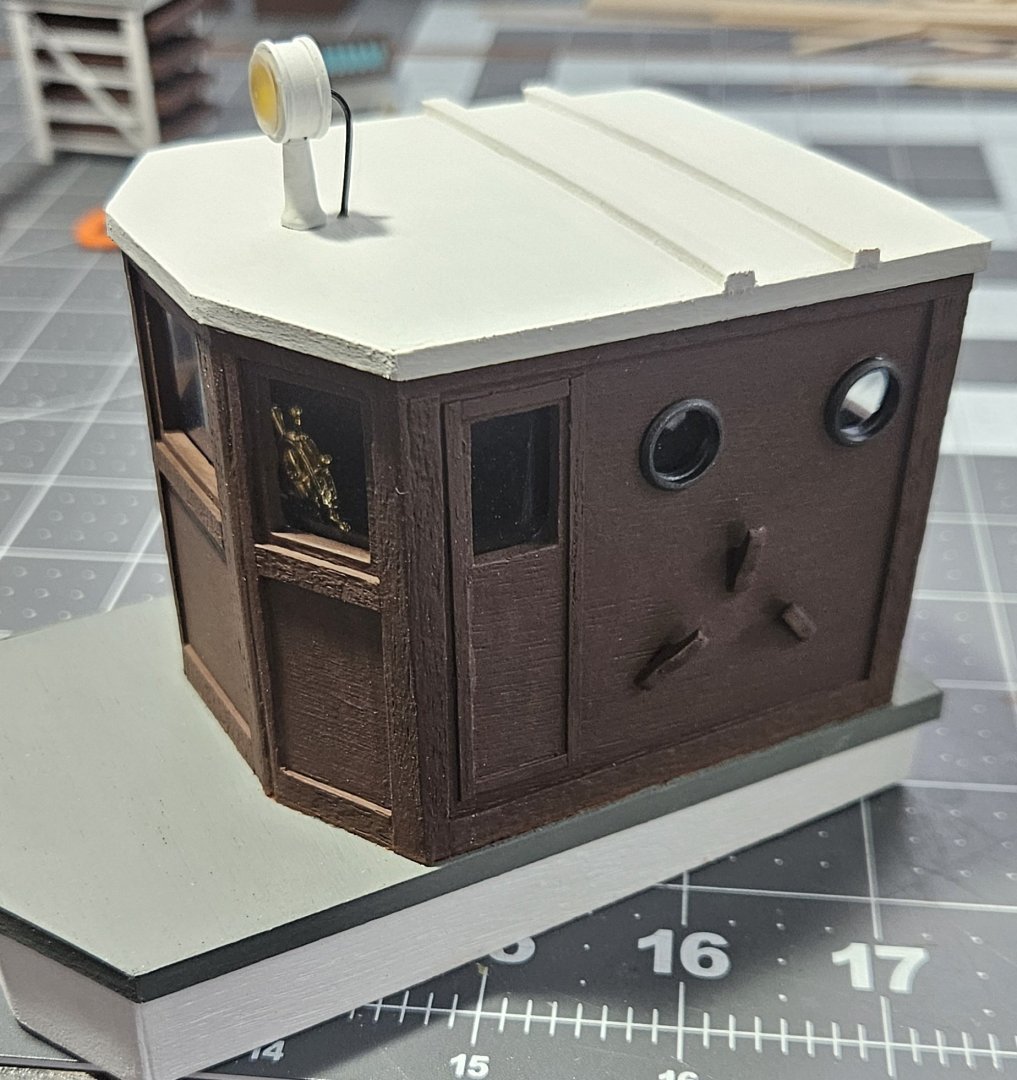
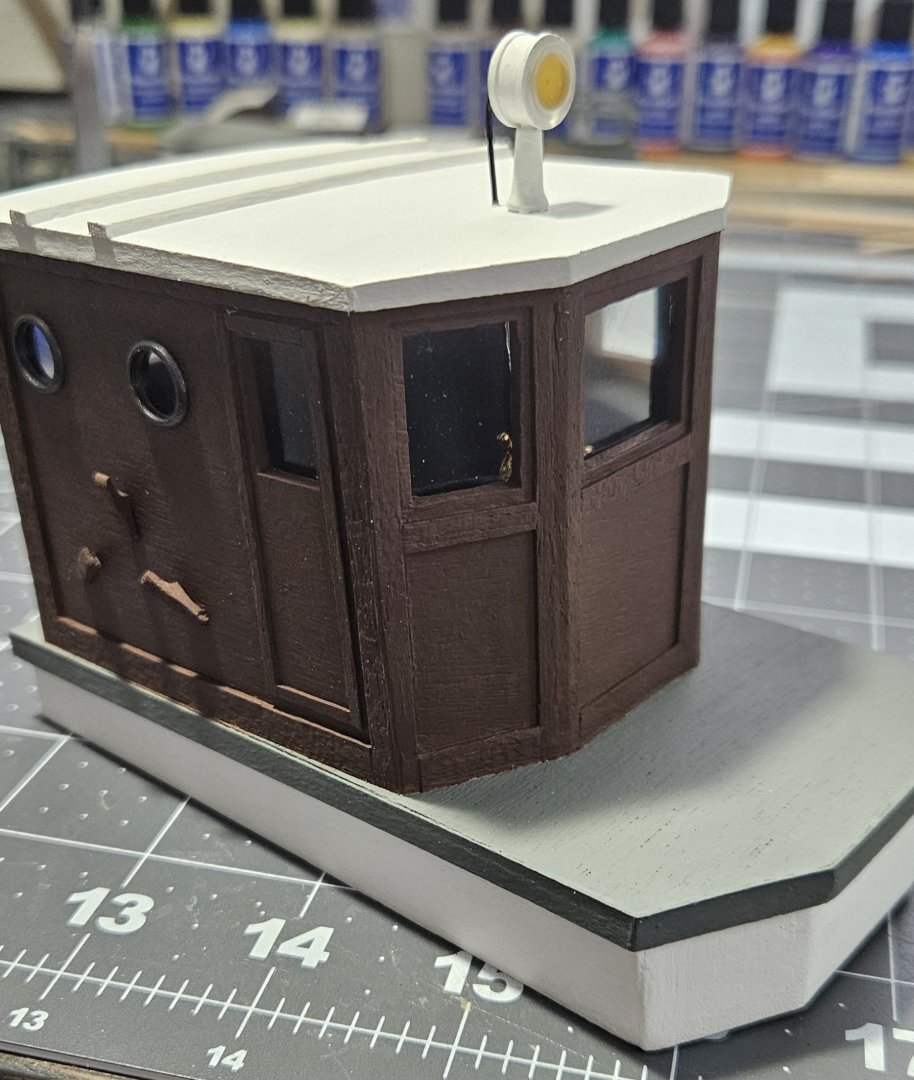
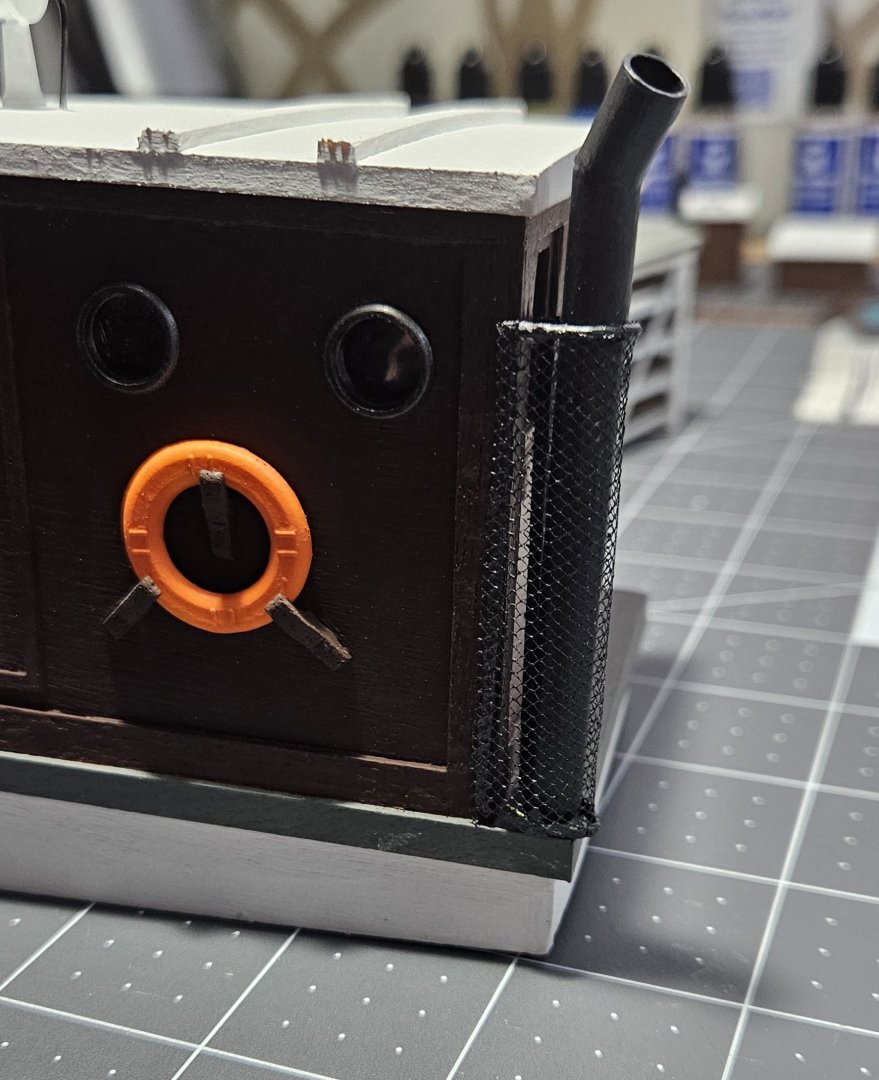
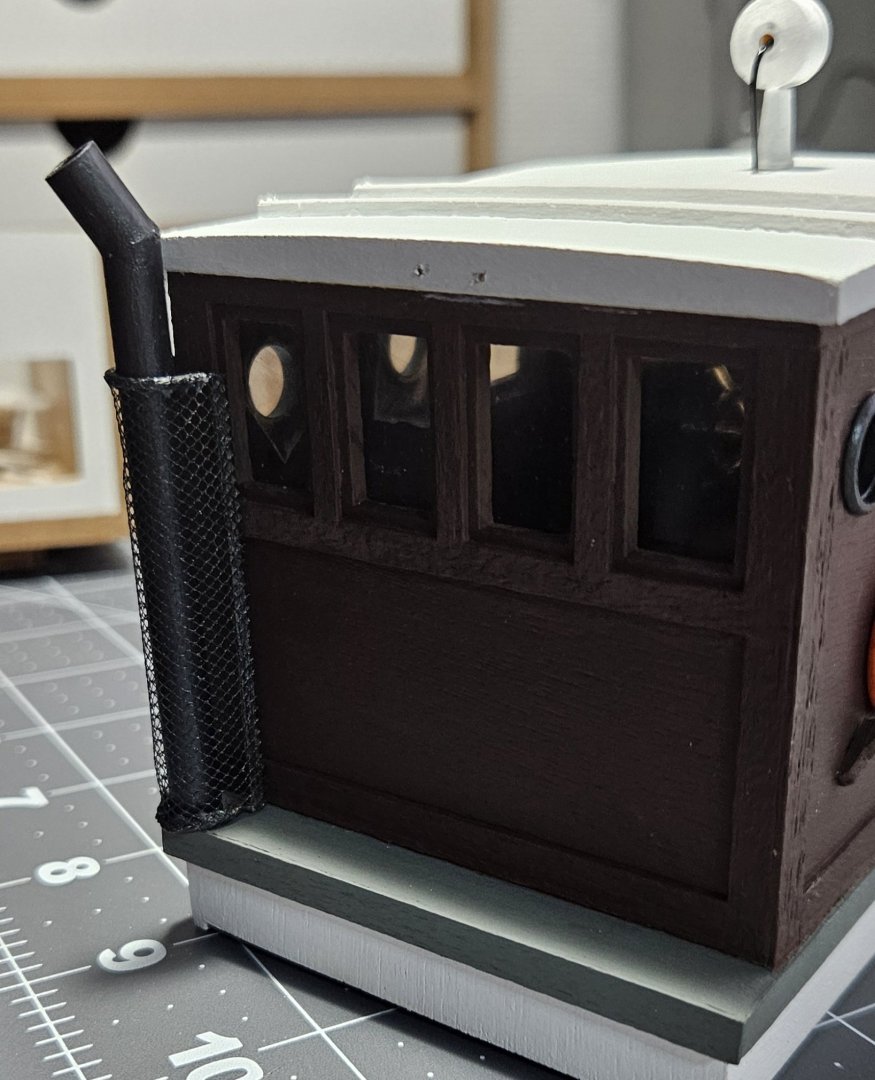
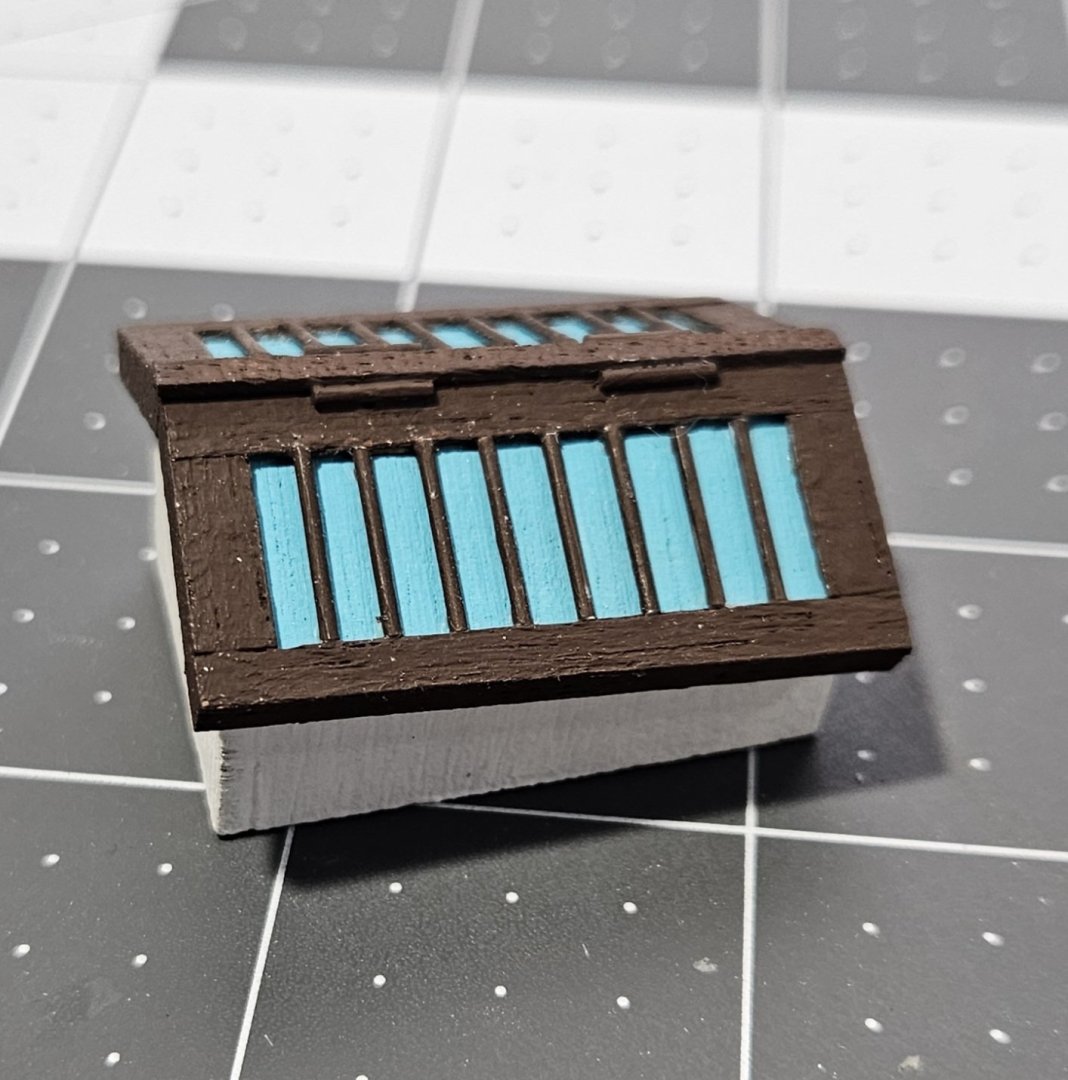
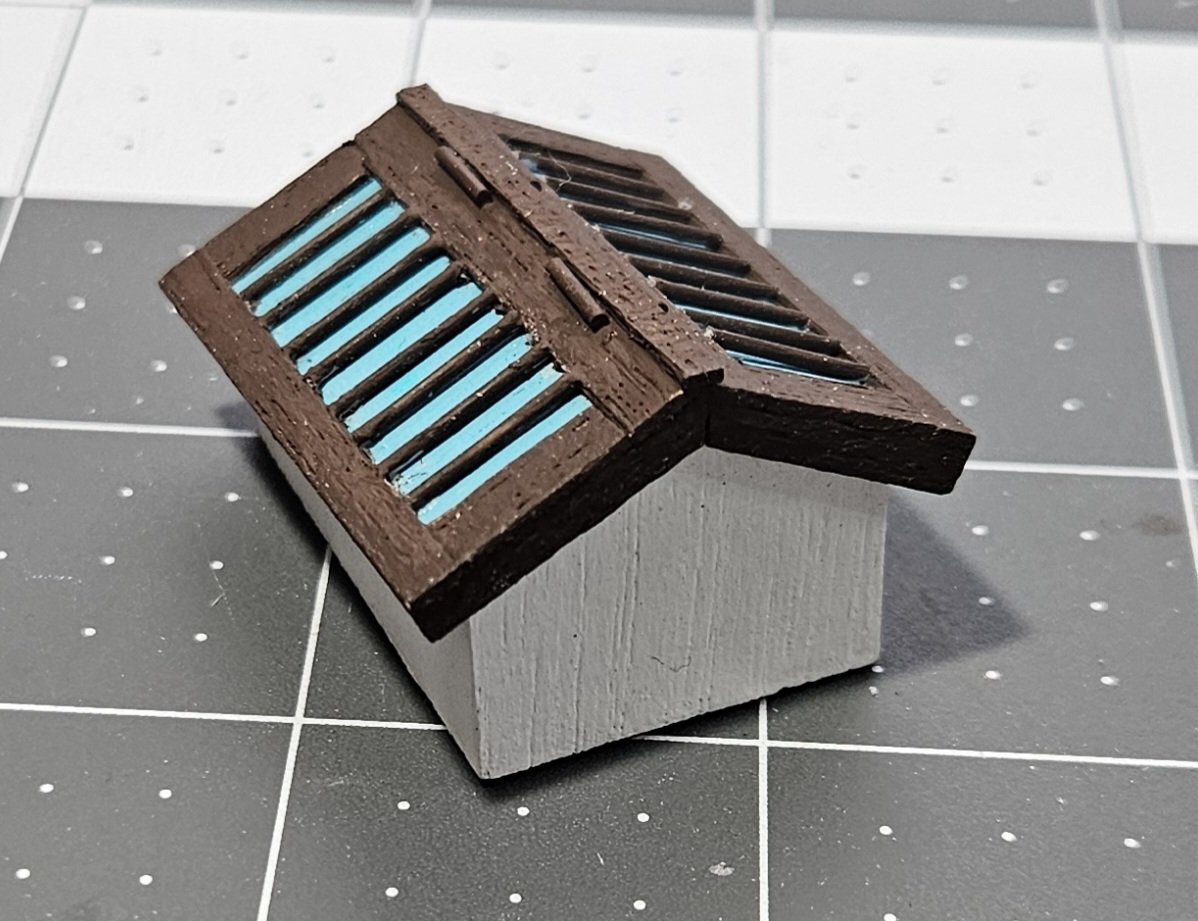
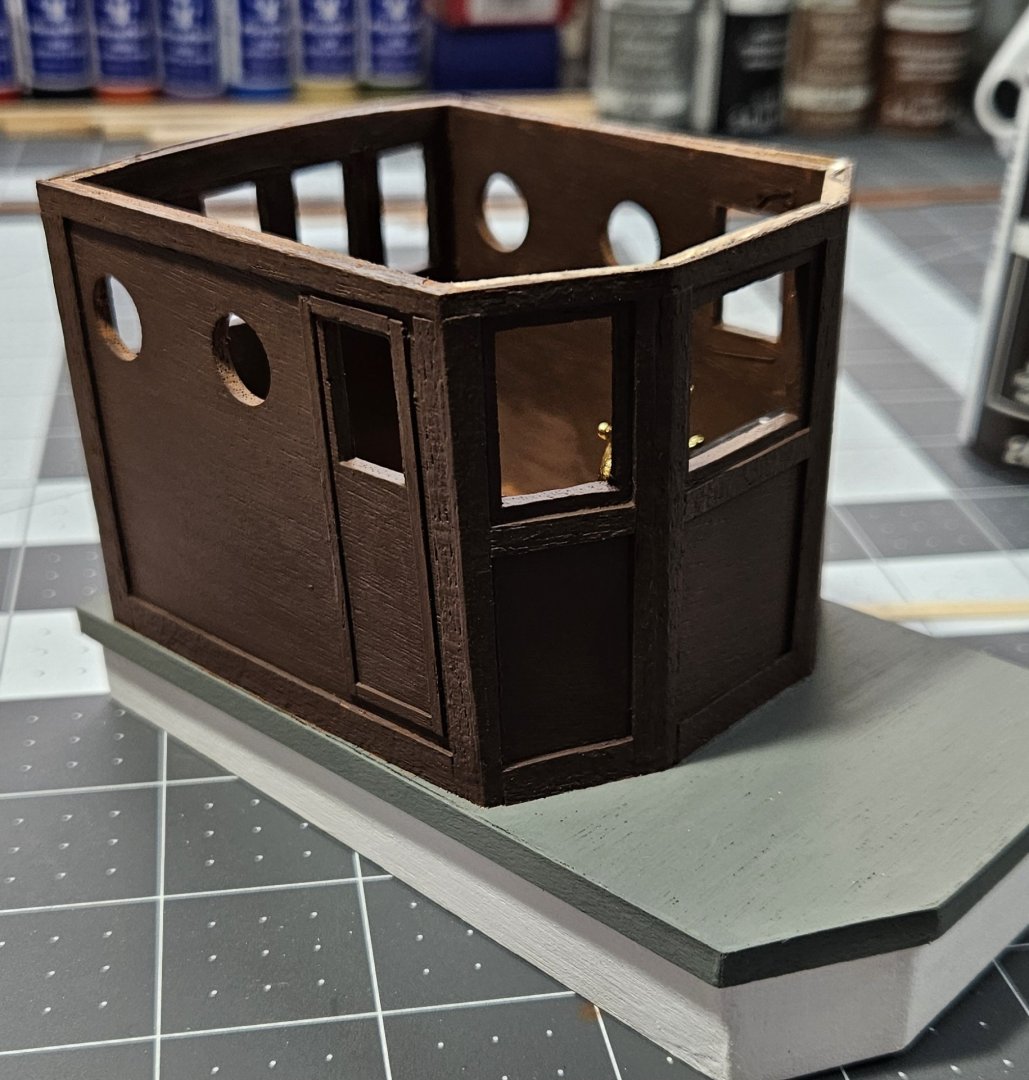
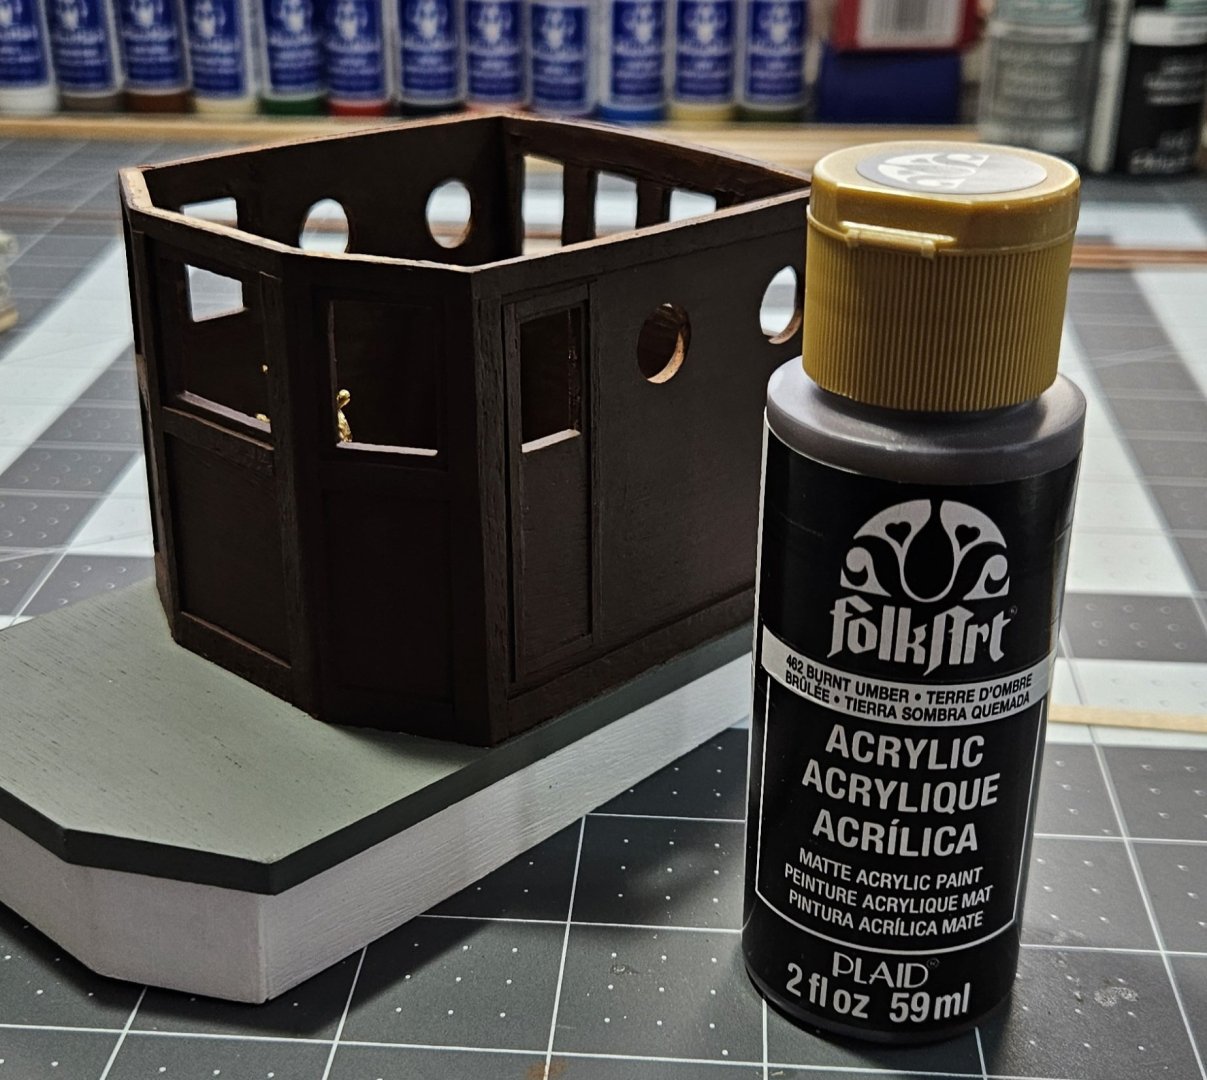
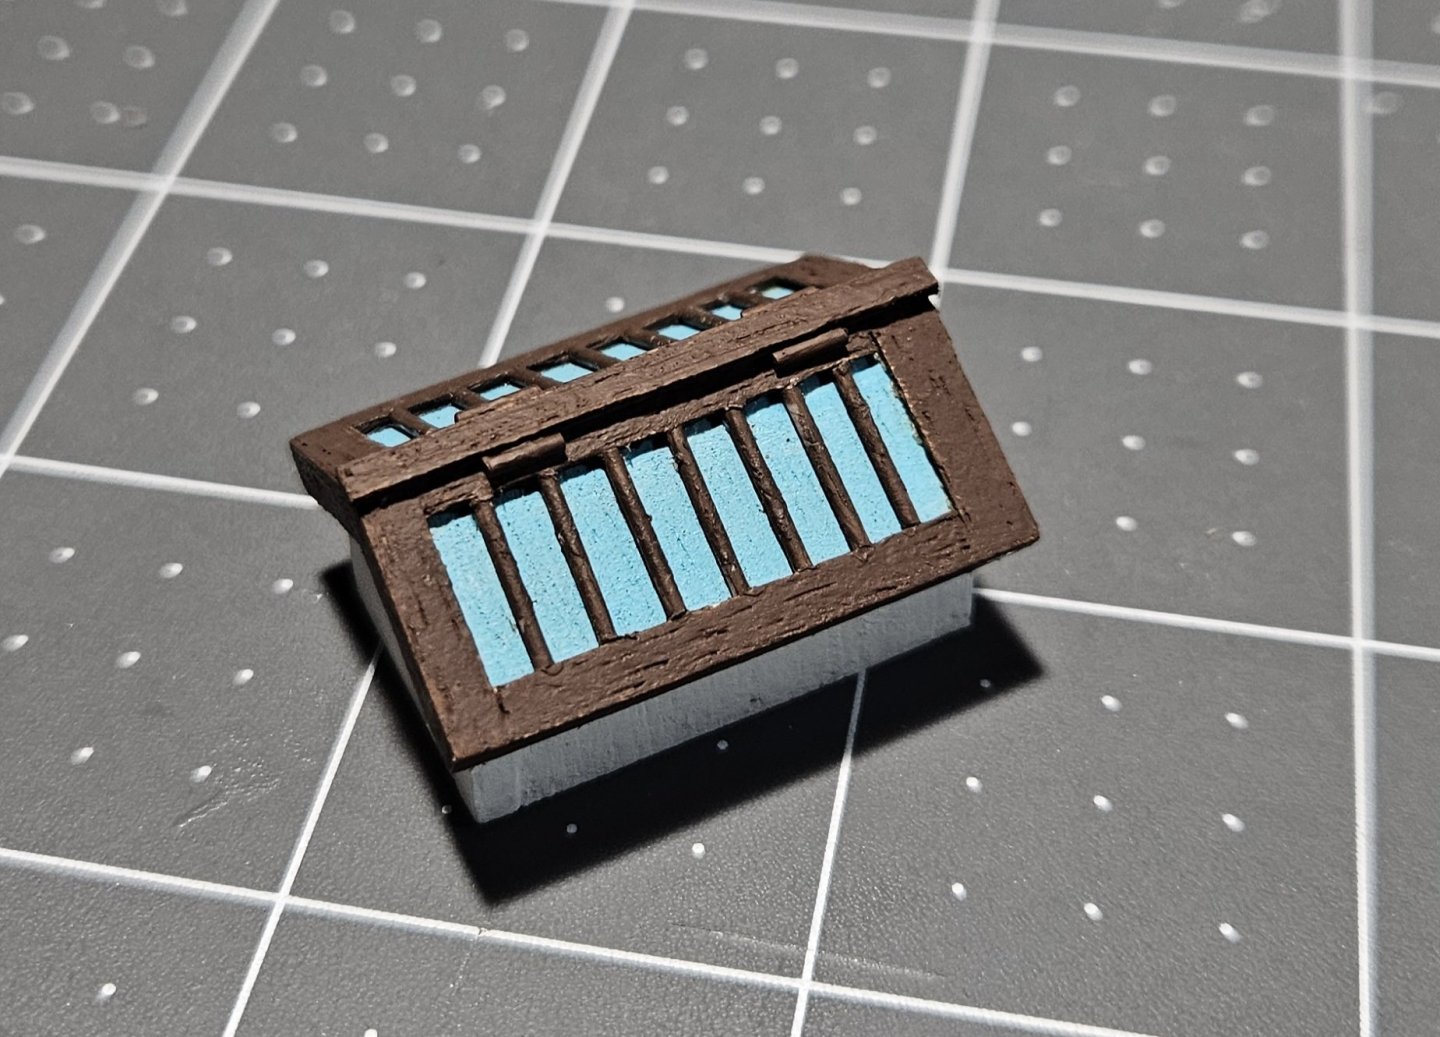
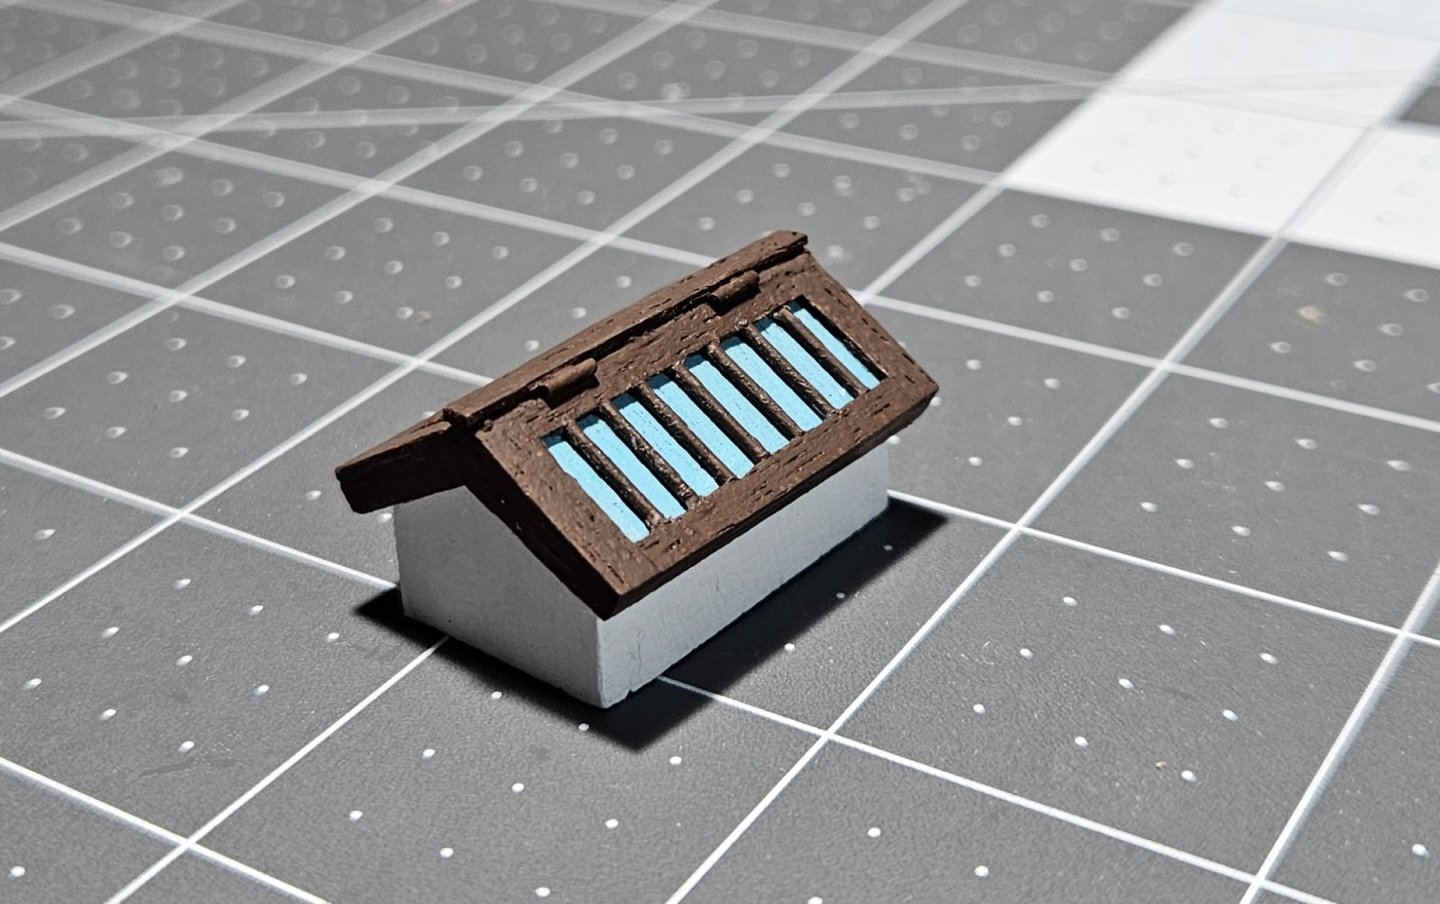
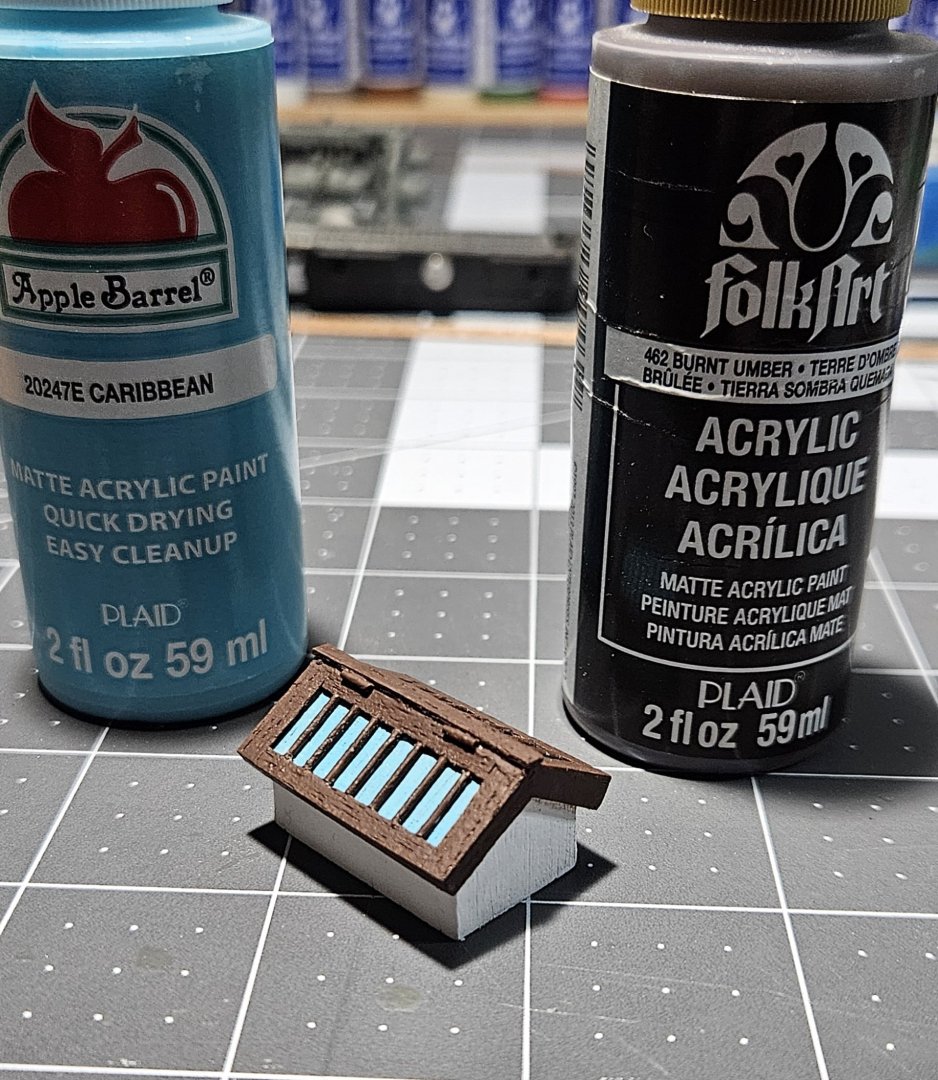
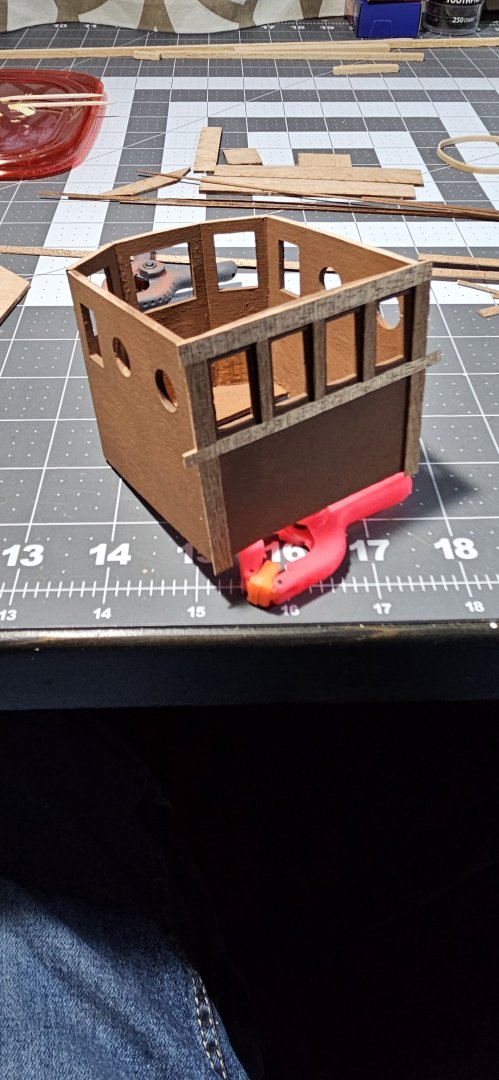
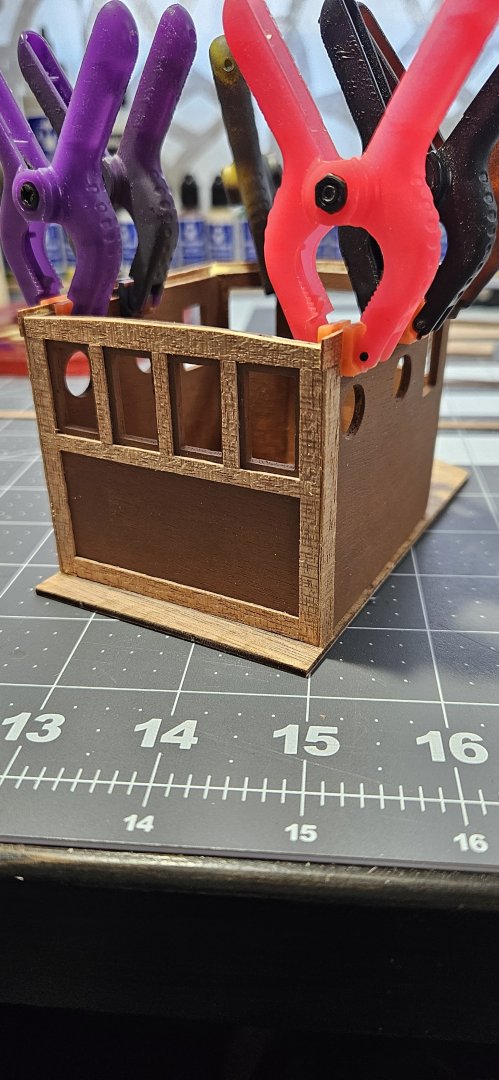
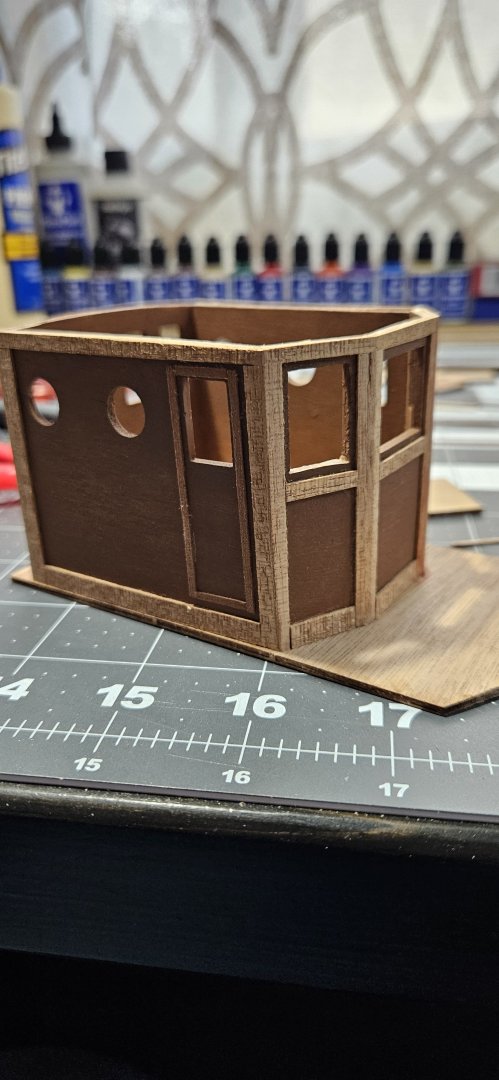
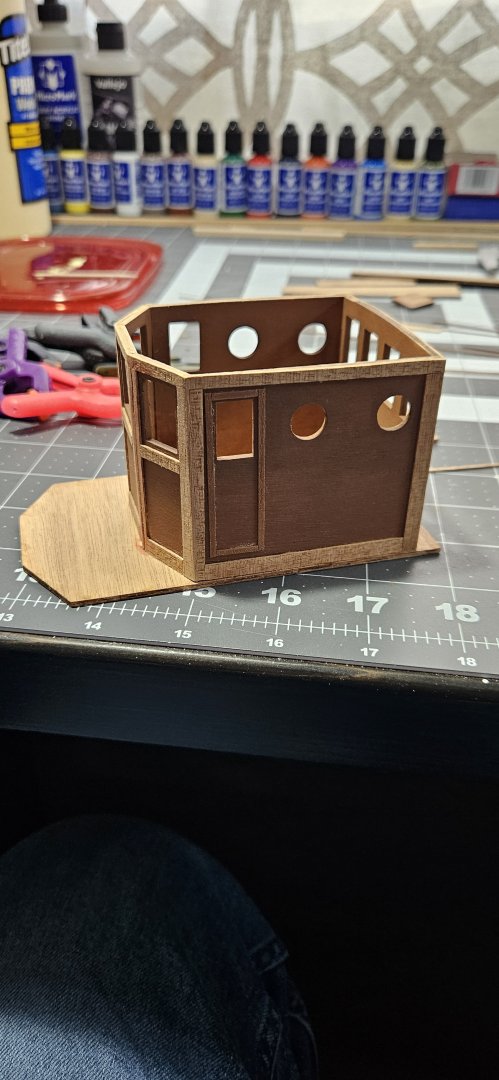
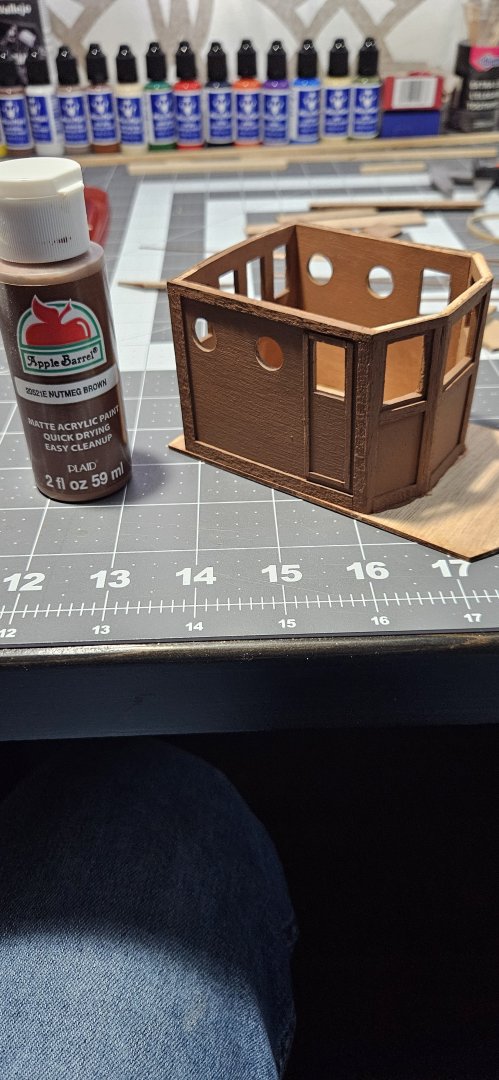
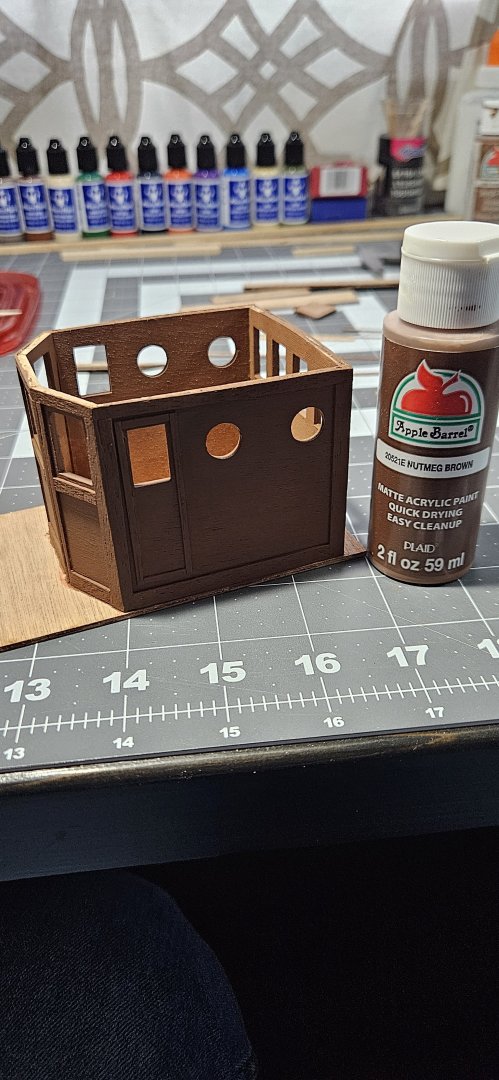
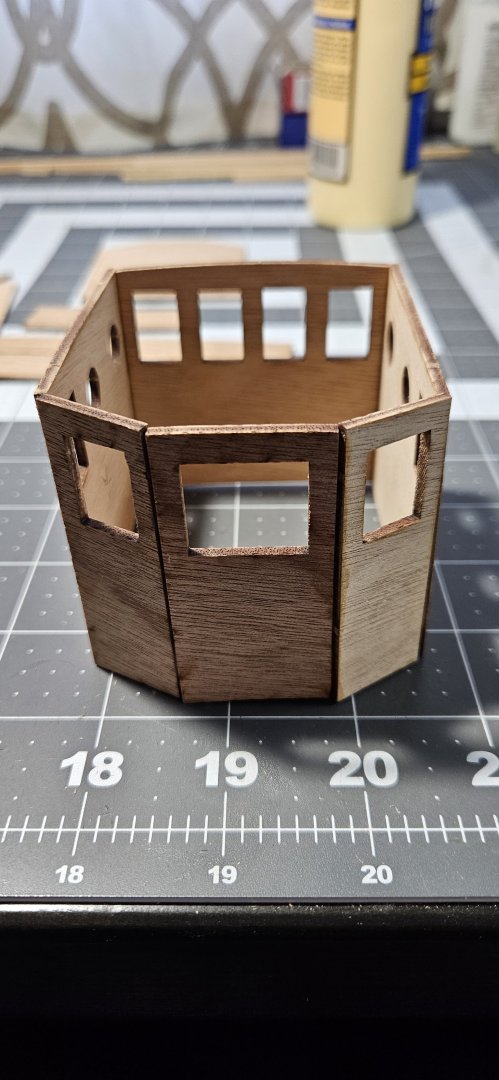
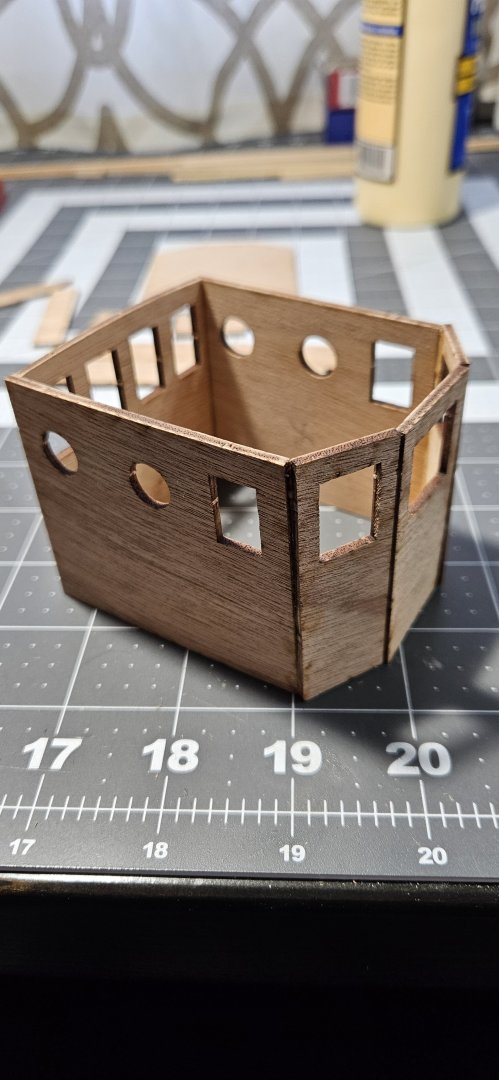
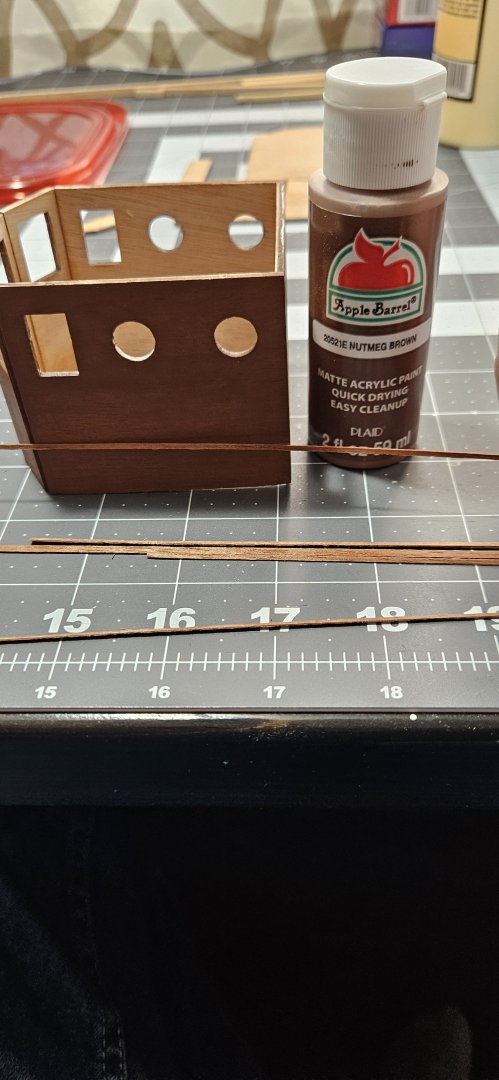
As I was looking at the cabin, I decided I didn't like the brown paint I used. It looked to light so I decided to change the brown color to a darker shade. Glad I decided before got to far into the build.
- 16 replies
-
- Billings Boat
- CUX 87
-
(and 1 more)
Tagged with:
-
- 16 replies
-
- Billings Boat
- CUX 87
-
(and 1 more)
Tagged with:
-
- 16 replies
-
- Billings Boat
- CUX 87
-
(and 1 more)
Tagged with:
-
- 16 replies
-
- Billings Boat
- CUX 87
-
(and 1 more)
Tagged with:
-
- 16 replies
-
- Billings Boat
- CUX 87
-
(and 1 more)
Tagged with:
-
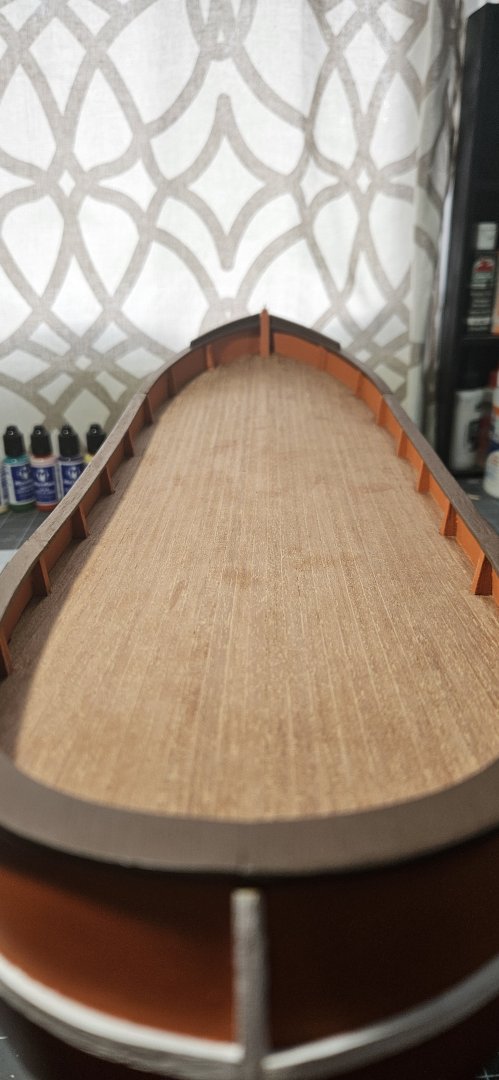
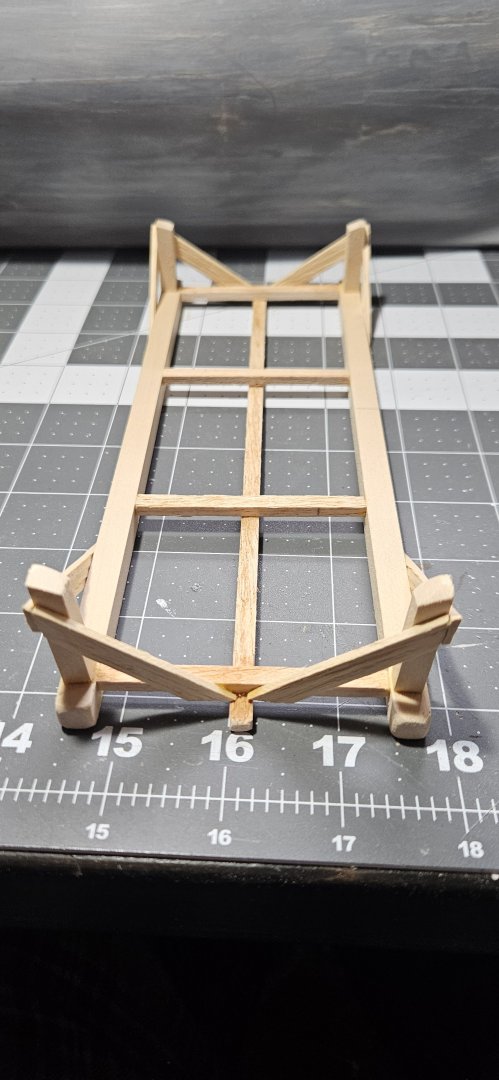
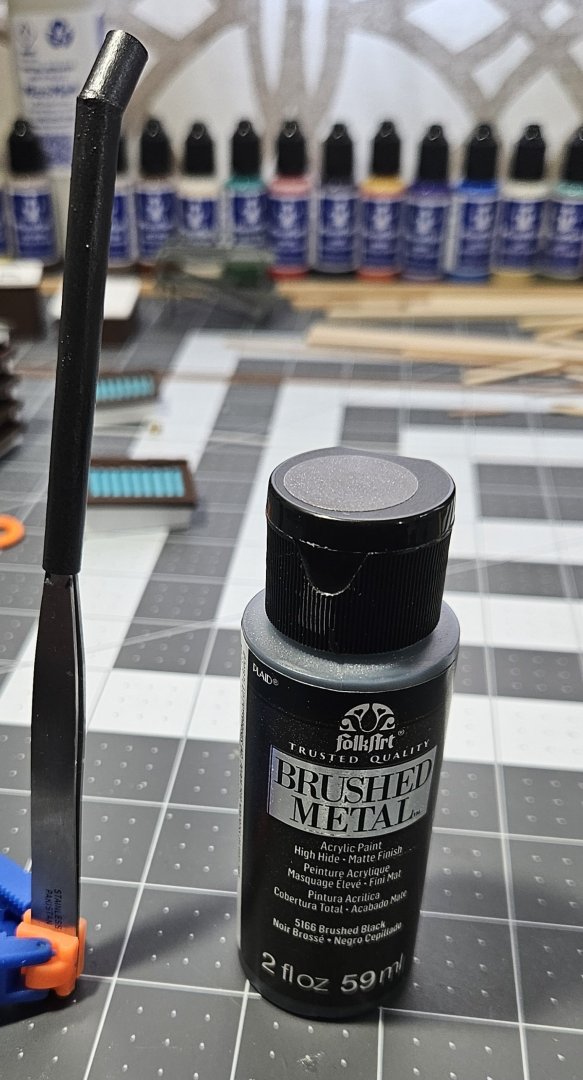
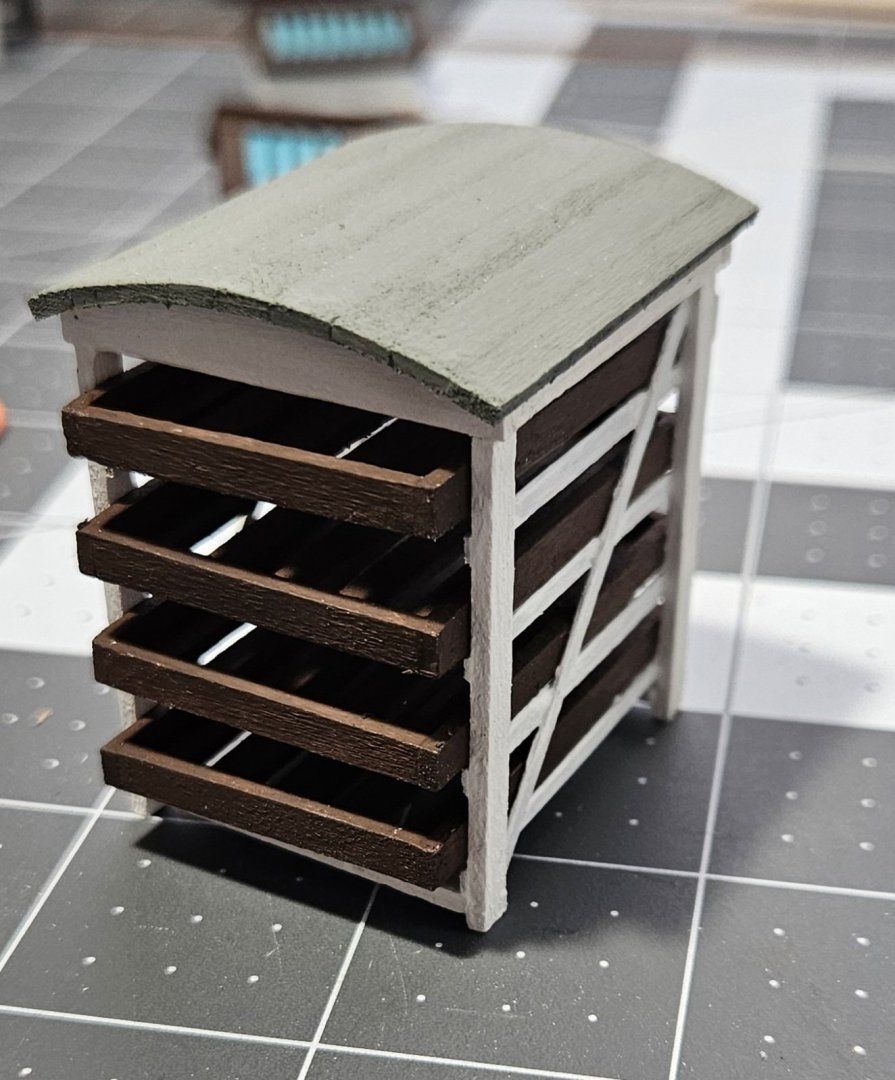
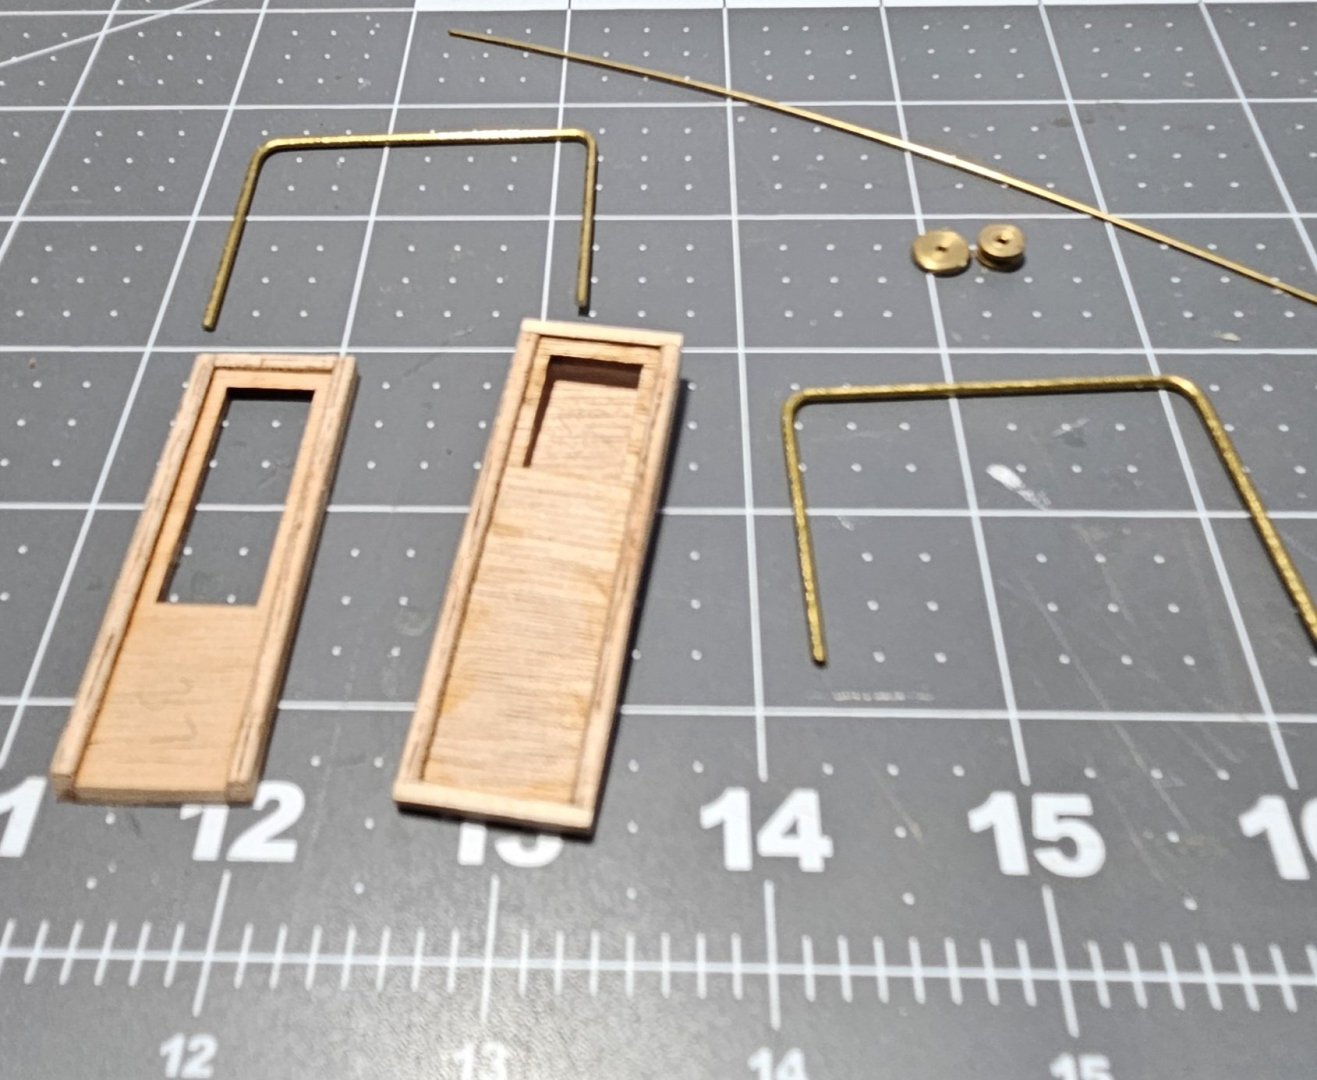
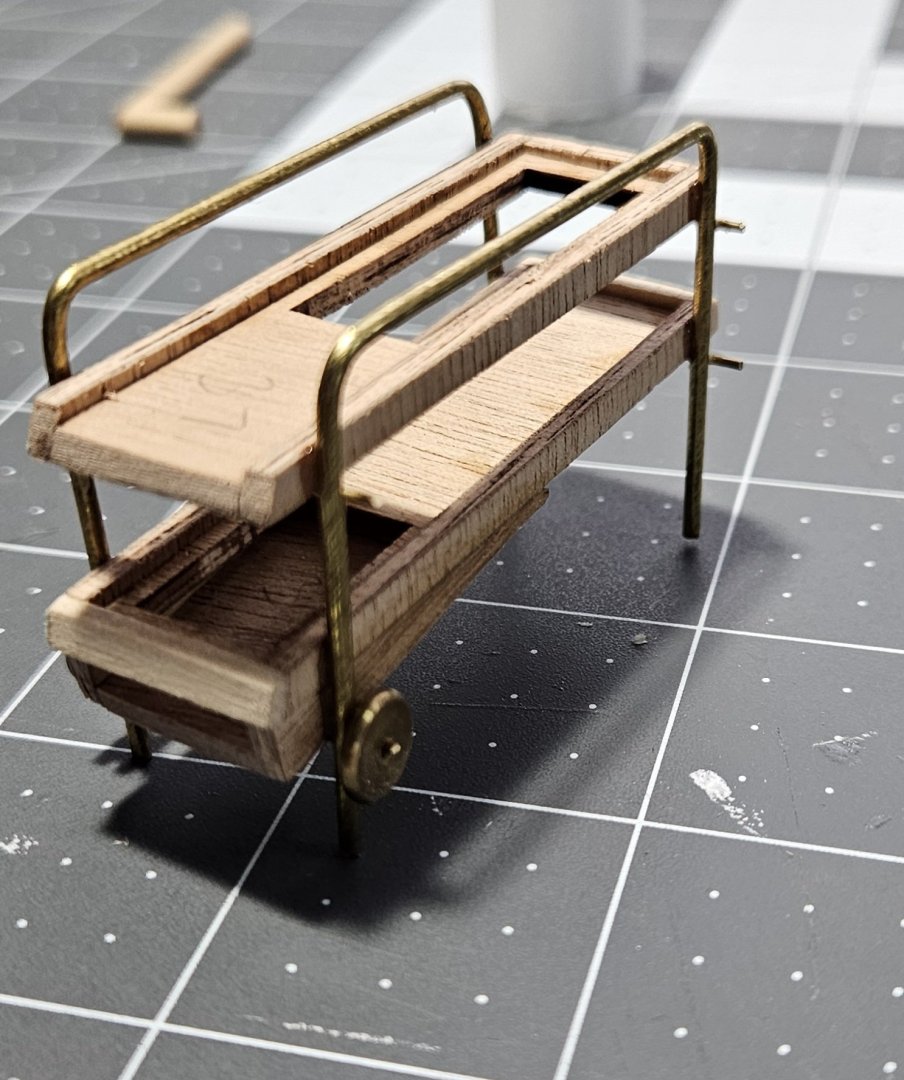
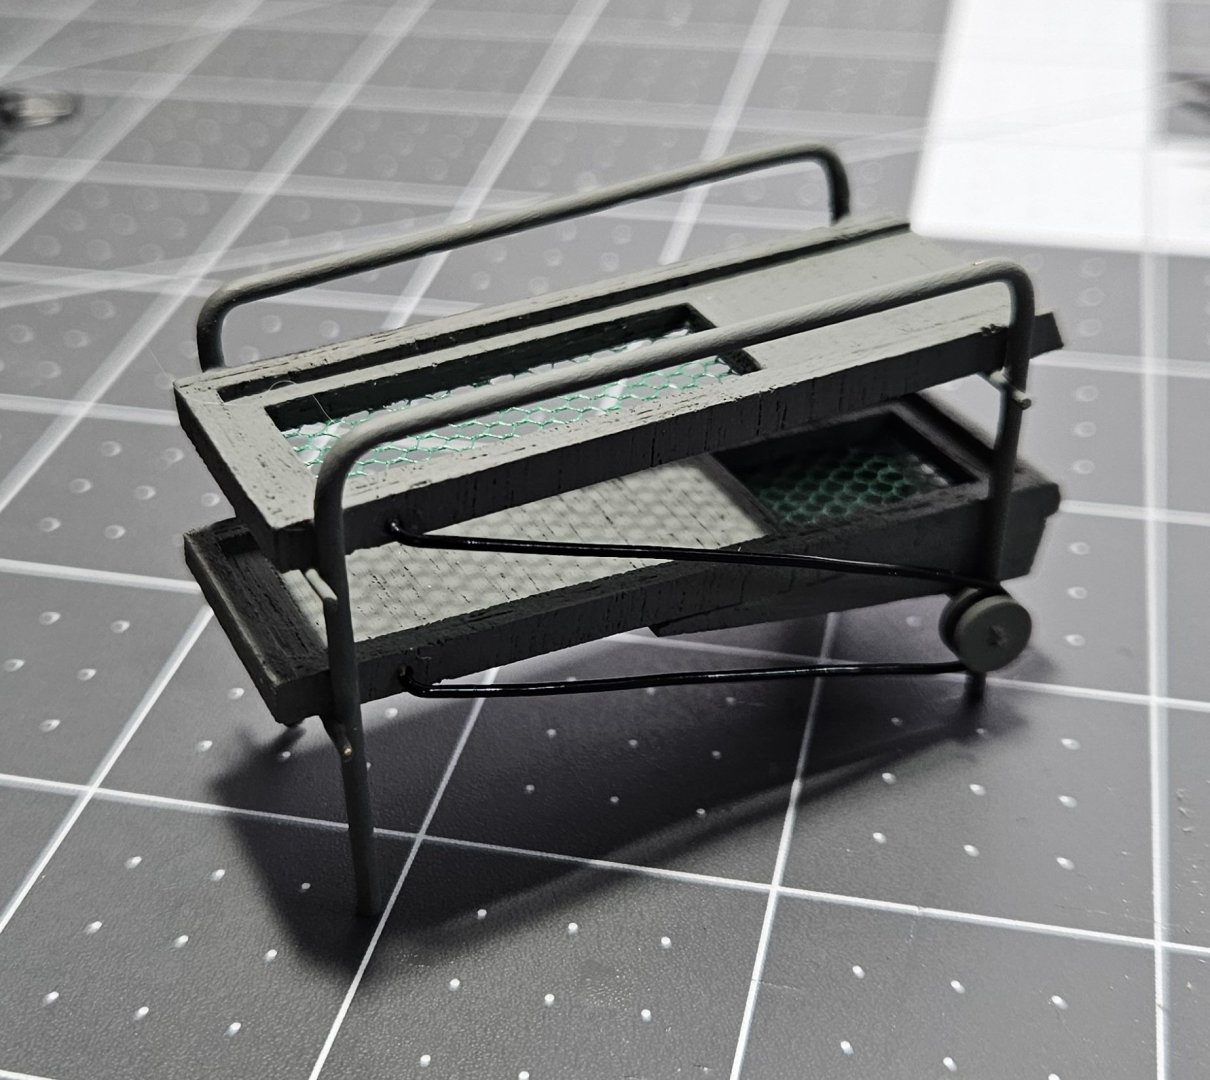
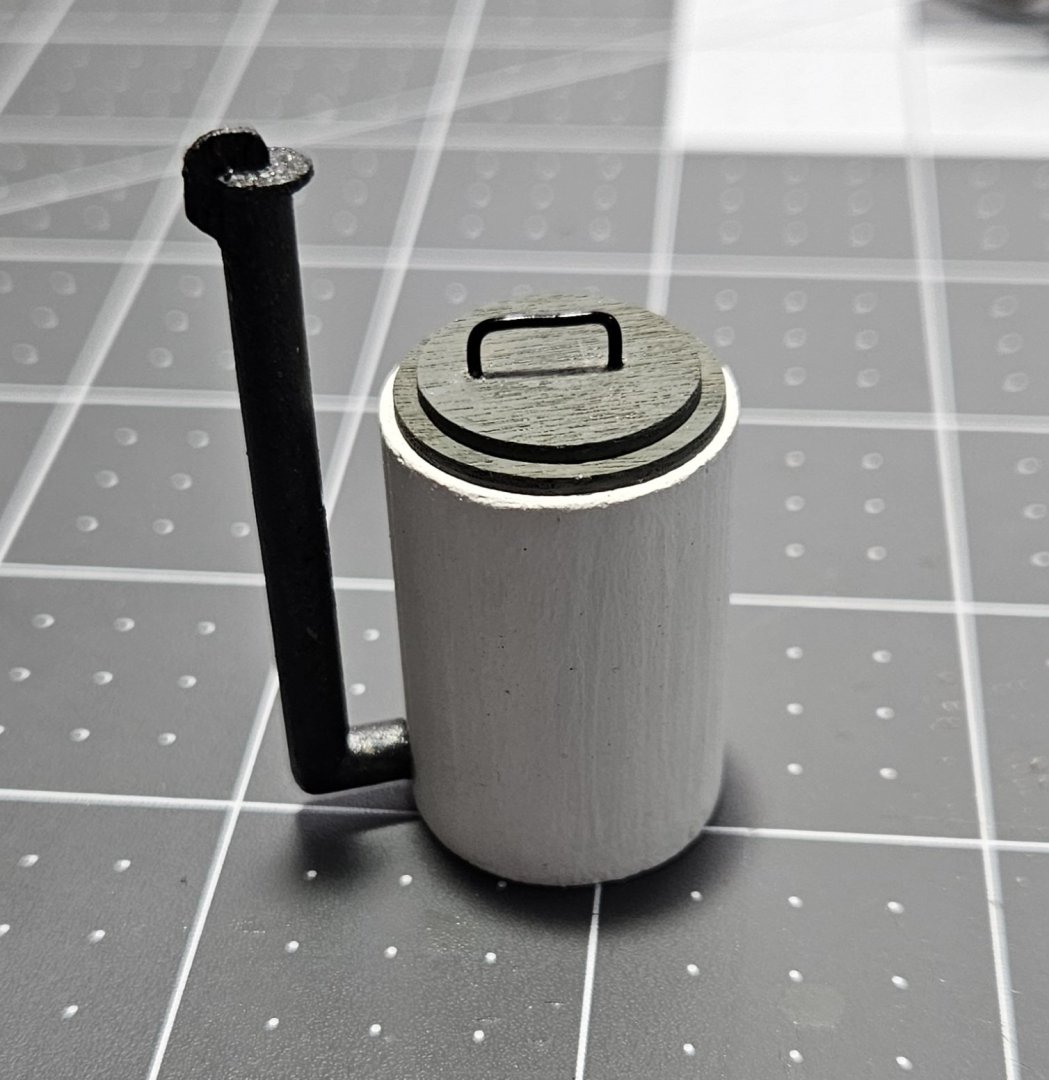
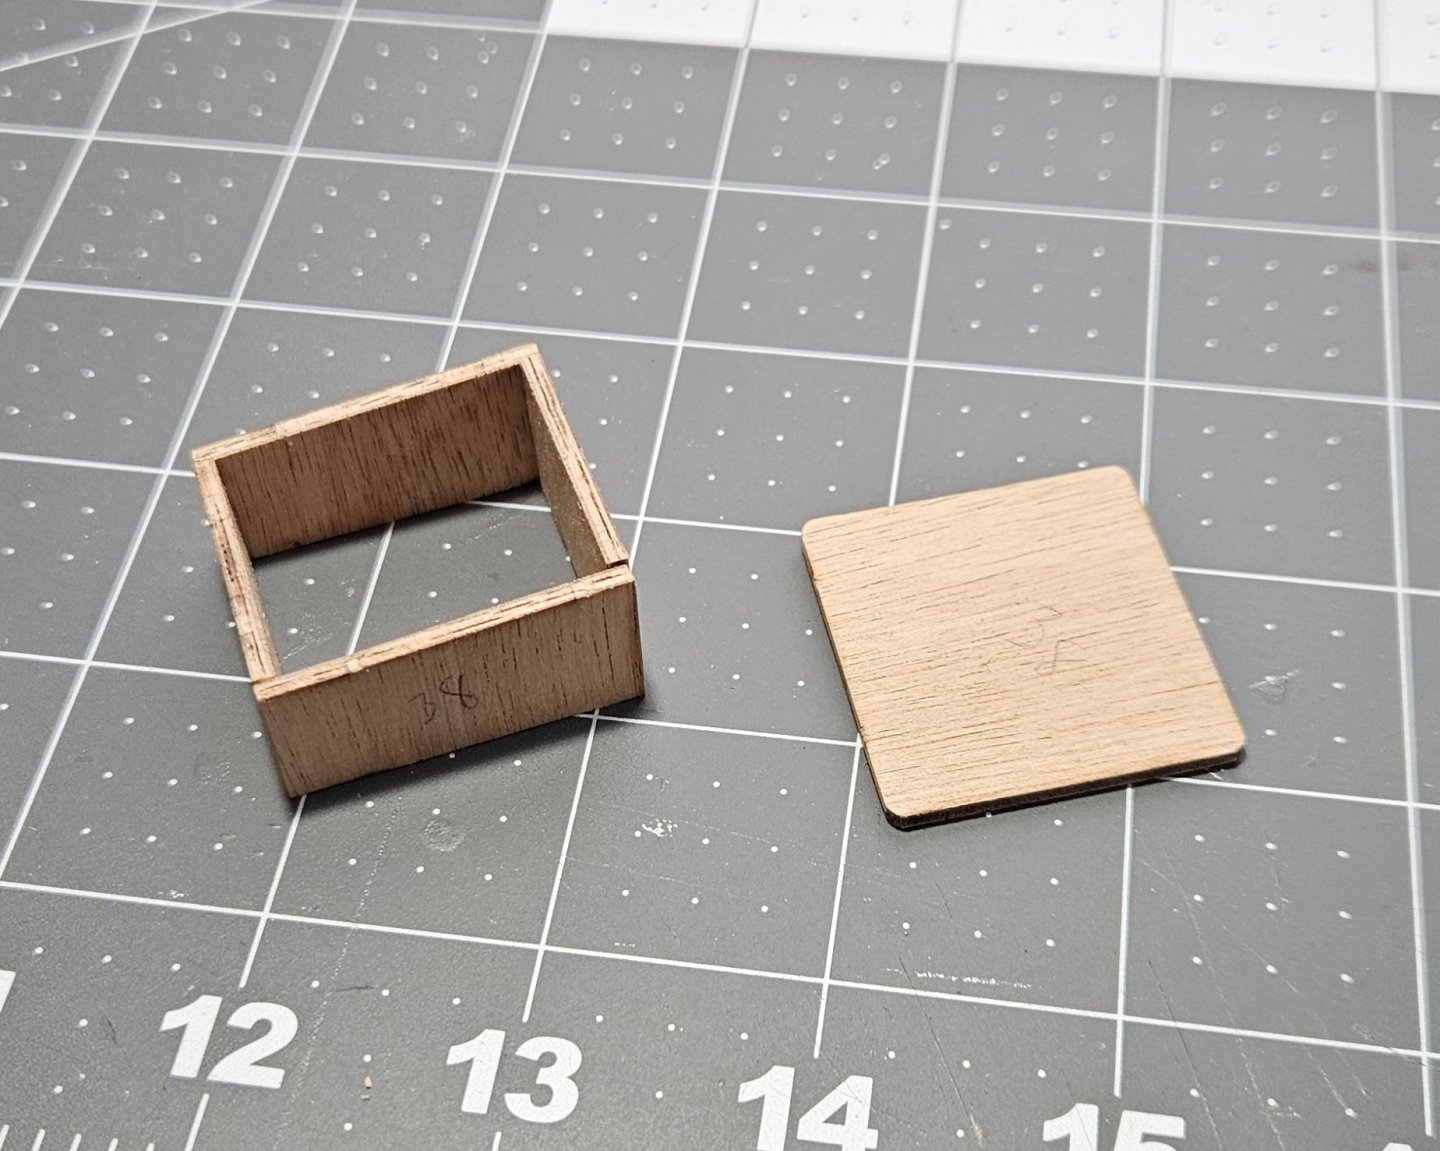
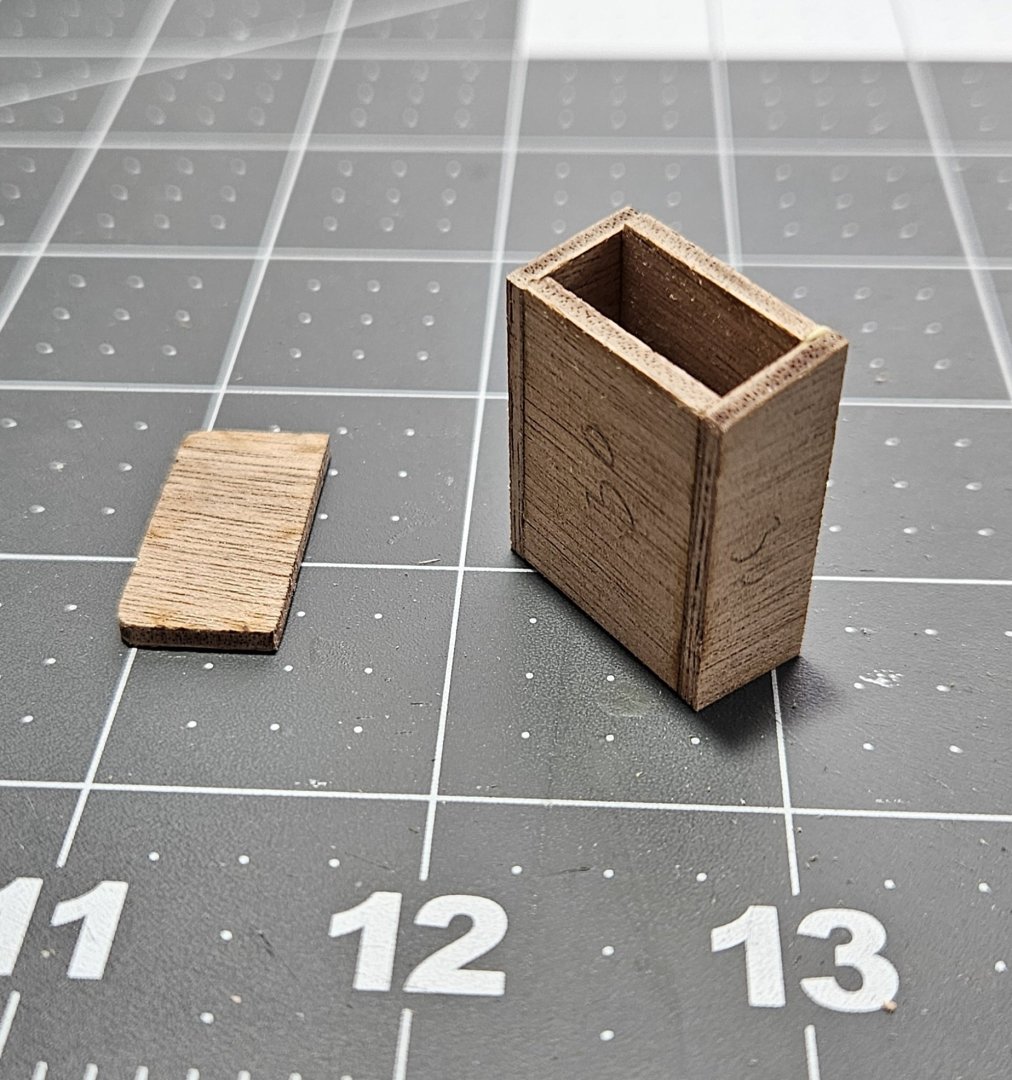
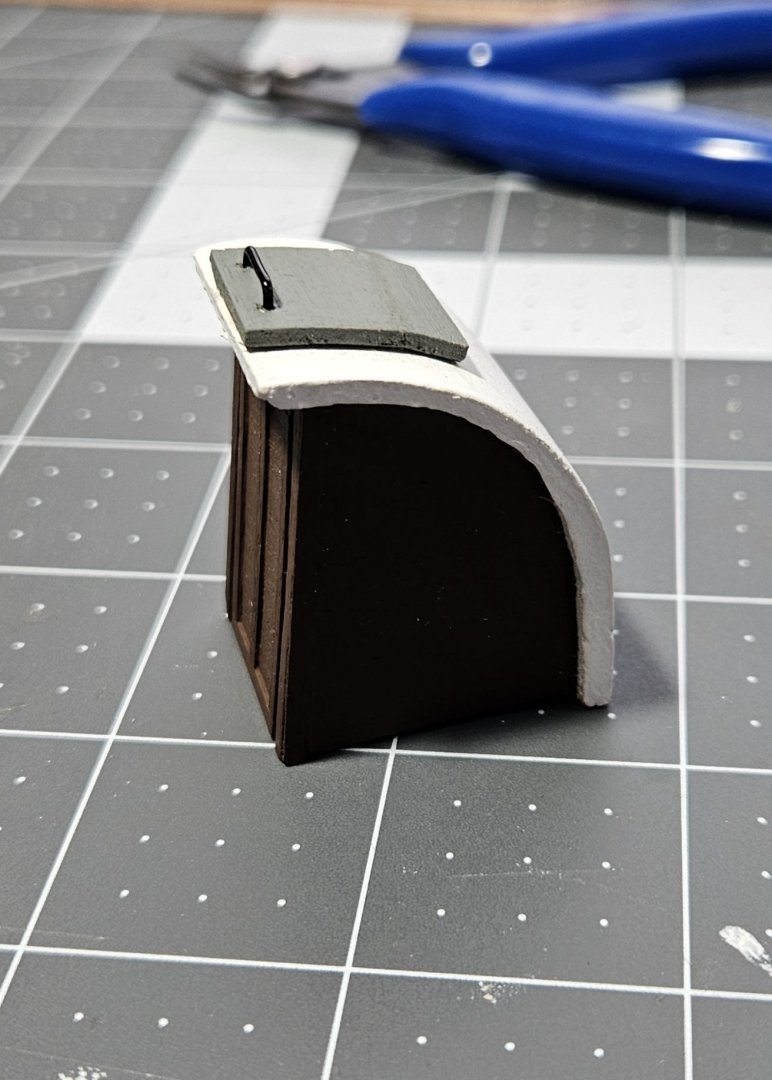
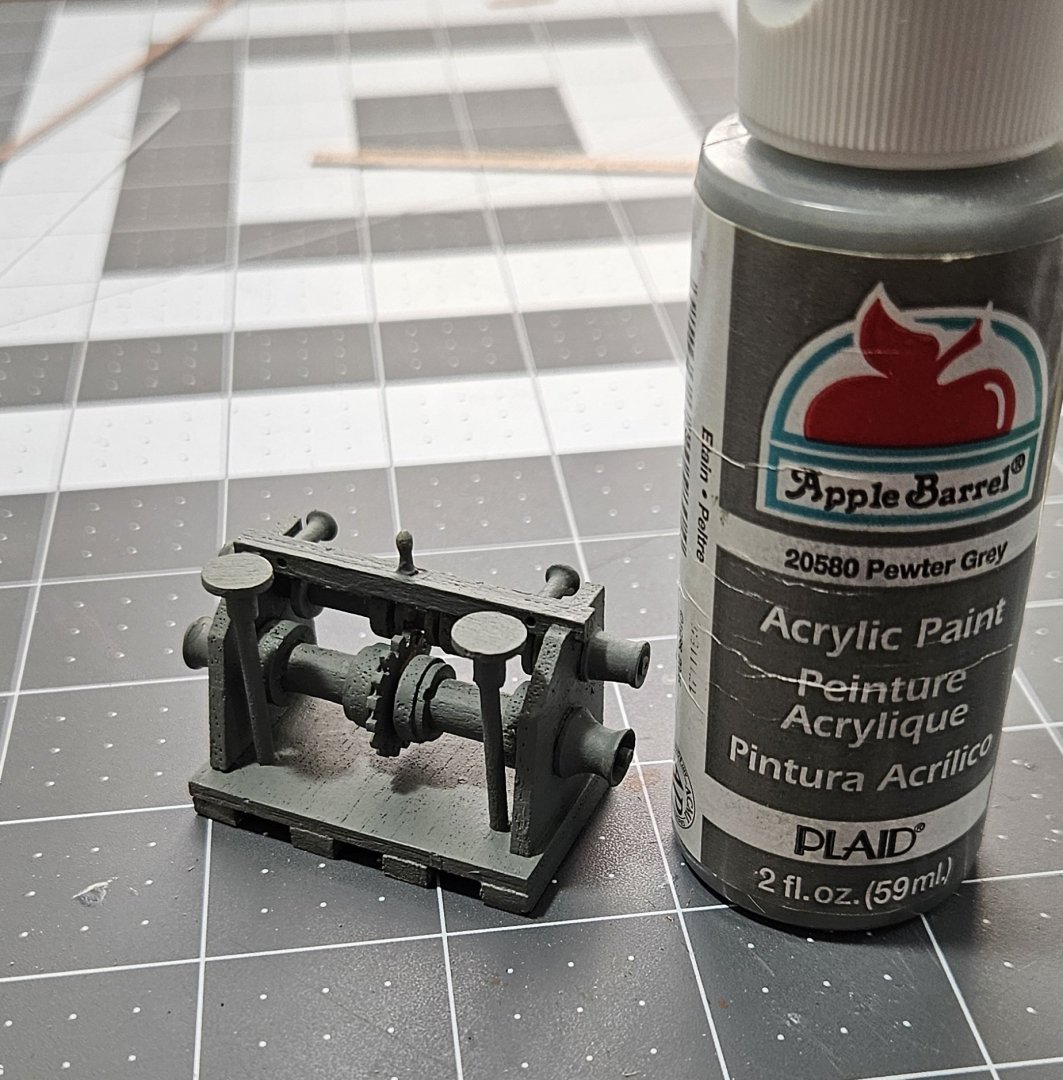
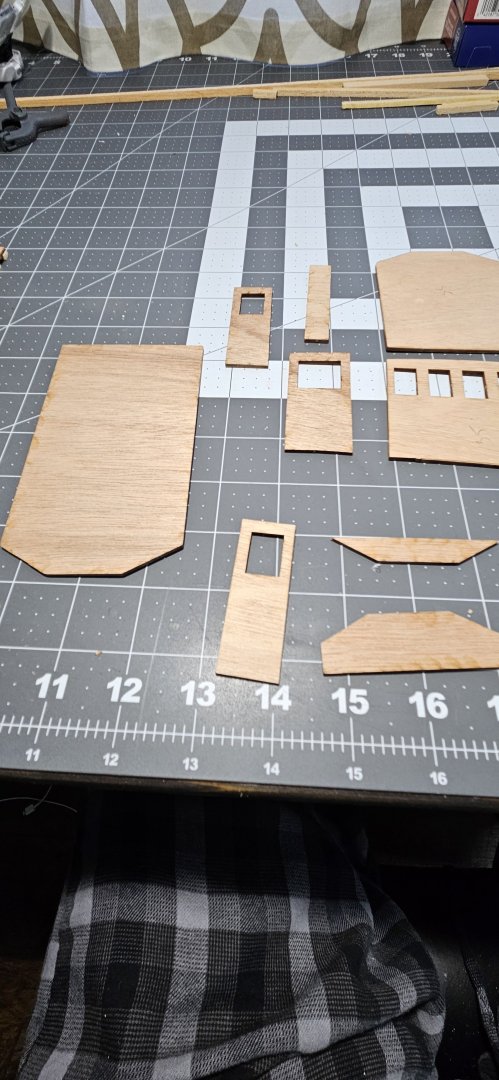
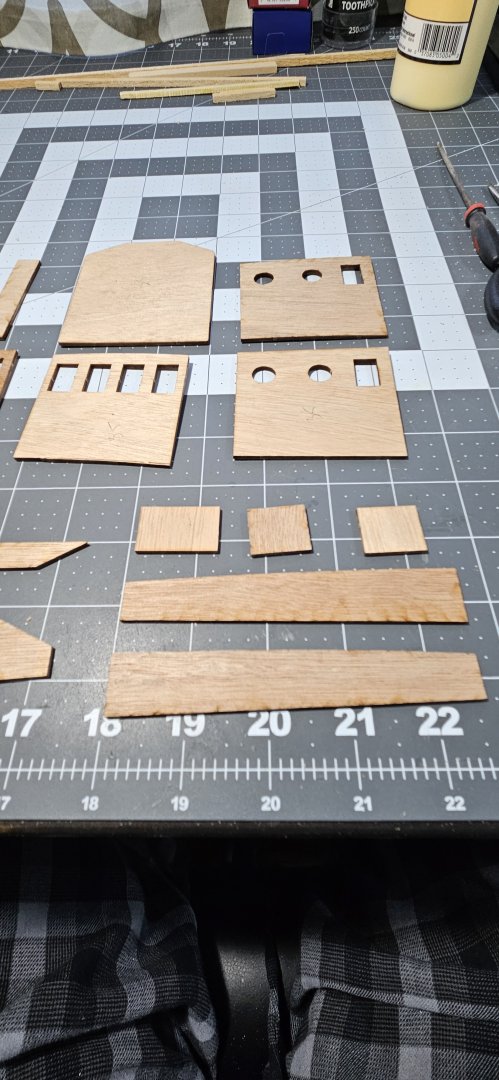
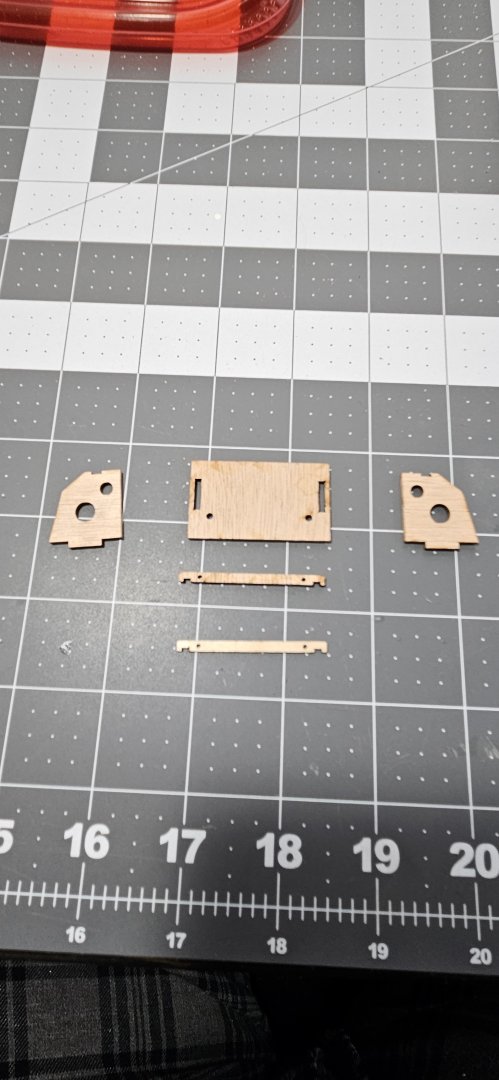
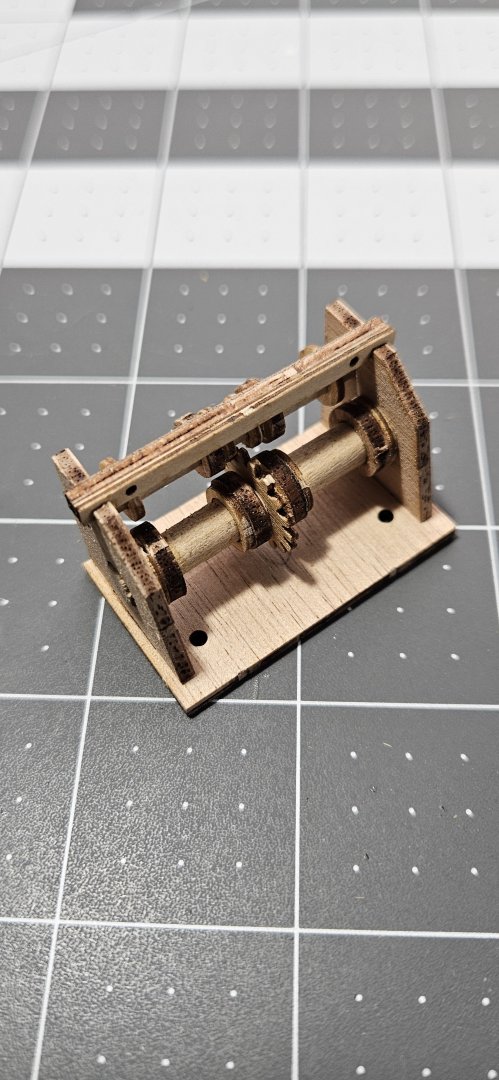
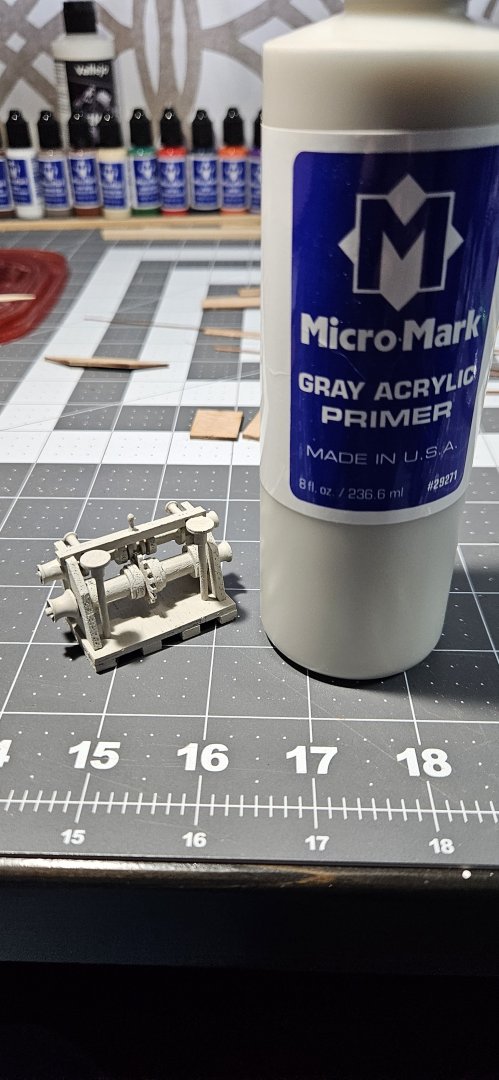
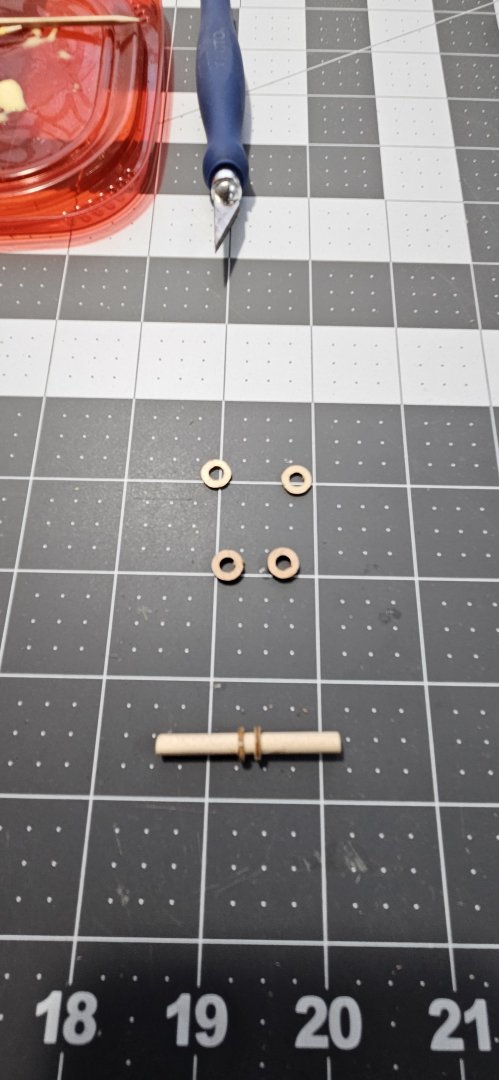
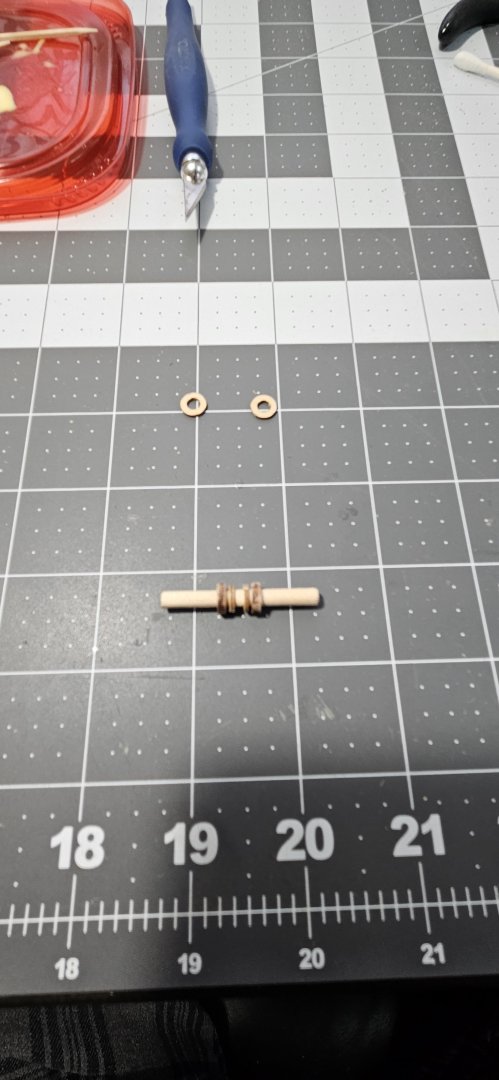
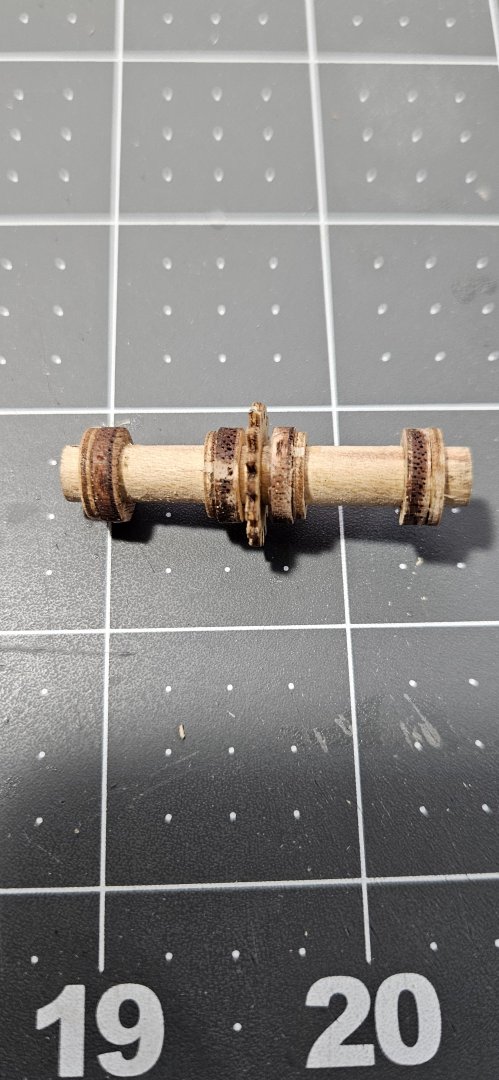
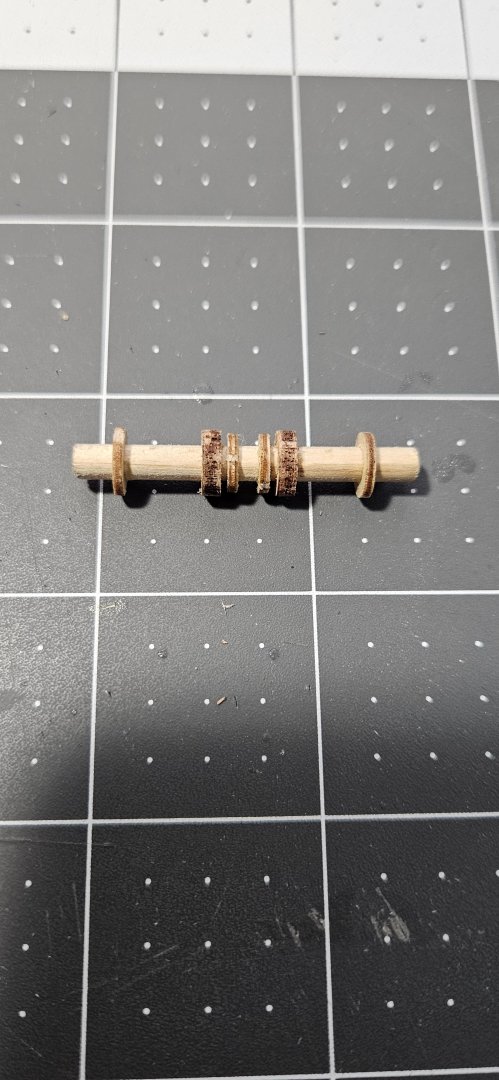
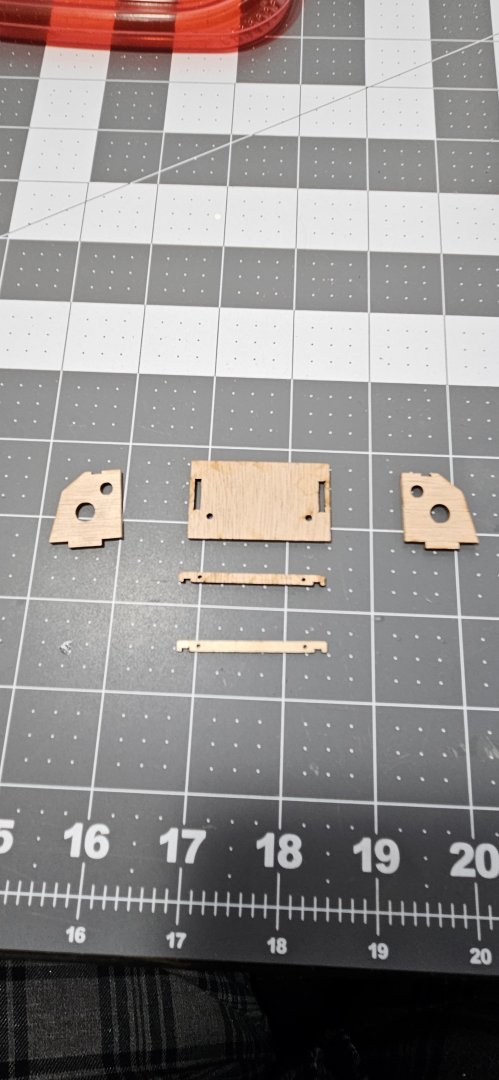
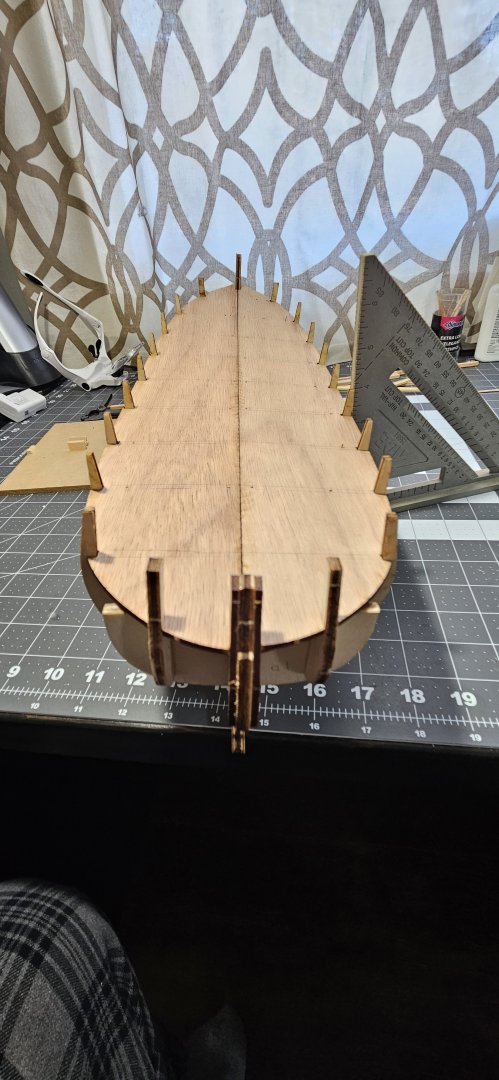
I skipped planking until I have enough time from work to complete without distractions. I did start with some of the deck fixtures.
- 16 replies
-
- Billings Boat
- CUX 87
-
(and 1 more)
Tagged with:
-
- 16 replies
-
- Billings Boat
- CUX 87
-
(and 1 more)
Tagged with:
-
My plan is to build a static model. My focus is on working ships like trawlers and fishing boats.
- 16 replies
-
- Billings Boat
- CUX 87
-
(and 1 more)
Tagged with:
About us
Modelshipworld - Advancing Ship Modeling through Research
SSL Secured
Your security is important for us so this Website is SSL-Secured
NRG Mailing Address
Nautical Research Guild
237 South Lincoln Street
Westmont IL, 60559-1917
Model Ship World ® and the MSW logo are Registered Trademarks, and belong to the Nautical Research Guild (United States Patent and Trademark Office: No. 6,929,264 & No. 6,929,274, registered Dec. 20, 2022)
Helpful Links
About the NRG
If you enjoy building ship models that are historically accurate as well as beautiful, then The Nautical Research Guild (NRG) is just right for you.
The Guild is a non-profit educational organization whose mission is to “Advance Ship Modeling Through Research”. We provide support to our members in their efforts to raise the quality of their model ships.
The Nautical Research Guild has published our world-renowned quarterly magazine, The Nautical Research Journal, since 1955. The pages of the Journal are full of articles by accomplished ship modelers who show you how they create those exquisite details on their models, and by maritime historians who show you the correct details to build. The Journal is available in both print and digital editions. Go to the NRG web site (www.thenrg.org) to download a complimentary digital copy of the Journal. The NRG also publishes plan sets, books and compilations of back issues of the Journal and the former Ships in Scale and Model Ship Builder magazines.


