robipod
-
Posts
202 -
Joined
-
Last visited
Content Type
Profiles
Forums
Gallery
Events
Everything posted by robipod
-
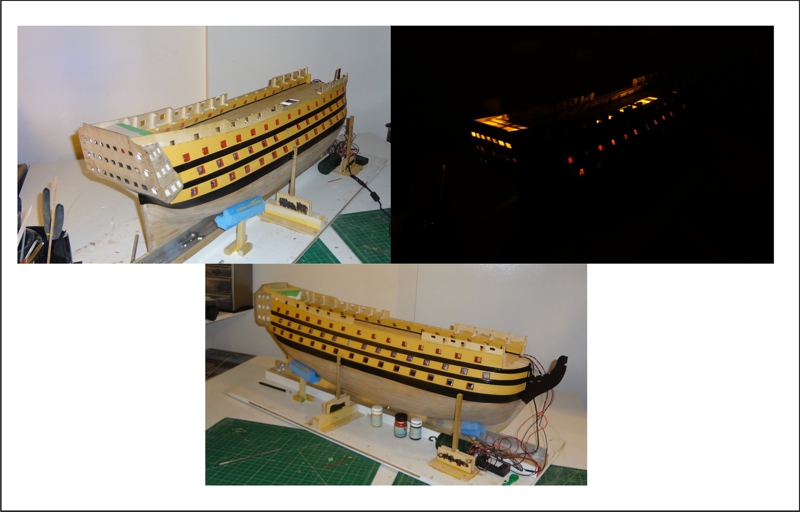
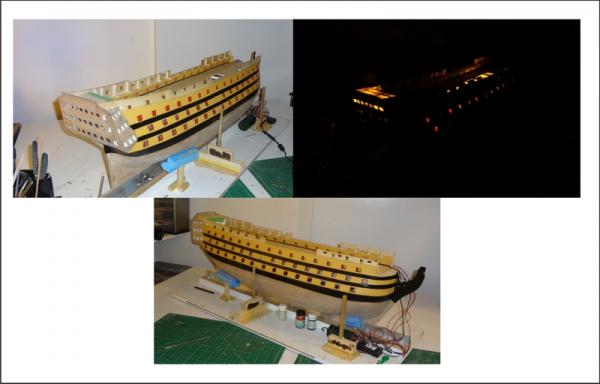
 After drilling the holes for the dummy cannons I pulled them out and I've switched back to lighting. Was finally able to get some video showing some of the lighting on the lower gun deck. Have come to some conclusions on the lighting and the placement of where the beam from the LED hits the inside image and reflects those colours. The camera picks up subtle colour changes in the gun ports and seems to magnify them. Looks like I've got a multi-coloured light show. To the live eye, (opposed to a dead eye) it does not seem to be as pronounced and actually blends. I see what is happening. Depending upon the point of the background image that the LED is shining upon, the colour of that spot is what is magnified by the camera colour perception. My conclusion is that it does matter where the placement of the LED beam of light will be illuminating the gun ports. I didn't think it would matter. I can't change it now but anyone putting LED's into the gun ports should try to allow for that angle of reflection. (Hope this makes sense)
- 295 replies
-
- 1
-

-
- victory
- caldercraft
- (and 1 more)
-
Jerry: Am looking forward to watching your build. That is one nice Cutty Sark. Welcome. Rob
- 900 replies
-
- 1
-
-
- victory
- caldercraft
- (and 1 more)
-
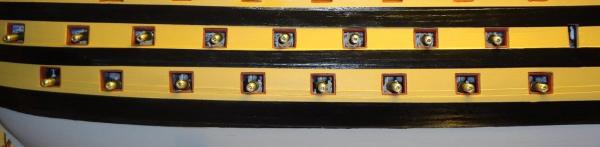
Still working on dummy cannon holes. Here is how it is looking on both lower gun decks. Best part of the background is that for the most part, it is semi-dark inside. Next effect to look at will be 'in the dark'. I wonder if the cannons will make a difference and split the light up too much. Guess will see late tonight.
-
Thanks for the kind words. There are better players on this site but appreciate you following along. I see we are 'neighbours'. Well, kinda... At least you get a real ocean to launch your ship. We've got two 30 meter wide rivers in Calgary. lol
-
Yes, I see Theo. That is a novel approach. Thank you for the idea. Do you have a background where you place the cannon? Is it a black background that you drill into? As I've got a gun carriage in the background I am finding that each hole must be lined up individually depending upon where I put the gun carriage image. Has made it a bit challenging as I cannot look directly into the gun port to see exactly where the hole will be drilled. Am always looking around the drill. I have been very curious how the back imaging is going to work once the dummy cannons were mounted. Here is the result: I wonder how much it will change once they are blackened?

-
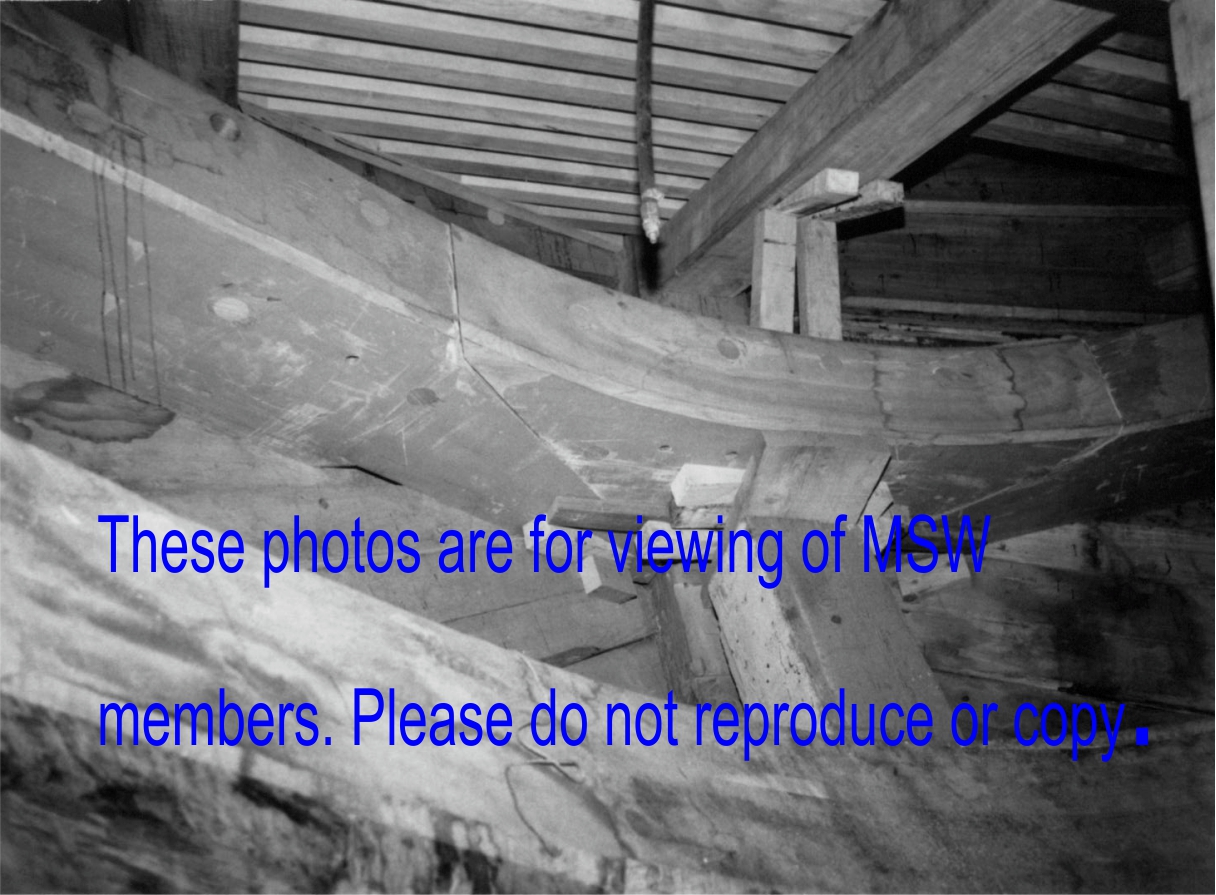
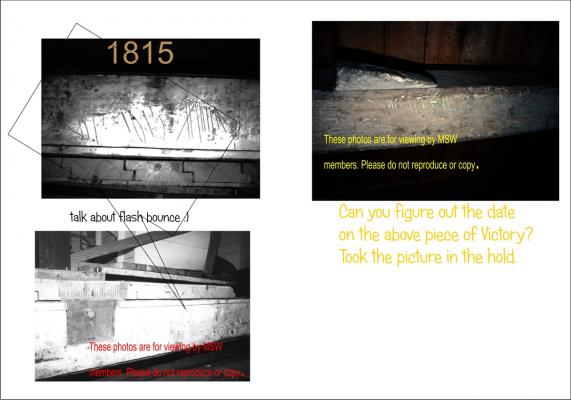
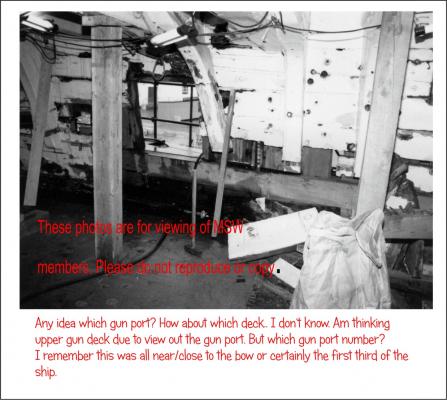
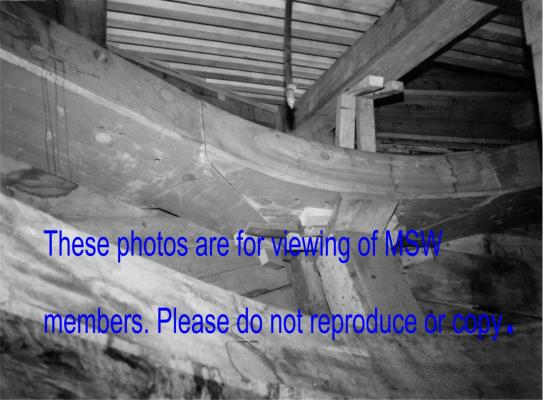
Here is another post of Victory images. Have no idea the exact location of the B&W photo. I really messed up on the flash that day and burned out a lot of the image. Was able to do a bit of manipulation on the image to get some contrast etc. Took the colour image in the hold. I cannot figure out the date on this piece of timber. Am certain it is 1815 or before. Could this be an image of once section of the keel laid down in 1759? Oh, you will have to click on the image to make it bigger. Have continued with the dummy gun barrels but not done too much this week.
-
Figured I should go back and read the manual. Glad I did. Suggests drilling the holes for the dummy cannons before copper plating. I couldn't figure out anything other than trying this. How did you line up your drilling?
-
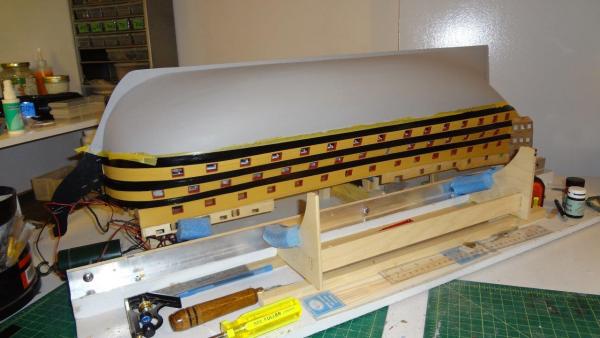
bye to the walnut second hull - it was nice while it lasted... on to copper... ... going to let the primer dry for a few days... sure changes the look of it.
-
darn - was trying to be helpful Konstantin.. is this one better --- yes I took the pictures you gotta like google... так, я взяв фотографії tak, ya vzyav fotohrafiï
-
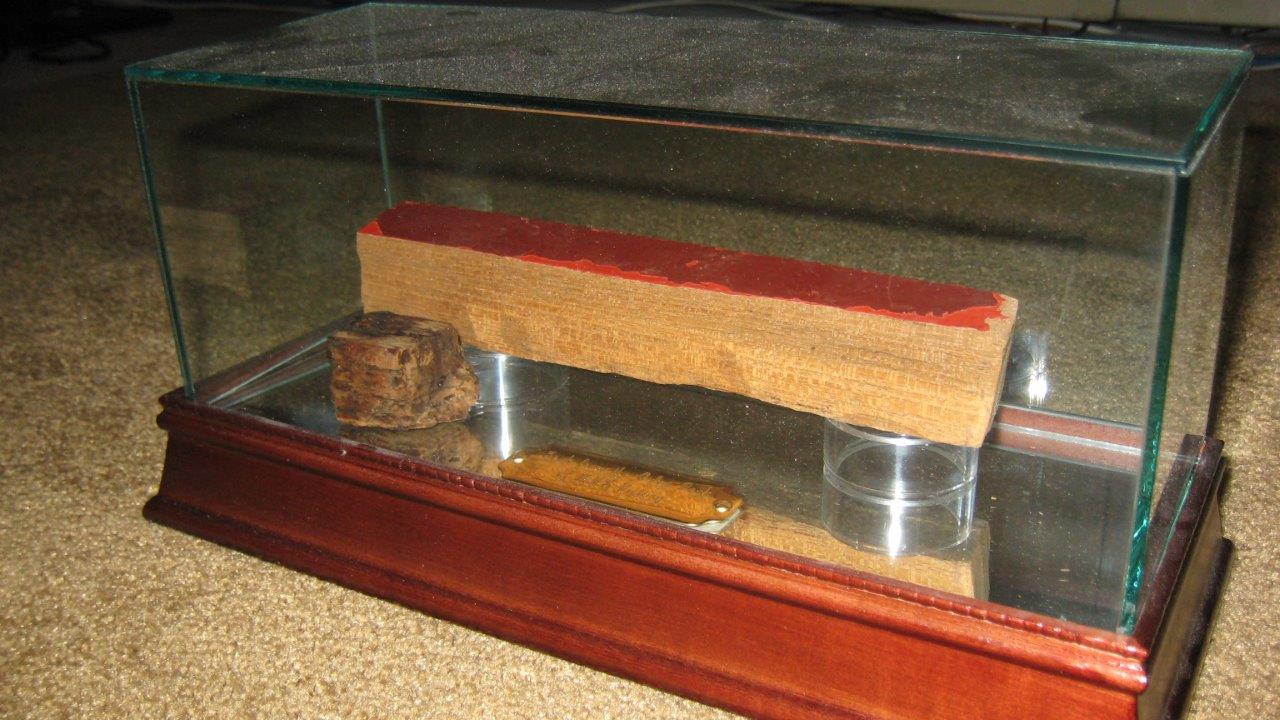
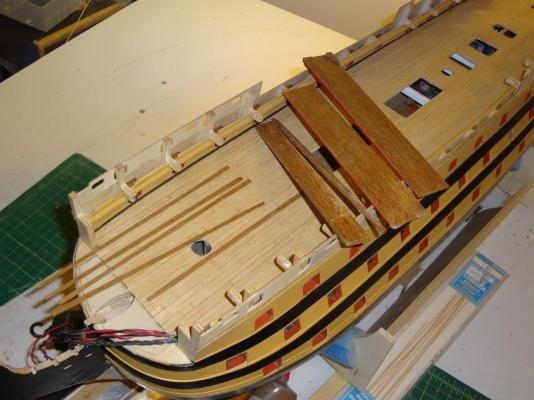
Yes, I like the idea of using the block above for a nameplate Kevin. Am going to do it. However, look what I did tonight. At times I get too impatient. As the three strips were cut I decided what the heck and tried to cut thin (1-2 mm) strips from one of the cut pieces. Figured if I had to replace the blade so what. I bought a Proxxon table saw for this project. (The really really small one). Well, here is what happened. I got them. what do you think of using these to plank the beak-head If I go buy another blade tomorrow I could cut a bunch of strips and use them else where on the model. I really didn't think I would be able to cut them. I wonder if sitting for two years in the drawer allowed the wood to expand a bit. We could hardly get the cut on a big table saw from the main block of wood originally. The teak is a lot darker than the rest of the decks but it is the 'from a Victory refit'. [thanks for the info Konstantin]
-
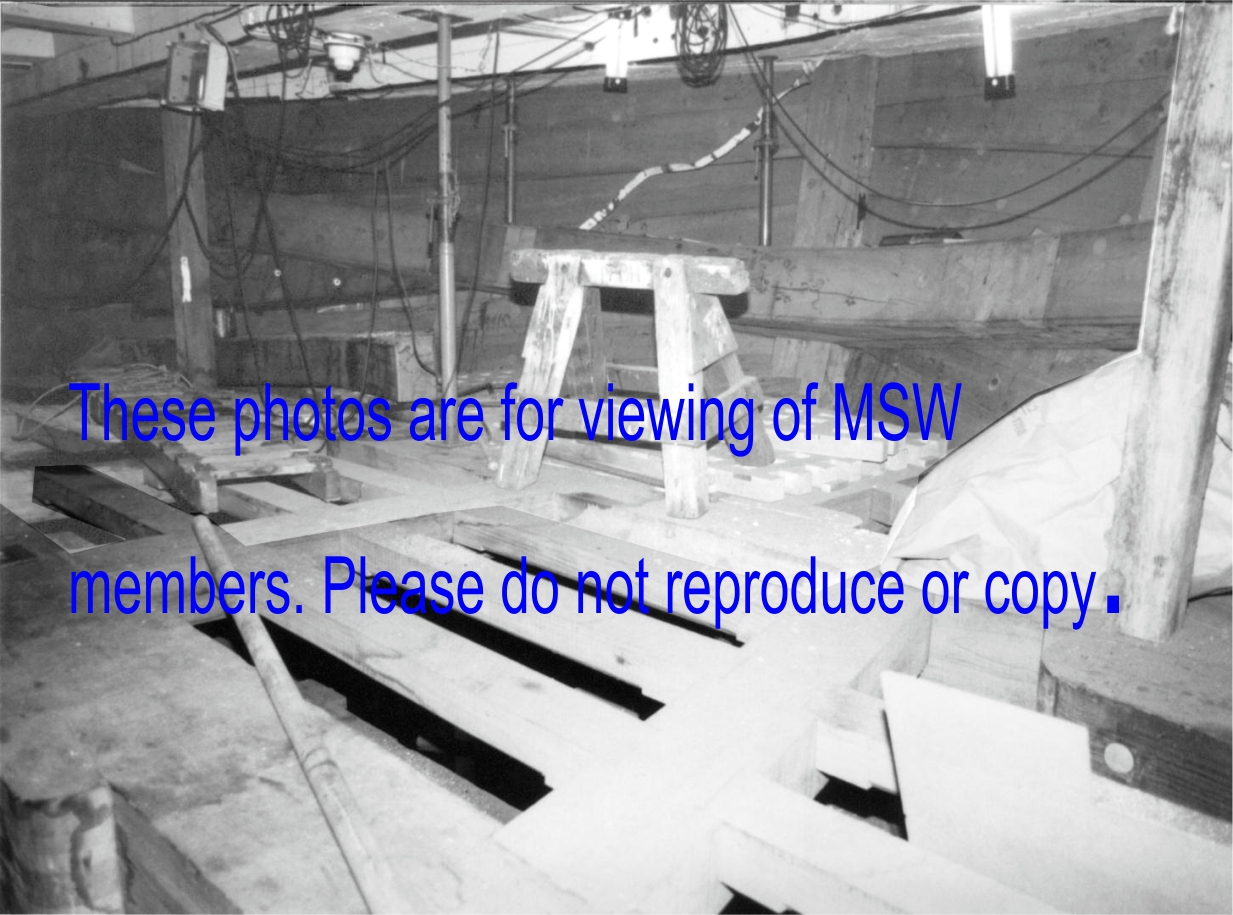
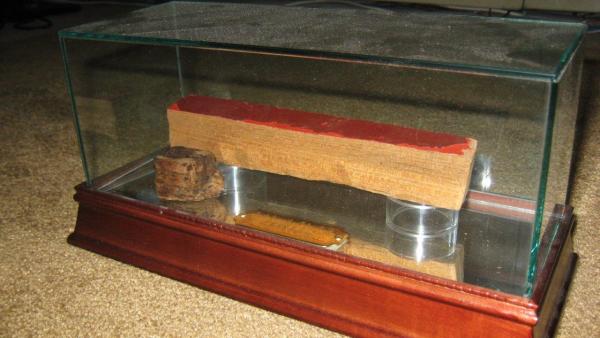
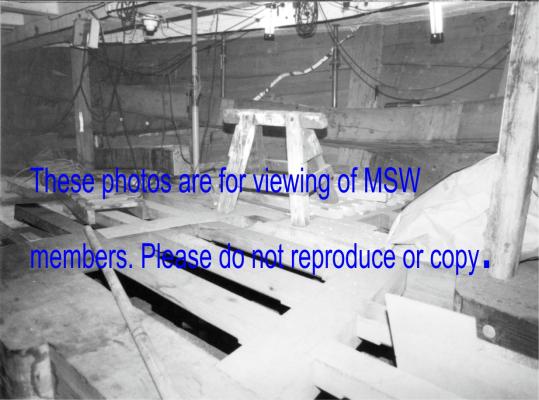
Konstantin, it is scaffolding. I was there and took the pictures. (provided we are commenting on the same thing) Now I didn't take the pictures in 1922 like the pictures you posted (the b&w) rather in '83 or '84 on one of my trips to England. The colour picture of the outside of Victory was taken a few hours after I took the pictures inside Victory. That's why I wanted you to see all the scaffolding. The scaffolding and the plastic tarp show me that the gun port that I photographed that day is somewhere to the right of the gangplank into the lower gun deck. This has gotten way off my build of victory. I do have an interesting problem that haven't figured out what to do. I bought a piece of victory and have it here. It is one hard piece of teak from the orlop deck. I took it to a friend and we sliced three pieces about 4 mm thick. I want to incorporate some of them into the build but have never figured out what to do with them. any thoughts/suggestions. here is the piece that I have left along with another piece of Victory. As mentioned cut three pieces about 15 cm x 2 cm x 4 mm from this block to incorporate into my build. The teak is as tough as steel. so can't do too much with it.
-
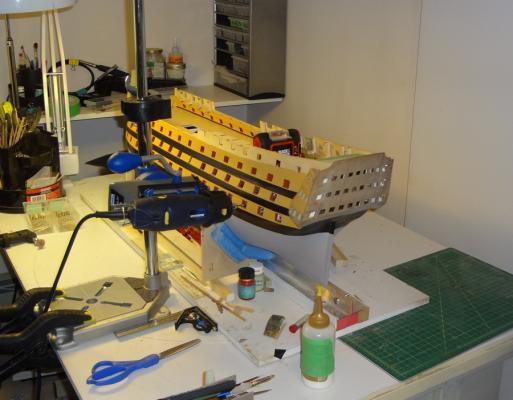
Am thinking it might be appropriate for me to tell you that I responded privately to John Maguire. It was a long one. Basically said use flickering lights all the way throughout and really take a look at Kooyu's and Pompei's builds. They know how to do lights. Unfortunately Pompei has not re-posted his build from MSW1 but Kooyu is re-posting. It is really worth the while to figure out how to add lighting. I know, I know - lighting wasn't the thing back in '05 but its a few years since then. Have tried to get some video of how this is going to look for John and did a new 1 minute video. Figured I should post a link to the video for anyone who wants to look at the lights to date. I have not been able to capture how it really looks. Working on gun port linings today. Didn't go to the mountains.
-
I took all the pictures I've been posting of Victory. Ran out of colour film when I was down in the hold and had a roll of black and white film that i put in the camera Konstantin. Don't be confused by black and white photos versus colour. All were taken on the same day when I went to see Victory in Portsmouth. The black and white and colour photos that I took have the 'do not copy etc' on them.
- 295 replies
-
- 1
-
-
- victory
- caldercraft
- (and 1 more)
-
Looking at the photo I posted from the outside, can you see the plastic covering is to the left side of the lower walkway Konstantin. I don't think it can be the one you have circled now that I look at it a bit closer. It has to be further to the right. At least one or two over. Unless it is the gun port on the upper gun deck above the walkway. What do you think?
-
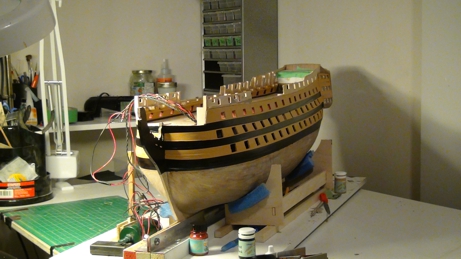
That's the real one.. now back to my build. Have done the horizontals on both sides now. Hmmm... am thinking they are not correct. The camera does not give a true image and there seems to be optical illusions with them . They just don't seem right! Am thinking that you folks, google, and others in the world will know but my friends come over and ask if the model is "the ship in Pirates of the Caribbean". Guess they will never know unless they read this. Will stew about this for bit. Will put the gun ports in now and 'see how she looks'. It might require a paint scraping session.
-
That could be it or maybe the one to the right? The grate is actually scaffolding on the exterior of the hull during the re-construction. Take a look at this. I zoomed into the gun port. I can see the doorway and window. You are quite the detective!

-
Missed Monday post of Victory re-build. (the real one)
-
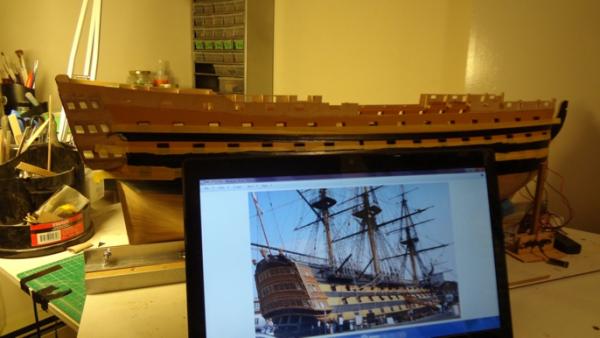
Other than doing this with images of the real Victory, how have you determined where the horizontal lines should be on the hull? I did some tweeking to the lines last night.
-
Derek: this is a bit out of order but yes, the tape works so much better. Thanks for the tip. haven't done much since the weekend. Looks like the mountains are getting a huge dump of the white stuff the next couple days... not much going to be done on victory these week... the mountains and fresh powder are calling...
-
Konstantin: That makes sense. From the link you supplied it sure looks like it would be a shot taken from the hold looking up. That must be the orlop deck that is at the top of the photo (3C). I just zoomed into the picture that I took of the foremast. You are right on! I didn't think it was the same but once I really zoomed in yes, it is. Thank you!... solved....
-
It's Monday. Time for more Victory images? Does anyone care to speculate on the deck/location that I took these ones? Could this (3C) be inside the hold at the bow? Or the orlop deck at the bow? any speculation? Is this lower view (3C) under the deck of image (3B)? Any speculation? I've never been able to remember Image3C Image3B
-
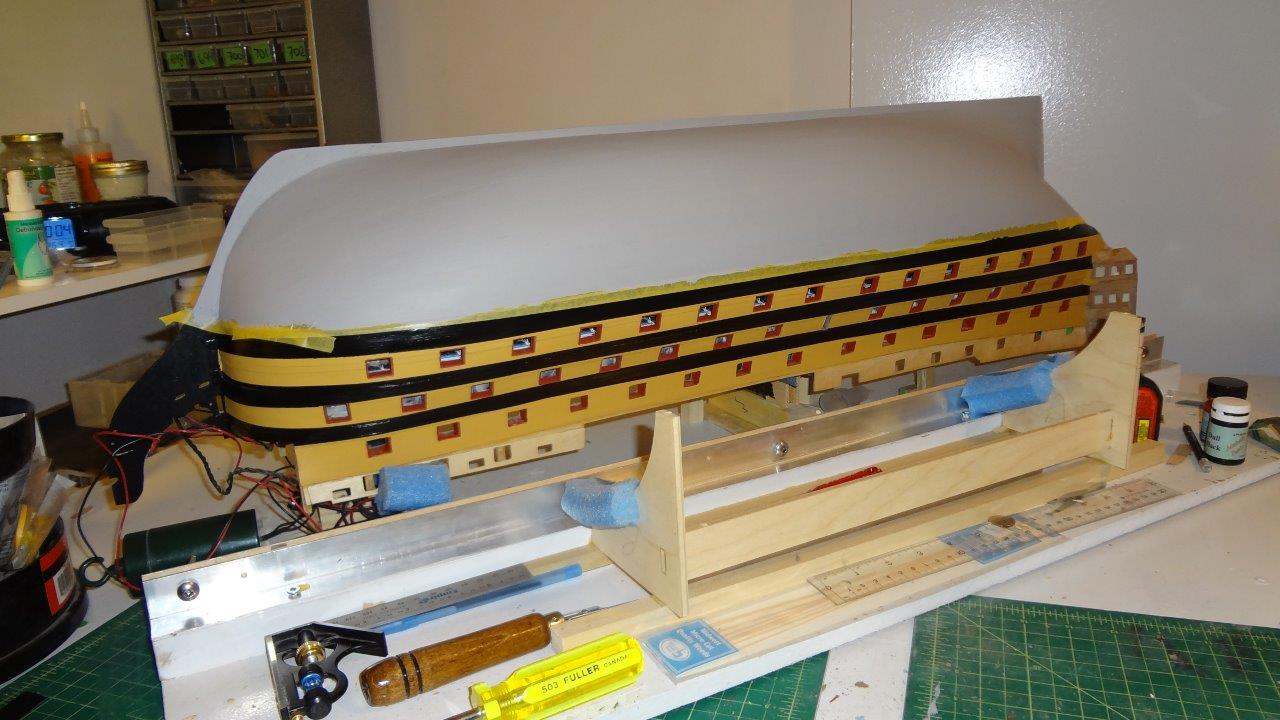
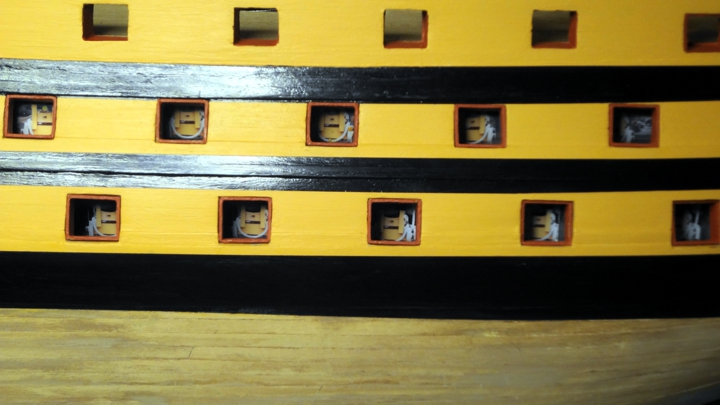
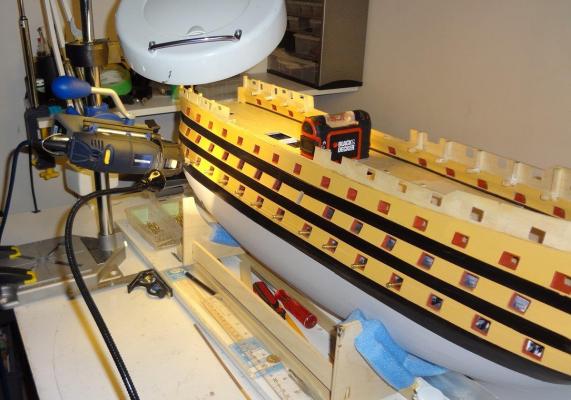
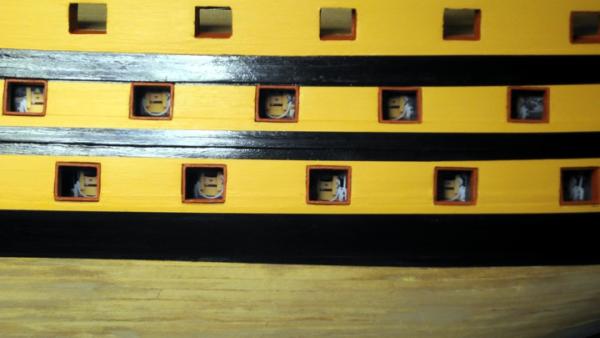
Here is a close-up of the gun ports with the 'black horizontals'. Sorry about the flash bounce. FYI - depending on the angle of view the interior changes as the background is wrapped around the interior of the gun port.
- 295 replies
-
- 1
-
-
- victory
- caldercraft
- (and 1 more)
-
Thanks everyone. Ended up with Tamiya tape. The 3m tape supplier ended up being a wholesaler. My personal ratings on this side of the hull are 6 out of 10 for the horizontals. Am pleased that one will not be able to see both sides at the same time. Still lots of fiddling with the gun ports. On to the port side later this week or next. Discovered that the horizontals will not show up in a dark room.
-
thank you everyone.. have found a source for tamiya Masking Tape 40mm as suggested by Kevin and Derek and found a source for the 3m tape as suggested by Gil. I tried the green tape again this evening just fixing and it doesn't 'flow' to the same degree or stretch as a a 'plastic based' tape. Will try both of the new tapes. Am sure they will work just fine. Funny part of this locating of the tapes -- at two different locations about 5 blocks apart and not that far away from me here in the city.- who would have thought! Thanks again everyone. Appreciate the suggestions. One small precaution I did take is that I made this first attempt about 2mm too narrow. Figured I might have to fix it up. Must also admit that I hummed and hawed about the black Admiralty paint as well. I have a matt black paint that I used on the interior and almost used it instead of the Admiralty. I went to the photos of the actual Victory and from what I can figure out, the current painting certainly seems to be a semi-gloss black paint. Well, even the yellow ochre has a slight 'shine' to it. The admiralty paint seemed to have a better black 'pop' to it. someone was suggesting to me that they were not that satisfied with the matt black Admiralty paint as well. They thought it a bit too glossy. Am still struggling though. I can paint over the glossy paint but must make my decision now as the rest of the ship will have to be done the same way. decisions decisions... this is harder than riding down a mountain!
-
Mort... thanks for the idea... I tried the green painter tape from Home Depot too. Didn't seem to work all that well in my testing stage, but I am using it to fix up the electrical tape effort. Is there a difference between the blue and green? I read somewhere, am thinking Gii's post, that he used a 'plastic-type' tape. Will take a look at it too.