mrcc
-
Posts
572 -
Joined
-
Last visited
Content Type
Profiles
Forums
Gallery
Events
Everything posted by mrcc
-
 Thanks everyone for the replies!
 -
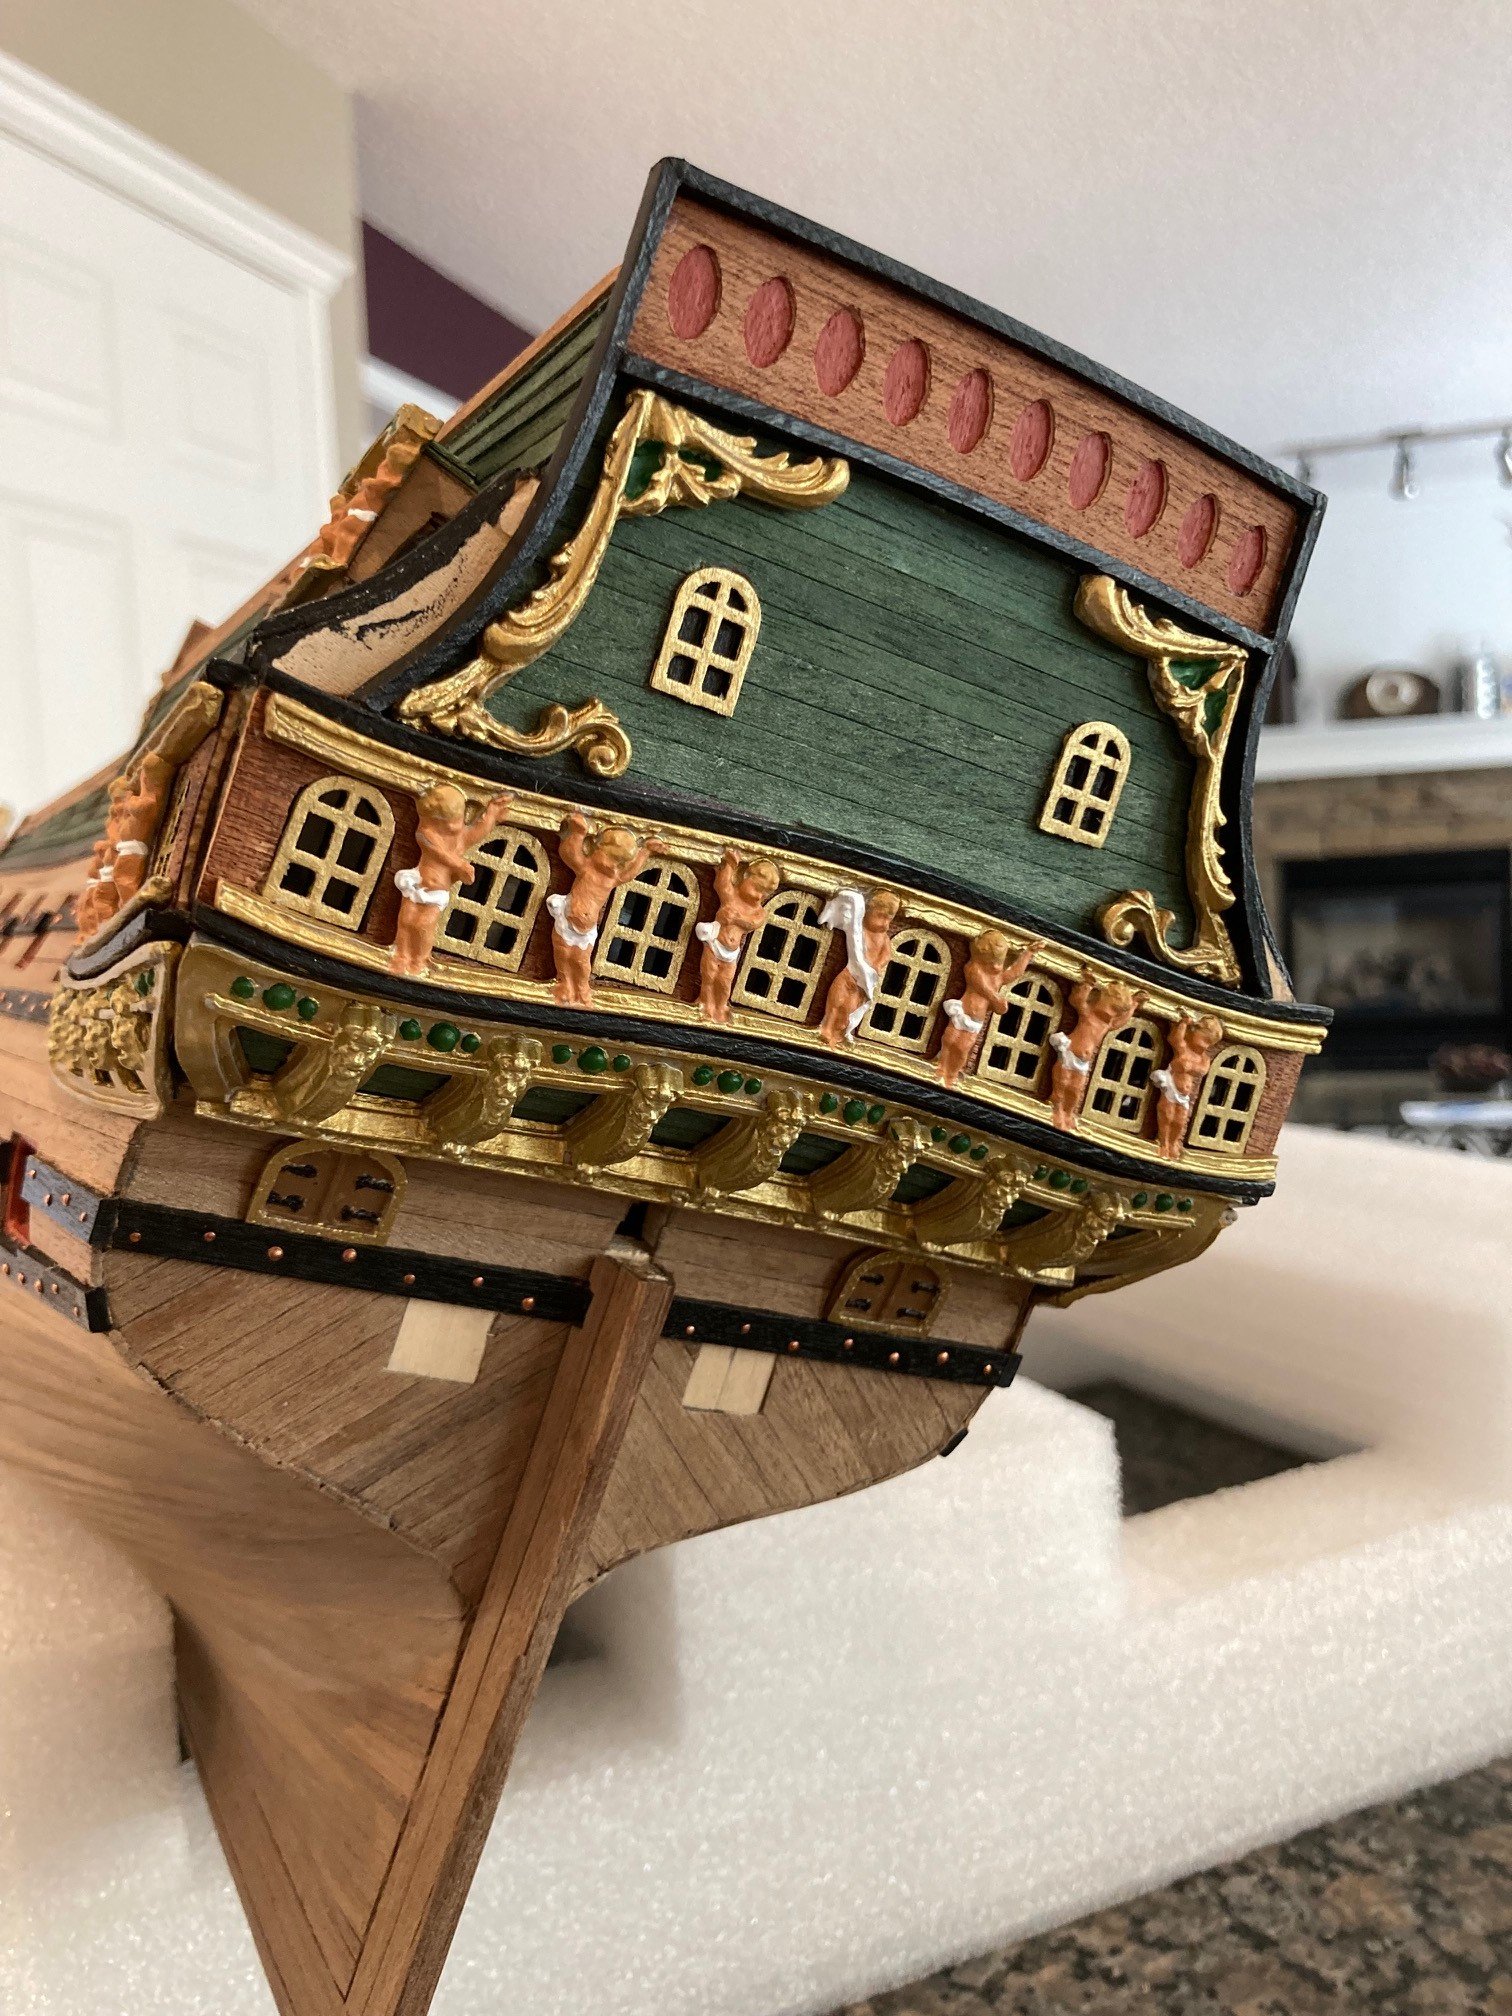
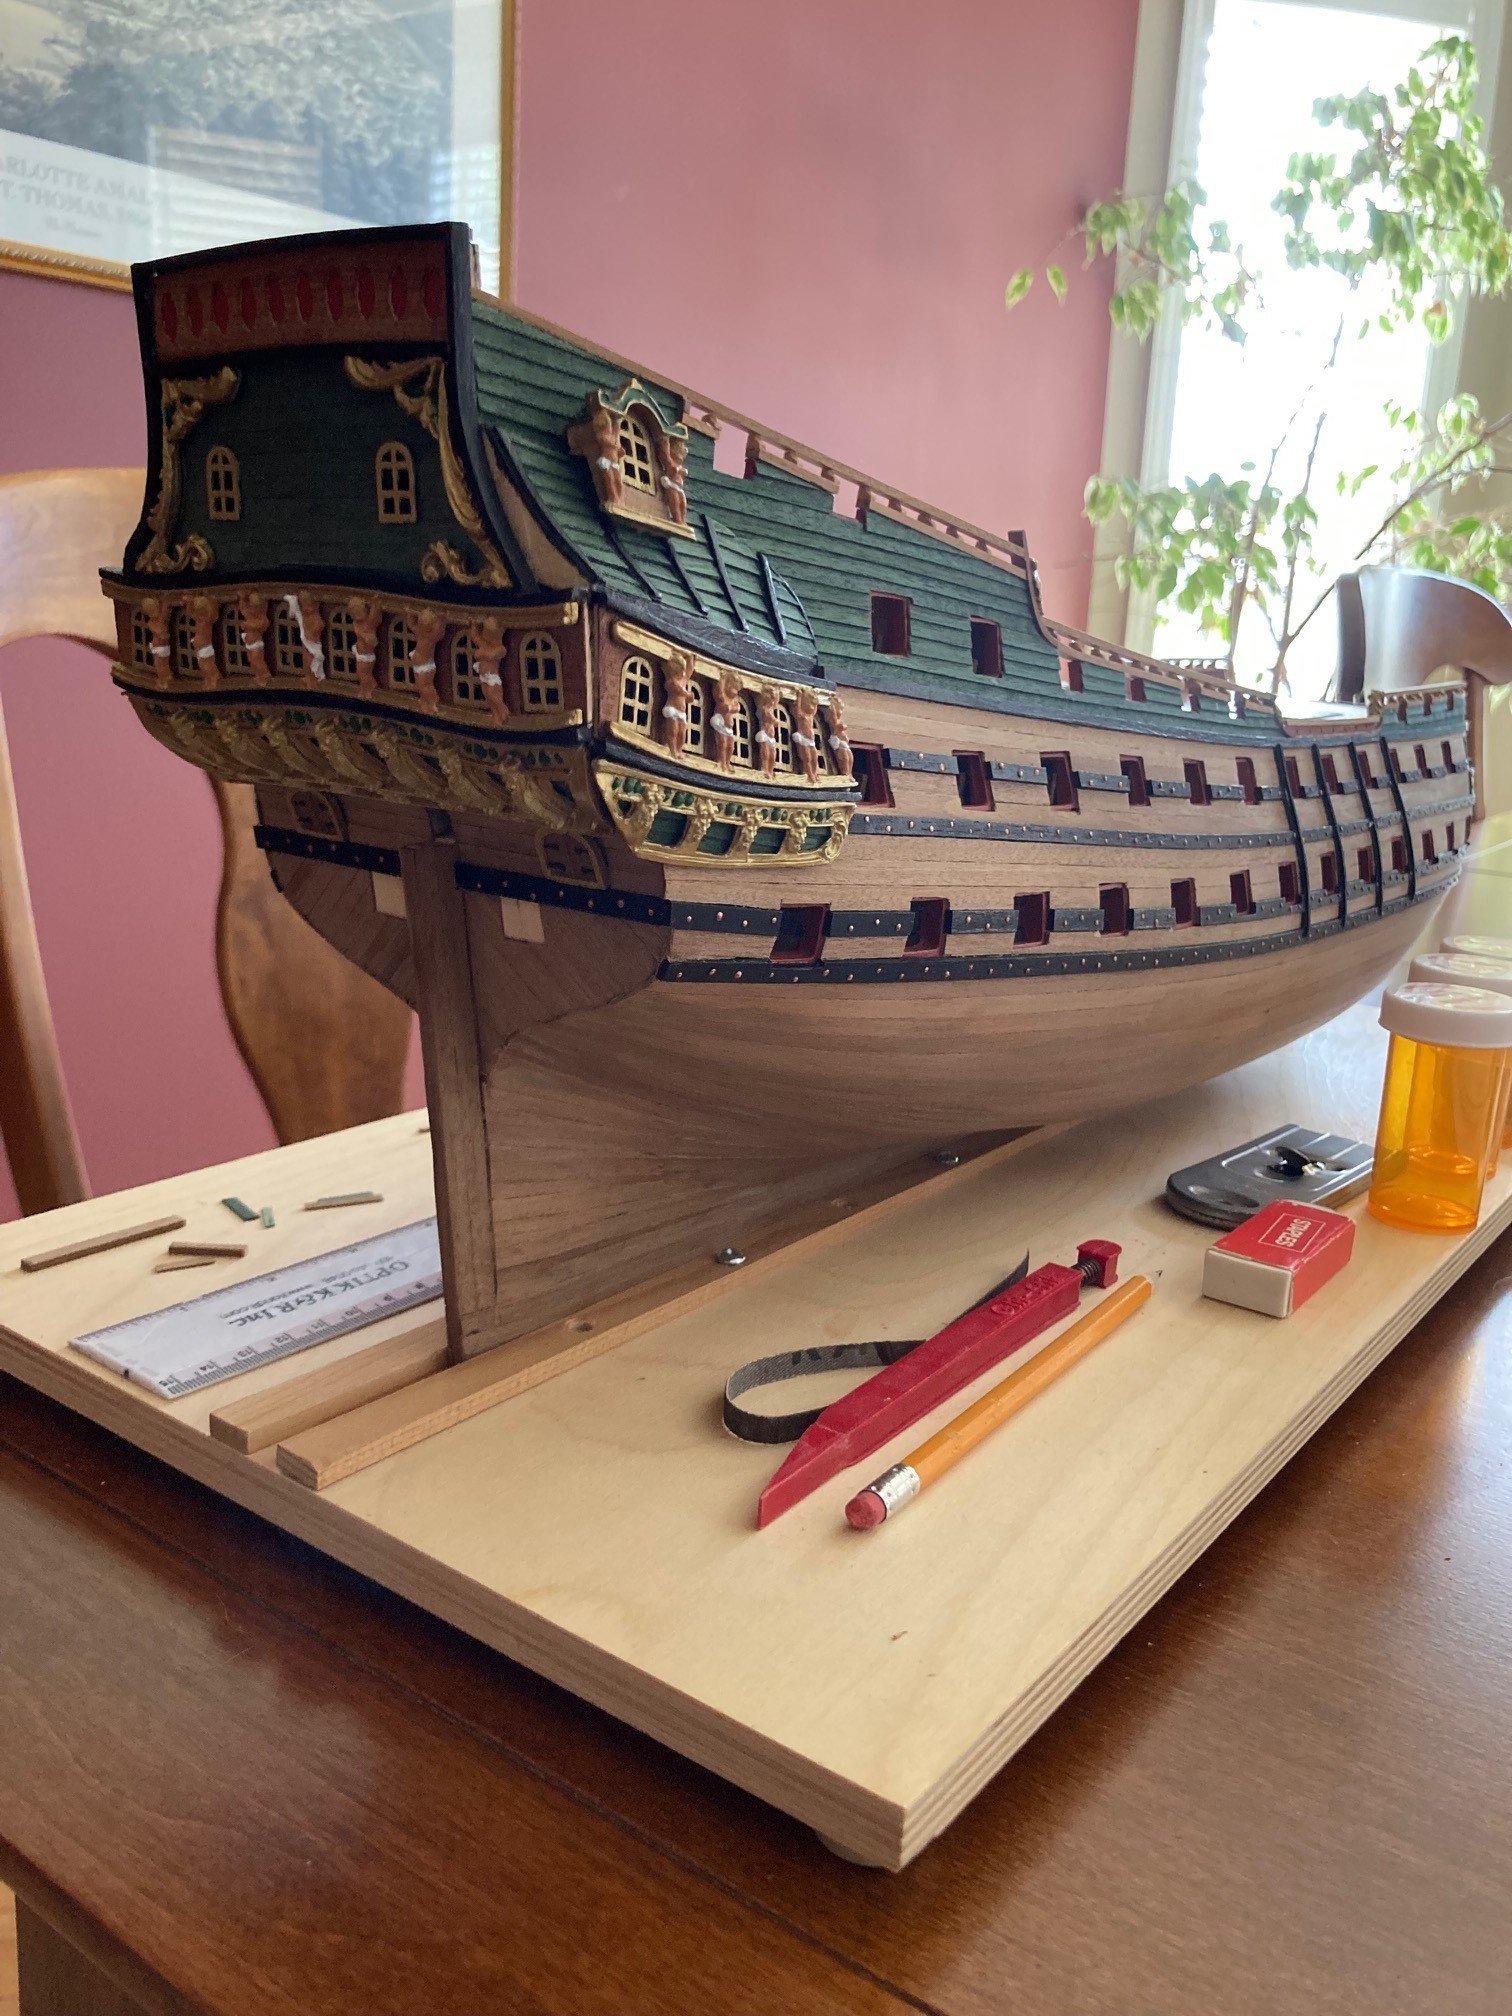
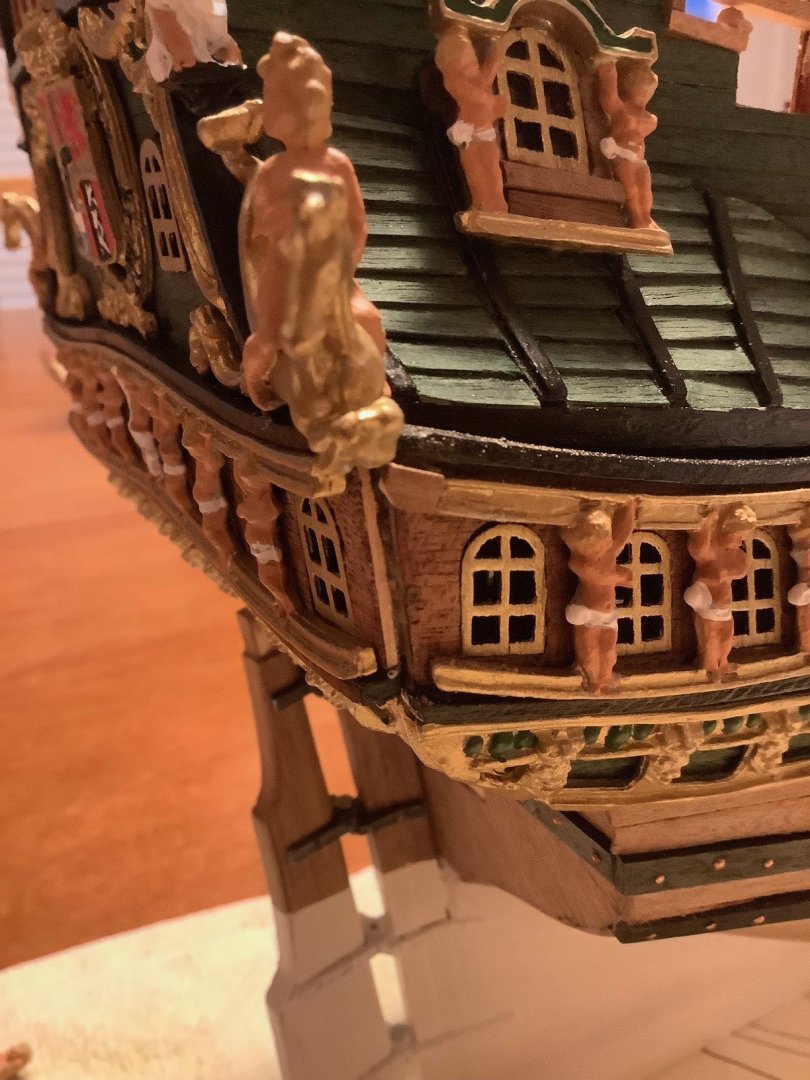
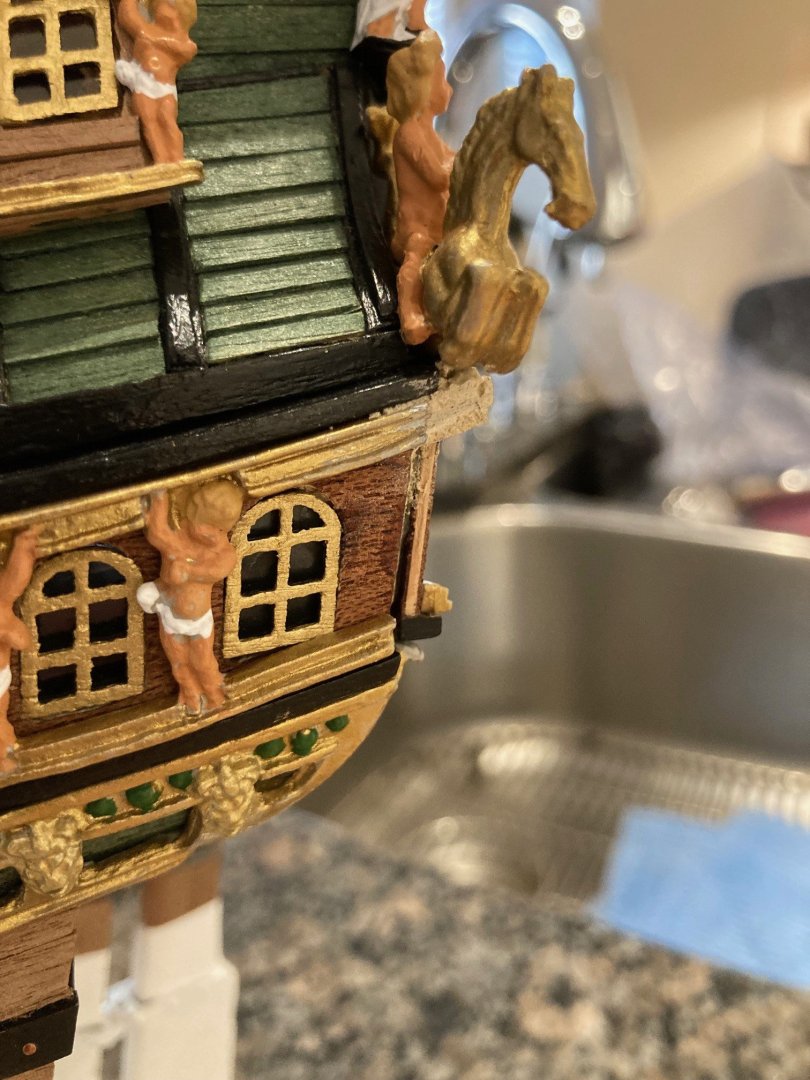
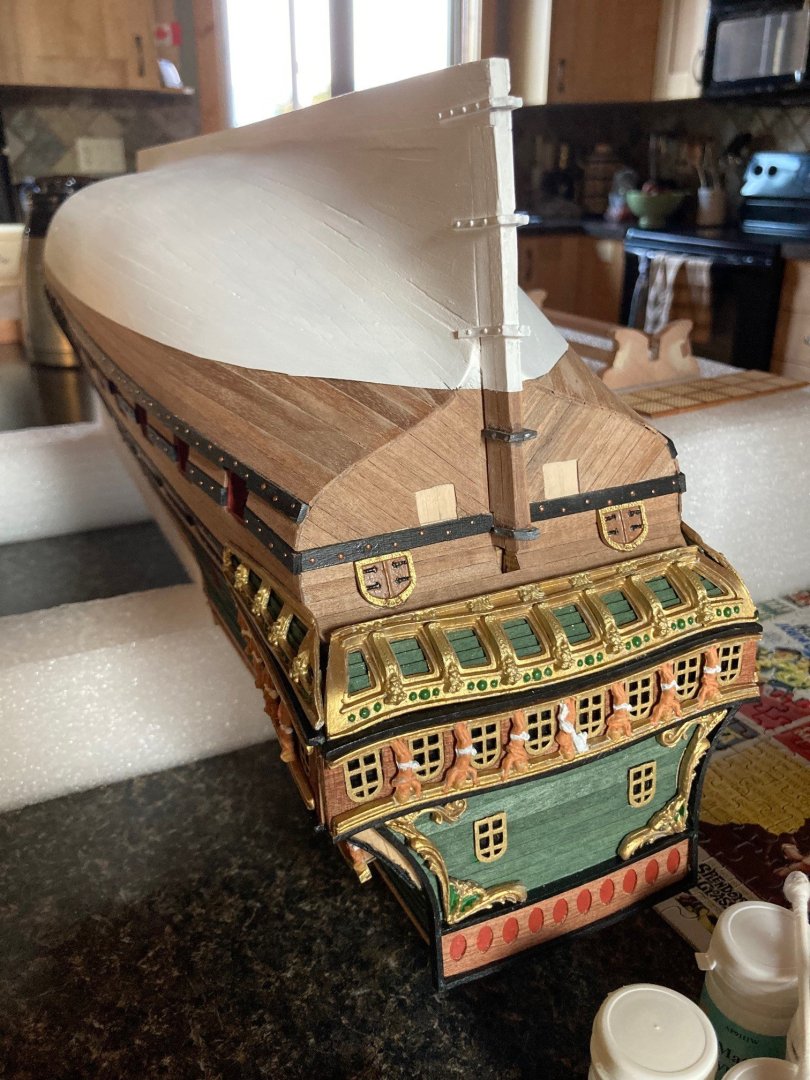
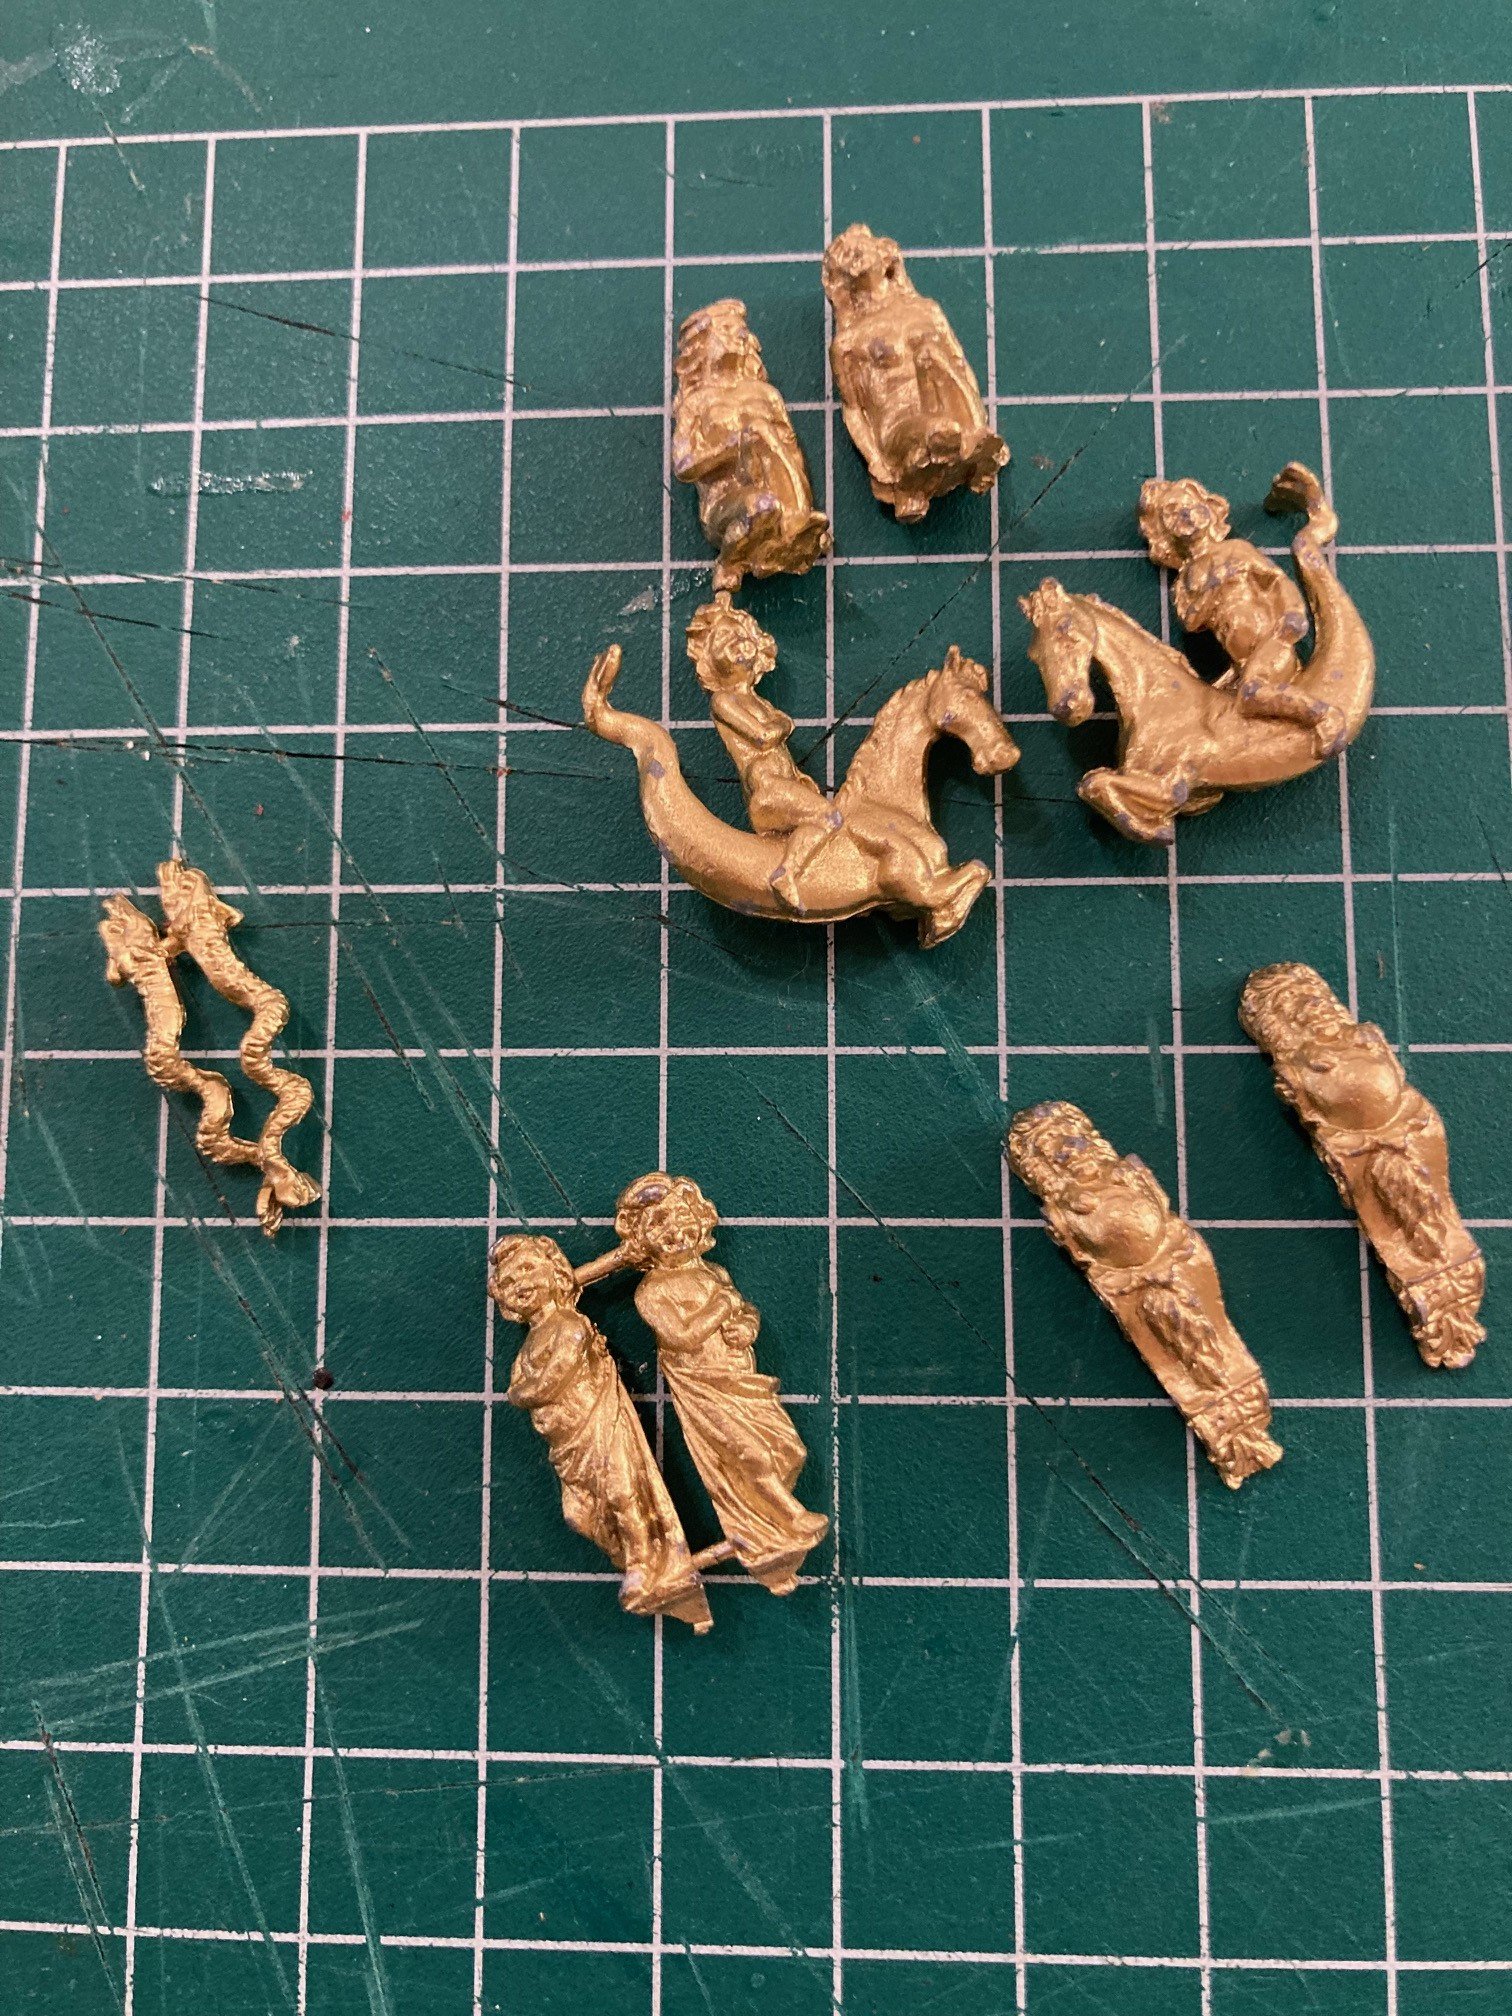
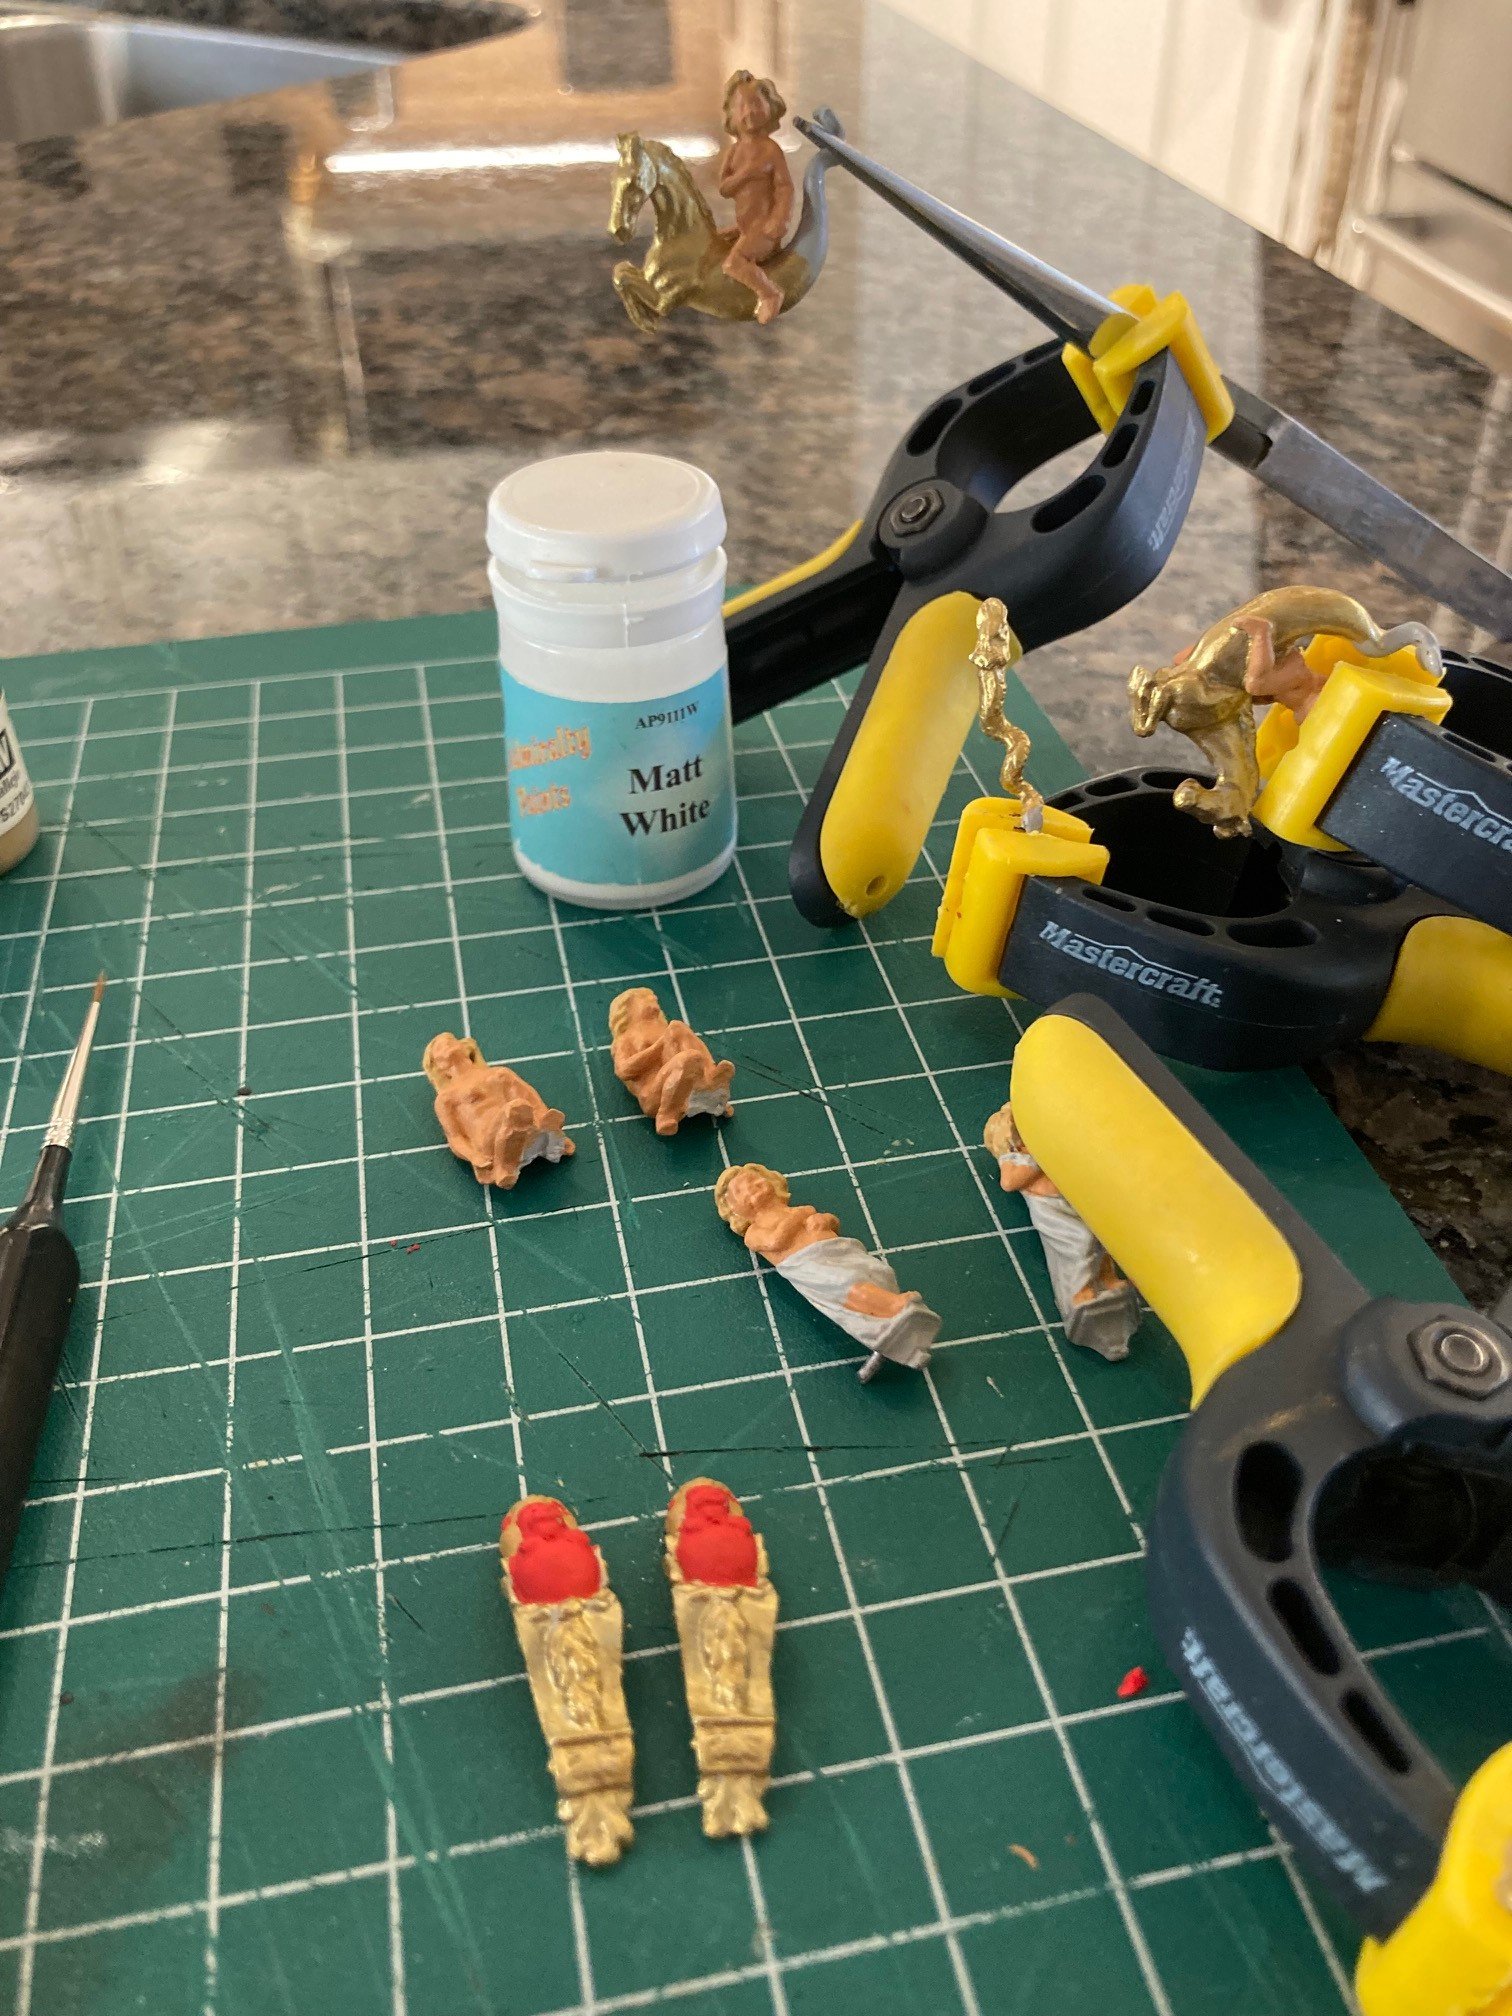
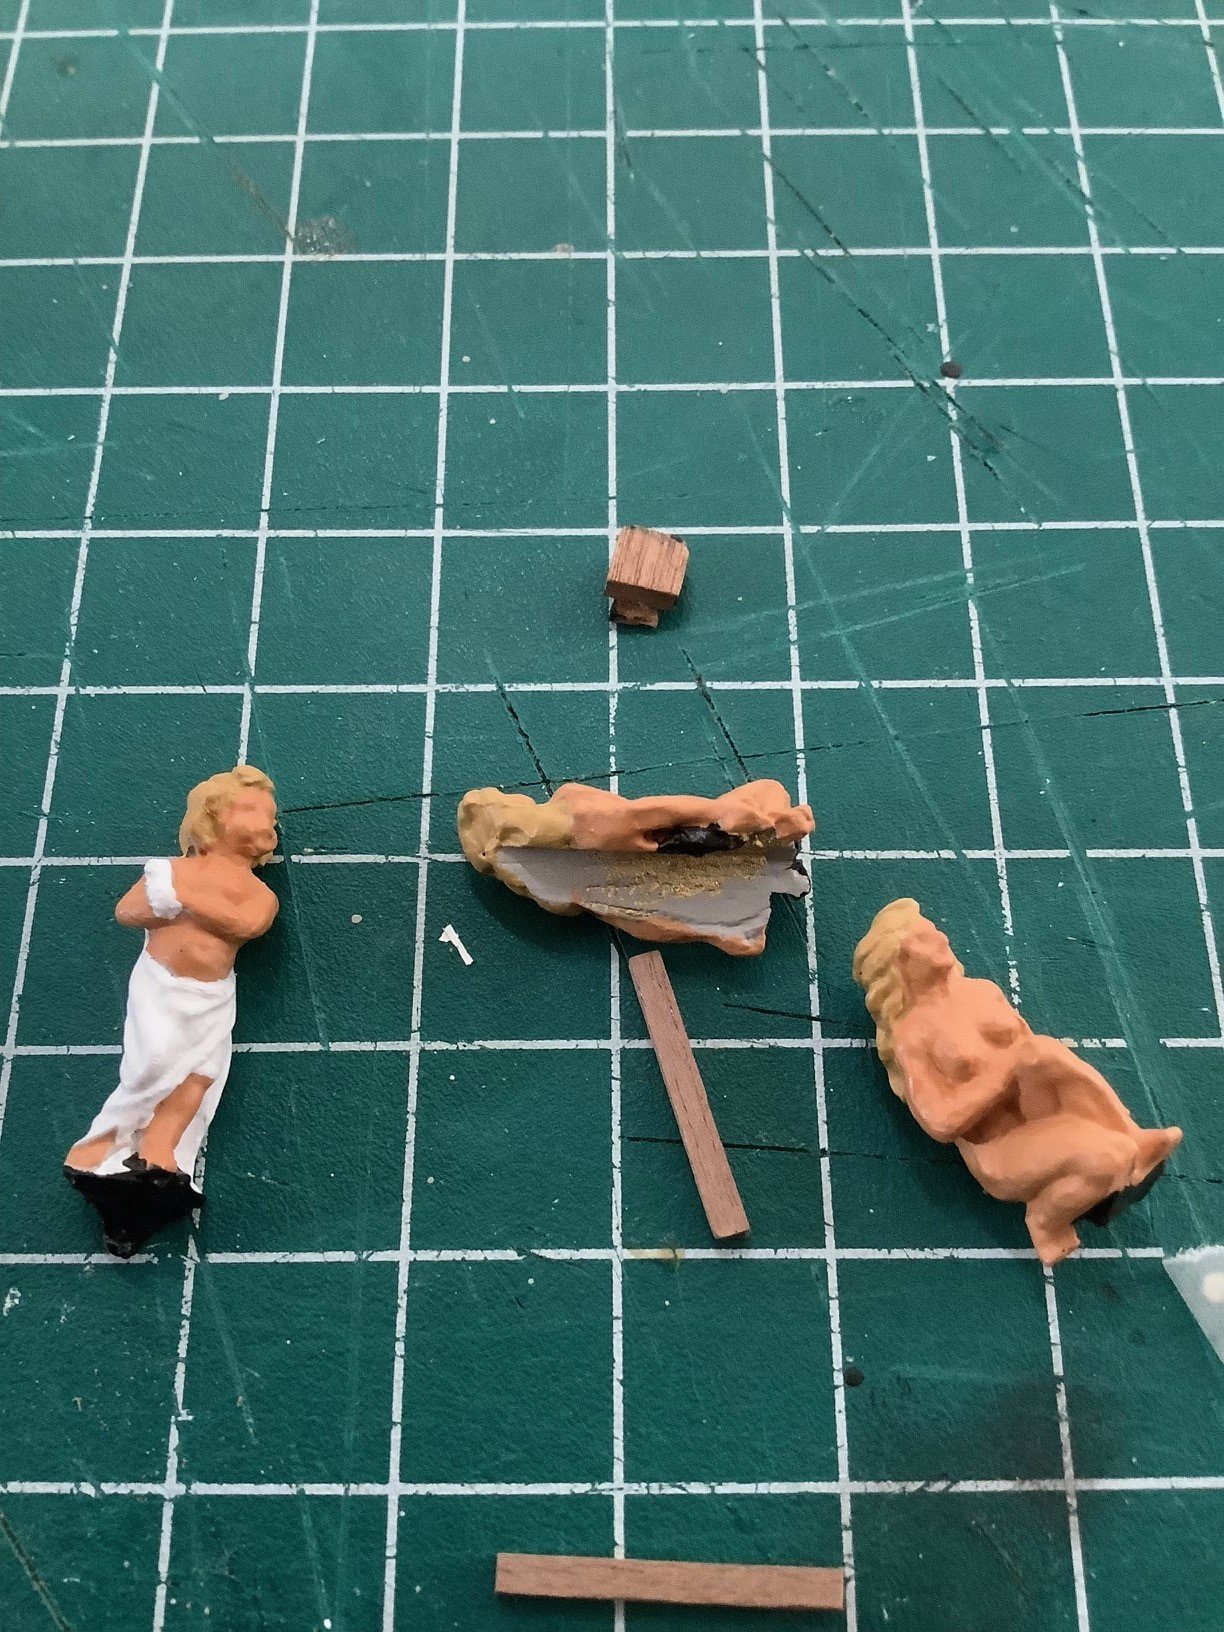
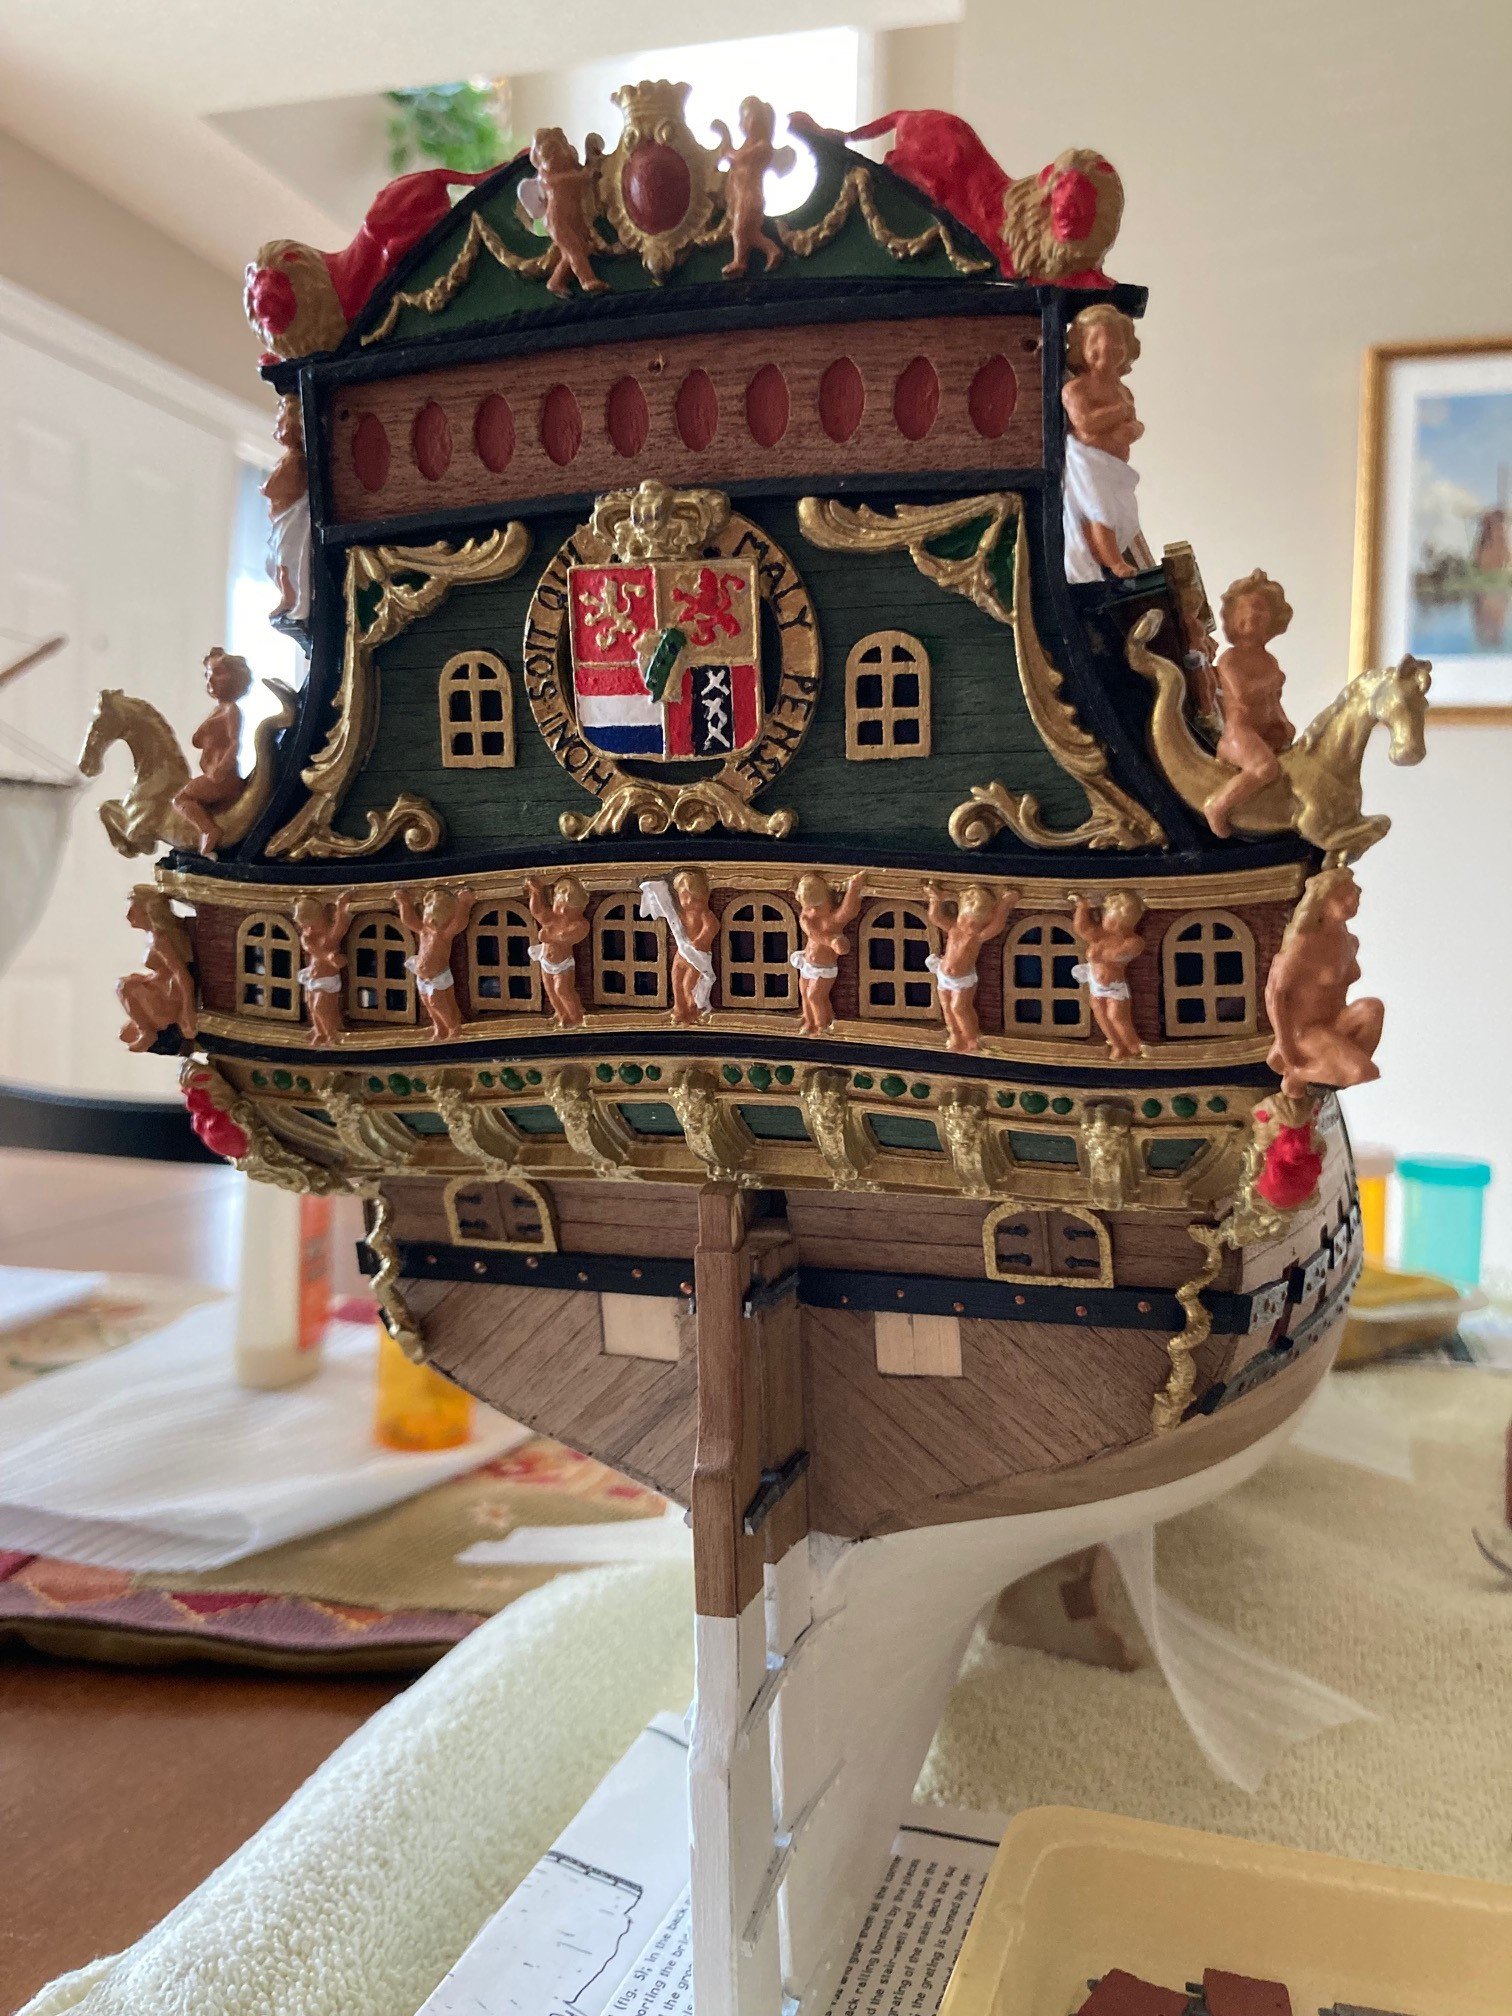
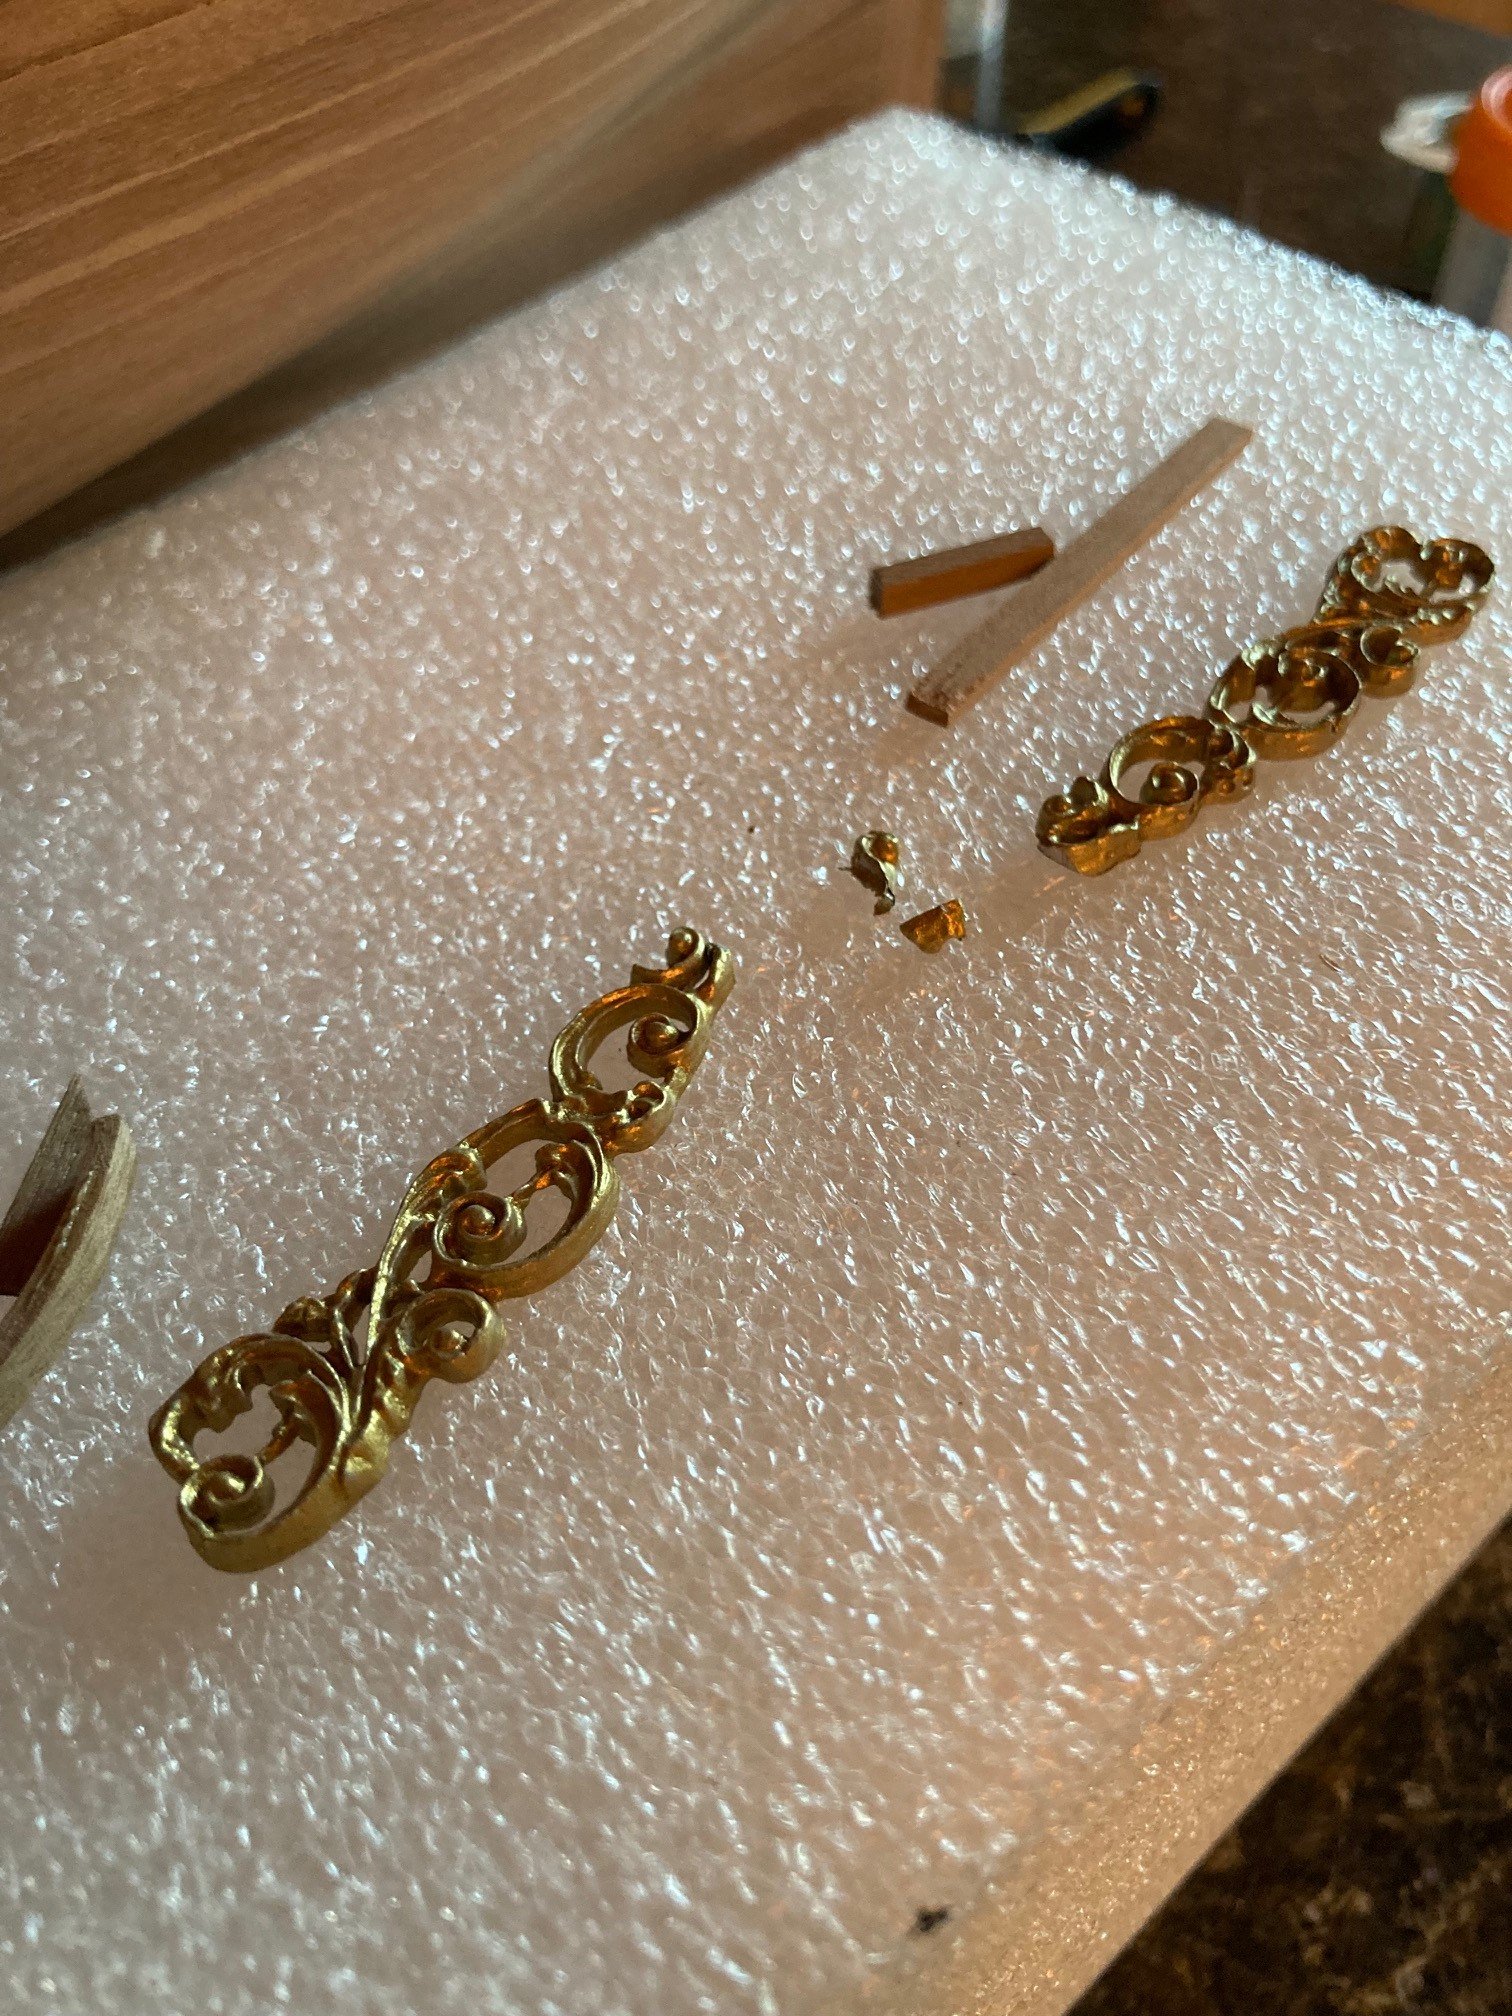
Did some fiddling with the stern ornaments... mostly painting. I did not find them bad with regards to cleanup of edges and margins. Lots of fiddling though getting the corners to fit and to have smooth transitions to the ornaments. Not always an easy task!


-
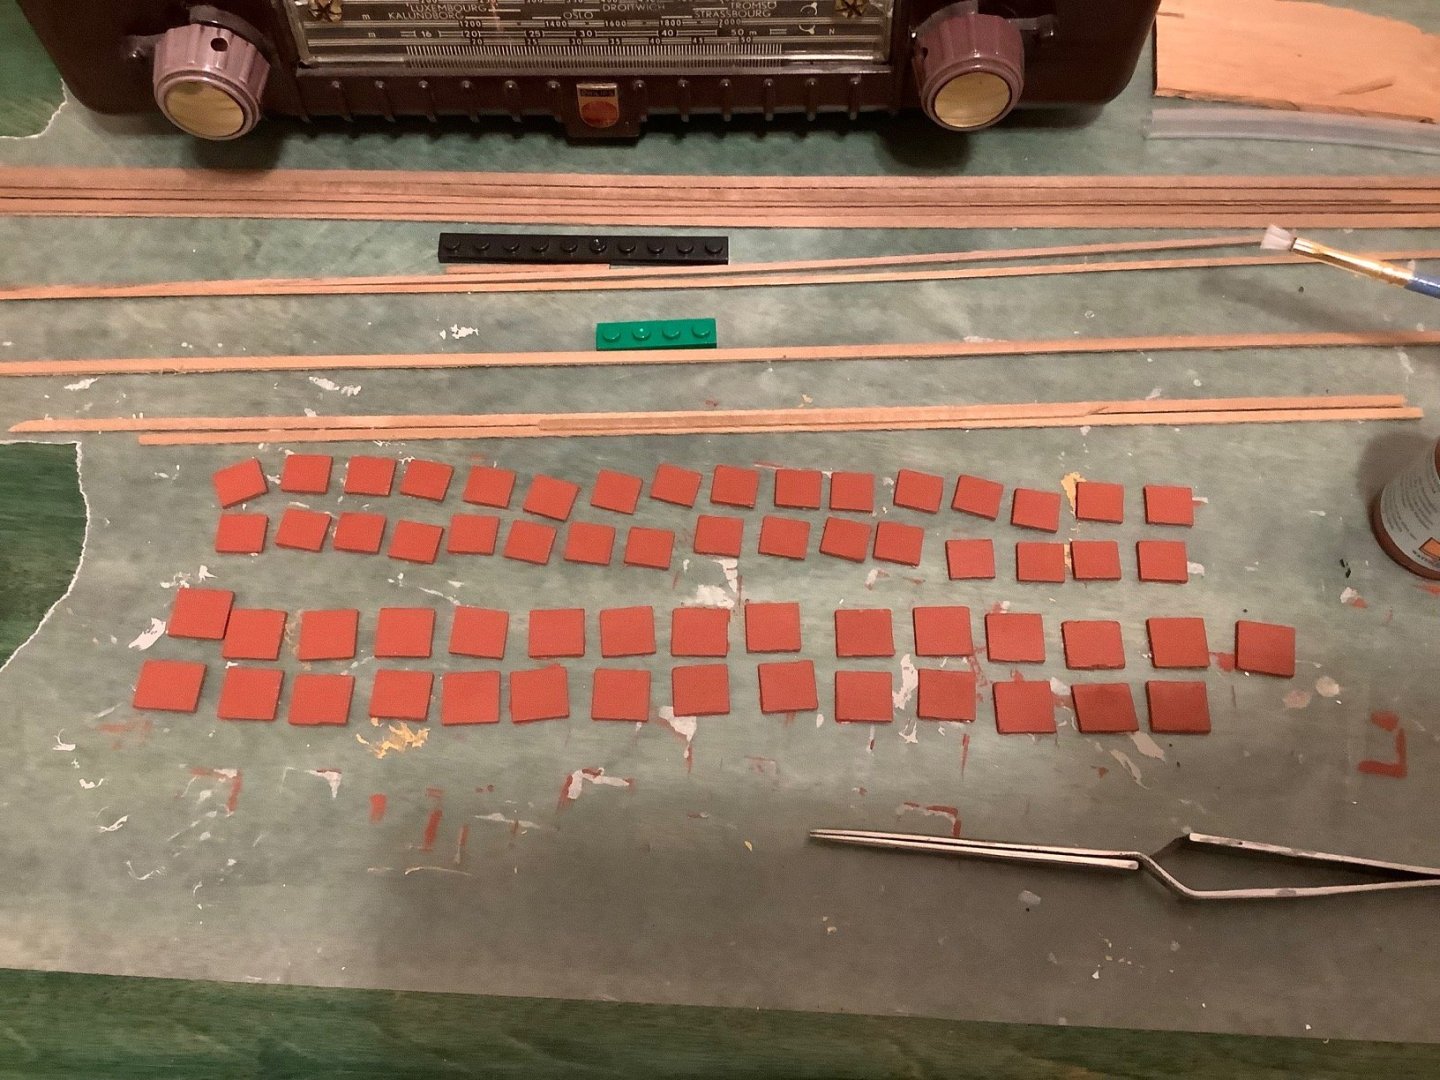
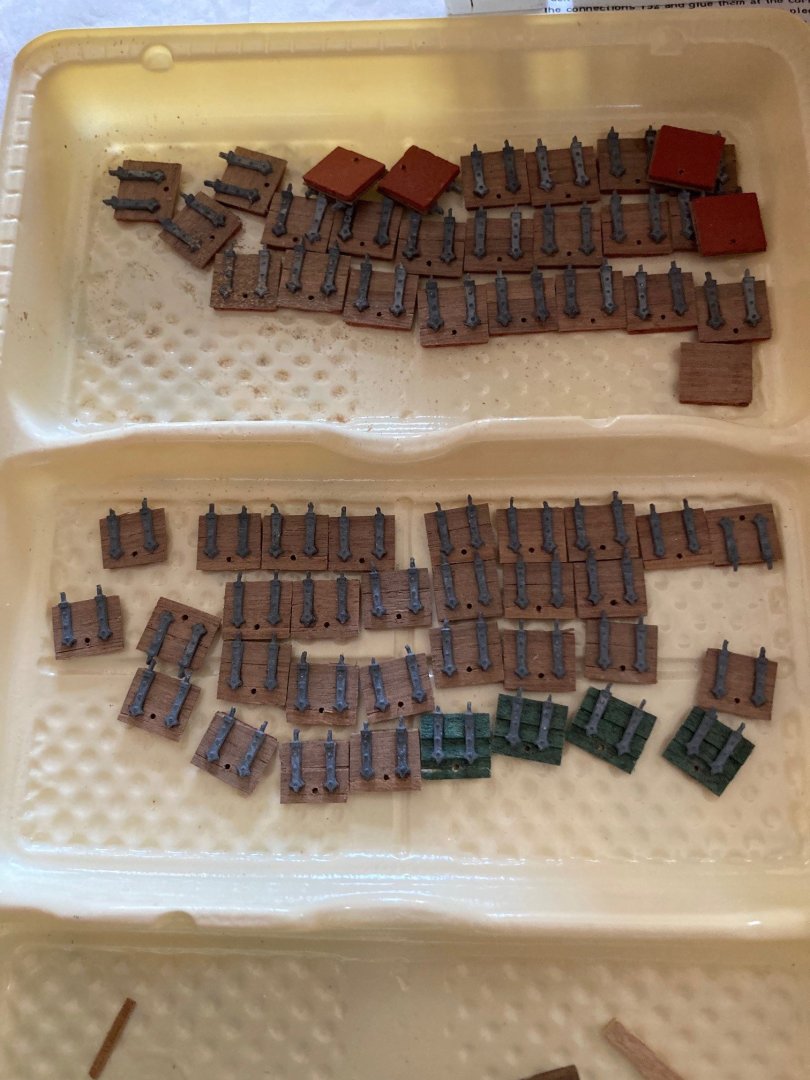
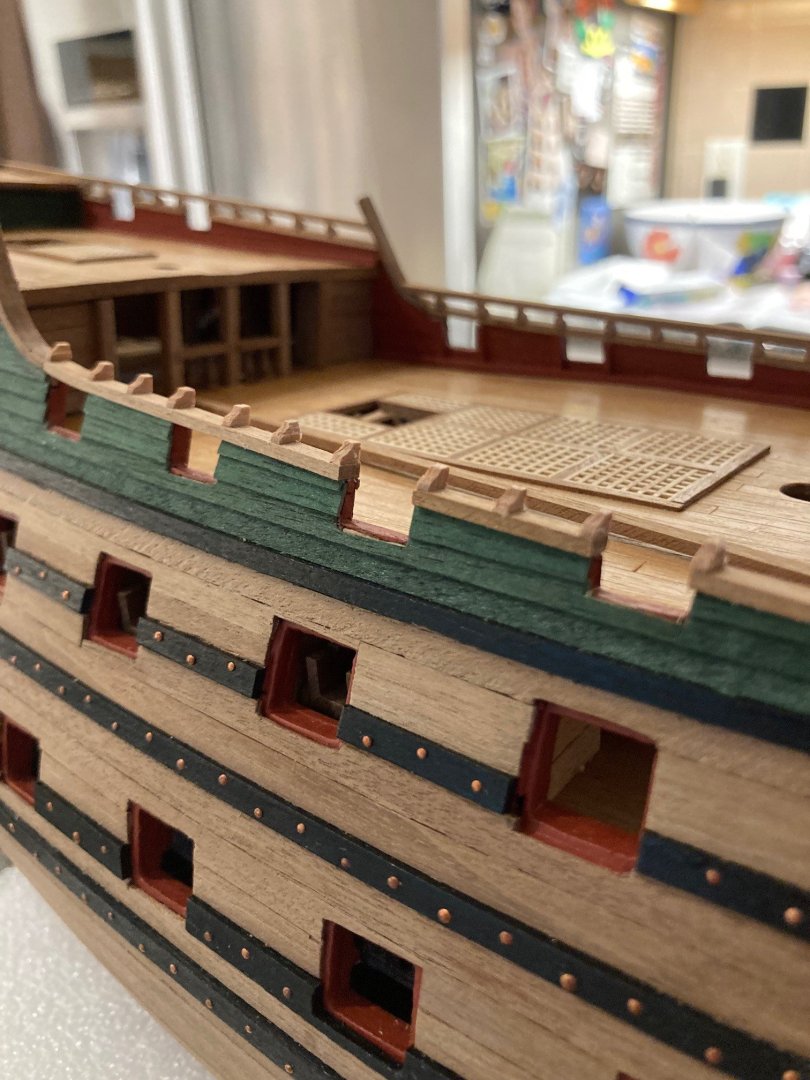
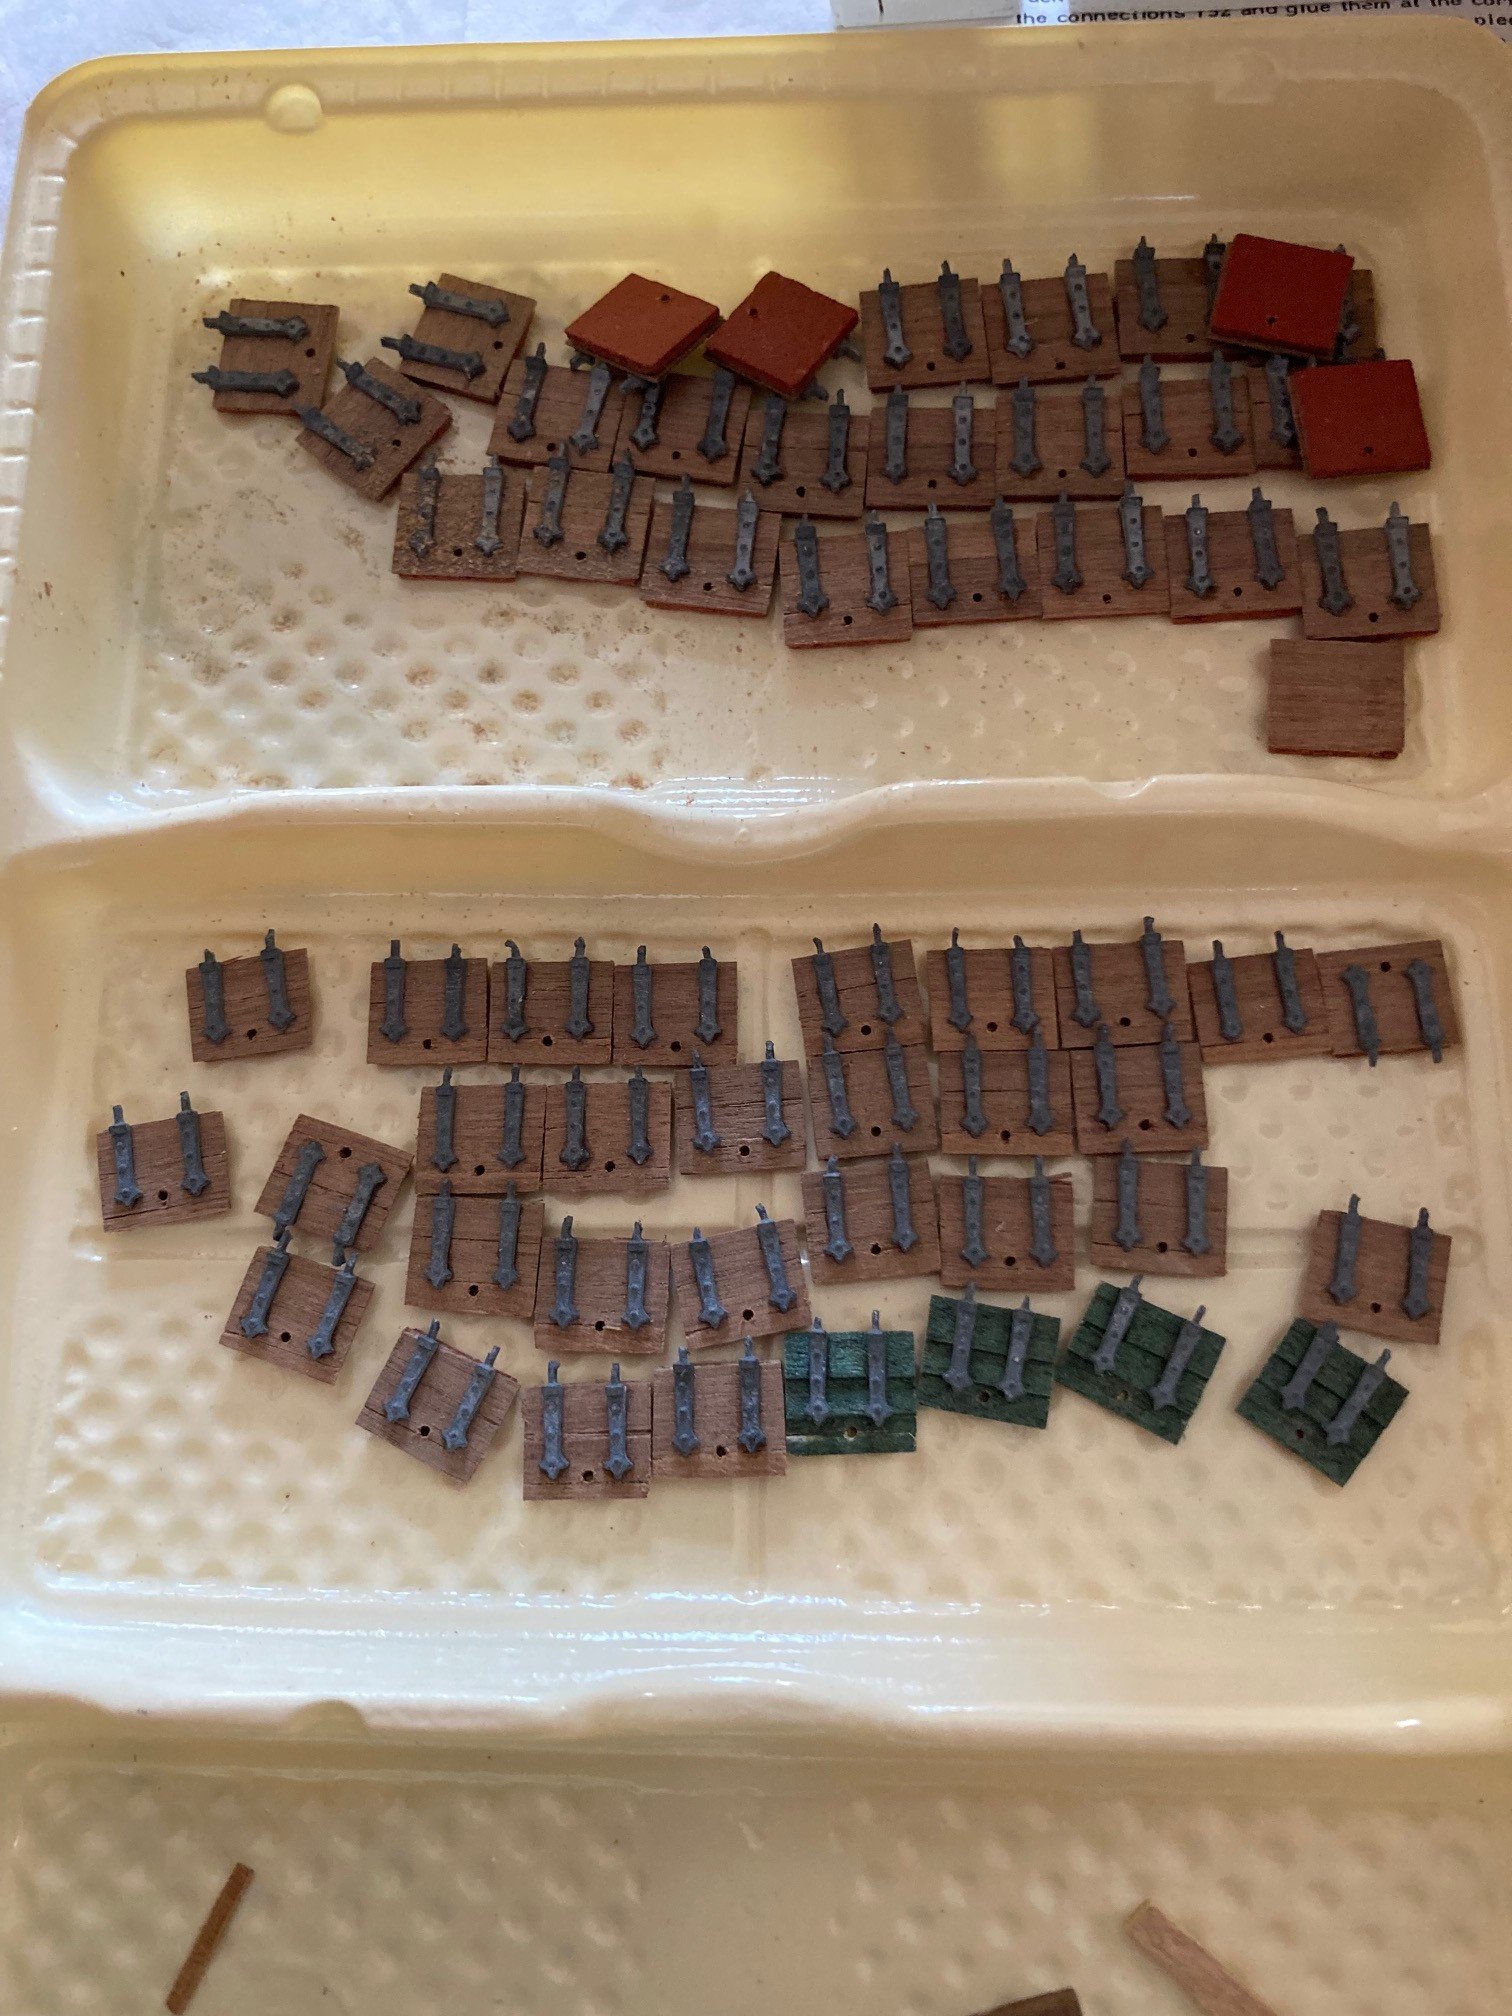
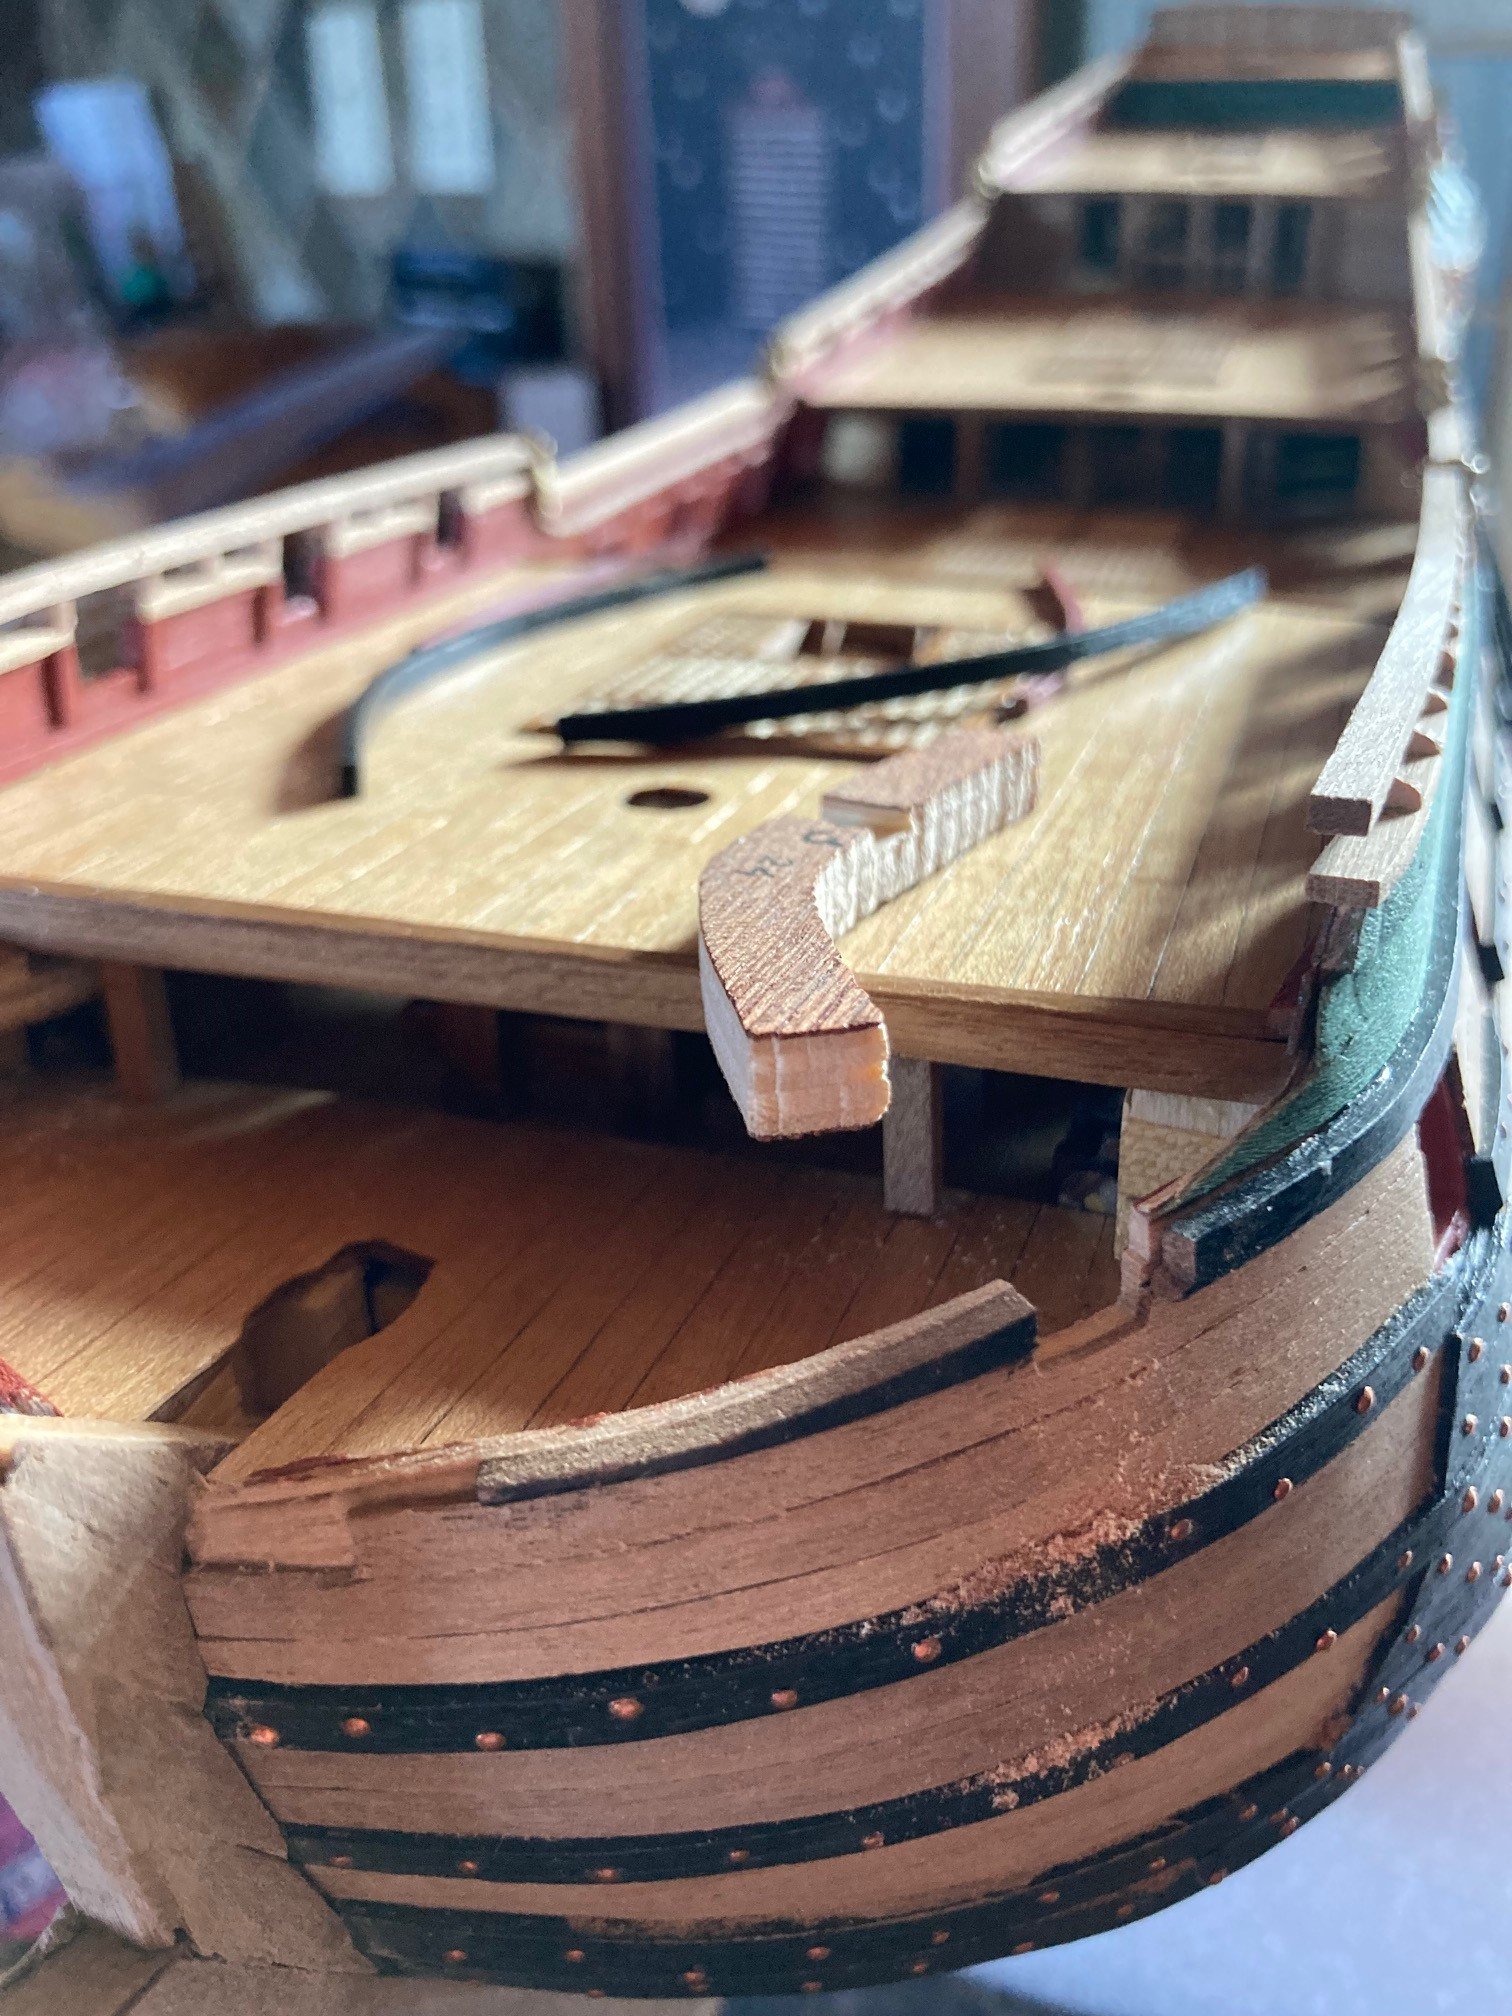
Some work to report on the gun port lids. Mamoli has them precut and then you just add the exterior planking and hinges. There are two sizes of gun port lids, one slightly larger than the other for the lowest row of guns, the dummy guns... which will be added later. I know other Mamoli Friesland builders have referenced their kits having abnormally long dummy guns... unfortunately my old vintage has the dummy guns that are too long. I will figure out that problem at a later date.

-
Browsing Experience
mrcc replied to mrcc's topic in Using the MSW forum - **NO MODELING CONTENT IN THIS SUB-FORUM**
A Psychologist would probably say that I can’t let things go… 😀 -
Browsing Experience
mrcc replied to mrcc's topic in Using the MSW forum - **NO MODELING CONTENT IN THIS SUB-FORUM**
Problem solved James… Thanks for your suggestion… I simply cleared my browsing history to “all time” on the IPad and the MSW browsing experience was back to normal Strange that only the MSW website was affected given I have about 35 other tabs open on my Safari browser. Anyways, thanks! -
Browsing Experience
mrcc replied to mrcc's topic in Using the MSW forum - **NO MODELING CONTENT IN THIS SUB-FORUM**
Thanks for your reply Paul… The resolution you noted doesn’t seem to work for me.. It’s strange as this happens only on MSW and just recently started. Cheers, -
There has been a change in the browser experience when scrolling on MSW for me and my IPad. I noticed in the last 5-6 days when scrolling, the page is constantly refreshing and not loading the page in its entirety (at once) when first on the page. Quite irritating and it is only with MSW’s website on my Safari browser. Not sure why and if anyone else has this problem?
-
Very nice! Thanks for sharing the pictures of the model ship exhibition! I have been to the Scheepvaart Museum but I must go one year, one weekend to the model ship exhibition.
- 97 replies
-
- 1
-

-
- Corel
- Große Jacht
- (and 2 more)
-
Thanks Ronald for your reply... Yes, these creations really start to come alive with the deck fittings.
-
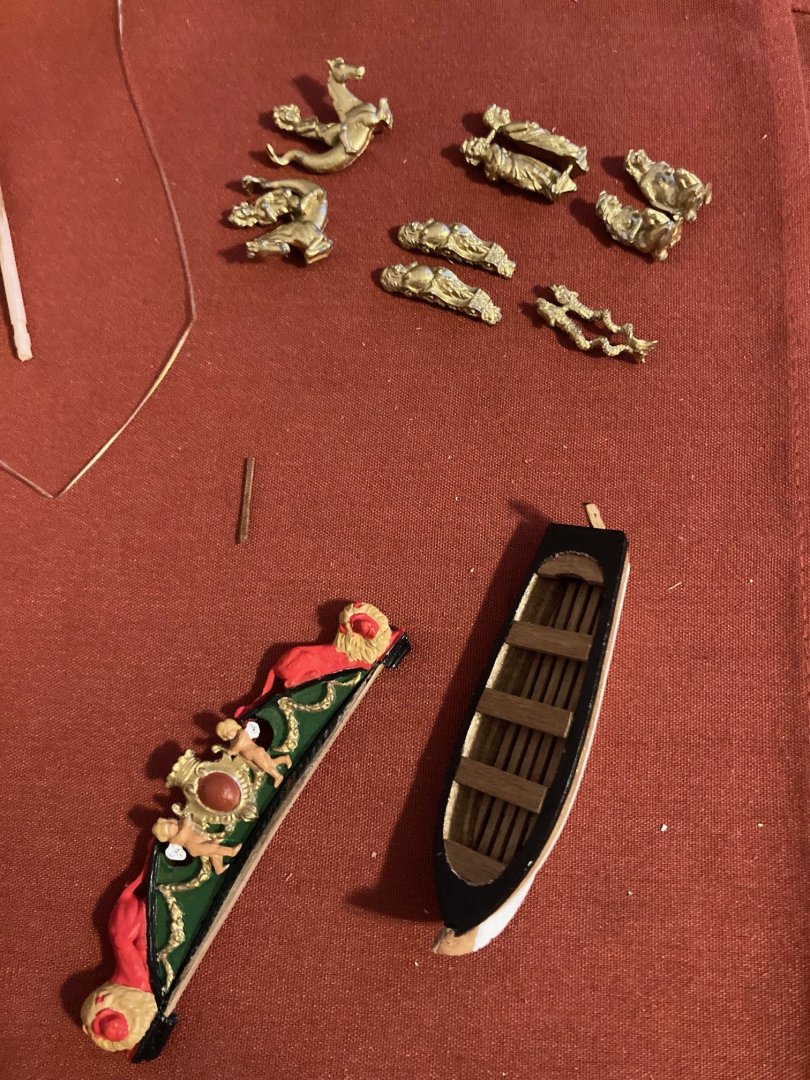
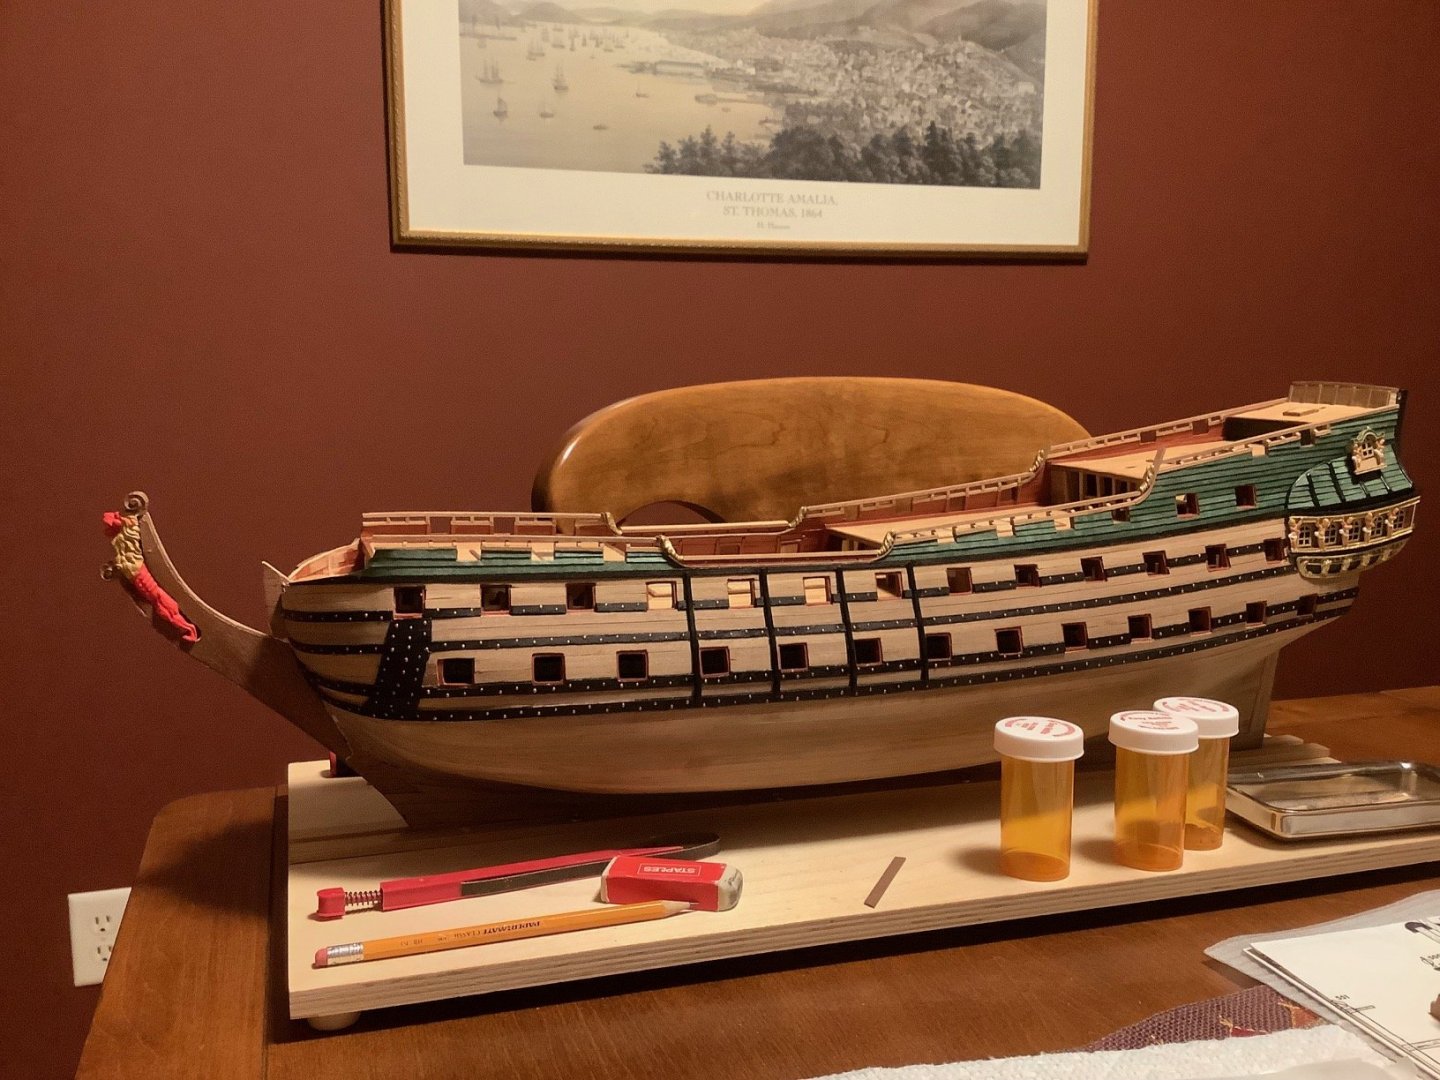
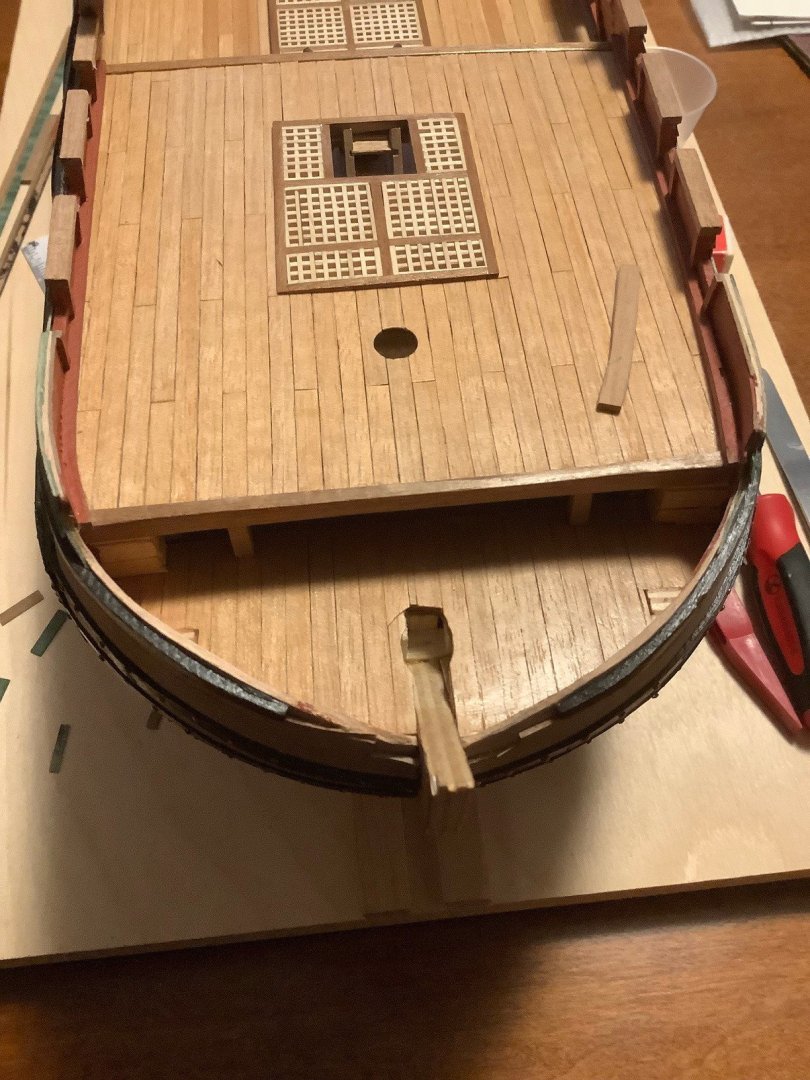
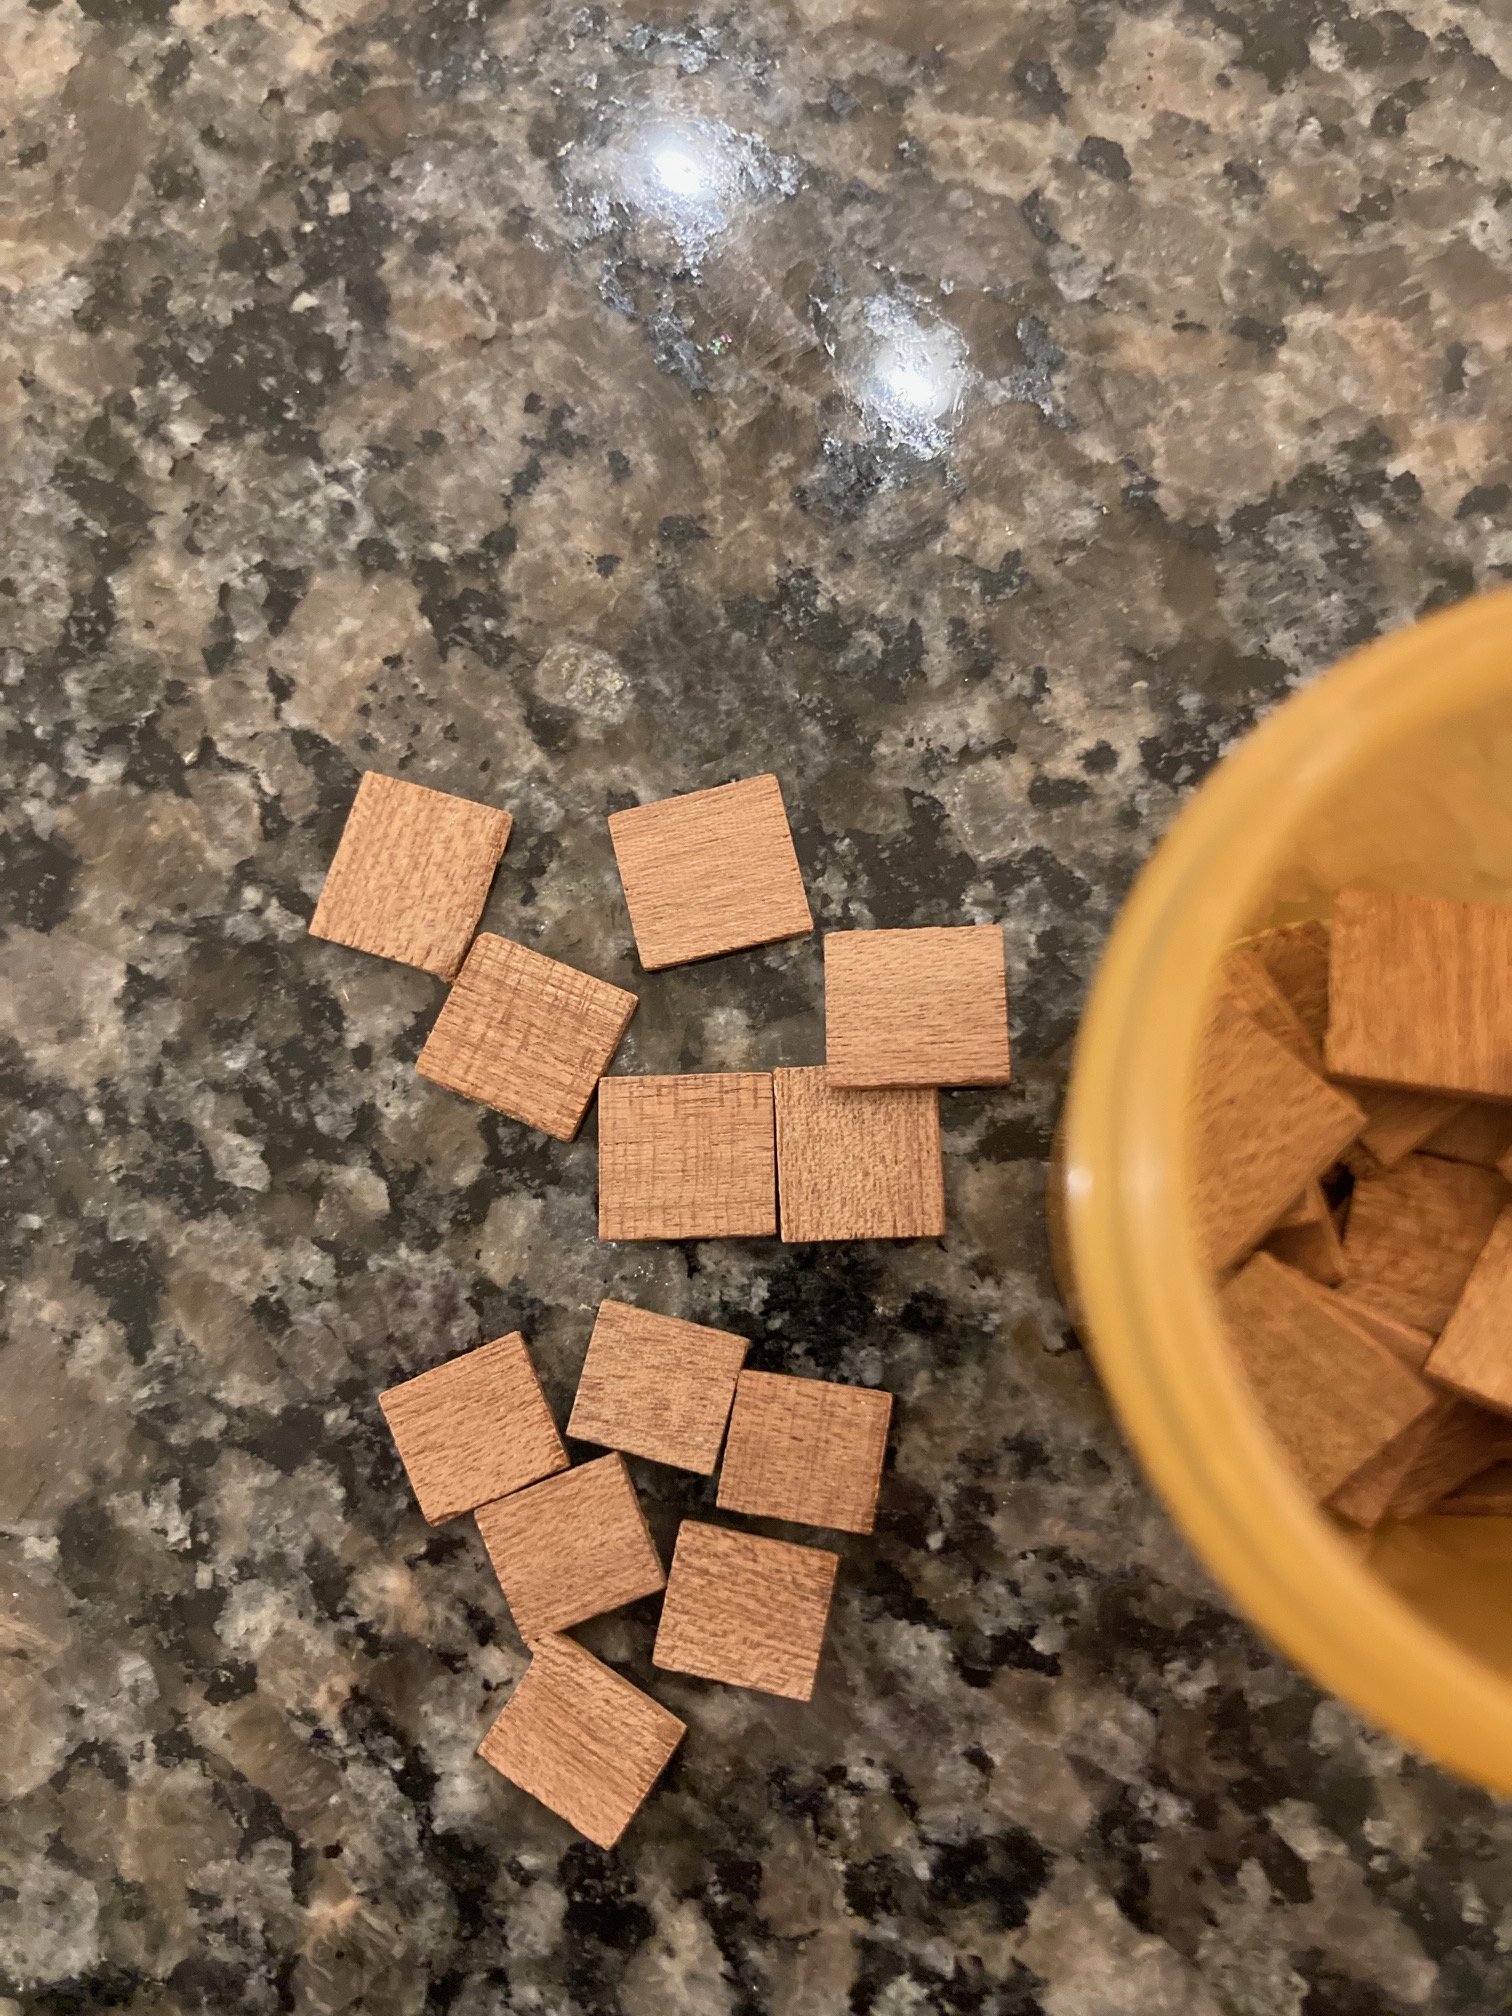
Here is some wider perspective shots should anyone be interested. Deck fittings and railing is now done... which was easy work. PS I had to cut some strip wood from some darker walnut stock I have in order to get all the deck fitting matching to a darker walnut The last picture is the included boats with the kit. I will try and "pump" them up a bit but if that fails I reached out to Kolderstock models in Holland as they have a scaled replacement boat that looks very good! I will be taking a little break now as I have a ton of fall yard work to do at this time and also to get ready for the winter tires on the vehicles. Plus perhaps pay a little more attention to my wife 😊


-
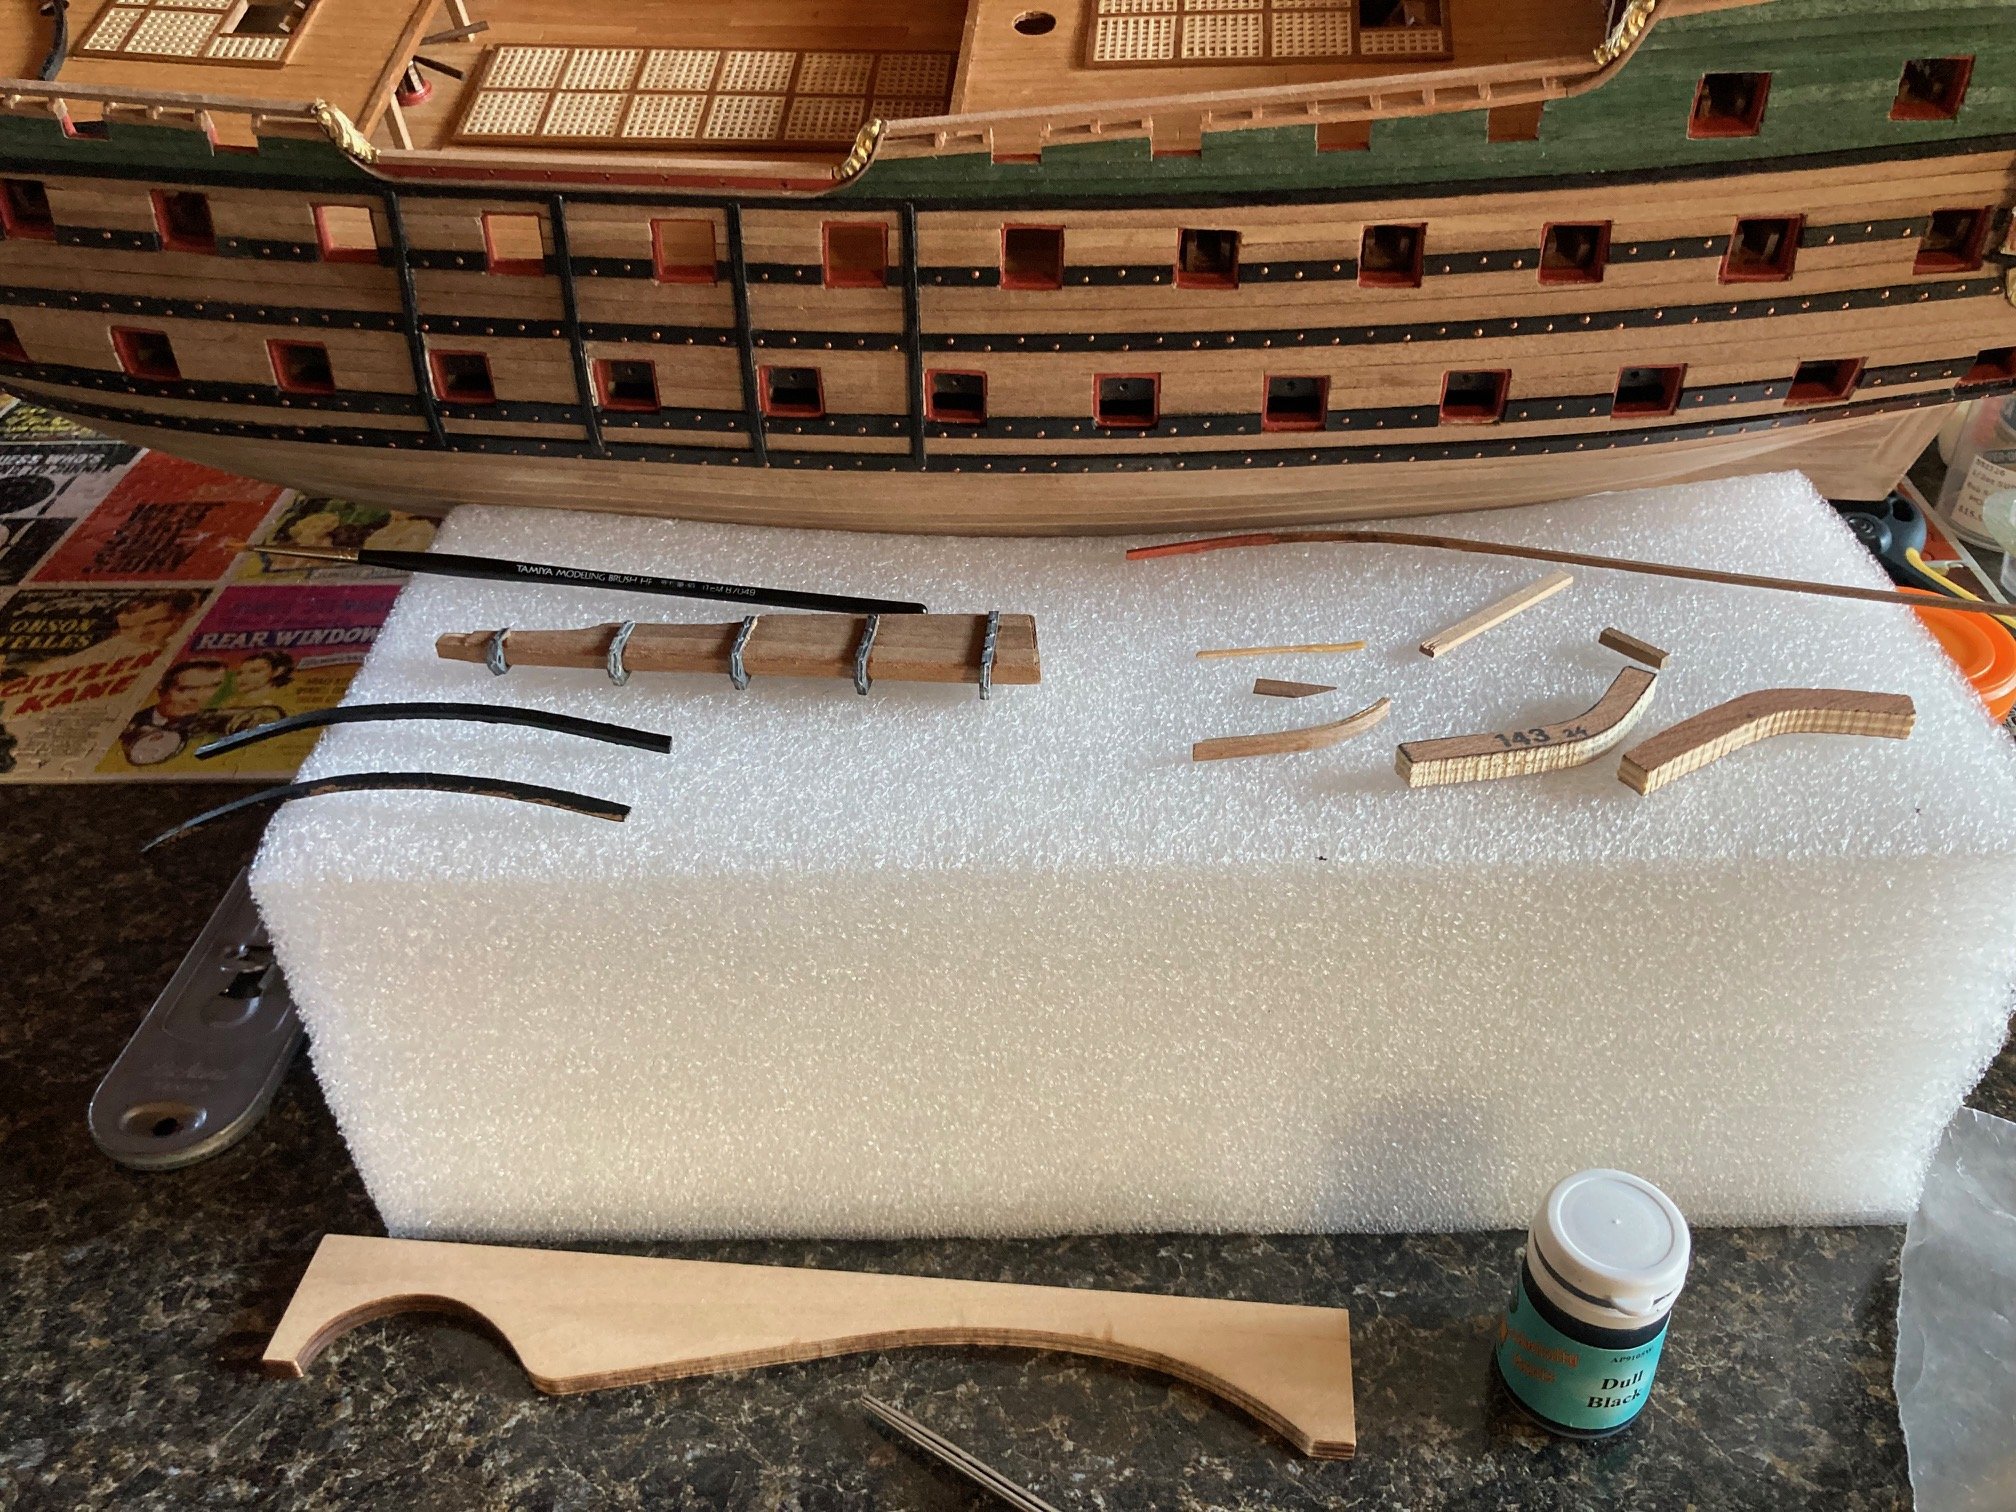
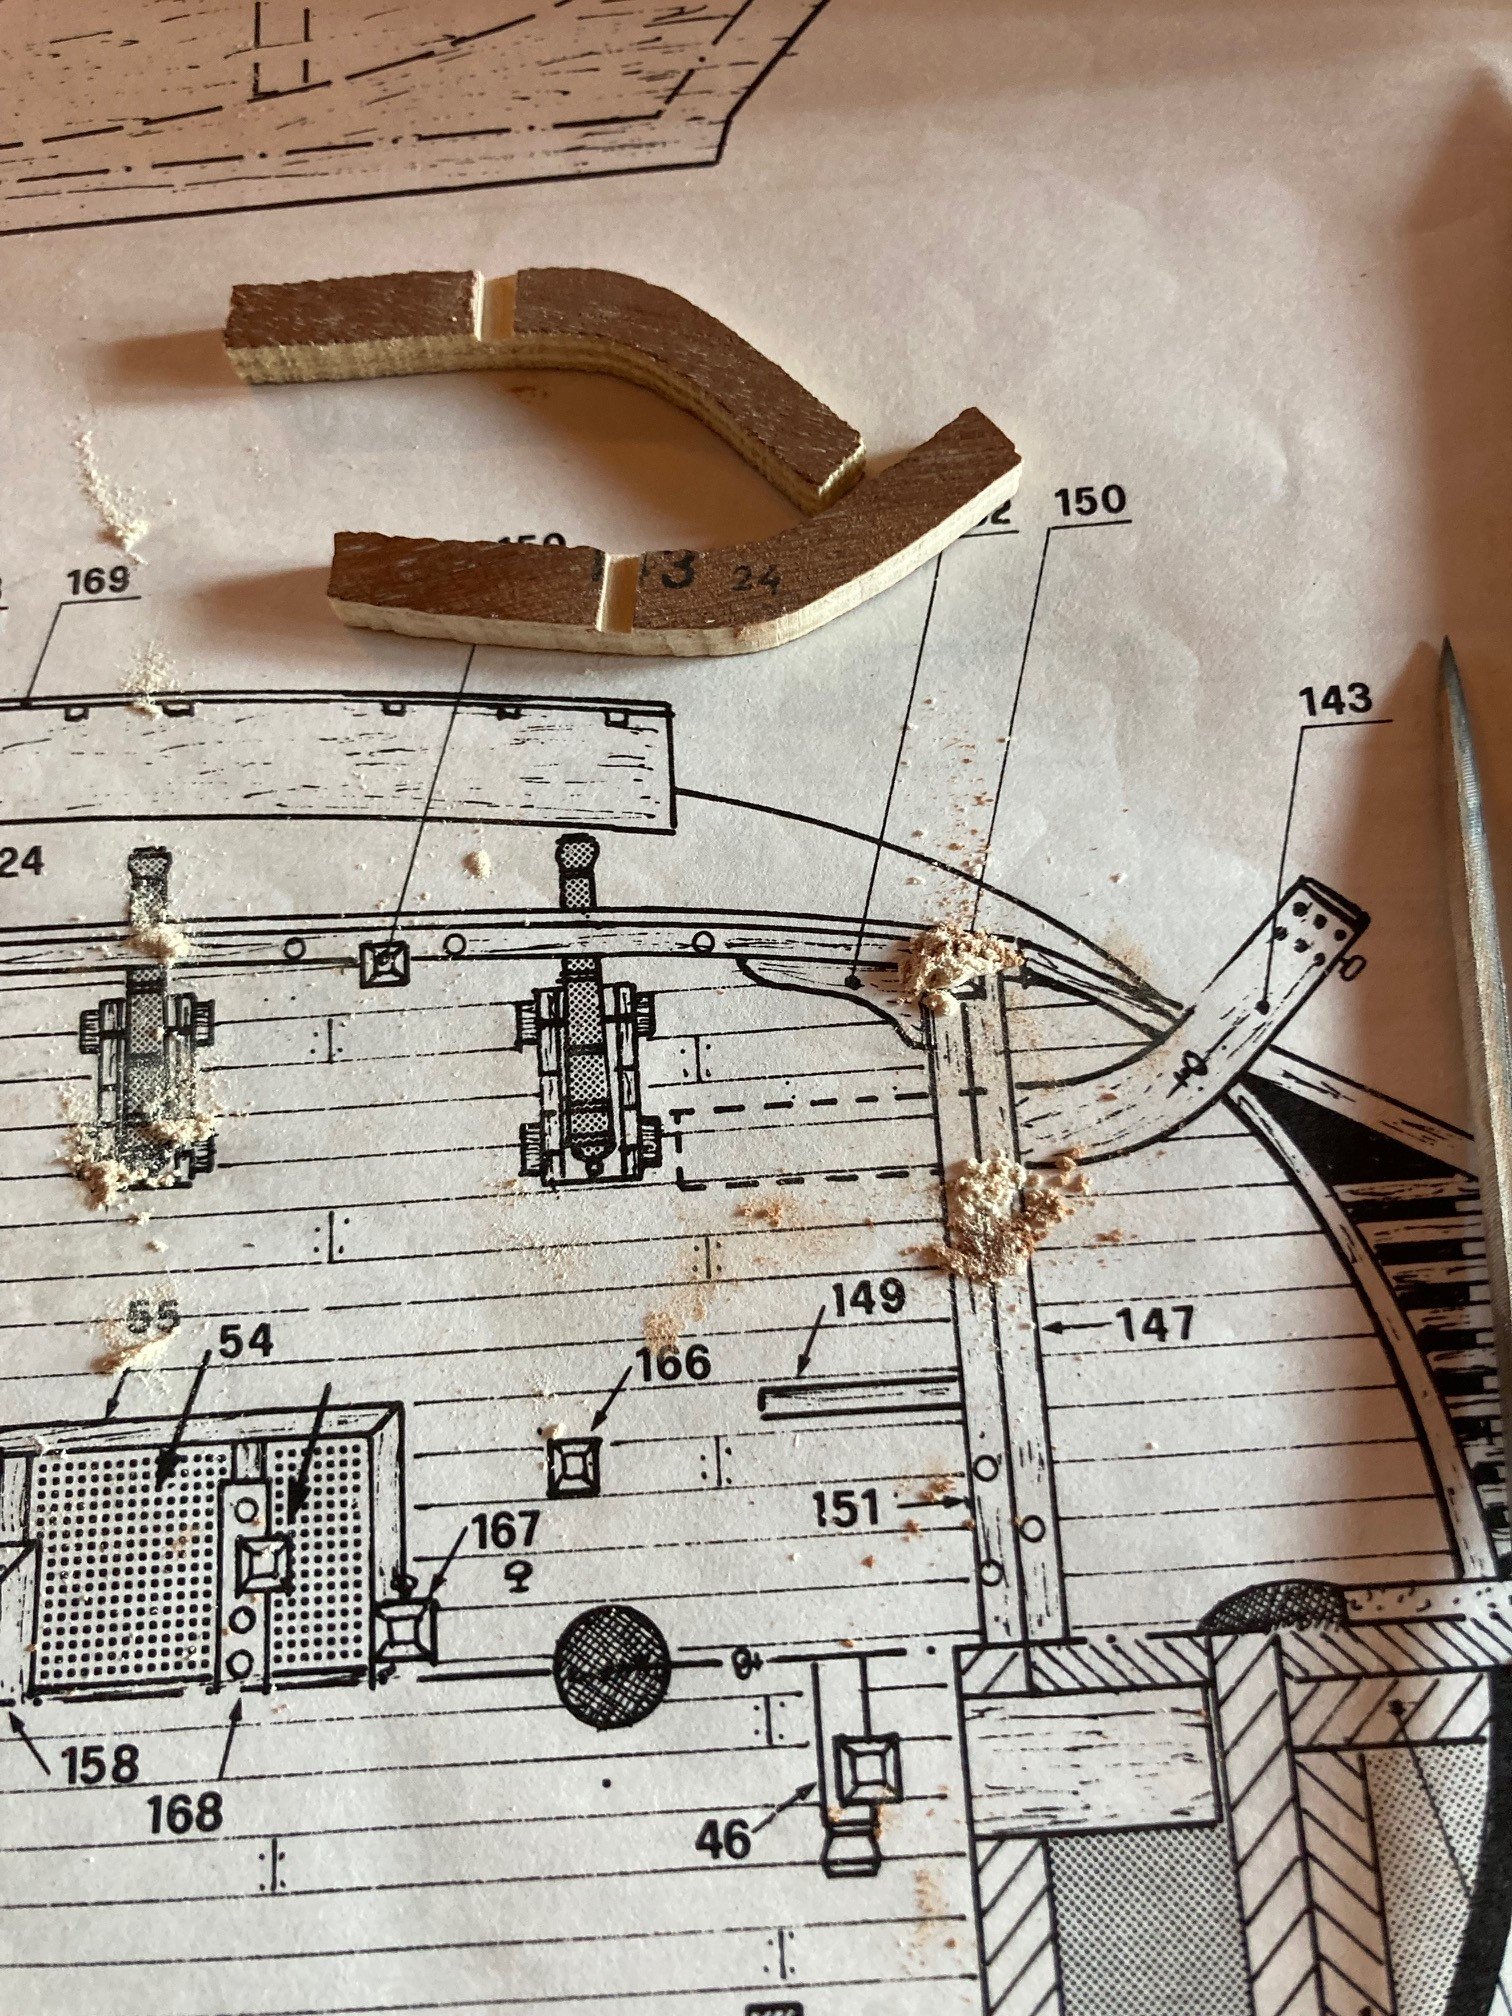
More details completed on the deck... first the railings and then the bits. Materials are always tight with the old vinatge Mamoli kits. I bought a used Proxxon saw and have started to put it to good use, specifically for the 2x3 strips.


-
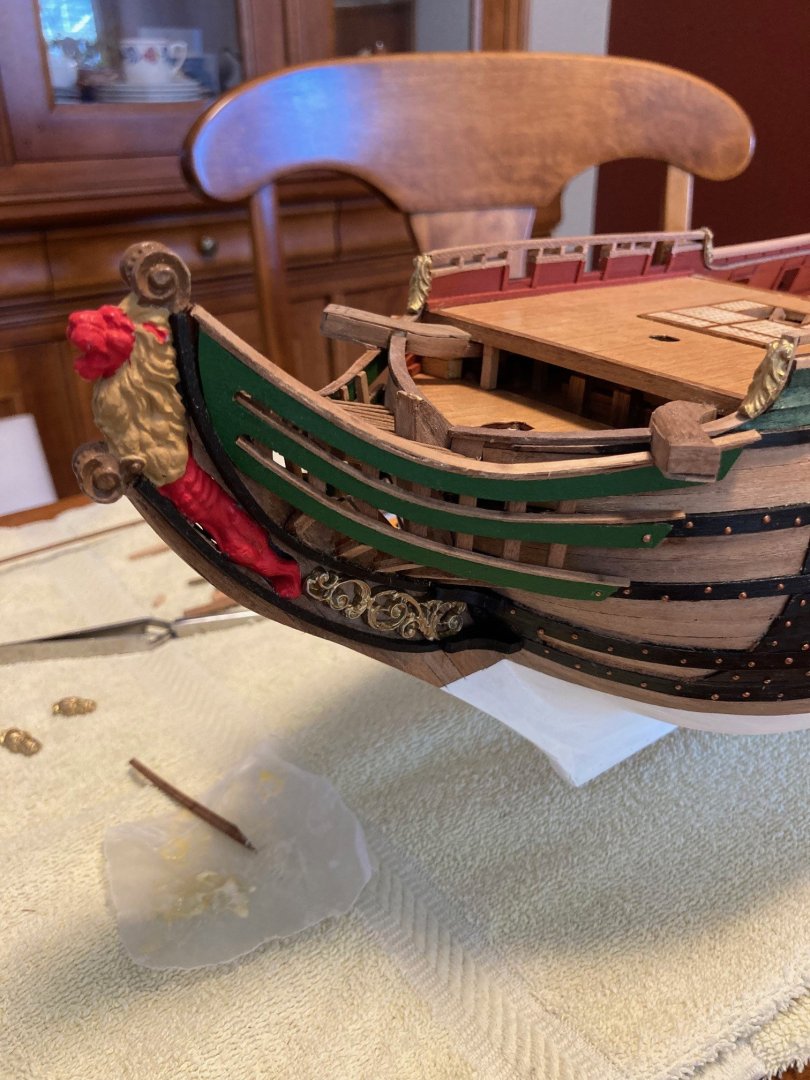
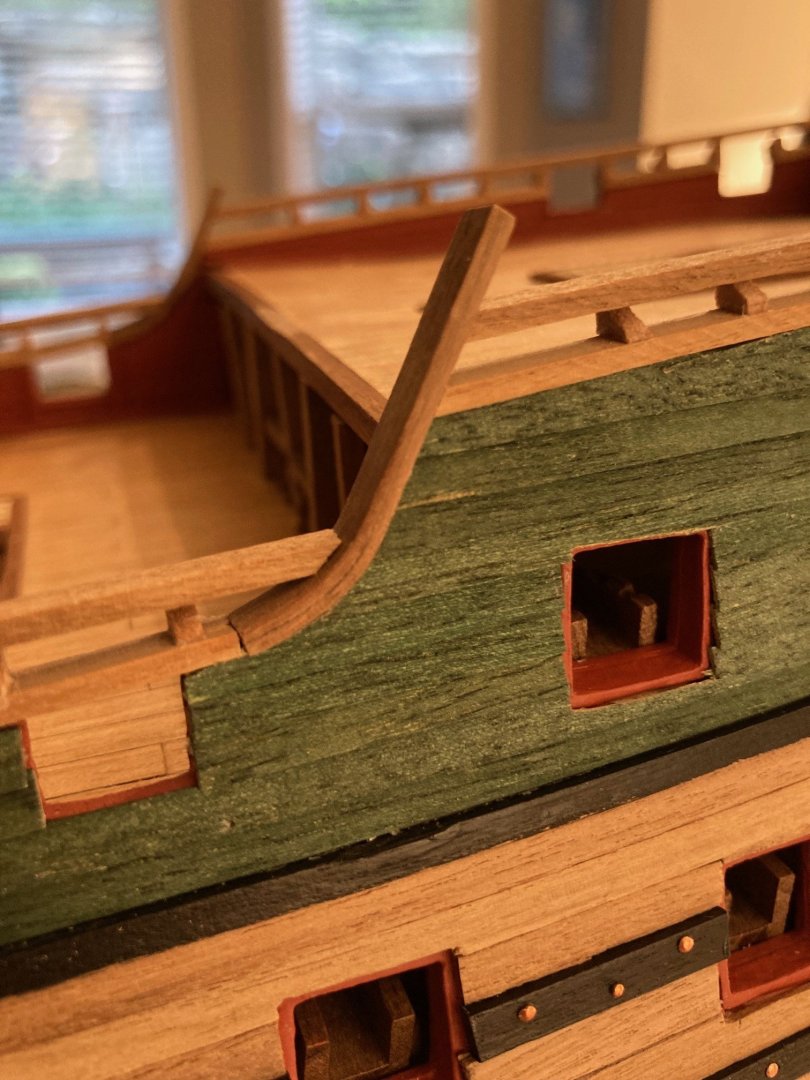
The details are now all in at the bow and officially completed including the catheads. I will just do a little bit of walnut fill at some of the seams of the cathead planks to tidy them up. The cathead pieces were originally just mahogany plywood pieces and definitely needed to be framed out Cheers to everyone!

-
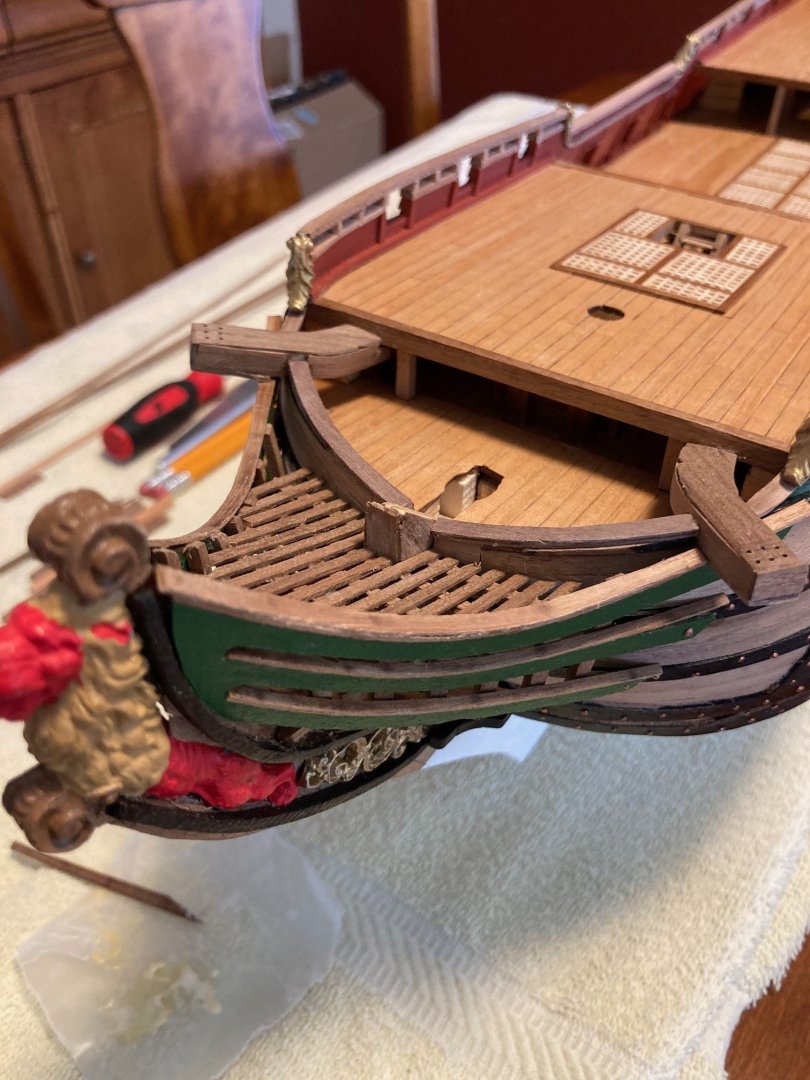
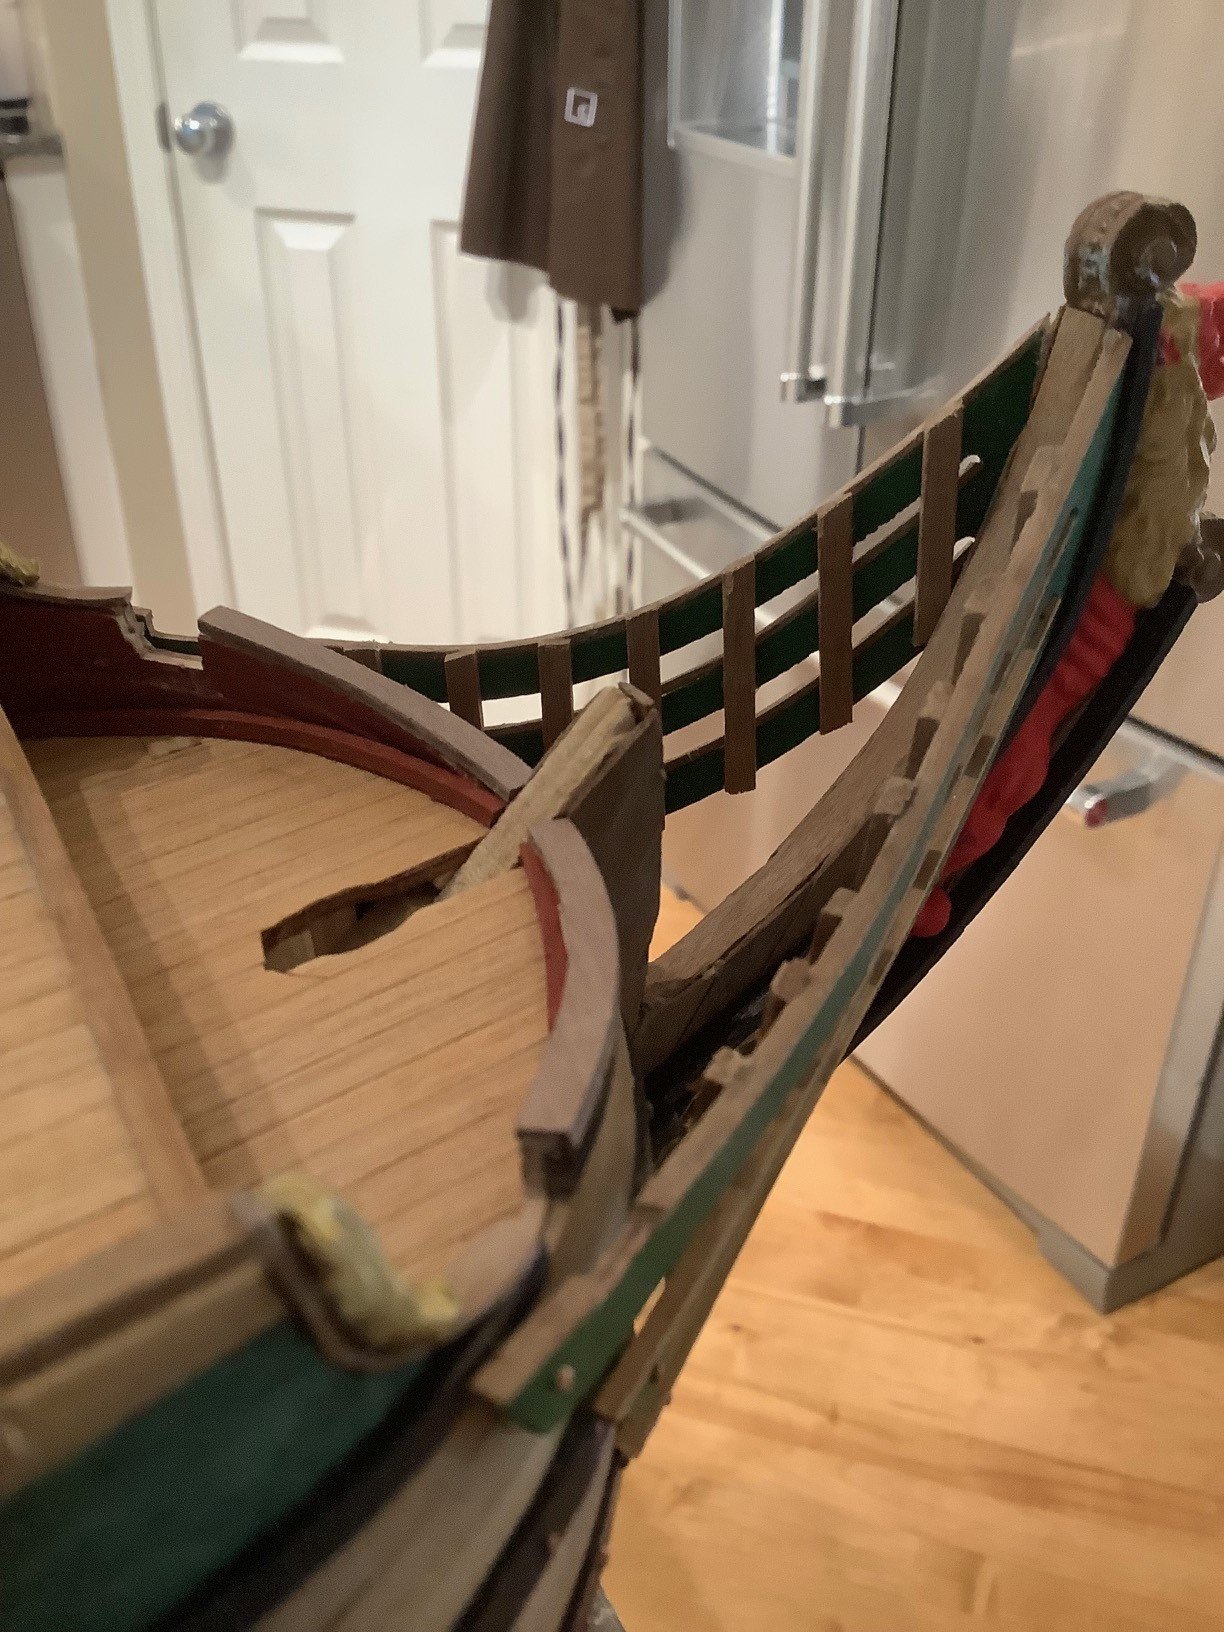
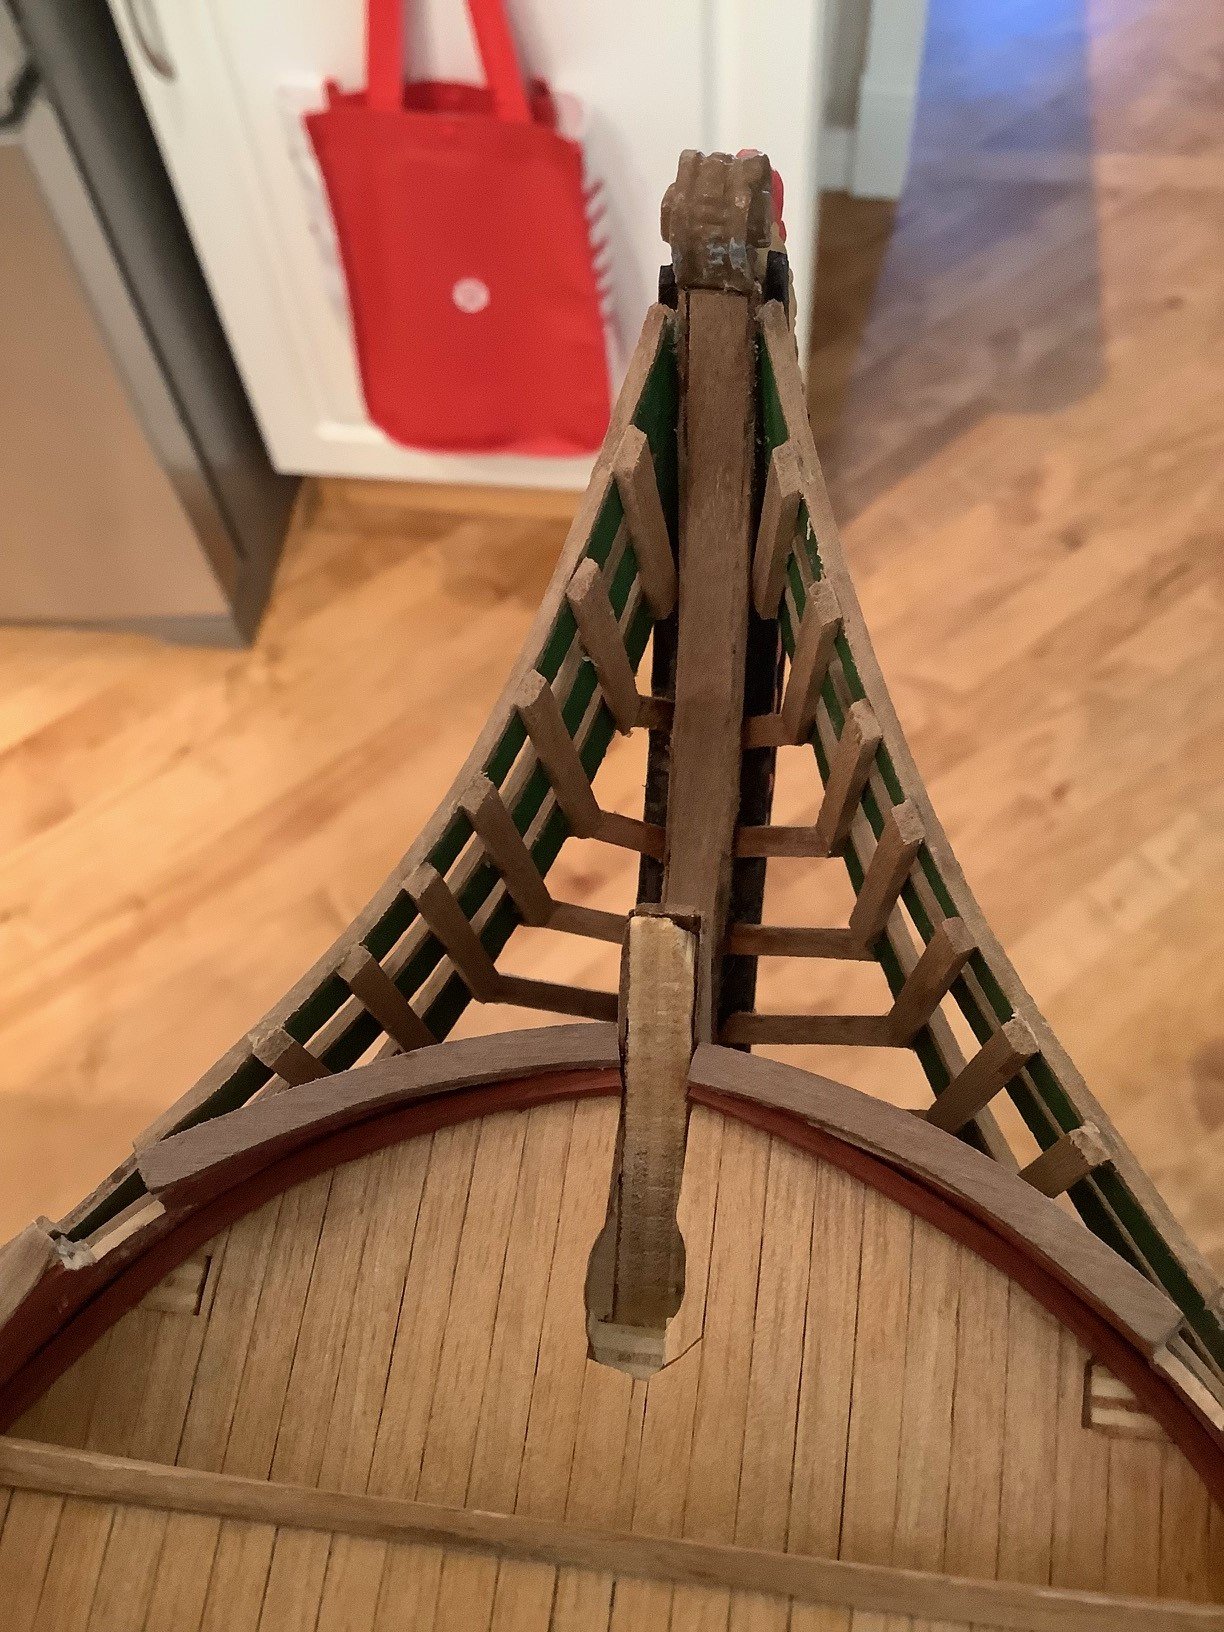
Working on the bow at this time... Instructions were not completely clear but figured it out quite quickly once investigating some of the other build logs and studied how they did it. The close up photos are not as flattering as compared in real life with the eye.

-
Hey Robert… Awesome job on this kit! You are a real master!
- 44 replies
-
- 1
-

-
- soleil royal
- Heller
- (and 5 more)
-
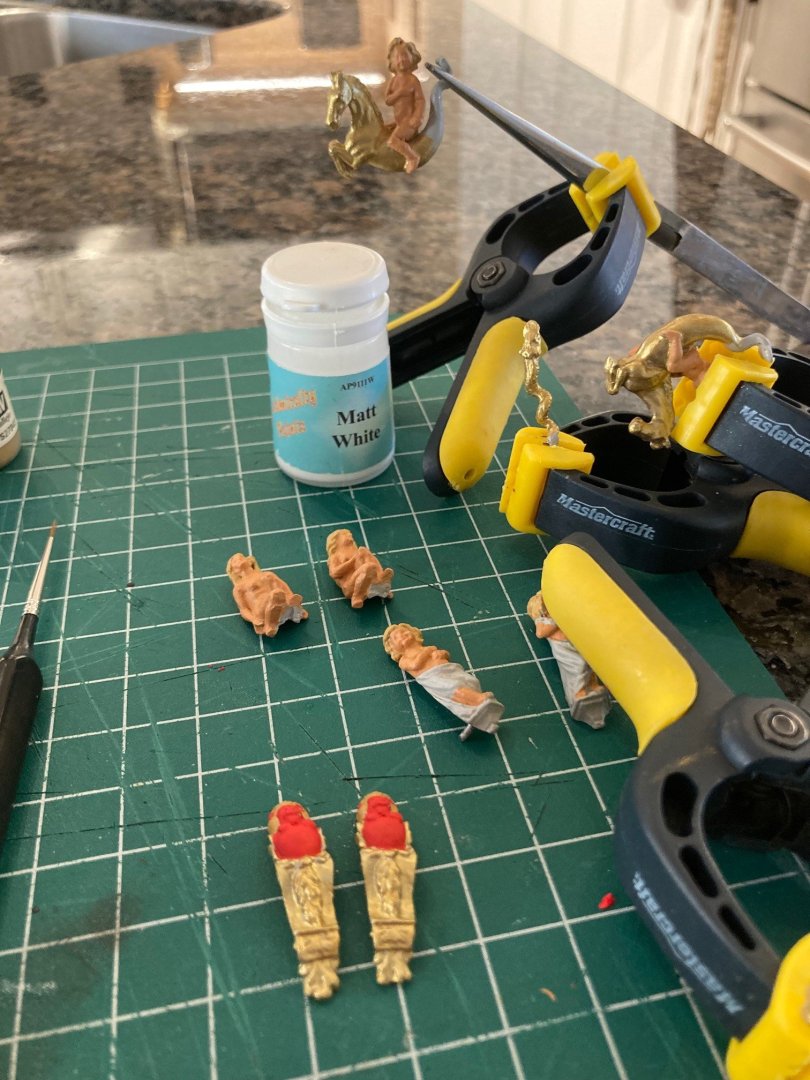
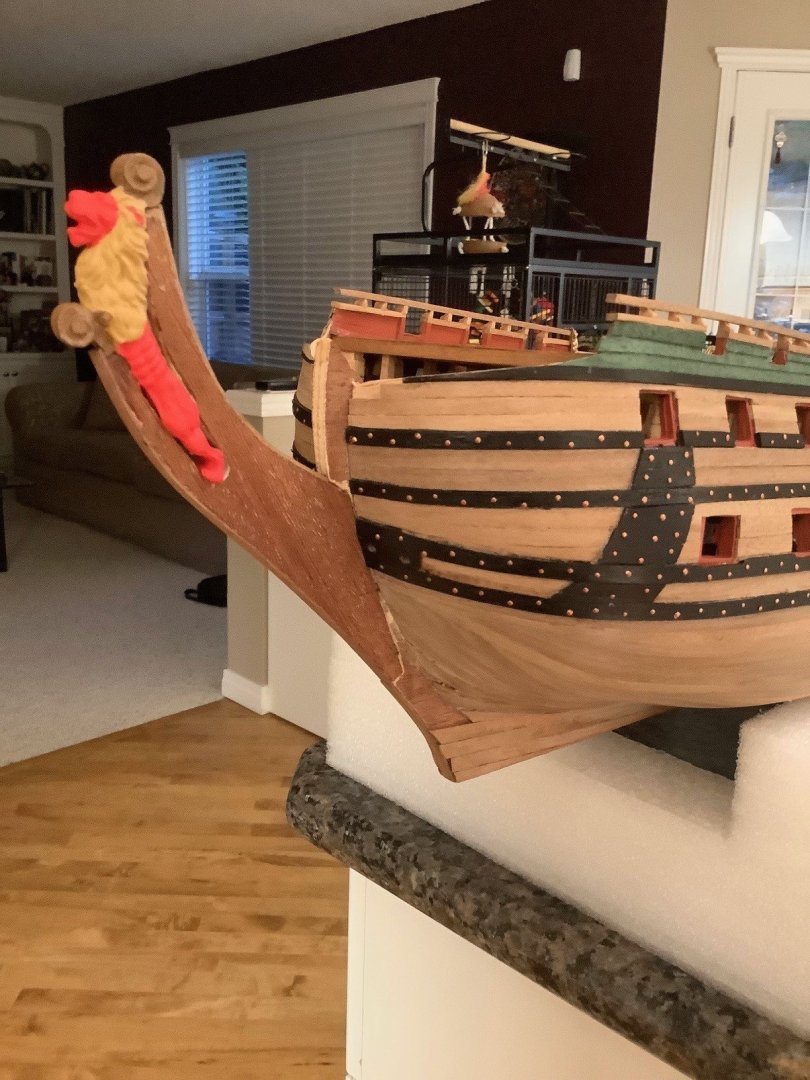
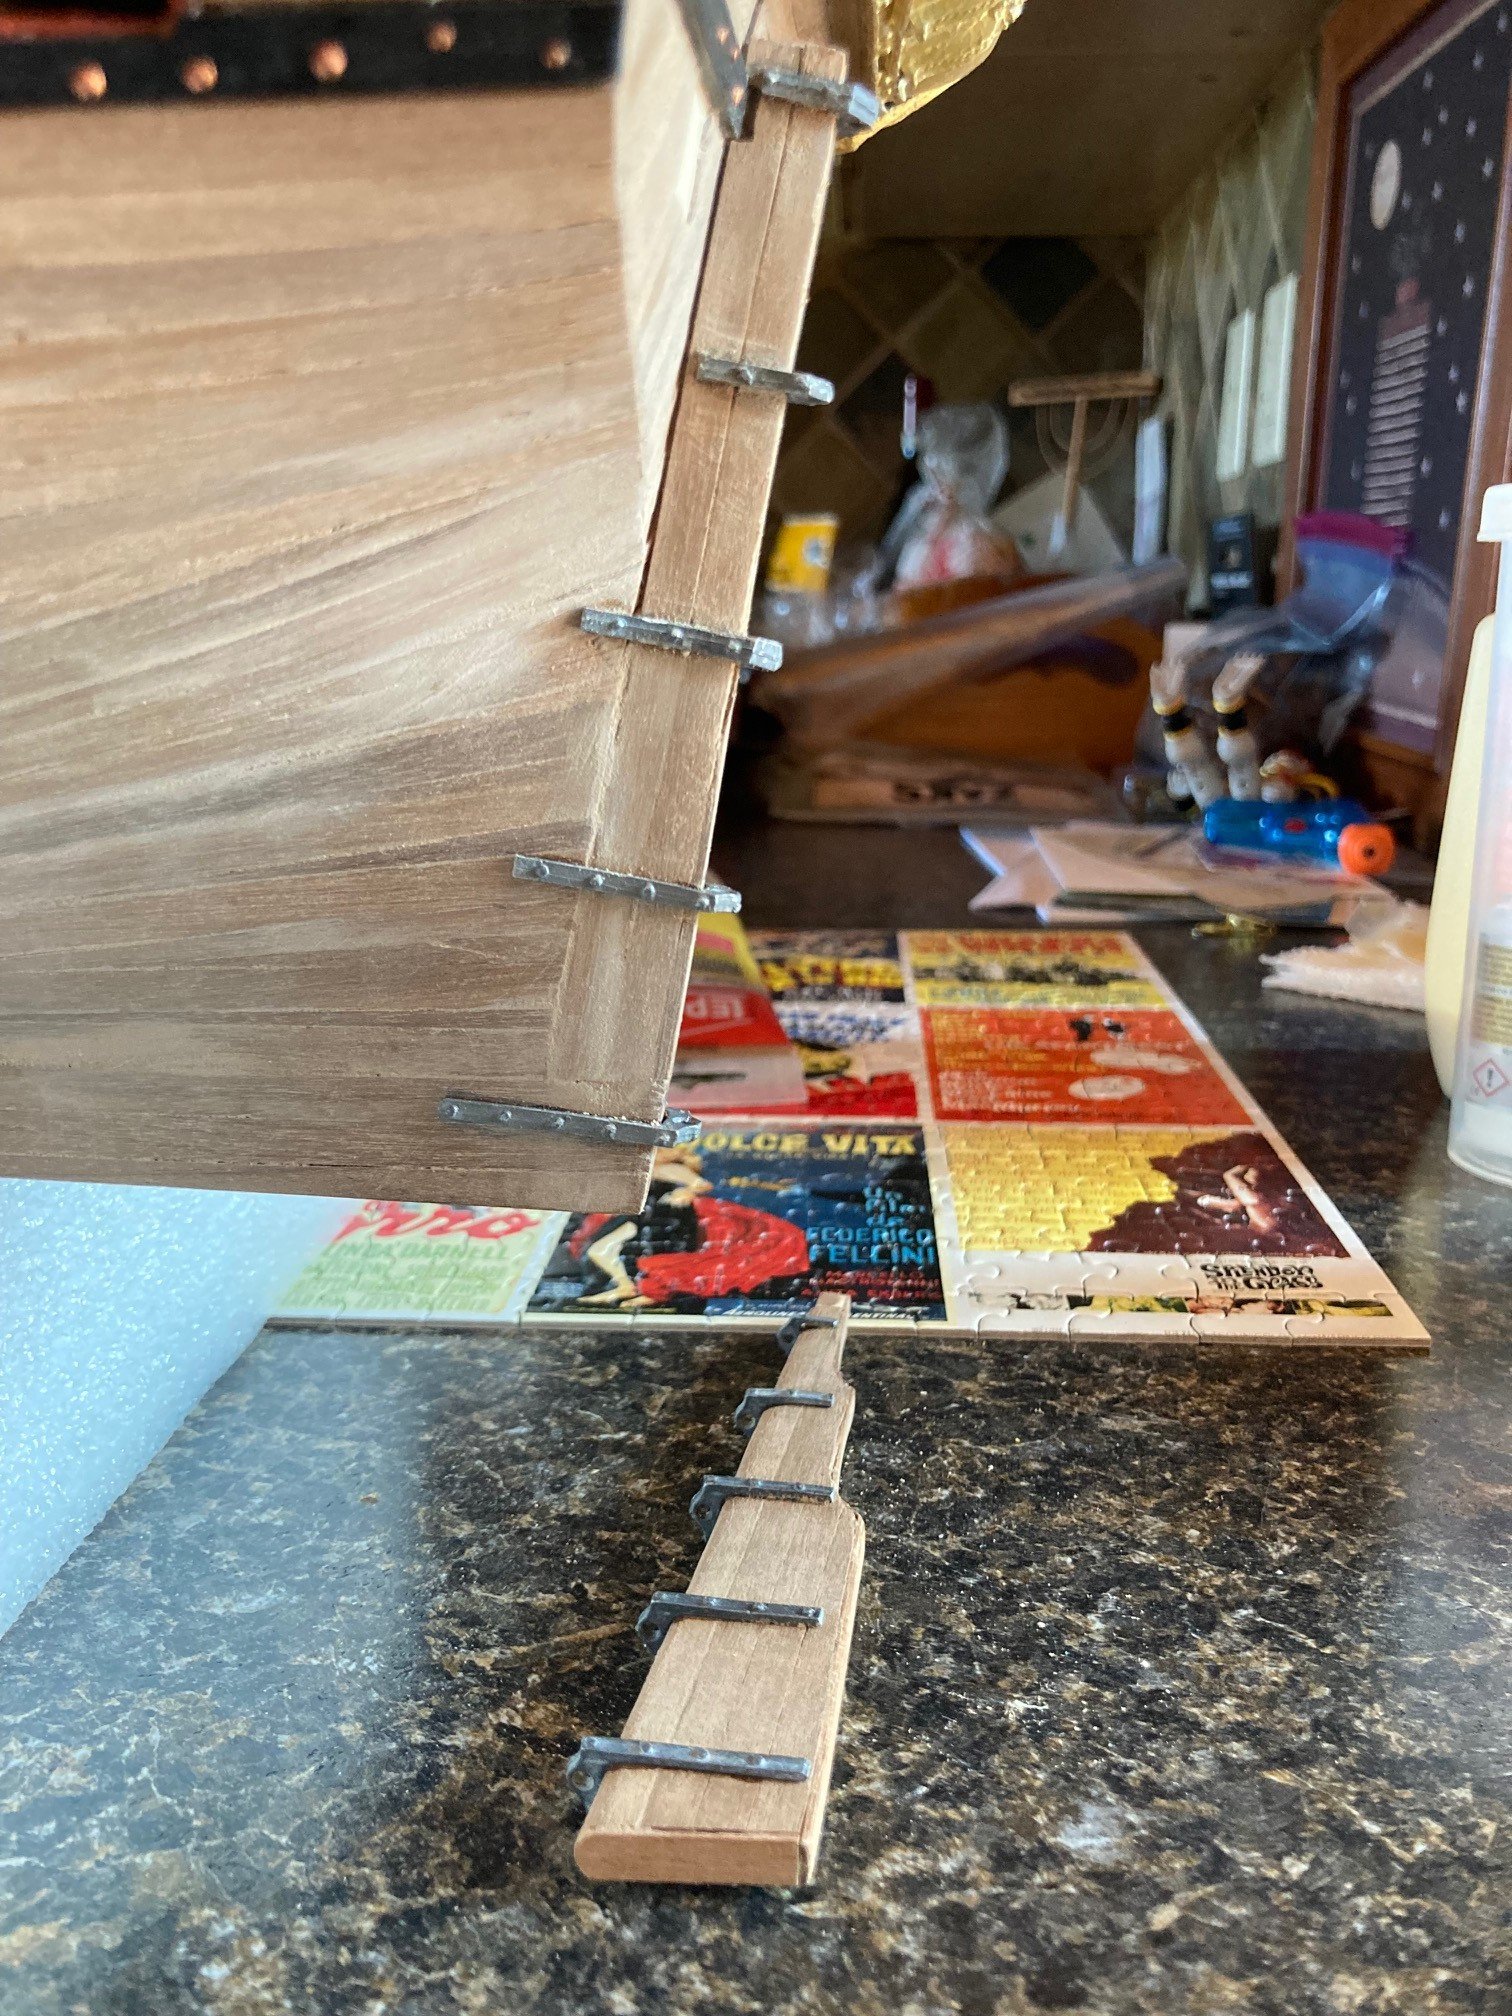
A little update... worked on a few little things at the bow according to the instructions. Also, framed out the figurehead, prepared the cathead for install at a later stage, stem ornaments had to be cut back a small amount in order to fit, prepared the rudder hinges, and finally painted the hull.


-
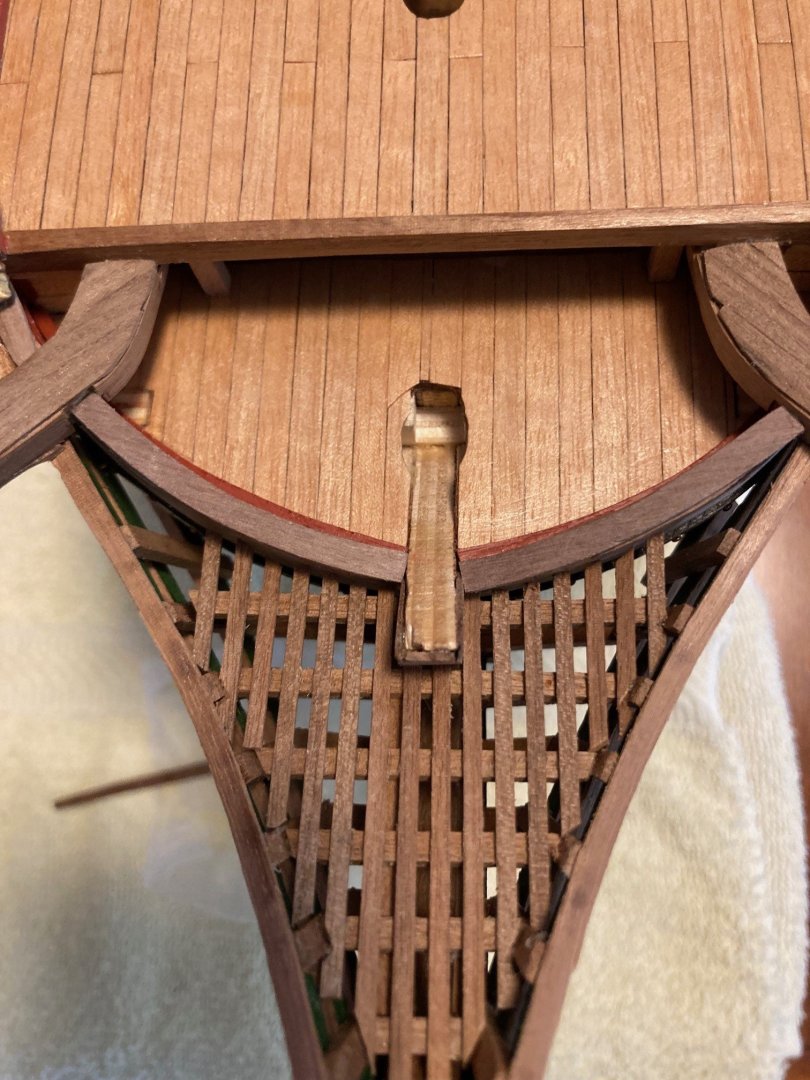
Just a final posting referencing how I did this step of the build. Sorry if the pictures seems obvious but on all the build logs out there, there just was not much pictorial information out there.

-
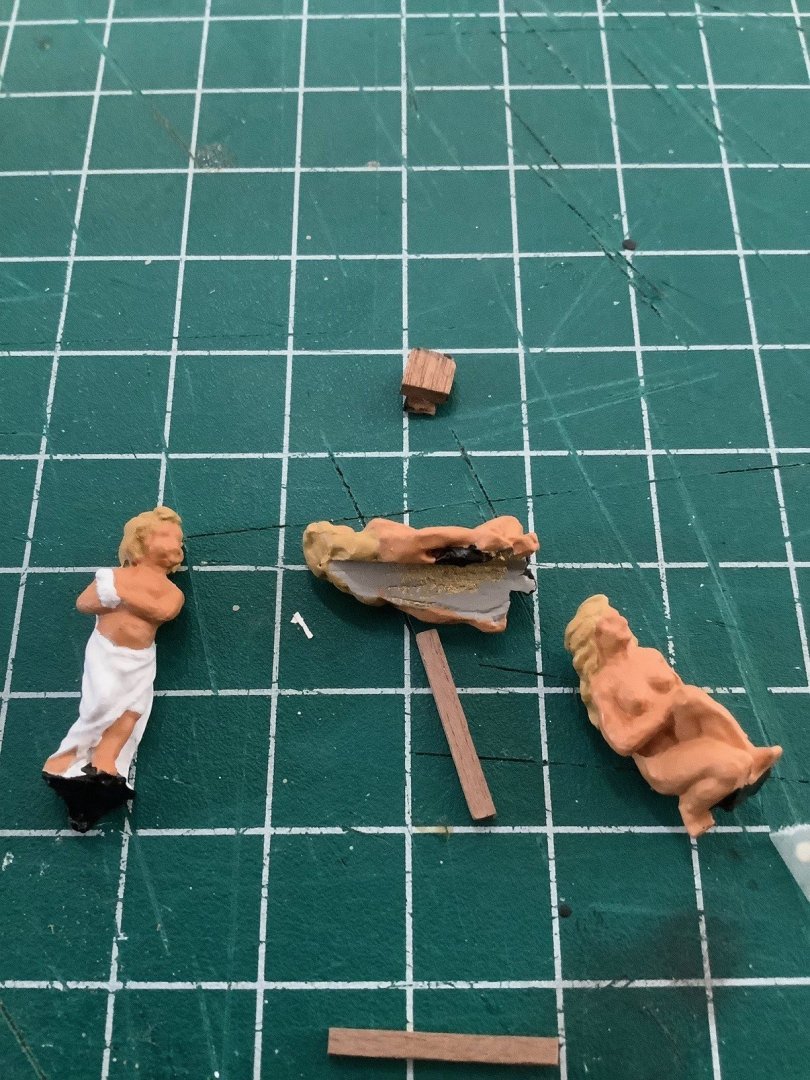
Not as much fiddly work as I thought... Sanded back the wood portion in joint B and C in the referenced picture in the preceding post and achieved a decent fit. In the end I put a little filler piece in joint A to complete the piece. The Mamoli instructions reference gluing the stem post at the bow at this time but I will glue the lion figurehead in first in the slot and glue to the keel and bow afterwards.
-
Thanks Patrick for the information… Looks like this builder did not get it set further down to the way my understanding it should be… I now know exactly what I need to do and will tackle that issue tomorrow should I have time. Thanks for your reply,
-
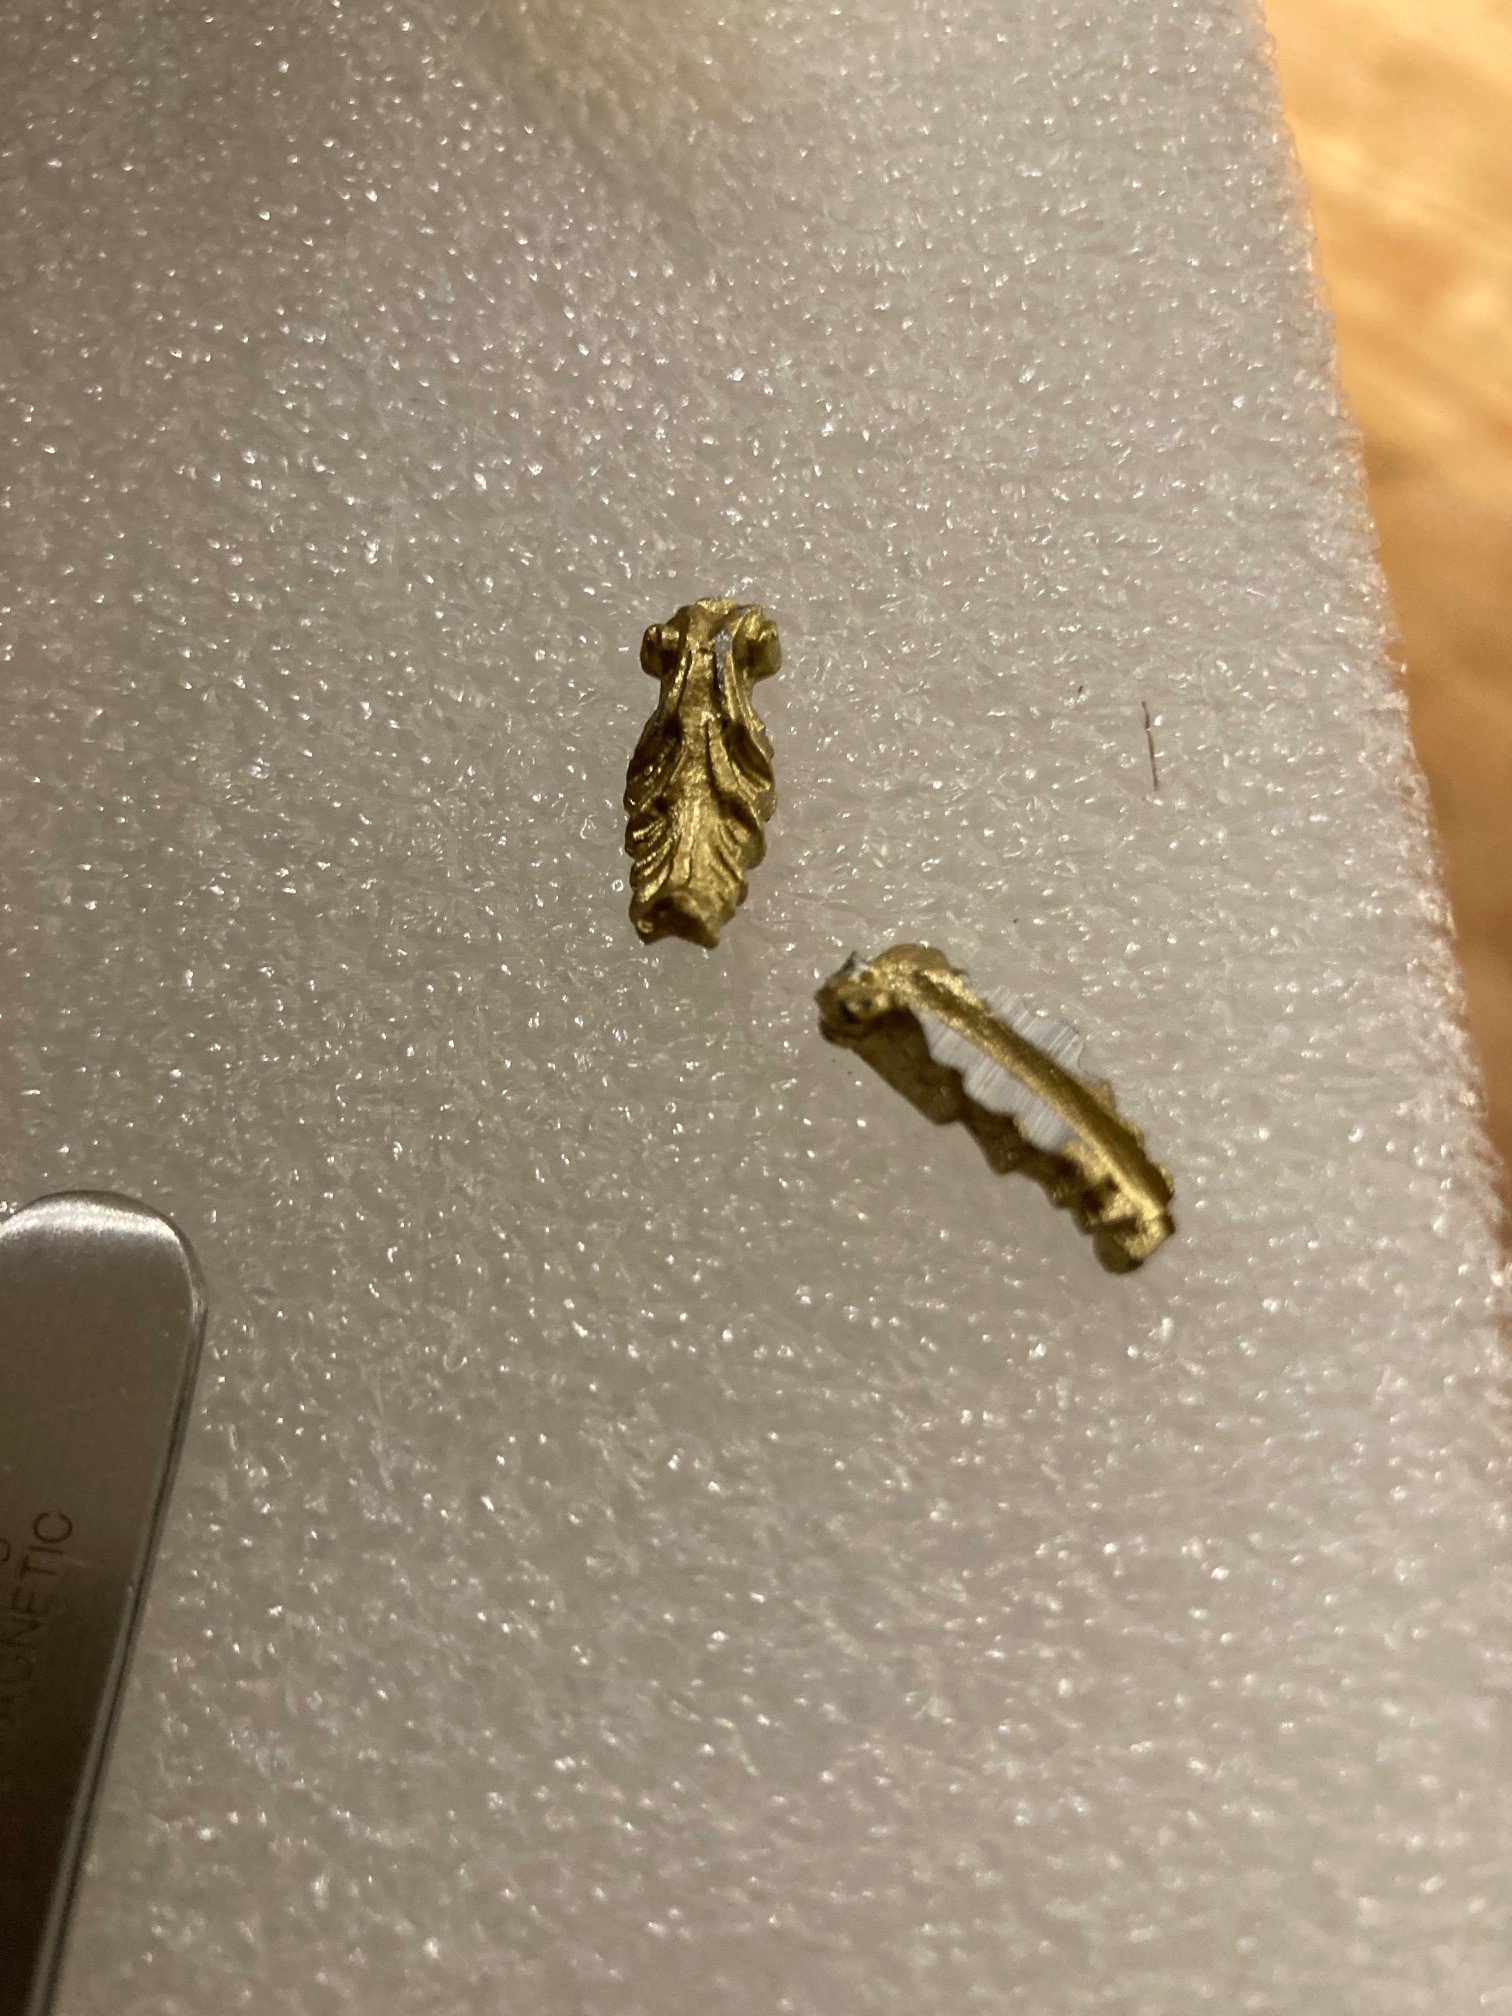
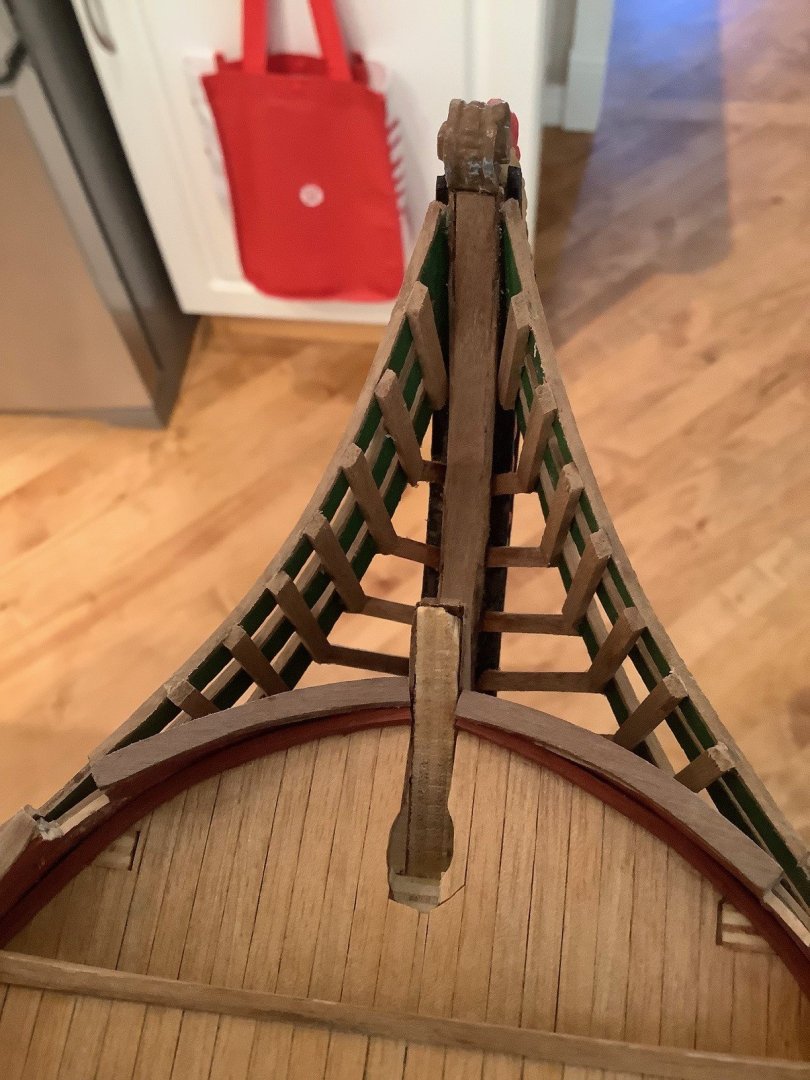
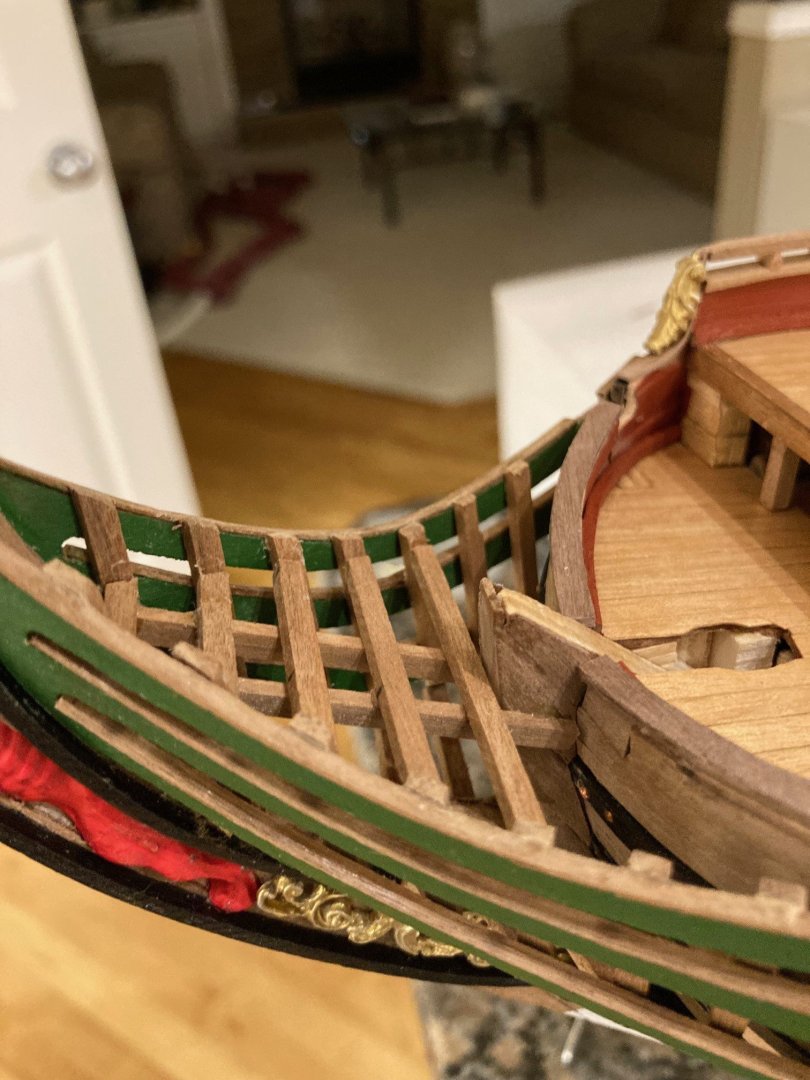
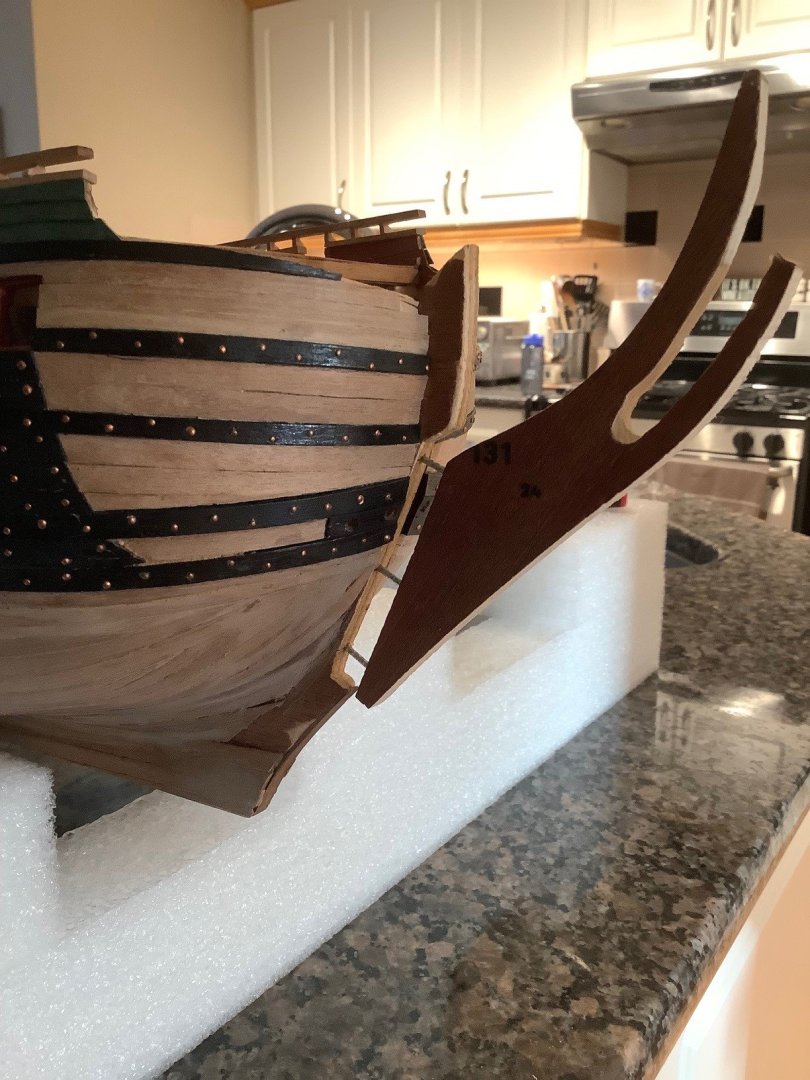
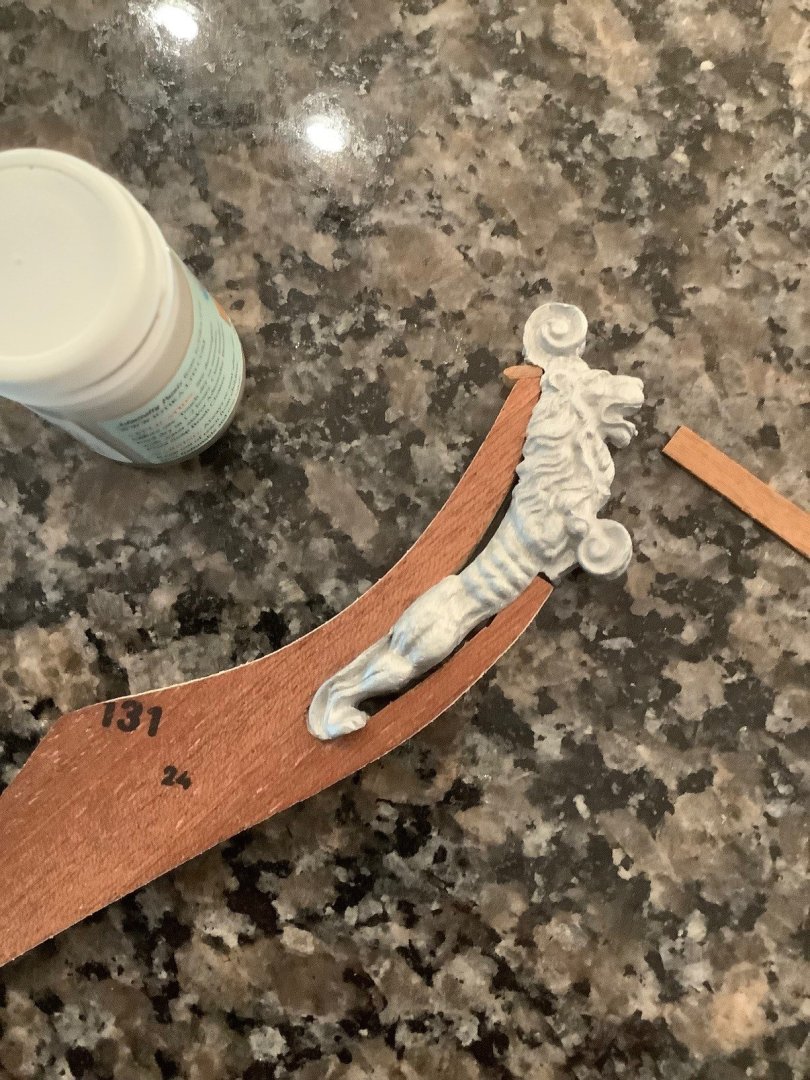
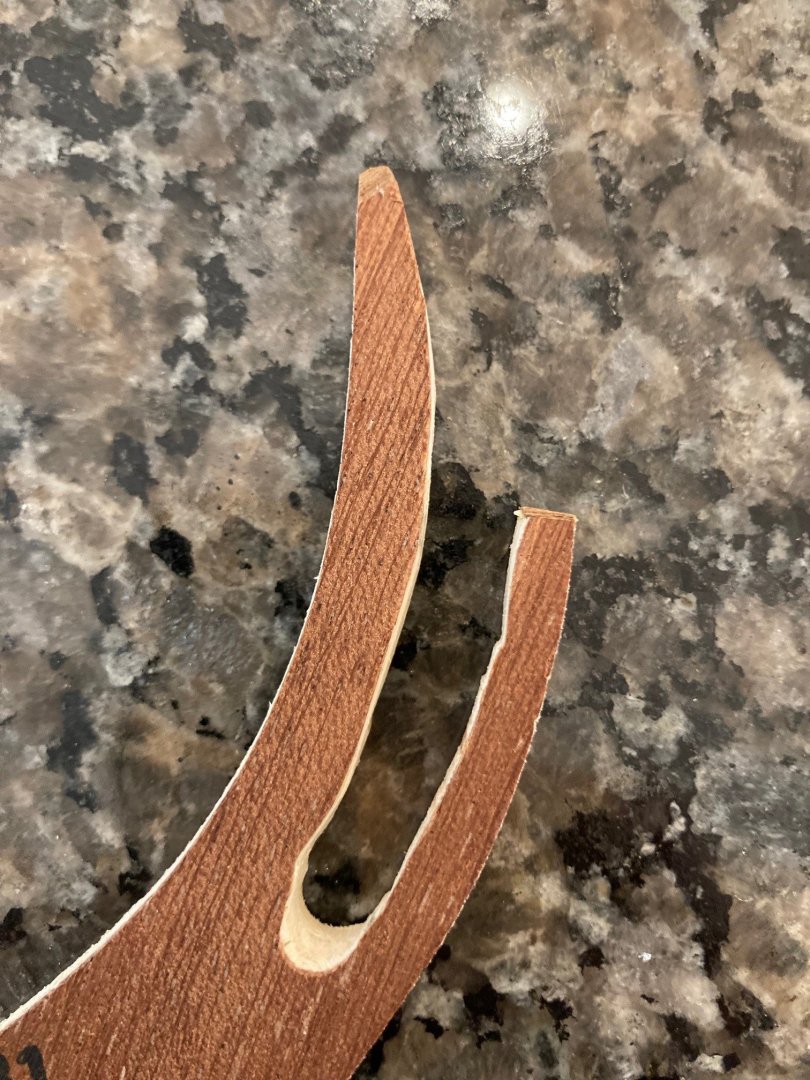
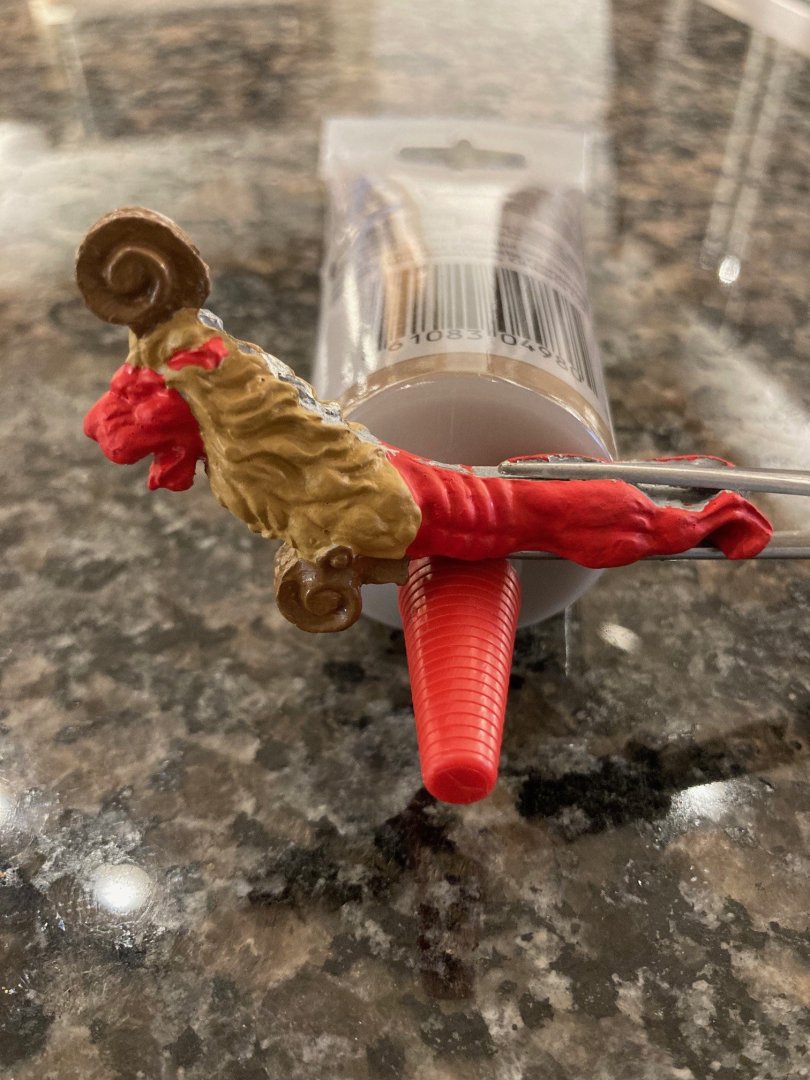
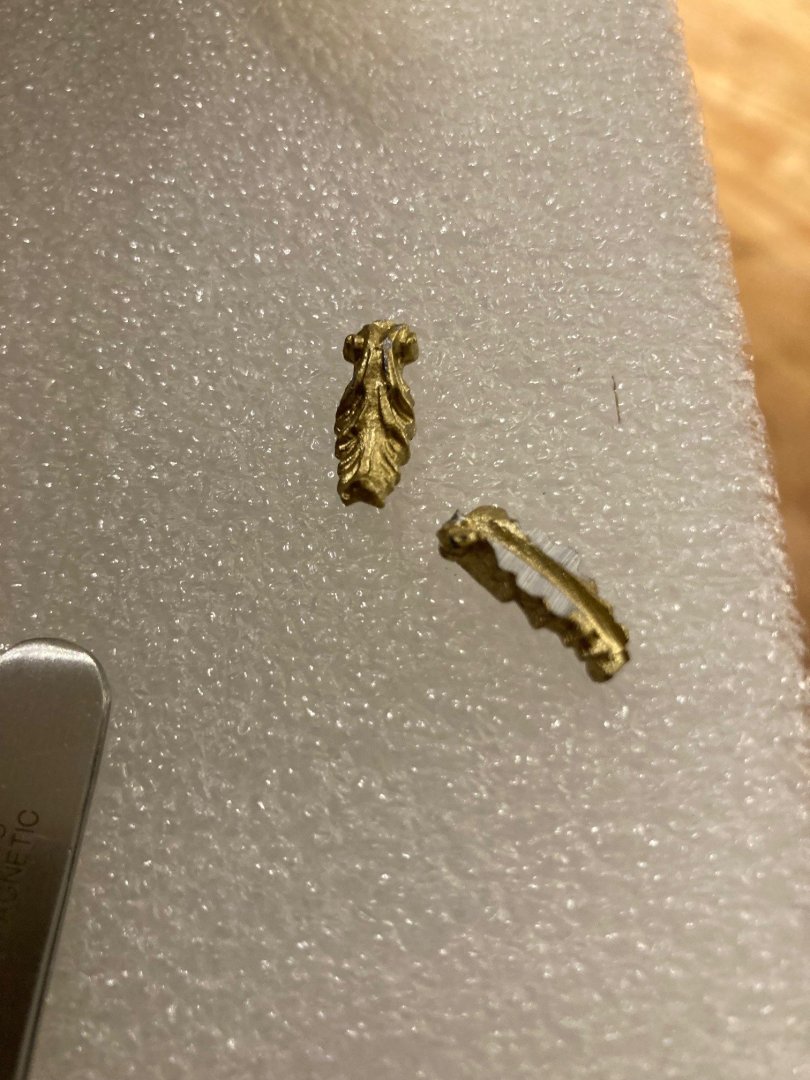
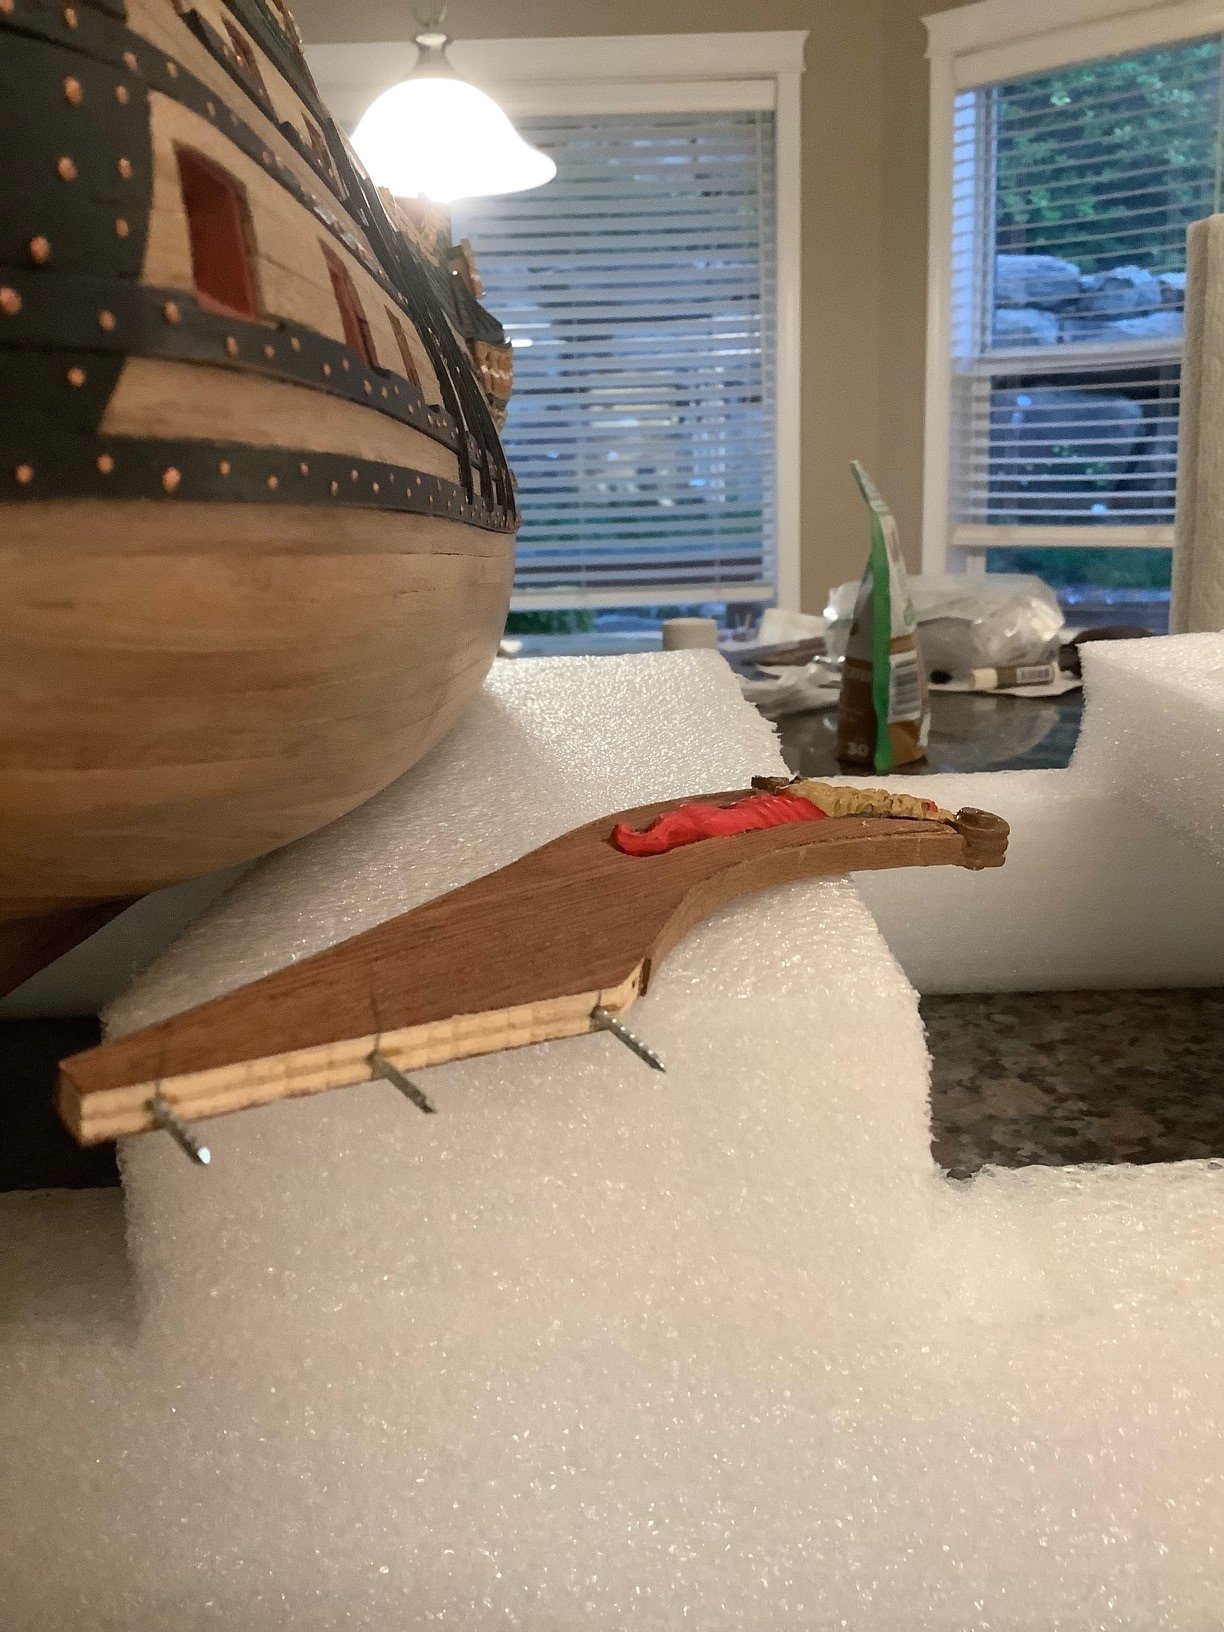
Have a challenge here... Trying to get this fit perfect prior to gluing the bow stem post to the bow otherwise it will be very difficult later. My vintage kit was missing one item when I received it... it was the bow figurehead - a fairly important item in a finished model. I was so lucky my brother was vacationing in Prague last year and was able to get Daniel Dusek of Dusek Models, who now carries the license of Mamoli, to forward to him/me a new lion figurehead with minimal cost. Obviously from the picture posted that there is not a great fit... is it the vintage stem post or is the problem with the newer casting working with a vintage piece? I looked at lots of build logs and only in a couple did they comment about the ill fitting of the ornament... one of which had a solution listed in the log. I know I have to drop the figurehead further into the slot in order to allow the bowsprit (once placed at its correct angle) to clear the head/ornament. Solution: Cut back the wood portion of the B joint and the question is should I further open the C joint by filing back the wood portion or perhaps more difficult is opening the cast ornament (a slit the width of the wooden stem) between the outstretched legs at the bottom, and then sliding the ornament down until the two portion are aligned and tight at Joint A? The simplest solution of just filling the A joint would not work as it needs the clearance above for the bowsprit to be added at a later stage of the build... thus I need to make sure the ornament slides down further into the slot.
.thumb.jpg.d110196d265474f60edb63405f43e868.jpg)
-
Hey Ronald, Amazing workmanship!
-
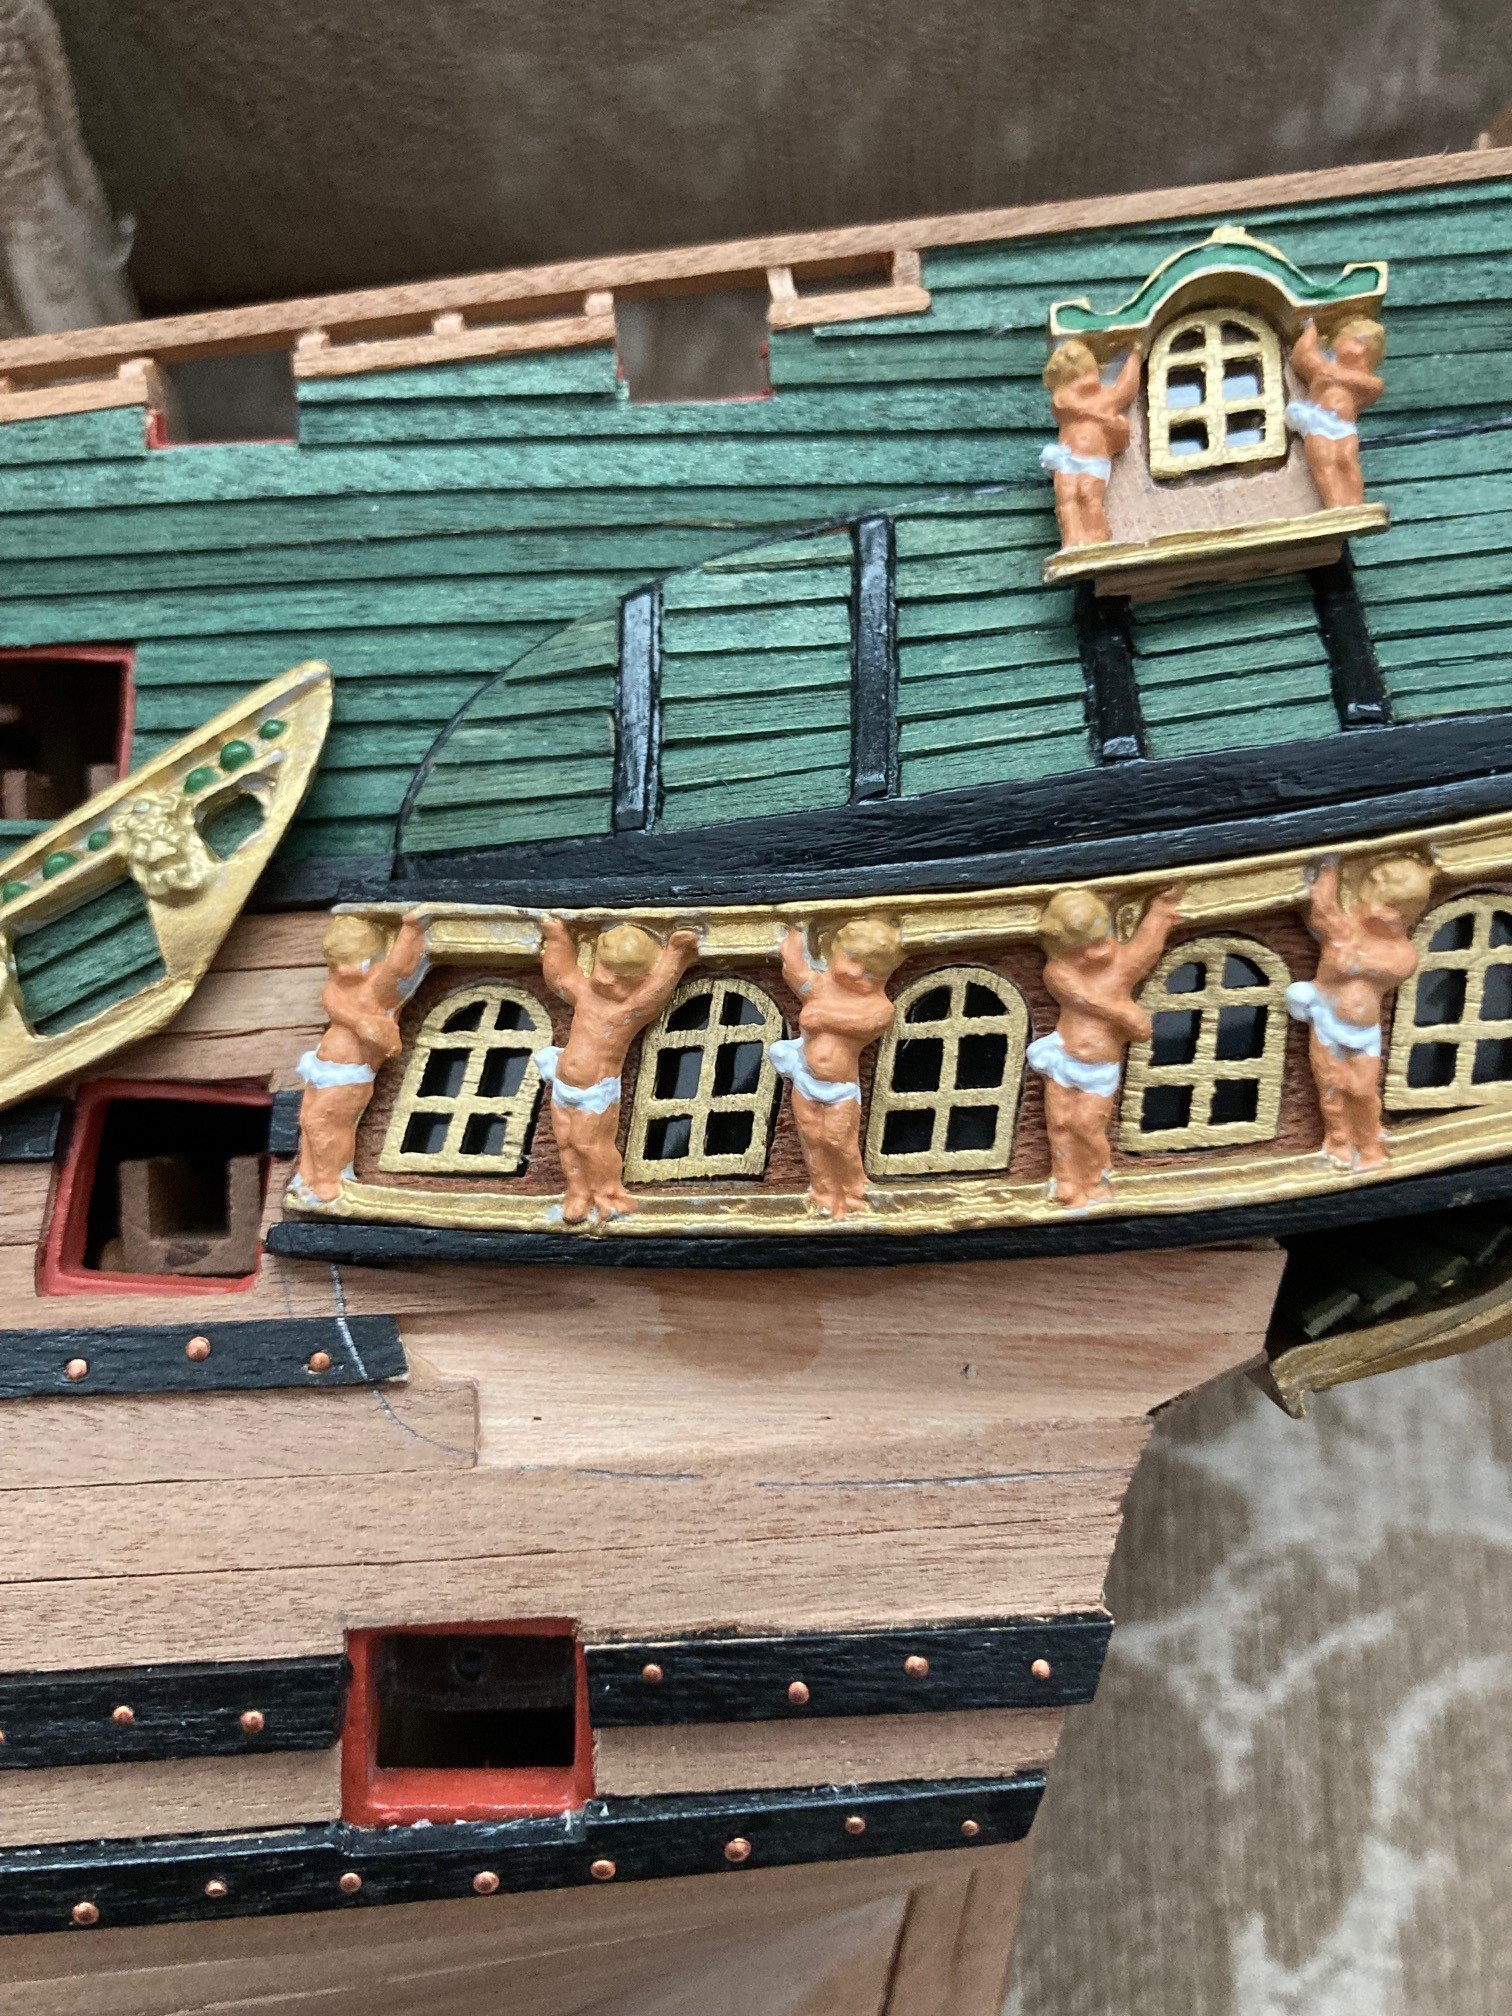
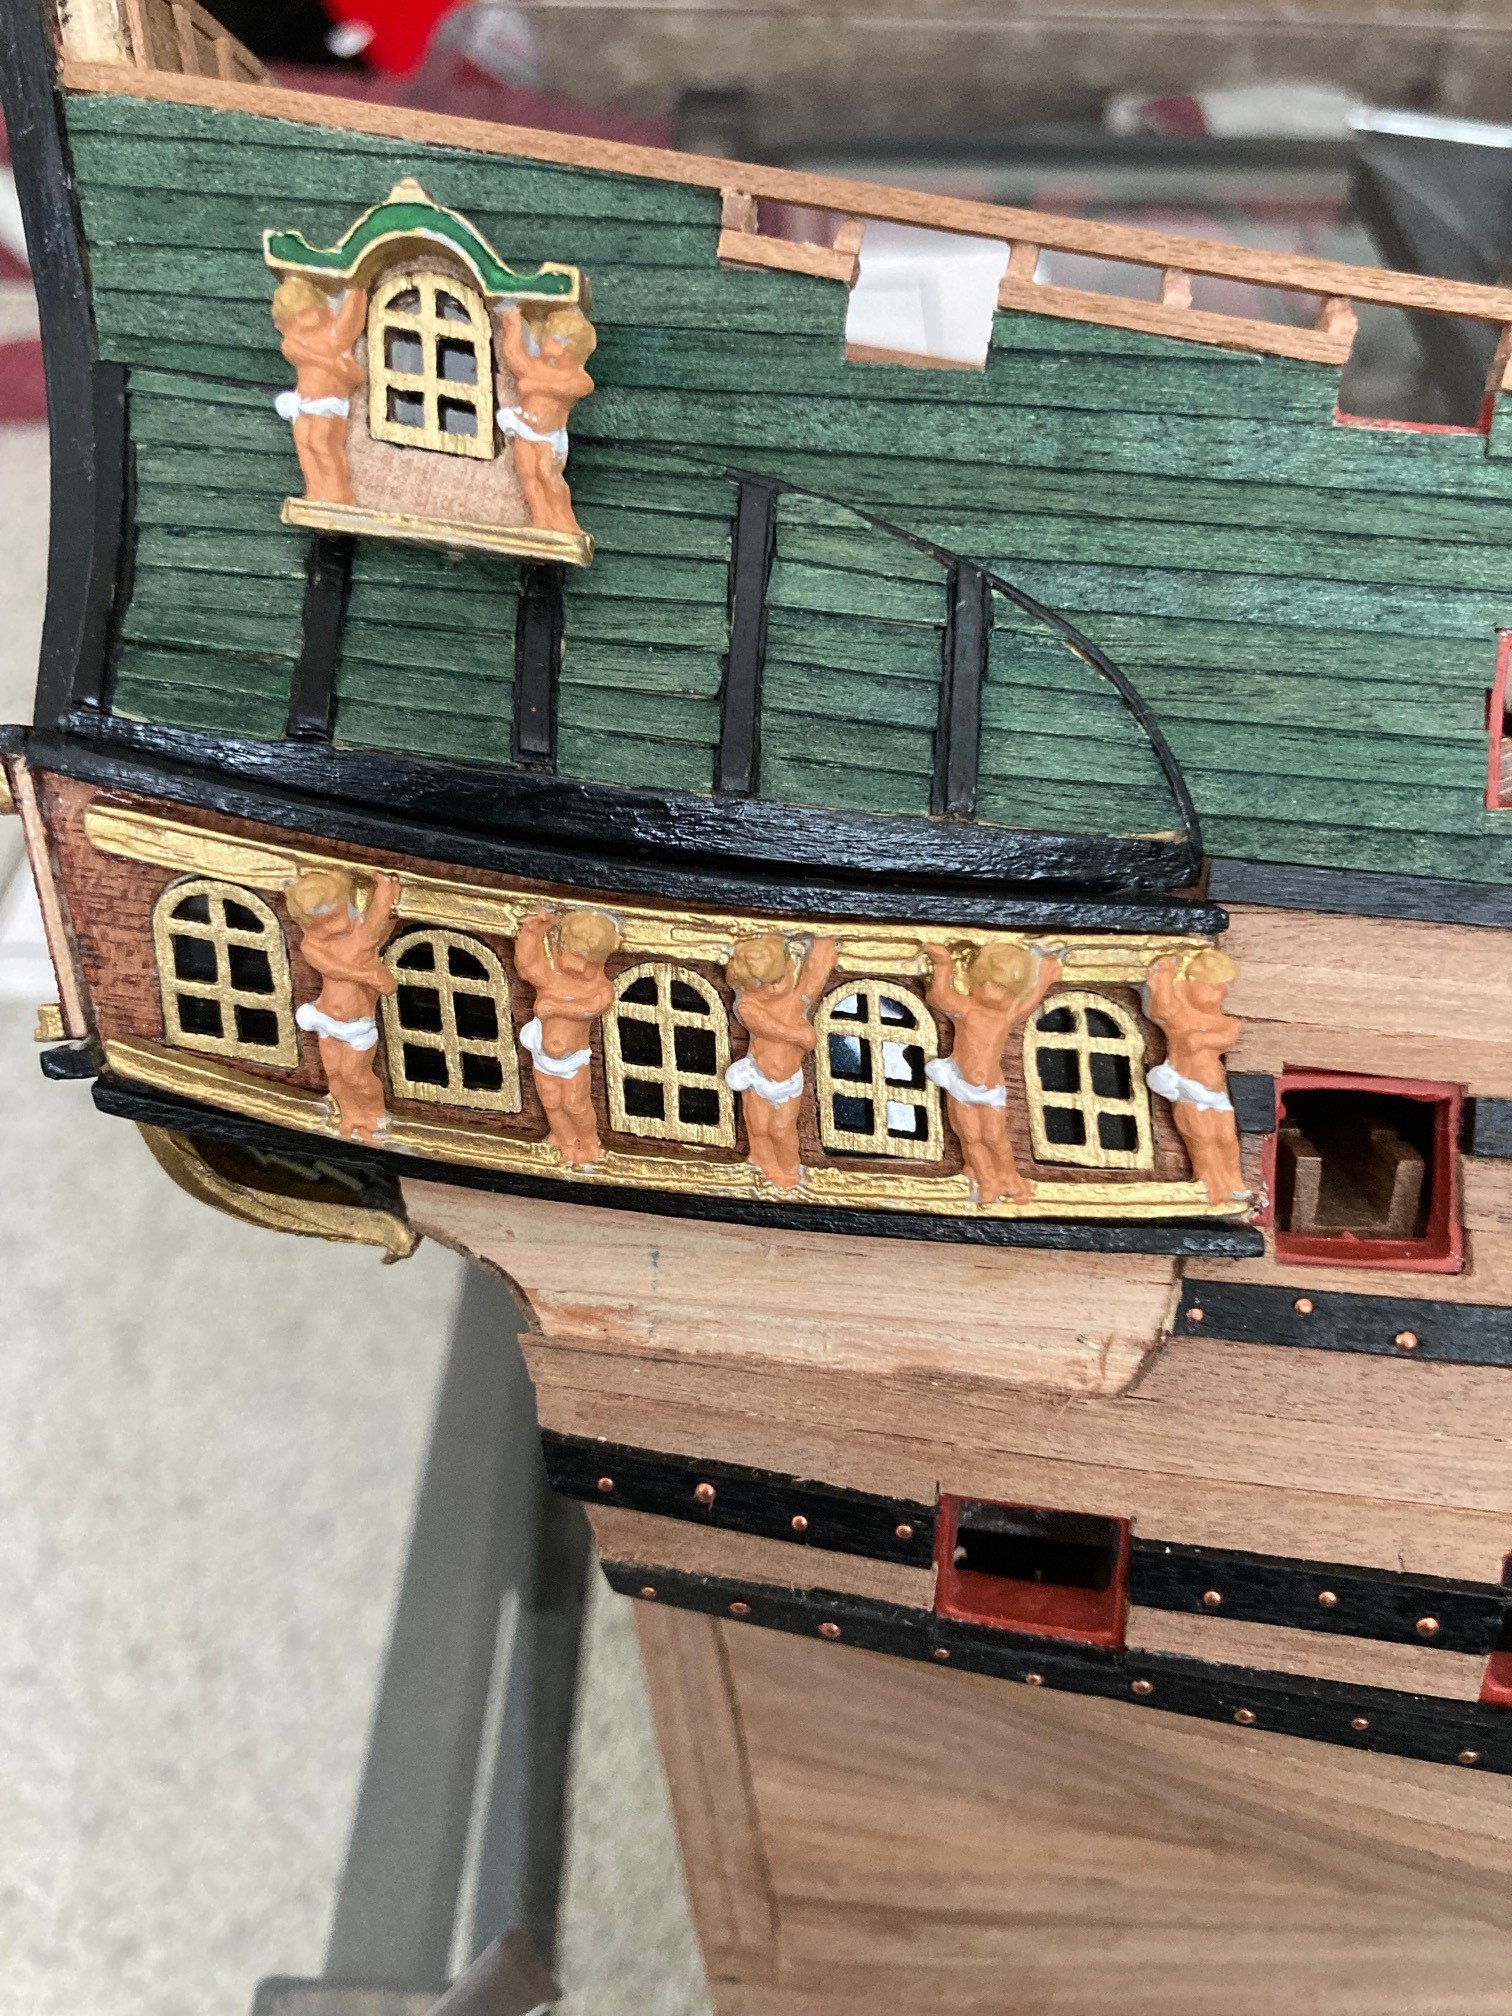
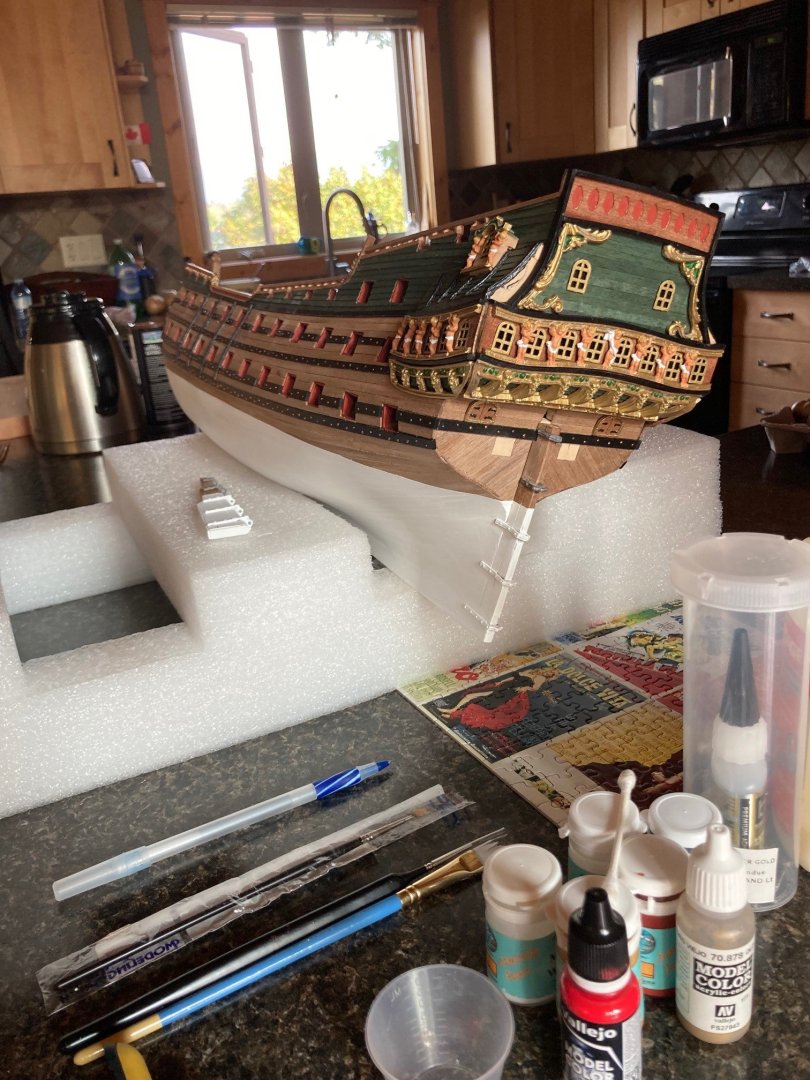
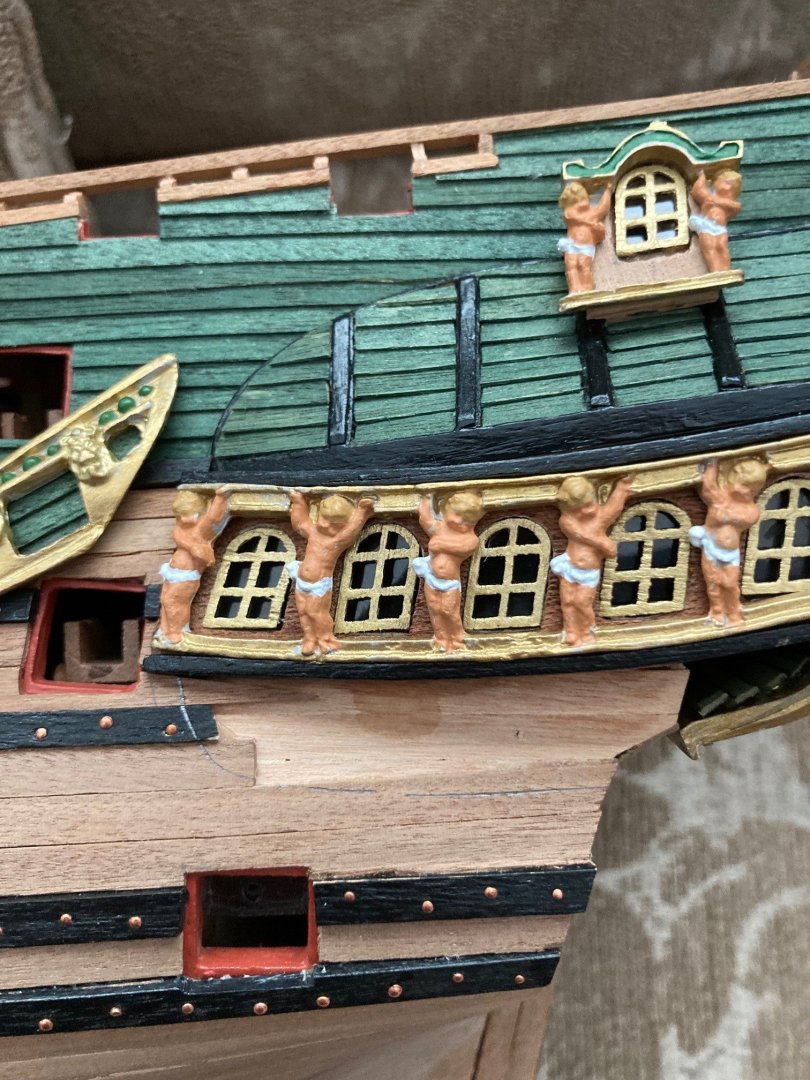
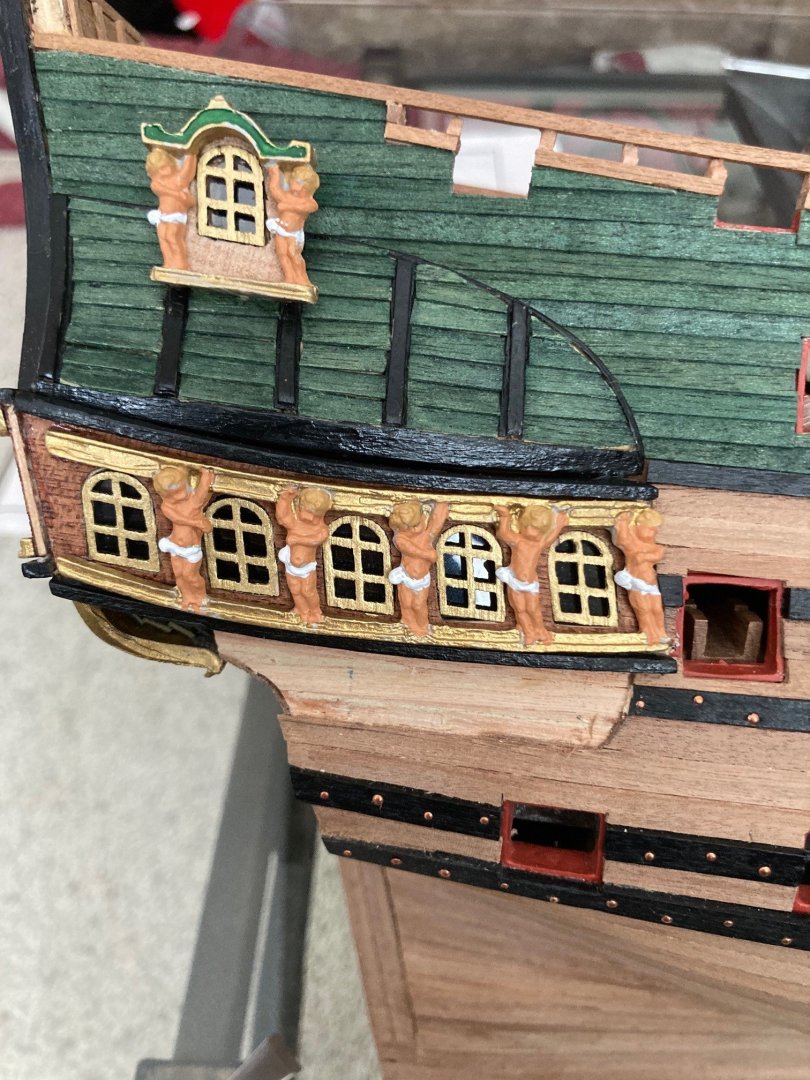
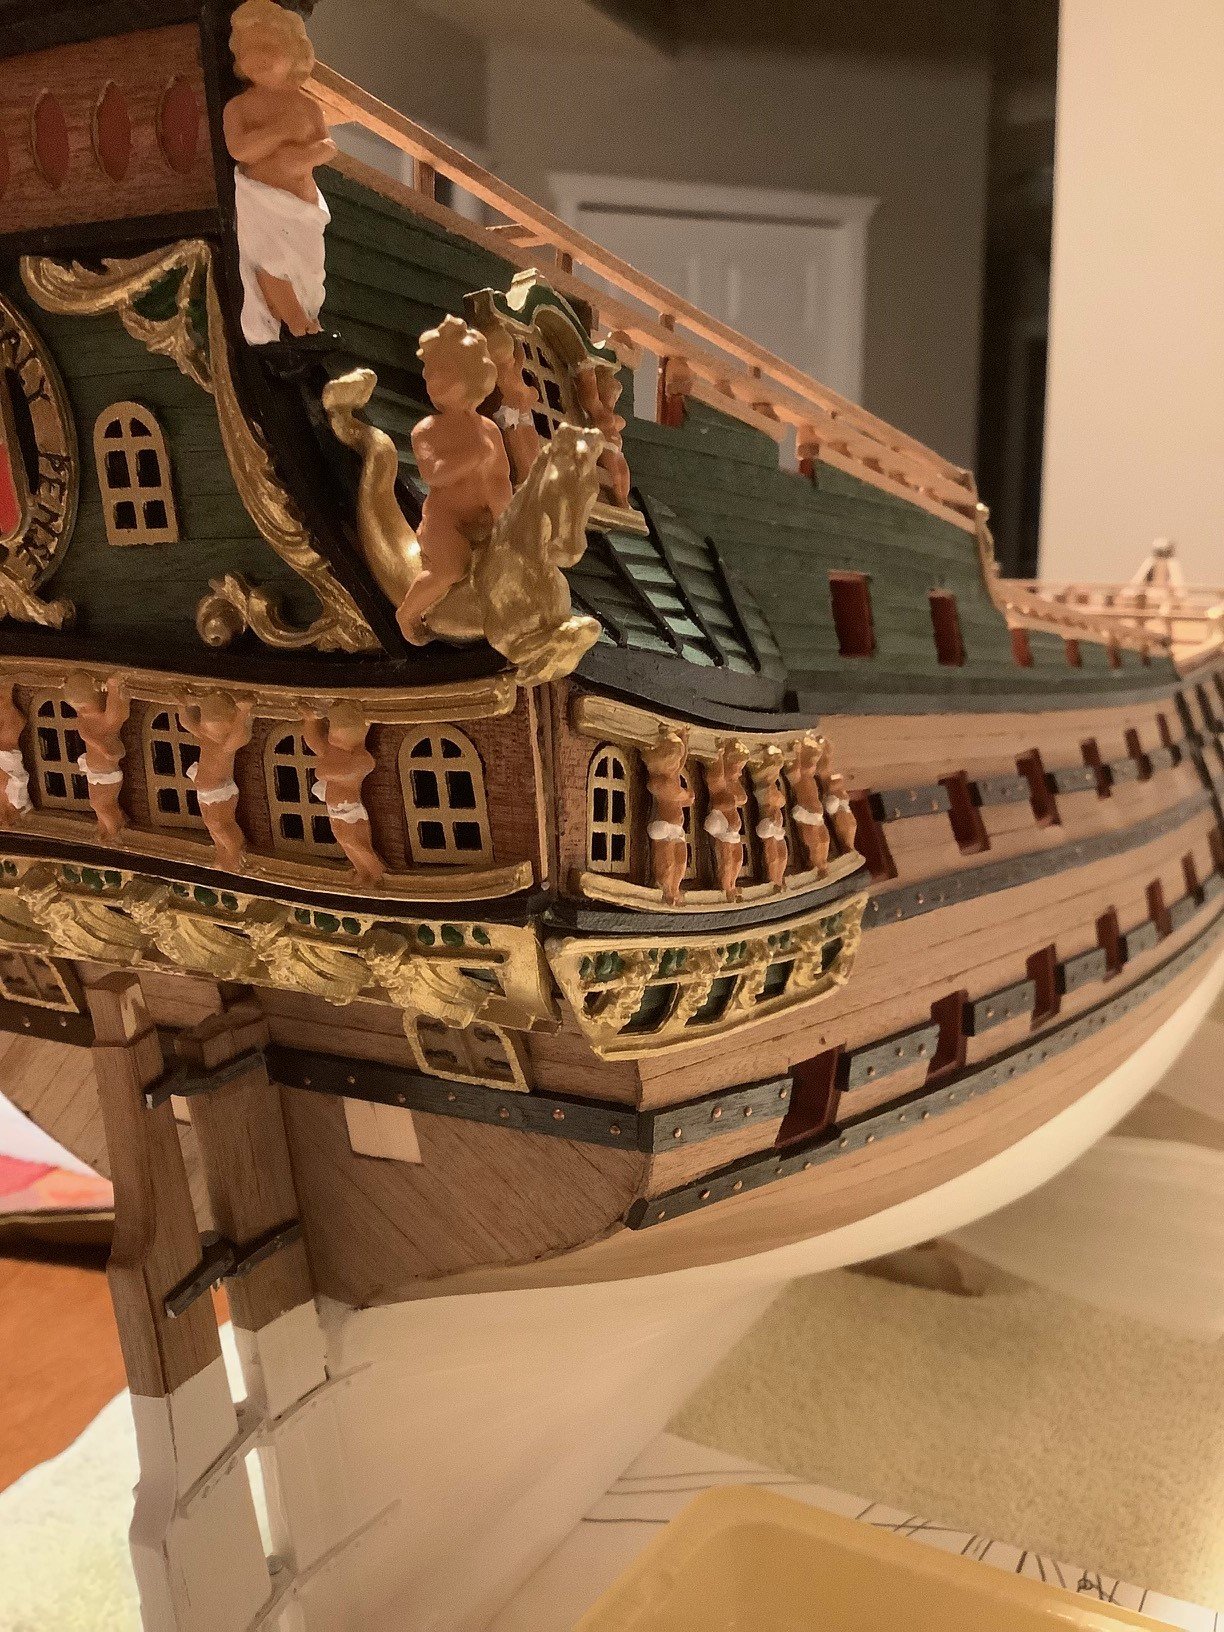
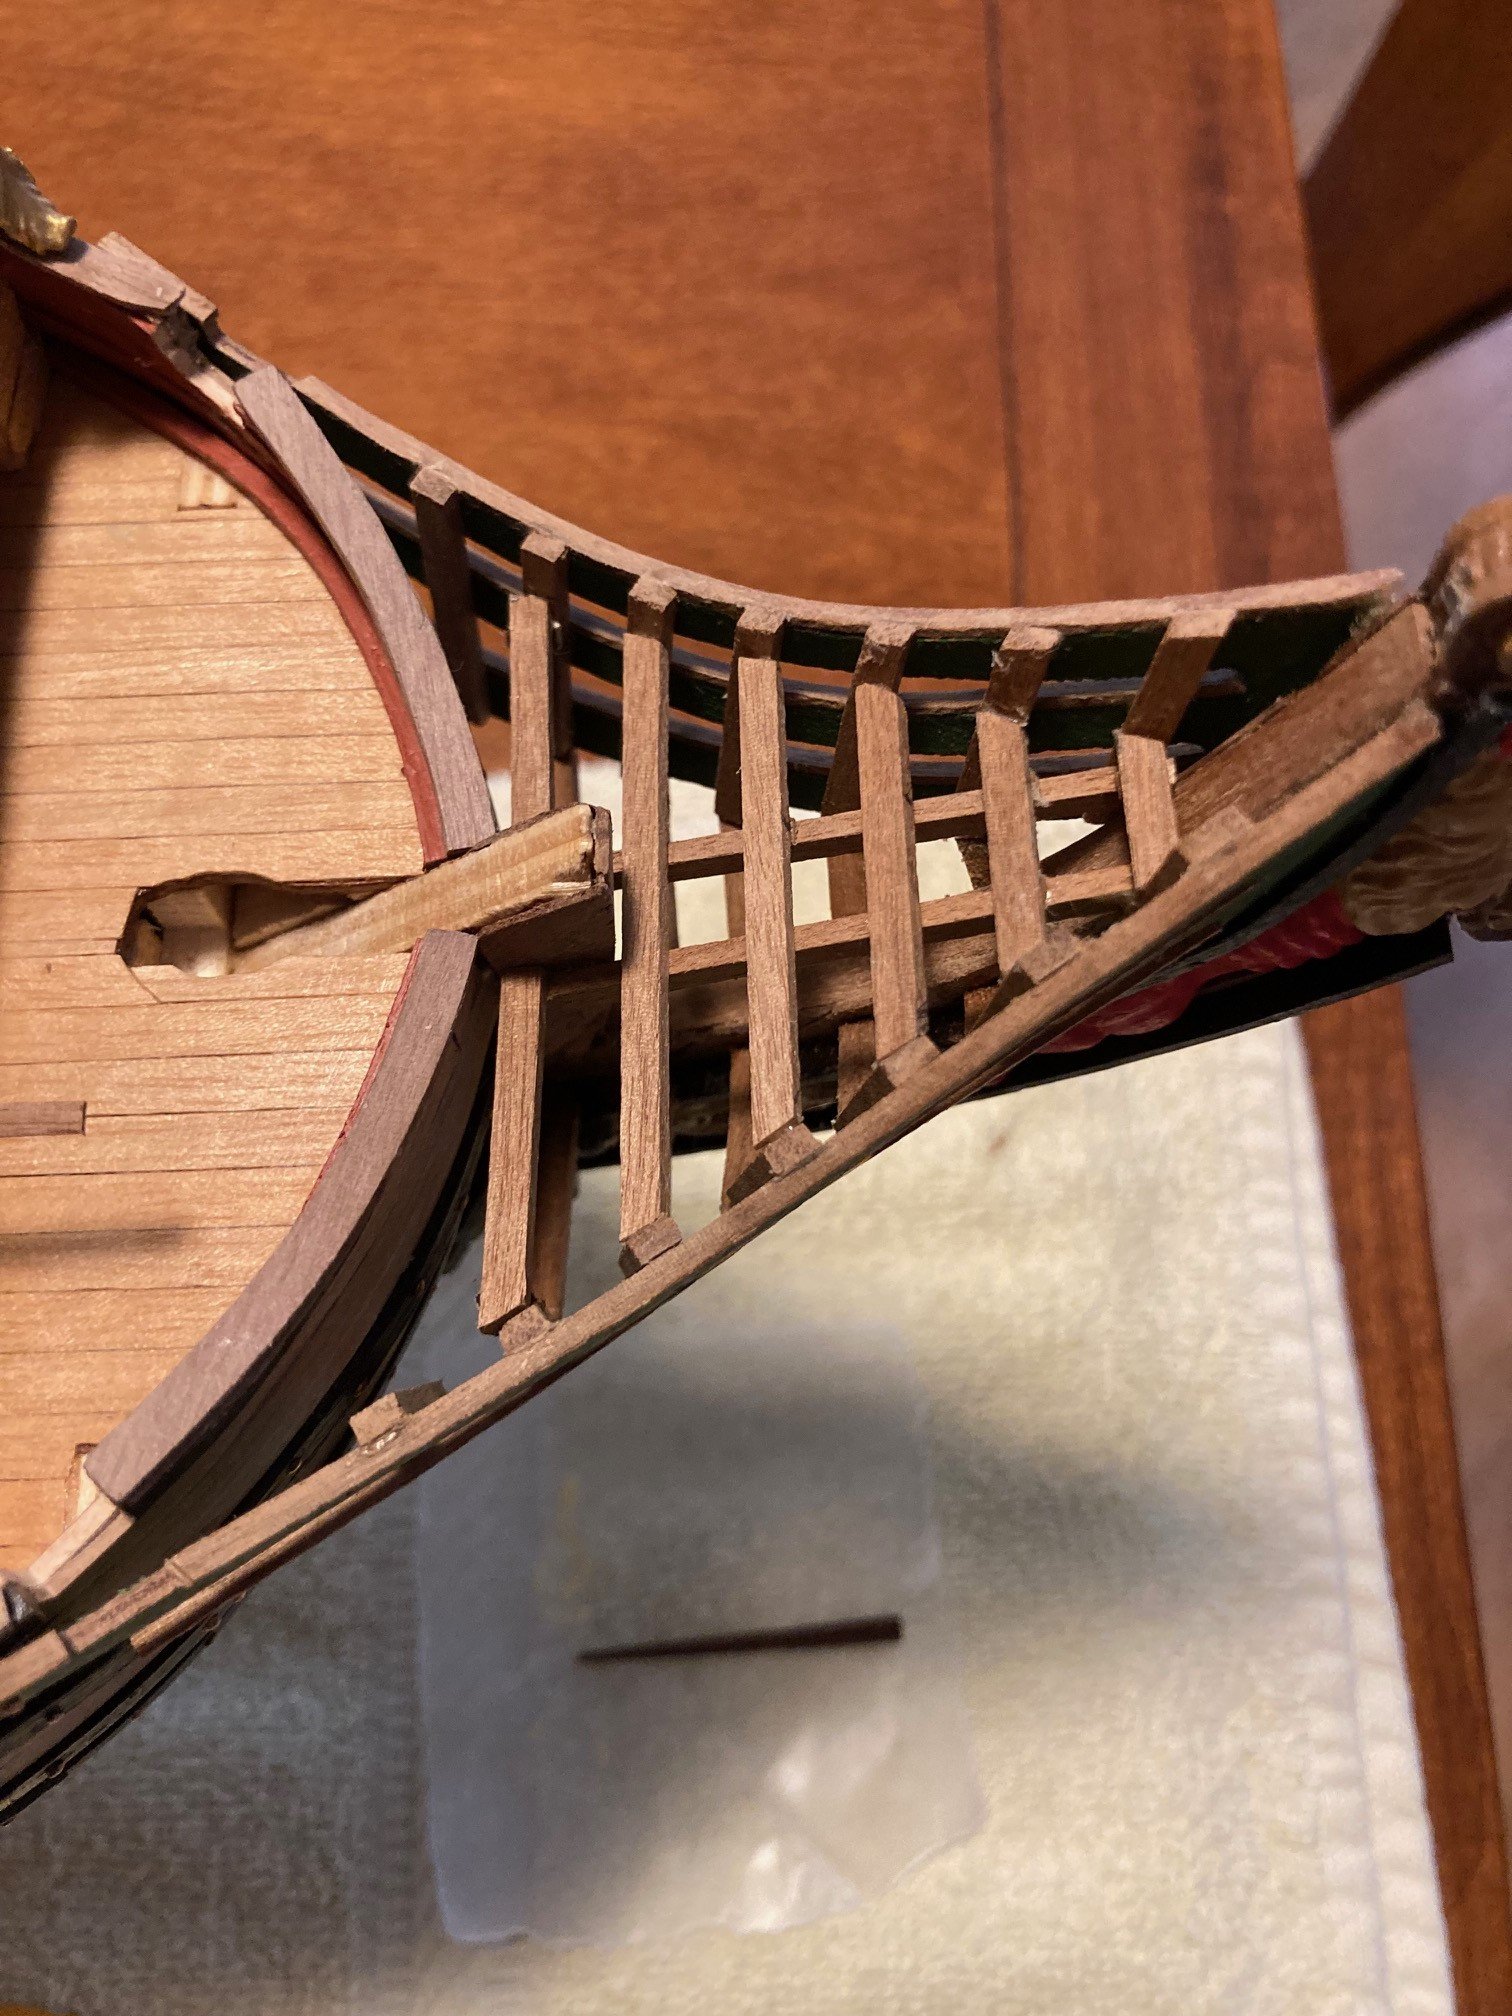
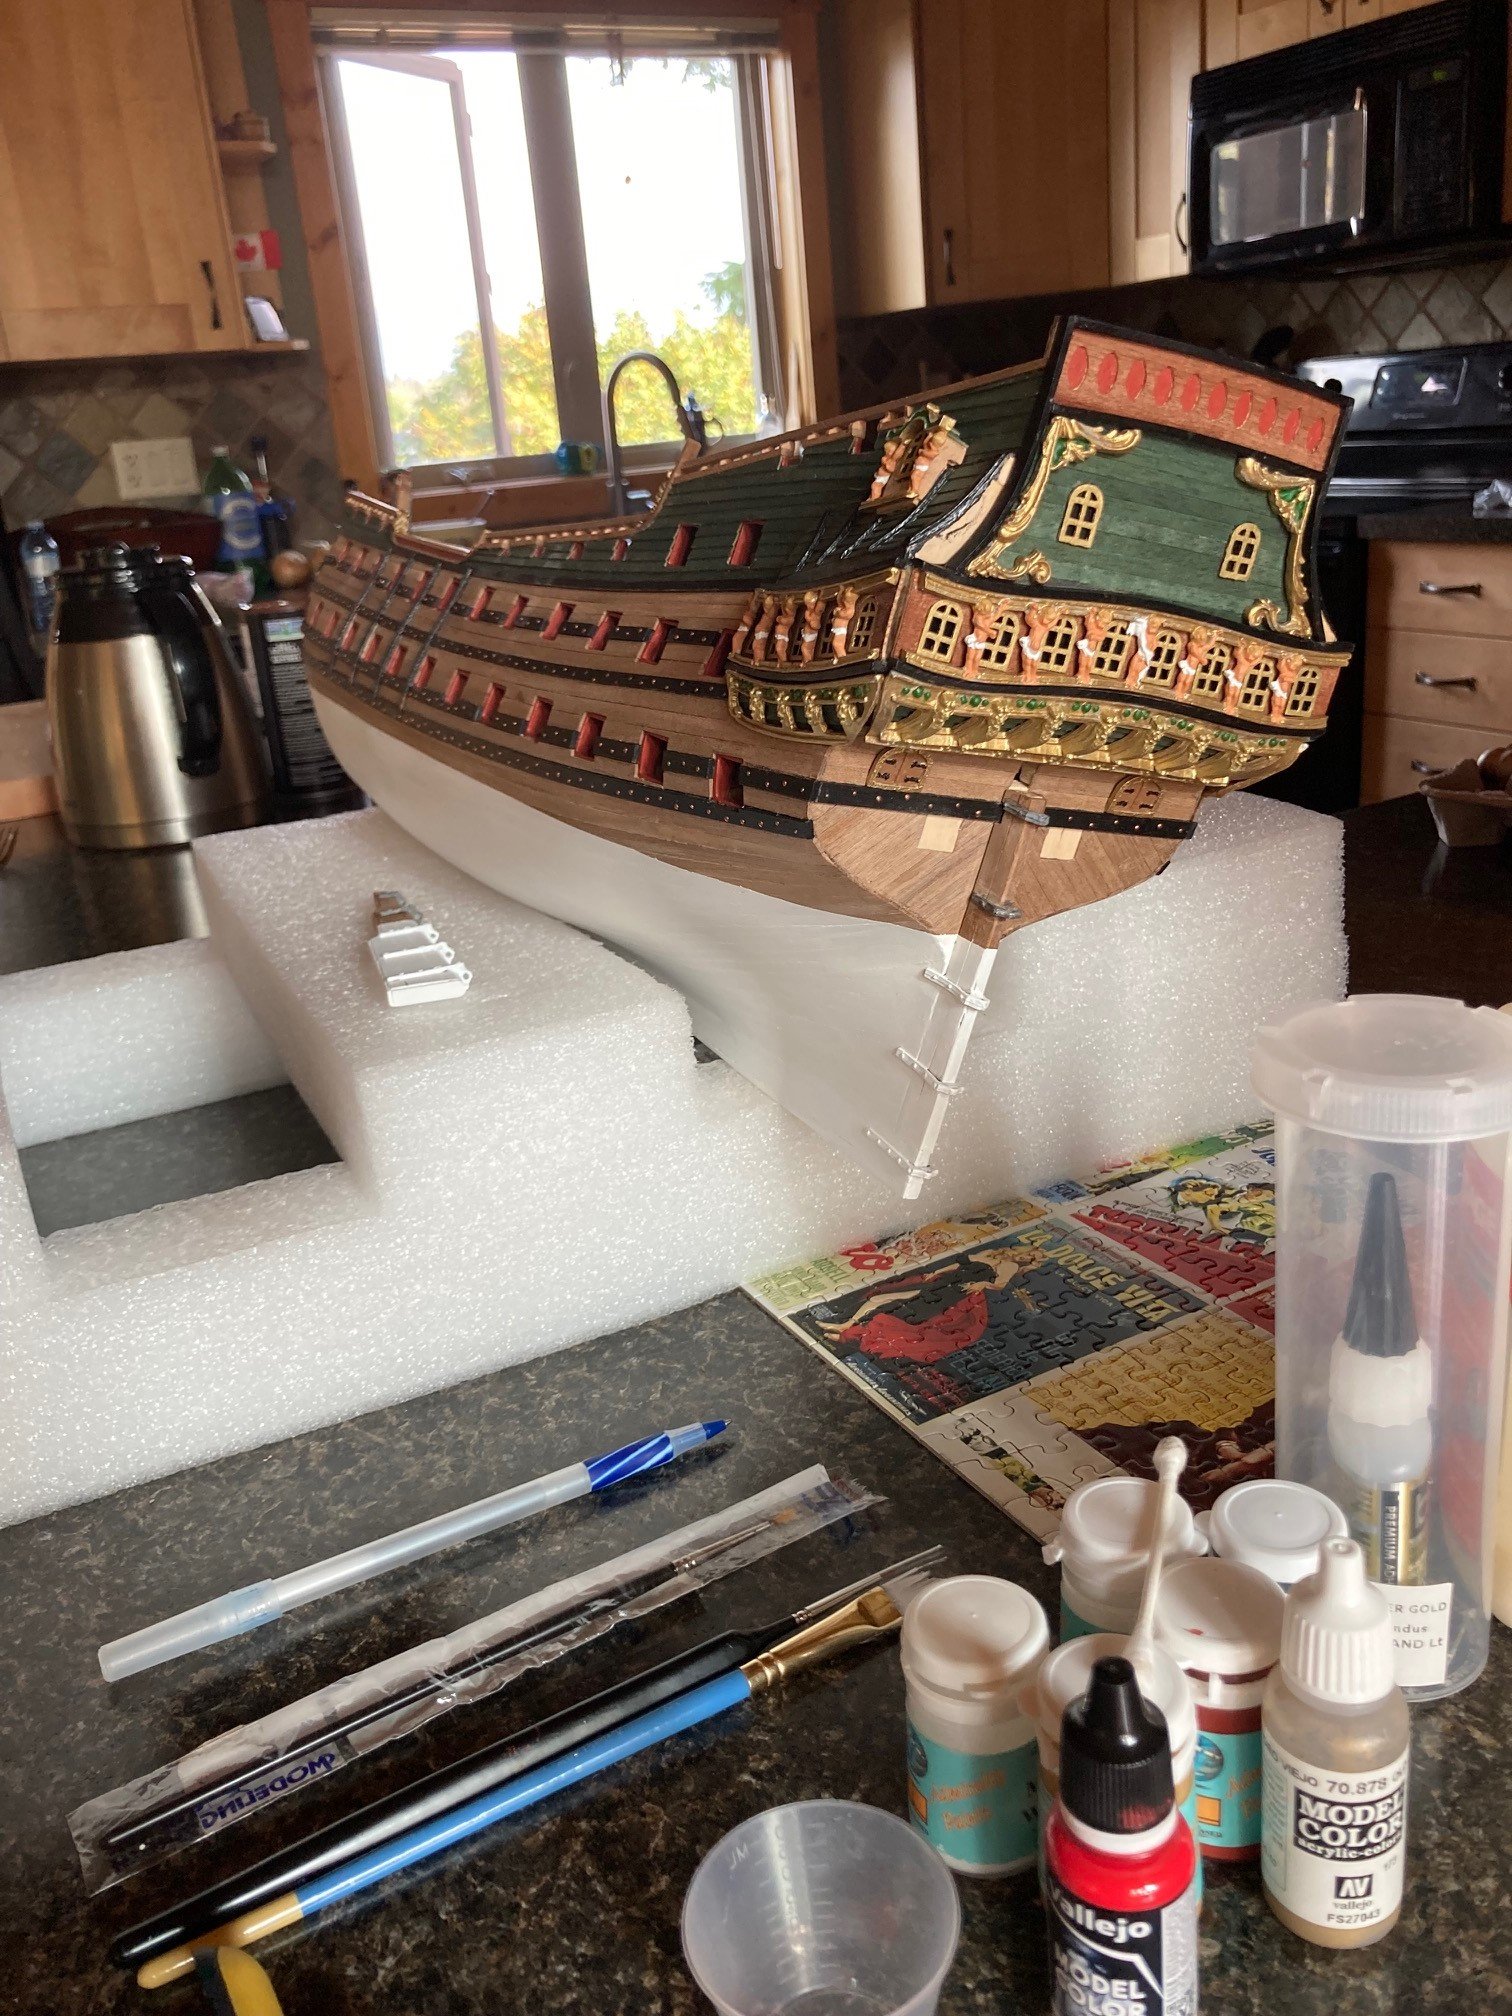
Had to cut back some of the side gallery planking profiles in order to accommodate the side gallery ornamentation and then I focused on some of the stern decorations... she is surely starting to look pretty! Lots of reading ahead, looking at other peoples build logs on MSW and some dutch forums. A person always has to pay attention to the fittings, the corners of the fittings, as future fittings of these ornaments are sometimes laid on top of each other. Luckily these pot metal ornaments are easy to bend and mold with reason into the spaces they are required to go into. The color scheme I used is of course personal but I am always looking at historical accuracy.


-
More details to add with regards to deck railing details...


.jpg.5edb5860eed82939918788d49c0c31d0.jpg)