mrcc
-
Posts
572 -
Joined
-
Last visited
Content Type
Profiles
Forums
Gallery
Events
Everything posted by mrcc
-
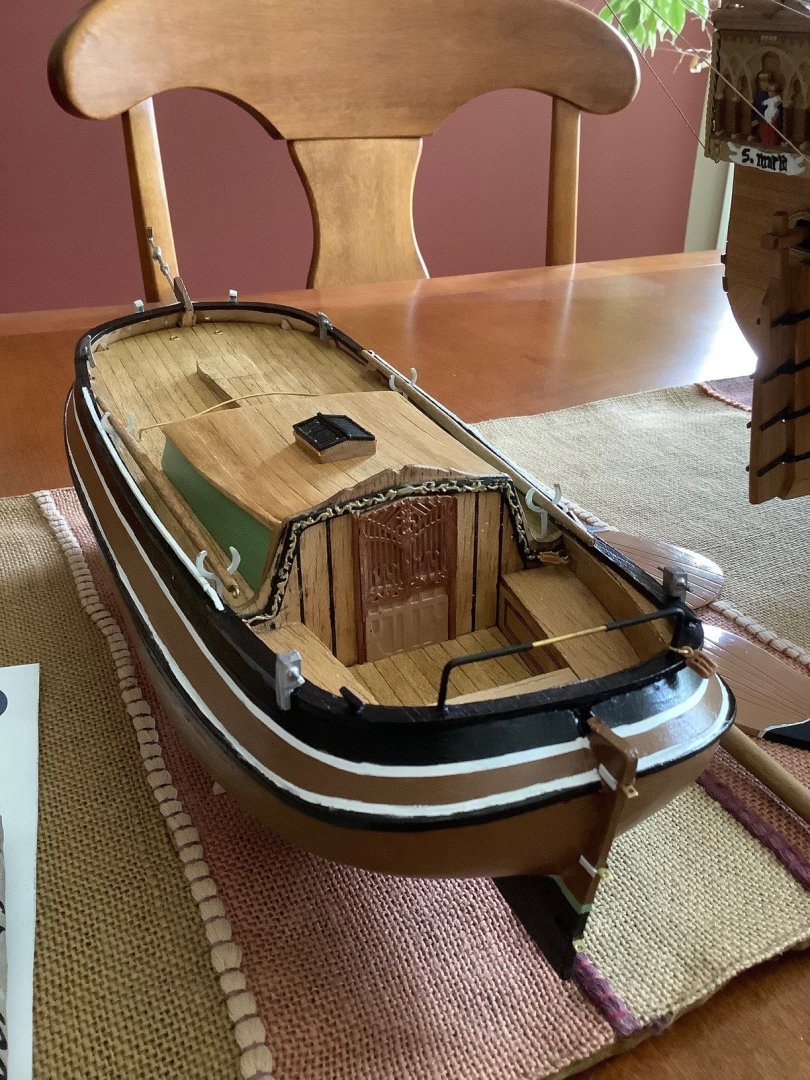
 Completed the build at this time... what can I say... I am pleased with the look but certainly the cheaper the kit, the cheaper the result. As simple as that... As I said at the beginning of the build log that it was to be a straight out of the box build. My painting effort perhaps is not the best... but better next time. Going to move-on from the experience and at this time going to focus my effort on my Mamoli Friesland (which I have already started). Thanks for checking out my build log!
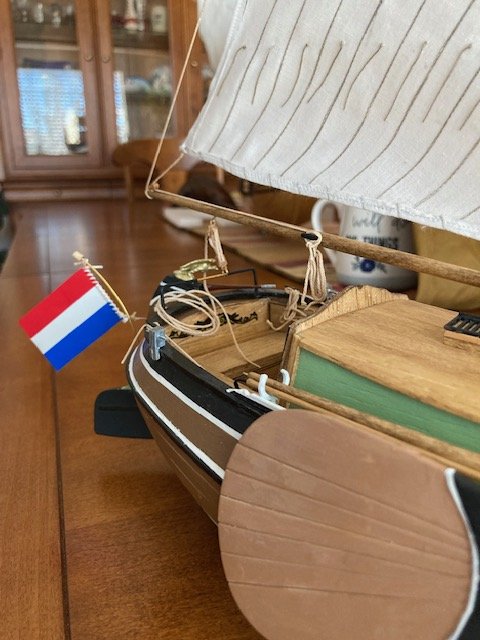
- 32 replies
-
- 2
-

-
- Sperwer
- Billing Boats
- (and 1 more)
-
Thanks for the replies… definitely do not speak Russian but do proudly speak some Ukrainian. The chuck in the video is completely different that the 3 jaw chuck of the DB250 but thanks for posting. Certainly I meant to say that the towel over the chuck would need to be created in a tent in order to catch the oil on the first spin after applying penetrating oil.
-
Thanks… absolutely no instructions in this regard from Proxxon whether online or in print.
-
Thanks! Lots of very good information there…
-
Thanks Wefalck... interesting comment about the collets and yes I have them for the machine and many very well take your advice.
-
Agreed... But with my primary purpose being to work on dowels; masts and yards, better to have the jaws with the tall end facing in
-
Thanks Curt... yes I will rectify that once I put it all together again. Cheers!
-
Good advice... I will throw a towel over the chuck on its first operation. Cheers!
-
Thanks for all the information… great for the next person struggling to find a solution as there was absolutely no information on the internet specific to this proxxon chuck anyways. PS Proxxon USA (in an email yesterday) recommends using a penetrating oil on the “spiral milled on the base”.
-
Update: Reached out to Proxxon USA and they advised me not to take apart the chuck and that with removing the jaws from the base (which I did not know it could be done), there is more than enough room to apply a penetrating oil to remove the thick grime between the base and rotating plate, which should allow easier movement of the jaws. Cleaned up the jaws already and tonight will get the base cleaned up... Jaw 2 is marked 2 on each side and will fit in the original 2 slot of the base but the other two jaws are not as clear in my mind where to place as they have markings of 1 or 3 on each side presuming that 1 will face the 1 on the base and the 3 on the jaw facing the base 3 along the circumference skipping the 2 slot. Not sure as I want to flip the jaw from the original position I received the used chuck in.


-
Bingo... it looks like the Proxxon chuck is similarly designed and engineered as the Sherline (mini chuck anyways). Thanks CPDDET! Looks like I need to buy a snap ring plier though... Also looks like the jaws perhaps were not installed (by the previous owner) correctly as per the numbering pattern. Perhaps that why it is so stiff to open and close the jaws.


-
PS Turned a small mast and boom and yes, love the machine.
-
Thanks Mark, Gregg for your replies… much appreciated! My chuck did come with the turn handles as indicated in your pictures and yes, aware of the numbers referencing the corresponding jaw to the numbered base. Besides my real perception that the chuck is very stiff on opening or closing, is that on viewing YouTube videos on the operation of the DB250, it sure appears that people easily manage the opening and closing with minimal effort with the aforementioned keys/handles. I just thought there was an easy way to open and service the chuck with lubricant… and on looking at the chuck, there does not appear an obvious or easy approach to the service (if truly needed). Thanks again!
-
Hi all... I purchased a used Proxxon mini lathe, all in excellent working order with the exception of the 3 Jaw Chuck being very stiff, almost to the point of being seized up, when trying to open or close down the jaws. I tried to lubricate the exterior elements but no success at all. I went online to see if it was easy to lubricate and service the chuck but absolutely no information there. Any suggestions would be very welcome by any and all reading this post. Thanks!

-
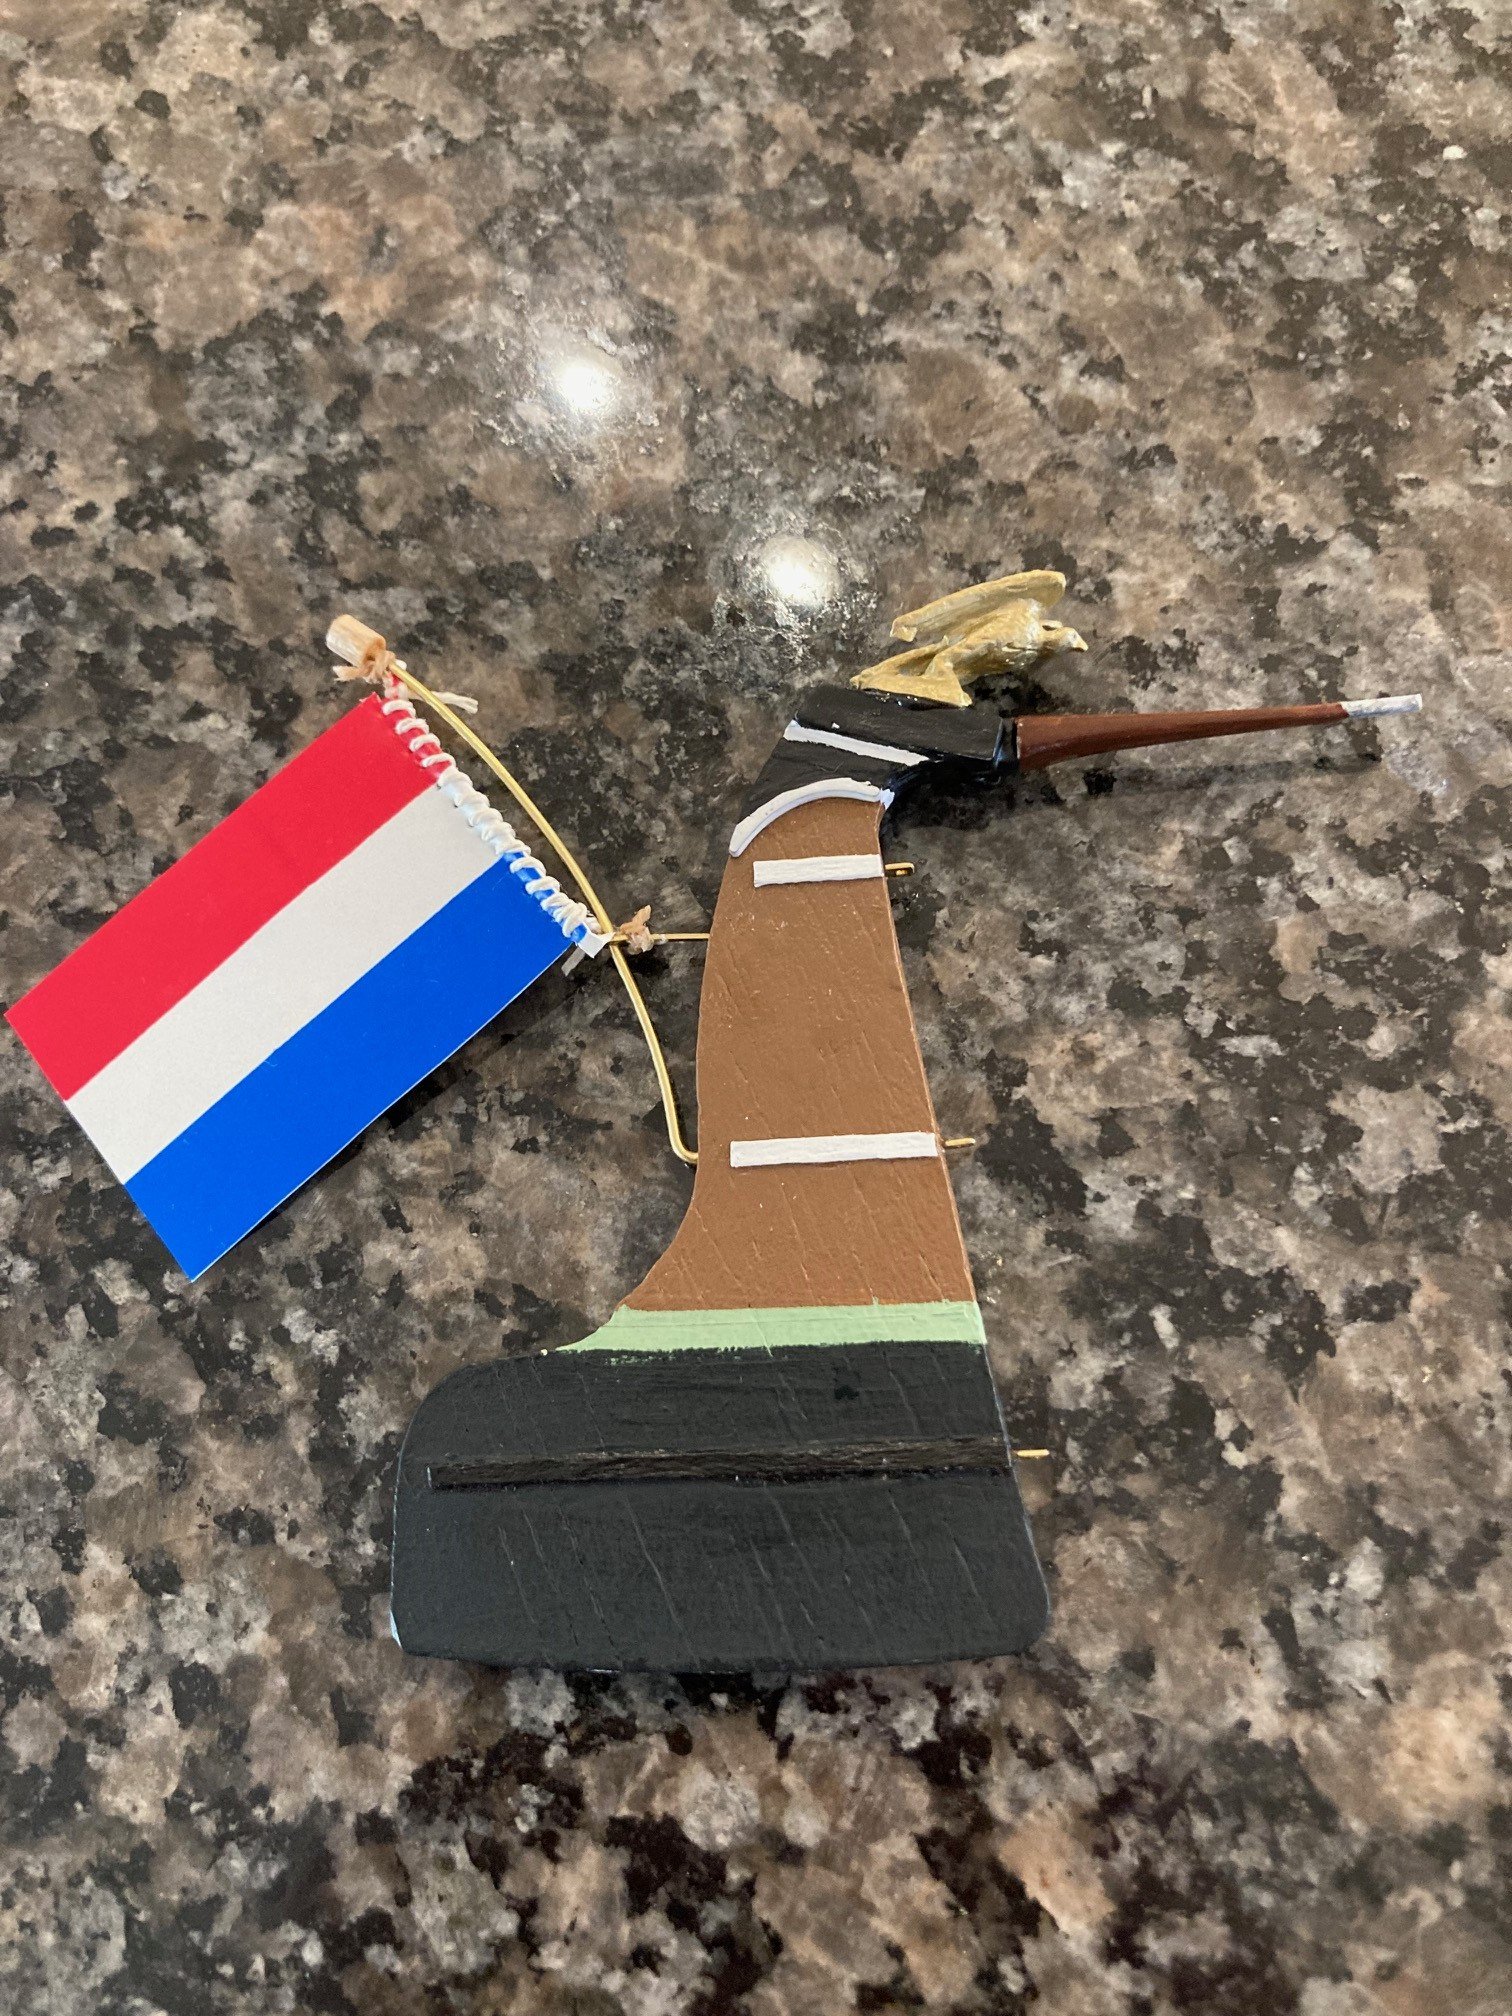
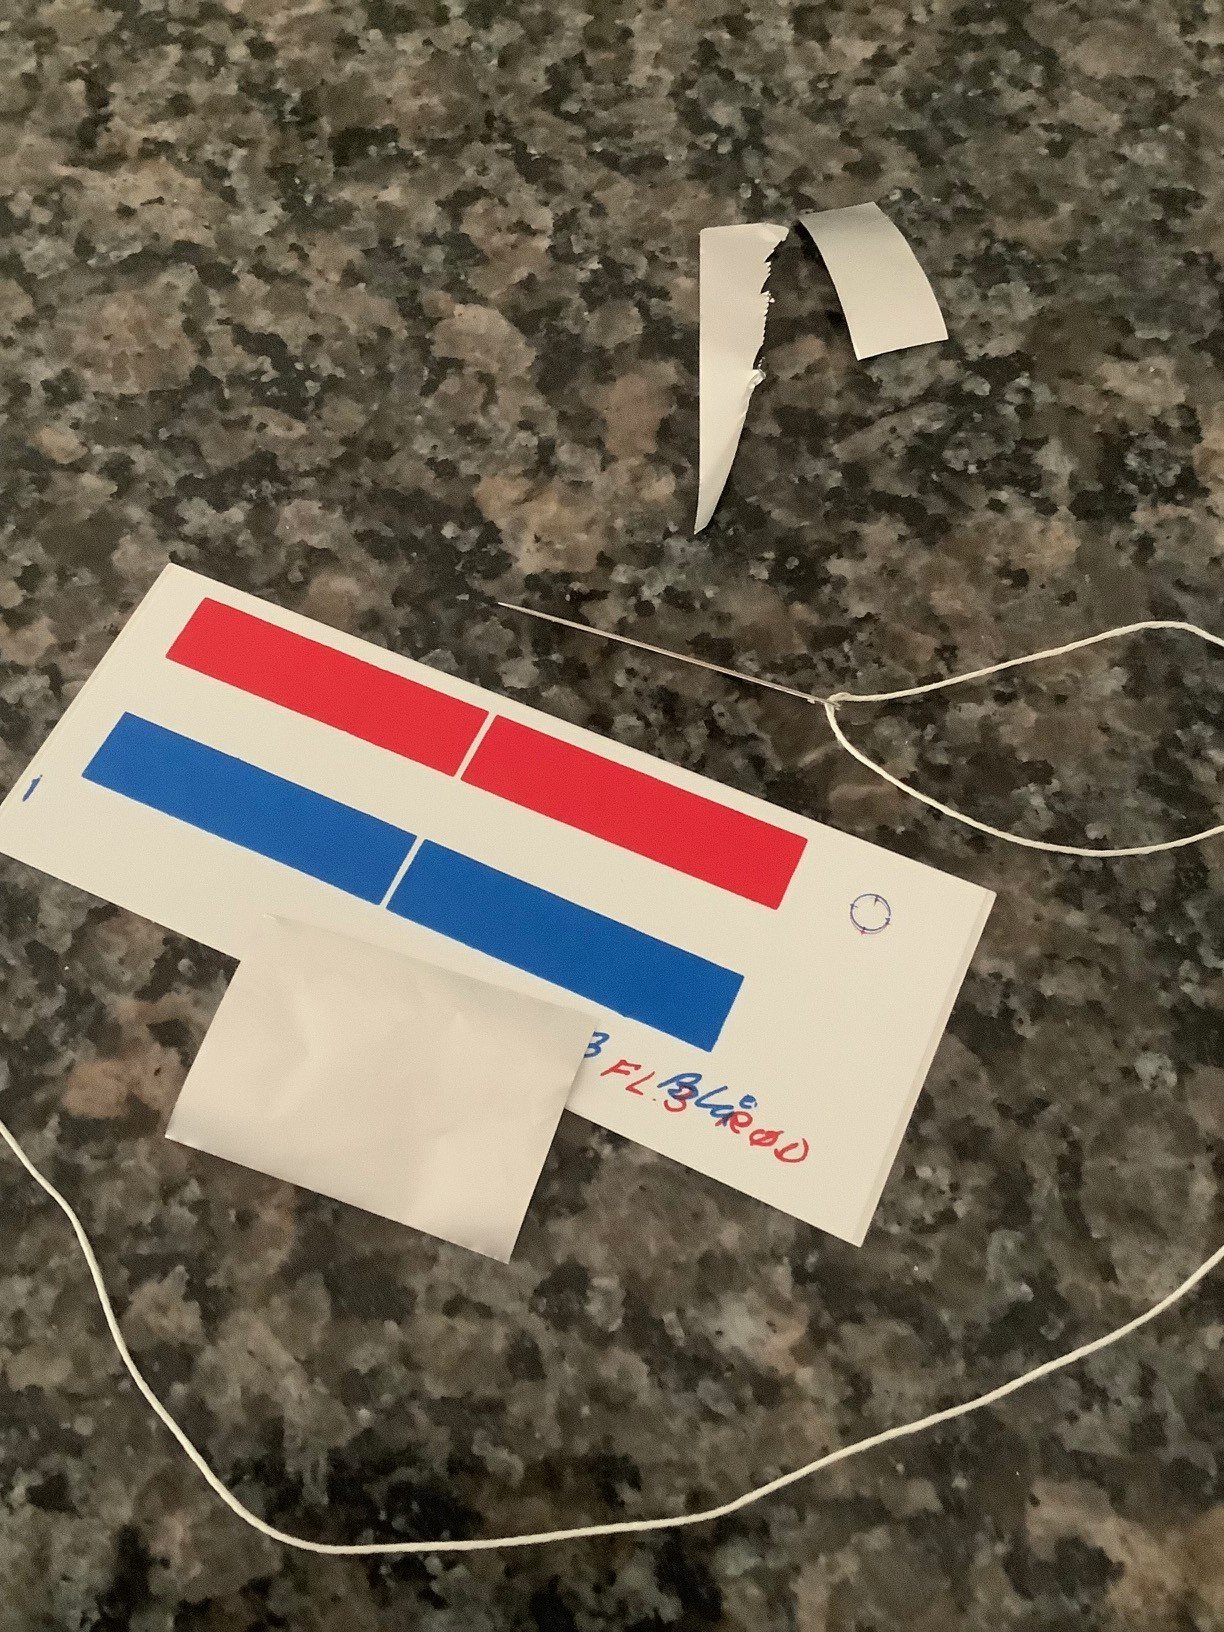
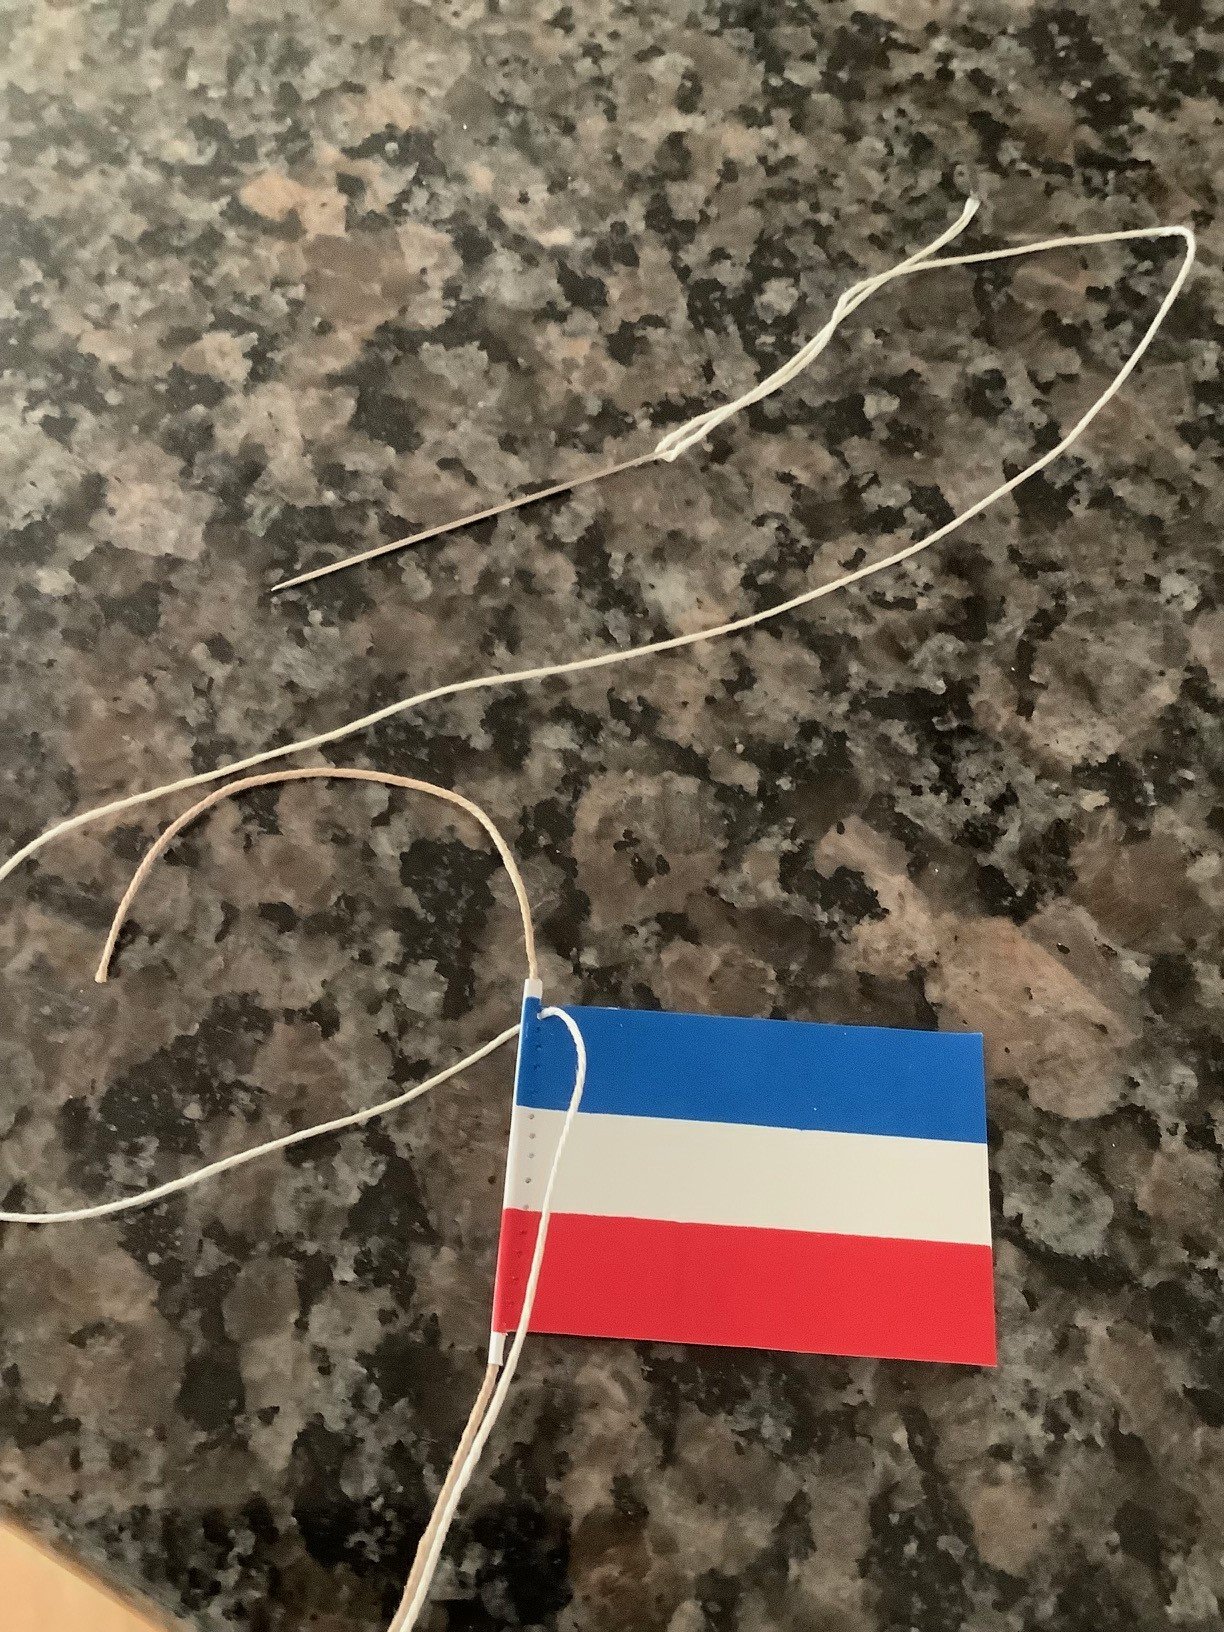
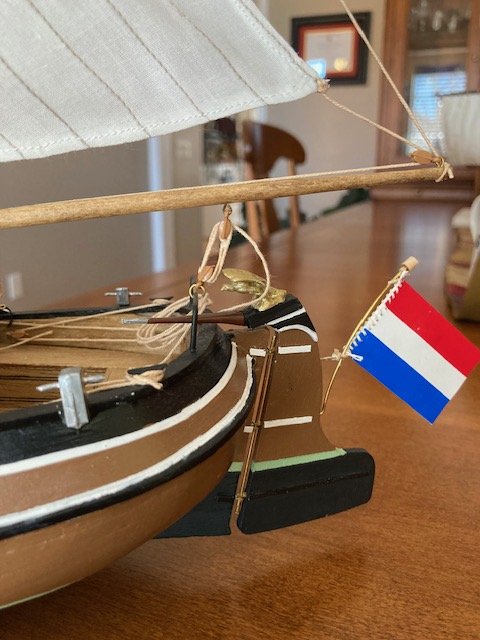
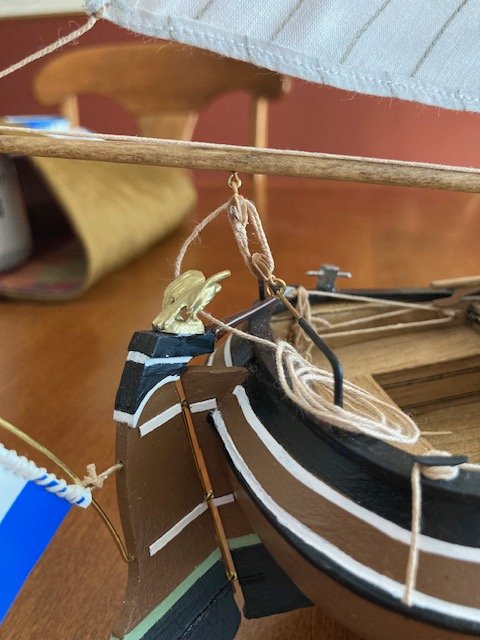
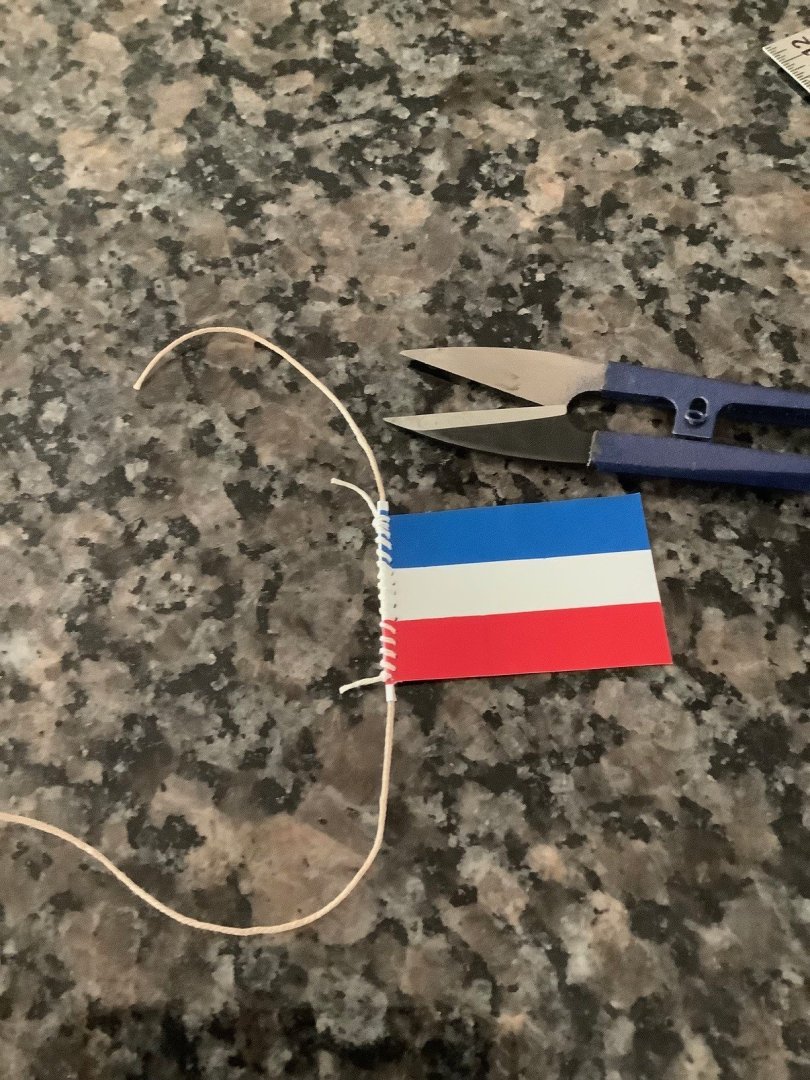
Worked on the kit supplied flag - a self adhesive fold over with an added layer of tin foil. I hope it curls into a nice shape and yes I know the Dutch flag is upside down on those last 2 pictures.


- 32 replies
-
- 3
-
-
- Sperwer
- Billing Boats
- (and 1 more)
-
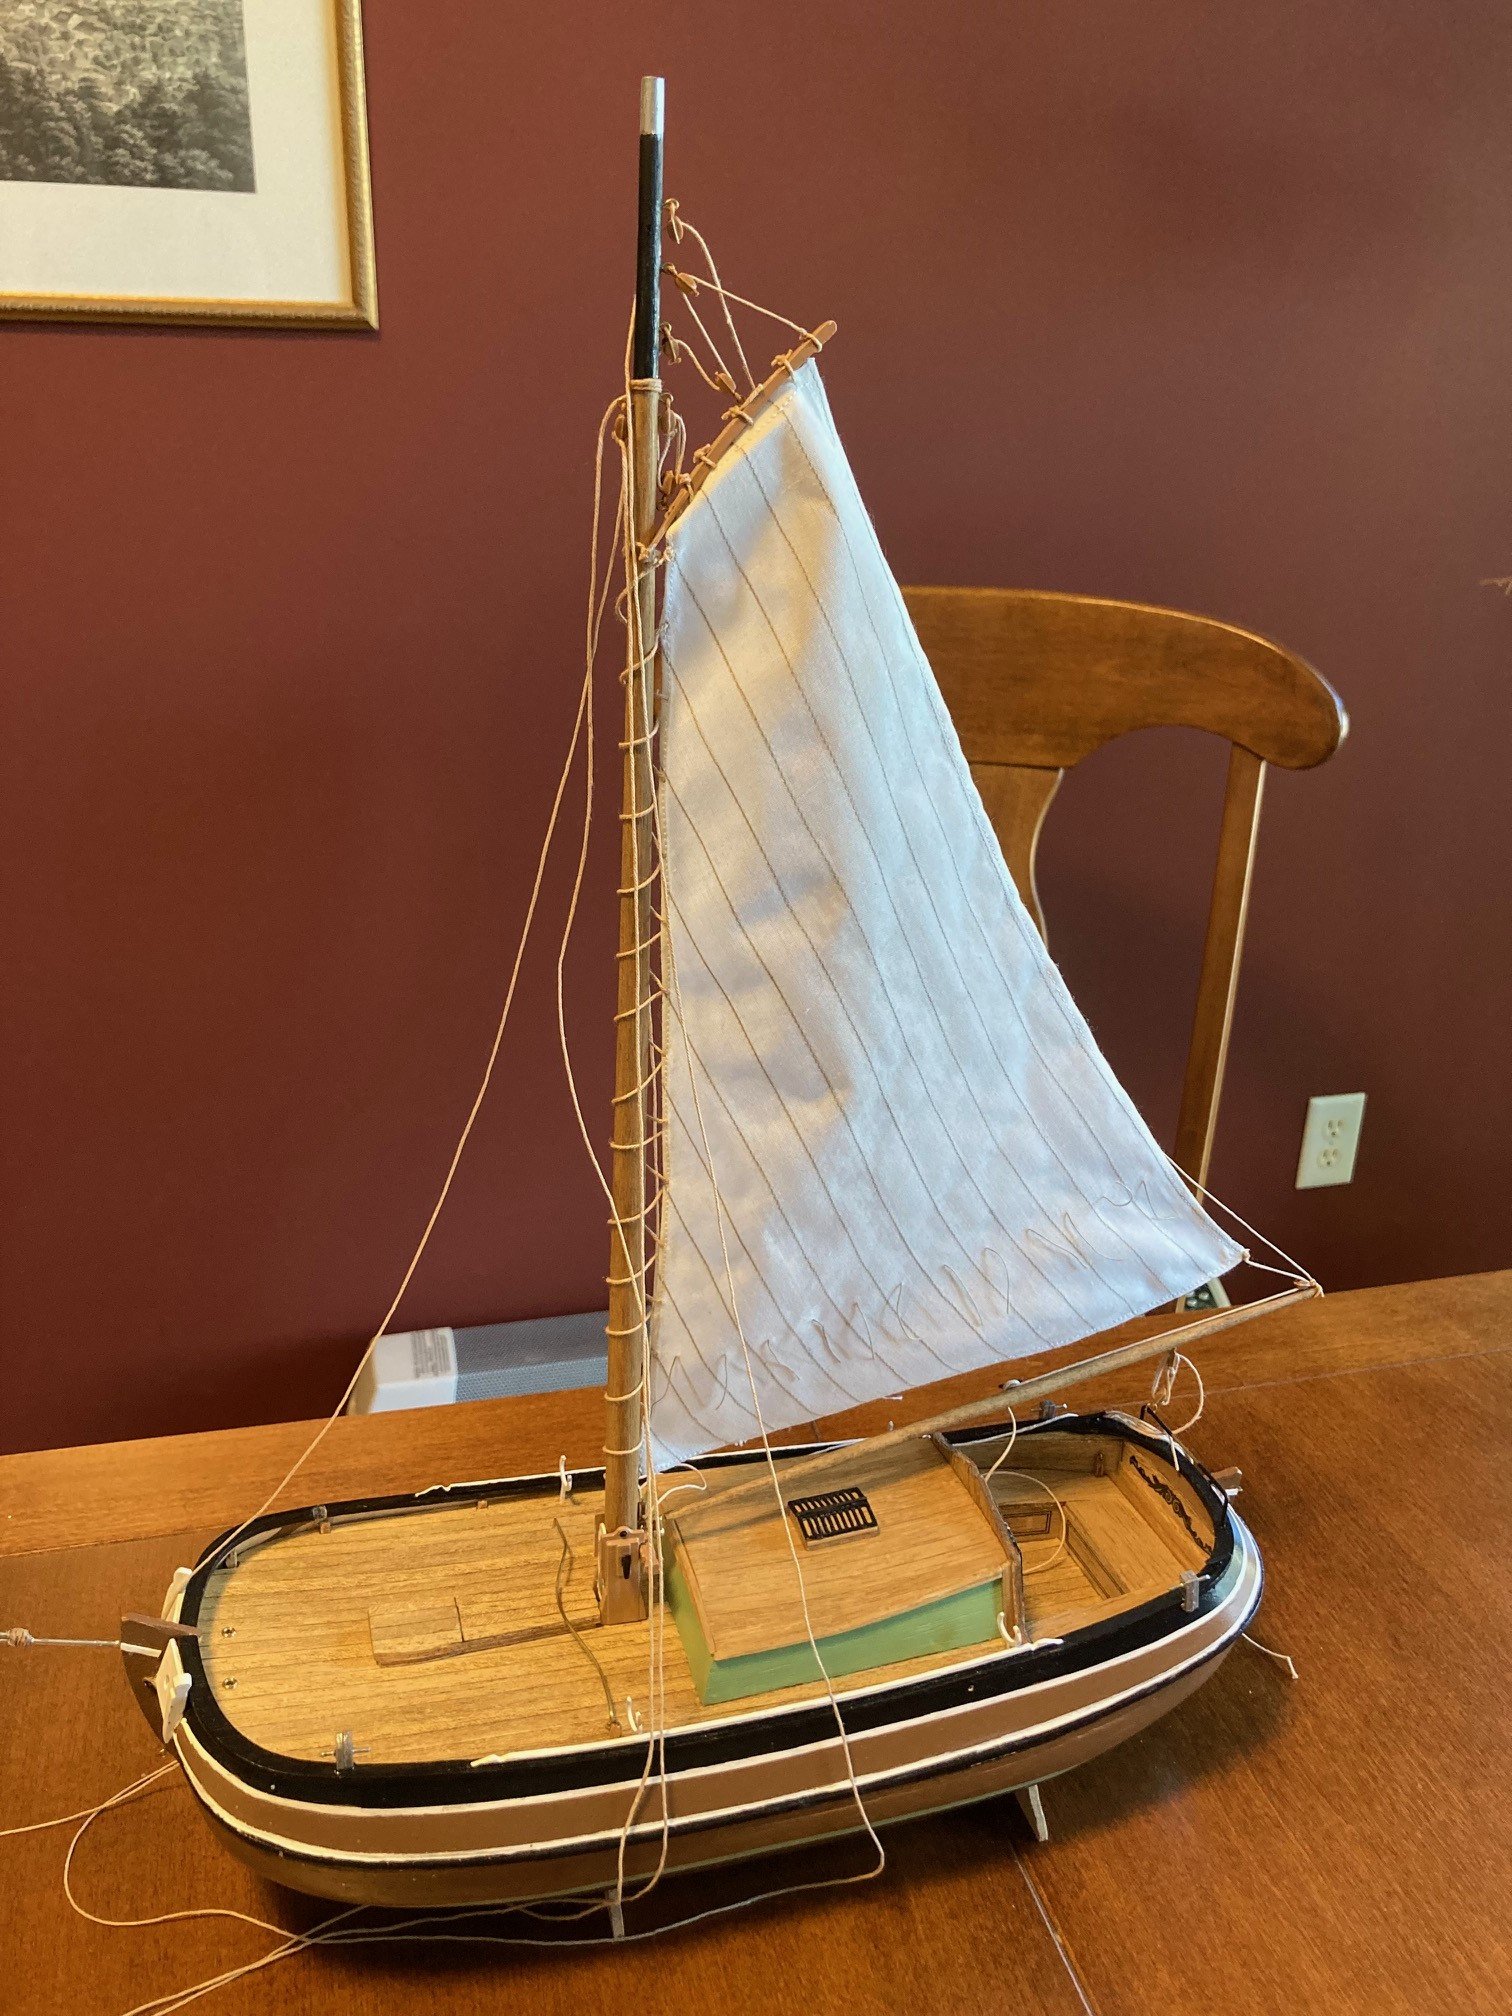
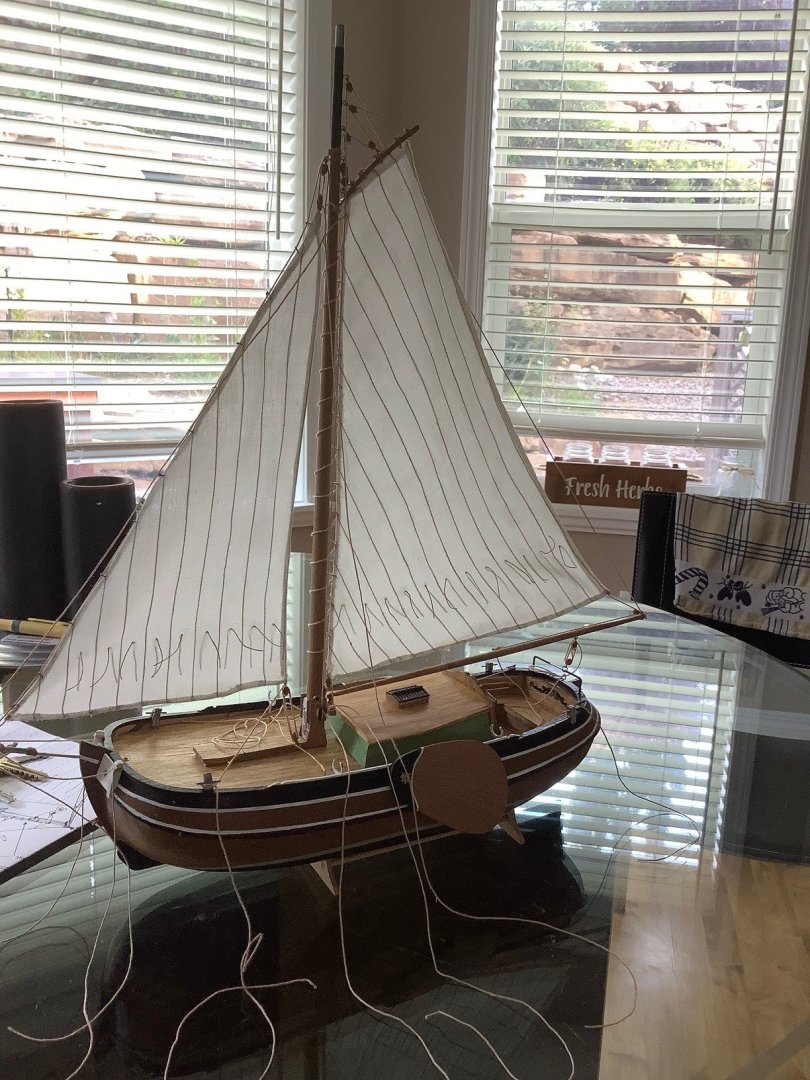
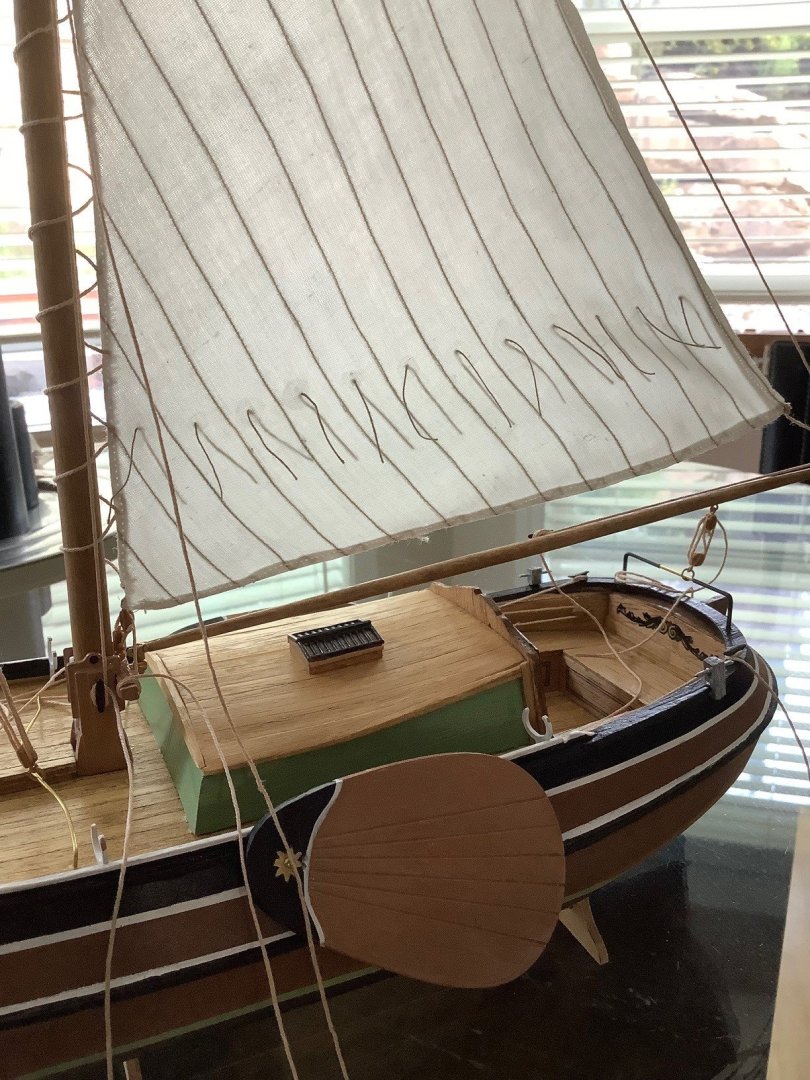
Both sails are up... lines are all tightened and secured with white glue but the ends are not cut to length or rolled up yet.
- 32 replies
-
- 7
-
-
- Sperwer
- Billing Boats
- (and 1 more)
-
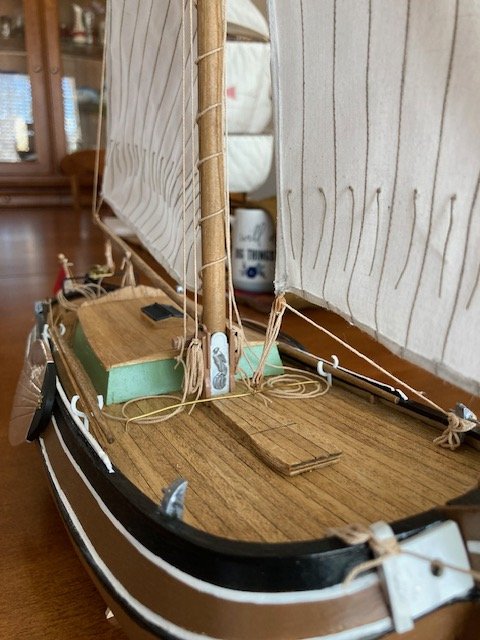
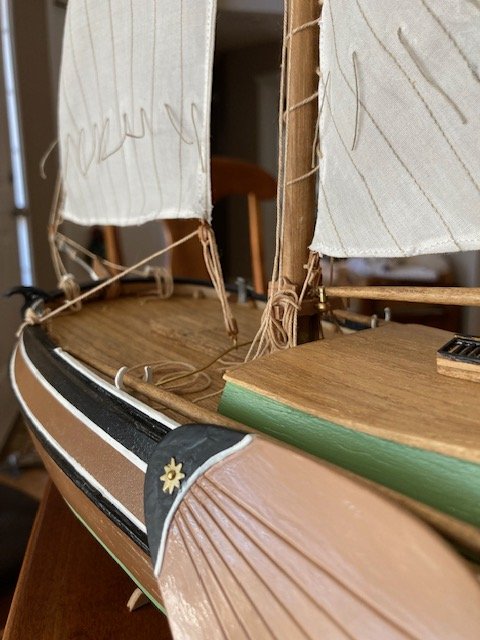
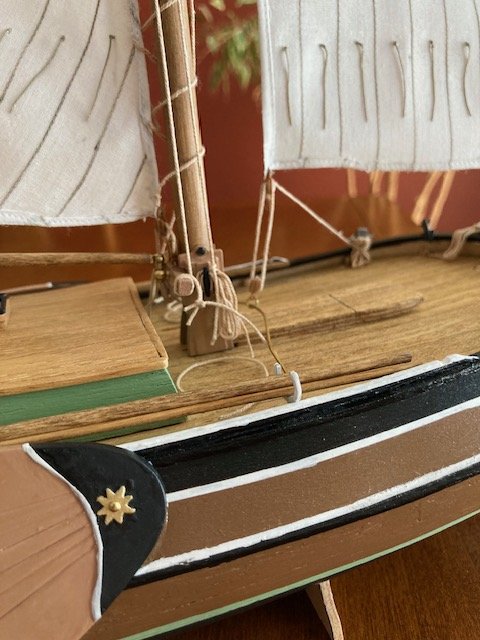
Working on some of the rigging details... As I mentioned, this is an out of box build, and am somewhat embarrassed to show you pictures of plastic blocks. At the moment, the rigging is loosely affixed and a tightening of all the lines will be done shortly. Also, I had to do lots of research on the rigging details as the Billing Boats plans are absolutely useless in terms of origin, belay, and termination points. Cheers


- 32 replies
-
- 6
-
-
- Sperwer
- Billing Boats
- (and 1 more)
-
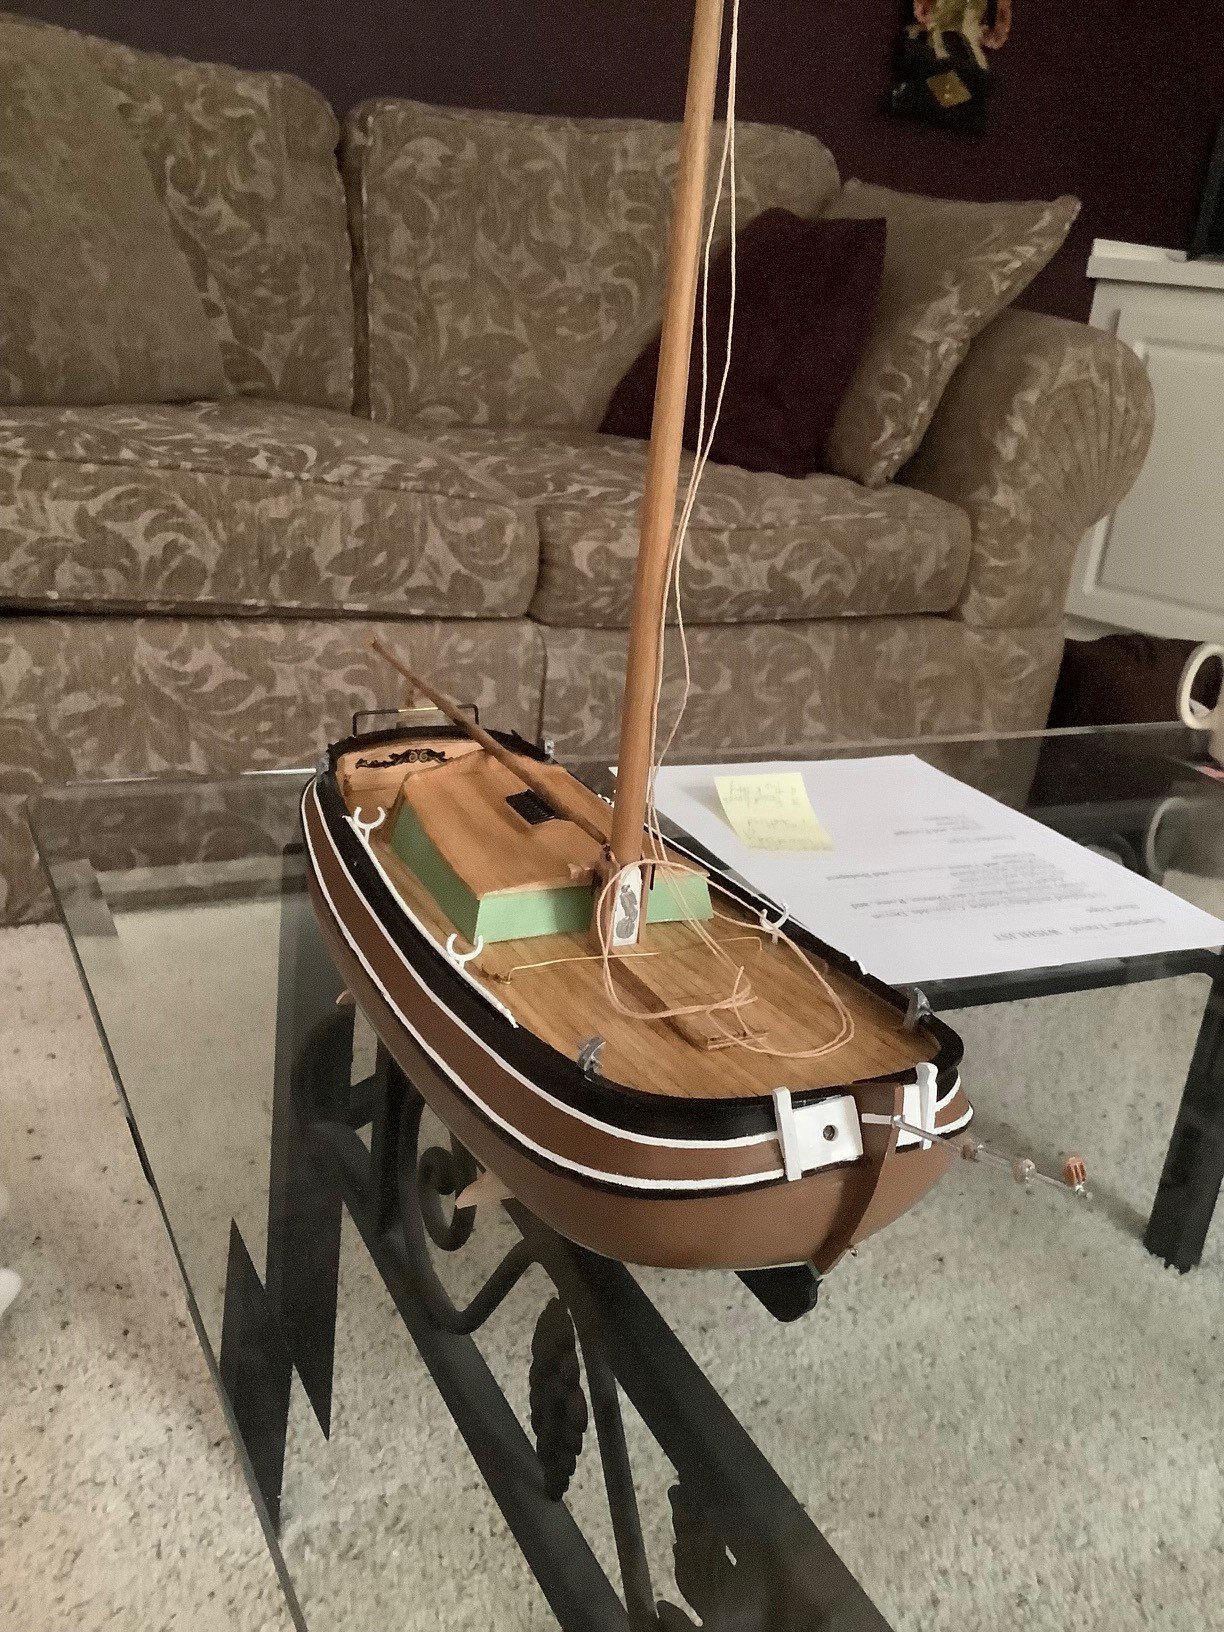
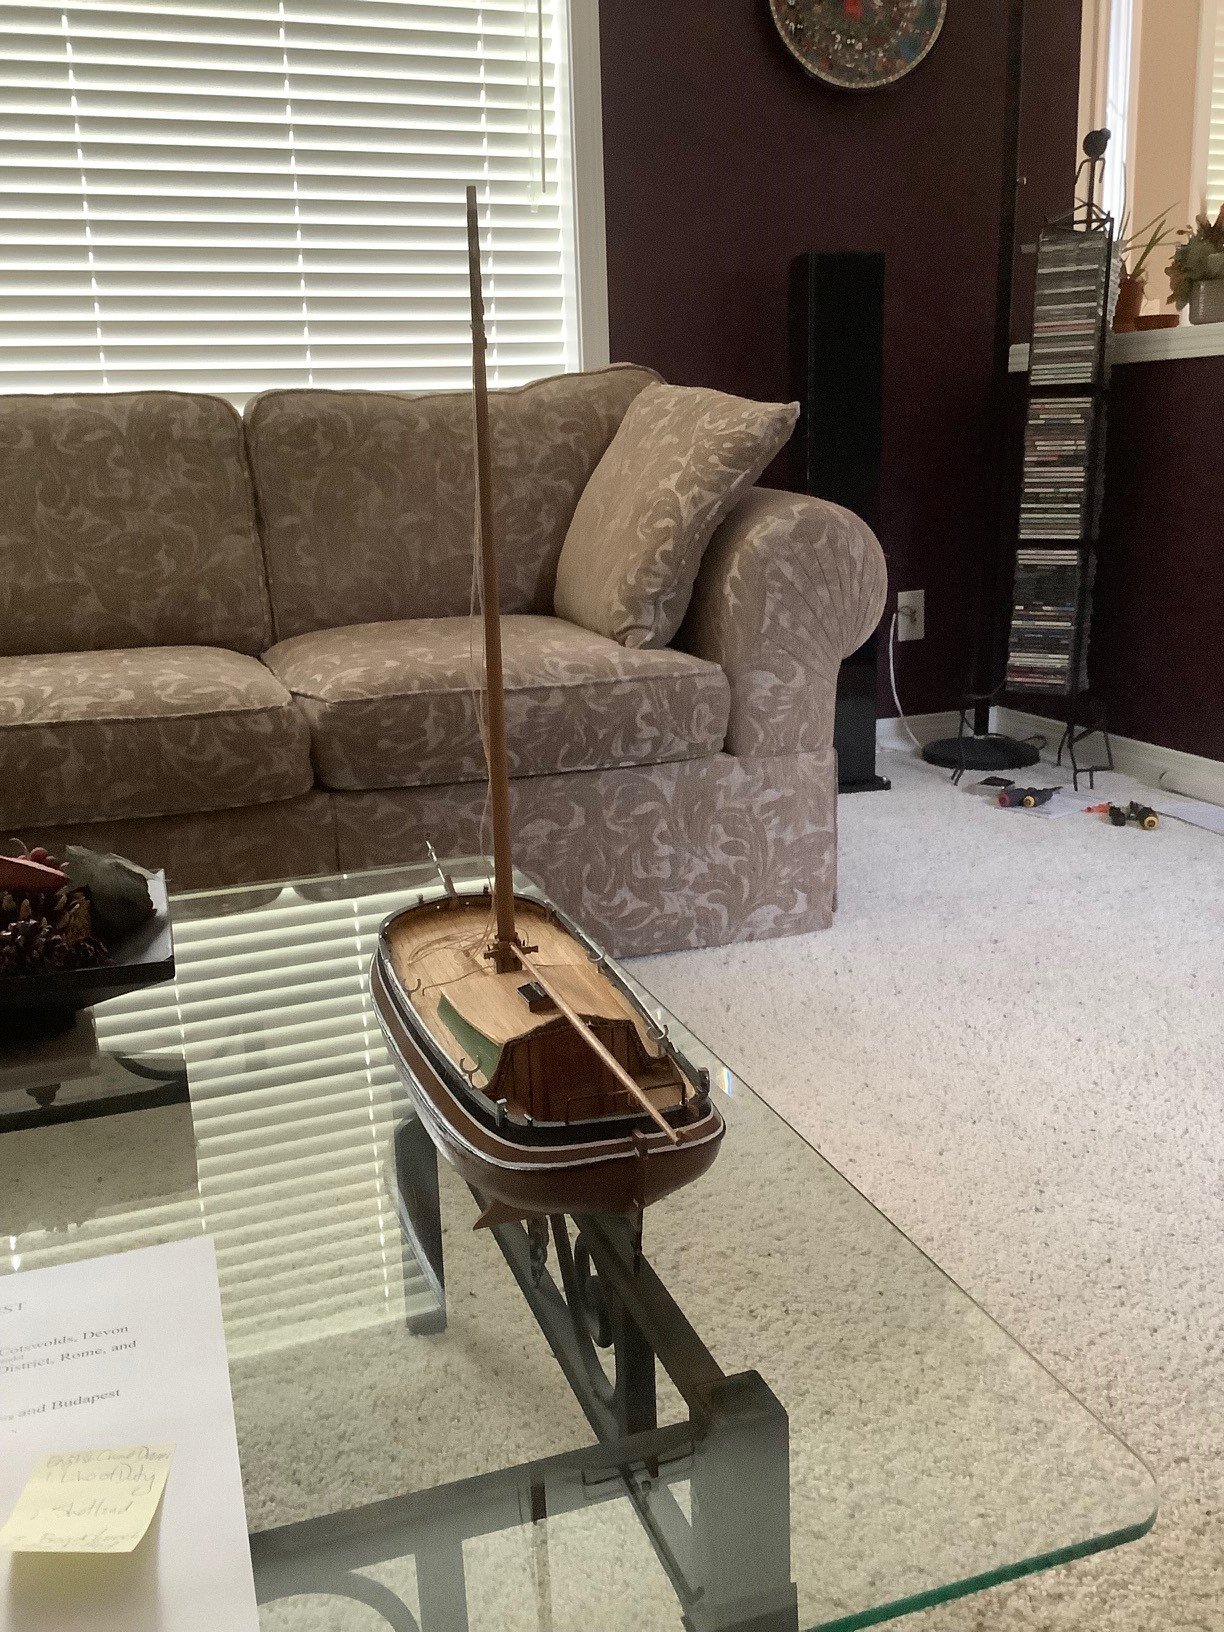
Mast is set with glue with all the rigging lines attached in advance on the mast and sails...


- 32 replies
-
- 6
-
-
- Sperwer
- Billing Boats
- (and 1 more)
-
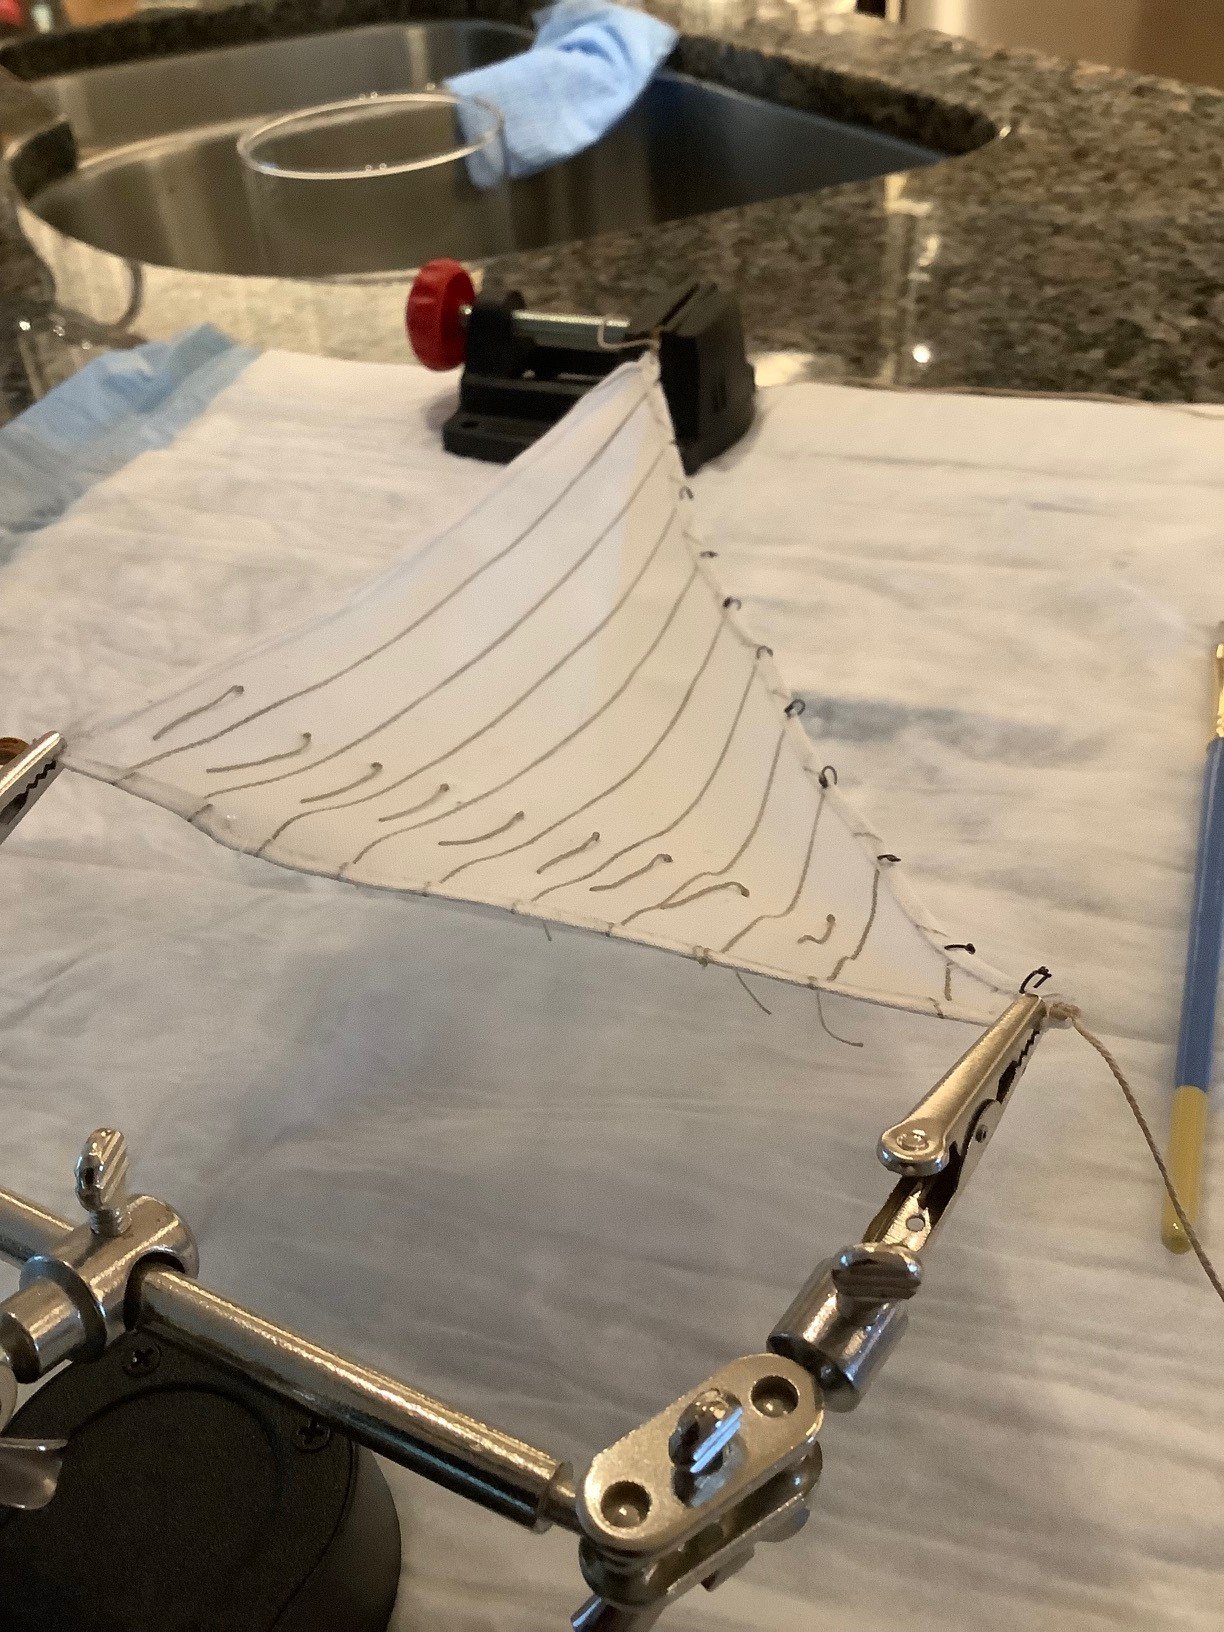
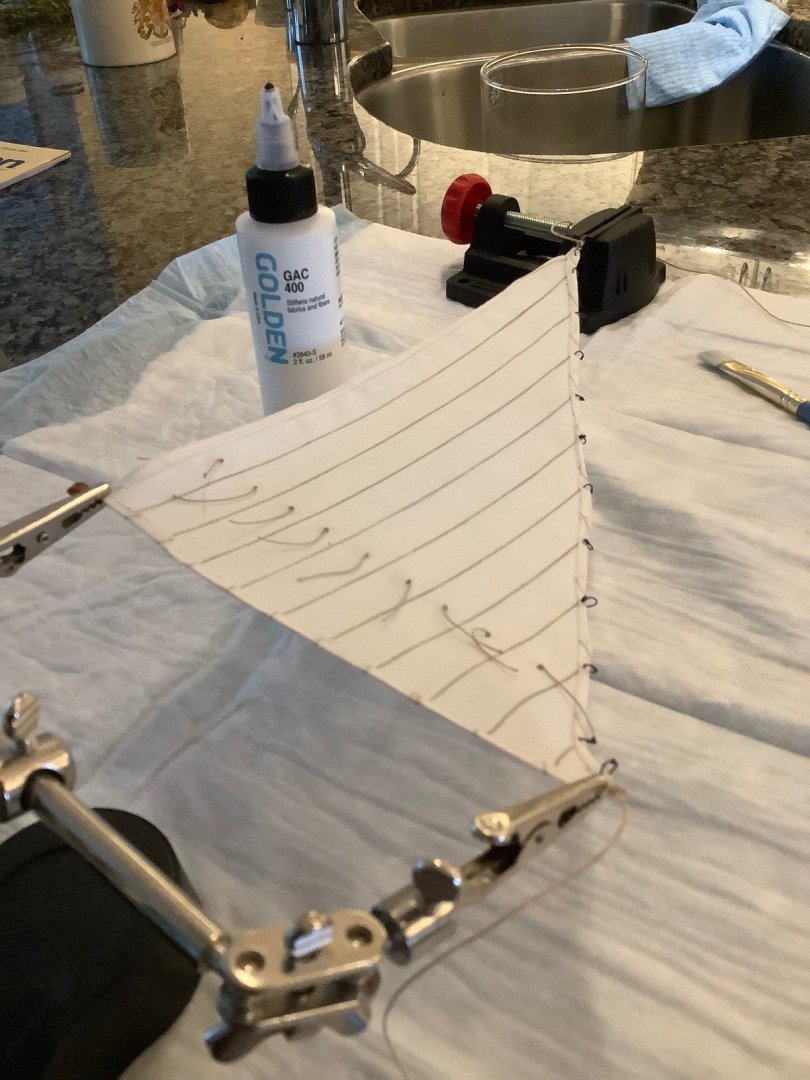
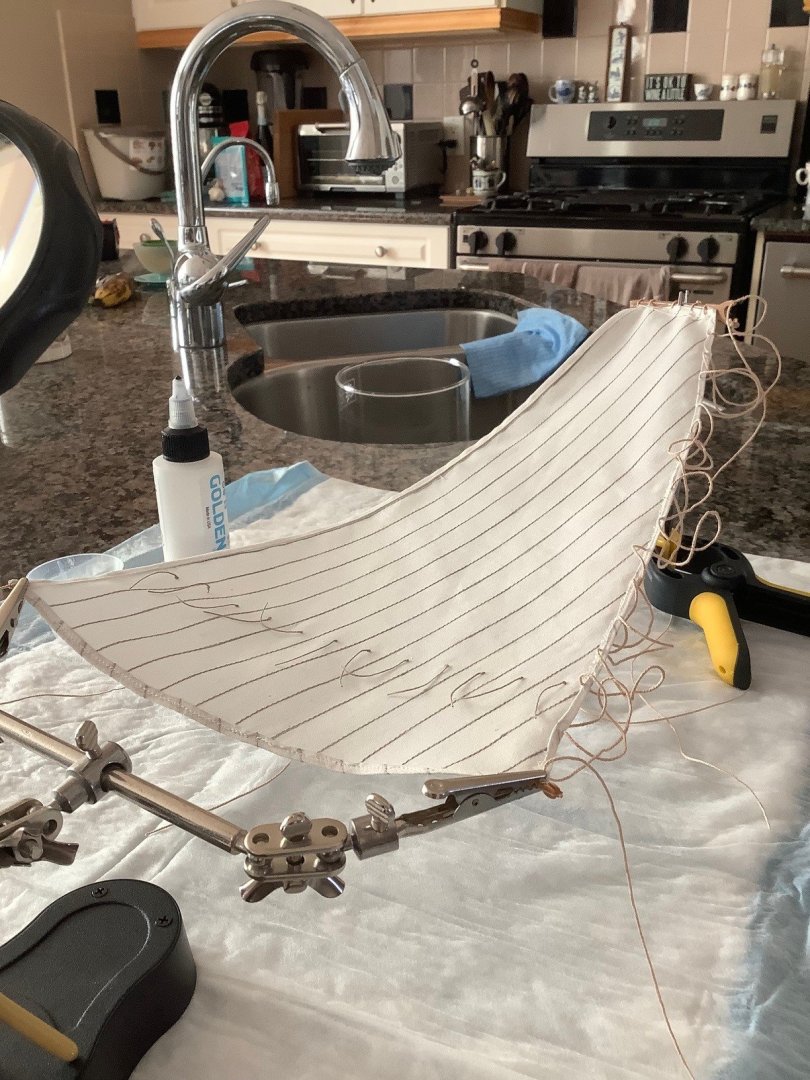
Treating the sails with a stiffening agent for the "wind blown" effect... Getting close to the end.

- 32 replies
-
- 4
-
-
- Sperwer
- Billing Boats
- (and 1 more)
-
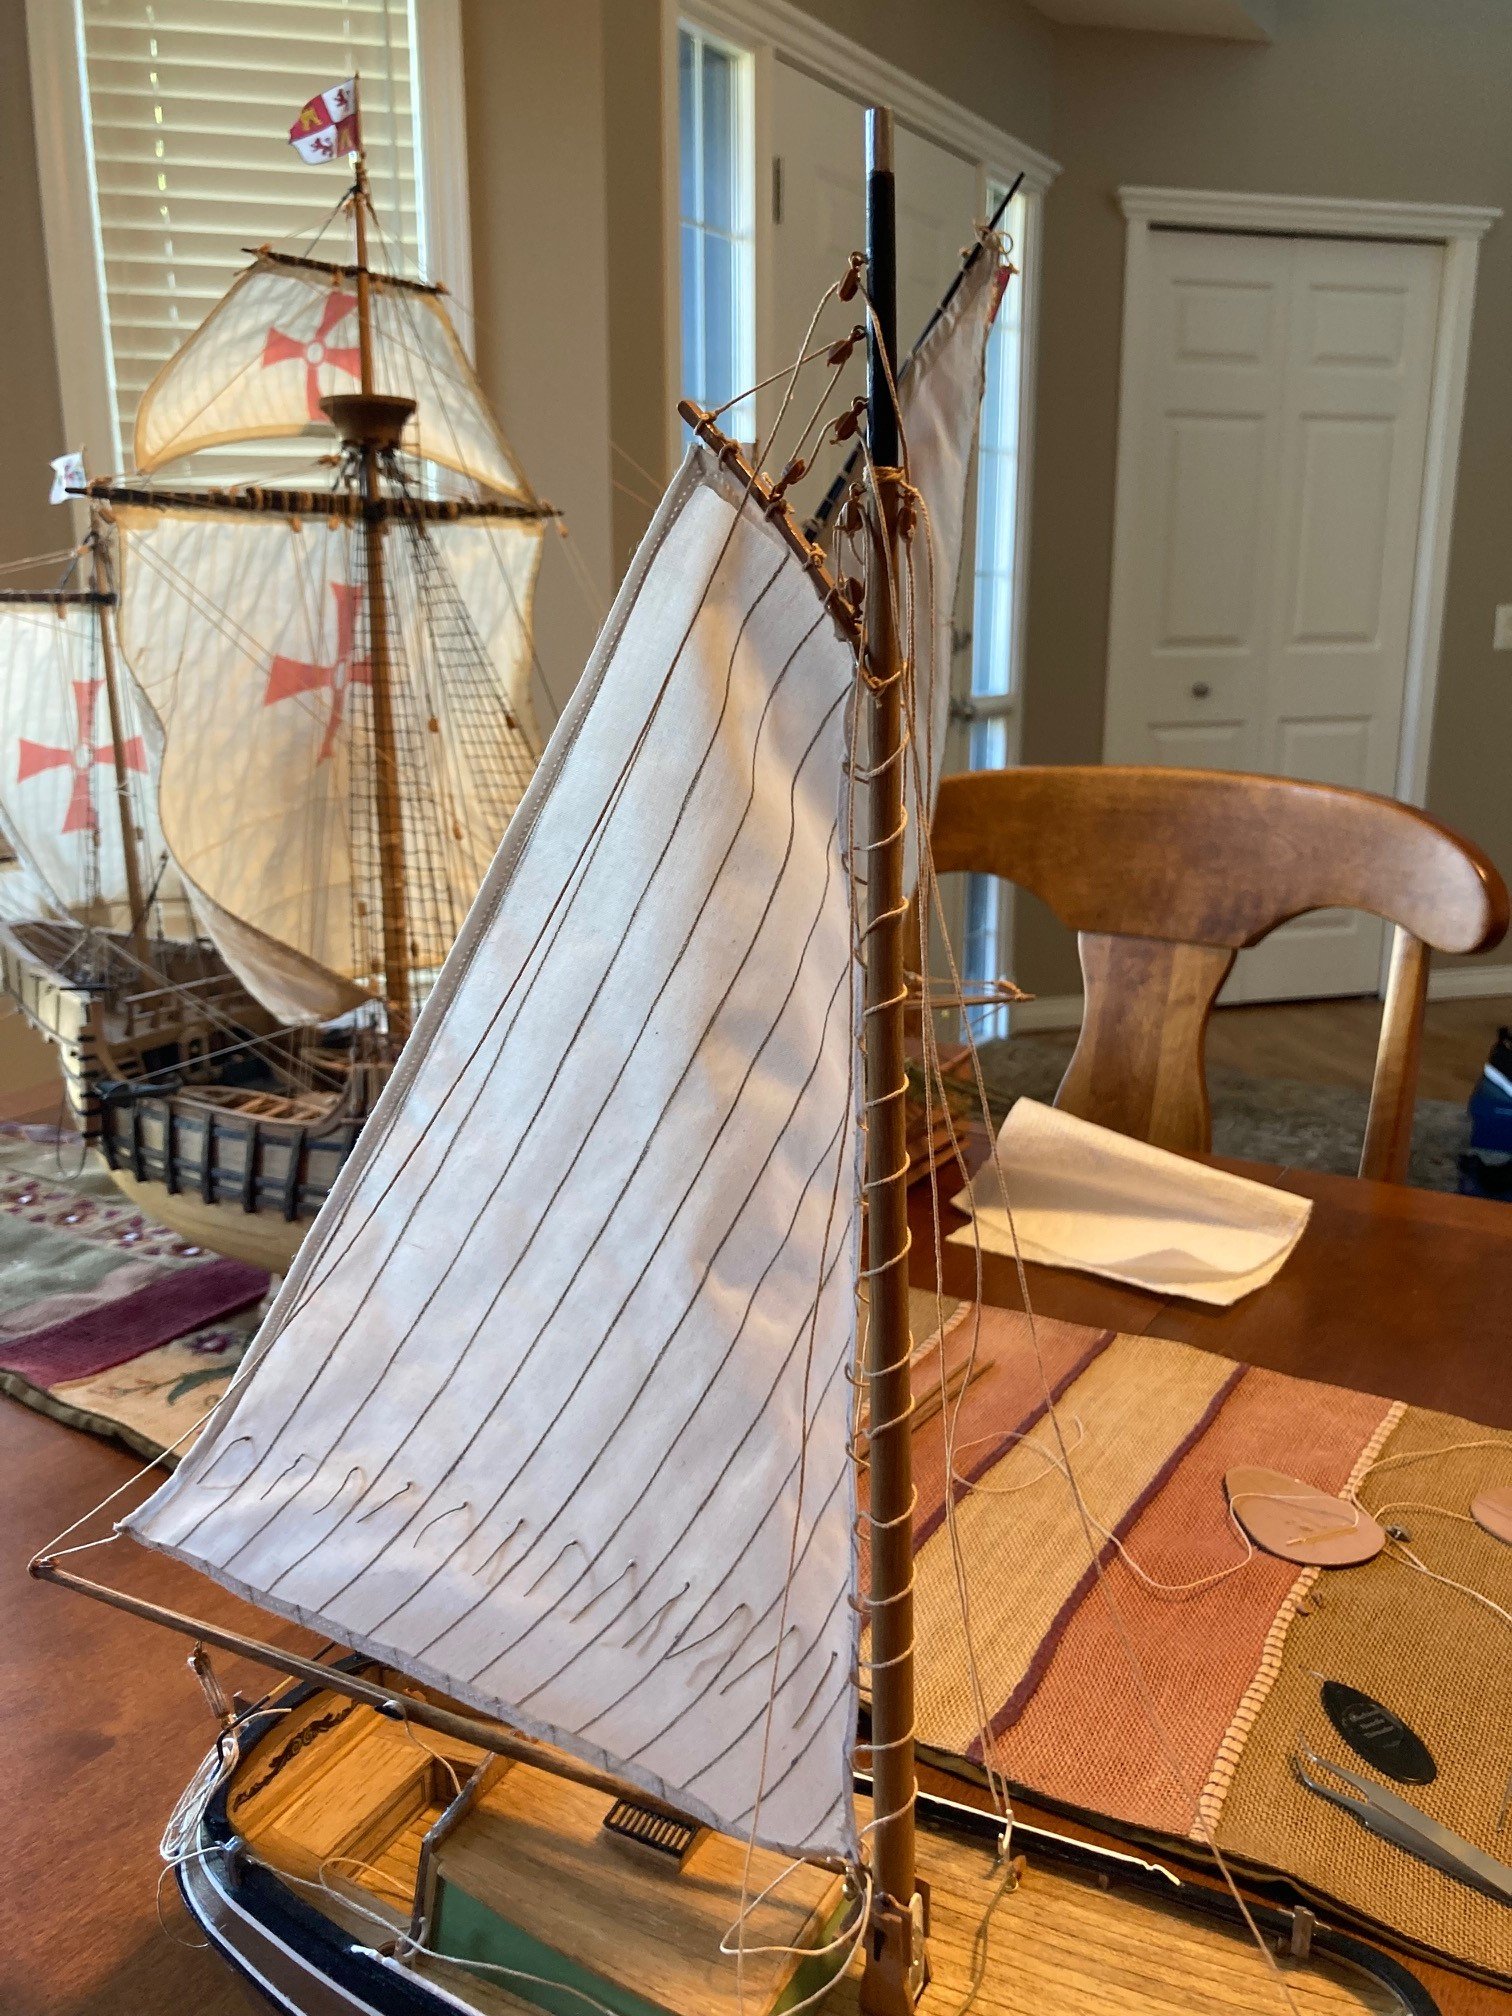
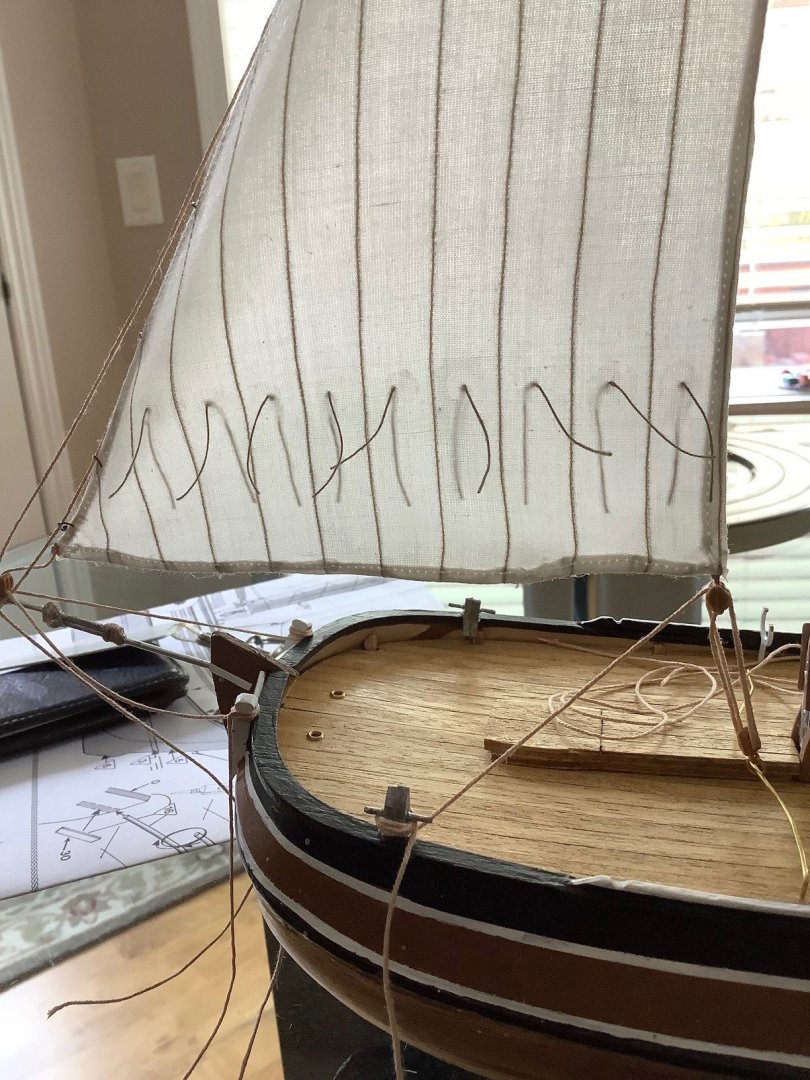
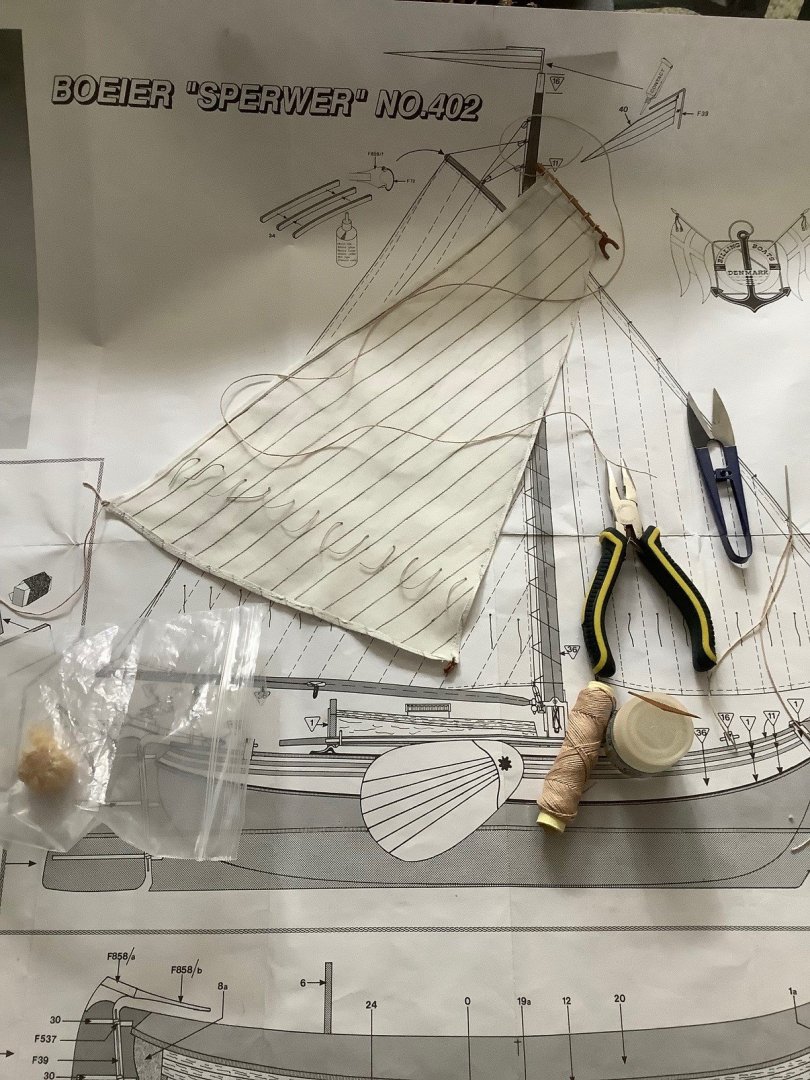
Started adding details to the sails prior to affixing them on the masts... Hopefully I can set the mast tonight Absolutely no rigging instructions in this kit... and a couple of lines I am not able to trace their beginning and ending points but should be easy to figure out anyways.
- 32 replies
-
- 6
-
-
- Sperwer
- Billing Boats
- (and 1 more)
-
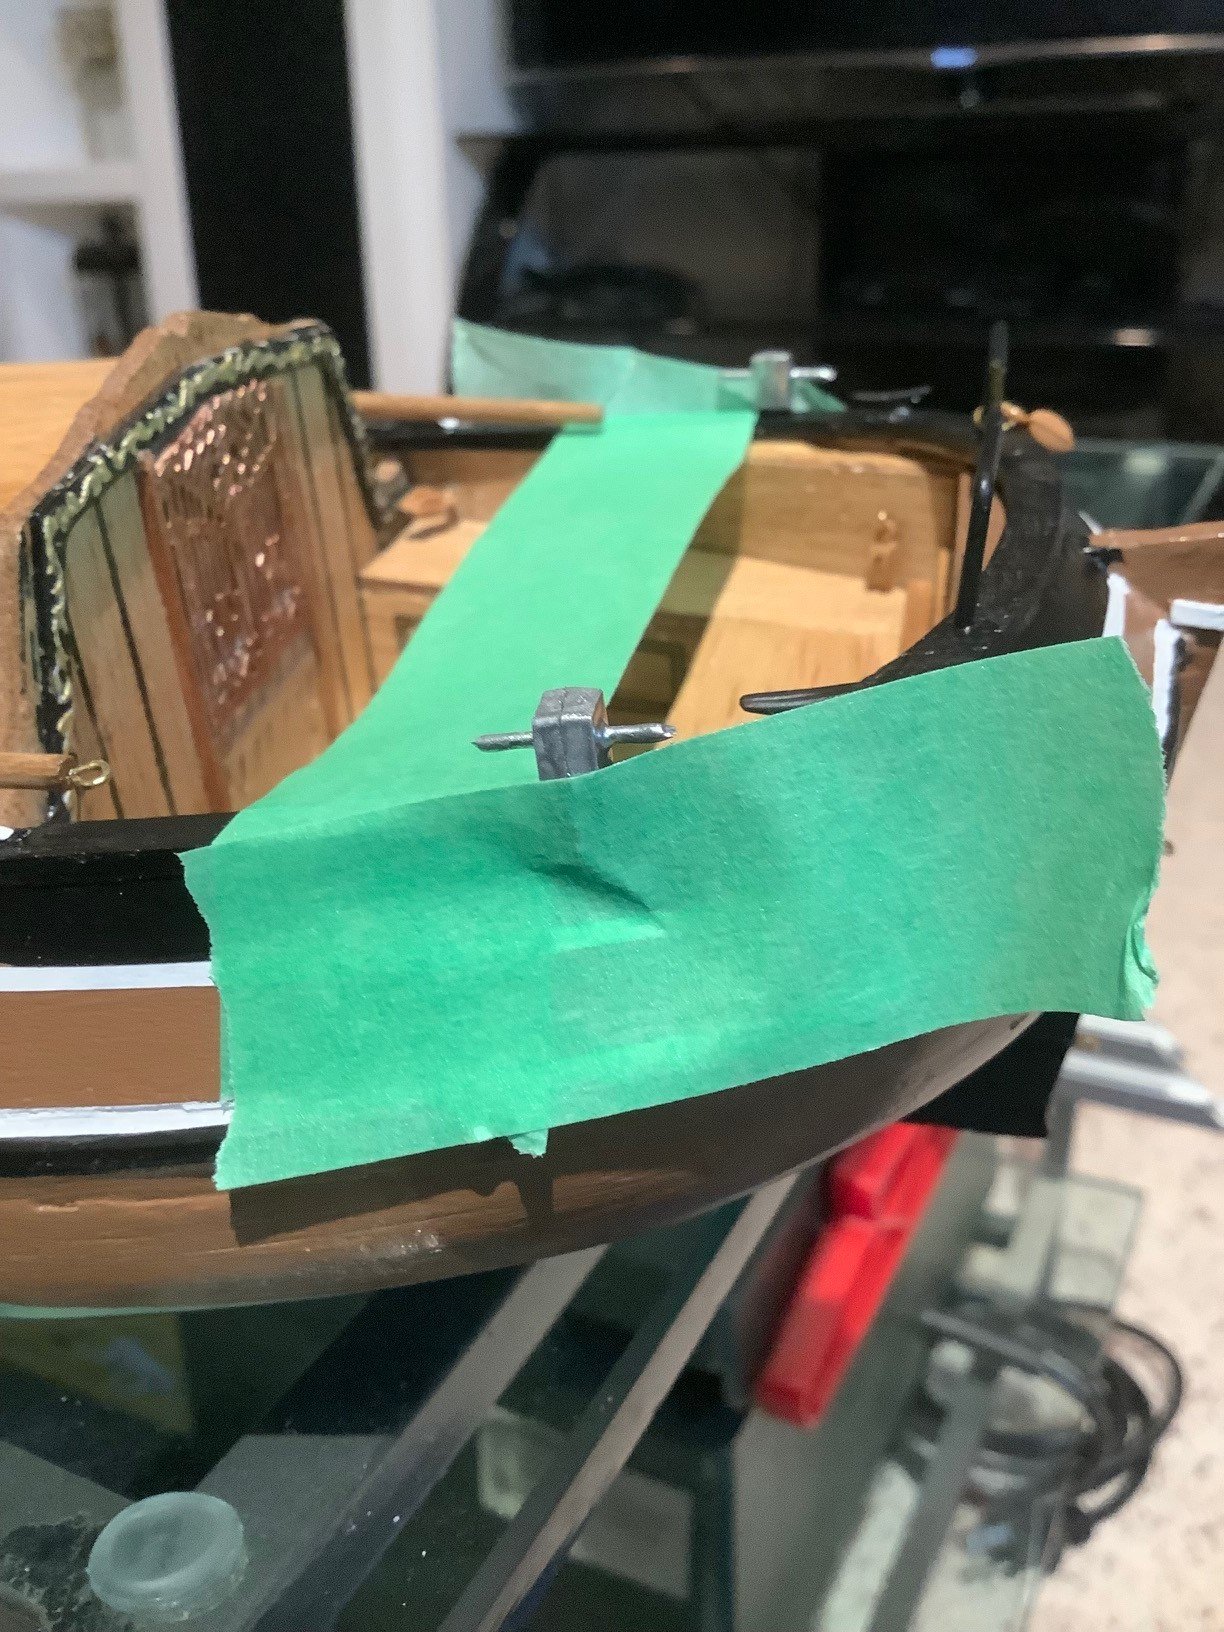
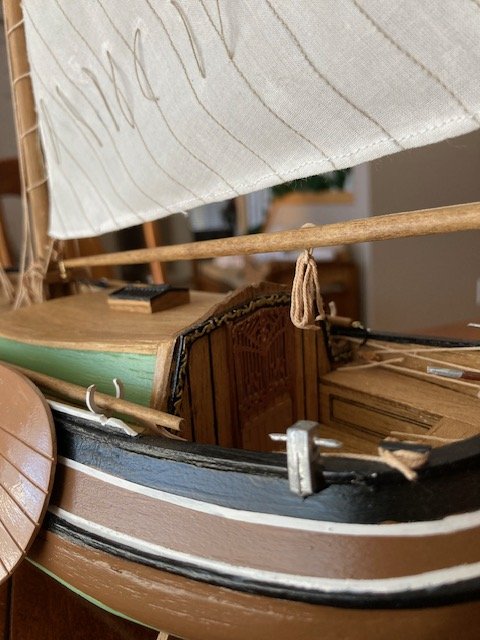
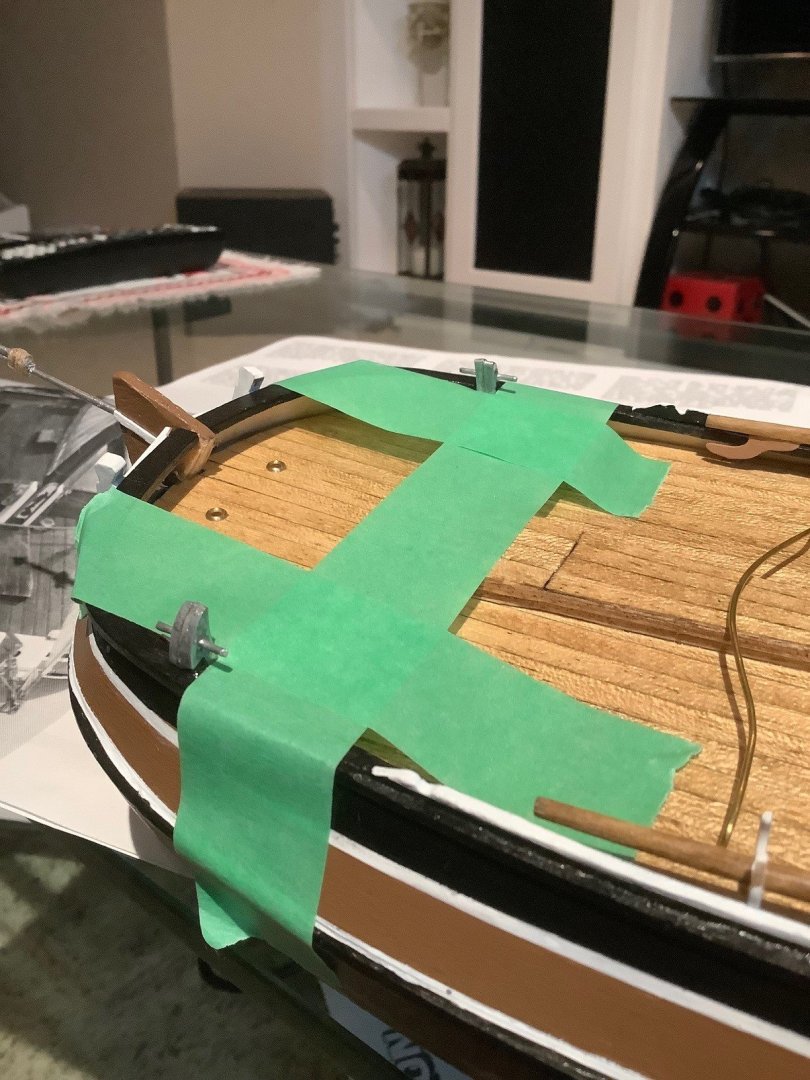
Also added more details to the deck. Secured the bollards with masking tape so they stayed upright while affixing them to the deck railing with a drop of epoxy. Even though it says 5 minute epoxy, it takes an hour plus to fully cure.

- 32 replies
-
- 8
-
-
- Sperwer
- Billing Boats
- (and 1 more)
-
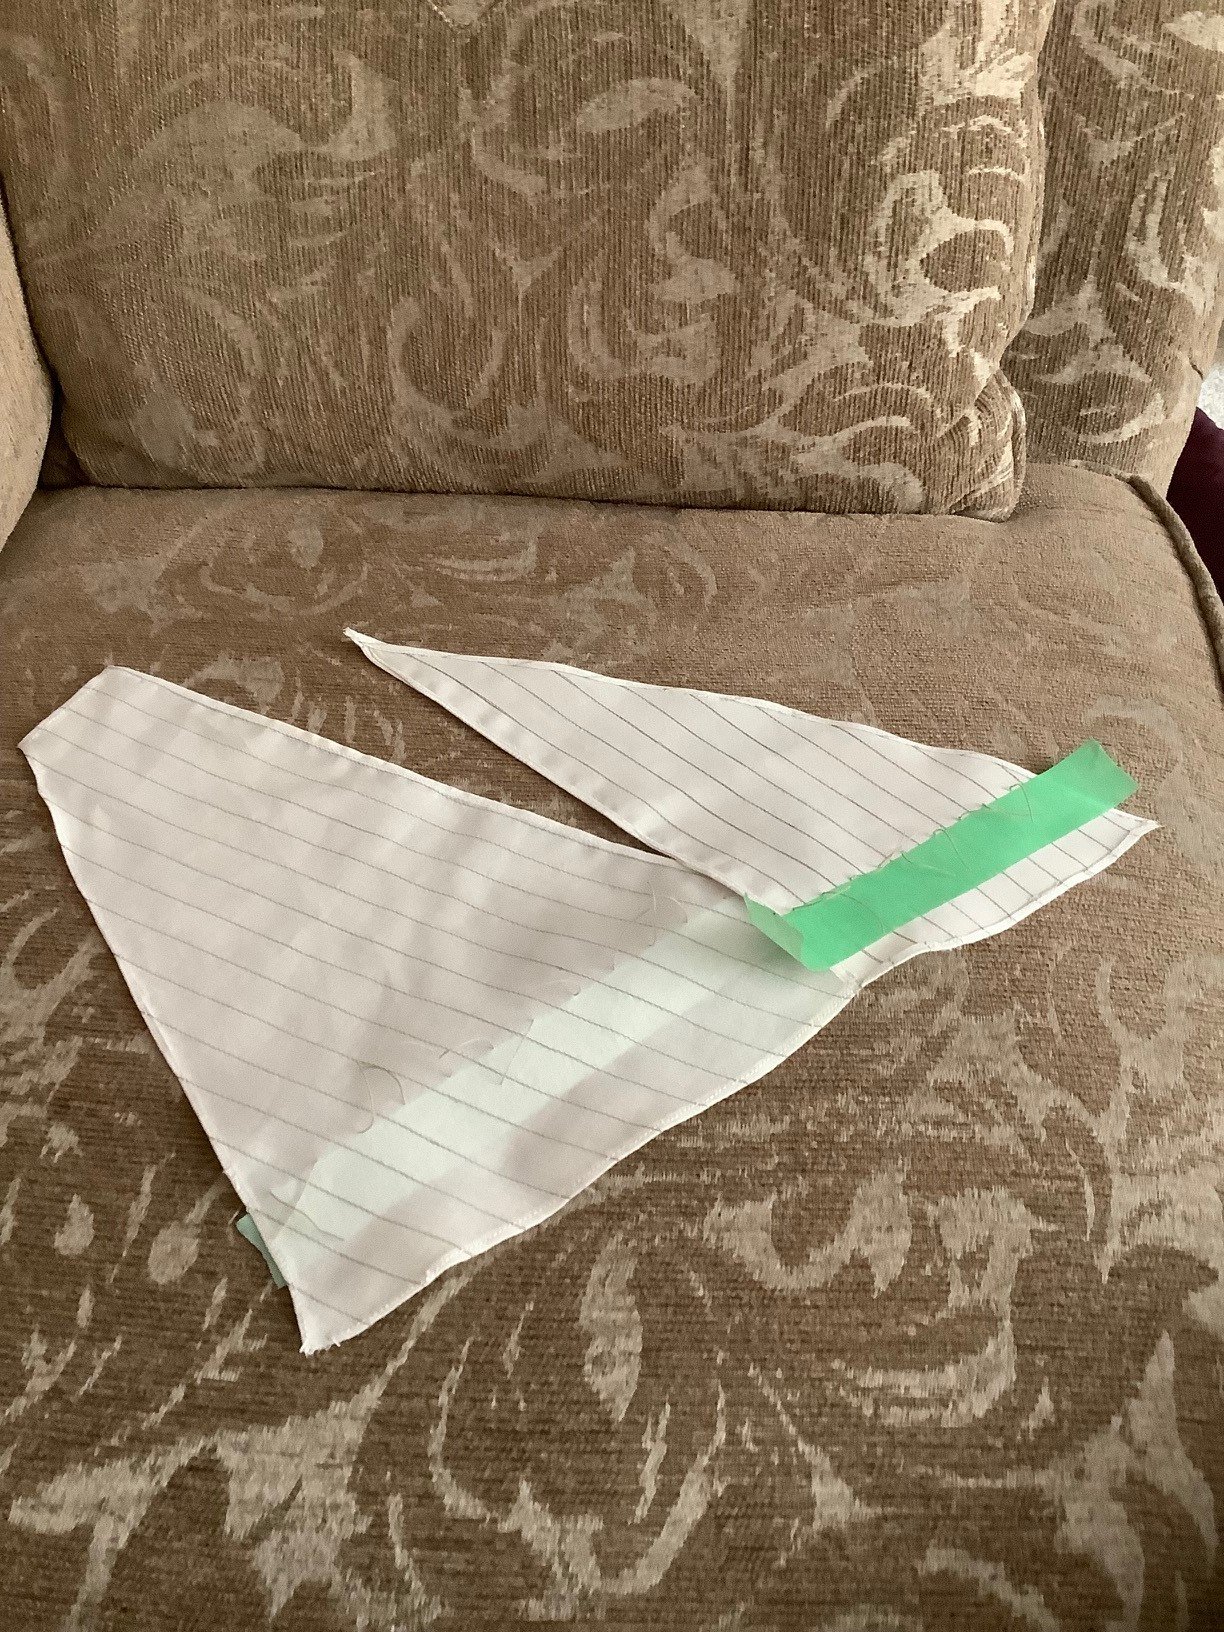
A little more work done on the sails... I secured the reef points with a spot of Tamiya lacquer and it has stained the sail where the drop dispersed... I thought I had done this once before without ill effects. I will be brushing on a layer of GAC400 to stiffen up the sails in order to simulate a wind blown effect and I hope the blemishes will disappear.


- 32 replies
-
- 4
-
-
- Sperwer
- Billing Boats
- (and 1 more)