


Jack12477
-
Posts
5,674 -
Joined
-
Last visited
Content Type
Profiles
Forums
Gallery
Events
Everything posted by Jack12477
-
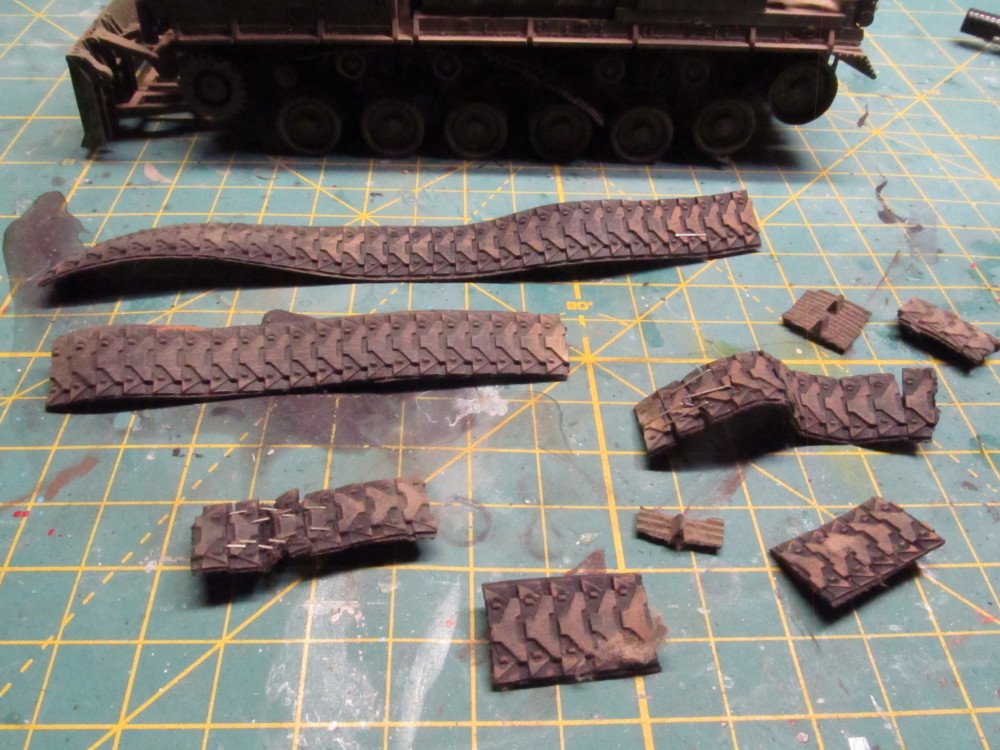
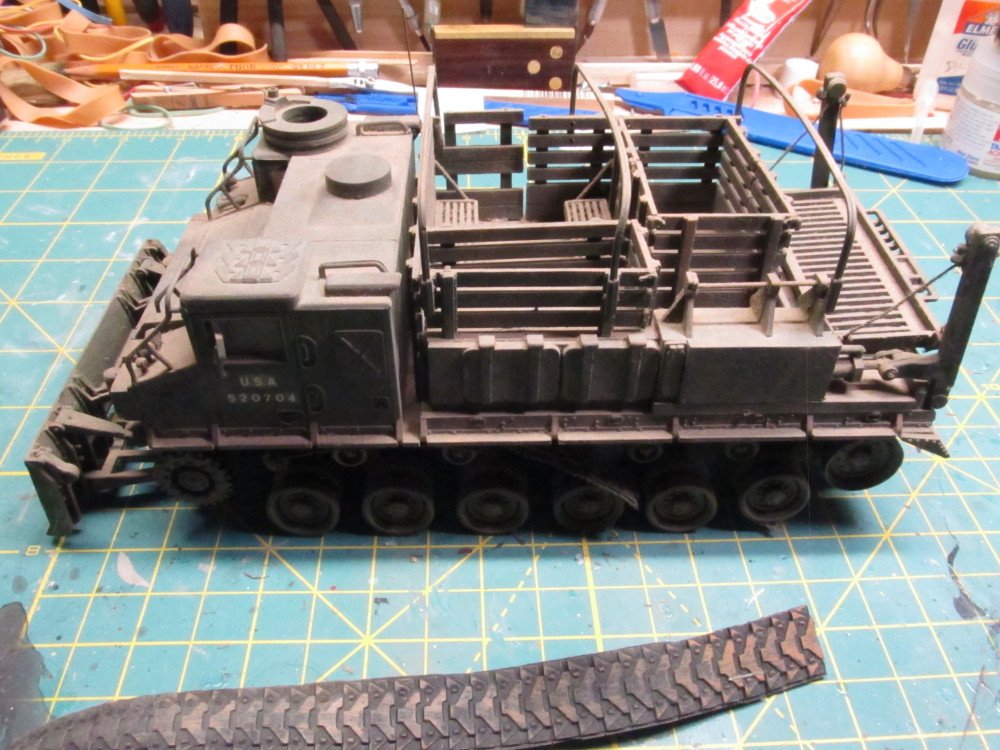
 My 20 year old or so Hasegawa (????) tracked vehicle - minus some parts due to age and storage - but it is well weathered in dust
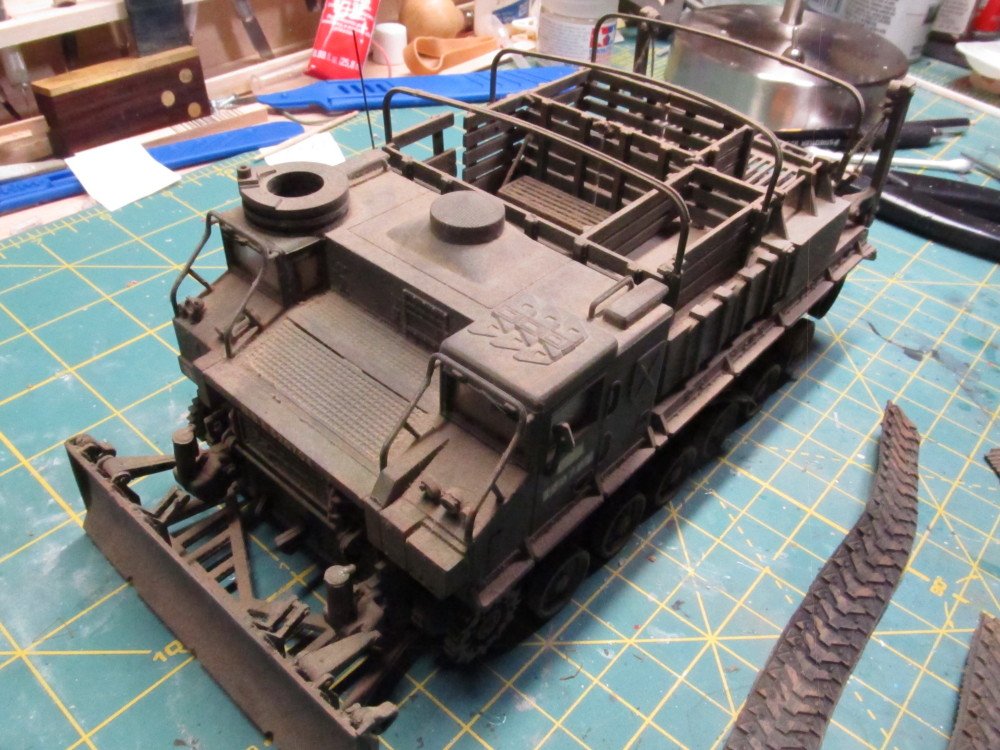
-
I think I have that same model. Hasegawa I think made the kit. The only complaint I have with it is that after 15-20 years the rubber tank treads dry rotted and fell off. Tried to reassemble with glue and staple but they kept rotting, so now it's treadless. Nice looking model by the way.
-
Since I am building these models for my own pleasure and not for an IPMS modeling contest, who cares ! 99.9999999 % of the people viewing them in my home would never know the difference nor would they care. And may I ask where your models are, I haven't seen any examples of yours on this site.
-
AMT Body Snatcher - 1:25 by Fright
Jack12477 replied to Fright's topic in Non-ship/categorised builds
That is a really cool looking model ! -
Thanks, Lou Thanks Patrick for the demo.
-
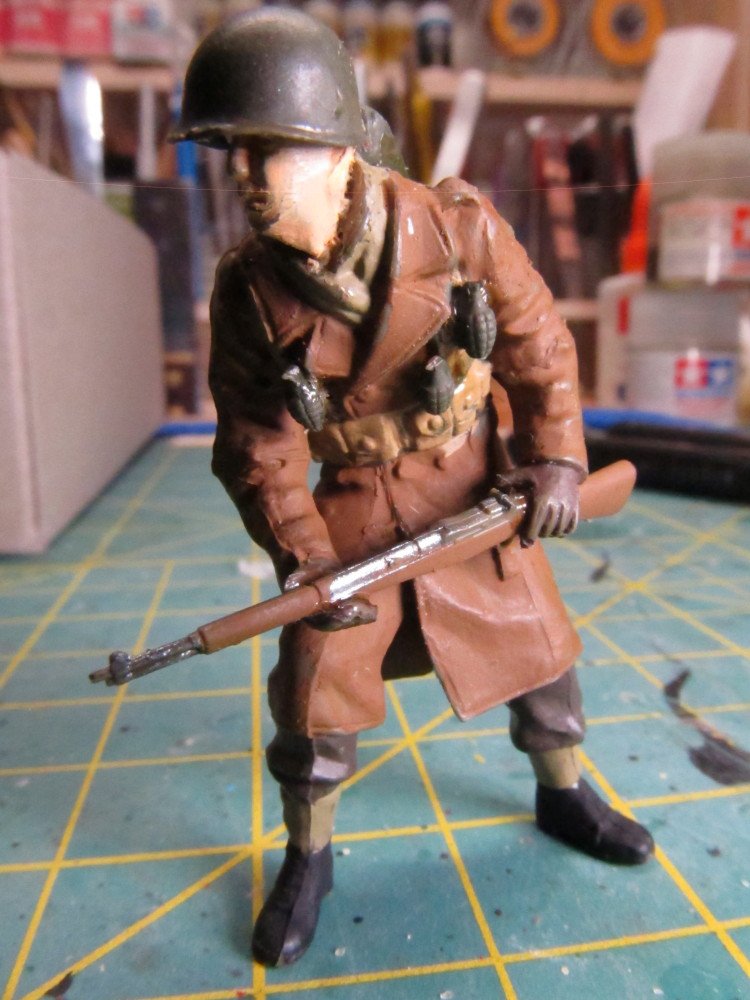
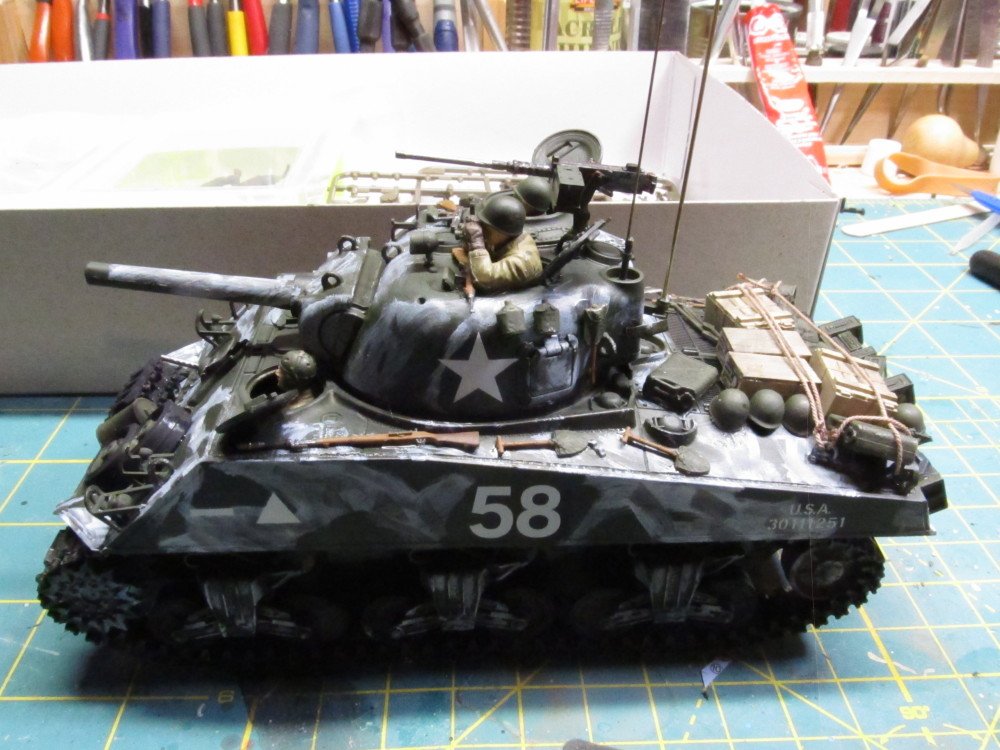
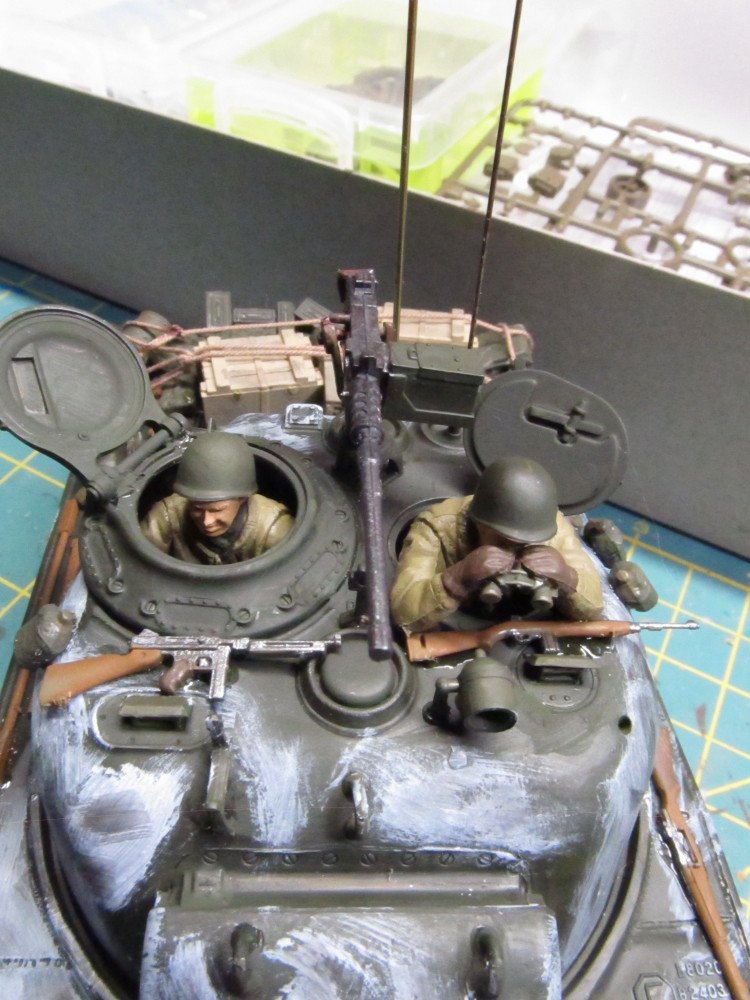
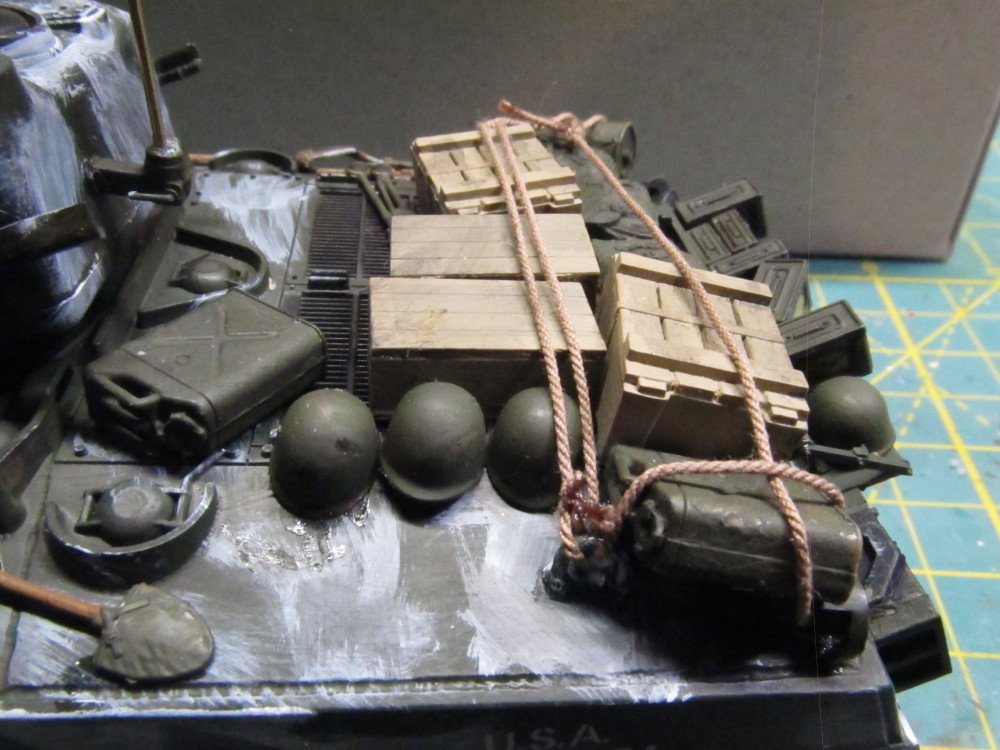
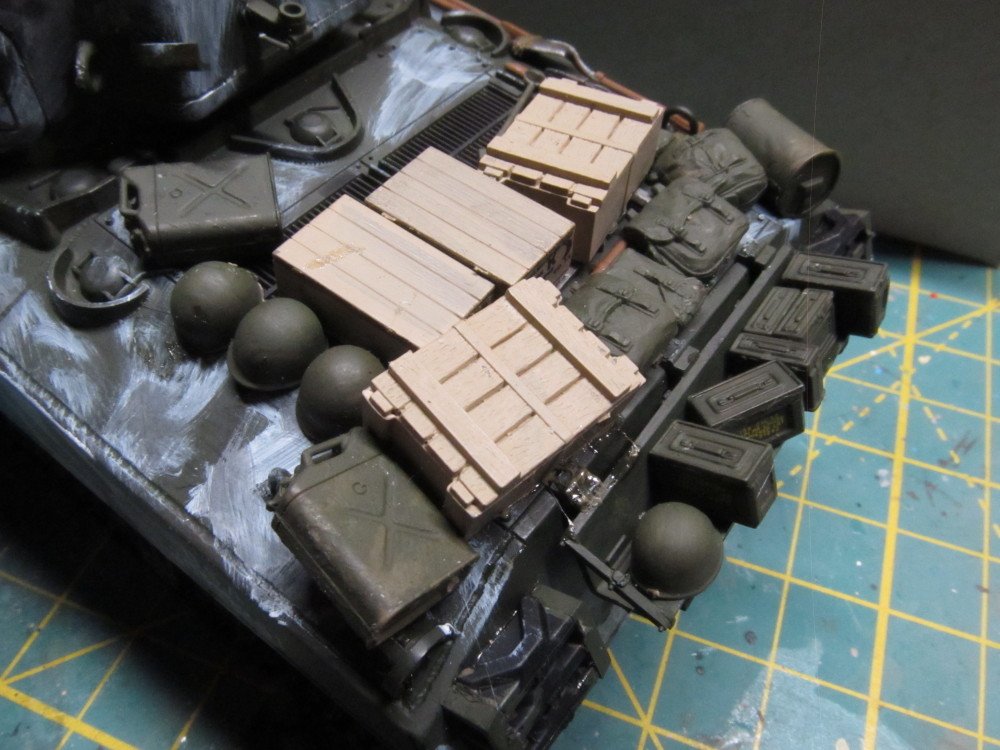
Okay, last update for todayy. Further updates will be a little slow since I have to obtain some supplies and construction the display. But I will respond to posts. I am finished fiddling with the tank. the 3 figures are finished (don't photograph too well close up) Gear lashed to deck using Chuck's Syren rope.

- 324 replies
-
- 13
-

-
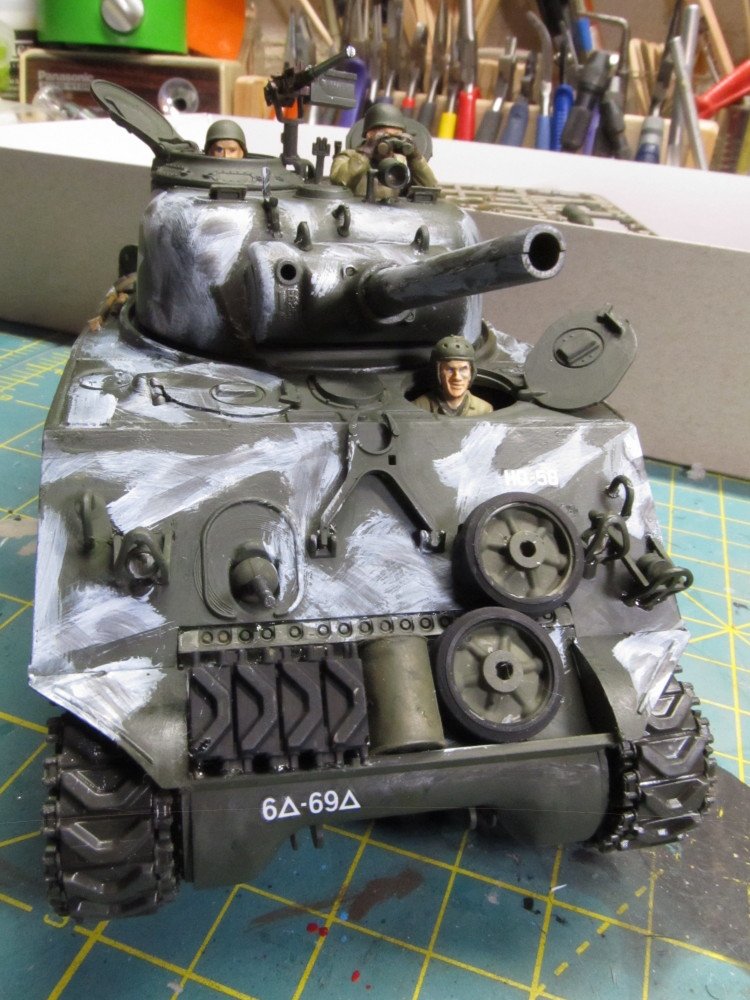
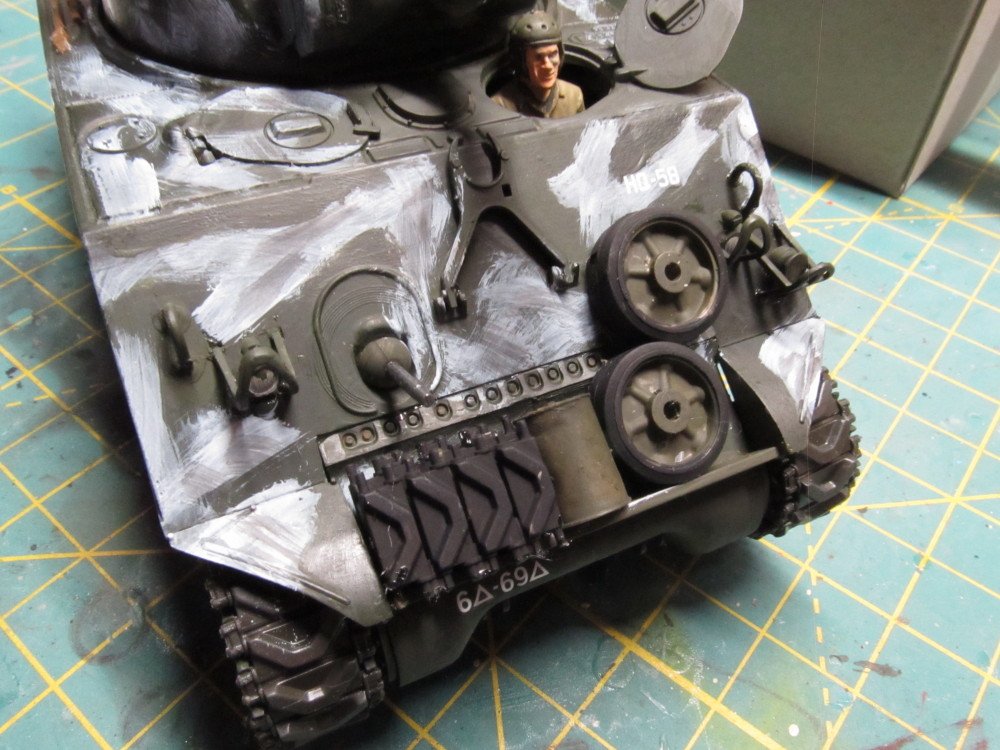
Well, woke up this morning and found snow on every roof, not on grass or roads, just roofs - garden sheds, houses, garages. This is spring, right !?!?! Finished up the three figures, added some camo to the track area, put a 2nd coat of cherry wood stain on the display base. Needs to dry 24 hrs then a coat or two of satin poly. Need to touch up the 50 cal as Ken and Patrick suggested. Also seal all the decals with flat varnish. I will post updated photos later today
-
Patrick, thanks for the tip. And thanks for the link to your model. Don't know how I missed your build. But it's a great looking model.
-
1/72 ADGZ M35 funkwagen armoured car. FINISHED
Jack12477 replied to Baker's topic in Non-ship/categorised builds
WOW ! Nice model, Patrick. I also like your tagging system. After 20 plus years I've forgotten what model is which in my collection since I never wrote anything down. -
I have a gunmetal gray color, was thinking of using that on the metal parts, I might try the black tho. Thanks Gotta find some of Chuck's rope and use it to tie down the extra gear.
-
That's the color called out in the instructions, but I don't like it. Too reddish. May change it. What are your thoughts on it ?
-
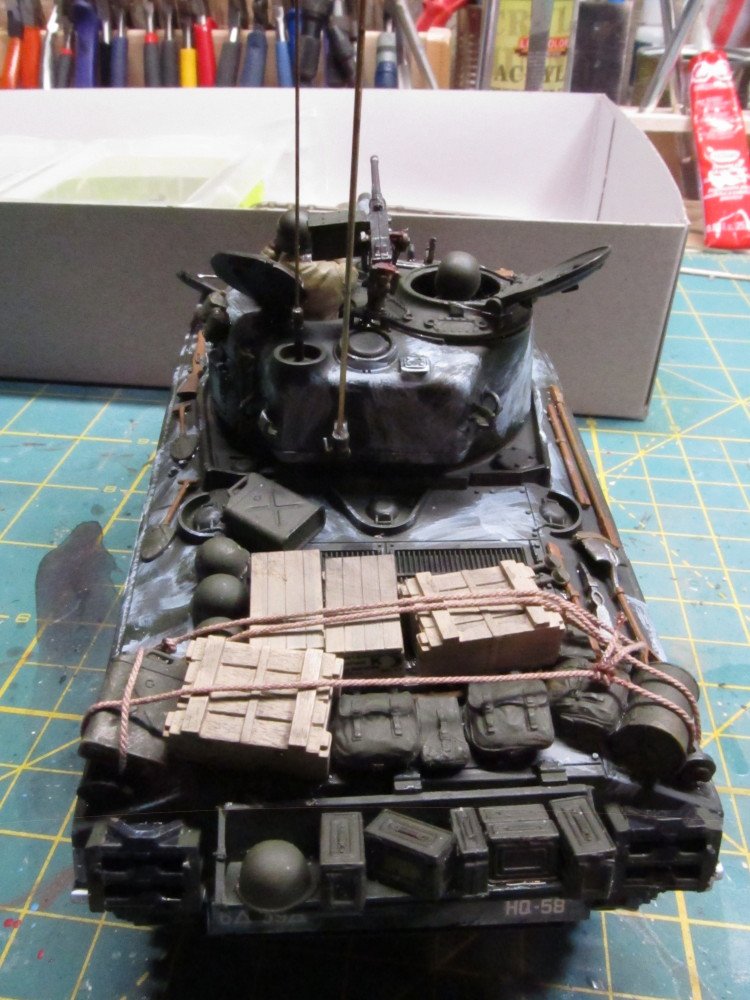
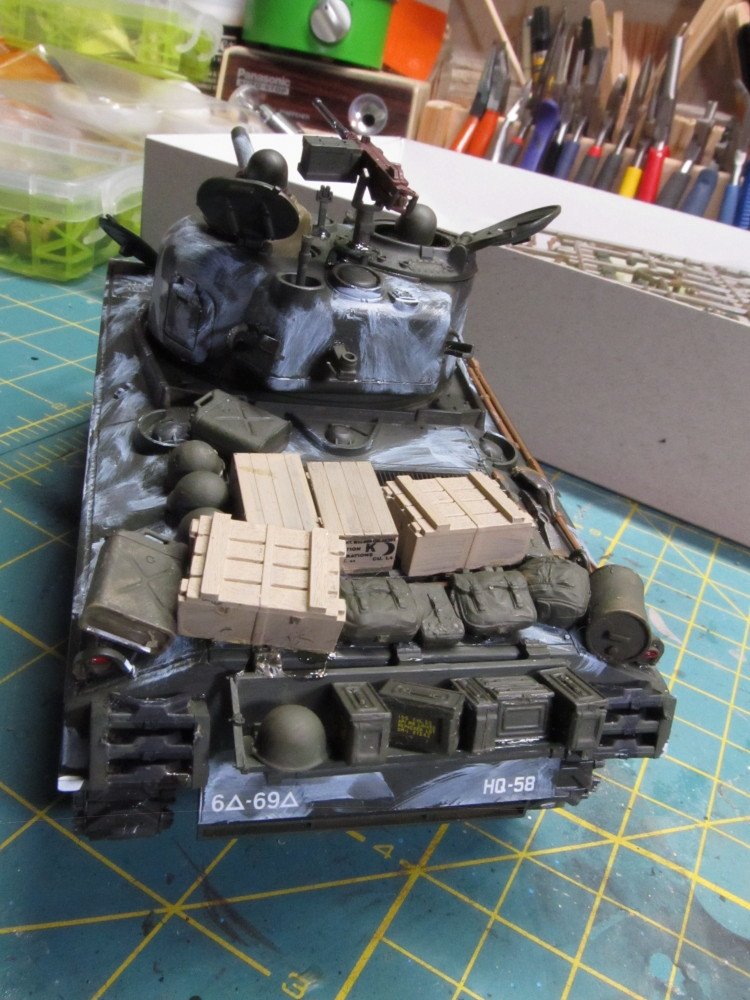
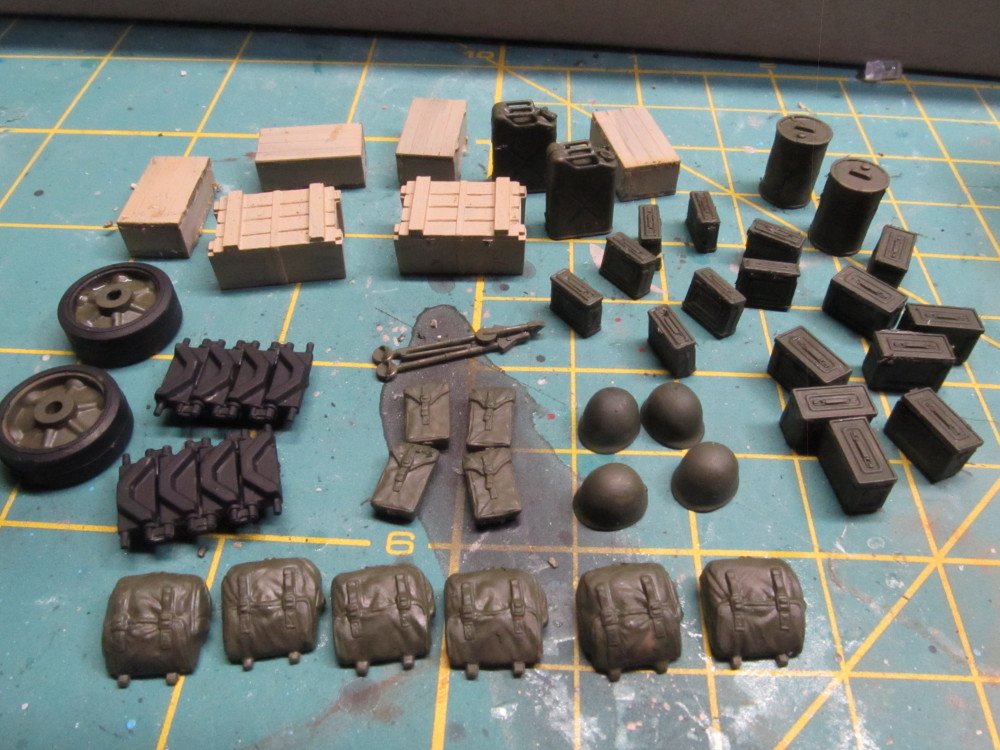
Ok, Lou, you want to throw a couple boat anchors over the side so we can slow down a little Decals in place - just have to seal them once they completely dry and set. Attached a fraction of the extra goodies. See all those ammo cans on the rear deck - well there is at least 10 more like them plus two more of the smaller K ration boxes, plus more ruck sacks. Guess they might have to go in the stash box..... Anyway, it is not finished completely - the track area needs some camo treatment and is too pristine for a combat tank. So more work there. I still have the 3 infantrymen shown on the box art to finish plus decide what to do with all the weaponry on the weapons sprue - grenades, etc. The we take on the display question - how to display? I know ! I know Diorama, please ! Patience grasshoppers. Patience.
- 324 replies
-
- 12
-
-
It's 44 F at 8:30 PM here right now. High was 55 F.
-
Actually Edward I had started glueing small sub-assemblies together Saturday night before ASAT complained abot "40 posts and nothing glued". I actually some sub-assemblies glued up just not posted. I probably will have the tank and crew finished by tomorrow. But any diorama is going to take a bit longer. Thanks! Nah ! Just have nothing else to do with my time right now! Still to cold here at night to plant any veggies in the raised bed gardens, so might as well build tanks.
-
Yeah, I am not finished with it yet. More tweaking to do on it
-
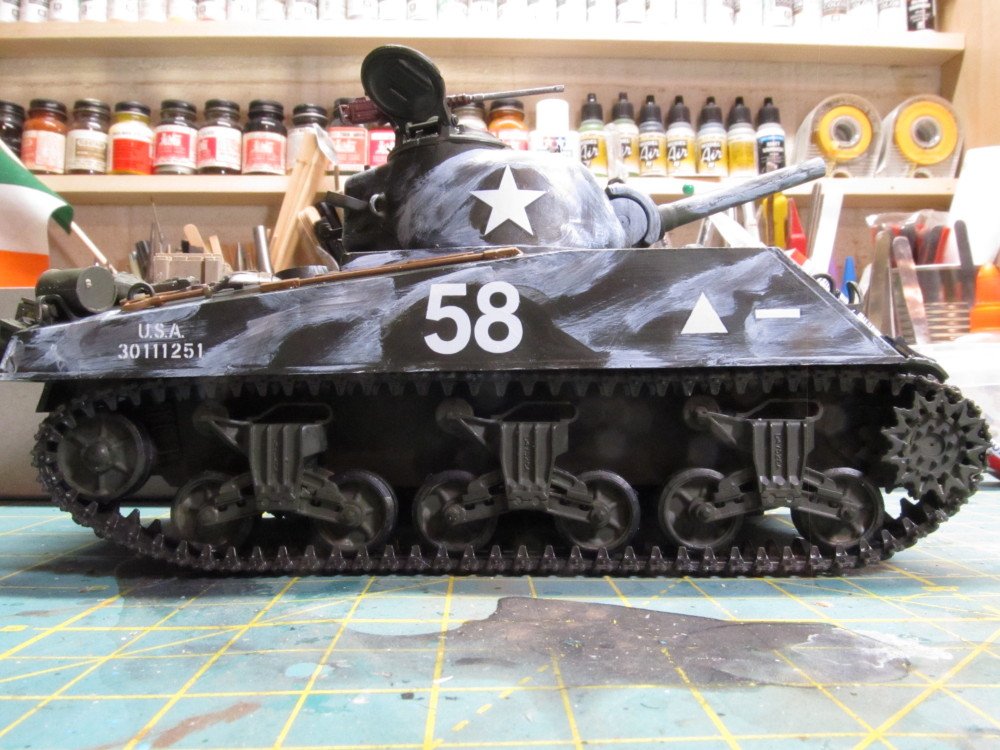
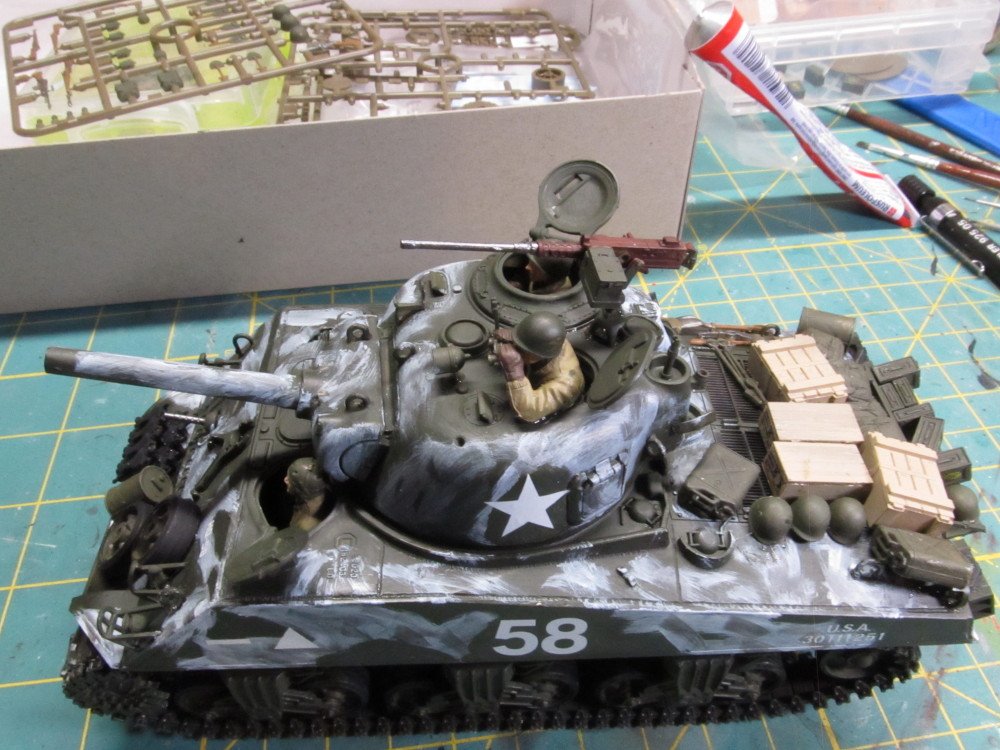
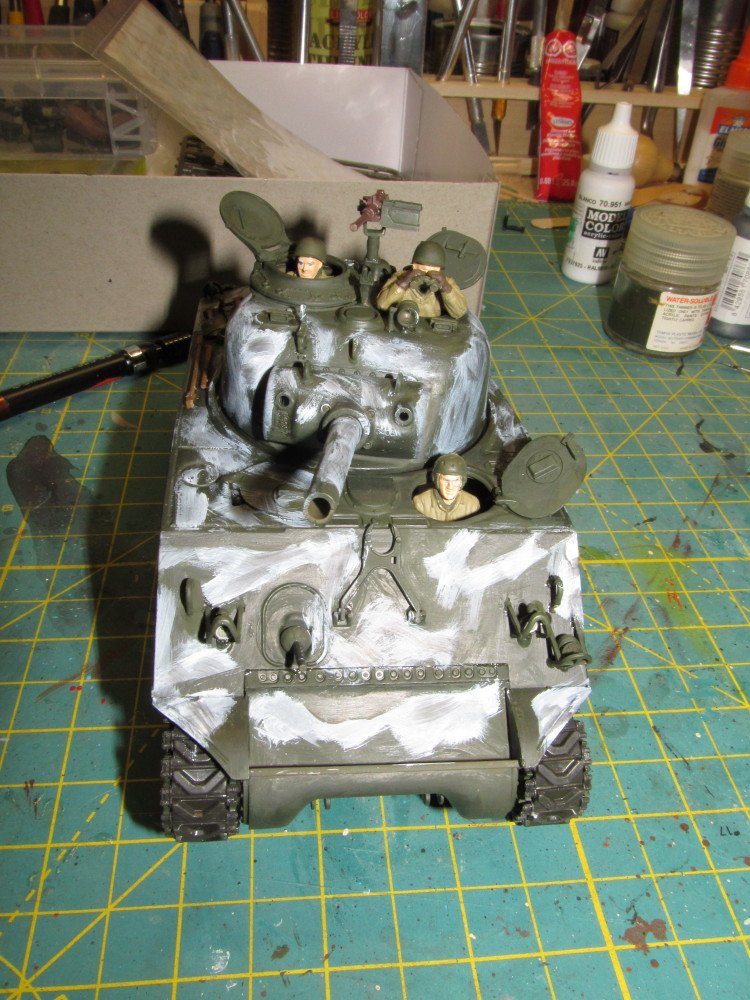
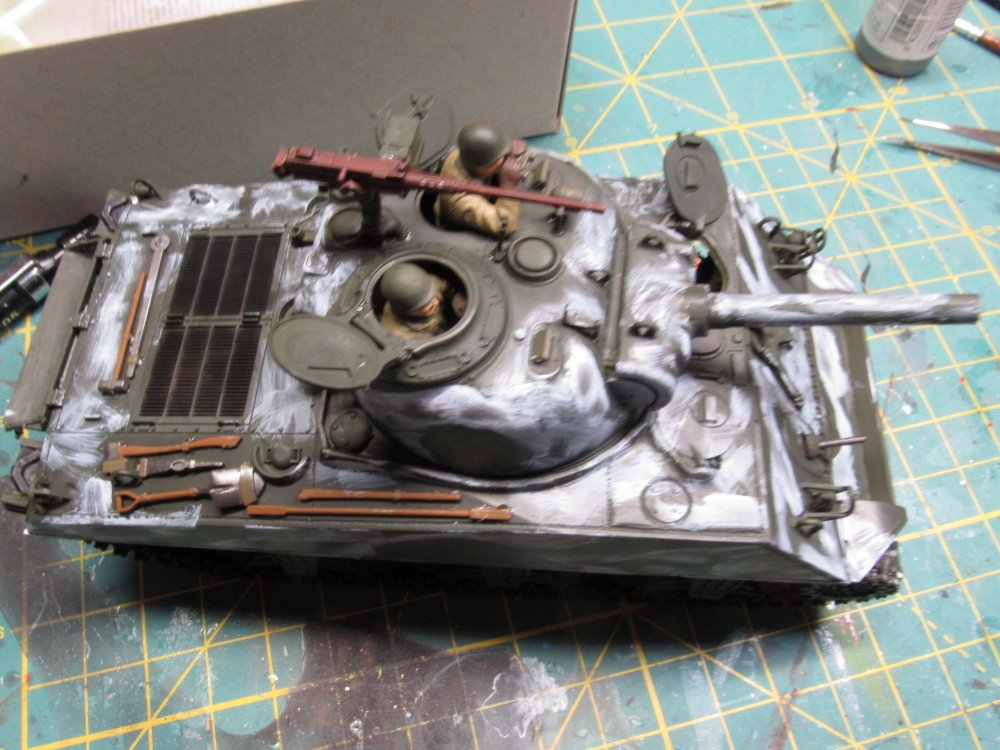
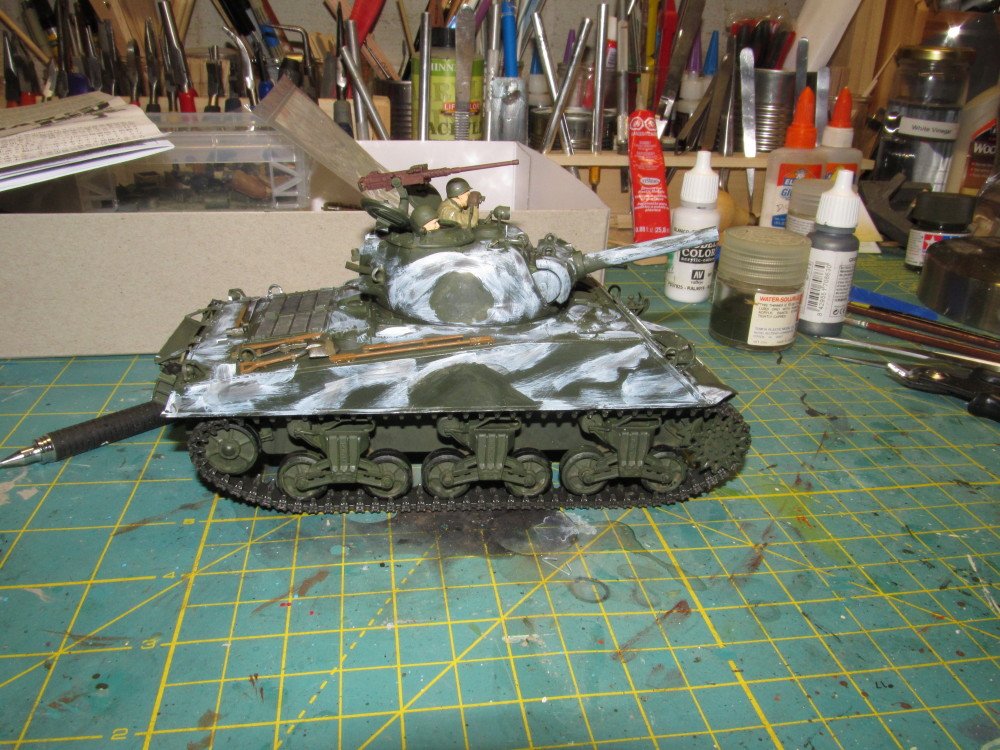
A couple of GIs grabbed a couple of white wash brushes and couple of buckets of white paint and slapped a little camo on the tank. Didn't want it to look too professionally done. Next up is the decals, load up the accessories, and figure out how to display it.
- 324 replies
-
- 11
-
-
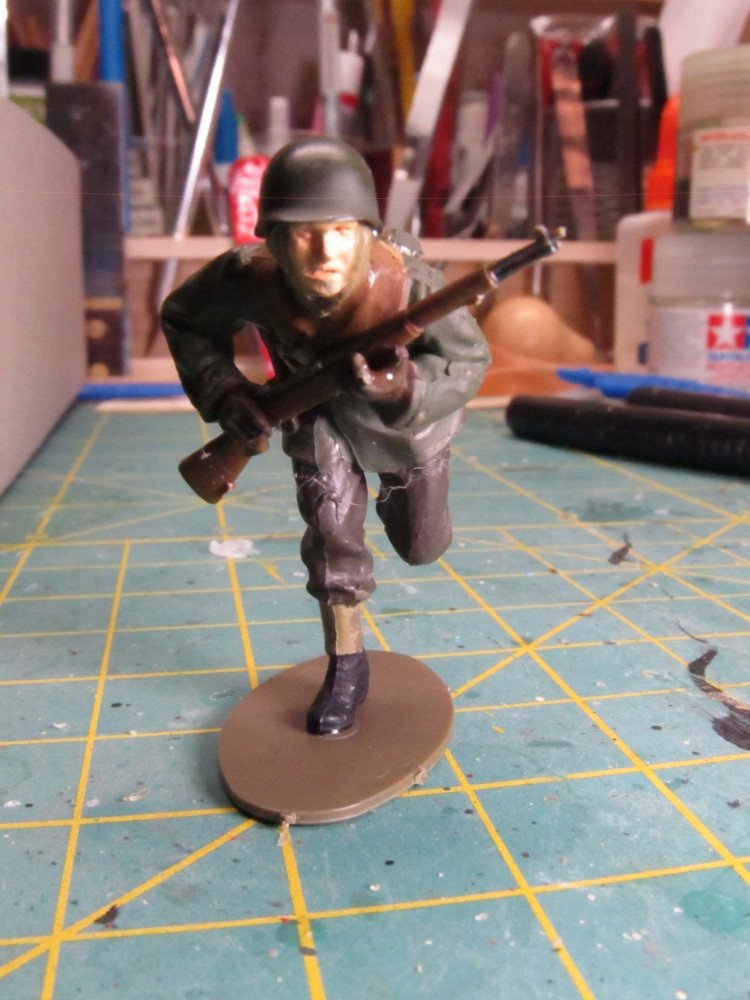
Oh I have plenty of soldiers in the stash box, extra arms, legs, bodies, etc. Plus Tamiya makes some nice figure sets. Thanks for the compliment
-
AH64 A Helicopter by kpnuts - Academy - 1/48 - PLASTIC
Jack12477 replied to kpnuts's topic in Non-ship/categorised builds
Lookin good so far. -
I have done it in past, but not very good at it. I may do it with this model. We'll see !
-
Nah ! It's easy, OC. Did all of those in little over an hour, including painting. The way Tamiya makes these, they go together easily. And no flash to remove.
-
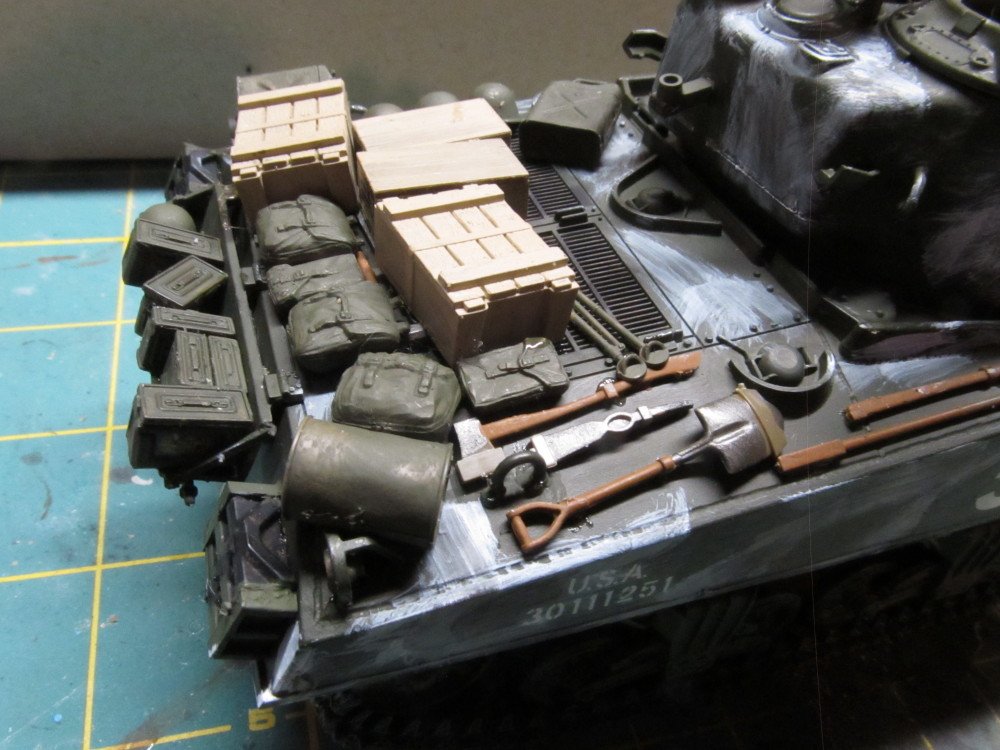
Mark is this enough extra goodies to add to the tank ? These all came on sprues with the tank. I have additional Jerry cans in my stash if needed. Probably ammo cans too. There's 2 size of ammo cans here 8 of each, 2 oil drums, 2 crates, 4 boxes, extra helmets, backpacks,, ammo packs.
- 324 replies
-
- 10
-
-
LOTS of spare parts 😁 Stay tuned Mark ! 😁 there is enough extras to overload a tank
-
Thank,, Craig, interesting video.
-
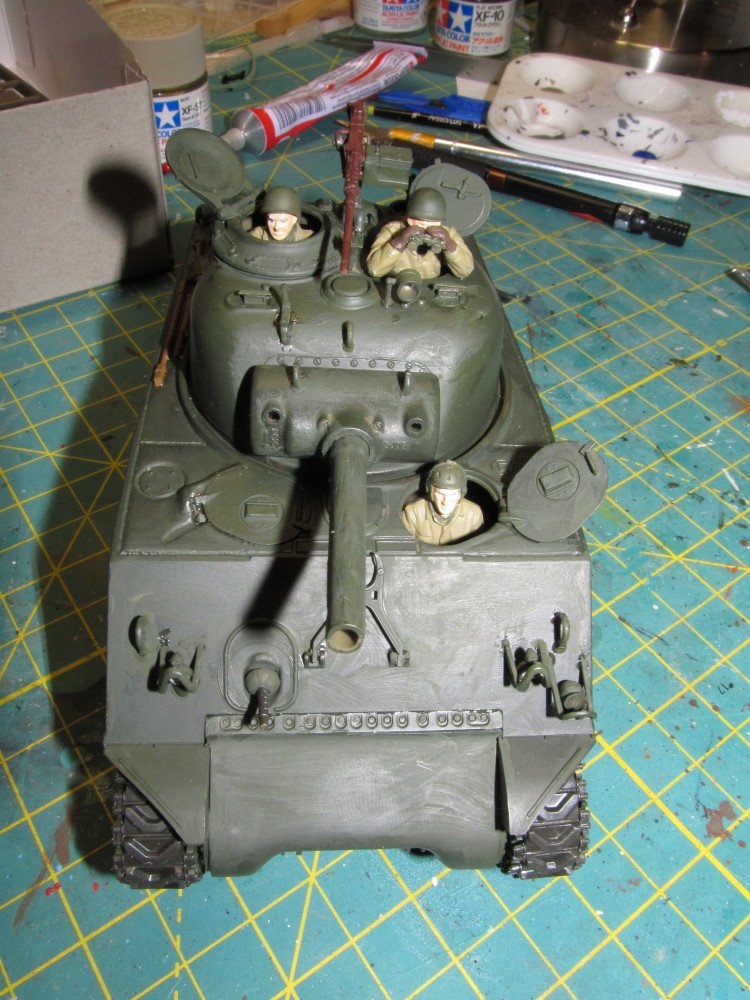
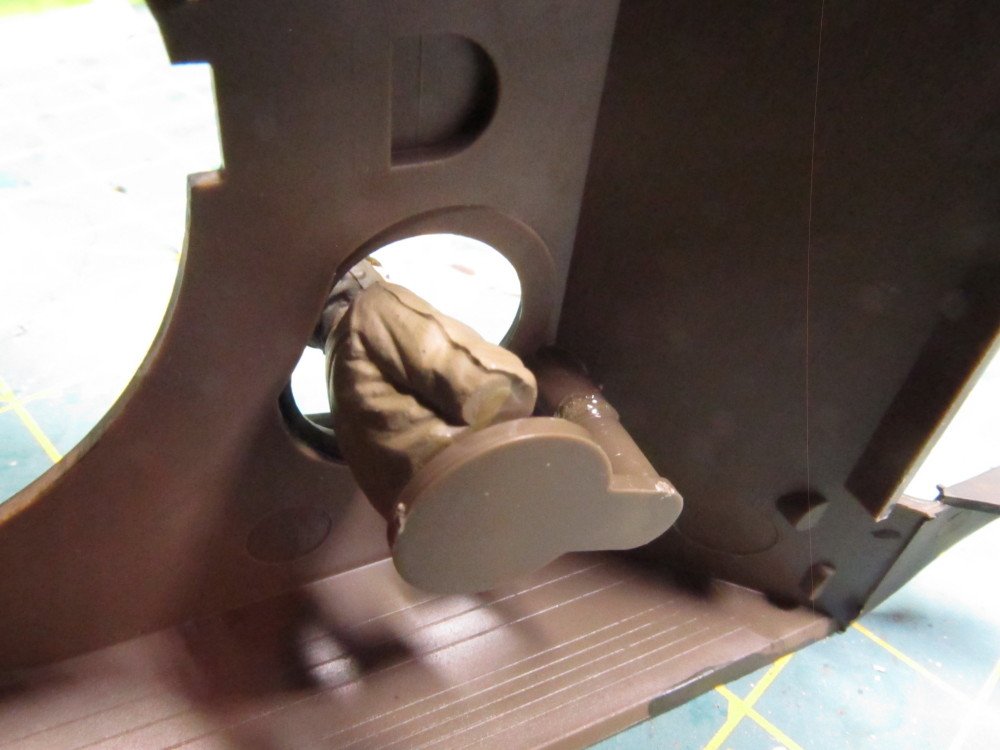
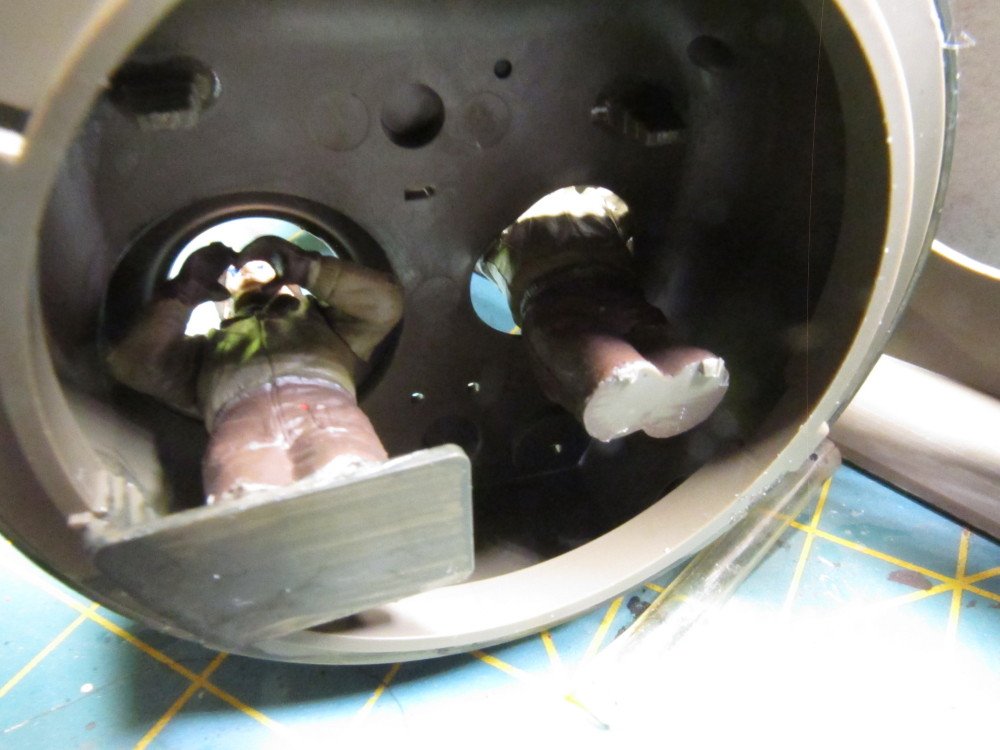
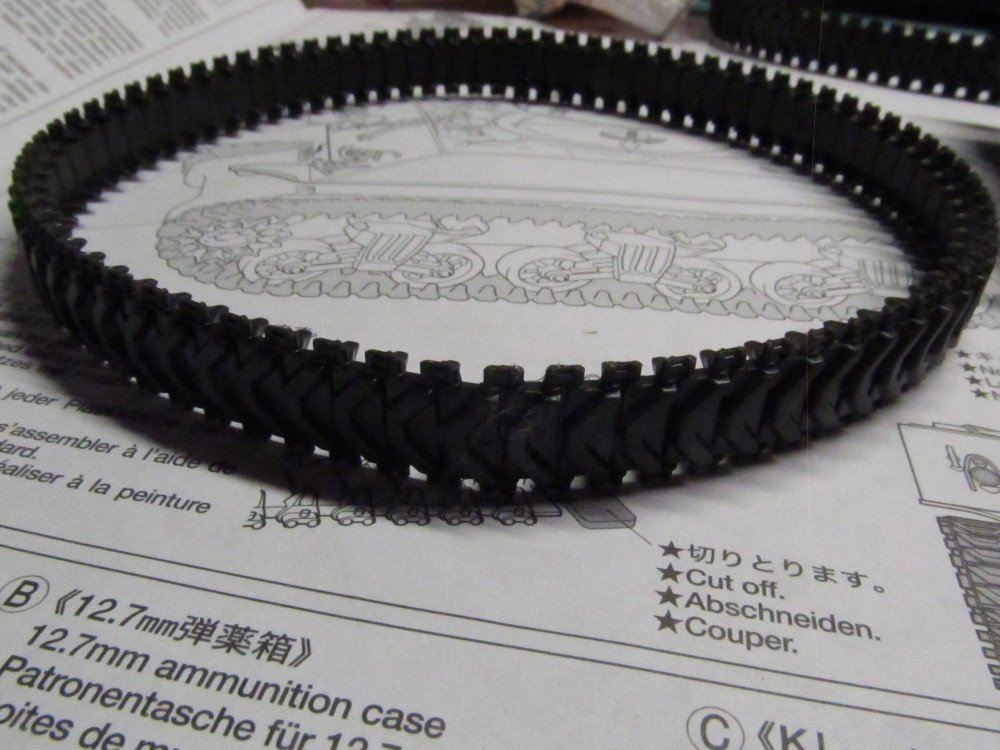
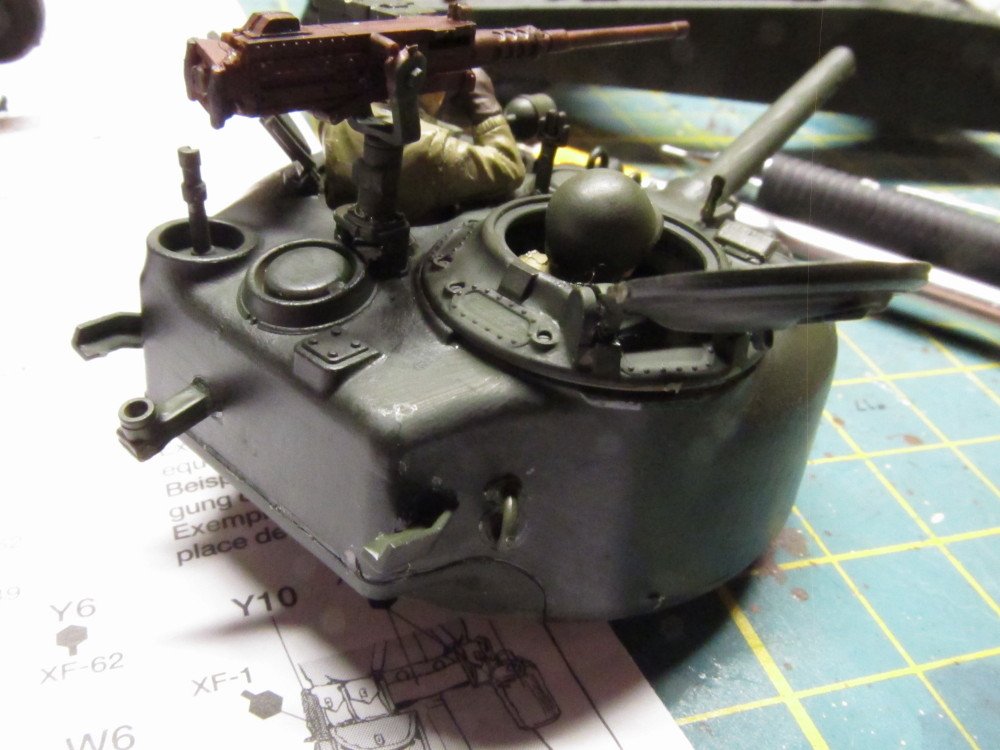
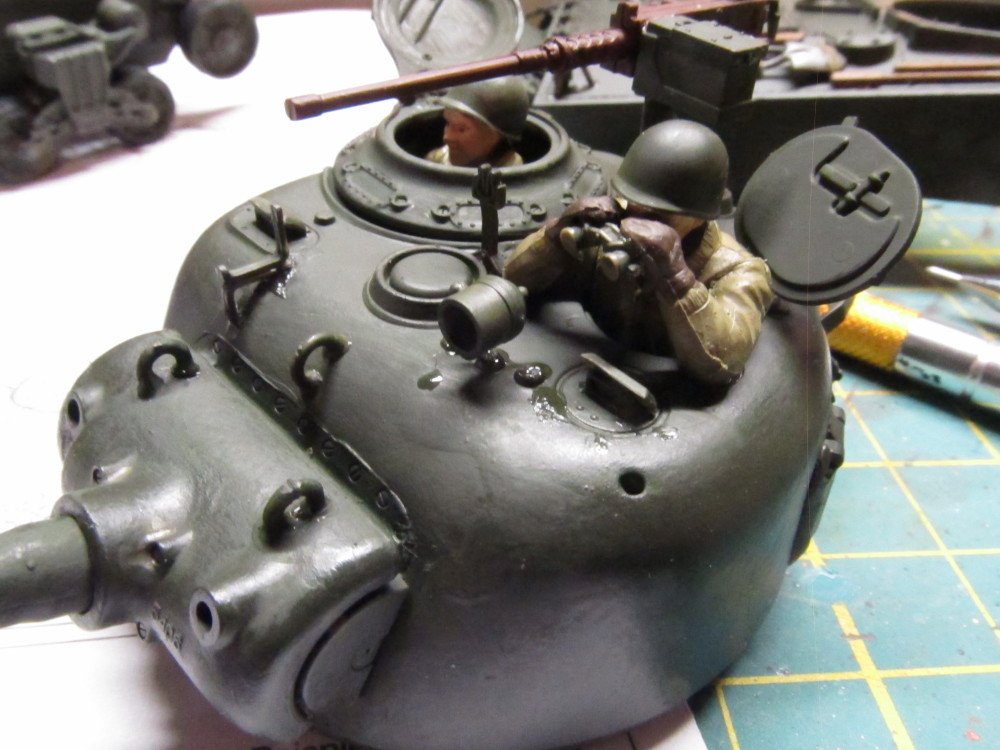
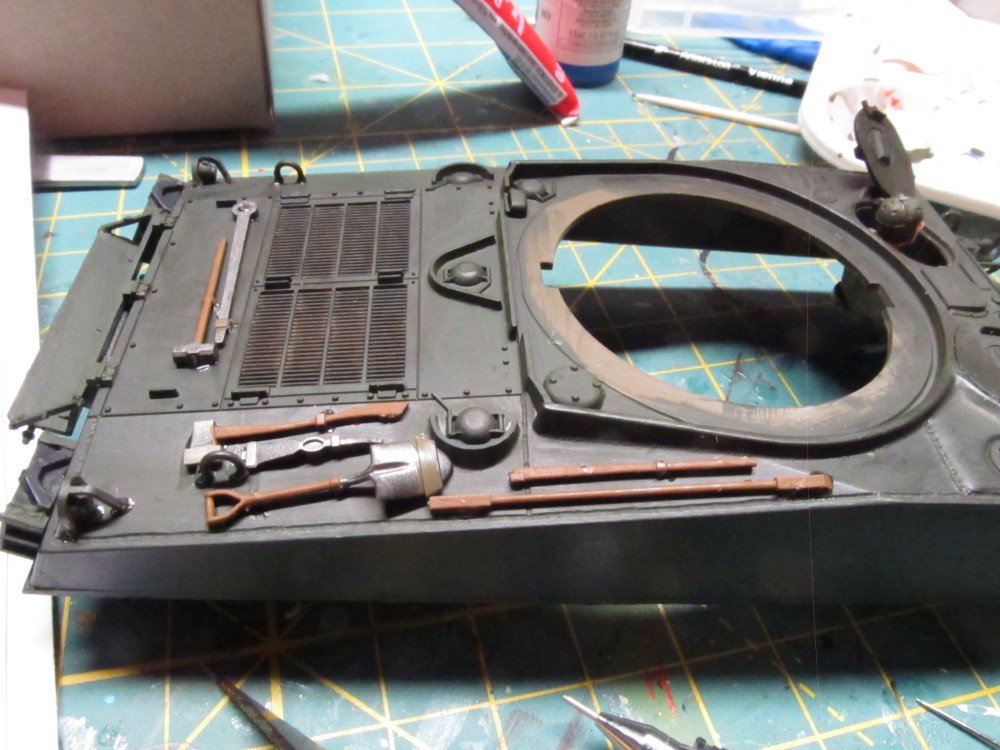
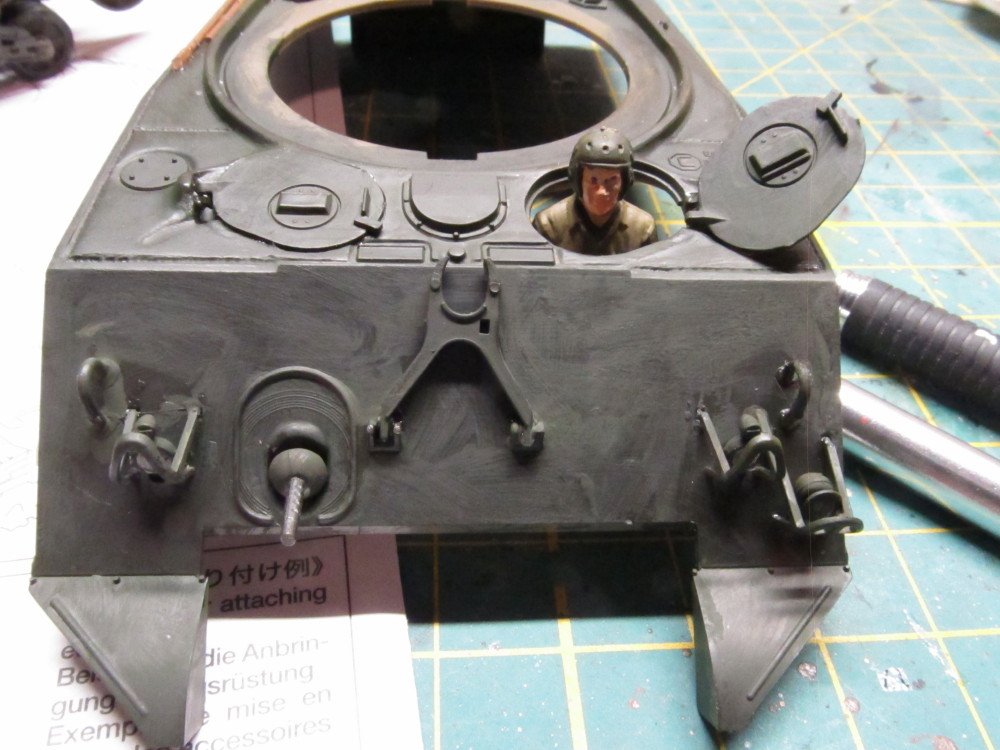
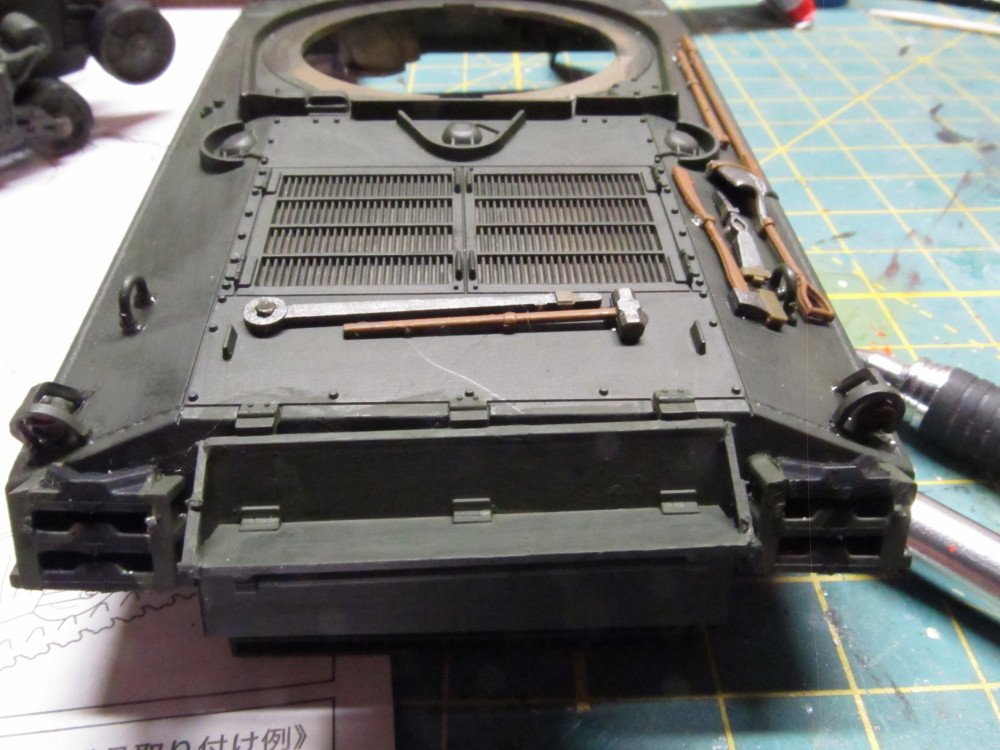
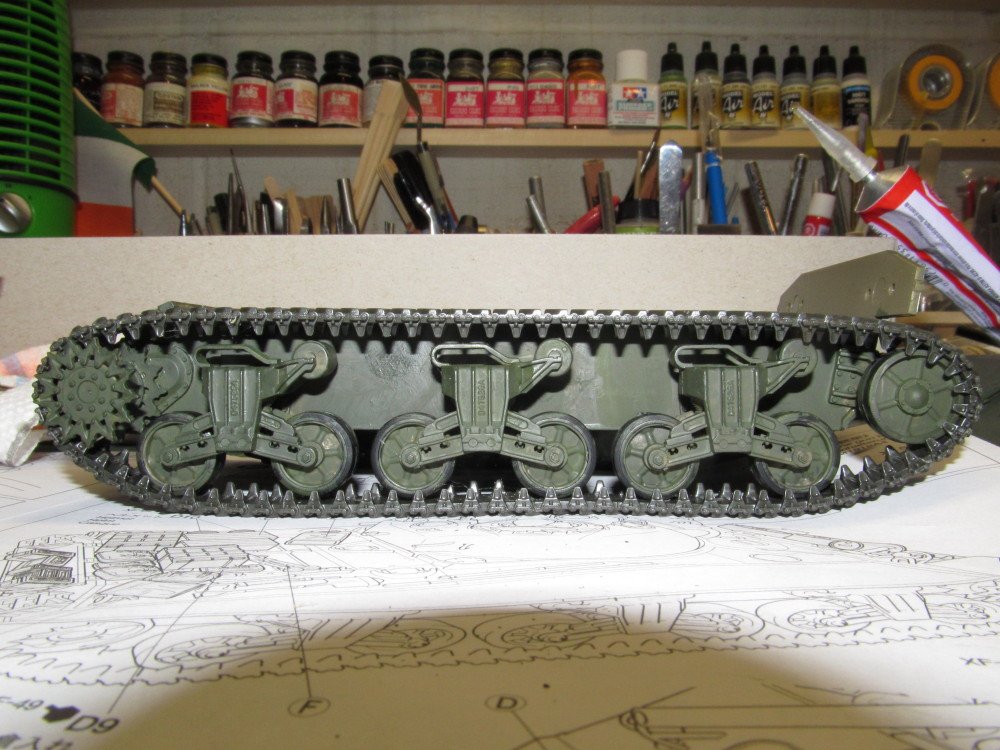
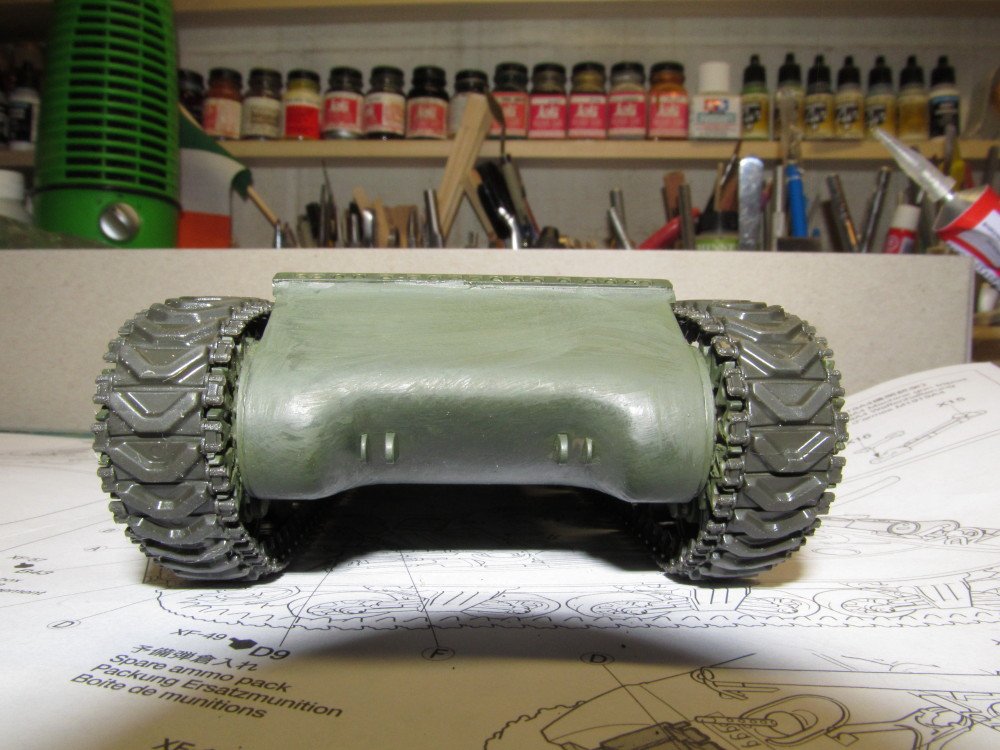
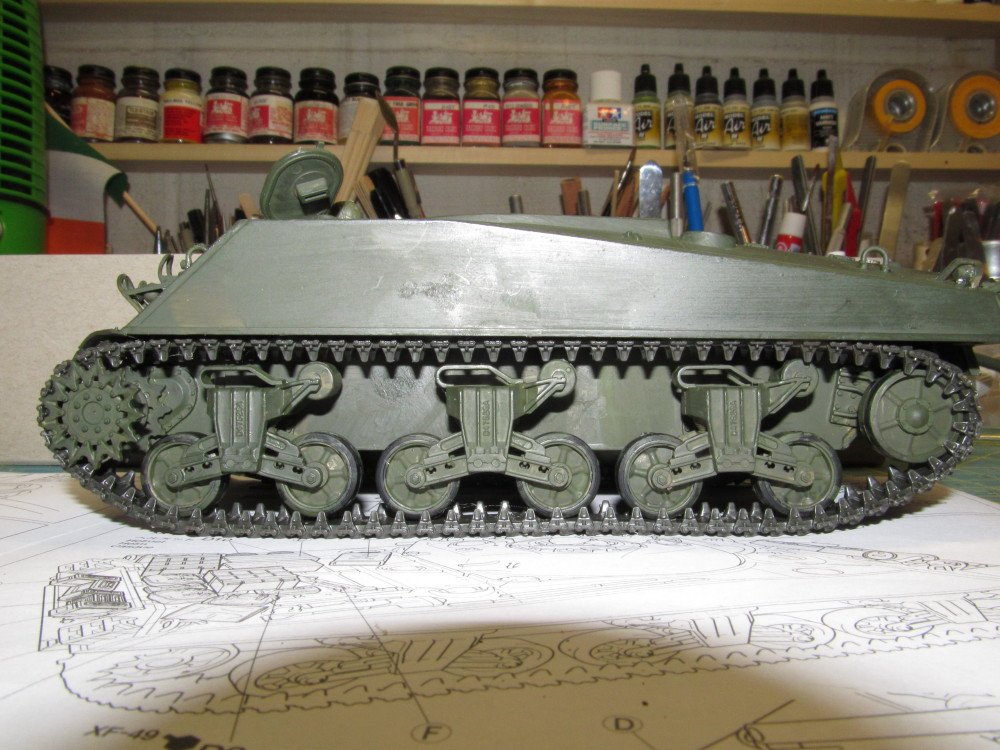
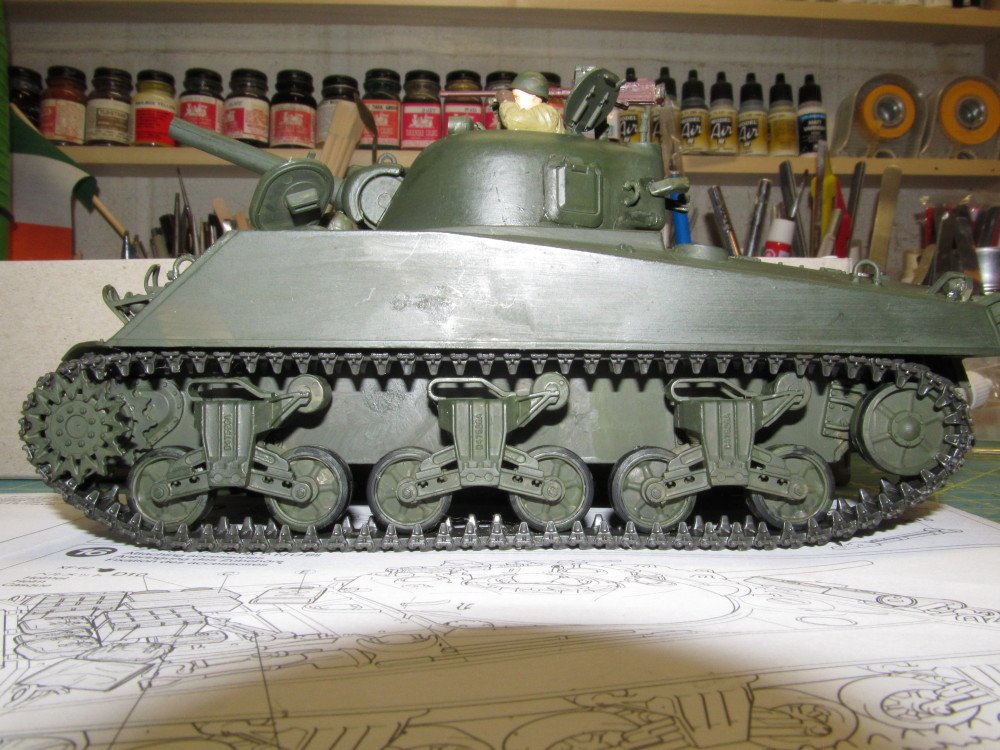
Ok, Lou, I did the rest of the tank after supper tonight The basic tank is finished. Up next is camouflage, add all the extra gear needed for combat mission. finish the 3 infantry figures that go with the kit. Basically 4 sprues worth of fiddly bits to add to the tank. And then the hard part, coming up with a suitable display format for it. Compared to my other tank models in my collection, this one is tiny, even for a model. Fixing the figures to their respective posts. Assembled tank tread (one of two) Turret prior to installing on tank Tank upper body half Lower body half with tank treads installed Upper and Lower body halves glued together Turret attached Finally all parts together Stay tuned while I work on the extras.

- 324 replies
-
- 13
-
-
Yea, Edward, it is a major distraction 😈😈 😁😁😁 Lou, I've got nothing else to do in cell block 22. So might as well build models. Only thing slowing me down is stopping to paint all the piece before I attach them . Actually the speed with which I can do these is really a tribute to how well Tamiya manufactured these kits. Very precision made, clean castings with no flash. Everything fits perfectly on 1st try. Their 1:35 armor line is fabulous. Mark, yes, there are scads of extras to hang on the tank, ammo cans, helmets, tank tread links, boxes, etc. Going to be fun loading her up for battle. 😁