Jack12477
-
Posts
5,674 -
Joined
-
Last visited
Content Type
Profiles
Forums
Gallery
Events
Everything posted by Jack12477
-
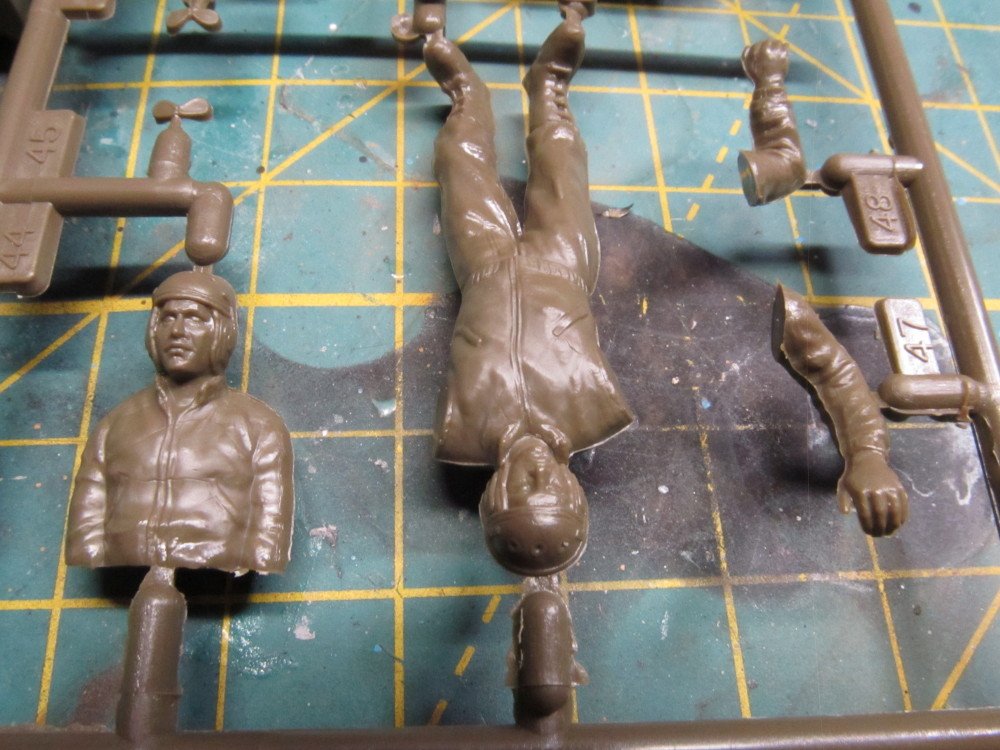
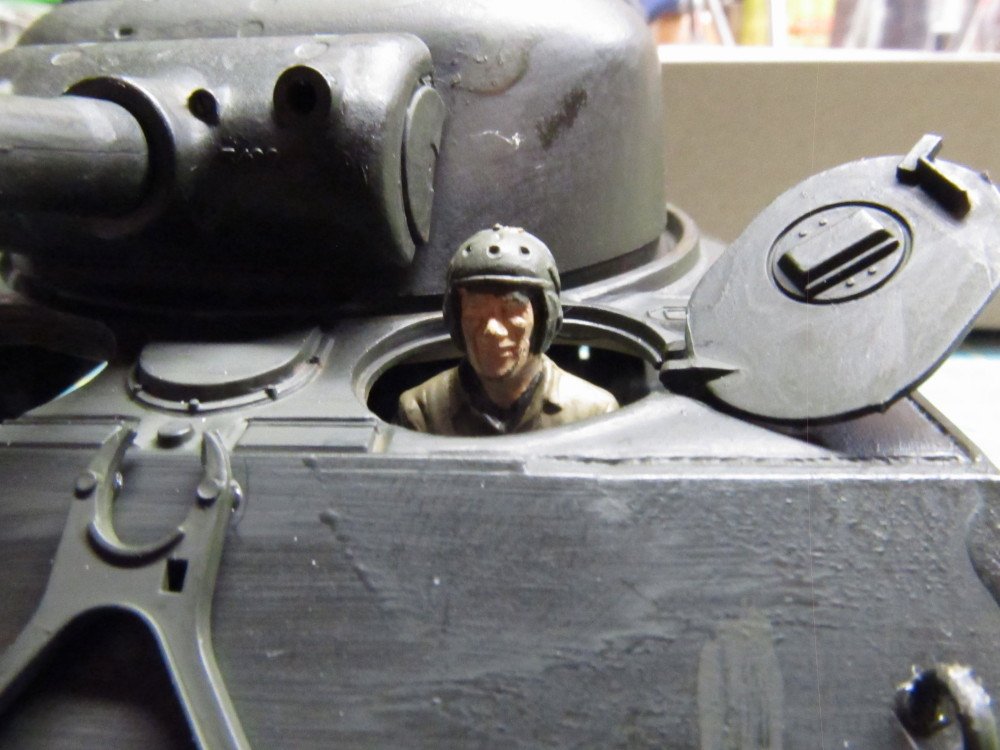
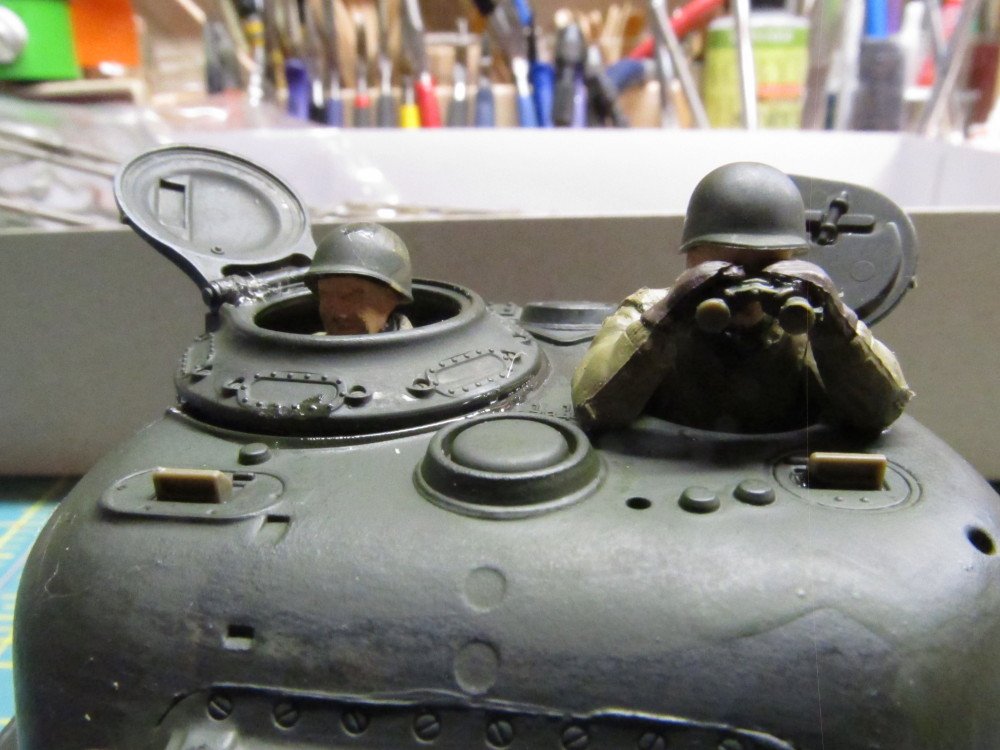
 Yea, I knew that. But only a couple of figures have the pre-molded on leather helmet, everyone else is helmetless, you have to glue on the steel pots. The one standing figure with leather helmut is too tall to fit on the platform that gets installed inside the tank for them to rest on. I figure the driver has the correct helmet and the 2 in the turret are exposed to fire so they need a steel pot. The driver figures are torso only, no legs.
 -
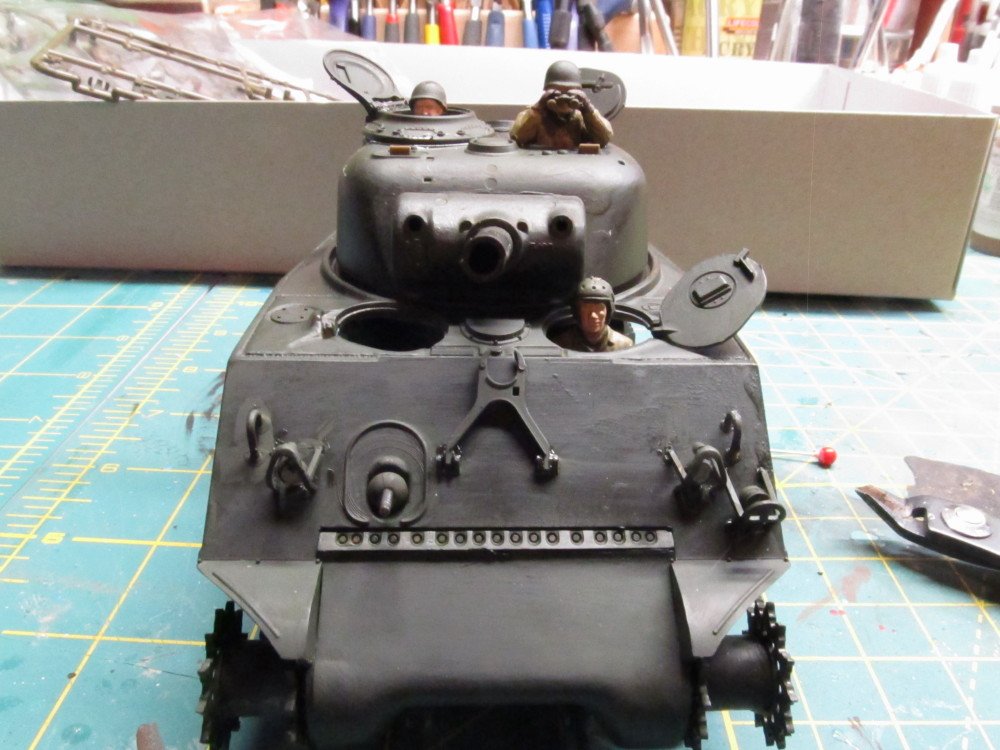
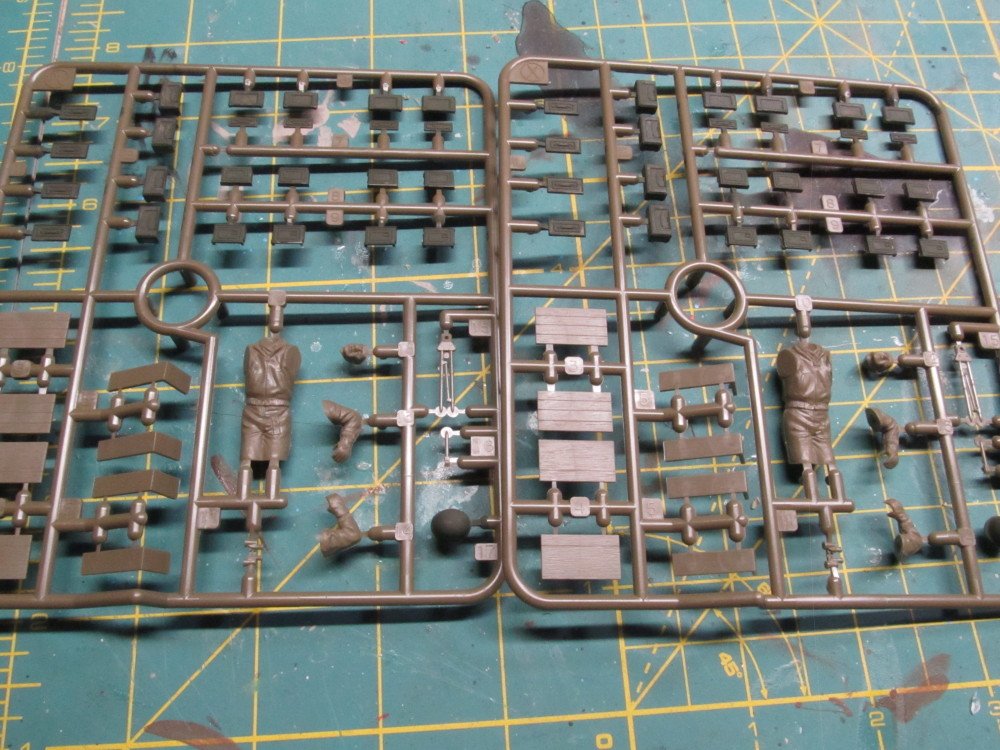
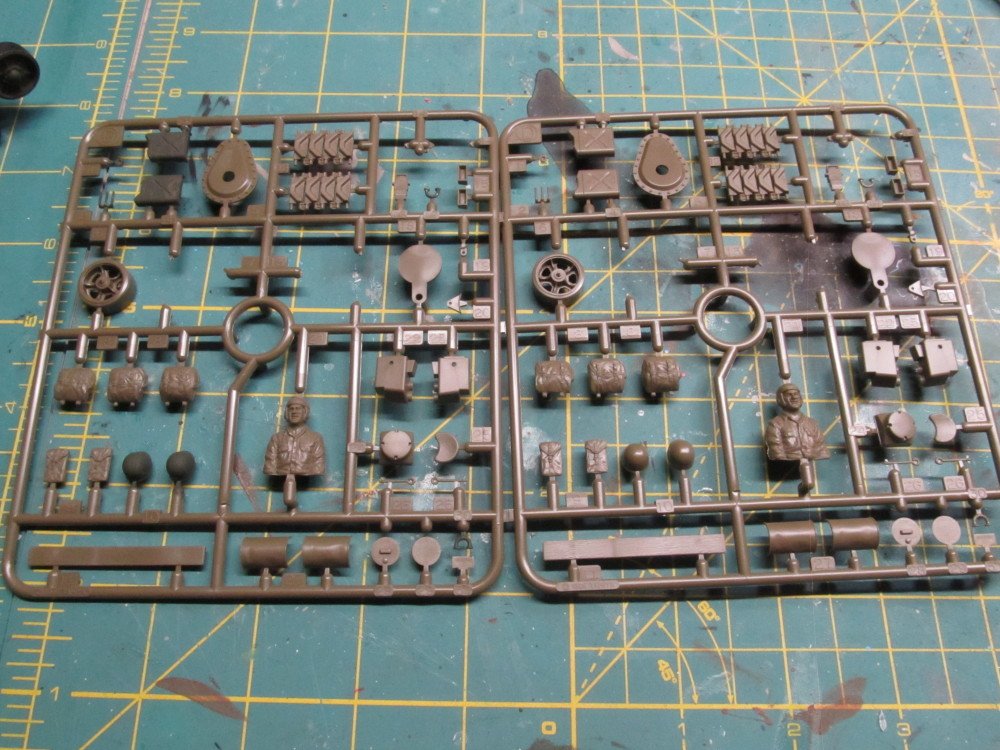
Some more updates for a rainy, windy day in the dungeon. For some reason I have 2 sets of spruces which are exact duplicates Duplicate set #1 Duplicate set #2 And then a "main sprue" with the driver and commander figure which are slightly different than the same figures in the sprues above. Notice the torso from the knees to head. He's the one included in the instructions and the only one which will fit on the insert platform. Not sure what the other figures are for. But if nothing else they will end up in my stash box of assorted figure parts. So after painting and test fitting them in place I have this dry fit assembly. Some touch-up due on the faces. But there is a slew if detail stuff to add to this tank. I could go really wild

- 324 replies
-
- 12
-

-
B-25J Mitchell by Tom E - Revell - 1:48 Scale - PLASTIC
Jack12477 replied to Tom E's topic in Non-ship/categorised builds
Agree ! Very impressive looking detailing. -
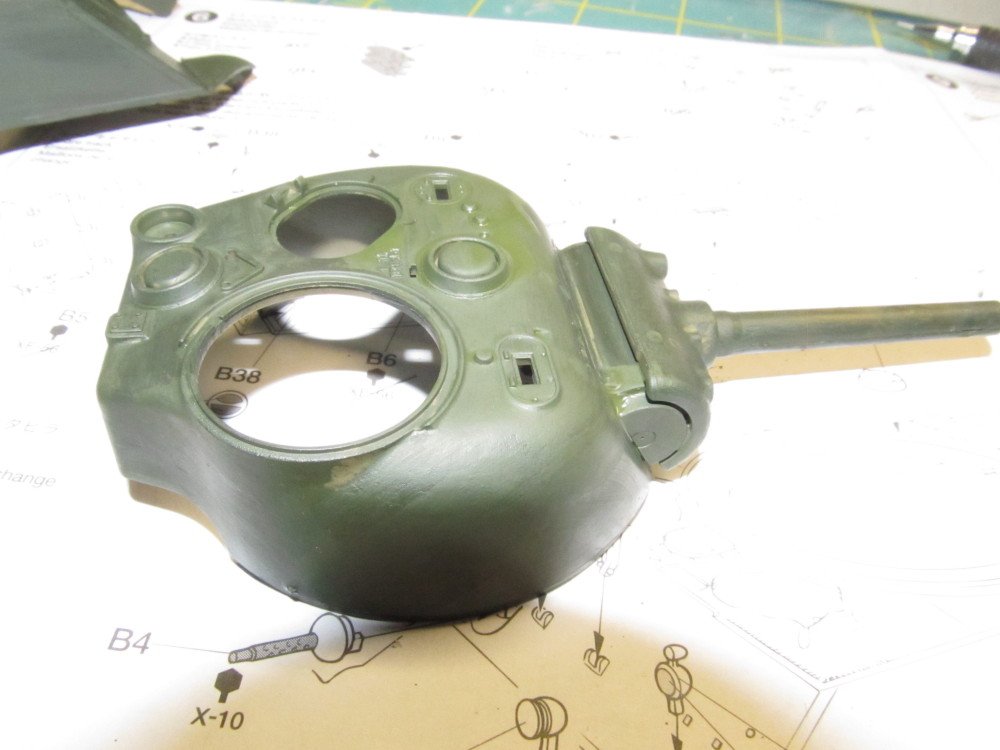
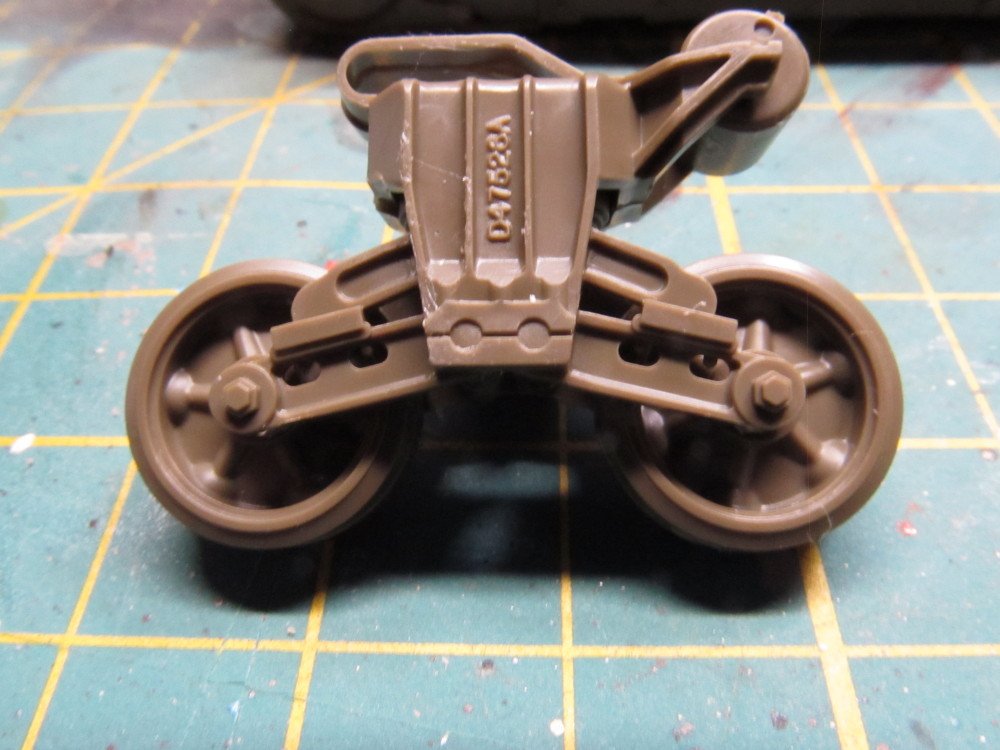
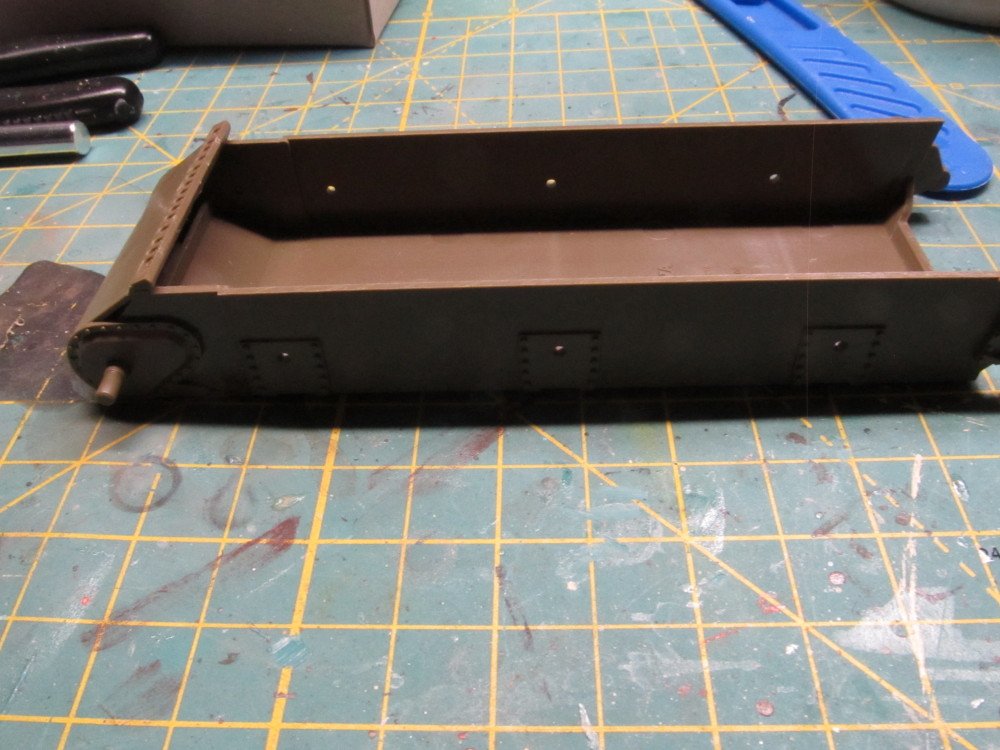
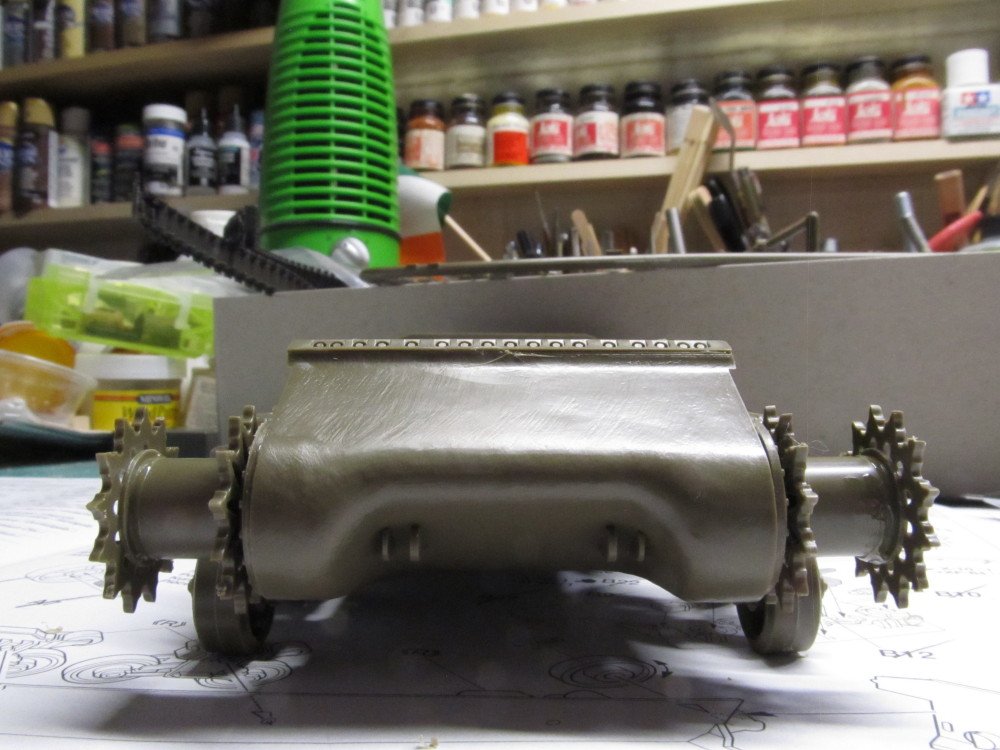
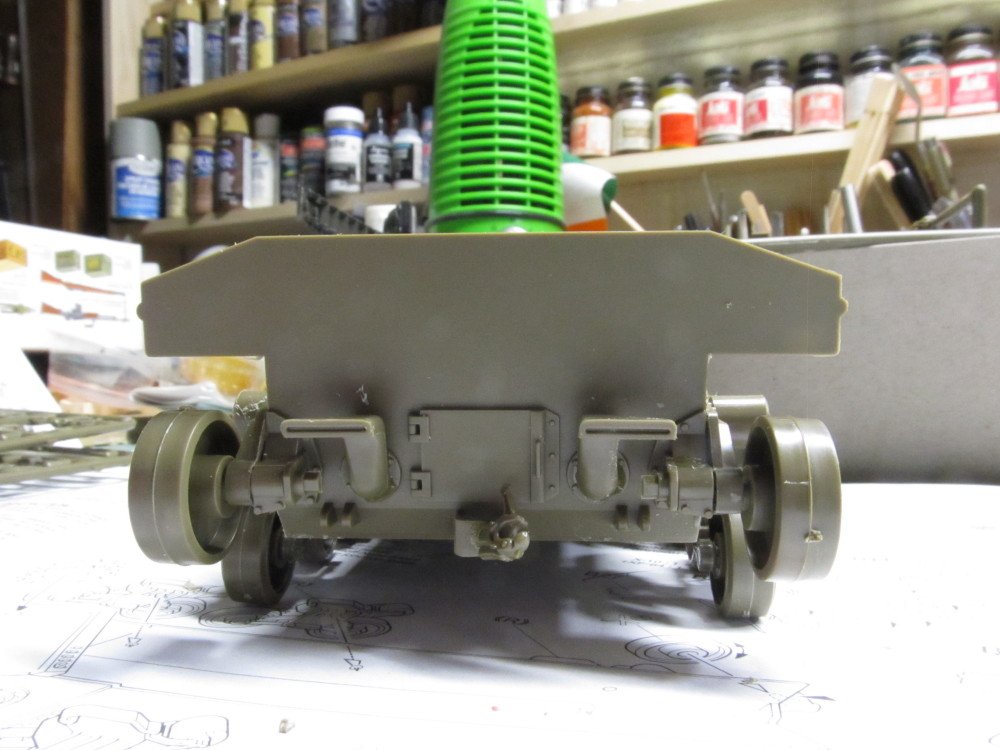
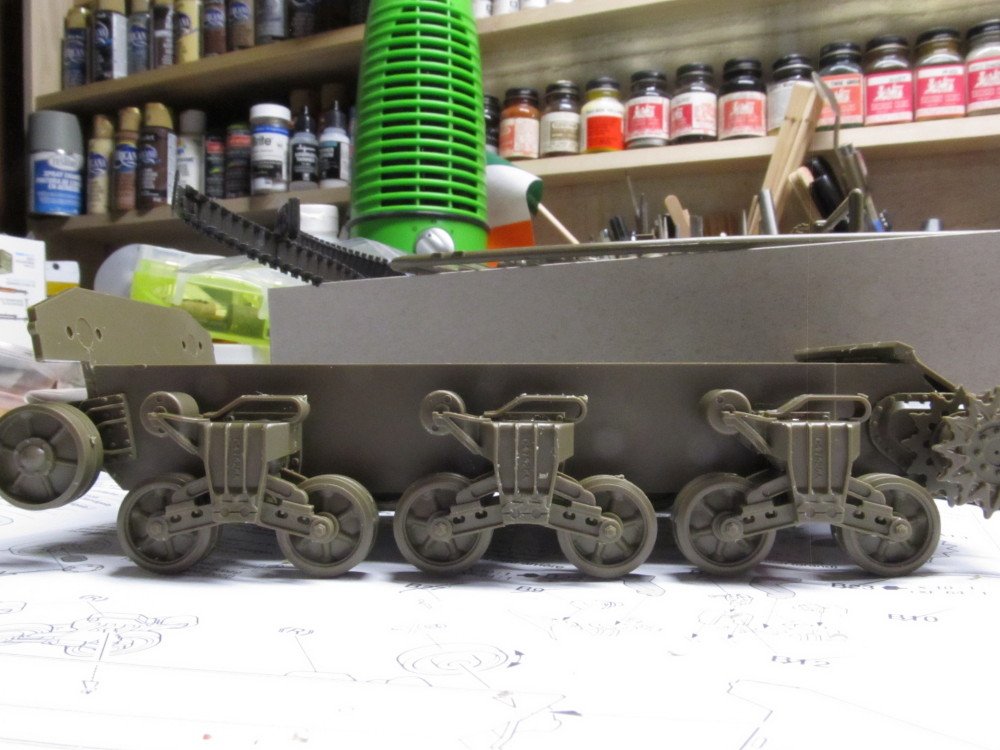
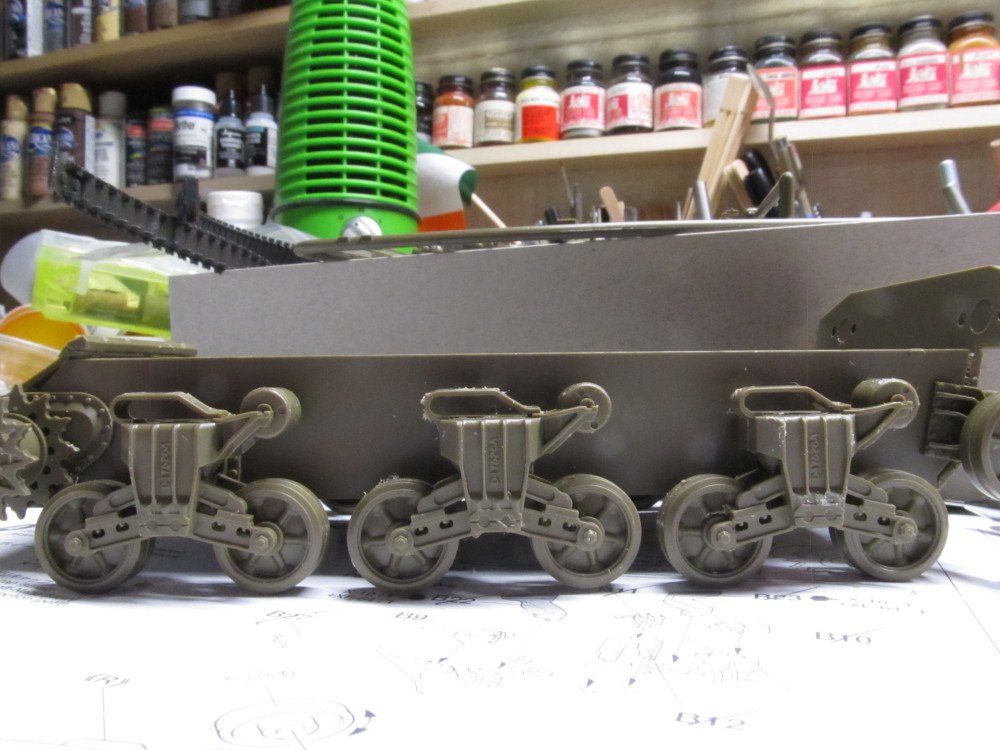
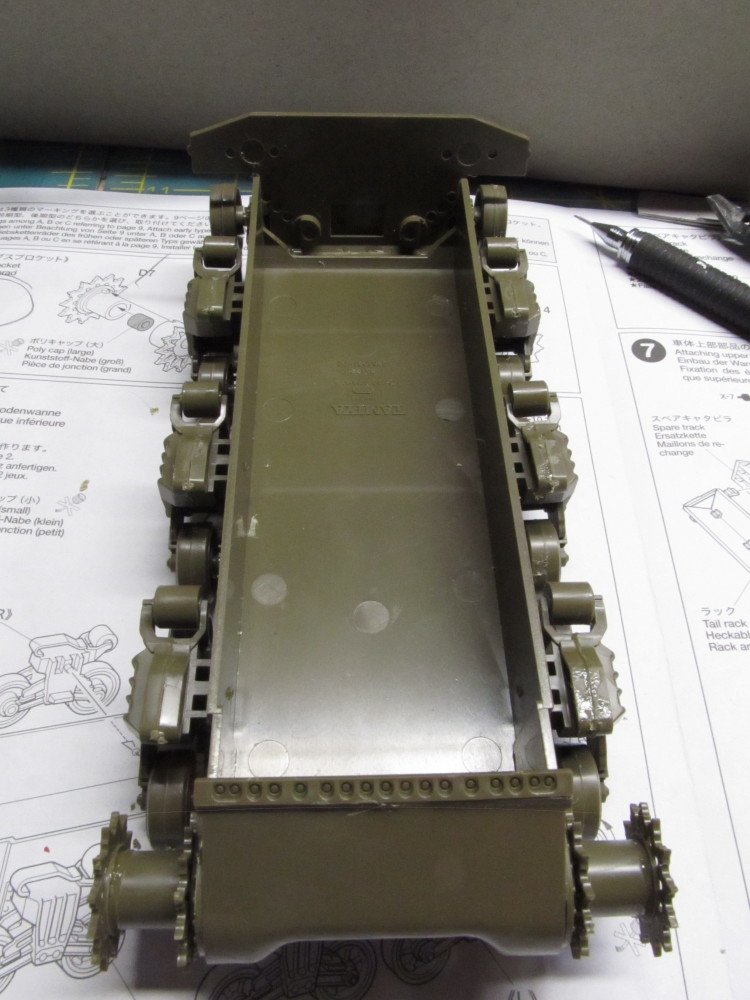
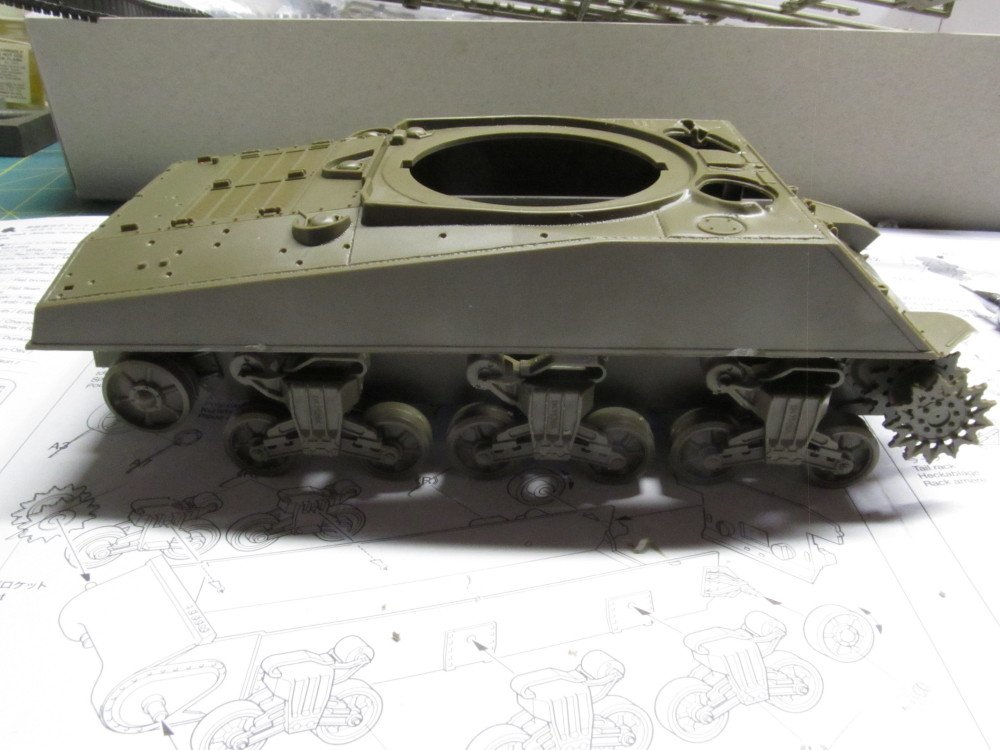
Okay, moving along with the build (thanks for all the chit-chat guys, enjoyed it). First of six track roller assemblies. There is a left side and right side to these sub-assemblies Bottom half with front and rear parts installed Right and Left side assemblies Tank's upper half dry fitted Turret assembly with gun tube that actually raises and lowers thanks to Tamiya's clever poly-caps I've given everything a coat of Tamiya Olive Drab paint before I start attaching other small parts. And I am just about out of that color. So re-order time.
- 324 replies
-
- 15
-
-
Bell UH-1H Huey By lmagna - Dragon - 1/35 - PLASTIC
Jack12477 replied to lmagna's topic in Non-ship/categorised builds
About 50 of my fellow enlisted at the Arsenal had a Masters degree and one, who became a close friend, was just a thesis away from his PhD. As our Captain, our interim Detachment Commander while awaiting his Security Clearance, told us "even tho he had a PhD in Nuclear Physics he could be sent to Nam quicker than any of us because an Officer's job is first to Command" . Most of our Officers had advanced degrees in Science or Engineering also. One of the guys told me that he and a friend had gone thru school together, both had a Masters degree in Electrical Engineering, actually his buddy had a higher average, both got drafted together, did boot camp together; he got assigned to the R&D program at the Arsenal while his buddy was sent to Nam as a generator mechanic. Go figure ! I just got lucky. -
AMT Body Snatcher - 1:25 by Fright
Jack12477 replied to Fright's topic in Non-ship/categorised builds
That is one cool looking vehicle. Nice ! -
Interesting that the seats are offset from each other. Looking good !
-
Bell UH-1H Huey By lmagna - Dragon - 1/35 - PLASTIC
Jack12477 replied to lmagna's topic in Non-ship/categorised builds
That's a very impressive cockpit, Lou. Nicely done ! -
And along the way we make new friends thru conversation. Nice ! I have about the same number, but mine are all different tanks I'll be posting some updates later today.
- 324 replies
-
- 10
-
-
And plenty of discussion on history of tank and its role in Battle of Bulge, how best to display the finished model, and overcoming painting issues. All very important to a successful build. 😁
-
Bell UH-1H Huey By lmagna - Dragon - 1/35 - PLASTIC
Jack12477 replied to lmagna's topic in Non-ship/categorised builds
Only in boot camp ! Once I got to the arsenal I found out all the guys both enlisted and officer ranks were all my age and same level of education. Officers were mostly ROTC, one was a classmate who I hadn't seen since college days. We bumped into each other on the arsenal one day. -
Bell UH-1H Huey By lmagna - Dragon - 1/35 - PLASTIC
Jack12477 replied to lmagna's topic in Non-ship/categorised builds
Yes, I was drafted, but a couple years after I graduated college. I was 24 when I went into the Army, of 250 or so recruits in my basic training company I think only a dozen of us were over age 21, rest were 18-20. Because I had a degree in Mathematics, I got pulled from the mainstream draftees and assigned to a research and development ordnance Arsenal in northwestern NJ for 2 years, about a 6-7 hour car drive from my home town in western NY. While I did not see any combat I did get the unpleasant job from time to time of notification of next of kin across the 5 counties of northern NJ for both those killed in action and those killed in car accidents, also provided Honor Guard and/or Pallbearer at any Army funeral in area. Did have a few bad experiences with a few of the next of kin notifications, but as Mark said we tend to not talk much about those. Otherwise it was mostly weapons R&D work. We had close to 250 draftees with Science or Engineering degrees assigned with me at the Arsenal doing the same work I was doing. BTW the Arsenal has a long and rich history dating back to George Washington and the Revolutionary Army. -
Have not tried Mr Color brand, only Tamiya brand thinners. Thanks for the tip.
-
Thanks. I have some ideas for a diorama, just need to think it thru. Course getting raw material for it during this lockdown will be challenging. All my previous armour which I showed you all in the other forum was done with an airbrush using Floquil paints. I still have the airbrush but not having any good results with these new paints. Was never able to get Tamiya paint to work for me in an airbrush, still can't. Hand brushing works but can't get the same effects as with an airbrush. Still experimenting tho.
-
Personally I like the Tamiya kit tracks, only kit tracks I'use that did not disintegrate on me. I have 2 armor vehicles by Hasagawa with no tank tread, disintegrated over time. All the Tamiyas are over 20 years old and still have all the treads. Evilbay and Amazon are a non-starter for me.
-
Unfortunately I don't have a tiger in my stash.
-
Okay, what is with this diorama ????? 😁 I'm just curious !
-
I am waiting for @mtaylor to show up with his gigantic popcorn machine 😁😁😁😁
-
Tom, I would recommend Tamiya 1:35 scale kits. The parts fit together so precisely it takes little time to build one, quality is top notch, they even include poly-caps that allow wheels, etc to turn with ease. And there is a wide range of armor types to chose from. Take the plunge. I get my kits from MegaHobby in NJ , ordered 3 kits last Monday before noon, arrived Wed at noon this week.
-
Thinking about it. Have to figure out how I want to depict Ardennes forest road in winter. Have some ideas rumbling around in the skull. First the tank and included figures then ?????
-
I will go with what's in box, Ken. I do have extra goodies from other Tamiya kits I can add, but not going to order any PE or stuff like that. What you see in the box art is pretty much what is included in the kit. Extra boxes, jerry can, helmets rifles, tank tread links, etc
-
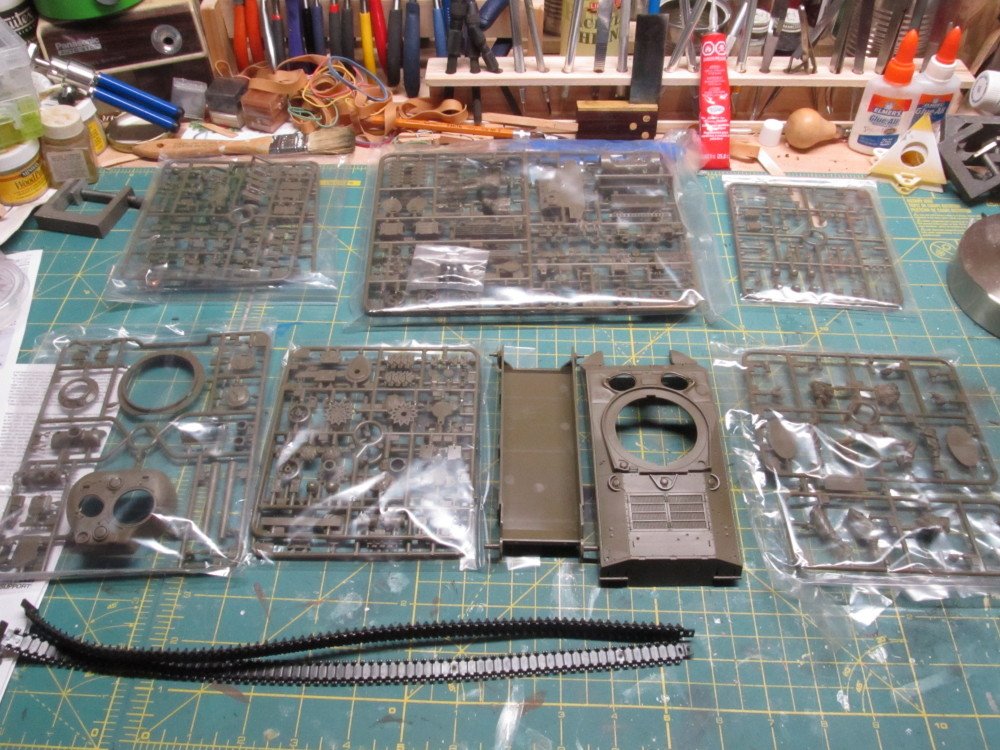
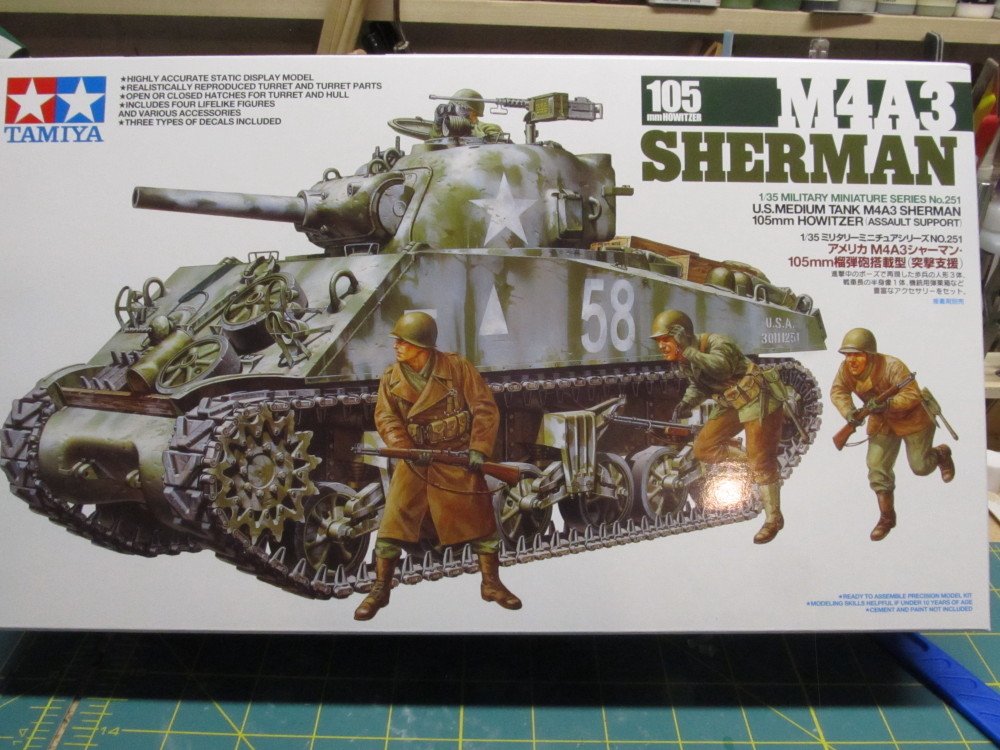
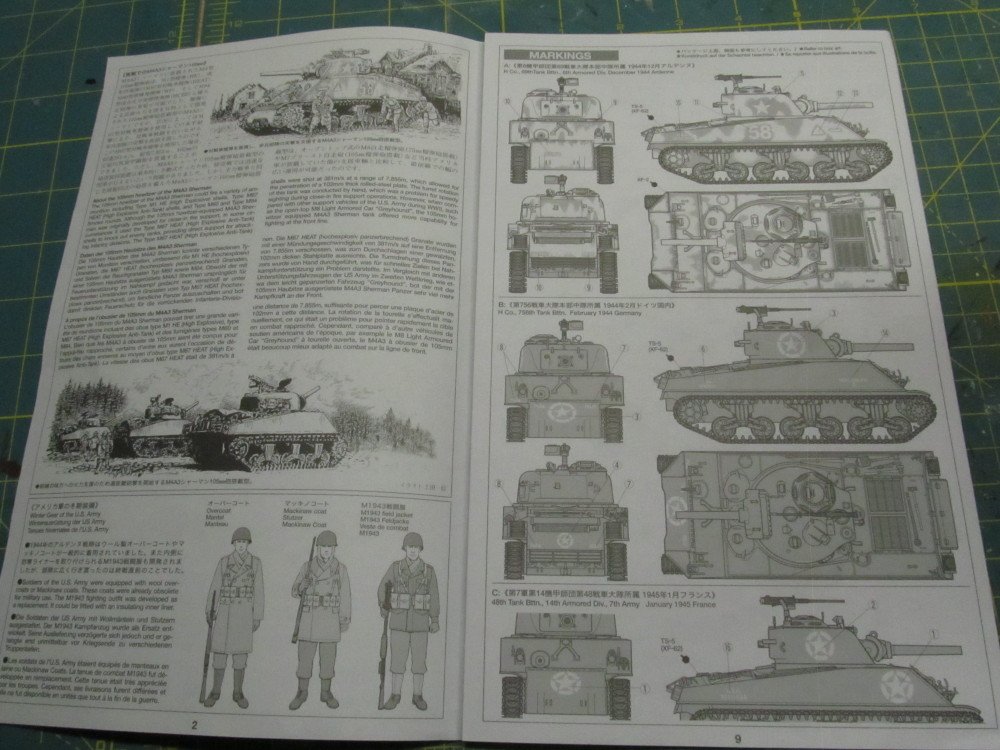
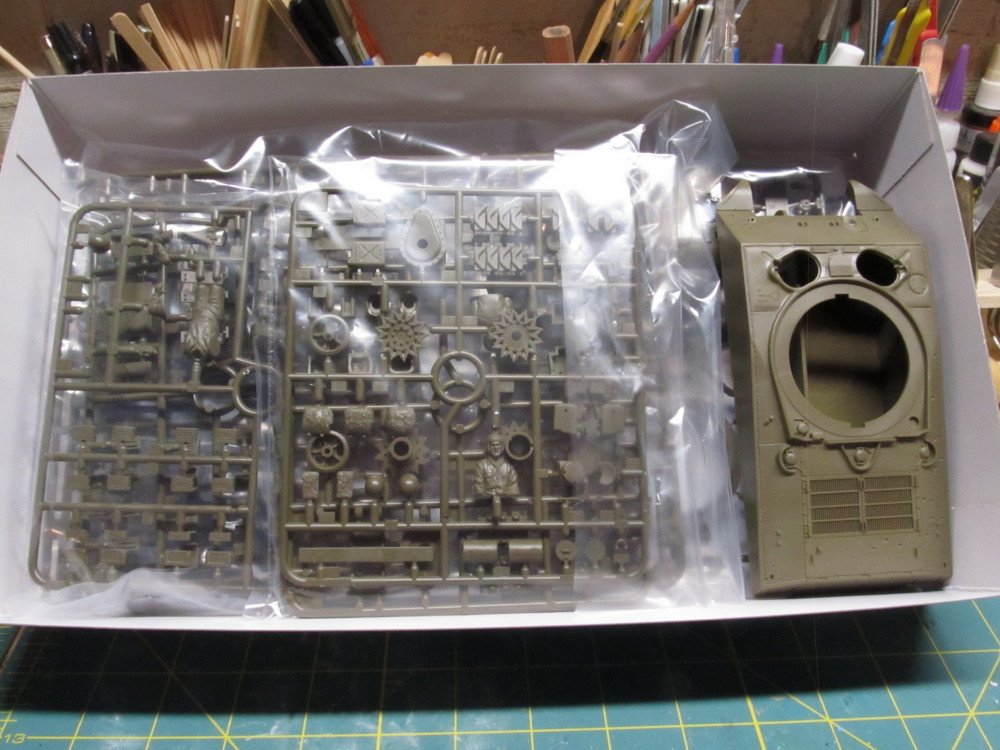
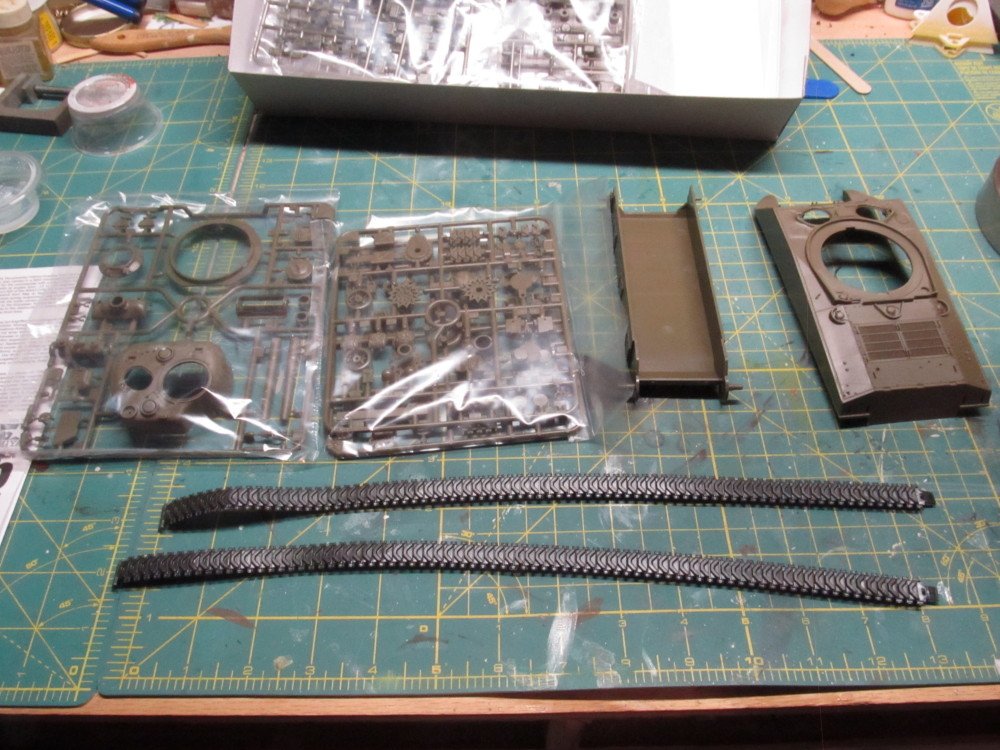
After debating whether to build one of the new tank kits I just acquired, or an aircraft, car or ship model kit, I decided on one of the tanks. I am building the Tamiya 1:35 scale US Medium M4A3 Sherman 105 mm Howitzer Assault Support tank as it appeared in December 1944 at Ardennes or the Battle of the Bulge, (see box art below). The kit actually comes in two version, the second being 1945 Germany. I chose this version more for the paint scheme than any other reason. The other version is a plain olive drab overall color. The kit comes with 9 sprues, tank body 2 halves, and 2 tank treads. It's molded in a dark green, olive drab, color. There are also 5 figures with the kit, tank driver and commander, plus 3 infantry figures. I have not decided yet on how I will display this when done. Maybe a diorama, but who knows. Anyway, the journey begins.
- 324 replies
-
- 14
-
-
Thanks OC
-
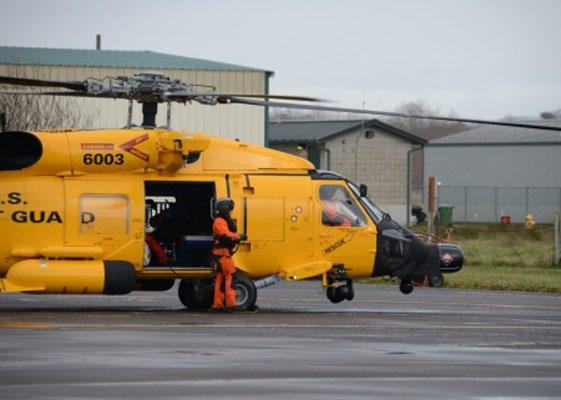
In the 1940s and 1950s our USCG helos were bright yellow also, for the centennial of Coast Guard aviation they painted a few yellow like the JayHawk below: Haven't started a new build yet , still debating what I want to do. But I will definitely welcome you aboard when I do. Thanks for the compliments.