


Jack12477
-
Posts
5,674 -
Joined
-
Last visited
Content Type
Profiles
Forums
Gallery
Events
Everything posted by Jack12477
-
 Just to let you all know I have decided to built the "sister" tank to this model, namely the M4A3 Sherman 75 mm gun version. Since it is identical to this model except for the 75 mm gun, I will not be doing a detailed step-by-step build log of it but I will post photos of the finished model here.
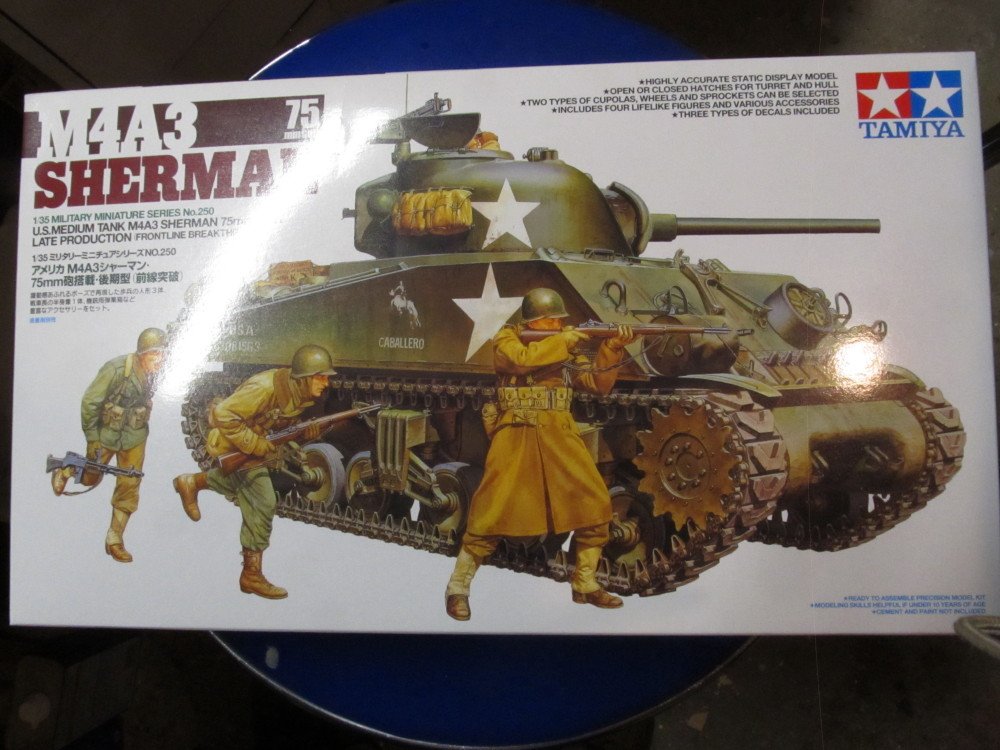
- 324 replies
-
- 10
-

-
B-25 Mitchell "Meet Miss Runyon" by Javlin-HK-1/32
Jack12477 replied to Javlin's topic in Non-ship/categorised builds
He's gonna need a bigger house ! -
Well I know I don't have C.Diff ! So a couple sheets won't be missed.
-
Yes, I had to make the supreme sacrifice, Lou !😁😁😁😁😁
-
Edward, check if your UK hobby sources carry Woodland Scenics brand diorama landscape supplies. They have some very good stuff for making realistic scenery, mostly started out for Model Railroaders layouts, but also great for dioramas
-
It is a little easier but be careful because the wet tissue tears easily. I used 50-50 white school glue and water There are a lot of good how to videos on YouTube, Edward, that do a pretty good job of showing various ways to make some realistic dioramas. Back in the 80s there was a guy who used to build some really authentic 1:35 scale armor dioramas and display them in our local hobby shop. To represent artillery shells he used spent .22 cal short ammunition shells. He also used dried grass , twigs, from his yard.. He was quite the master. Unfortunately there were no digital cameras in cell phones to grab photos of his work back then.
-
Lou, look on YouTube , search on "modeling using toilet paper " from ther you will get a slew of other videos. I used one of them to find out how to do the snow. All you need is a board, some rigid styrofoam packing sheets, and stuff you have in your driveway (gravel), etc.
-
Thanks, Lou, Craig, glad you enjoyed the journey with me.. Lou it is not as hard as you think, try it.
-
Thanks Phil, Denis !
-
Thanks, Phil
-
Fokker Dr.I triplane by cog - multiple - 1:72 - PLASTIC
Jack12477 replied to cog's topic in Non-ship/categorised builds
Wow ! Impressive collection, Carl. Great job painting them, should look real nice all together on a display shelf. Cool photography setup you have there. -
Fokker Dr.I triplane by cog - multiple - 1:72 - PLASTIC
Jack12477 replied to cog's topic in Non-ship/categorised builds
Looking good Carl. That striped pattern on the top surface of the 2 bottom wings is impressive. Watched your video, impressive ! -
Fokker Dr.I triplane by cog - multiple - 1:72 - PLASTIC
Jack12477 replied to cog's topic in Non-ship/categorised builds
Yea, I get to see the real deal every Sunday afternoon during summer months Black Baron in his DR I vs Sir Percival Goodguy in his Sopwith Camel. Kids love it. -
Fokker Dr.I triplane by cog - multiple - 1:72 - PLASTIC
Jack12477 replied to cog's topic in Non-ship/categorised builds
Is that a flying zebra ? Nice painting, Carl. -
I'm in too
-
Wow ! Nice !
-
Fokker Dr.I triplane by cog - multiple - 1:72 - PLASTIC
Jack12477 replied to cog's topic in Non-ship/categorised builds
Me too ! -
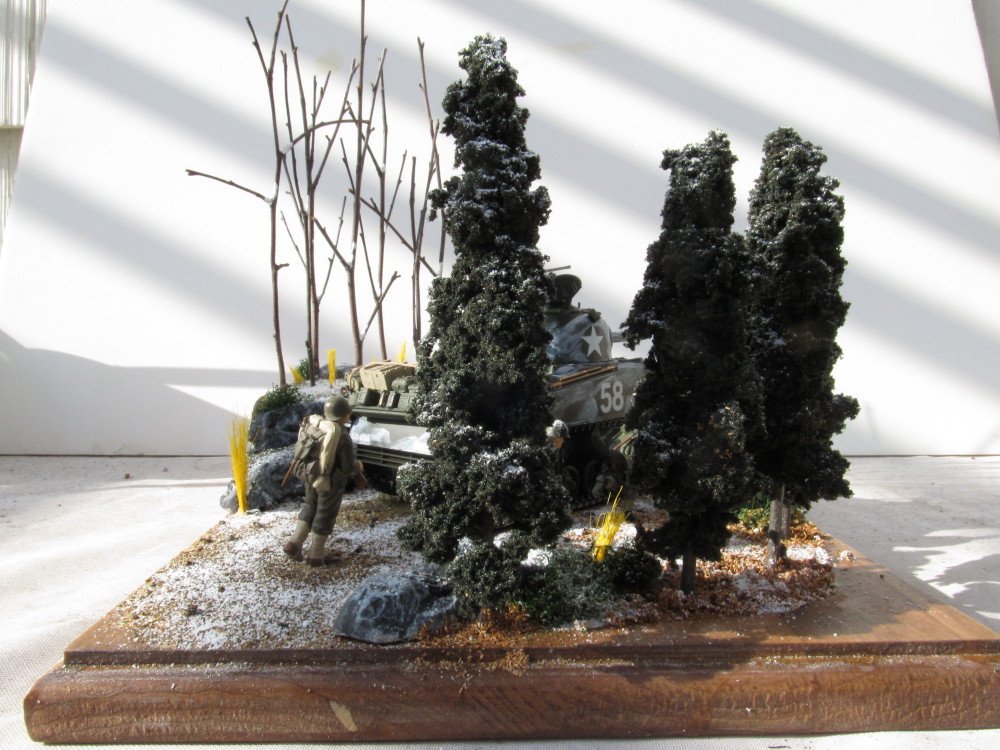
I have 3 more armor and 1 Infantry figure set in my stash to do. But they probably will not be dioramas. I am out of space to display dioramas; this one will probably wind up in a clear plastic storage box in the cellar. This diorama is 9 inches by 11 inches or 22.86 cm by 27.94 cm; the M16 was 10 inches by 12 inches or 25.4 cm by 30.48 cm. I can put 4 to 8 tanks side by side in that space. I love doing dioramas, just wish I had the space to display them.
-
Thanks, guys.
-
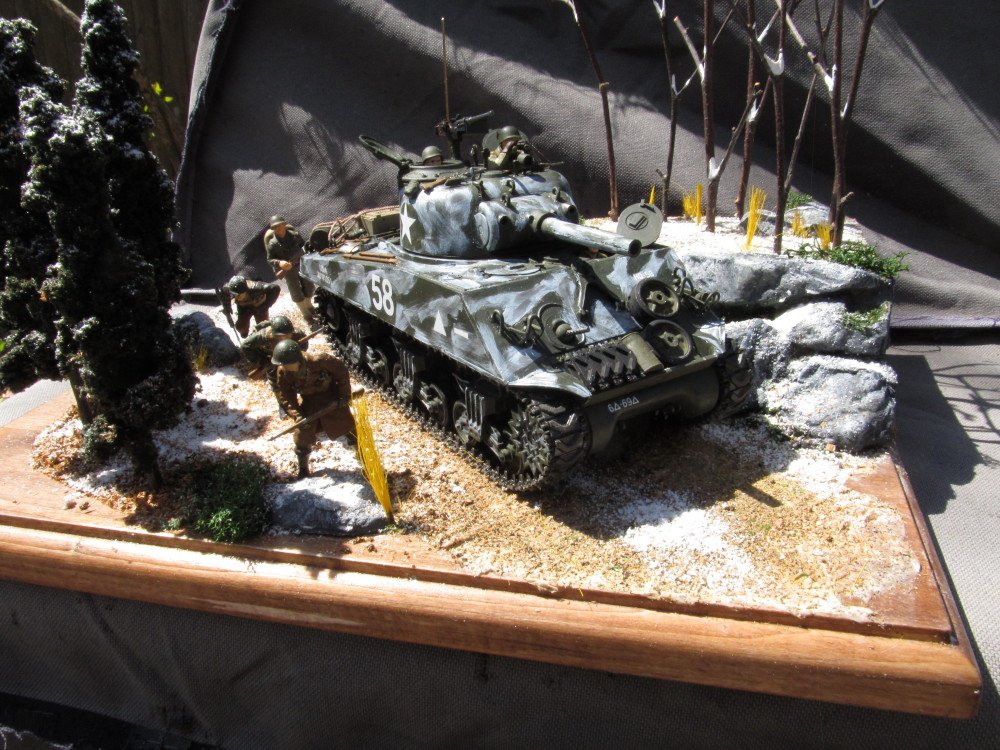
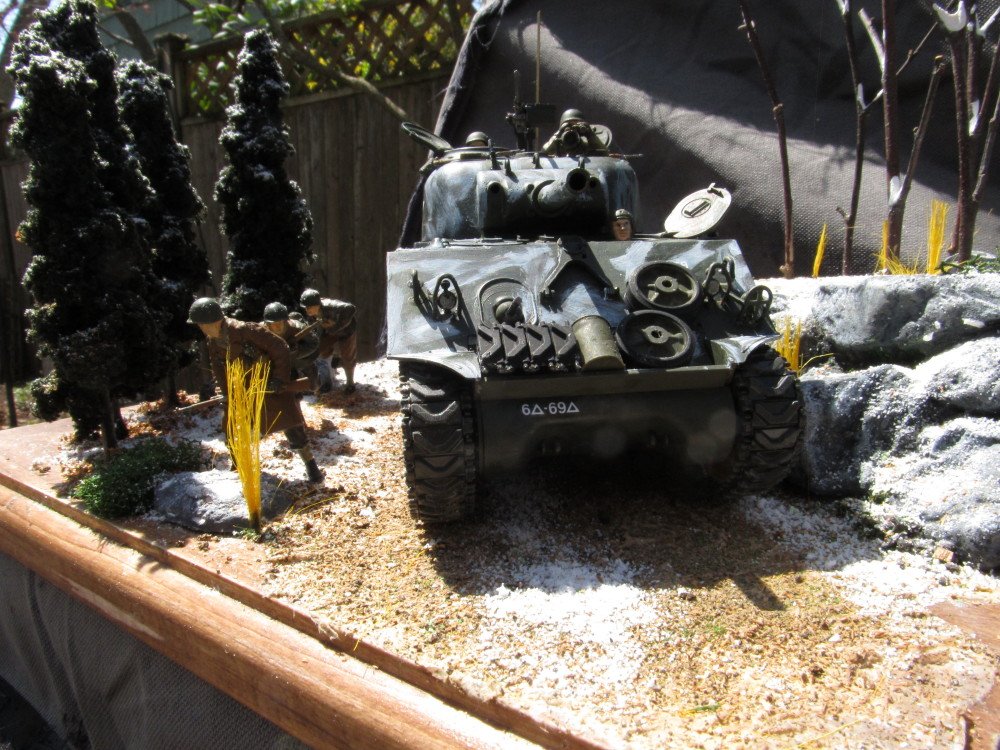
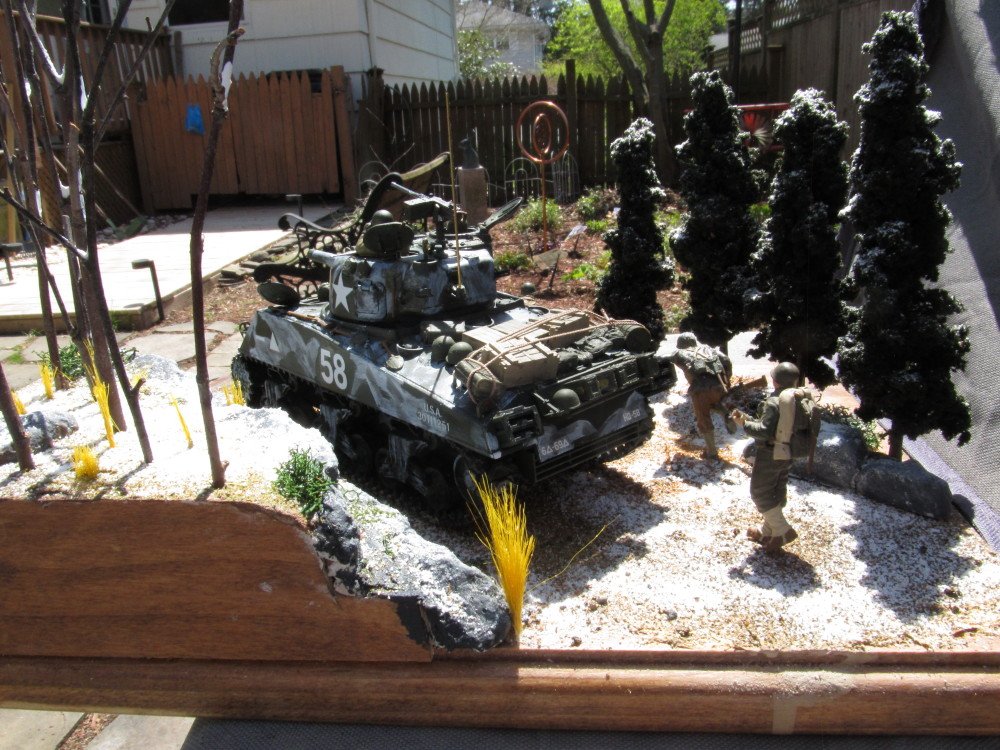
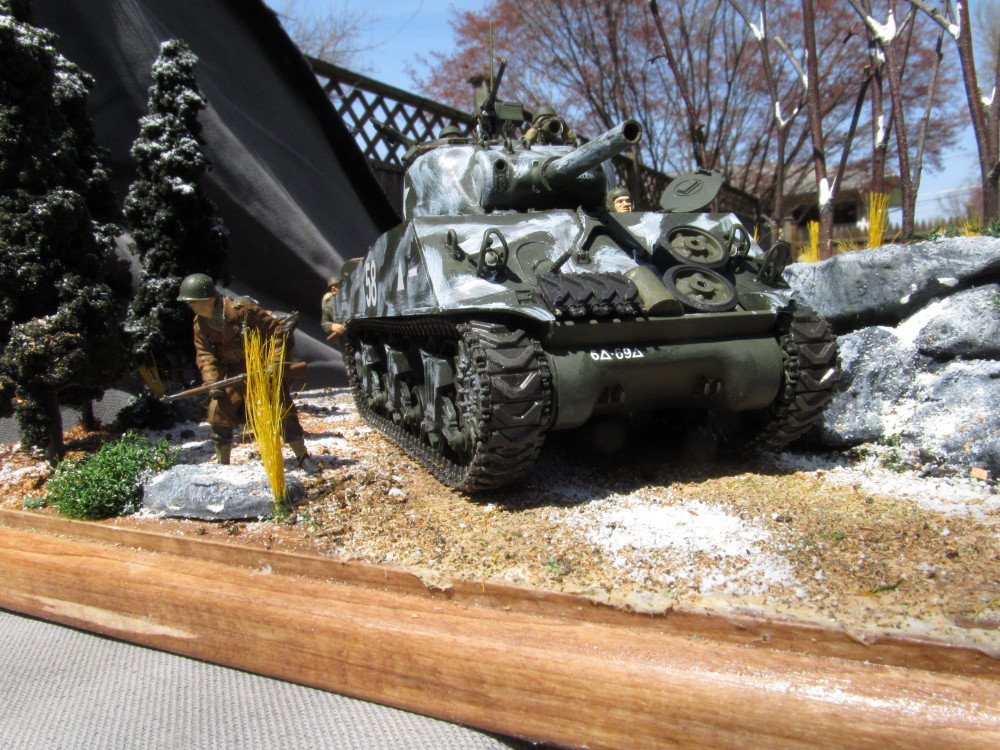
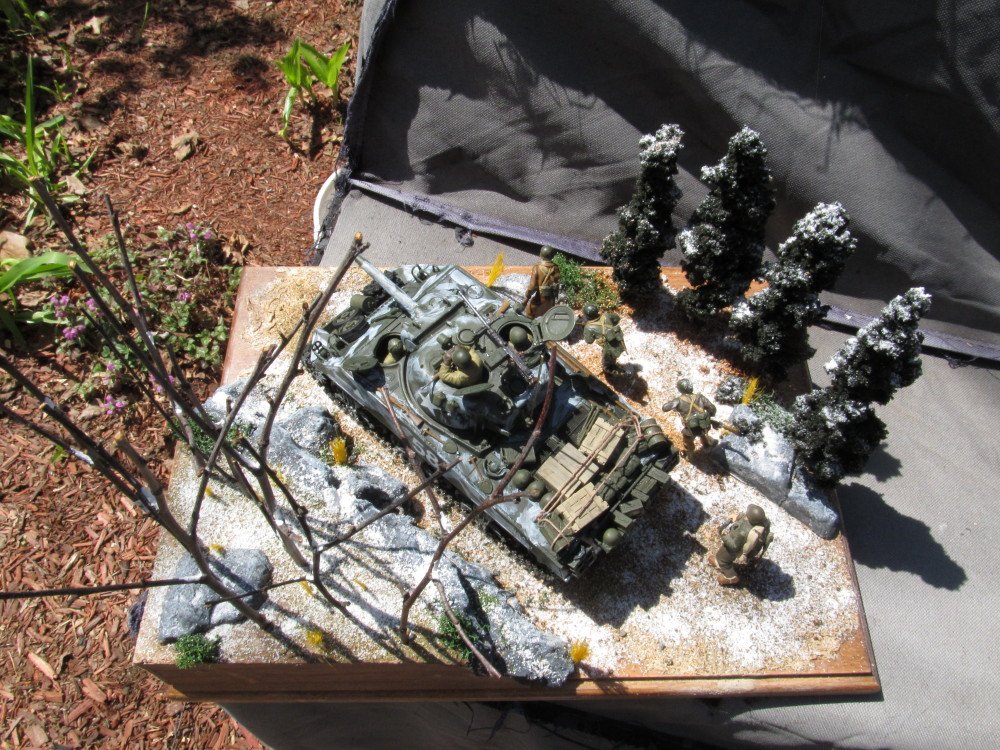
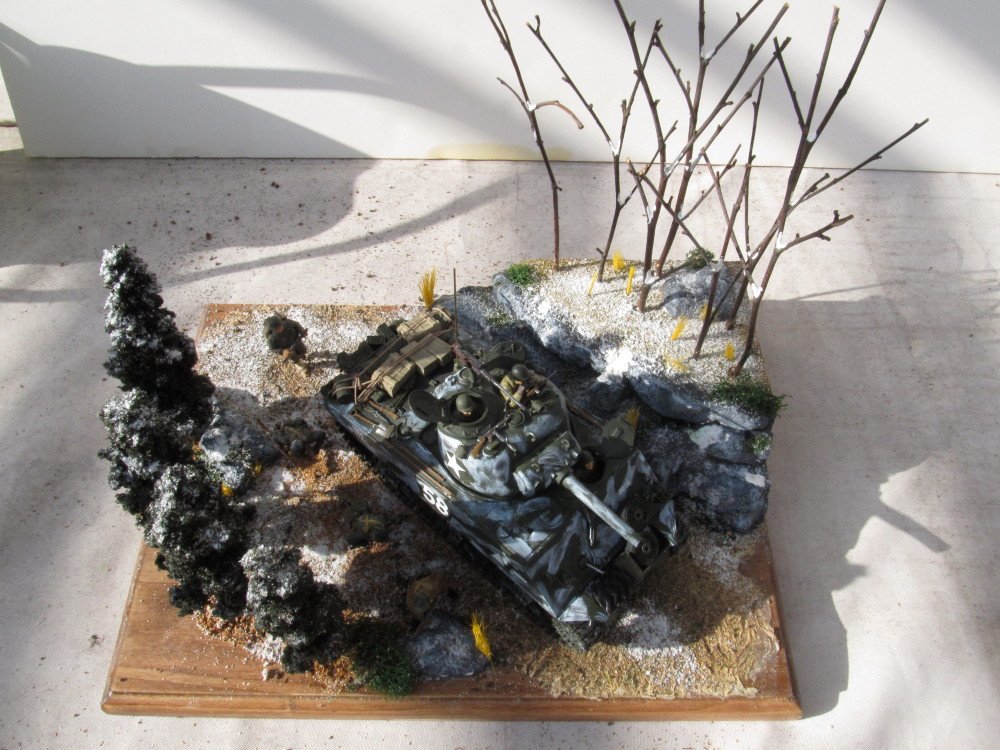
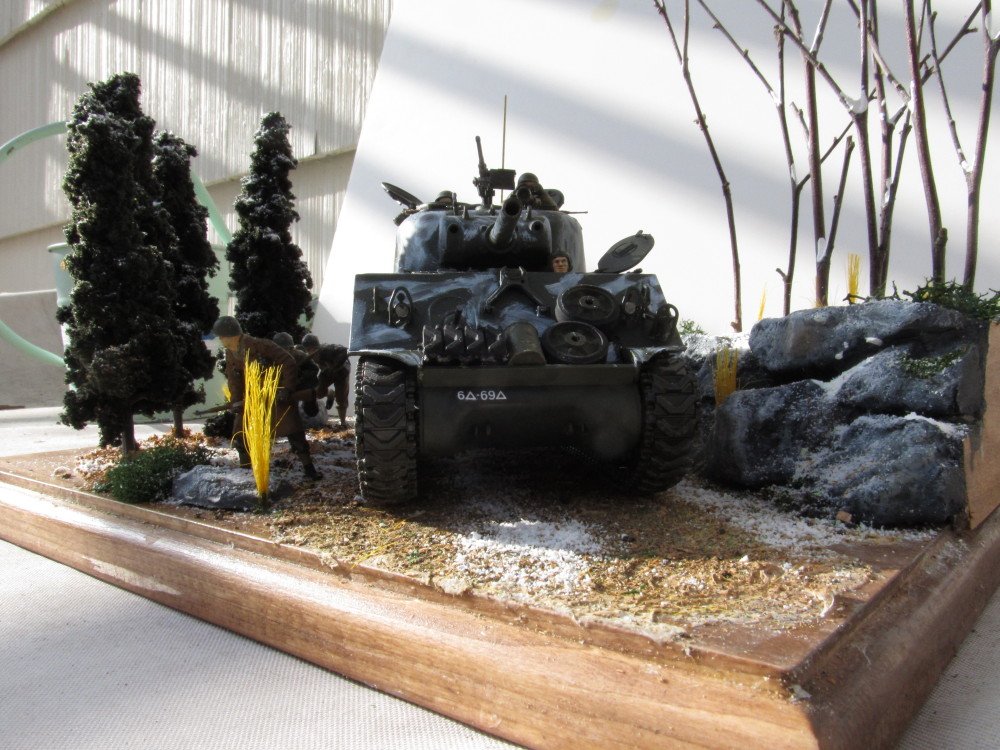
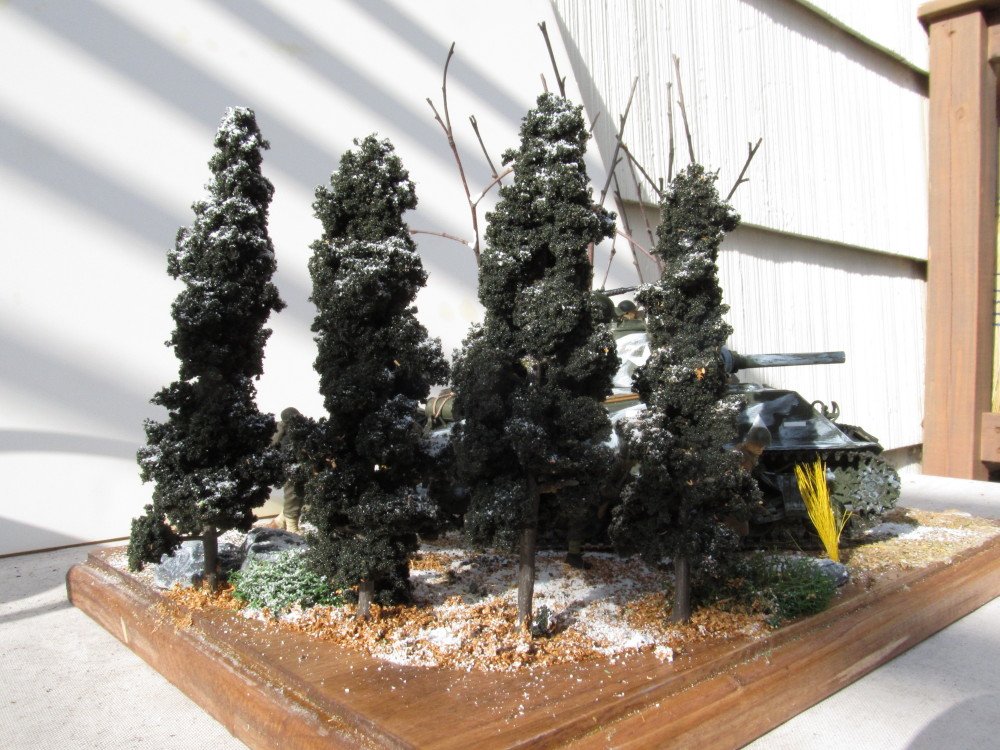
I took the model/diorama outside in the early afternoon direct sunlight to get some better lighting - the one I took this morning had too many shadows and this digital camera I have doesn't compensate well. So here's the same photos with a little better lighting.
- 324 replies
-
- 15
-
-
Thank you gentlemen for your comments
-
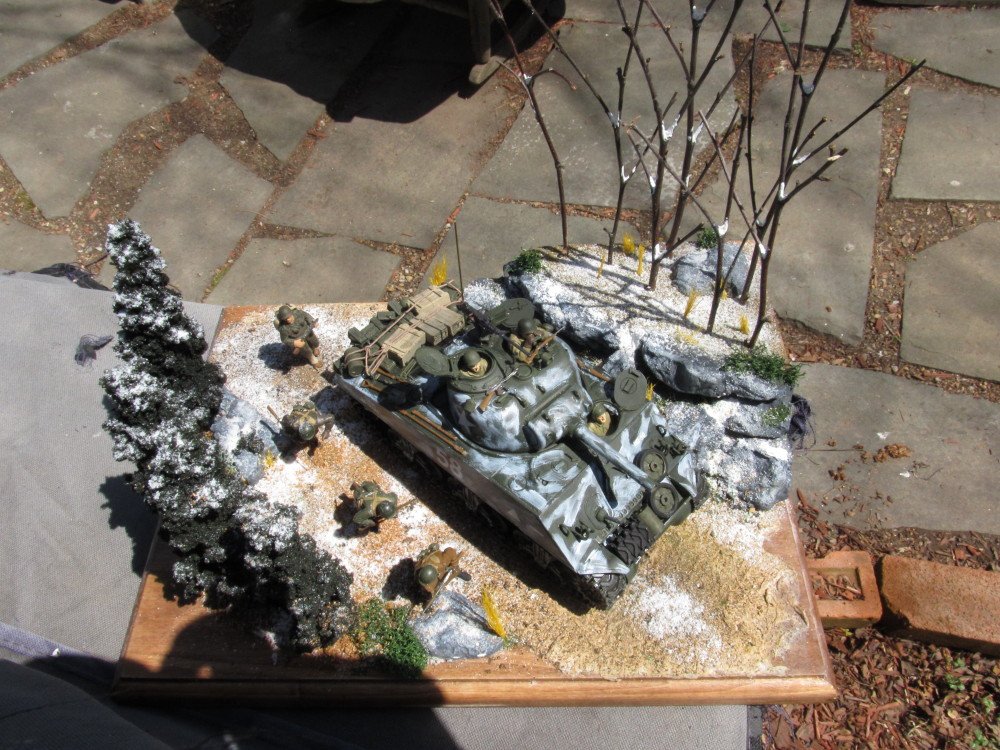
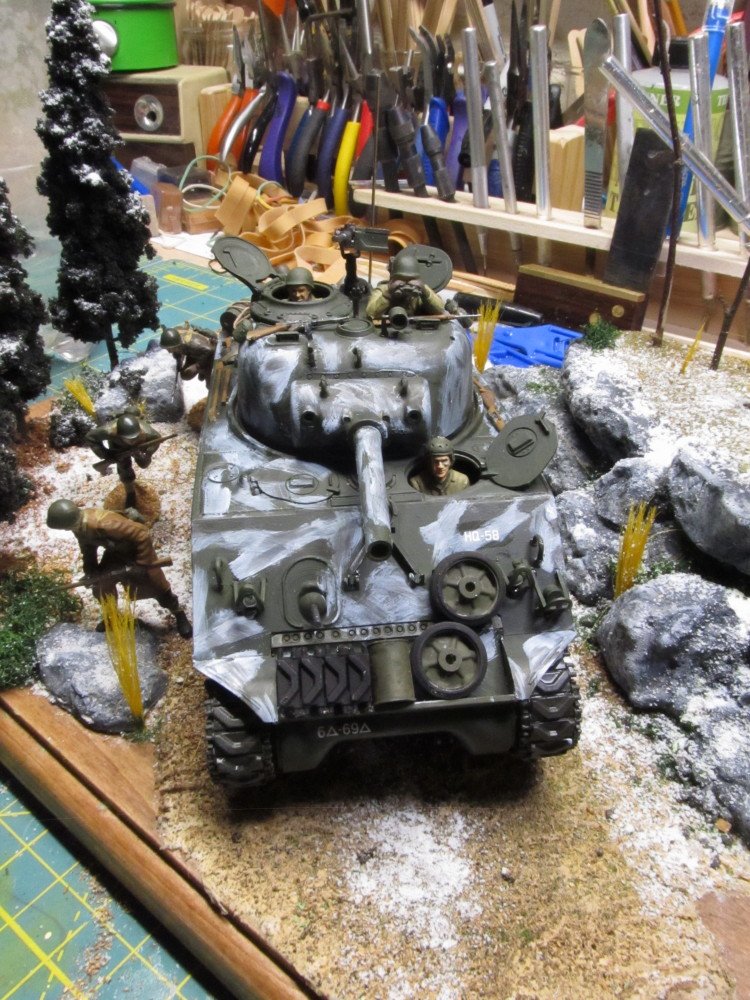
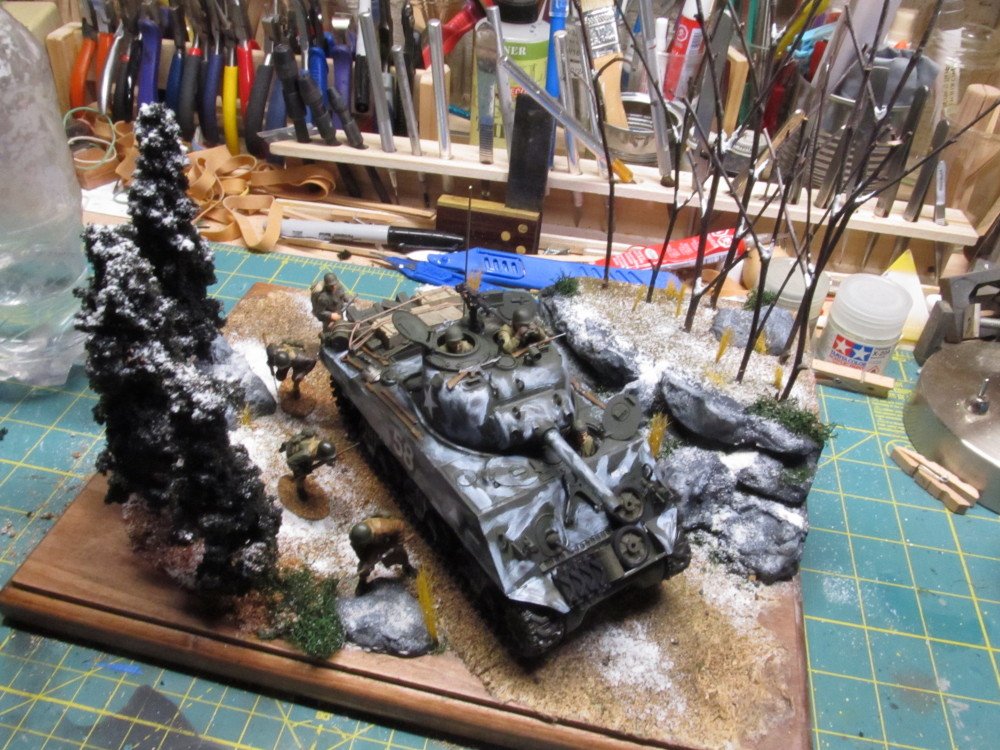
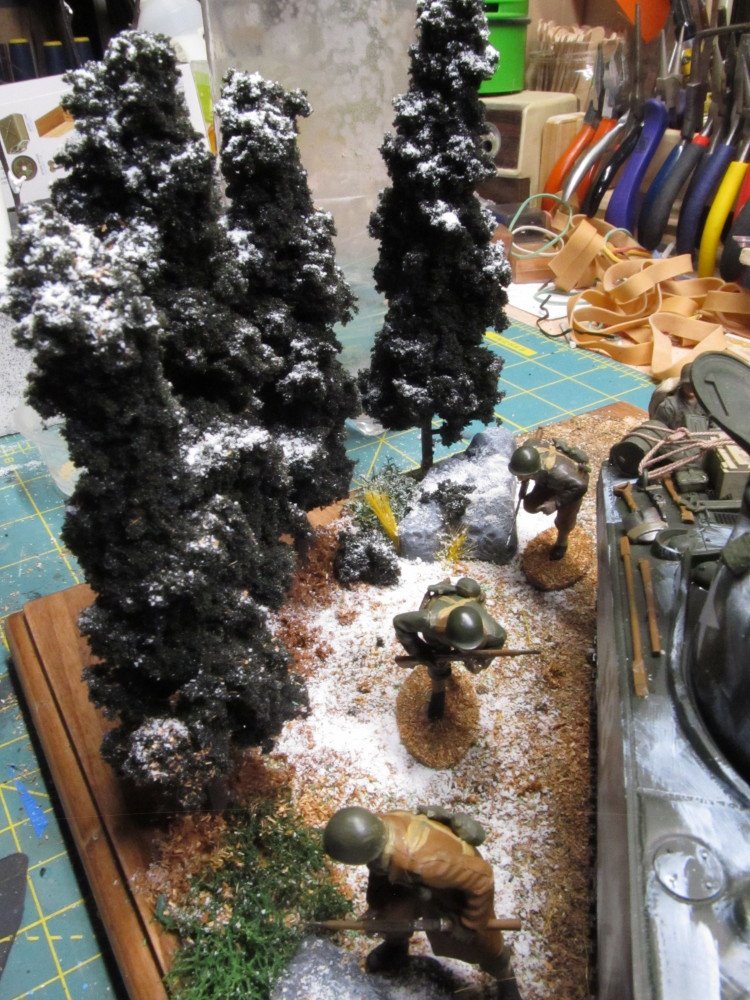
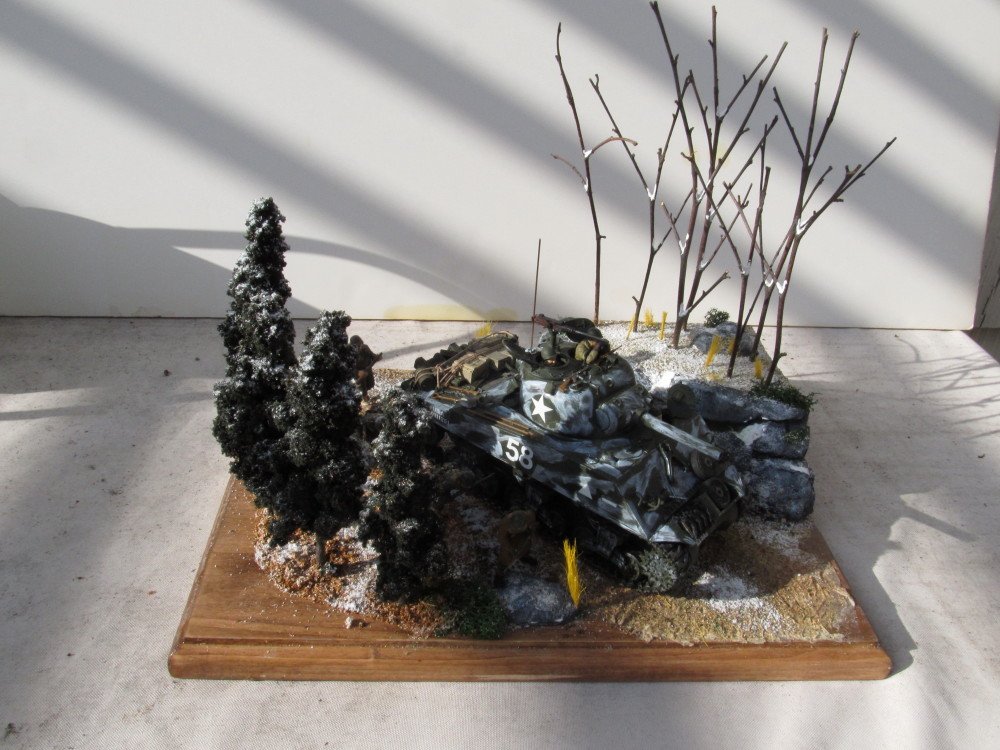
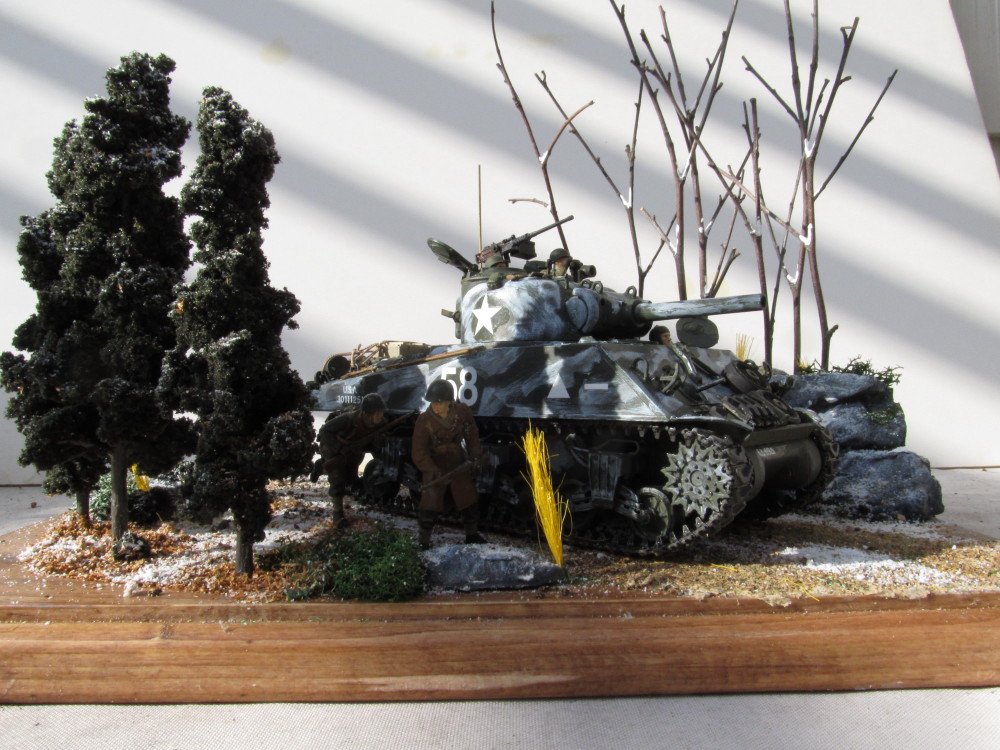
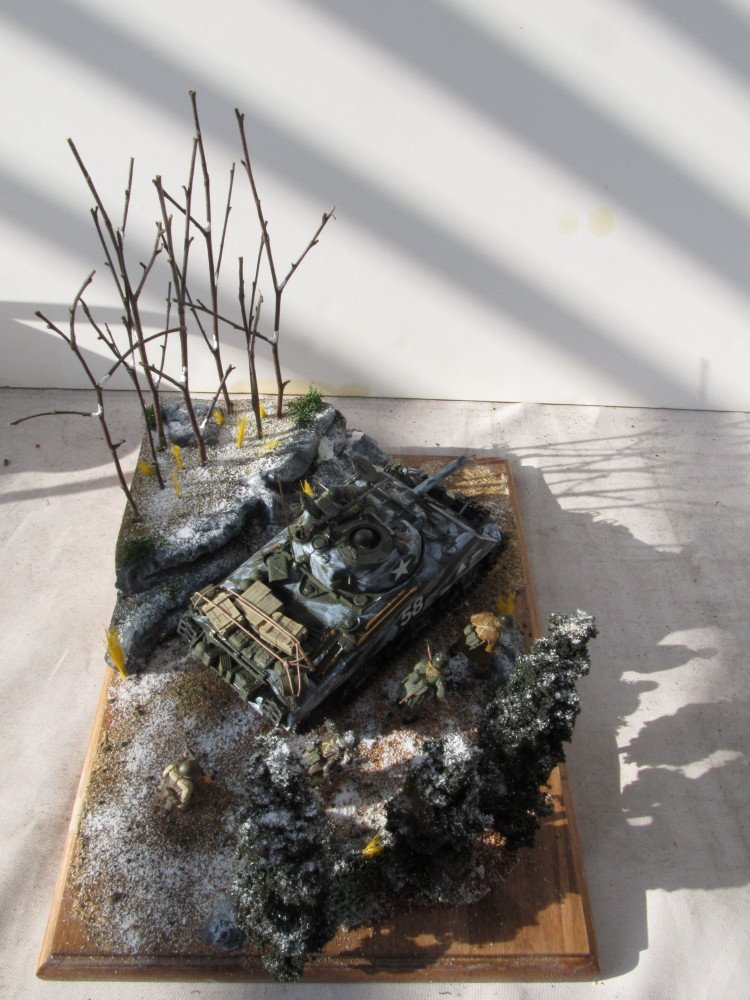
Continuing on: After ordering some more of Woodland Scenic;'s trees and snow I was able to continue on, test fitting the soldiers and tank and trees before gluing them in place. And now the FINISHED model and diorama. Thanks for following along.

- 324 replies
-
- 16
-
-
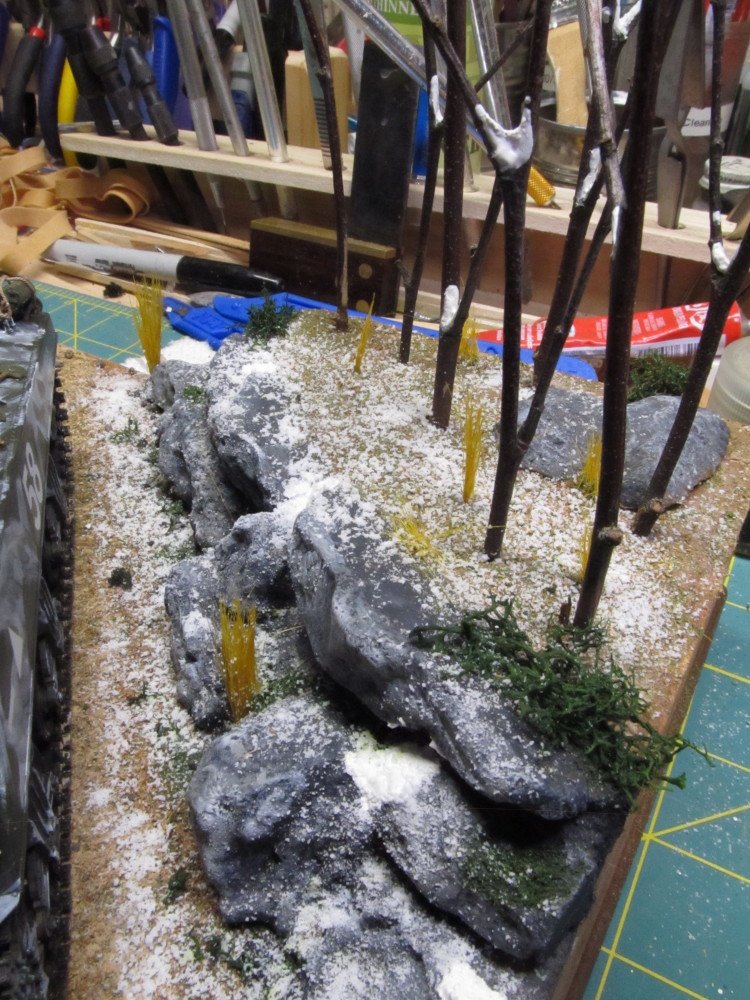
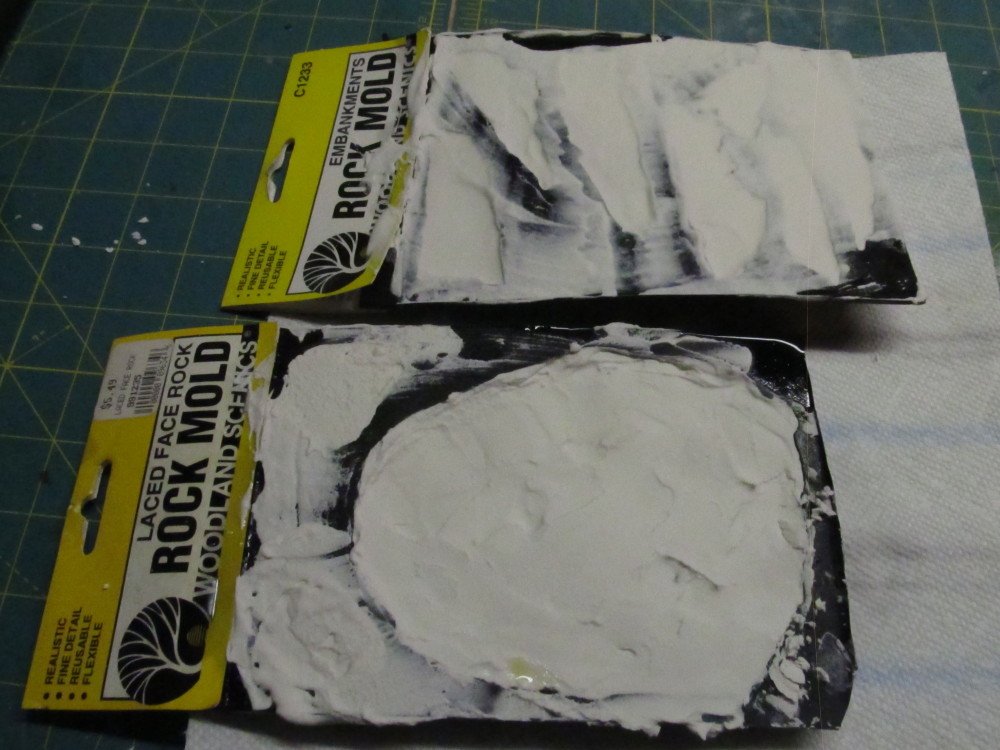
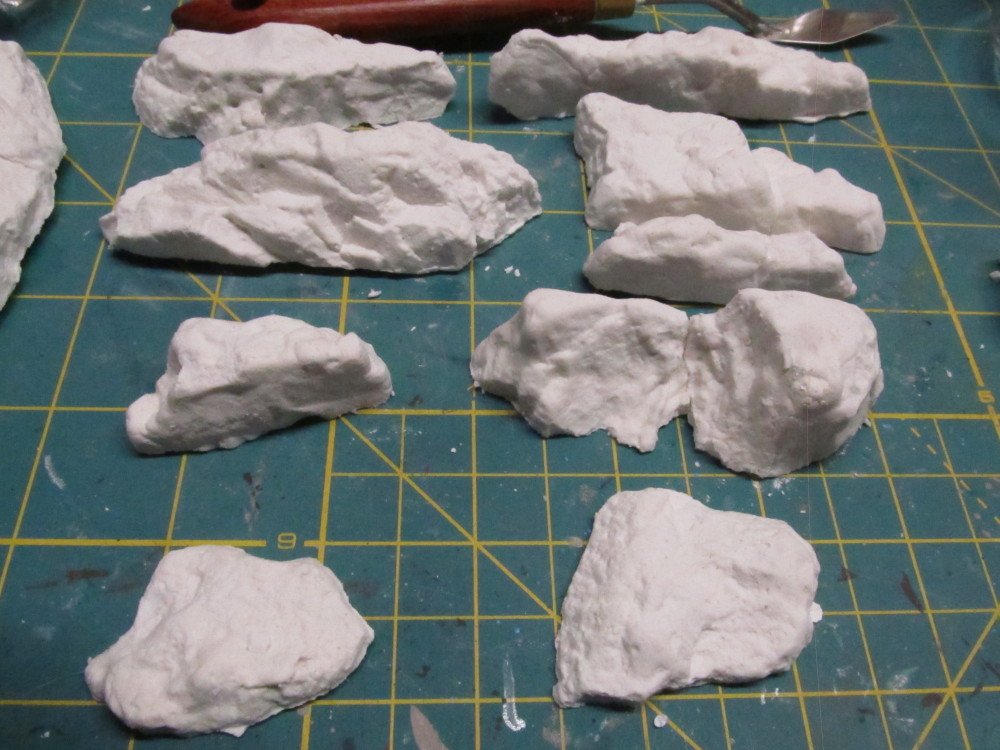
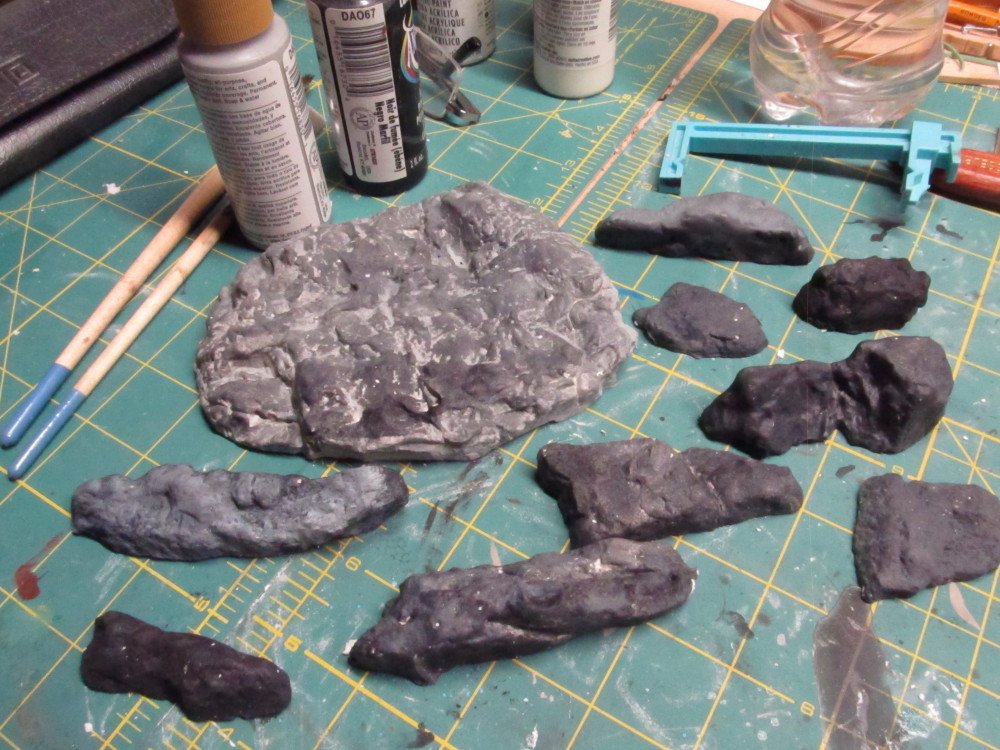
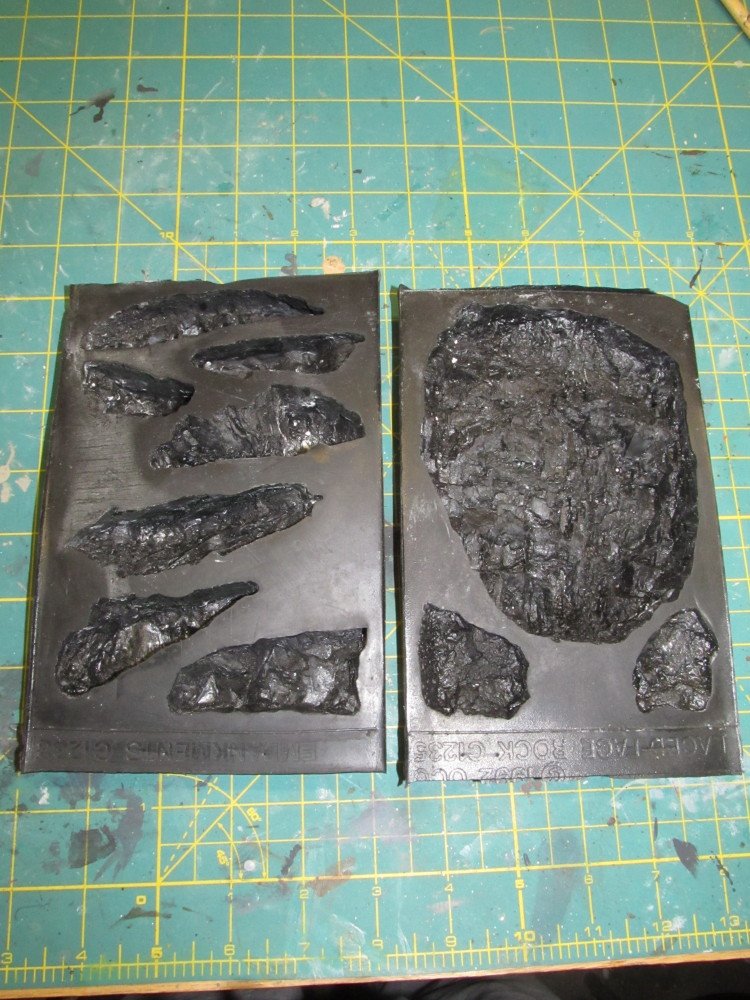
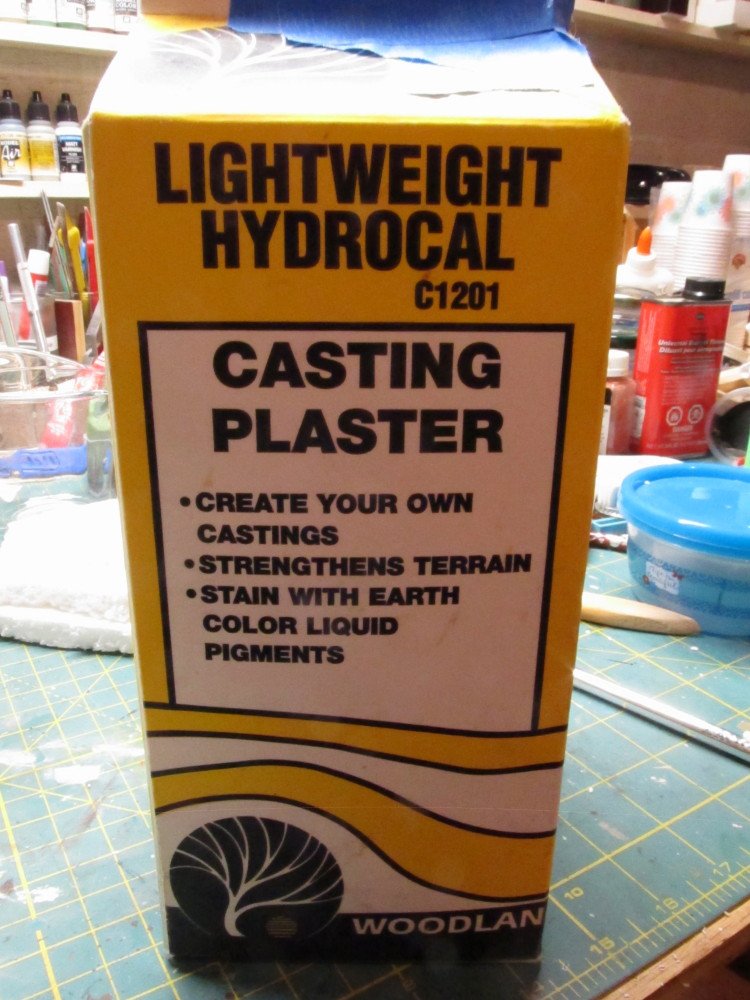
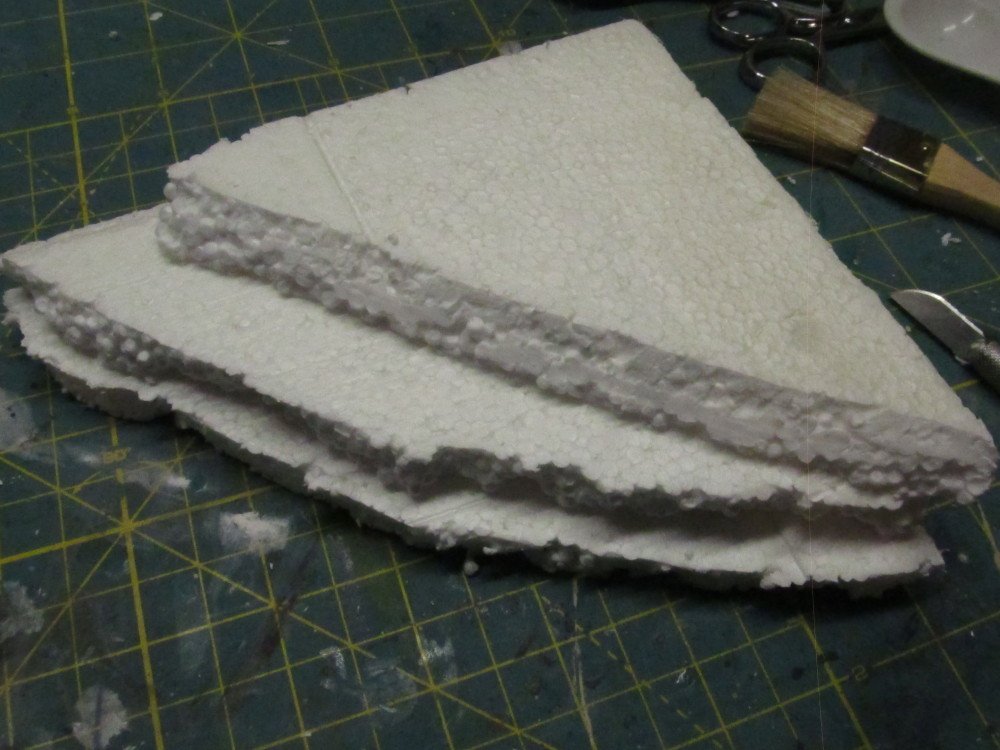
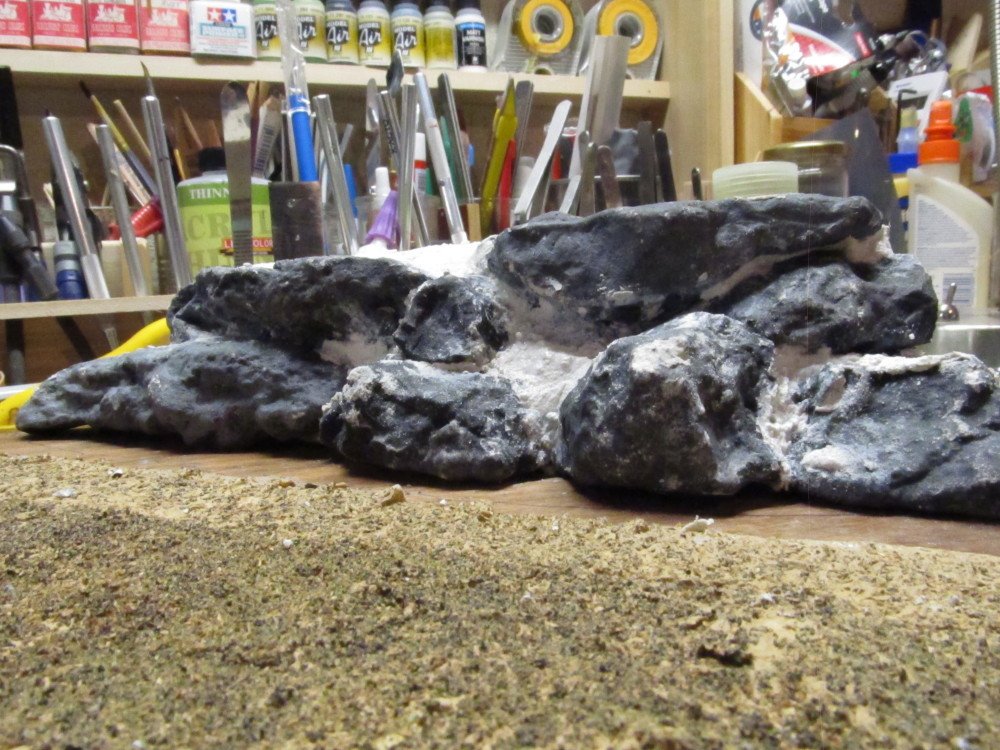
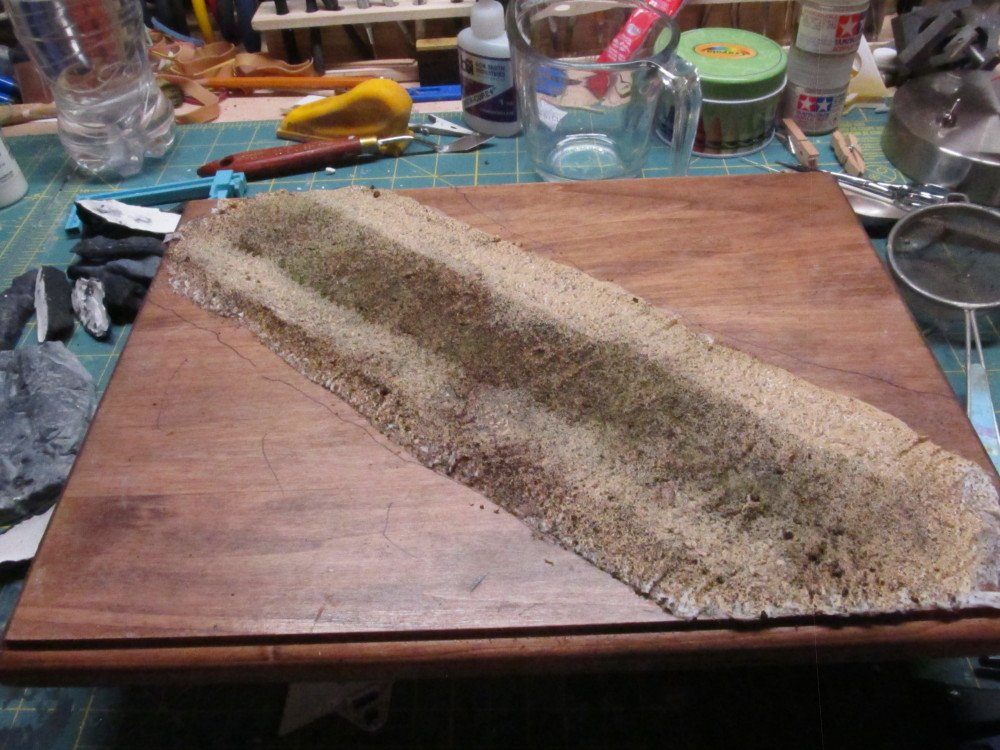
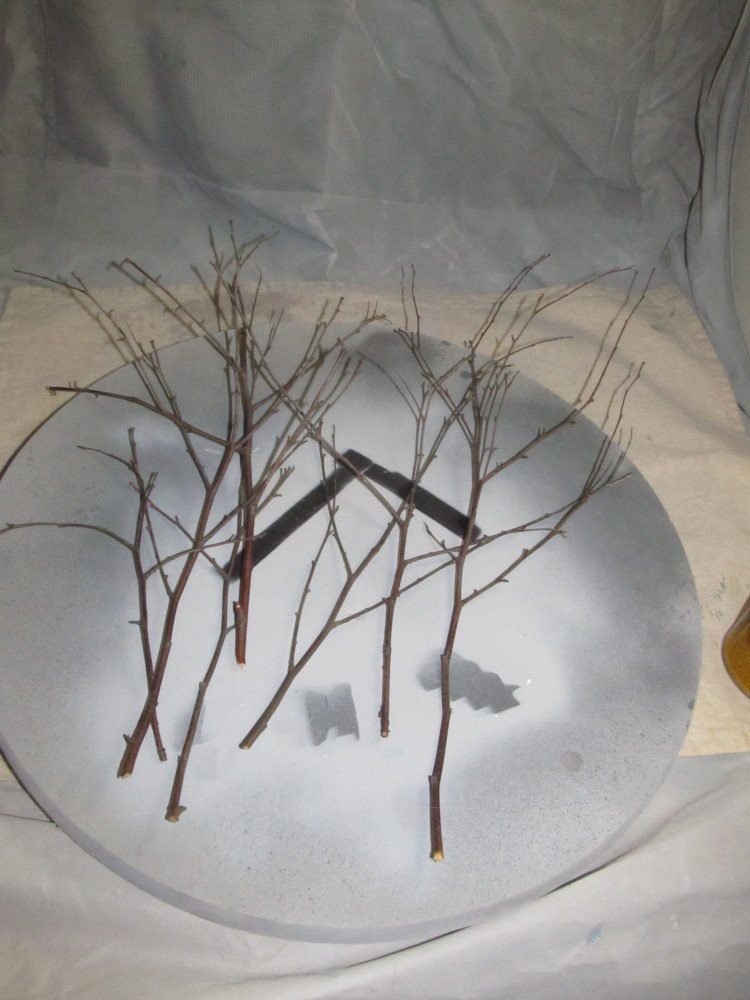
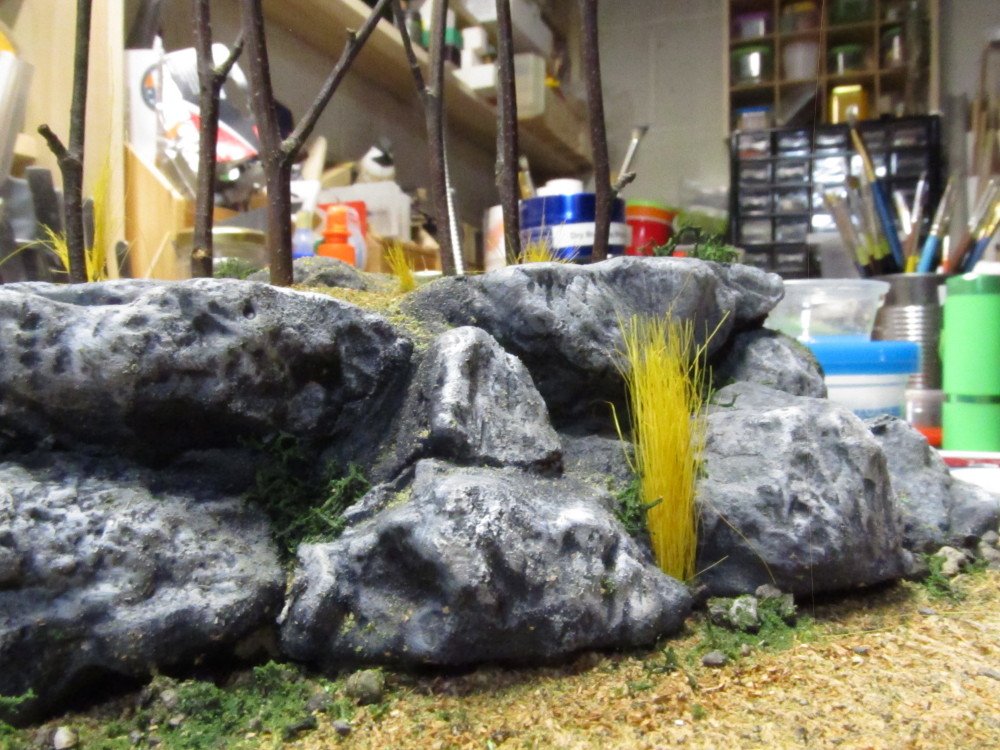
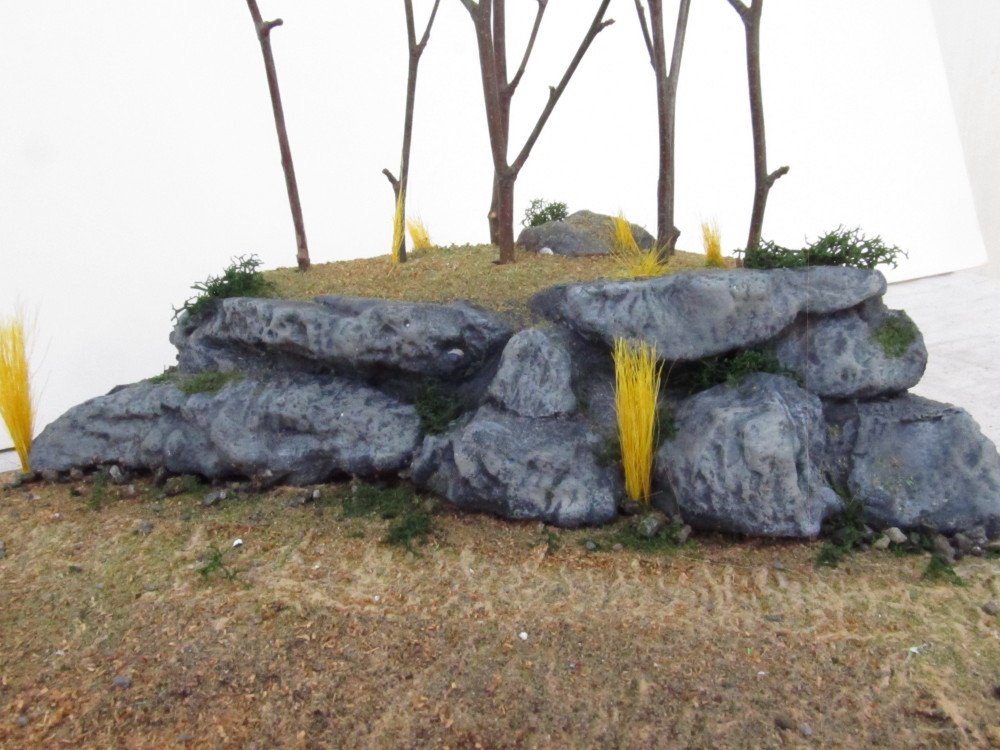
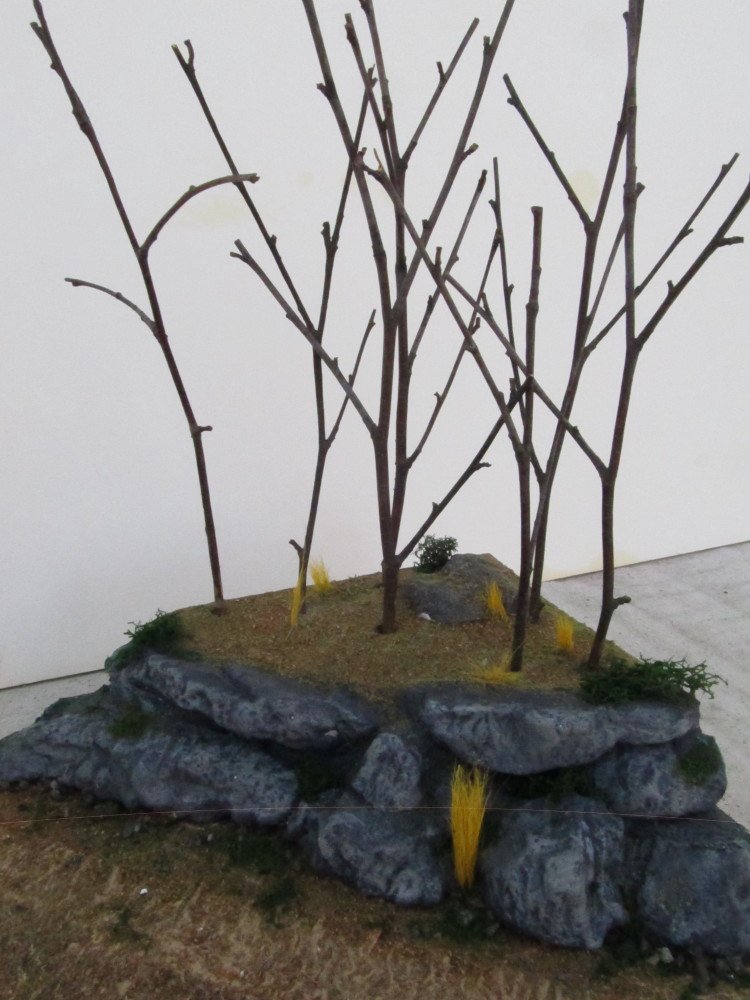
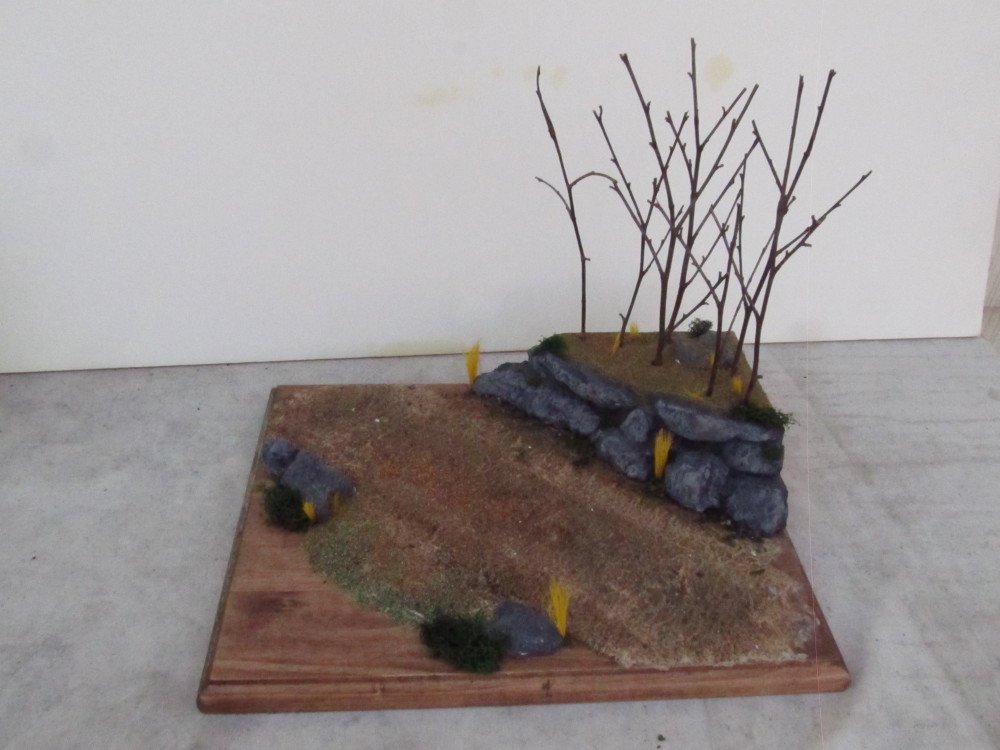
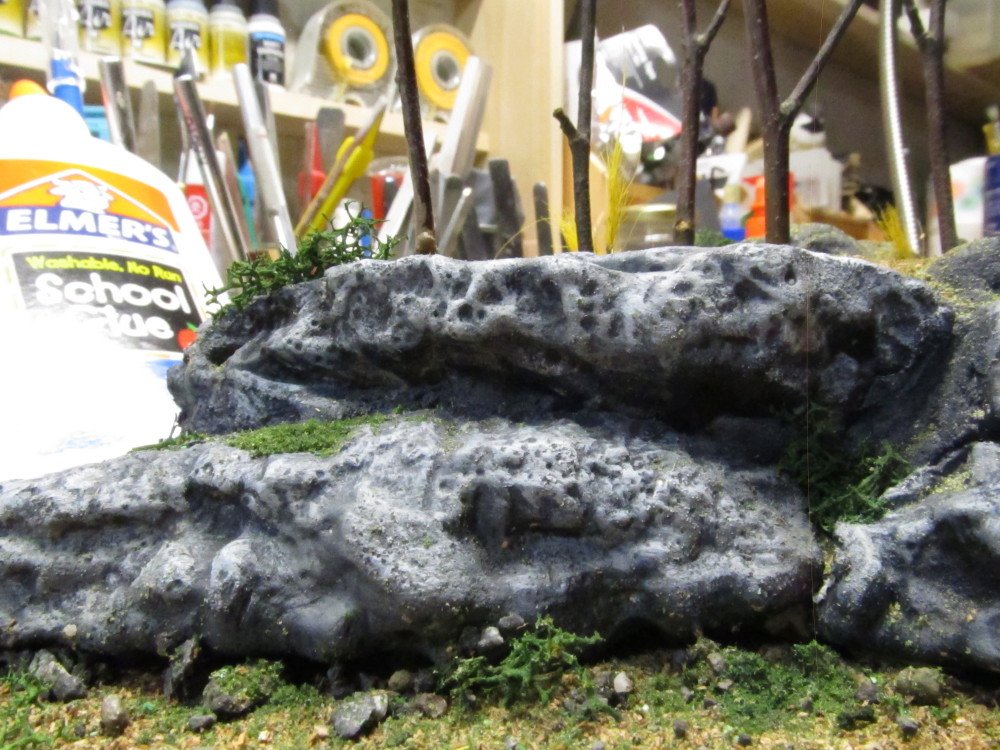
Building the diorama: For the diorama display I chose a 9 inch by 11 inch basswood plaque to which I applied 2 coats of Minwax Cherry stain followed by 2 coats of Minwax Clear Satin poly. For the scene I decided to show the tank and crew moving thru a wooded area with a rock outcropping on one side with a stand of hardwood trees atop the outcropping. First step was to get out my Woodland Scenic rock casting rubber molds (shown in photos below). I mixed up a small batch of Hydrocal casting plaster, poured it into the molds and let setup overnight. After removing the castings I gave them a base coat of lamp black paint, followed by successively lighter shades of slate gray, and dry brushed with titanium white. To make the raised area for the rock outcropping I used some sheets of hard packing styrofoam (the really stiff kind that they use to pack small appliances and the like) which I stacked 3 high in a triangular shape to fit onto one corner of the plaque. I then attach the rock molds to the Styrofoam using pre-mixed ceramic tile cement & grout, working the rocks into the face of the the "cliff". But before I did all that I had to lay down the "road". I did this by applying dilute white glue to the plaque surface, then lay successive layers of toilet paper/bath tissue over the glue, pressing it down with a brush. Following this I mixed some Fawn Brown paint into the dilute white glue, sprinkled it over the tissue and then dusted it with "dirt" of various shades. After the tile cement/grout set overnight it was on to making the hardwood trees. For this I chose to use the many twigs that my River Birch (Betula nigra) trees constantly drop onto my yard. They are in a sense miniature trees. Adding them to the foam was easy just make a small hole in the foam with a common nail, apply a few drops of white glue to the hole and insert the twig. Then applying some grasses to the mix and dry brushing the rocks a little more increases the effect. Continued in next post
- 324 replies
-
- 11
-
-
And usually loaded with lead from the solder they use to hold the pipes together on their still