Erik Nyren
-
Posts
184 -
Joined
-
Last visited
Content Type
Profiles
Forums
Gallery
Events
Everything posted by Erik Nyren
-
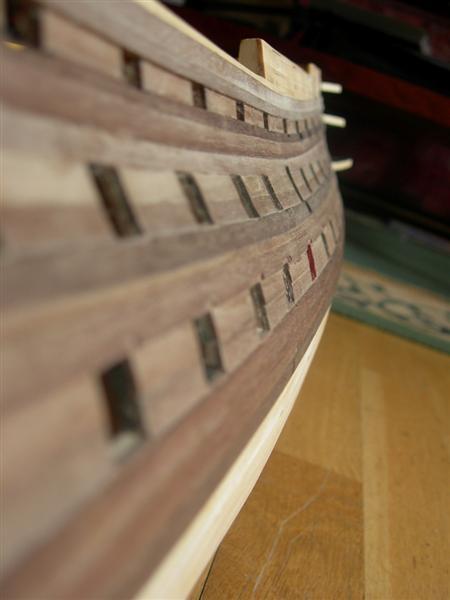
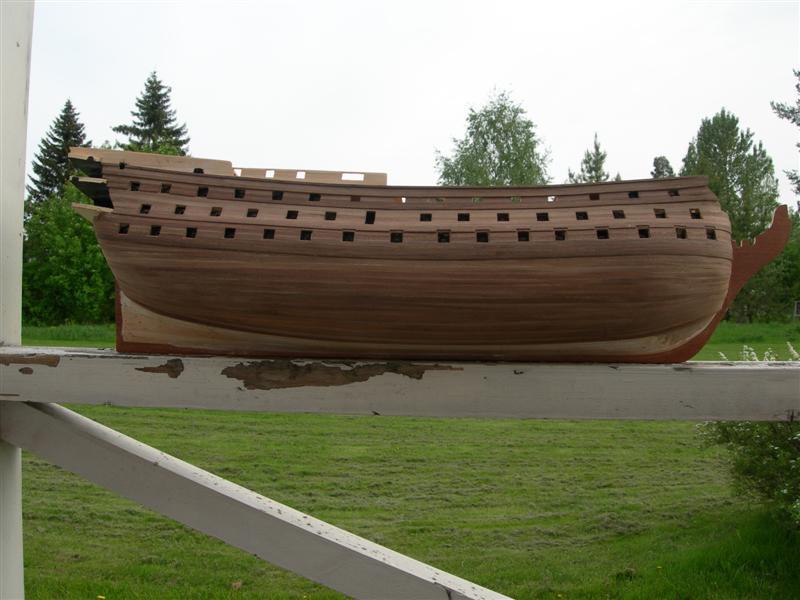
 And some planks after a bit of sanding. It seems I can never achieve that fantastic clean look that one strives for but I keep trying.
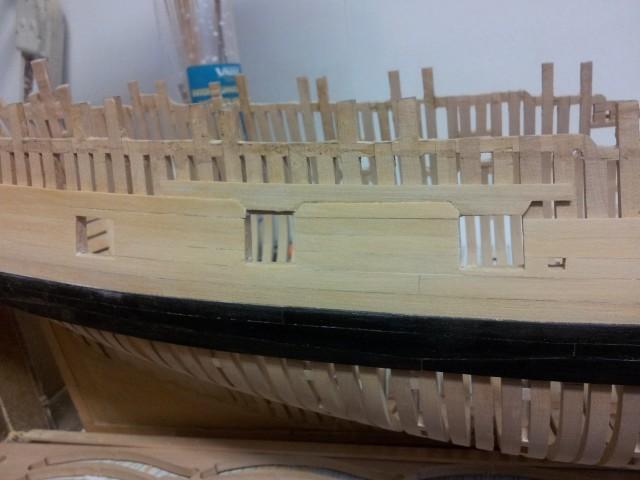
- 43 replies
-
- 1
-

-
- lauck street shipyard
- kingfisher
- (and 1 more)
-
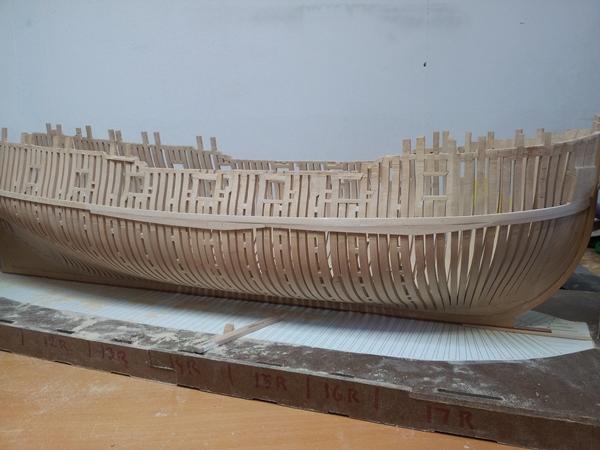
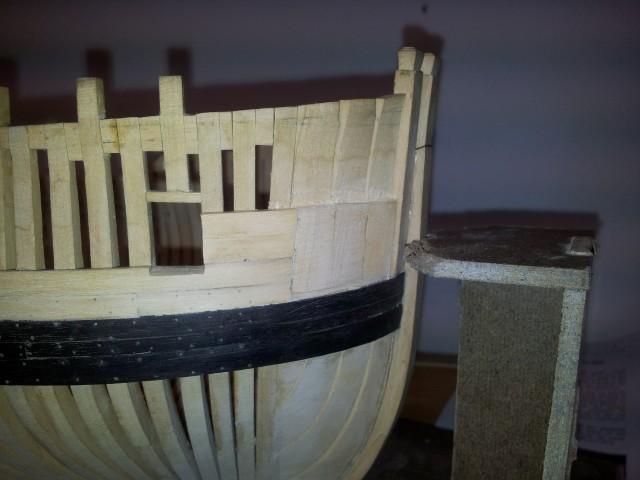
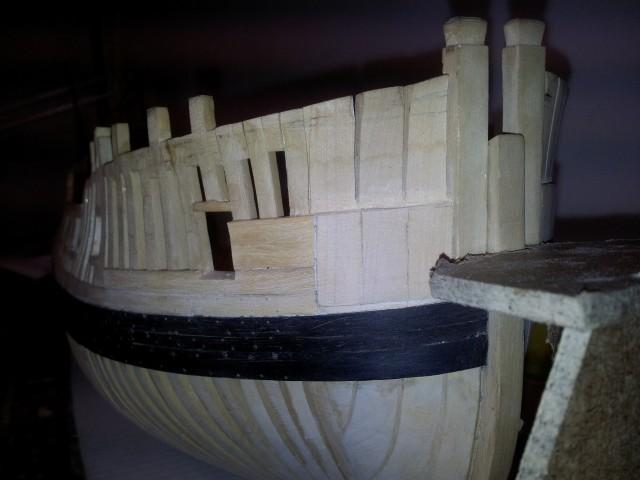
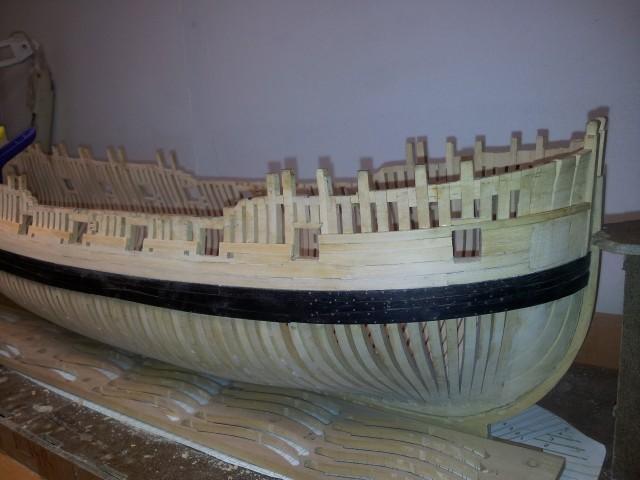
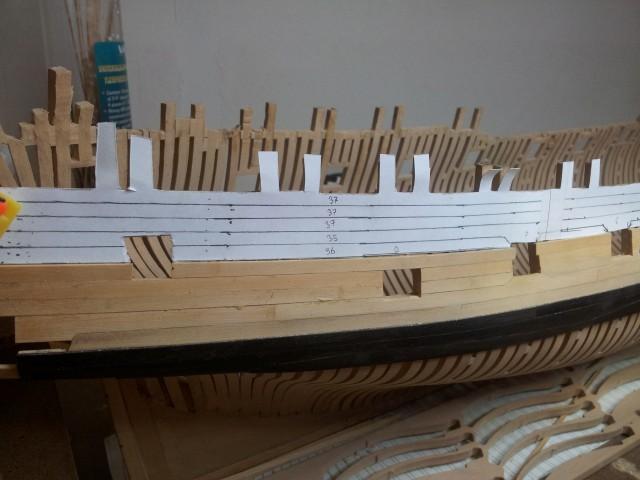
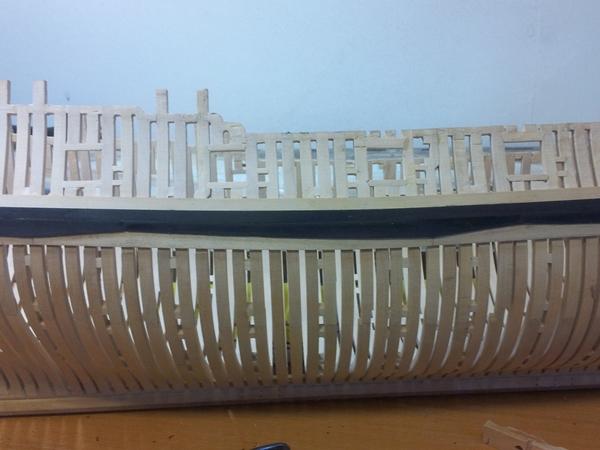
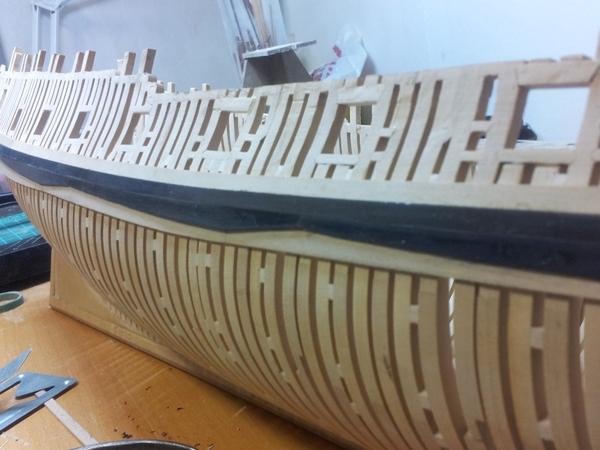
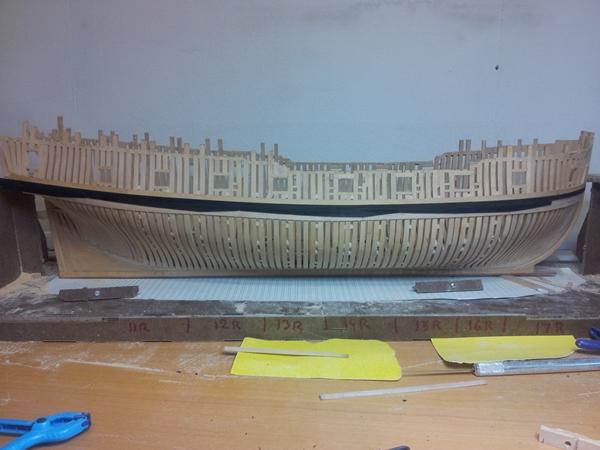
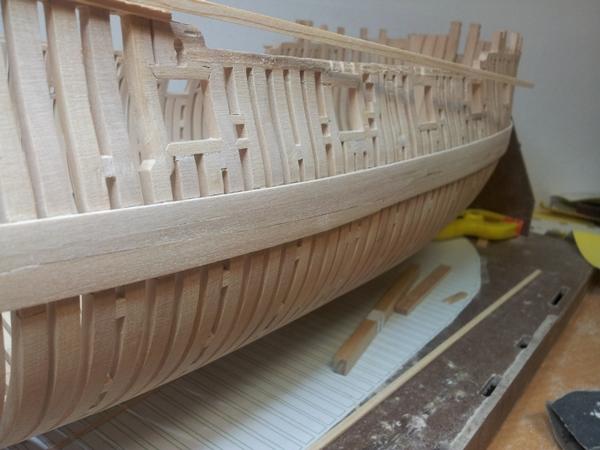
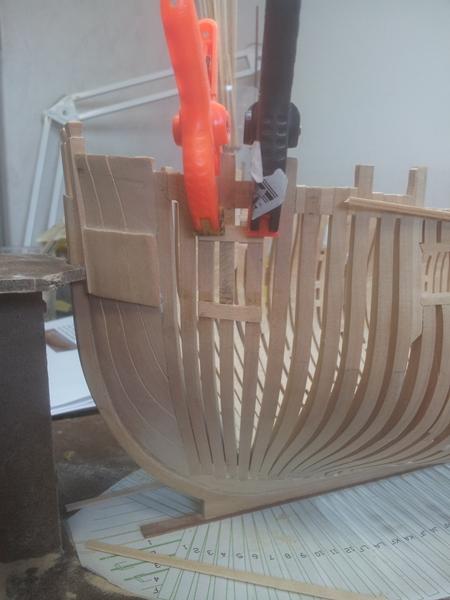
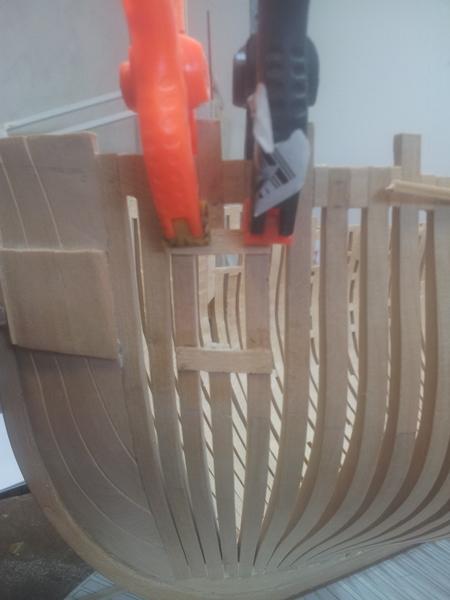
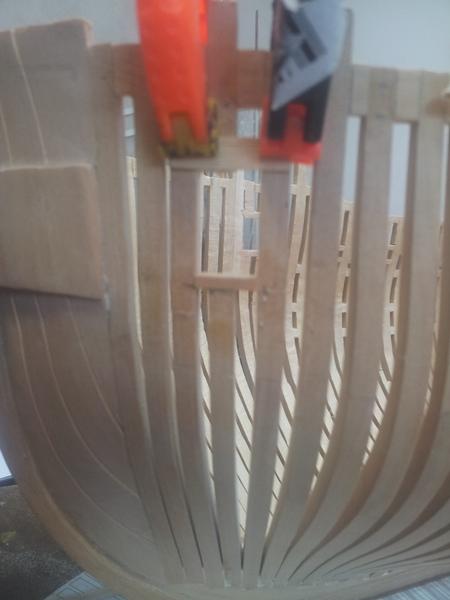
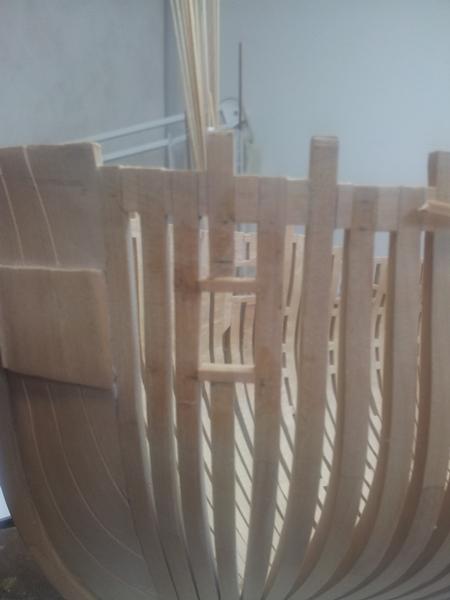
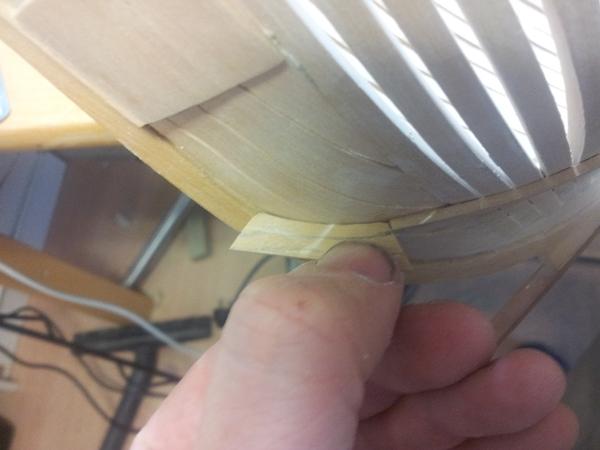
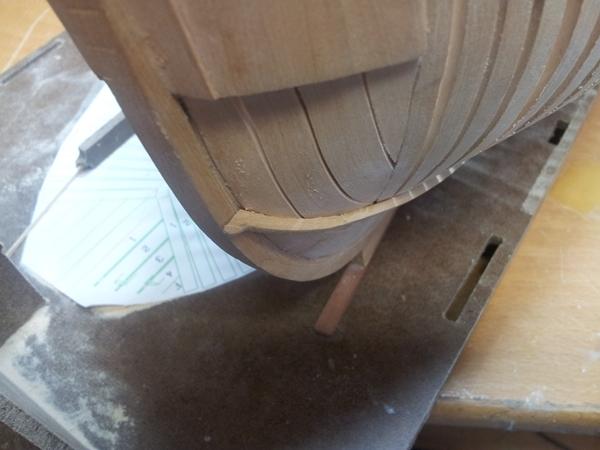
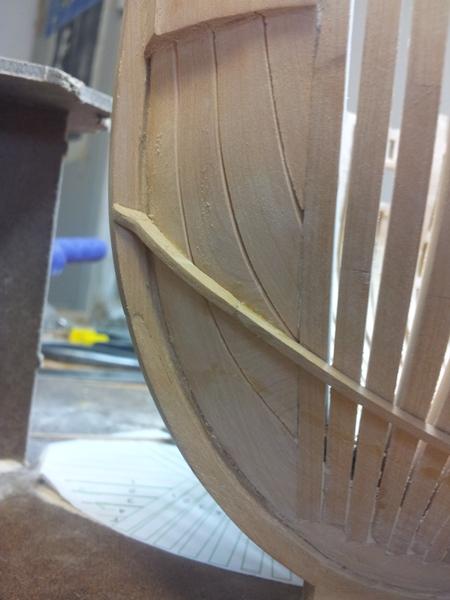
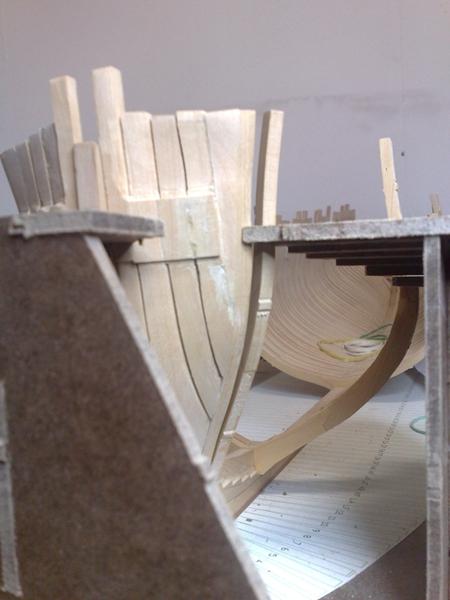
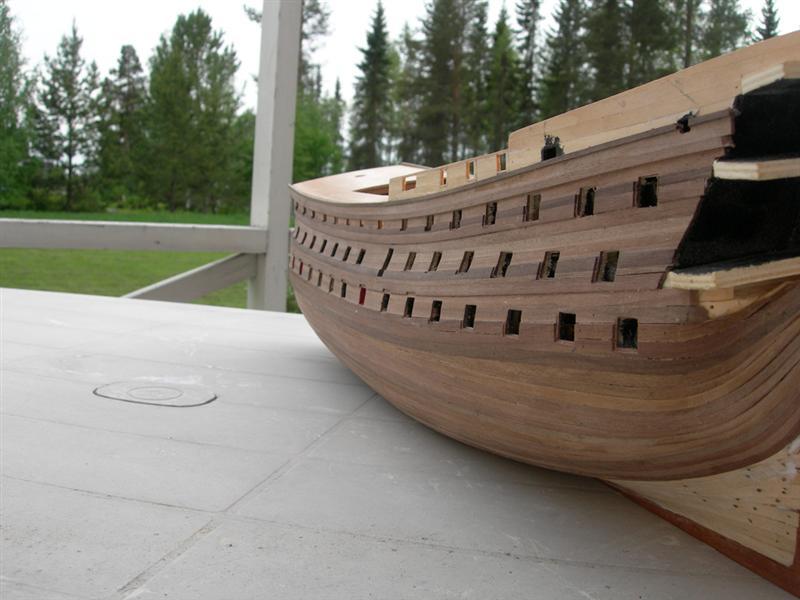
More planking progress I seen before I had a serious problem with the boxings as a result of having trouble with the hawse timbers, I ended up oversizing them. Now while planking they are cut to size following the natural flow of planks. Problem solved (for now )
- 43 replies
-
- 1
-
-
- lauck street shipyard
- kingfisher
- (and 1 more)
-
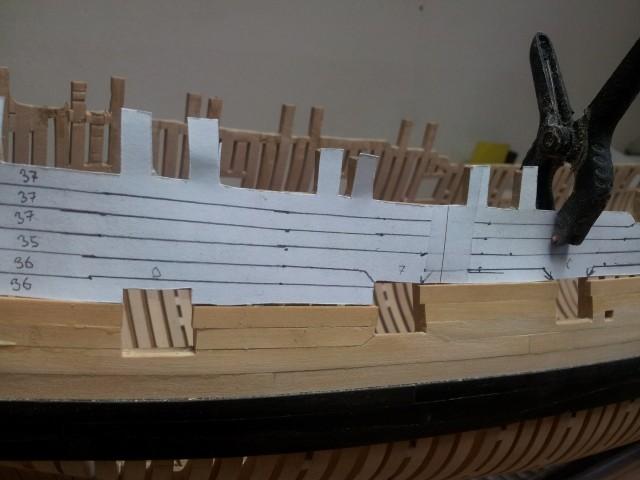
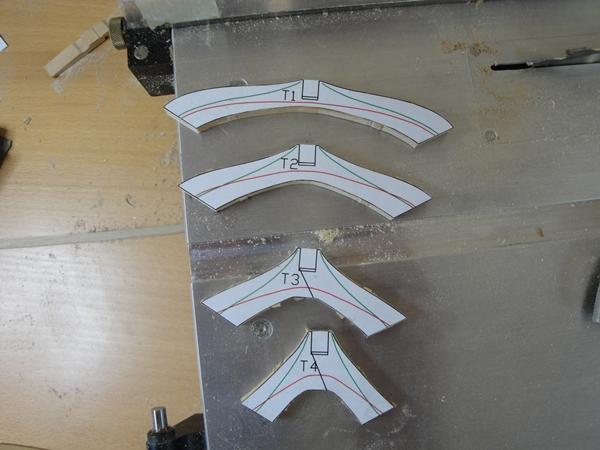
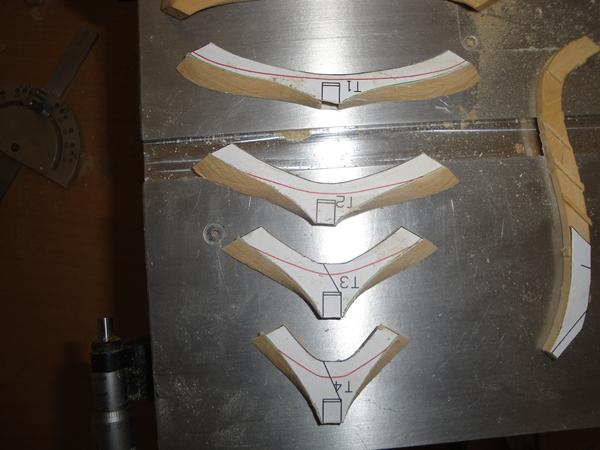
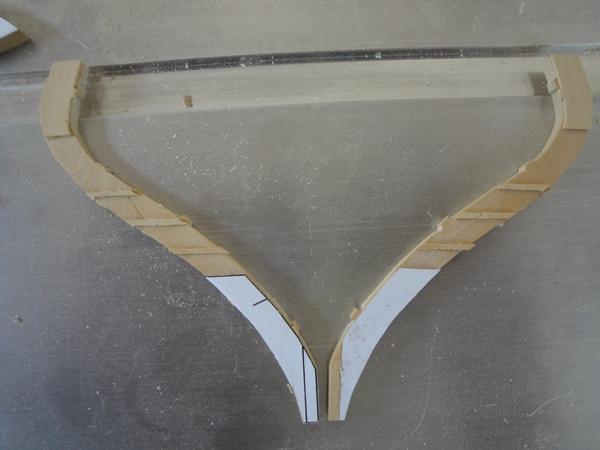
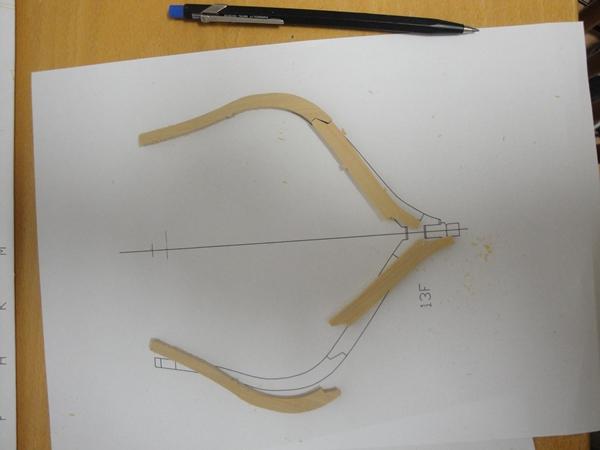
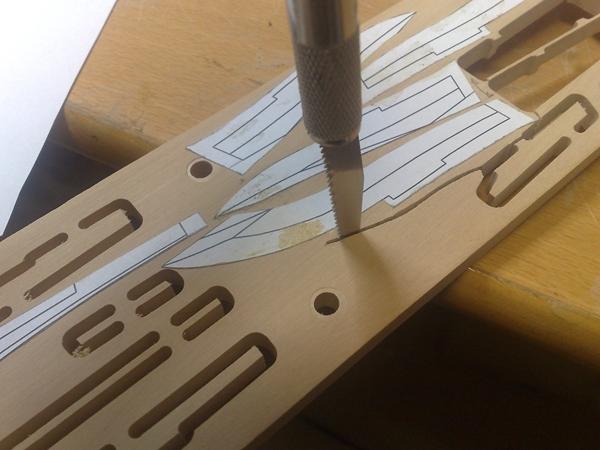
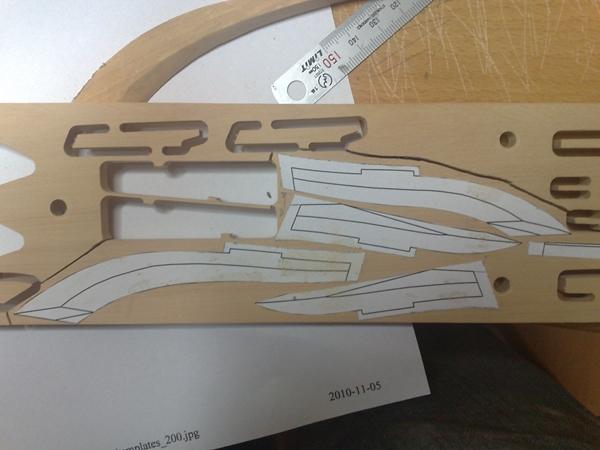
So this is what I´m up to theese days I have tried a new method (for me that is) as theres a sertain pattern to the planking of this ship I figured I´d make my own template. I started out planking as usual but things started to go astray therefor I cut a paper template covering the side of the ship that had not yet been planked. Using the pictures in the David Antscherl book I draw what was left and then I could cut out a template for each plank. Then using the fantastic product Rubber cement the template is glued to the wood strips and the planks shaped.

- 43 replies
-
- 1
-
-
- lauck street shipyard
- kingfisher
- (and 1 more)
-
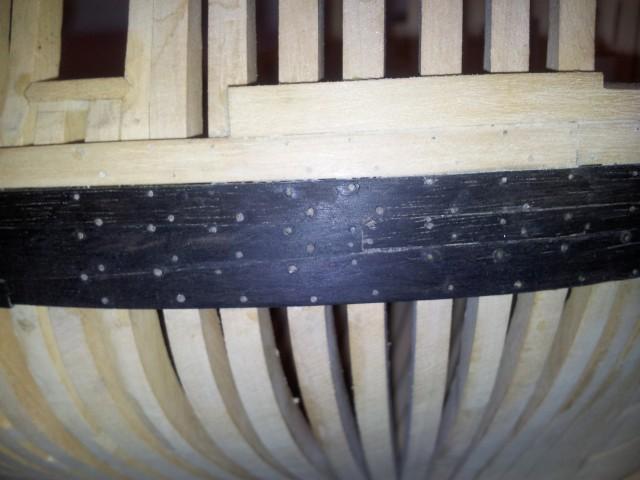
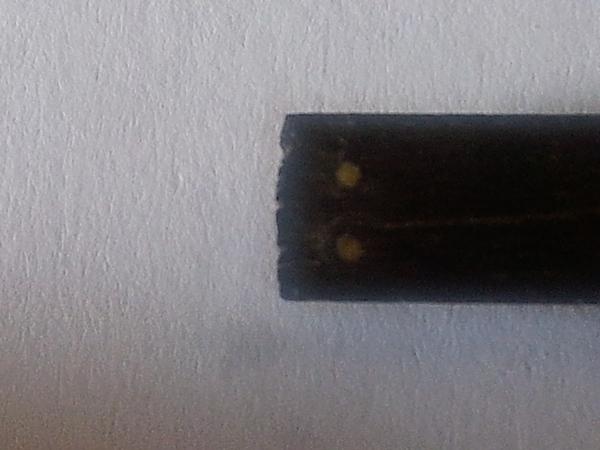
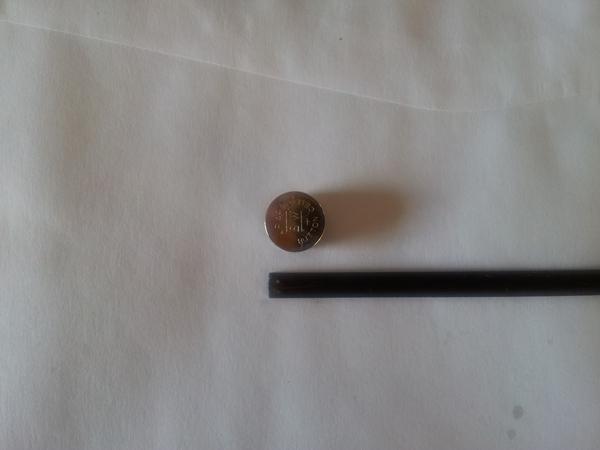
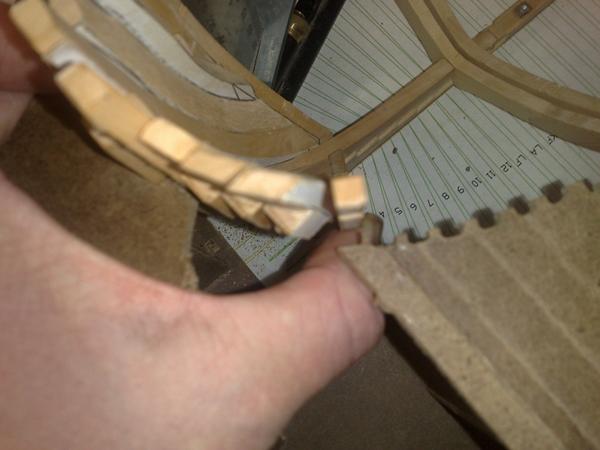
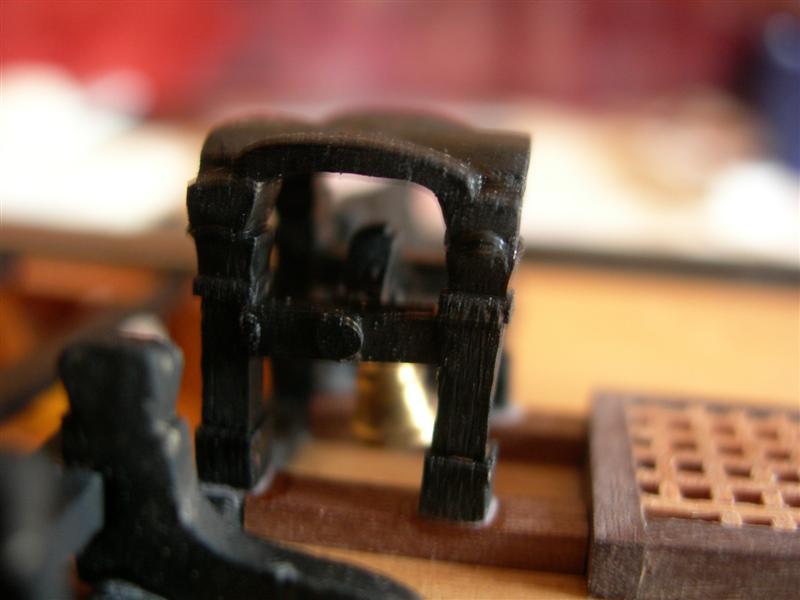
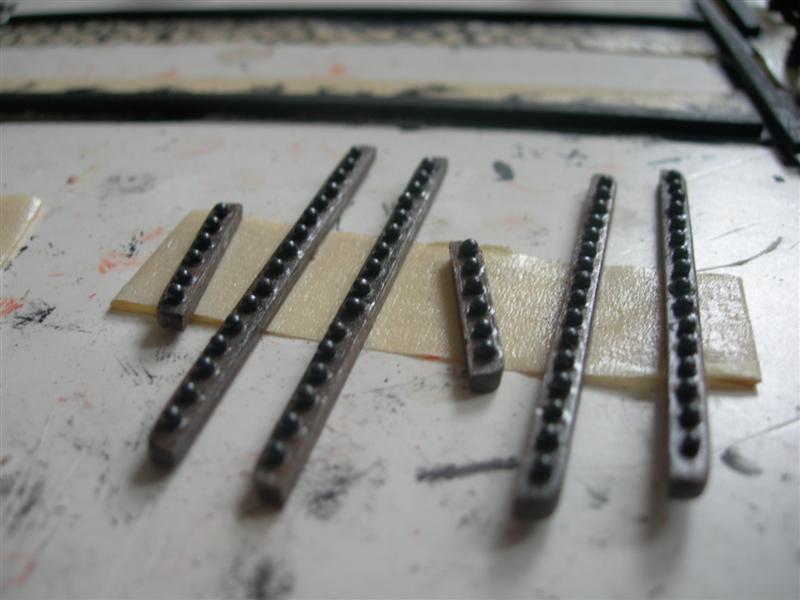
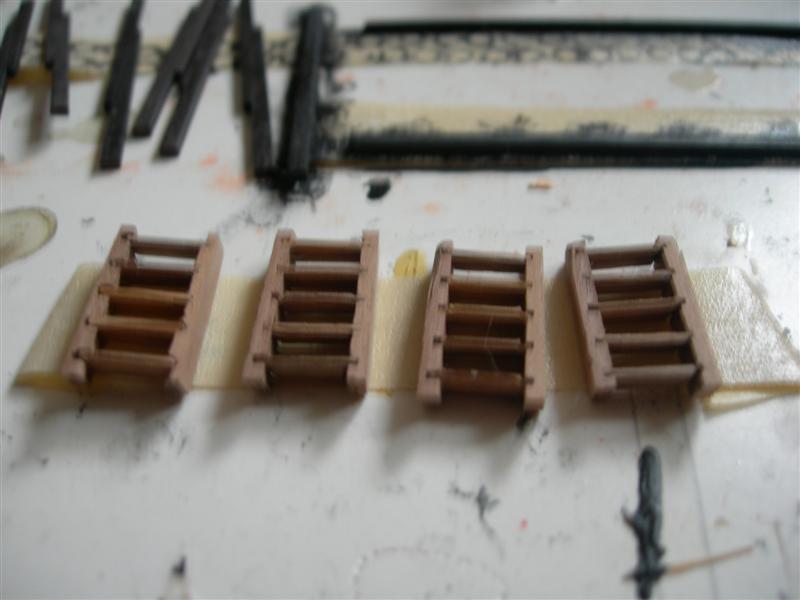
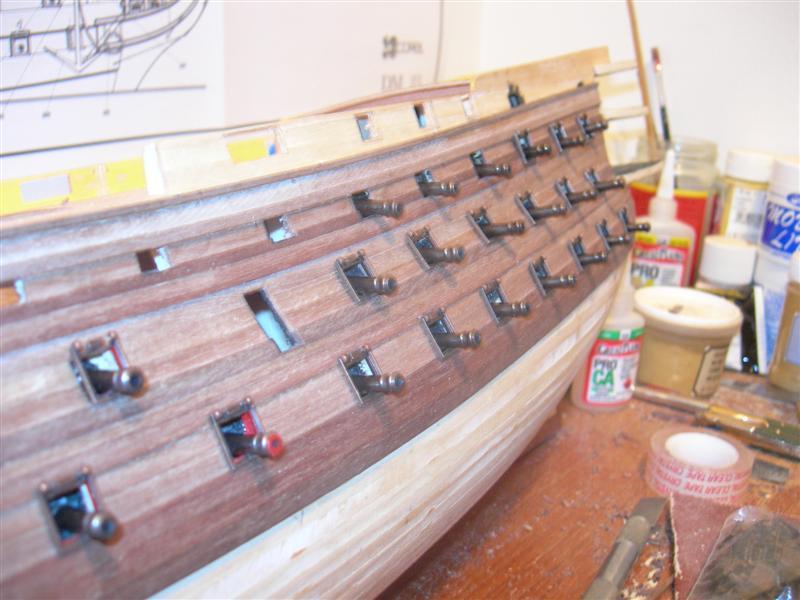
Messing around with treenails and ebony. Trenails are made from those bamboo barbeque sticks using a drawplate. They are about 0,4 mm in diameter.
- 43 replies
-
- 2
-
-
- lauck street shipyard
- kingfisher
- (and 1 more)
-
I really need to go lullaby now. More to come
-
Oh well......
-
Well technicly Im suppose to comment on theese but,.......
- 43 replies
-
- 1
-
-
- lauck street shipyard
- kingfisher
- (and 1 more)
-
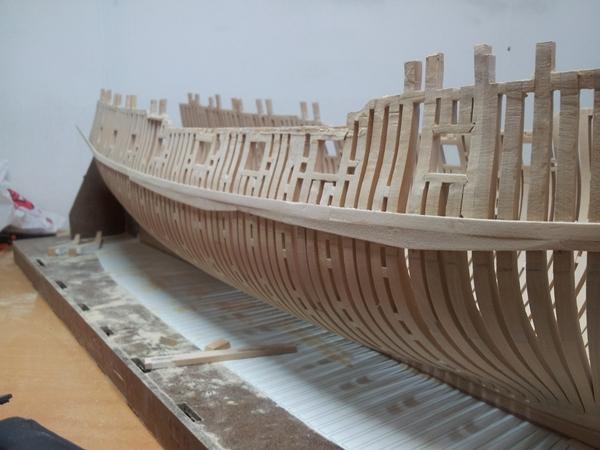
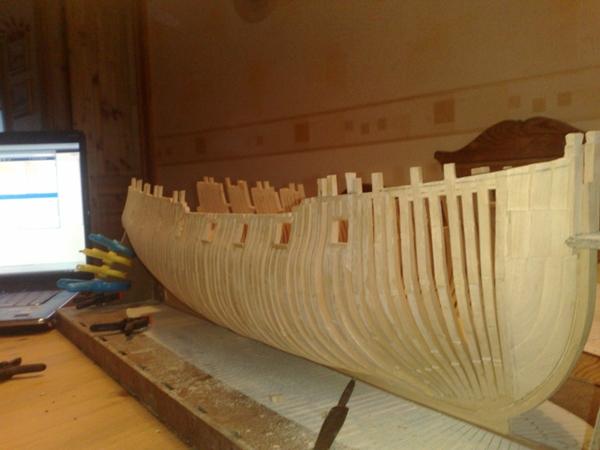
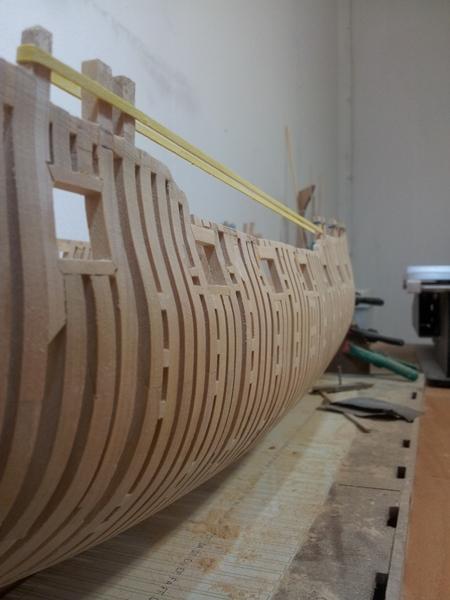
Framim...............hard work, .beautiful lines
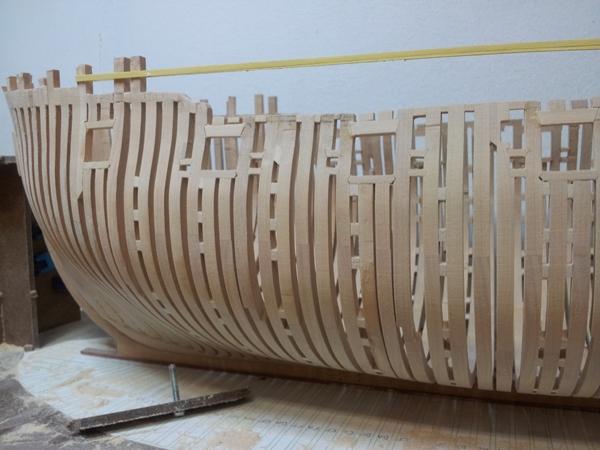
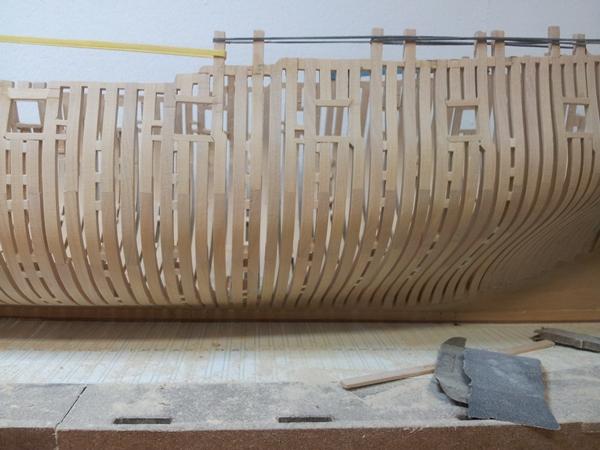
-
we are starting to see some lines
-
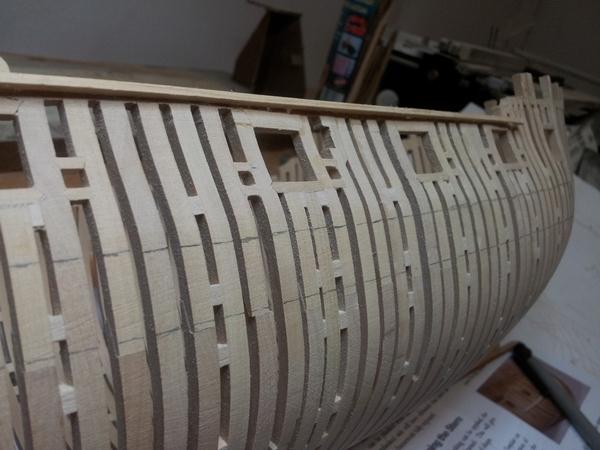
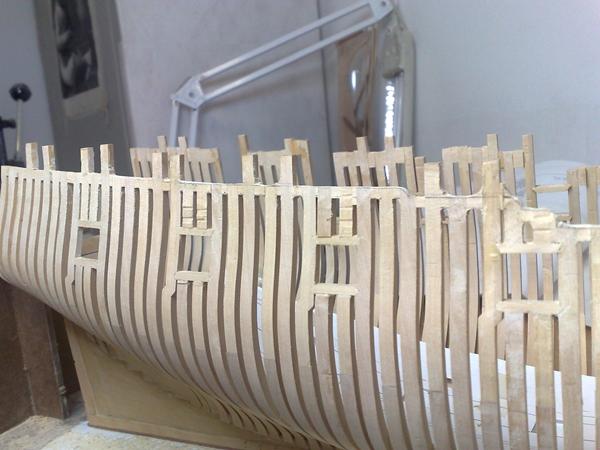
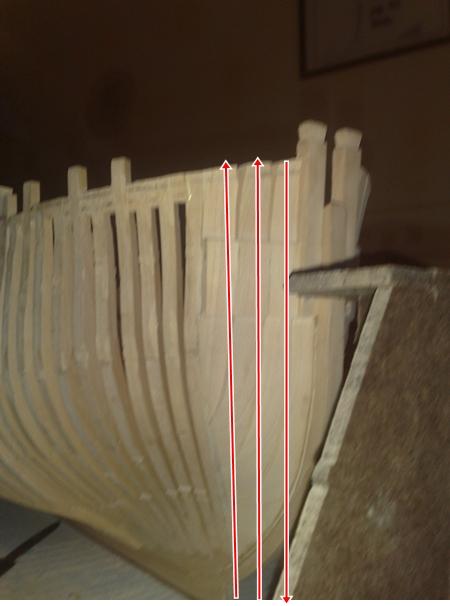
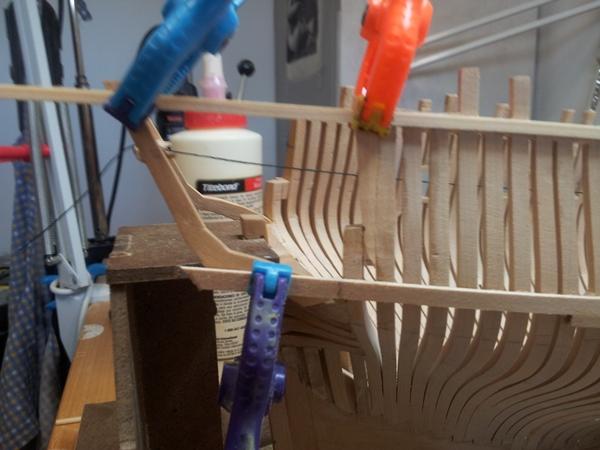
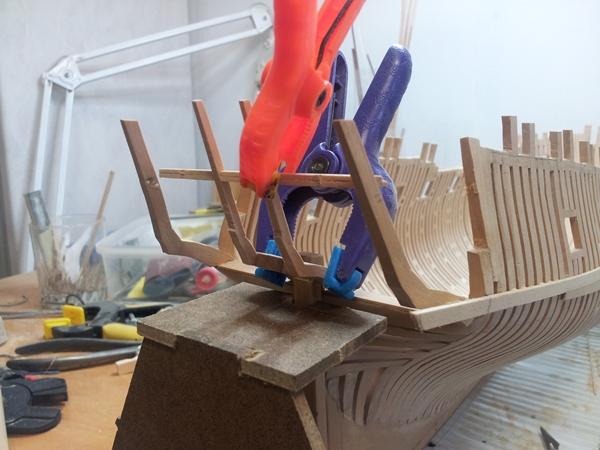
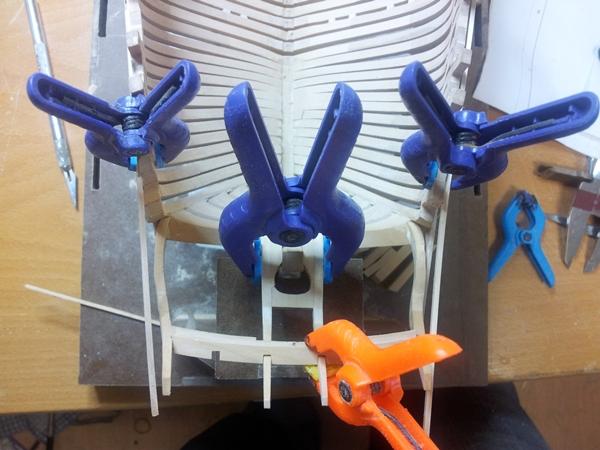
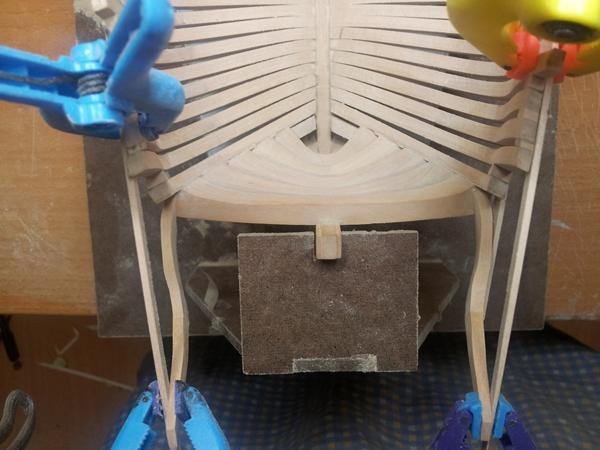
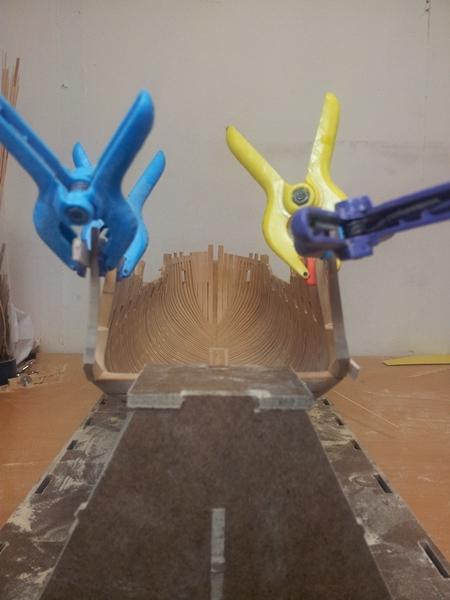
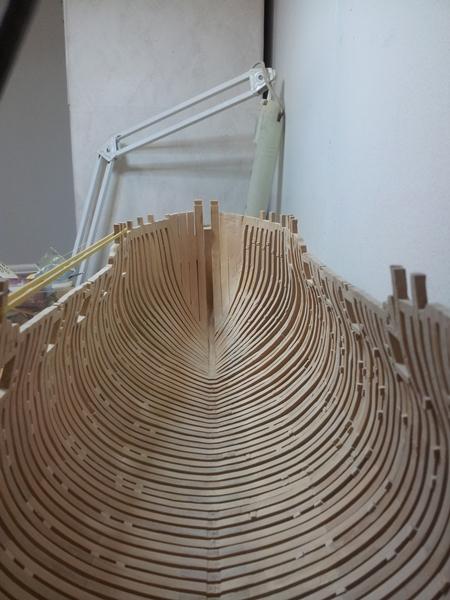
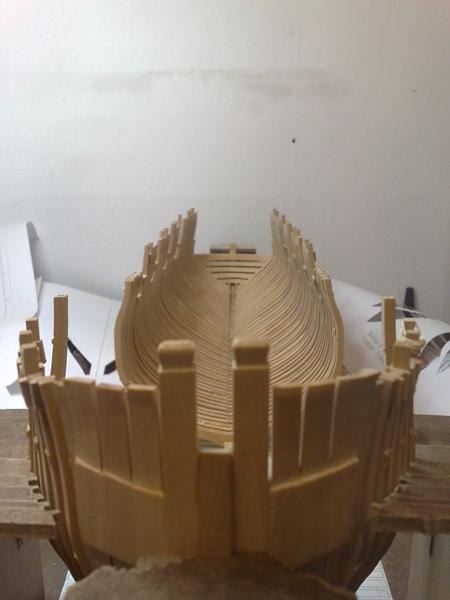
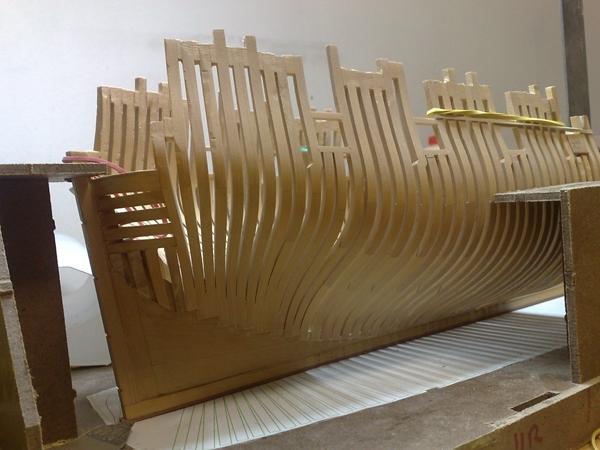
Still working on the framings......losts of them
-
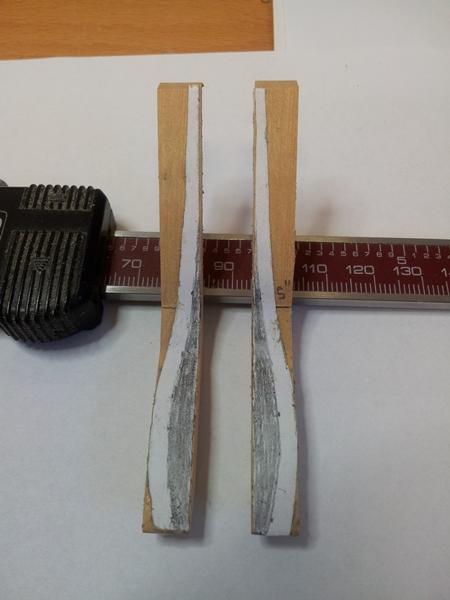
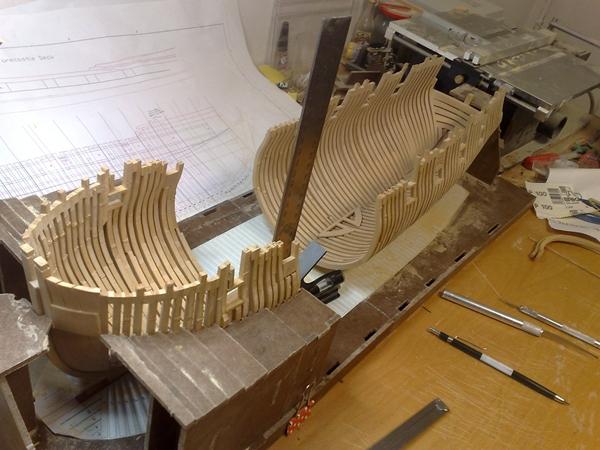
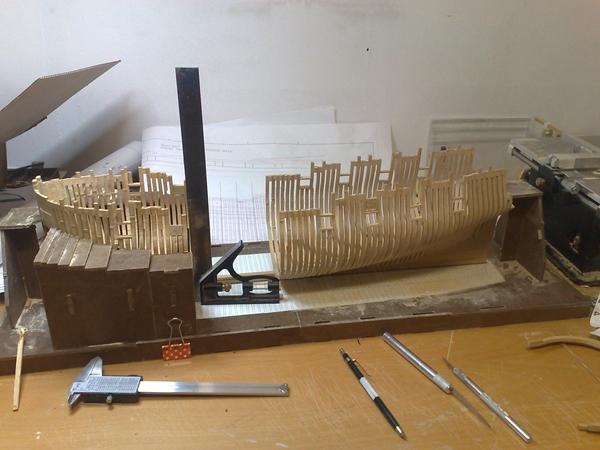
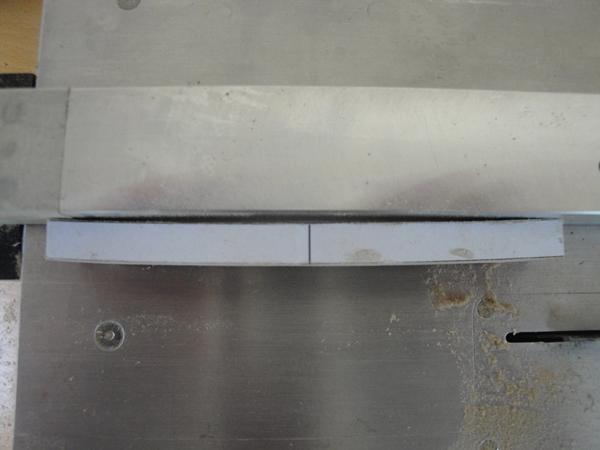
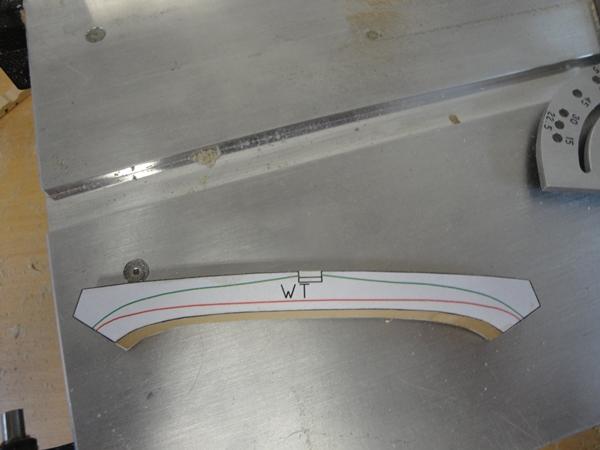
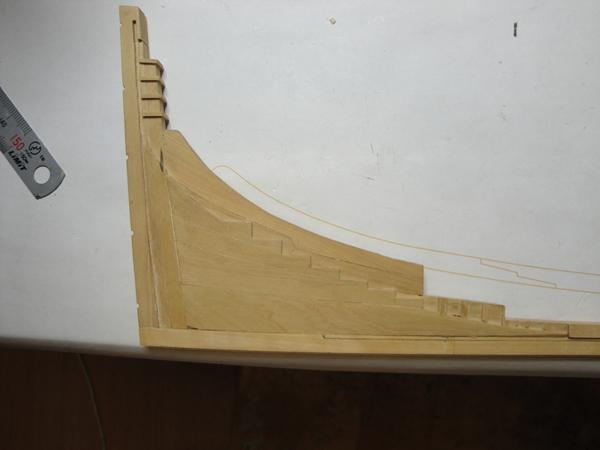
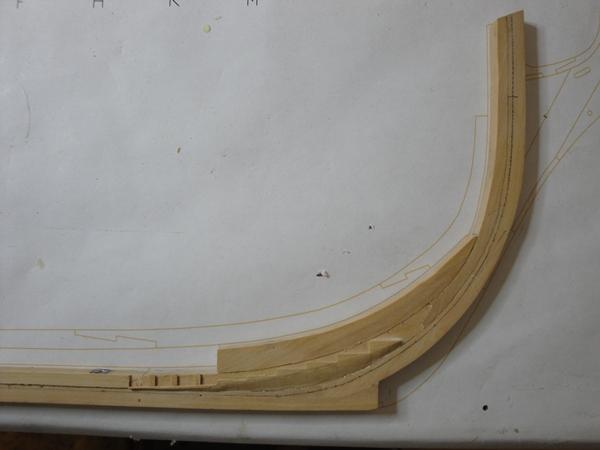
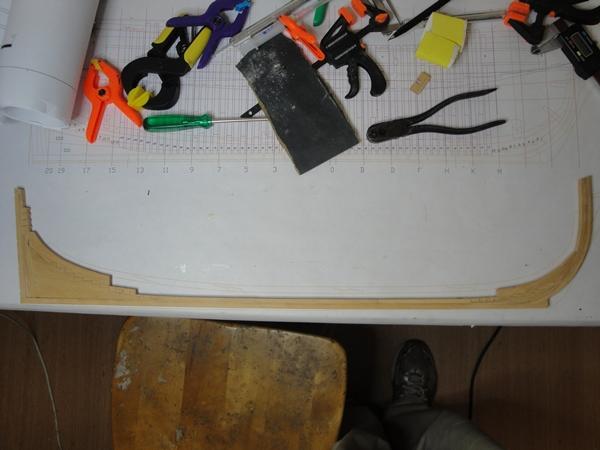
Without a Byrnes Sander and table saw I would be lost. A few pictures showing the stern timbers beeing shaped.

-
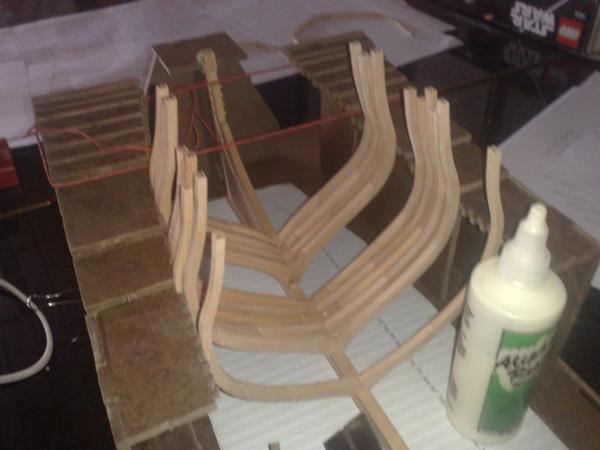
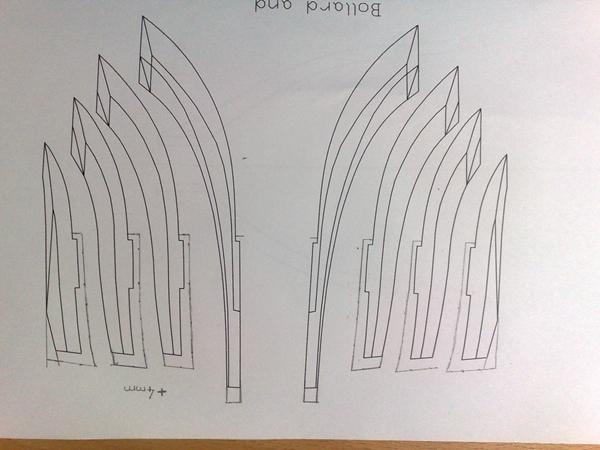
A few pictures here showing the constructions of the frames. Theese are made in detail as they were made back in the day.


-
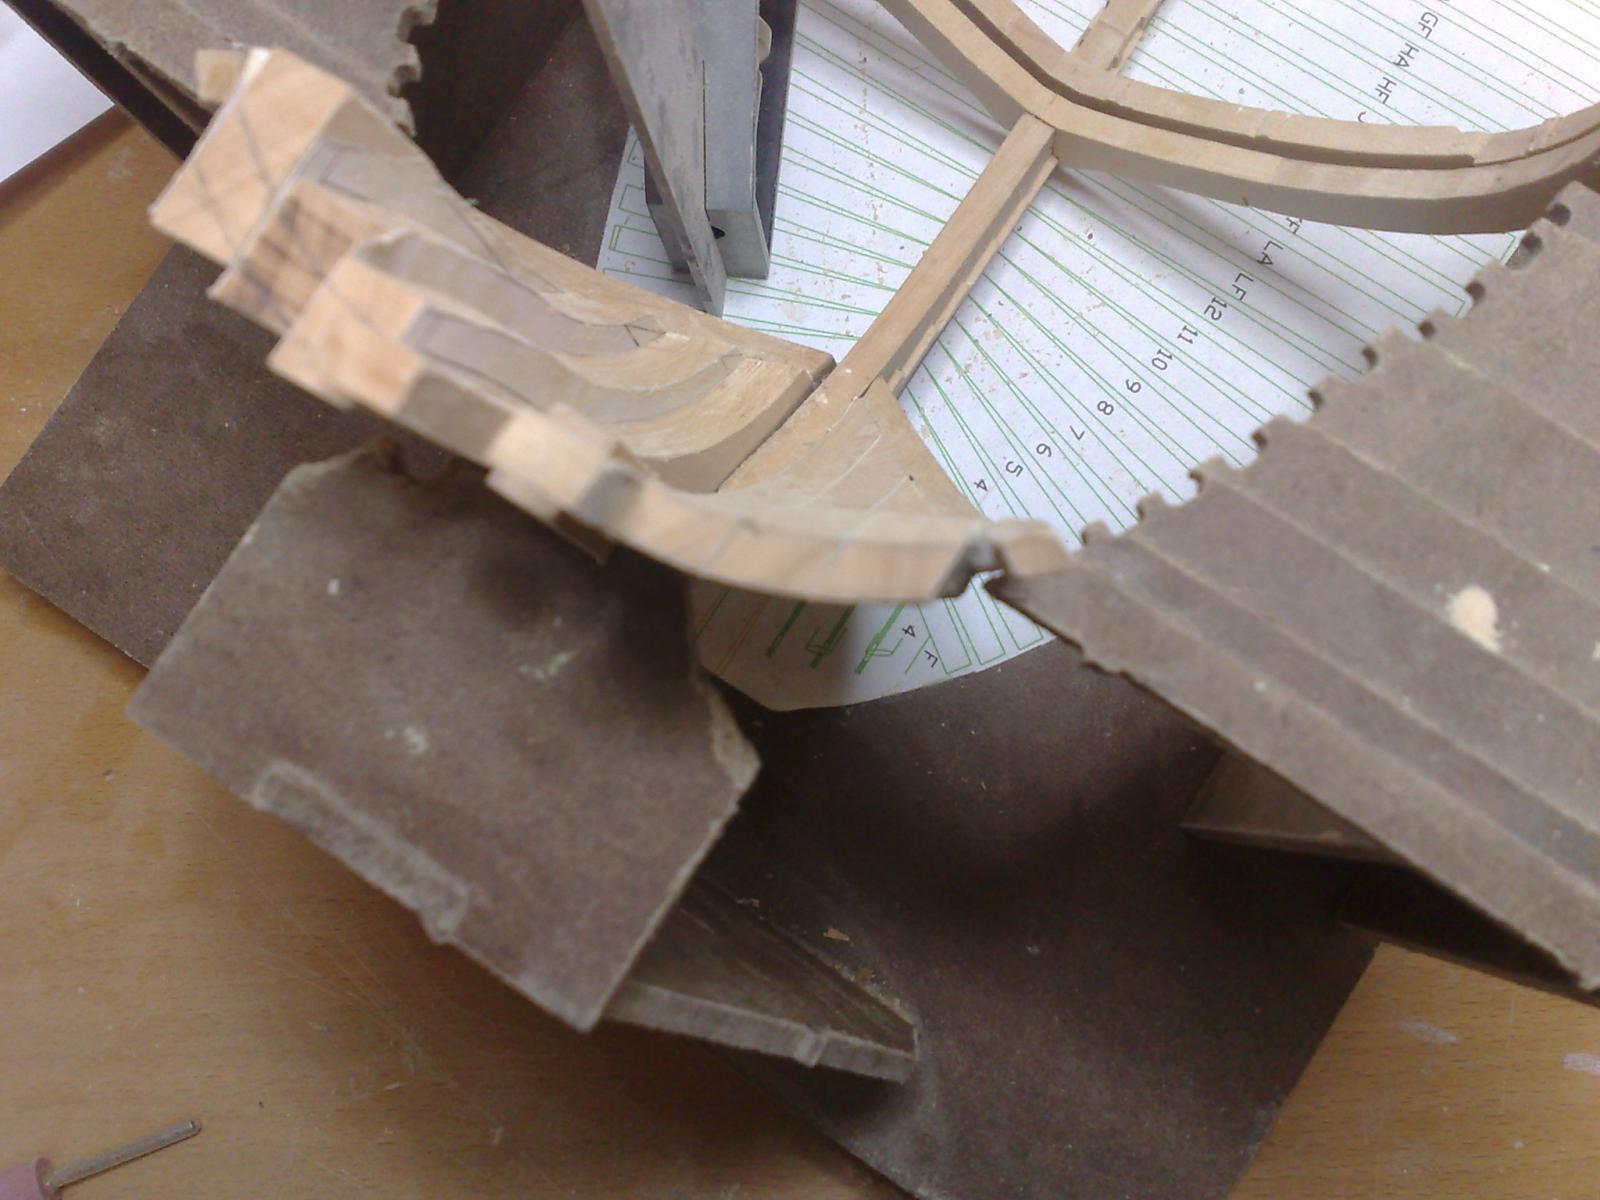
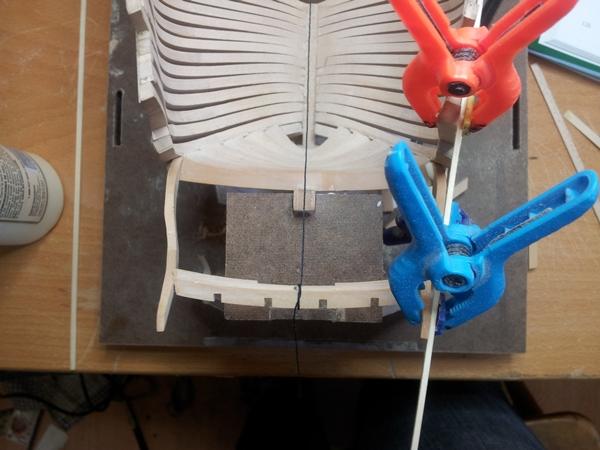
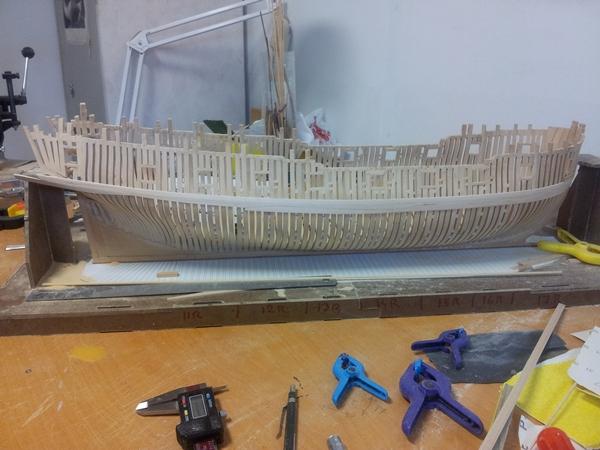
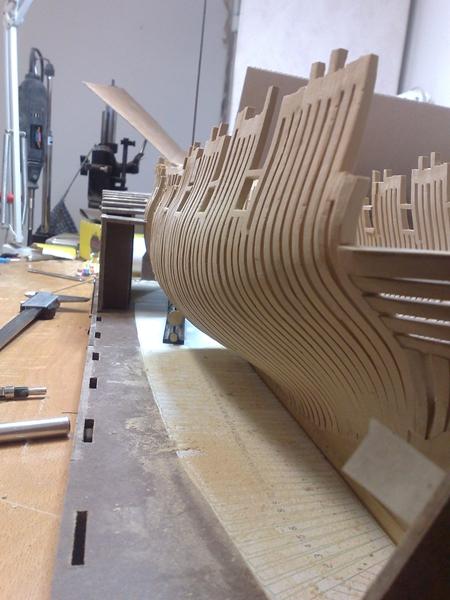
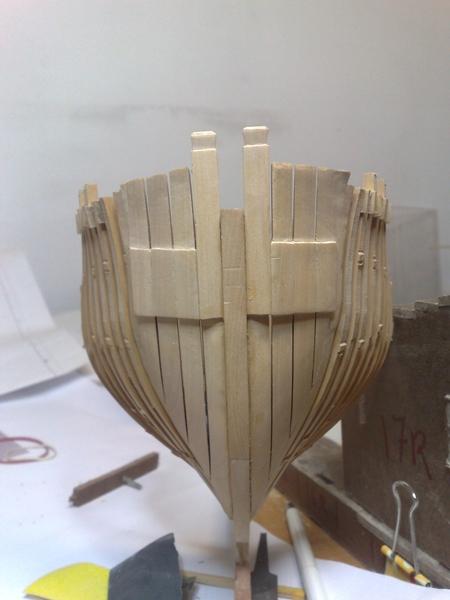
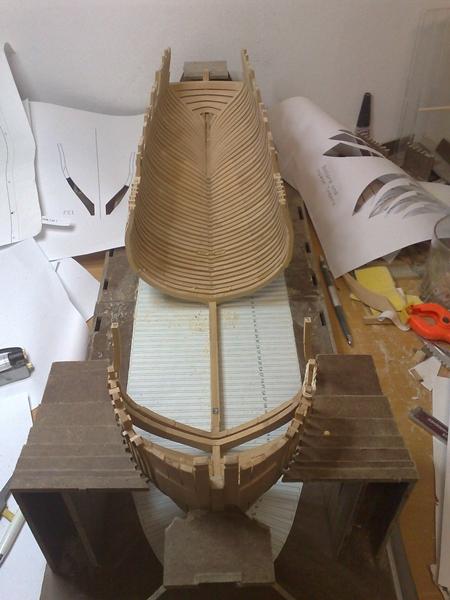
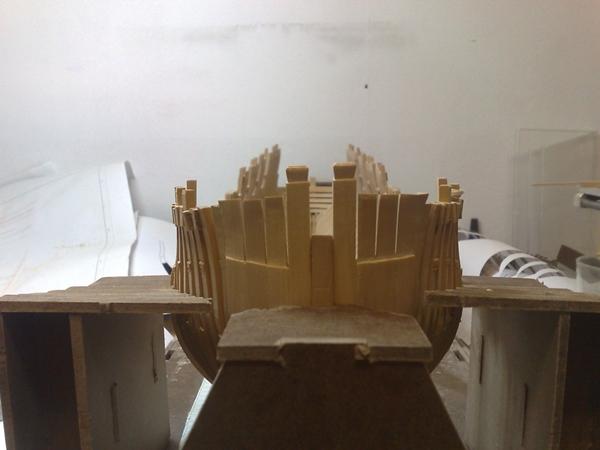
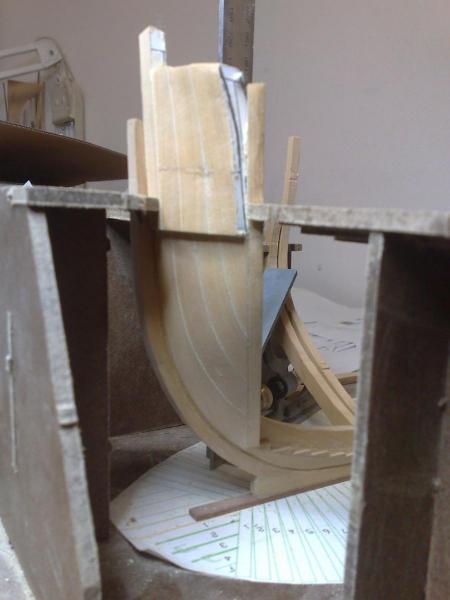
I have a real har time to find a sensible order to the pics of my Kingfisher build. Alas the pictures will be posted in as good as order as I can find them. I hope this will not be to confusing, anyway questions and comments are always wellcome (oh I do love theese little emicons) The biggest issue I have had during the build is no doubt the hawsetimbers. theese are essential for the shape of the bow of the ship and of cource the placement of the boxings. Now I had to redo them several times before I got them anyway near a correct shape. I do expect more trouble comming from the fact that I have yet to master this most difficult step of odeling a ship. Swan class or other. Erik
-
Hi What to say about this high end kit..... They do not come any better or then again, more expencive. Building this kit makes one wonder why scratch has not been an option. Then again without building this kit, scratch would not have been an option for me........just saying Rather than trying to rebuild my buildlog trying to recooperate any disscussions on the way I will repost as many pictures as I can and hopfully questions will follow bringing this log along with others of the same kit to life. Here we go.

- 43 replies
-
- 1
-
-
- lauck street shipyard
- kingfisher
- (and 1 more)
-
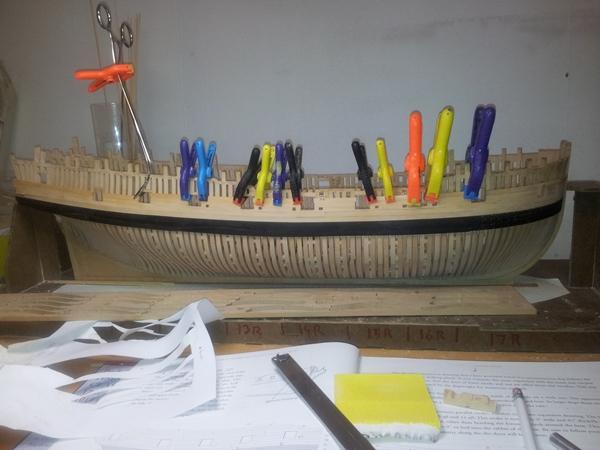
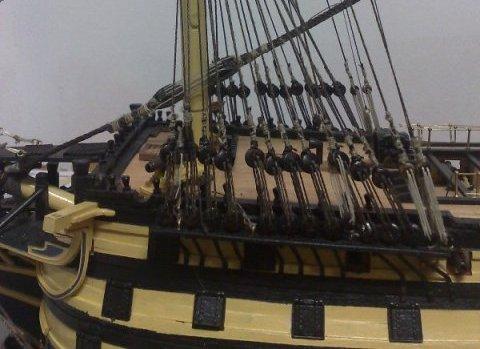
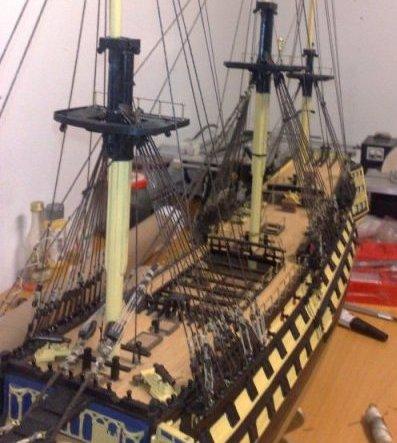
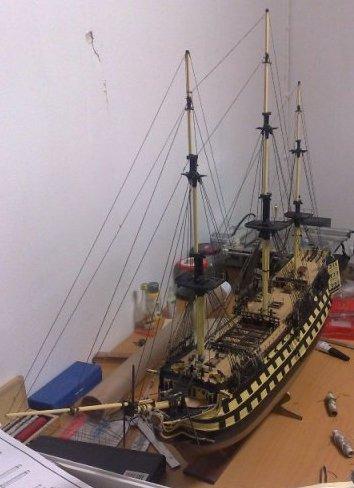
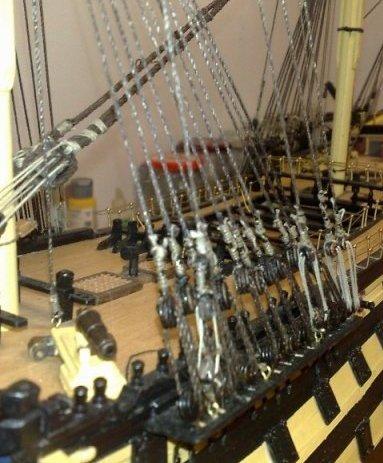
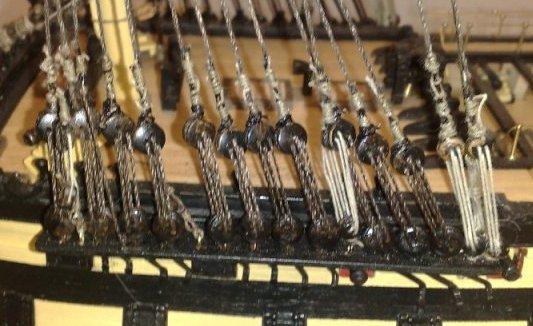
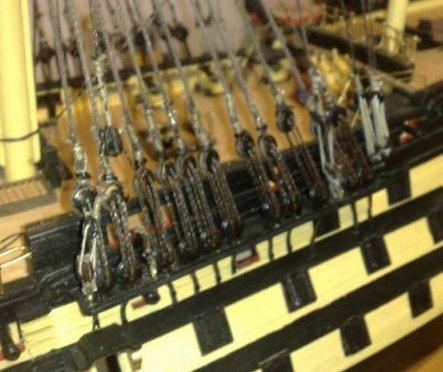
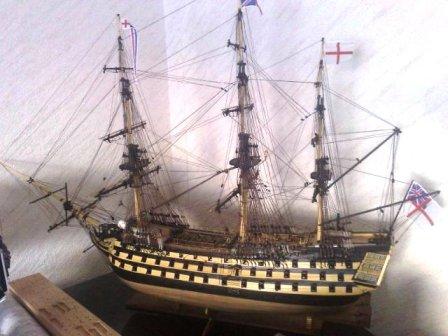
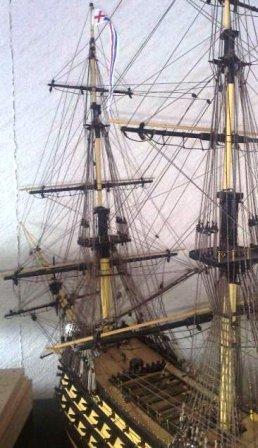
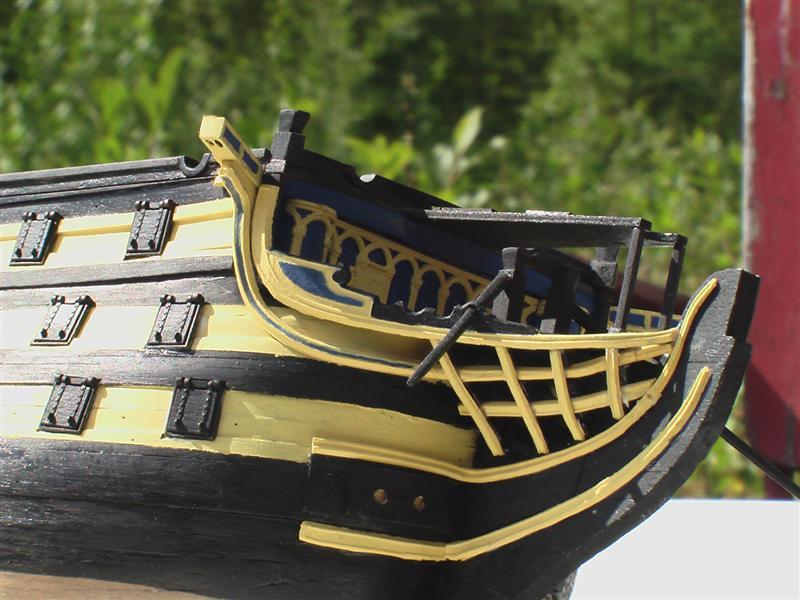
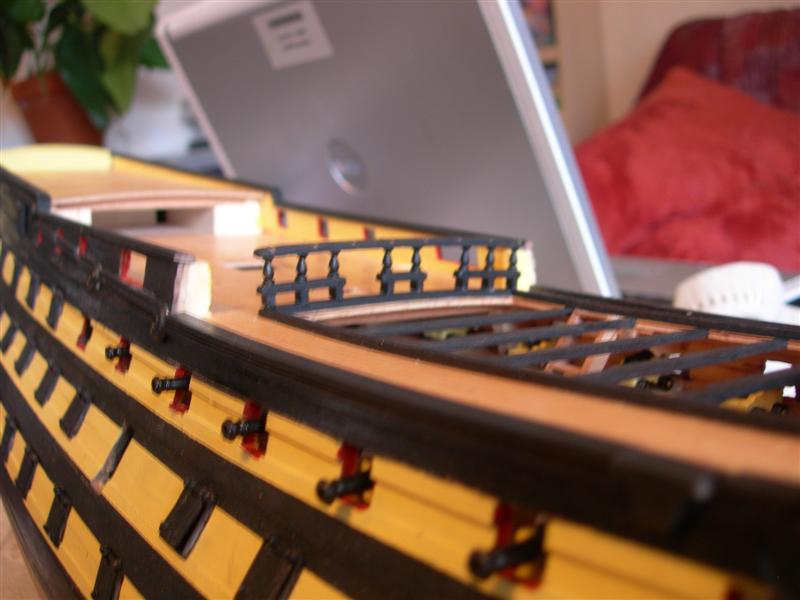
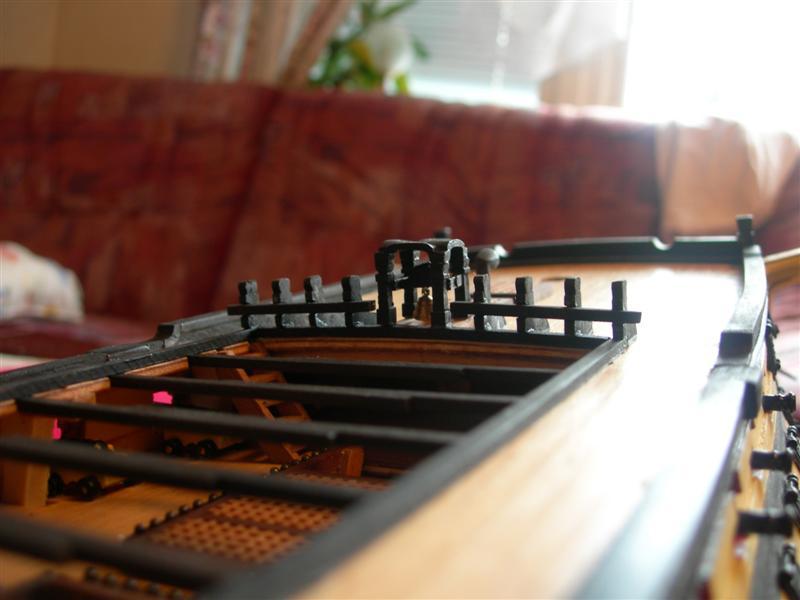
I have to admit the rig is not yet finished, I have some ratlines to do but theese wil be dealt with in time. Comments. questions and well whatever is always wellcome. Erik

-
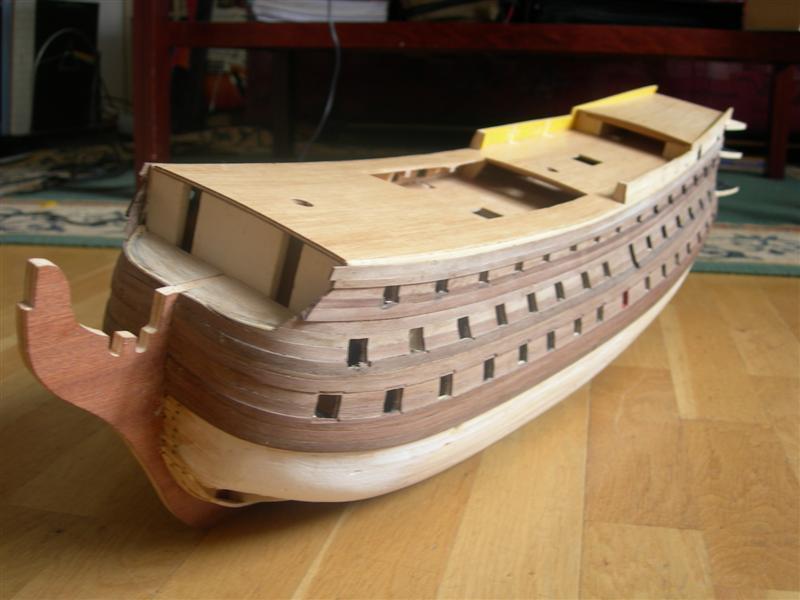
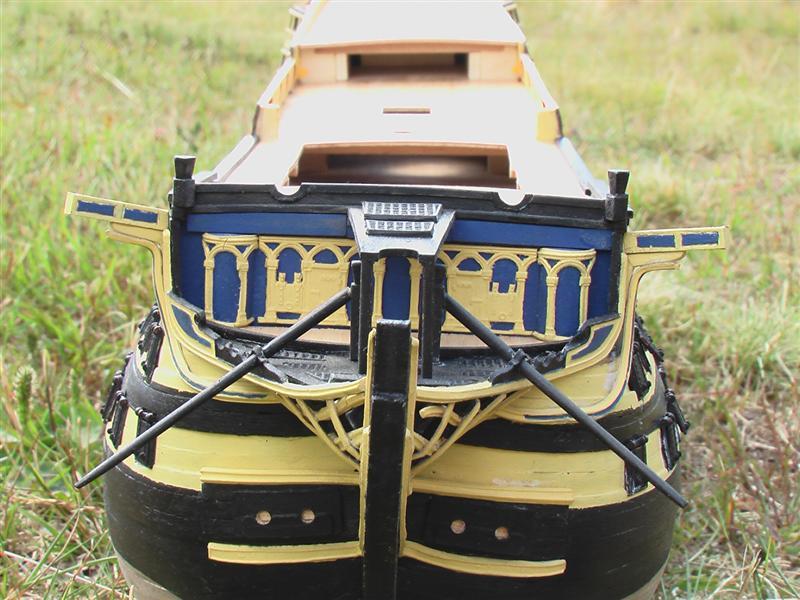
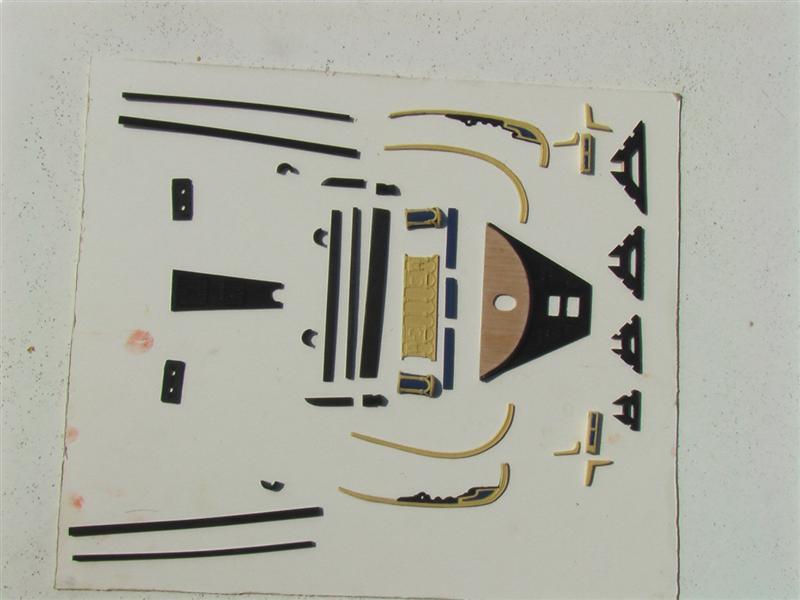
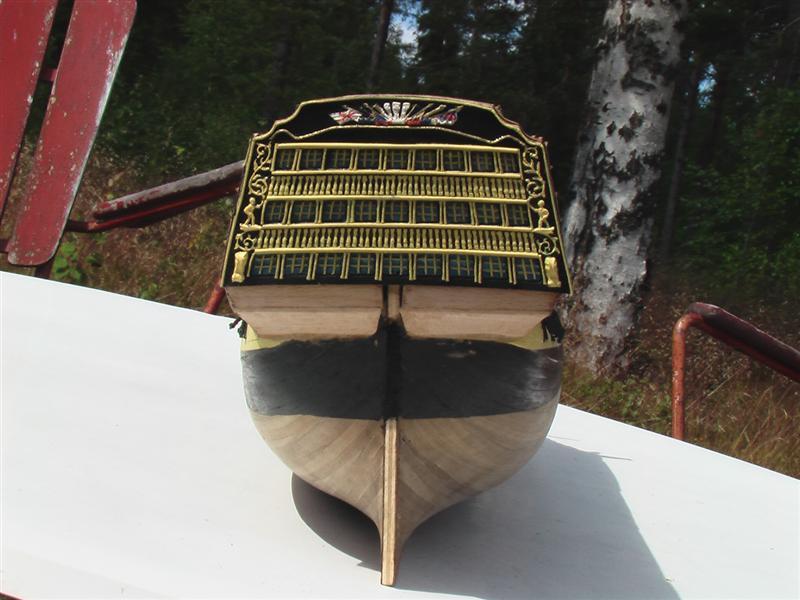
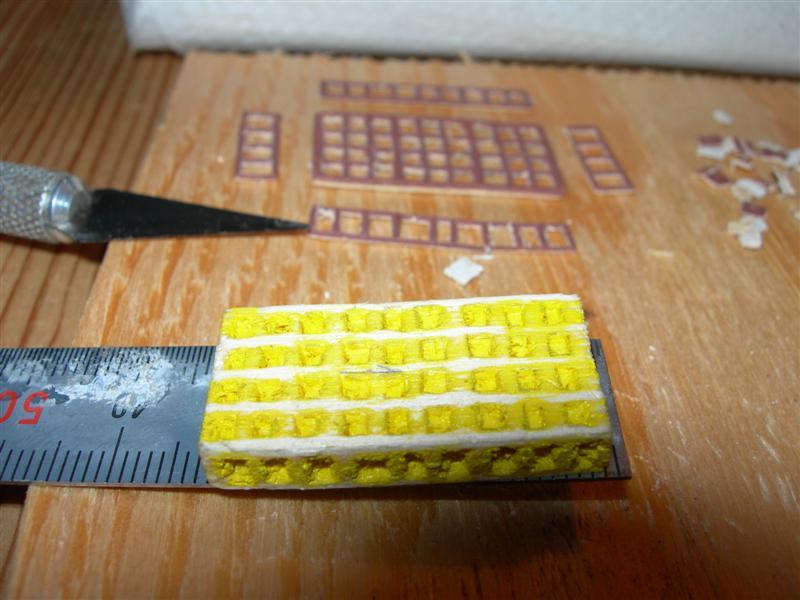
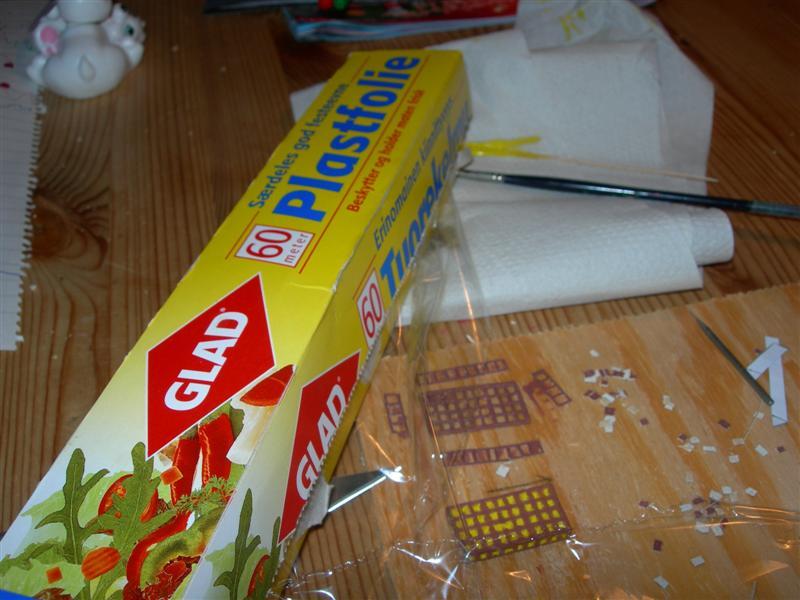
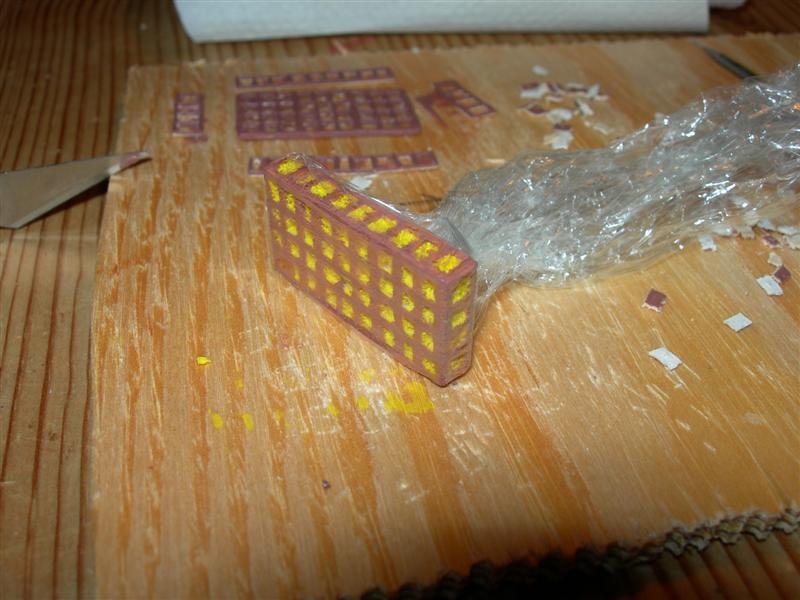
Some more paint Those mouldings that comes with the kit is kind if "paper" when heated even slightly it becomes very flexible and brittle aswell. Takes a bit of trying but whe one get the hang of it it´s a very good material to work moldings with.

-
Messing around and learning, this is the essence of the hobby Not to impressive results this time though.
-
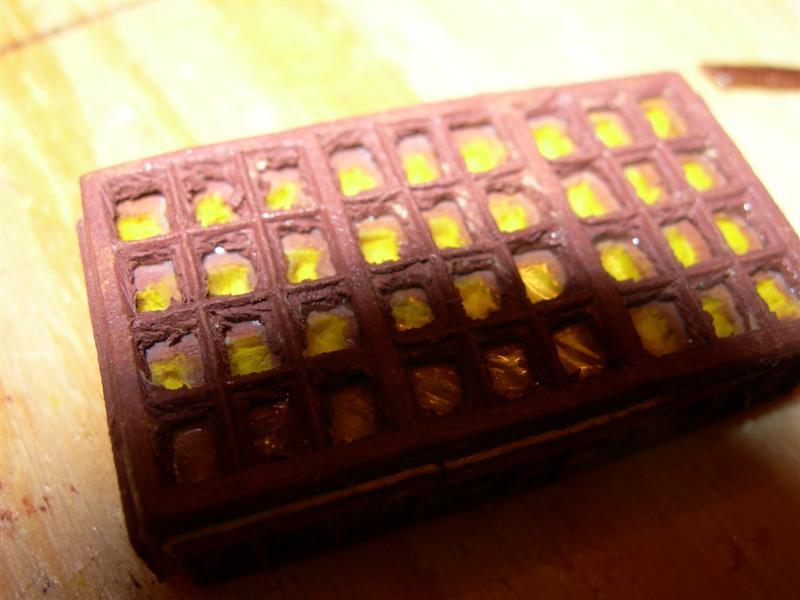
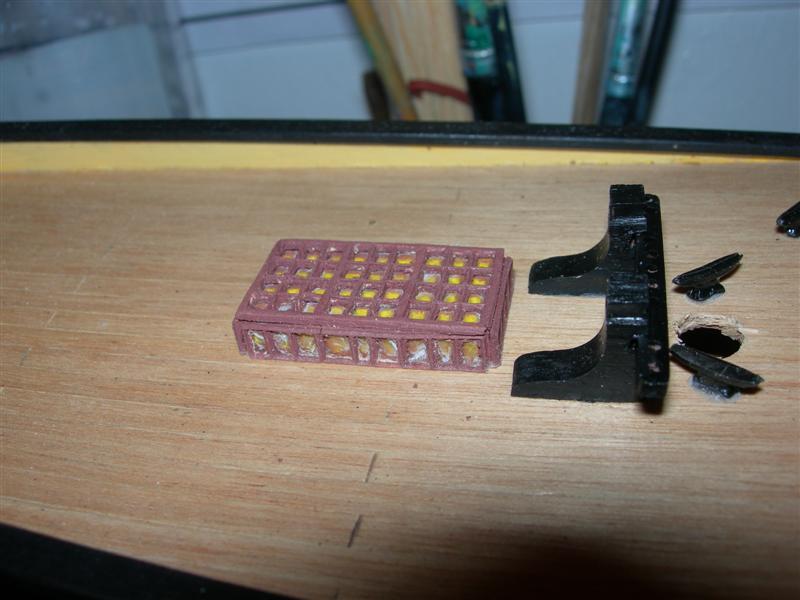
No masterpiece I know I had a bit of fun with the skylights though
-
Amazing what a bit of paint can do
-
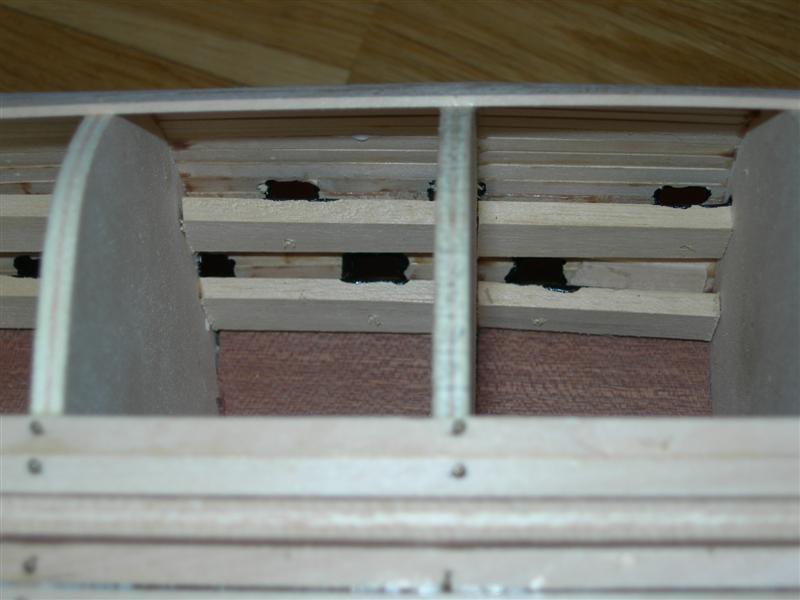
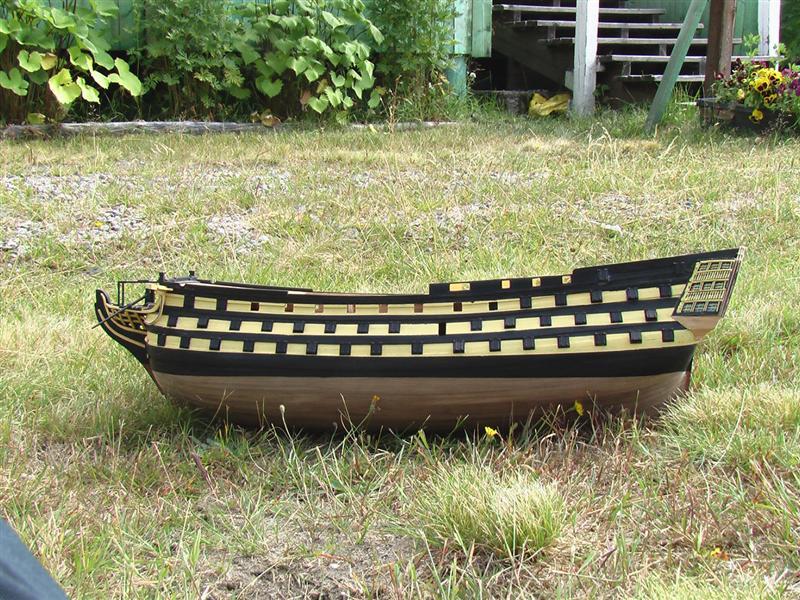
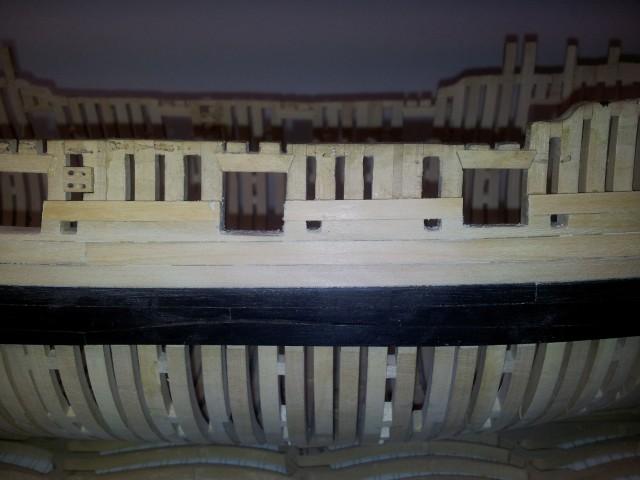
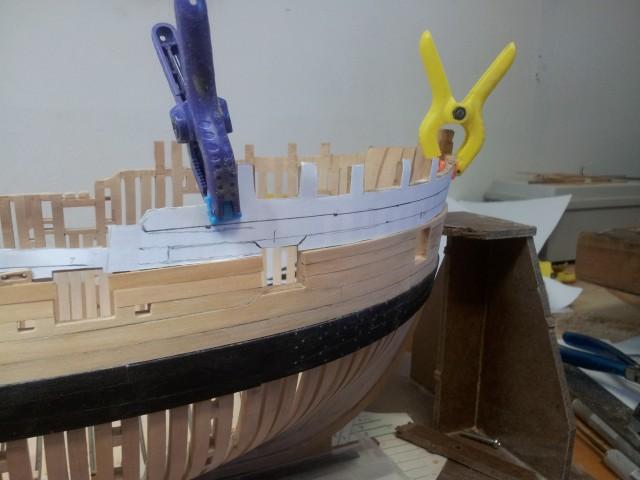
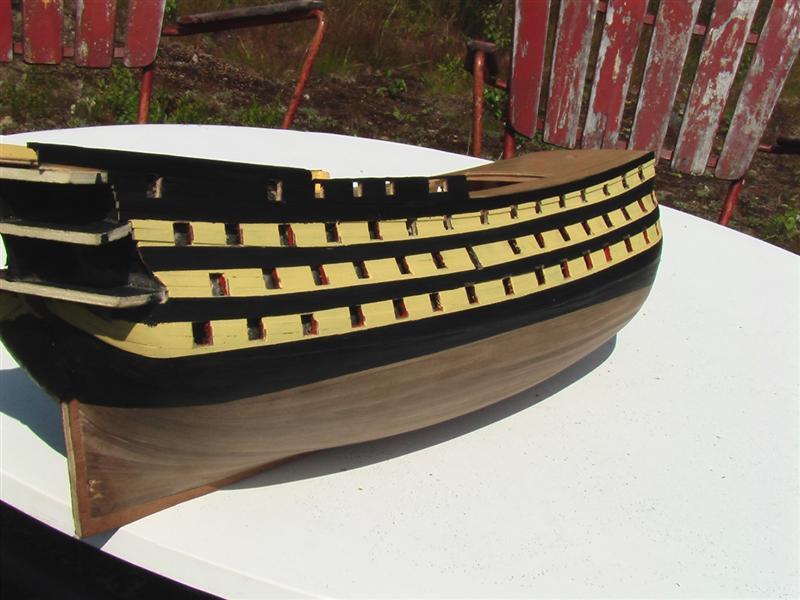
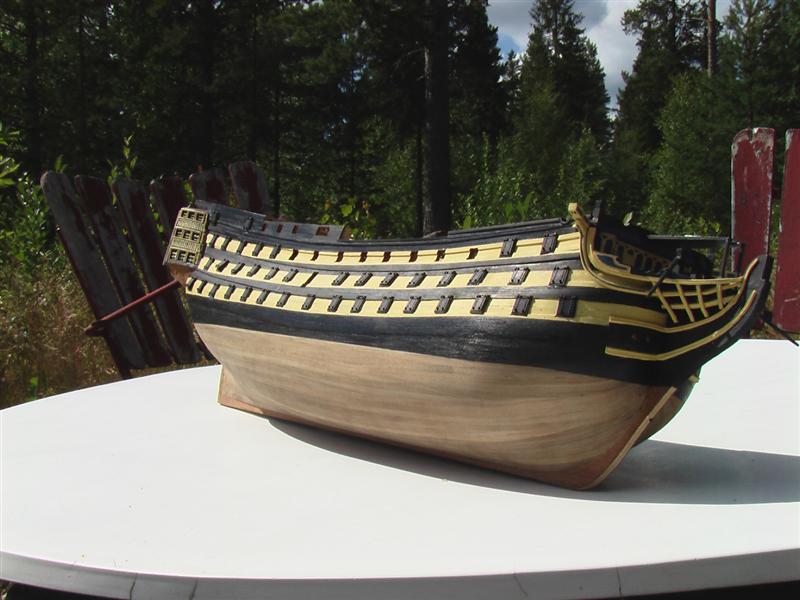
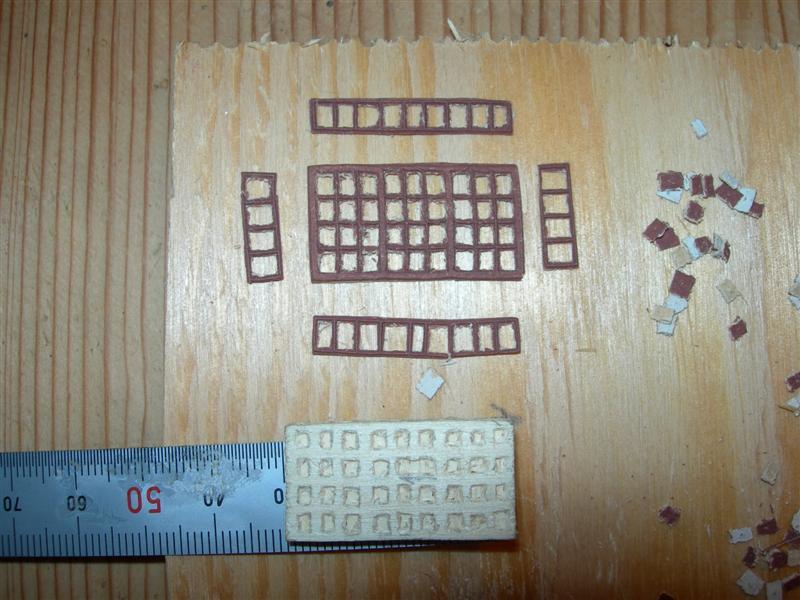
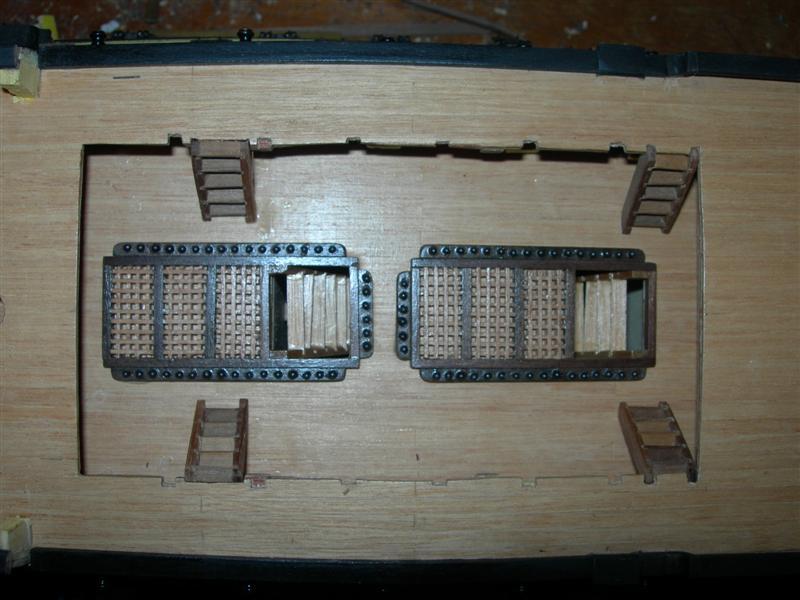
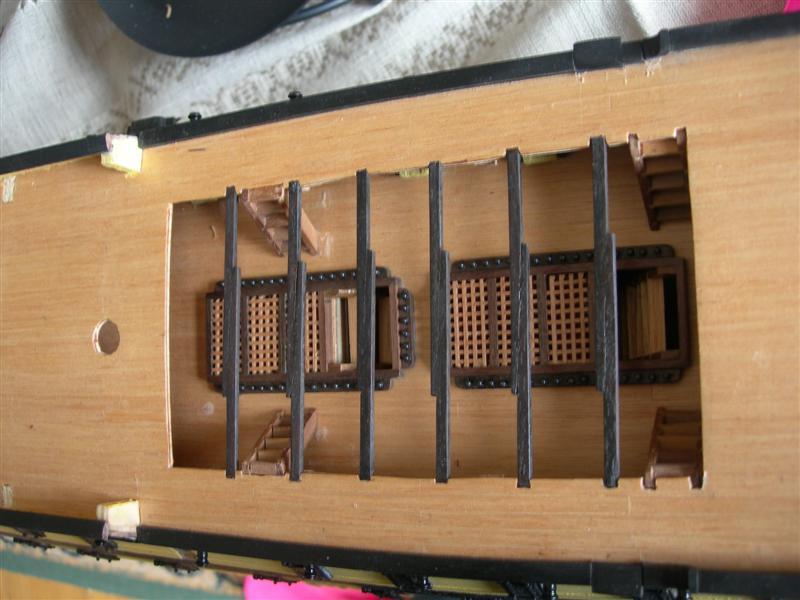
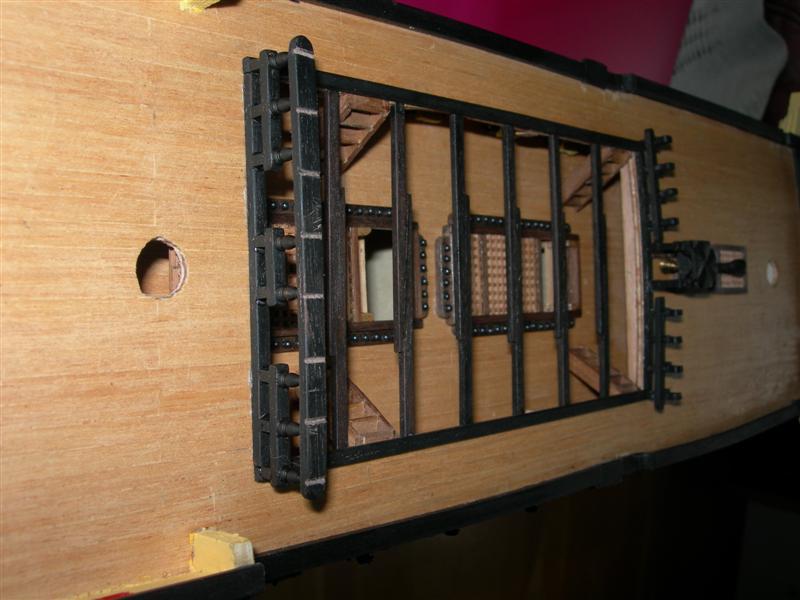
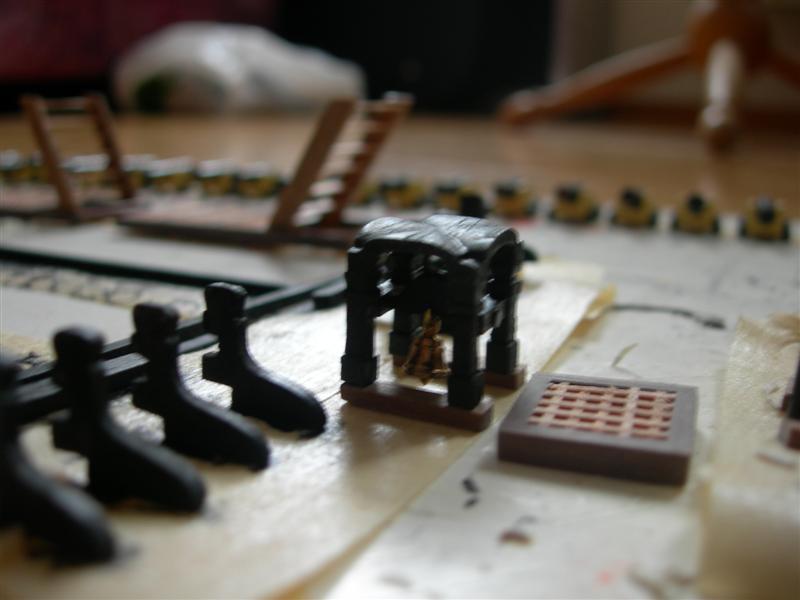
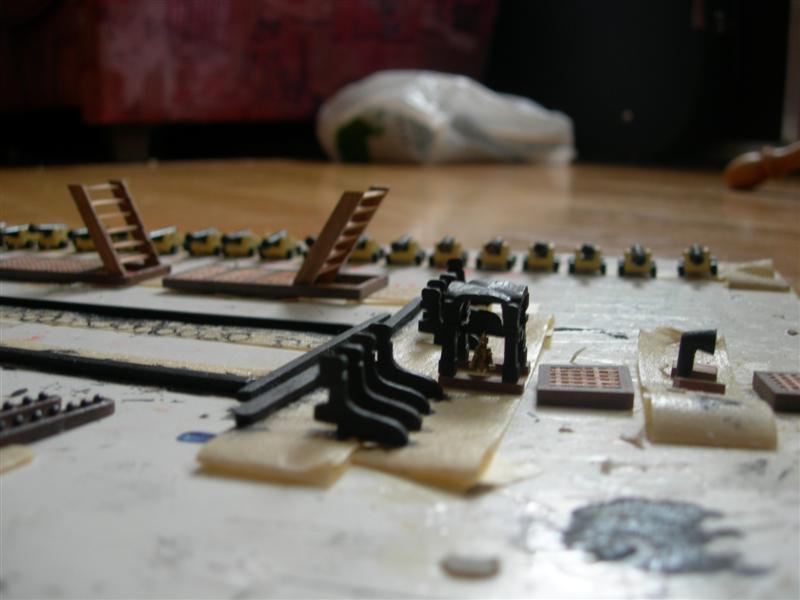
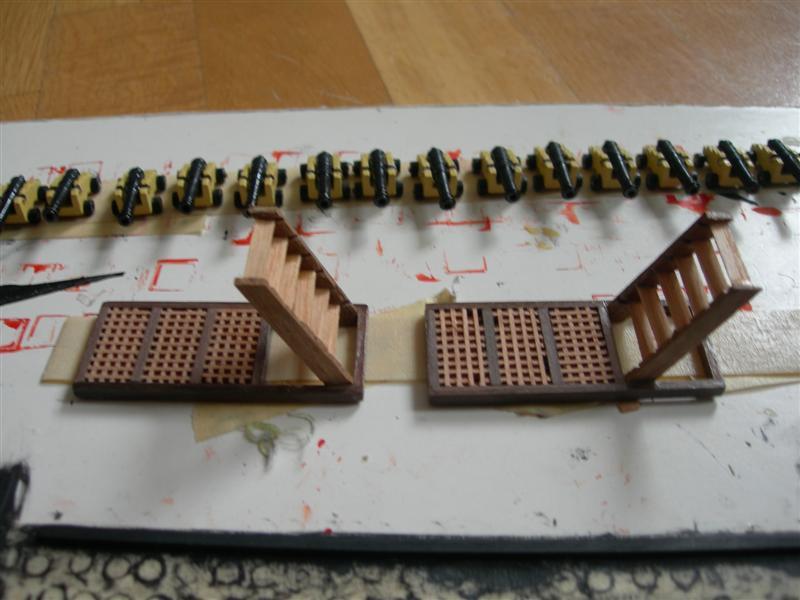
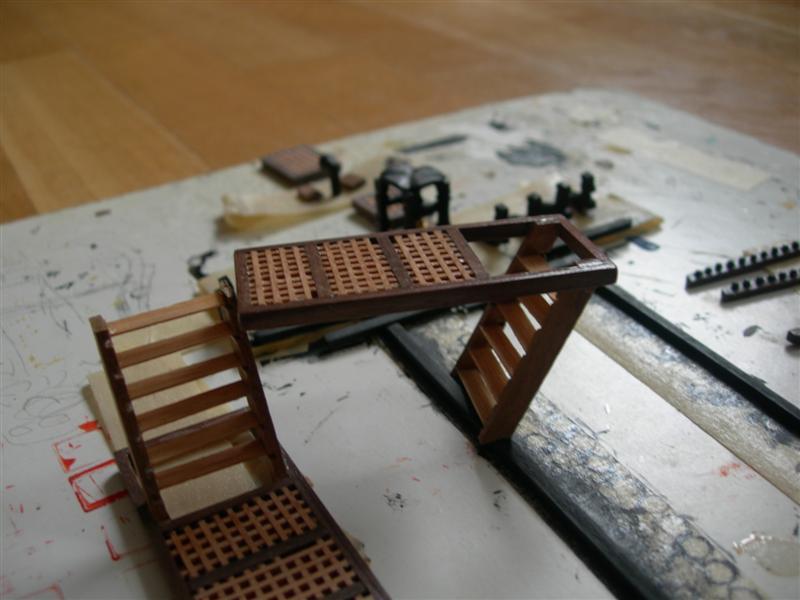
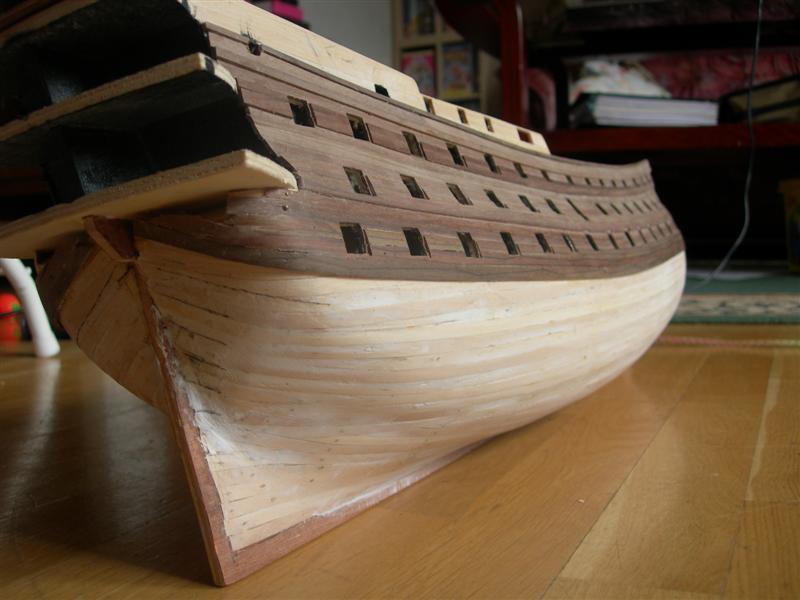
Having completed the planking focus went into the deck details. Again sorry for the lack of detailed descriptions, this is an old build.
-
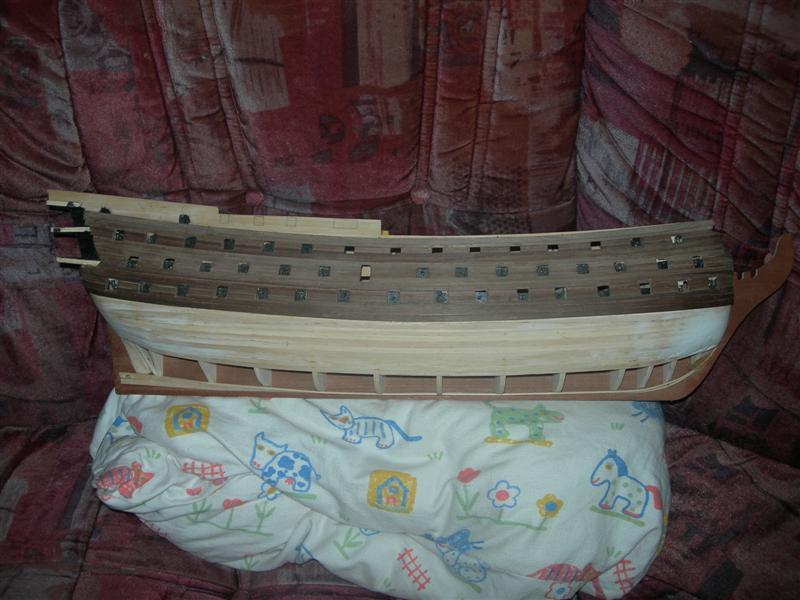
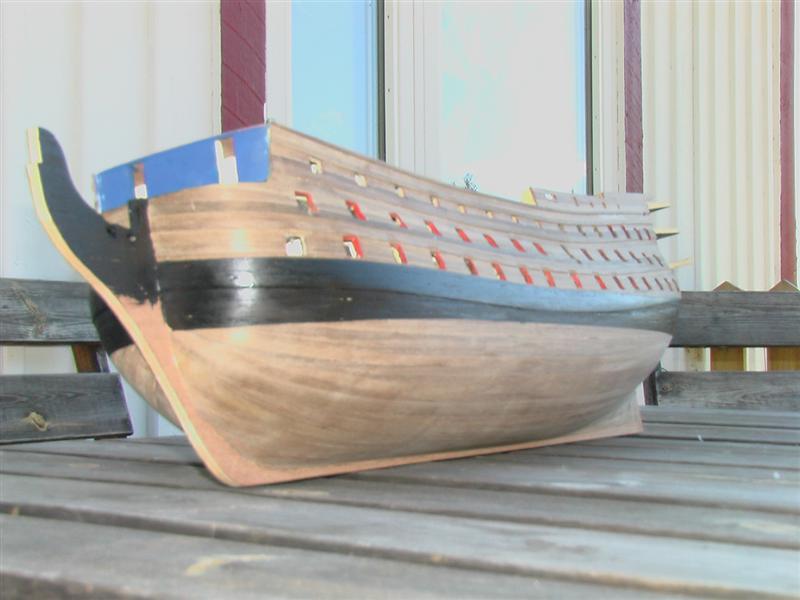
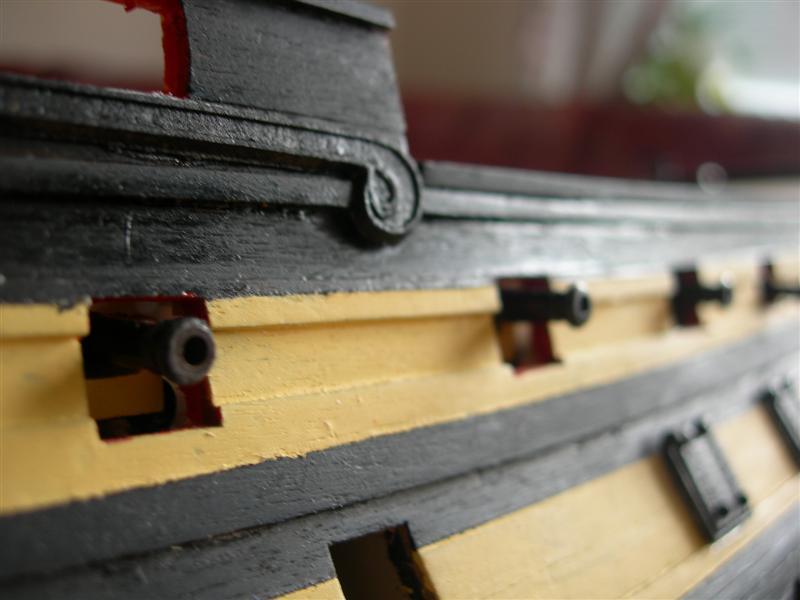
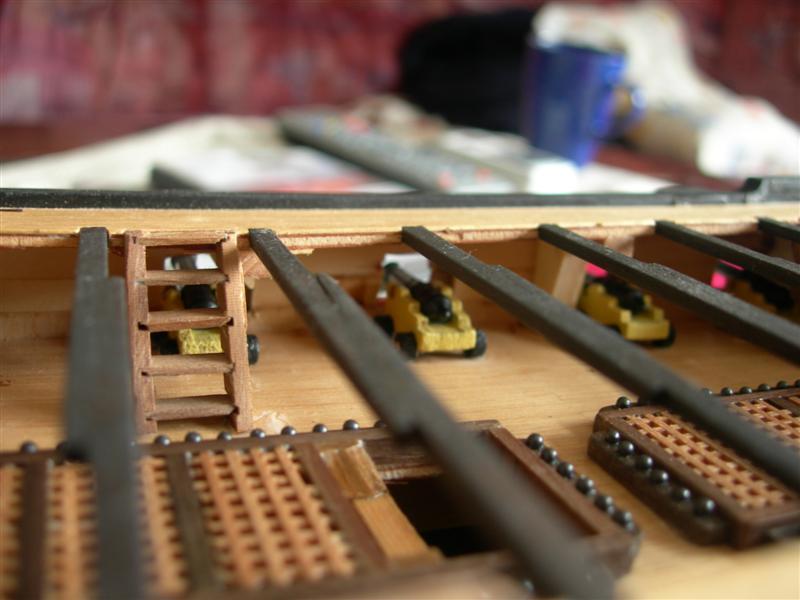
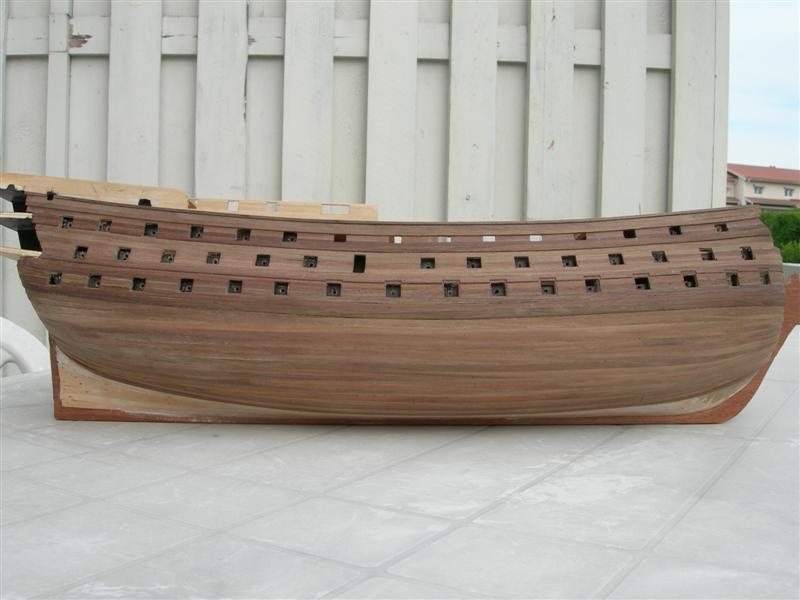
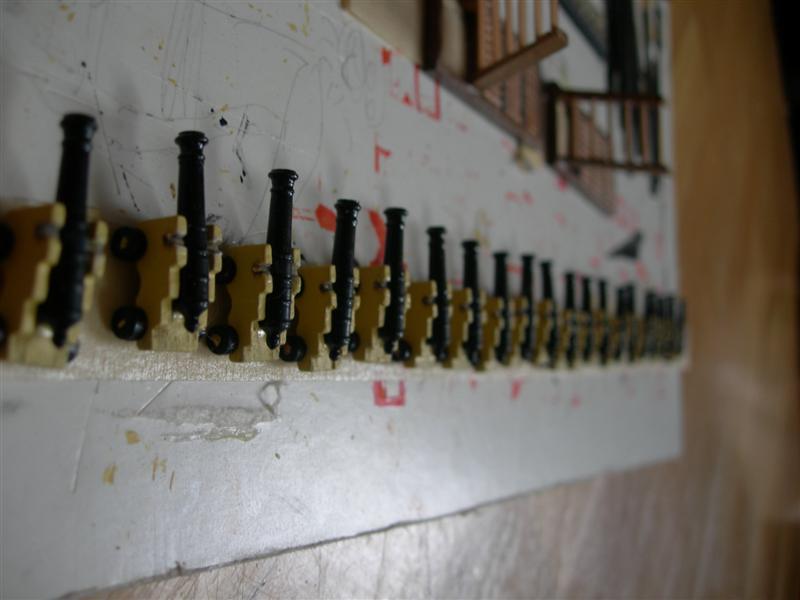
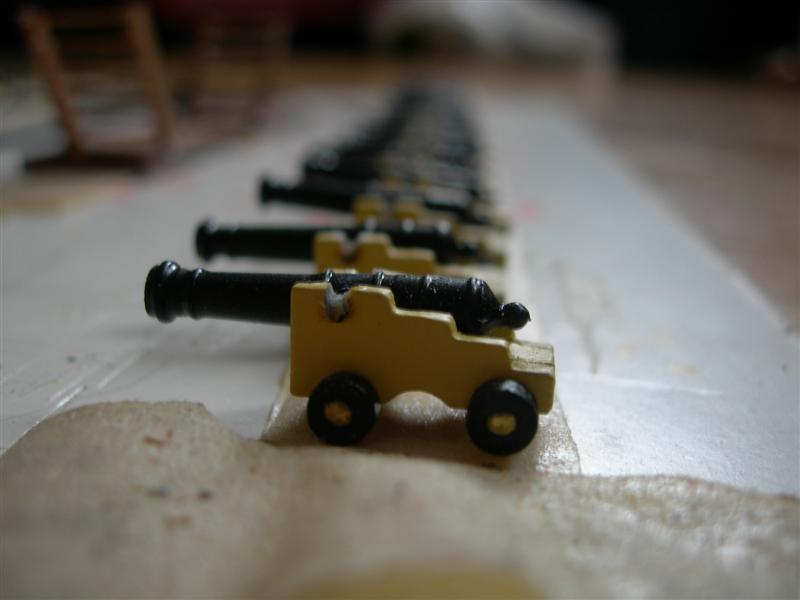
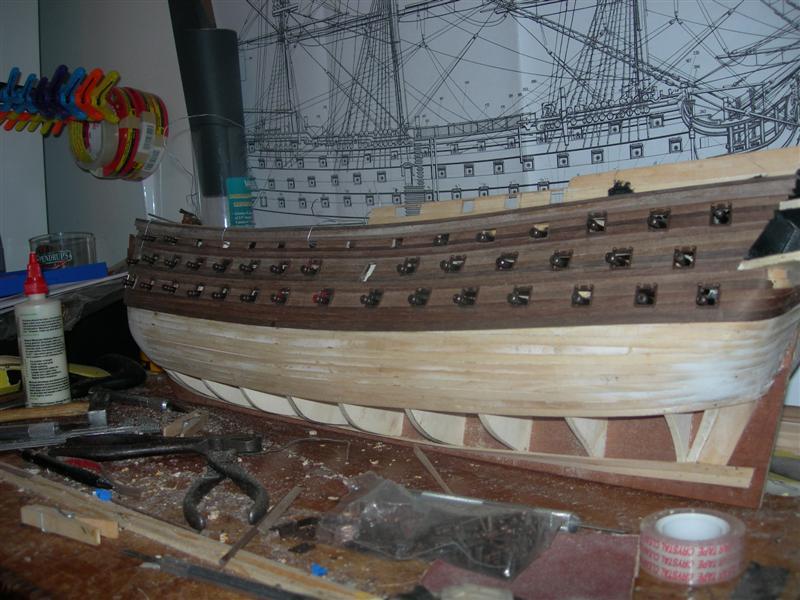
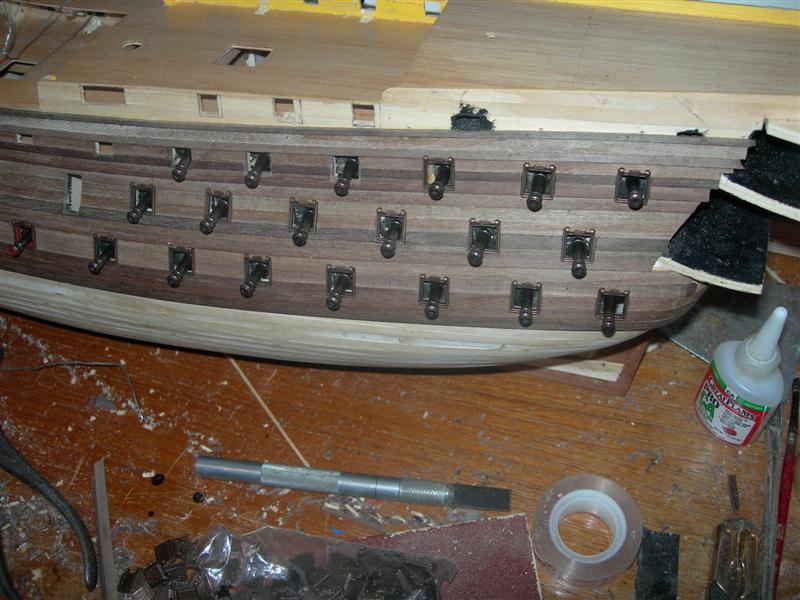
More planking pics Lets face it, I cant remember the details so let the questions come and It will come back to me. I do remember dryfitting the cannons several times and adjusting the gunports in order to straighten the metal inlayes, only to realise that theese are one of the Corel generic parts :-( You can also note that I left out the lower part of the hull from planks. This was intentional as I figured I would sooner or later drop one of the cannons inside the ship and having it closed up I would have achieved a pretty expencive maraccas.
-
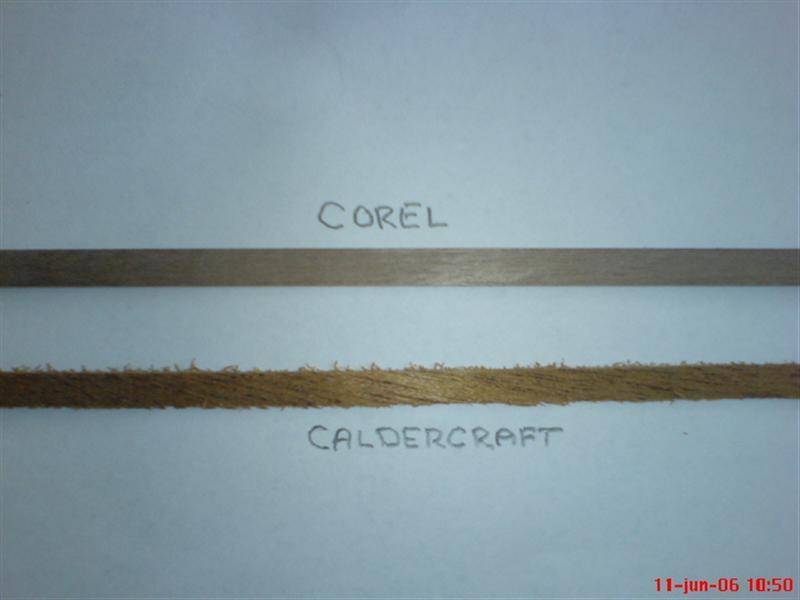
Now thats a gem Note the differecne in milling quality between Corel and Caldercraft. I promptly complained to Caldercraft and they sent me a new batch of strip wood. this however got lost in the mail and I had to complain again. Caldercraft sent me yet another batch of strip wood, all at no additional cost. They do know customer service.