Erik Nyren
-
Posts
184 -
Joined
-
Last visited
Content Type
Profiles
Forums
Gallery
Events
Everything posted by Erik Nyren
-
 More valnut planking
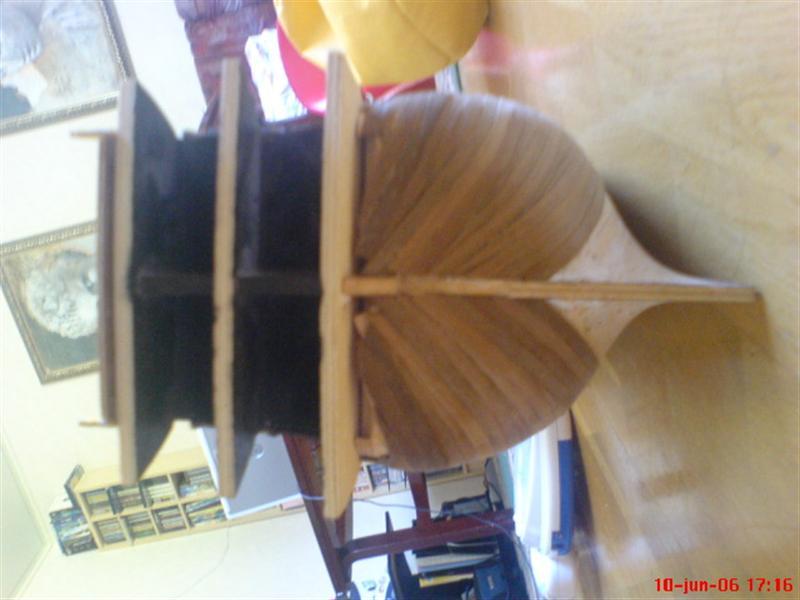

-
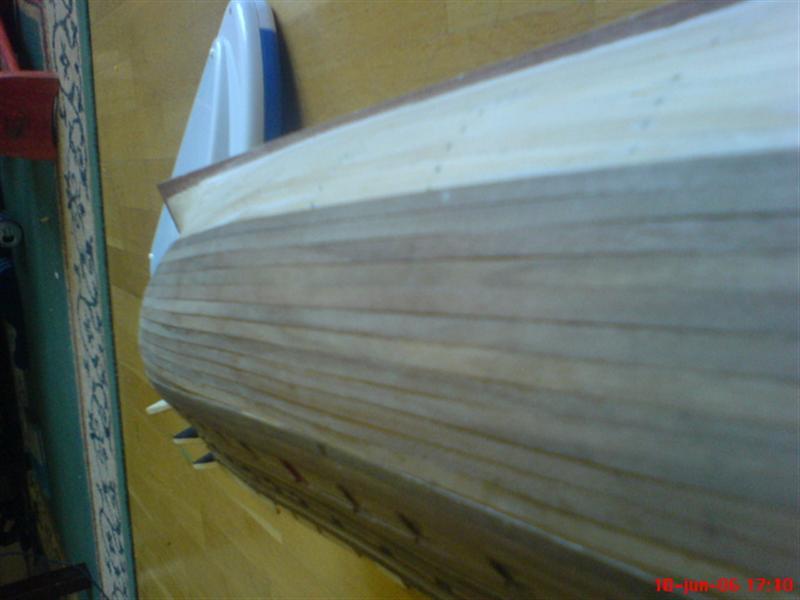
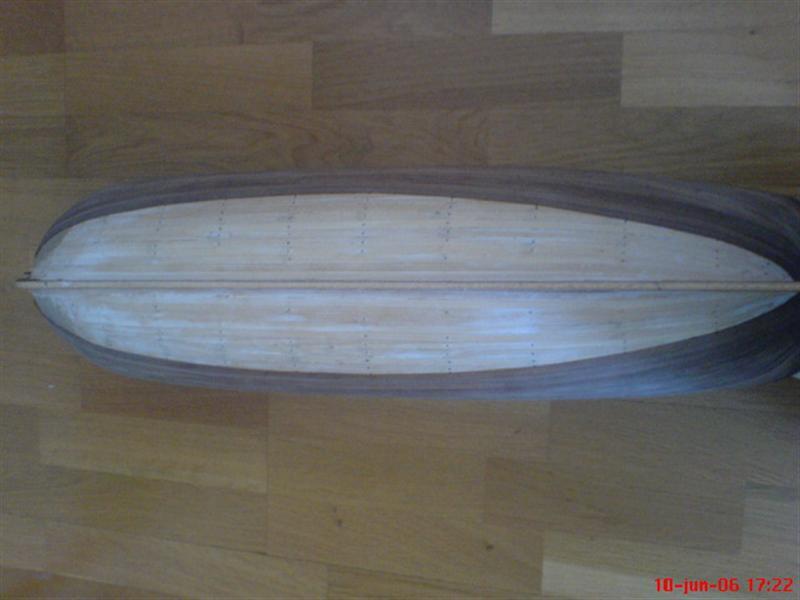
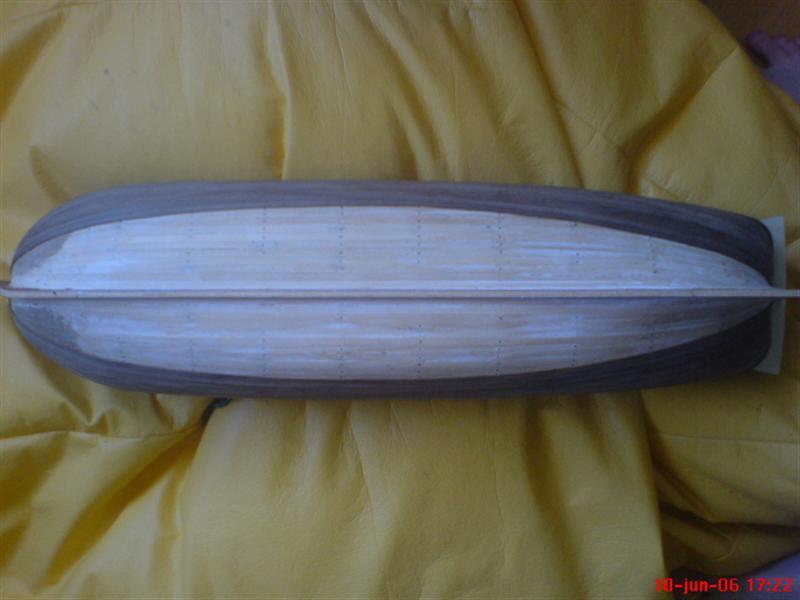
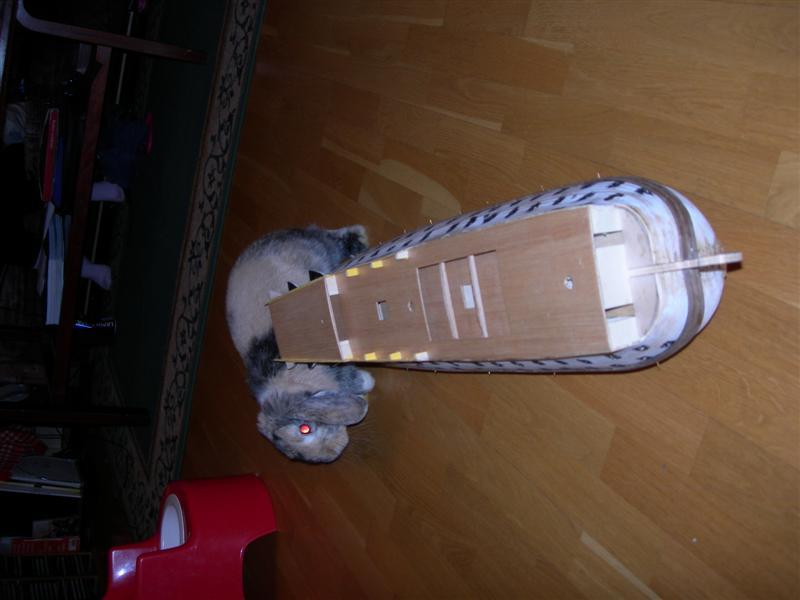
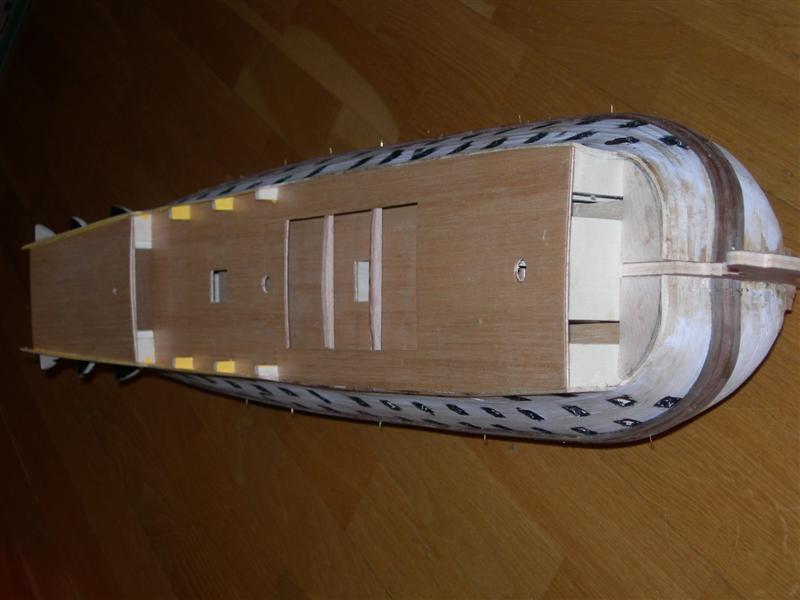
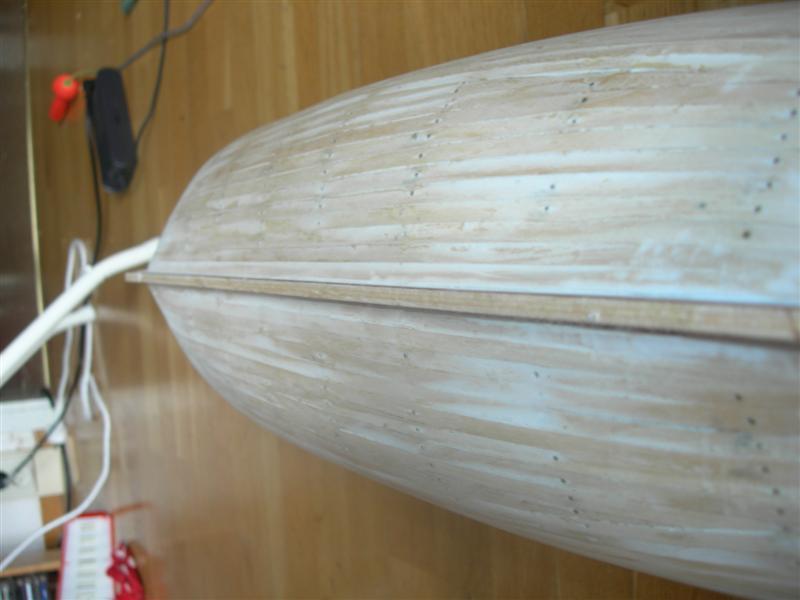
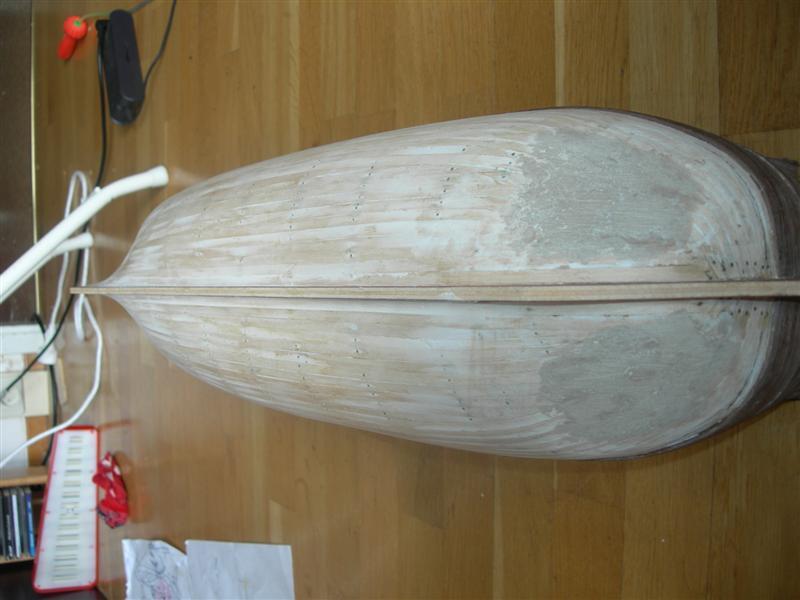
Starting to have the whole hull covered in valnut

-
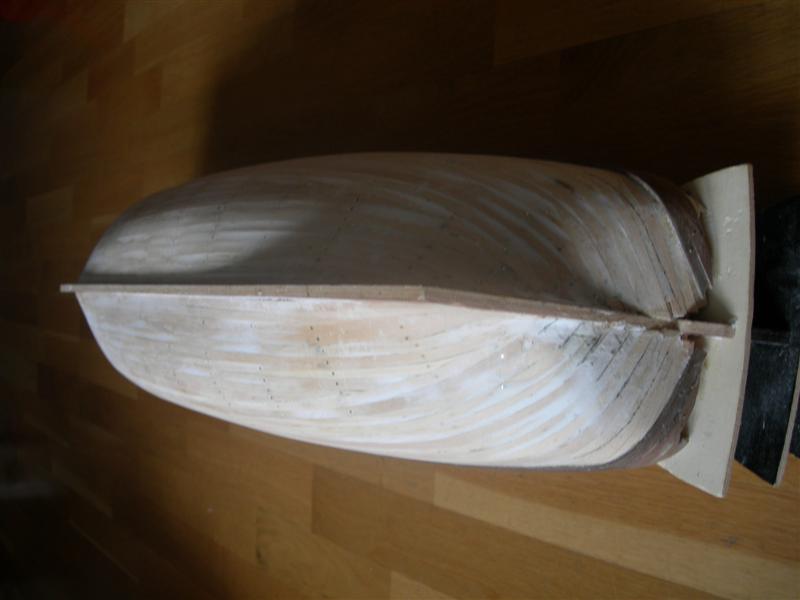
I seem to remember having the whales ending up at the same hight at the bow was an issue. Came out OK anyway The first layer of planking though....Lets not discuss that to much
-
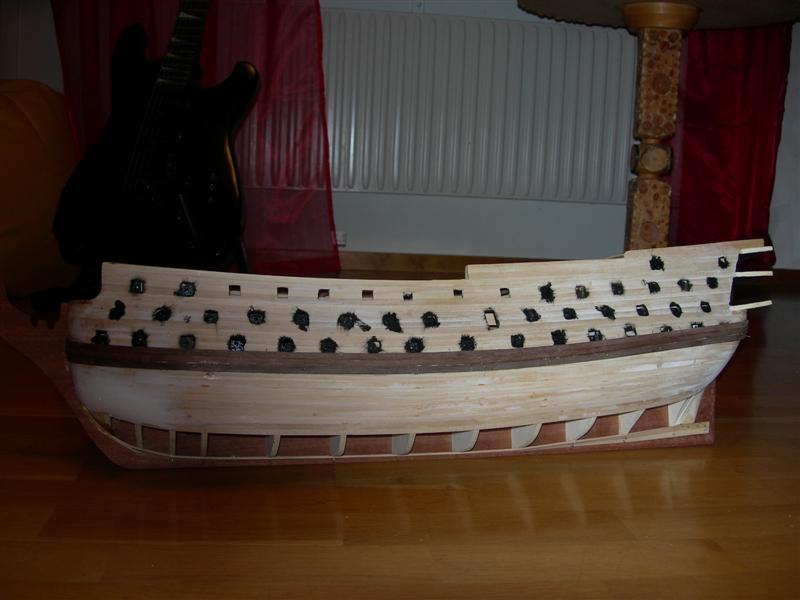
Well pictures coming keeping track of the gunports and blackening thebackgrounds I suppose. this backdating is hard.


-
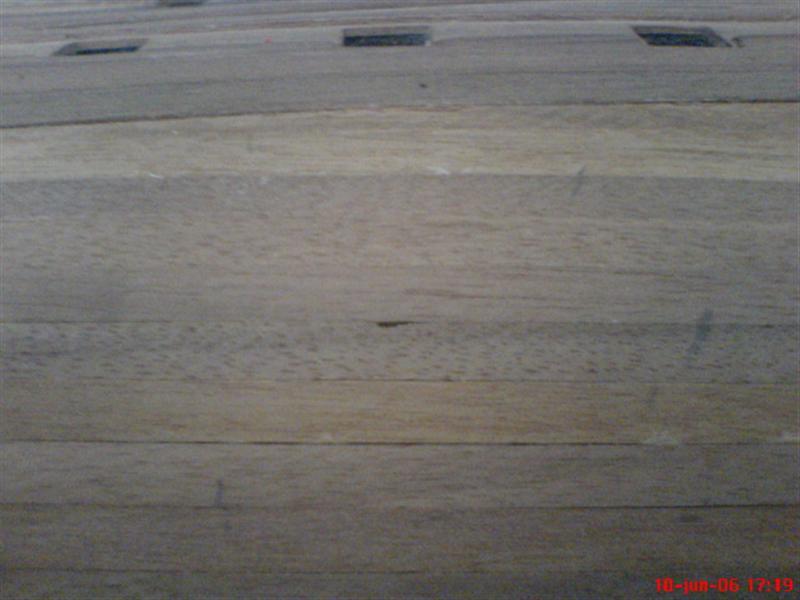
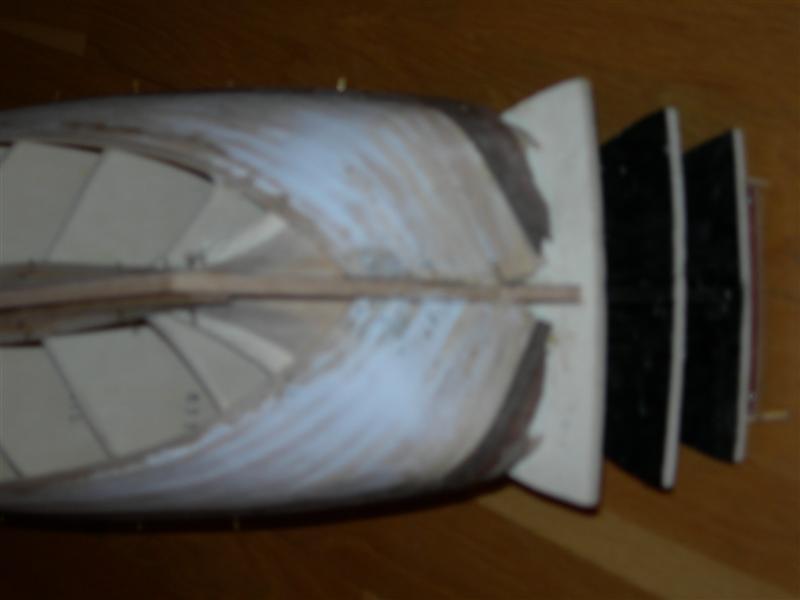
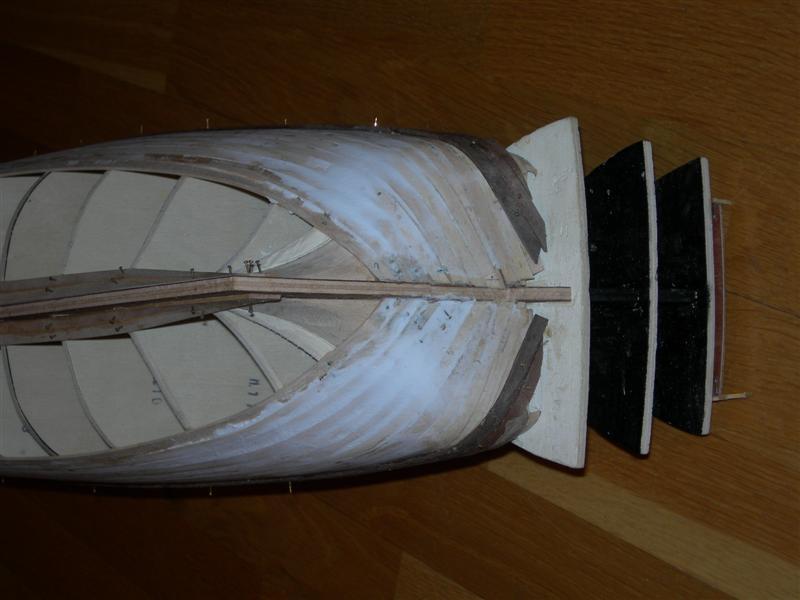
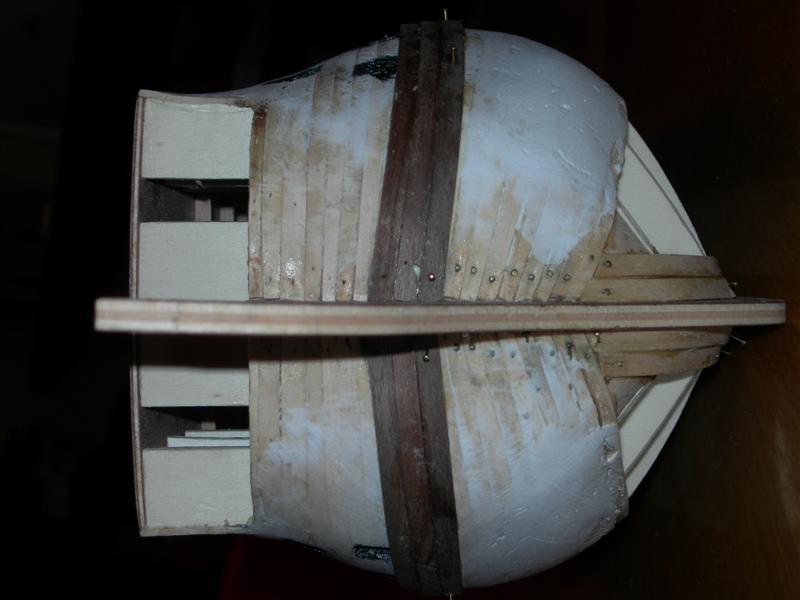
First planking pretty much finished Second starting with the whales second planking was really good milled walnut. Oh and that horrible Gibson Epiphonic has been replaced by a Fender Stratocaster.


-
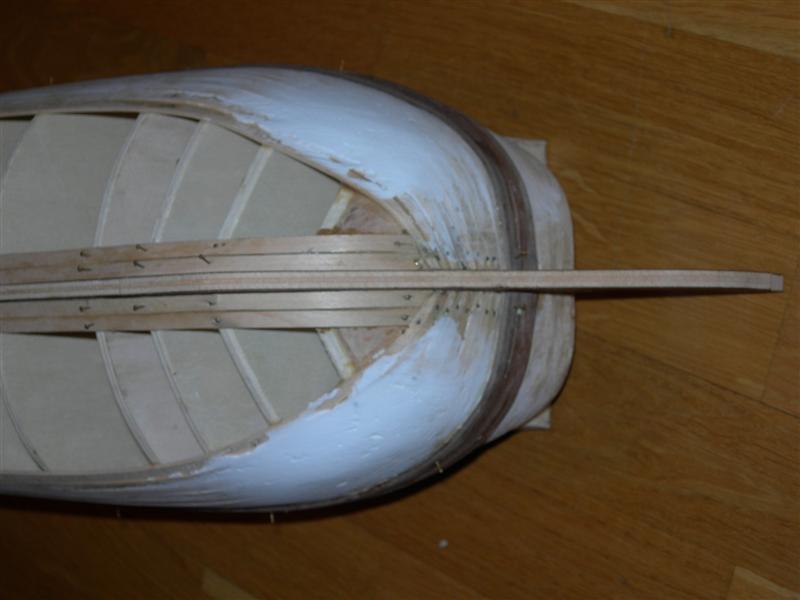
The first planking Rabbits left us unfortunatly.

-
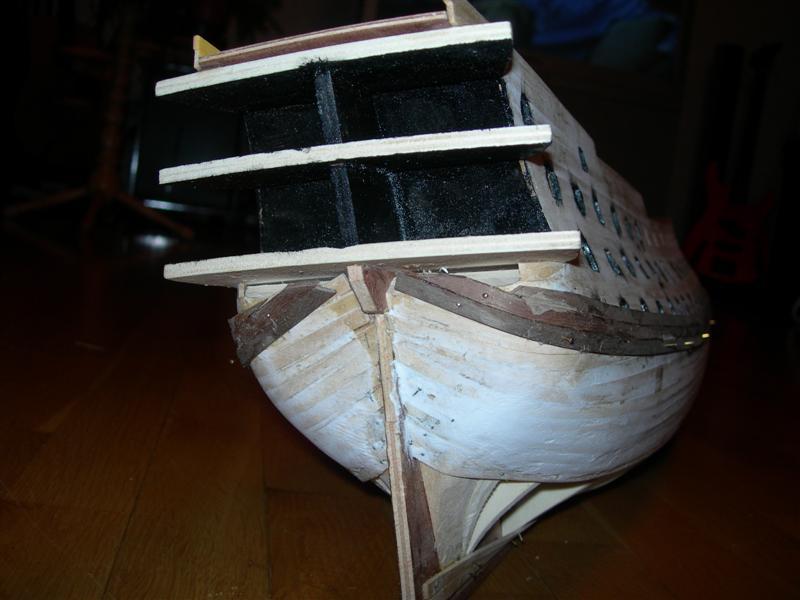
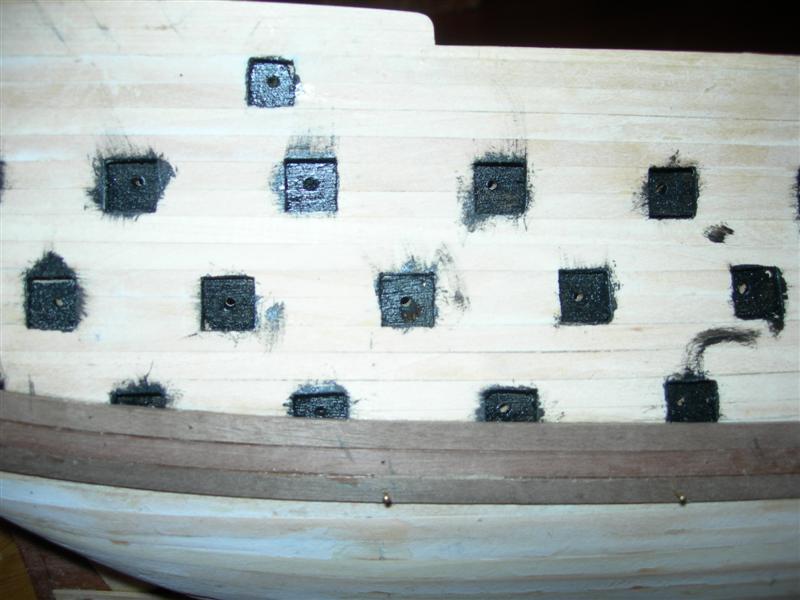
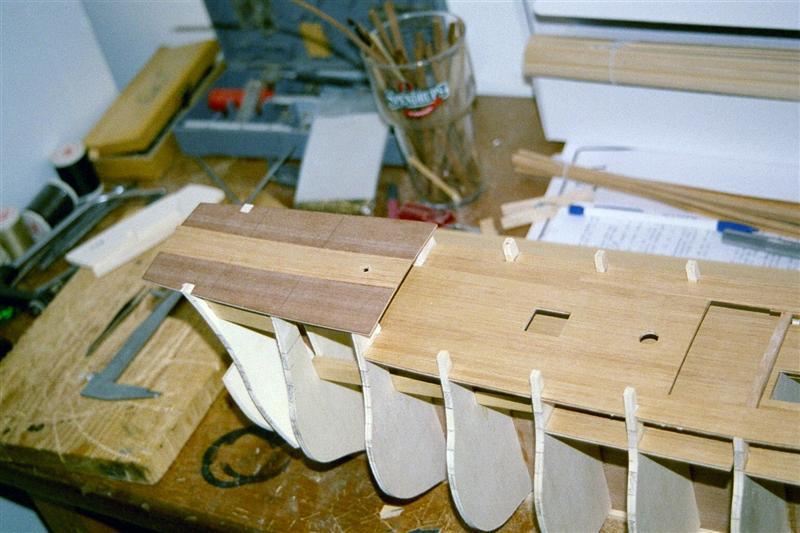
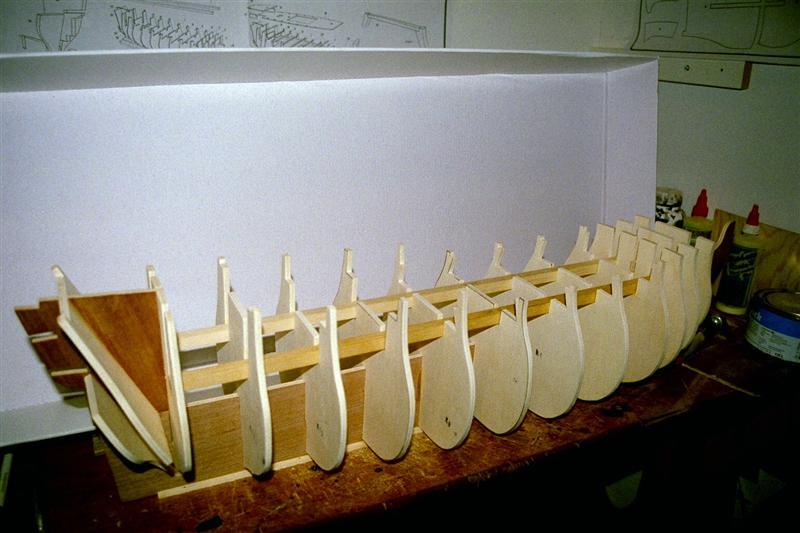
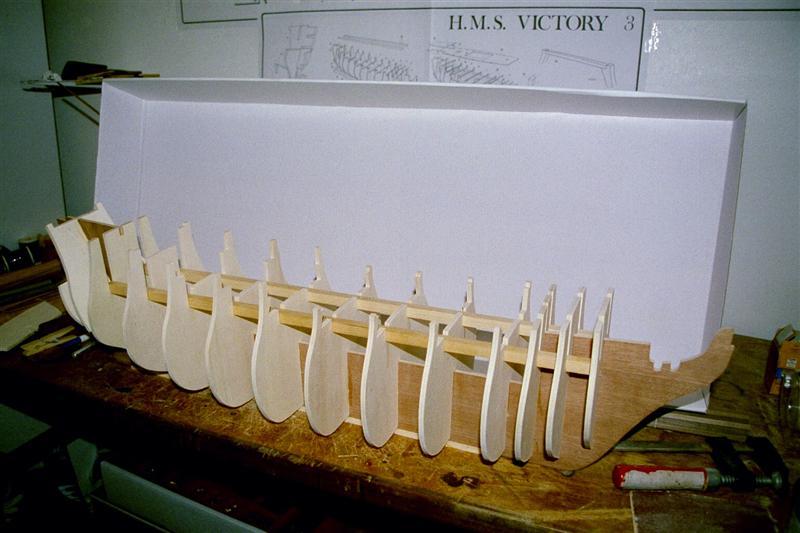
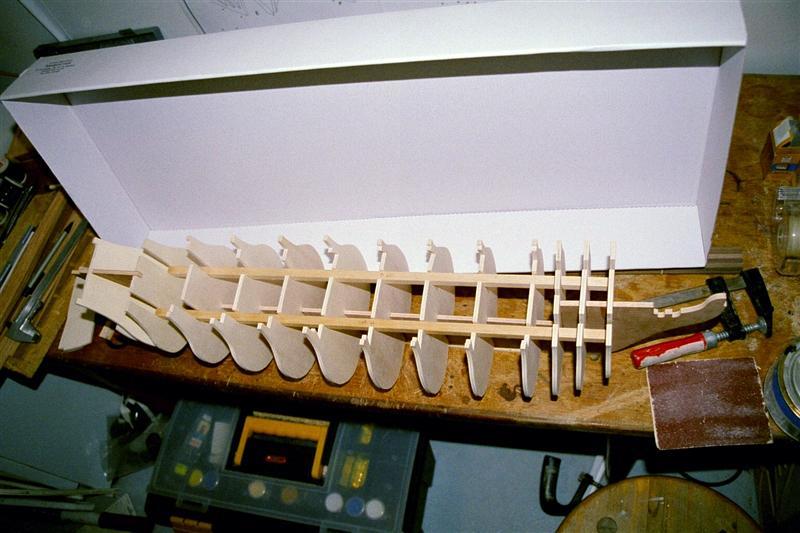
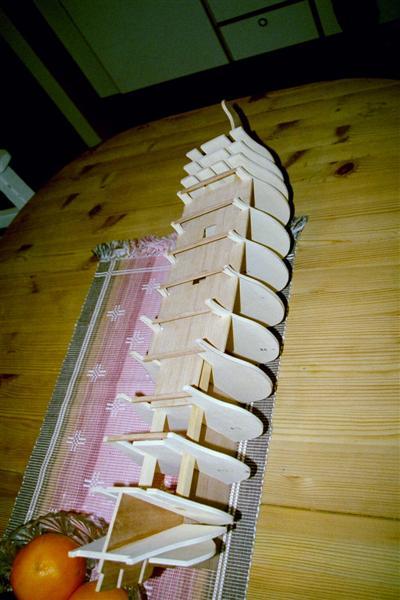
Early on in the build one needs to consider how to align the gunports. guns are mostly "dummies" and aligning theese can be a challange. One do not want them pointing all over the place.


-
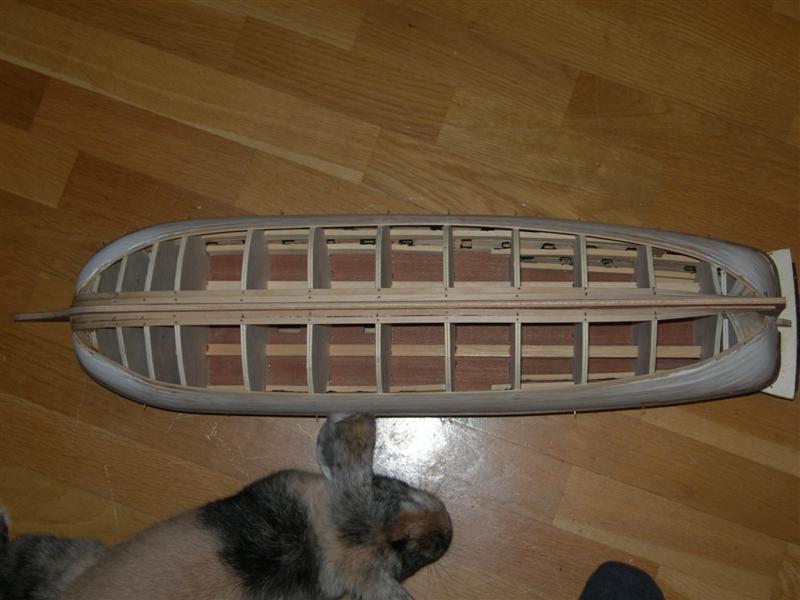
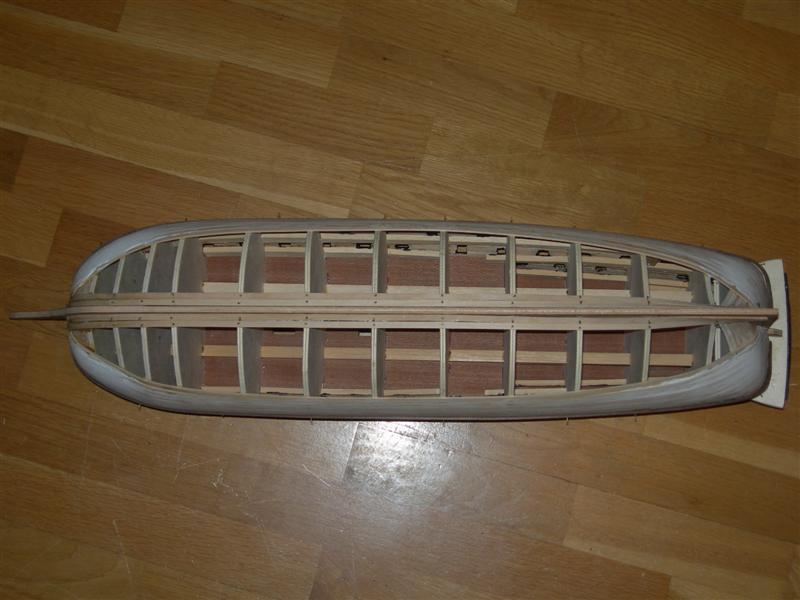
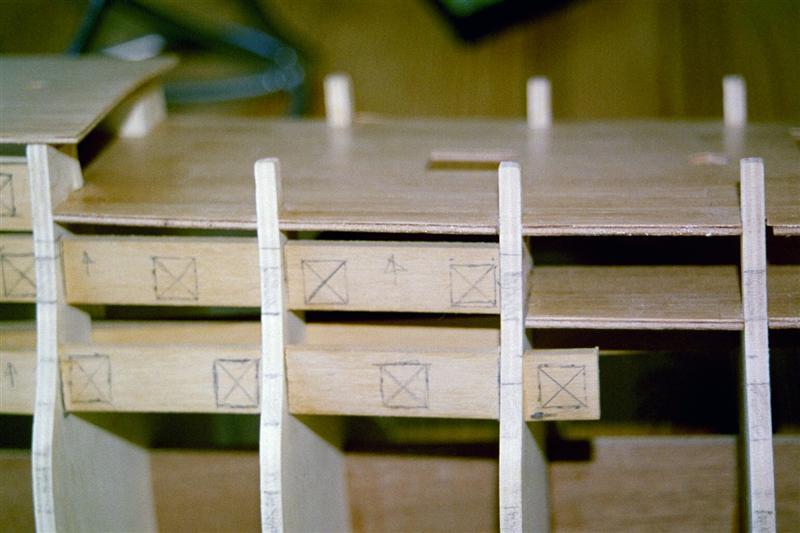
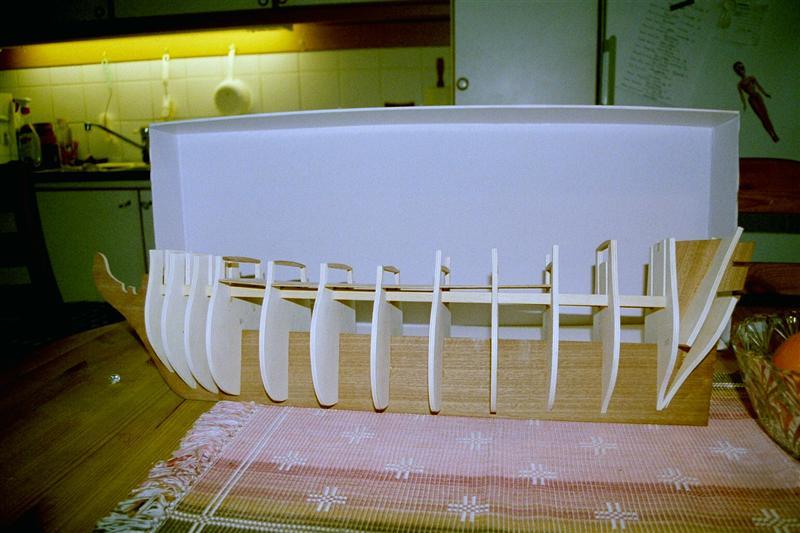
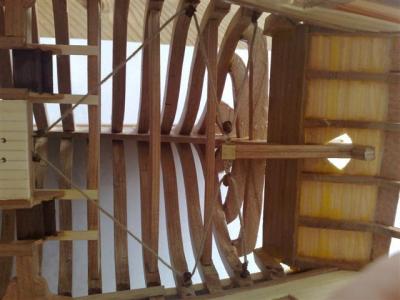
Ok, as far as I can remember the keel and bukheads came together nicely. I had no ide what a rabbetline was in those days but it did not matter much


-
Of cource beeing a finished log of a kit we end up between a review and a build log so I leave it up to our excellent admins to move the topic if deemed necessary Historical background on HMS Victory The history of this proud vessel resting in a Portsmouth dry dock is well known to this community but I thought a brief introduction is in It’s place for potential newcomers to the hobby. I took the liberty to borrow the historical background from the Caldercraft Victory- building manual. Forever associated with Nelson’s last battle, HMS Victory is one of the most famous ships of all time, and is now preserved as a major part of the Royal Naval Museum in Portsmouth. The ship’s survival is particularly appropriate since Victory is not only an example of the ultimate sailing warship “ the three decker first rate “but she was also the most popular and successful 100-Gun ship of the period. Forty years old by the time of Trafalgar (1805), she had been the flagship of half a dozen Admirals, and was to continue in active service until 1812. This was not the first ship of the Royal Navy to bear the name Victory; there were in fact four predecessors. This the fifth Victory, was one of the twelve ships ordered by the Navy board on Jun 6th 1759. Designed by sir Thomas Slade, construction began at Chatham Dockyard on July 23rd 1759. This, the year of victories, marked the turning point of the “seven years war” for Britain. These facts may well have played a significant part in the naming of the vessel and the name Victory being restored to the Admiralty list of ships. During the battle of Trafalgar Admiral Lord Nelson was struck by a musket fired from the French ship Redoubtable. As Nelson died some three hours later he was heard to say: “Thank god, I have done my duty.” HMS Victory kit; Many to choose from There are several kits of HMS Victory available with a wide range of scale, quality and prize levels. I have listed the ones that comes to mind Caldercraft/Jotika: Considered by many as the best but also the most expensive Constructo: Often criticized forlack of quality. Panart: Don’t know much about this kit Mamoli: Don’t know much about this one either Corel: Described in detail below My thoughts of the Corel HMS Victory kit Materials The wood is 5mm plywood for the keel and framing, fibreboard for the first planking and walnut for the second planking. Deck planking wood is Tanganika. Fittings are made from pressed wood, metal casting and brass The pressed wood parts after a slight heating gets amazingly easy to handle. The general wood quality is excellent and there is no lacking in materials to work with. Annoying that some pressed wood parts are to short (ornamentations on the side of the ship). Also the gallery window construction is not accurate but a little scratch work can do wonders. Plans Some of the plans are in scale but most of them are out of scale and in strange angels which makes it hard to take measurements. Rigging plans……………………….. You will no doubt need to do further studies form other sources if you wish to build an accurate model of the HMS Victory. I recommend getting the “Ships anatomy 100gun tallship HMS Victory” a book that were of great help to me. Manual The manual demand a lot of knowledge from the builder. It is written in a general manner and there are no pictures in the actual manual. Also the descriptions are not very detailed often referring to the plans described above. As a whole the manual is 7 pages A3 in very small text making it hard to read. I did not find much use of the manual and ended up mostly using the plans and pictures gathered from books and the web. Build experience With some scratchbuilt additions you can produce a great Victory-model but this is not a kit for the novice. I have had a wonderful time building this model because of it’s inbound challenge, the model has forced me to do a lot of research and reading which I personally find rewarding. Also the lacking in instructions and plans has given me a significant boost in building skills. Summary The Corel Victory is as said before not a beginner’s kit perhaps even not intermediate. This is not because of demand of advanced building skills but due to the shortcomings of the manual and plans. The quality of the wood and materials of the kit compensates a lot for these shortcomings and therefore the building experience of the kit has to be considered as Very good. I’d say that if you are looking for a Victory-kit to base a bash-build on this is the one to use. If you are looking for historical accuracy or instructions that give you all you need there are better kits out there. In short: Challenging model kit, very poor instructions, plans in strange angles and often out of scale making messurments hard, Very high quality wood: Better than my CC Vic actually. (That could be a coincident though) PICTURES TO COME Erik
-
Hello My Kingfisher building log will be back, I have not yet gotten around to it. I guess I will start tonight, have to order some pizza first I plan to upload a compressed log of my Corel Victory aswell. Regards Erik
-
Yes this is exactly what I meant, sorry for the confusion. The ship is finished and built as intended in the Lauck Street Shipyard kit. Unfortunally the economy resess in the US (and the rest of the western world) a few years ago hit Lauck Street Shipyards hard and they had to discontinue their line of most execellent kits. A lot can, and has been said about LSS but Mr Hunt did produce a range of fantastic kits at a very reasonable cost, Fair American beeing one of them. Regards Erik
-
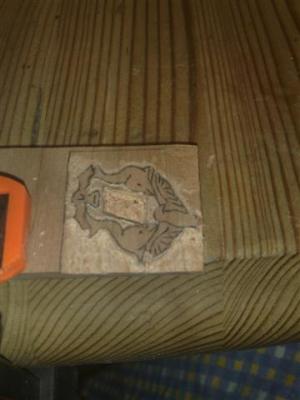
Thanks Figurres: Those are suppose to be two dolphins enclosing the windows. My first 3D carving. I suggest you try it on your MS version. Nothing to lose and it's not to tricky. Ryland: This kit is a great introduction to POF models you will learn a lot.
-
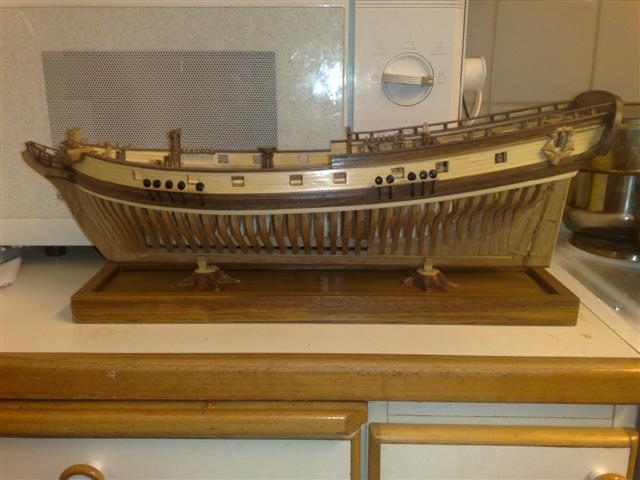
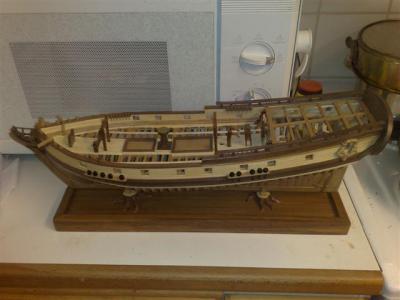
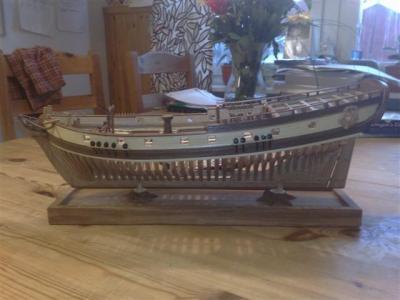
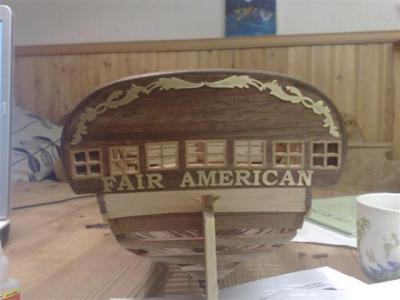
My Fair American finished and mounted on a display-board built from some mahogany I had in my closet. One detail is still missing and that is the personal nameplate that is provided free of charge from Lauck Street Shipyards upon completion of the model. This project was started in October of 2007 and finished by May 2008. Thanks for Viewing Erik
- 49 replies
-
- 2
-

-
- lauck street shipyard
- fair american
- (and 1 more)
-
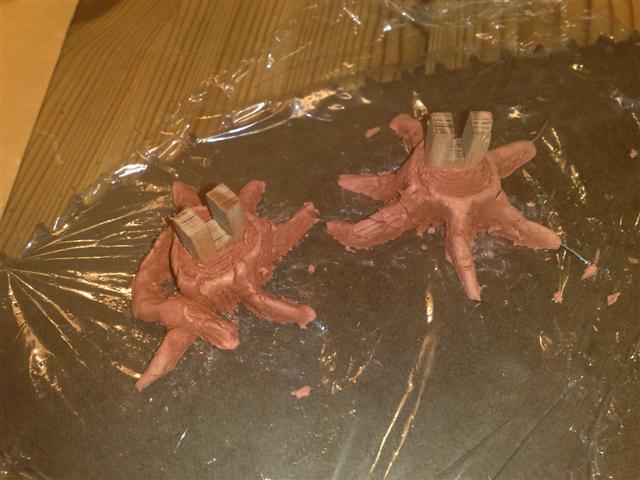
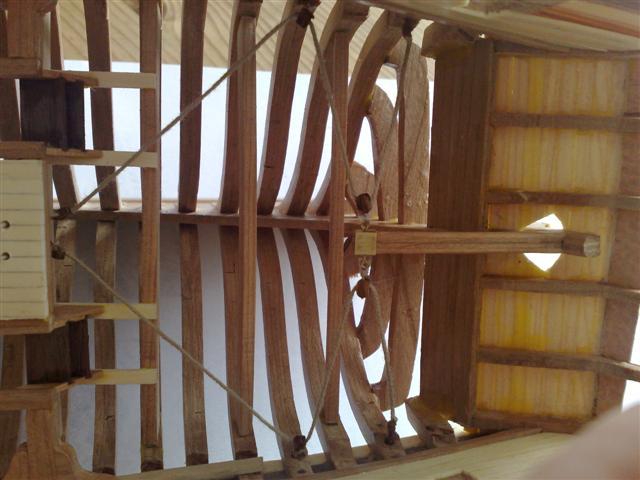
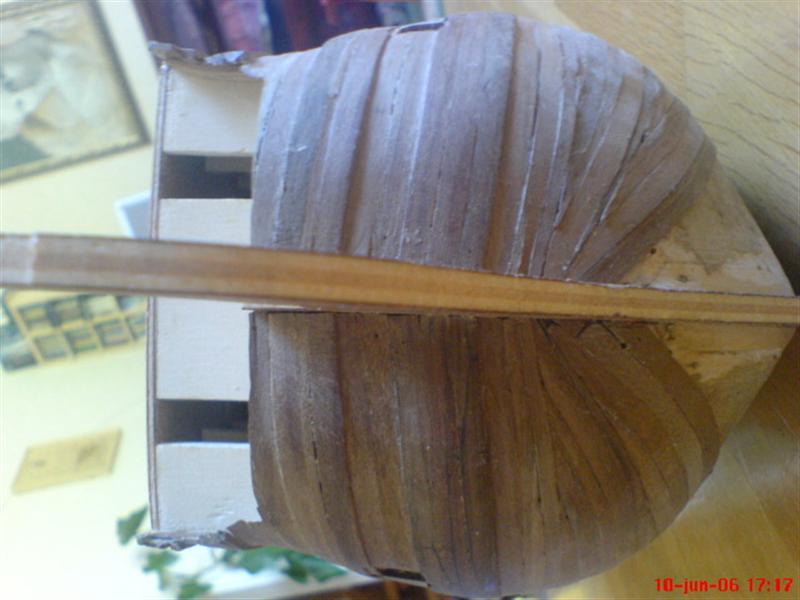
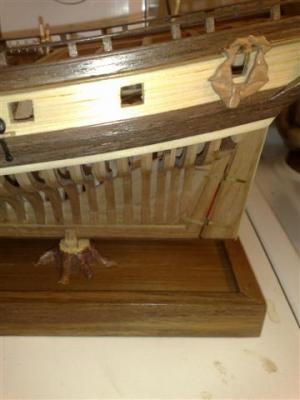
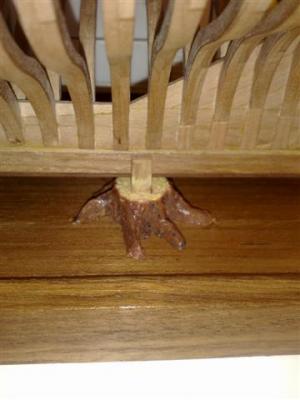
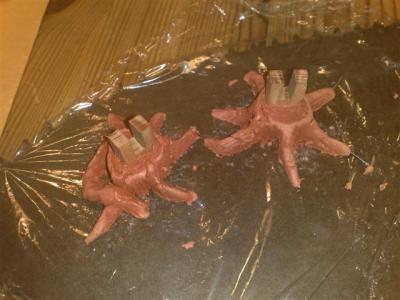
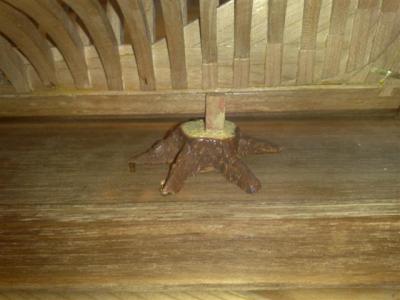
We have seen all kinds of bases for model ships before so I thought I’d do something original. I wanted to create a visualisation of the ships frames being carved directly from a tree. I used a few billet scrap peaces some wire for strength and some plastacine clay and paint to create a tree-stub. I hope the pictures speak for them self
- 49 replies
-
- 1
-
-
- lauck street shipyard
- fair american
- (and 1 more)
-
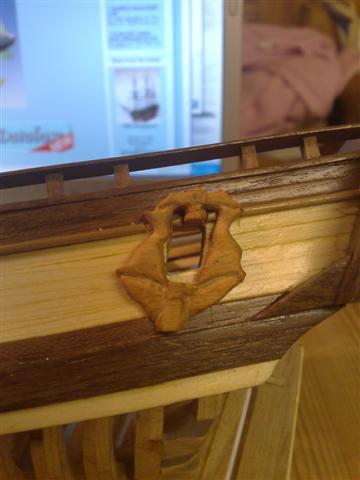
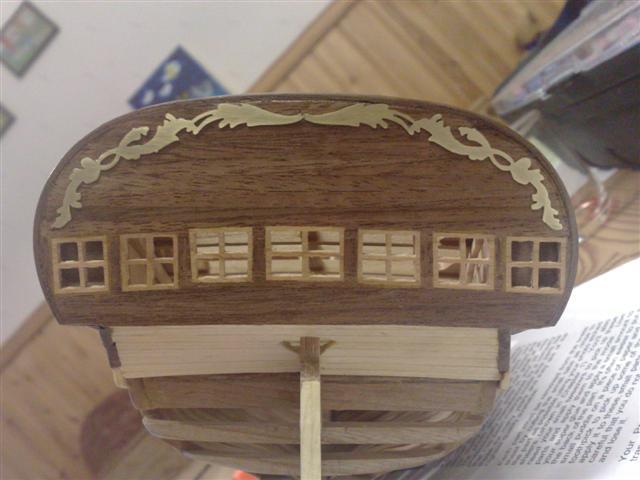
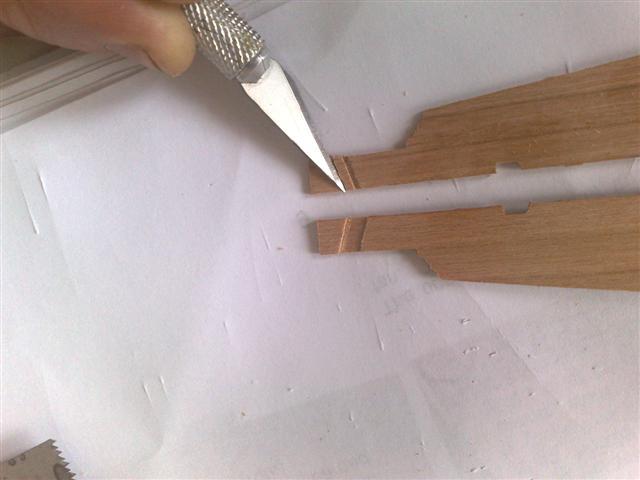
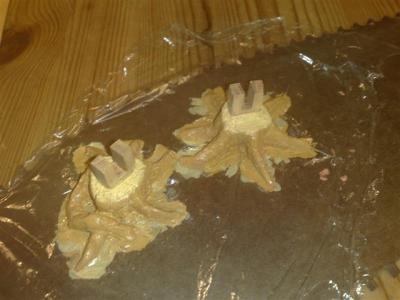
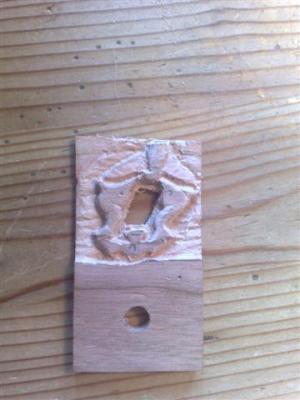
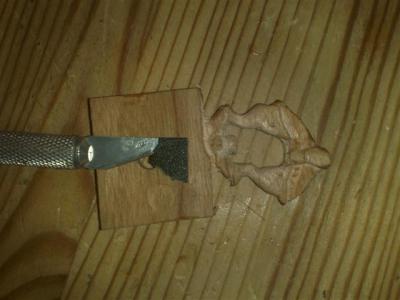
The kit if bought today comes with a resin cast of the ornaments surrounding the stern windows although mine No170 did not. I figured I could have a go at carving my own using some scrap cherry wood from a billet and my rotary dremel. I used the plans which has a nice drawing of the carving and traced this on a peace of paper (the kind used to keep cookies from sticking to the plate in the Owen) Making two copies ensuring to have the carvings correct for it’s side I then traced the drawing to the wood and started chipping away with my dremel.

-
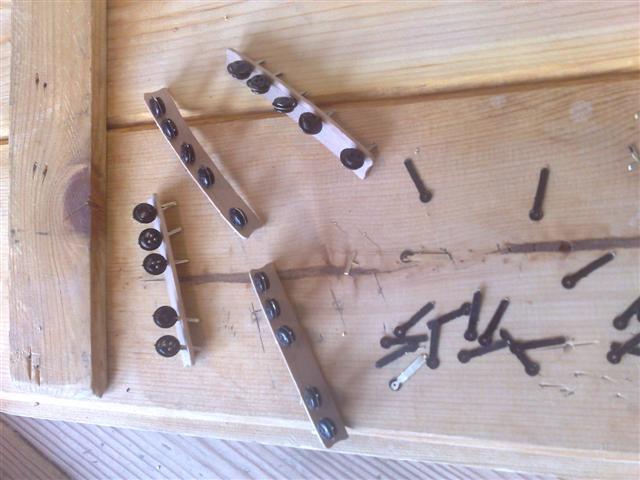
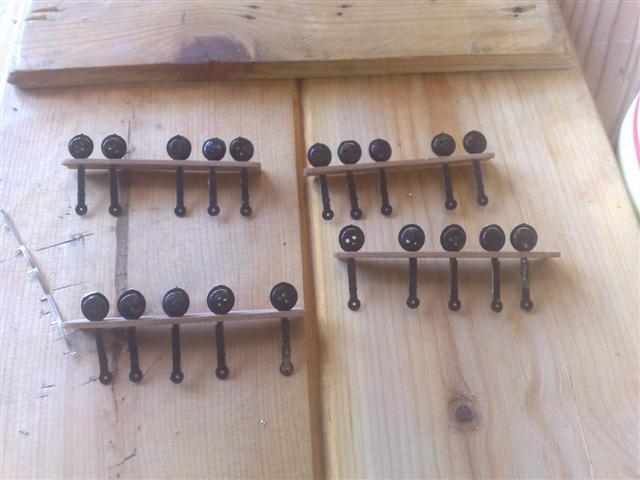
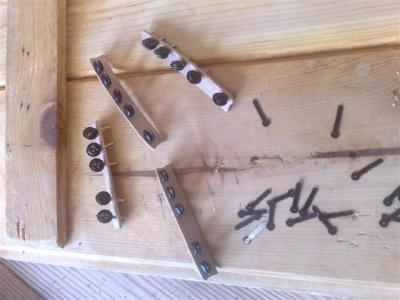
Assembly of the channels and deadeyes was done slightly different than what was said in the manual. I decided to paint the parts prior to assembly and then touch up the paintwork after the channels and deadeyes were in place. This was done to minimize the risk of messing up the wood with black paint

- 49 replies
-
- 1
-
-
- lauck street shipyard
- fair american
- (and 1 more)
-
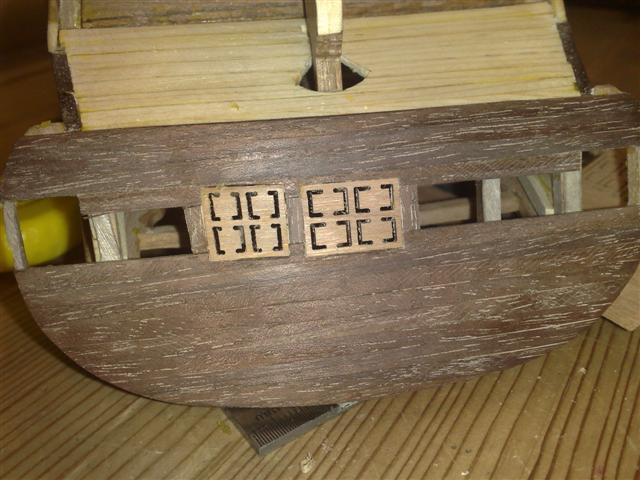
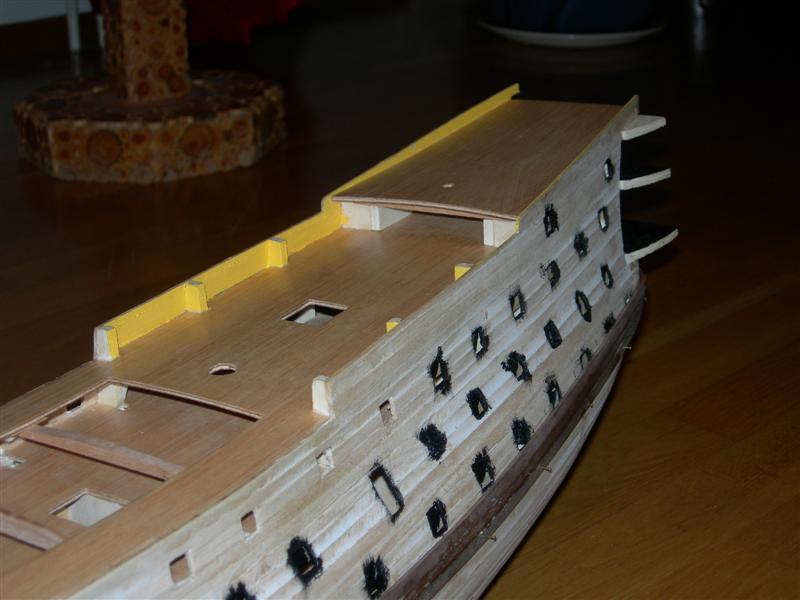
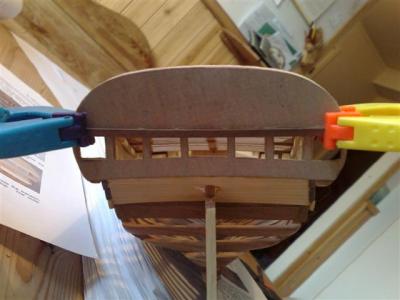
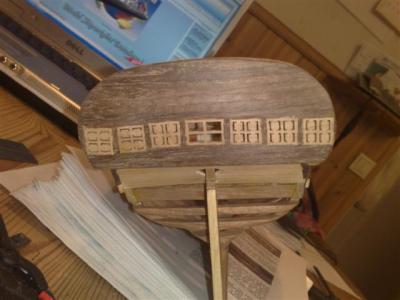
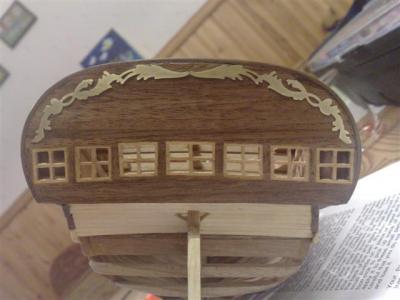
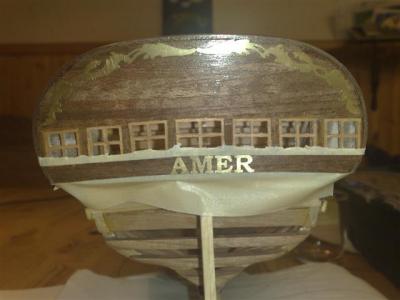
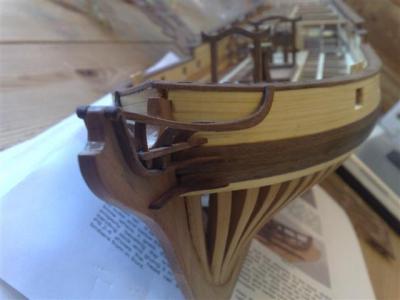
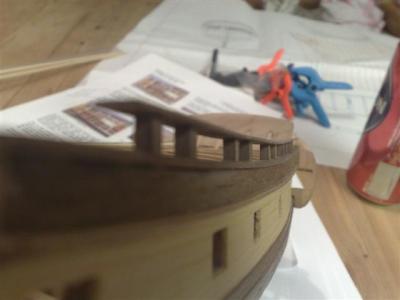
Having completed the beak I went on to work on the final details of the galleries and stern. The stern is planked on both sides with some walnut and care must be taken in cutting out the windows so that the window-frames will fit in a even manner, I did not succeed completely in this department which can be seen in pictures to come.


-
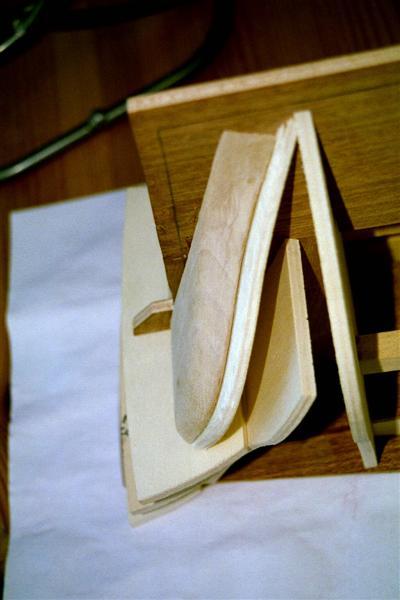
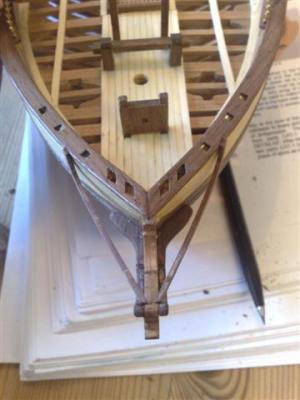
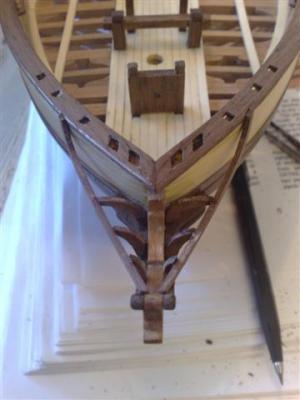
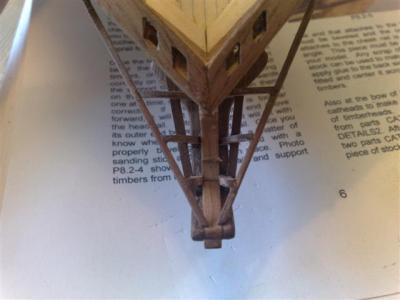
The beak taking its form

-
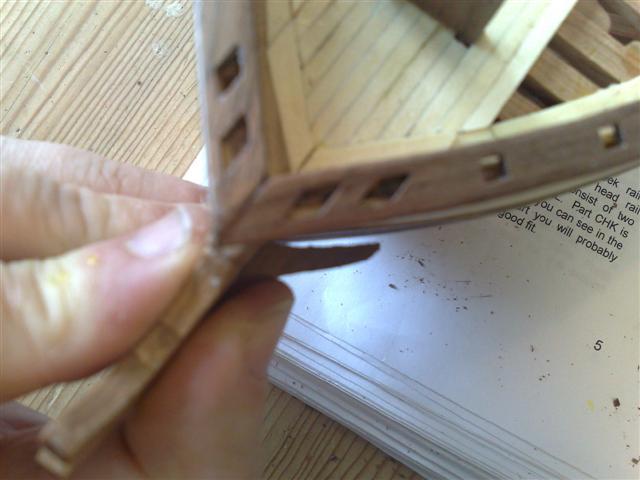
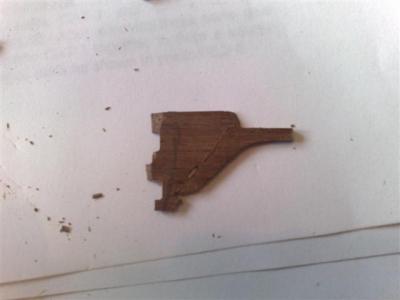
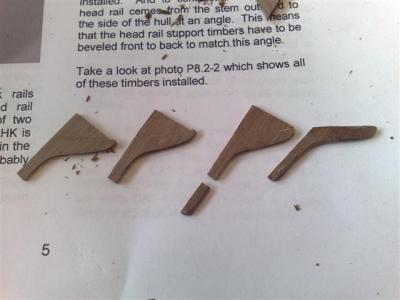
The details and rails of the bow called for a bit of improvisation. To frame and plank a hull exactly as the plans is quite the challenge and I had some deviations in the bow area. Consequently I had to add wood to the parts for the bow. I simply glued some extra wood to the part and then sanded away the excess wood to achieve a fit to the form of my bow. These parts proved a little brittle and I broke a few although super gluing them back together was not much of a problem.

-
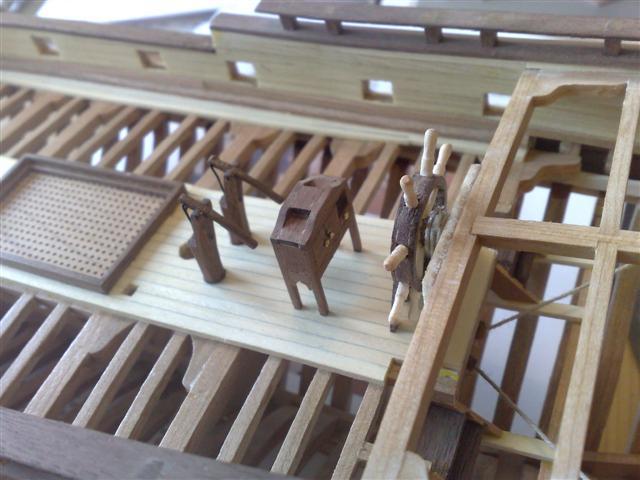
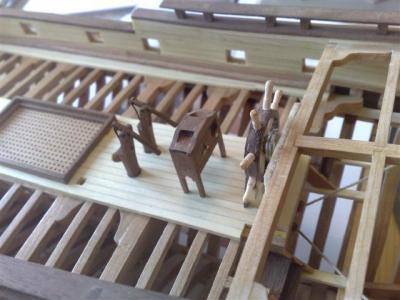
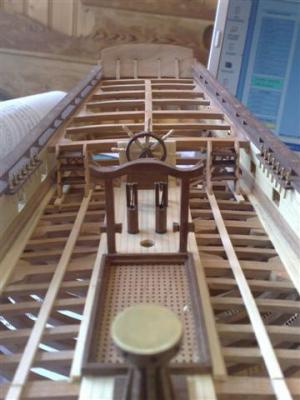
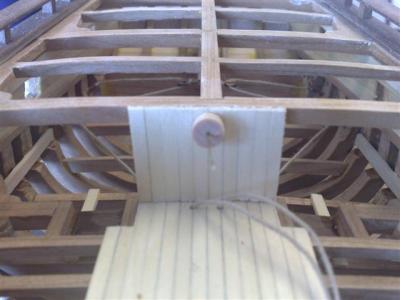
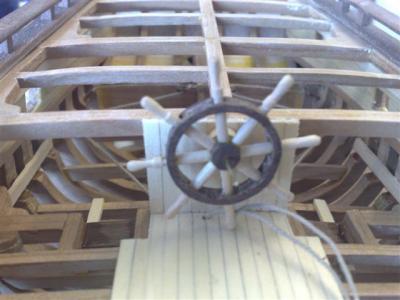
Water-pumps, binnacle and wheel in place.

-
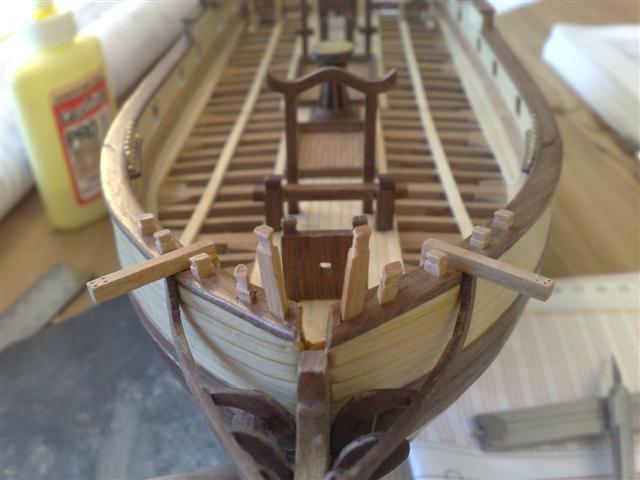
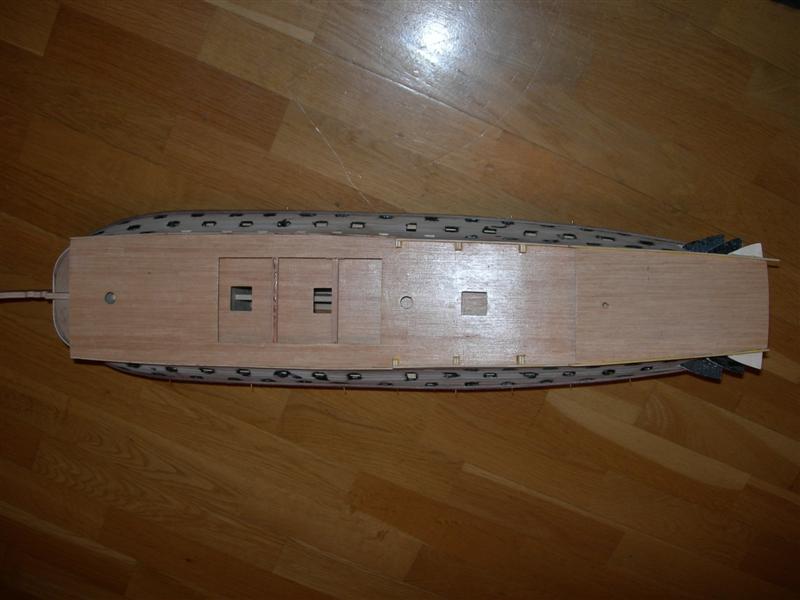
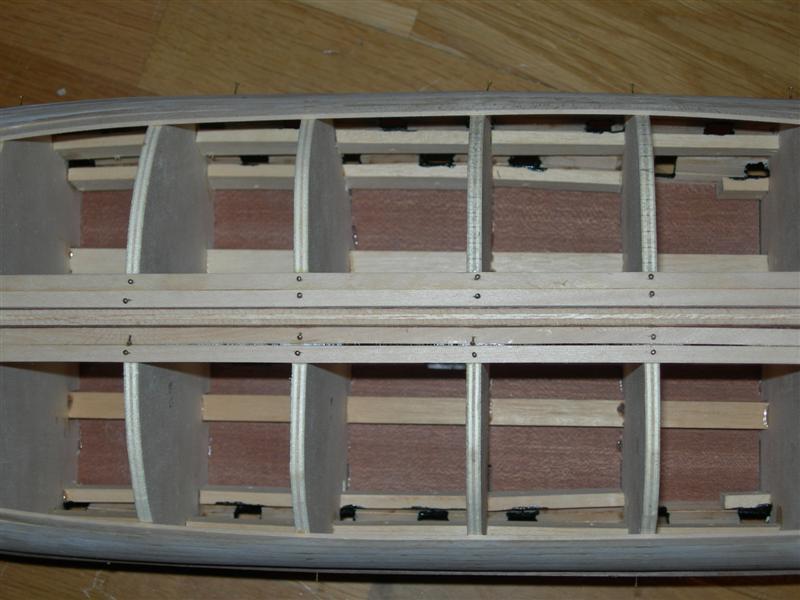
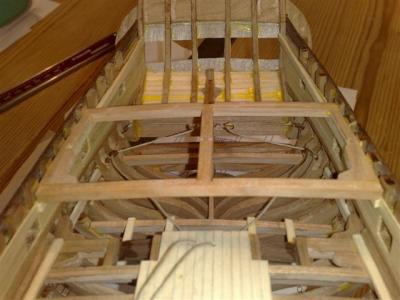
The wheel assembly was pretty straight up and also the adding of the deck details.
-
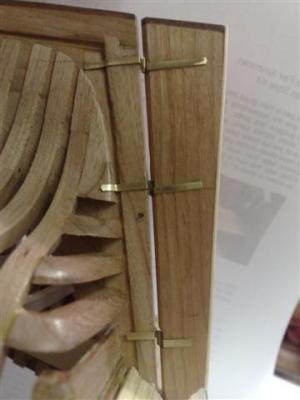
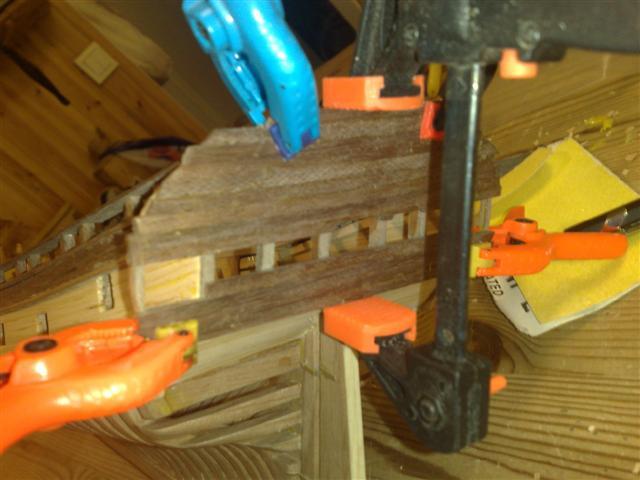
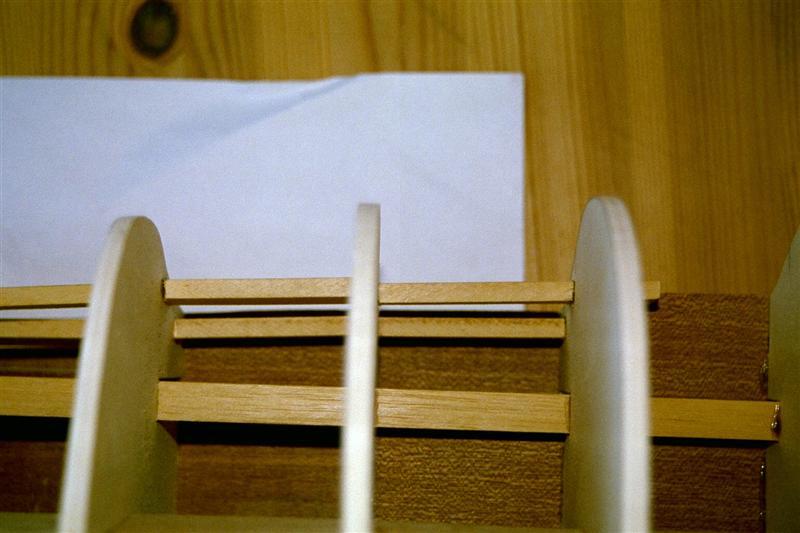
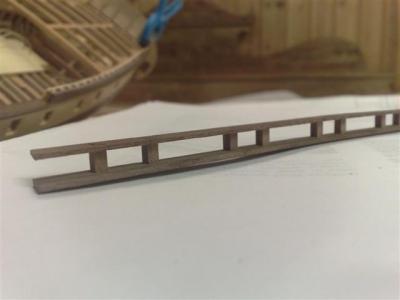
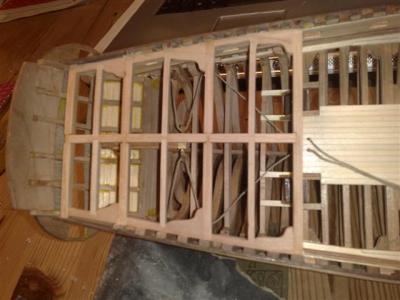
I could now assemble and glue the cap-rails to the model. The cap-rails has pre-cut squared holes in them in which pre-cut stanchions fit. These parts had an unbelievable fit to them. The fit was so tight, I had trouble taking them apart after dry-fitting them. The slight bend needed to fit the cap-rail to the ship was very much helped by this tight fit taking some of the friction from the glue joint.
-
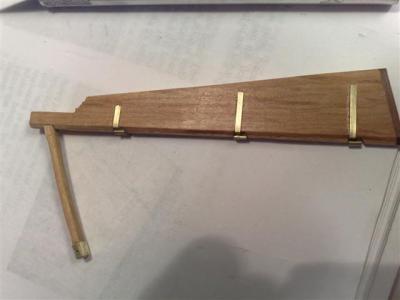
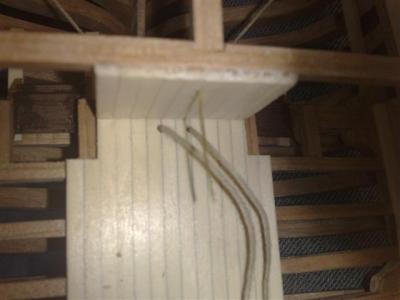
Next came the rigging of the rudder, although not a fully functional rudder it is rigged in a correct fashion. The rigging procedure was simple enough but I did learn a good new way (for me) of seizing blocks. With the rudder complete time had come to start the framing of the quarterdeck which is made much the same as the main-deck.
-
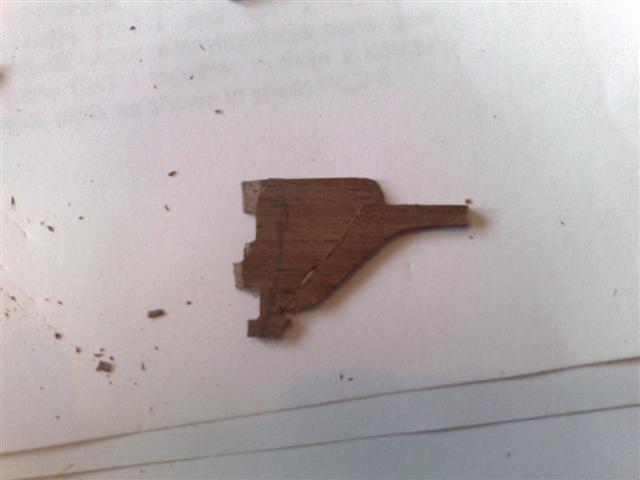
The rudder was a slight concern to me and I made a few mistakes which can be referred to not reading the manual thoroughly enough. The keel update mentioned earlier also includes the rudder which consists of four parts layered together. Now as my son (1 year old) decided to eat my tiller I had to remake it from the original billet and also glue the additional two parts I had missed to the original two. Alas with a little guidance from Mr Hunt it came out ok.