HOLIDAY DONATION DRIVE - SUPPORT MSW - DO YOUR PART TO KEEP THIS GREAT FORUM GOING! (Only 13 donations so far - C'mon guys!)
×


Carlmb
-
Posts
129 -
Joined
-
Last visited
Content Type
Profiles
Forums
Gallery
Events
Everything posted by Carlmb
-
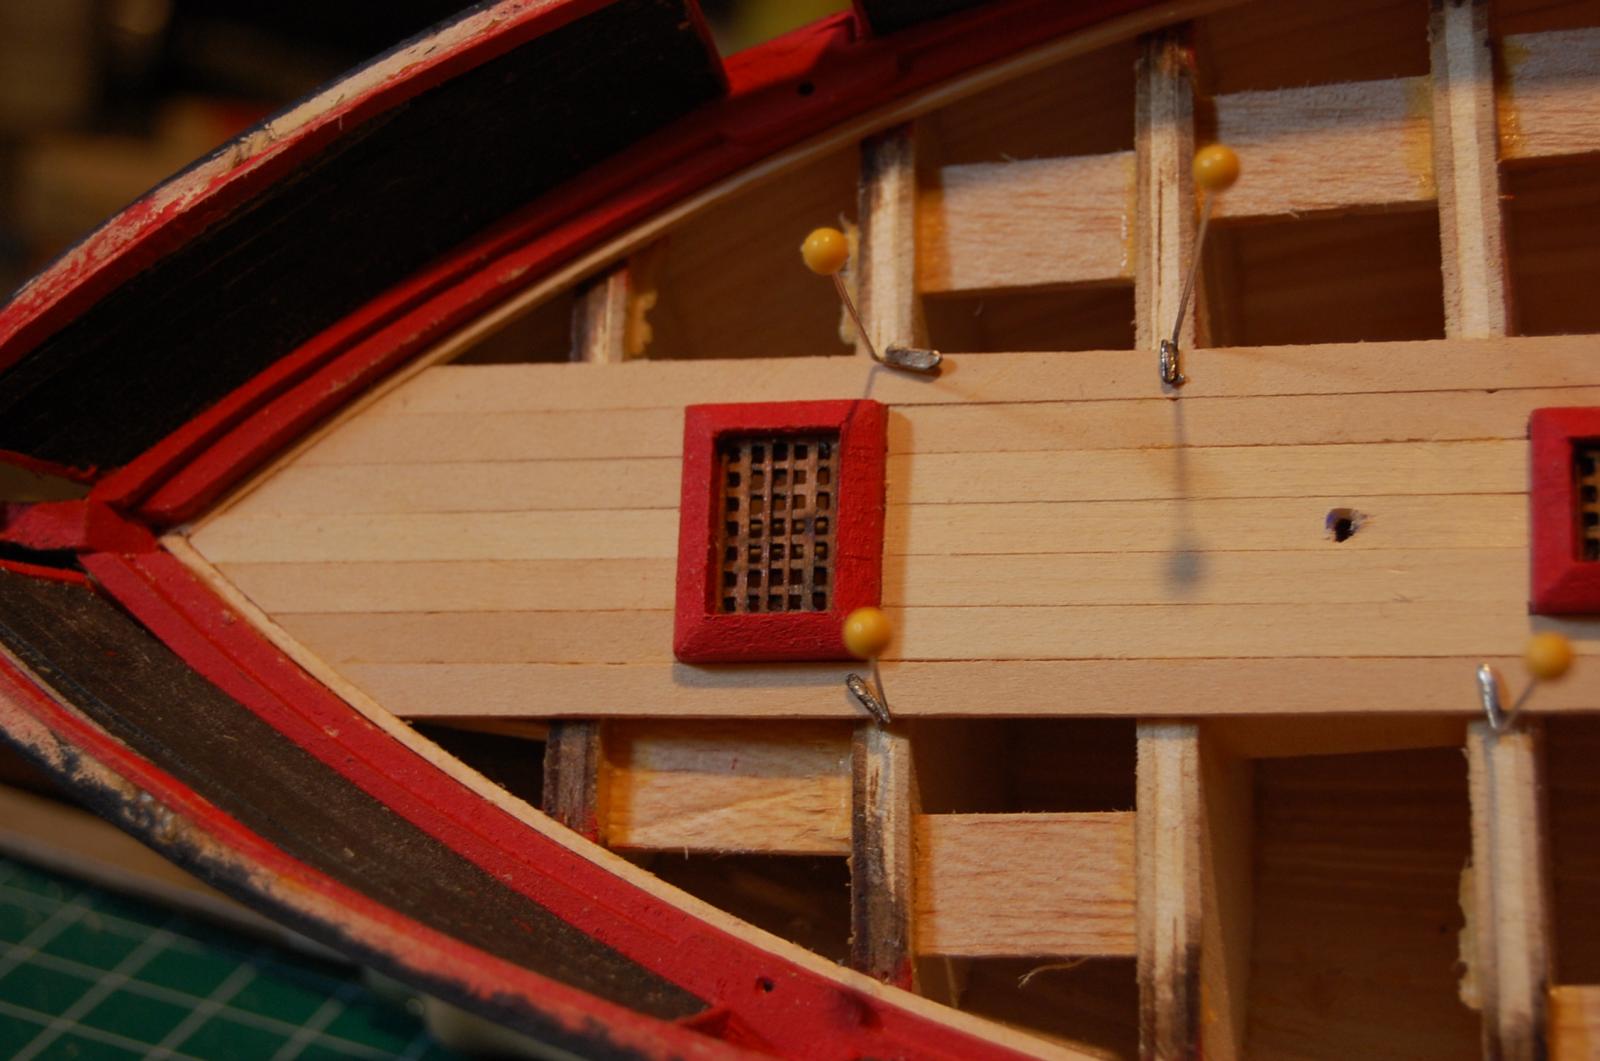
 Thanks for the heads up. Didn't realize where the eyebolts were applied.
 -
9 ships in place, 11 more to go. Model Shipyards supplies 120 small eyebolts and just rigging the cannons uses 240. I just ordered more today. Should these be supplied?

-
Have not had much time to work on ship this week. Replacing blown up car (don't drive car without oil) for oldest daughter. Still rigging cannons. Has anyone ever quit due to the amount of cannons?


-
Brian, that's what I ended up doing on the breech line, attached the eye bolts on the bulkheads last. On the other lines it was actually pretty easy attaching the hooks. I am sure the future cannons will be somewhat easier.
-
Started rigging the cannons this evening. Holy cow this is not easy. The breech line is difficult on the carronades since you kind of have to tie it off while it is run through the gun. Finished half of one this evening but I am sure it will move quicker as I go.
-
Don't have much hair left so I have a good start. Chuck's line at Syren looks awesome but I am going to try and make do with this stuff for now.
-
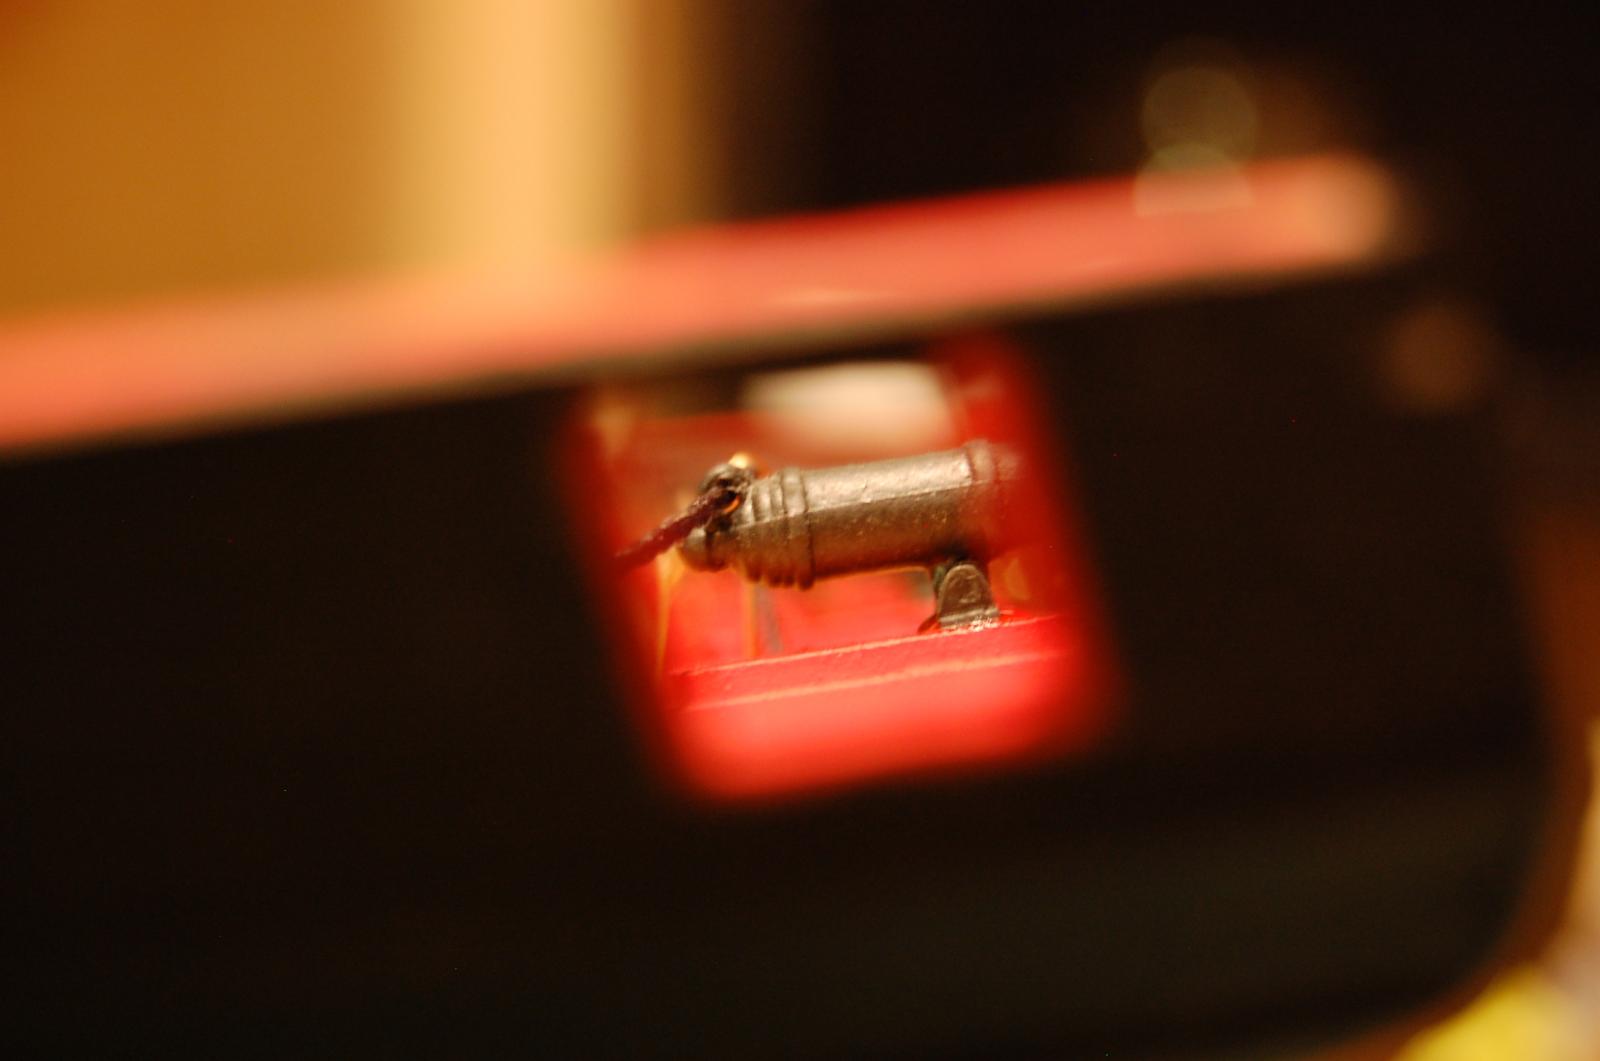
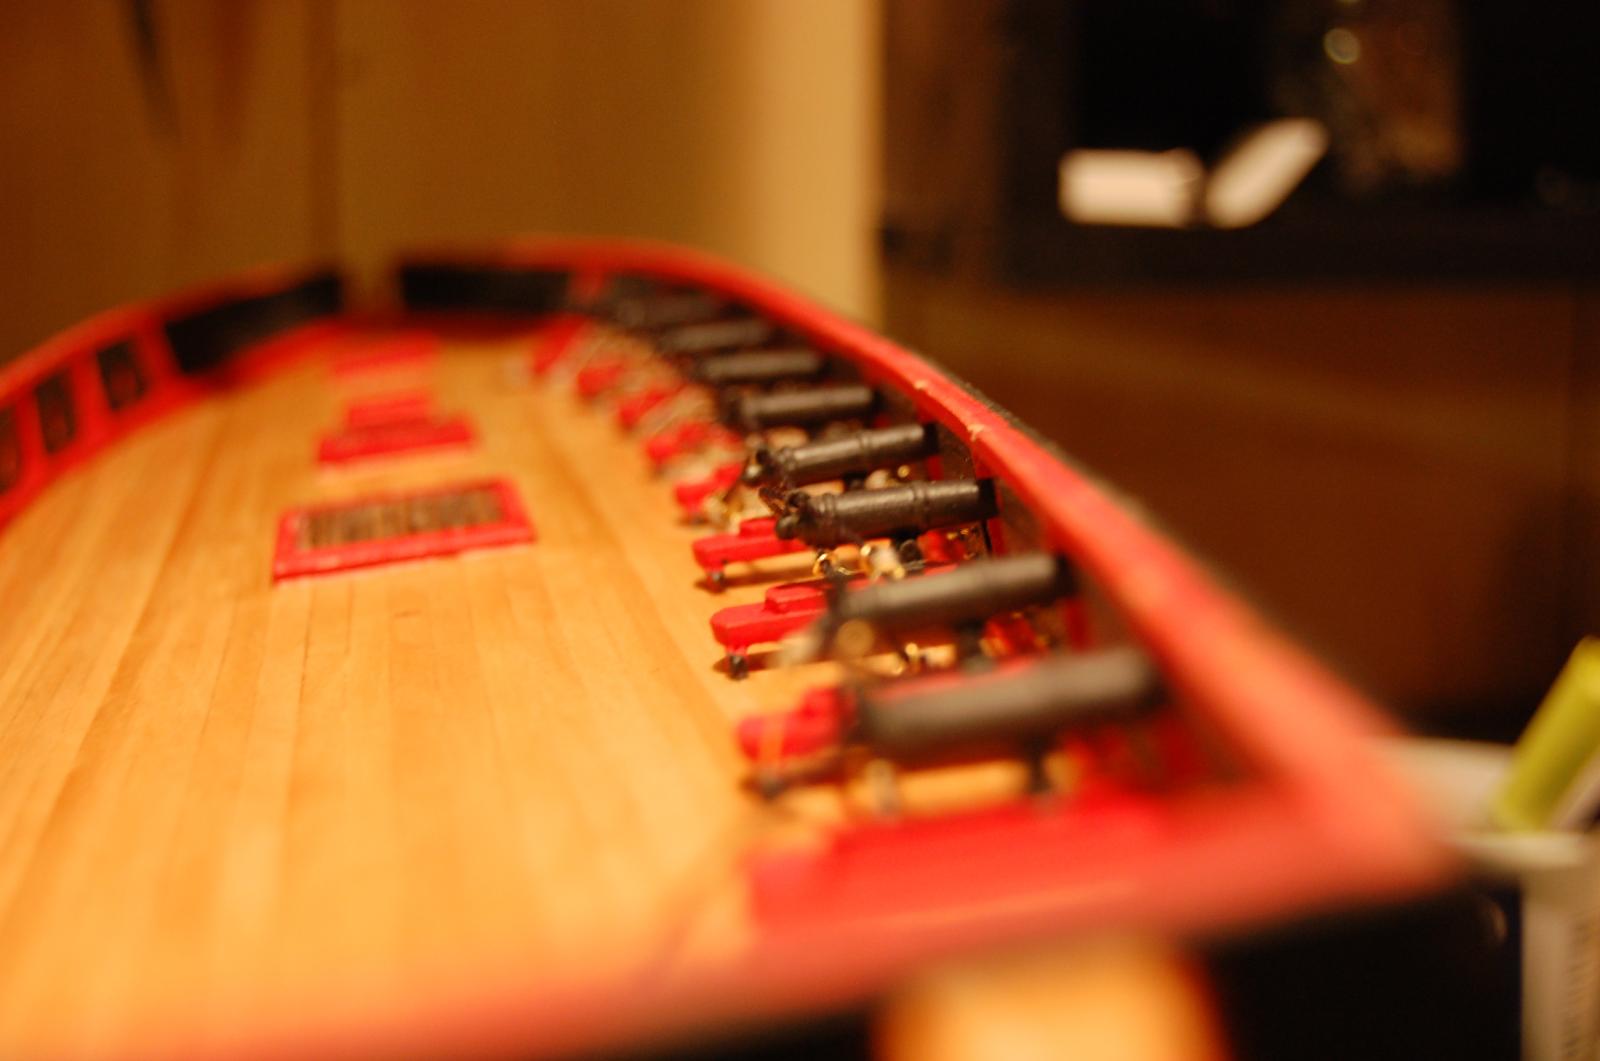
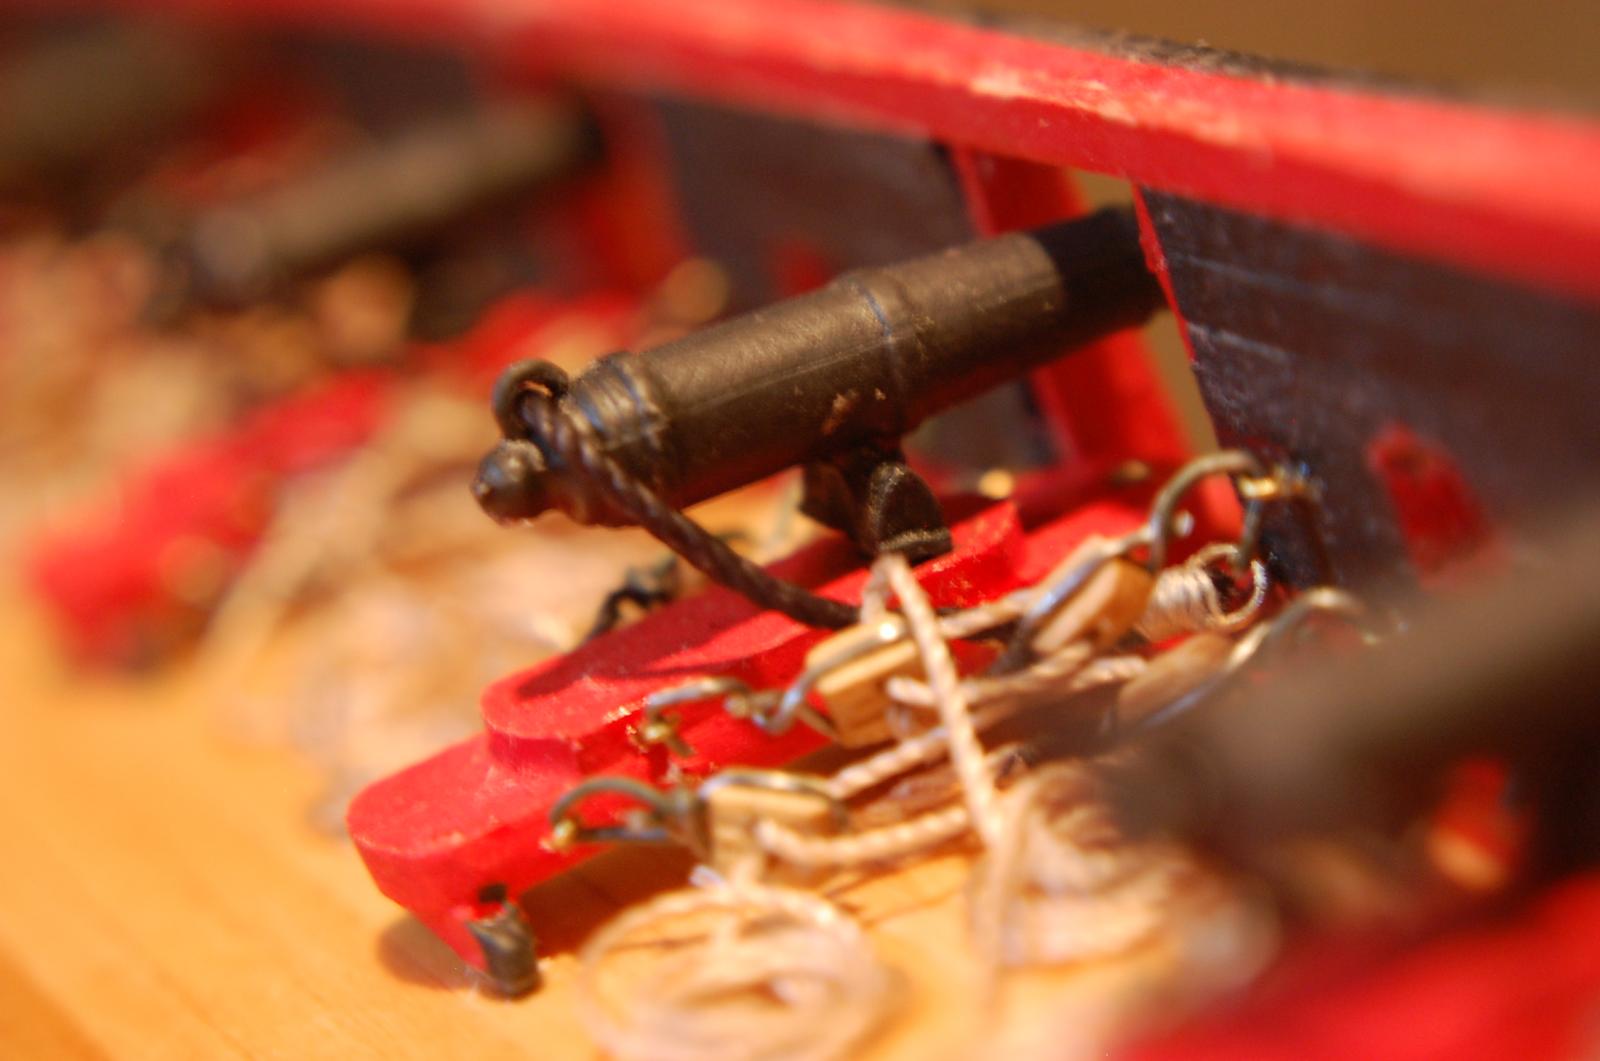
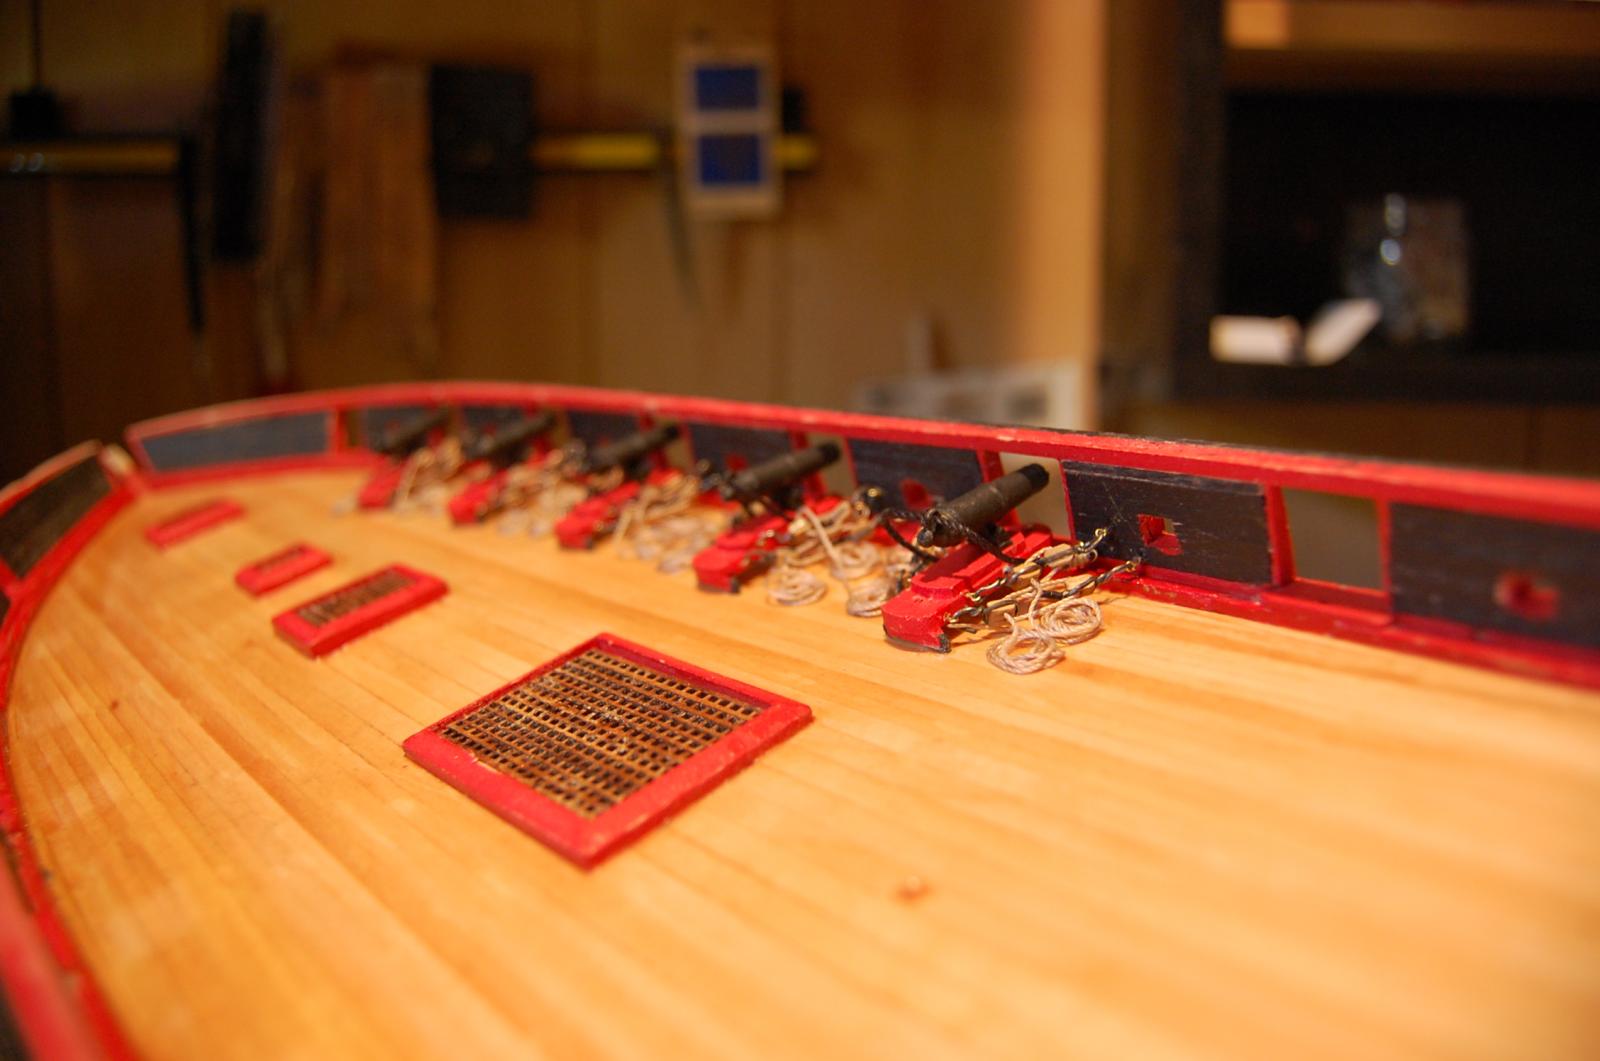
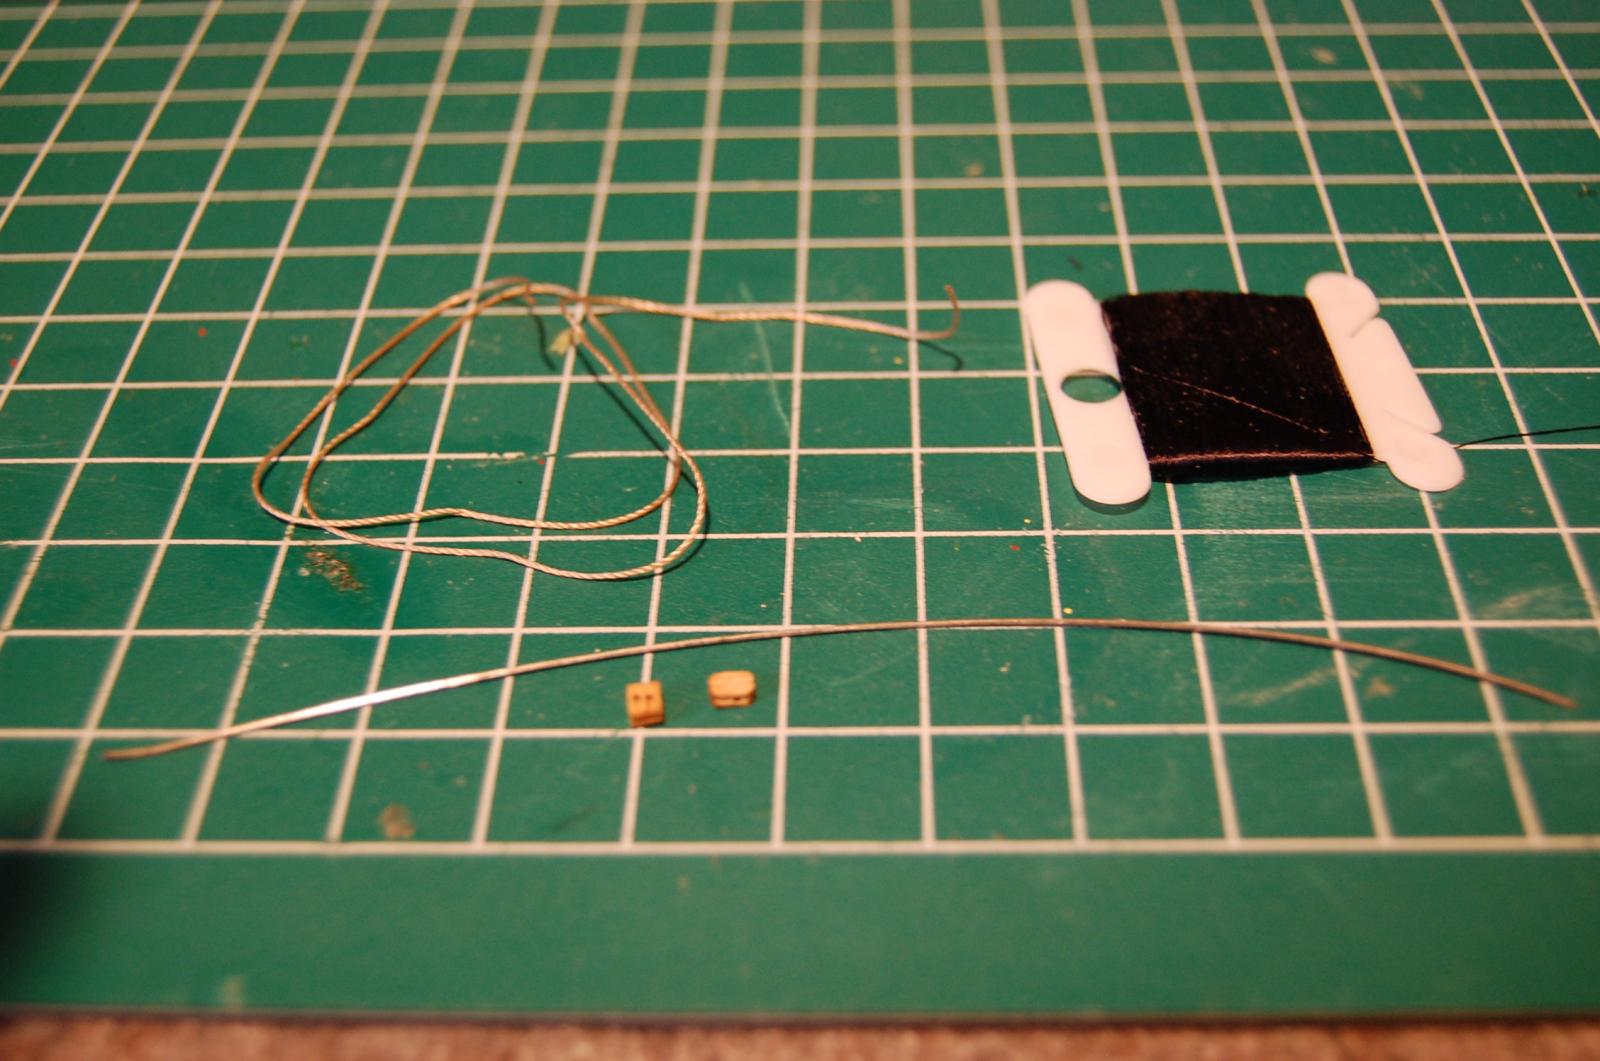
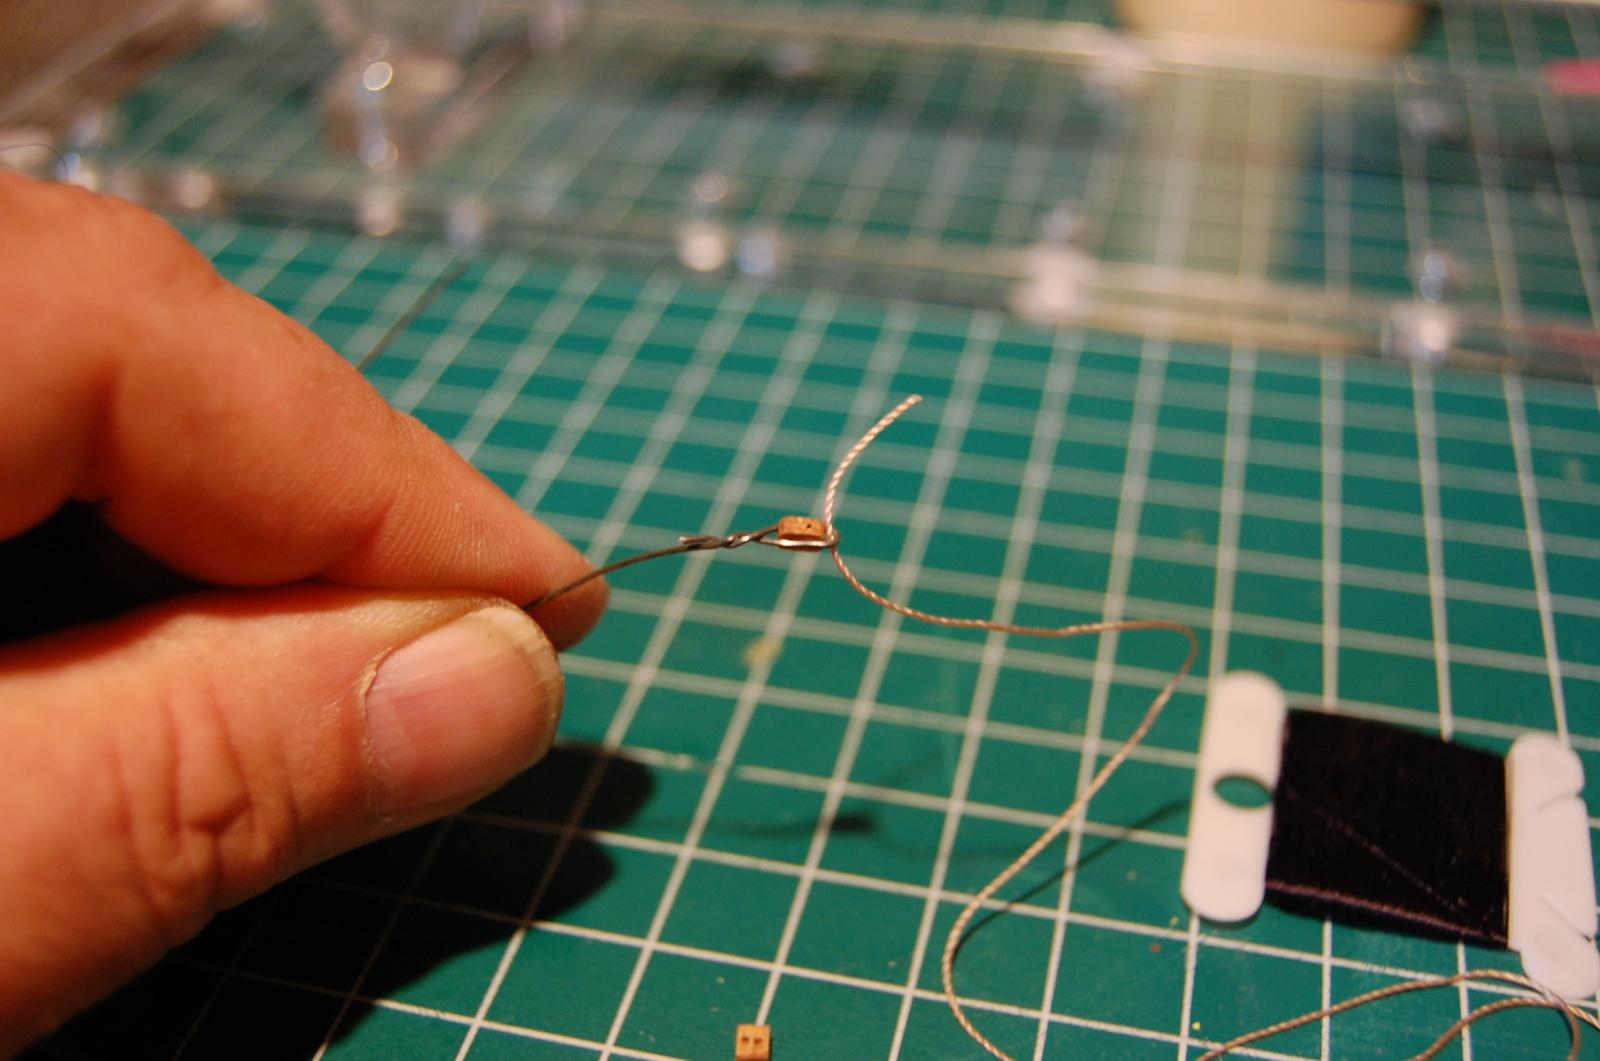
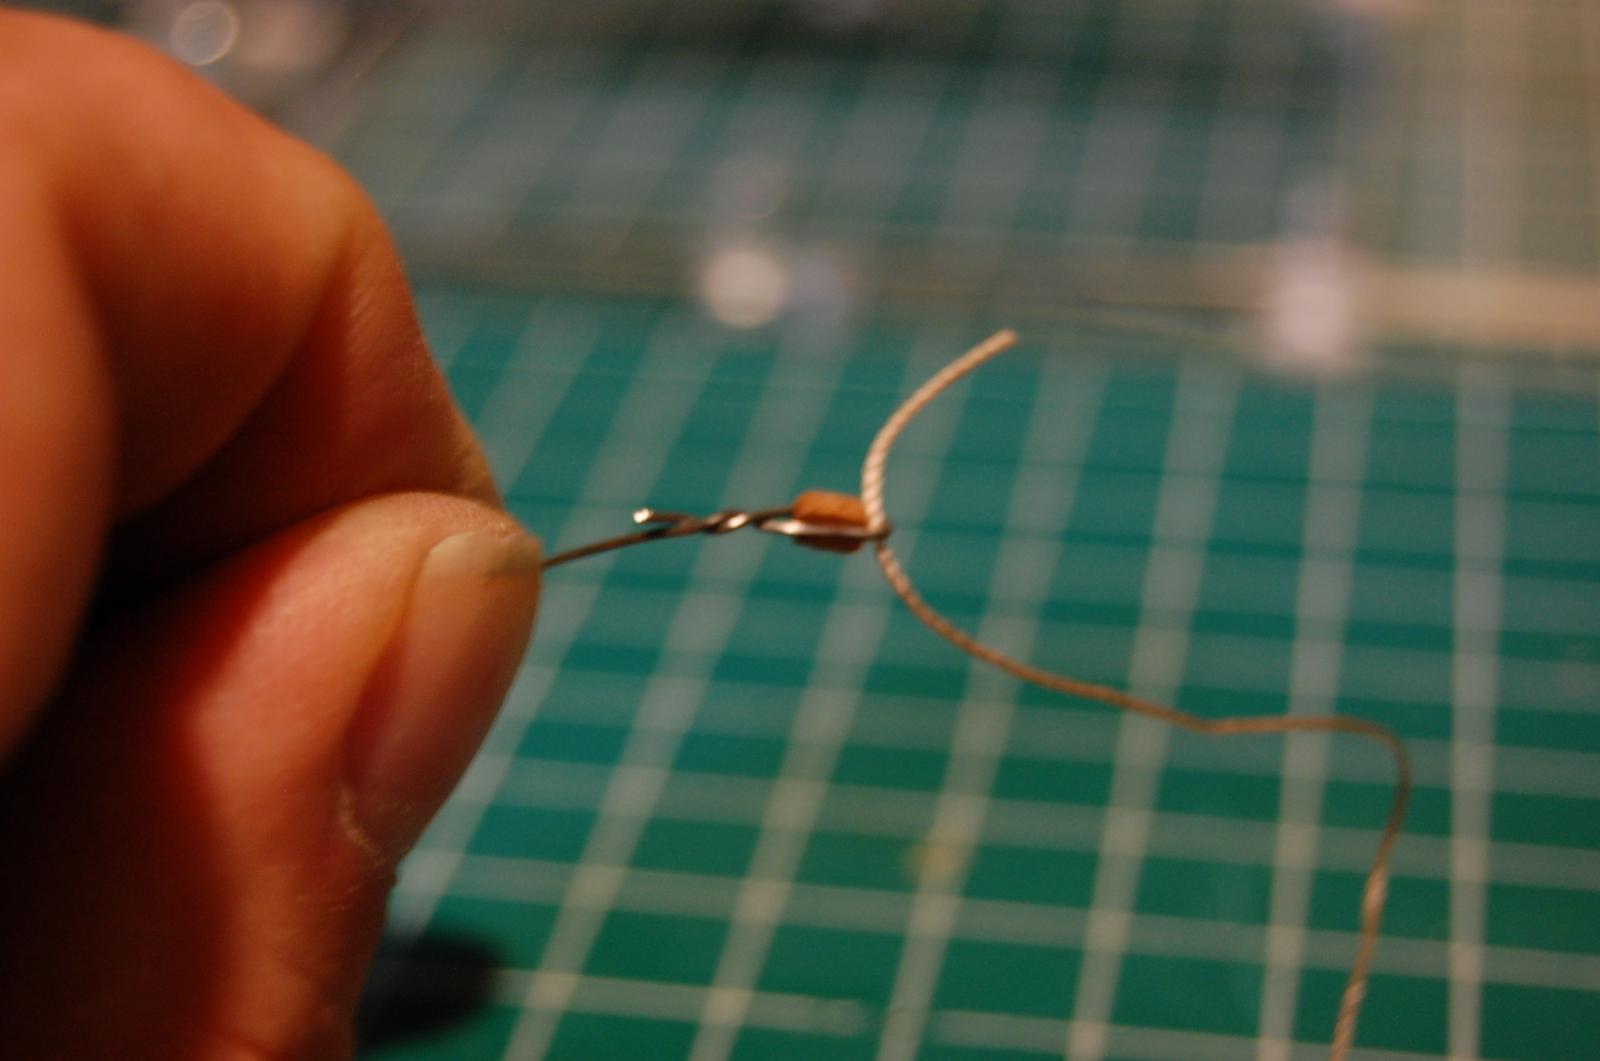
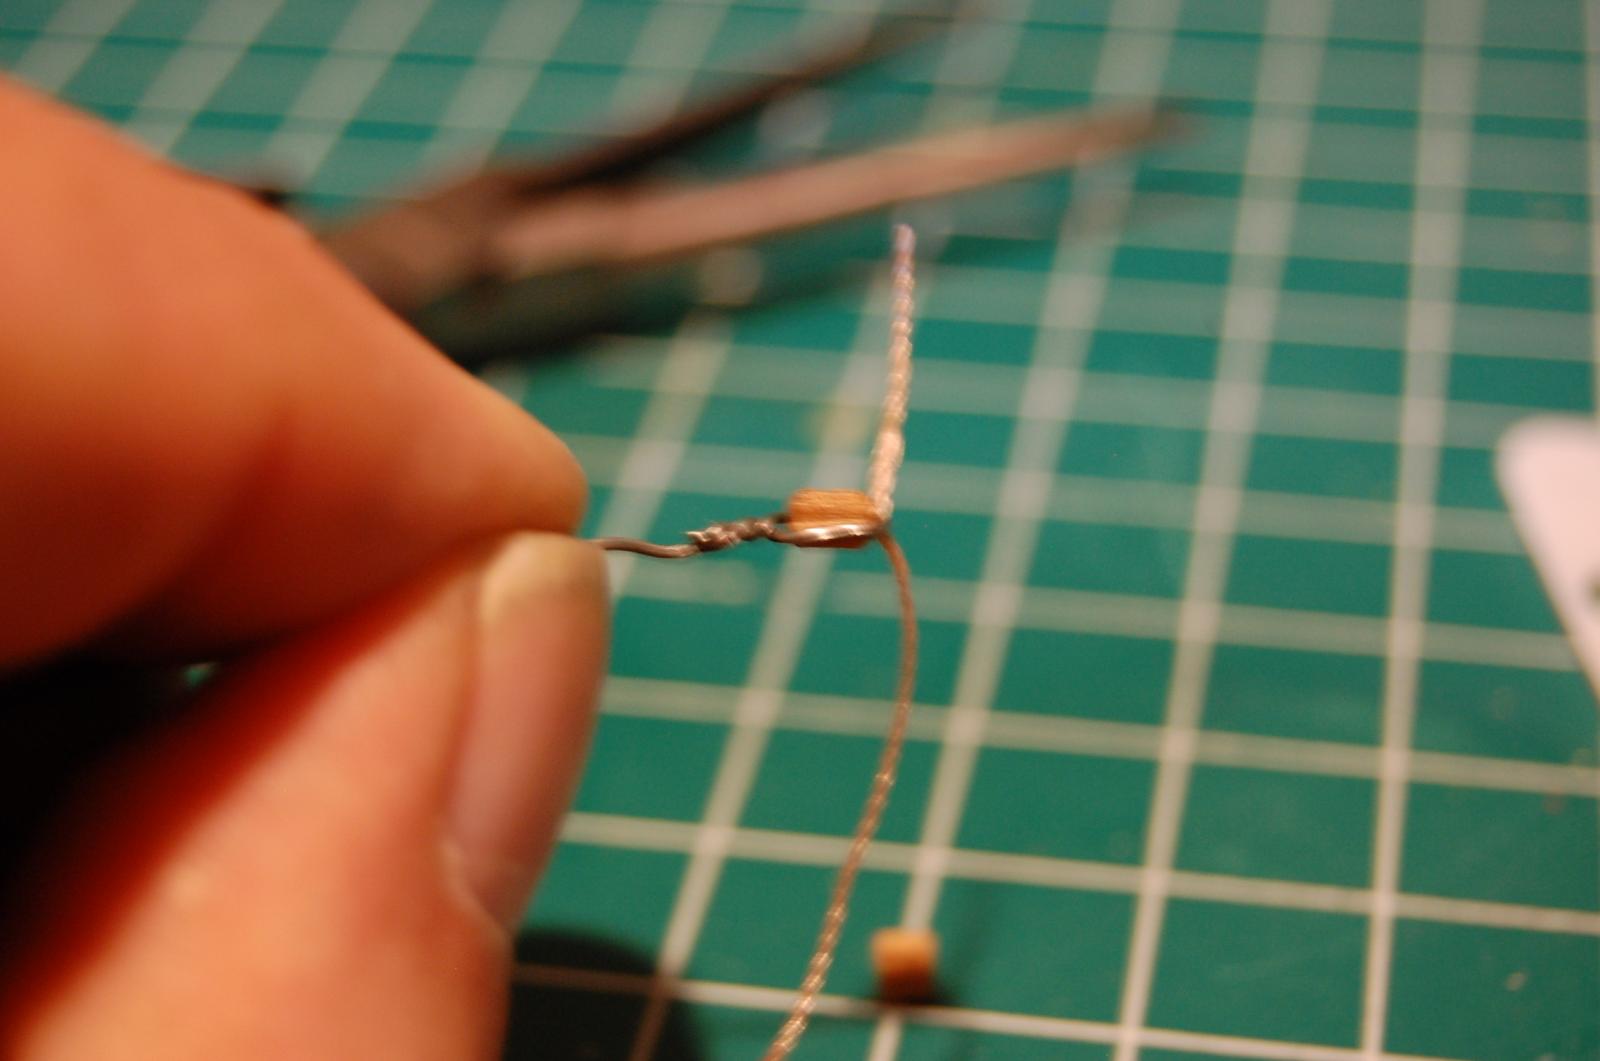
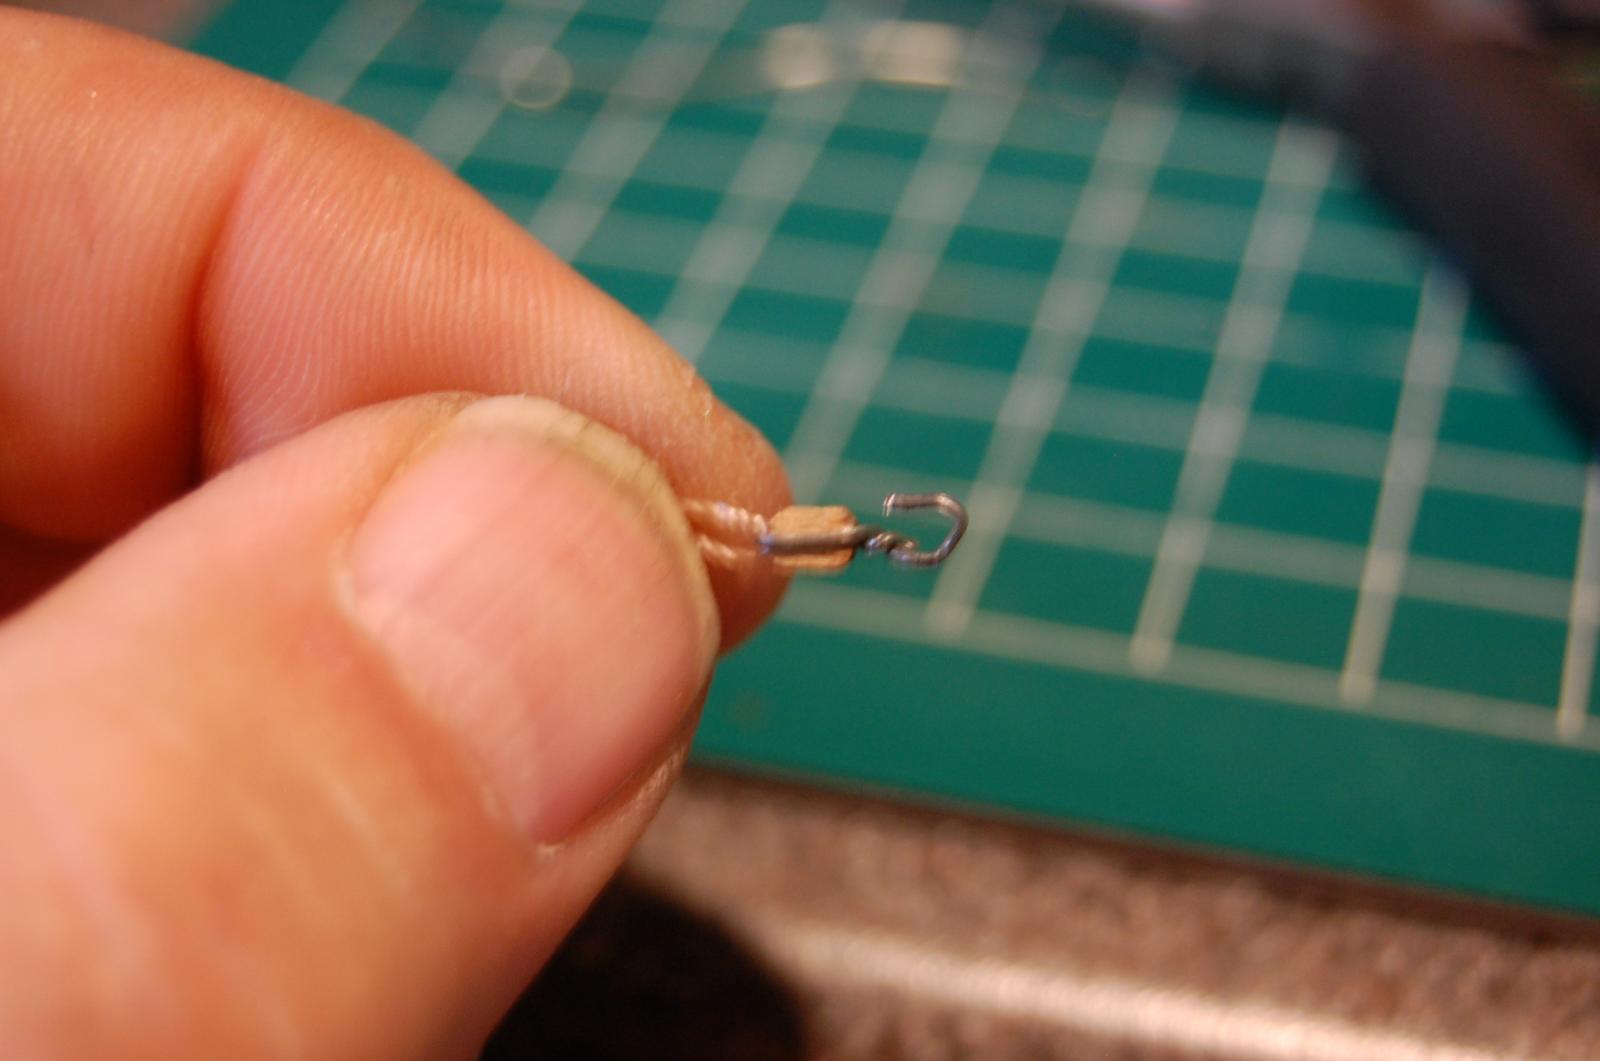
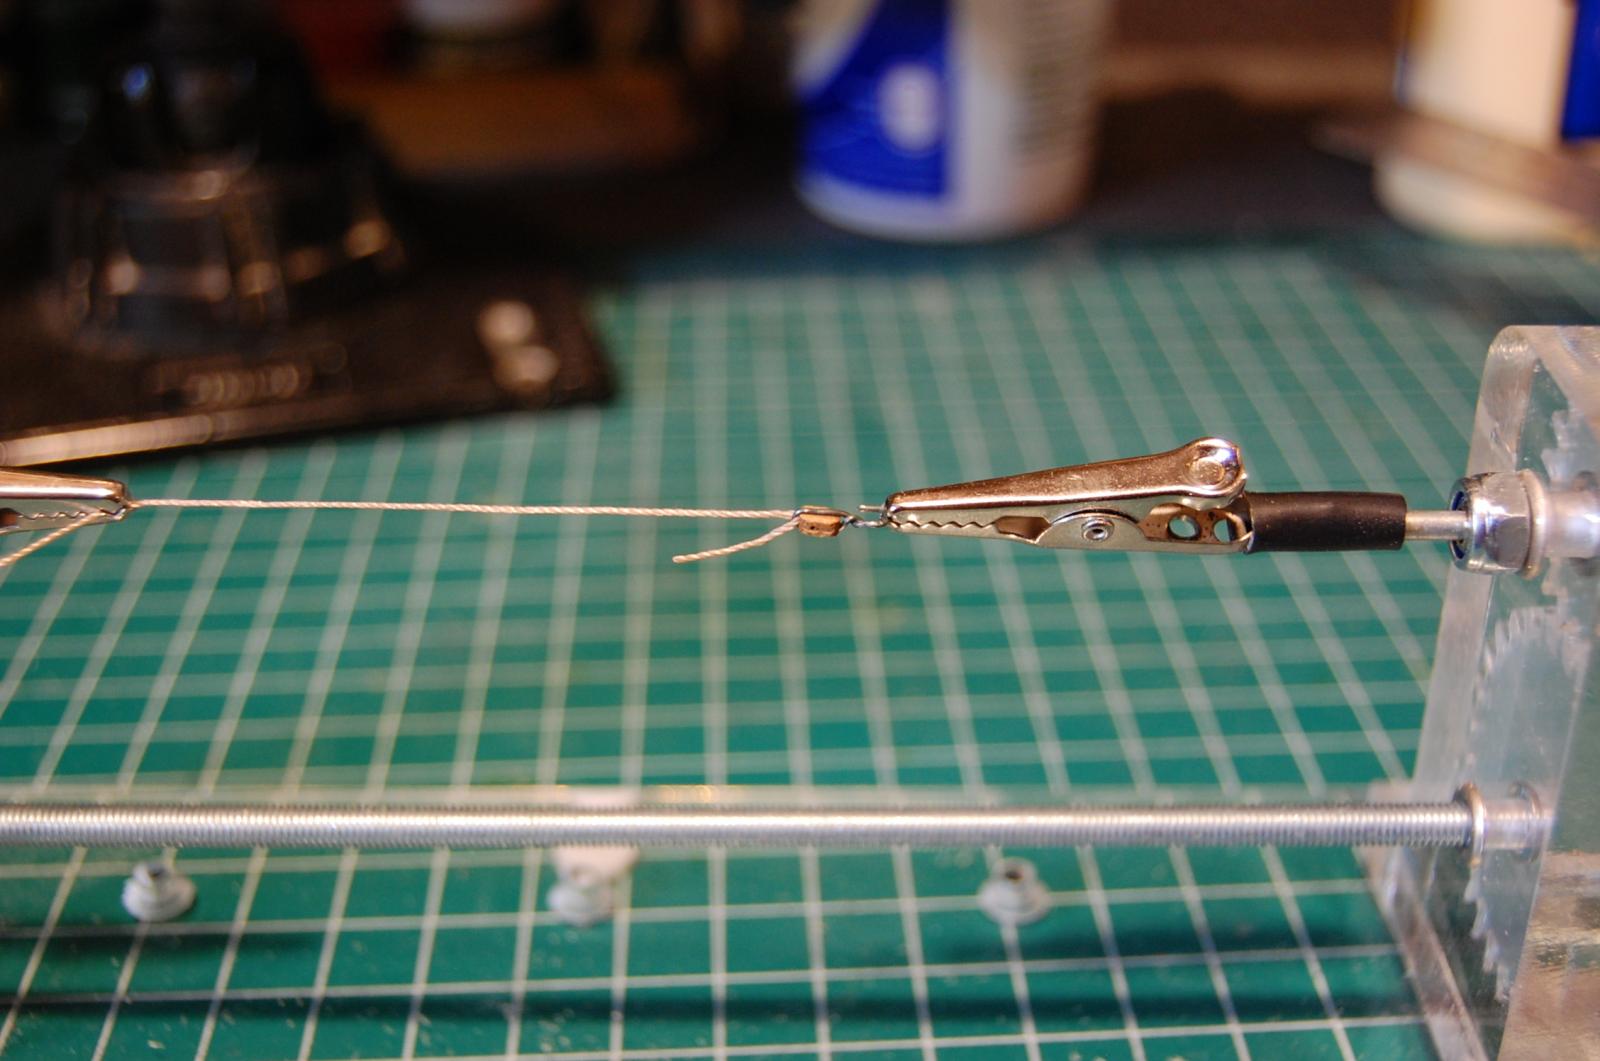
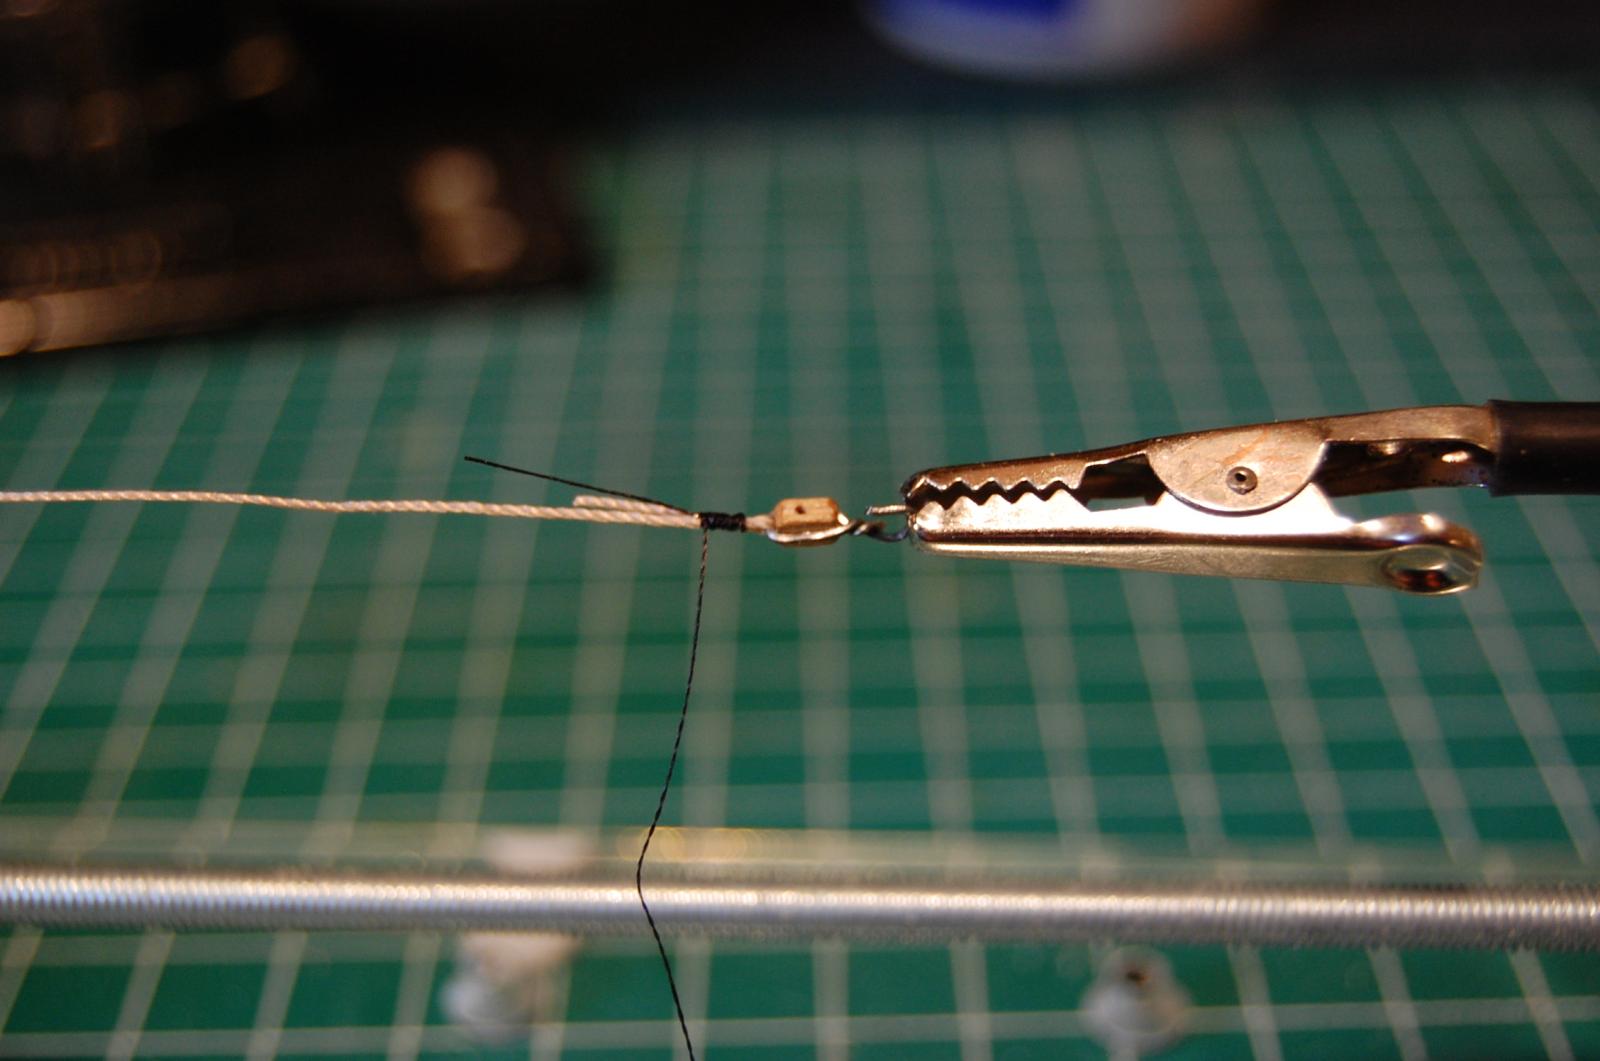
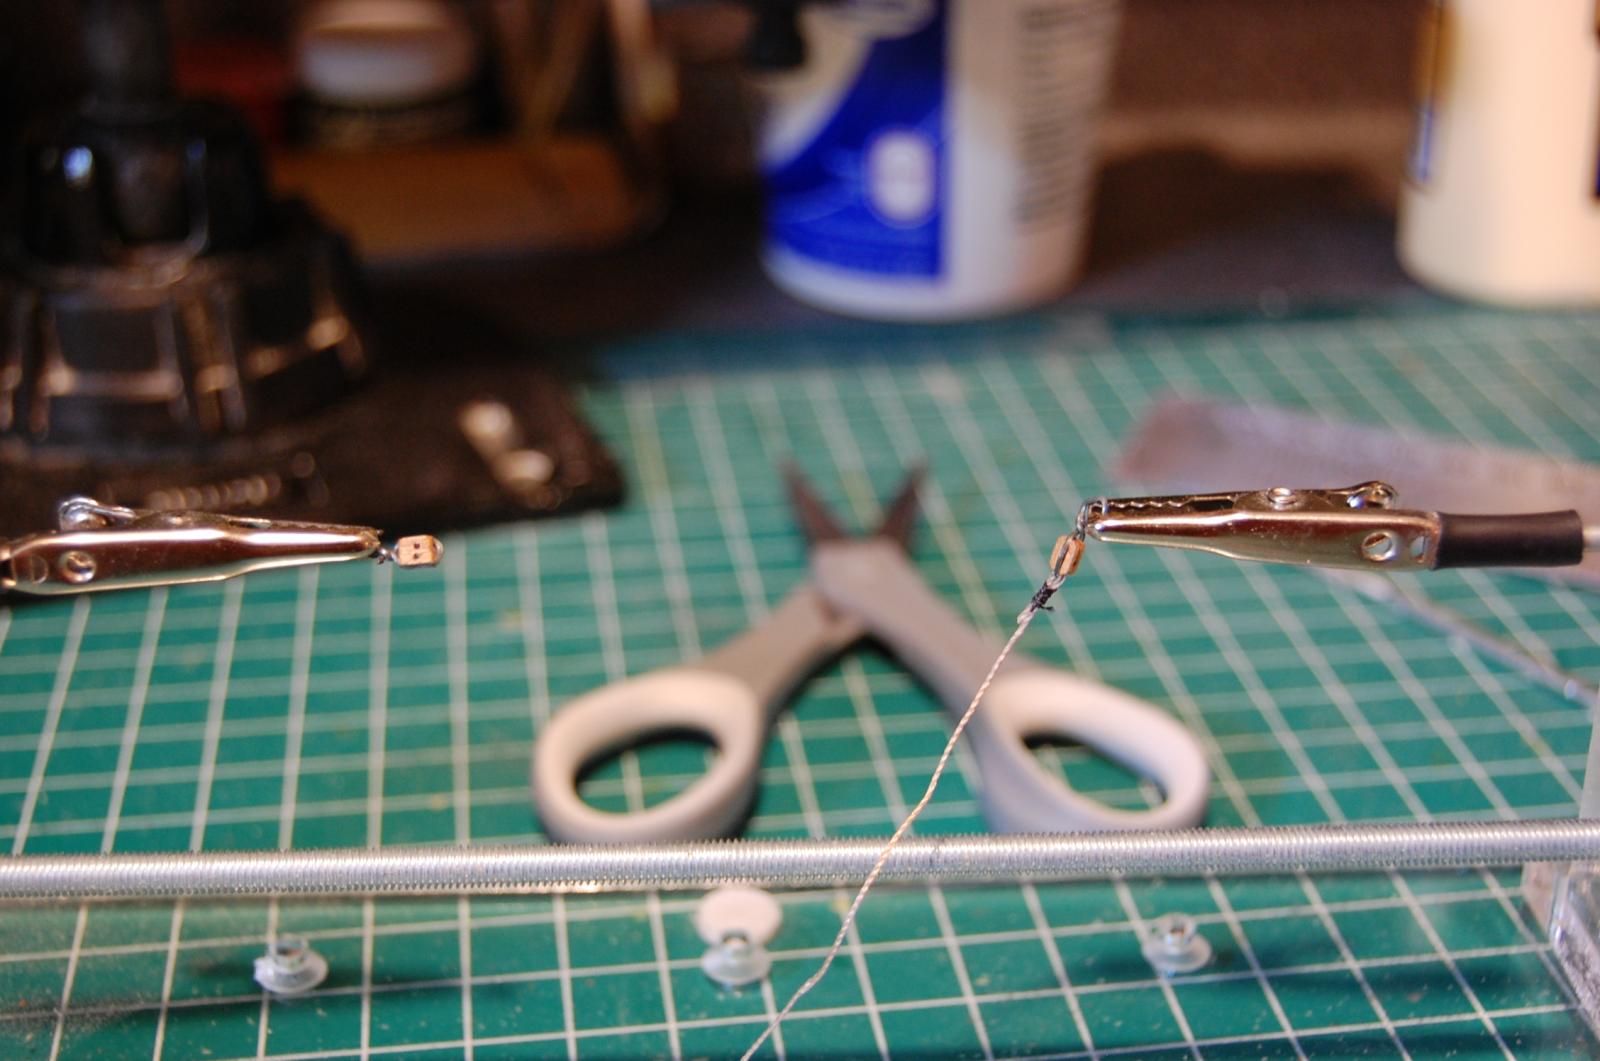
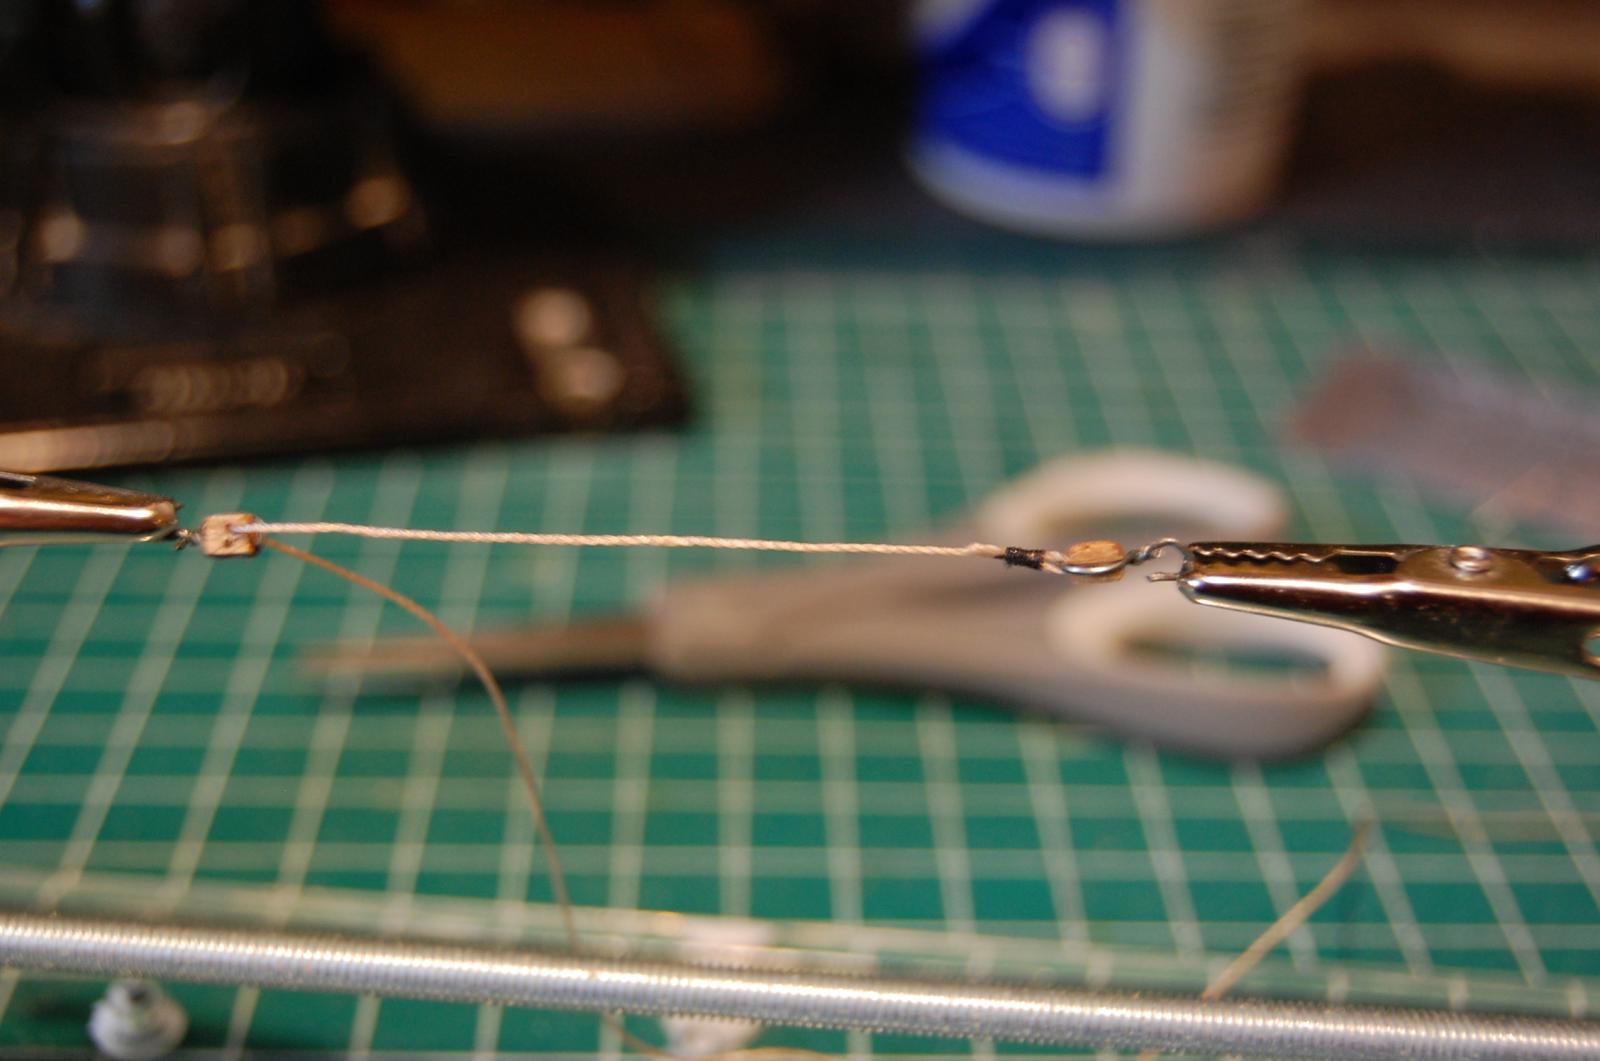
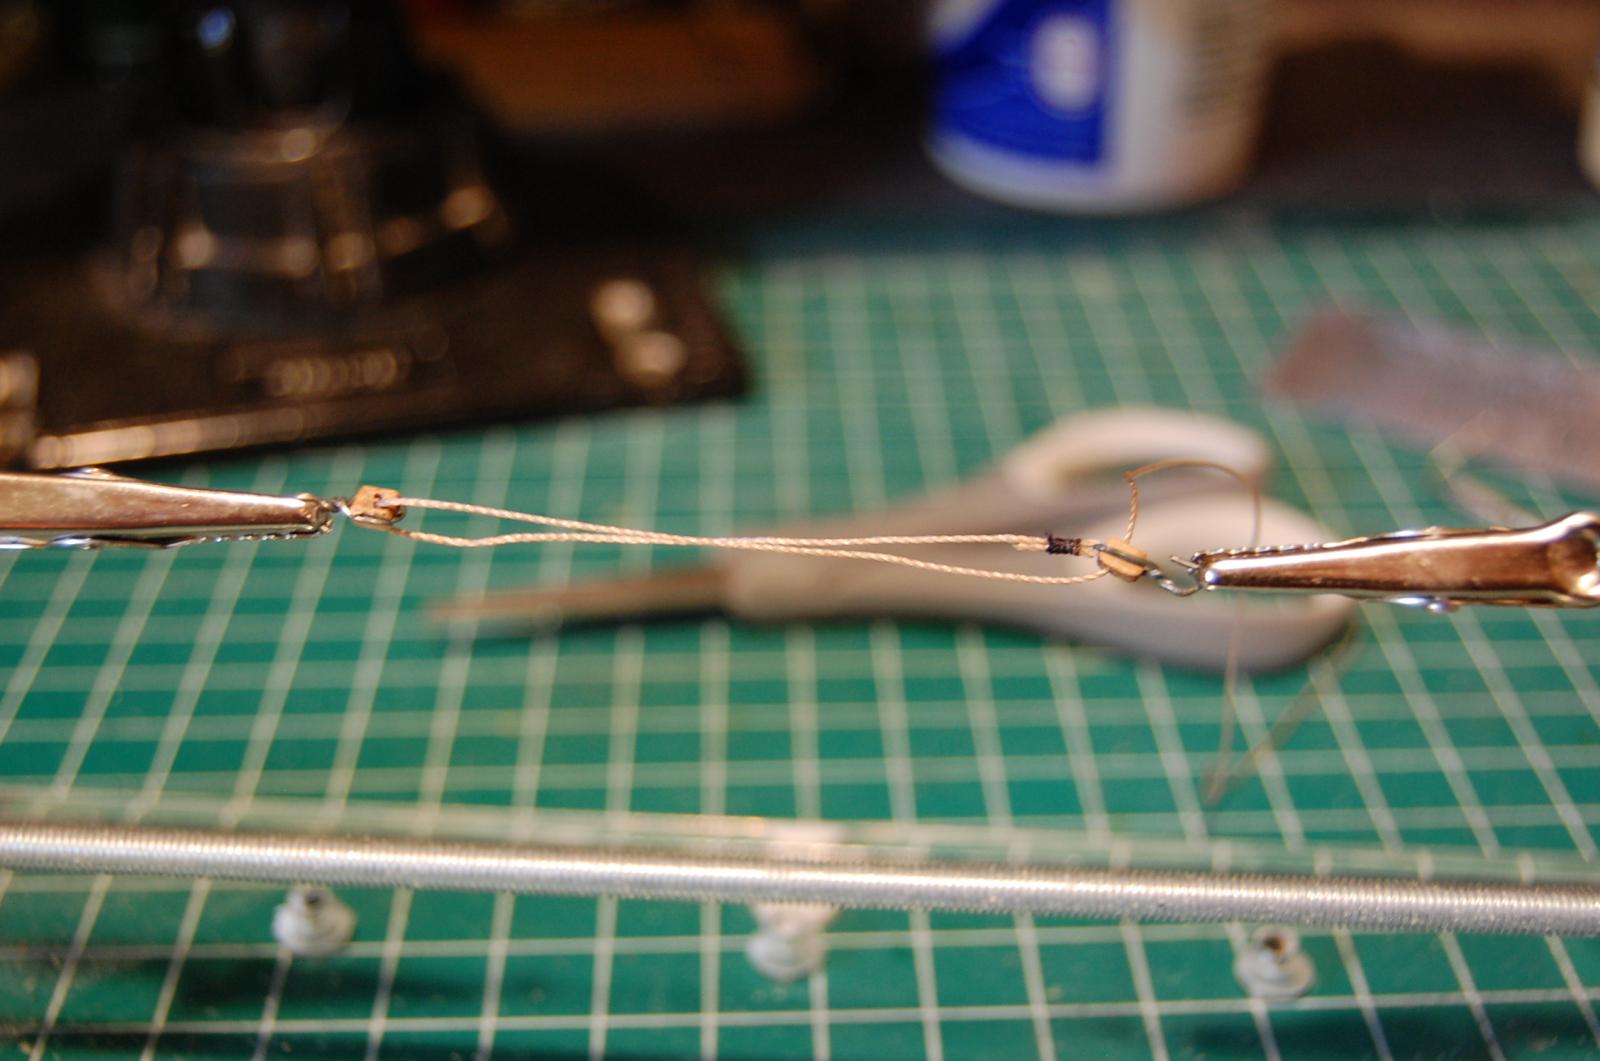
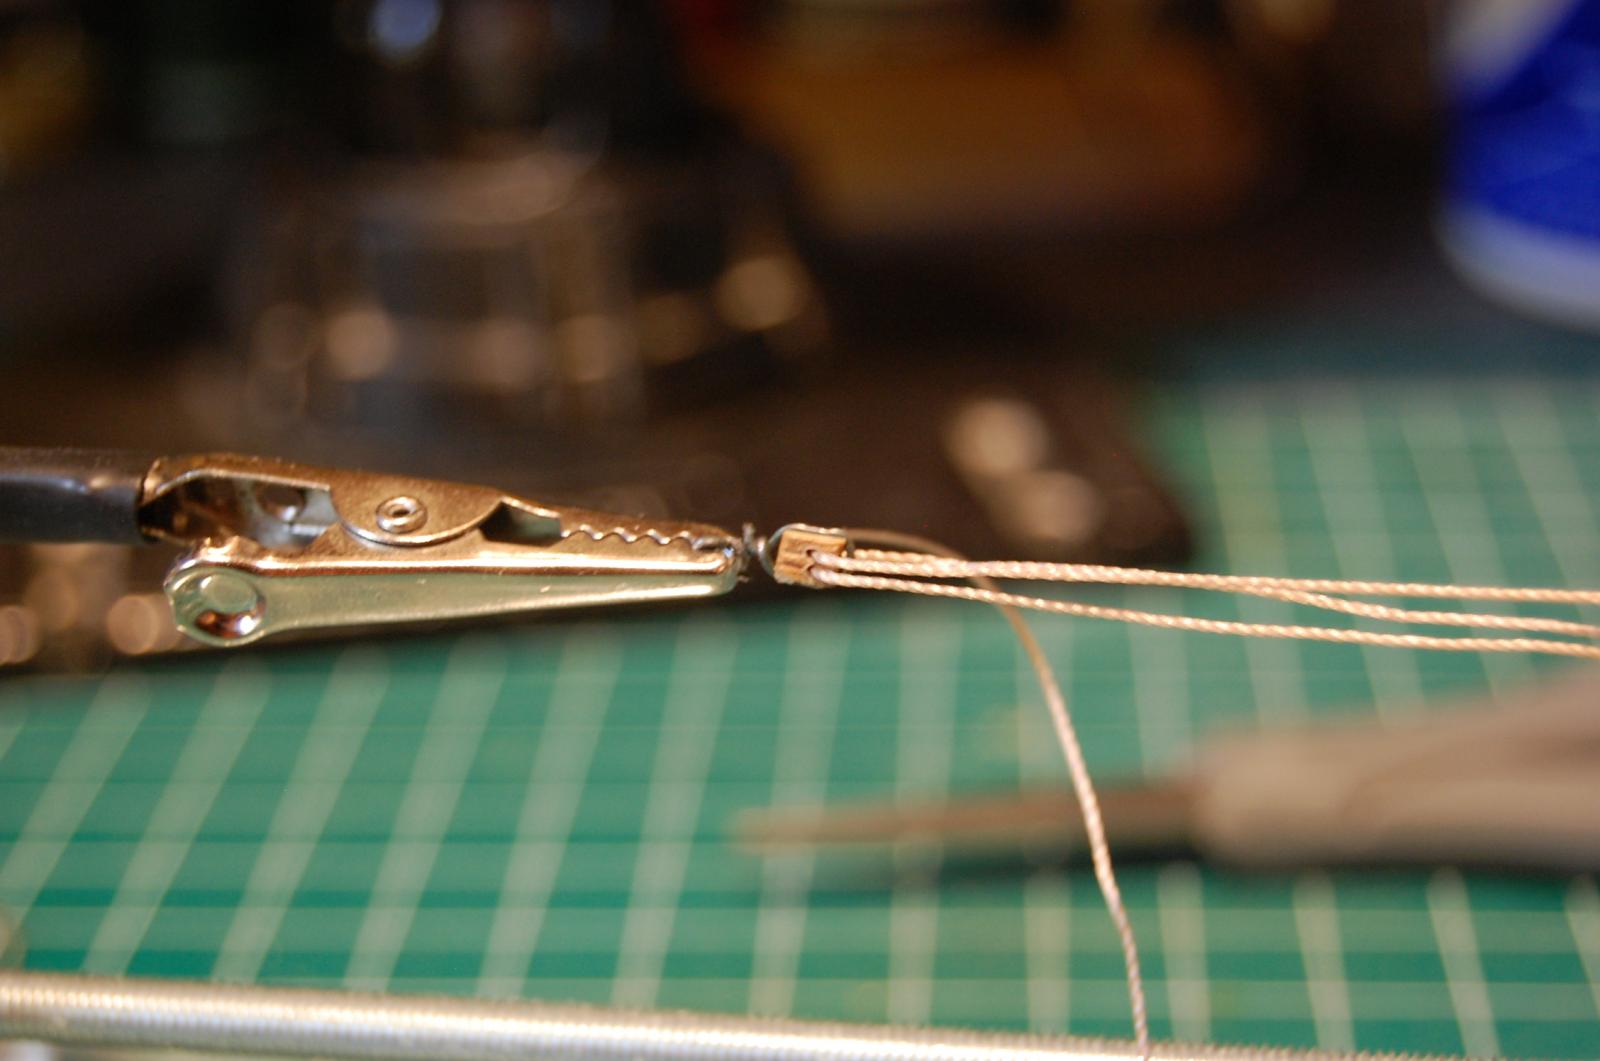
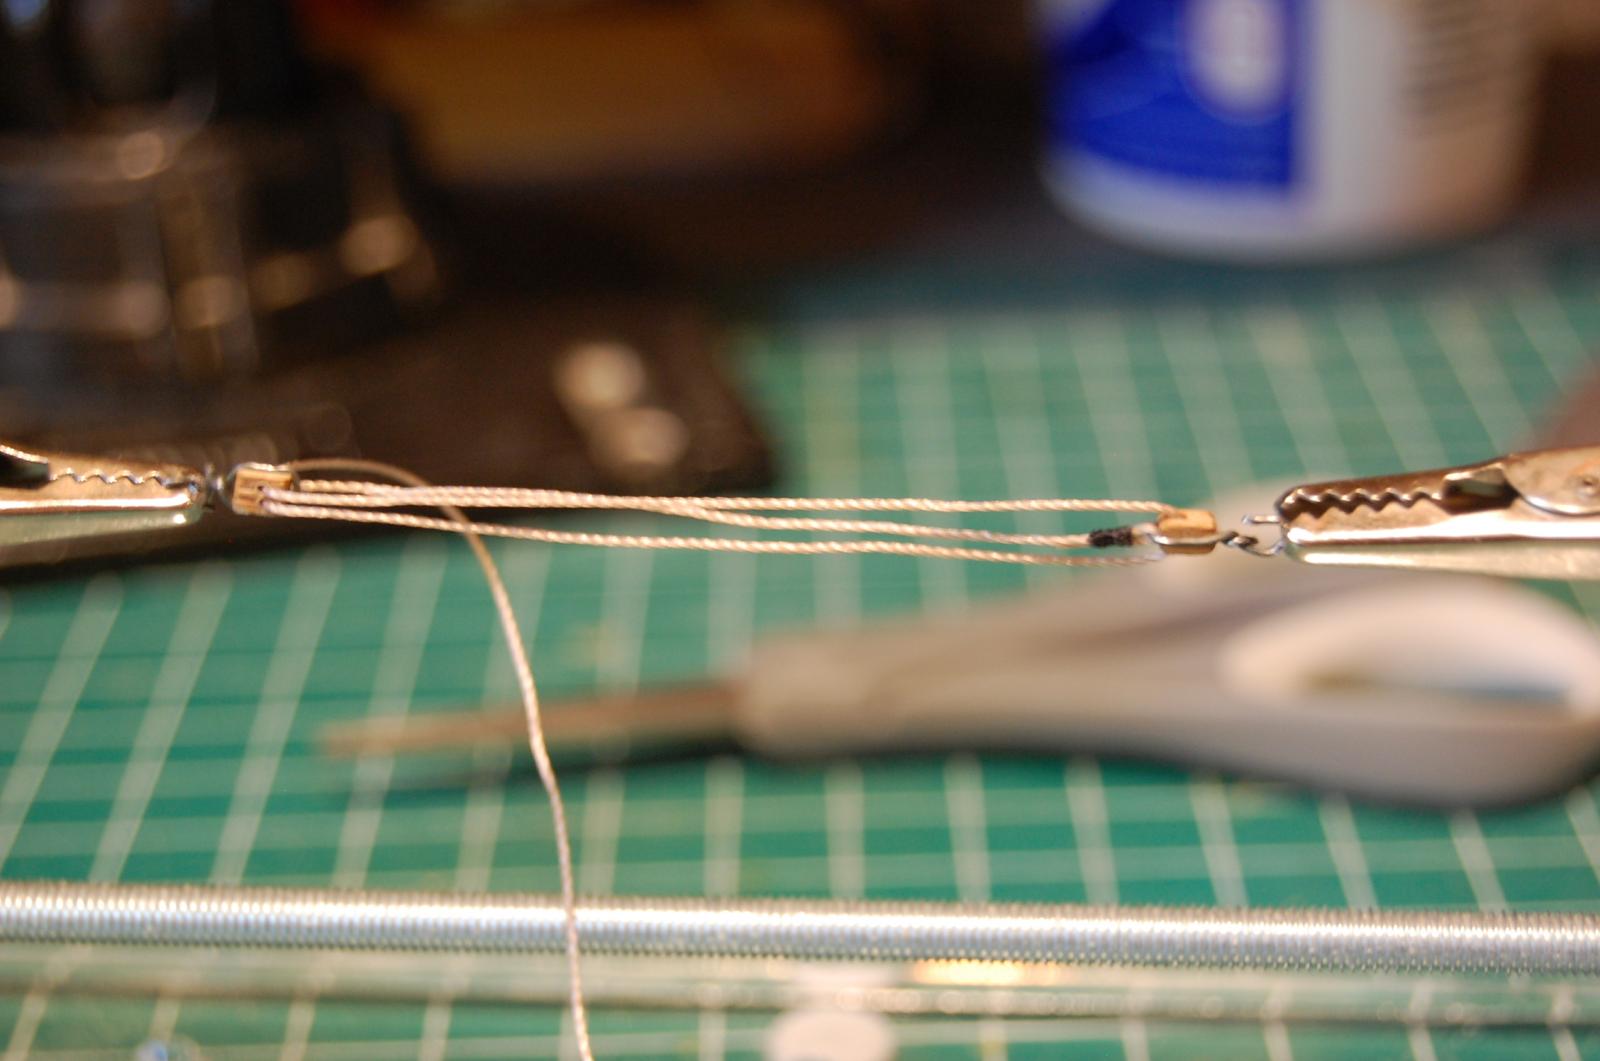
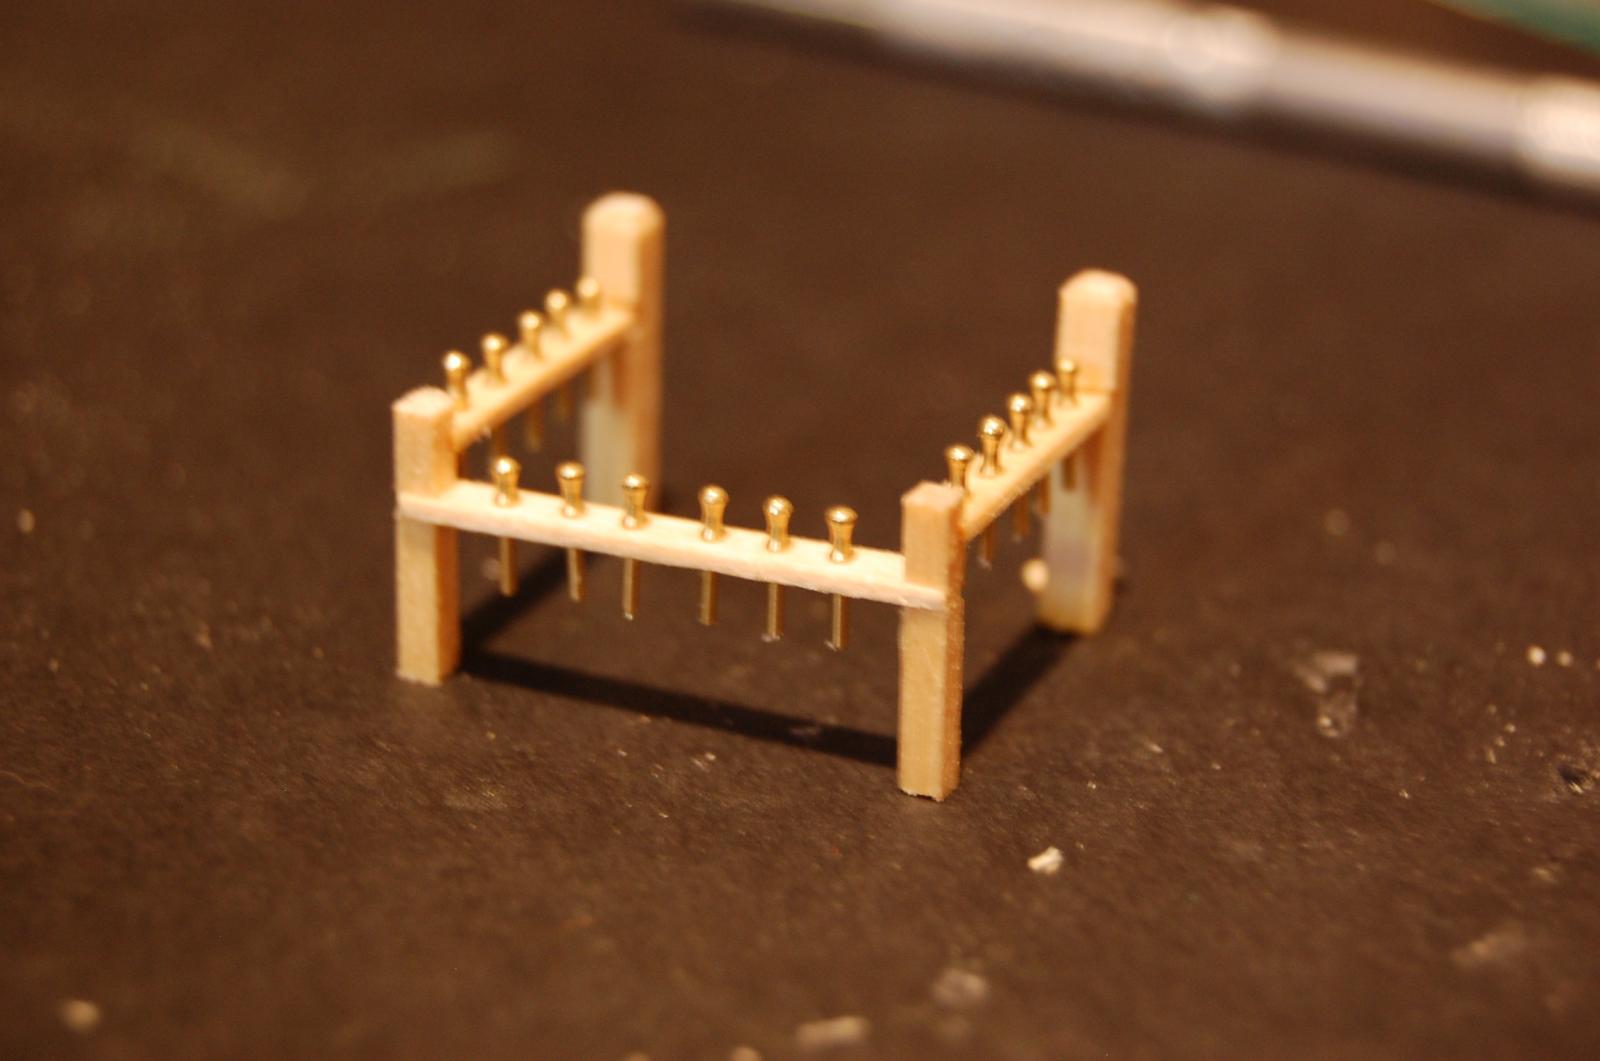
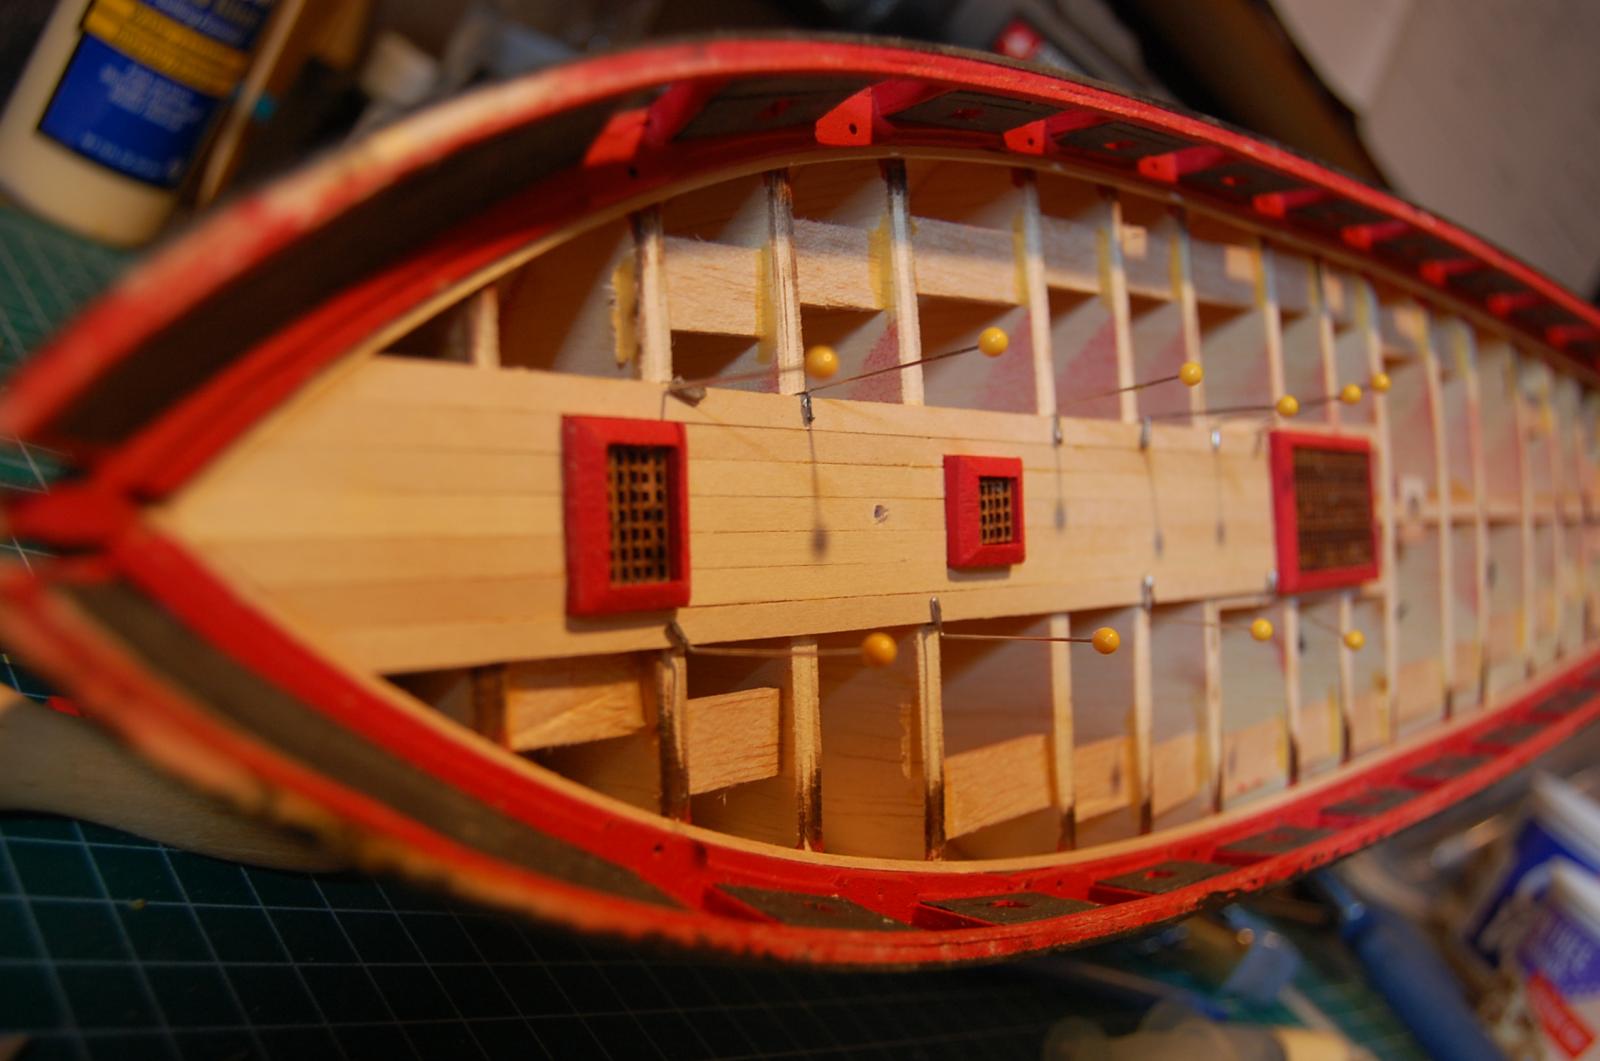
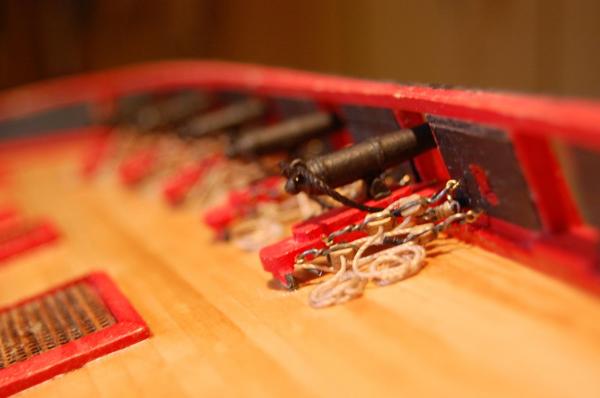
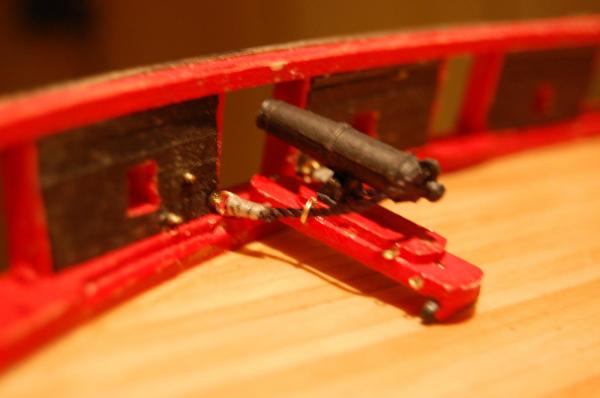
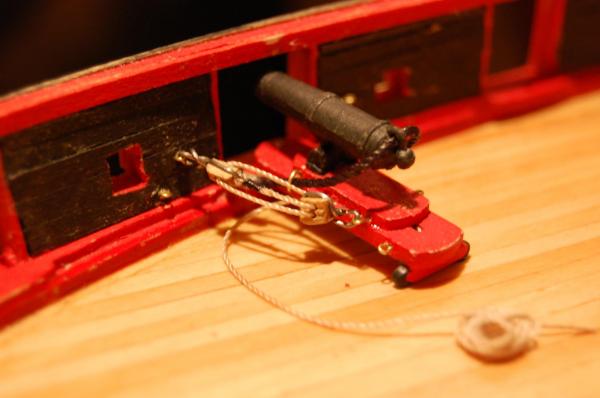
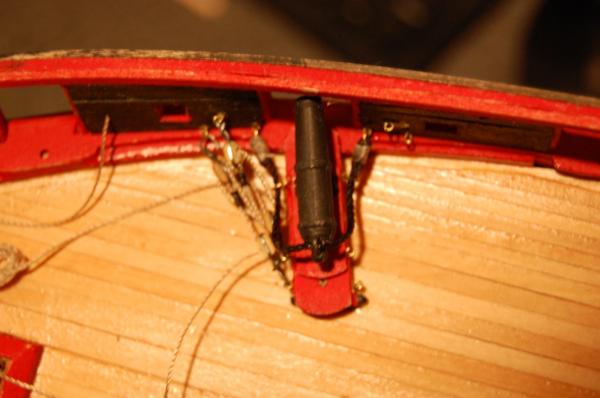
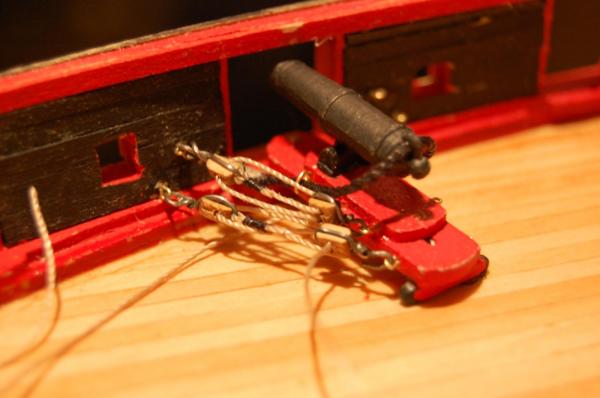
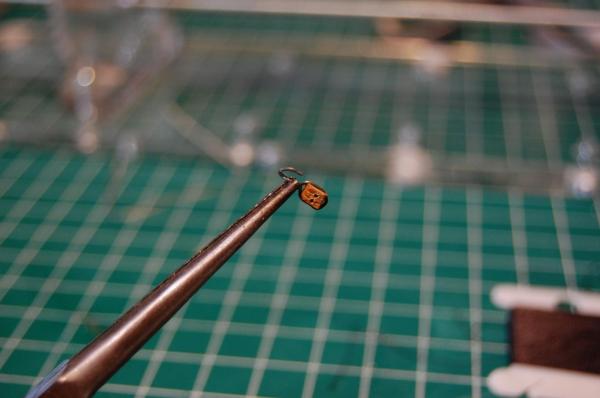
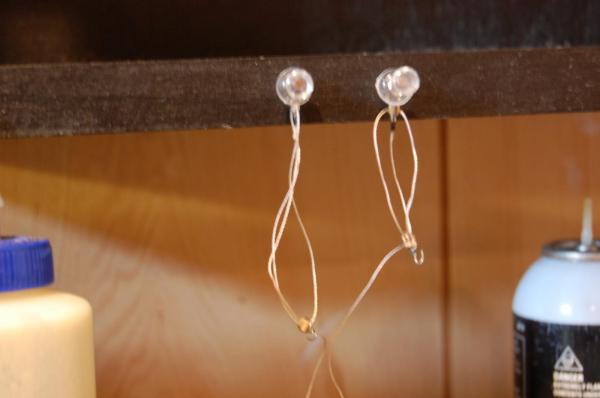
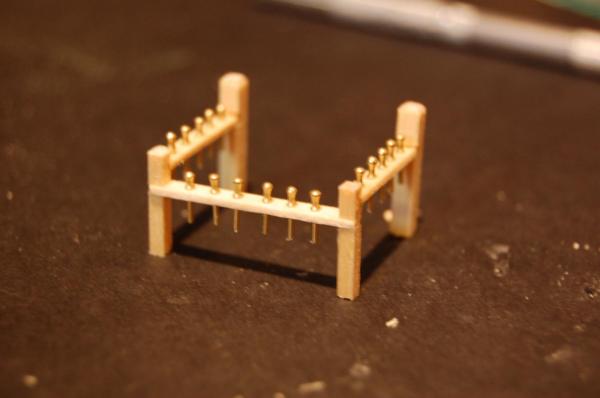
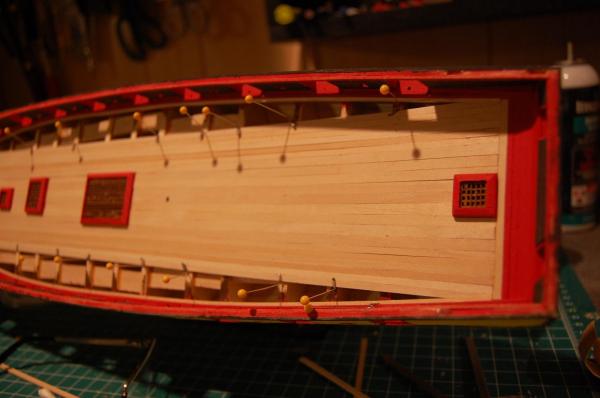
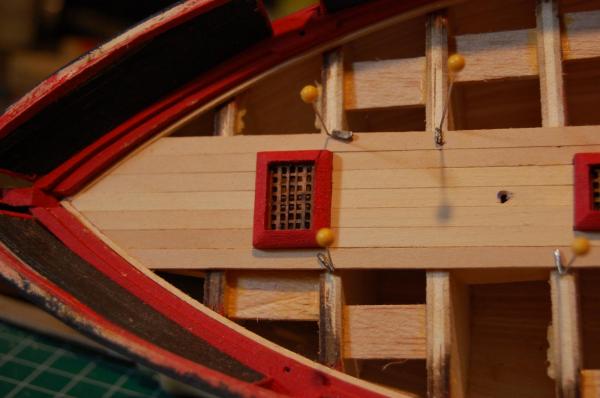
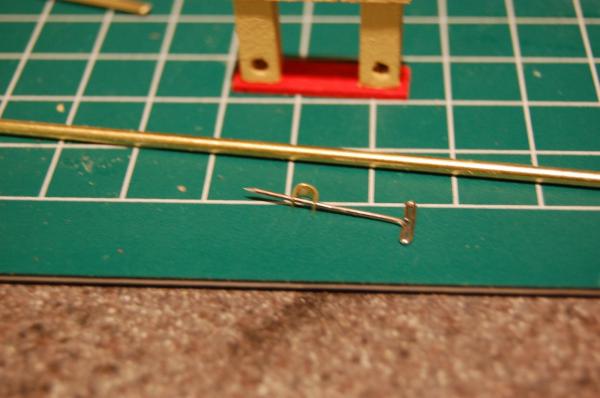
Hopefully this does not become to irritating. As I learn I am trying to document everything for others. I am in the process of rigging the cannons. At the cannon side you have a single eye and at the bulkhead you have a double eye. According to Niagara paperwork there is a hook at each end. 24 gauge wire will go through the small eyelets. I am starting with 13 inches of rigging which will go through both ends and allow me a nice coil of line. I am using 4 of these for each cannon times 20. 2 done, 78 to go. Hopefully these pictures will help.


-
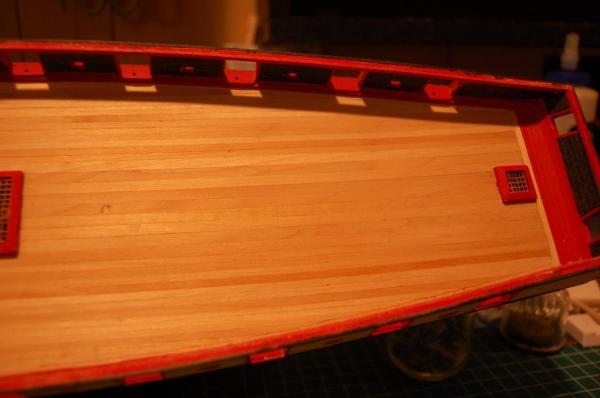
With the flash it is difficult to tell. Went with the oak and letting the first coat dry. It does look good with the different color boards. Working on the aft fife rail now.
-
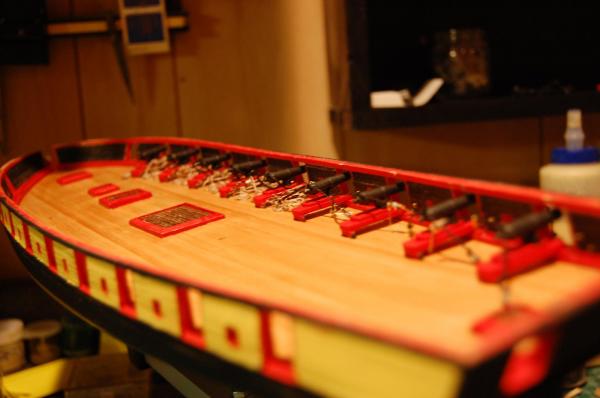
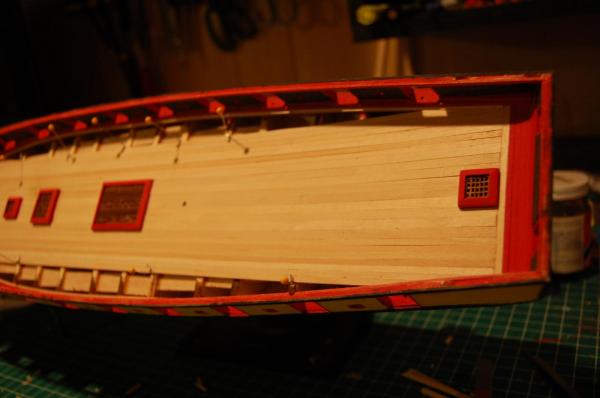
At this point I have sanded the deck with 400 grit sandpaper and applied 2 coats of Minwax pre-stain conditioner. This helps fill the pores and helps prevent the stain and urethanes from soaking in to the wood. (especially with the soft woods we generally use). In the last picture I am wondering which stain to use. I can put a satin urethane directly over the wood or apply a stain/satin polyshade from minwax. The one on the left is oak and the one on the right is pecan. Any thoughts?


-
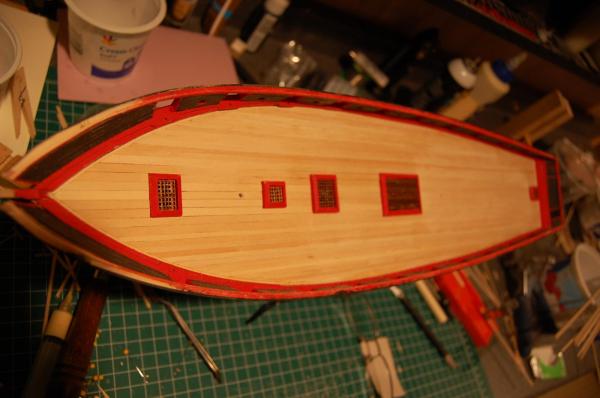
Thanks Brian. Deck planking is all done. Gonna hit it with 400 in the morning, a couple coats of pre-stain wood conditioner and then some satin mystery color. I have a couple finishes drying overnight and well see what we come up with.
-
Beautiful build. Congratulations and good luck in your future builds.
-
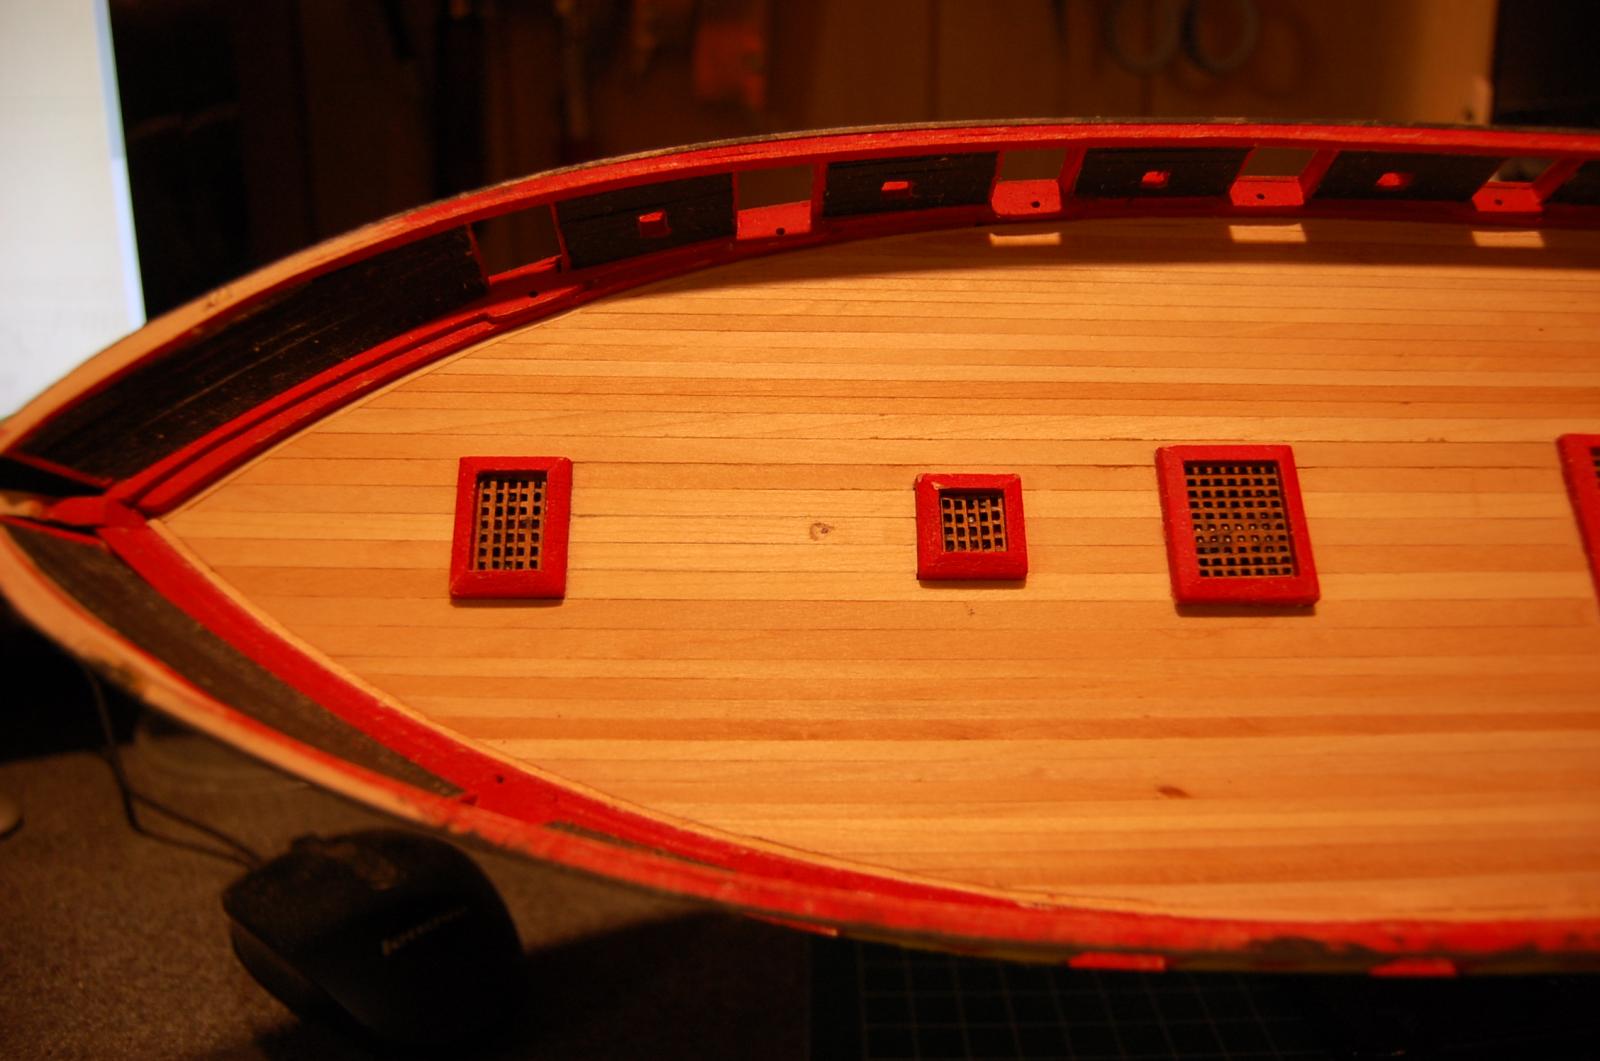
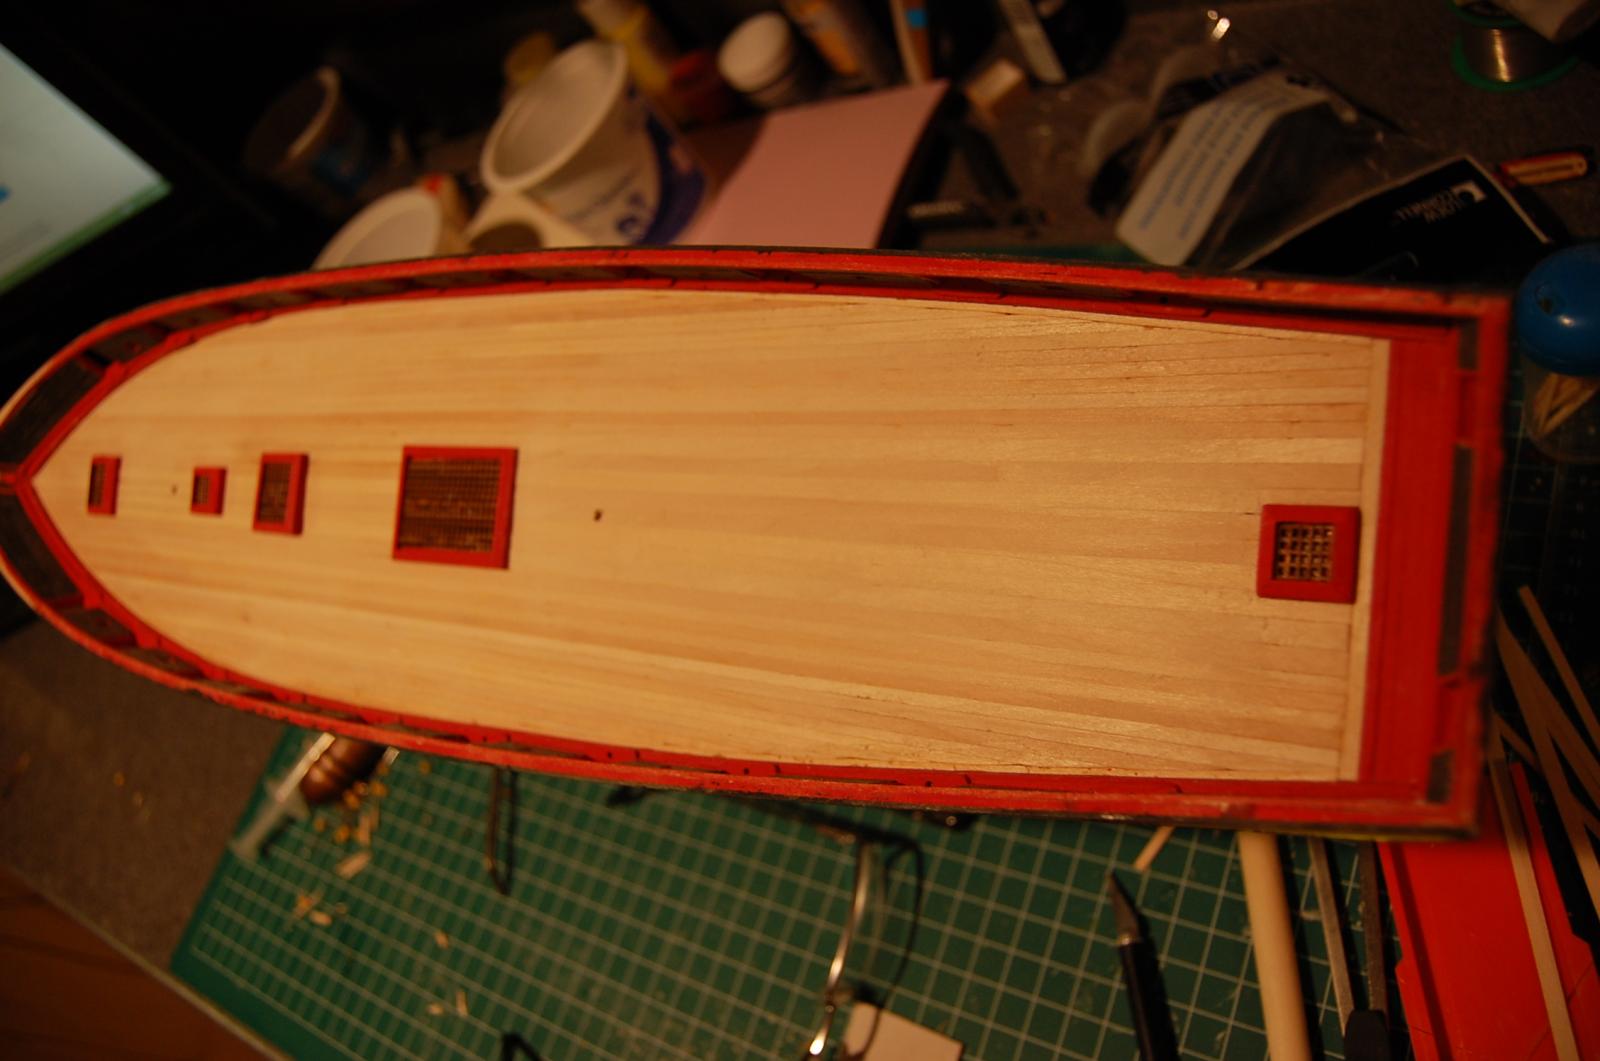
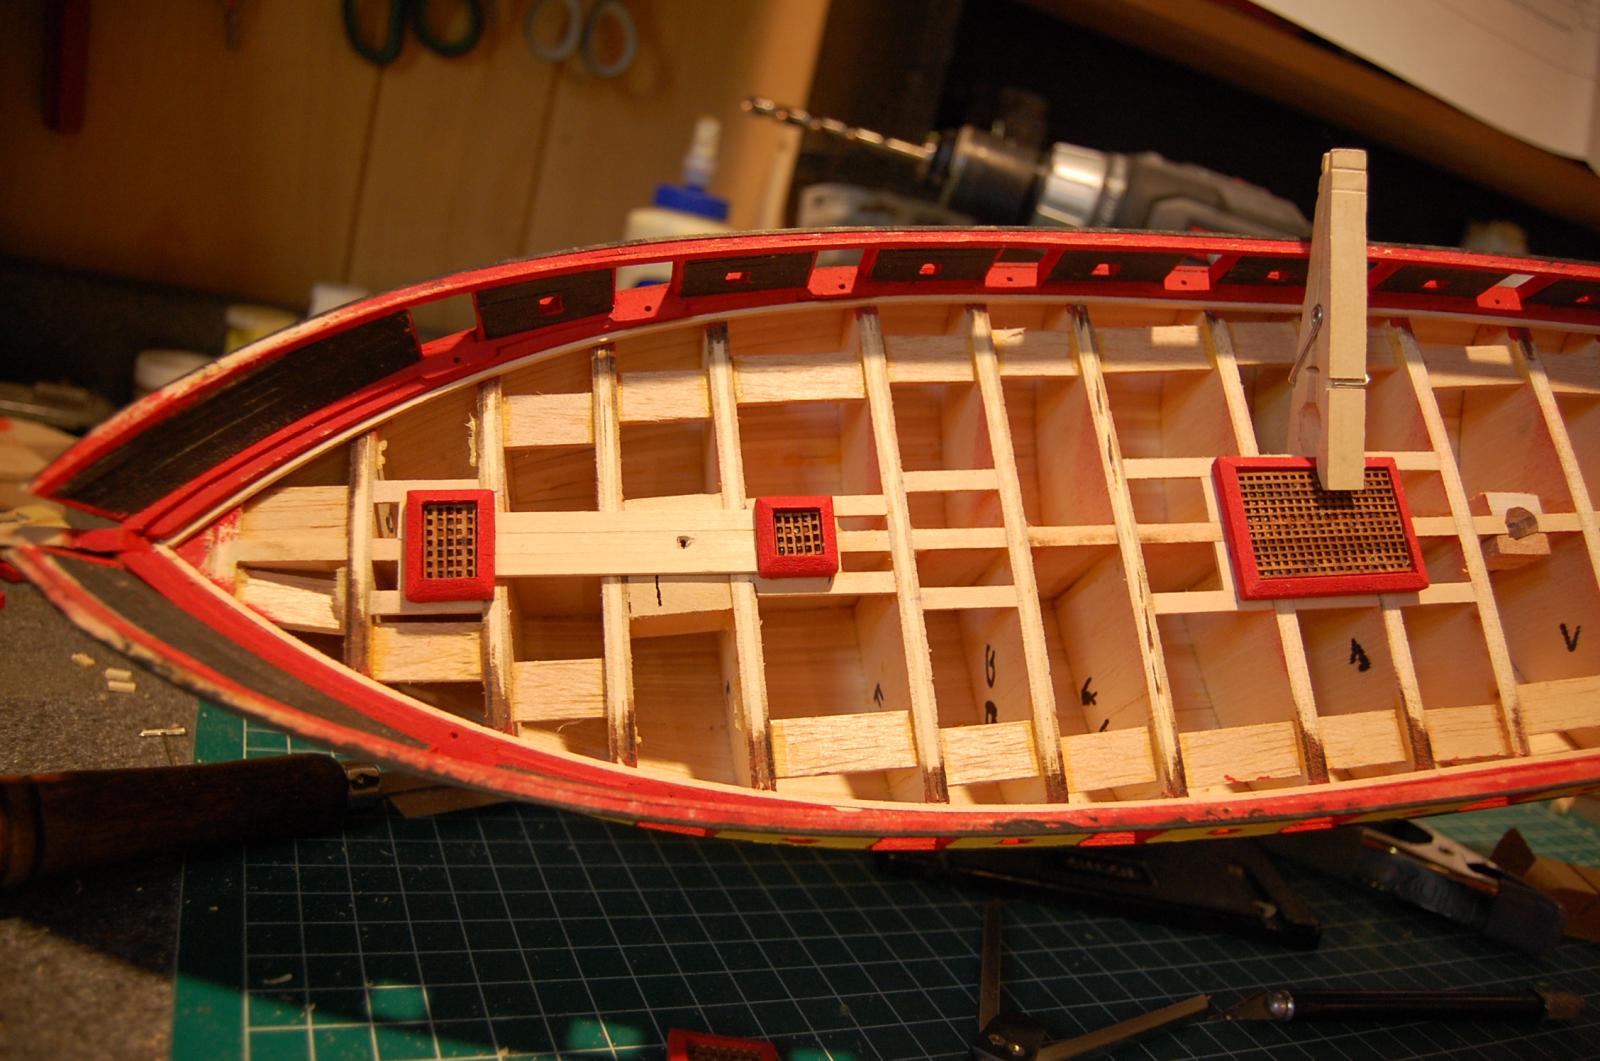
Stick with it. Planking around the coamings seems to be the trend. Still working on the deck.


-
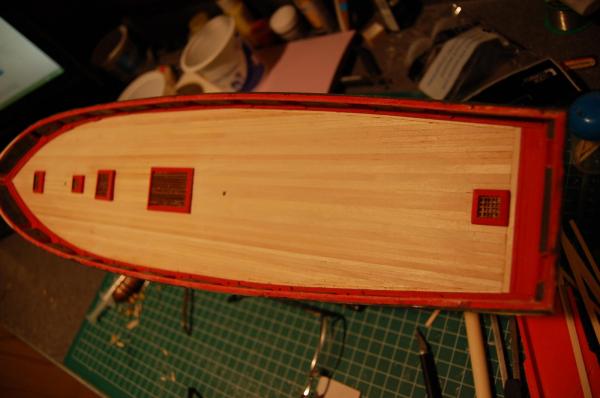
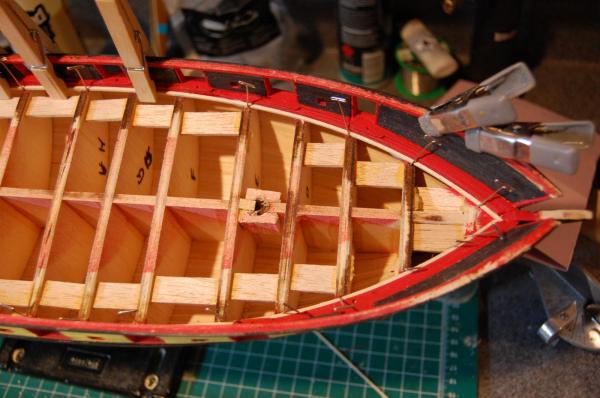
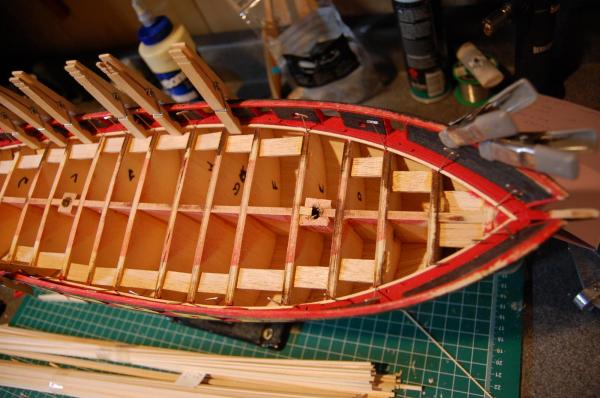
Started planking the deck. Added some extra support under each coaming.


-
I actually reconsidered on this build as well. Maybe the next one as well.
-
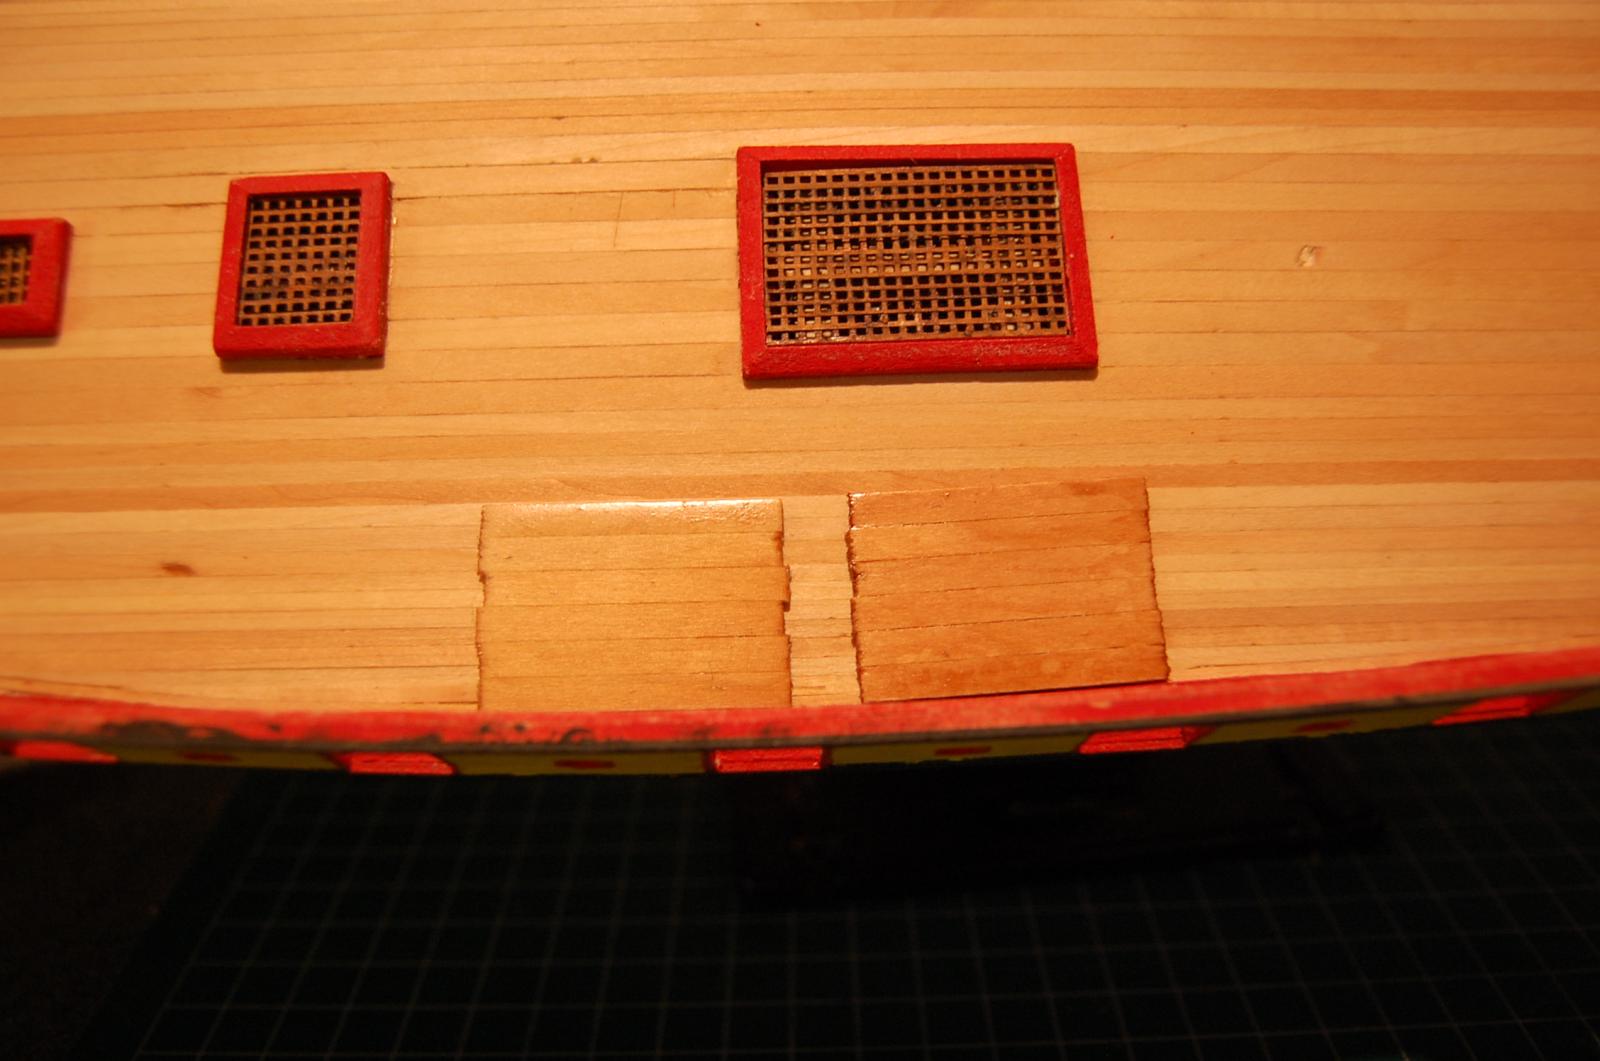
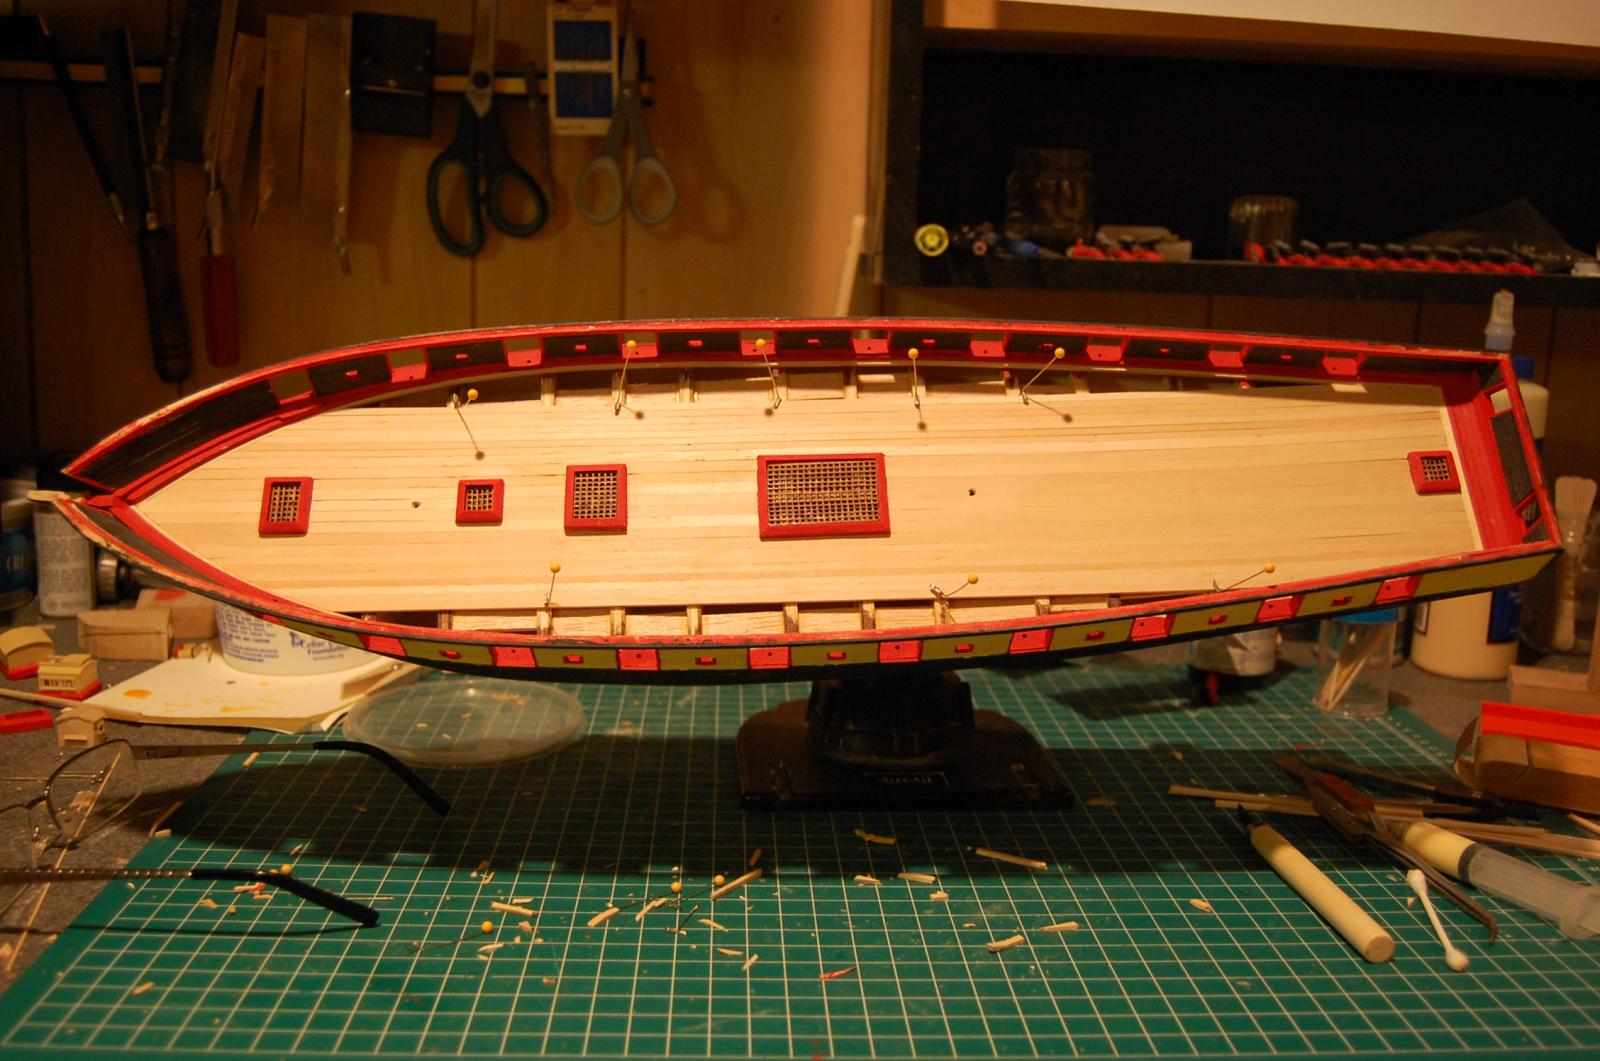
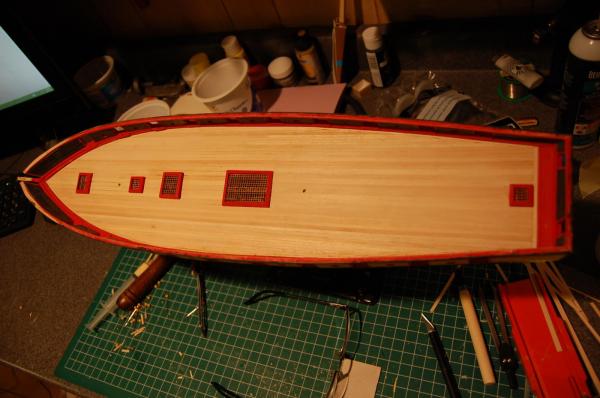
Thanks for the kind word Brian. Installed the nibbing strake and starting to install the coamings.
-
Hull painting is now complete. Working on the permanent structures for the deck now. Starting the deck planking next.


-
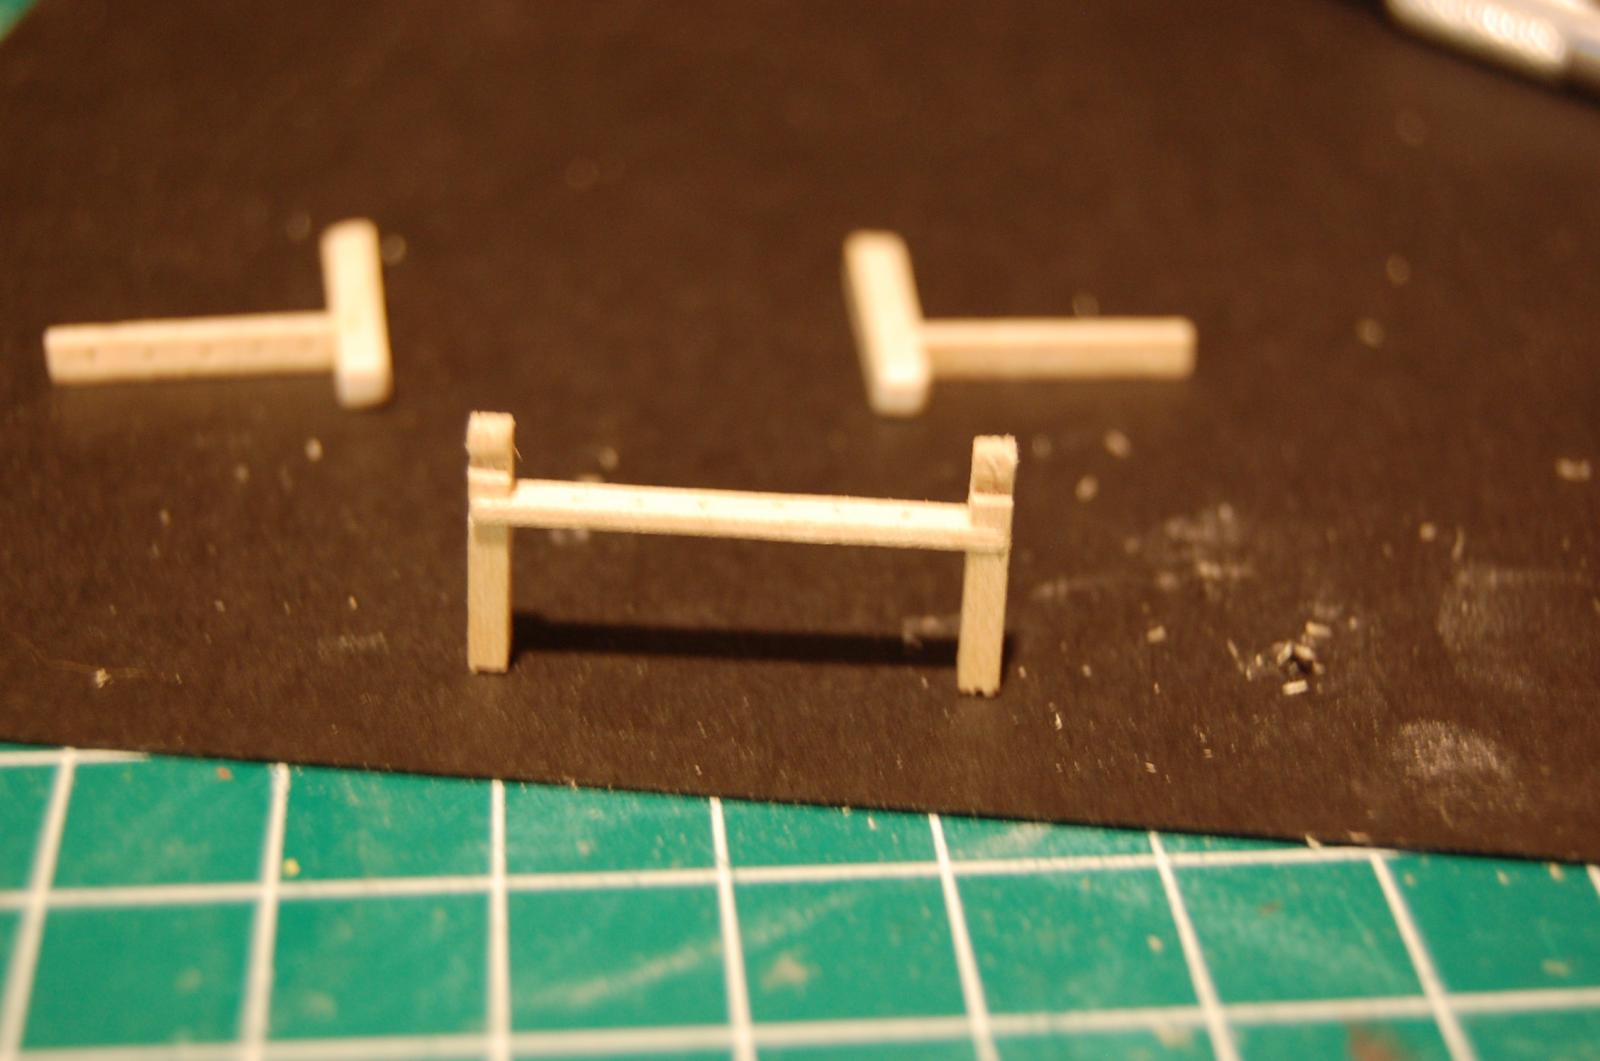
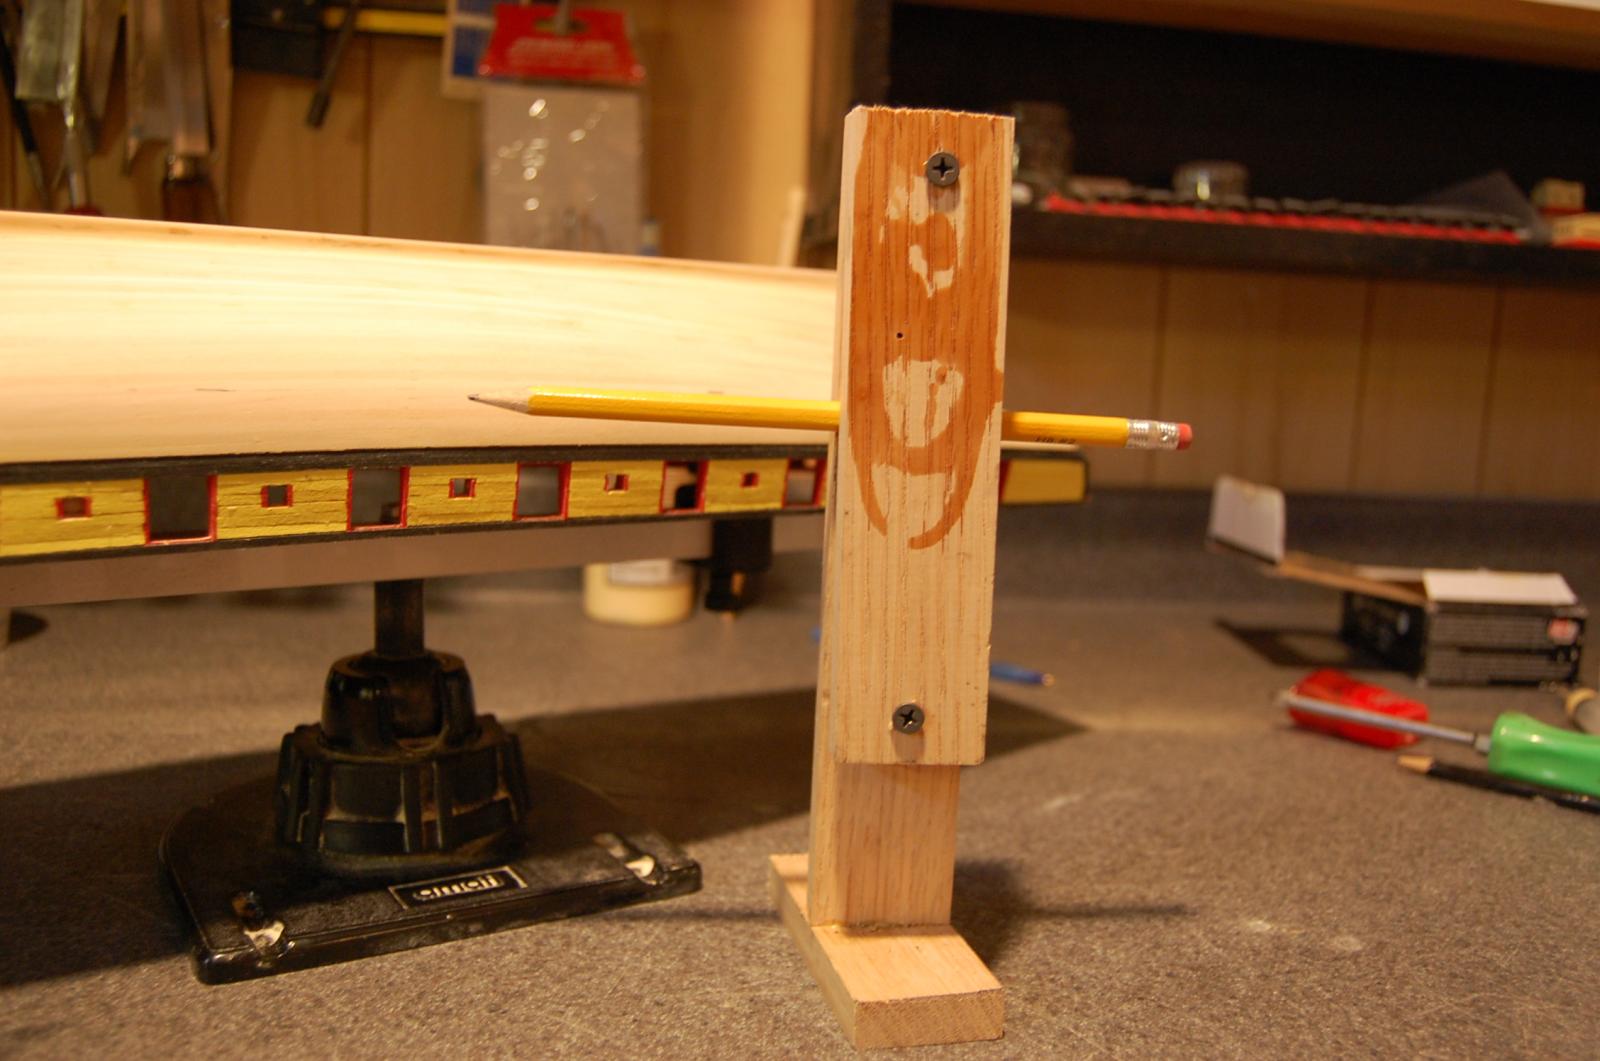
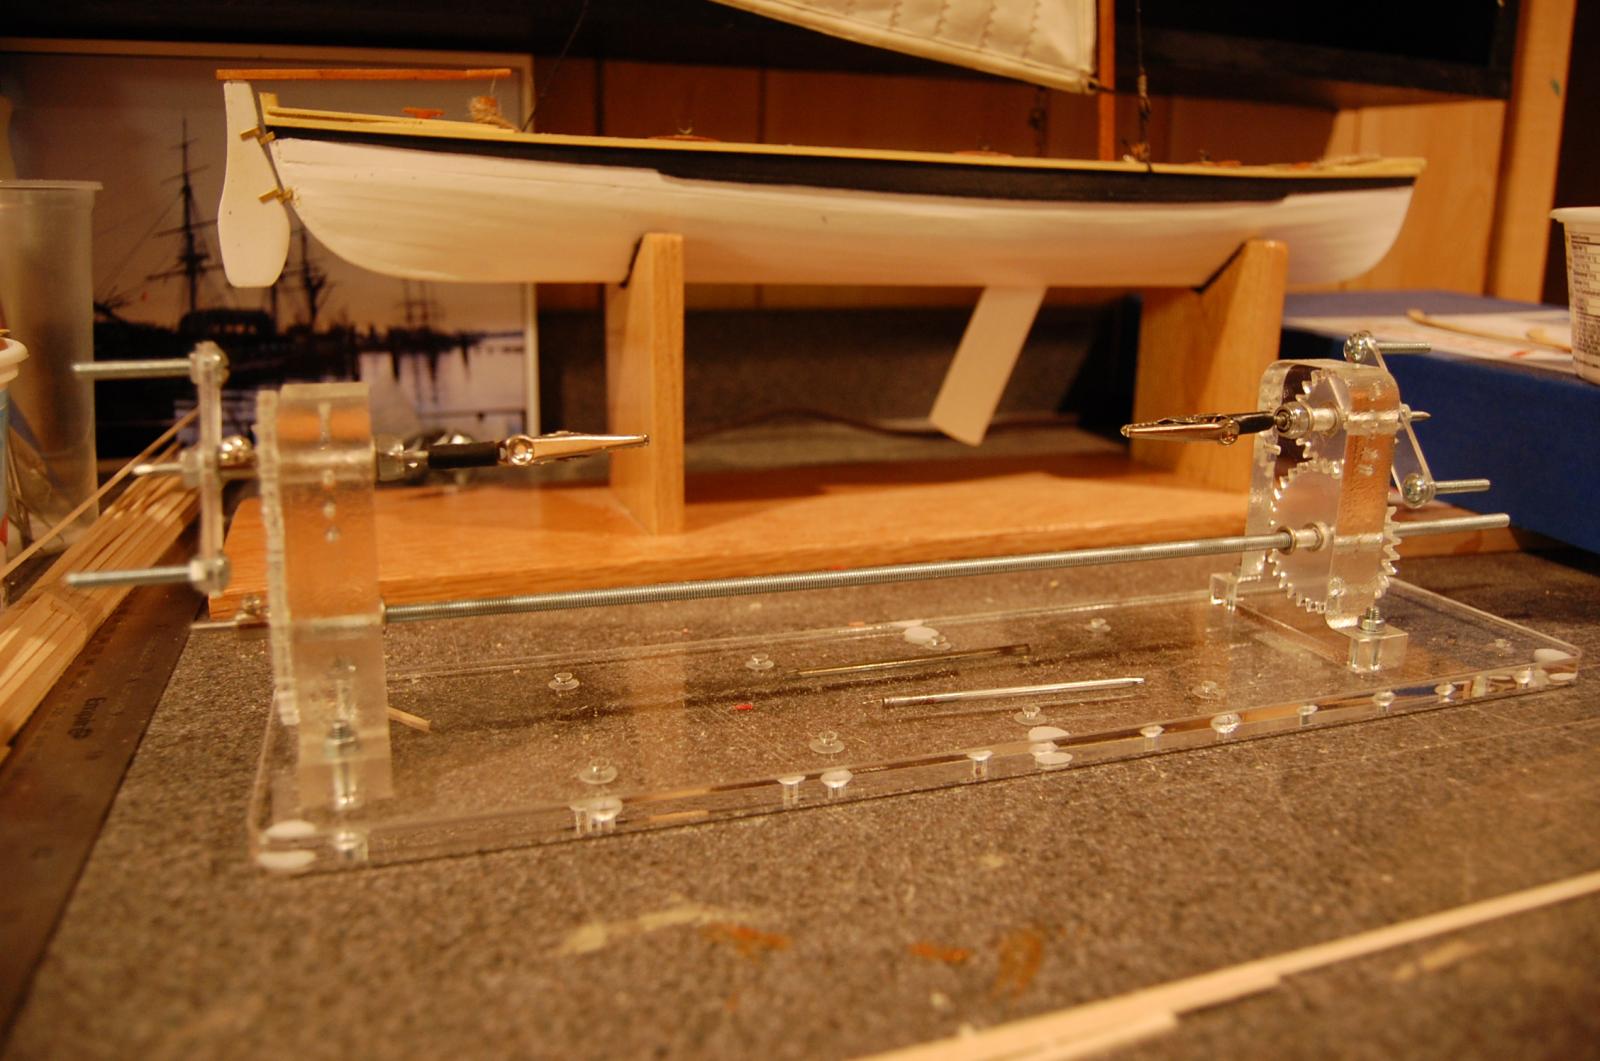
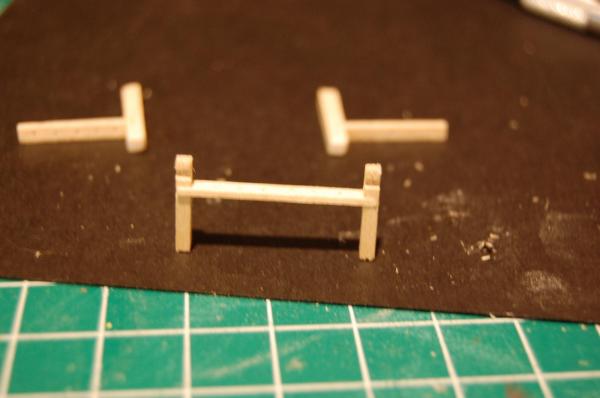
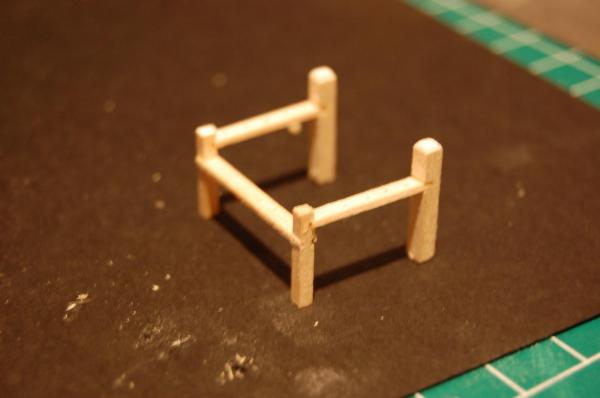
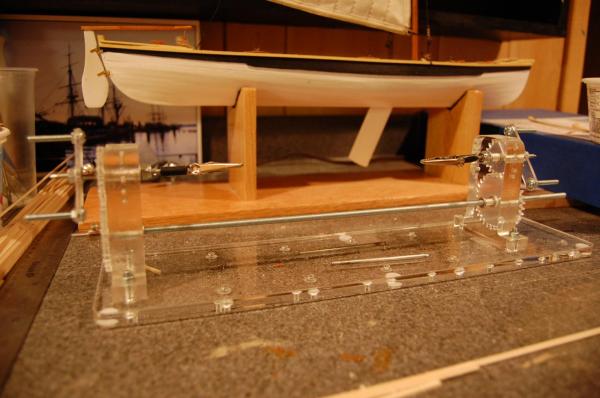
Everything looks awesome. On your stand what did you use to cut the joints (mortise?)? Thanks
- 1,279 replies
-
- 1
-

-
- agamemnon
- caldercraft
- (and 1 more)
-
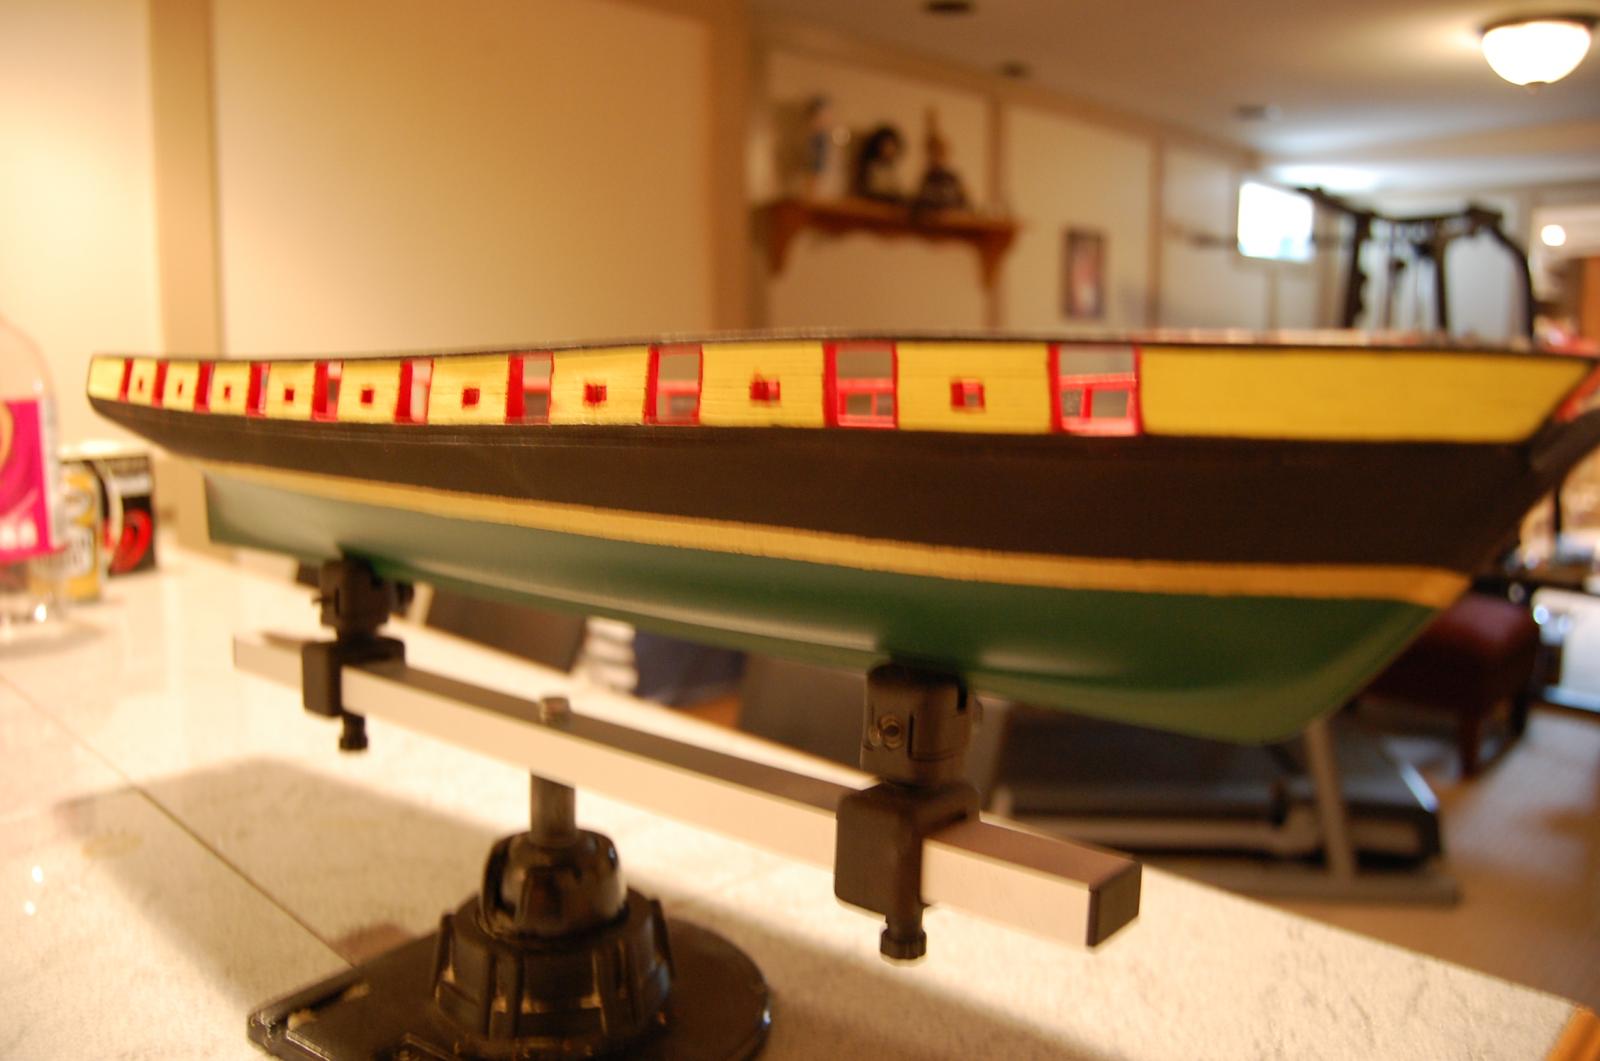
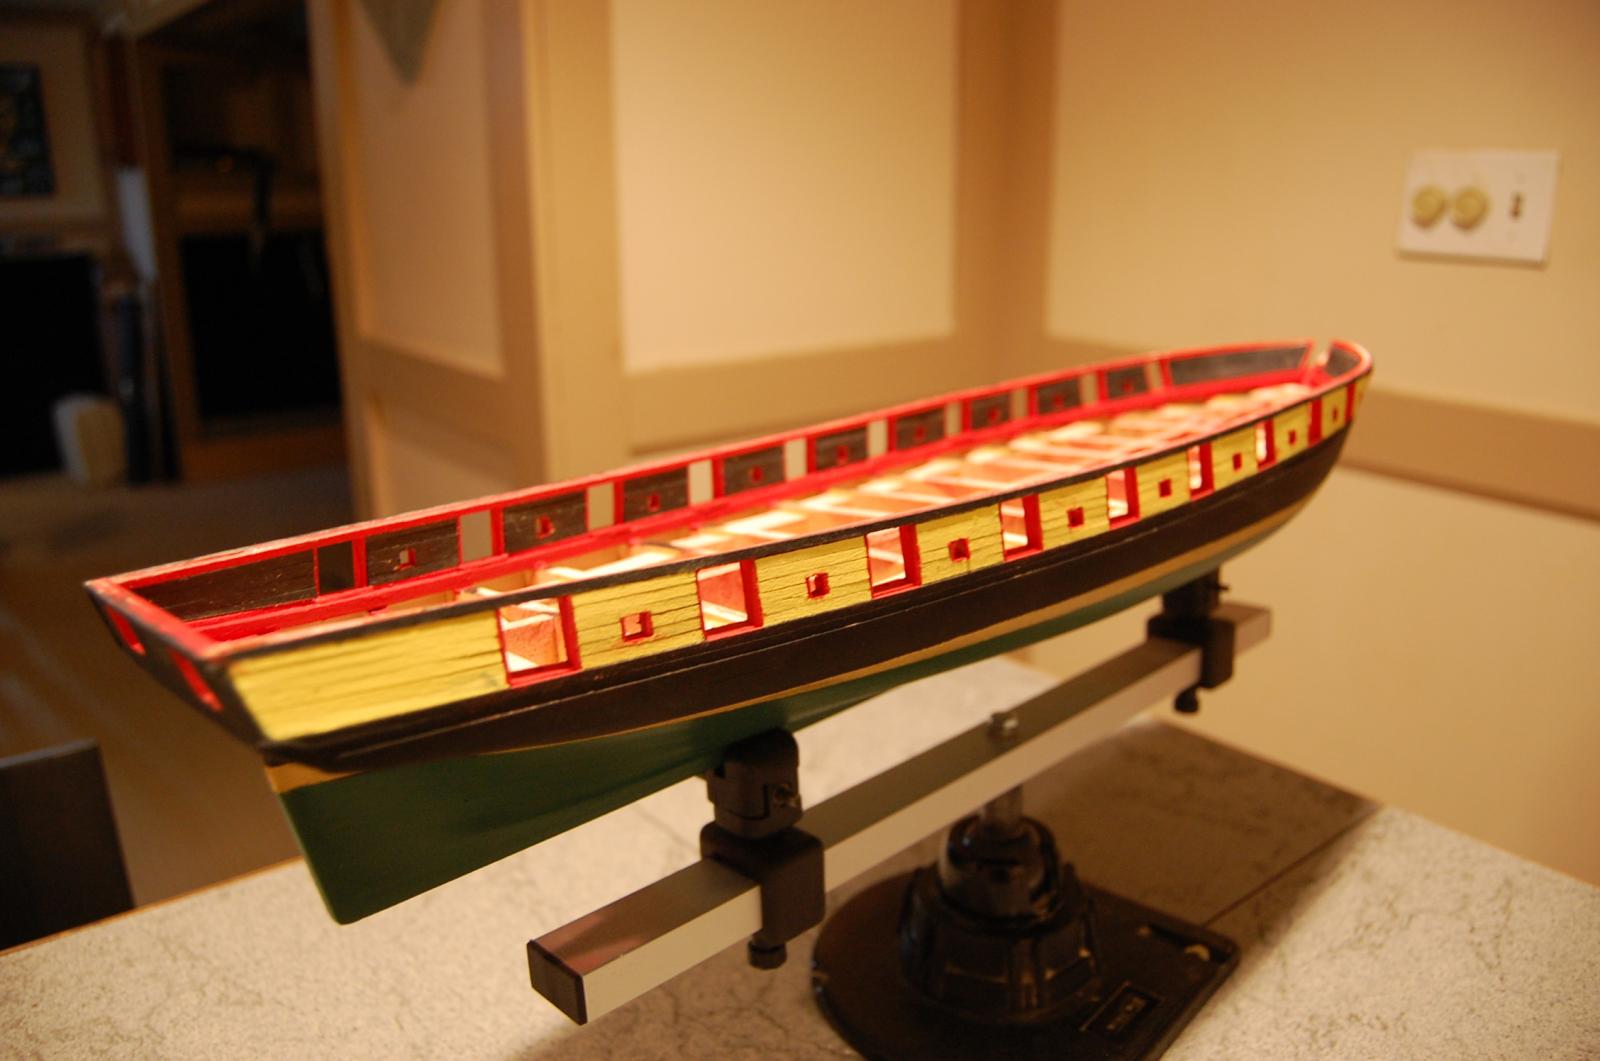
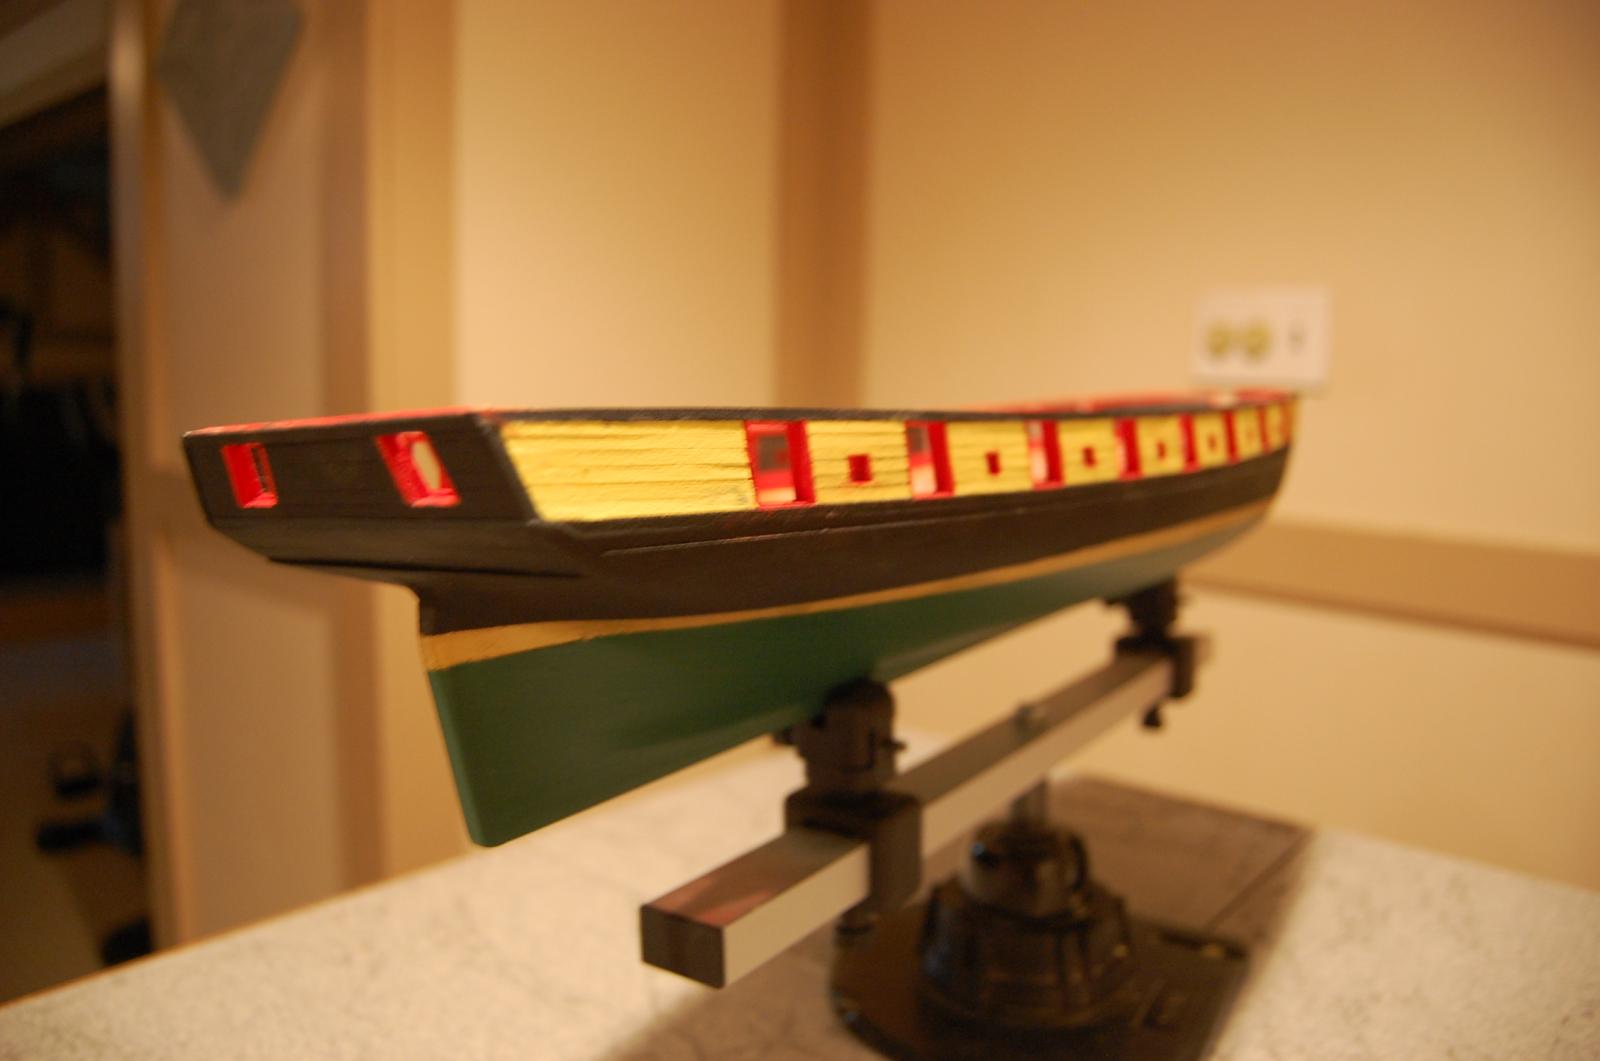
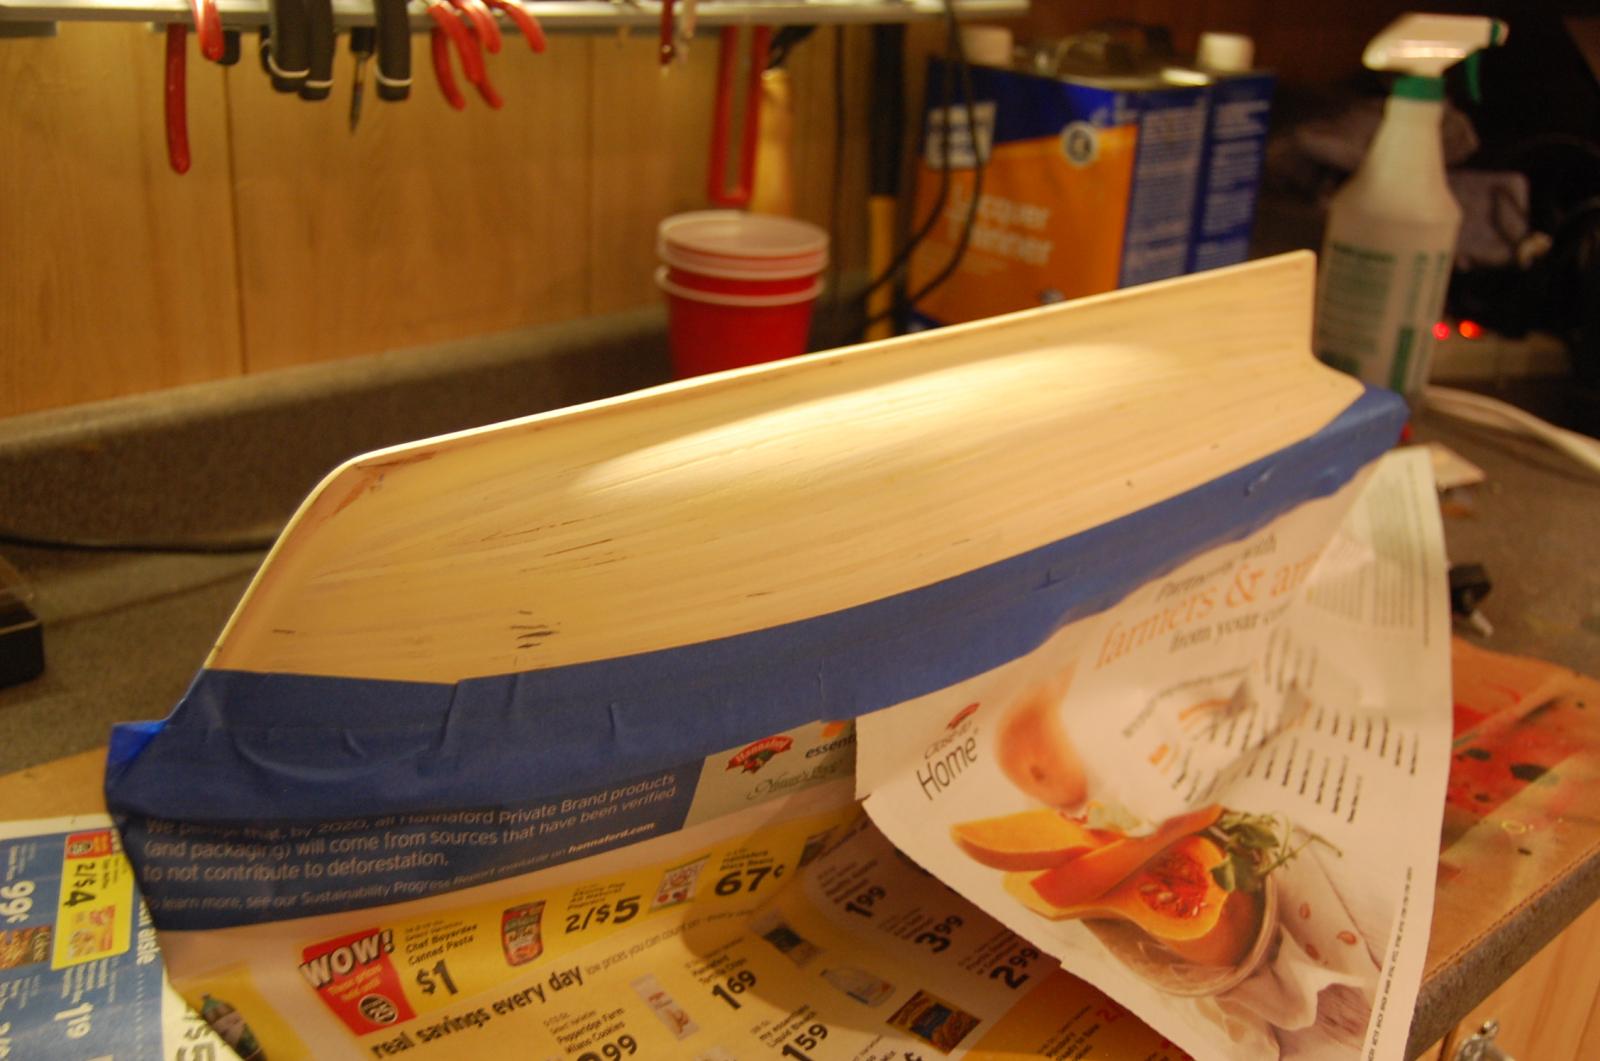
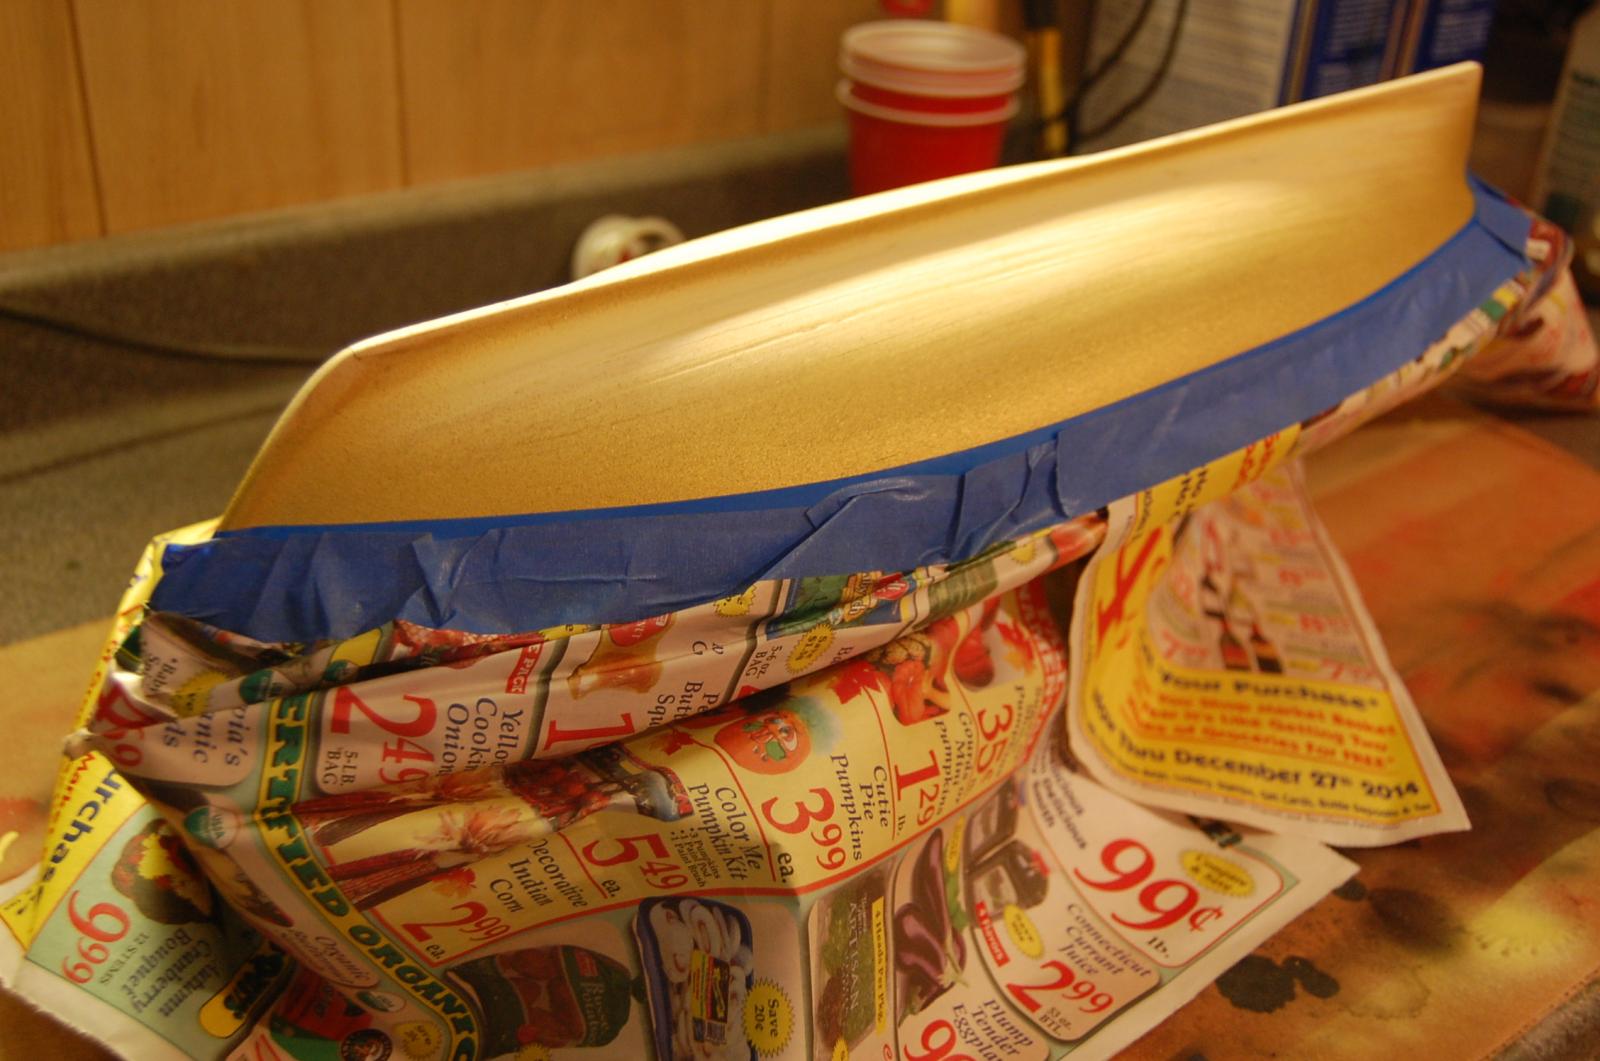
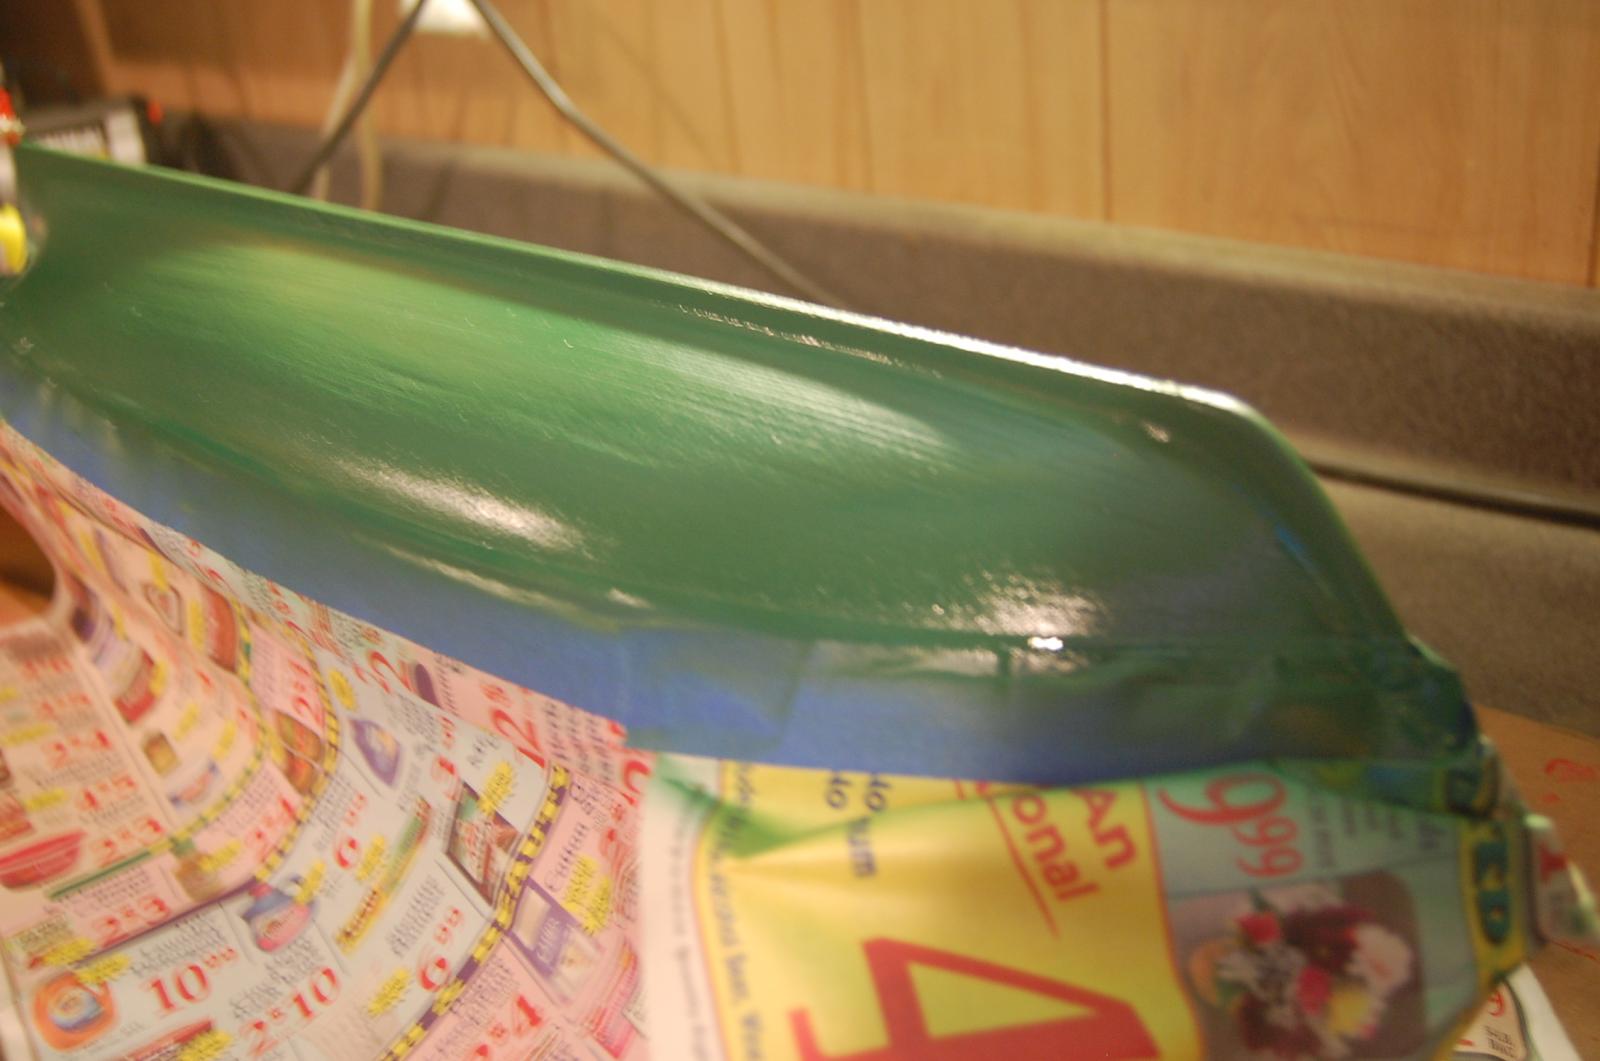
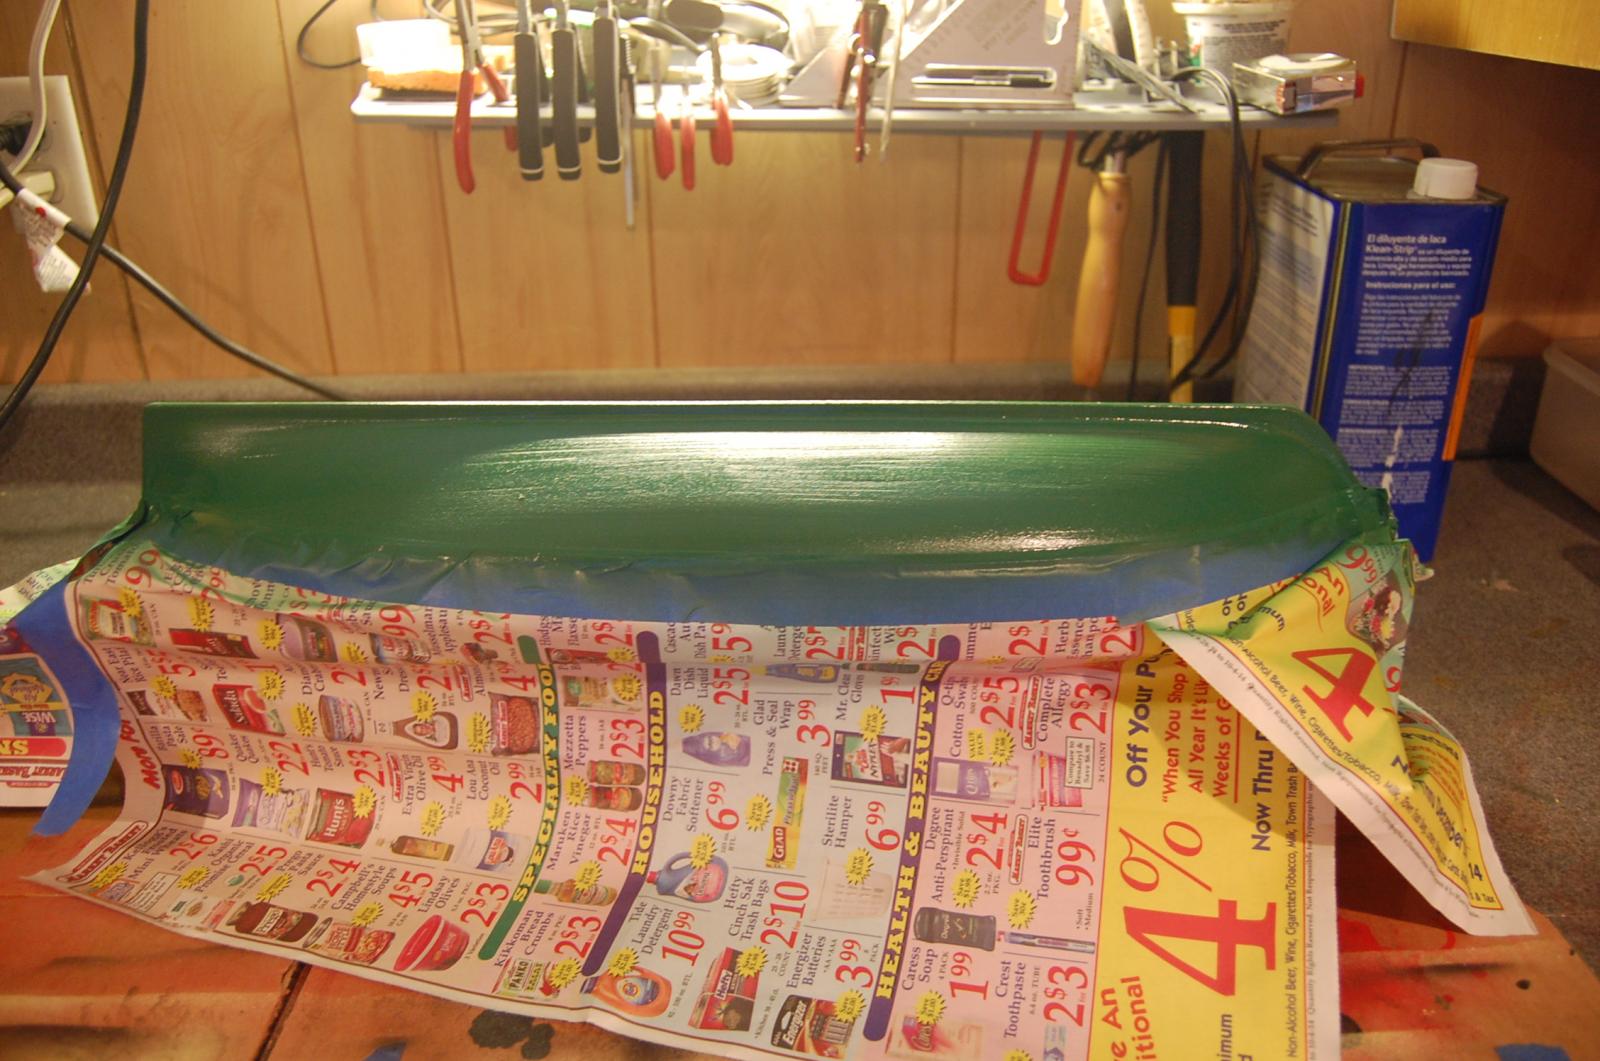
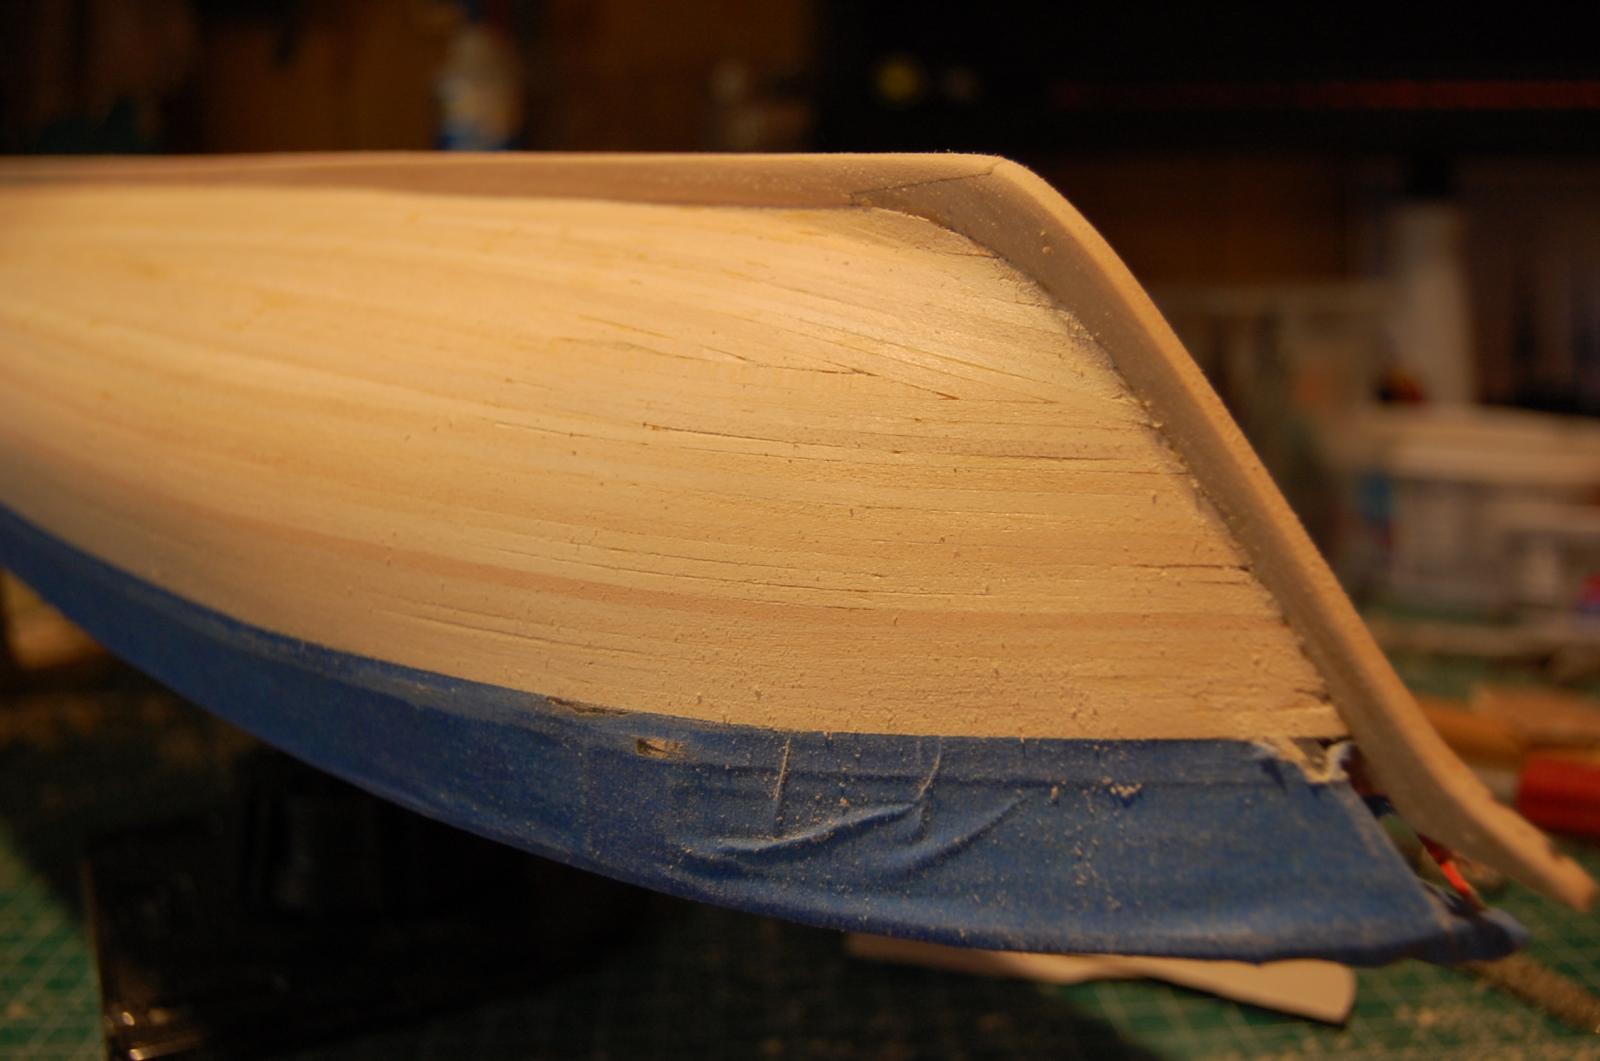
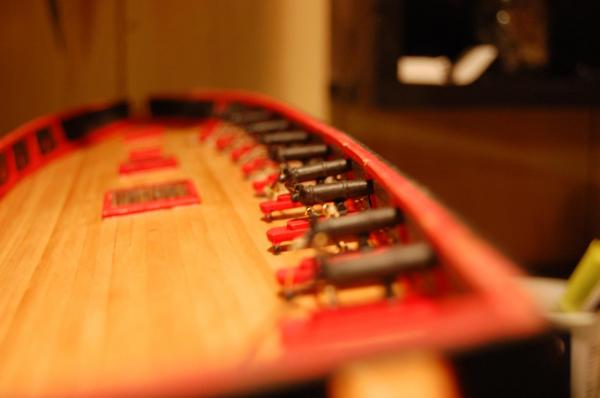
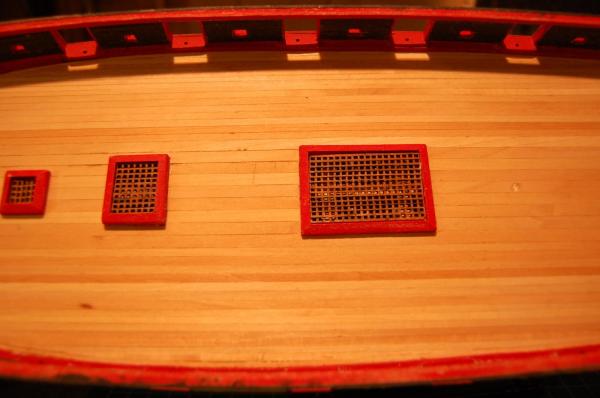
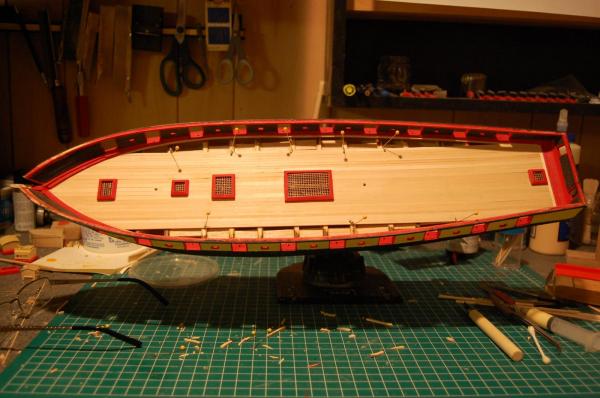
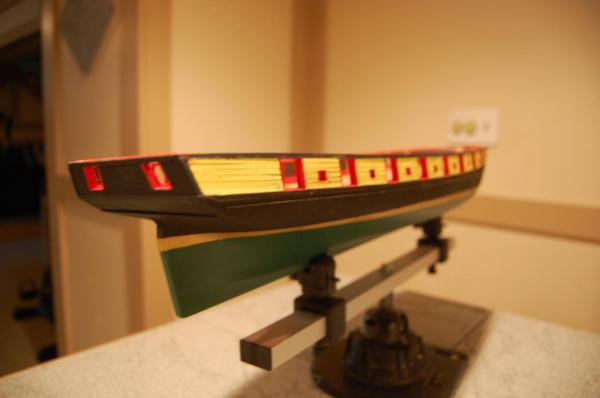
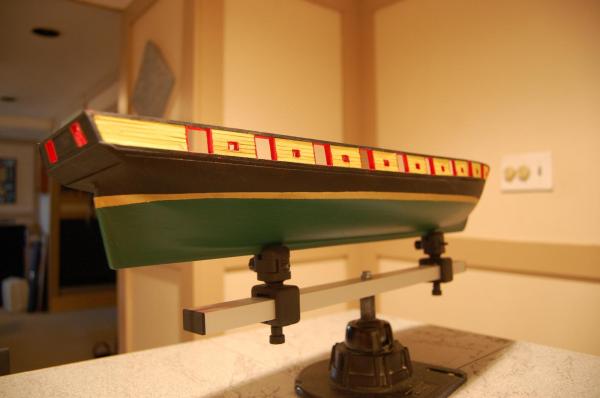
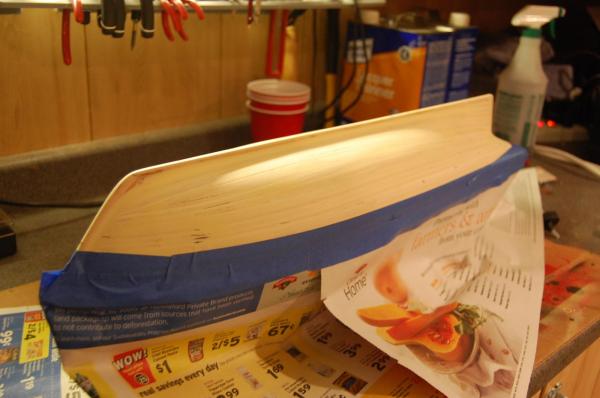
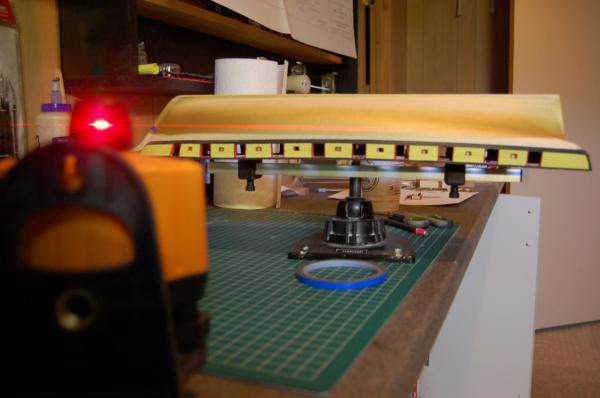
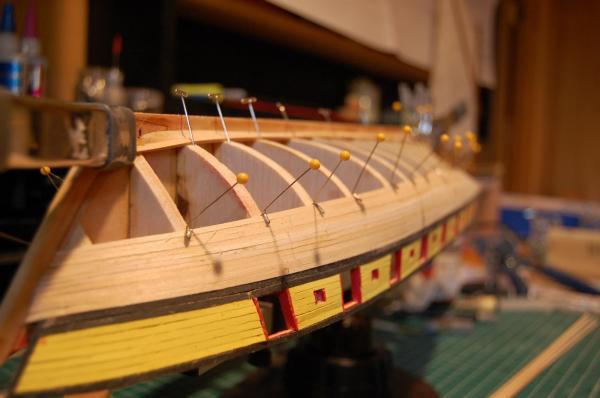
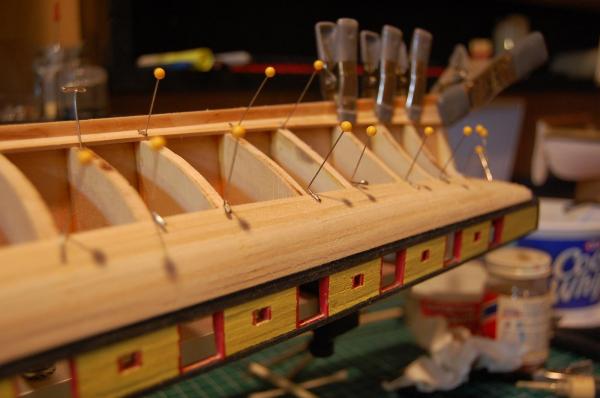
I have now begun the paint work on the hull. I started by using Elmer's Carpenters wood filler for interior. It go's on awesome and sands off just as easy. Sanded with 180 grit then followed up with 400. I decided to paint the hull black and green with a gold stripe at the water line. I taped off the top off the ship then painted gold around the water line. I then used a 1/4 inch tape and applied it at the water line. I use a laser level for tile work so I figured now would be a good time to use the level due to the uneven shape of the sides. At this point I taped off the top of the ship and airbrushed on the green for the lower level. It will now have to sit for 24 hours so the green hardens and I can apply the black.


-
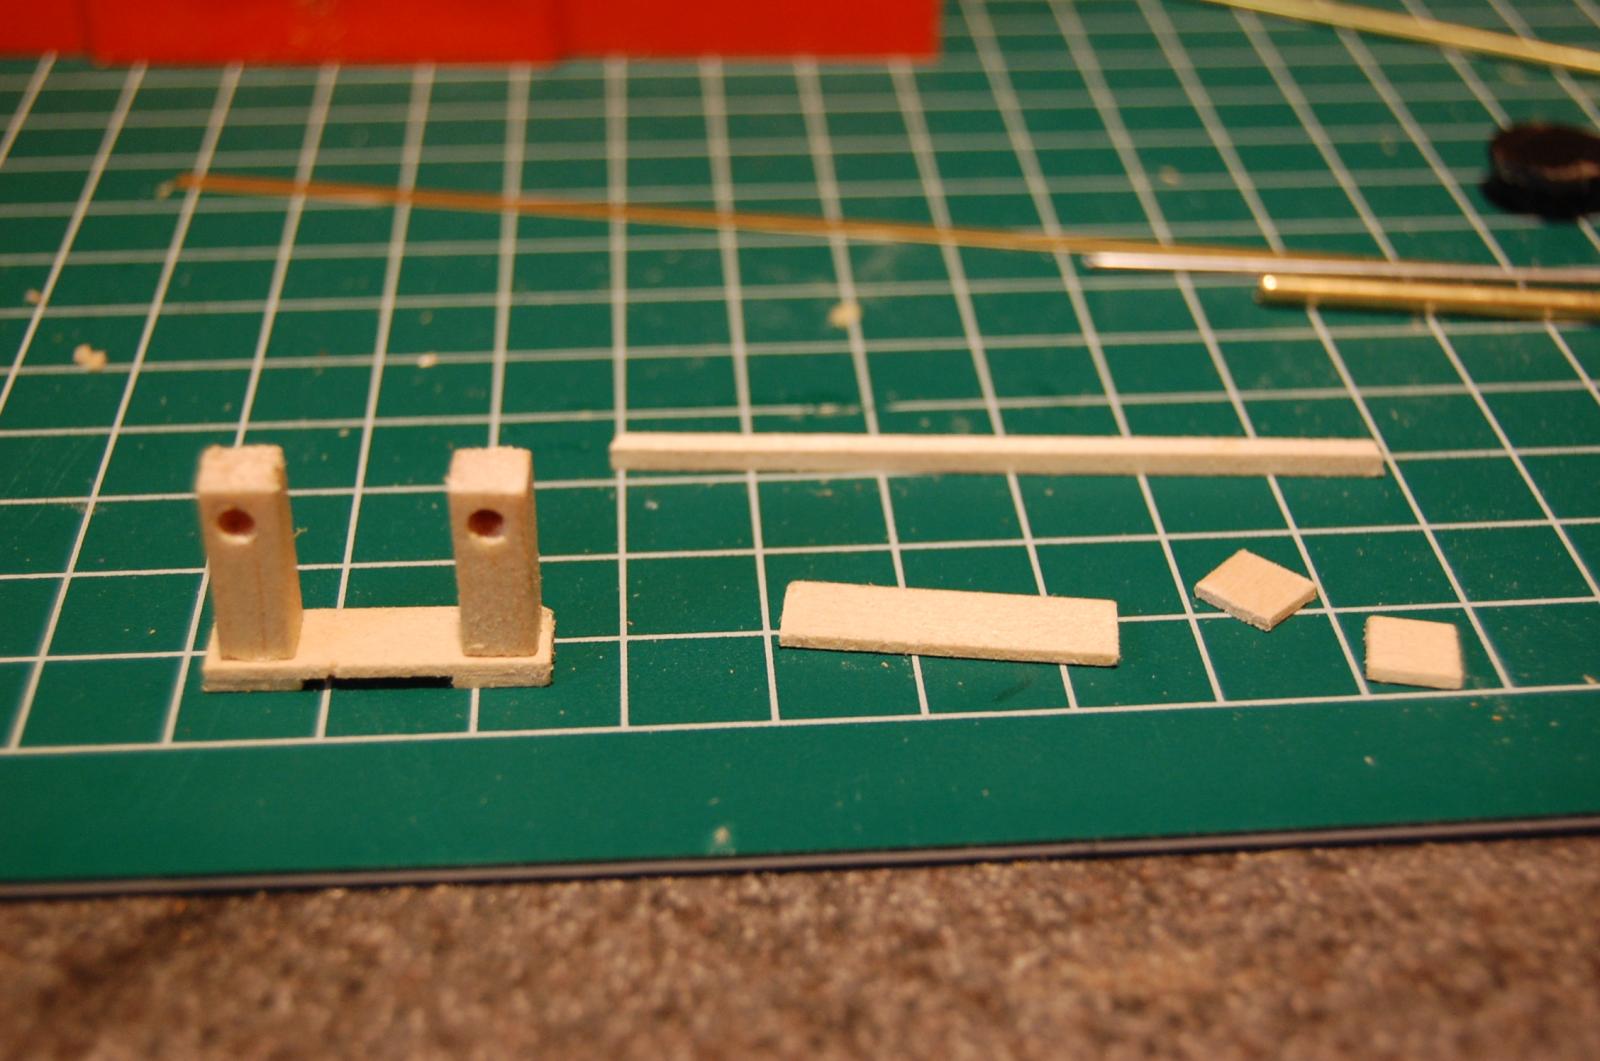
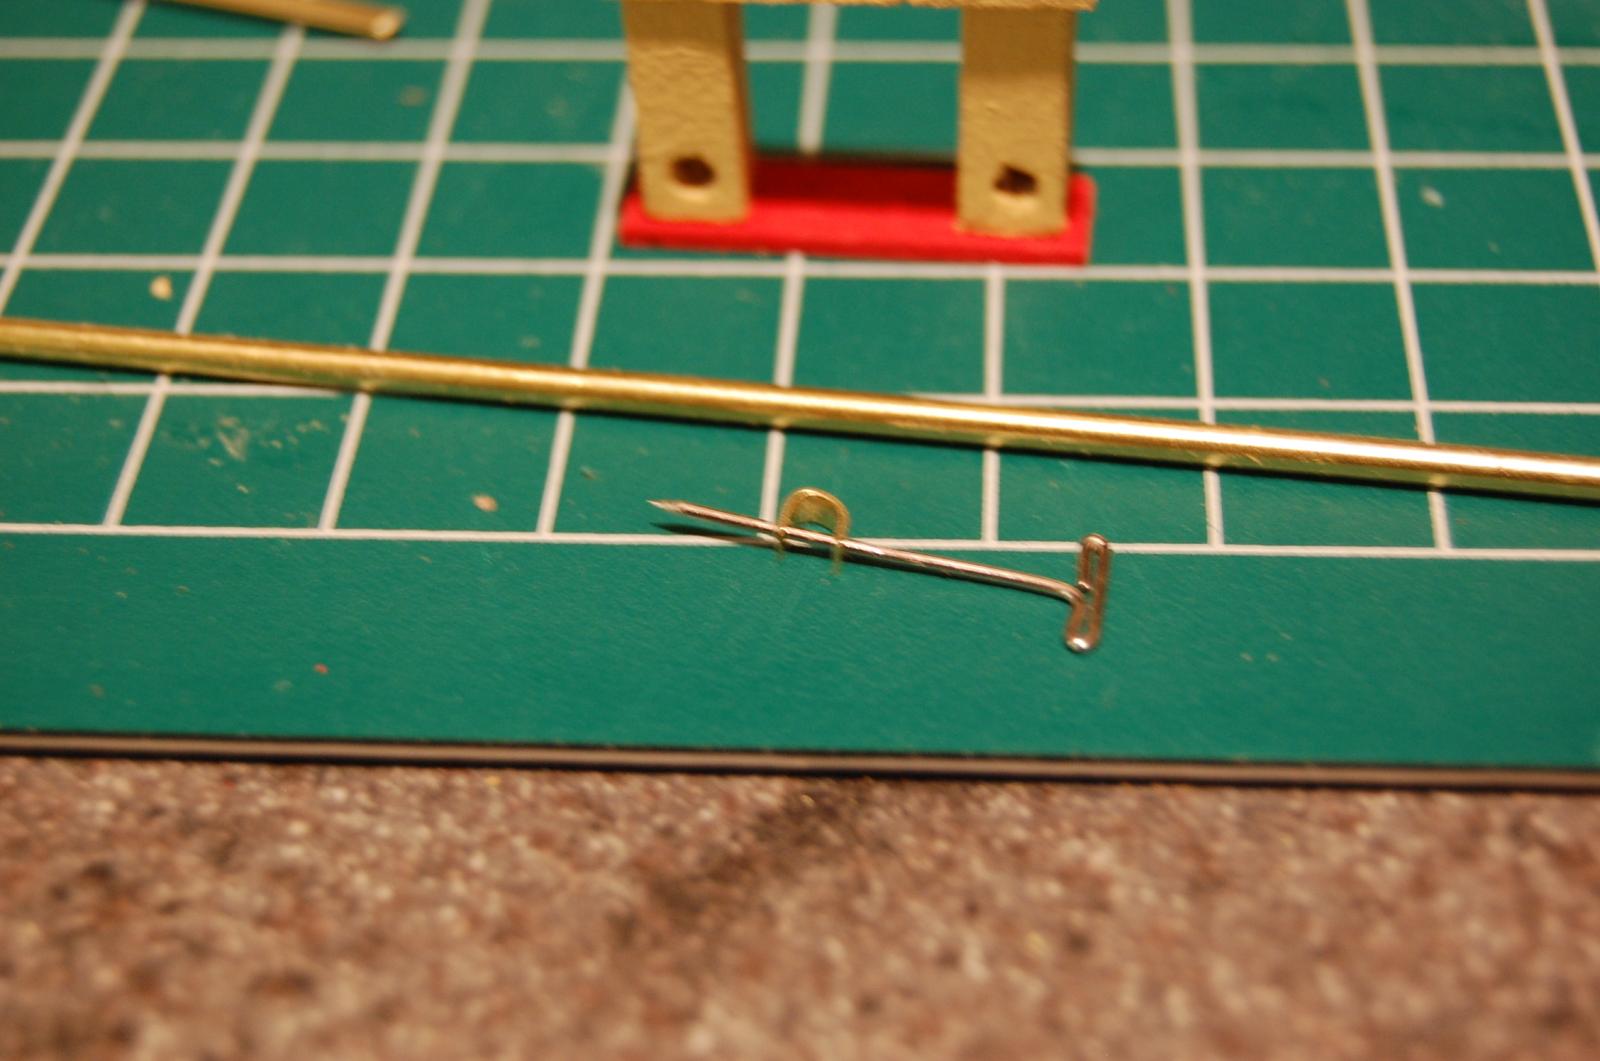
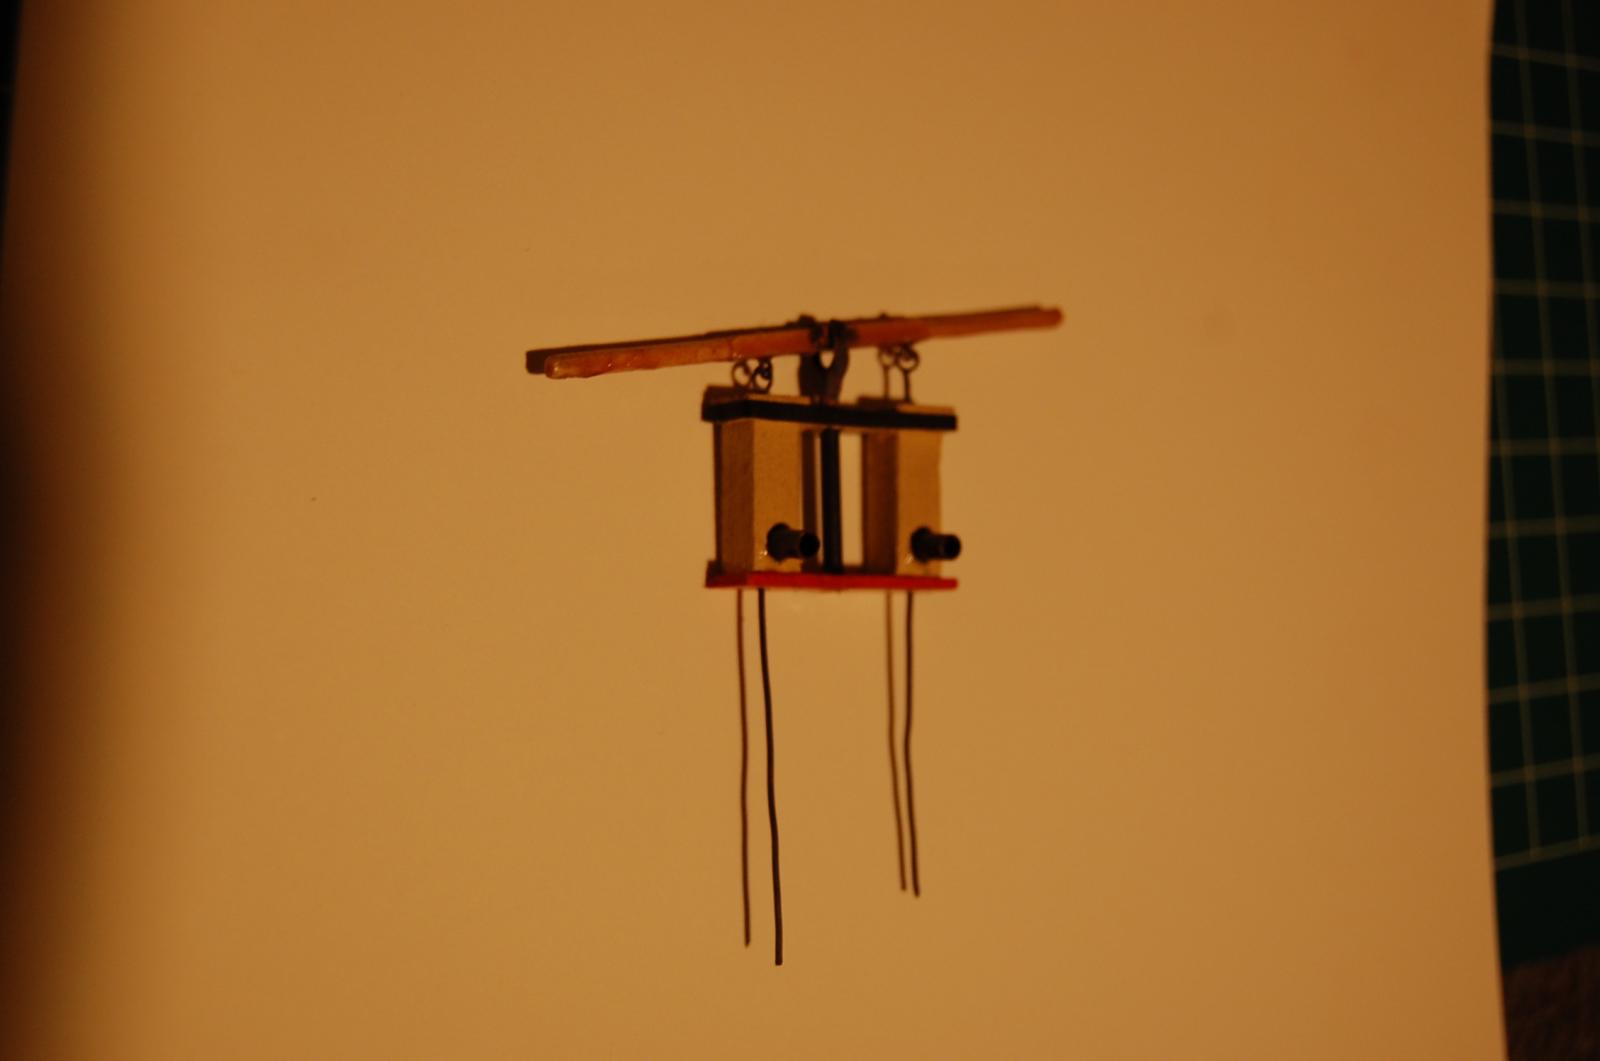
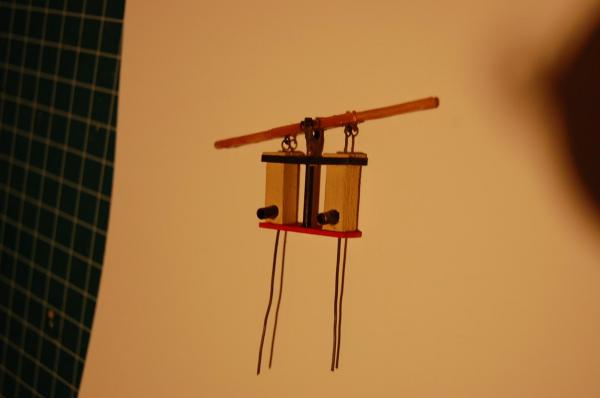
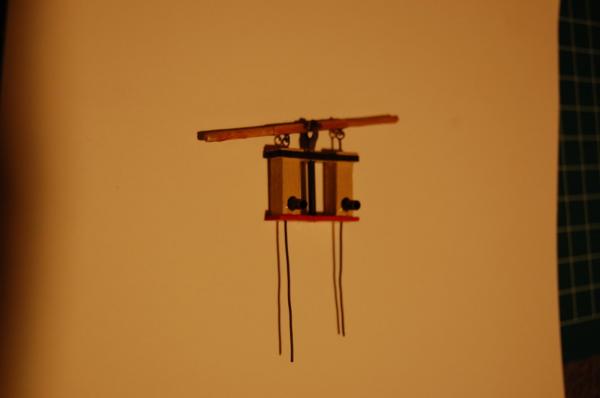
Working on the bilge pump in between paint coats on the hull. The wires through the bottom of the pump will go in to the hull to flip a switch for led lighting.


-
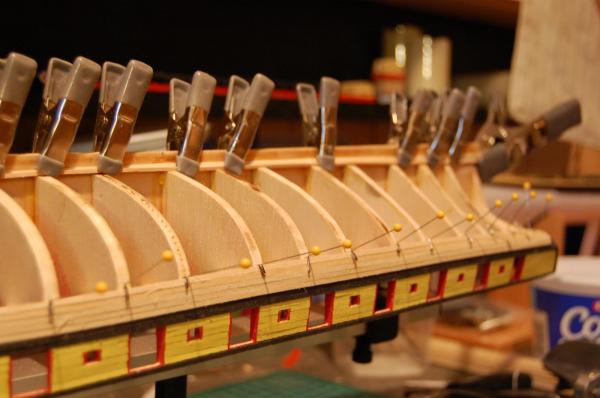
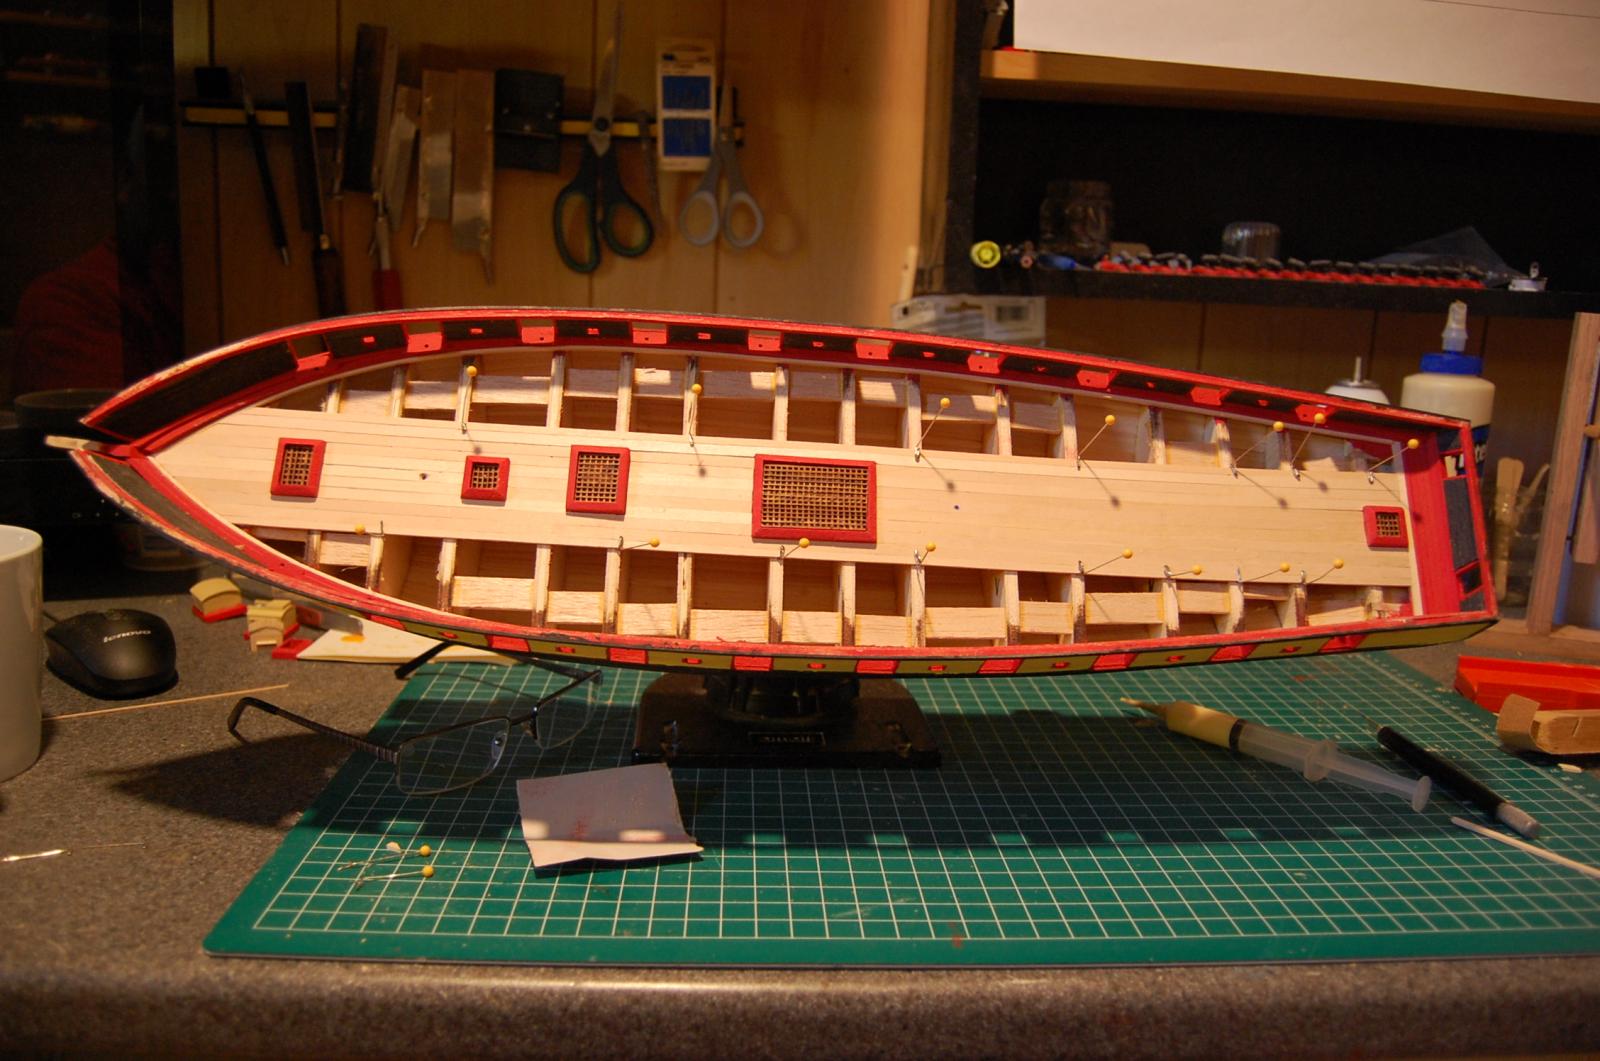
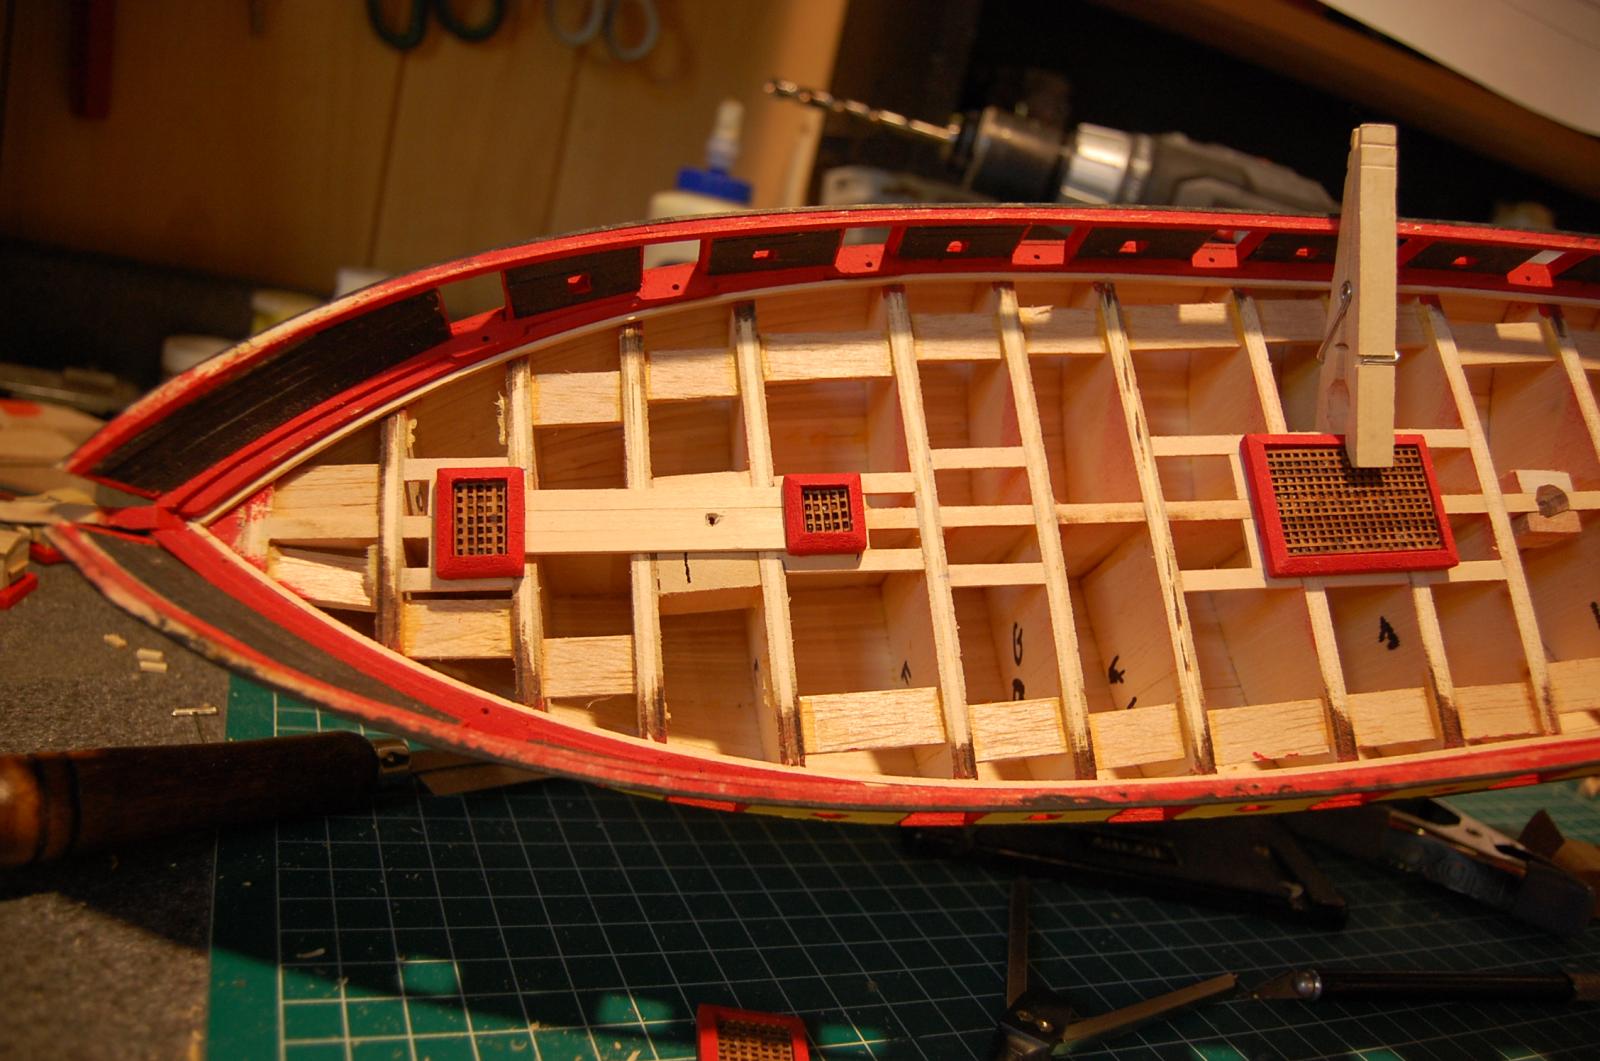
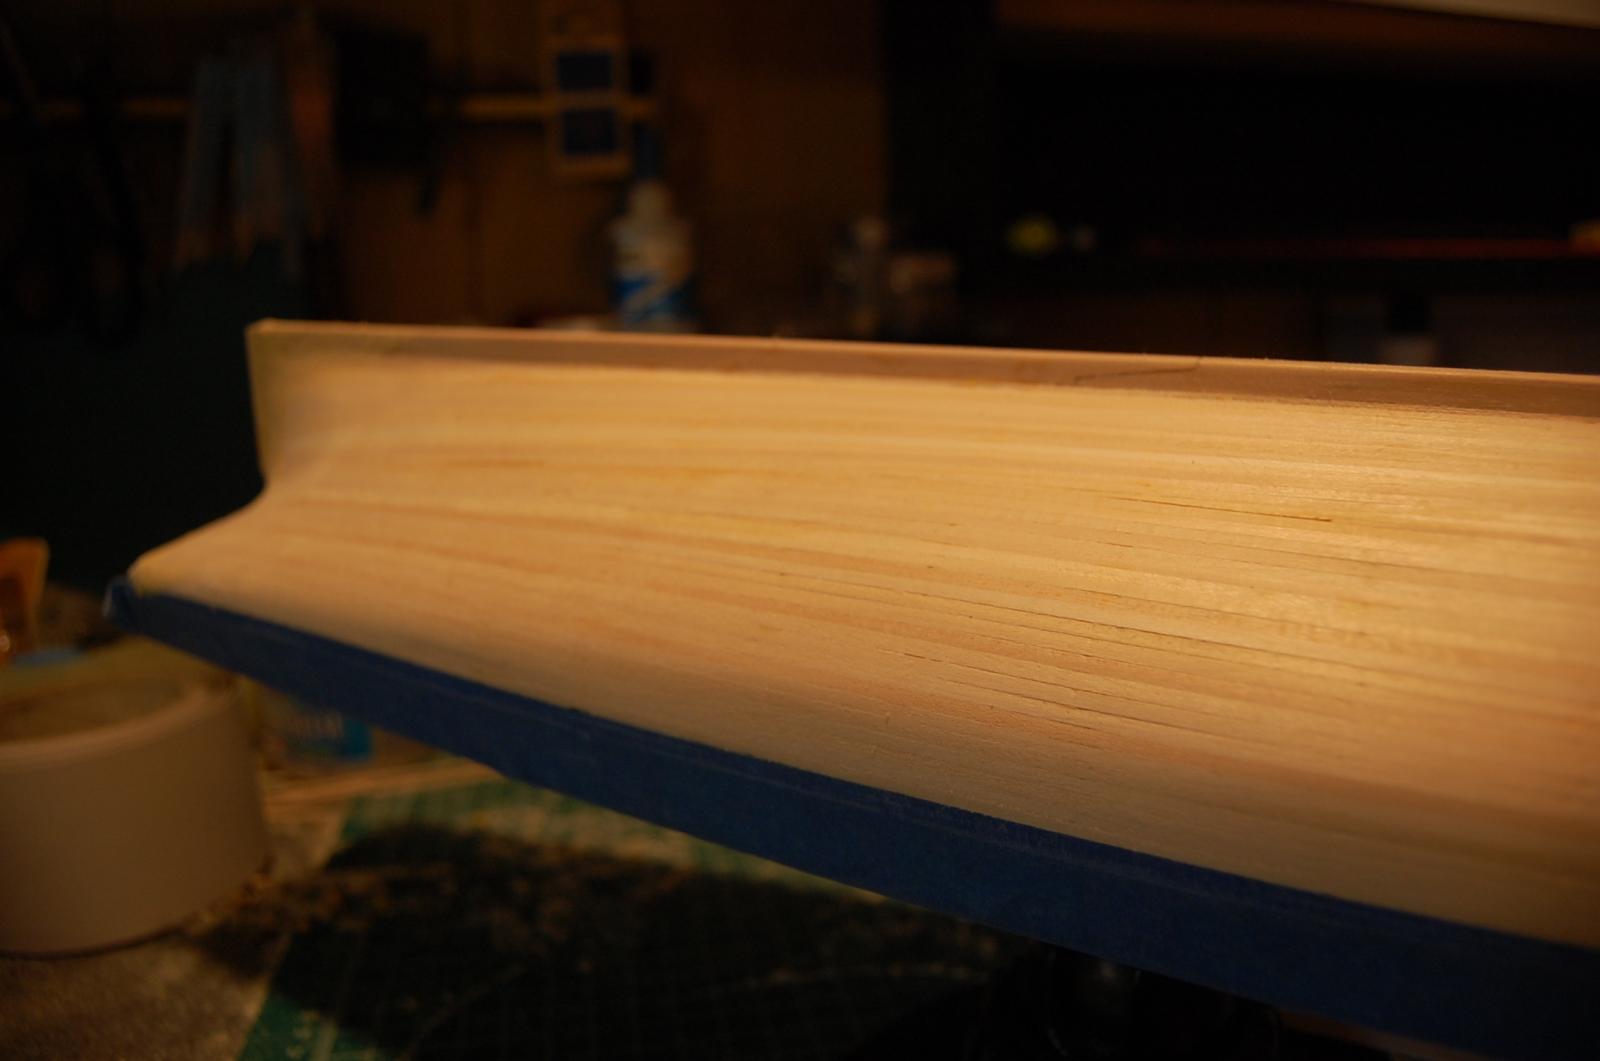
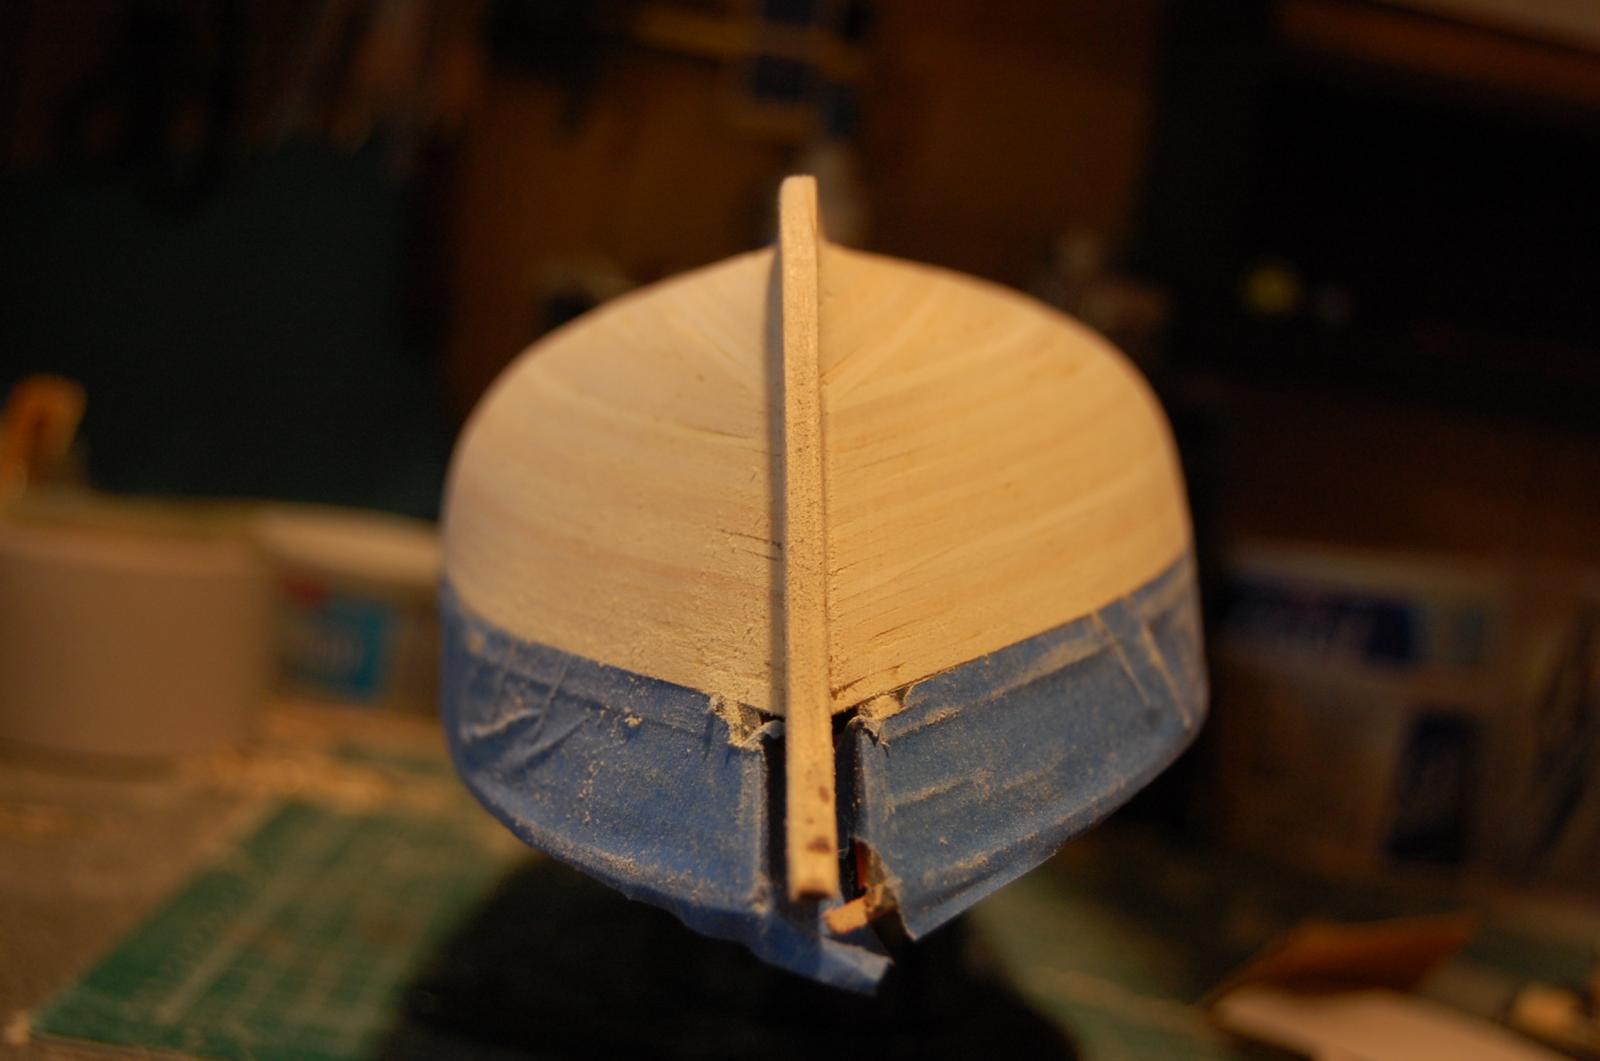
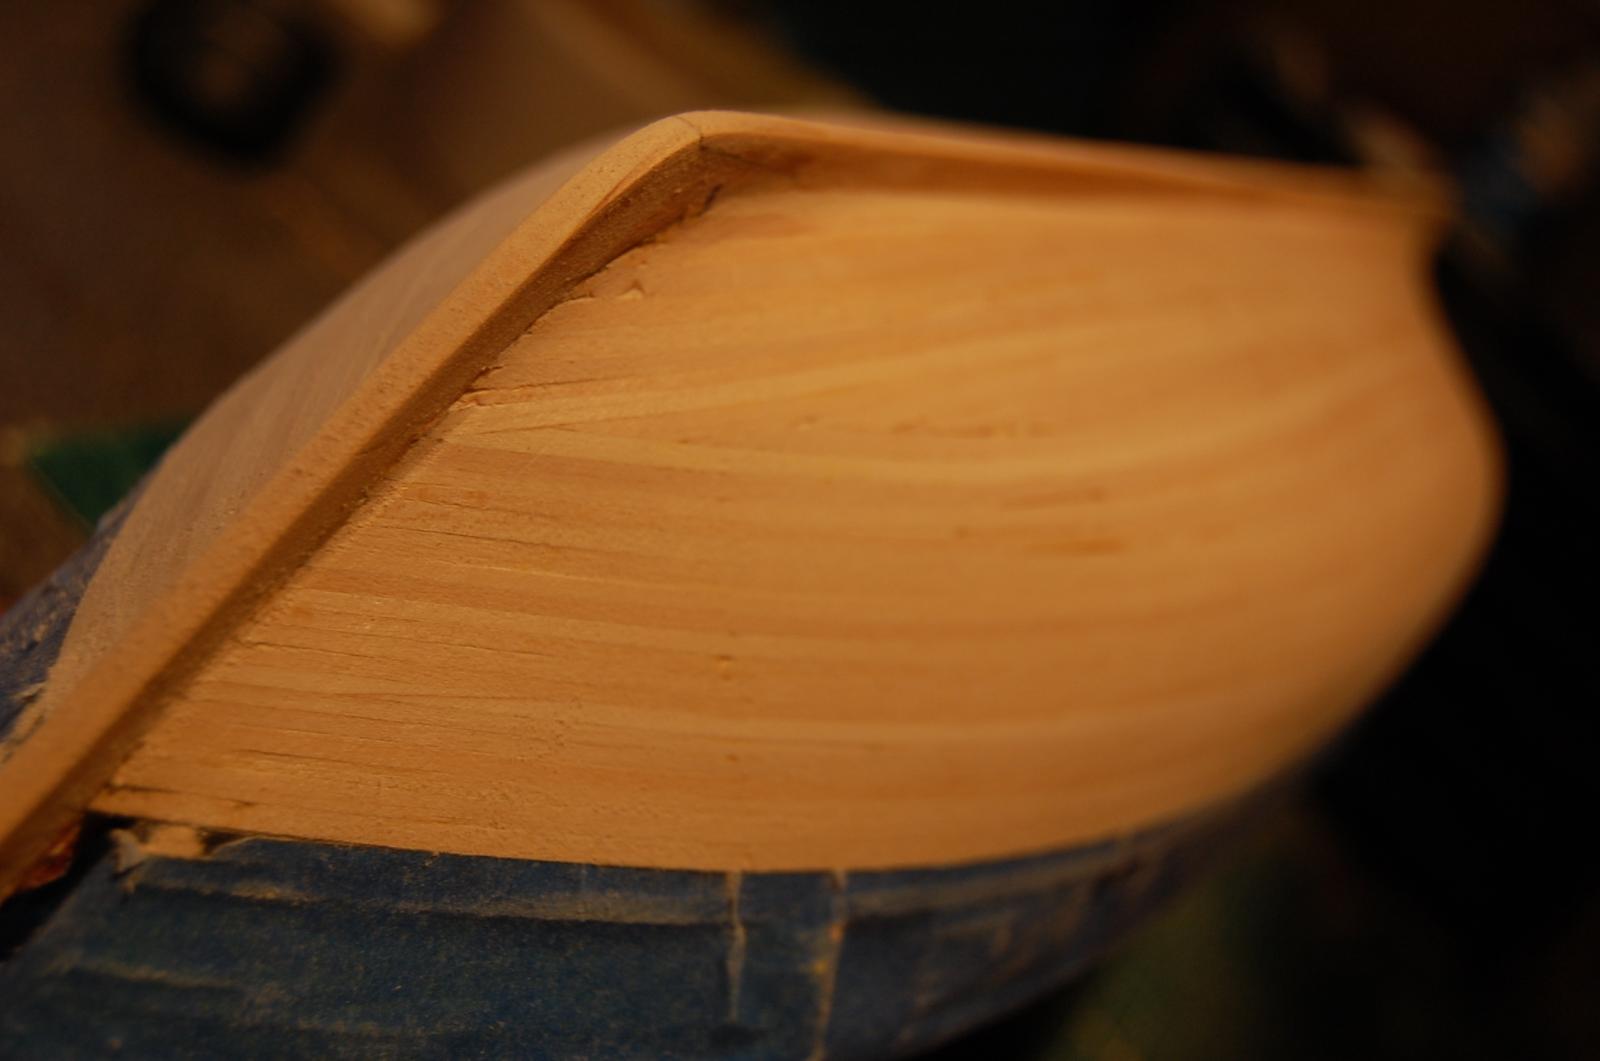
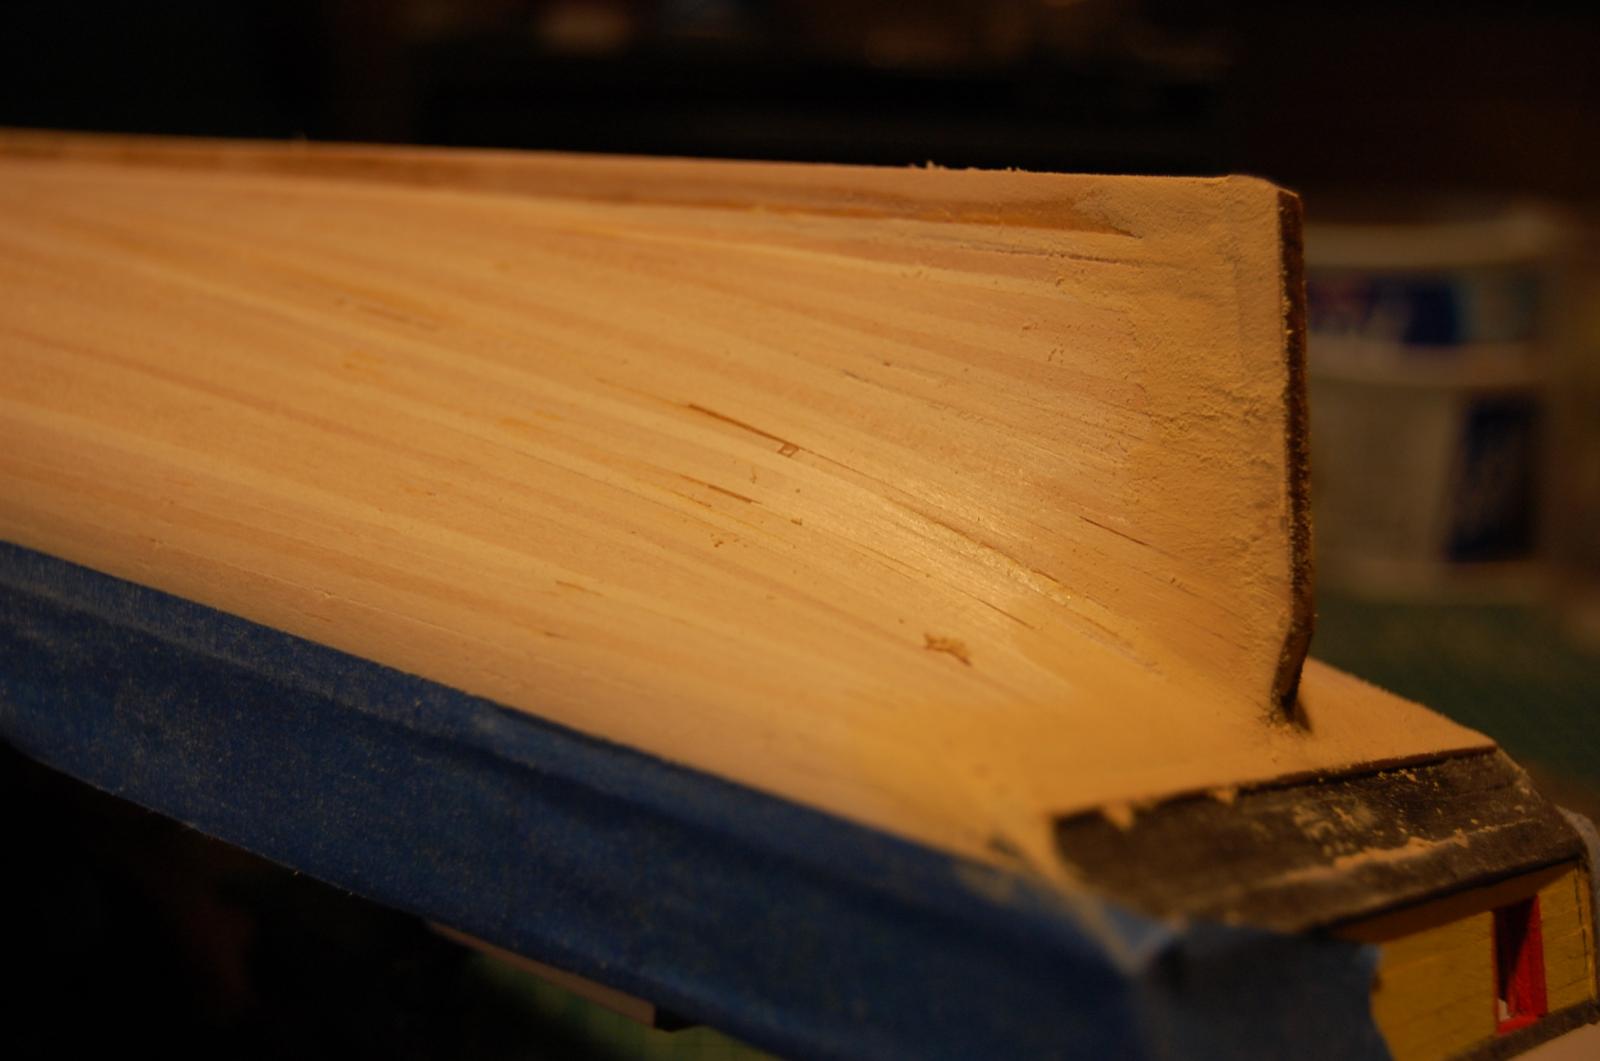
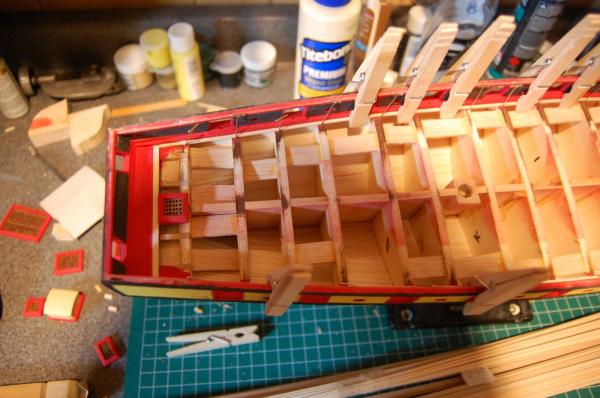
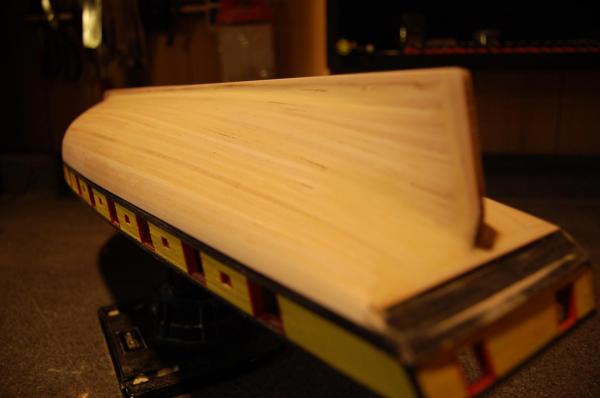
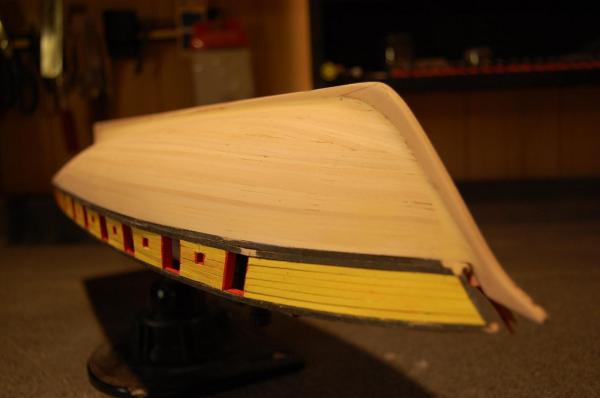
Finally finished planking, a little filler and ready for paint. really ready to start on the "topside"


-
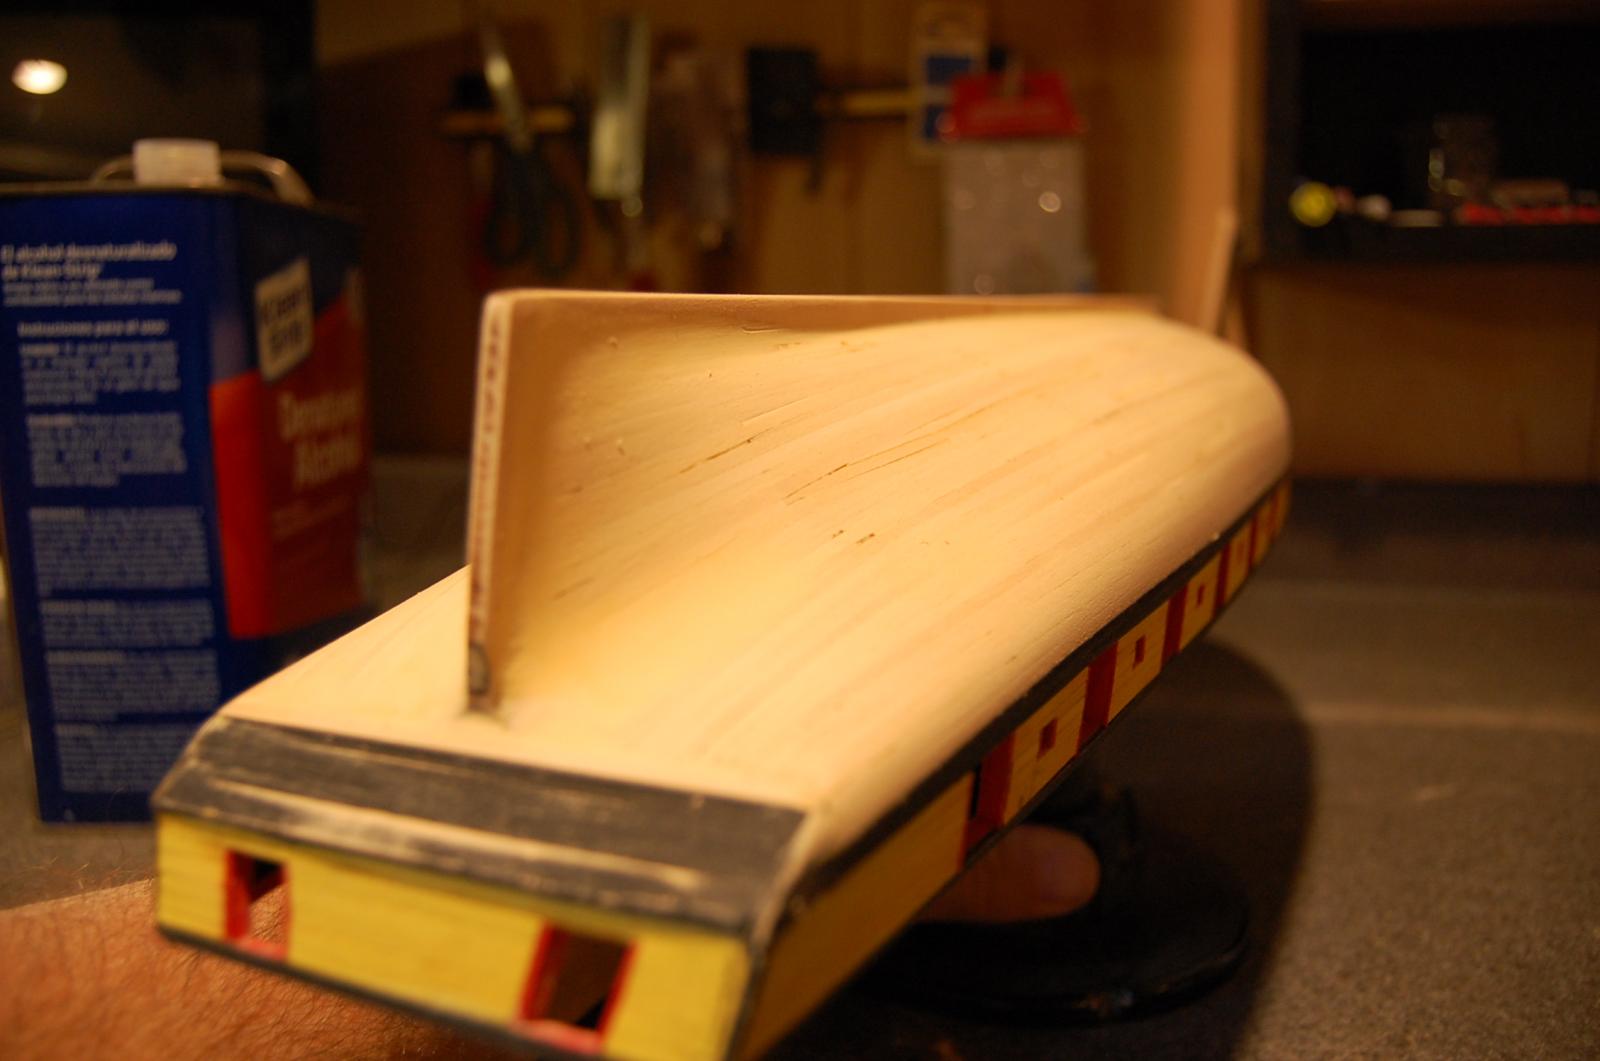
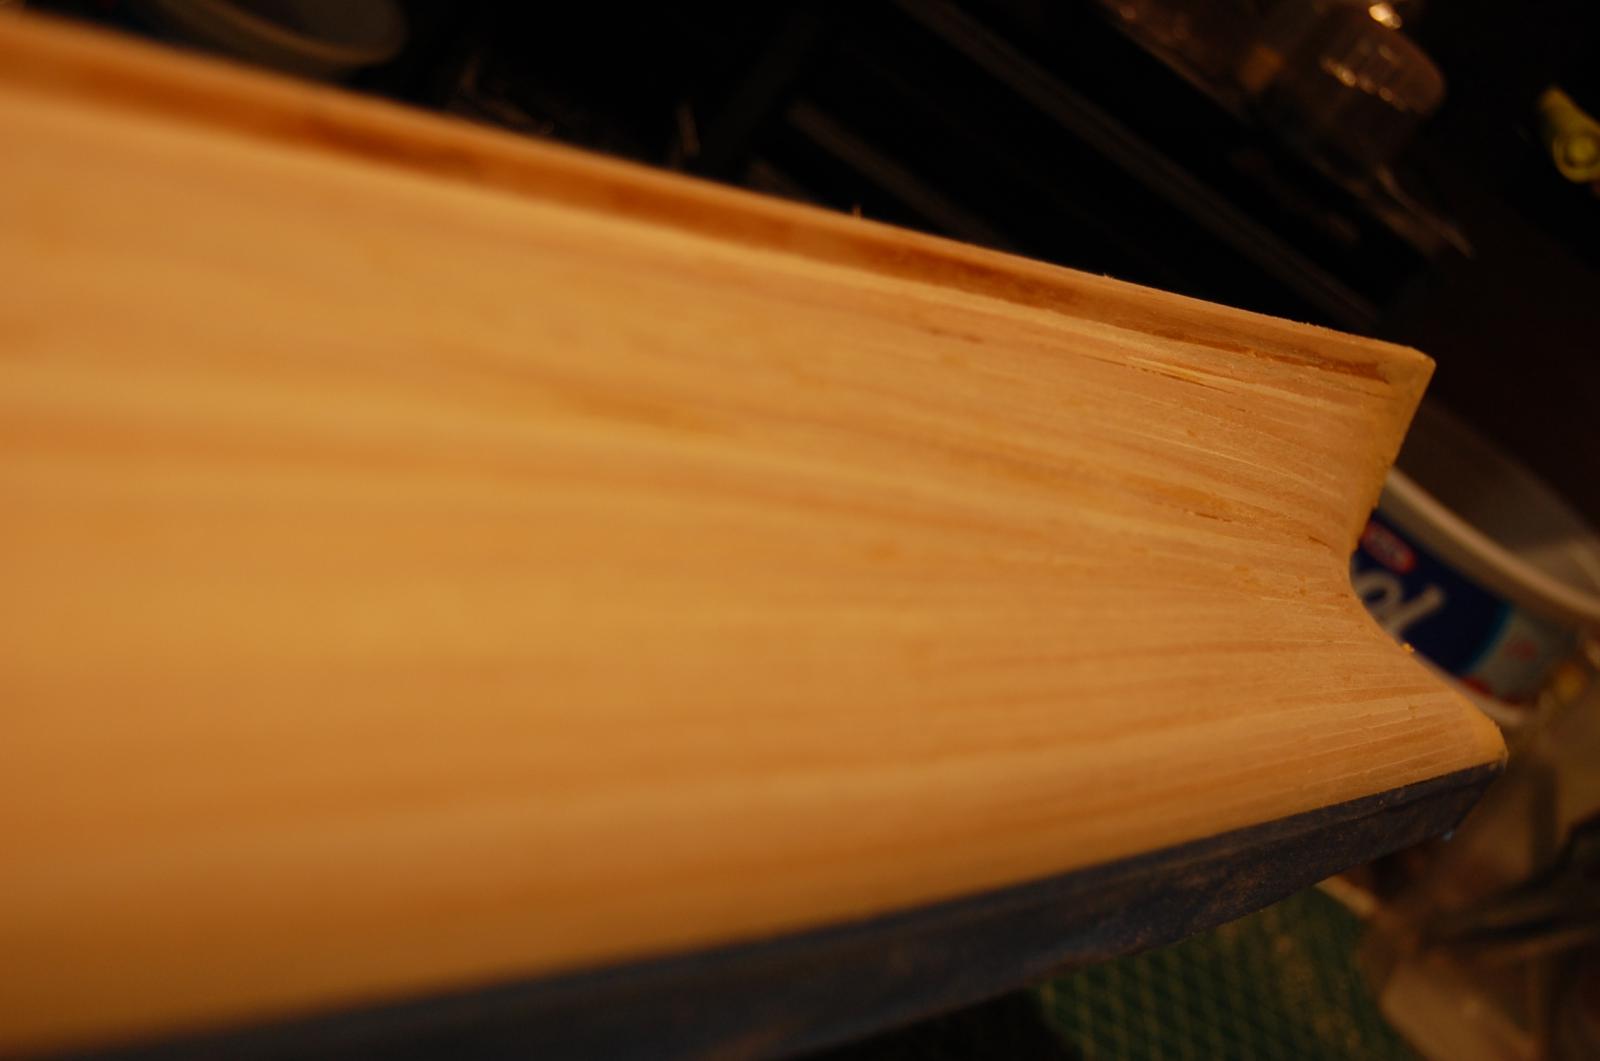
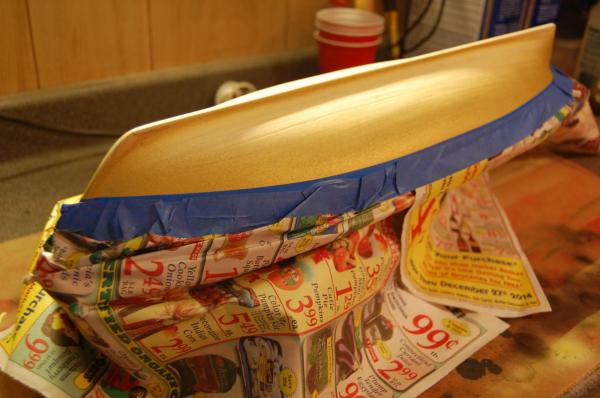
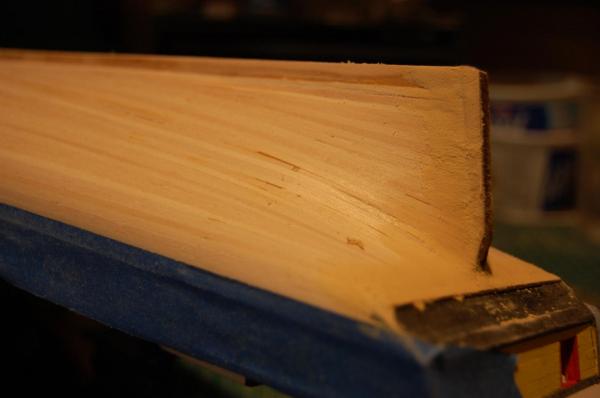
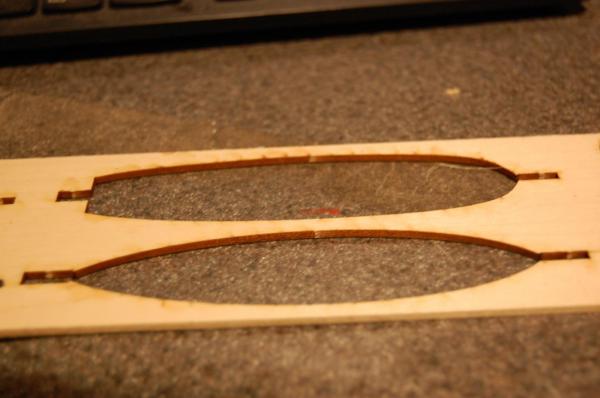
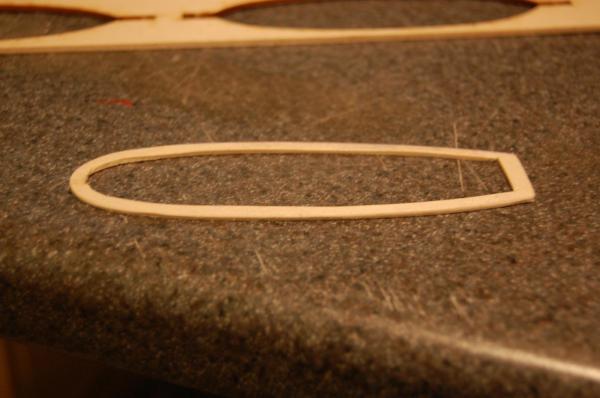
If you are referring to the trim that goes on top of the hull. I used the template that the boat popped out of. I traced the ship on to a piece of balsa. Trace all the way around the ship then move the shape about 1/8 of an inch over and retrace all the way around again. That way when you cut out you have the inner and outer shape. Hope that made sense.
- 468 replies
-
- 2
-
-
- niagara
- model shipways
- (and 1 more)
-
Thanks a lot. Appreciate it. I got the same serving machine you ordered last Friday. No motor for mine though. I'll be setting up some of the cannon rigging next week to see how it works.
-
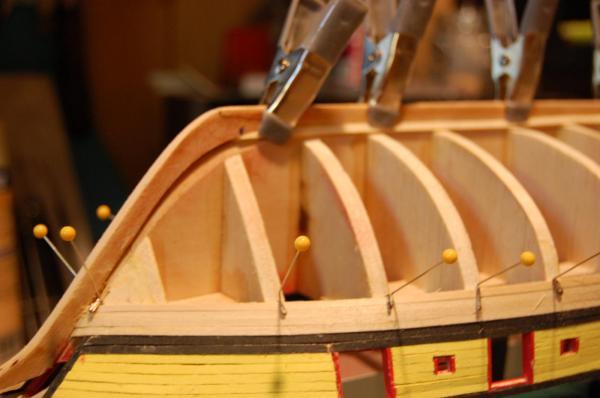
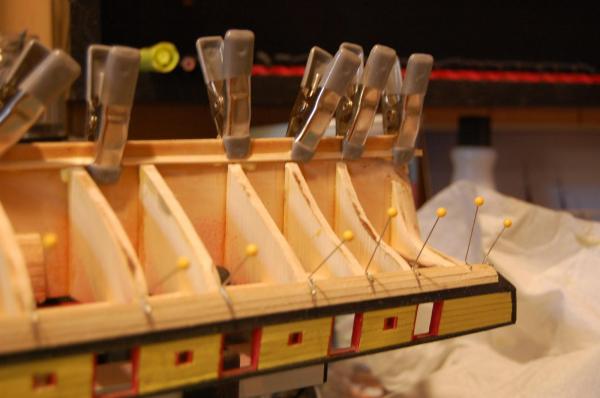
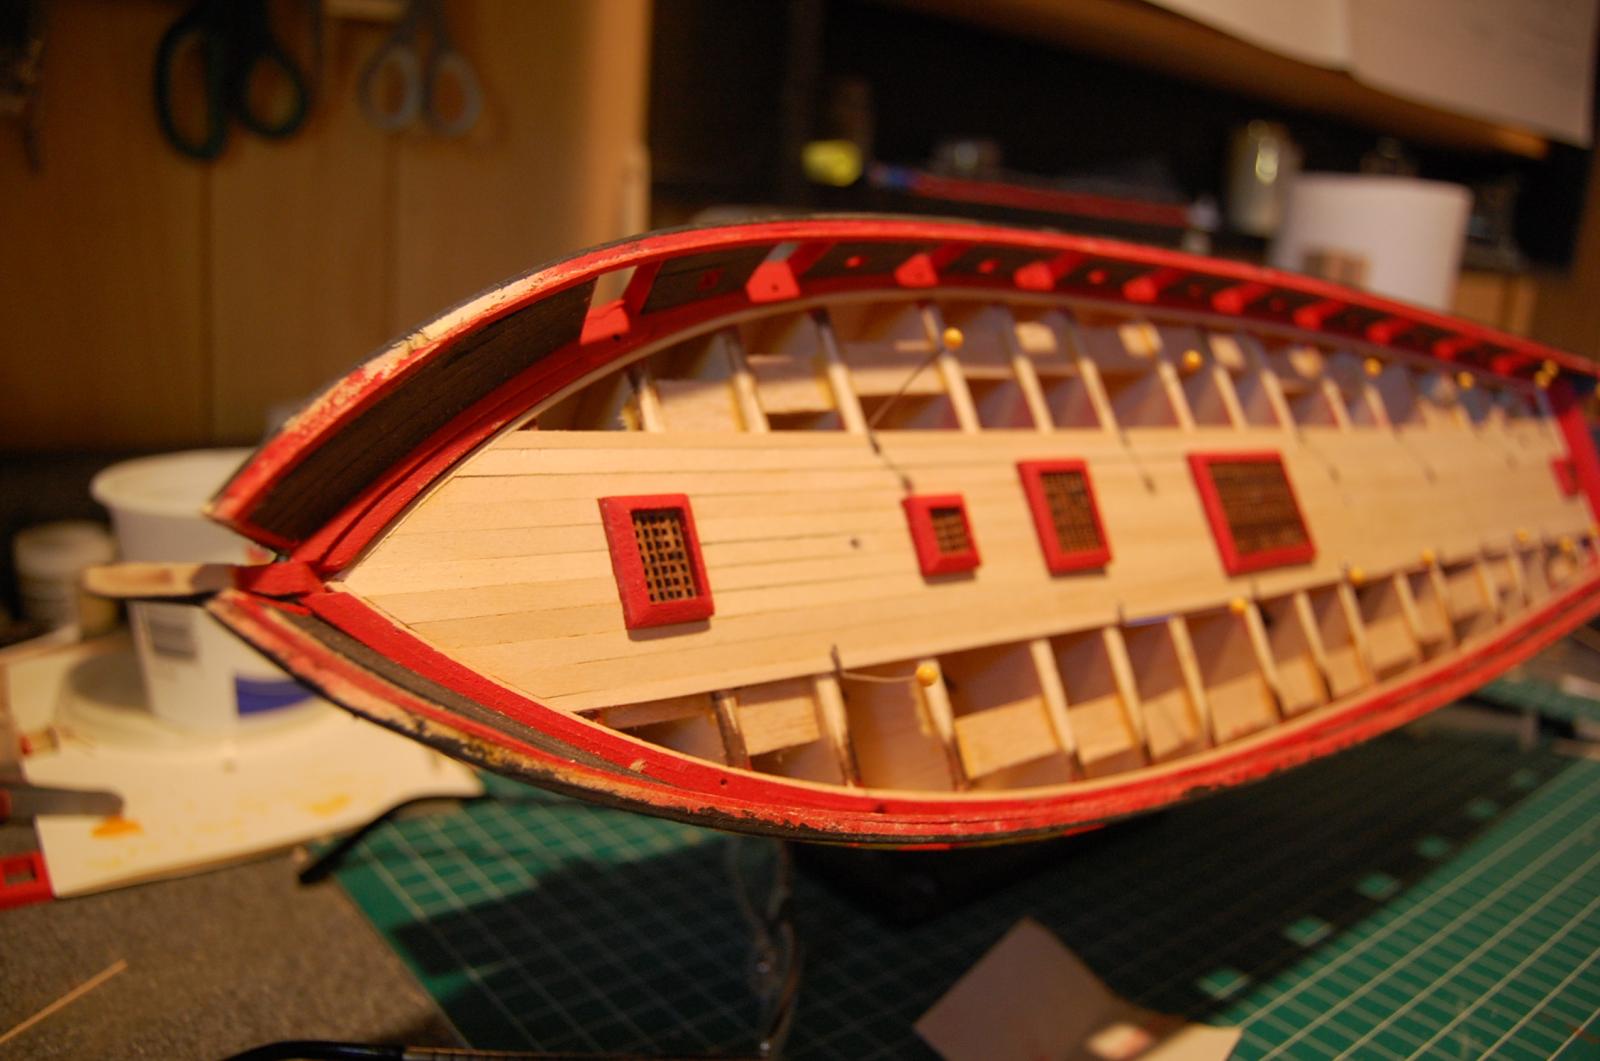
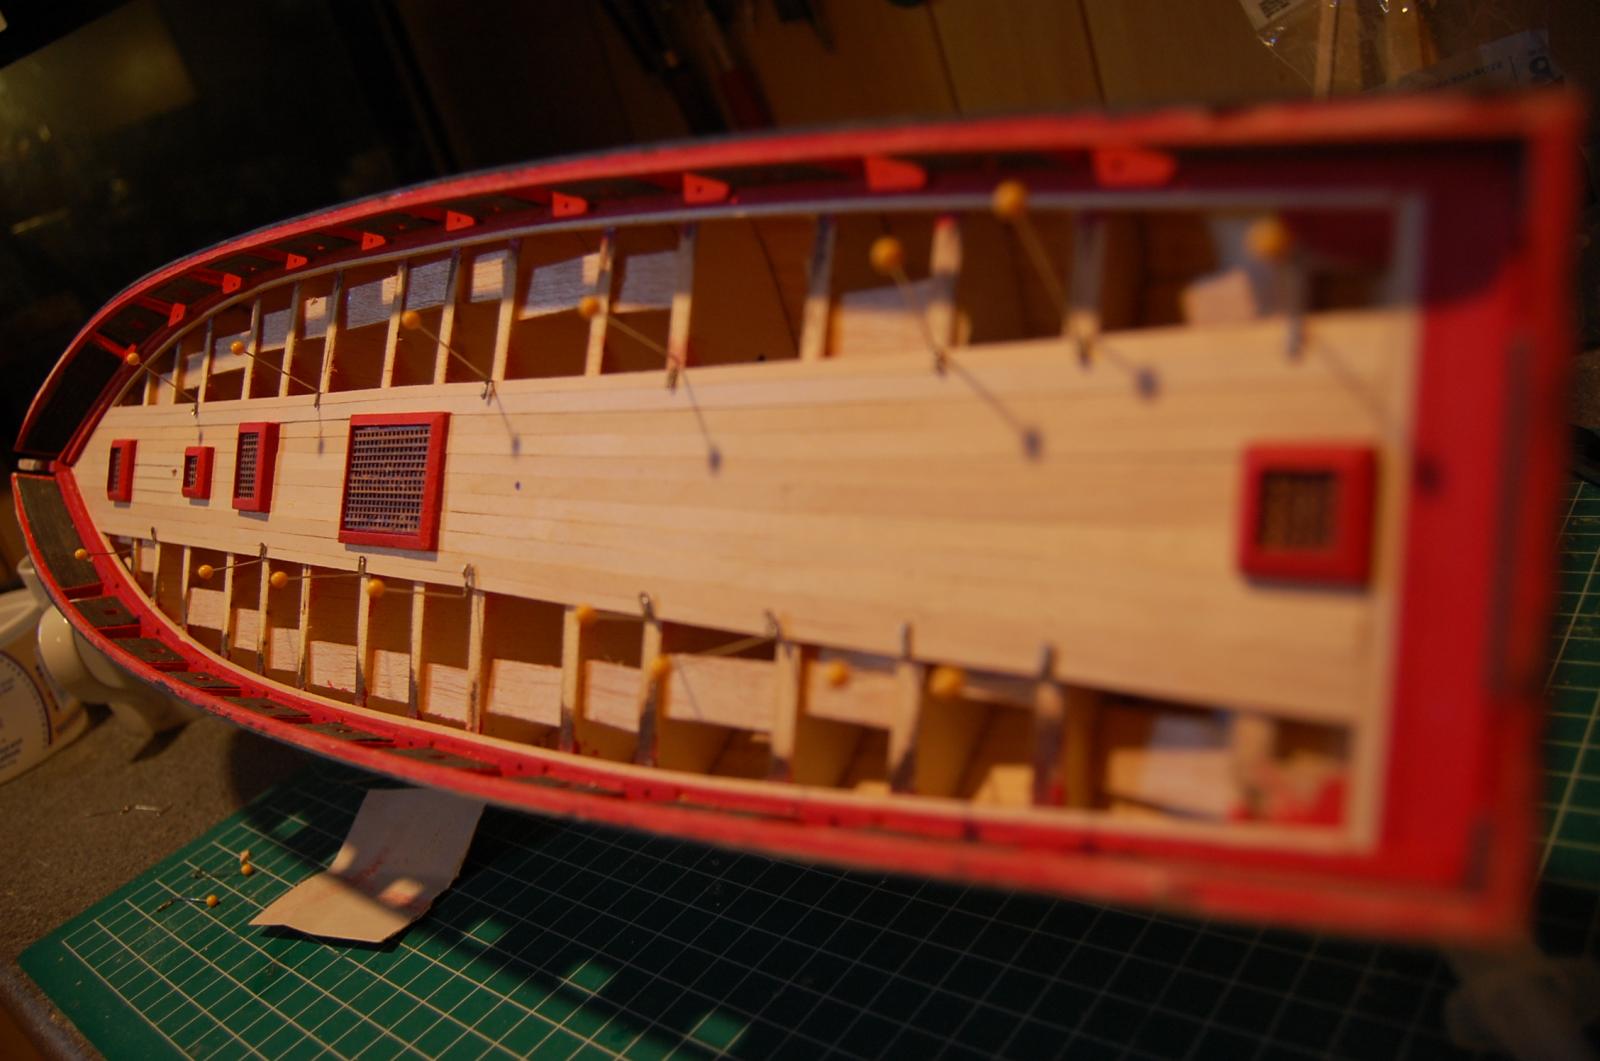
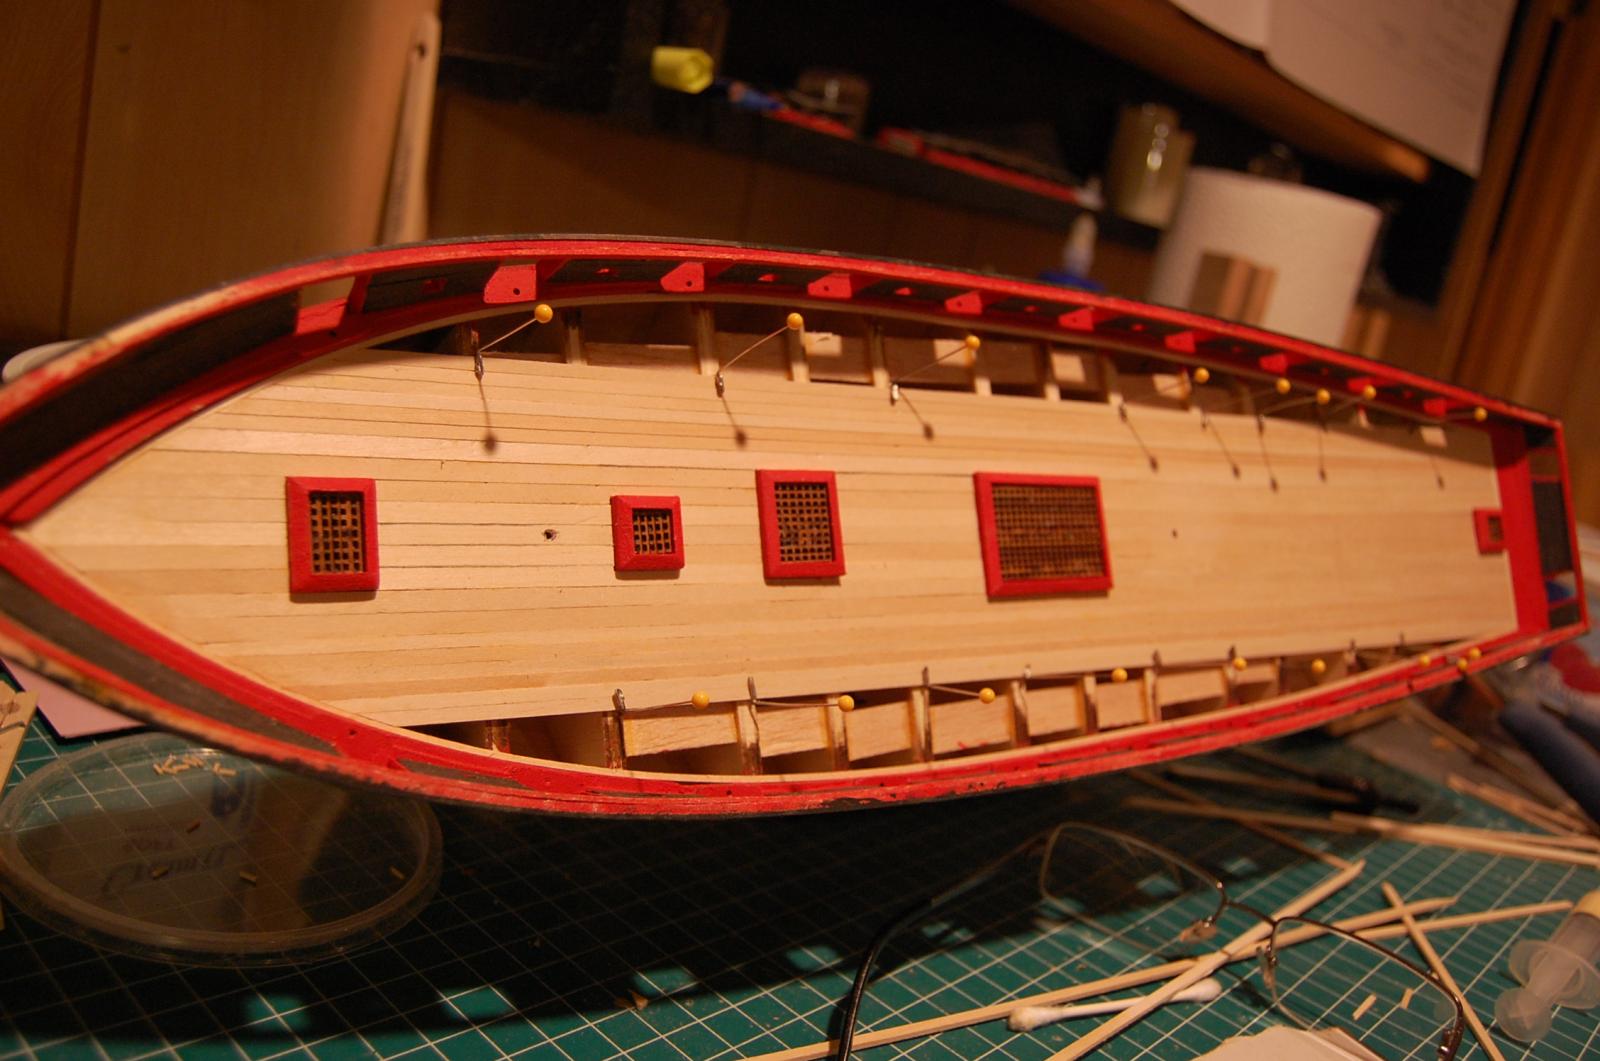
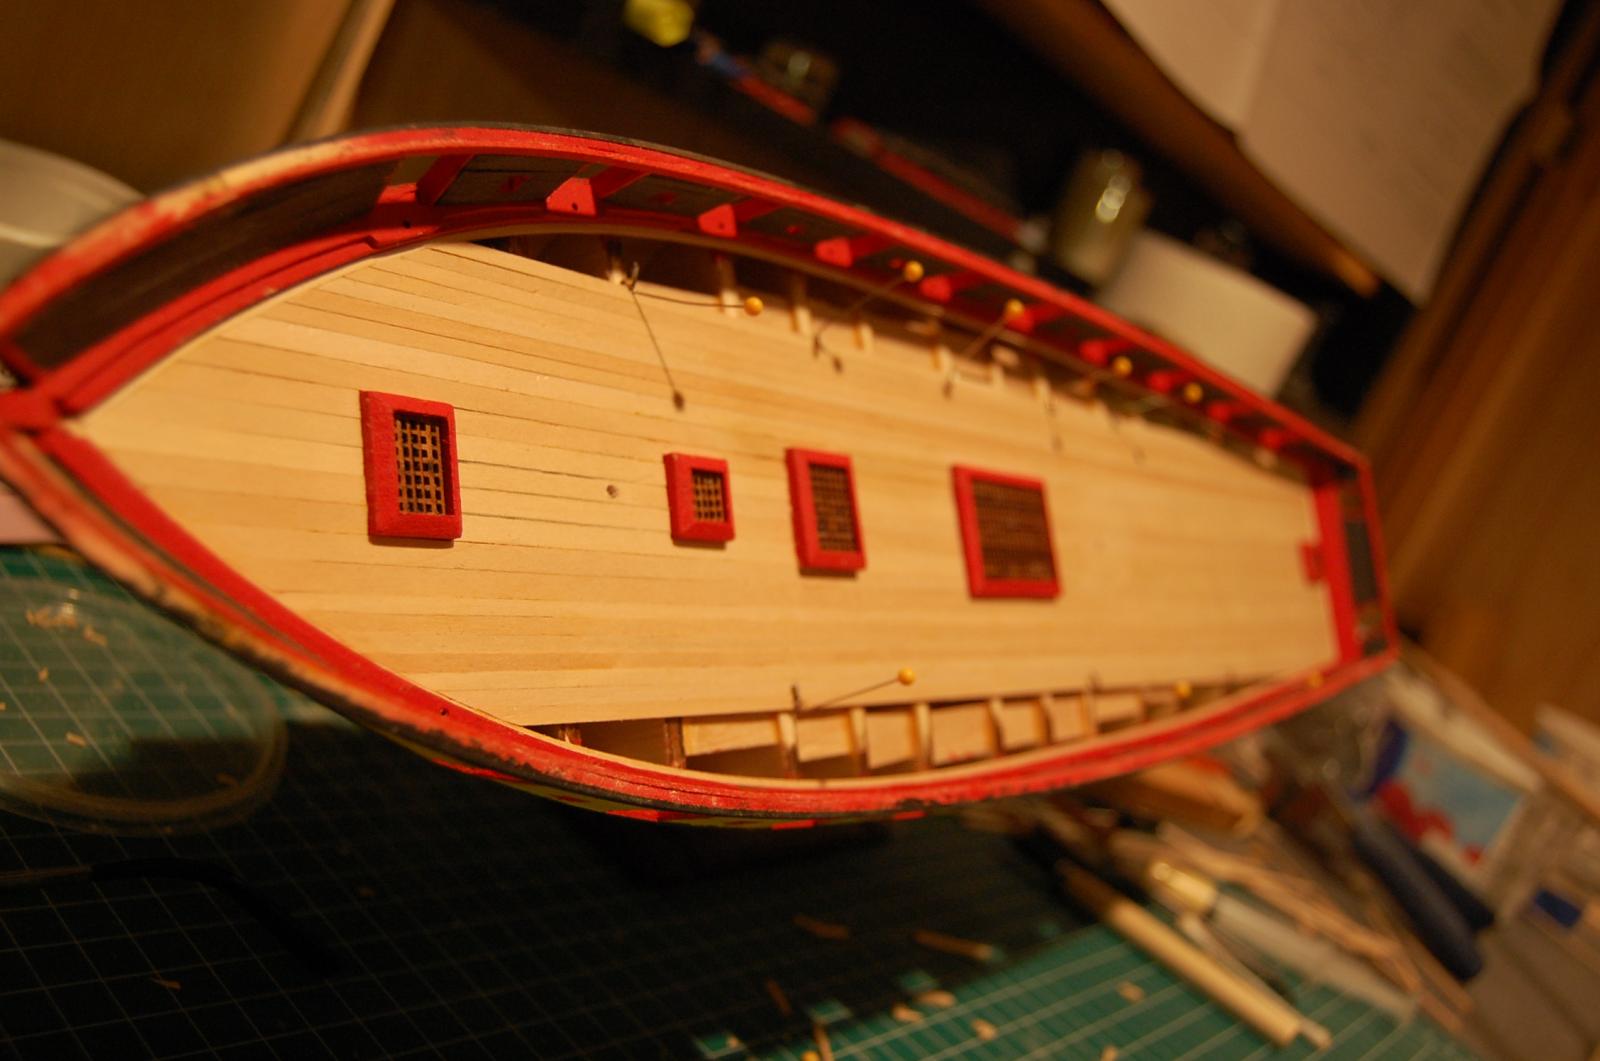
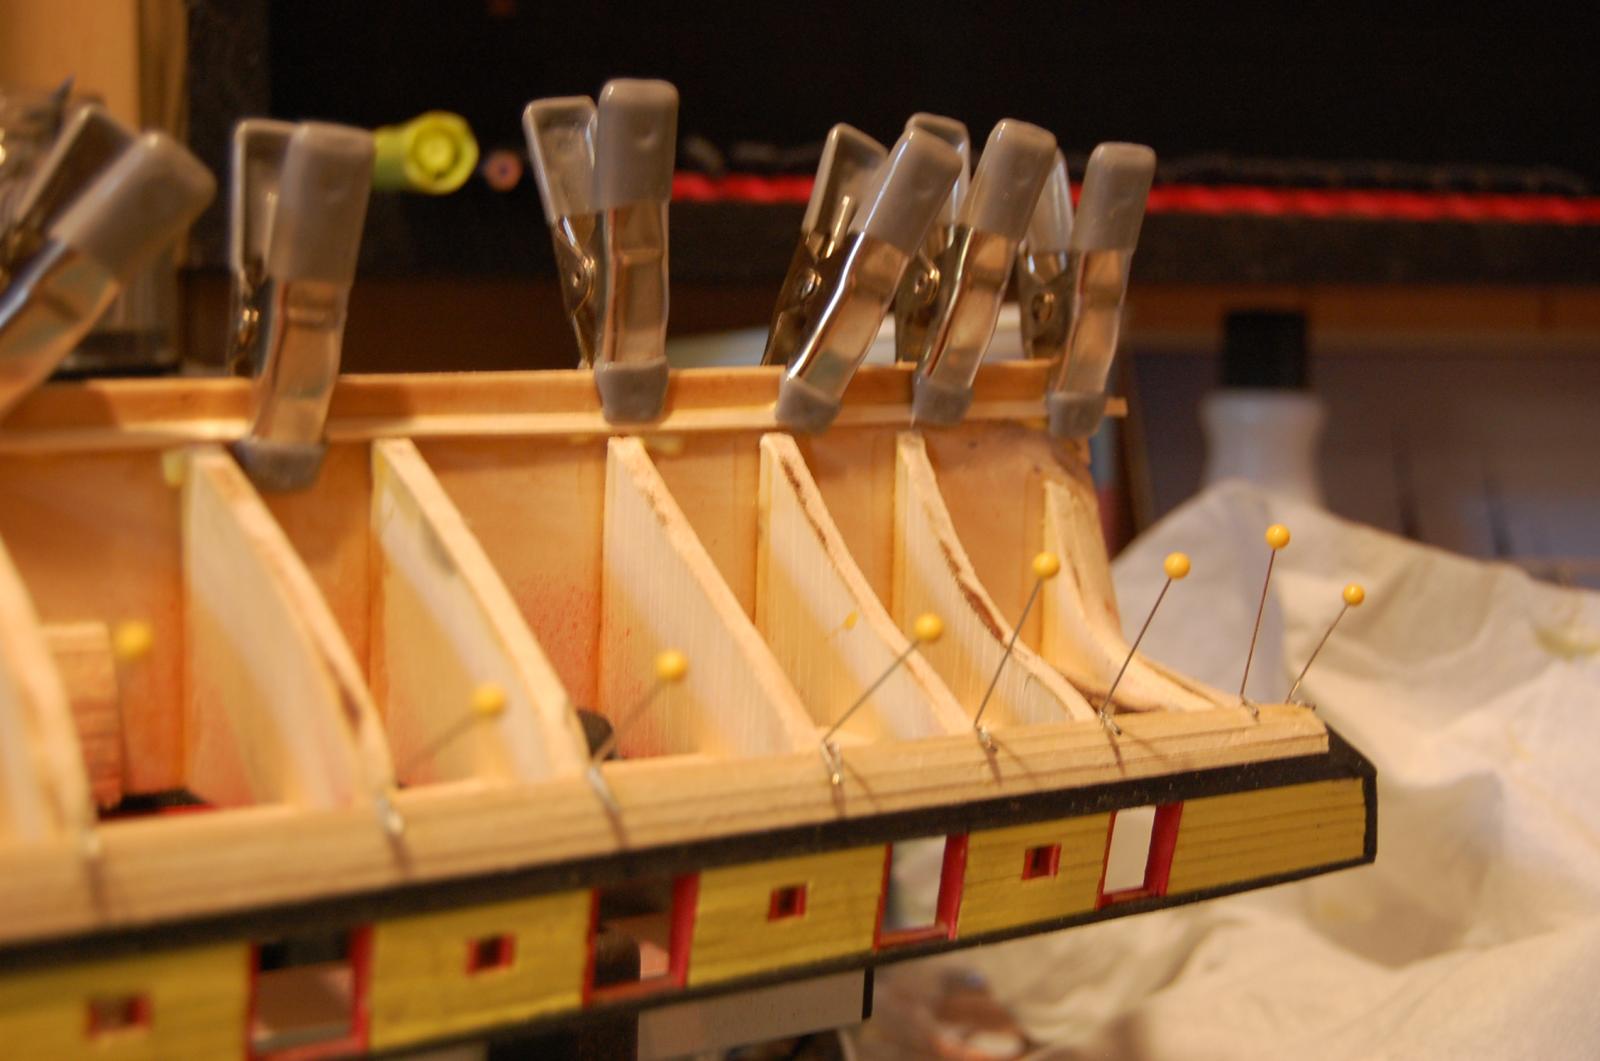
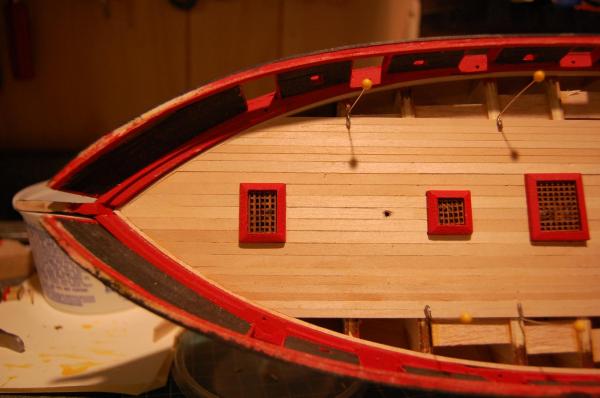
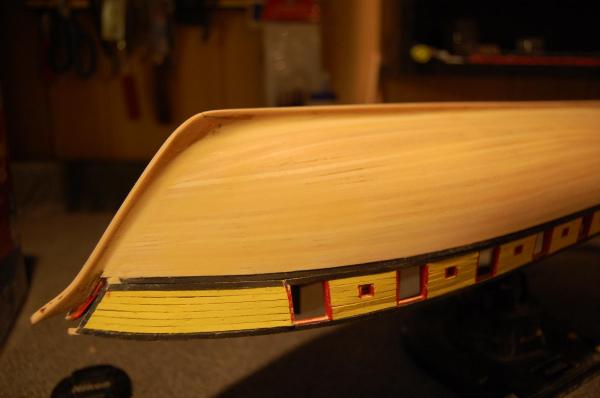
Still planking away. Hoping to finish this in the next couple days.
-
I did notice the separate boards on your ship which looks good. I think my next build I am going to use different woods and do it that way with a satin stain.
-
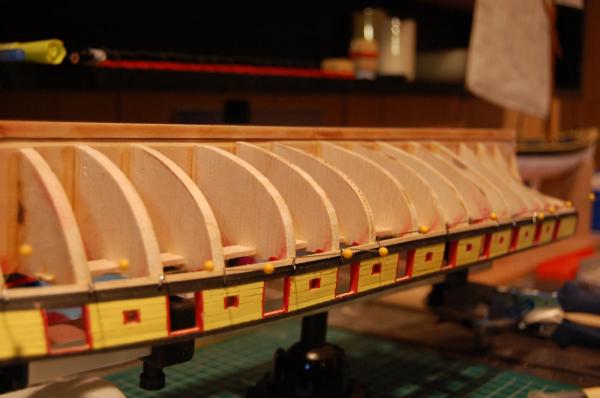
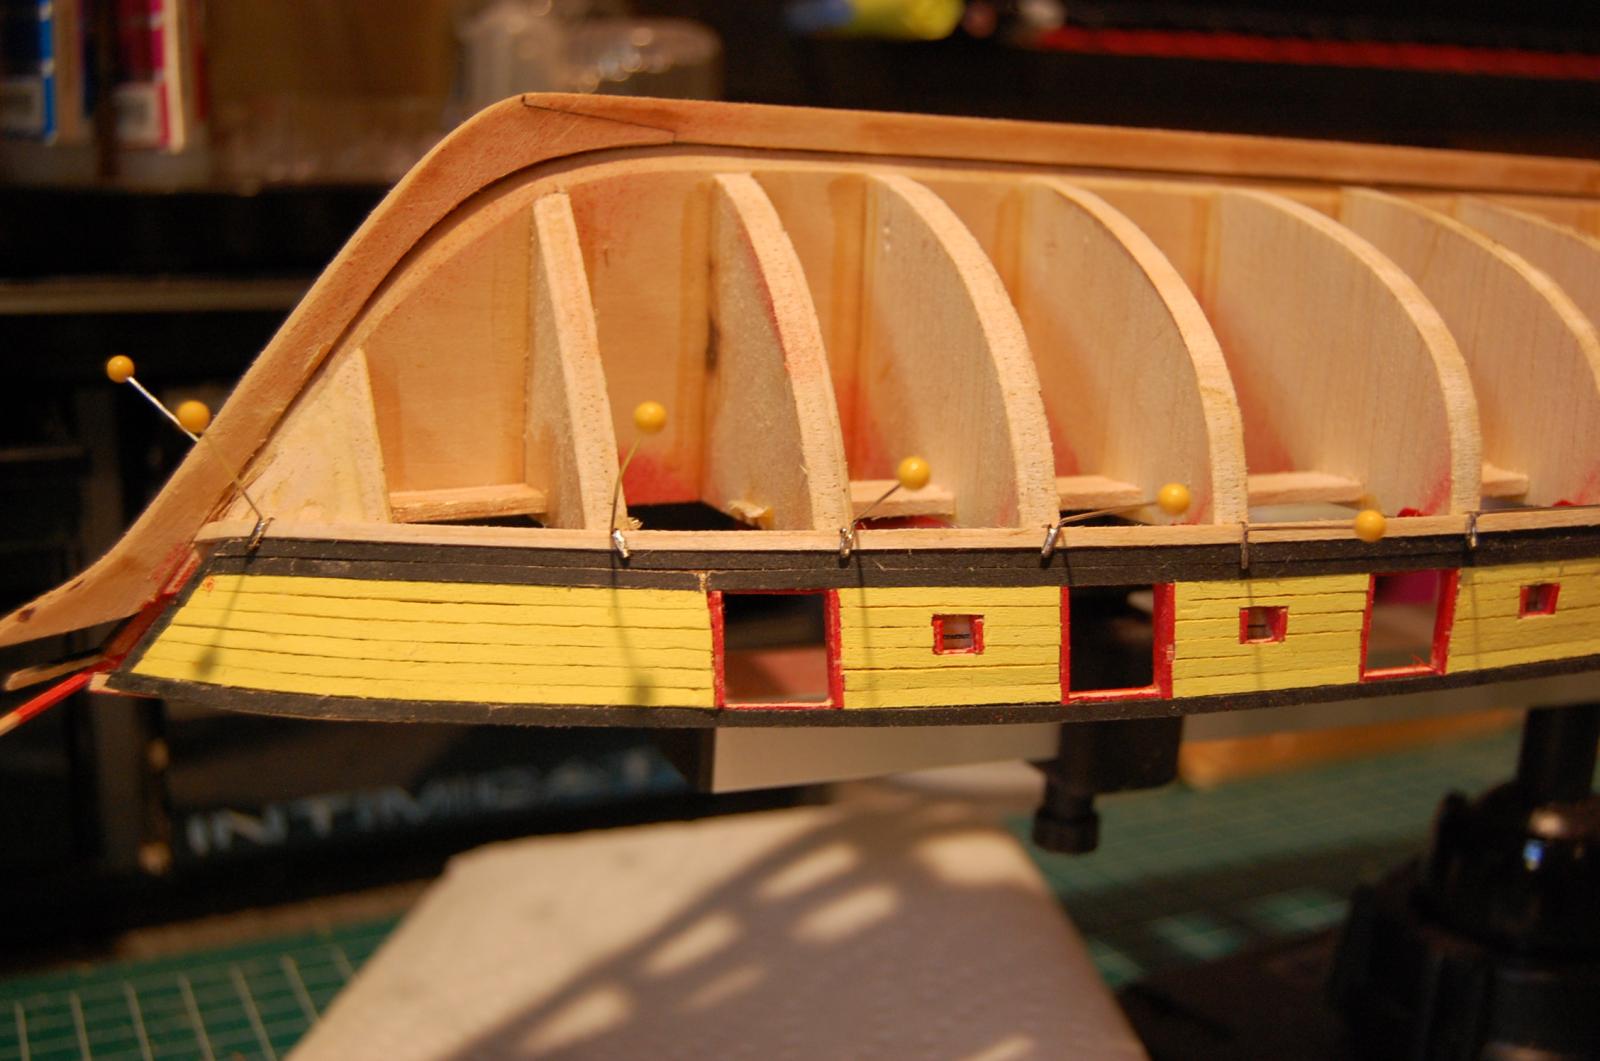
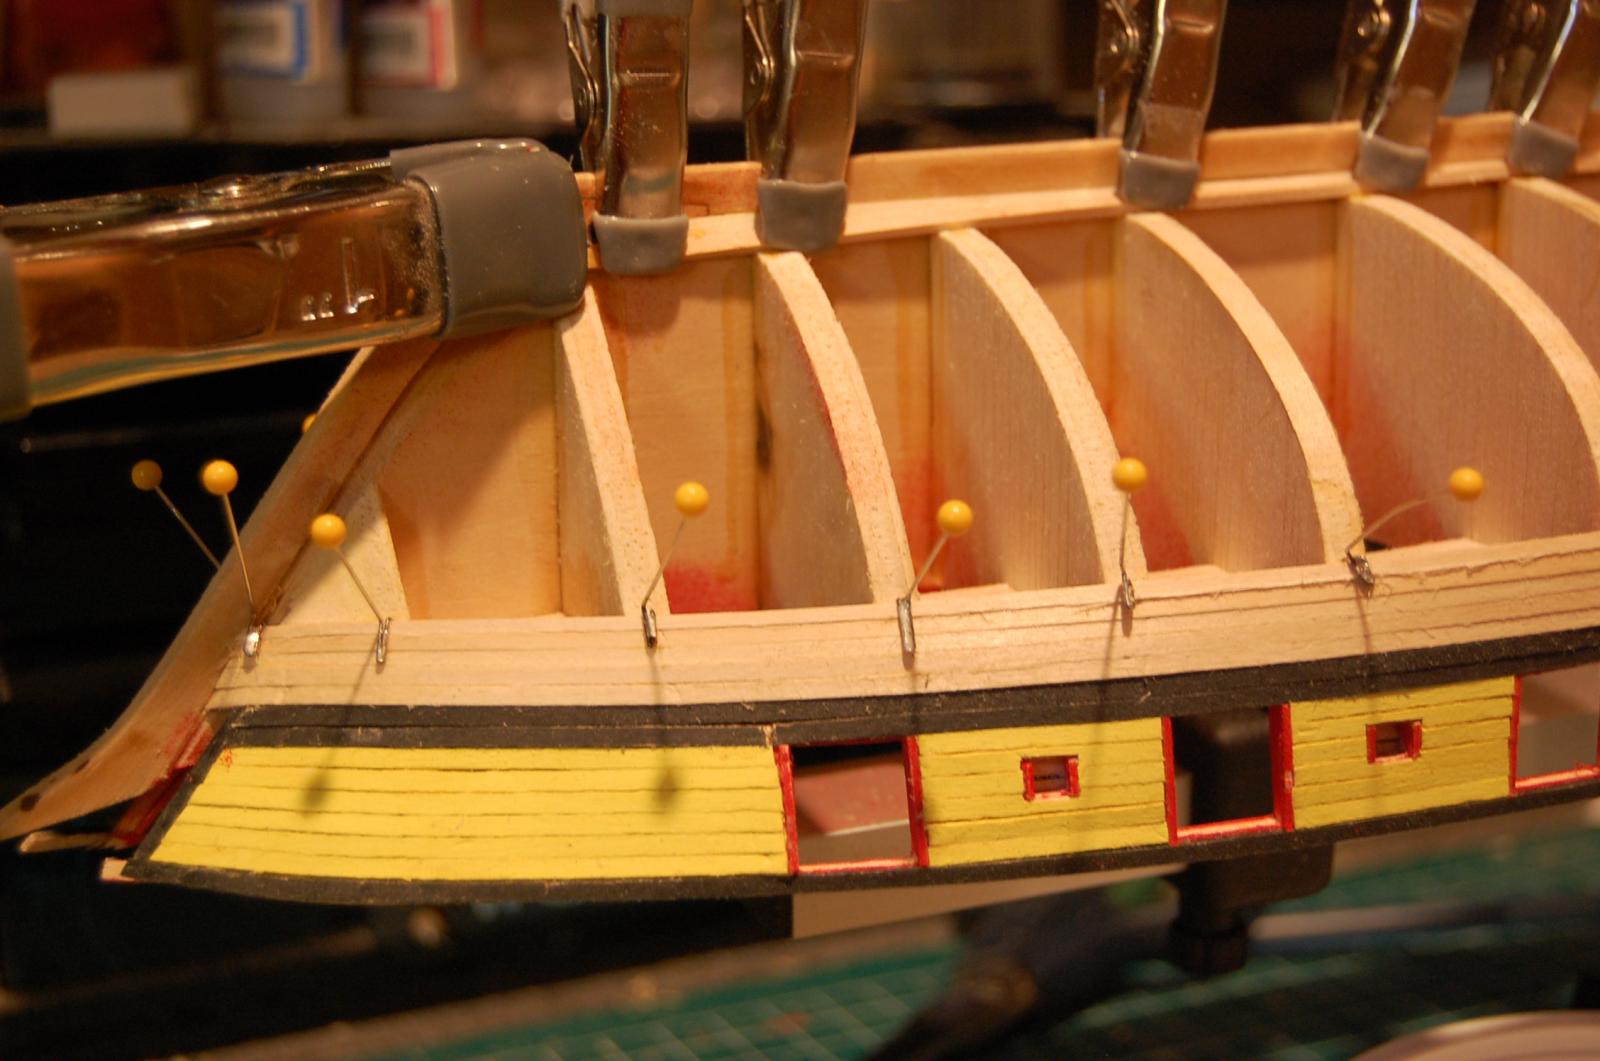
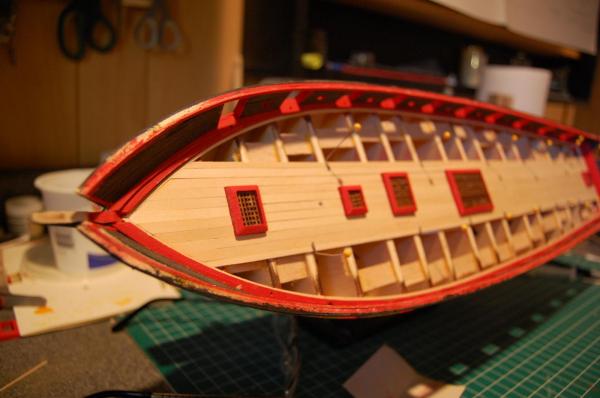
The port side inner gun port planking completed. Have now started the lower planking. Following the directions pretty closely. We'll see how we end up.