

Carlmb
-
Posts
129 -
Joined
-
Last visited
Content Type
Profiles
Forums
Gallery
Events
Posts posted by Carlmb
-
-
-
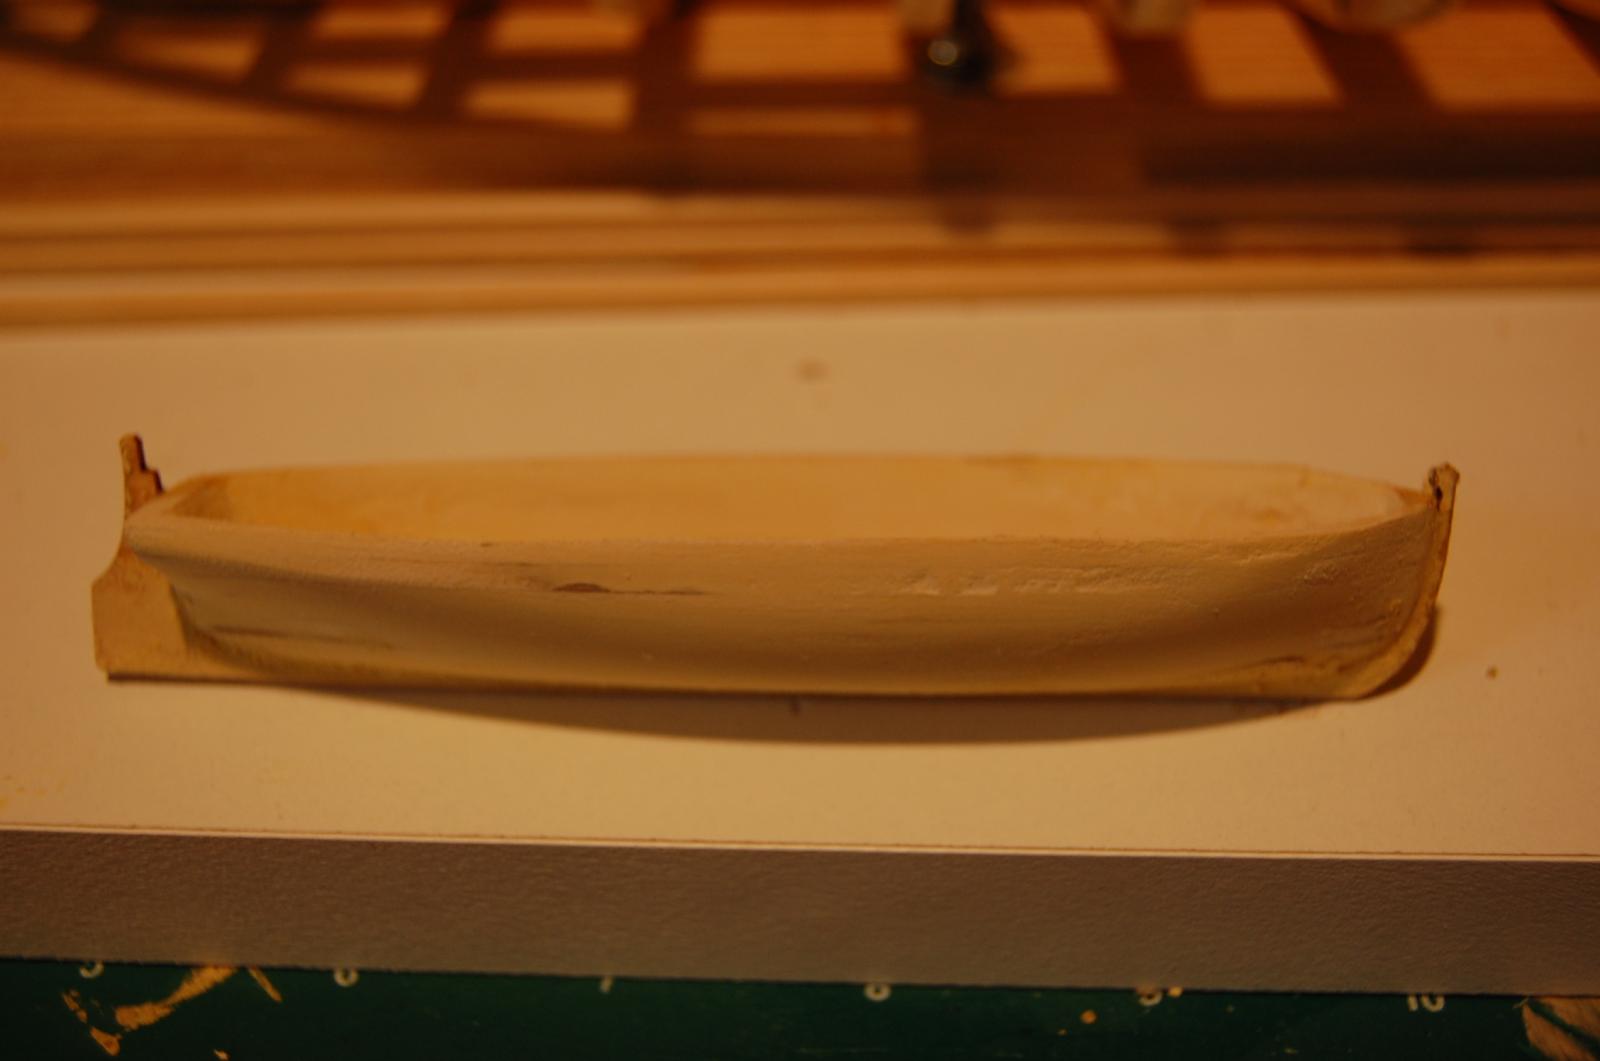
I used 60 grit sandpaper until the parting lines were gone then hit the whole thing in and out with Elmer's wood filler. Resand after 24 hours.
-
Would a smaller paper clip be the right diameter for the hammock stanchion? I haven't made it that far yet.
-
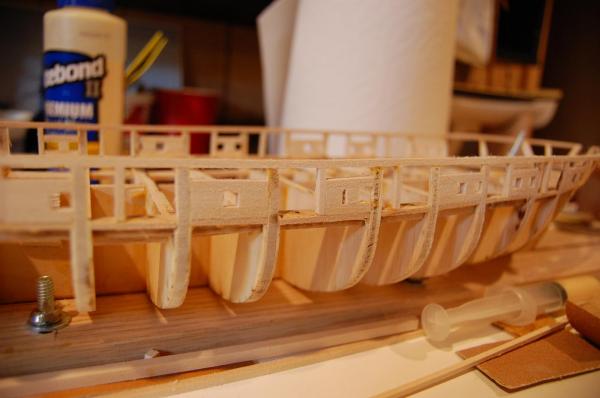
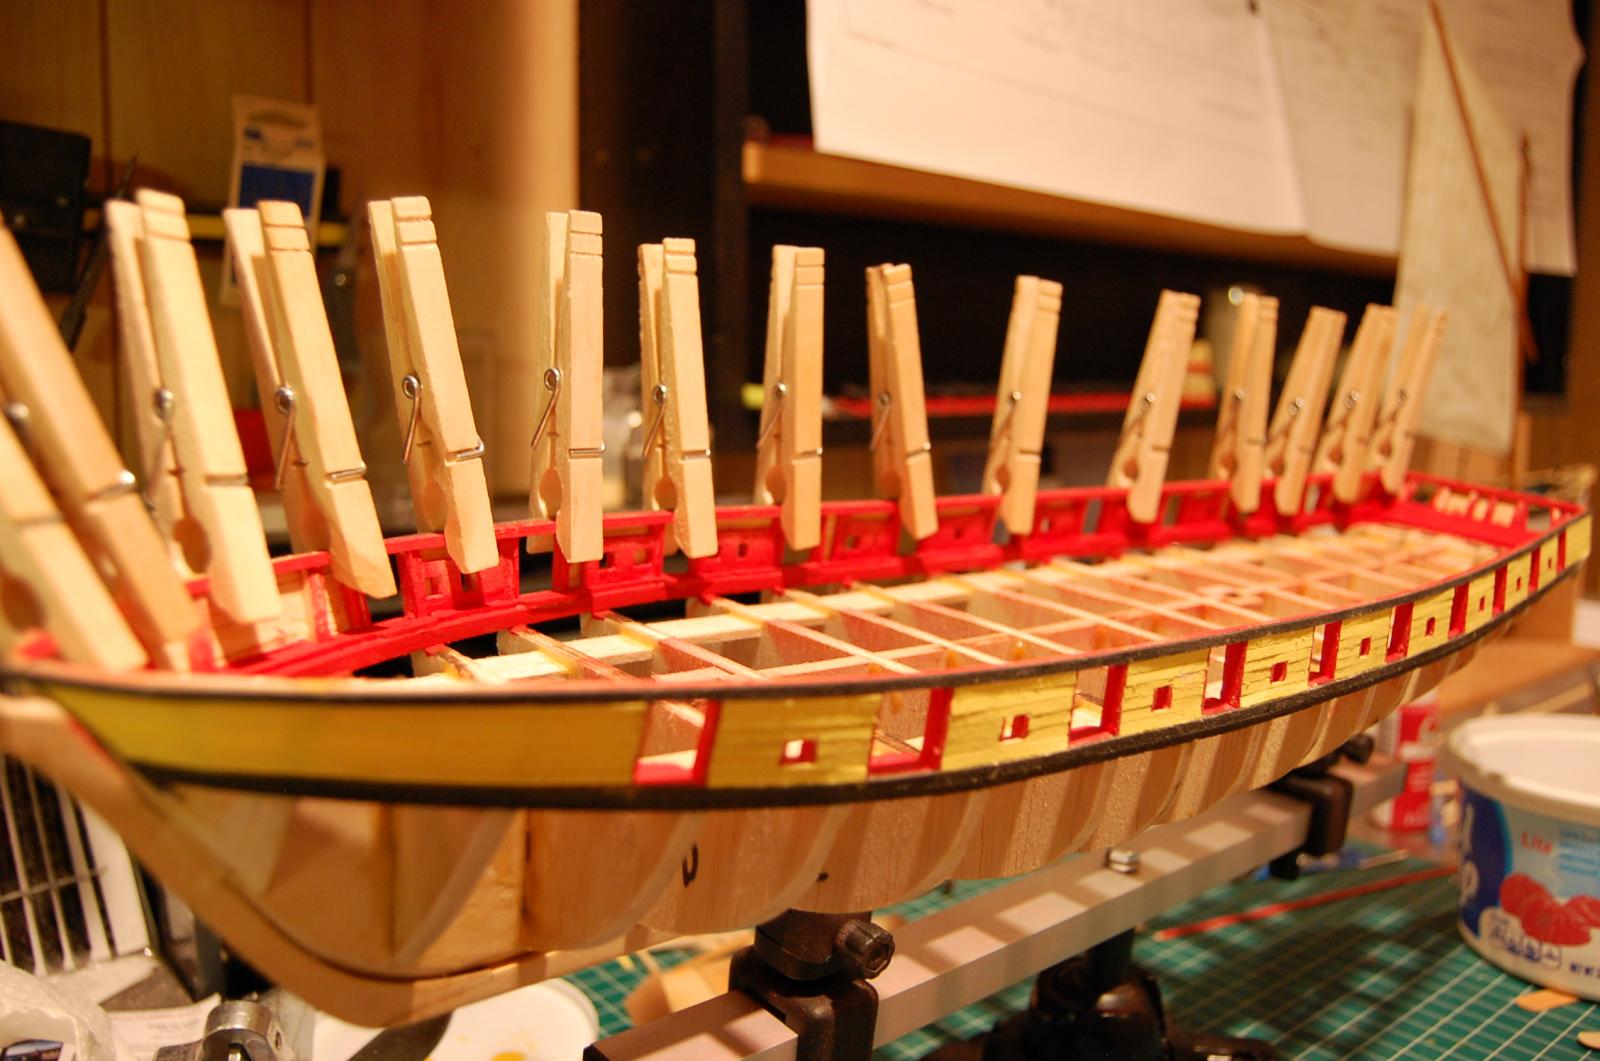
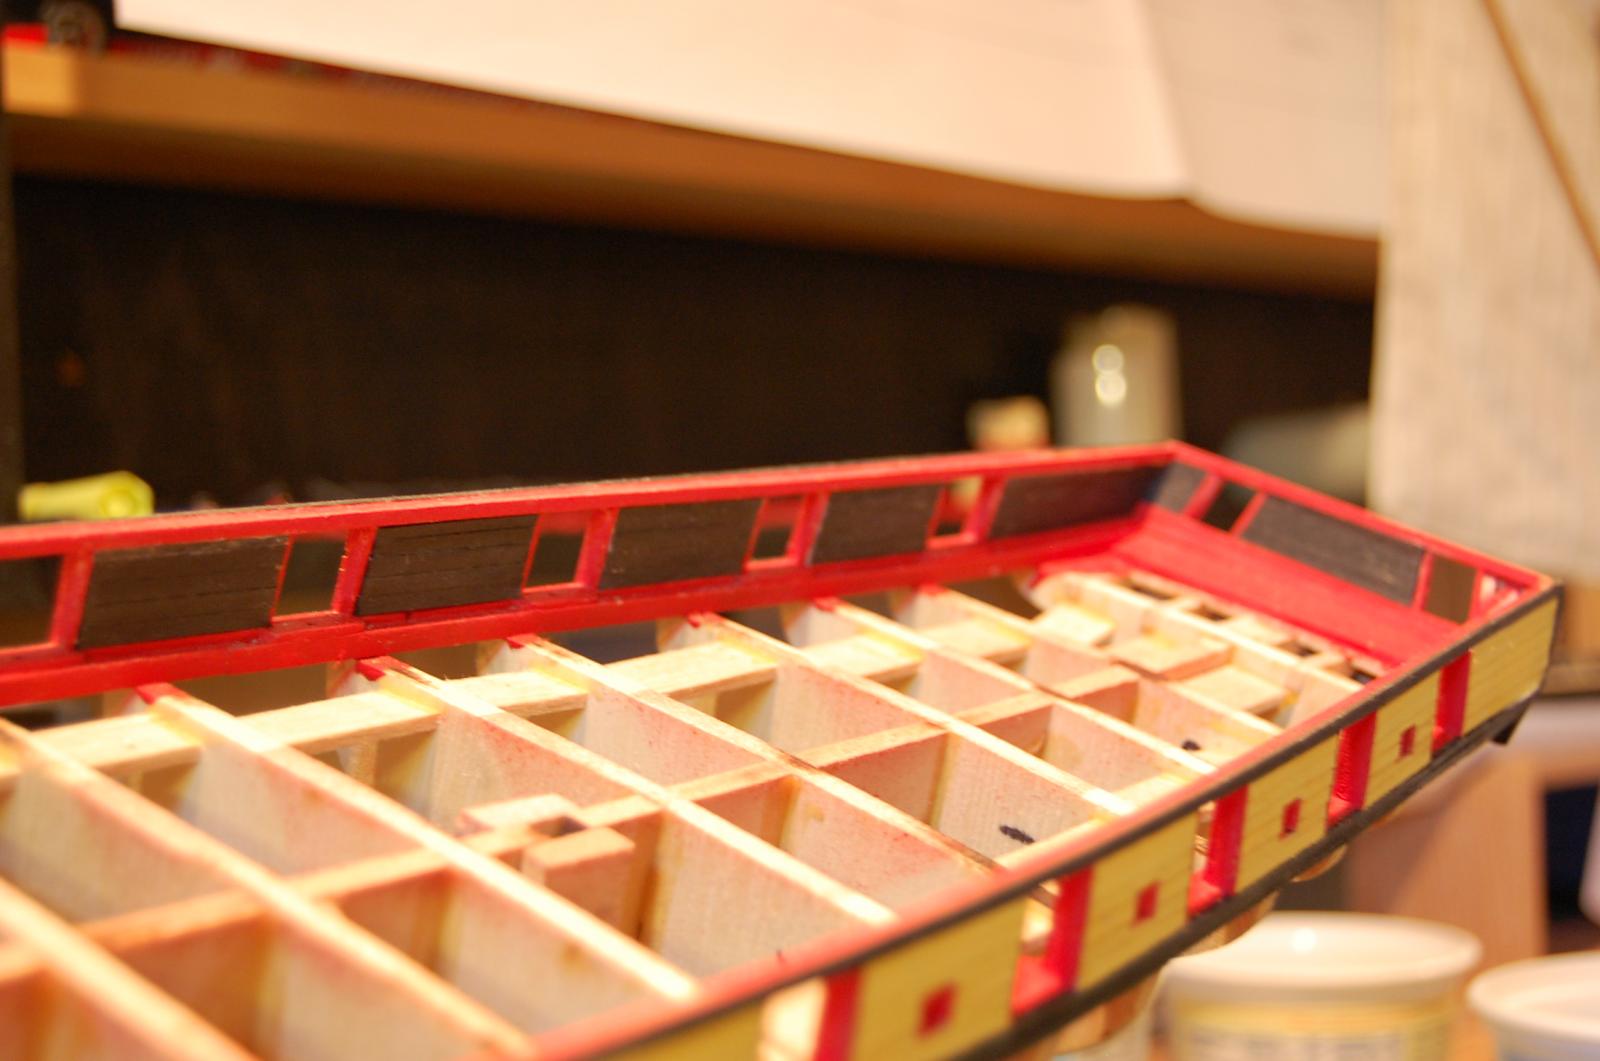
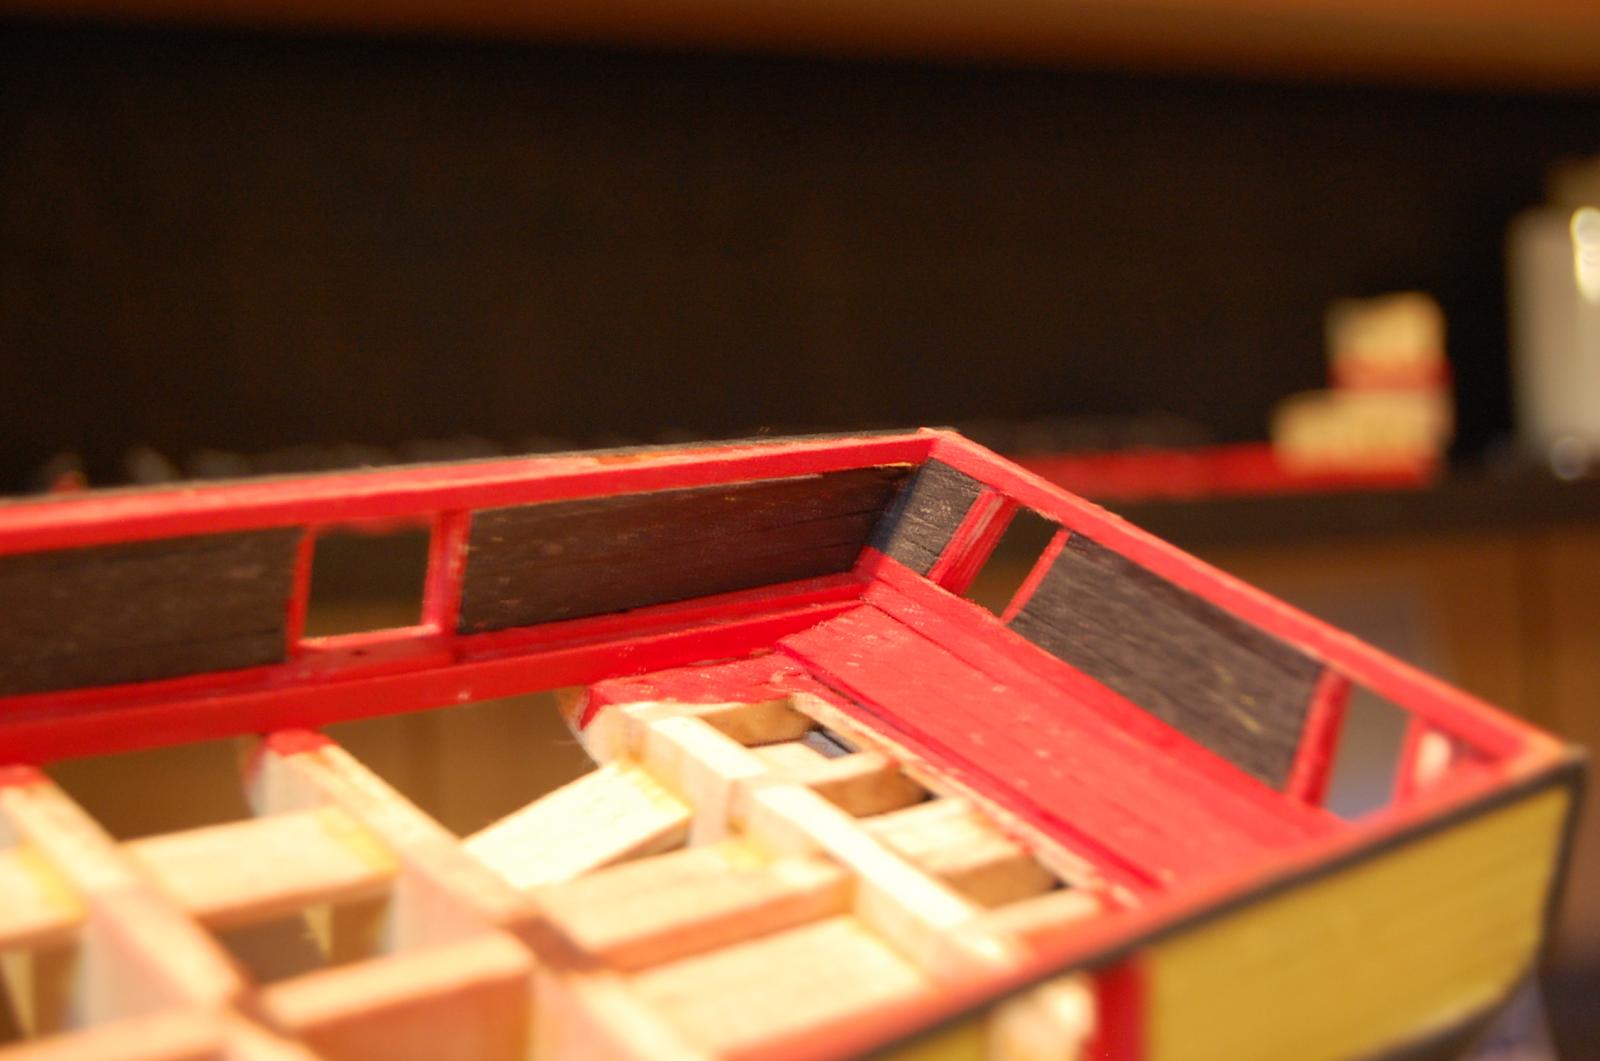
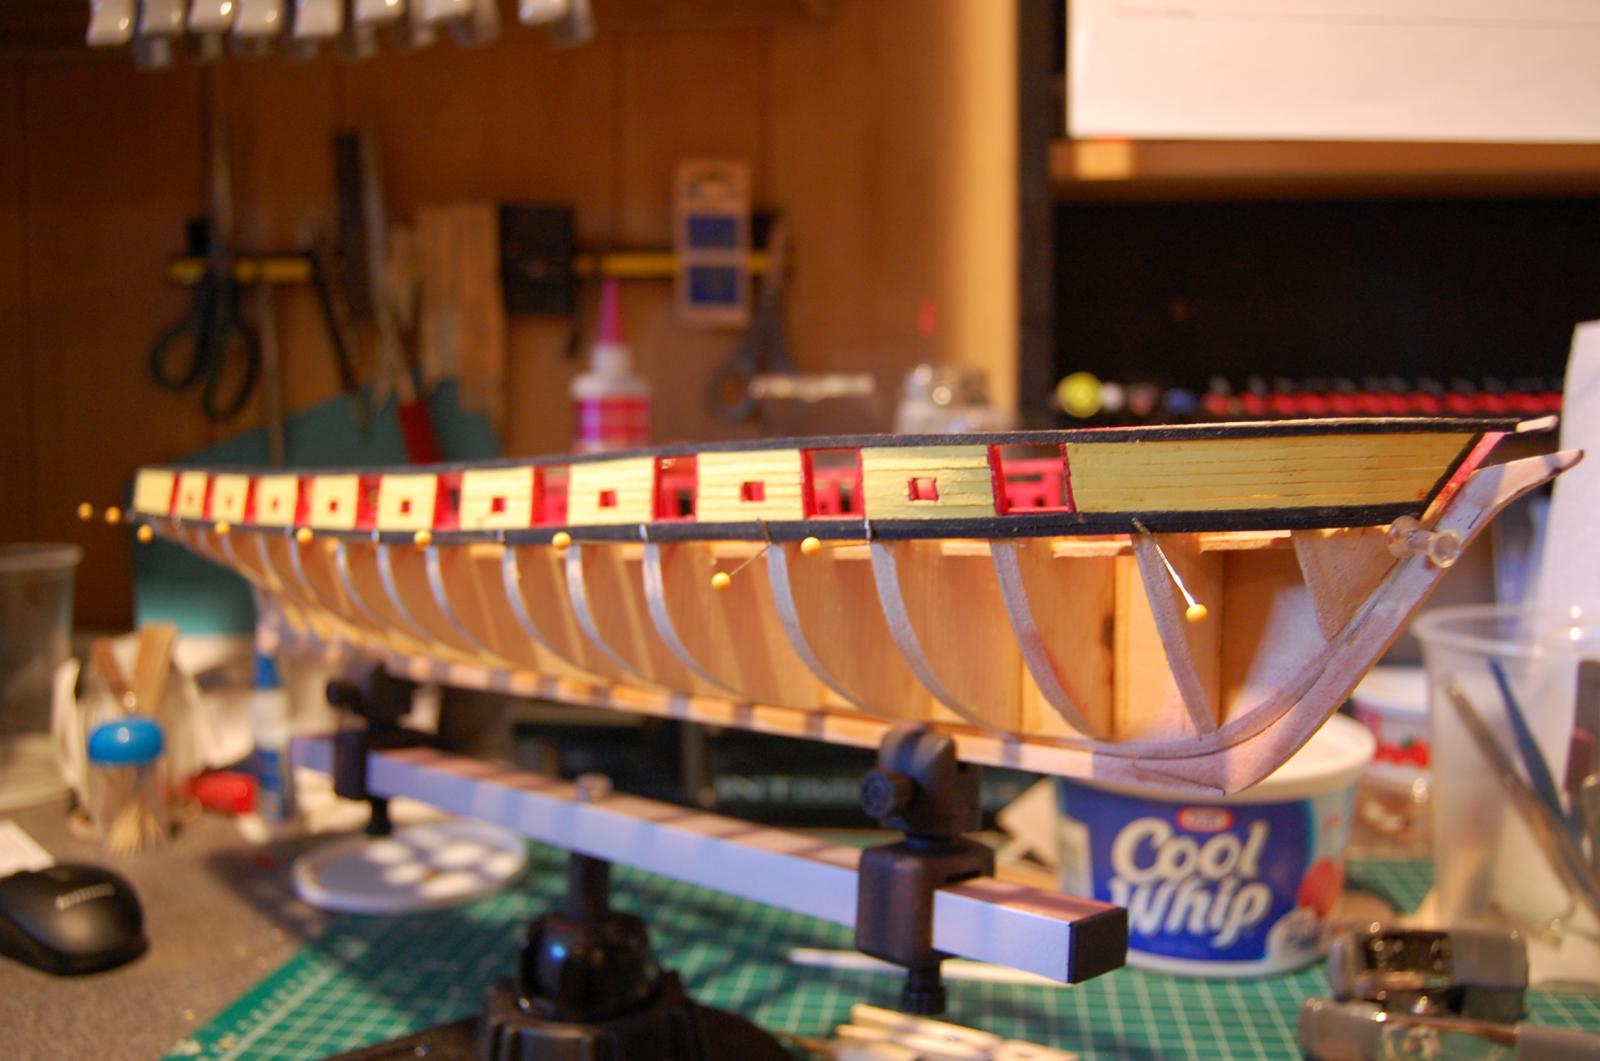
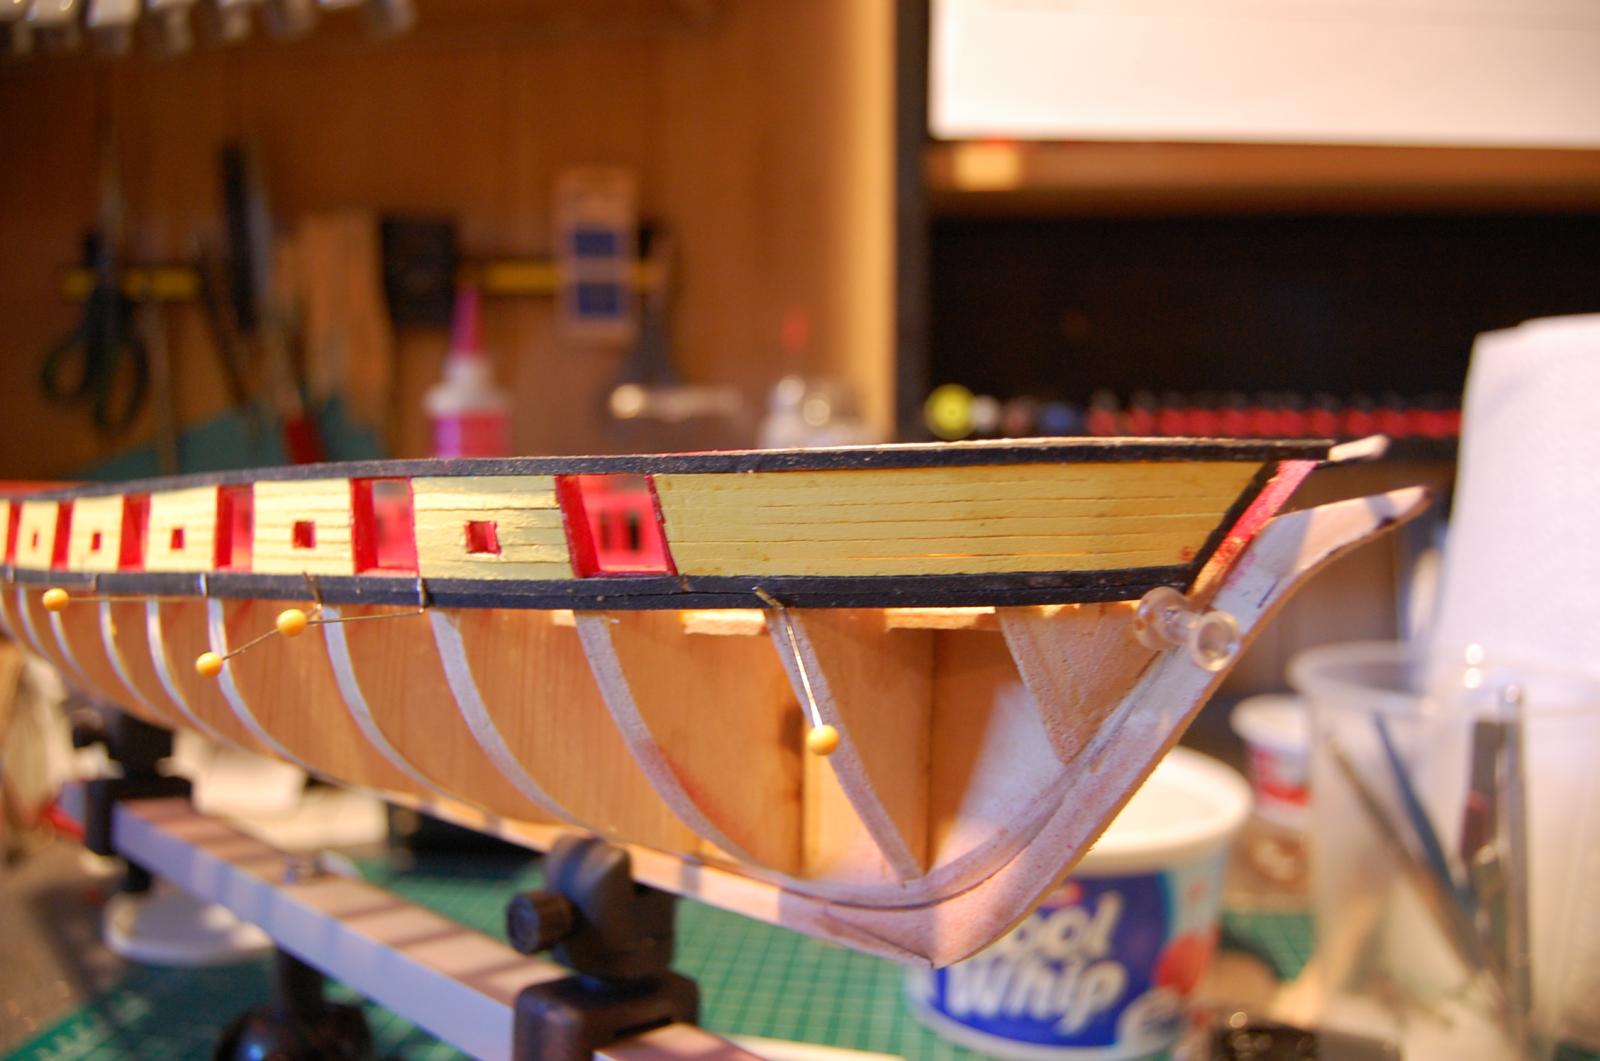
I finished the outer planking around the gun ports on the port side. Also completed the counter planks on the lower transom, added the fashion pieces on both sides of the rear and completed the final pieces on the inner transom. I am going to deviate a little bit from the original plans and go with red and black on the inner gun port areas but I am going with the green and black hull.

-
-
Thanks for the nice comments. The black is model expo. The red and yellow are from AC Moore. Great deal on acrylics at .69 for a 2oz bottle and there are 100's of colors. I am diluting them with denatured alcohol and then airbrushing.
-
-
-
-
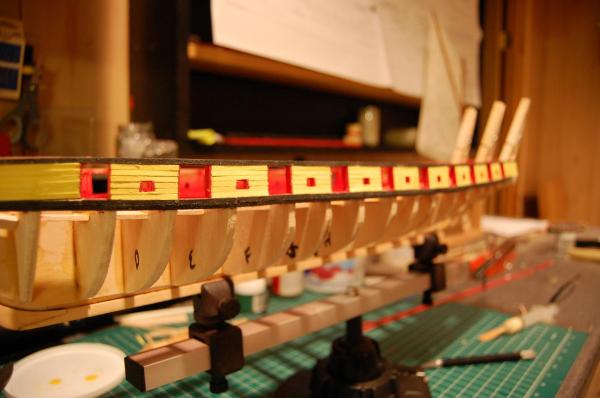
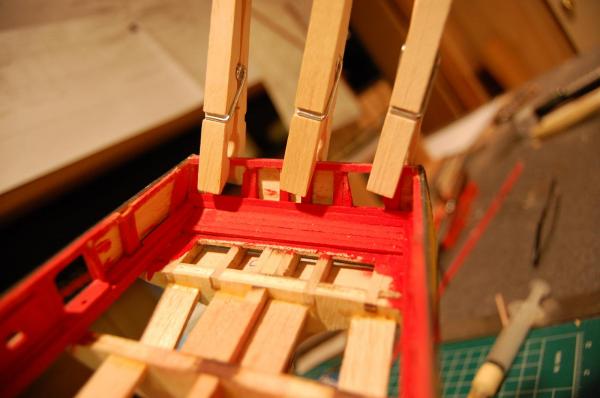
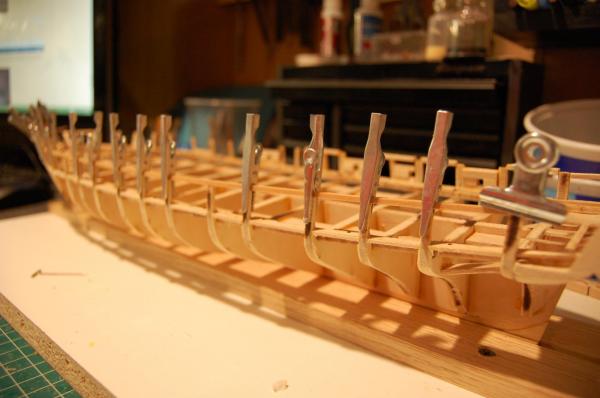
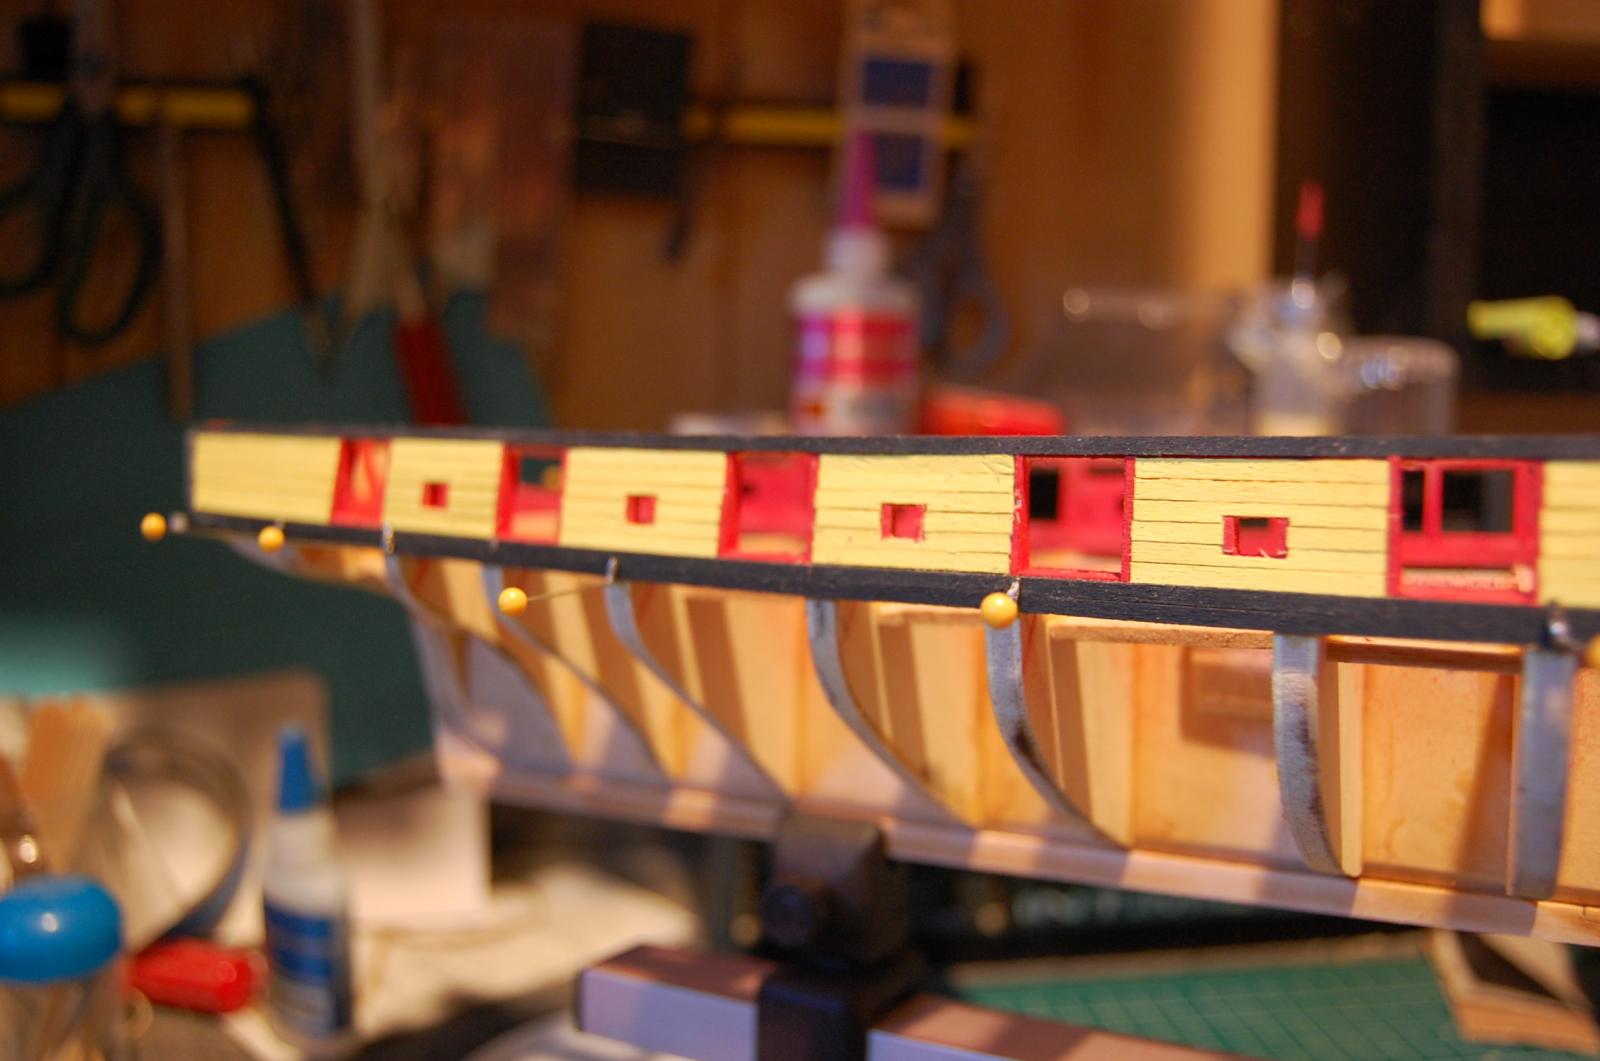
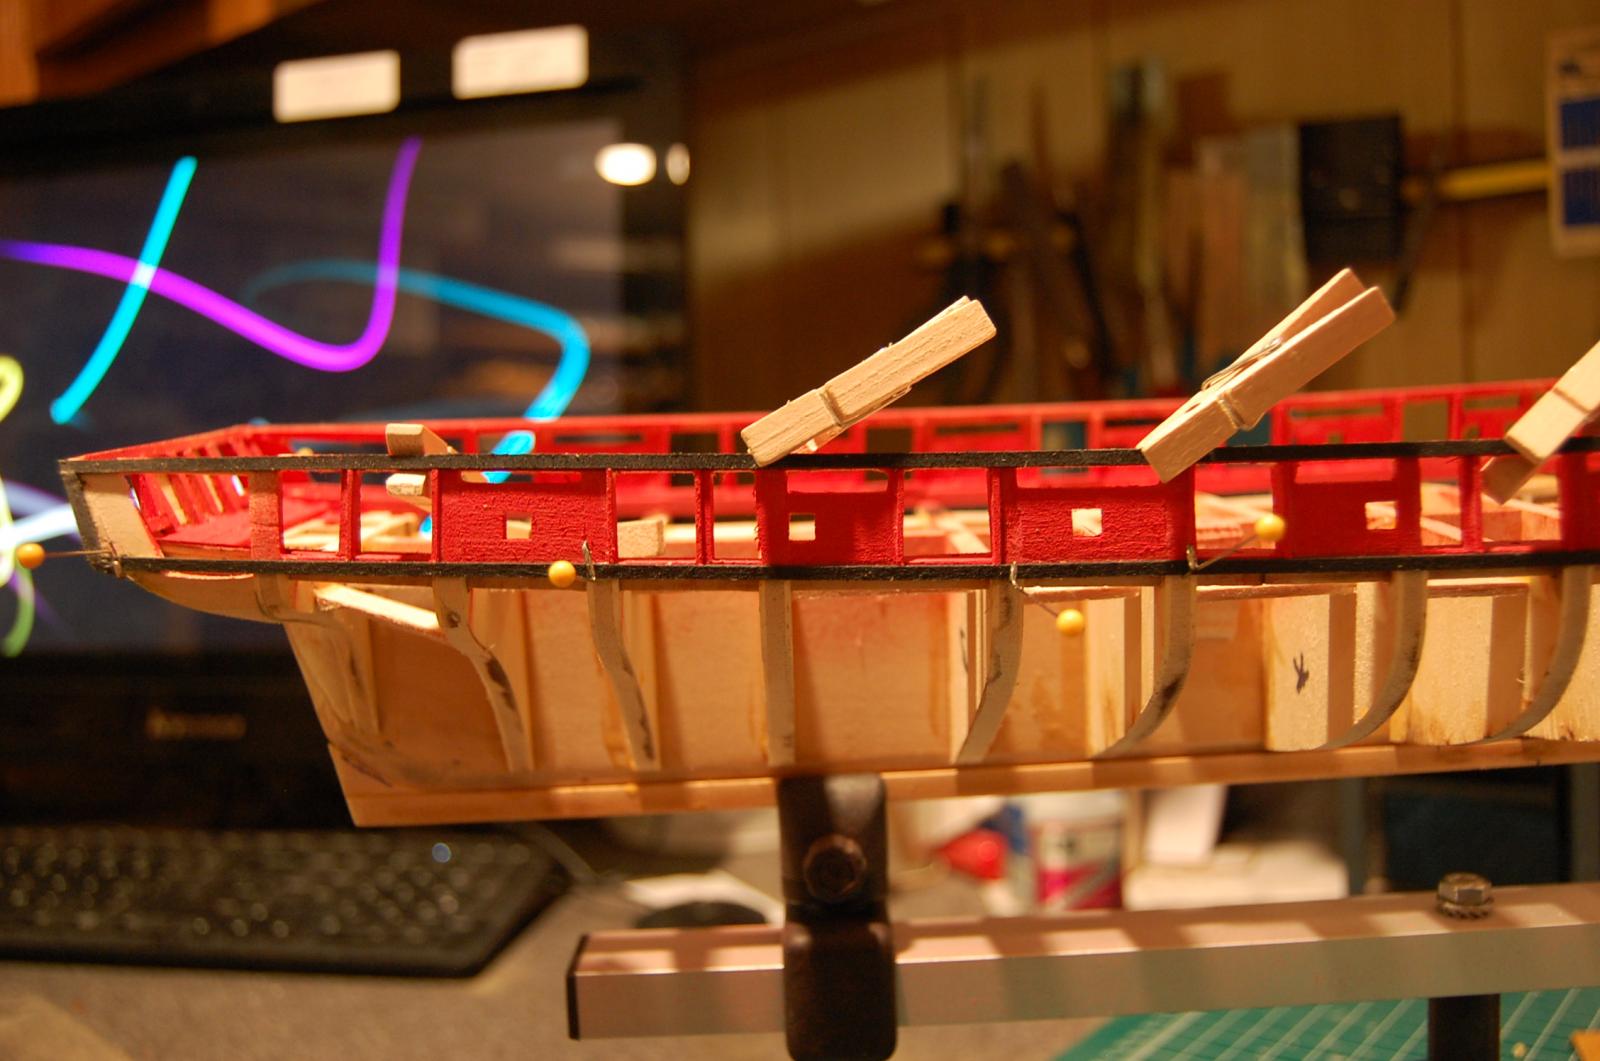
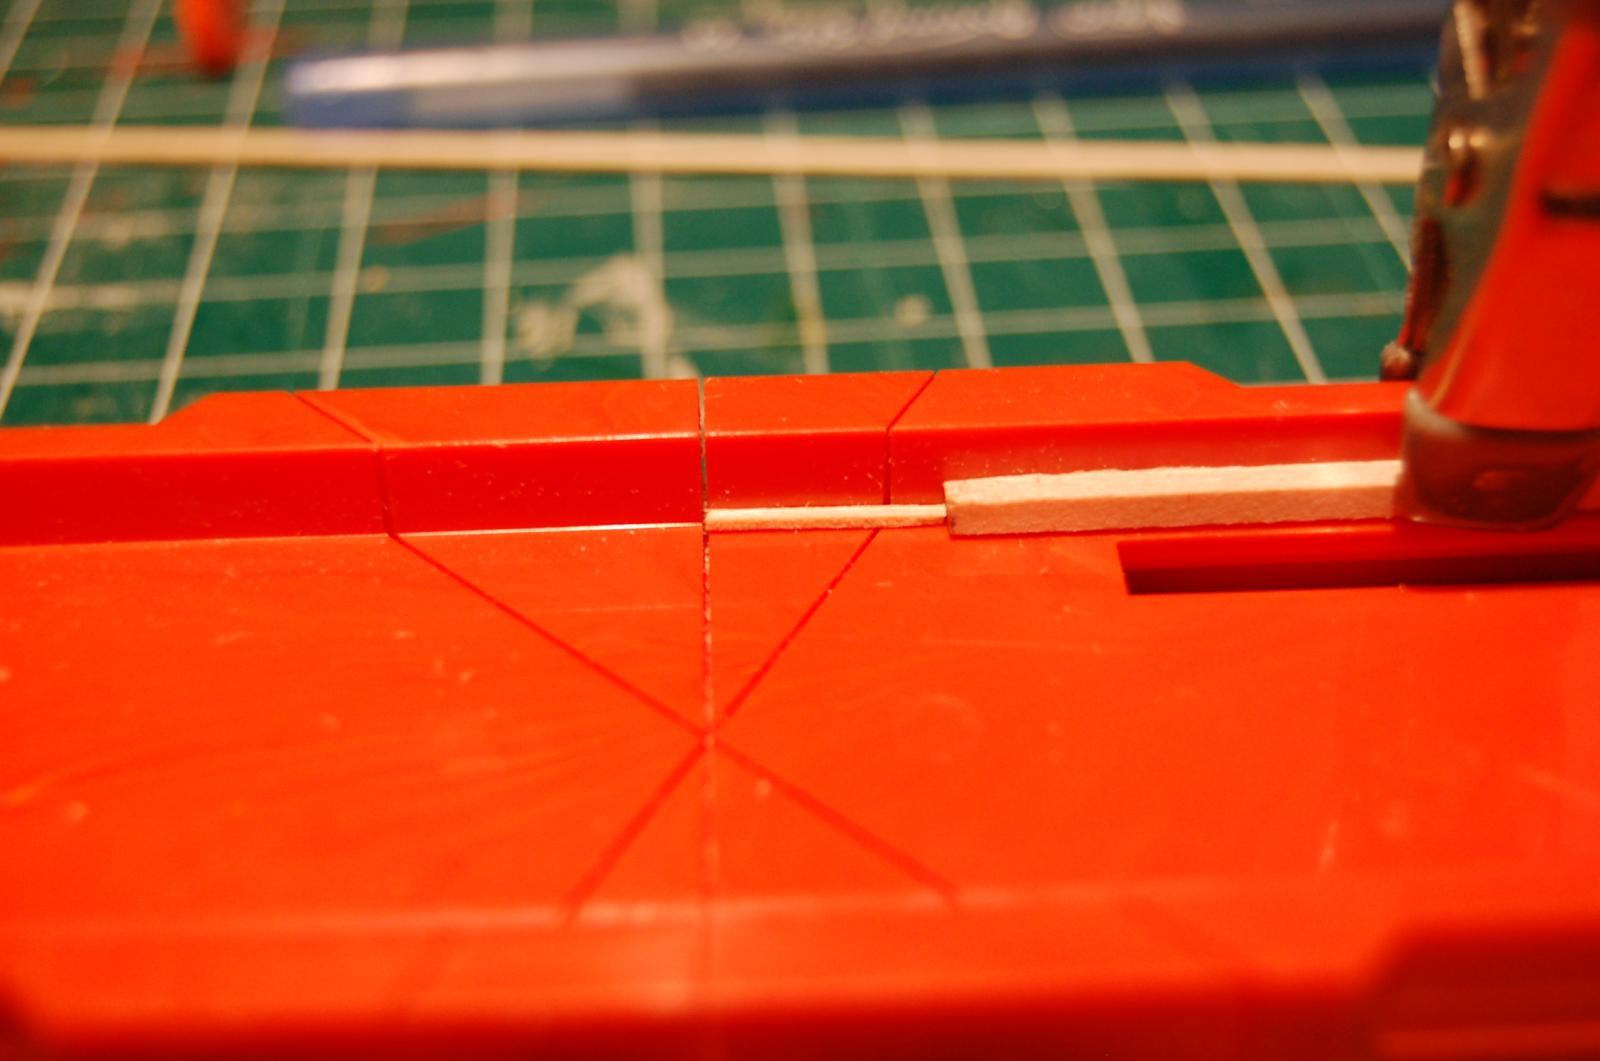
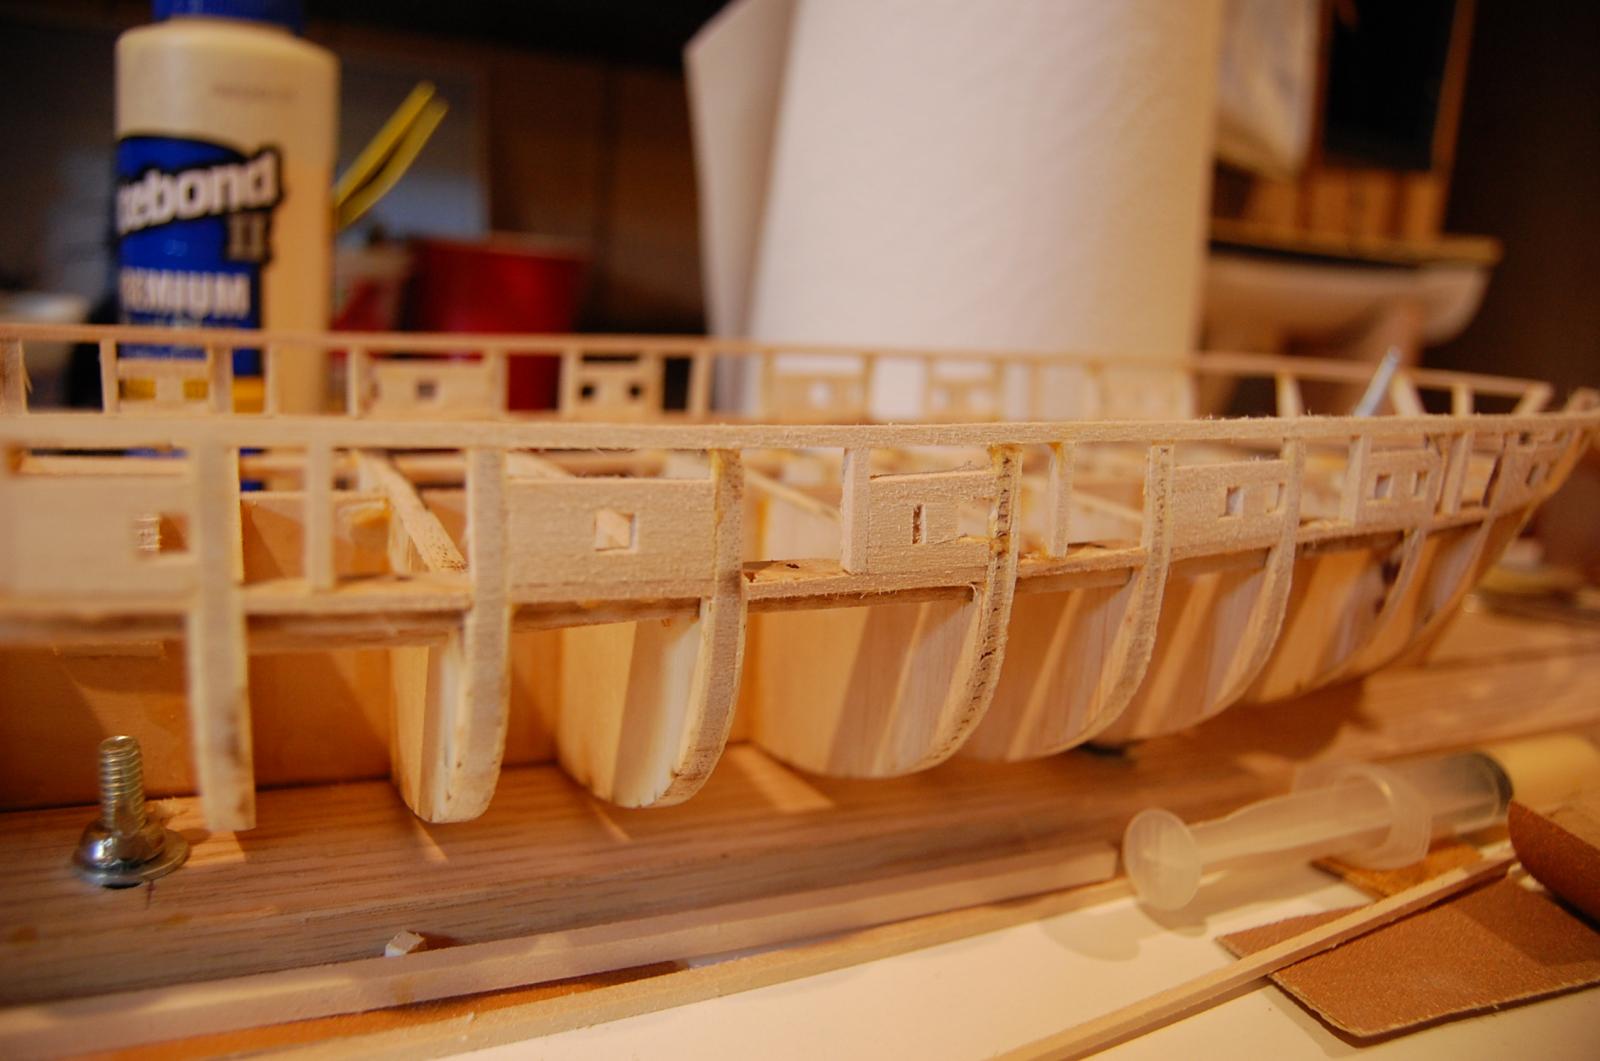
Time to add the 1/32 spacers around the gun ports. Added the temporary board at the top which will be removed before airbrushing. Used a small miter box and clamped on a spacer since we are going to need 80 spacers in this length. Not going to add the spacer for the oar sweeps now. Going to paint the spacer and add it after I've completed a couple boards from the top and determine the exact spot.


-
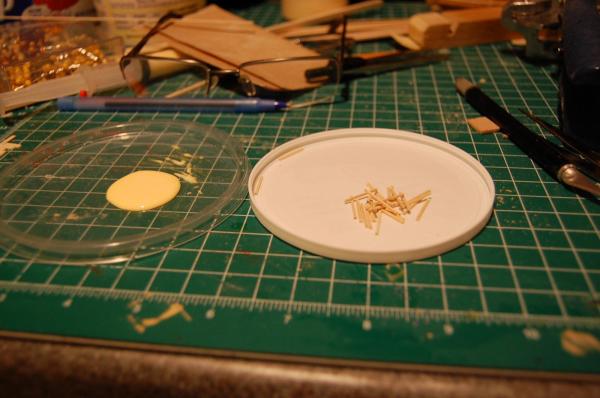
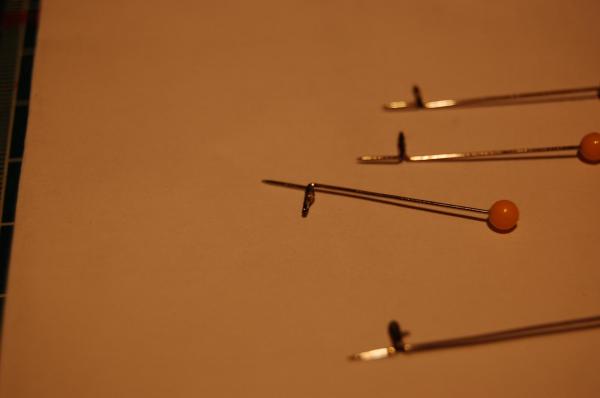
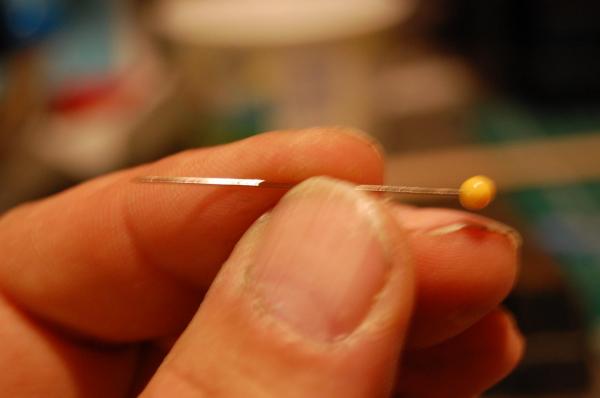
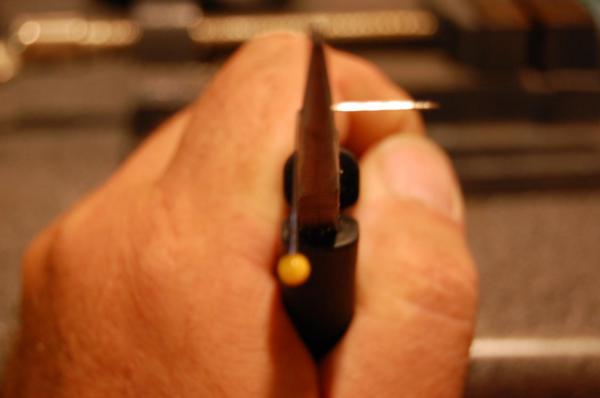
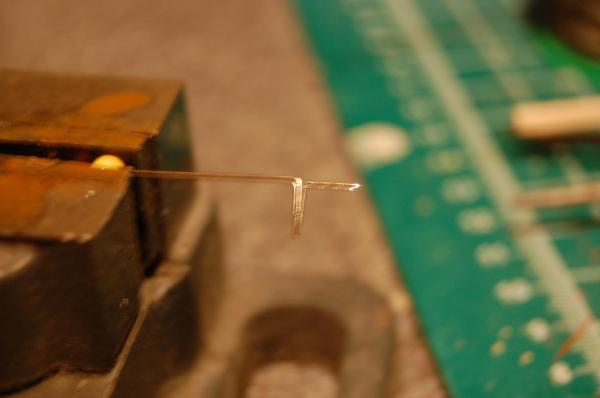
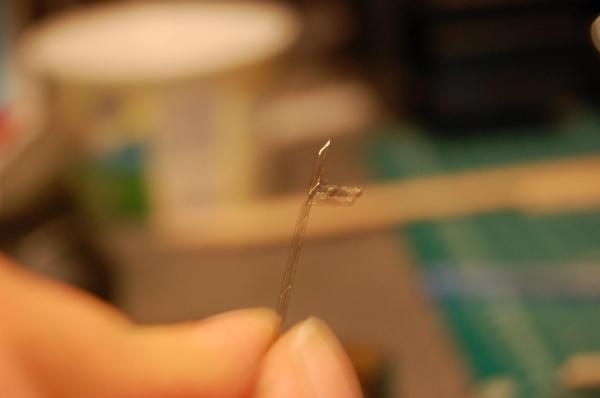
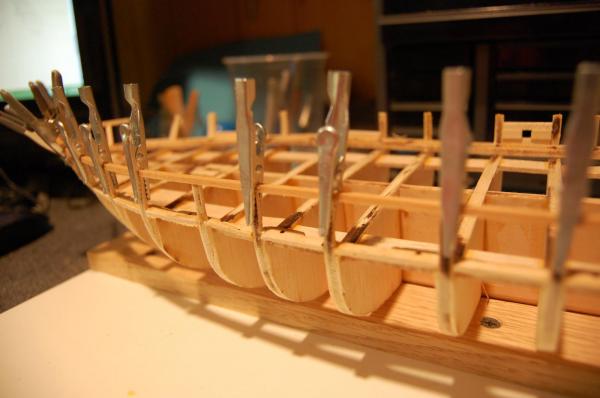
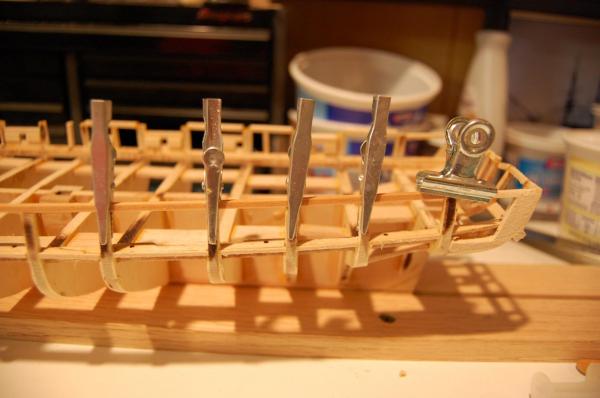
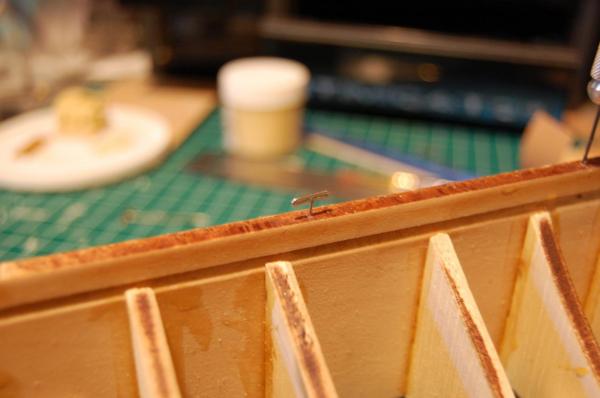
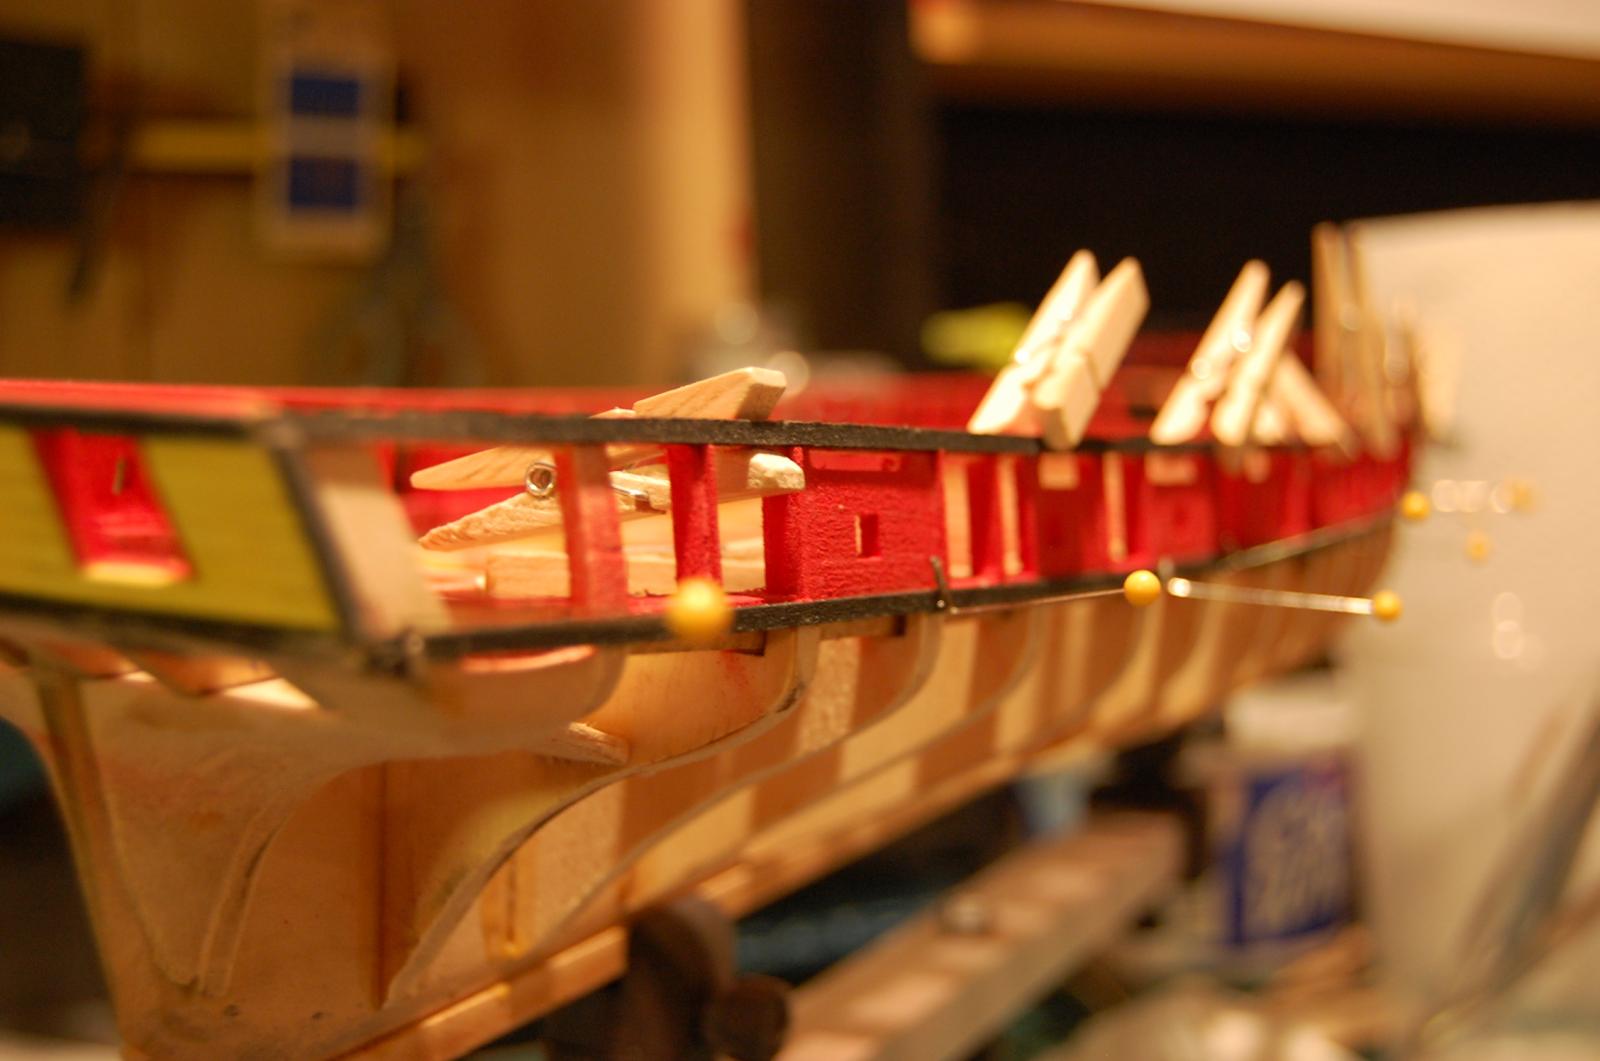
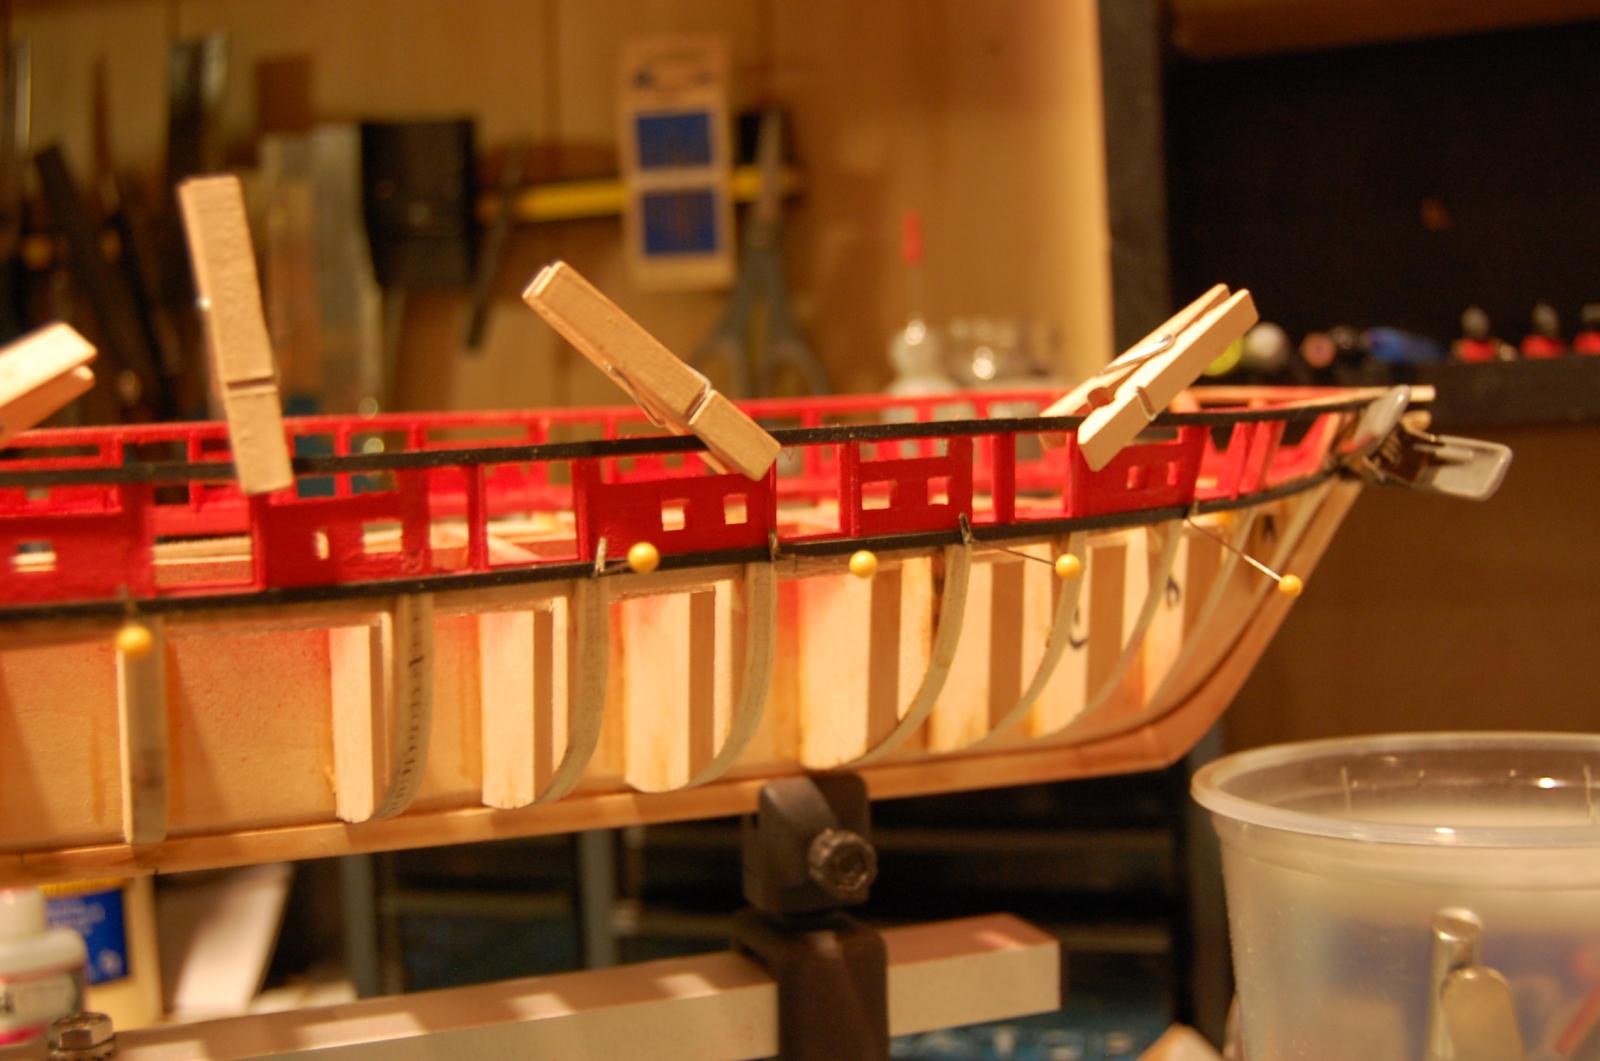
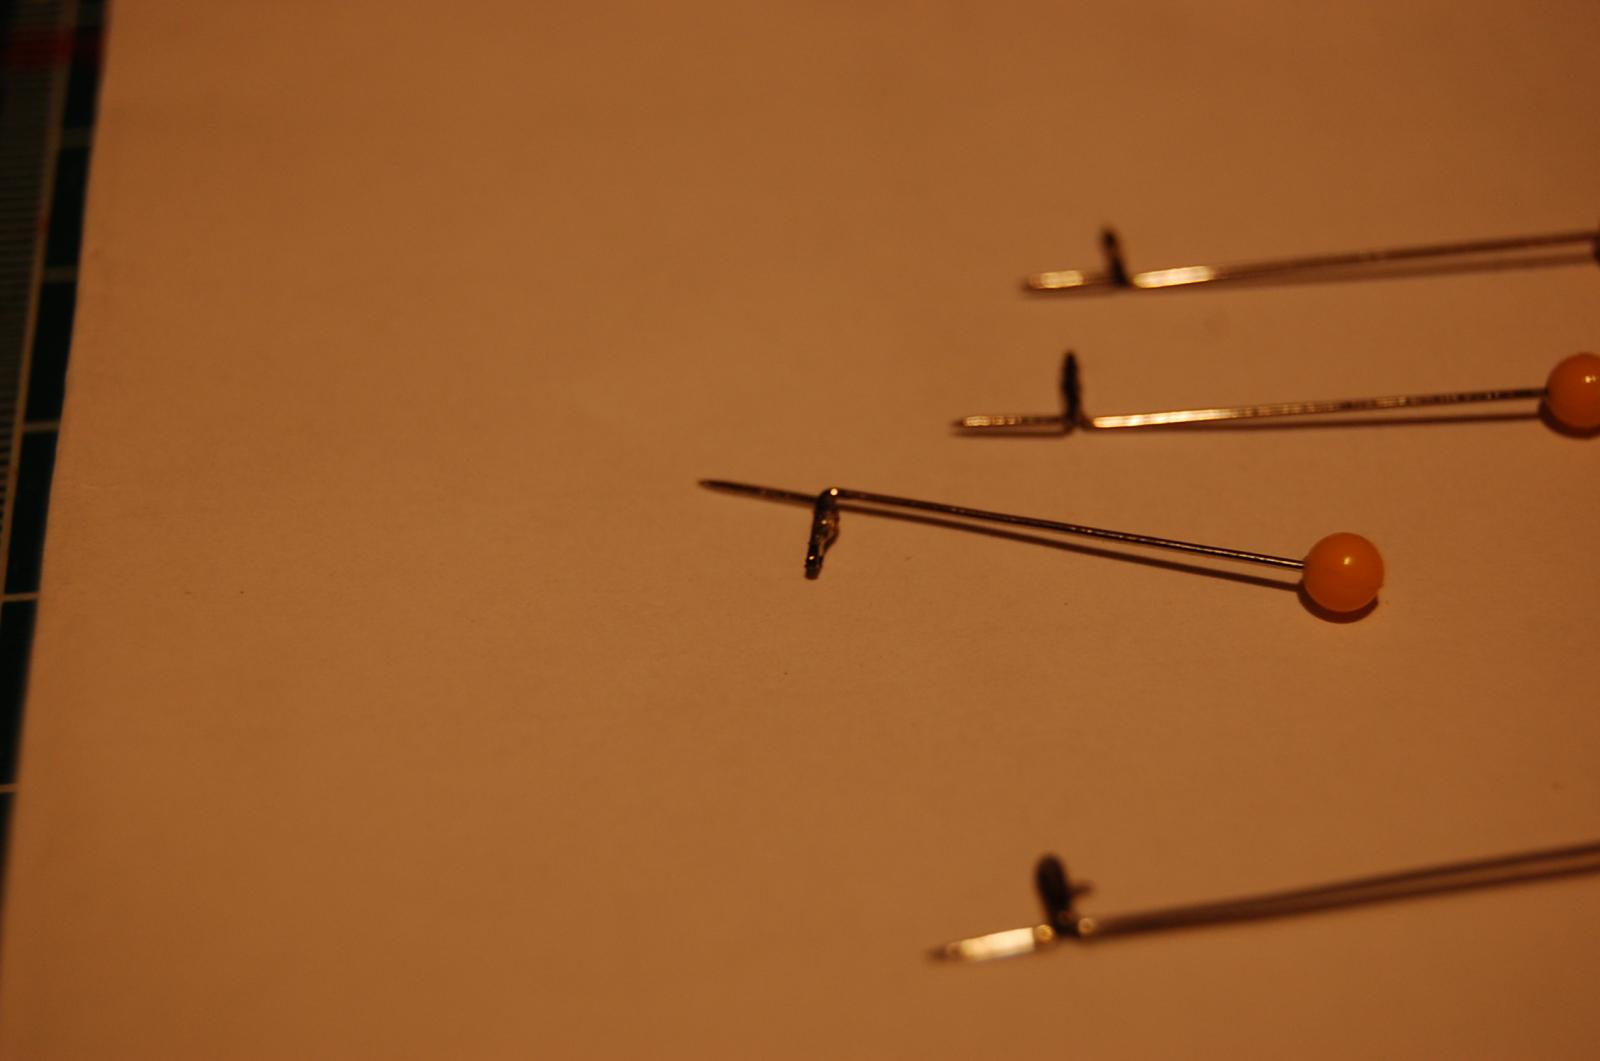
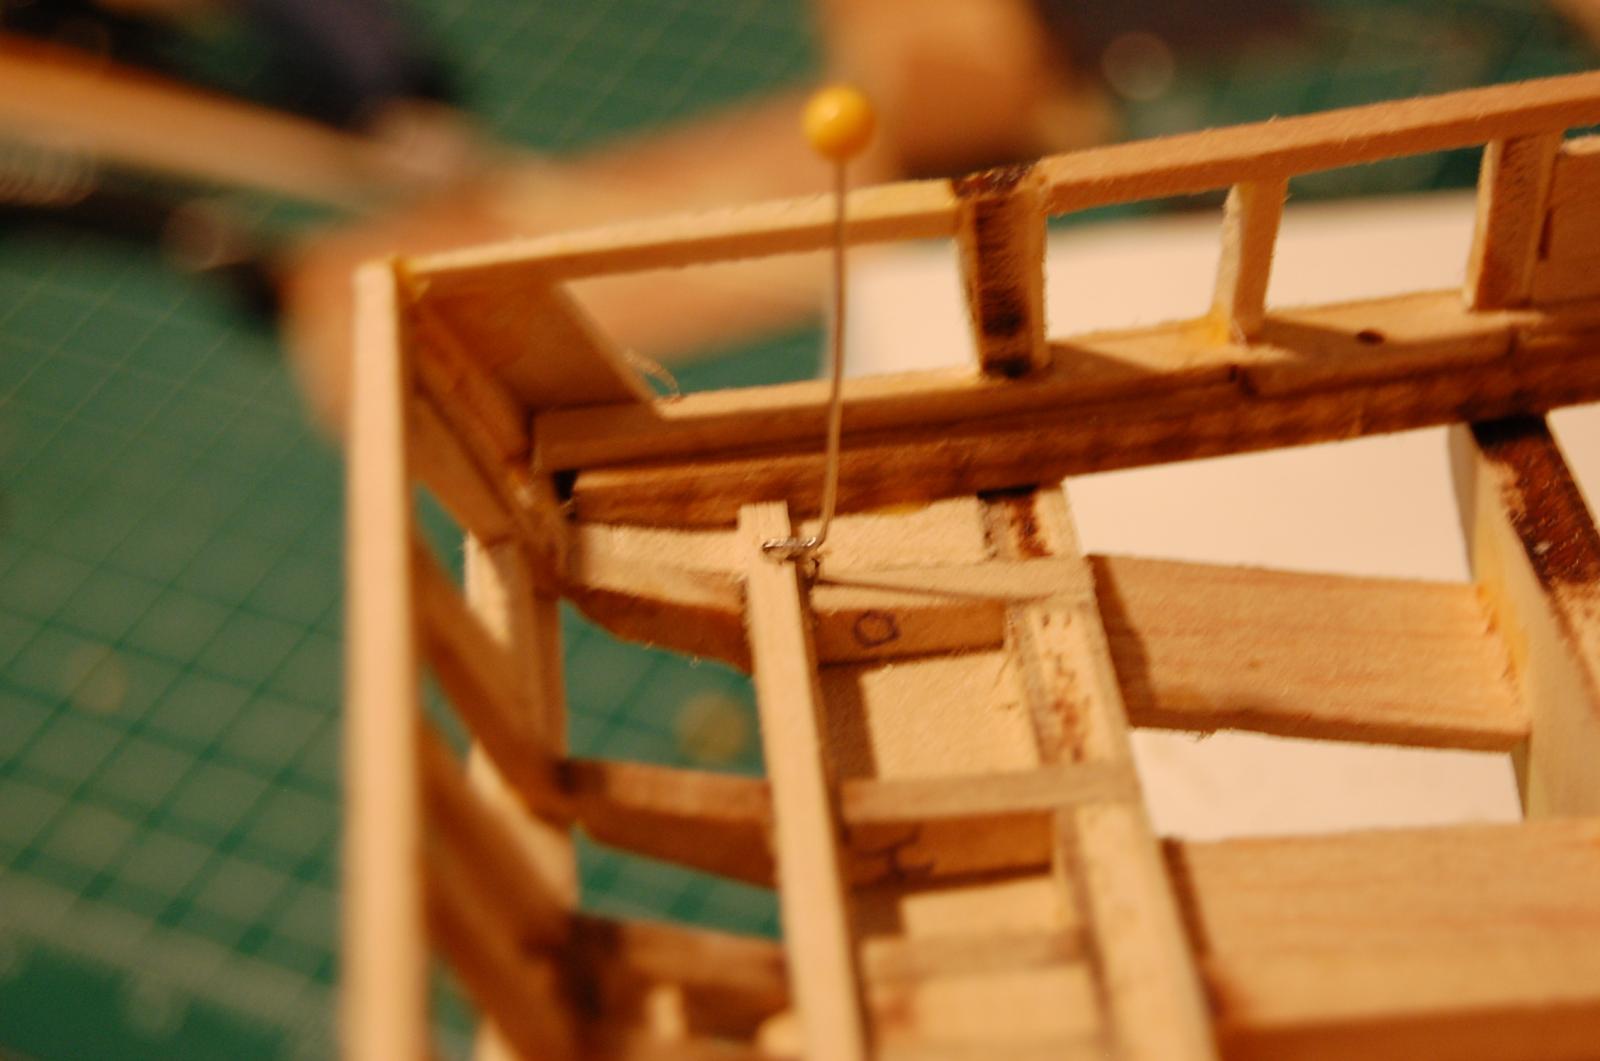
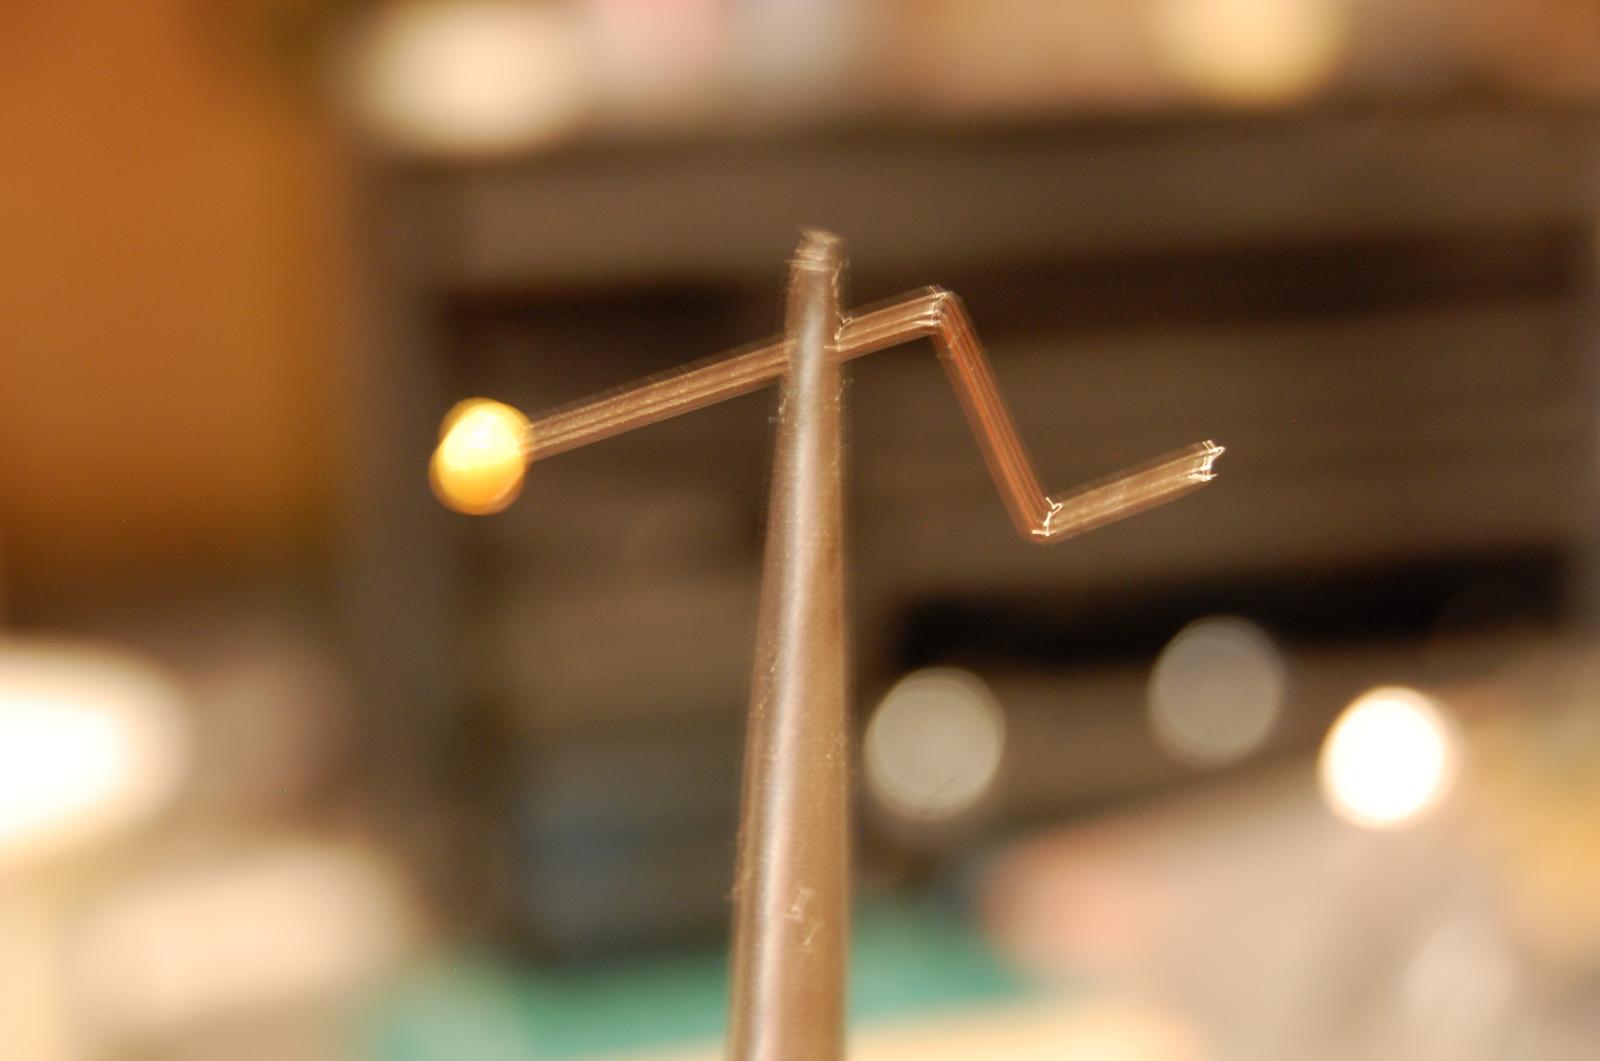
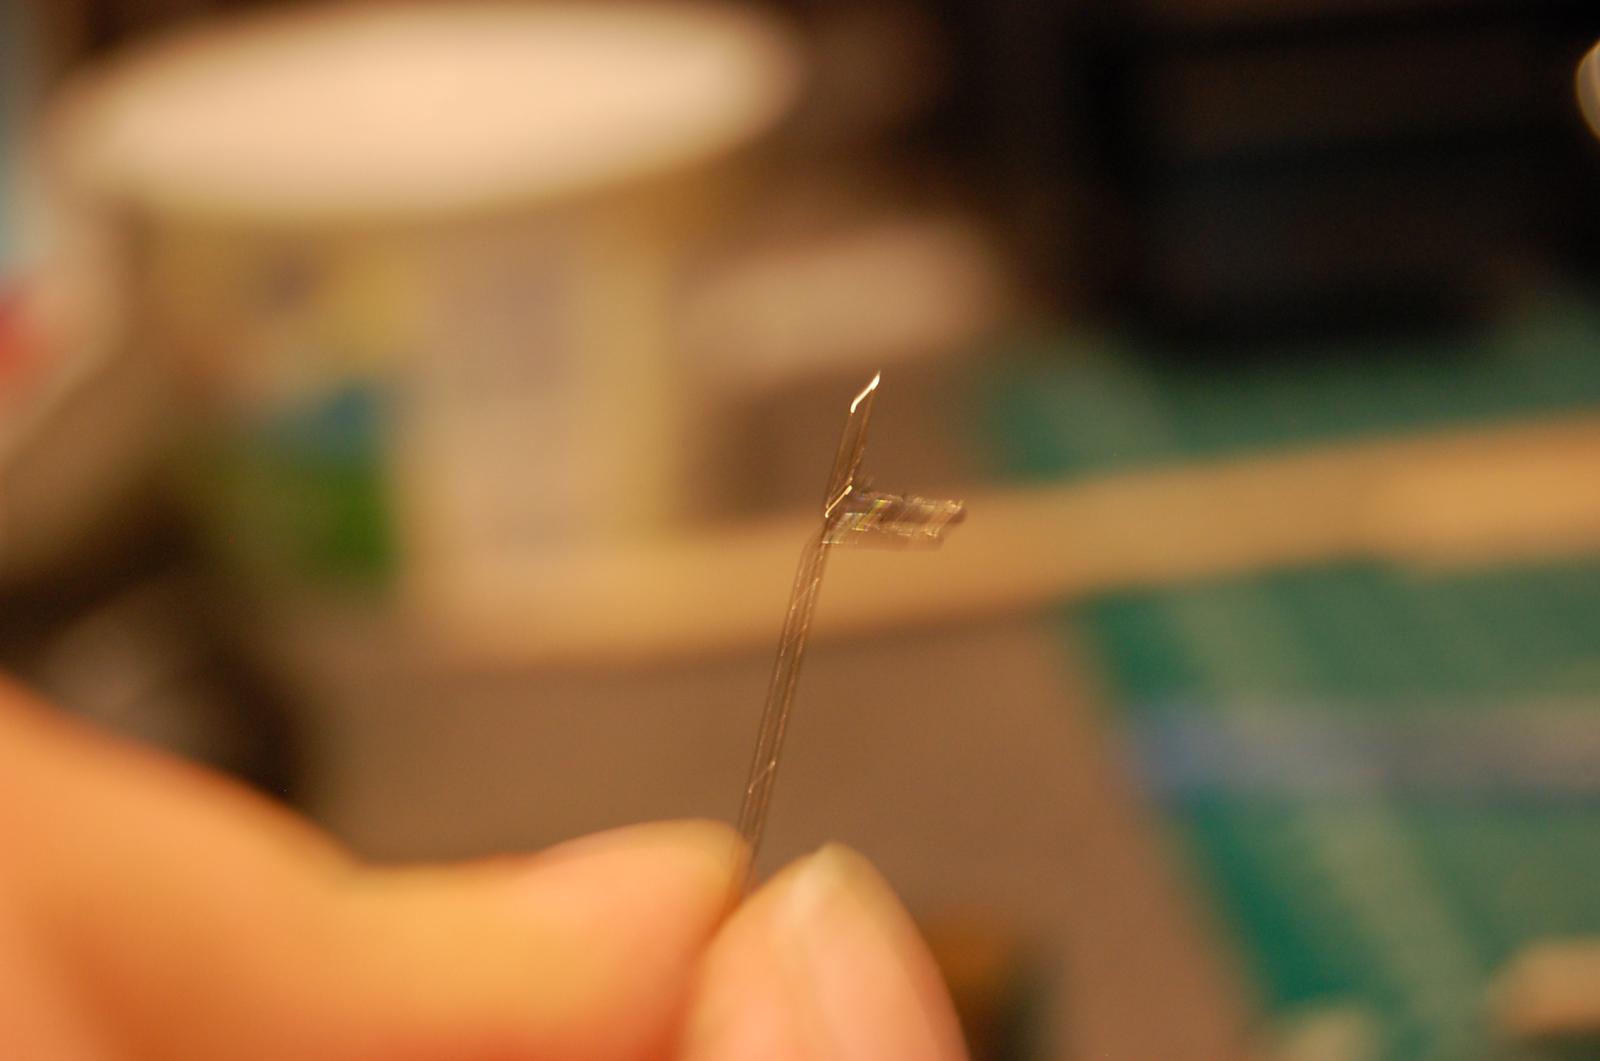
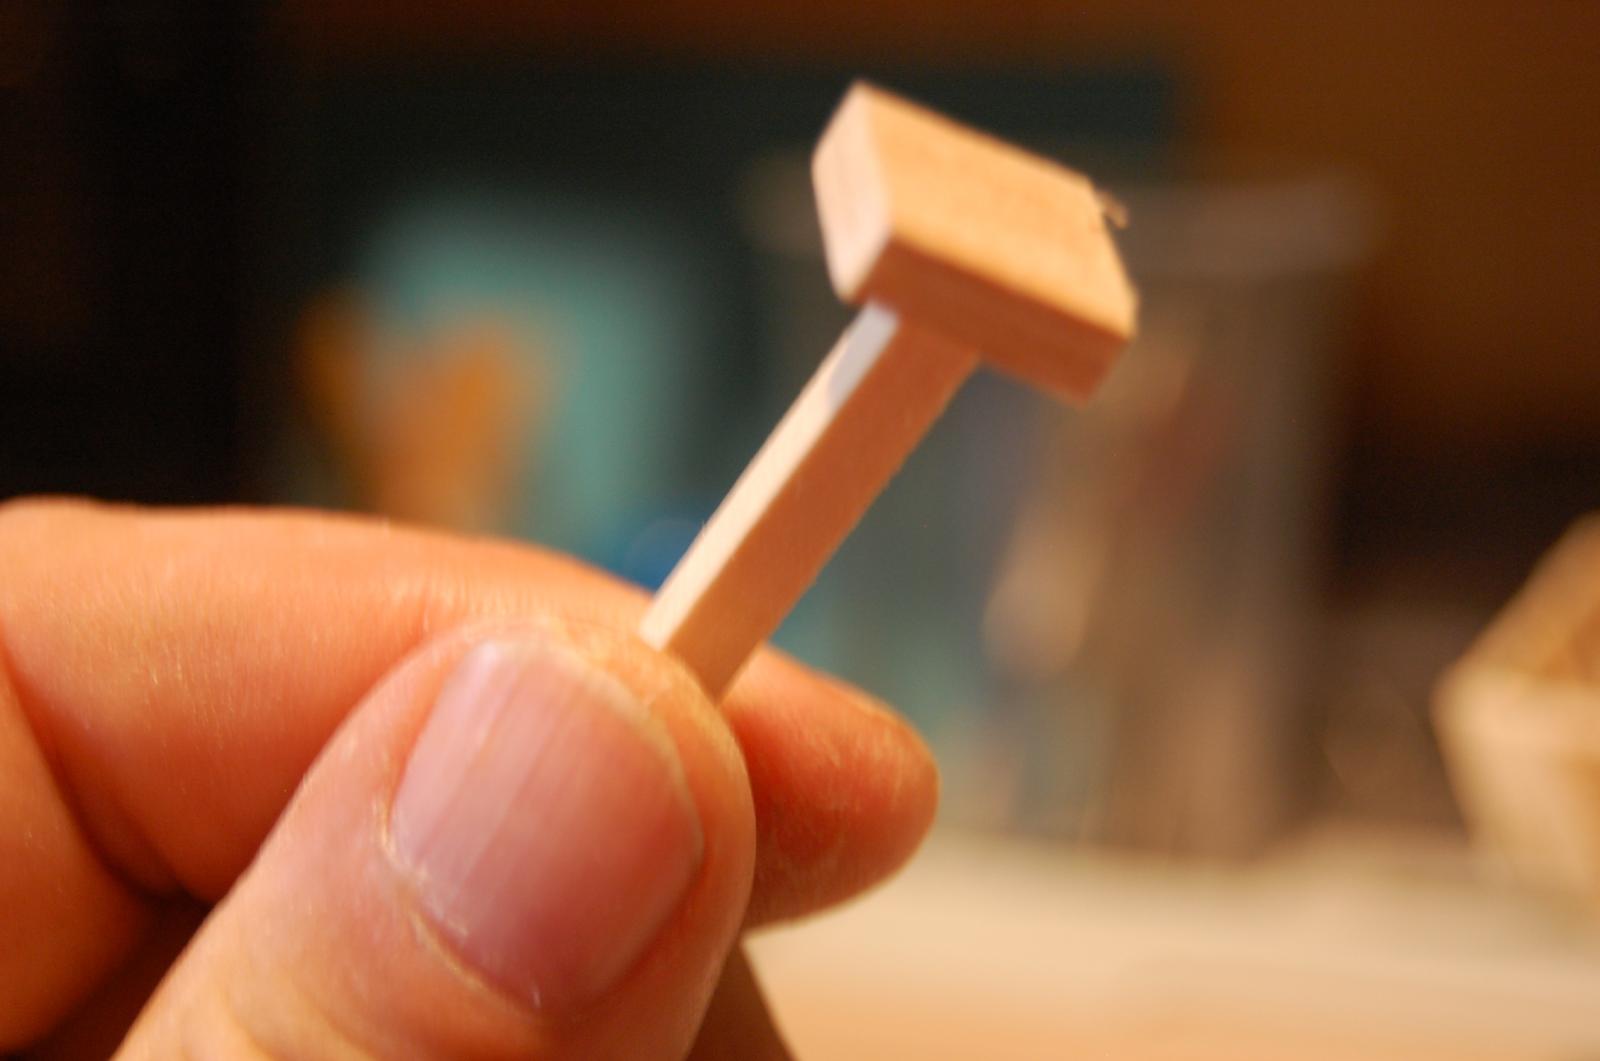
Cool plank pins. Saw these on greatgalleons Niagara build site. Don't know if he made them or bought them but I liked the idea. Start with a 1.5 inch quilting pin and bend it at 90 about a 1/3 up. Bend the pin back straight. Bend the center over on itself and hit it with some solder. Seem to work well. Sorry for the lousy pics, not enough hands.


-
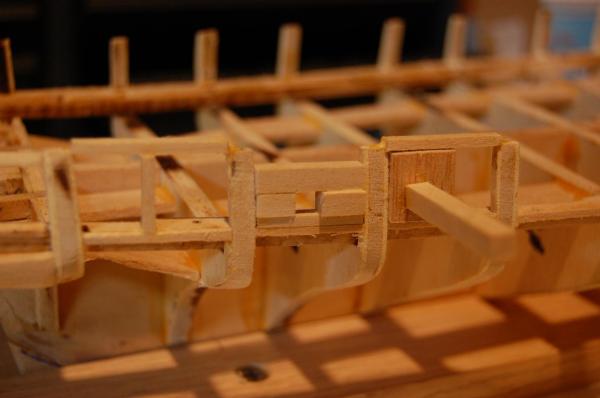
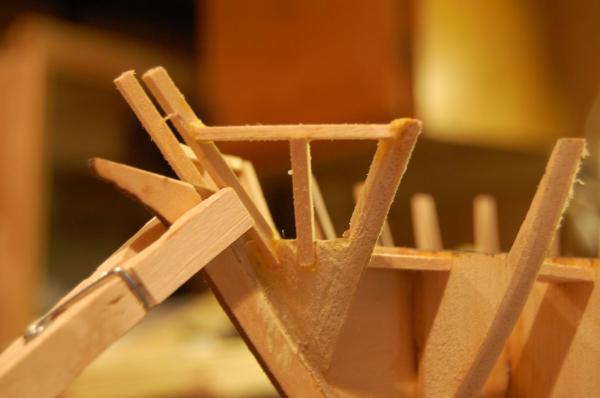
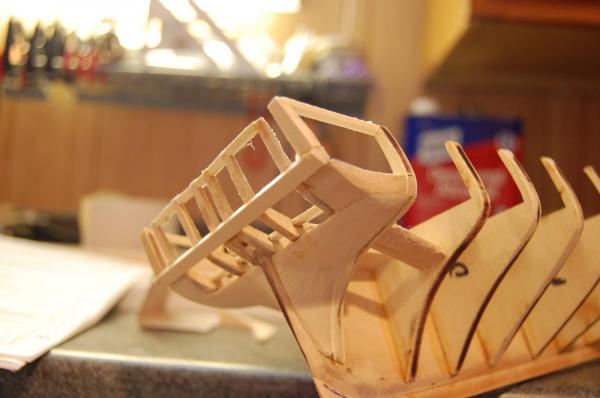
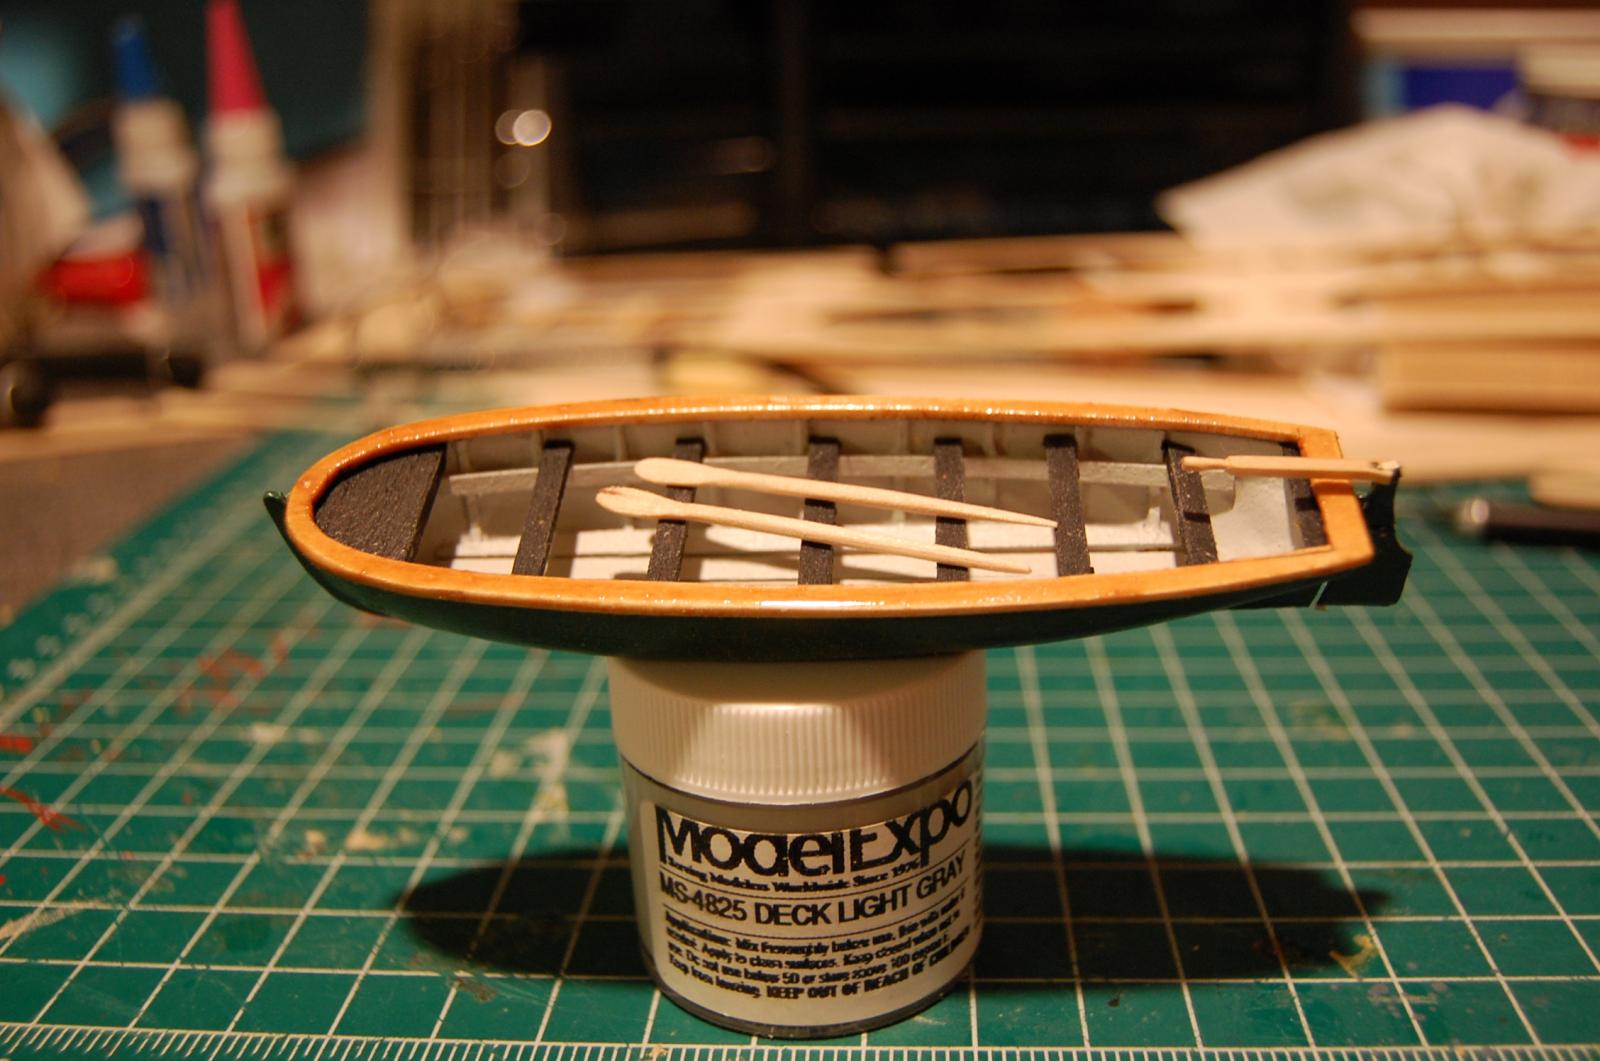
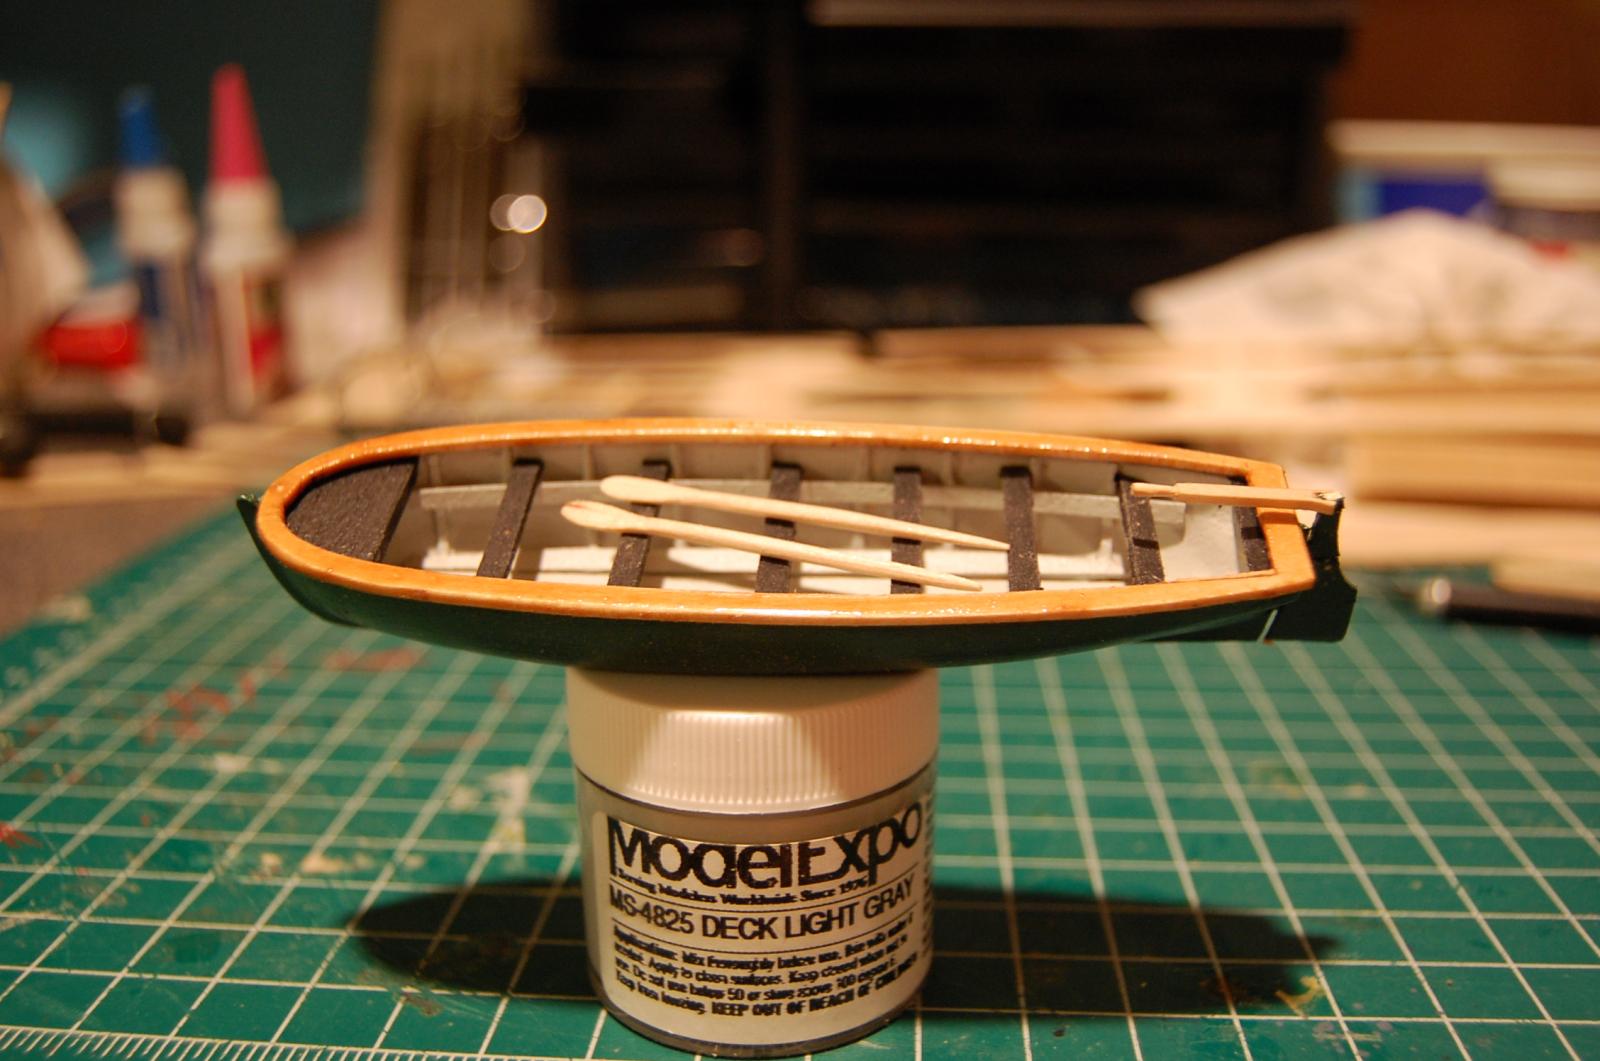
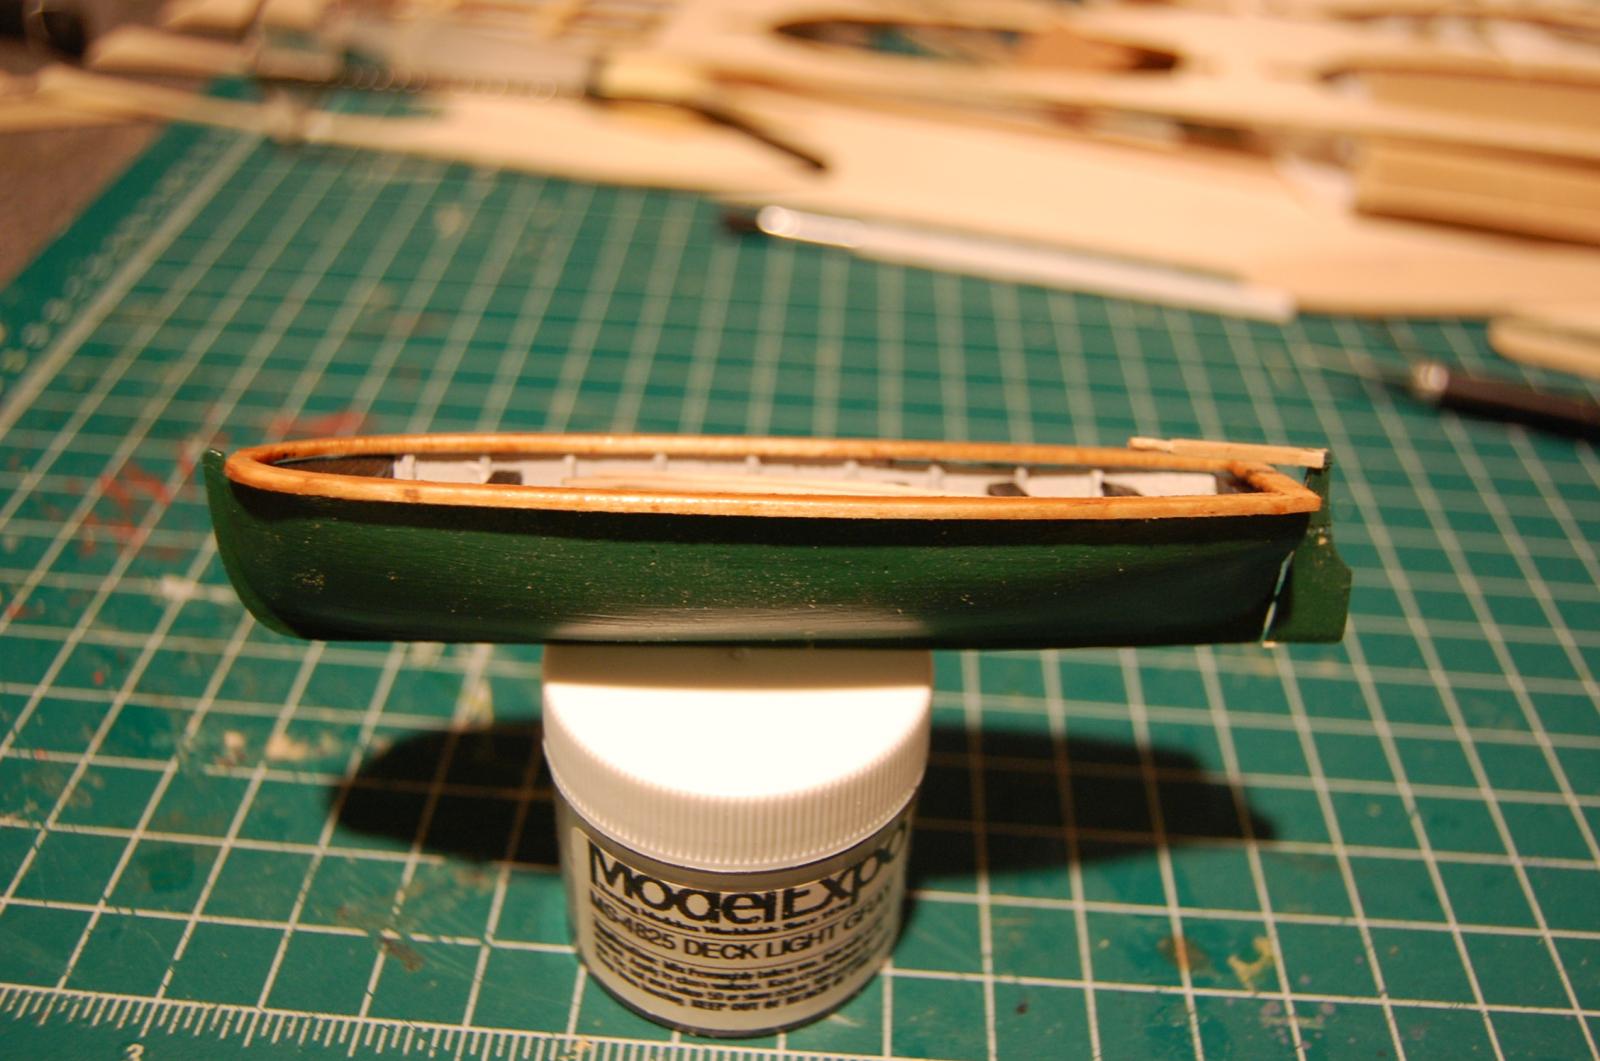
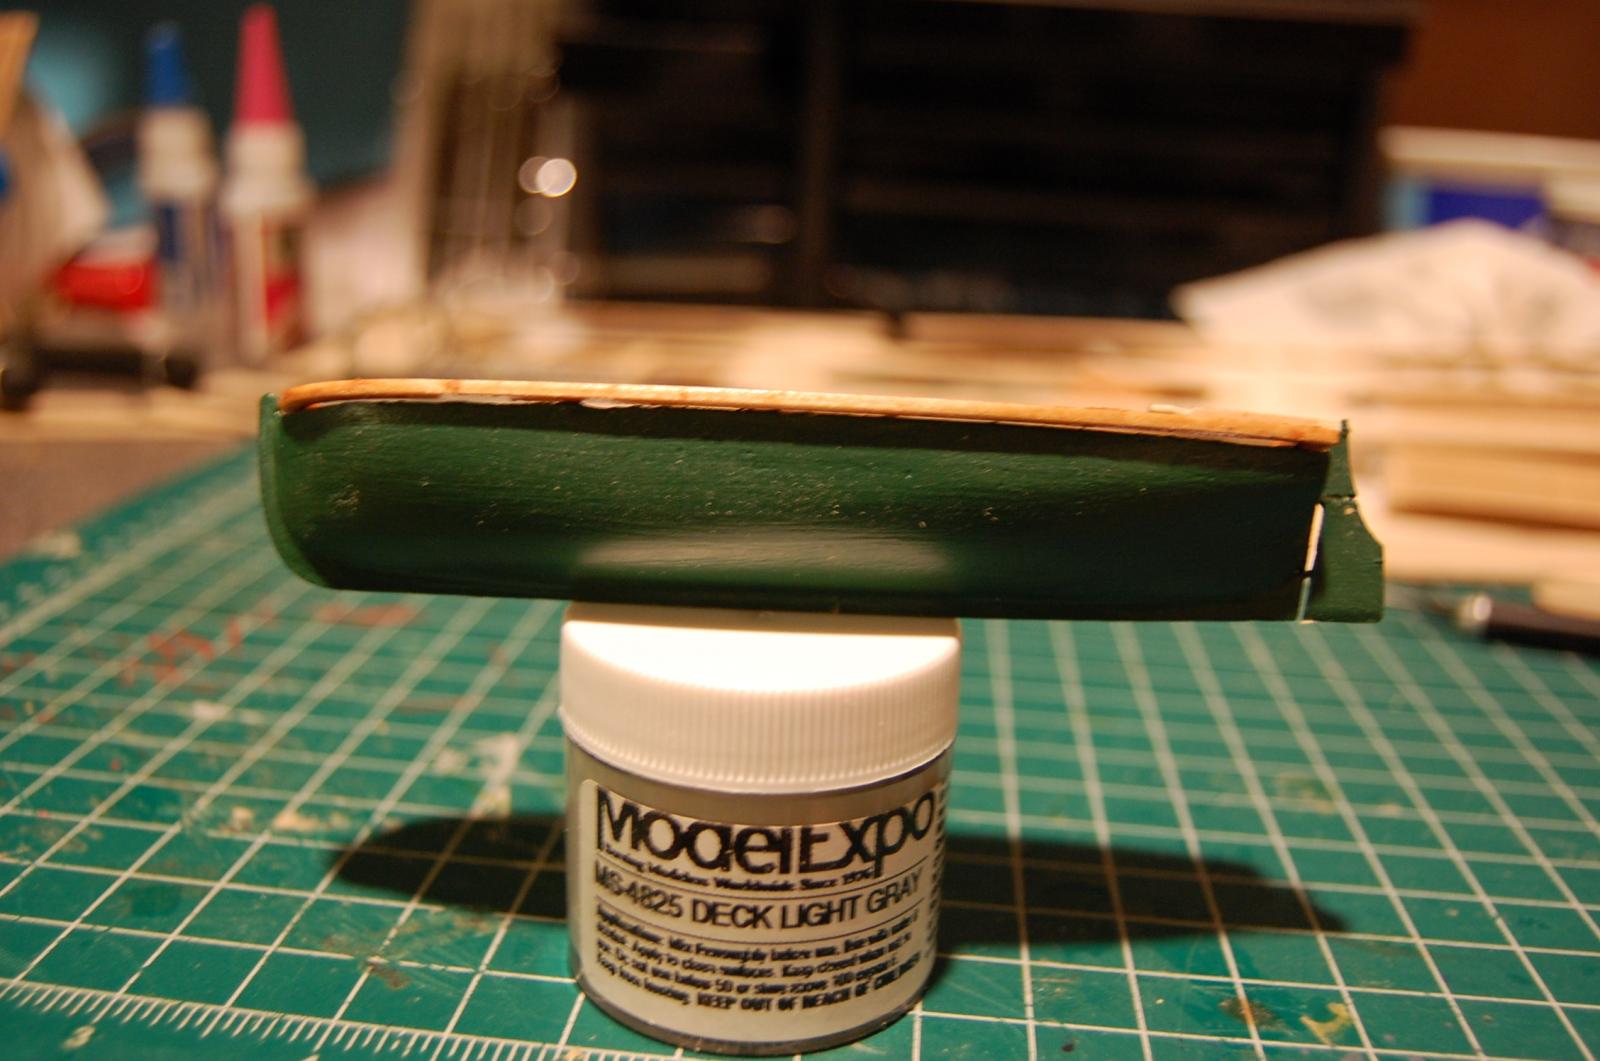
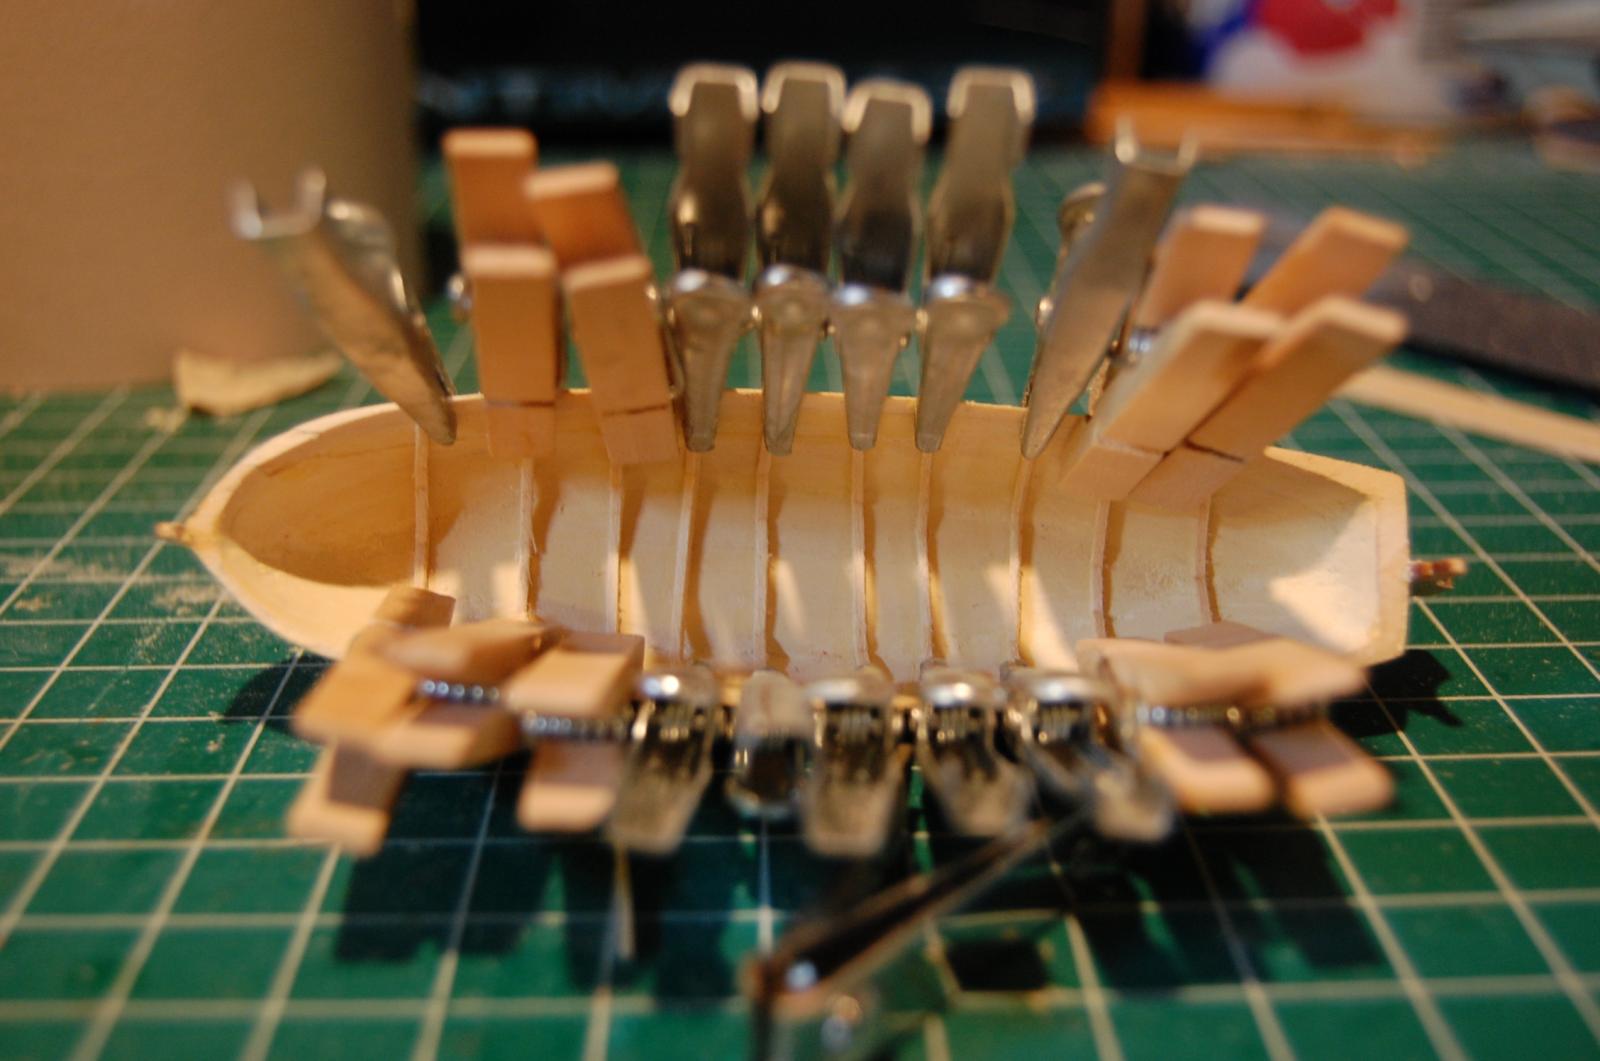
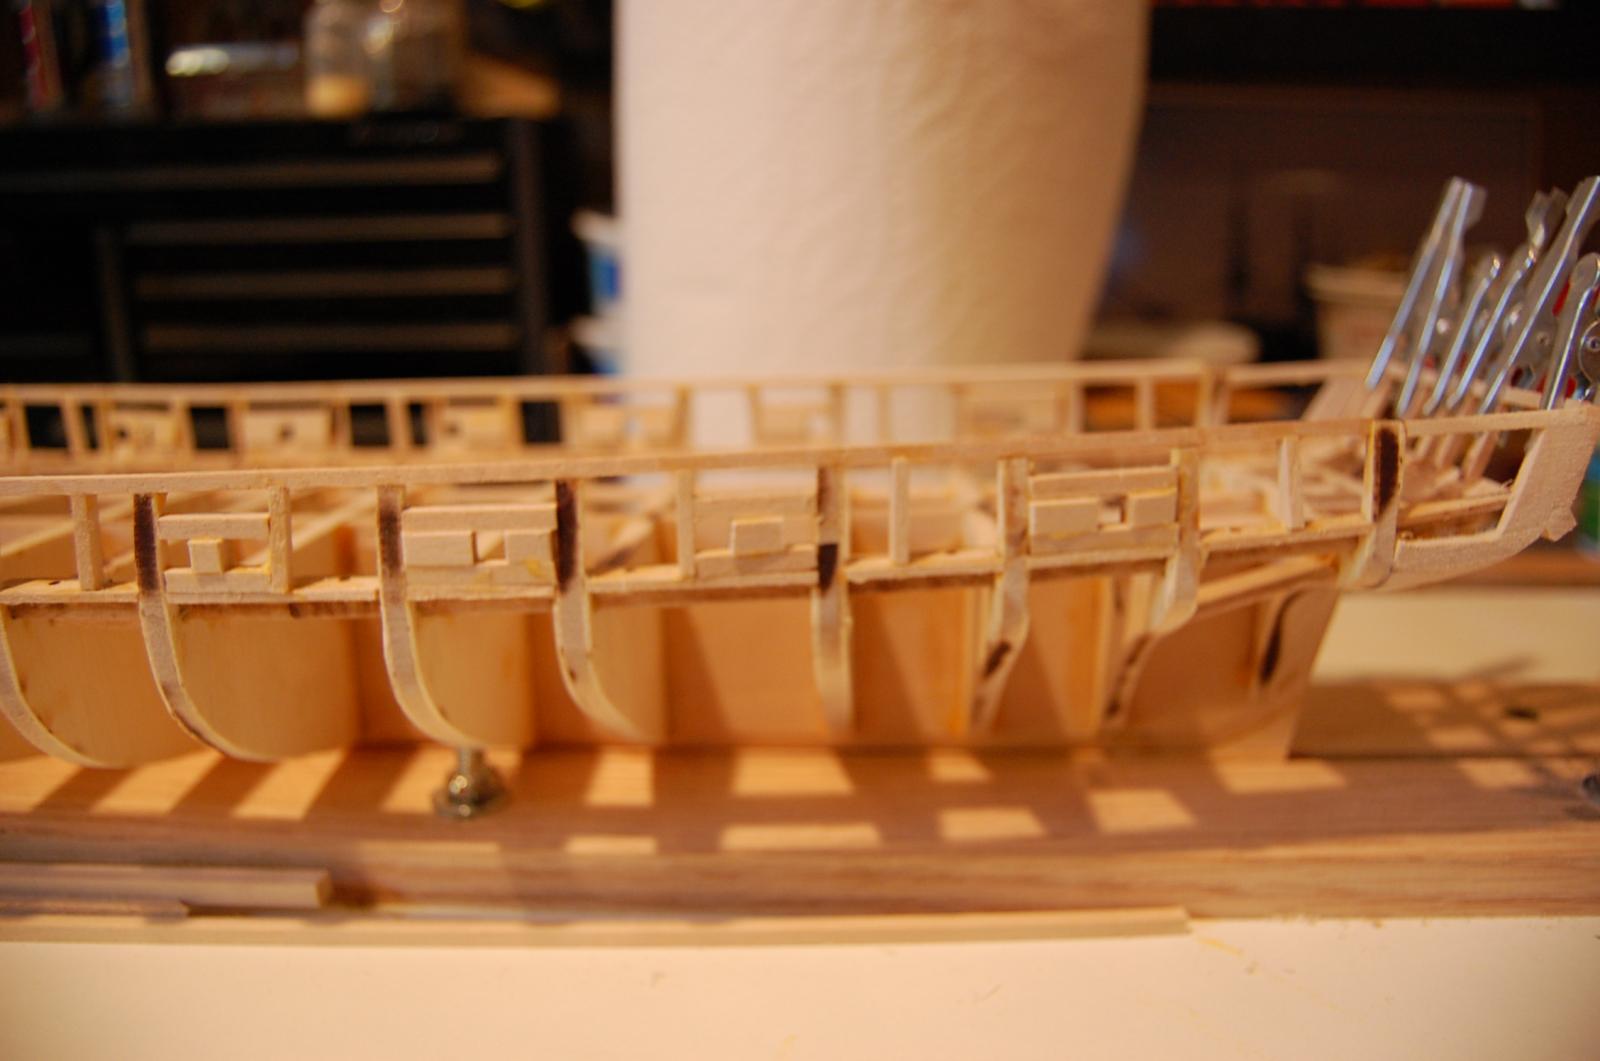
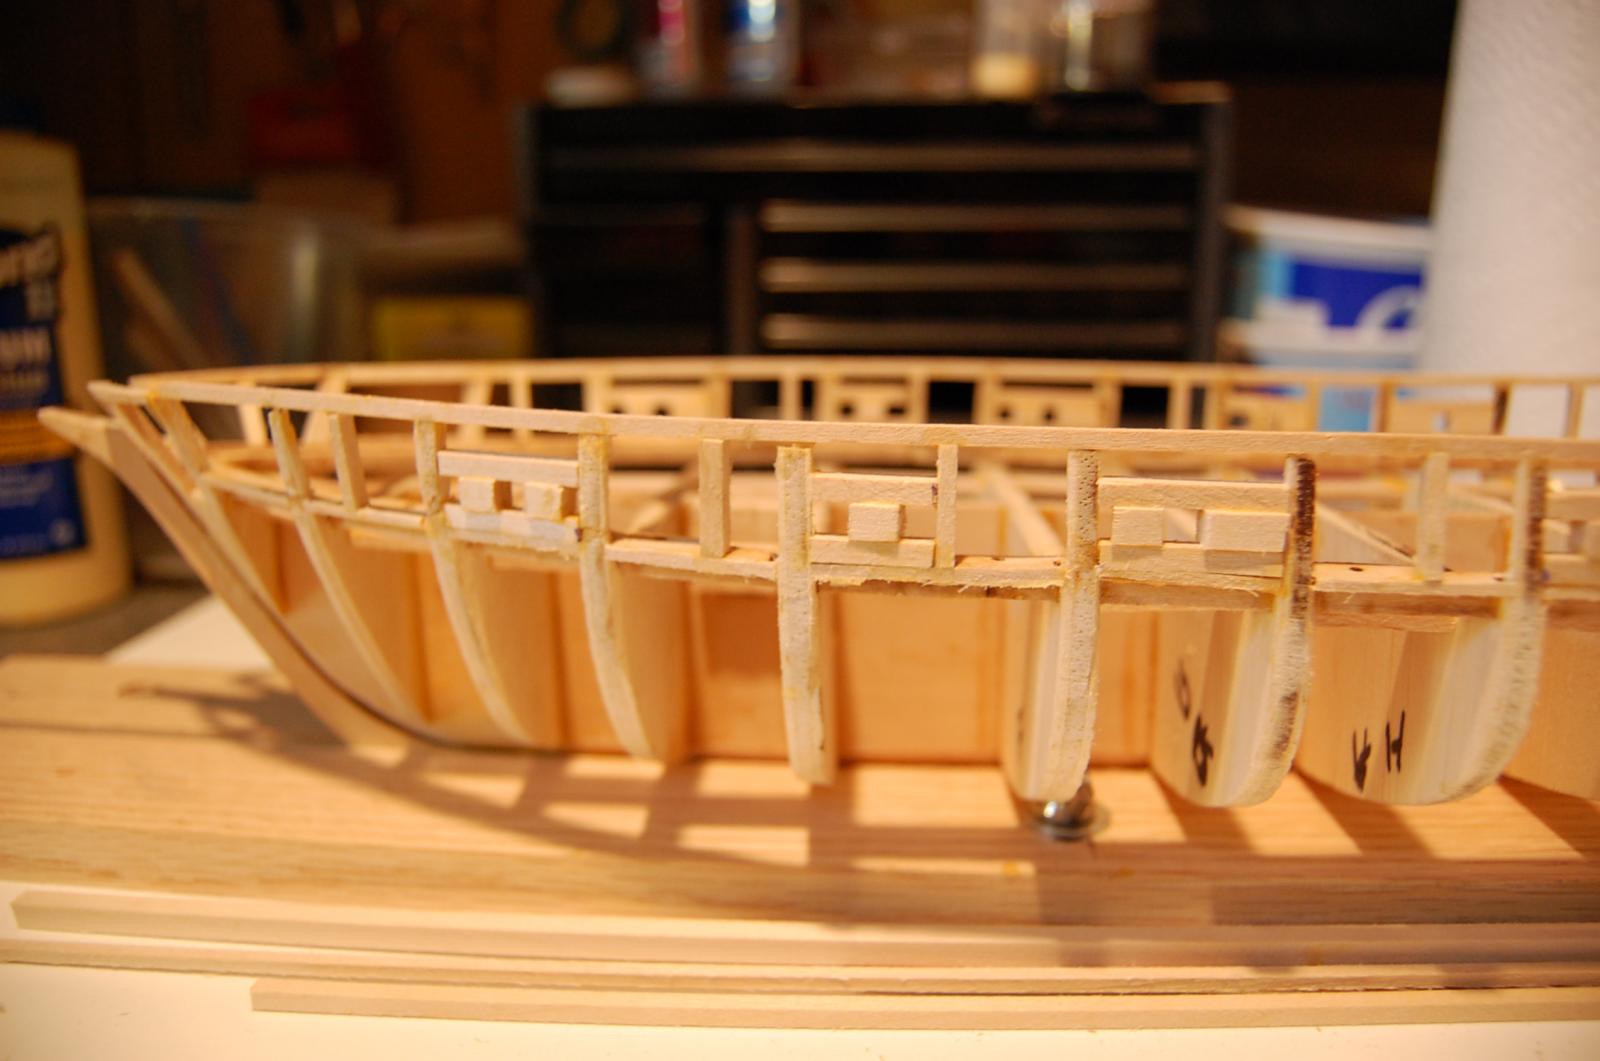
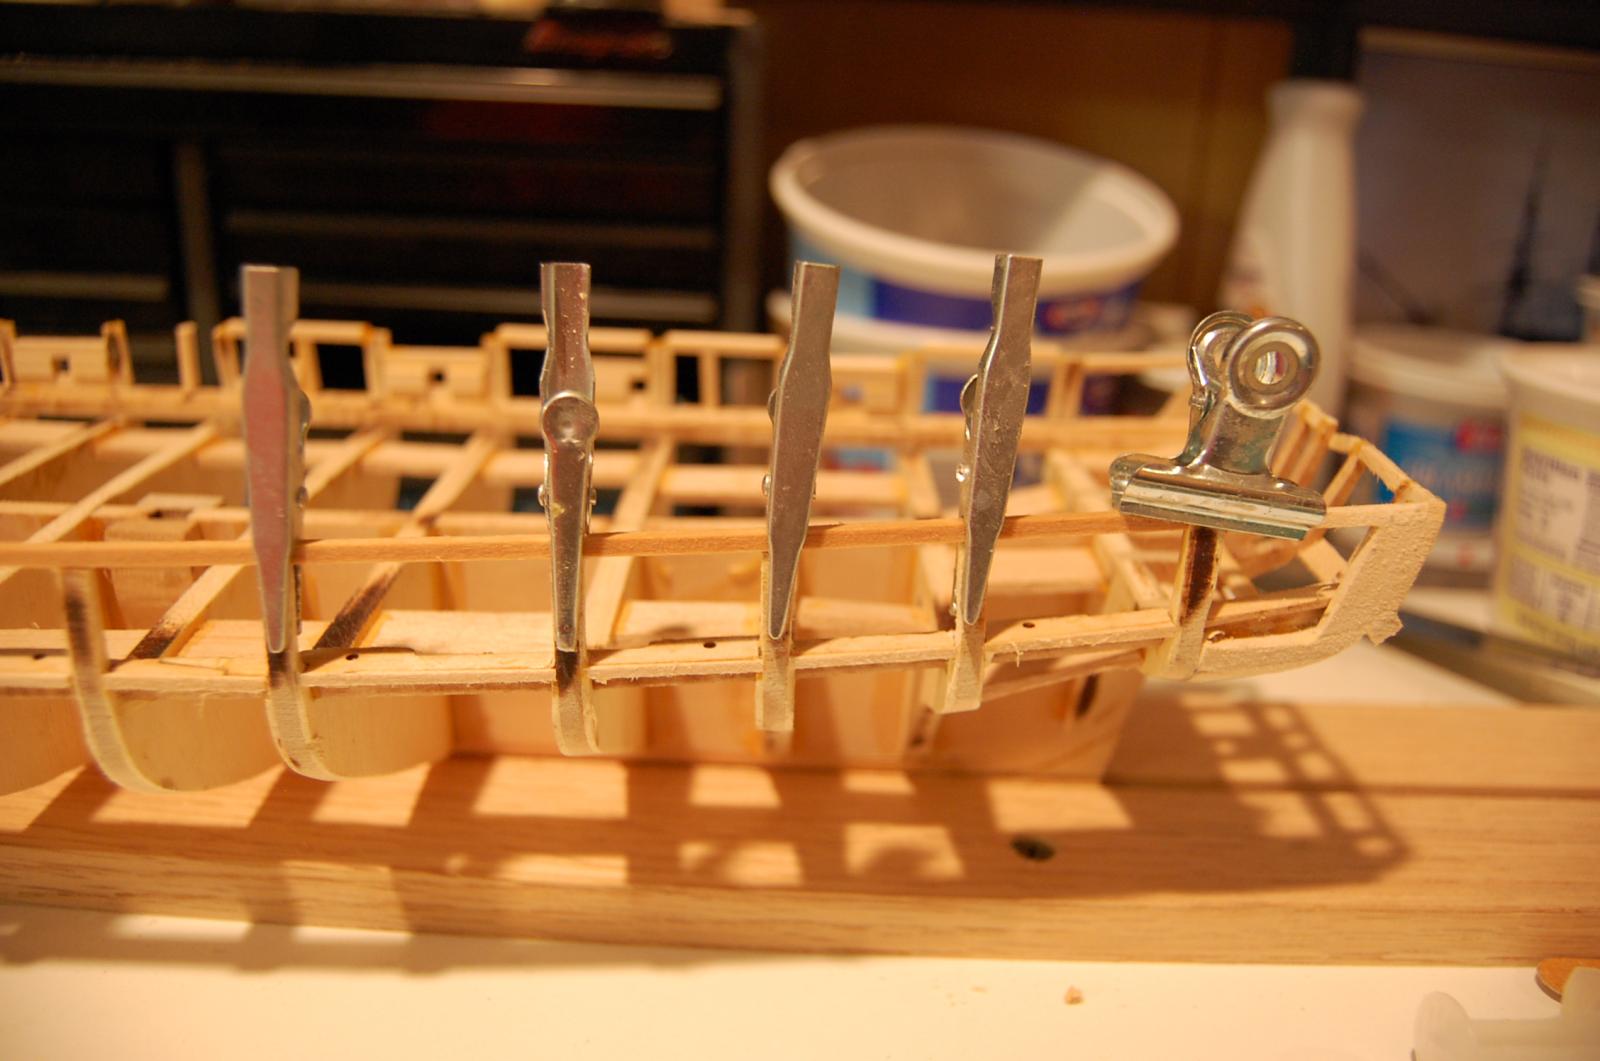
Gun ports and bulkheads are all sanded smooth both inside and out. Need to be ready for planks on both sides. Some 1/32 inner supports bent up for the life boat.

-
-
That's the intention. Have them lift right out of the deck.
-
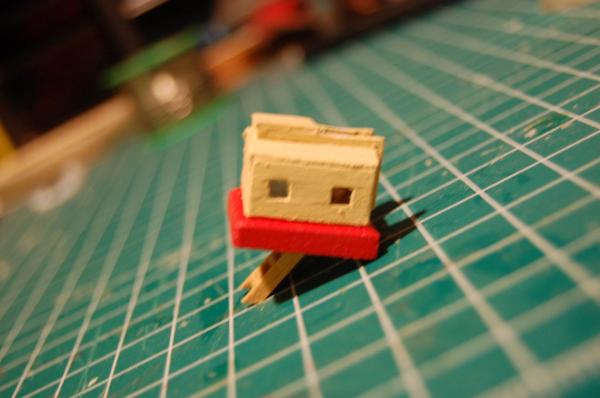
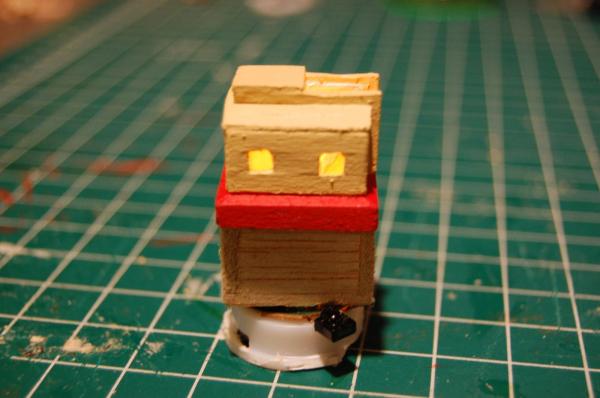
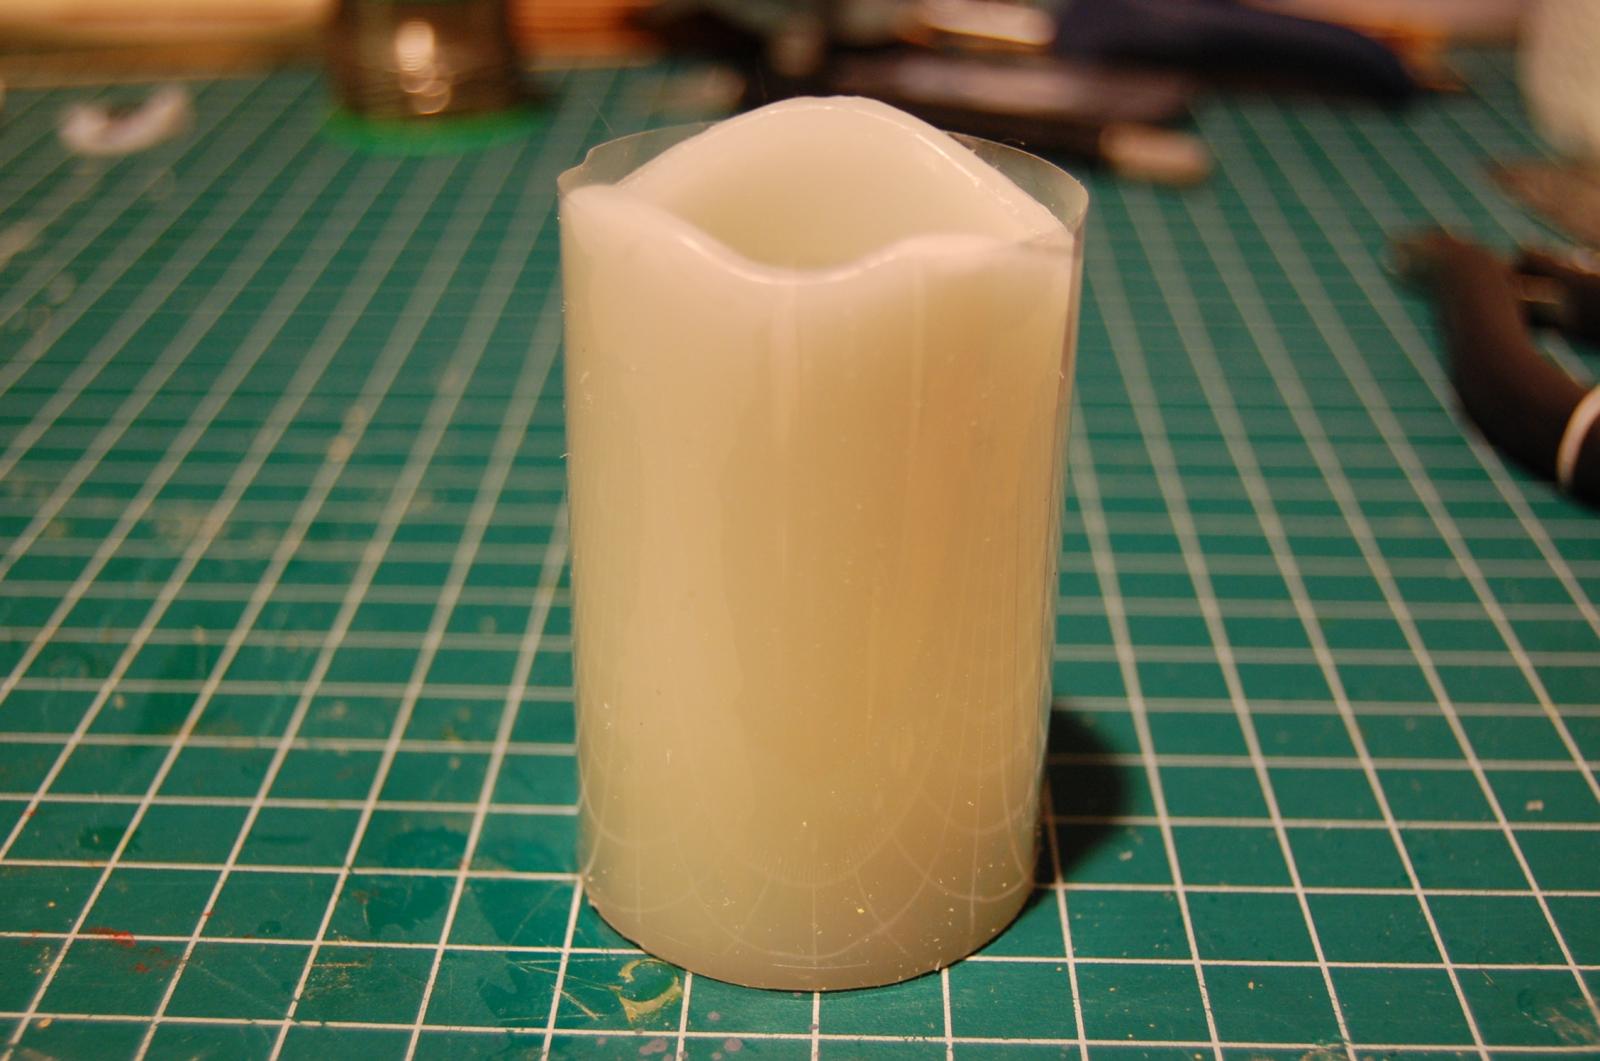
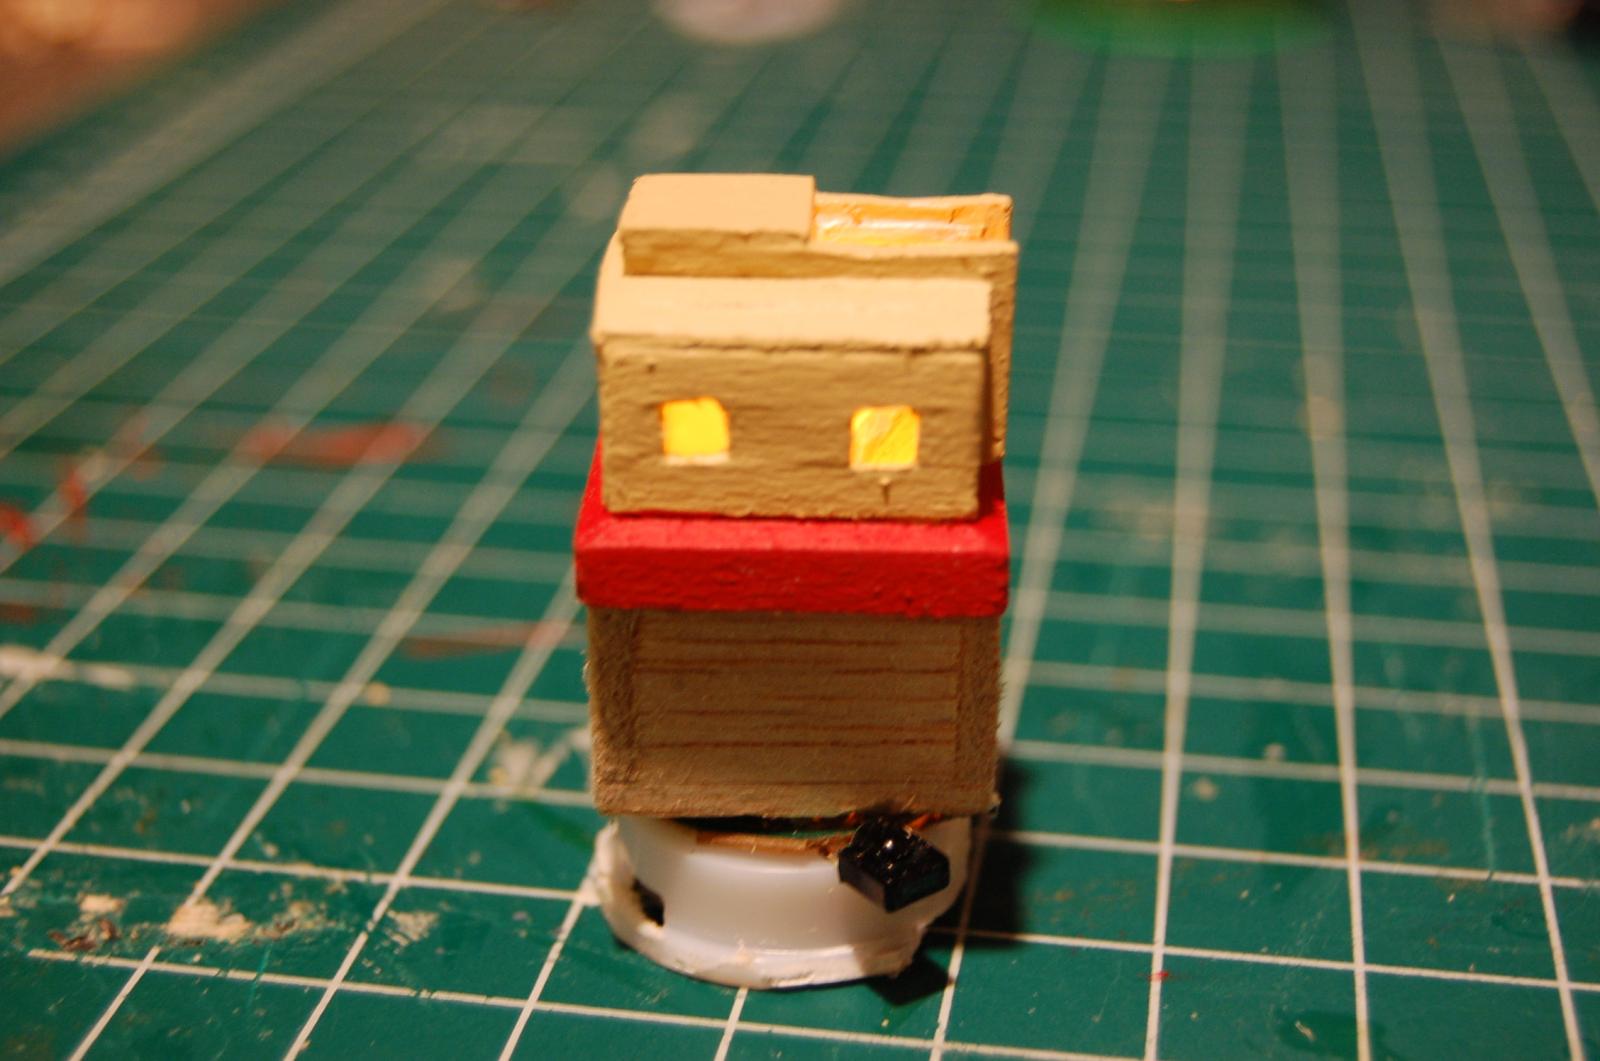
Some of these use AAA batteries but this one is a 2030 watch battery in the bottom of the chip
-
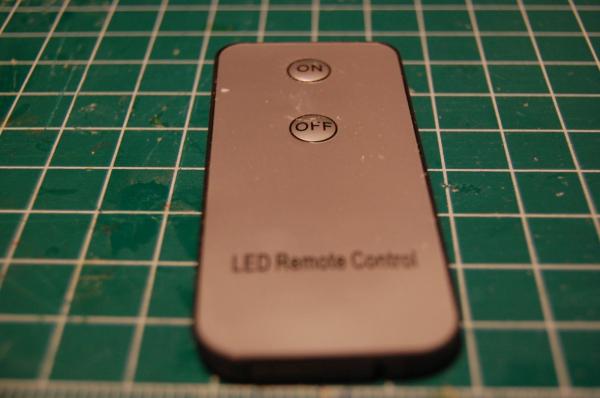
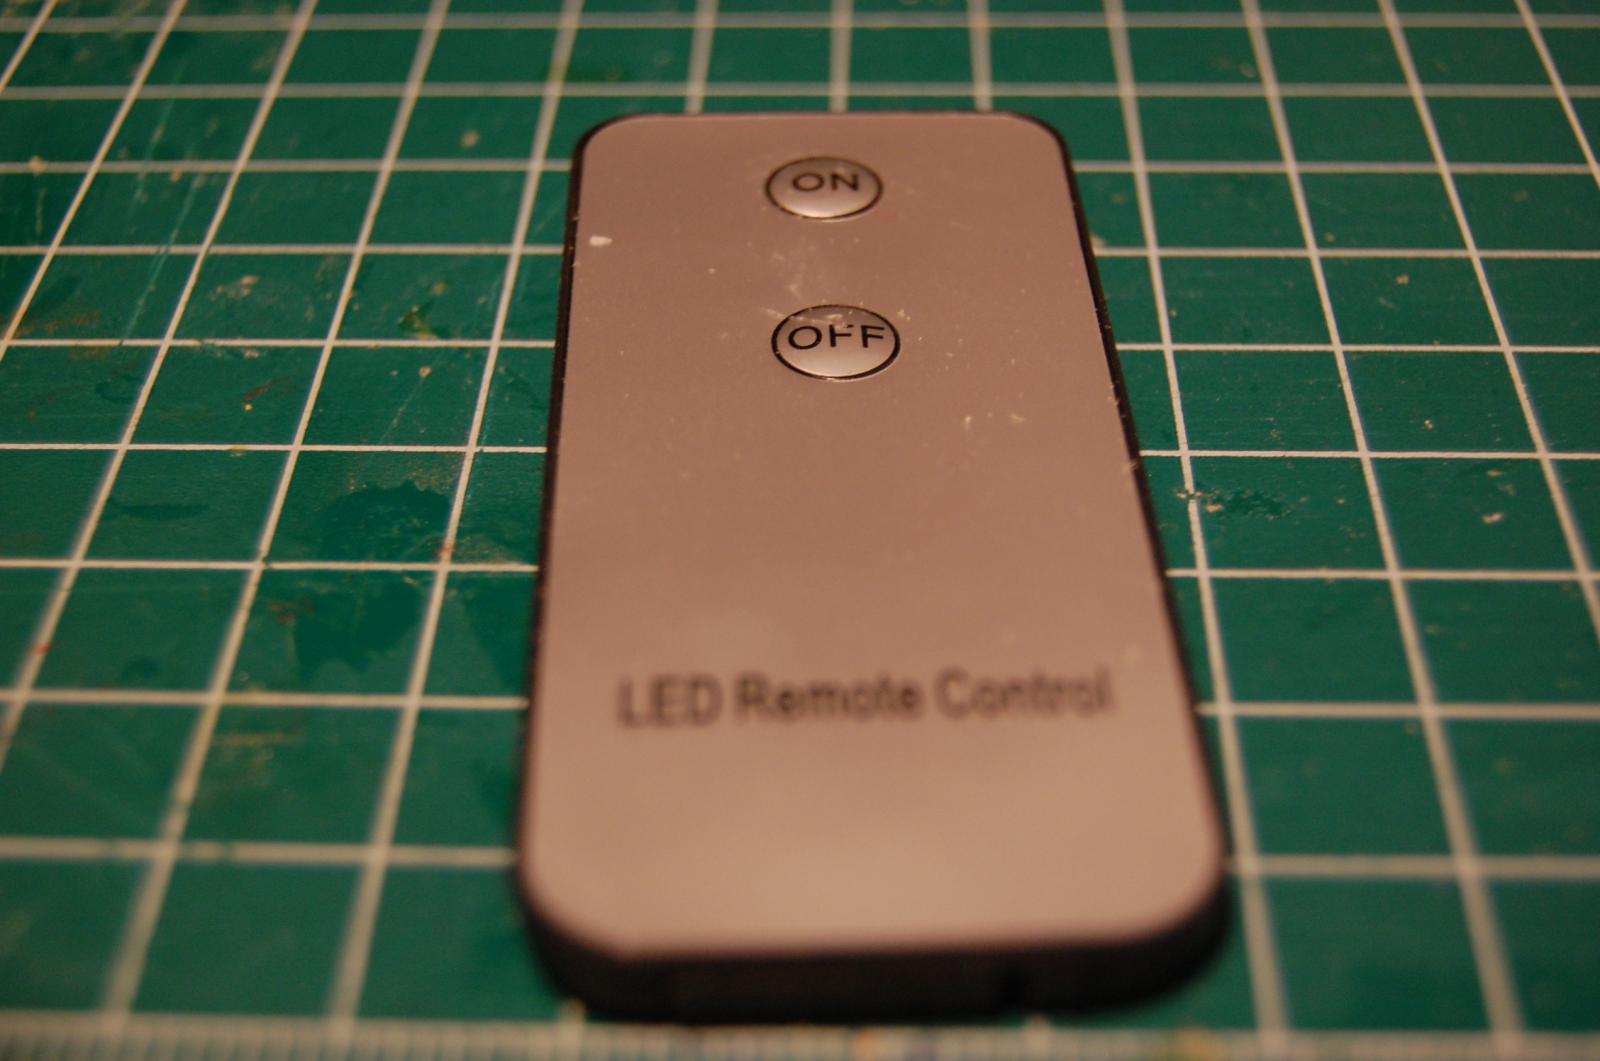
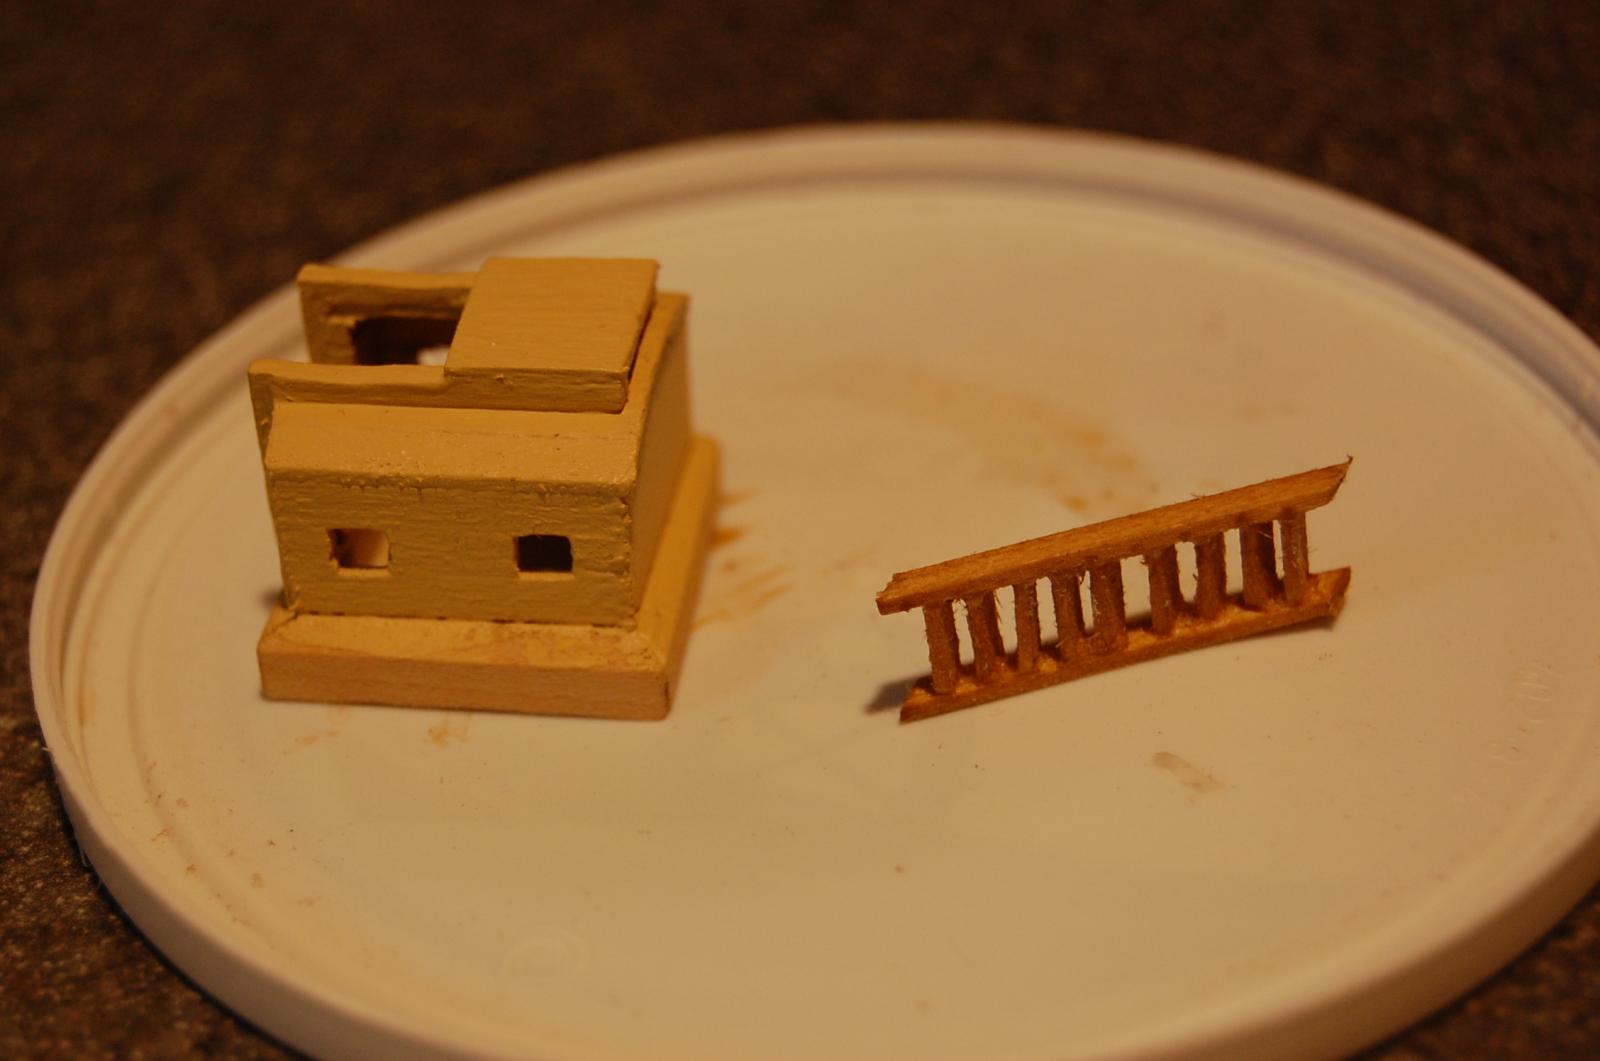
Here is something to kill some time if you are interested. On Ebay for $20.00 you get 4 flickering candles with a remote. Cut the candle to pieces and you get an LED, circuit board and a battery. Build a little ladder for your structure, a small box with a hole in it for the led, assemble it and you get a flickering candle controlled by a nifty remote.


-
Tom, wood storage looks great. Where did you find the 2" square boxes? Thanks
-
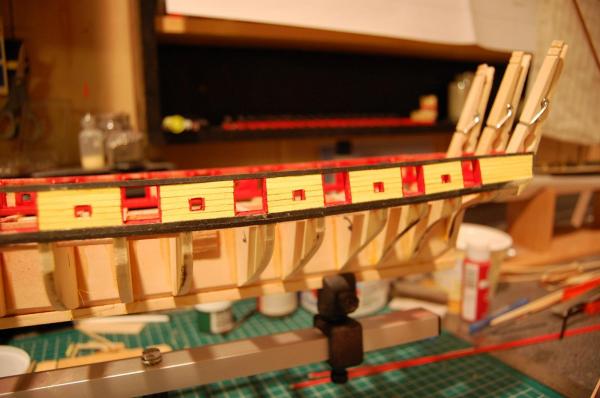
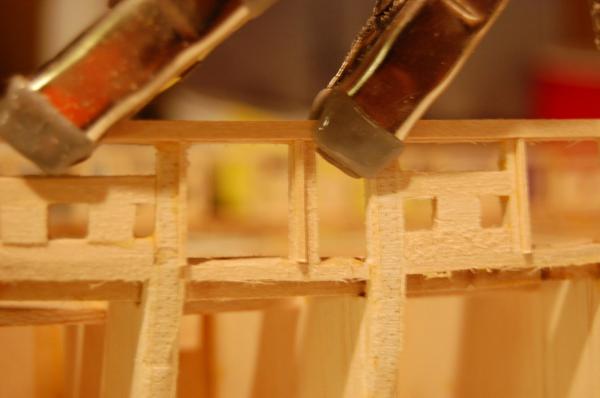
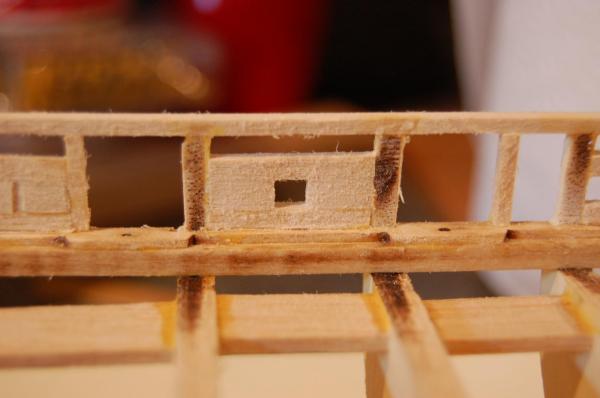
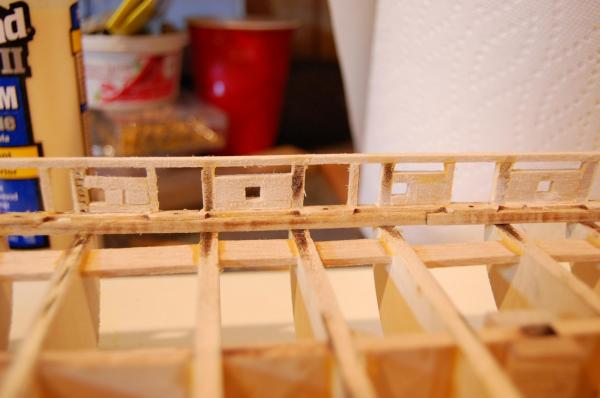
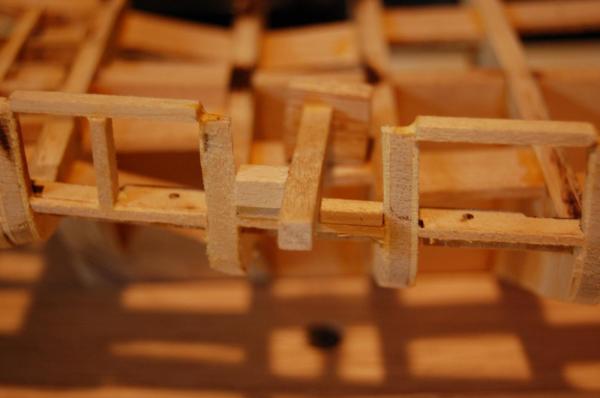
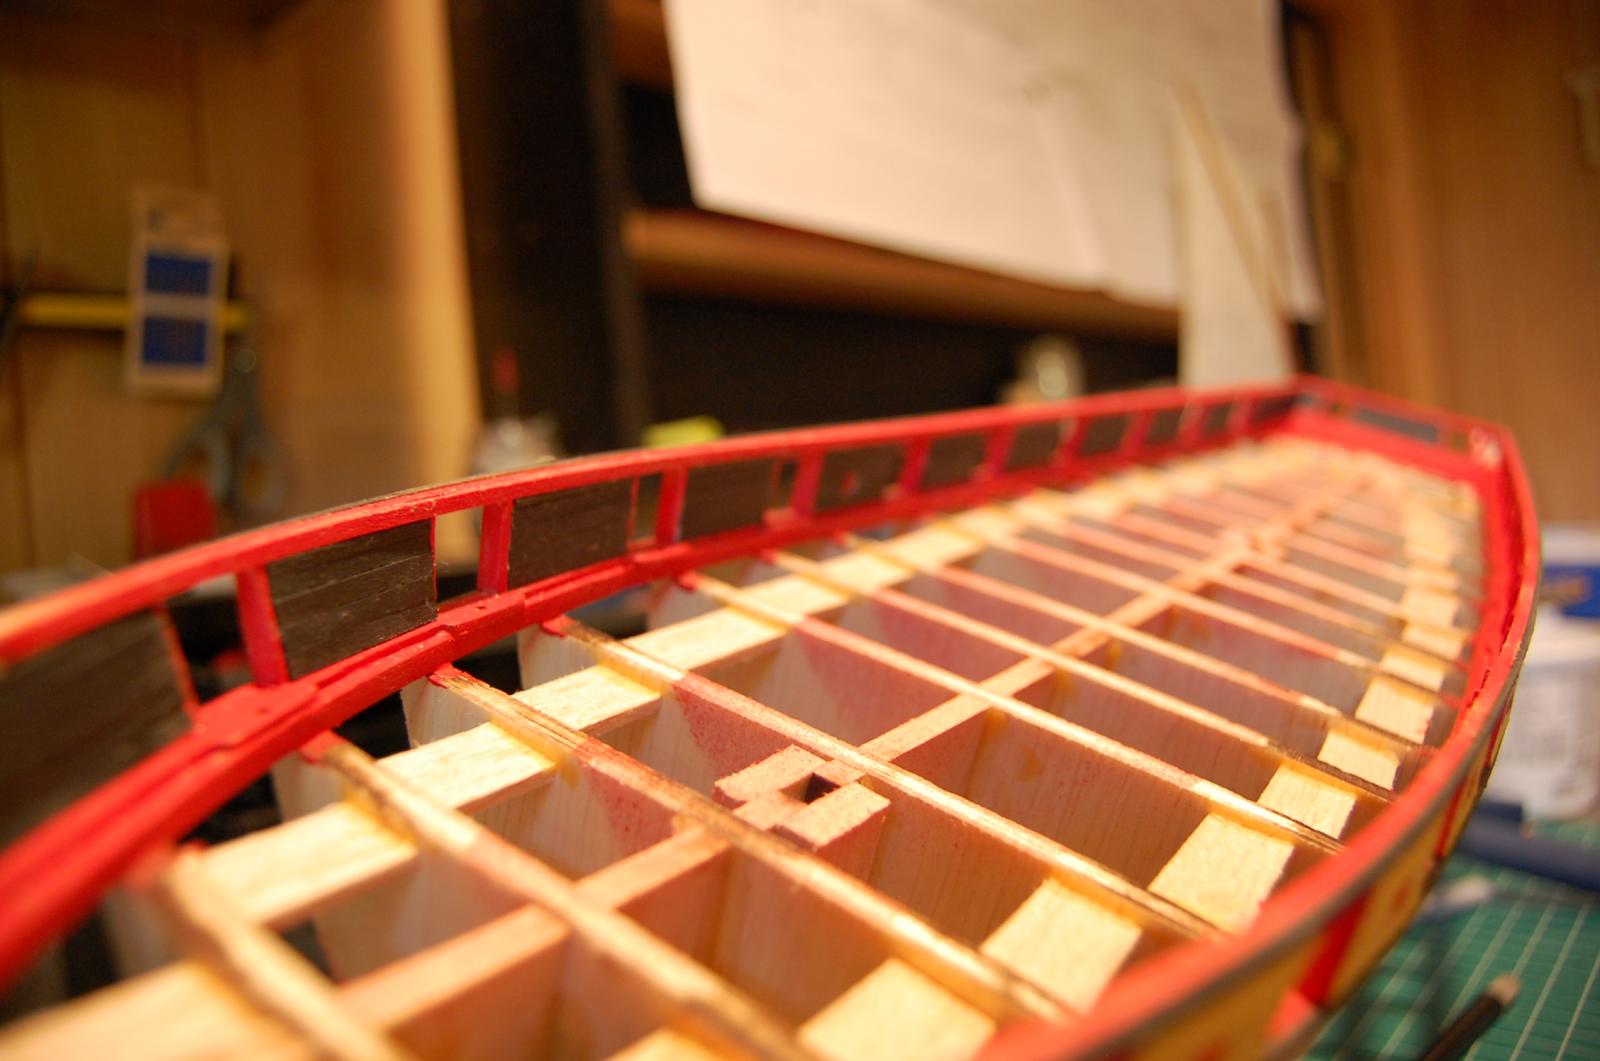
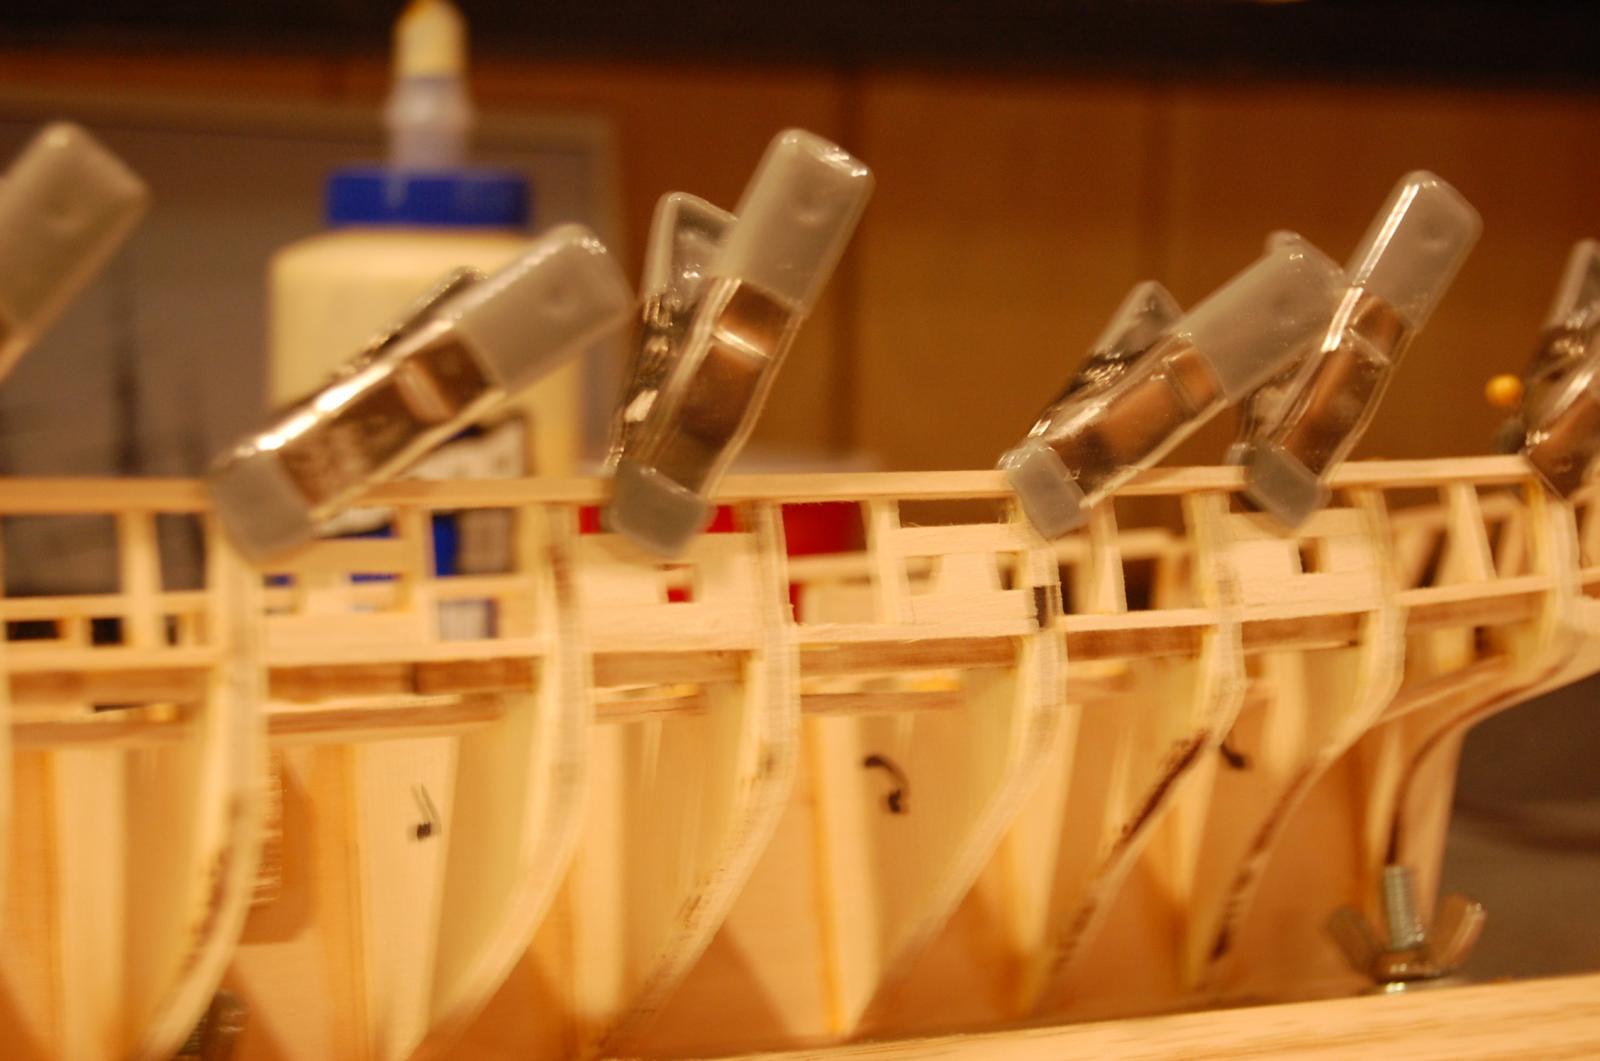
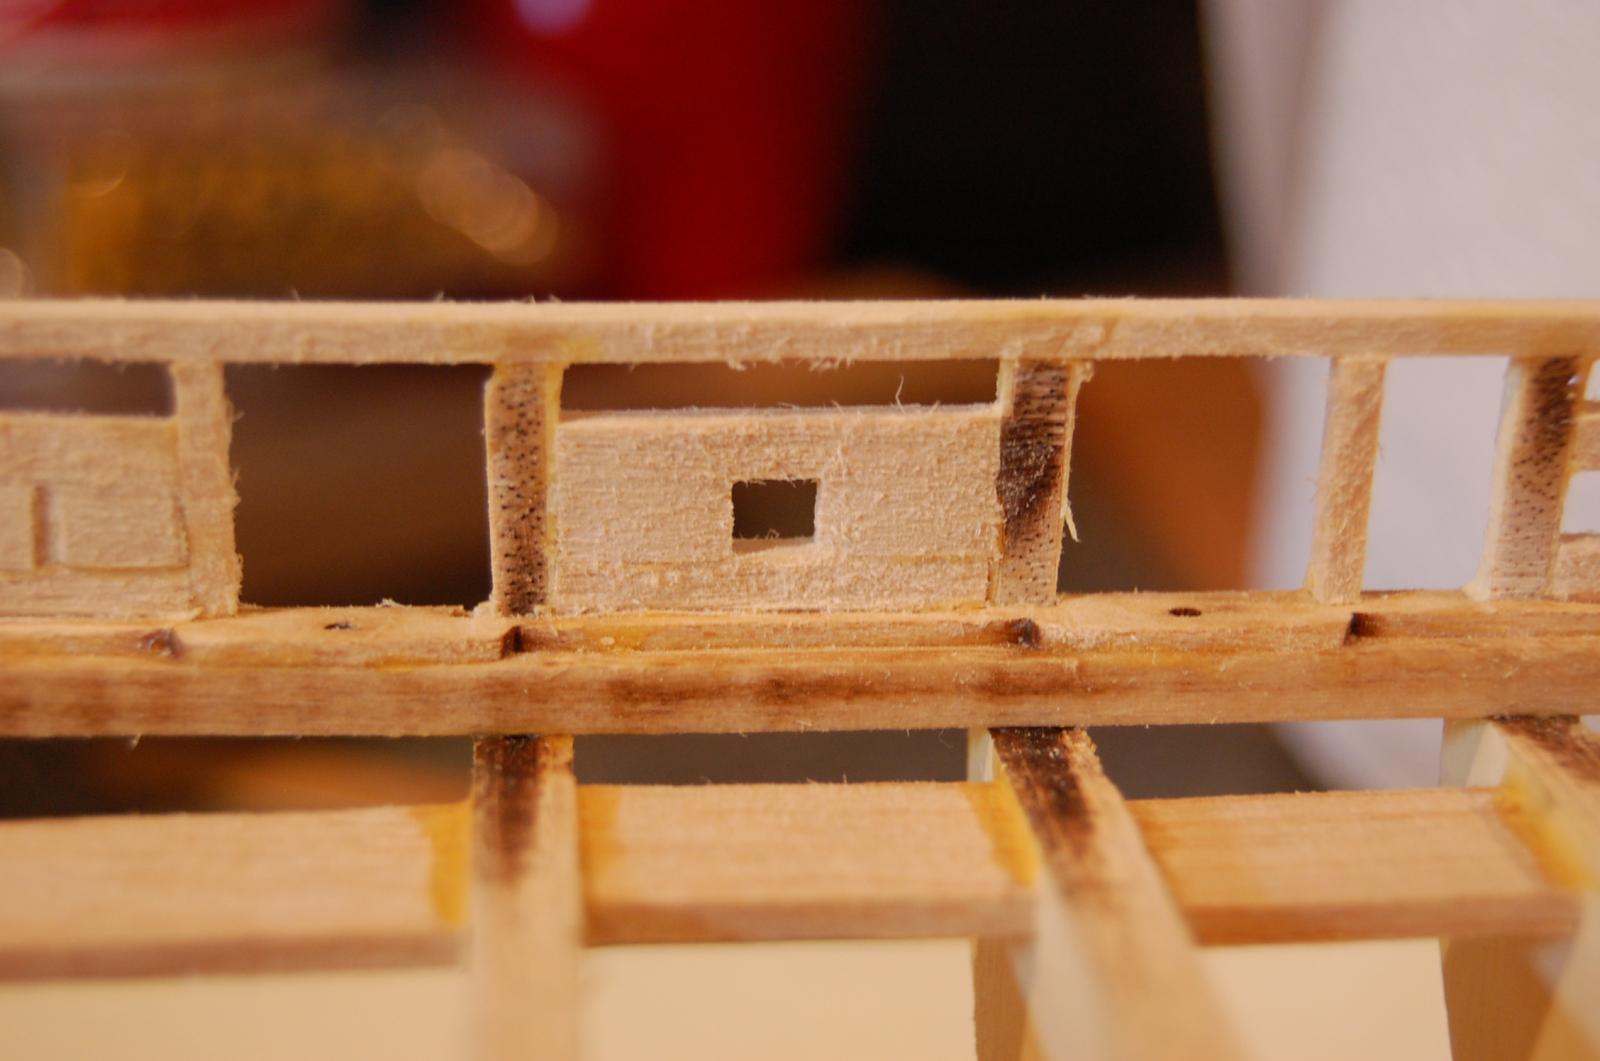
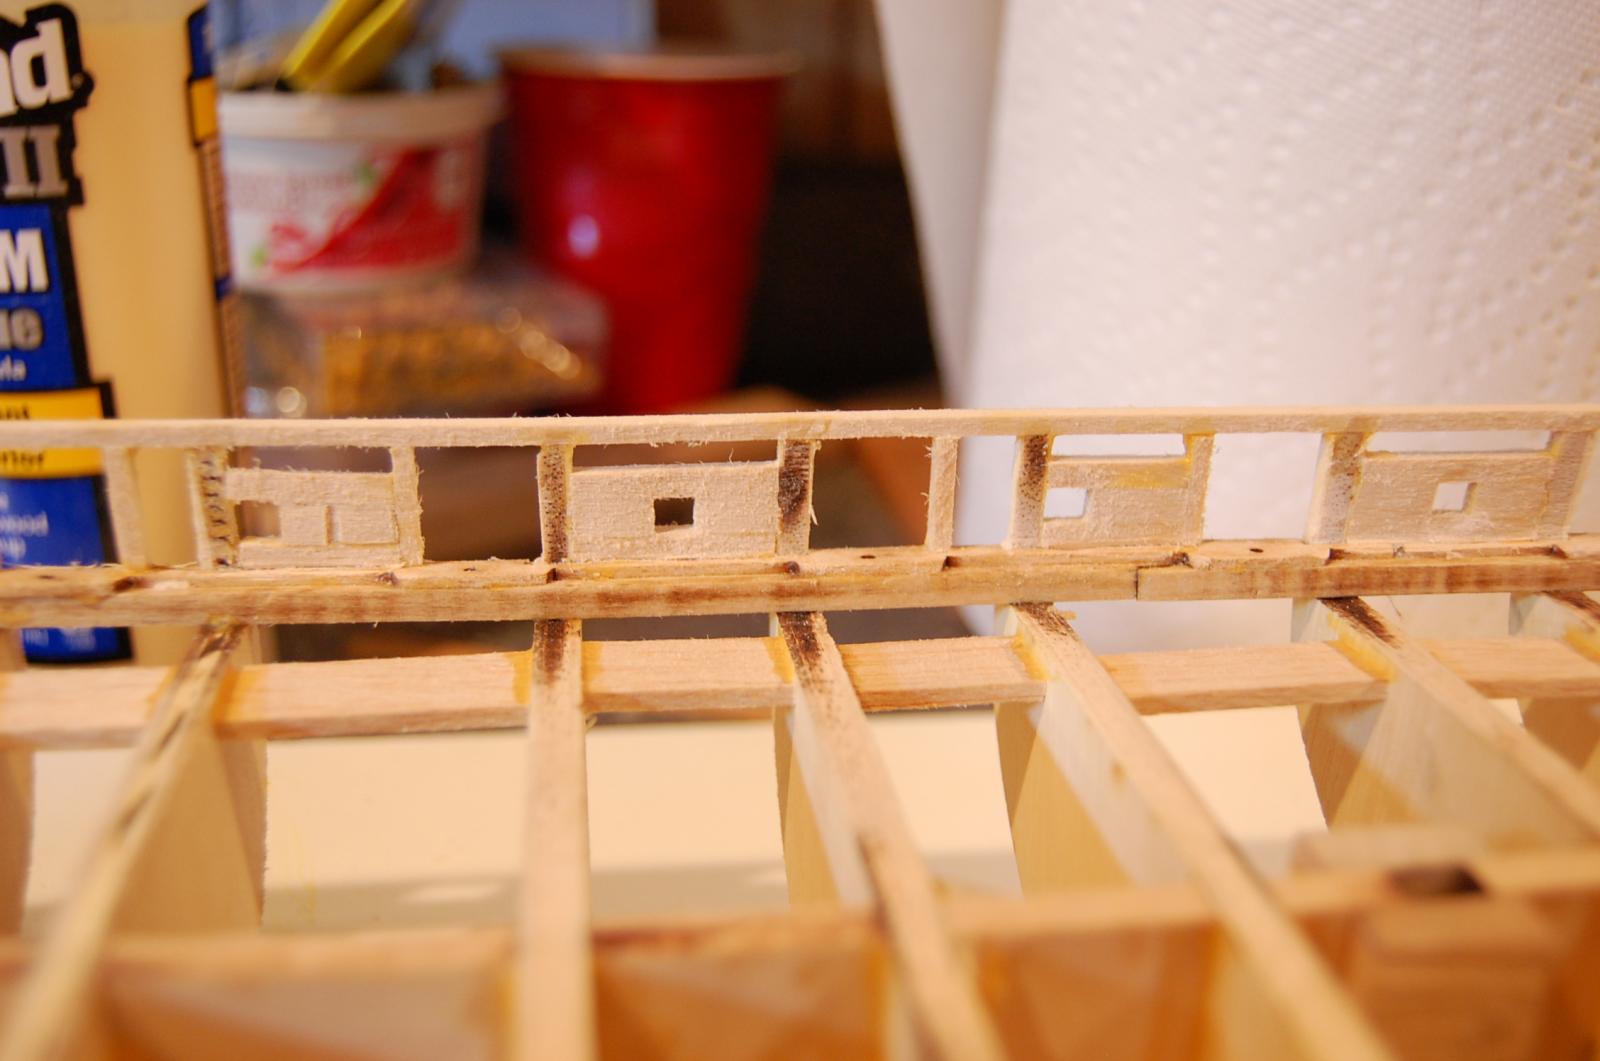
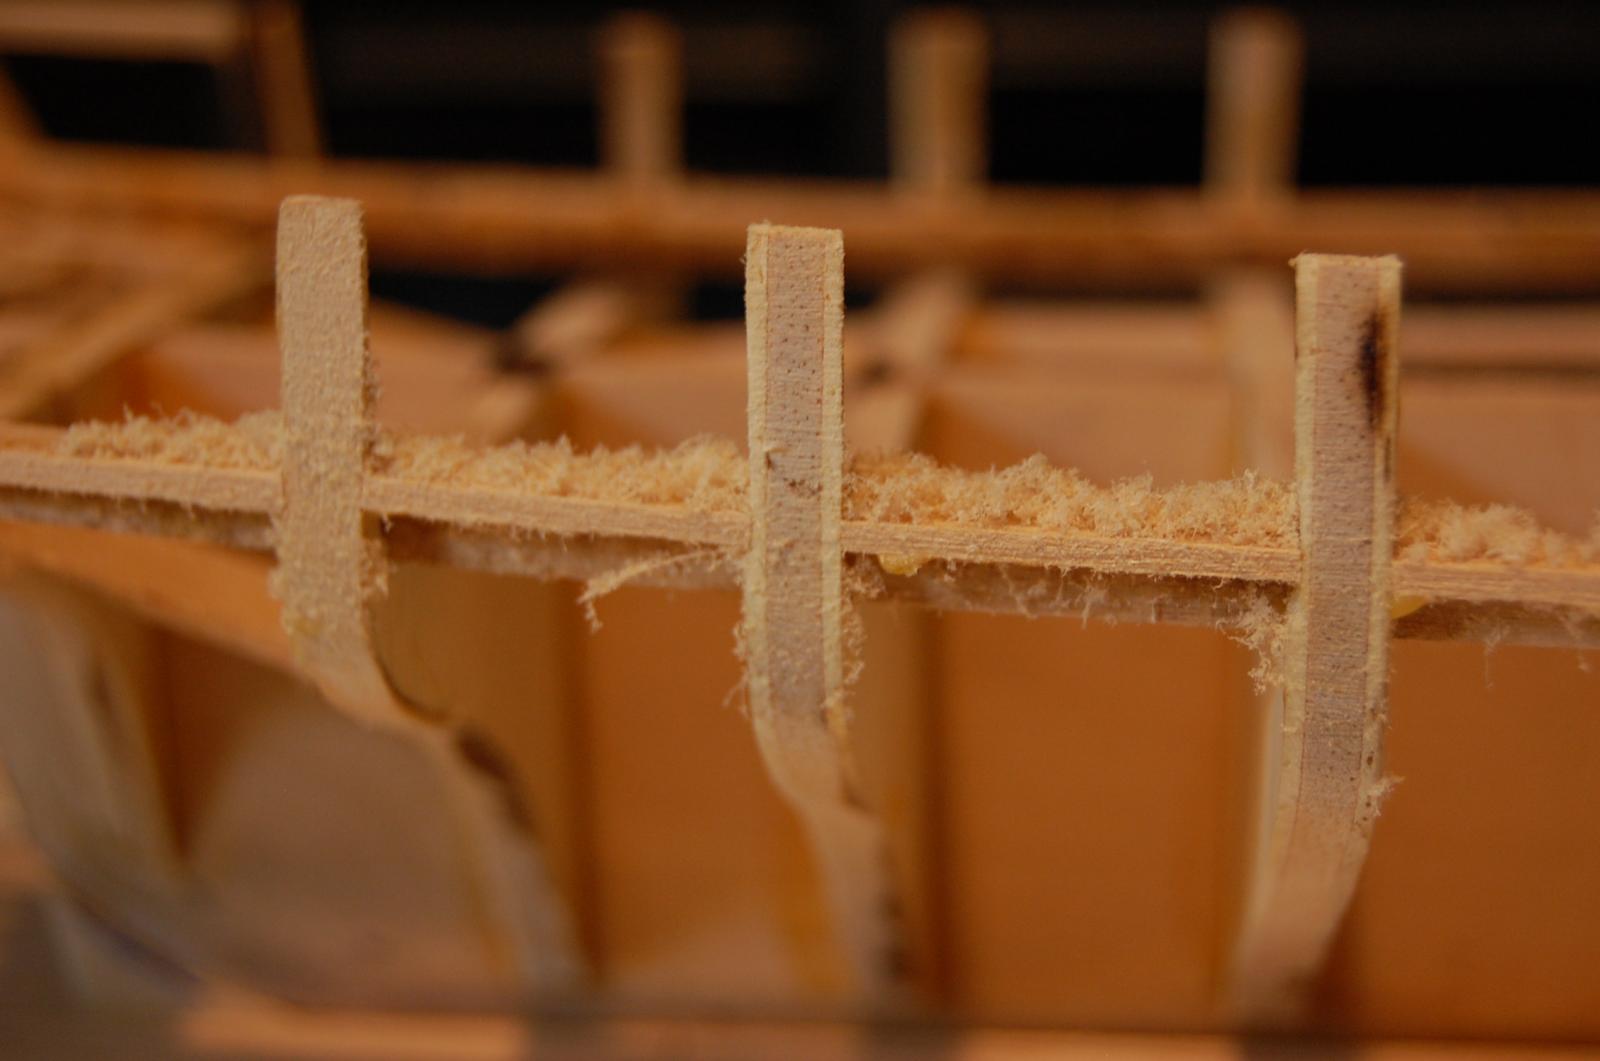
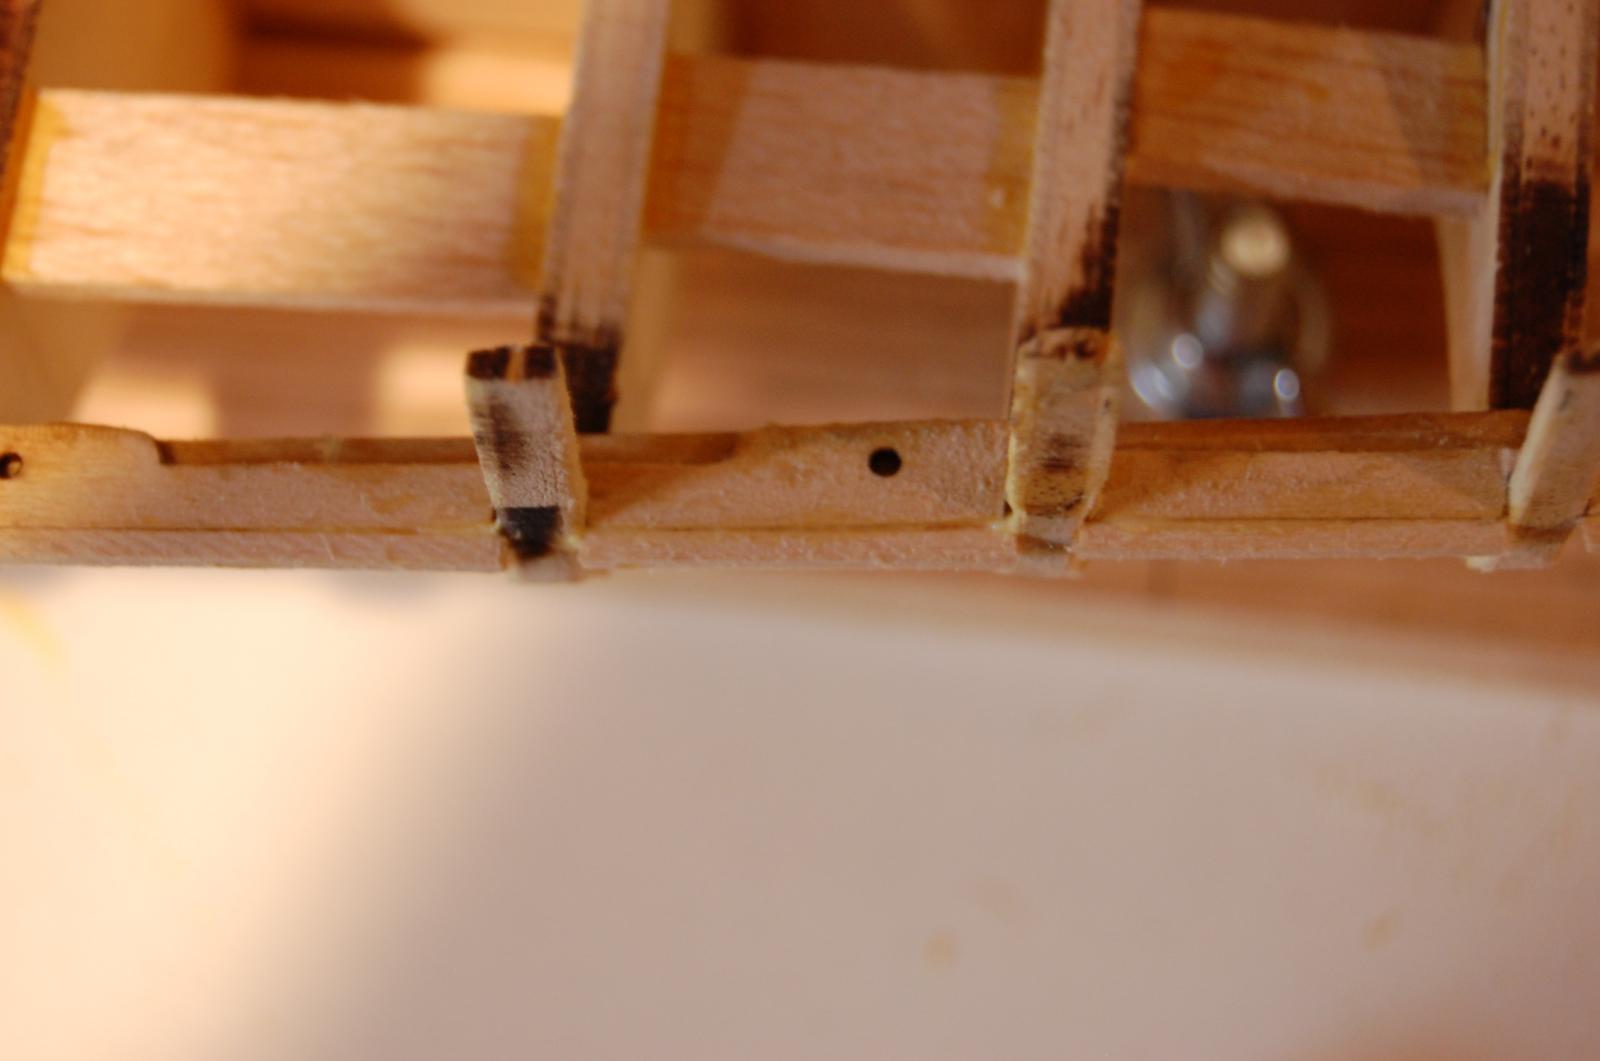
Didn't make sense to add separate spacers for the gun ports. Removed the spacers, trimmed the bulkheads to gun port height then added a 3/32 square at top of gun ports. Soaked it for 15 minutes and it bent well.

-
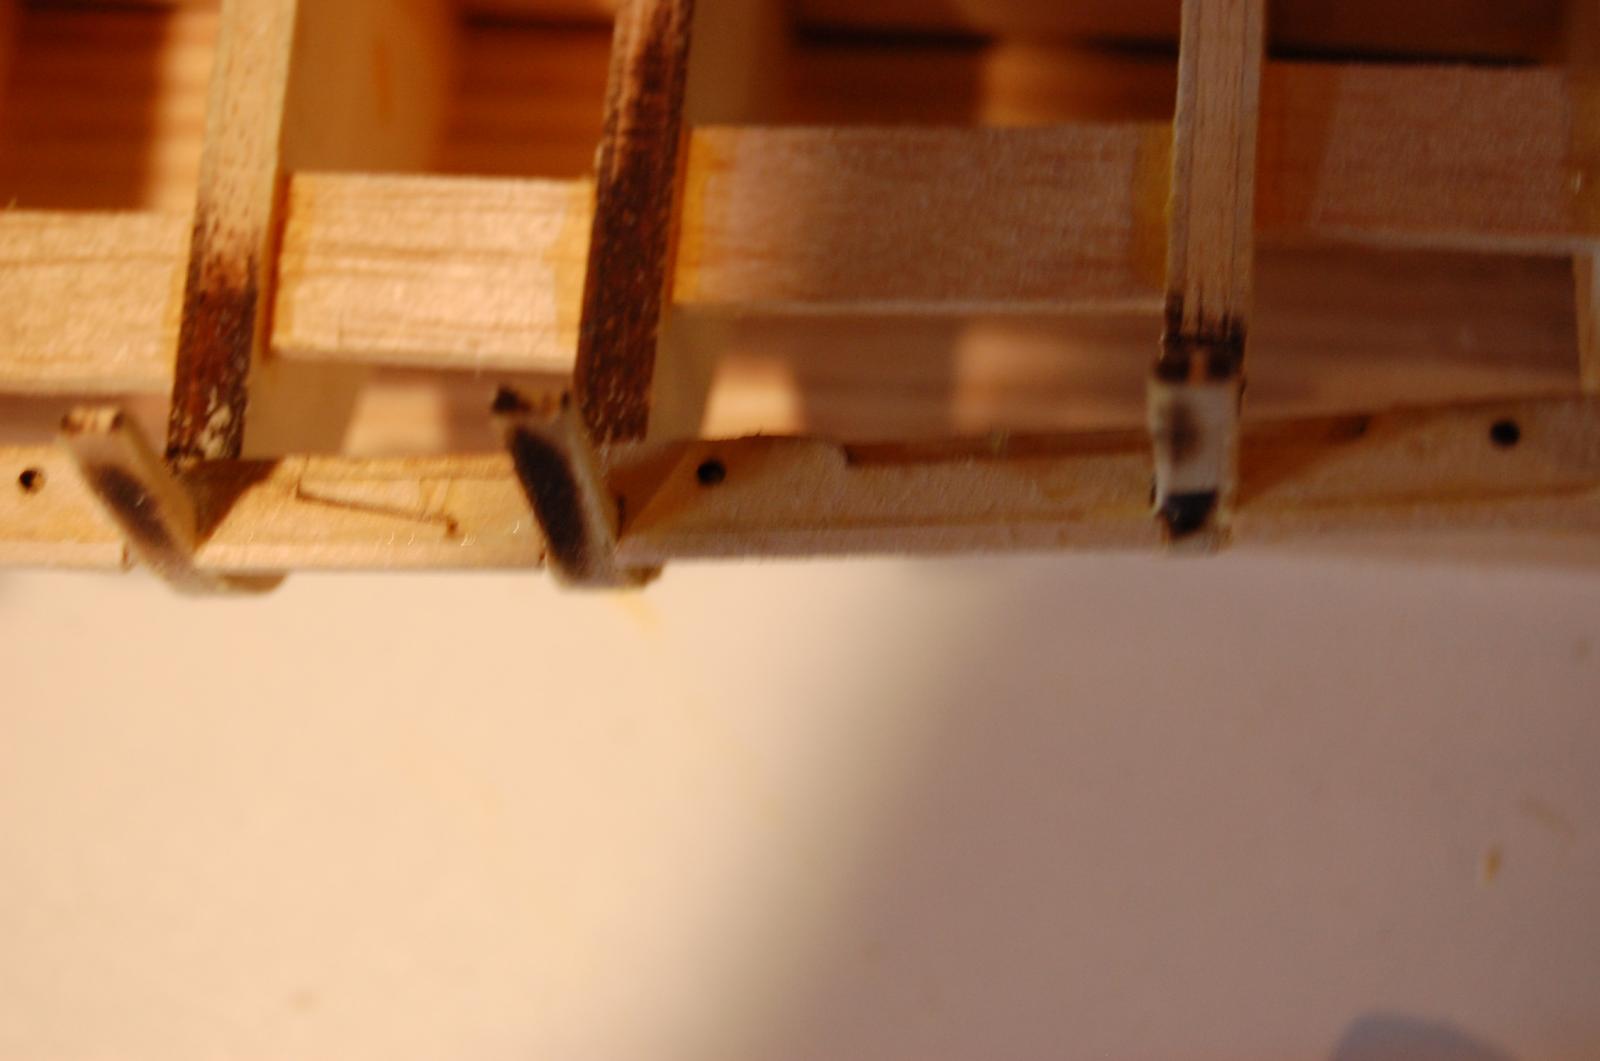
Planksheer fit was terrible. I am going to airbrush the planksheer after I have completed the gun ports and sweep ports and shoot everything in red. Here I have sanded the 1/16th filler between the bulkheads. I made a handy gun port/sweep port fitting device and with 3/16 square and 3/32 x 1/8 board I can frame everything.


-
-
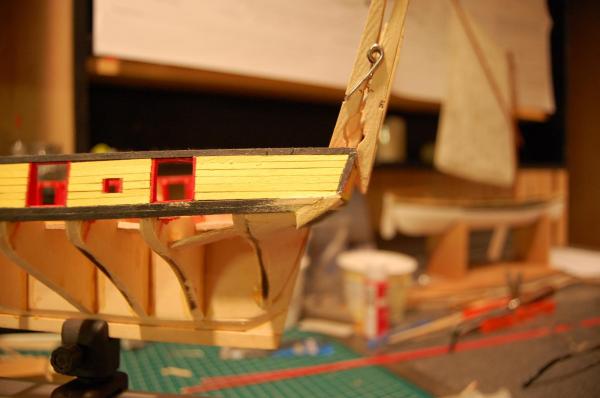
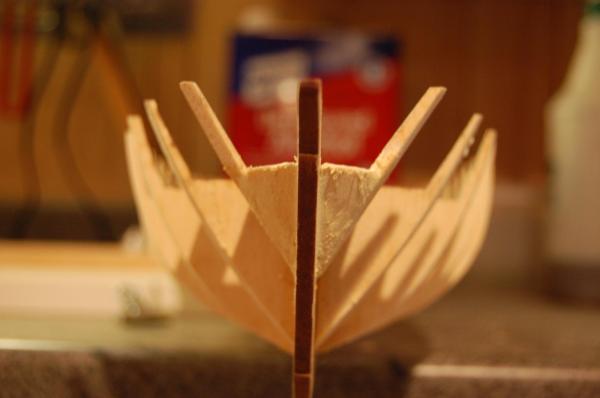
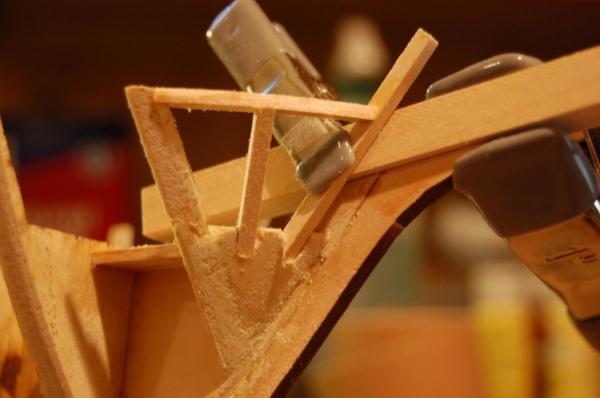
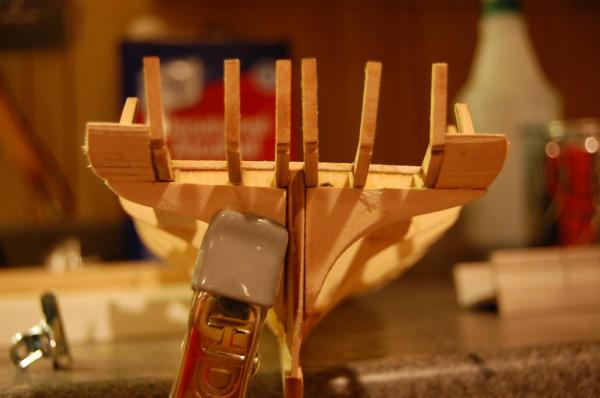
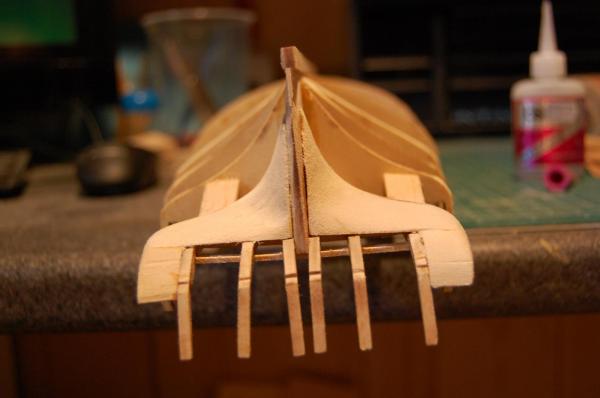
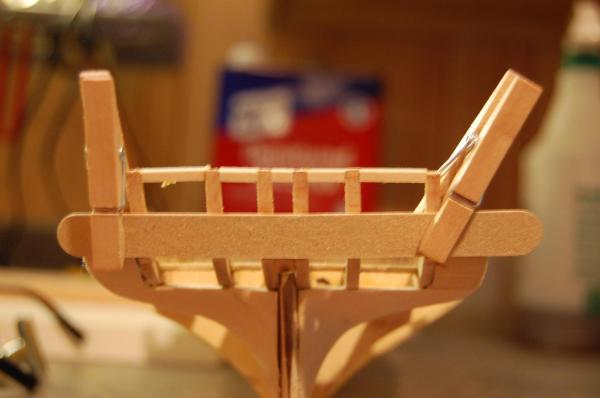
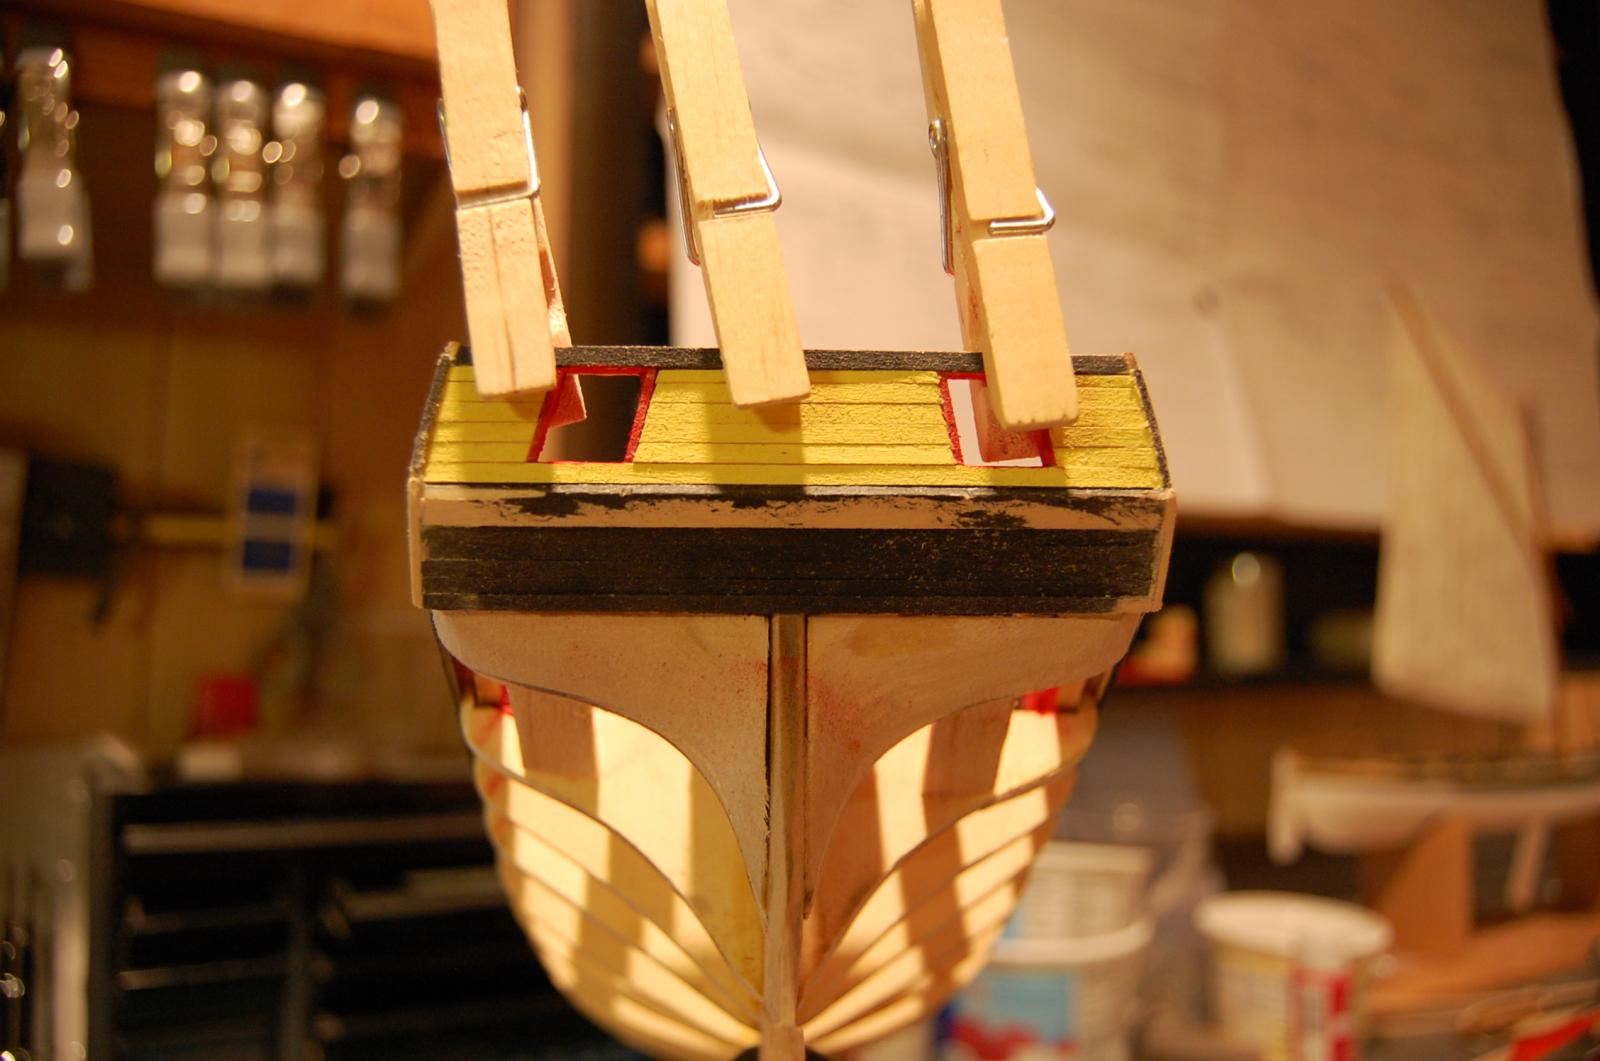
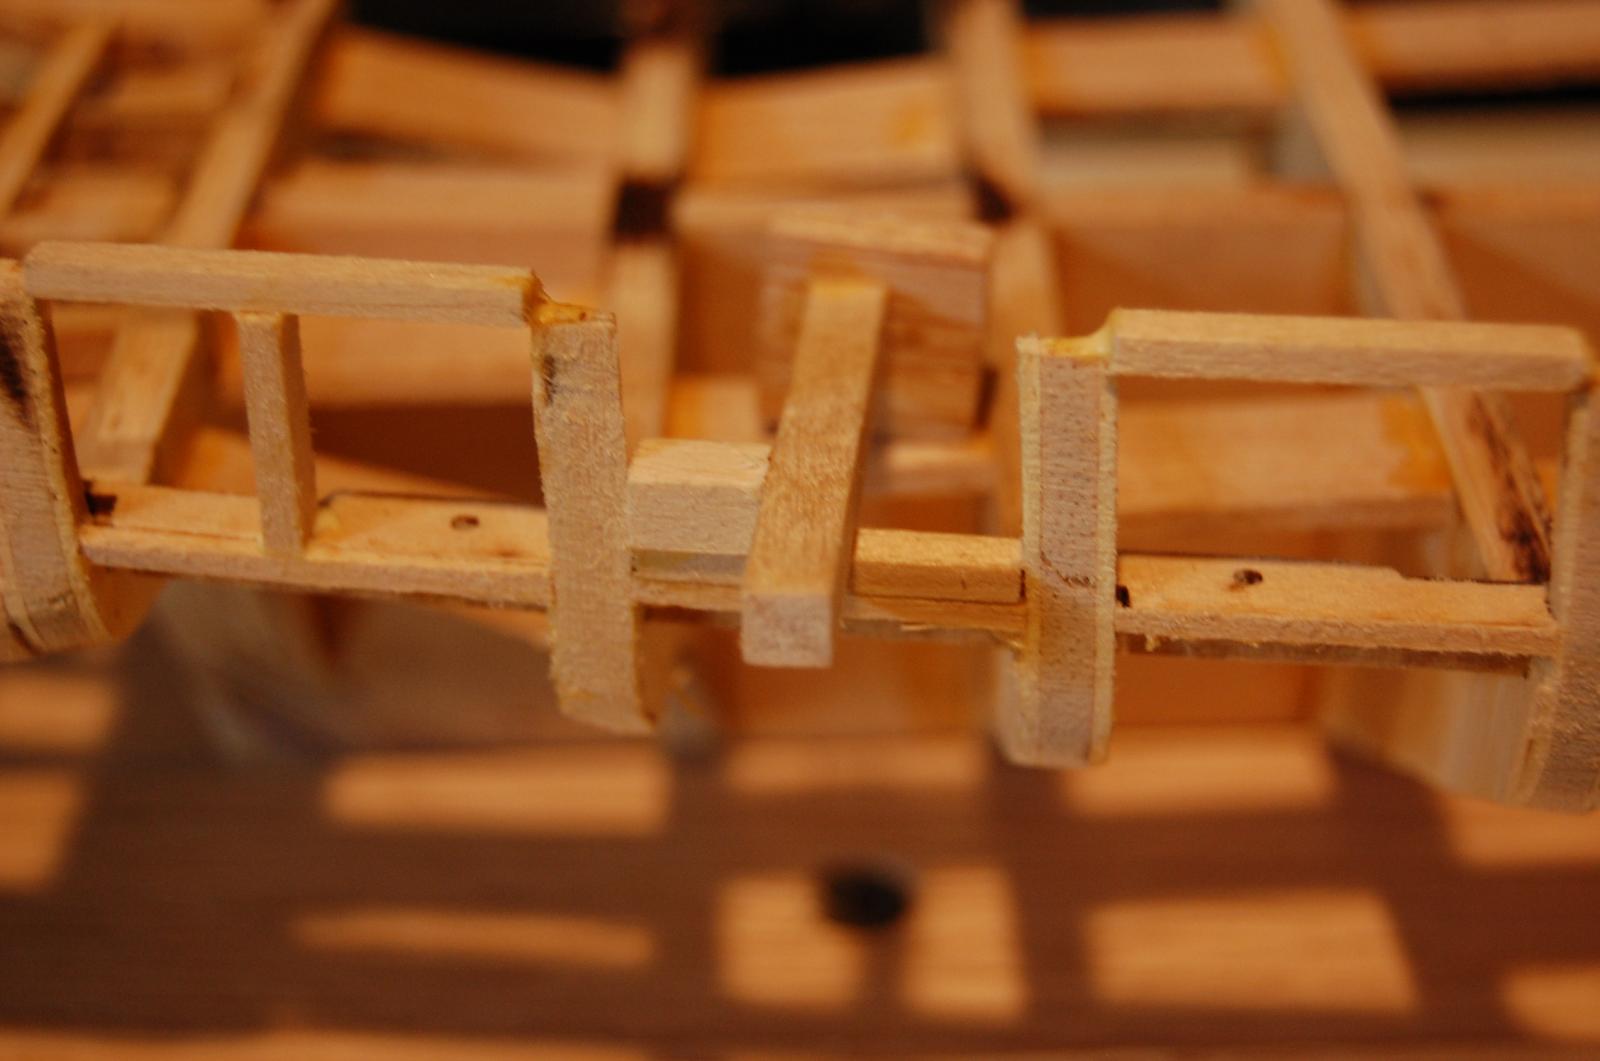
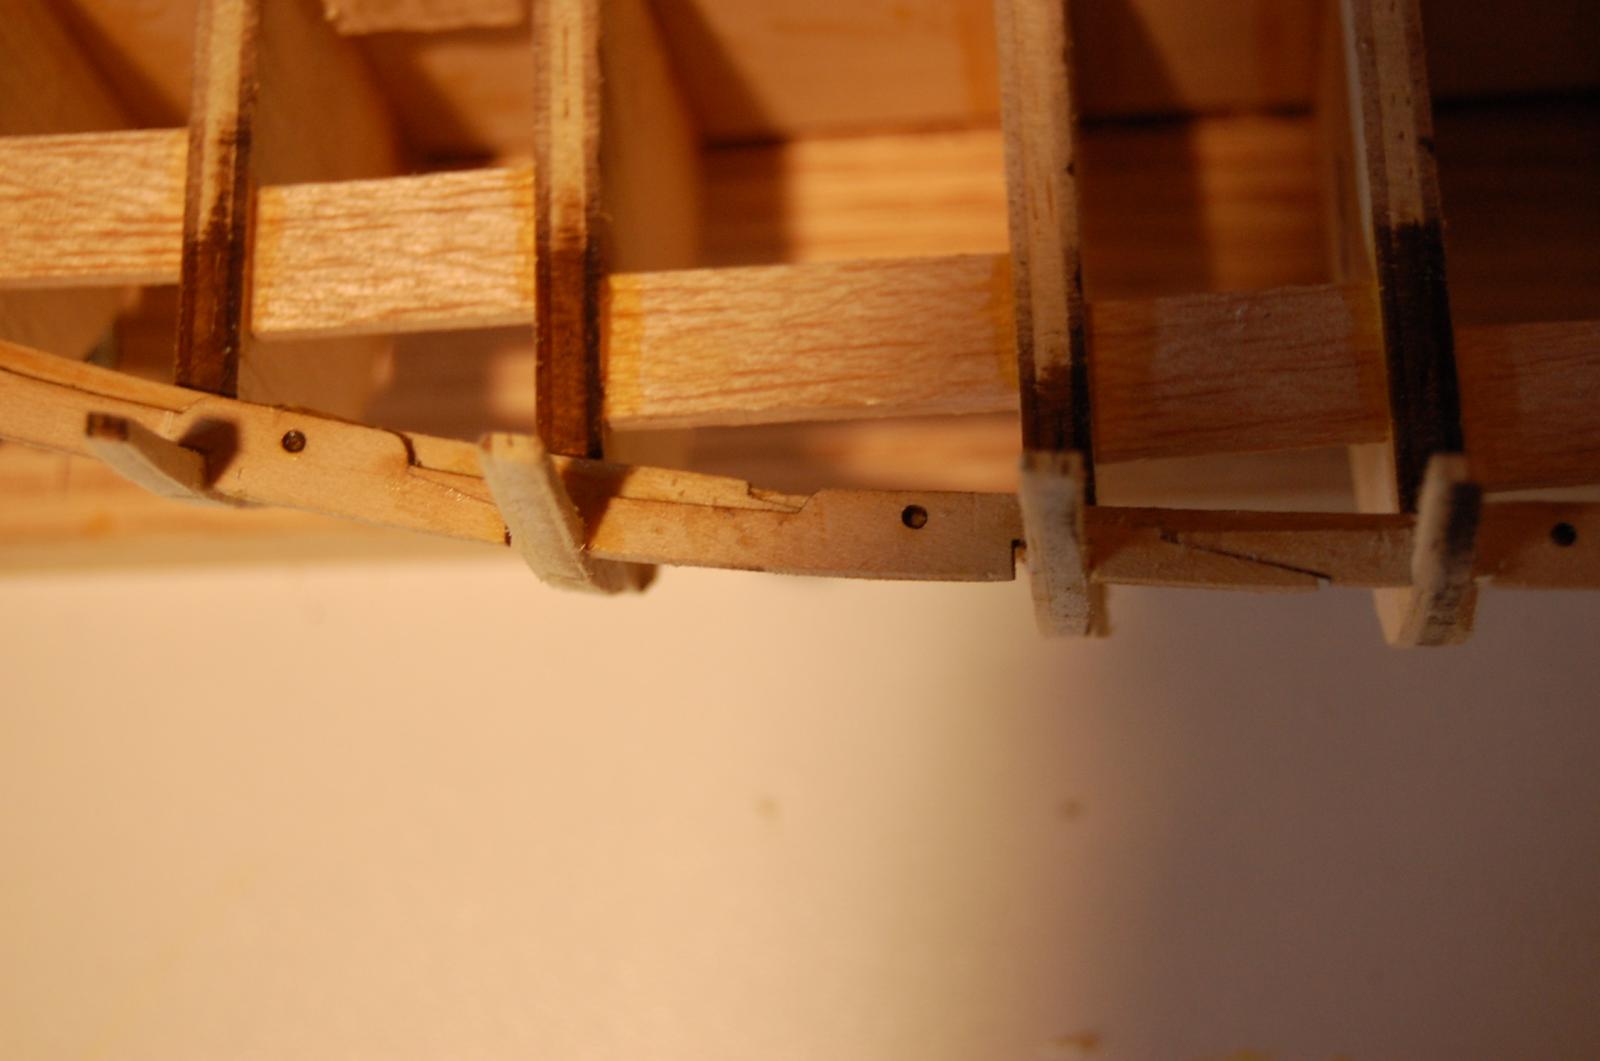
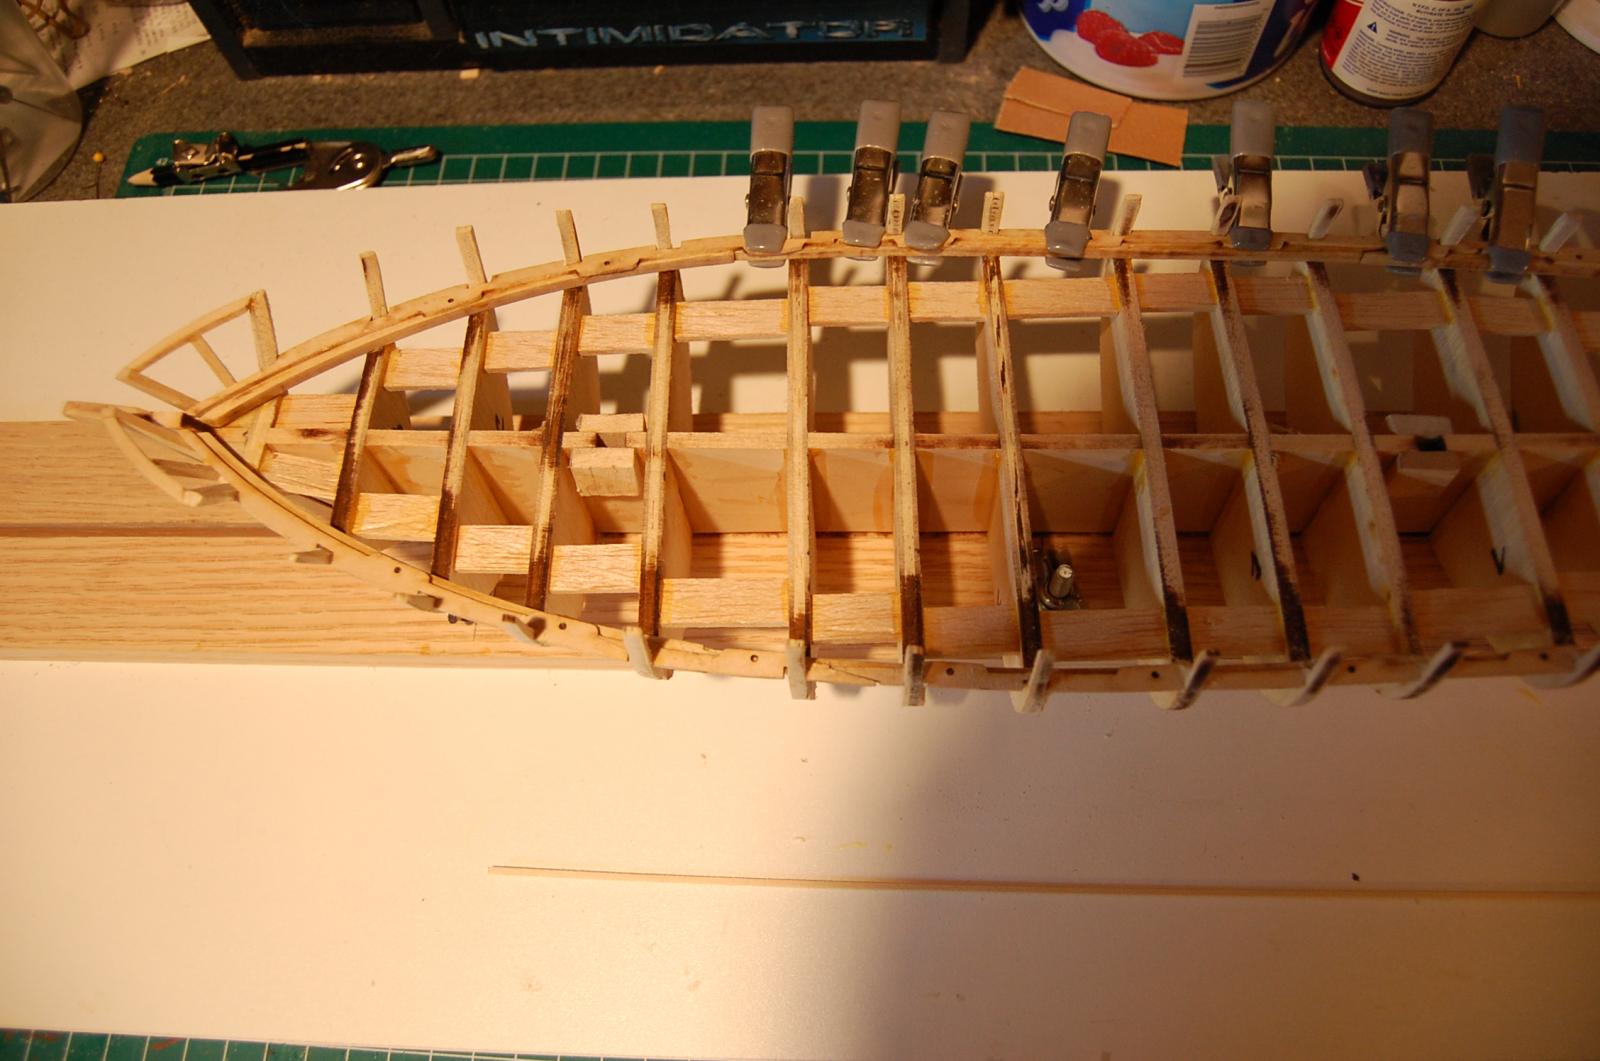
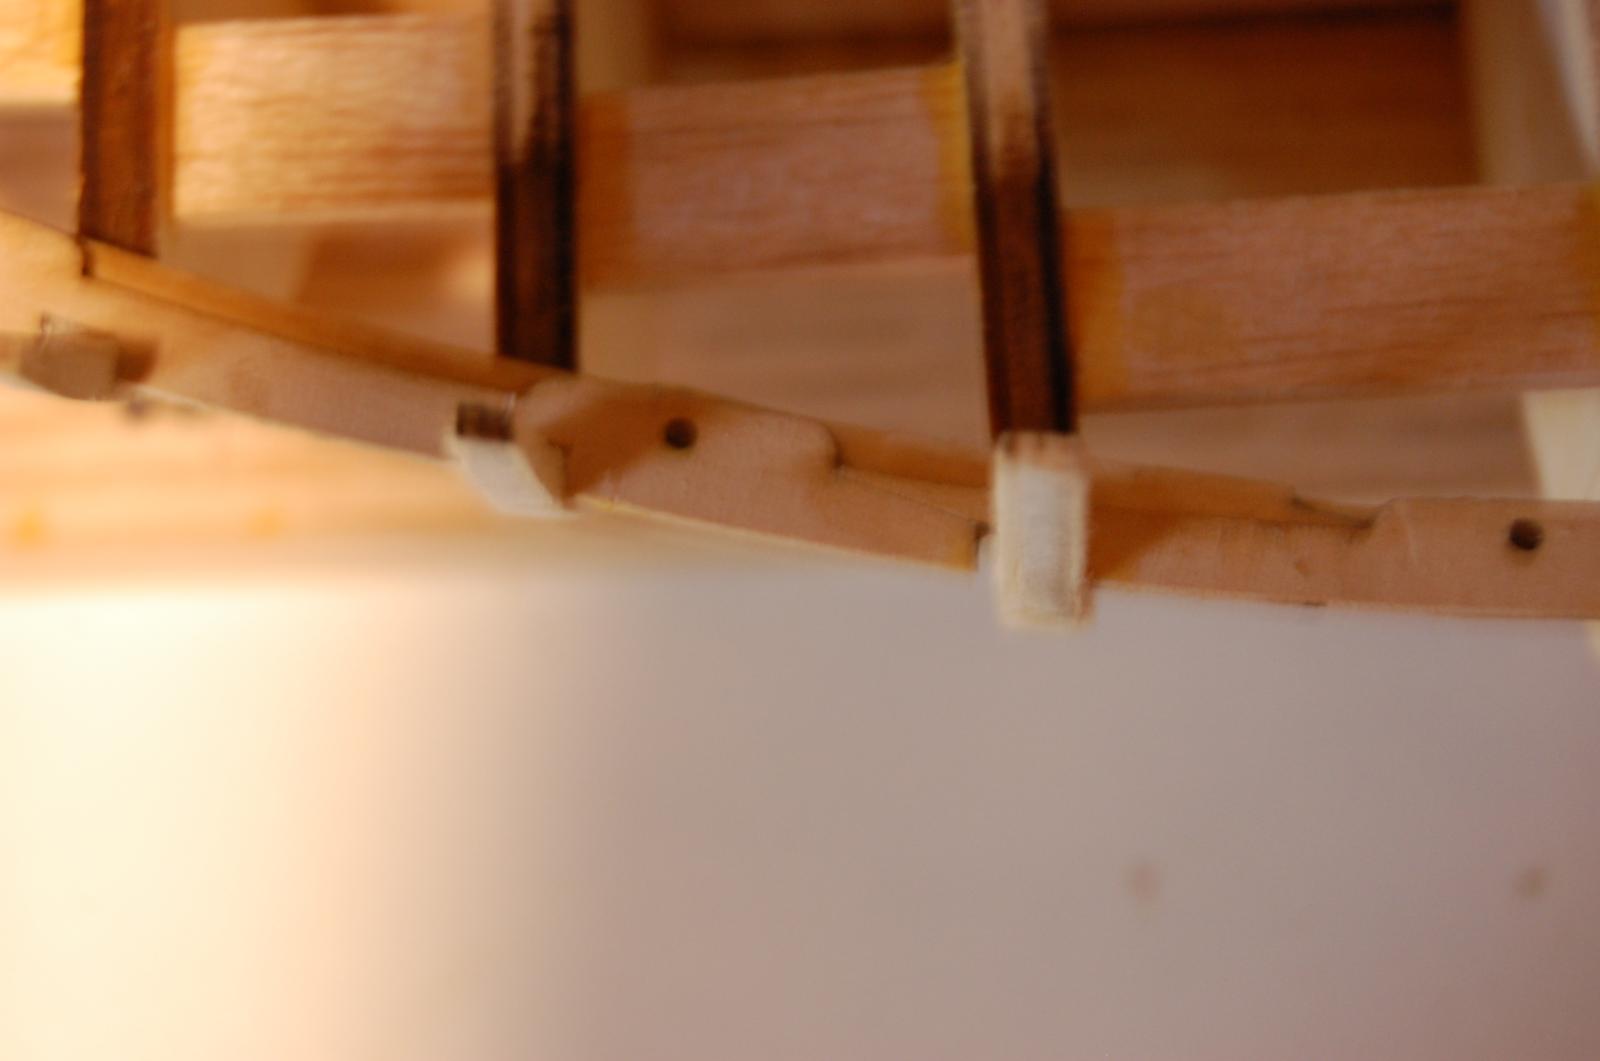
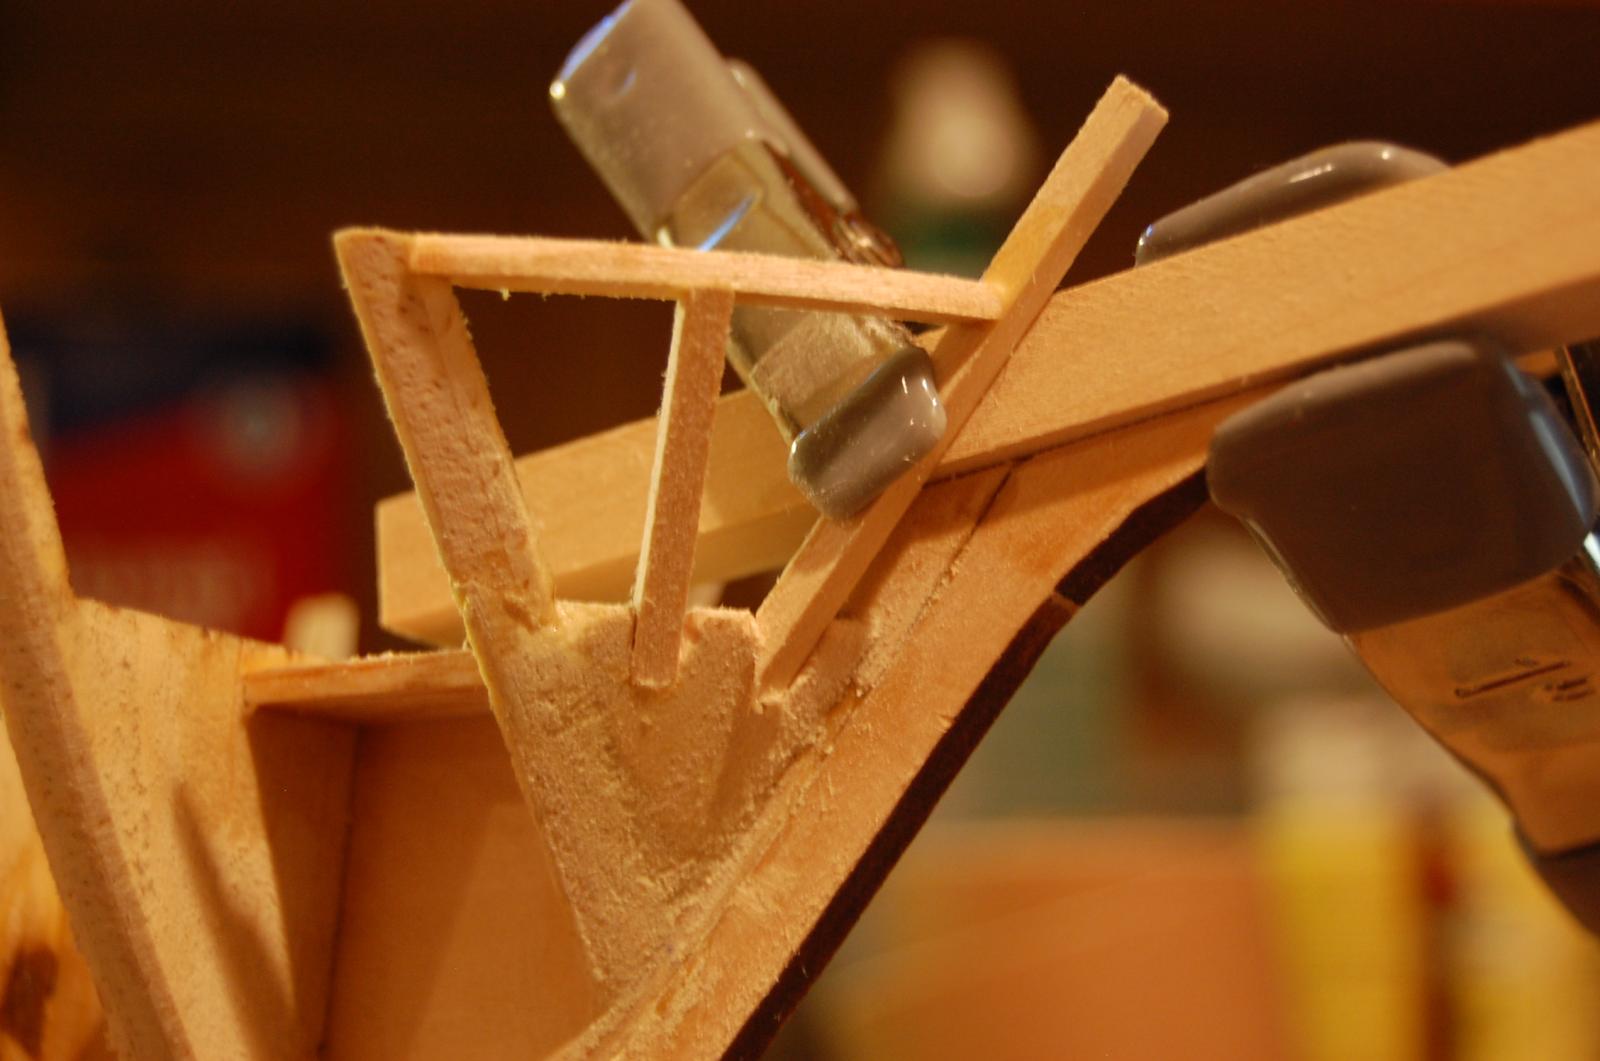
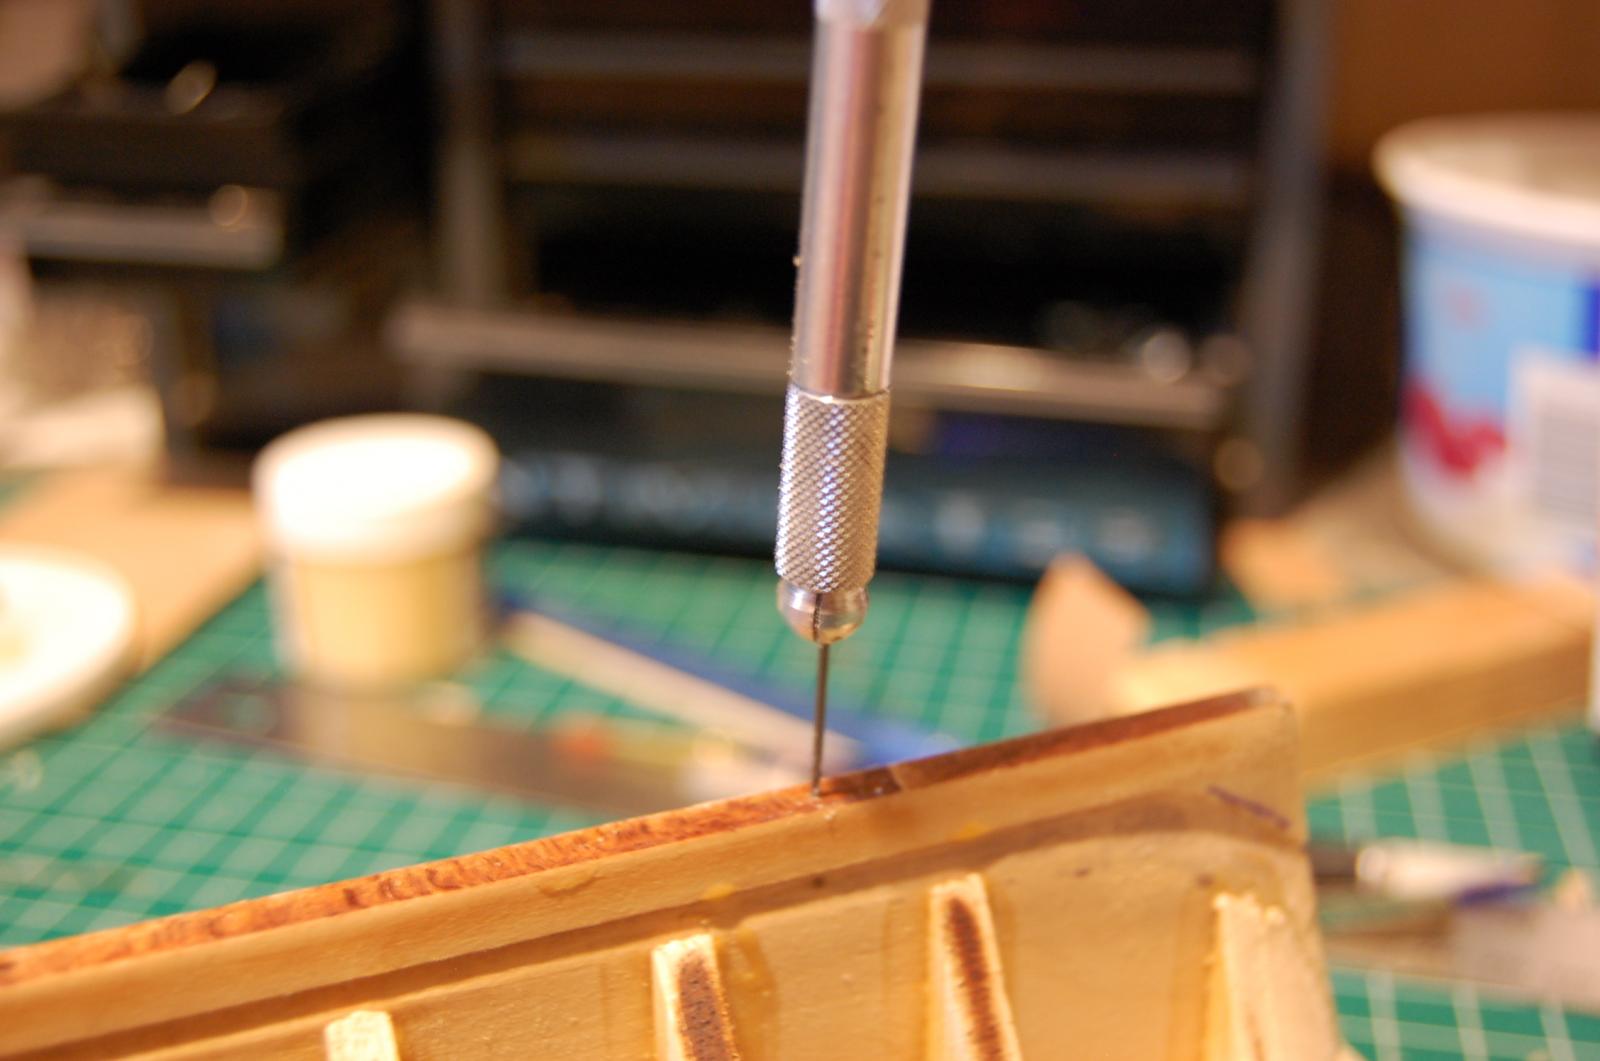
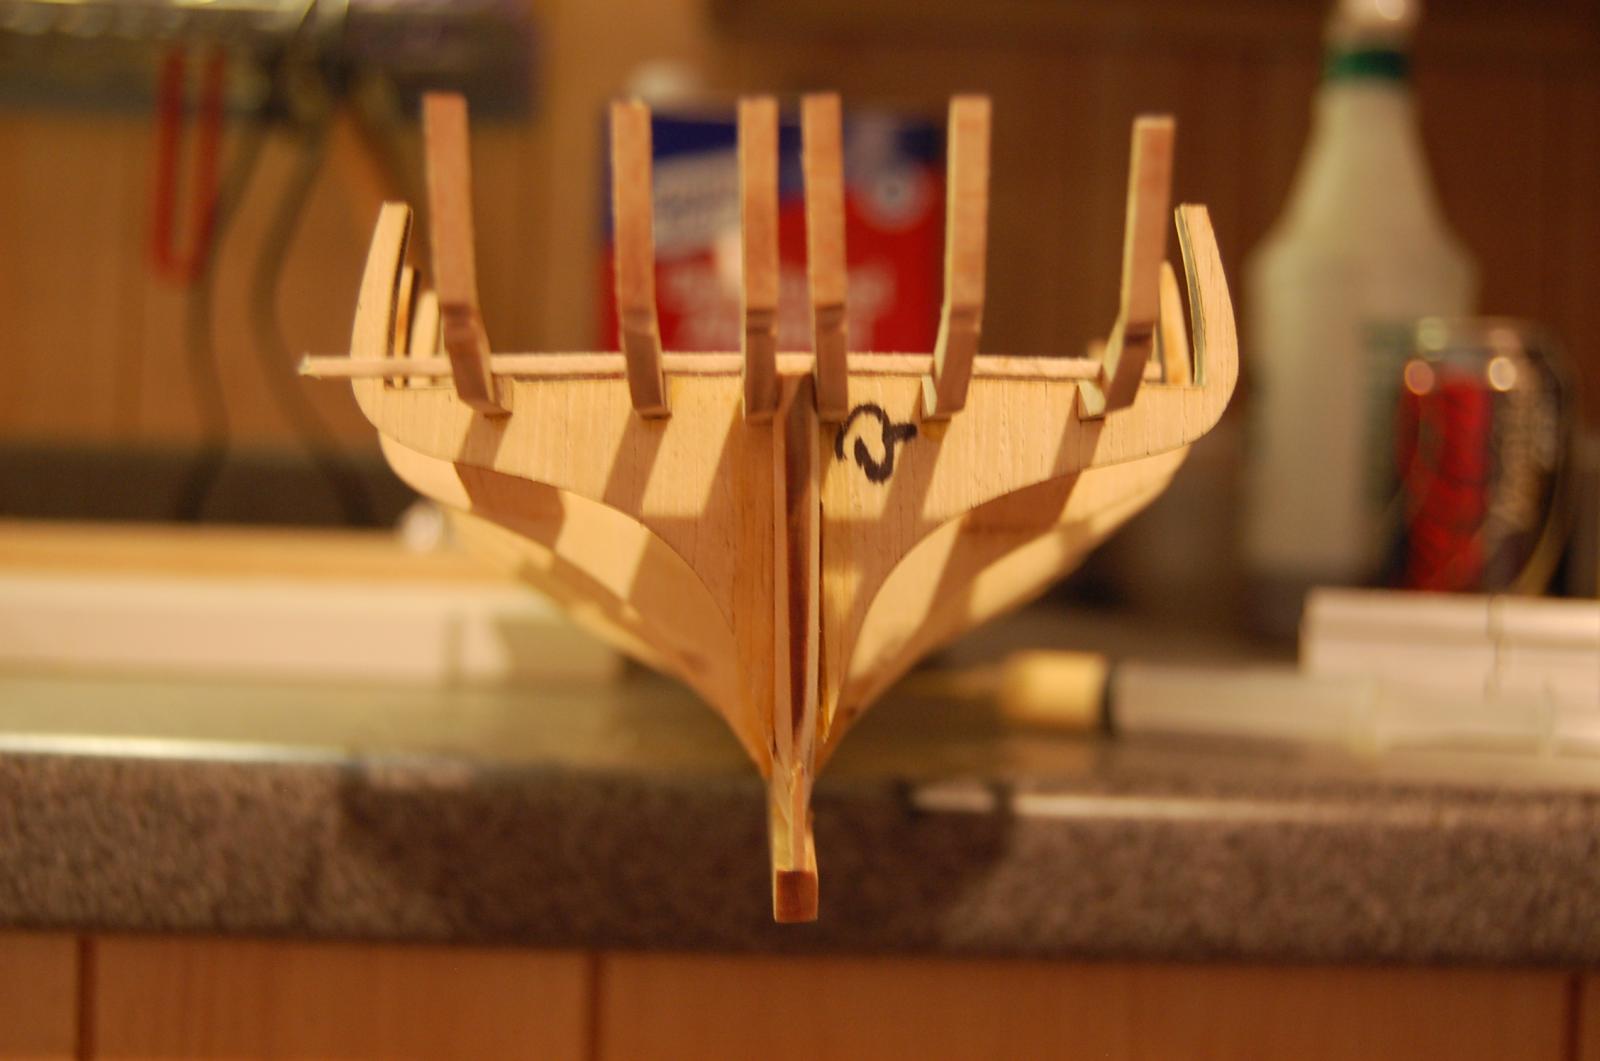
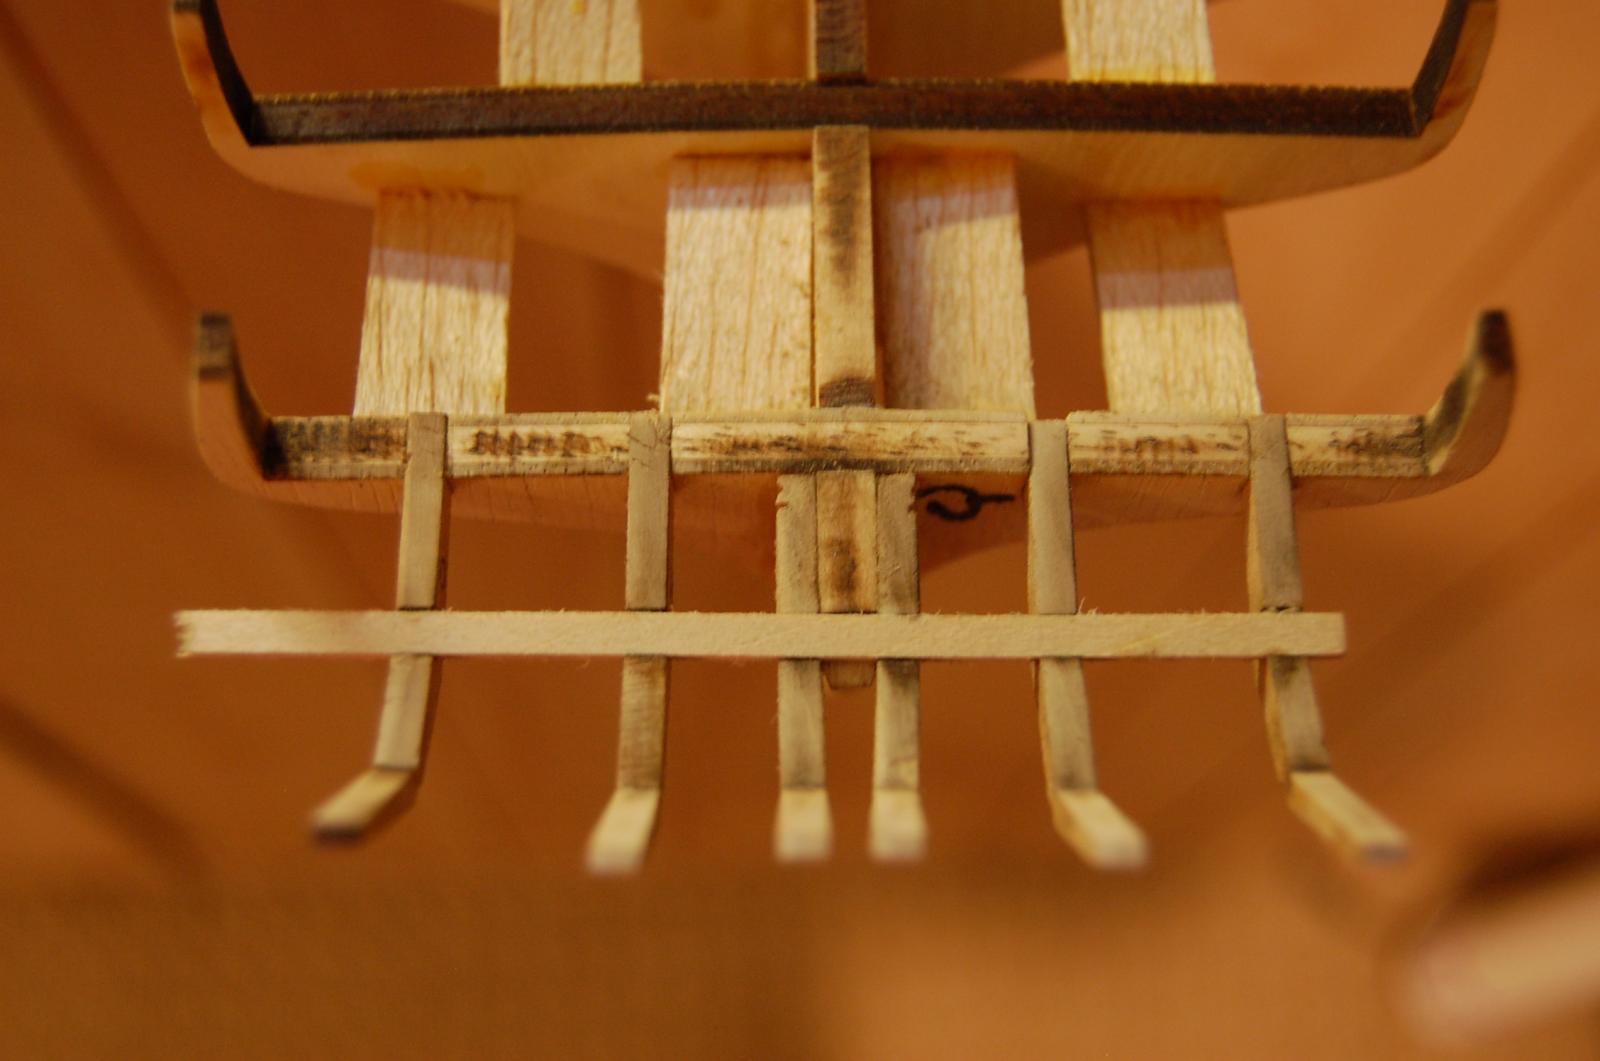
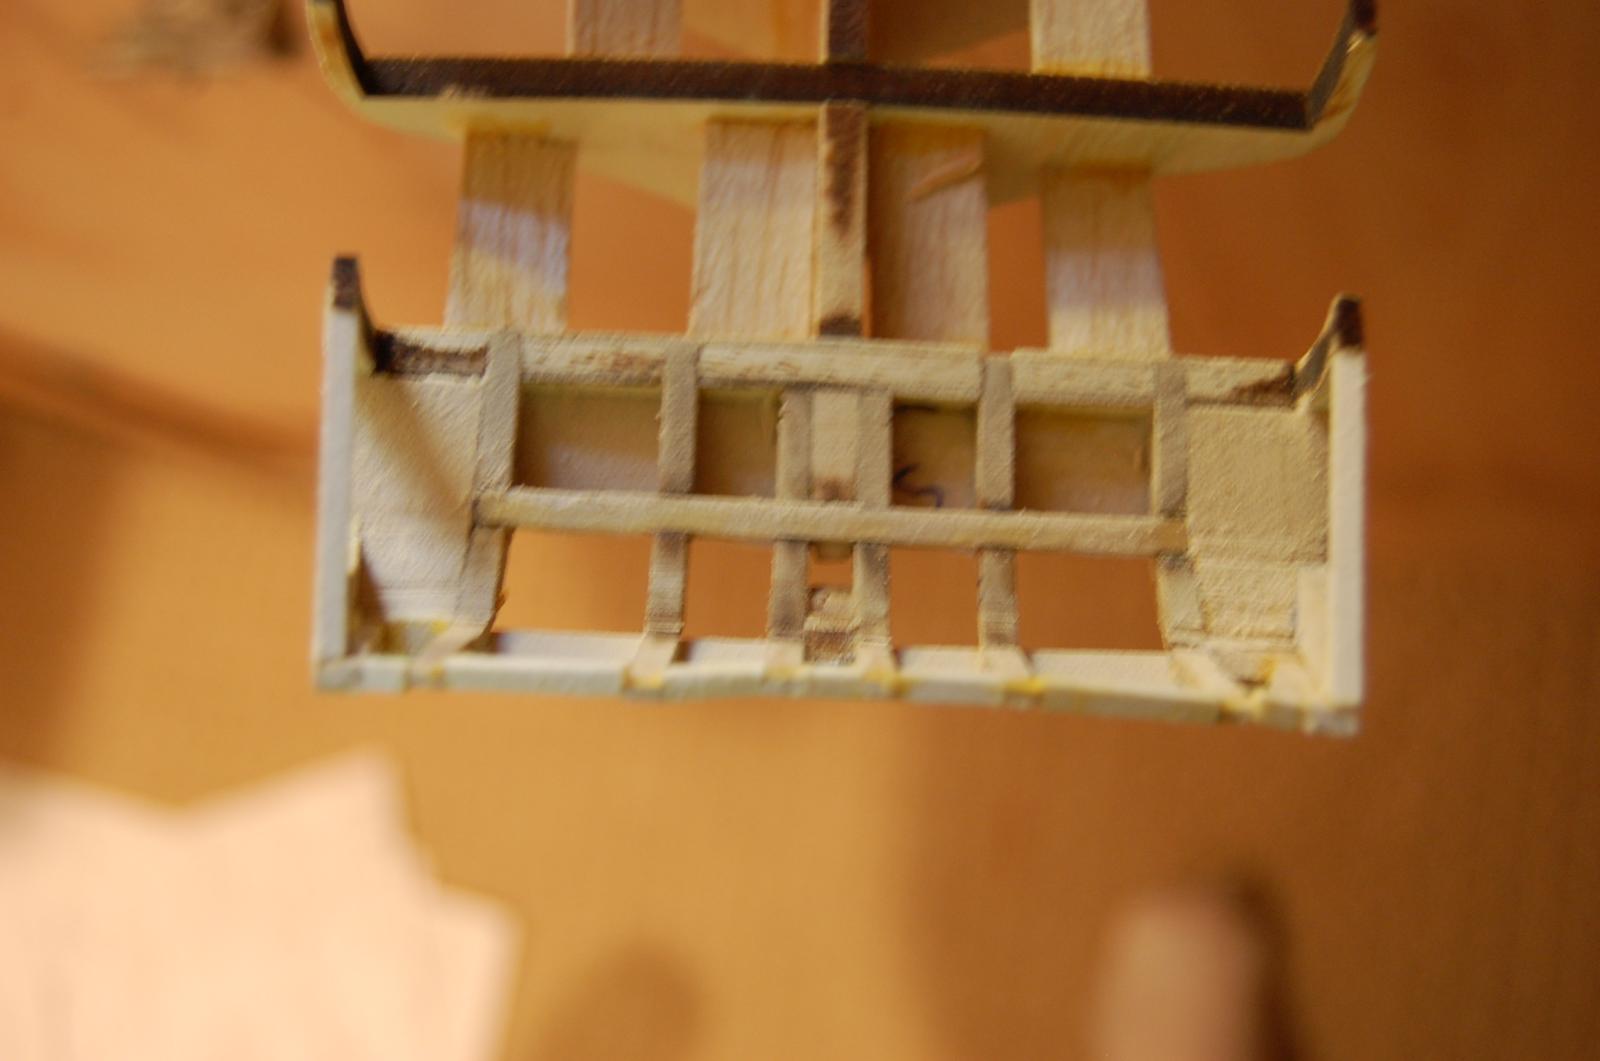
Now it is time to attack the bow. Added the front blocks and sanded them close with a Dremel and sanding barrel. Added the 2 supports and upper frame at bow. Added some scrap around the 2 mast holes. Also pinned the lower keel on using a hand drill and some small T pins which I cut with wire cutters. In the process of building the companionway and a ladder.


- Ol' Pine Tar and Bill Hime
-
 2
2
-
-
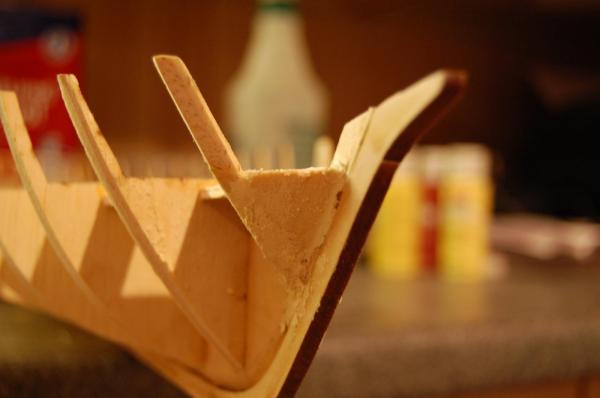
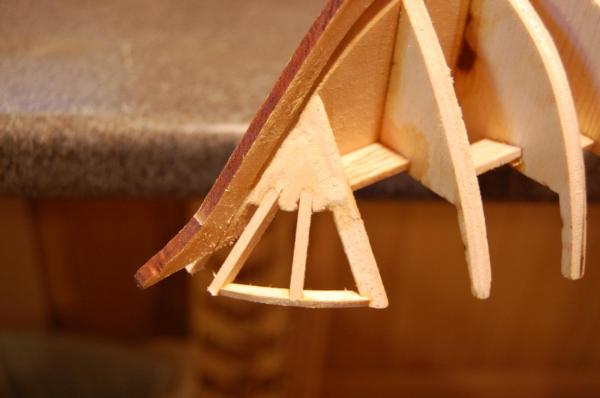
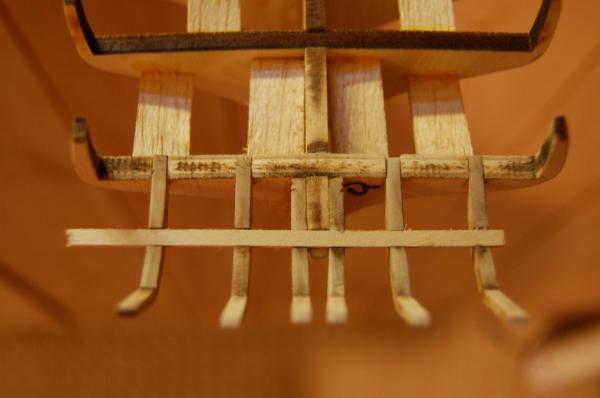
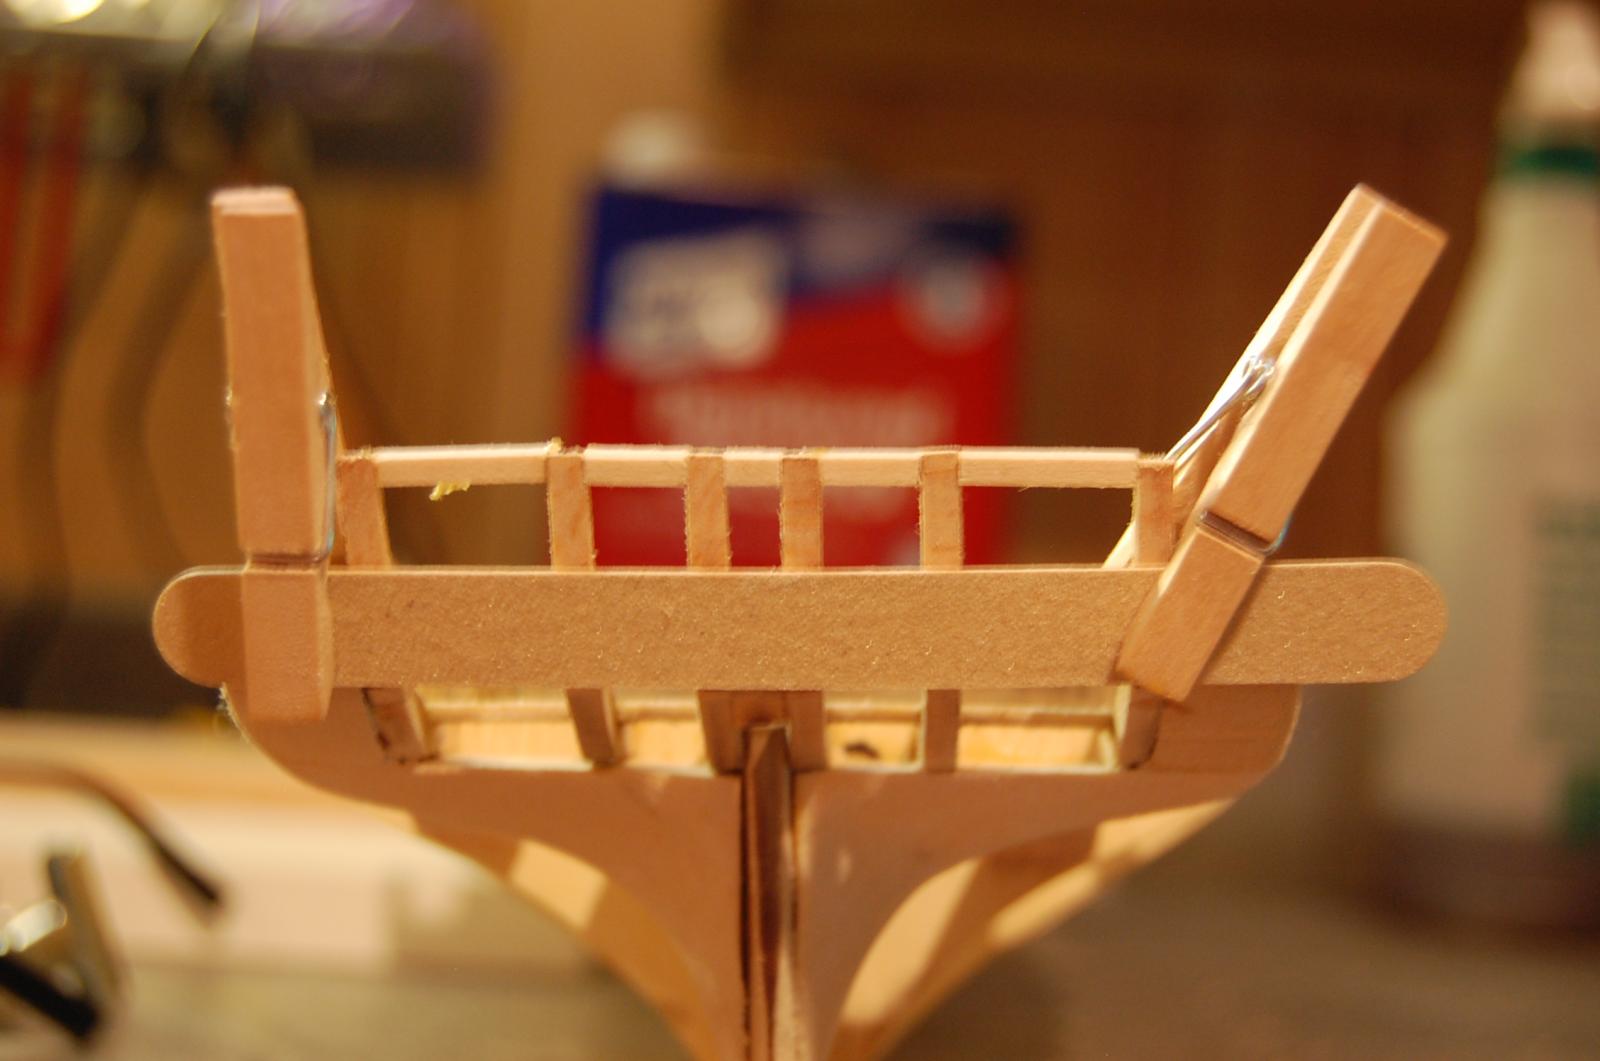
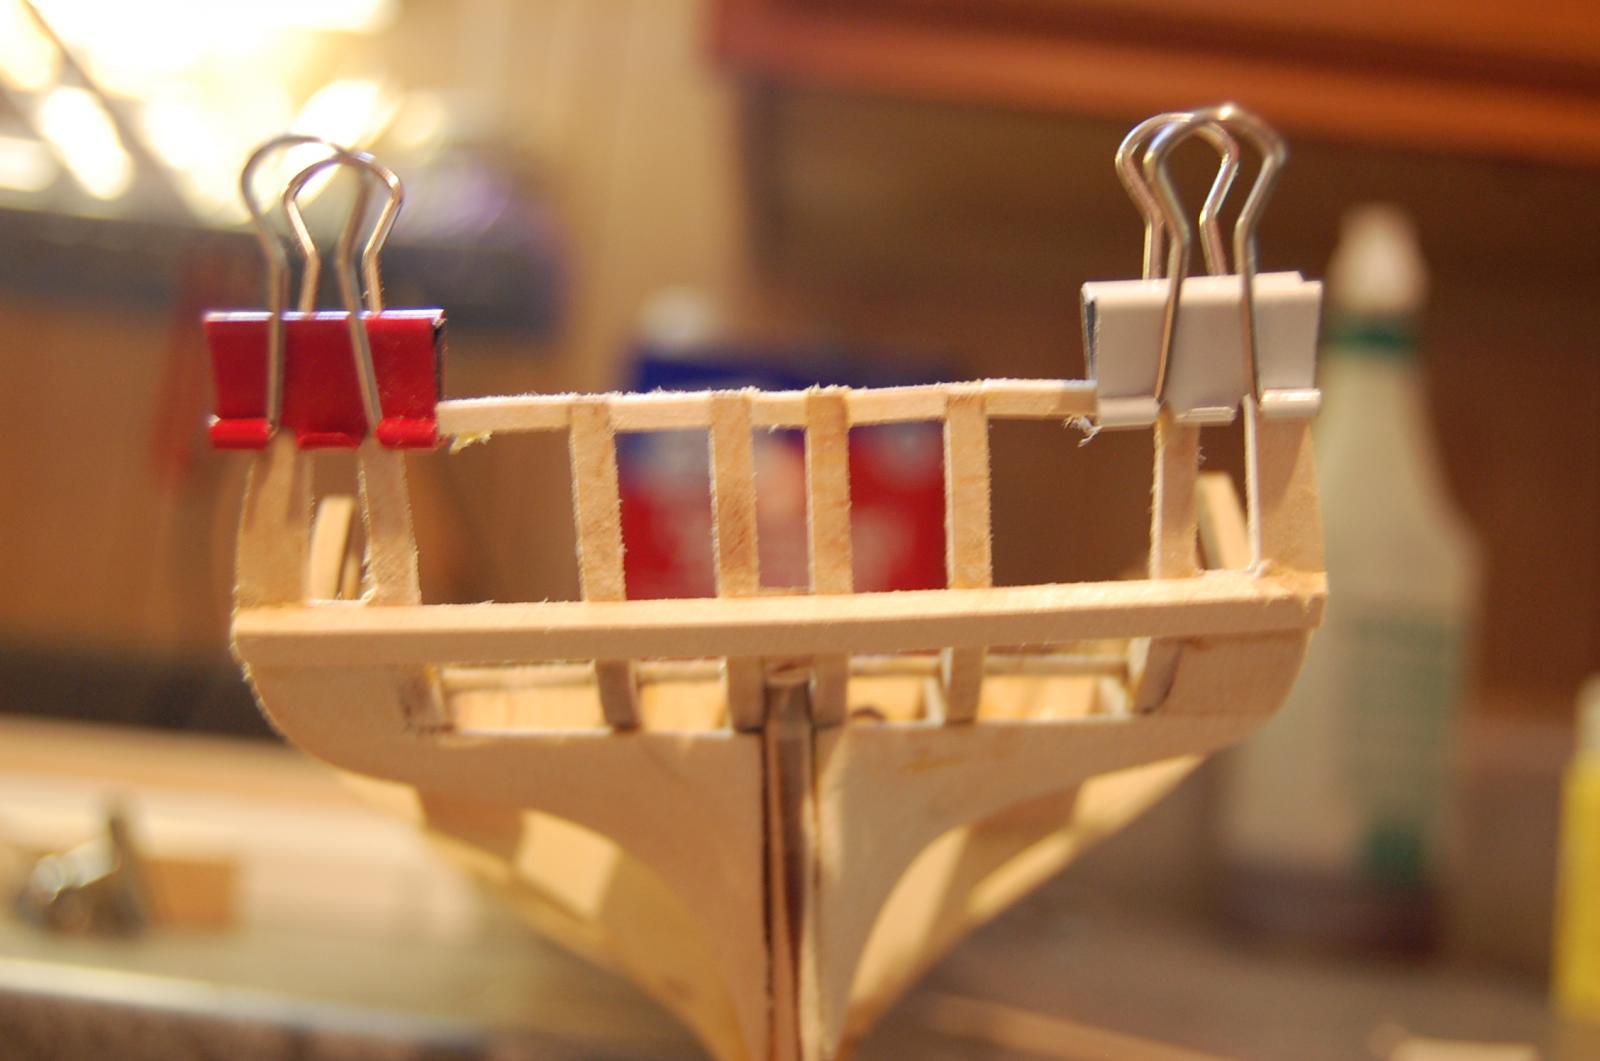
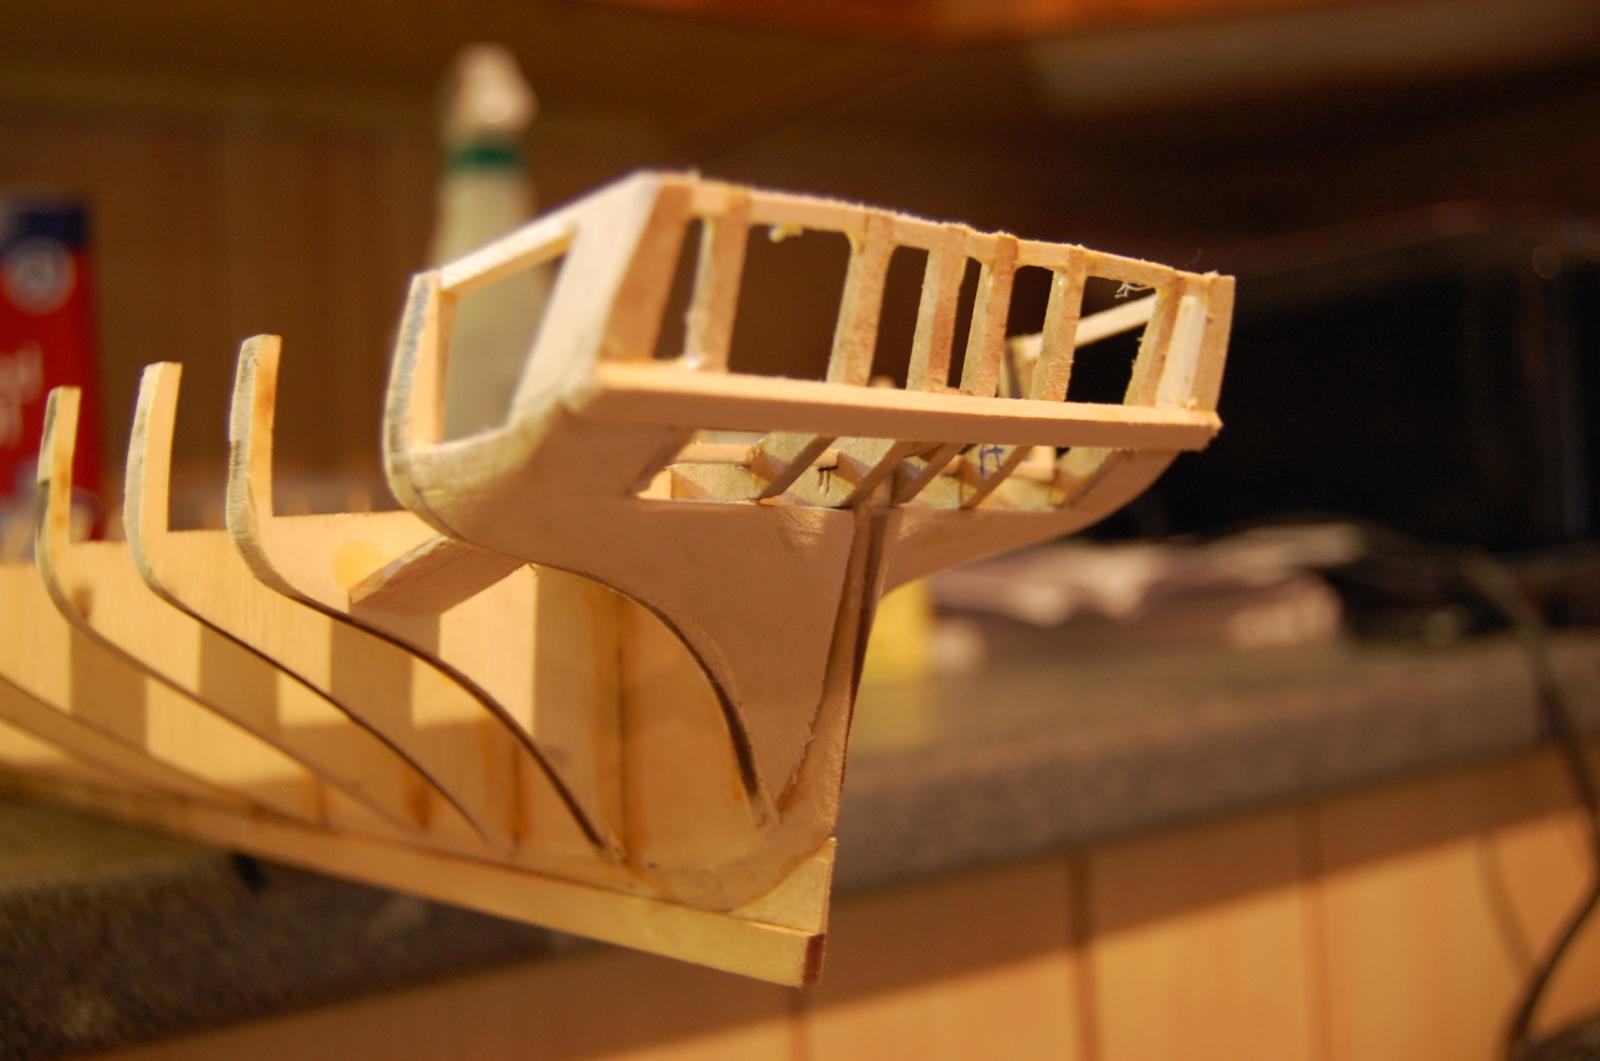
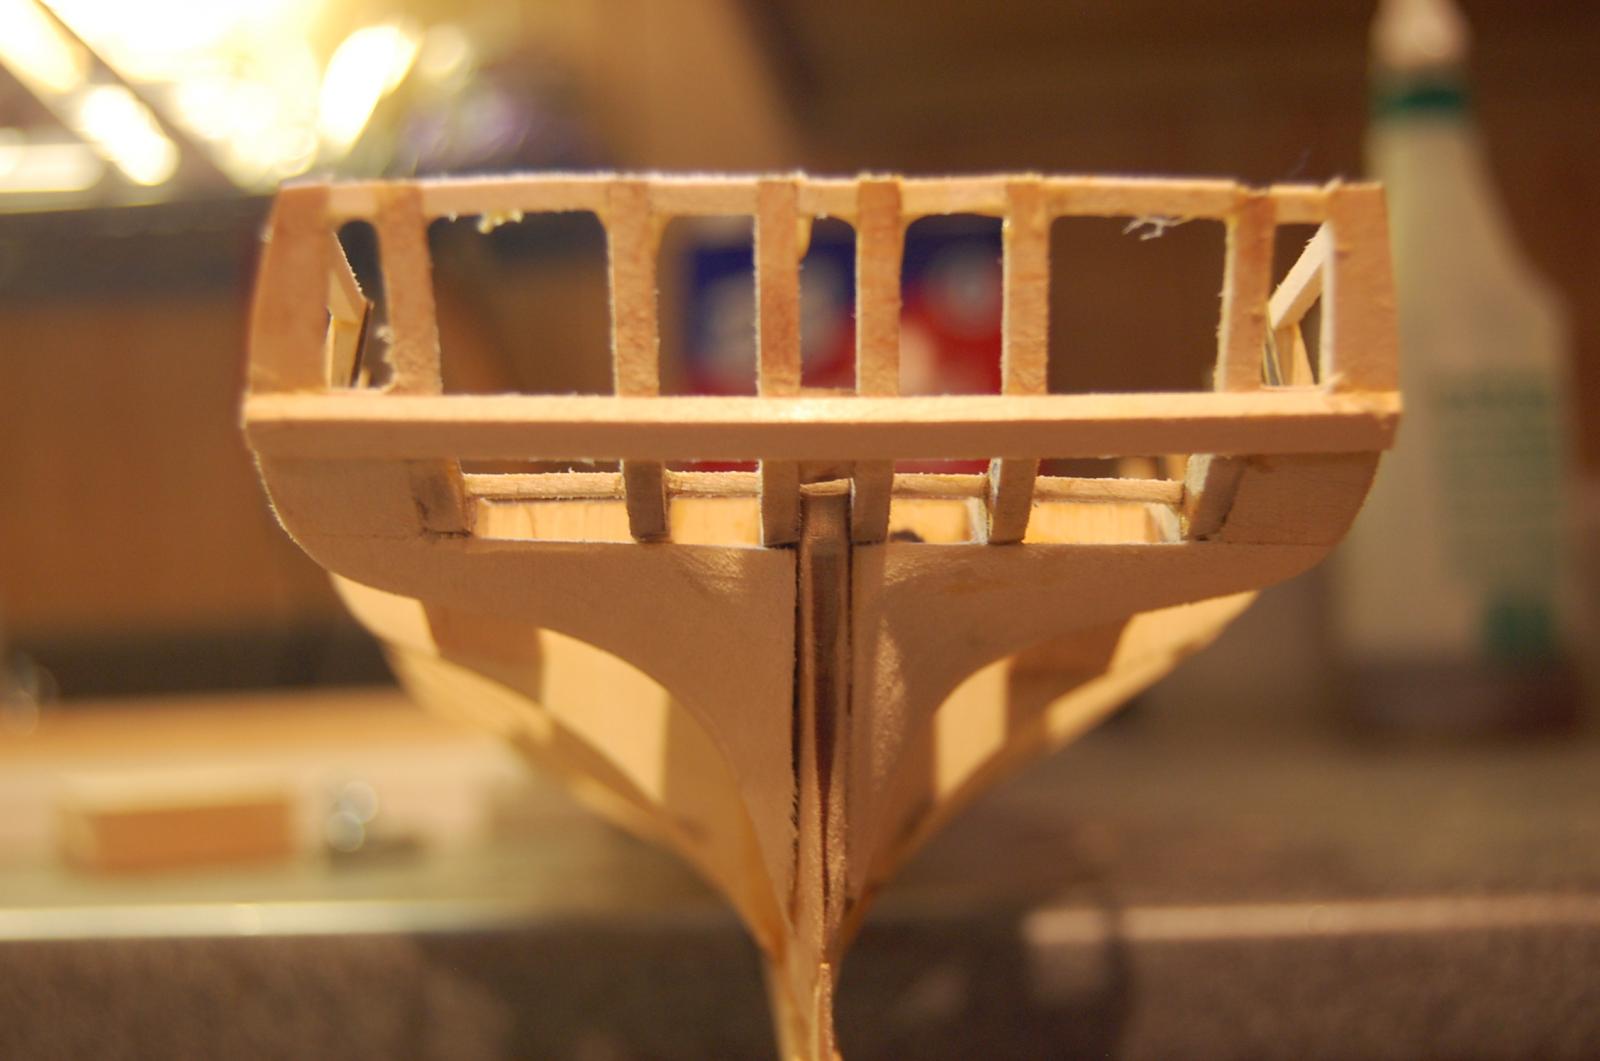
I am hoping that doing the stern on this ship is the hardest part of the build. Looked at a bunch of builds on this board and finally figured it out. Thanks to everyone in the Niagara club for the guidance.


-
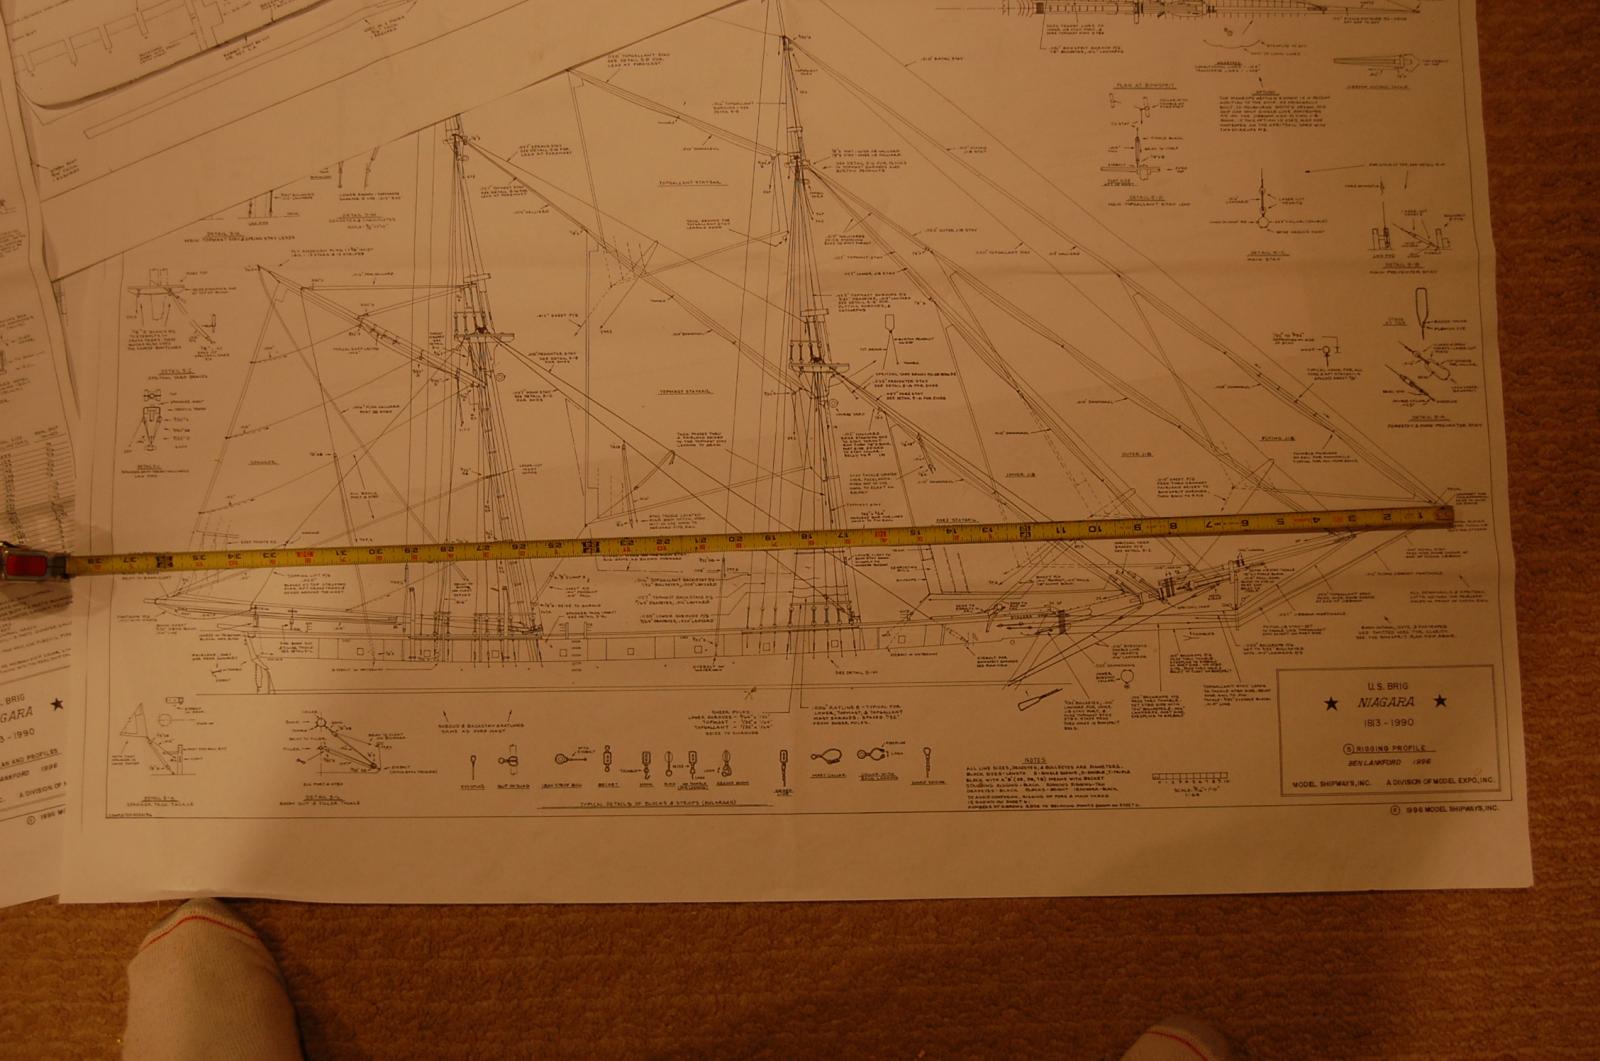
I also find it interesting that the line sizes they recommend using don't match the one's they supply.


US Brig Niagara by Laxet - FINISHED - Model Shipways
in - Kit build logs for subjects built from 1801 - 1850
Posted
If you are using a Dremel 120 makes sense. I used 60 but did it by hand. Good luck.