


Carlmb
-
Posts
129 -
Joined
-
Last visited
Content Type
Profiles
Forums
Gallery
Events
Posts posted by Carlmb
-
-
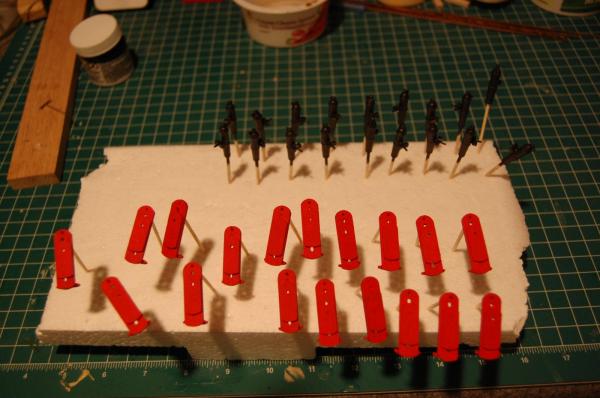
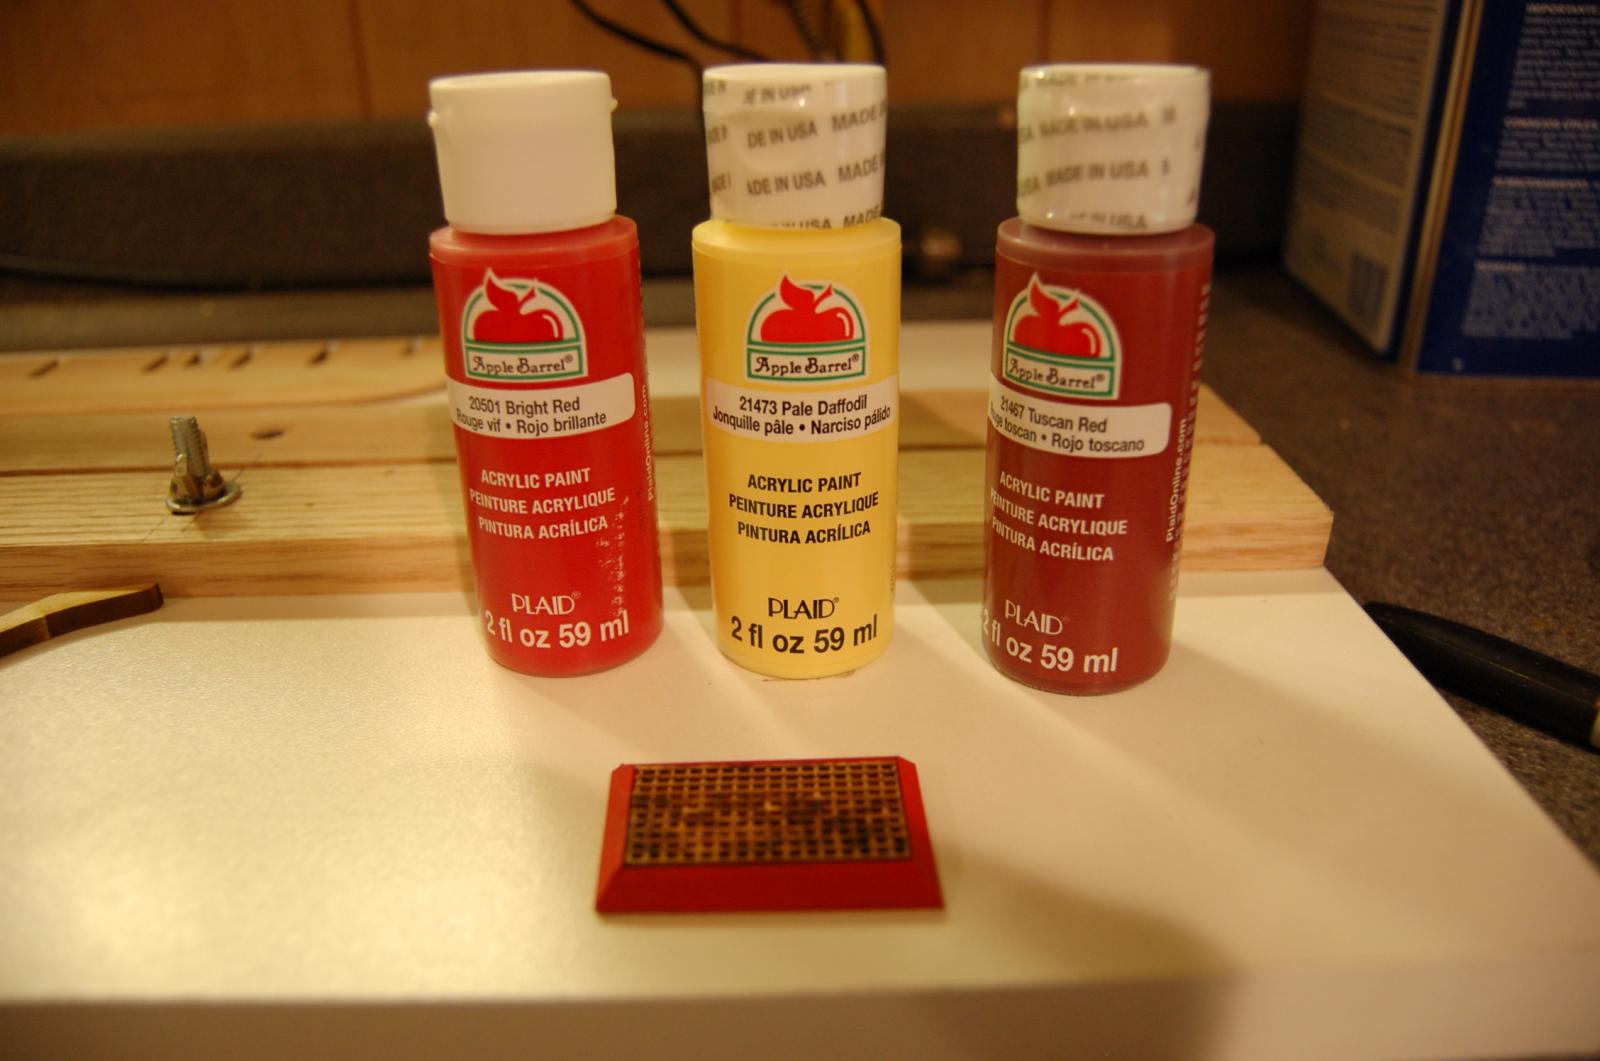
Things to do if you get bored. Paint 18 thirty-two pound carronades (assembled the upper and lower sections and metal rollers). Also painted the cannons. Hit them first with blacken-it then a light coat of spar black paint. Also built one of the coamings.

-
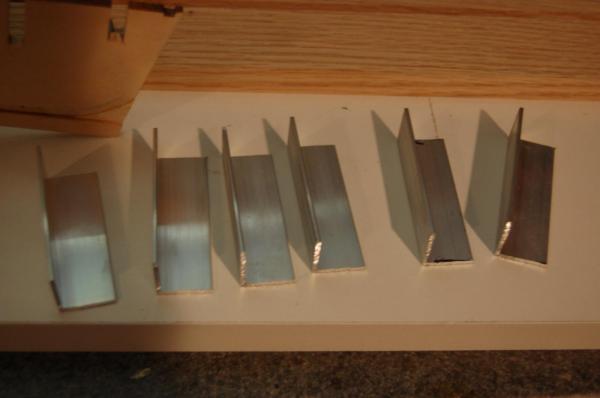
Purchased some 3/4 inch aluminum angle iron and cut it into 2 inch pieces. Sanded some of the bulkheads and with the angle clamped for 90 degree angles. Hit everything with Titebond II.

-
-
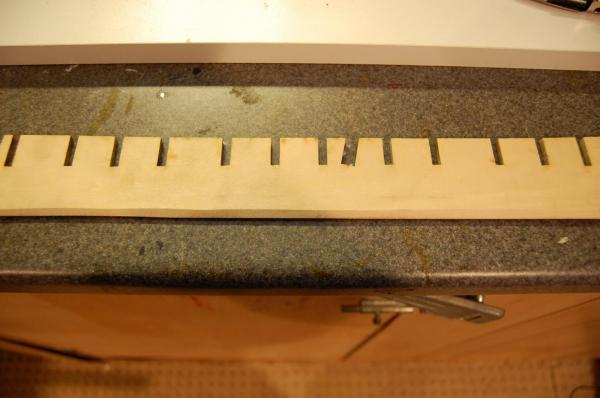
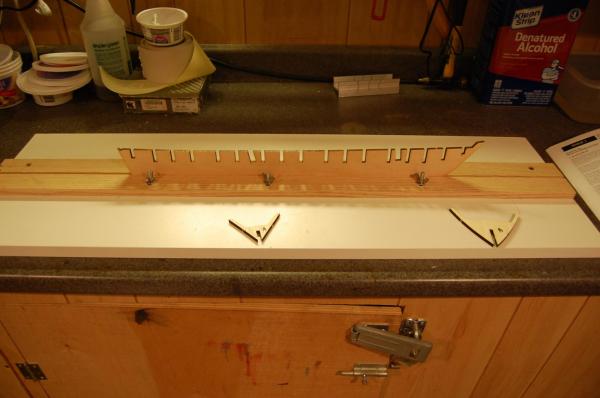
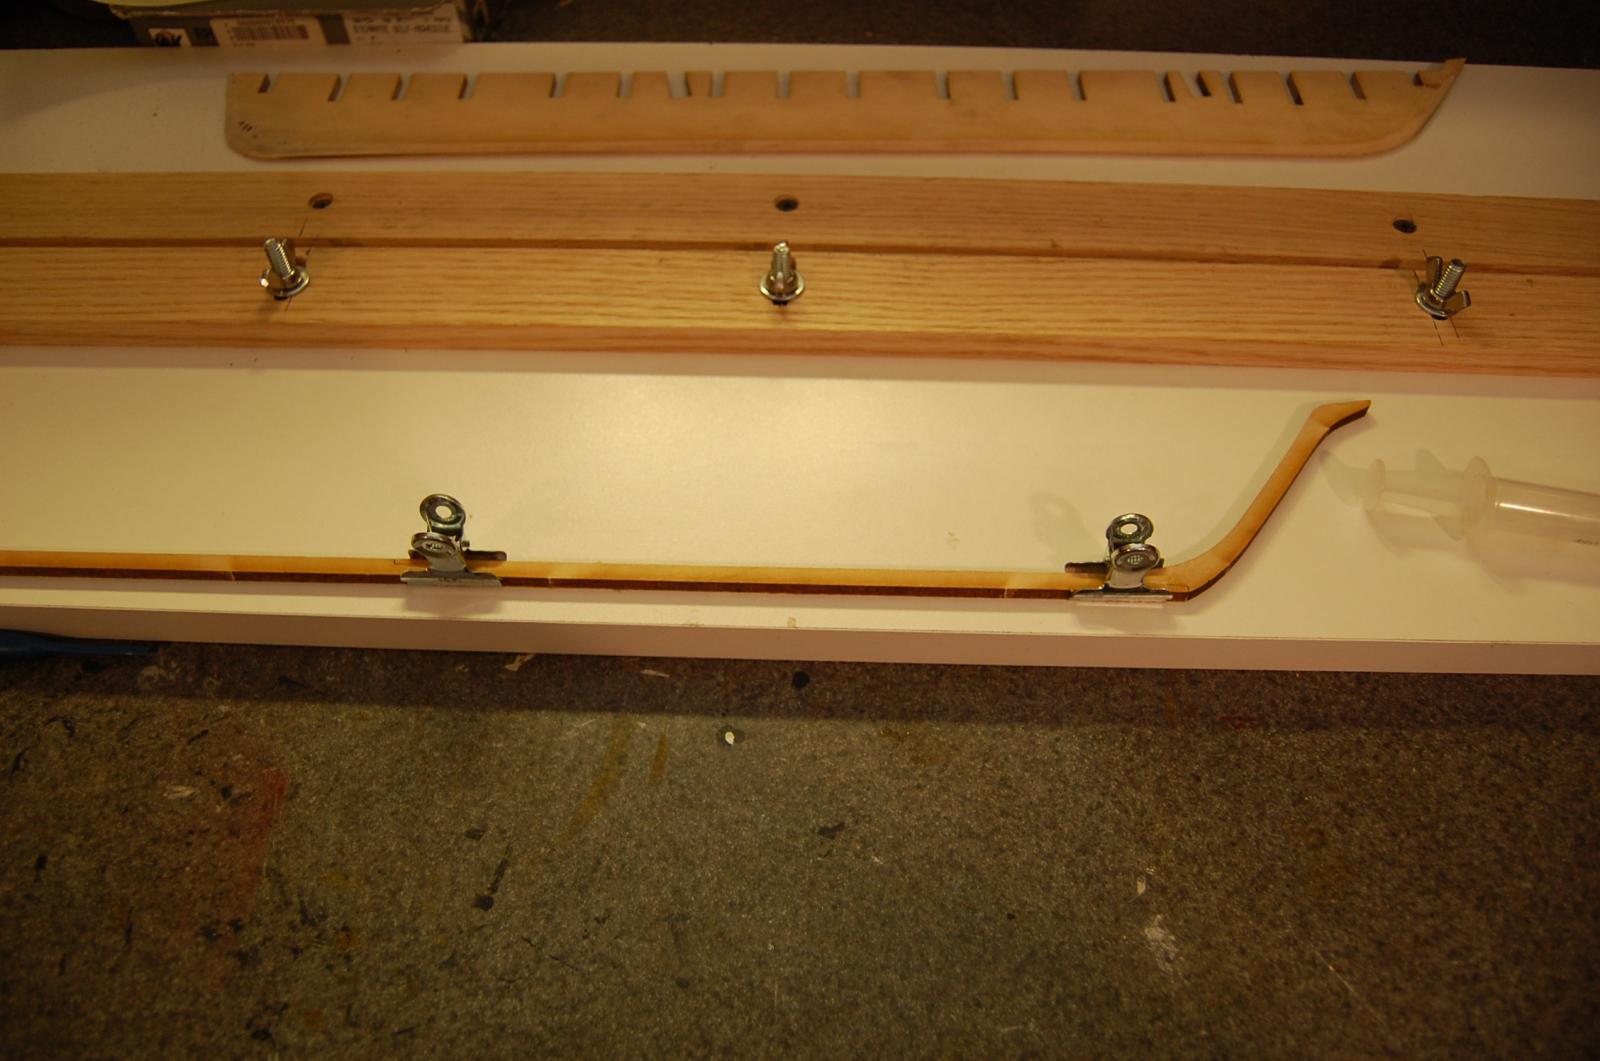
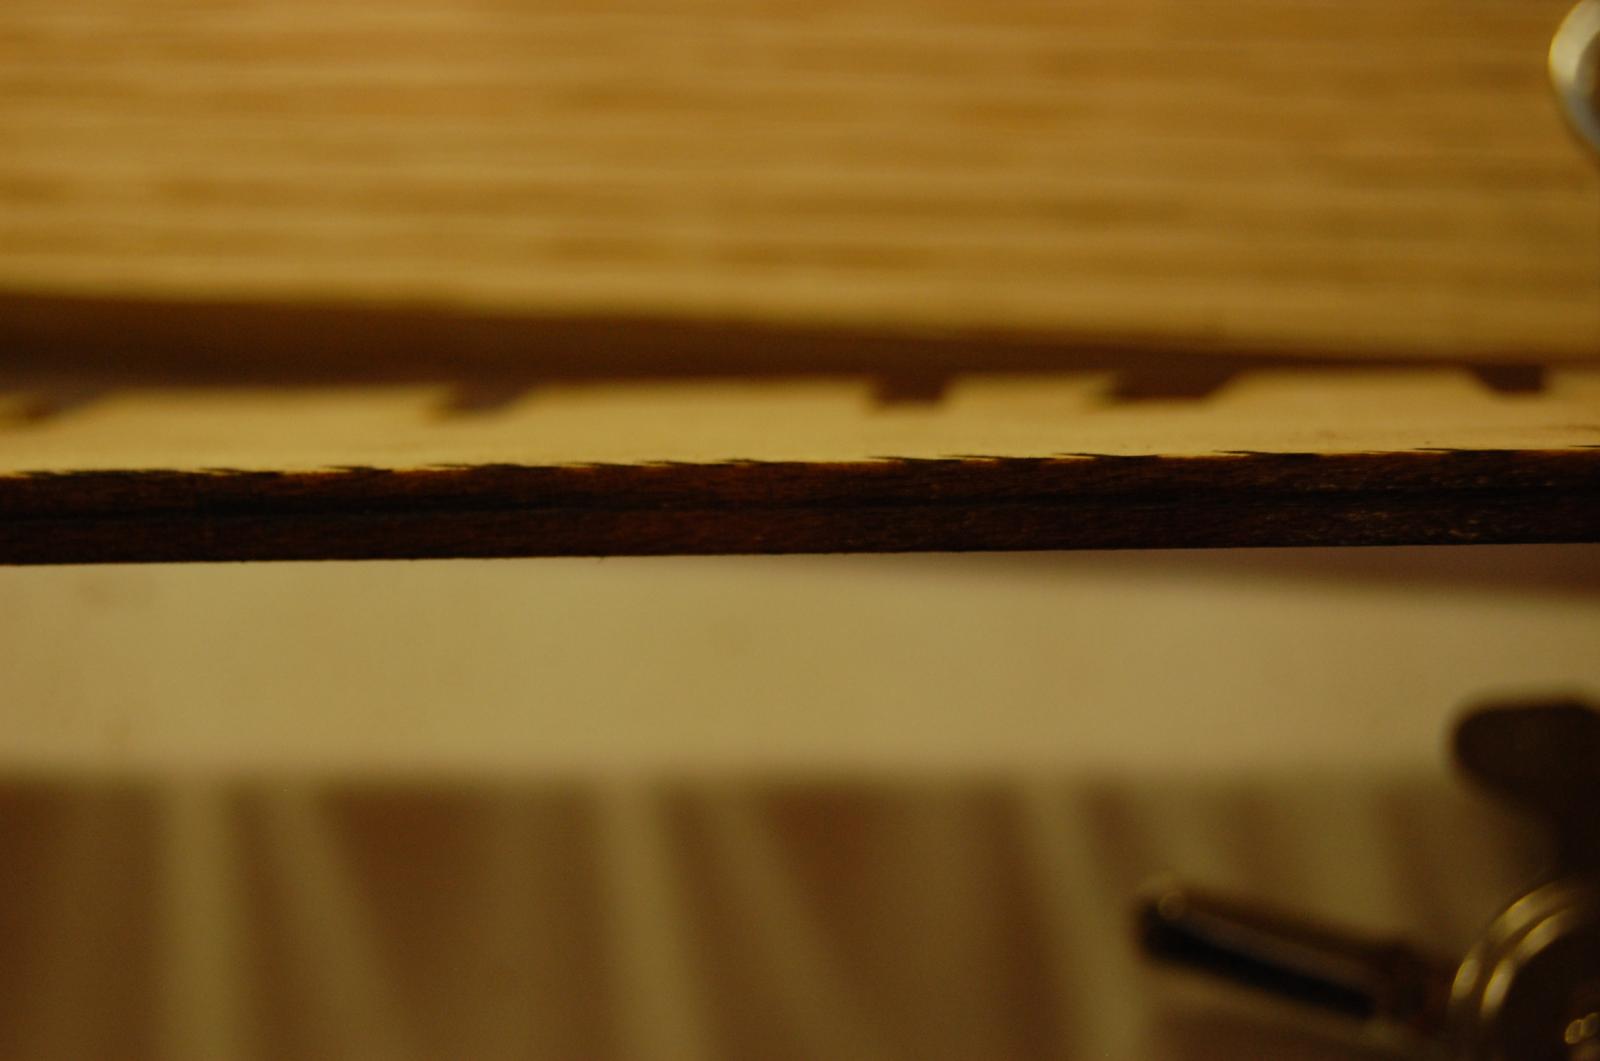
Bearding line is now on main keel and the lower keel is glued and waiting for install.

-
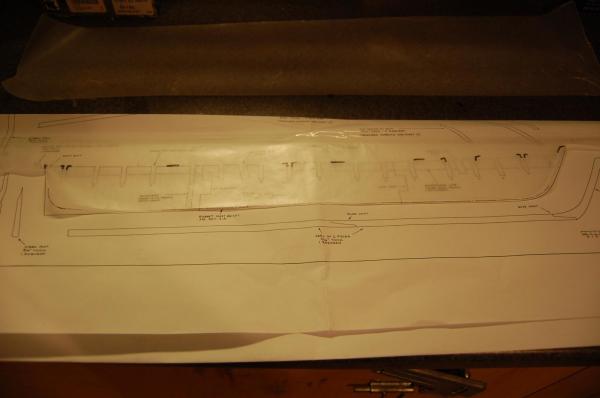
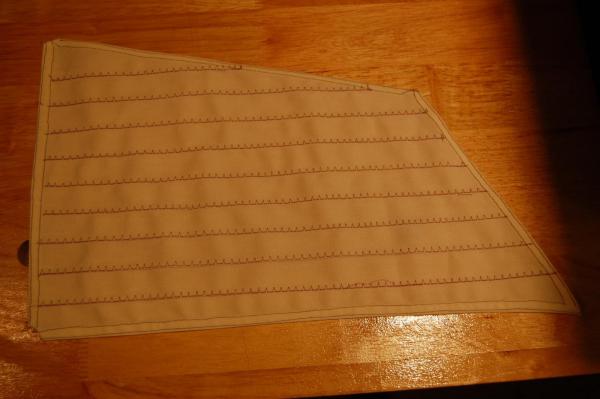
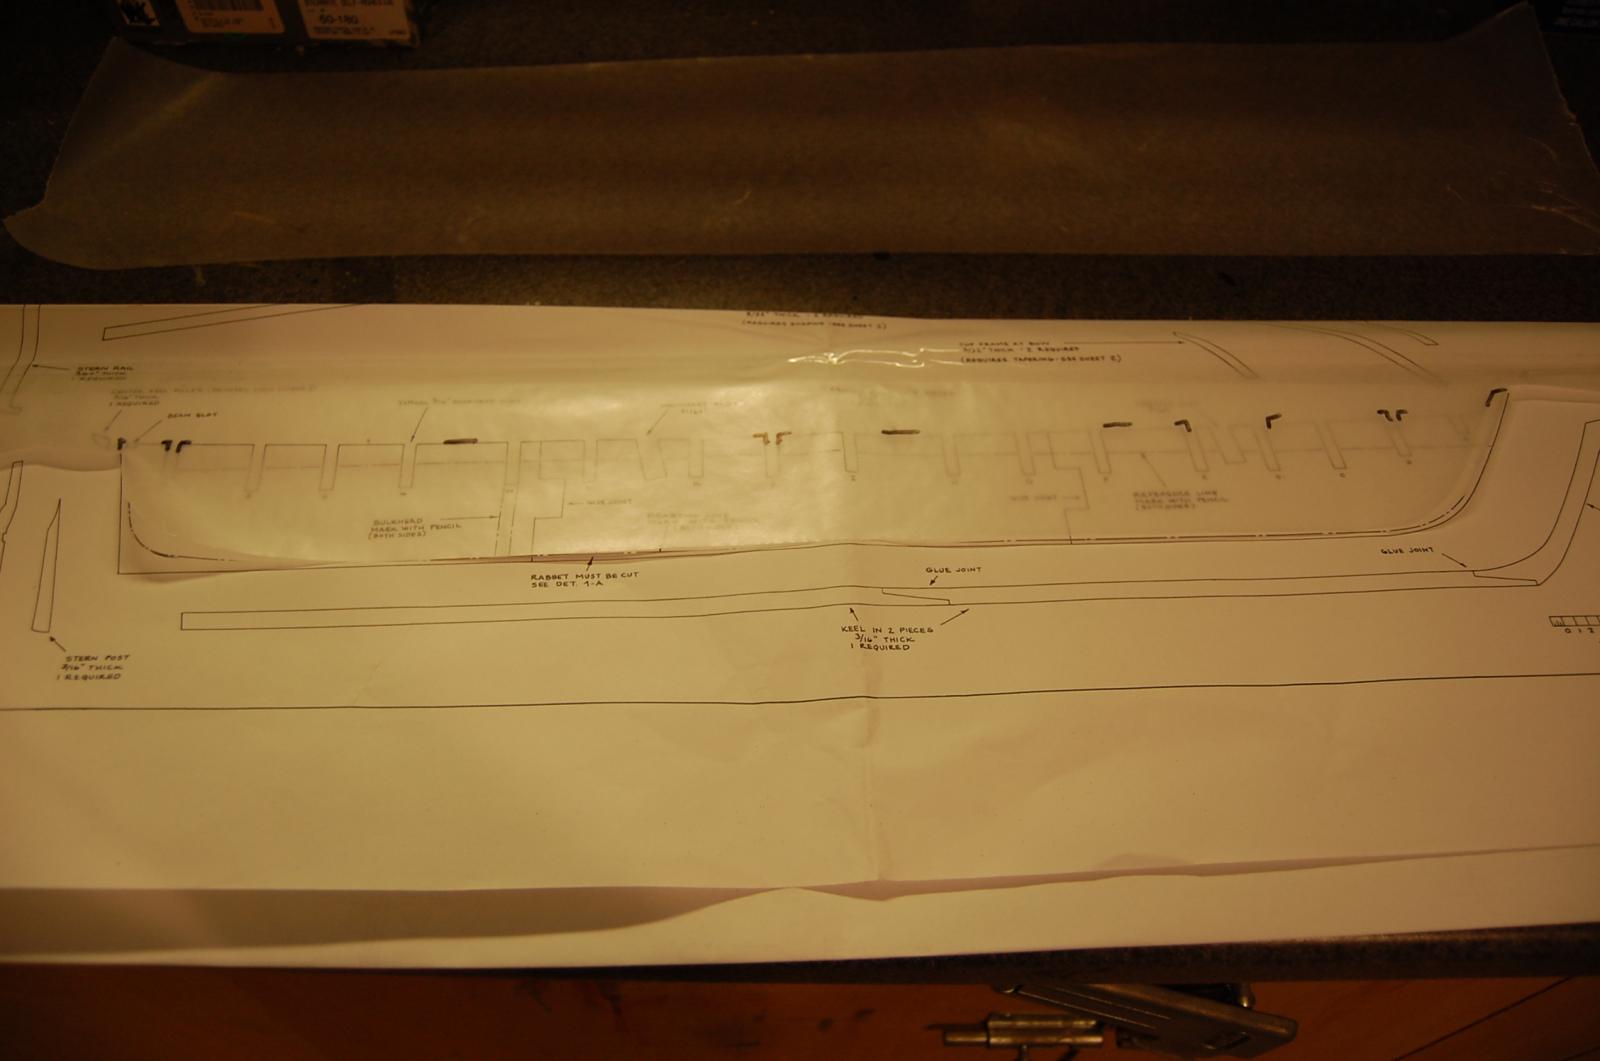
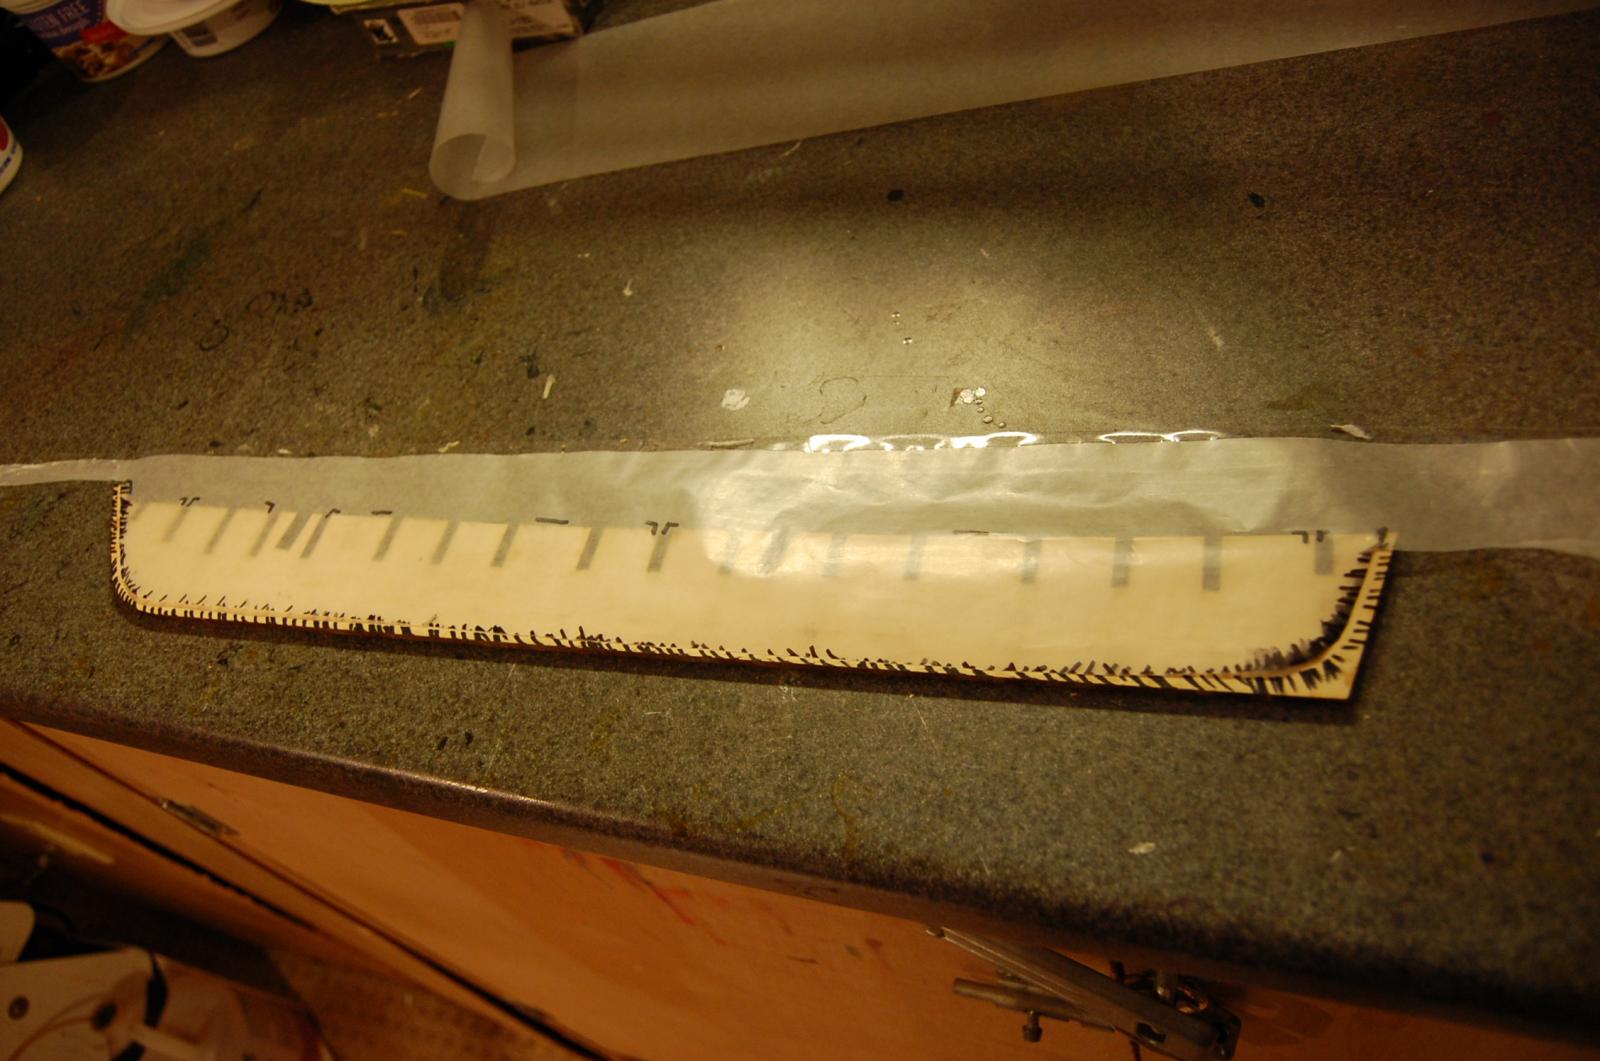
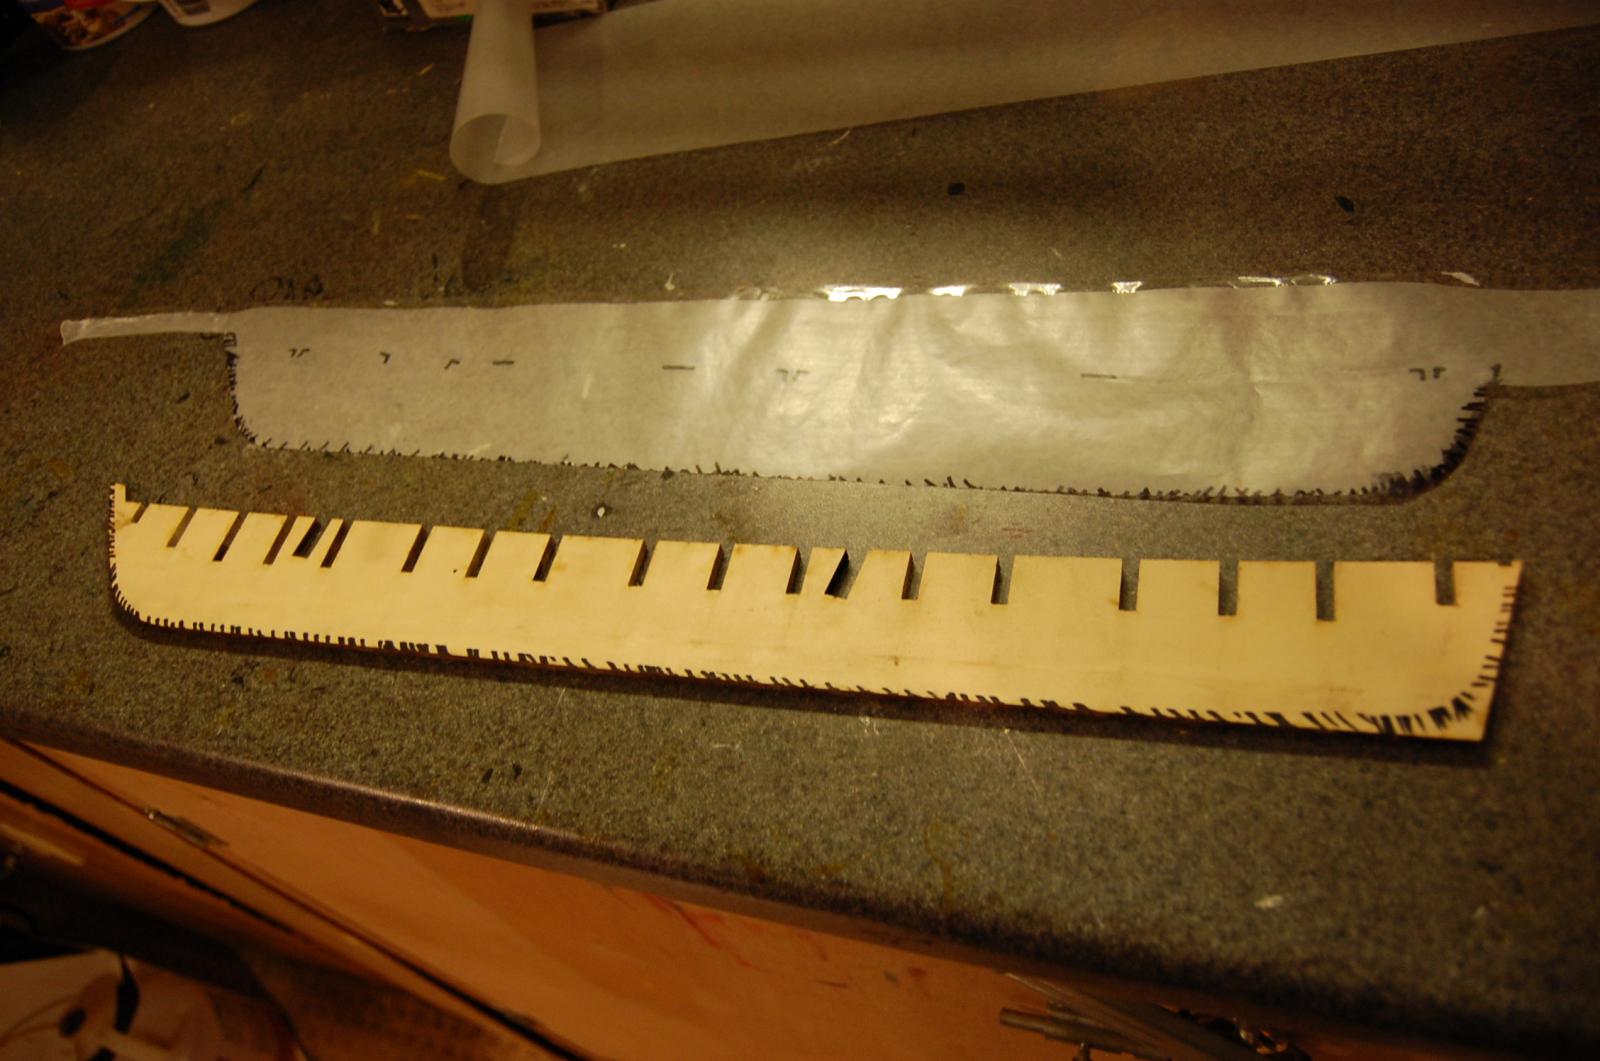
Started by cutting out all the bulkheads and pre-fitting them on to the keel assembly. It was now time to cut the bearding line from the keel. I placed a piece of wax paper over the plan and cut out the bearding line on the wax paper. Placed the wax paper over the keel and traced the line on the keel. Also using wax paper you could flip it over and do both sides of the keel. Using a compass I drew a center line down the keel so I did not sand to far. Using my handy bearding line sander I sanded with 120 till the line was complete. .


-
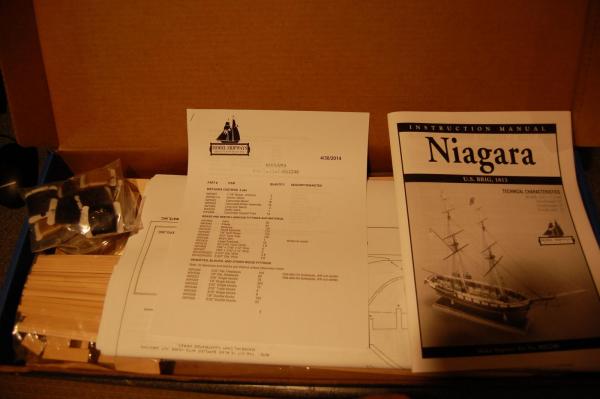
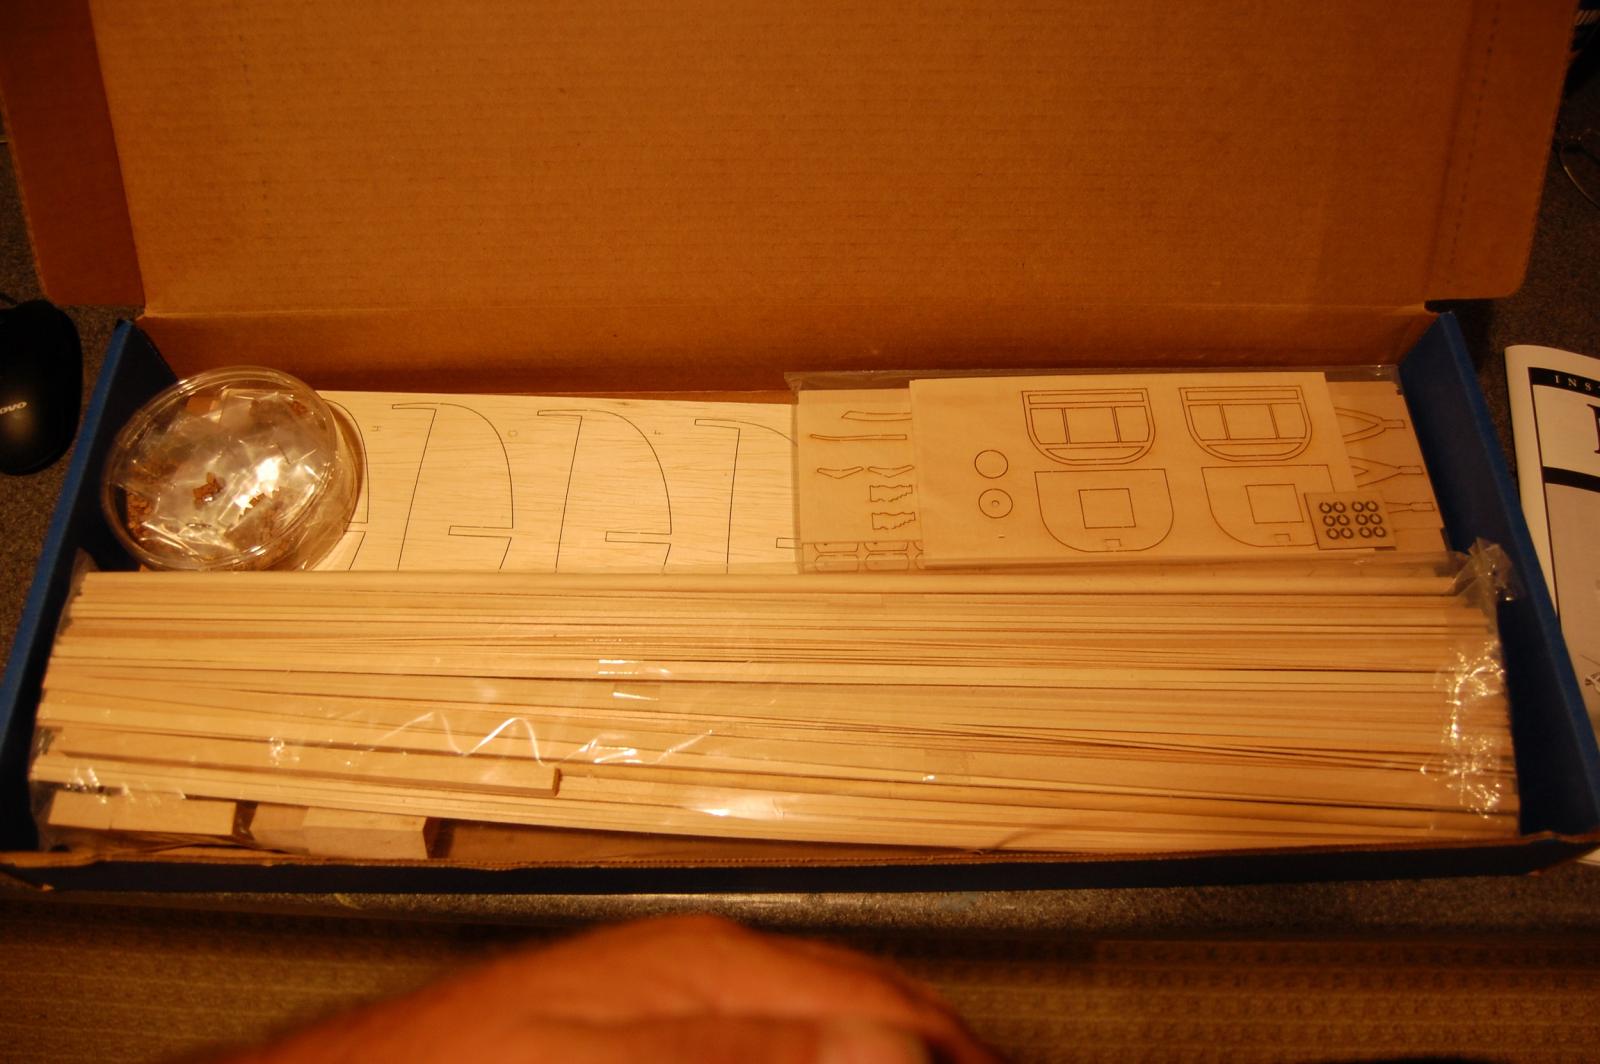
Well, it appears to be that time. I have cracked the box and going to try and make some thing that appears like a ship. I gained a little bit of experience building the New Bedford Whaleboat but this is a whole different animal. Checking off the items now and looks like a whole lot of laser burn removal in my future. Made a build board for this part but I am wondering if I should buy a keel clamp or make something similar. Anyone have any thoughts on what is best to build and plank?
I know a lot of people have completed or in the process of building a Niagara so I will have plenty of questions. Will continue to update as I go. Thanks for everyone's help.
p.s. I did a search for adding completed builds to login and could not find it. Any help would be appreciated.


-
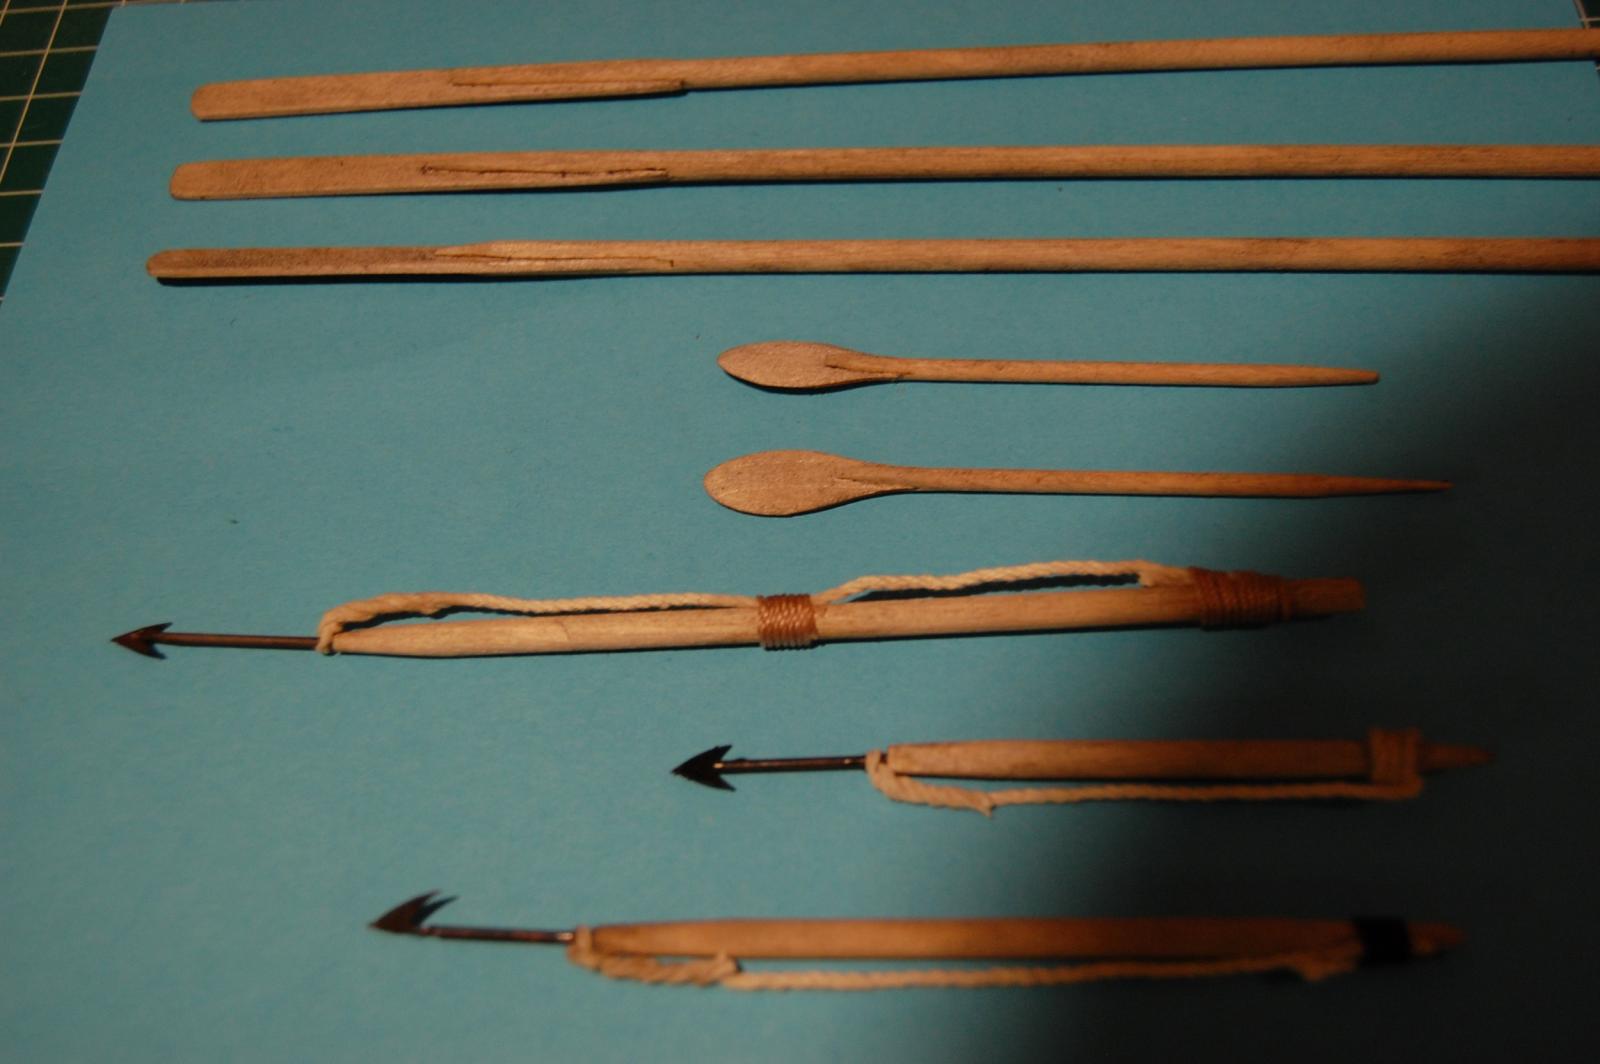
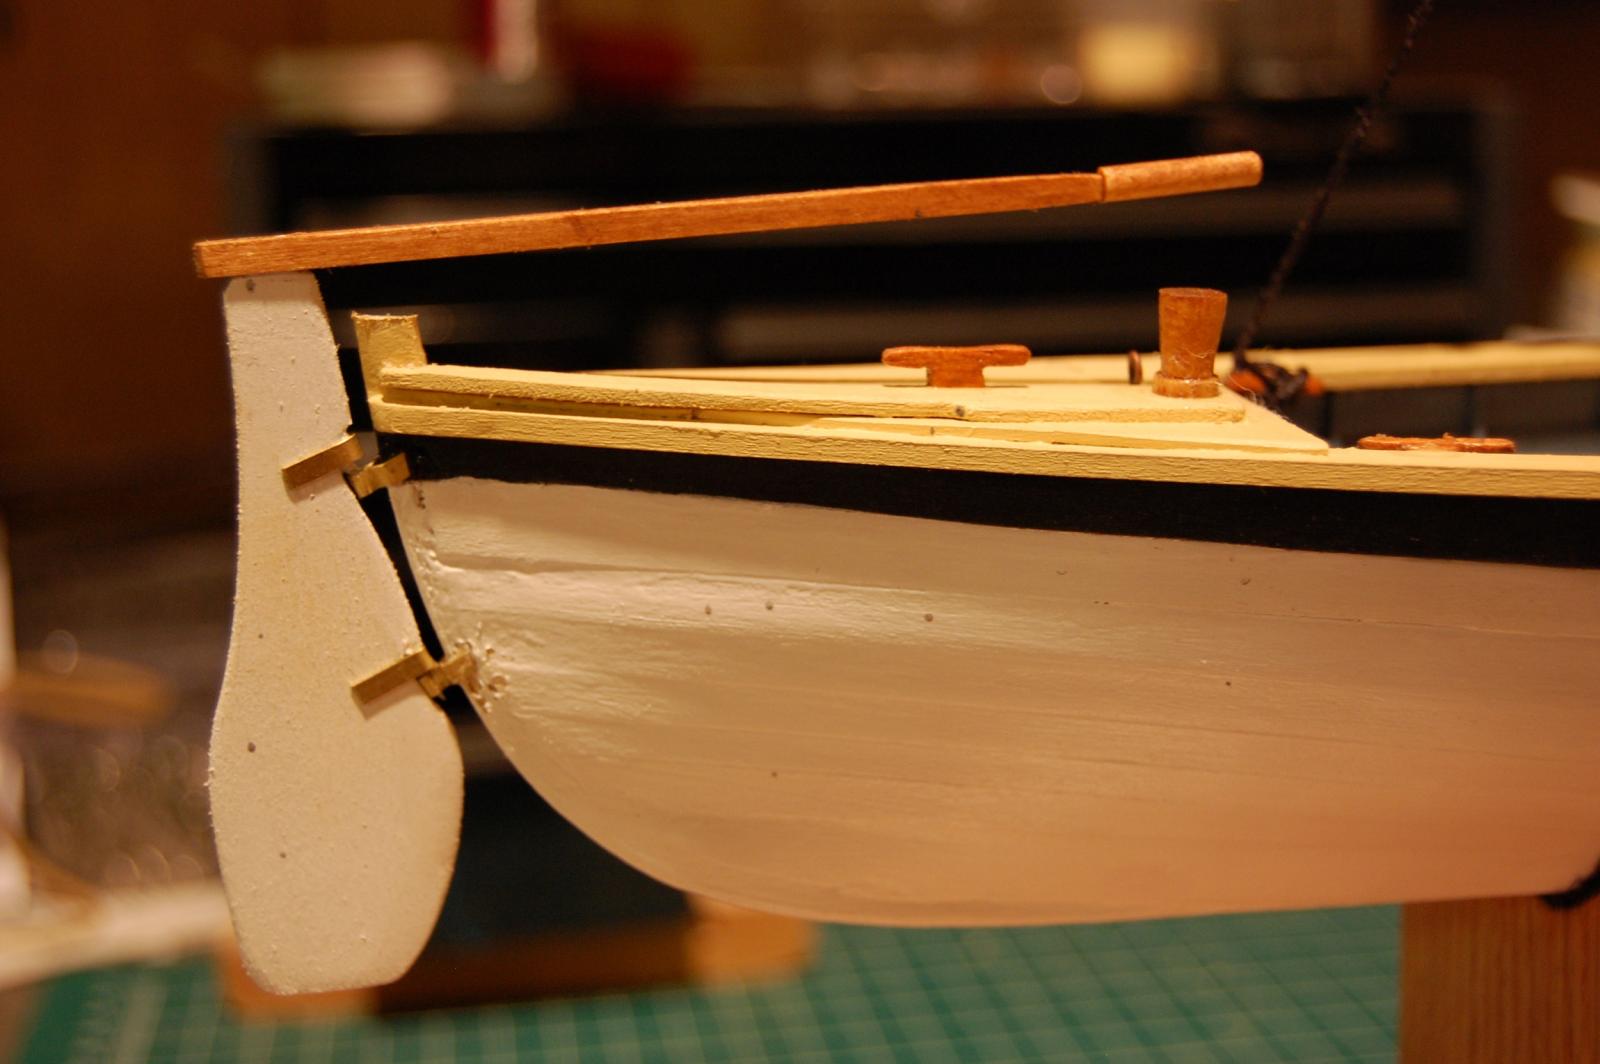
Finished up the harpoons and oars. Also hung the rudder. This thing is done. Will do final assembly and take some pics. Ready to start my Niagara. Thanks for the support I received while building. I am sure on the next one I am going to have a lot more questions.


- dgbot and GrandpaPhil
-
 2
2
-
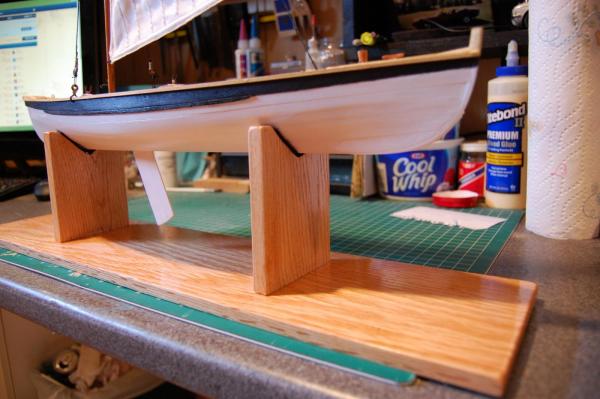
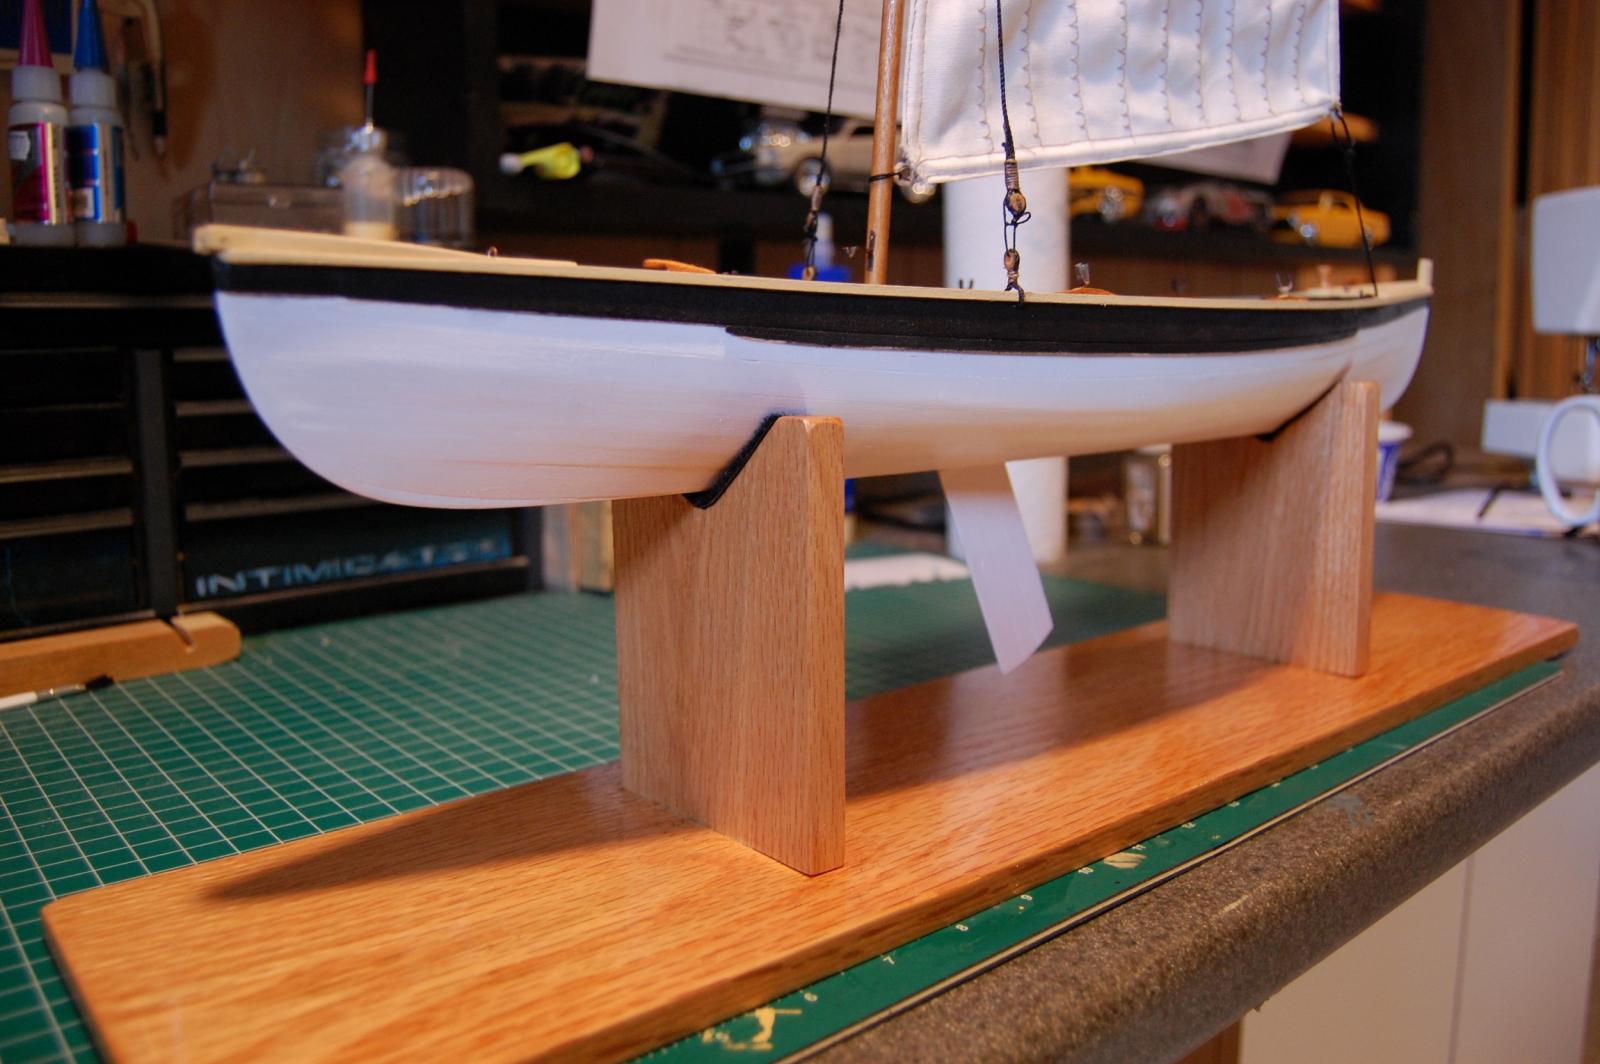
Sanded and finished the hull in white. Also sanded and cleared the building stand.


-
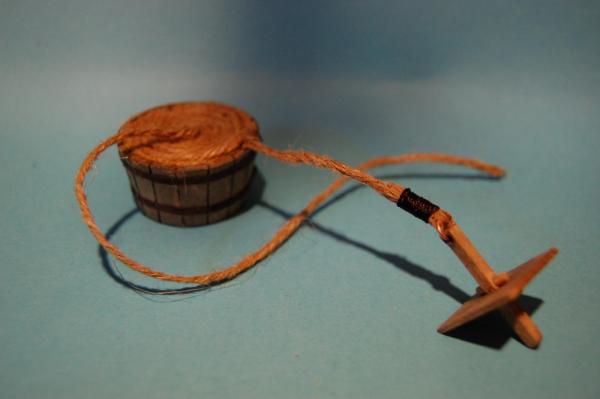
Getting closer to the end. Filled the rope buckets and built a drogue. (drogue is at the end of the harpoon line to slow the whale down)
-
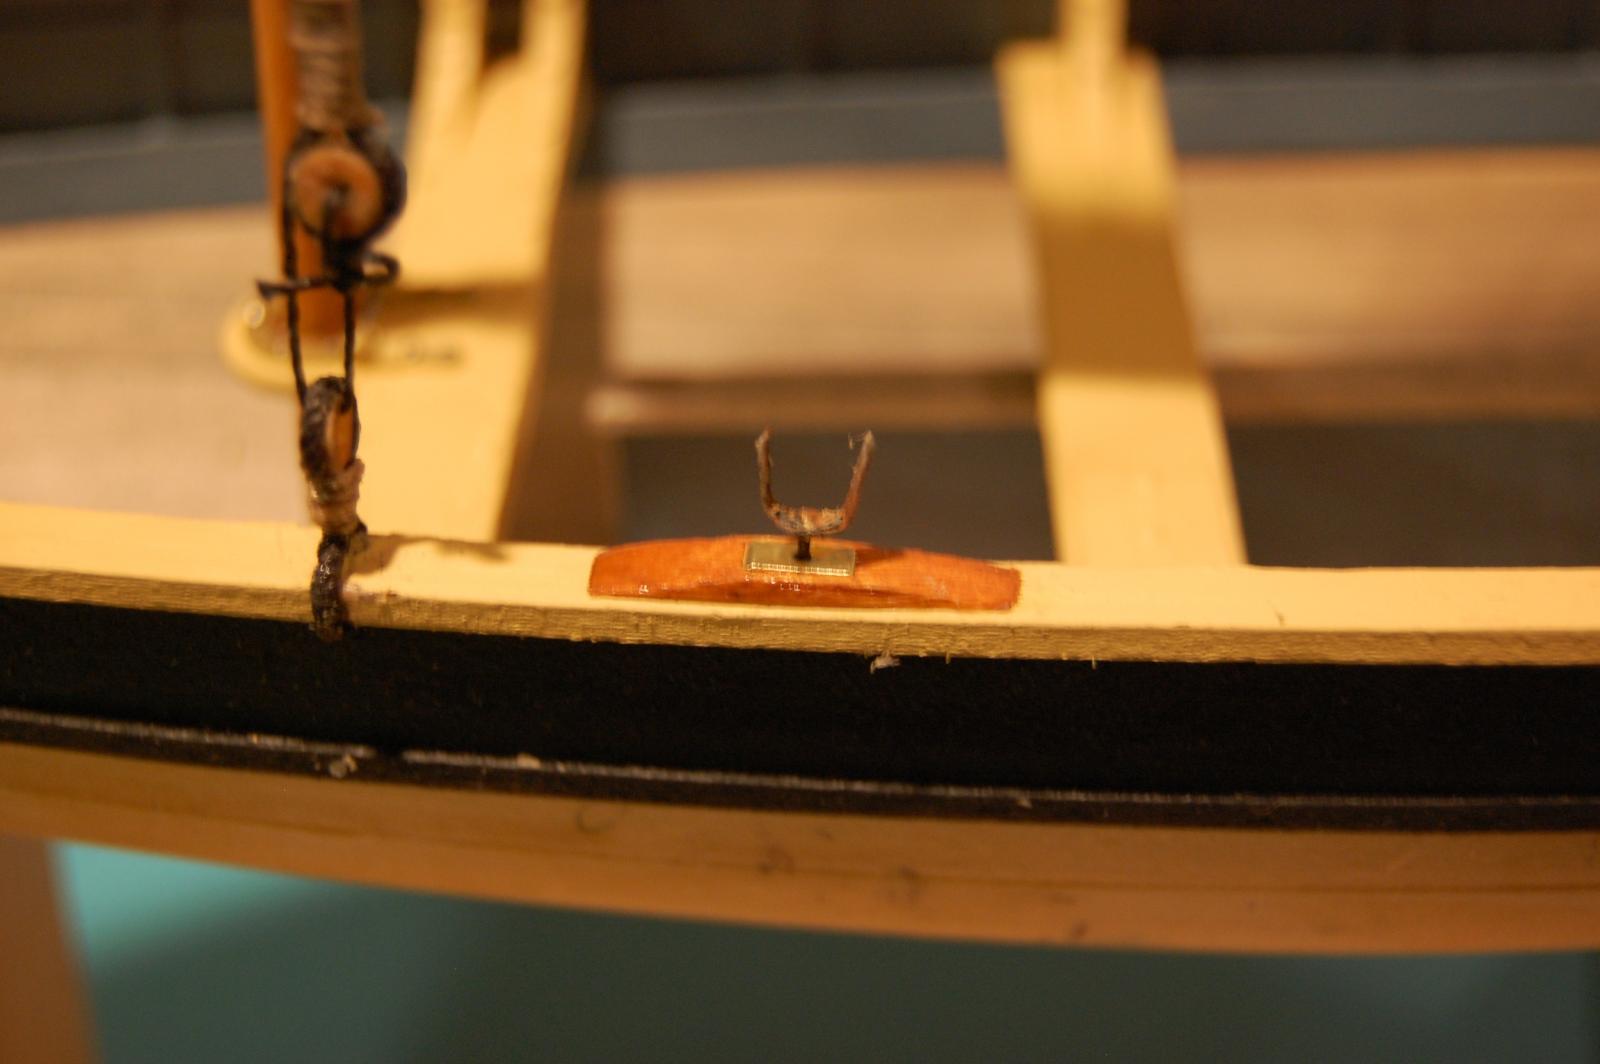
Mounted the oar locks. Used some flat balsa, stained it maple, inserted a small brass plate then drilled it out for the lock.
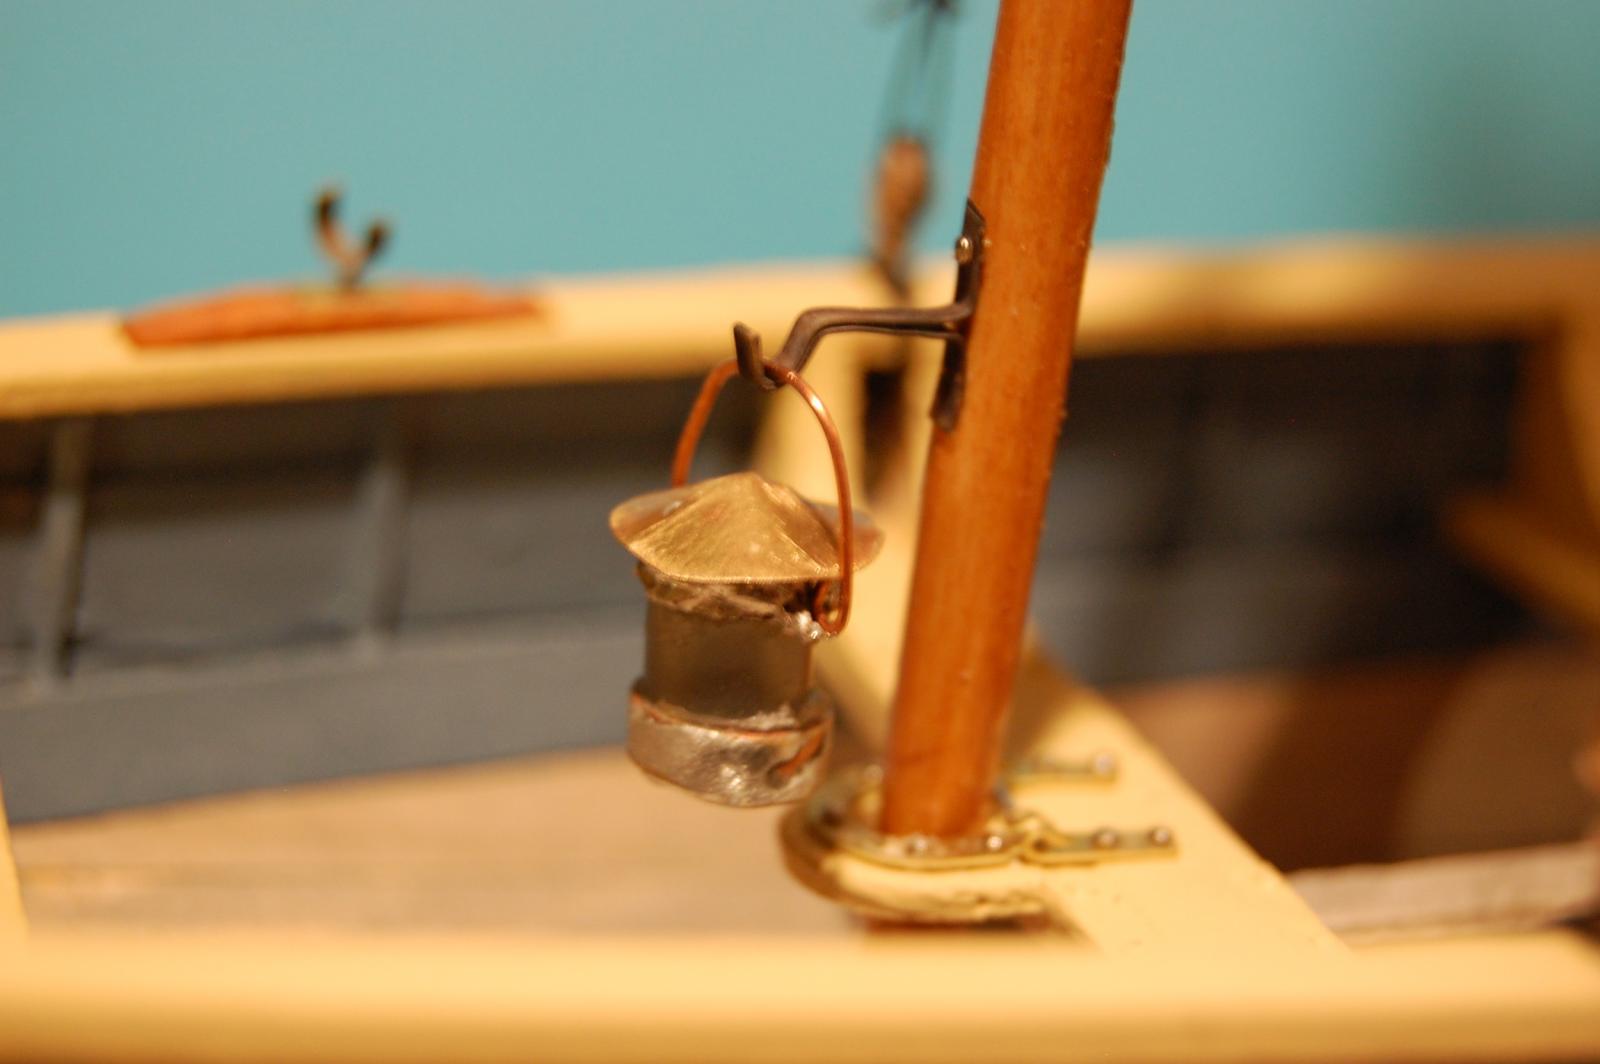
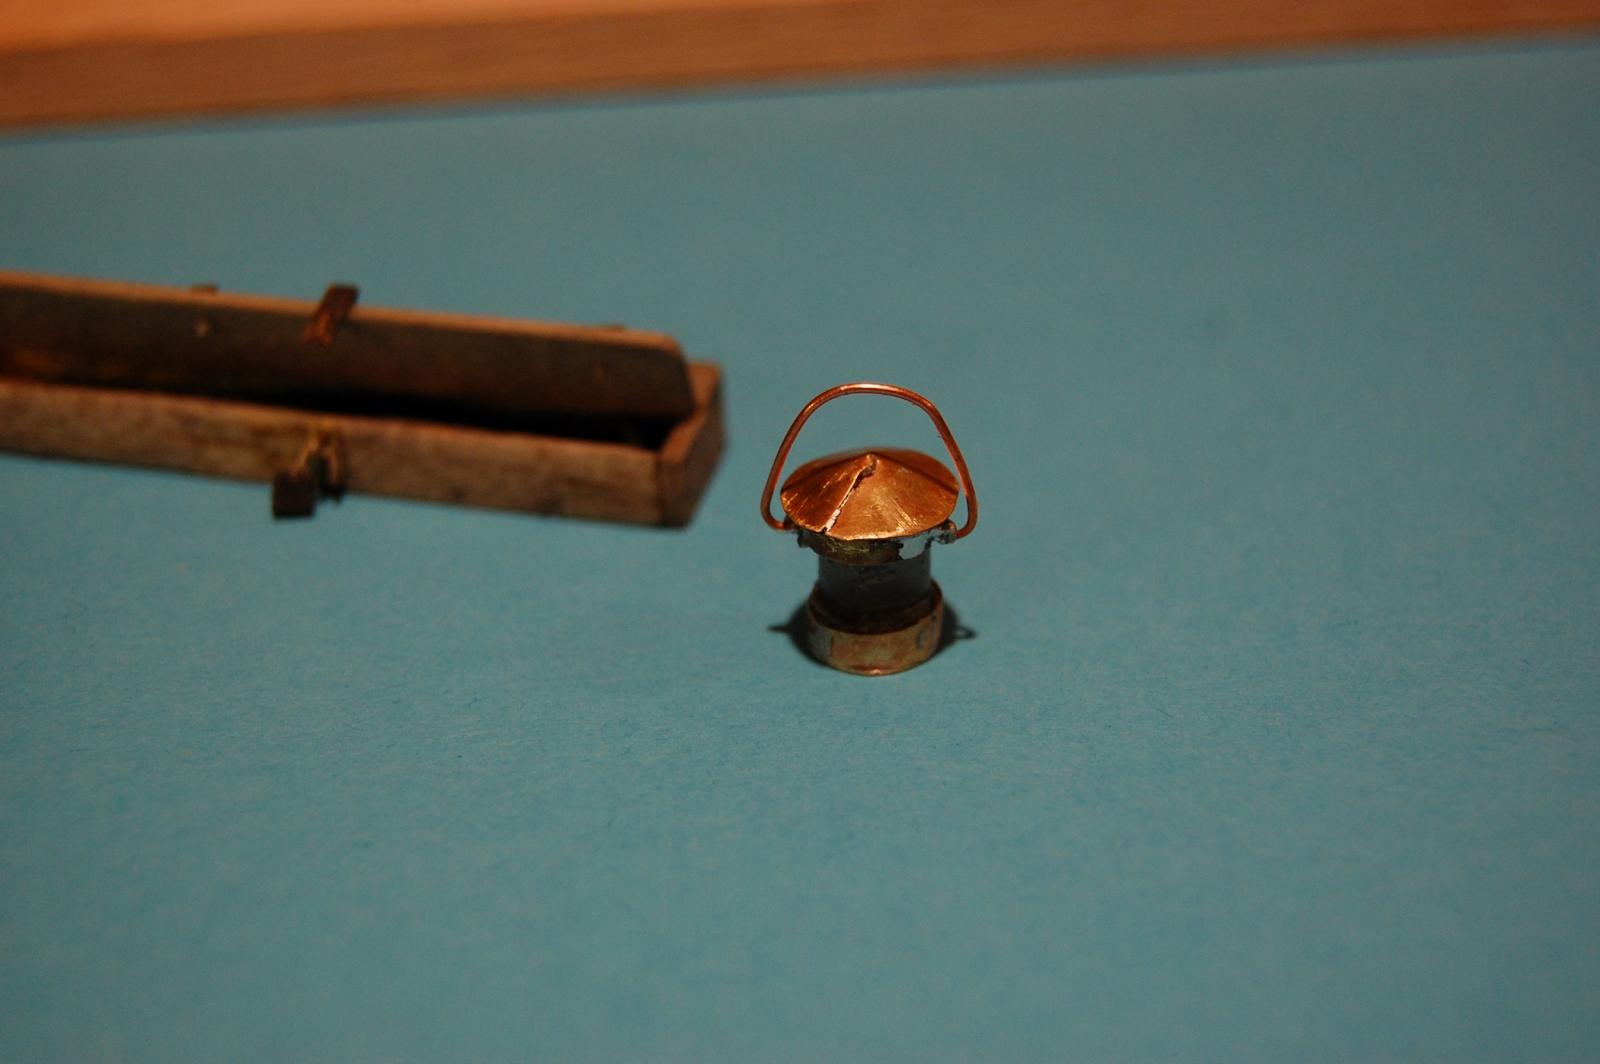
Also made a blackened brass thingy to hang the lantern from the mast.


- dgbot, CaptainSteve and Duanelaker
-
3
-
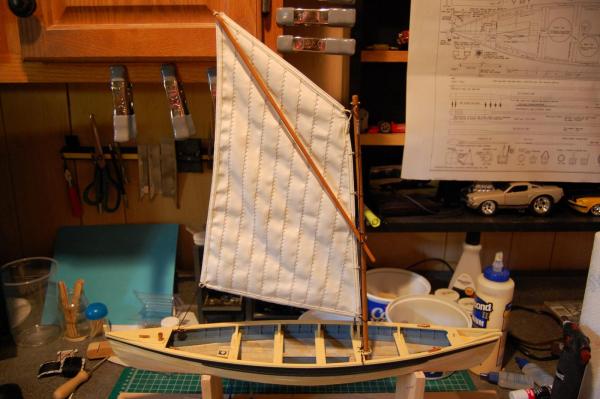
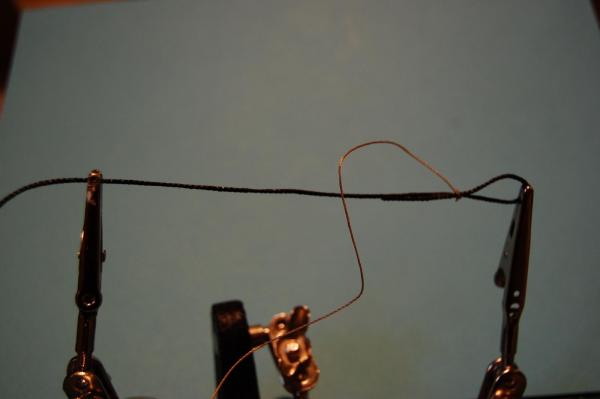
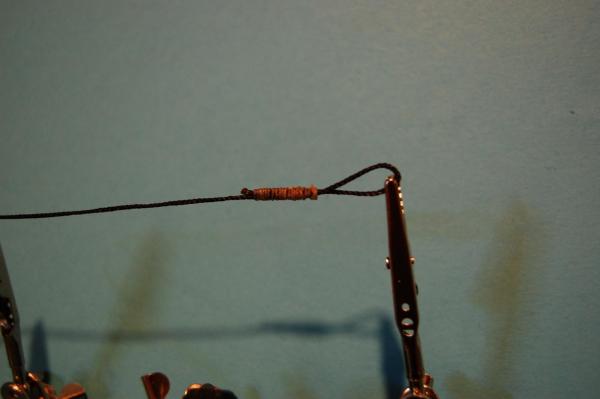
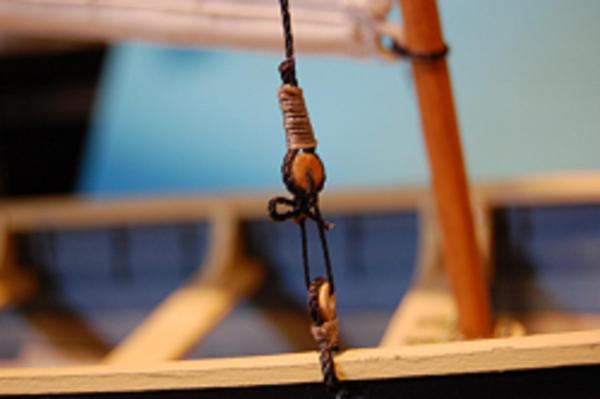
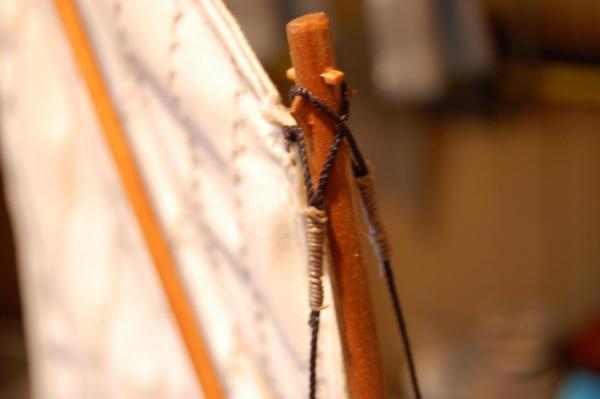
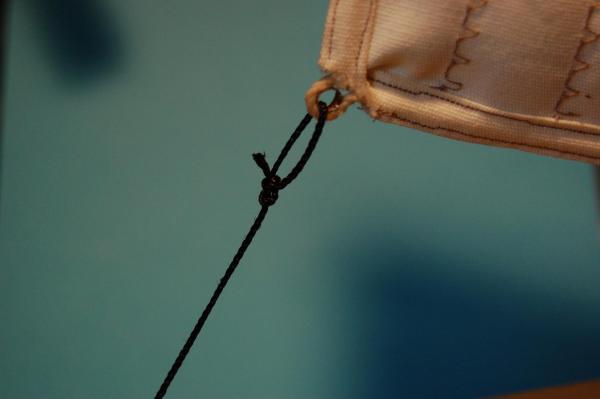
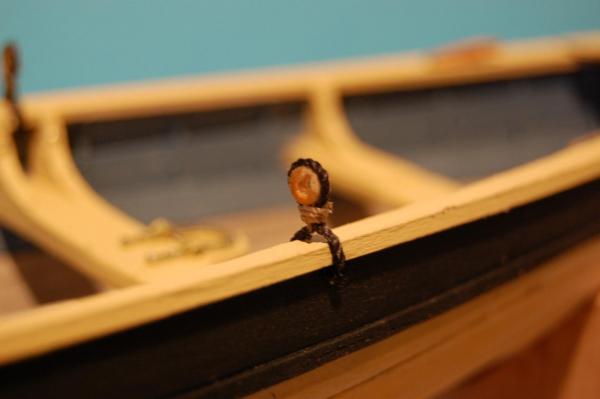
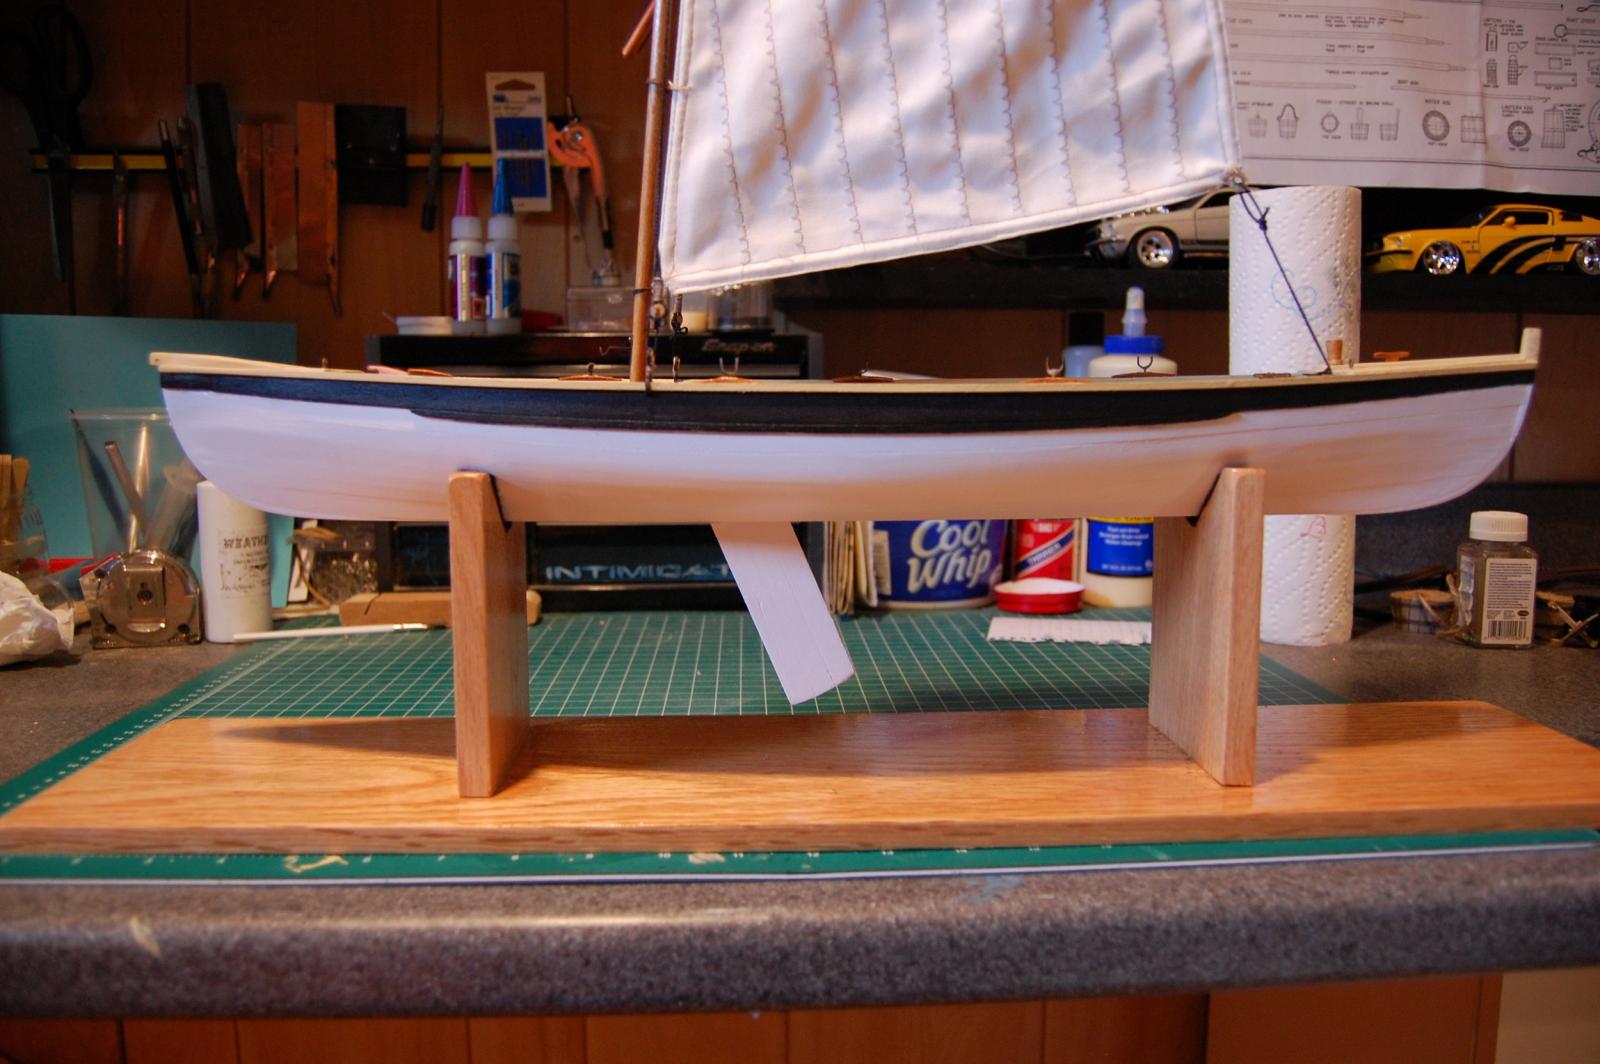
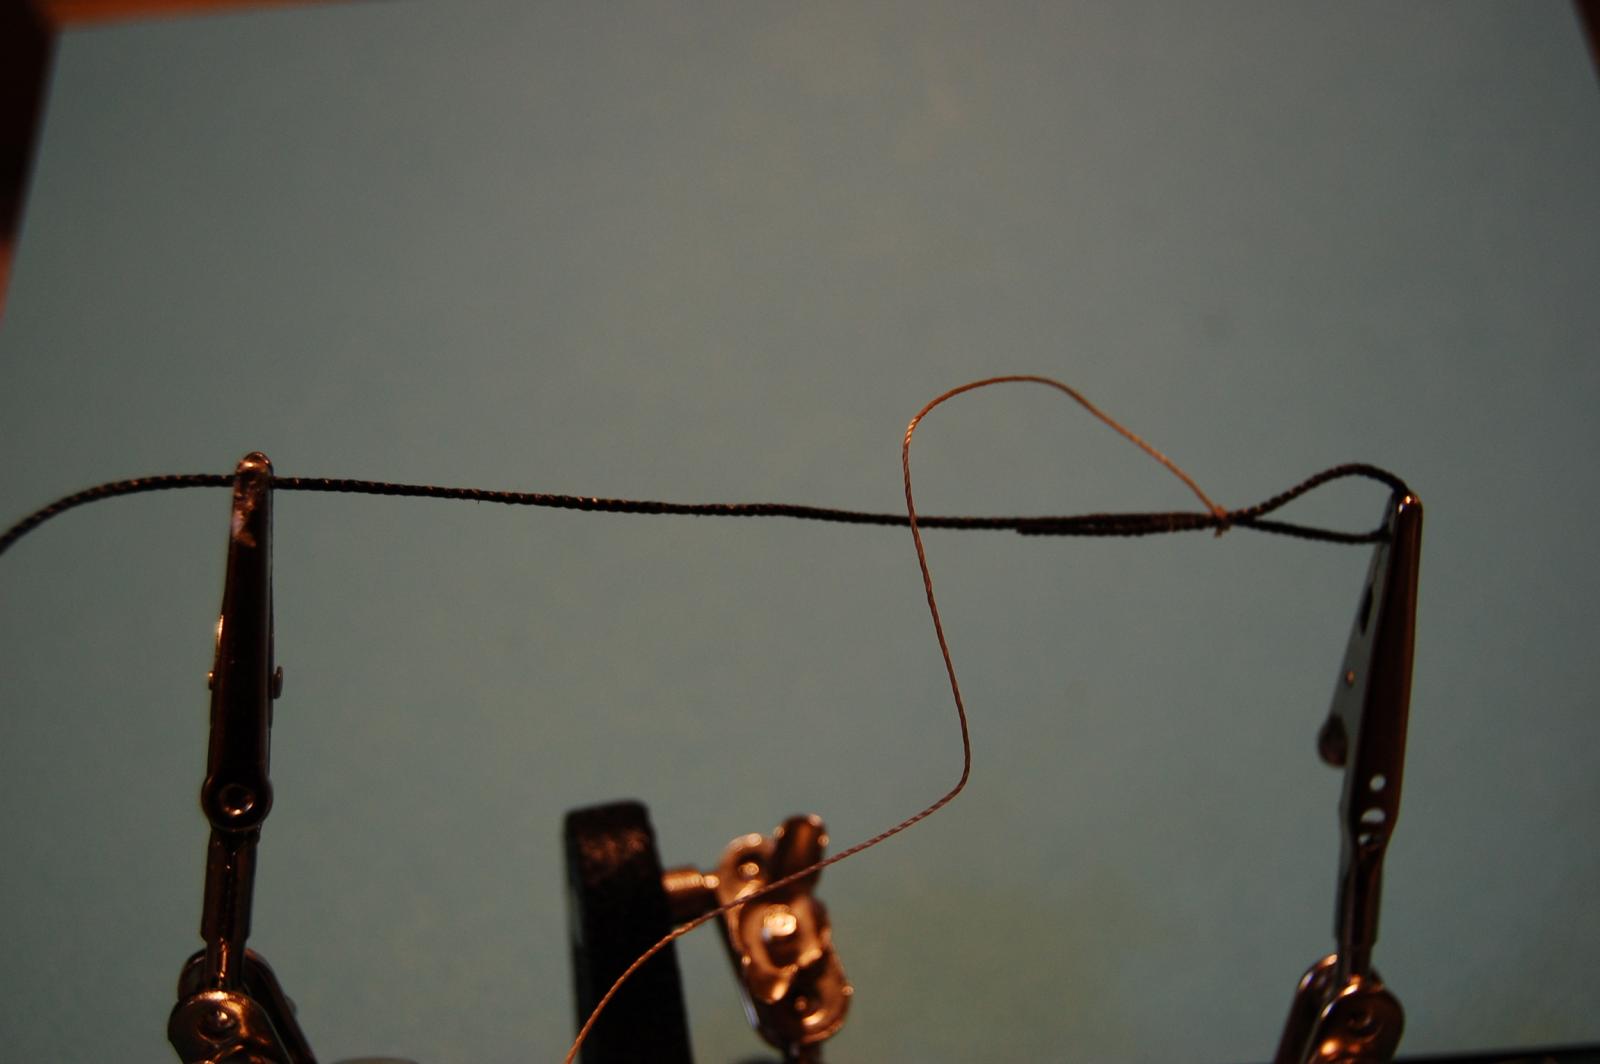
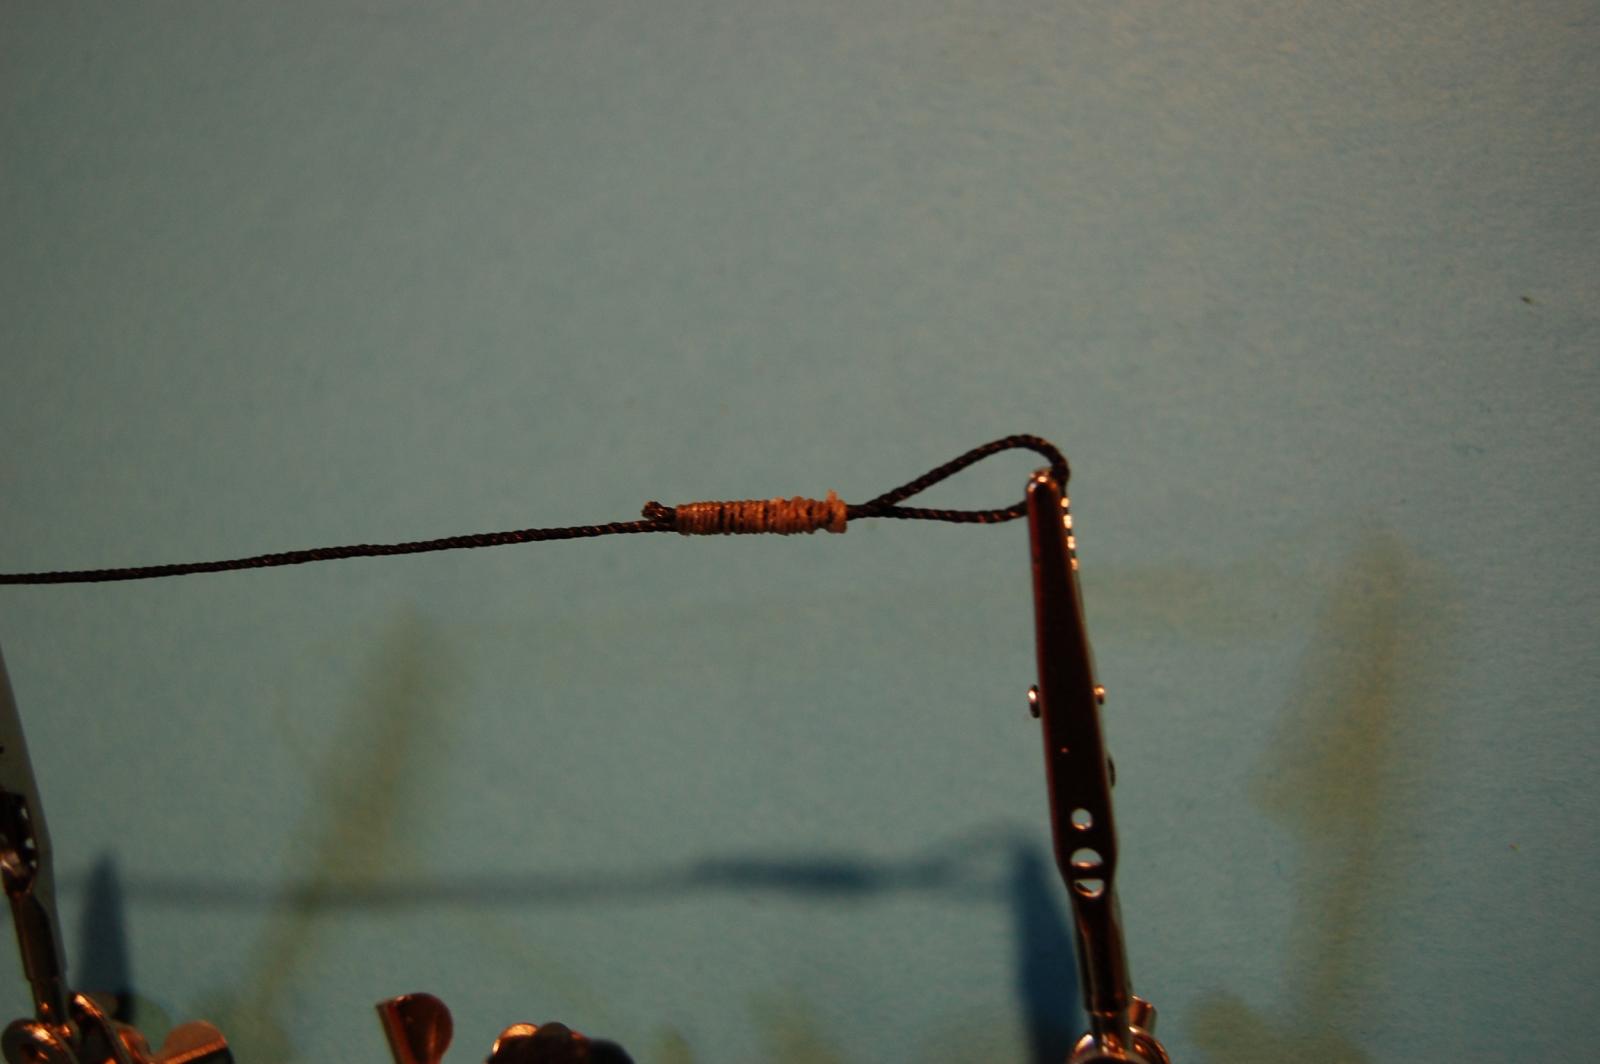
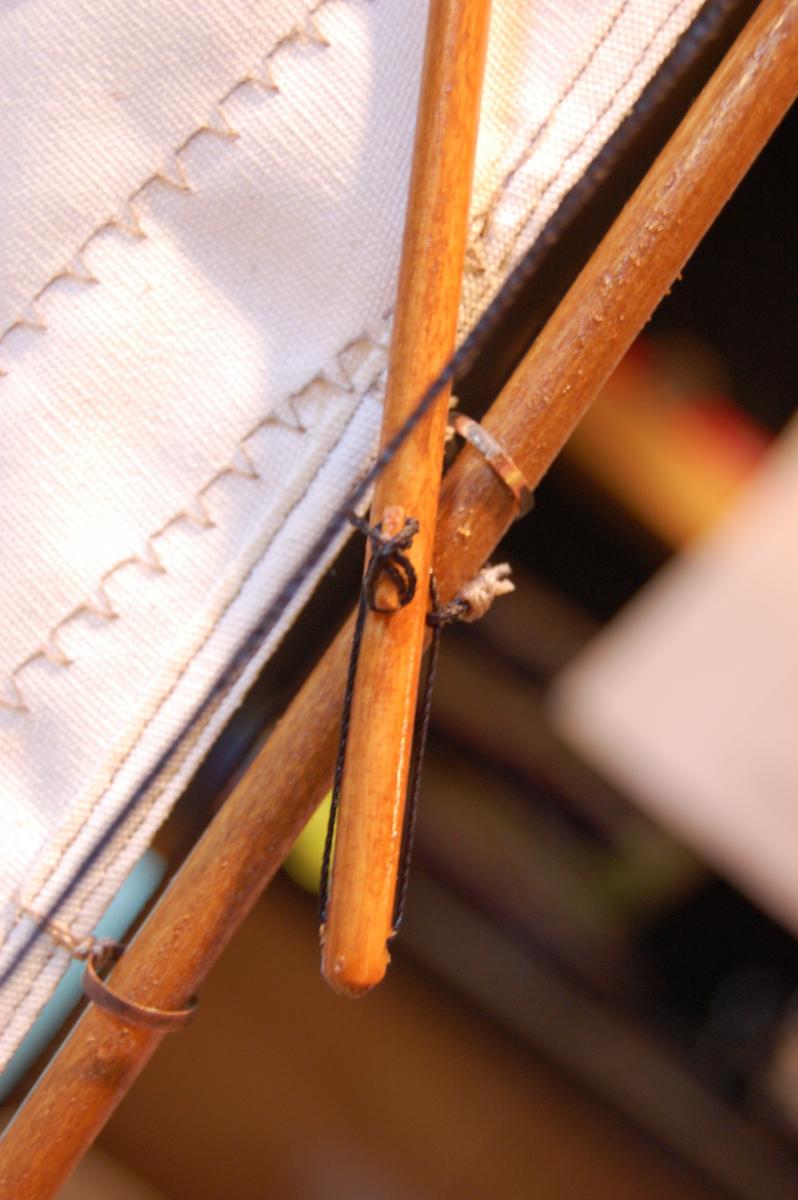
Decided to hang the sail this morning. Not easy to tie these knots without a serving machine. Definitely my next investment. Was like revisiting Boy Scouts again. Bowline, slip knot, clove hitch. Was never taught the Snotter belay which is the center hanger for the sprit pole.


- CaptainSteve, dgbot and Keith_W
-
3
-
Thanks Michael. I previously looked at your Pilot cutter and 1/500th posts. Beautiful builds.
-
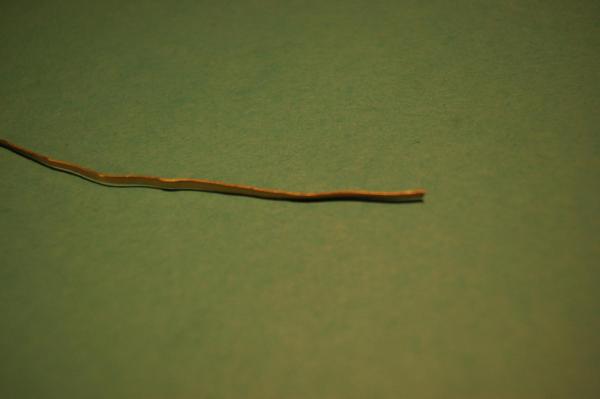
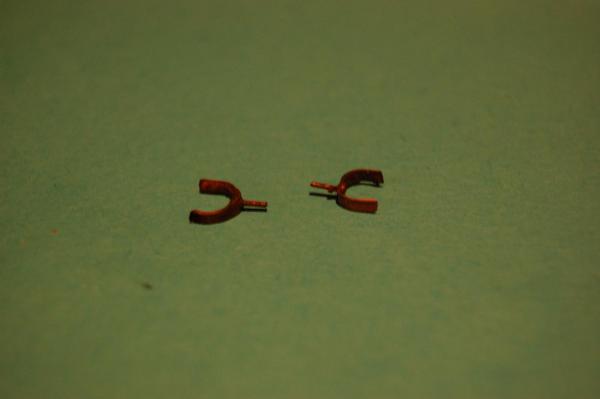
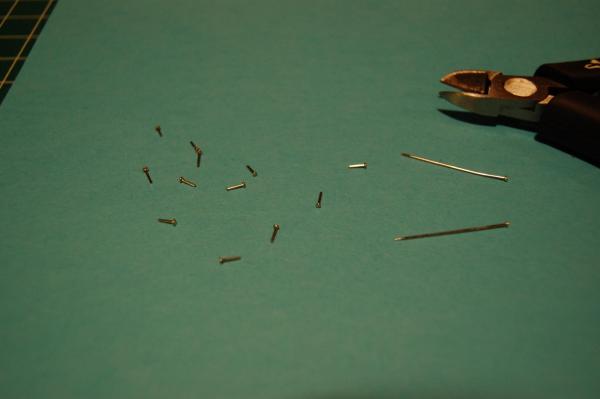
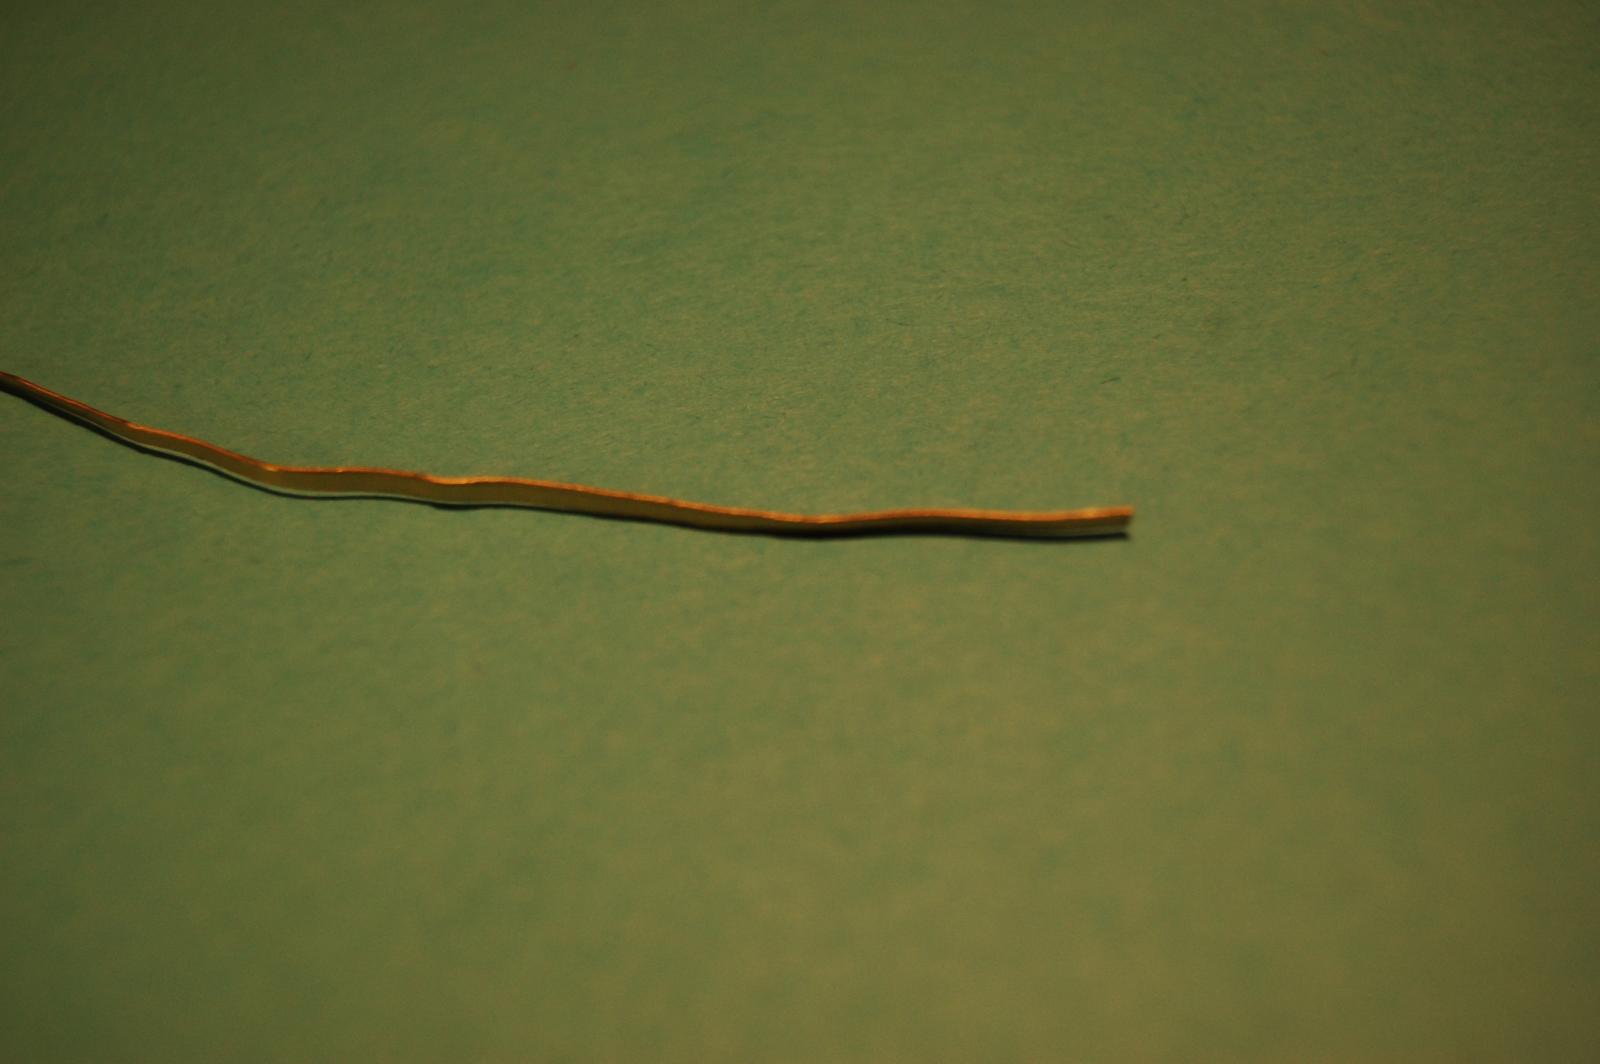
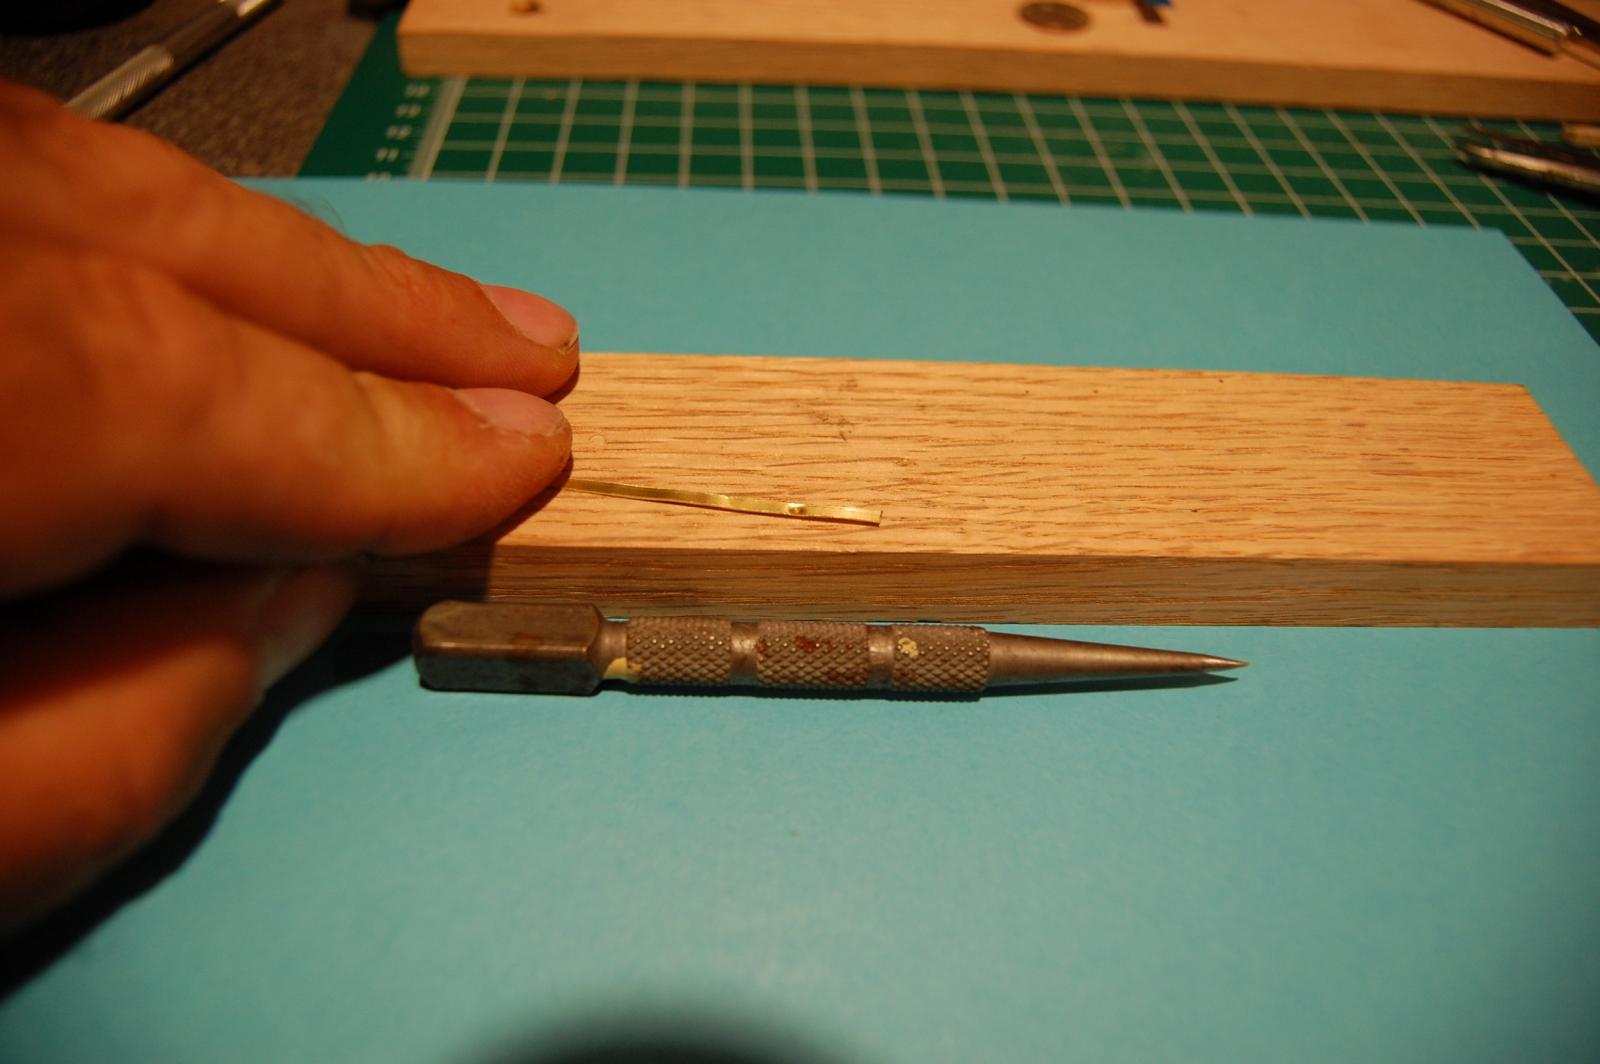
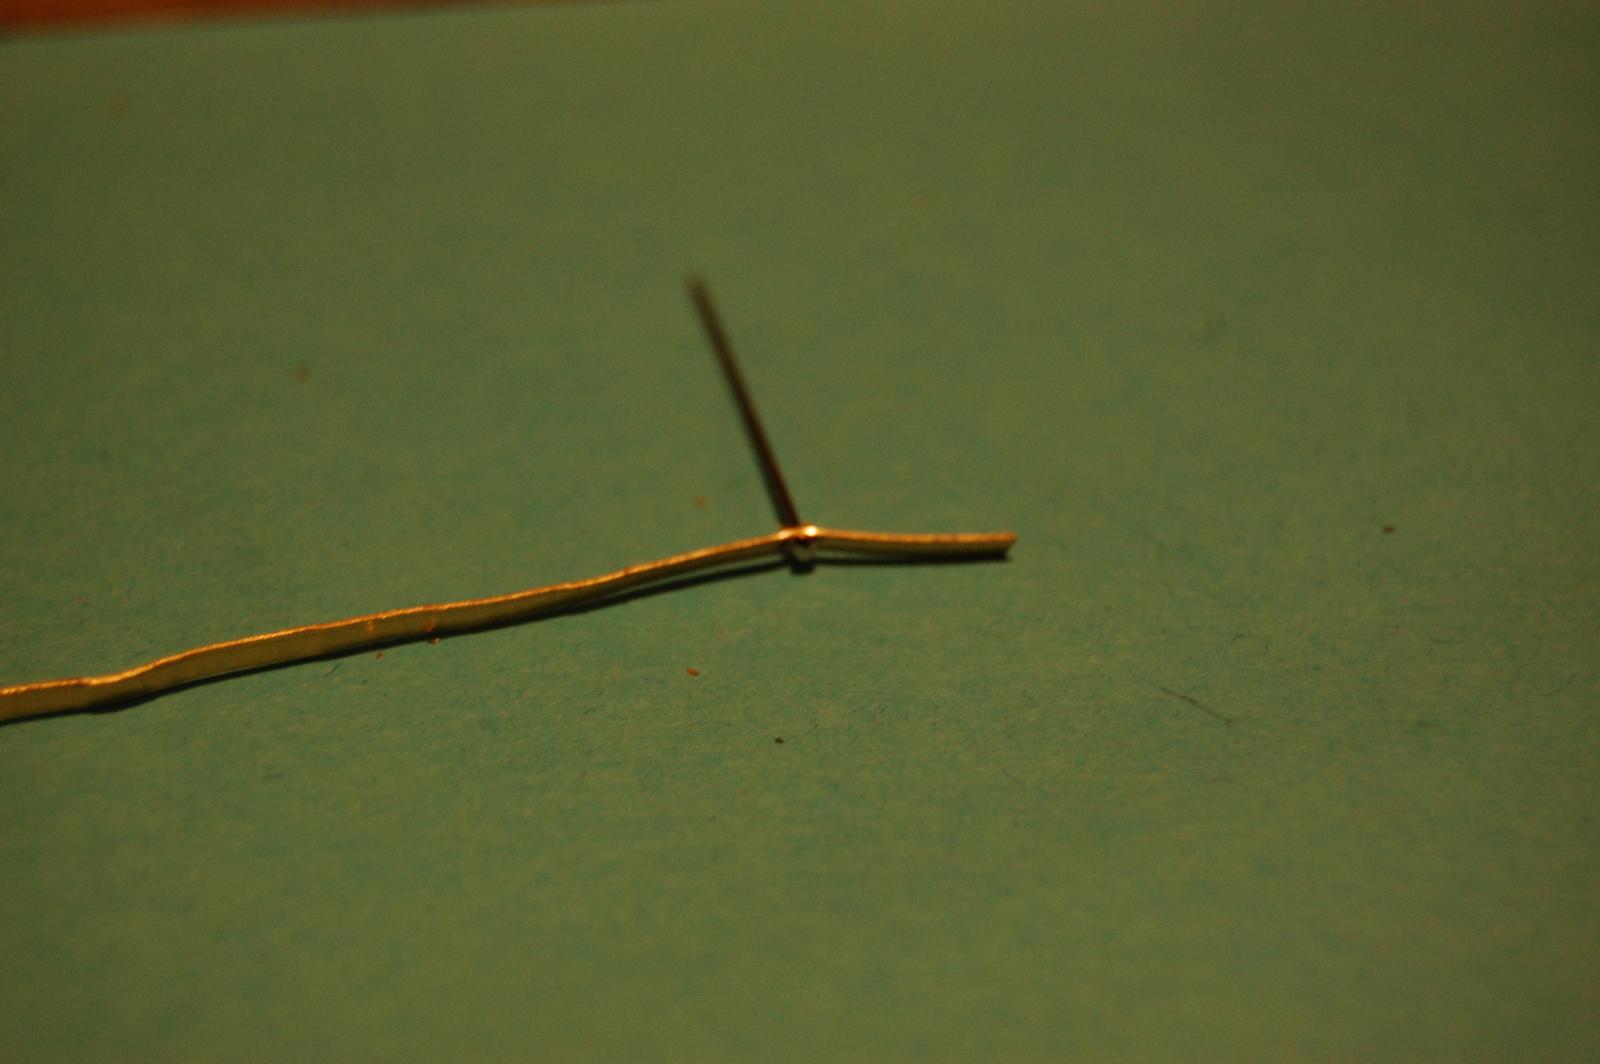
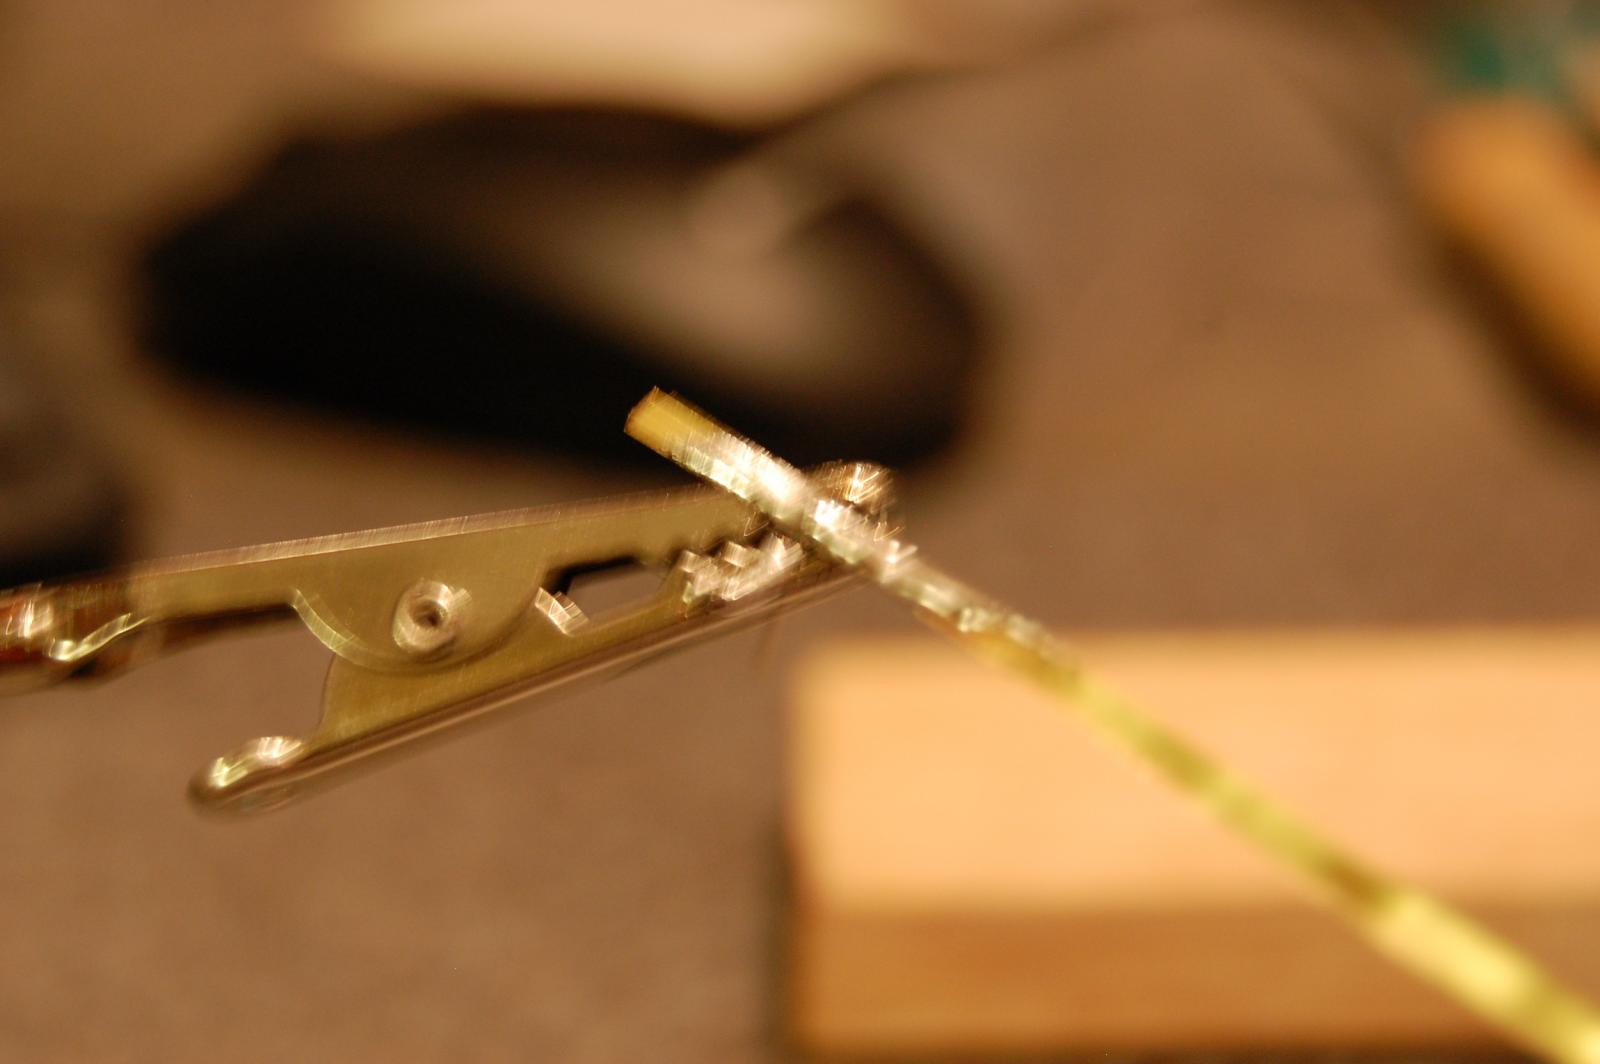
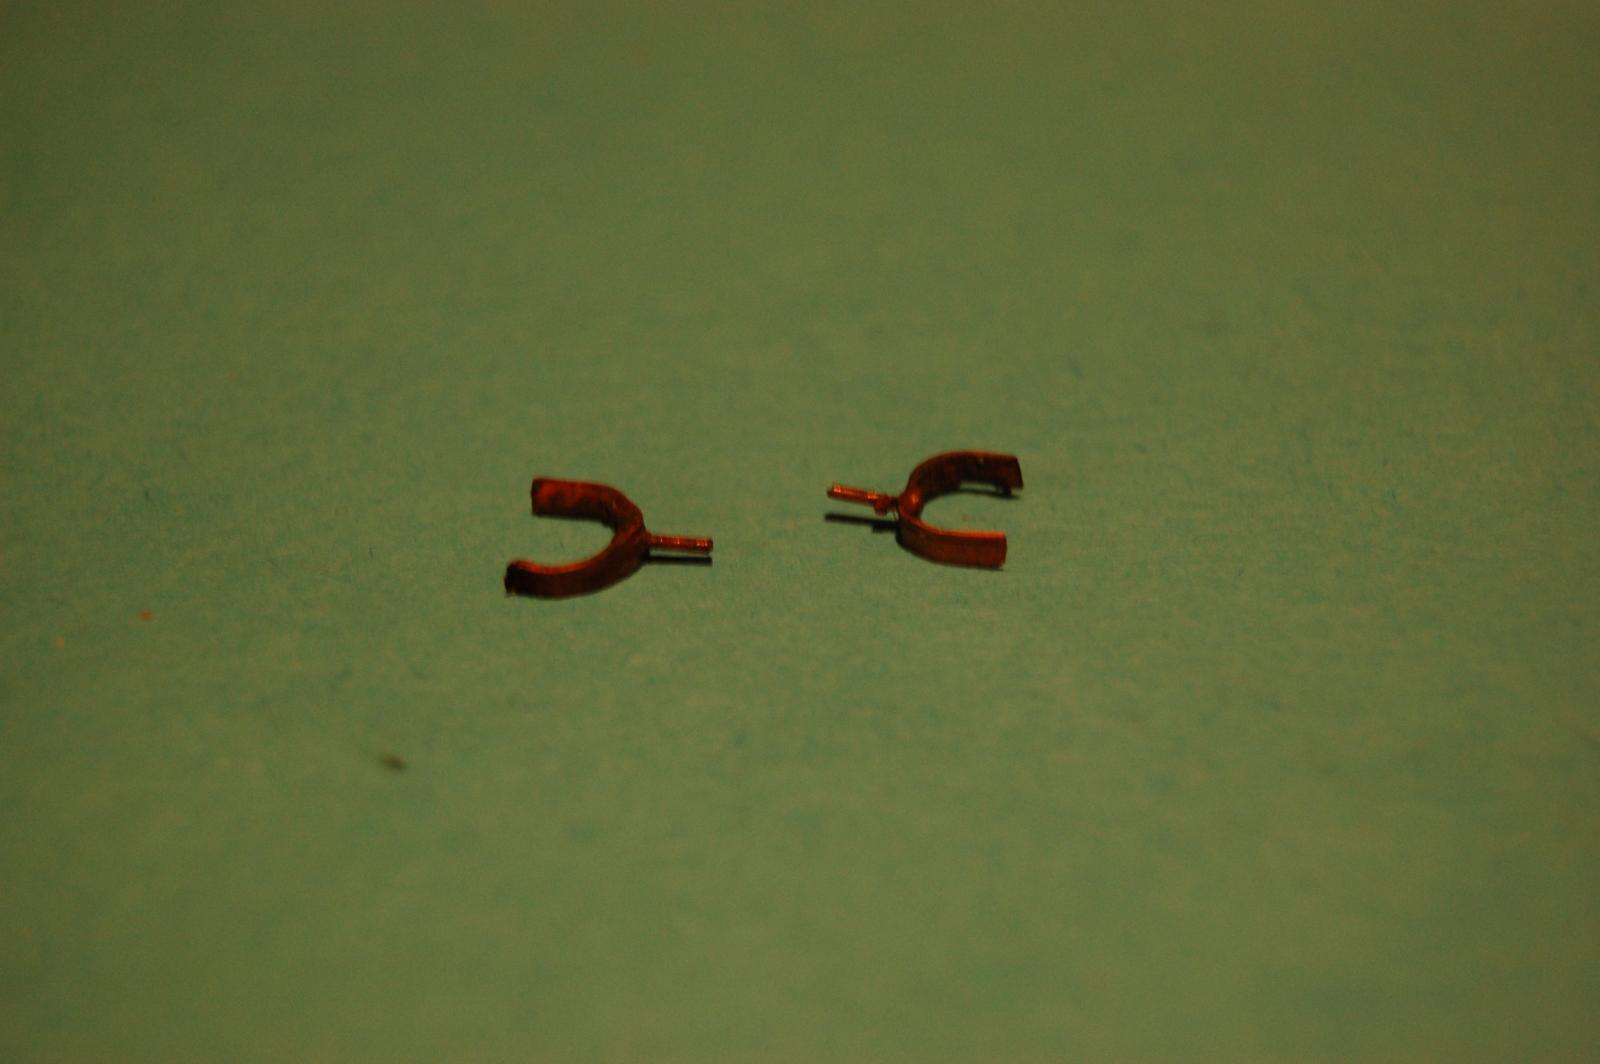
Building row locks.
Start with a 1/16 strip of brass.
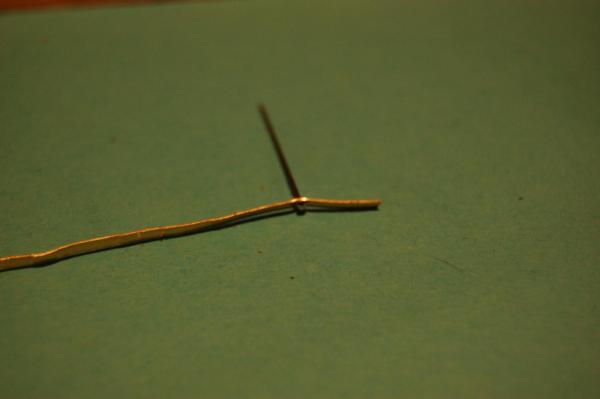
Punch and drill a #65 hole in strip.
Insert a #17 dress pin.
Hit the pin with flux and solder.
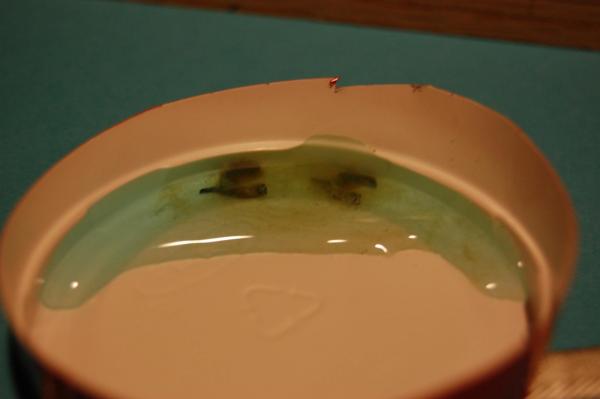
Trim the brass to the proper length and hit with some blacken-it.
(please let me know if this is helpful or I am beating a dead horse. Thanks)


-
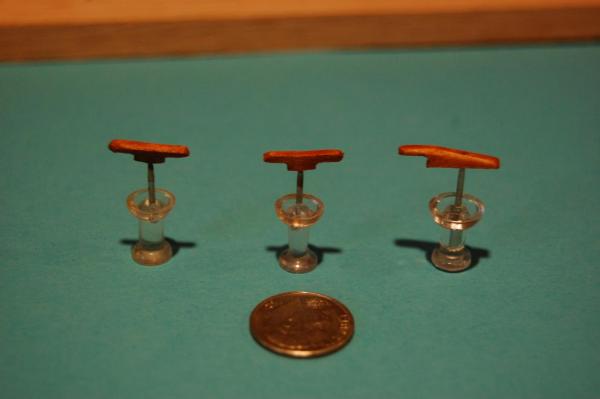
Some prefabbed planks and tops and bottoms were supplied with the kit. After being assembled I treated the wood with weather-it which is a cool wood ager I had used years ago when train modeling. I then cut some brass sheets into 1/16 strips that I fit around the drums and soldered. I then treated the strips with blacken it and CA'd them on.
-
Great job Alex! Keep up the good work.
-
Thanks for the kind comments. I was about three weeks into the build before posting.
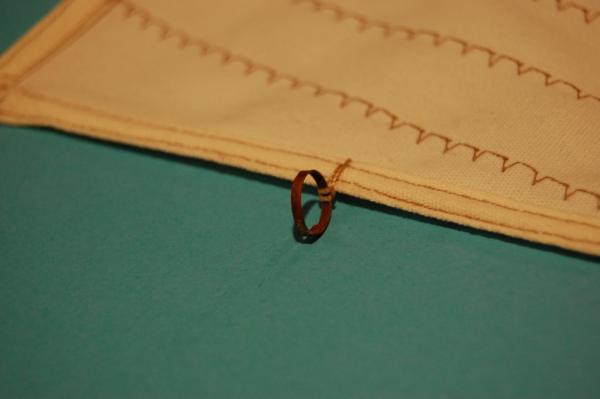
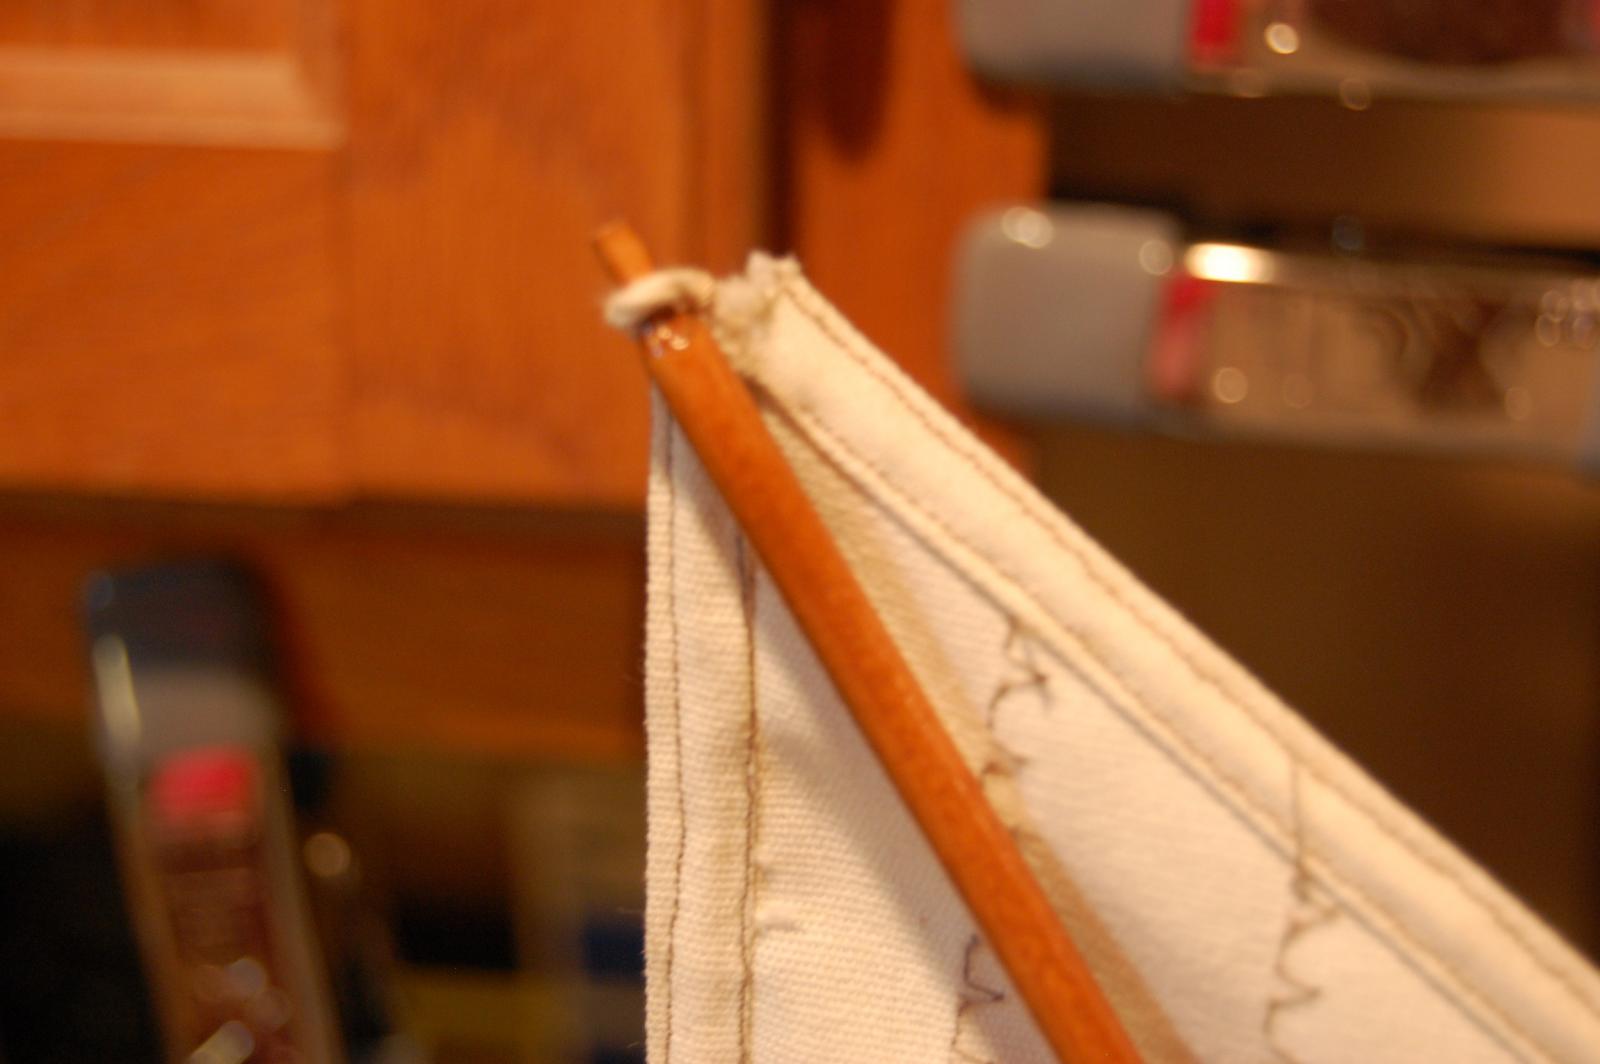
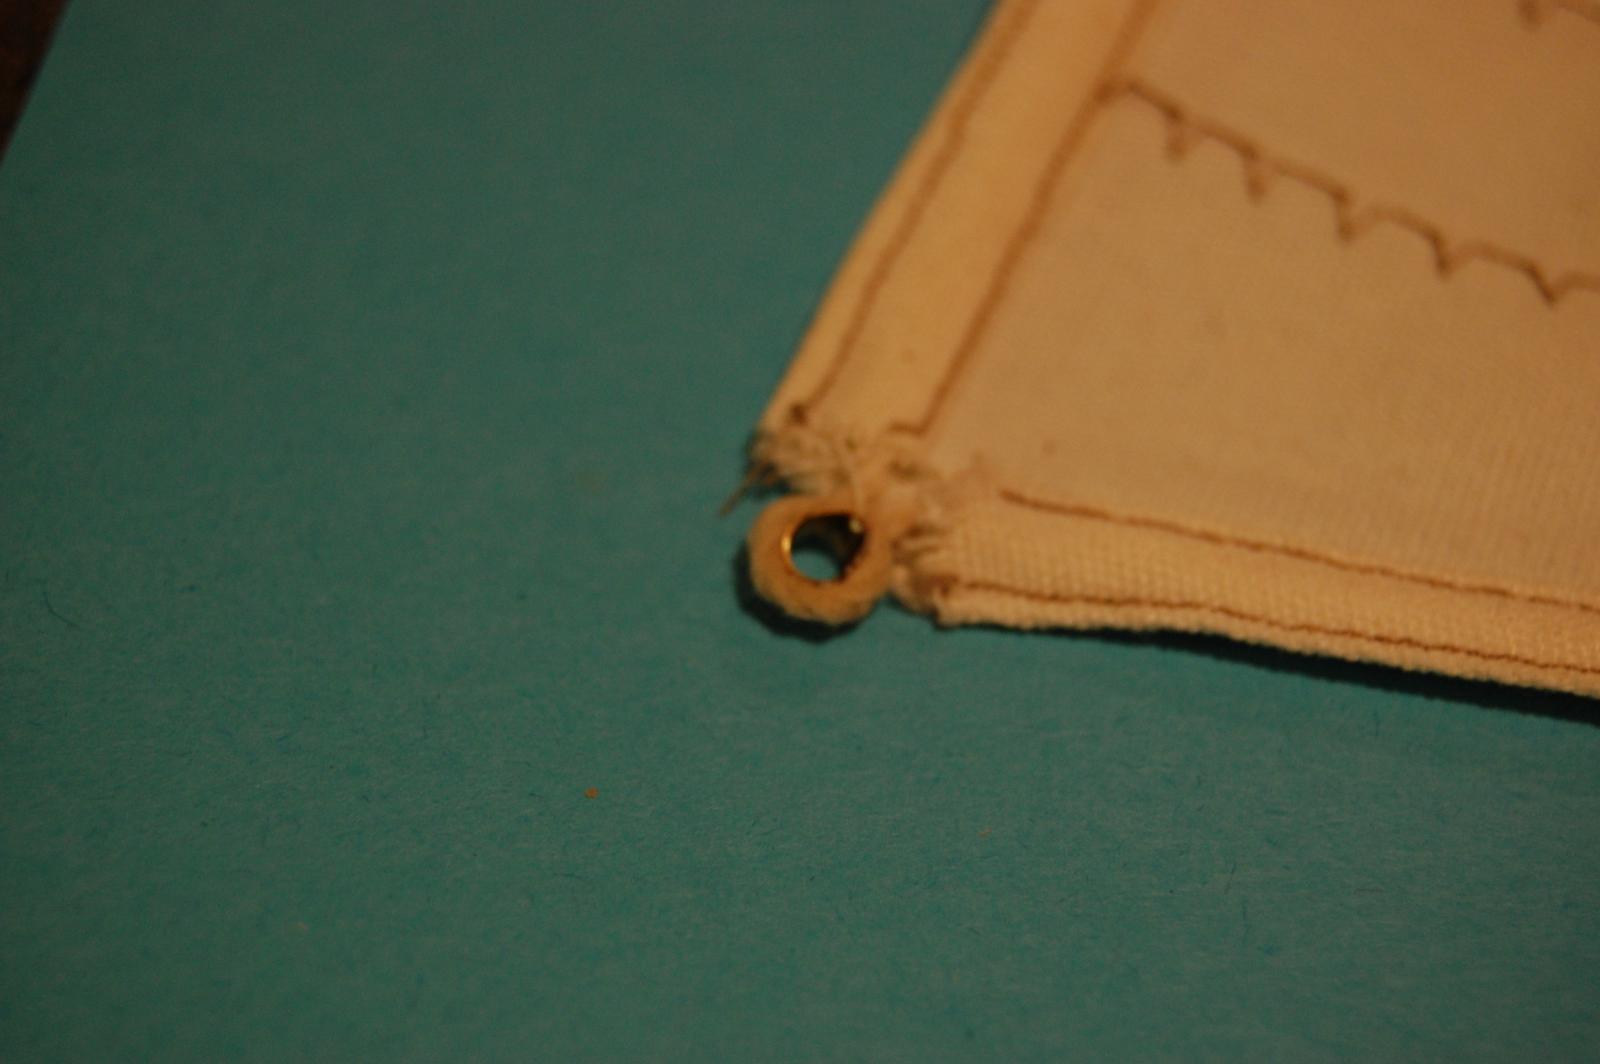
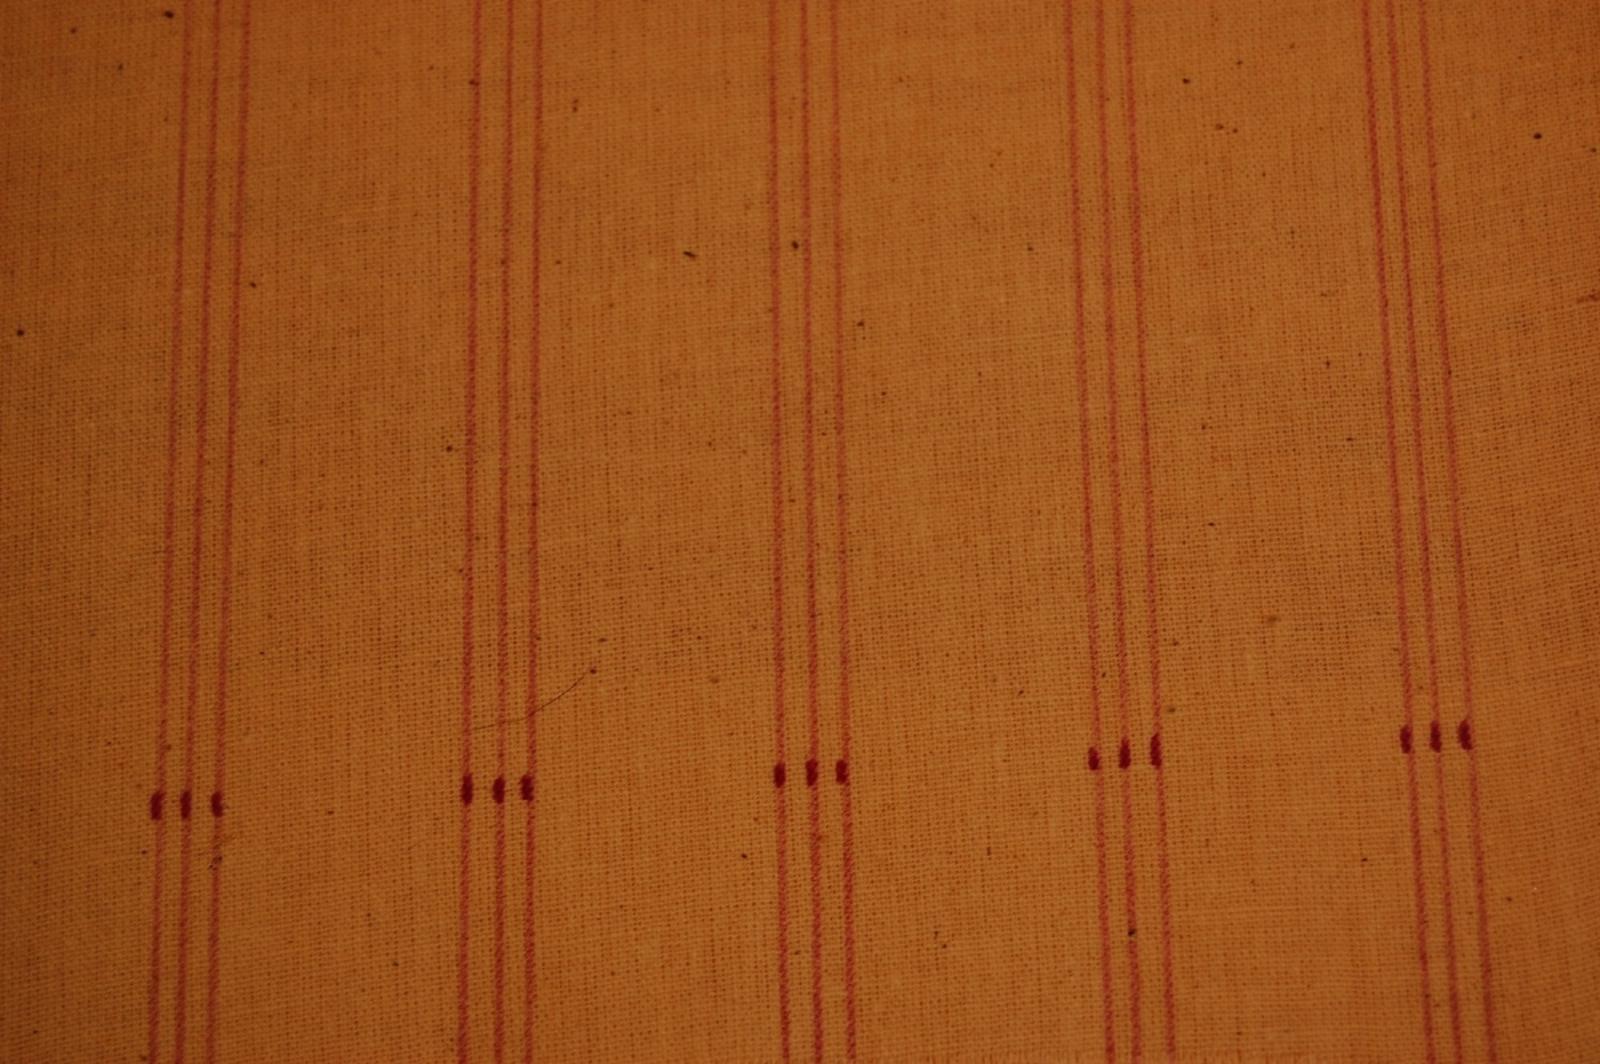
Added the hoops and thimbles to the sail. Also added a couple grommets for shroud lanyards.
Stained the mast and sprit pole with colonial maple so I can hopefully install the sail tomorrow.


- michael mott, russ and dgbot
-
3
-
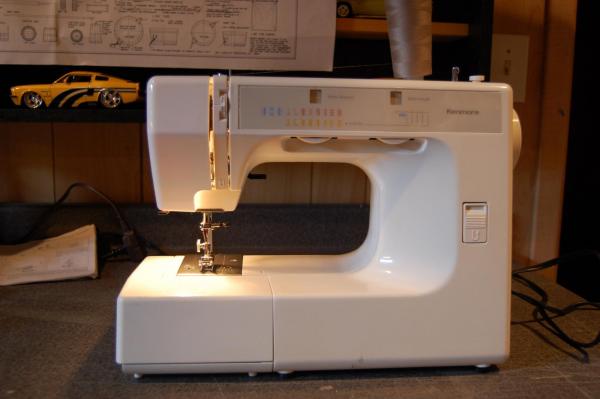
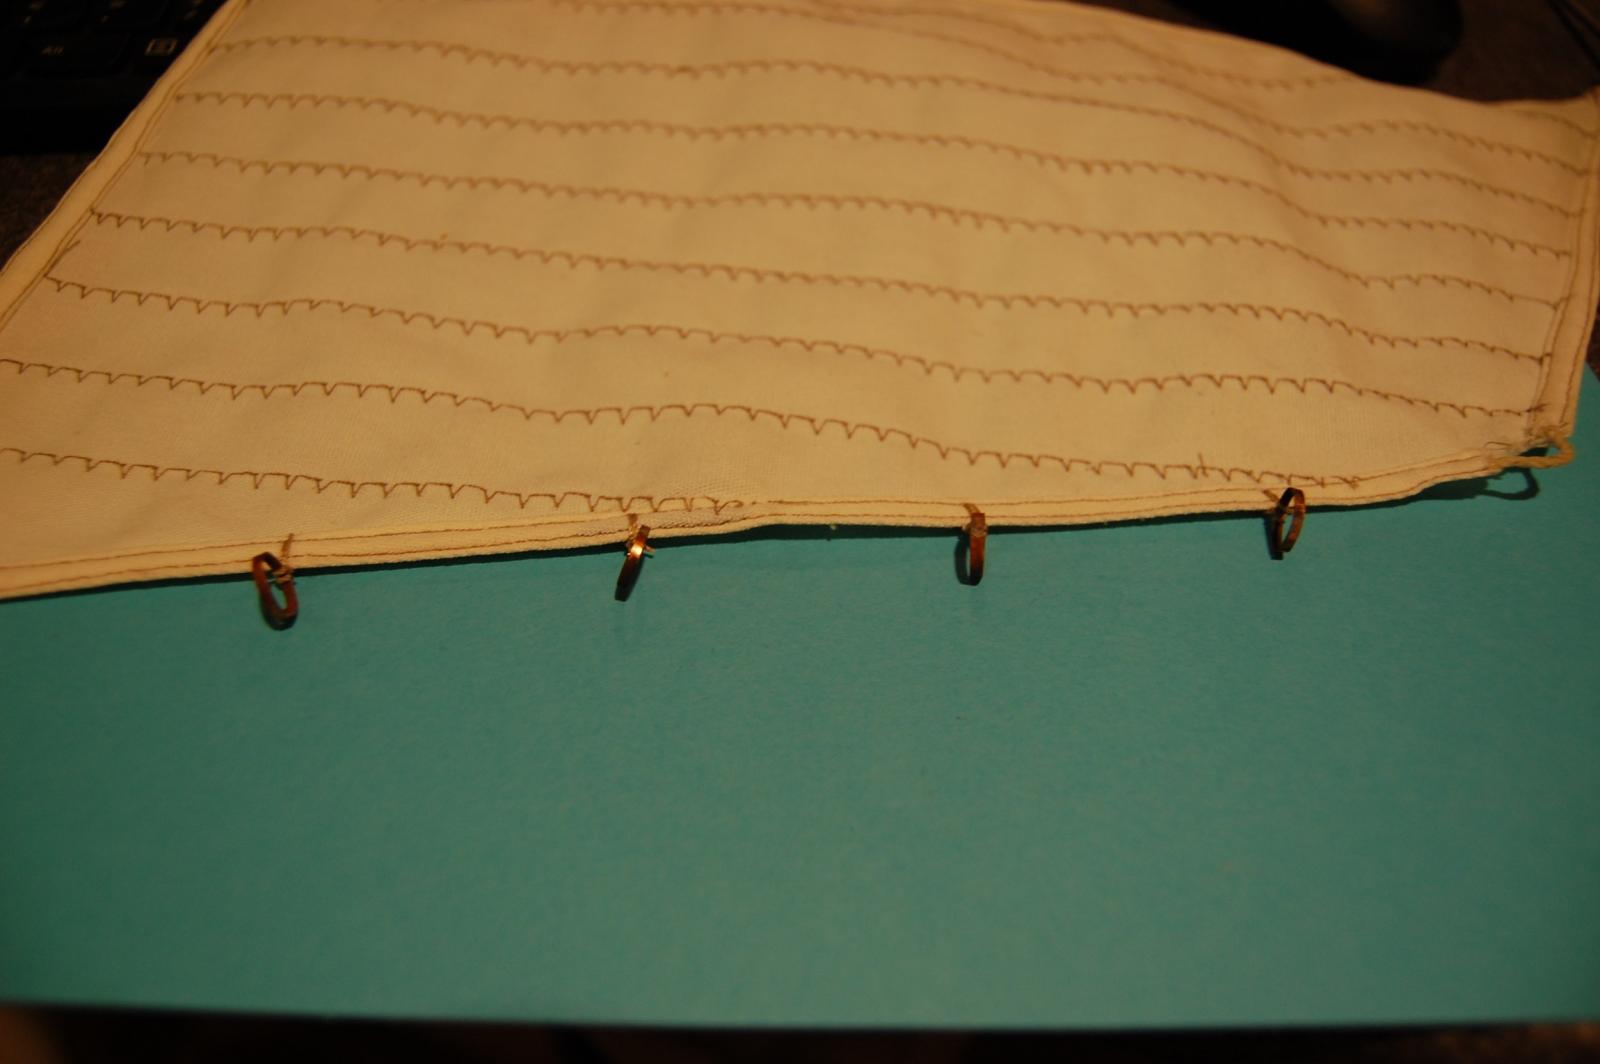
So last night I decide it must be time to make the sail. (not necessarily in order but a good distraction) I do a search for making sails and a few categories pop up but 1 by Nils on using the wife's sewing machine to make sails pops up. I contacted Nils and he was awesome responding to me with a new thread.
So I do a quick craigslist search and there is a $30 Kenmore 10 miles from me. I grab it and following some good instructions and sewing machine 101 I am able to whip something up.
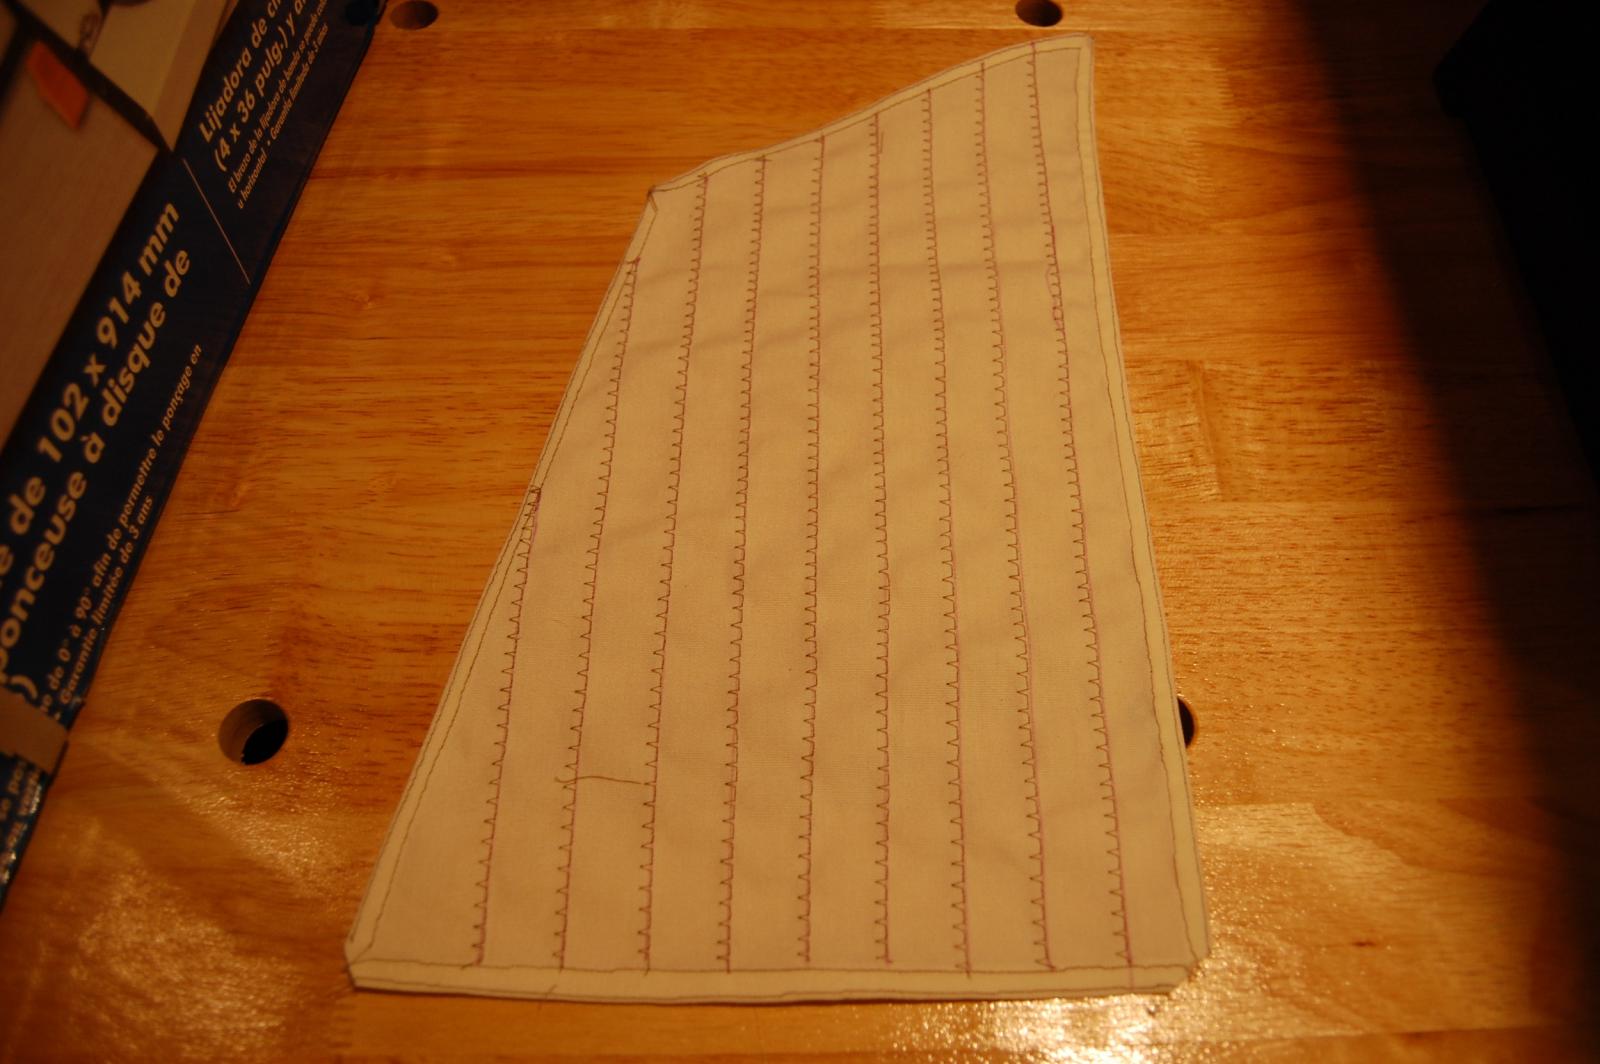
I followed the instructions to build the New Bedford sail and didn't like the way it turned out (new sewing machine does not make small enough cross-stitches). Made a new one and I'm much happier. Time to make the masts now.

- dgbot and michael mott
-
2
-
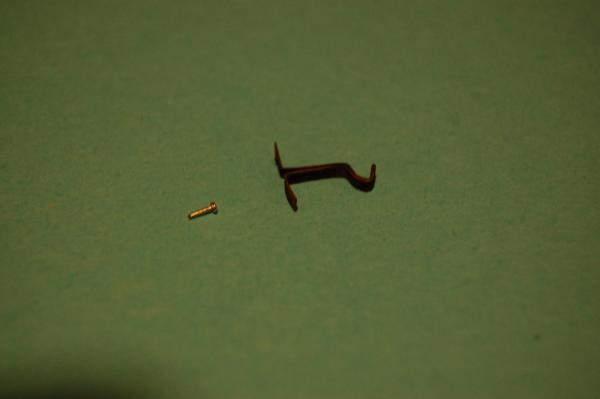
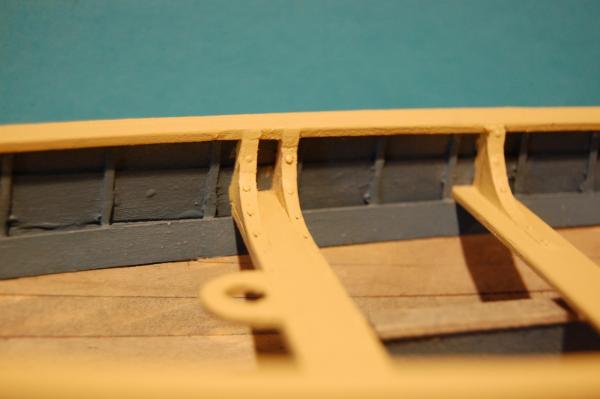
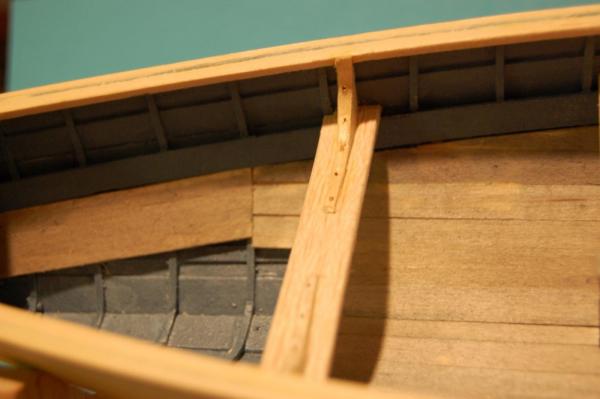
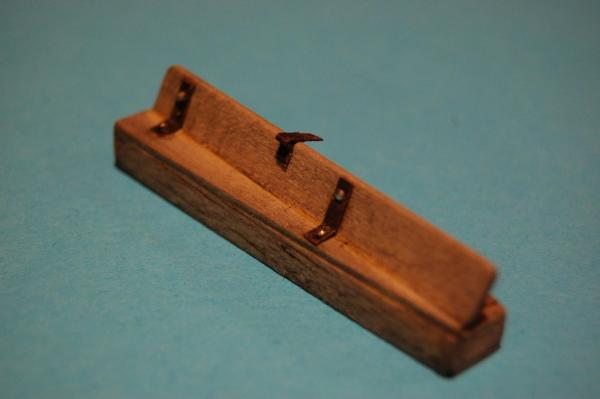
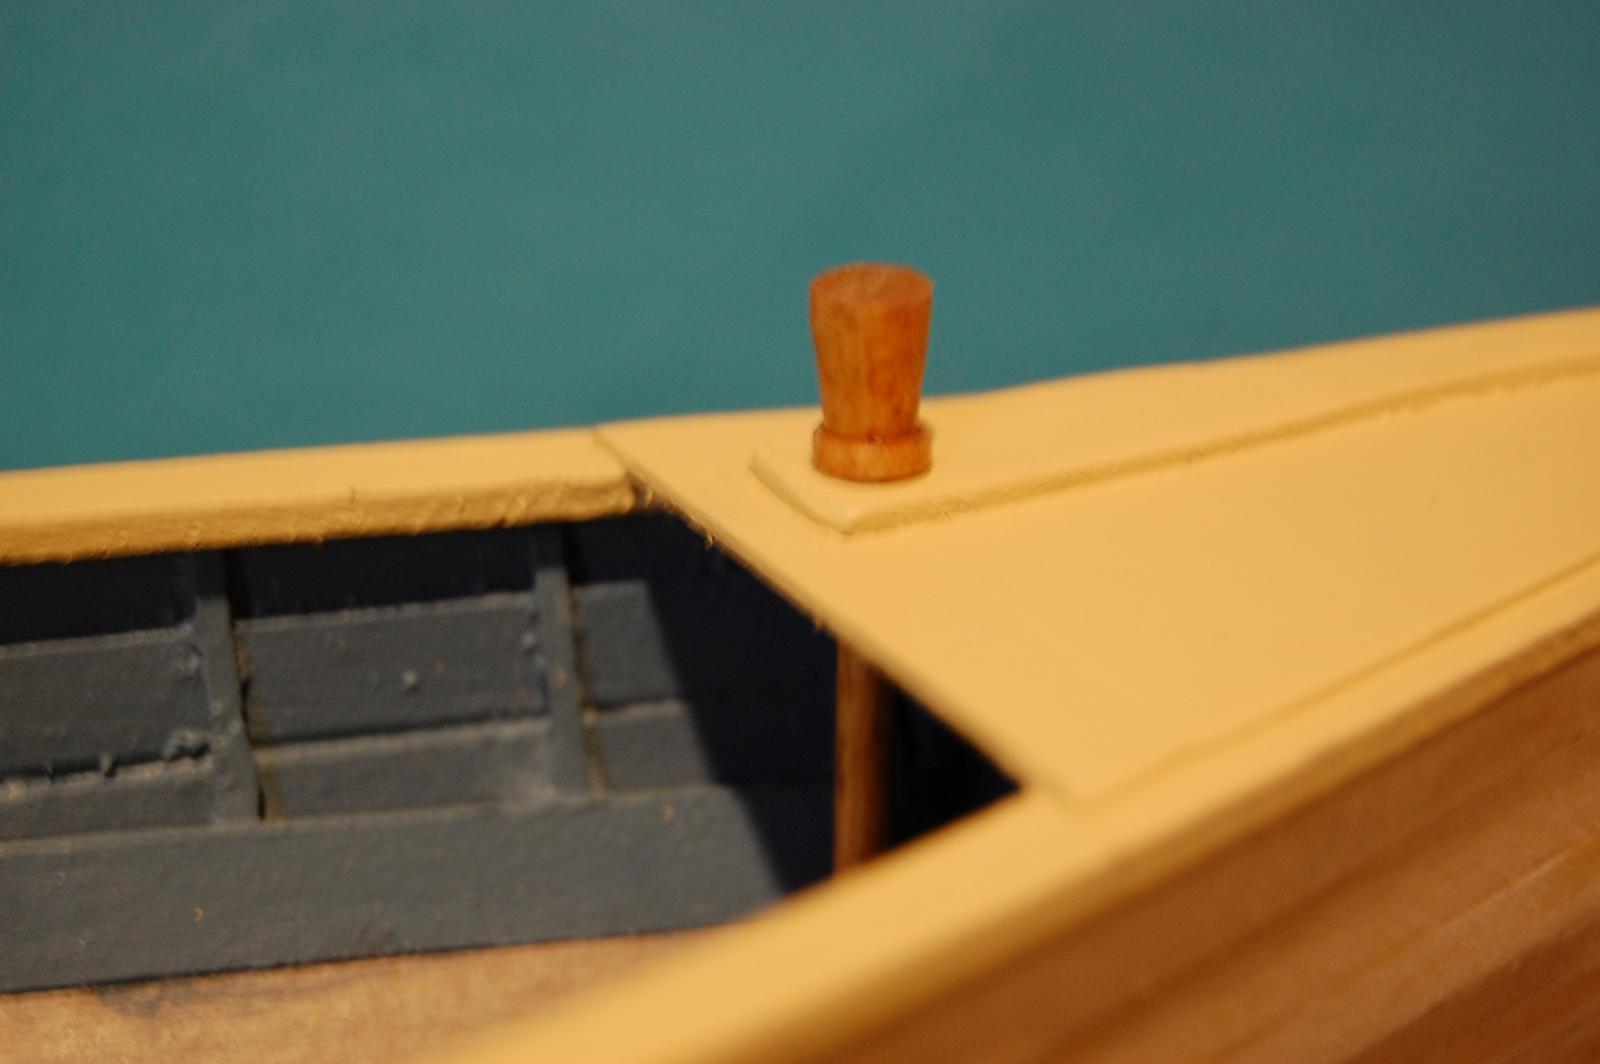
Here's a picture of the bolt heads painted over, a picture of the loggerhead and some cleats.

- michael mott, CurtisW and dgbot
-
3
-
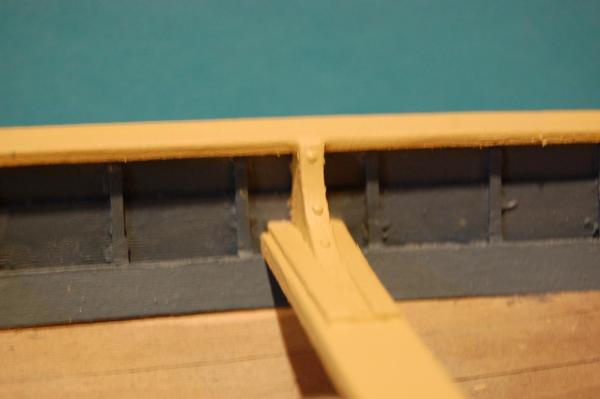
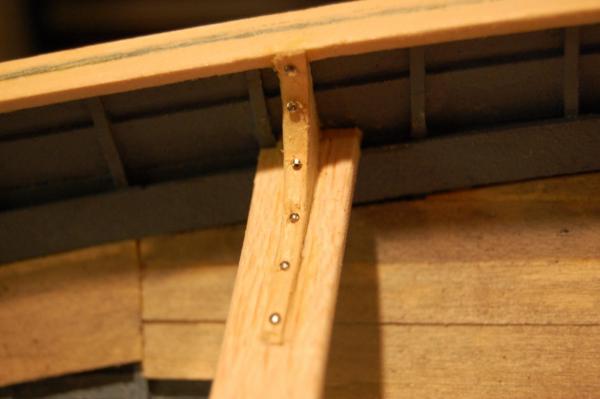
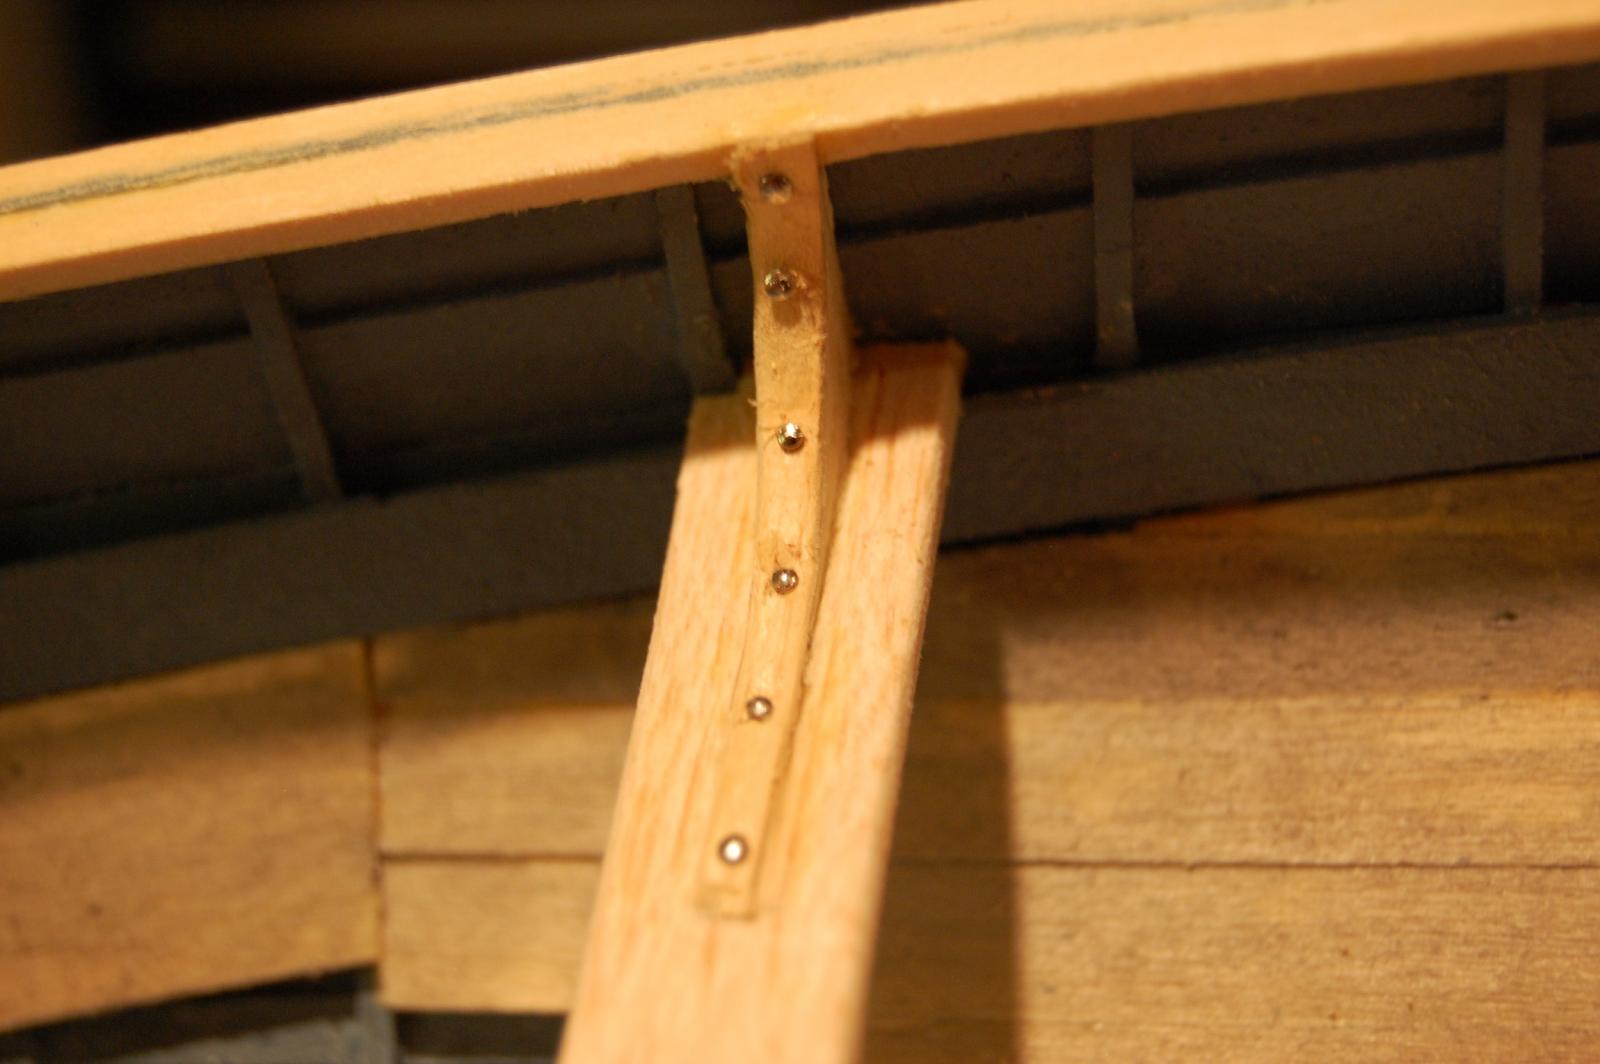
As shown on the Beetle site there are bolts holding down the thwart knees. This is a great site with some awesome pics of a complete full size whaleboat build. It can be seen at www.whalingmuseum.org/programs/beetle-whaleboat-project
I figured the best way to make these bolts was cut the heads off a #17 dress pin. I drilled the knees with a #65 drill and inserted the heads with a dab of glue. These are going to be painted over with a Light Buff acrylic.
- dgbot, Duanelaker and CurtisW
-
3
-
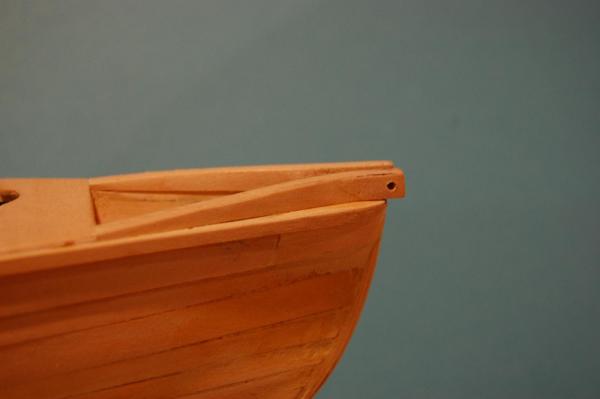
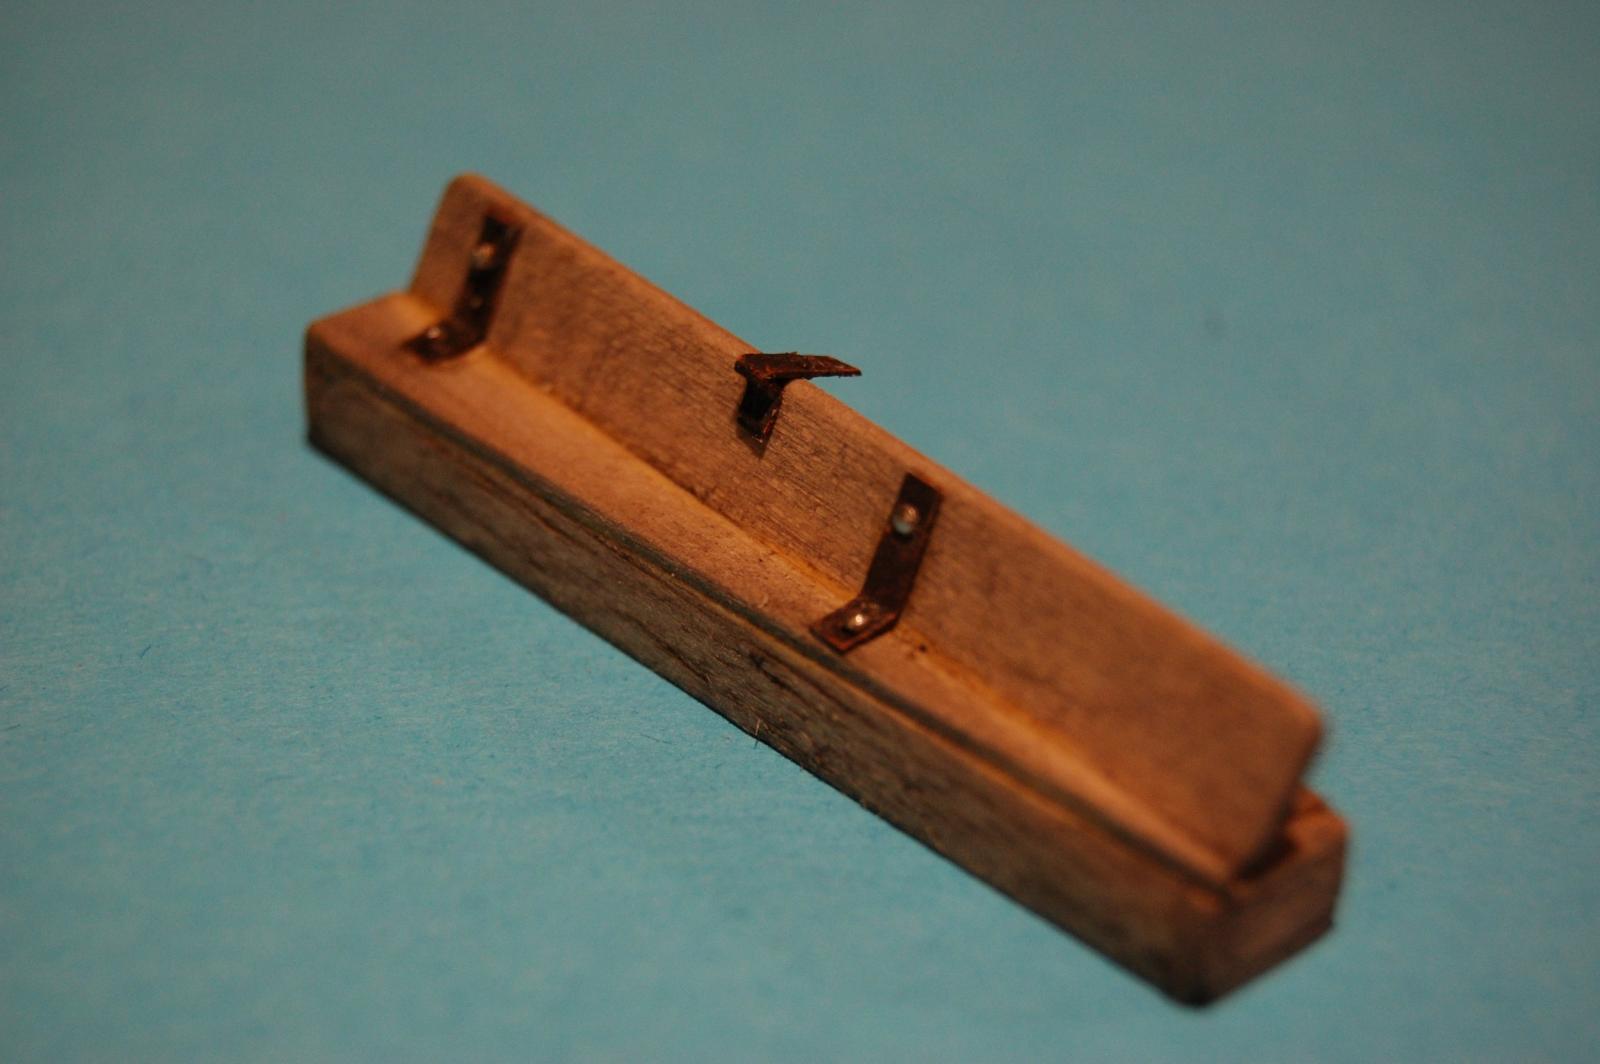
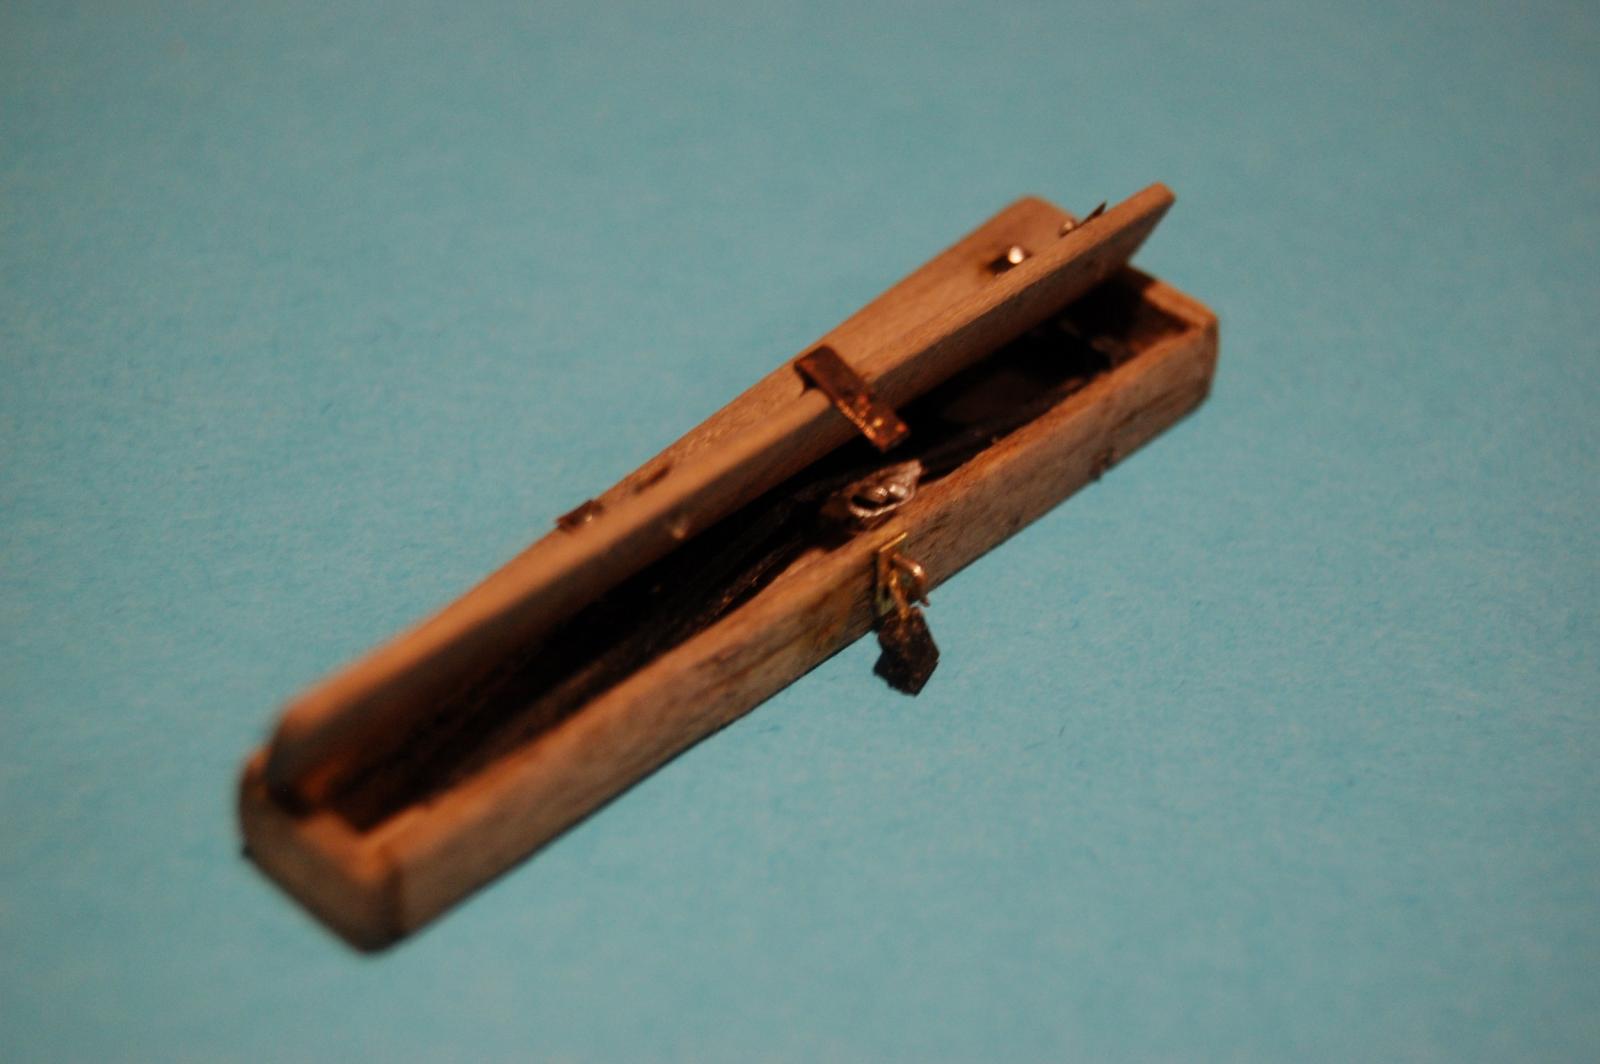
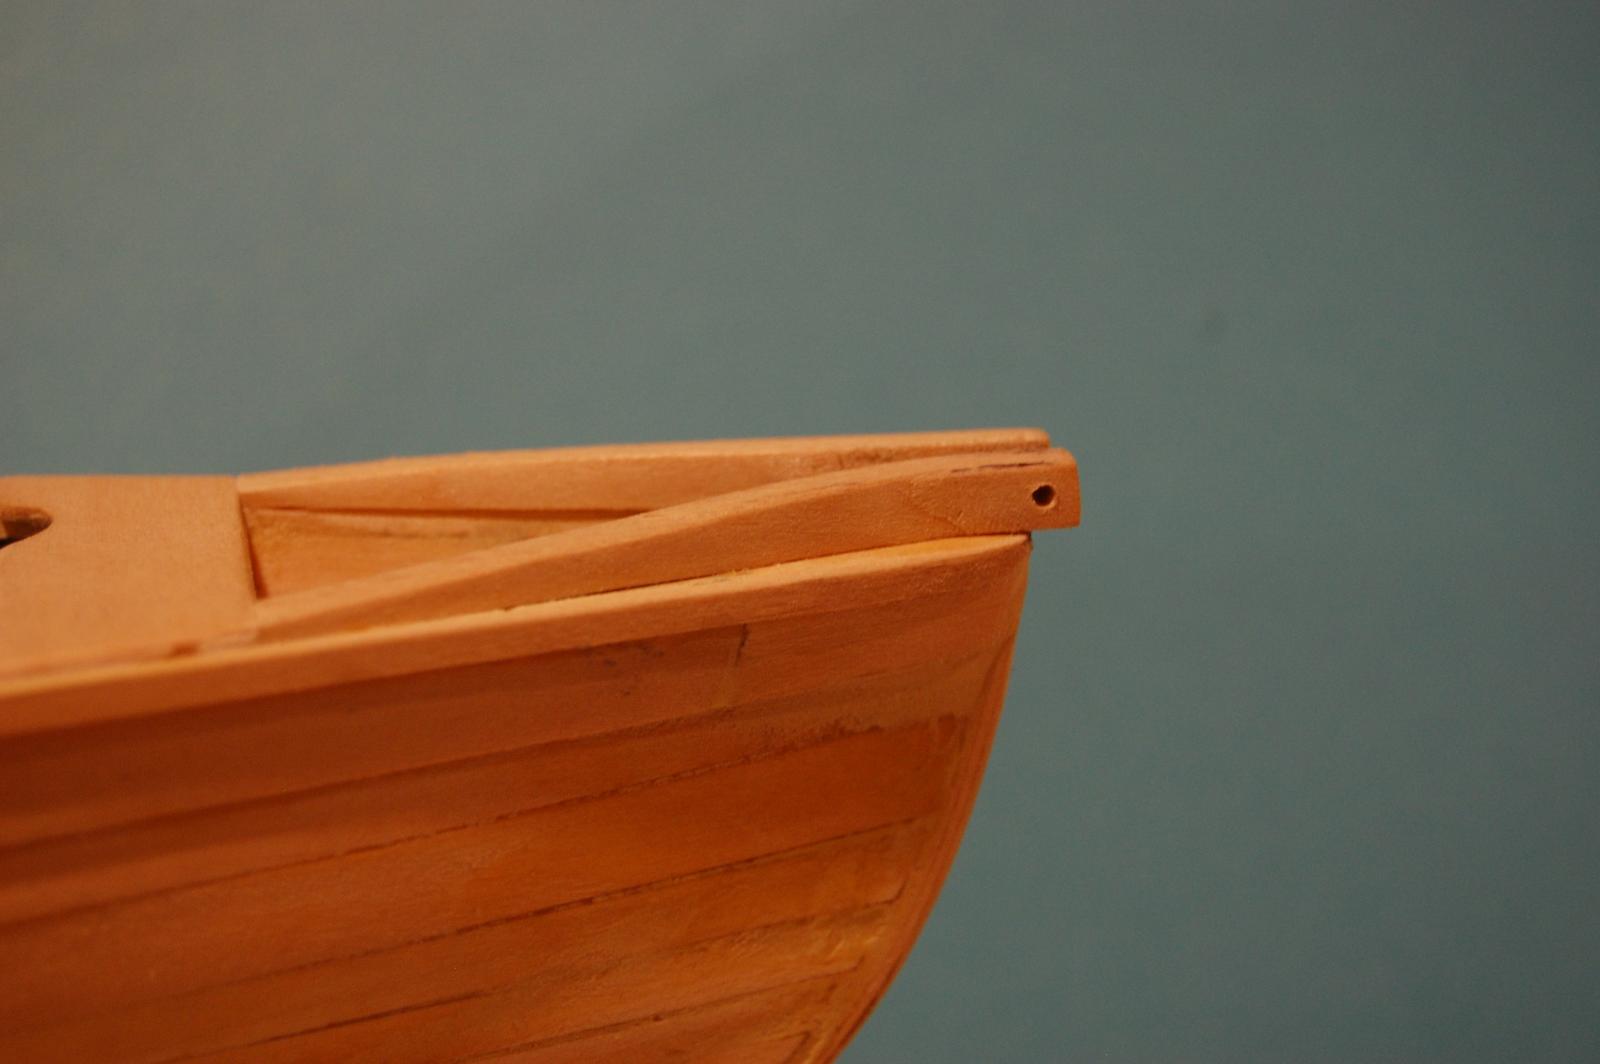
Added latch and hinges to gun case, new lantern and added bow chocks.


-
Great start and description.
-
Looks like we have a few people building this kit which is great. I am just returning from Sugarloaf Maine after a few days at a friends cottage so I can continue building. Quick picture from Maine. Moose everywhere.

-
Hanson Hobby is a small store that carries something for everyone. Mostly RC car stuff. I bought some wood there a couple days ago. He has a decent wood supply but it has just been there to long, very brittle. A few wood kits but expensive.
Thanks for the welcome. Anyone know of any ship modeling clubs in Mass.?
-
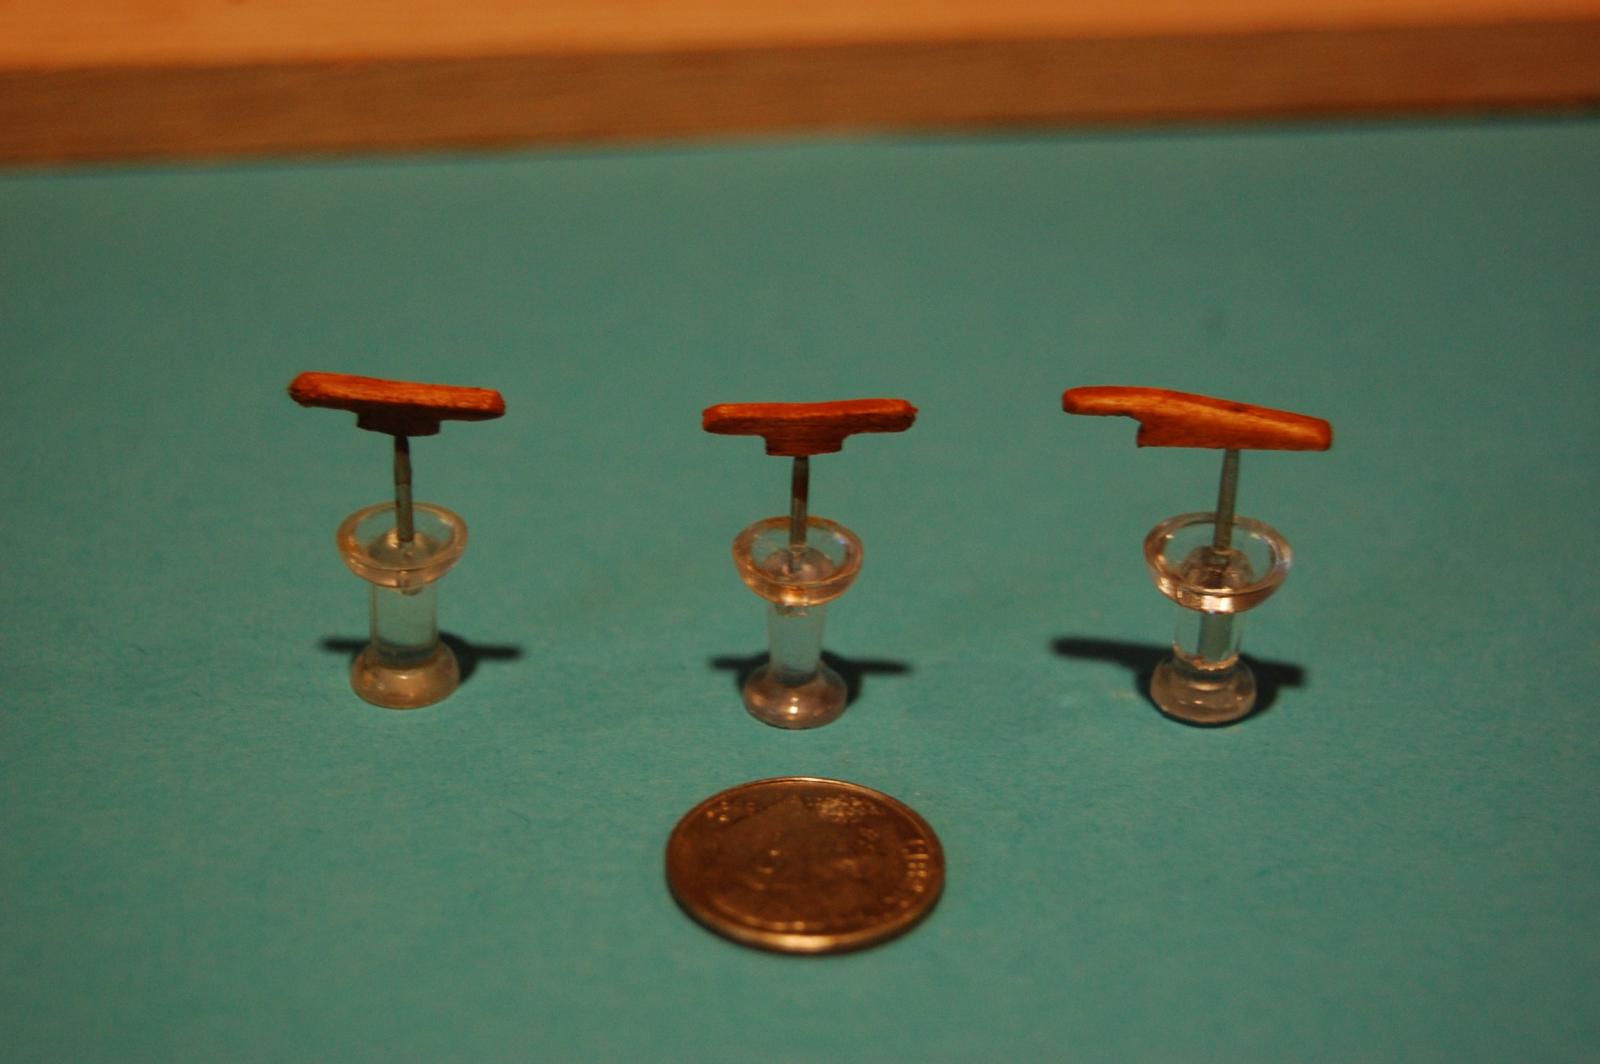
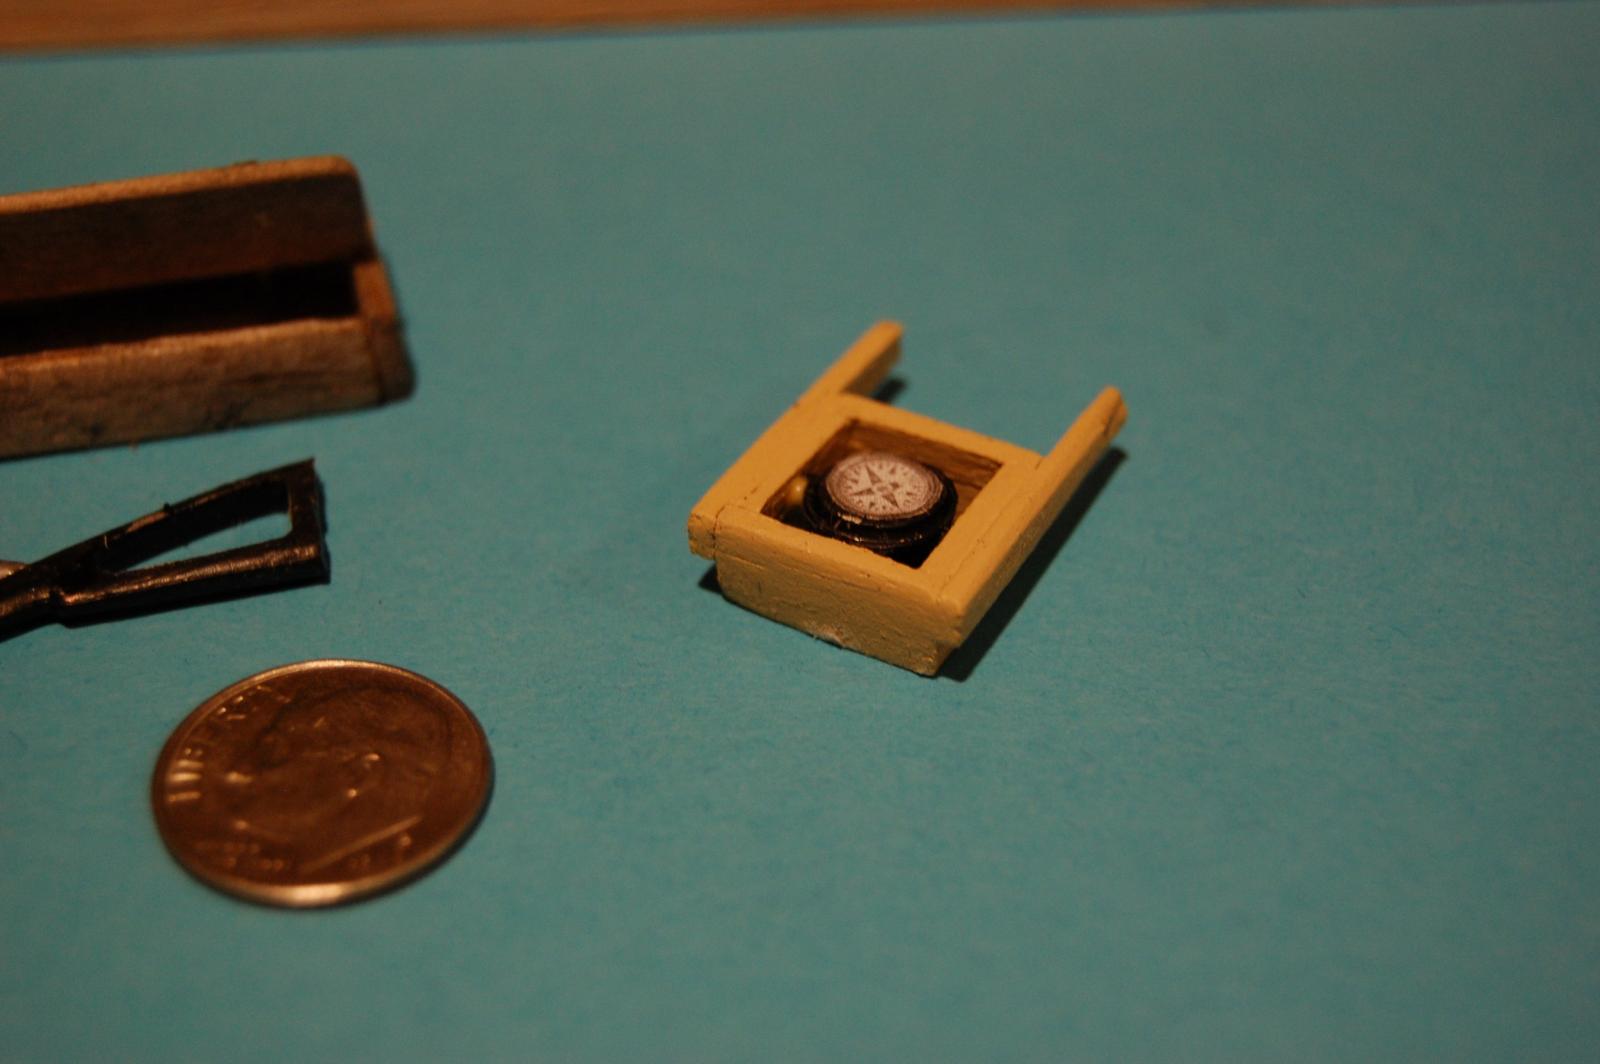
Working on some of the interior features. Box for the whale gun and the compass


Niagara by Carlmb - Model Shipways - 1/64
in - Kit build logs for subjects built from 1801 - 1850
Posted
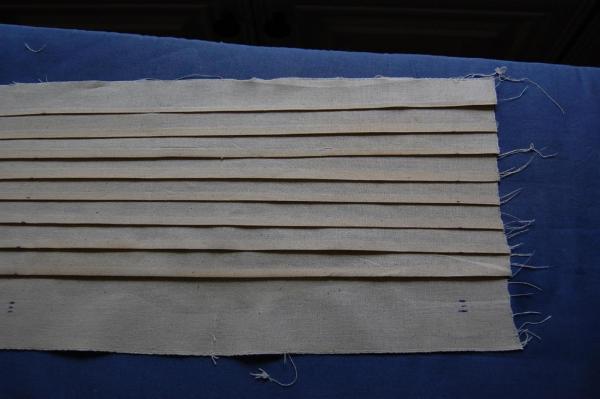
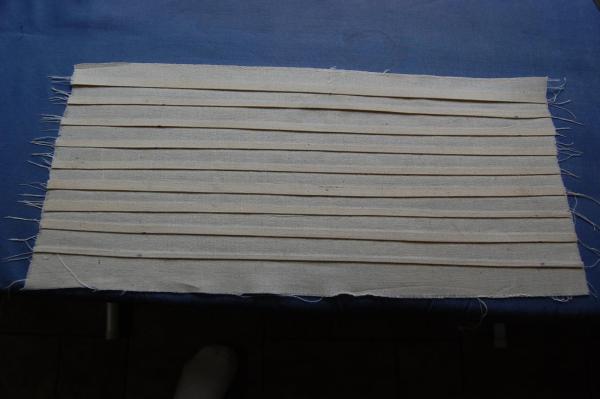
Thanks for the offer Laxet, I have been watching your build. One thing I have found in the instructions is that they do not list specifically what strips go to what. On my previous whaleboat build they listed what the strips fit.
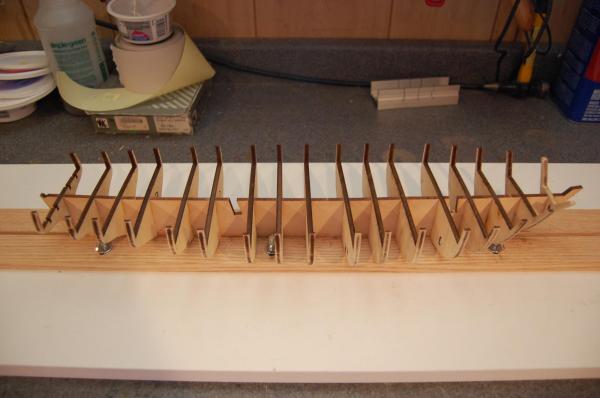
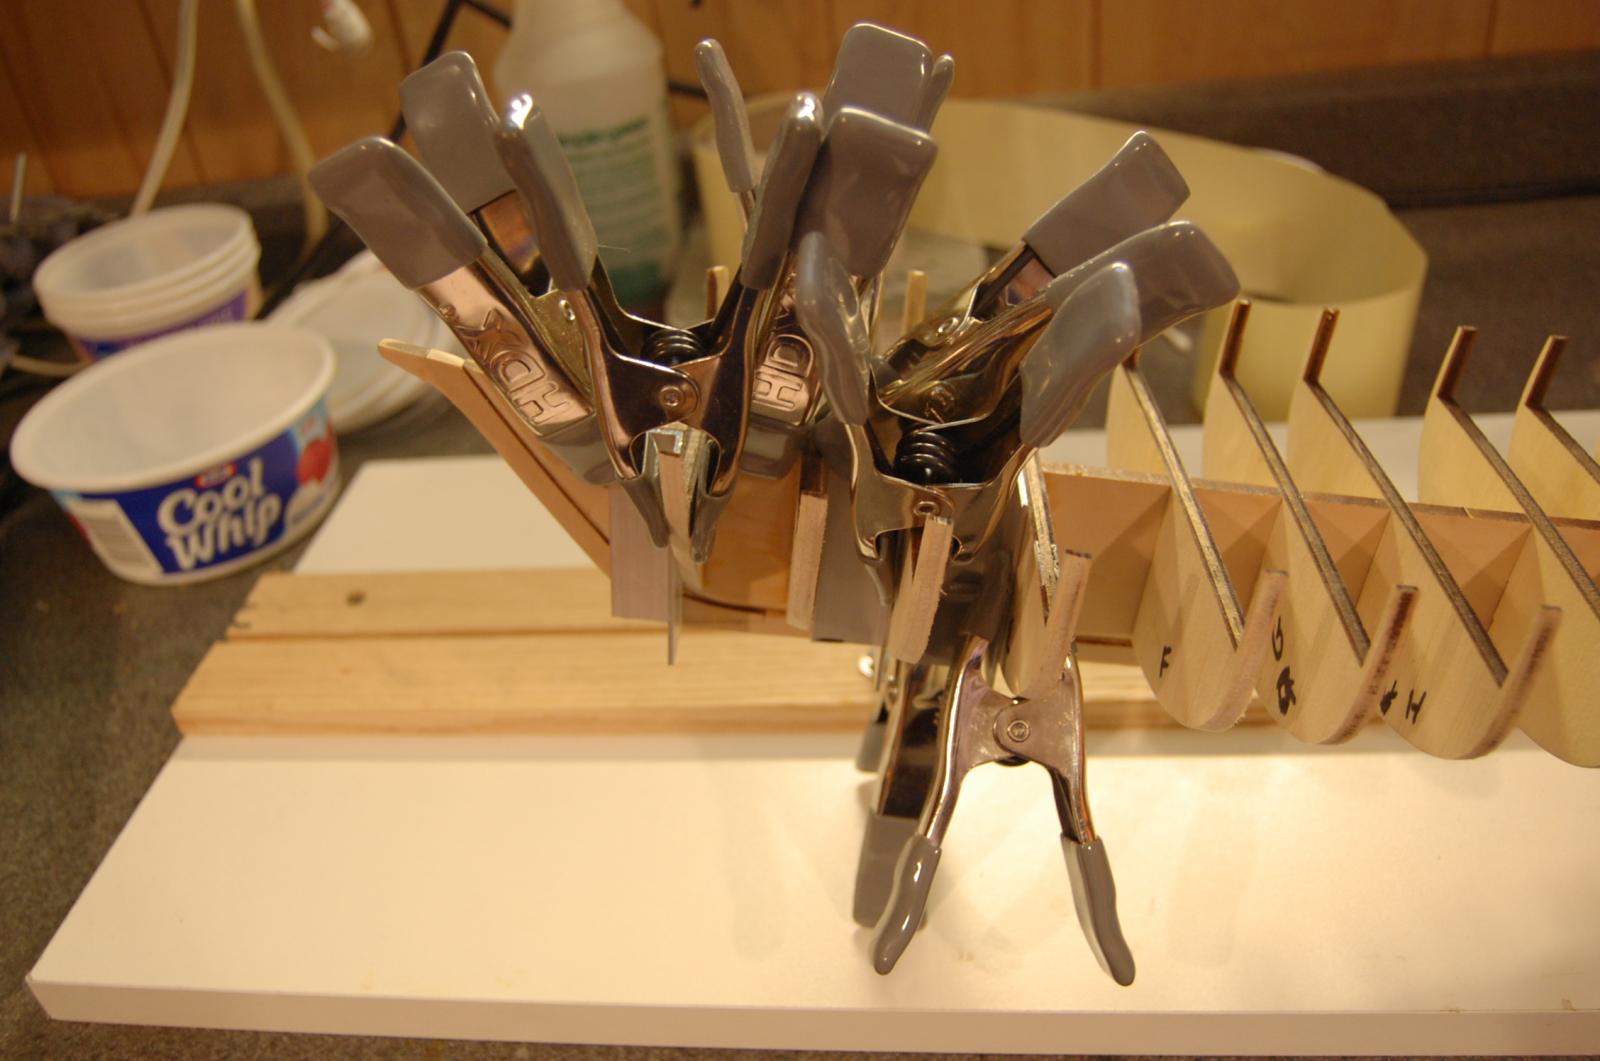
Just finished adding the supports between the bulkheads and working on carronades and structures in between.