-
Posts
129 -
Joined
-
Last visited
Content Type
Profiles
Forums
Gallery
Events
Posts posted by Carlmb
-
-
-
-
Brian, that's what I ended up doing on the breech line, attached the eye bolts on the bulkheads last. On the other lines it was actually pretty easy attaching the hooks. I am sure the future cannons will be somewhat easier.
-
-
Don't have much hair left so I have a good start. Chuck's line at Syren looks awesome but I am going to try and make do with this stuff for now.
-
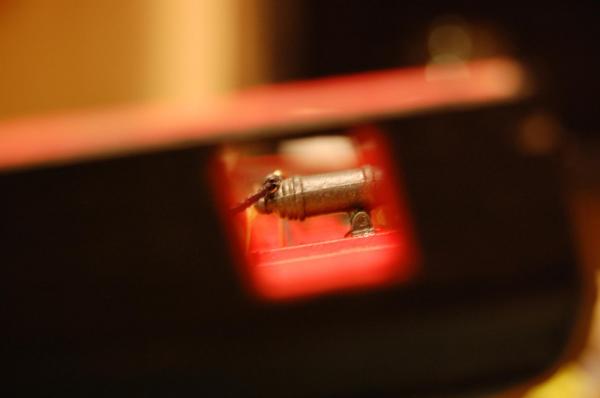
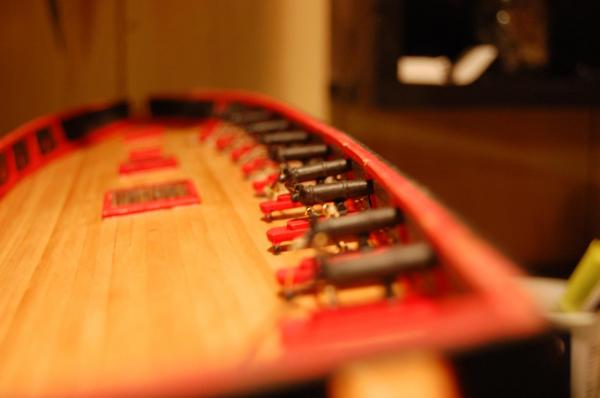
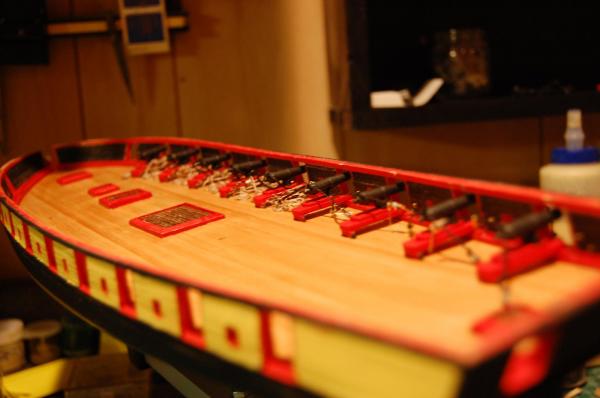
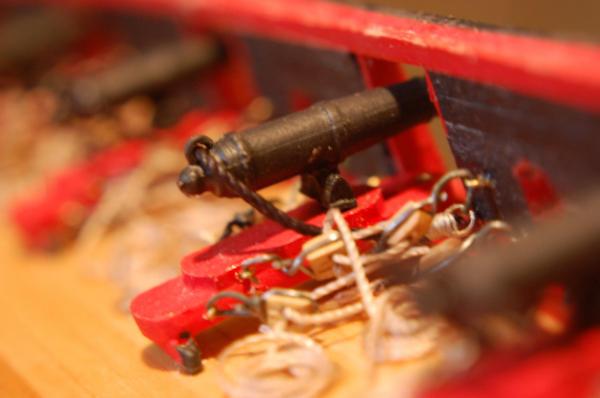
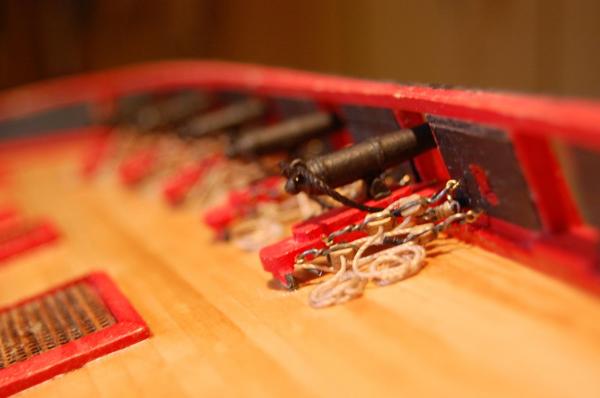
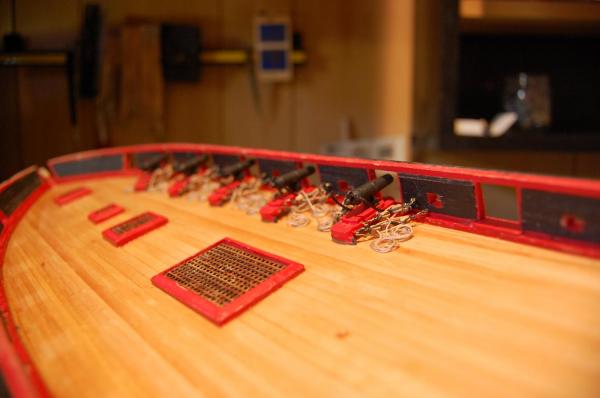
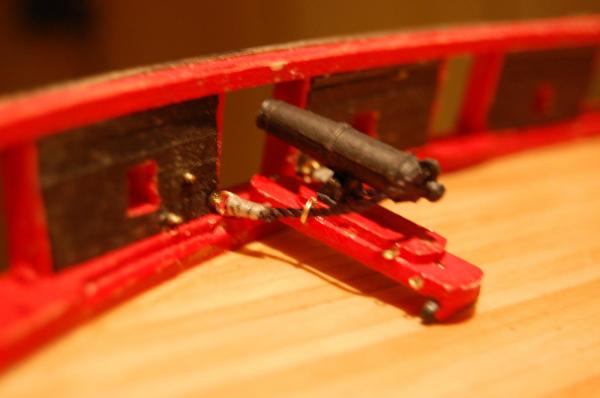
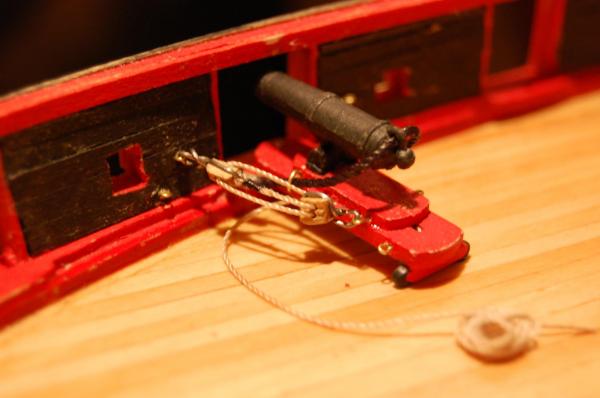
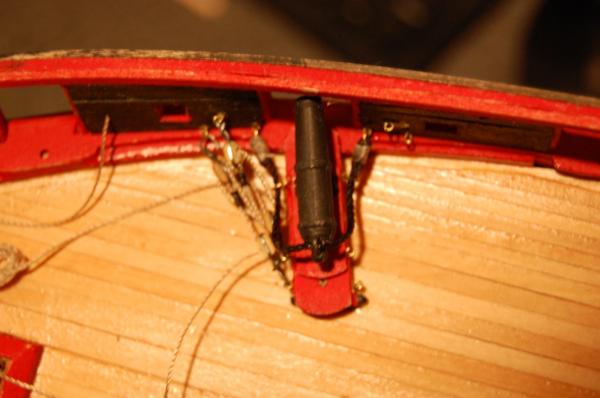
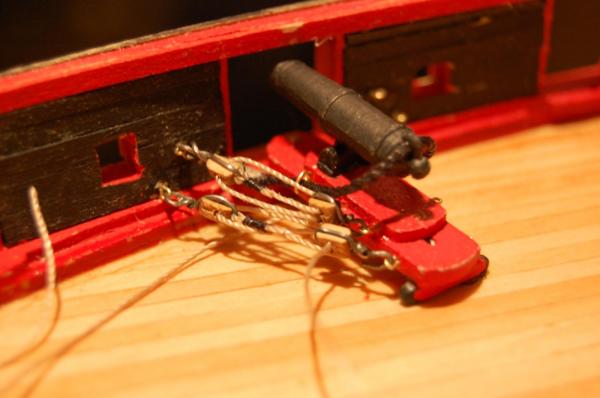
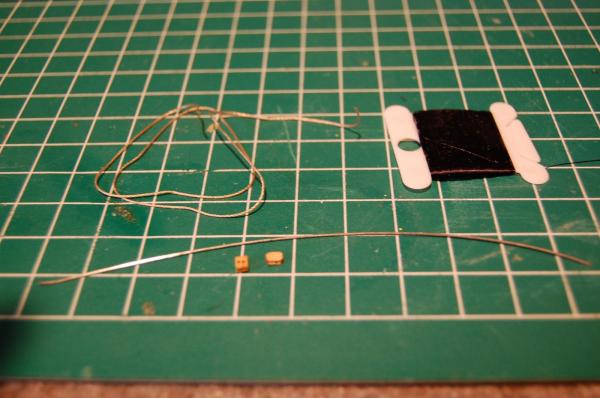
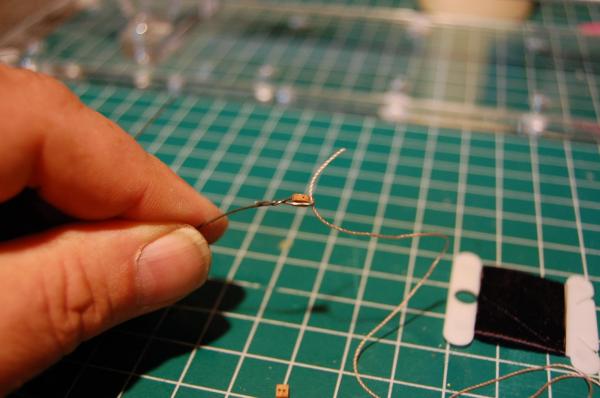
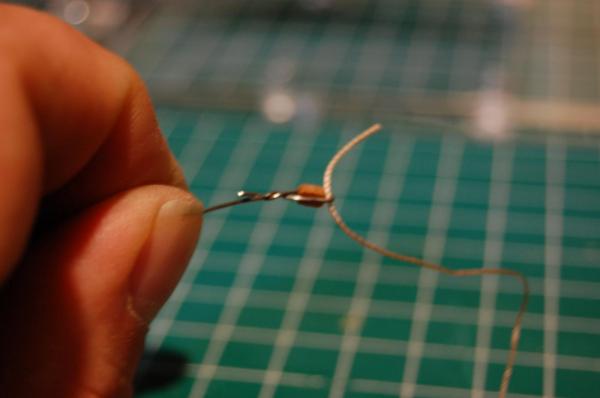
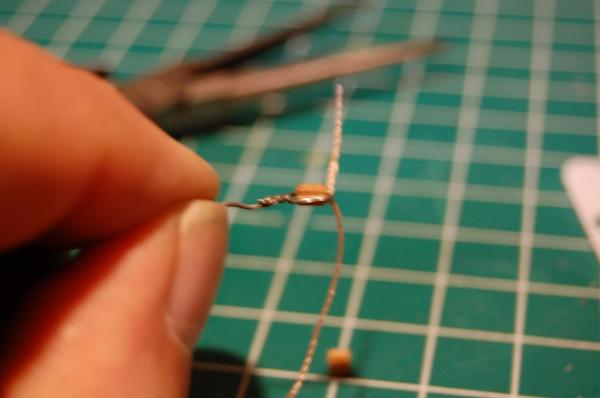
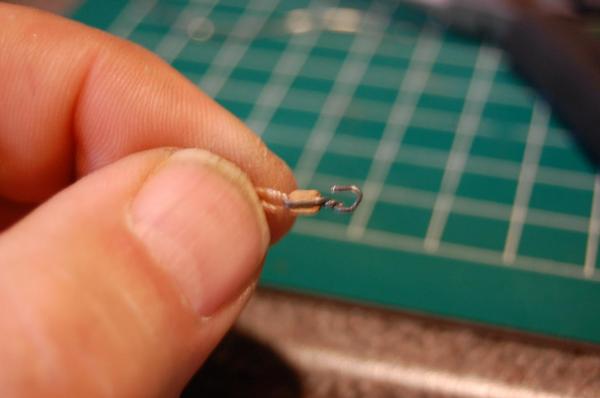
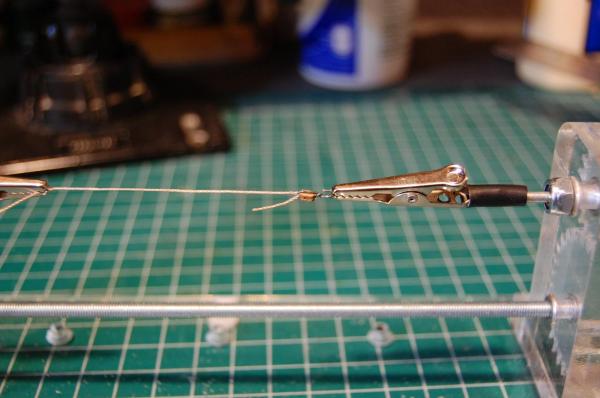
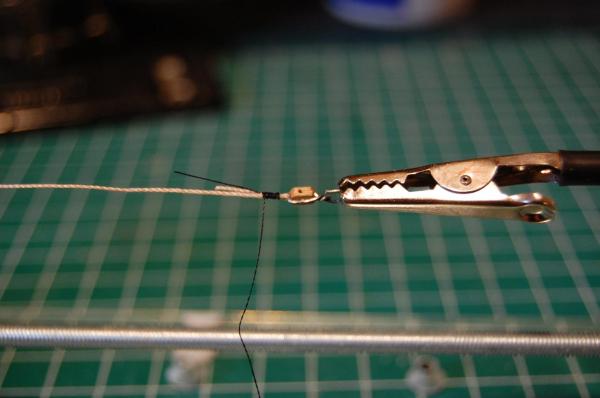
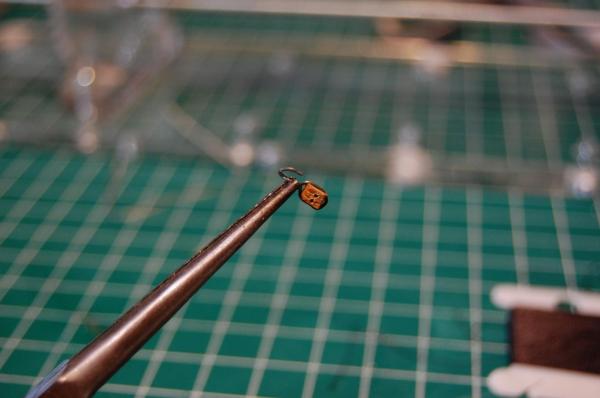
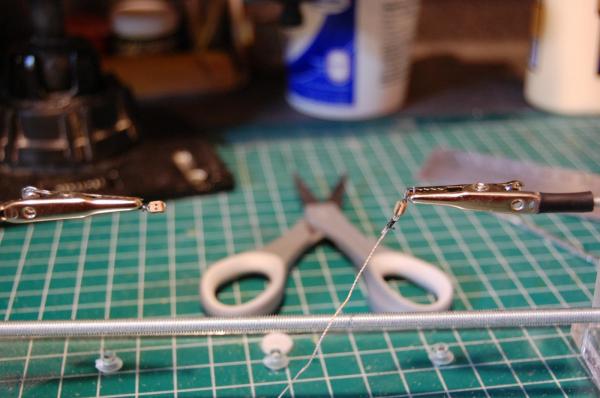
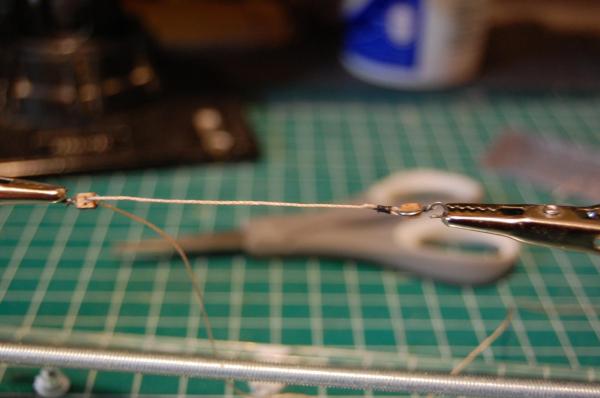
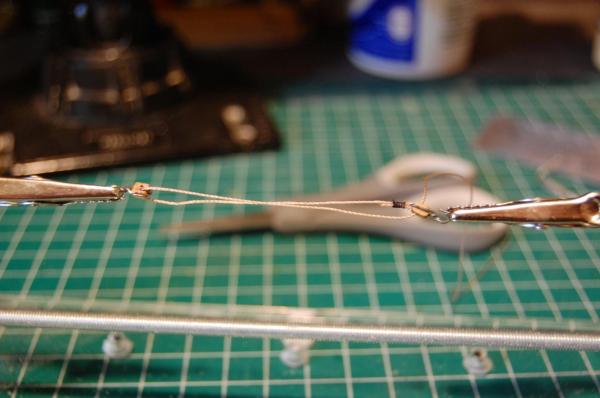
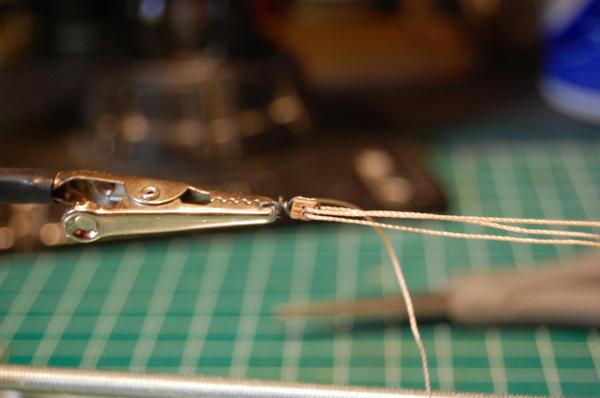
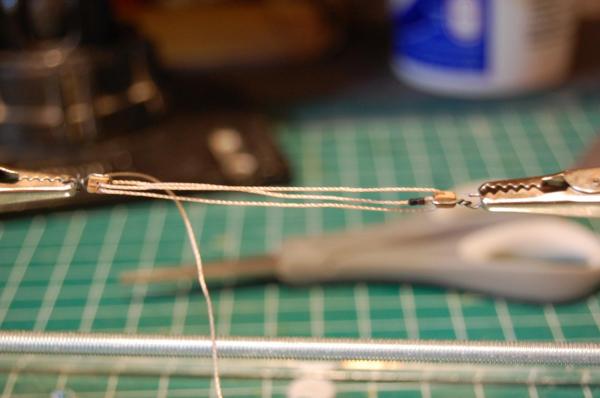
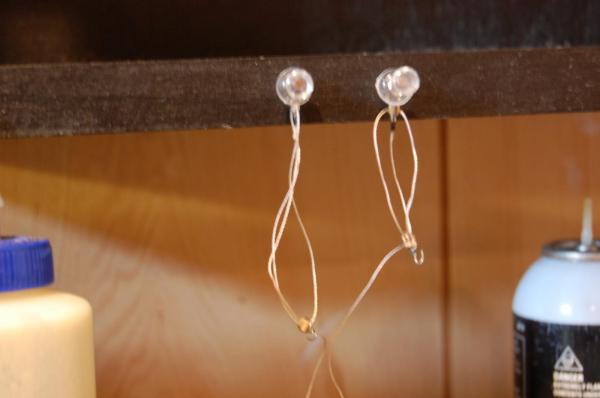
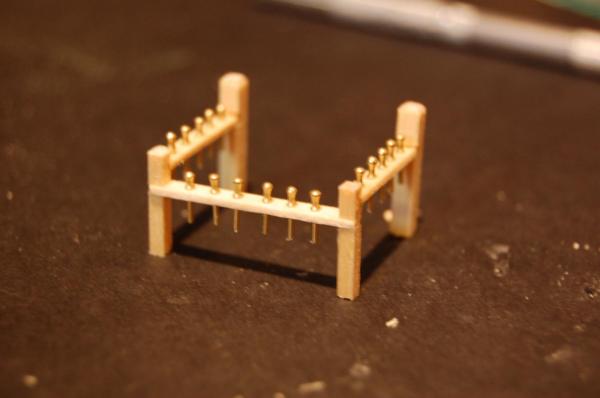
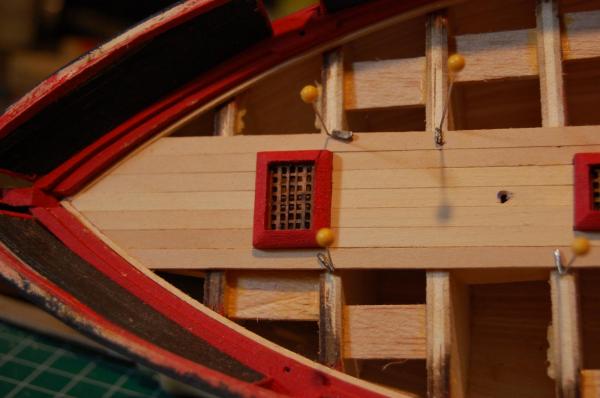
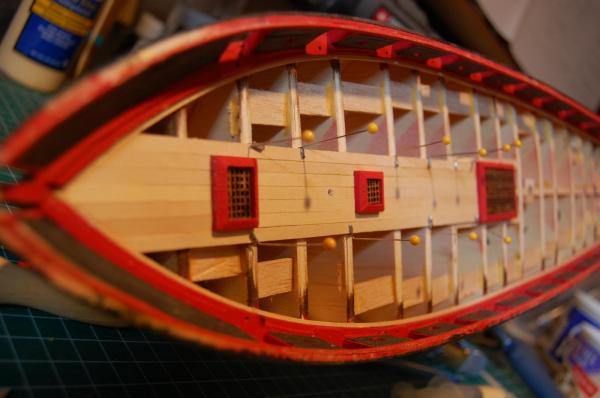
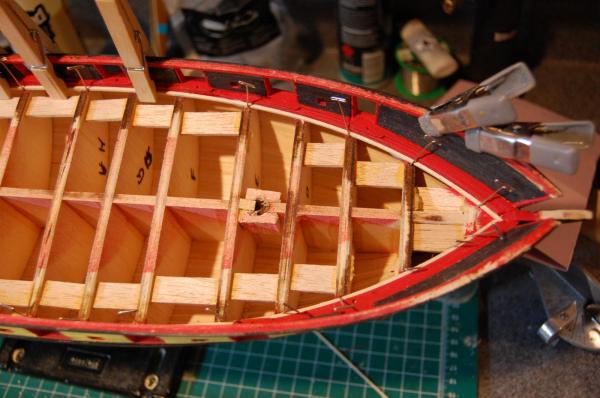
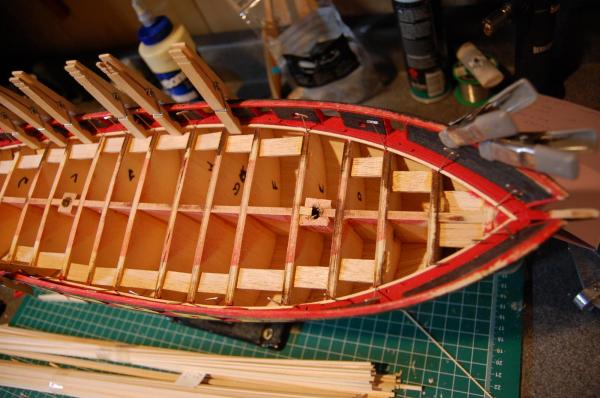
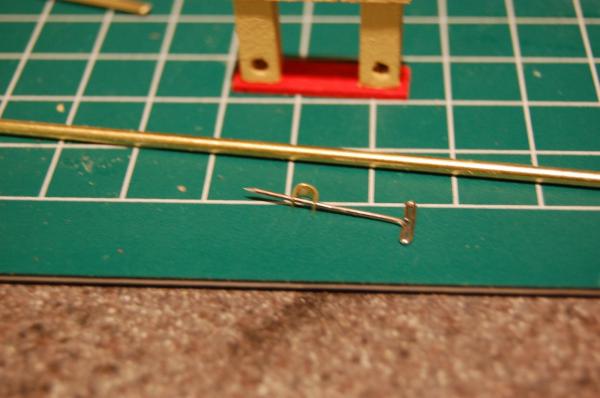
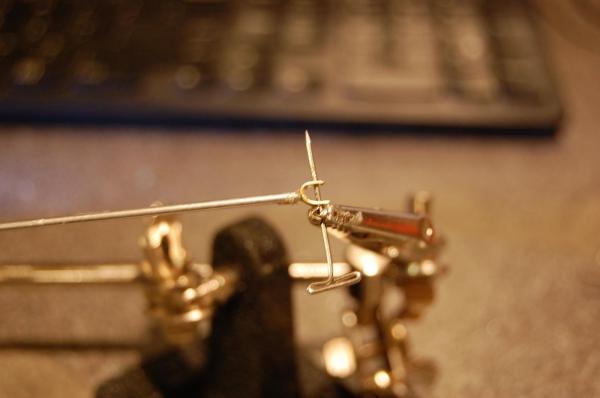
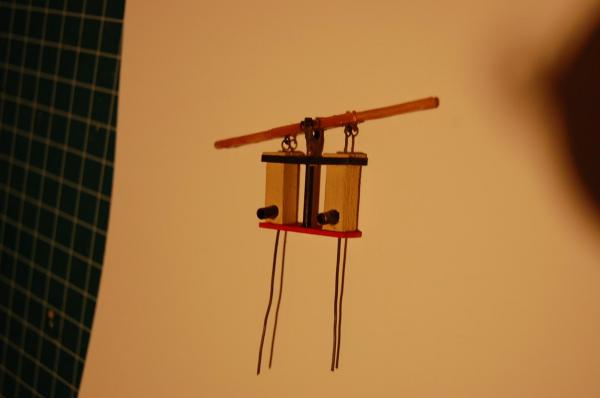
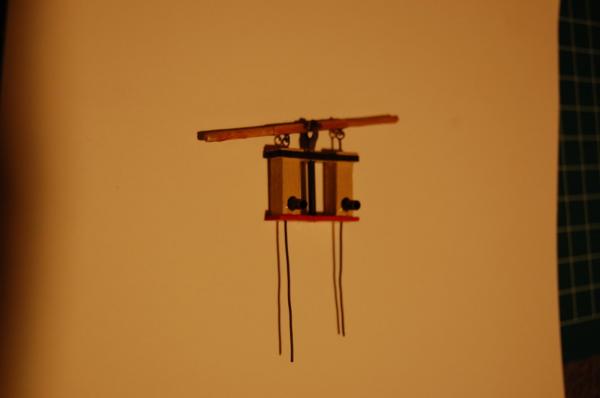
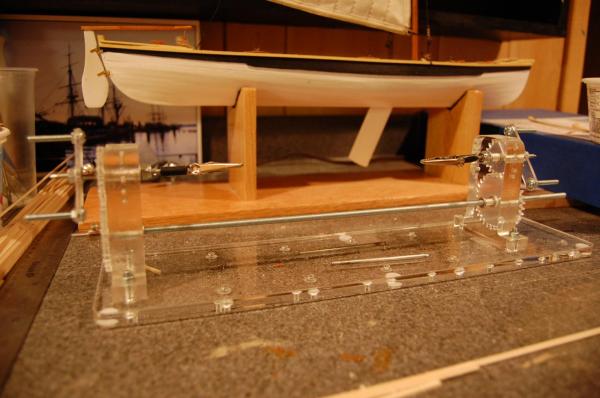
Hopefully this does not become to irritating. As I learn I am trying to document everything for others. I am in the process of rigging the cannons. At the cannon side you have a single eye and at the bulkhead you have a double eye. According to Niagara paperwork there is a hook at each end. 24 gauge wire will go through the small eyelets. I am starting with 13 inches of rigging which will go through both ends and allow me a nice coil of line. I am using 4 of these for each cannon times 20. 2 done, 78 to go. Hopefully these pictures will help.
-
-
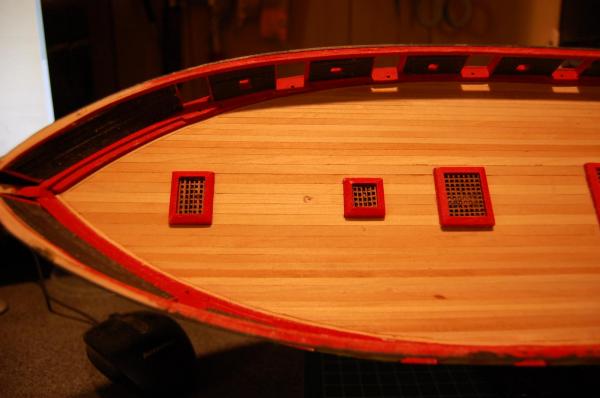
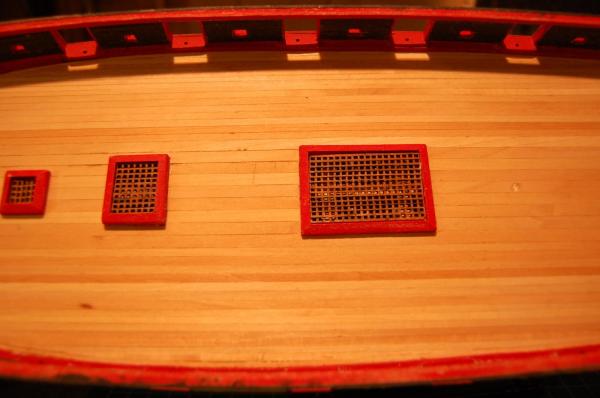
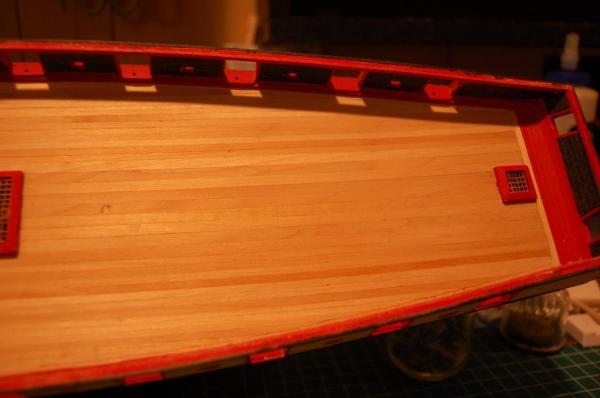
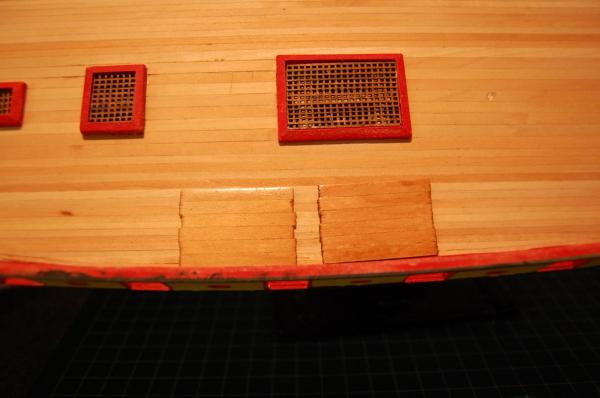
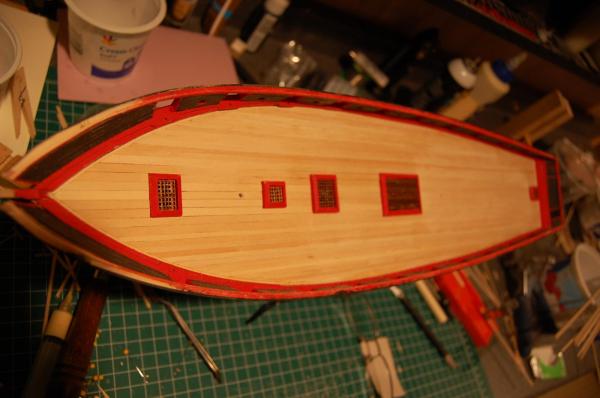
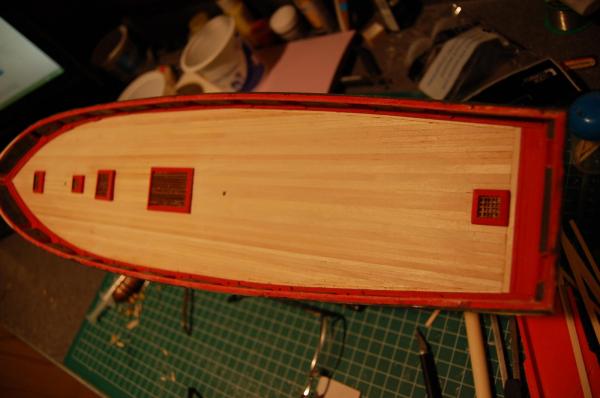
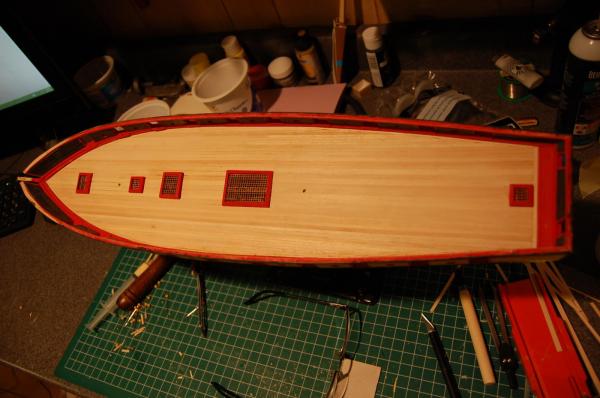
At this point I have sanded the deck with 400 grit sandpaper and applied 2 coats of Minwax pre-stain conditioner. This helps fill the pores and helps prevent the stain and urethanes from soaking in to the wood. (especially with the soft woods we generally use). In the last picture I am wondering which stain to use. I can put a satin urethane directly over the wood or apply a stain/satin polyshade from minwax. The one on the left is oak and the one on the right is pecan. Any thoughts?
-
-
Beautiful build. Congratulations and good luck in your future builds.
-
-
-
I actually reconsidered on this build as well. Maybe the next one as well.
-
-
-
-
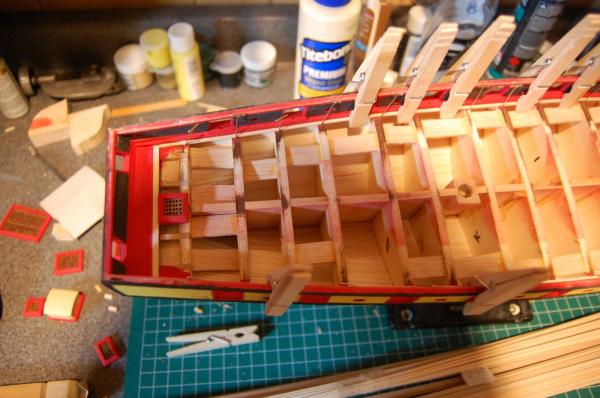
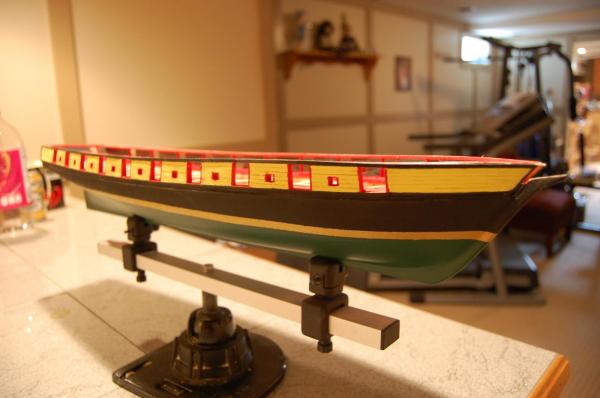
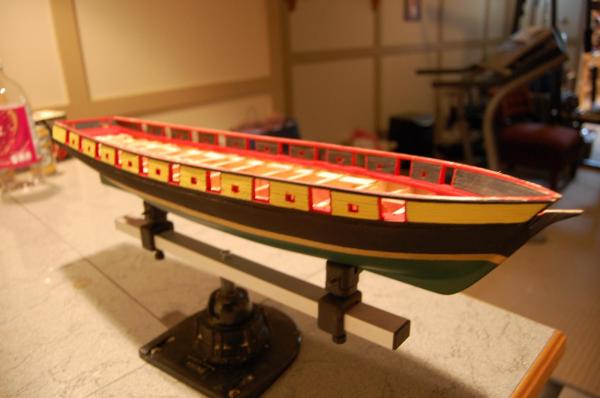
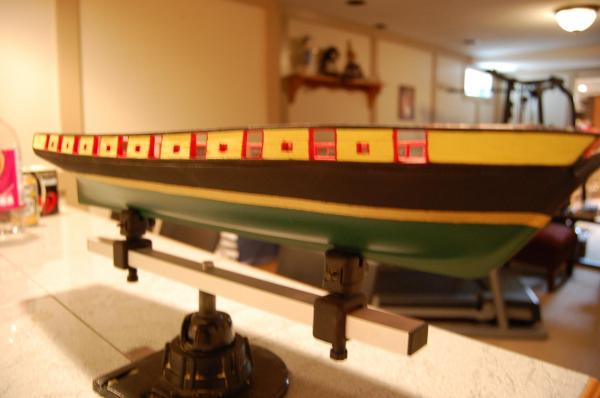
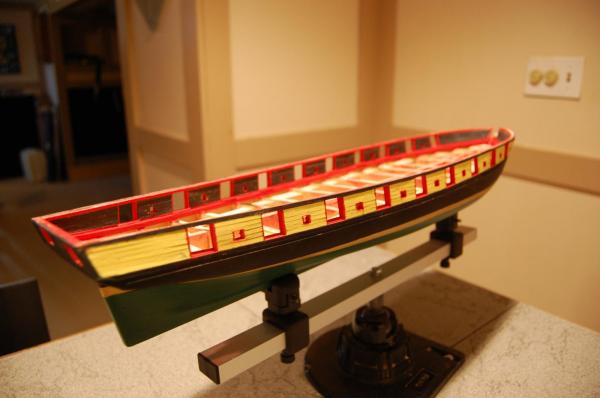
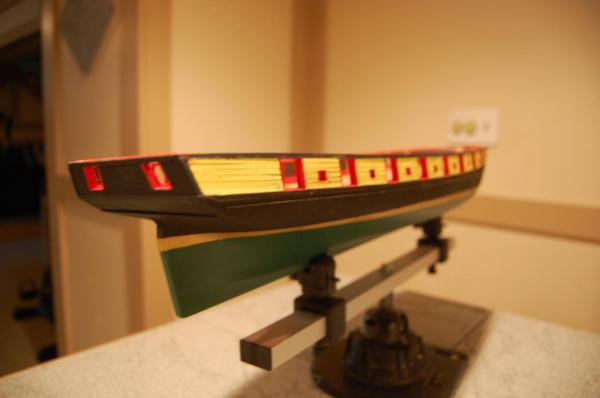
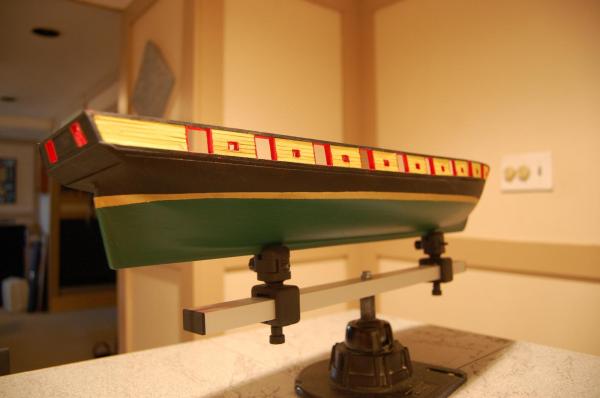
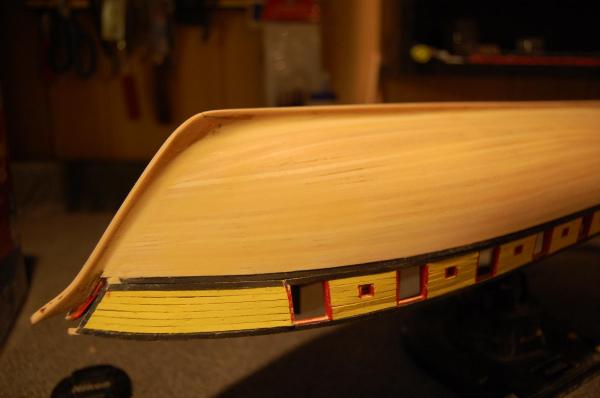
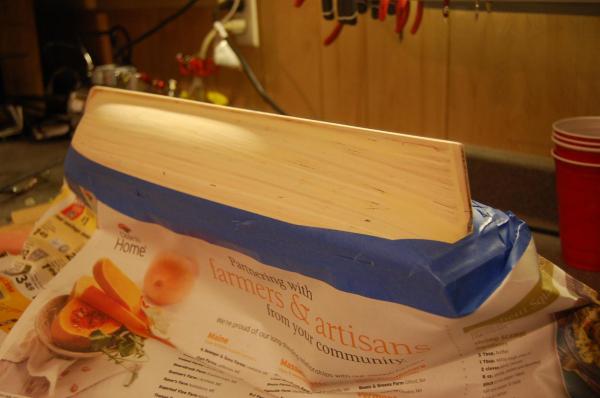
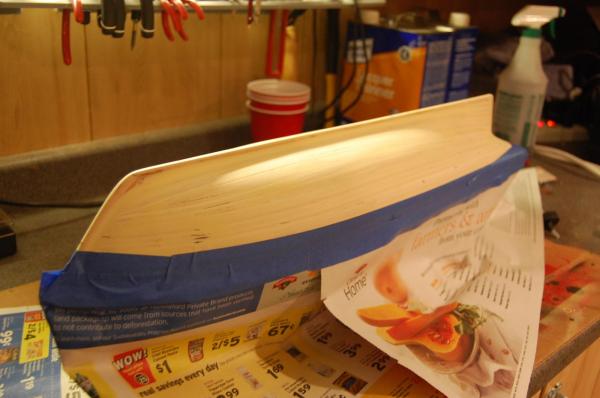
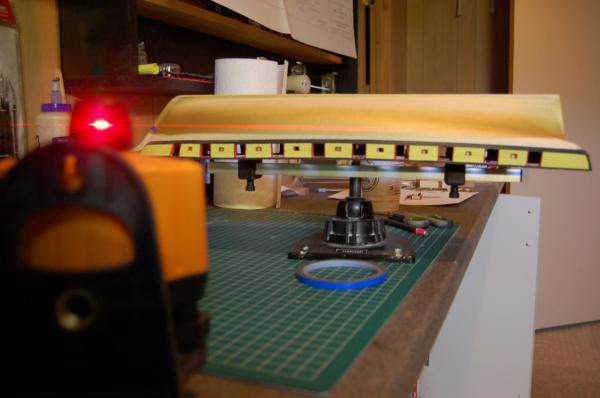
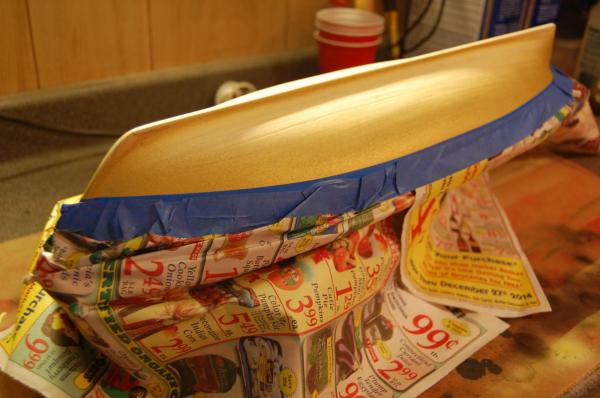
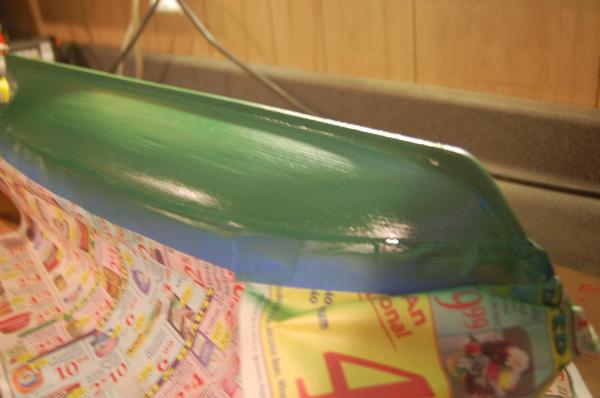
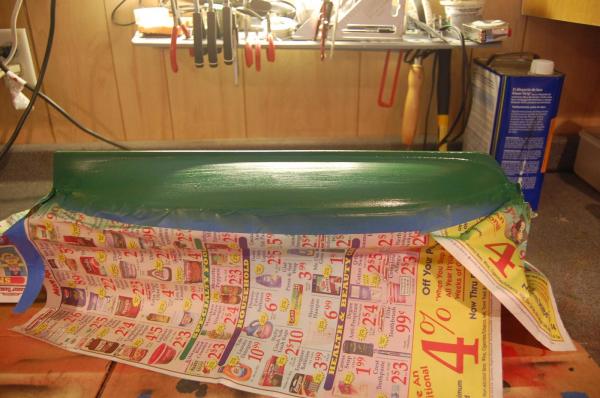
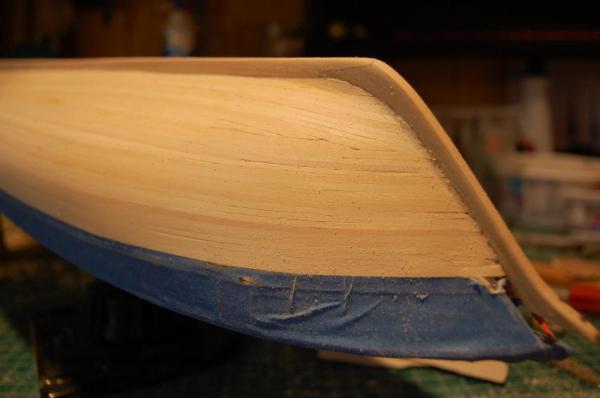
I have now begun the paint work on the hull. I started by using Elmer's Carpenters wood filler for interior. It go's on awesome and sands off just as easy. Sanded with 180 grit then followed up with 400. I decided to paint the hull black and green with a gold stripe at the water line. I taped off the top off the ship then painted gold around the water line. I then used a 1/4 inch tape and applied it at the water line. I use a laser level for tile work so I figured now would be a good time to use the level due to the uneven shape of the sides. At this point I taped off the top of the ship and airbrushed on the green for the lower level. It will now have to sit for 24 hours so the green hardens and I can apply the black.
-
-
-
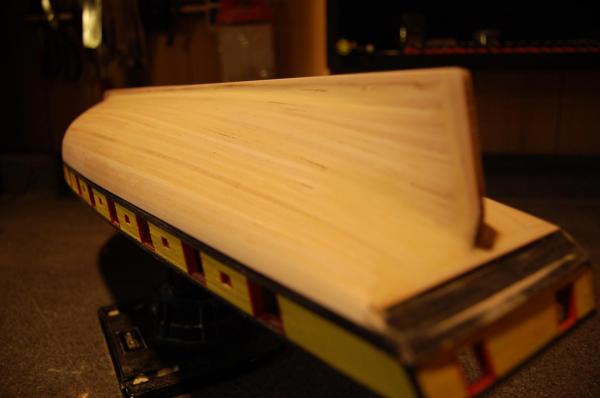
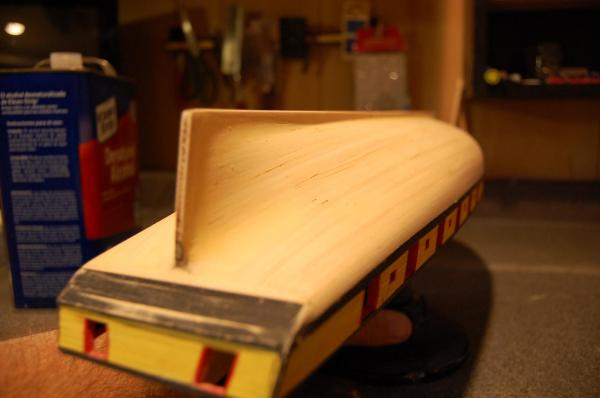
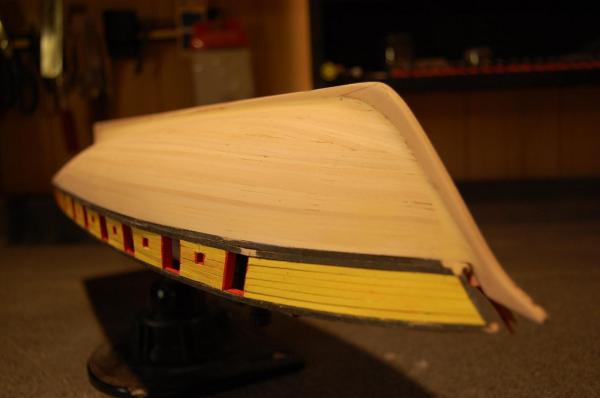
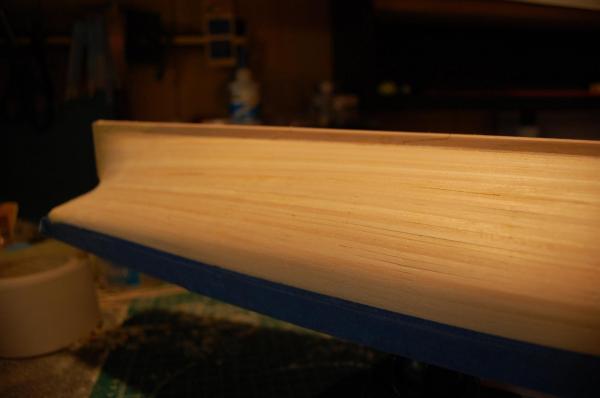
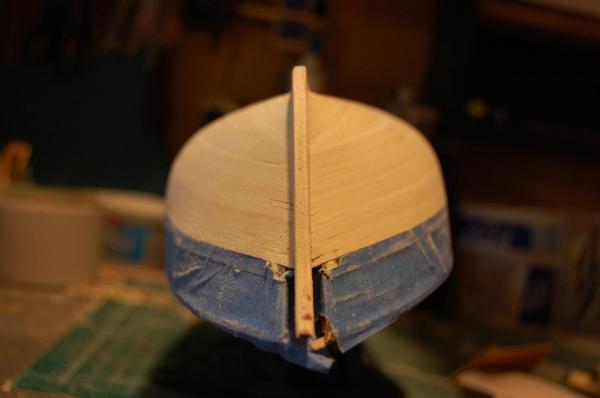
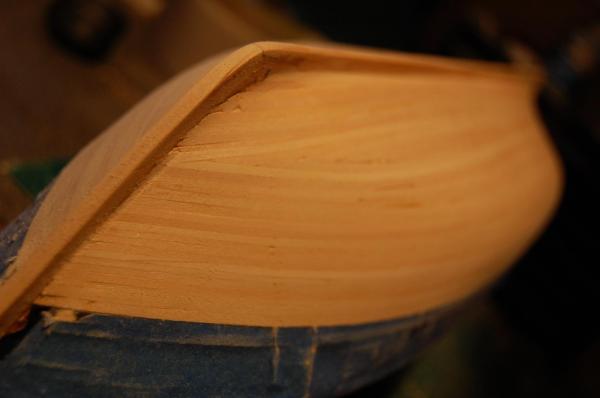
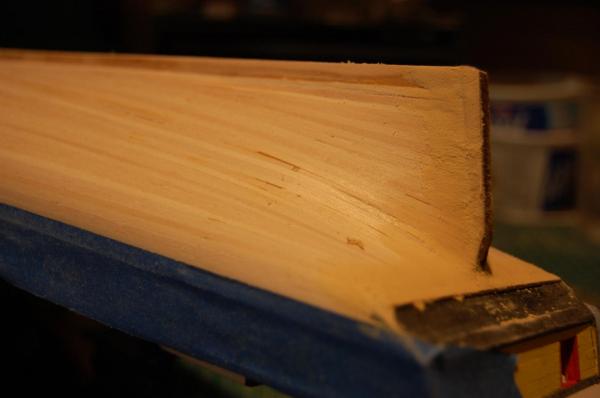
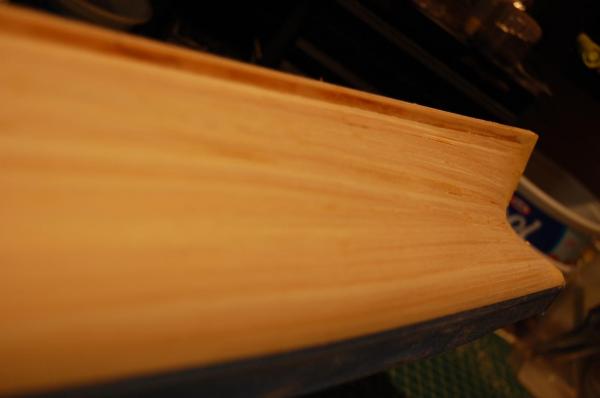
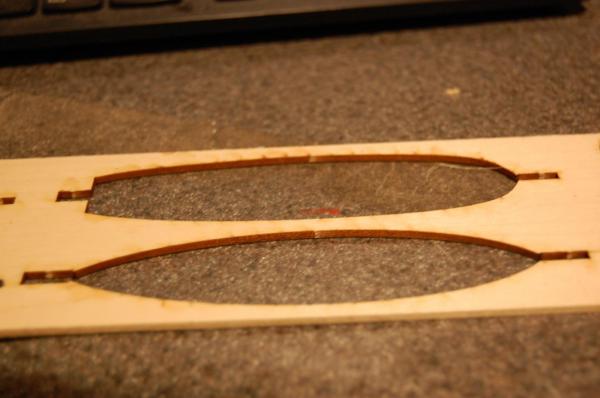
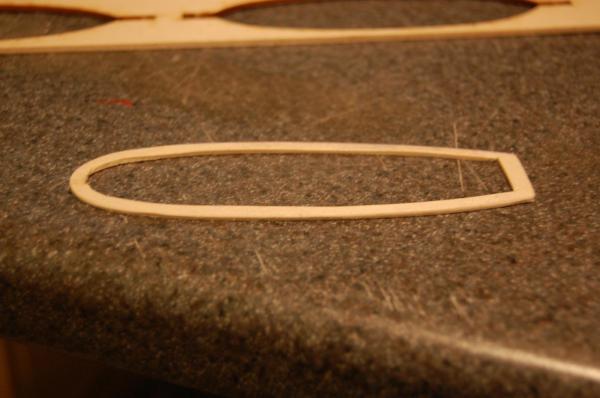
If you are referring to the trim that goes on top of the hull. I used the template that the boat popped out of. I traced the ship on to a piece of balsa. Trace all the way around the ship then move the shape about 1/8 of an inch over and retrace all the way around again. That way when you cut out you have the inner and outer shape. Hope that made sense.
- GuntherMT and CaptainSteve
-
 2
2
-
-
-
I did notice the separate boards on your ship which looks good. I think my next build I am going to use different woods and do it that way with a satin stain.
-


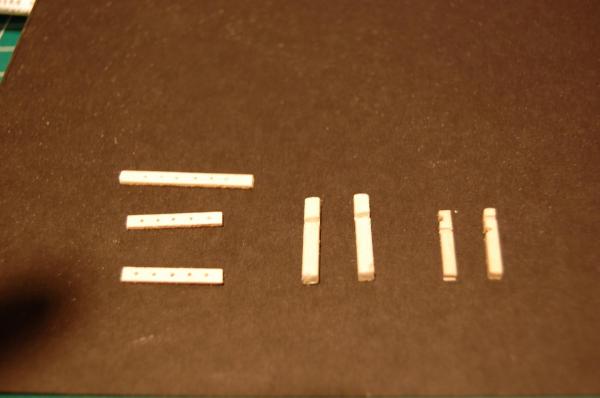
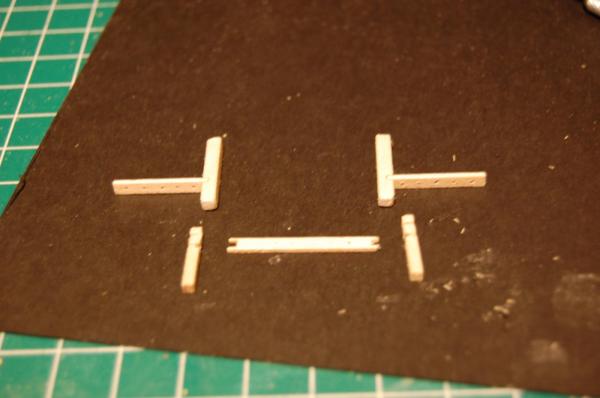
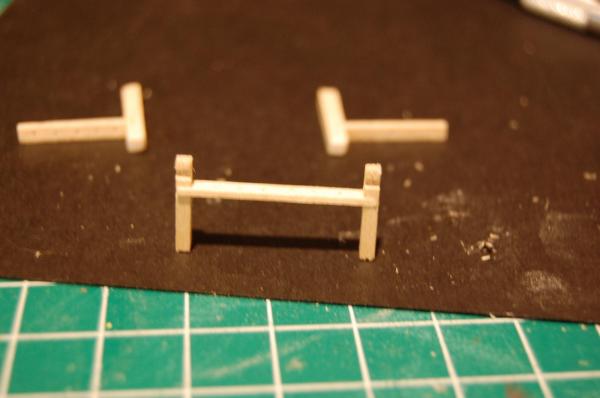
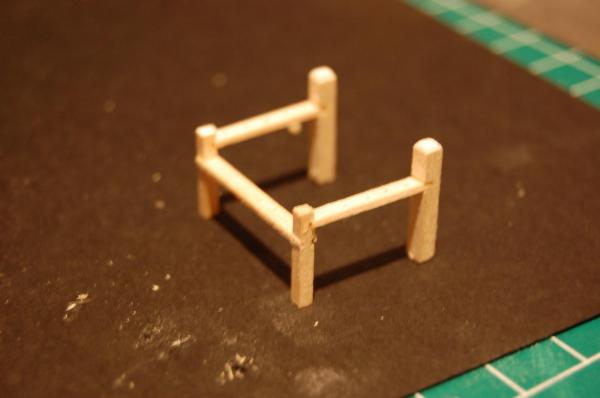
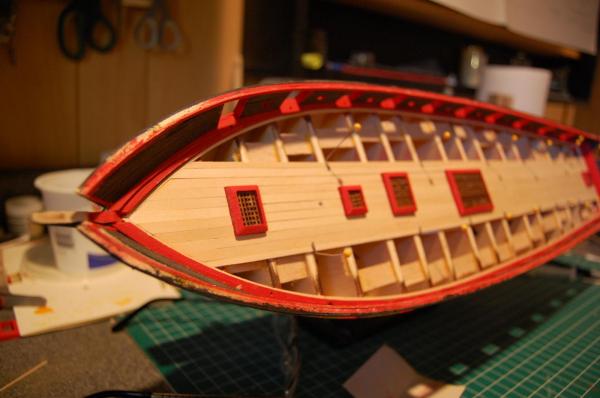
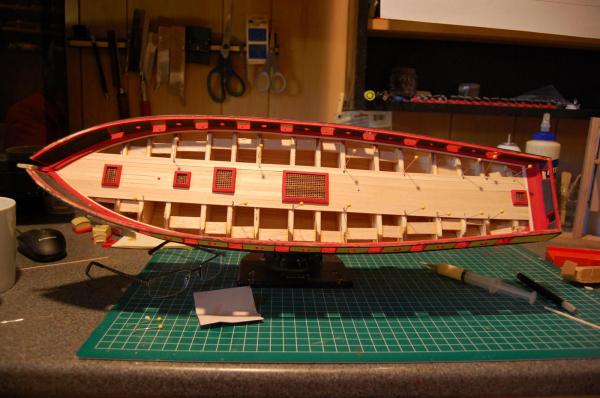
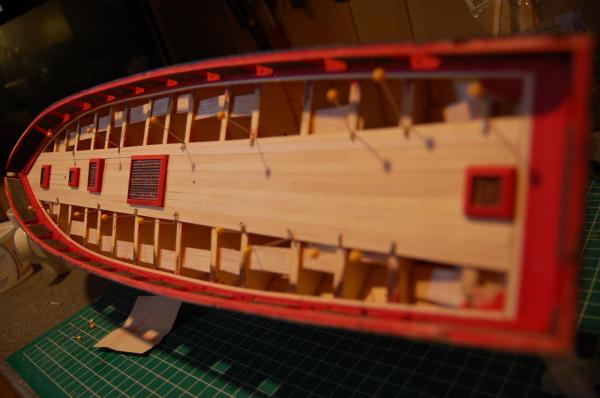
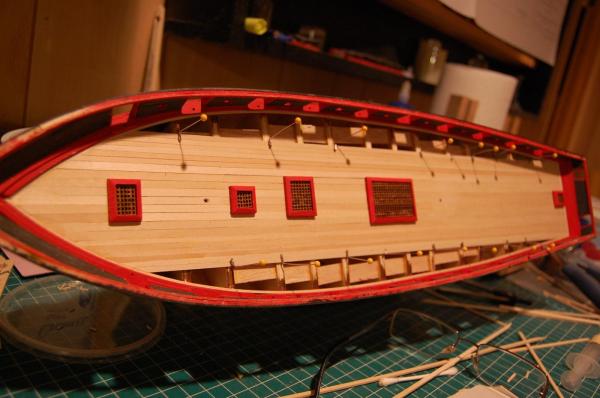
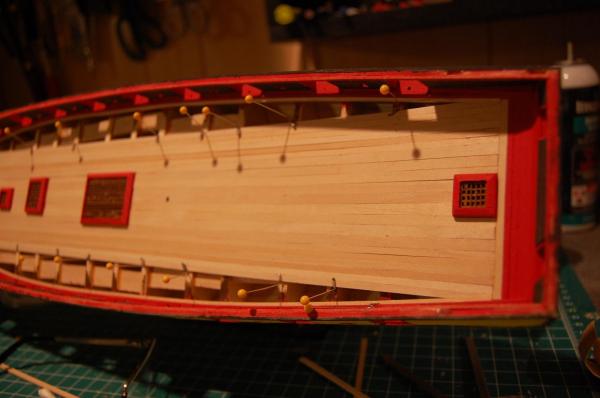
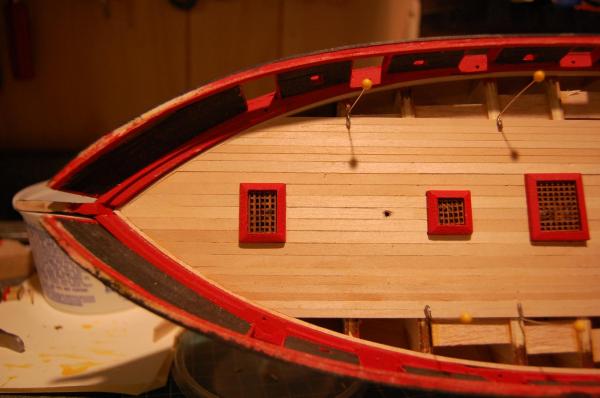
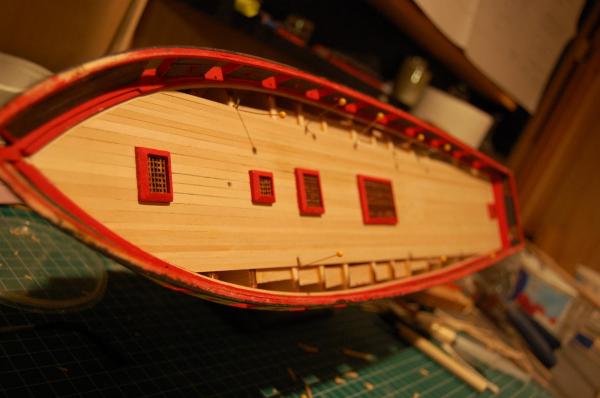
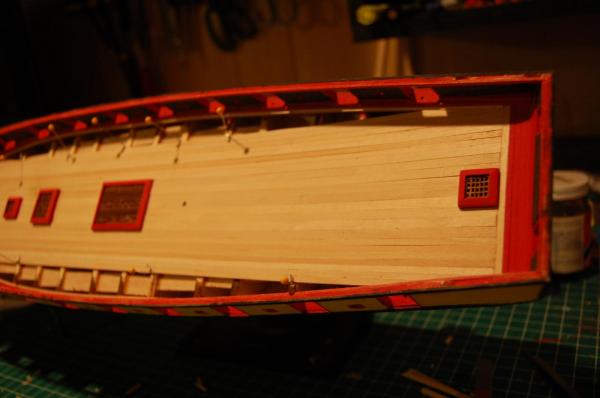
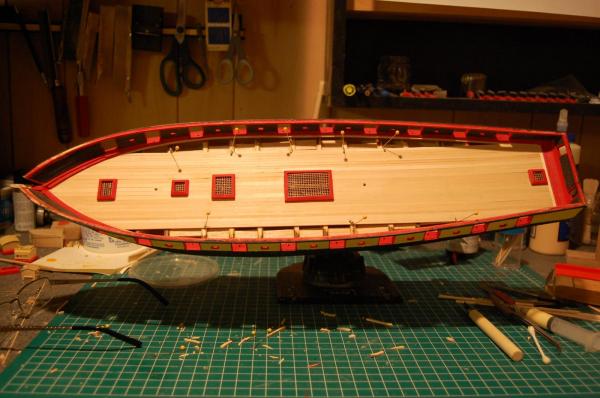
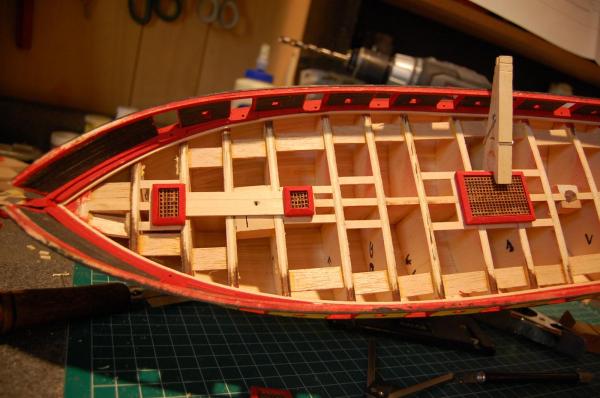
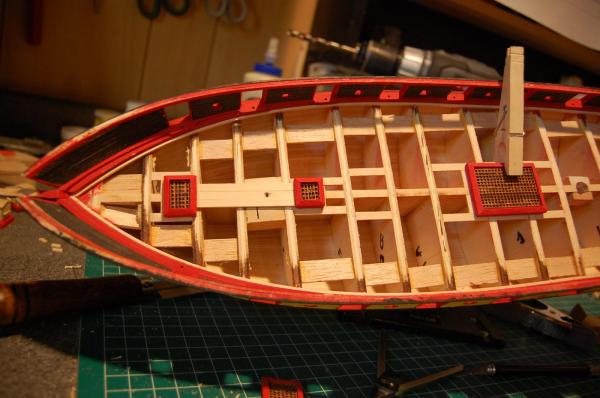
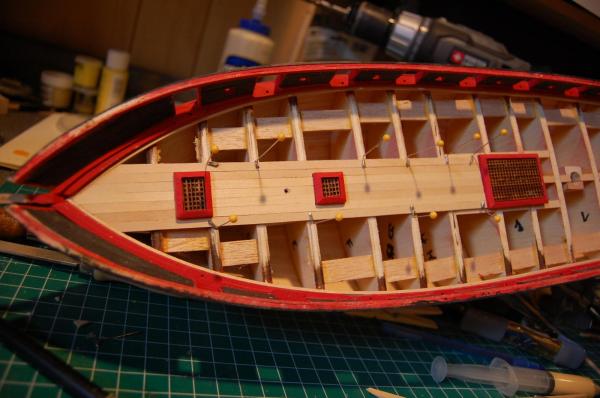
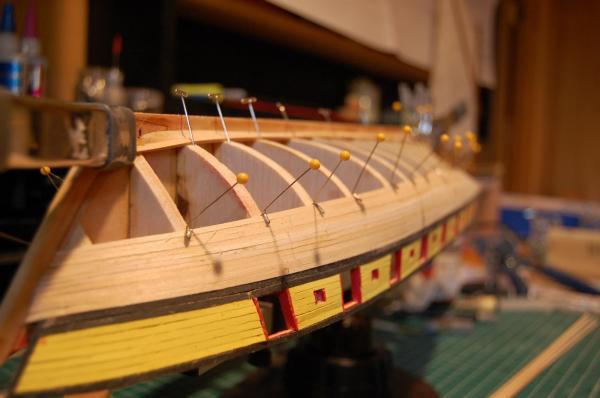
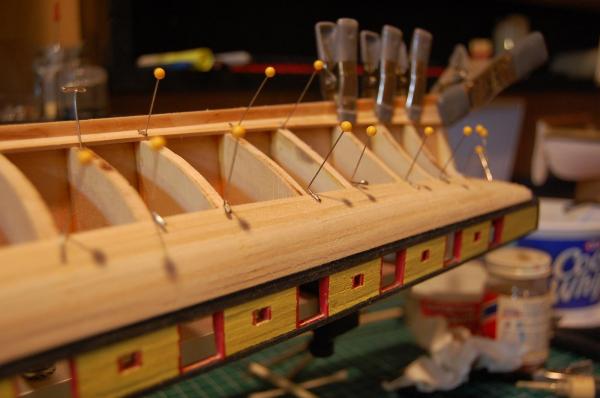
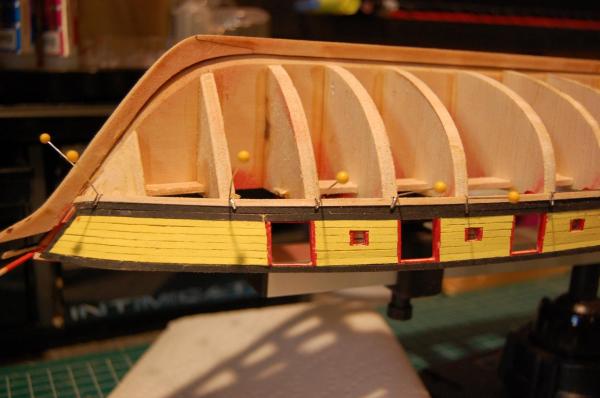
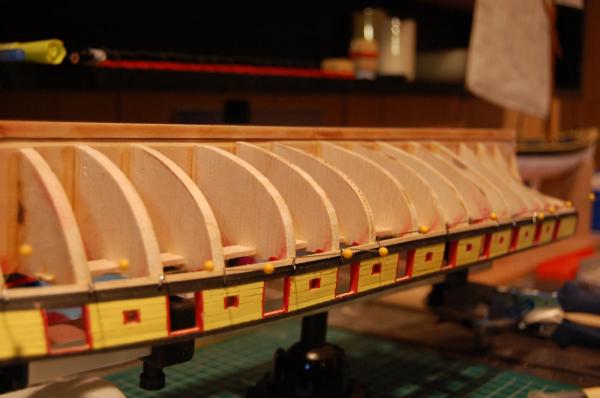
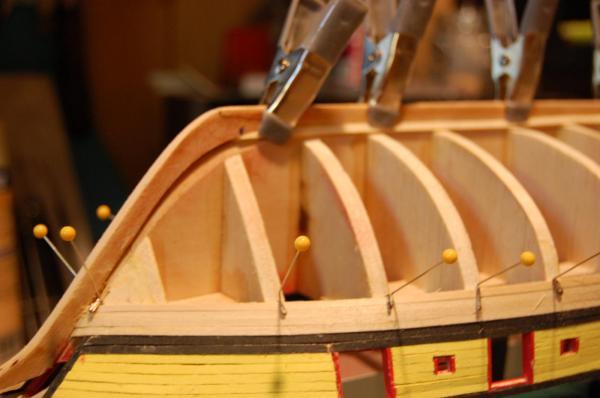
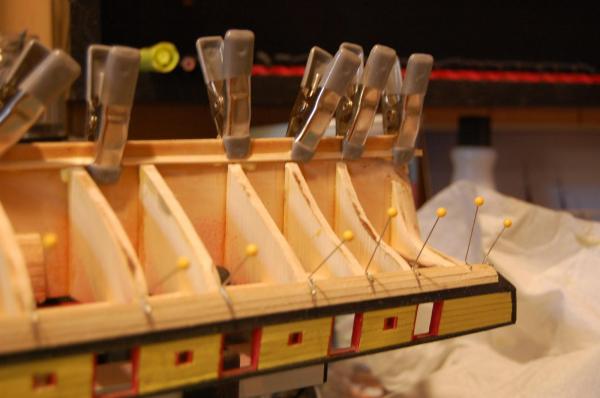
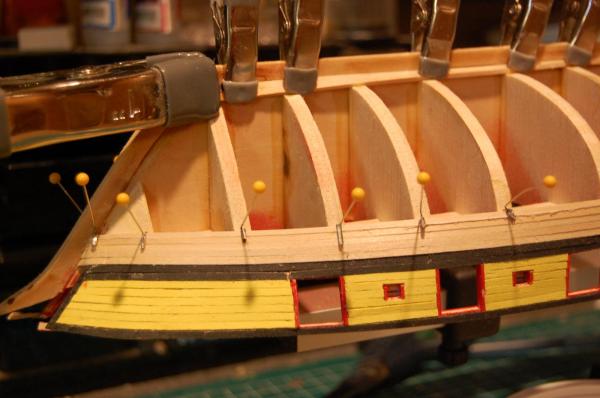
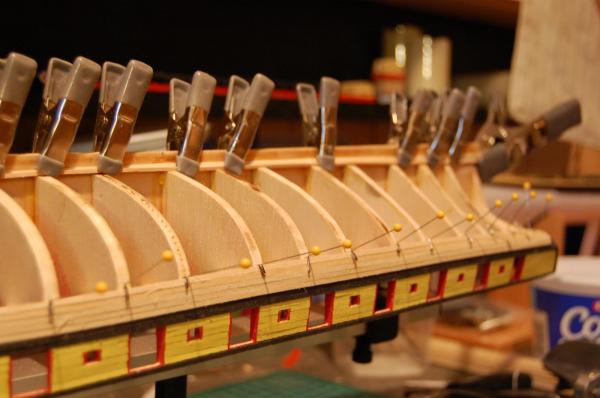
Niagara by Carlmb - Model Shipways - 1/64
in - Kit build logs for subjects built from 1801 - 1850
Posted
Thanks for the heads up. Didn't realize where the eyebolts were applied.