mugje
-
Posts
972 -
Joined
-
Last visited
Content Type
Profiles
Forums
Gallery
Events
Everything posted by mugje
-
 Beautiful ship and something that i want to build in the future! The walnut looks really good indeed. The wood supplied in the kit of the Pickle was of a much less quality. Tanganyika looks the same 😉 Horrible 😁
 -
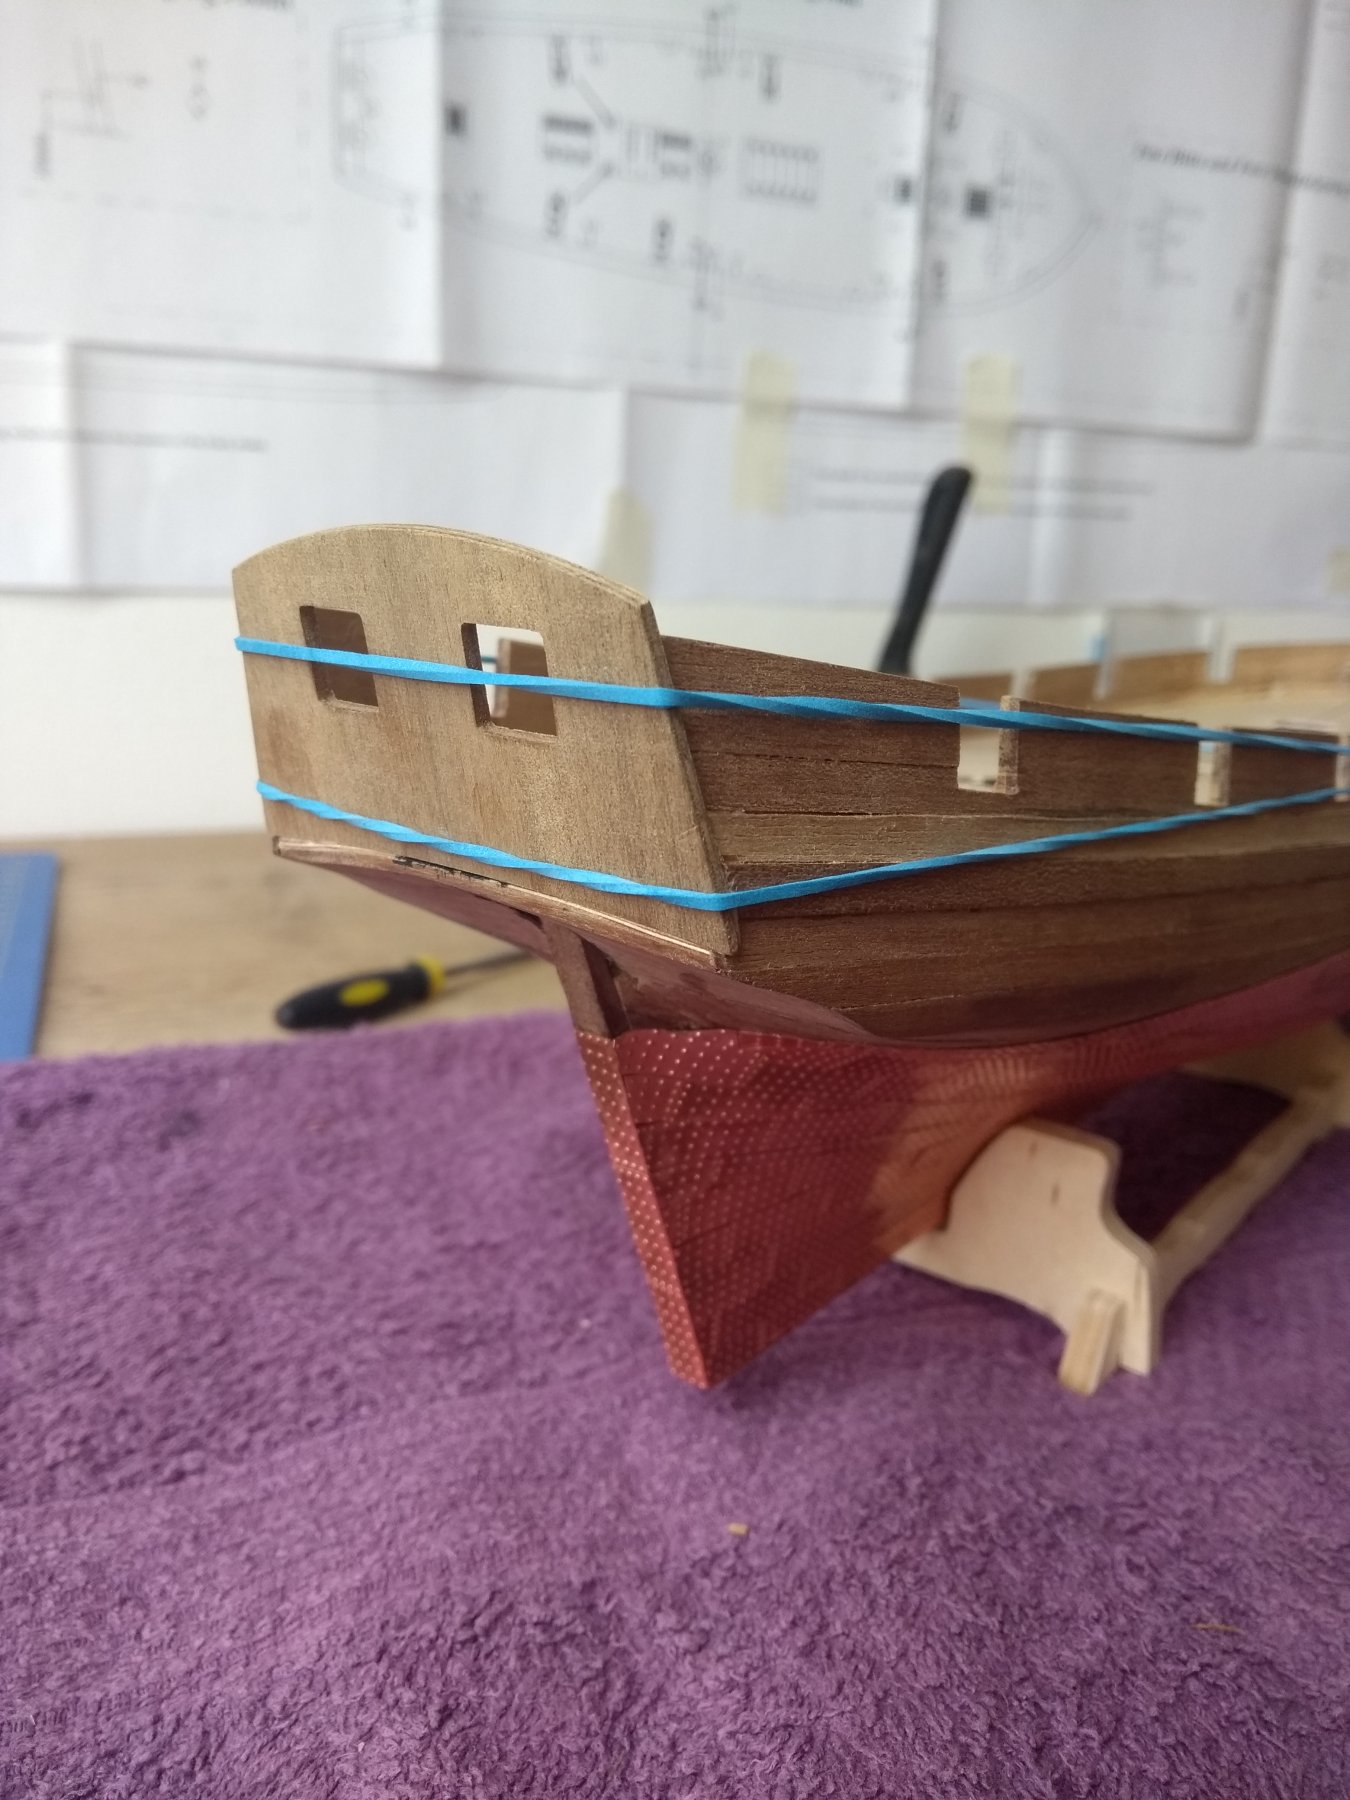
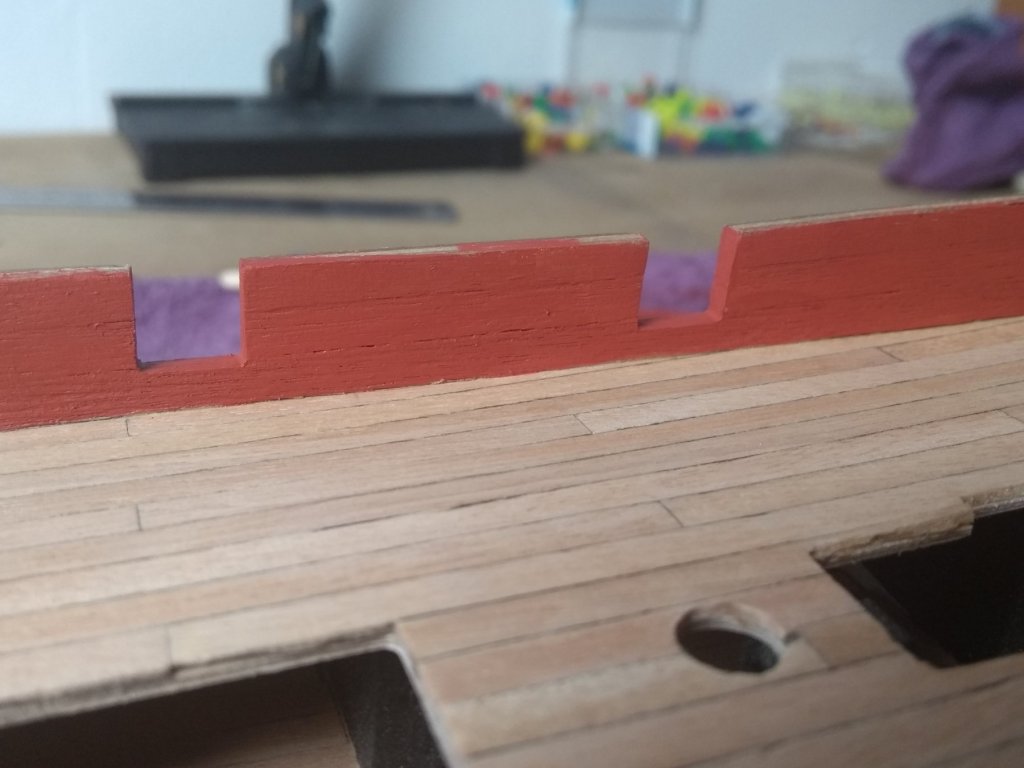
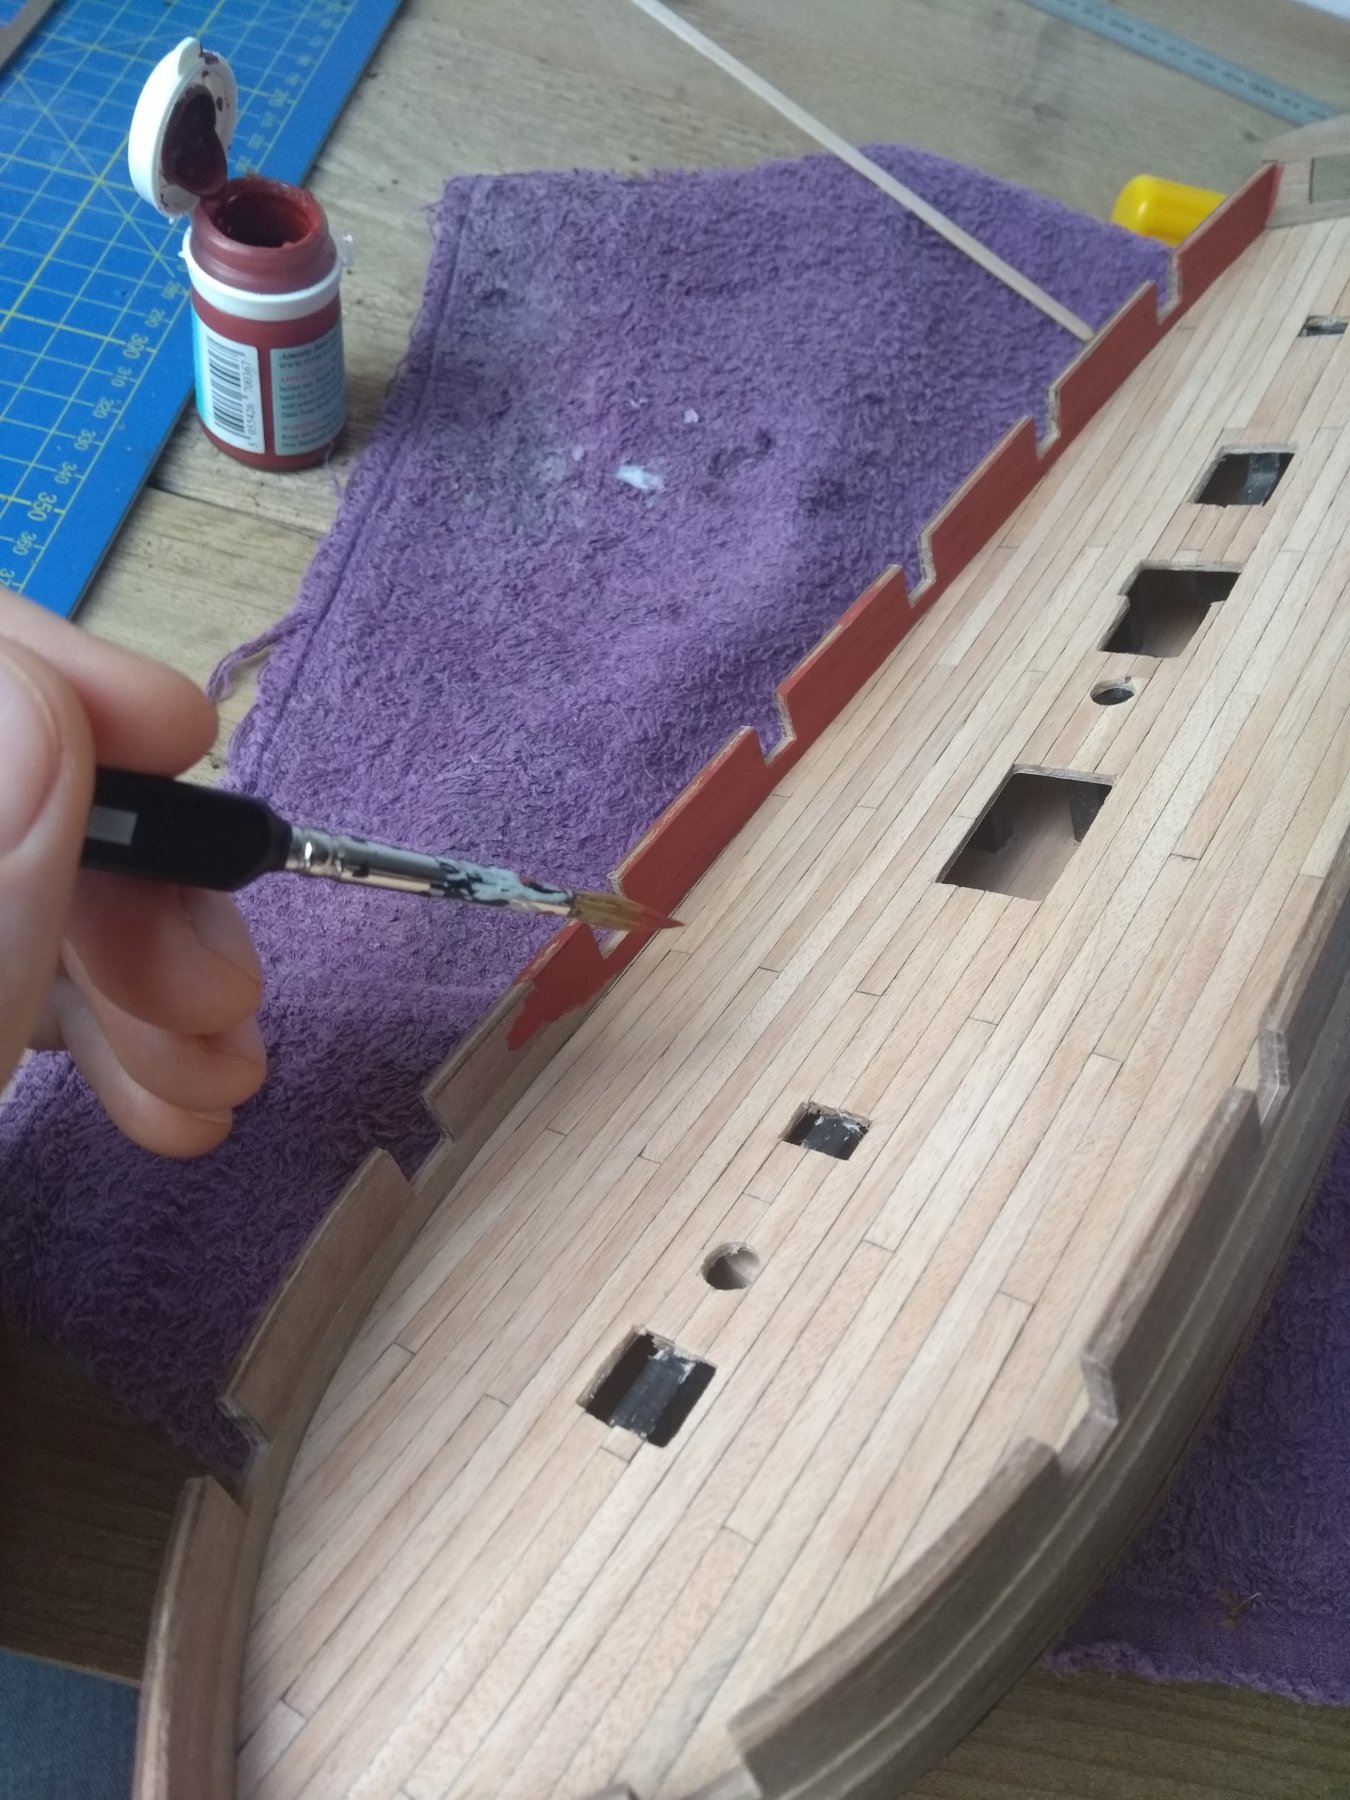
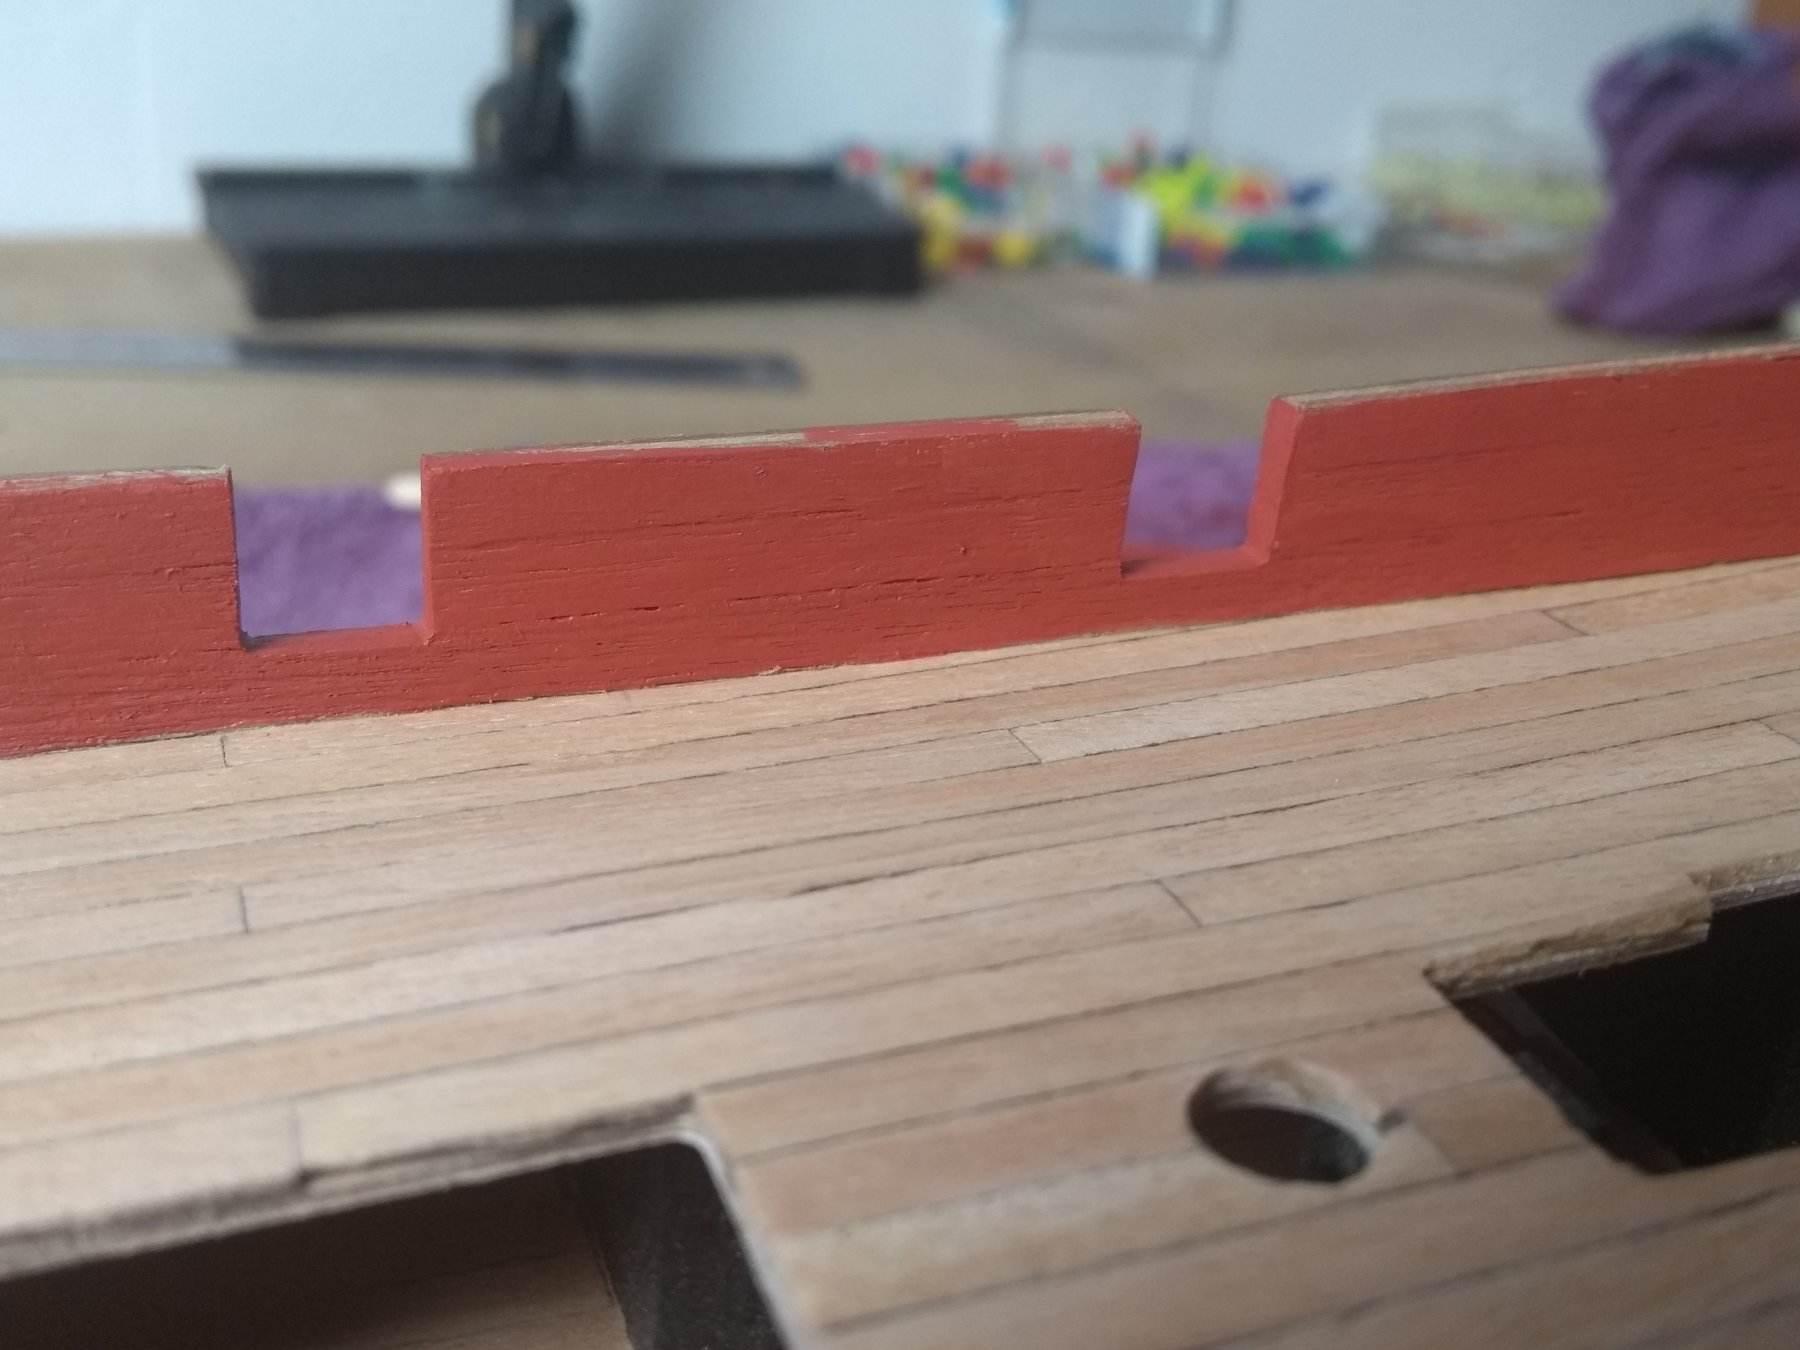
Just painted the inner bulwarks ochre red. Fun to do! I like painting the ship, because i can channel my pursuit of perfection into it 😂😁


- 271 replies
-
- 12
-

-
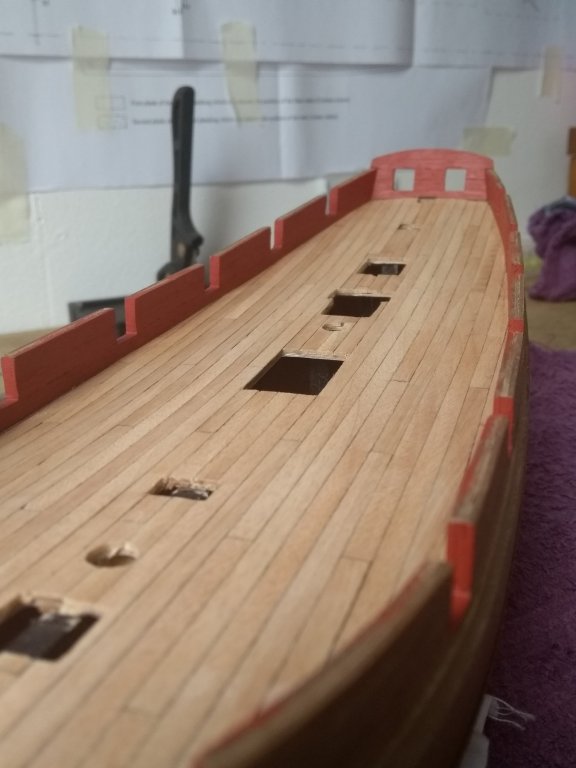
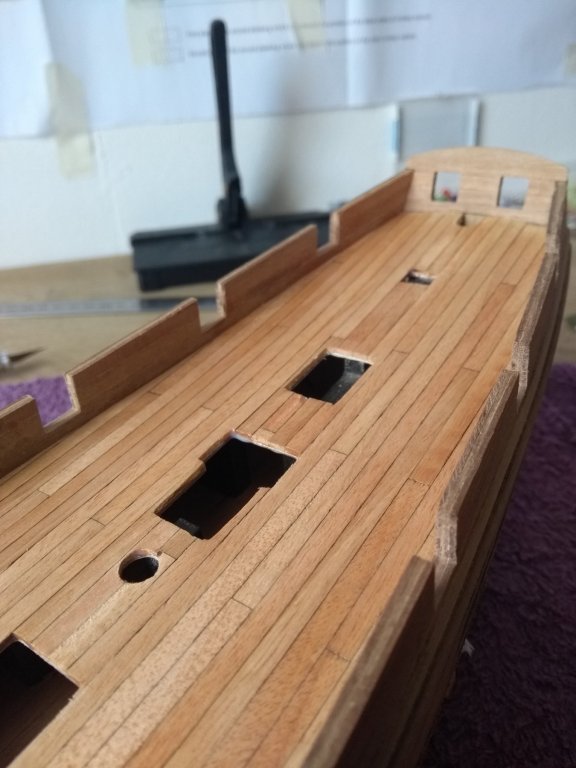
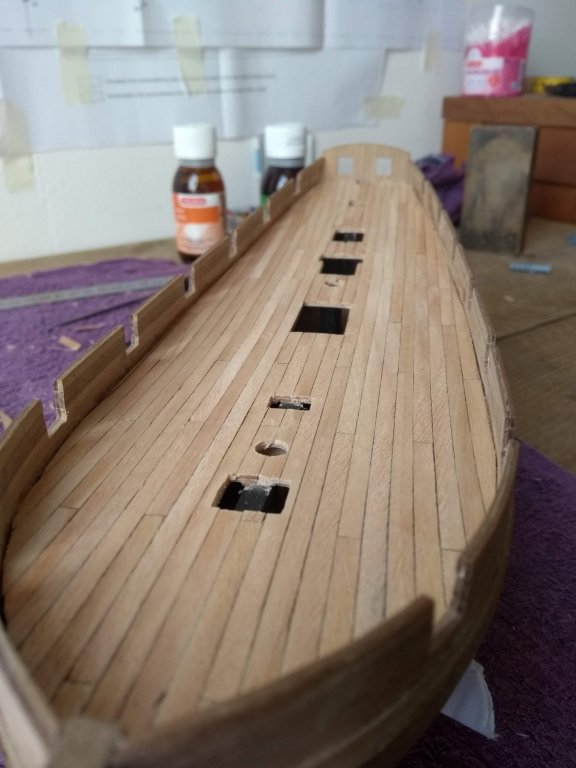
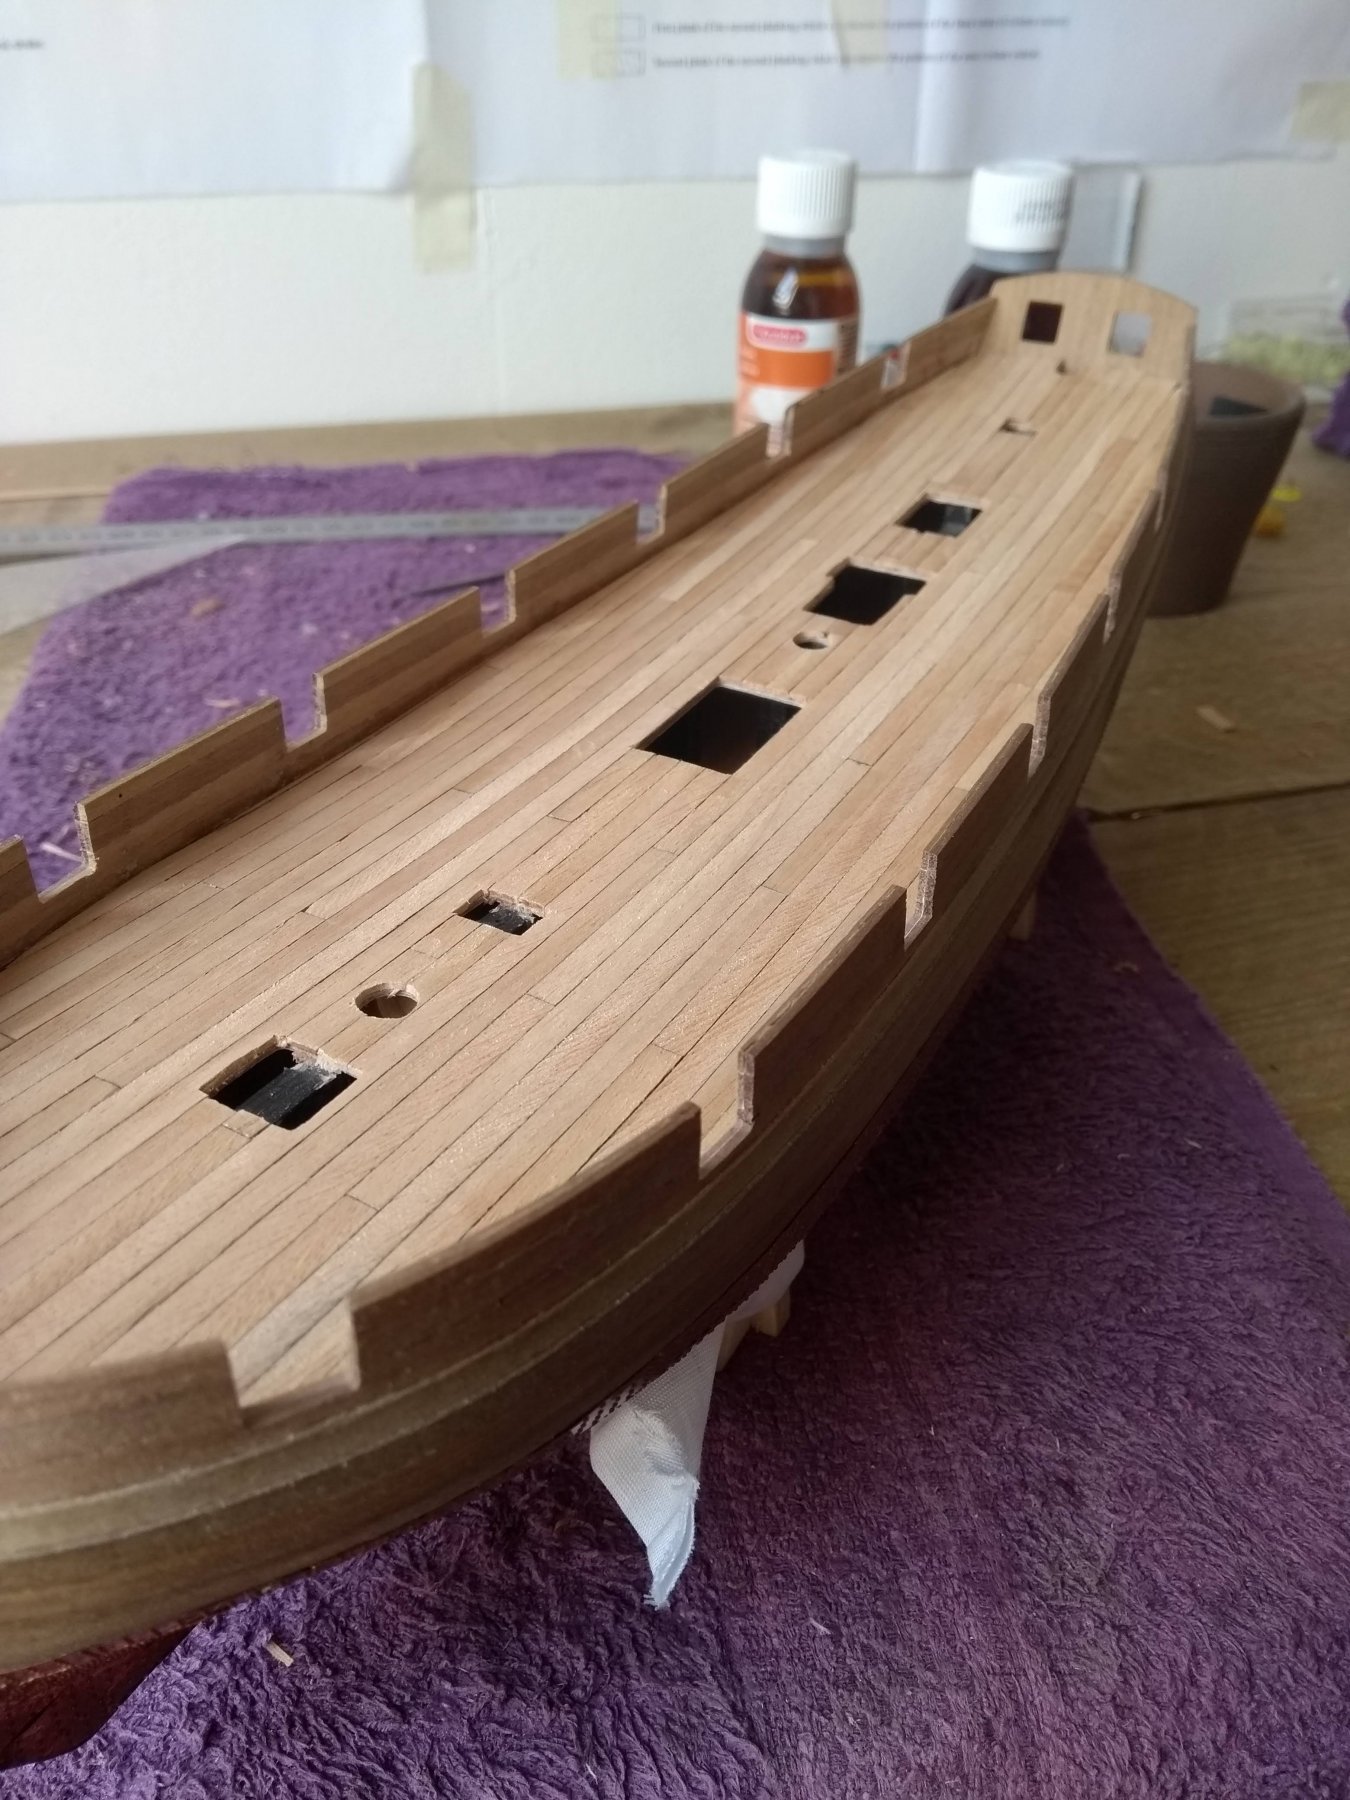
Just varnished the deck. I really like it how it let pop the color of the planks! The result is beautiful in my opinion. How much layers of varnish do you guys put on the deck? One or two?
- 271 replies
-
- 10
-
-
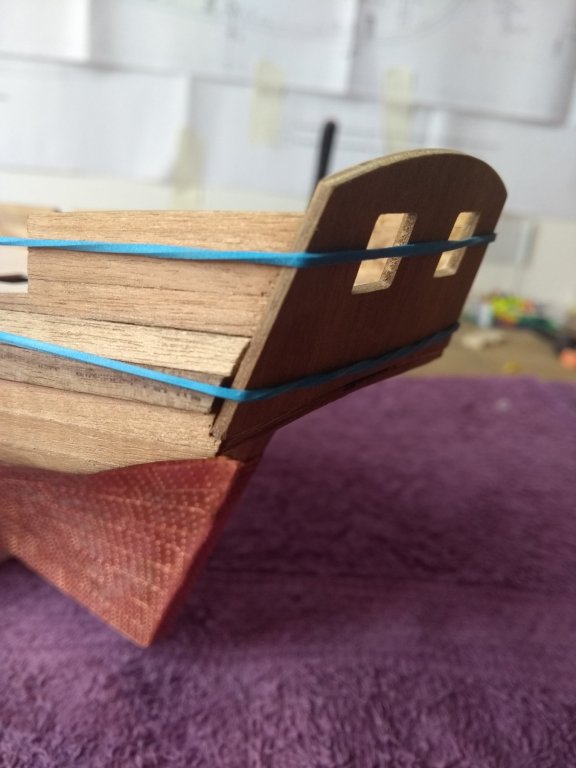
Also planked the outside of the stern with some scrapwood that i found. It's not mentioned in the manual, but the large piece of walnut didn't looked accurate. It looked to me a bit weird that they had such large pieces of wood in that period 😁

-
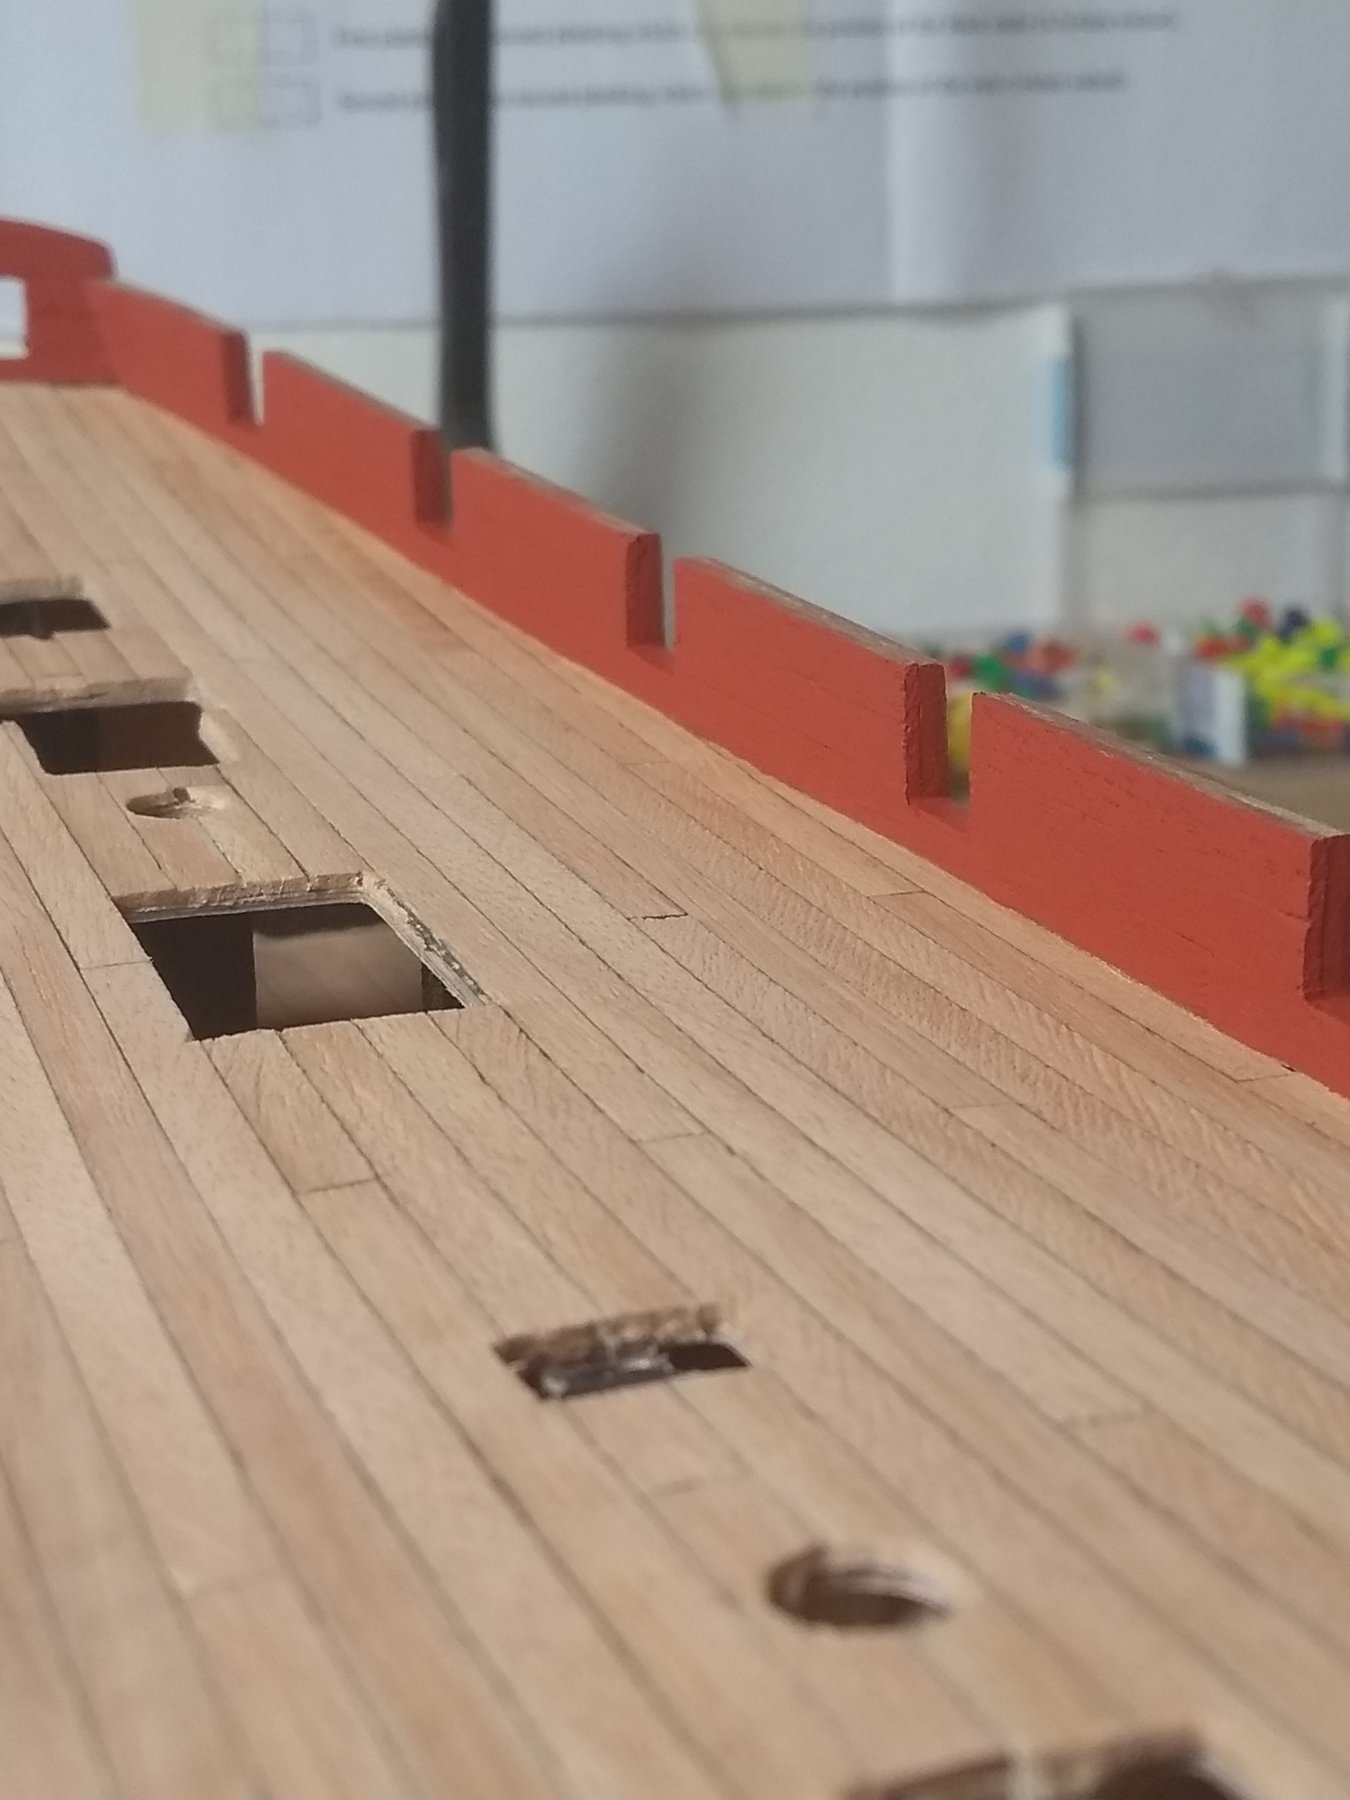
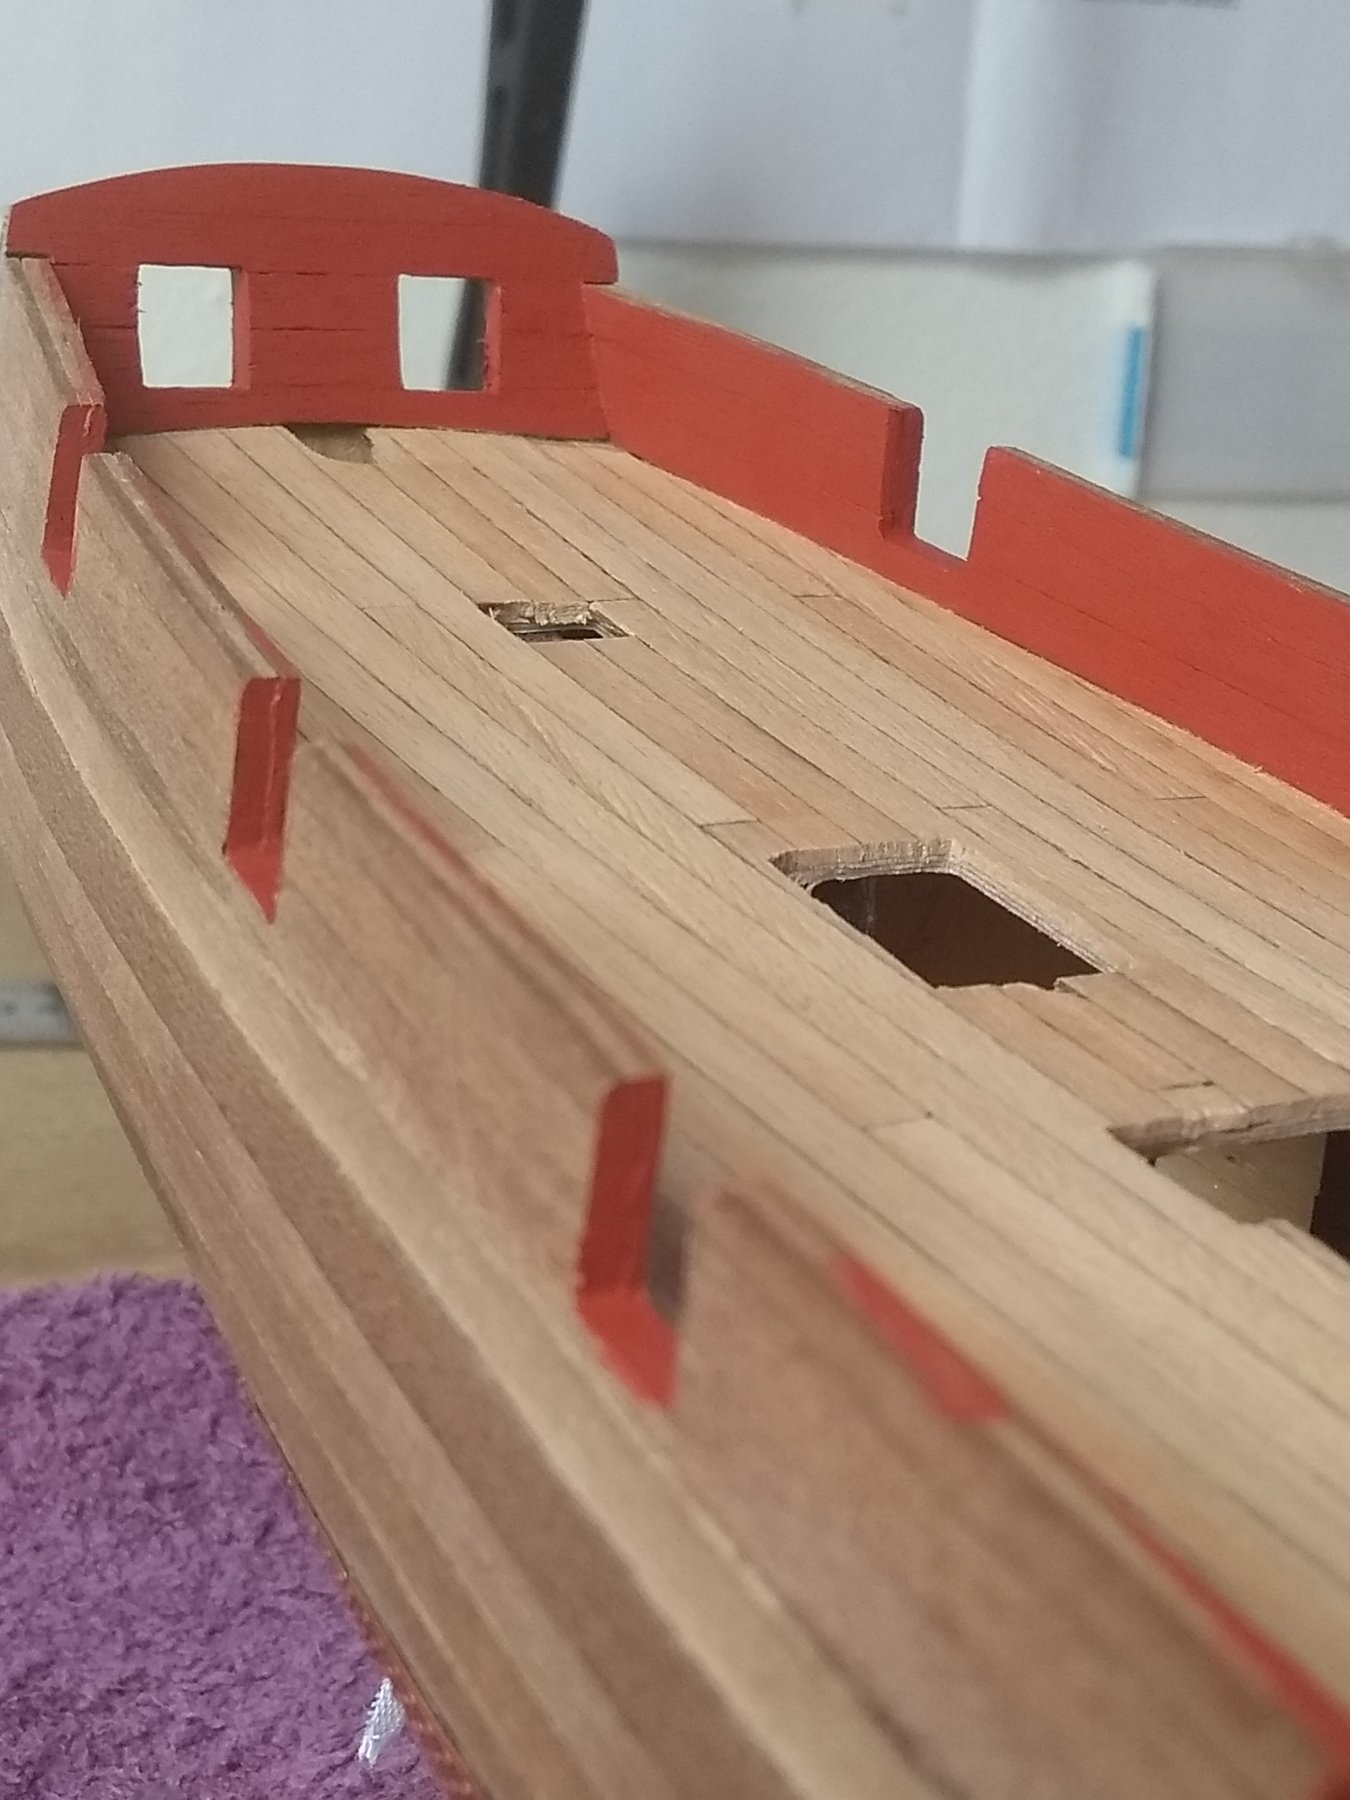
Finished the inner bulwarks, sanded them and now i only need to plank the stern at the inside and then painting it!

- 271 replies
-
- 10
-
-
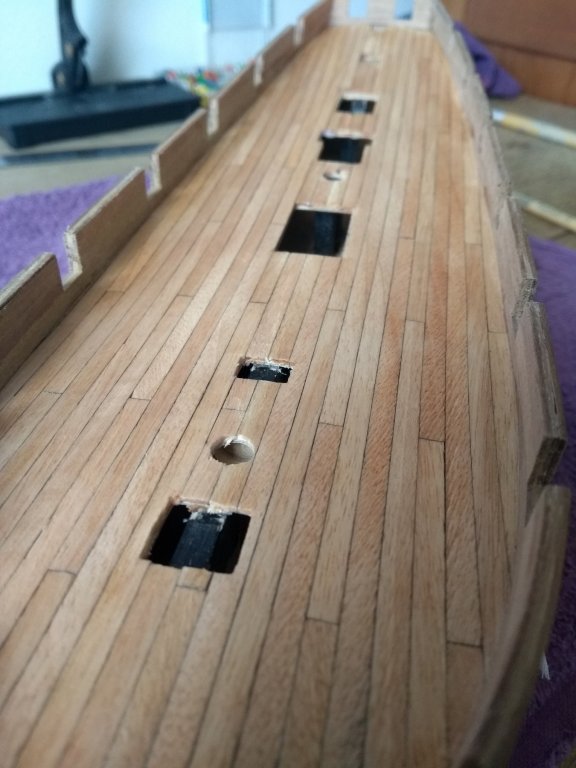
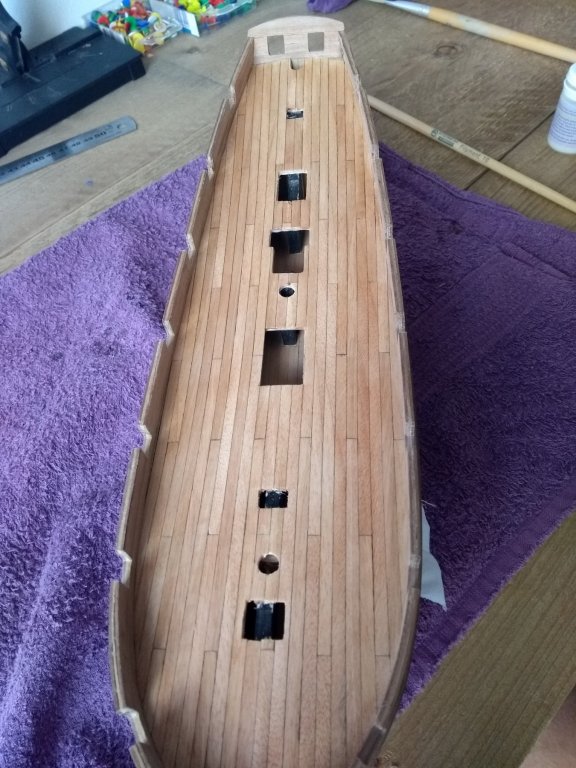
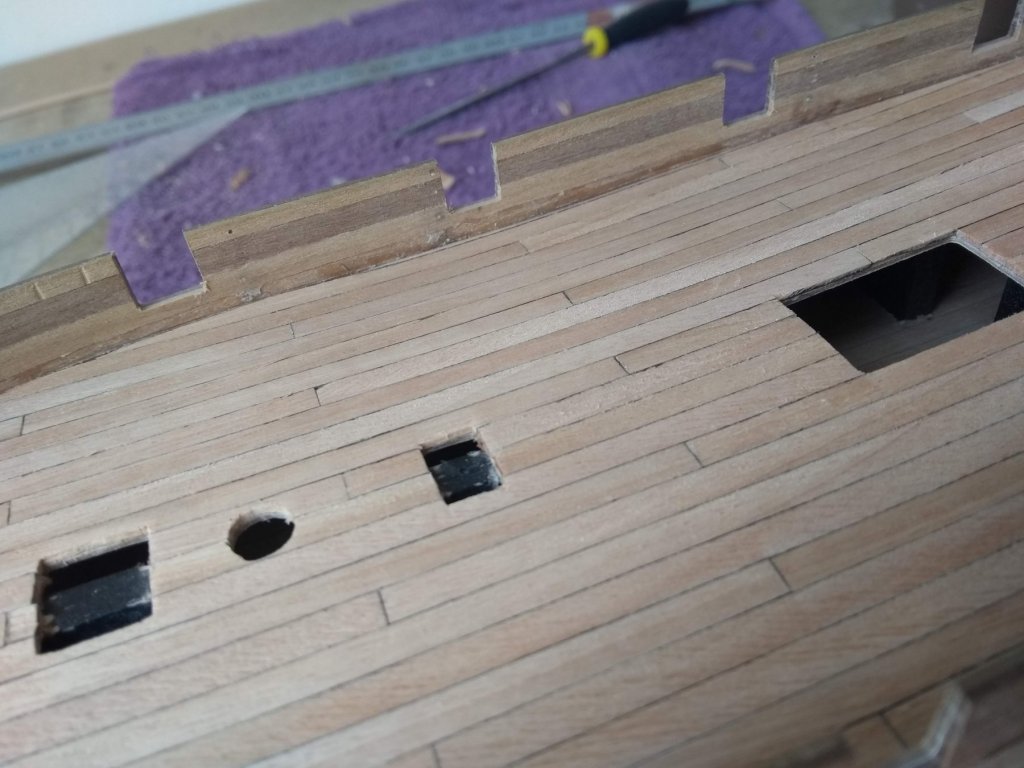
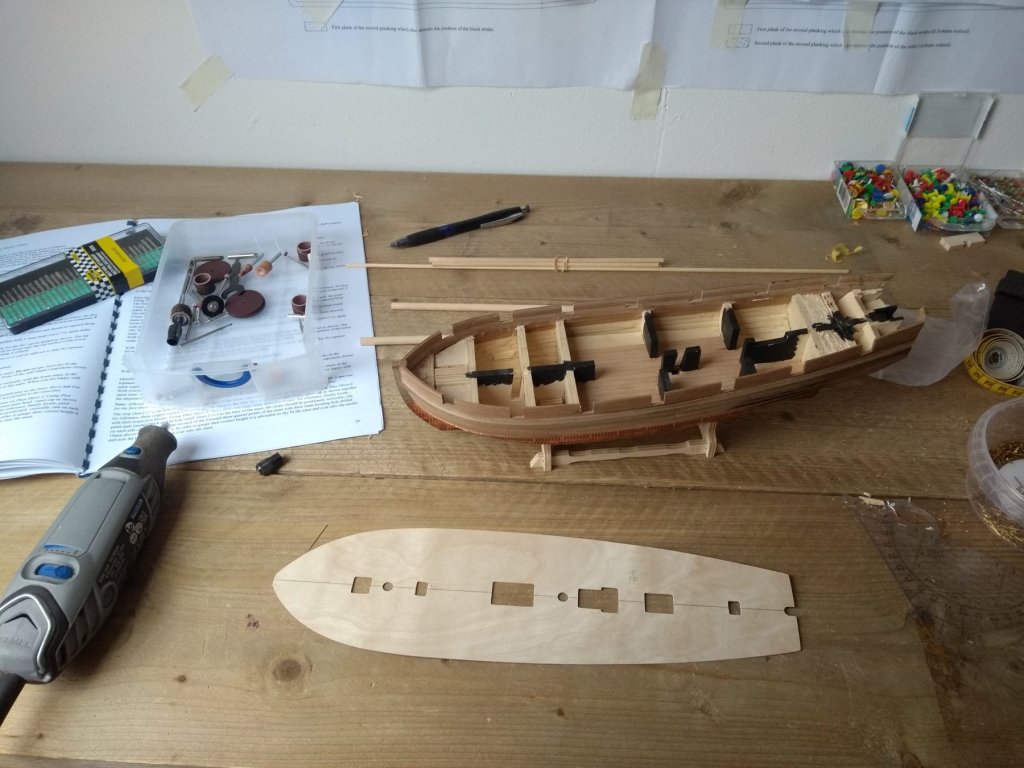
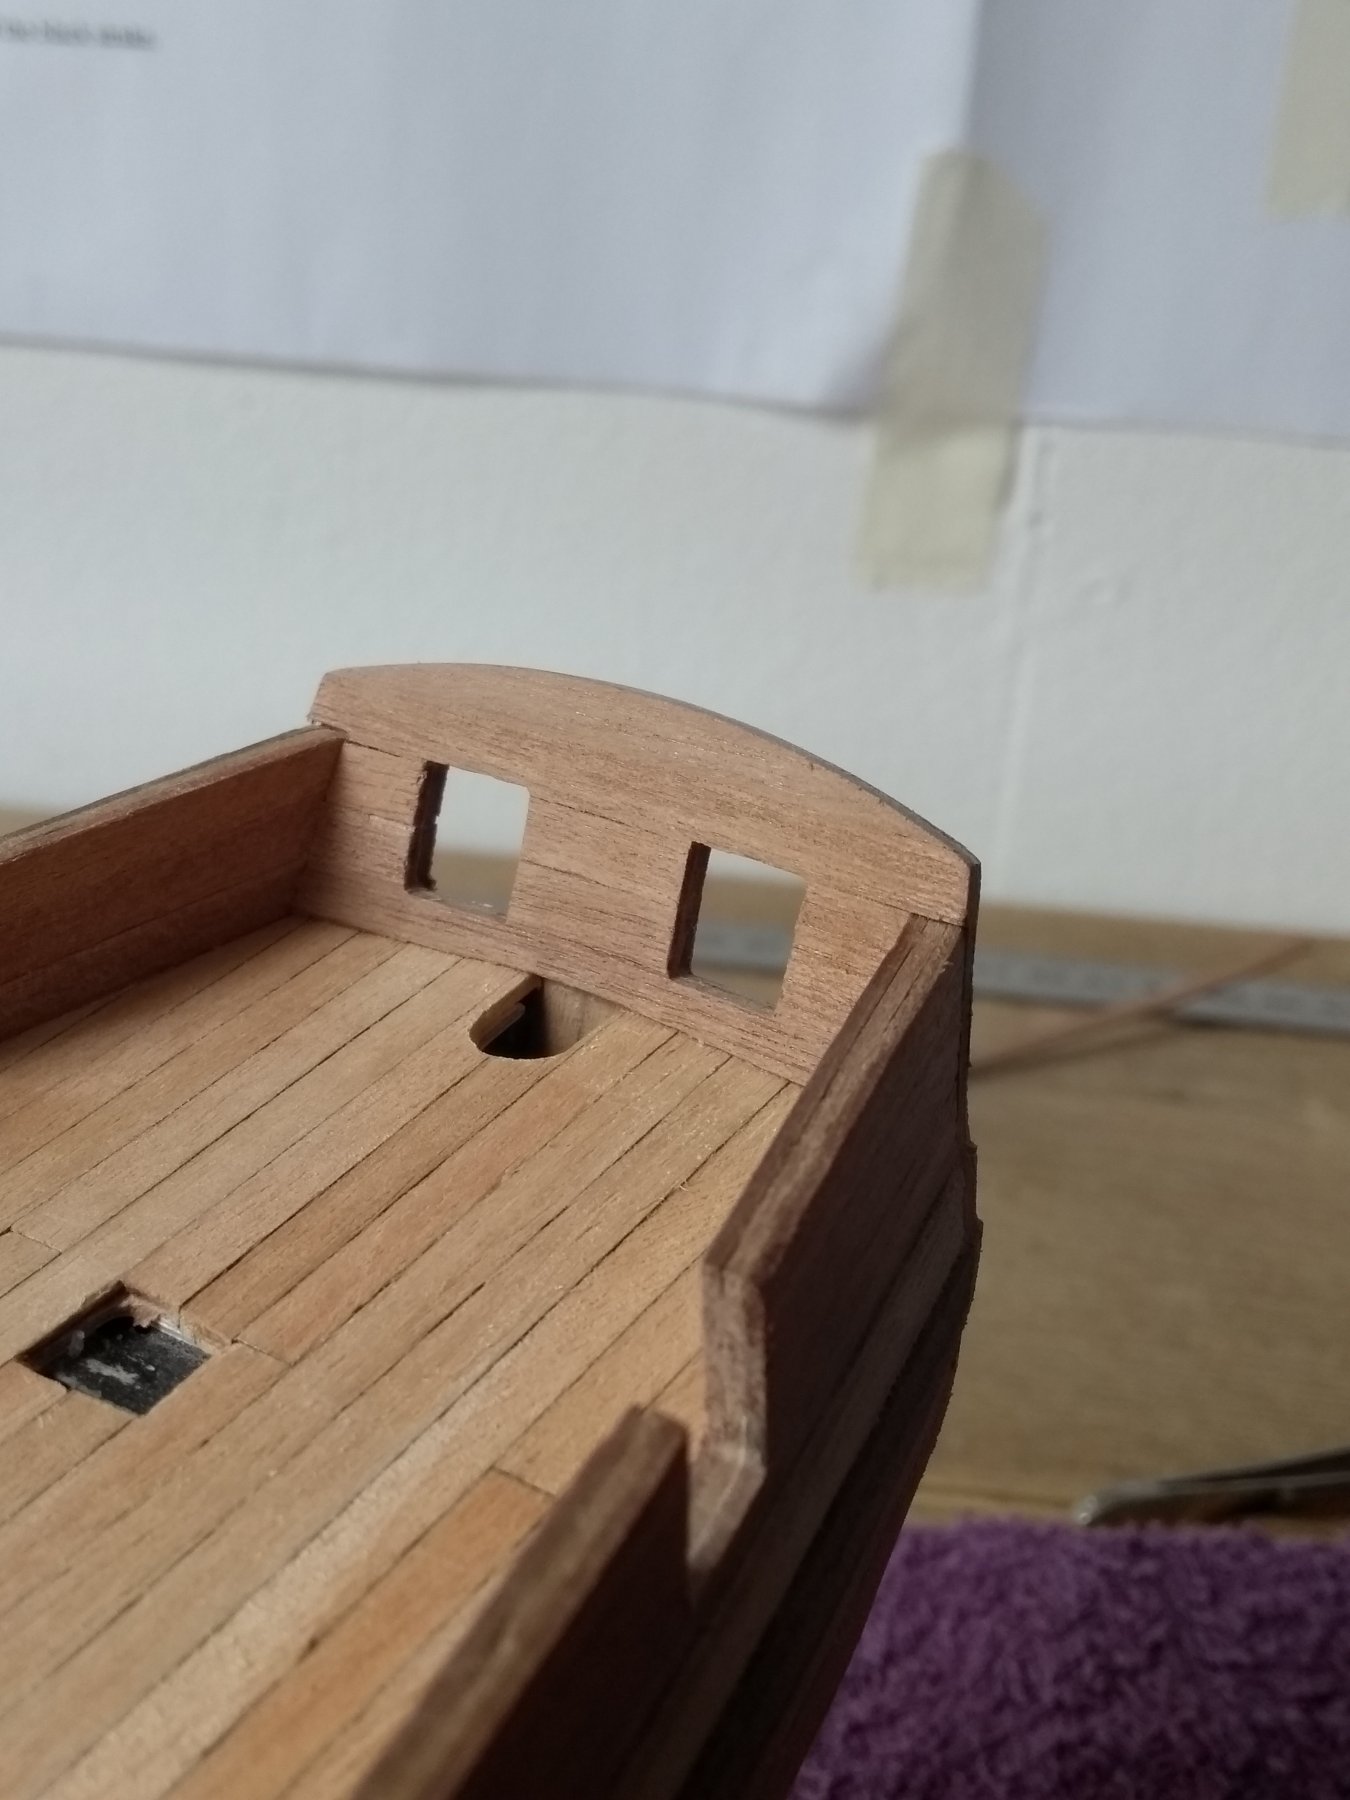
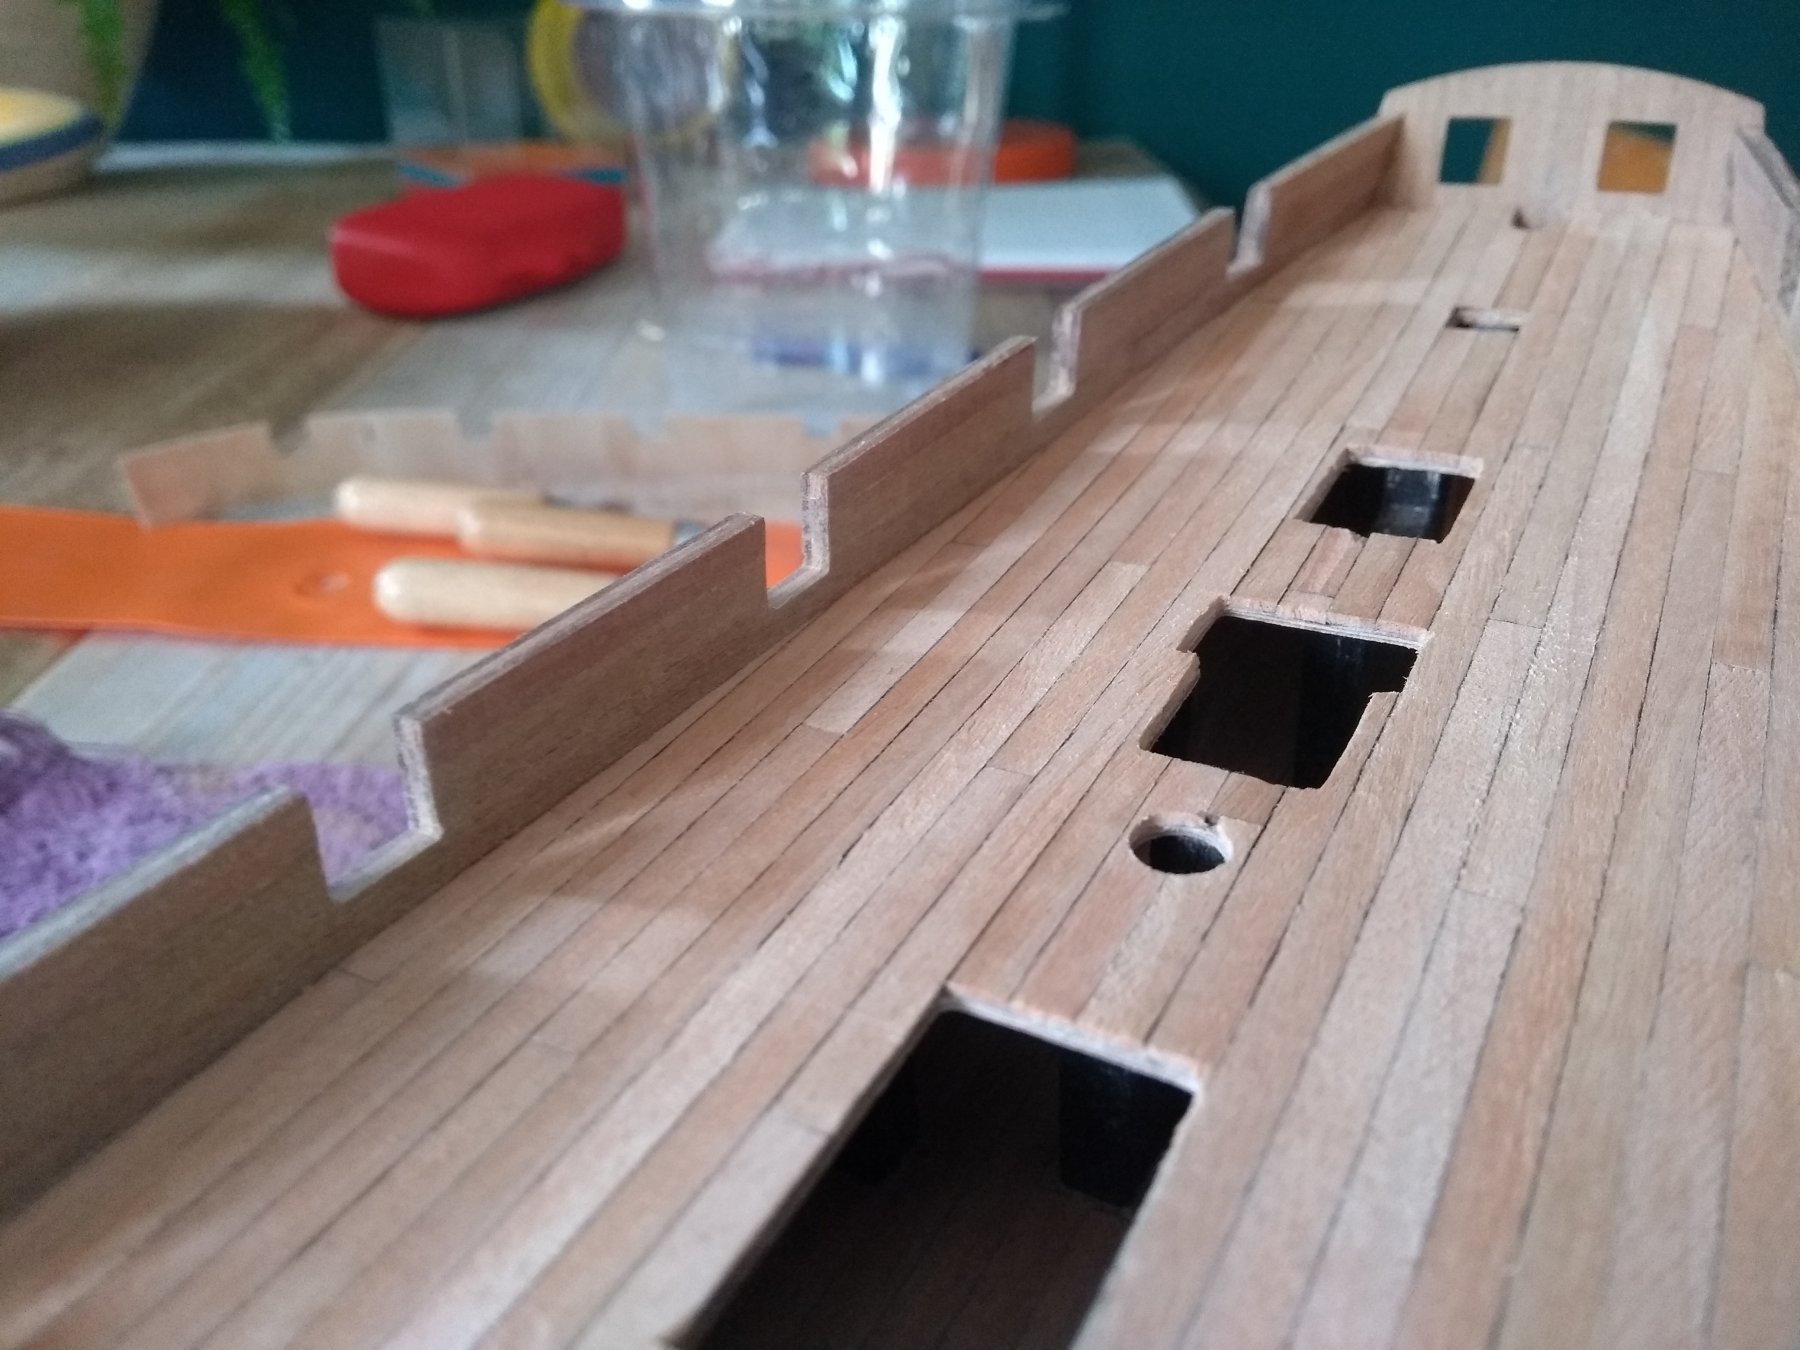
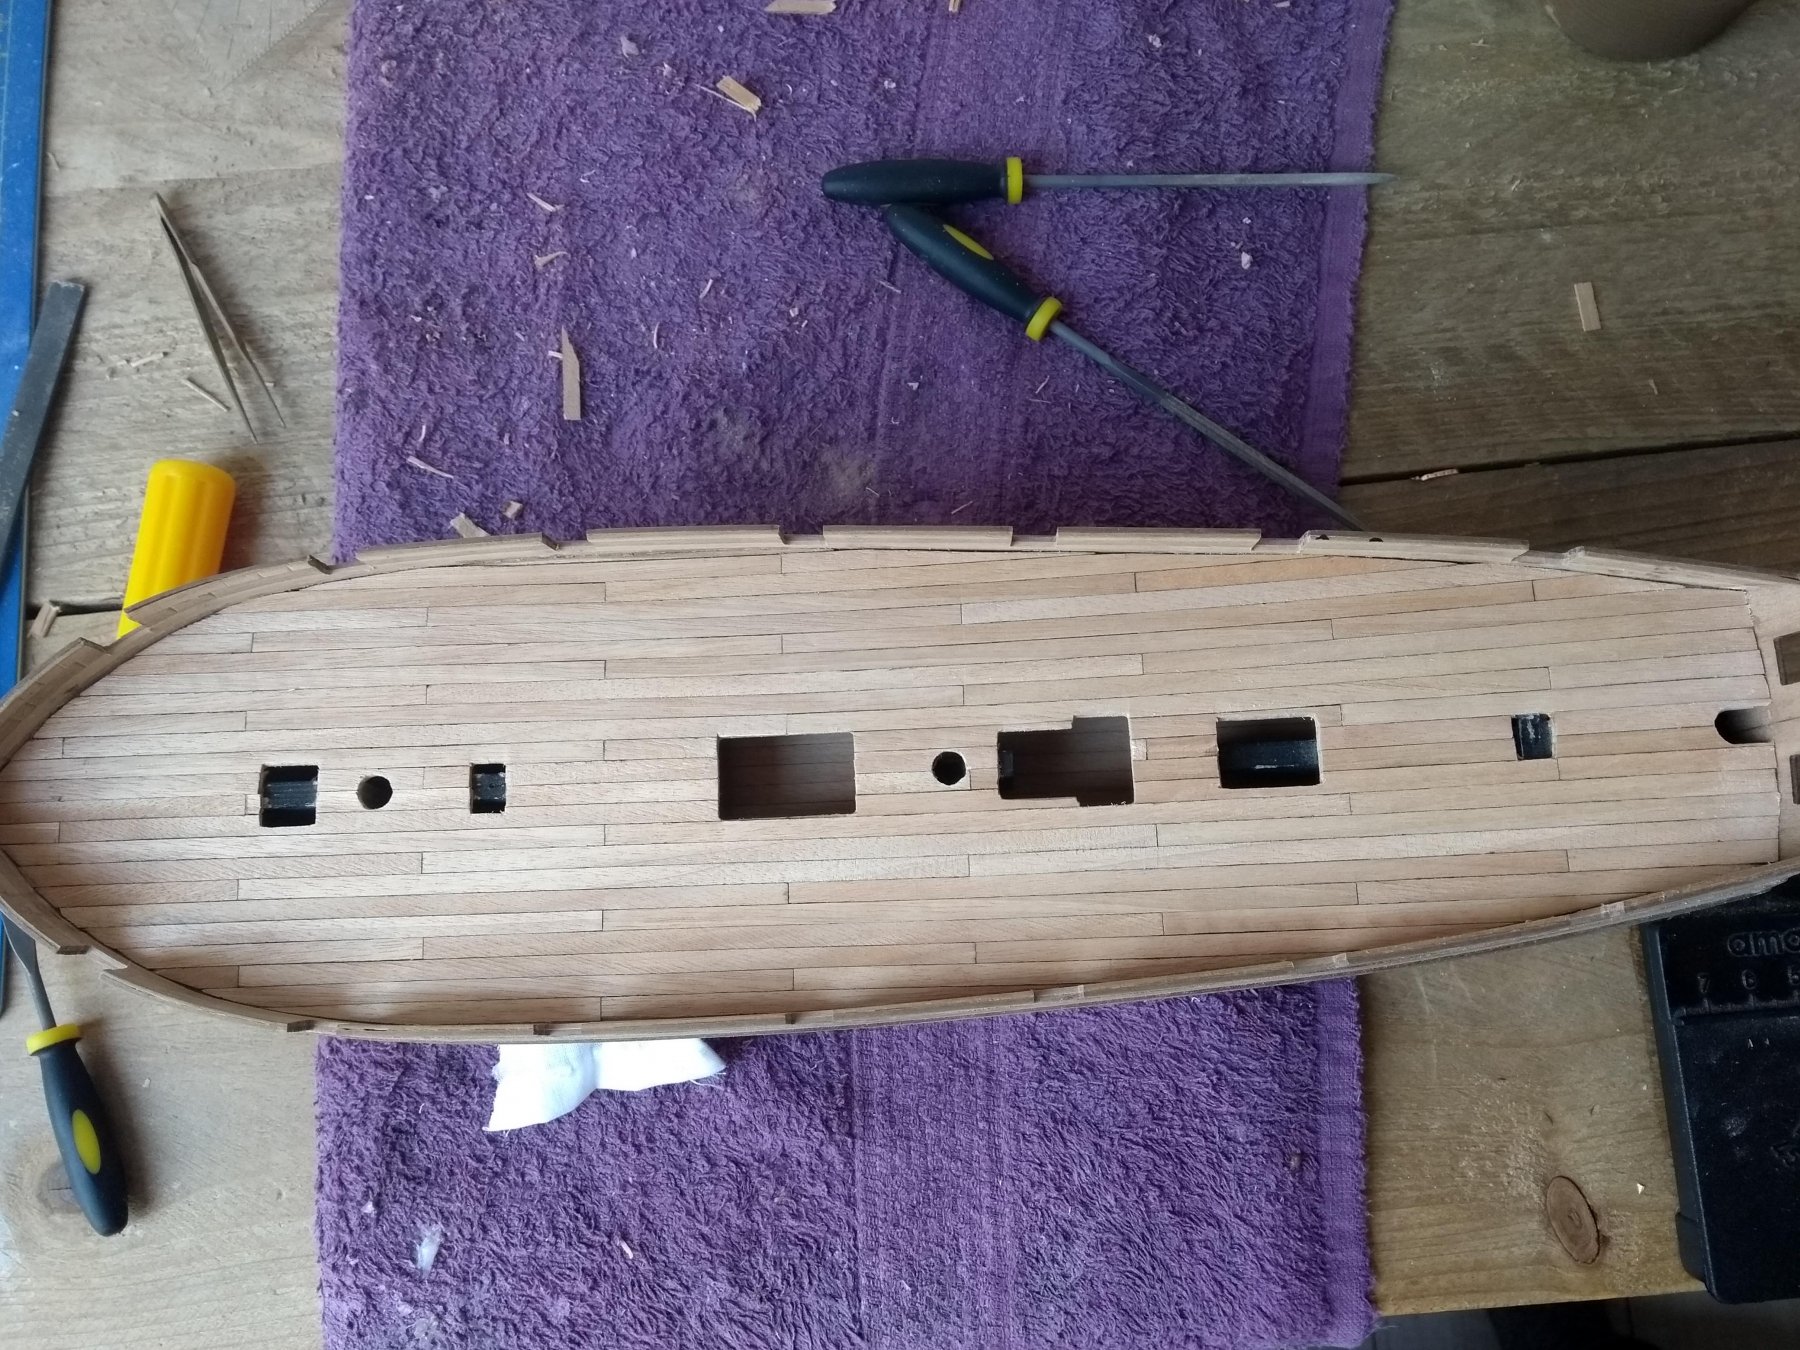
Deck planking finished🎇 No problems here, it went pretty well, altough the planks provided in the kit were not great! I have scraped the deck with a knife blade and not sanded it. Now it's time for the inner bulwarks to be planked, and then varnish the deck after that.


-
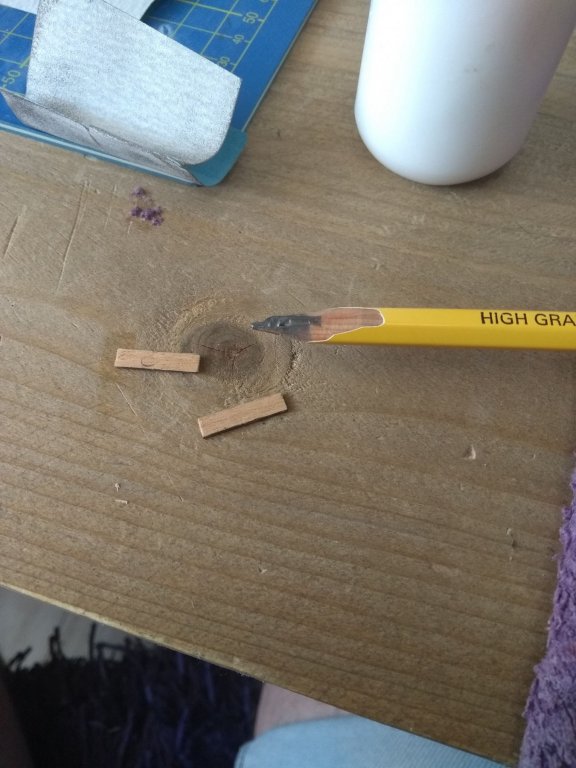
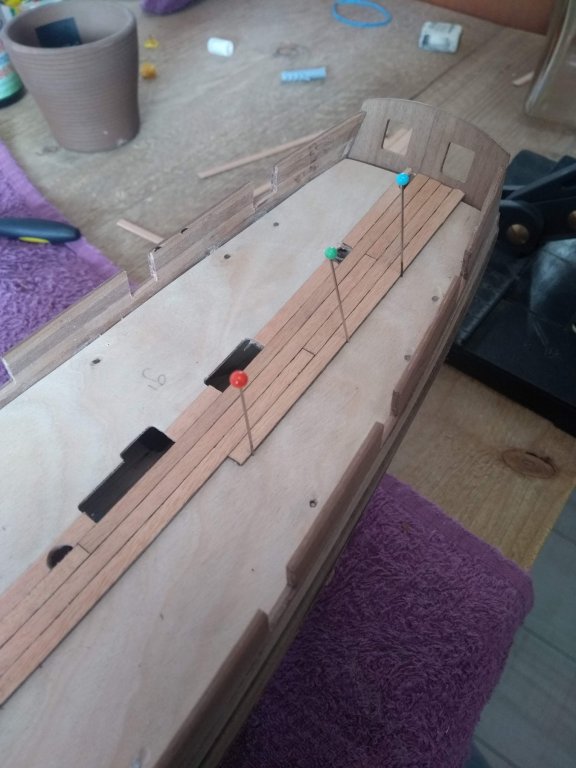
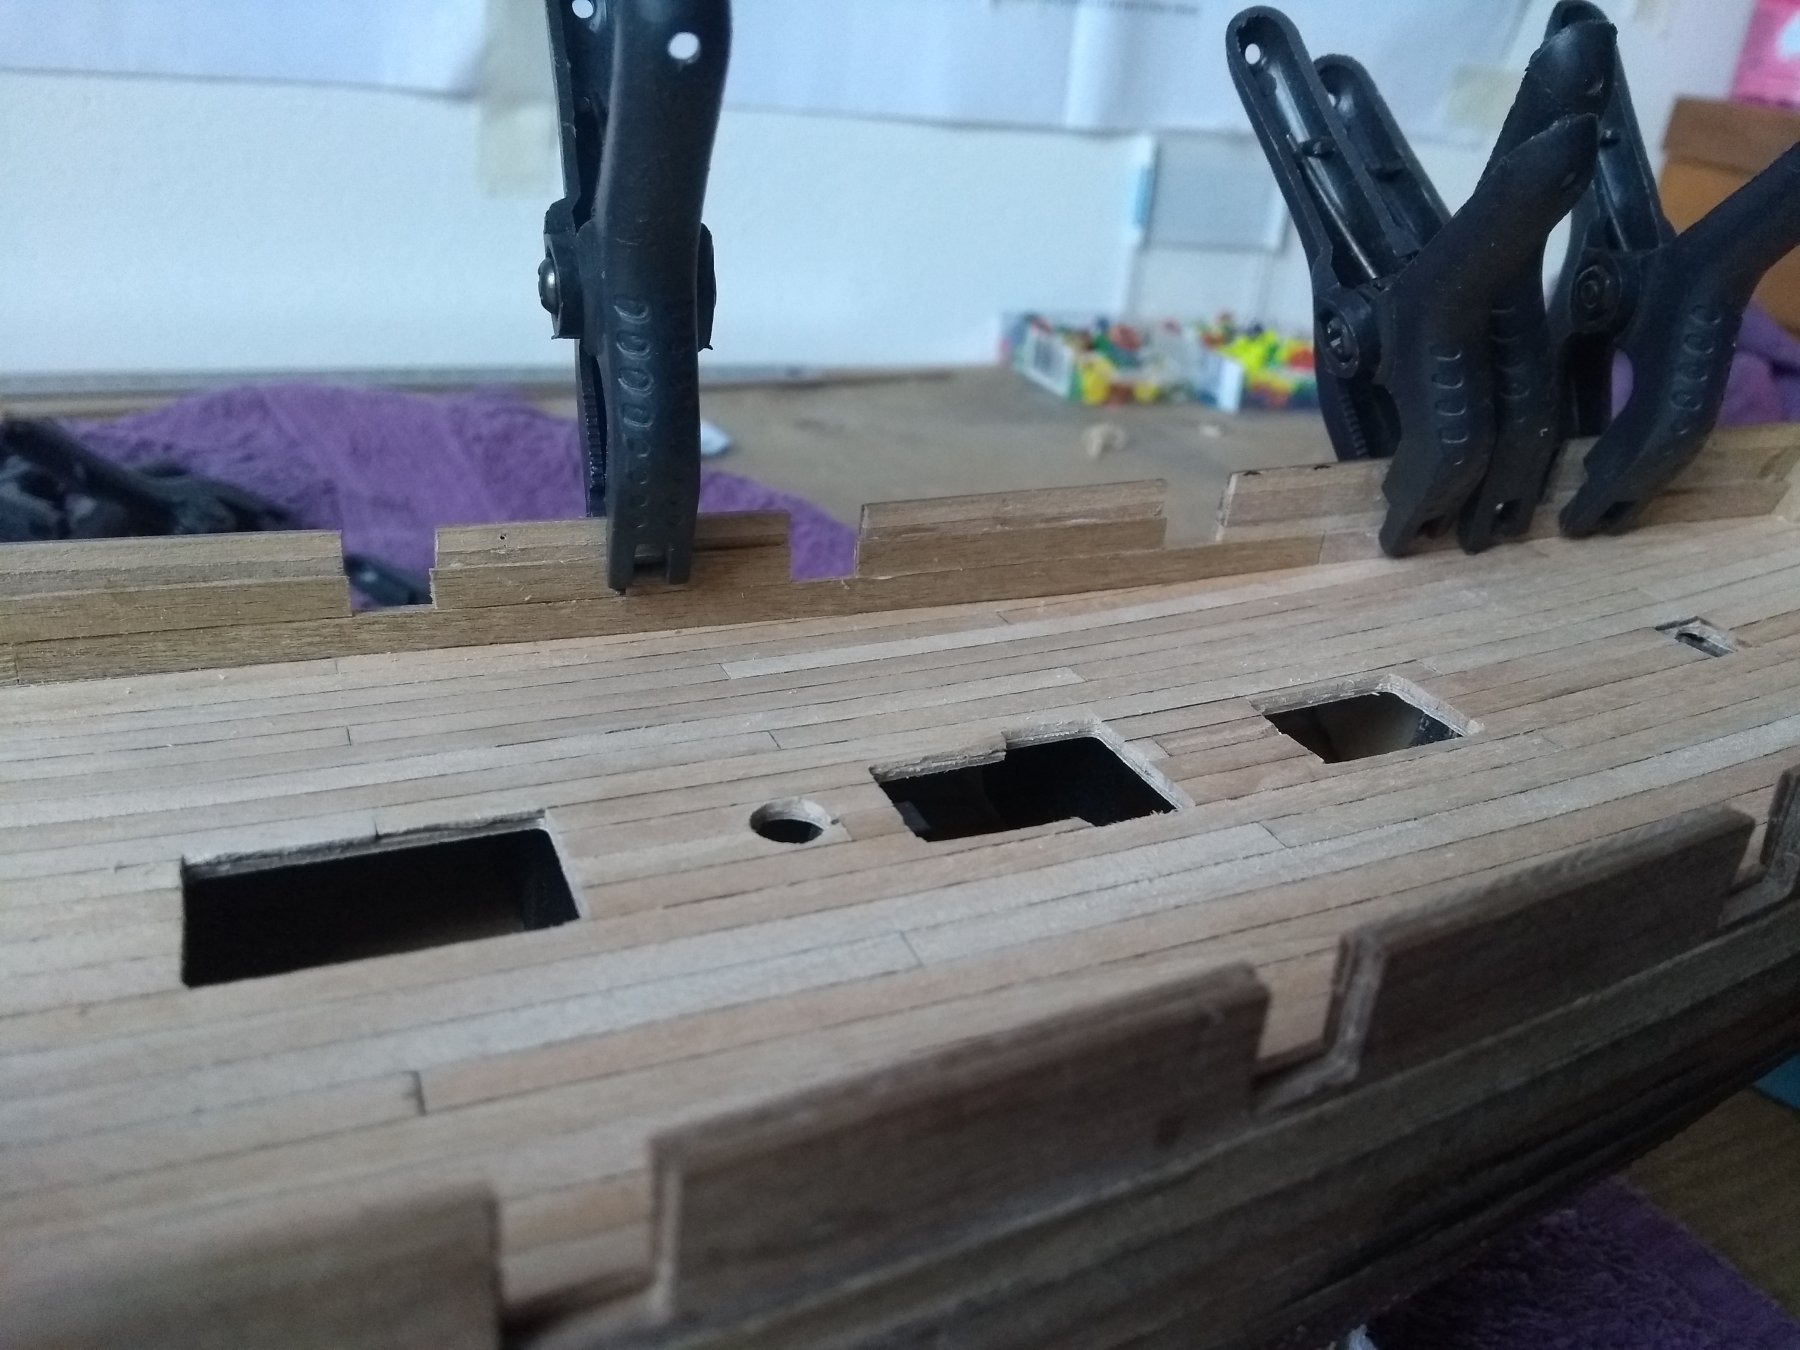
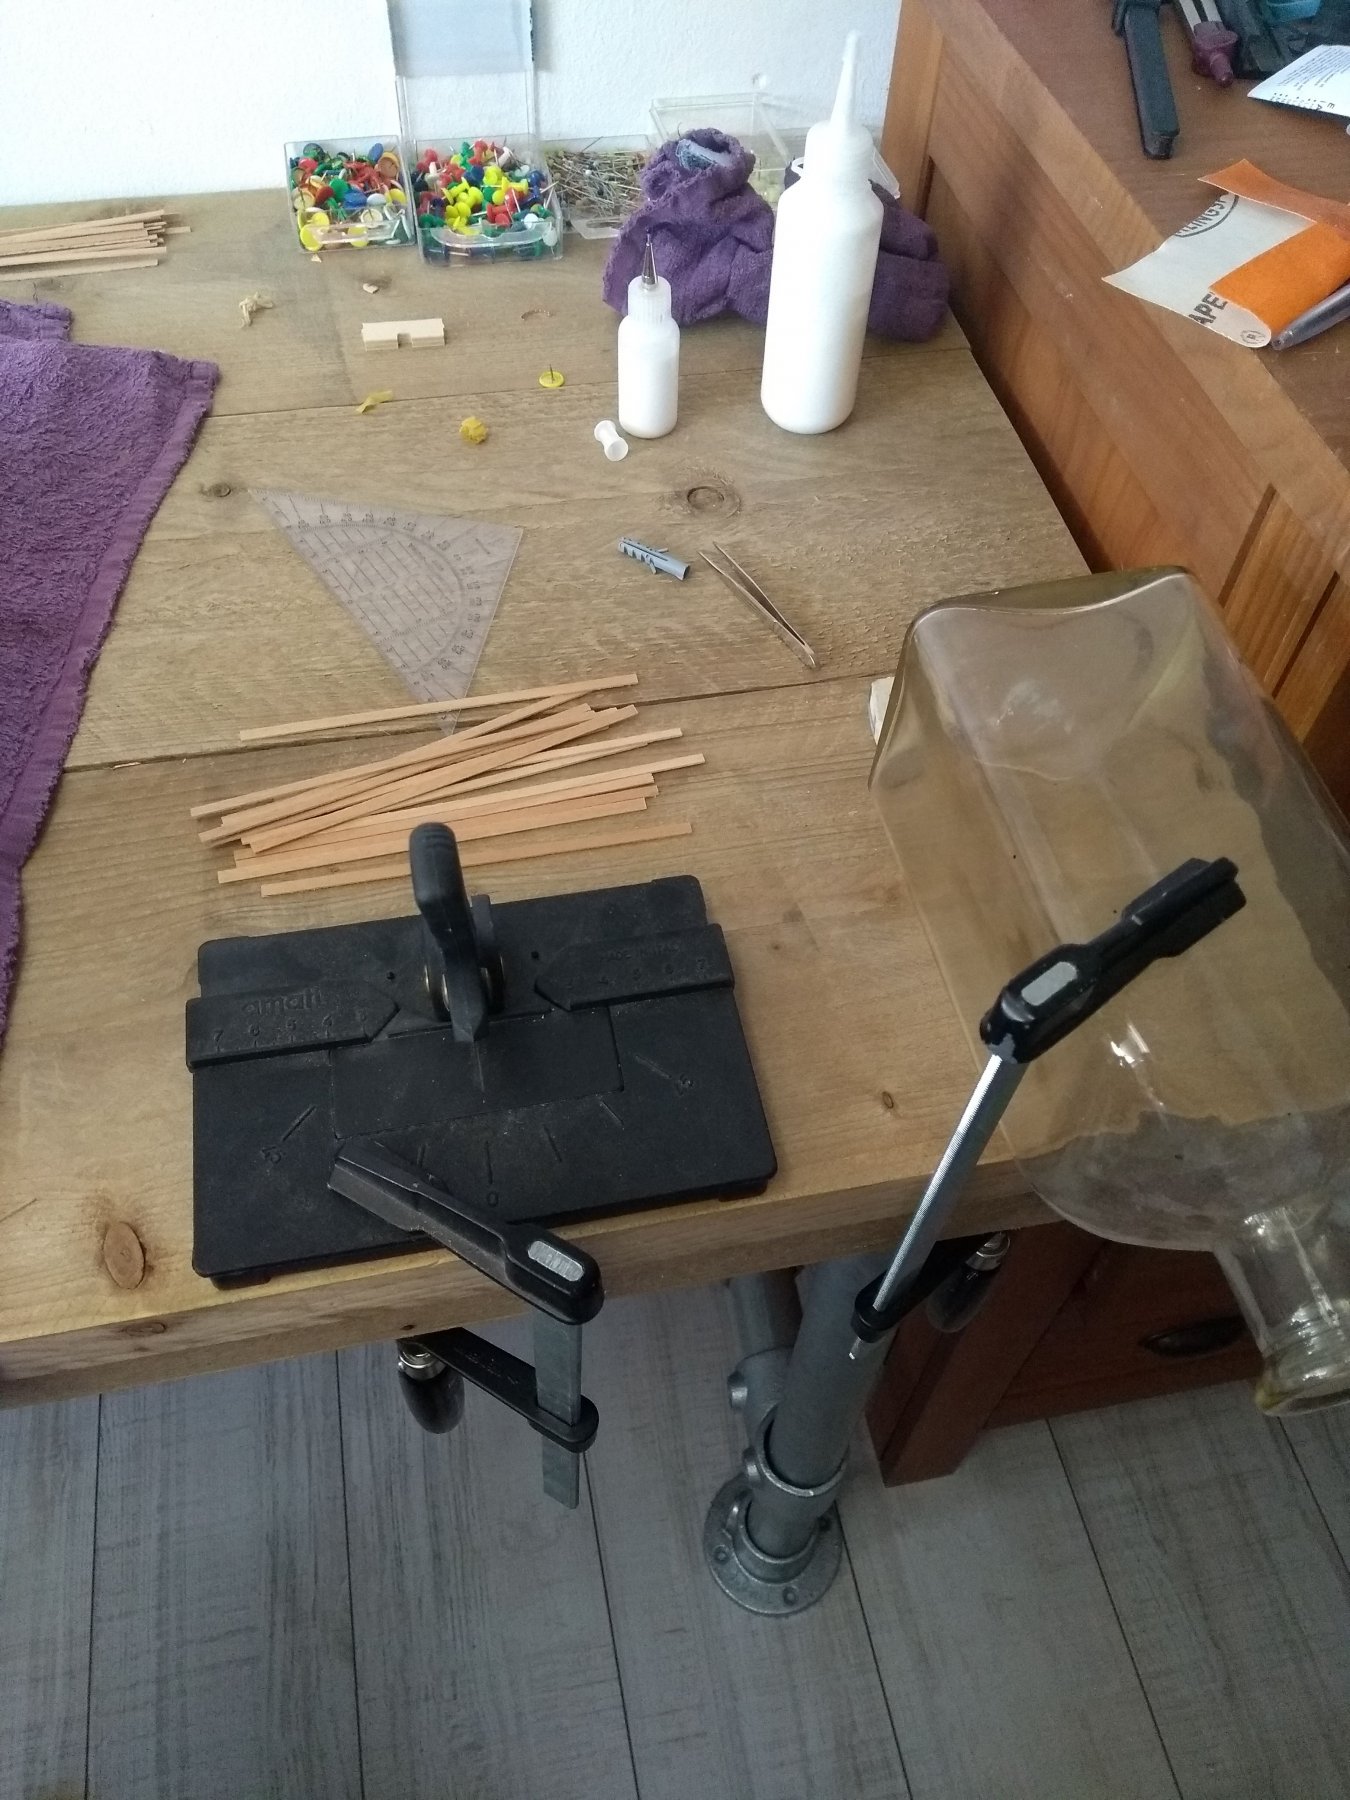
Planking process happening I apply the caulking with a 2B pencil, and clamp the planks with pins. By the way...the provided wood is horrible. The tanganyika planks are really brittle and rough. When the deck planking is finished, you don't sand the deck right? But scrape it with a knife or something like that?

.thumb.jpg.495c64293ce50ed49137585f51be51dc.jpg)
-
Thank you for all your help and tips, they are really helpful! It's nice to see people that help beginners. It so important to keep motivated. I immediately ordered the book from Mondfeld on amazon, so that is something to look on for. Like i said...i don't know if i'm gonna modify or add a lot, because there's is so much to learn just building the kit. Sometimes i lose sight of all the information haha.
-
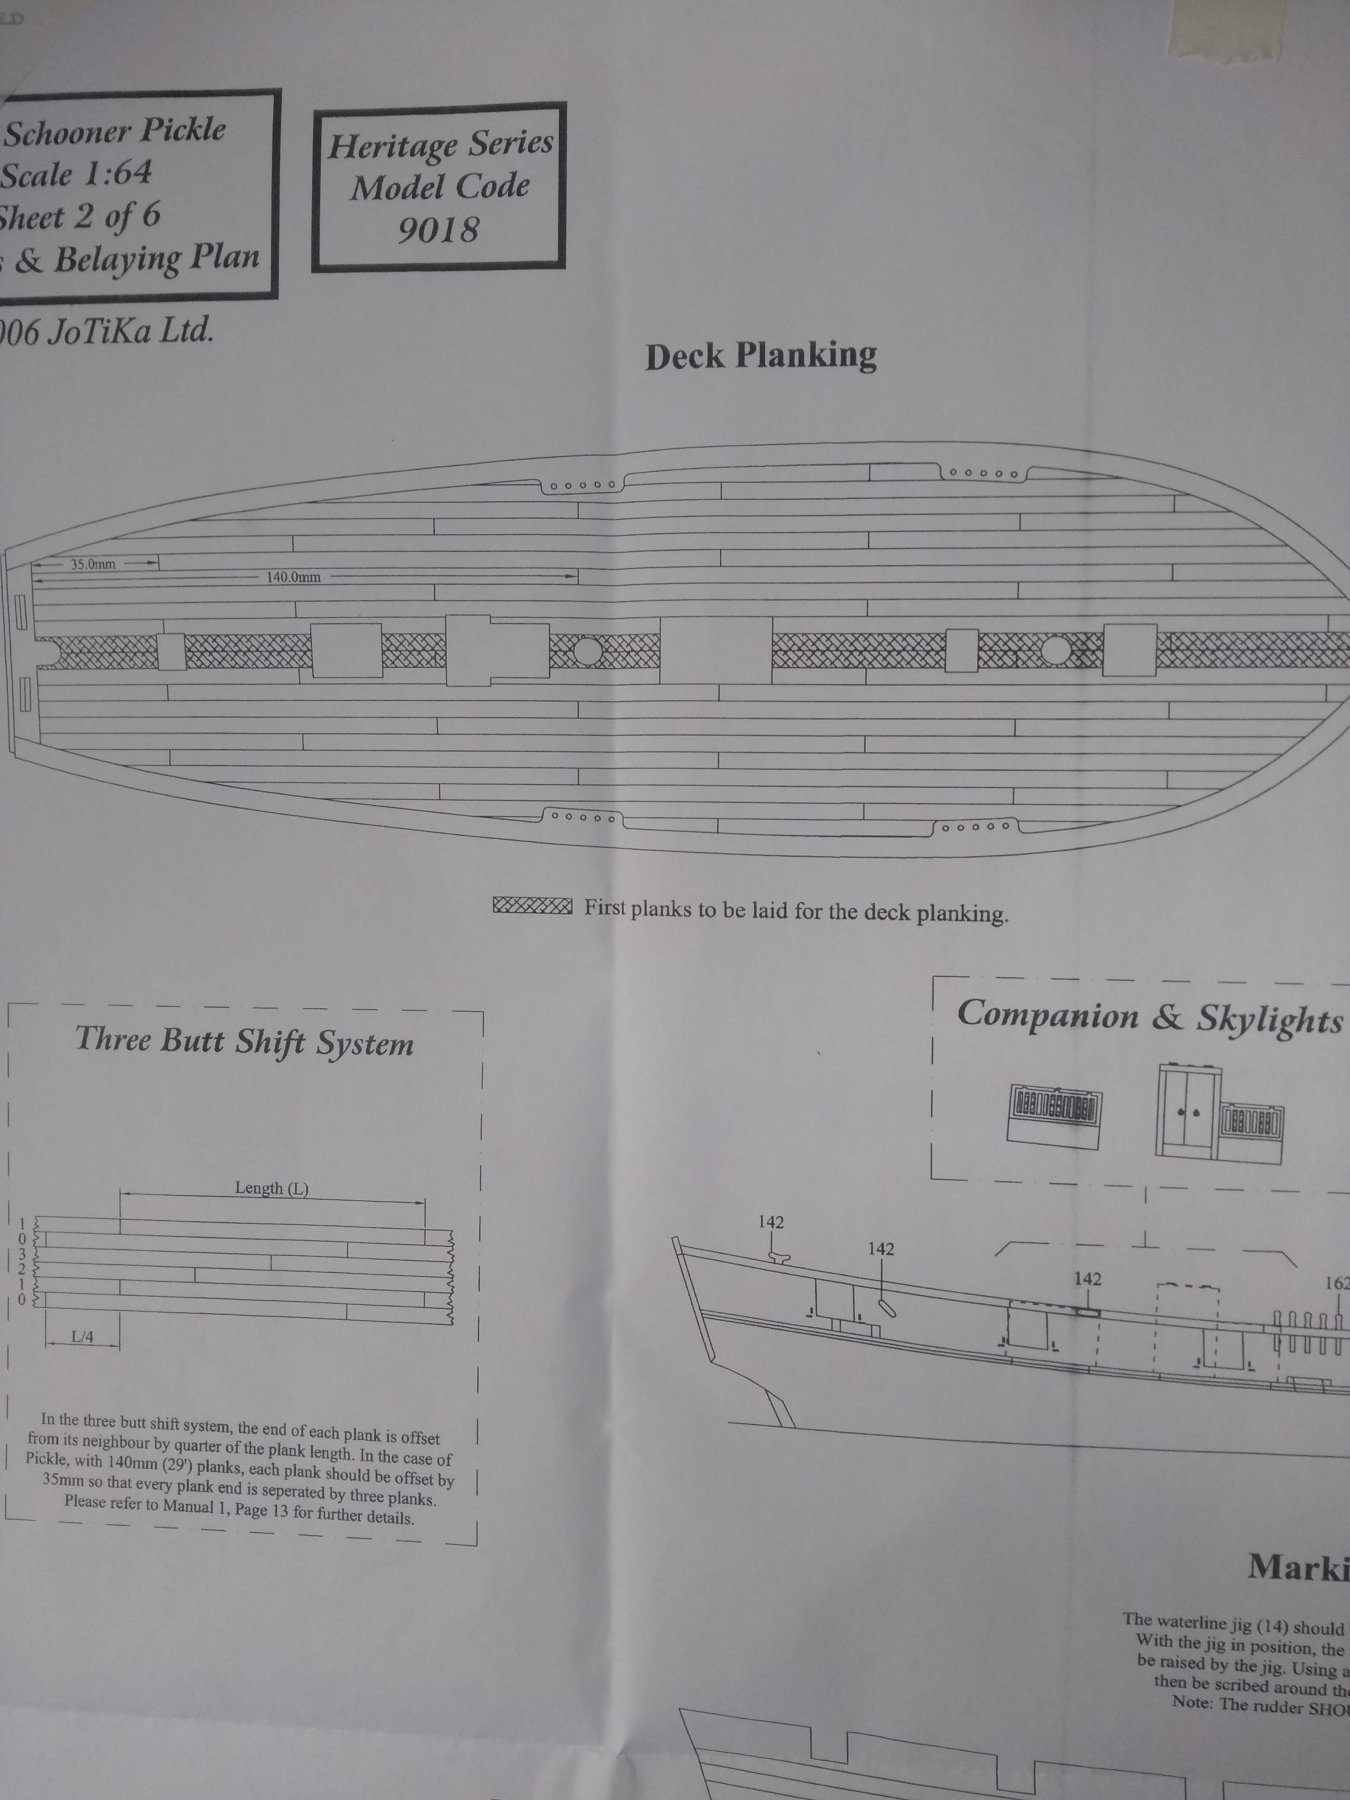
Yes the plans provide this already, so that's nice. I see that you build the some older Caldercraft kits. I assume there are not instructions in the manual to plank in three butt shift system?

-
Ah tnx for the explanation. It sounds like an easier progress to do the main planking first and then mount the deck on the ship. Well, with the next ship i will keep that in mind. I had to first find out what the waterway was haha, but now i get it. Caldercraft does not have a waterway in there plans, so i don't know if i'm gonna do that for now. It's offcourse more authentic to install one, but i'll think about it. The pattern of planking is explained in the plans, so i can begin planking from the midline and don't see any troubles with that?
-
Wow amazing work you do! So much detail! I really like your work👍
- 421 replies
-
- 1
-
-
- caldercraft
- granado
- (and 1 more)
-
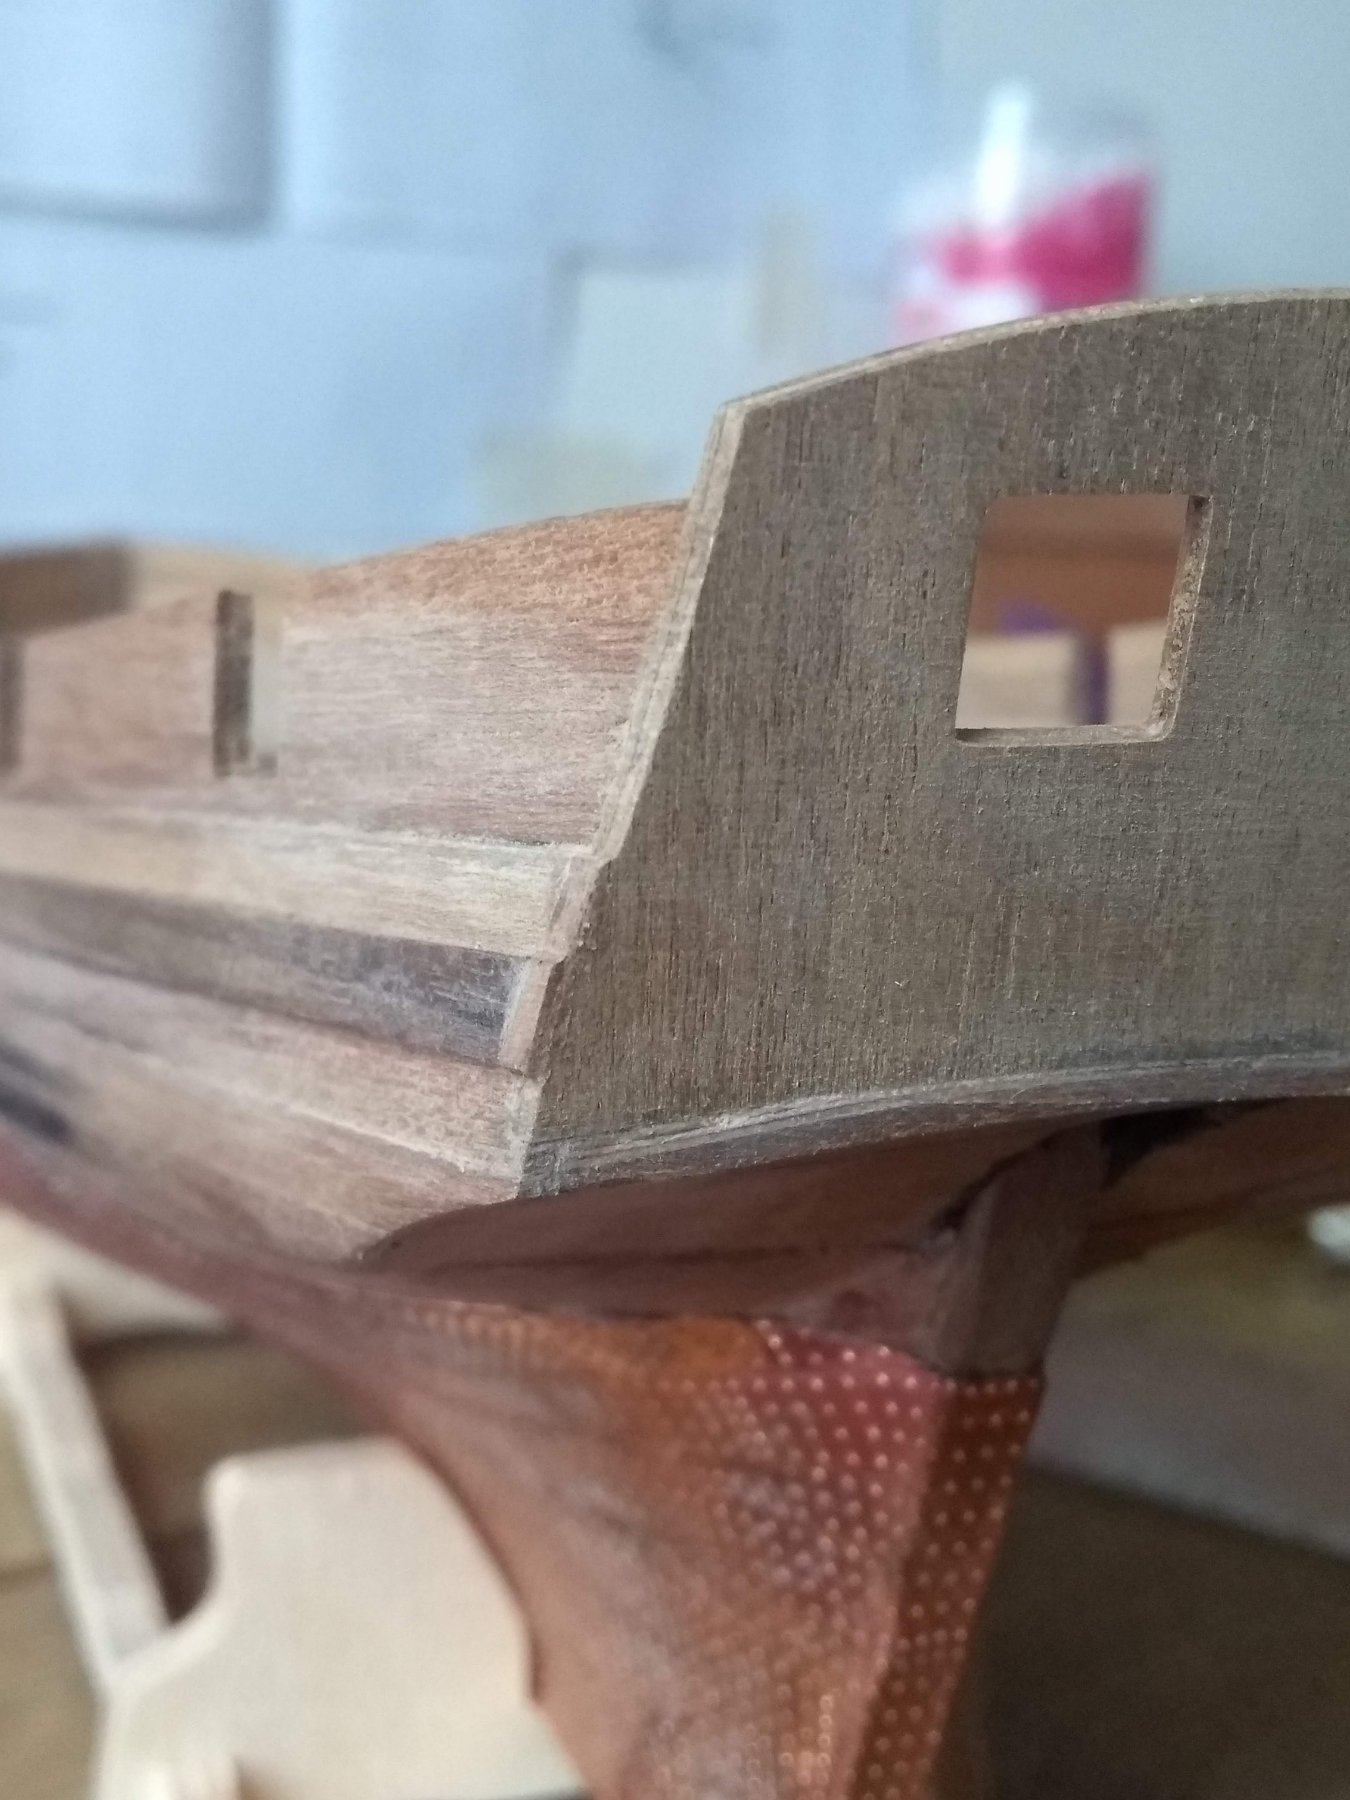
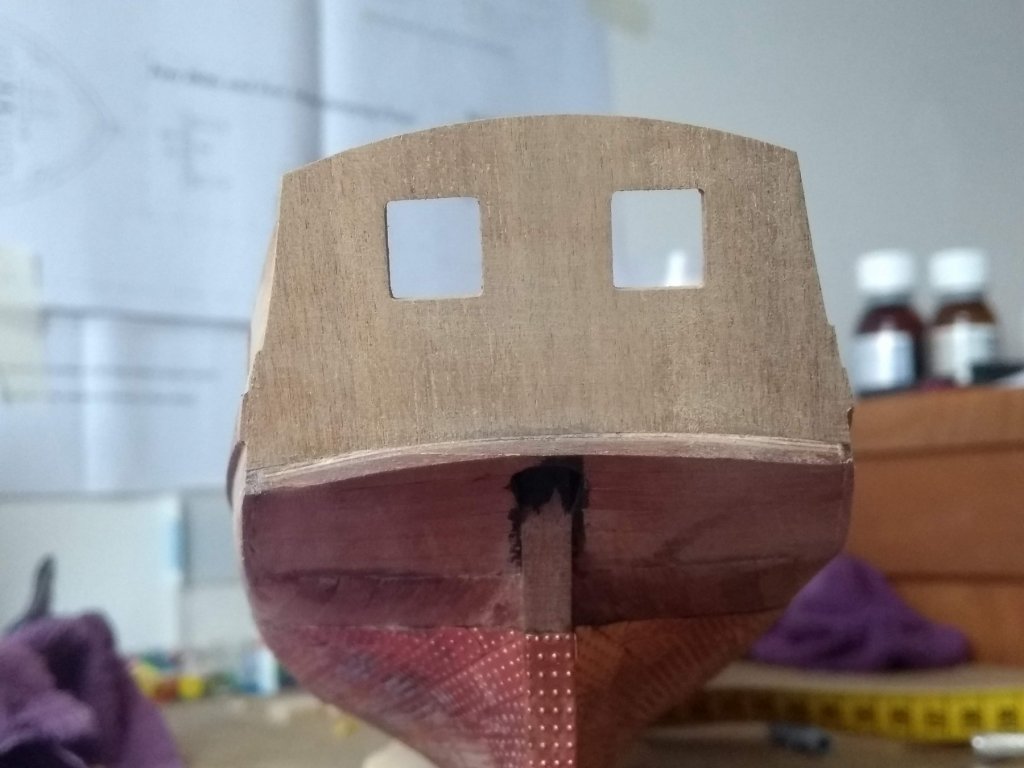
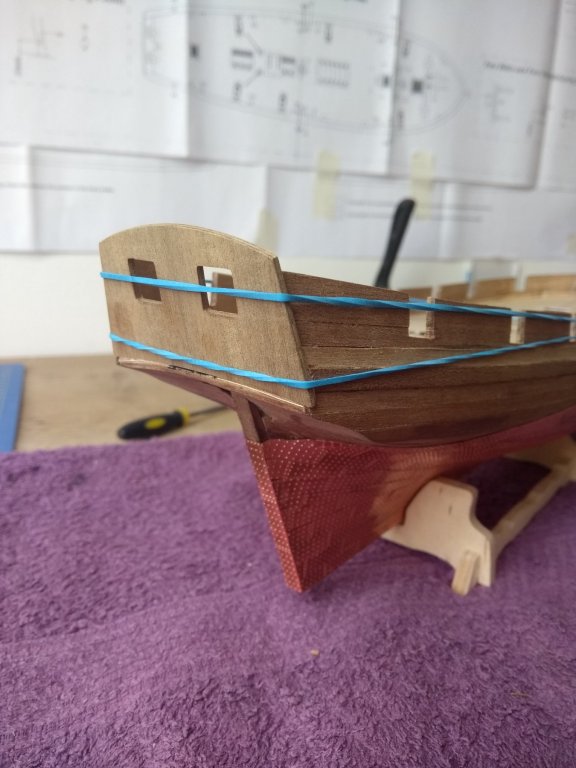
The stern fascia is now okay in my opinion. I extended the wale, and used some woodglue/wood dust to fill up the cracks and holes. Everything gets painted black, so the different colors do not gonna be visible.


- 271 replies
-
- 10
-
-
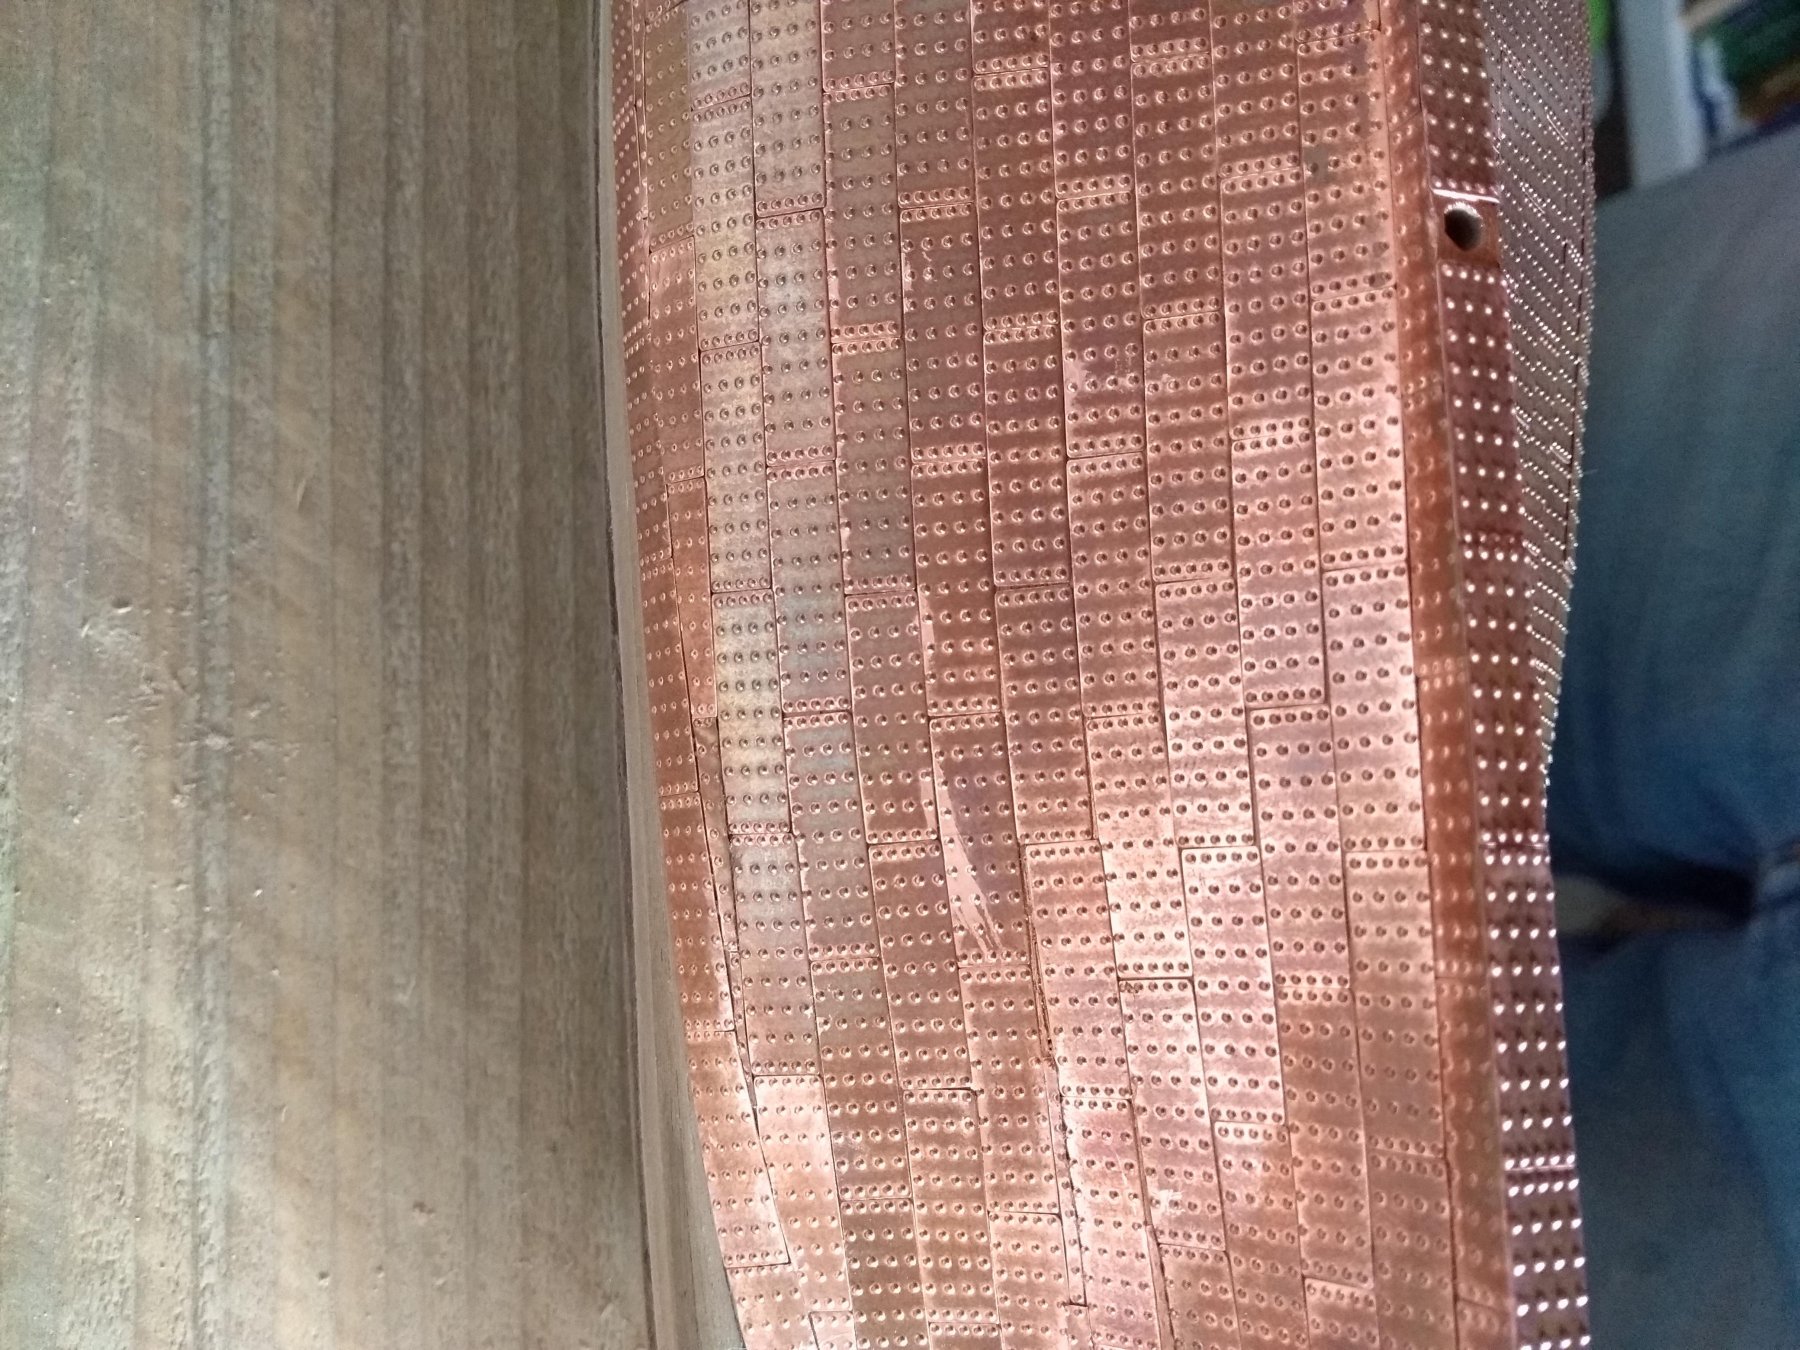
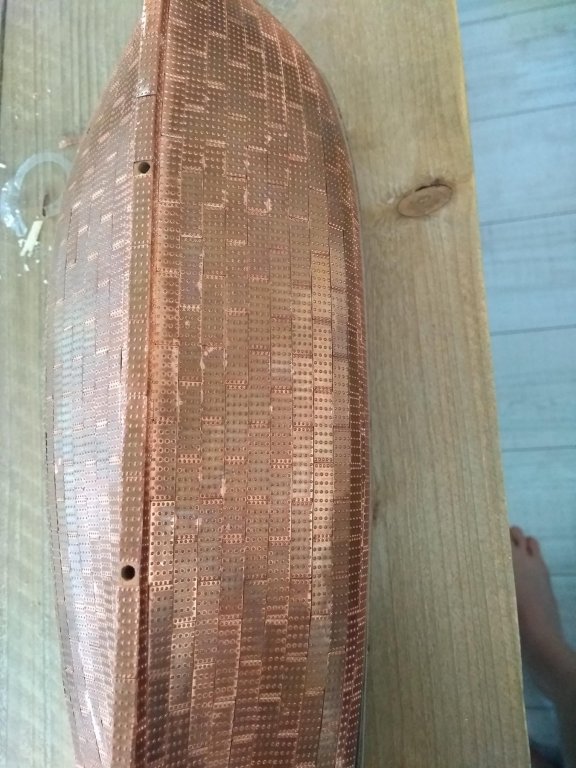
I wiped the copper plates clean with a mixture of vinegar and salt. Is isopropanol then still needed? And what do you mean with a clear layer of color? To varnish the copper plates? And yes, in the manual they put the deck first on the ship and then planking it. Would it be better not to? (with the next ship :D)
-
You have build a lovely Pickle Peter! Very clean work, something to aspire to. I will stick to the original stern fascia, i don't really want to do modifications on this ship. With my limited knowledge of ship building and history, it's easyer to keep the building progress going. But thanks for your input
-
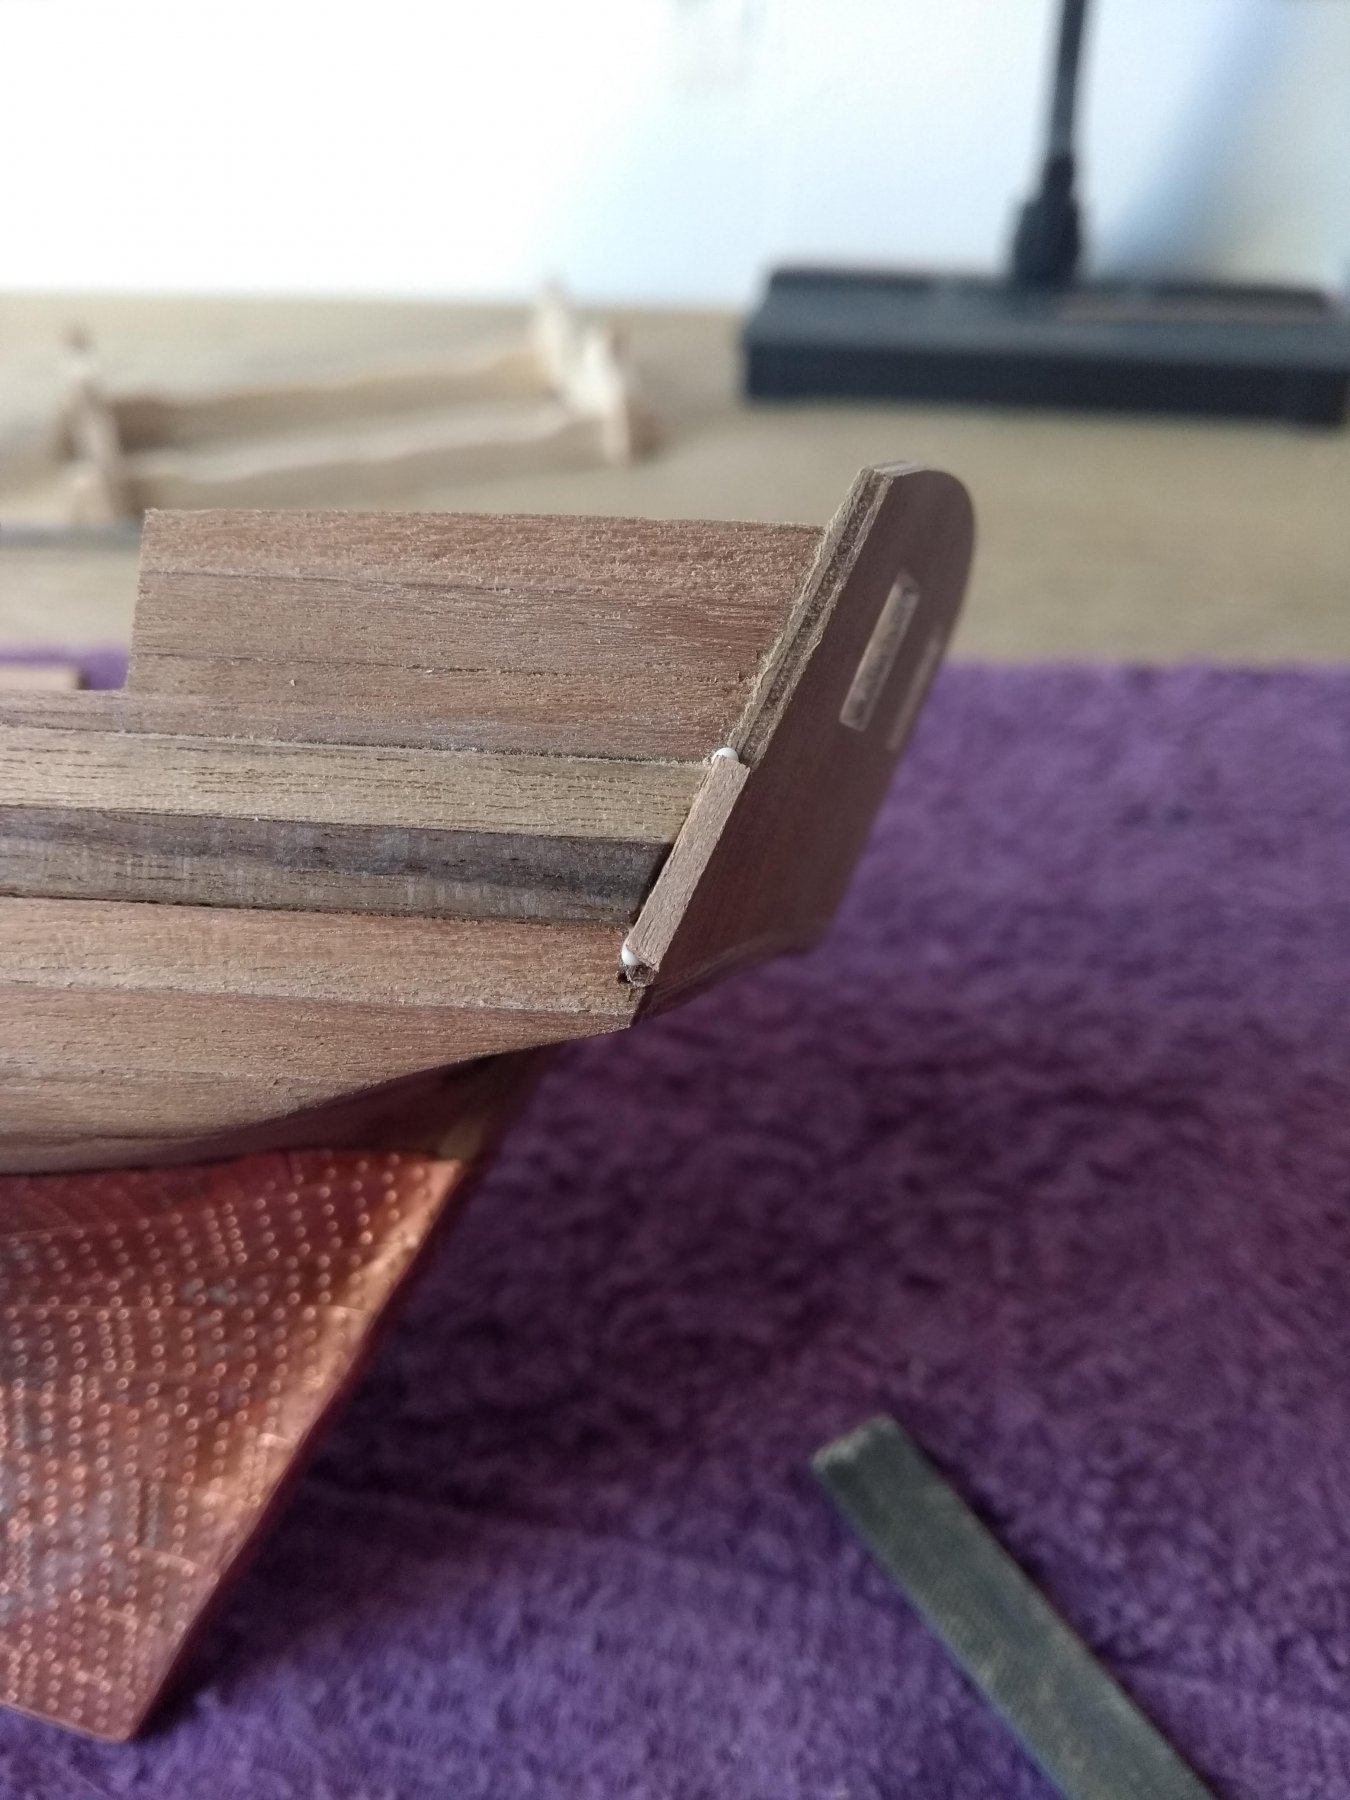
And also it seems that i have to make the wale longer, over the stern fascia, as i can see in the manual. Otherwise it looks a bit strange

-
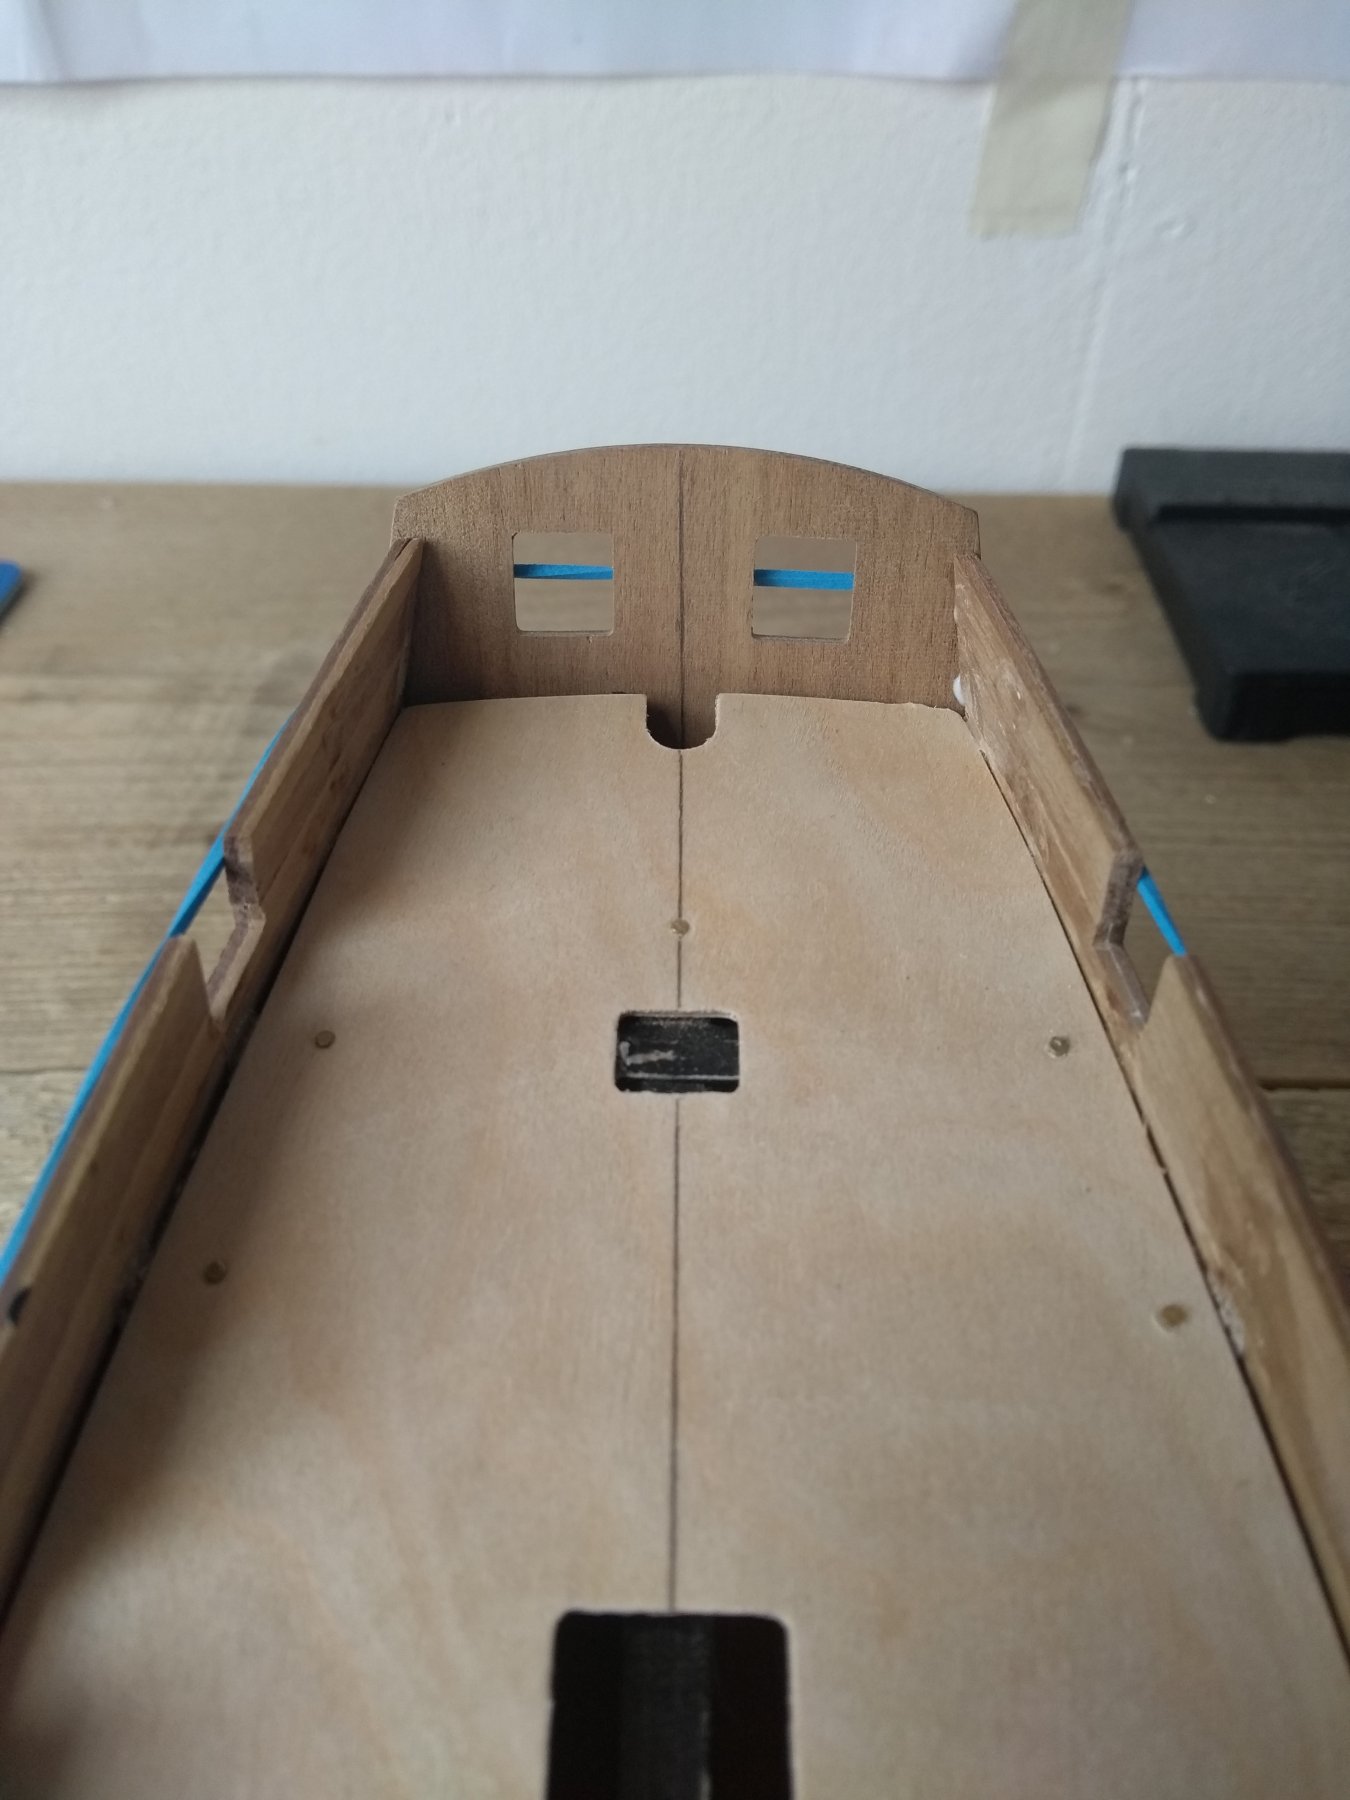
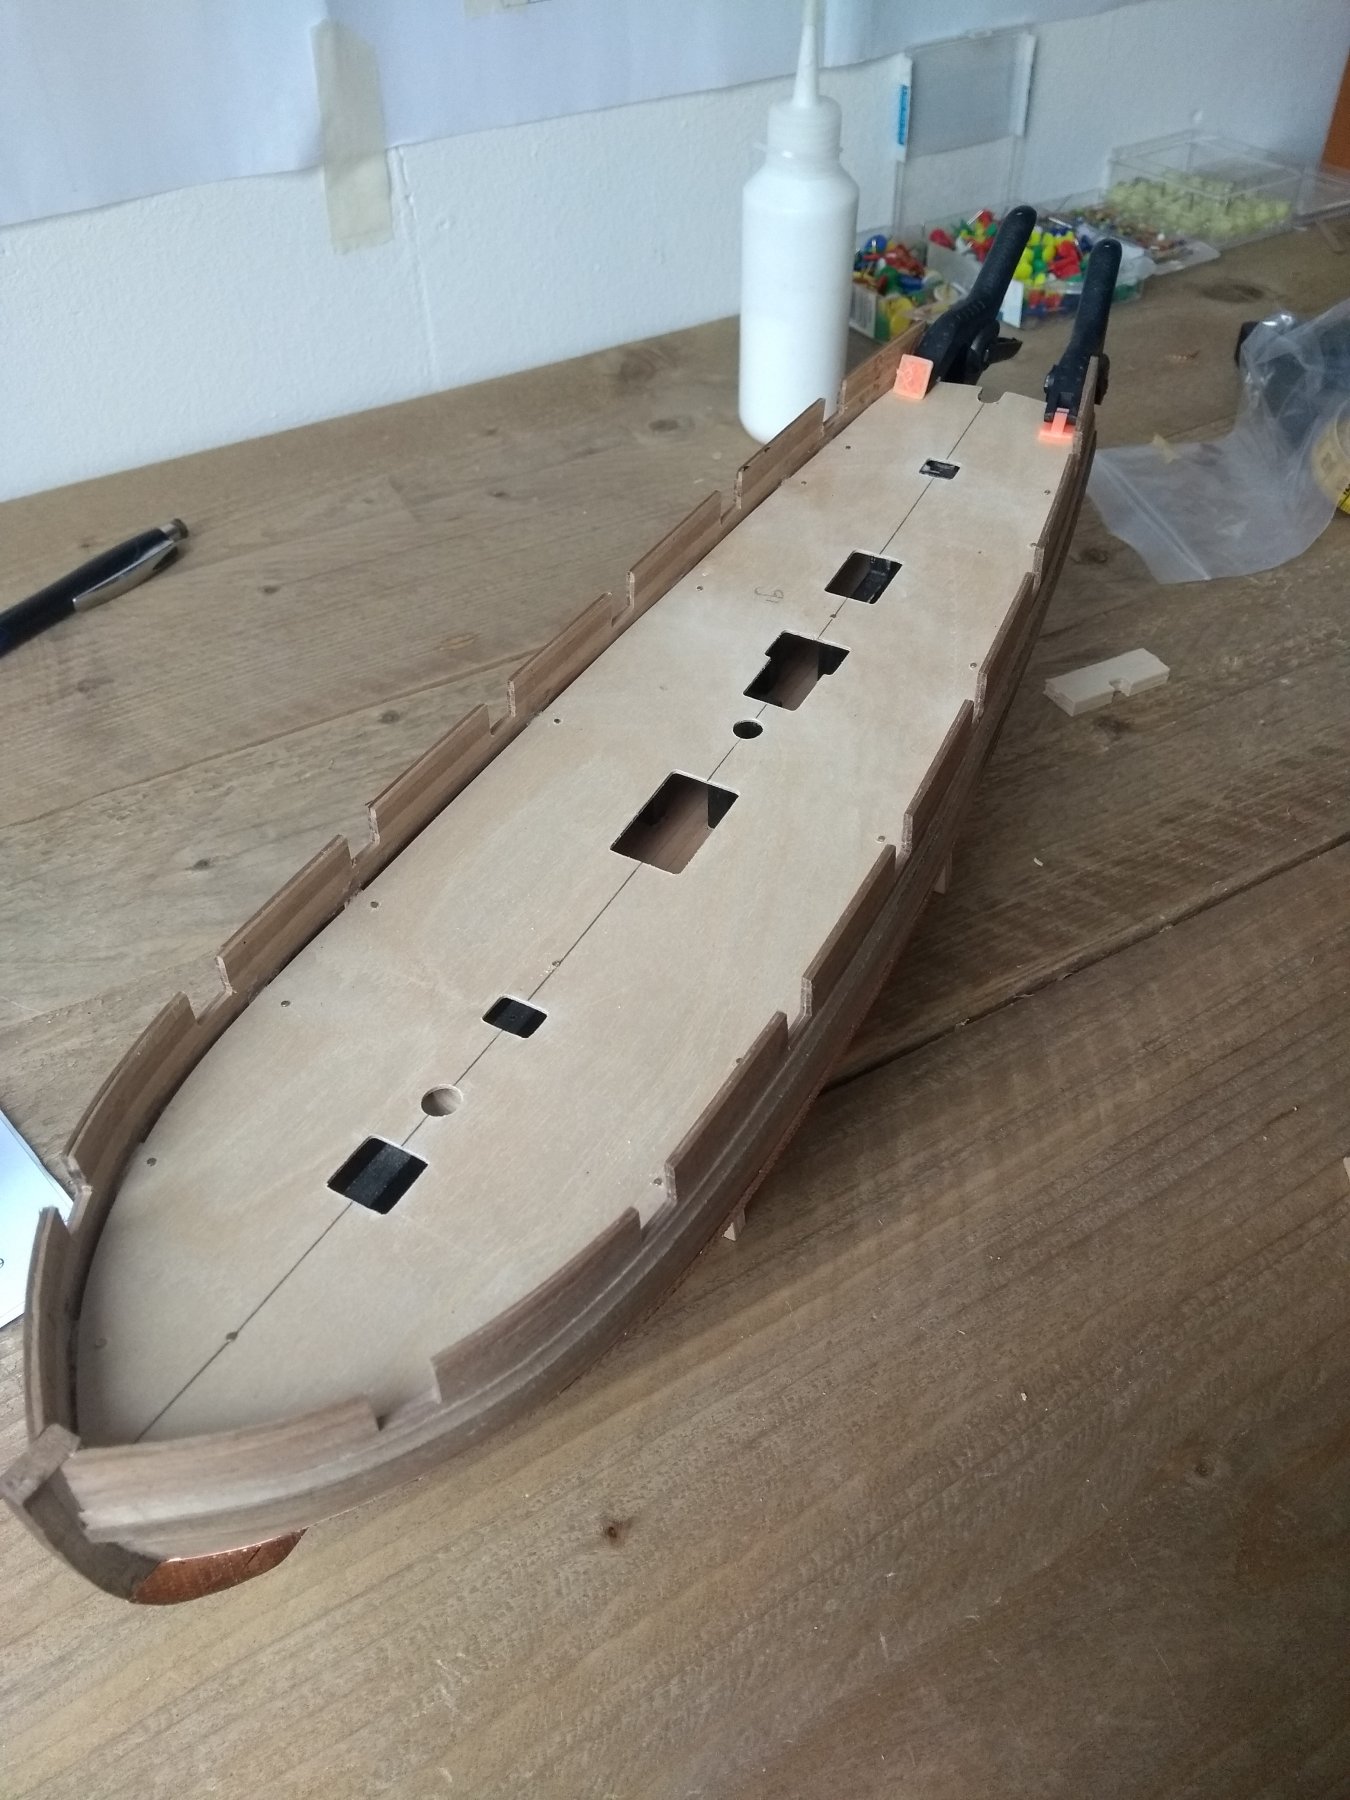
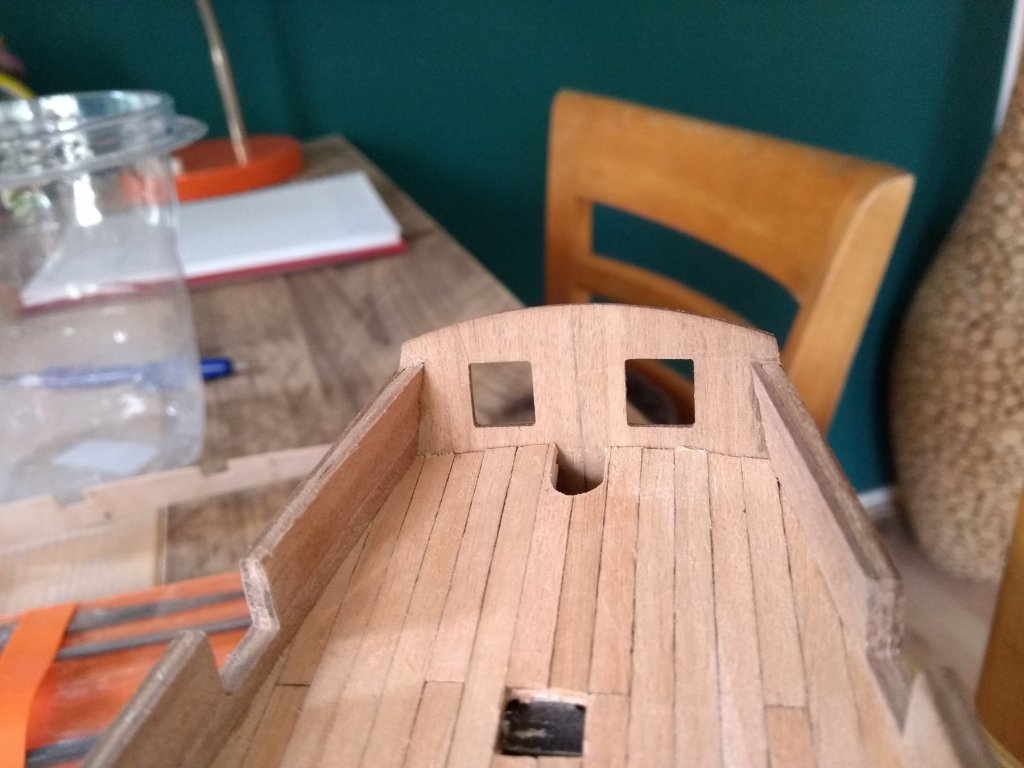
Just placed the stern fascia. In the manual it says that you place it after you planked the deck and the inner bulwarks. This doesn't seemt logical for me so i did it now. Definitely needs work after it to clean it up.
-
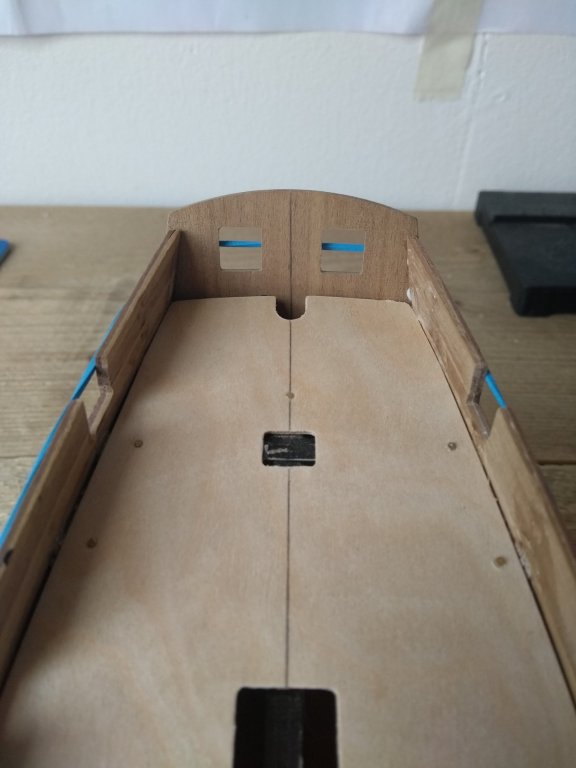
Glued and nailed the upper deck from front to back it's 1mm of center...well...it happens 😁. I can live with that. Dry fitted the mast also, so that fits when the time is ready

-
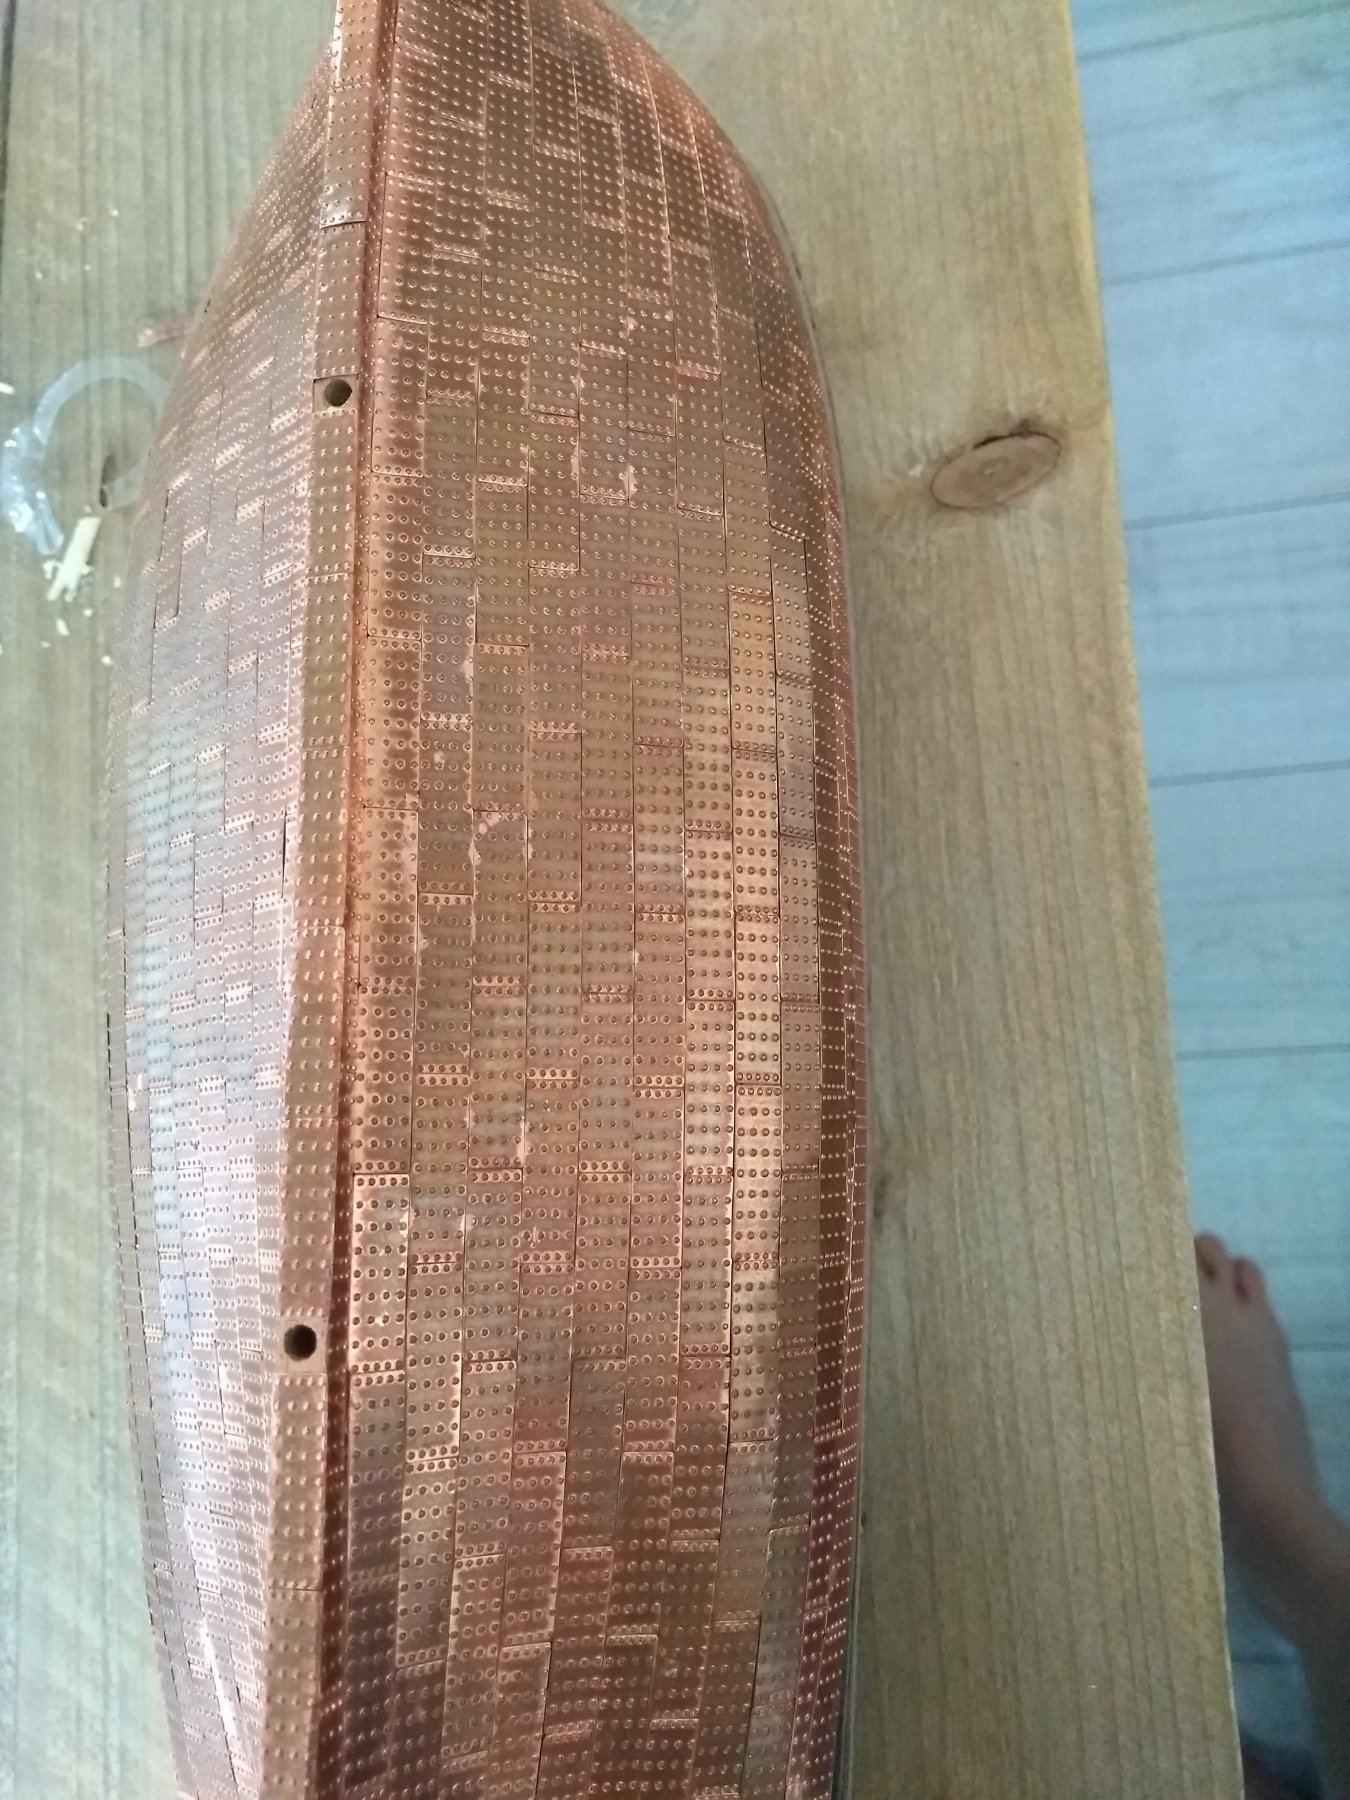
Thank you so much! I'm happy with it for a first time, it was a nice learning proces. It was not exactly how i wanted it but i'm a perfectionist so maybe it's never okay haha. I didn't get the measurements right, but that was okay because the copper tiles could mask it. For a next build there's more to learn about that!
-
First question right away. I'm happy how the copper plating turned out. And it's aging by day, i like that a lot! But there is some glue residue visible from the CA glue i used for the tiles. Now i read that you can wipe it off with some aceton? Does it also count for the dried glue like you see in on the pictures? and what is the best technique then? Any tips are appreciated!


.jpg.c978cce7e138408f1668de12170736ee.jpg)