Ronald-V
-
Posts
1,442 -
Joined
-
Last visited
Recent Profile Visitors
4,298 profile views


-
 Ronald-V reacted to a post in a topic:
HMS Grecian 1812 by ECK - Vanguard Models - 1:64
Ronald-V reacted to a post in a topic:
HMS Grecian 1812 by ECK - Vanguard Models - 1:64
-
Ronald-V reacted to a post in a topic:
Friendship Sloop by gsdpic - BlueJacket Shipcrafters - 1:12
-
Ronald-V reacted to a post in a topic:
Friendship Sloop by gsdpic - BlueJacket Shipcrafters - 1:12
-
 Ronald-V reacted to a post in a topic:
USS Constitution by Der Alte Rentner - Model Shipways - 1/76
Ronald-V reacted to a post in a topic:
USS Constitution by Der Alte Rentner - Model Shipways - 1/76
-
Ronald-V reacted to a post in a topic:
USS Constitution by Der Alte Rentner - Model Shipways - 1/76
-
Ronald-V reacted to a post in a topic:
USS Constitution by Der Alte Rentner - Model Shipways - 1/76
-
Ronald-V reacted to a post in a topic:
HMS Thorn by Kevin Kenny - 1:48 scale - Swan-class - David Antscherl practium
-
Ronald-V reacted to a post in a topic:
HMS Harpy 1796 by Glenn-UK – Vanguard Models - 1:64 scale
-
AJohnson reacted to a post in a topic:
HMS Sphinx 1775 by Ronald-V - Vanguard Models - 1:64
-
Old Collingwood reacted to a post in a topic:
Oseberg Viking Ship (v3) by Kevin - Pavel Nikitin - 1/25 - started June 2025
-
Kevin reacted to a post in a topic:
Oseberg Viking Ship (v3) by Kevin - Pavel Nikitin - 1/25 - started June 2025
-
 Good luck with this one Kevin...will be interesting to see this develop!
 -
FrankWouts reacted to a post in a topic:
HMS Winchelsea 1764 by Edwardkenway- 1:48
-
rvchima reacted to a post in a topic:
HMS Sphinx 1775 by Ronald-V - Vanguard Models - 1:64
-
FrankWouts reacted to a post in a topic:
HMS Winchelsea 1764 by Frank Wouts 1/48
-
Lovely view!
-
👌You are well on your way to a perfect looking hull!
-
Very nice! Well done and congratulations on finishing
- 18 replies
-
- 2
-
-

-
- Ranger
- Vanguard Models
- (and 1 more)
-
That looks fantastic 👍
-
That's a lovely "see through" Edwardkenway! Looks very realistic
-
Dankjewel Henk! (thank you Henk!)
-
I didn't know you could post videos here too? Here's a little reel I posted on Instagram https://www.instagram.com/reel/DLXAOkSTzxy/?utm_source=ig_web_copy_link&igsh=MzRlODBiNWFlZA== Side view Shpinx.mp4
-
Thank for your kind words Mark 🙏
-
Thanks Glenn! Tamiya Medium blue XF-18, it paints a bit weird, you need to get used to it. But the color is really nice matt and has a nice old feel to it I saw it with "BeefWellington" his HMS Jason build...really a nice build of him with great colors worth to take a look at his log...he needs get back to it though 😁
-
Thank you Thukydides! 👍
-
Thanks B.E.!
-
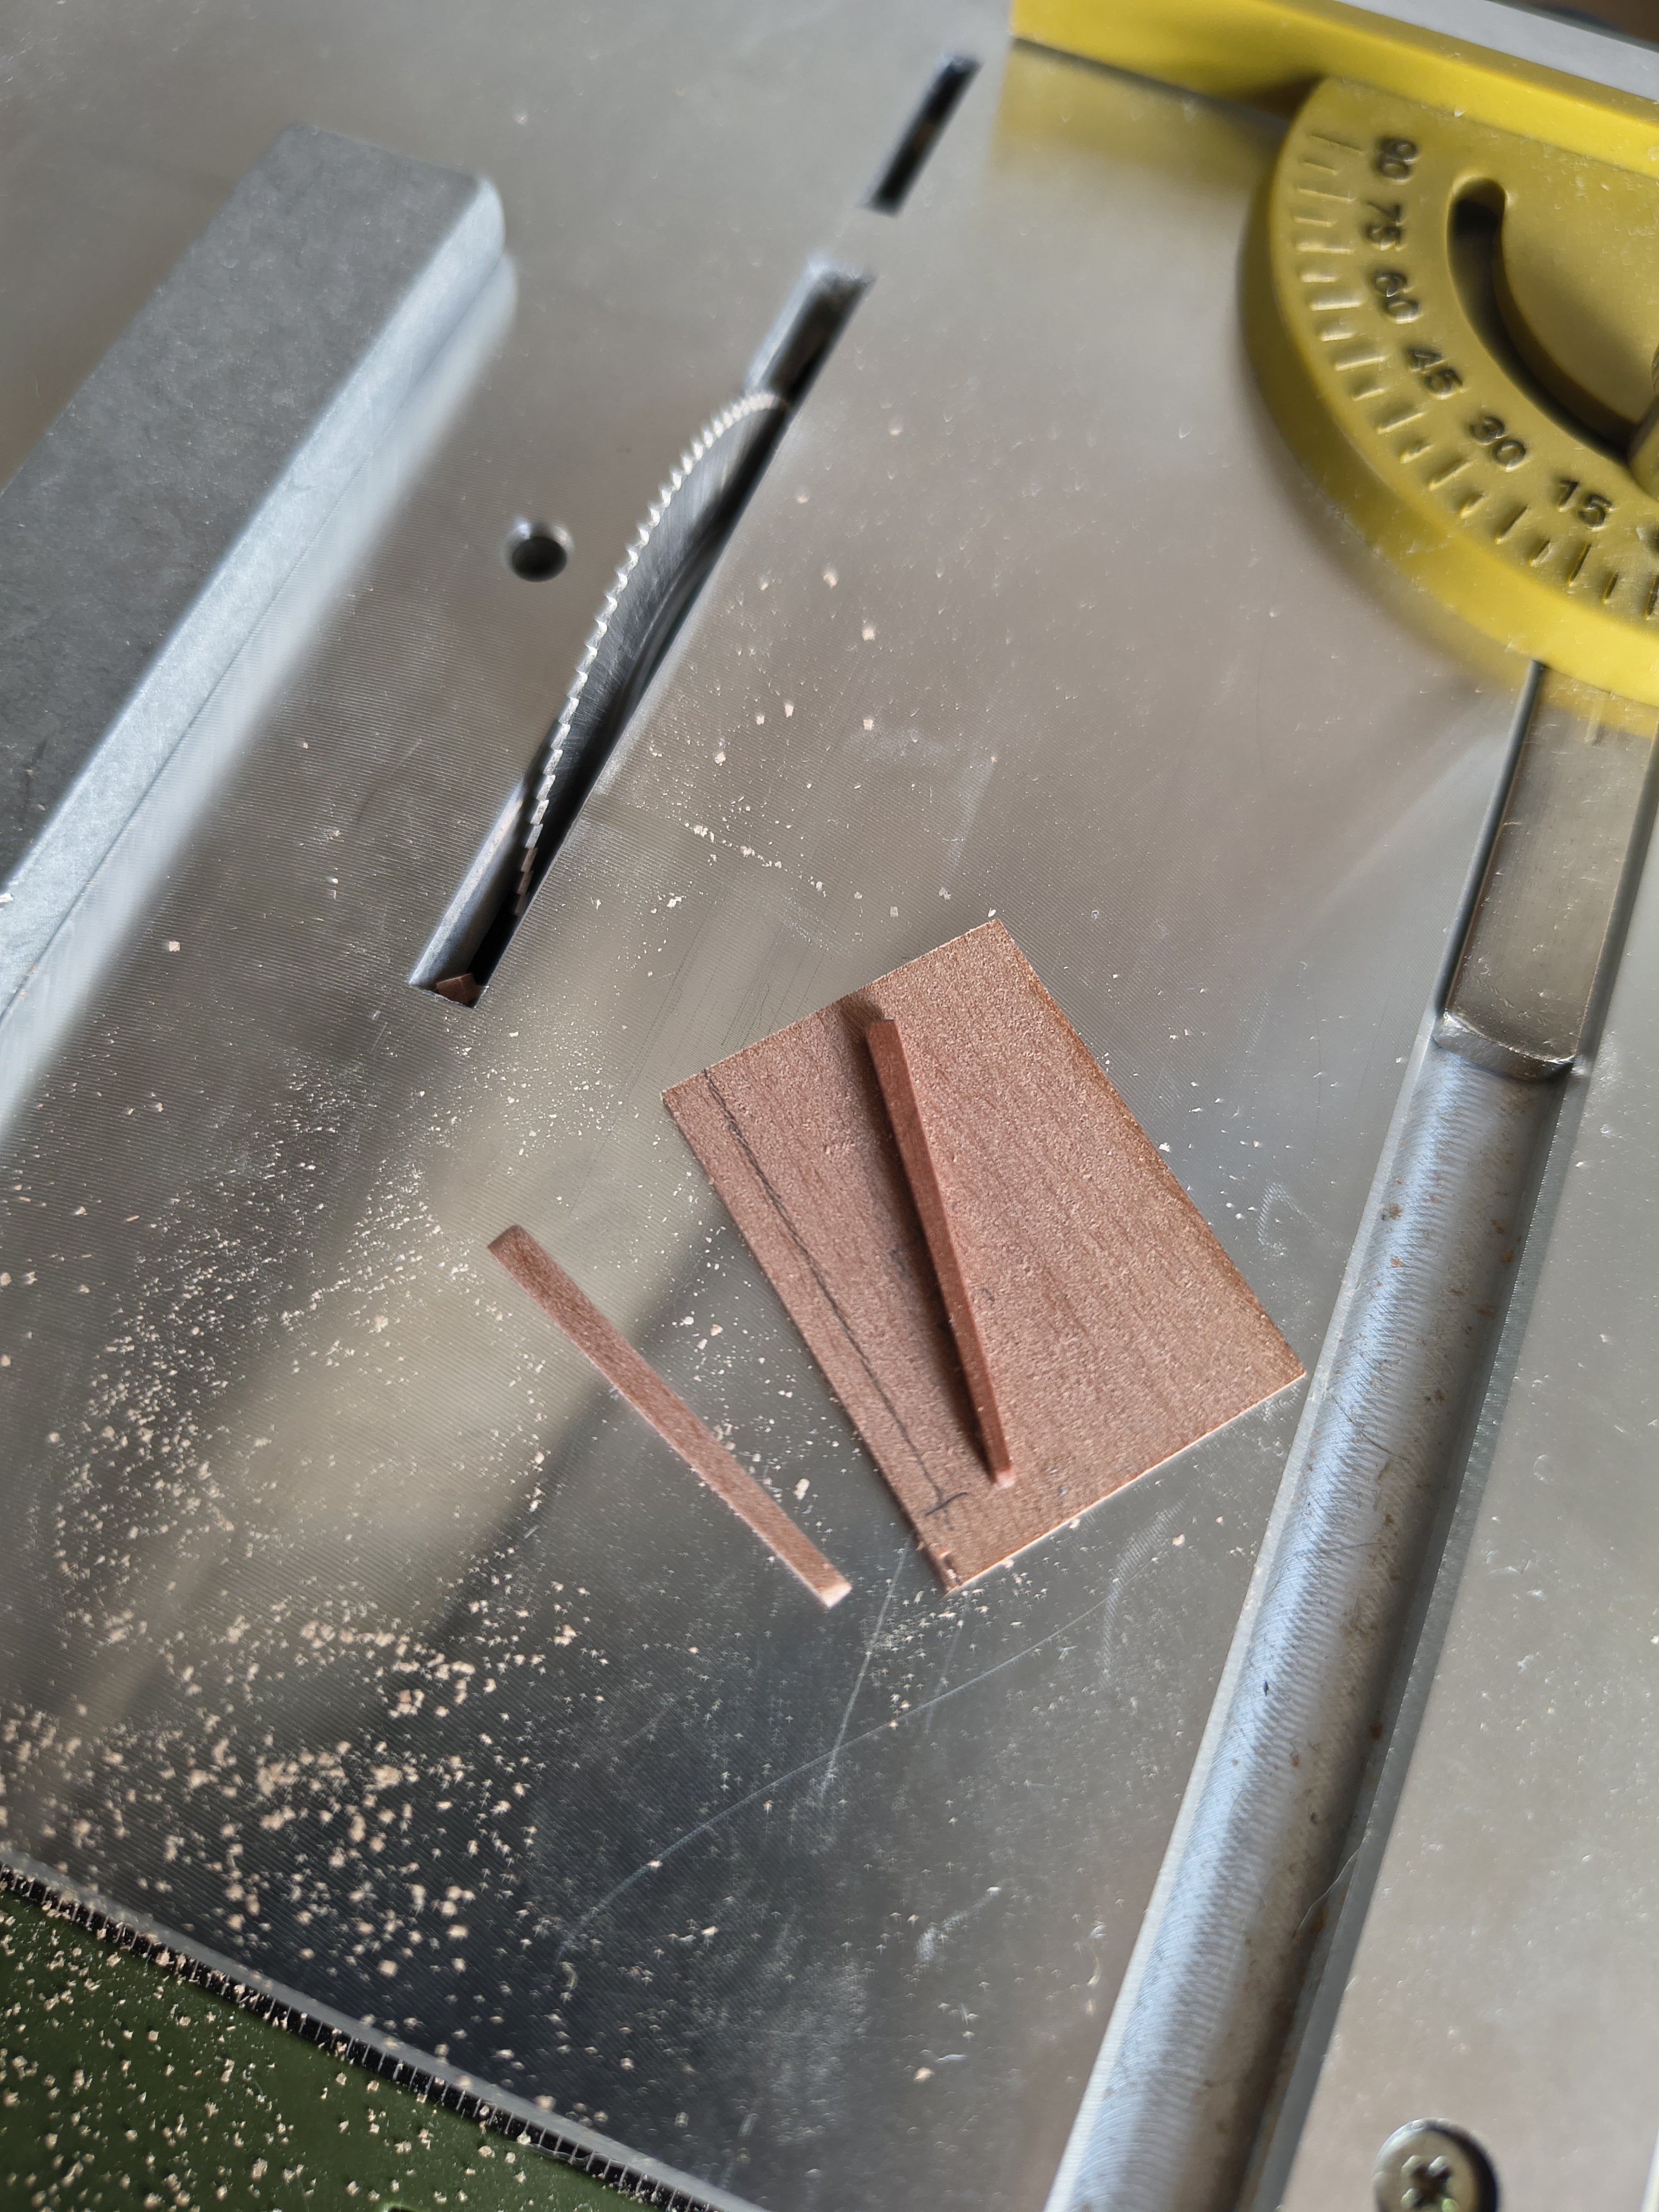
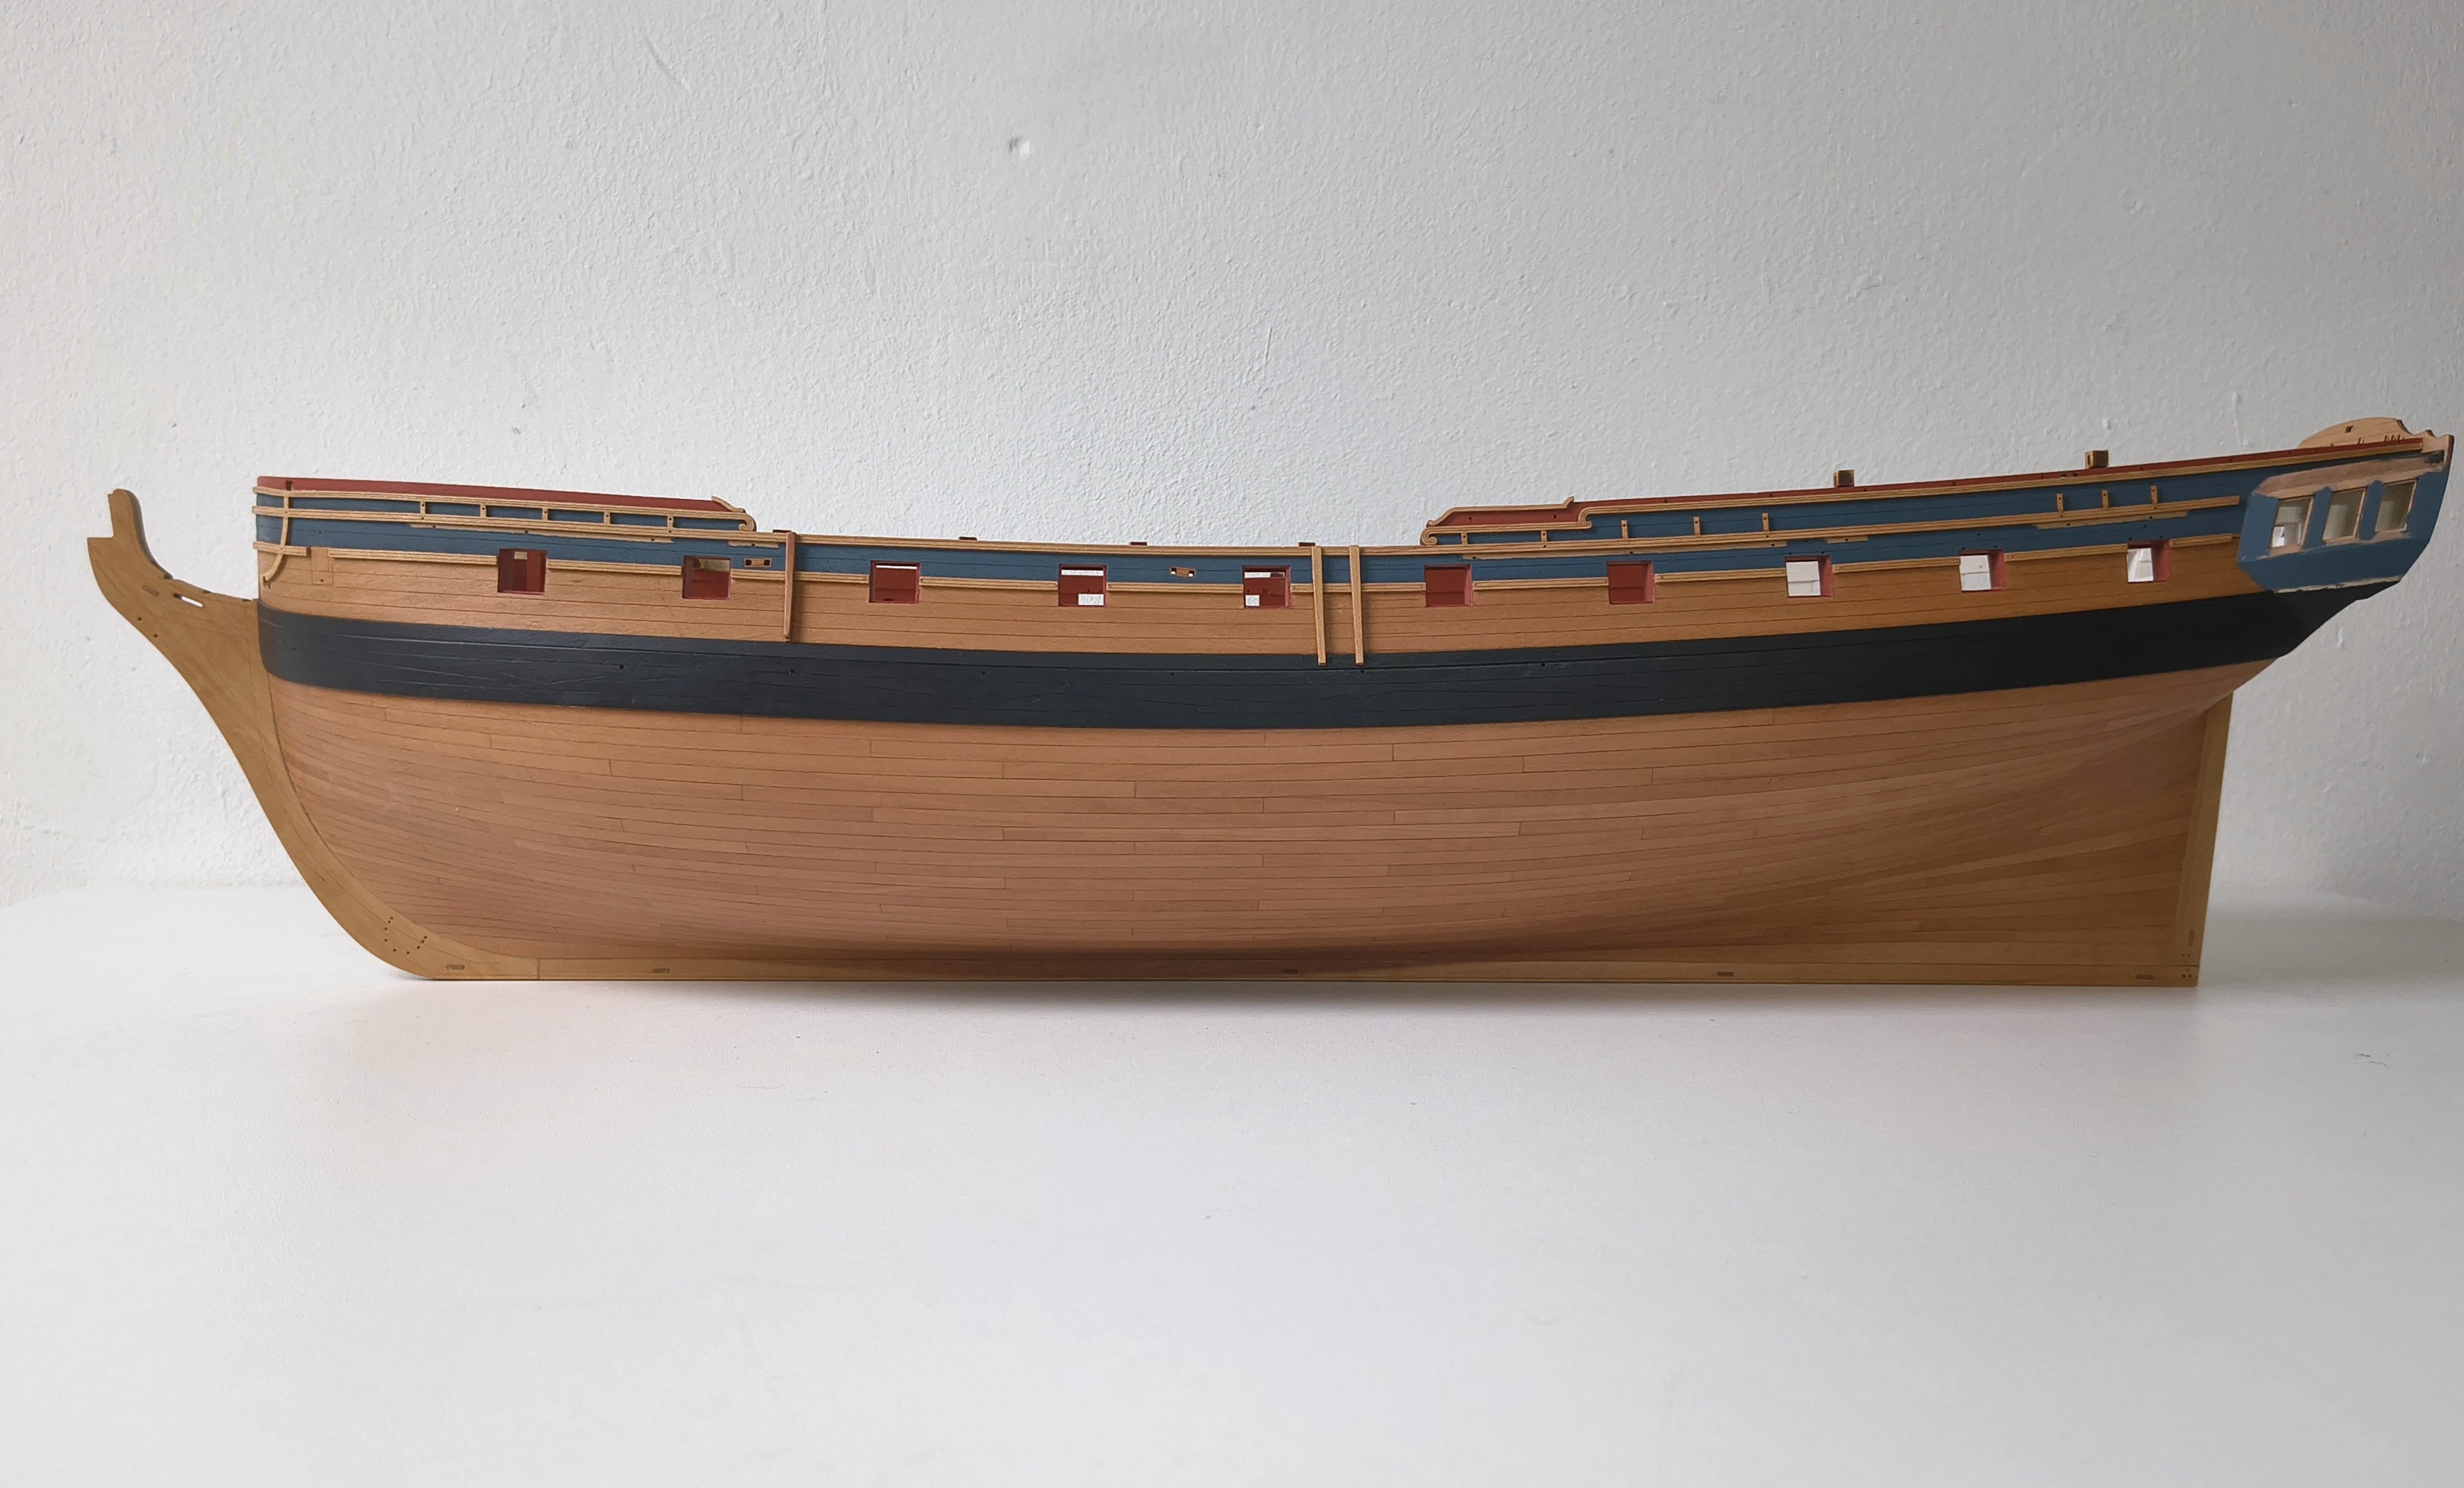
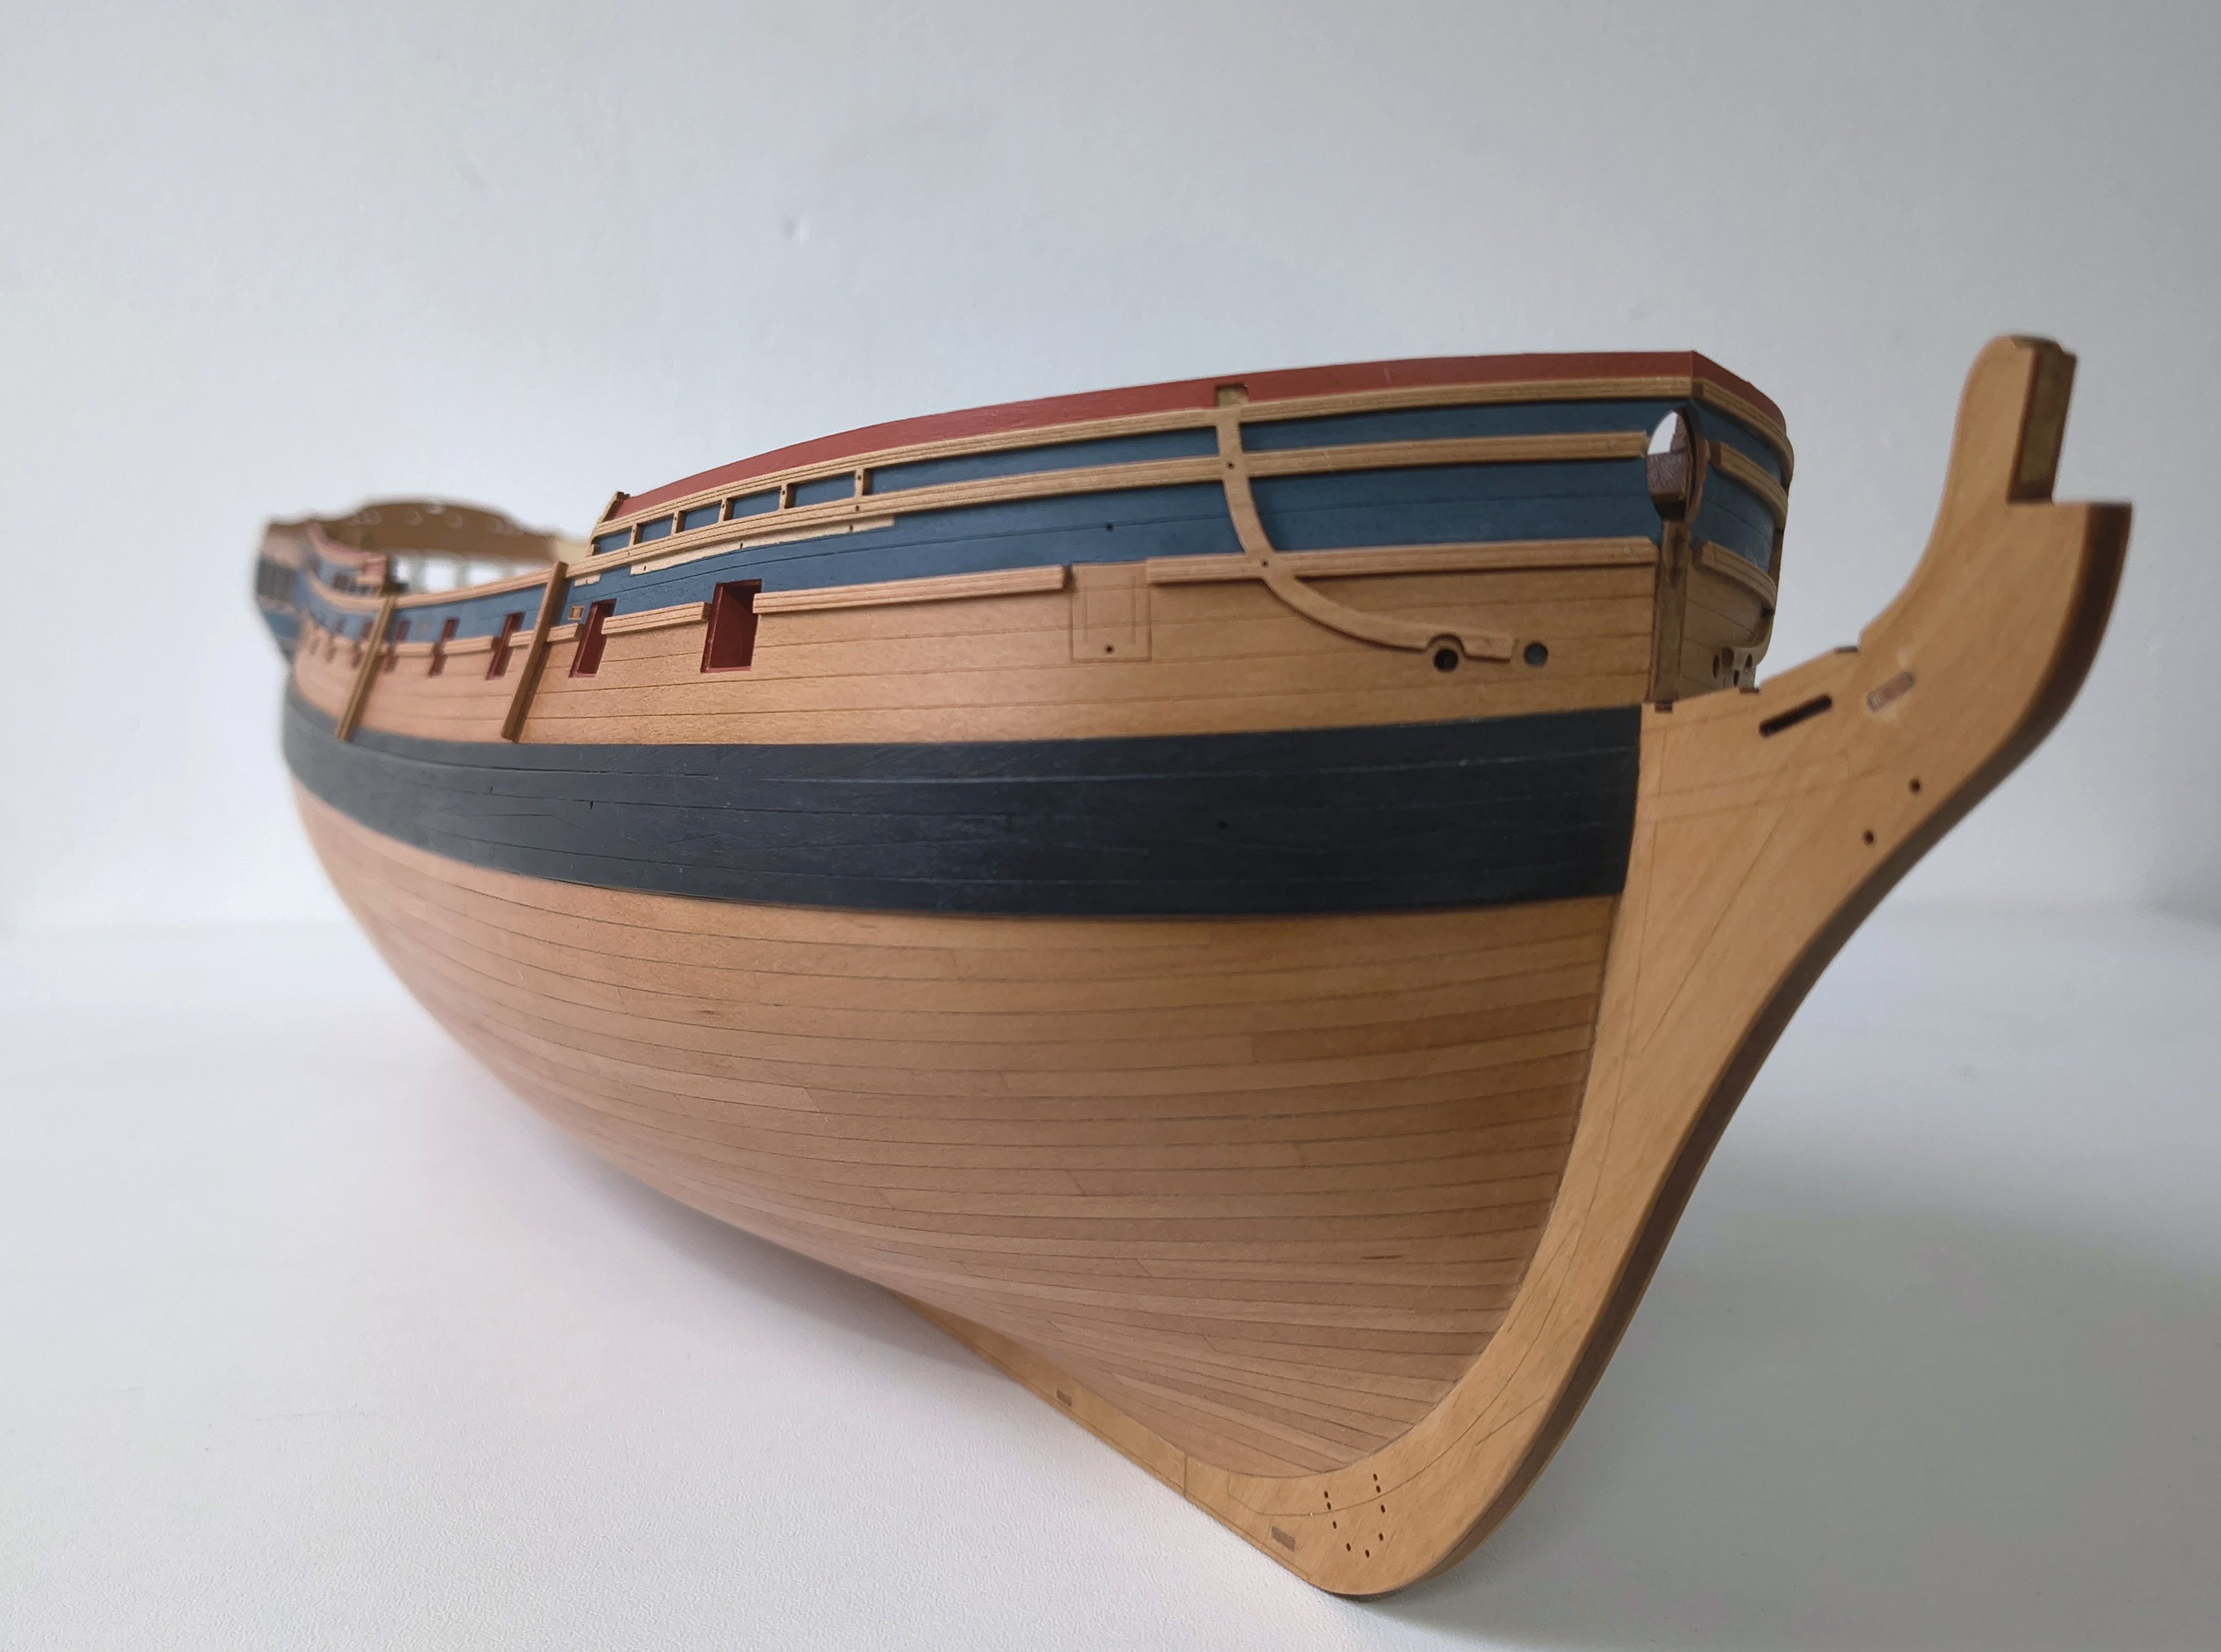
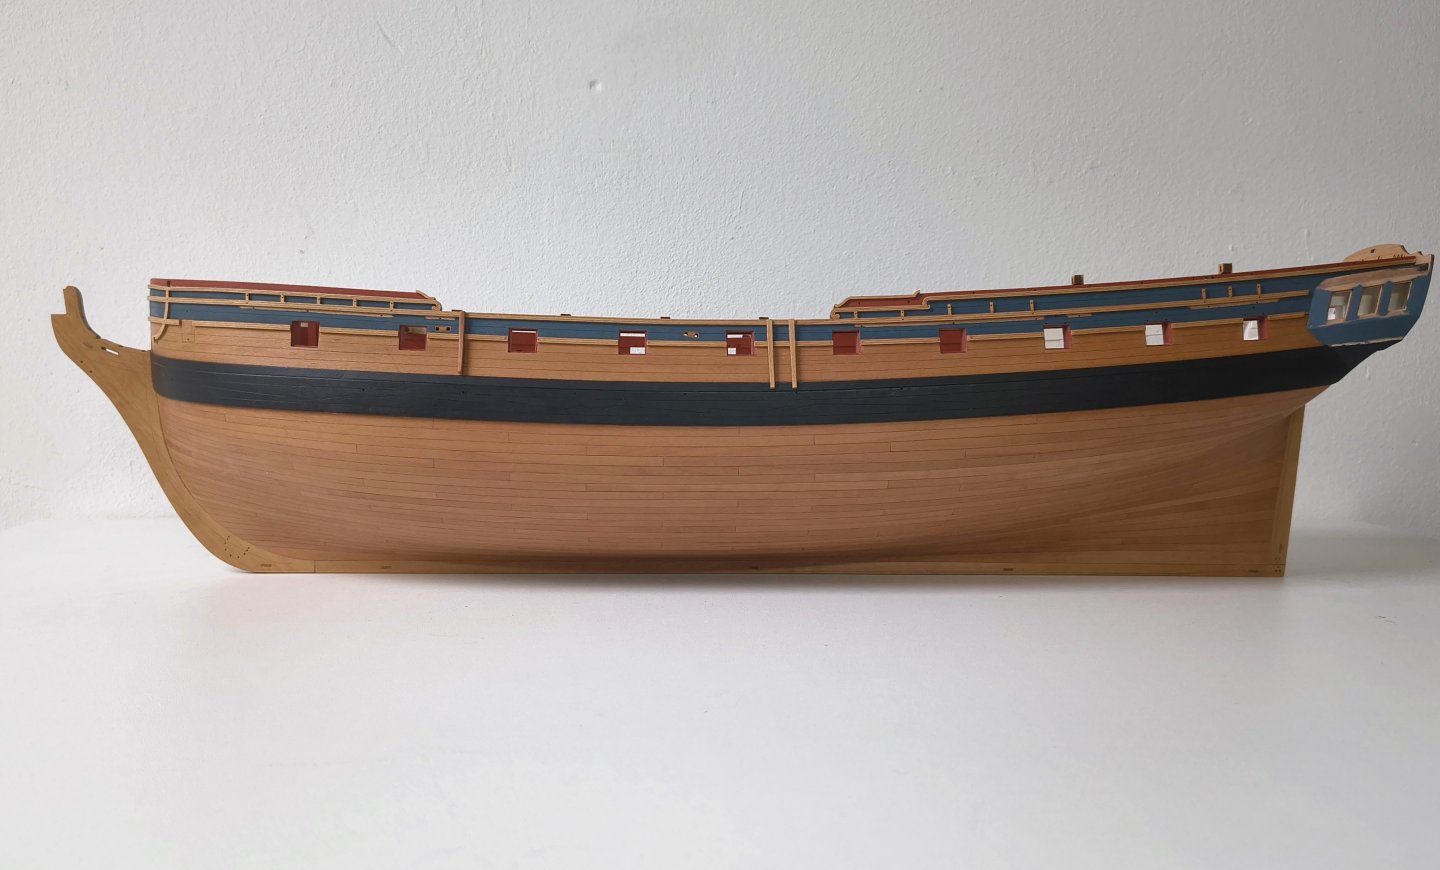
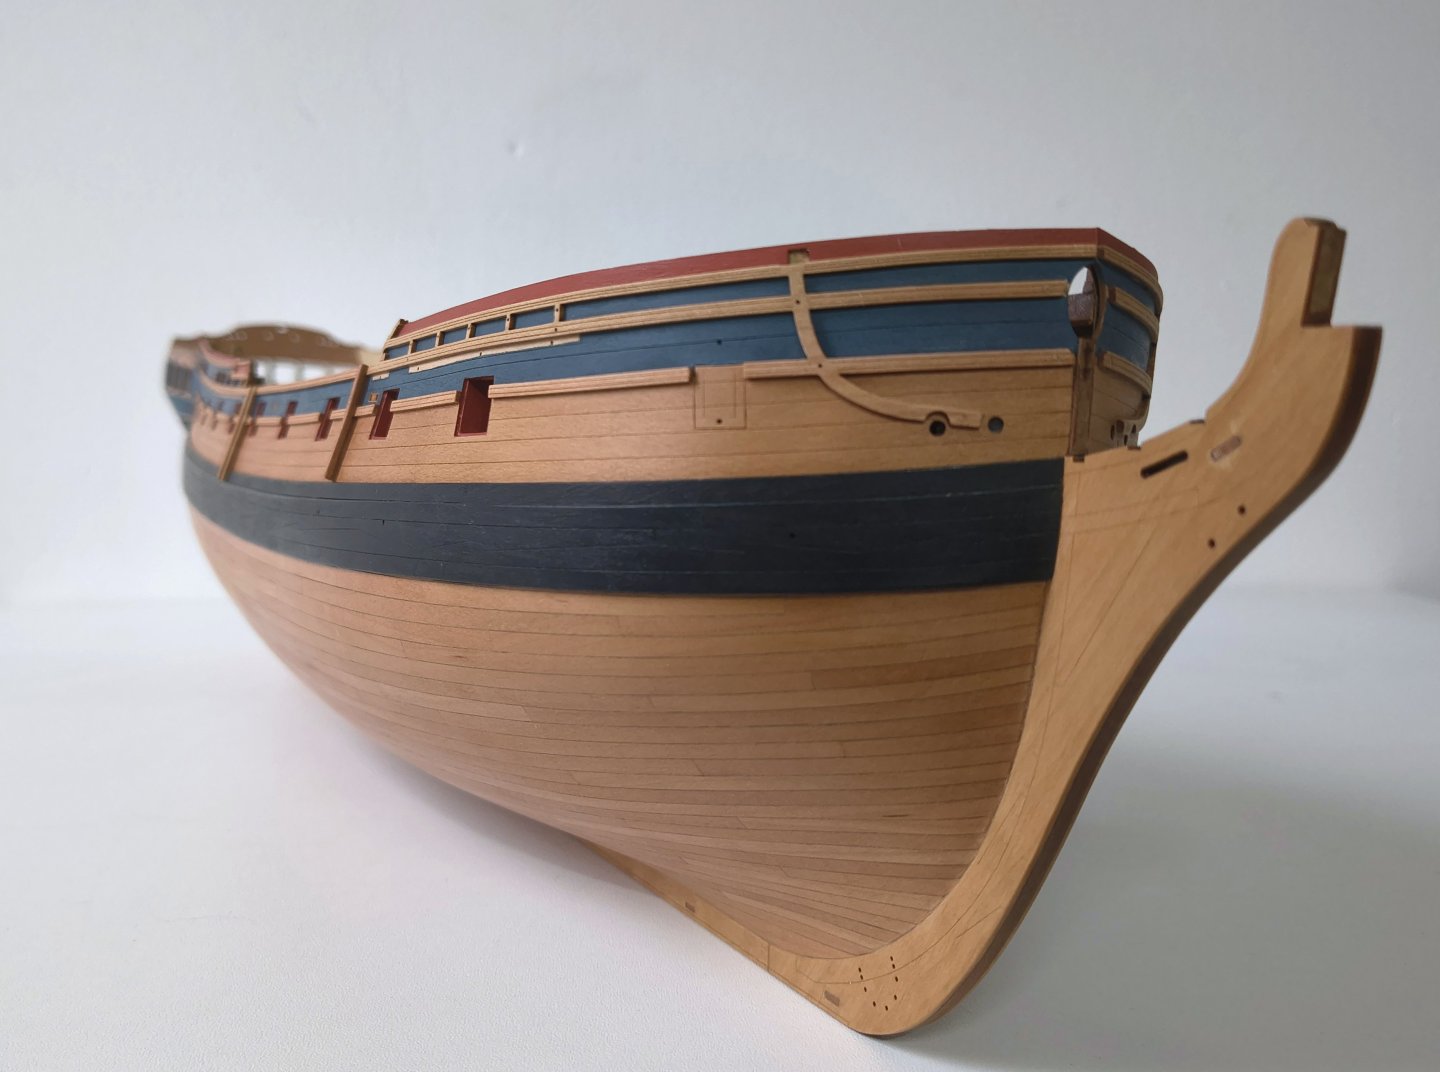
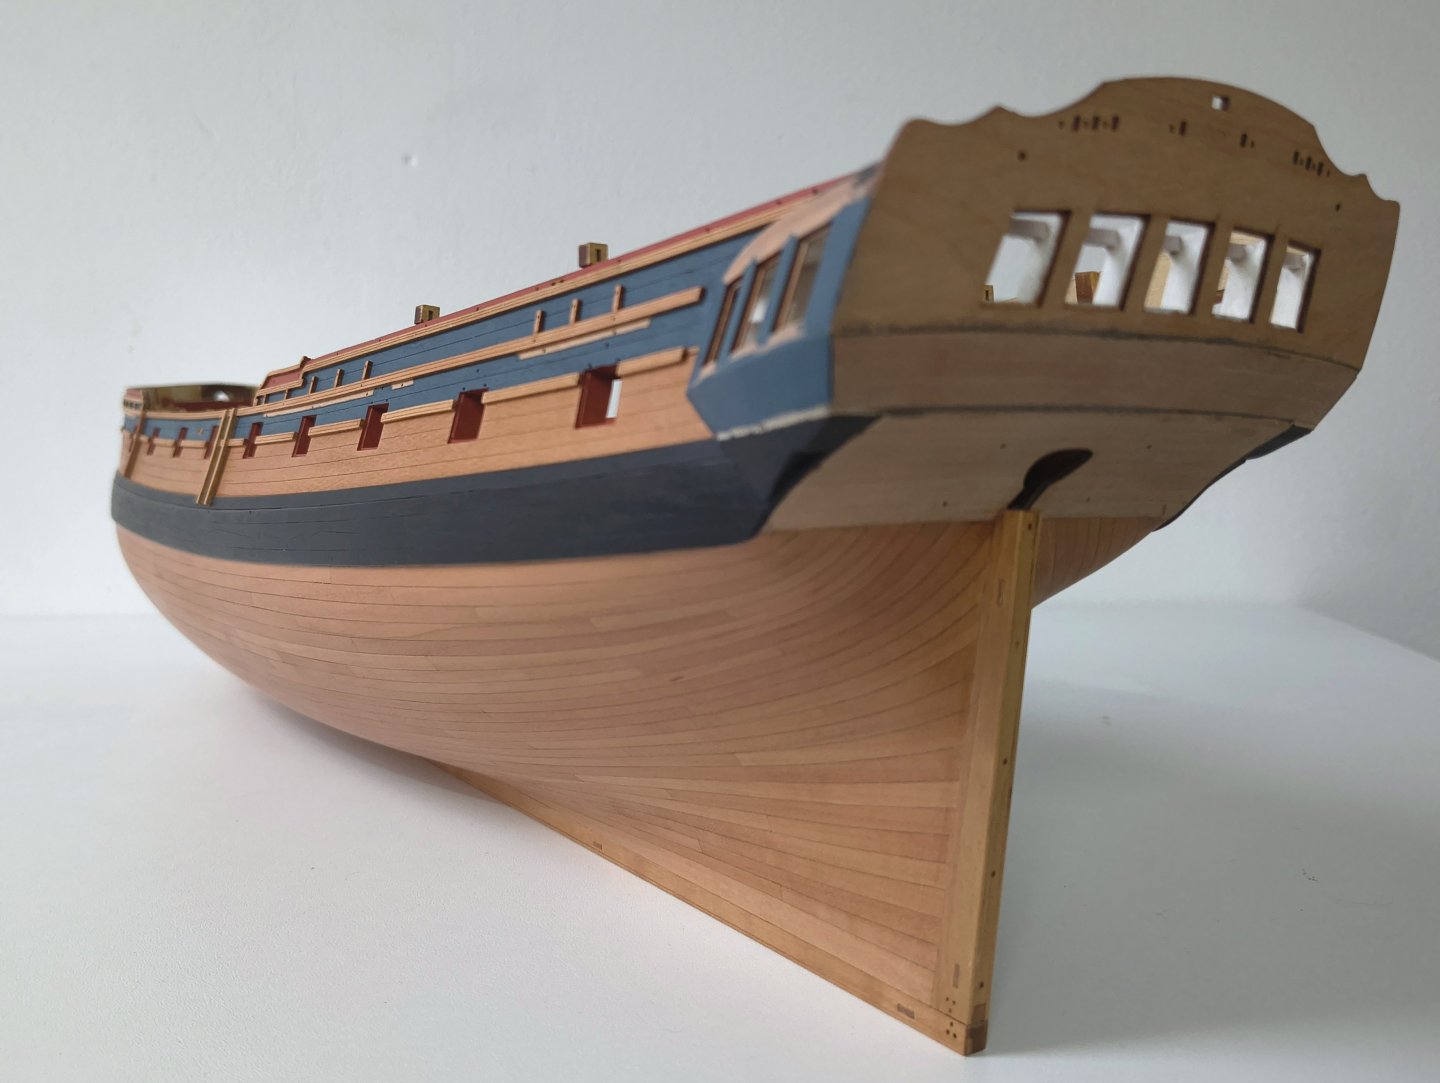
Update: Finally all rails attached and also the top of the hull given a few layers of WOP. Now that the top and bottom are finally in the oil it looks like a nice whole. Long awaited to put the top in the oil, so happy to reached this stage. Also filled all the holes that were in the rails, so that it looks nice and uniform. Next job seems to be the rudder I replaced the Chess tree patterns with my own, probably sanded the originals down a bit too much when removing the char. This made them a bit too narrow This is how the Sphinx looks now:


-
That looks beautiful so far!