


knotty74
-
Posts
91 -
Joined
-
Last visited
Content Type
Profiles
Forums
Gallery
Events
Posts posted by knotty74
-
-
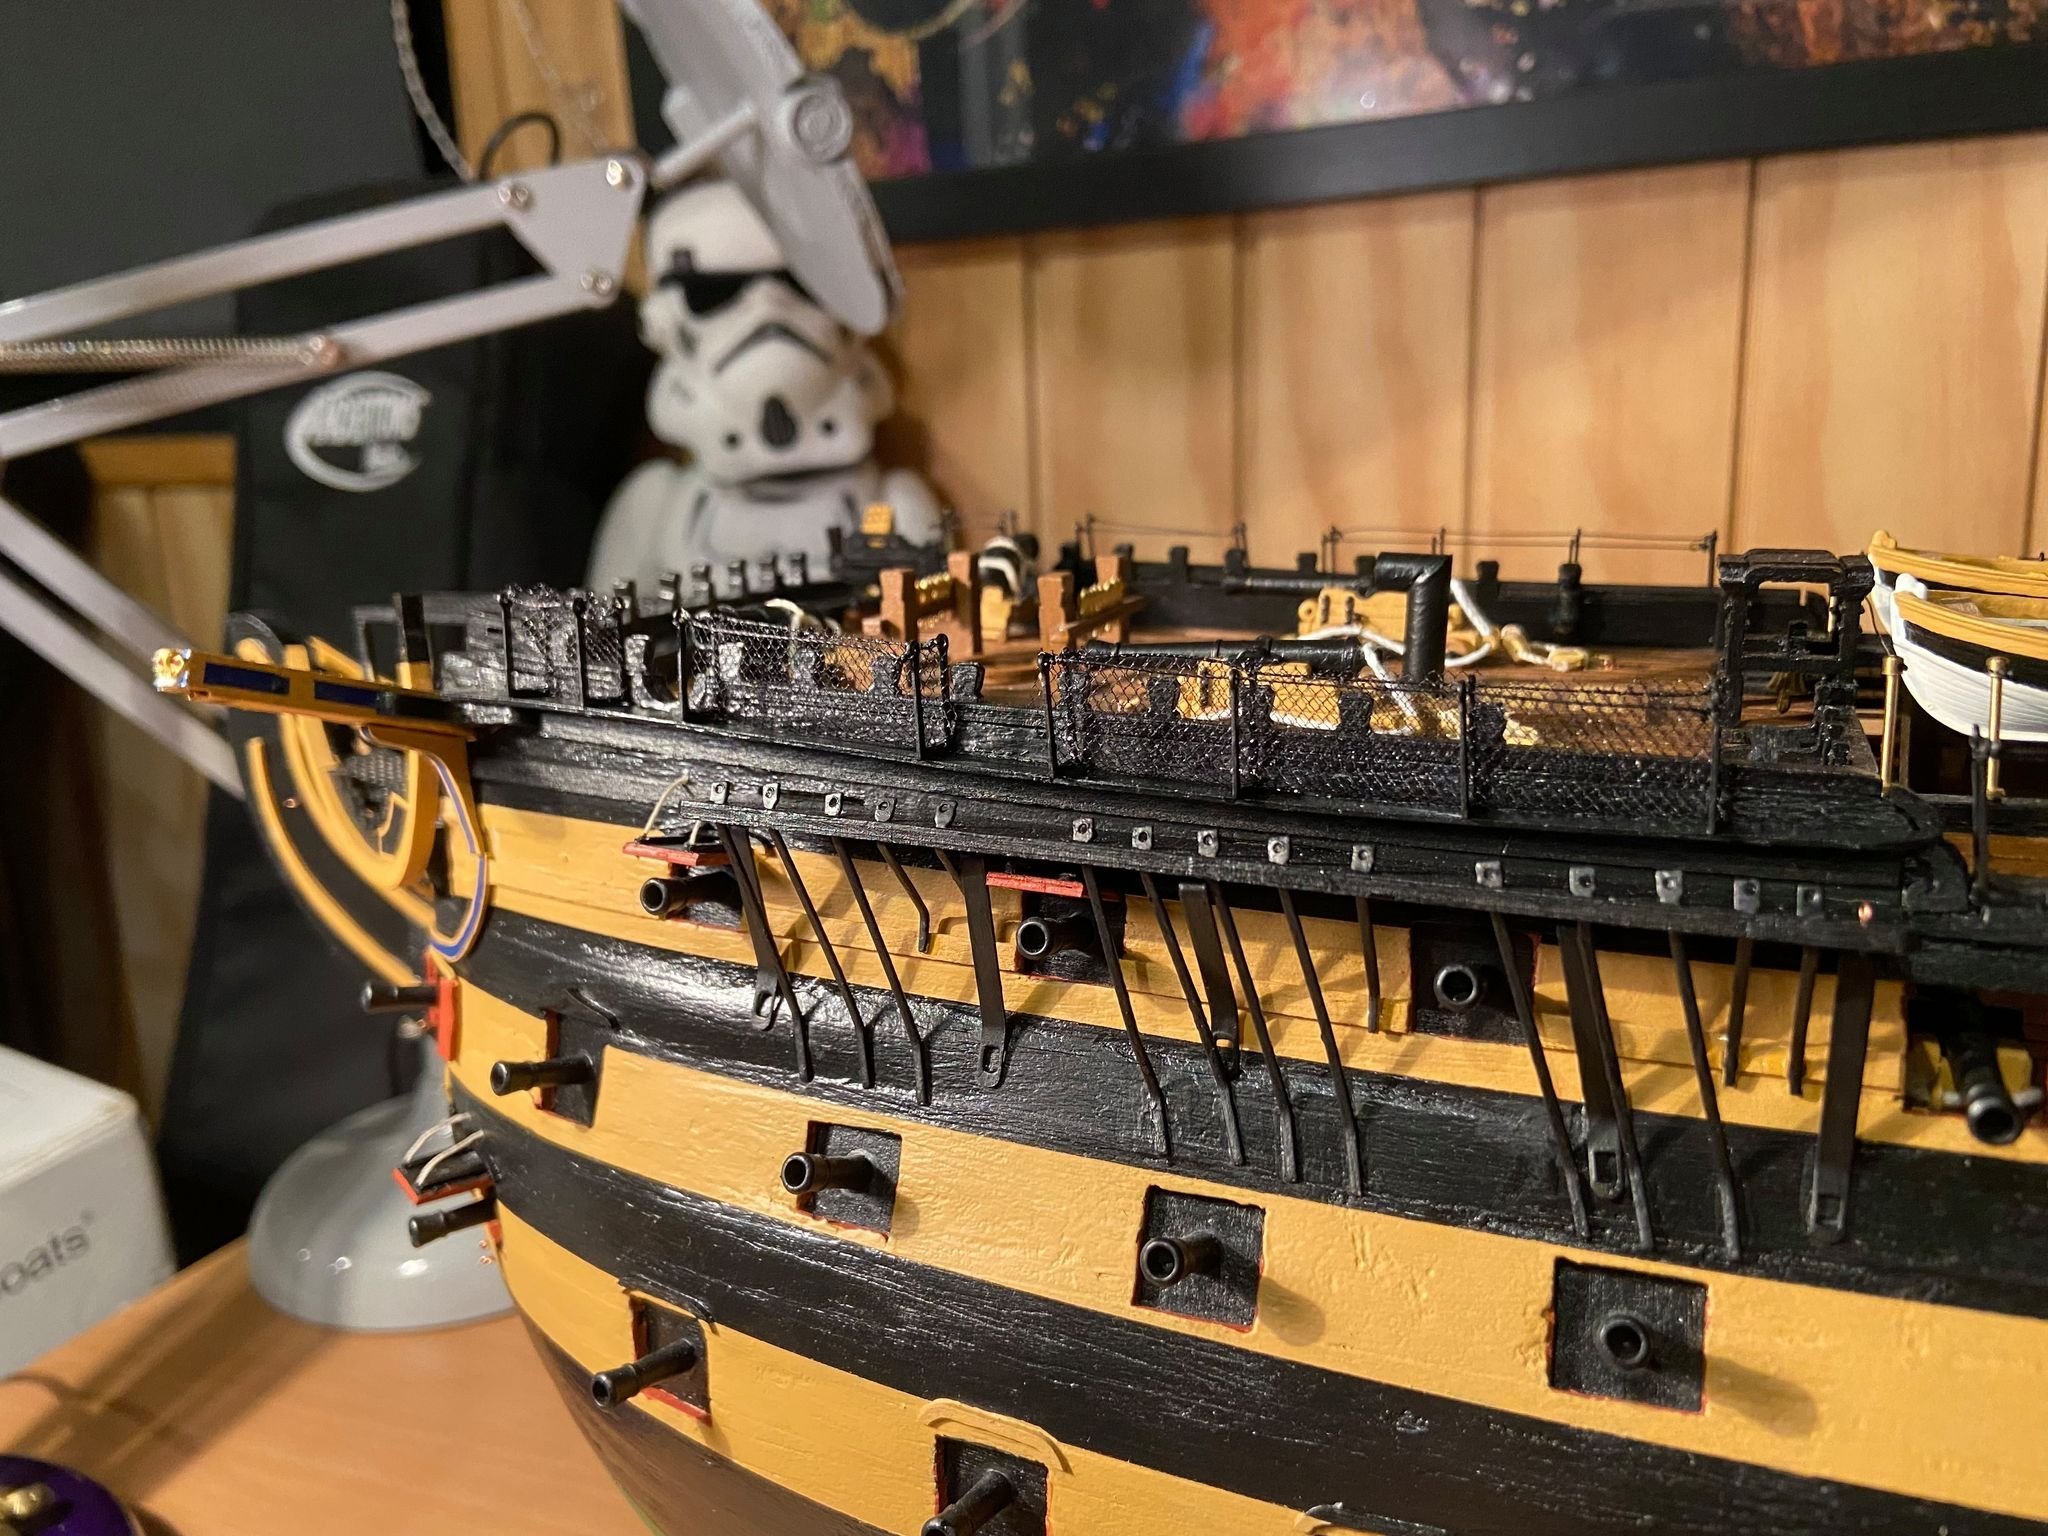
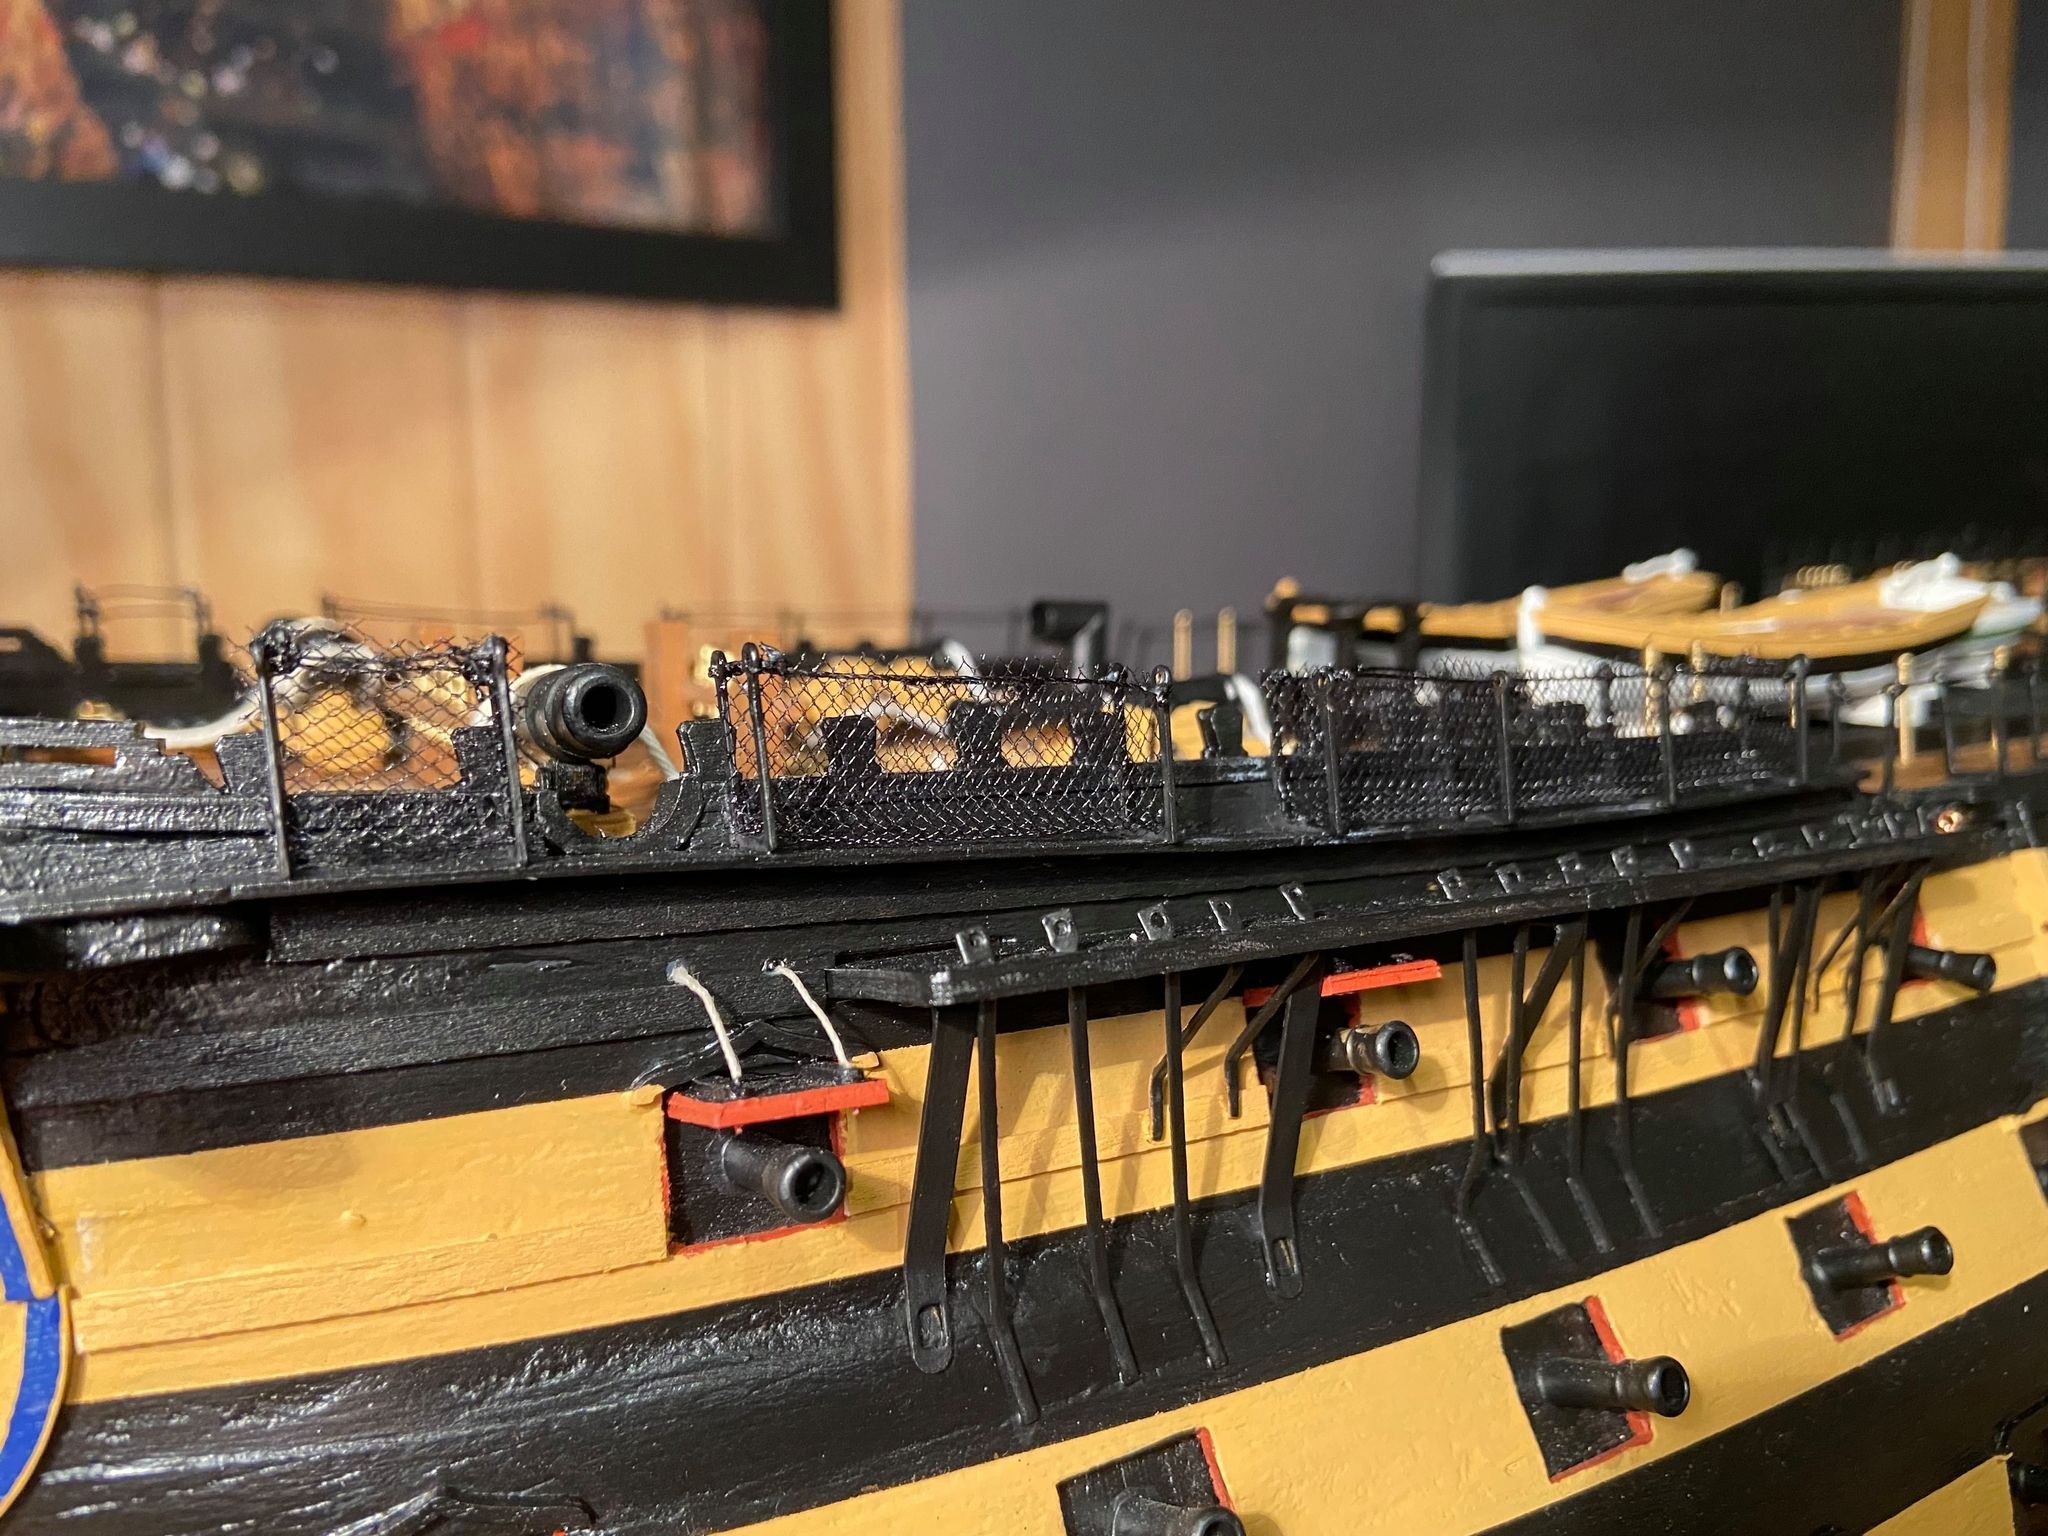
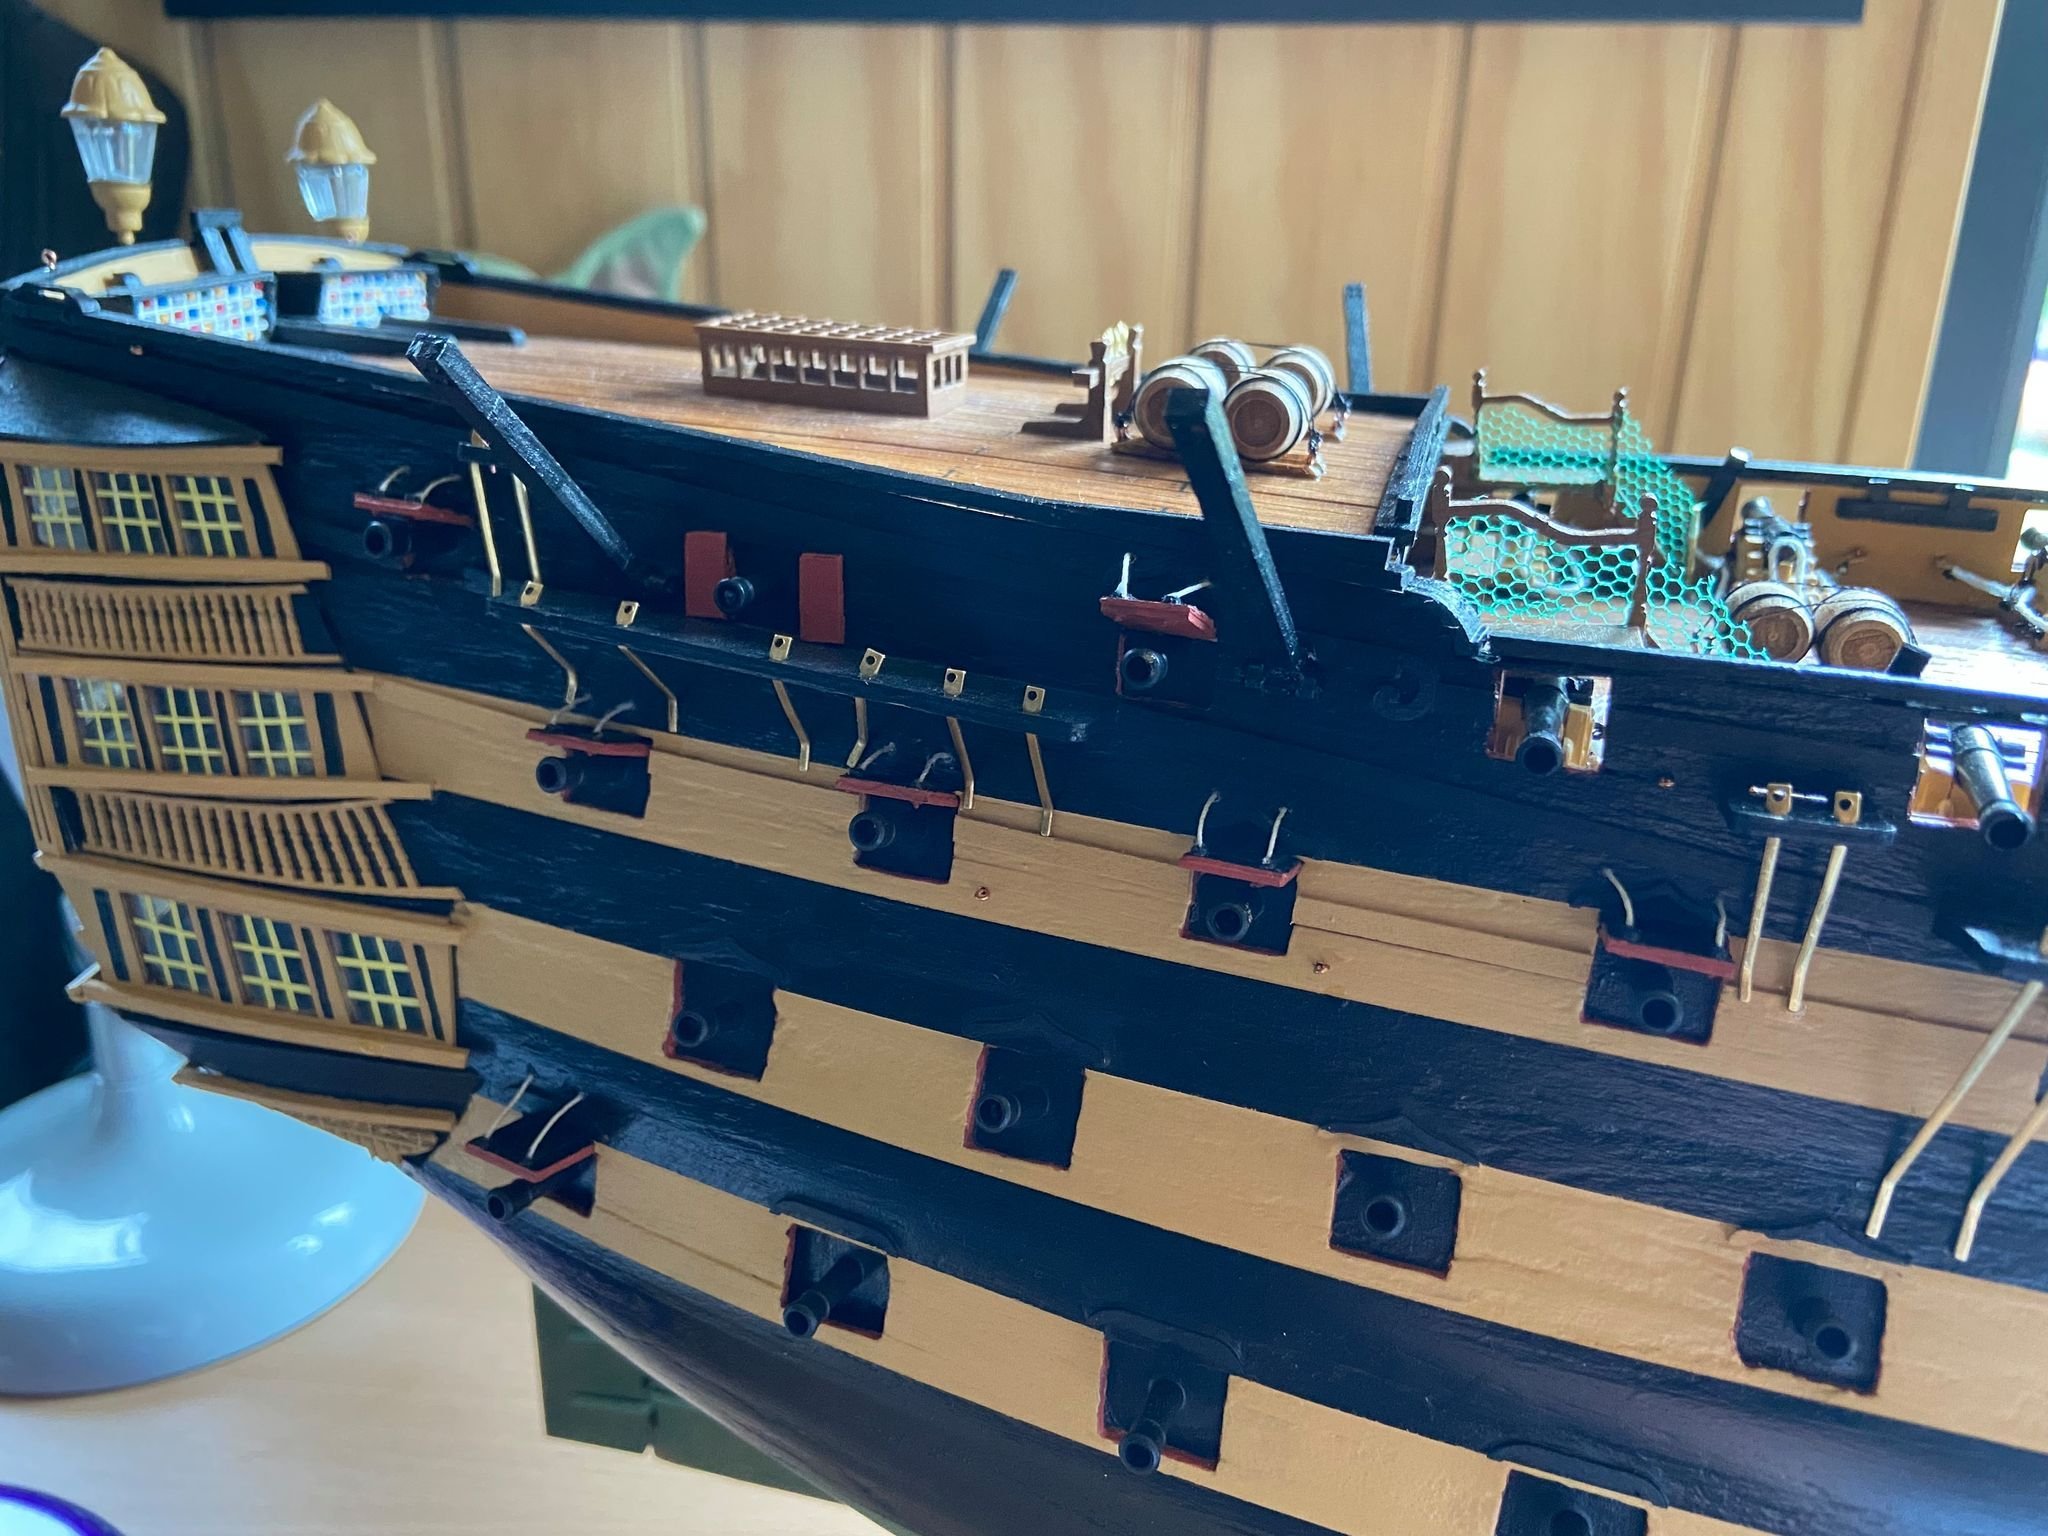
First attempt at adding some of the safety netting towards the bow section.


- clearway, gieb8688, GrandpaPhil and 2 others
-
 5
5
-
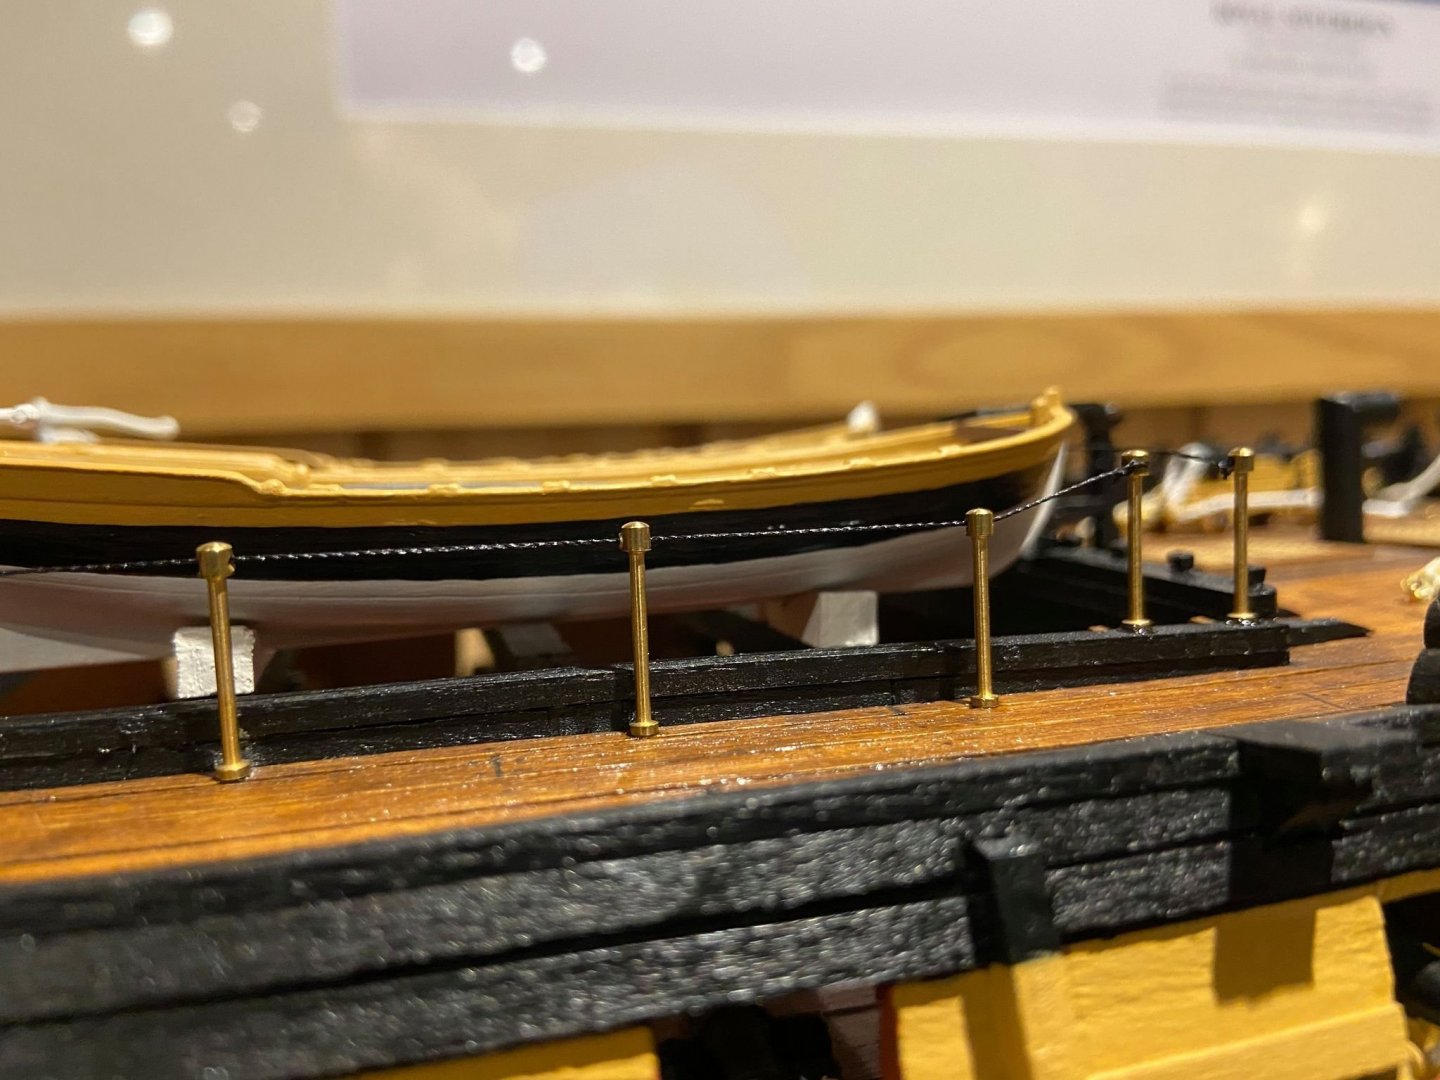
Railings added once the hammock stays were painted black.

-
-
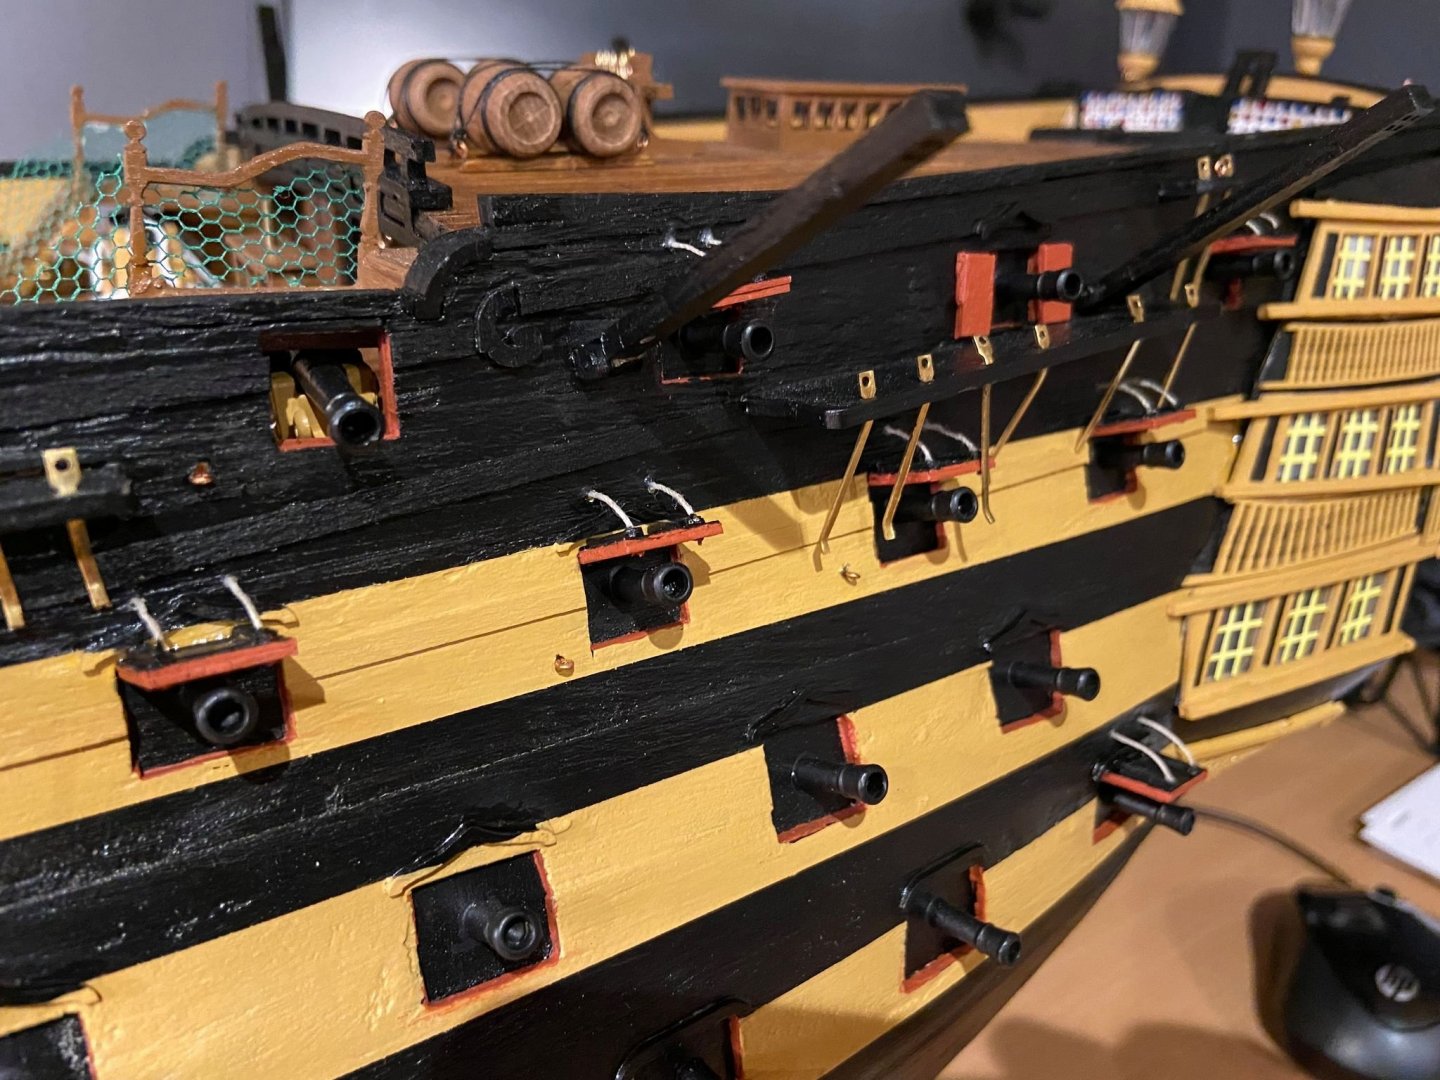
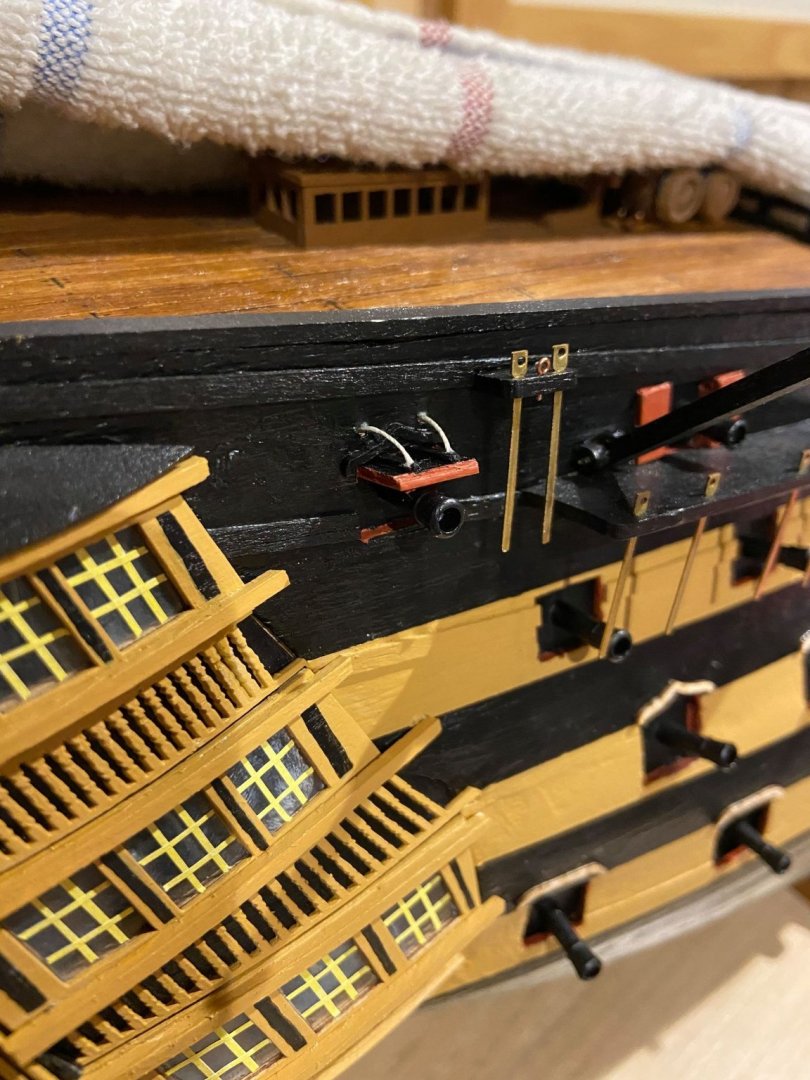
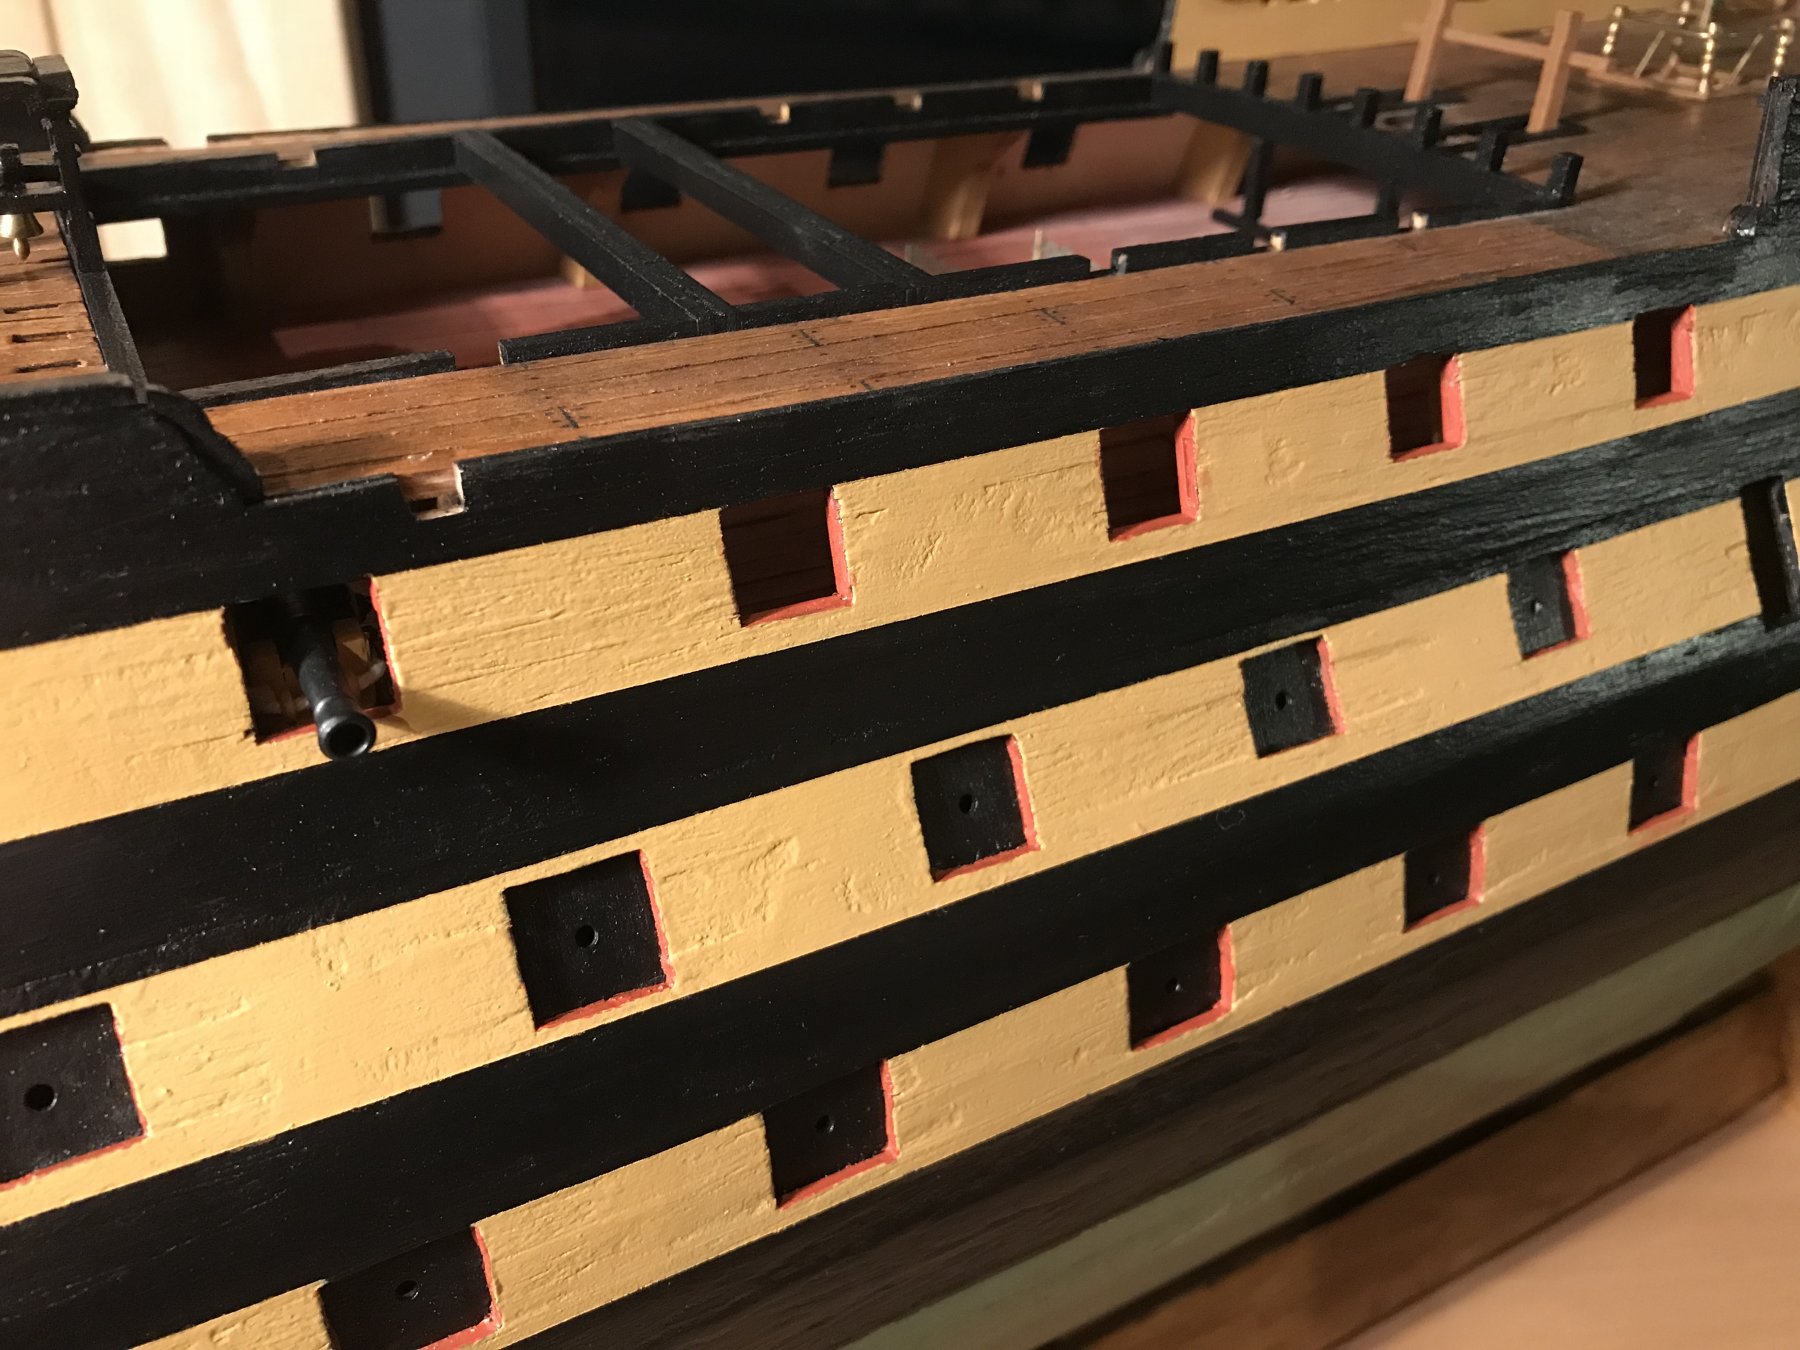
Done some gun ports recently. The kit only shows the lid itself and I wanted to additionally recreate the ropes that hold the lid open. Chose (after some trials) a 0.5mm hemp thread that gives a reasonable look I think.


-
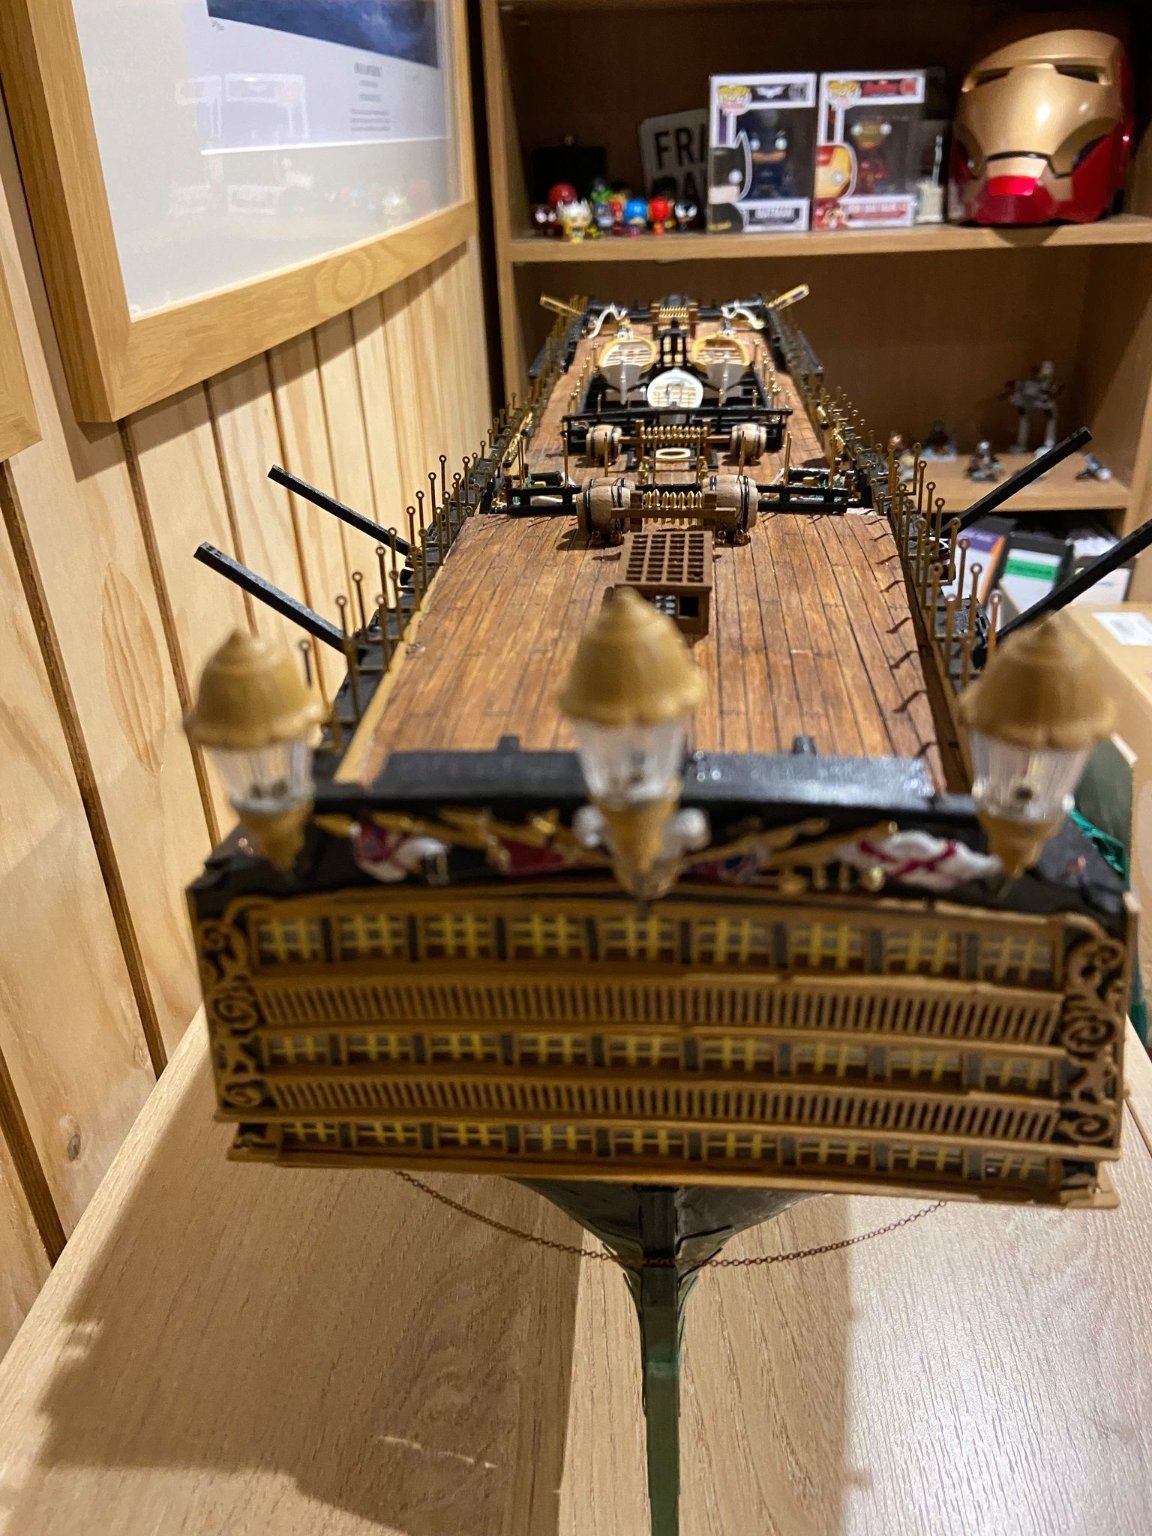
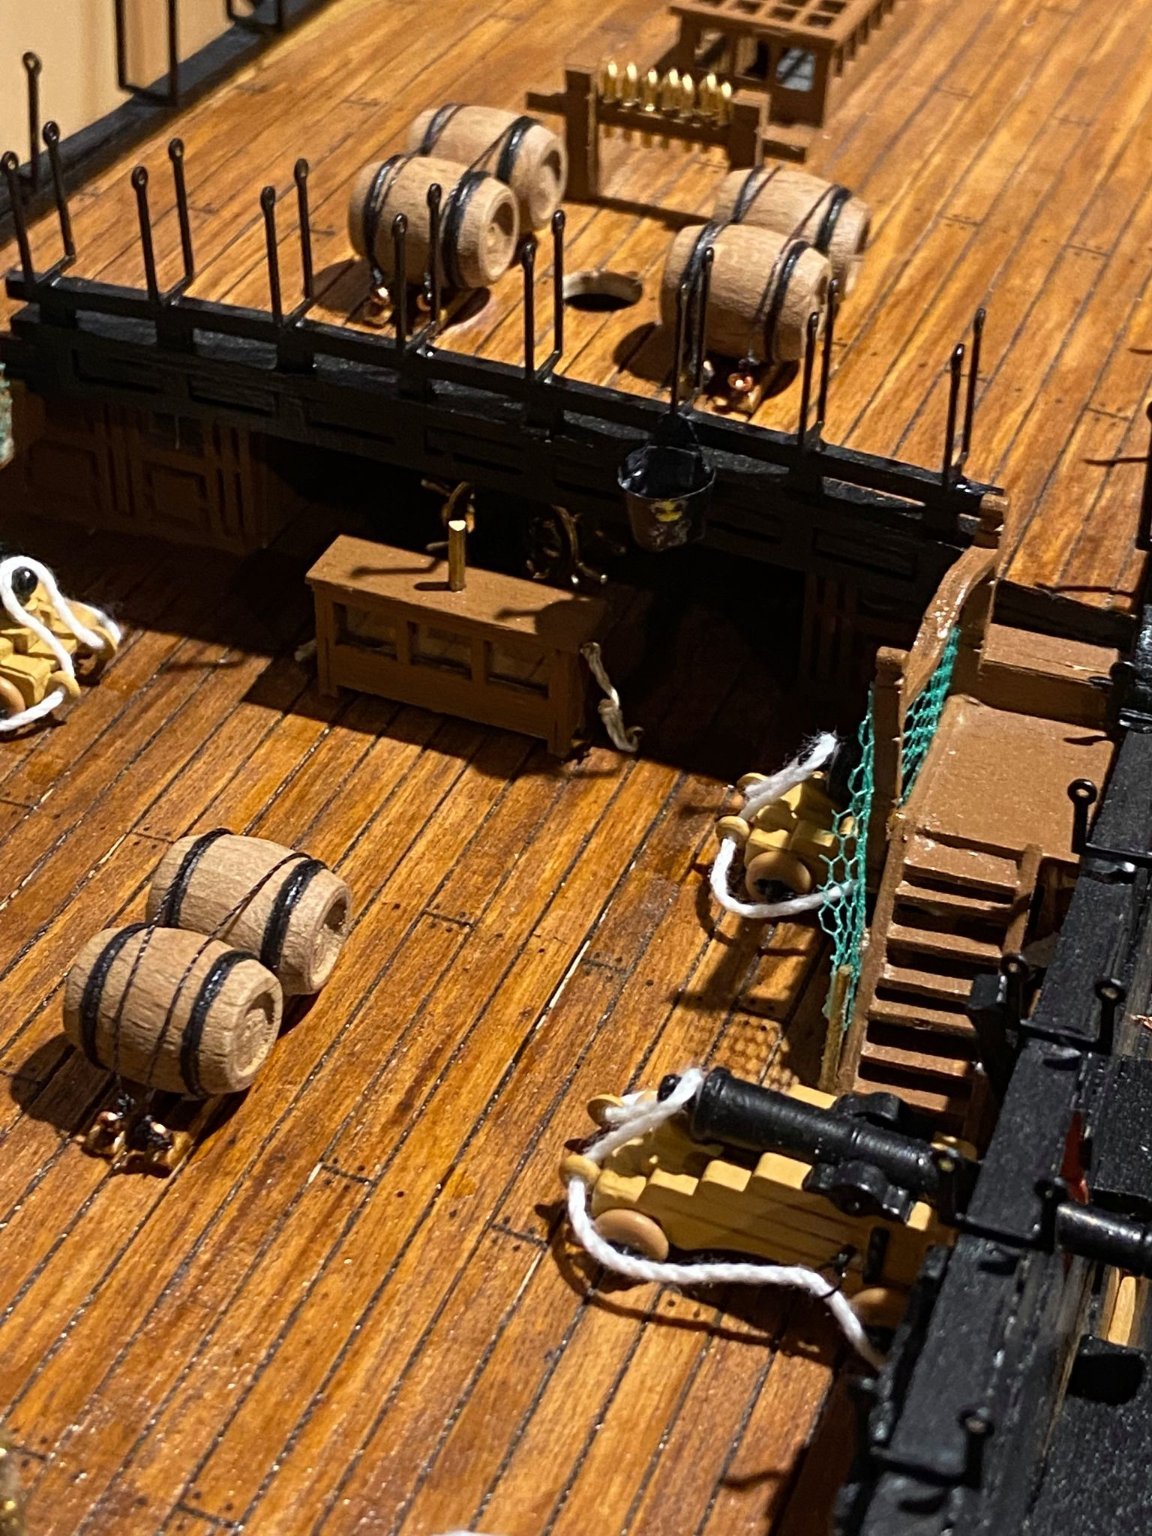
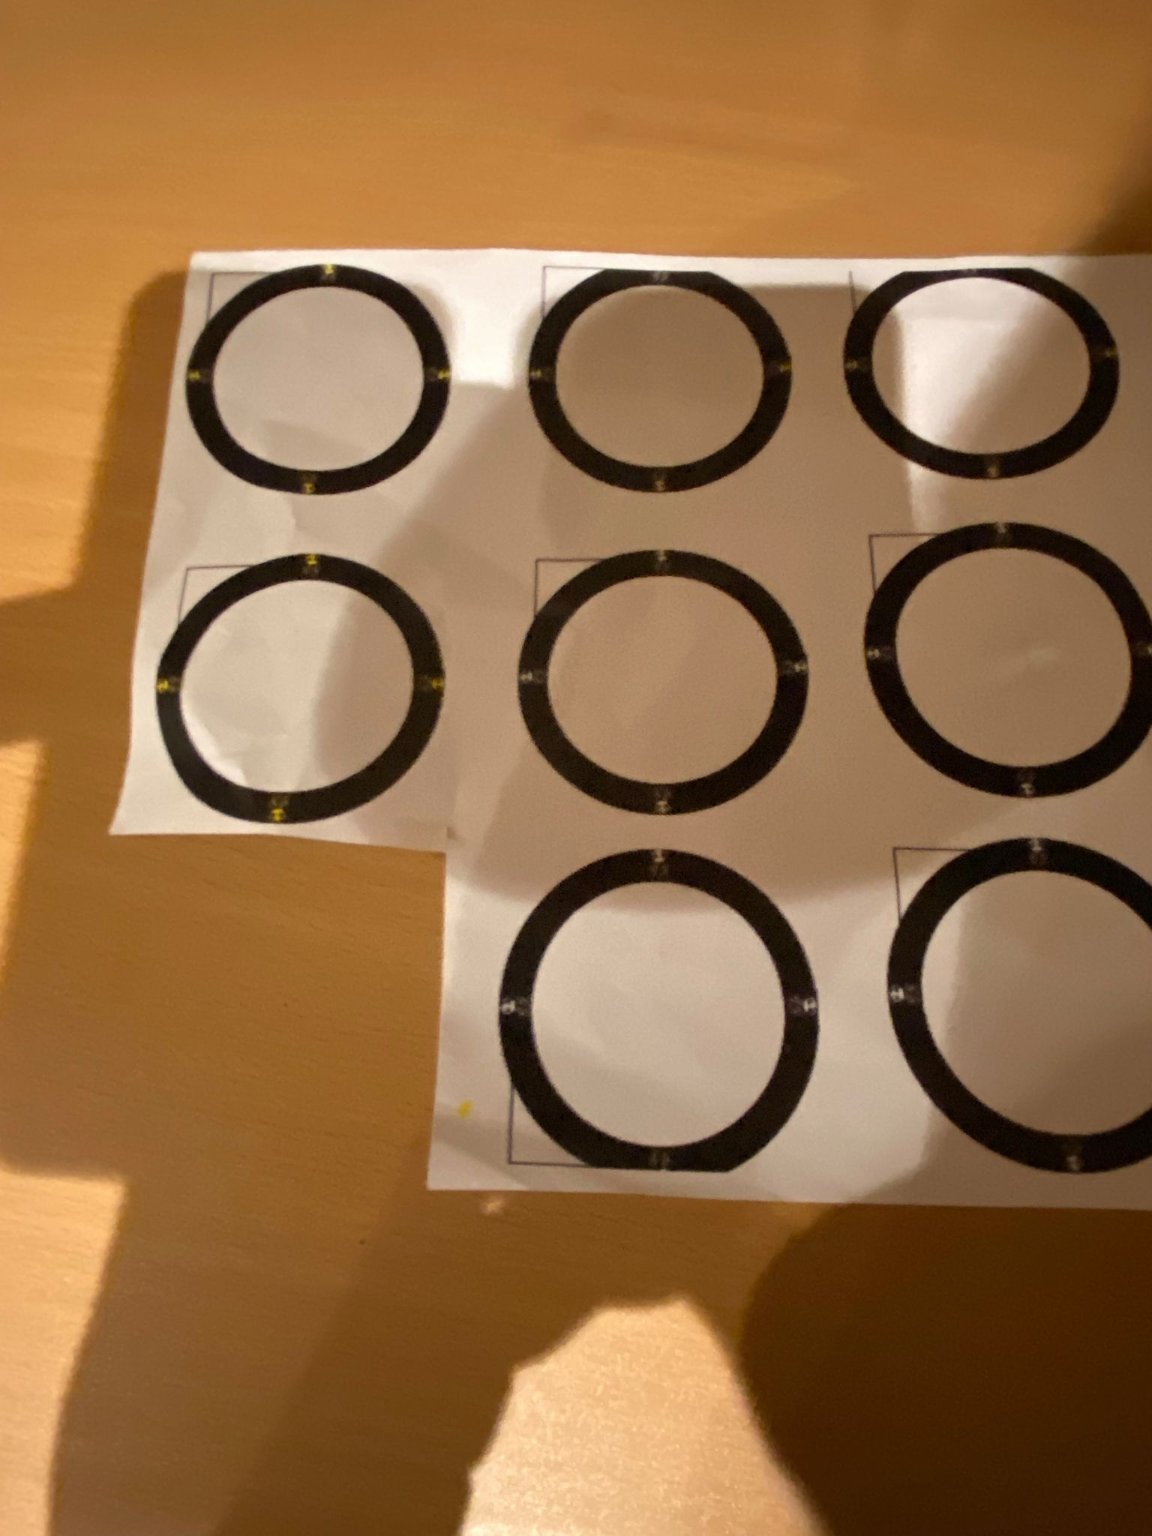
Back to it. Wanted to build some representation of the firebuckets to hang behind the binnacle (now in situ). Used circles to give 4 buckets, printed with the crown emblem on. Look slightly too big but they'll do, given nothing came with the kit.


-
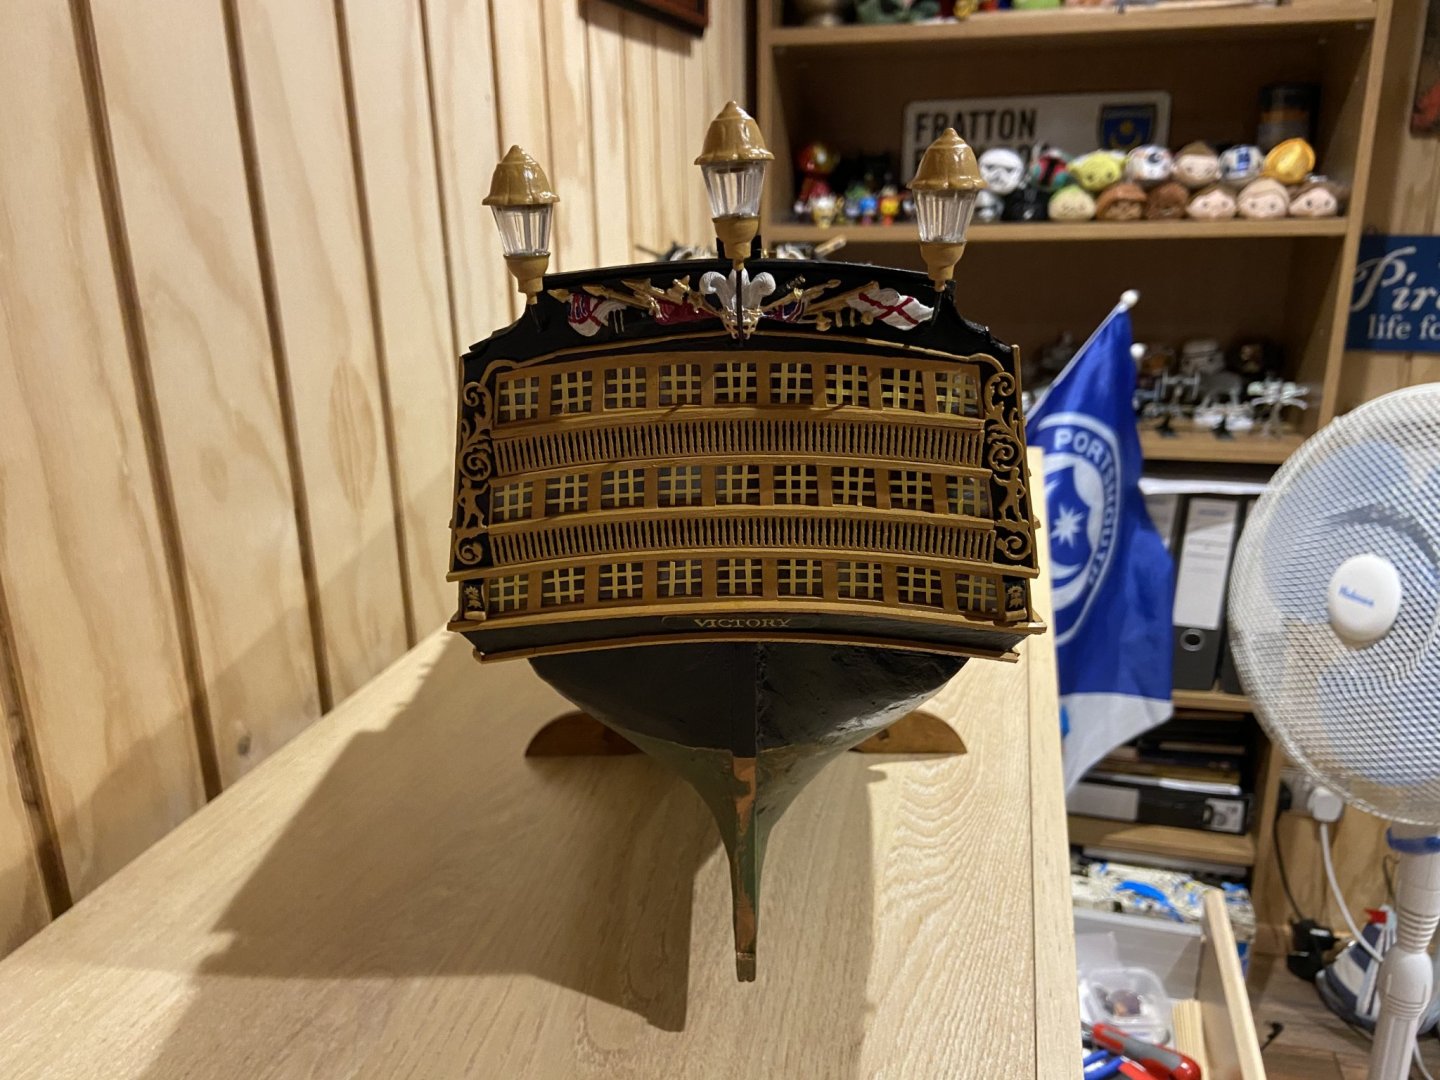
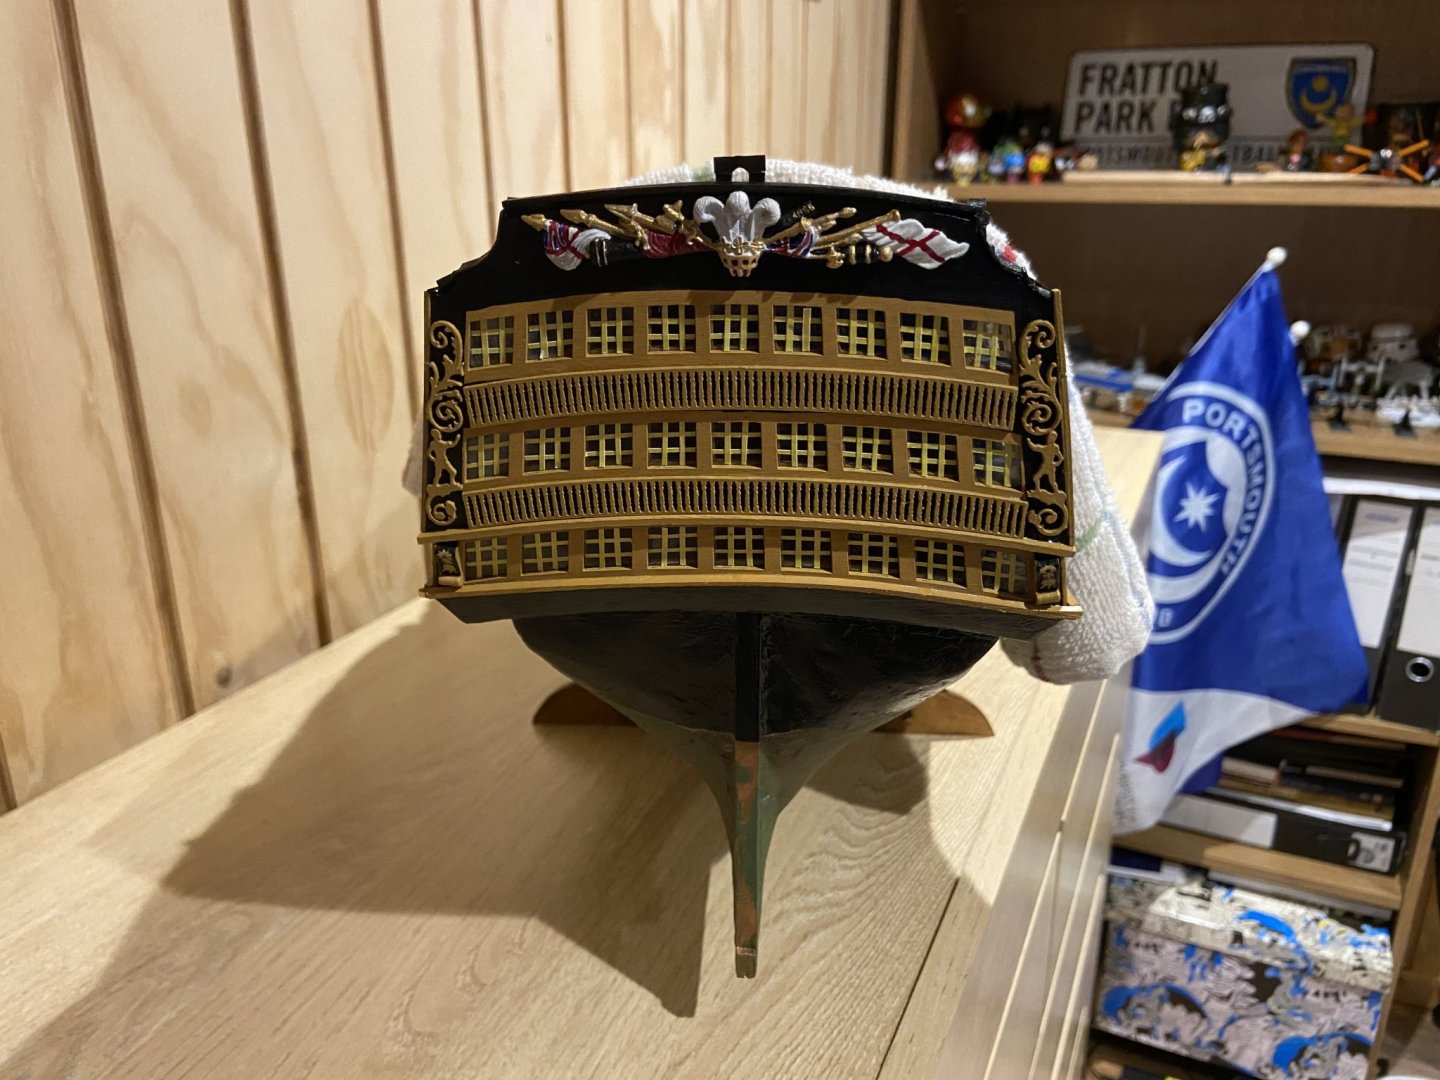
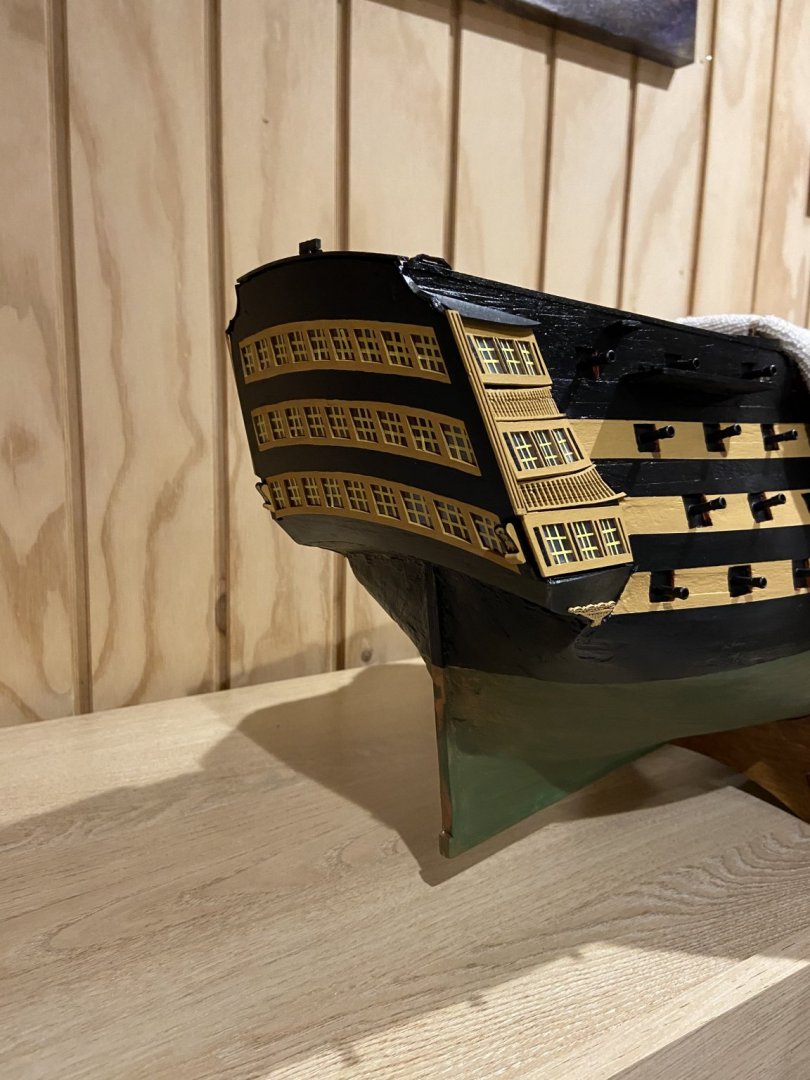
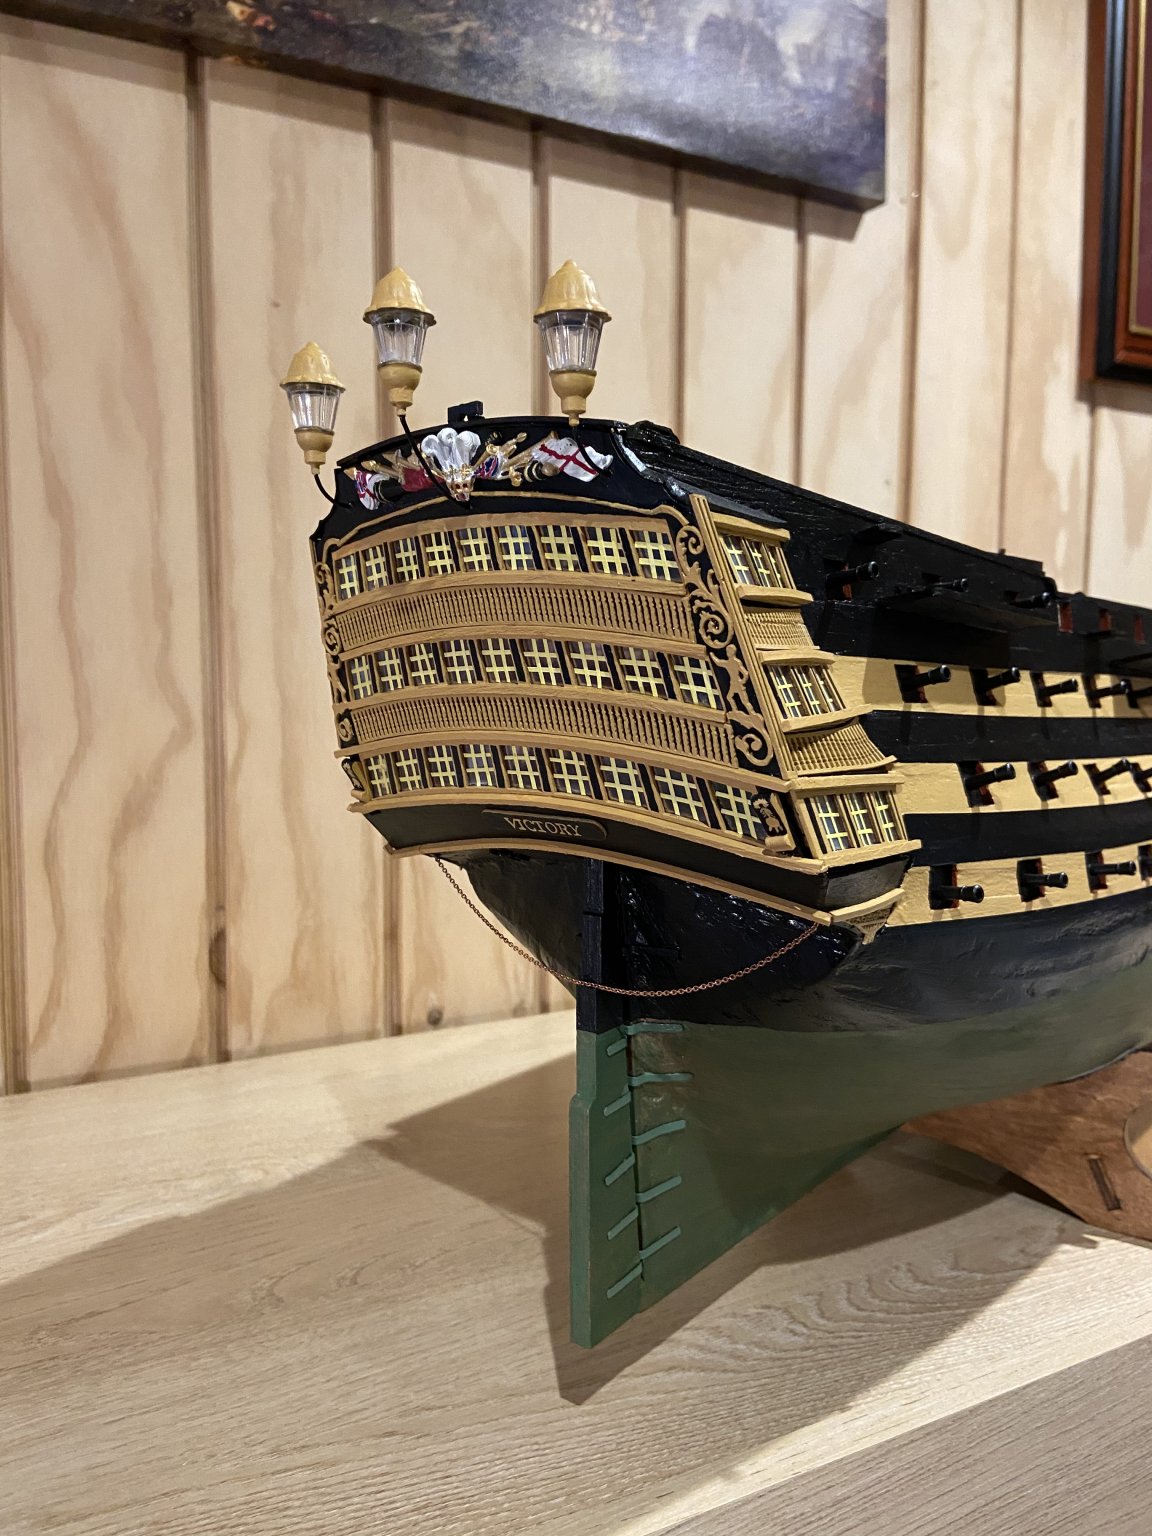
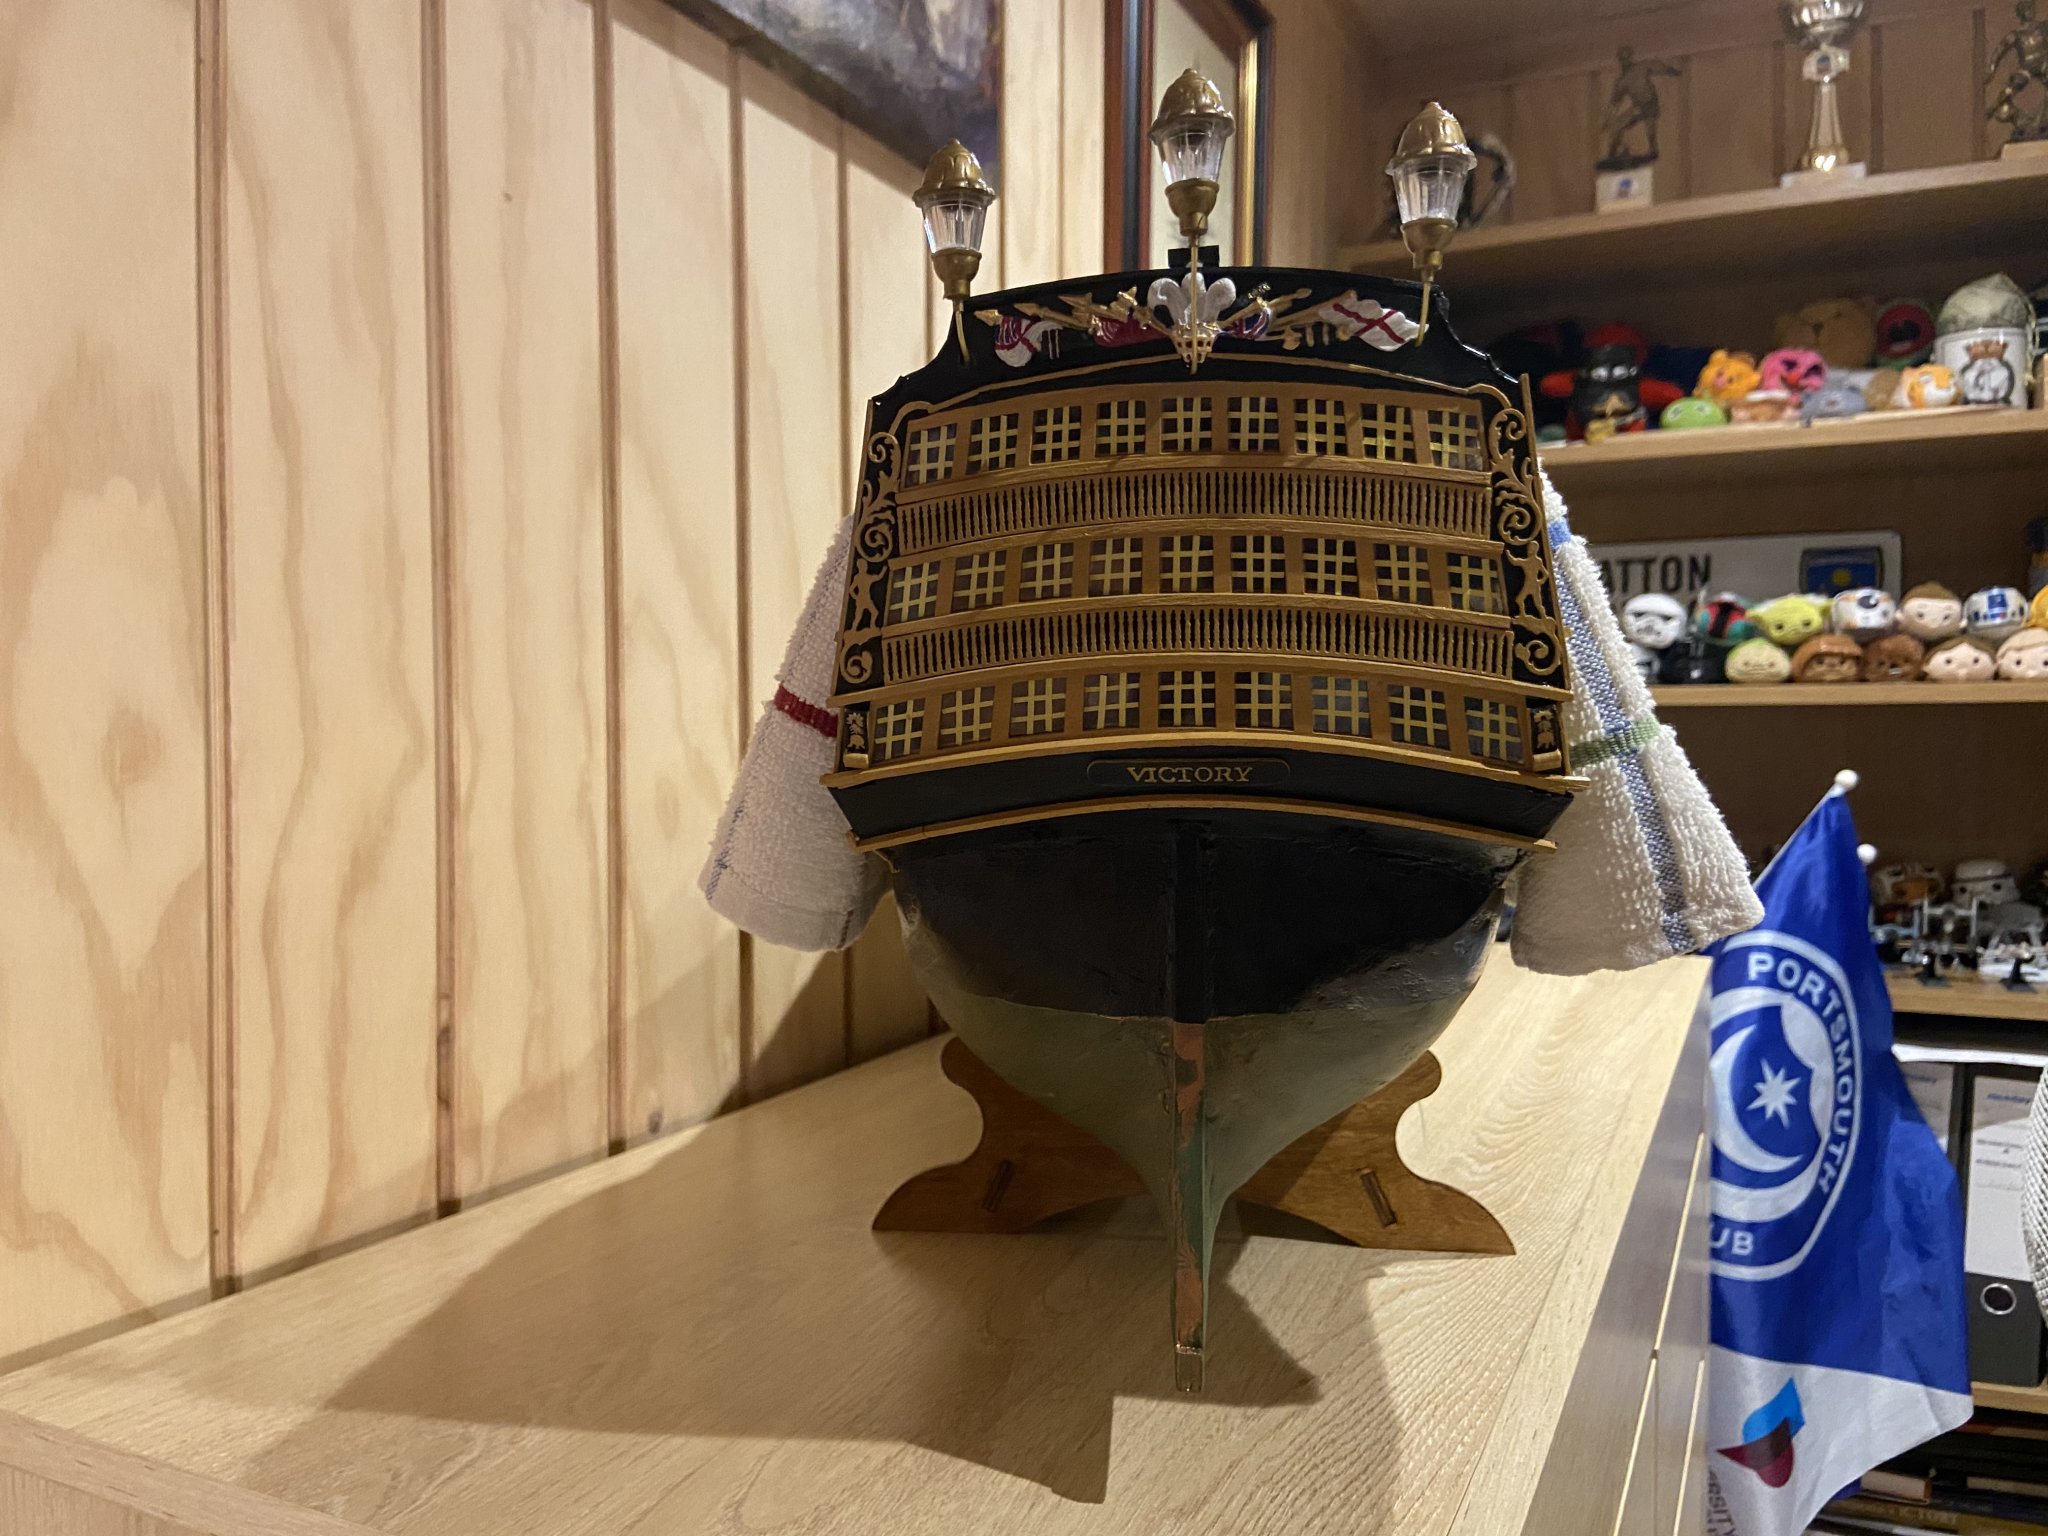
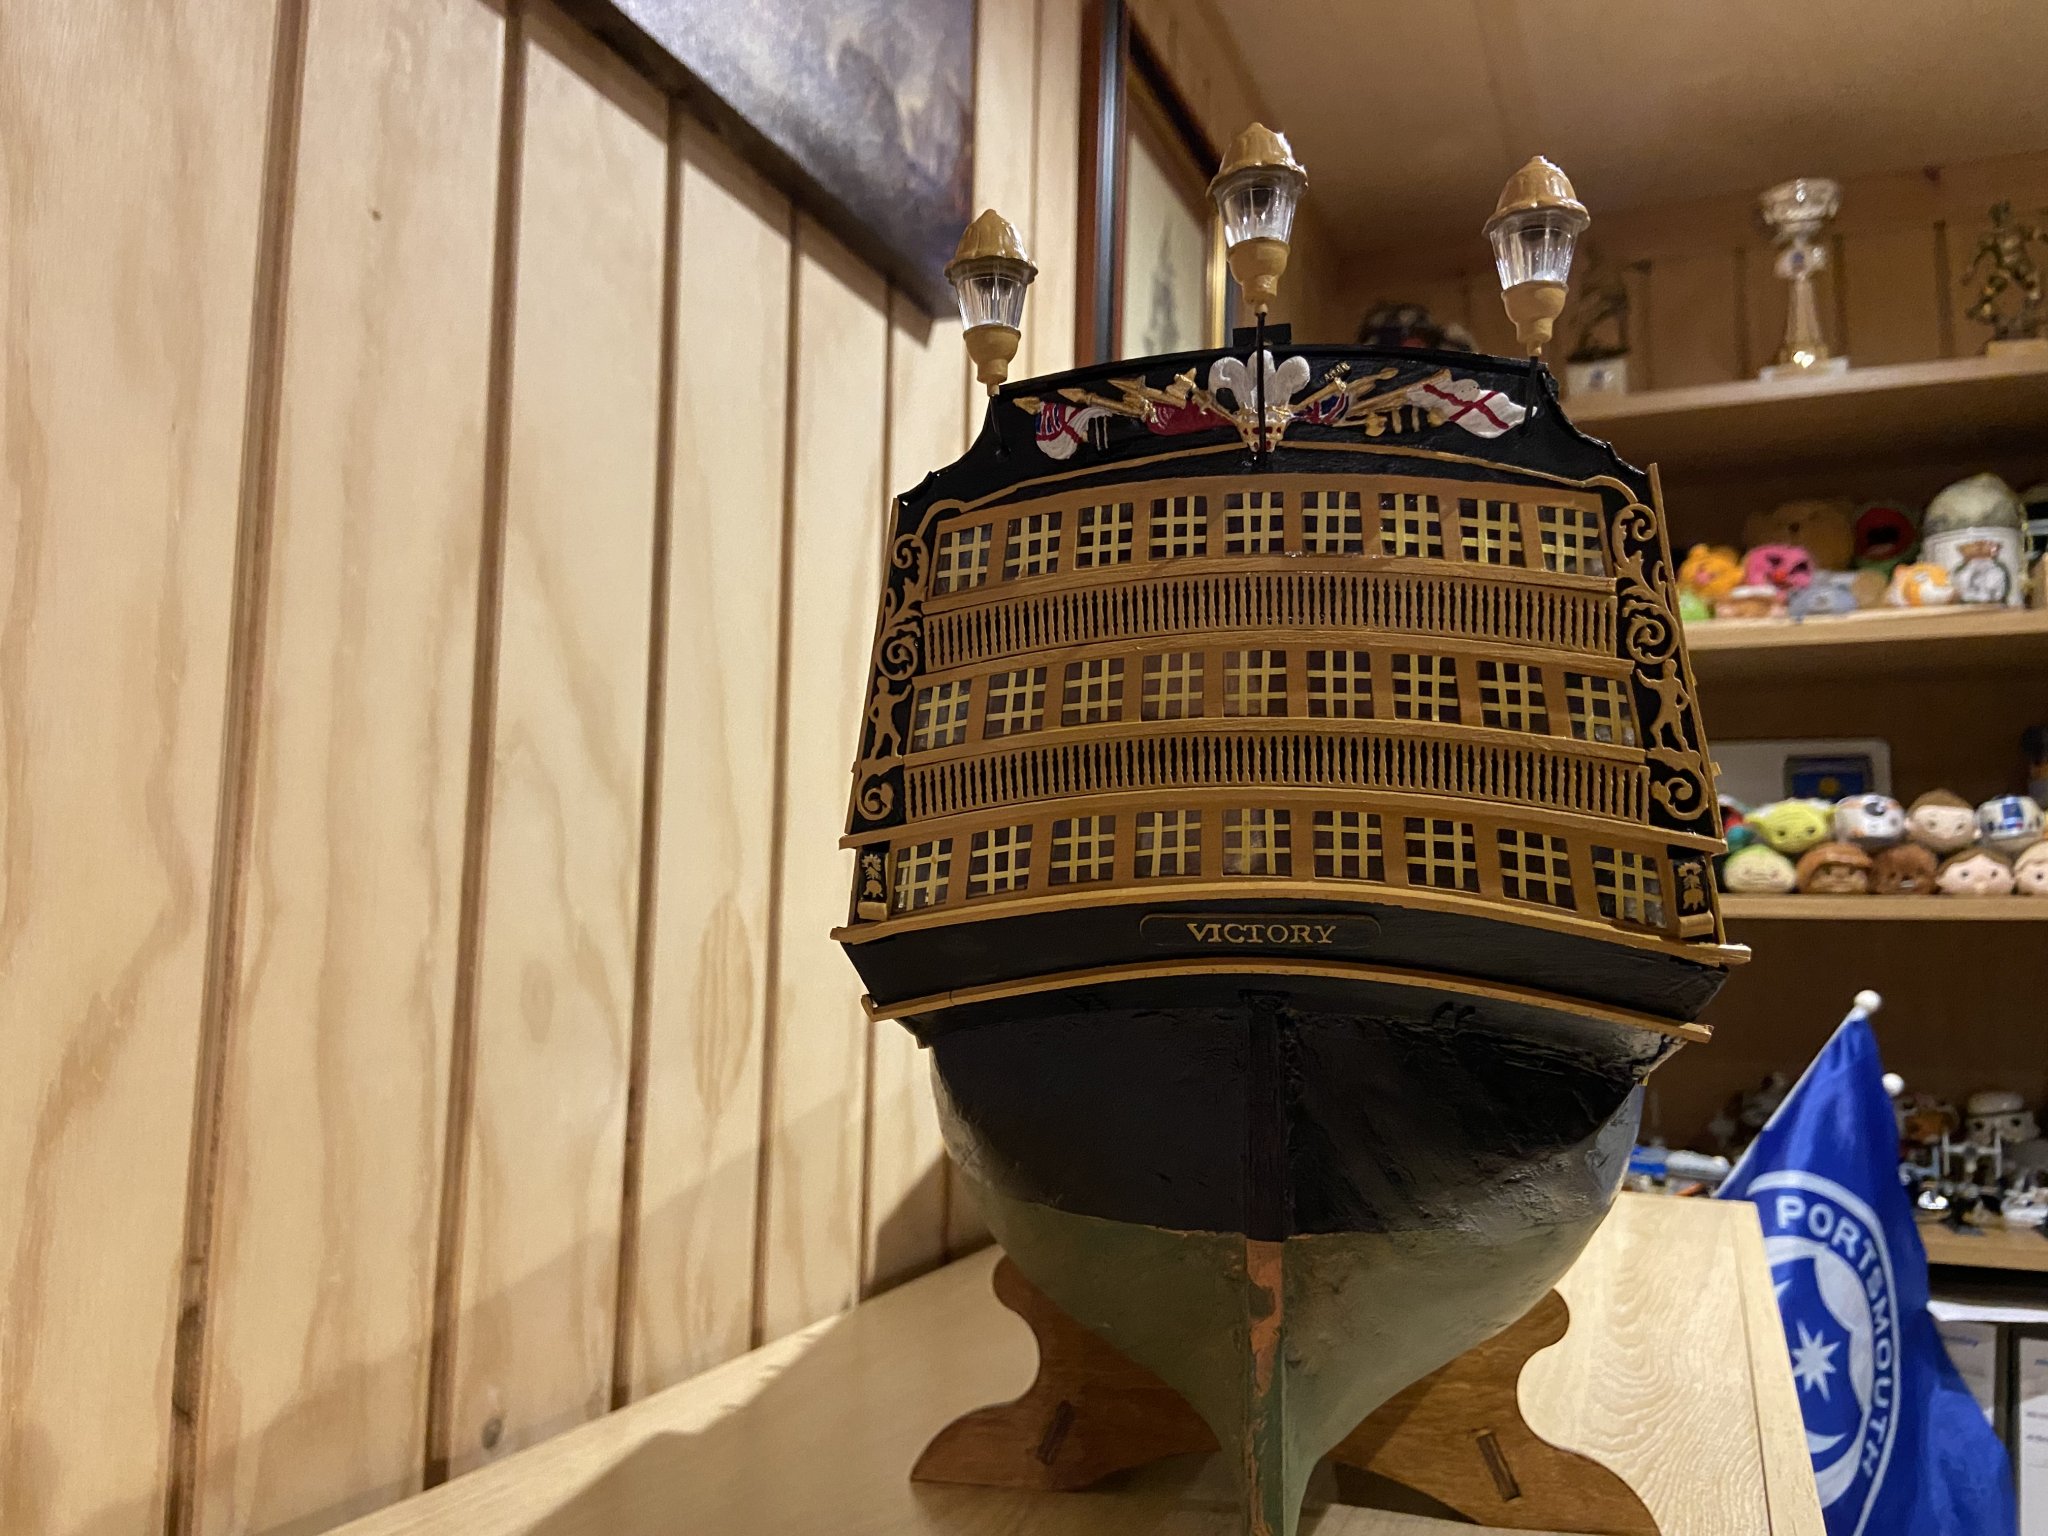
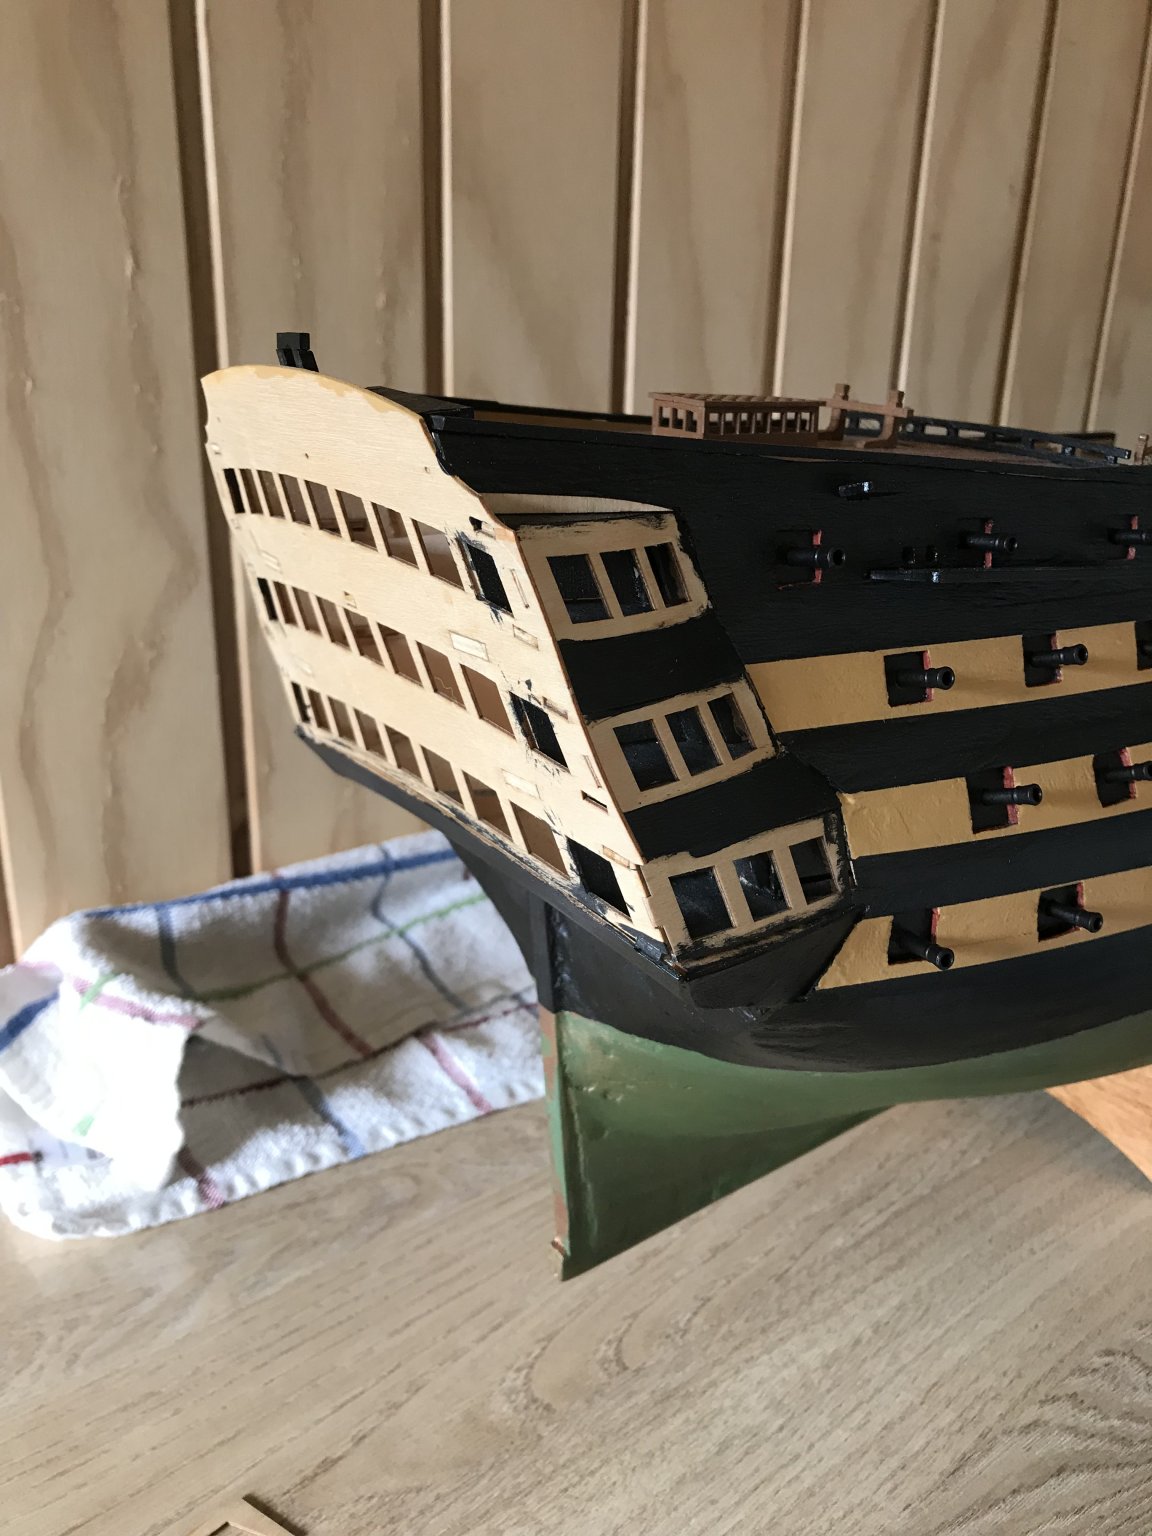
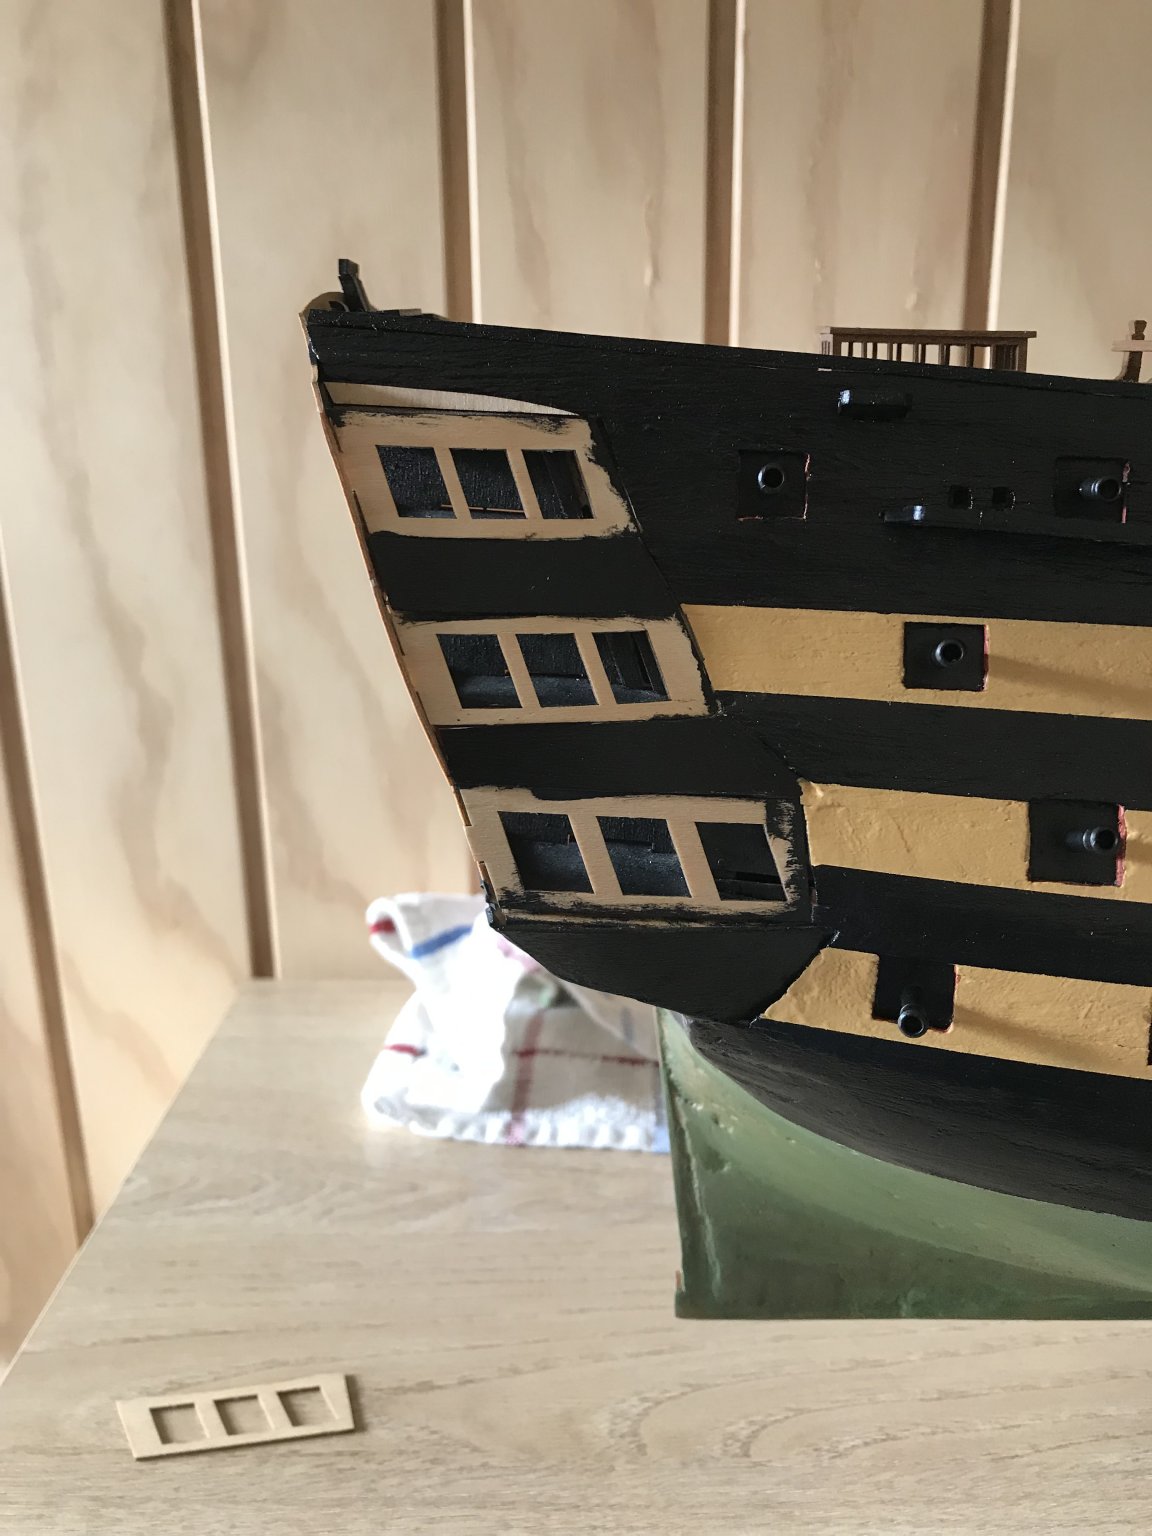
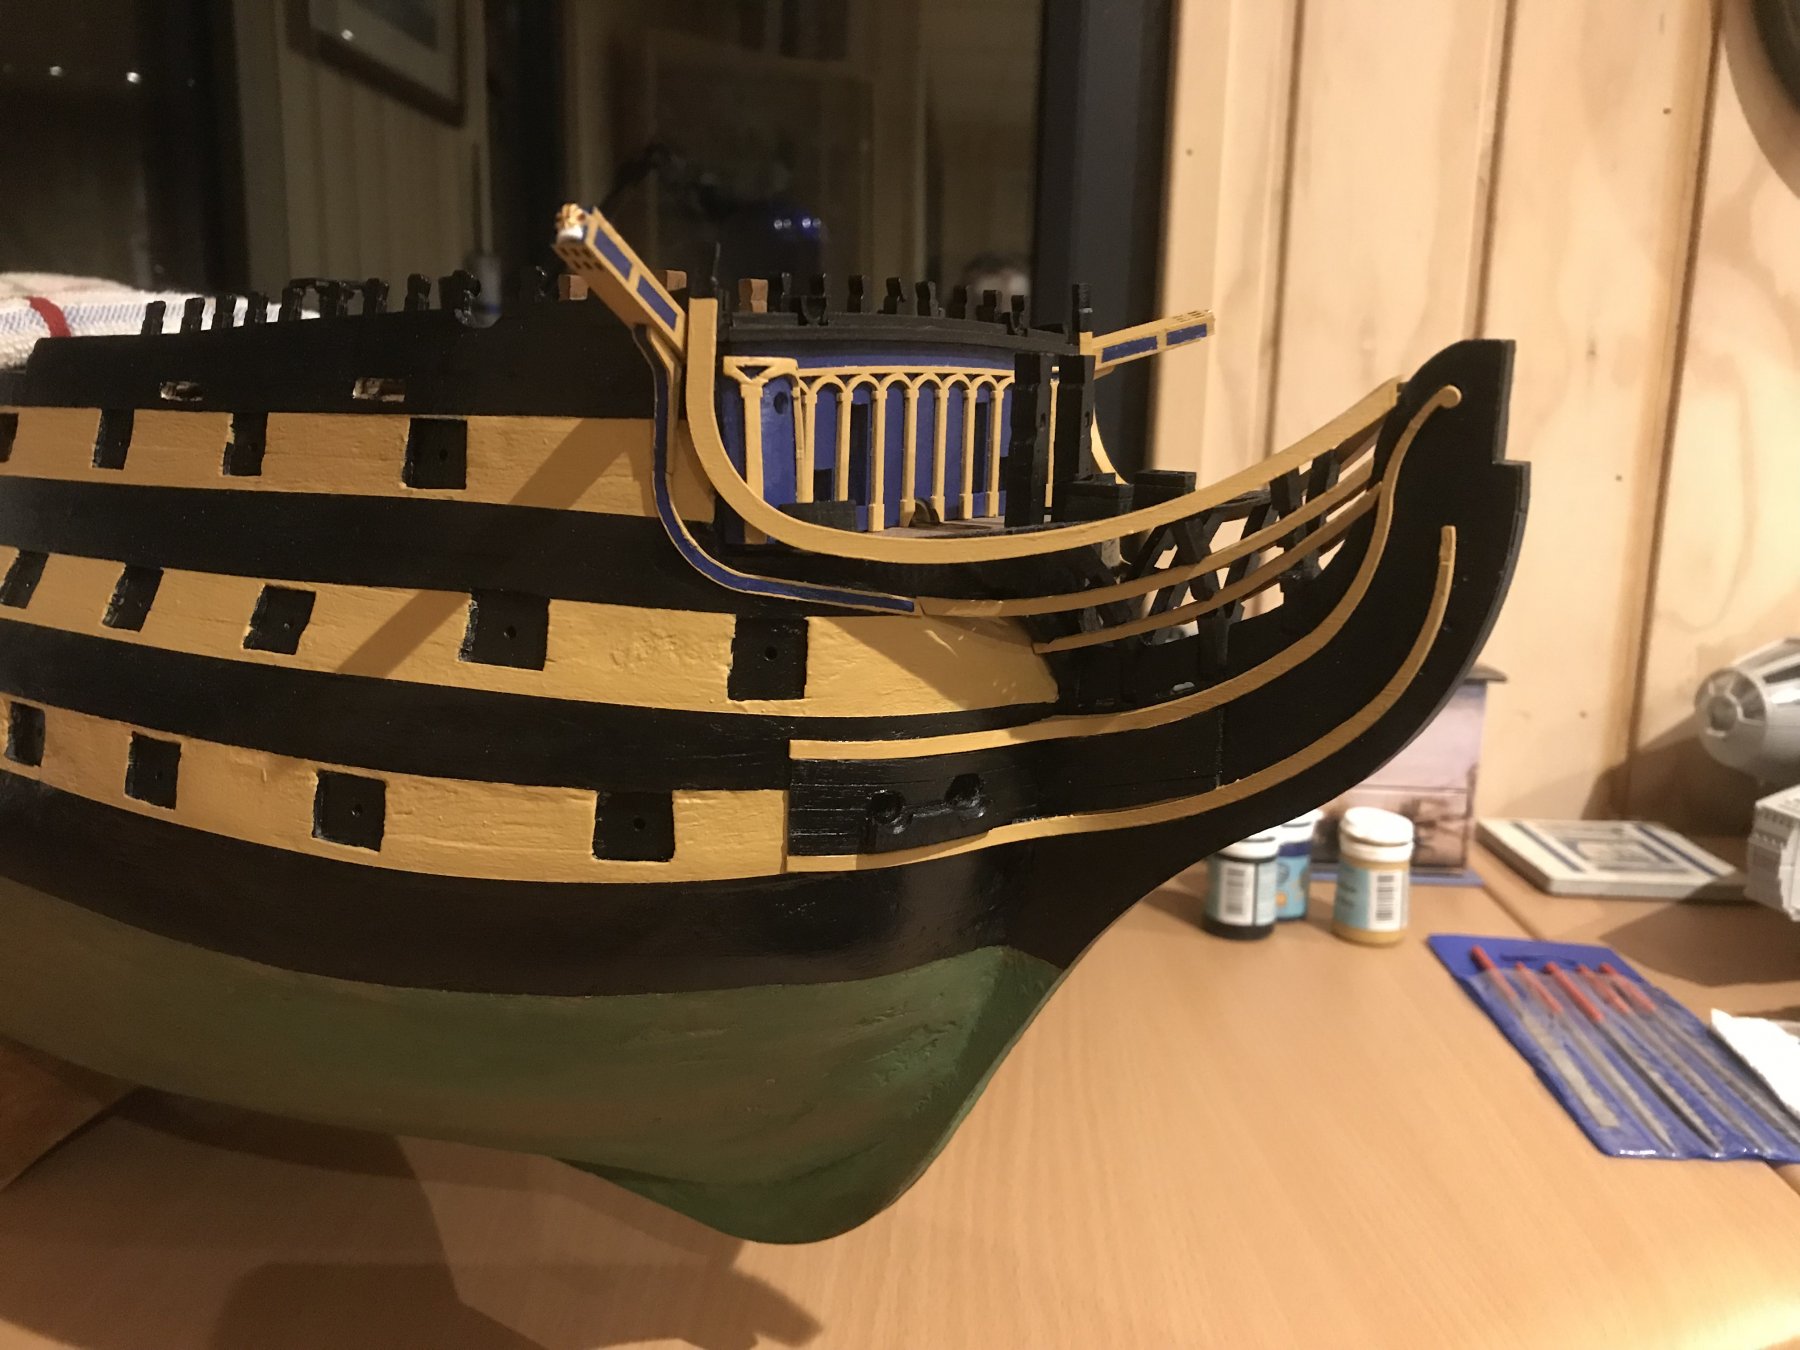
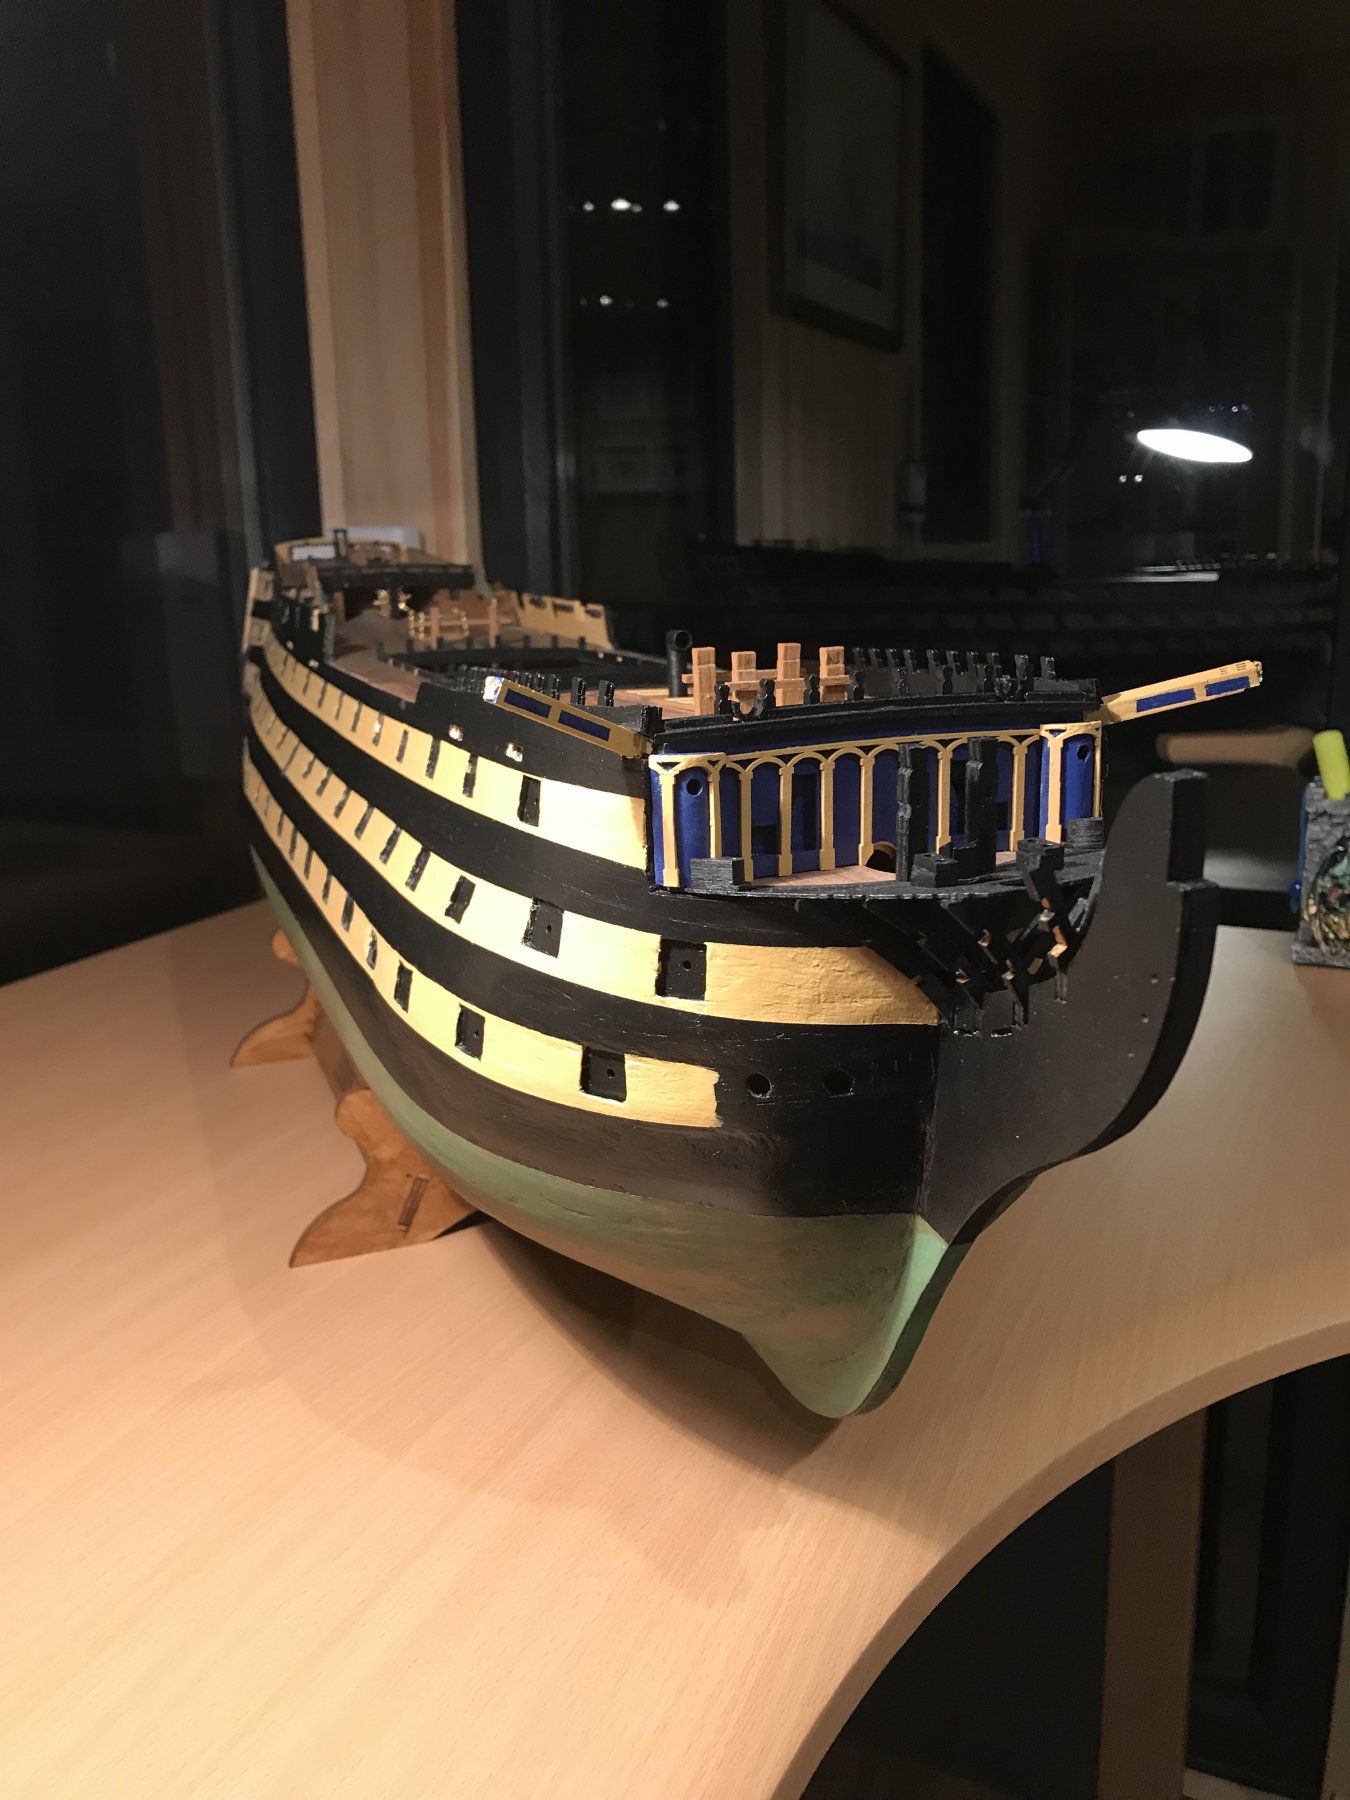
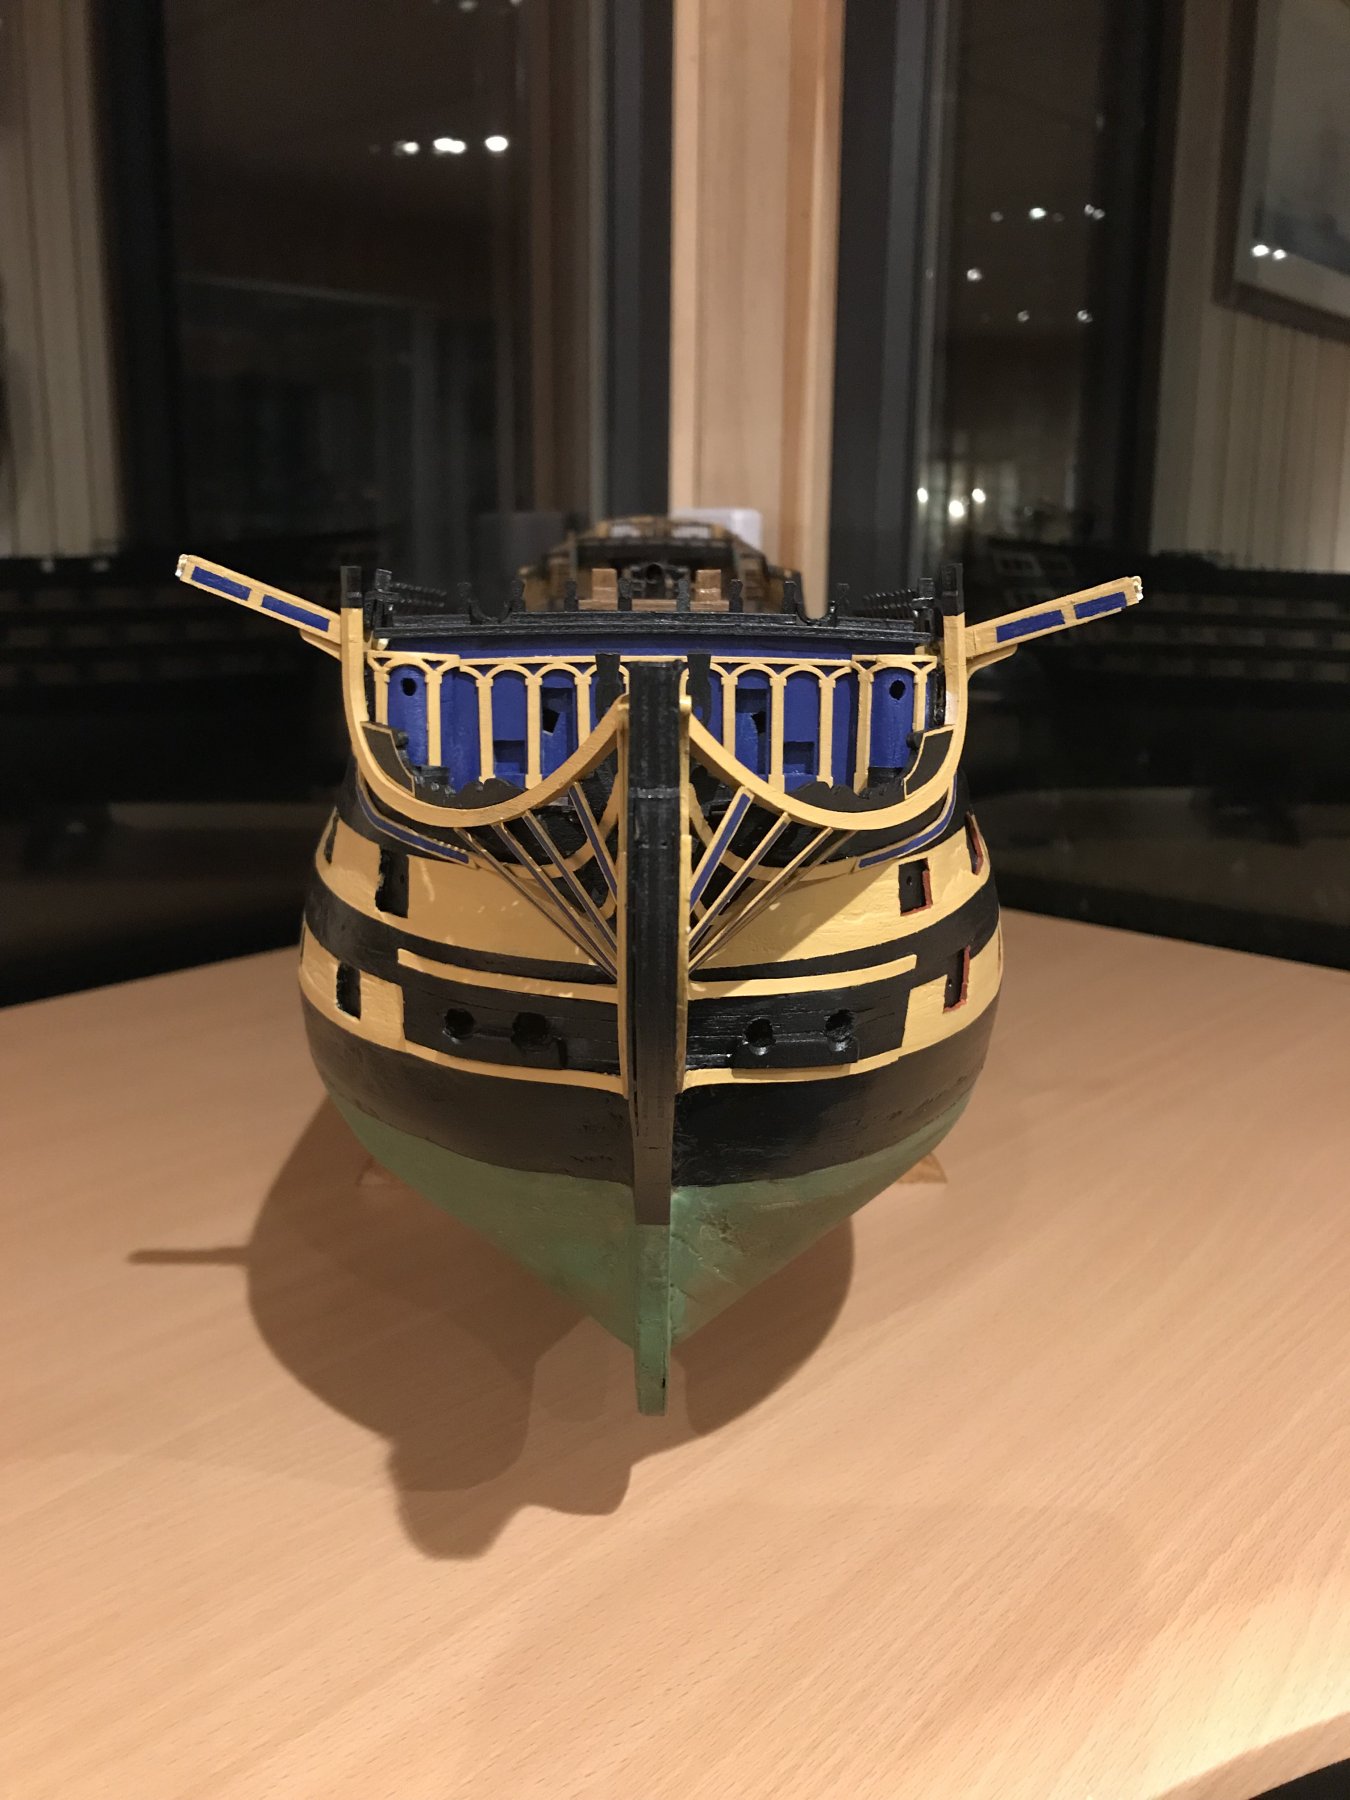
Belaying pins added and first gunport doors. Stern finished with the painting of the black strips between the windows and the rudder and chain added.


- GrandpaPhil and clearway
-
2
-
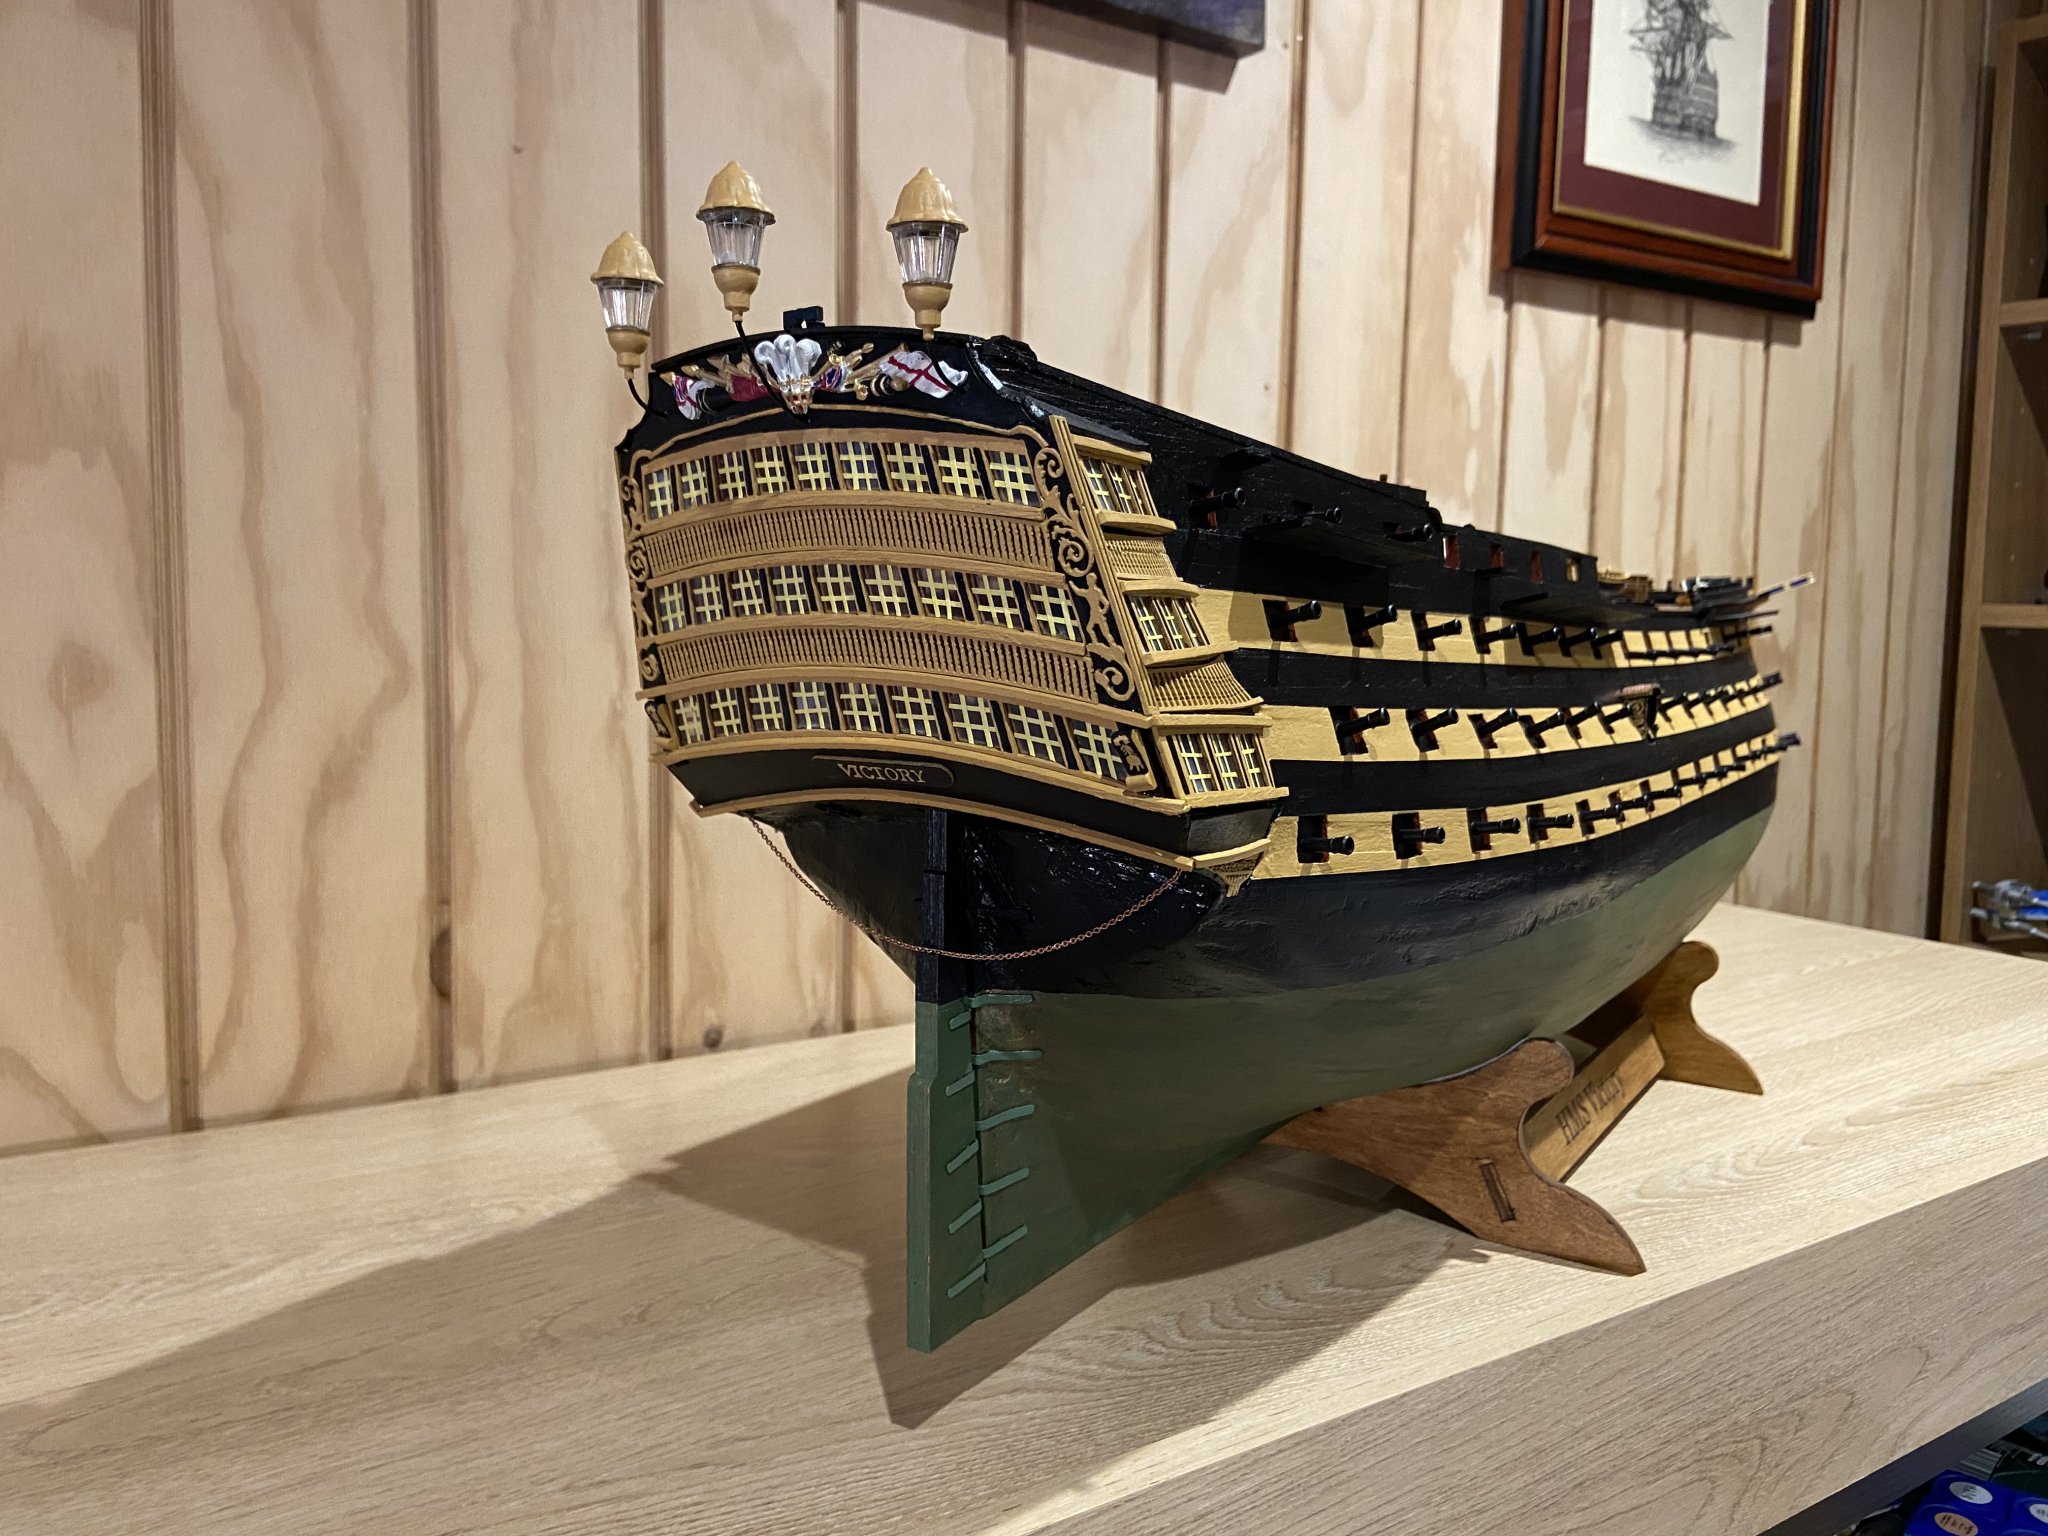
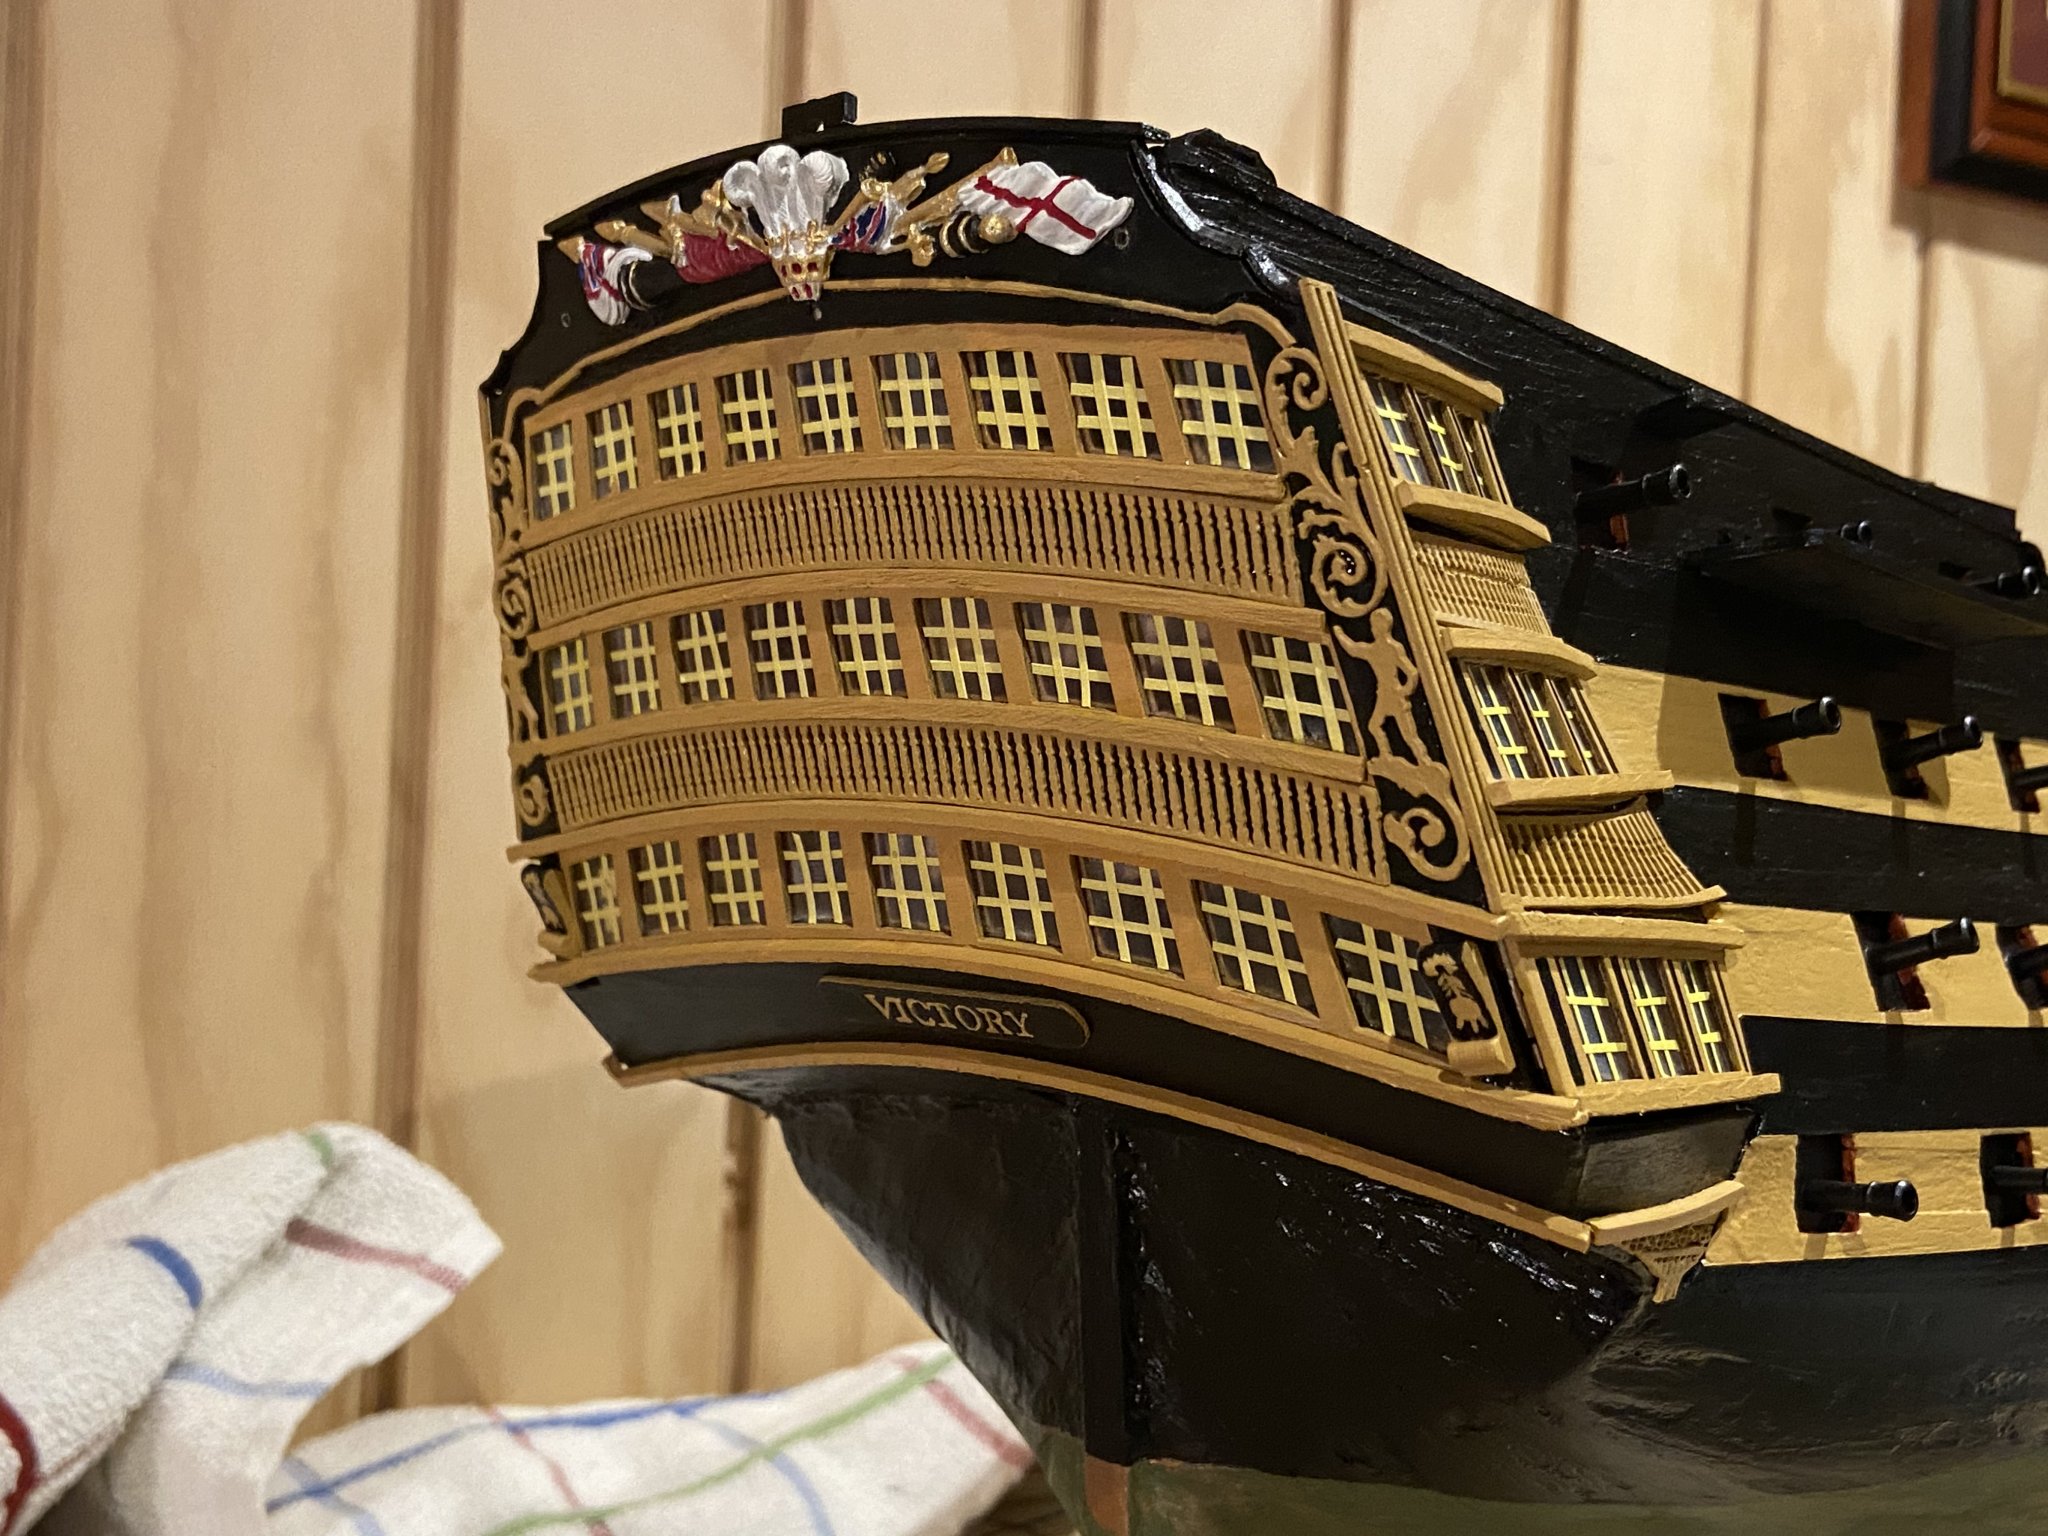
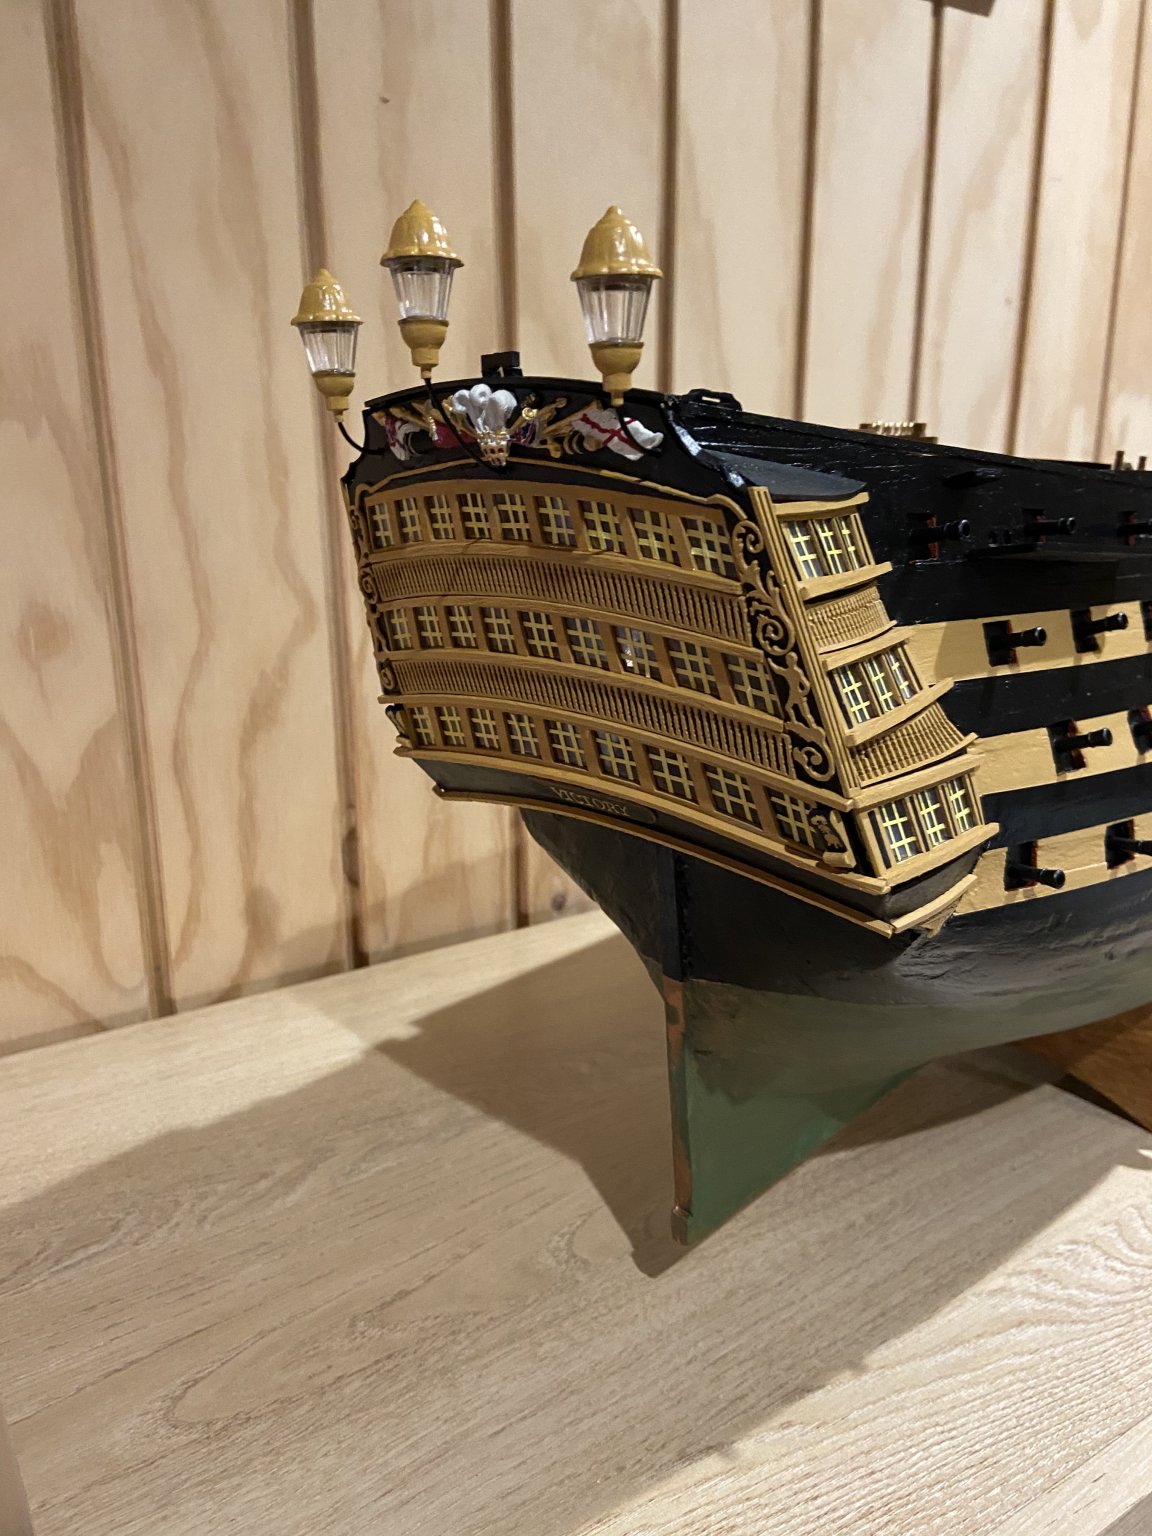
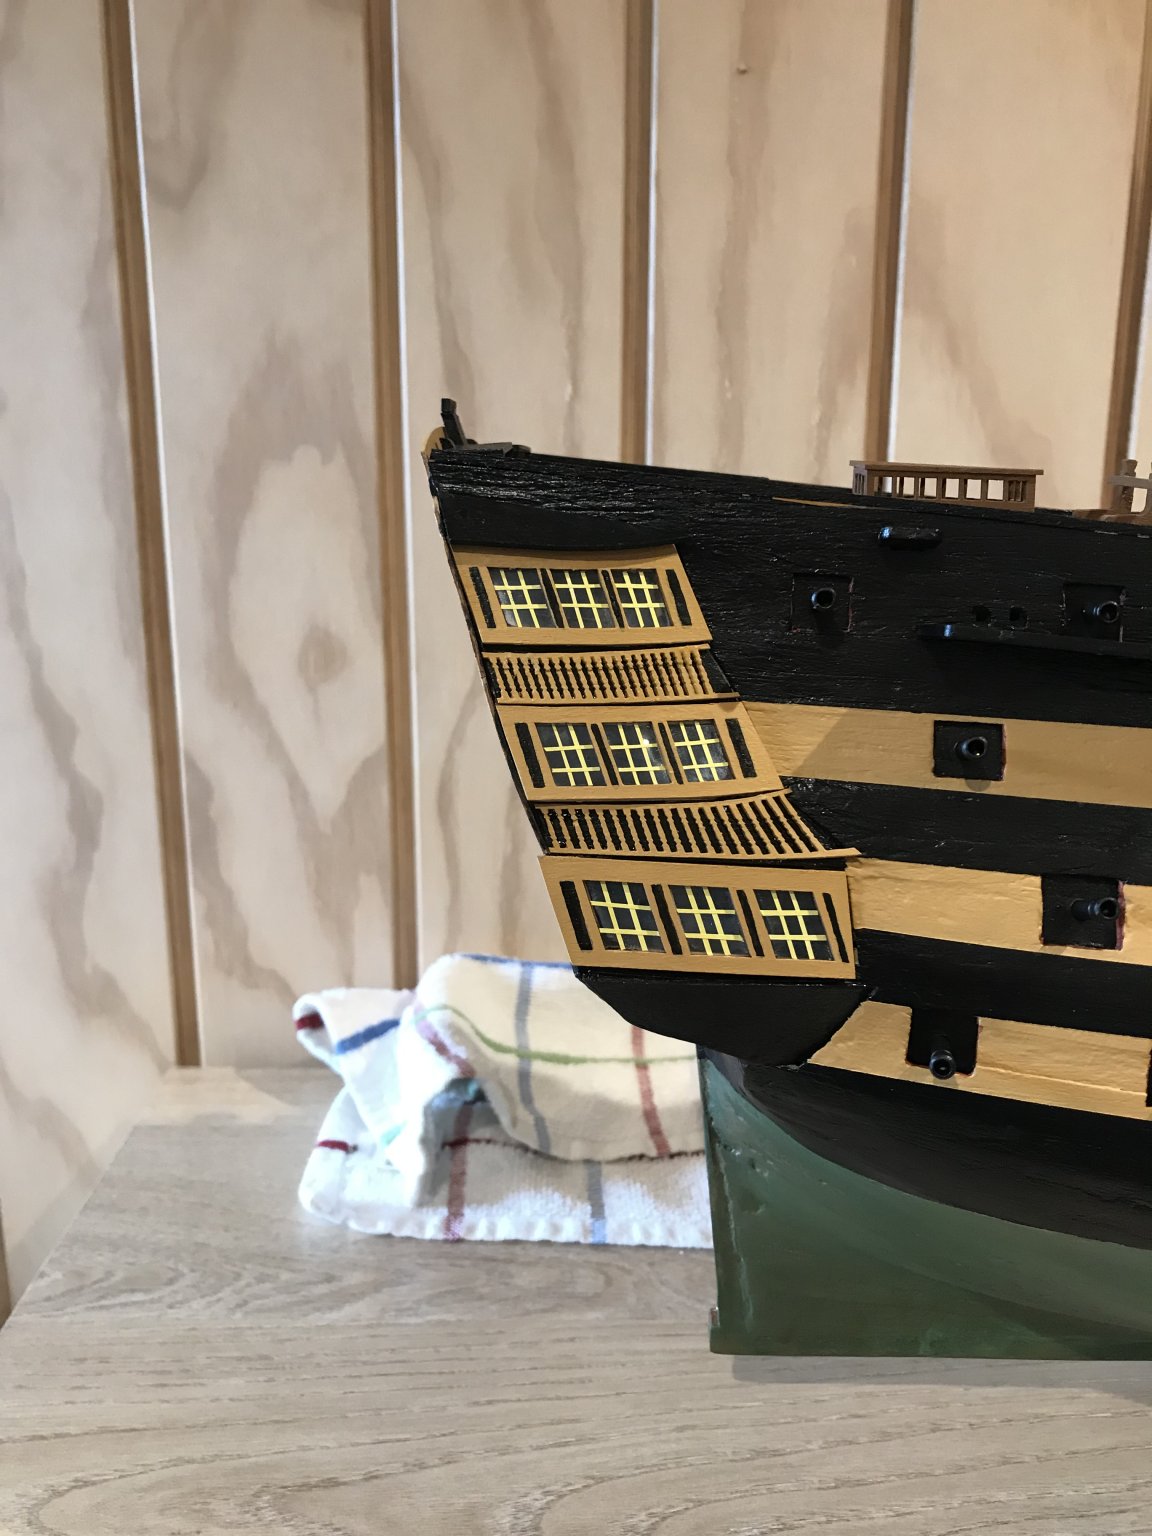
Additional decoration added and lanterns/nameplate.


-
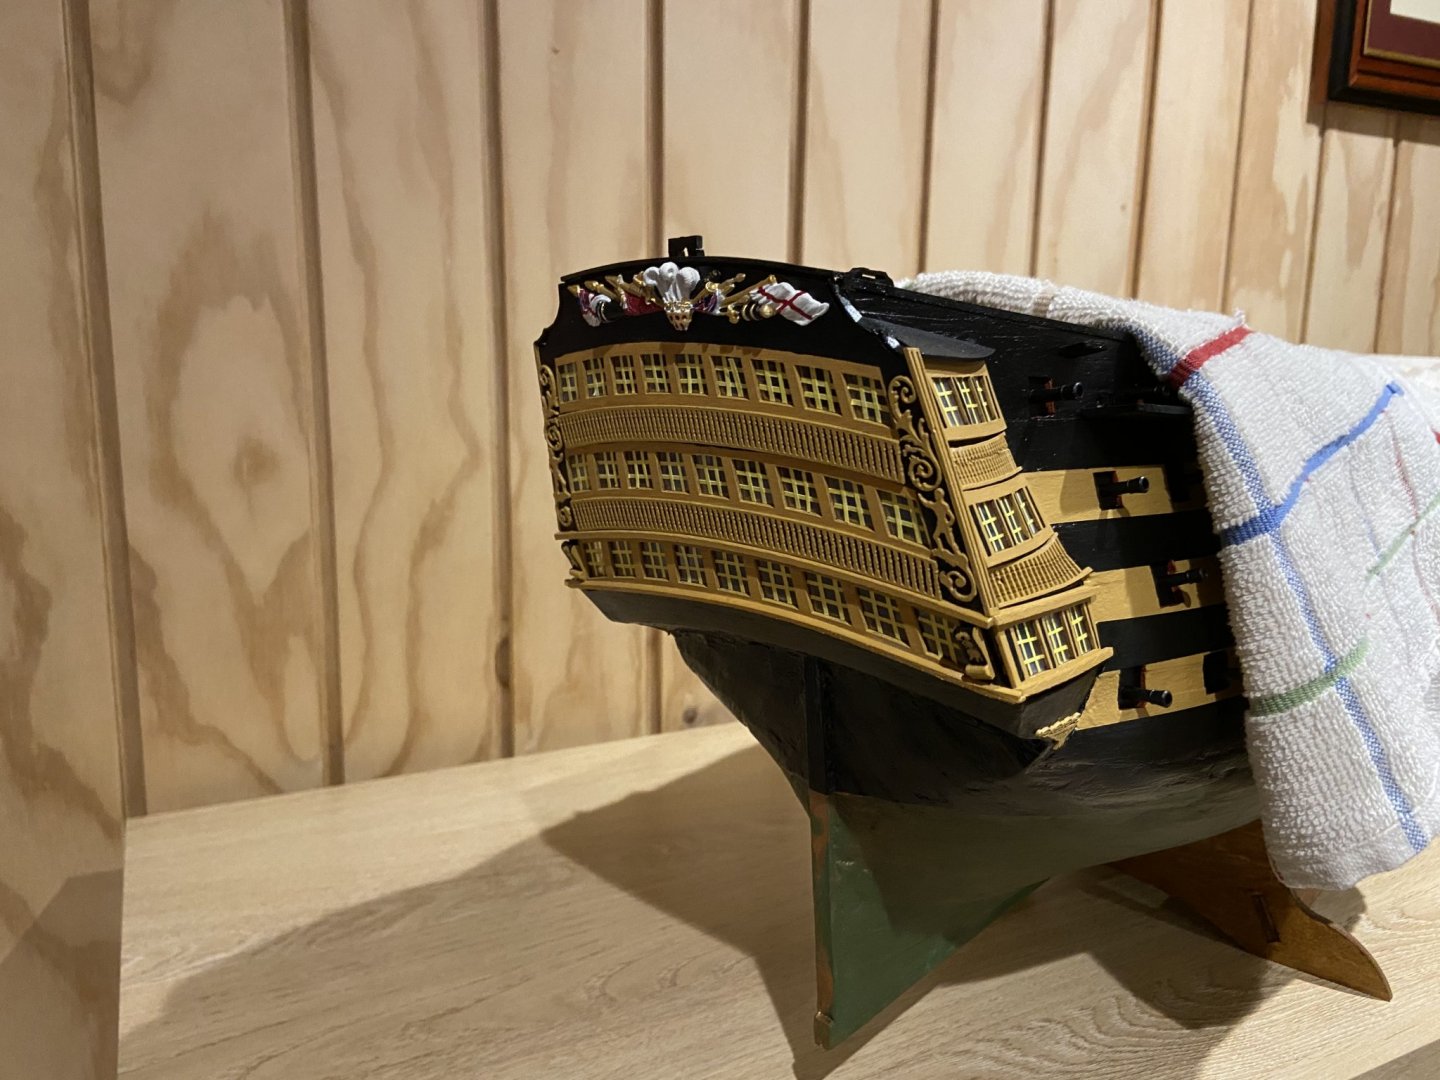
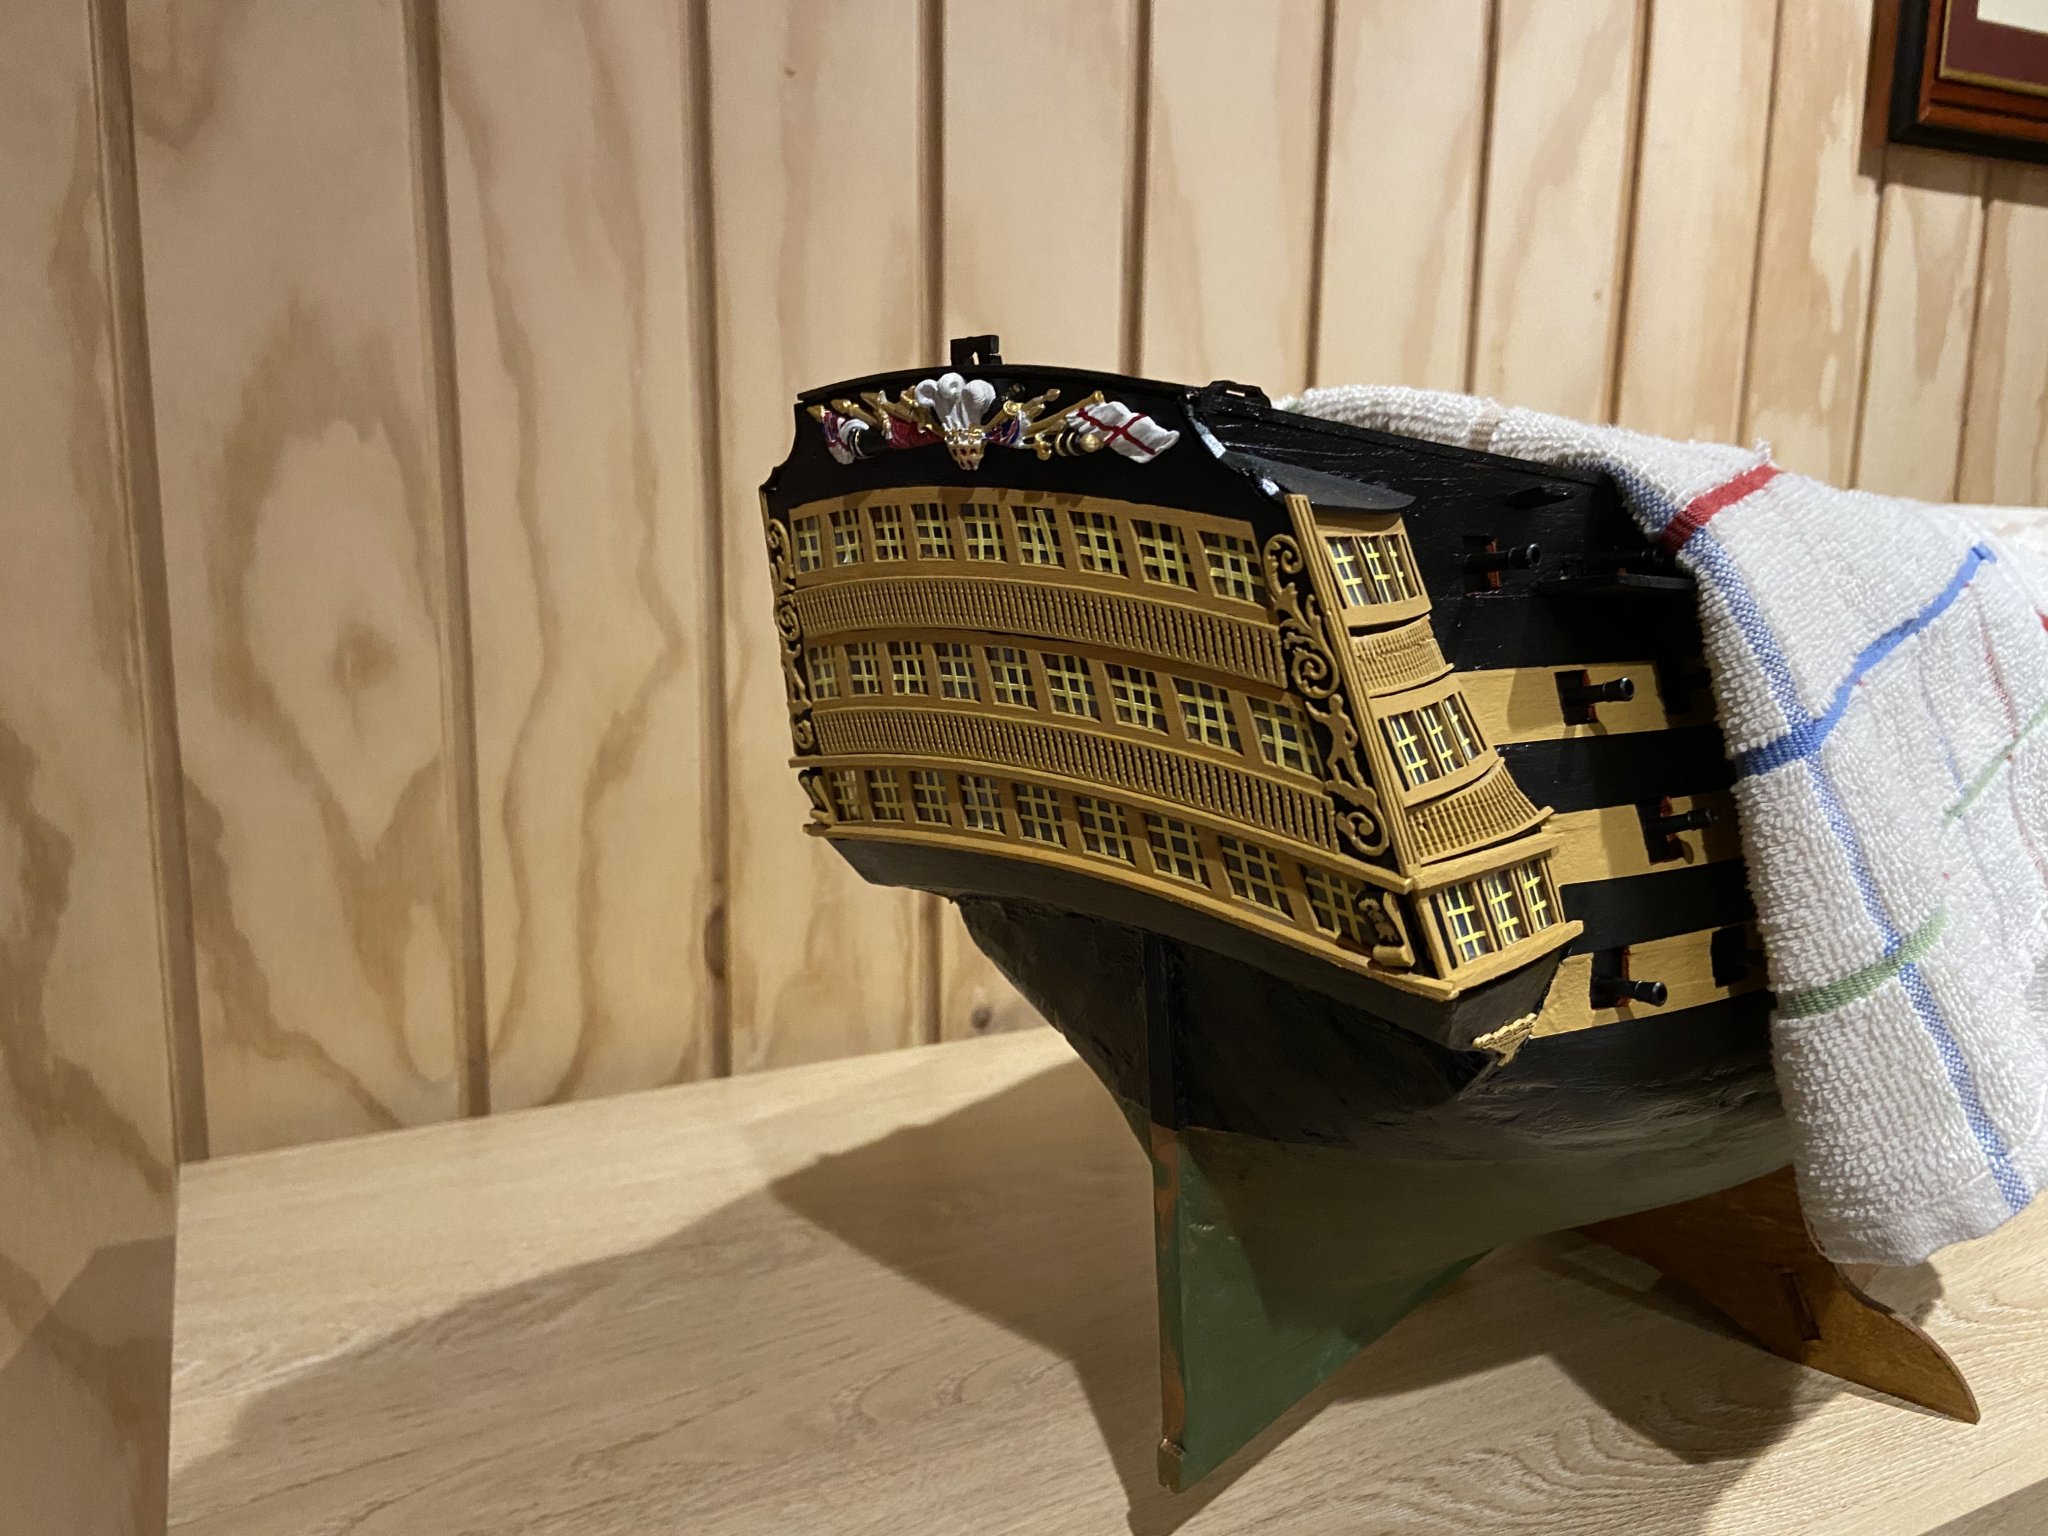
Continuing building up the detail. Taffrail added. It's too big, compared to the original, but it's so much better than the flat wooden one provided in the kit, that I'm happy with the compromise.
- Javelin and GrandpaPhil
-
2
-
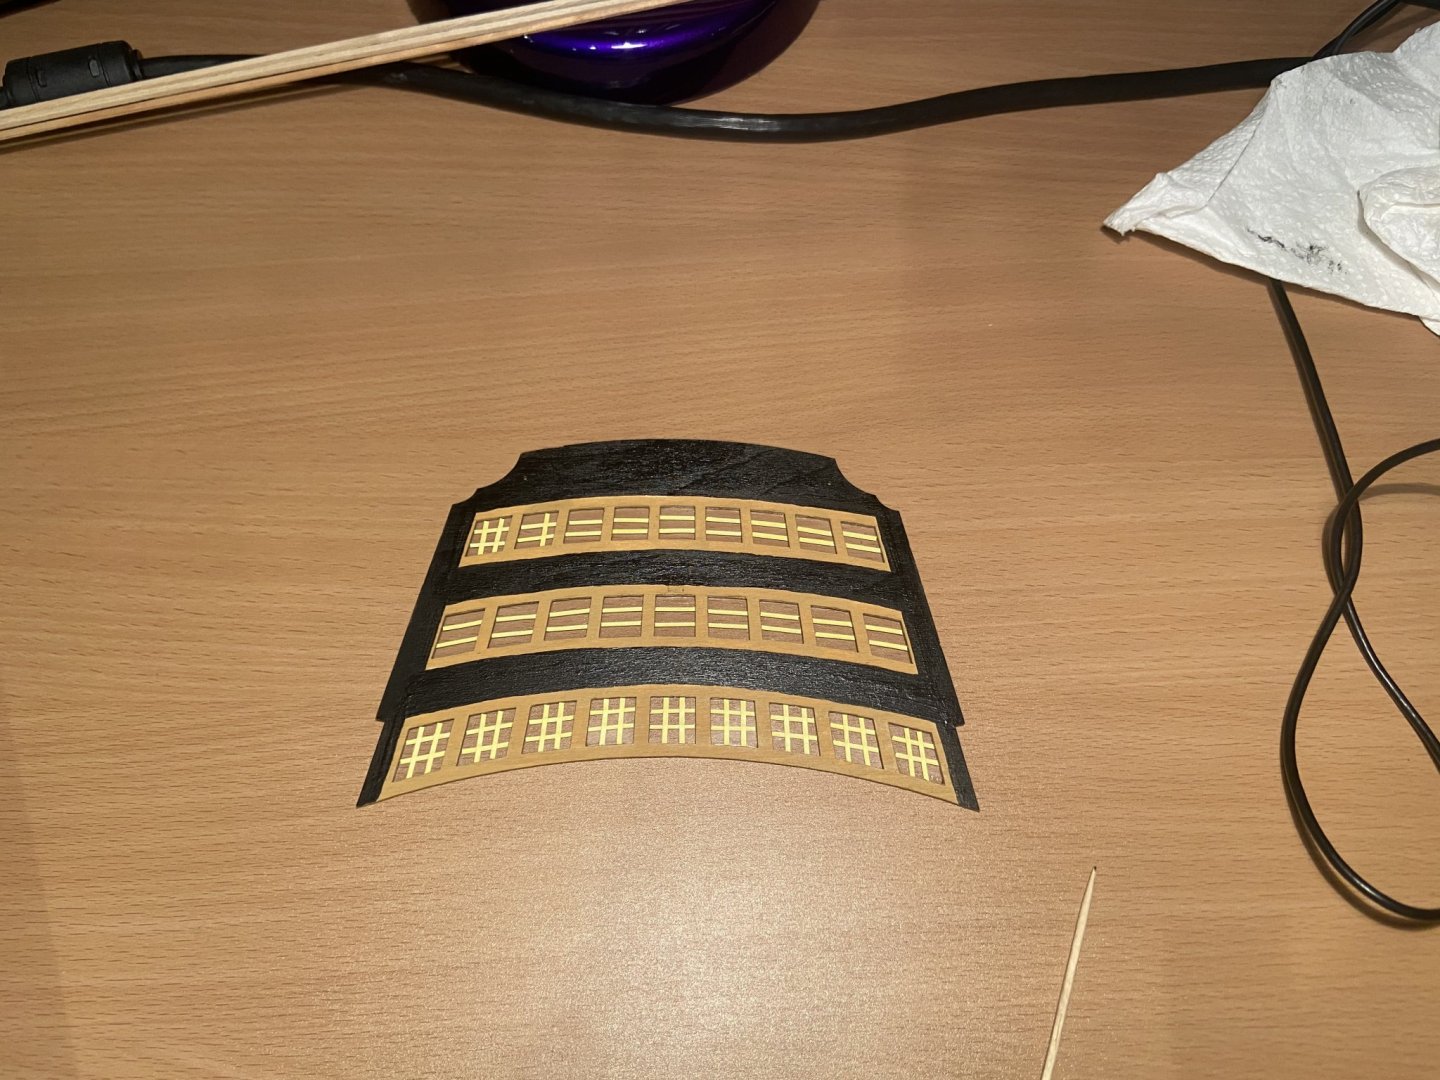
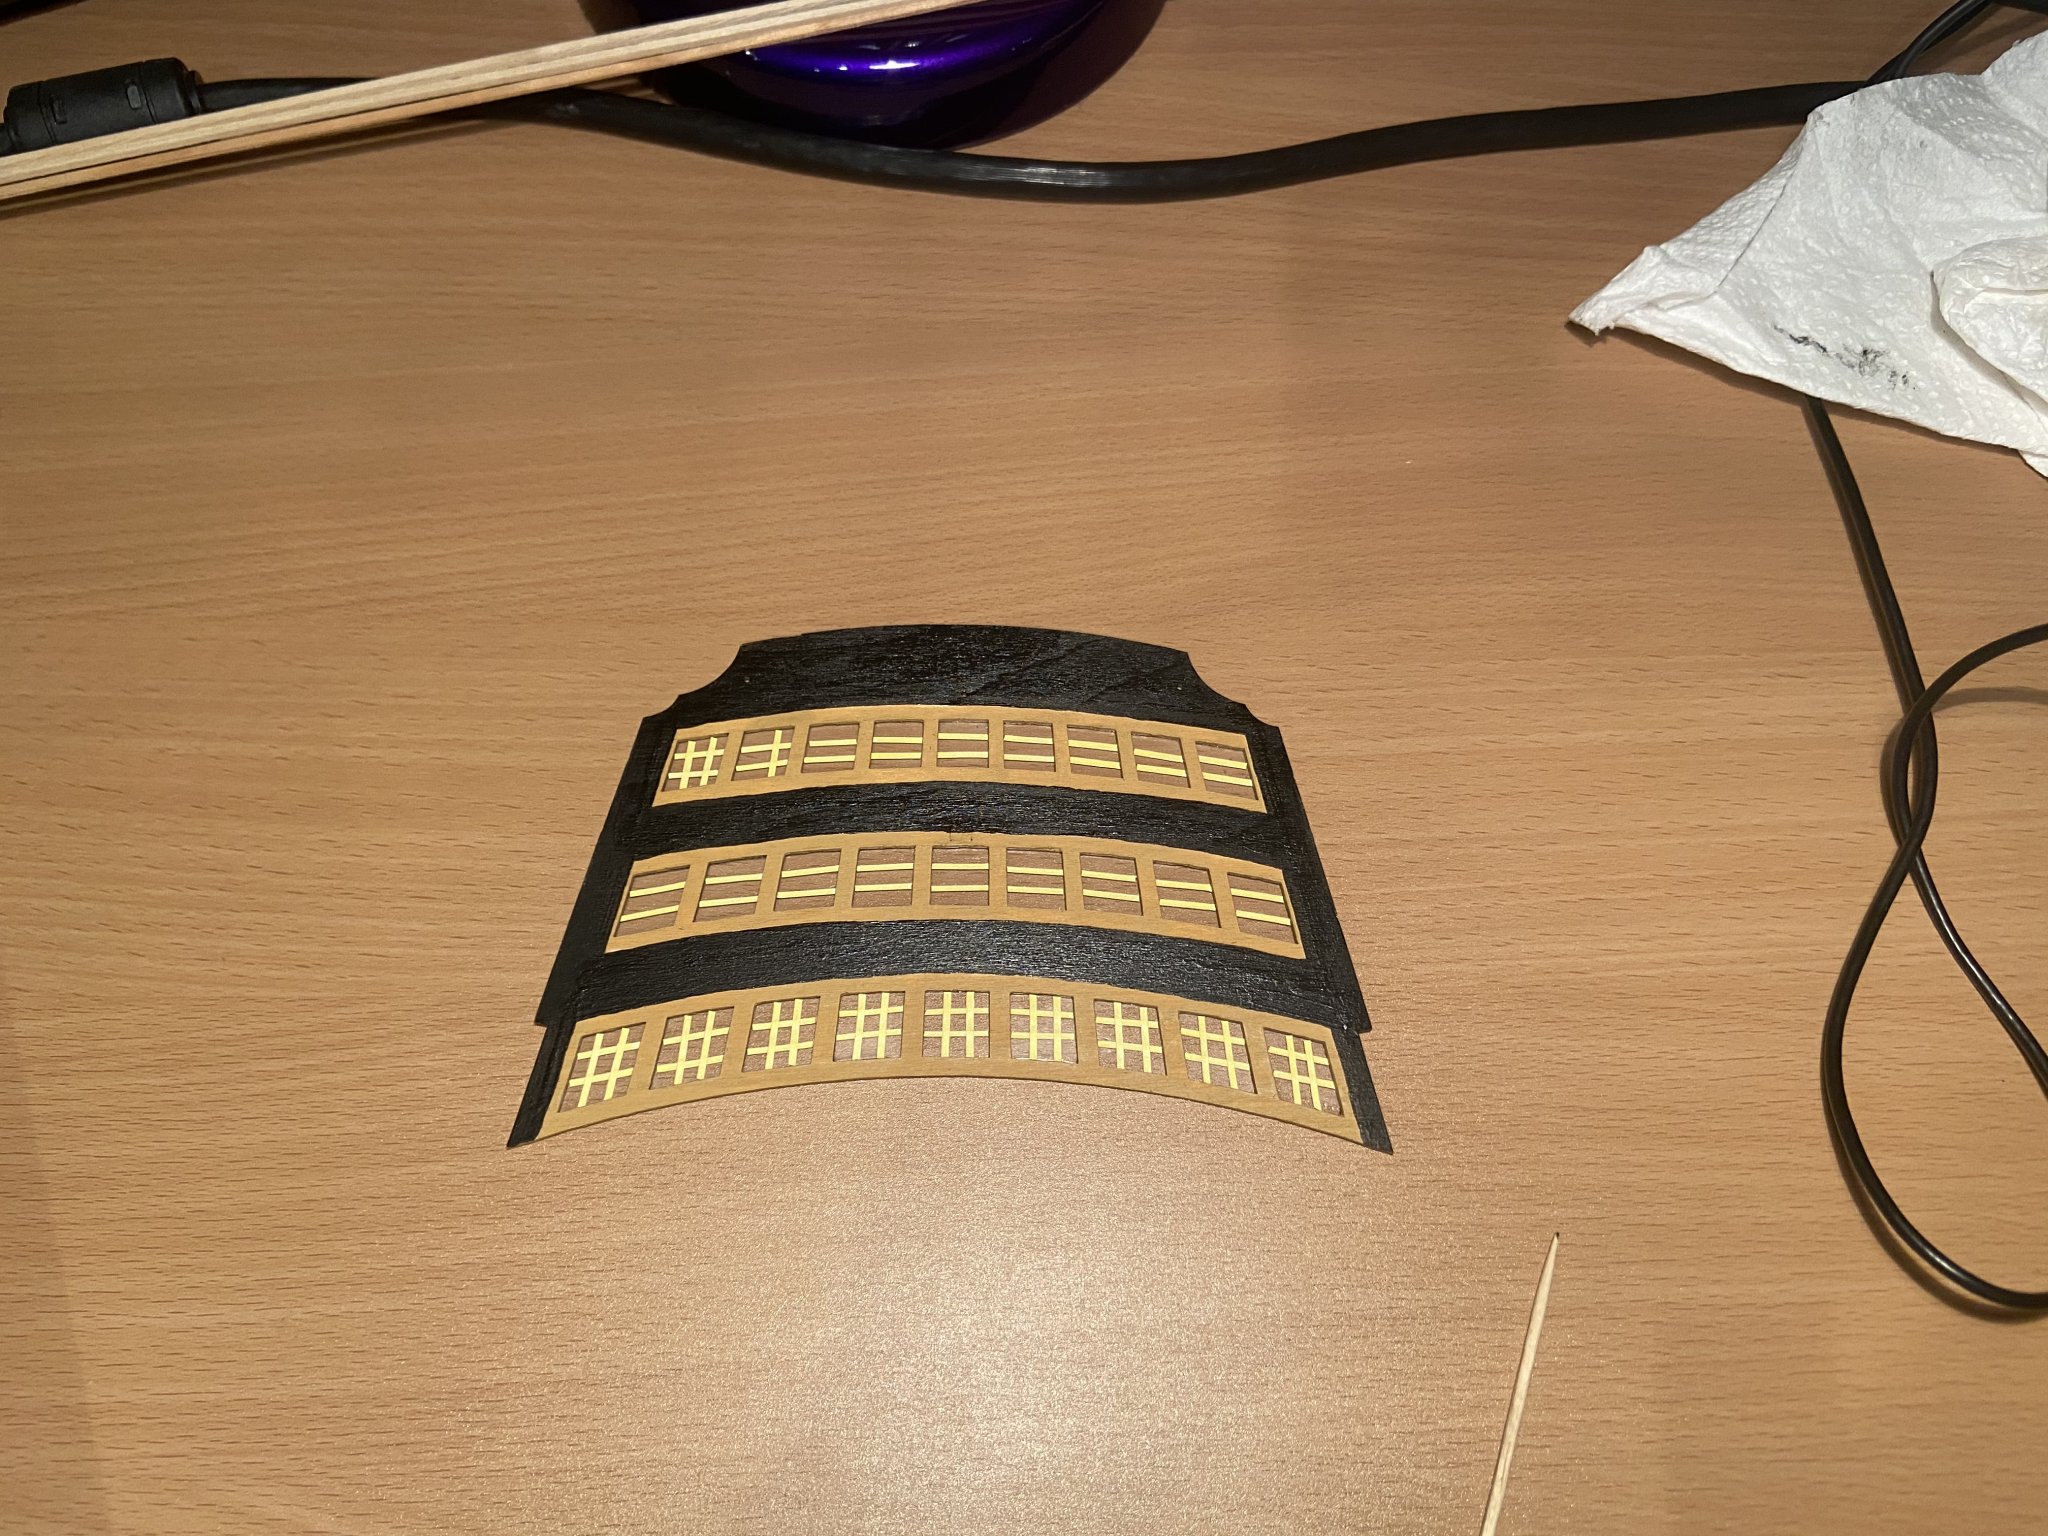
Used strips of yellow printed labels to recreate the window frames.
-
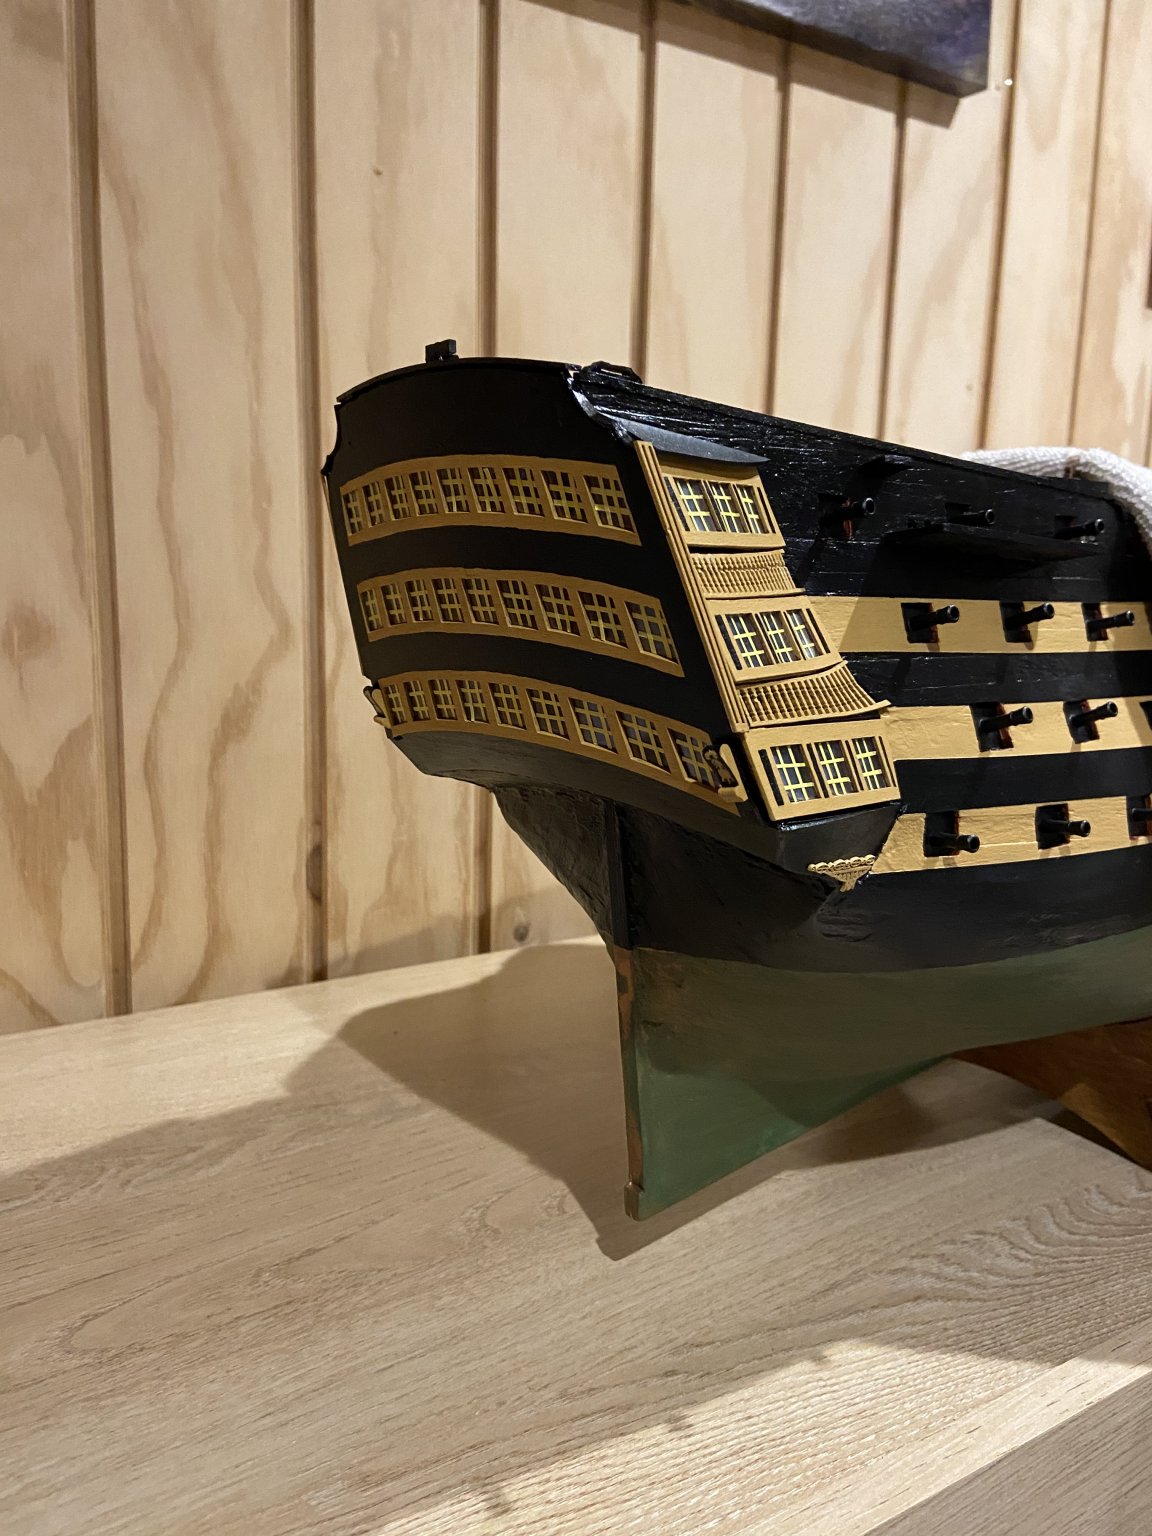
Back on it in lockdown and time to get the stern finished off.


-
Boyd! Awesome work, mate. She looks absolutely beautiful. It's only when you do a Victory yourself (in this scale), that you can really appreciate the level of work, time, commitment (and skill) involved in getting her to look like this. Many congratulations, that's a stunning job!
")
Any plans on next one? HMS Pickle to give yourself a bit of a break (but that goes nicely with "Vicky")!
ps been off having Daughter number 5 (i know, I know). Charlotte Rose Victoria.....only afterwards did it dawn on Mrs Knotty that I'd snuck references to both "Mary" and "Vicky" into her middle names suggestions! lol
-
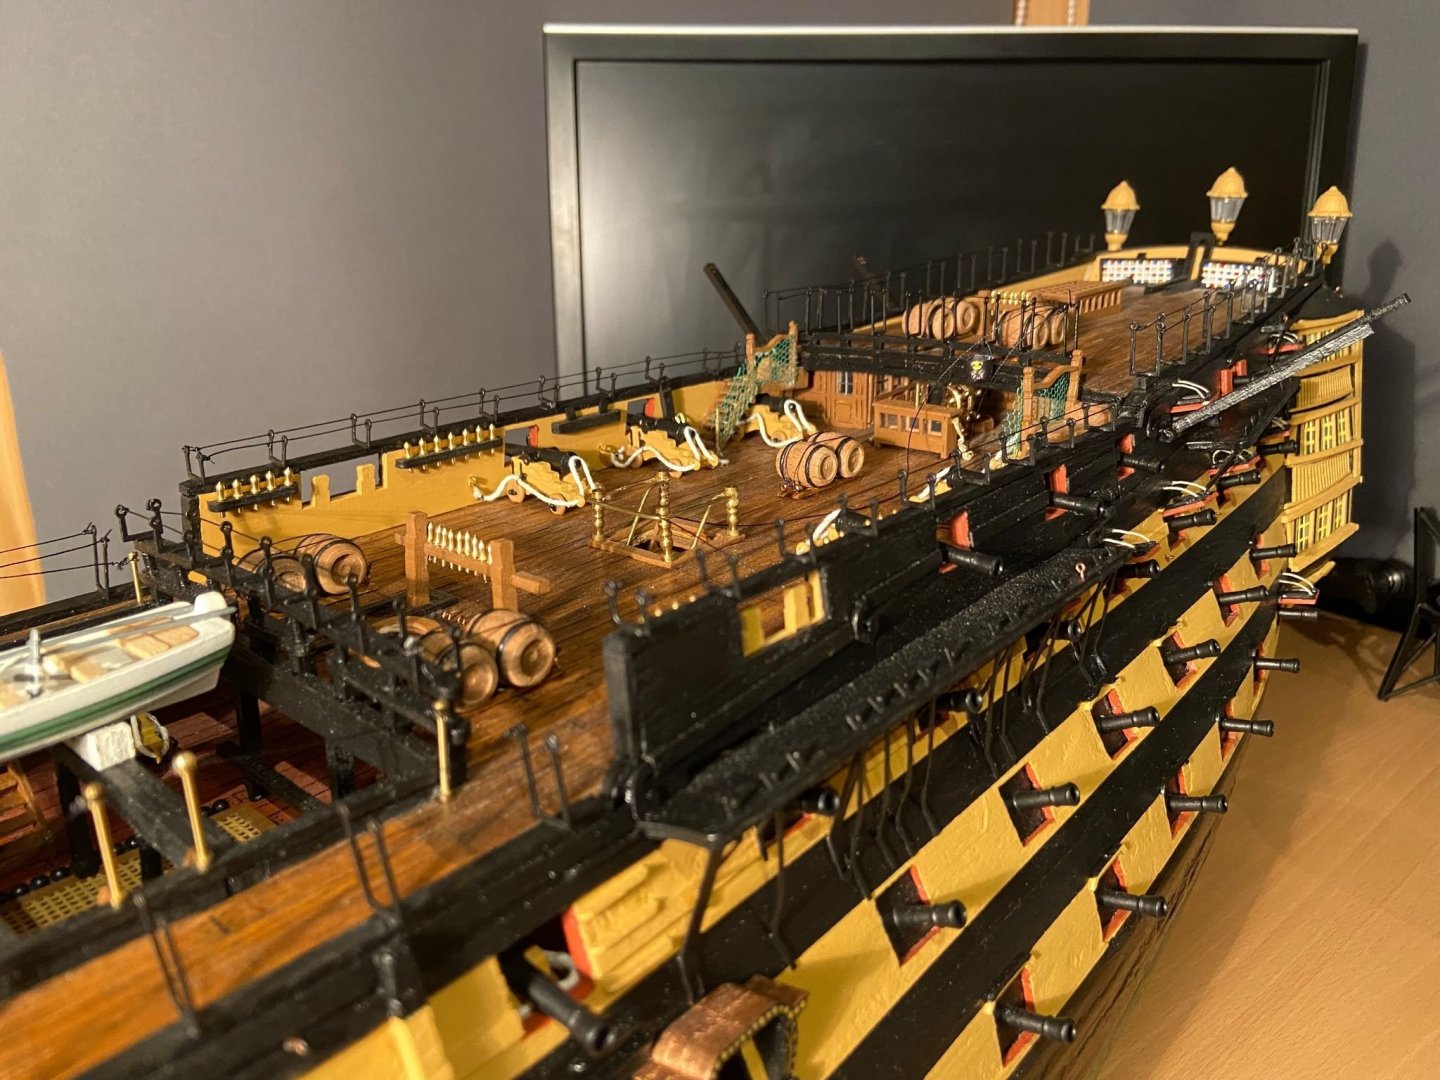
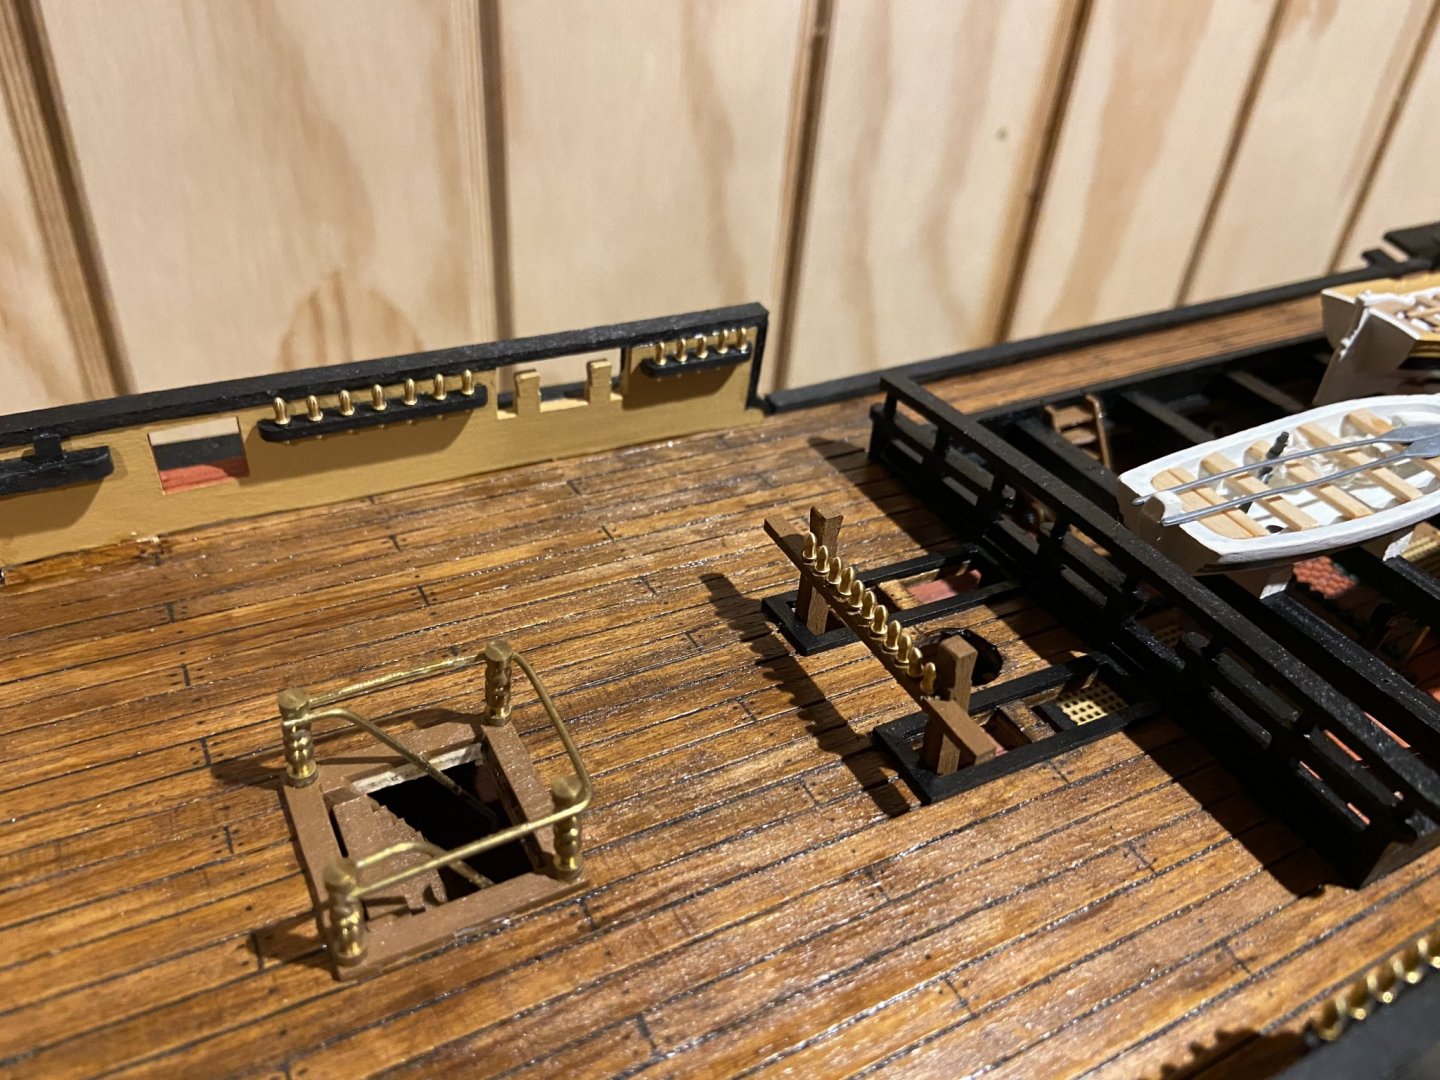
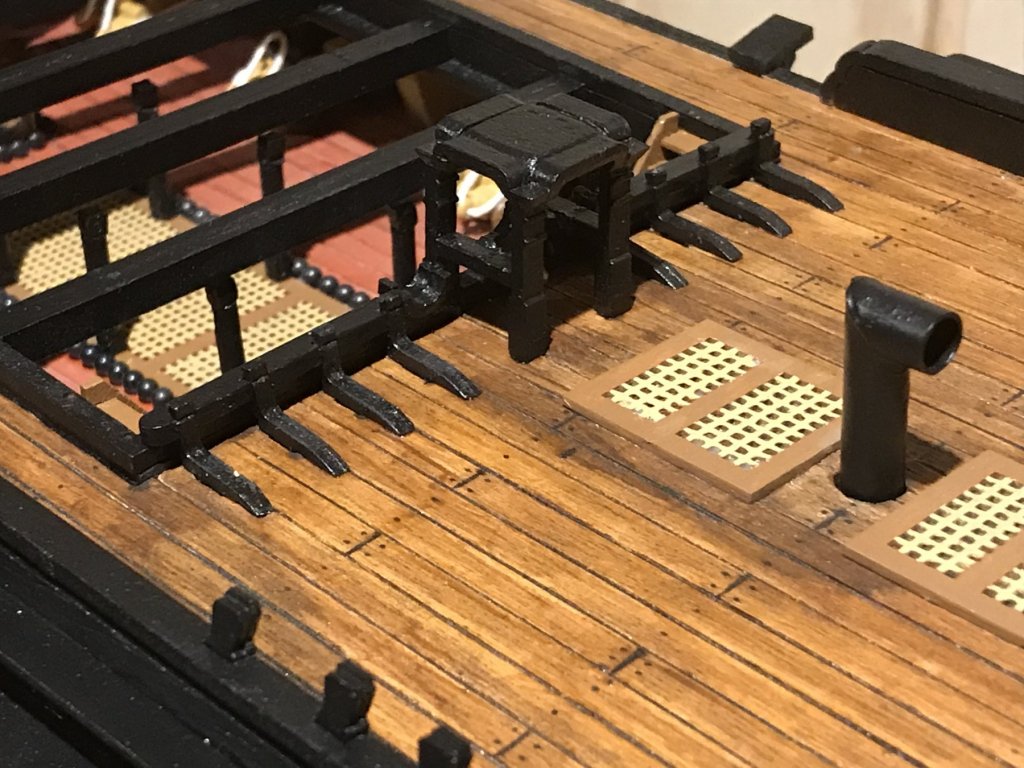
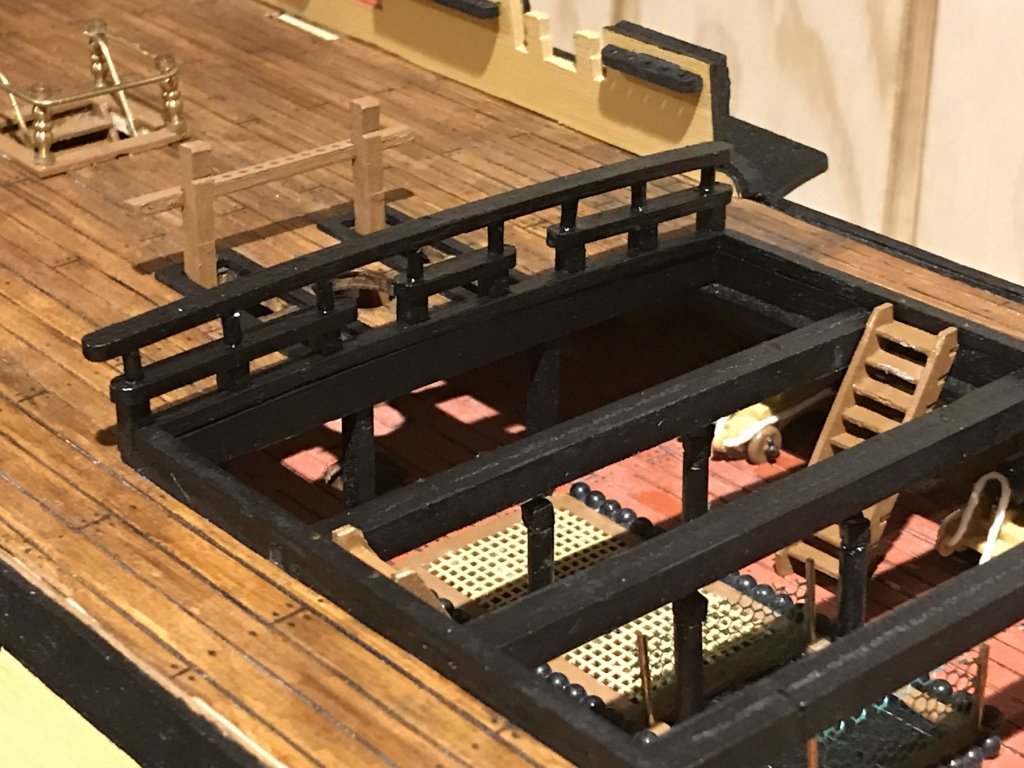
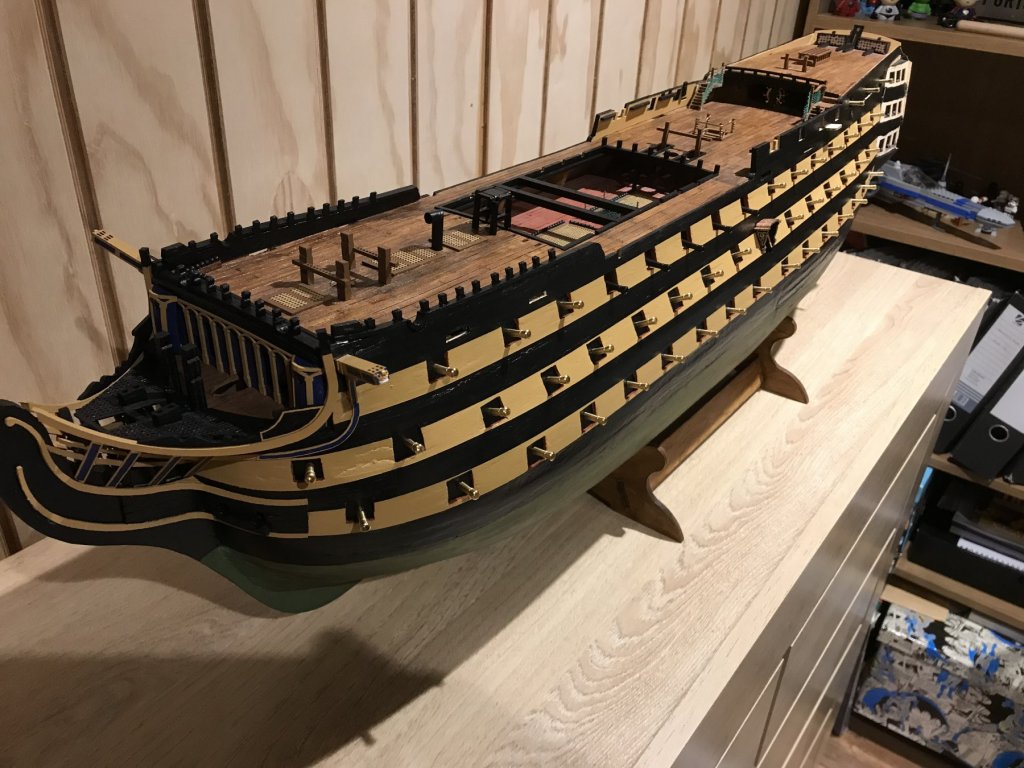
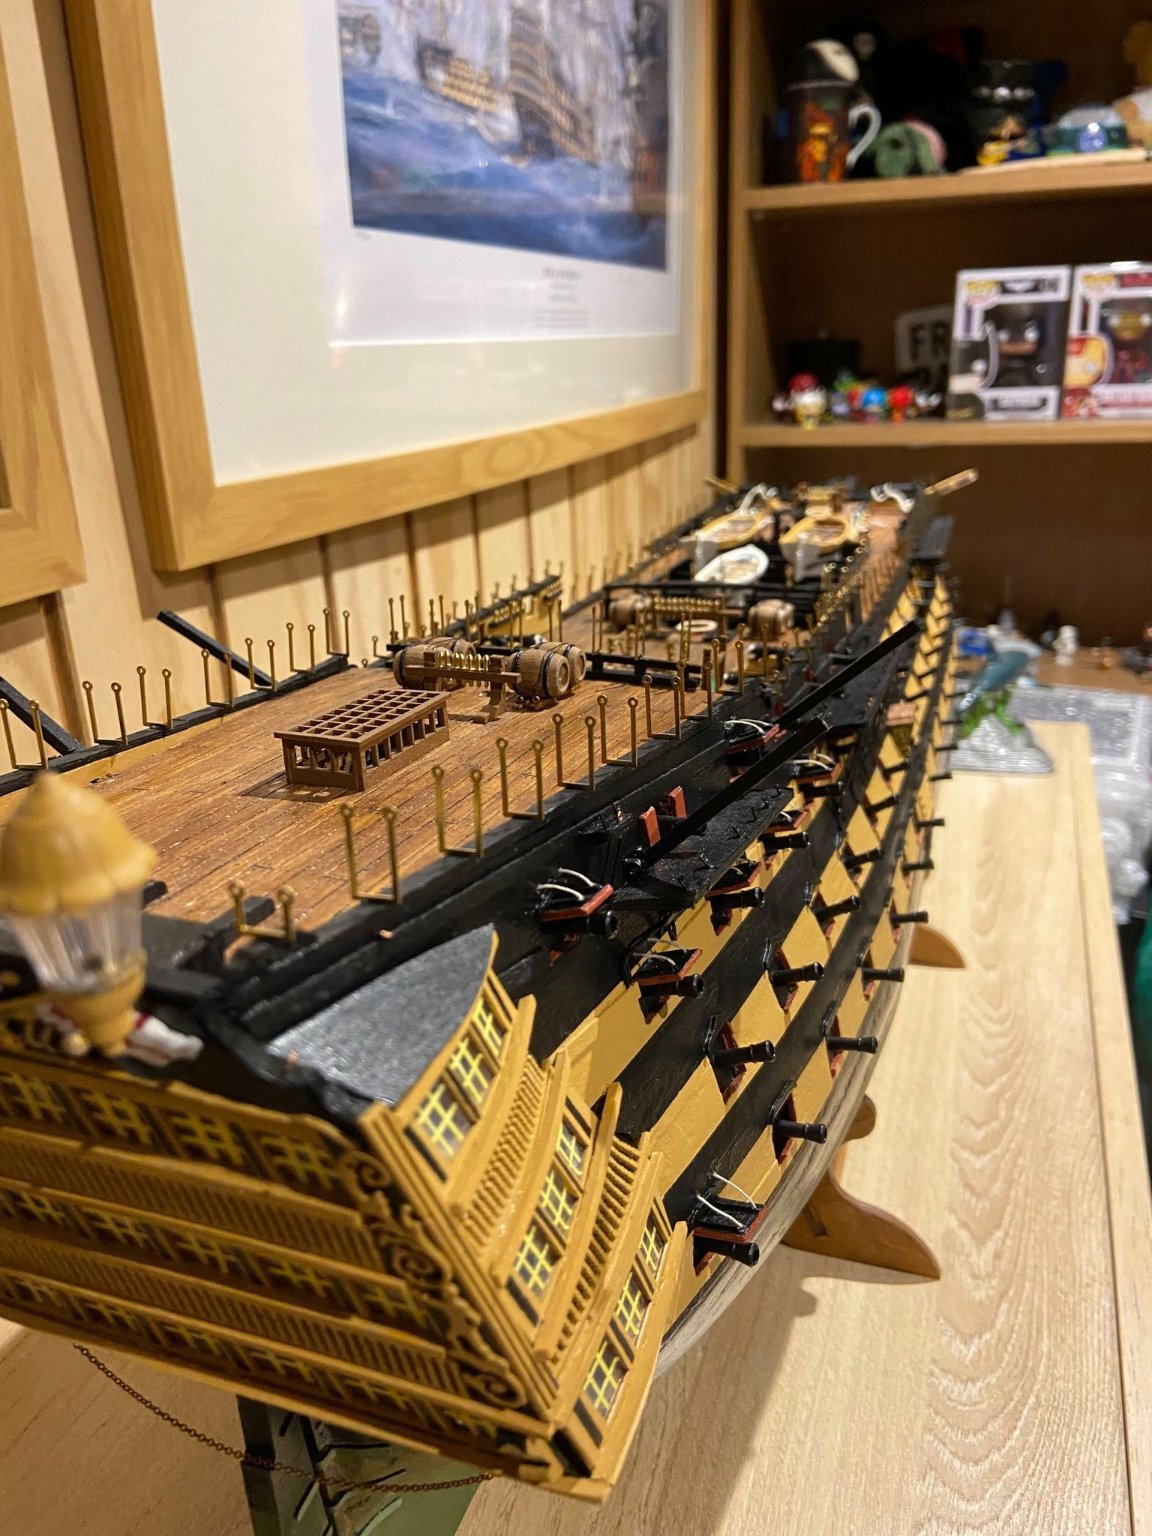
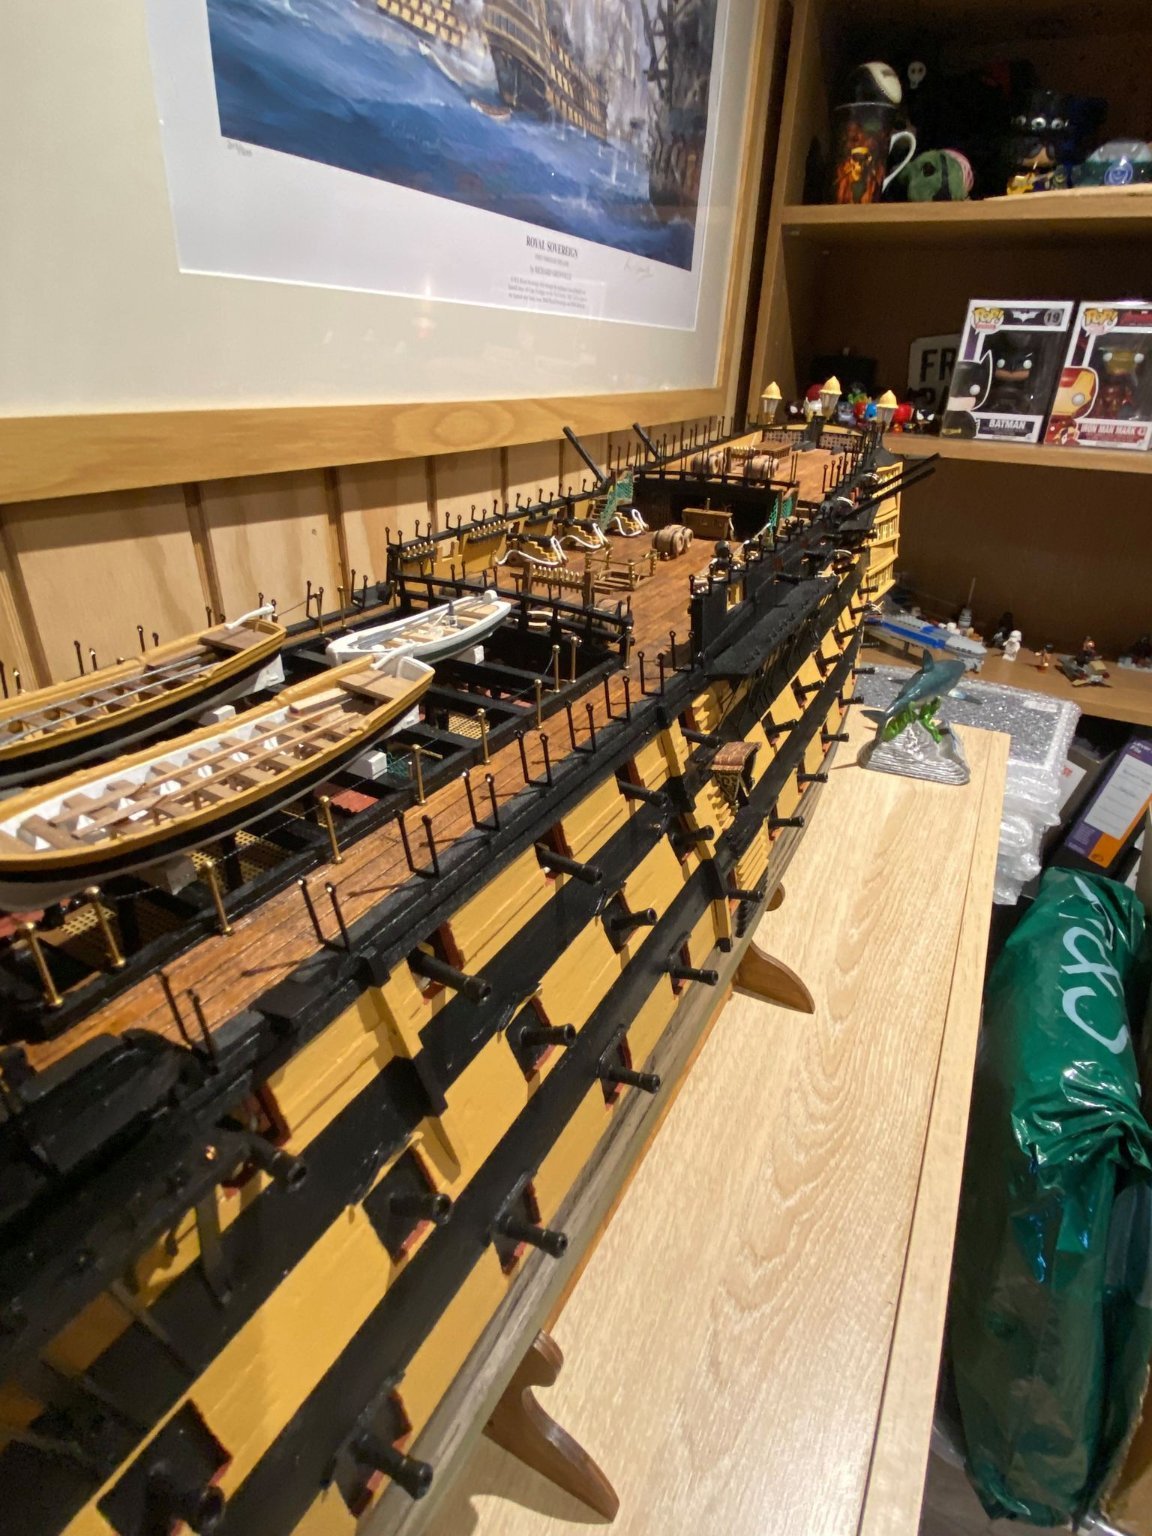
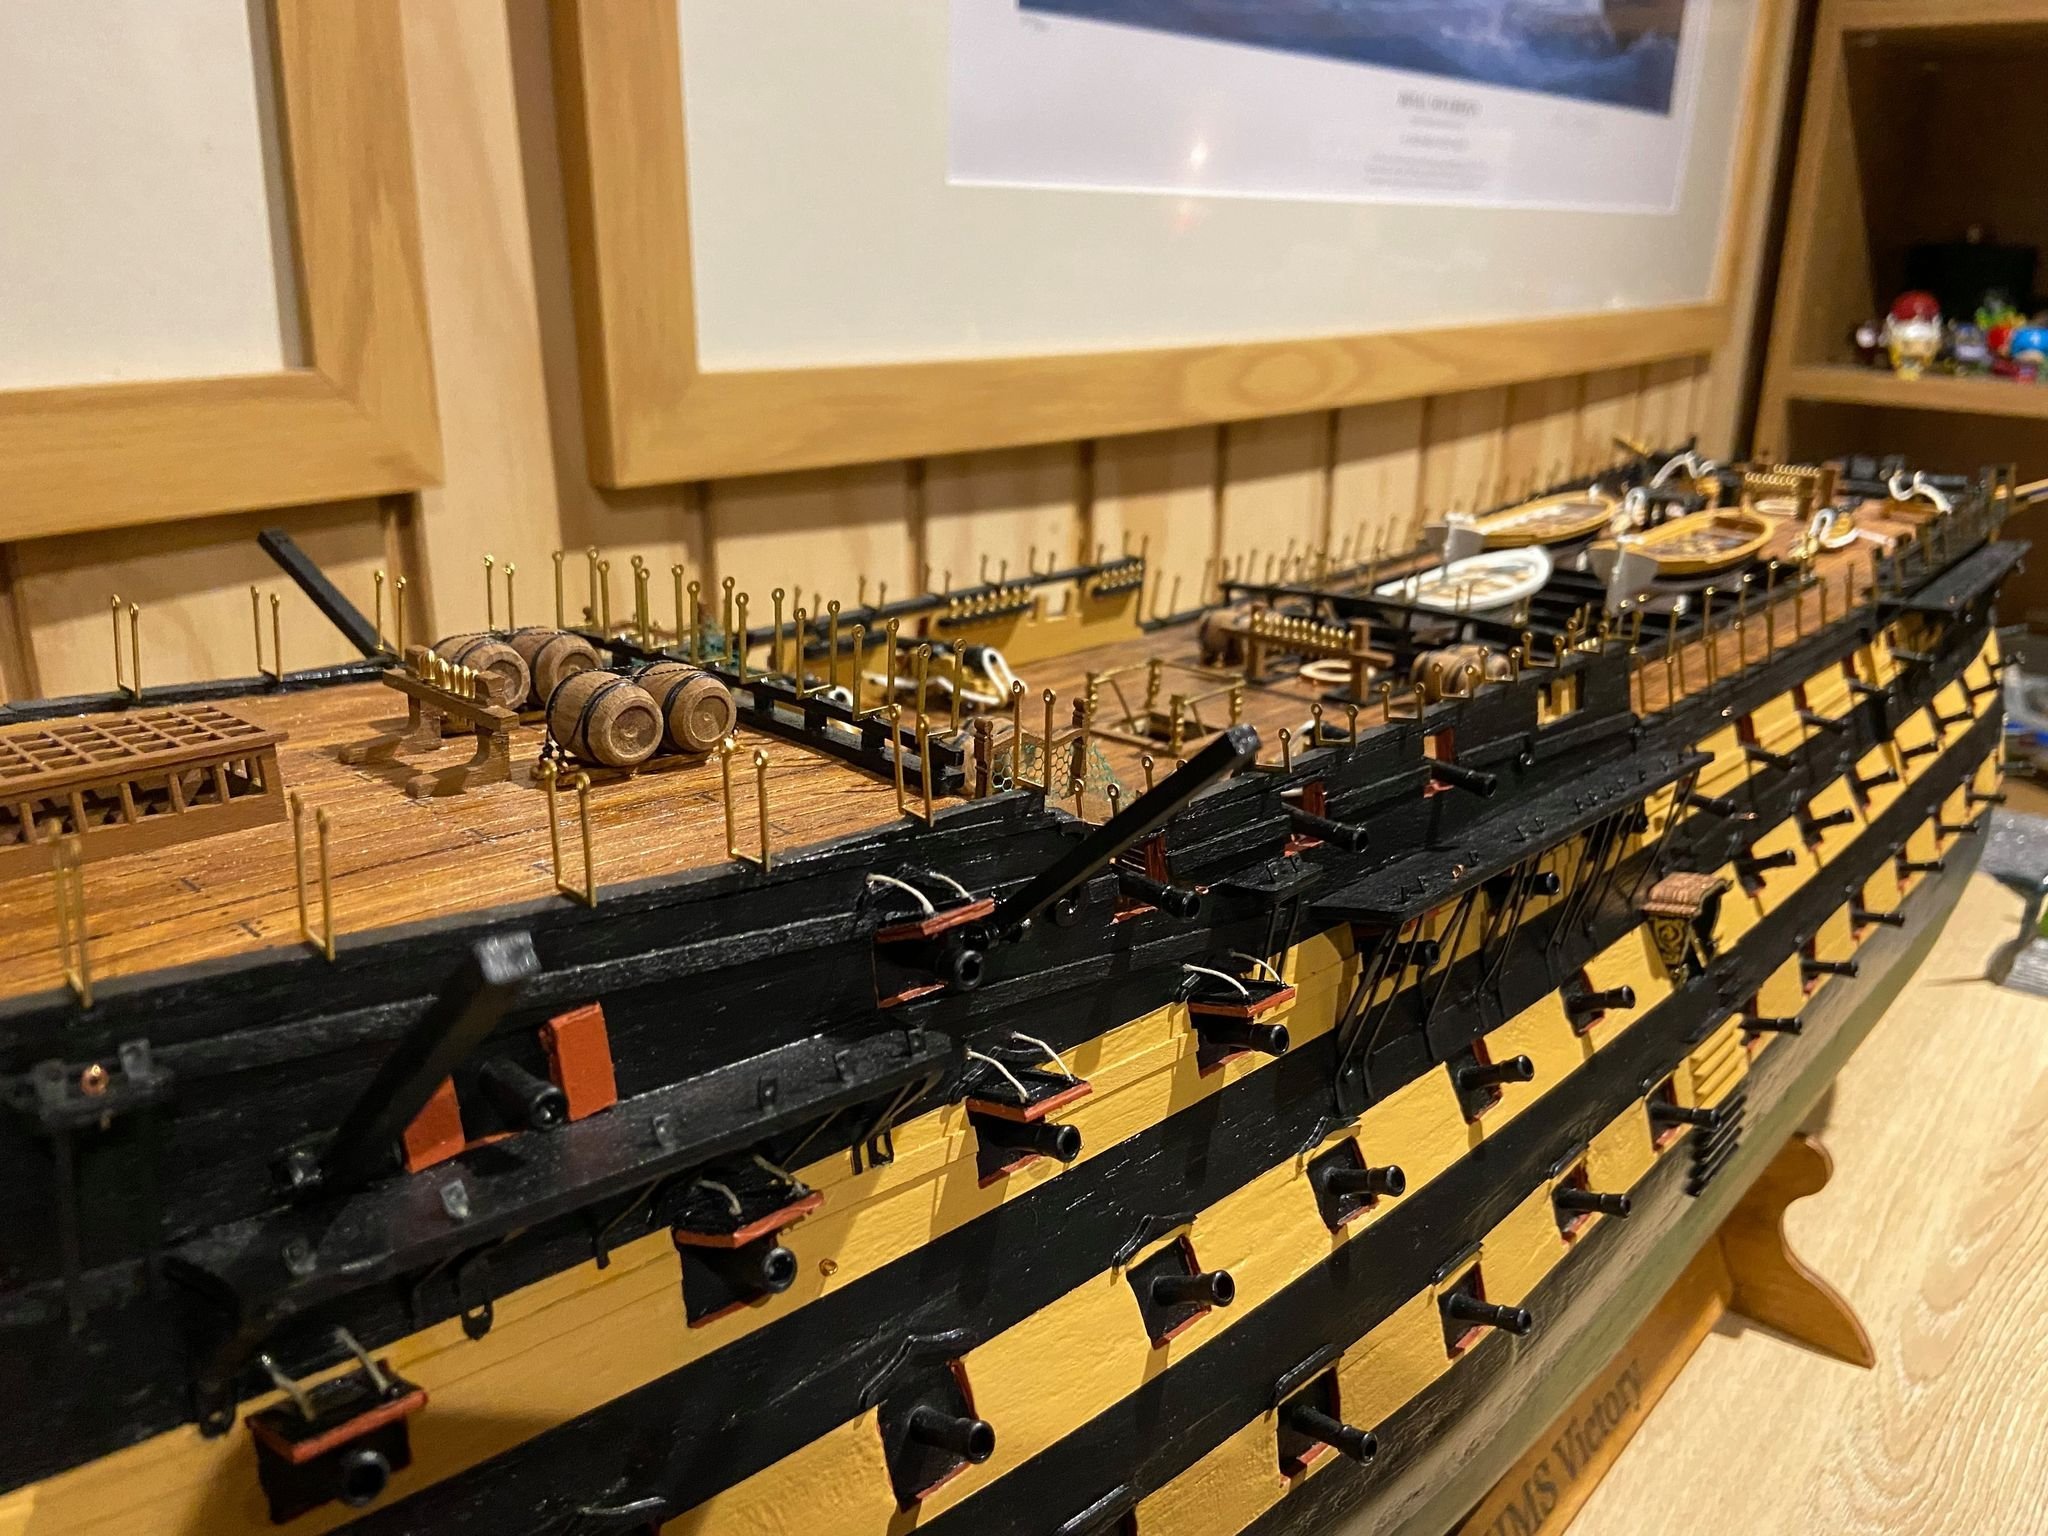
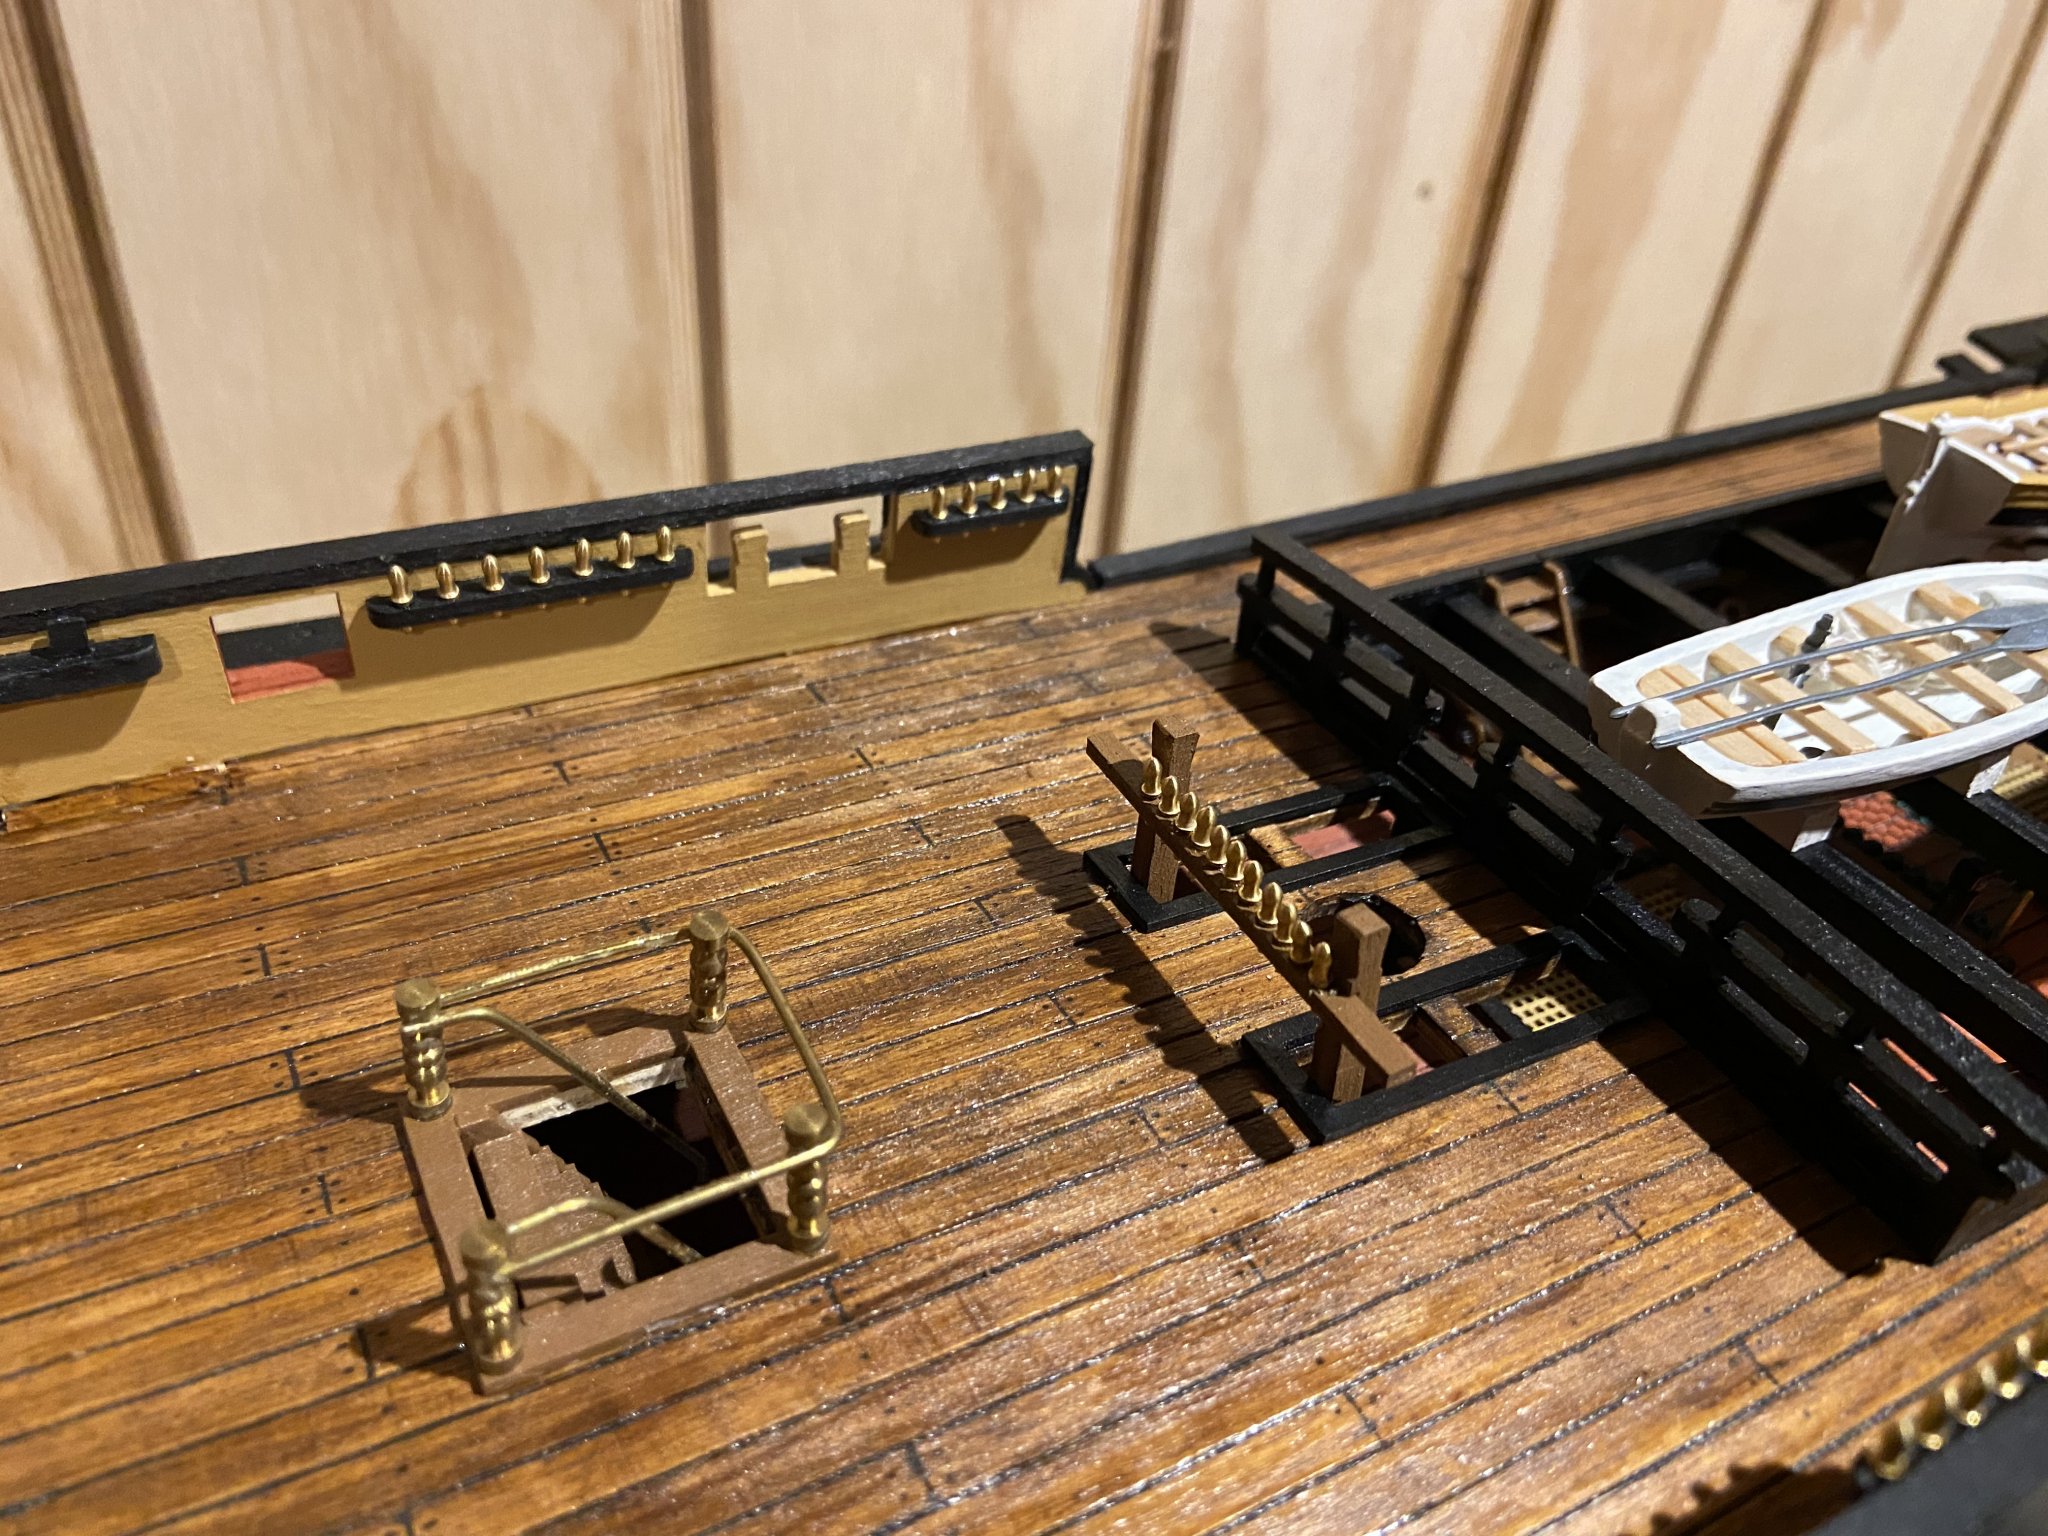
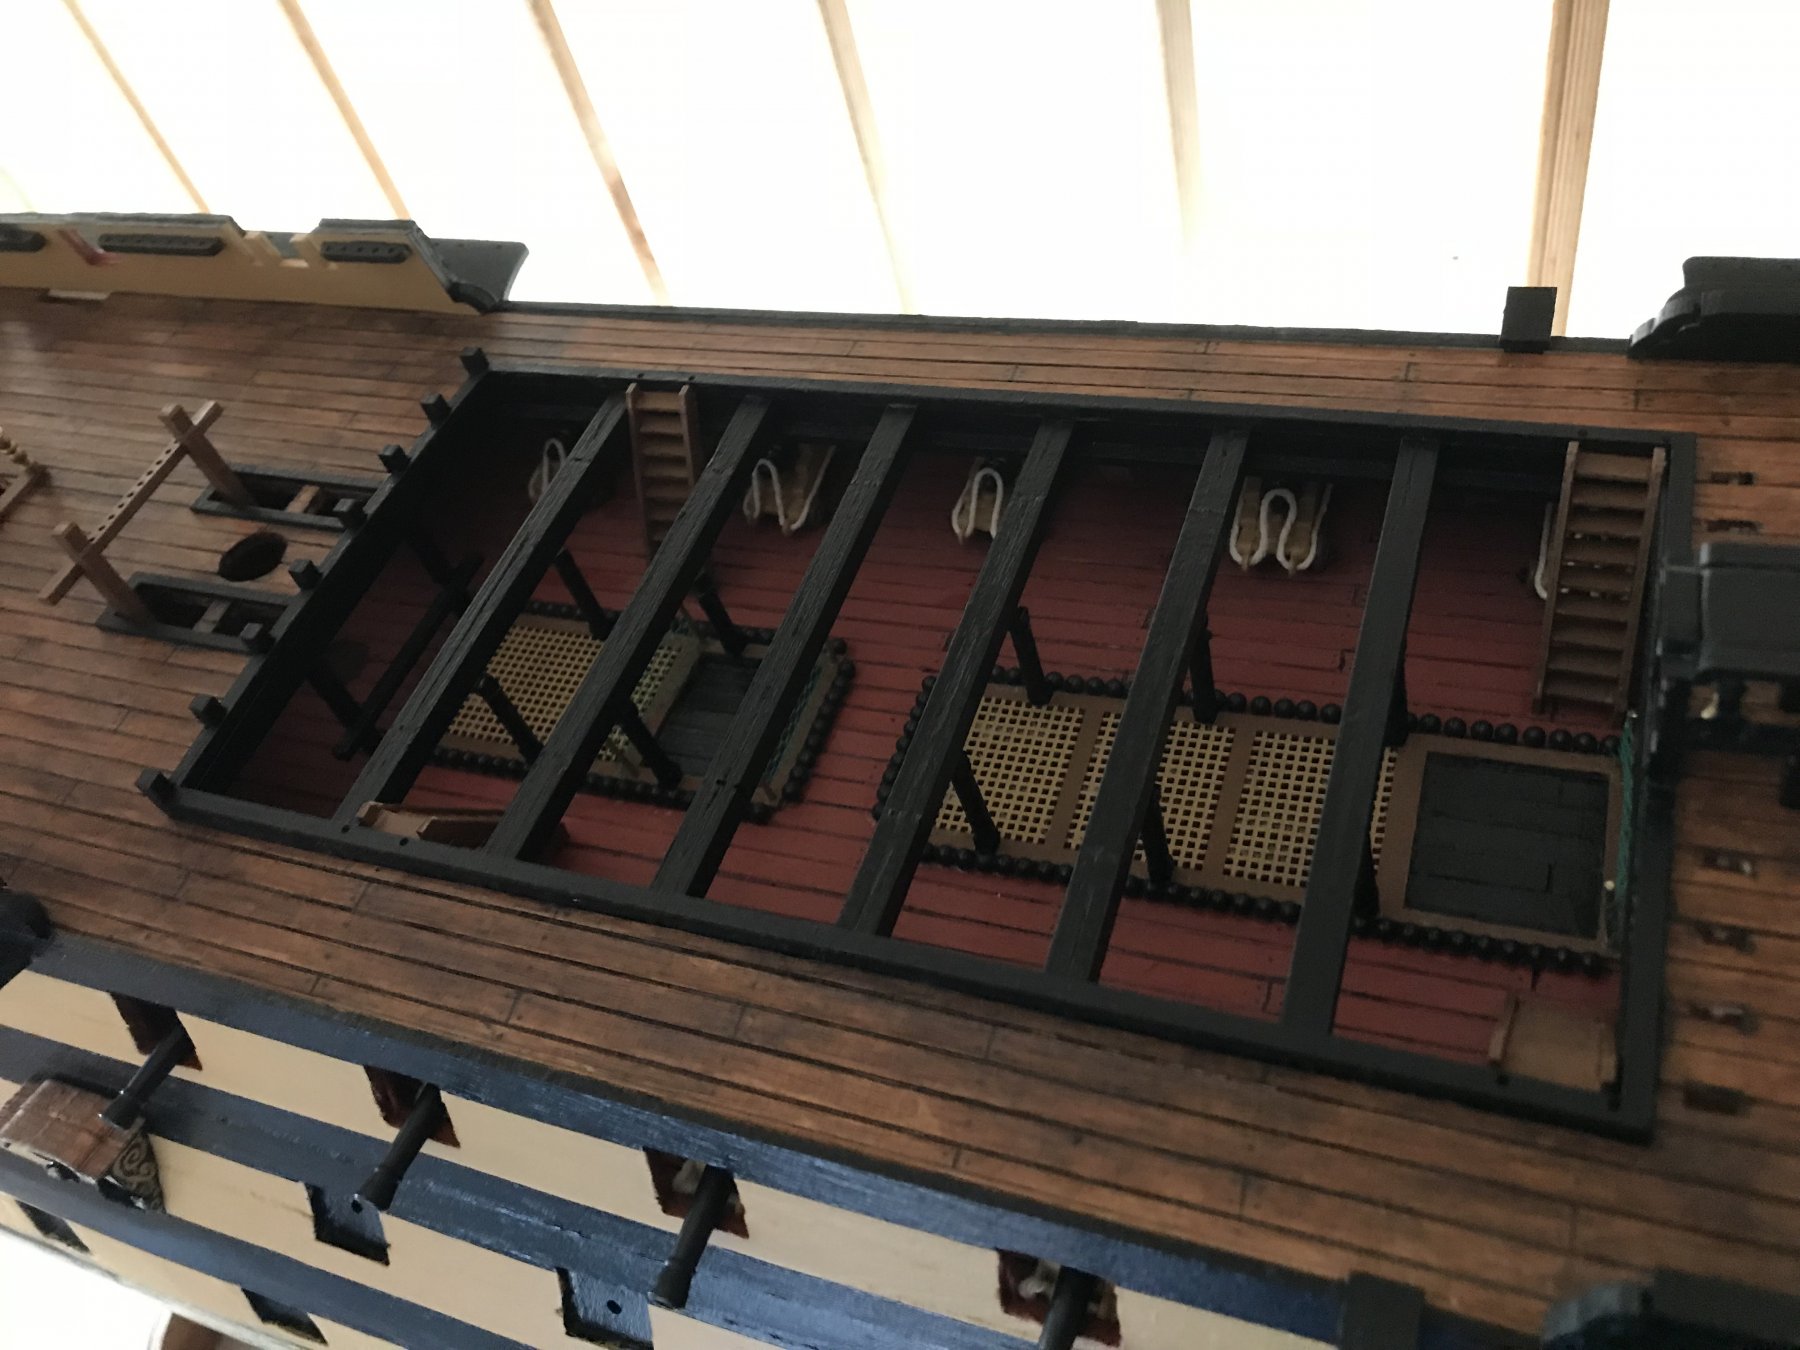
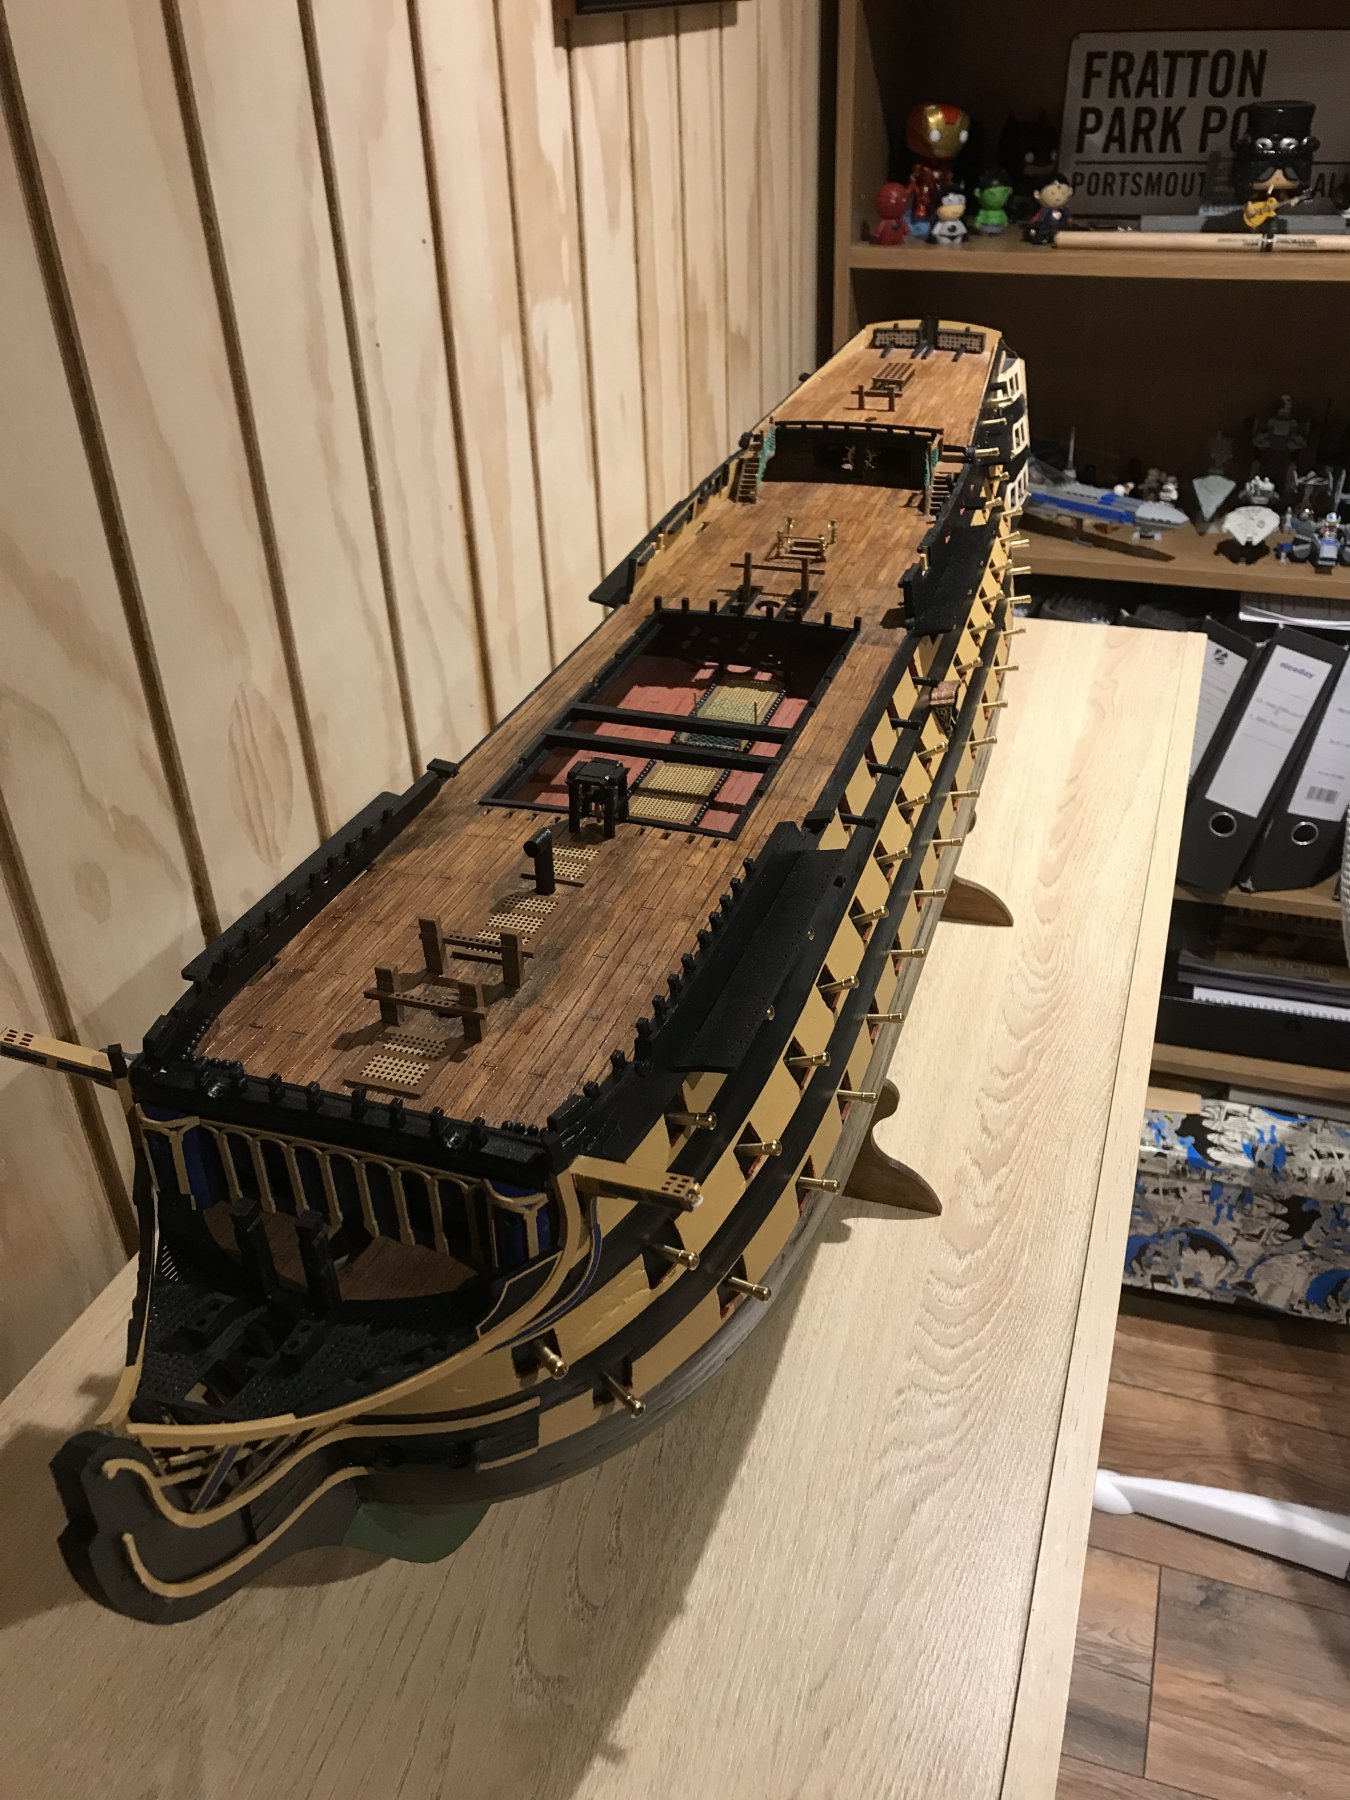
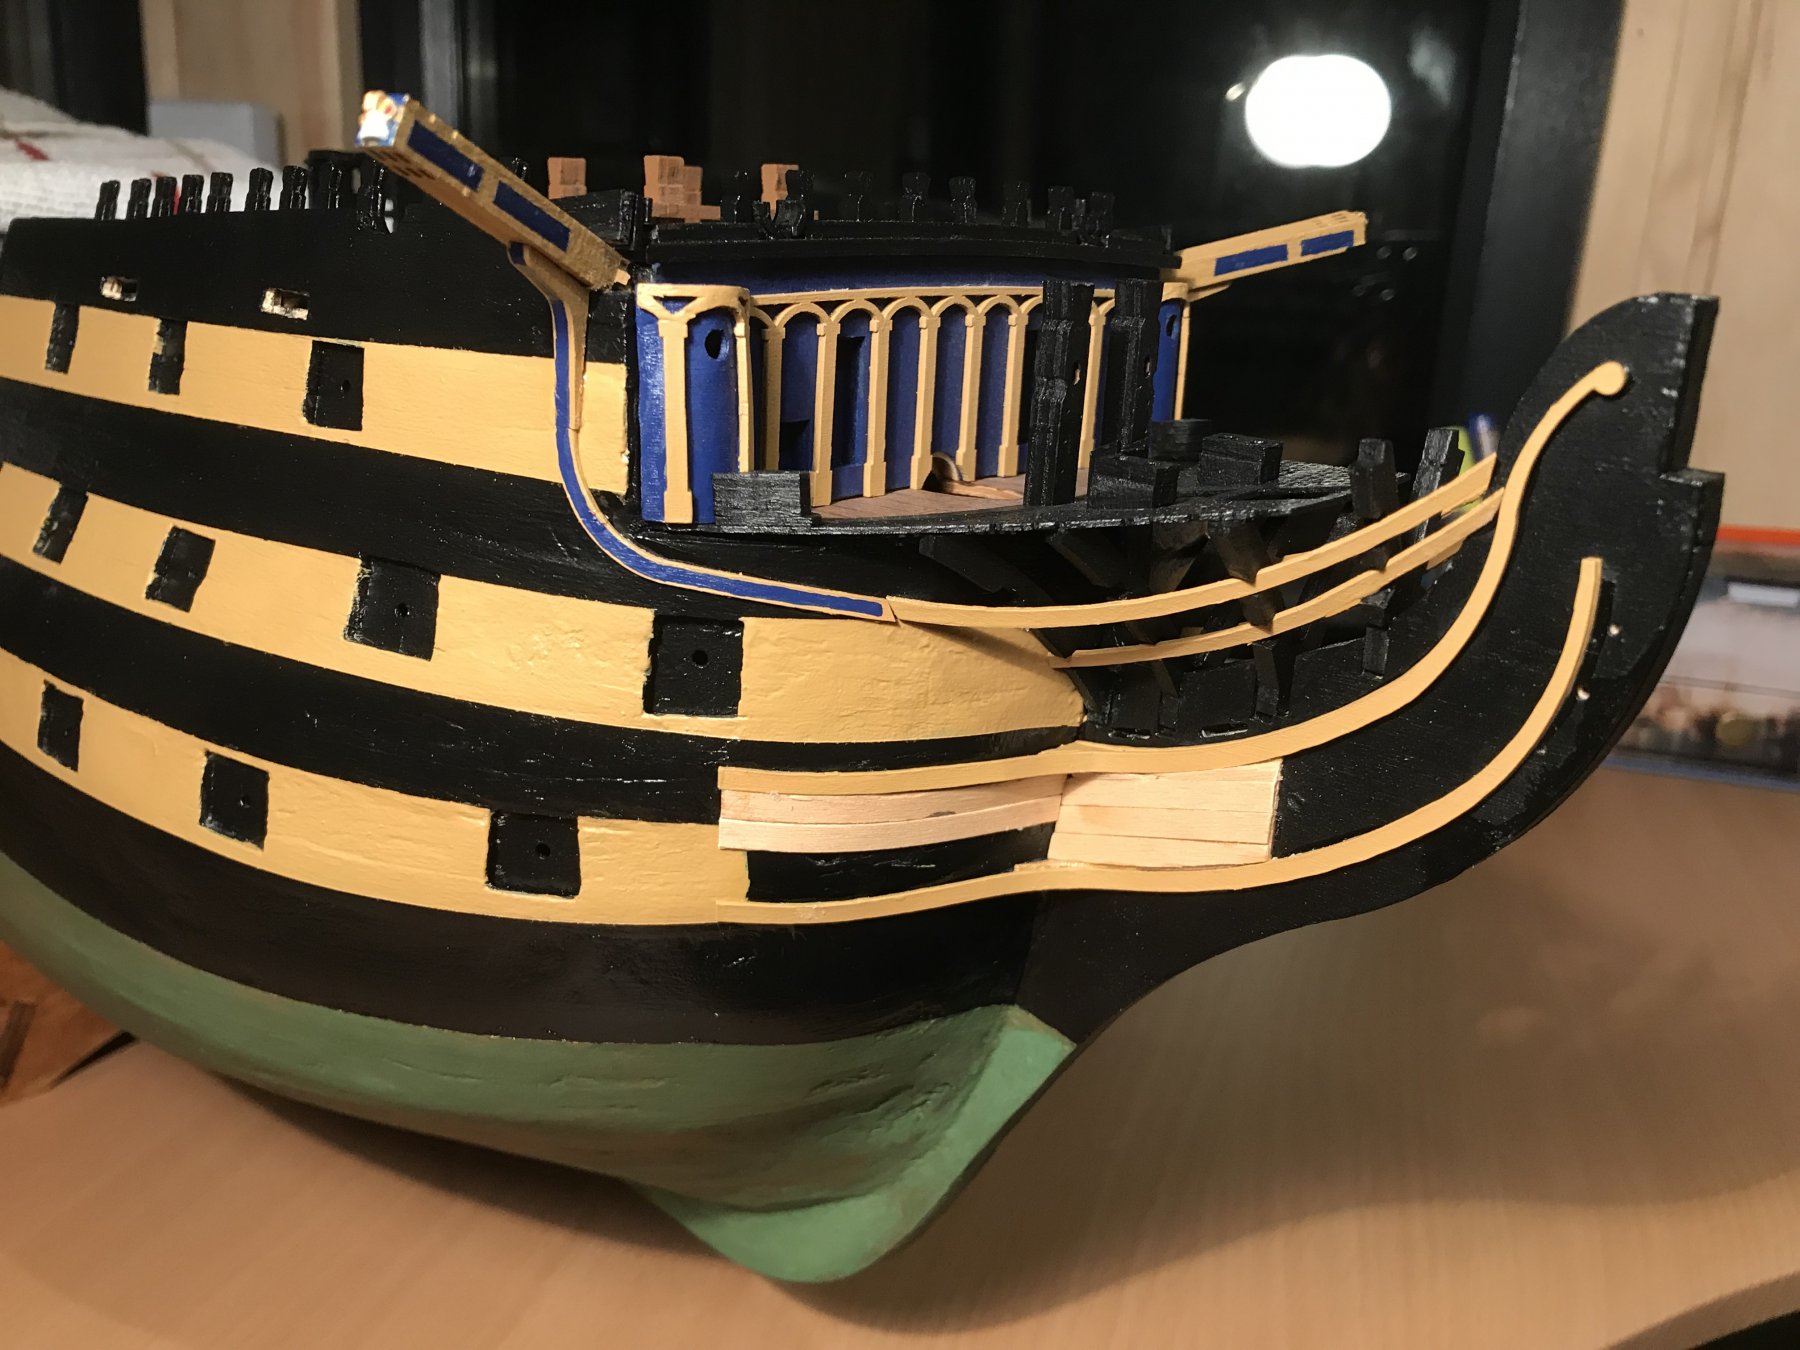
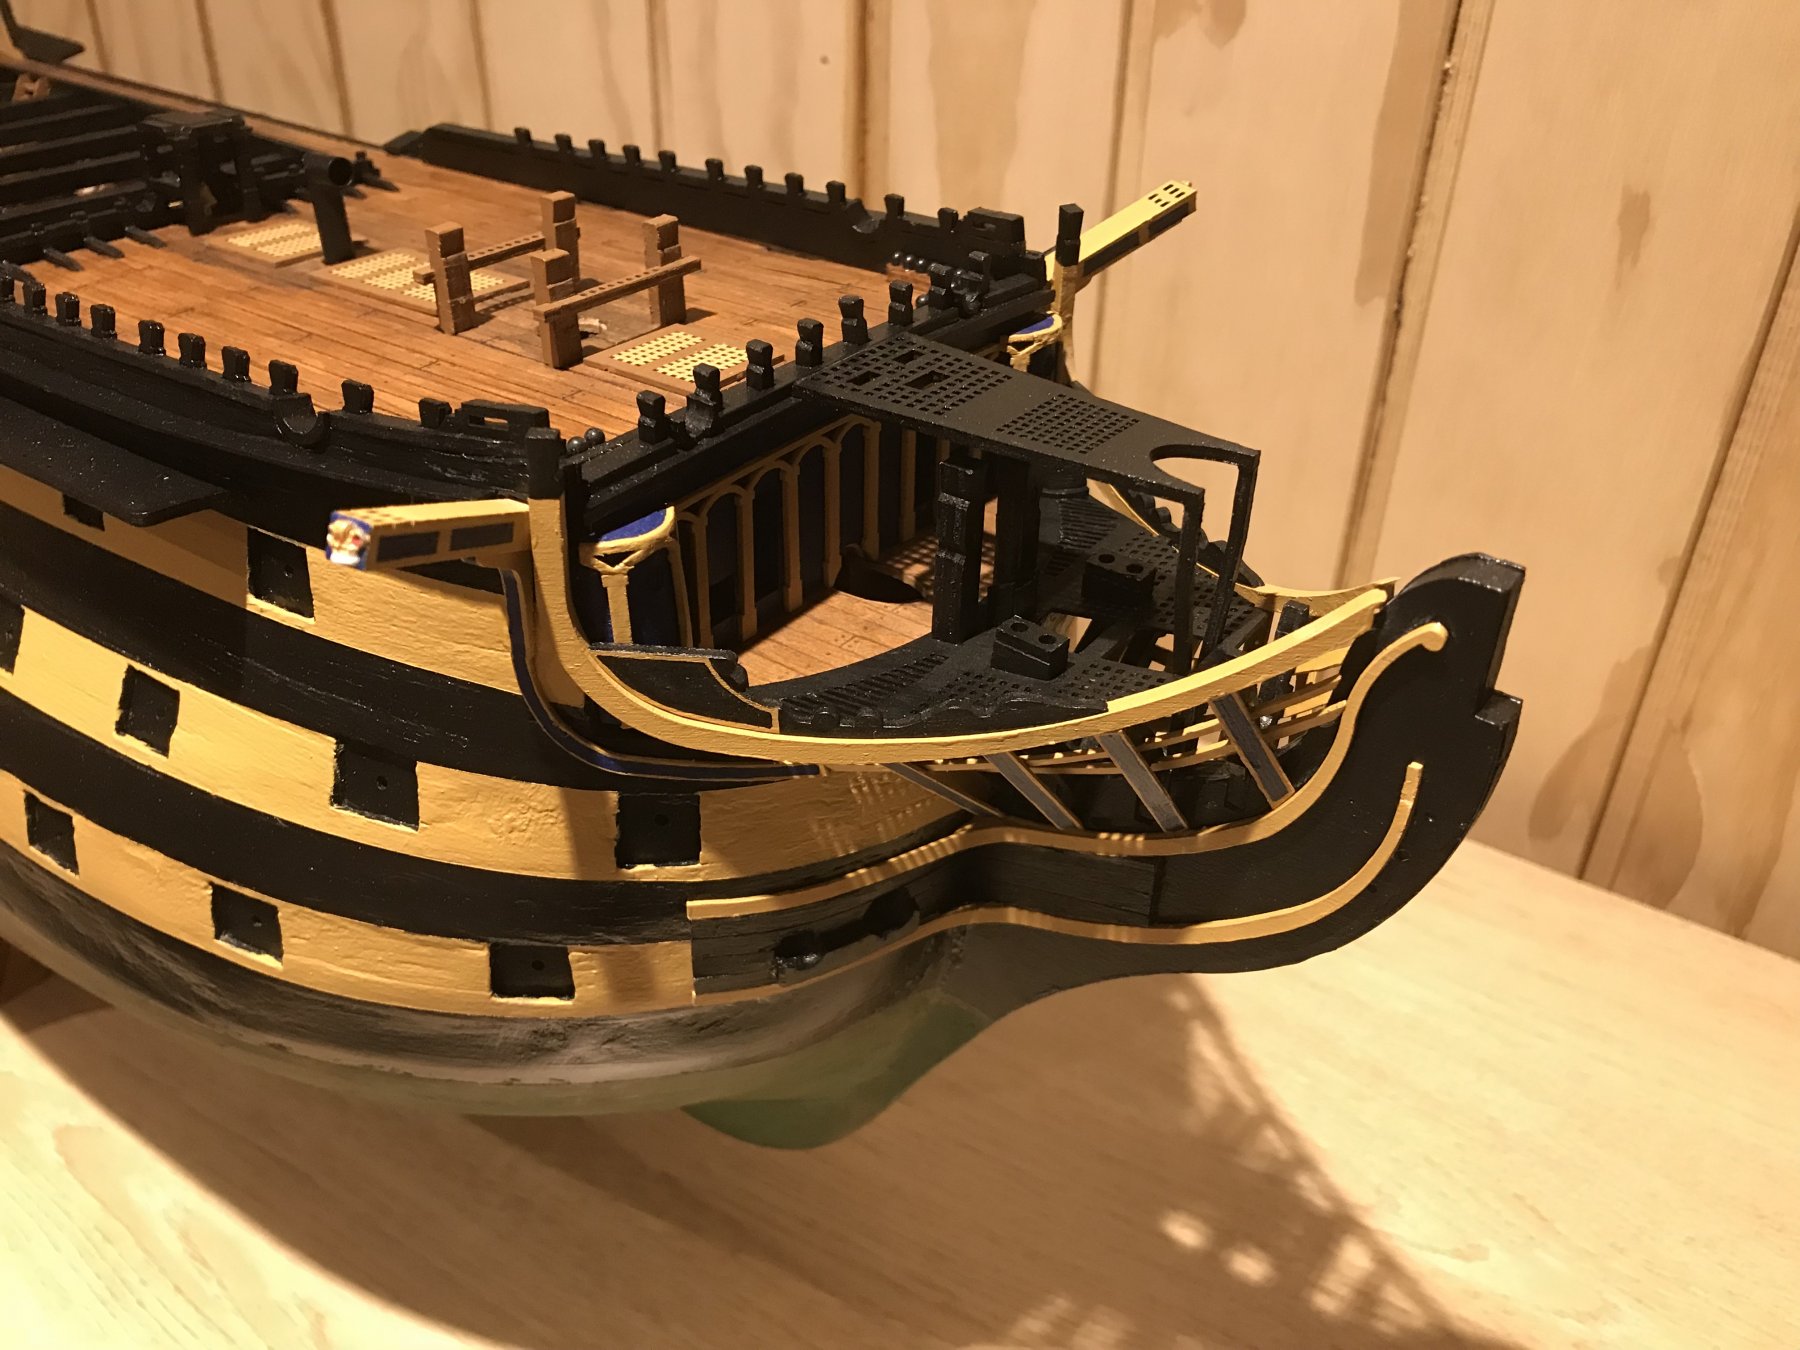
Skidbeams, support columns, ladders, railings and details around the belfry done.


- Zapto, GrandpaPhil, clearway and 3 others
-
6
-
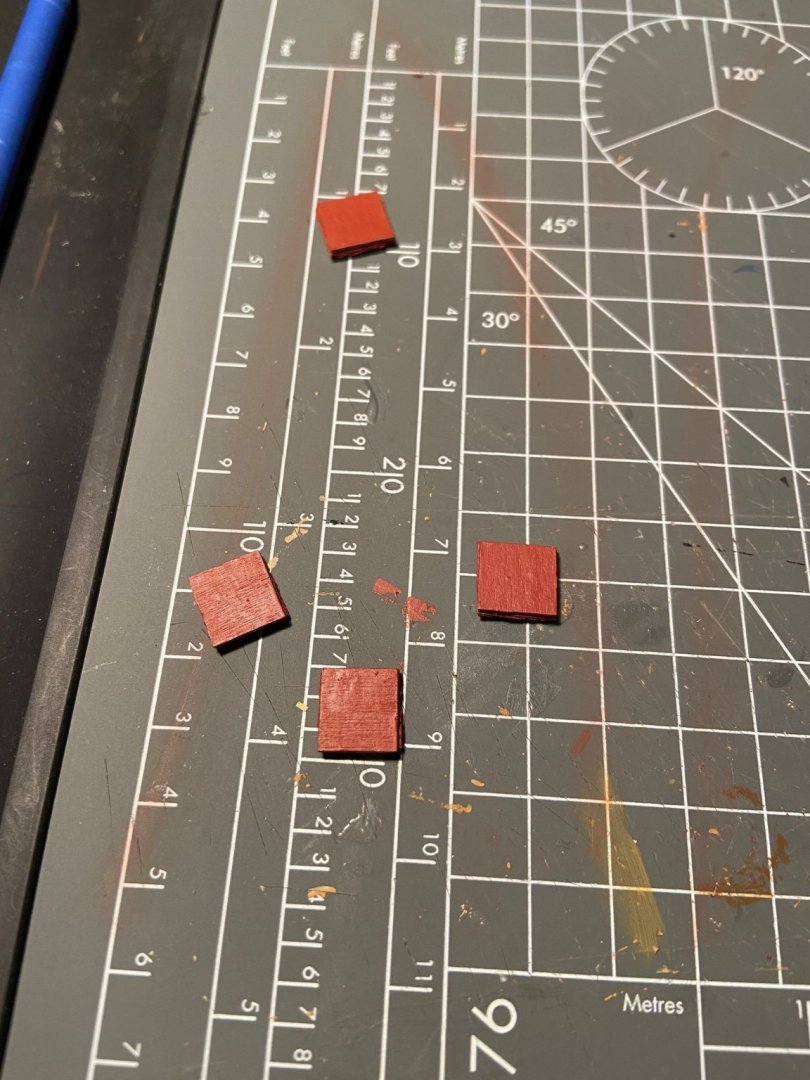
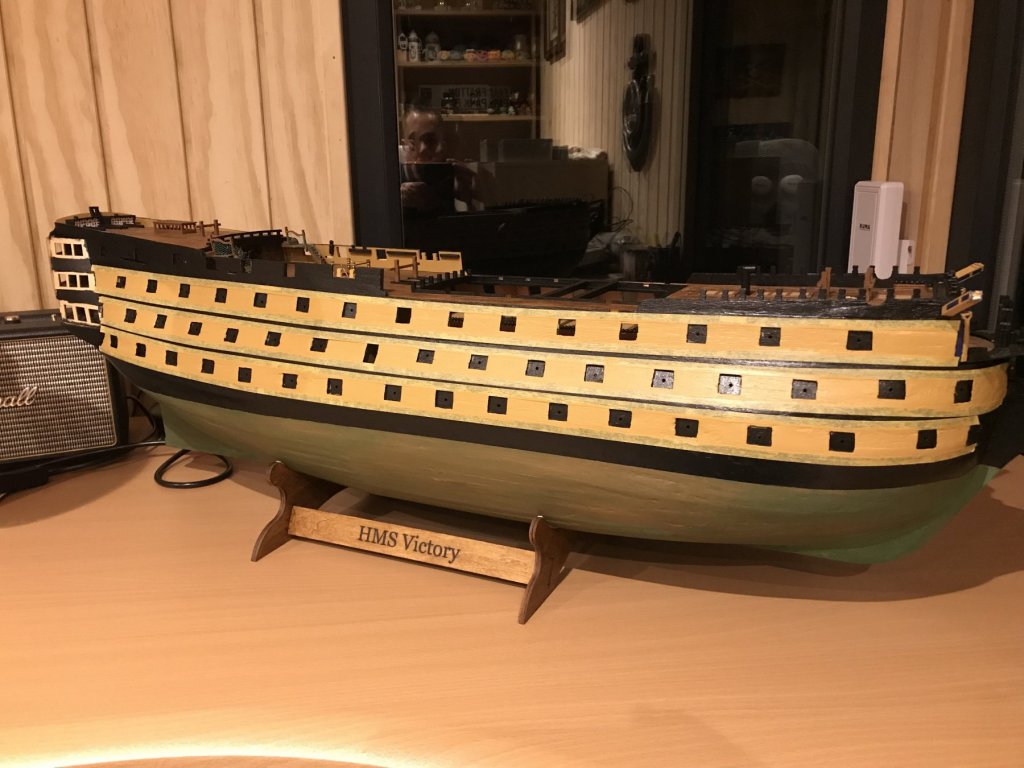
Gunports lined in red and entryway added.


-
-
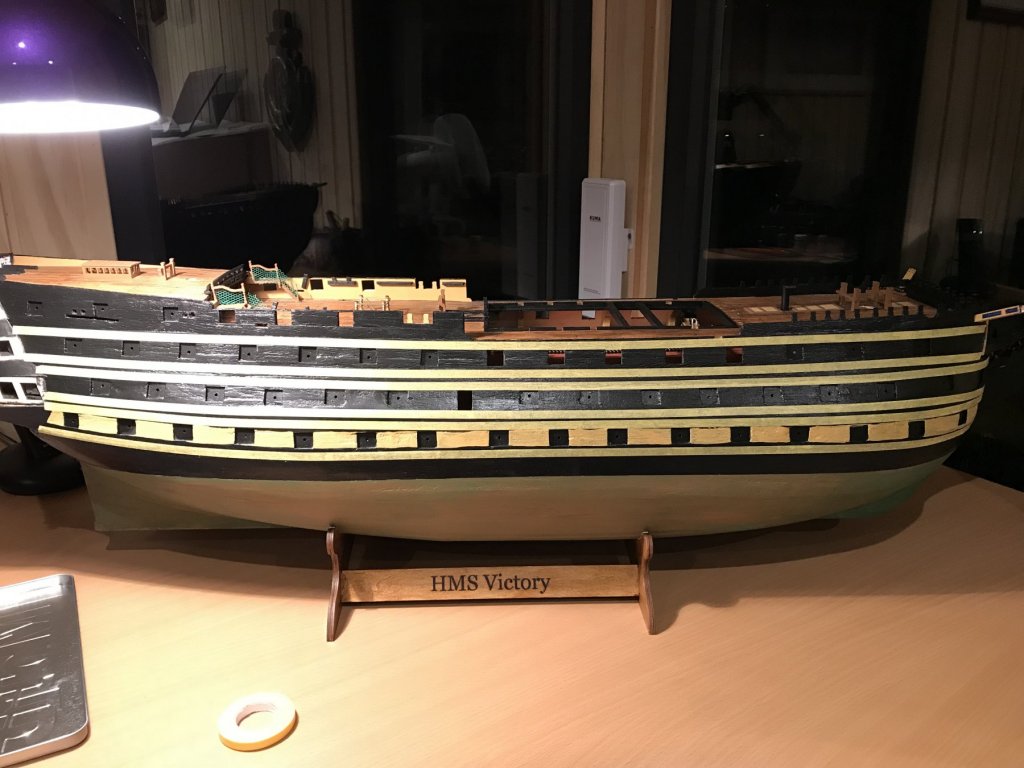
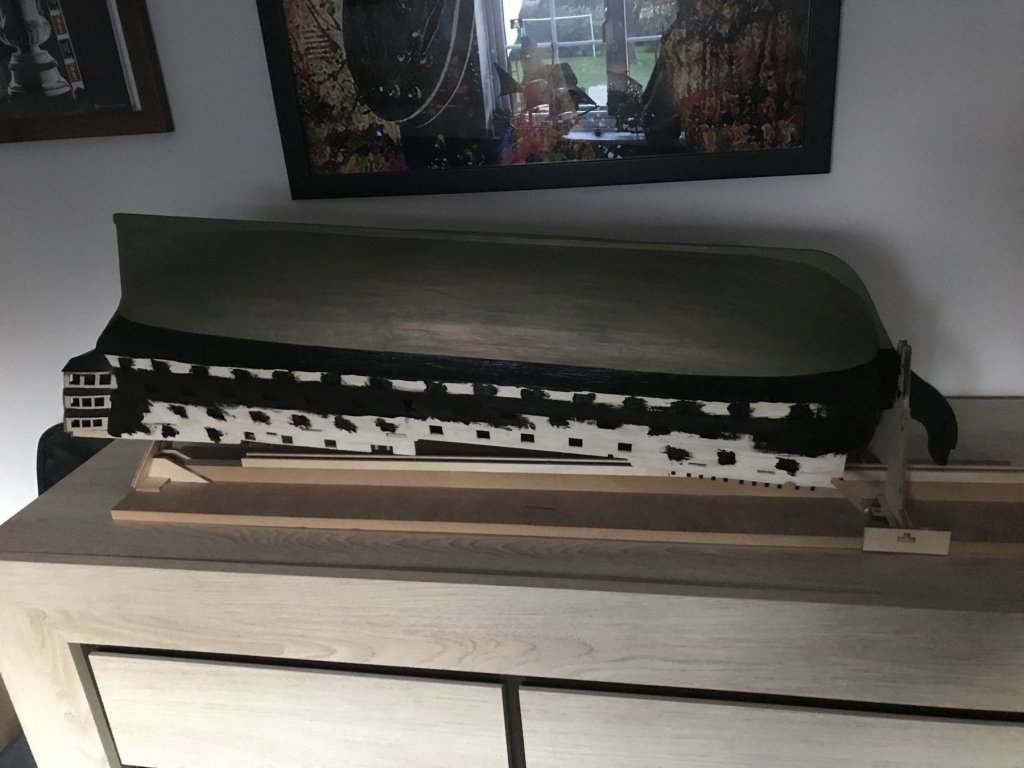
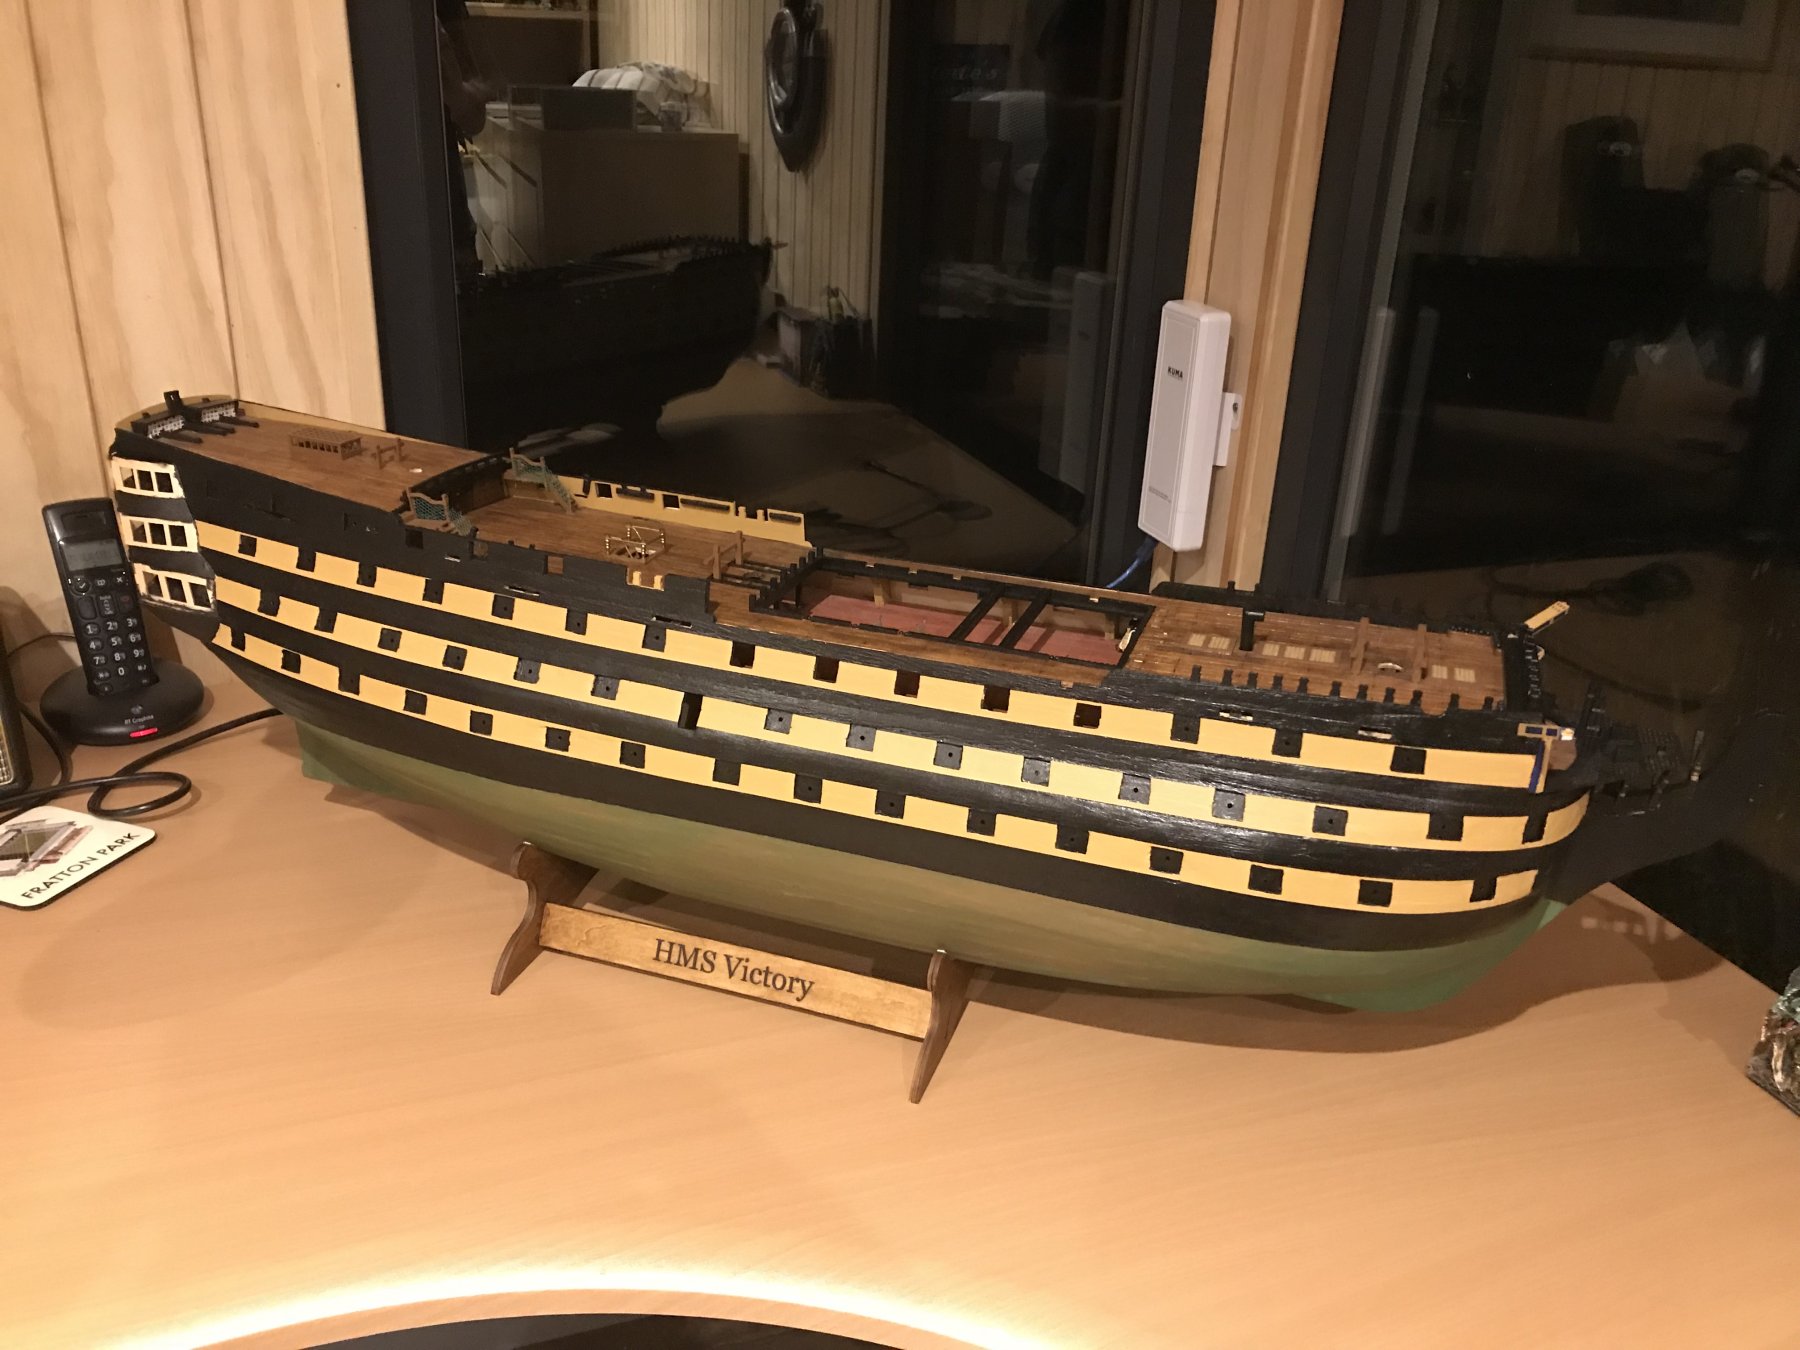
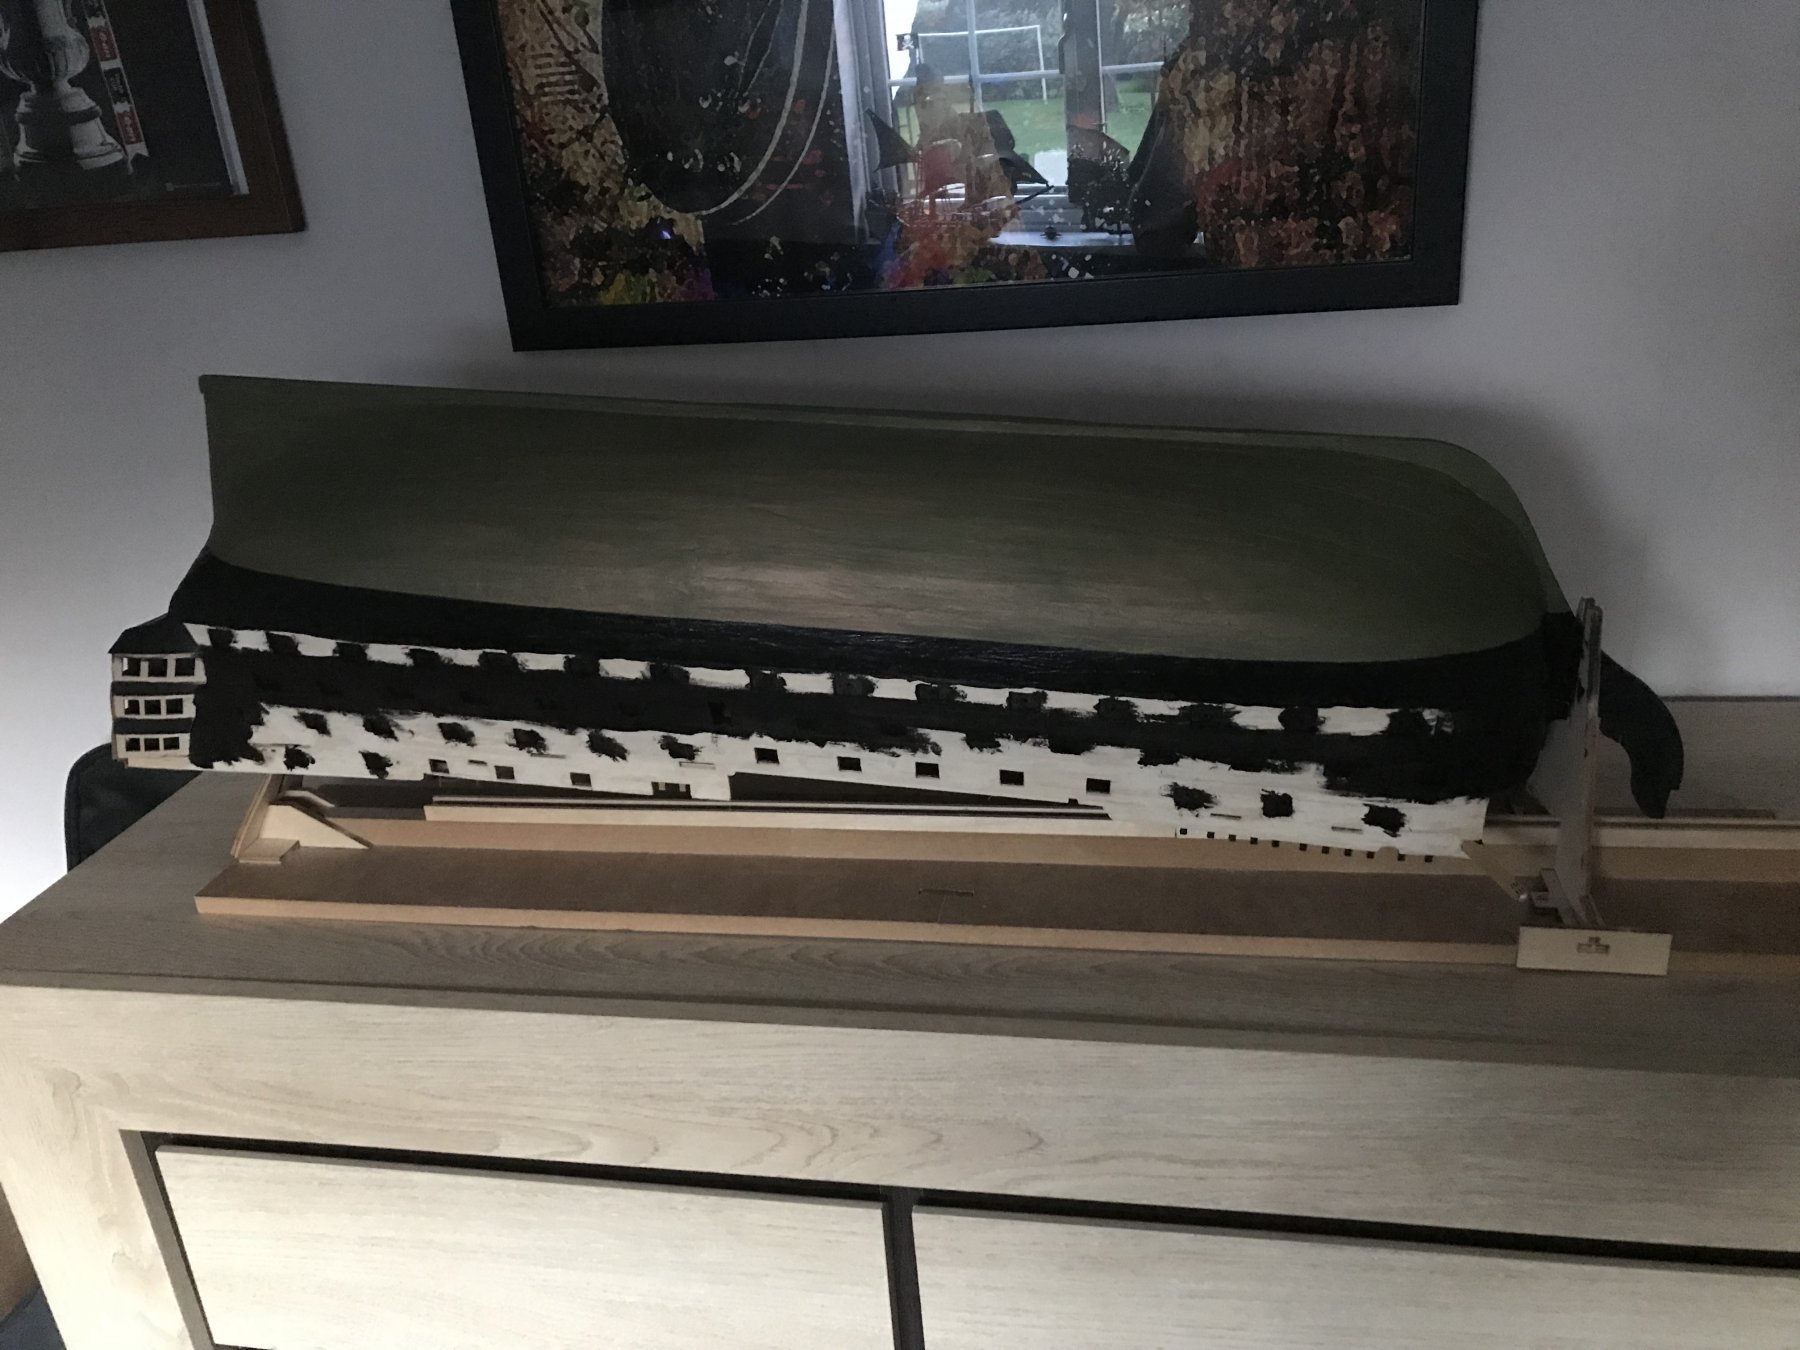
About time to get her striped up!

-
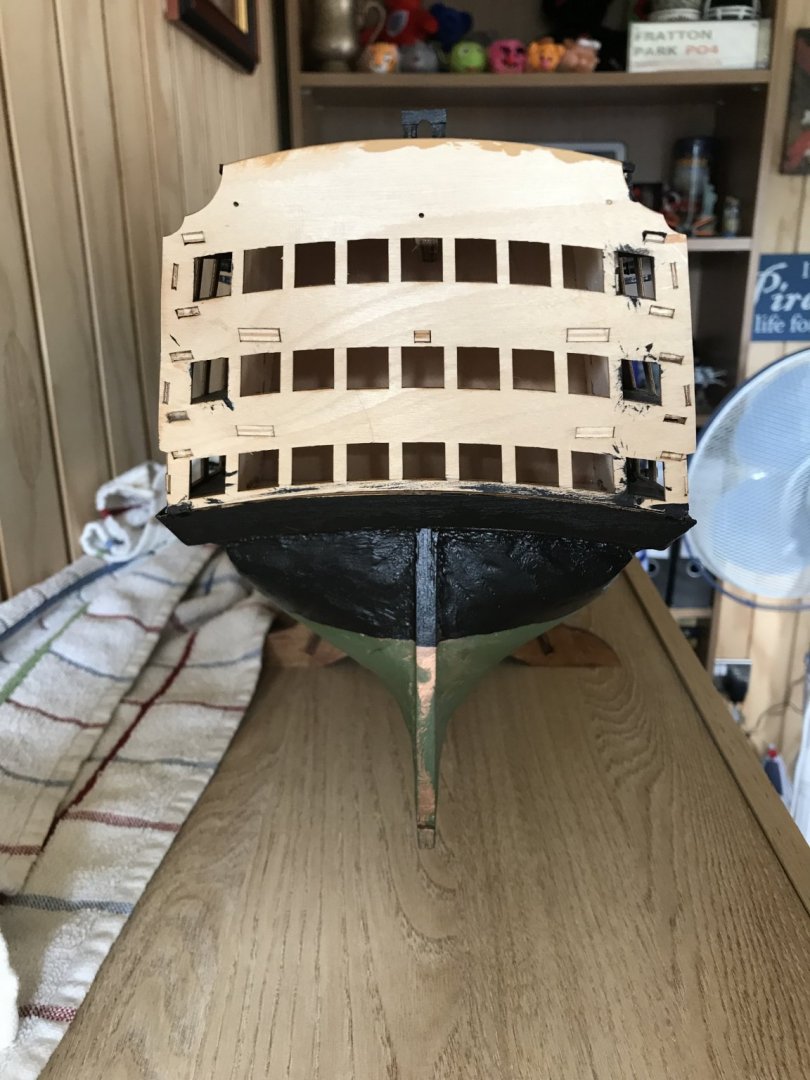
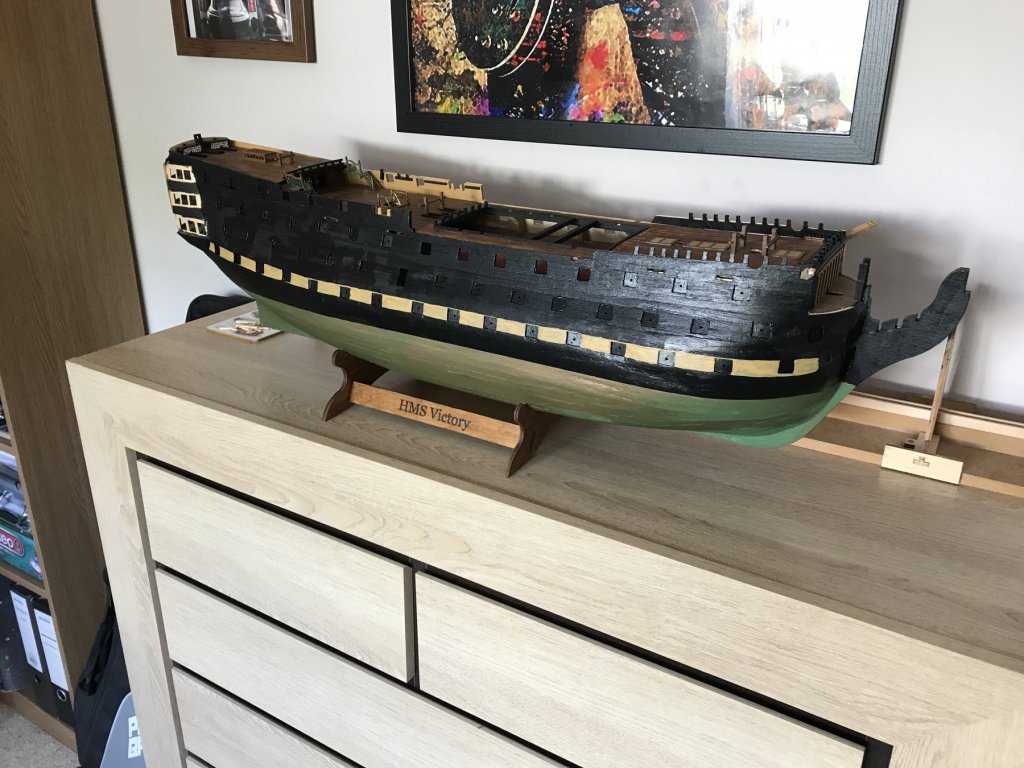
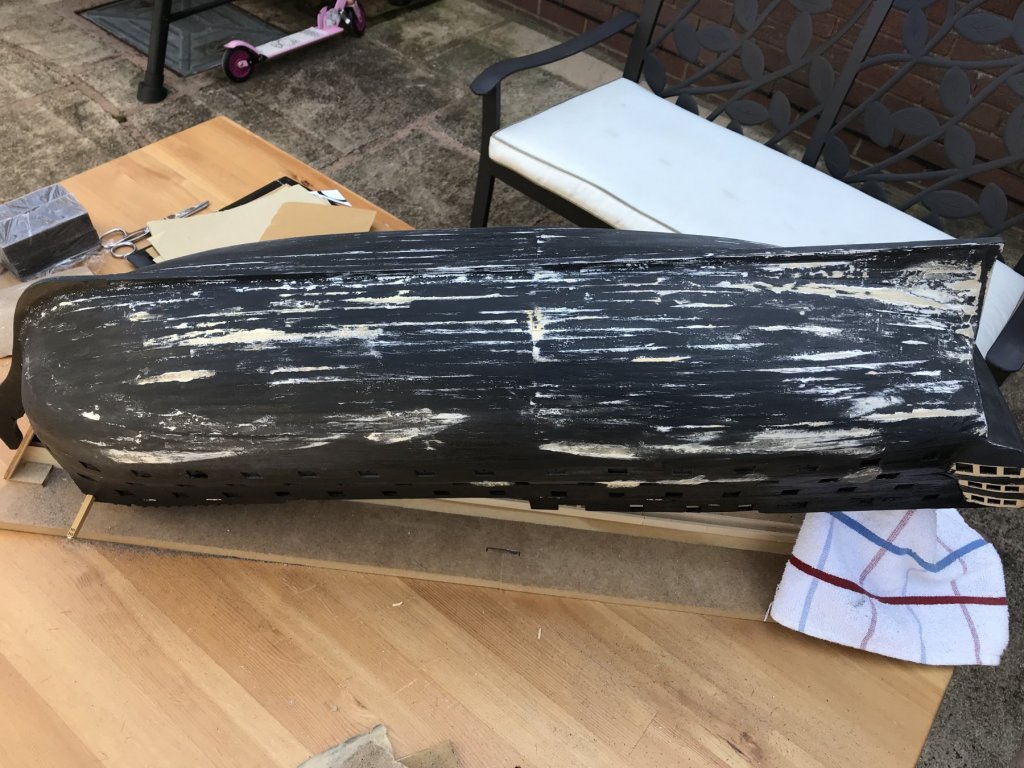
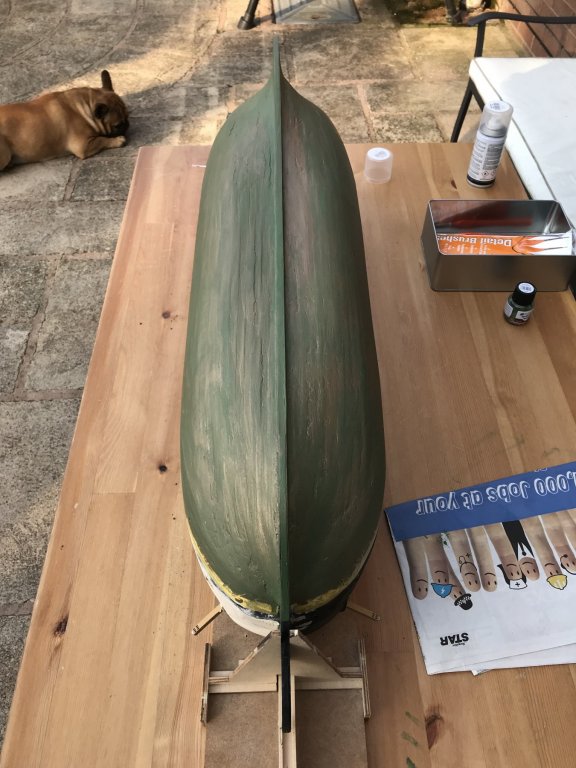
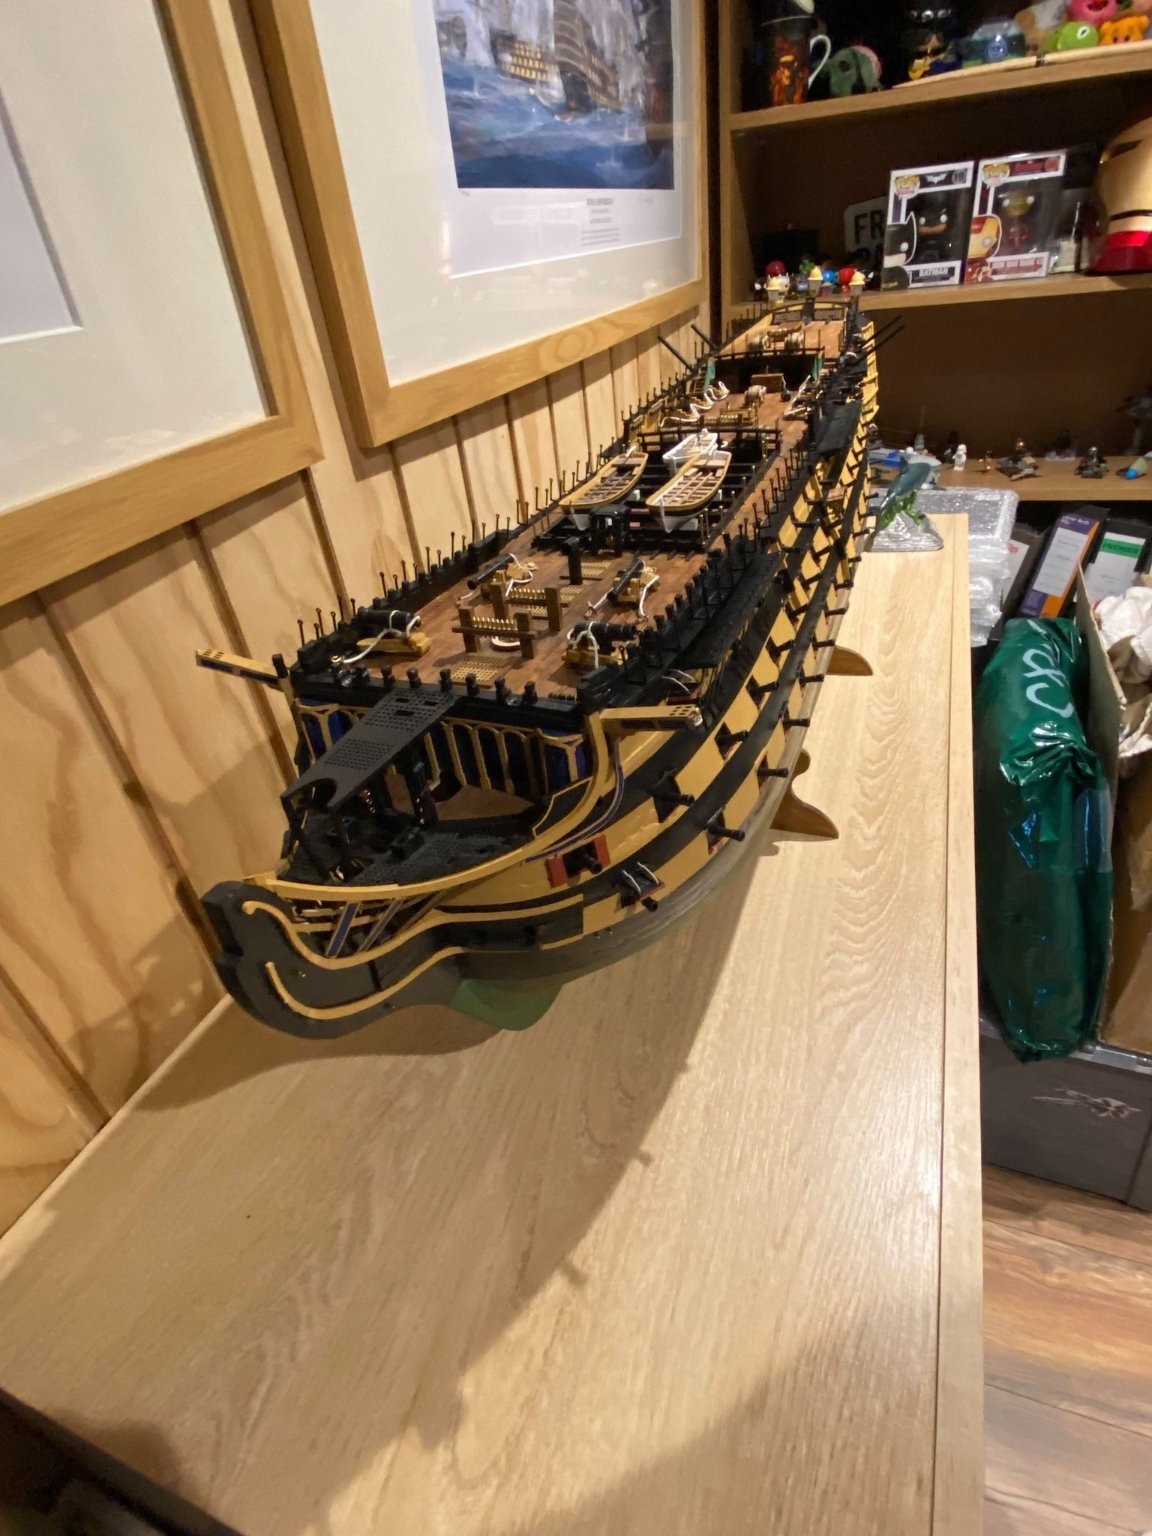
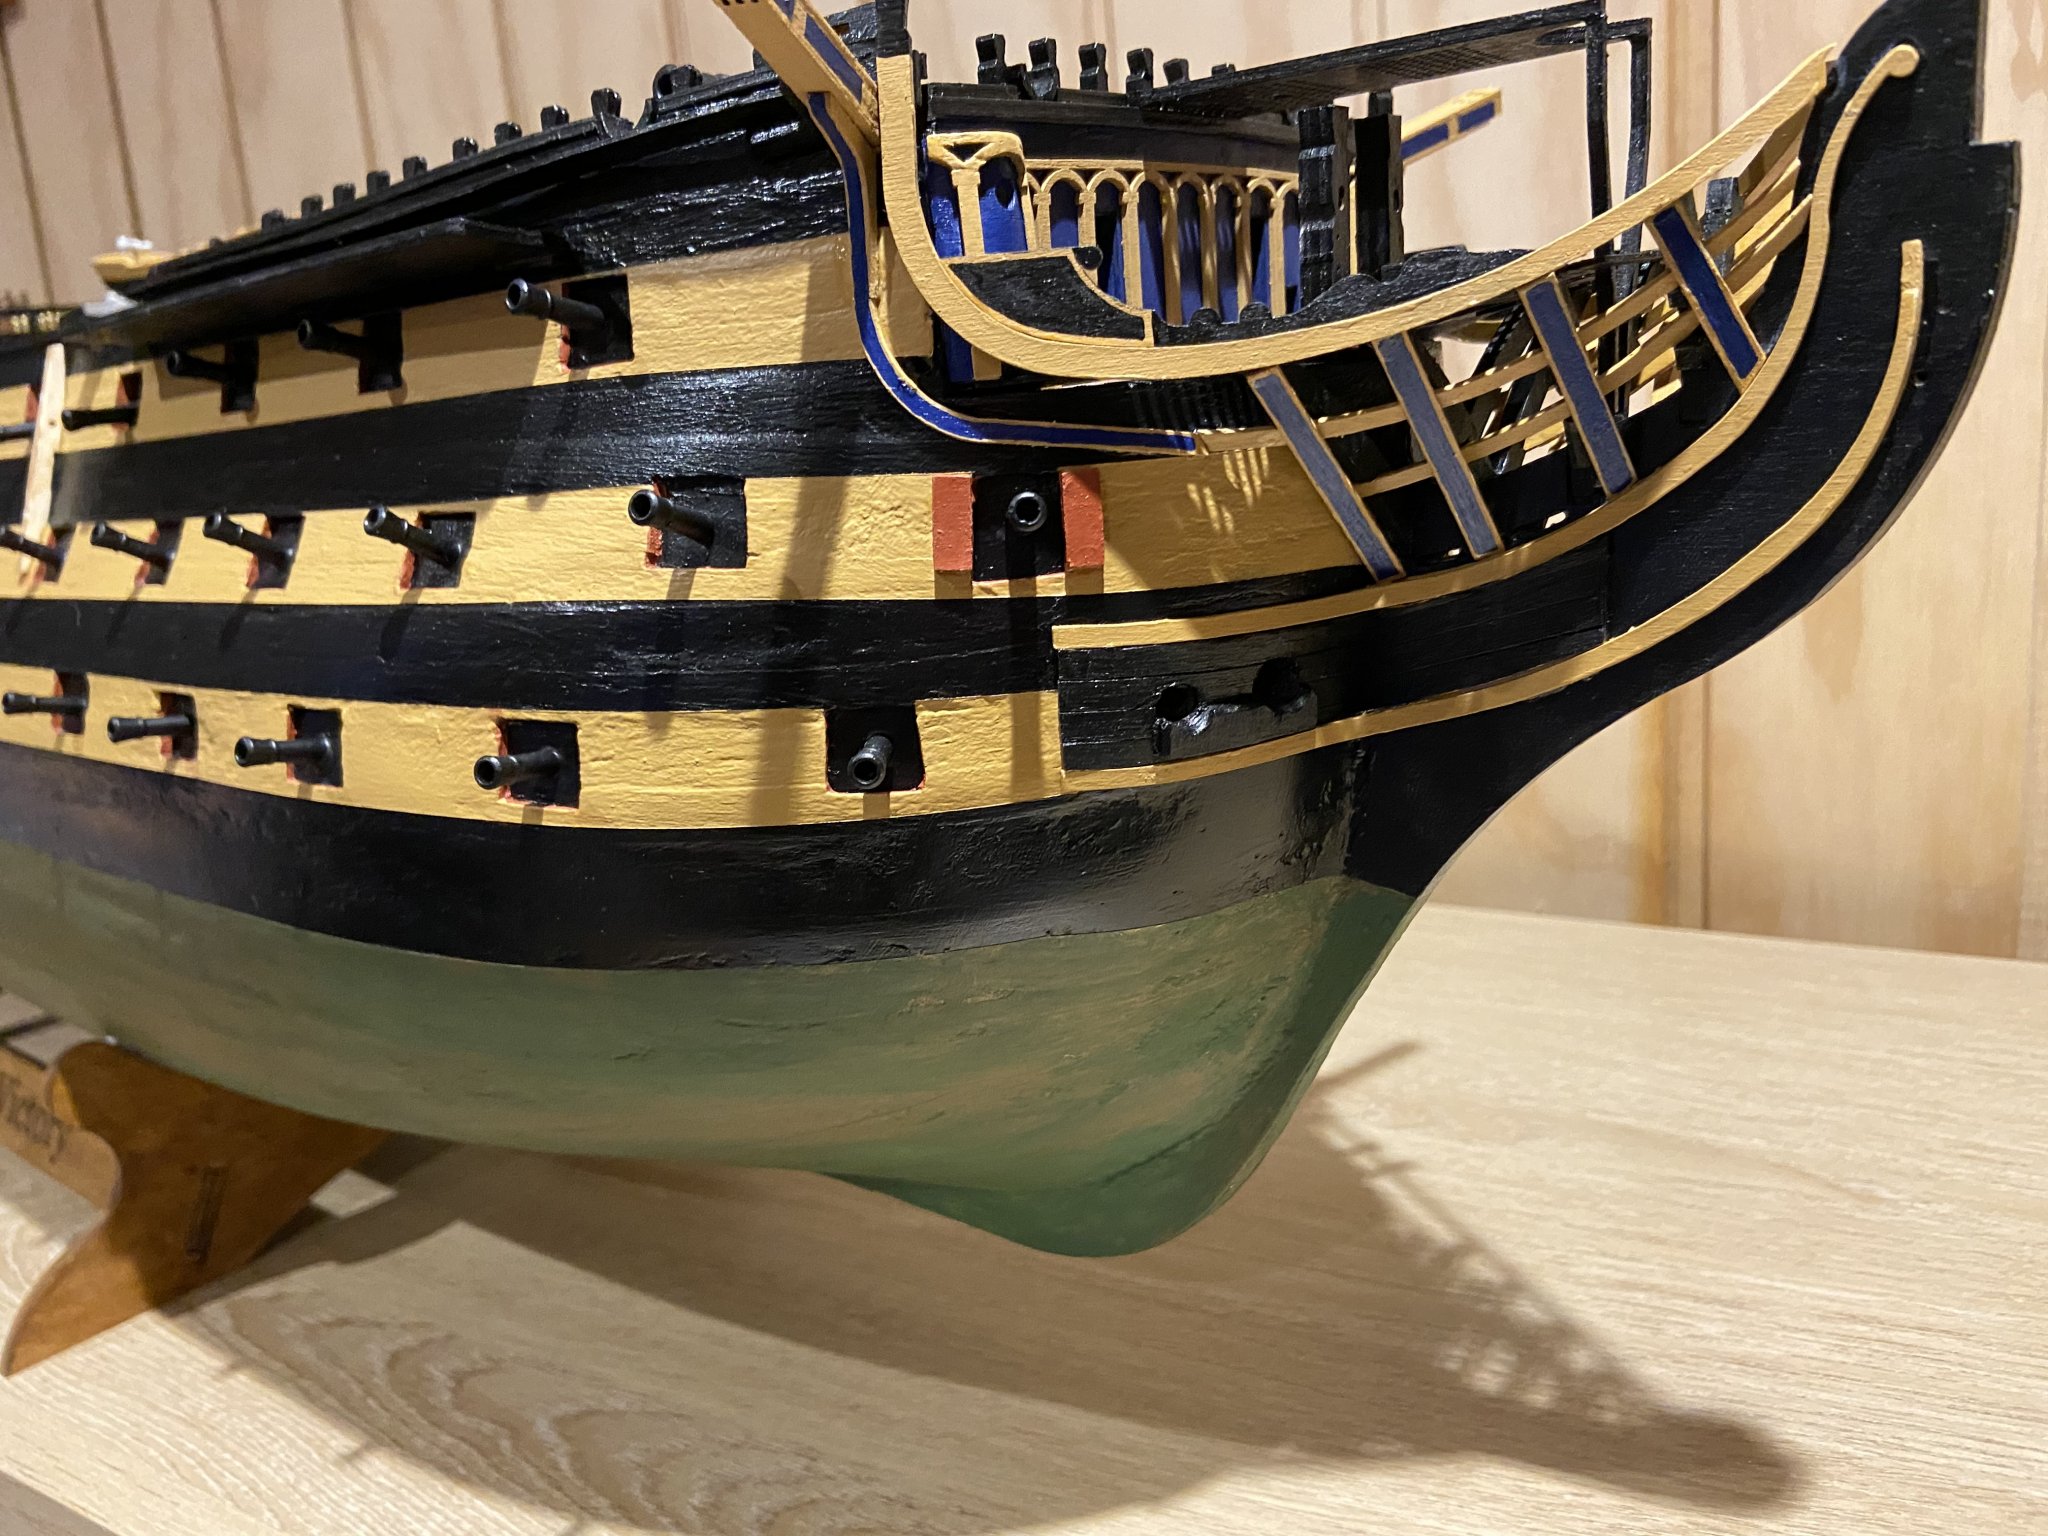
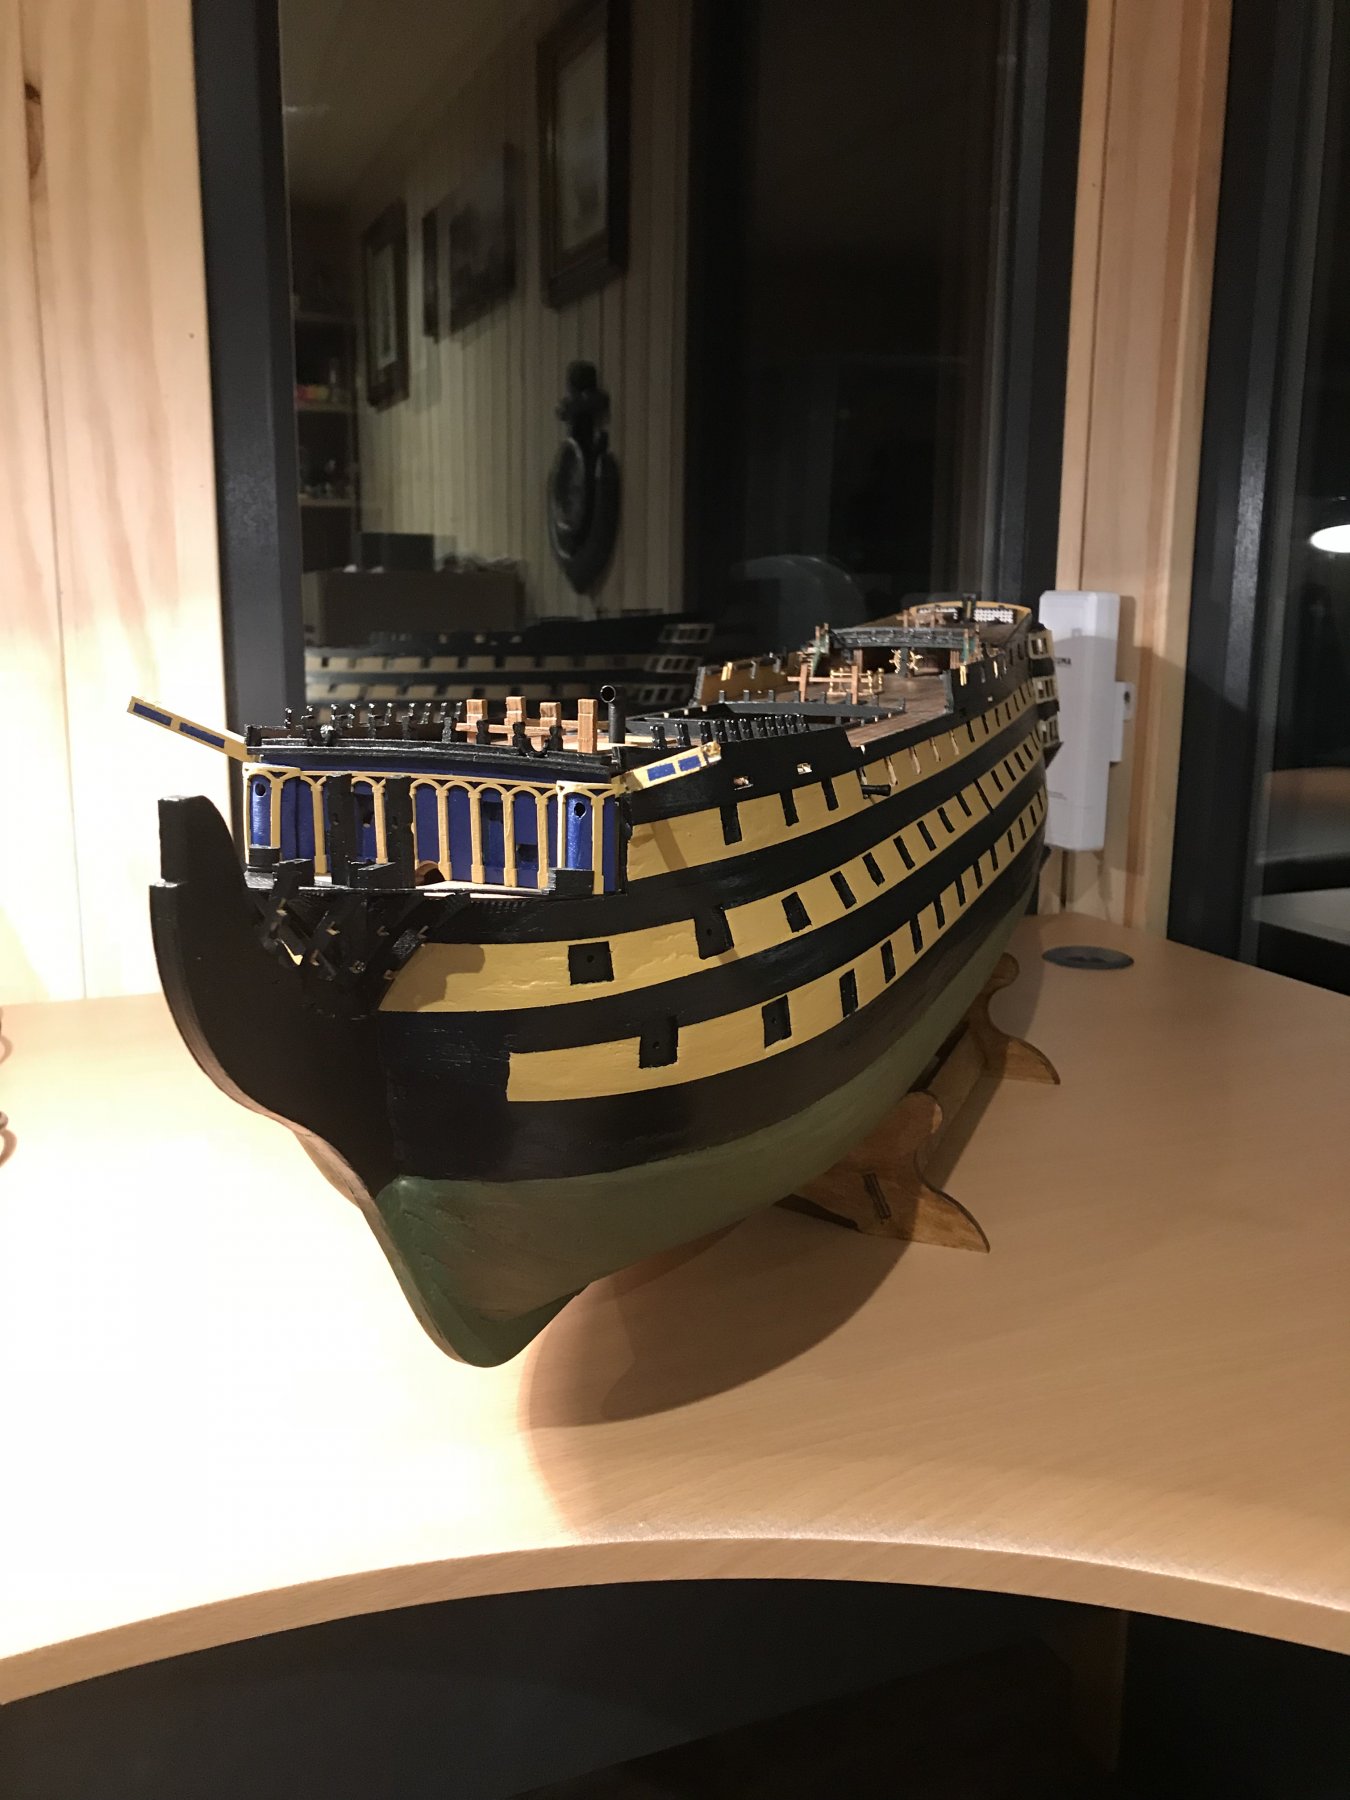
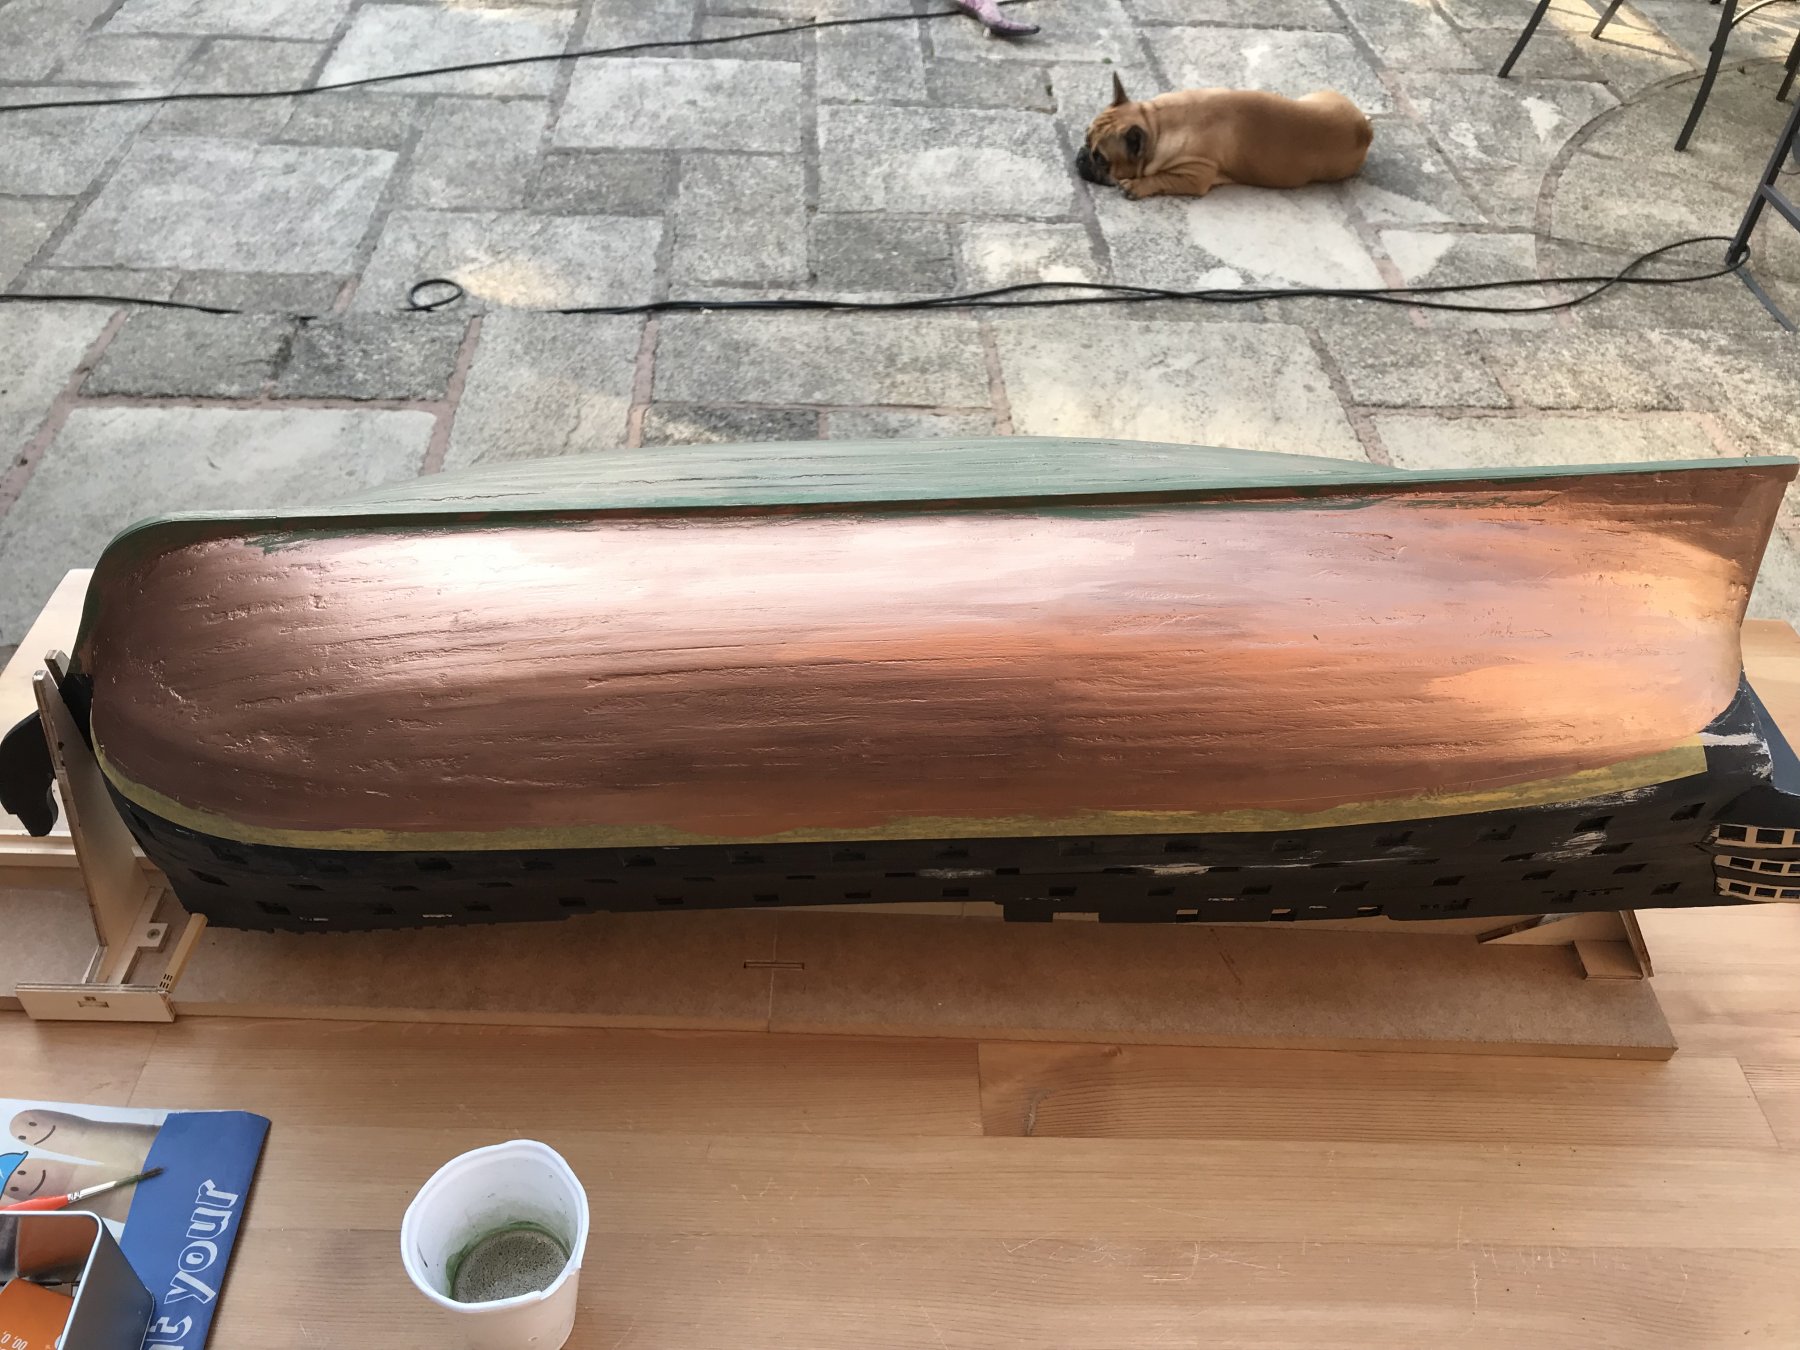
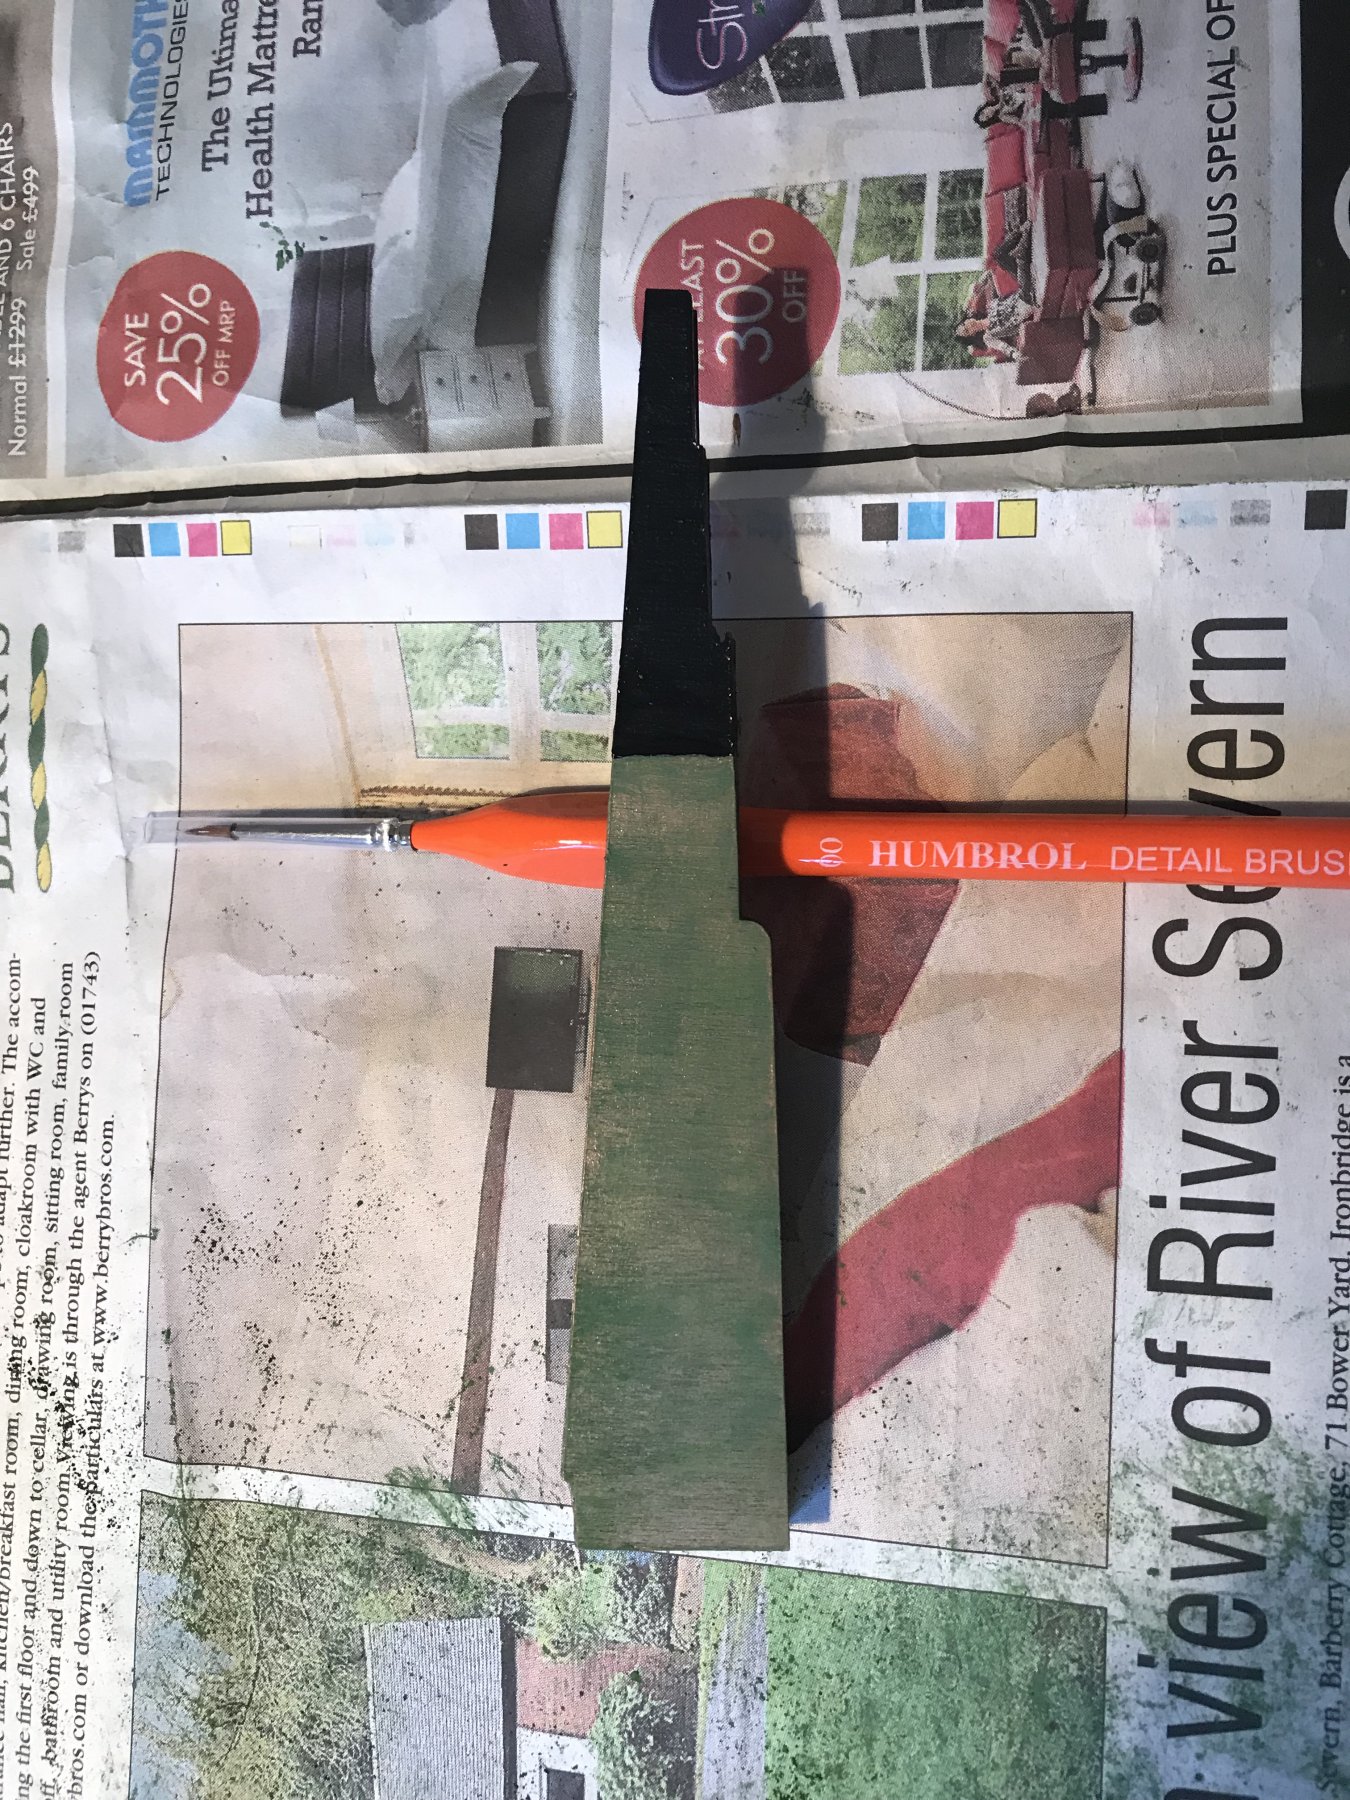
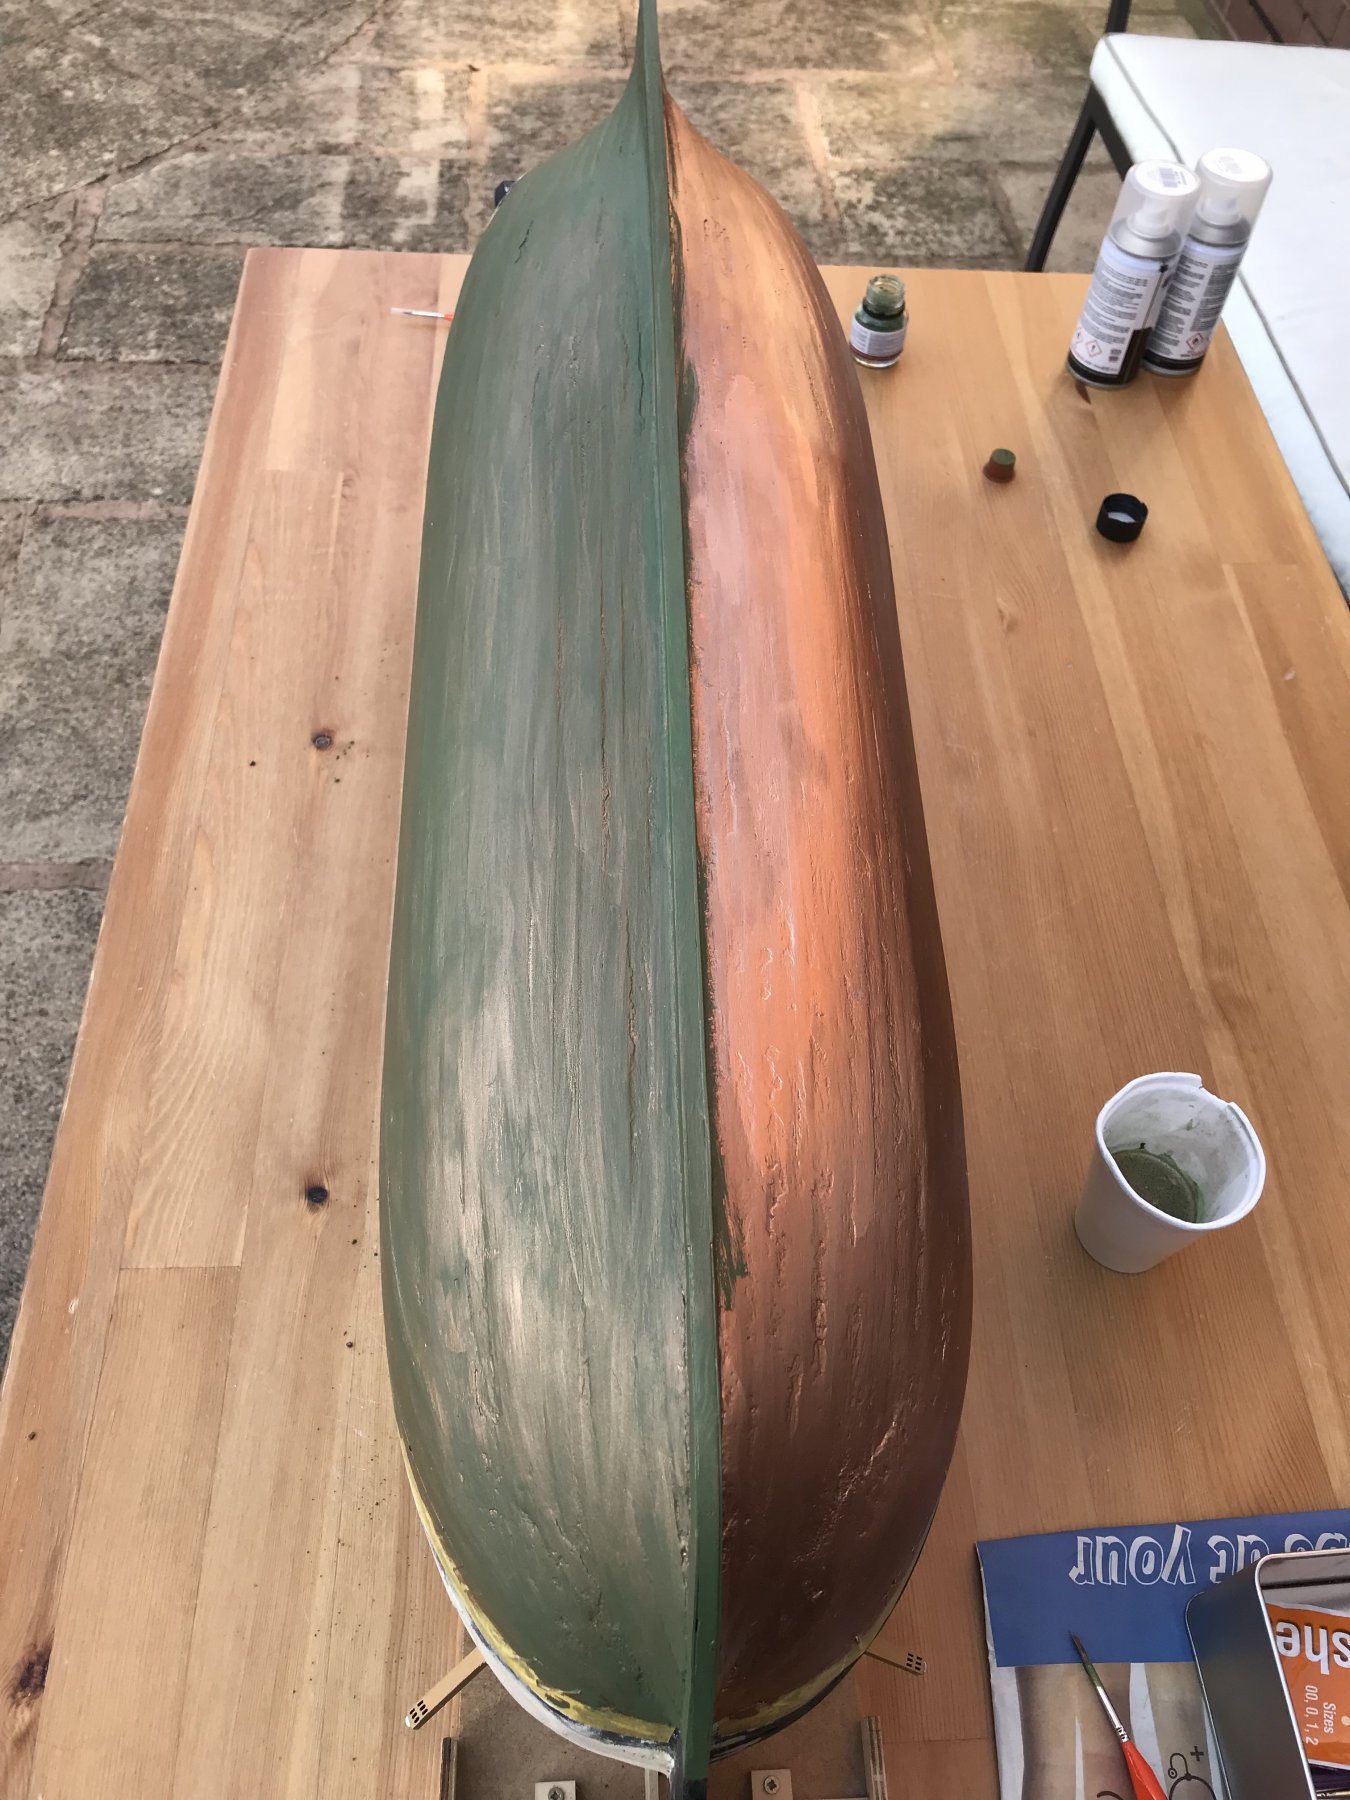
Another long hiatus (new job and baby - life eh!) but back on it. Hull planking now completed and sanded and filled etc. Copper bottom (not doing the 2,000+ plates) painted using the Admiralty Paints set but a bit too shiny for my liking, so decided to have a go at "weathering" it for oxidisation of the copper and algae-growth, using the Humbrol chrome oxide. So aiming for a copper but green tinge overlay effect. Final pic is all dried and sealed with matt clear sealant and the Tamiya tape removed. Fairly happy for a first go!


-
-
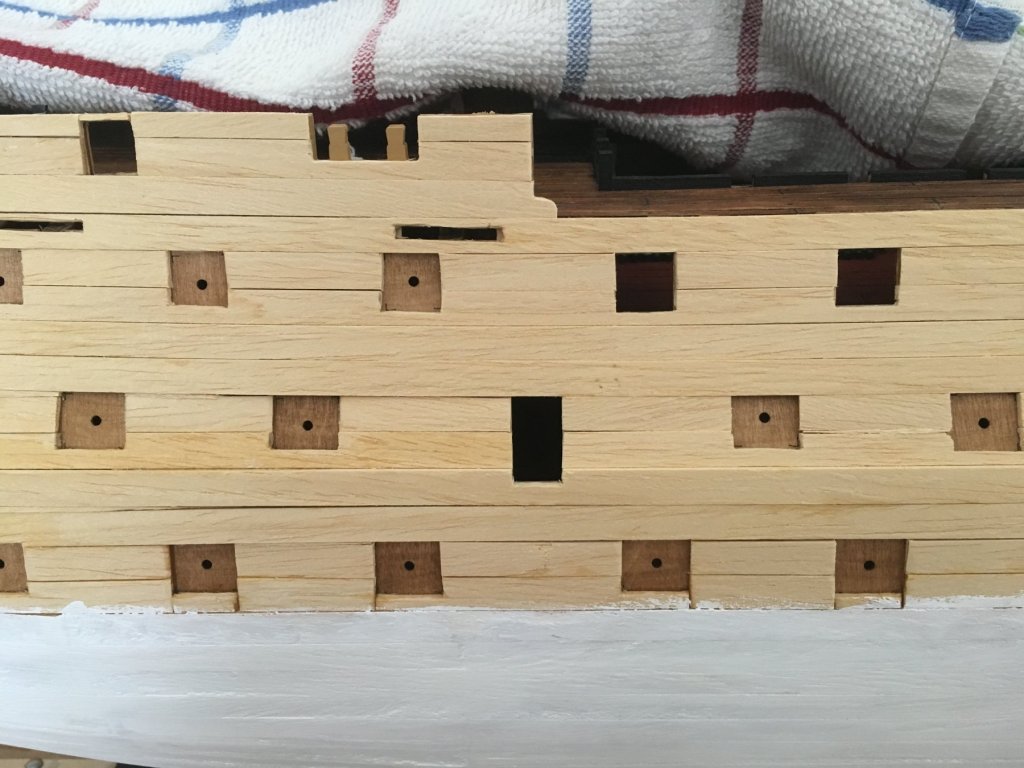
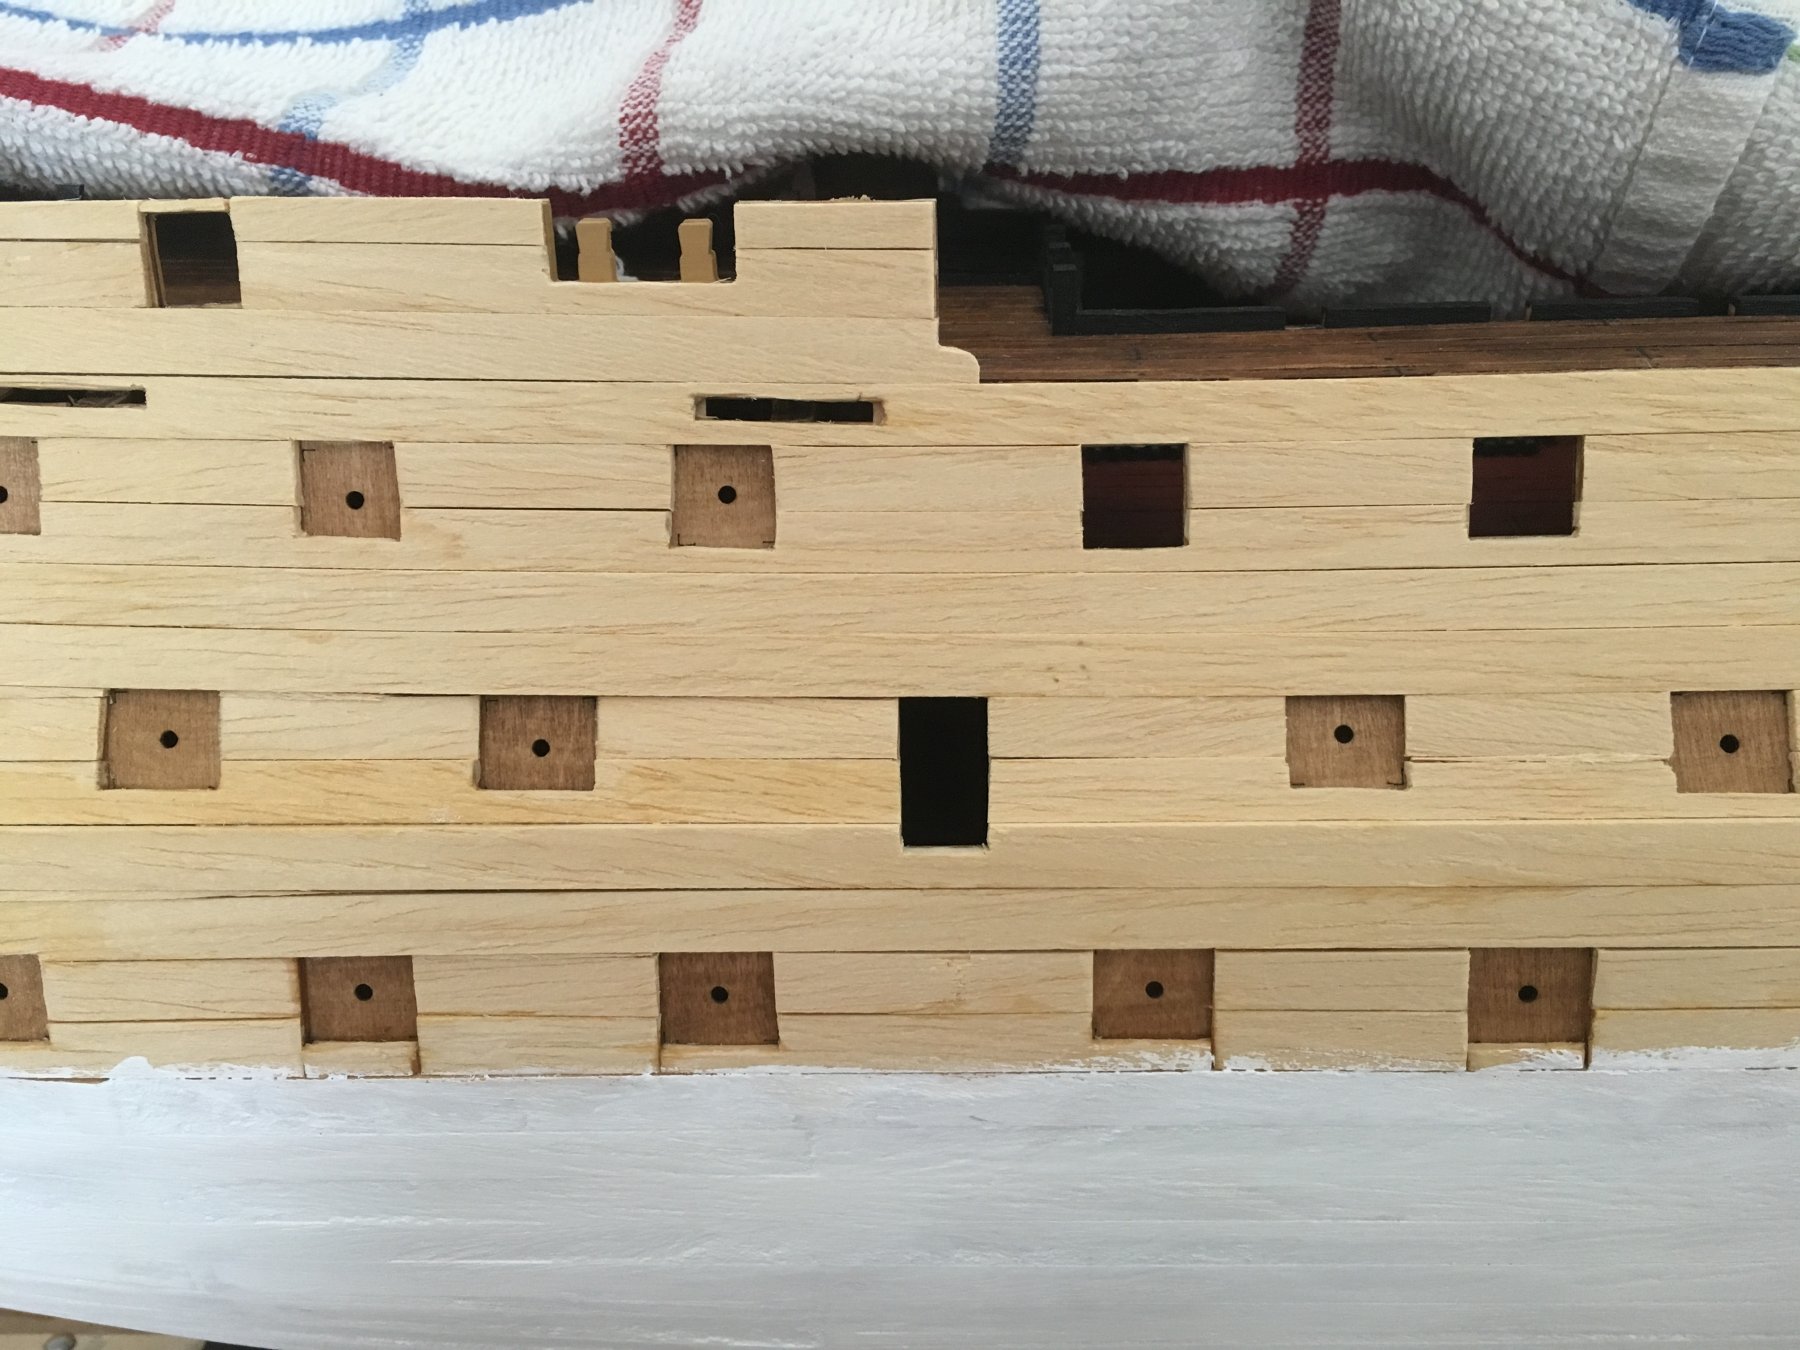
First side of planking finally finished. Still have to do some filling of gaps and sanding down and painting etc but not gone too badly.


-
7 hours ago, clearway said:
Good luck with the planking Chris - you certainly jumped in at the deep end choosing this as your first build!

Keith
Thanks, Keith. My planking may end up a liitle unauthentic but never mind. The paint will hide most sins!
-
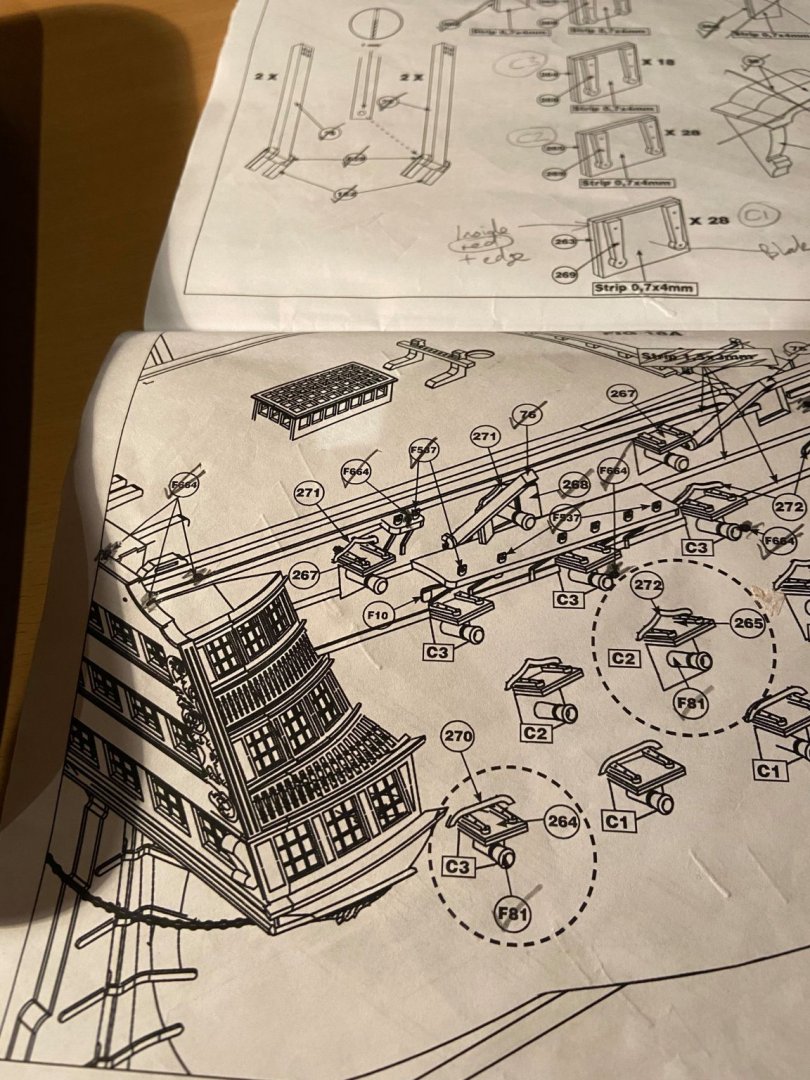
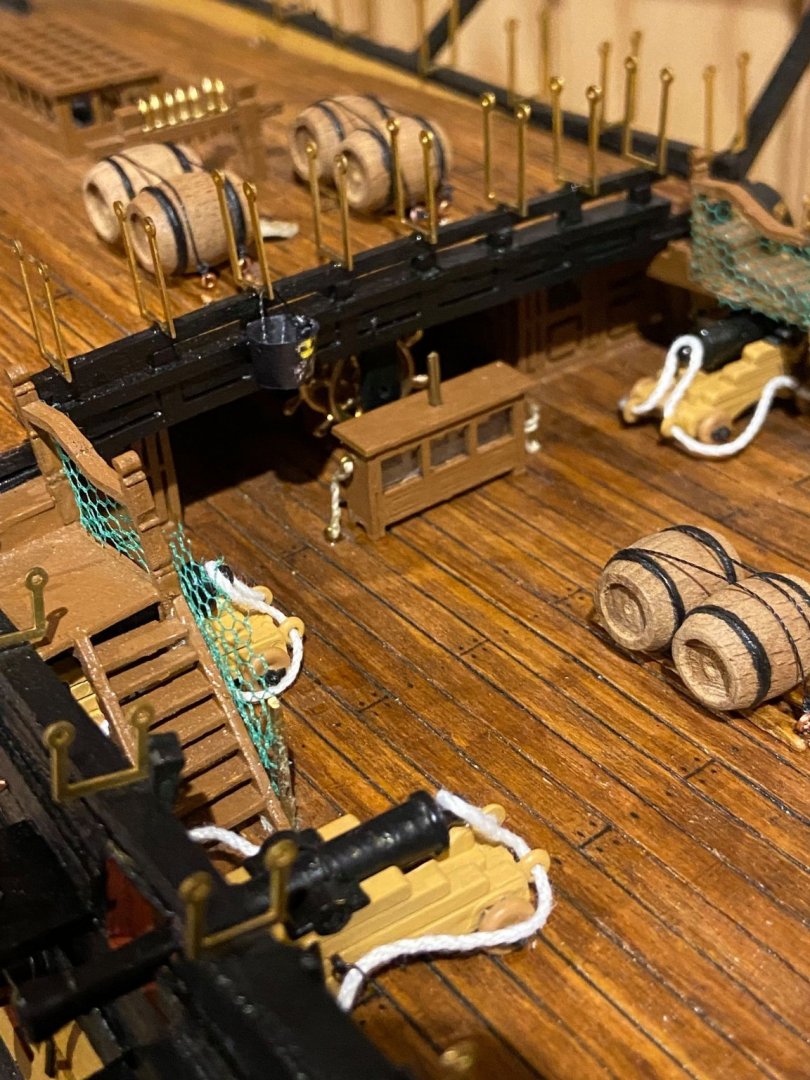
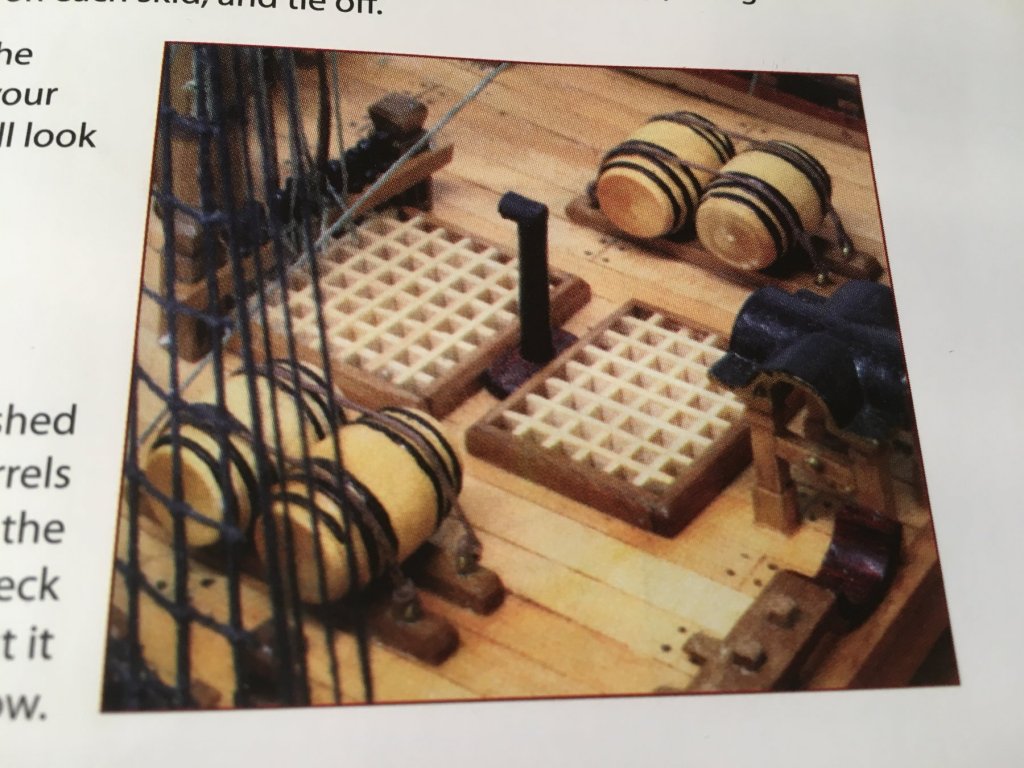
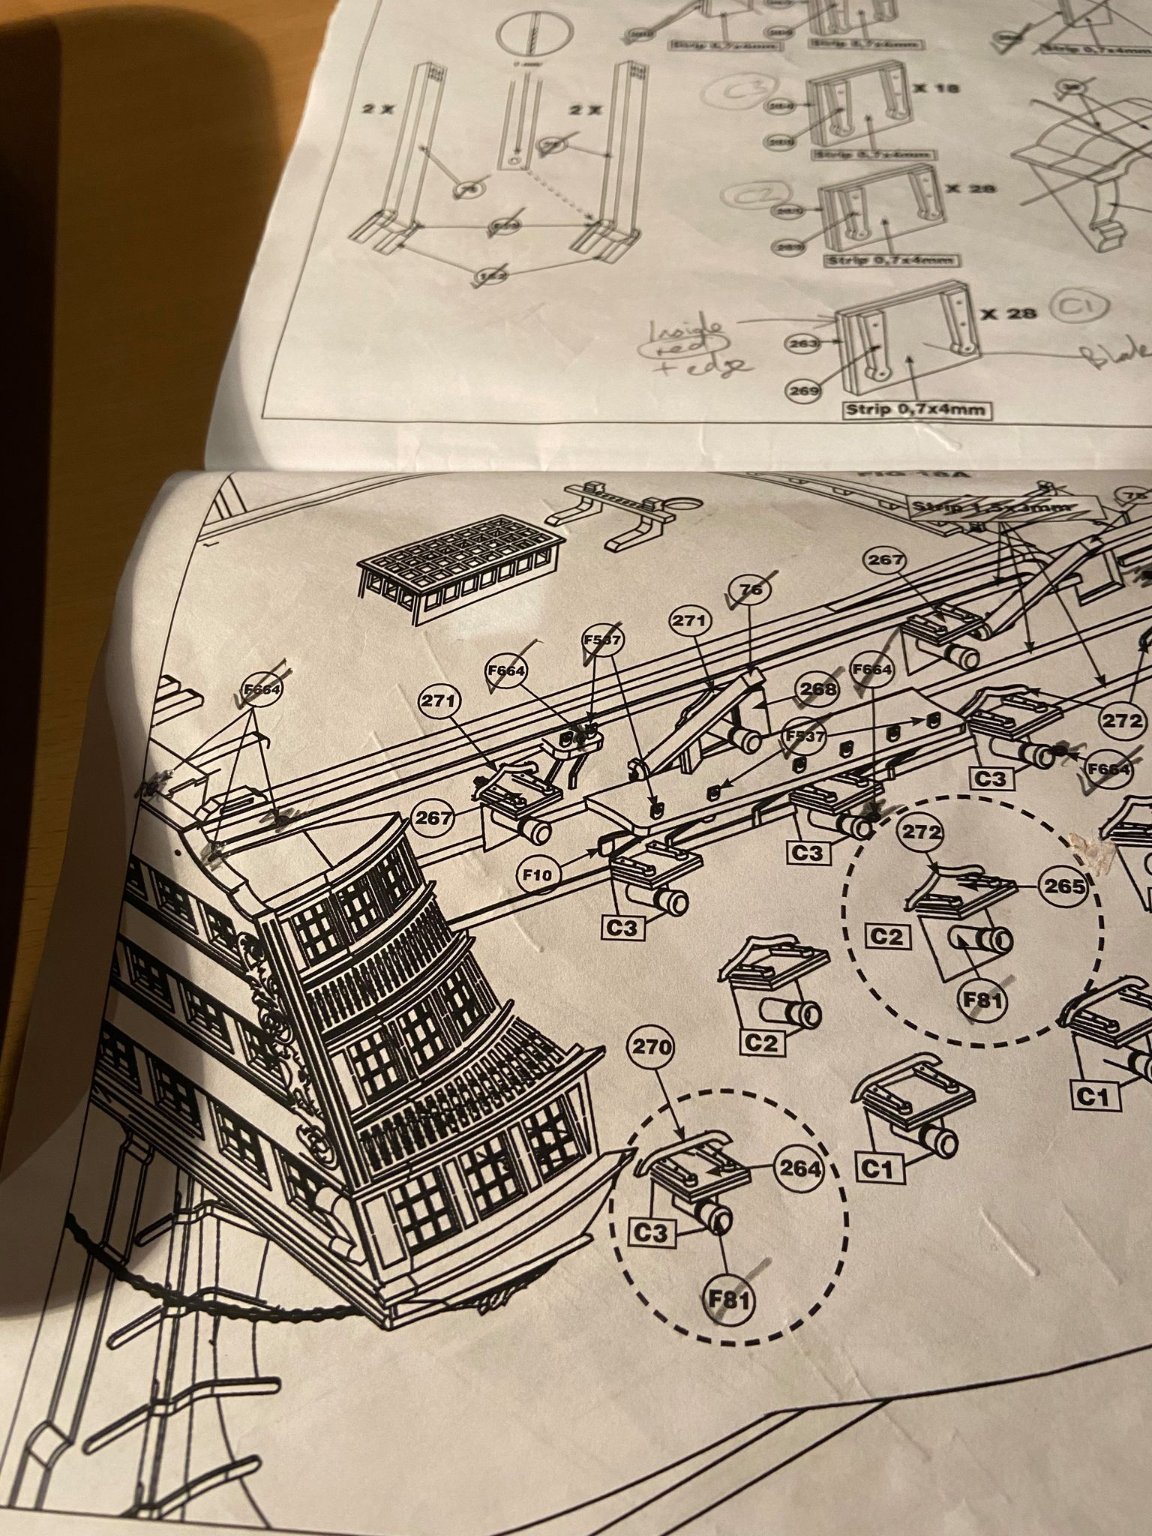
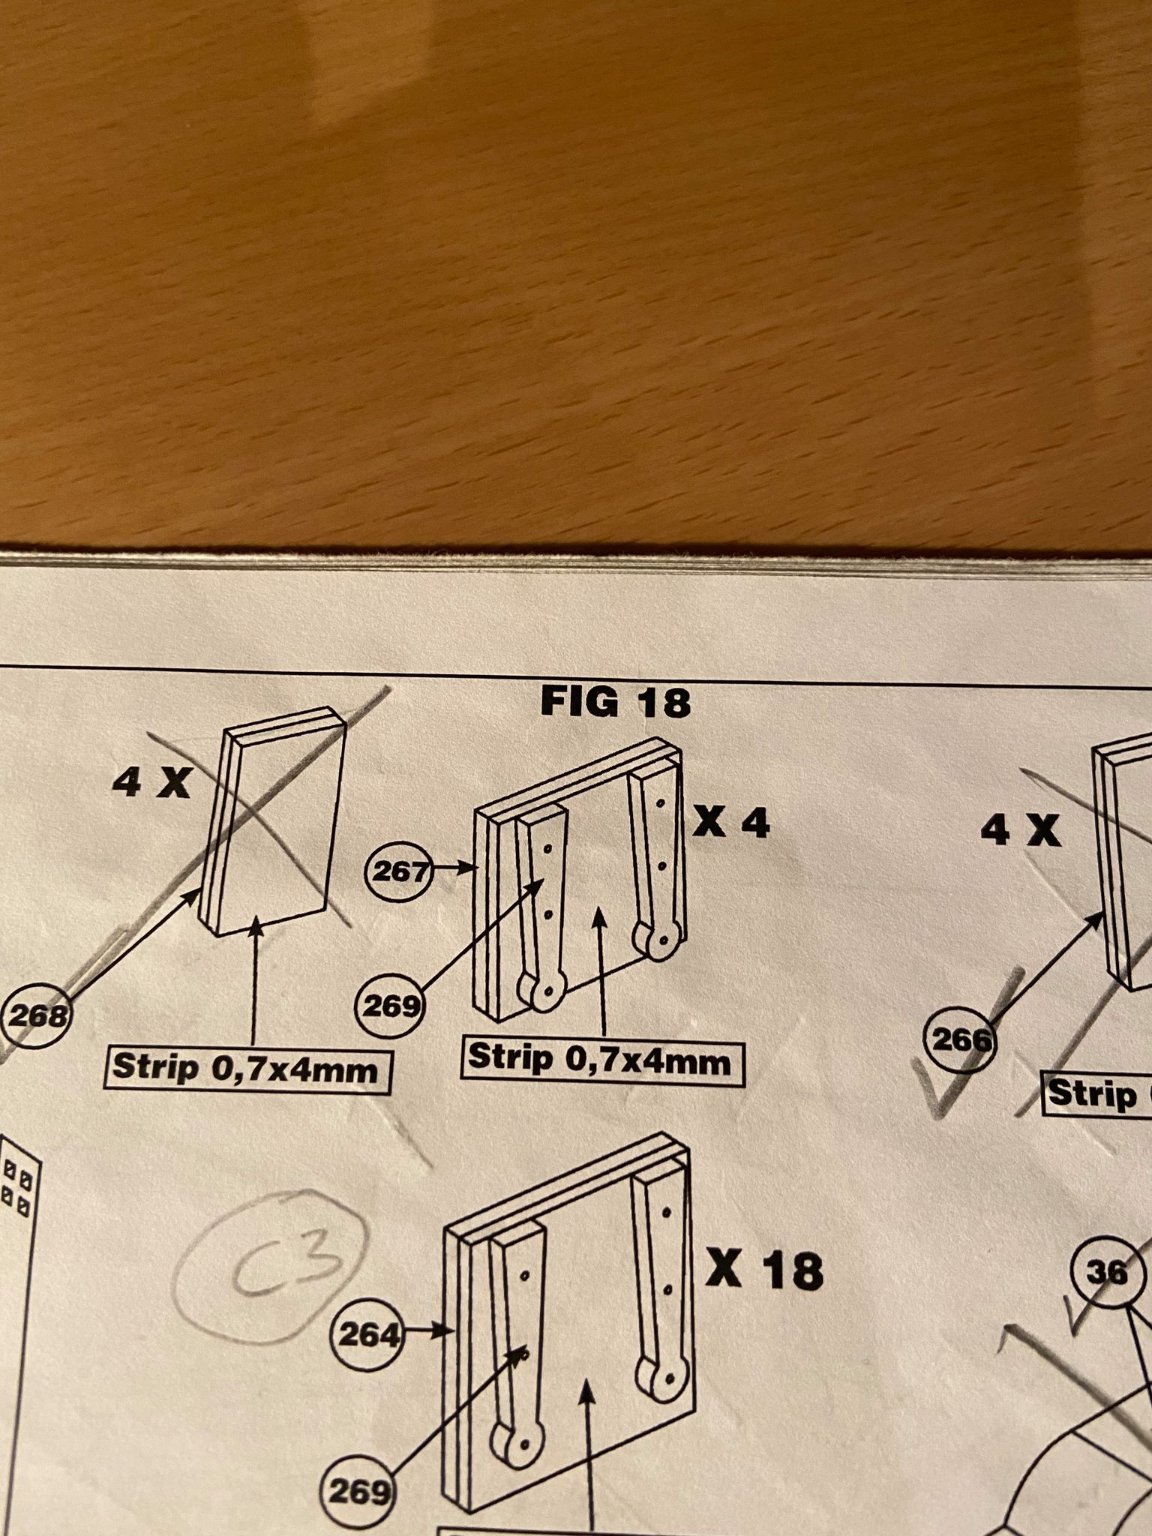
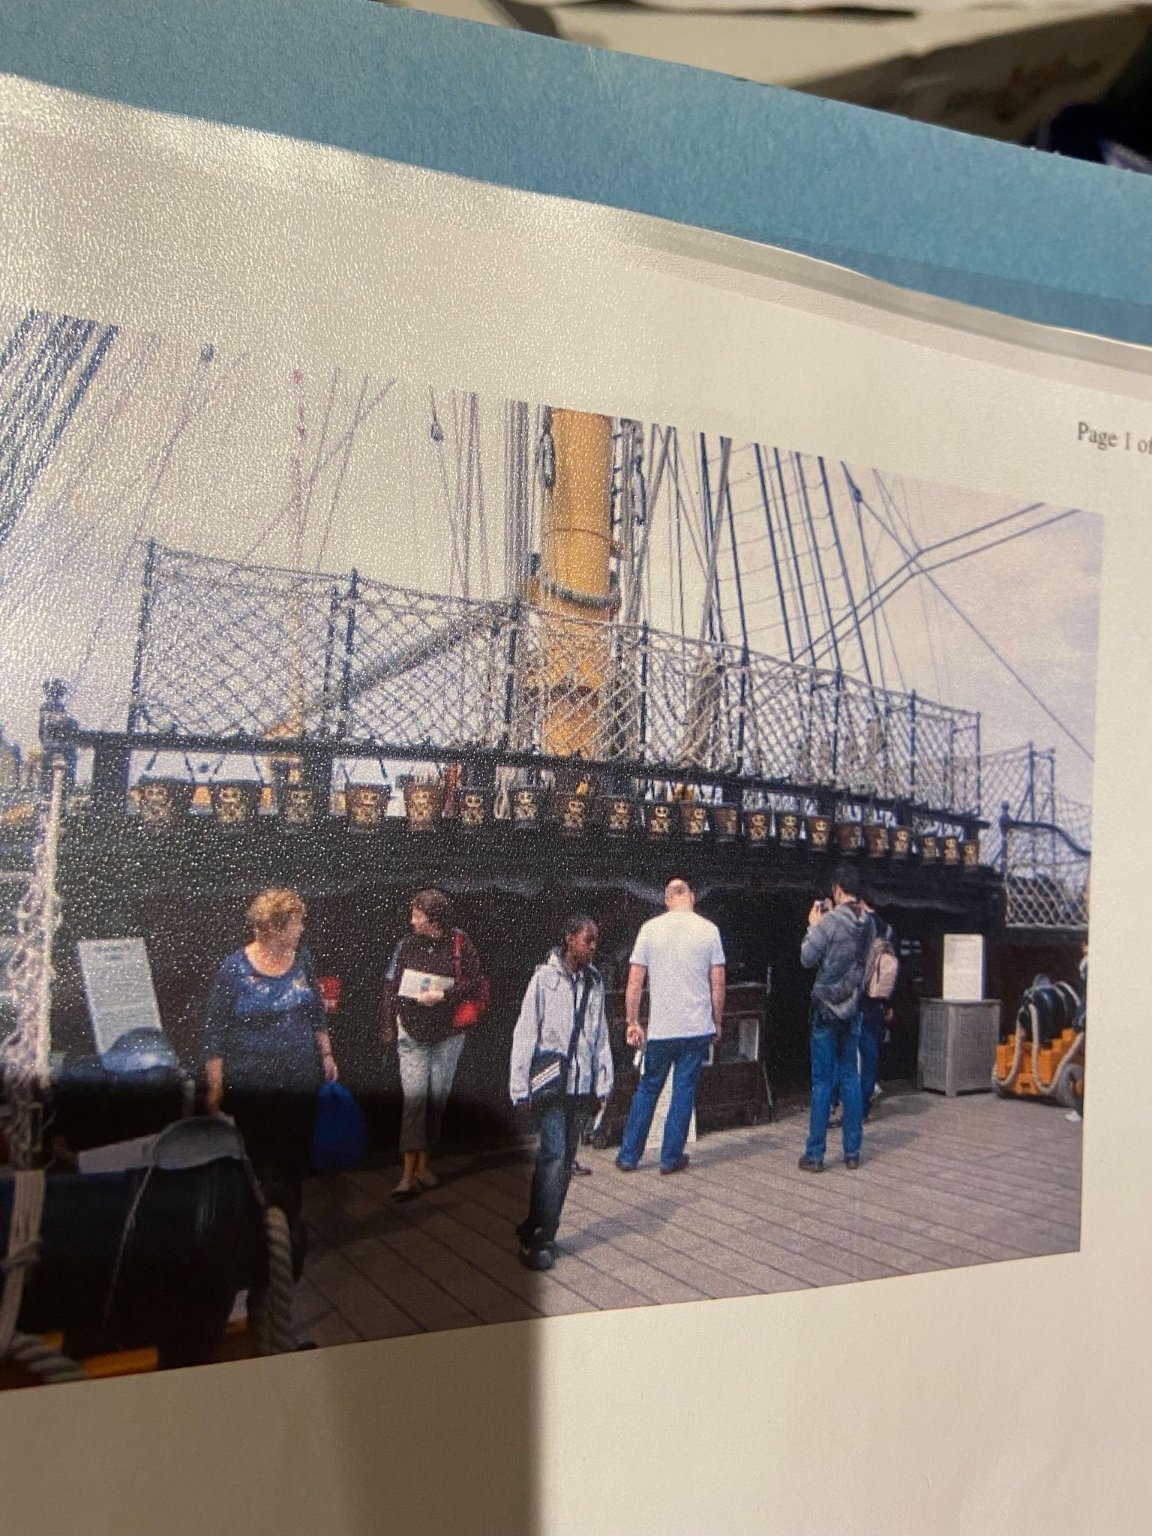
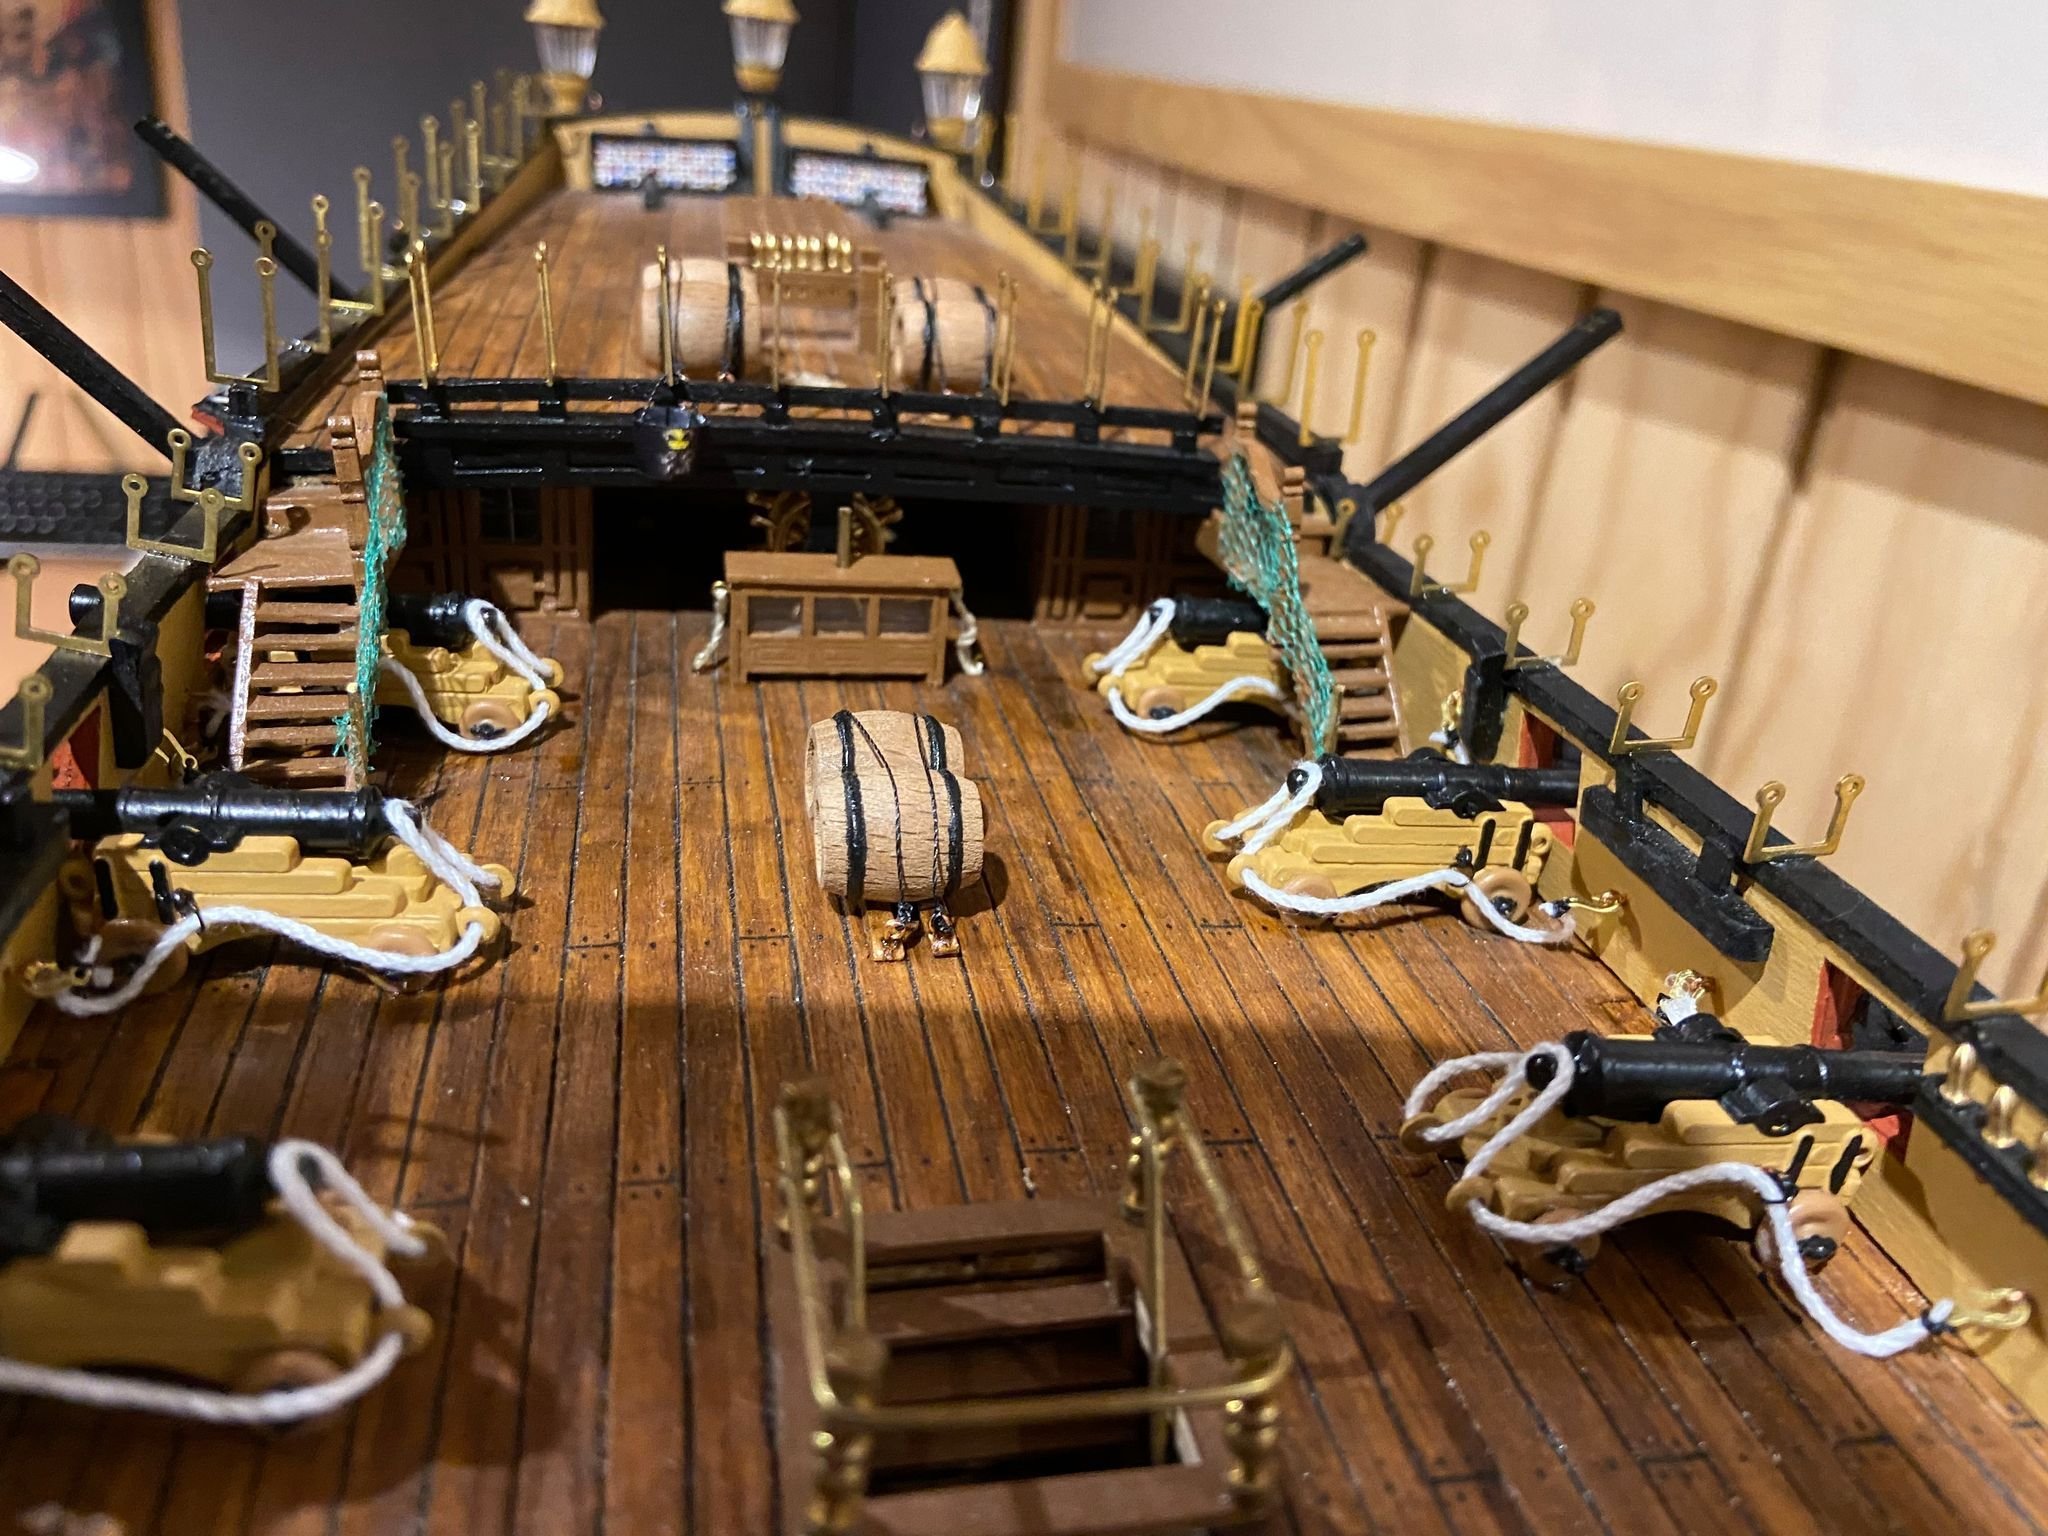
I'd found some rum barrels some time ago and painted the black rings on them. I was going to just lash the round the base of the masts until I saw the picture below from the DeAgostini build instructions, with them lashed in pairs on a skid arrangement, to sit on the forecastle next to the galley flue.
So, using some wooden stirrers acquired from Costa Coffee, I fashioned some skids and used the same nylon thread I used for the deck caulking and on the anchors, to attach the barrels to them. I think they look a fairly decent representation based on just that one pic in the other kit instructions!


- Jack12477, Tallshiptragic, clearway and 1 other
-
4
-
33 minutes ago, Tallshiptragic said:
G'day Chris, you're doing a marvelous job on a very imposing vessel! Enjoying watching your build.
Thanks a lot, TST! Currently in the middle of hull planking, so updates taking a while again. Nearly completed one side. Will still need filling and sanding but at least it's progress.
-
15 hours ago, Daniel Caramagno said:
Hi Daniel, yes the longboats are clinker built, there's a definite overlap of the planking. The little Amati kits give a very acceptable representation.
-
On 18/04/2017 at 7:45 PM, janet bode said:
janet bode,
Hi clearway have followed your build from start,i did not realize that Billings kits were that good.Some-one told me that they were lots of
plastic parts anyway i am very impressed with you lovely build of Victory.
Hi Janet, to echo what's been said above, I'm also doing the Billings Victory and the only plastic parts are the gun carriages.
Regards, Chris
-
6 hours ago, clearway said:
looking good chris- i didn't bother decorating the entrance way
Keith
Thanks, Keith. Back "on" it now. Nearly finished planking the port side.


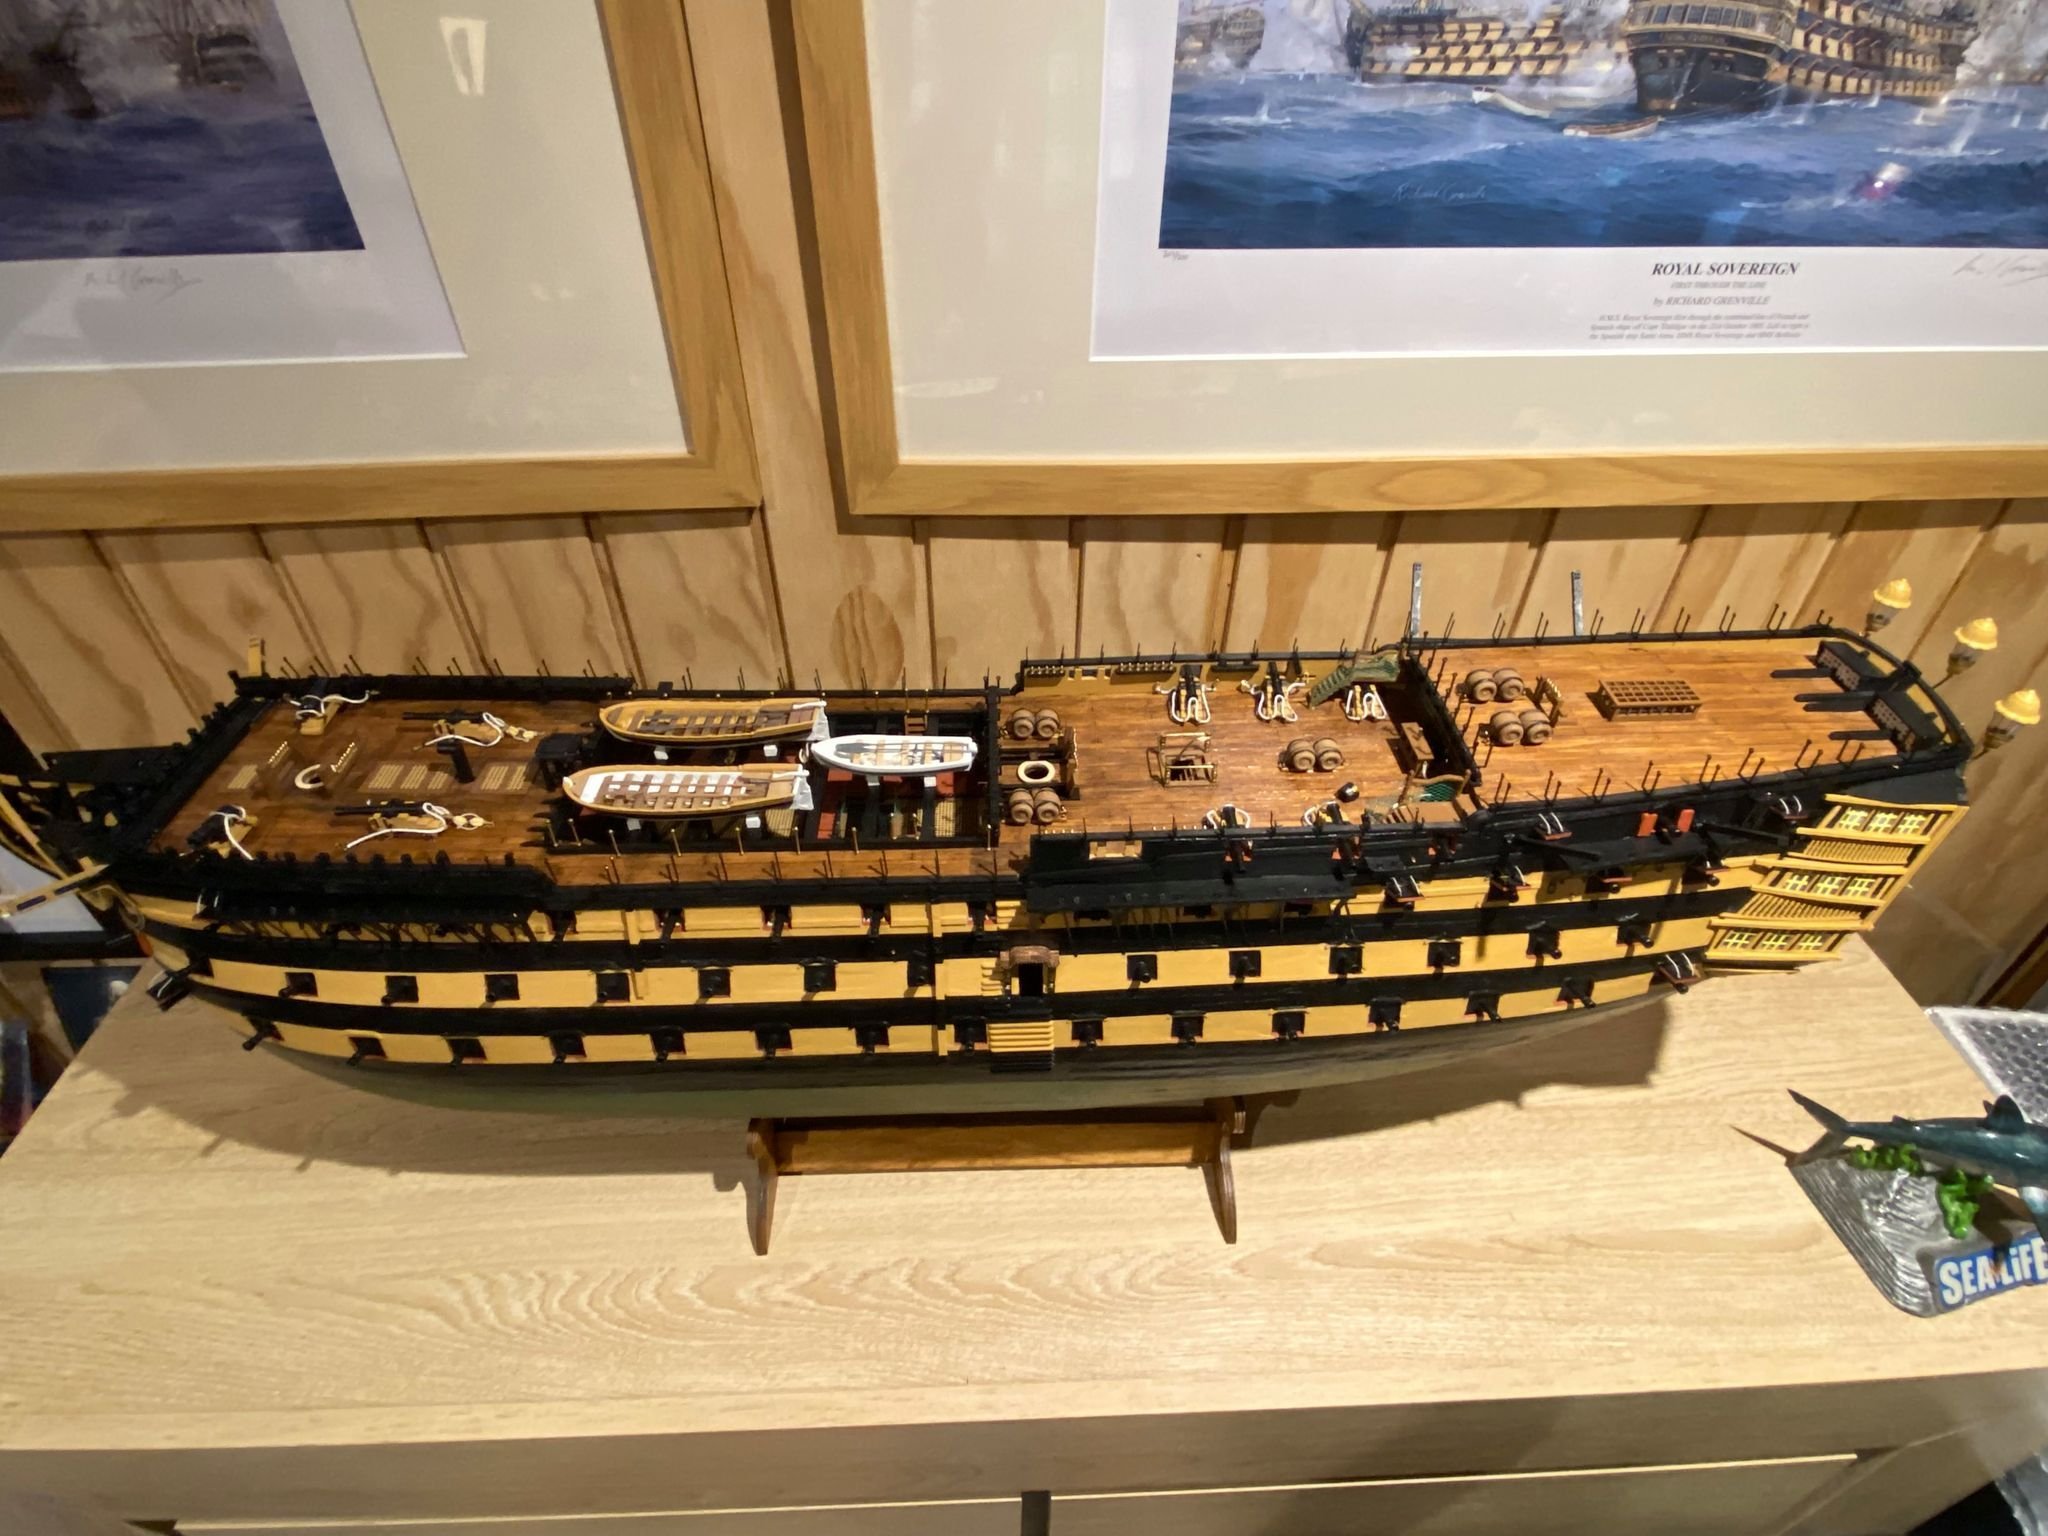
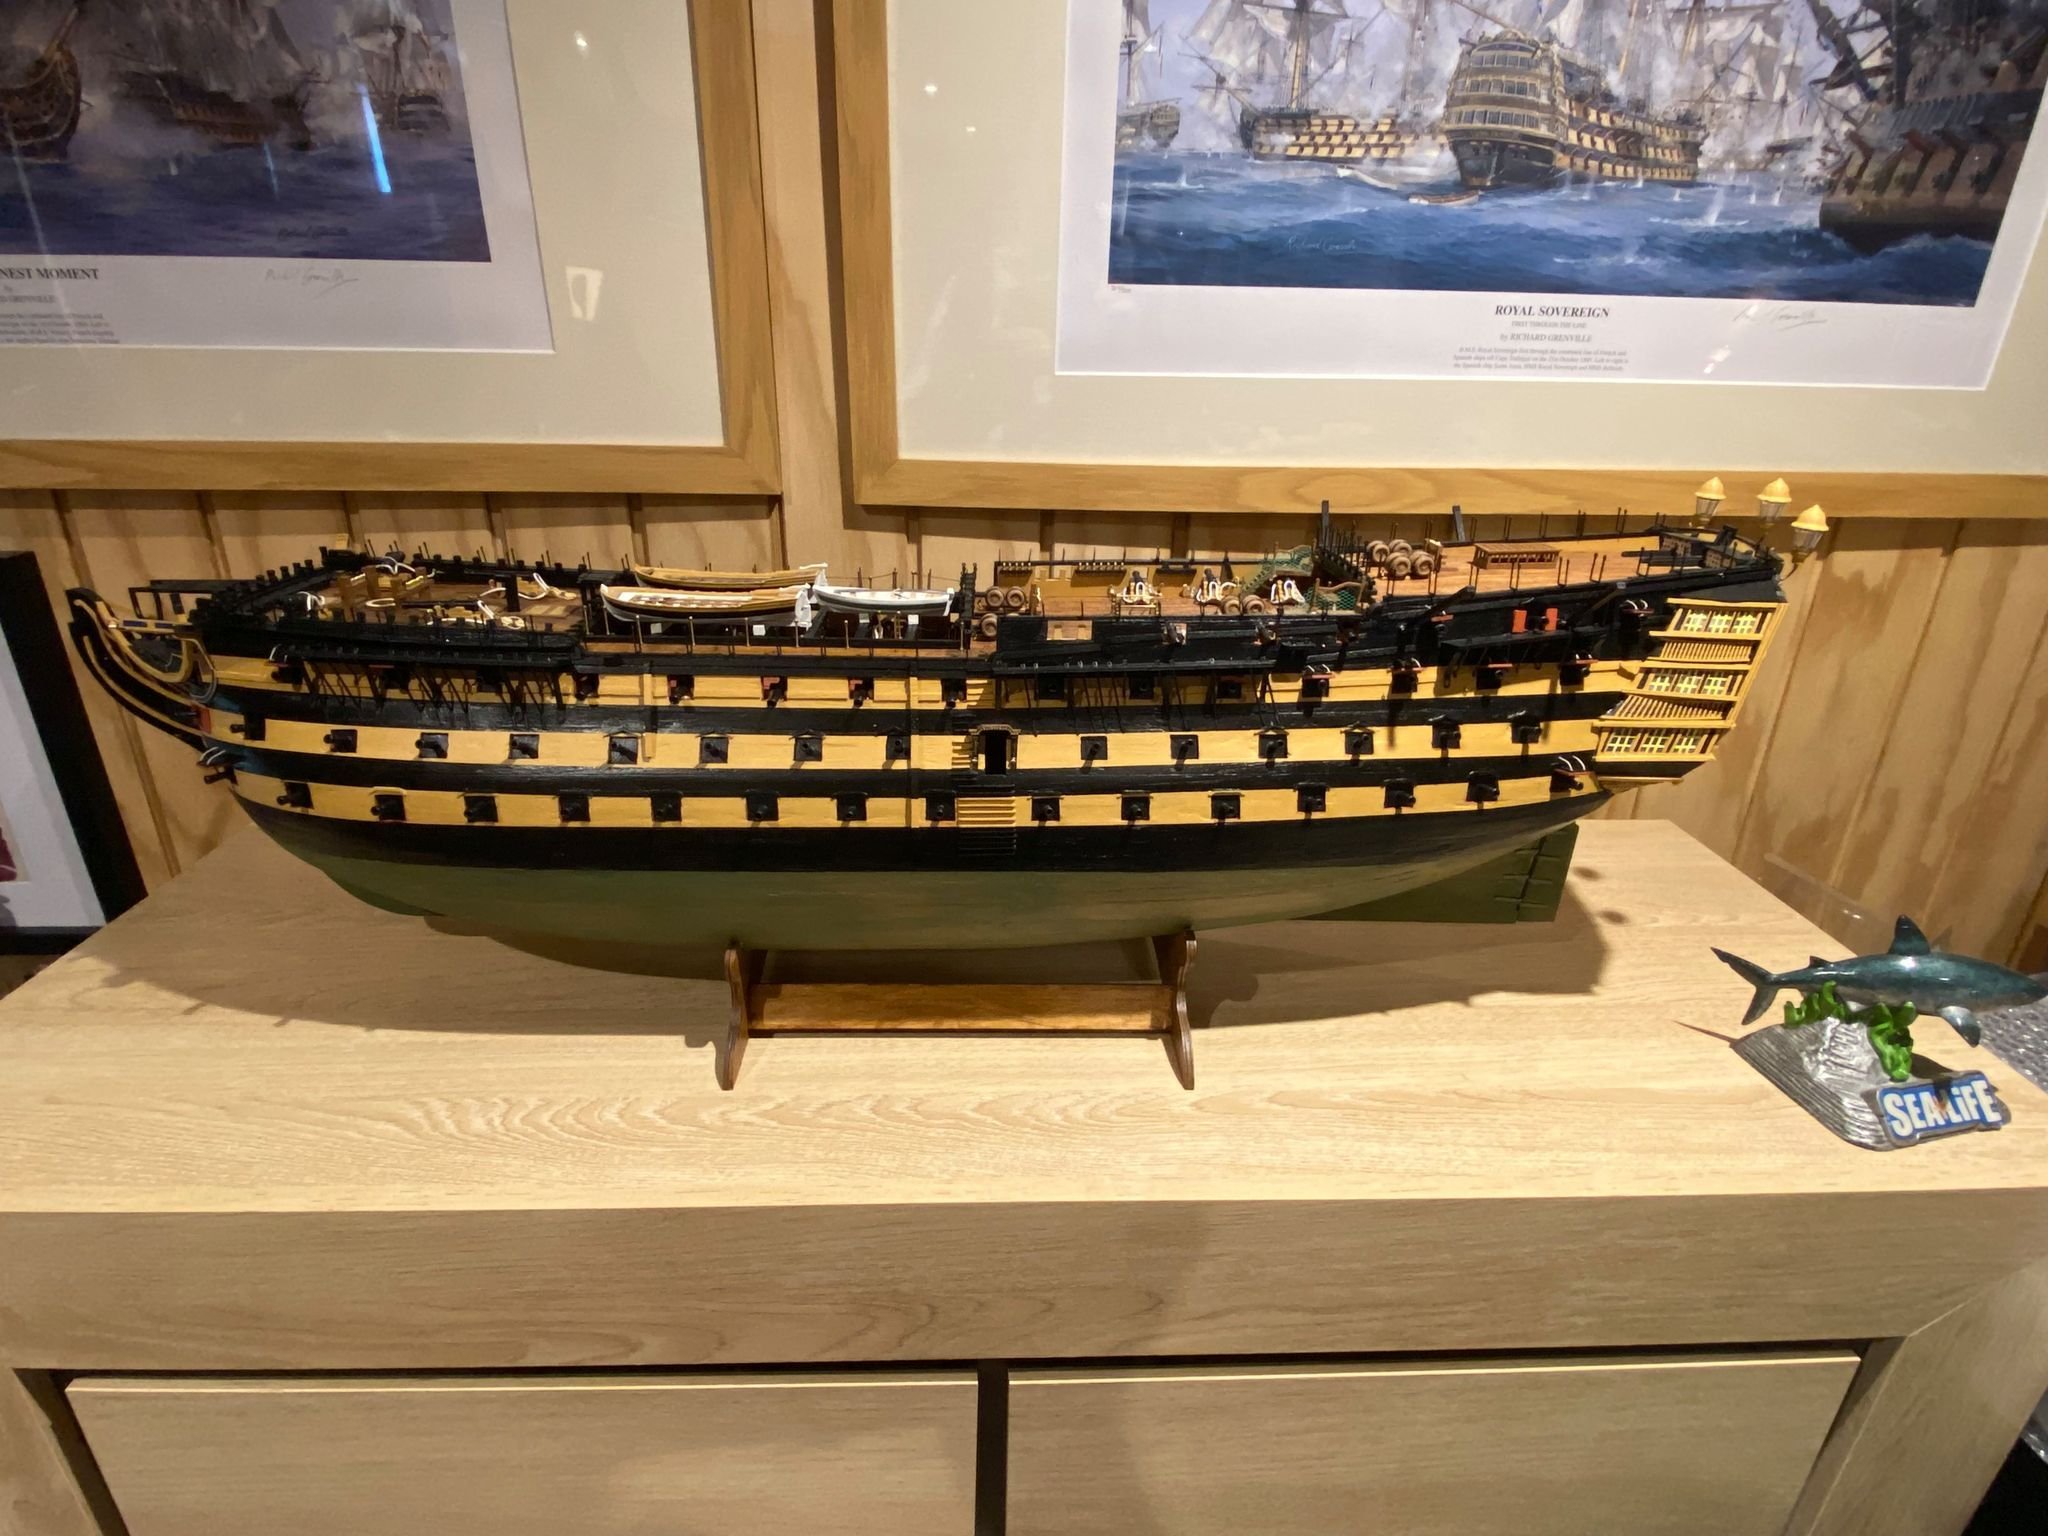


HMS Victory by knotty74 - Billing Boats - Scale 1:75 - first ever ship build, wood or otherwise
in - Kit build logs for subjects built from 1751 - 1800
Posted
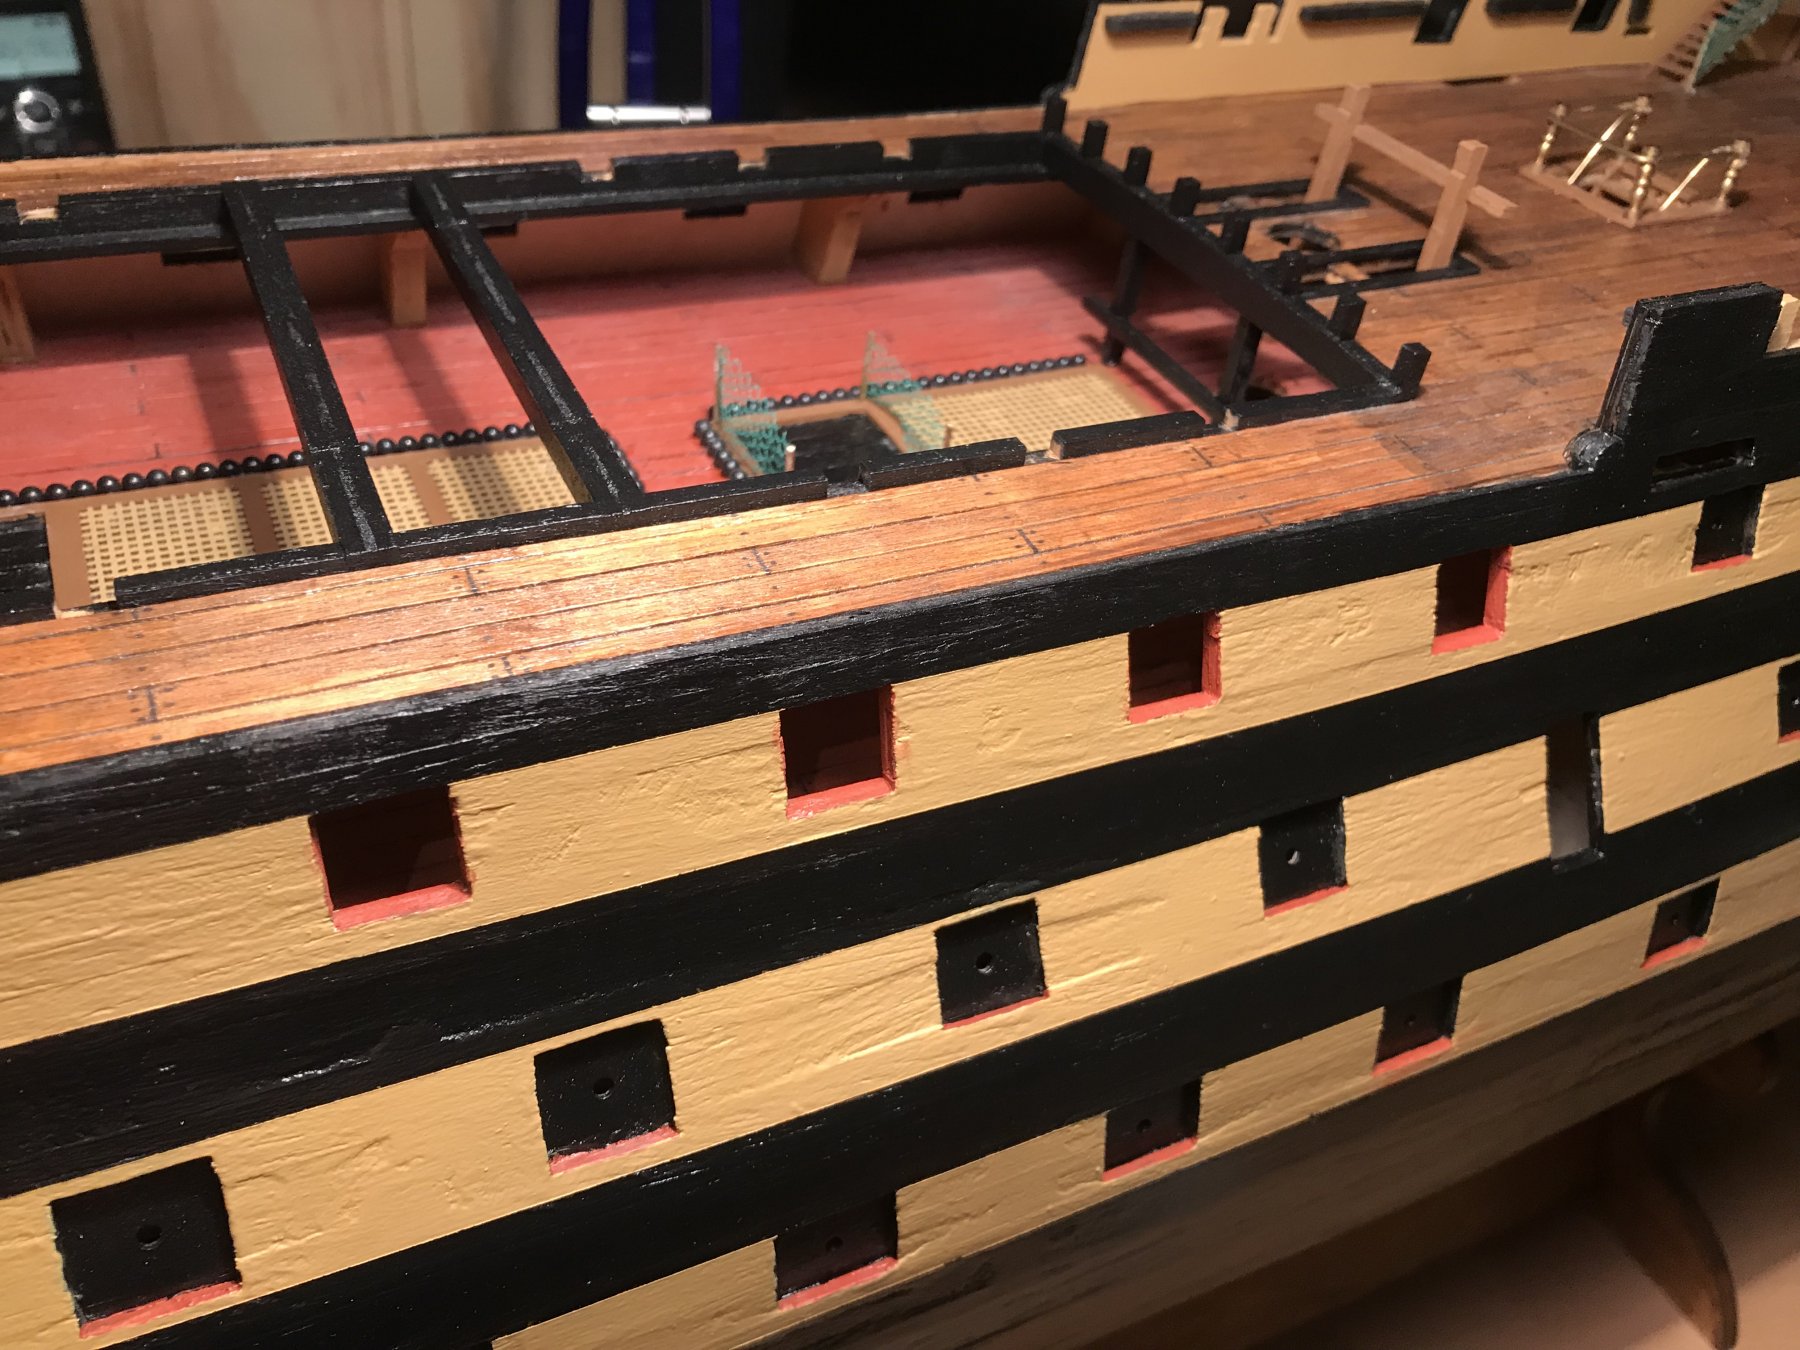
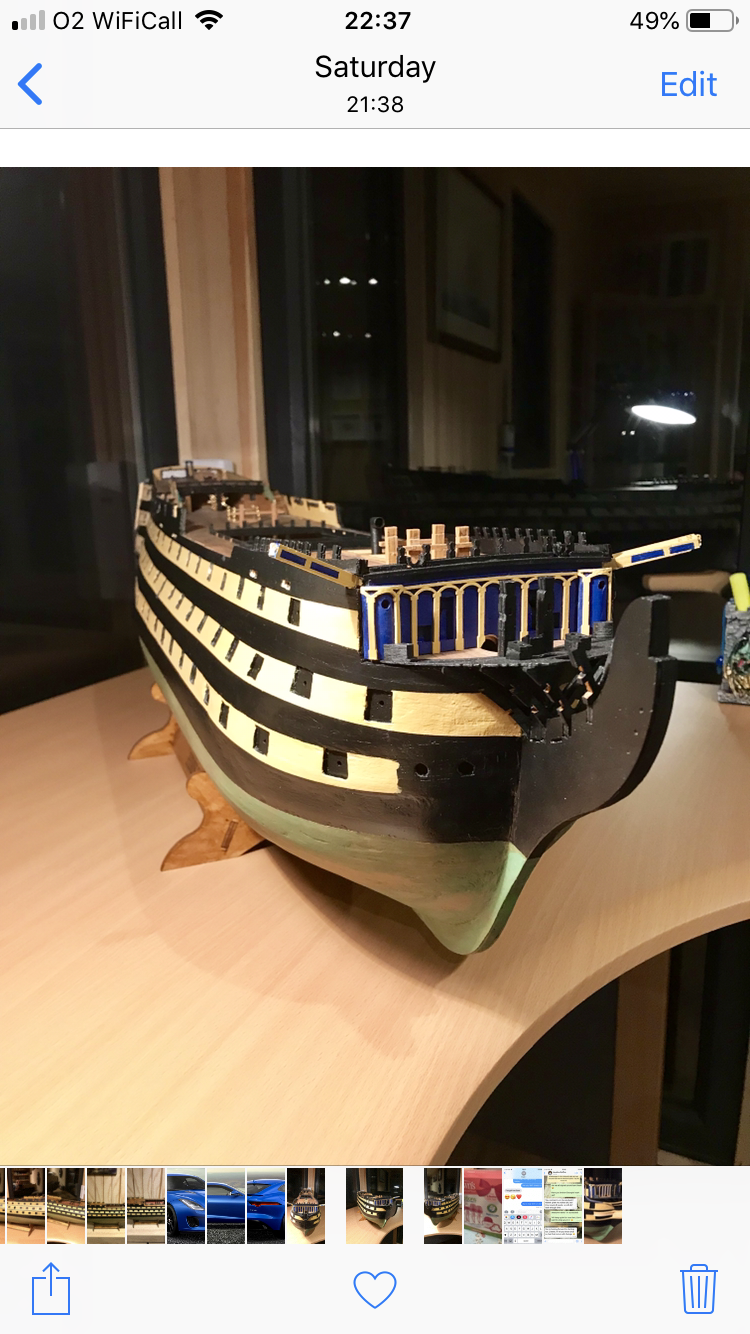
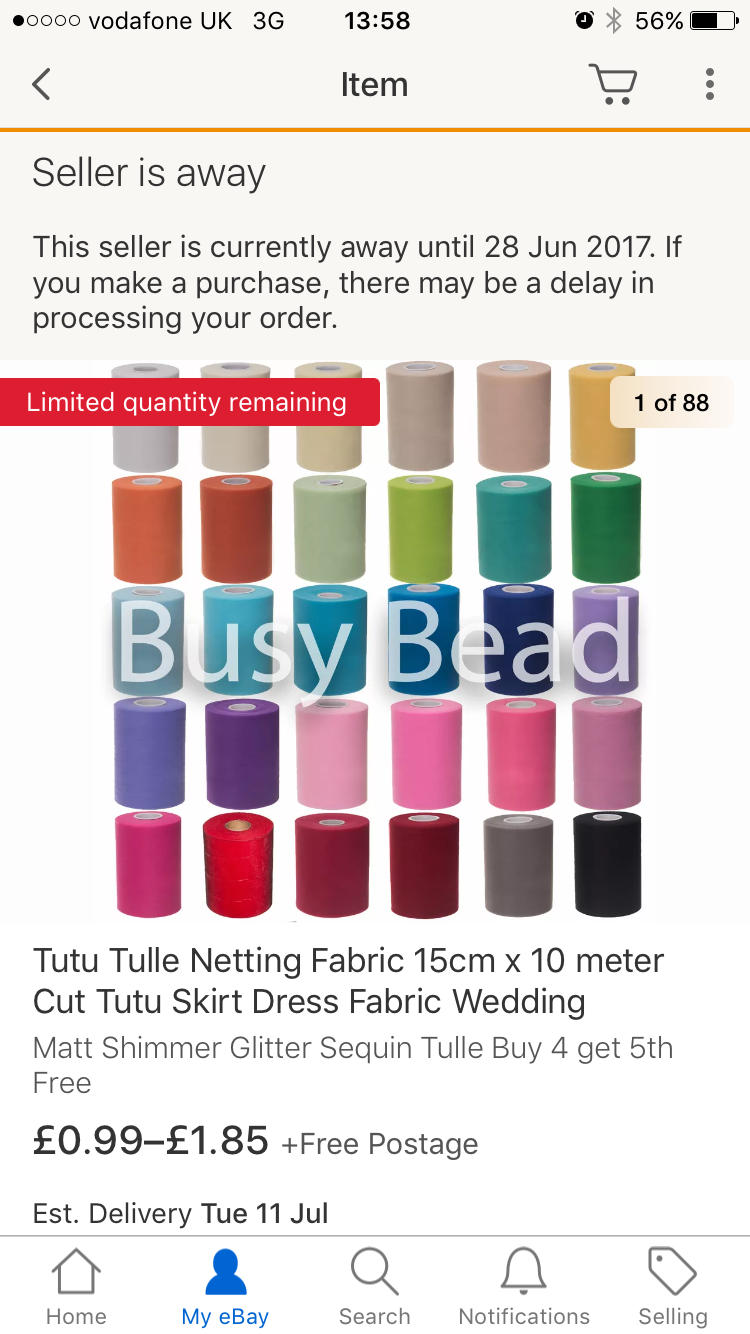
Not a lot left to do on the hull now, after all the recent work. More gunport lids (and ropes) to do and the rest of the safety netting. I'm going to replace the green netting (that came with the kit) on the stairs, as I think the black (tuille) looks much better.
I'm then going to use some milliput to fashion some hammocks to go round the outside.- Pretty much done at that point and I can finally move on to the masts and rigging!