


Richard Bradfield
-
Posts
79 -
Joined
-
Last visited
Content Type
Profiles
Forums
Gallery
Events
Posts posted by Richard Bradfield
-
-
-
Gaetan, I have been following your work for a long time and am constantly amazed at you skills. You should know that there may be a problem with the site you provided above. When I went to the site, it infected my iPad with a virus or malware and locked up my internet browser. I was able to delete the virus without much problem, but thought you should know. Here is a picture of the locked screen, which apparently is fairly widespread as I found the solution on the Internet through another device.Hi Carabrente,
other pictures; page 11,12, 13
also pictures from:

-
As Adam said, welcome to the club. I think that makes about seven skipjack builds underway.
-
You at least need to install the upper stiffener as that also serves as a ledge to glue the deck boards to. The rest are more for correctness of construction than actual need.
-
I have the Allwin combo sander and like it just fine. Haven't had it very long but have used the belt sander much more than the disk. I don't know anything about Proxxon tools.
-
Hey Rich, good job so far. I'm not sure if the photo is skewing the view but you might recheck the dimensions for the hatch and cabin openings against the boat center line as they appear off a bit.
-
-
Oh yeah, this is going to be fun to watch! Get going!
-
Nice design Sinan. The french cleat would be the perfect way to hang the unit.
Have you thought of making the work surface cantilevered to the back, which would negate interference from the legs? With the right bracket you could also lock it in place when on a tabletop.
-
Rich, as Adam said, welcome to the Willie Bennett club. There are four other Bennett's underway on this forum and one in the completed gallery. Its great to have another!
-
John (tarbrush),
Thanks for the kudos. I appreciate it!
-
Tim, Bob and Popeye,
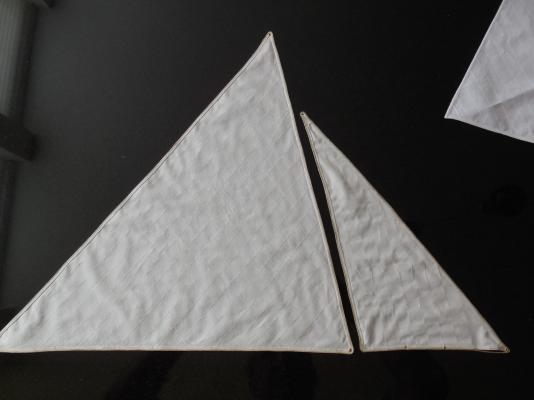
Thanks for looking in and for the good words. I haven't worked on the boat for about a week as I've helping my son refinish some furniture. That project took a couple of days but turned out great. My last post was about installing the dredge rollers and although they turned out great I had a problem with the blackened finish. When I first blackened the parts and installed them the blackening looked great, a nice flat even finish but in about two days they turned rusty with splotches of black. Looked kinda good actually, like they were really weathered but not in keeping with the rest of the boat. I had to hand paint them after they were installed but they look good, so I'm happy. I also have a tale of two sails to tell. I made a previous post about my first try at sail making which I was quite proud of. Since then I decided to use the tan colored cloth so I remade the sails. The basic sails turned out good, nice seams, and hems. The next step was to put the bolt rope on. I didn't think I could sew them on so I used glue. On the jib sail I used ca glue to attach the bolt rope. It worked but stained the sail cloth and made the sail very stiff. On the main sail I used elmers white glue to attach the bolt rope. That worked well and the sail was less stiff.
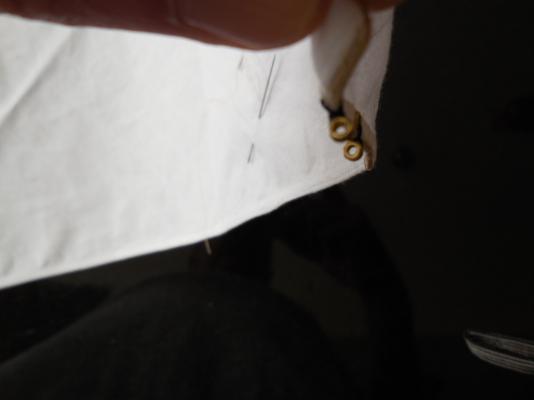
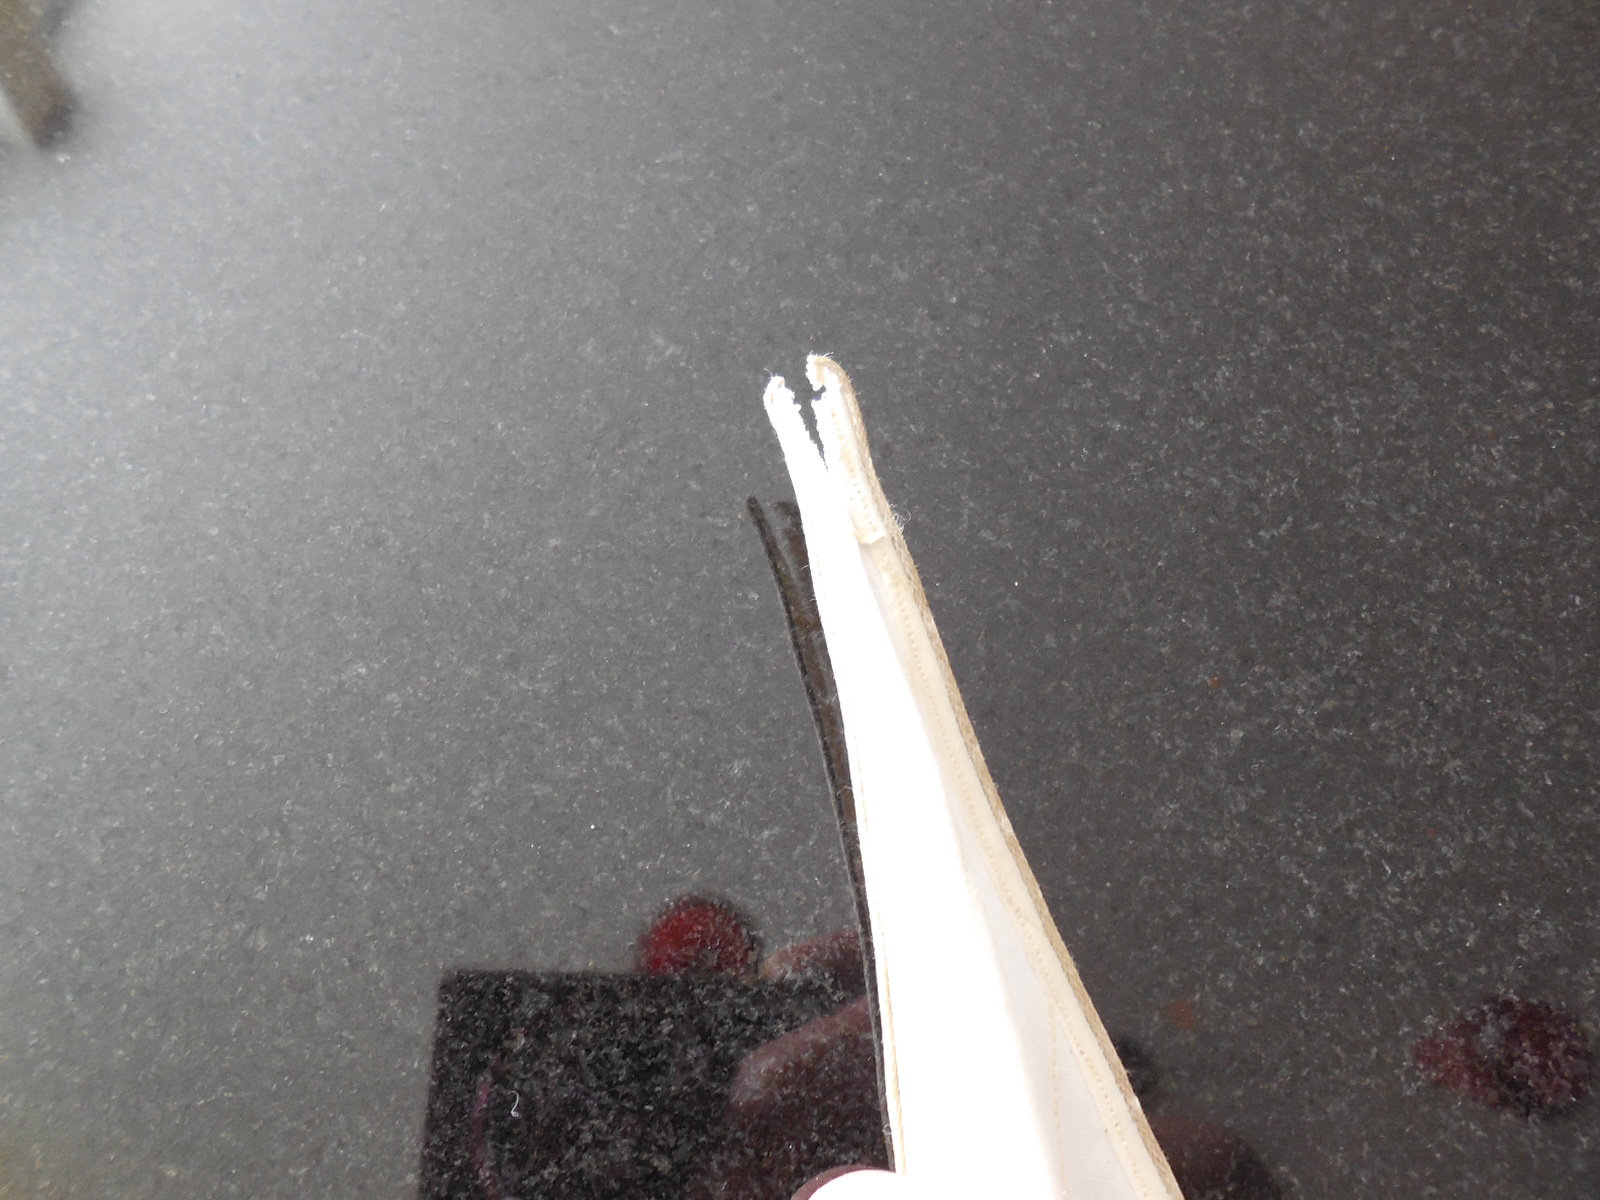
I then proceeded to put eyelets in the jib and this is what happened. The ca made the sail very brittle so I won't be doing that again.
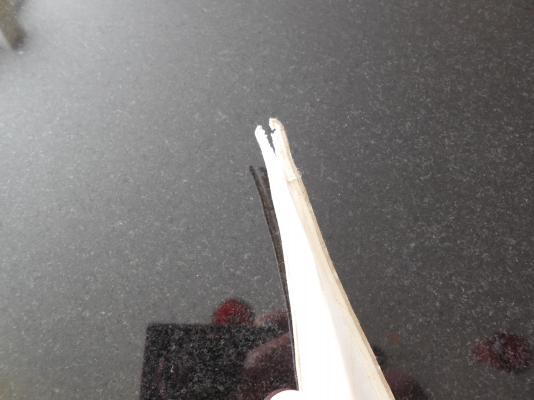
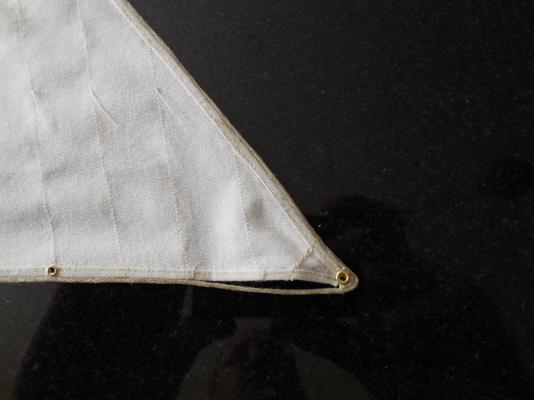
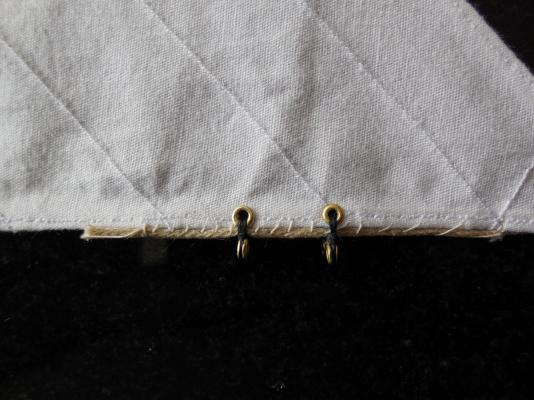
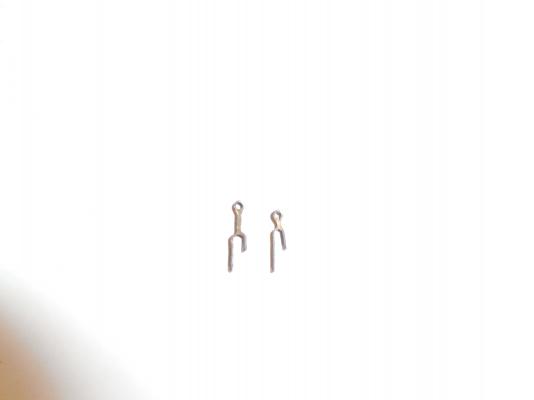
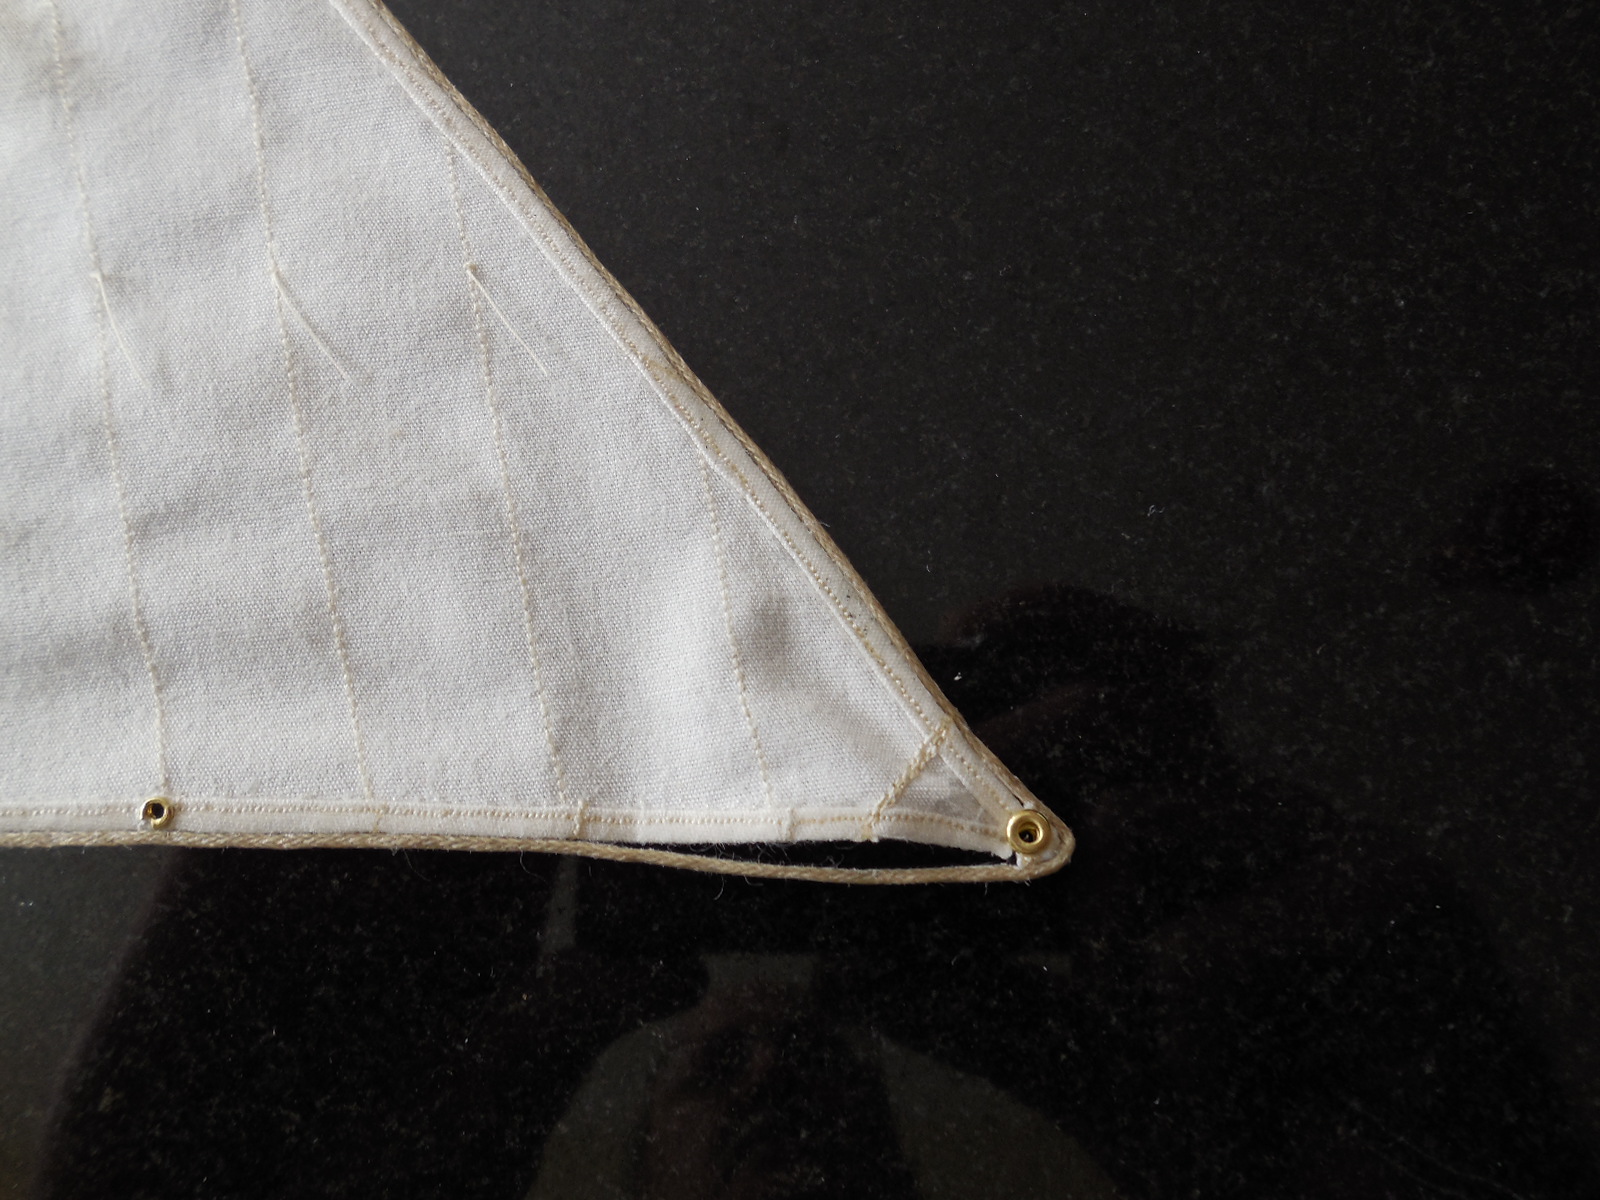
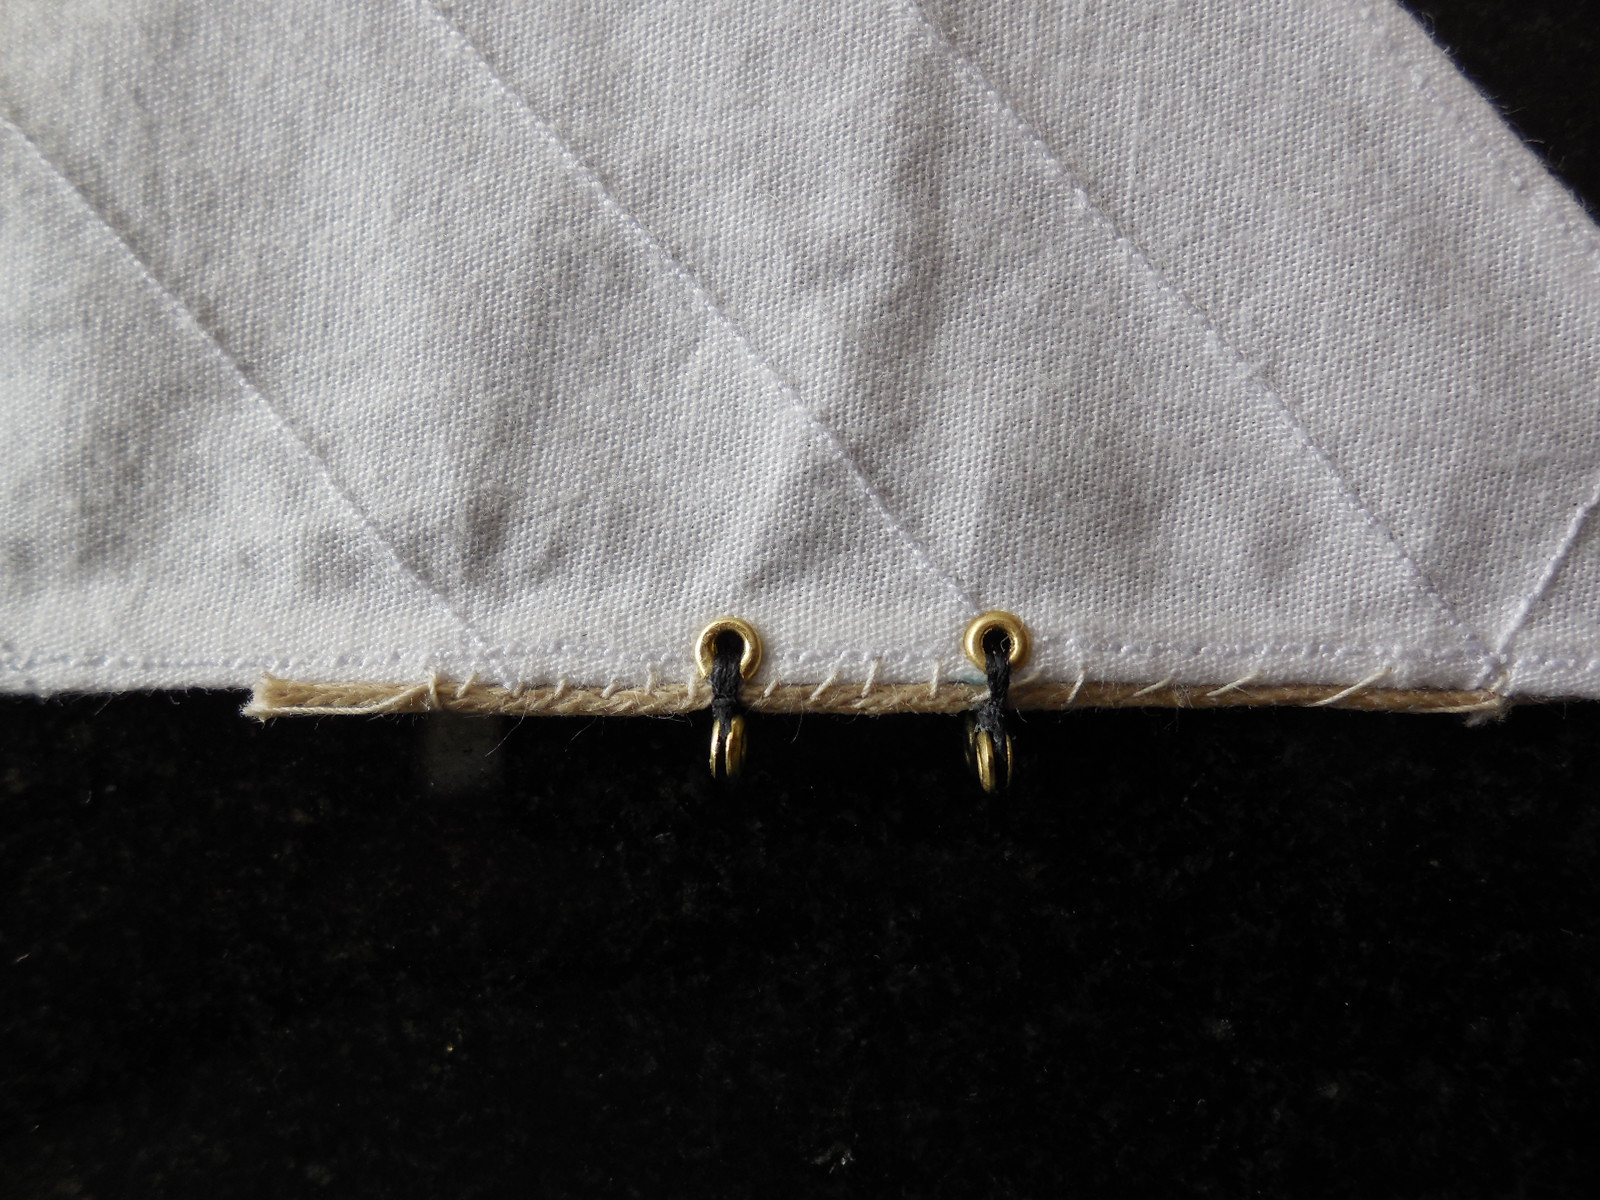
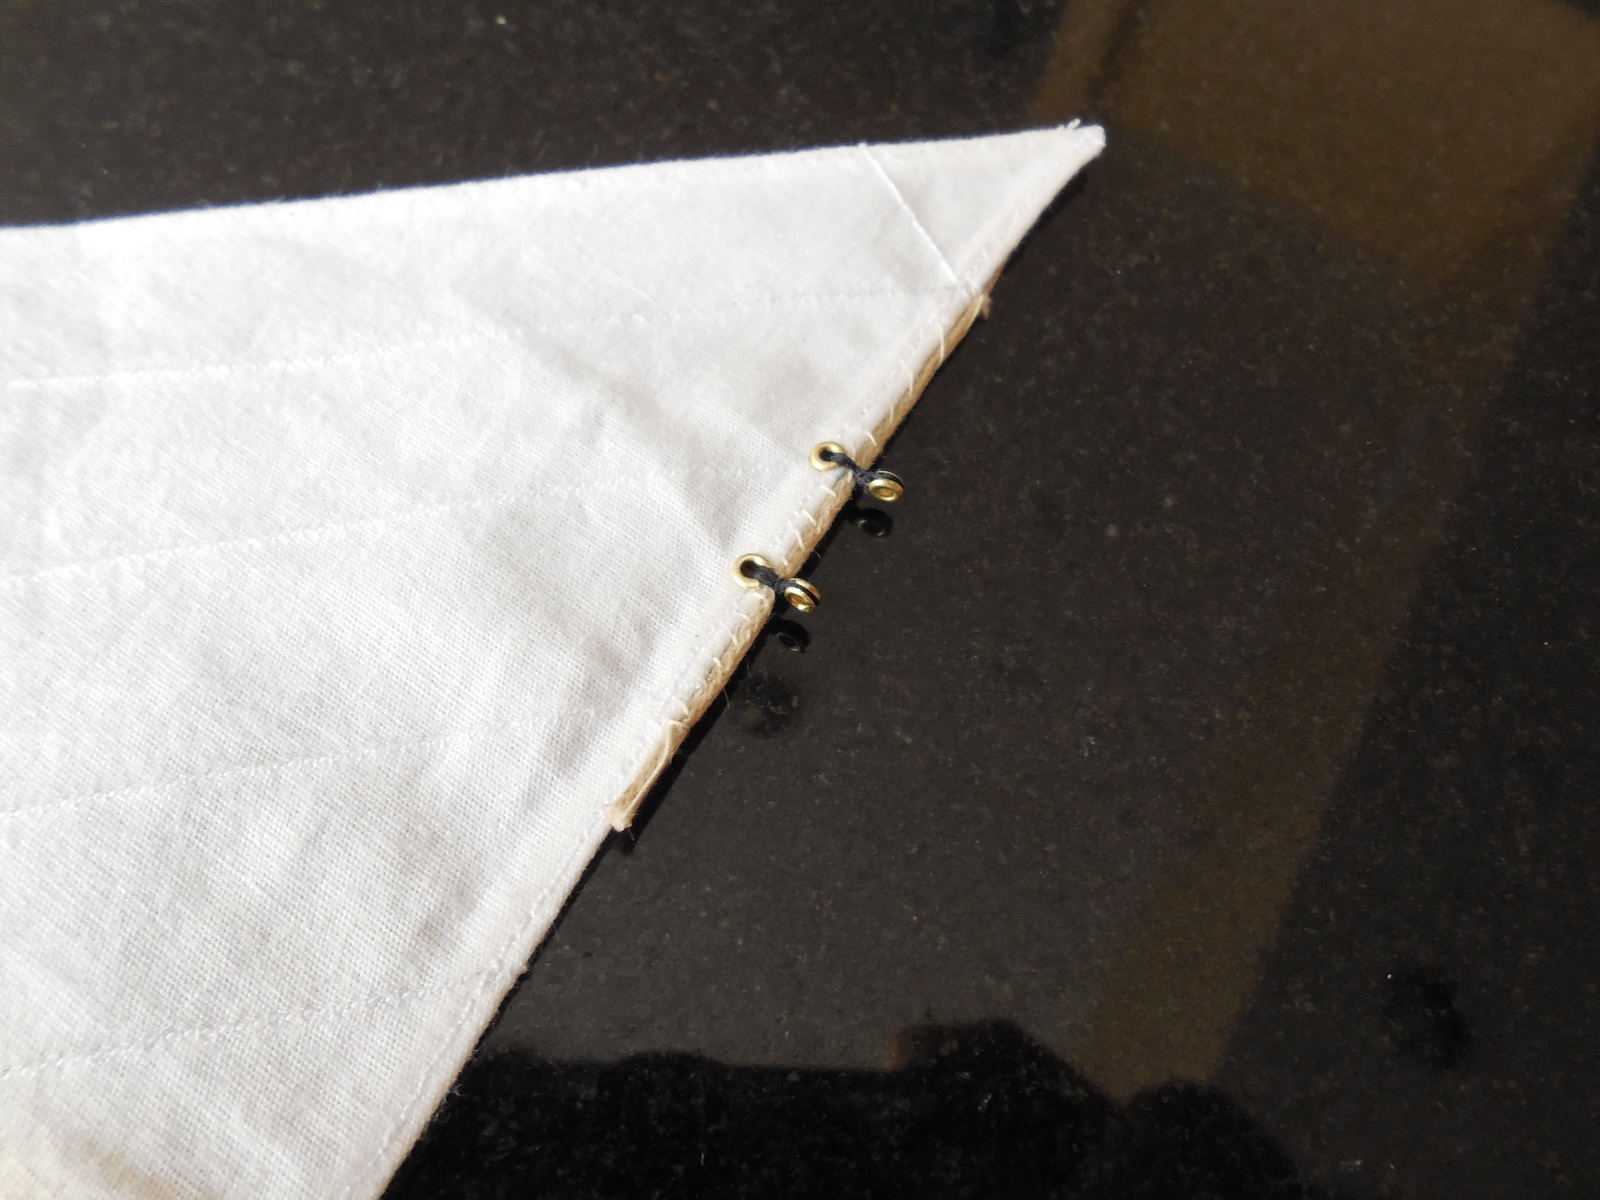
So back to the beginning. Since I have to remake the jib sail, I decided I will sew the bolt rope on and I also decided to take the time to install eyelets, and thimbles at all the sail lacing points. That means I will have to remake the main sail as well, as the elmers glue made the bolt rope to hard to pass a needle through. That will be a VERY time consuming job but I think it will be very realistic and add a lot to the model. The eyelets I am using are 1/16 dia. x 3/32 shank . I tested whether I could do this well and these pics show the result. The stitching on the piece of bolt rope will be much better than shown as this was just a test to see how difficult it would be.

To maintain my sanity, I think the best plan is to work on these sails a bit at a time while also working on other aspects of the boat.
Thanks for looking in.
- SkerryAmp, popeye the sailor, russ and 1 other
-
 4
4
-
-
Tim and Bob, Thanks for the comments. I went ahead and blackened all the parts then started to put on the boat. I immediately discovered that the axle brackets for the long roller were to tall so I had to make new ones. Here is a old and new pick.
After blacking the new parts I installed the dredge roller on the starboard side. Everything fit well and I am happy. Probably do the port side tomorrow.


- popeye the sailor, 4whelr and tarbrush
-
3
-
I put my sail making aside, while I wait for some eyelets I ordered to arrive so I could complete them. Today I have been working on the oyster dredge rollers. The picture shows the two roller assemblies prior to painting or blackening. This little project took me about 8 hours to complete to this stage and I am pleased with the result. I sorta wish I had aluminum tube to use for the rollers but only had the brass. I will likely paint the rollers with aluminum colored paint and the mounting ironwork white.

Thanks for having a look.
-
Josh and Gerty, Thanks for checking in. Josh, I've been waiting to see some progress posts from you. If I can help you, just ask away!
Pete, I stained it with Minwax Ipswich Pine stain and sealed it with 3 coats of clear Rust-Oleum polyurethane matte.
-
Bob and Tim, thanks for checking in and for the positive comments.
-
Bob and Hamilton. Thanks for the gracious comments and for checking in on my log.
-
Wow! What a beautiful model. I didn't realize such results were possible with a plastic kit. I just recently got into wood model ship building but may have to try one of the plastic kits.
-
One of the many tasks left to do on my boat is the sails. I have been thinking about this since day one. I wanted to stitch the sails but I was leary that I could get the look I wanted, i.e., small stitches and narrow hems. I considered hiring someone to do them but expected it be to costly. So the other day I decided to try it myself and went and bought a sewing machine! A tool I have never used nor expected to ever have a need.
I hope these pictures show the detail I intended. I just bought a new high res camera and didn't realize it was preset on the highest resolution (4608x2592). I had to resize them to what this site will accept. I may have degraded them to much.
This is the unit I bought. Brand new for just $100.

After a few hours of playing and getting used to the machine I determined I was ready to go for it! I started marking the stitch lines from the sail plan with a seamstress pen of disappearing ink. I marked the three tabling lines for the hem at 1/8" intervals.


Next I sewed the seams. The first 3 or 4 seams on the long end were sewed to fast and puckered a little bit. Once I slowed down it worked just fine. It all ironed out in the end.
View of Port side.

View of Starboard side.

The seams turned out better than I expected. There are a few small defects of loose stitching but hardly noticeable.
Next up was tabling, or hems, around the outside edges. I bought some 1/4" fabric tape which worked like a charm. Its sticky on both sides.

I used two strips per side. I first put tape over the middle and outside tables, then folded the outside onto the middle table. I then put down another piece of tape over the inside table and the already folded table from the previous step and folded together. A hot iron fused the tape into the material and gave a nice flat somewhat stiff hem needed for sewing.


The taped hem was then stitched. Once ironed, all the puckers were gone and the sail looks pretty darn good.


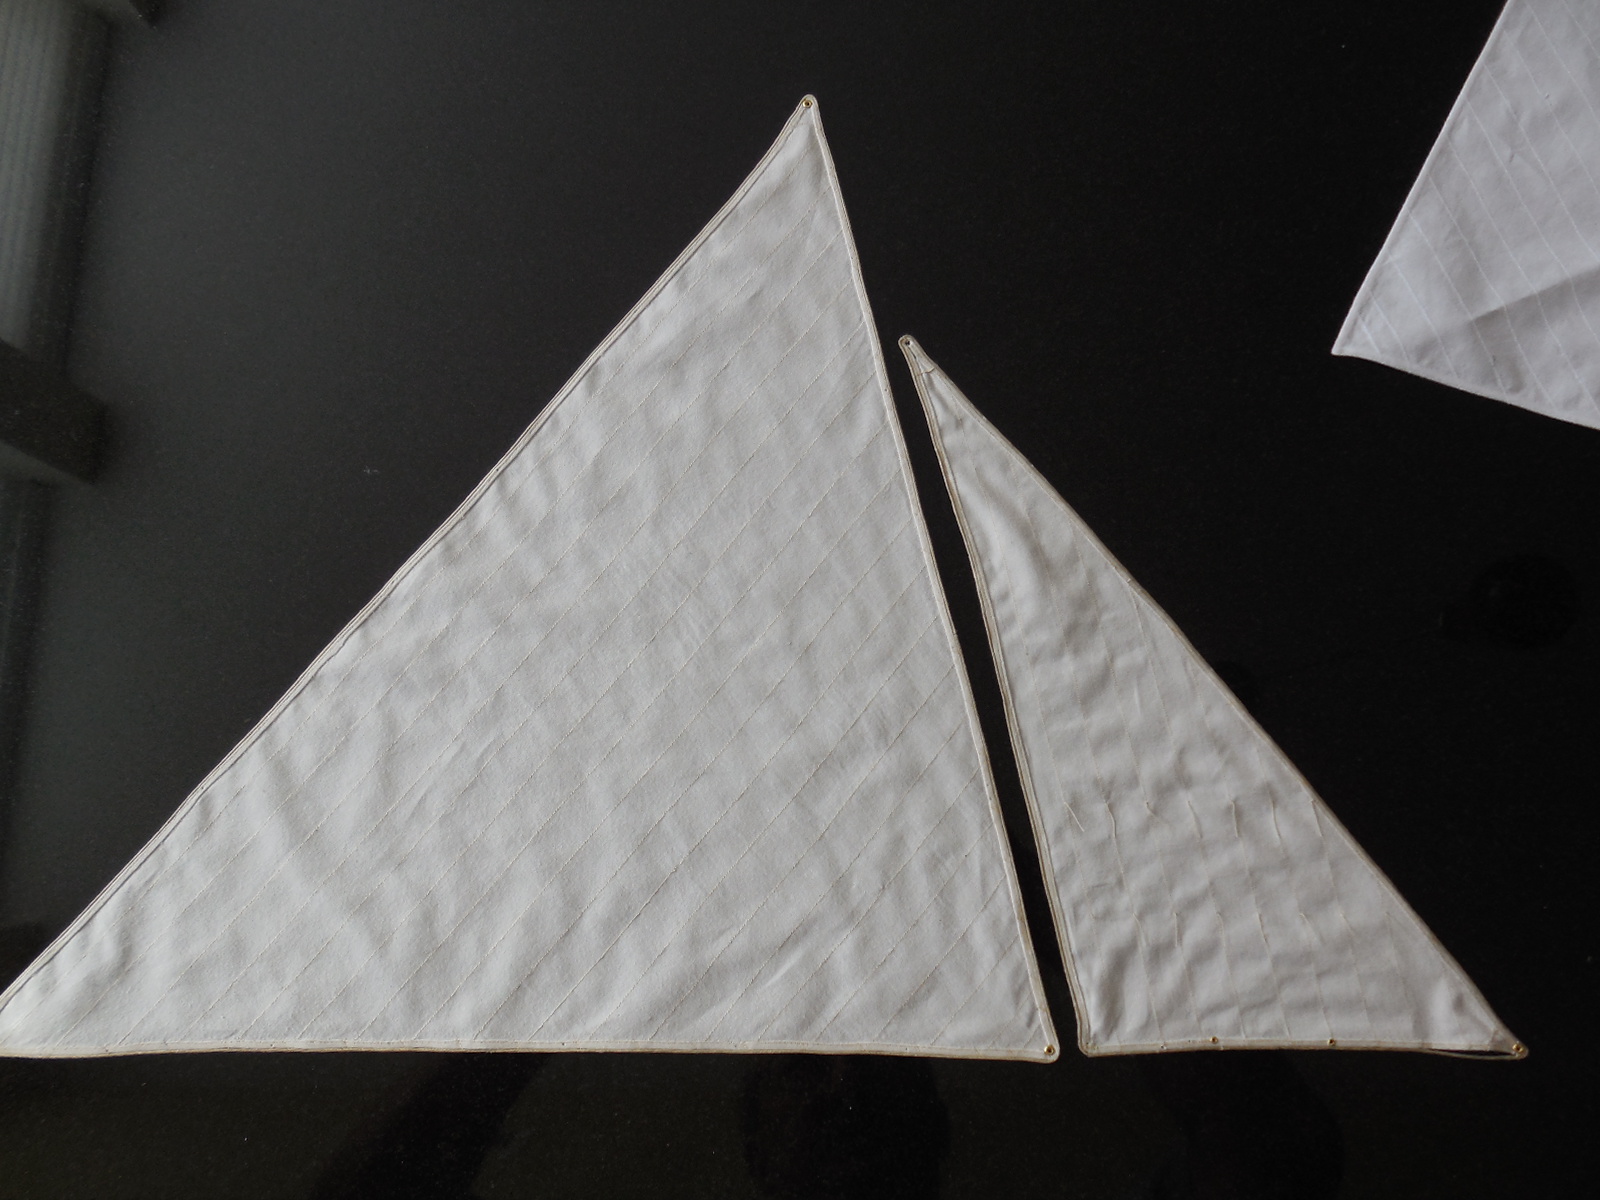
I still need to wash it again and of course put the boltrope, cringles and reef lines on. Before I do that though I need to decide what color and specific material I will use. This sail was made with white premium 100% cotton muslin. I also bought a light tan muslin and I have the darker tan material that came with the kit. Not sure if the colors will show very well in the picture below. I really like the white sail cloth but also like the light tan muslin. I won't use the kit supplied cloth. Any comments on the sail color?

Hate to admit it but I really enjoyed sewing and making this sail. This sail was really a test to see if I could even do it. Although I think it turned out really well I will likely make another , hopefully better one.
Thanks for looking in.
-
Thanks Bob, I think I'll just live with it.
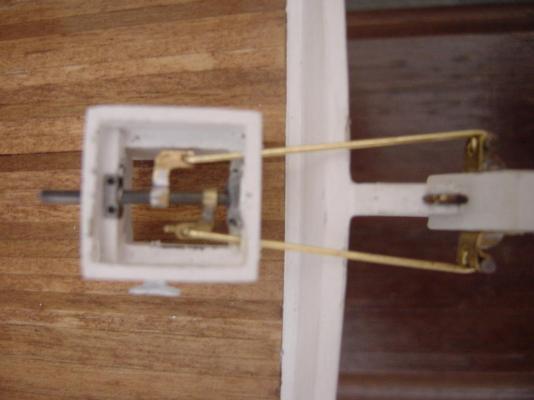
Brian, yeah I just wanted it to appear to work. FYI, the unit to the left is the wheel box. The steering wheel is attached to the center shaft. In reality the shaft would have left hand screw threads on the upper part for the starboard steering rod and right hand threads on the lower part for the portside steering rod. That is beyond my capability but check out the completed kit section for a skipjack by "dandyfunk" to see one that actually works like the real thing.
-
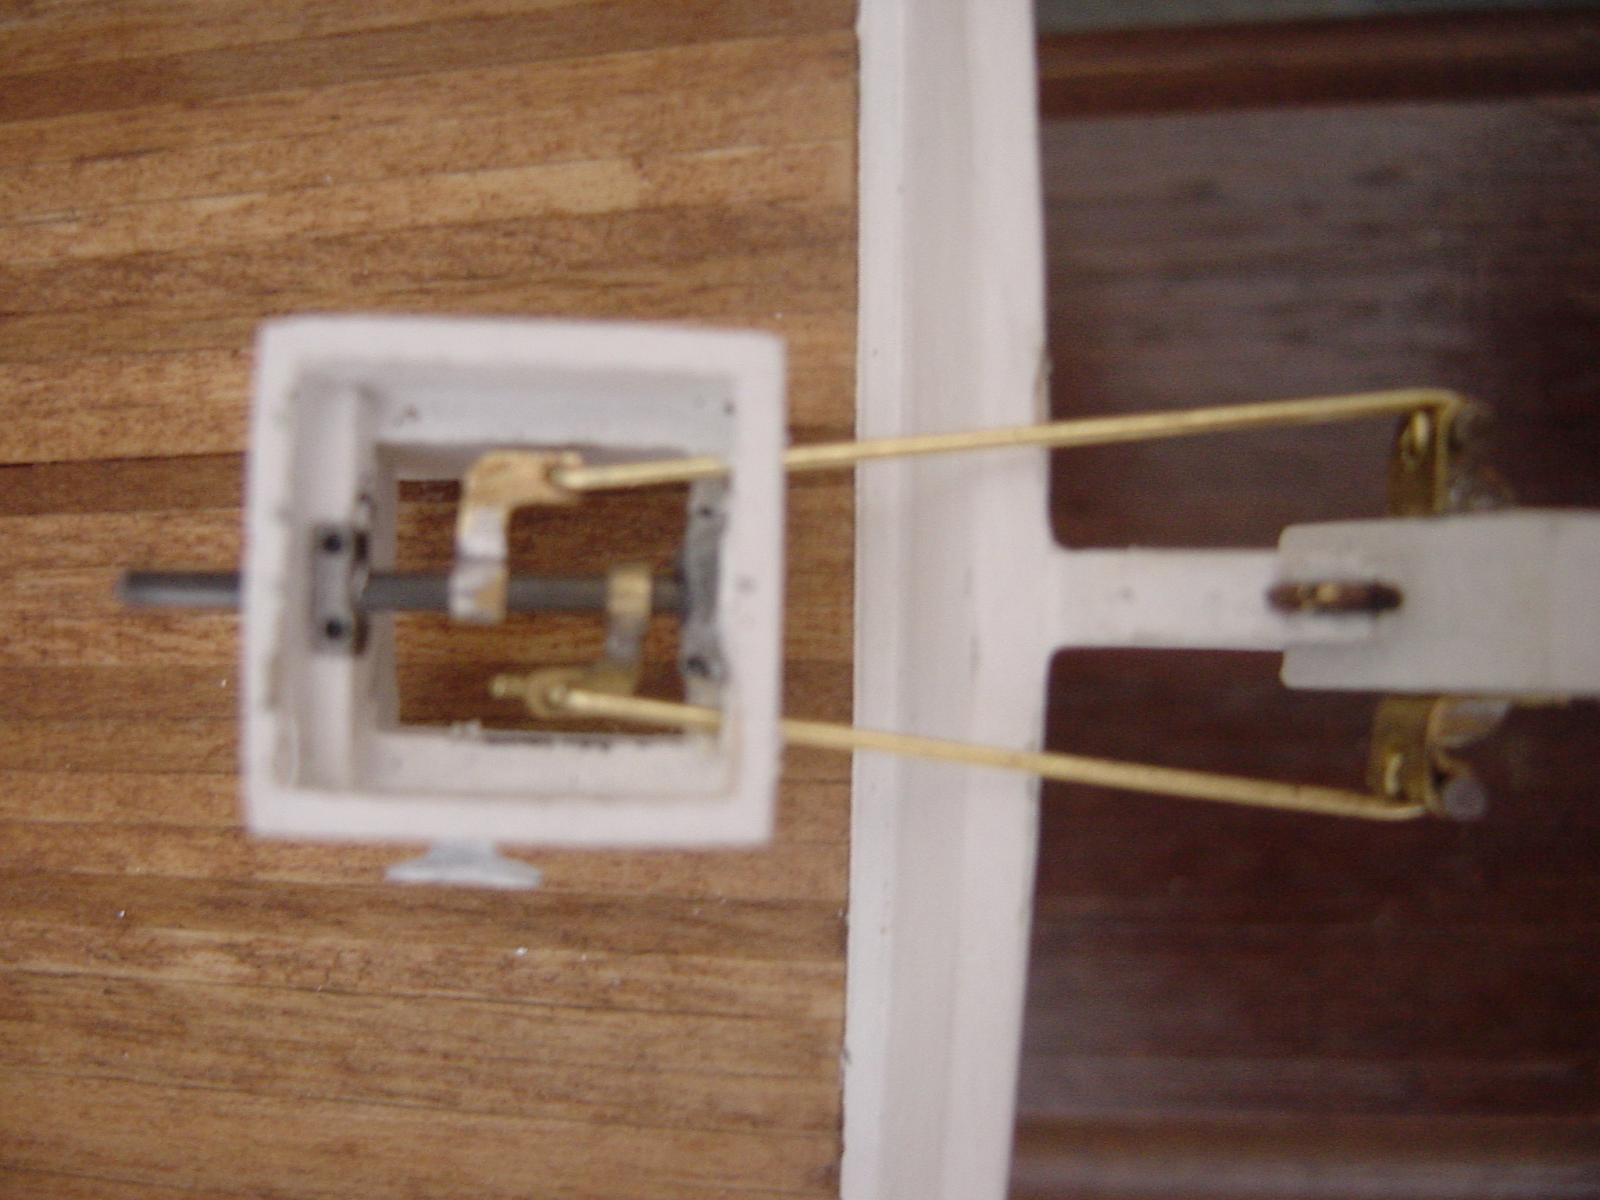
I am building a Chesapeake Bay skipjack and have been working on the rudder and control assembly. the picture shows the assembly as I have built it. The problem is that I can only get 19 degrees of rudder to port and 15 degrees to starboard. Not a real problem as at least it works, but based on some research, I read that the maximum efficiency of a rudder is 35 degrees to the flow of water. The steering arms are identical and the steering rods are of equal length. It seems that if I make the rods unequal it will only help increase travel in one direction. Does anyone have any thoughts on this? (sorry for the poor picture quality)
-
-
PageT, I have used the Tamiya masking tape with wonderful results.


LE BONHOMME RICHARD by Jeronimo - FINISHED
in - Build logs for subjects built 1751 - 1800
Posted
Thank you Karl.