hdrinker
-
Posts
232 -
Joined
-
Last visited
Content Type
Profiles
Forums
Gallery
Events
Everything posted by hdrinker
-
She’s coming along! Nice. I like the white deck framing. Makes that really pop. I have a grandson who’s handy with a 3-D printer and was happy to print me up a ring in black for that capston. Henry
-
USS Constitution by mtbediz - 1:76
hdrinker replied to mtbediz's topic in - Build logs for subjects built 1751 - 1800
The work you are doing is truly inspiring, Mustafa. I have always wanted to do a model of this iconic vessel, having visited her many times over my lifetime. You have inspired me to now think seriously about it. Where would I find original framing plans and deck layouts? Henry -
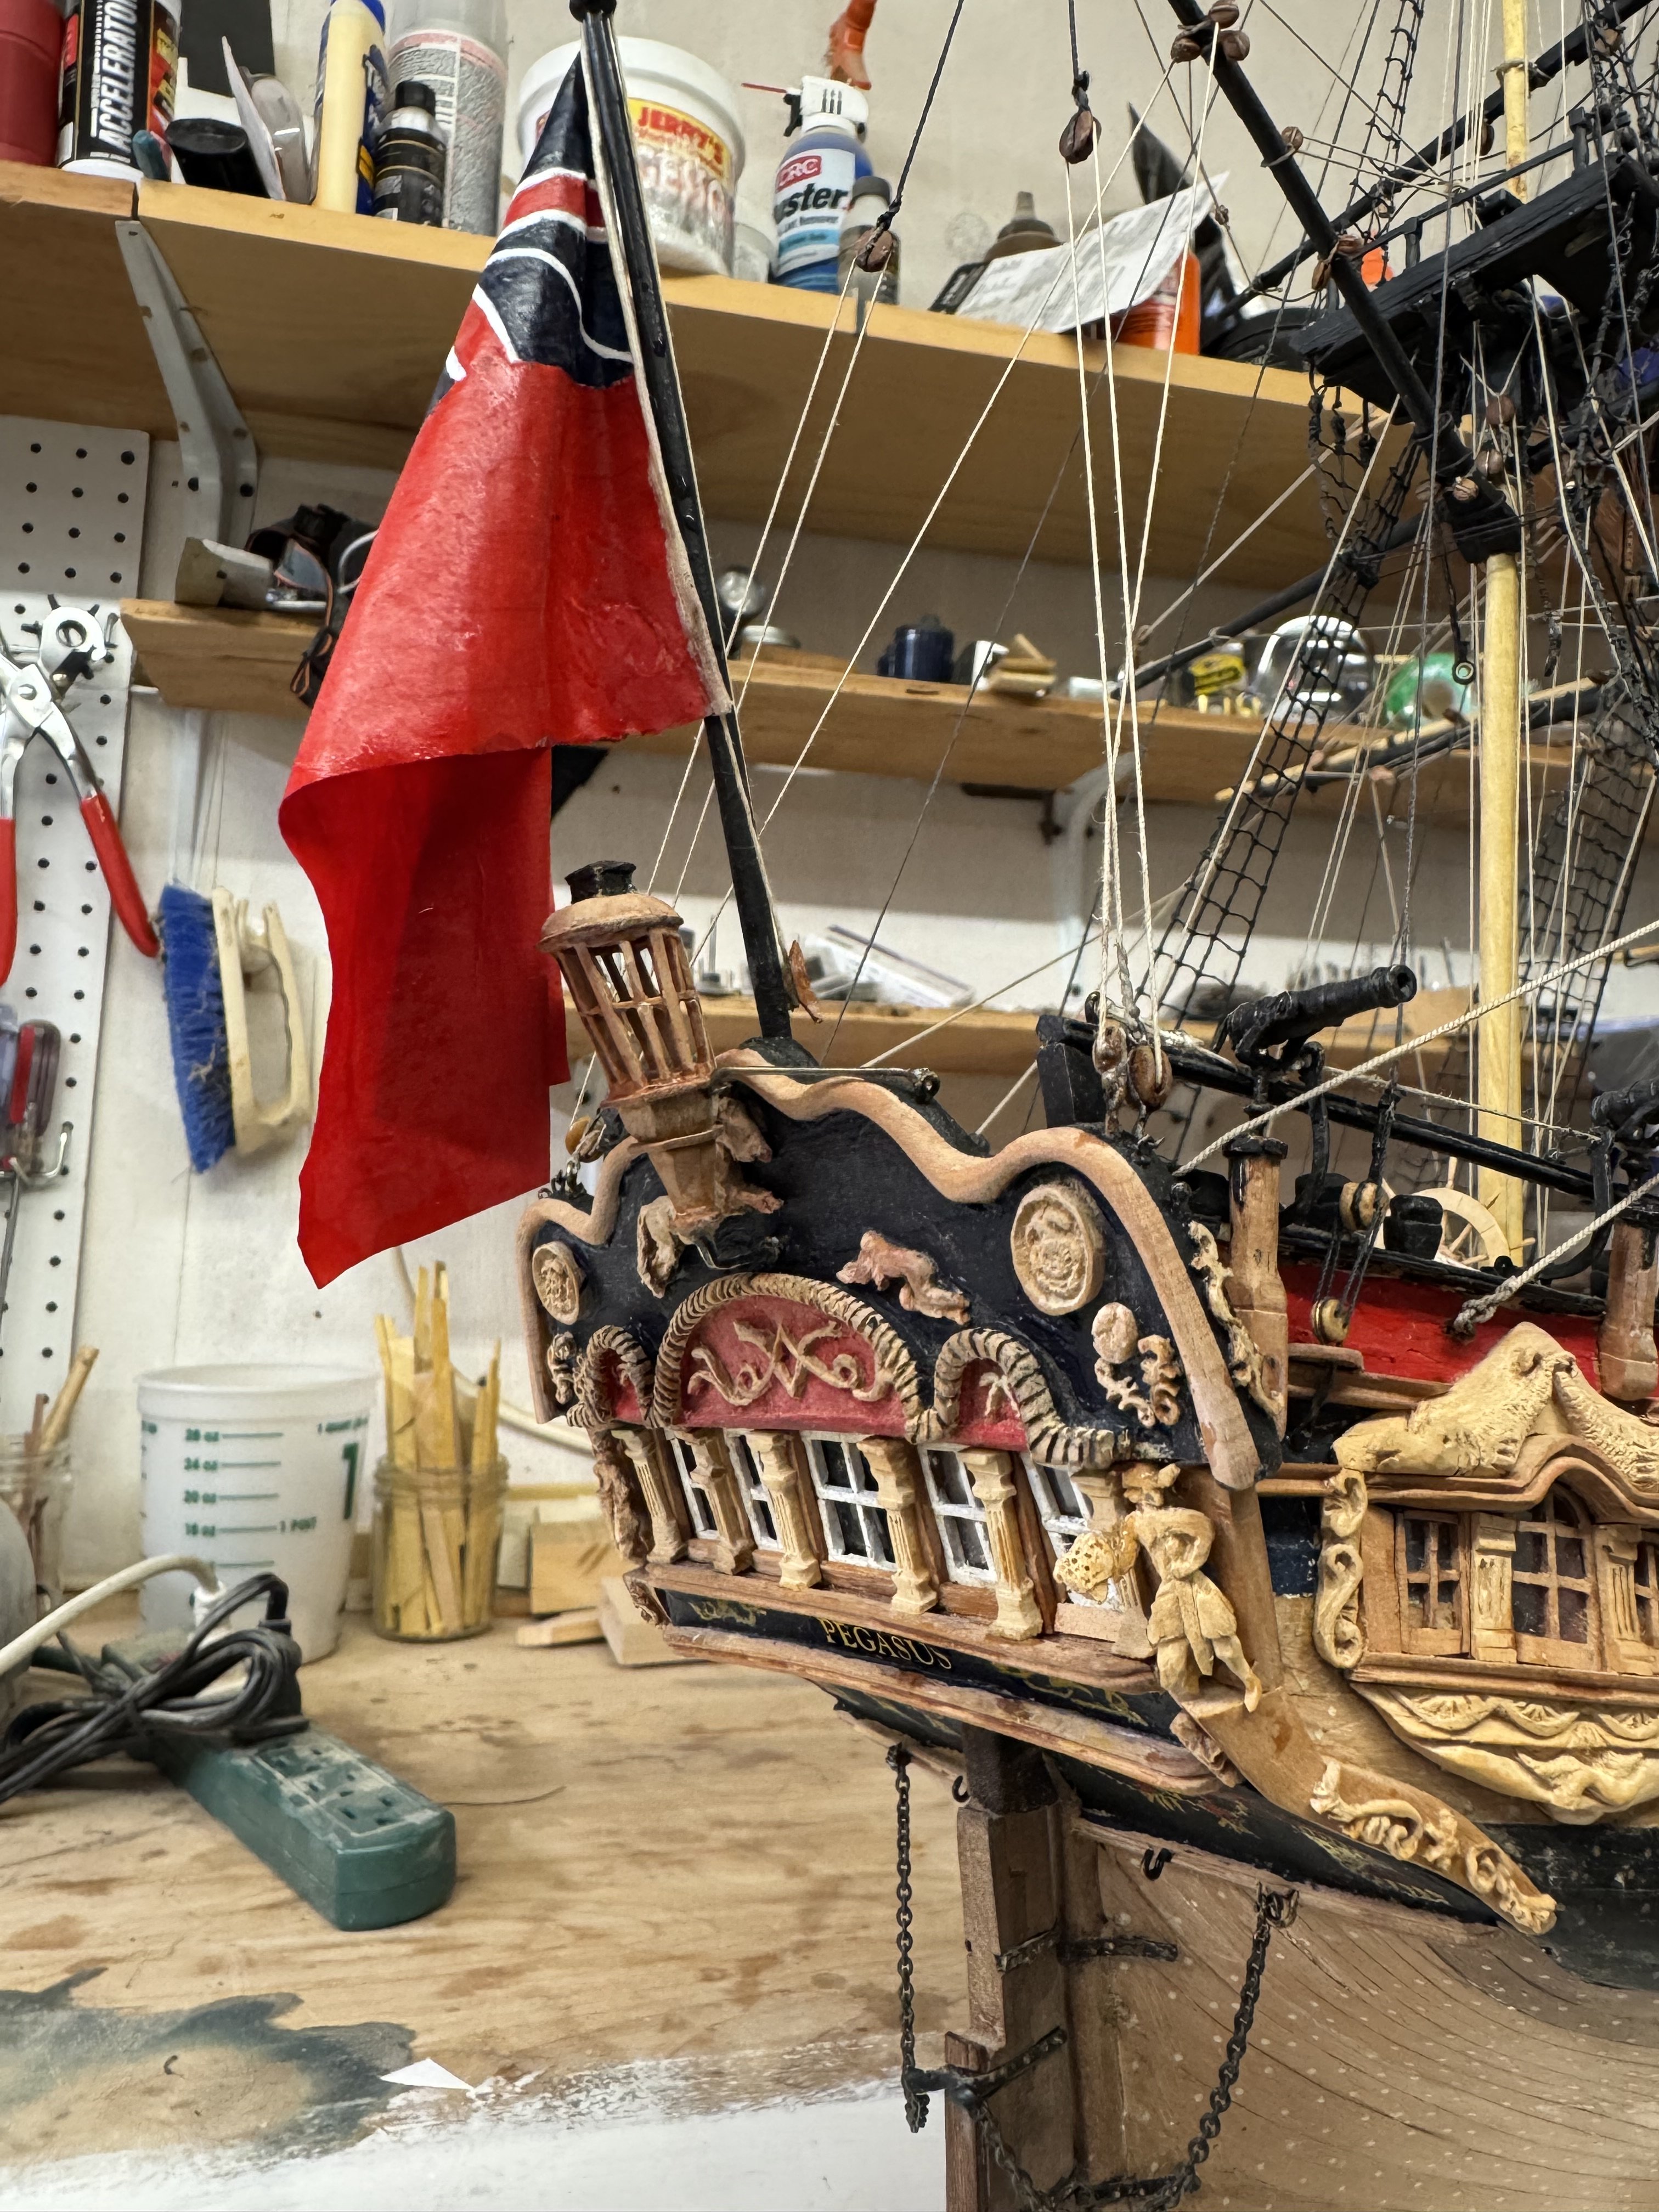
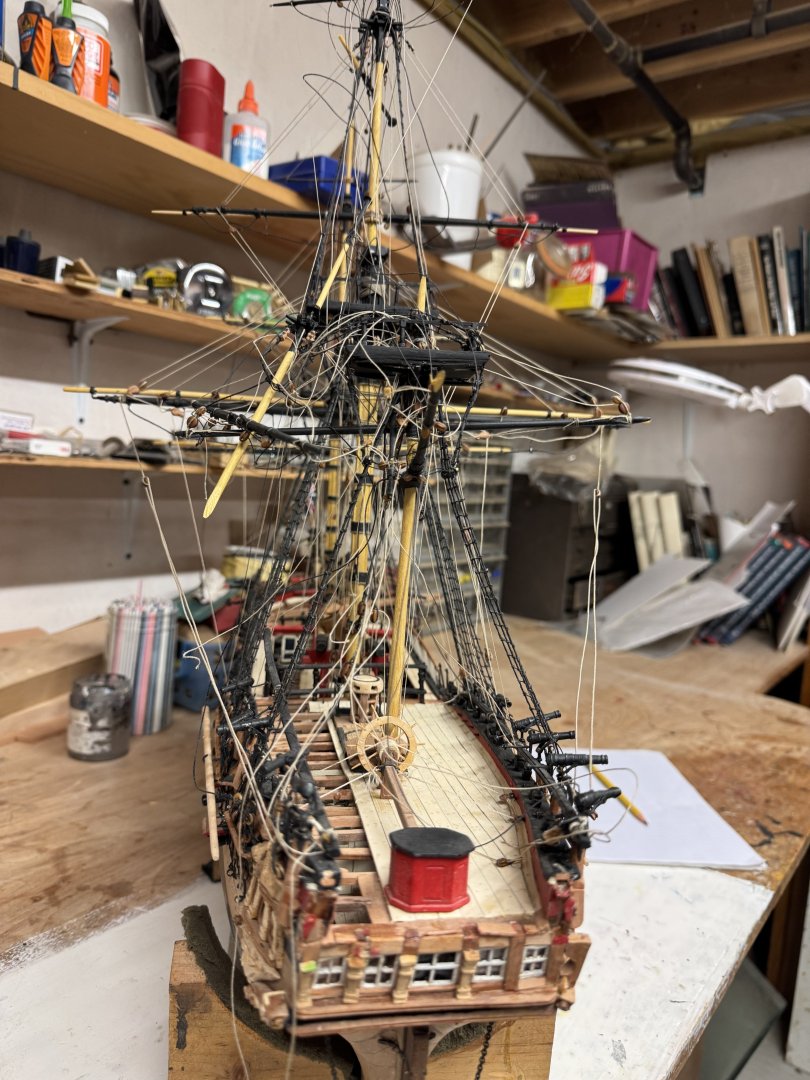
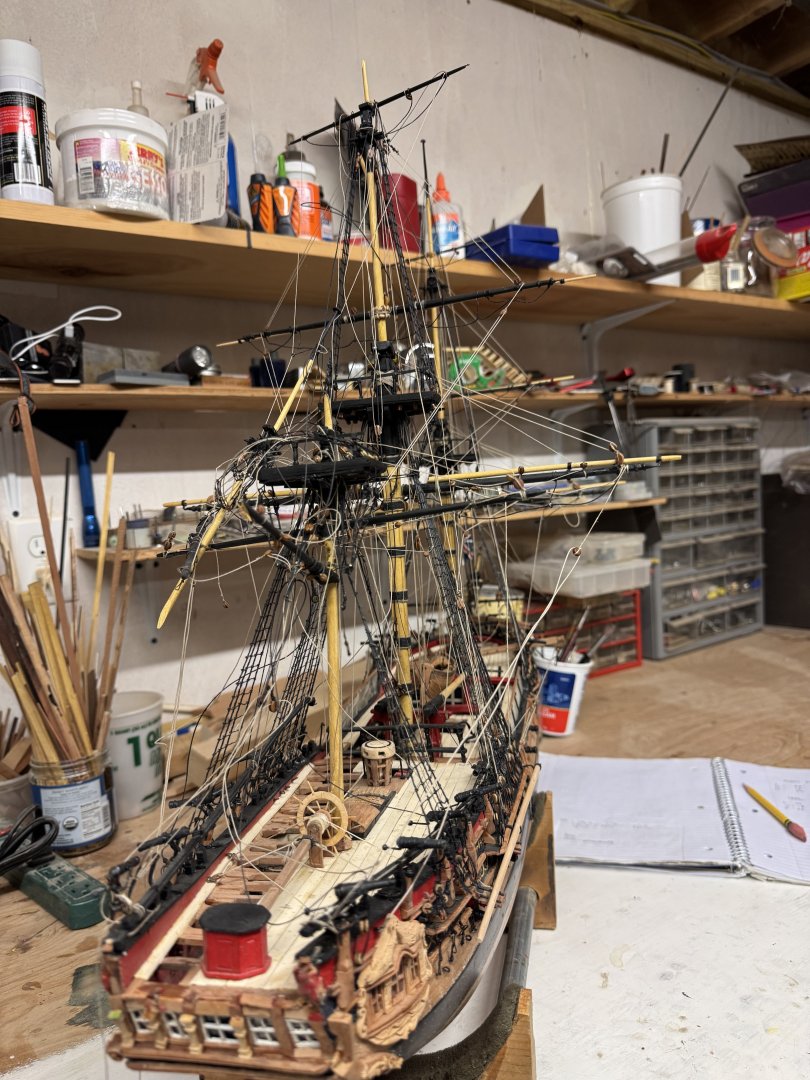
I was bringing Pegasus up from the shop for some proper photos and tripped. Down she went. What a mess! Landed stern first, shearing off the taffrail, light, mizzen gaff (broke). Mizzen topmast, main T’gallant mast and fore T’gallant masts broken. Luckily, the bow was undamaged, including the figurehead and bow sprit. No damage to any of the carvings, all of which were simply repositioned on the repaired raff rail, which by dinner, was back in place with a couple of improvements. Starboard mizzen chains will need to be redone. The rest will be easier. My wife was a witness and was much more upset than I was.
- 257 replies
-
- 14
-

-

-

-
- pegasus
- Swan-class
- (and 1 more)
-
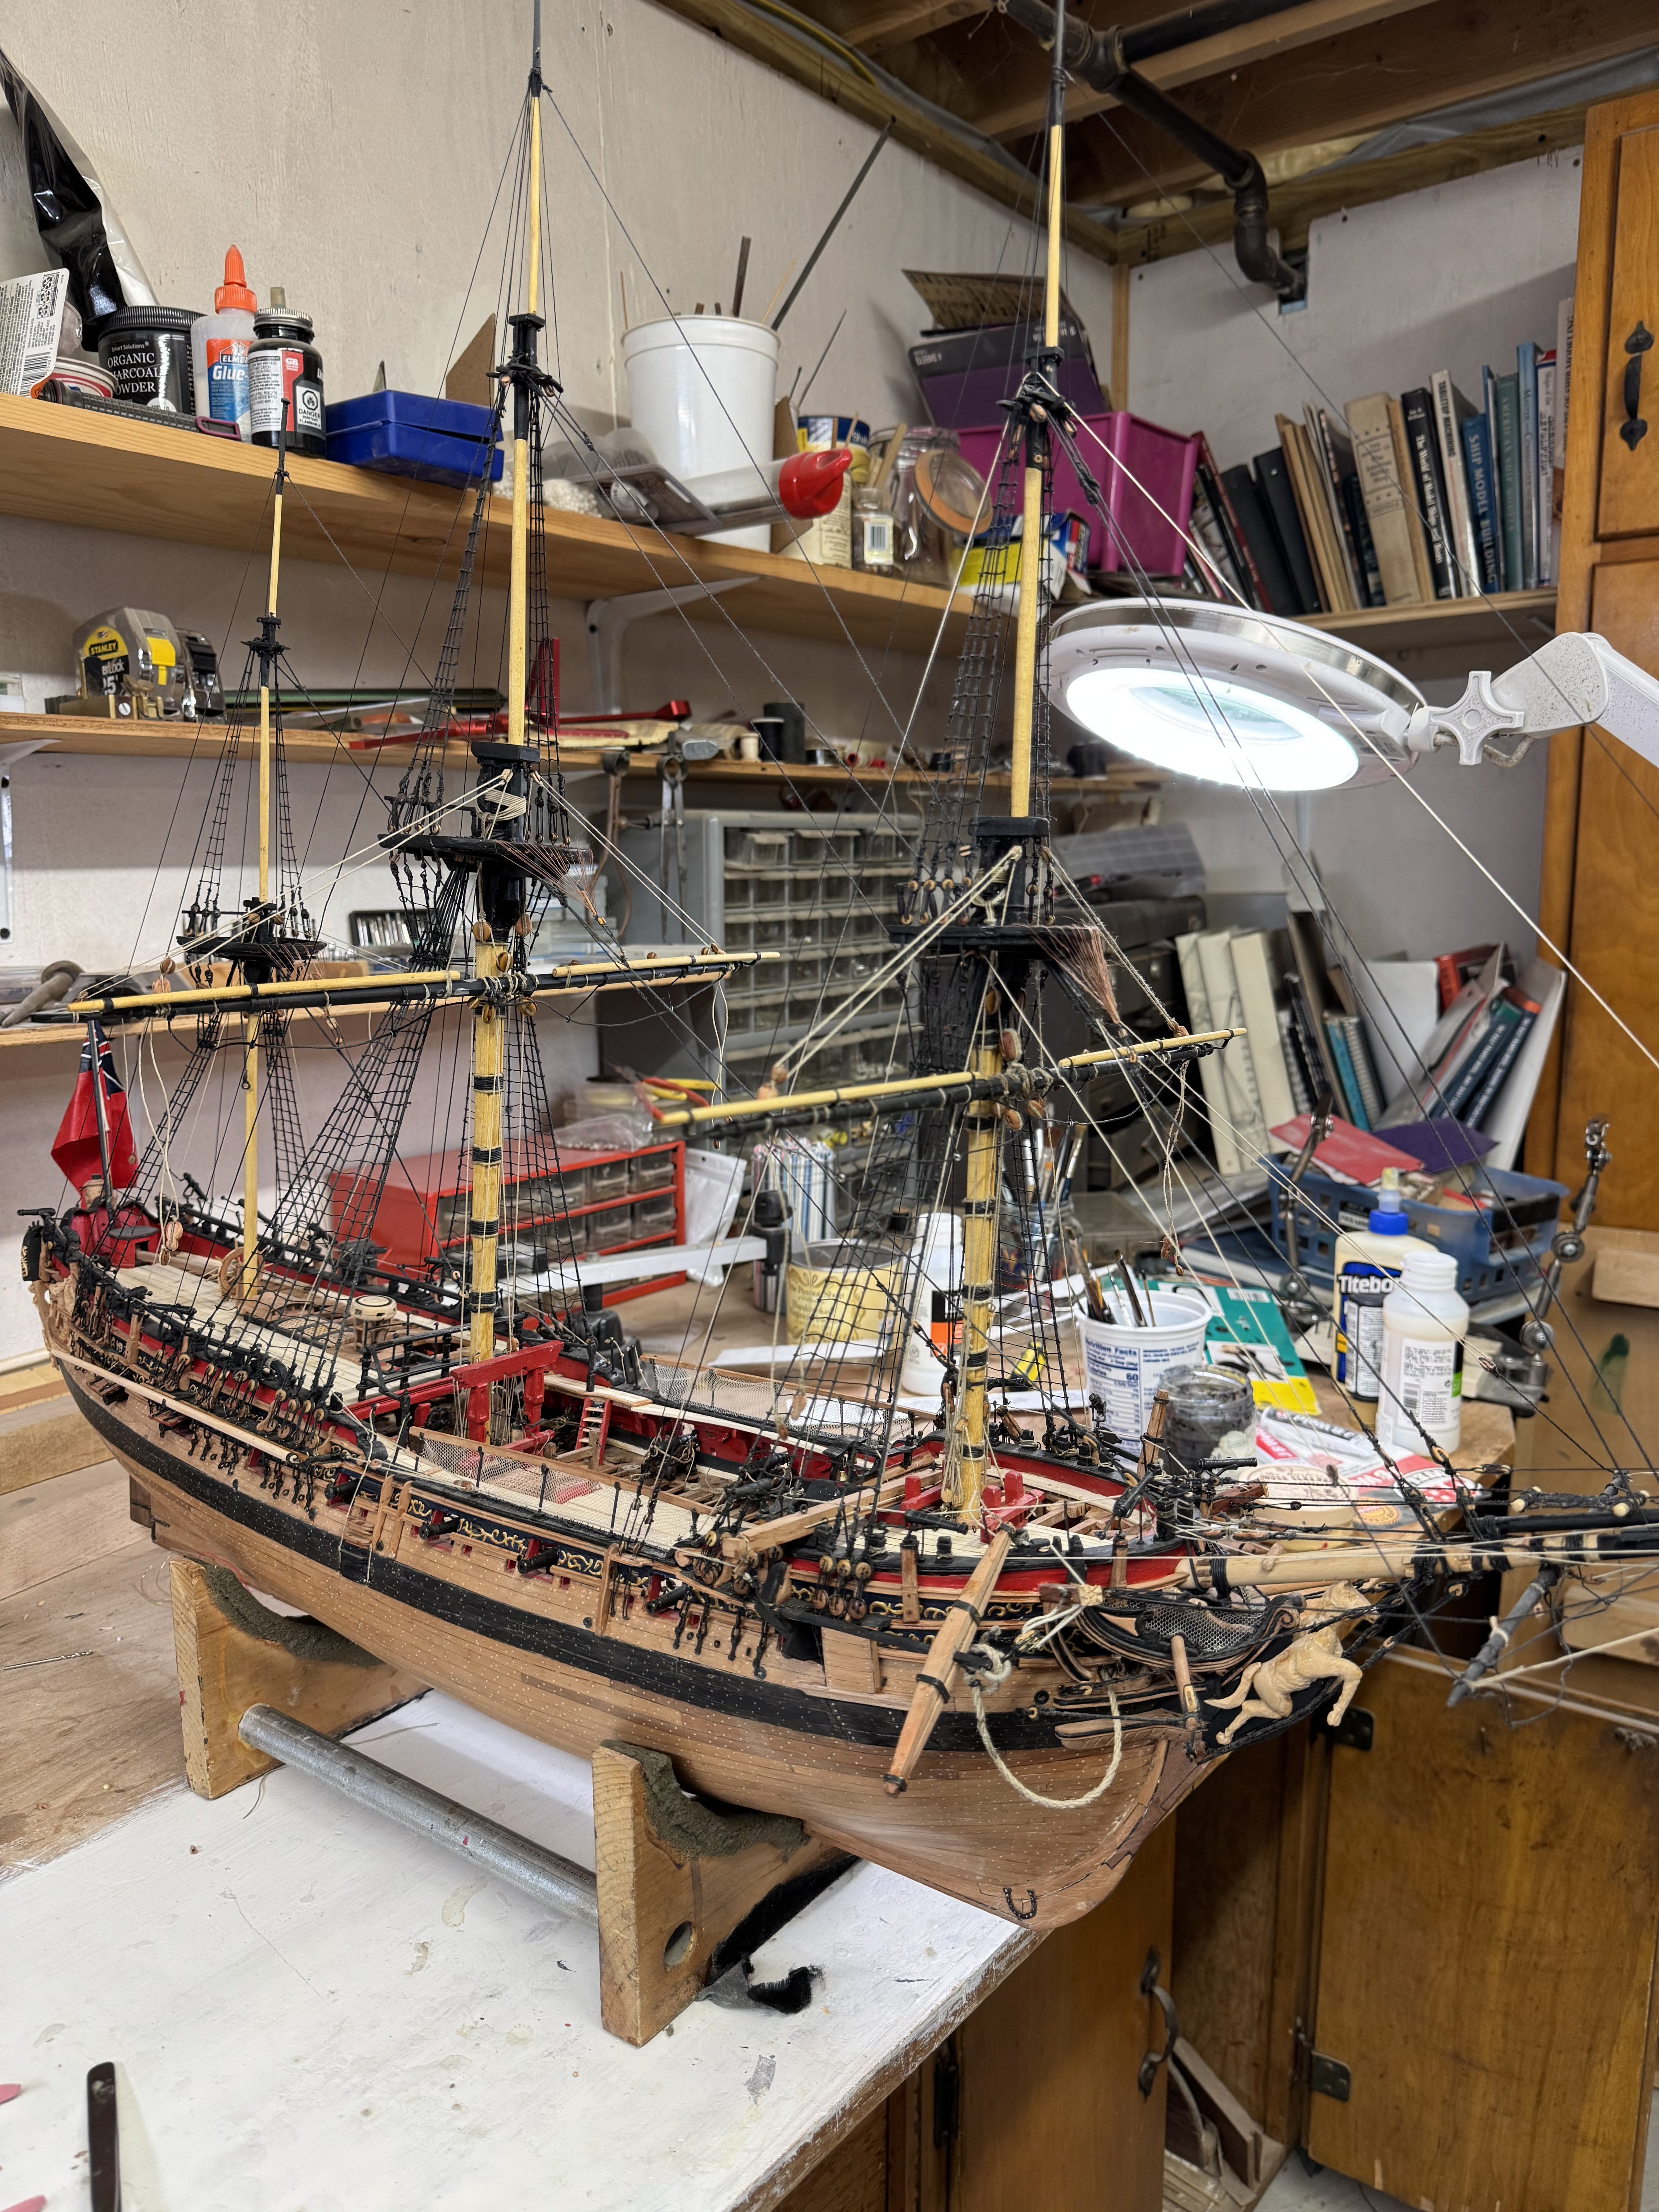
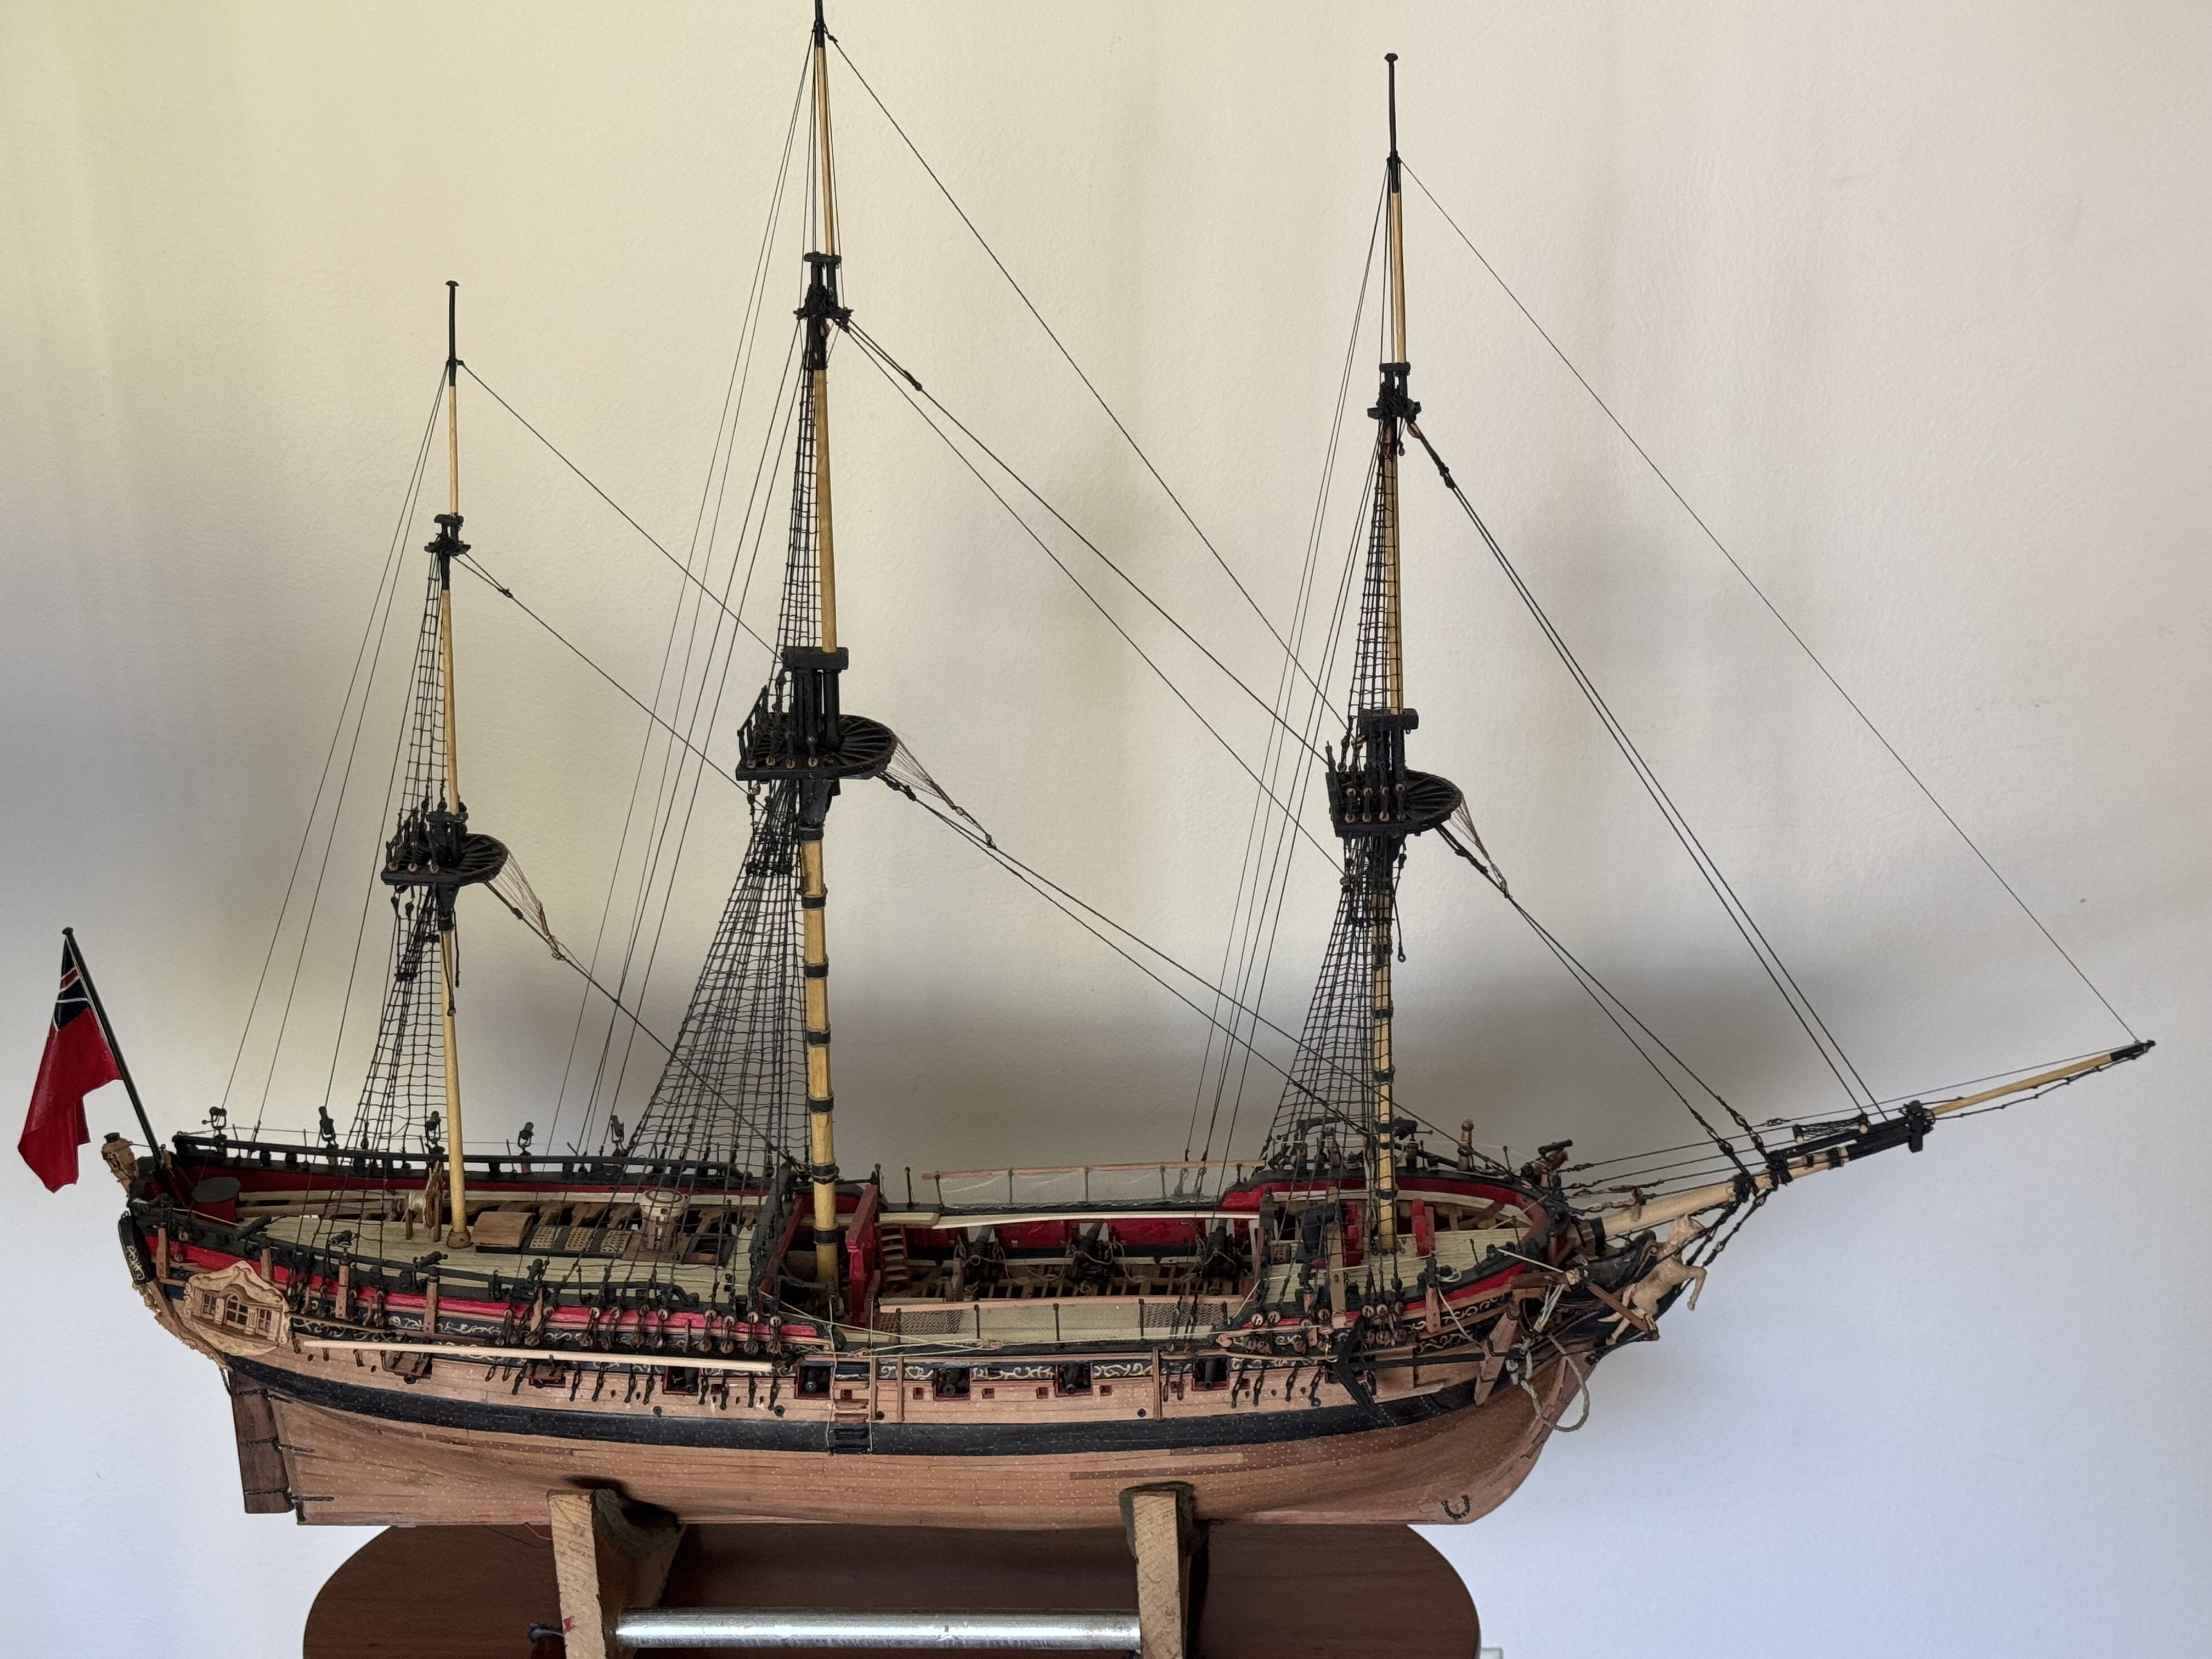
Many thanks for the kind words. I’m awaiting delivery of piece of wood for a base and the use of a regular sized lathe of friend to shape a pair of brass pedestals before taking final photos. Henry
- 257 replies
-
- 1
-
-
- pegasus
- Swan-class
- (and 1 more)
-
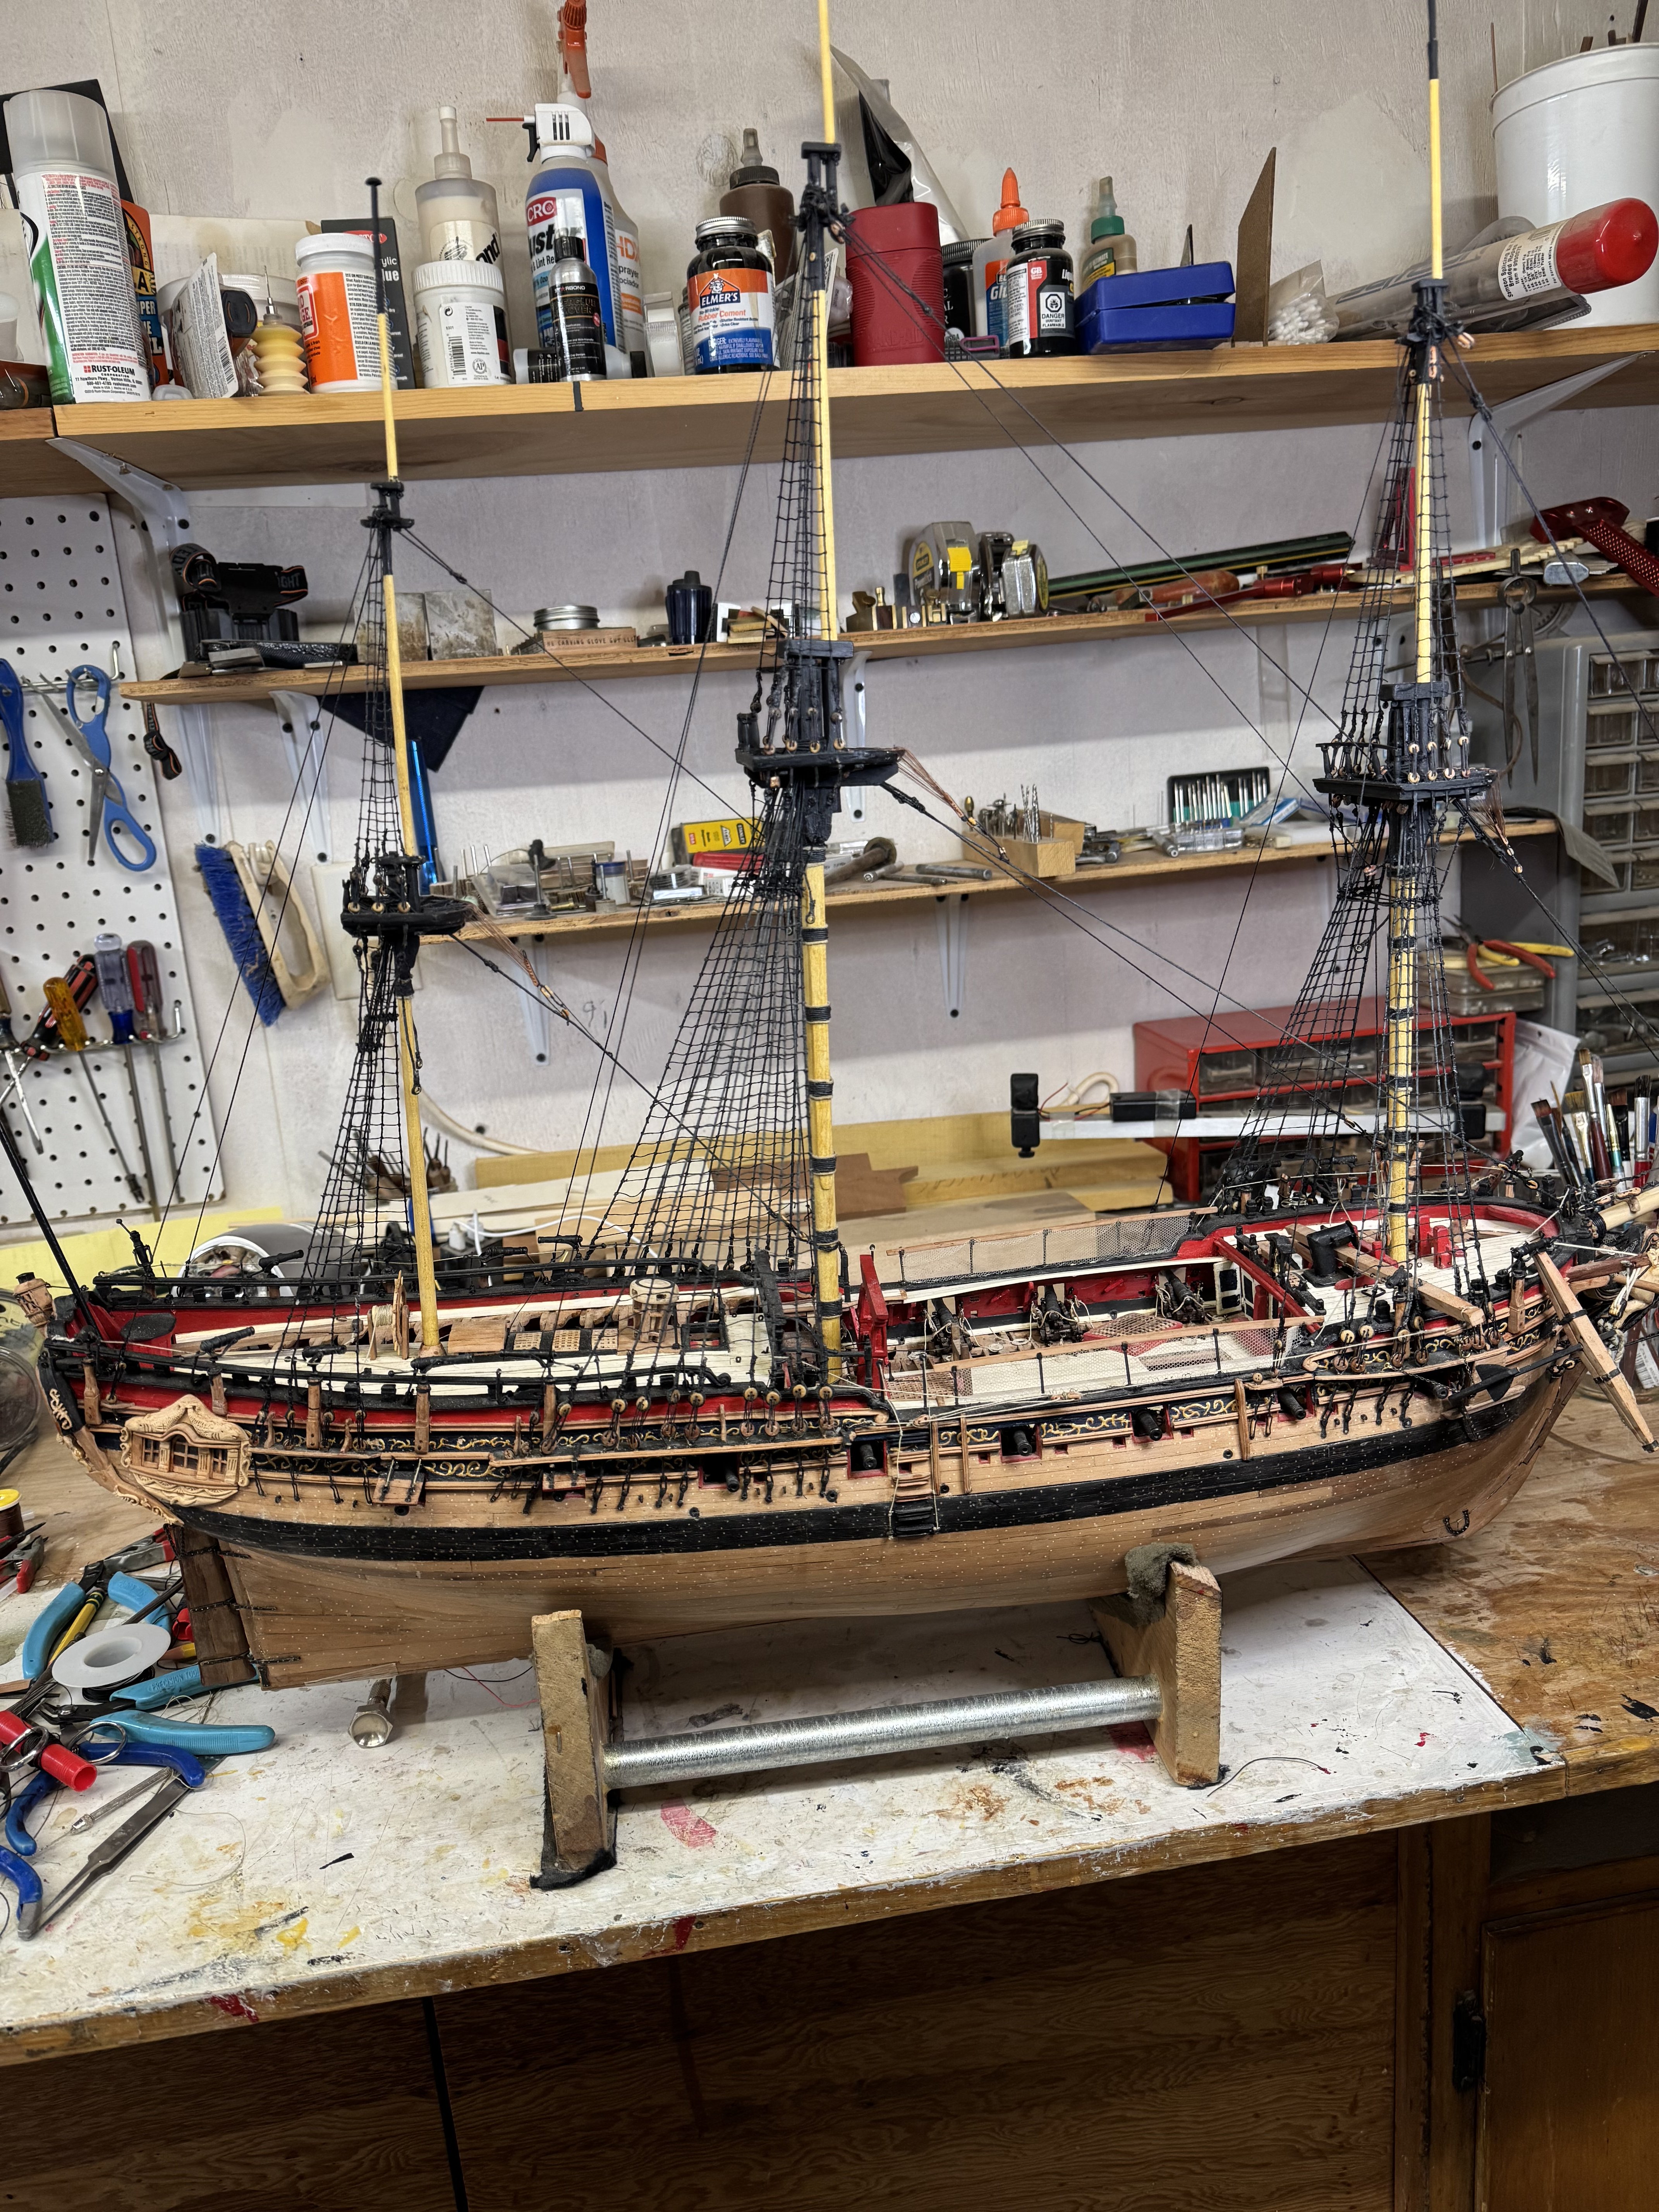
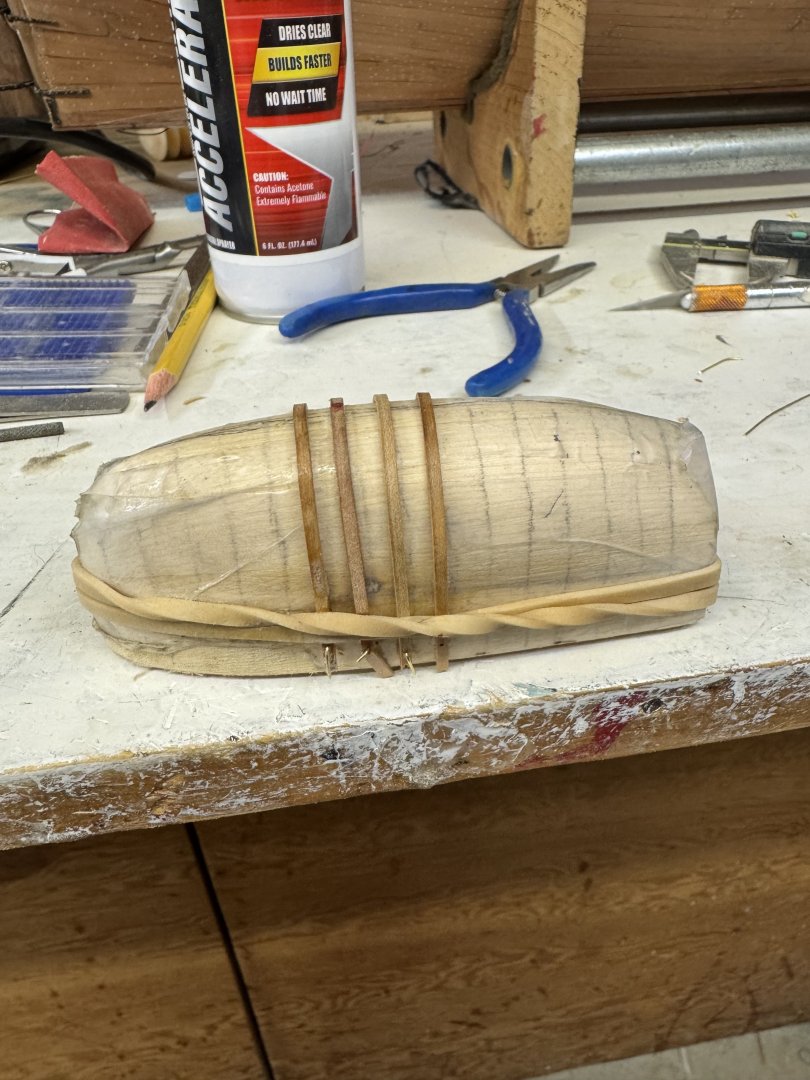
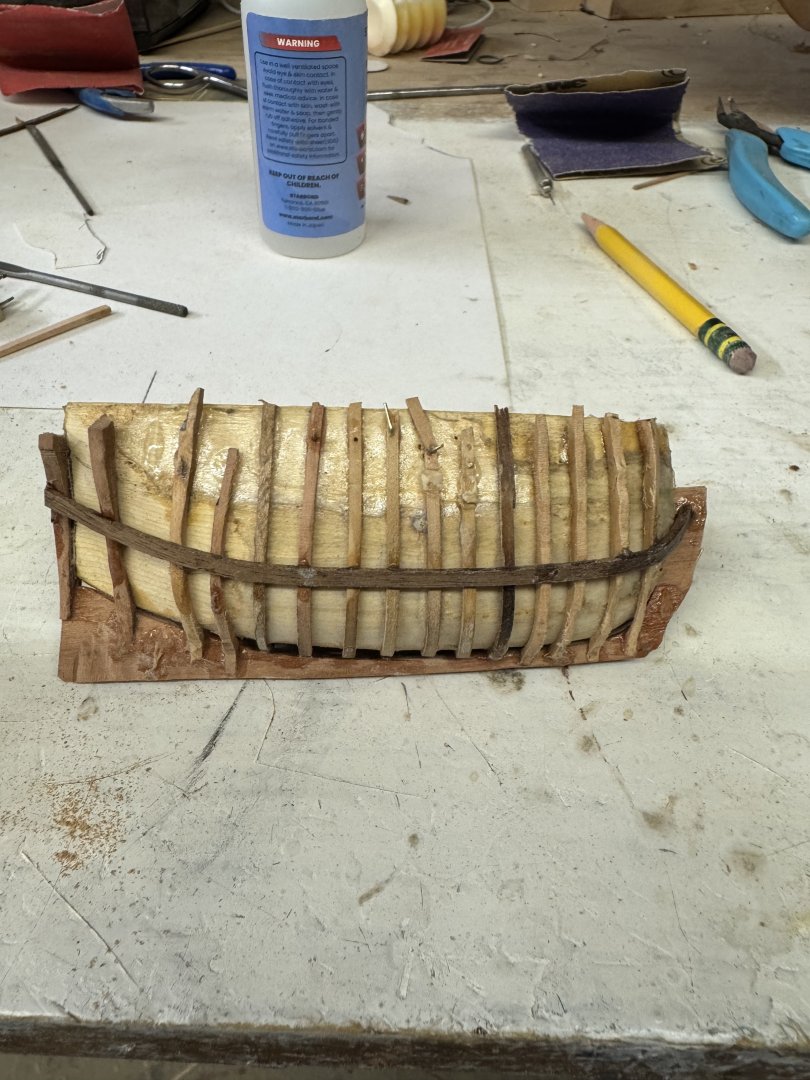
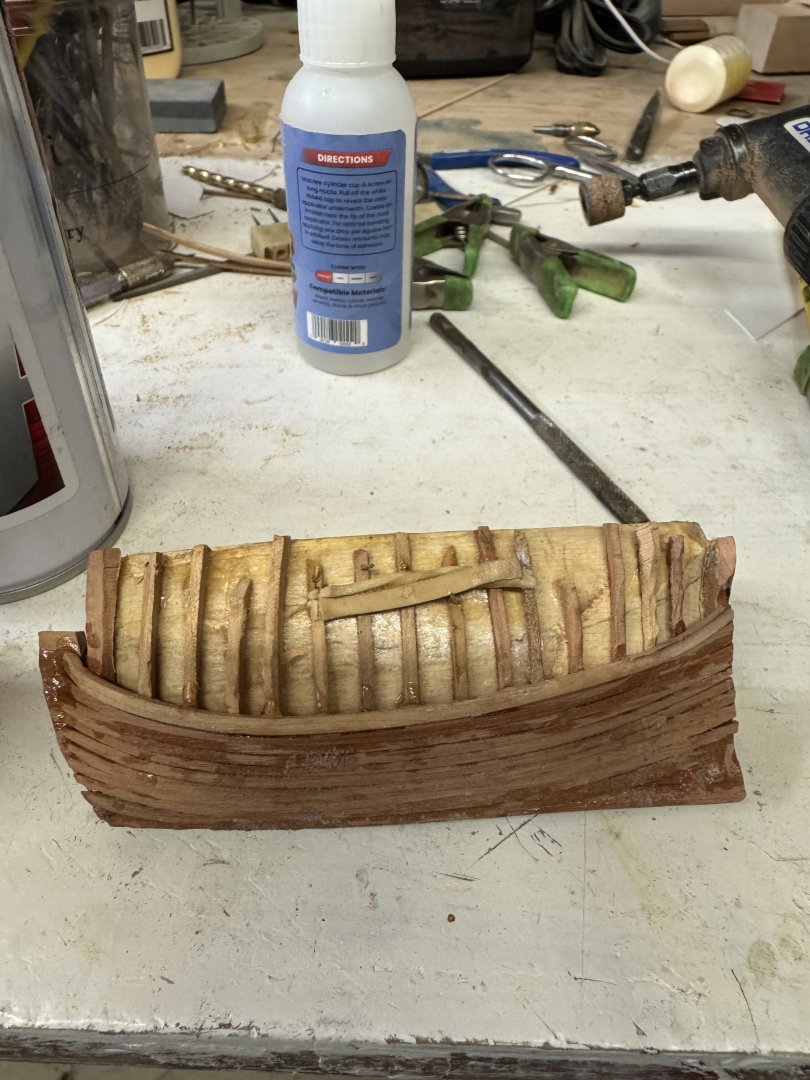
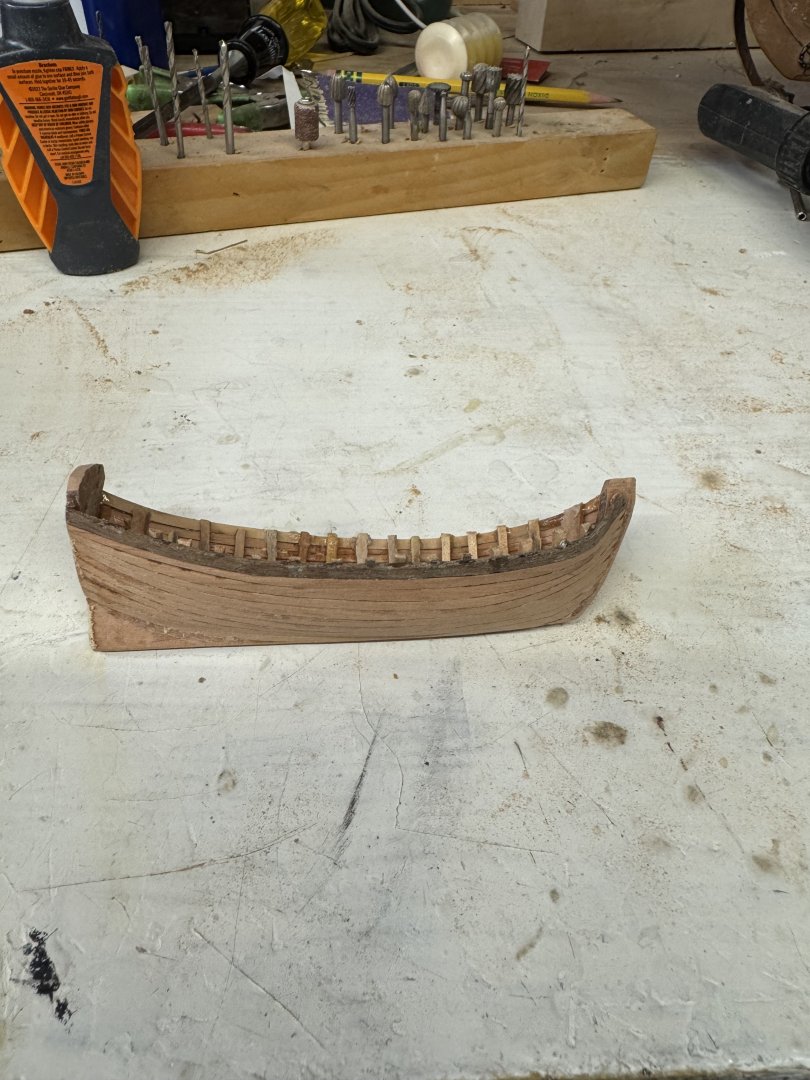
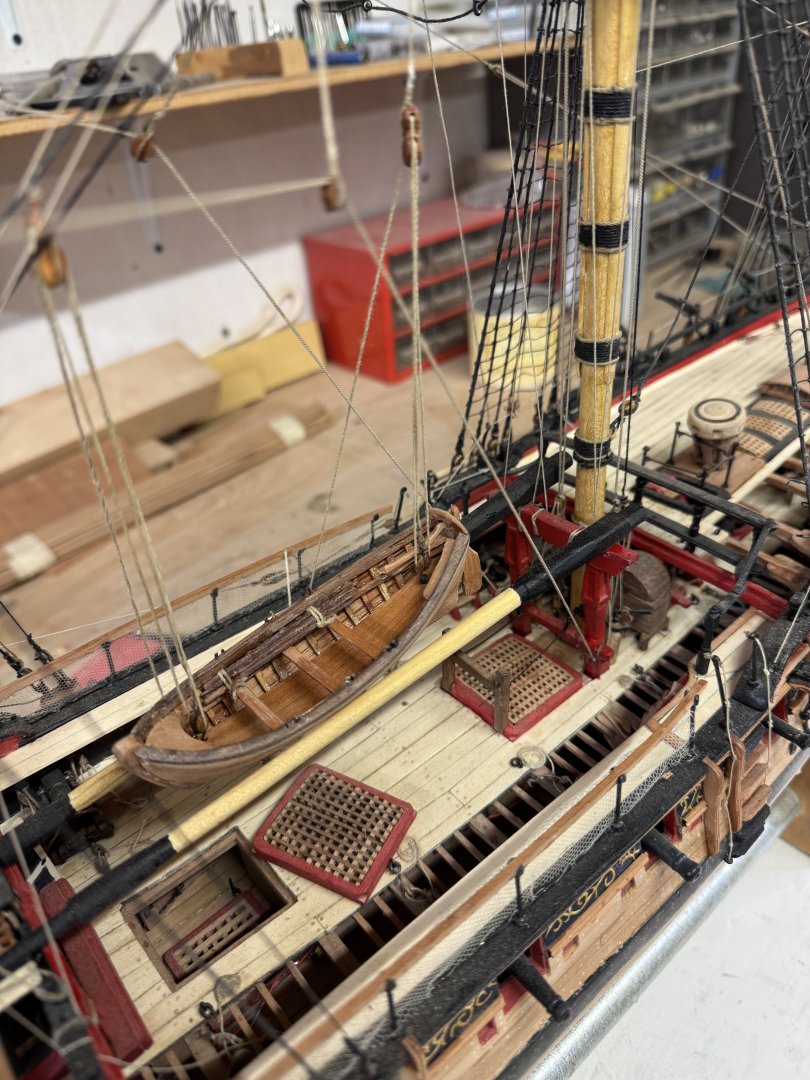
With the topgallant rigging complete, attention was directed to the ship’s boat. I had a plug left over from the same task on the Gros Vendre build, so that was shortened and the stern modified. Midship frames were dry steam bent and the rest sawn with the lot glued to the keel with.CA. I used Swiss Pear for the bulk of it, with the shear and cap in Walnut. It was then glued amidships to the spare top masts and rigged to the mainstay pendant tackles. That pretty much concludes the build except for repairs, dusting and paint touch up here and there. Final photos to follow.

- 257 replies
-
- 7
-
-
- pegasus
- Swan-class
- (and 1 more)
-
Now the t’gallants!
-
Having completed the lower yards and mizzen gaff rigging, it’s on to the topsail yards. Nothing particularly complicated about this, but to get the details right, a lot of time and fuss. It’s a pleasure, tho, to see it come alive.


- 257 replies
-
- 9
-
-

-
- pegasus
- Swan-class
- (and 1 more)
-
I like your practice of pinning the gun carriages to the deck. I’ve just used glue under the wheels, but no matter what type of glue I use, they seems to come lose all too often, which creates a super headache particularly under a planked deck! I also pin the trunion caps, with glued pins, but have had the same issue. Henry
-
That completes the standing rigging for this build. I can identify with Blue Ensign’s comment about the effect of rigging on the back and neck. With Spring now upon us in southeastern Massachusetts, I think I’ll take a break and prepare for the eminent Striped Bass arrival. We live on property that extends to the banks of a tidal river on the coast where the Spring migration of Stripers offers excellent fly fishing opportunities from shore, a good diversion from endless hours in the basement. Henry
- 257 replies
-
- 2
-
-
- pegasus
- Swan-class
- (and 1 more)
-
Deadeye plates utilized as advised. Difficult to achieve good parallel alignment however with the surrounding deadeyes due to special confinements in my build.
- 257 replies
-
- 5
-
-
- pegasus
- Swan-class
- (and 1 more)
-
Somewhere in the pages of David’s book he likely addressed this issue in order for those like me to avoid just this goof and is now saying “I told you so”. 🤦♂️
- 257 replies
-
- 1
-
-
- pegasus
- Swan-class
- (and 1 more)
-
Significant error discovered. I should have added a fifth deadeye to the mizzen channels to accommodate the mizzen topmast backstays. But didn’t recognize that the 3-D computer images omit a mizzen top gallant. Instead, I used the deadeye aft of the quarter badge for the topmast backstays, leaving no deadeyes for the top gallant back stays in my version of Pegasus. We’ll, it seems that my choices now would be to 1): redo the entire mizzen and its channels , or 2): redo the stool aft of the quarter badge to accommodate an additional deadeye. I’m leaning for the latter, but would be welcome to hear from the group.
- 257 replies
-
- 1
-
-
- pegasus
- Swan-class
- (and 1 more)
-
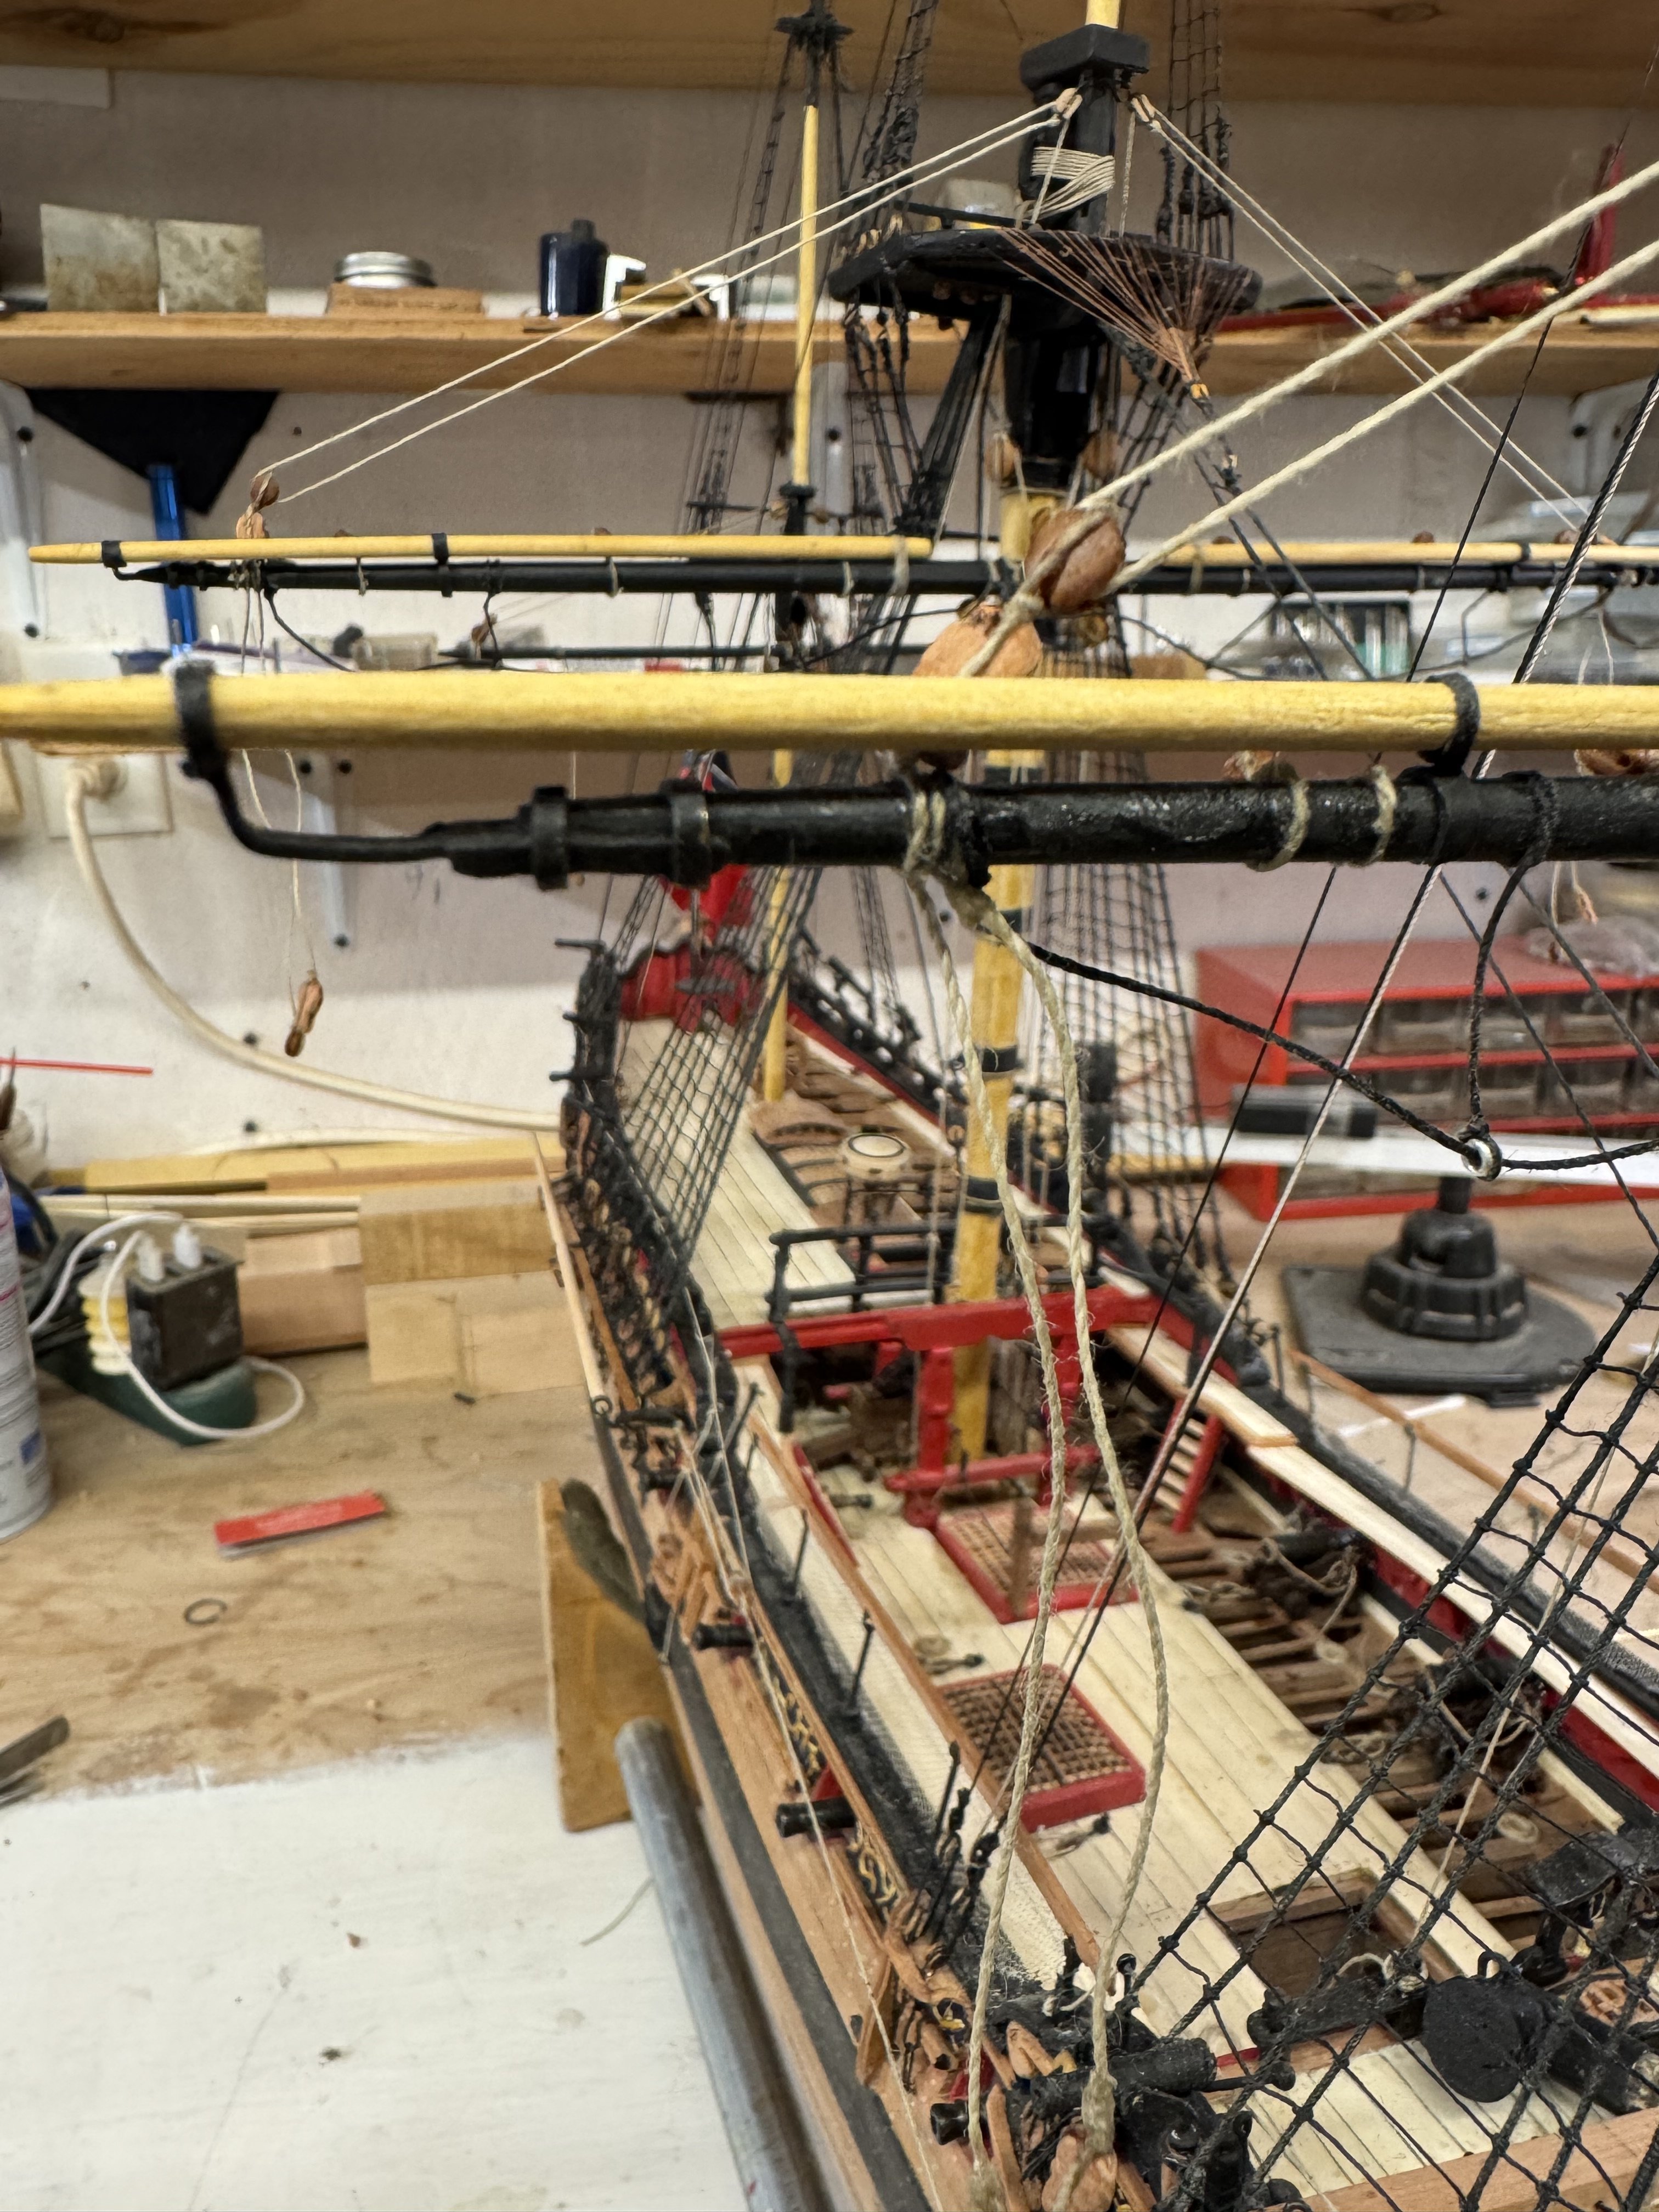
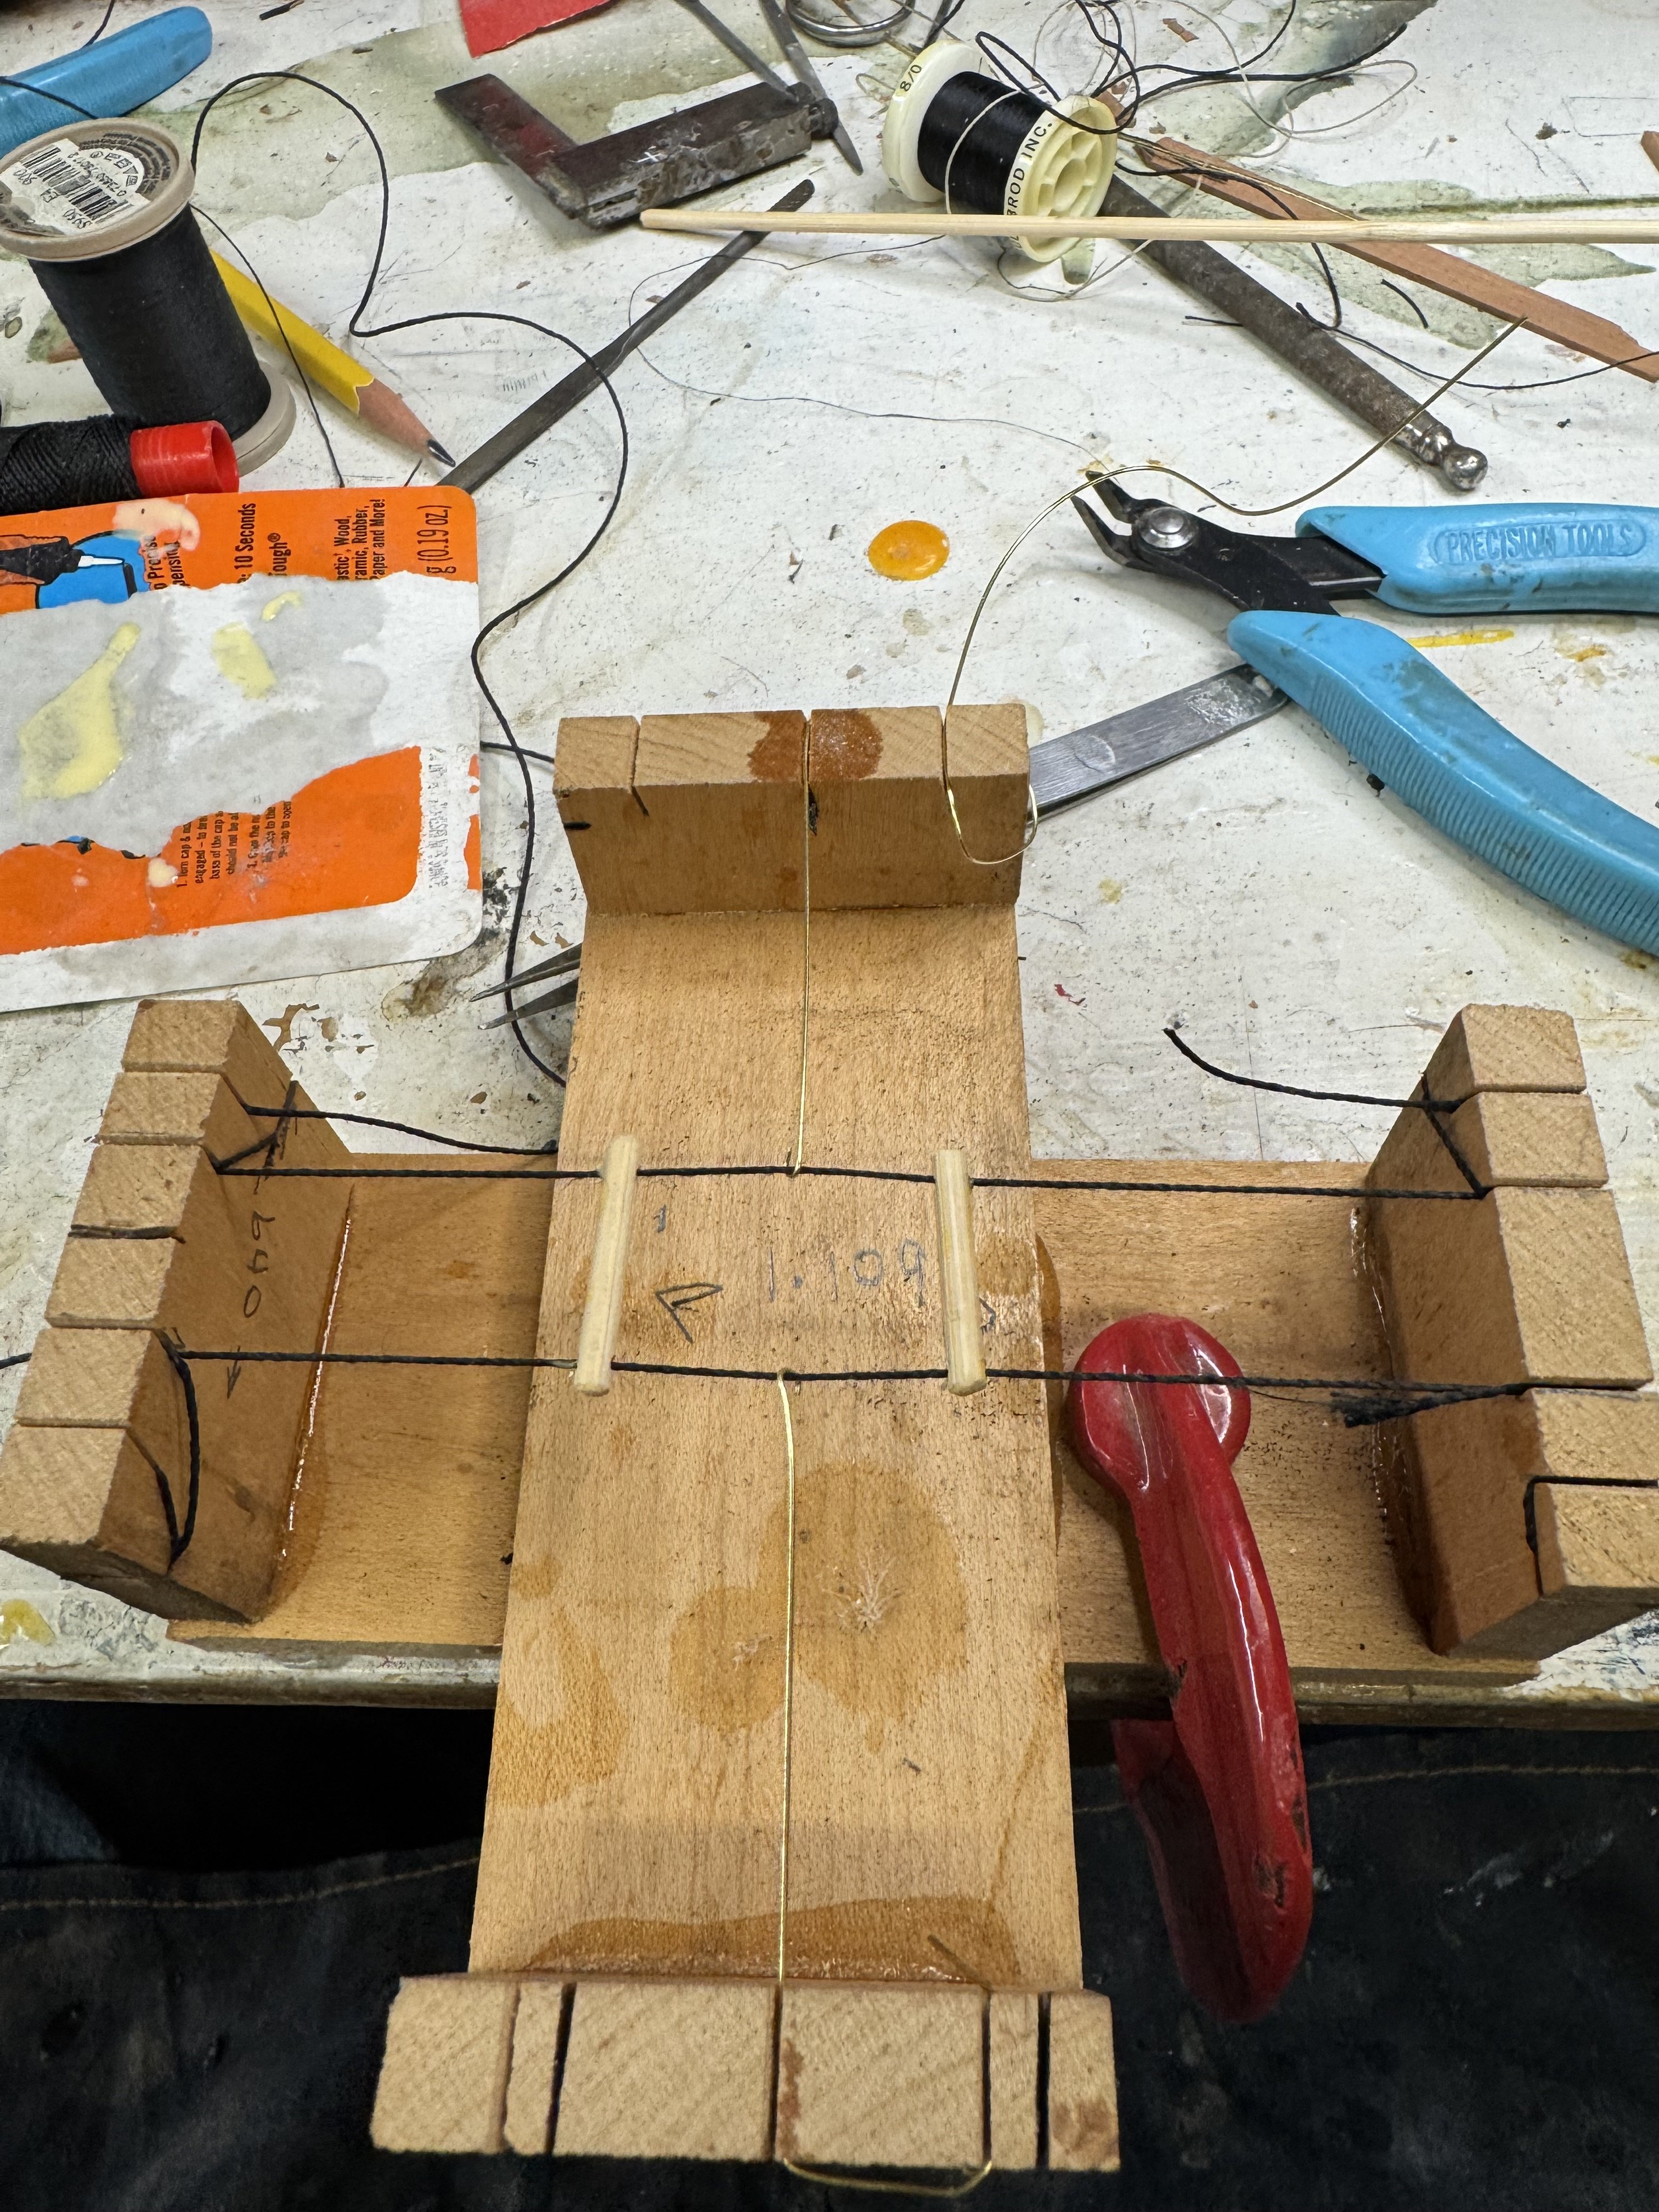
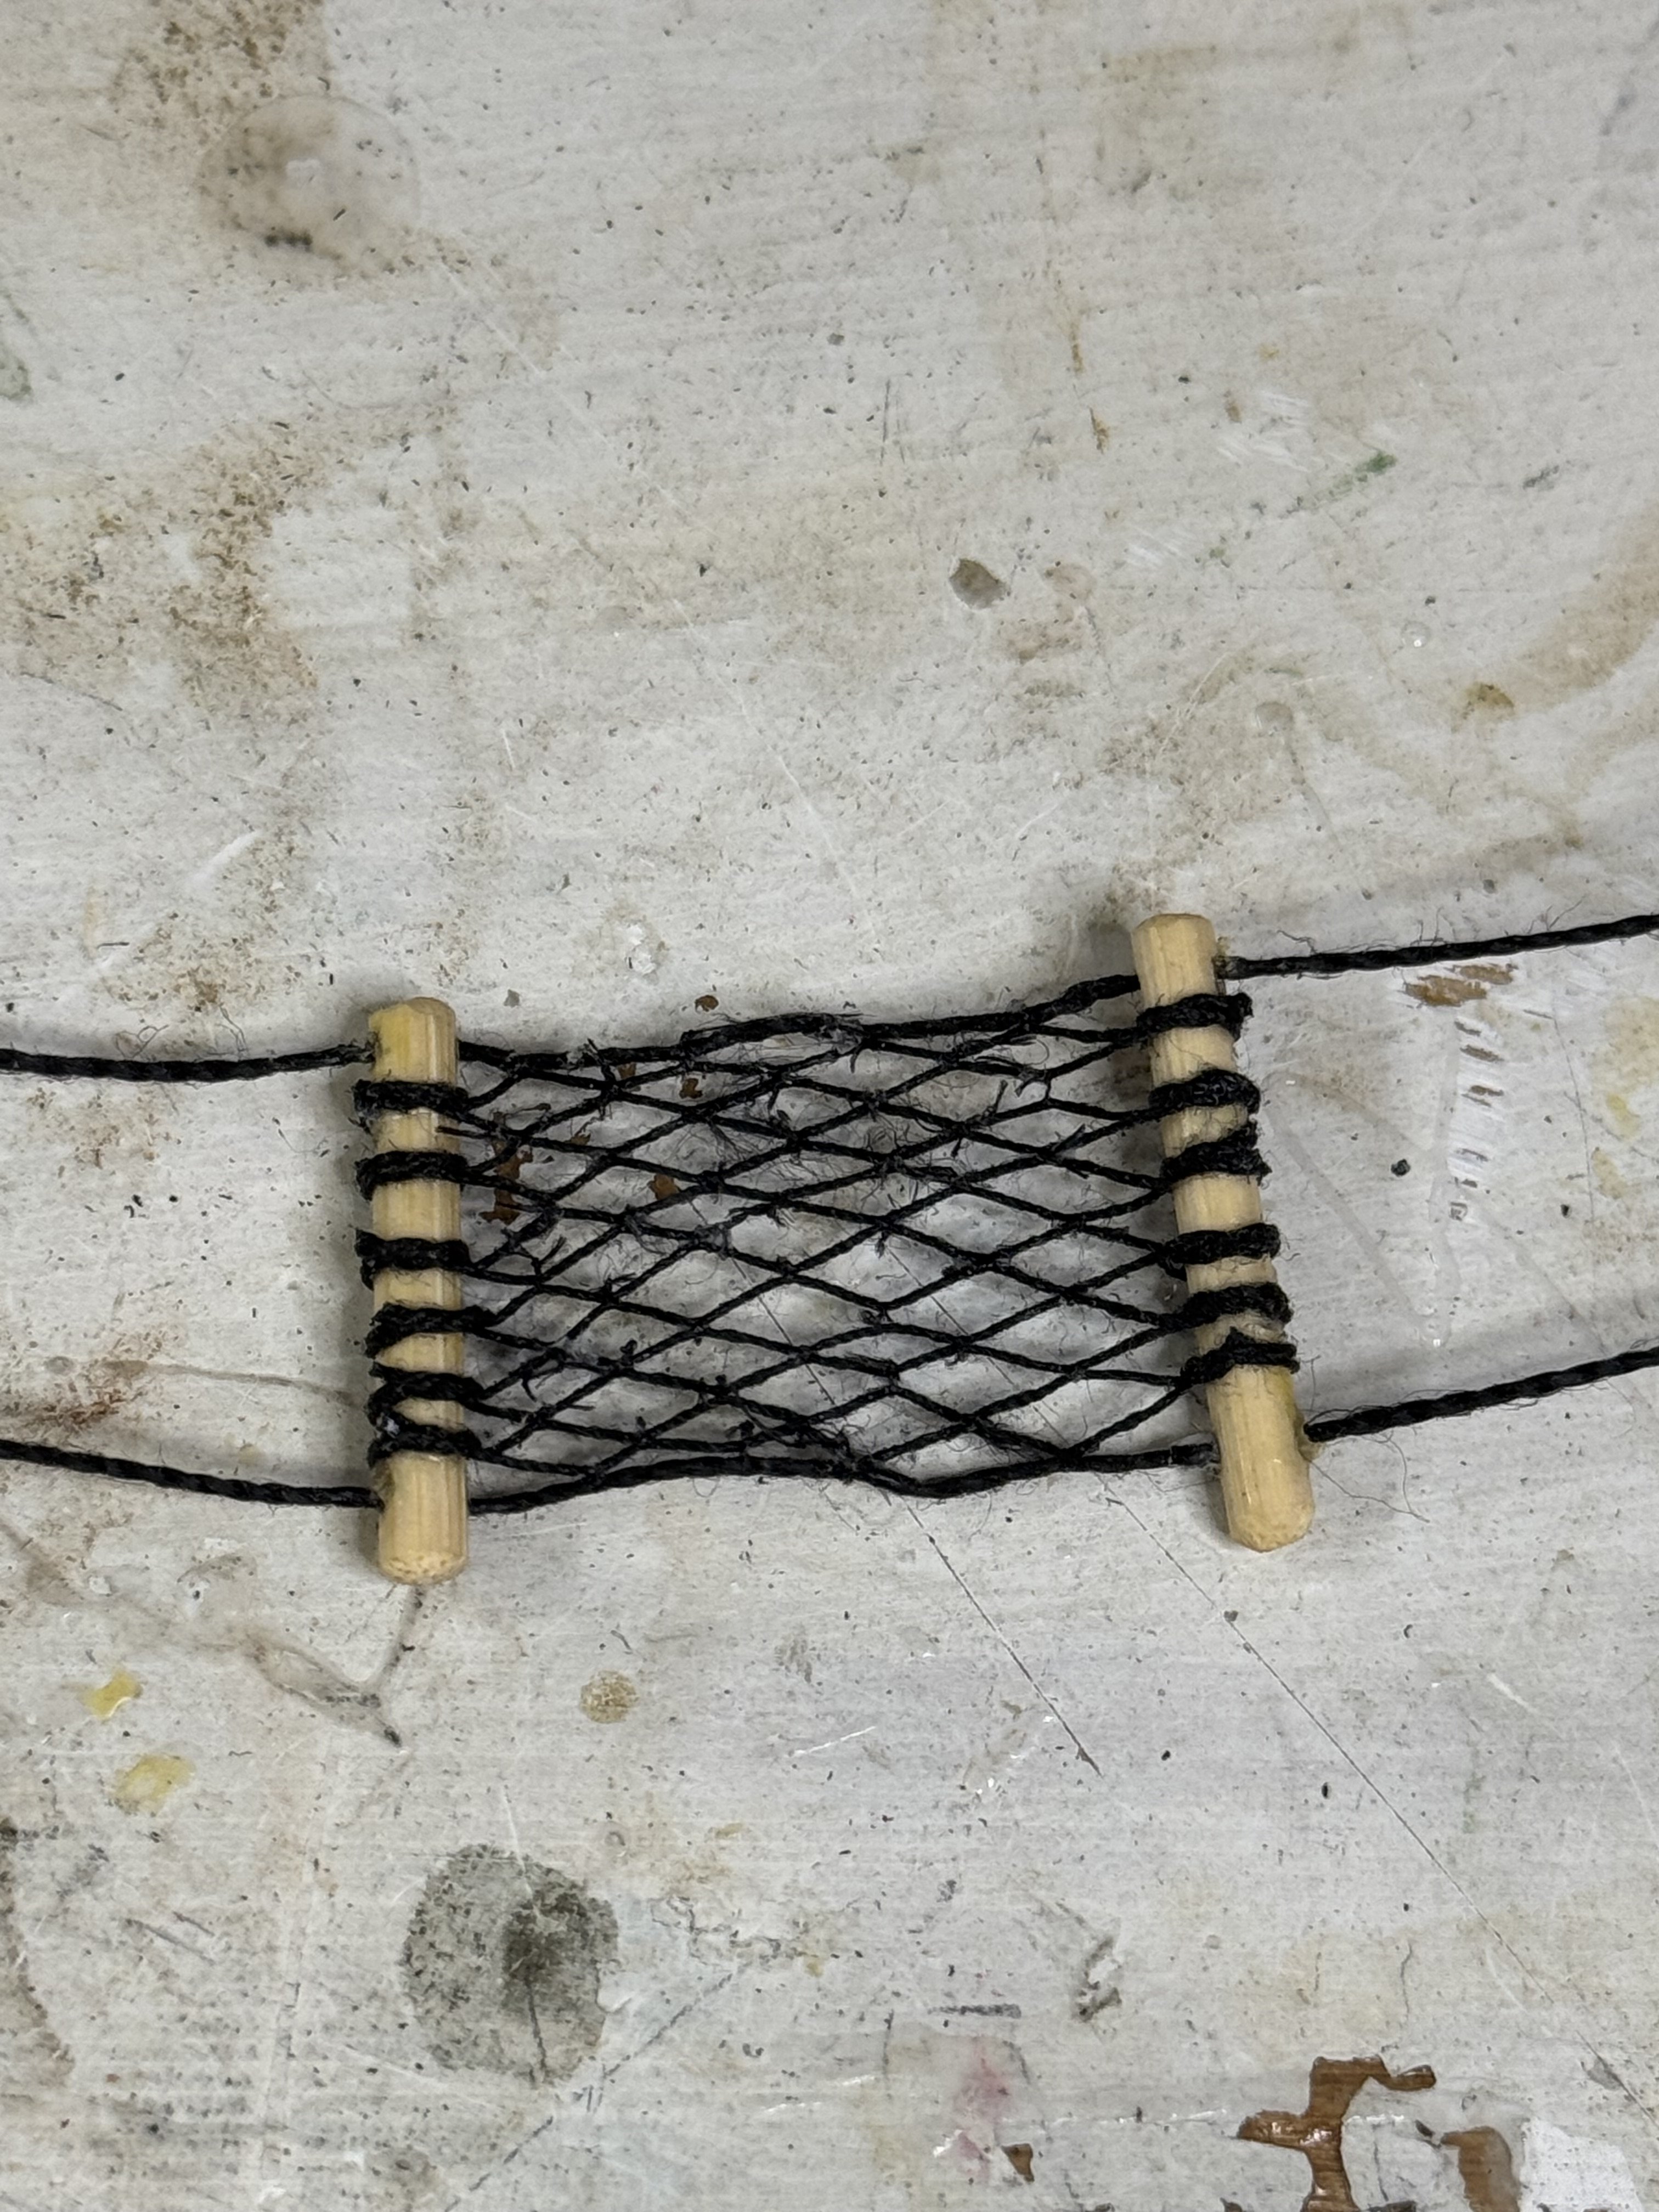
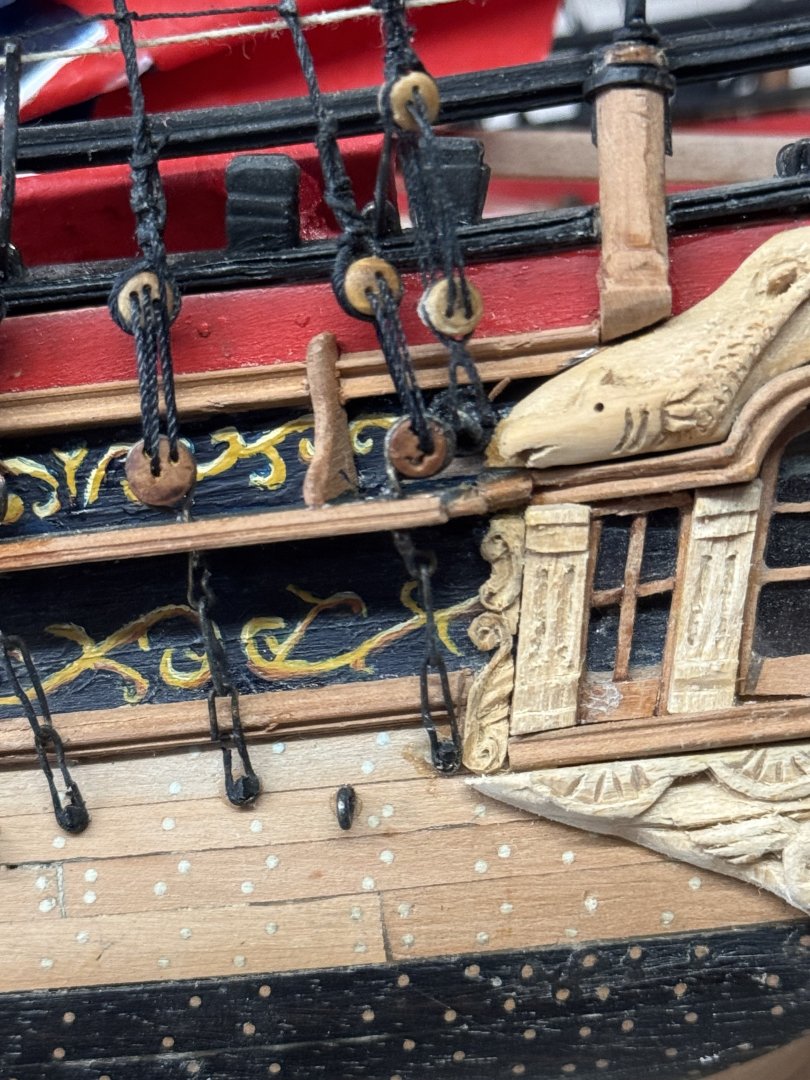
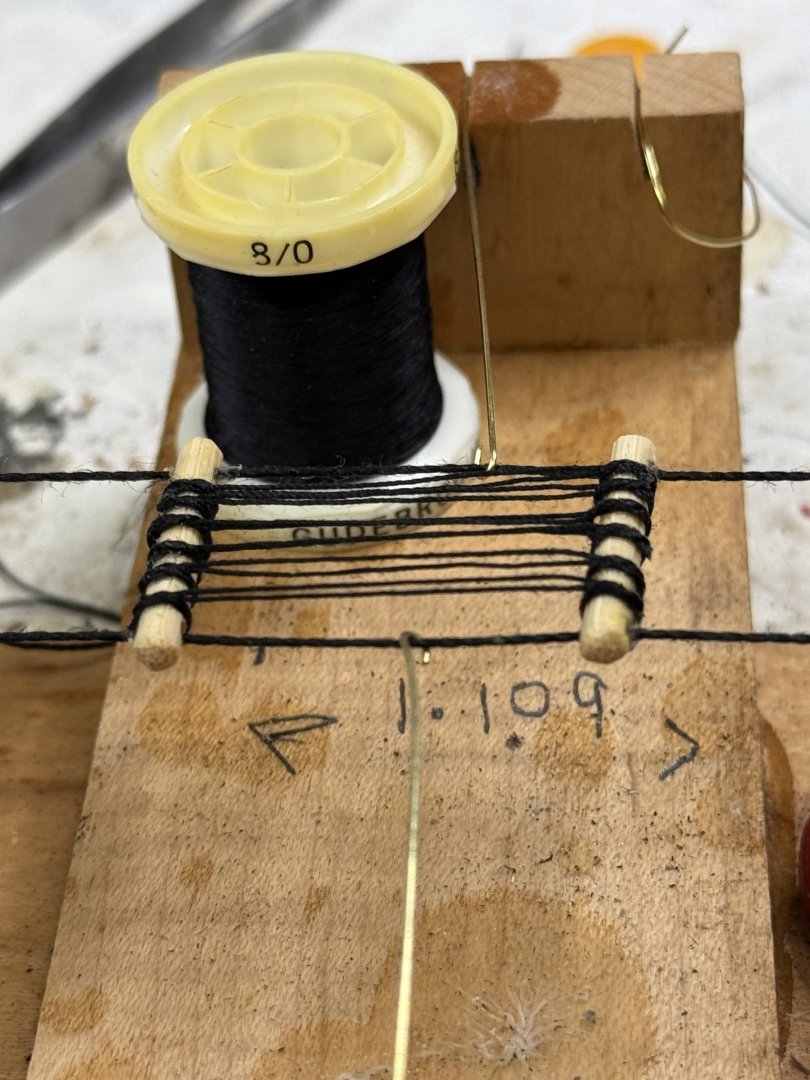
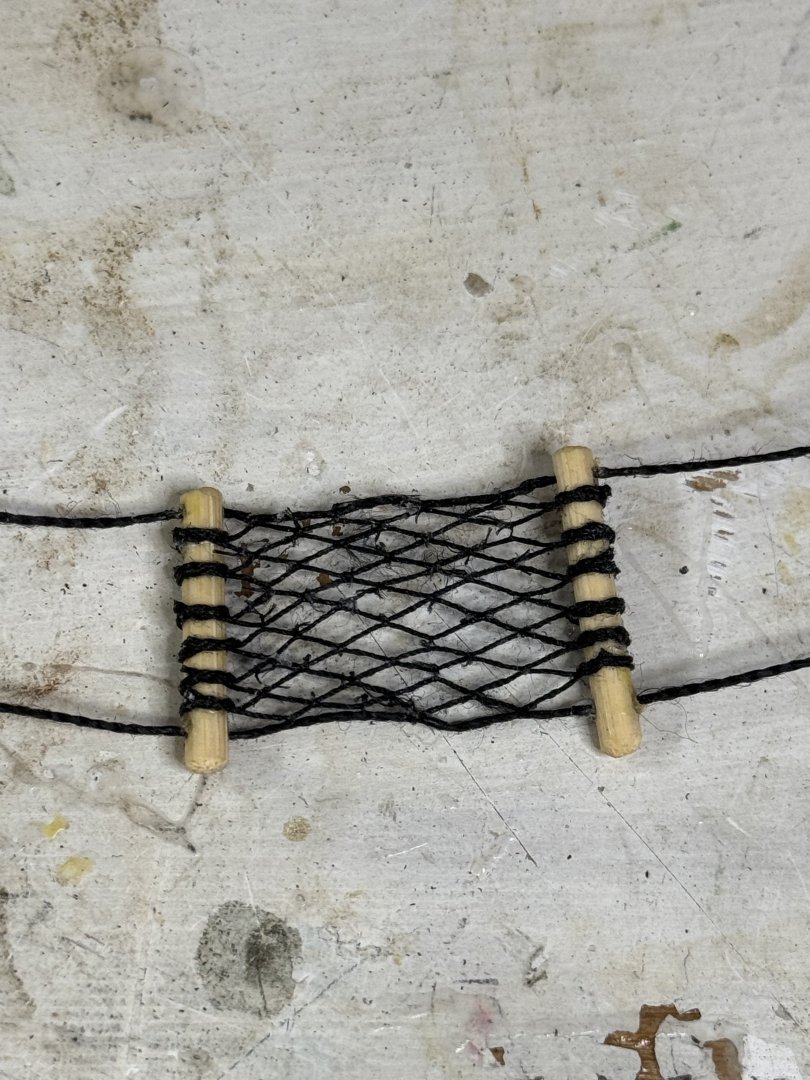
I followed David’s recommendations for the fore top spritsail netting. Here’s the jig, which seems essential, and the results.


- 257 replies
-
- 10
-
-
- pegasus
- Swan-class
- (and 1 more)
-
I didn’t actually measure my bow sprit angle other than following the process described by David in the book. I had to shorten the neck on my Pegasus to accommodate the bow sprit. The real problem for me was accommodating the bob stays which have to pass between his legs and is very dependent on the location of the bob stay attachments. I had to extend the bobstay piece accordingly. Not sure how I could have avoided that. Henry
-
What is the cumulative error that you refer to. I’m assuming you’re speaking about the bow sprit angle? Henry