HOLIDAY DONATION DRIVE - SUPPORT MSW - DO YOUR PART TO KEEP THIS GREAT FORUM GOING!
×


hdrinker
-
Posts
232 -
Joined
-
Last visited
Content Type
Profiles
Forums
Gallery
Events
Everything posted by hdrinker
-
OK. Right. Got it. Thanks. Makes sense. Henry
-
OK. I have the paste, yellow ochre, but when you add a third piece to a joint already soldered, how does that work?
-
Such a fine craftsman you are. I was about to abandon my crude efforts on the stove, but your work has inspired me not to give up…. Yet. One difficulty I am encountering is soldering a third piece to an already soldered joint between two other pieces, as in connecting the cross piece between the two side frames. How do you keep the first one from melting? Henry
-
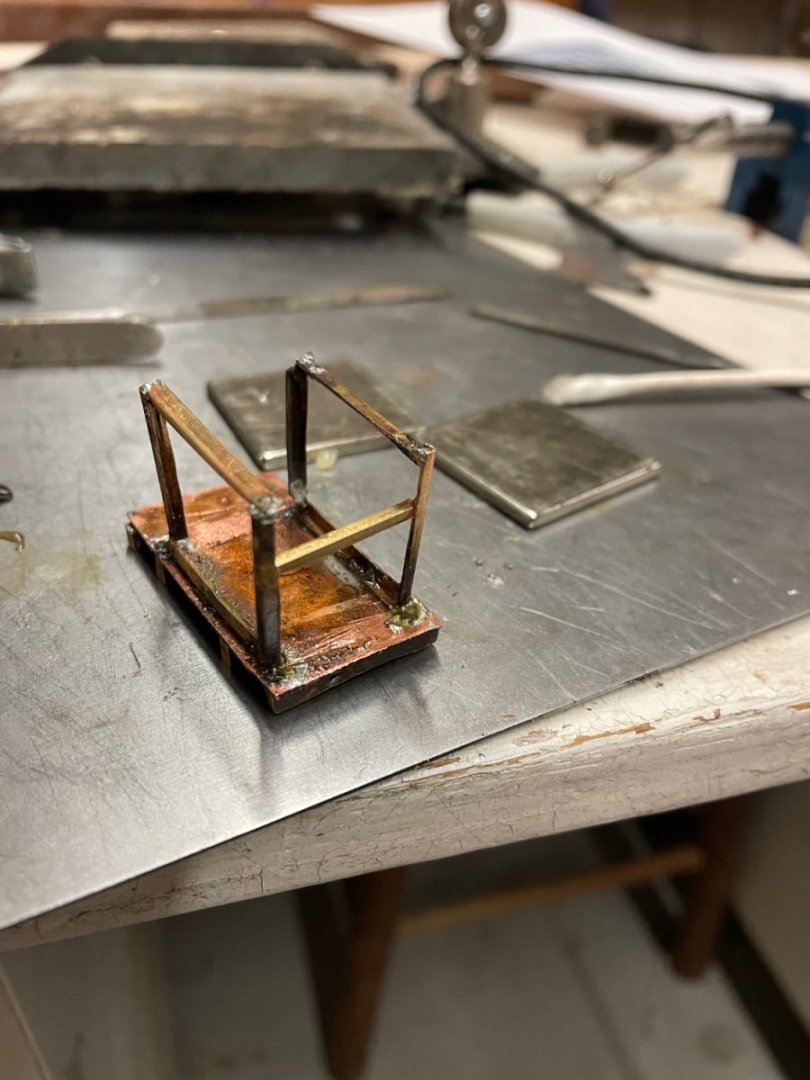
Well, this is as far as I got. When adding further details, it all fell apart! Any suggestions?
- 257 replies
-
- 5
-

-
- pegasus
- Swan-class
- (and 1 more)
-
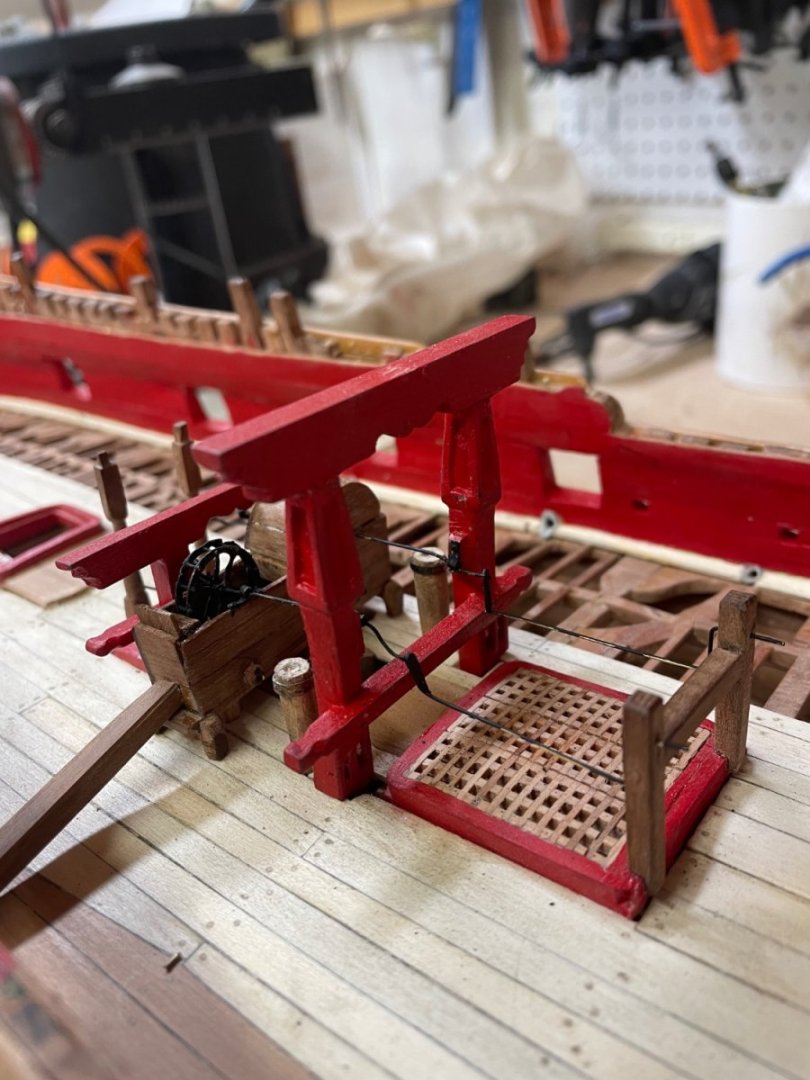
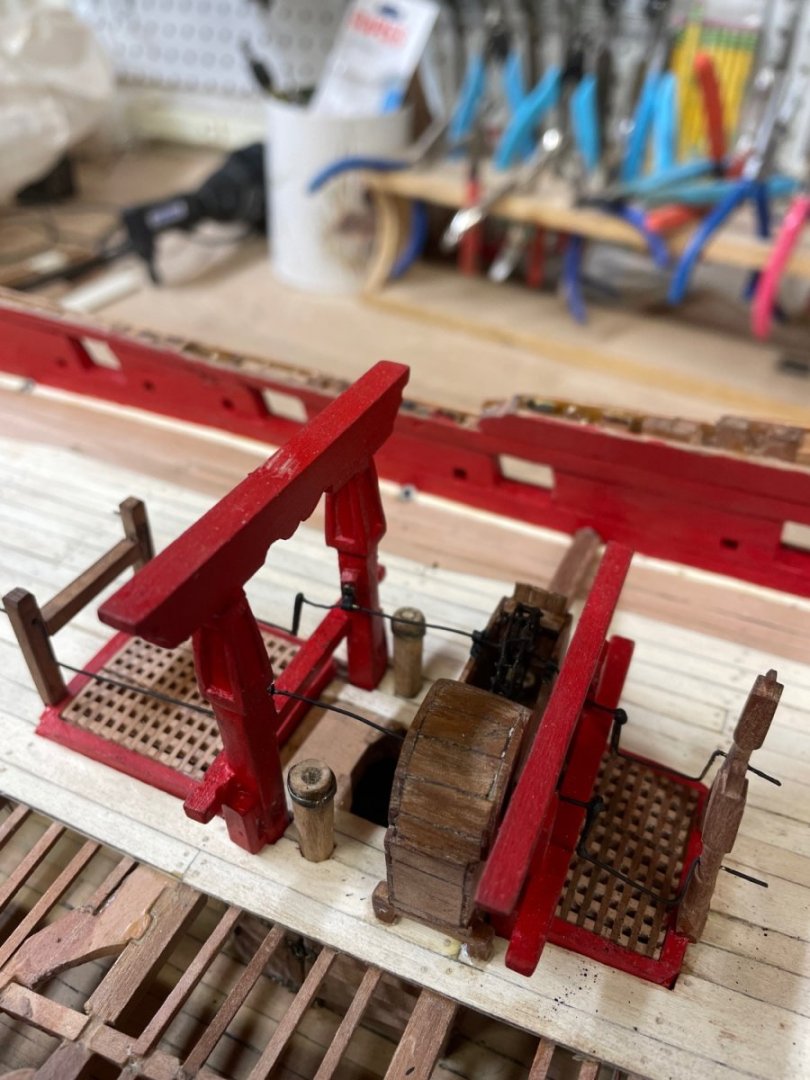
Well, the stove was delayed until I figured out what soldering method would work best for me. Decided to tackle the chain pumps first. Wow! It took days of frustration trying to get everything lined up so the driving rods would passs through all the various bearings, more - less straight. Turned out to be less than more. But it was an opportunity to try out soldering tiny parts. Resistance soldering proved my favorite. I think I’m ready to tackle the stove.
- 257 replies
-
- 10
-
-
- pegasus
- Swan-class
- (and 1 more)
-
I’ve struggled and am still struggling with silver solder. Can’t seem to get even “easy” to melt with my mini butane torch. I thought using silver solder at different hardness’ would allow the successive joining of very small parts adjacent to one another without melting what I had previously soldered. But I’ve completely failed at this effort. Any suggestions? Henry This is a great discussion! I’m away from my shop for a few weeks, but will take all this advice to heart when I get back and post my results. Thanks to everyone. Henry
-
Starting the Brody Stove. Has anyone made the stove in metal? How does one solder tiny brass or copper pieces next to each other without melting what you just joined before? It can be impossible sometimes to apply a heat sink when the pieces are really close /together. Have tried silver solder but can’t get it to melt with my mini butane torch. Henry
- 257 replies
-
- 1
-
-
- pegasus
- Swan-class
- (and 1 more)
-
I’ve struggled and am still struggling with silver solder. Can’t seem to get even “easy” to melt with my mini butane torch. I thought using silver solder at different hardness’ would allow the successive joining of very small parts adjacent to one another without melting what I had previously soldered. But I’ve completely failed at this effort. Any suggestions? Henry
-
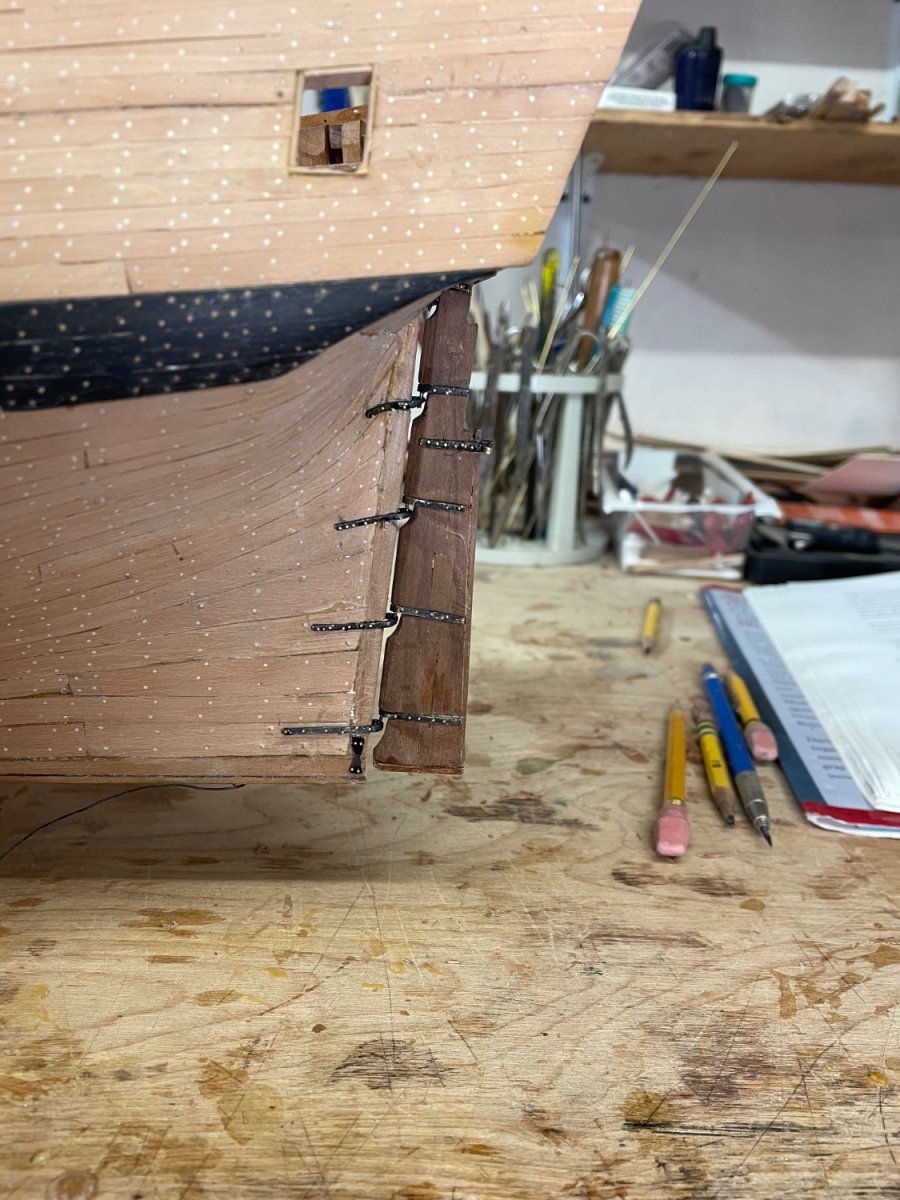
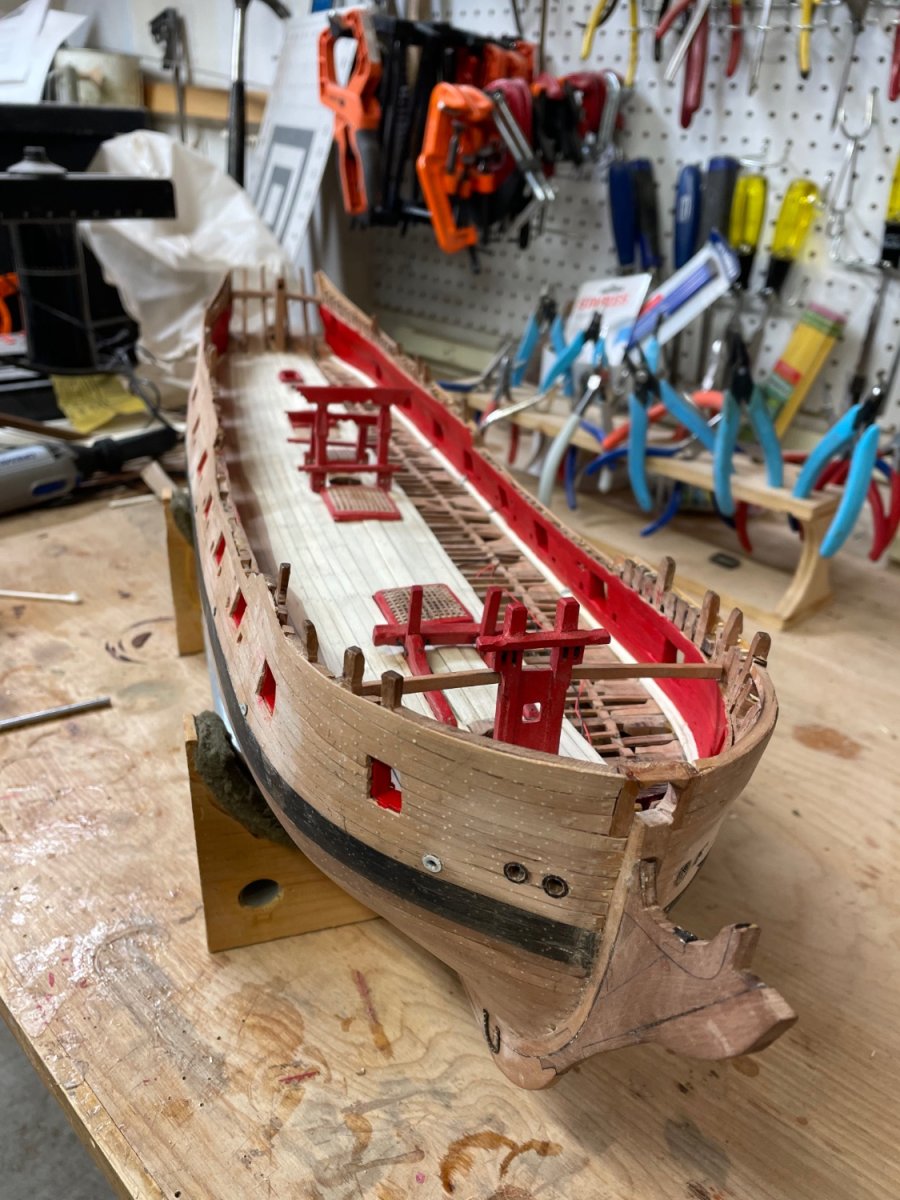
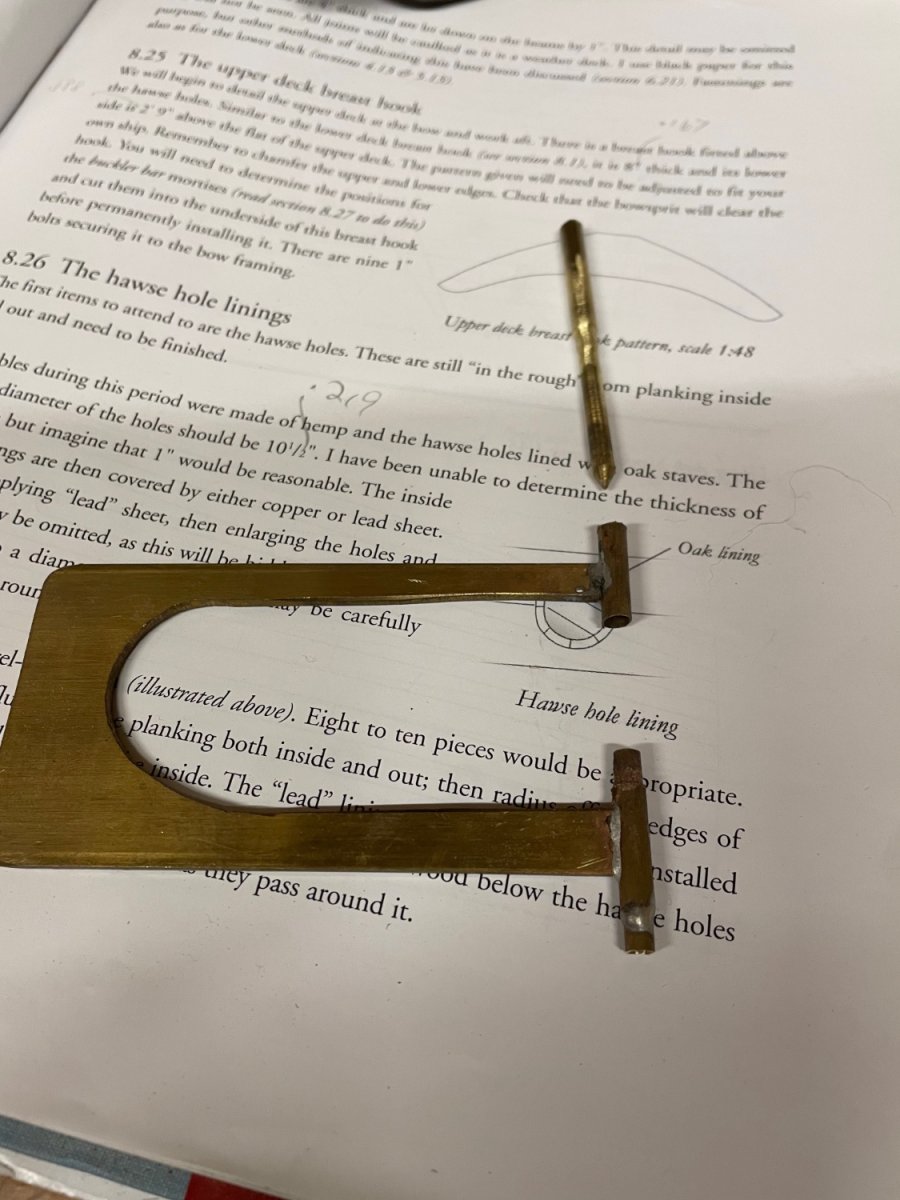
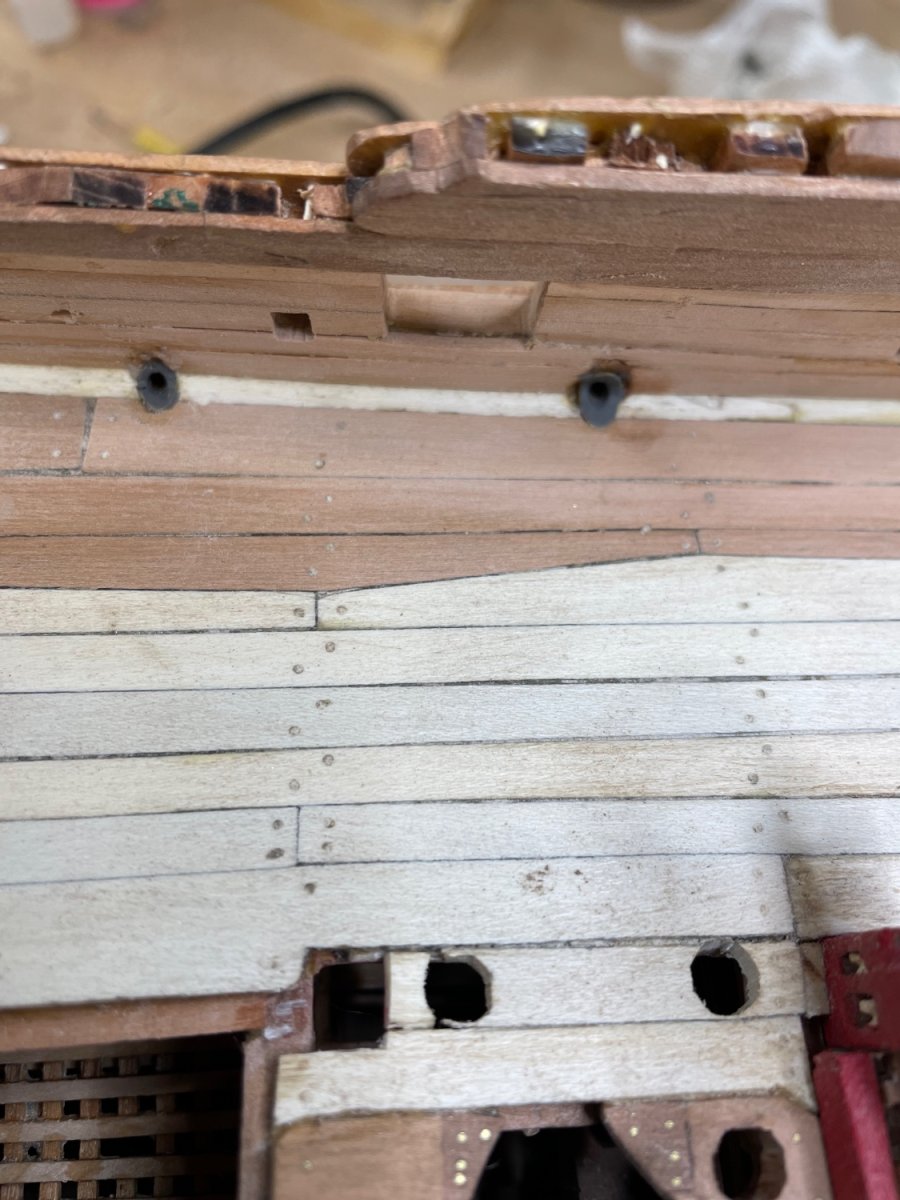
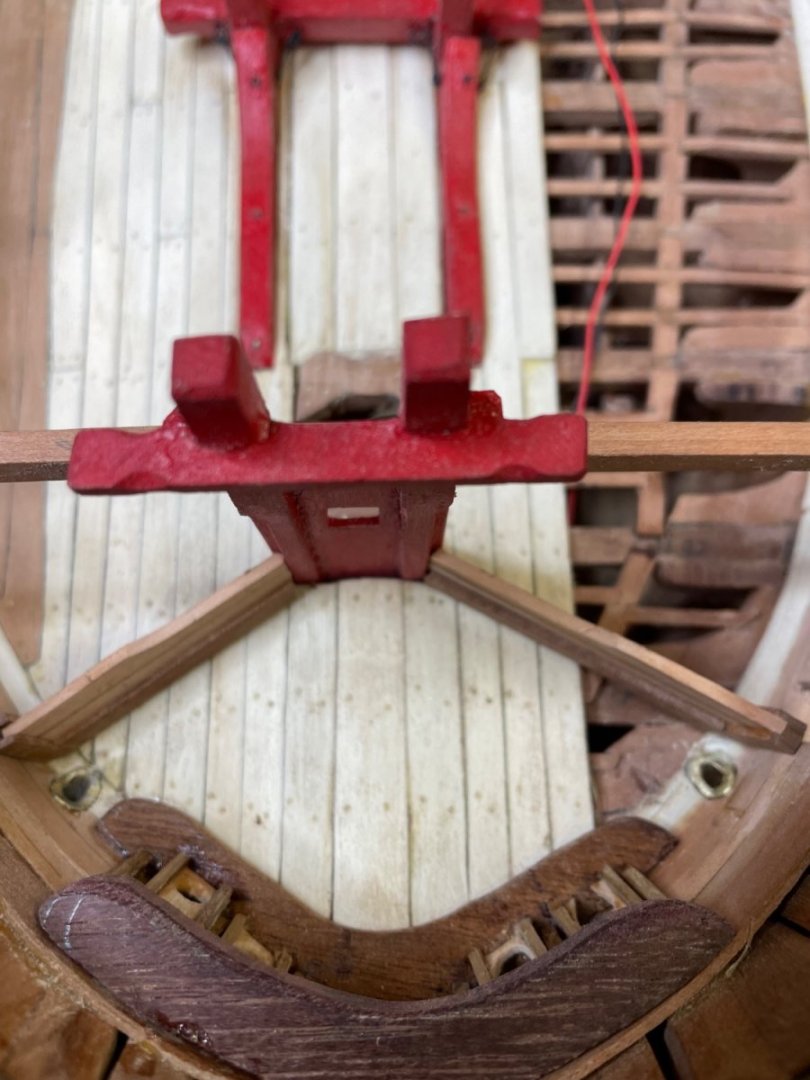
Hawes pipe liners, rudder and interior camp painting complete.


- 257 replies
-
- 9
-
-

-
- pegasus
- Swan-class
- (and 1 more)
-
I’ll paint them . I also used a drill guide to line up the scupper holes correctly.


- 257 replies
-
- 6
-
-
- pegasus
- Swan-class
- (and 1 more)
-
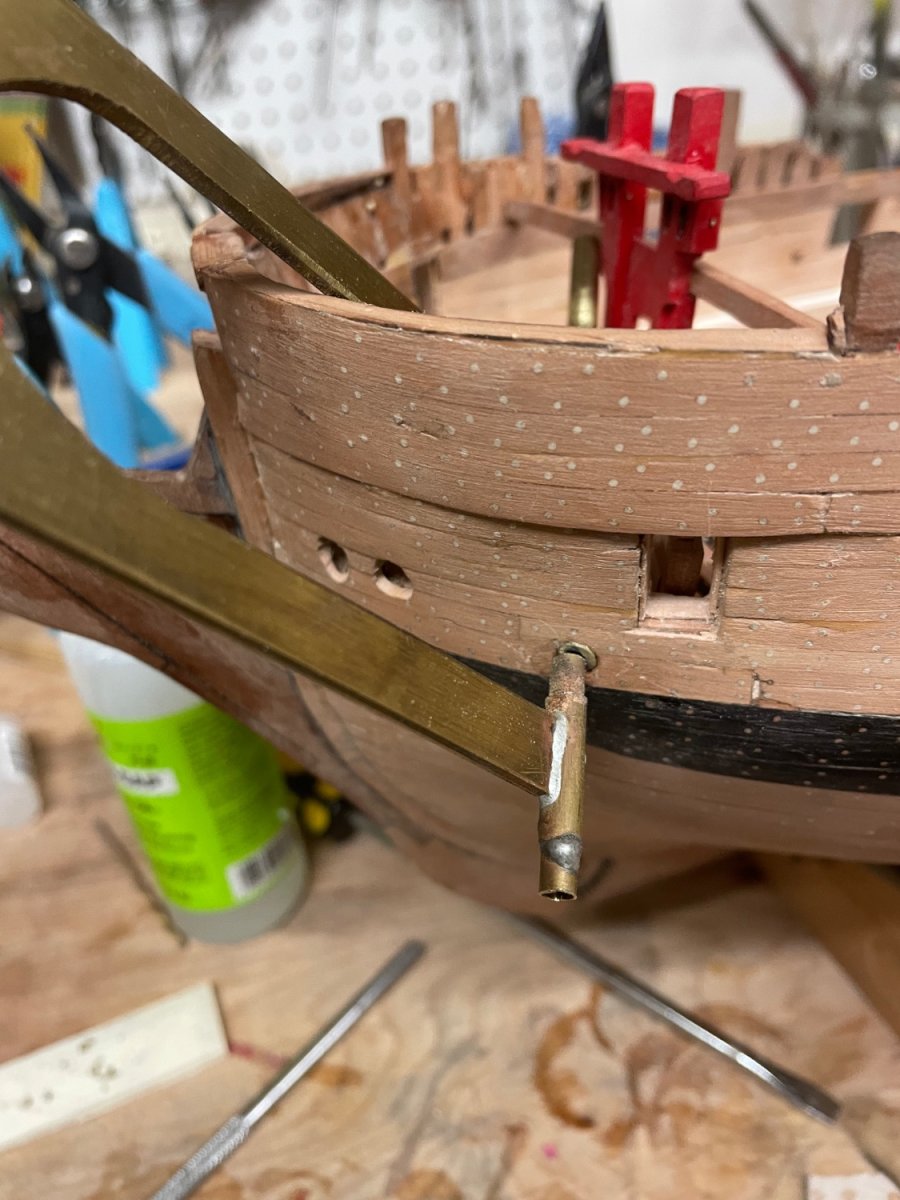
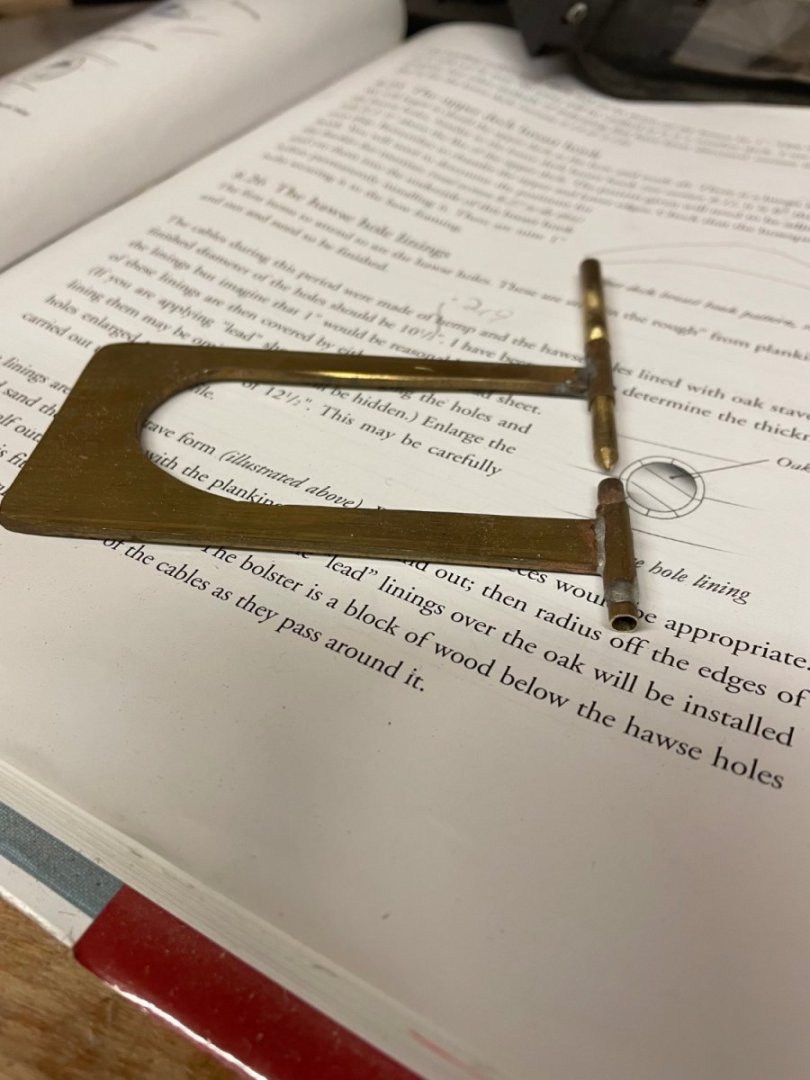
Thanks to you all for your recommendations. I actually tried using brass tubing cut at an angle and soldered to brass sheet. The sheet I trimmed to an oval and bent up on the top to create the angle between the waterway and sperketing. A recess was then cut around the hole in the hull into which the metal was set to create a flush fit. This was done in two sections, inboard and out. I had many solder failures until I learned to predrill the sheet, as the heat tended to melt the solder otherwise. The result isn’t too bad.
- 257 replies
-
- 8
-
-
- pegasus
- Swan-class
- (and 1 more)
-
The oval shape of the hole was achieved by angling the drill bit down into the lower intersection of the brass tube and flange. I must admit that the solder joints failed frequently with all that manipulation, but two did survive through the process. I’ll paint the results gray.
-
Thanks everyone. I made the two larger scuppers for the manger today out of brass tubing soldered at an angle to brass sheet, pre drilled. The sheet was then trimmed for the flange and bent on the top for the angle formed from the waterway to the spirketing. I used an end mill with the Dremel to make a recess. I’m


-
How does one make flanged scuppers.? I’ve read that pewter is ideal because it is the right color and is malleable. But what form does one start with.?
-
I’ve been thinking about scuppers, as I near the task of making them. If pewter is the material of choice, can anyone recommend what form of pewter to start with? I experimented yesterday on the mini lathe with solid aluminum rod. It’s doable but the results are quite bright…not terribly realistic. Pewter does make more sense, but I’m ignorant of a method. No one seems to sell pewter tubing. The paper idea sounds interesting. Any other suggestions?
- 257 replies
-
- 2
-
-
- pegasus
- Swan-class
- (and 1 more)
-
I’ve been thinking about scuppers, as I near the task of making them. If pewter is the material of choice, can anyone recommend what form of pewter to start with?
- 257 replies
-
- 1
-
-
- pegasus
- Swan-class
- (and 1 more)
-
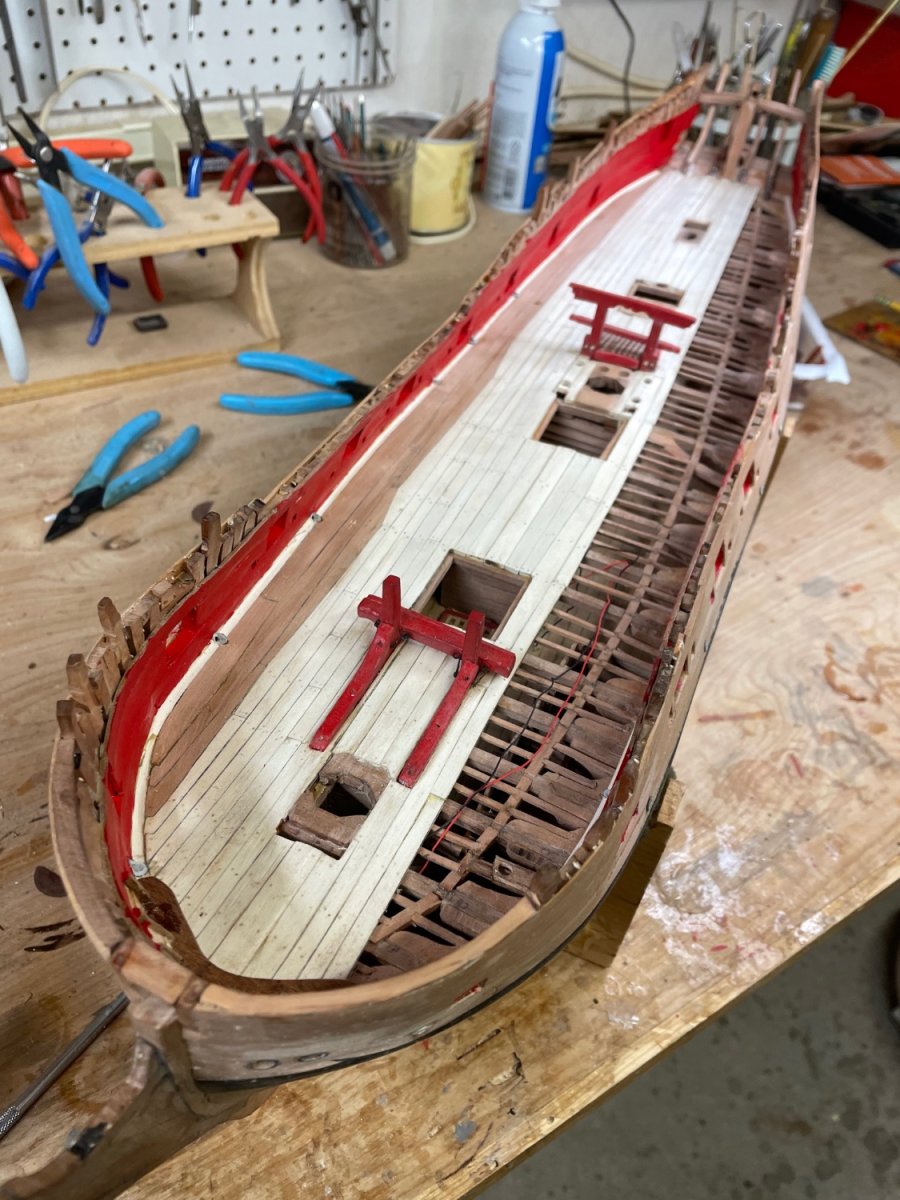
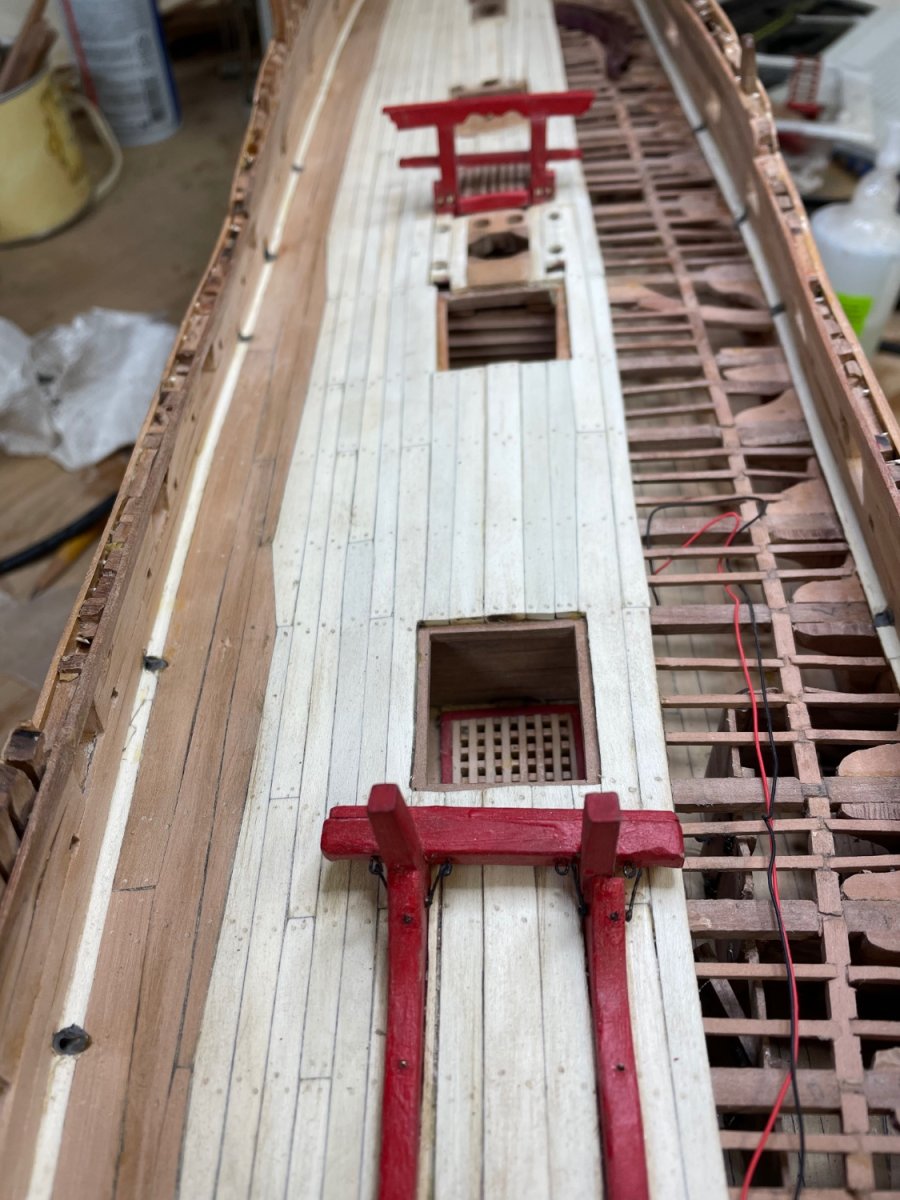
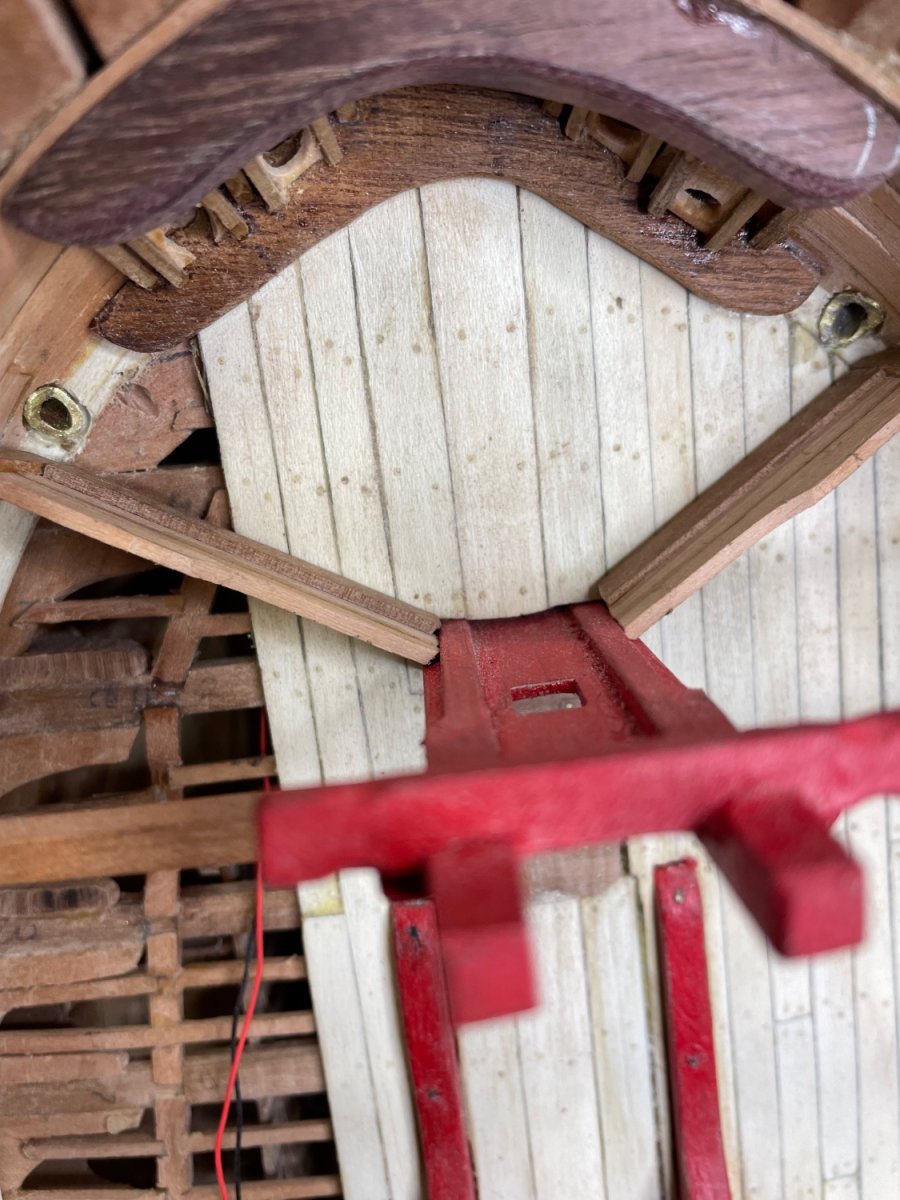
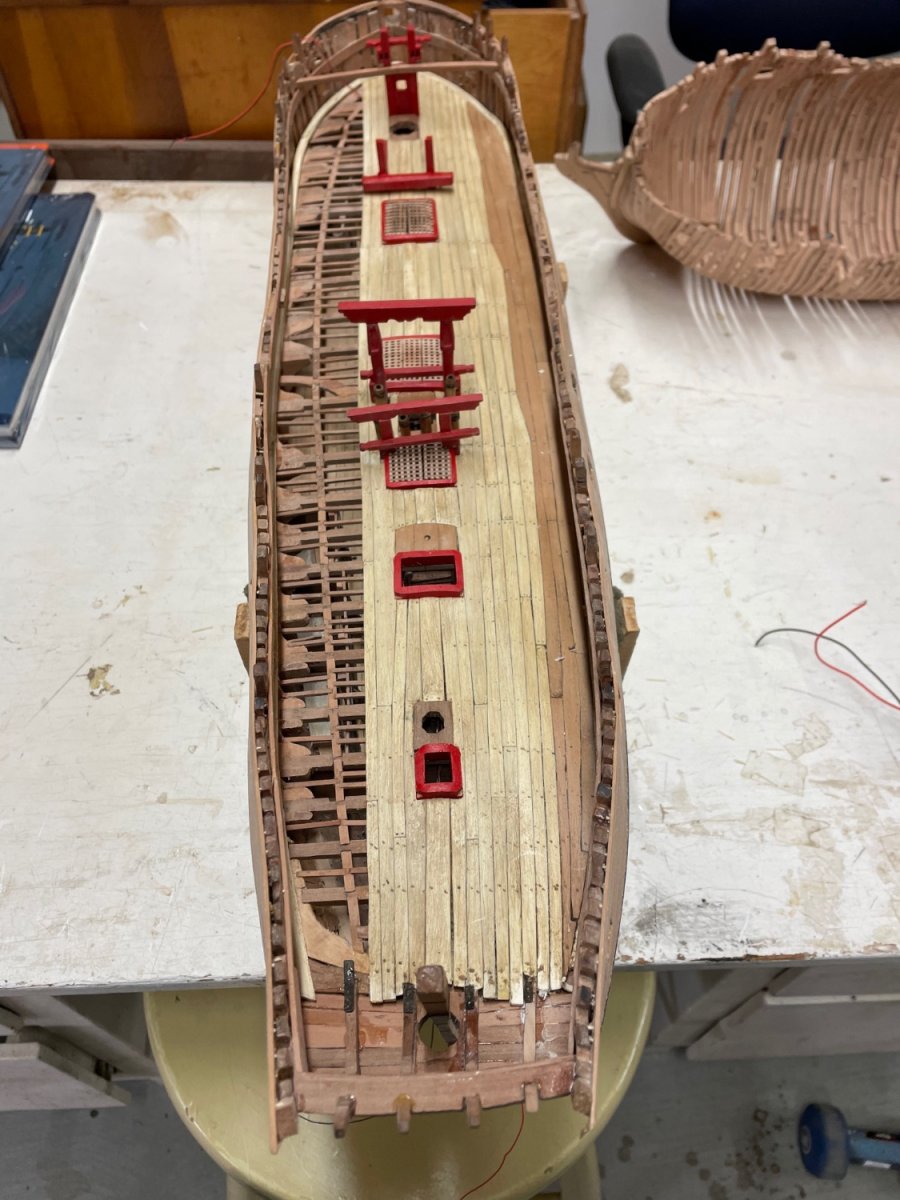
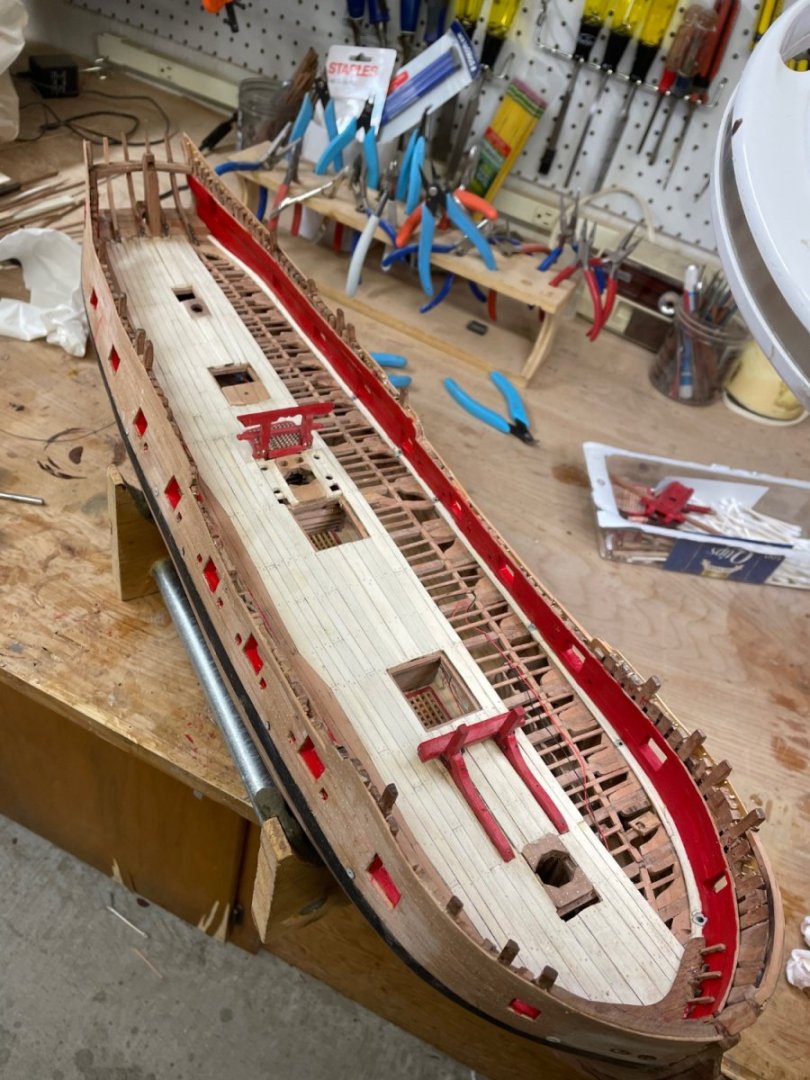
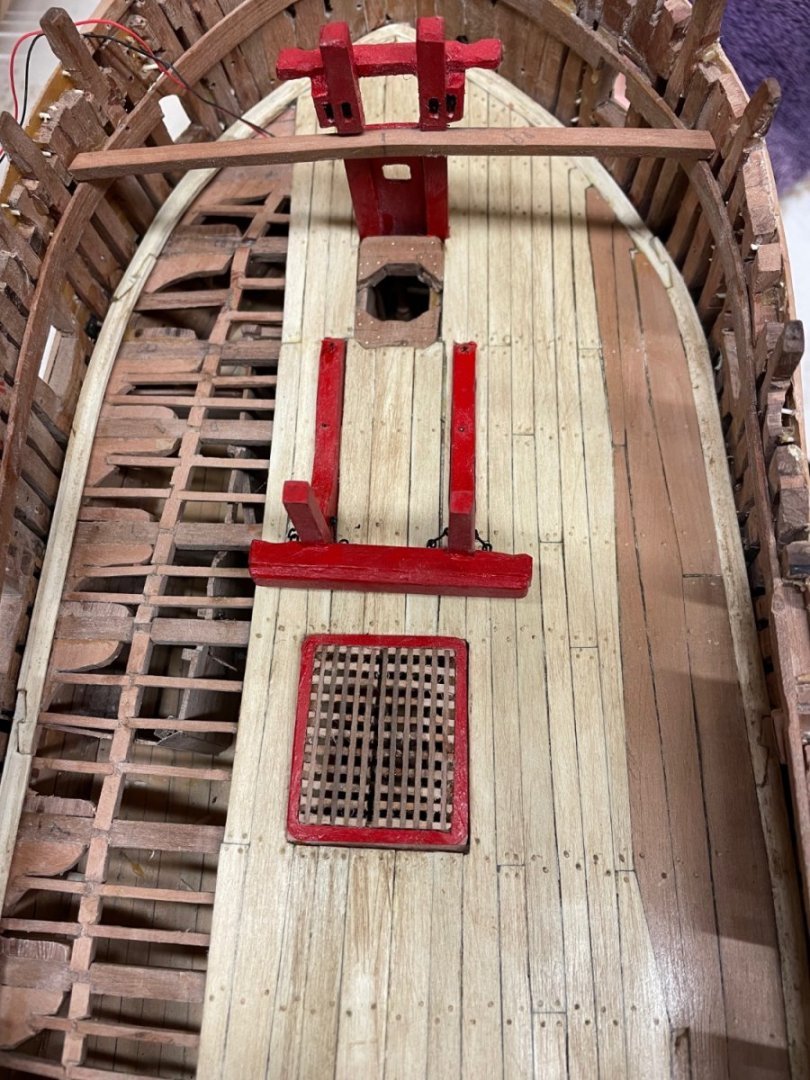
Further progress on the main deck. Gun port stops next.


- 257 replies
-
- 8
-
-
- pegasus
- Swan-class
- (and 1 more)
-
Main deck planking complete, as far as intended, to catch a glimpse of the deck below.
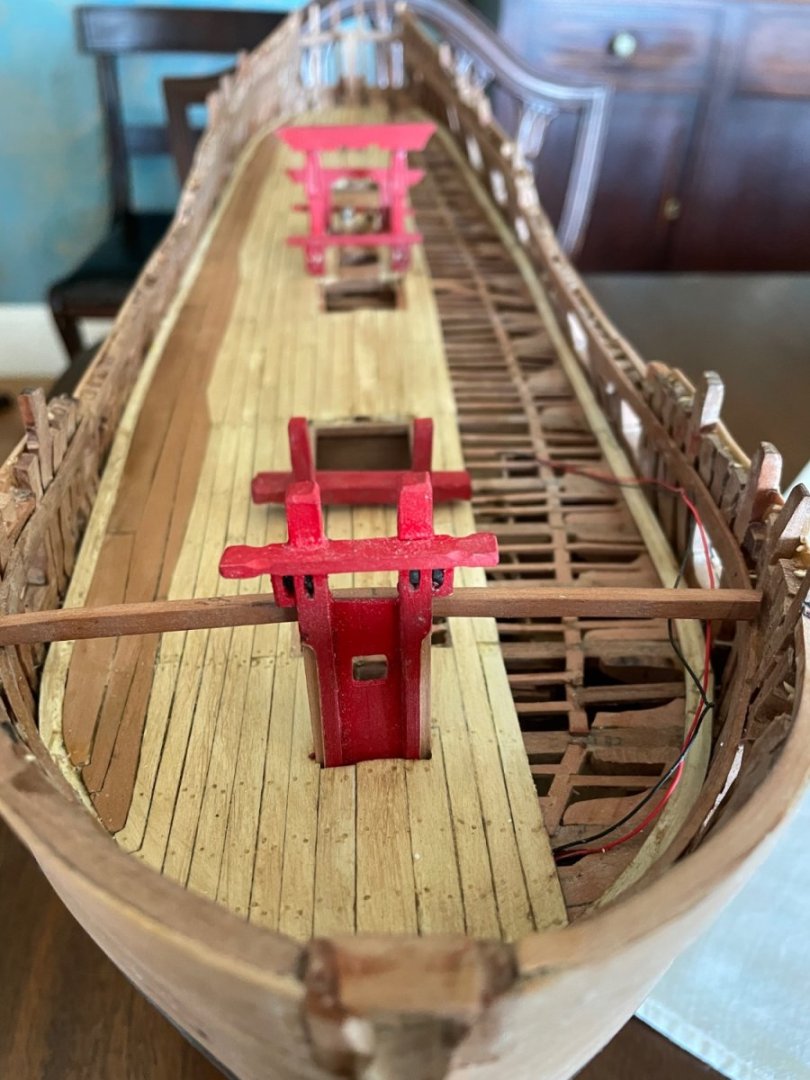
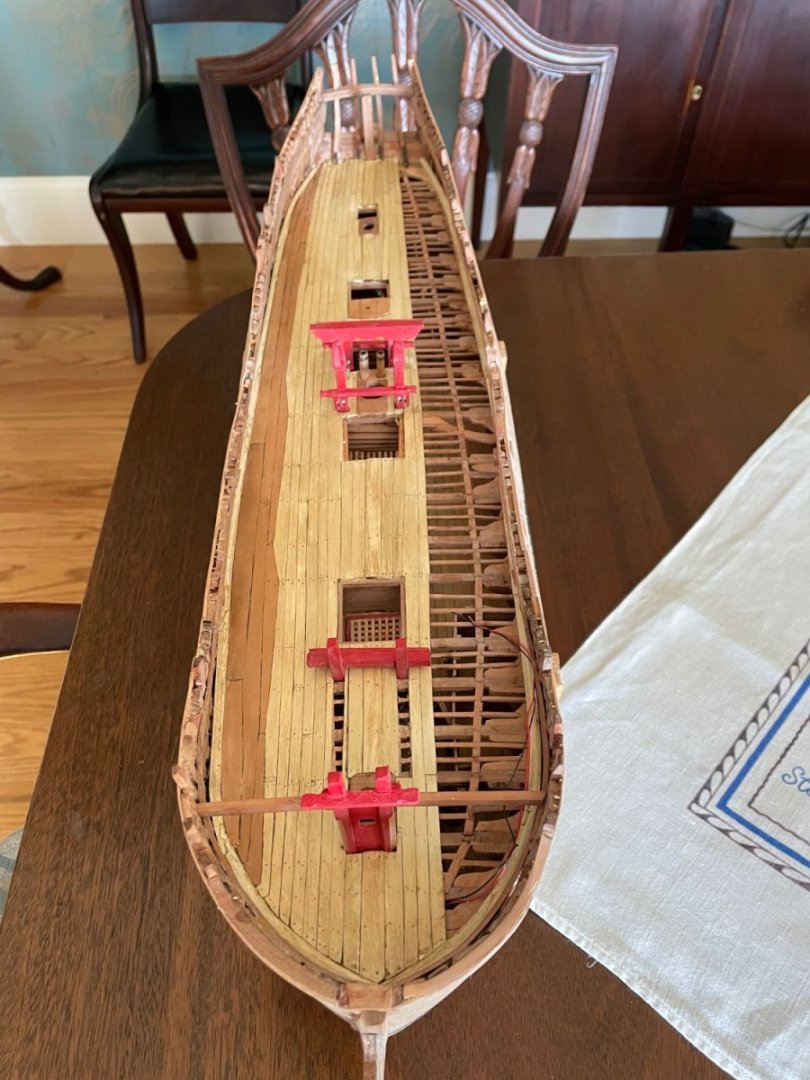
- 257 replies
-
- 7
-
-
- pegasus
- Swan-class
- (and 1 more)