aydingocer
-
Posts
916 -
Joined
-
Last visited
Content Type
Profiles
Forums
Gallery
Events
Everything posted by aydingocer
-
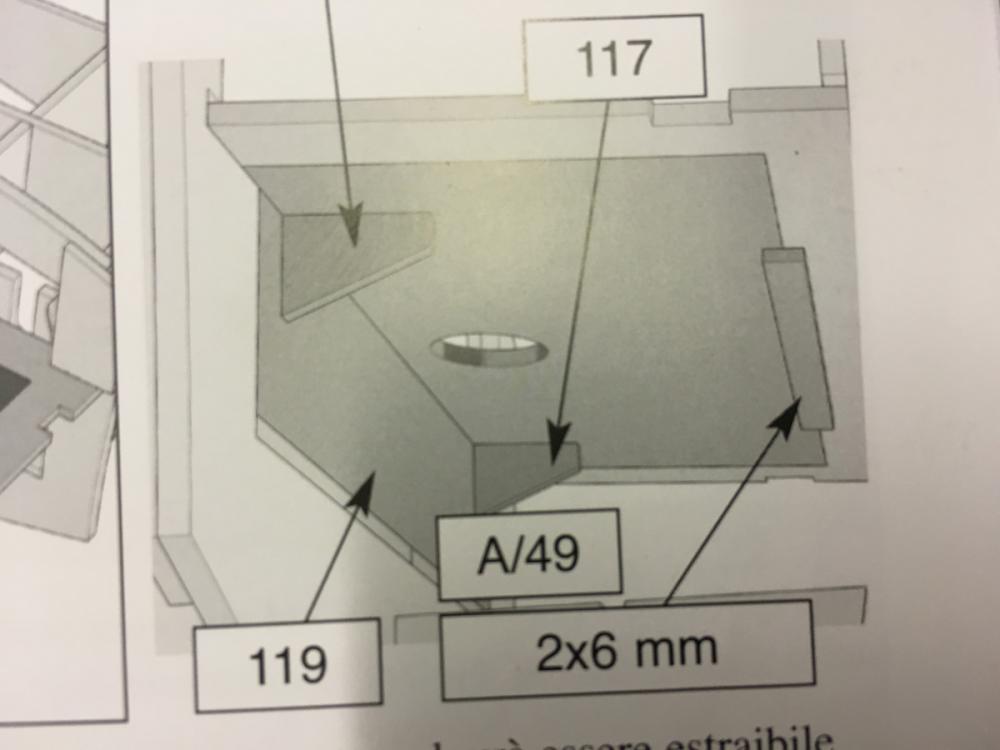
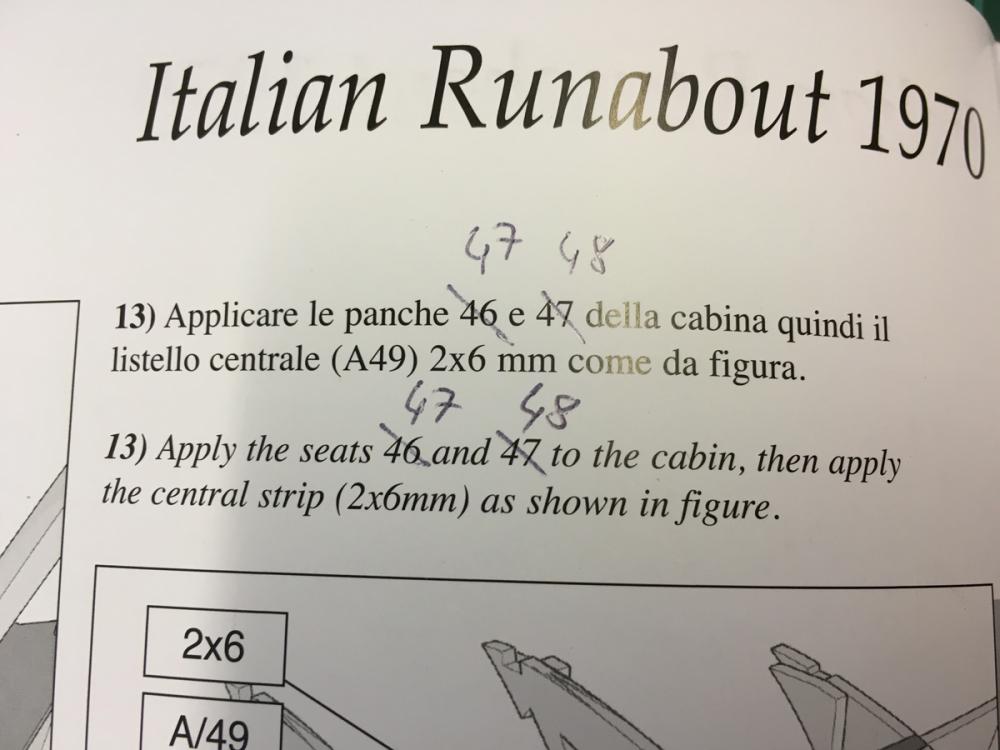
 Here the instructions call for a 2x6mm strip to be glued under part 49 to act as a support to the rear seat. Checked the length from the plan and glued it as seen.
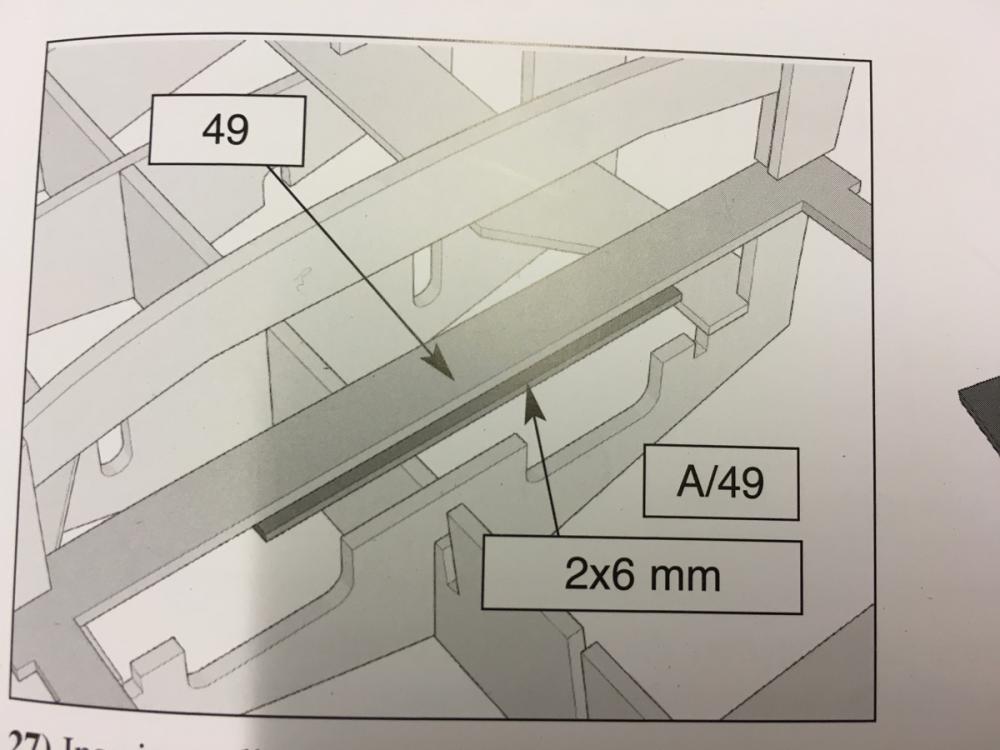
- 414 replies
-
- 5
-

-
- riva aquarama
- amati
- (and 2 more)
-
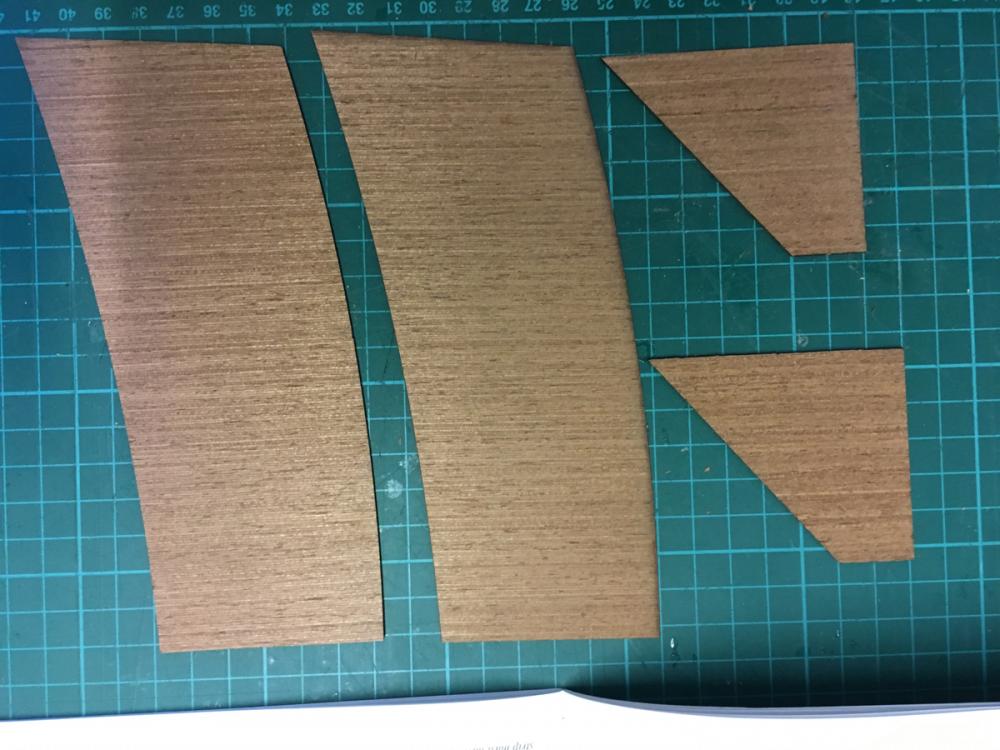
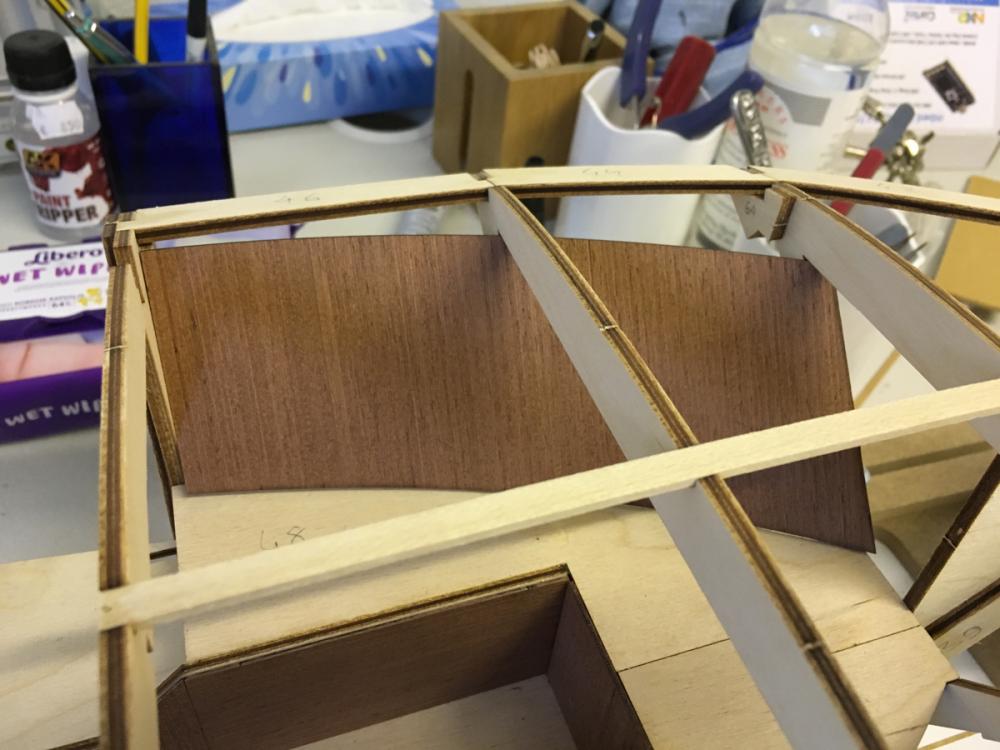
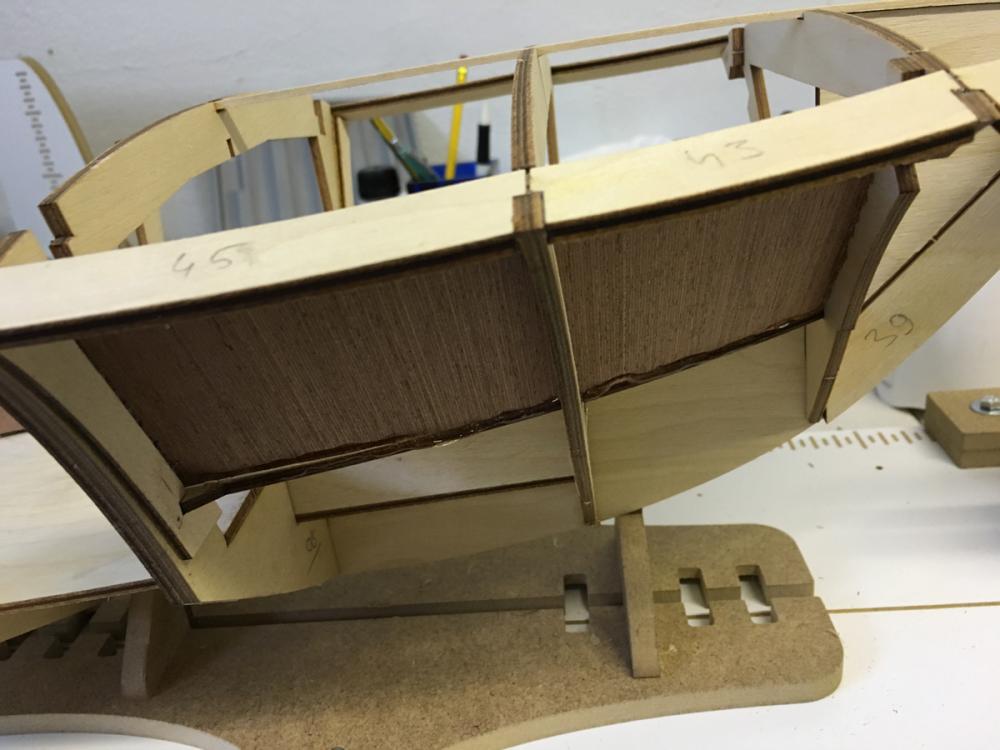
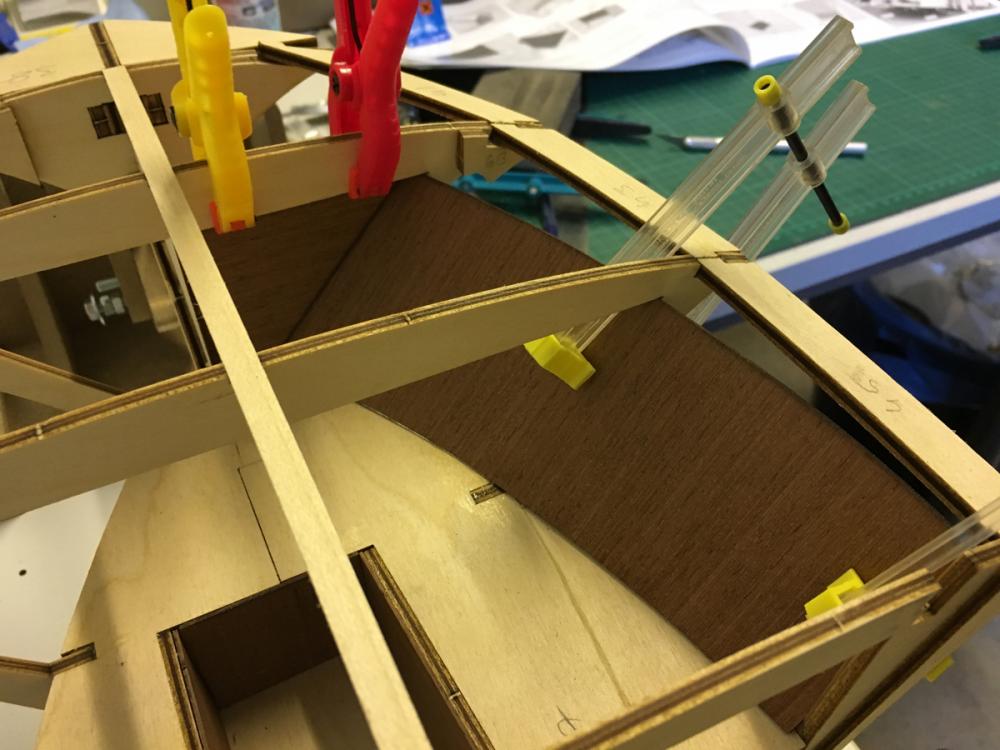
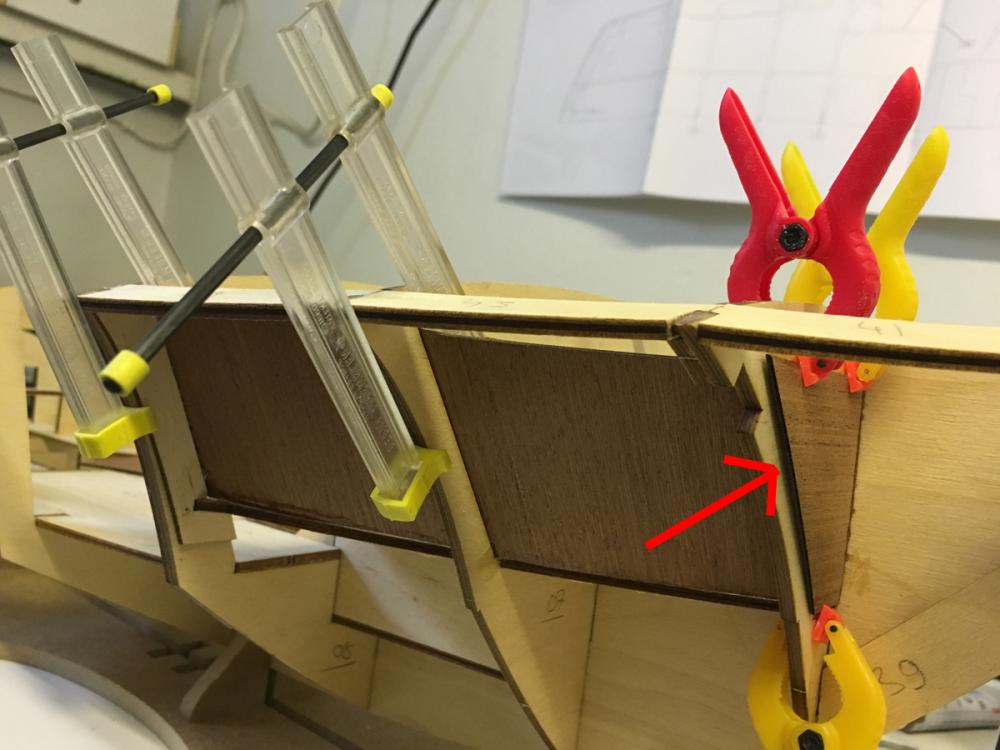
Lateral plankings of the cabin. 1mm mahogany. The instructions say you can also nail them if you like, but I preferred to avoid it, not to take the risk of cracking them all the way. Mahogany, especially at this thickness is not easy to work with. Instead, I gave it a bend with the help of the frames in order to make it easier to position without applying too much force: Dry fitted and glued: Note that the front parts (the triangular ones) should be glued from the outside: Though this leaves an uncovered section in the middle, but this is compliant with the specs. Who knows maybe it will be covered later (I was too lazy to check forward). All in place:


- 414 replies
-
- 6
-
-
- riva aquarama
- amati
- (and 2 more)
-
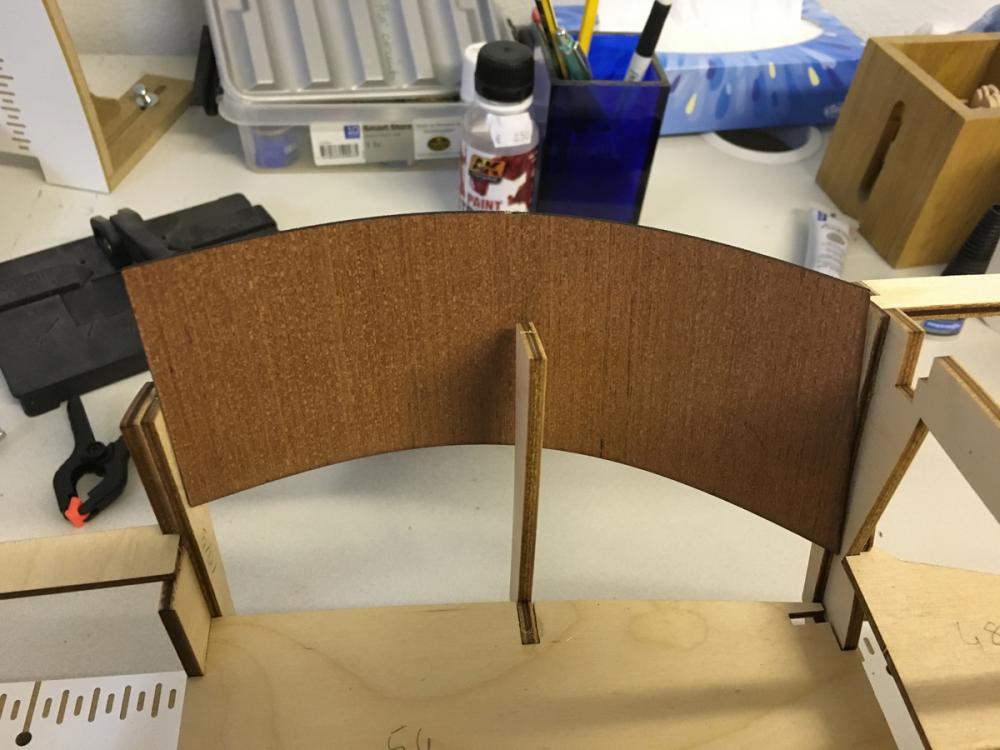
The cover itself. NOTE for the R/C builders: This cover must not be glued but be removable. I just temporarily placed it in its place to let the glue dry at its correct shape:
- 414 replies
-
- 4
-
-
- riva aquarama
- amati
- (and 2 more)
-
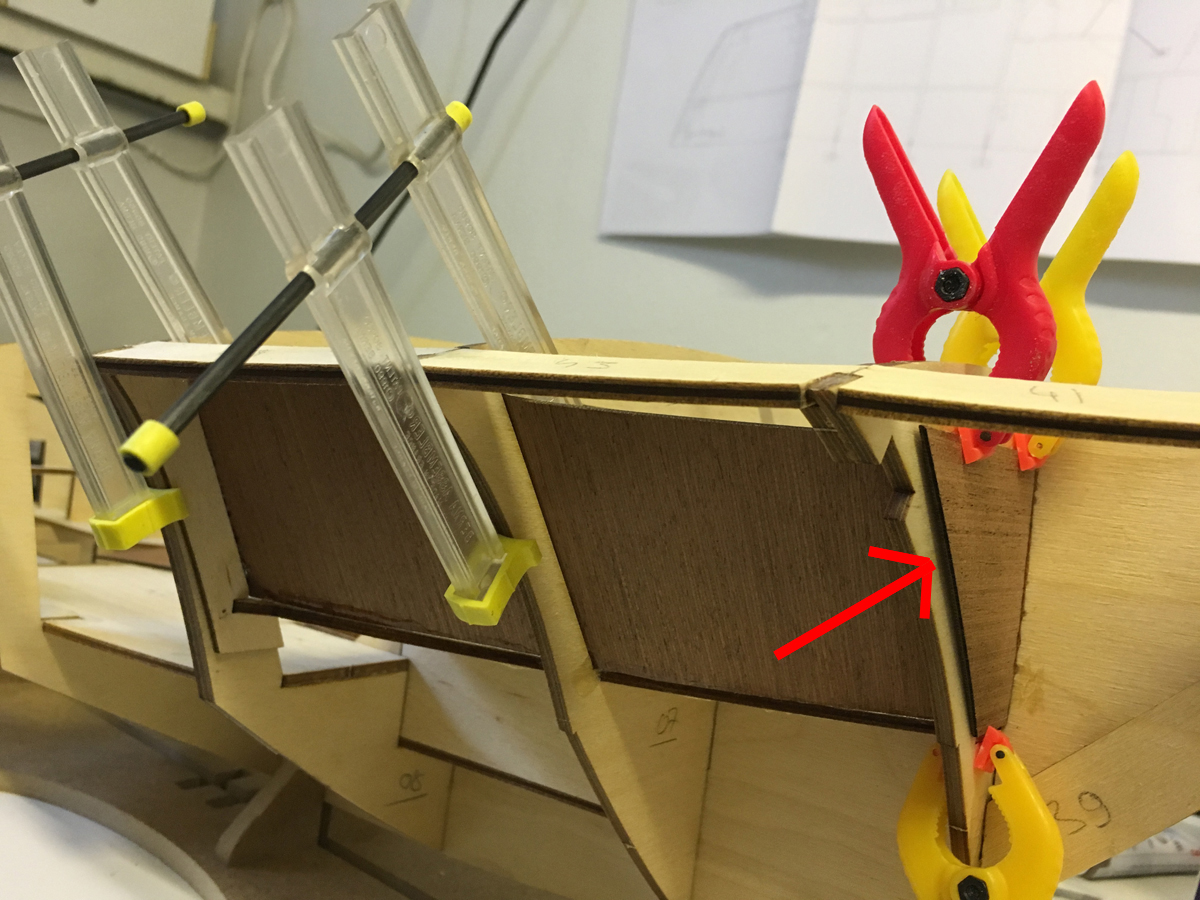
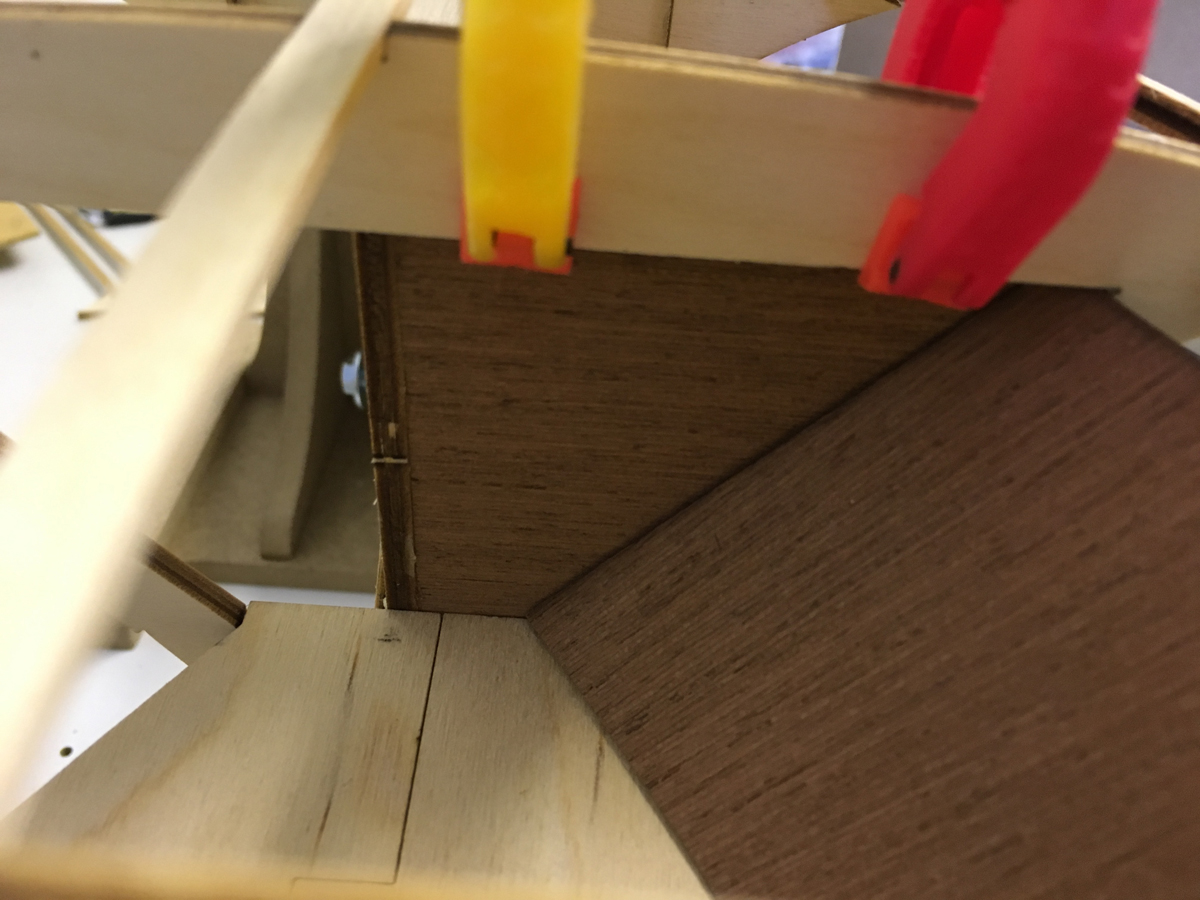
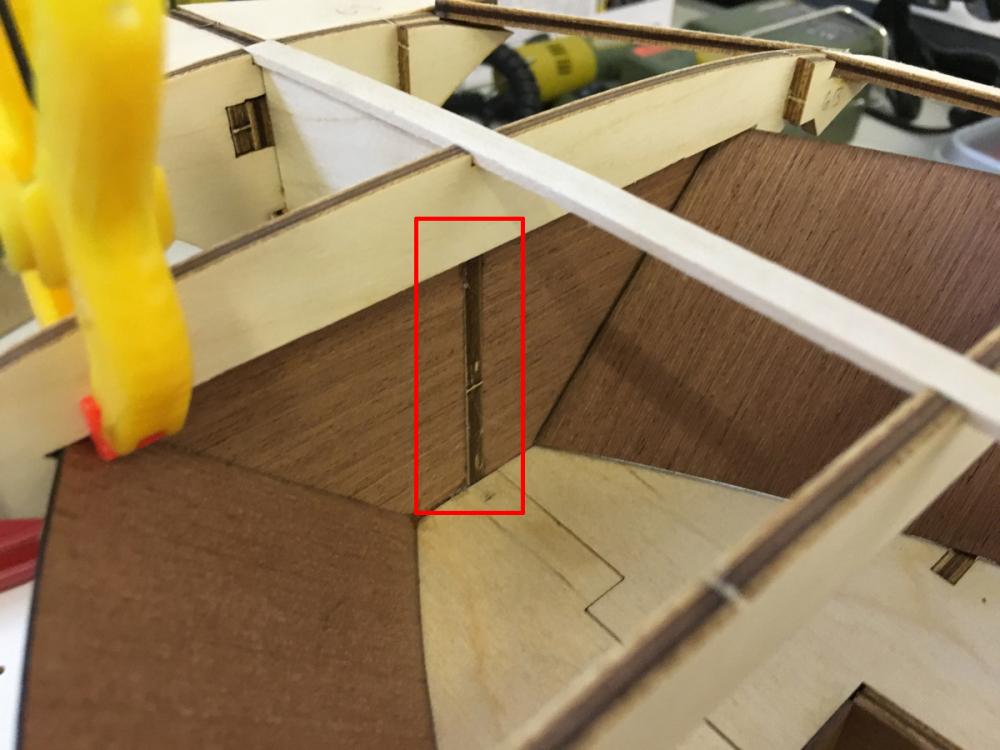
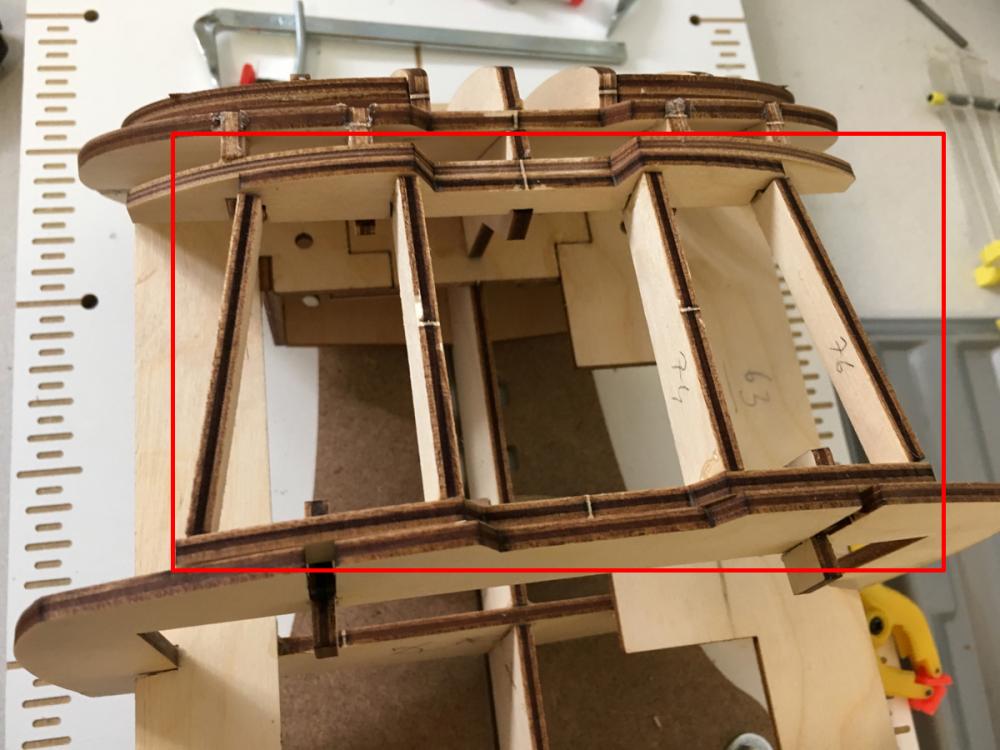
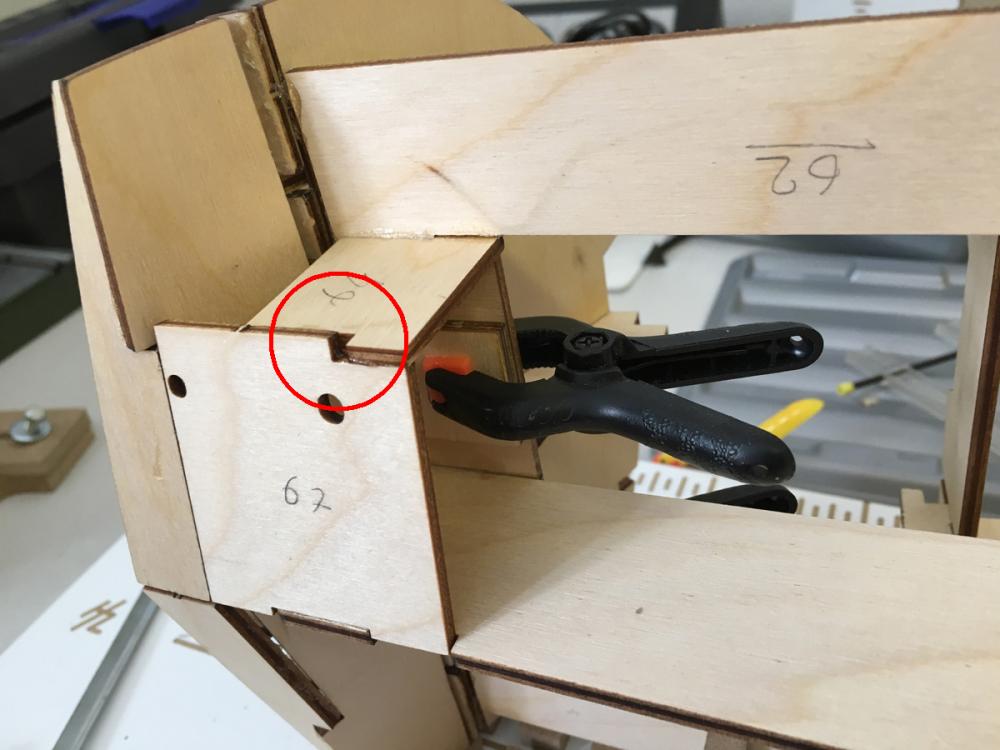
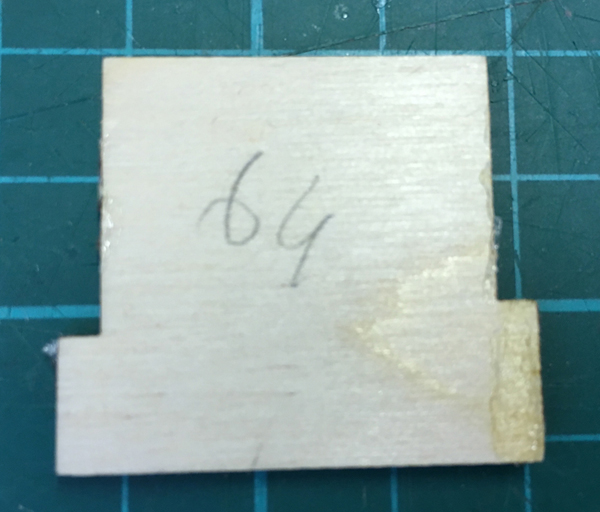
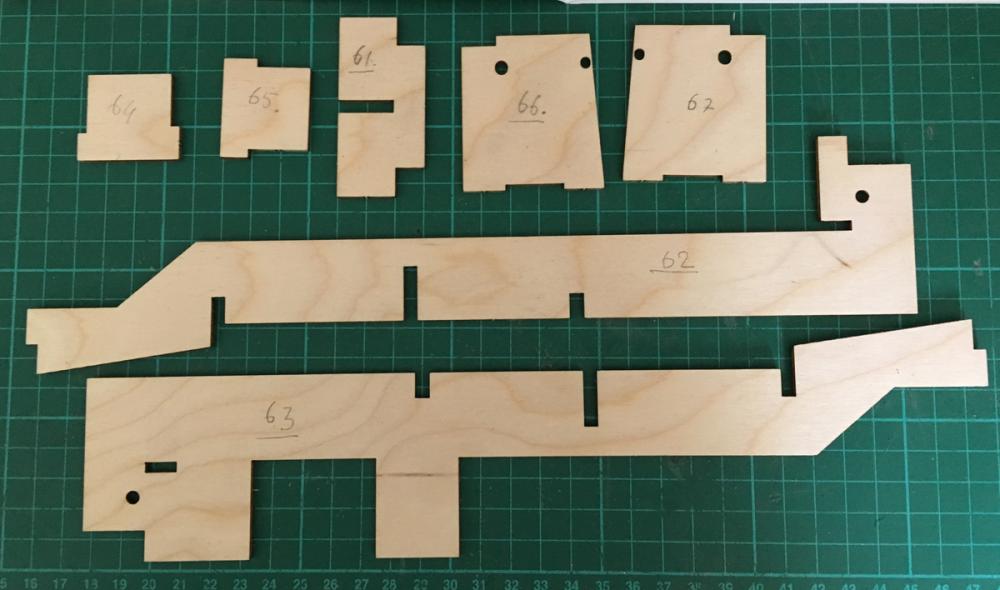
Rudder supports on the bottom. The orientation of the two holes are important. Below I was first wondering "what is the gap here? There must be a reason?!?" Then I realized I glued the part 64 wrong! (First mistake in this project - so far). Luckily it was not too bad a mistake. I ripped the part off: Scraped the glue stains, and glued it back in correct position. Now looks better (phew). This would absolutely cause me a lot of trouble later because I noticed that it was partly blocking some slots above it.

- 414 replies
-
- 5
-
-
- riva aquarama
- amati
- (and 2 more)
-
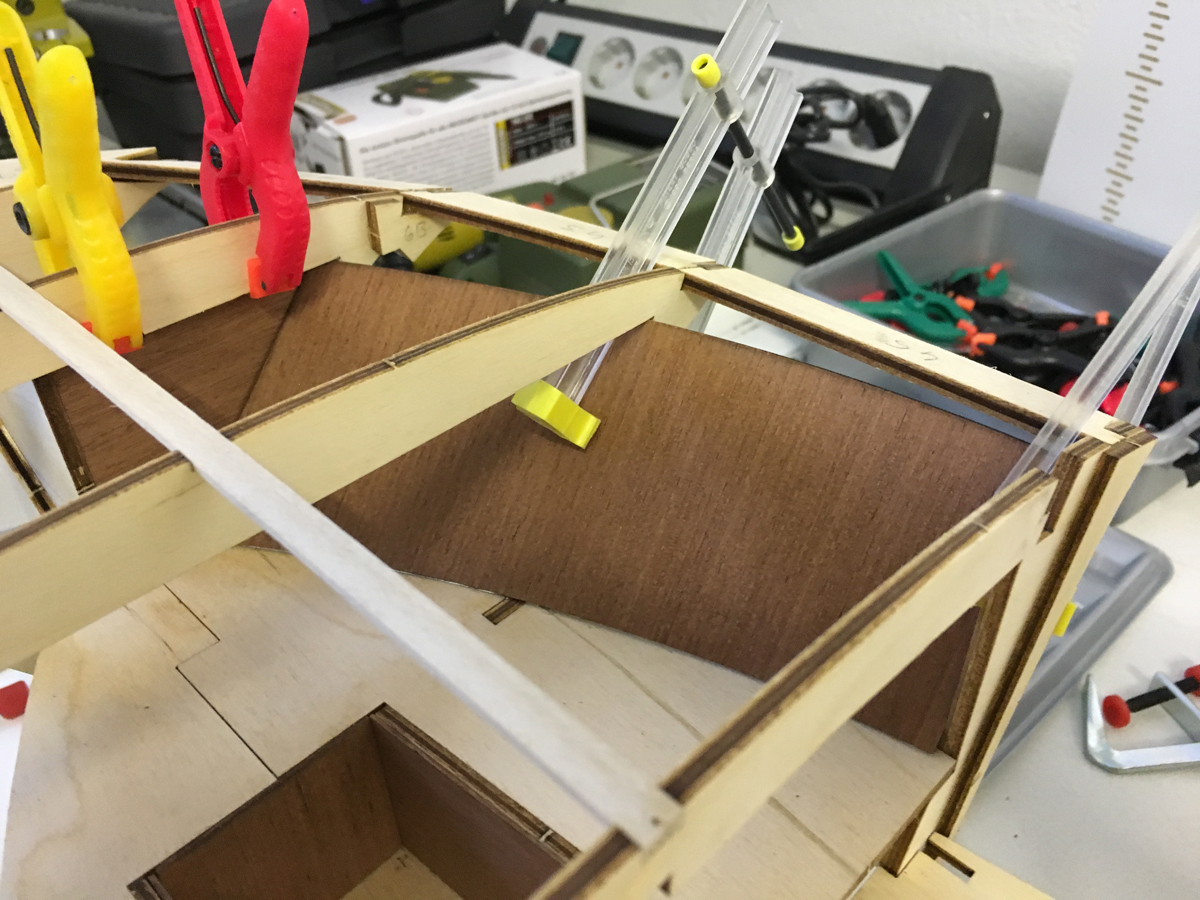
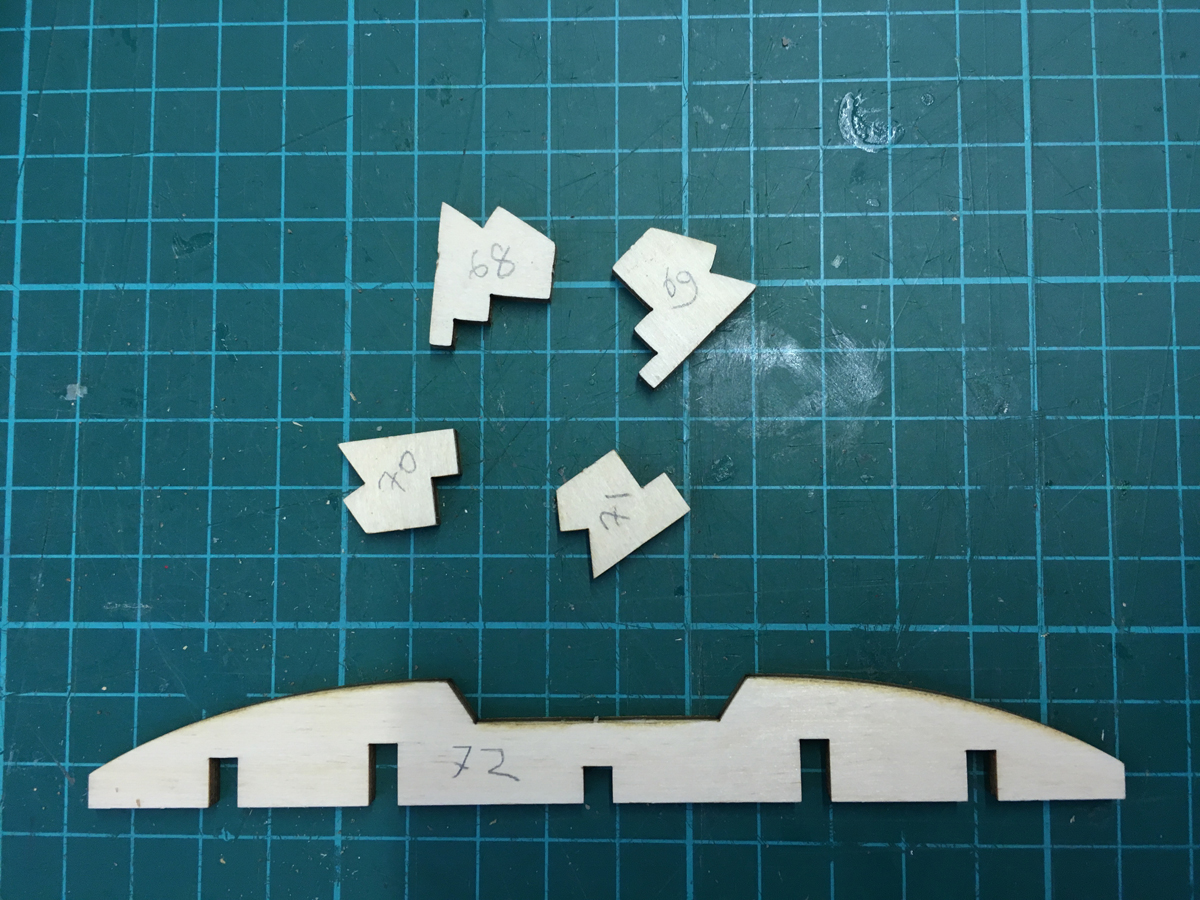
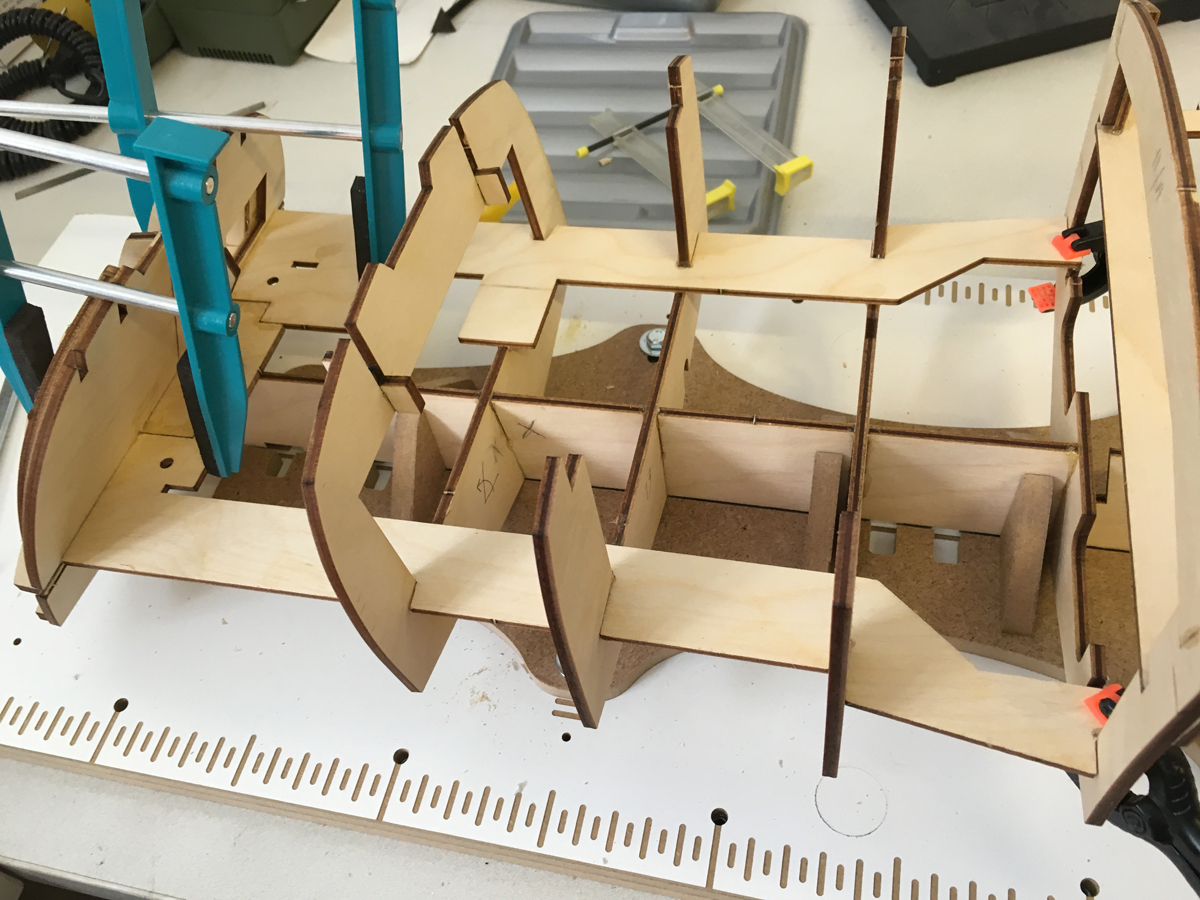
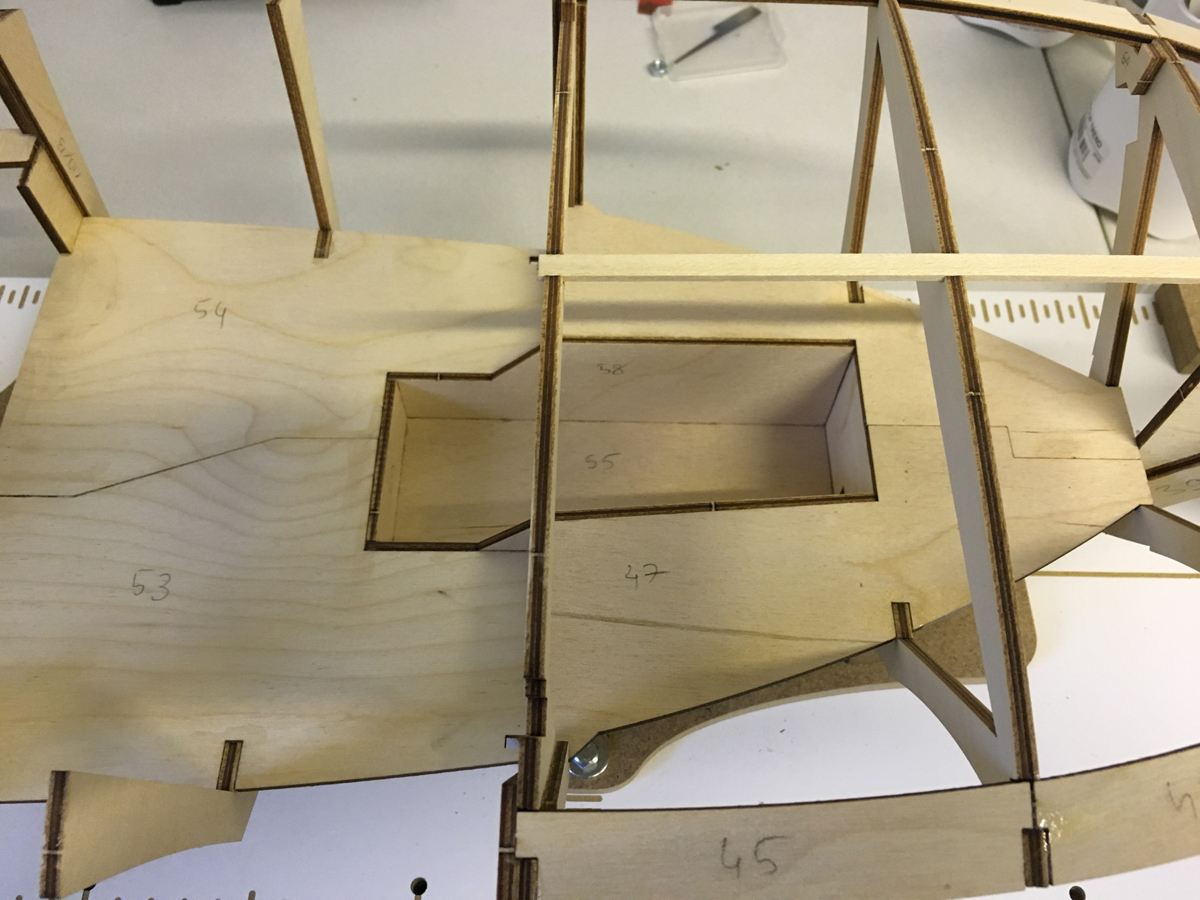
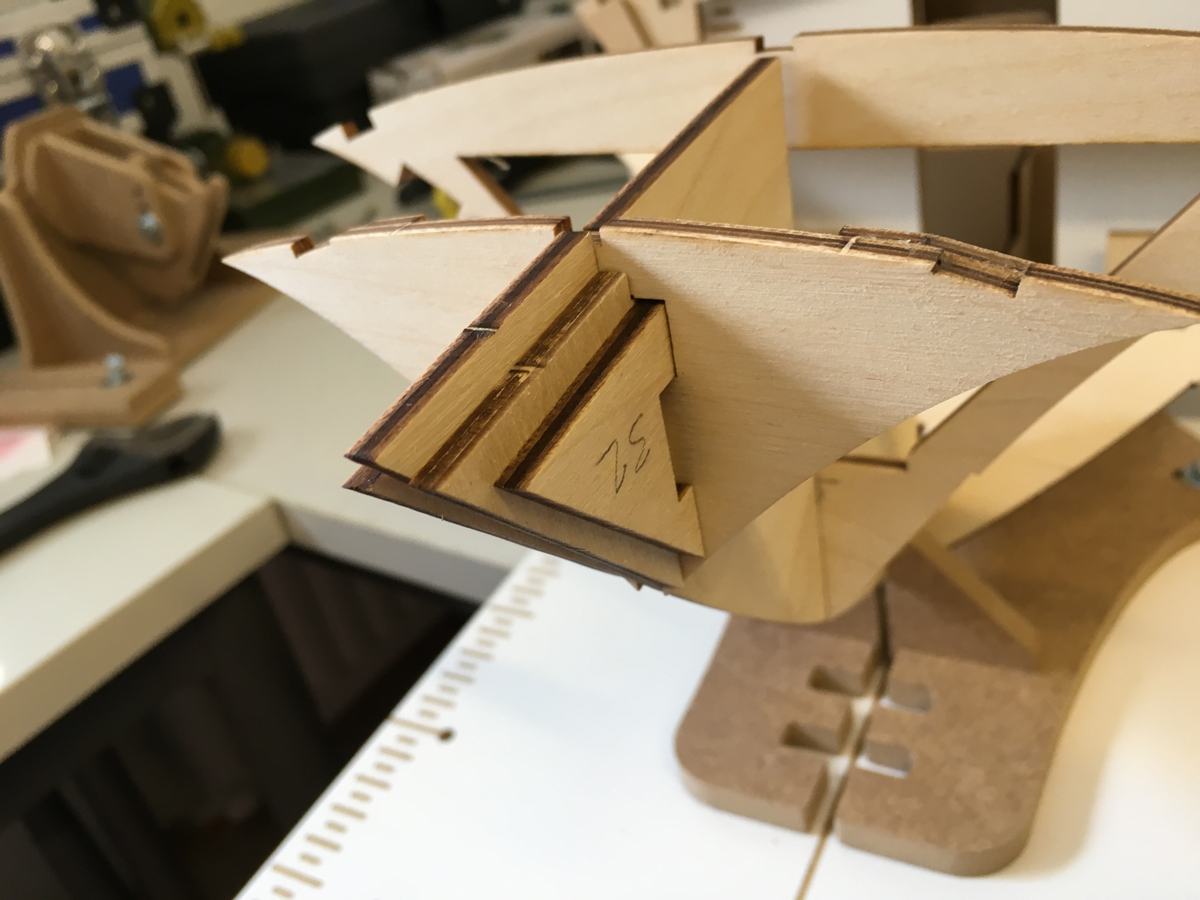
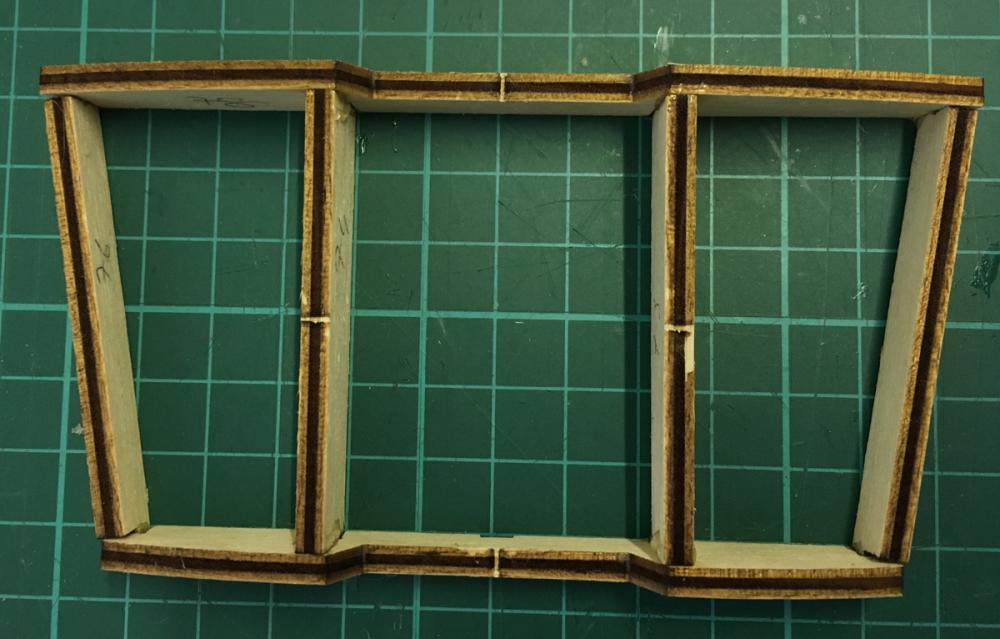
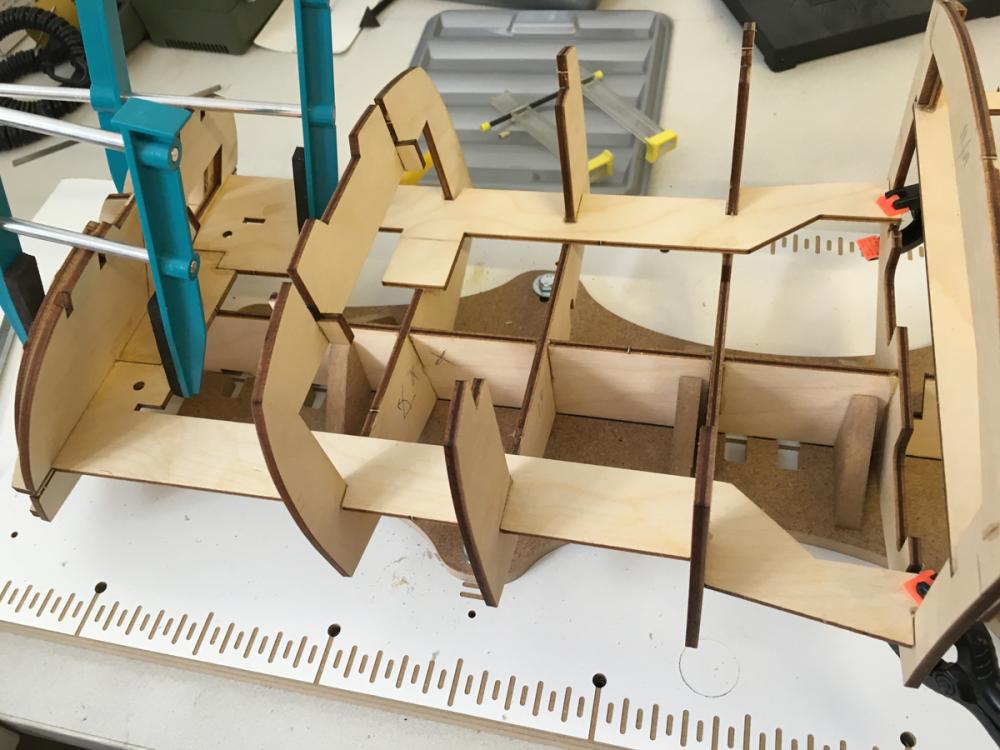
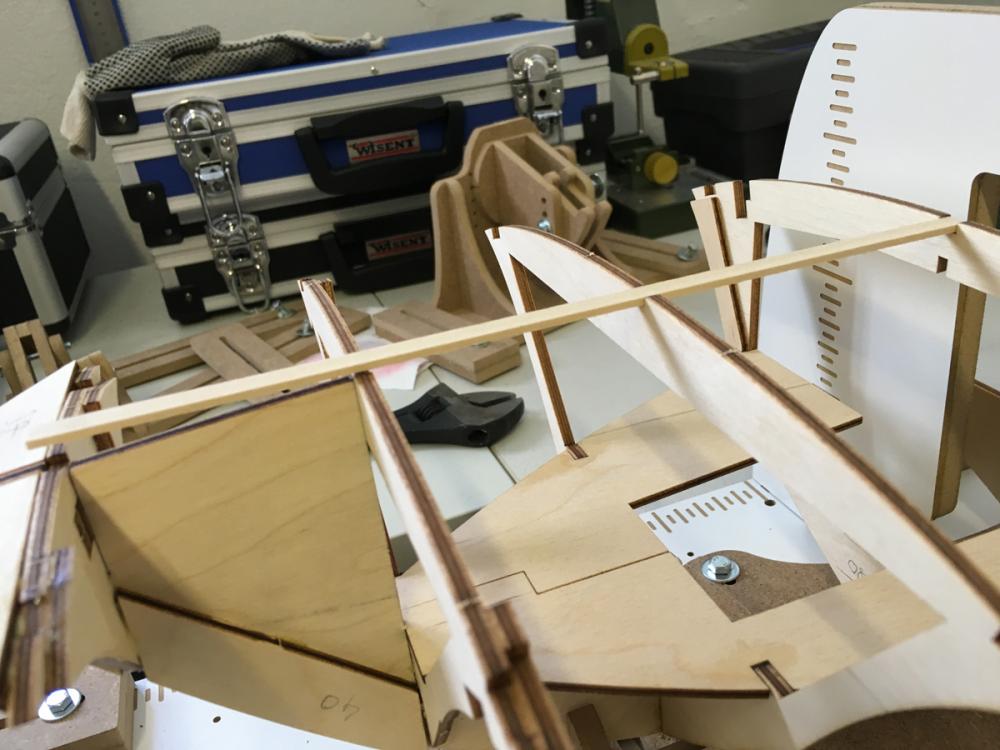
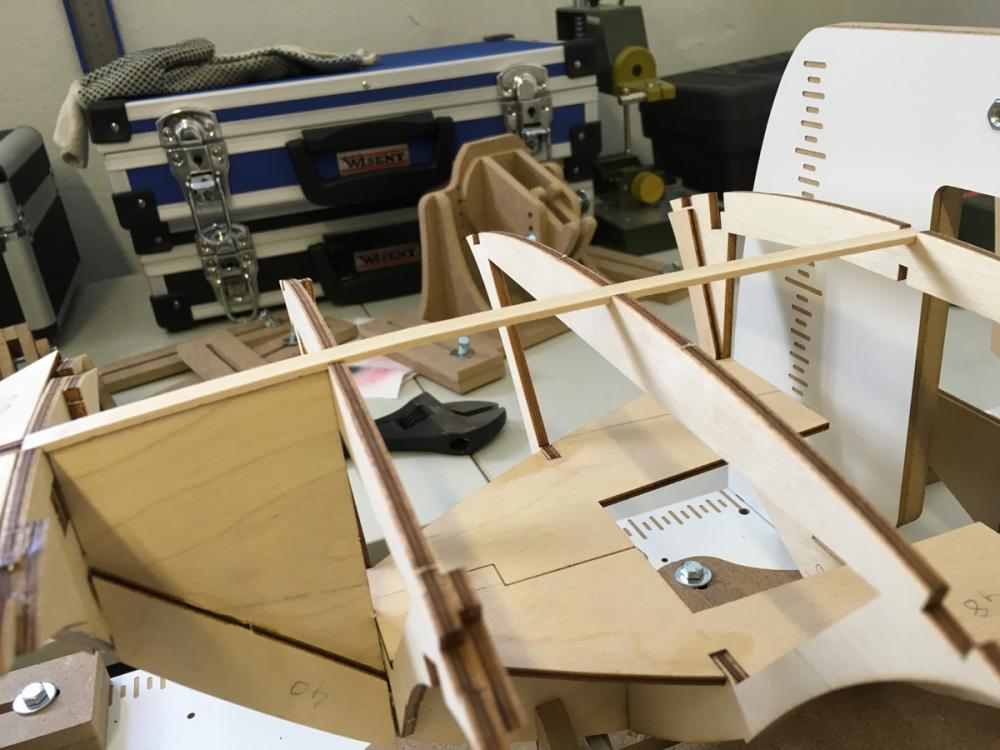
Reinforcements reinforcements everywhere . I think this kit contains alone more reinforcement parts than all my past ship kits combined. Not that I complain . Of course it should survive moderate collisions and vibrations. Here are several photos in a row: the first one with list of parts followed by the rest showing them installed in their places. Here the boat turns to side for the first time:
- 414 replies
-
- 4
-
-
- riva aquarama
- amati
- (and 2 more)
-
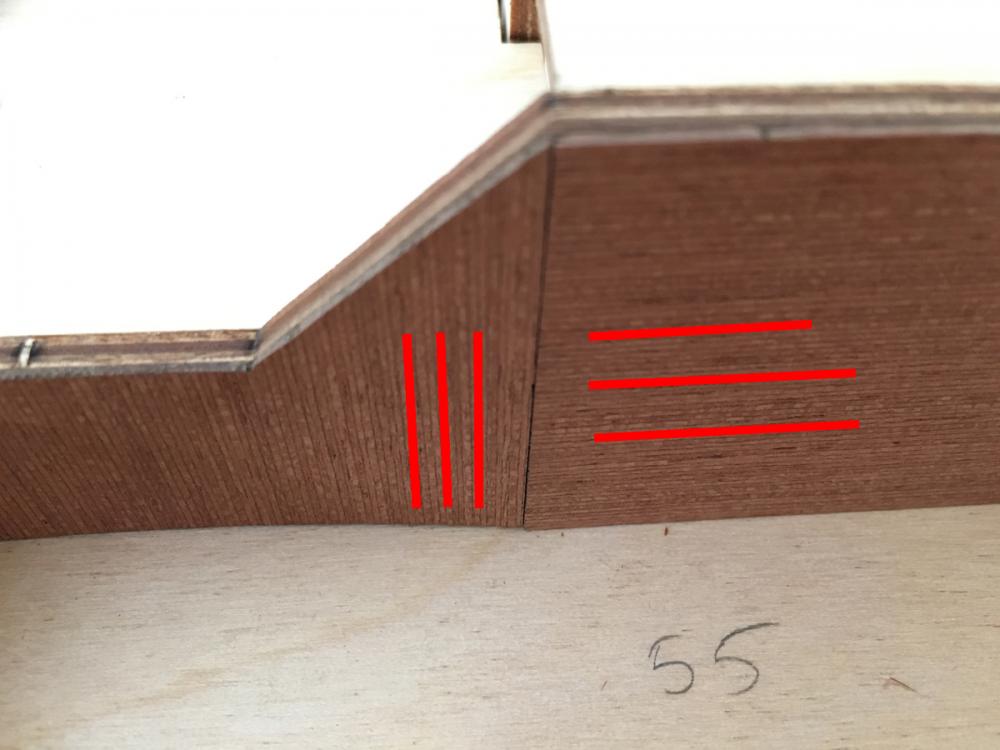
I would expect the manufacturer to pay attention to the direction of the grain when placing the parts on laser CNC. It would look much nicer if they did it:
- 414 replies
-
- 3
-
-
- riva aquarama
- amati
- (and 2 more)
-
The mahogany parts have laser burns around the edges. I thought they may cause trouble later during the finishing phase if I use them just like that, so I sanded away the burns from the visible edges. Before: After (a different side than above):
- 414 replies
-
- 4
-
-
- riva aquarama
- amati
- (and 2 more)
-
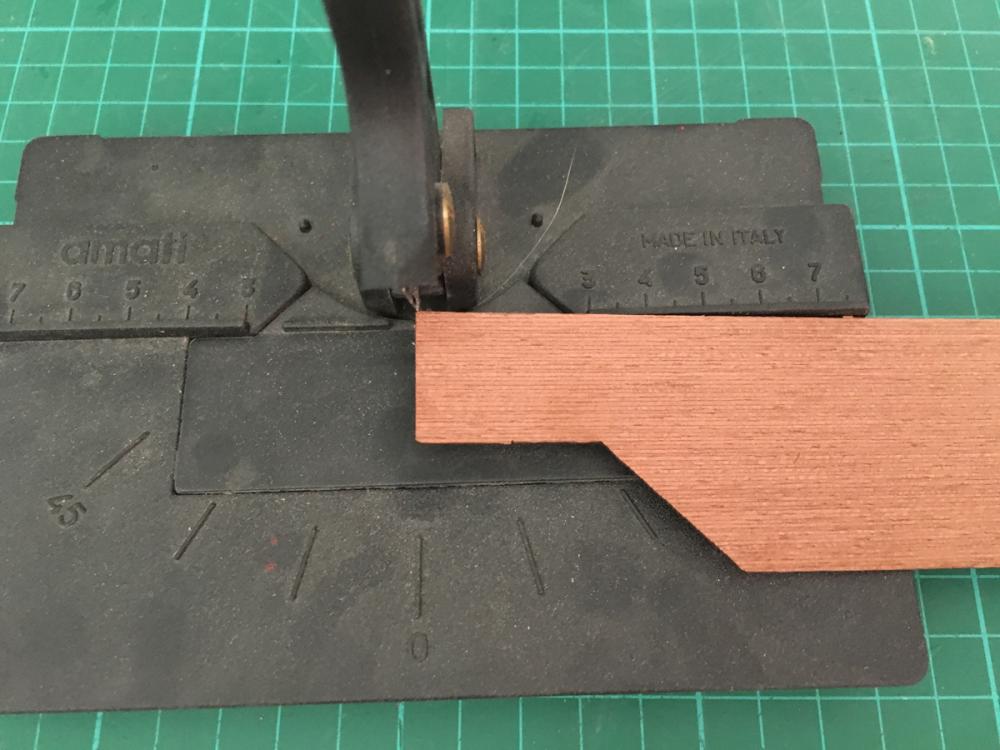
Cockpit plankings, 1mm mahogany sheet. Don't they look like tangram parts to you, too? After dry-fit test, one of them was slightly (less thn 0,5mm) too long. I cropped it:
- 414 replies
-
- 2
-
-
- riva aquarama
- amati
- (and 2 more)
-
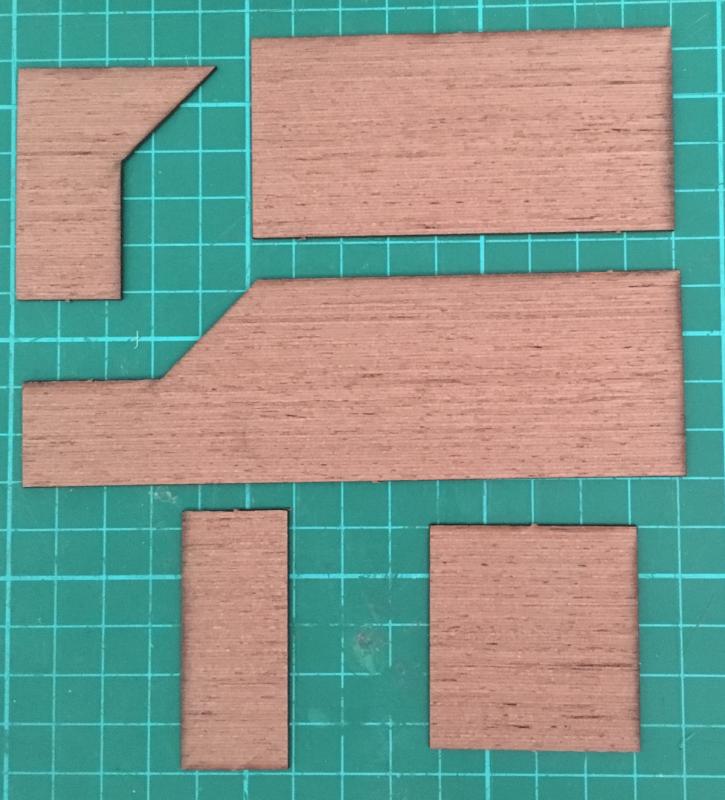
Going through the parts and sheets according to the plan of the day, this was a unpleasant surprise. Many parts on the 1mm thick mahogany sheets had spread away (most probably during shipment) resulting in one of the parts to break. Anyway not too big of a disaster. I quickly taped the part on the sheet and carried on.

- 414 replies
-
- 3
-
-
- riva aquarama
- amati
- (and 2 more)
-
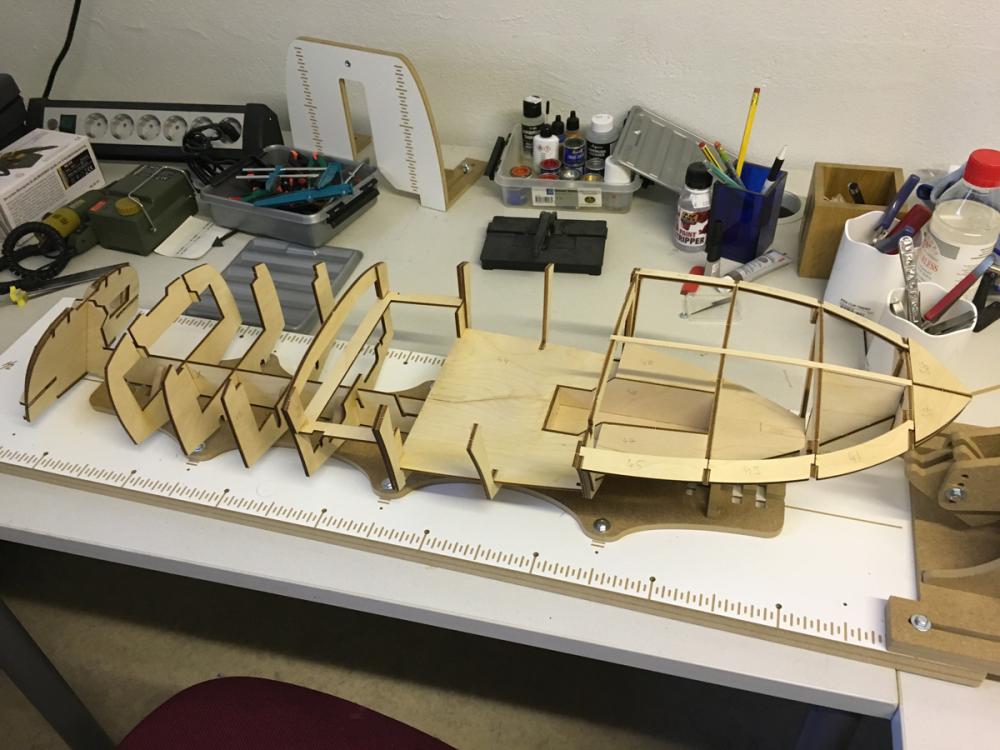
BUILD DAY 3. CONTINUING HULL CONSTRUCTION One thing I started to like about this kit among other things is that it has a substantial amount of hull work, as opposed to most ship models where it is mostly all about assembling the keel + bulkheads and planking.
- 414 replies
-
- 2
-
-
- riva aquarama
- amati
- (and 2 more)
-
Hi Grant. Sure I am scouting ahead in the instructions for that. The steps seem to clearly define which parts and sections should not be glued but made removable for those who go for the R/C option. I have hit some of such steps at today's build which I will be posting this evening.
- 414 replies
-
- 2
-
-
- riva aquarama
- amati
- (and 2 more)
-
Chris Craft was also one of my candidates but eventually I ended up buying this one. Good luck with that and I will be following your log!
- 414 replies
-
- 2
-
-
- riva aquarama
- amati
- (and 2 more)
-
END OF BUILD DAY 2. 9 hours into build. This is the status at the end of DAY2 .Thanks for watching.
- 414 replies
-
- 8
-
-
- riva aquarama
- amati
- (and 2 more)
-
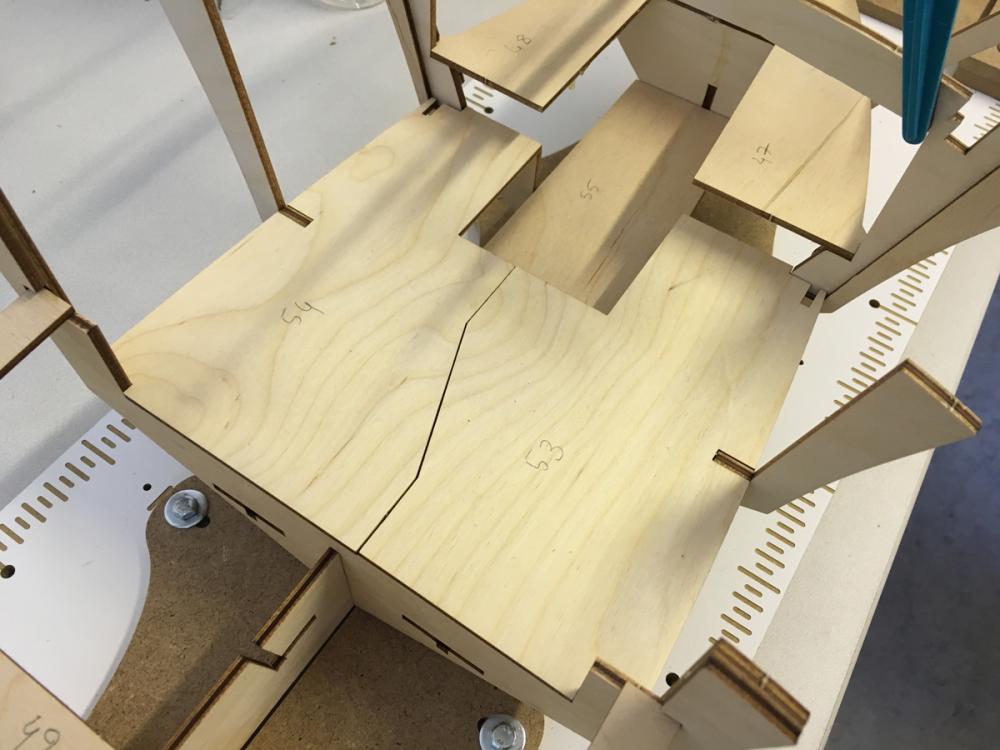
Cockpit parts dry-fitted and glued in place. Some of this section will be covered with mahogany sheet.
- 414 replies
-
- 4
-
-
- riva aquarama
- amati
- (and 2 more)
-
As I mentioned the curvy body of this boat, the frames often form a bulge at the corners at first. Like in this photo: It also shows in the instructions if you look closely: These will of course be smoothened later.

- 414 replies
-
- 4
-
-
- riva aquarama
- amati
- (and 2 more)
-
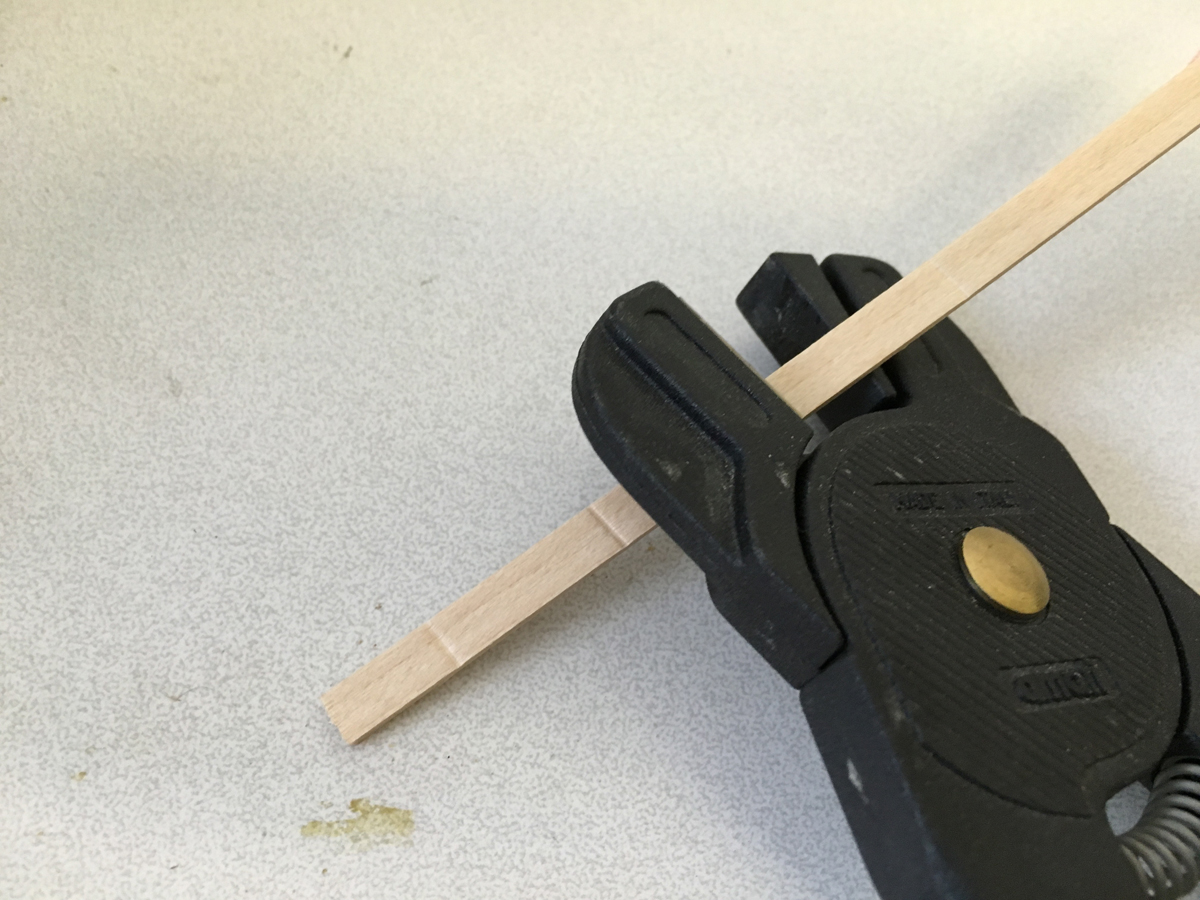
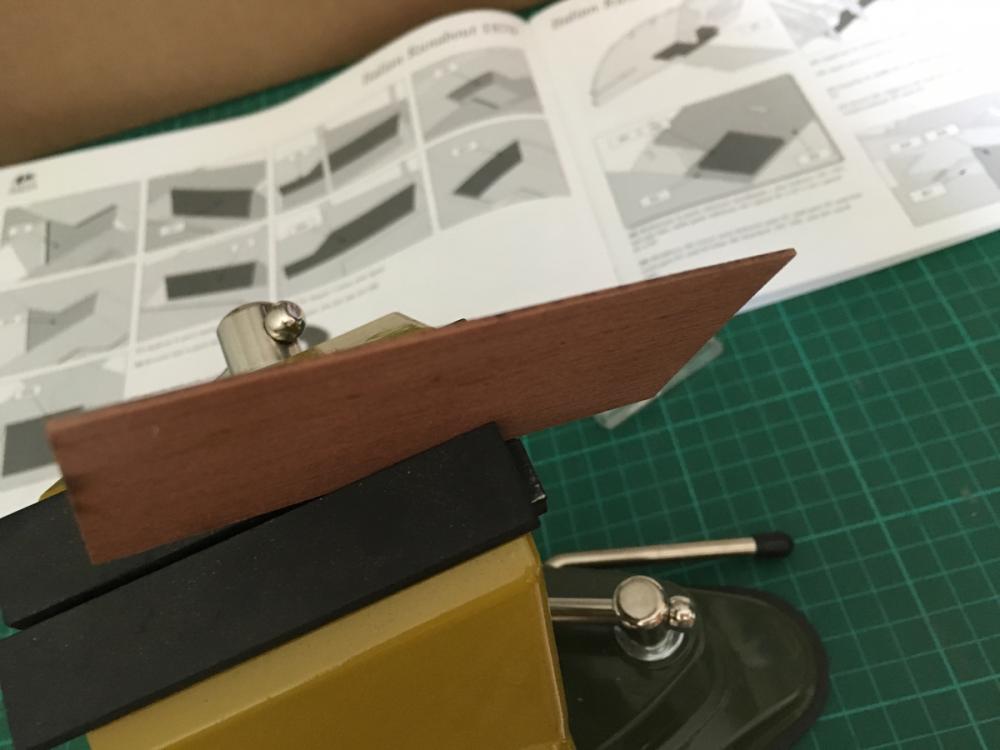
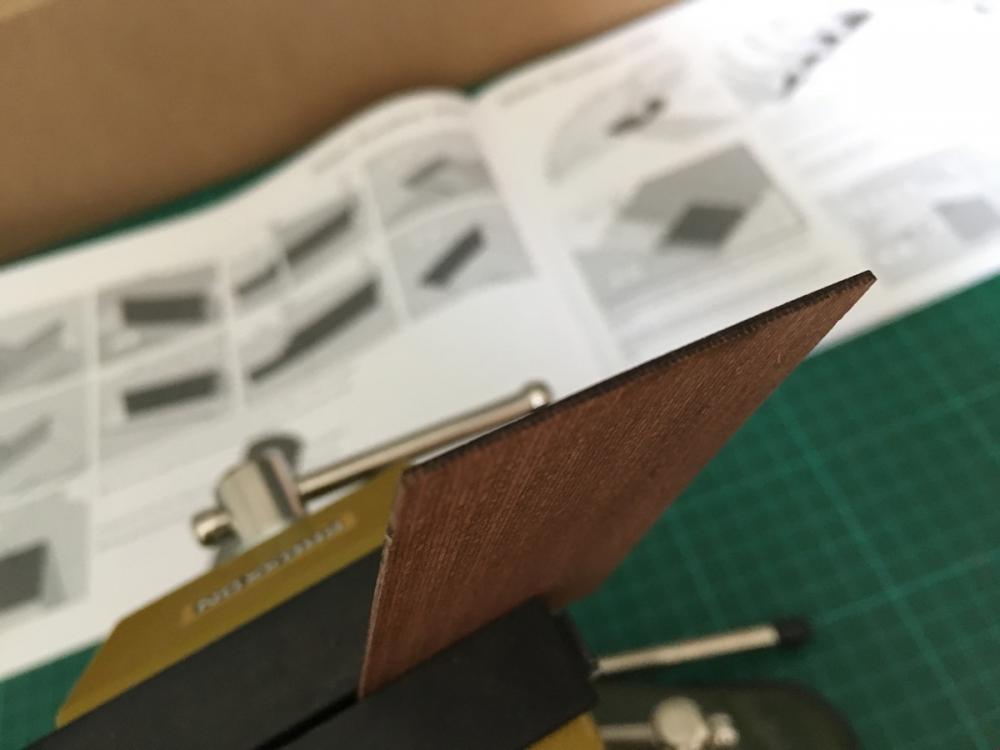
Bow strip from 6x2mm lime. It follows a curve. Actually there are almost no straight lines but lots of curves in this Italian beauty I don't want to force the strip even a little in order to not warp the hull, therefore I will bend it a little. Now perfectly in place: ... and glued with ZIF ( Zero Insertion Force)


- 414 replies
-
- 4
-
-
- riva aquarama
- amati
- (and 2 more)
-
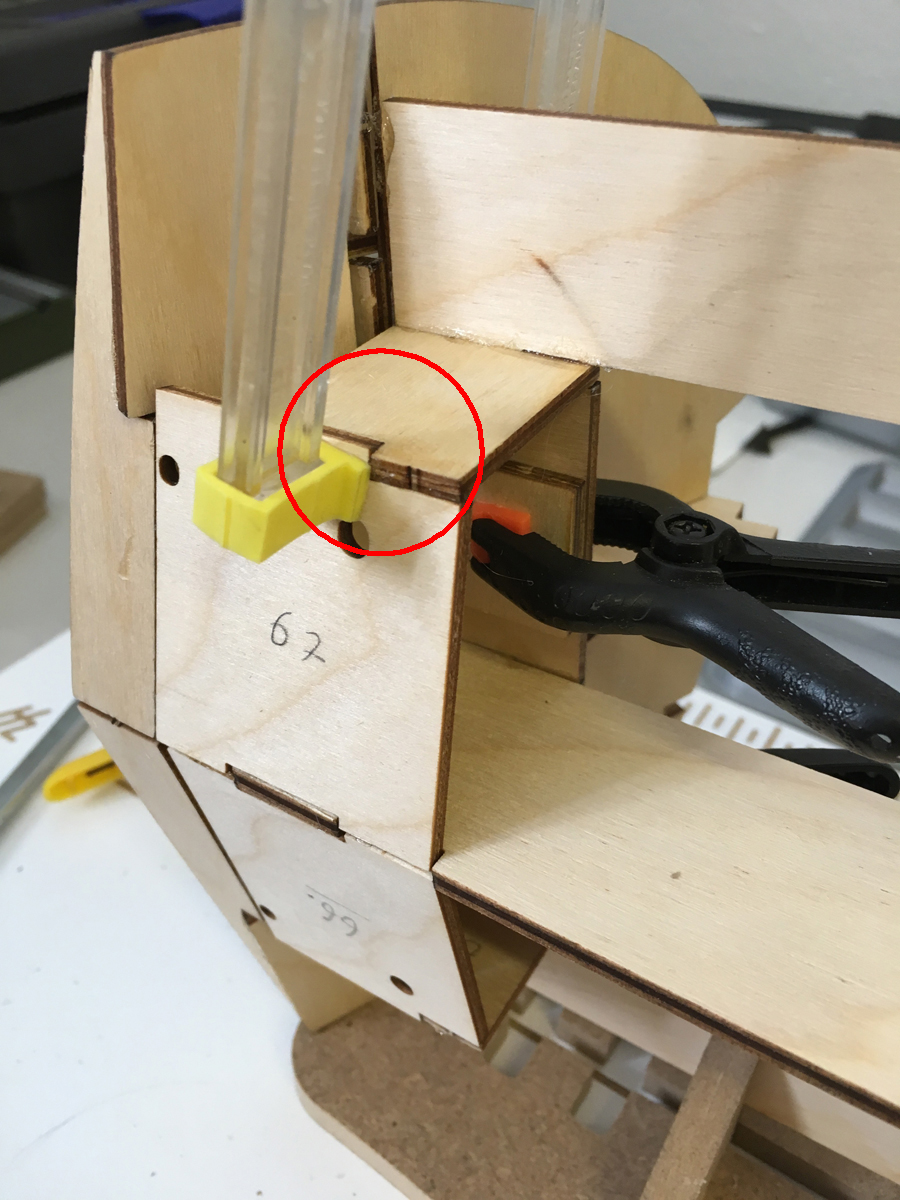
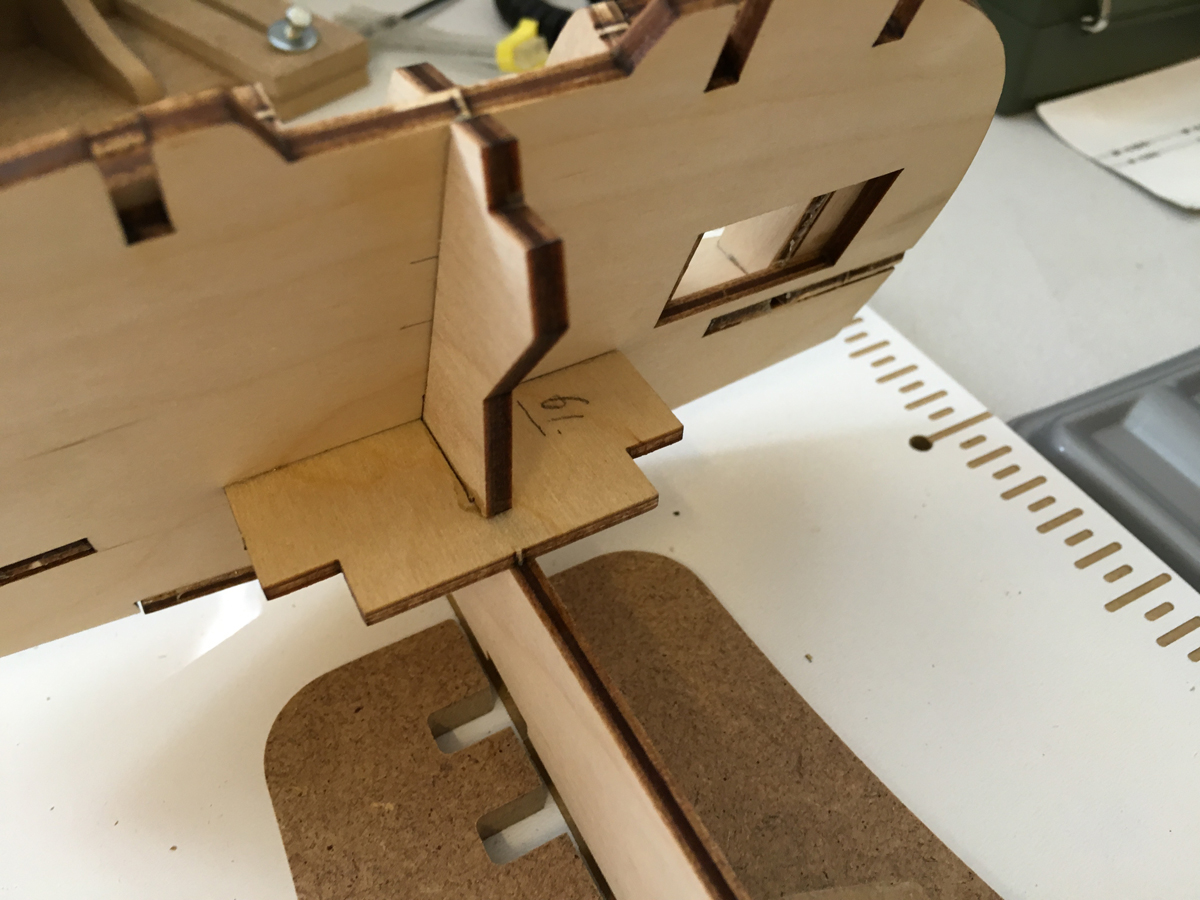
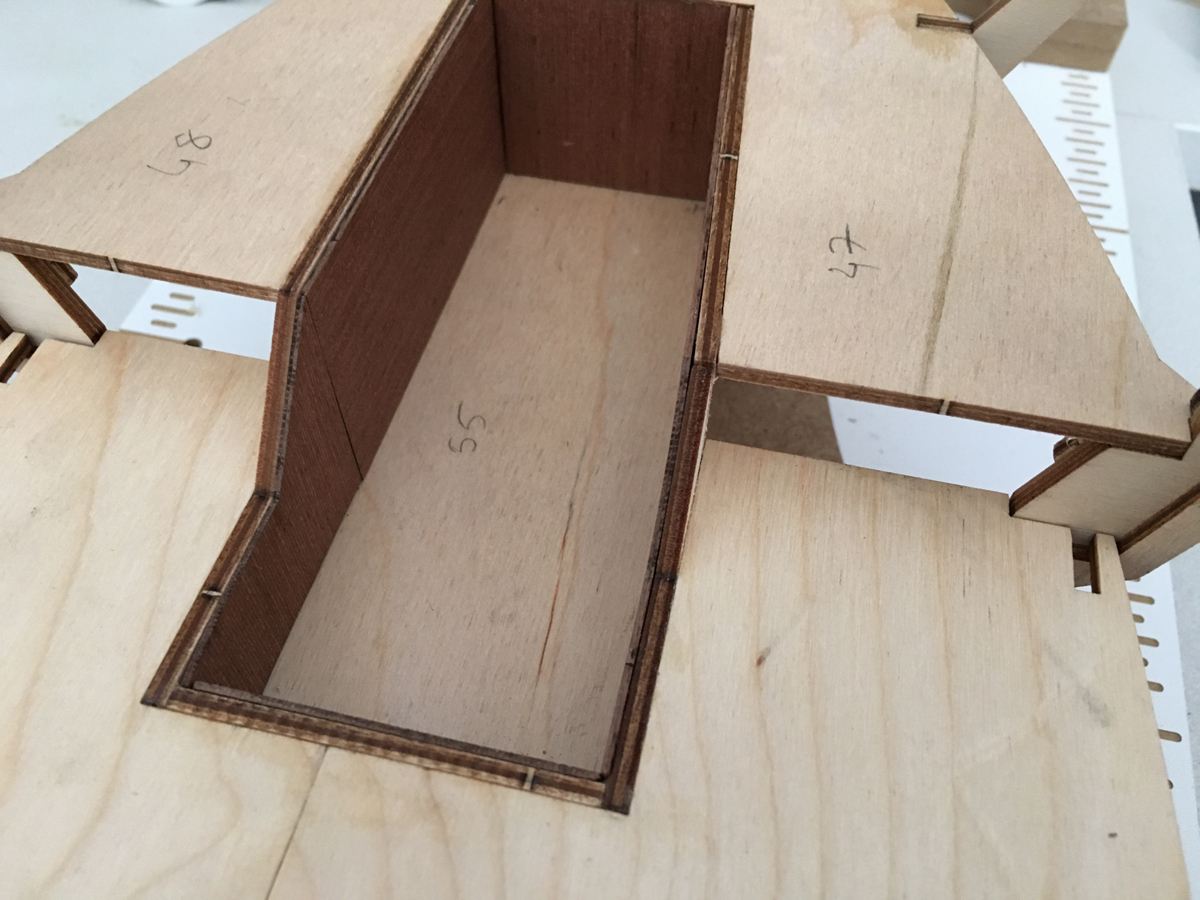
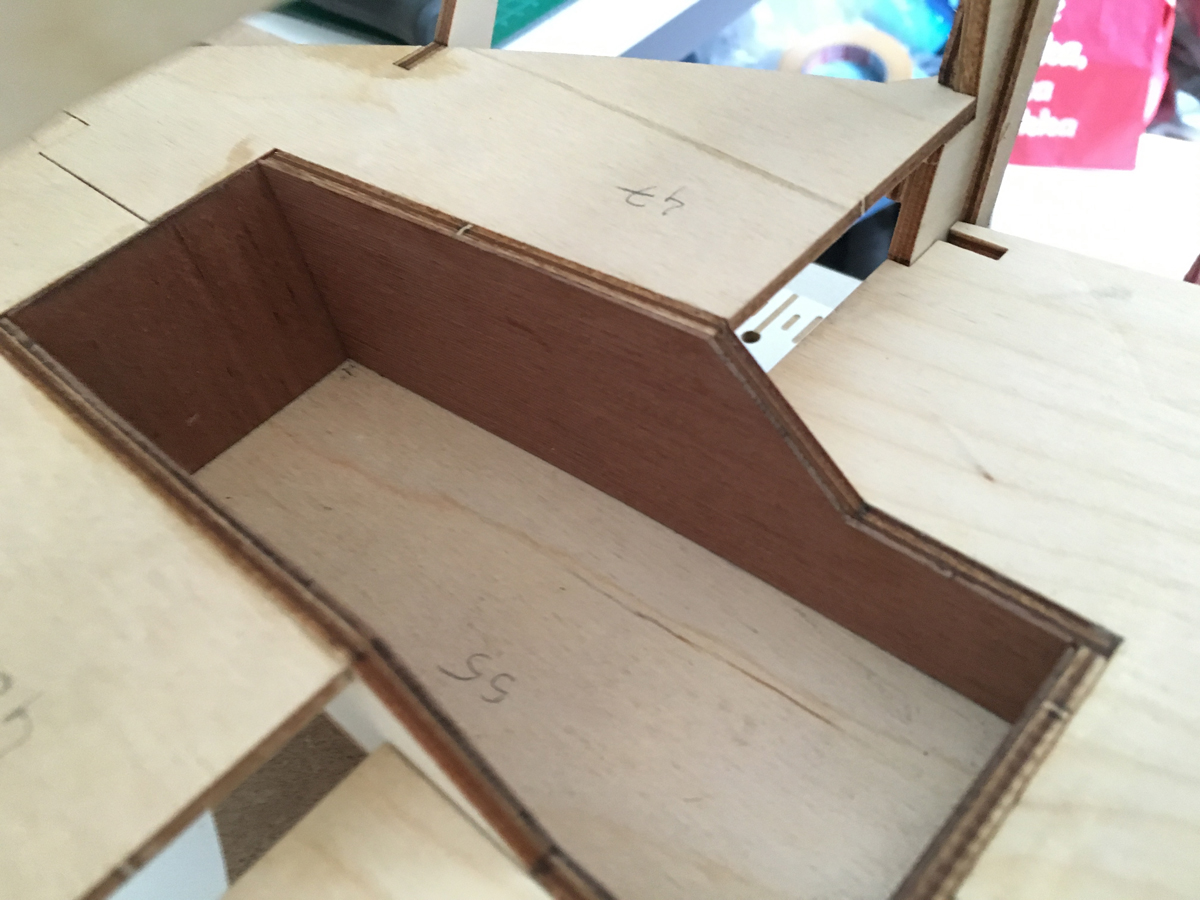
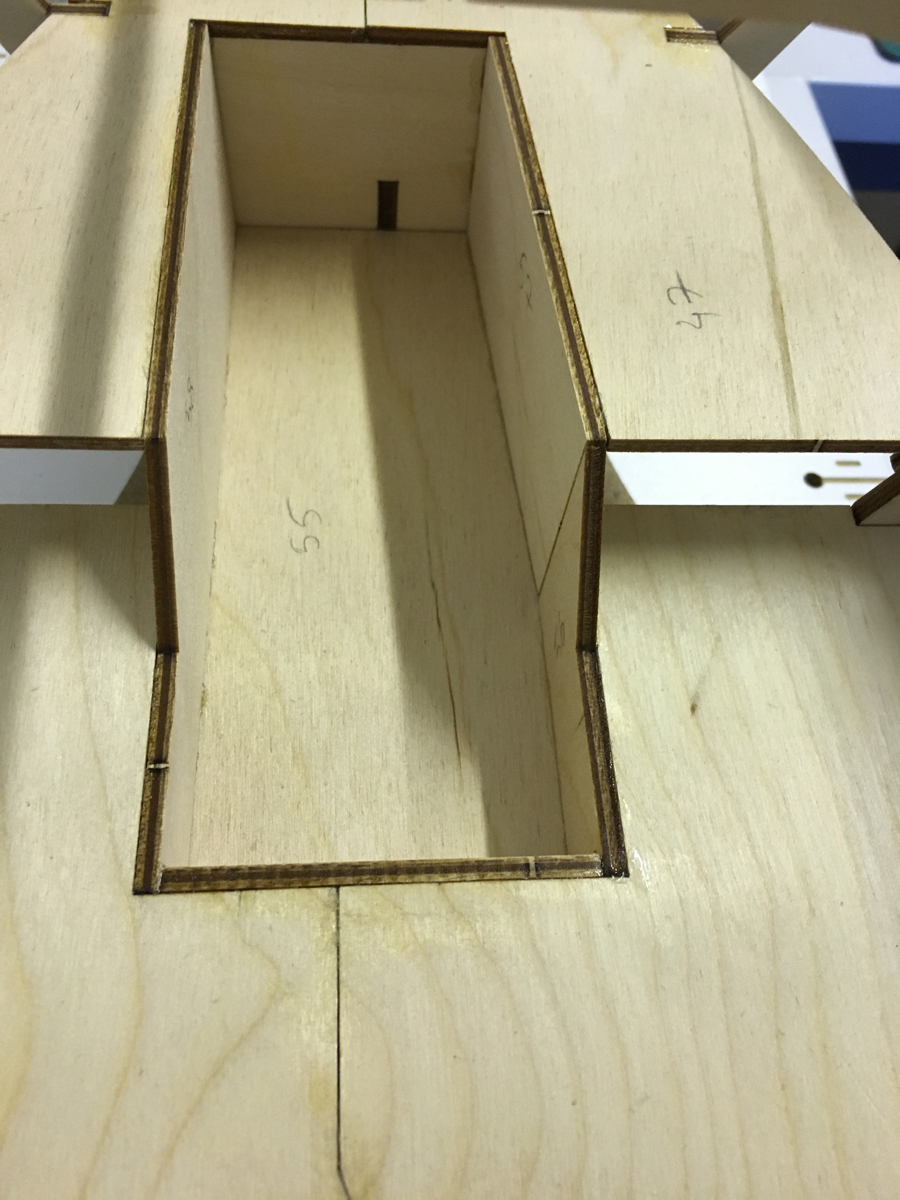
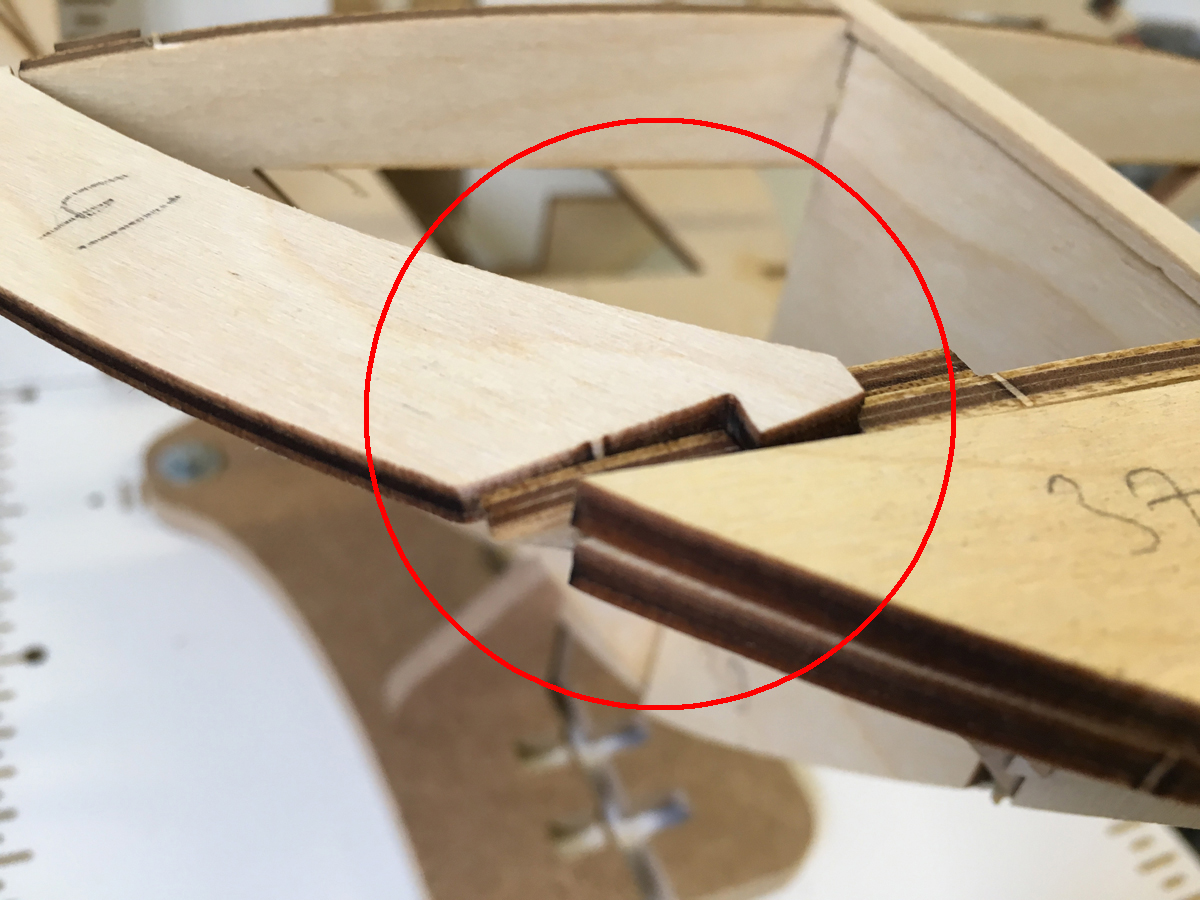
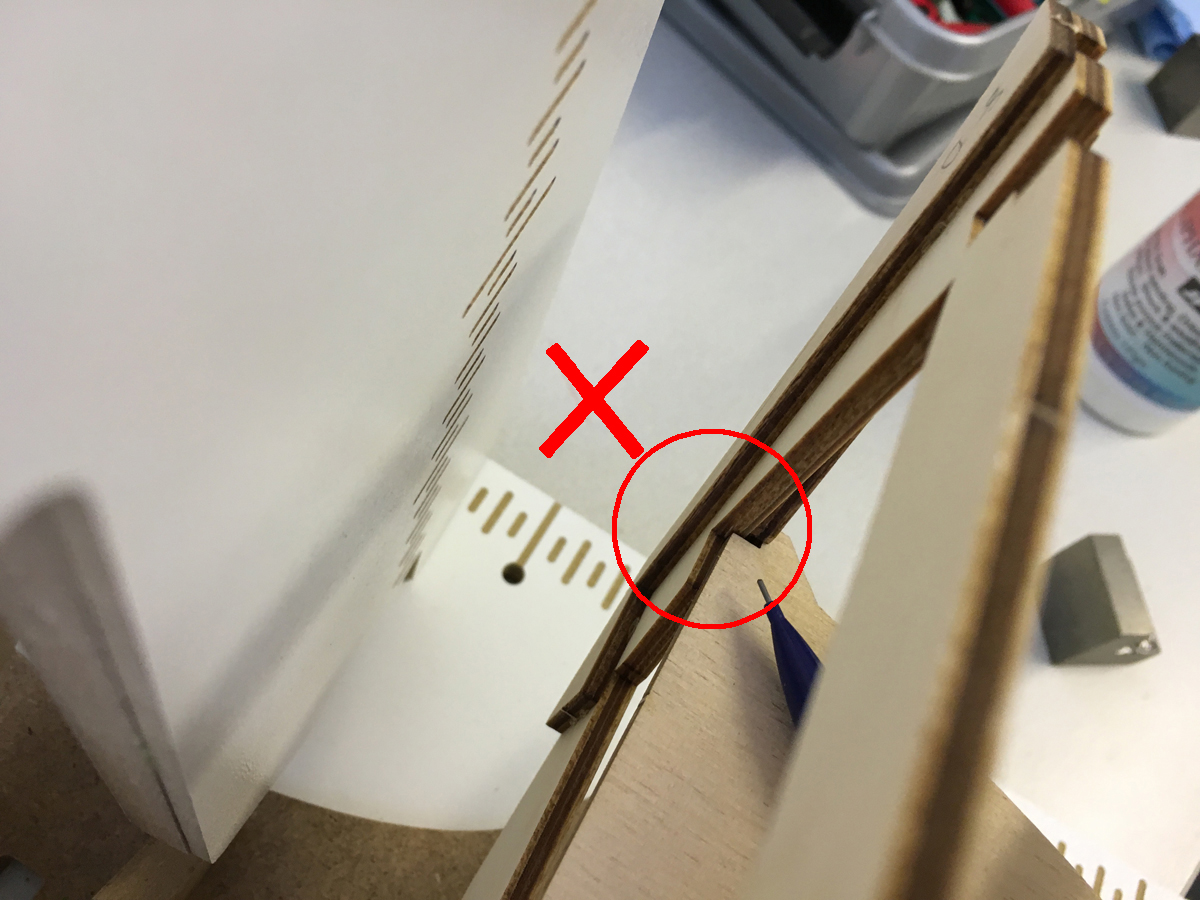
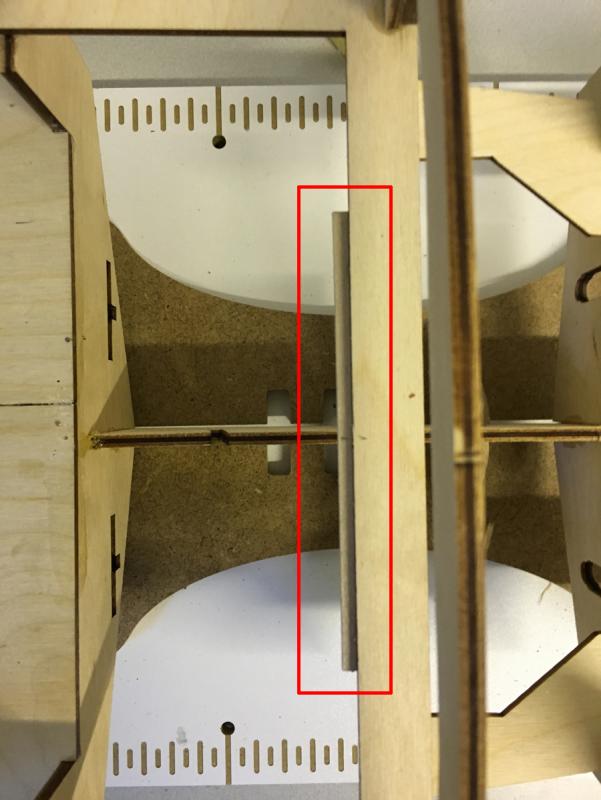
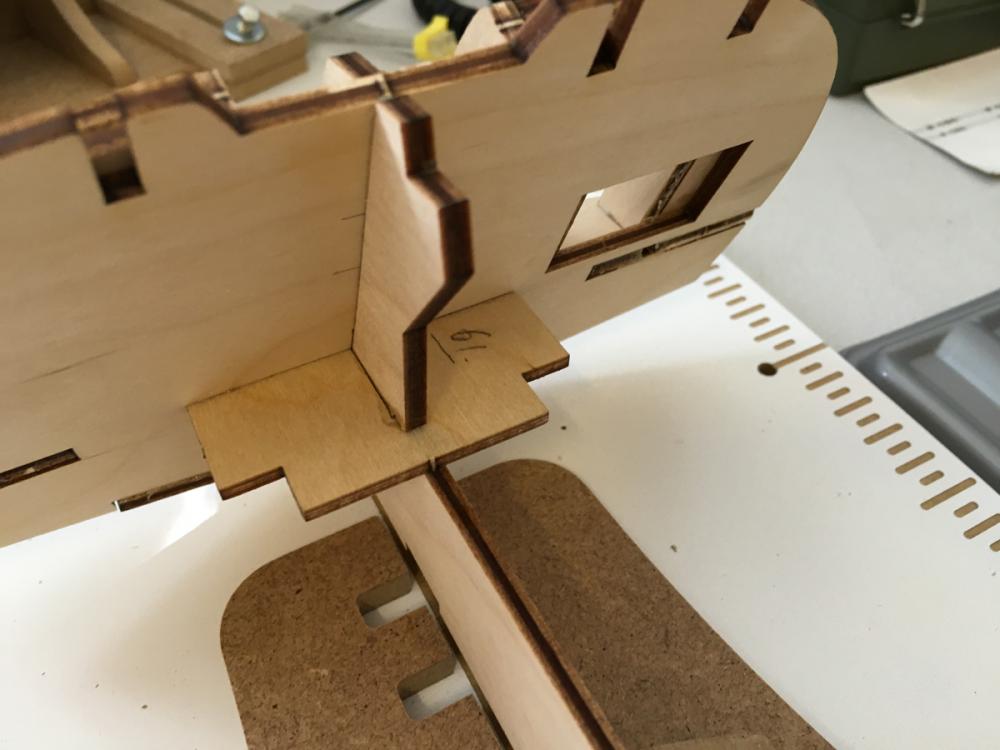
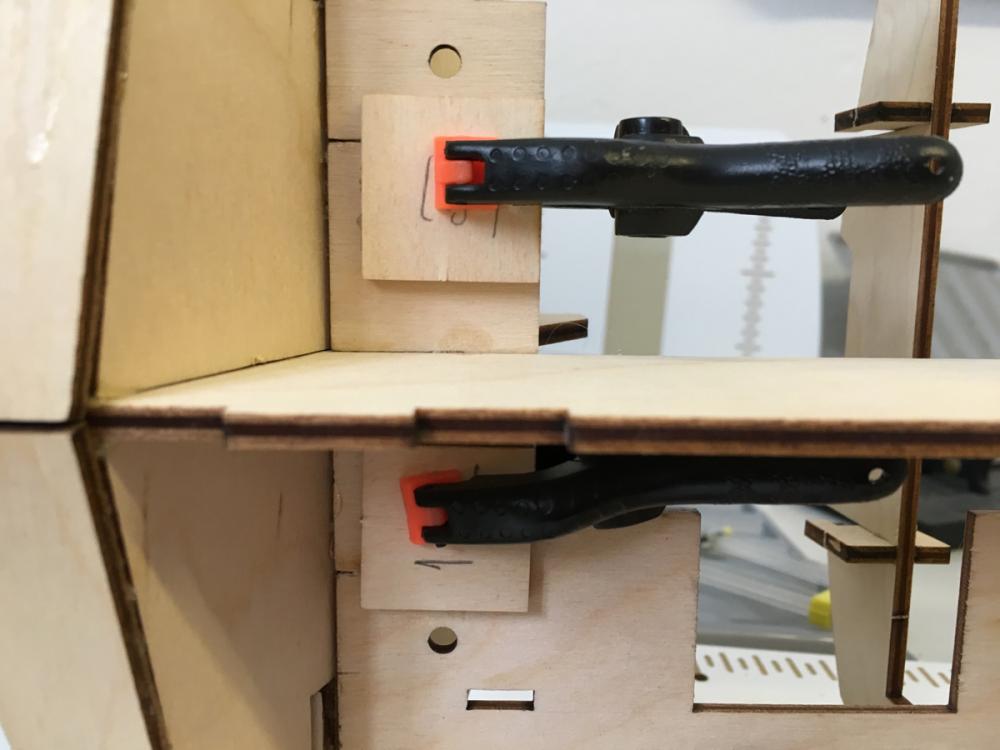
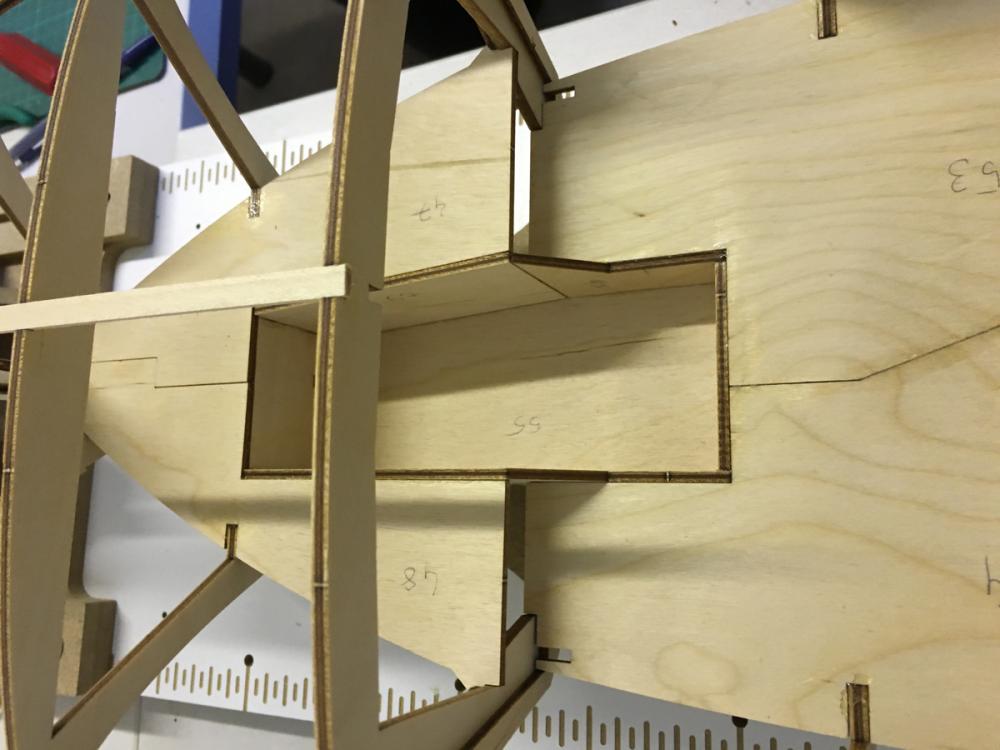
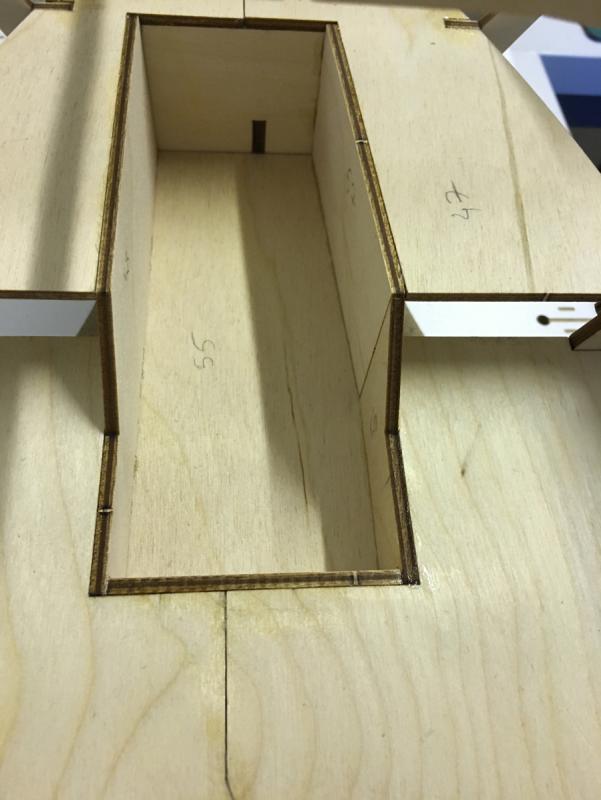
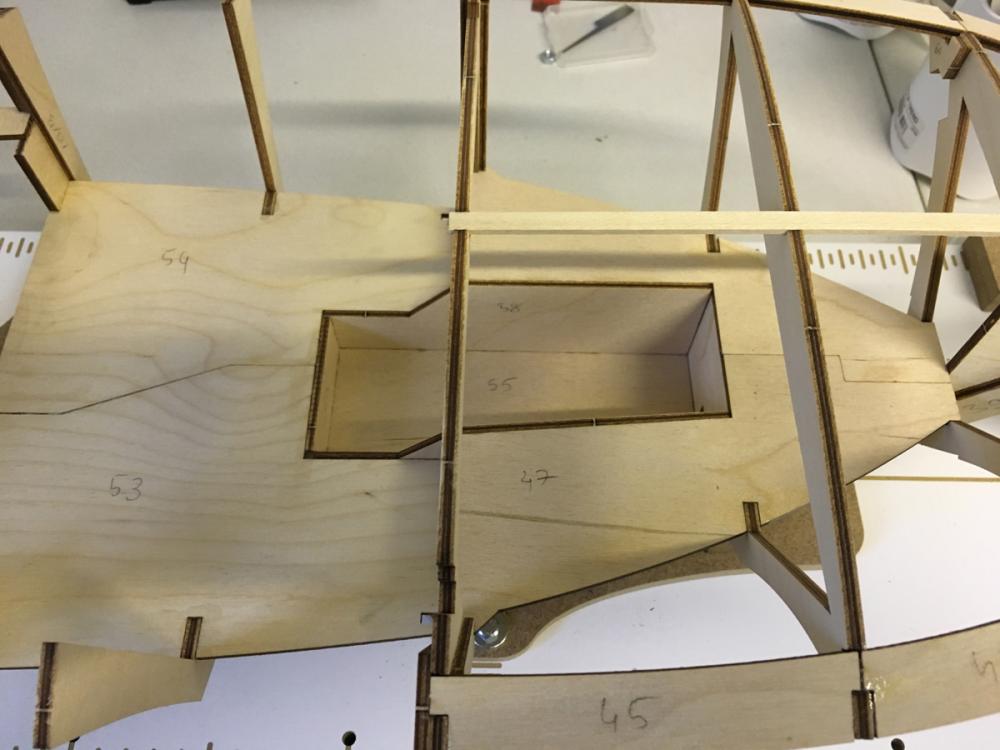
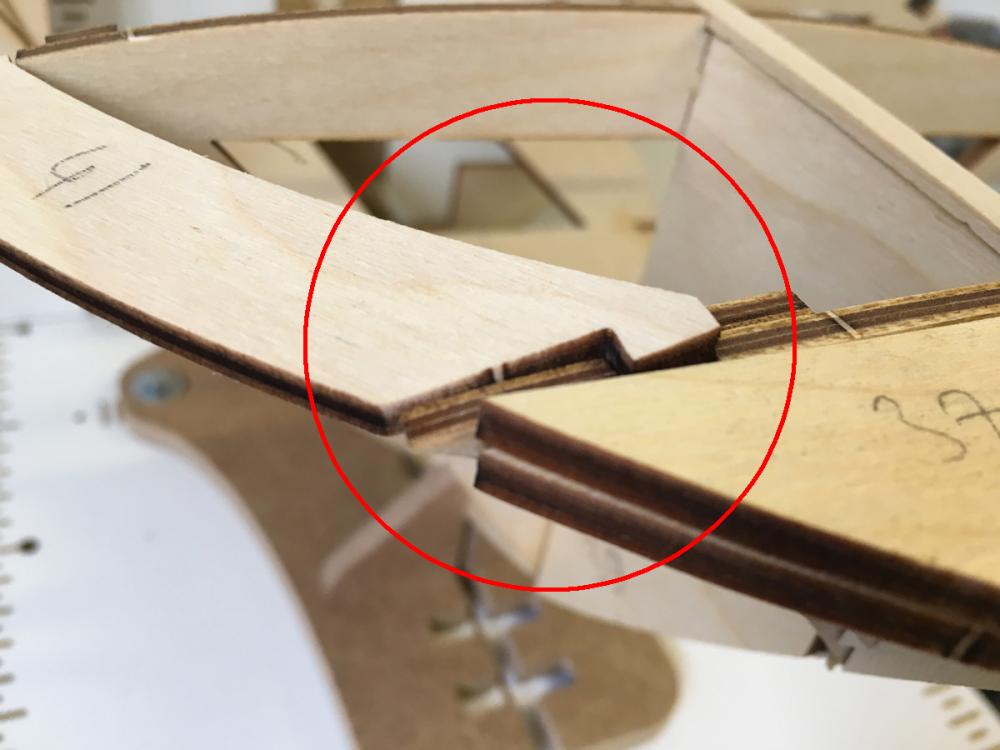
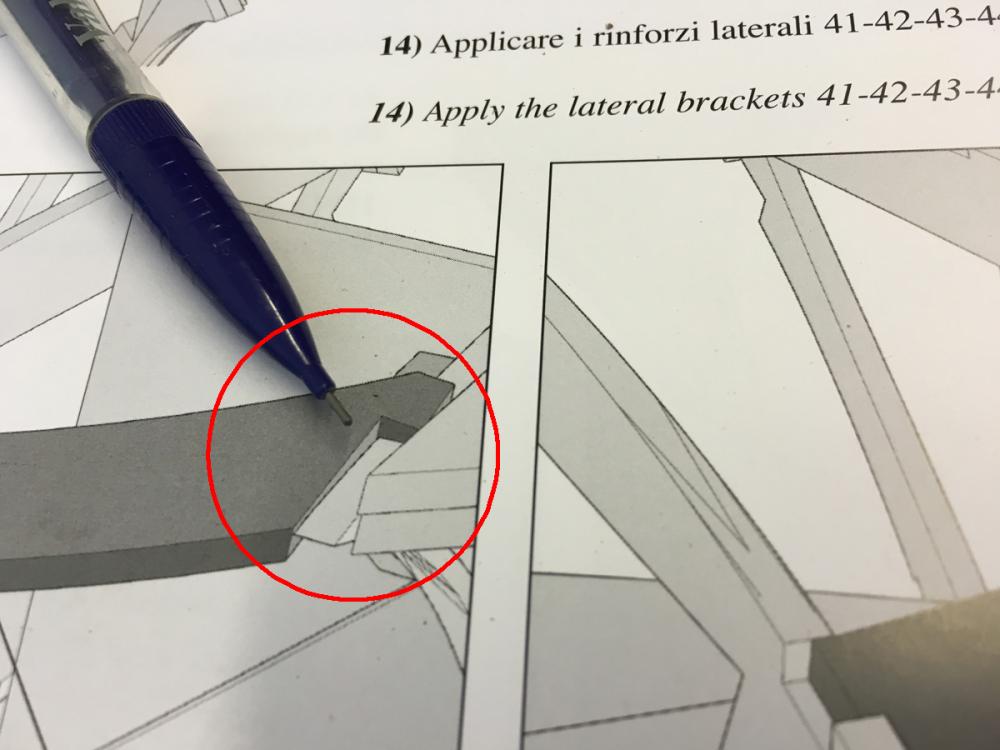
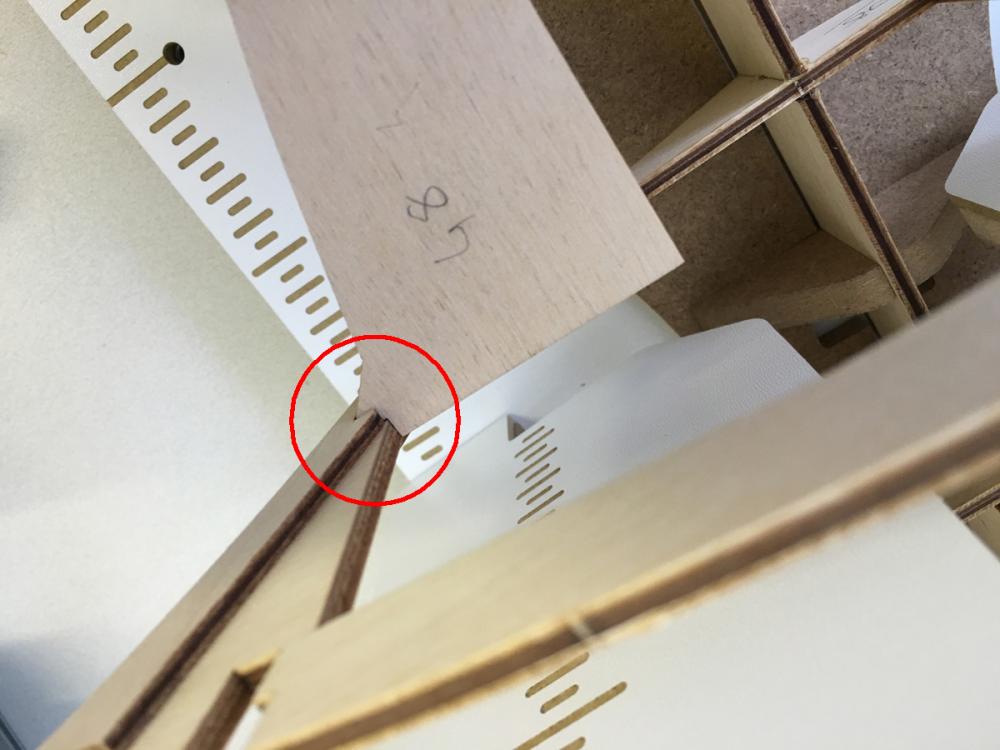
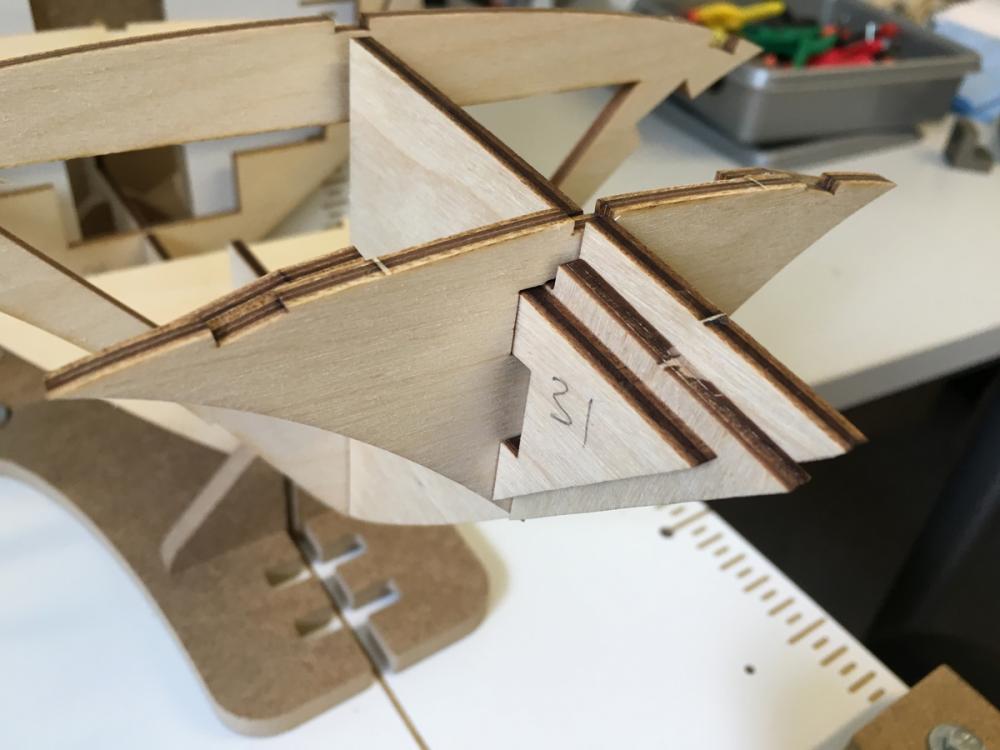
A detail about installation of part 48 (and its symmetrical pair) which is not very clear from the instructions at first glance and the parts' shapes allow both ways: X = wrong. This is the correct alignment:

- 414 replies
-
- 2
-
-
- riva aquarama
- amati
- (and 2 more)
-
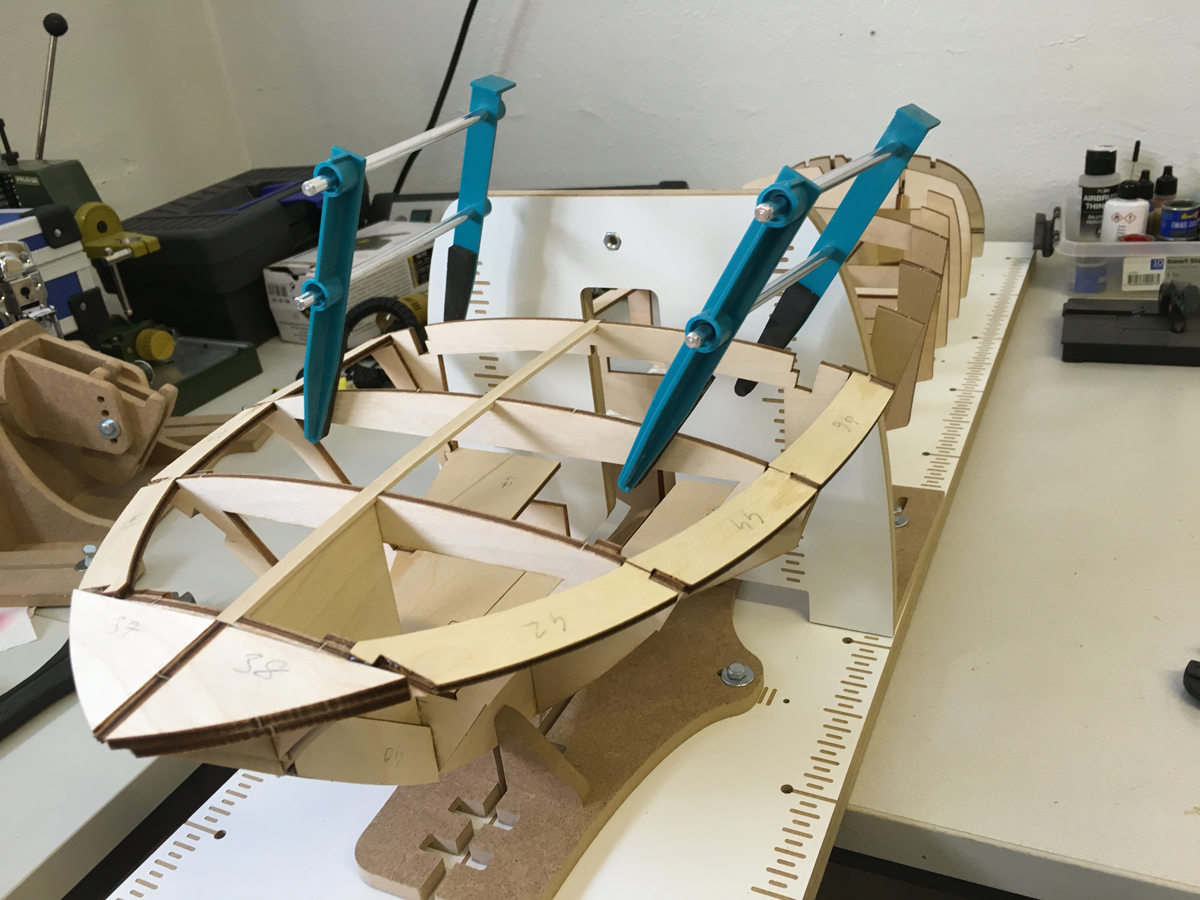
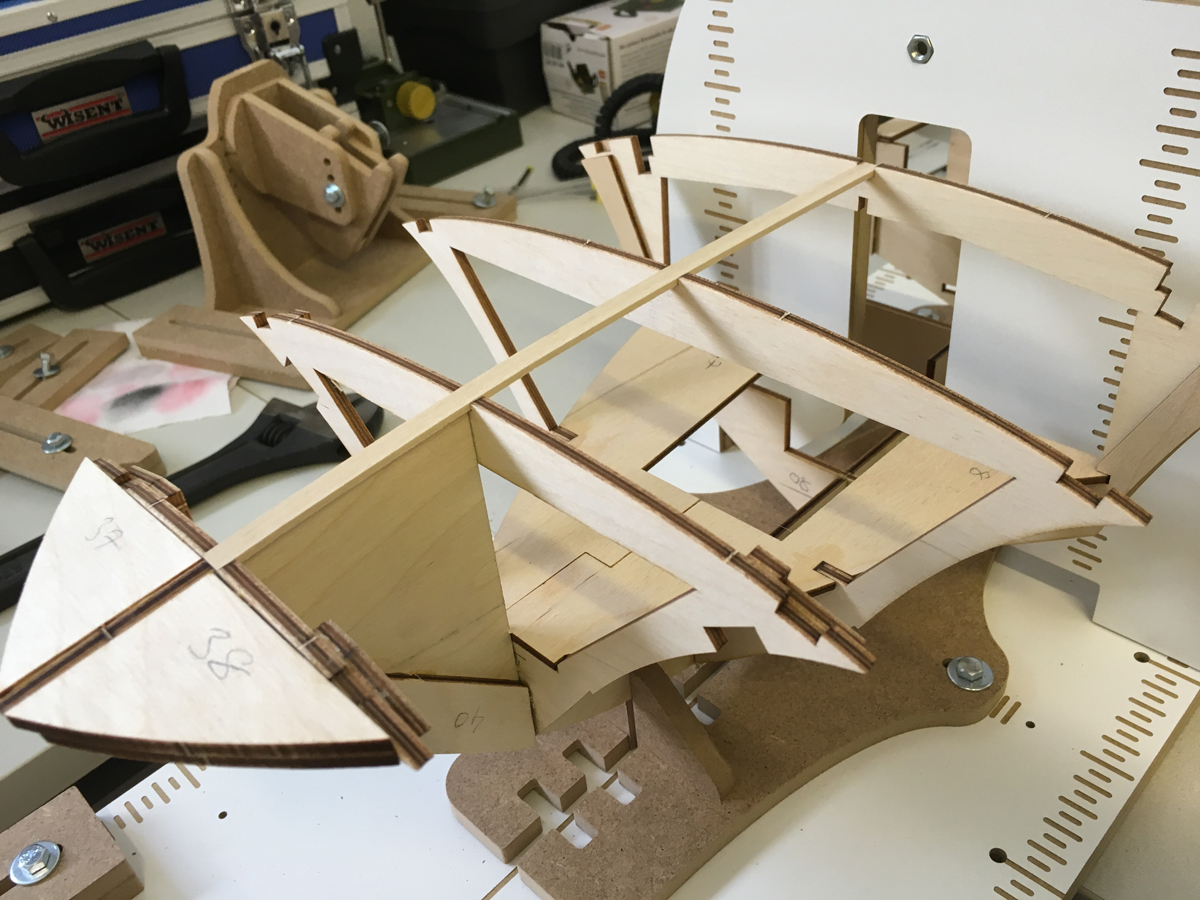
The building slip helps a lot with alignments. It would be impossible to align the hull with this much precision without it (at least for me).
- 414 replies
-
- 2
-
-
- riva aquarama
- amati
- (and 2 more)
-
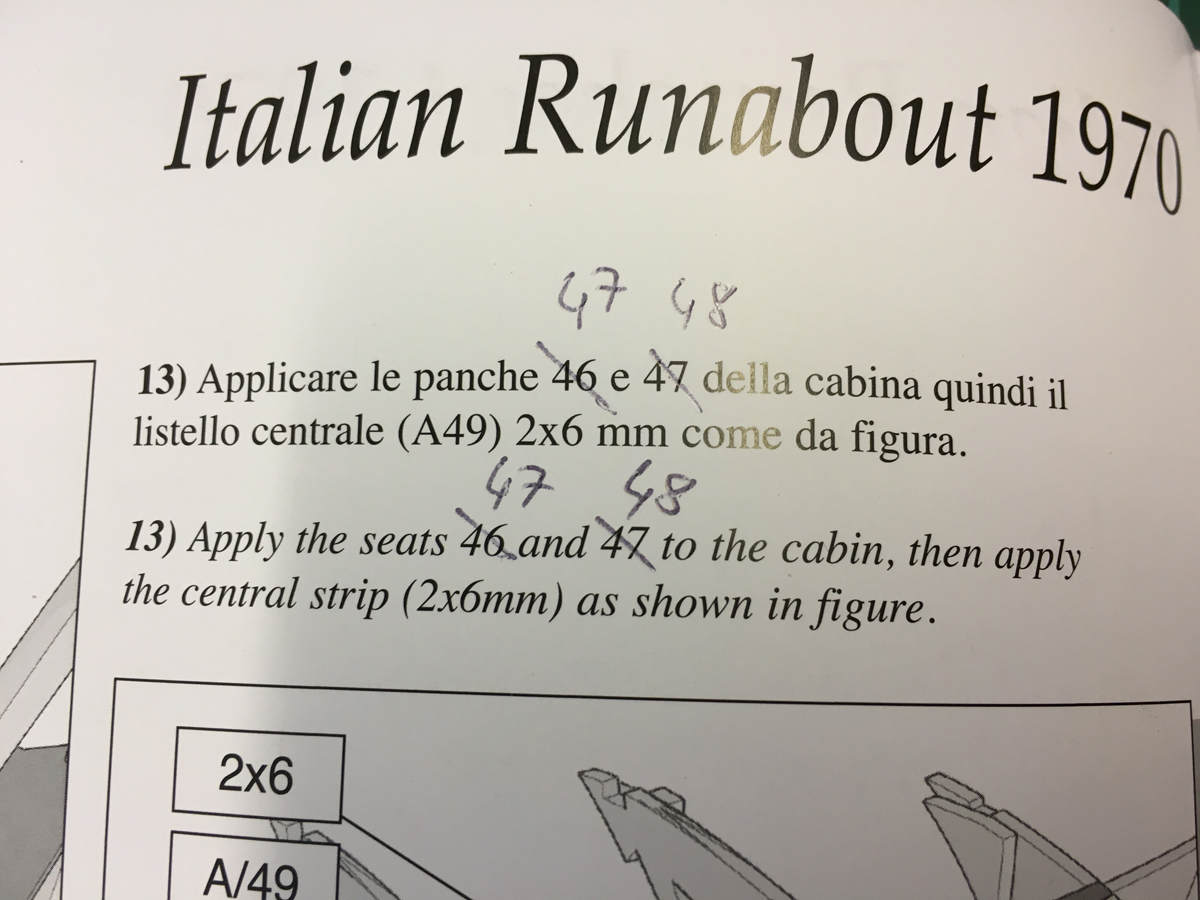
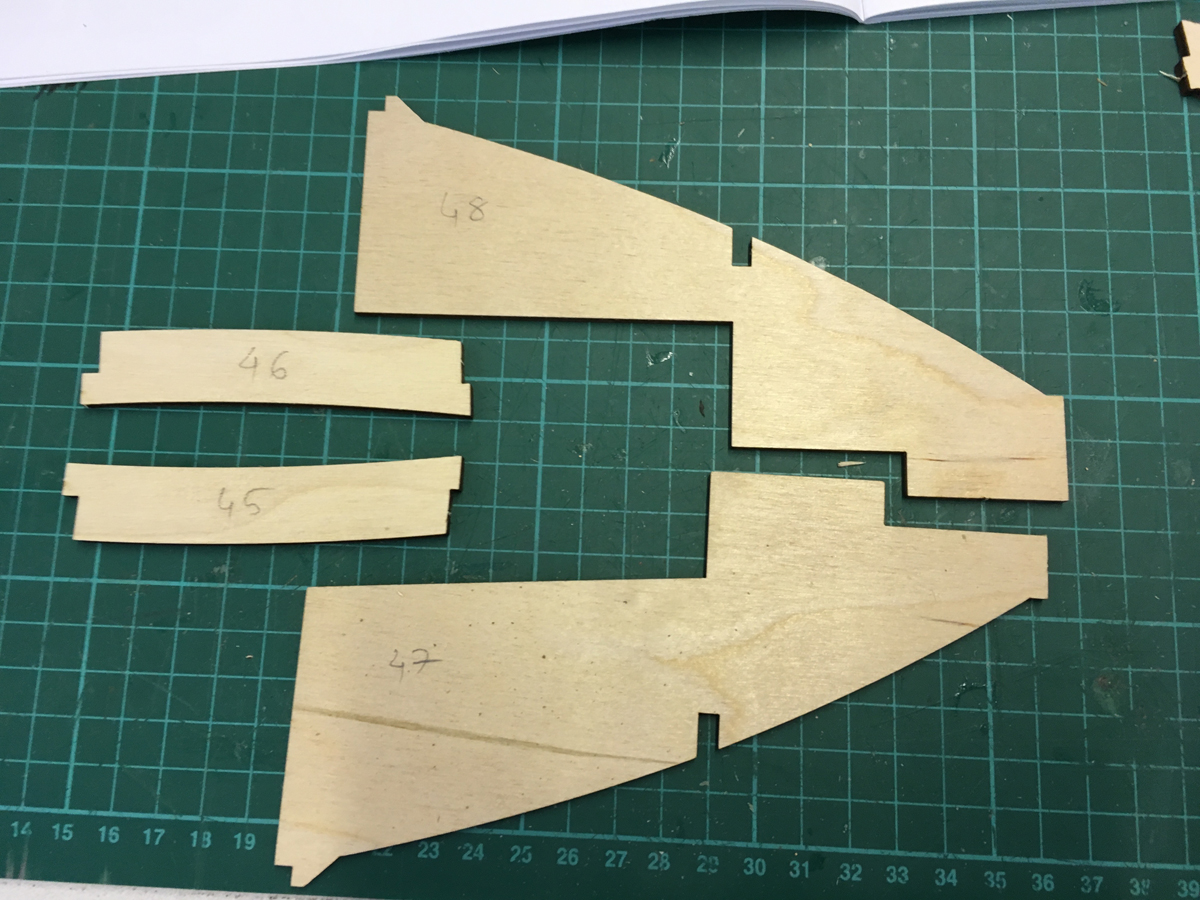
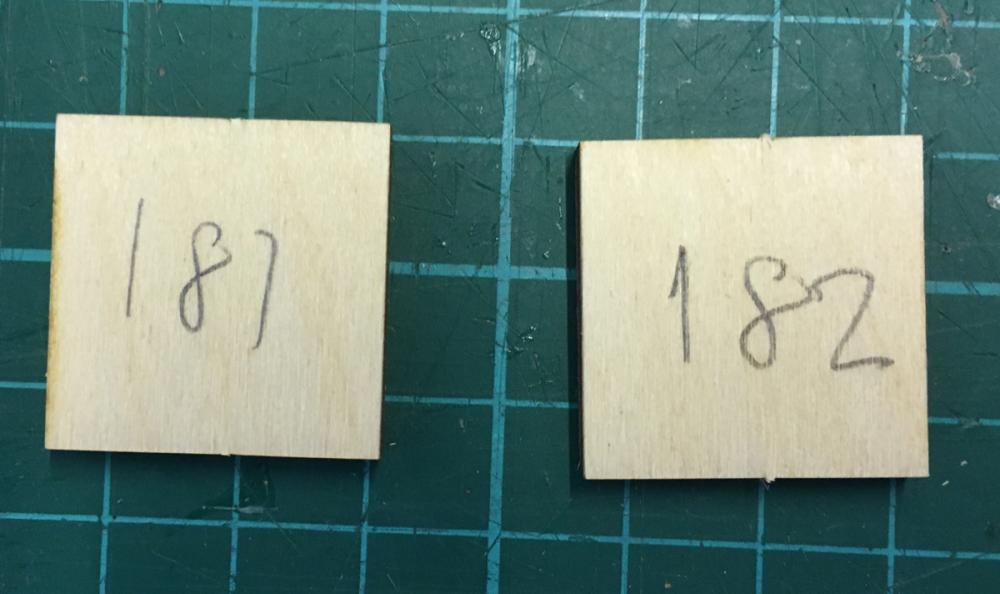
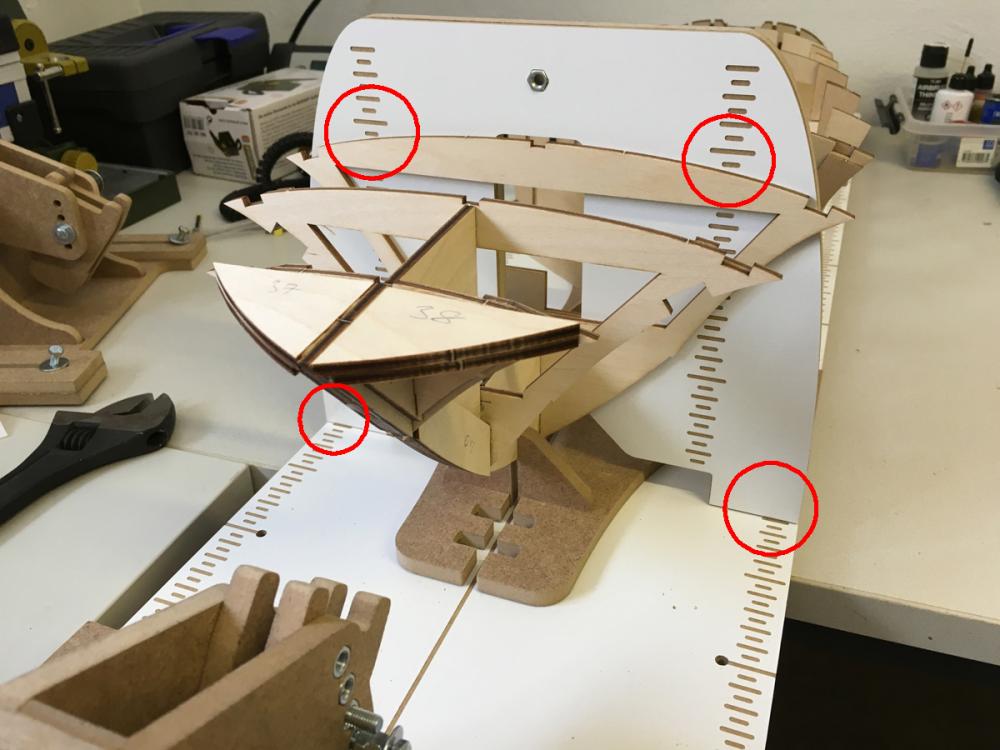
Noticed a small typo in the manual. Anyway the part numbers which have been mistaken are quite different therefore there is no risk of making a mistake (other than rubbing your eyes with glued hands to make sure you've seen correct). And the parts in question:

- 414 replies
-
- 3
-
-
- riva aquarama
- amati
- (and 2 more)
-
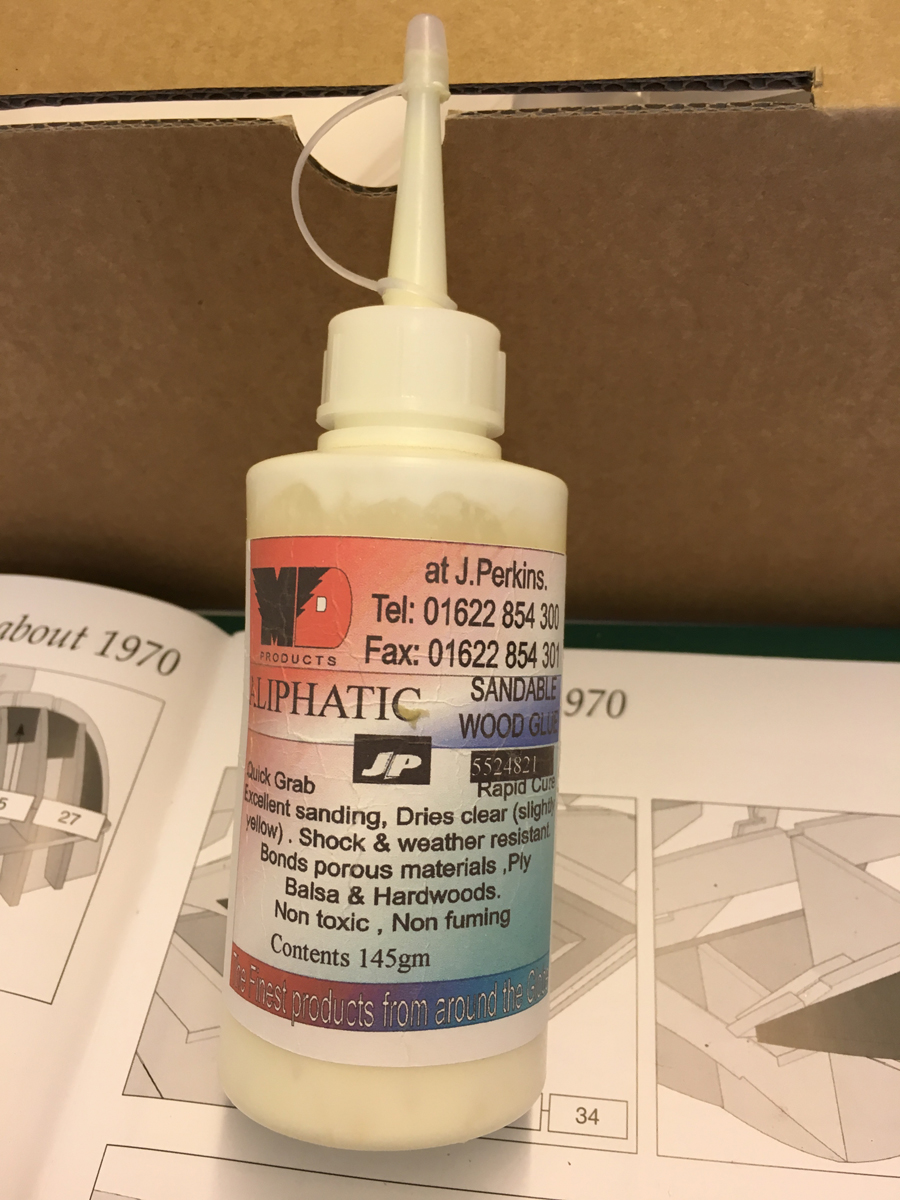
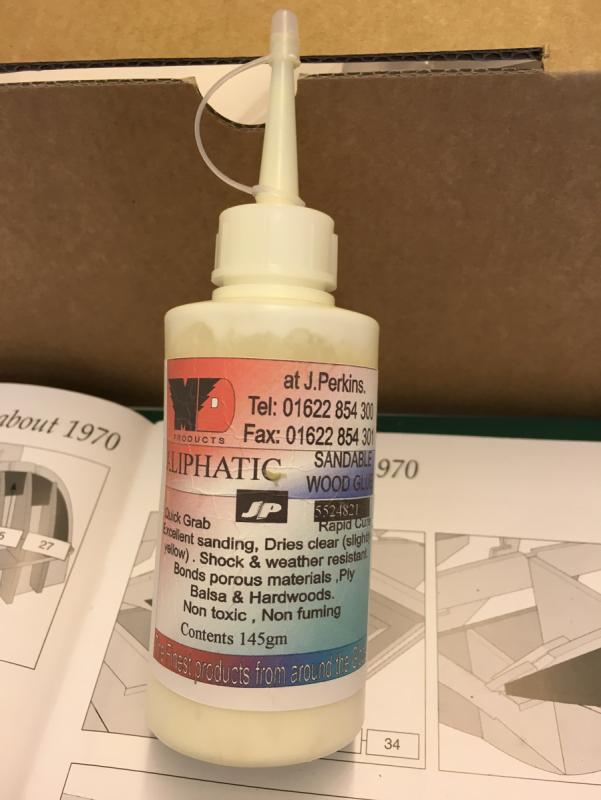
By the way, I am using this aliphatic glue for assembling the large surfaces to save my UHU. It is otherwise great glue and cheaper than UHU hart. I don't remember where I bought them from, but most probably from a UK online shop. Yes, from the package it looks quite homemade
- 414 replies
-
- 3
-
-
- riva aquarama
- amati
- (and 2 more)
-
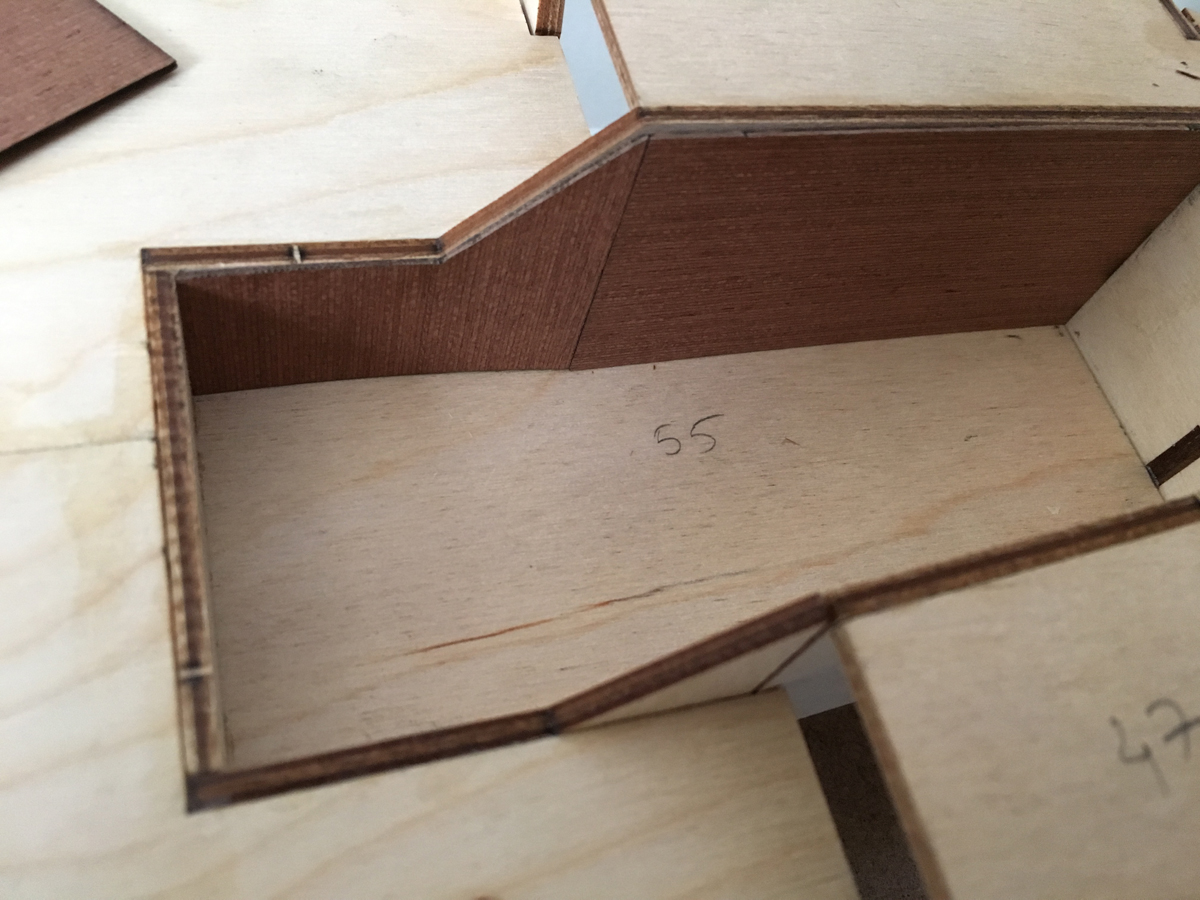
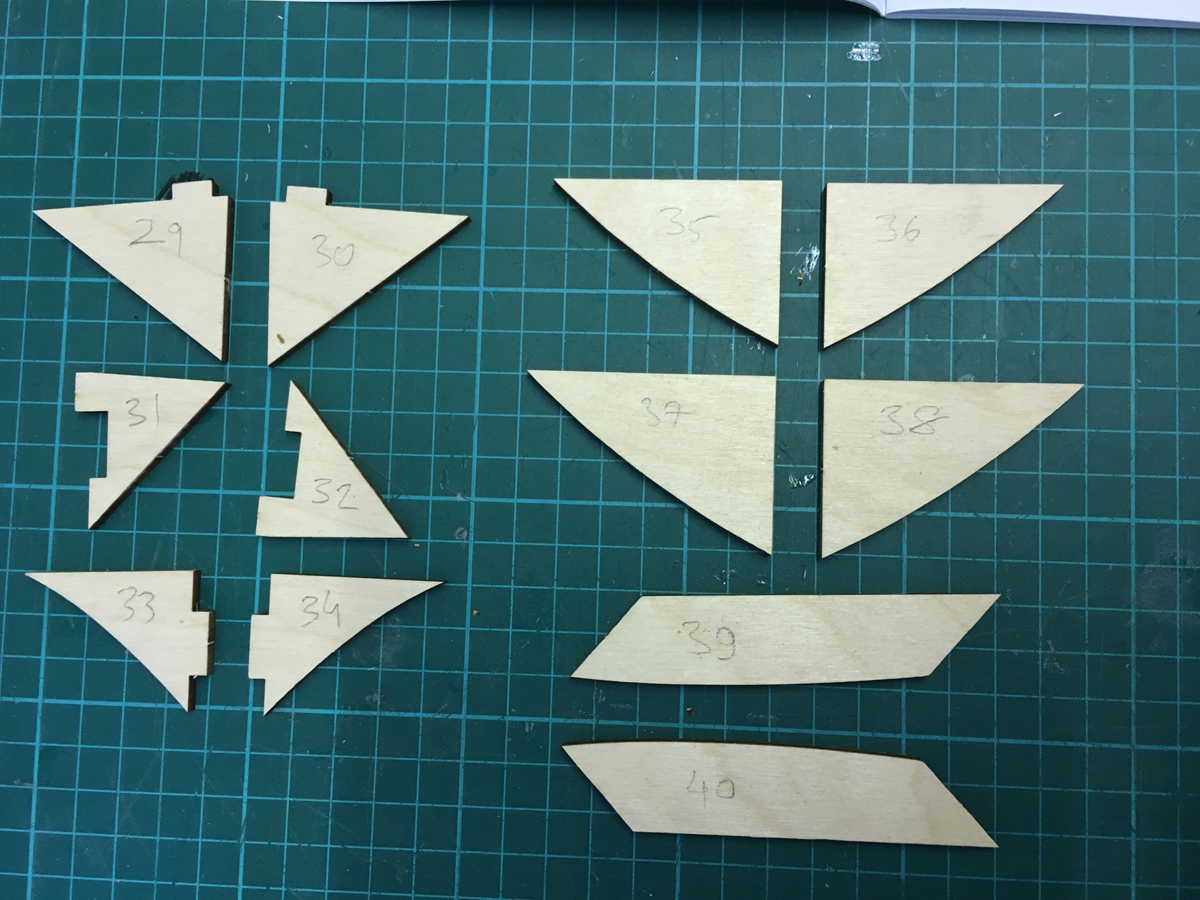
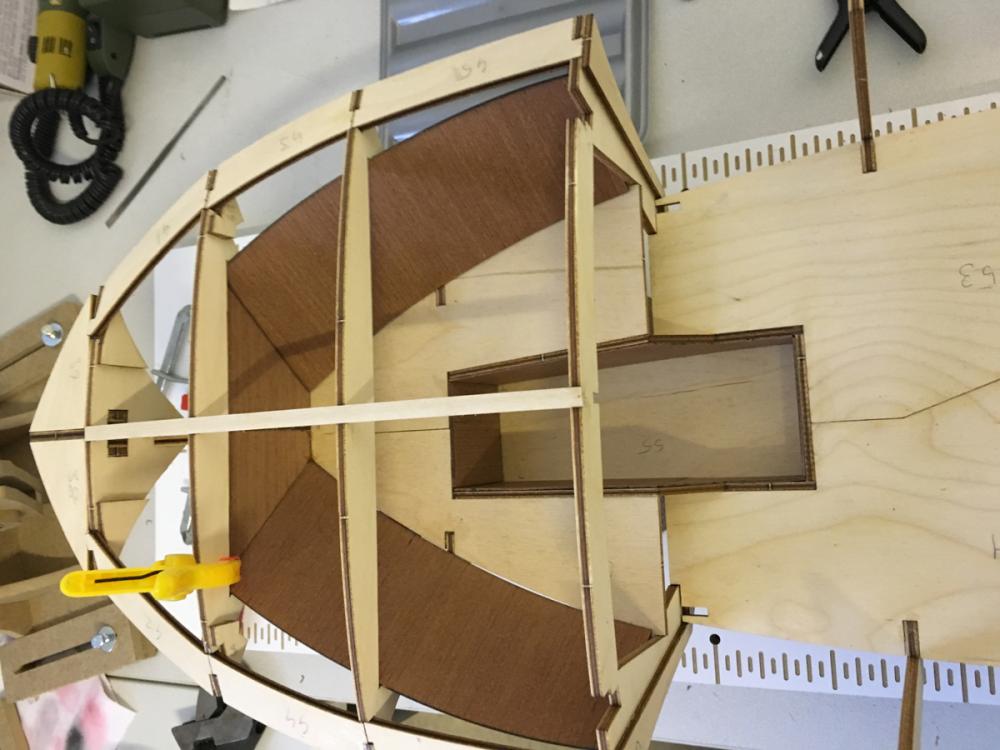
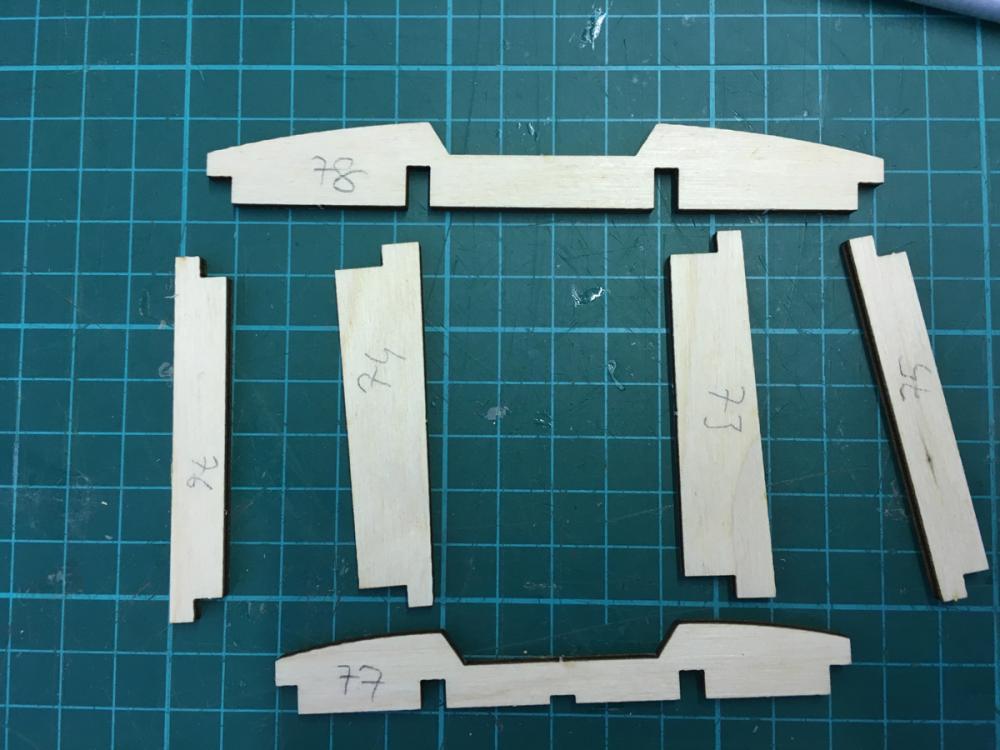
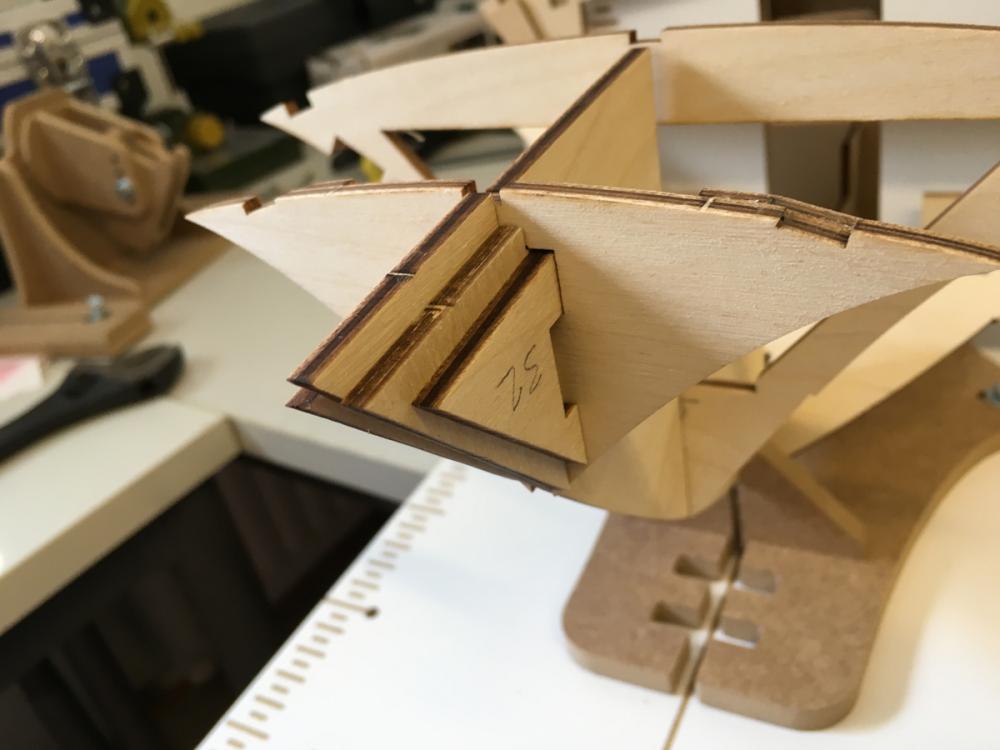
Reinforcements of the prow (this hull is full of reinforcements): Pieces: In place:

- 414 replies
-
- 2
-
-
- riva aquarama
- amati
- (and 2 more)