aydingocer
-
Posts
916 -
Joined
-
Last visited
Content Type
Profiles
Forums
Gallery
Events
Everything posted by aydingocer
-
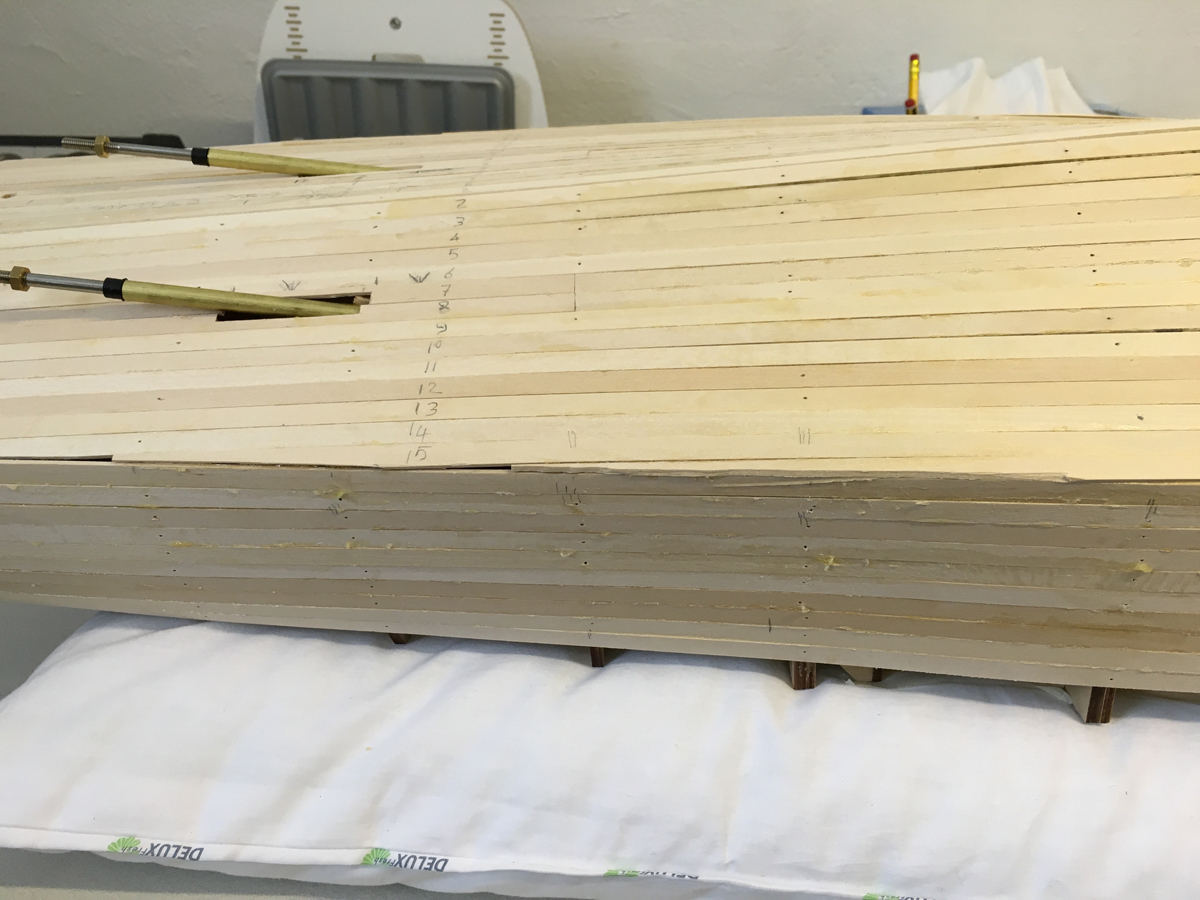
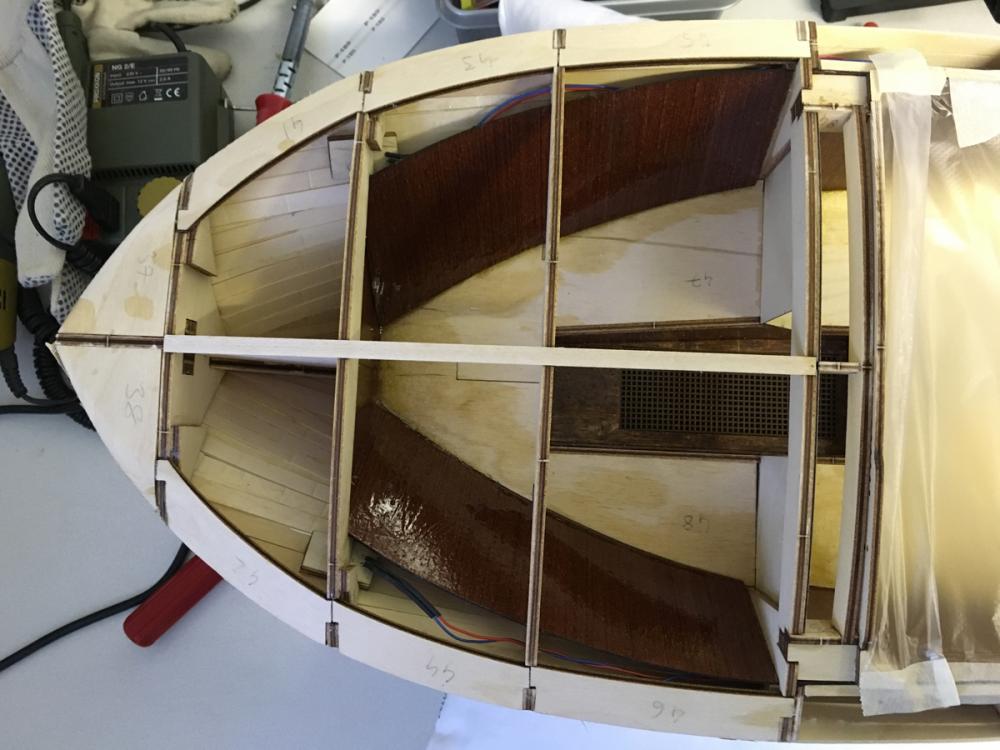
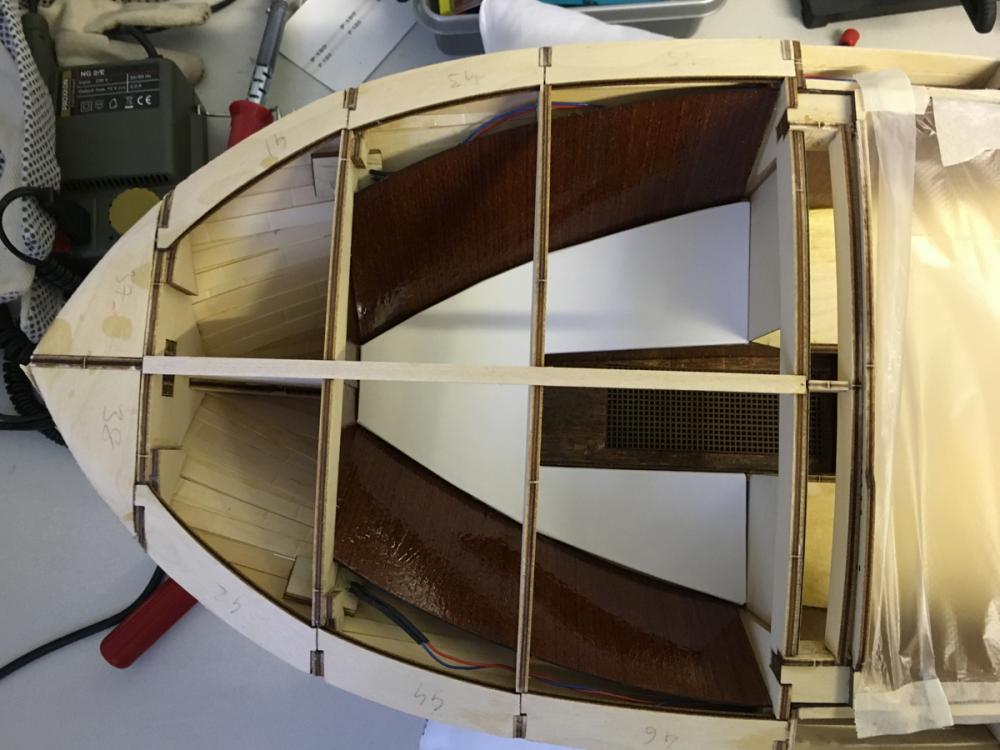
 Planking of the deck starts. According to the instructions, first you plank the 2 center strips and then continue with the left side first, even though it is usually customary to plank one on each side, proceeding evenly. I don't actually know if it makes any difference, but anyway I decided to follow the instructions. Maybe they have a point, which will show up later. The front deck planks terminate at the dashboard, with the last 3 strips at the sides following the same alignment:
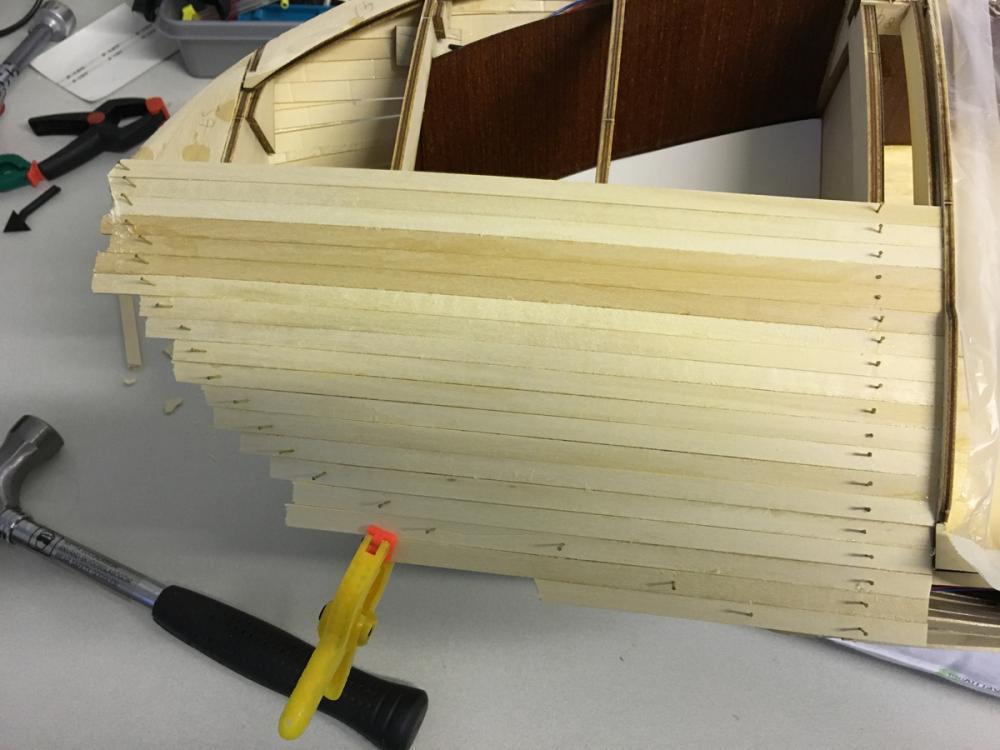
- 414 replies
-
- 5
-

-
- riva aquarama
- amati
- (and 2 more)
-
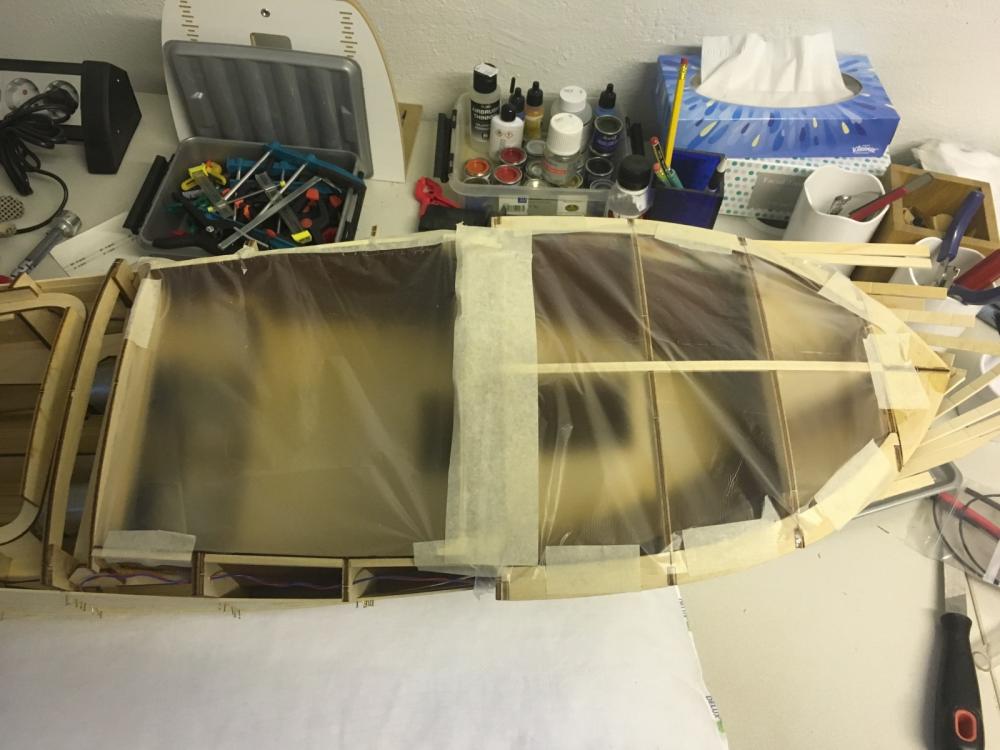
Next step is to plank the front deck. Here I had to remember to finally glue the leather mattress under the deck:
- 414 replies
-
- 8
-
-
- riva aquarama
- amati
- (and 2 more)
-
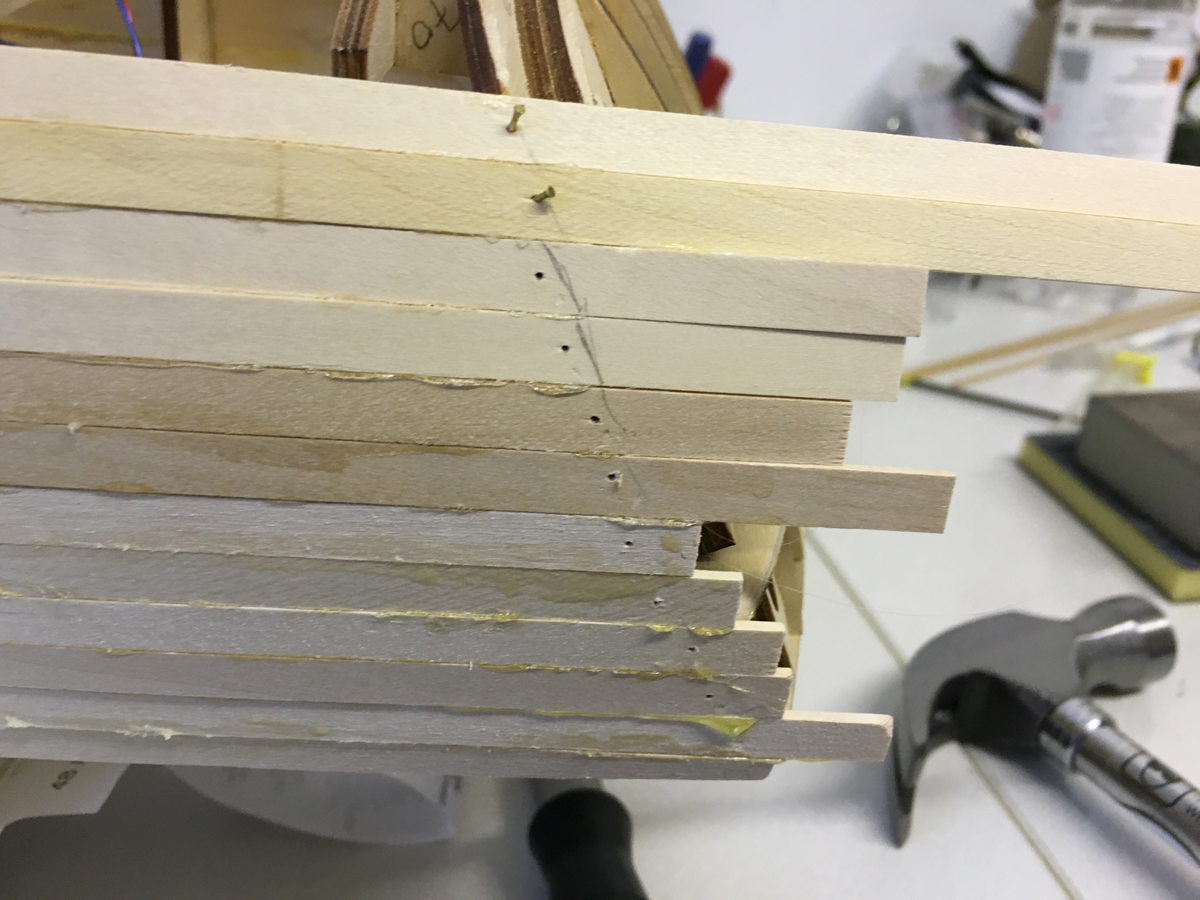
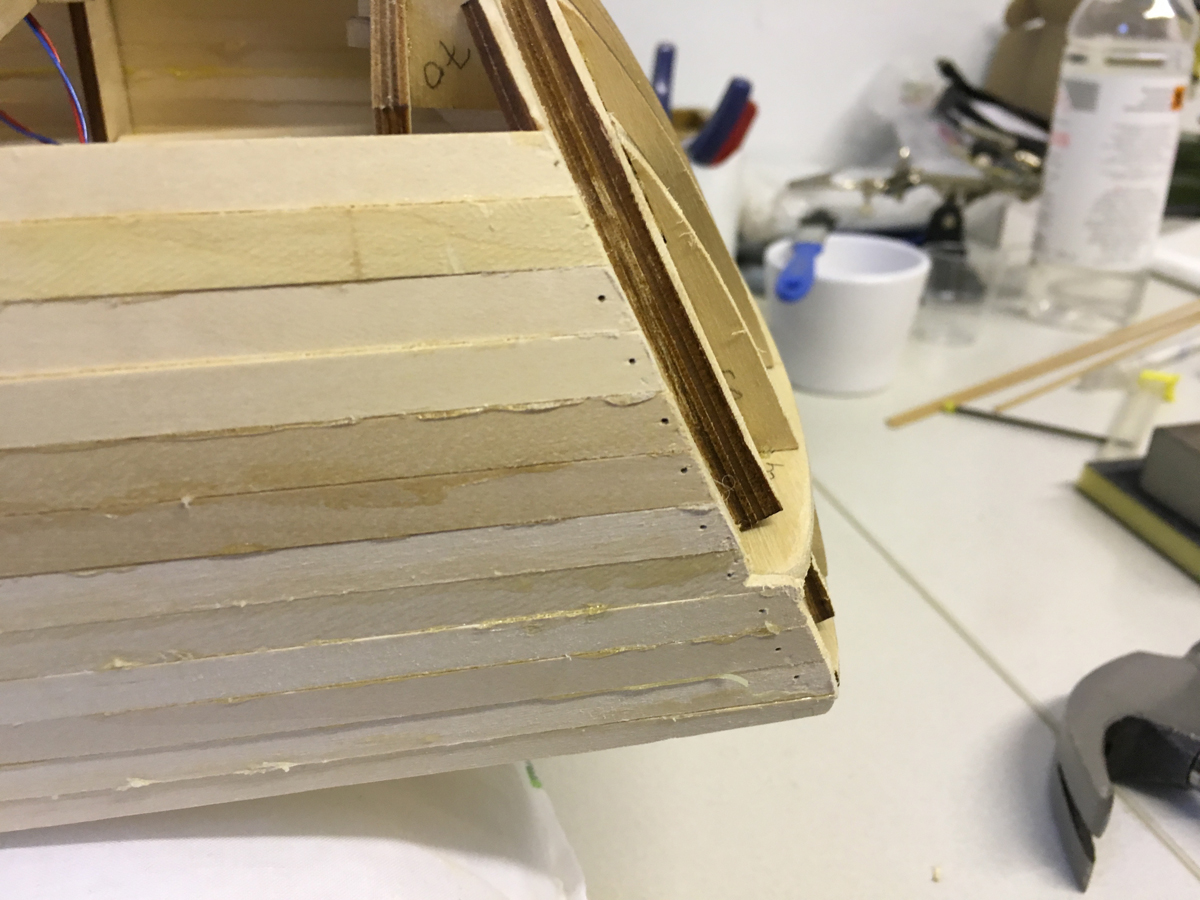
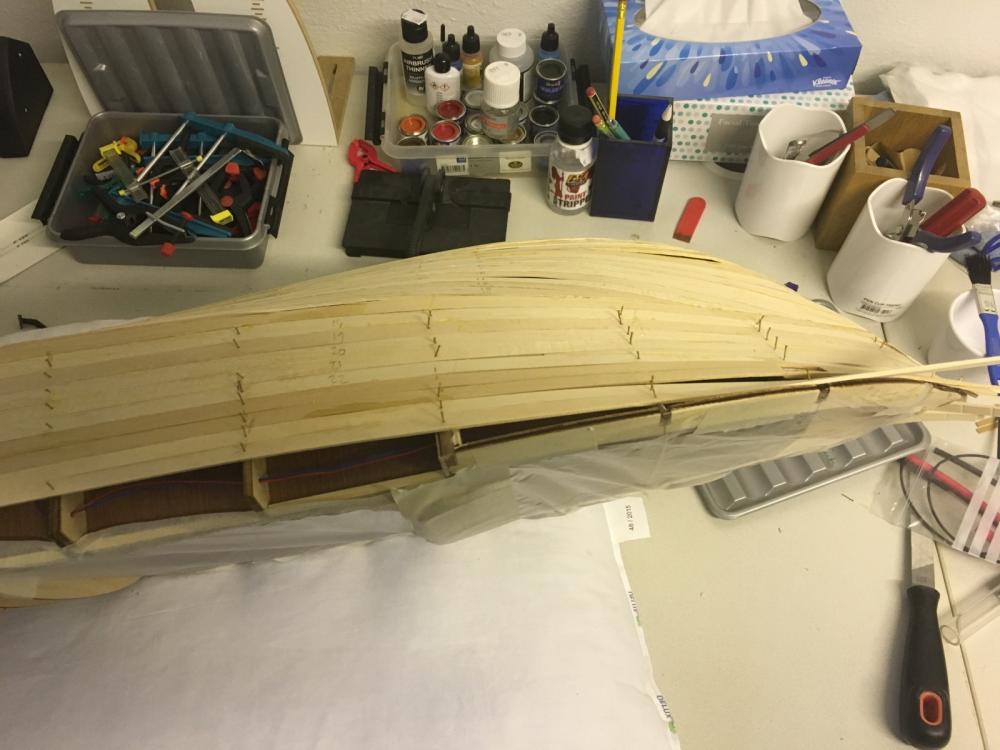
Next, I decided to do a bit more cleaning up and trimmed the excess planks from the edges: BEFORE: AFTER: and

- 414 replies
-
- 7
-
-
- riva aquarama
- amati
- (and 2 more)
-
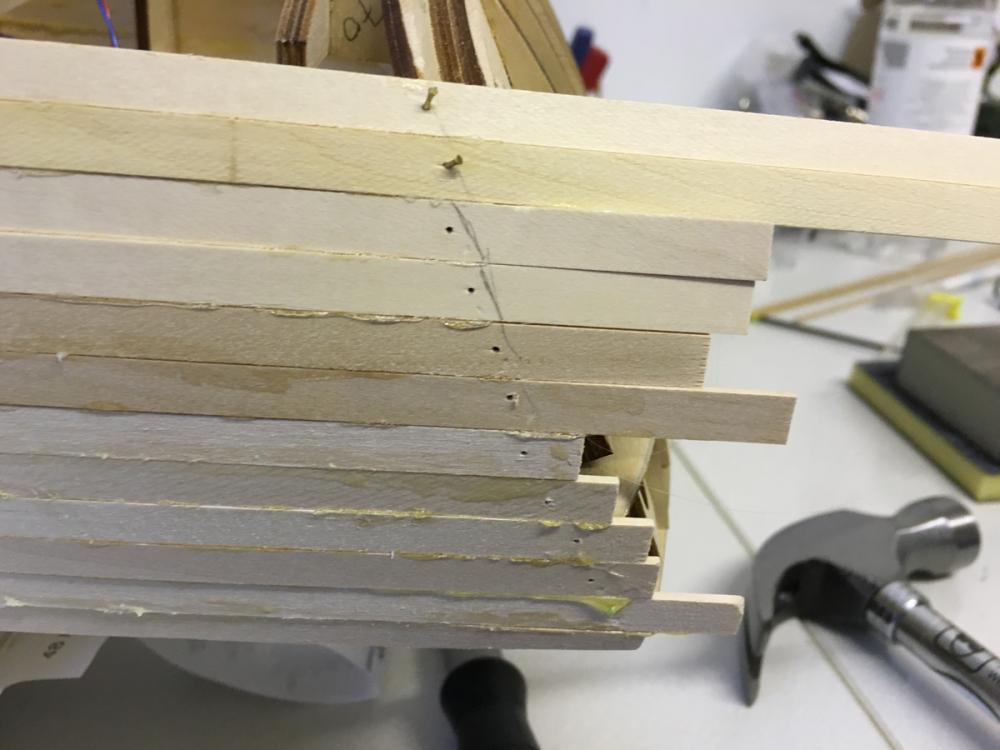
So, I started the day by removing the nails which have been there for several weeks:
- 414 replies
-
- 7
-
-
- riva aquarama
- amati
- (and 2 more)
-
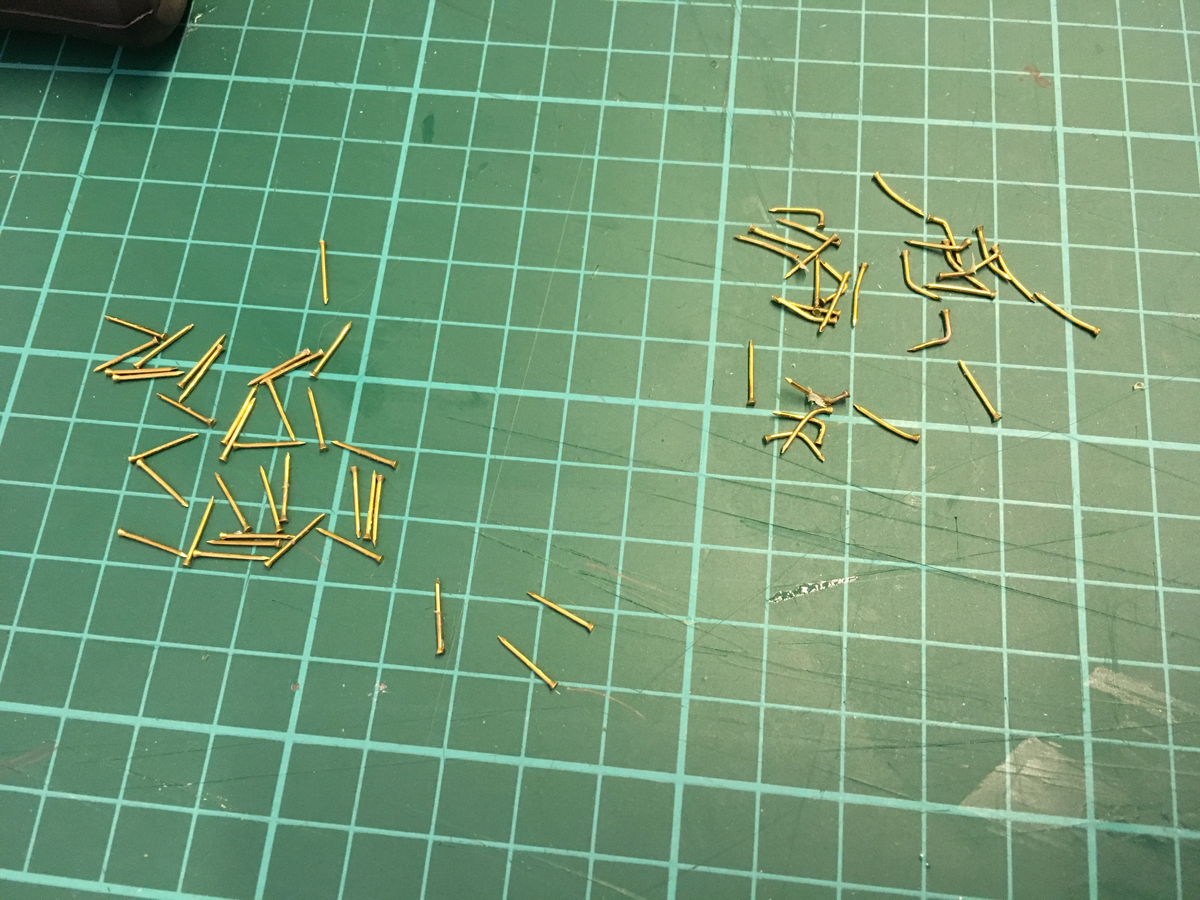
BUILD DAY 16. PLANKING CONTINUED. After a short holiday trip abroad, a friend visiting from abroad, some busy times at work, combined with Euro 2016 football cup games on TV, finally I am back to construction of my lovely model. Returning from each break, the smell of wood and glue makes you realise how much you have missed building your model. Anyway, I was able to spend some good 4 hours today on continuing the planking. First of all, some complaint about the kit: The amount of nails which come with the kit is simply insufficient. I can tell this by saying that I haven't even used half as many as shown in the instructions but still I have run out of them. So what I did was to recycle them by removing carefully from the planks. On the left, the ones which I was able to recycle. On the right are those which go directly to garbage after serving a single time: Just for reference, this is how generously they are used in the instructions:

- 414 replies
-
- 4
-
-
- riva aquarama
- amati
- (and 2 more)
-
That's true, Carl. I had actually bought these push pins long time ago ( photo credit http://www.micro-mark.com ) but never actually used them. Maybe I should give them try, even though I am close to the end of planking, just for experiment. EDIT: Actually on a closer look, they may come quite handy during second planking since you will not be inserting the nail to the strip itself, but to the first planking layer underneath instead, hence no holes on the final planking.
- 414 replies
-
- 5
-
-
- riva aquarama
- amati
- (and 2 more)
-
BUILD DAY 15. PLANKING CONTINUED. 1 hour today. 51 hours into build in total. I was able to resume today after my wrist injury even though for a short time amongst the football games. Started with replacing the cockpit protection with a new one. The previous one was mostly worn out. After that I planked altogether 4 strips (two on each side). The hull planking (first layer) is almost done with these ones (except stealers and 1-2 full strips). Of course with all the work of removing the nails, filling the gaps with wood filler, sanding etc still remaining. I am planning to just remove the nails for the moment and do all the rest of the work once I have done the deck planking. That's all for today. Thanks for watching.
- 414 replies
-
- 8
-
-
- riva aquarama
- amati
- (and 2 more)
-
Thanks for all the good wishes. My wrist has almost healed totally, I hope to proceed tomorrow at least a little bit, before I go for a long weekend vacation to France (to watch Euro 2016 Football Cup tournament of course) . Before I continue, allow me to share with you an excellent example of customer care, which is increasingly harder to find nowadays. I am talking about a model hobby shop with online sales, named Static Naval Models, based in Italy. Their website is http://www.snmodels.com. I found this website totally by luck while looking around to find more information about the upholstery kit of my Riva Aquarama. While surfing their website I noticed a chat service on the bottom of their page. I started chatting with an Alberto who was very helpful and the chat last about half an hour. He gave me long descriptions and what's more, took several detail photos of the kit and emailed me afterwards, and I was not even their customer (yet). Their shop is apparently located in the same town as Amati therefore they have access to all kinds of info, stock and resources about Amati products. Several days later I ended up ordering this baseboard for my Riva from their page (http://www.snmodels.com/en/snshop/floor-stands-and-supports/baseboard-for-runabout-200x600). I also sent them an email afterwards about one part which arrived broken at shipment (I had shared this with you guys in one of my earlier posts). I hadn't even bought the kit from this shop, they replied me that they contacted to Amati about this piece and obtained it from them and are sending them to me with my baseboard for free and at no extra shipment cost. Plus, the shipment was extremely fast. Now that's a customer care or what? Here is by the way the part in question: Needless to say, now I am a big fan of this webshop and I cannot recommend them strongly enough. They don't have very big selection but if you are especially after Amati products I suggest you to check it first.

- 414 replies
-
- 10
-
-
- riva aquarama
- amati
- (and 2 more)
-
Not at all!! . I twisted my wrist somehow badly last Sunday and had to give a break. It was in wrist support until yesterday preventing me from even tying my own shoe laces. I can't wait to resume in 1-2 days (hoping to get effected as less as possible from Euro 2016 football cup)
- 414 replies
-
- 3
-
-
- riva aquarama
- amati
- (and 2 more)
-
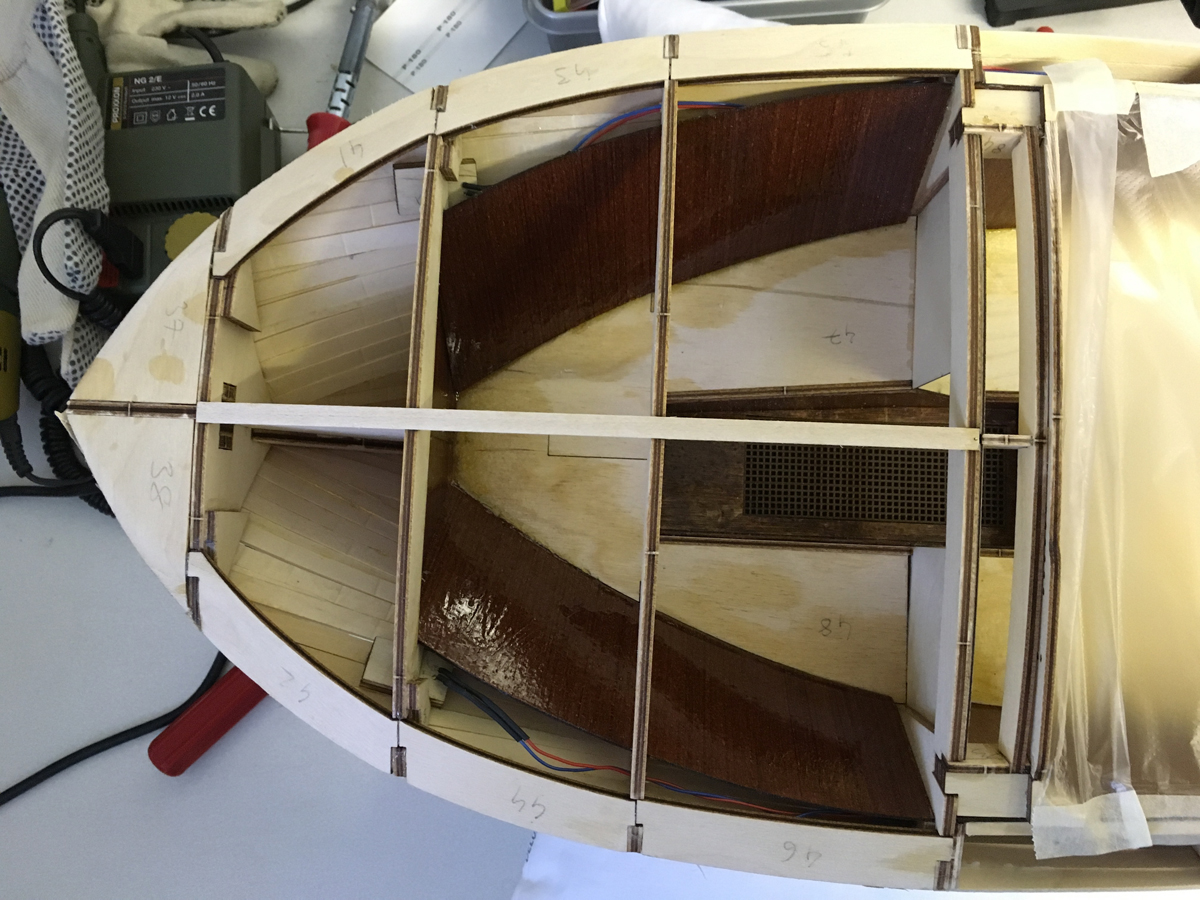
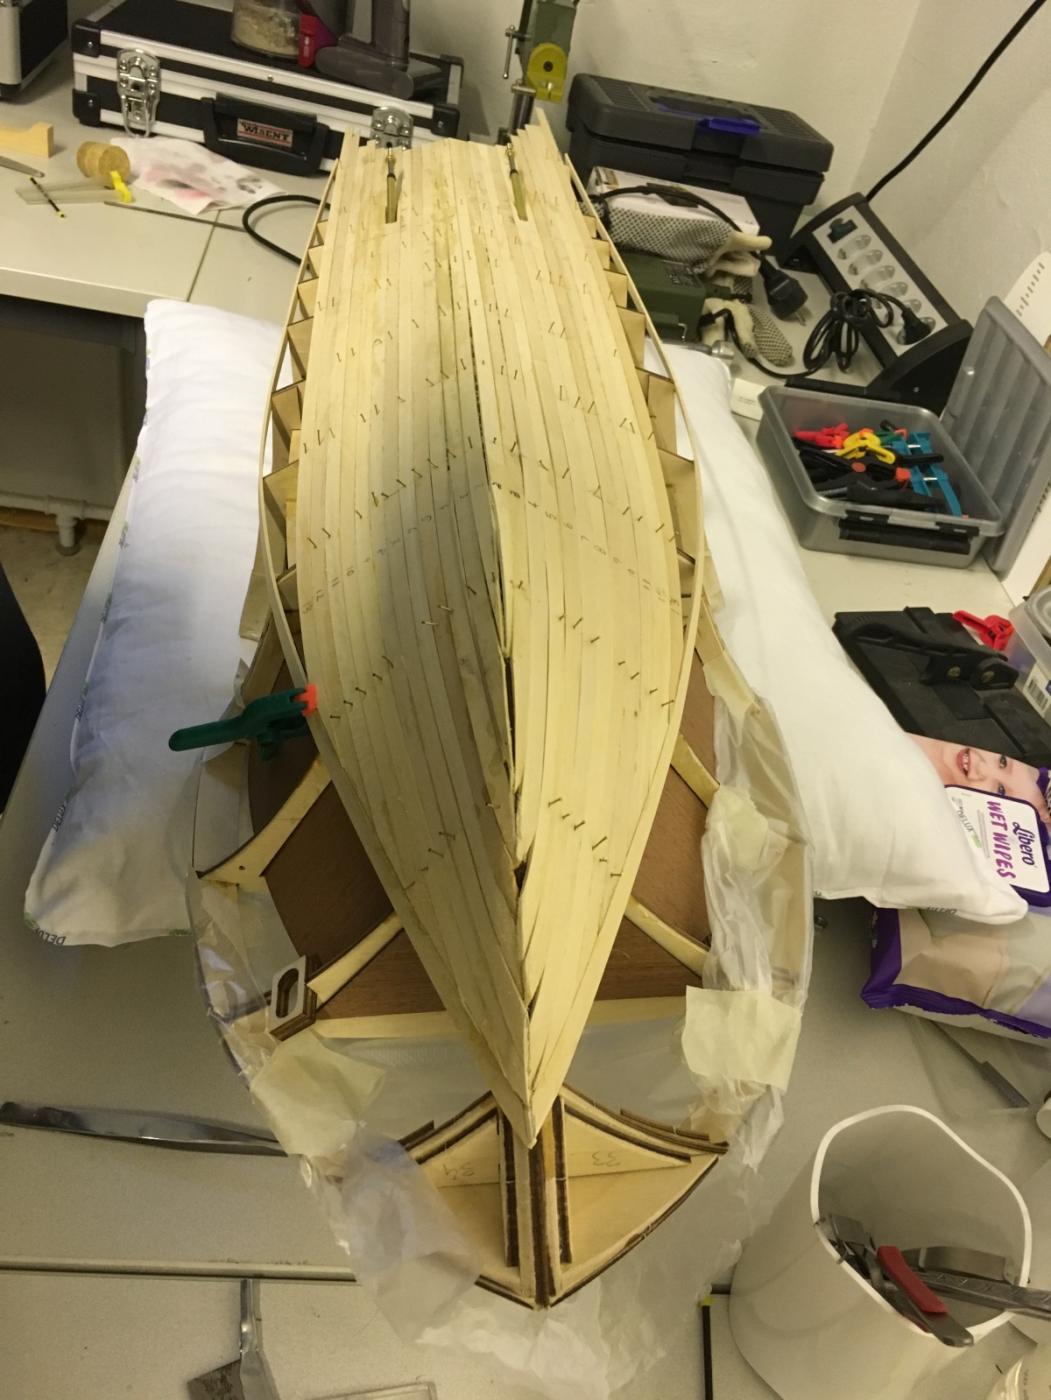
END BUILD DAY 13-14. 9:30 hours in two days. 50 hours into build in total. This is the status after 50 hours of work. Thanks for watching.
- 414 replies
-
- 8
-
-
- riva aquarama
- amati
- (and 2 more)
-
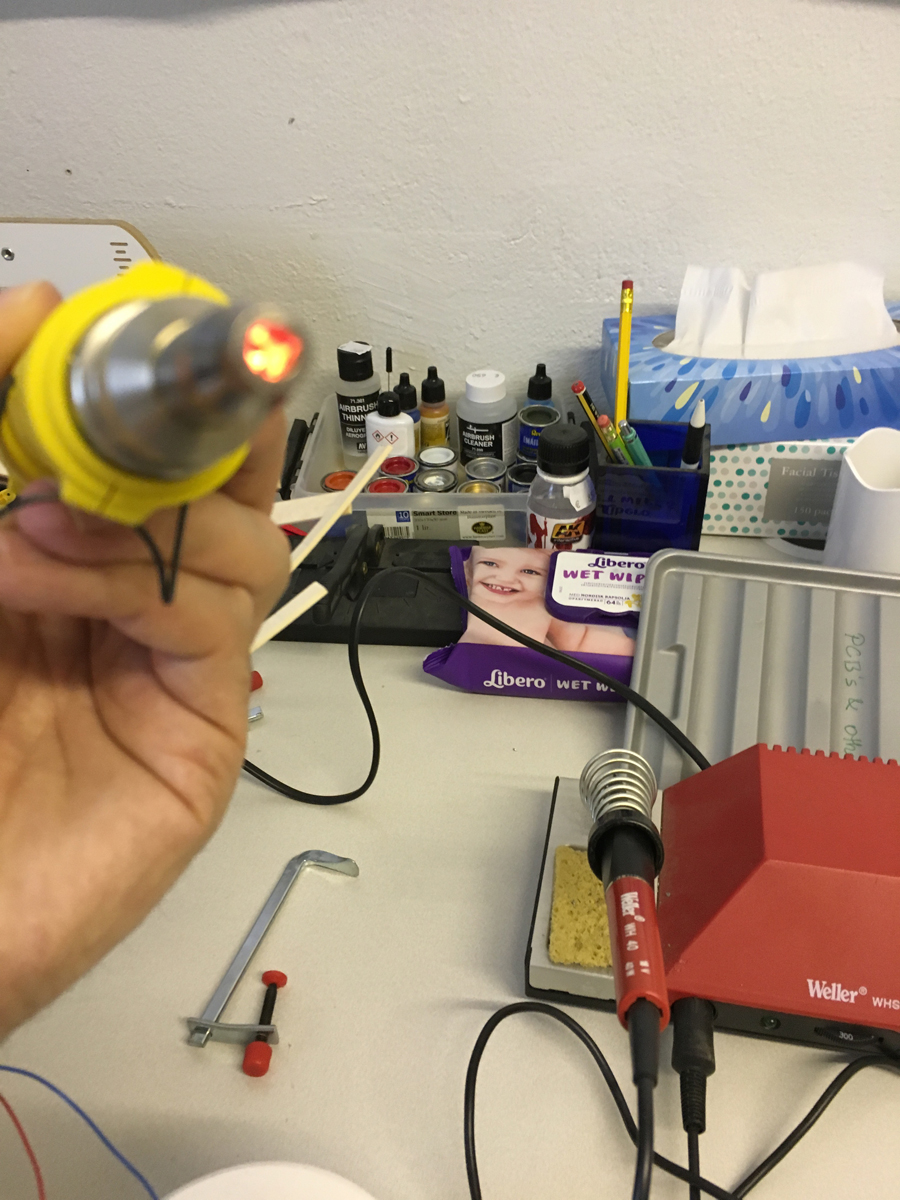
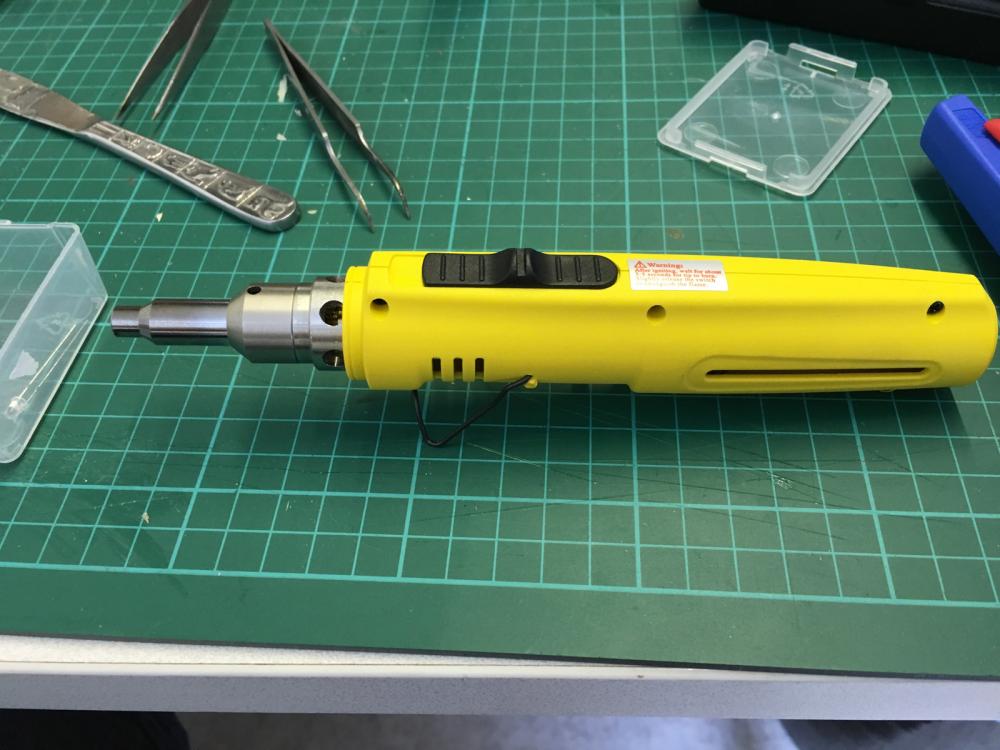
By the way I use this useful tool for my heat work (such as shrinking the tubes). It operates with cigarette lighter gas:

- 414 replies
-
- 6
-
-
- riva aquarama
- amati
- (and 2 more)
-
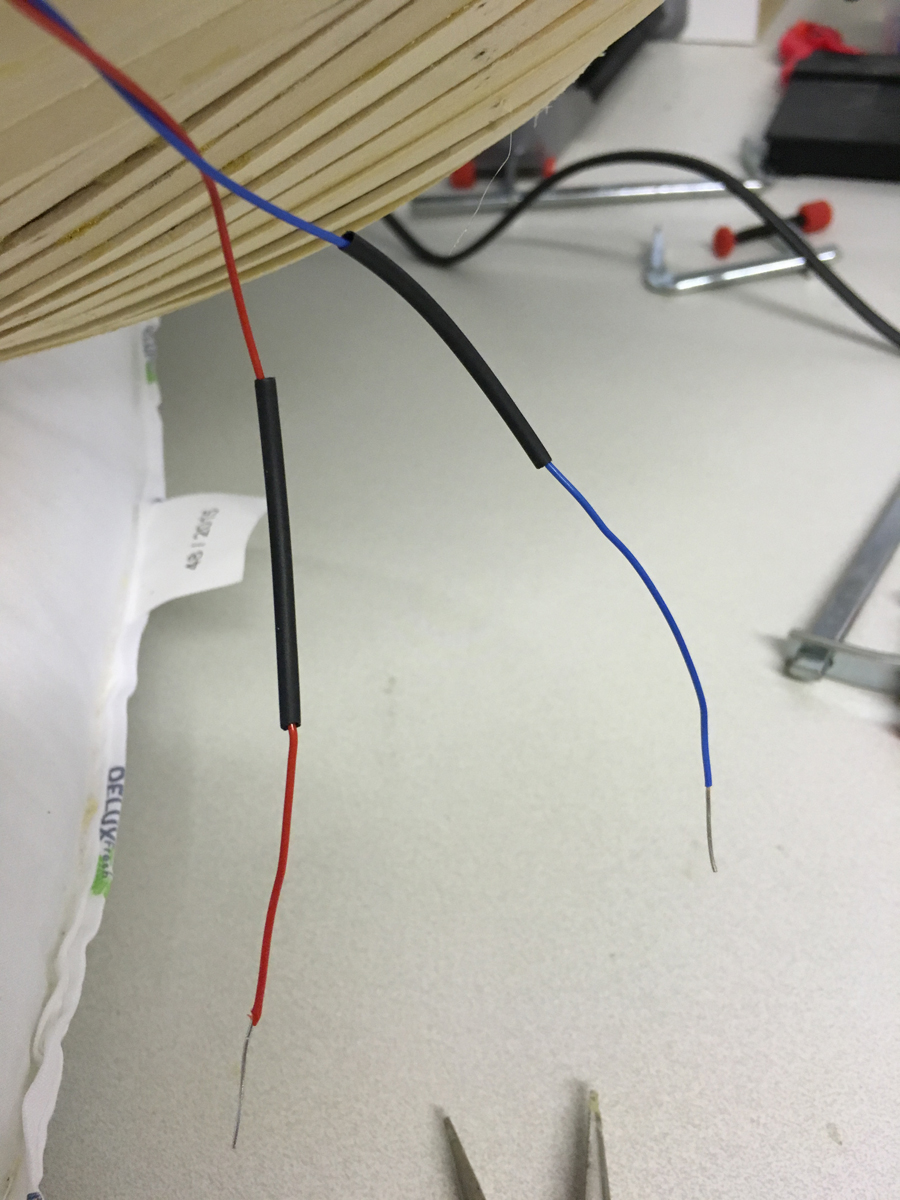
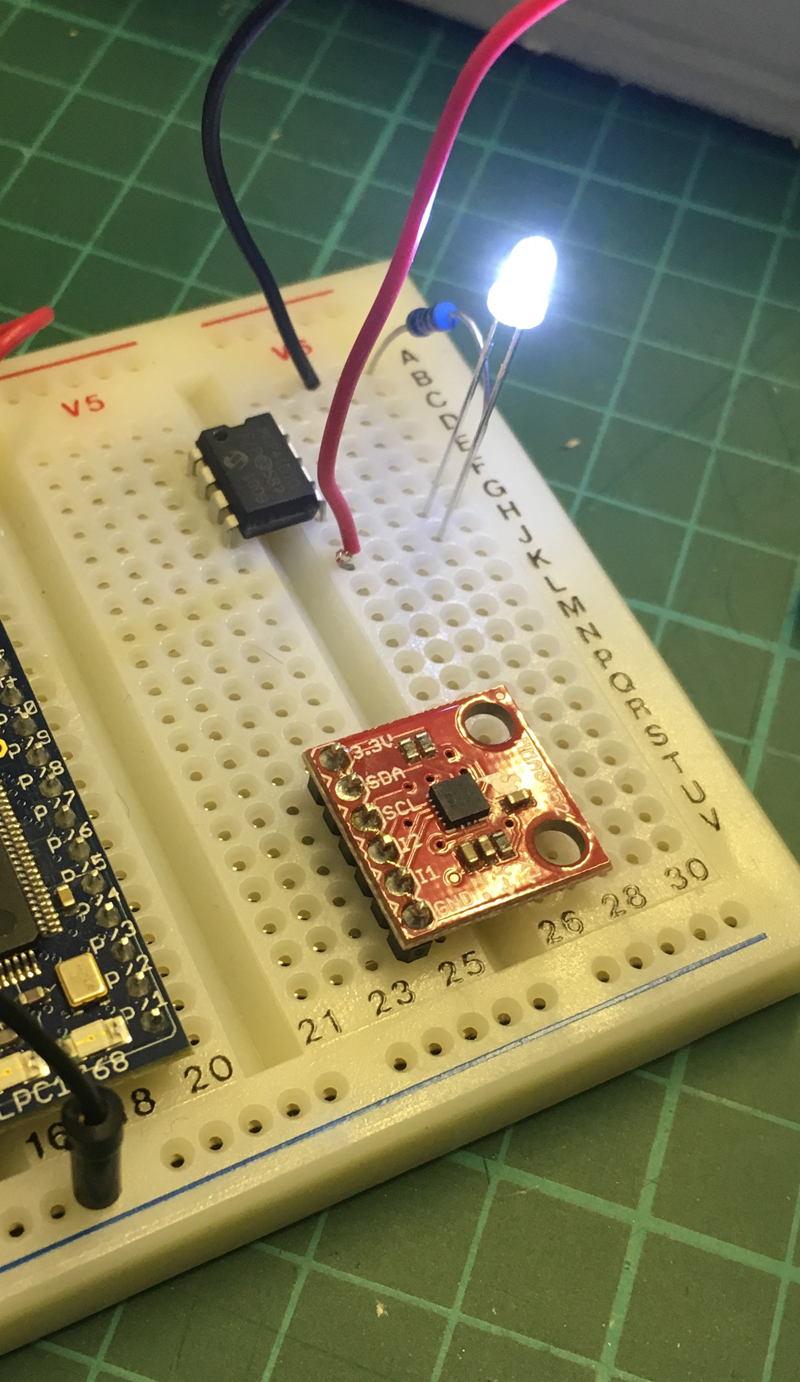
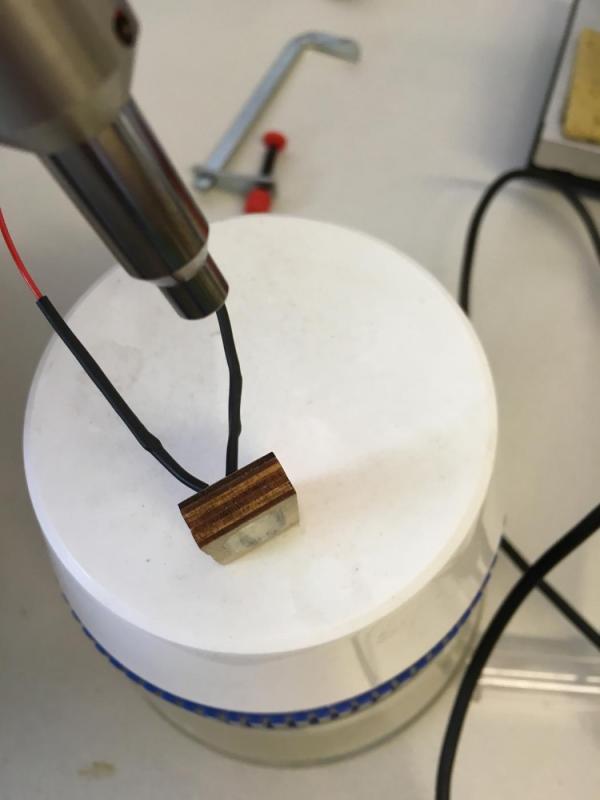
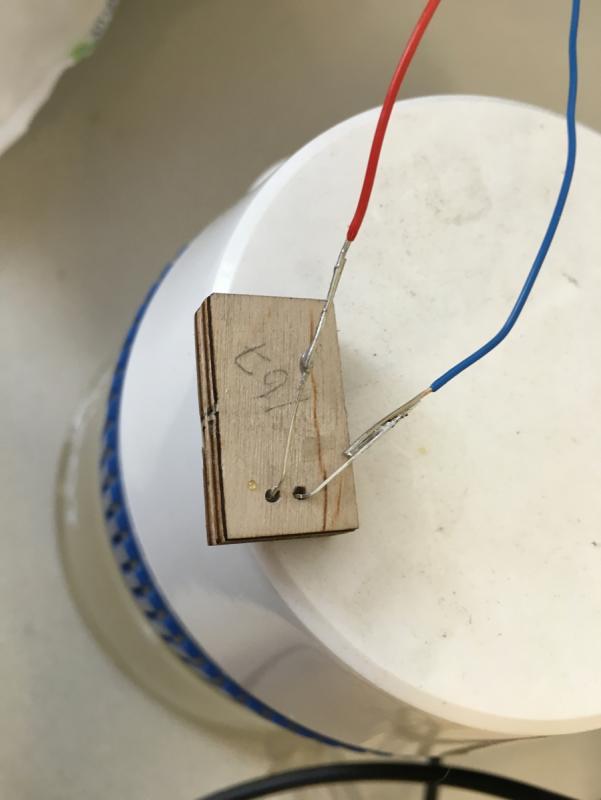
Wire on the LED end stripped and inserted through heatshrink tube: Soldered to LED's legs:
- 414 replies
-
- 5
-
-
- riva aquarama
- amati
- (and 2 more)
-
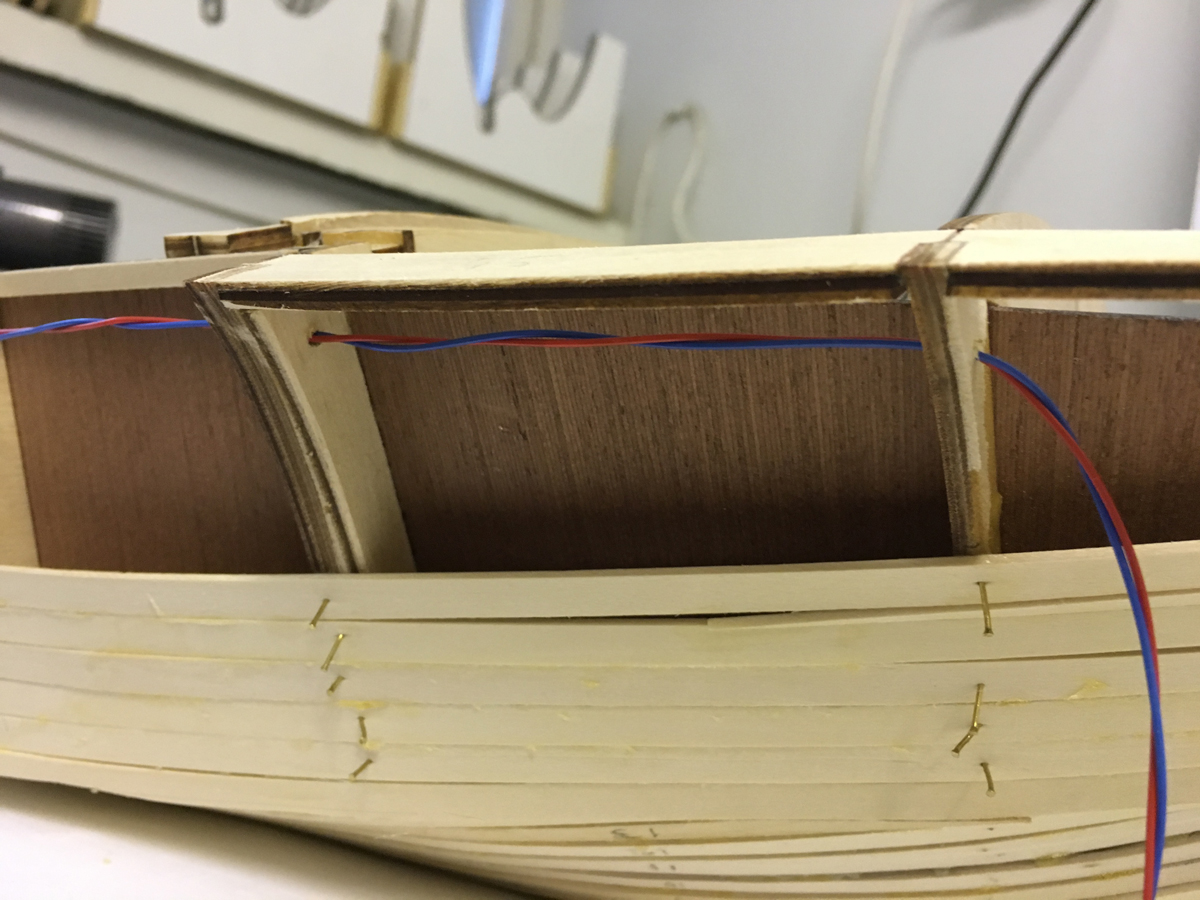
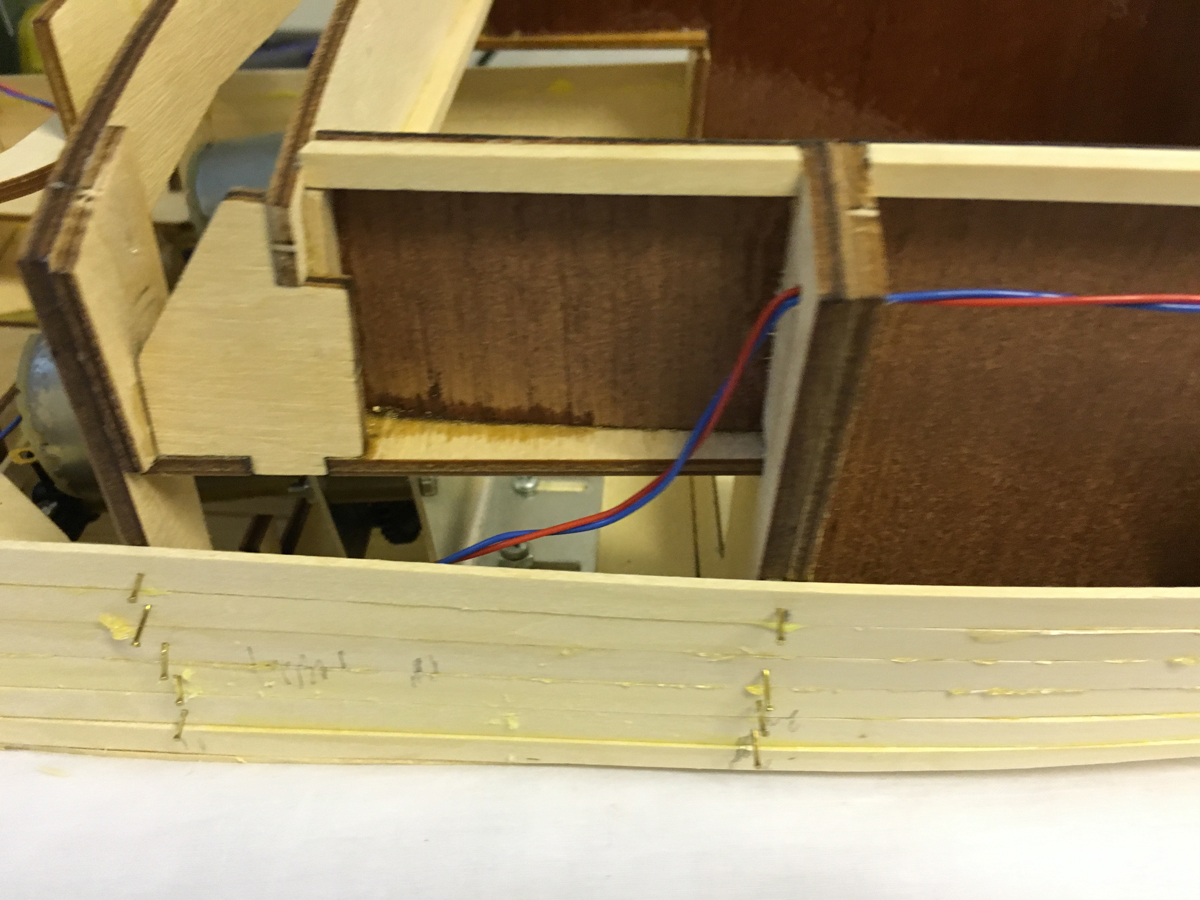
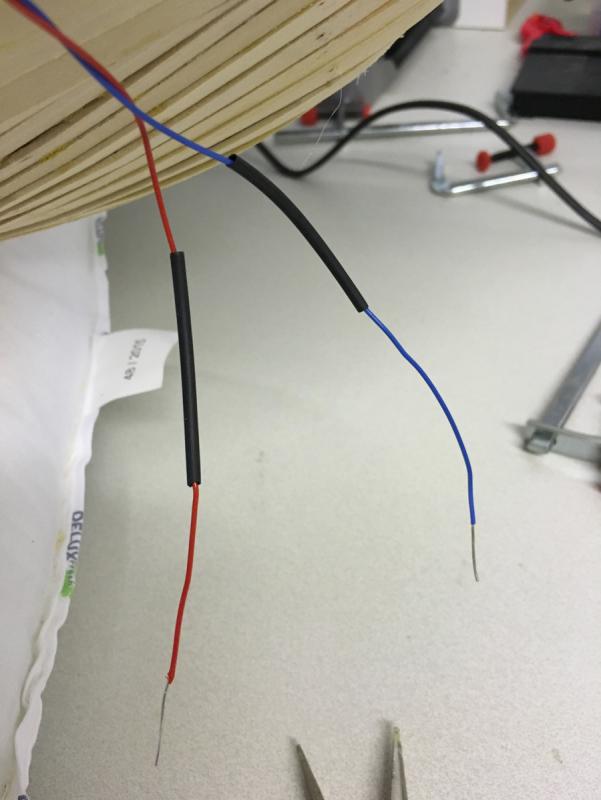
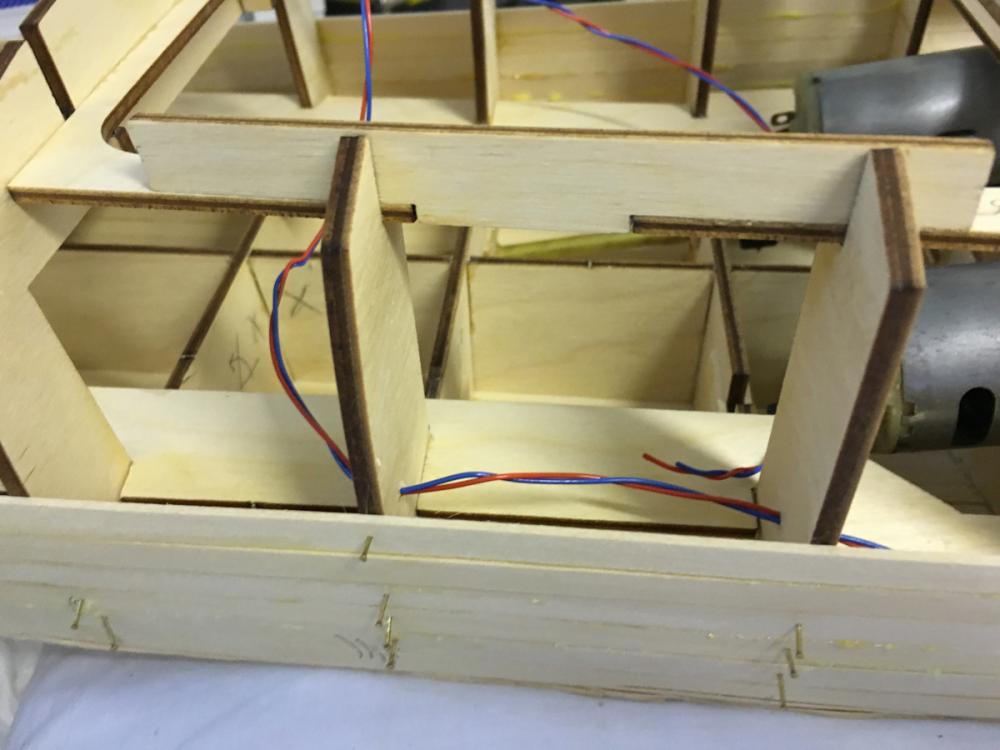
Alright, enough maths. I drilled holes on the bulkheads to pass the wires through to the electronic compartment:


- 414 replies
-
- 4
-
-
- riva aquarama
- amati
- (and 2 more)
-
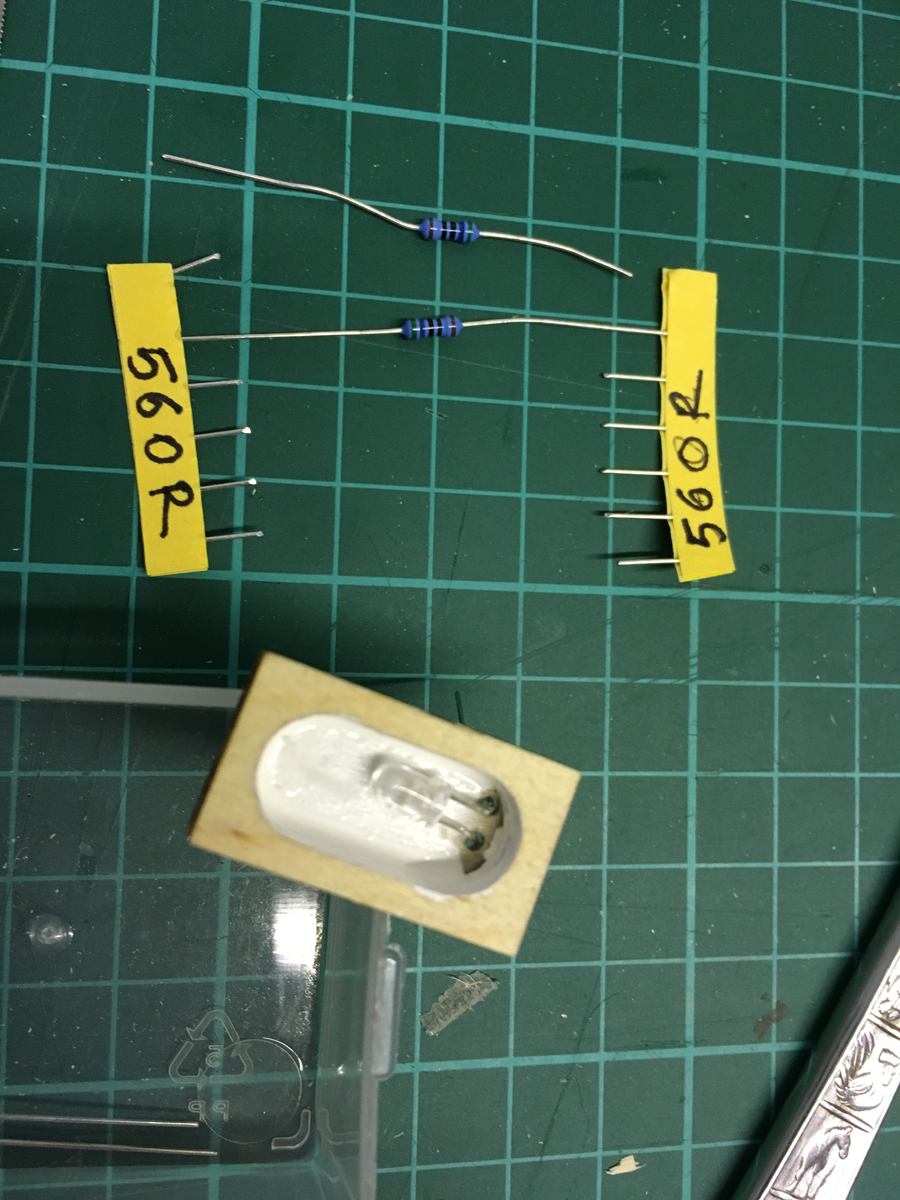
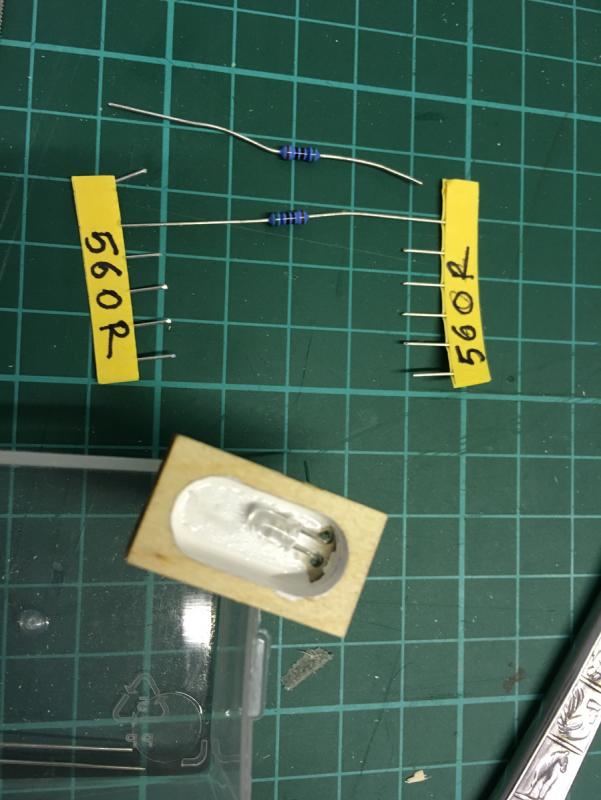
Now for anyone who is interested, here is a short set of instructions of calculations for installing a LED: 1) First check the specifications of your LED. It should have 2 values: Voltage (V - usually called "forward voltage") and Current (I). I use an ultra white 3mm LED which has the V=3.2 volts and I=20mA (milliamperes). So what does that mean? It means that the voltage above your LED and current passing through it must not exceed these values. Exceed them and you will damage the LED (the specs have certain amount of tolerance, though). With these values the LED will function in full brightness. As these values decrease, the LED will get dimmer. 2) So, we want to have maximum V=3.2 volts, which will generate a current of I= 20mA. My boat will use a 7.4 volt battery. This means I have to make some arrangements to my circuit so that the voltage drop over my LED will be 3.2 volts. To do this I will have to add a resistor in series with the LED, so that it will drain some of the energy and let deliver only 3.2 volts to my LED. 3) So I need to calculate the value of the resistor ® to use. If I have 7.4 volts coming from my battery and I want only 3.2 volts of it for my LED, then it means I want the resistor to consume 4.2 volts (which is 7.4 volts - 3.2 volts). From basic Ohm's law: V = I x R, which makes R = V / I = 4.2 / 0.020 = 210 Ohms. (Note that the current value in the specs is milliampere. i.e. 1/1000th of an ampere. That's why I used 0.02 instead of 20). Now this means that I should use at least 210 ohms resistor in order to run my LED safely. The next matching value of commercially available resistor value is 220 ohms so you can go ahead and use it. I happen to have 560 ohms resistor at home, I think I will use them. The LEDs are already quite bright therefore I don't need full brightness. The photo above uses 560 Ohms resistor and it is already bright. NOTE: There is also a calculation of power rating of the resistor but for small voltages like this one a regular 1/4 watt resistor will be fine. IN BRIEF: Resistor value you need = (battery voltage - LED voltage) / Led current
- 414 replies
-
- 7
-
-
- riva aquarama
- amati
- (and 2 more)
-
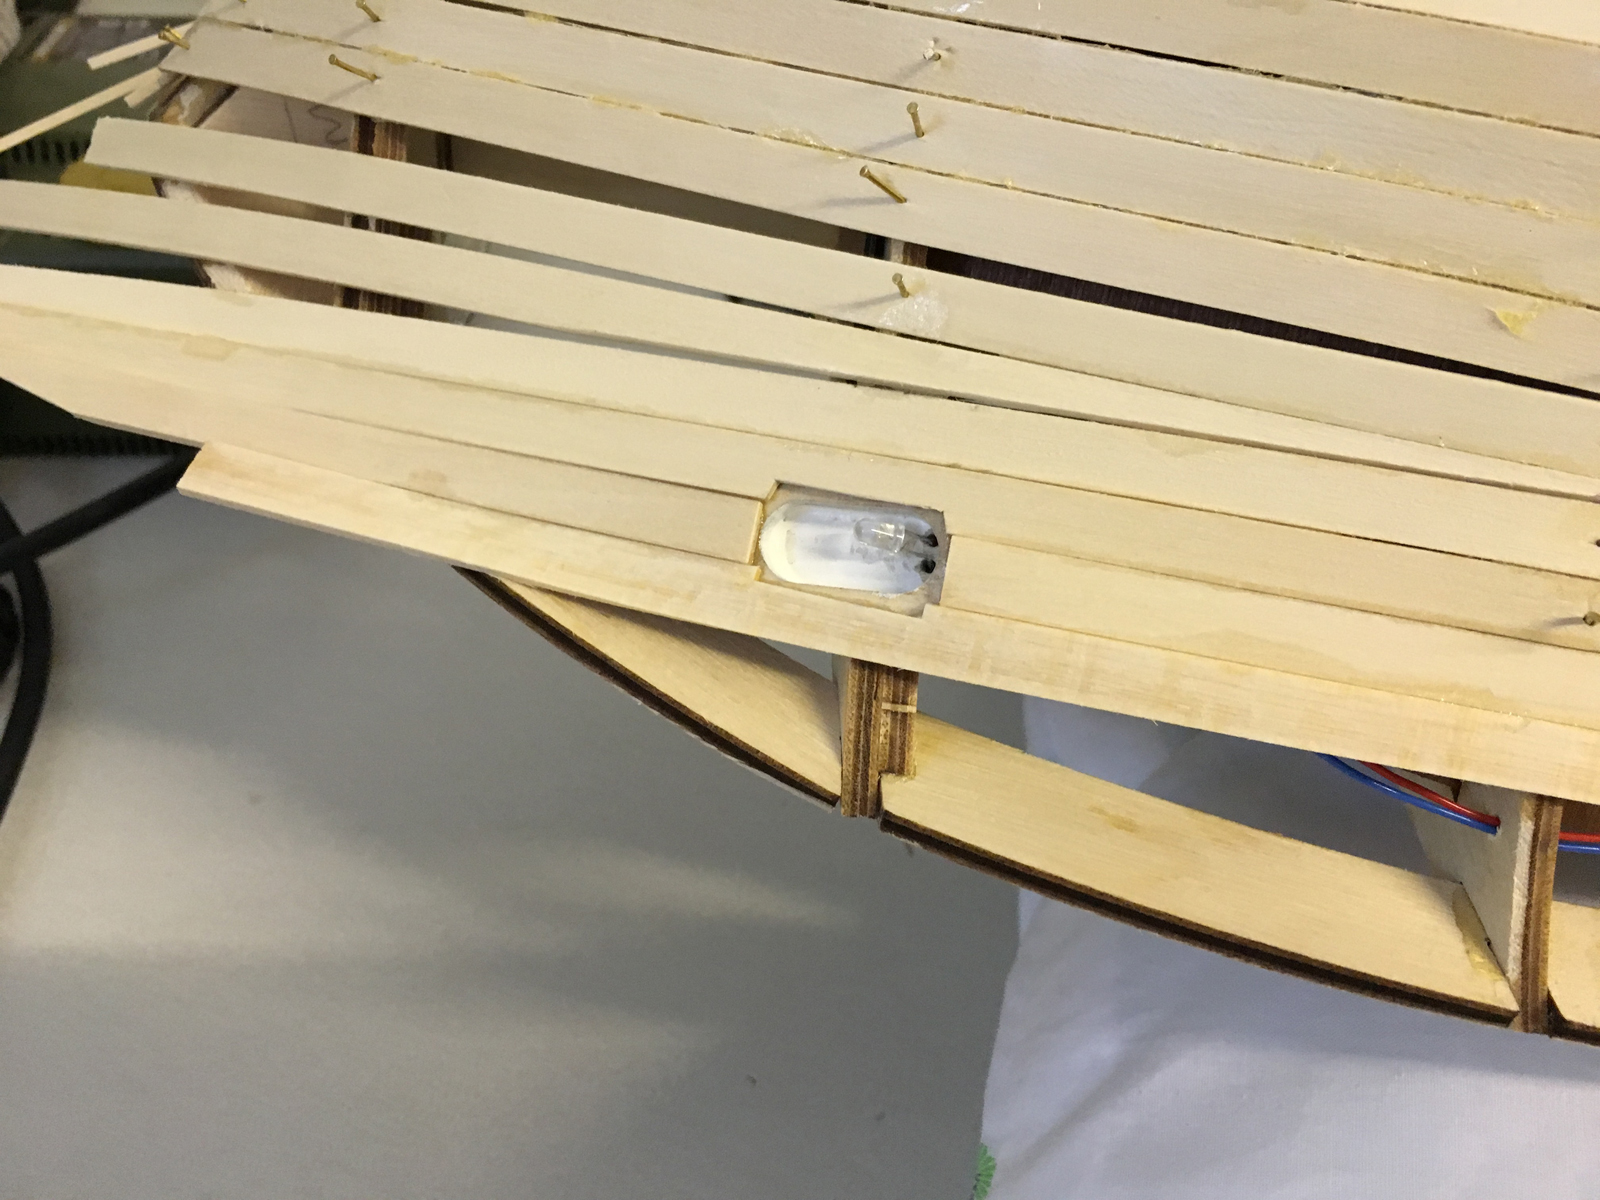
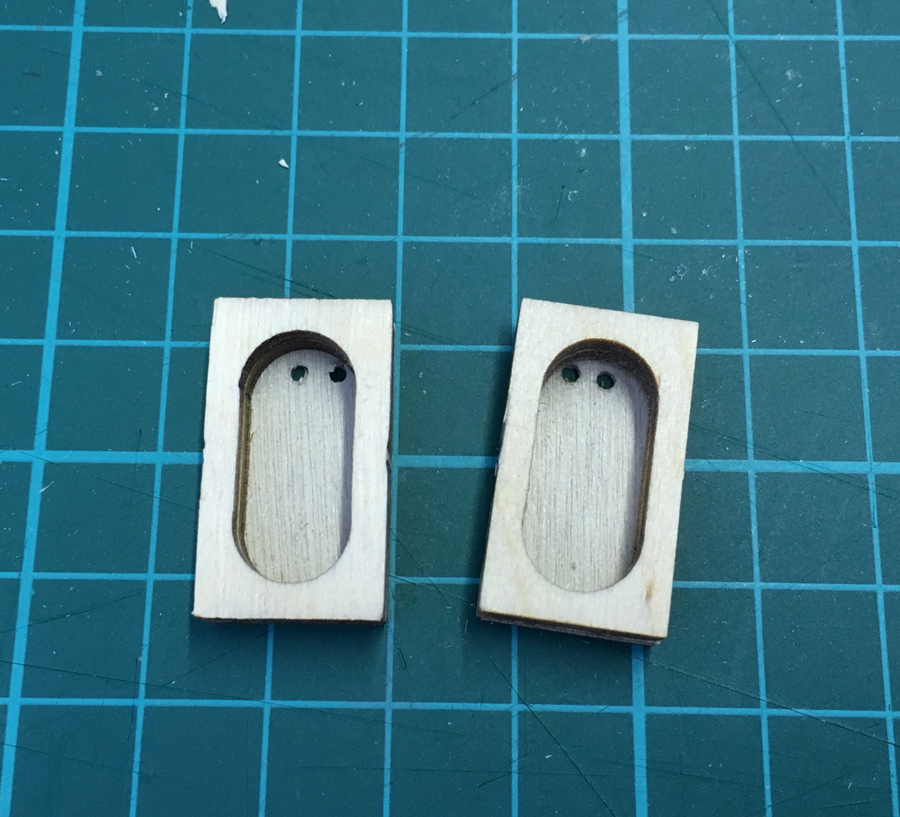
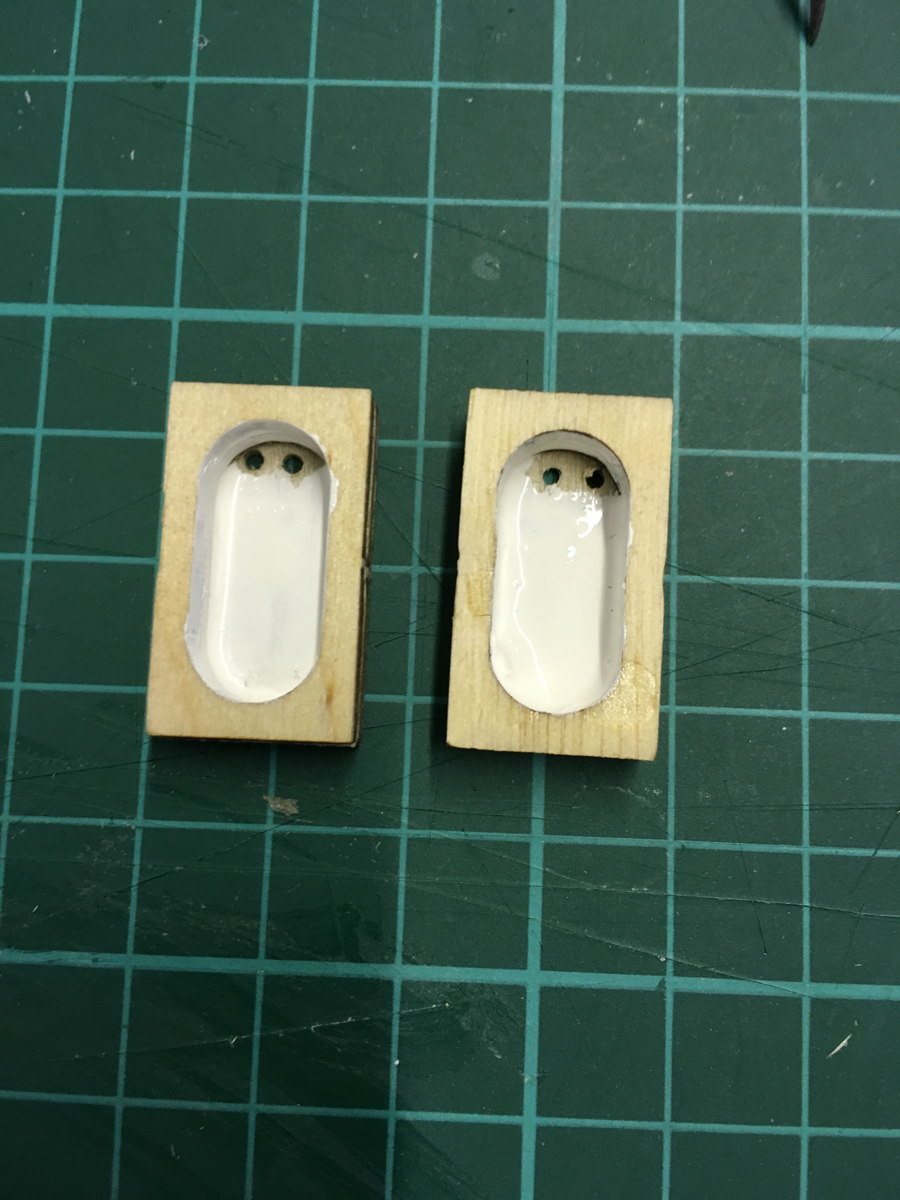
Now that the light boxes are free, I decided to do the thing which I had attempted earlier but given up after a few tries only to find out that it would be too difficult to do while the boxes are in place: add some real light in them! Here are the boxes with the holes I drilled for wires: Painted to white: Insert the LED for testing: Test the LEDs:


- 414 replies
-
- 6
-
-
- riva aquarama
- amati
- (and 2 more)
-
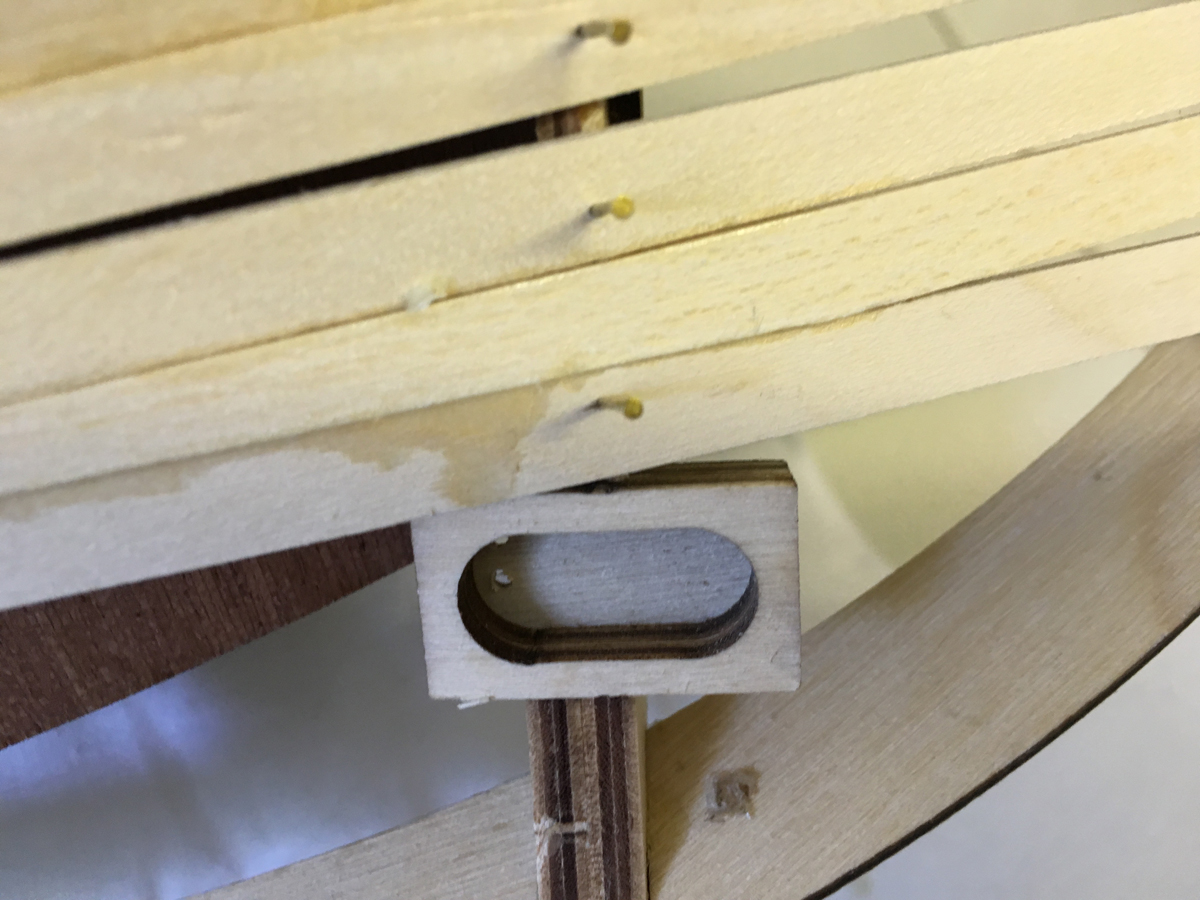
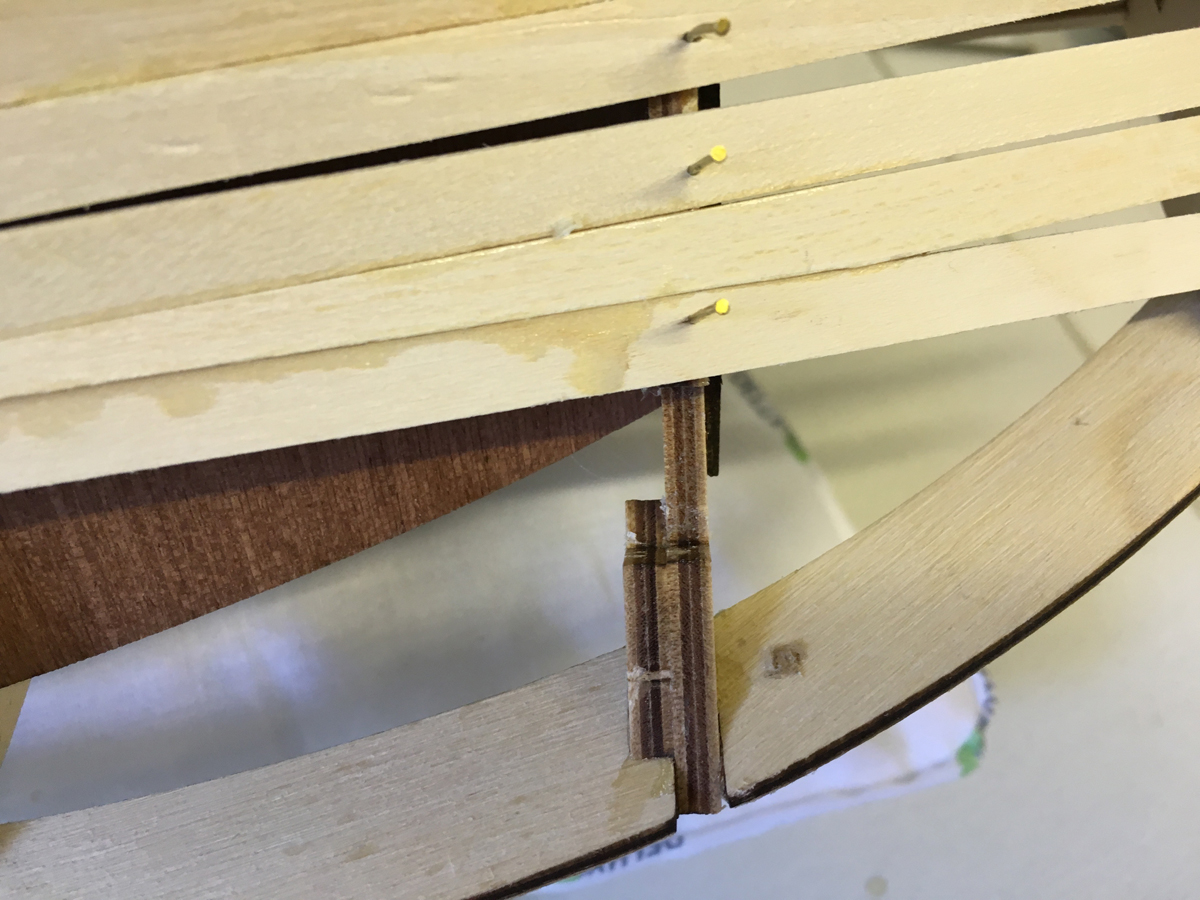
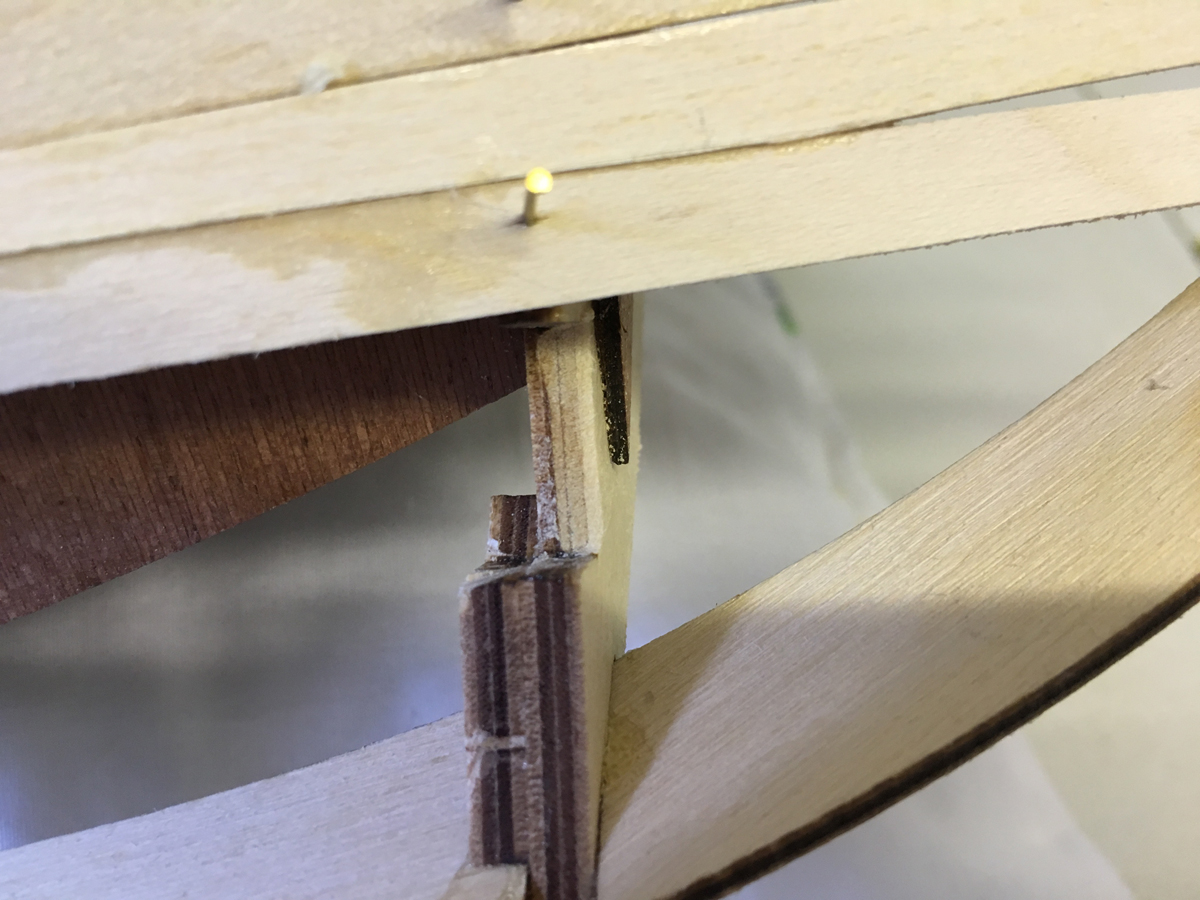
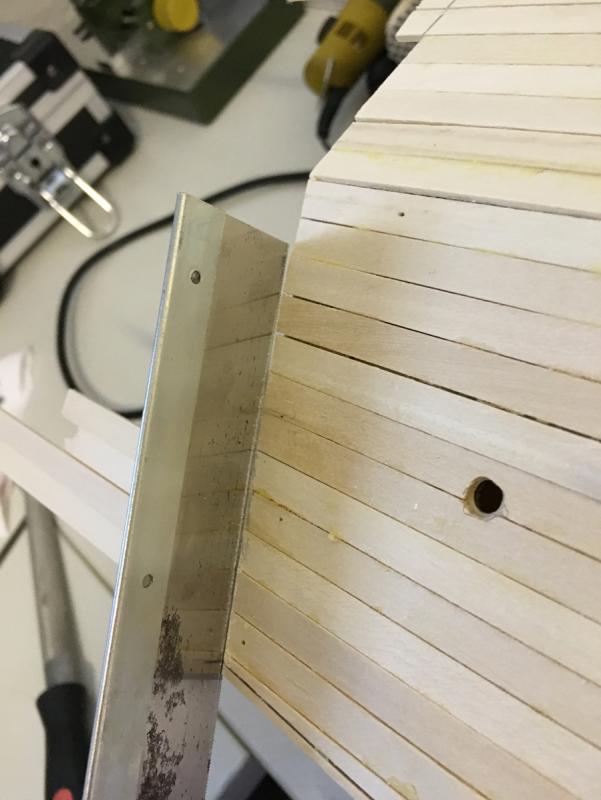
Proceeding with the planking on the sides, I found out that the front light boxes are not in line with the planks, which is an unpleasant surprise. There was no indication of that in the instructions and the "slots" which you are supposed to glue them looked quite precise. Luckily it was not hard to rip them off: Then I filed the slots so that they can accommodate the light boxes in the same orientation with the planks:


- 414 replies
-
- 6
-
-
- riva aquarama
- amati
- (and 2 more)
-
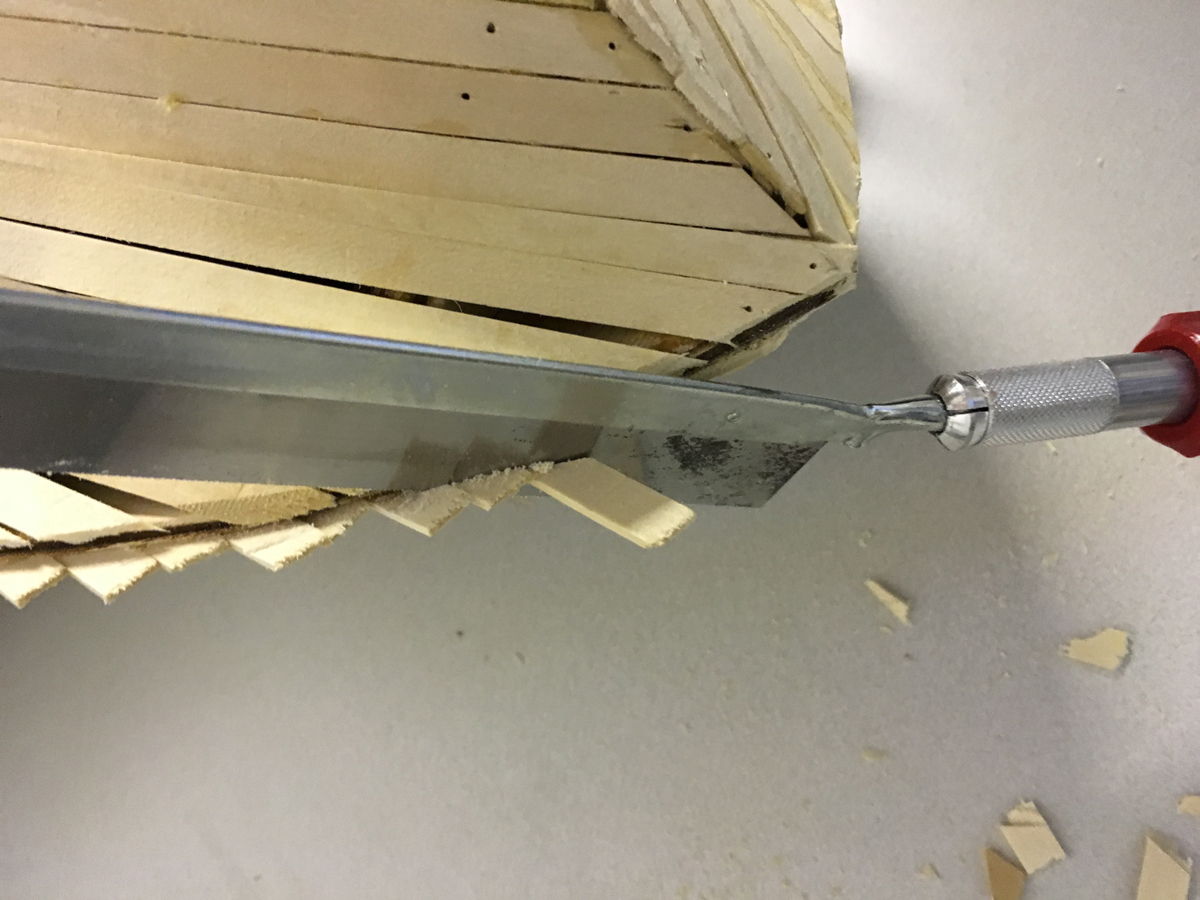
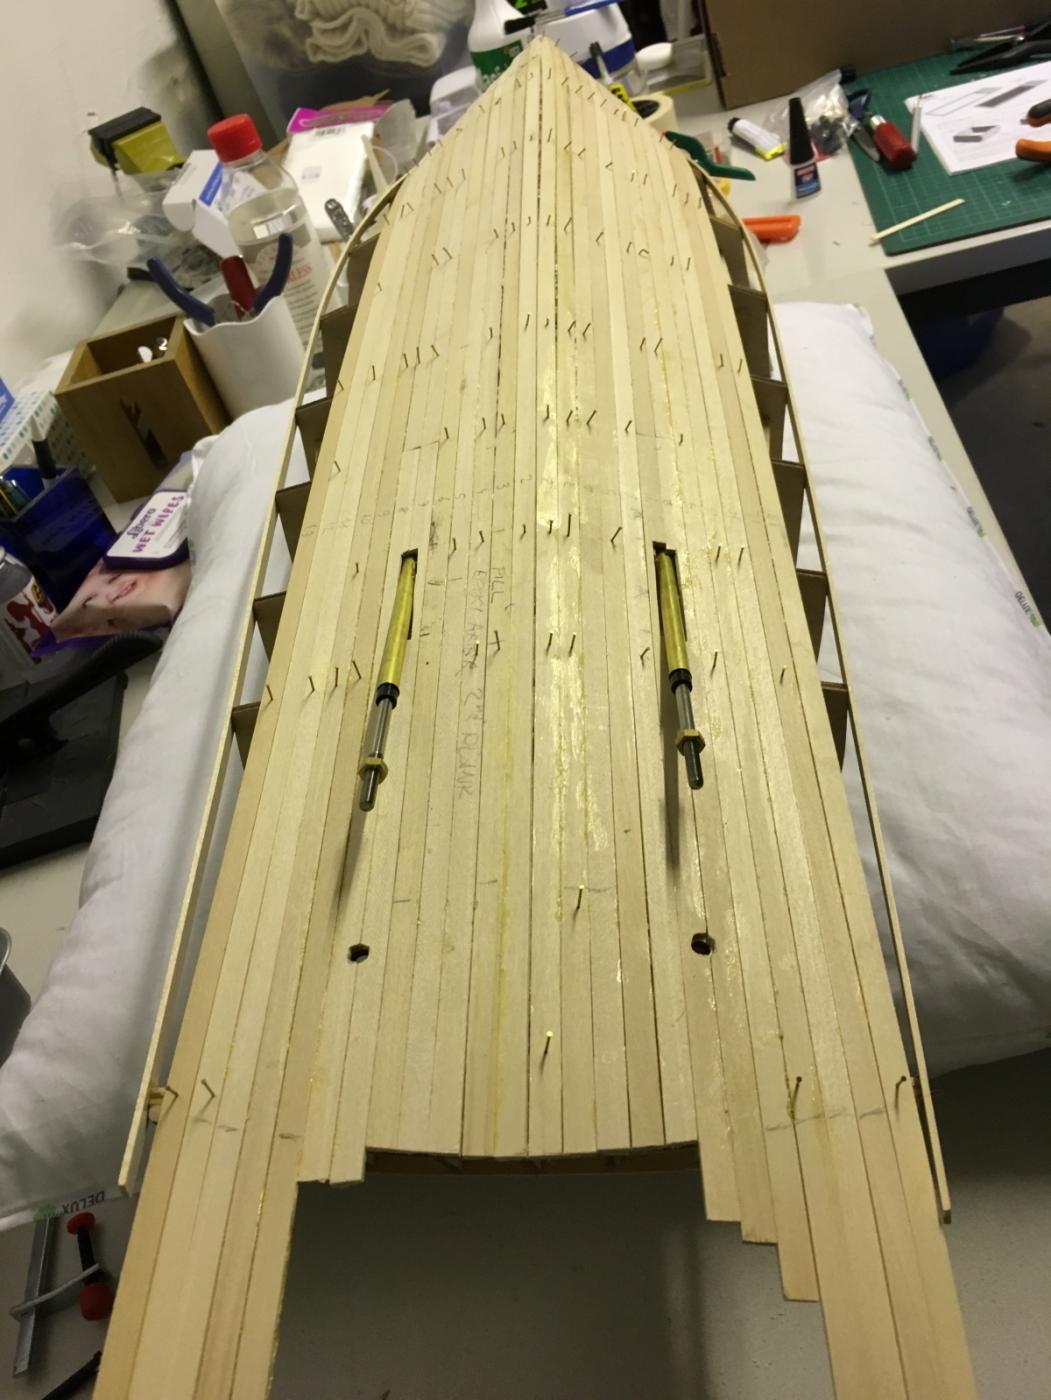
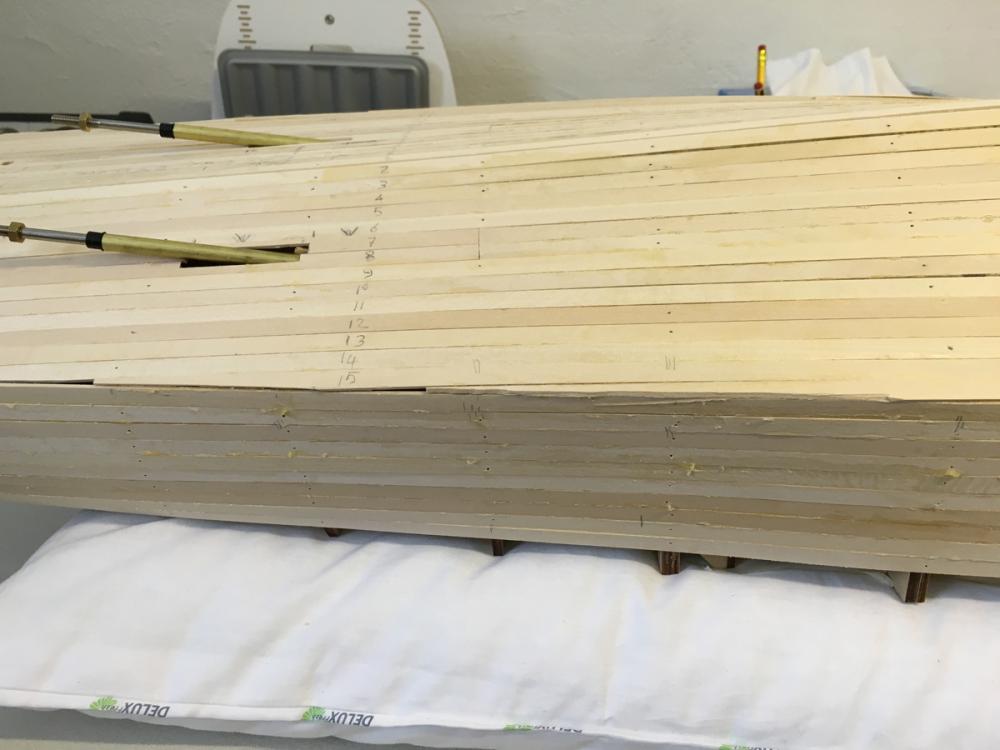
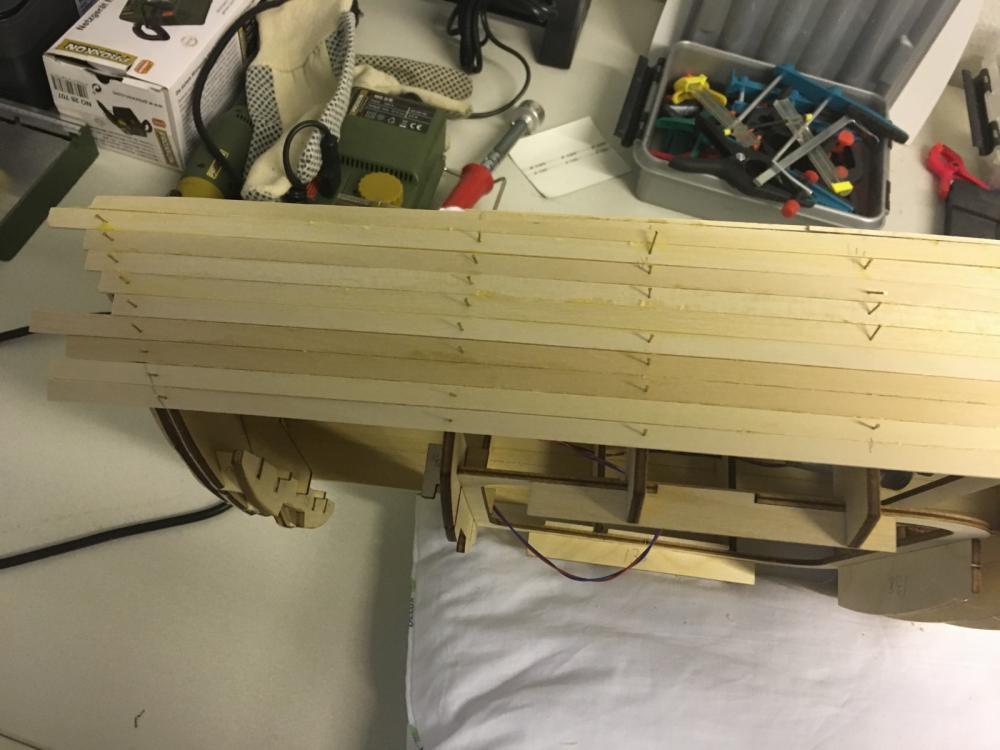
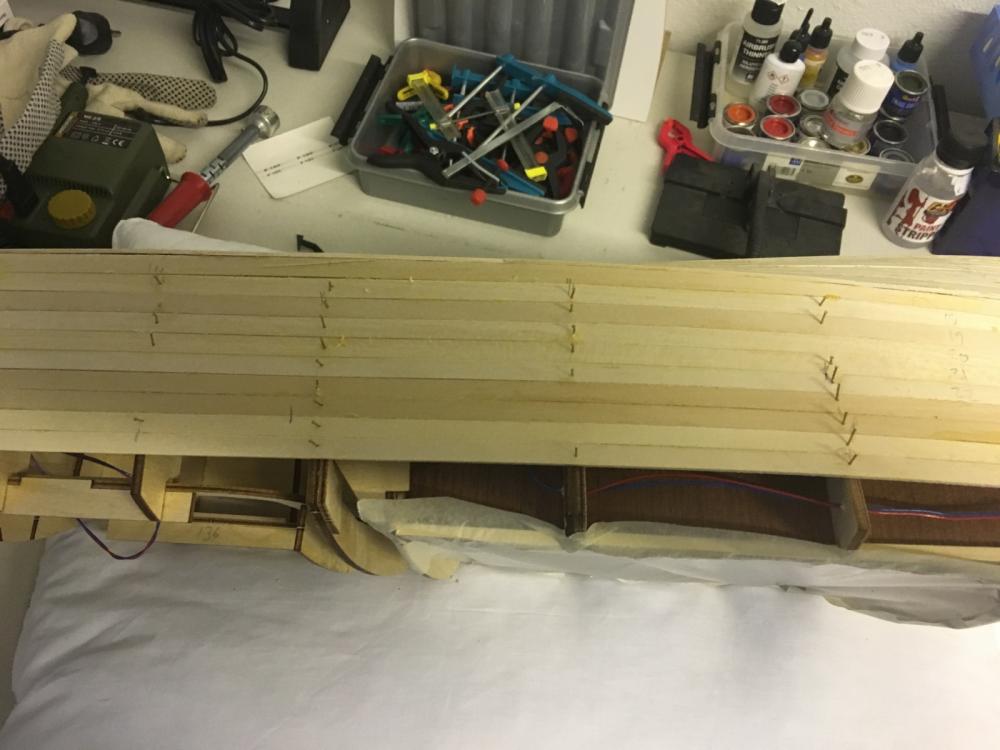
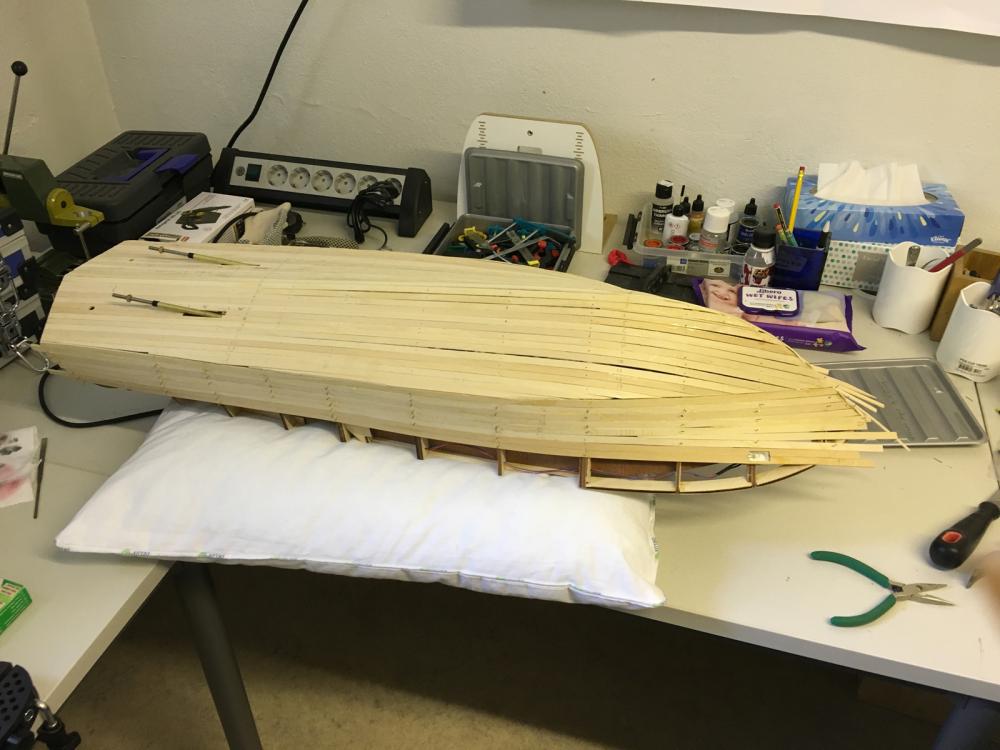
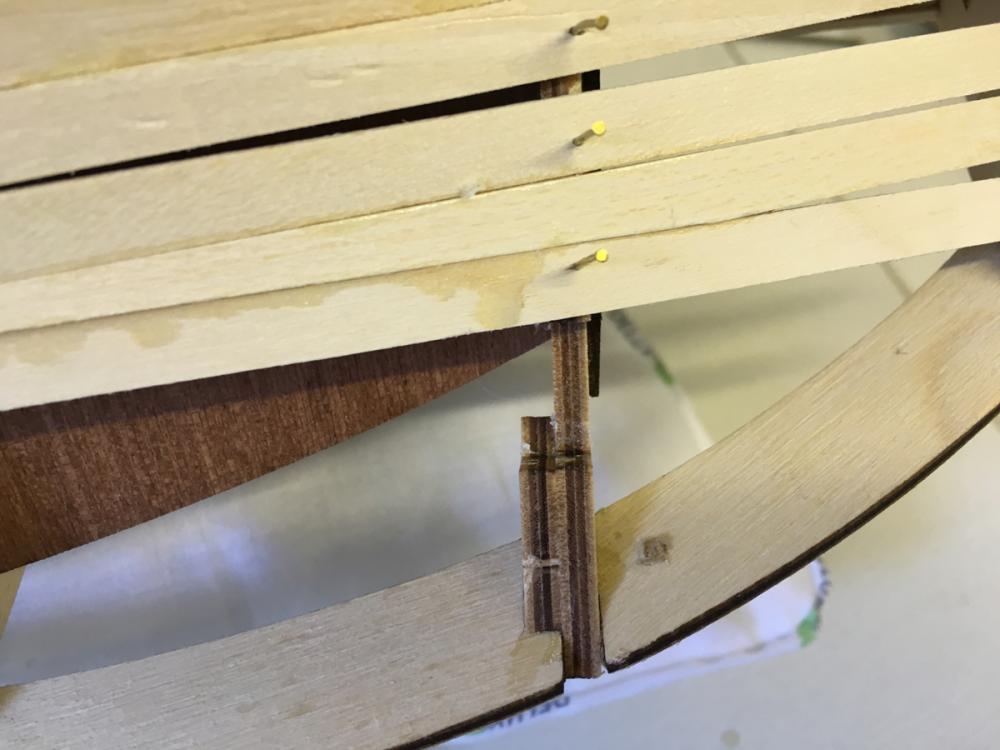
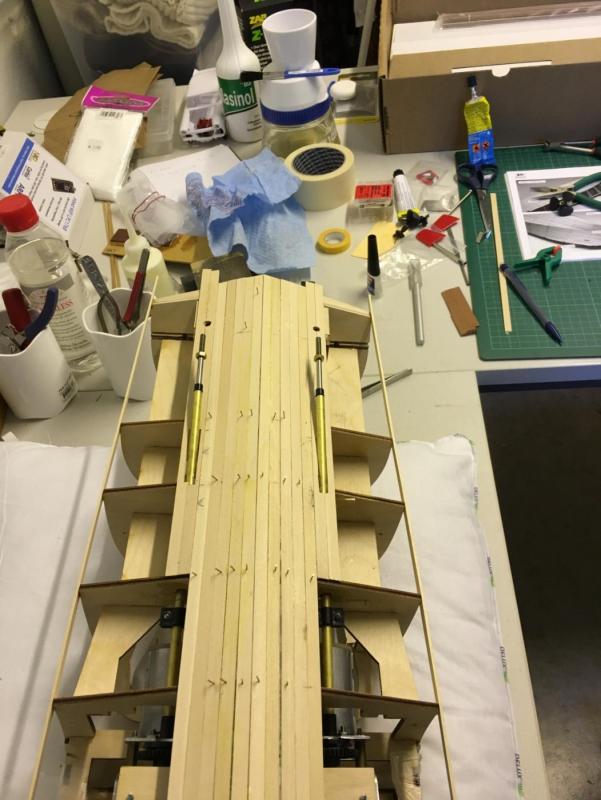
BUILD DAY 13-14. PLANKING CONT'D. (and some electronic stuff, too) The weekend came after a relatively busy week at work which did not give me much chance to dedicate to kit. Luckily I was able to make good progress during the weekend. First I start with tidying up the excess plank extensions, using a saw.
- 414 replies
-
- 4
-
-
- riva aquarama
- amati
- (and 2 more)
-
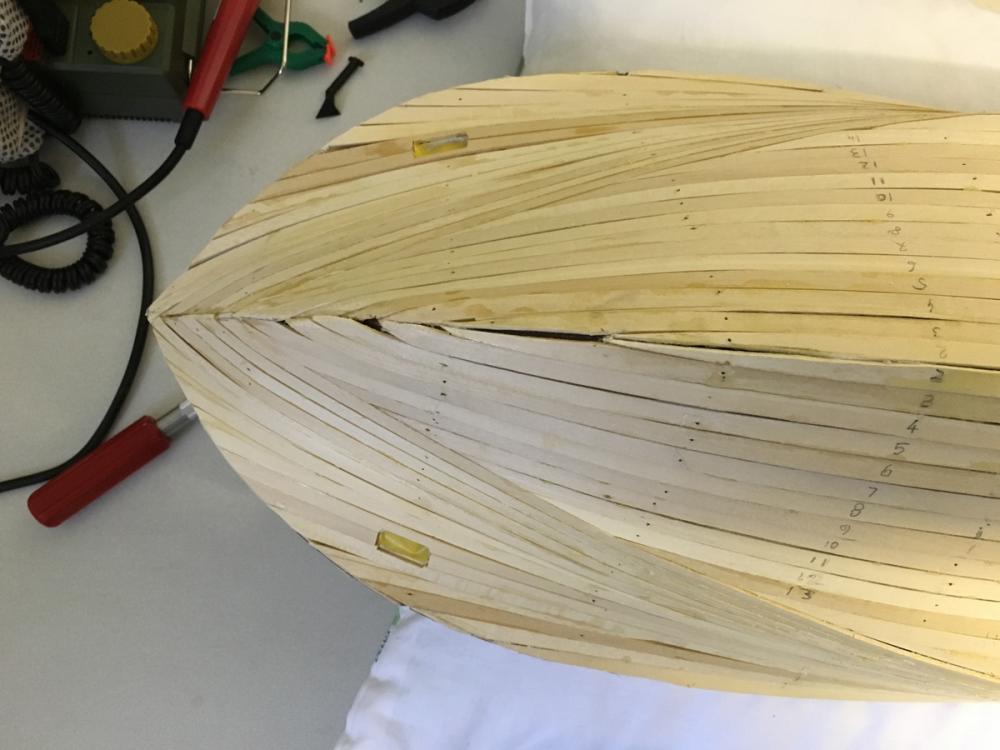
BUILD DAY 12. PLANKING CONT'D. 2 hours today. 41:30 hours into build in total. Continued with bottom section planking. Spent about 2 hours and the whole process went quite smoothly. Here are the final photos of the day:

- 414 replies
-
- 7
-
-
- riva aquarama
- amati
- (and 2 more)
-
END OF BUILD DAY 11. 4 hours today. 39:30 hours into build in total. Most of today went to experimenting, thinking and planning, which was kind of nice, too. Thank you for watching.
- 414 replies
-
- 4
-
-
- riva aquarama
- amati
- (and 2 more)
-
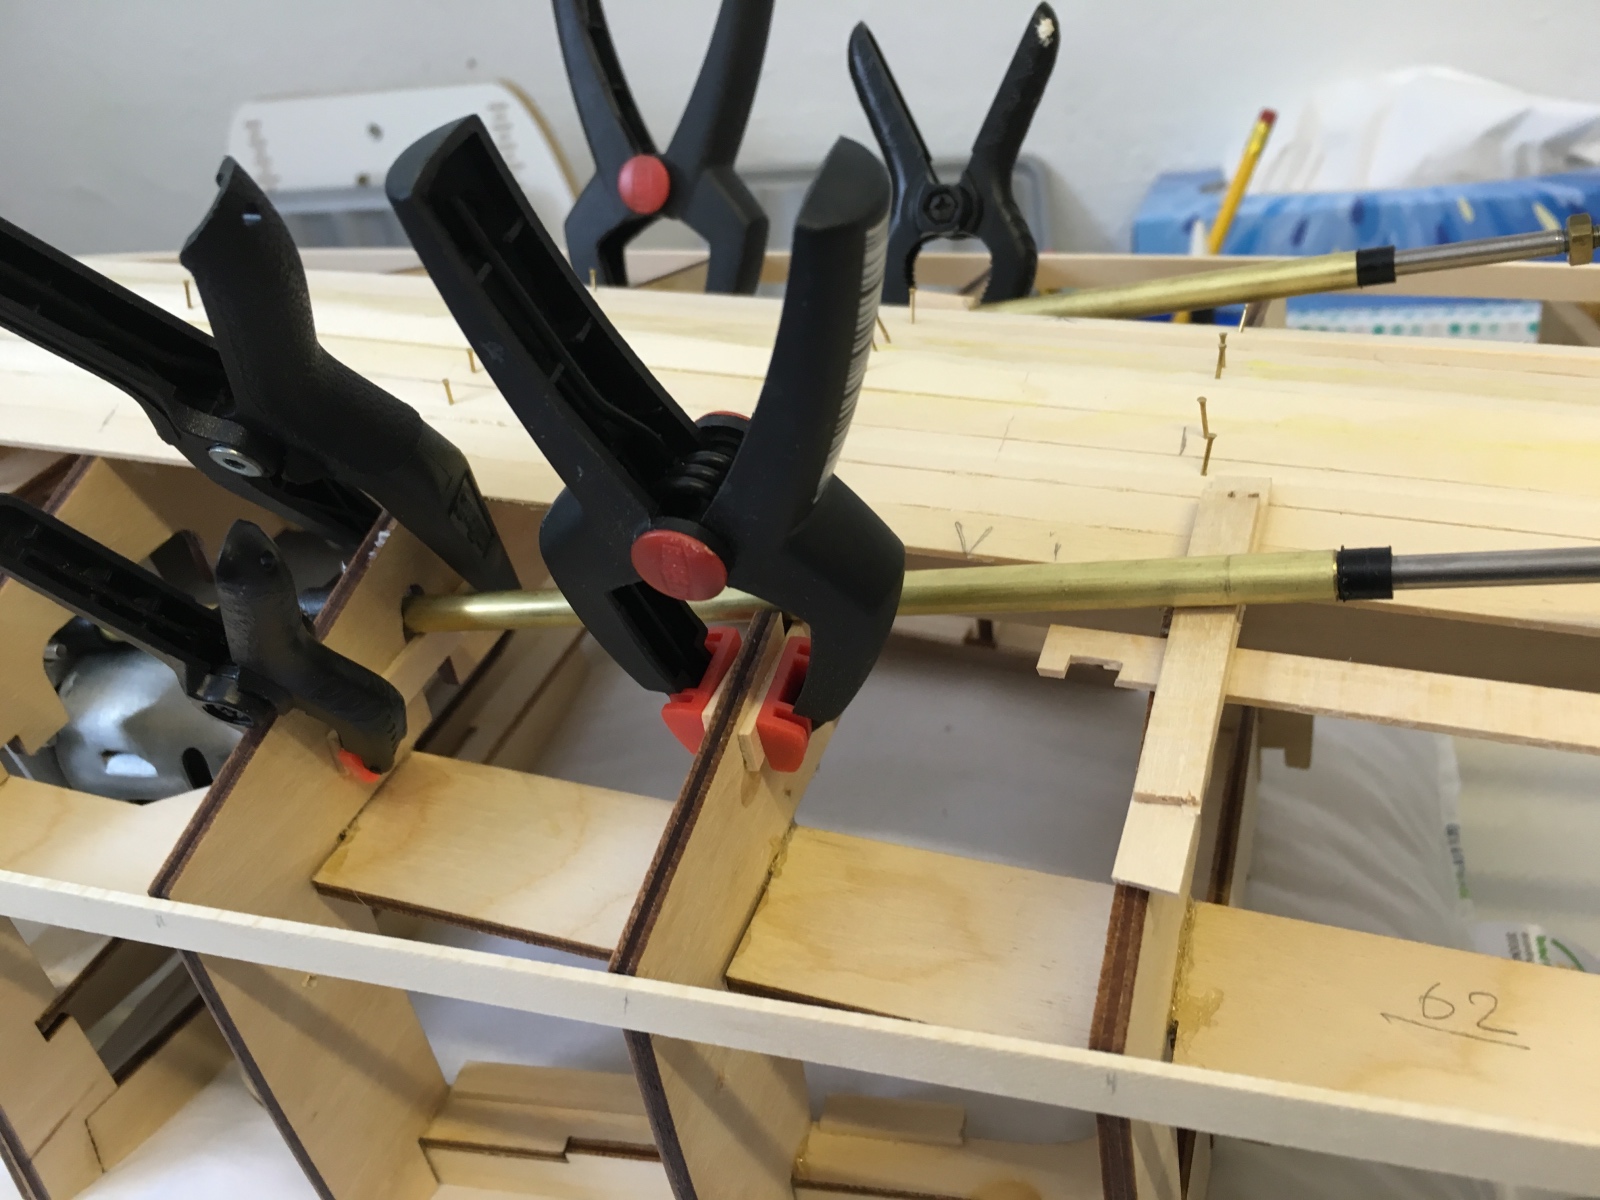
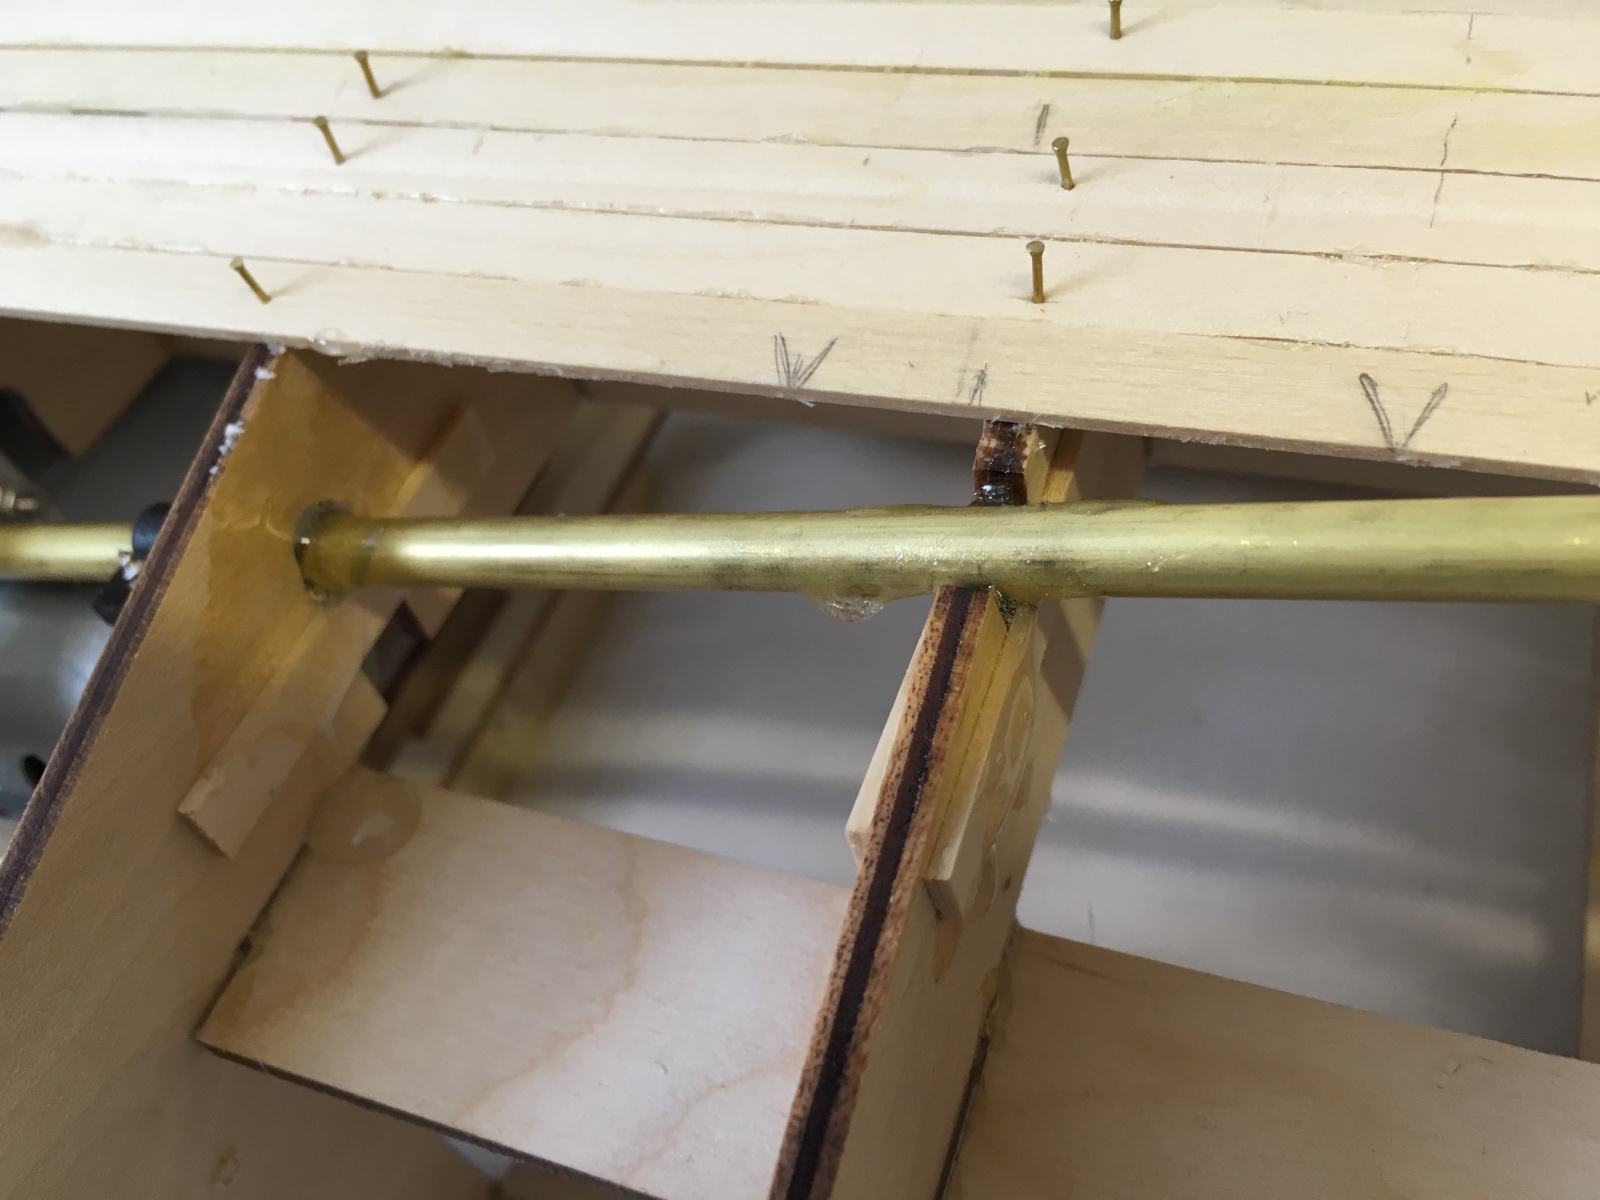
Left freely, both rods stay a bit off-positon. Need to fix that. Glued several strips to support the rods in the correct alignment: Some epoxy here and there to fix them to the position: Epoxy dried and the rods are now solid in correct position (Due to the camera angle they look like pointing offset the rudder holes, but in fact they point right at the rudder holes)
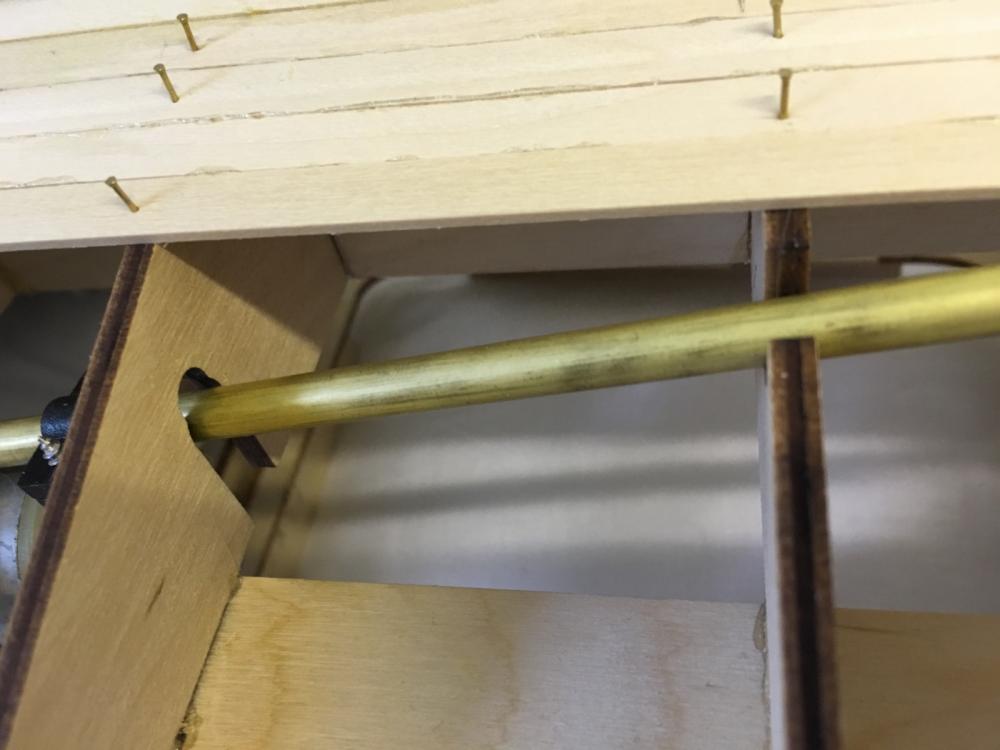


- 414 replies
-
- 8
-
-
- riva aquarama
- amati
- (and 2 more)
-
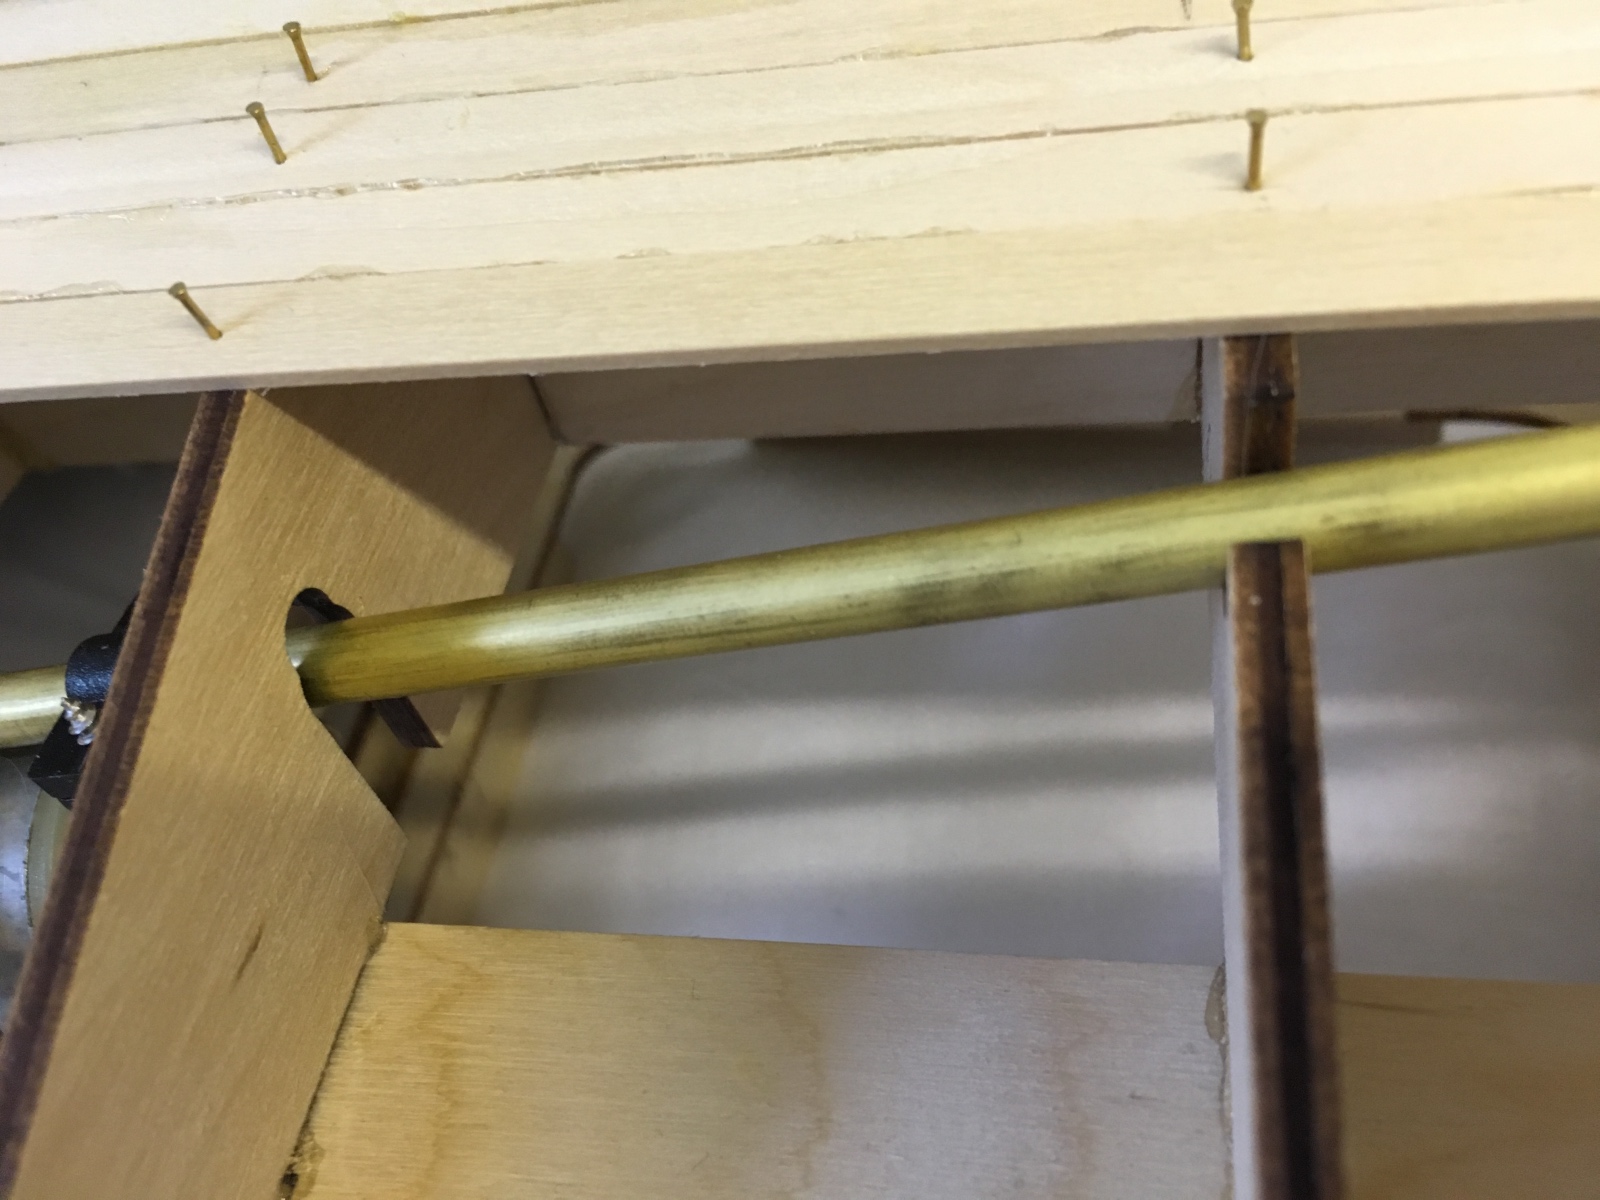
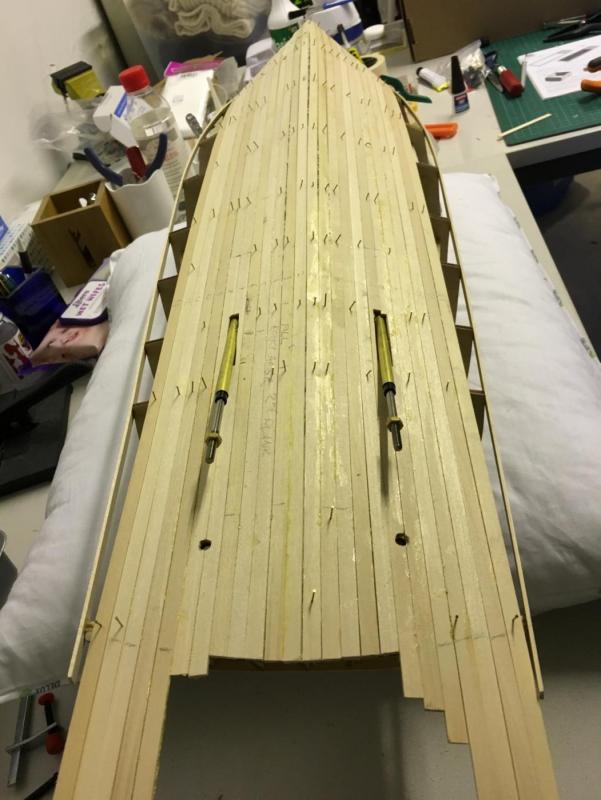
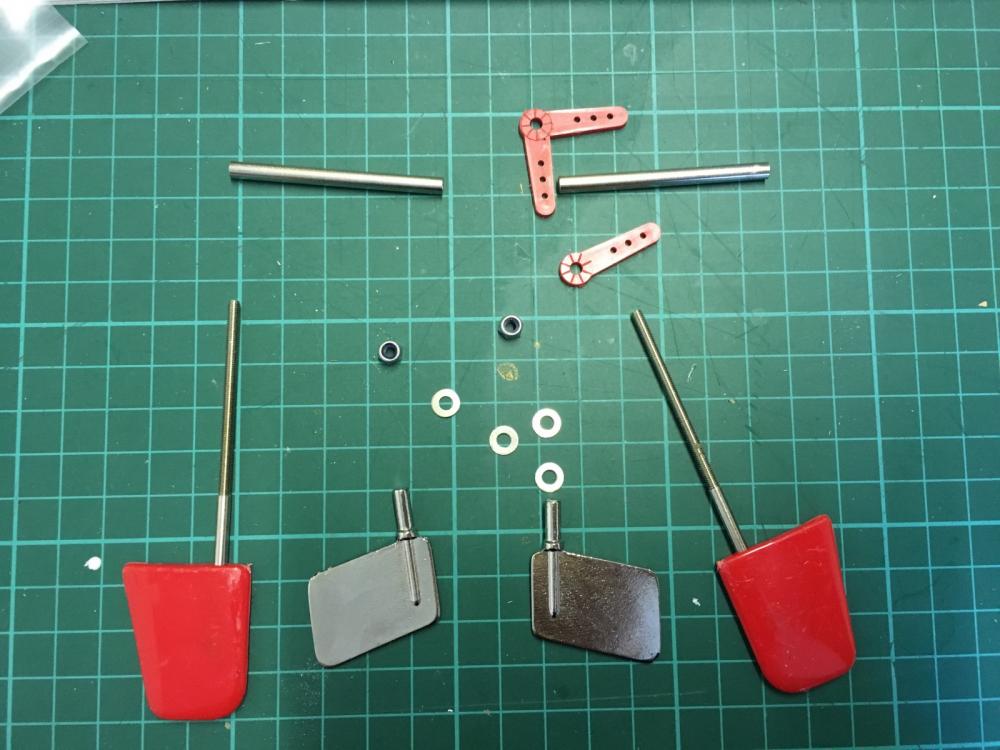
BUILD DAY 10. PLANKING CONT'D and R/C INSTALLED Having figured out how tricky it is to insert the engine/rod component in the body even without any planking, I decided to take the risk and install it already. I know it will add more challenges especially in the second layer planking and sanding, but I cannot take the risk of being unable to install it. It takes a certain amount of fine tuning positioning the rods to get them lined up with each other as well as the rudders, and you need space to do it properly. So, here I go: Below are the rudder components. The metal ones in the middle are for display-only option. They are all you need if you go for it: Just glue them in their dedicated holes and that's it. All the rest (rods, washers, red plastic rudders, arms) are coming with the R/C kit, adding one more line to my shopping list: Buy proper brass rudders.
- 414 replies
-
- 5
-
-
- riva aquarama
- amati
- (and 2 more)
-
END OF BUILD DAY 10. 4:30 hours today. 35:30 hours into build in total. This is the status at the end of DAY 10 .Thanks for watching.
- 414 replies
-
- 2
-
-
- riva aquarama
- amati
- (and 2 more)