HOLIDAY DONATION DRIVE - SUPPORT MSW - DO YOUR PART TO KEEP THIS GREAT FORUM GOING! (Only 20 donations so far - C'mon guys!)
×


greatgalleons
-
Posts
794 -
Joined
-
Last visited
Content Type
Profiles
Forums
Gallery
Events
Everything posted by greatgalleons
-
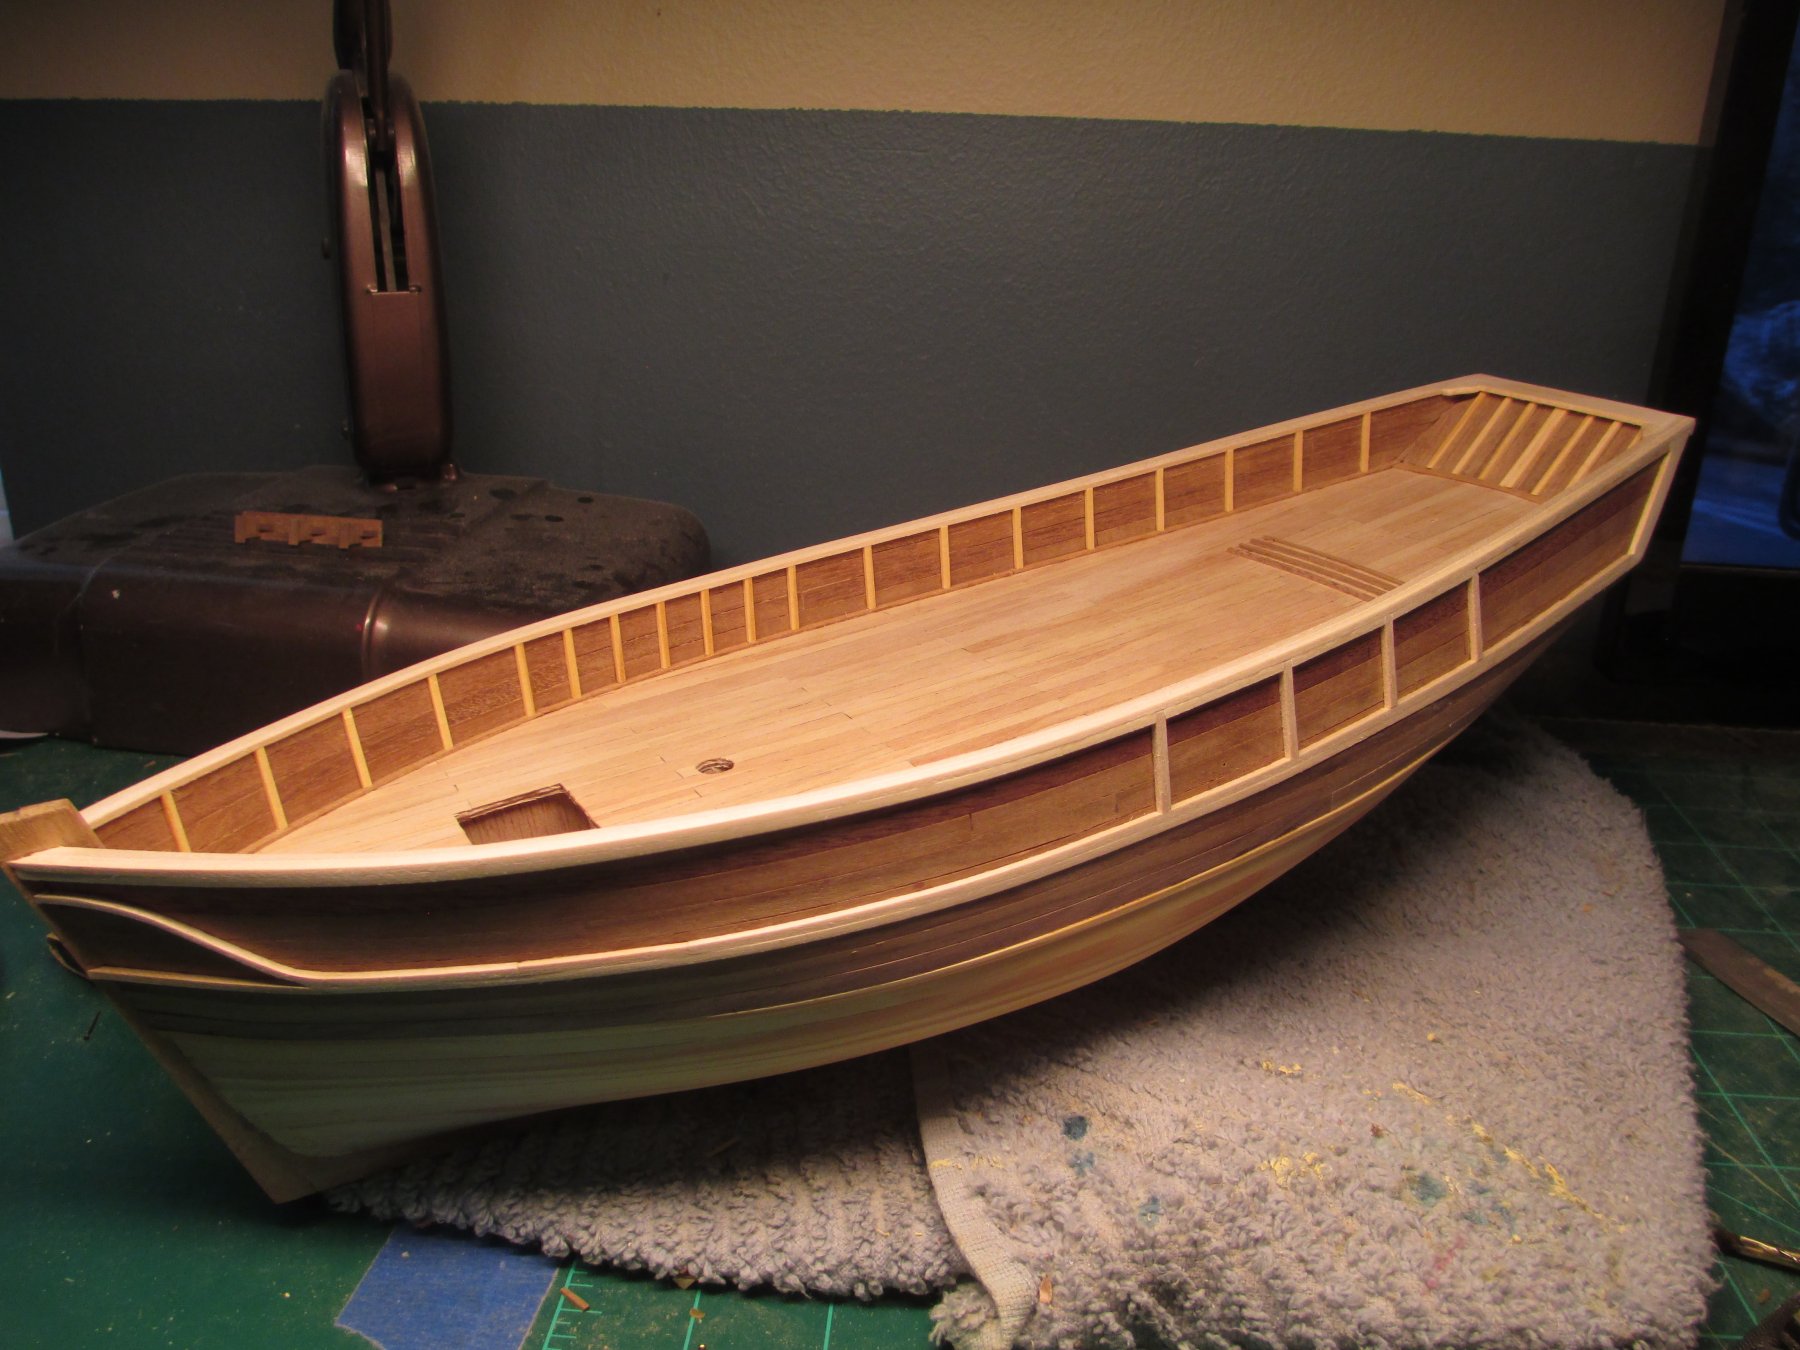
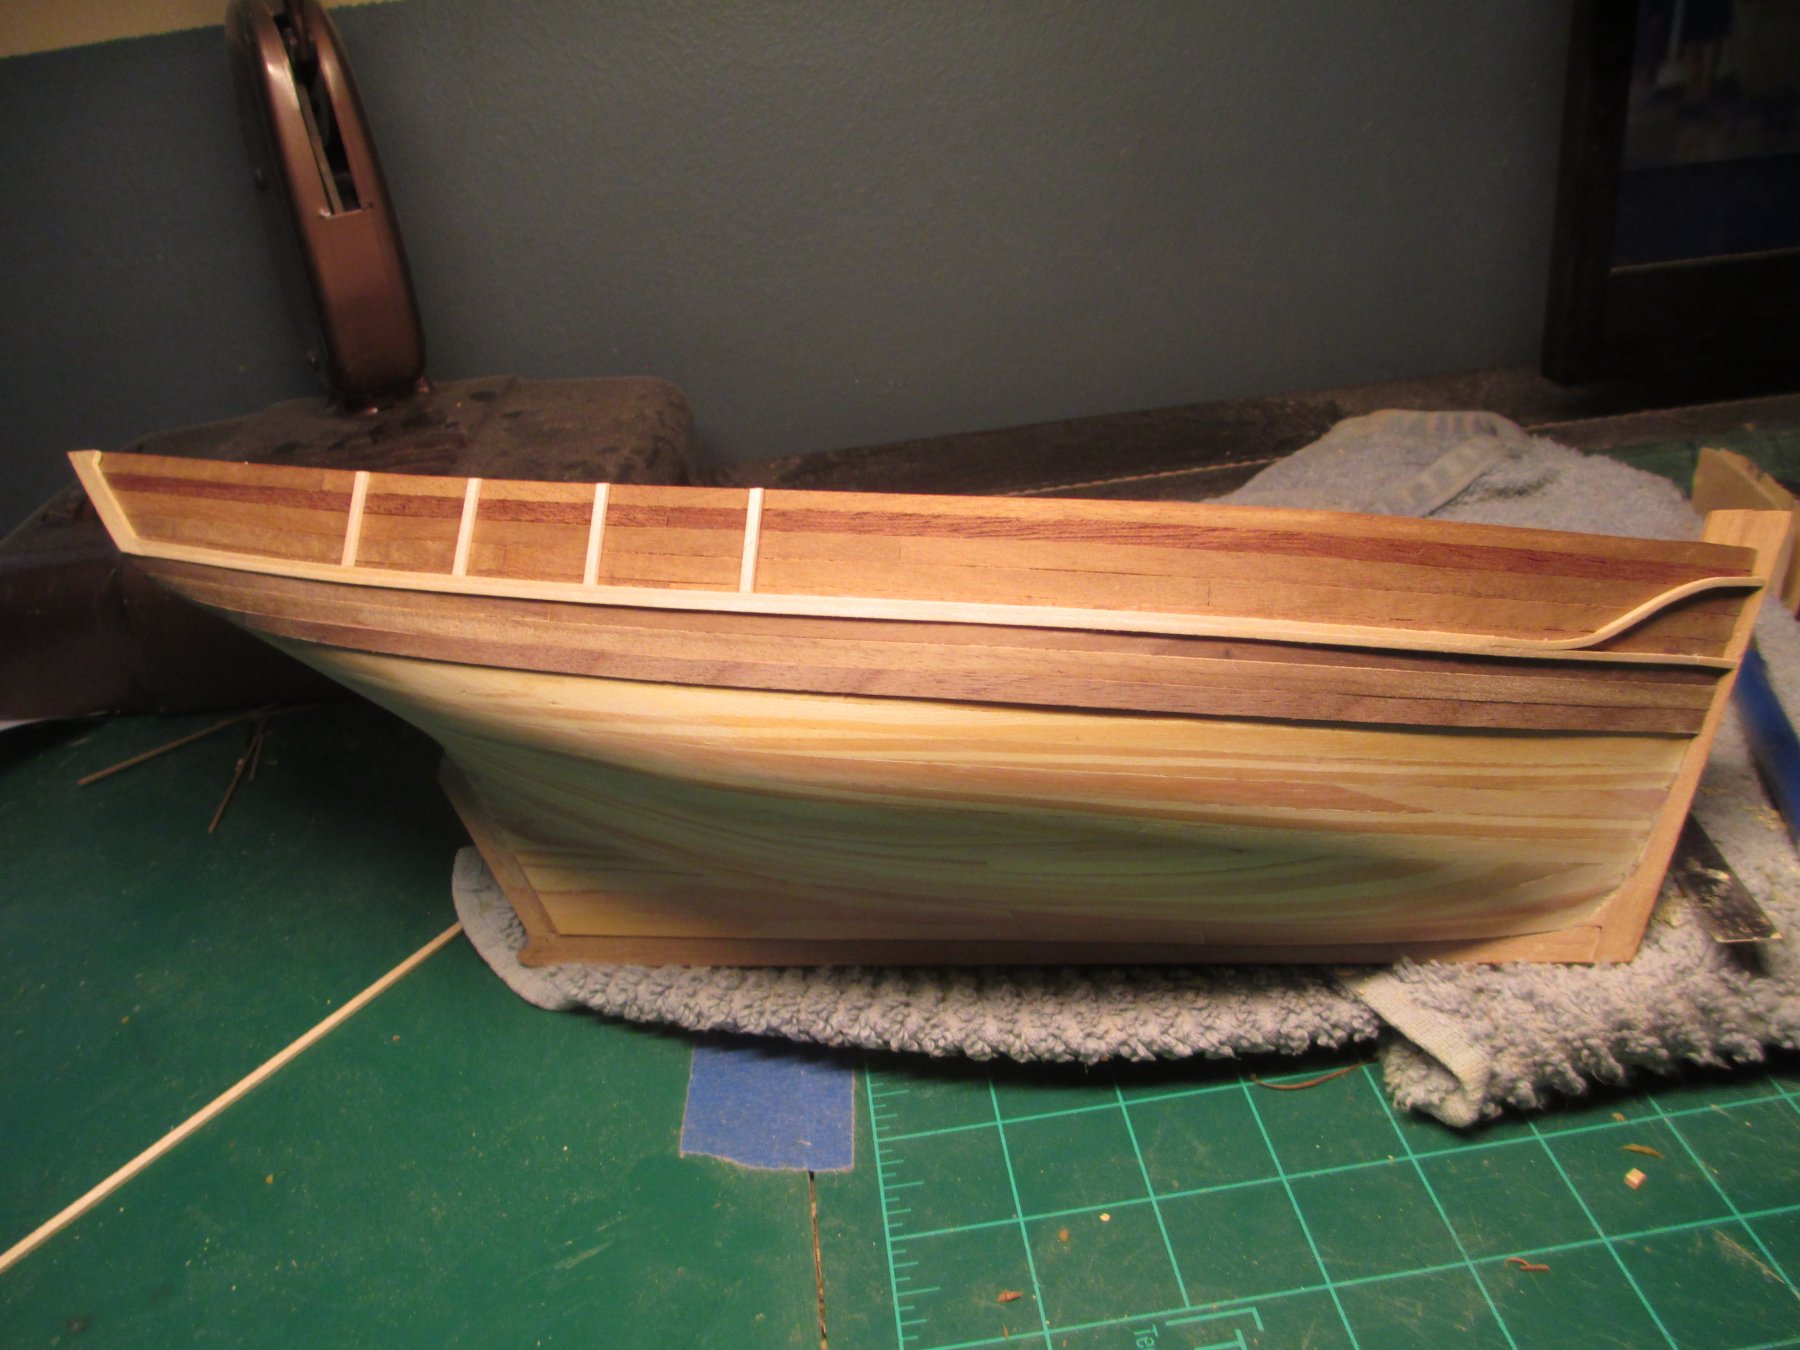
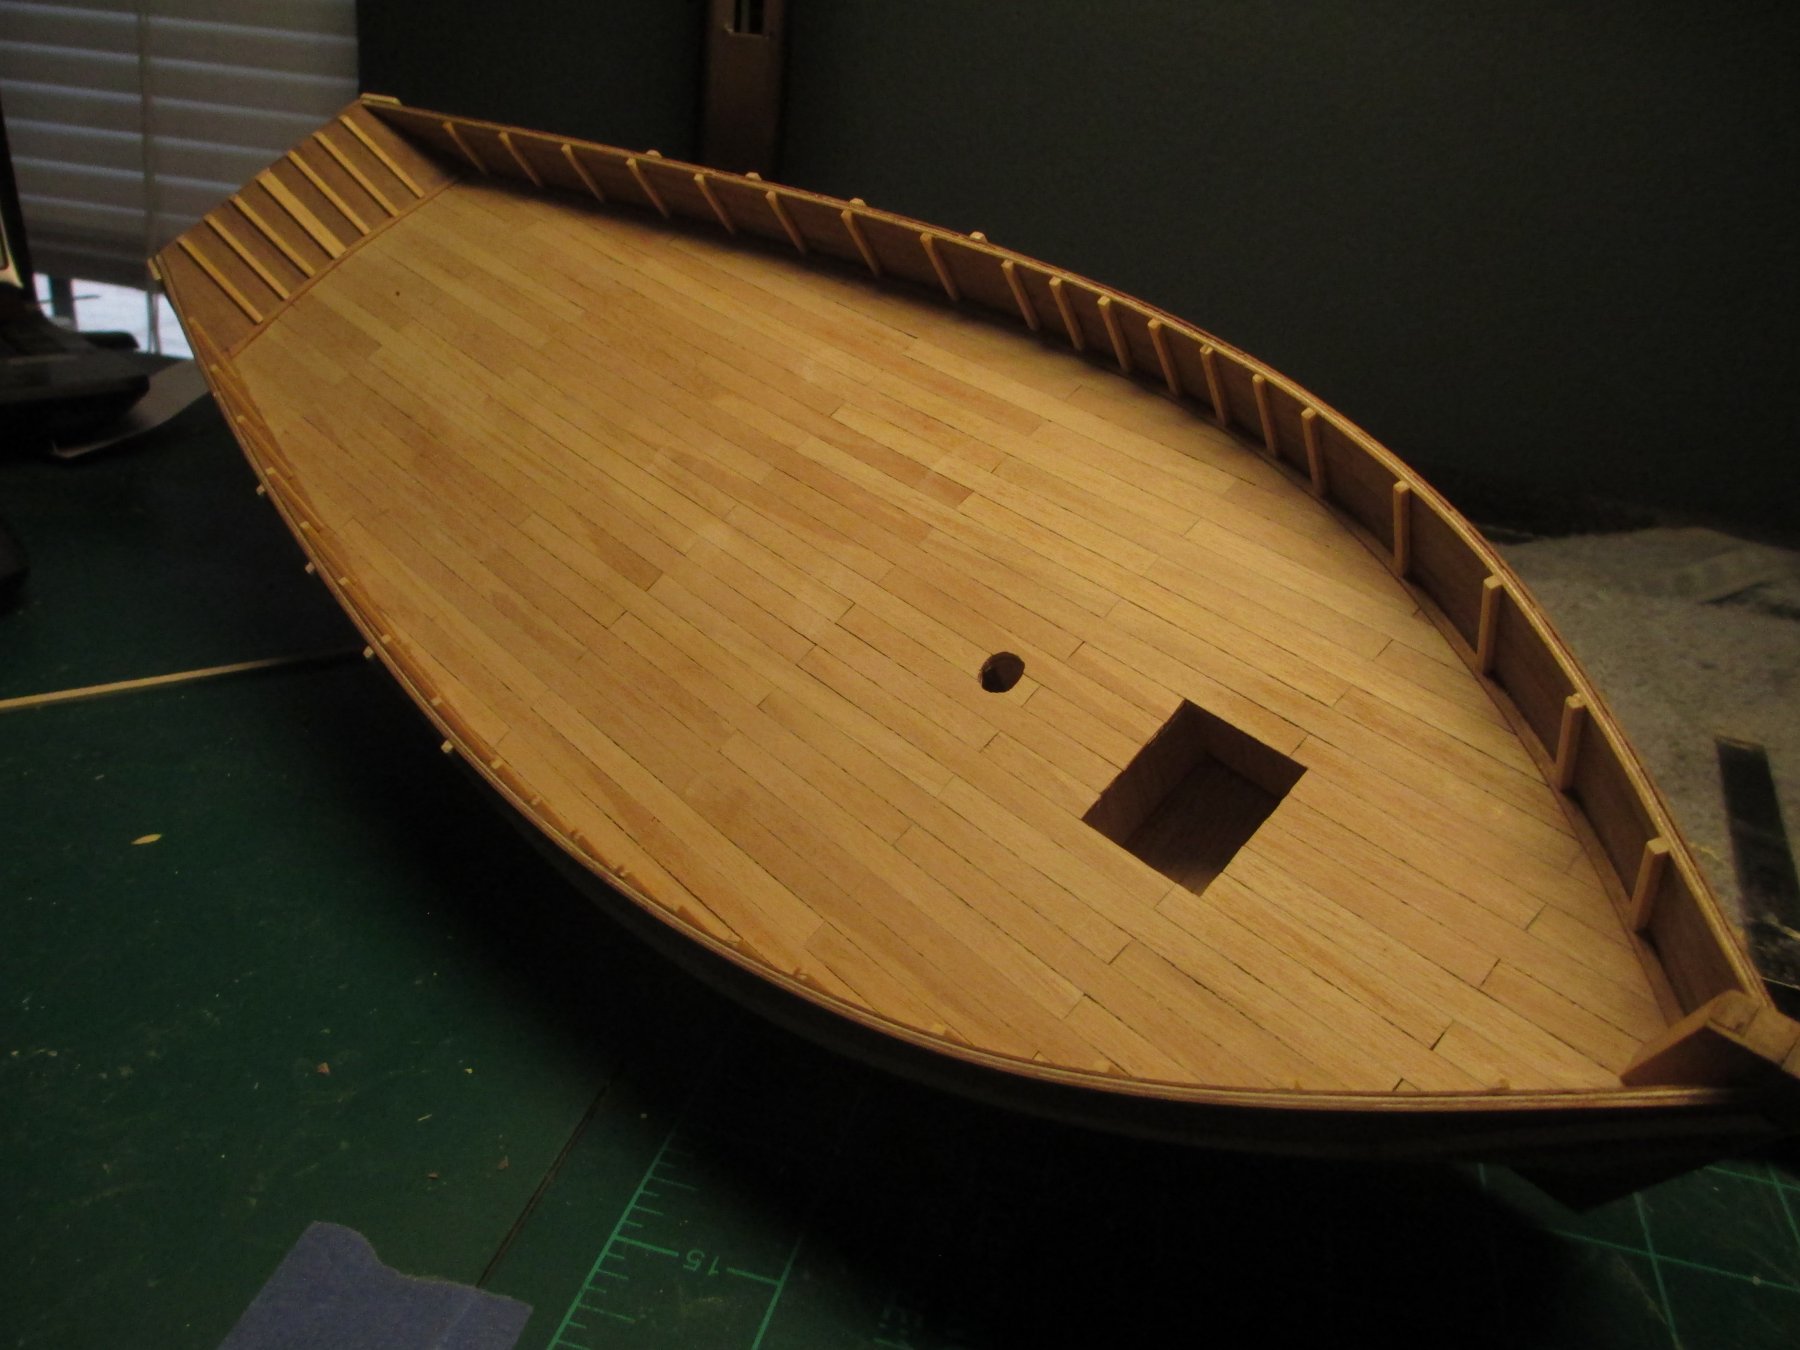
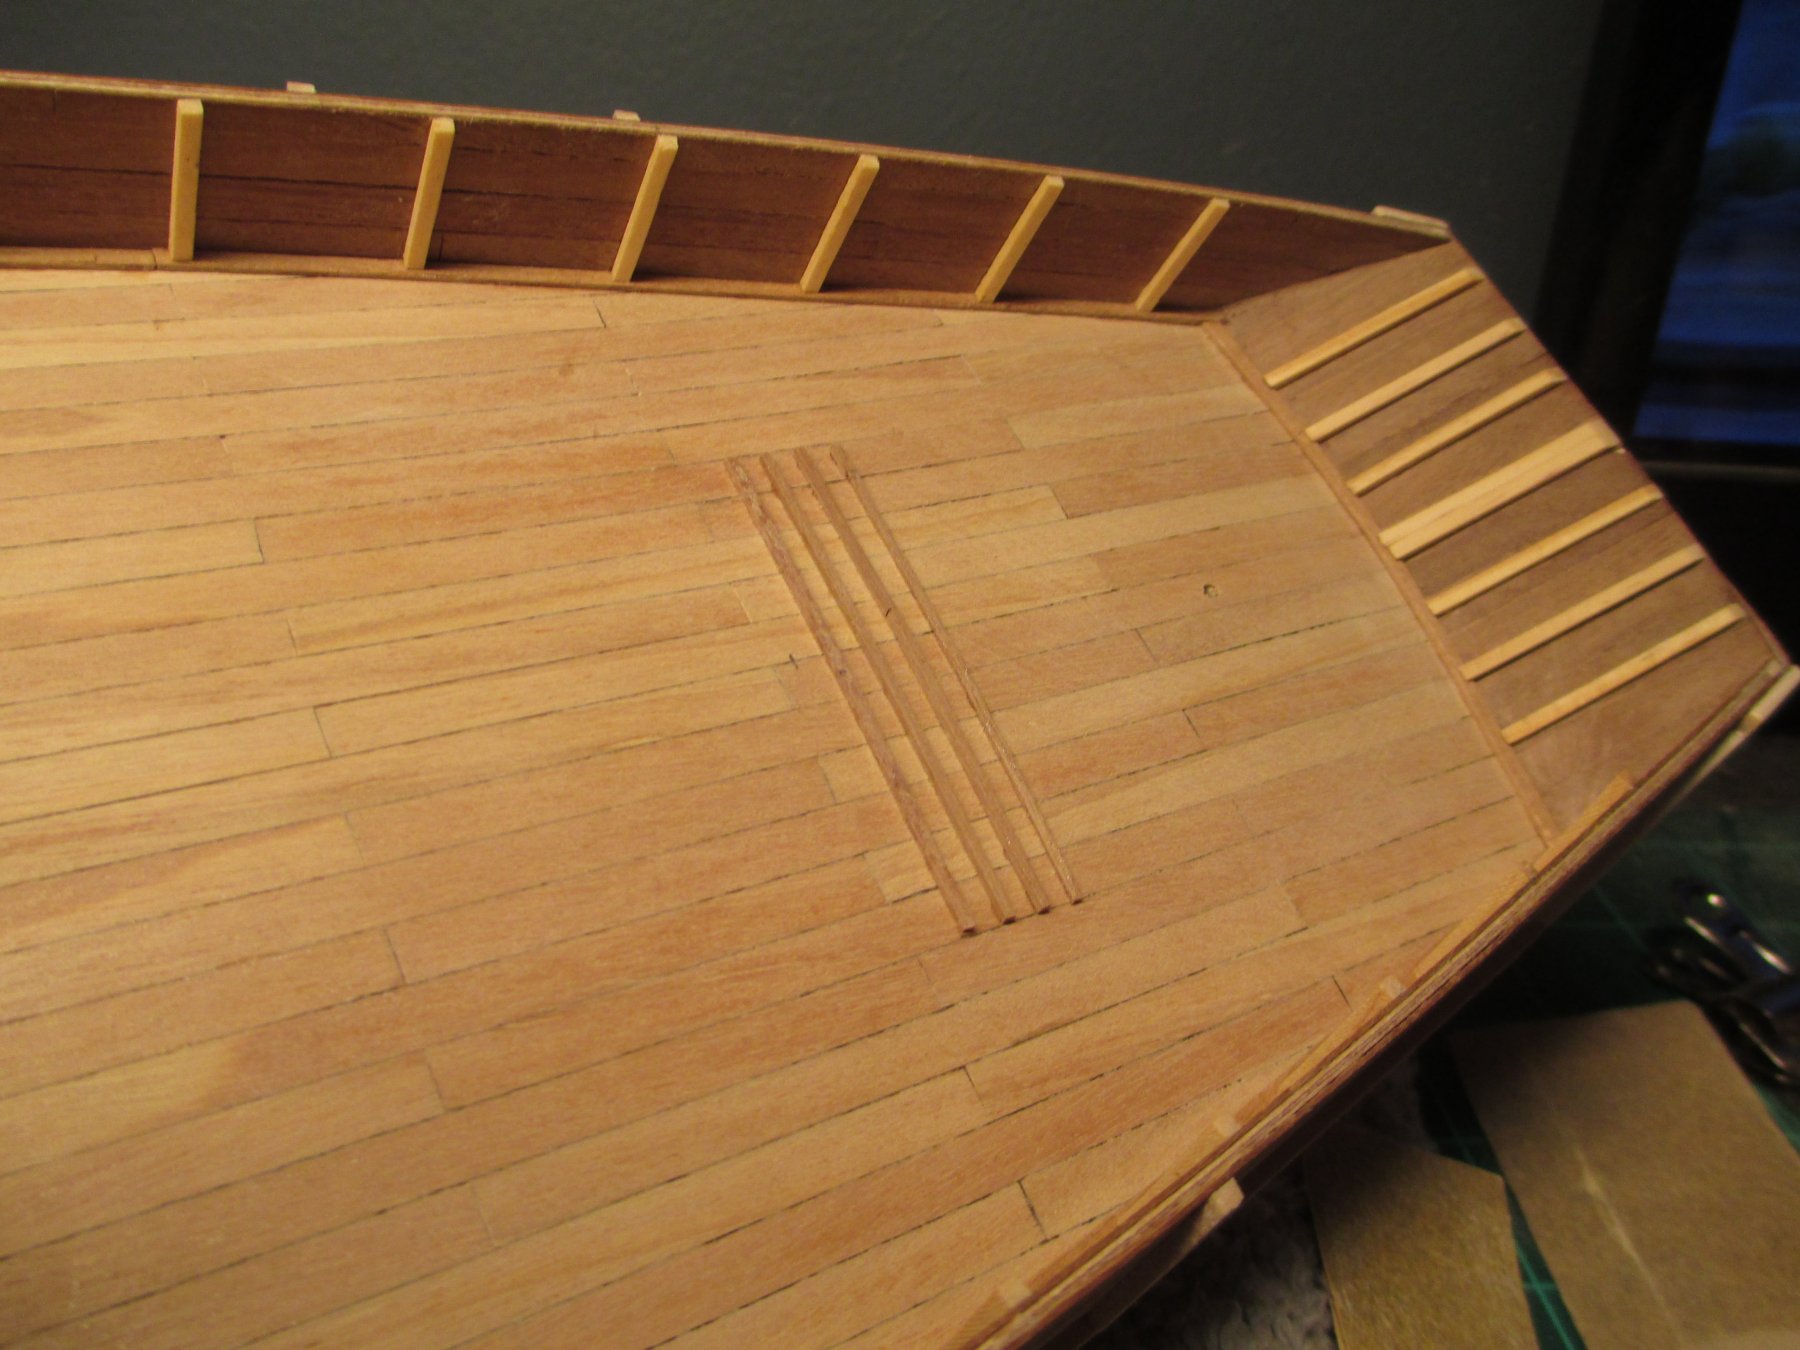
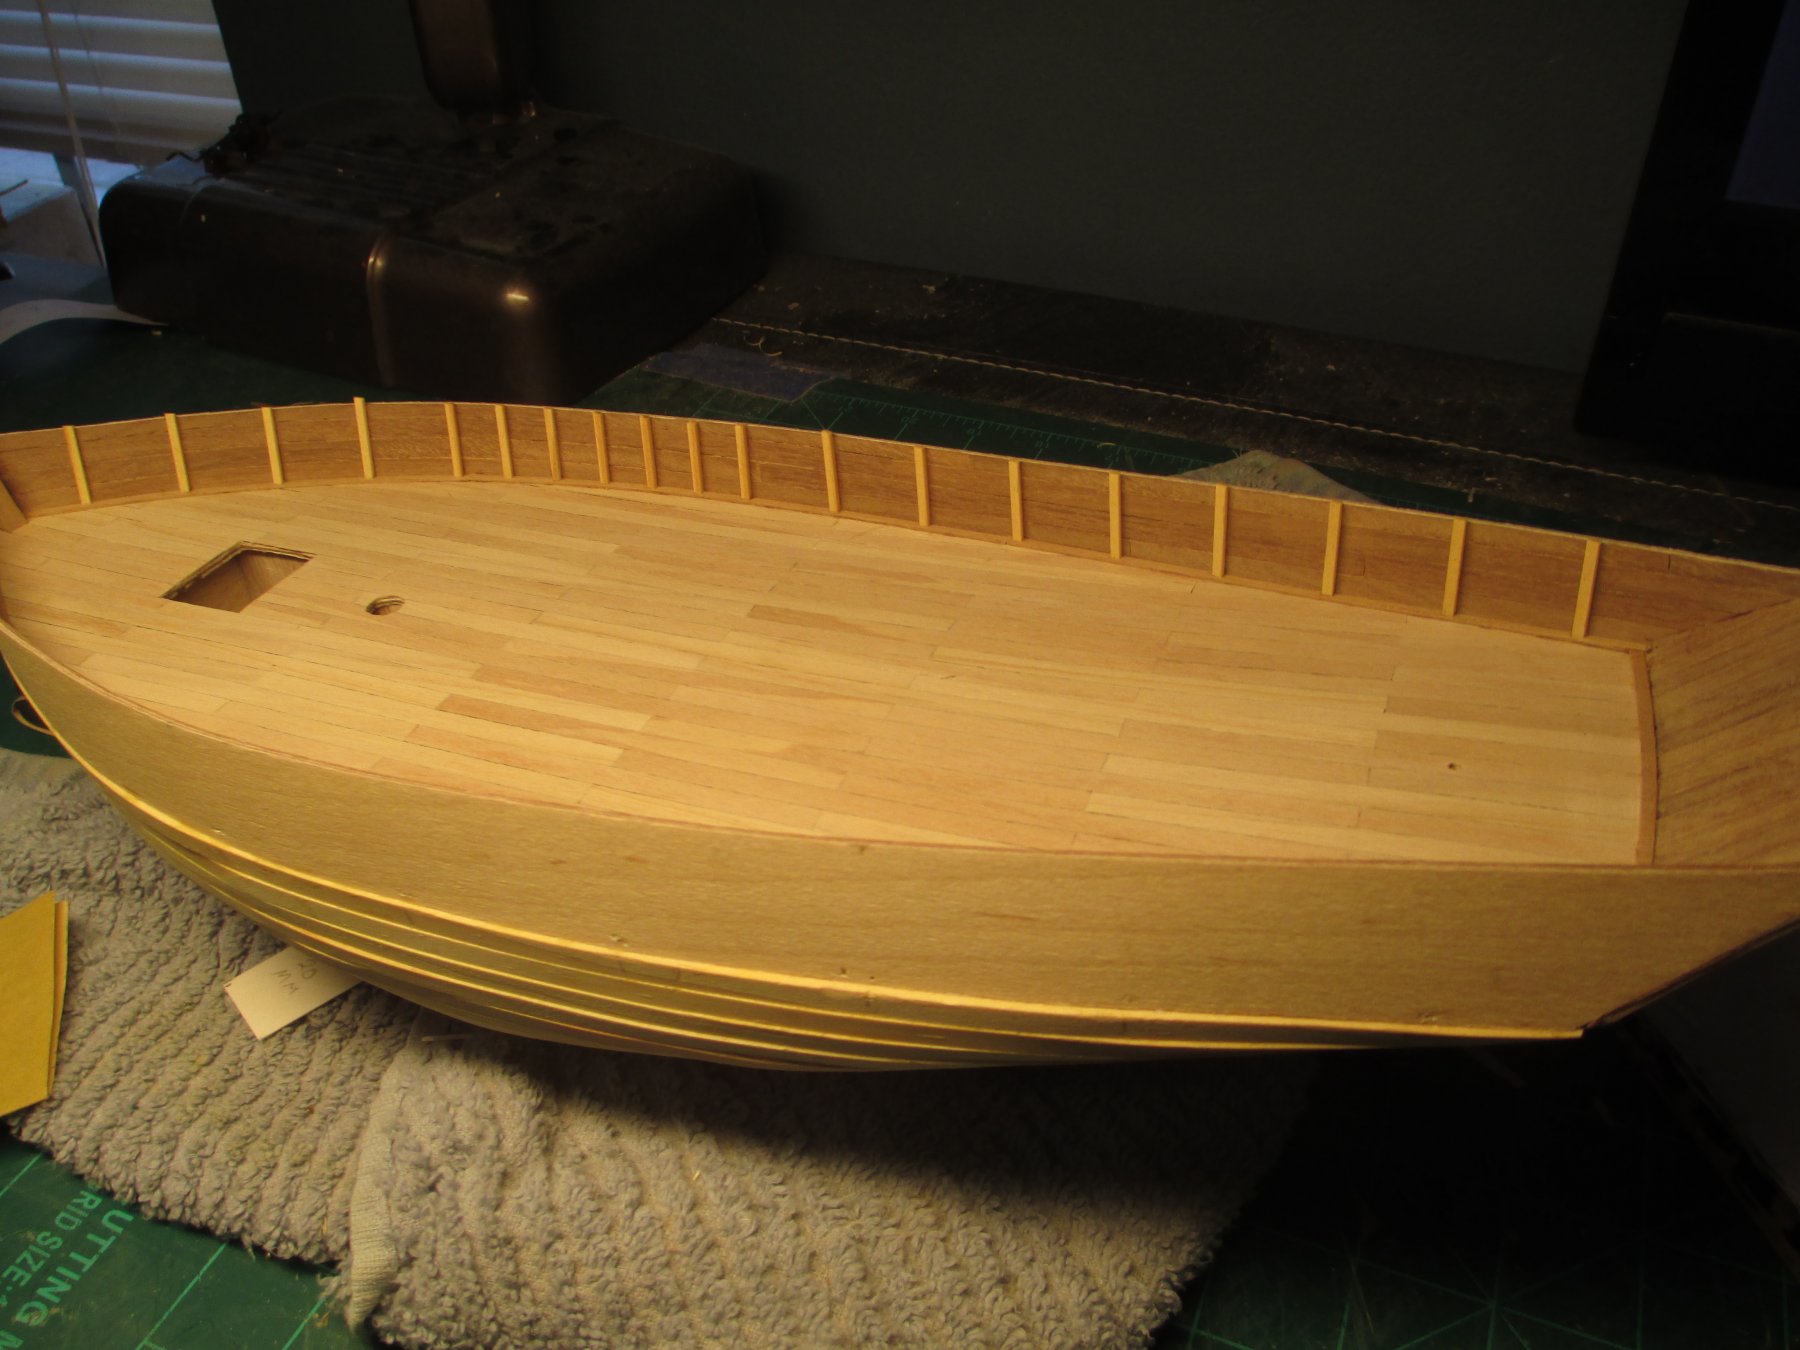
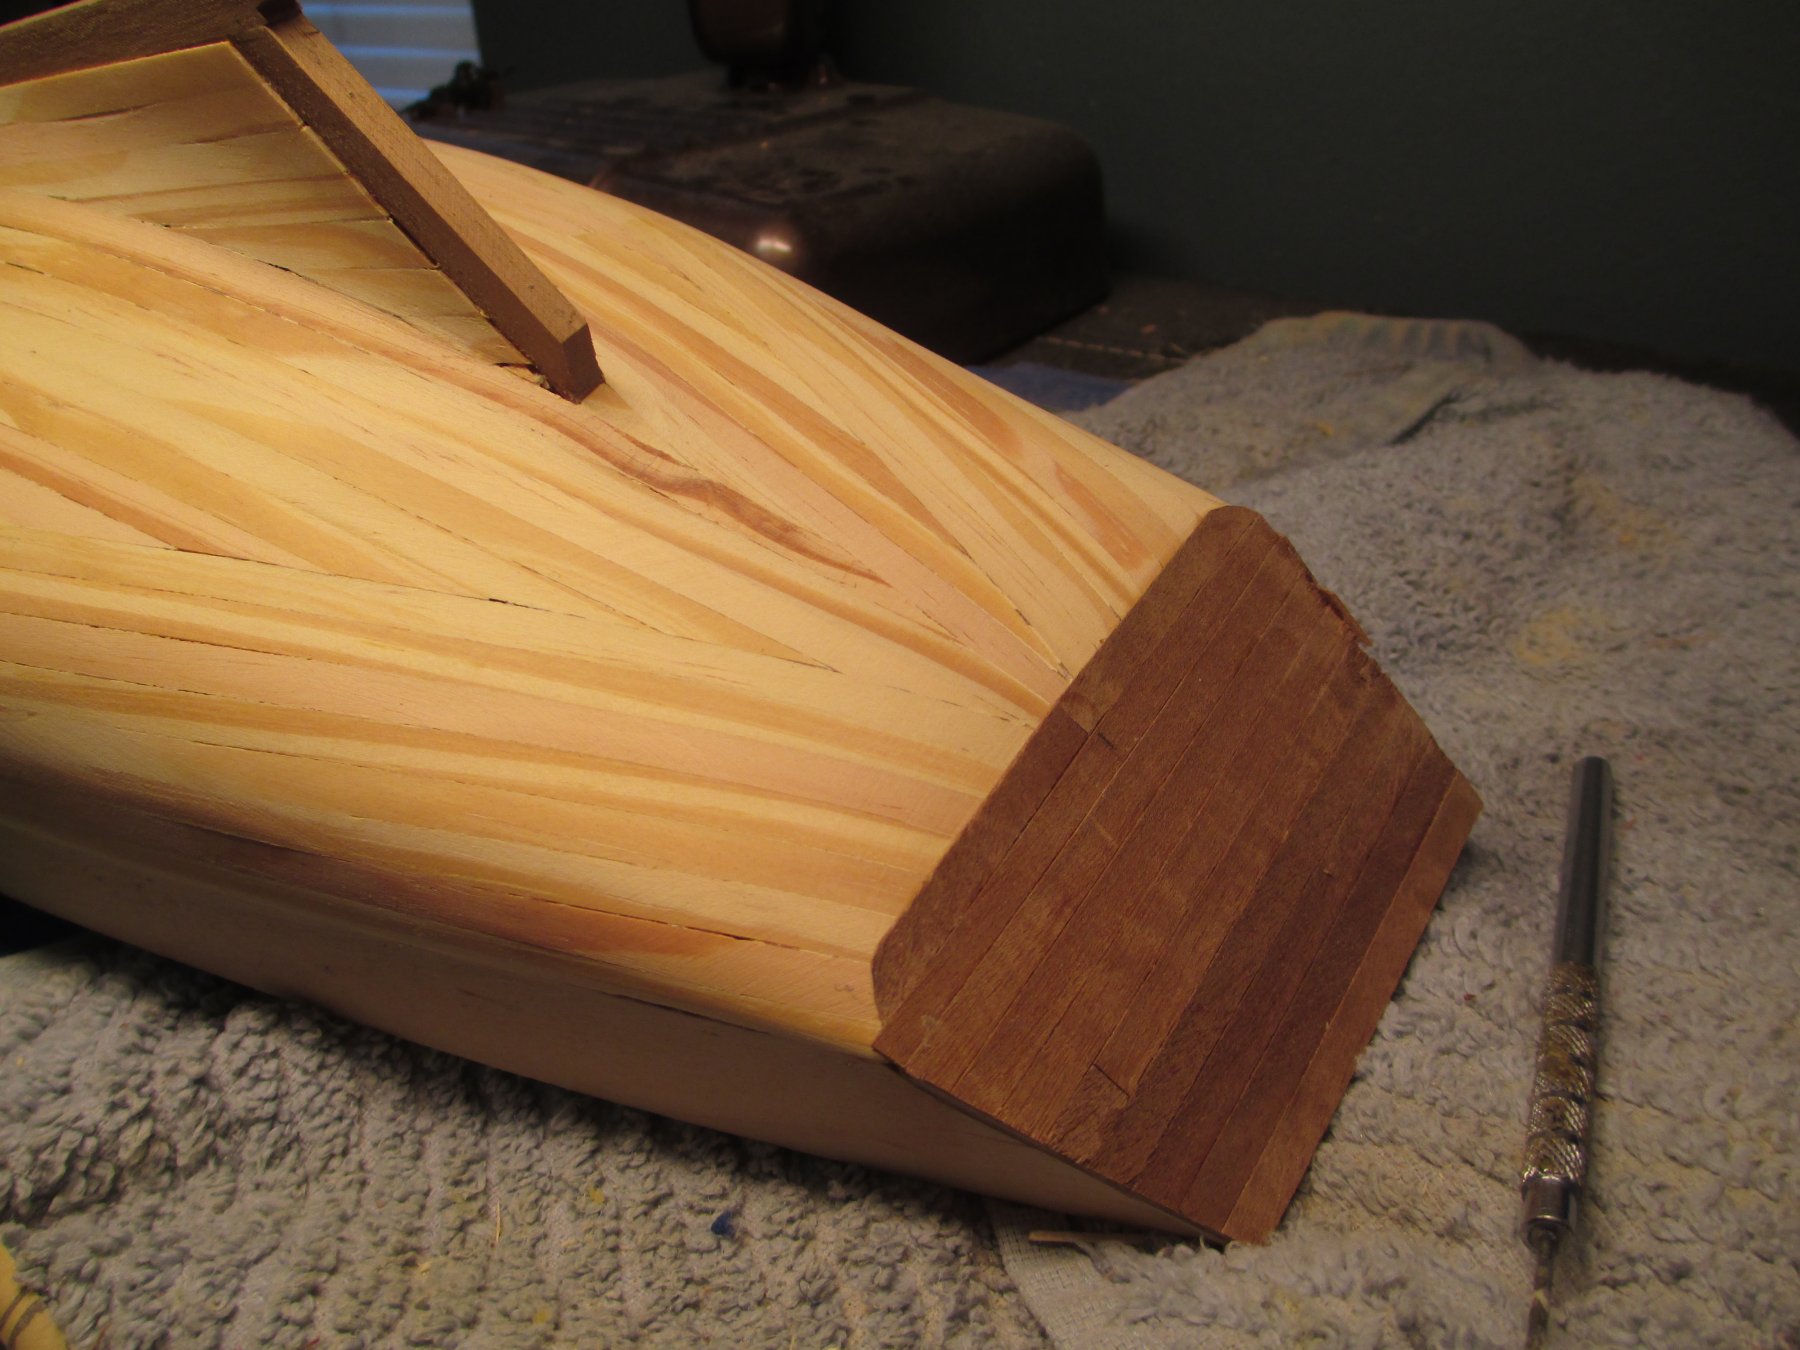
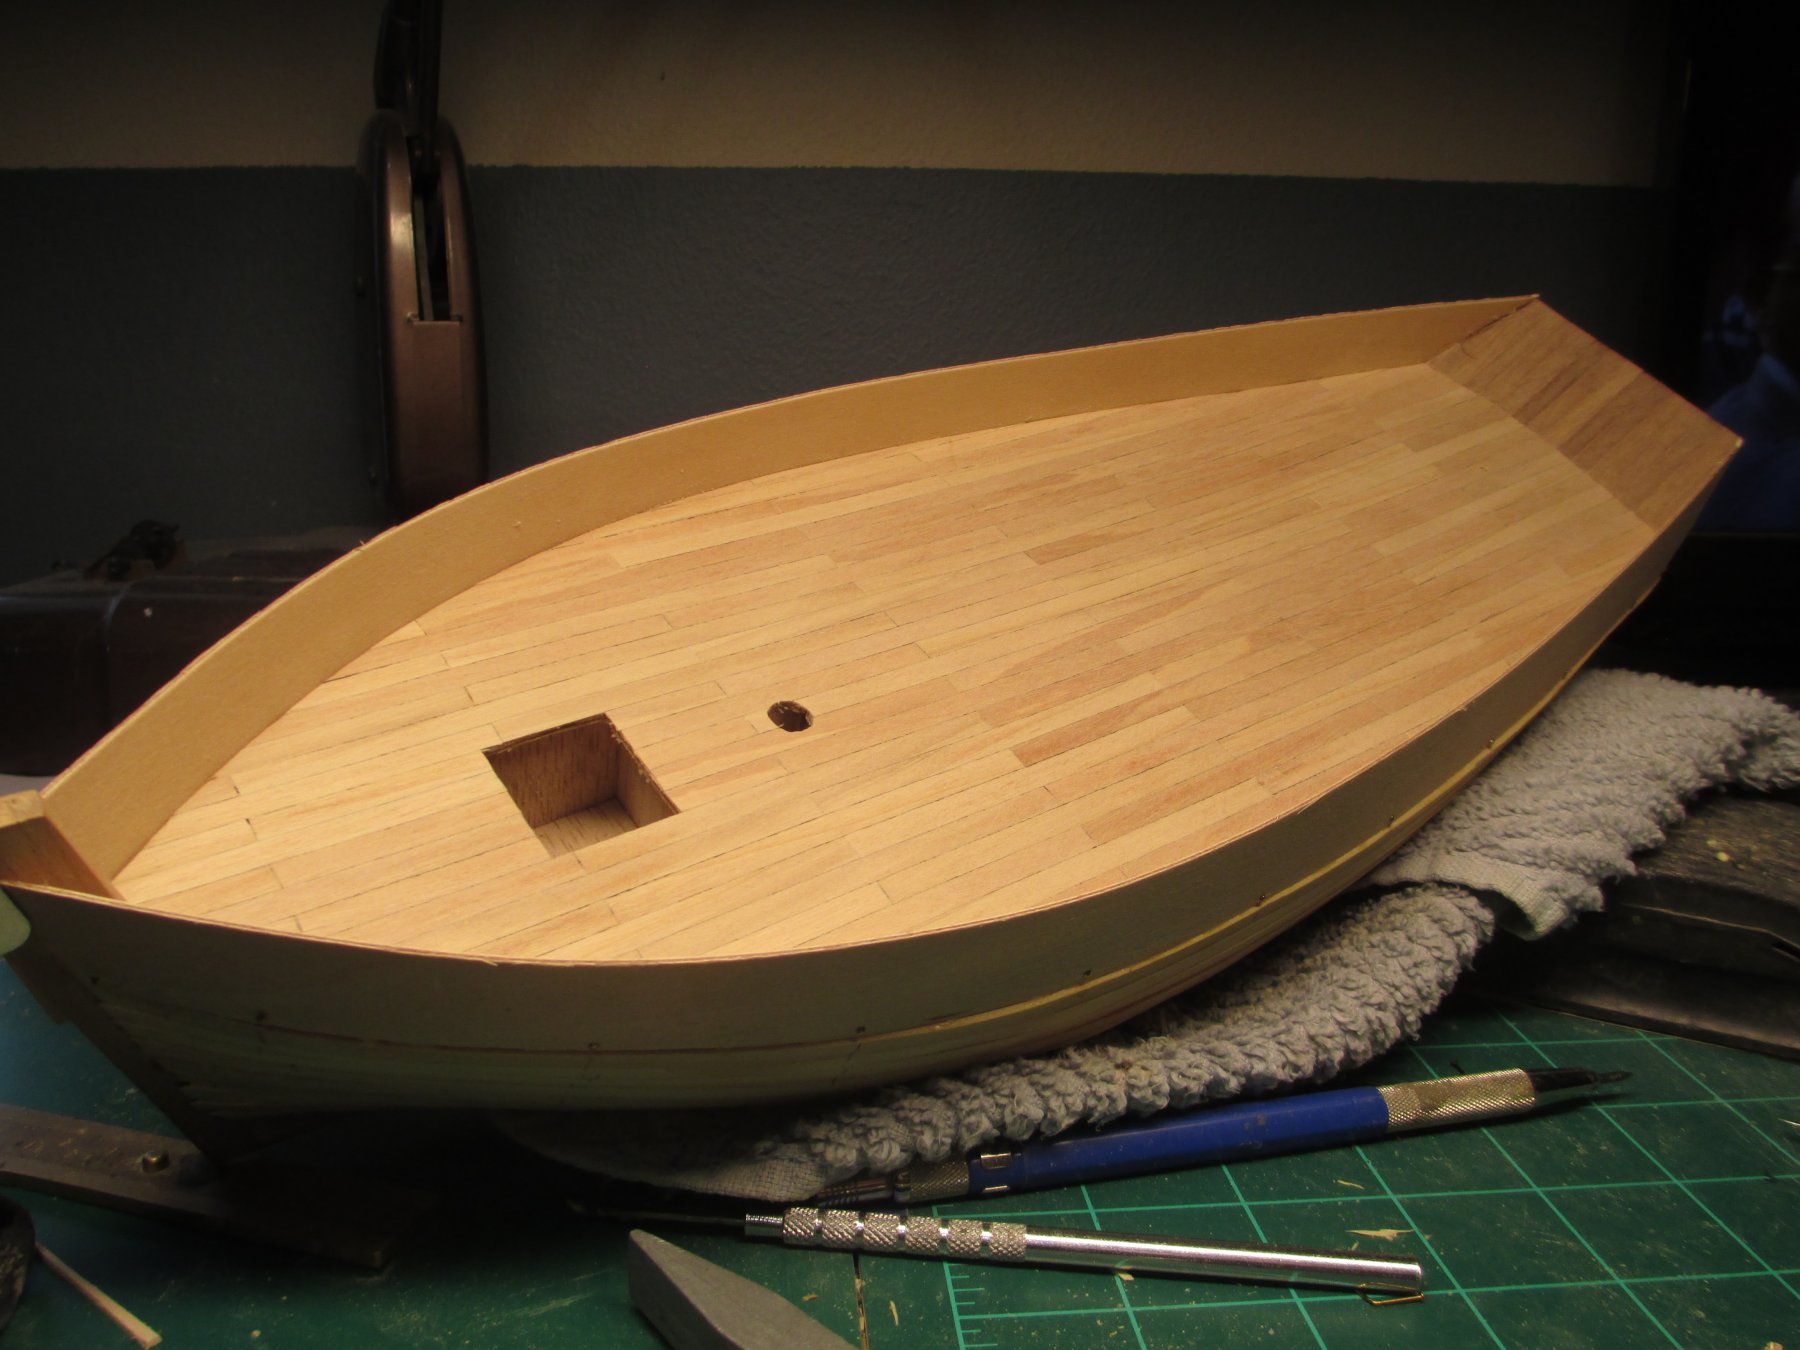
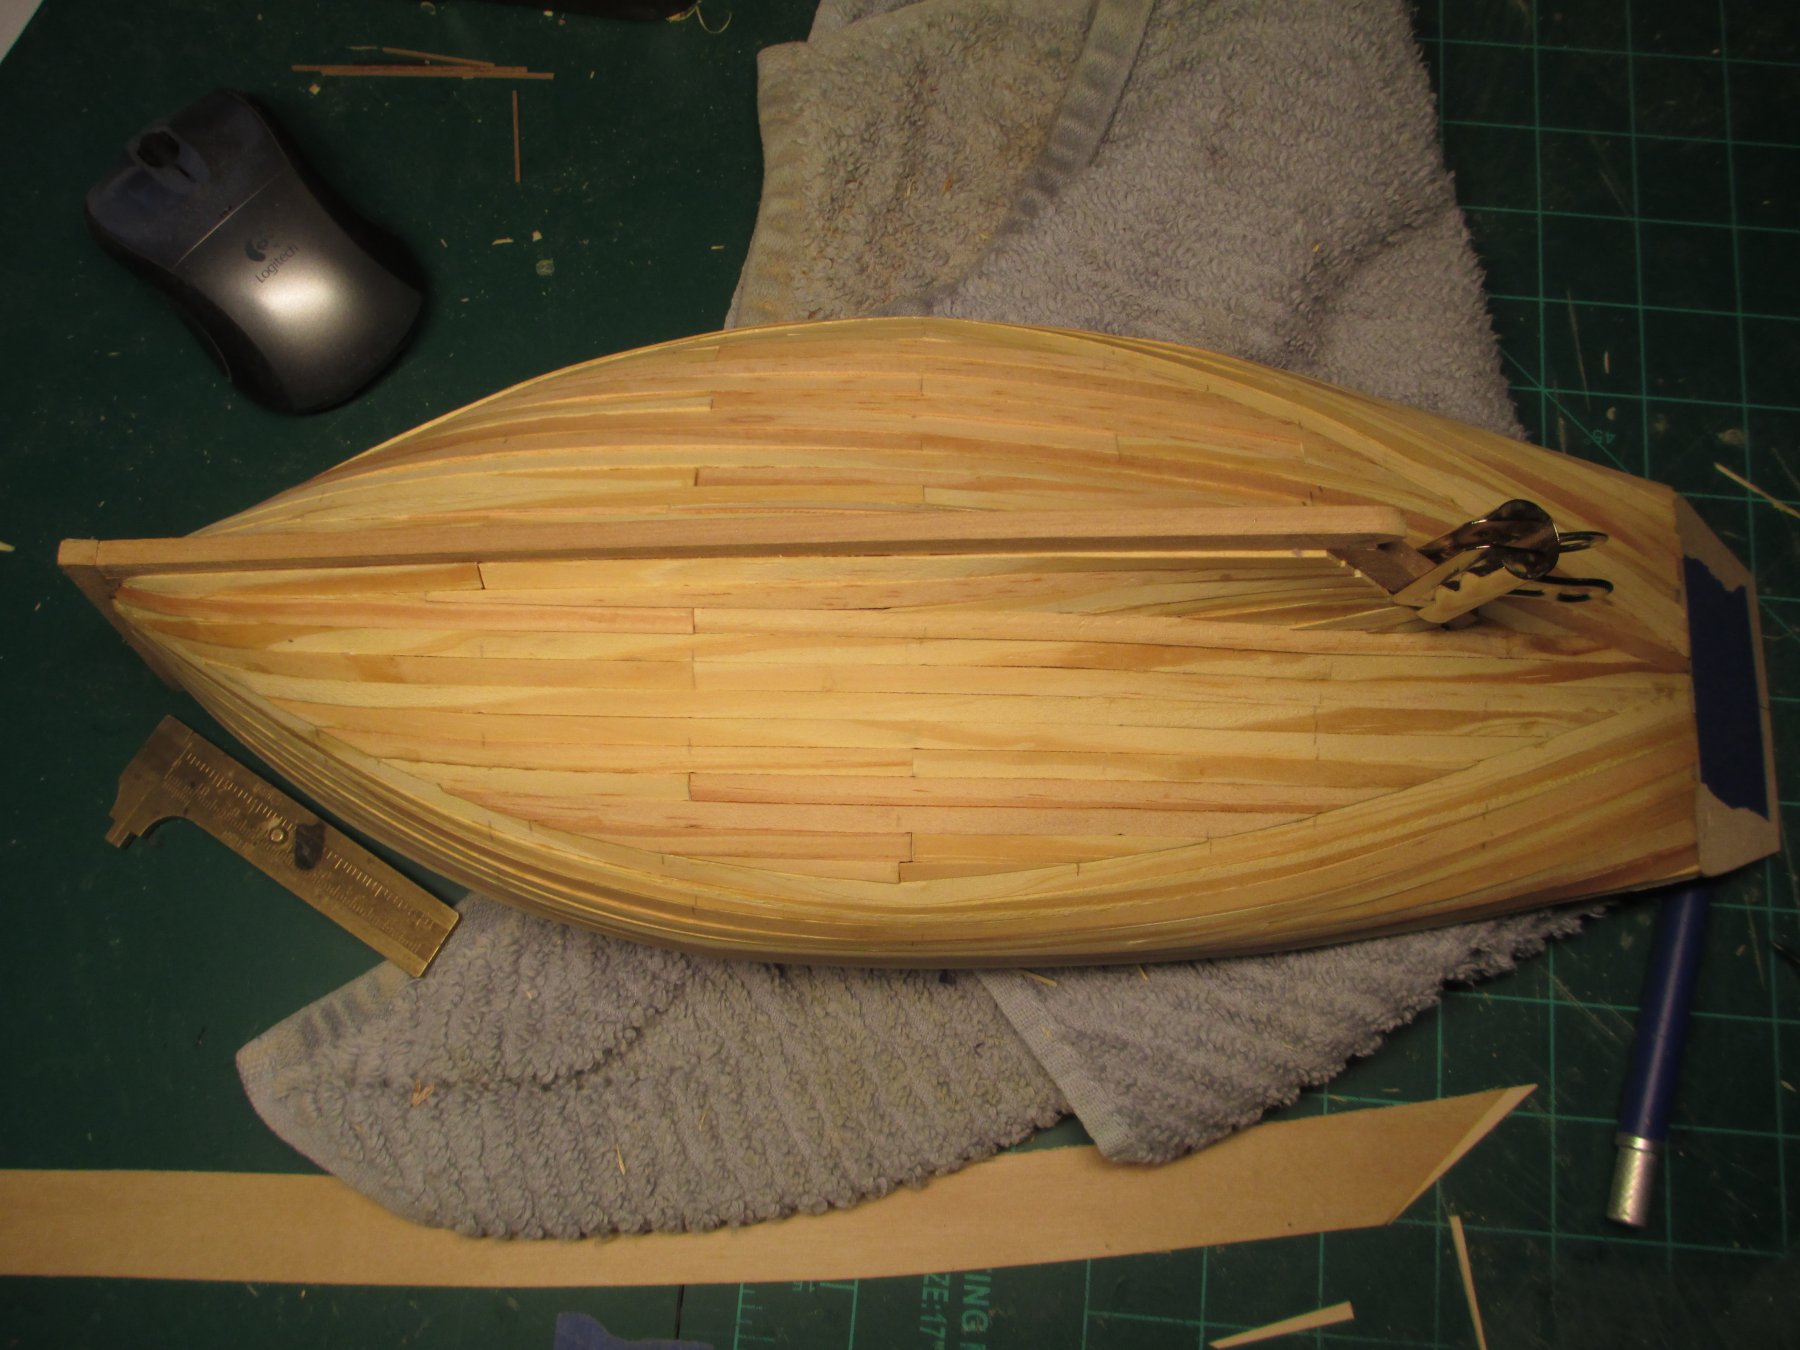
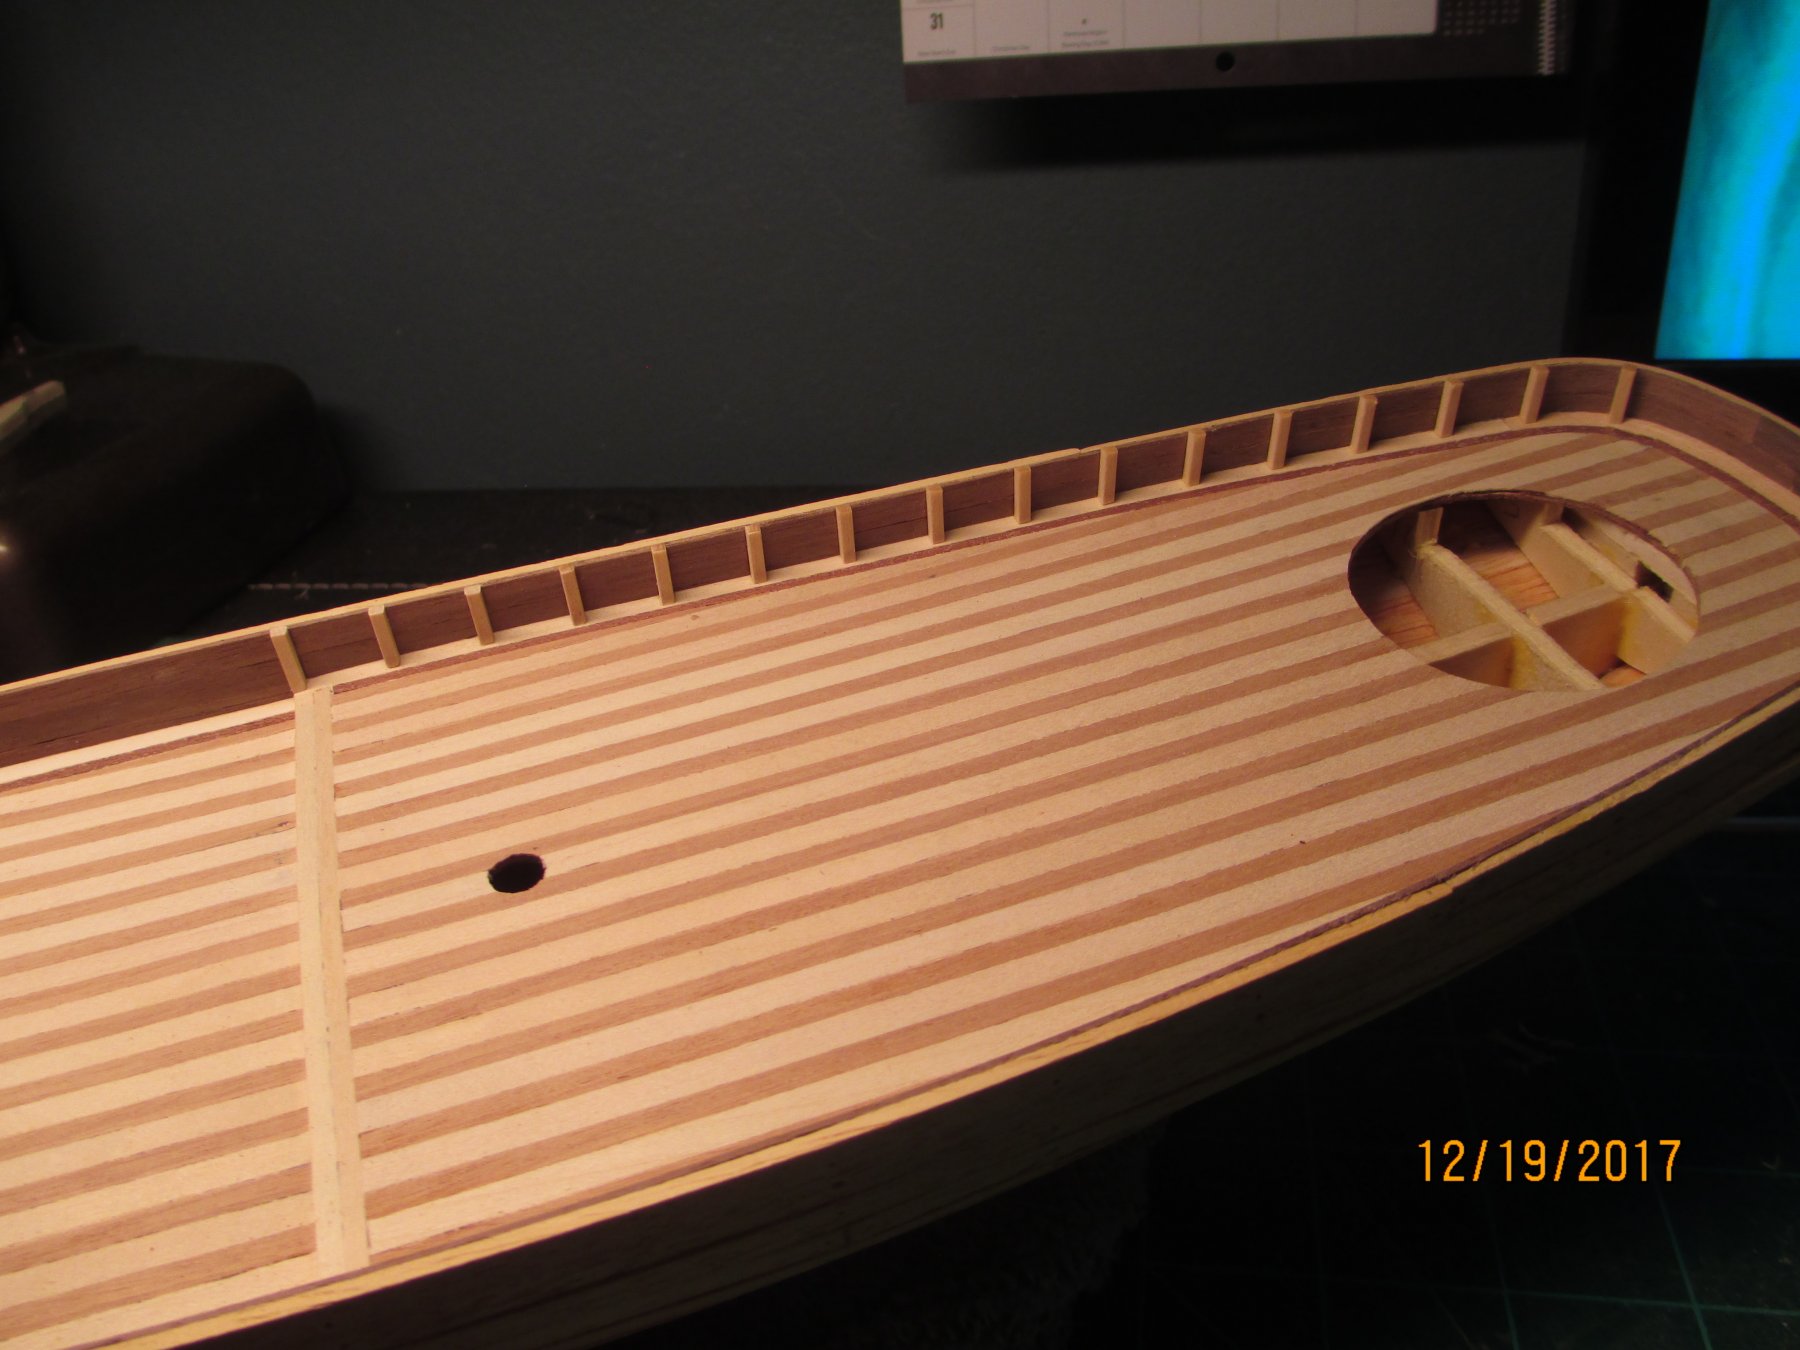
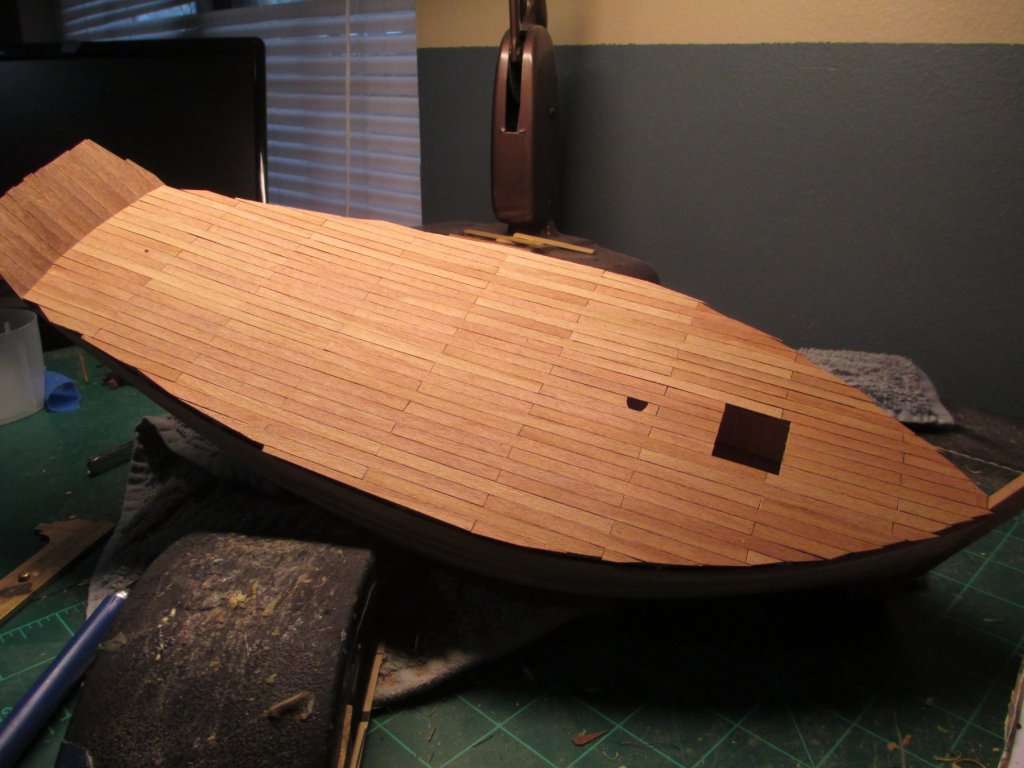
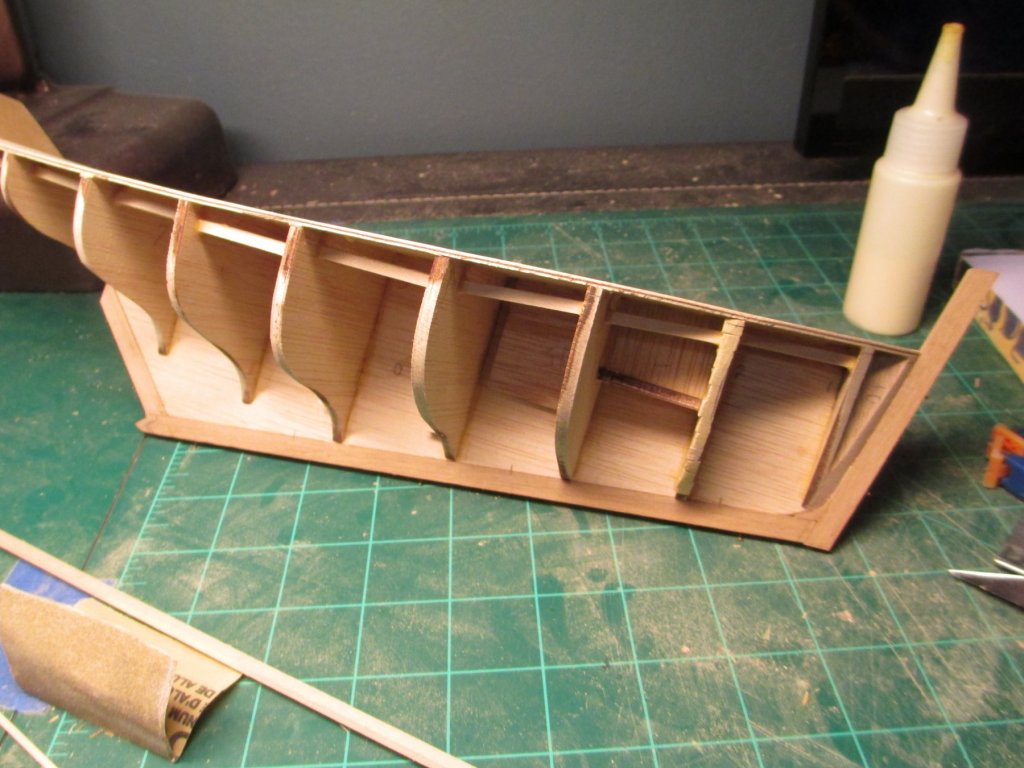
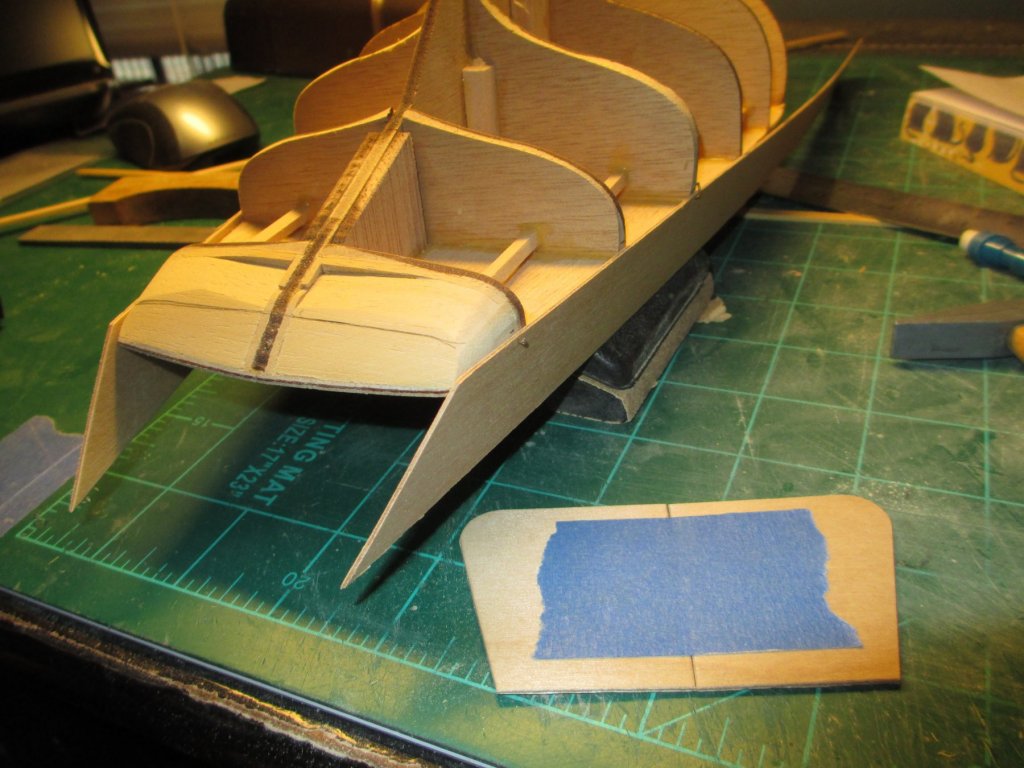
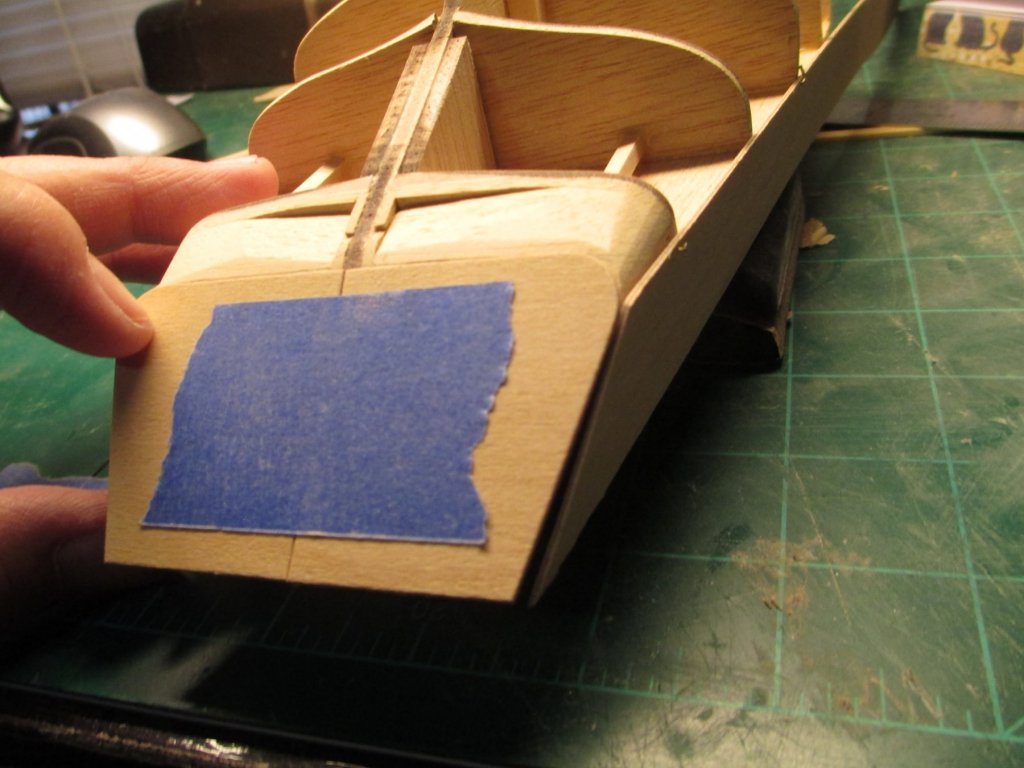
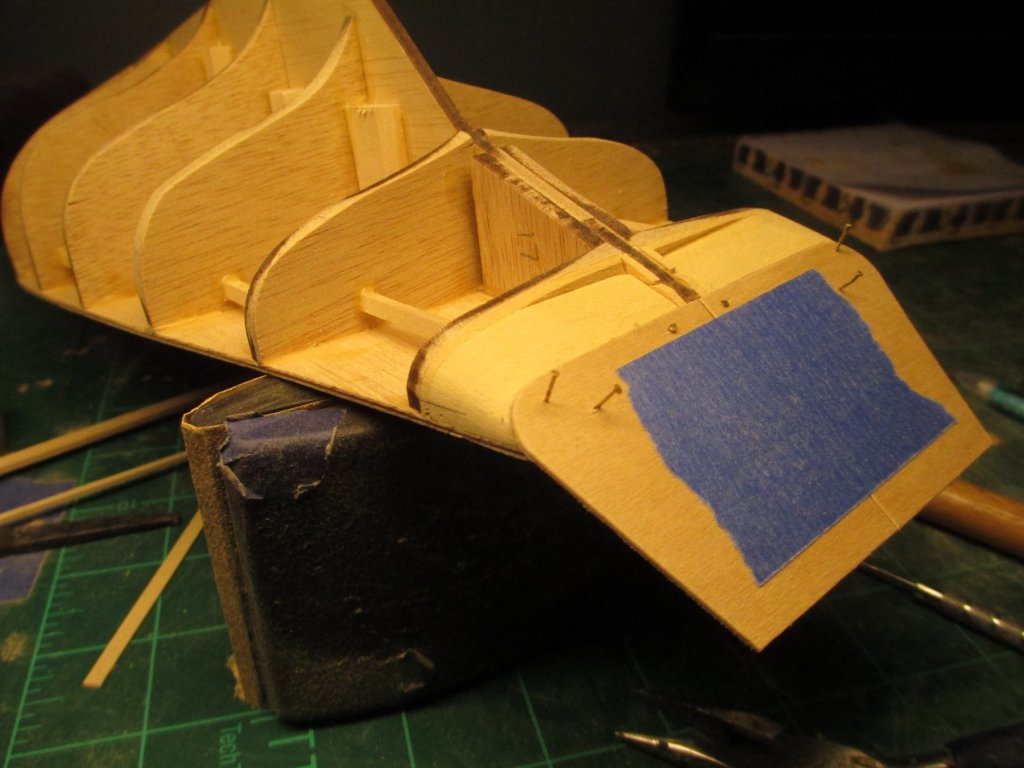
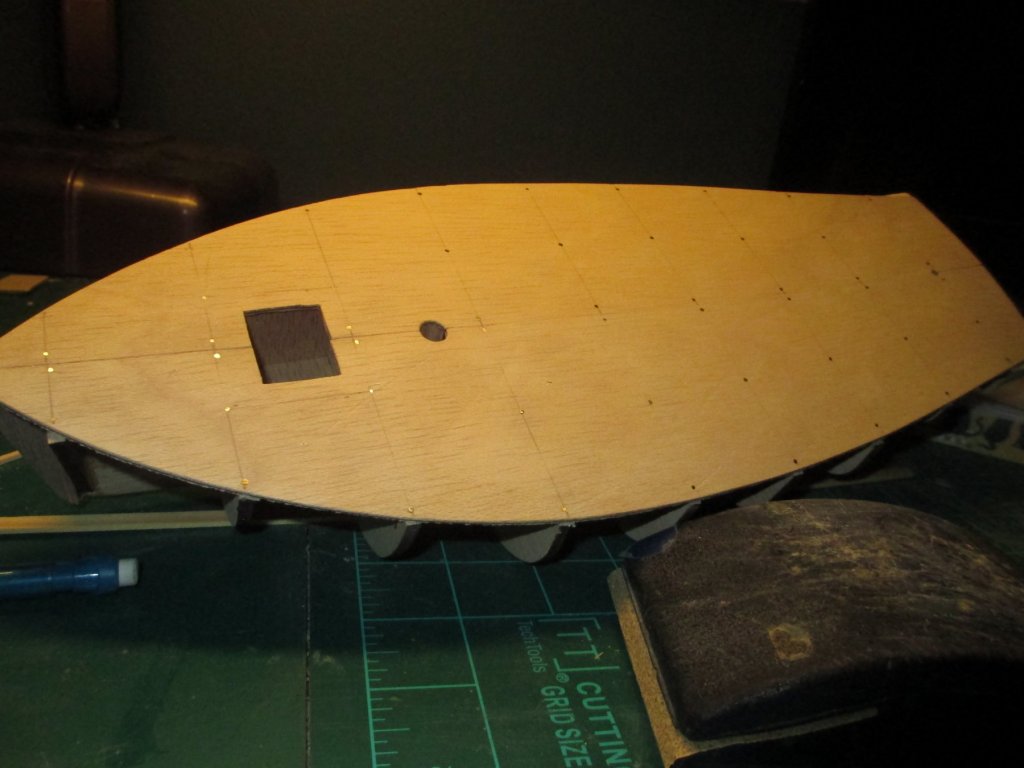
 adding to the stem, stern planked ,deck planking has been sanded before placing sides on
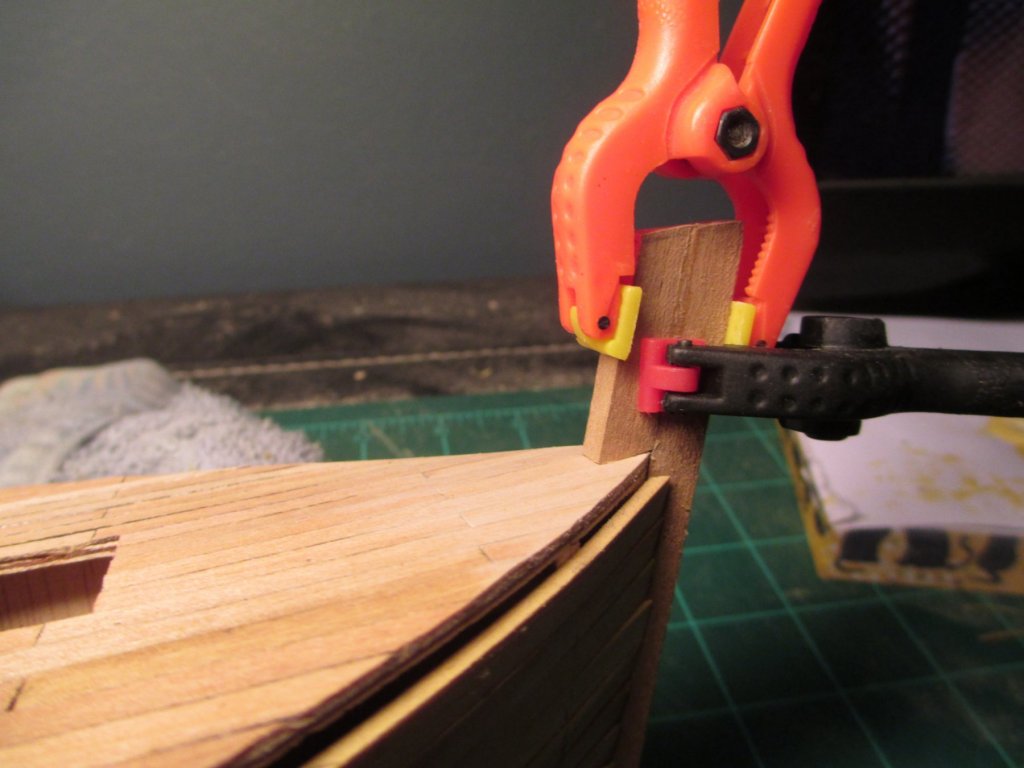


- 34 replies
-
- 2
-

-
- finished
- Constructo
- (and 1 more)
-
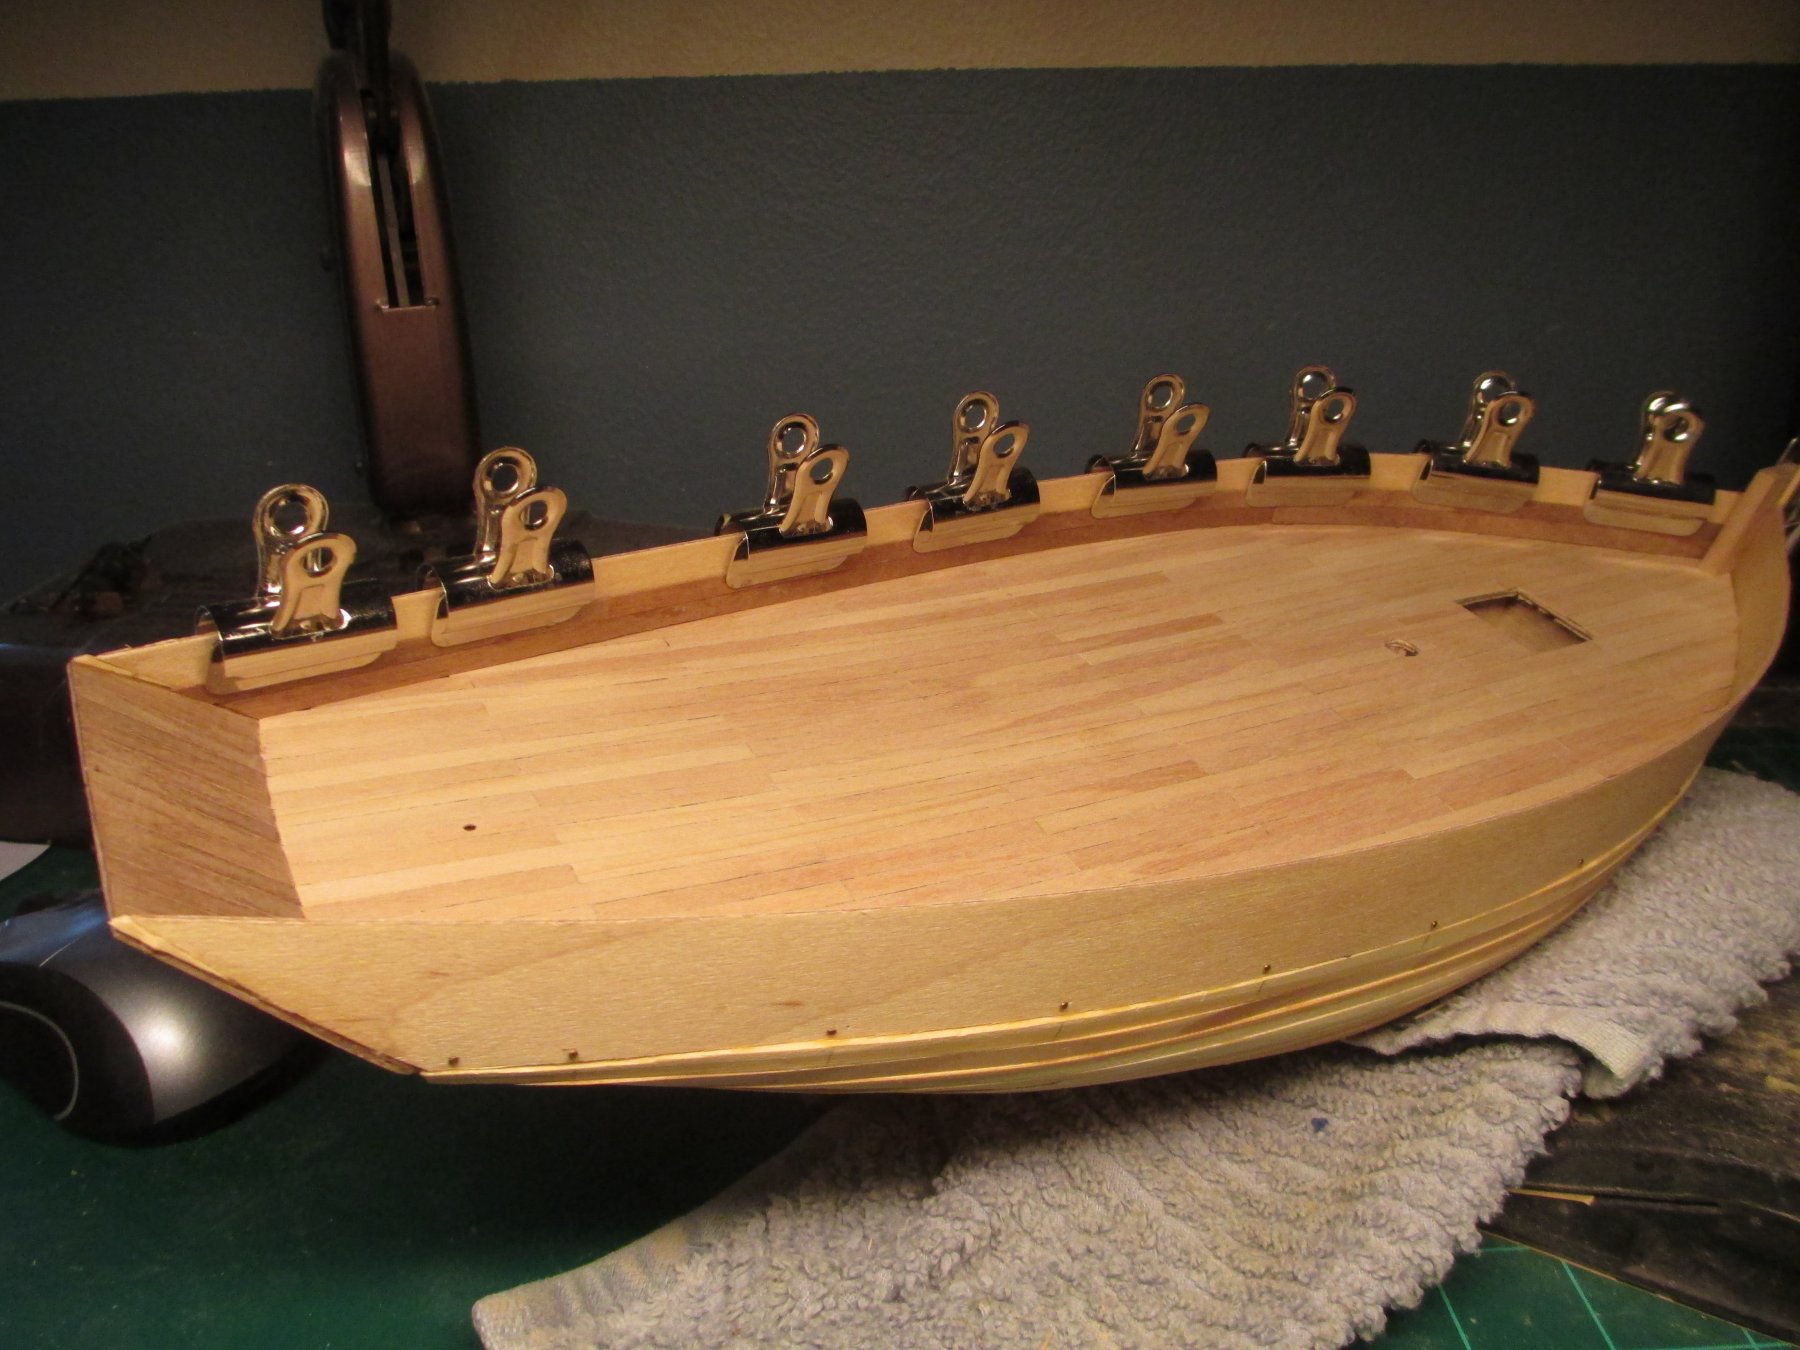
so I started the deck planking at 80mm lengths before putting the sides on, barely enough wood was in the kit for this but just enough .
- 34 replies
-
- 1
-
-
- finished
- Constructo
- (and 1 more)
-
I got about seven planks on the hull and then they started to break due to the curve of the hull, so I started a new row further down the hull


- 34 replies
-
- 1
-
-
- finished
- Constructo
- (and 1 more)
-
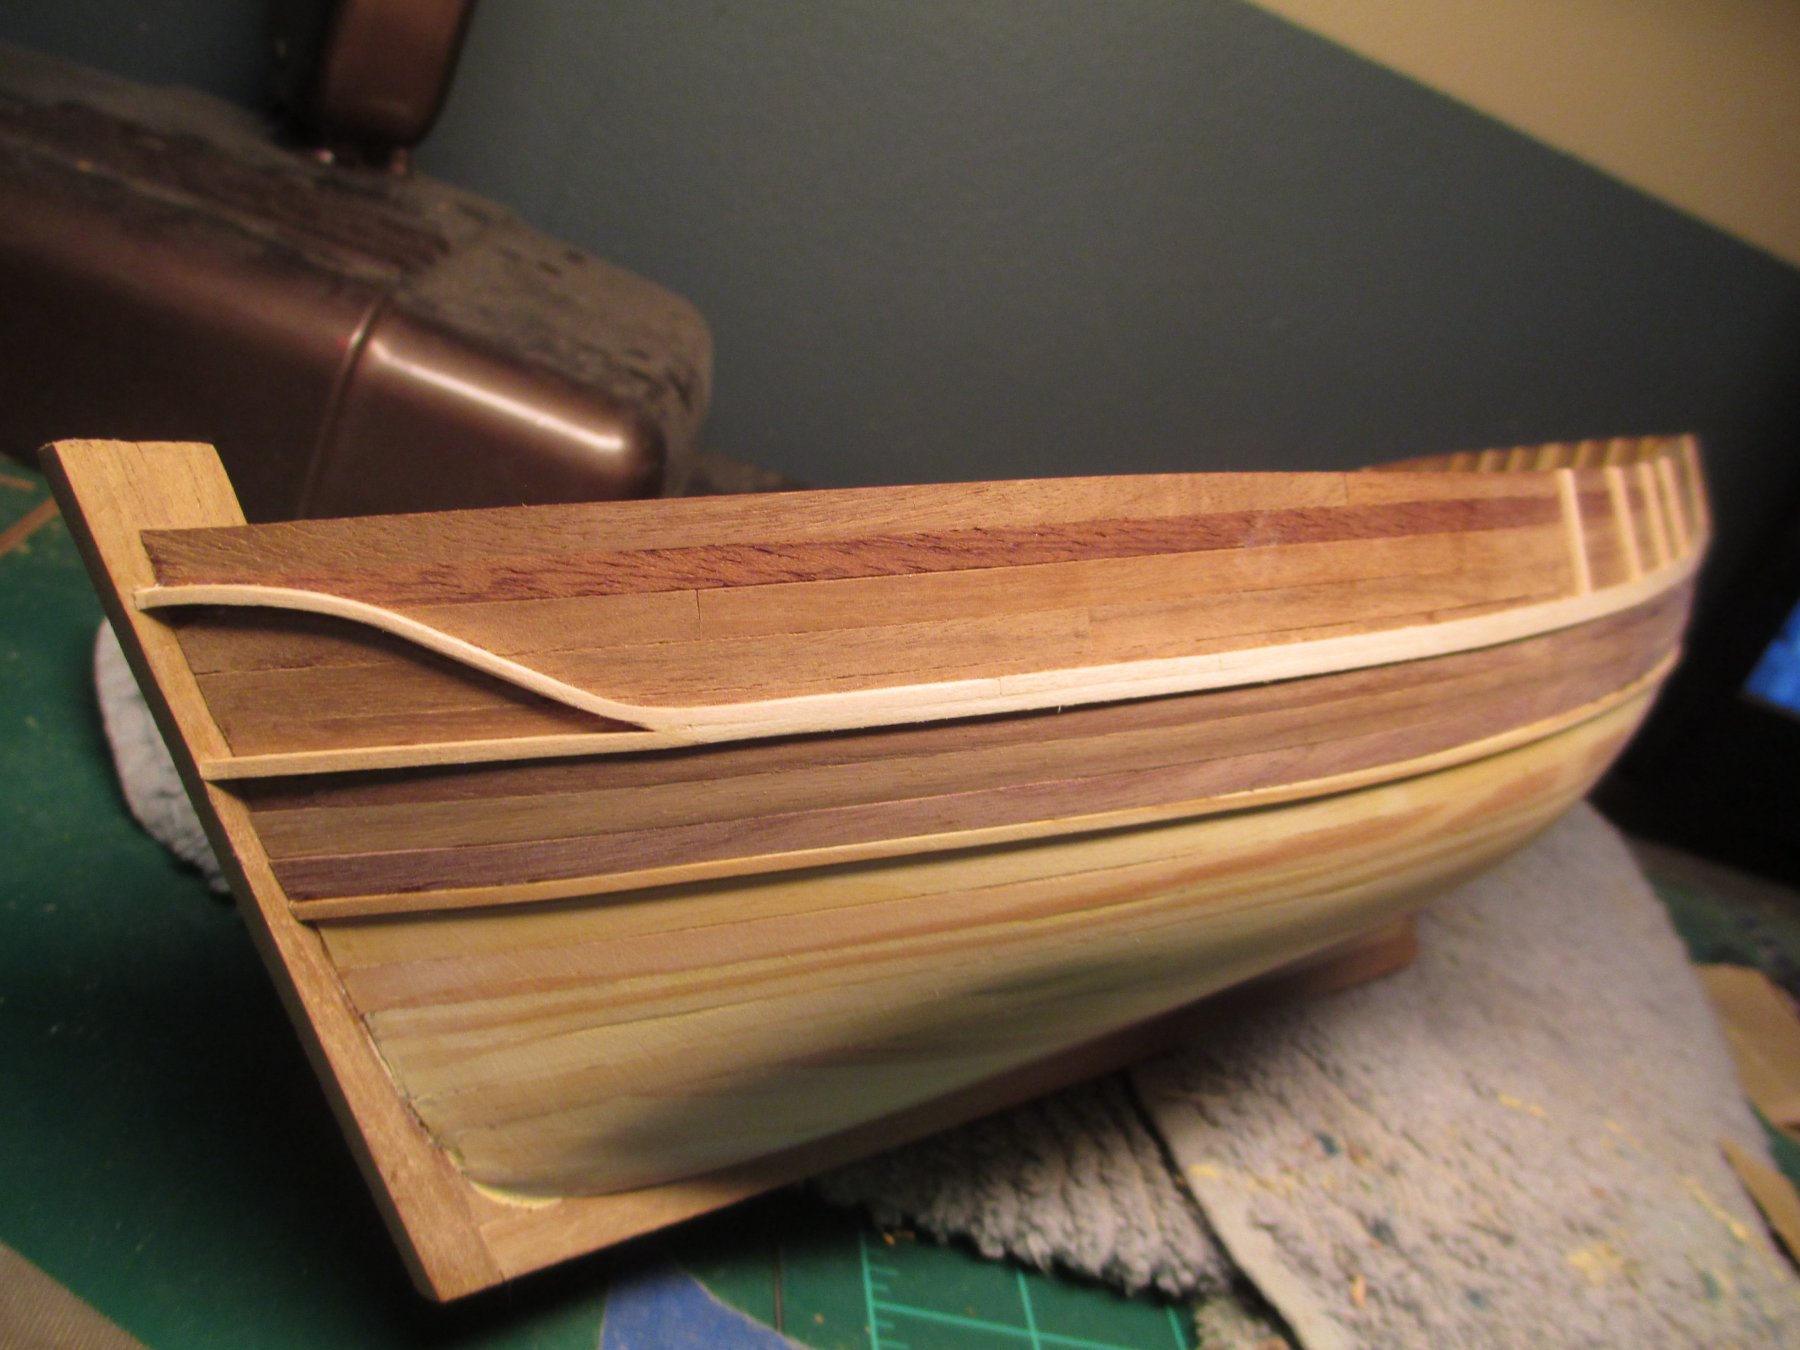
I used this technique while hull planking the Model Shipways Confederacy, it work pretty well on that build.
- 34 replies
-
- 1
-
-
- finished
- Constructo
- (and 1 more)
-
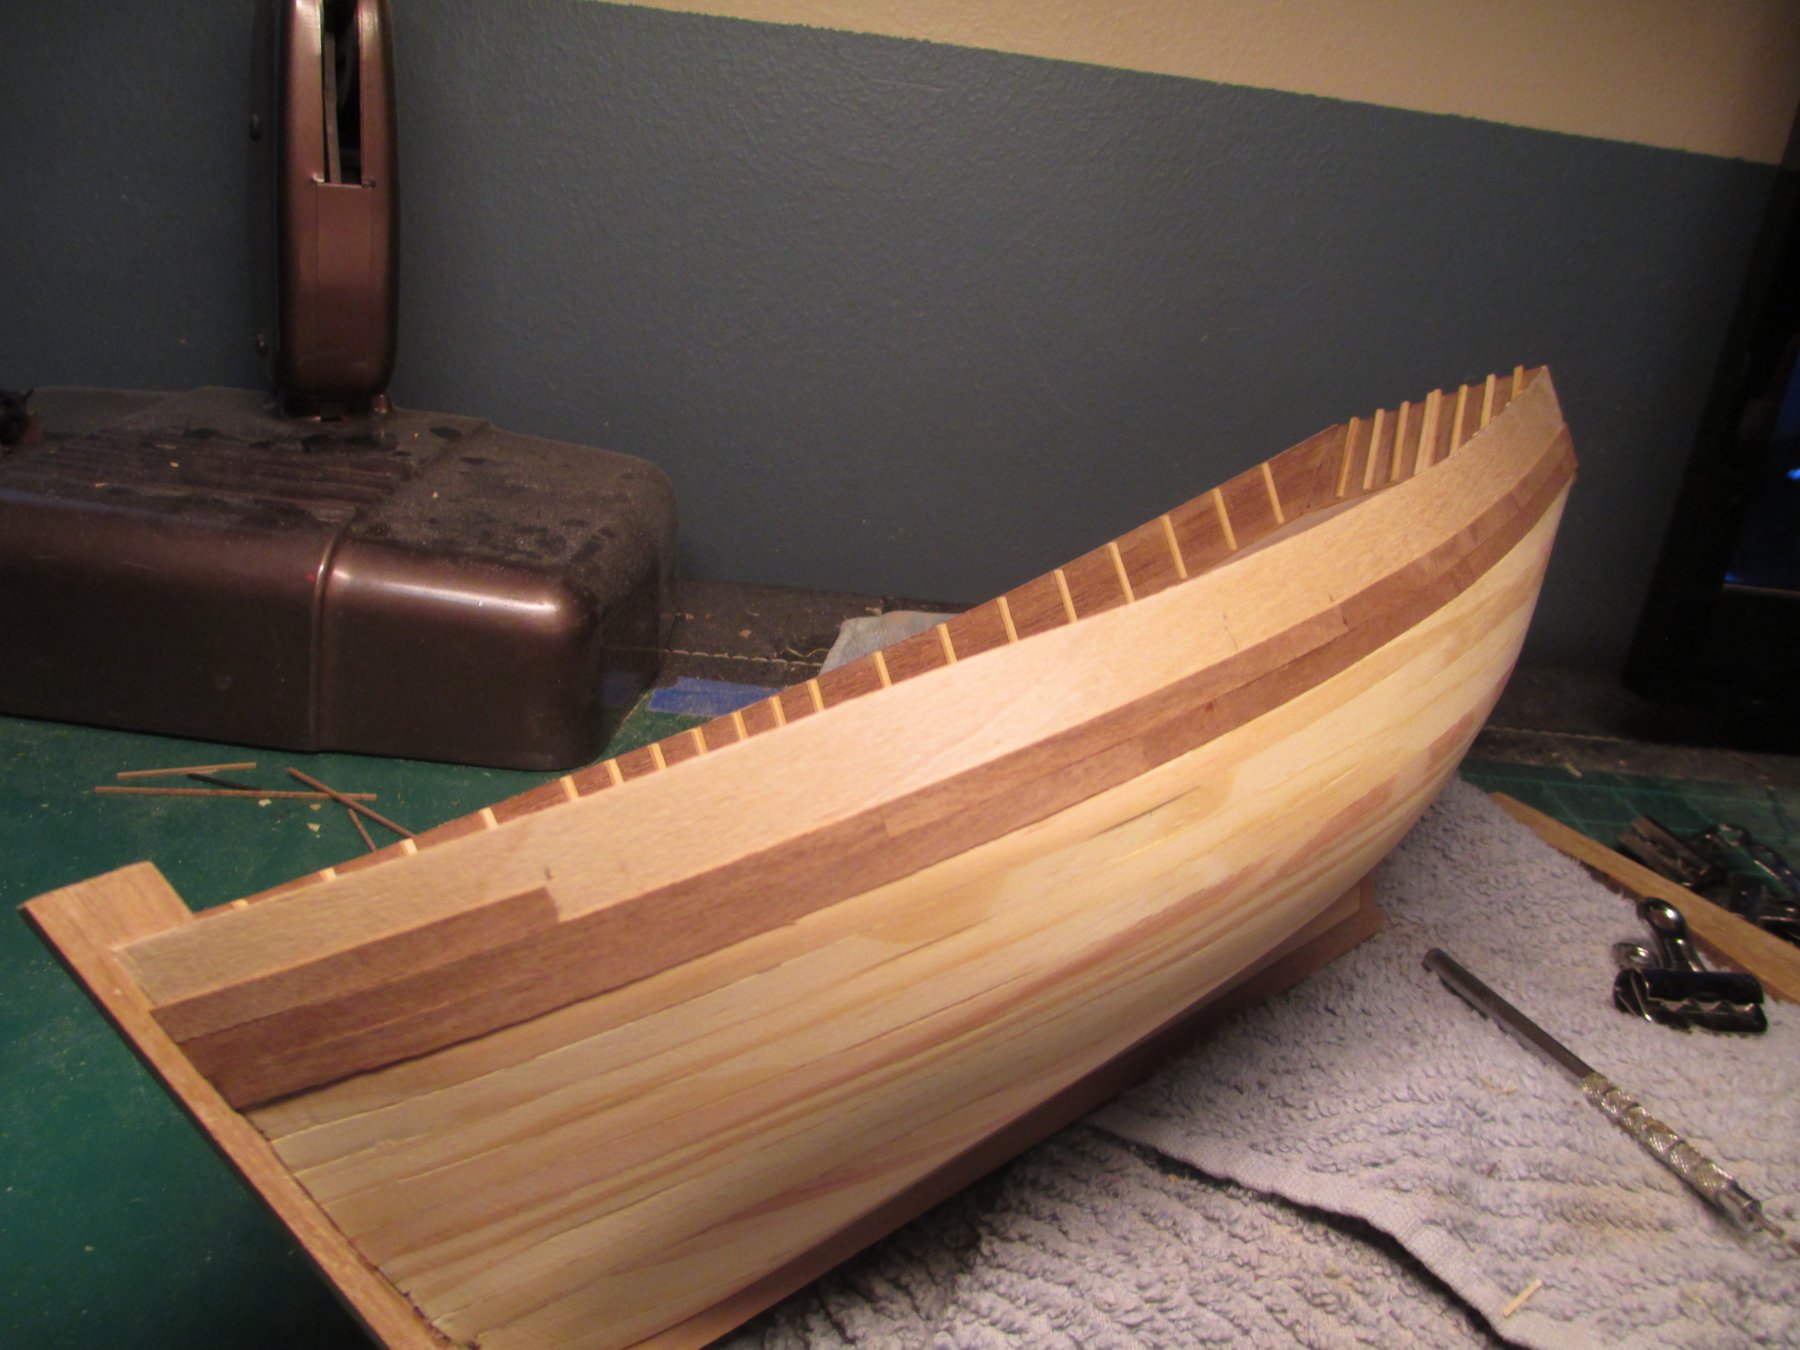
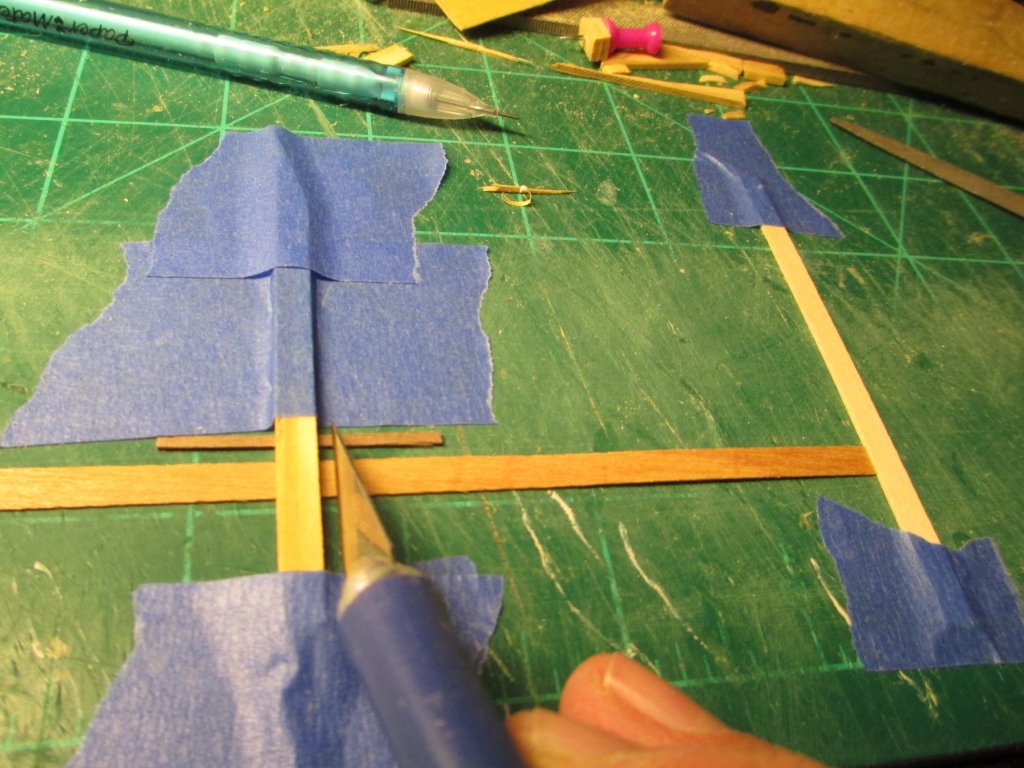
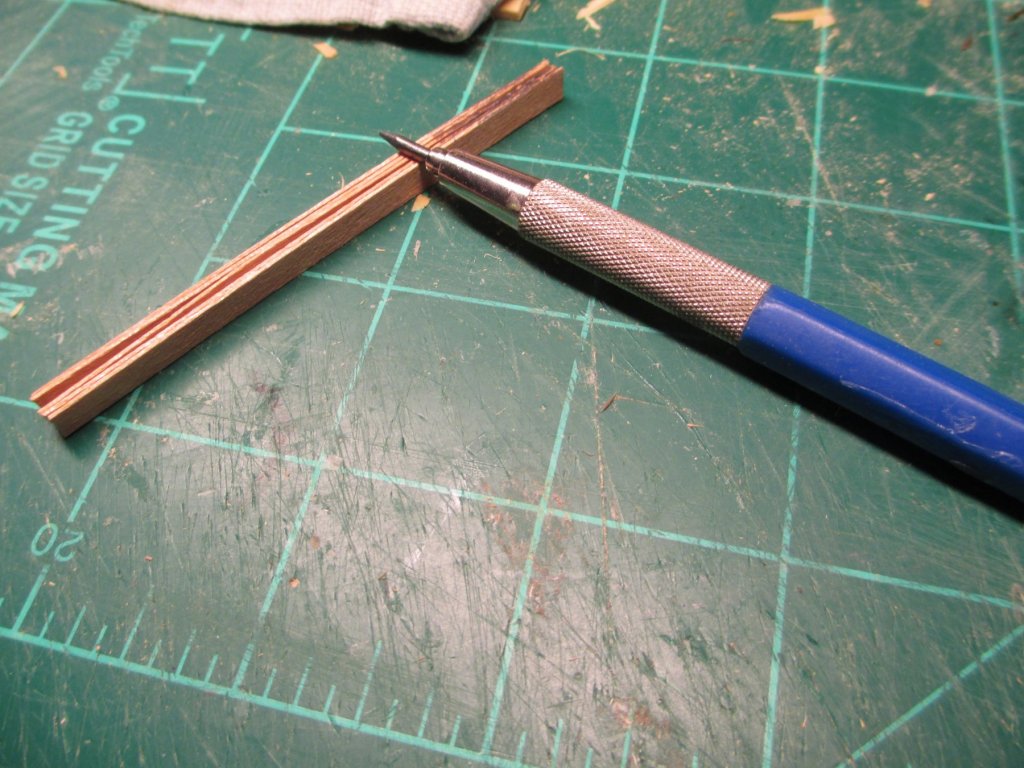
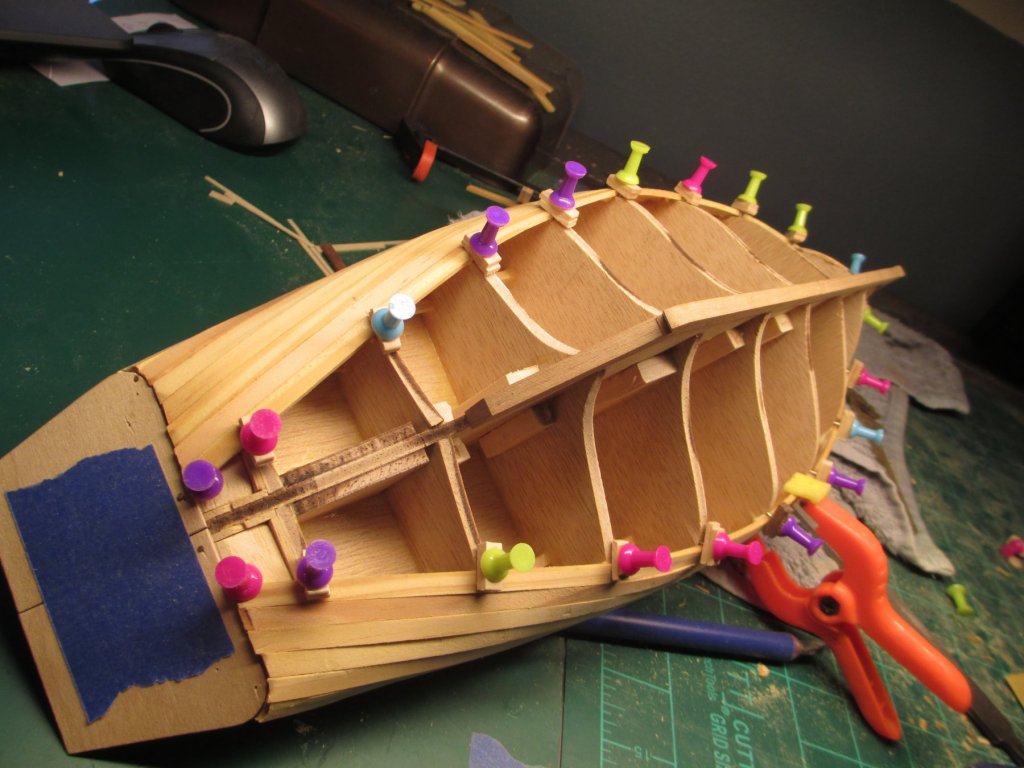
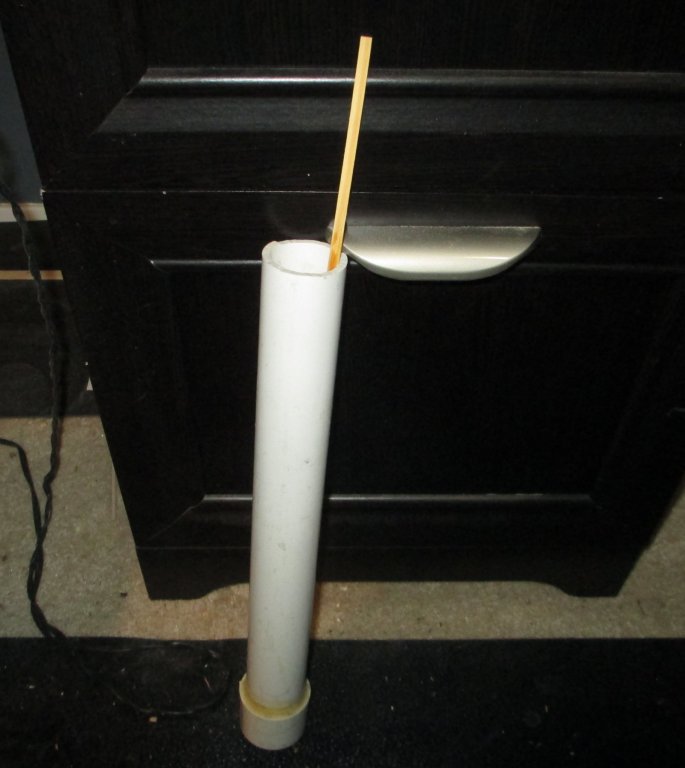
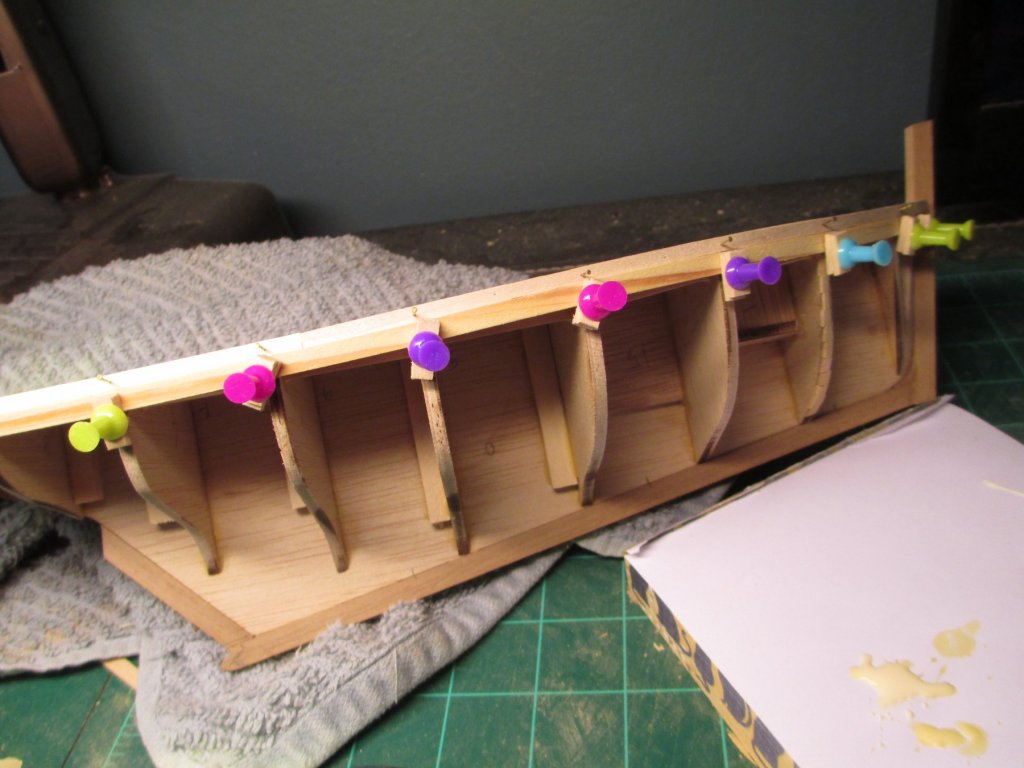
I soak the pine wood hull planking in water for about 30 minutes or more, I use a 2" pvc pipe with end cap filled with water. I use a heated plank bender also. I will attempt to glue the Pine wood planks without tack holes so I use a technique using thumb tacks with wood spacer.
- 34 replies
-
- 1
-
-
- finished
- Constructo
- (and 1 more)
-
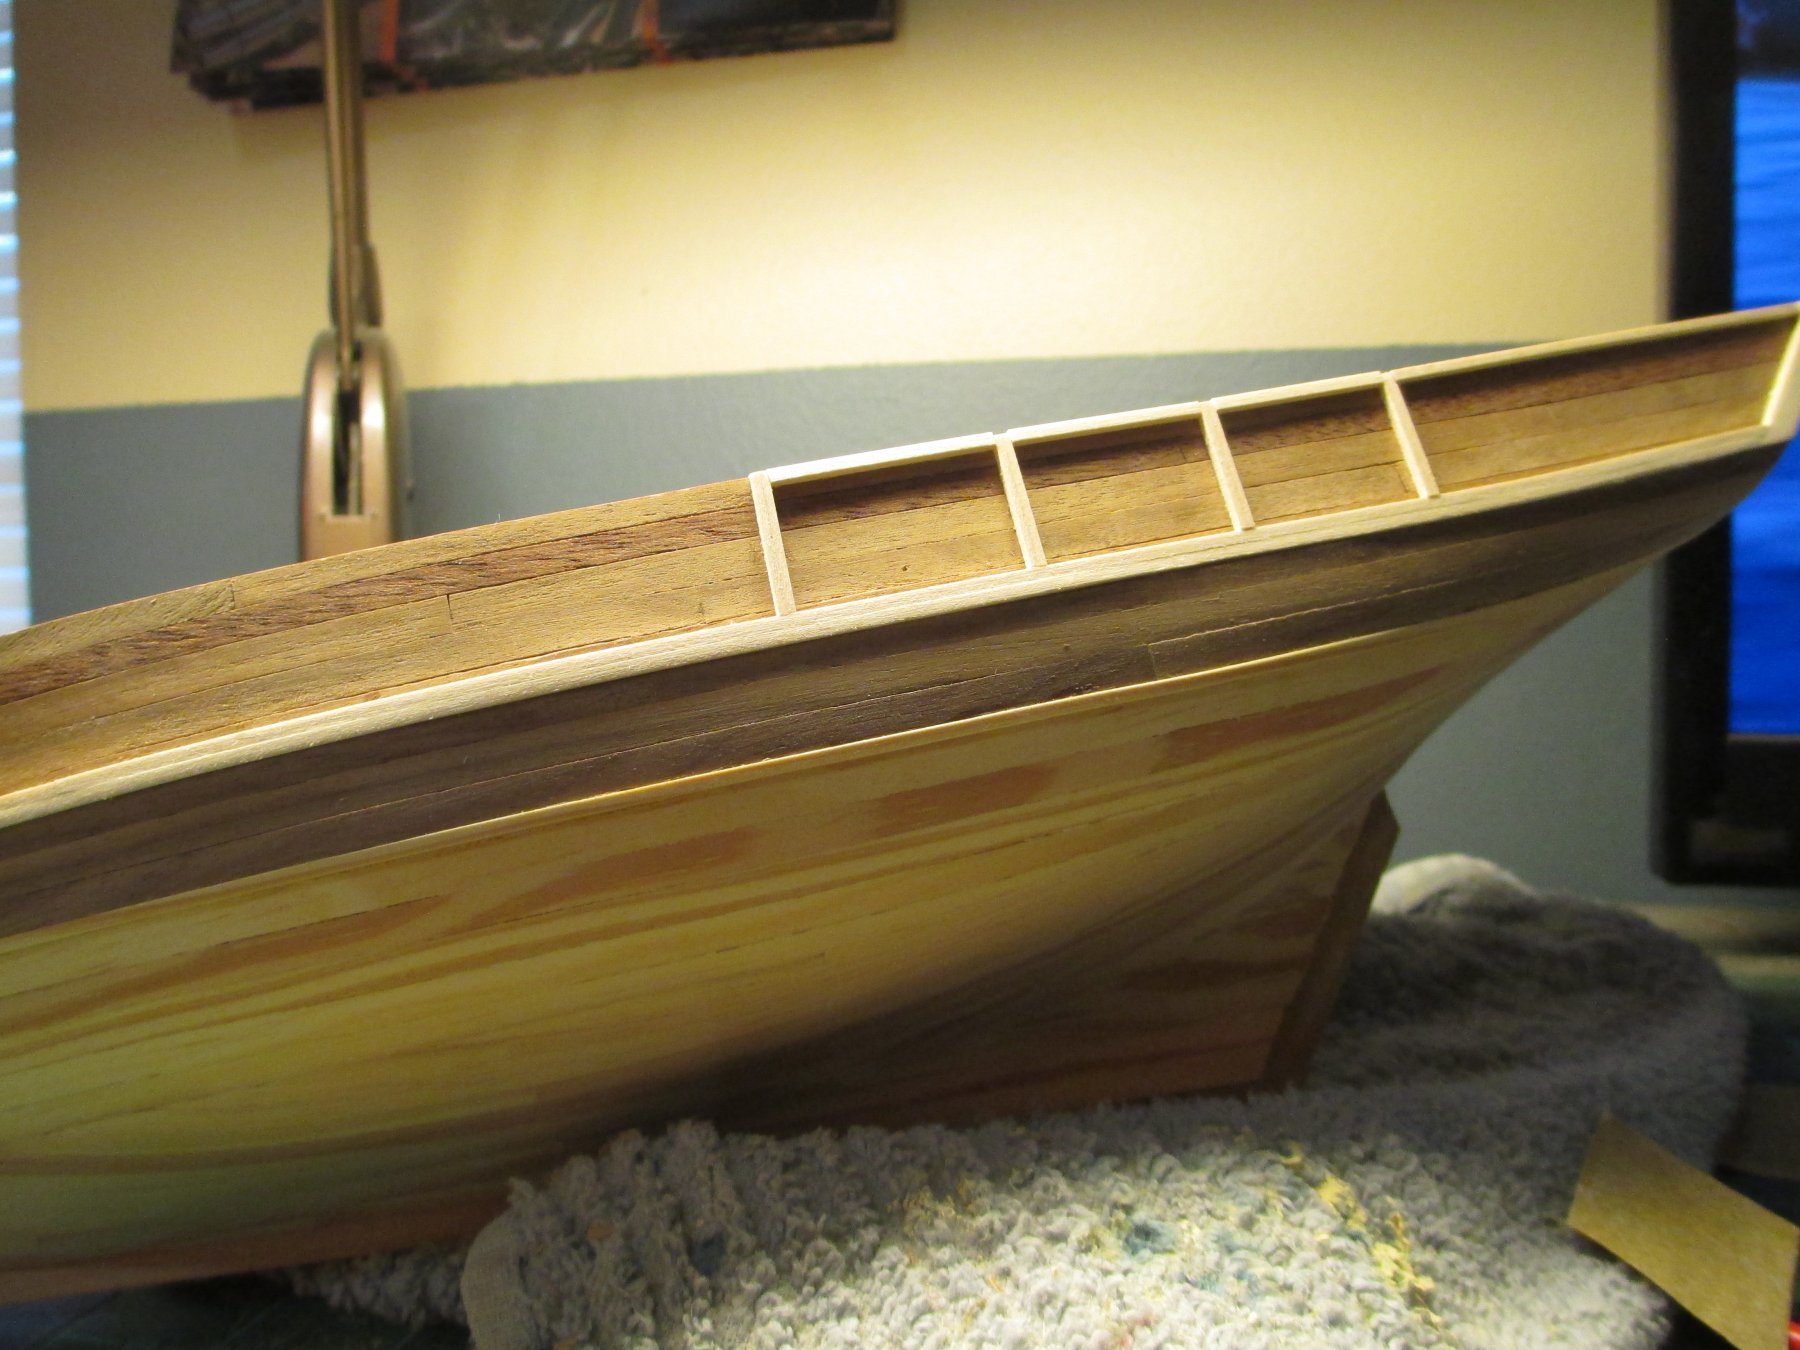
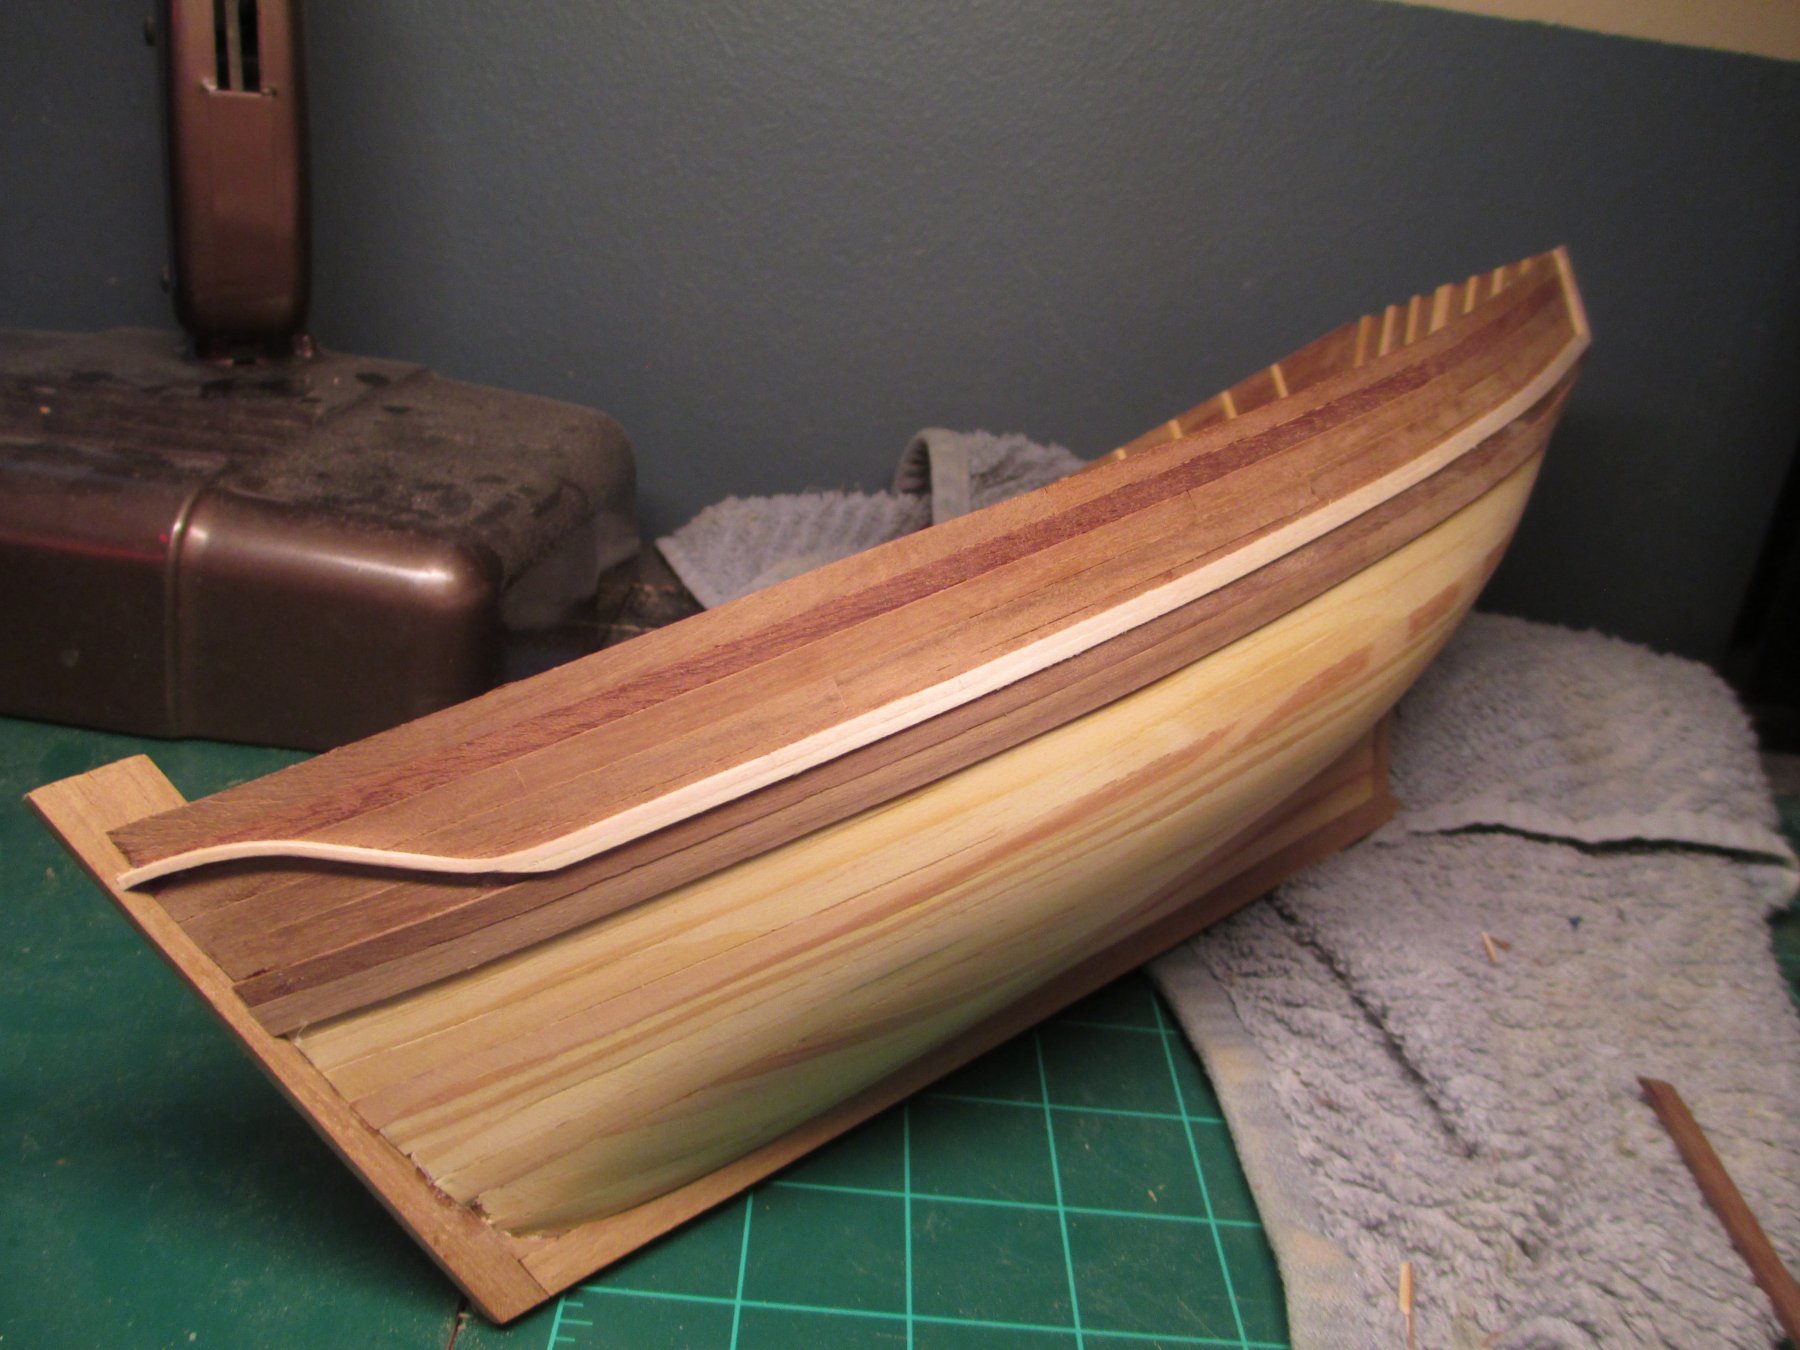
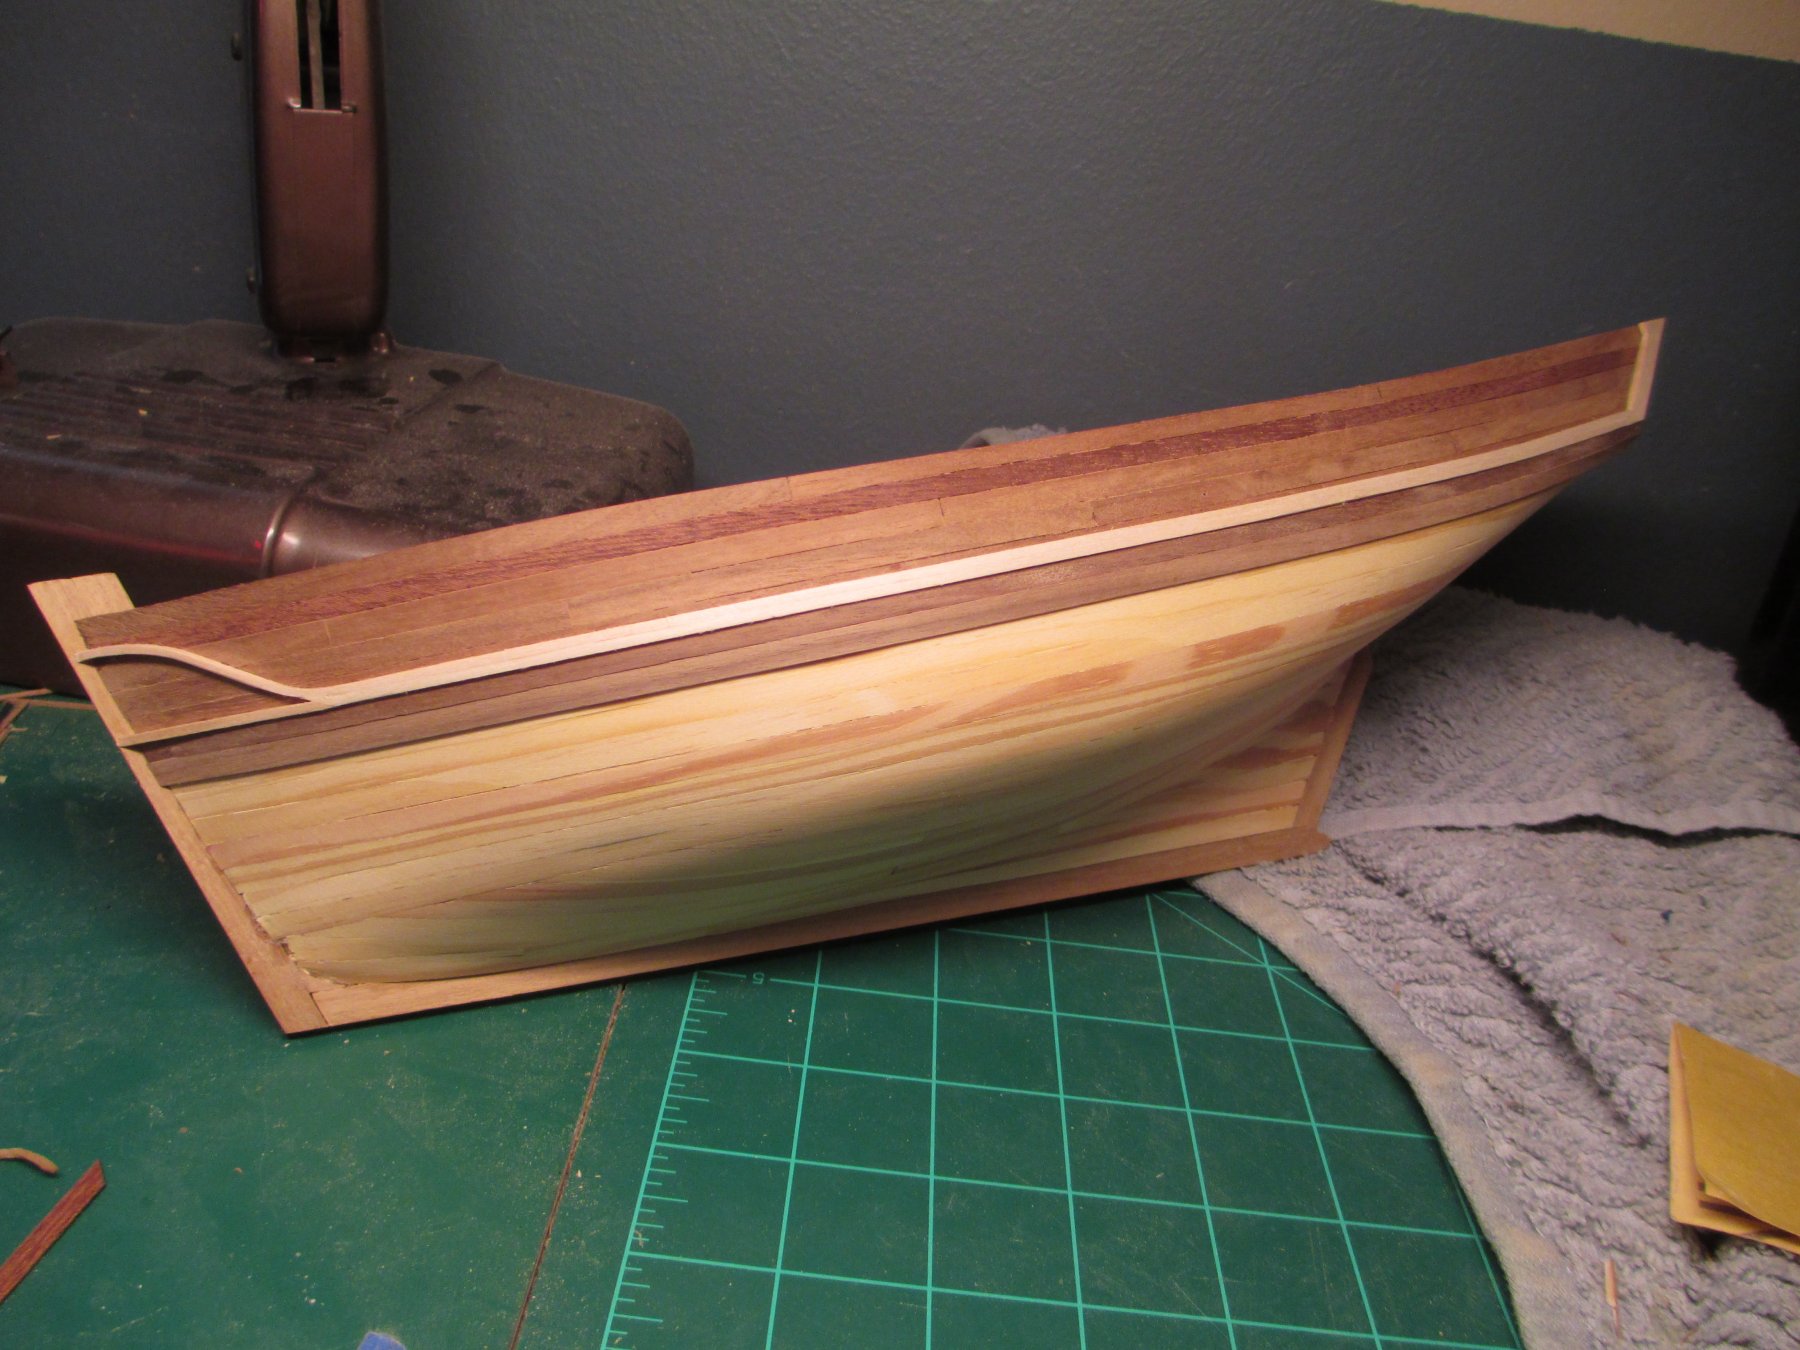
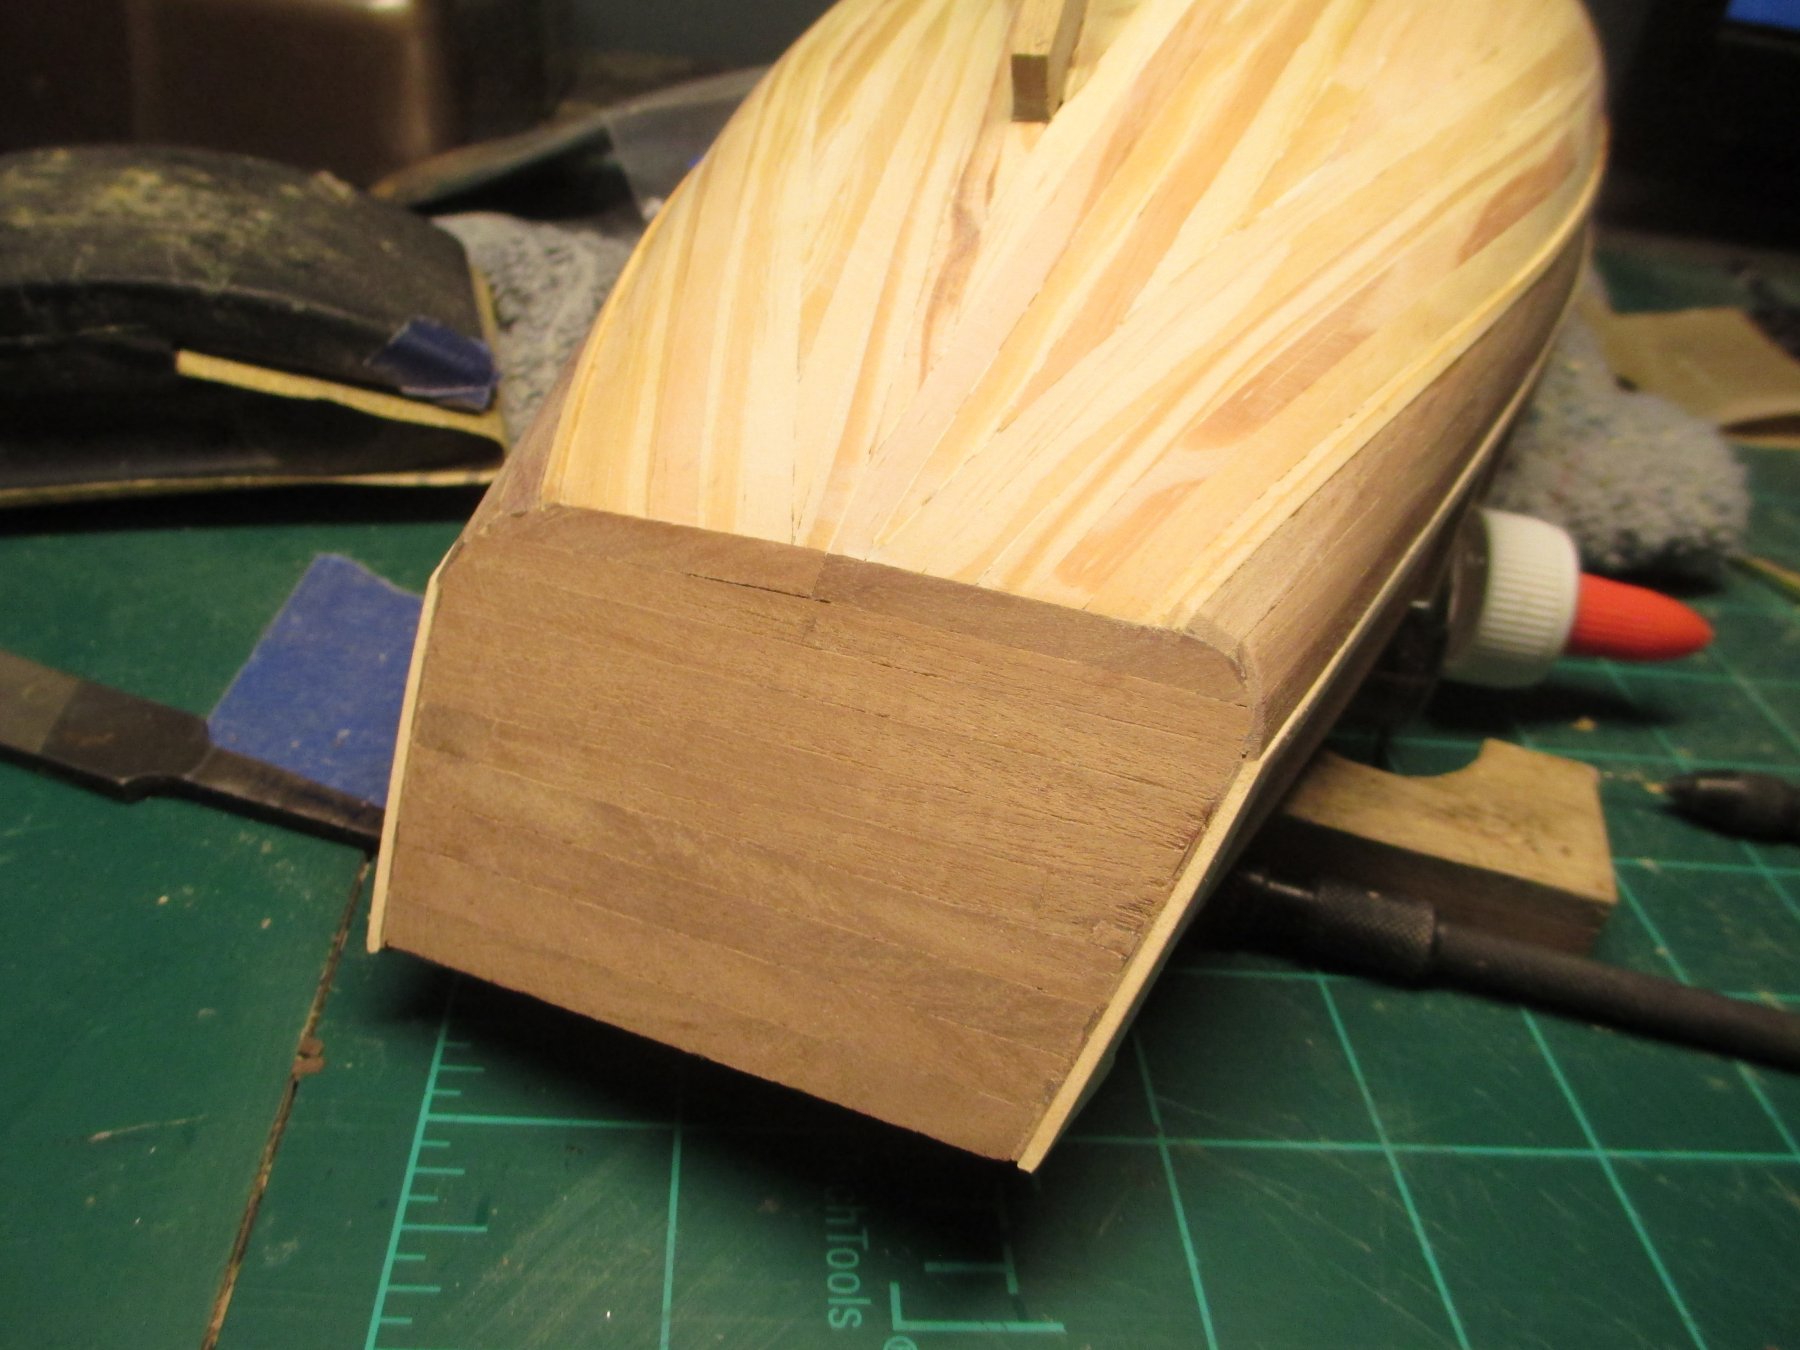
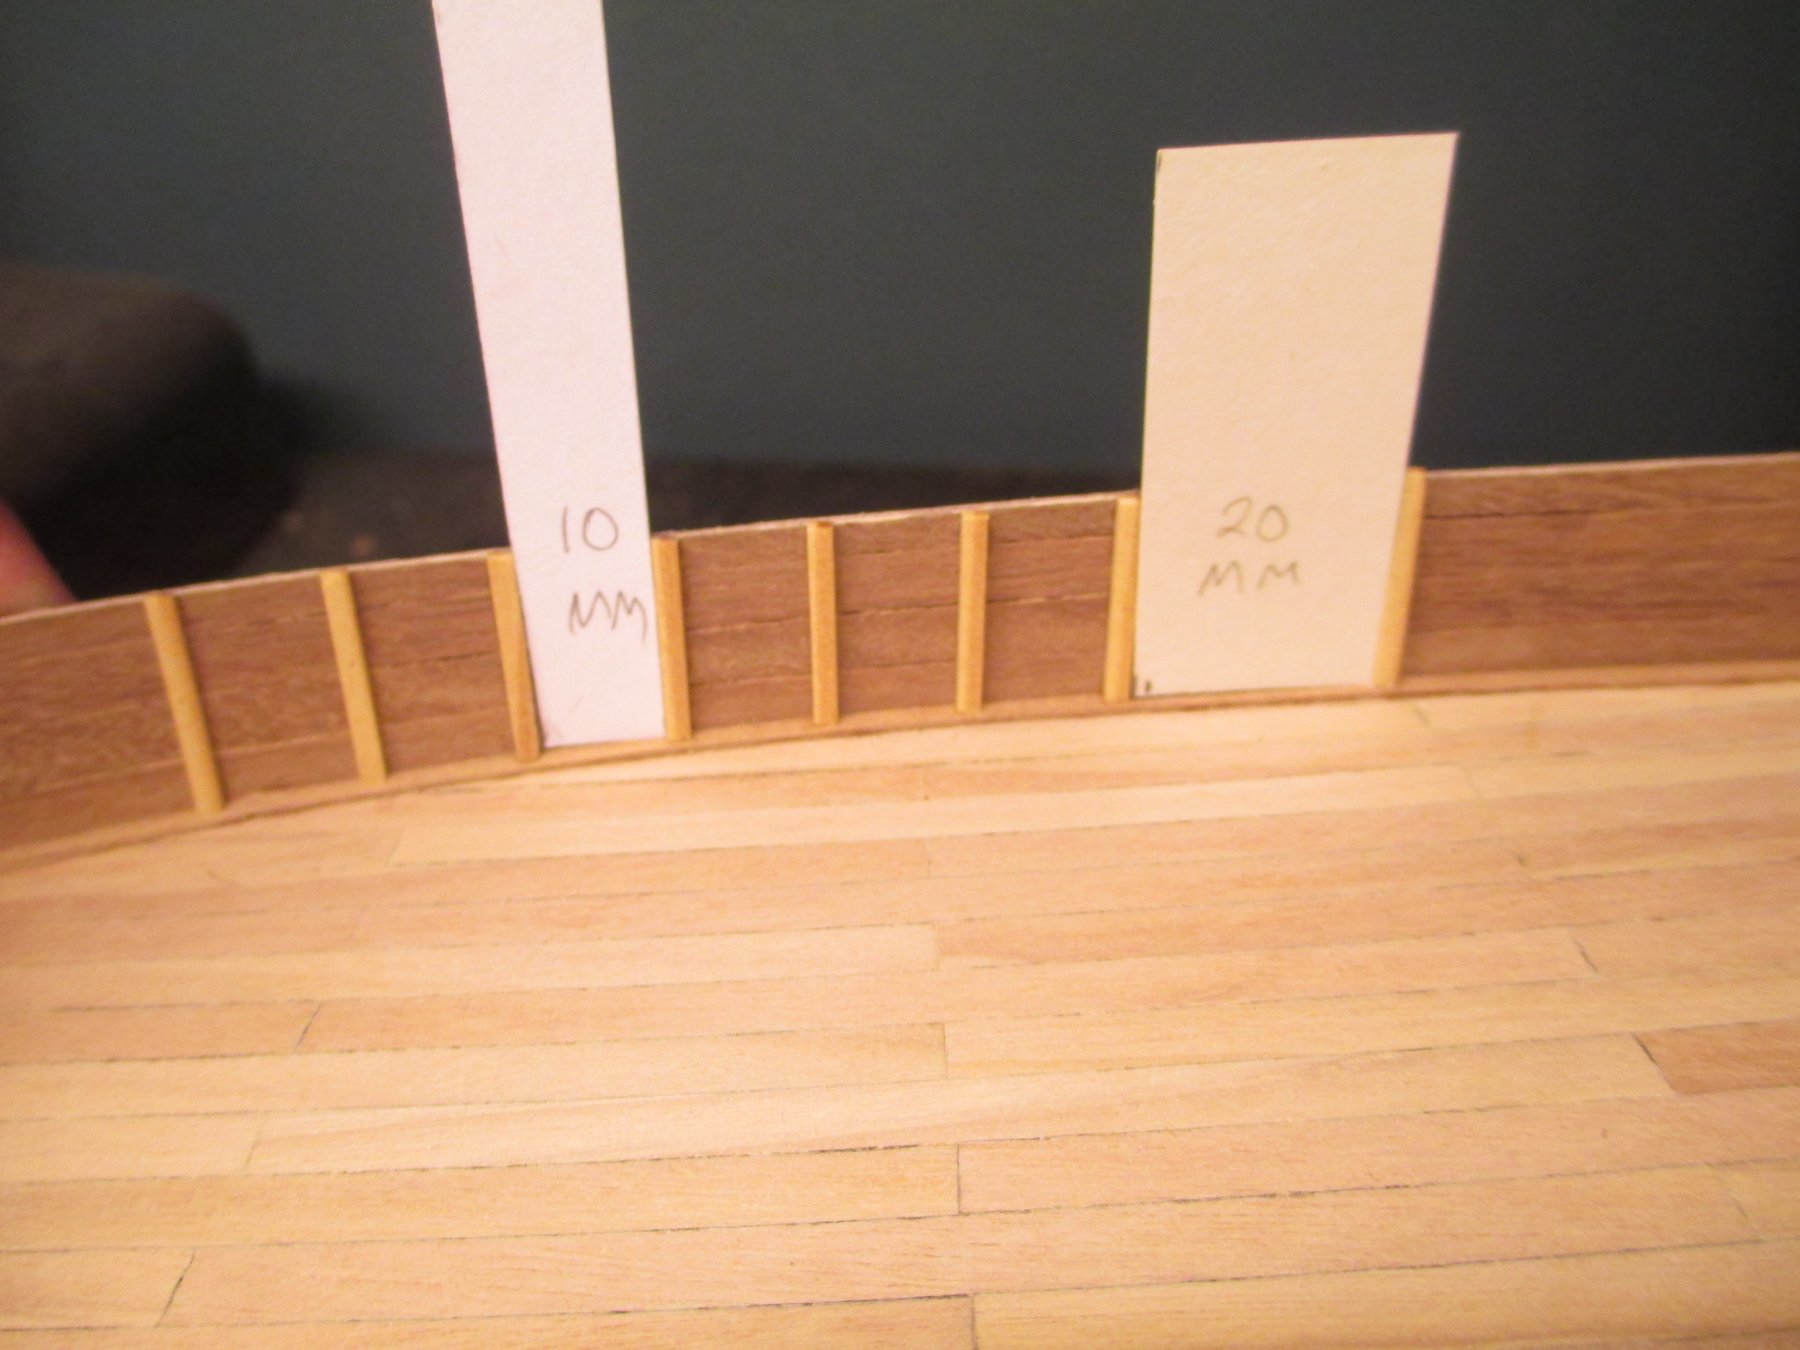
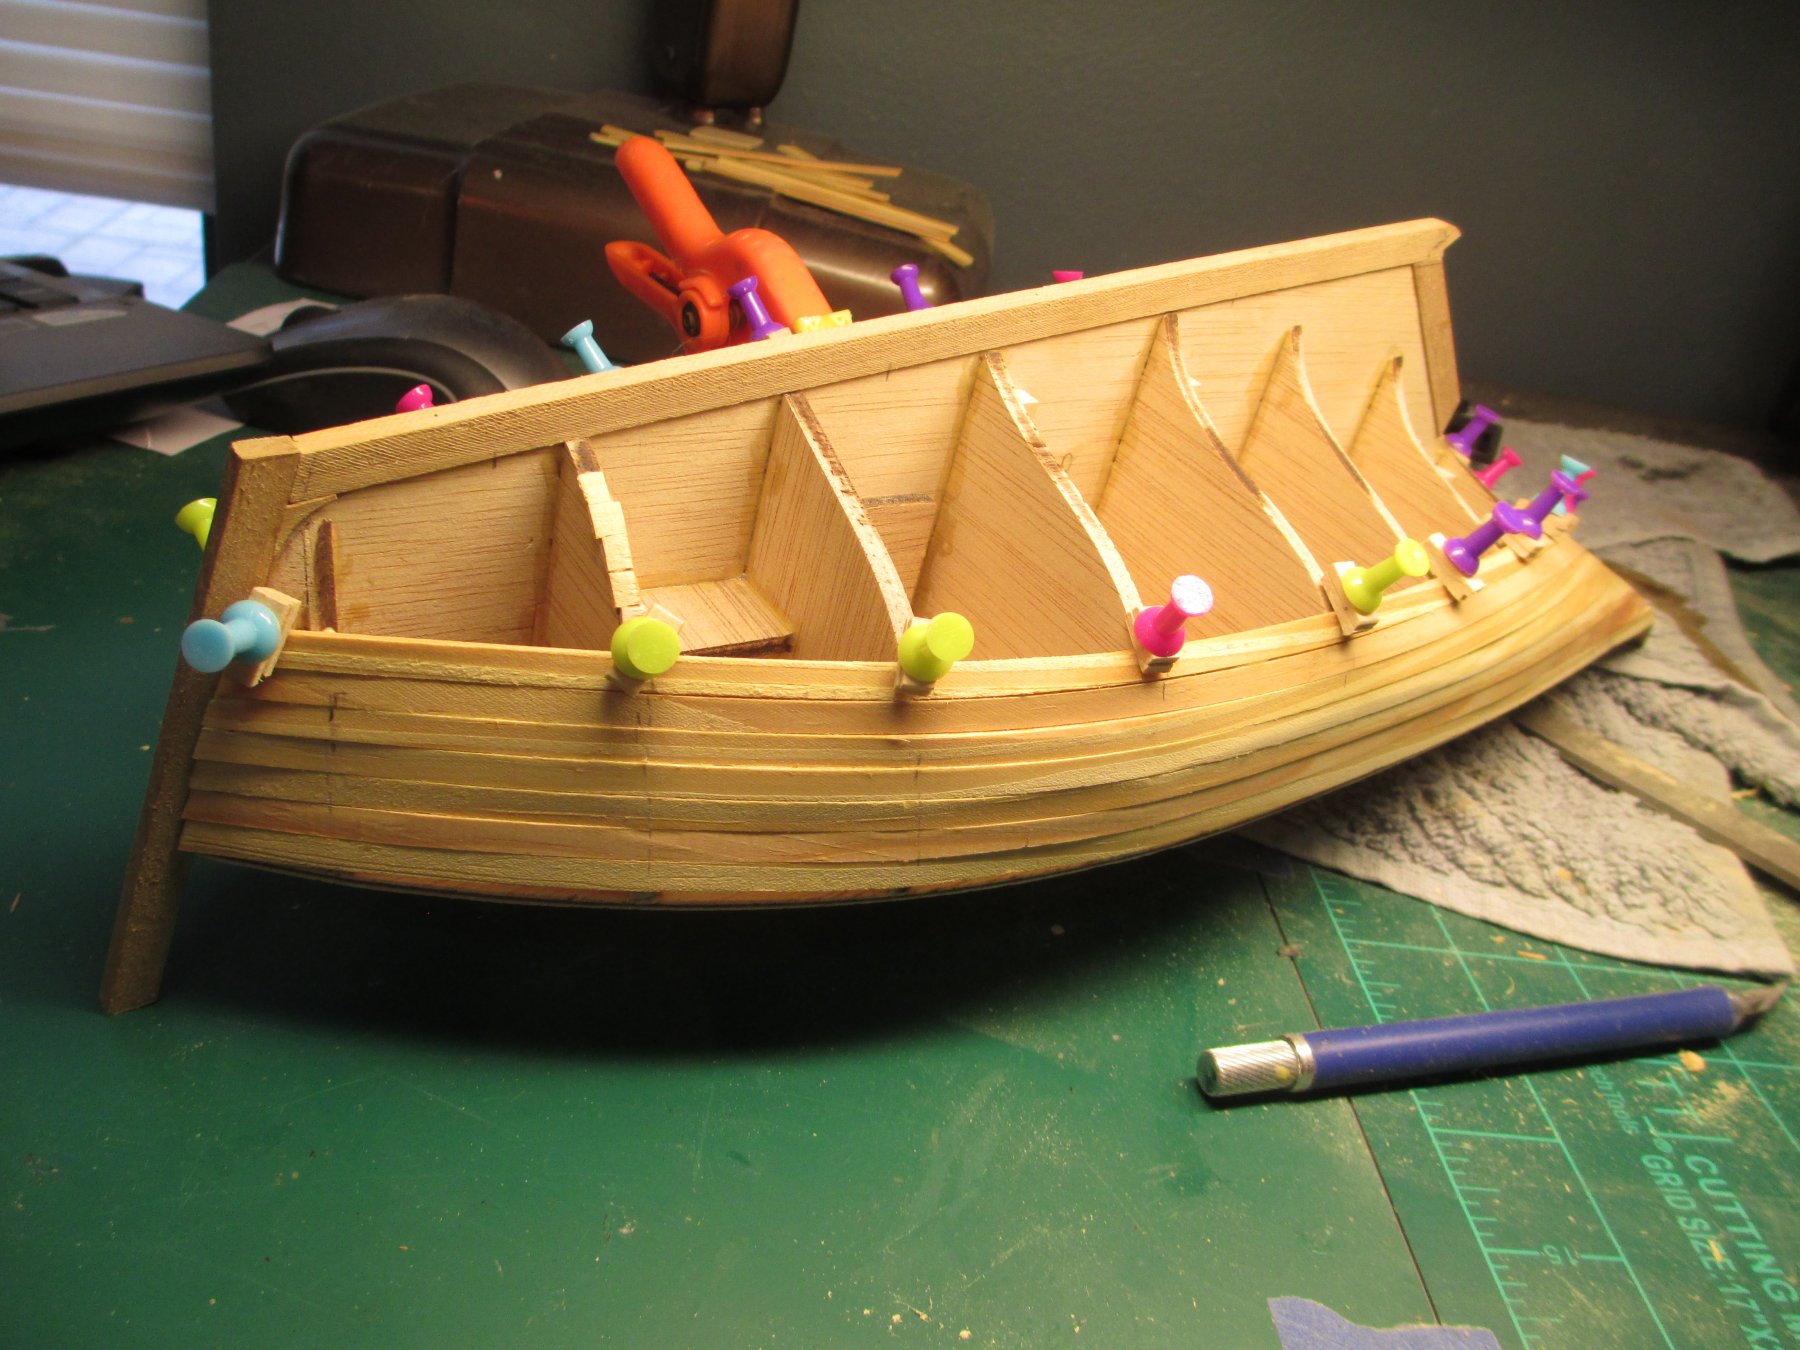
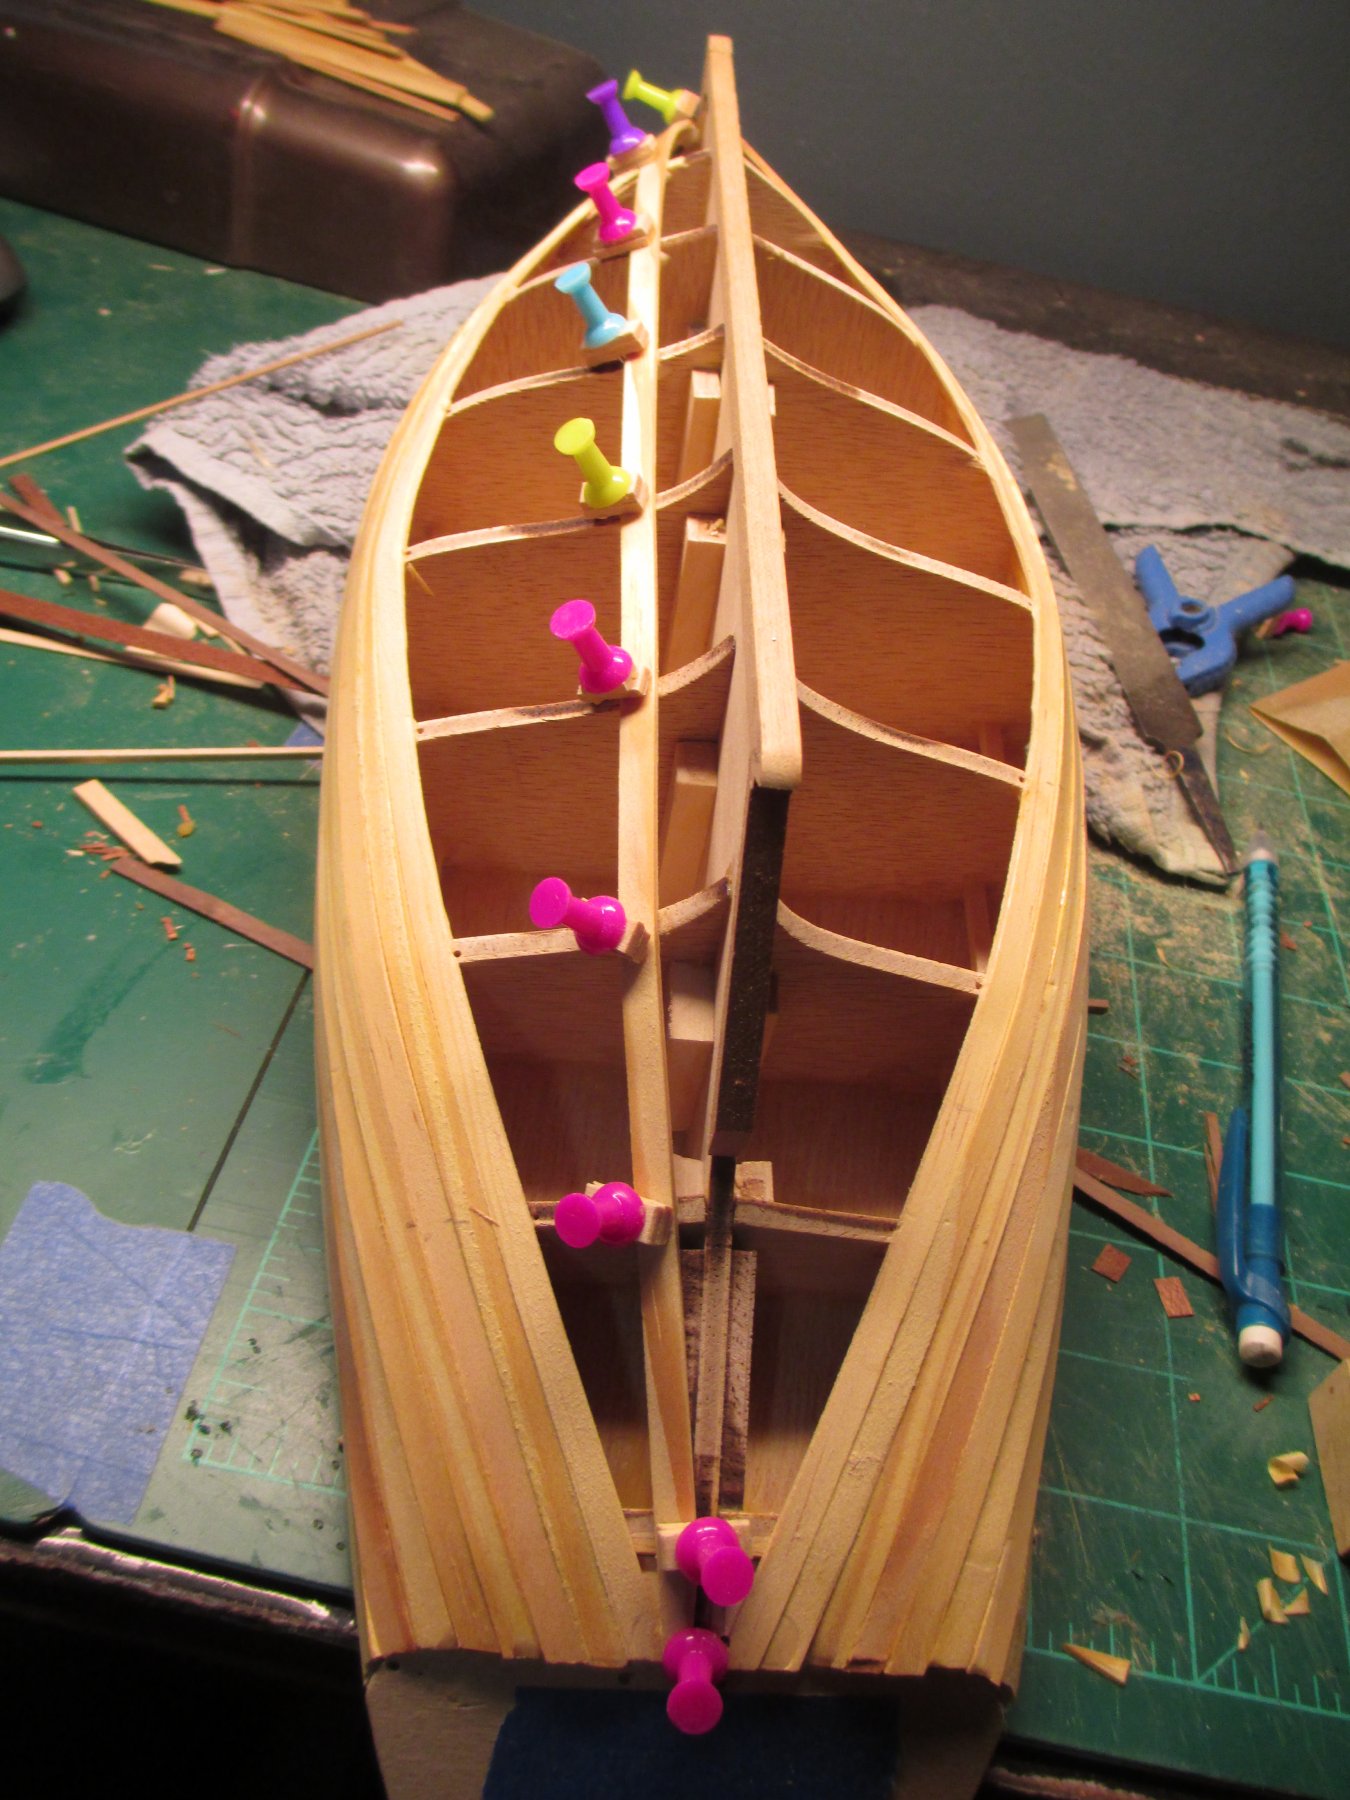
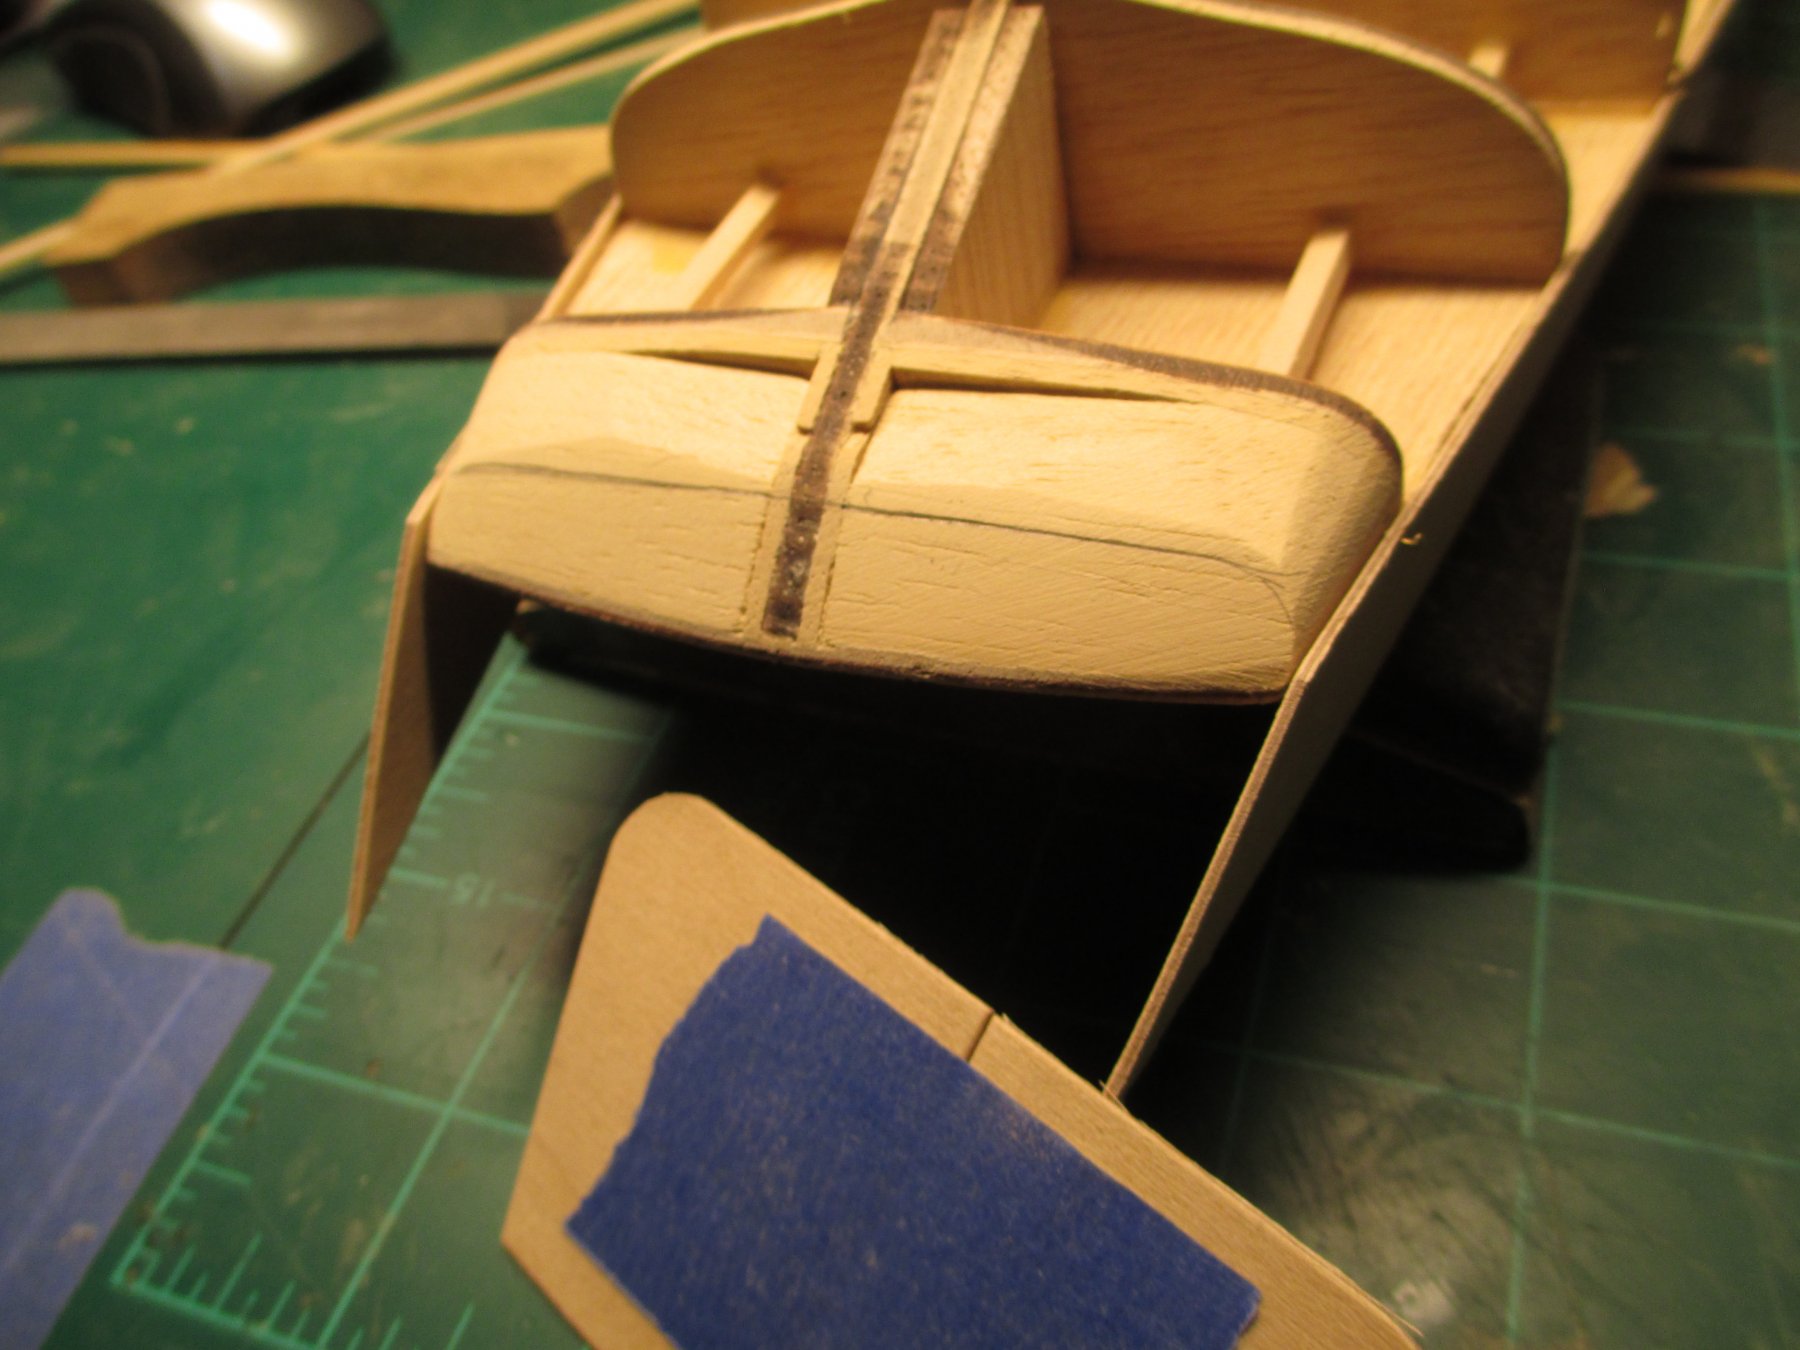
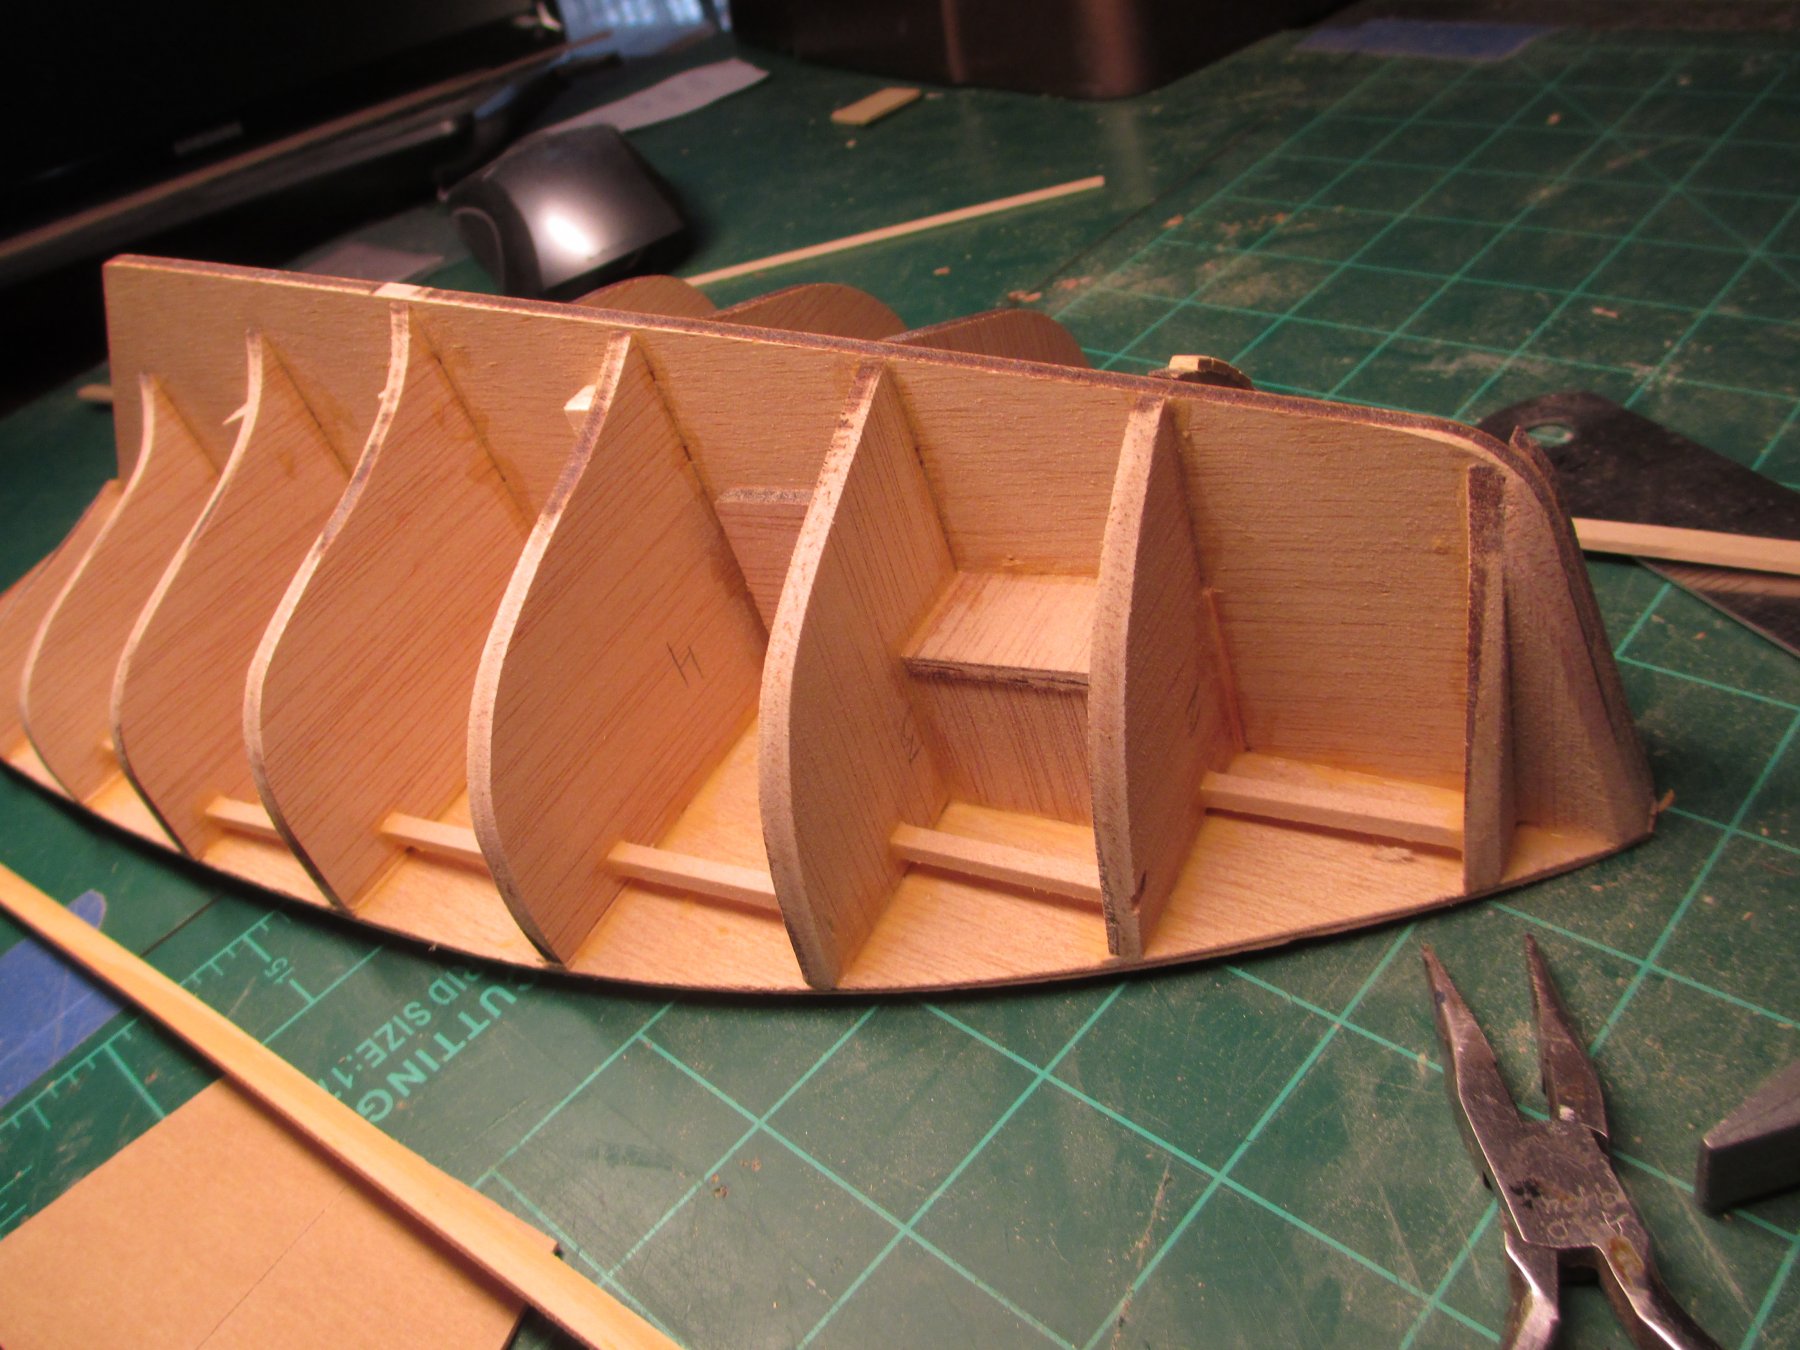
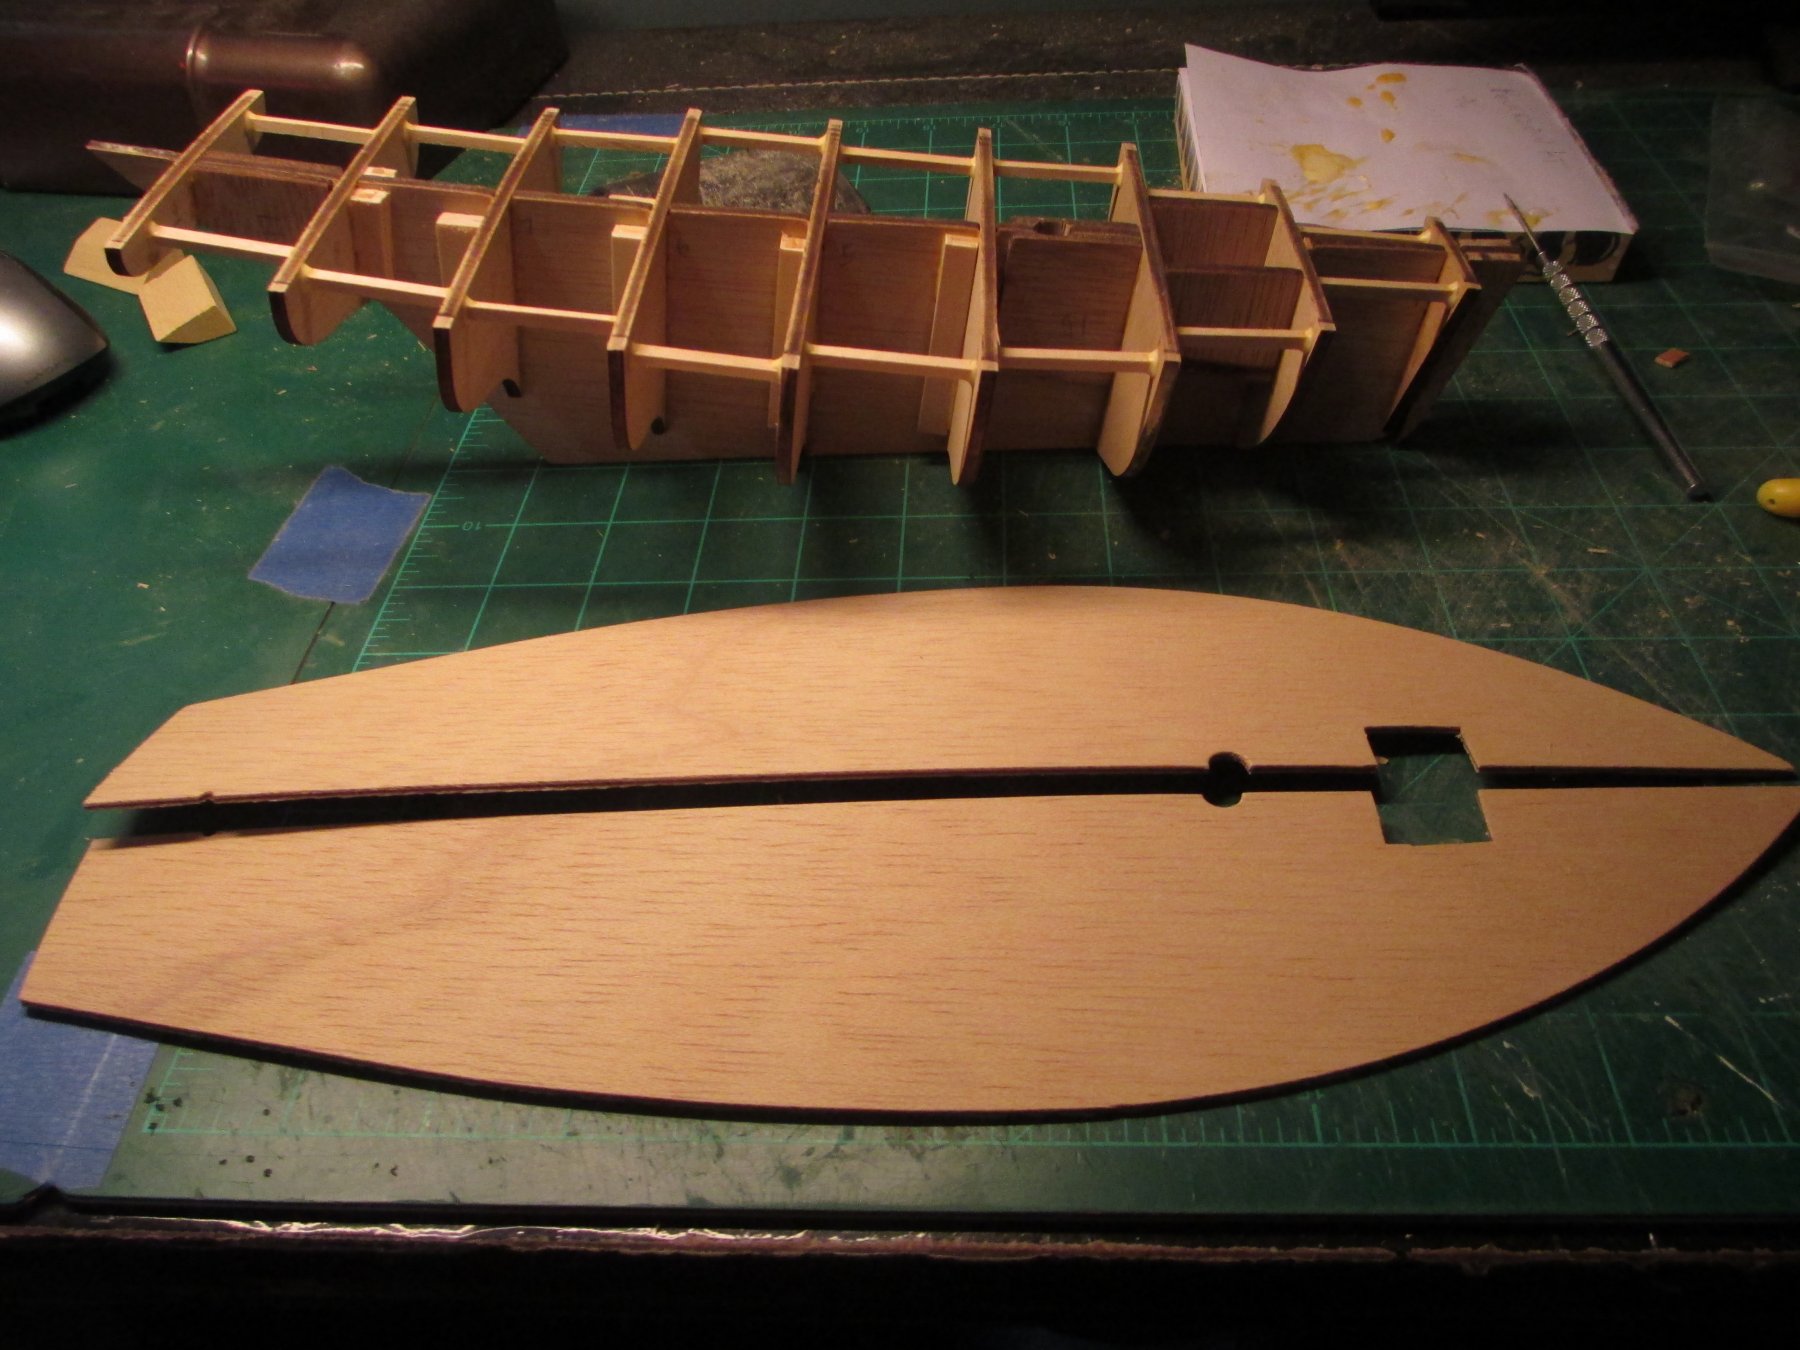
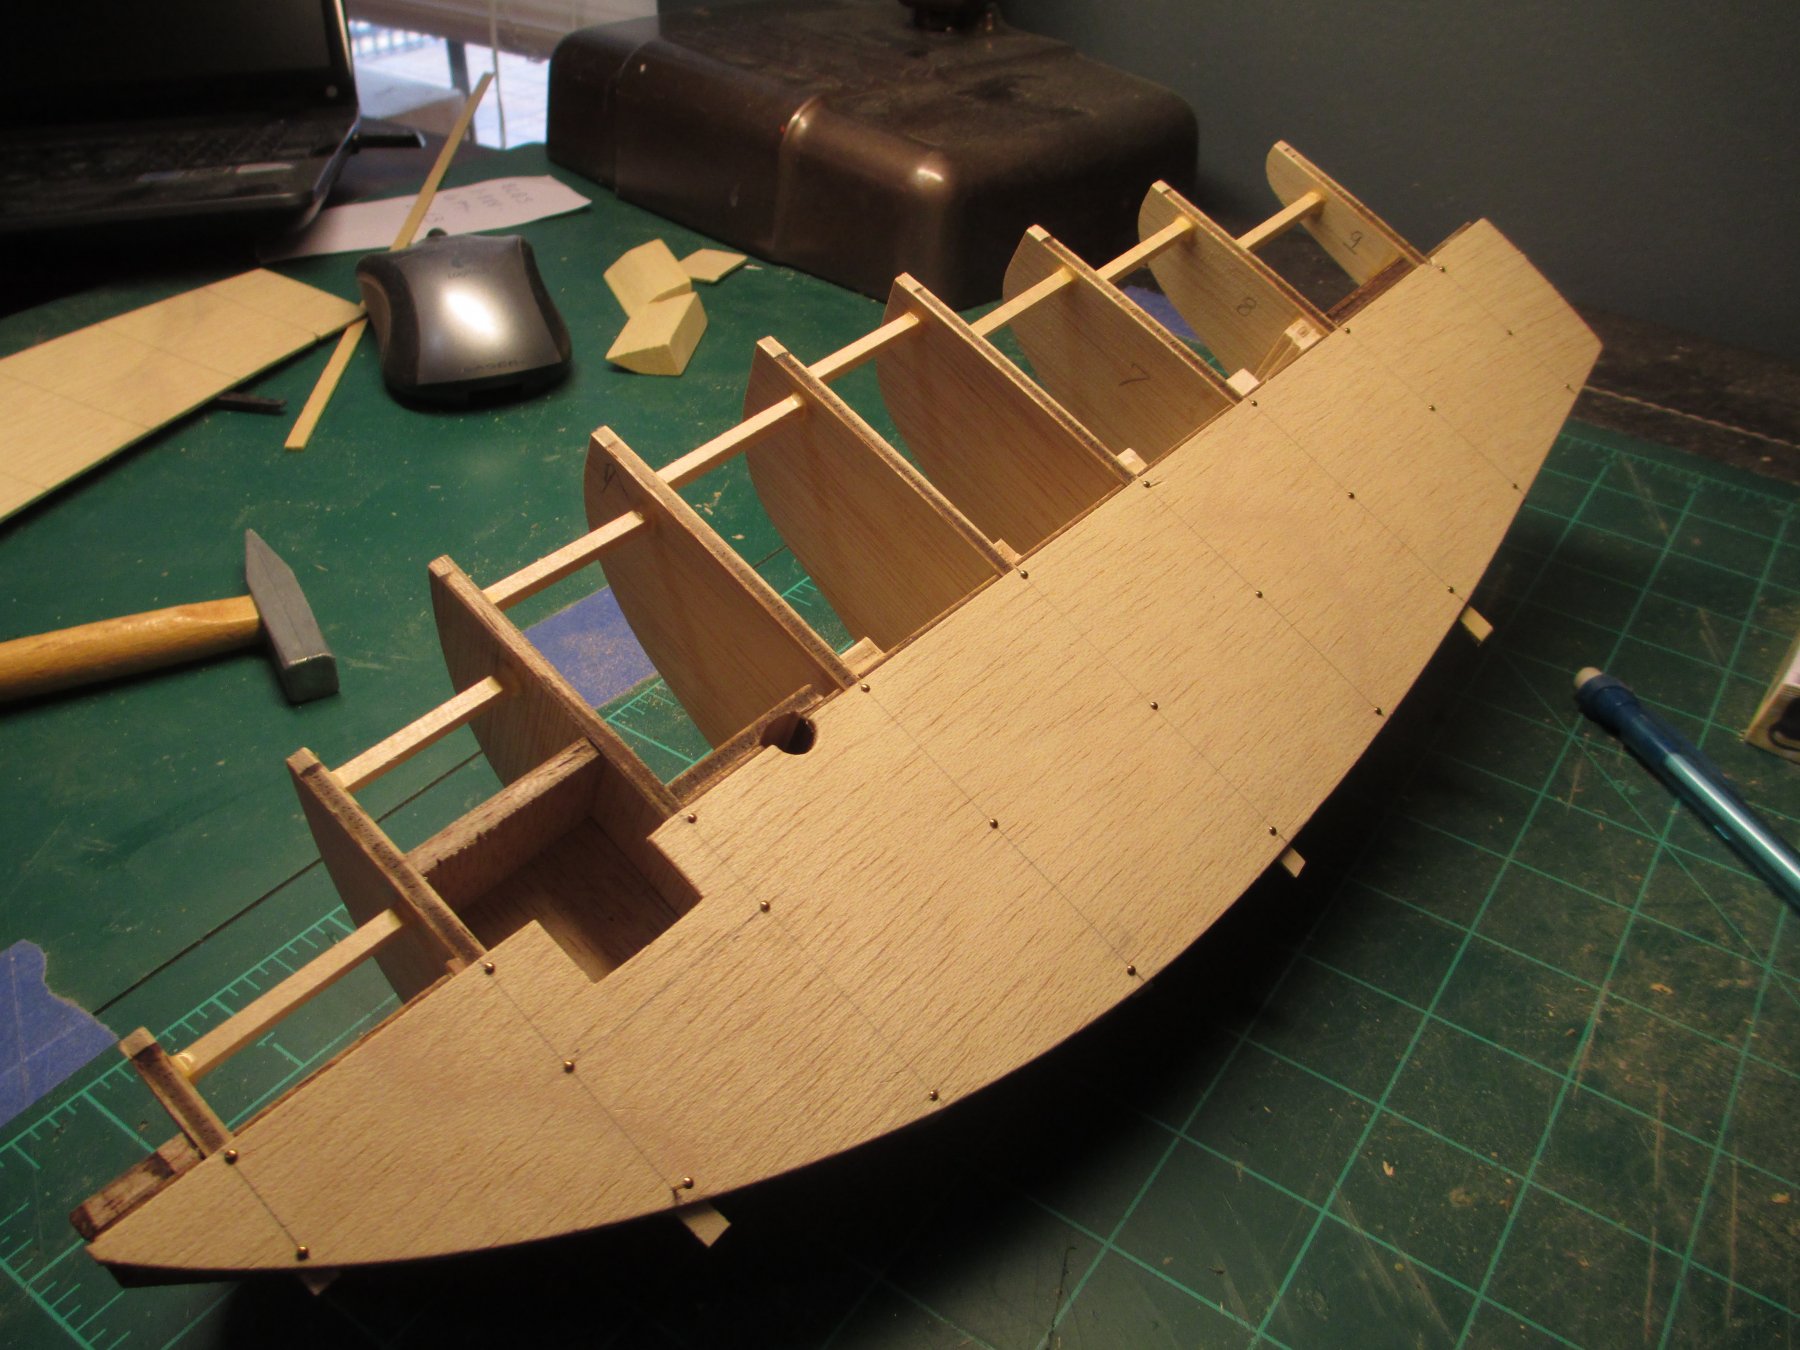
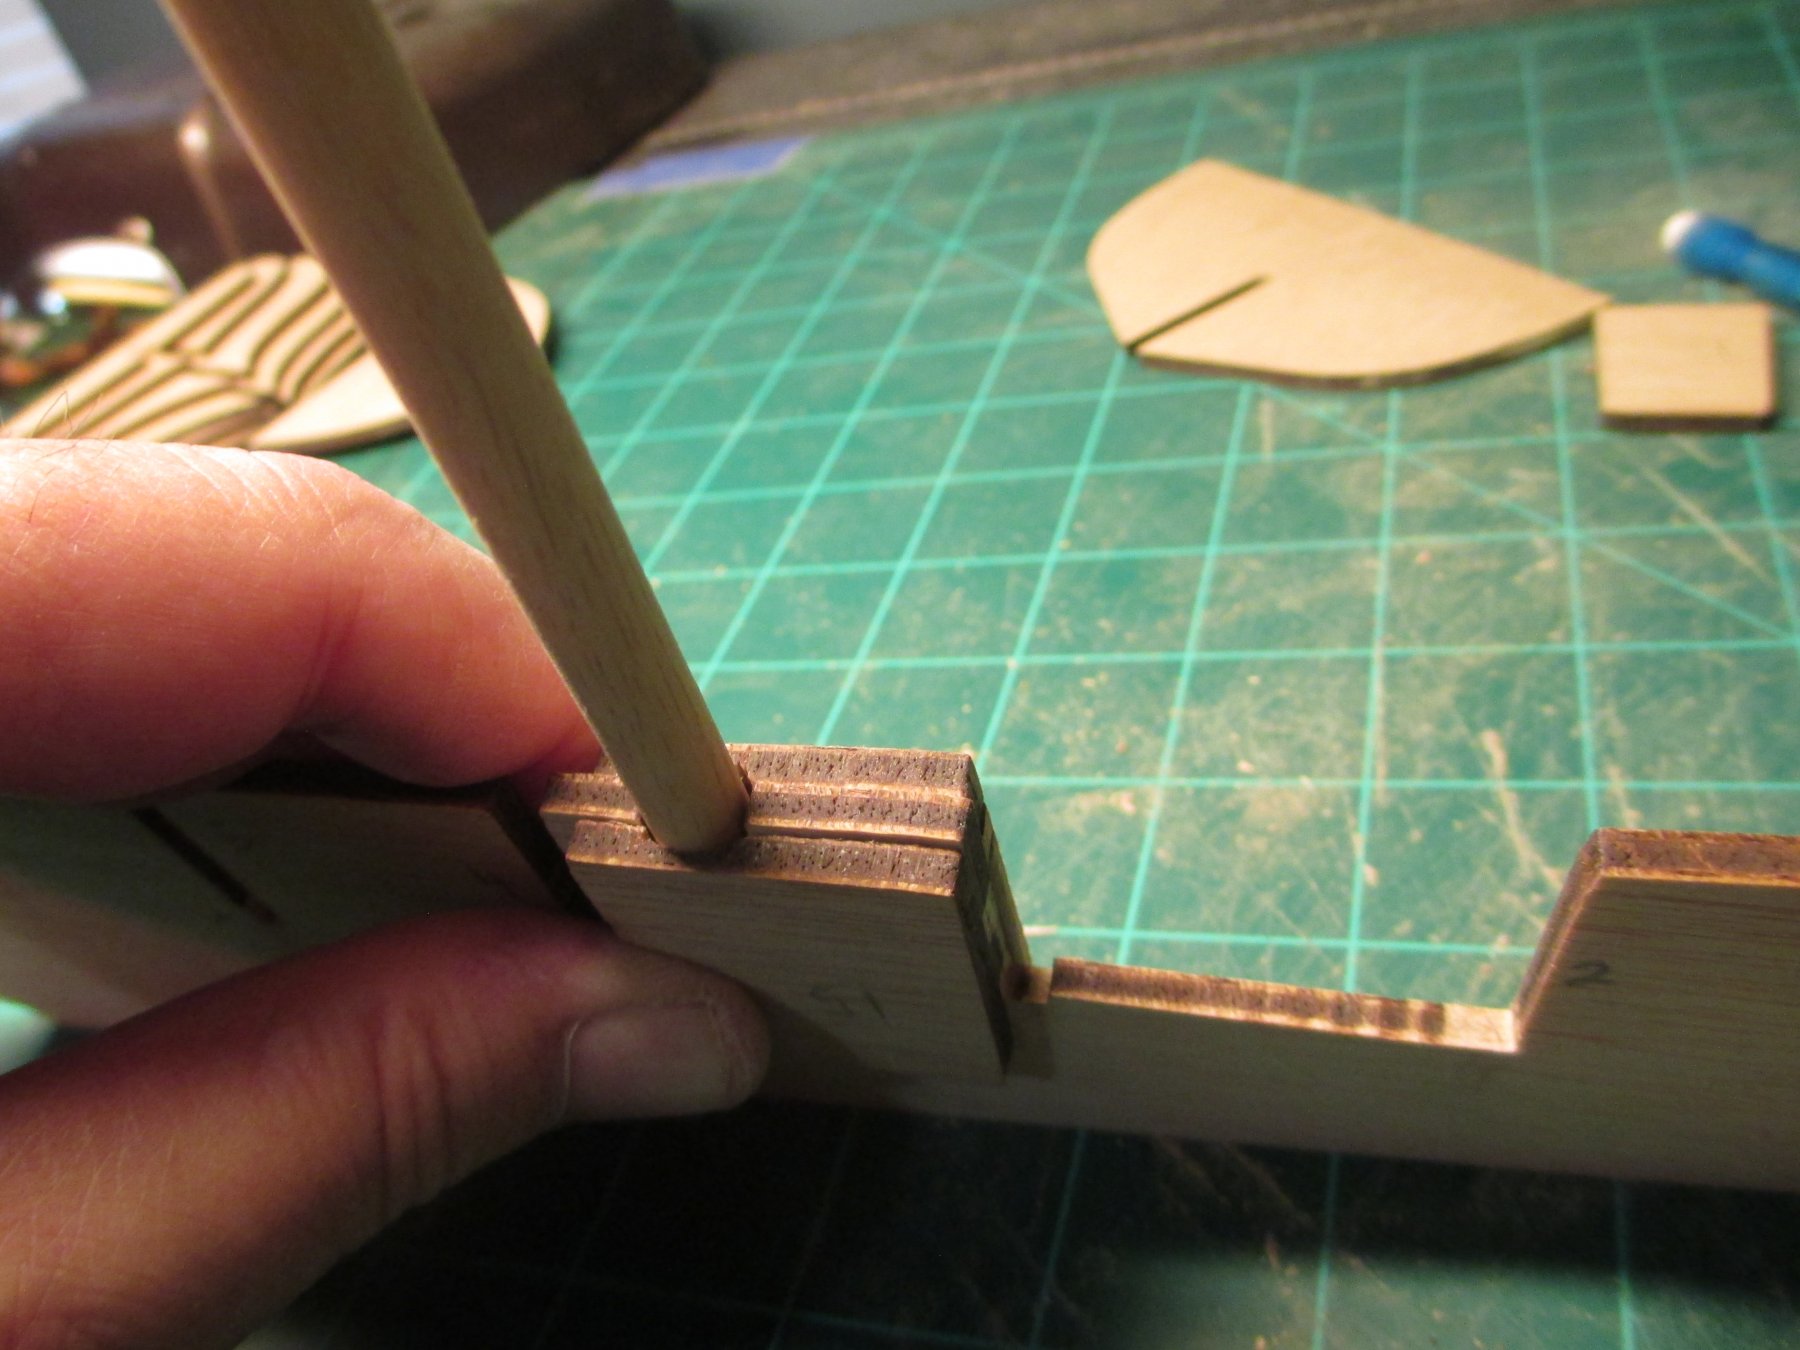
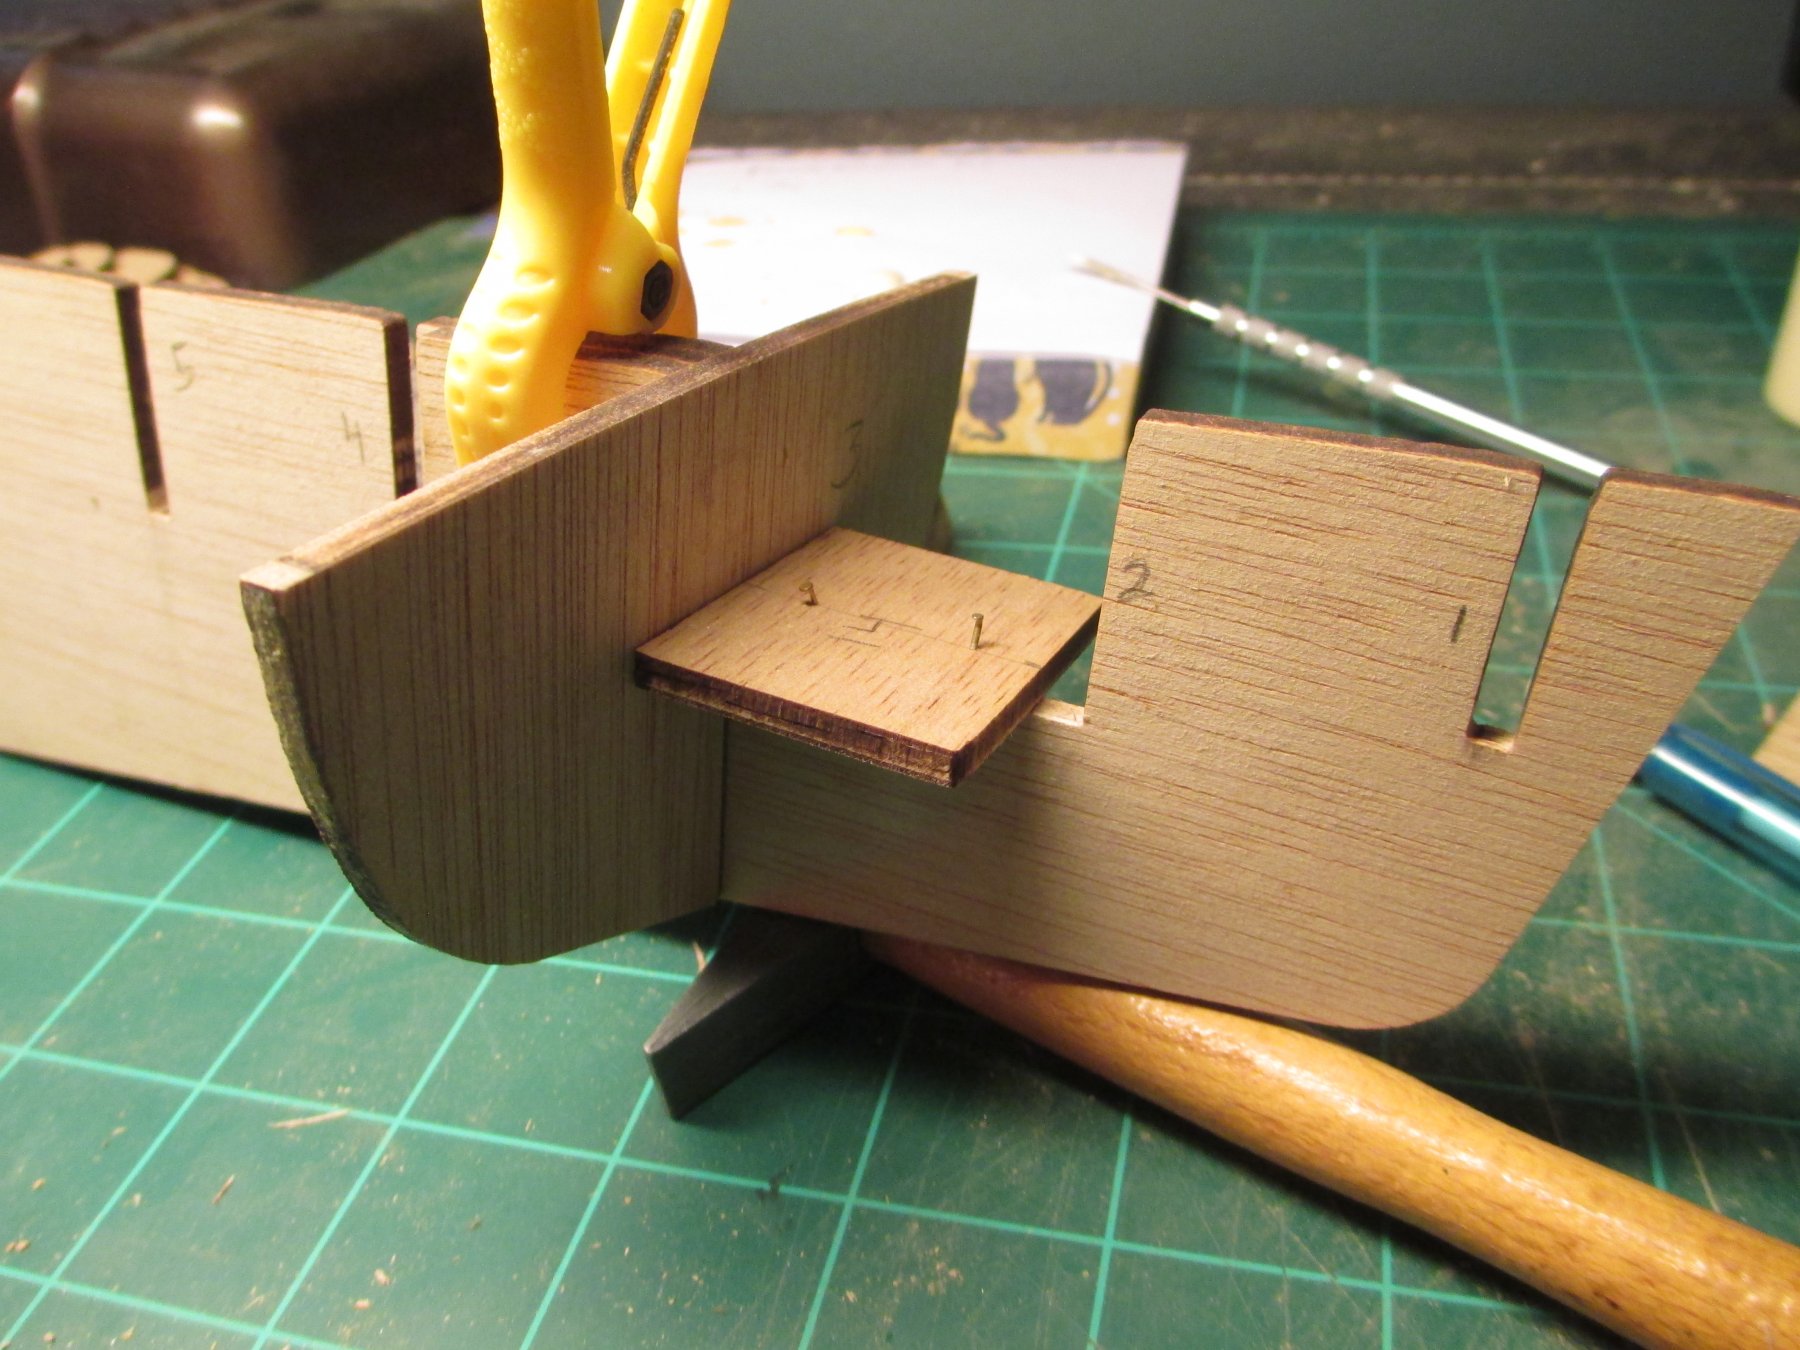
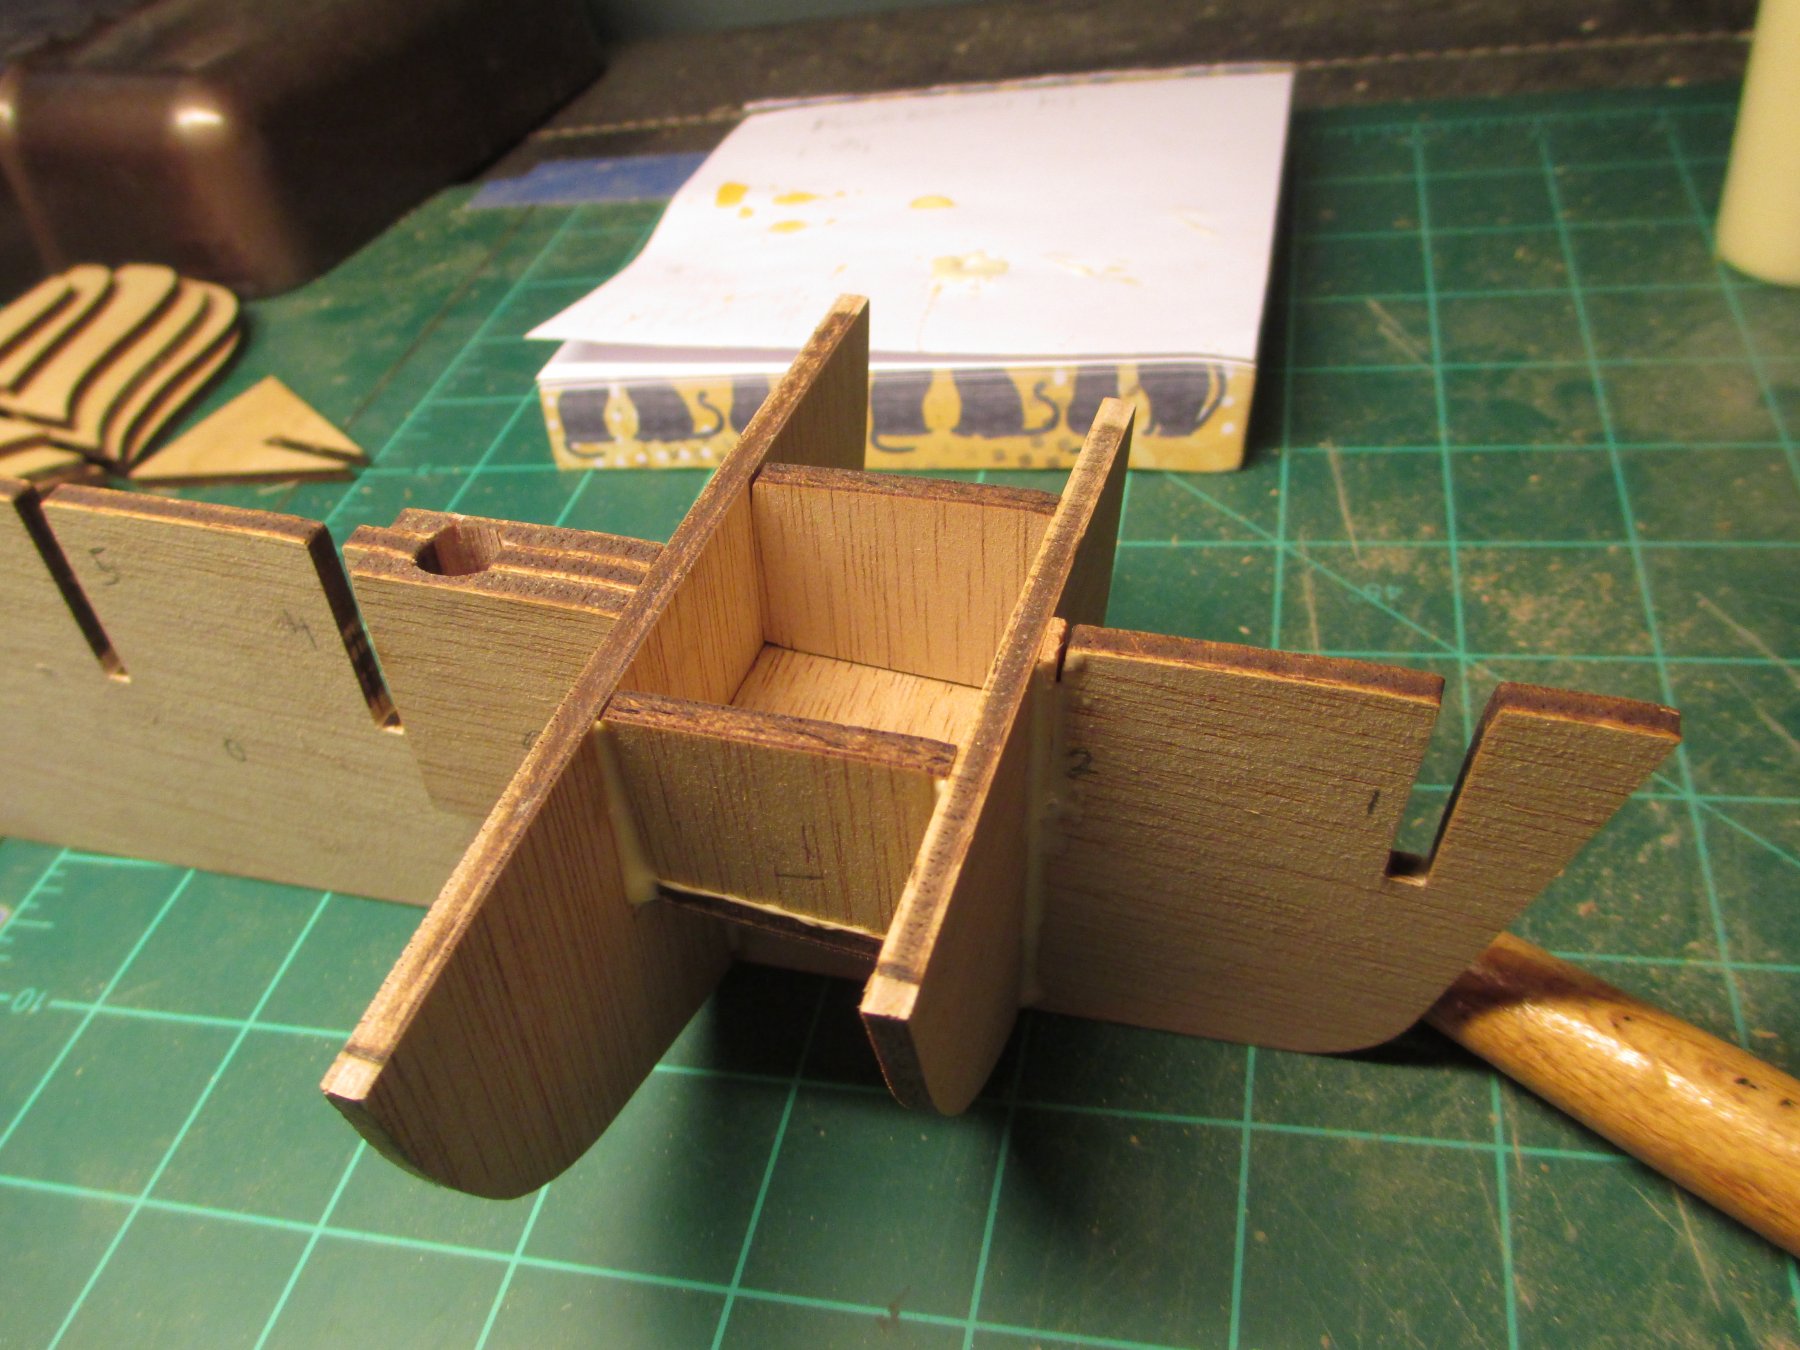
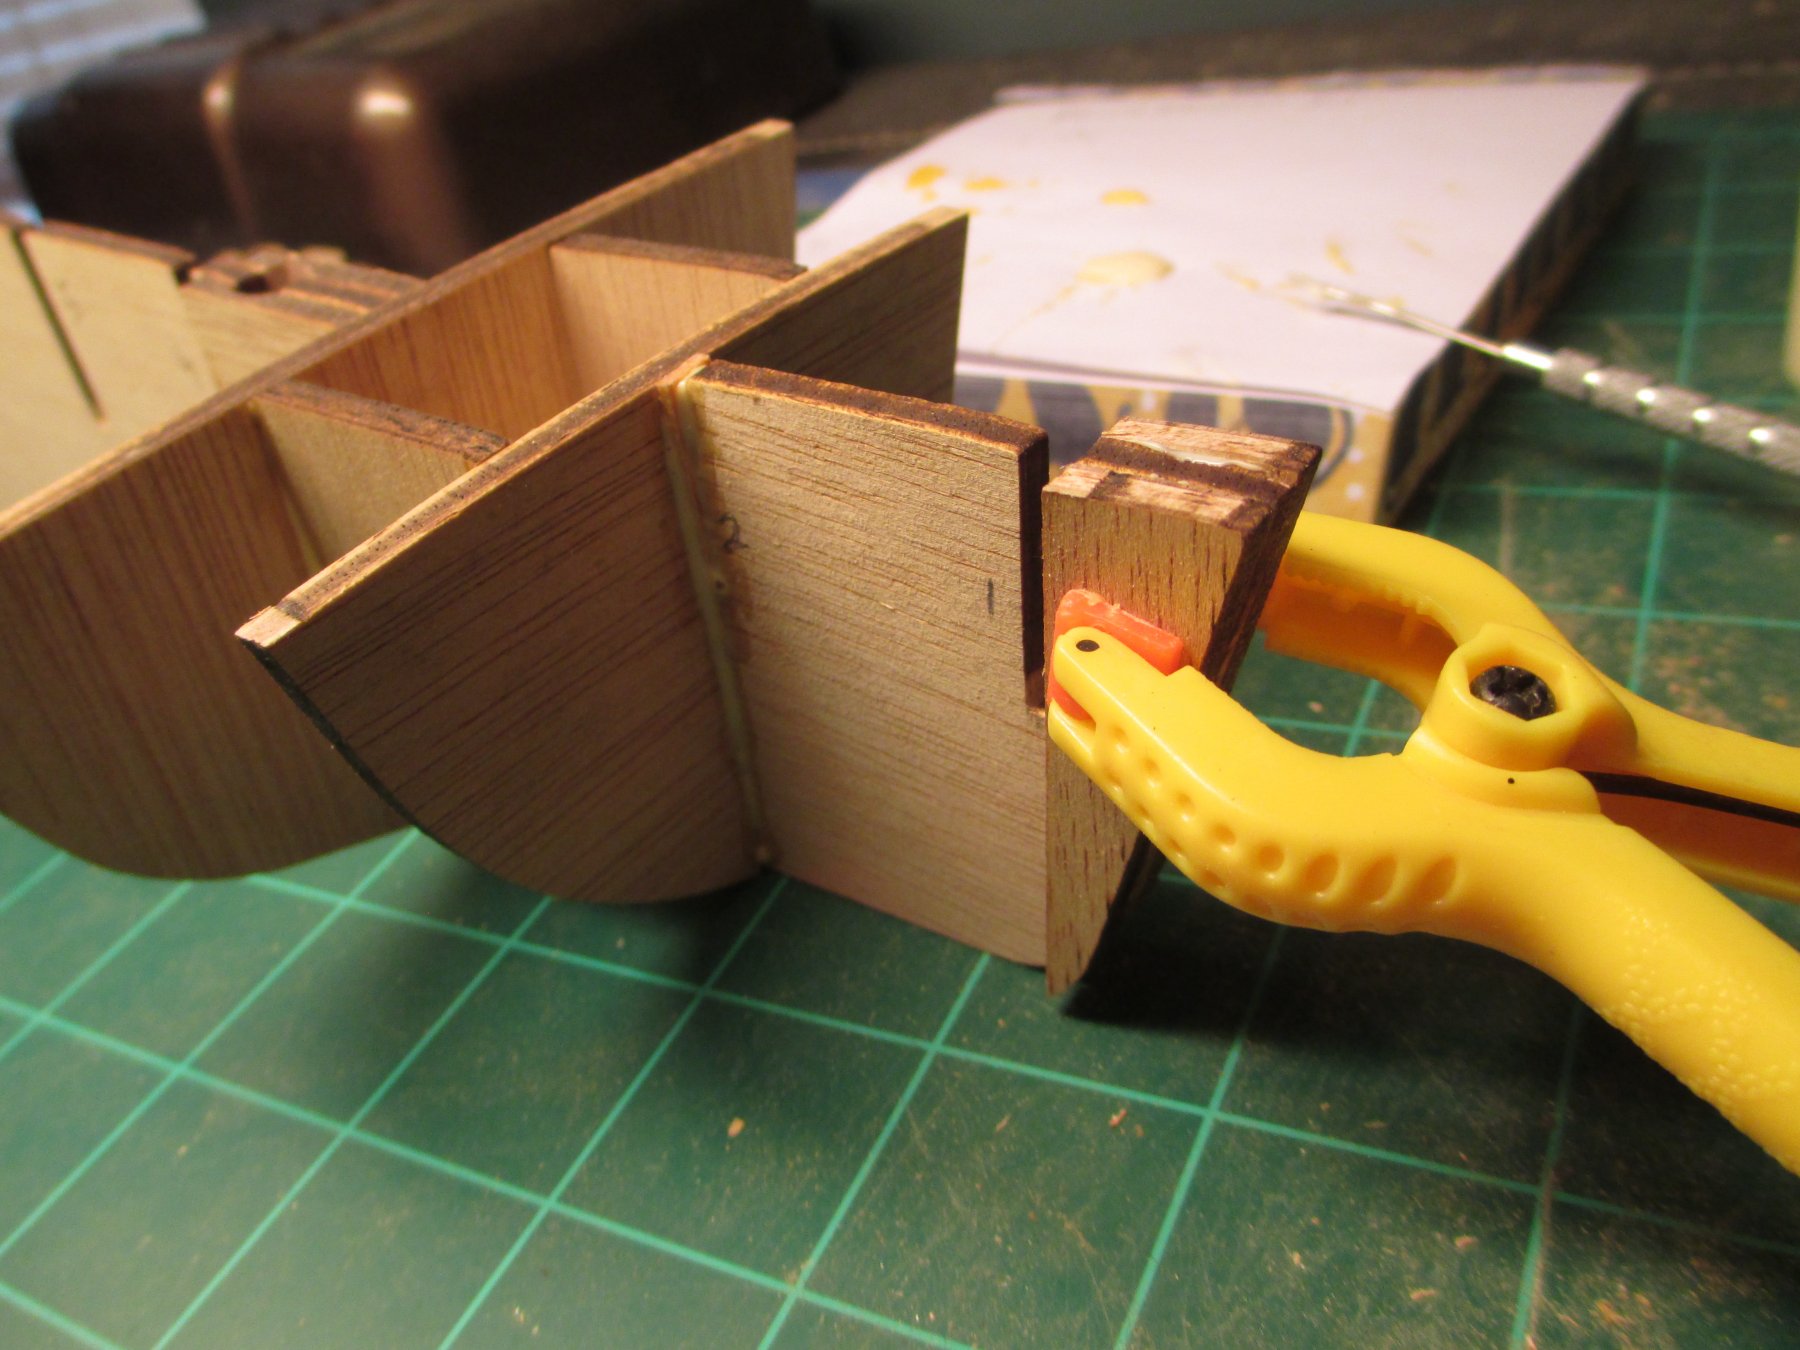
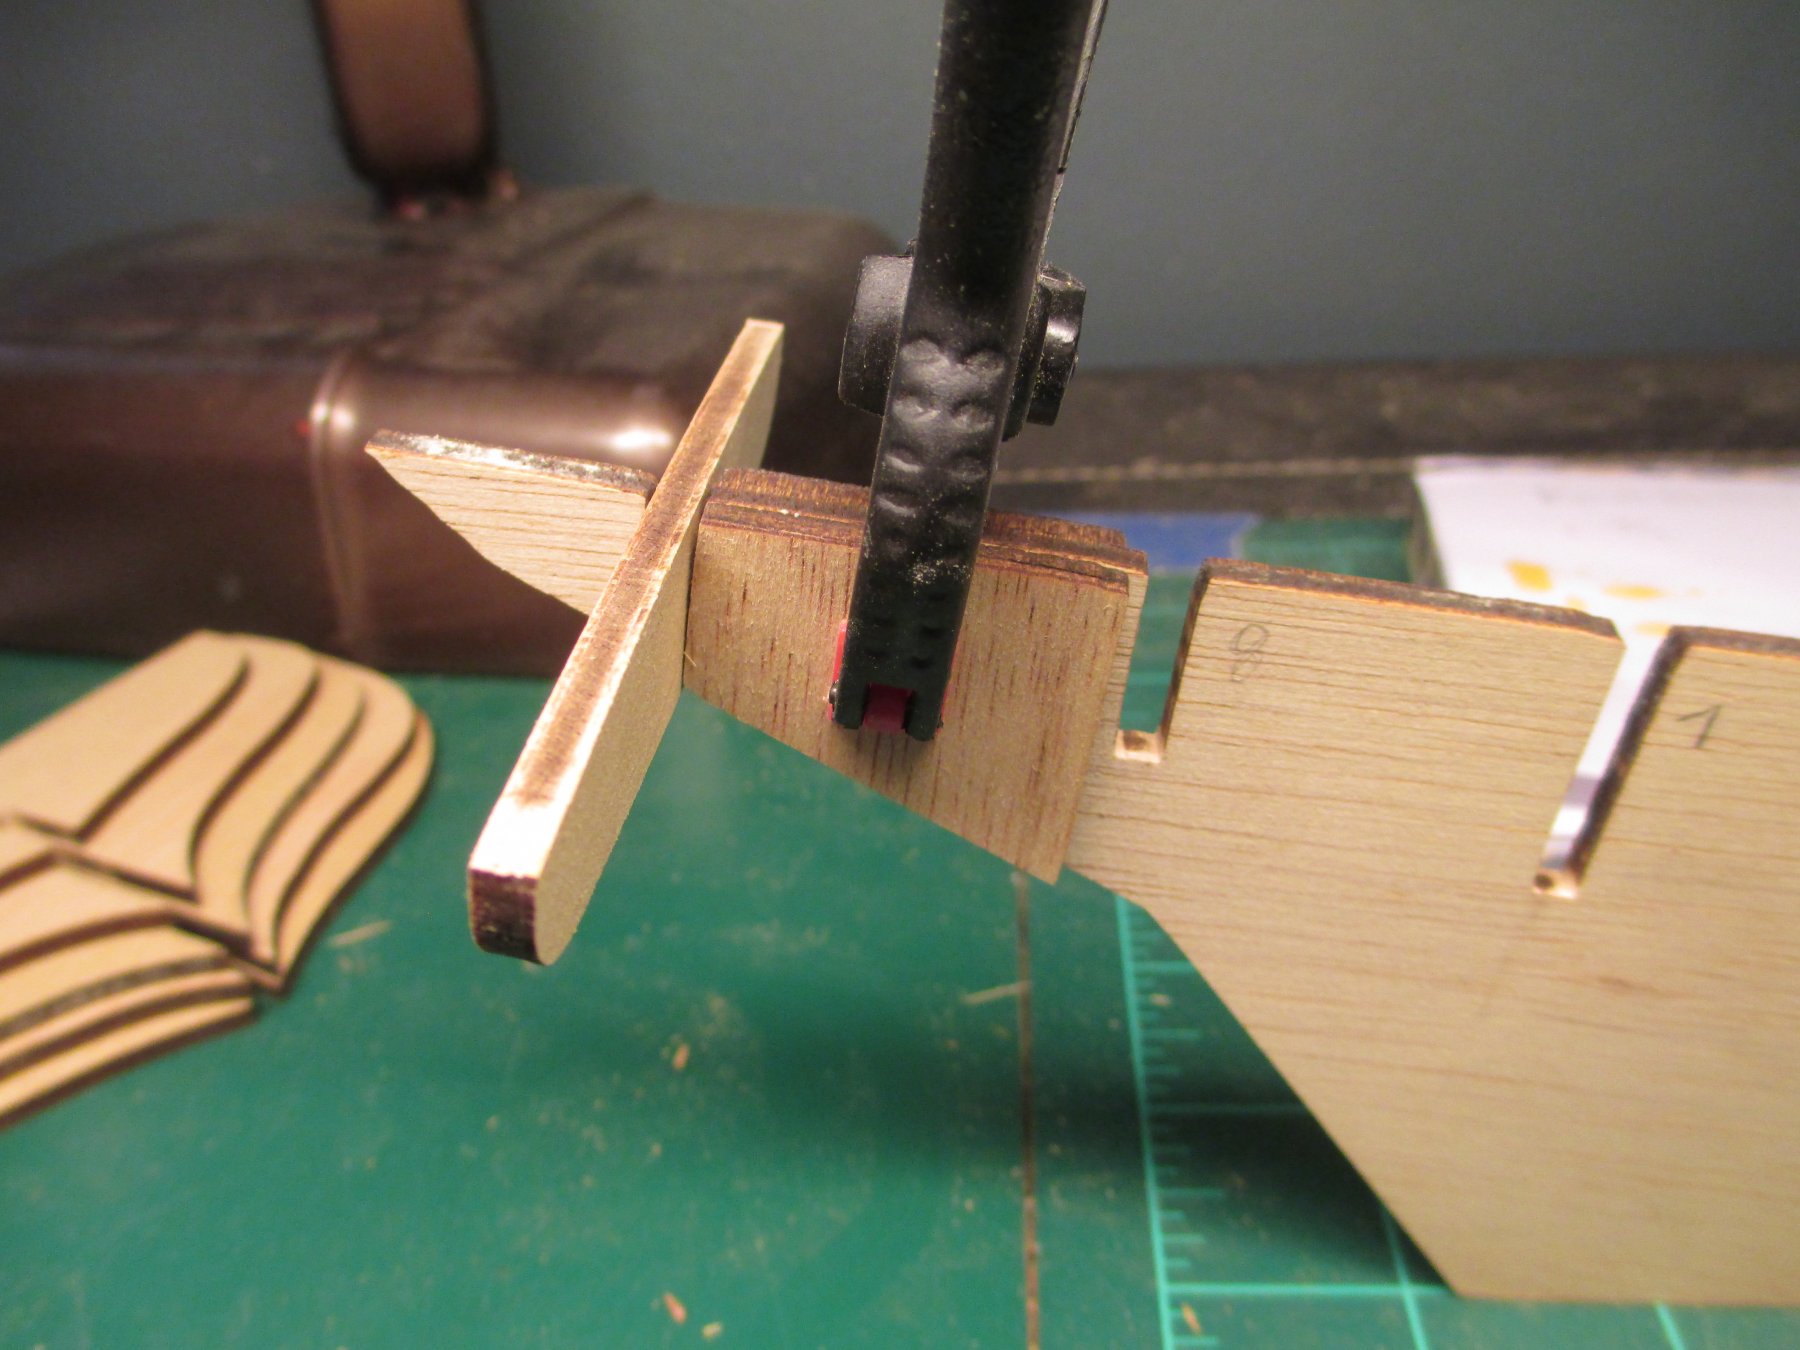
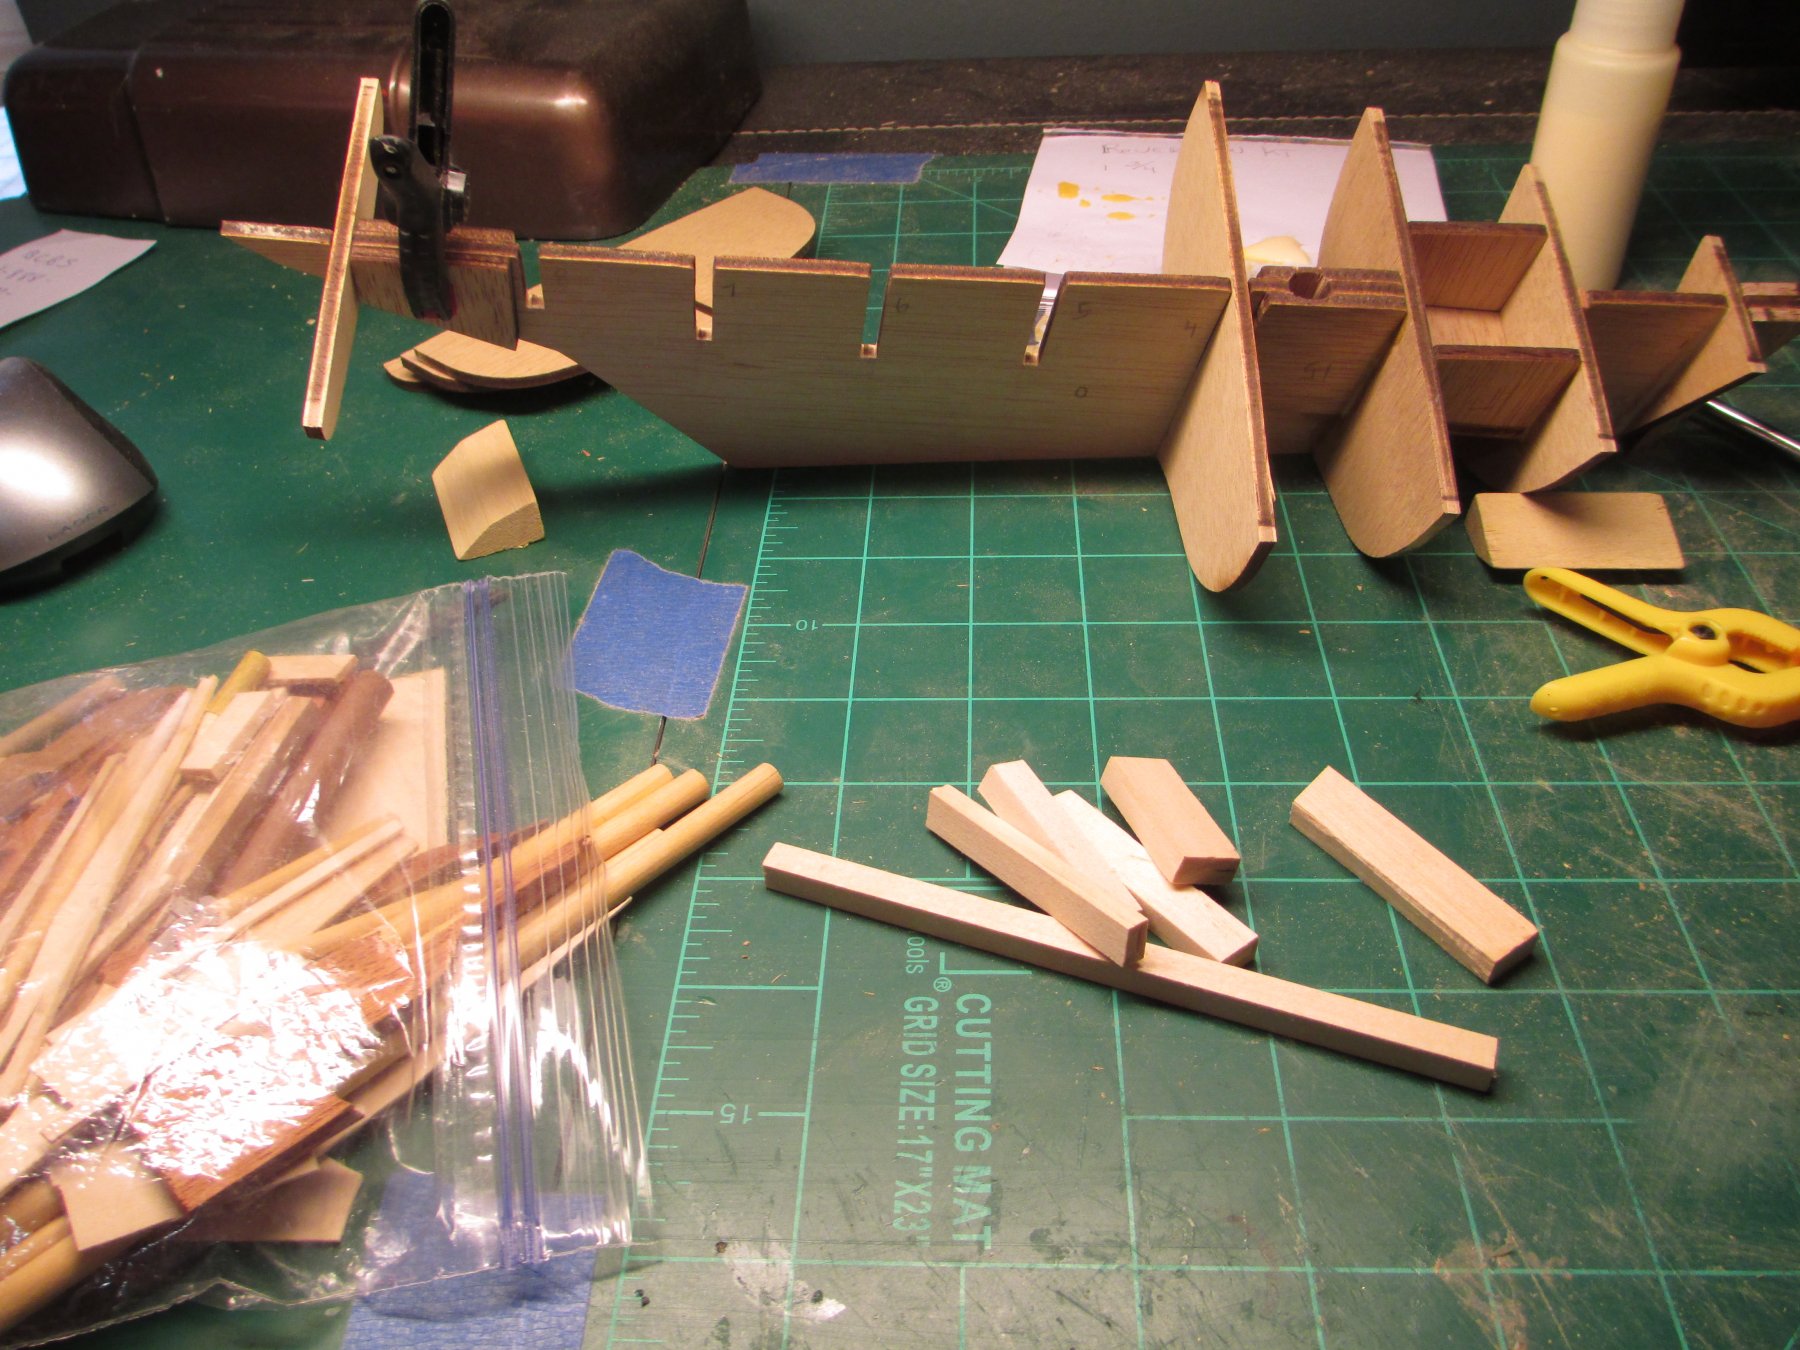
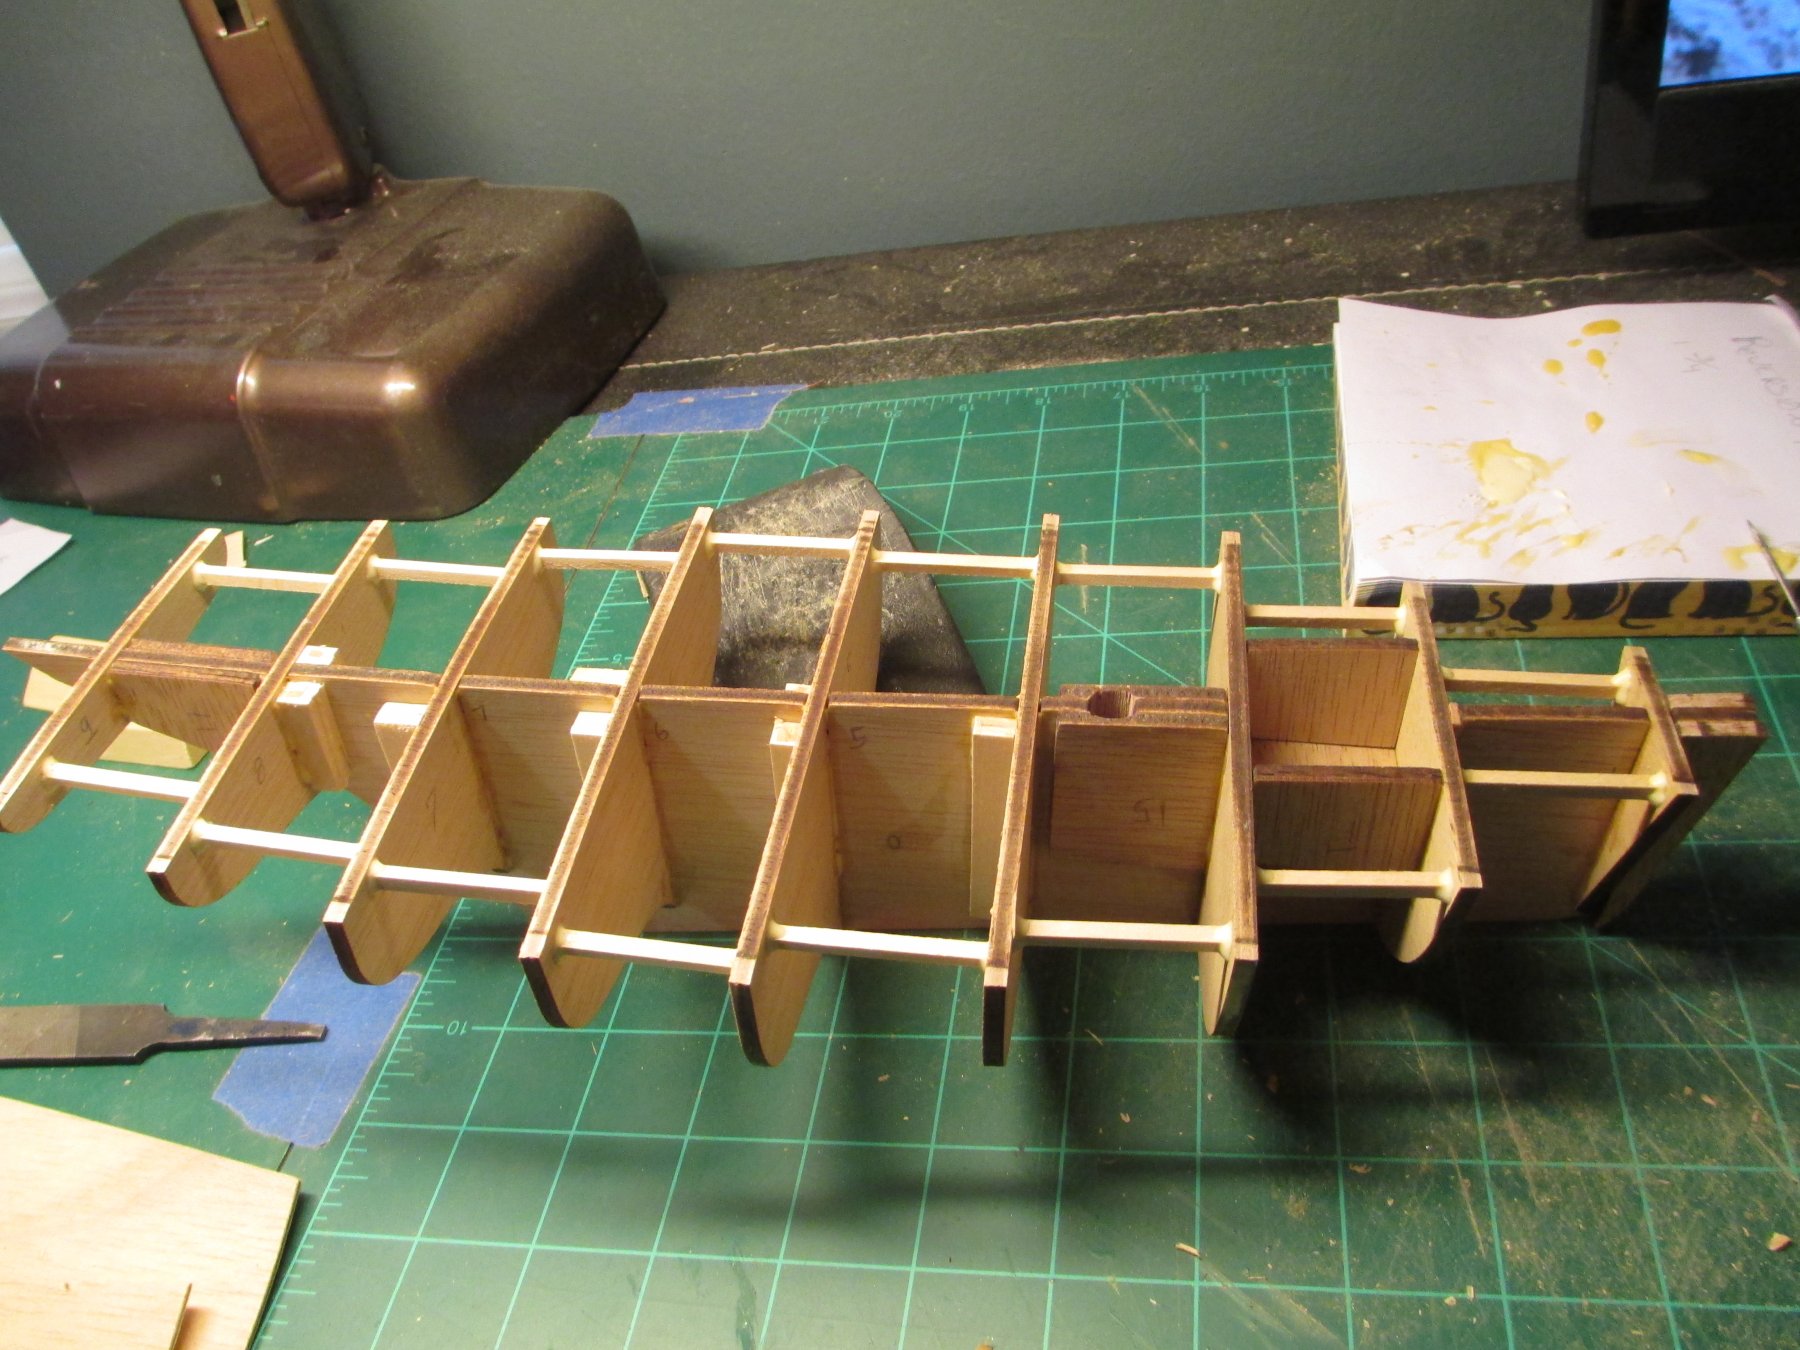
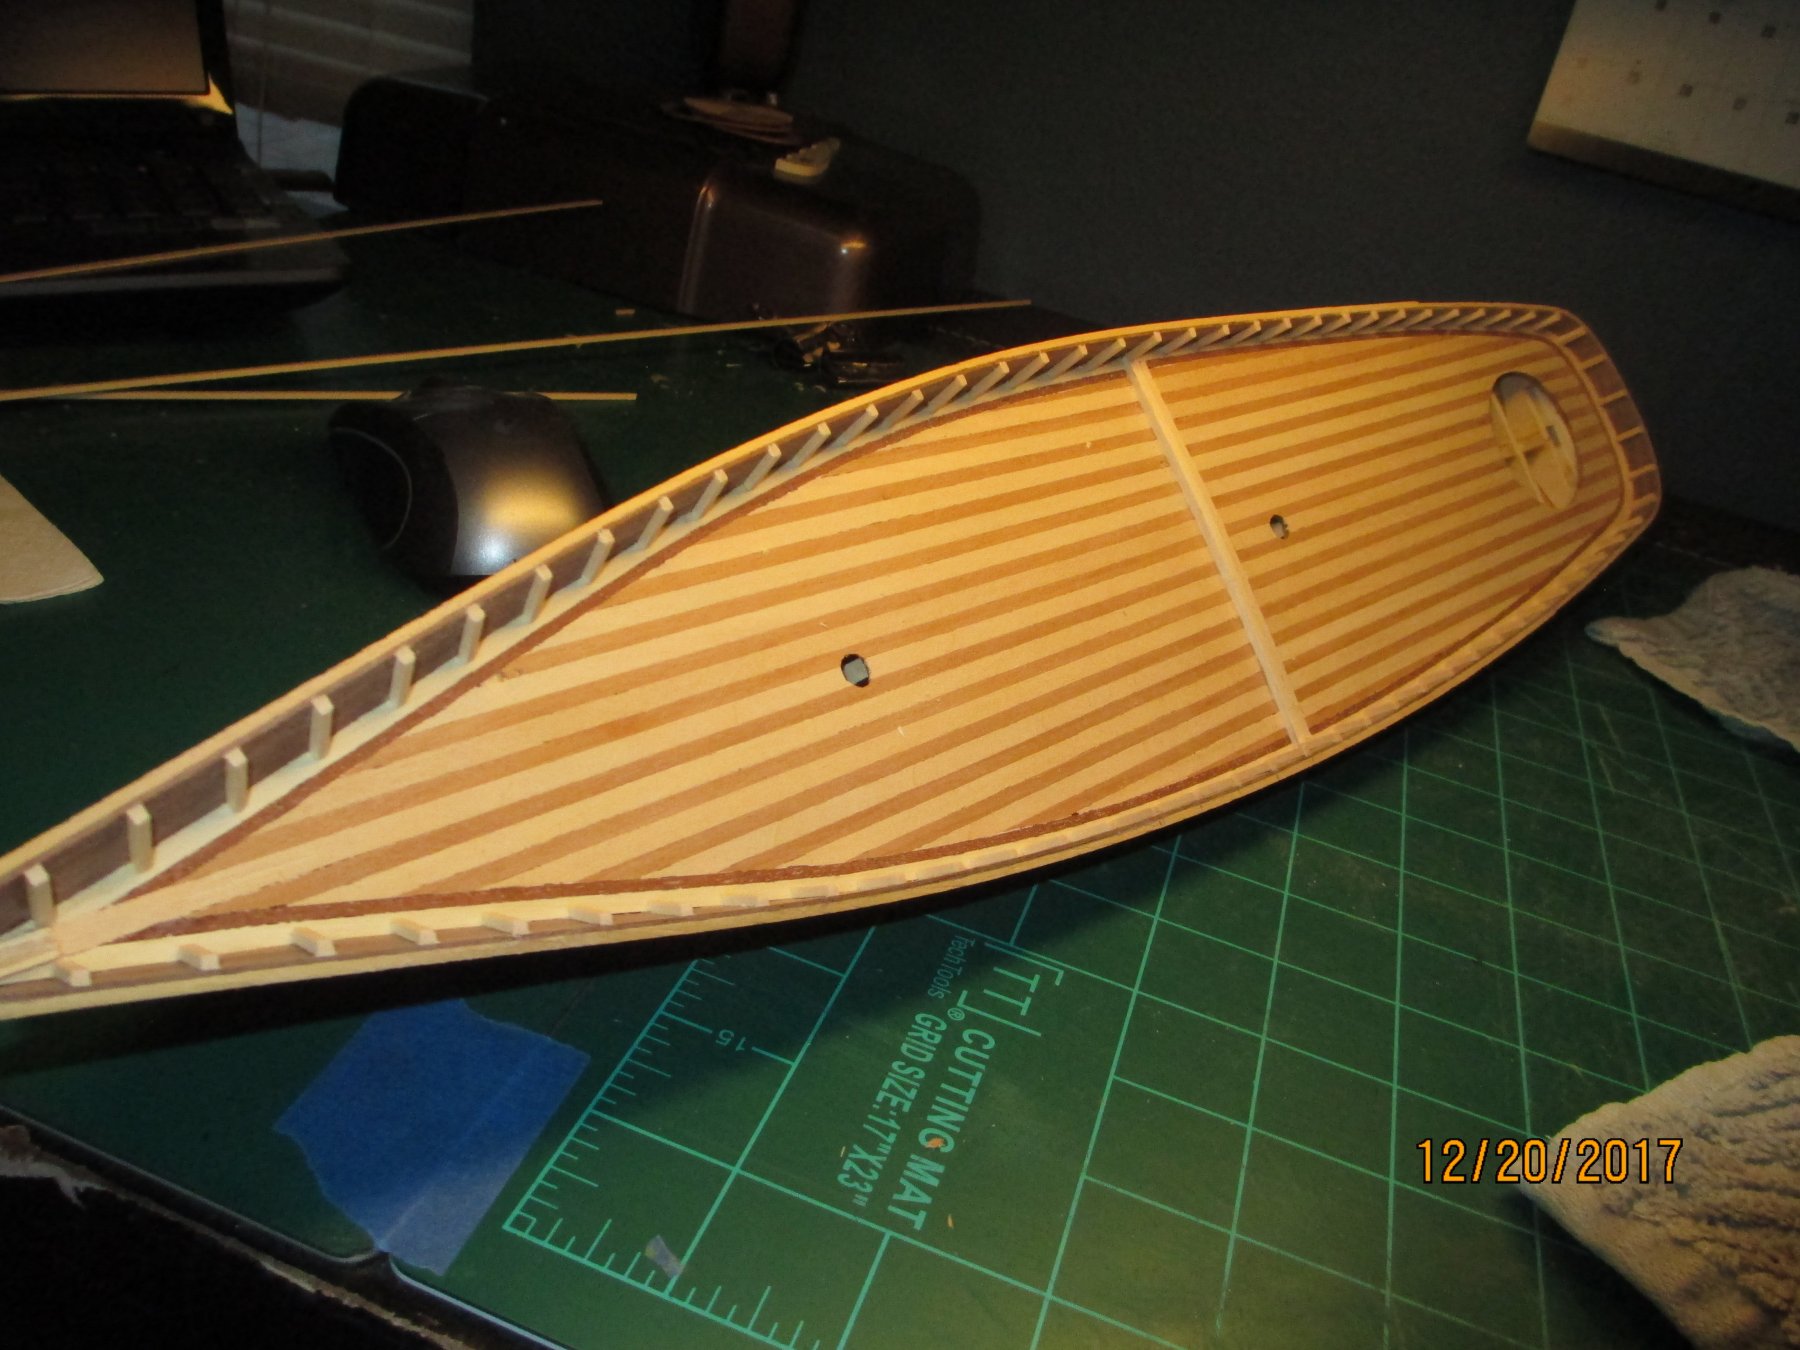
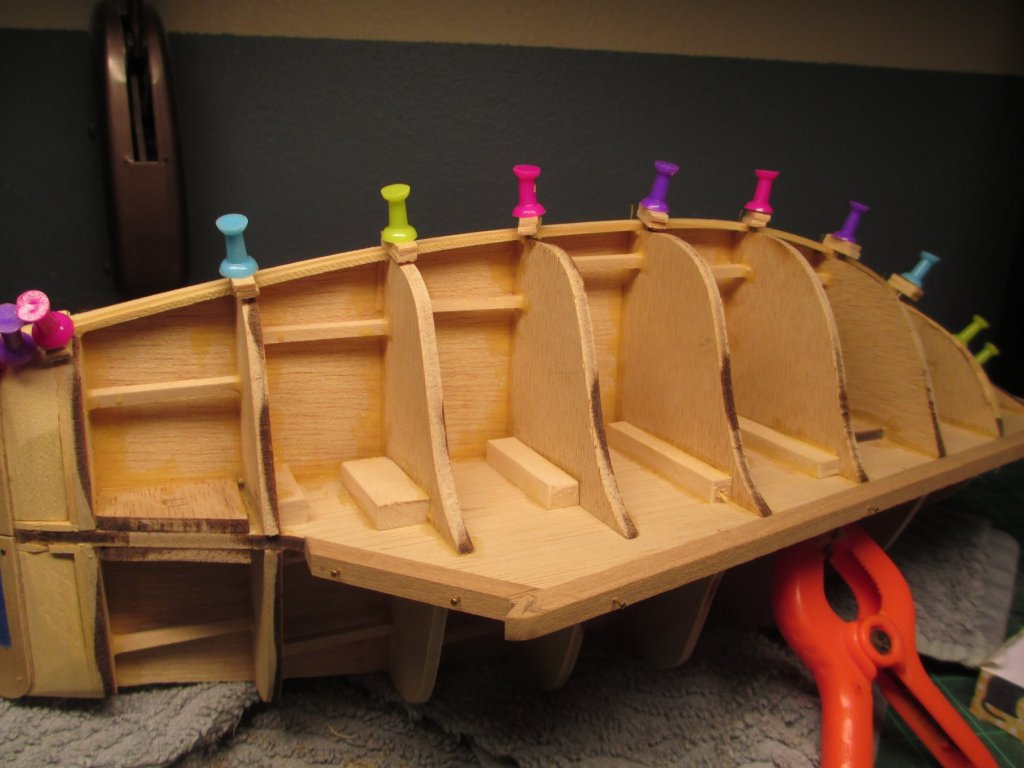
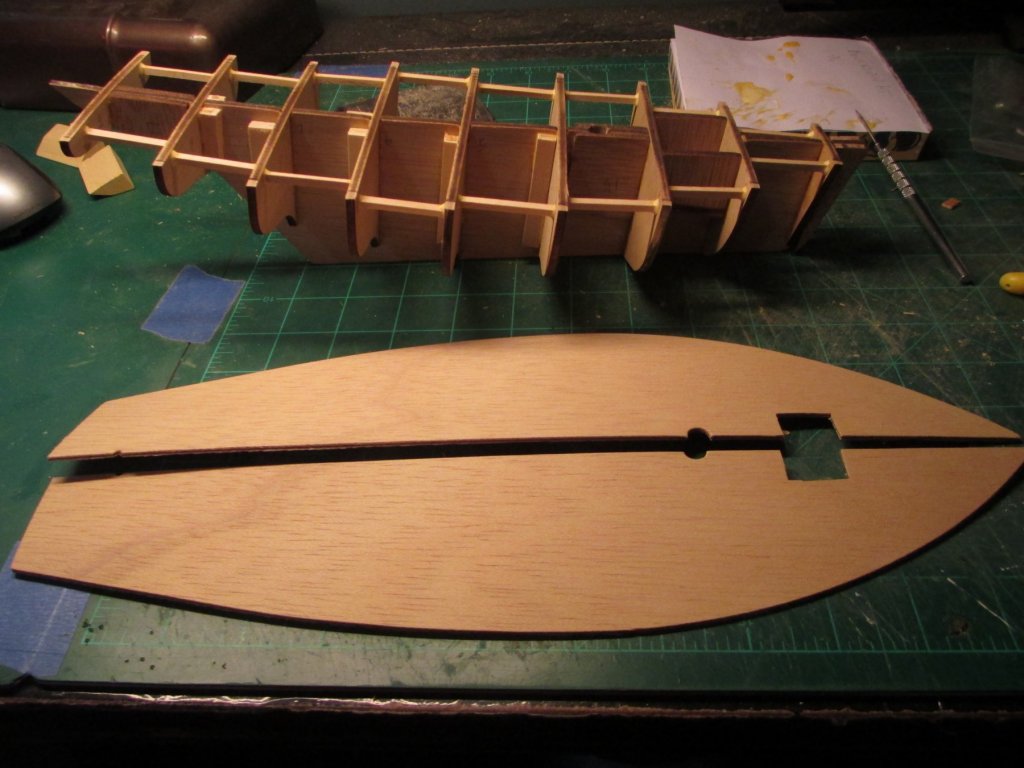
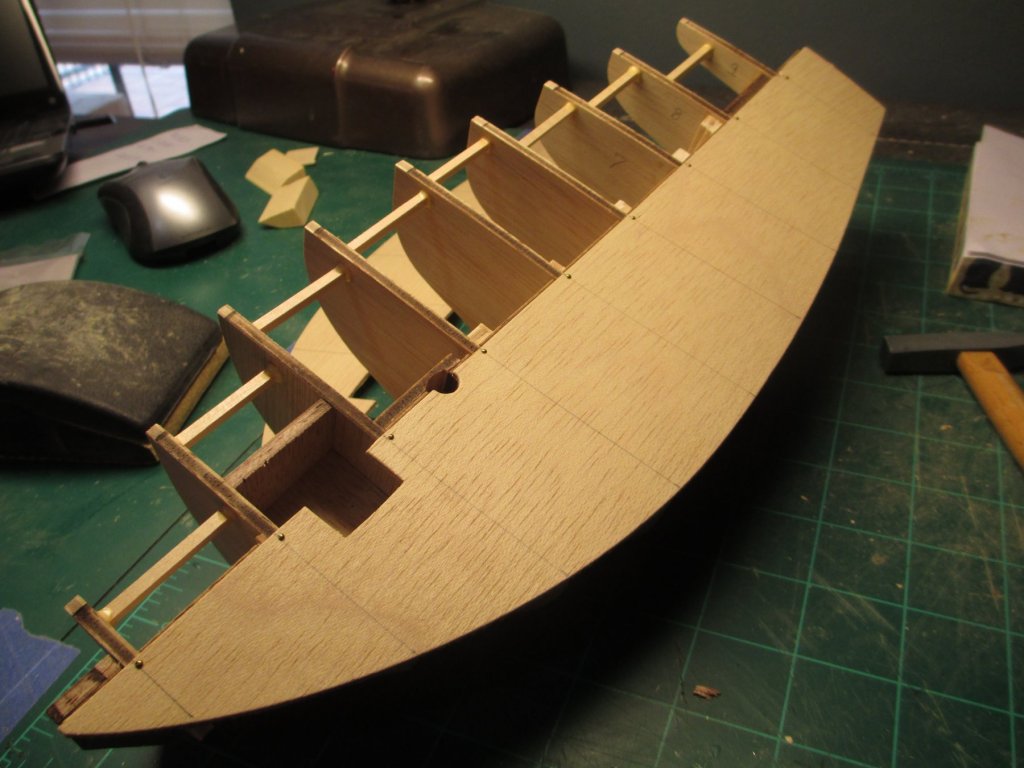
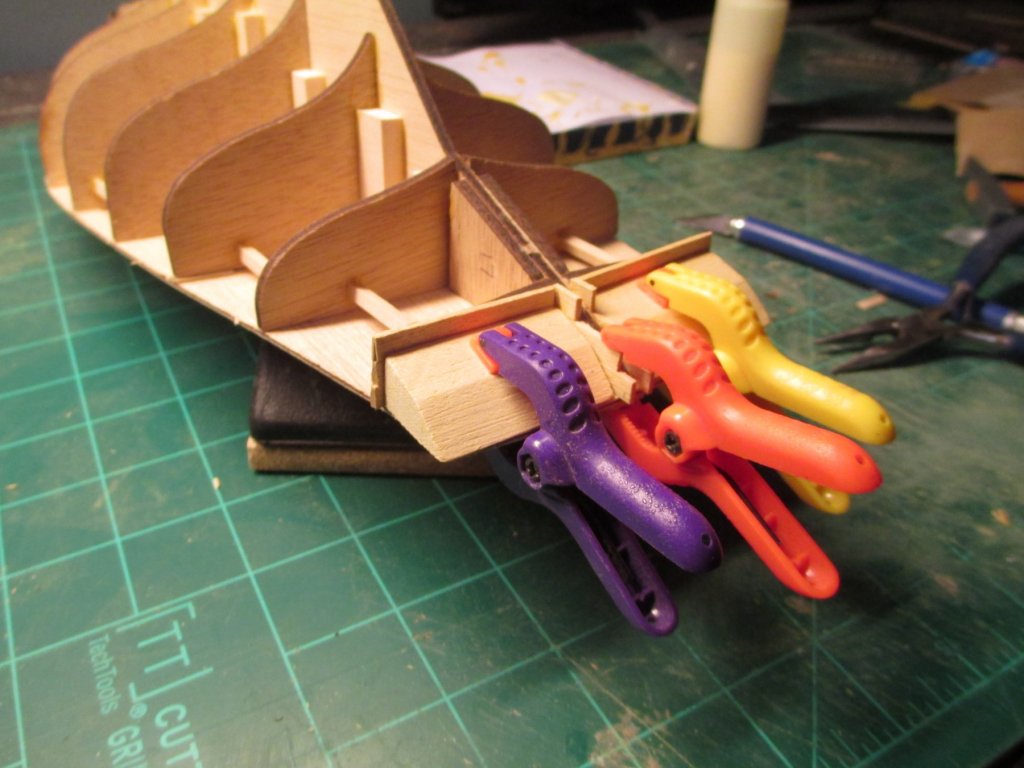
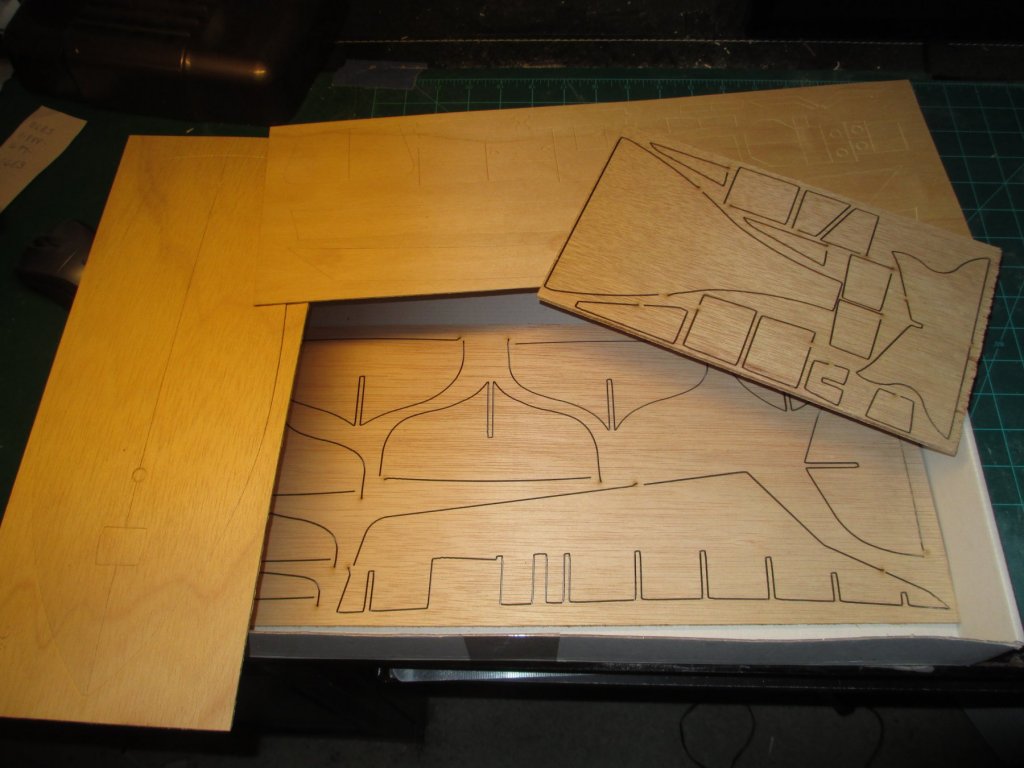
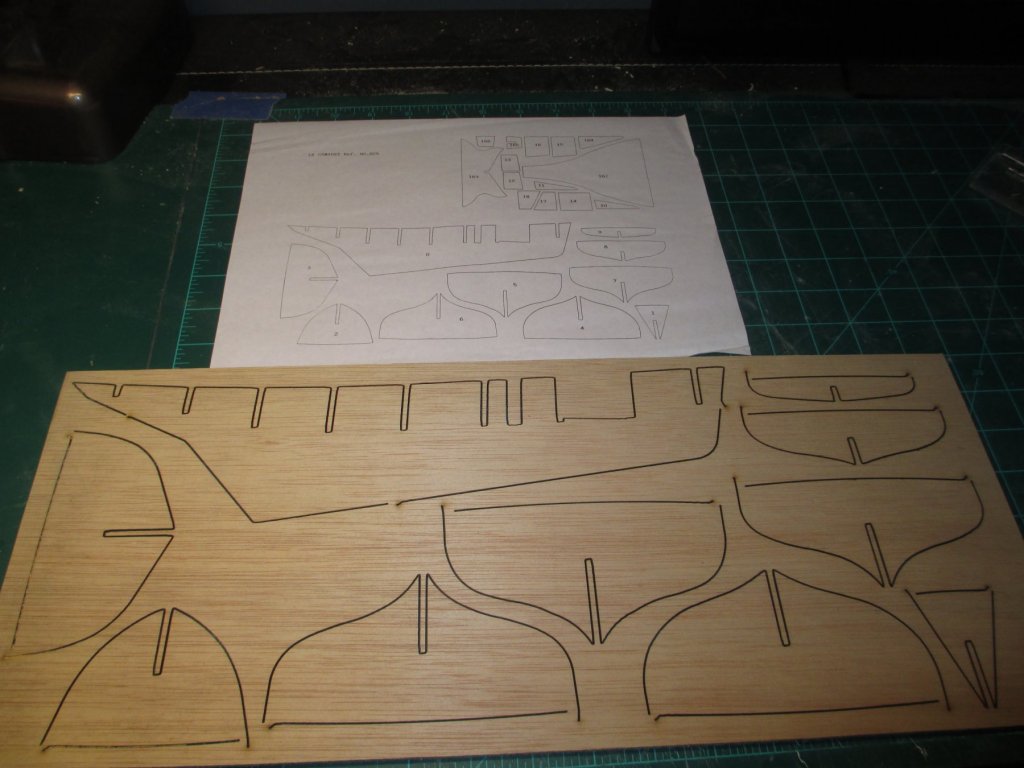
these next photos show just a temporary mock up of the sides and stern piece, all is measured and frames are shaped for planking


- 34 replies
-
- 2
-
-
- finished
- Constructo
- (and 1 more)
-
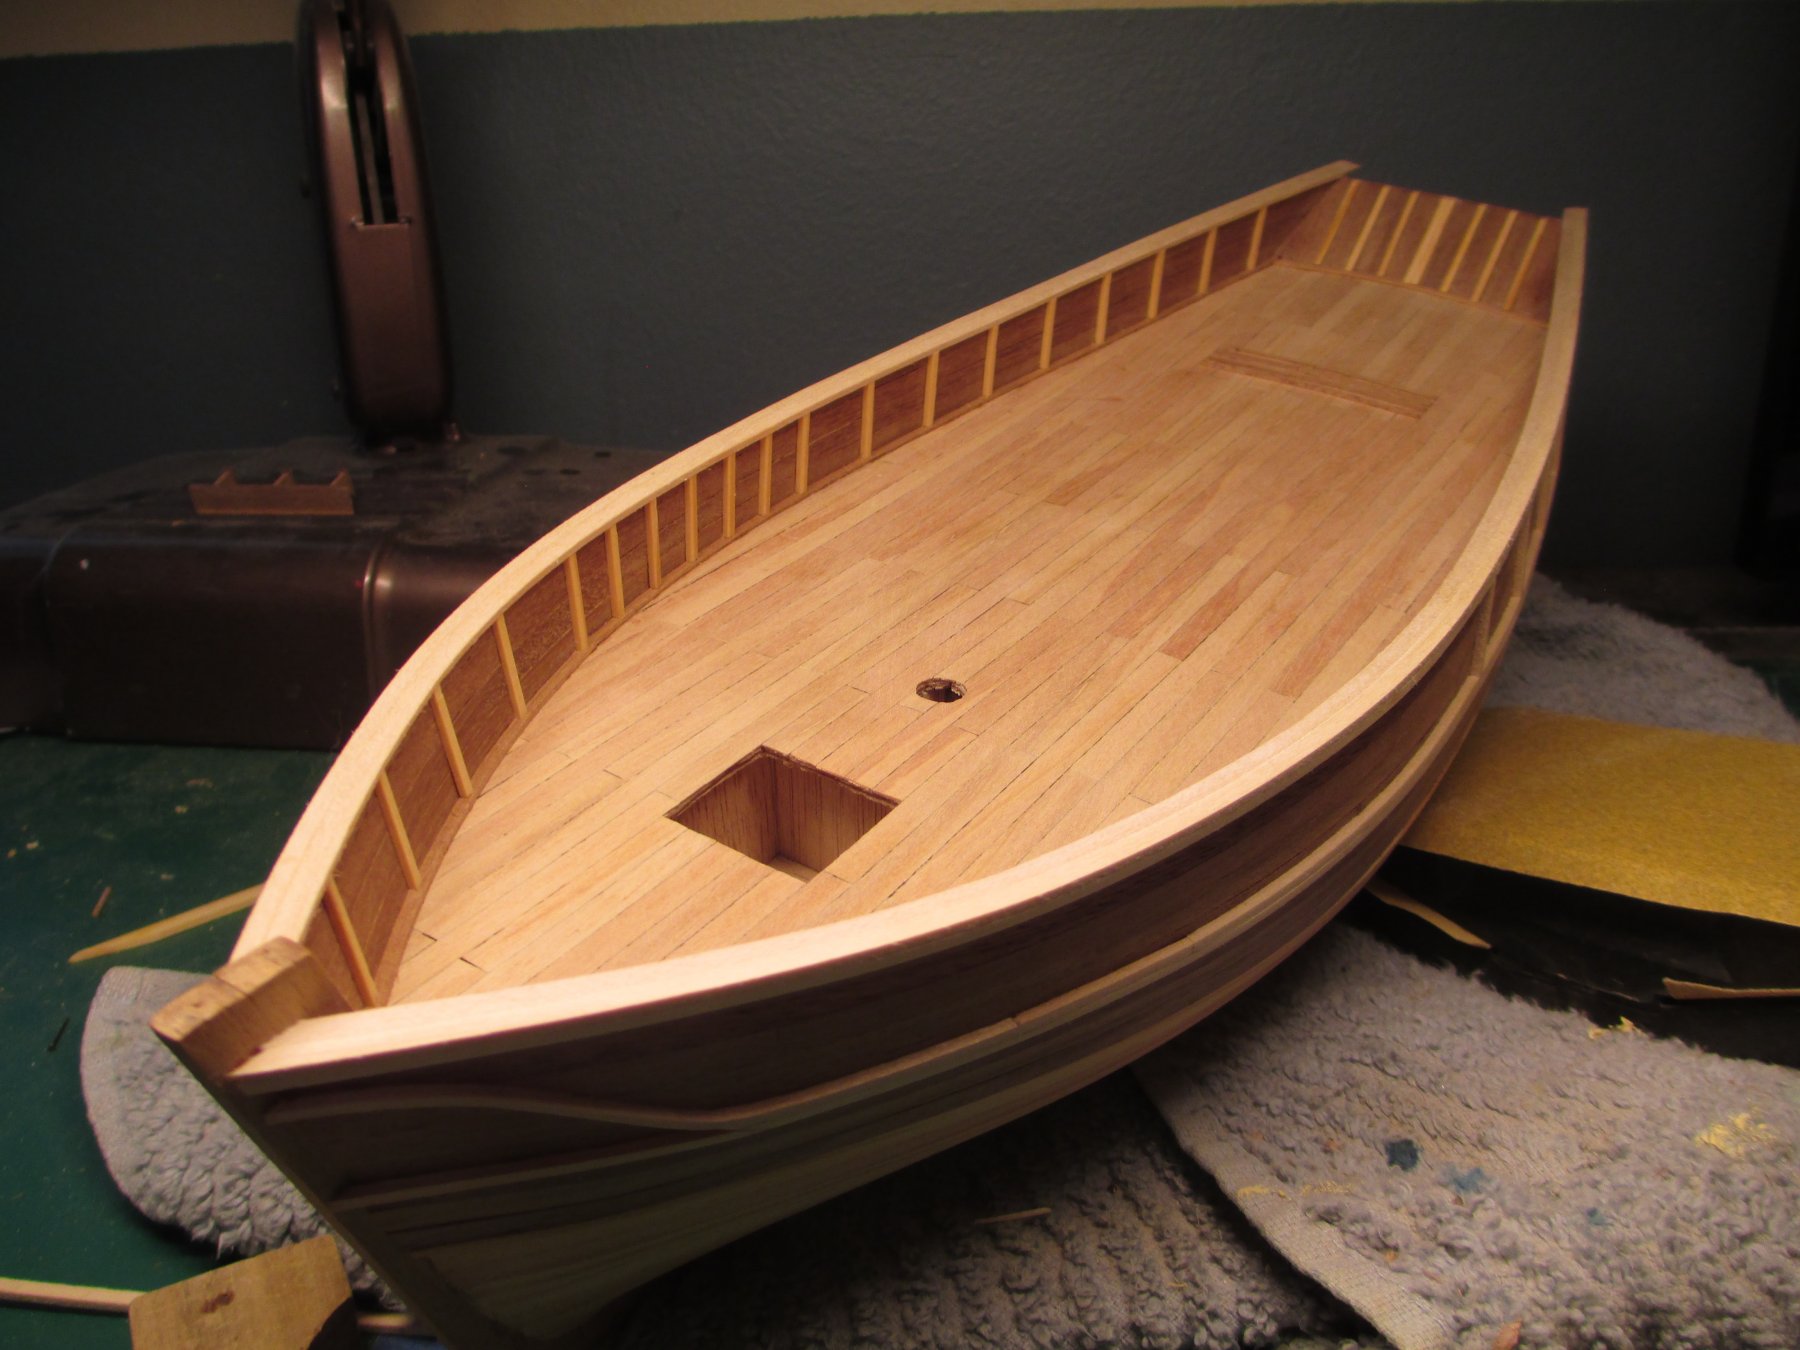
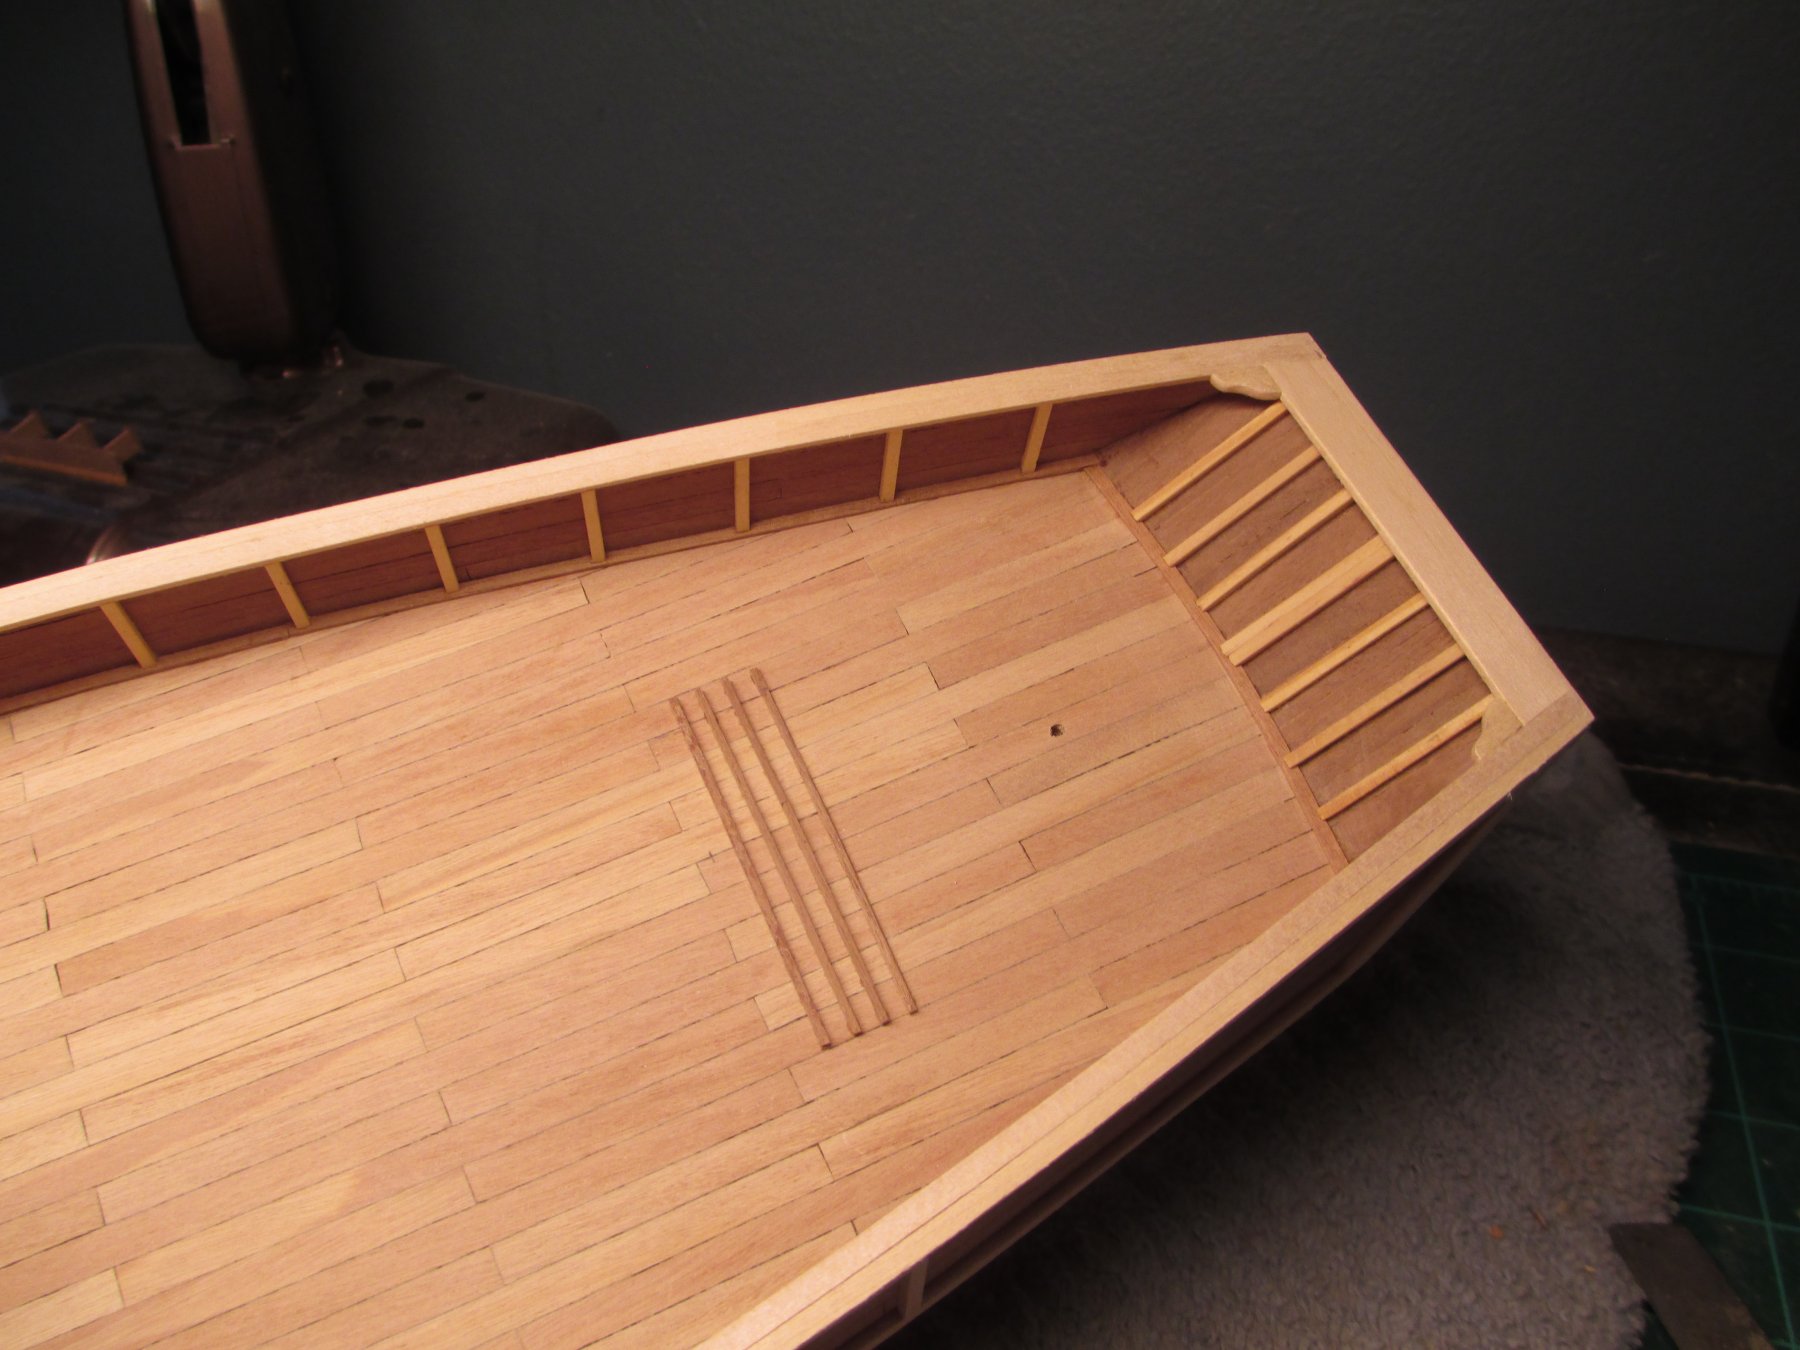
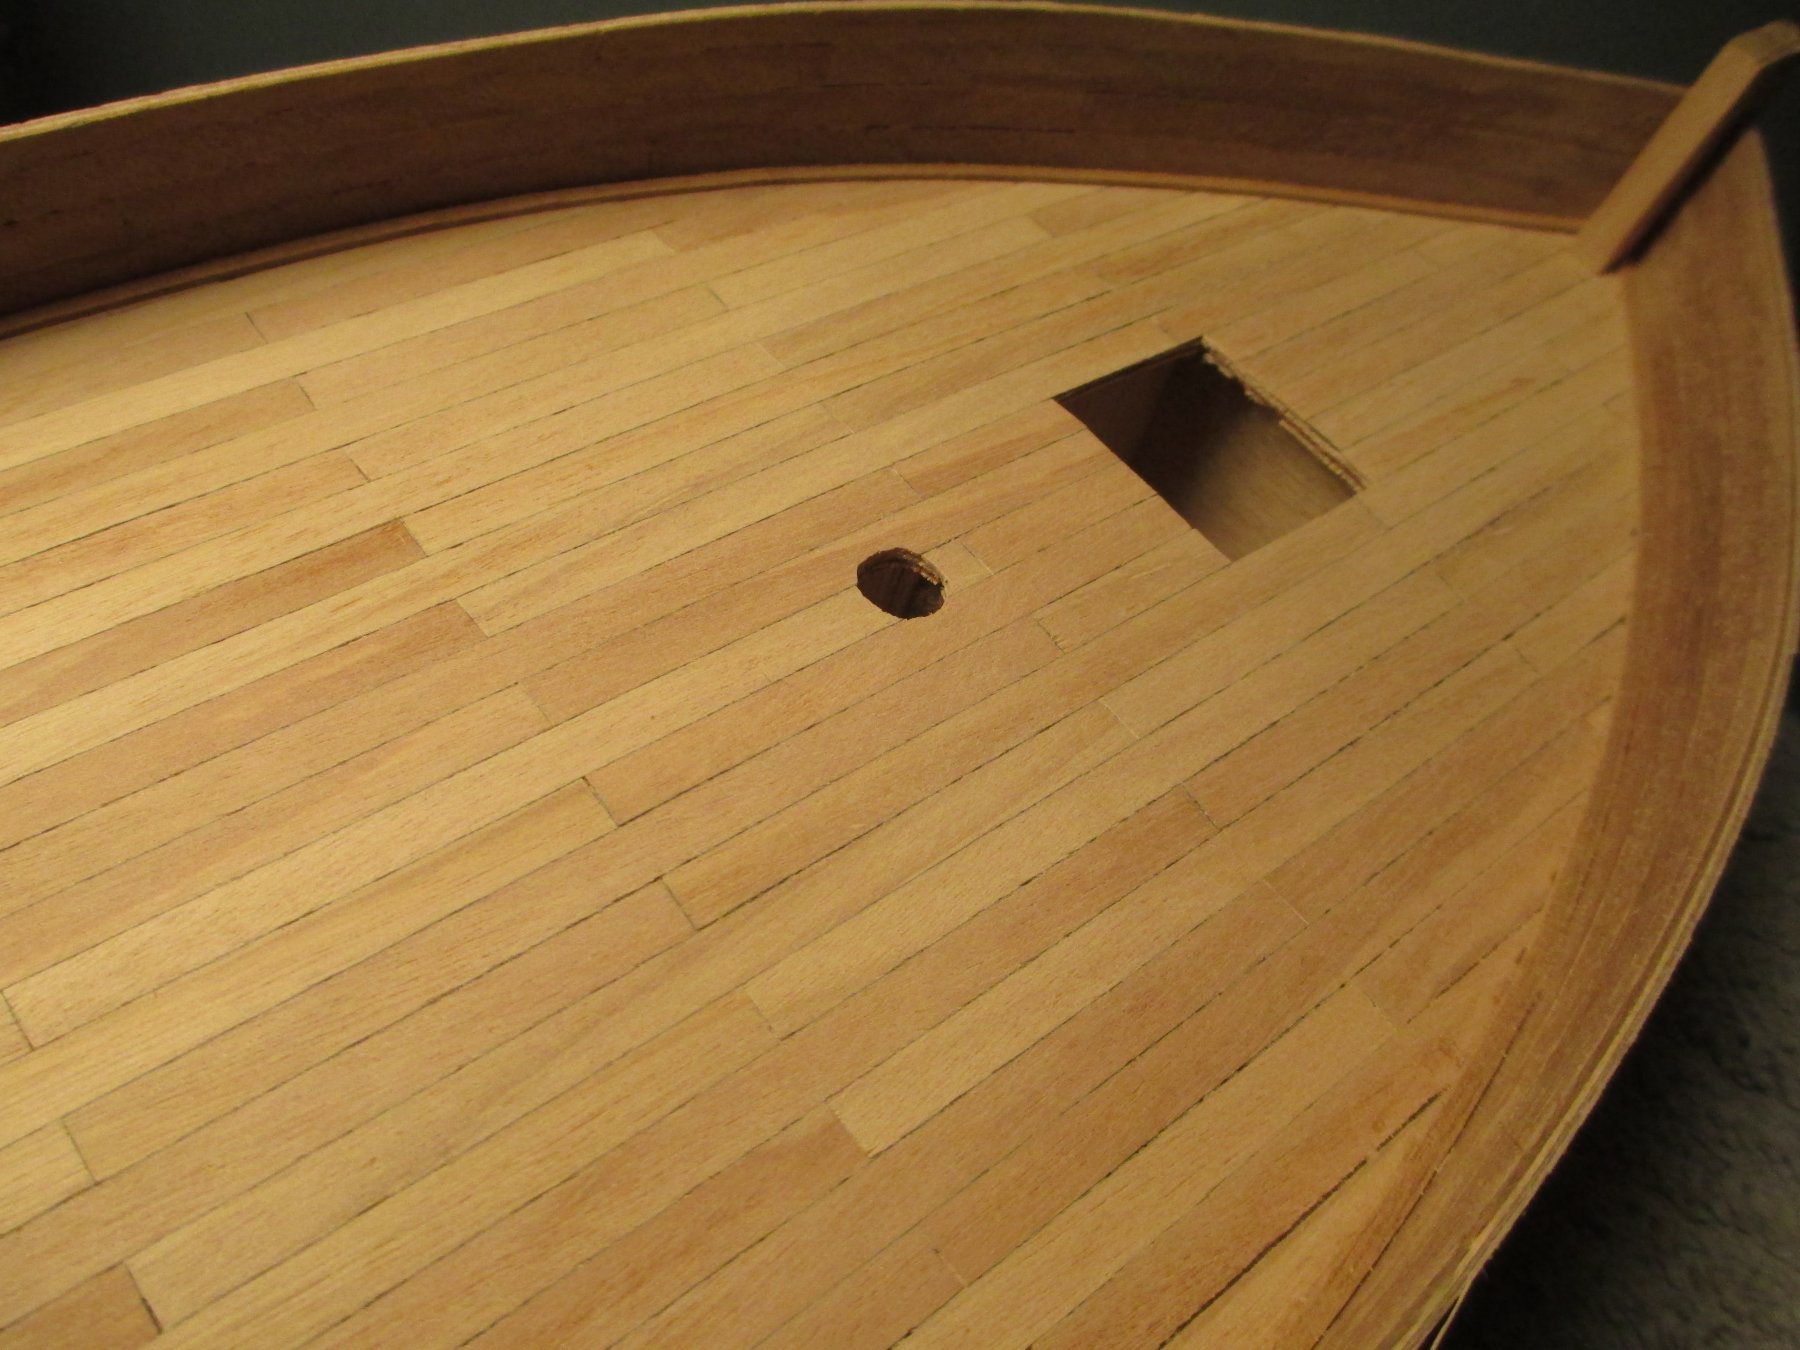
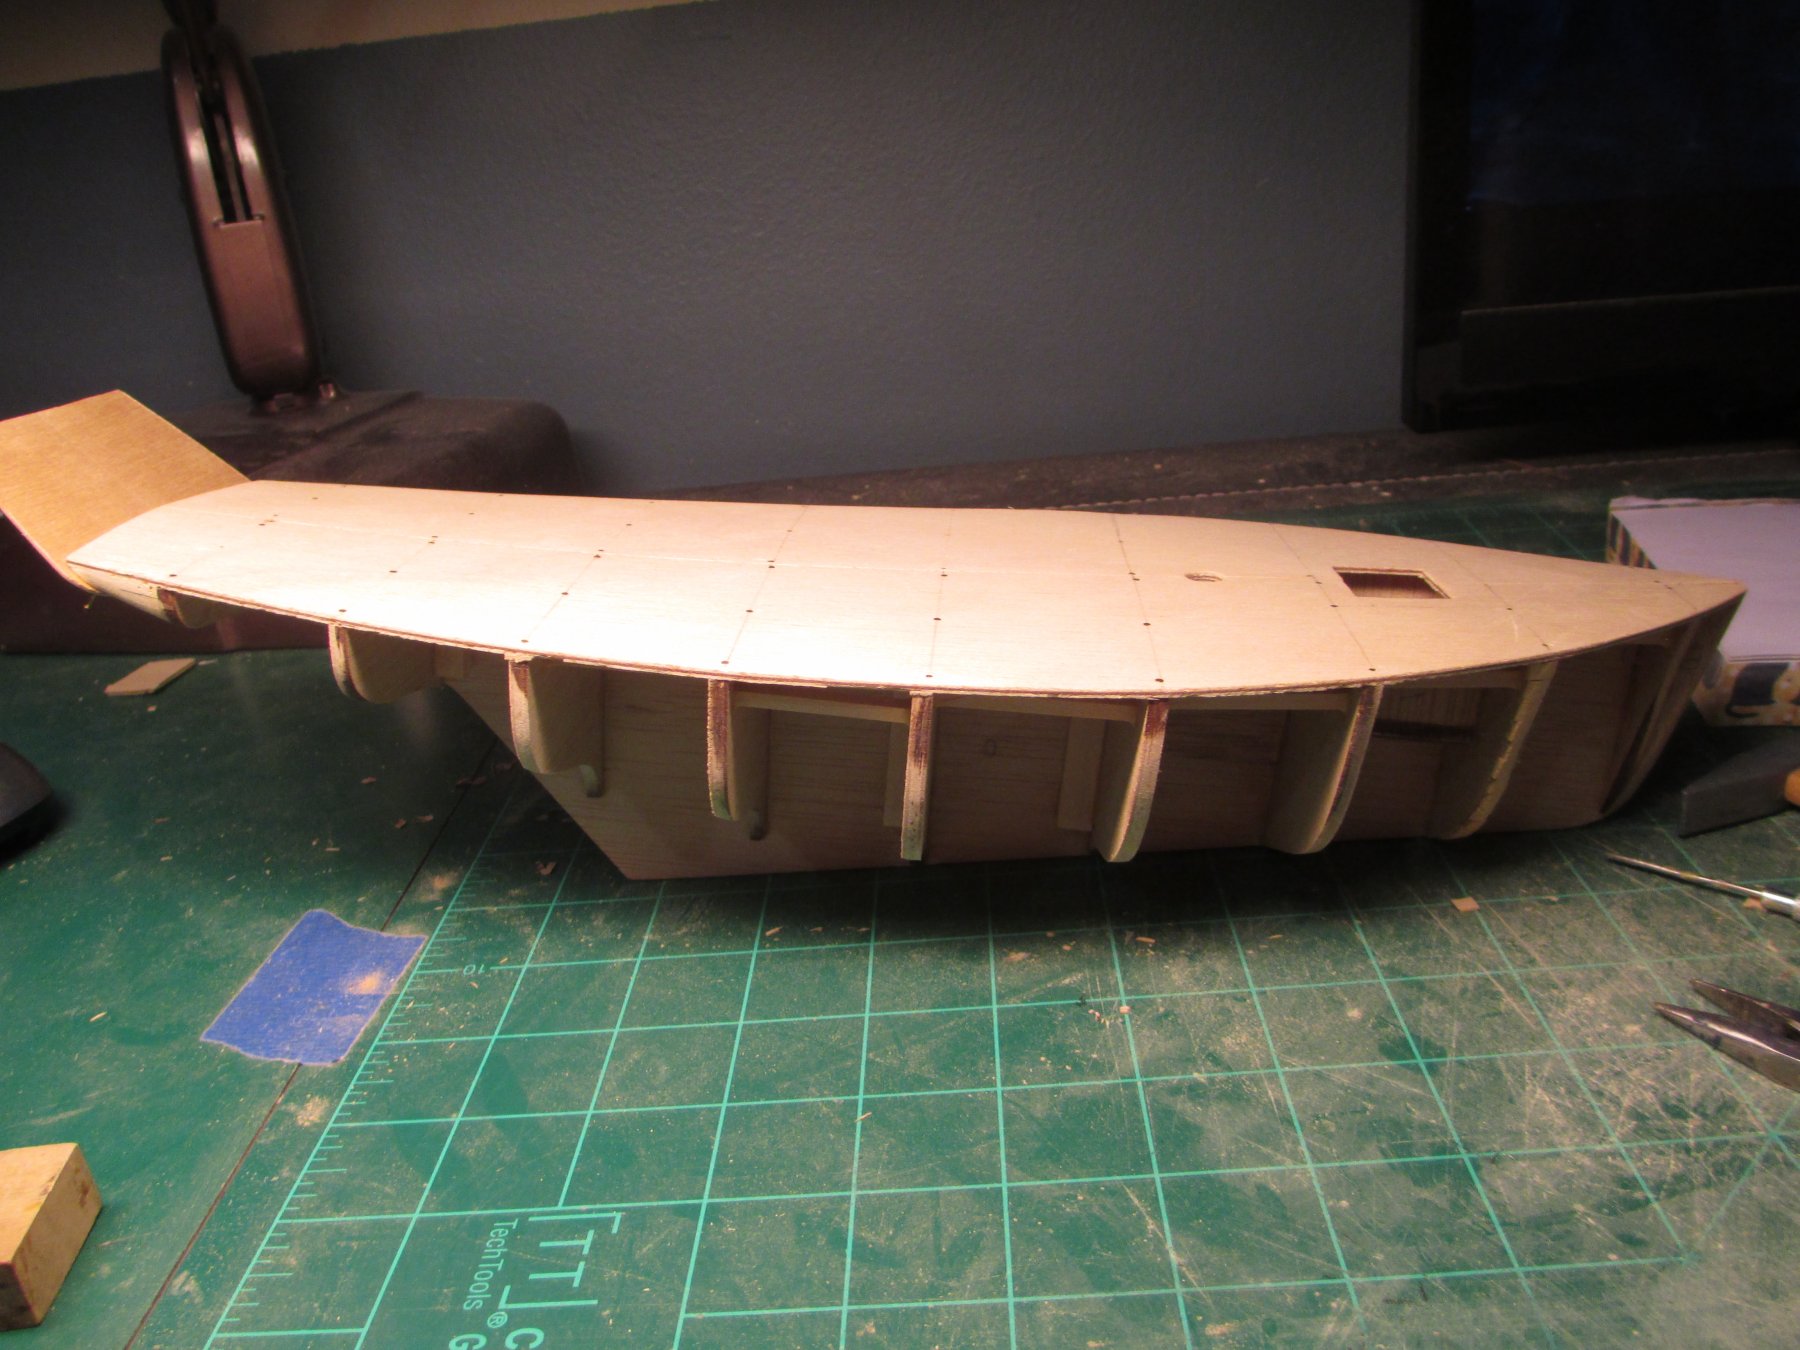
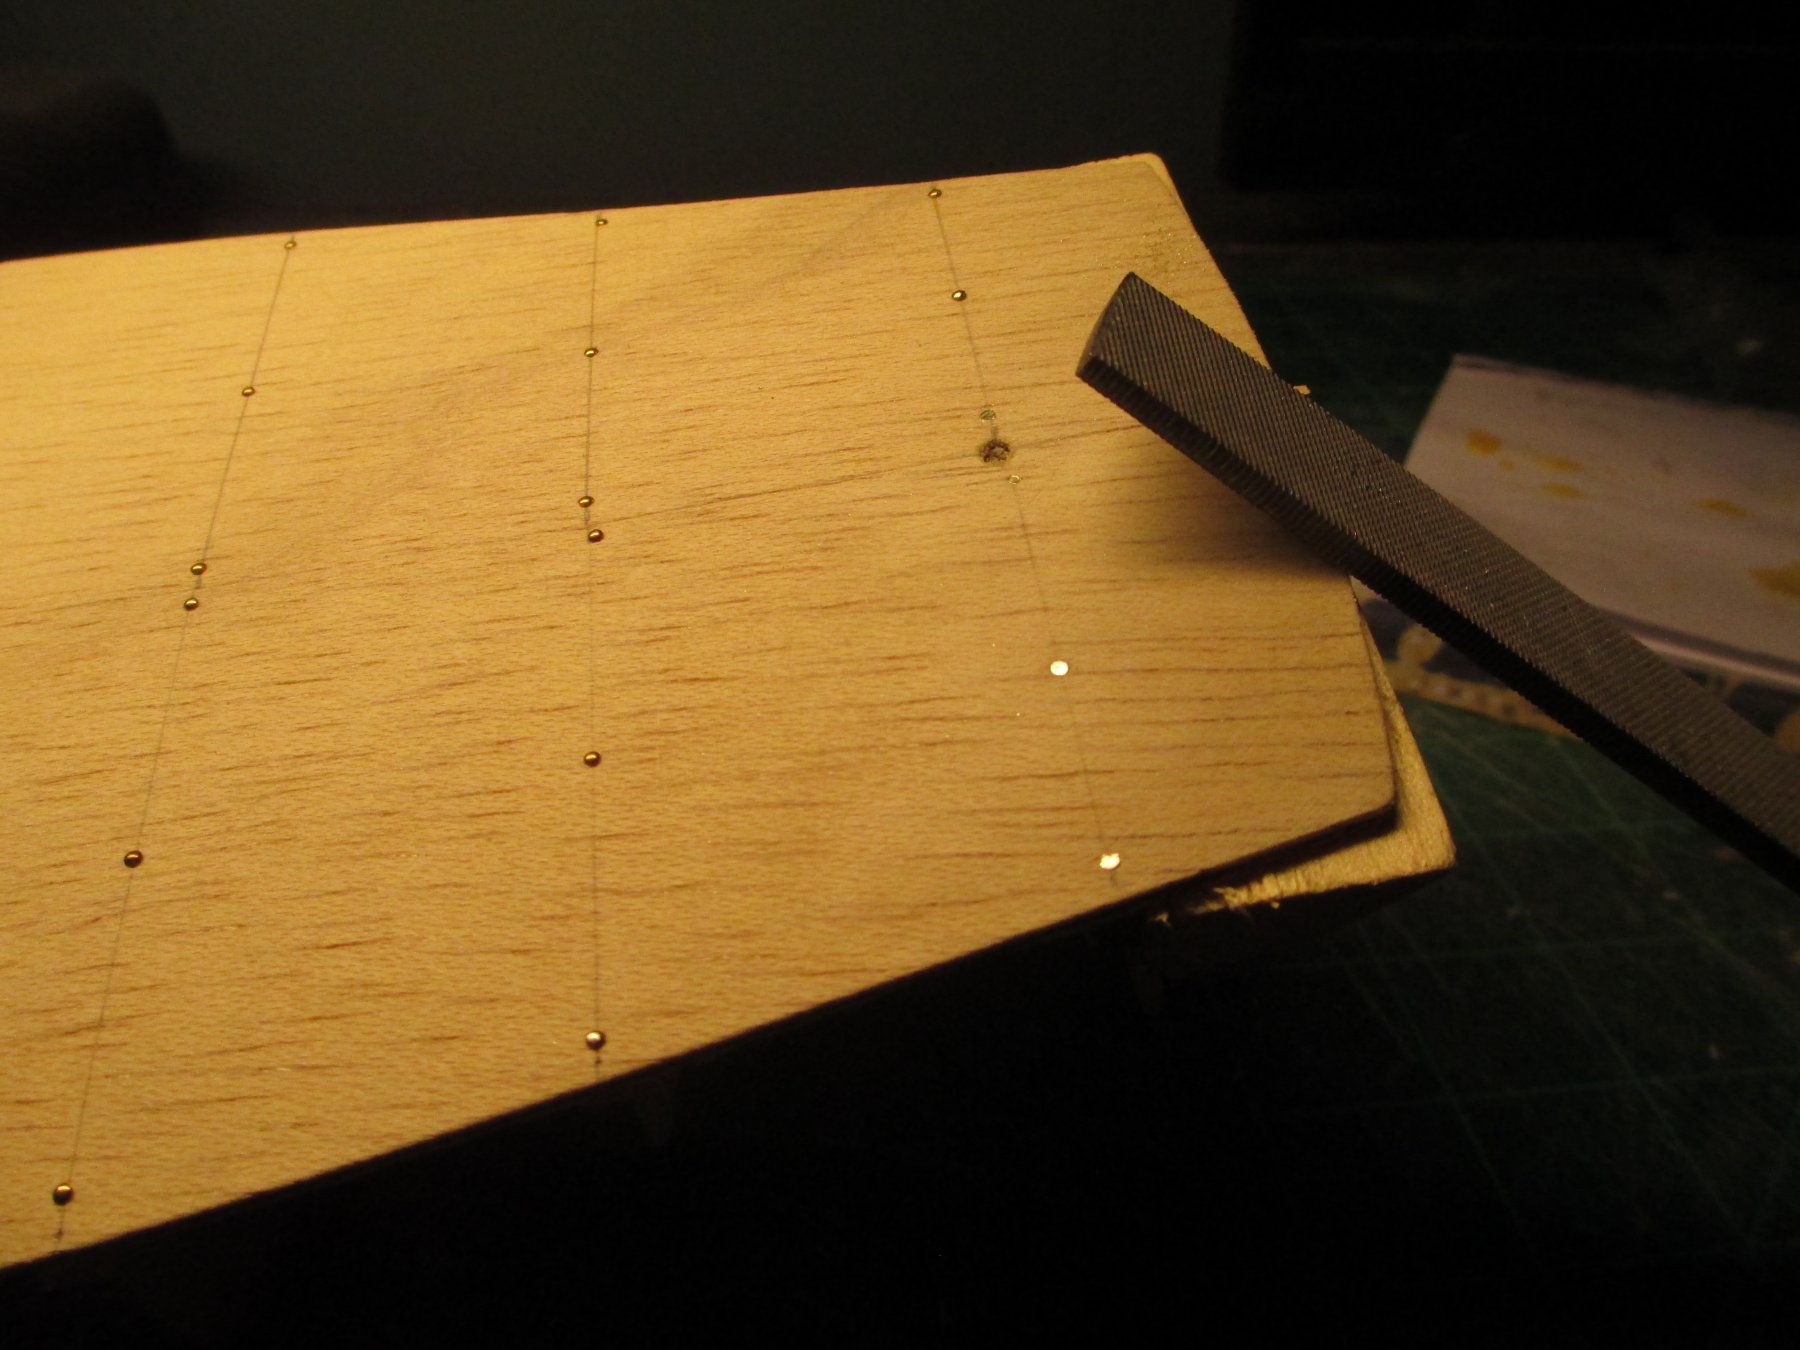
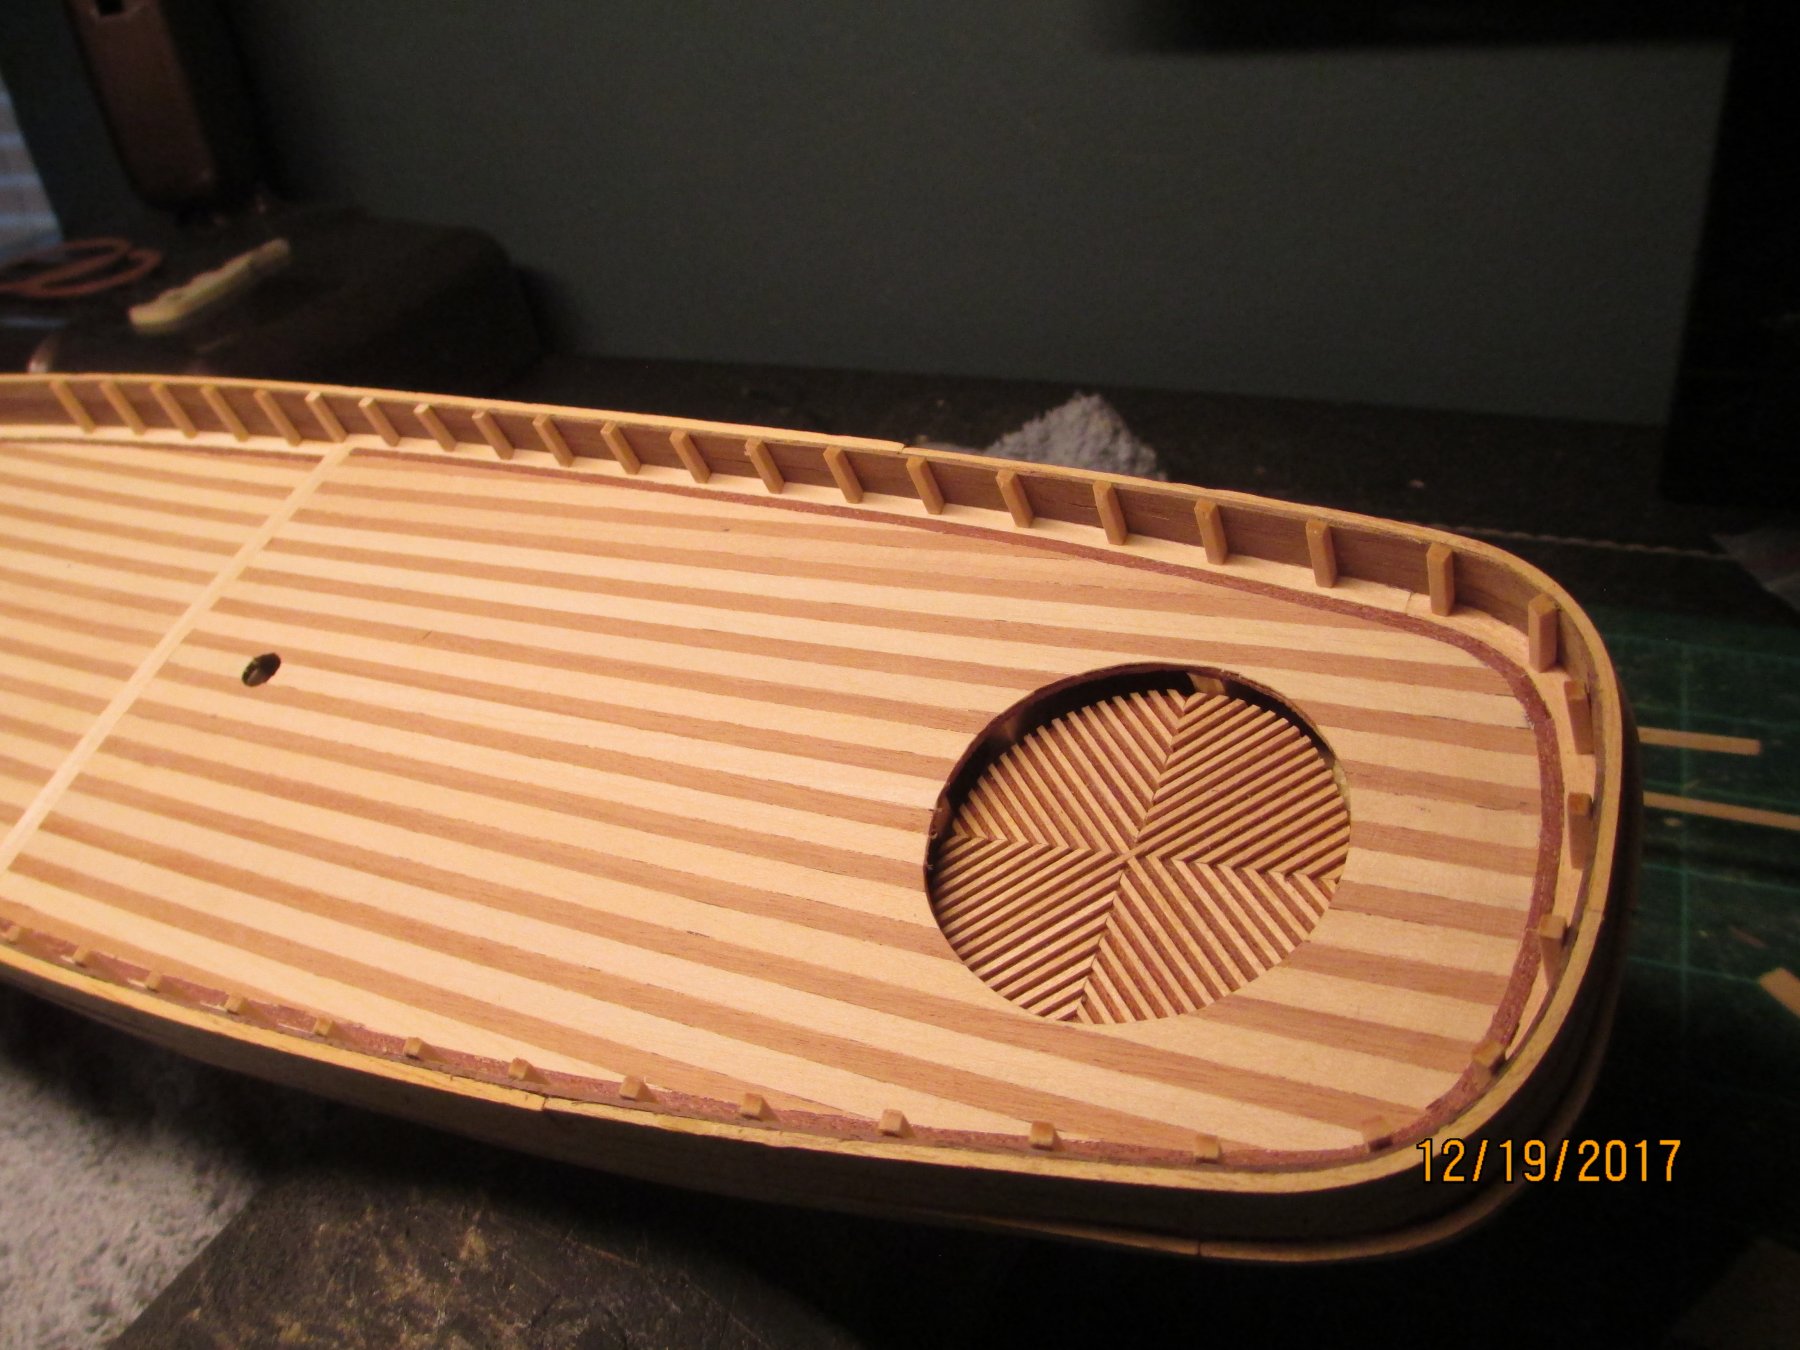
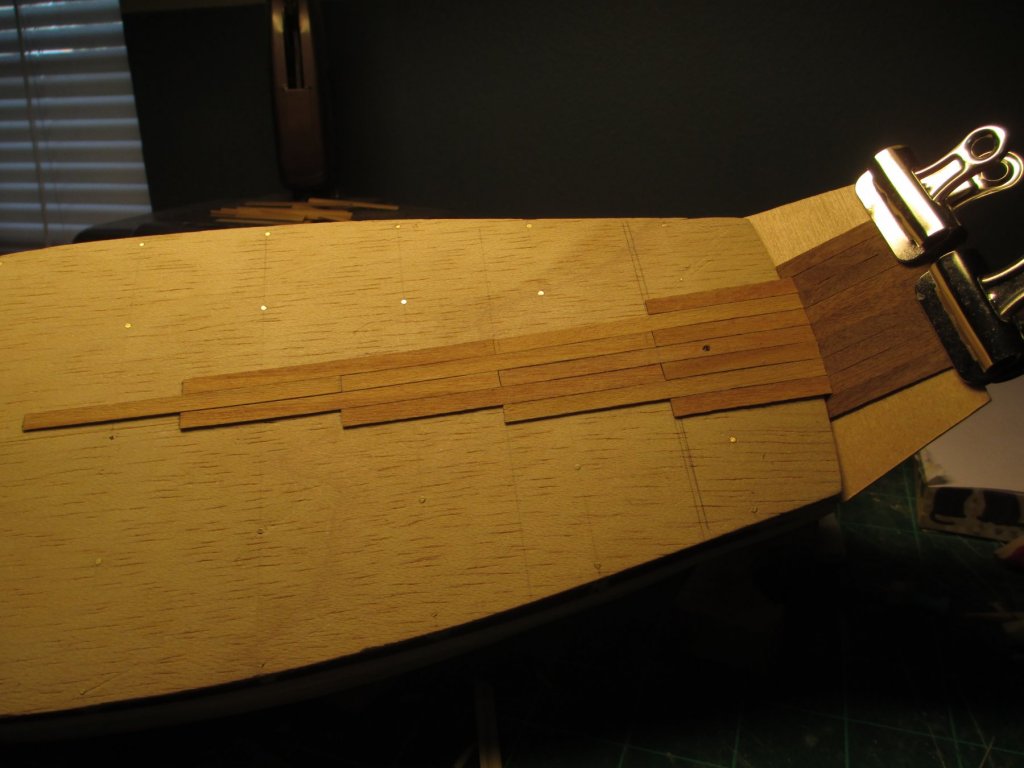
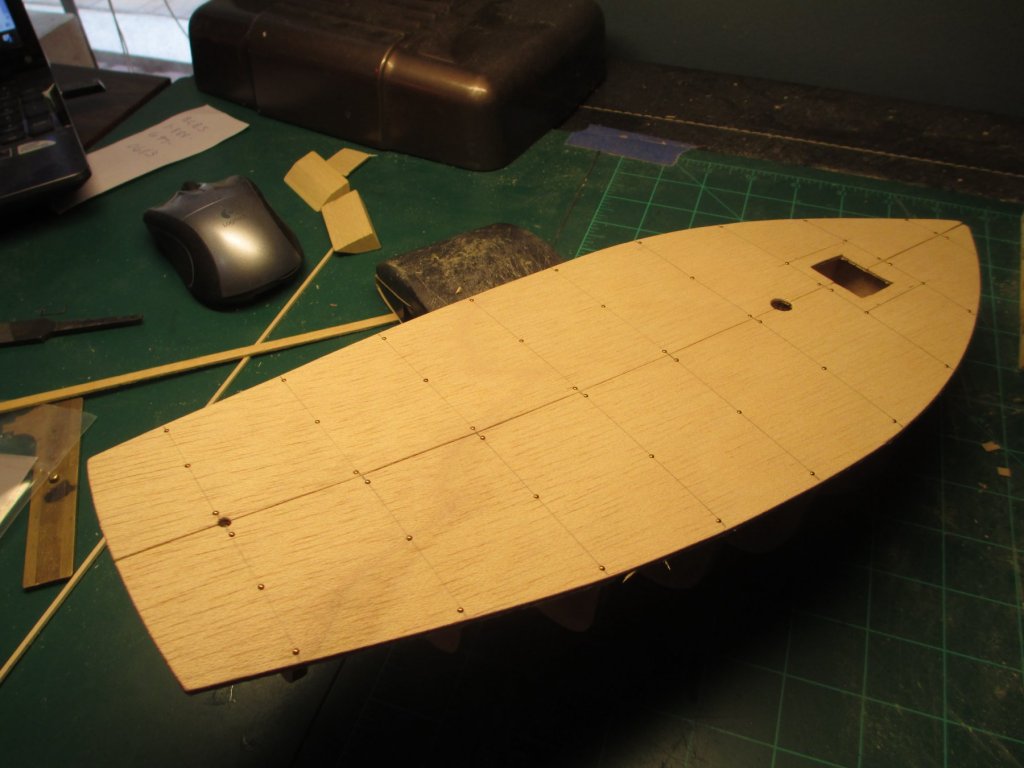
the deck pieces are nailed and glued from underside. the brass nails are filed down flat after the glue is dried for the deck planking to set flush


- 34 replies
-
- 1
-
-
- finished
- Constructo
- (and 1 more)
-
If I have to continue to work around other people's photos which do not pertain to my current build log then I won't be posting any more photos
-
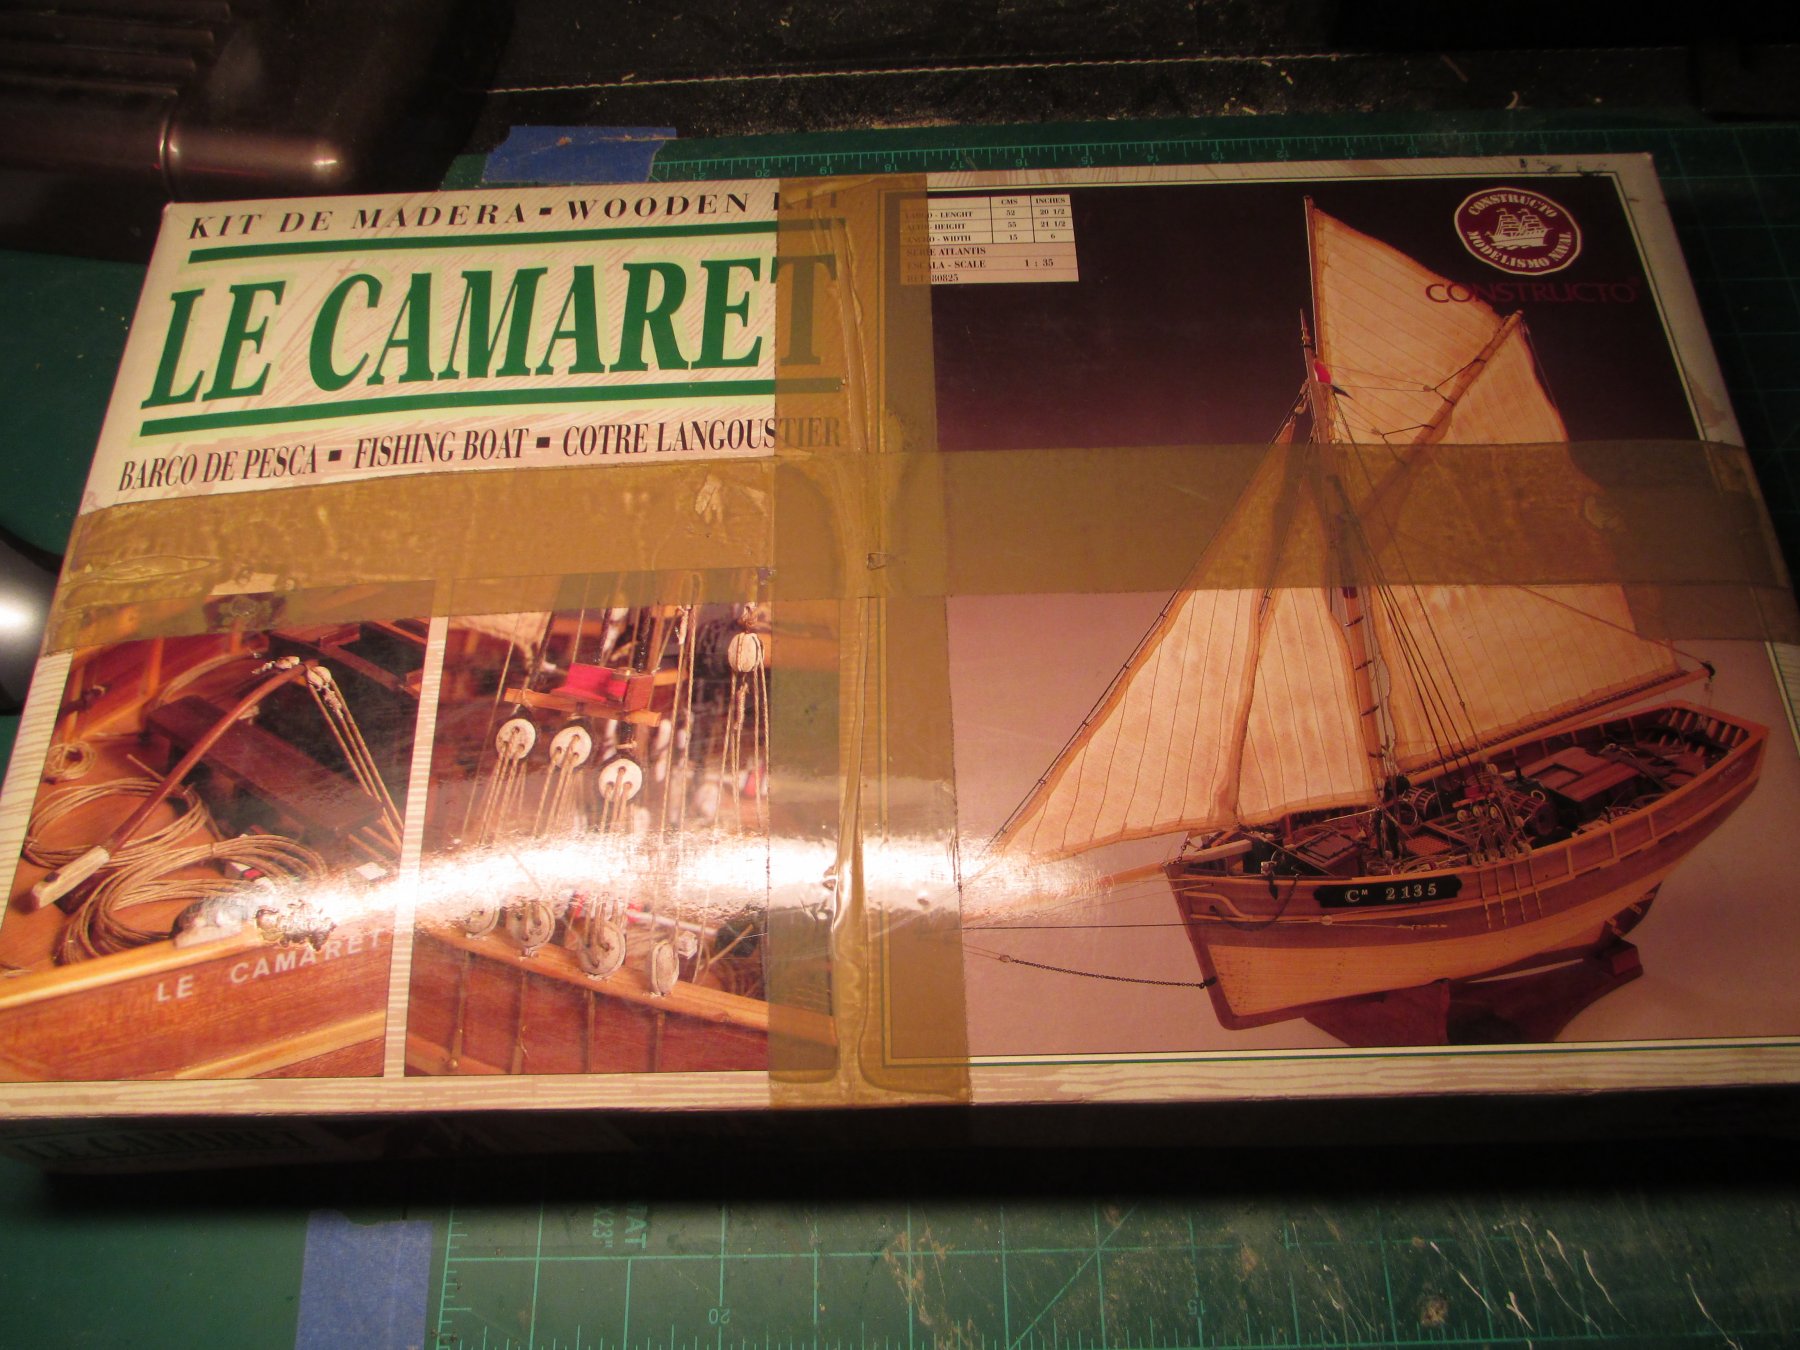
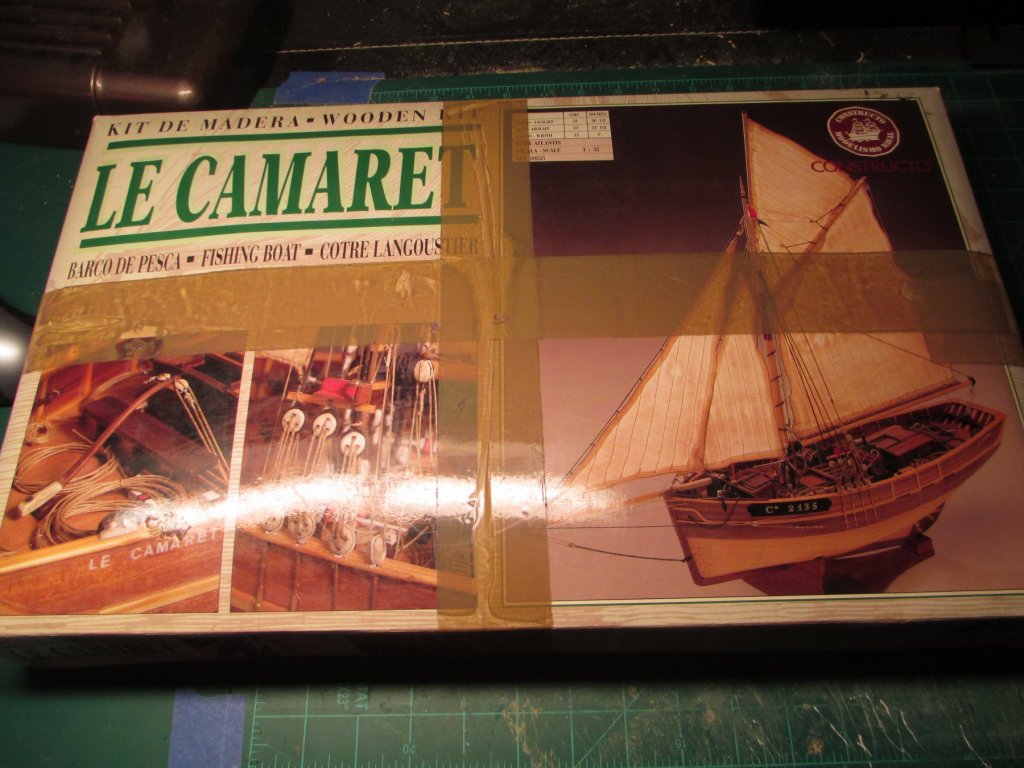
I'm currently building the Yacht America and waiting for better weather to put some final touches which require outdoors use. I started the model Le Camaret by constructo to keep my hands busy since most of the build will be using unpainted wood . the kit is a bit dated, the wood is very dry and brittle but should work just fine.
- 34 replies
-
- 1
-
-
- finished
- Constructo
- (and 1 more)
-
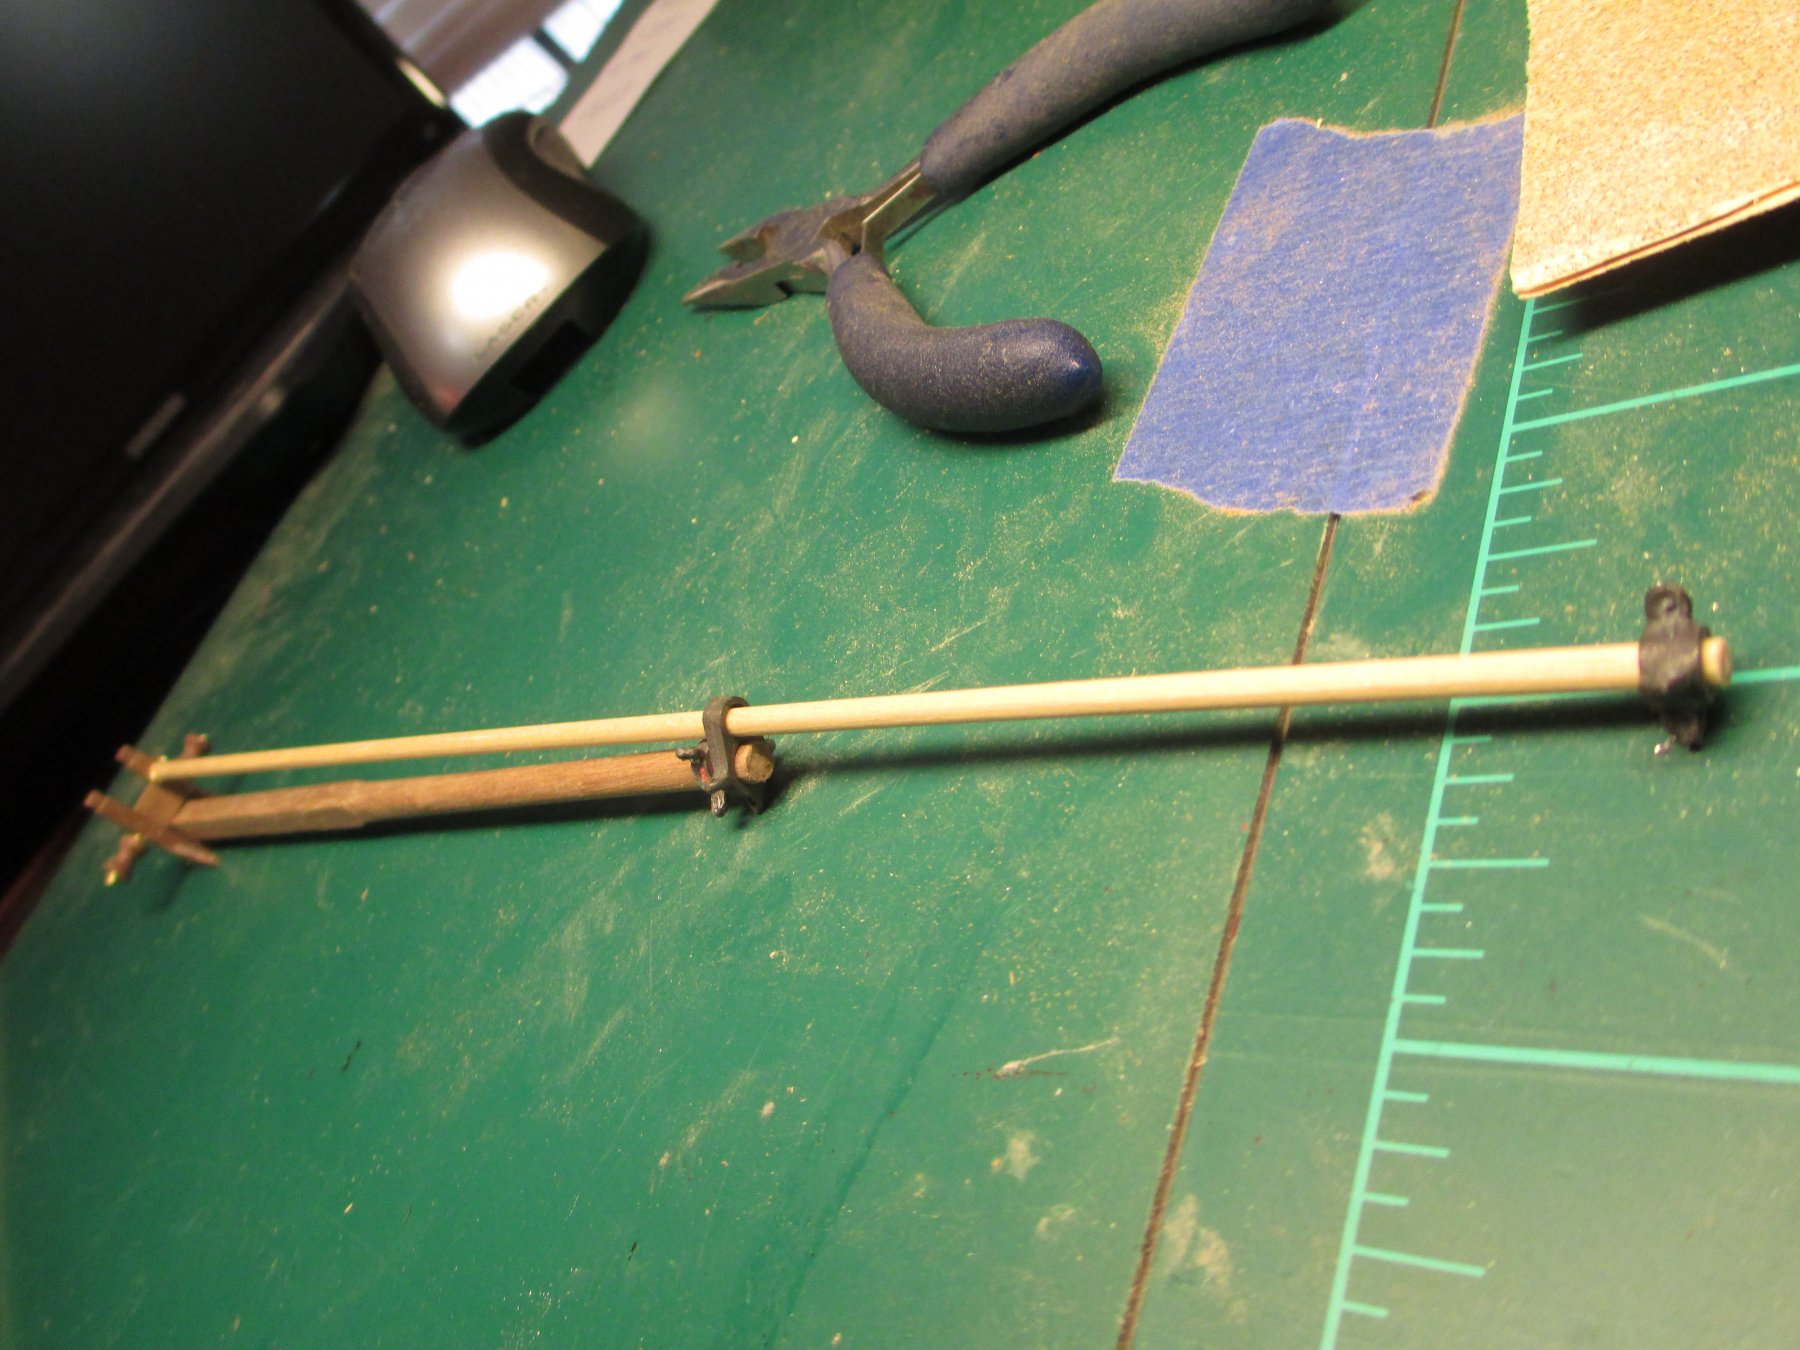
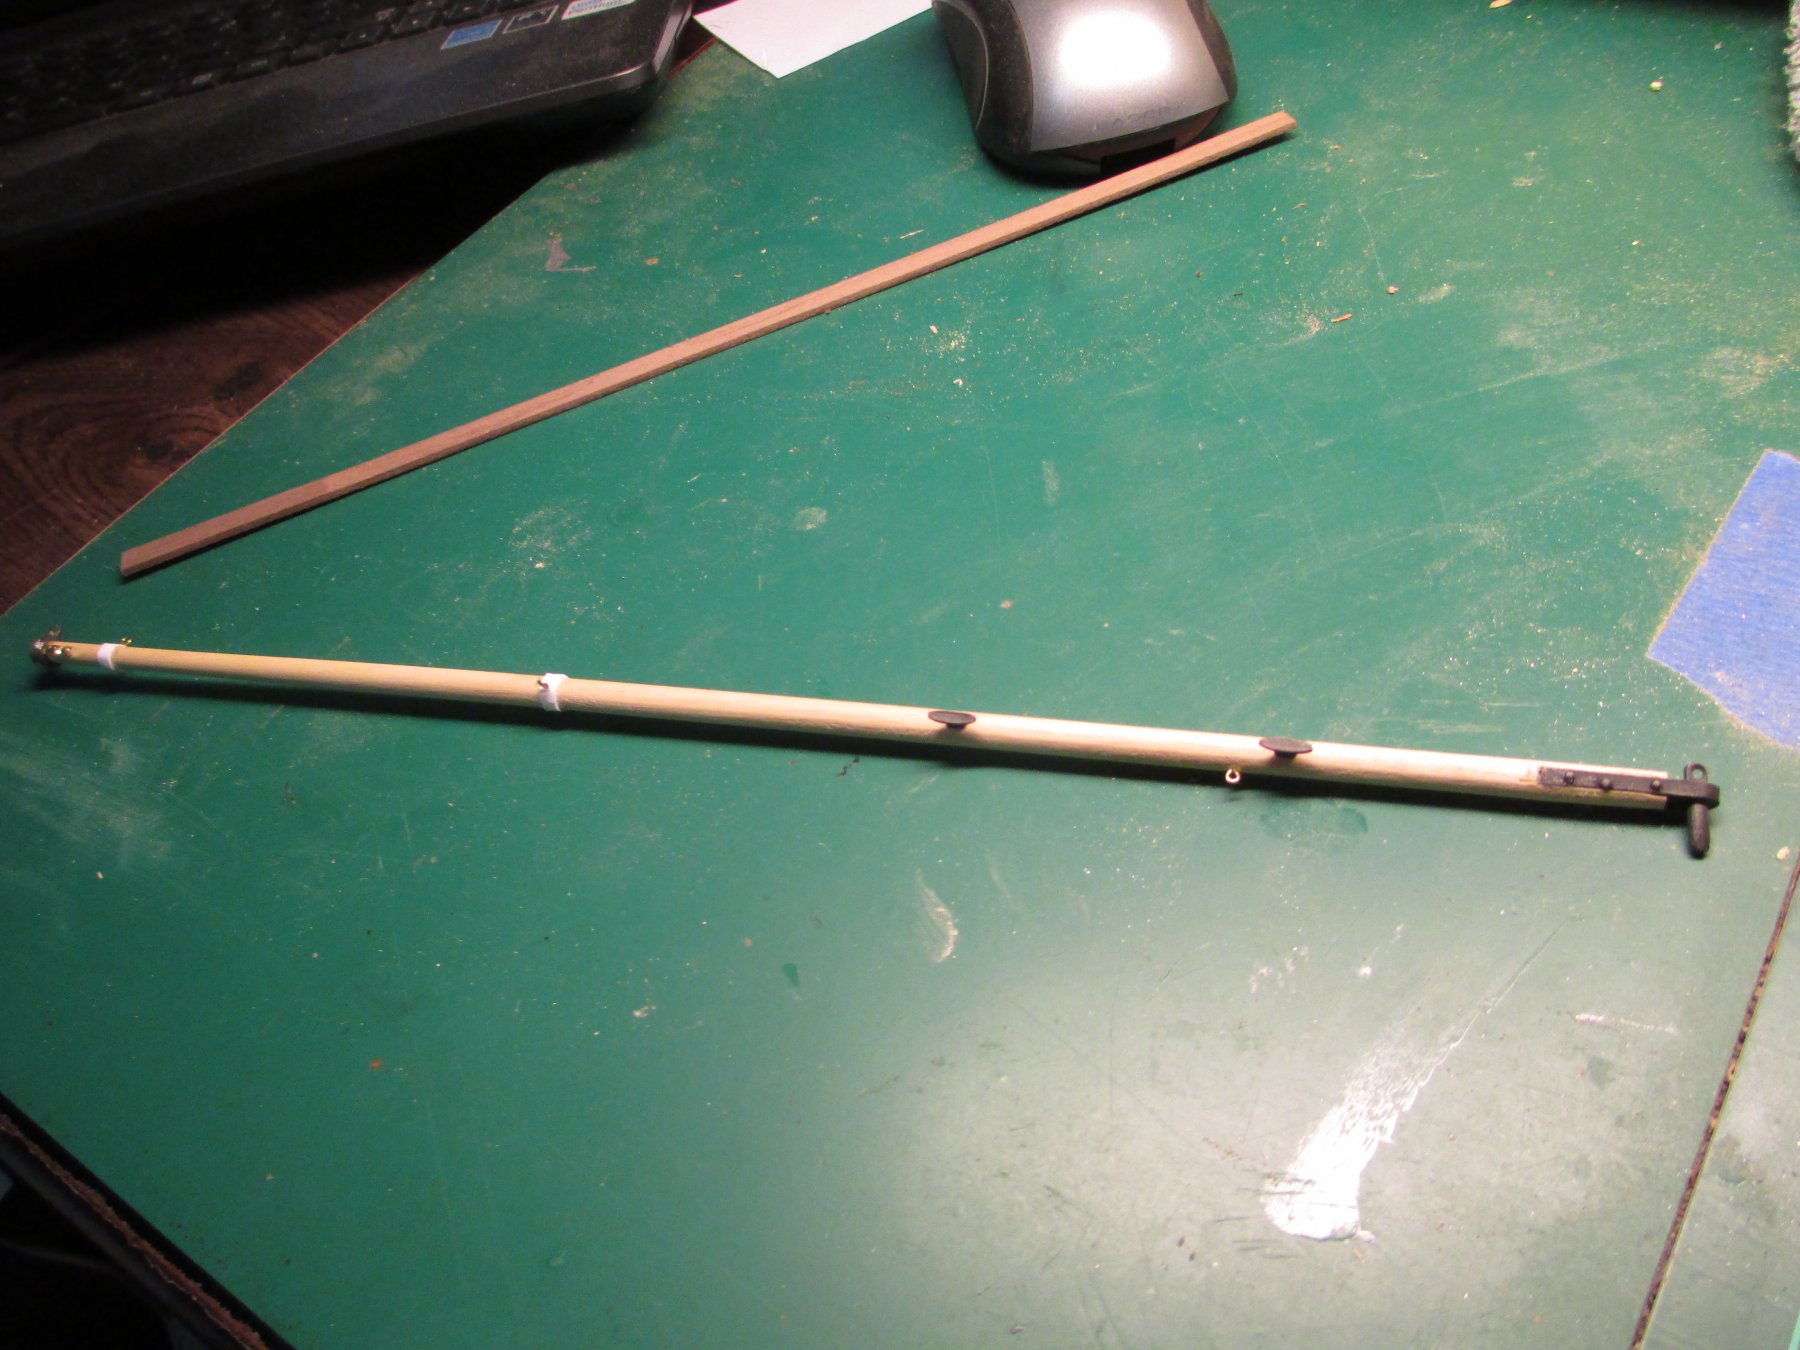
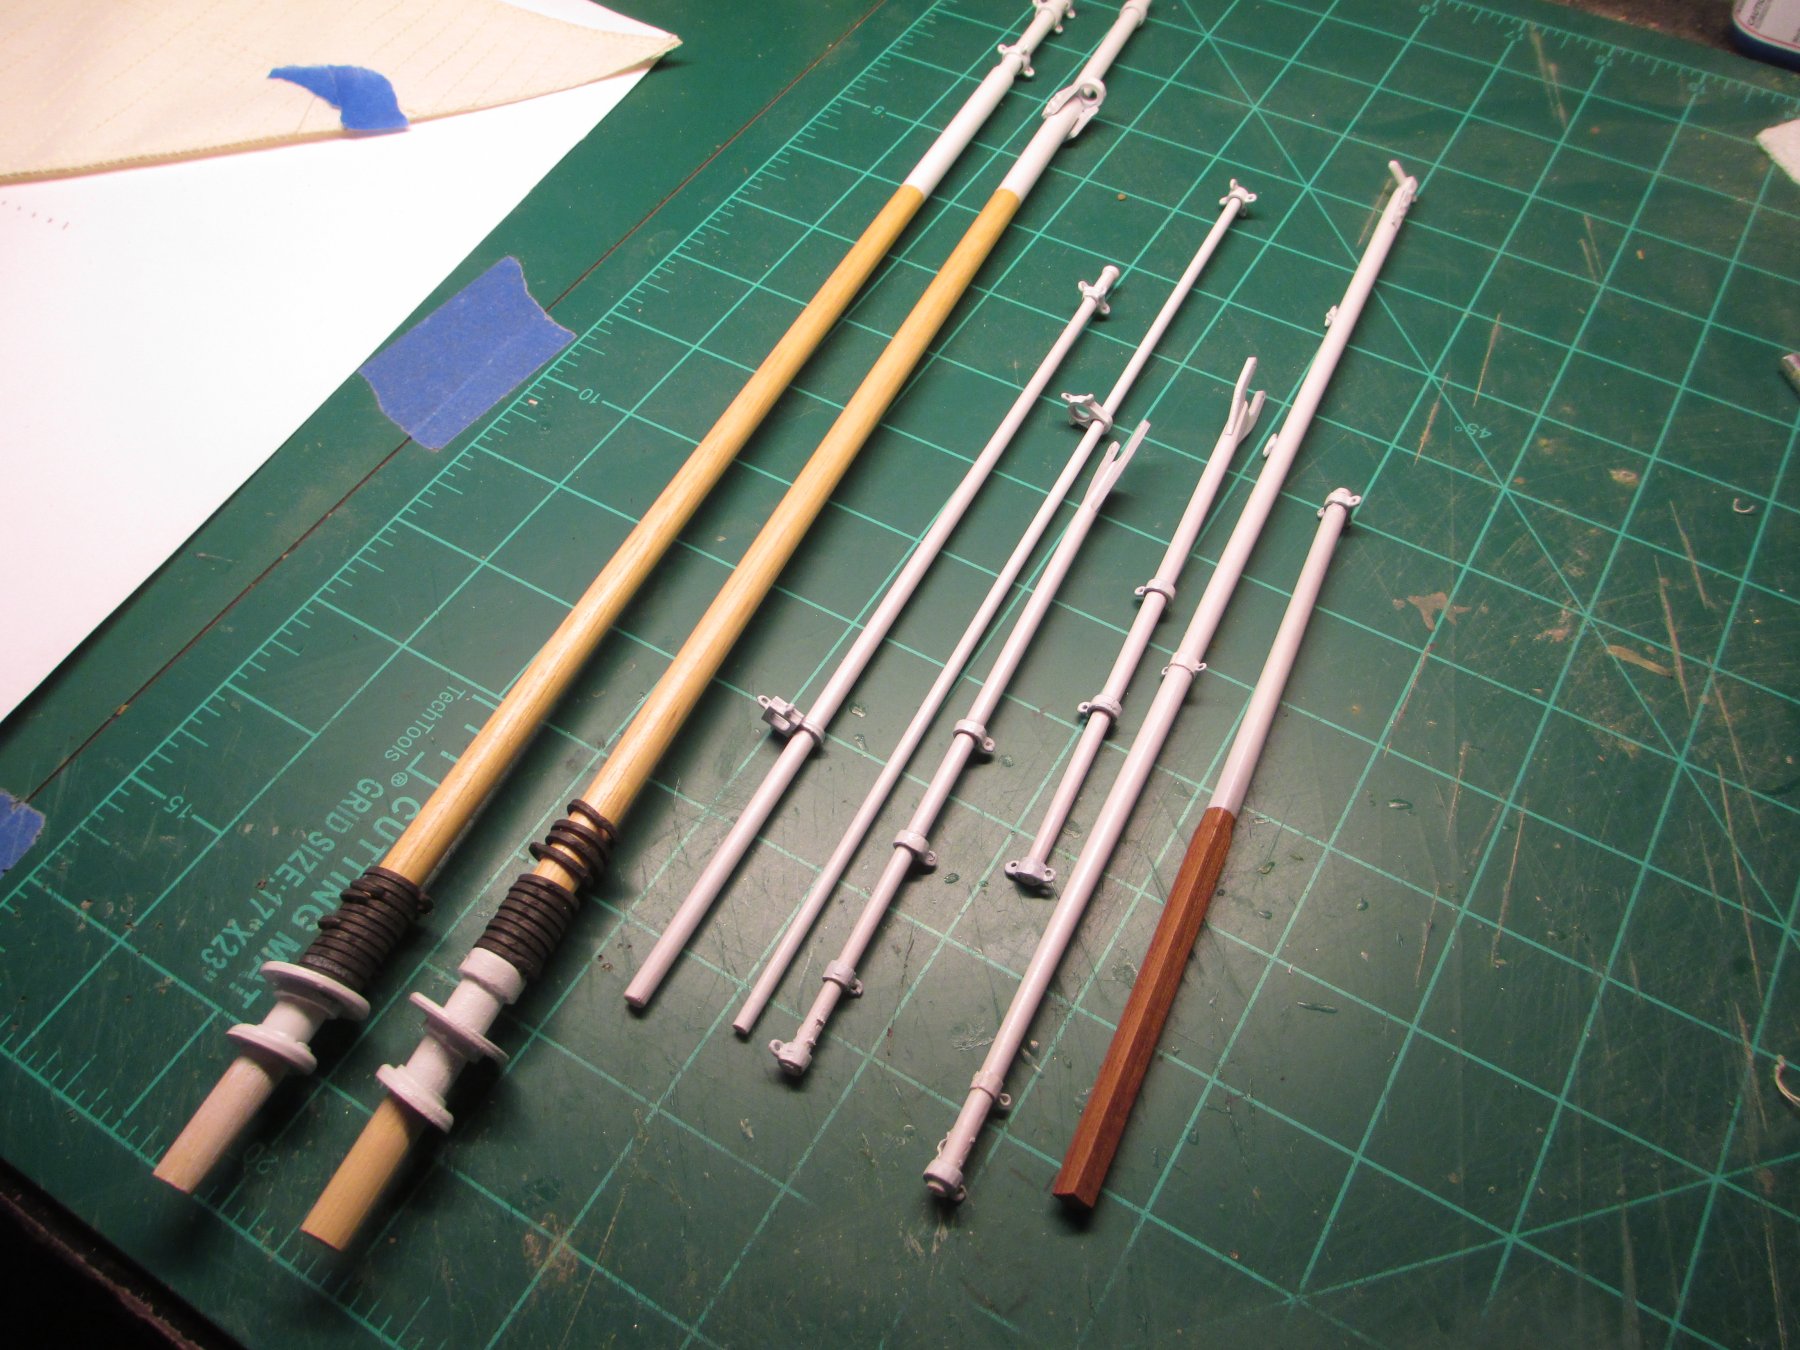
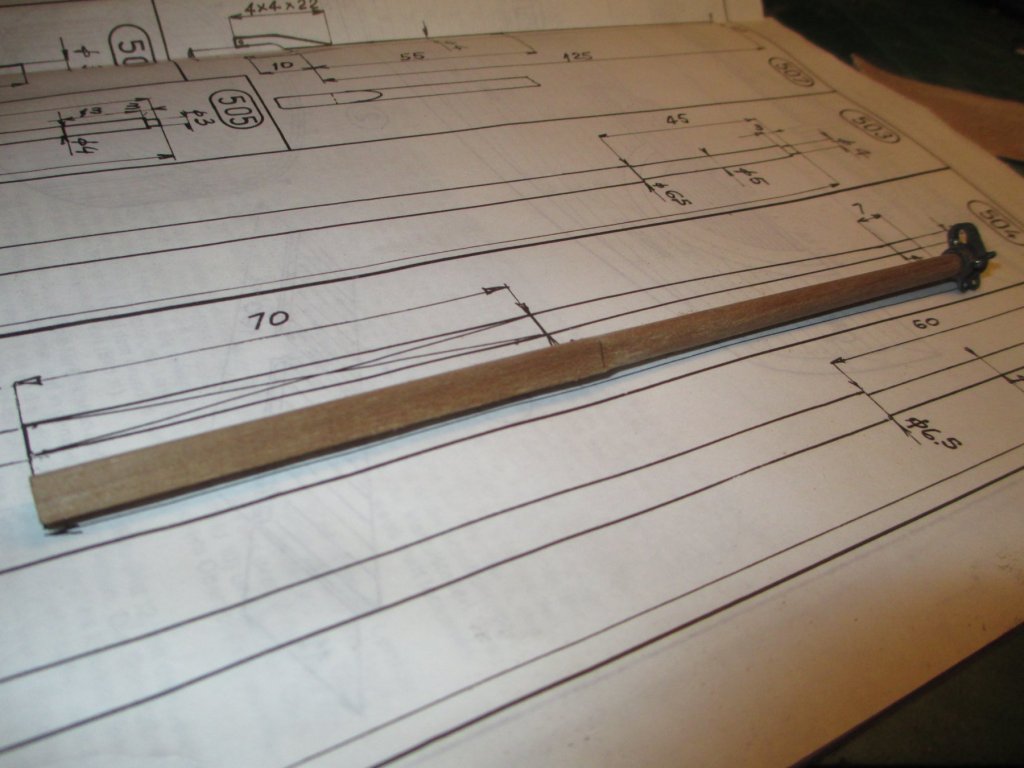
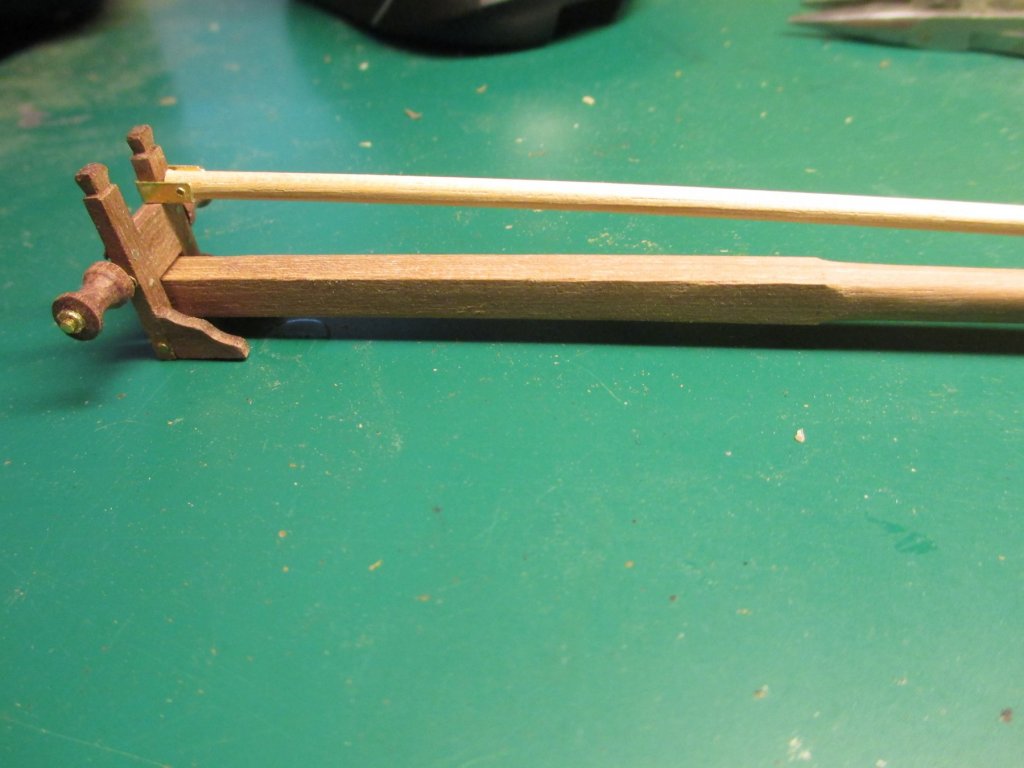
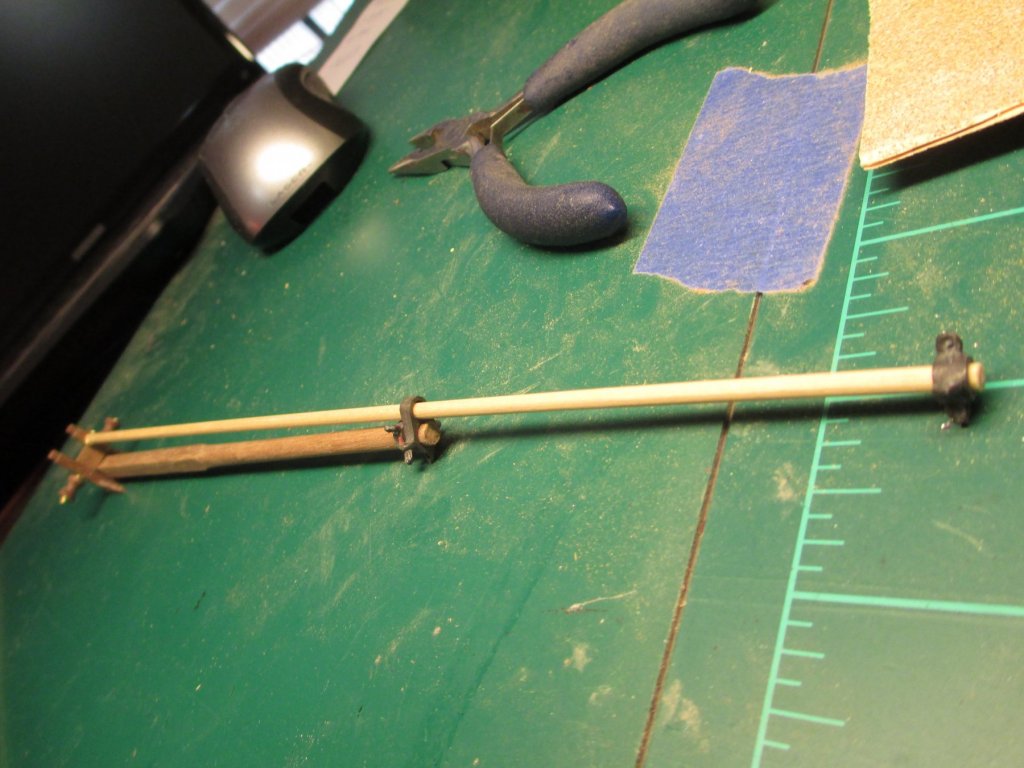
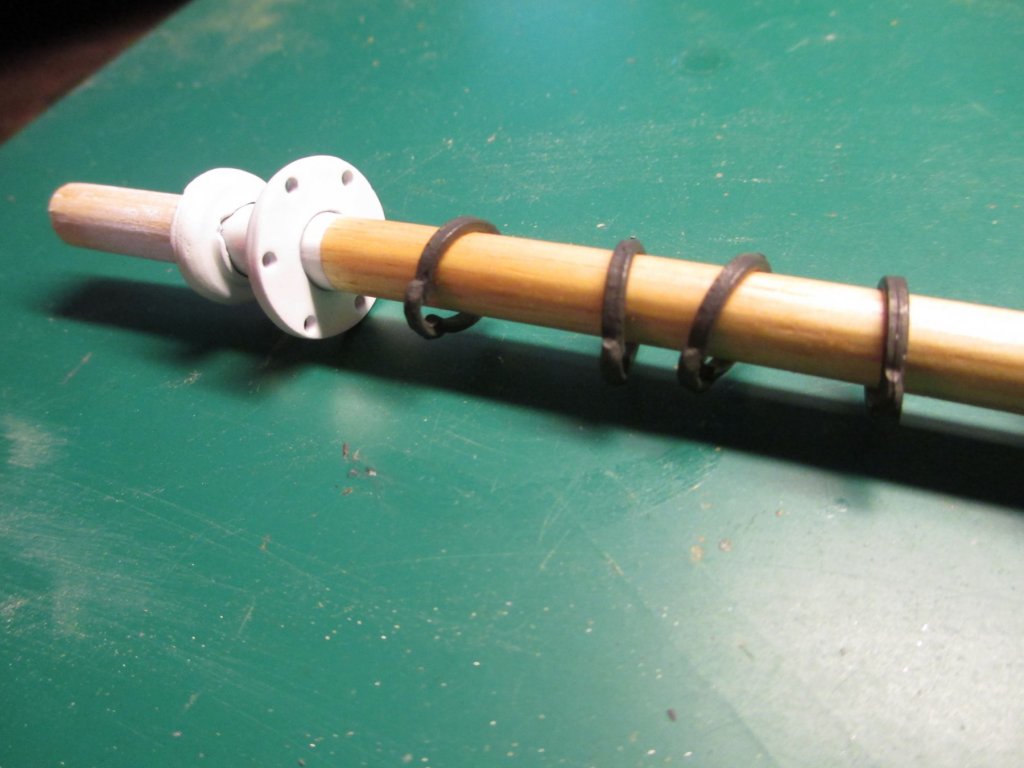
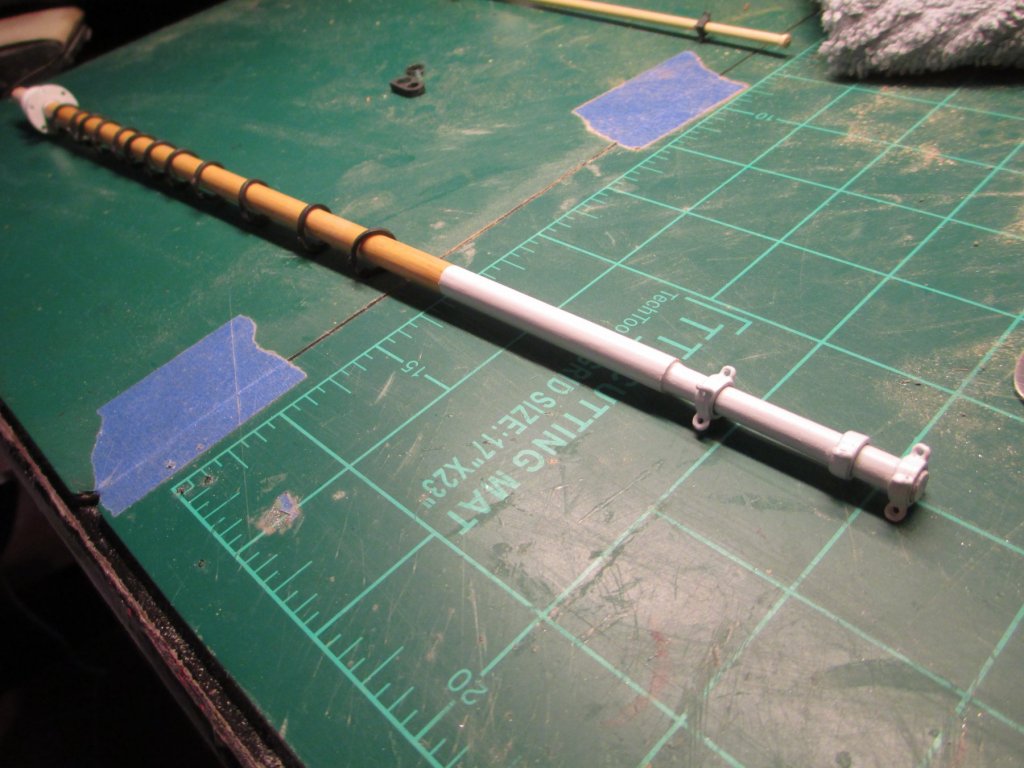
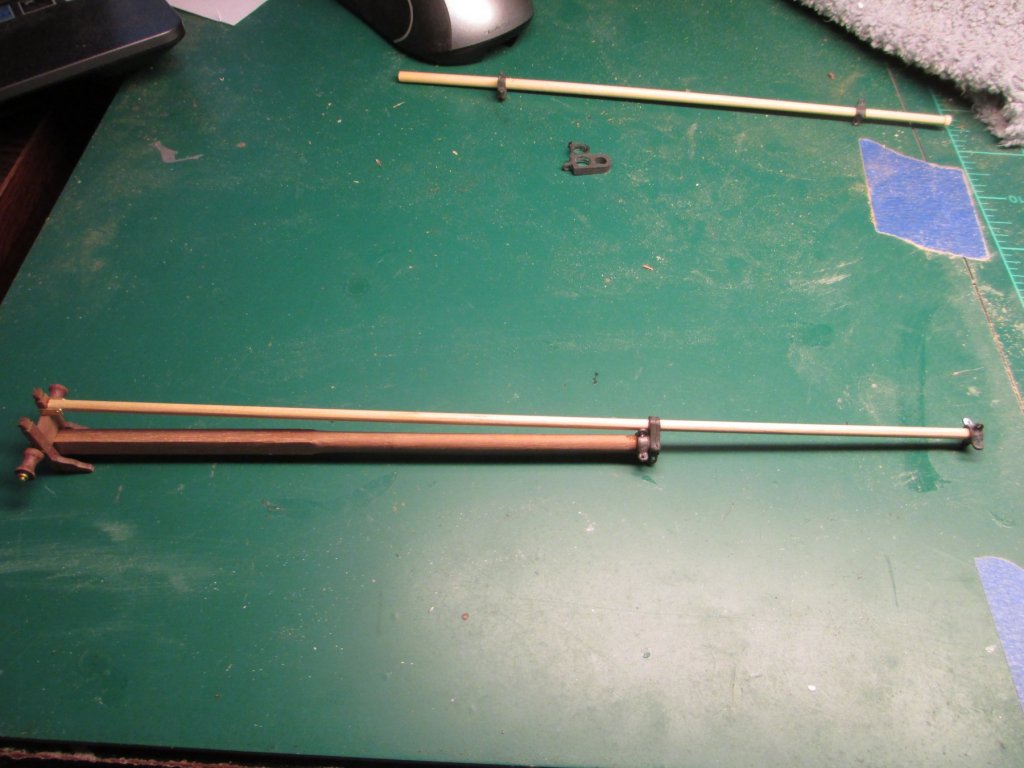
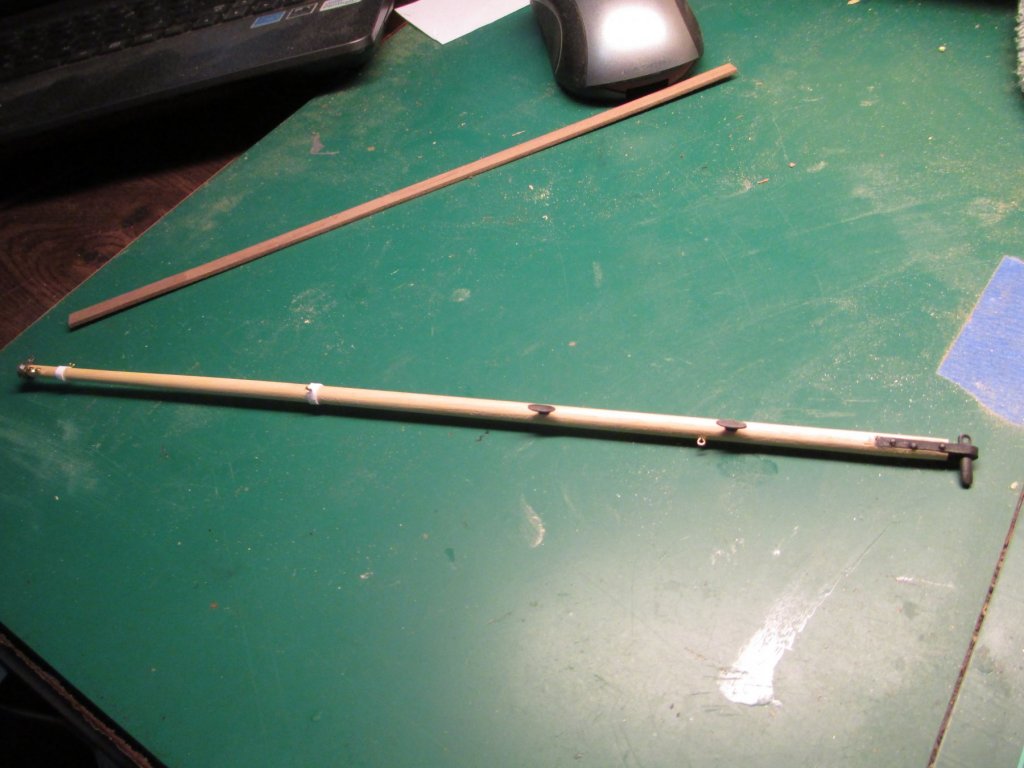
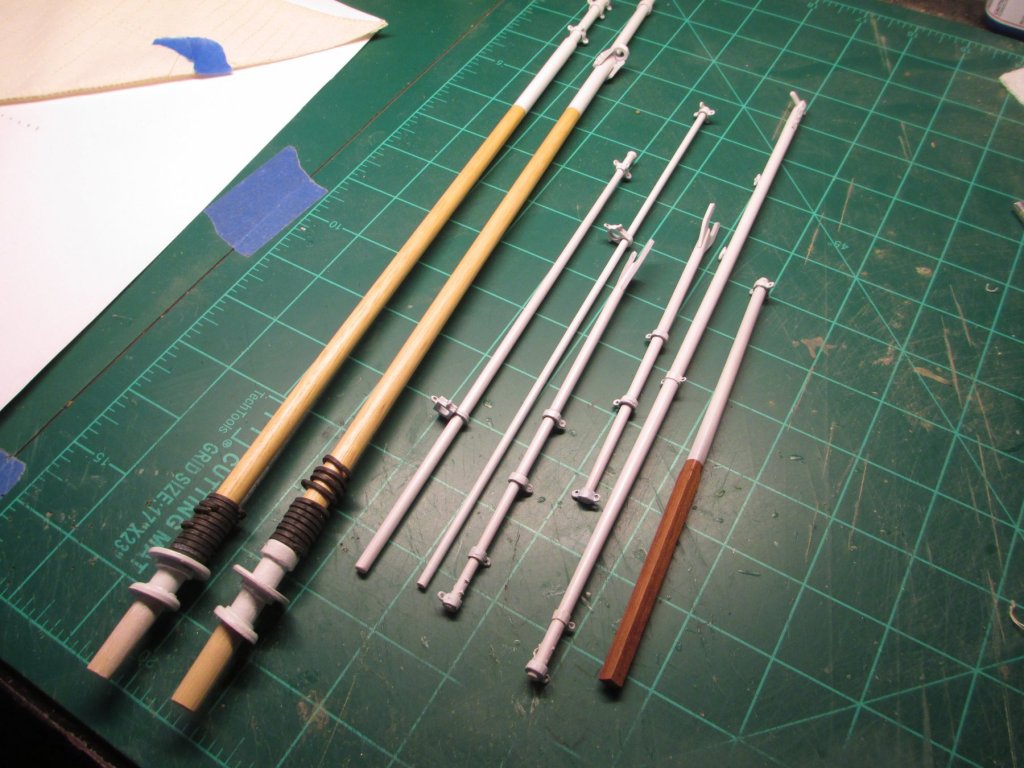
Ive been working on other builds due to bad weather, I'm waiting for a good day to paint and clear the hull a bit but the weather is not right yet. I have kept my hands busy with the mast and gaffs on the America build , even had some time to make sails .

-
I never know where a kit build will lead, I just go along and see what happens. most times the lack of materials in the kits lead me to be more creative and original, that might upset some people because I deviate from the intensions of the kit, I choose to still have fun at this and break out of the box so to speak. it looks like your frame pieces are laser cut instead of the rough cut pieces which were in my kit. I'm sure they are the same thickness, not sure why that is. I think your kit is newer. I believe the mamoli factory fell to flames a couple of years ago and all was lost, Dusek models has purchased the rights and will produce the same models which mamoli did.
-
I was hoping to have the hull completed, painted and clear coat by now which I tend to outdoors. It's be too cold to do outside to work with these few days so I've been working on the mast and gaffs, but they require paint and clear coat also. I also have have other builds to work on while I'm waiting for better weather to complete the yacht America. So long as the outside temp is in the 30s and 20s, which is unusual for this area I'll be a little late in posting updates.
-
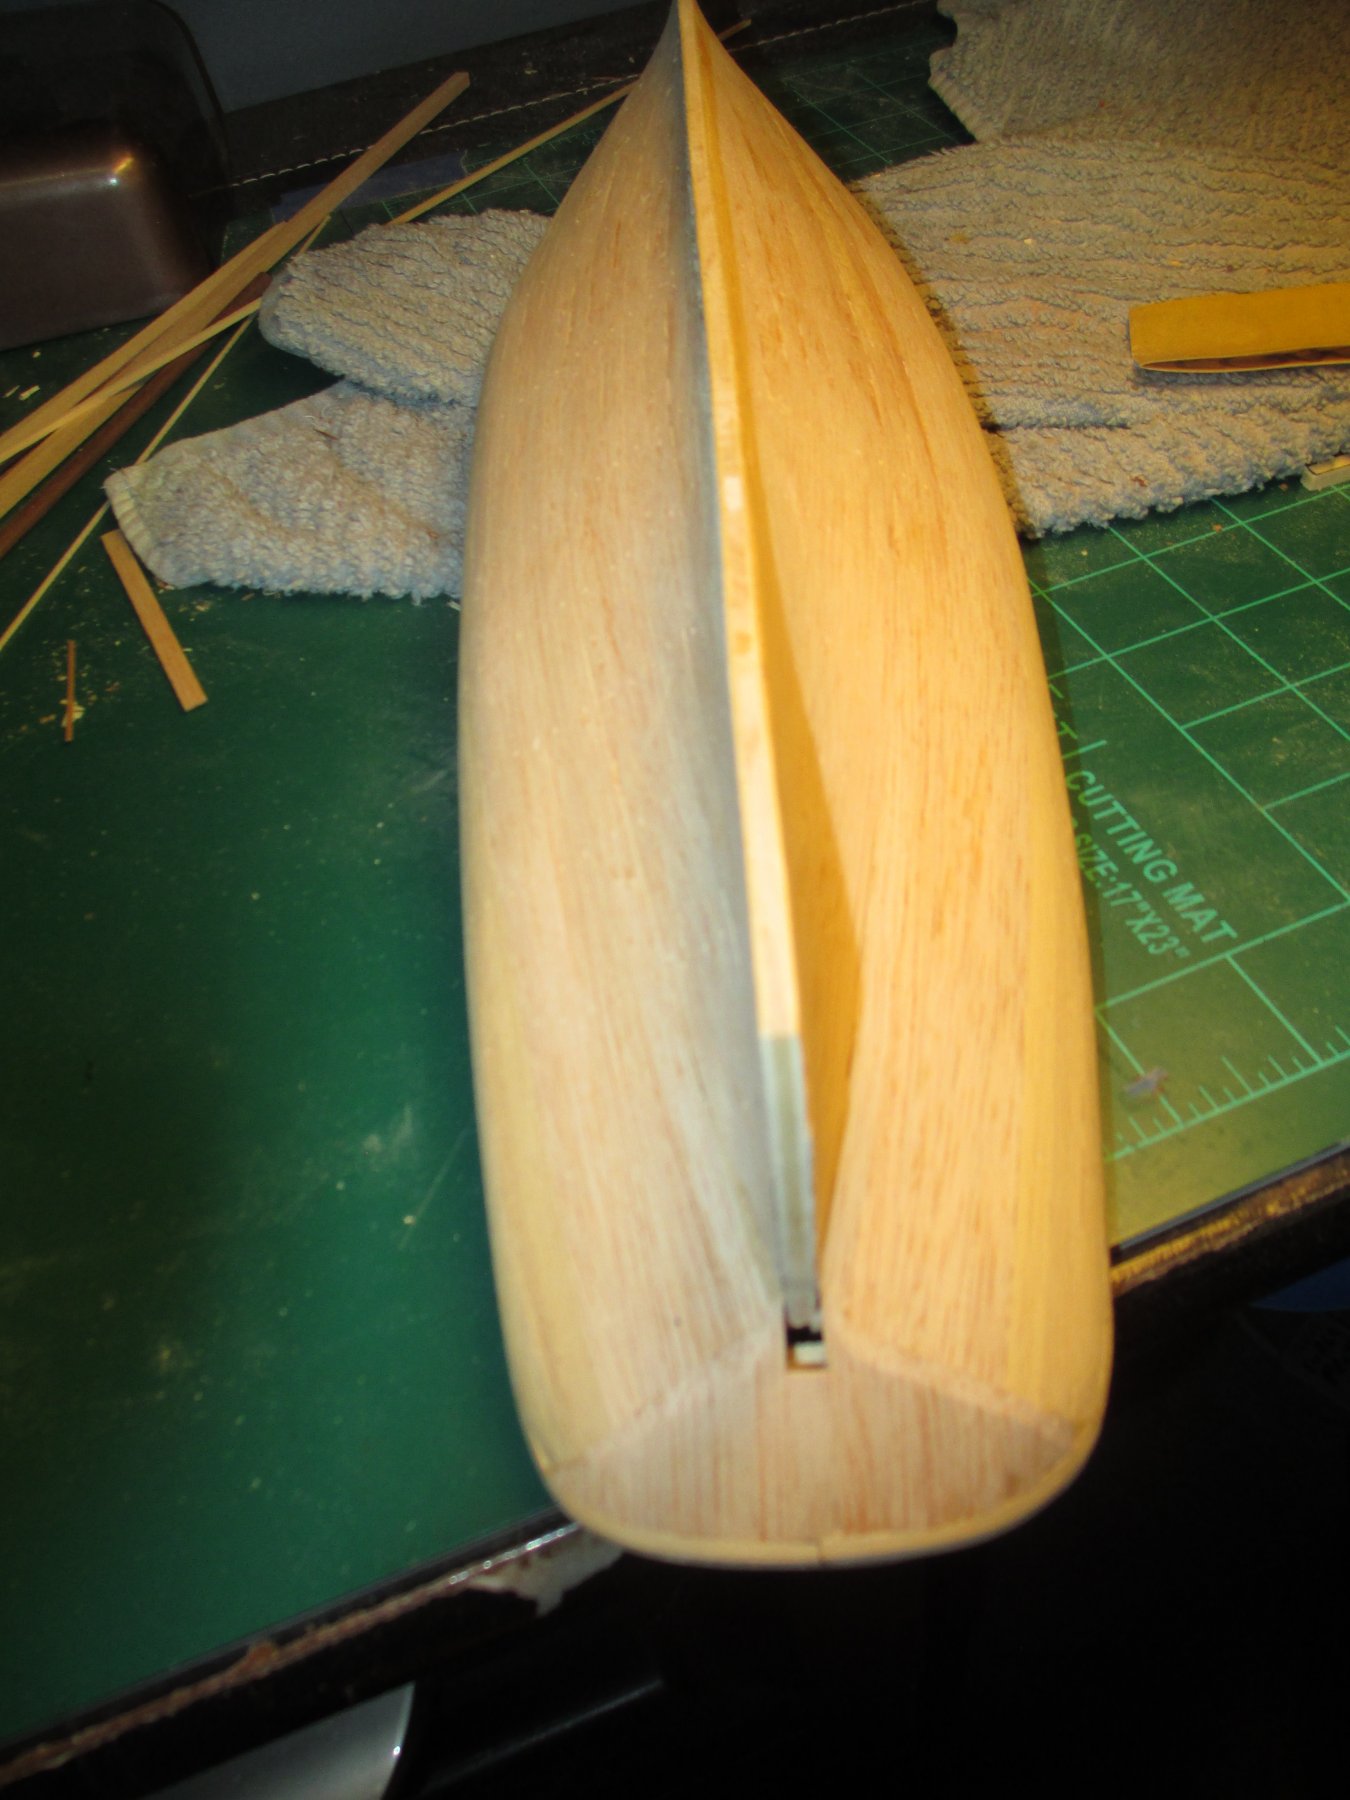
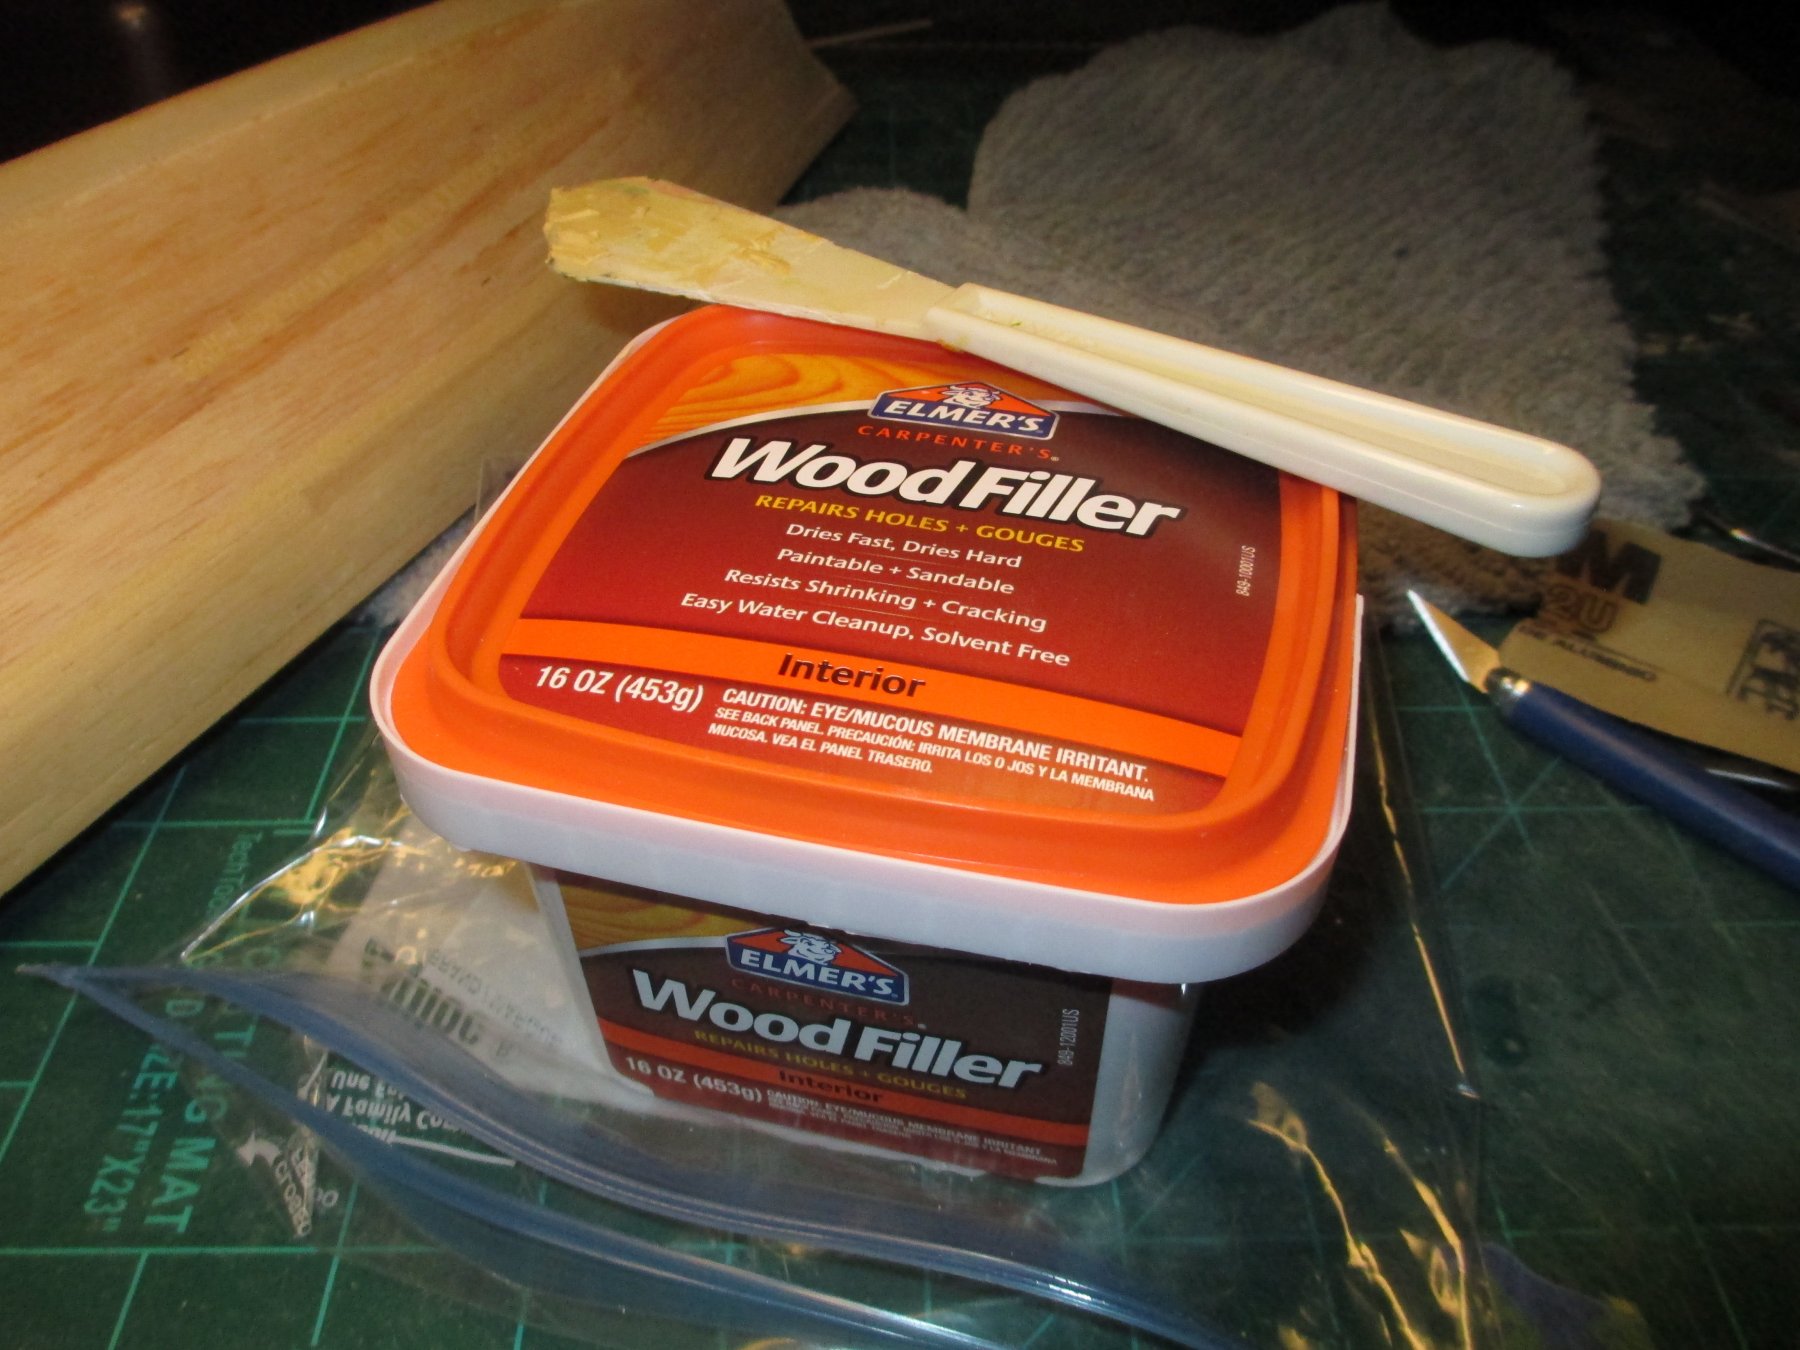
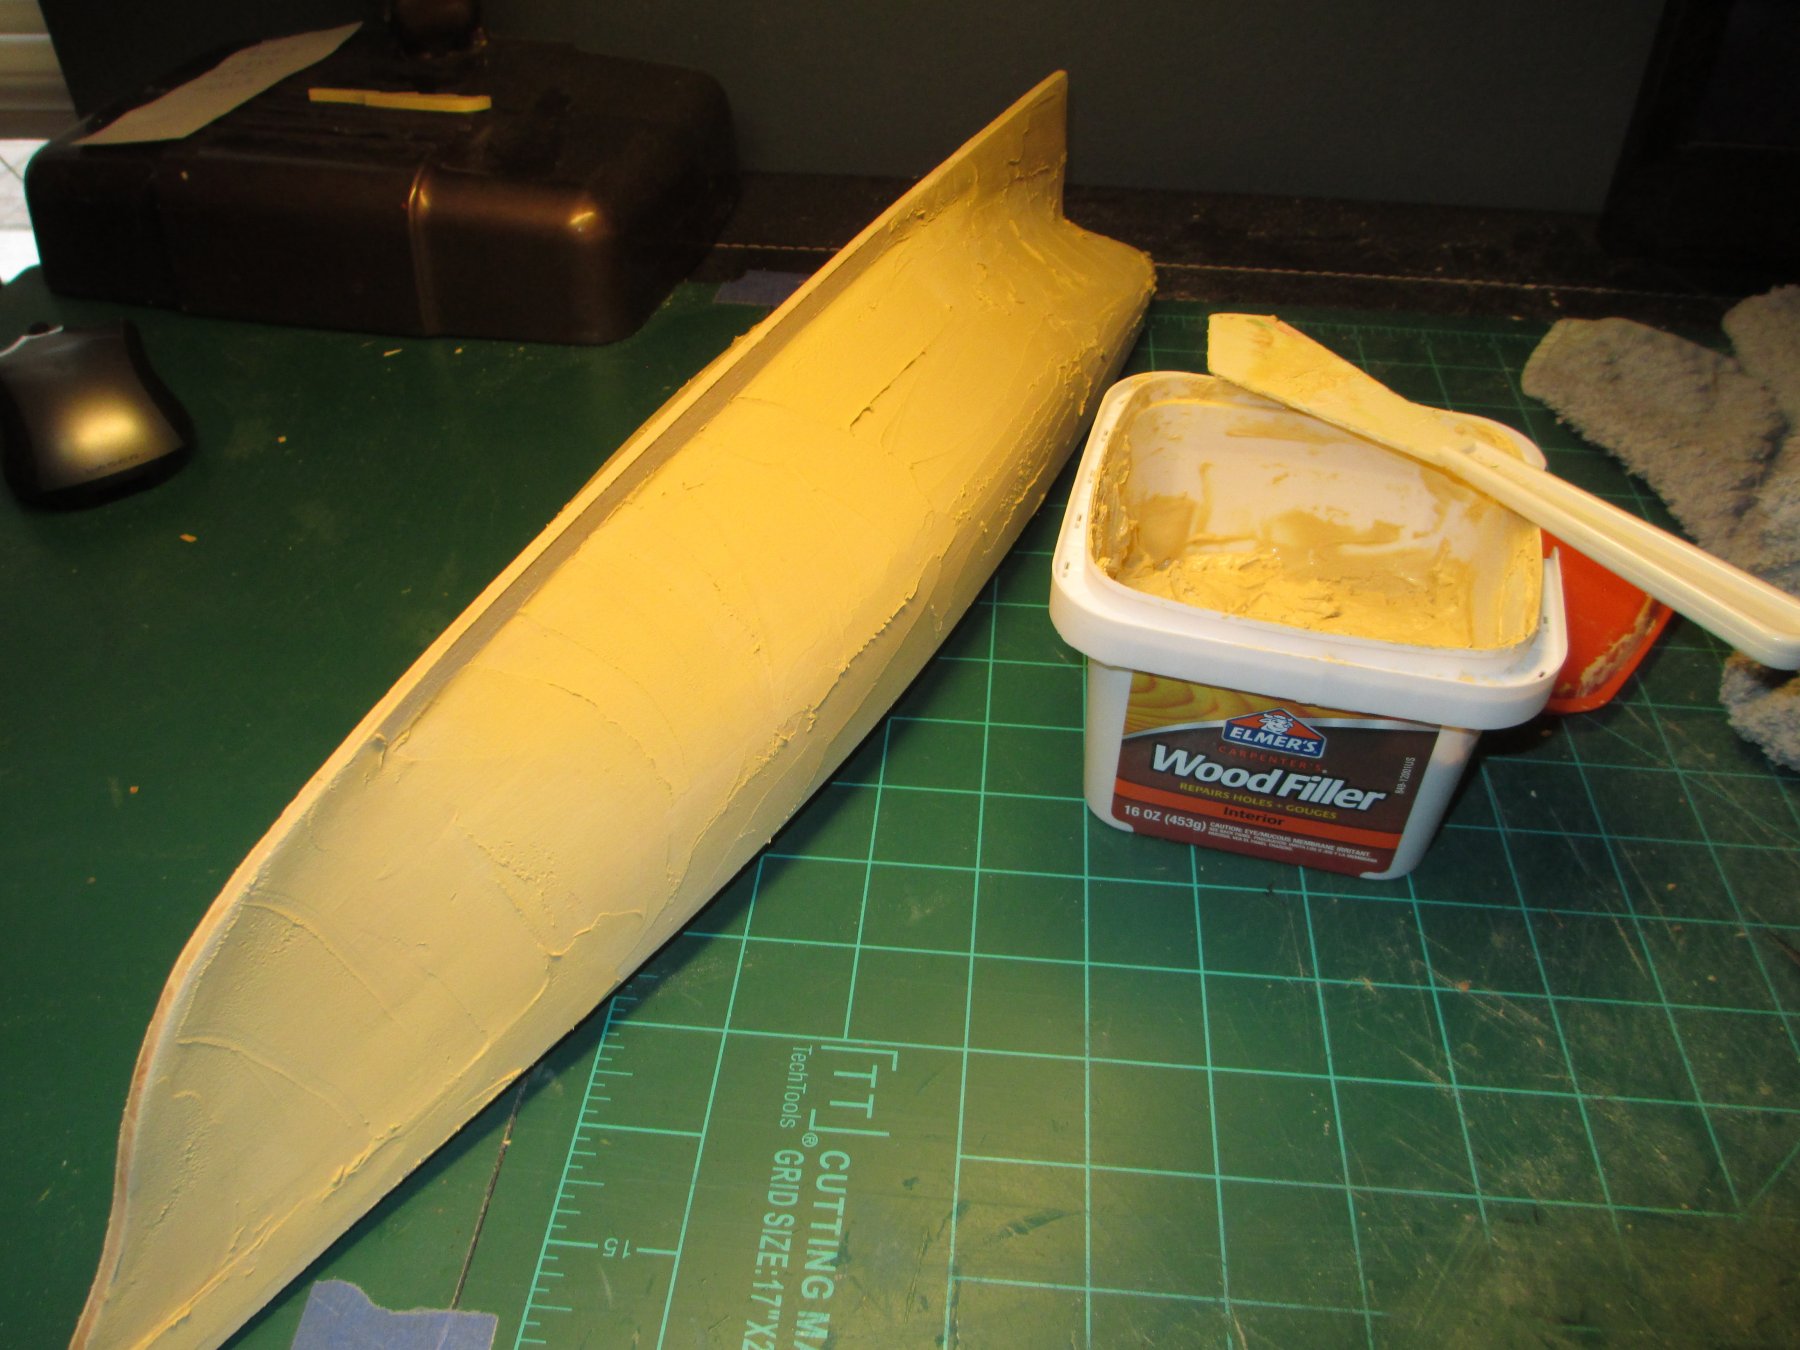
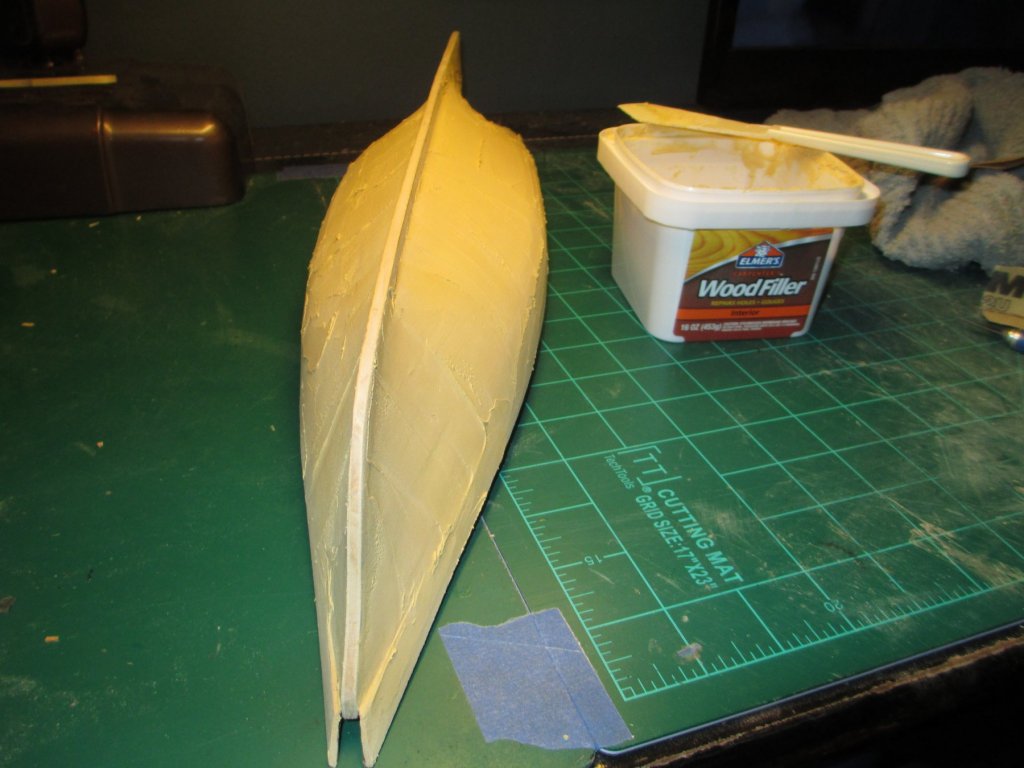
so I had a little time today and sanded down the hull a bit, there are lots of natural imperfections in the hull planking, so I'll be using some wood filler. I've had this jar of wood filler for 4 years and kept it in a ziplock bag in the refrigerator and its still usable. it would normally dry out and be unusable within 1 month outside the fridge. I'll let the hull filler dry out for a 24 hours and then start sanding again


-
Now that the deck stuff is mostly done I will work on the hull after Christmas for sure.


-
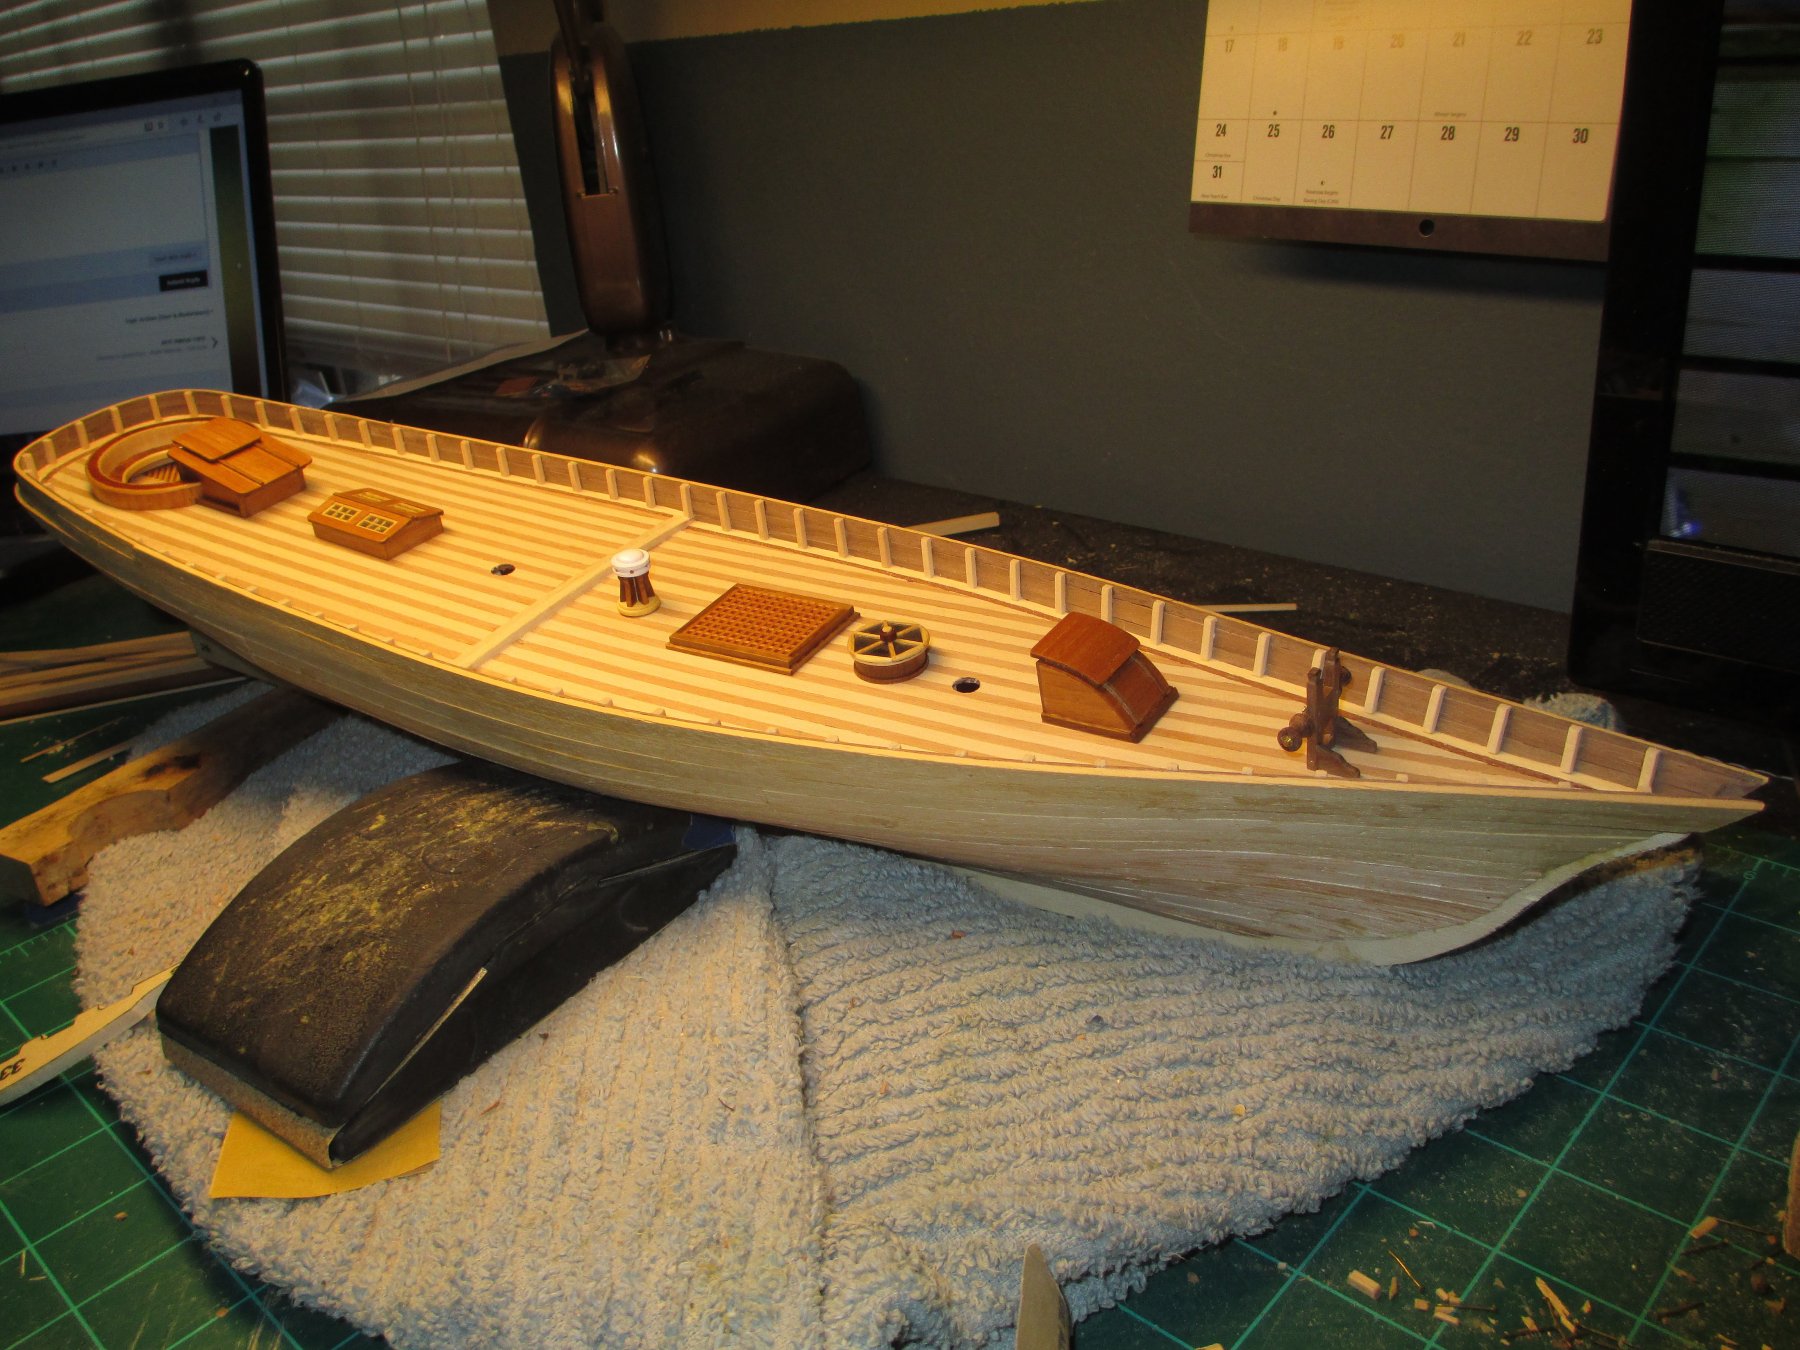
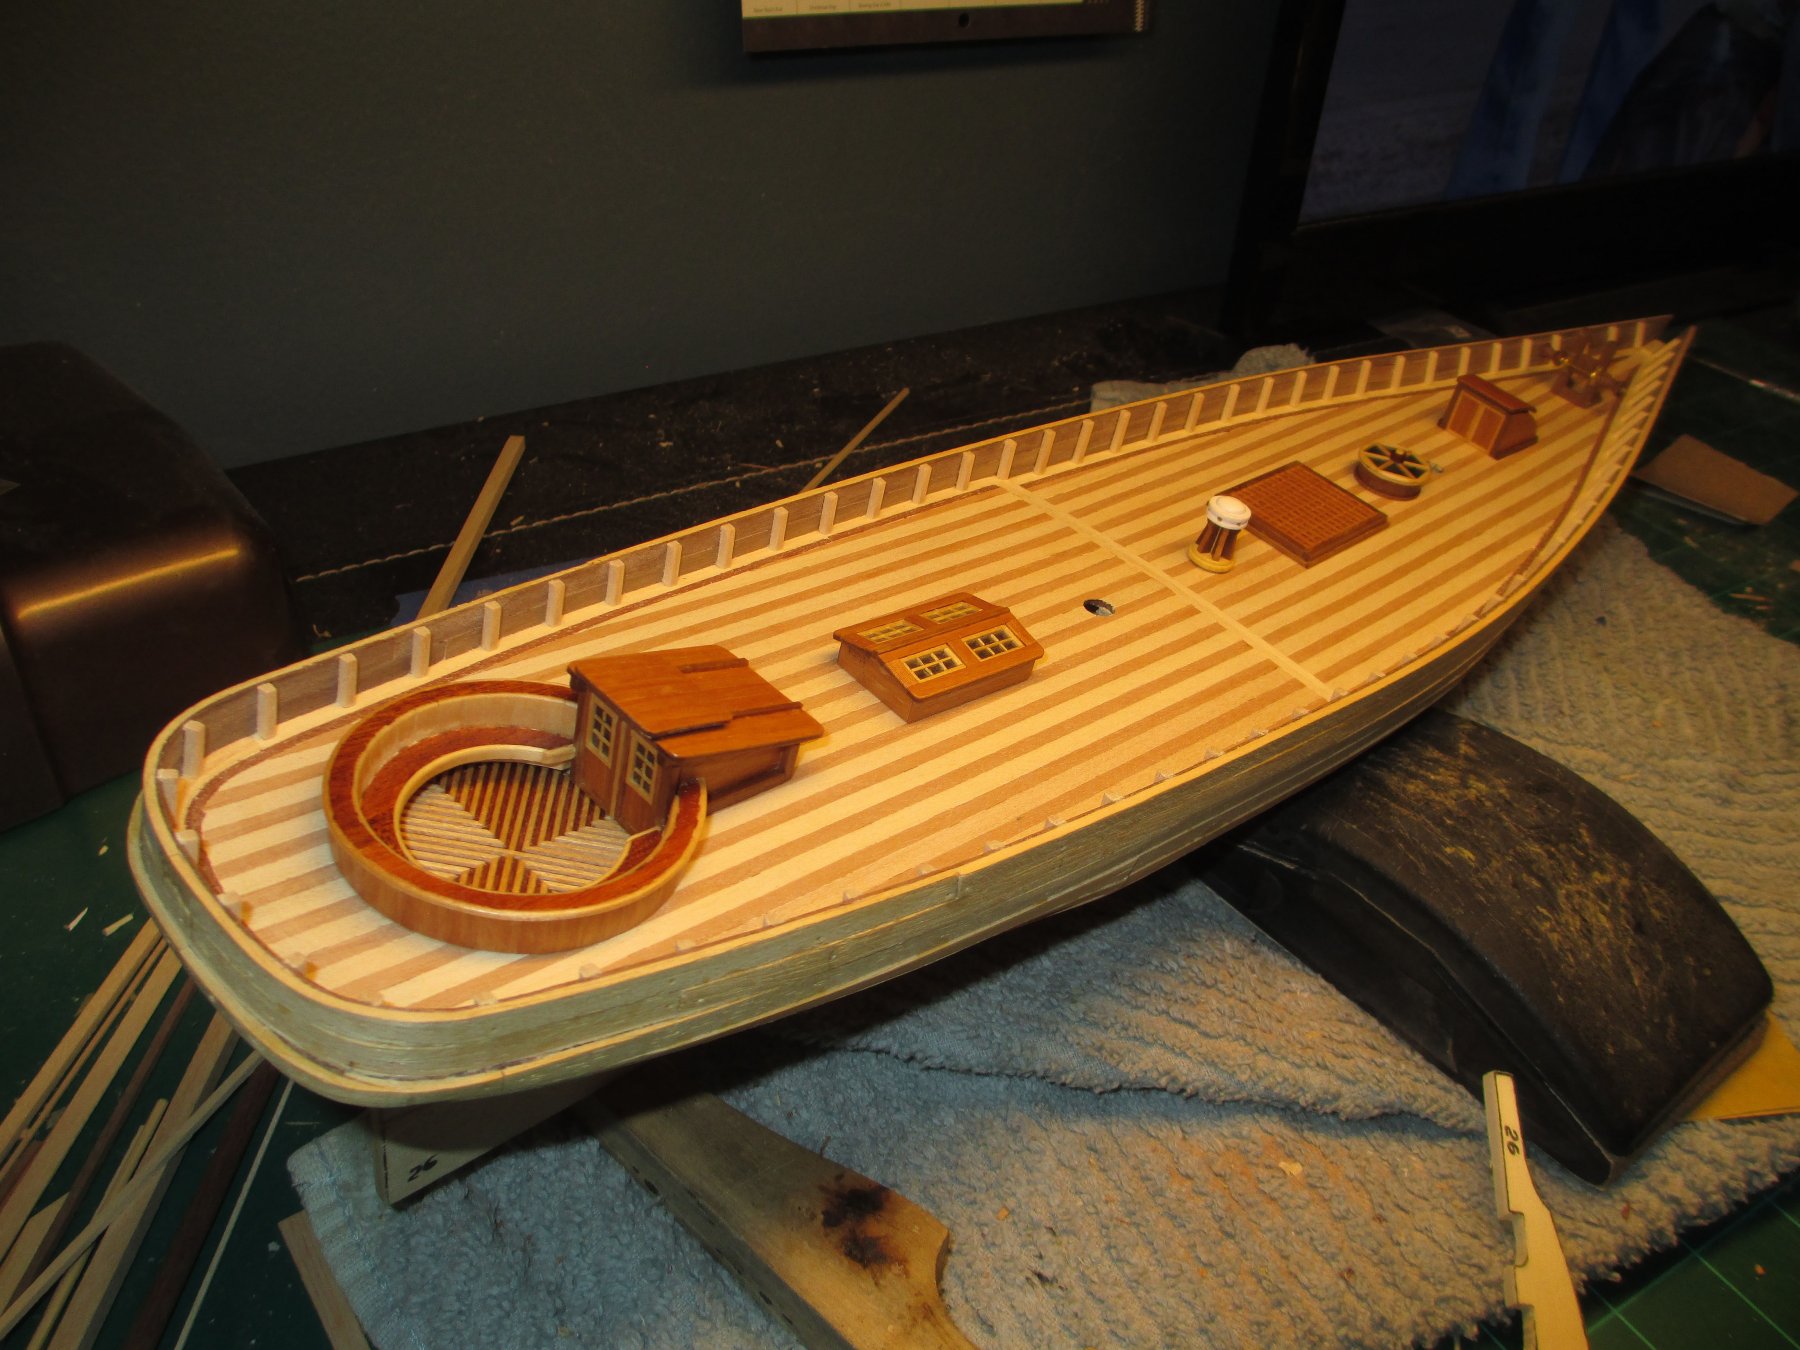
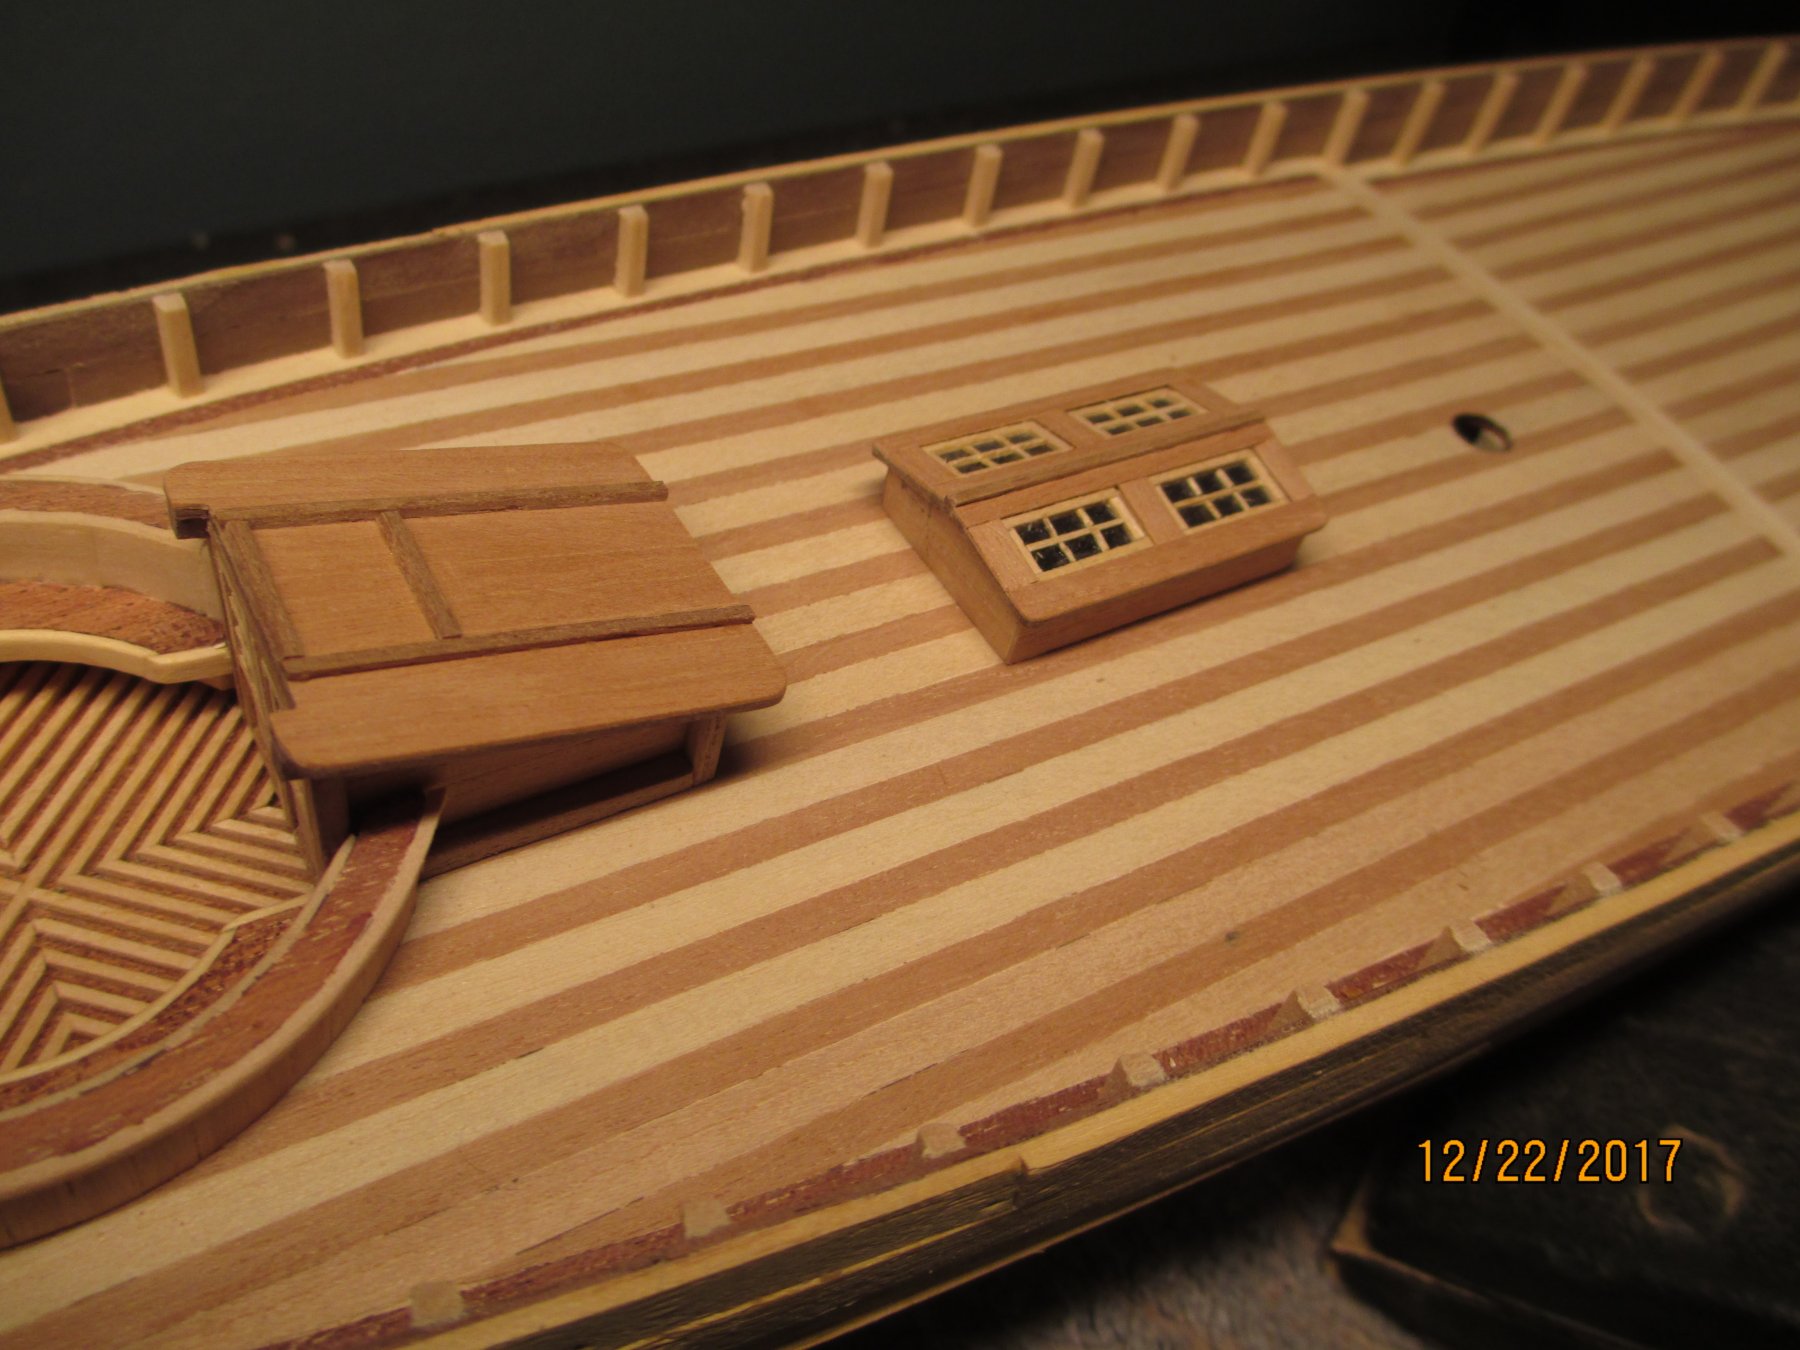
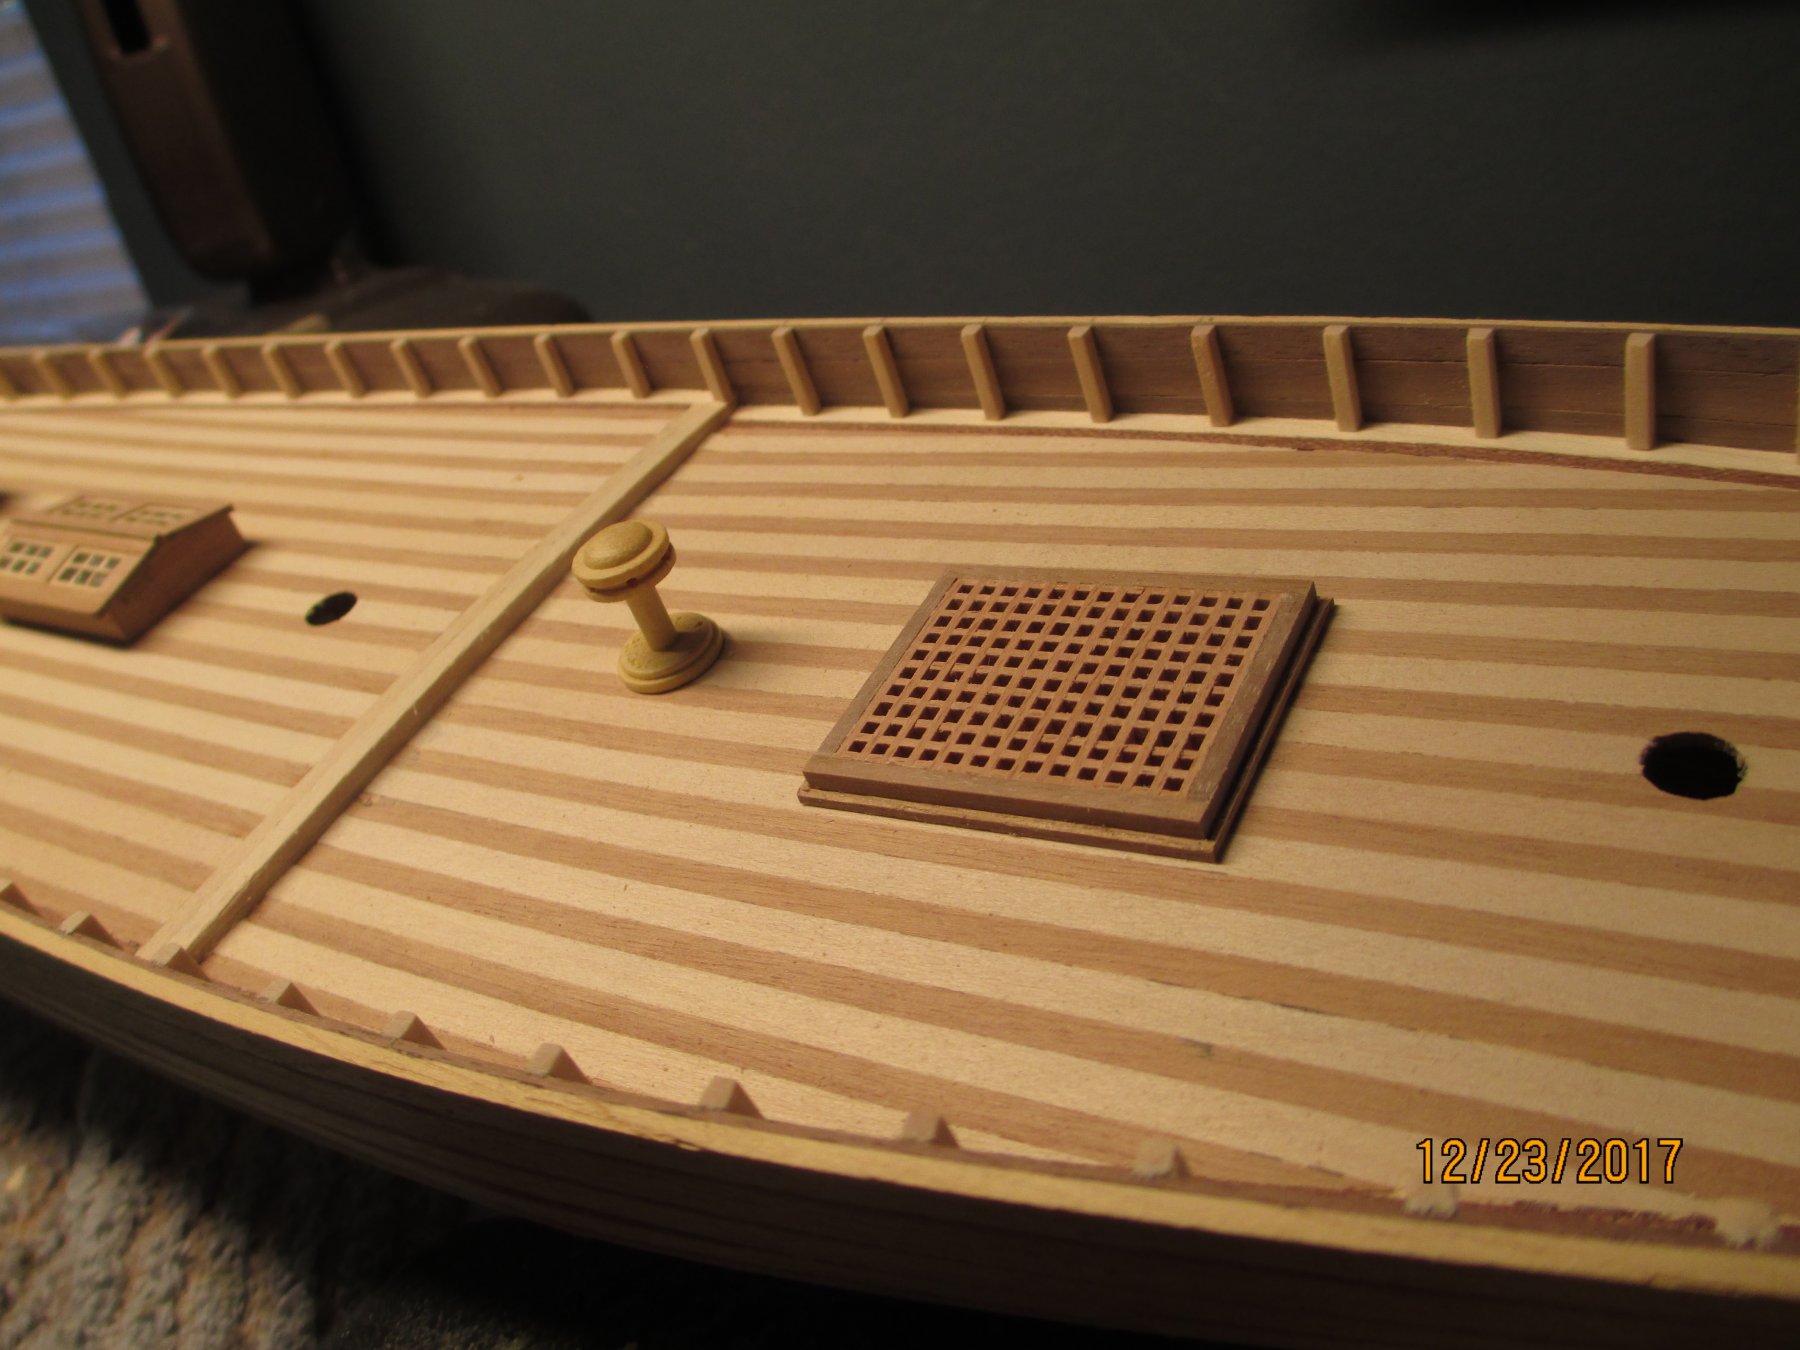
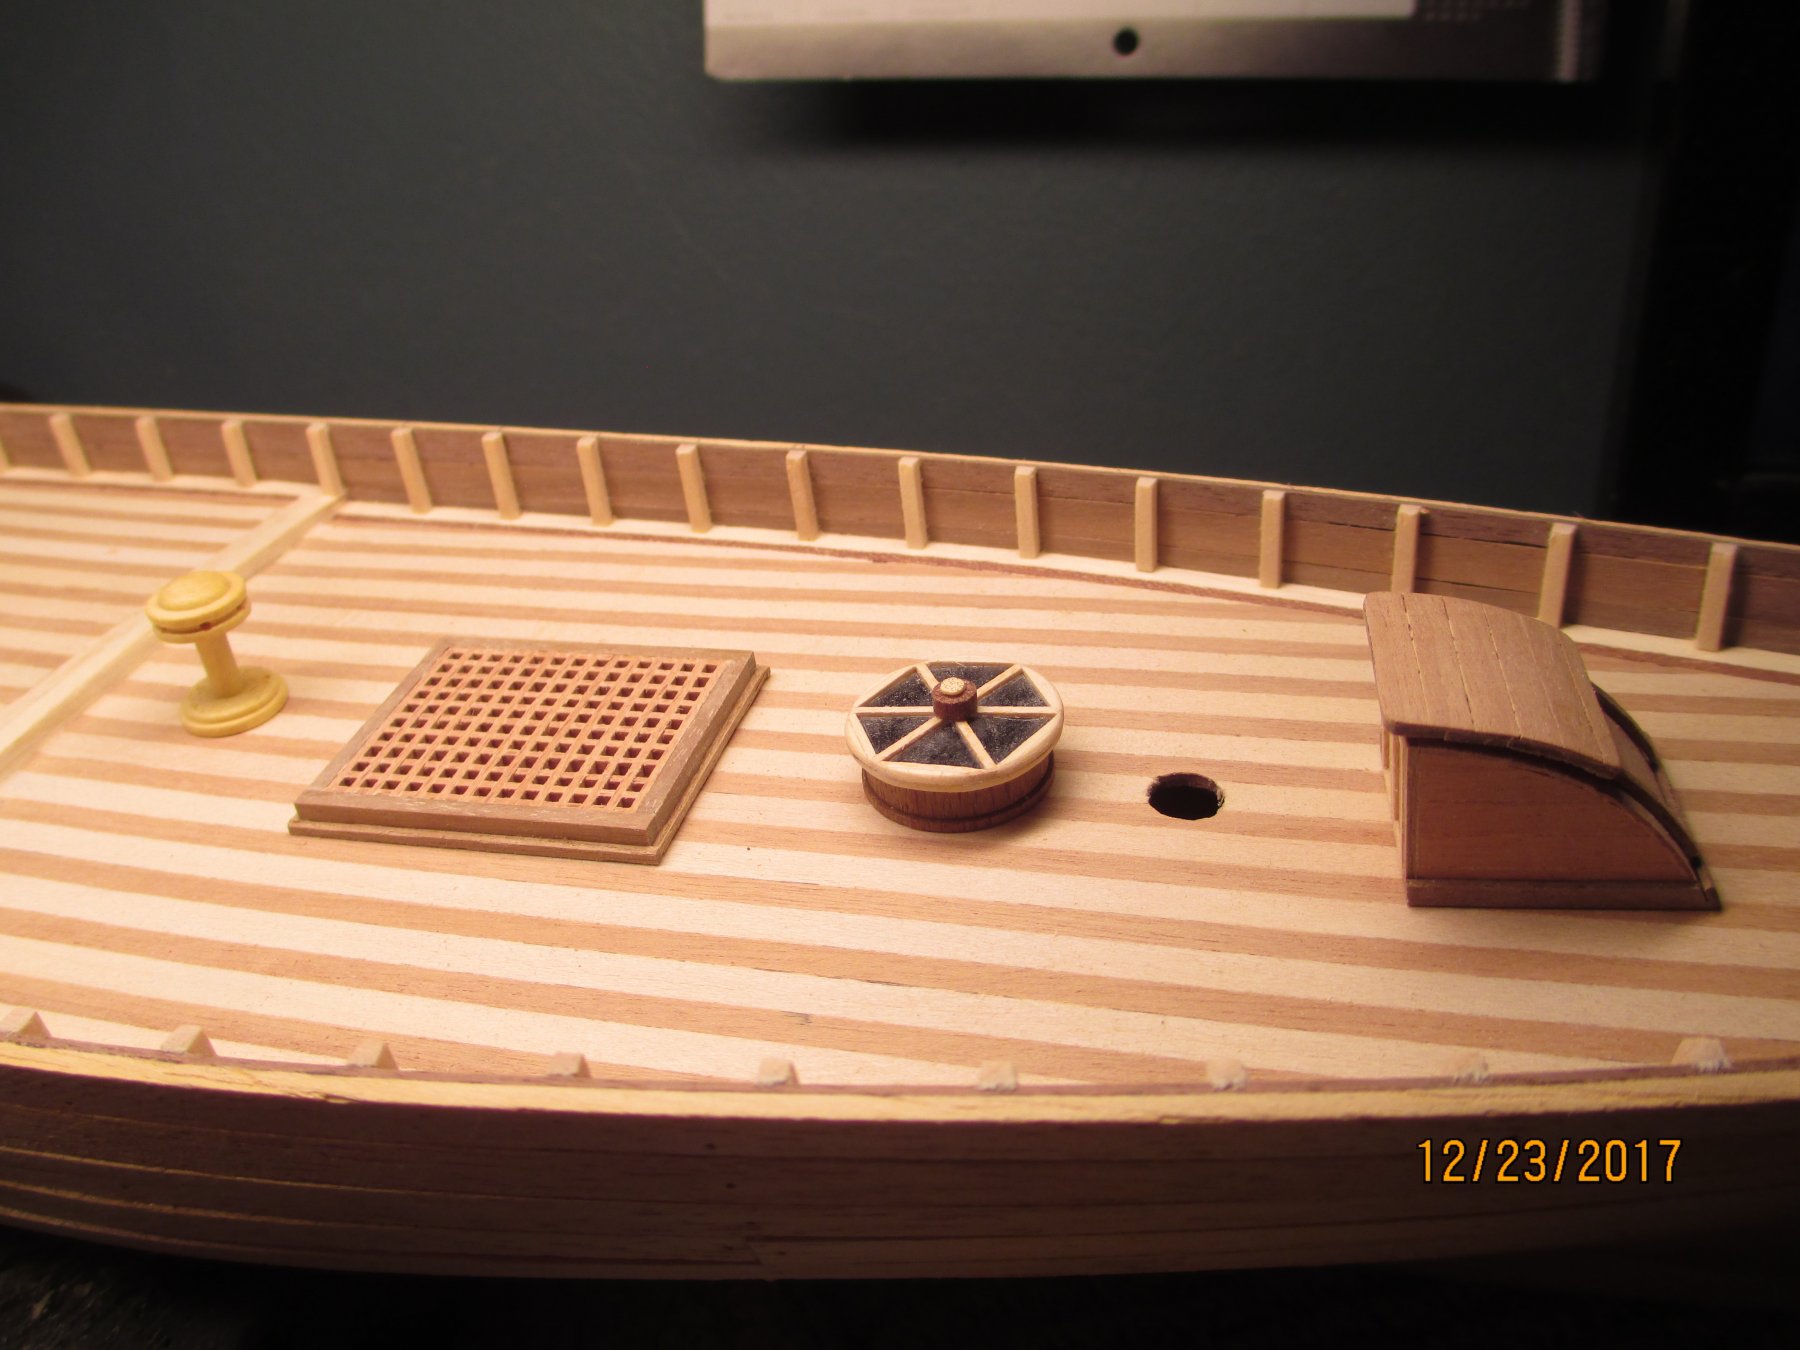
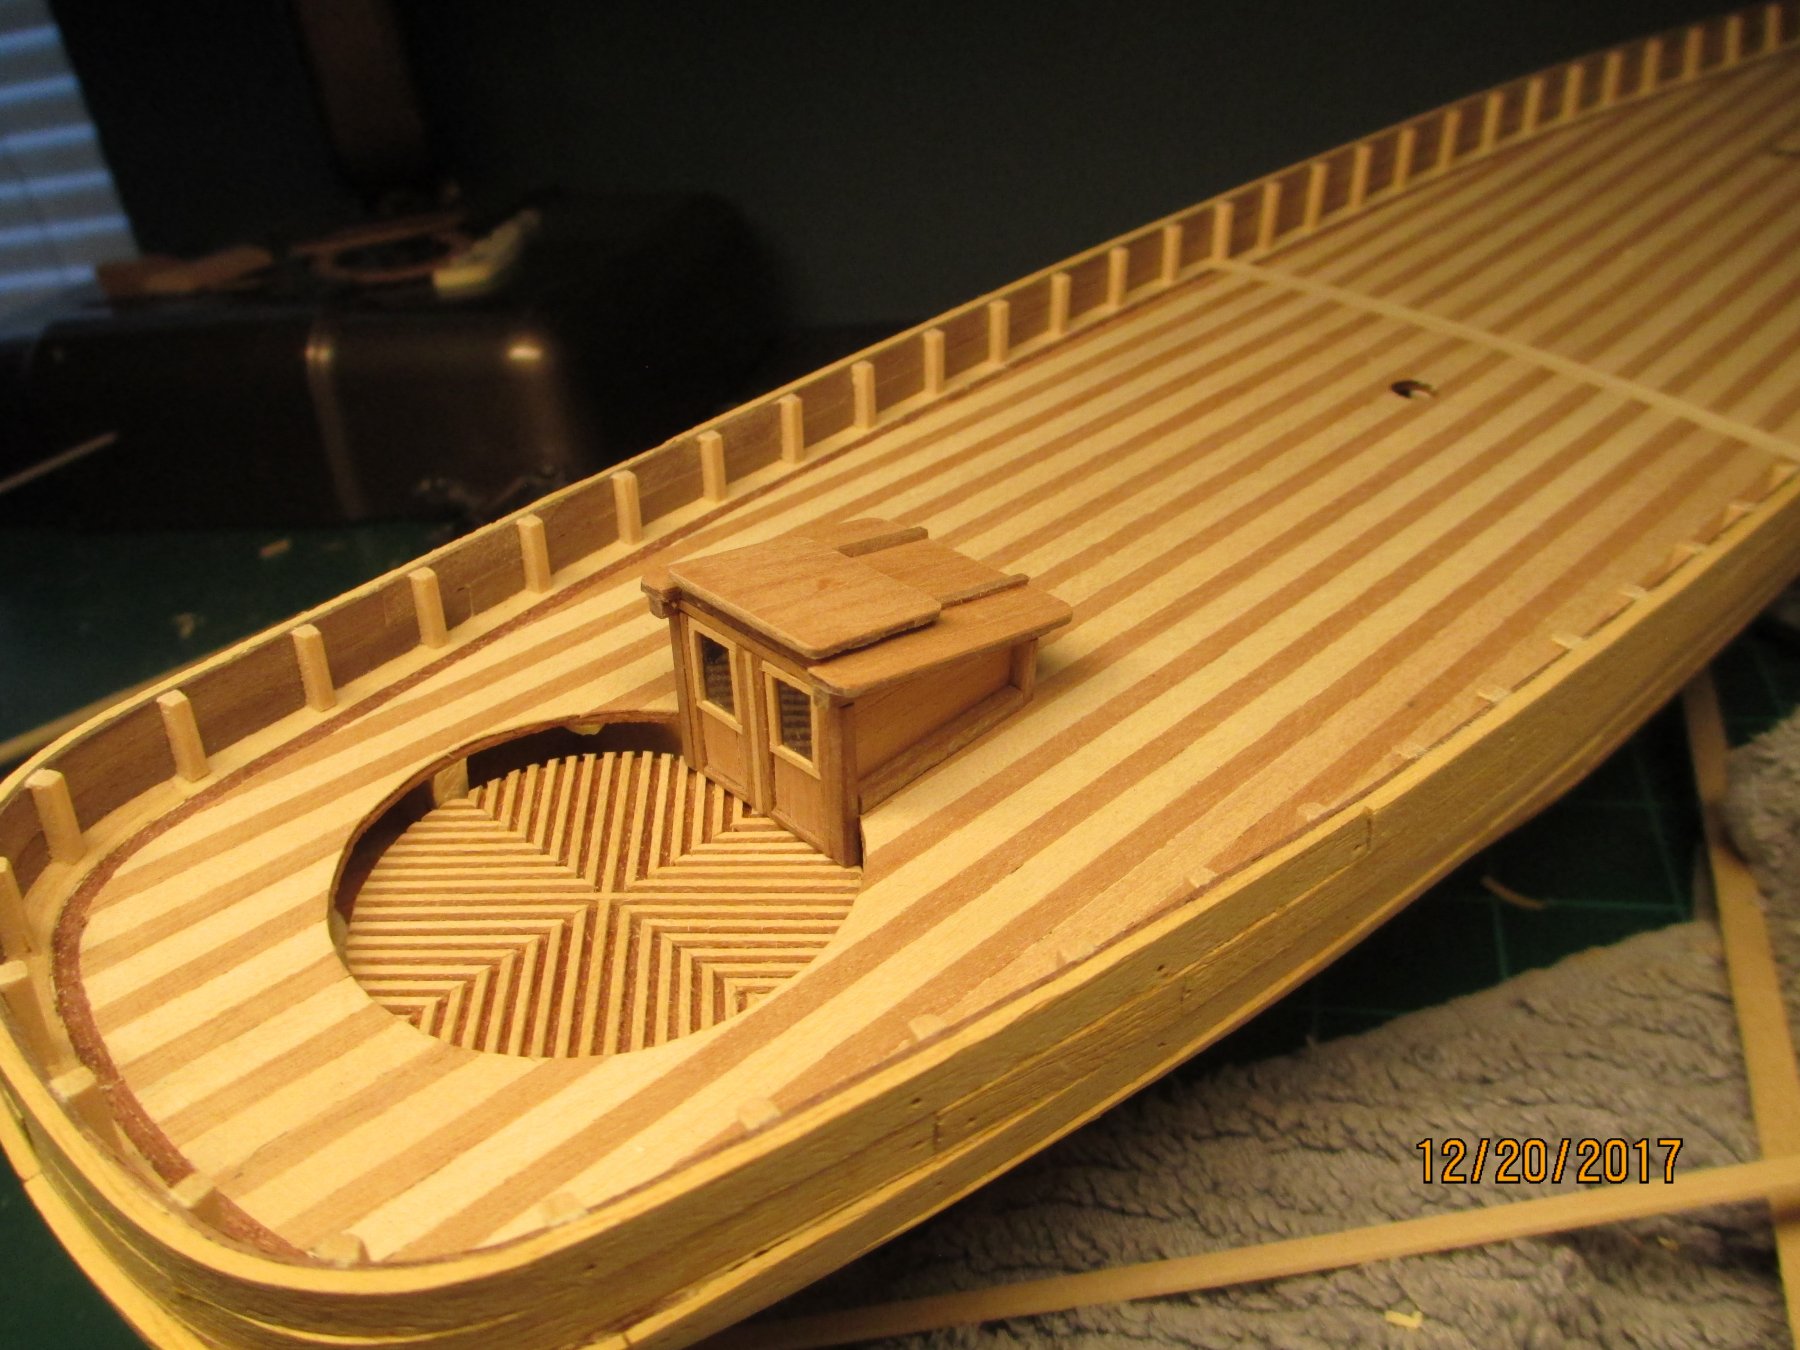
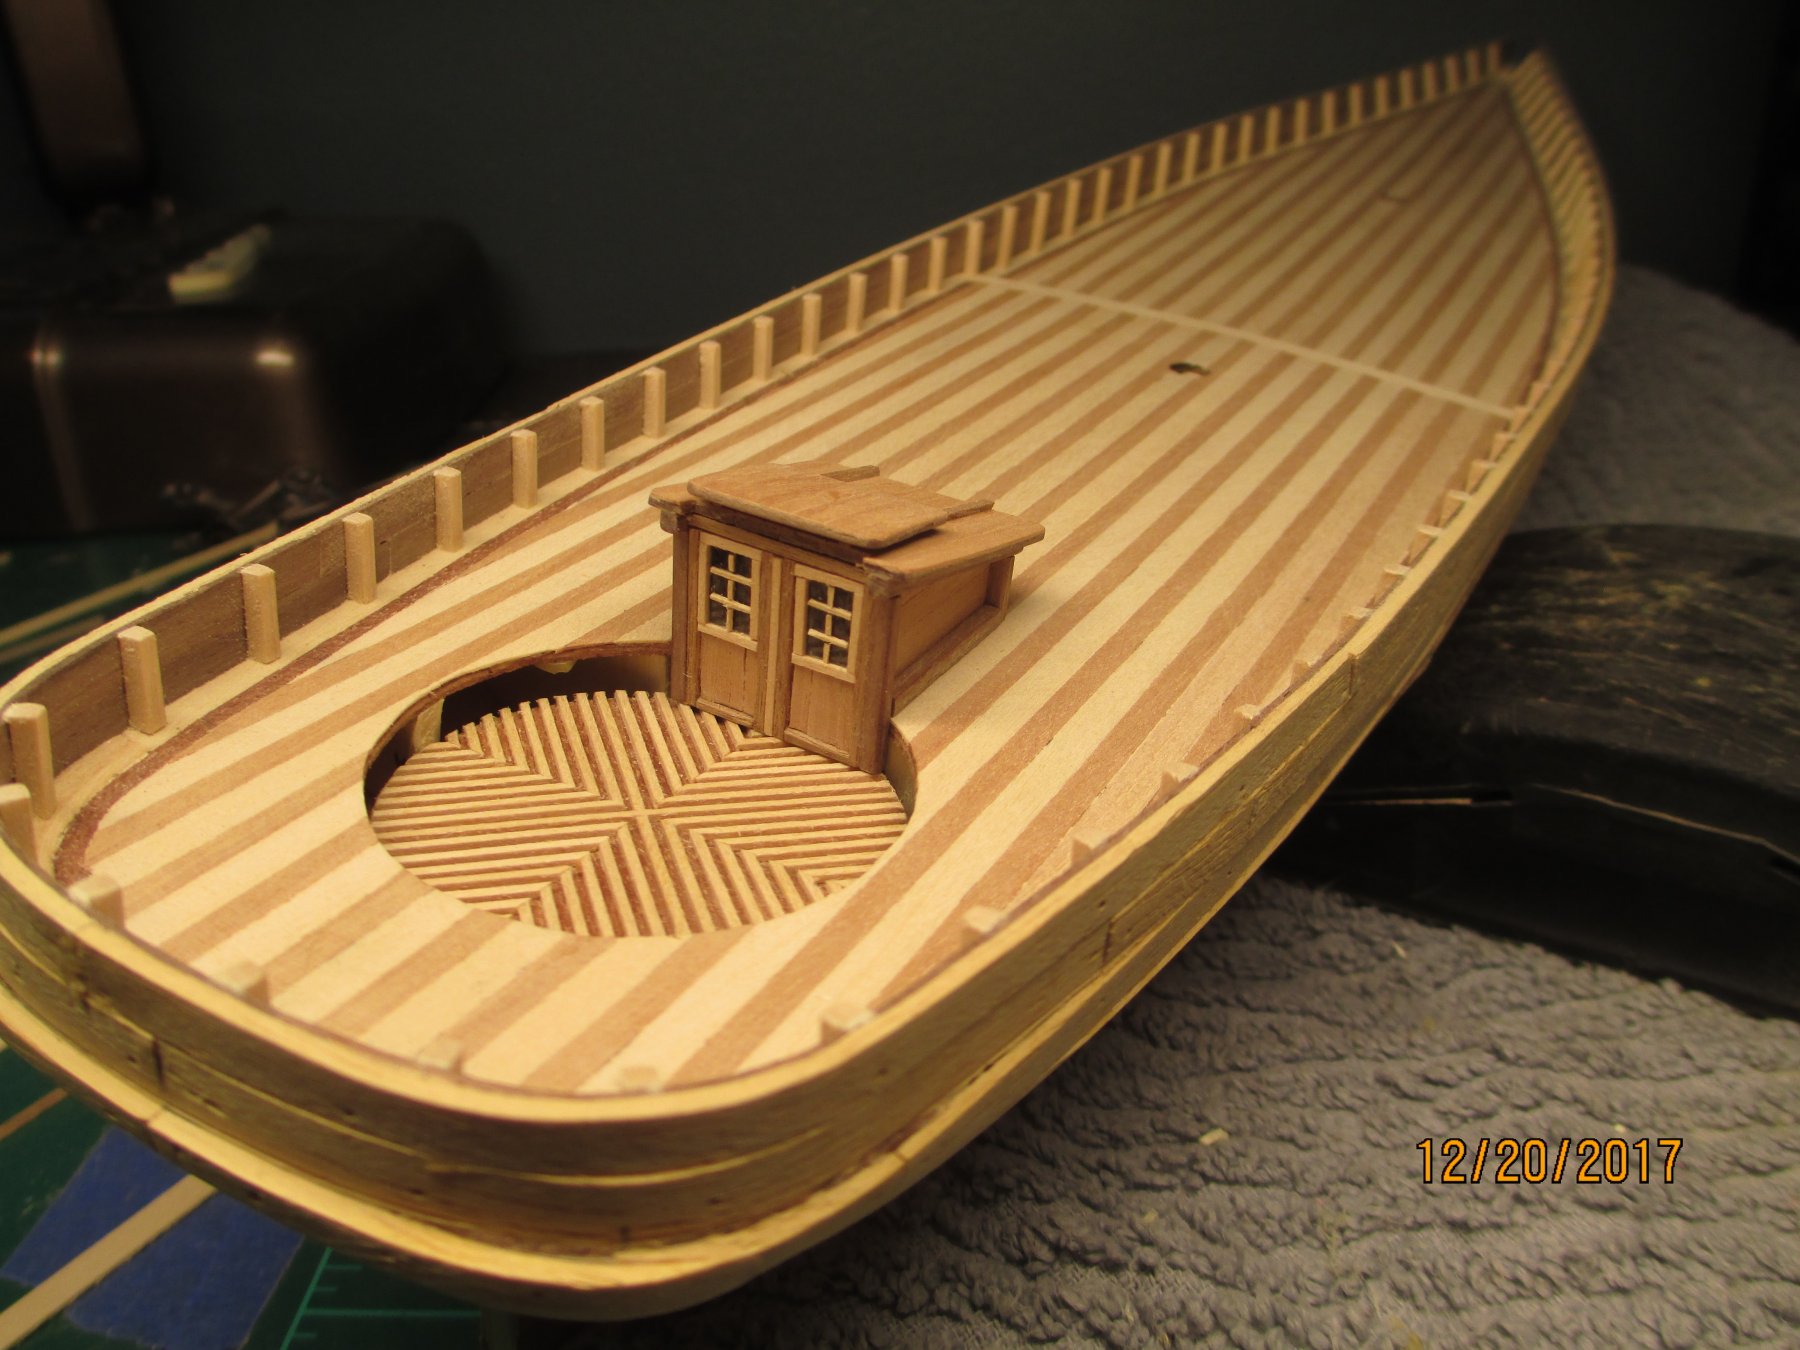
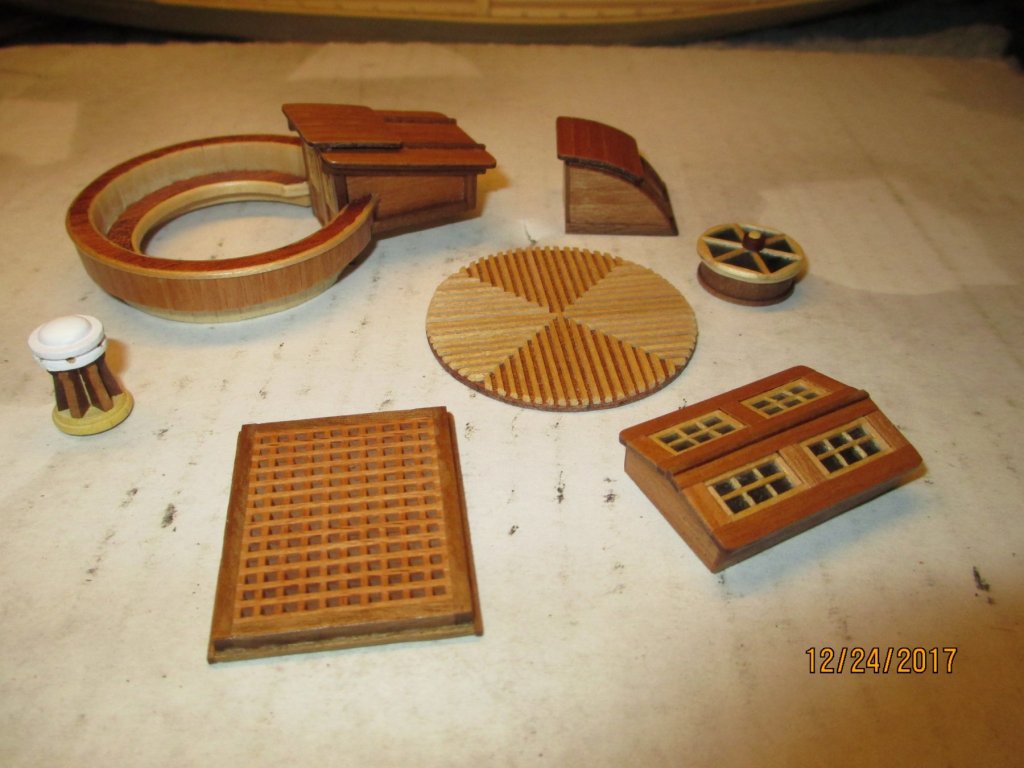
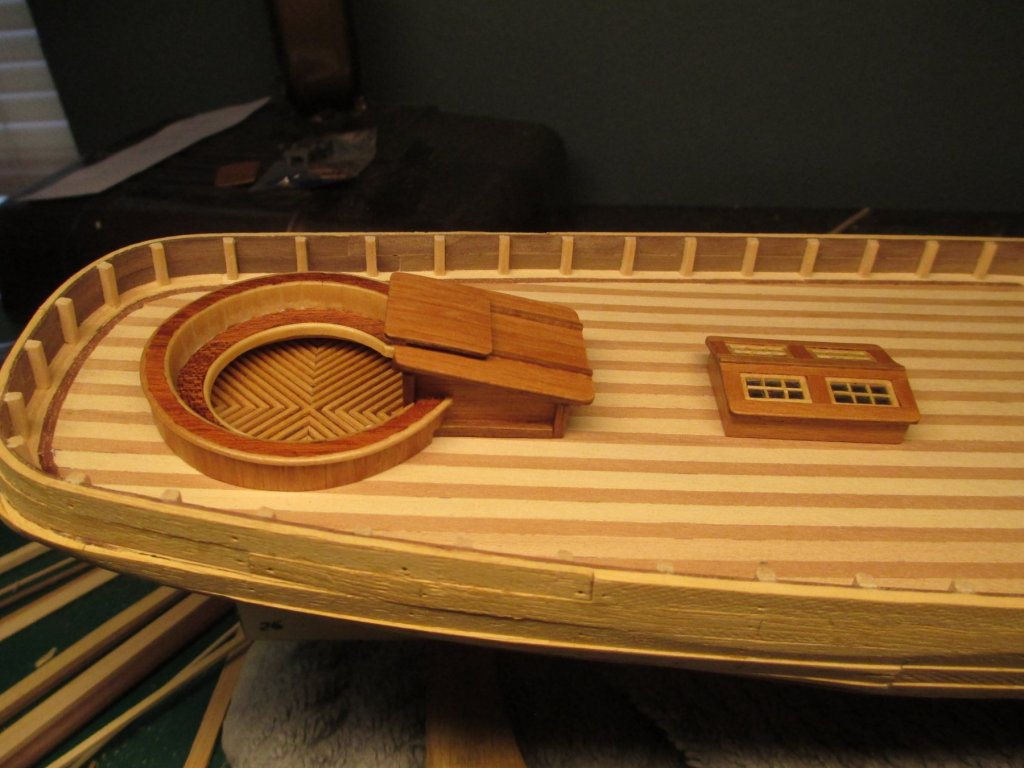
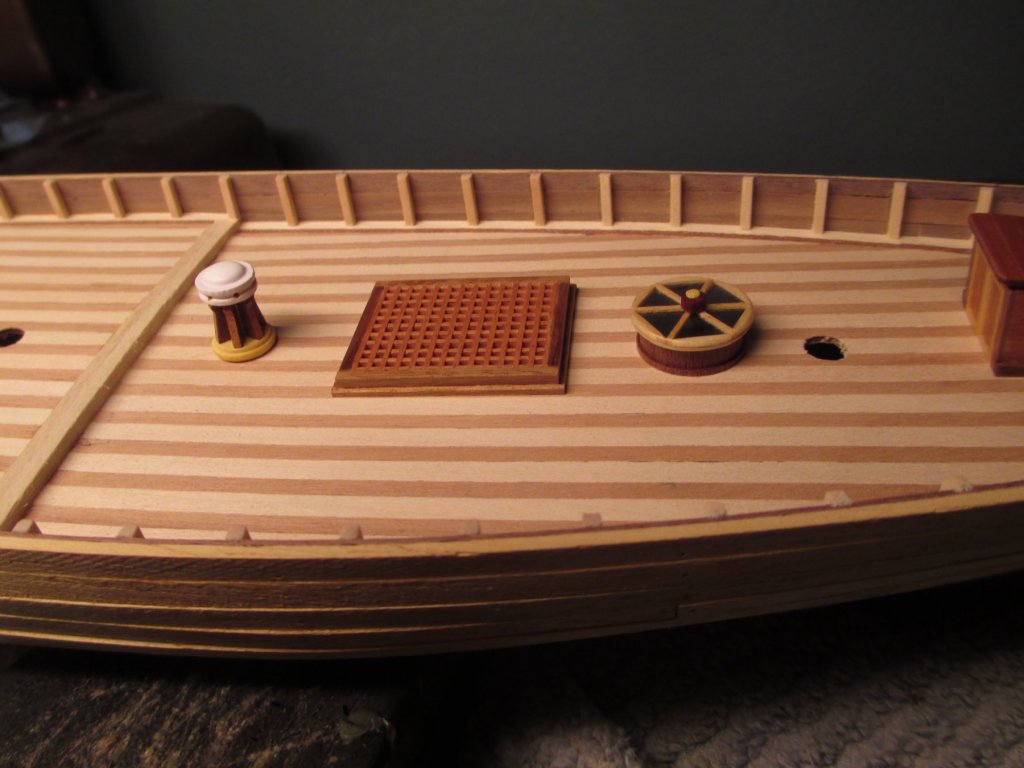
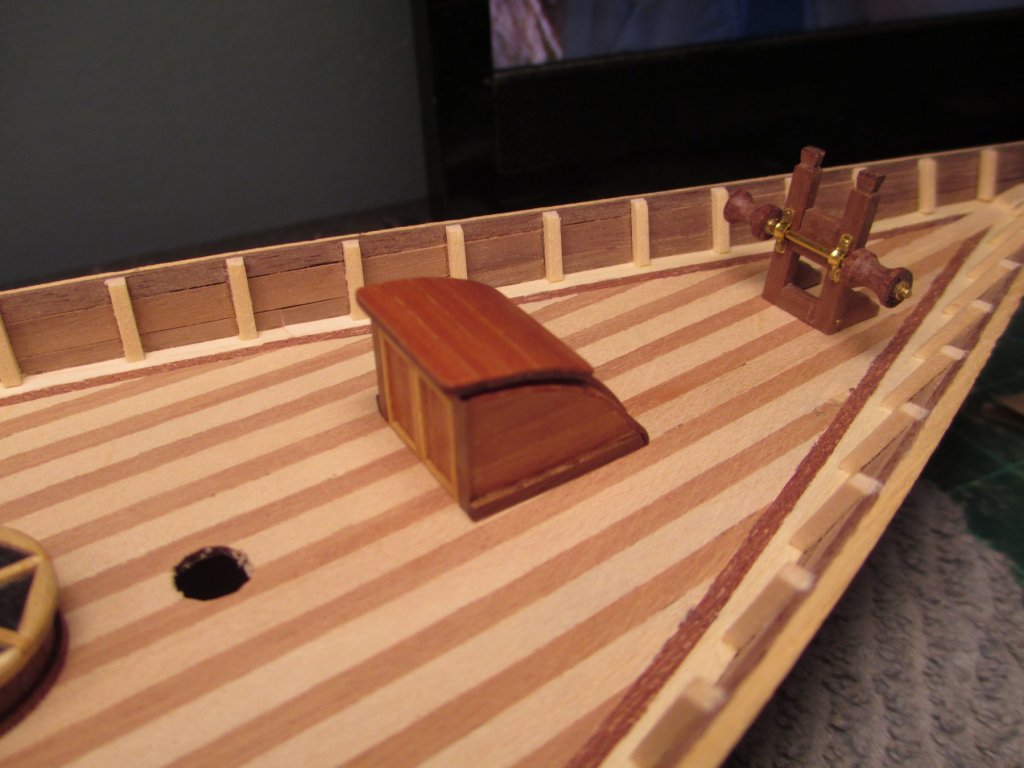
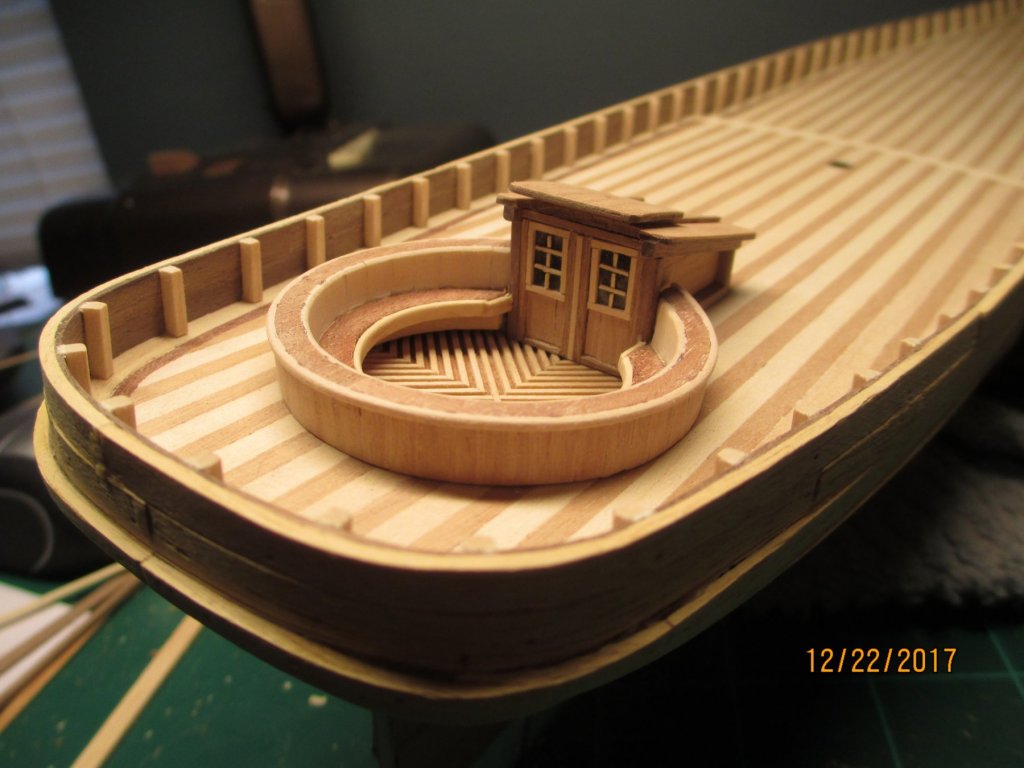
clear coat on the furnishings brings out some more natural tones, have not clear coat the decks yet.

-
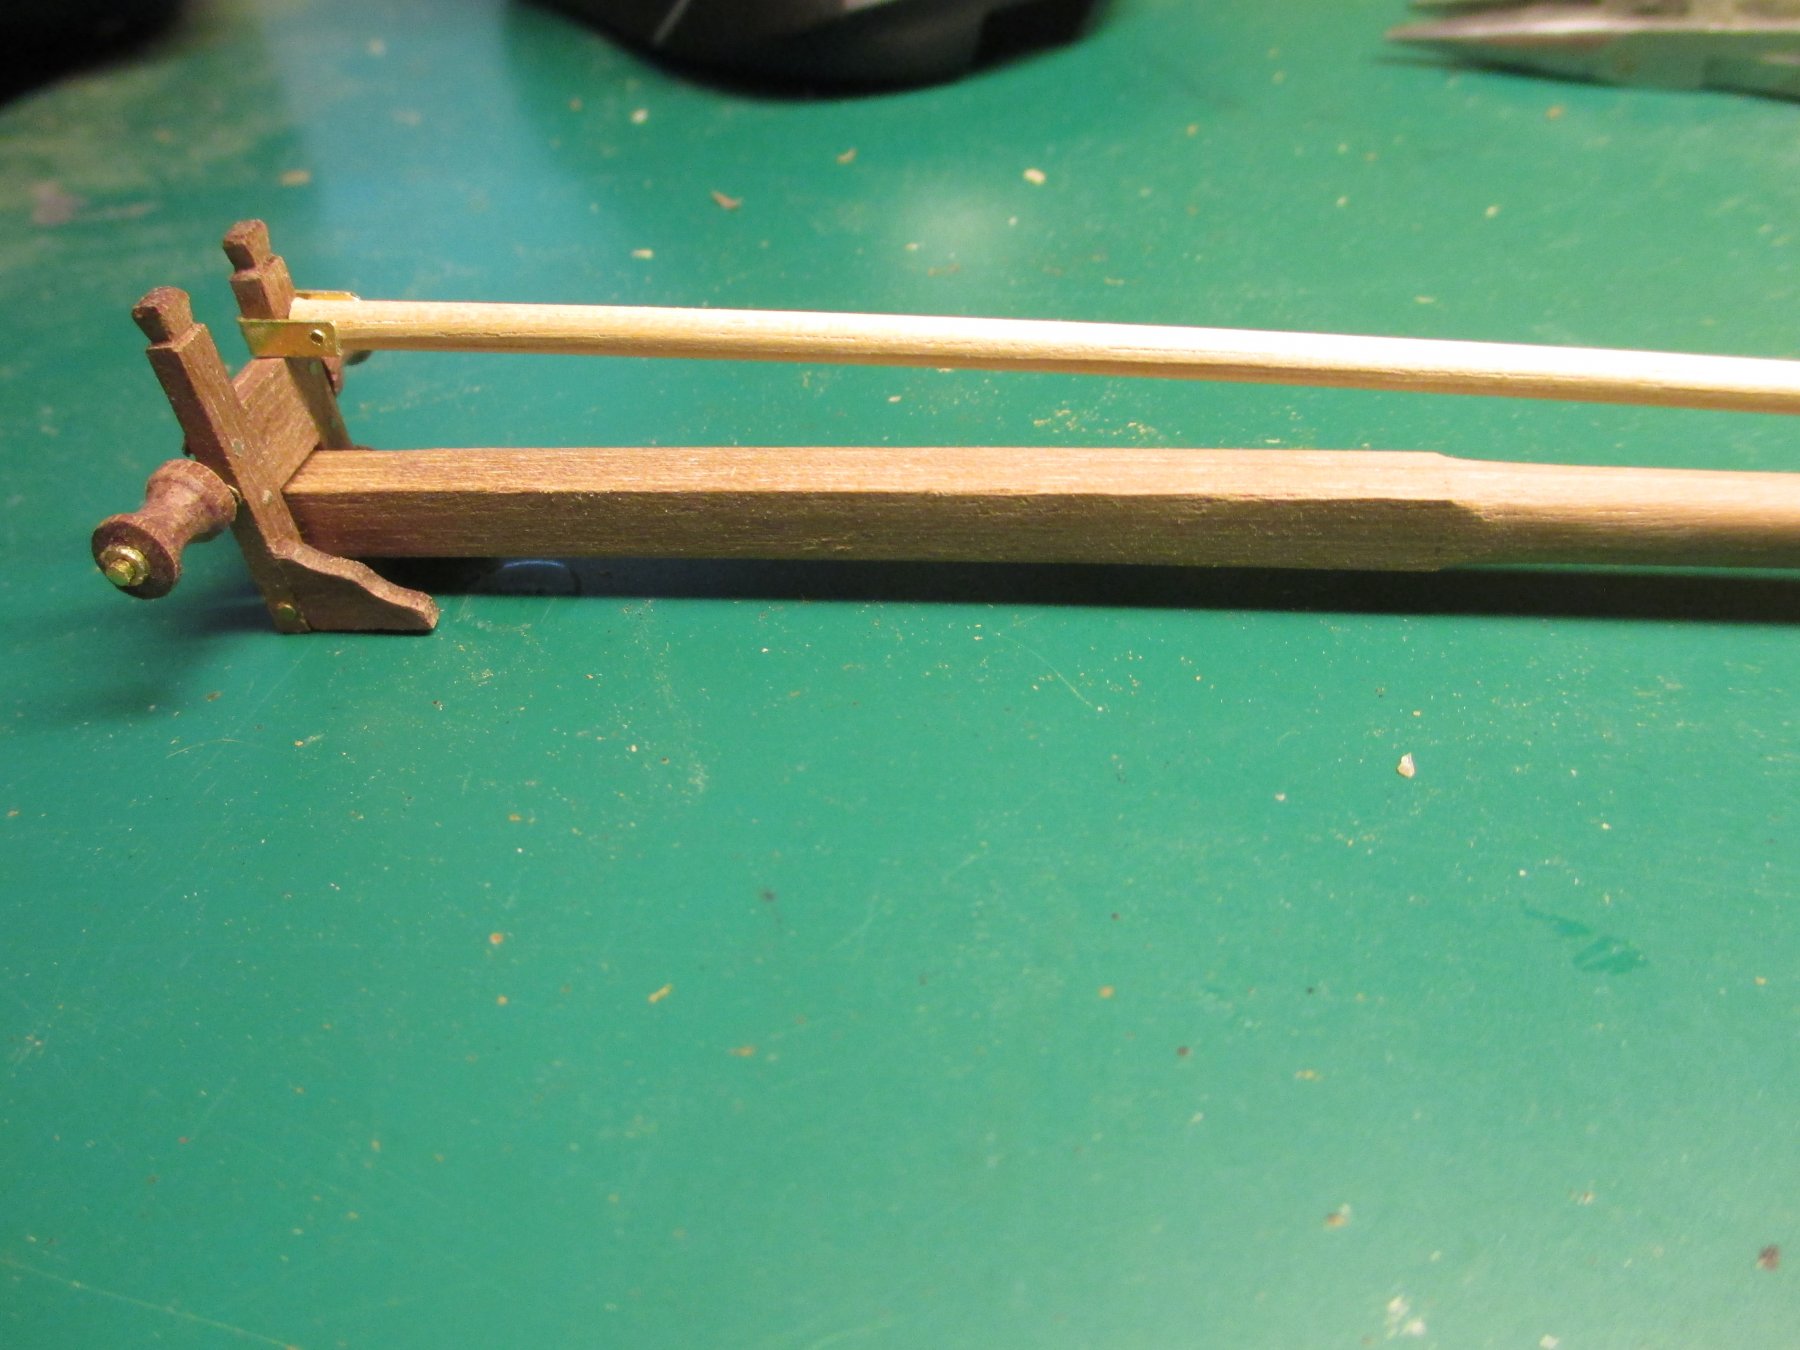
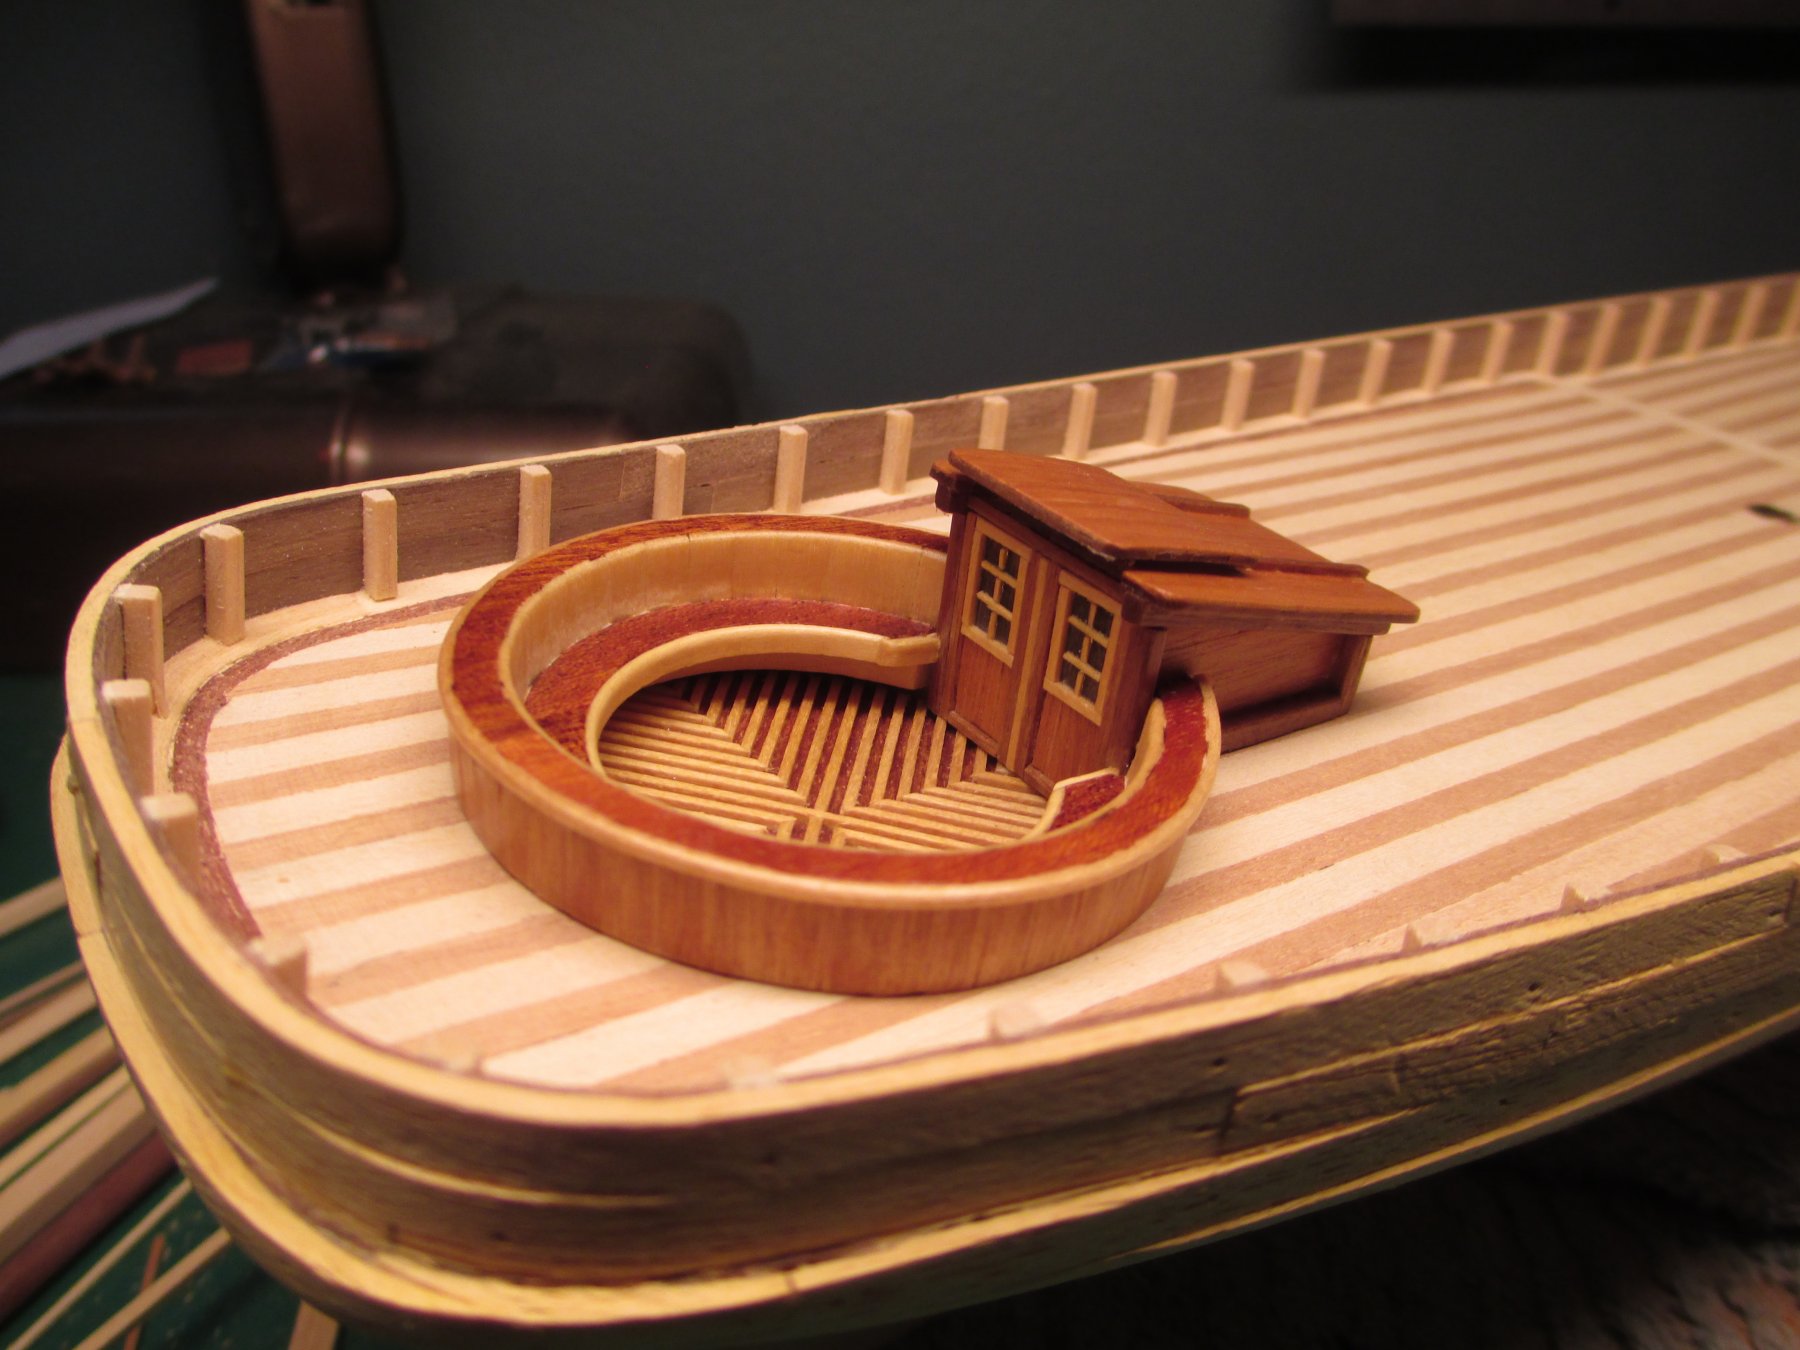
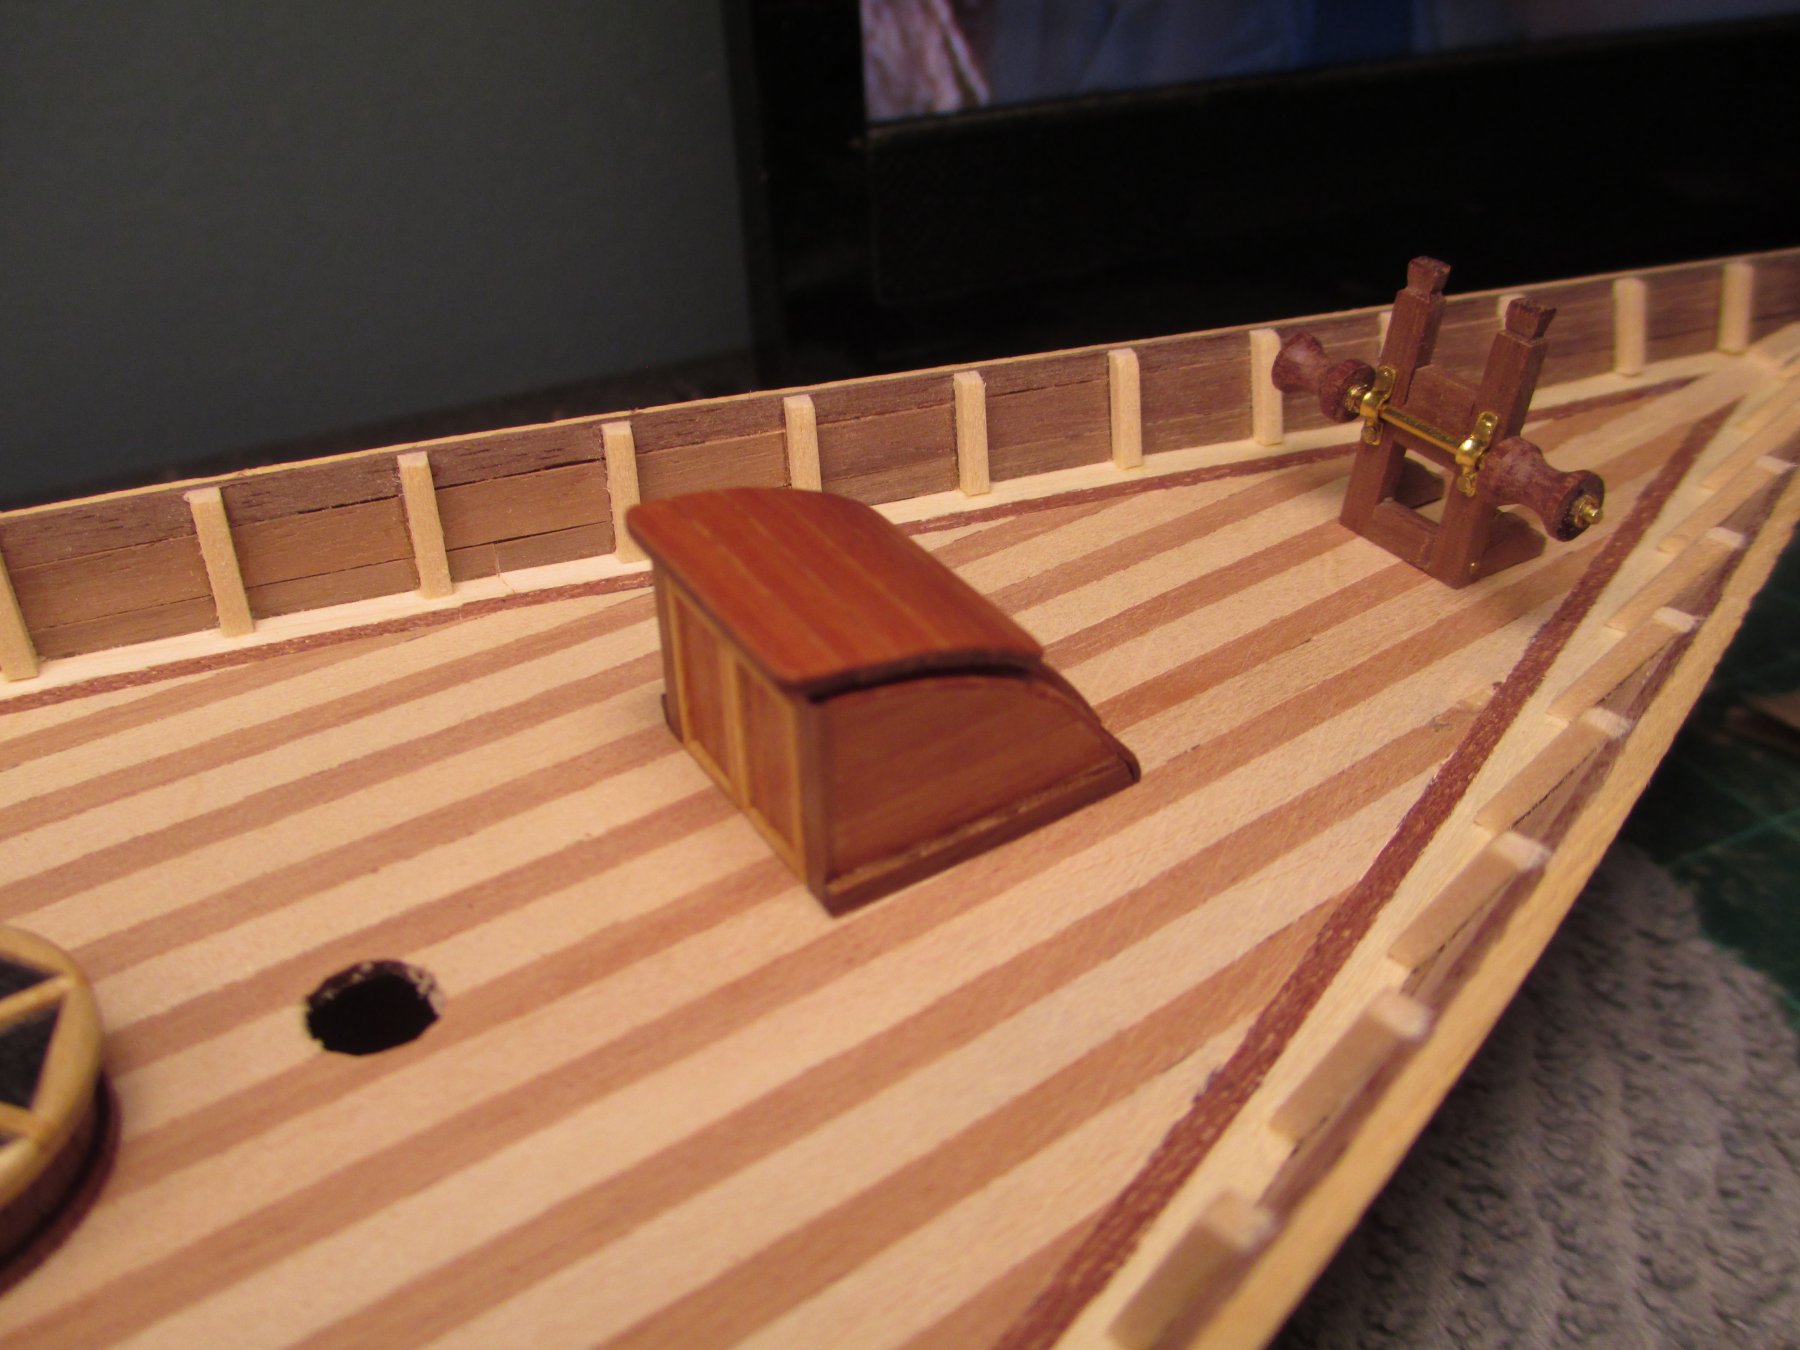
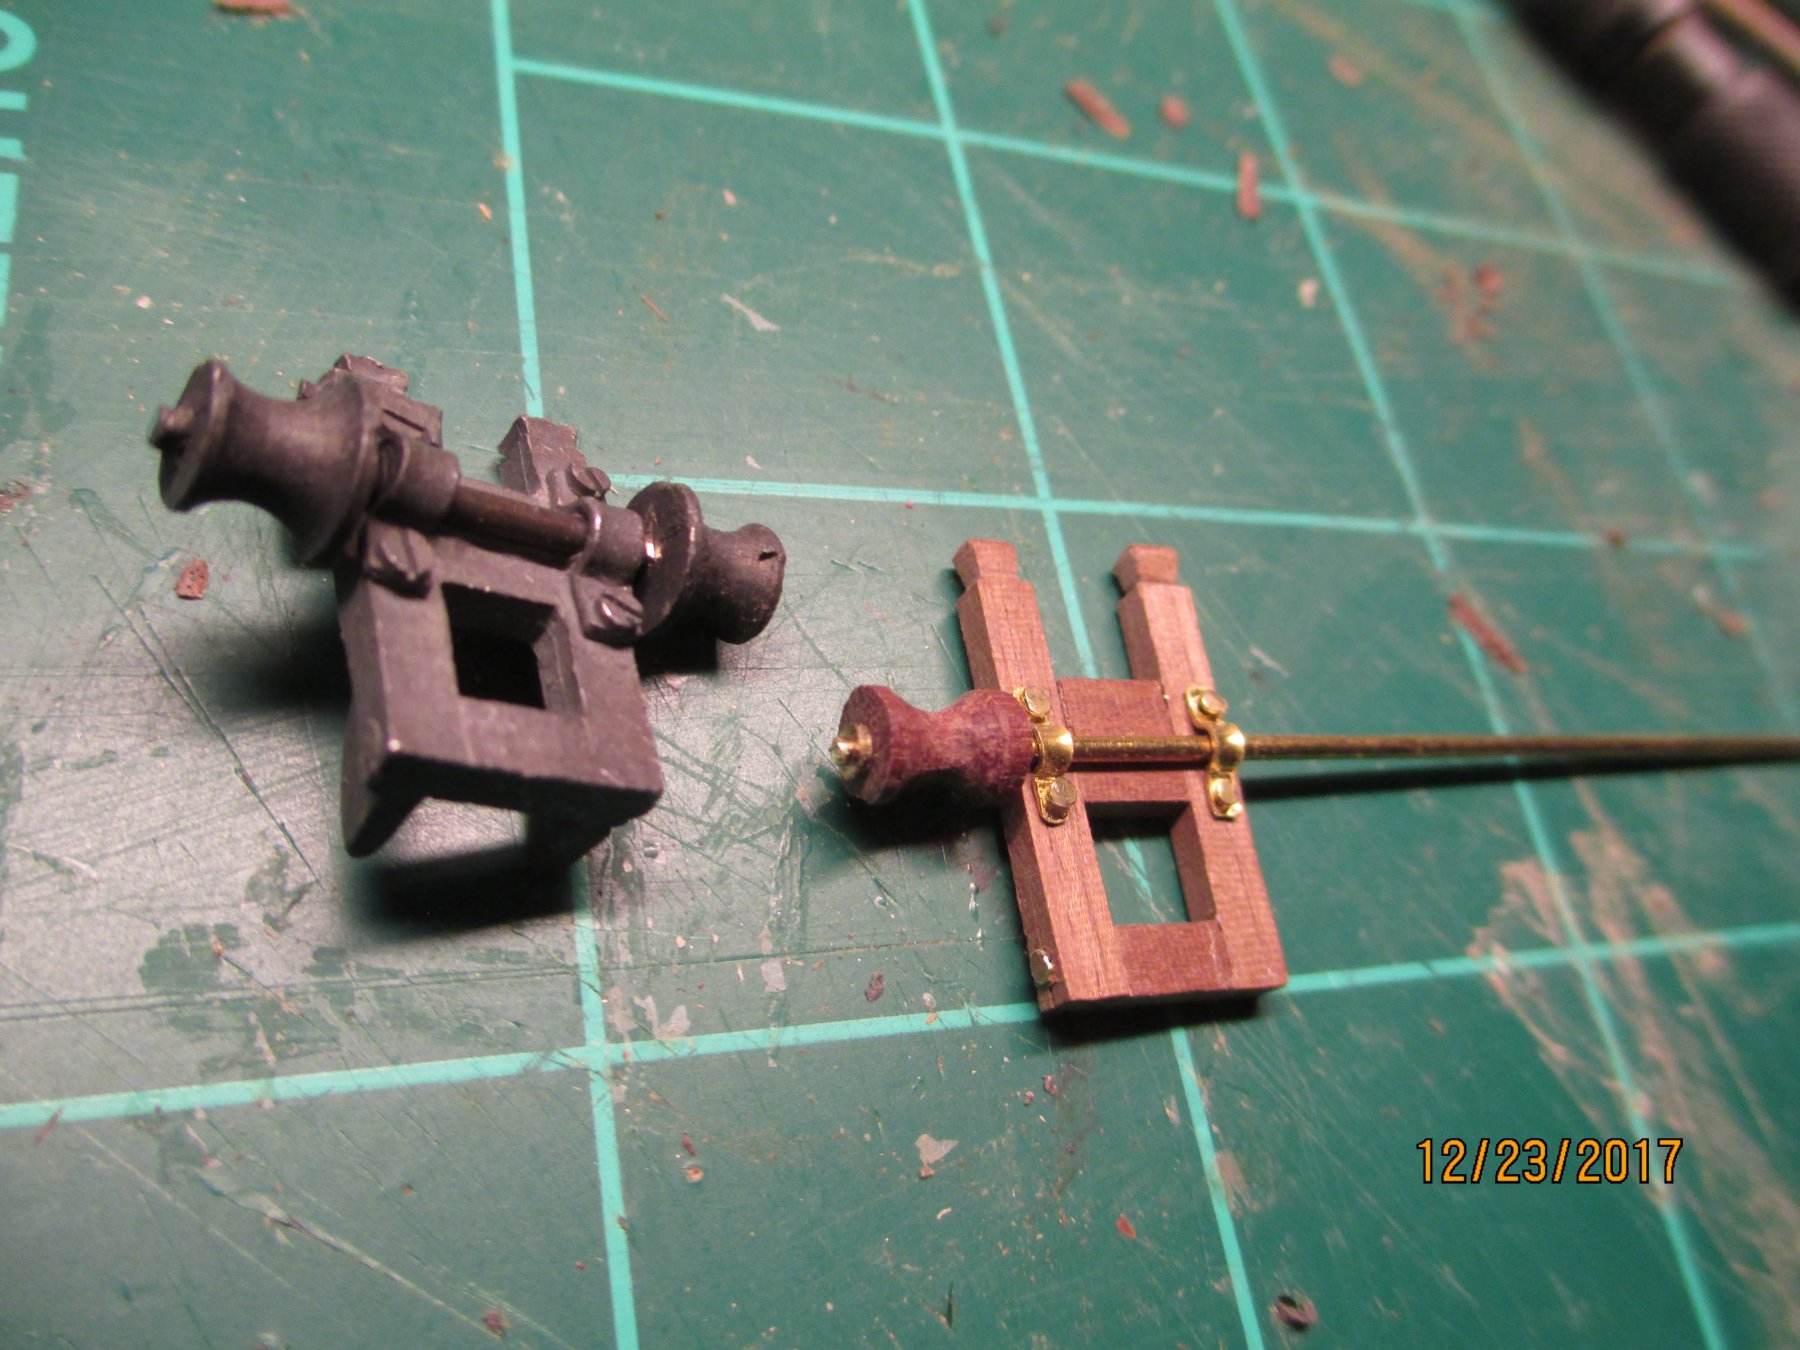
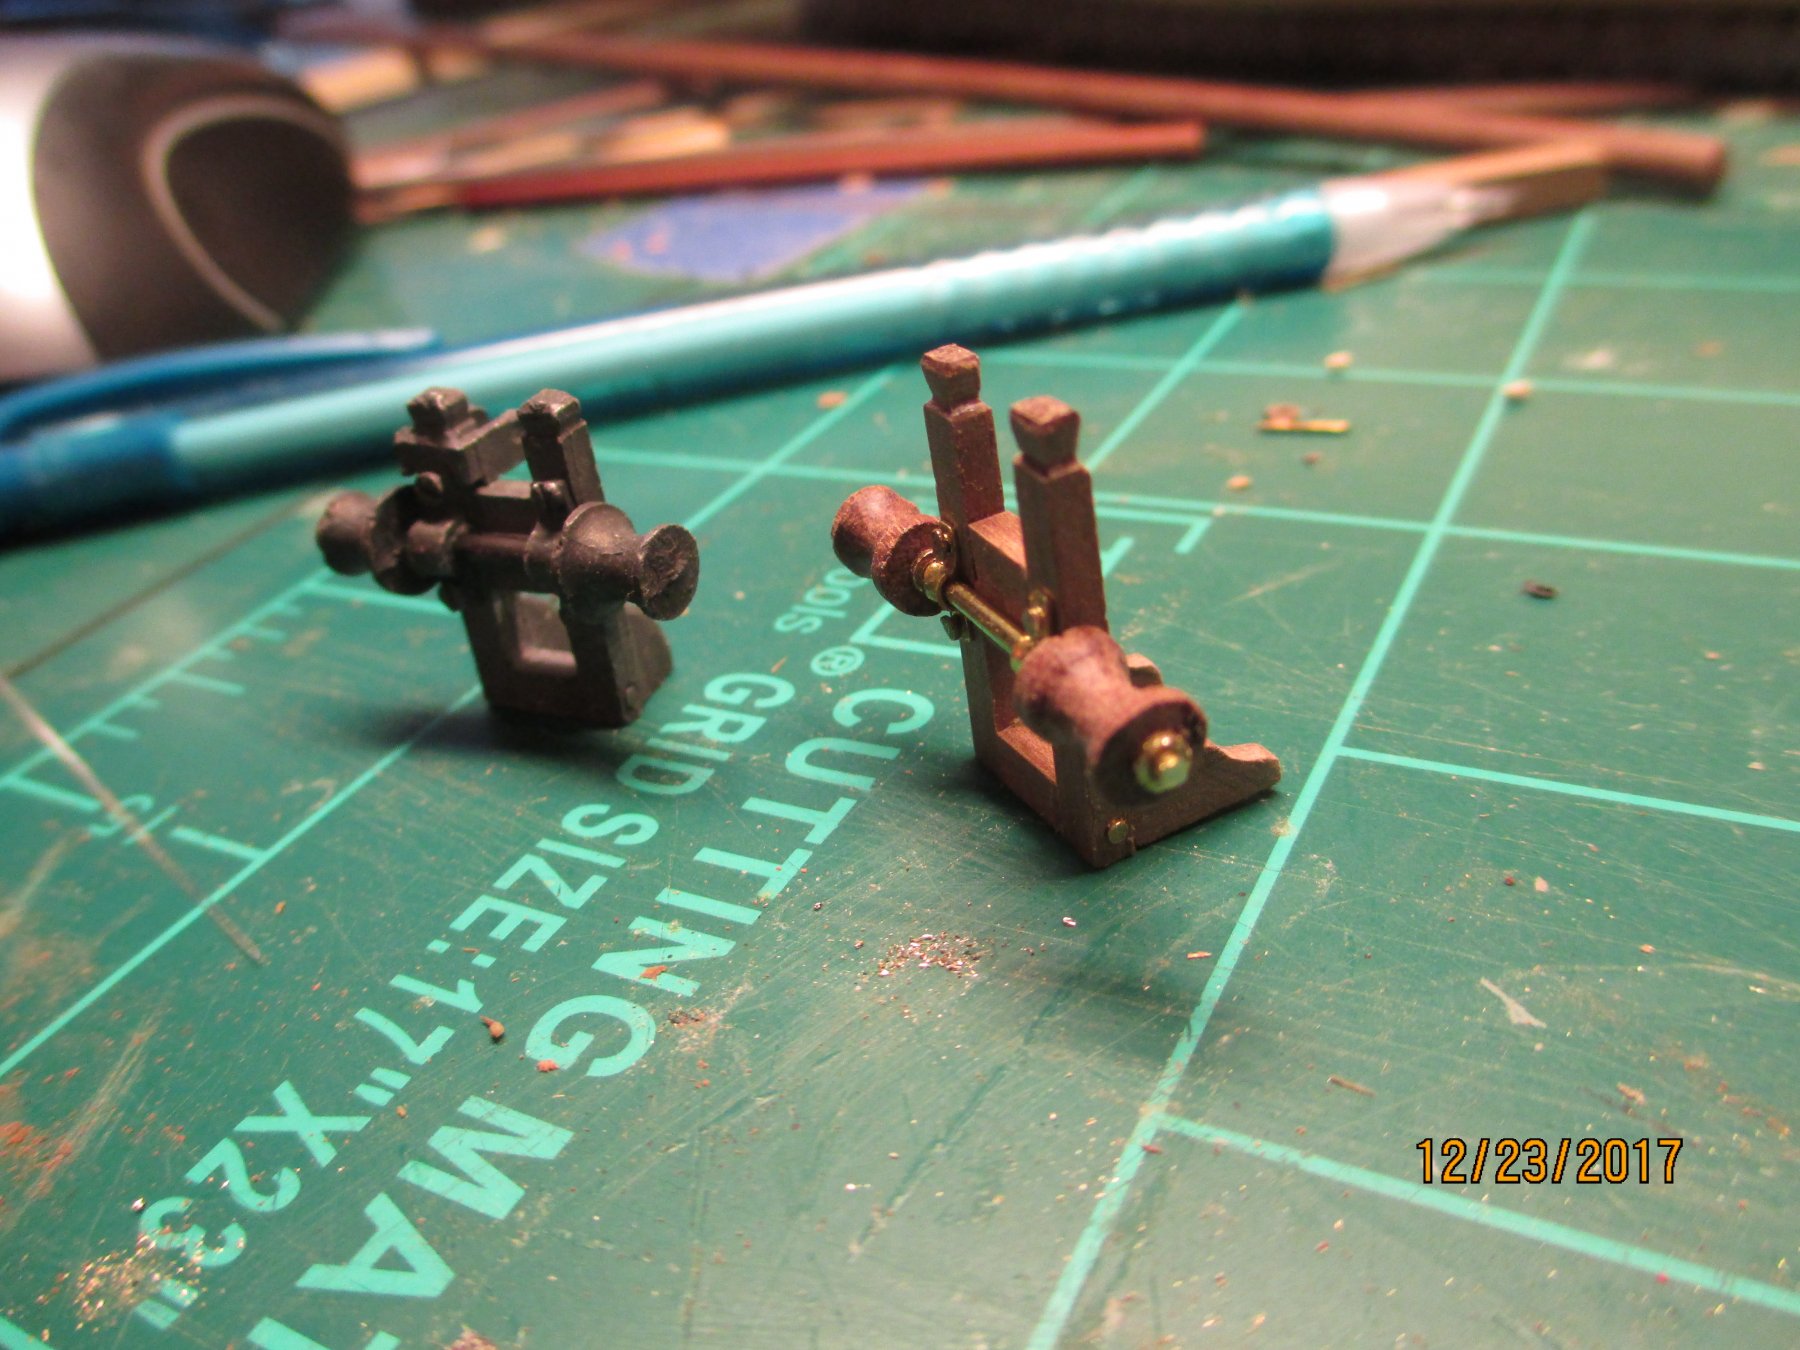
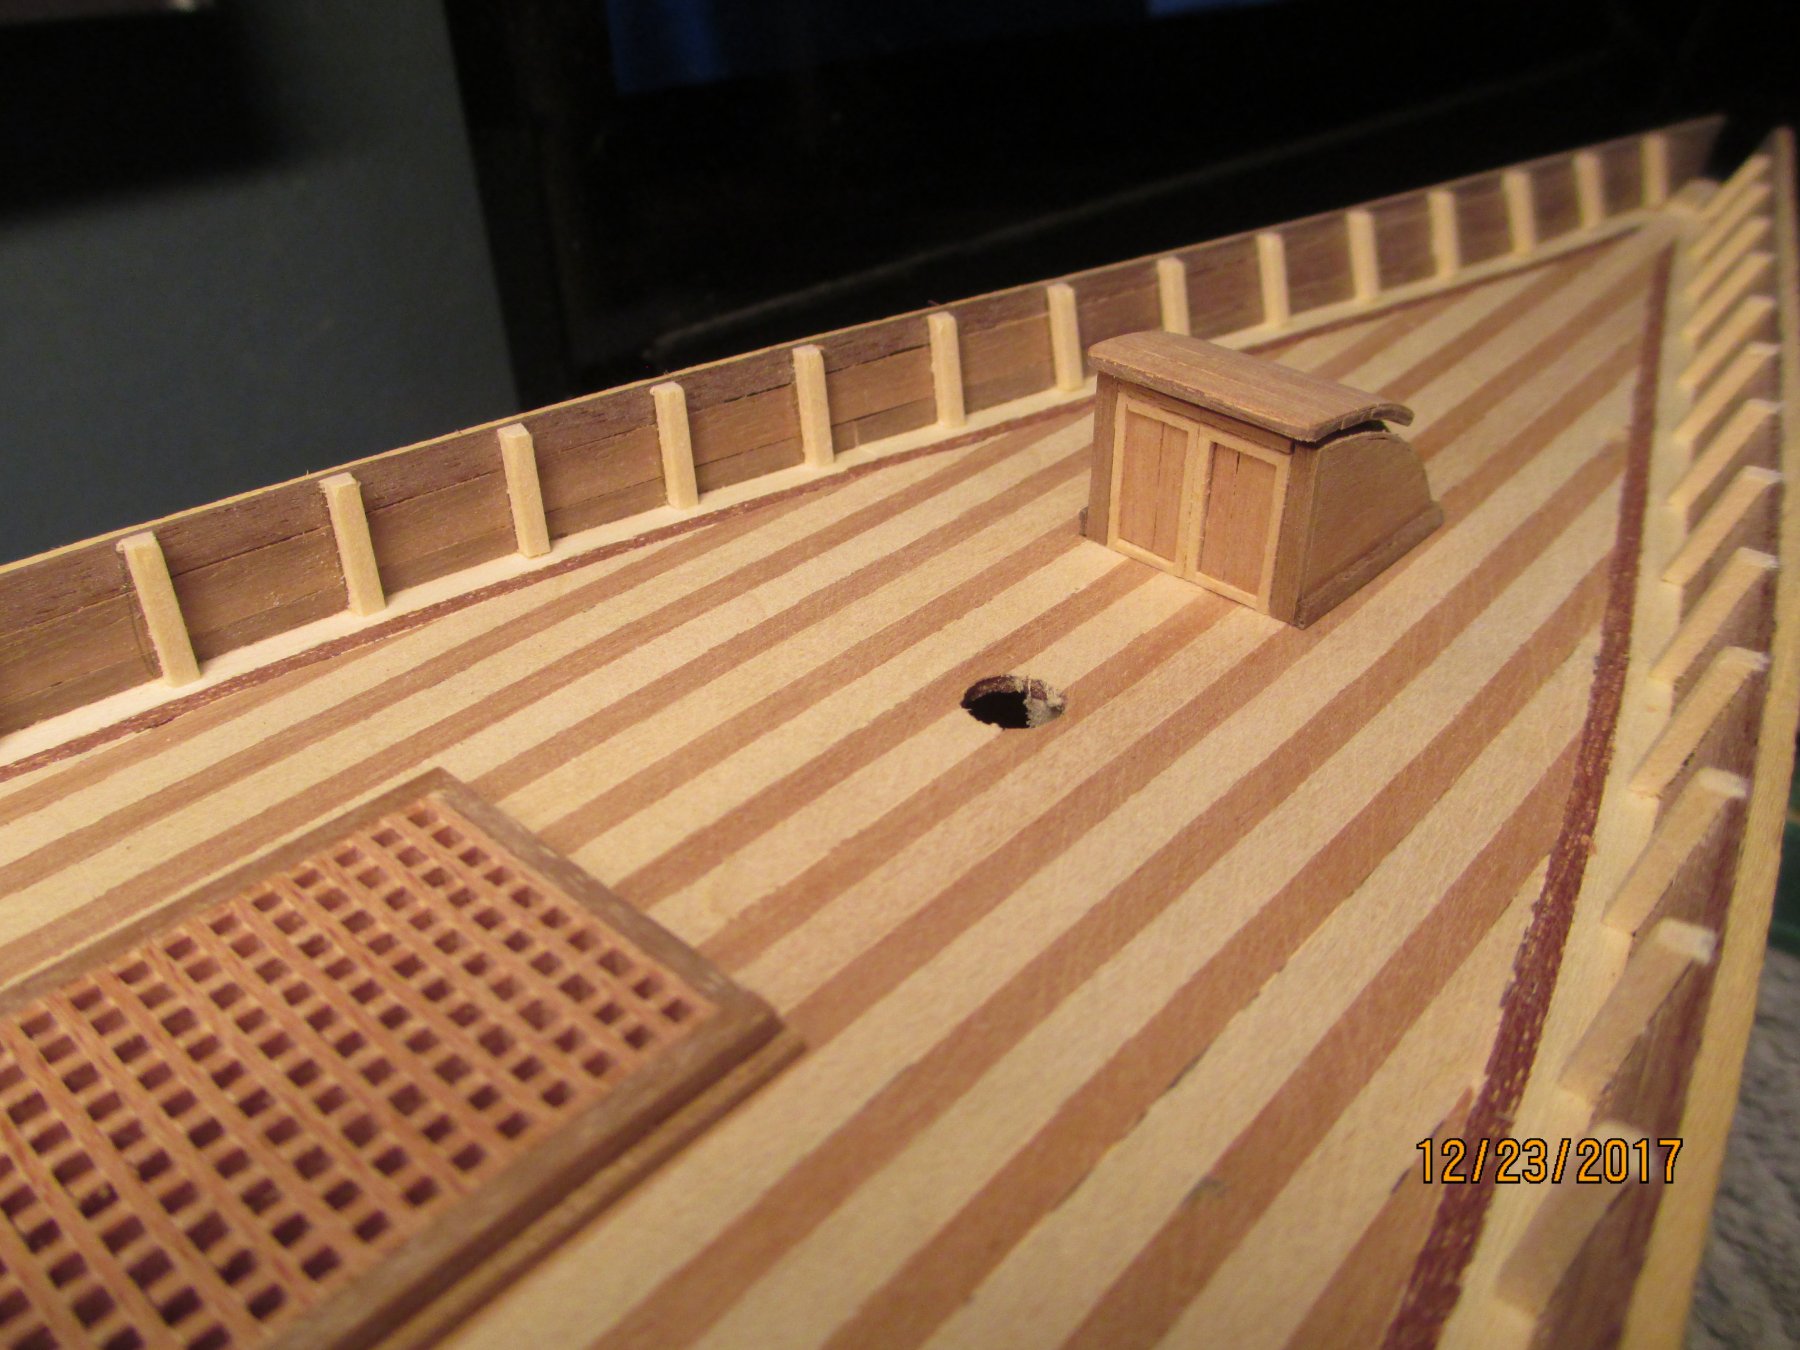
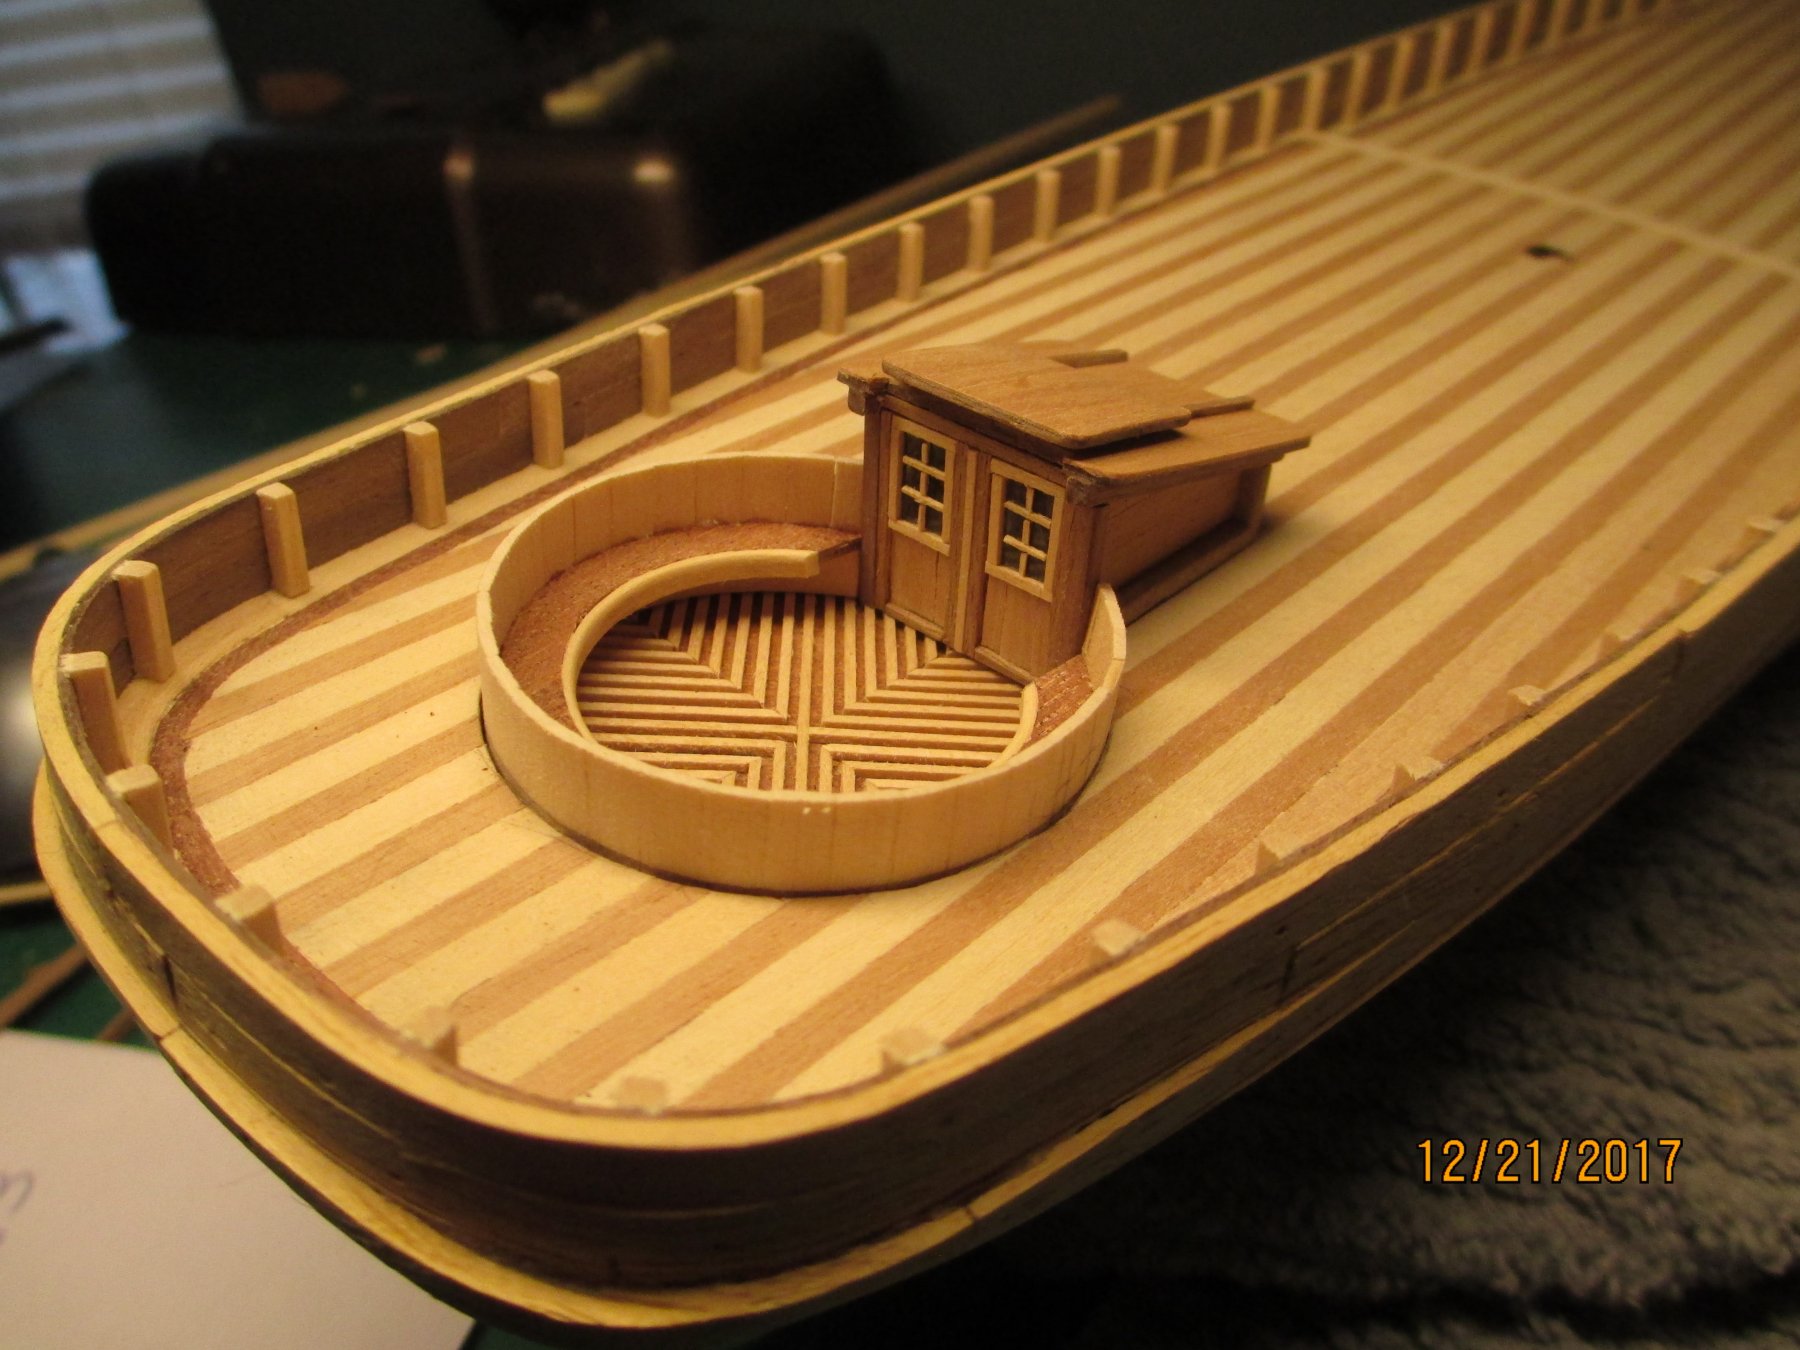
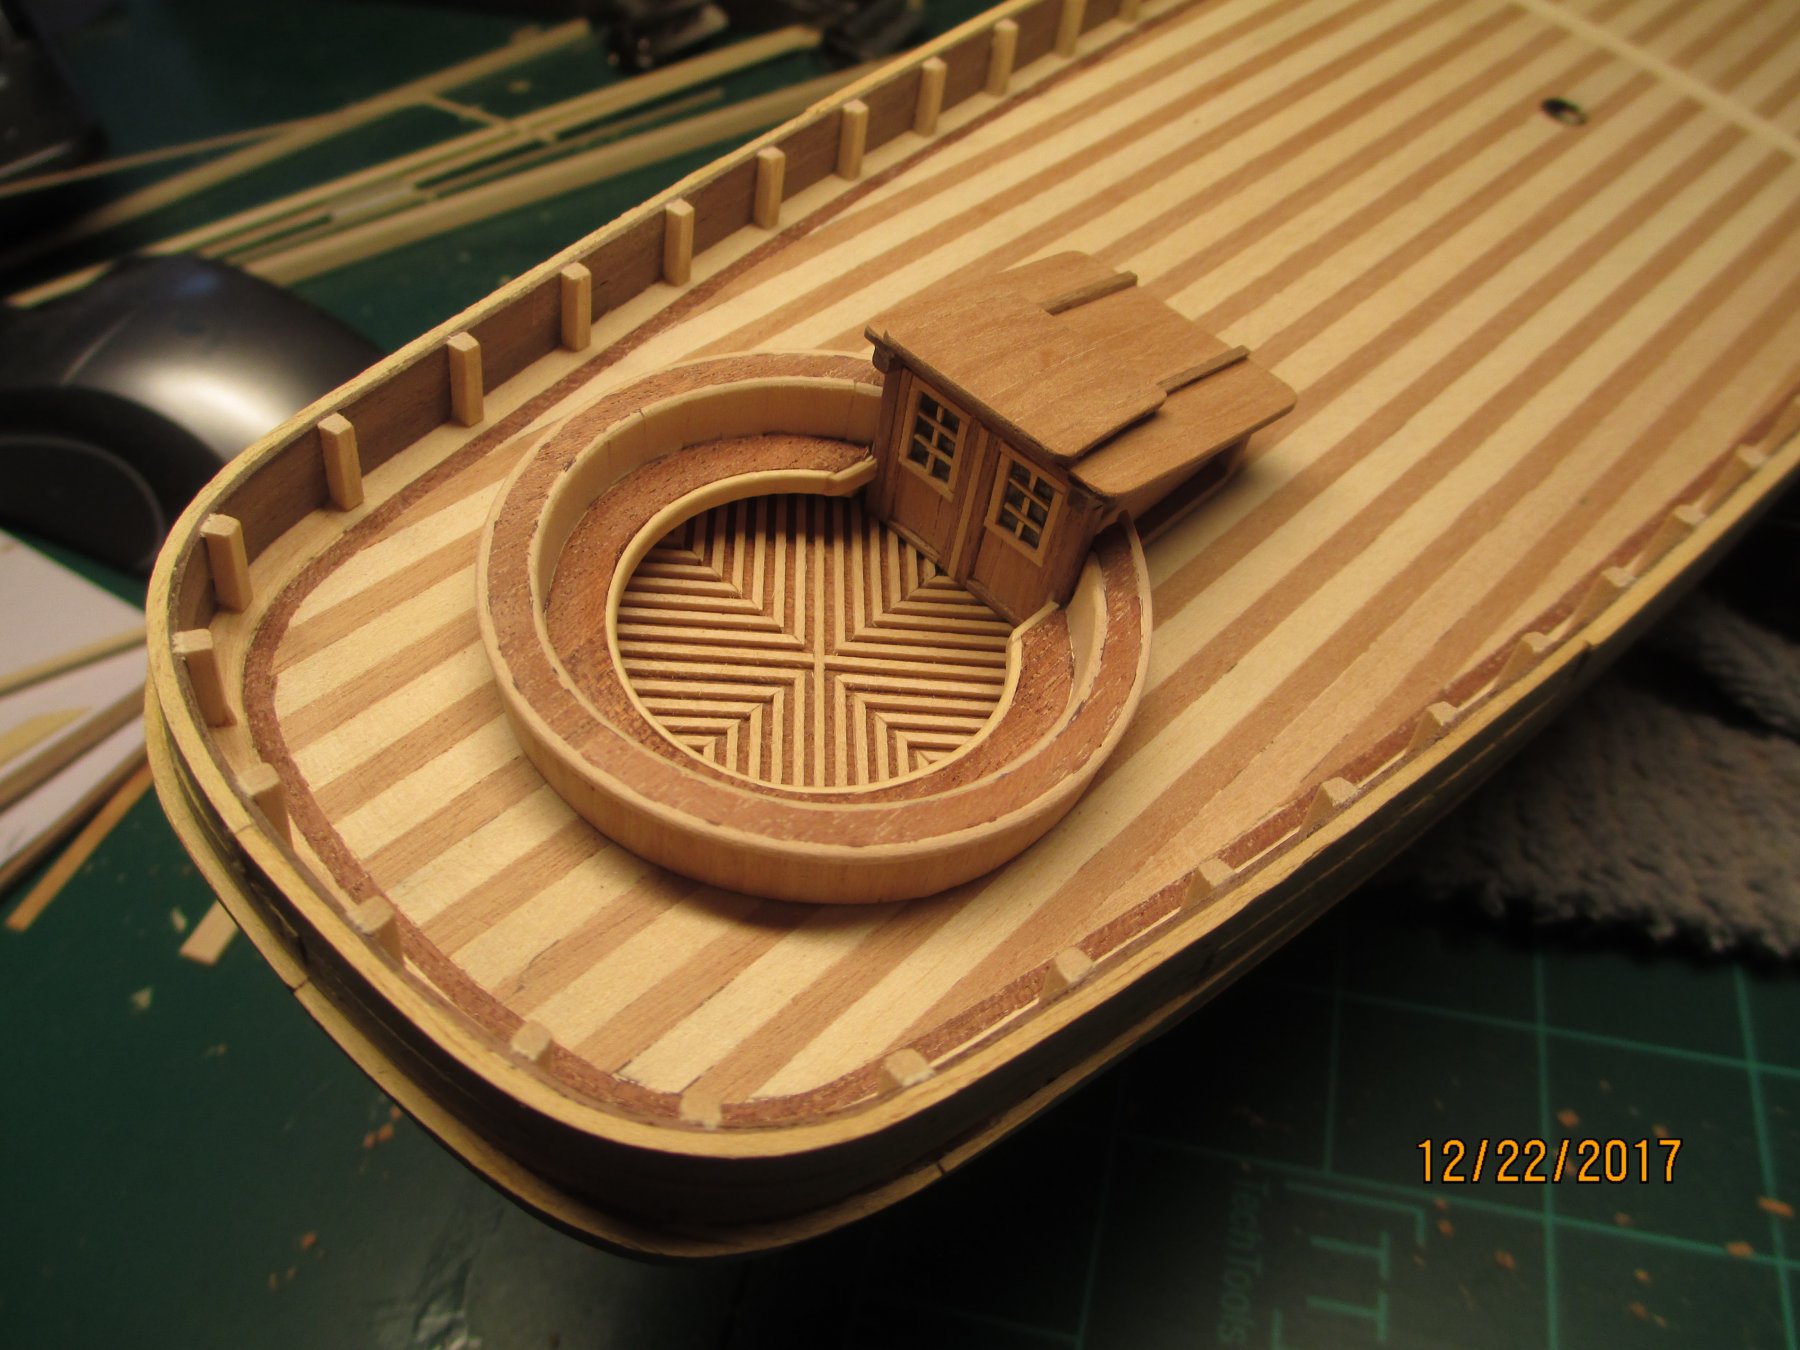
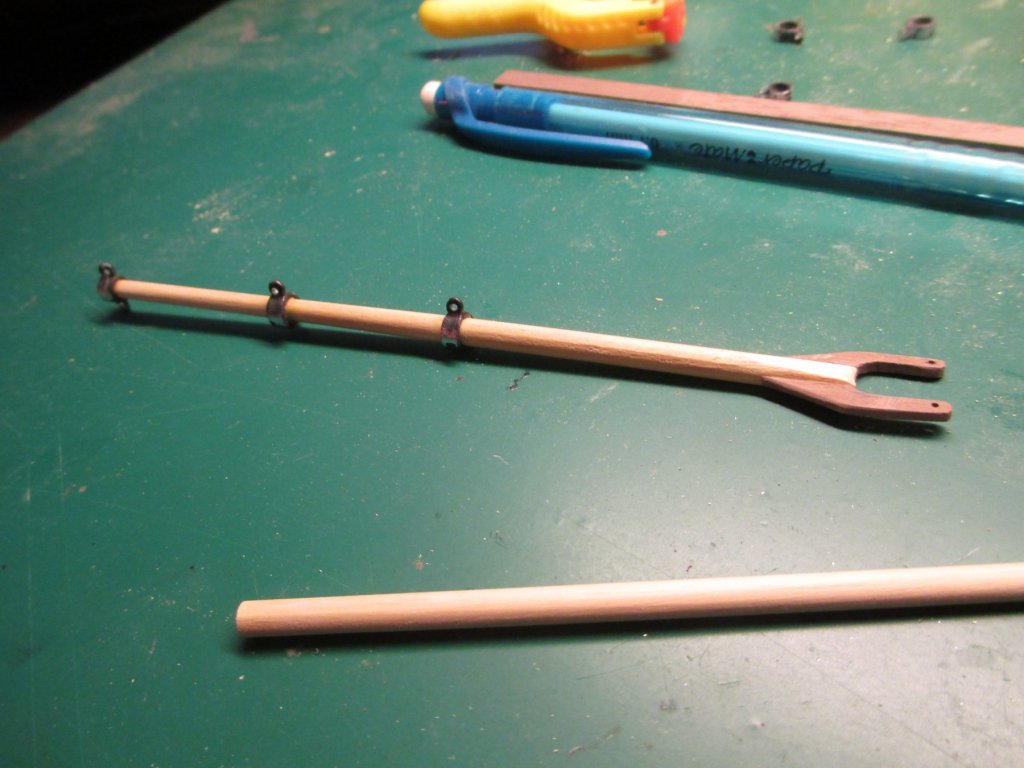
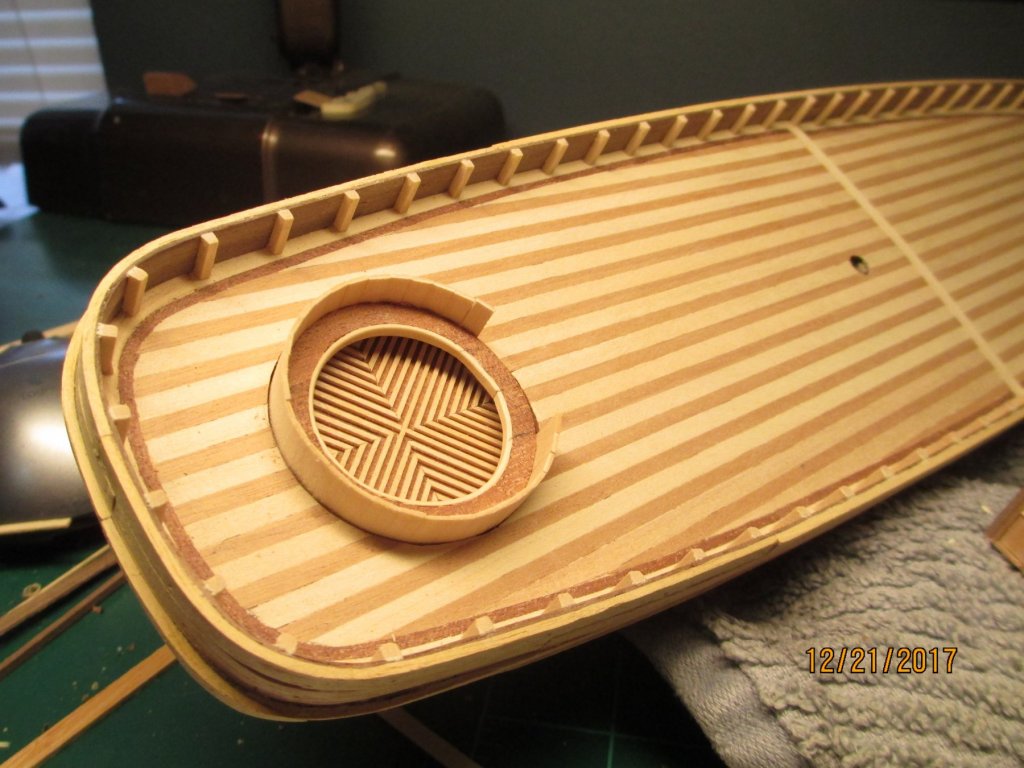
continued making the deck furnishing, these pieces will not be glued in place until the hull is complete. I have not decided on what I will used on the hull, I might used paint, ink, or copper plating strips below the water line , I will determine what looks best when I get to that point.


-
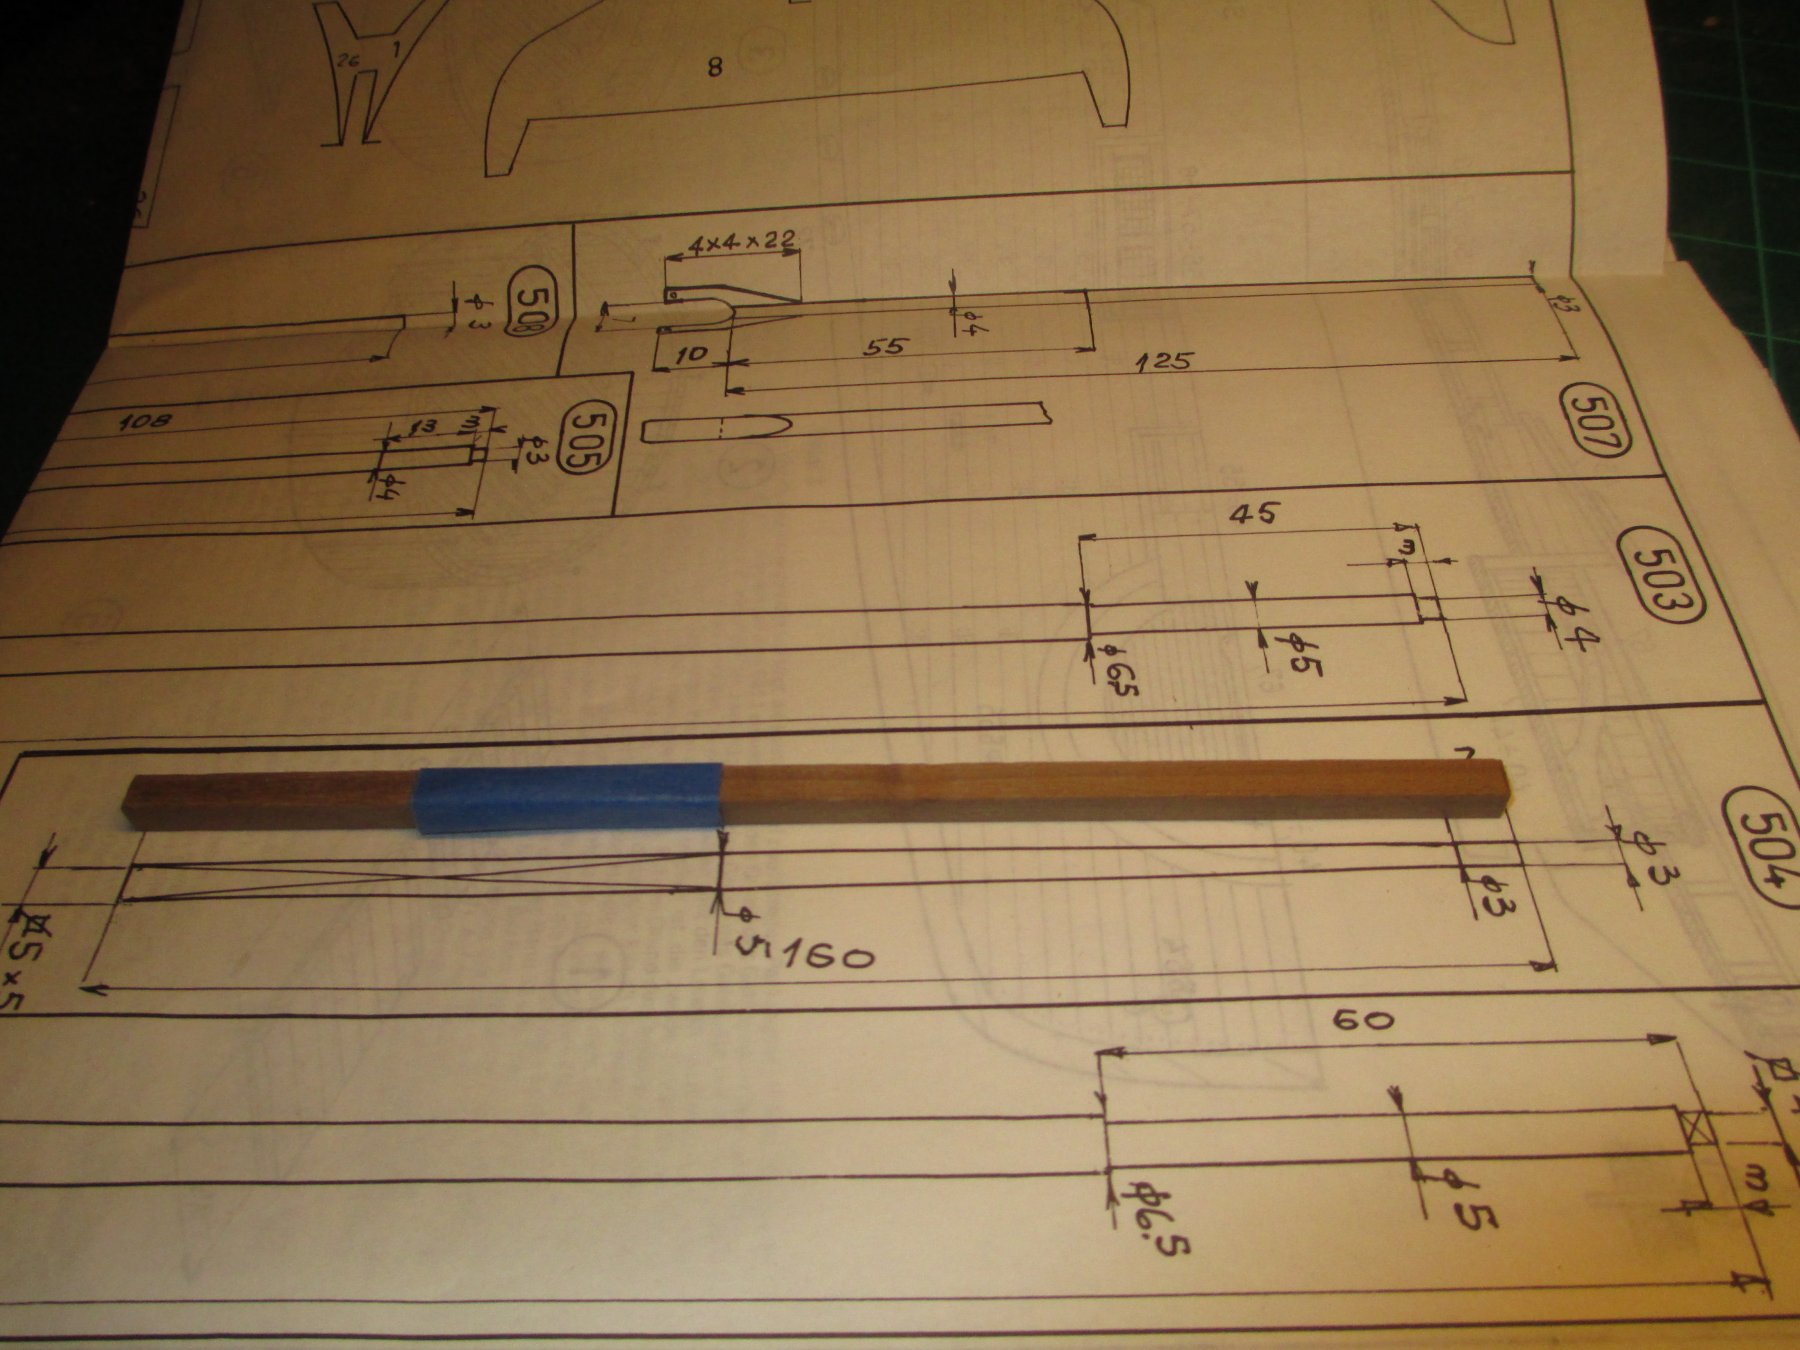
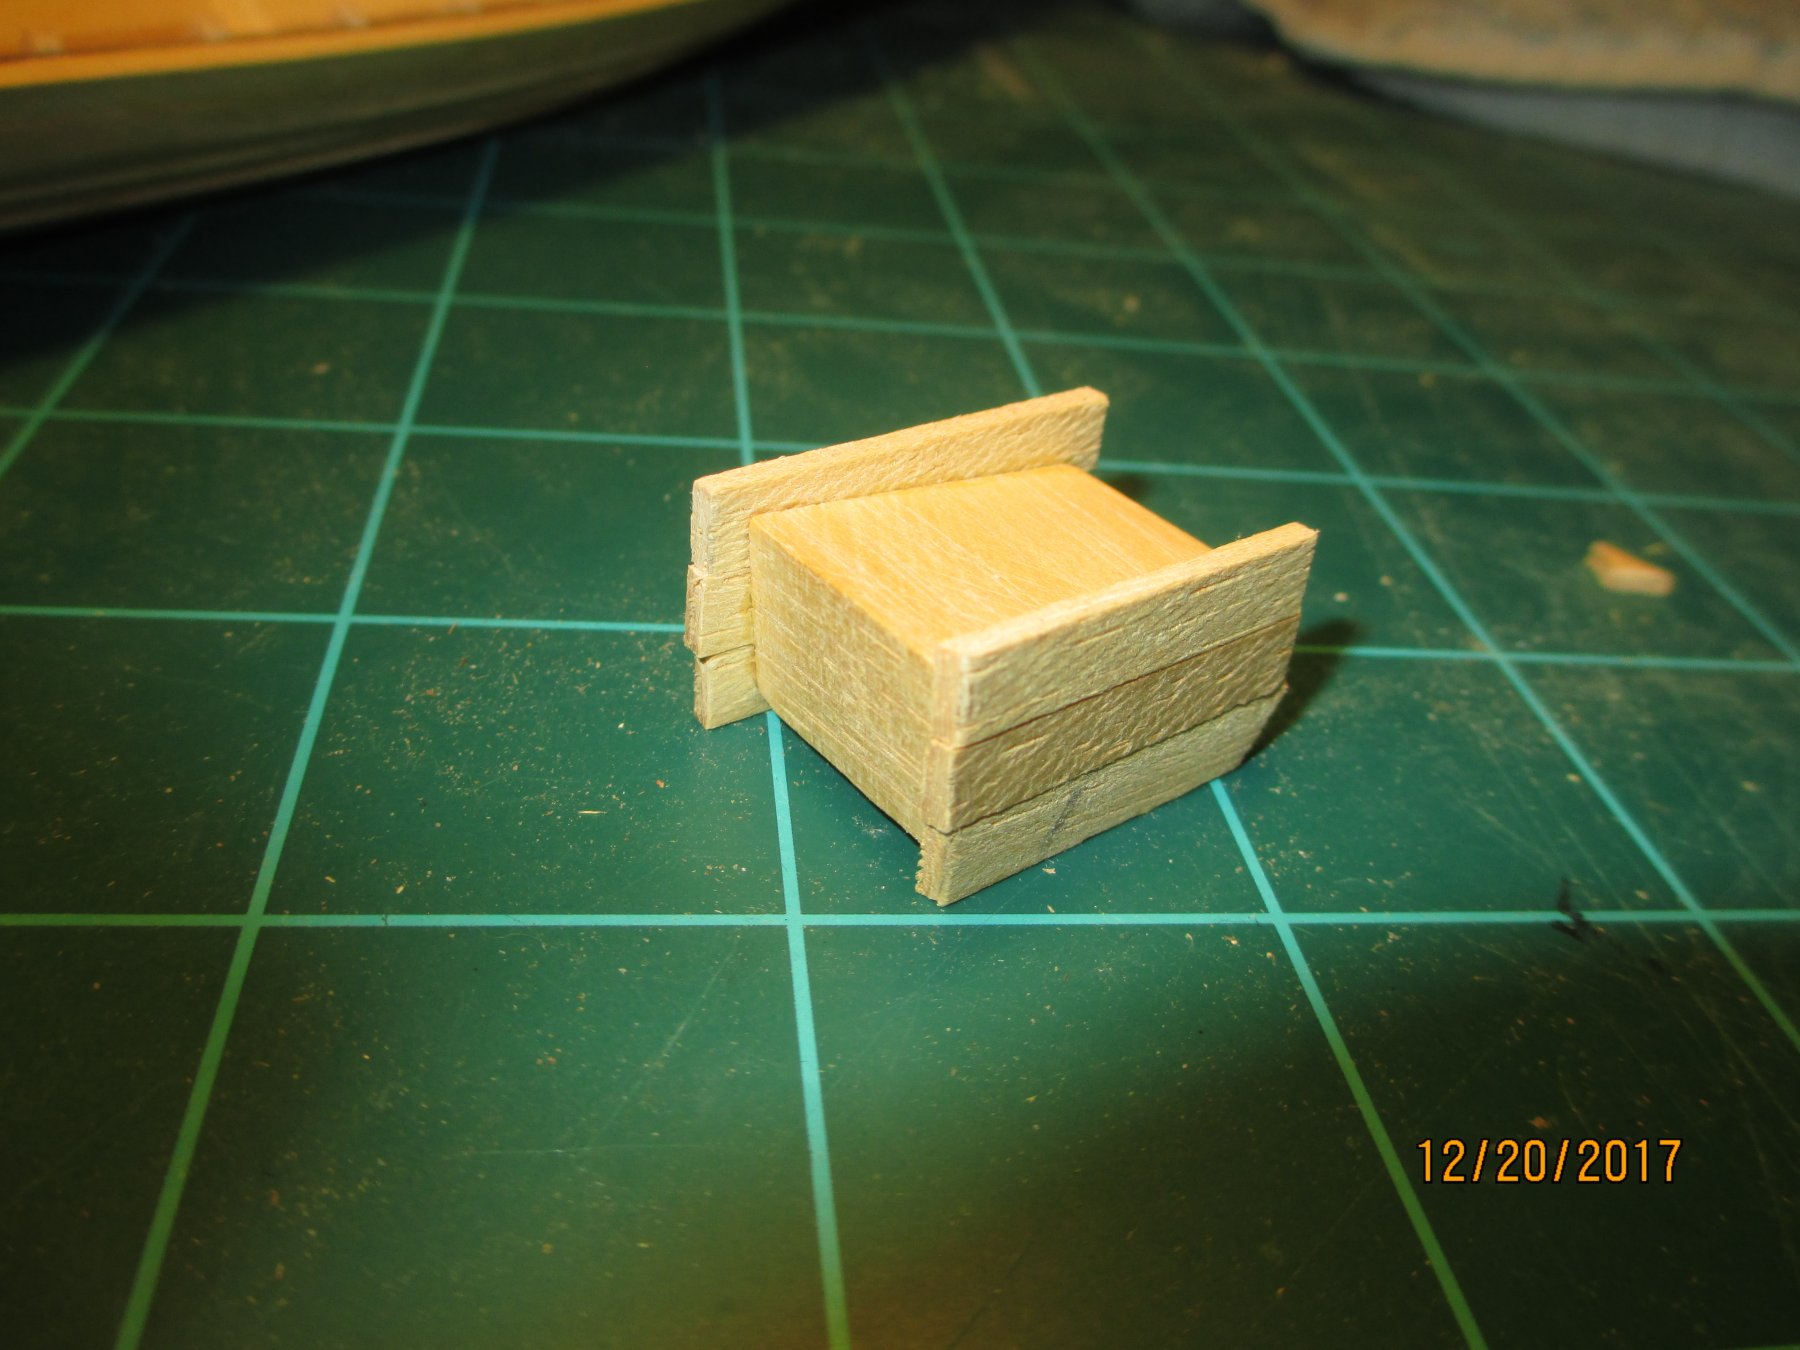
I will work on the deck furnishings before I work on the outer hull, I have to wait for a few warm days to use spray paint and clear coats since I do not use them inside the home work area. with in the kit are some simulated blue glass pieces to be used on the cabin doors and such, I cannot bring myself to use them, I will make my own. I use clear plastic and use black ink to dye the wood under the windows. I also added some girth to the provided kit pieces which seemed a bit small.