HOLIDAY DONATION DRIVE - SUPPORT MSW - DO YOUR PART TO KEEP THIS GREAT FORUM GOING! (Only 75 donations so far out of 49,000 members - C'mon guys!)
×


greatgalleons
-
Posts
794 -
Joined
-
Last visited
Content Type
Profiles
Forums
Gallery
Events
Everything posted by greatgalleons
-
 Bill, I really love what you have done with this kit, marvelous , I've had this kit twice and sold both, just could not bring myself to start one. It's a challenge to make it look nice and yours does. Enjoying watching it progress, A.J. Almost sorry I did not keep one.
 -
Yea Brian , I had that problem also, I just used 1/32 thick planking on both. The counter planks I used were a little wider than the transome planks. I have not started the mast and rigging yet, winter time plays havoc on my hands. Must be gettin' old or something.
-
Rich ,your build looks great even with all the inconsistencies in the kit. If I had one kit that actually matched the instructions when finished I would think something was wrong! They all have a few unexpected obstacles (flaws). Looking forward to seeing this build to the finish, A.J.
- 1,756 replies
-
- 1
-

-
- constitution
- constructo
- (and 1 more)
-
Thanks for the info on the rigging, I'll look for some better threads at hobby lobby before I start rigging the ship.
-
A very fine build, will use this log as a guide to my build. Huzzay!
-
Hey there Patrick ,I've not started the rigging on my build yet, too much work around the house has to be tended to. Did you use the rigging supplied in the kit, I find it a bit difficult to use , it must be a type of nylon thread , I prefer the cotton threads which are used in artesania kits. Anyways your ship looks great!
-
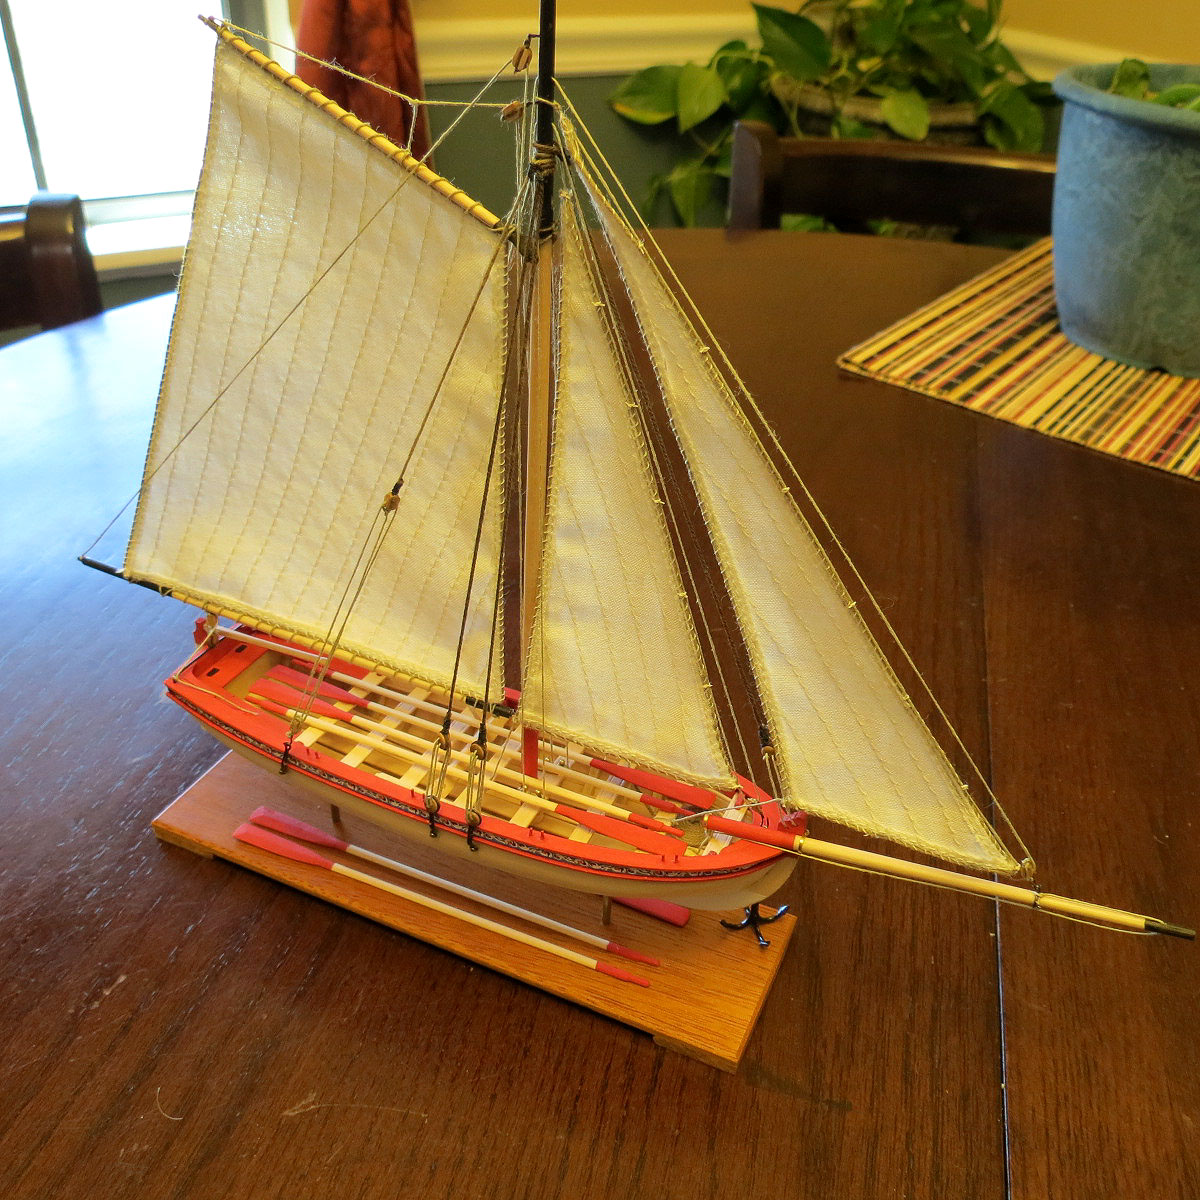
Very nice Samuel, this is the look I had planed for my kit, with all the sails visible .
-
I think Model shipways has the most comprehensive and detailed instructions and plans of all the kits available. It can seem confusing at times but makes sence as the build slowly comes along. I would not have attempted this build if I did not have a few other builds experience to fall back on. It was the Wasa that started me on ship modeling, I wanted to build that model so desperately but had no modeling experience so I waited until I had built 8 models before before I started the Wasa and could do it justice. It's easy to get ahead of the instructions provided so just take your time and it should turn out nicely.
-
Hey Brian, once you get the planksheer and waterway in you can measure out the cannon ports to size and then see how much to add or remove from the tops of each bulwark tip. There has to be enough room over the top of the cannon port opening for a strip of planking the length on the build.
-
Brian, with all kits you really have to use you problem solving skills and use what works for you if the instructions don't make sense. I don't consider myself an expert at modelship building, at almost 30 complete builds I'm still a novice at it. It keeps my hands busy.
-
On page 3 of this build you can see how I added a strip of 1/8 square strip to the tops of those areas of the bulwark, the areas which were short I added some wood inbeteen so it was all even from bow to stern. I just nailed and glued the strip on and removed the nails after the glue had dried.
-
Hi Brian, I would definitely make sure the tops of the bulkheads at the deck are all nice and level to each other, you can add to or take away some wood to the hull areas of the frames to ensure the fairness of the hull for planking. It takes a little extra time but is well worth it. You'll notice on page 3 of this log the last photo shows bulkhead letter N at the deck is a different color as a result of me adding wood to it so the deck planking would not have a dip at that area. To tell the truth I did not even bother with the reference lines on the plans.
-
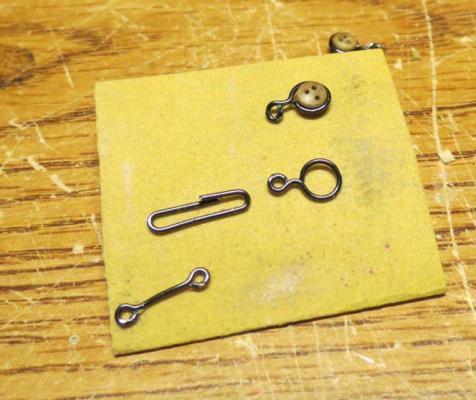
Hey there Brian , I just bent them using some pliers, they did not break at the bends, then I fill the gap with solder.
-
I just followed the bearding line on the instructions and transferred it to the keel using tracing paper as a guide were to file down the edge. I do not have a supply of balsa wood available to use . I just use what I have laying around.
-
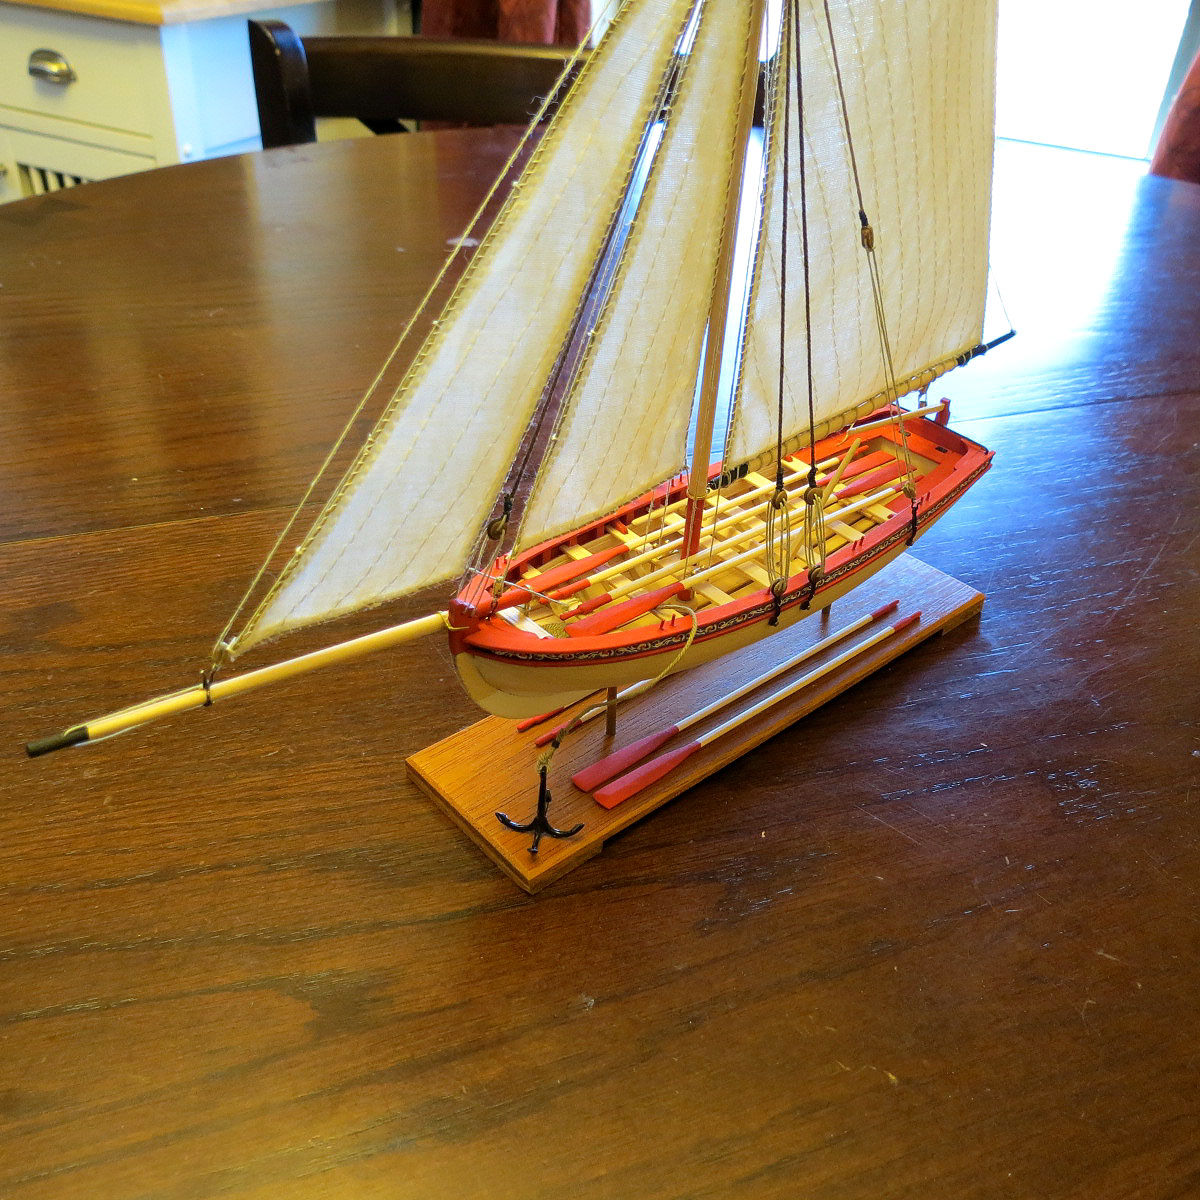
Hey there JBITW, I've taken a little break from my builds. I think furled sails would look nice and not take away from the hull as the main point of interest and still show the fine lines of the ship. I'll start again on this build later in the year, good luck with your build.
-
Up at the top of the page next to your photo is a envelope icon, click on it for the drop down menu, there it will have an option for compose new, that will take you to a new page were you can place my MSW name (greatgalleons) to recieve your message or address directly to my email address.
-
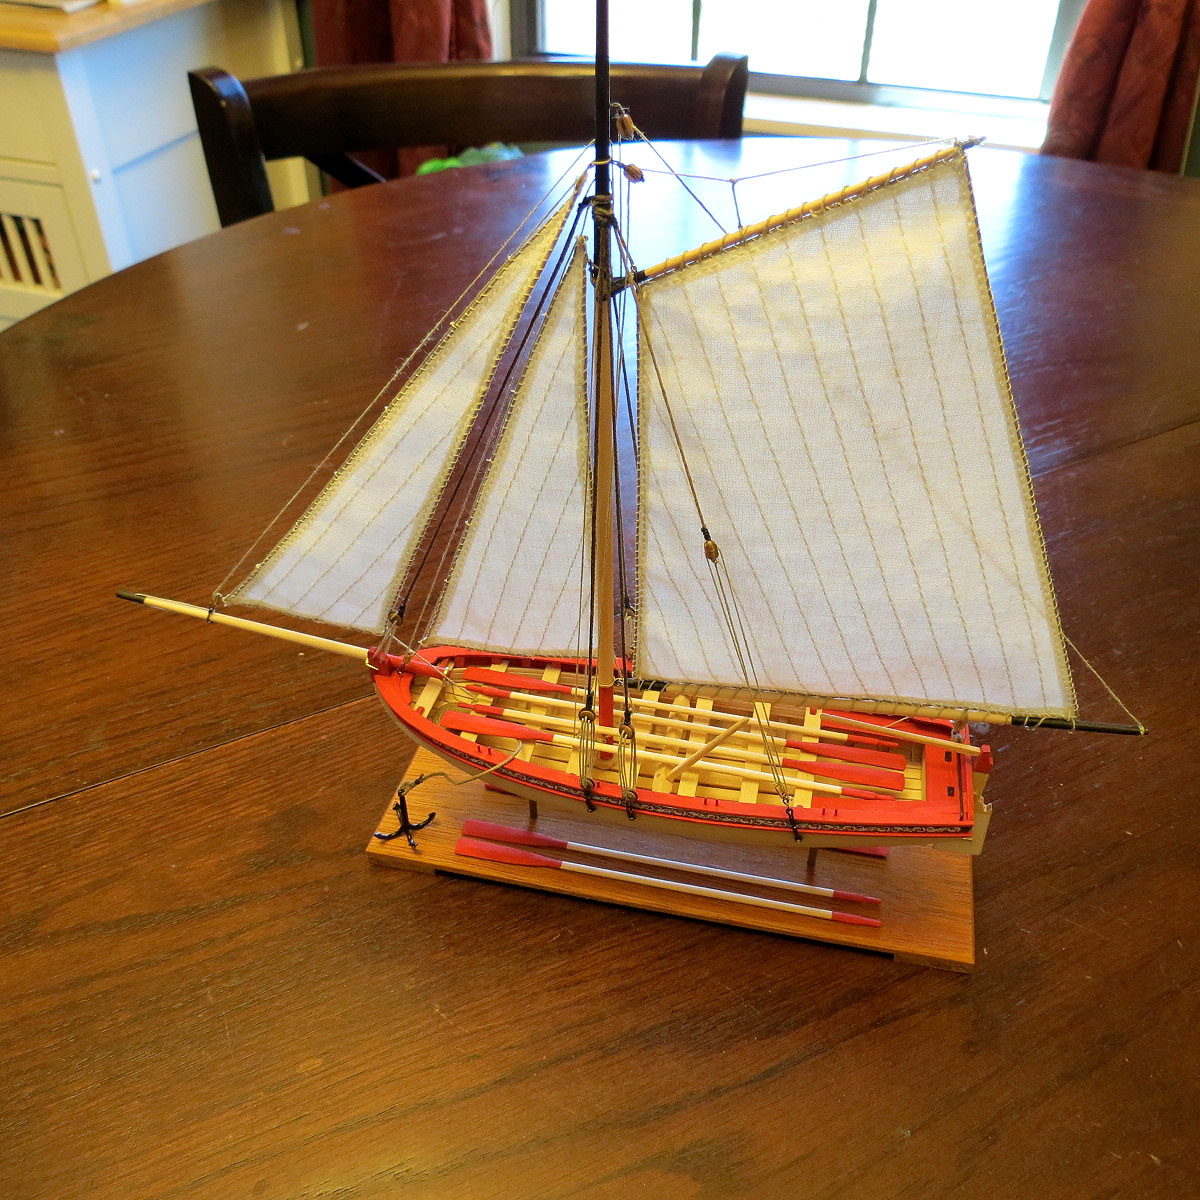
Hey there senior, the kit should have six sheets of instructions, six separate sheets or either three with instructions on both sides. If you like I can send you a complete set (no cost) , I have two complete sets which I will no longer need. The sheet with the davit/cranes has the sail measurements also and may help if you plan on showing it raised on your build. Anyway let me know I'll be glad to help.
- 39 replies
-
- 1
-
-
- new bedford whaleboat
- model shipways
- (and 1 more)
-
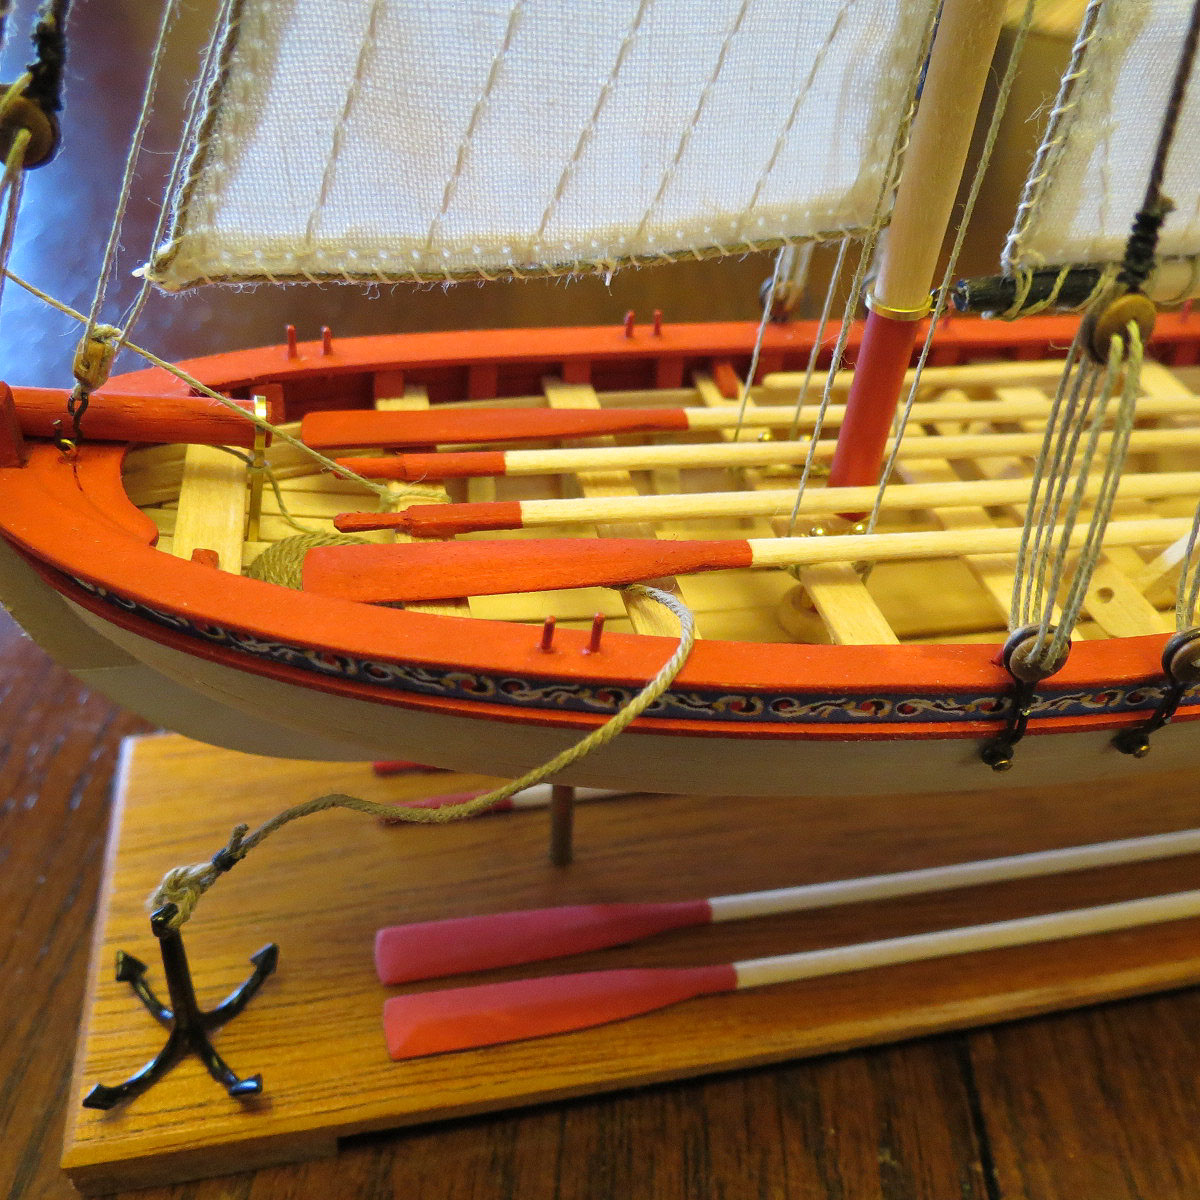
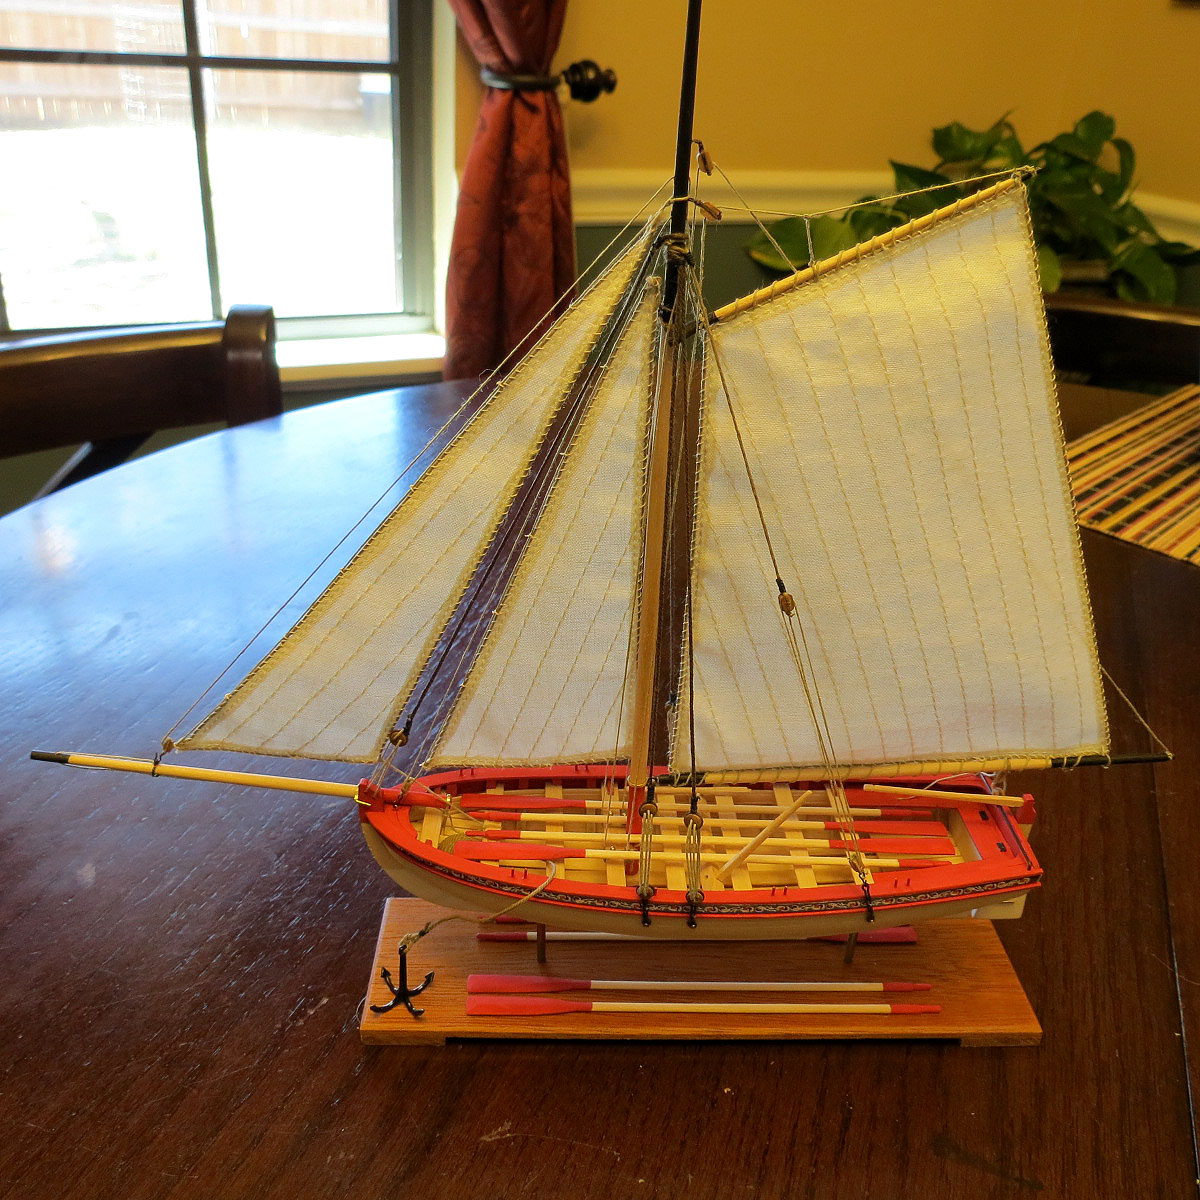
Hey there ole salt, my kit did not have the book in it, so while I waited for a new book I ordered (about a month) to come in I scratch built the crane and davit in the plans provided in the kit, it fit the whale boat perfectly. Do you have plans to build the crane for your boat also? I did not make a build log for mine, not many do. All I did was place it in the finished gallery. Anyways your boat looks excellent!!!
-
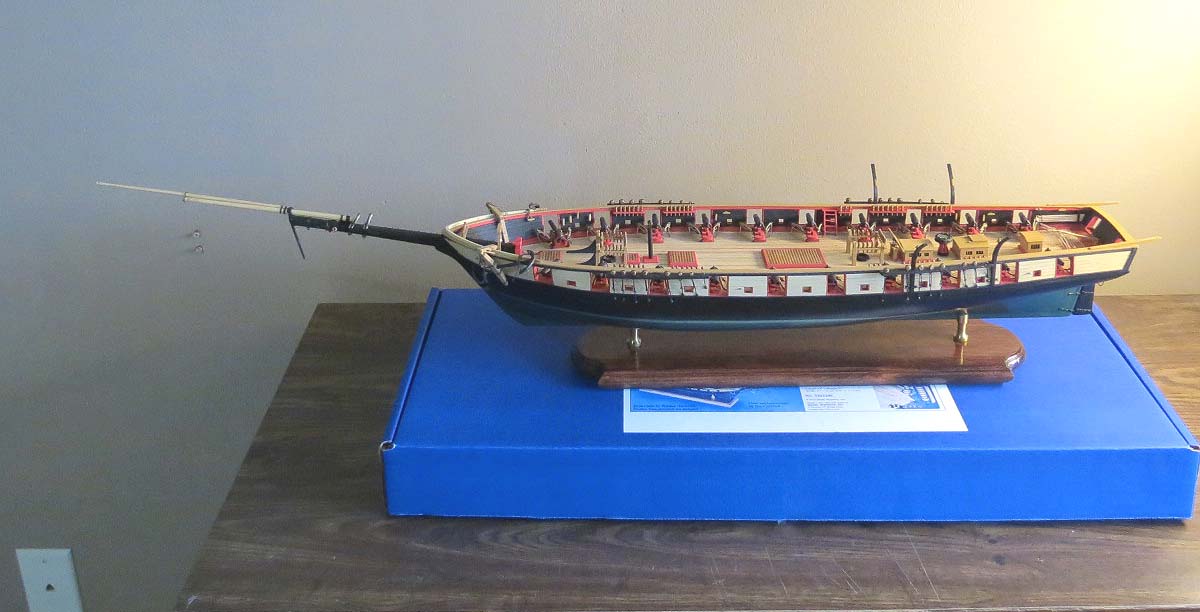
Yes I guess I do work a bit faster than most. Some years I could get up to eight builds done, I've slowed down a bit and have decided to hold off on the rigging on the Niagara for a while. I'll finish it later on in the new year.
-
Hey there Larry , your build is coming along nicely, It's so much more difficult to plank the hull in belts as suggested in the instructions, looks great!
-
Hi Ron, I like the use of the long boat blank for creating the actual boat, great idea, I was searching for a better way of producing the long boats on my Niagara build and thanks to you I have found it. I built the MS New Bedford whaling boat using the same method, it was 24 inches long though. The stacked cut outs provided in my Niagara kit for the long boats are not very appealing and far to weak to handle. Thanks, I really like this Oneida build.
-
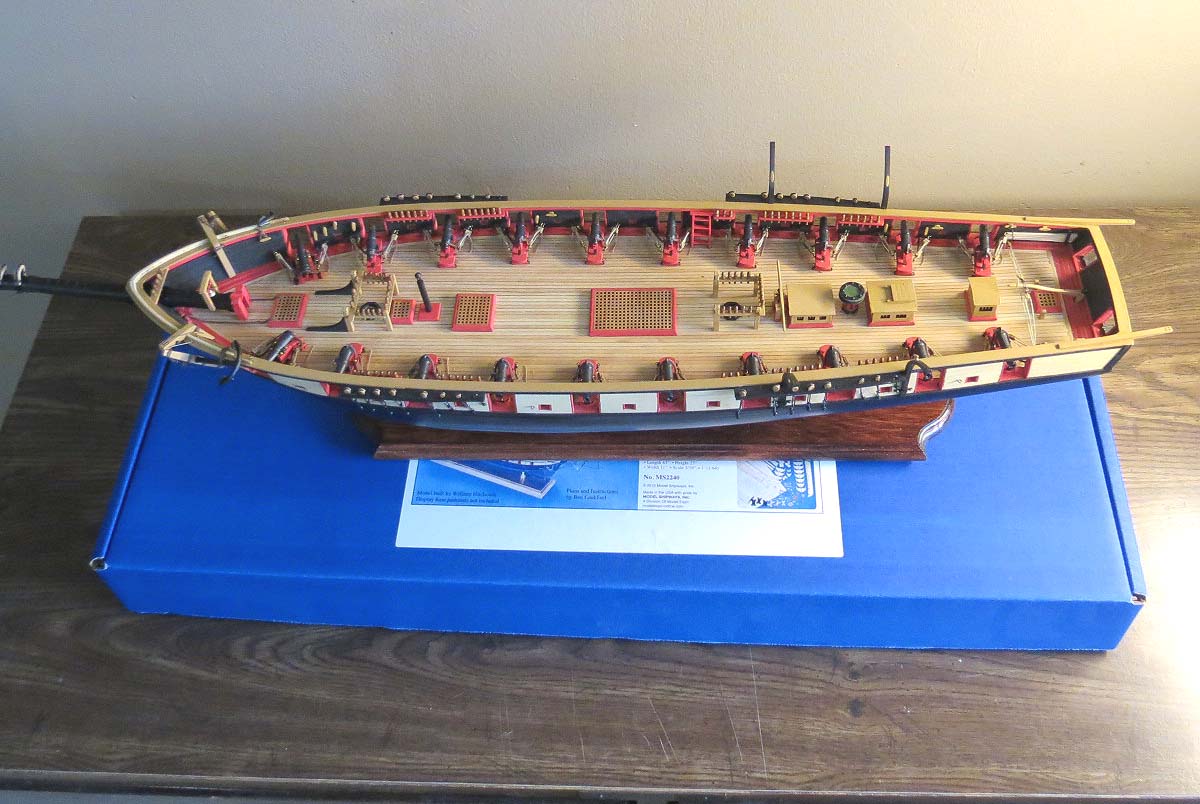
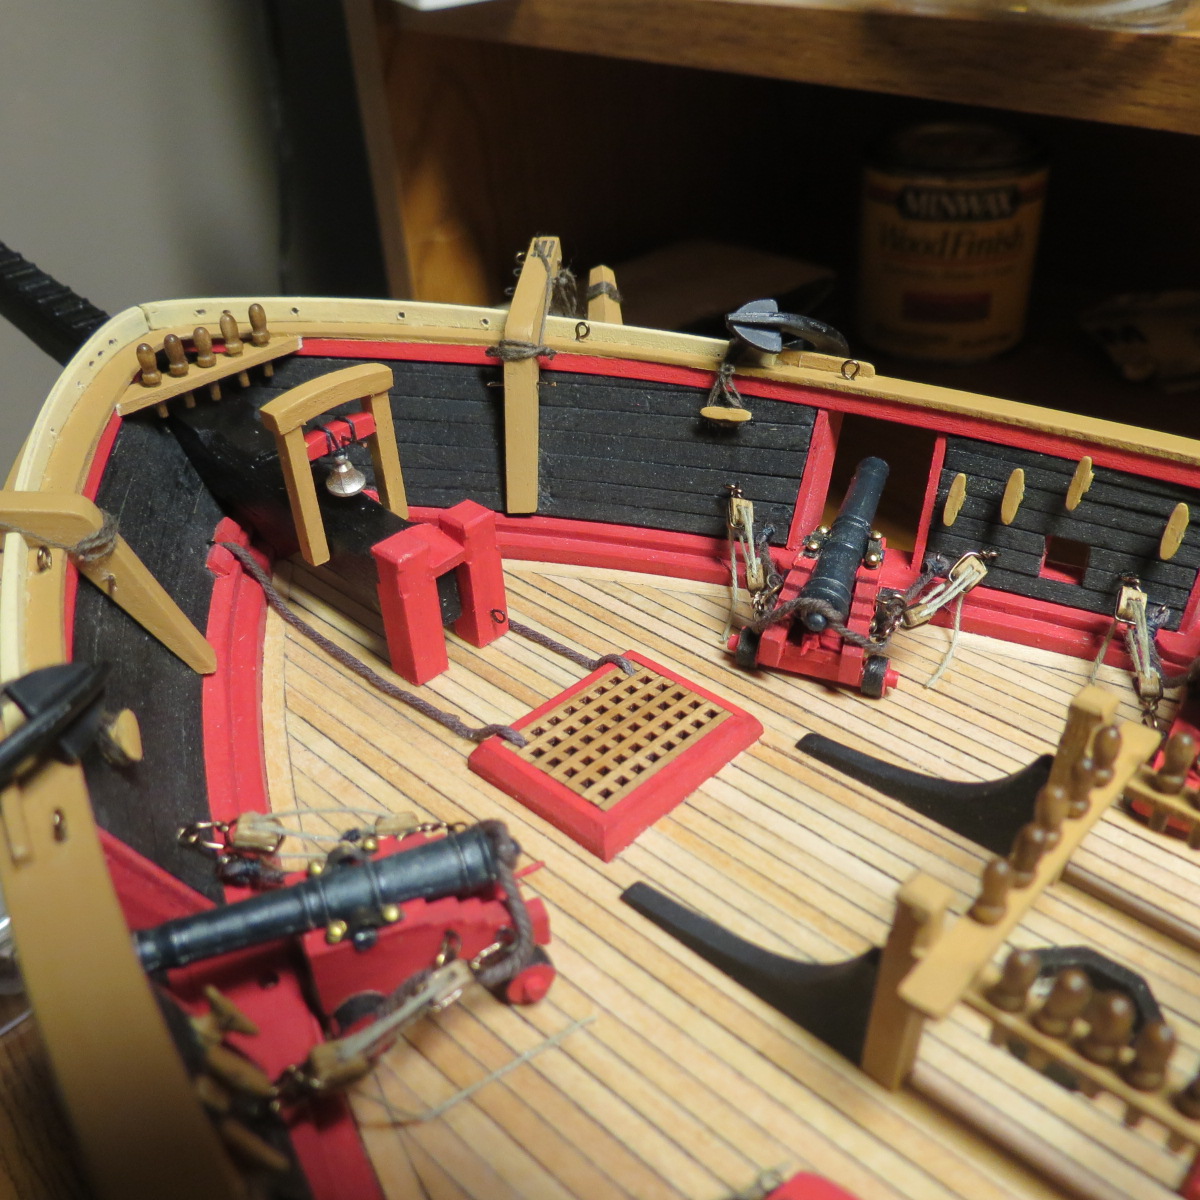
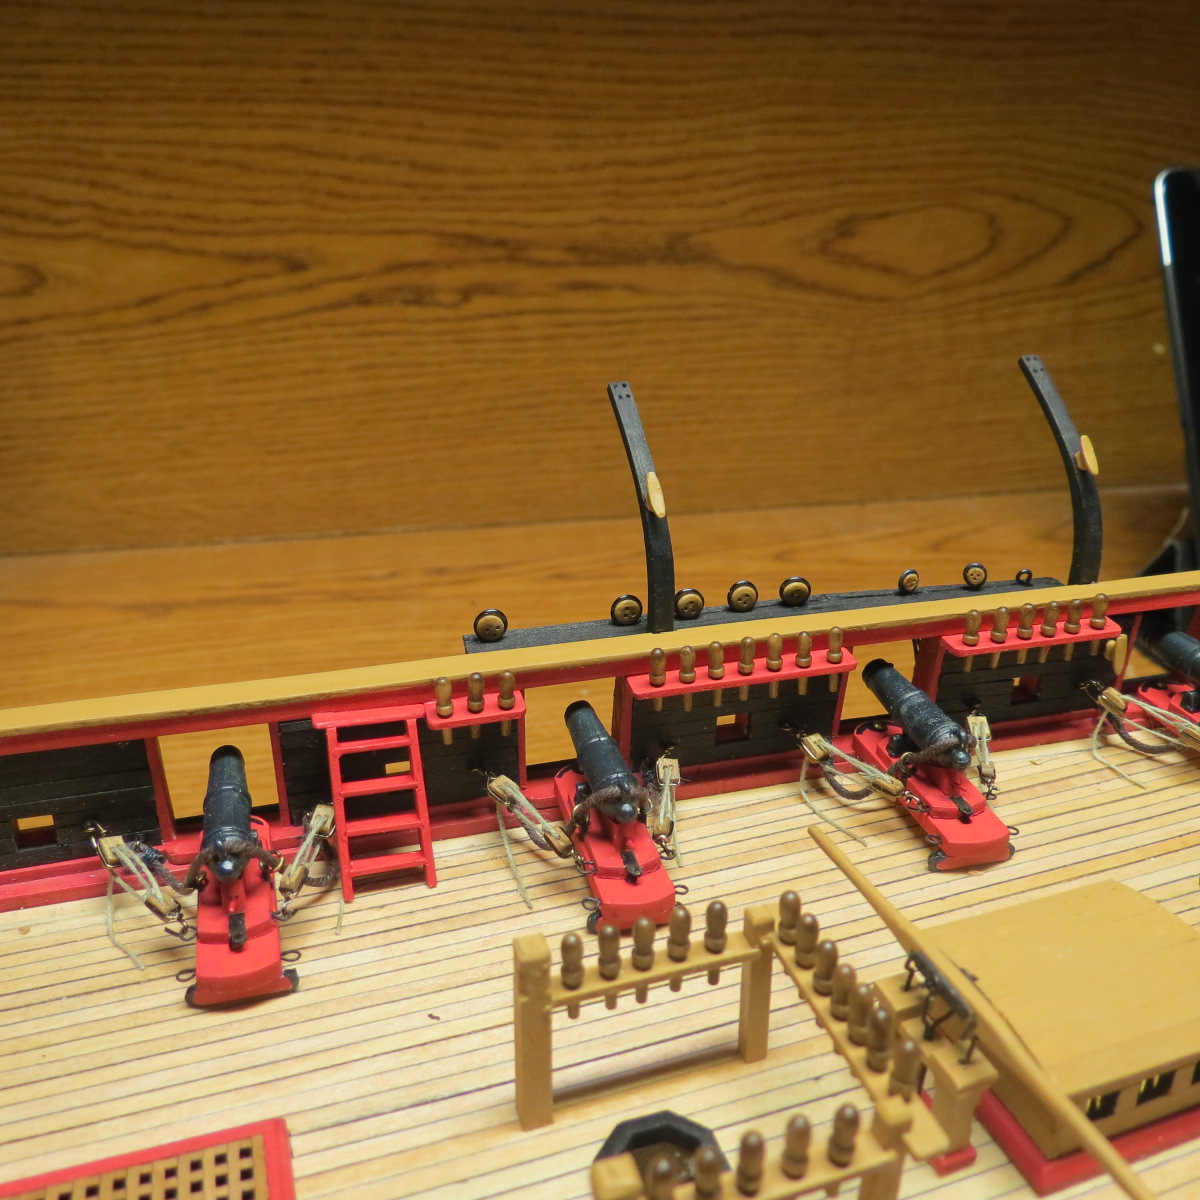
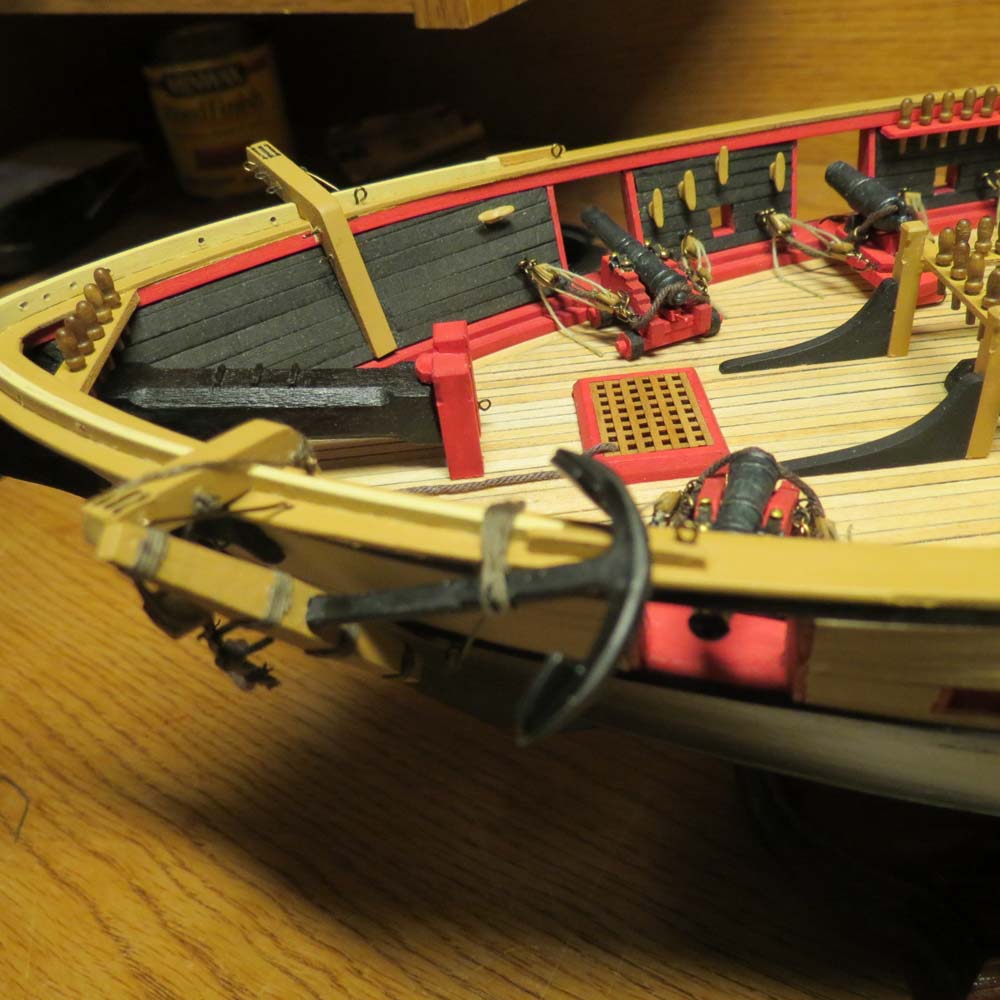
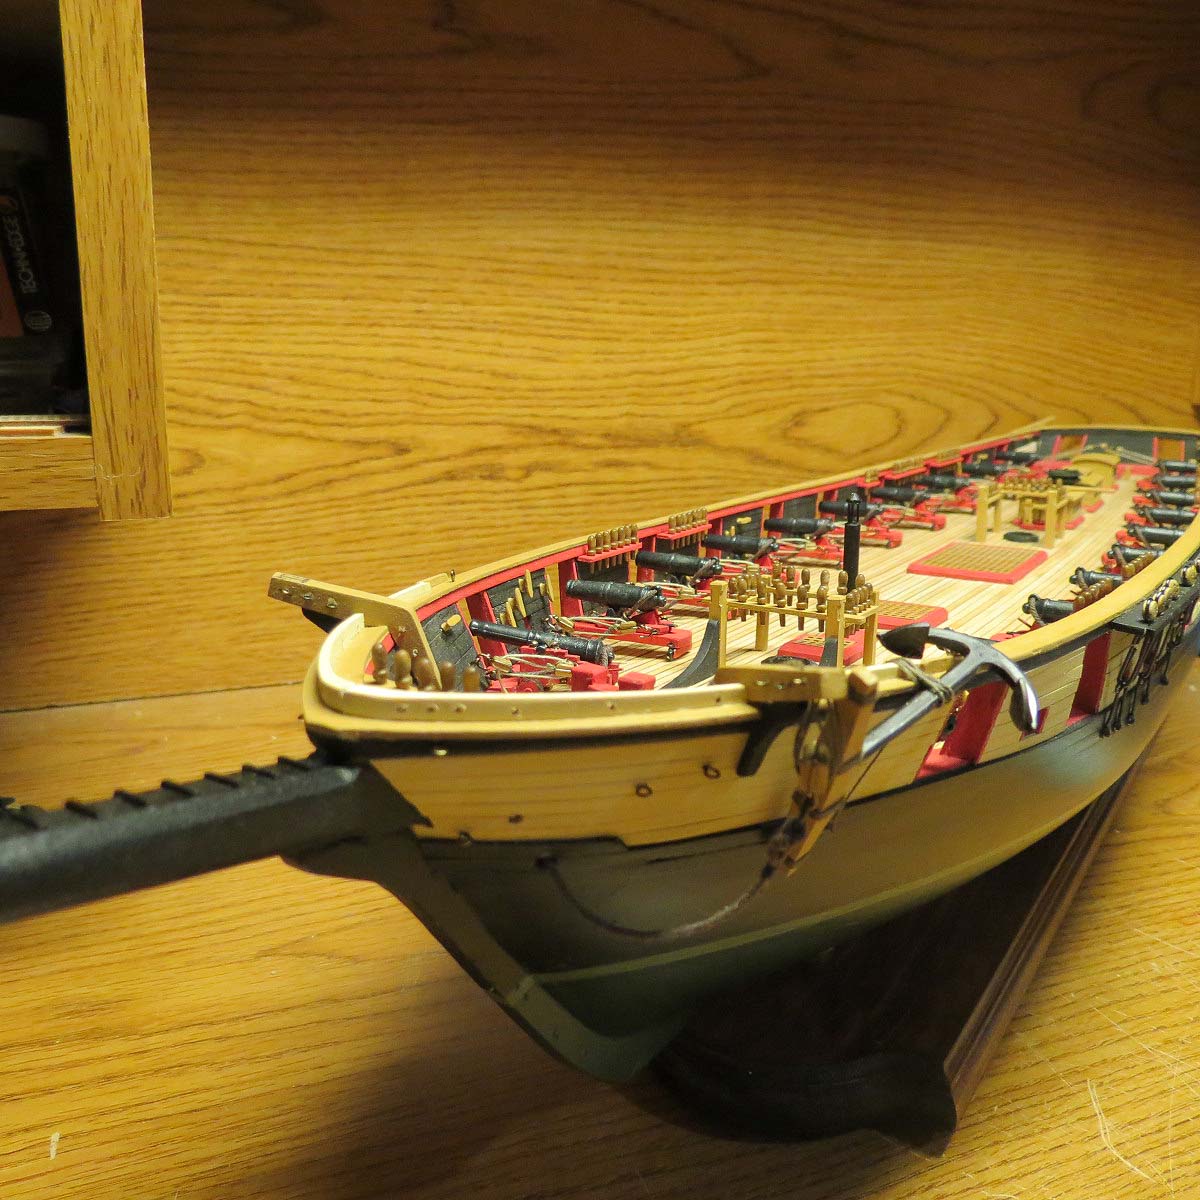
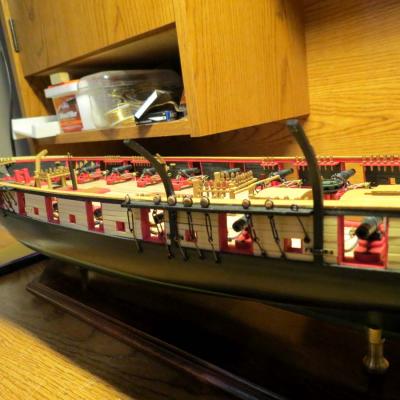
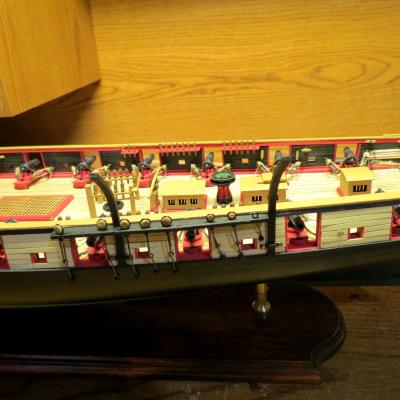
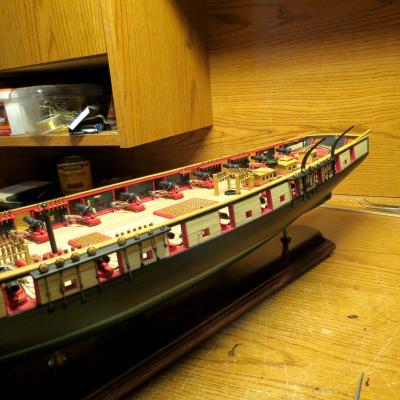
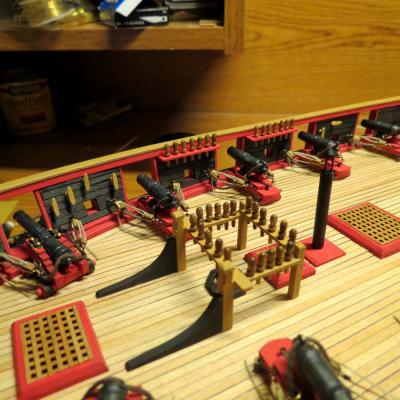
some work on chain plate and larboard cranes, used 22 gauge black wire, added belaying pin rails also
- 304 replies
-
- 1
-
-
- niagra
- model shipways
- (and 1 more)