greatgalleons
-
Posts
794 -
Joined
-
Last visited
Content Type
Profiles
Forums
Gallery
Events
Everything posted by greatgalleons
-
 that sure is a beautiful Wasa build Michael, amazing! Still my favorite ship.
 -
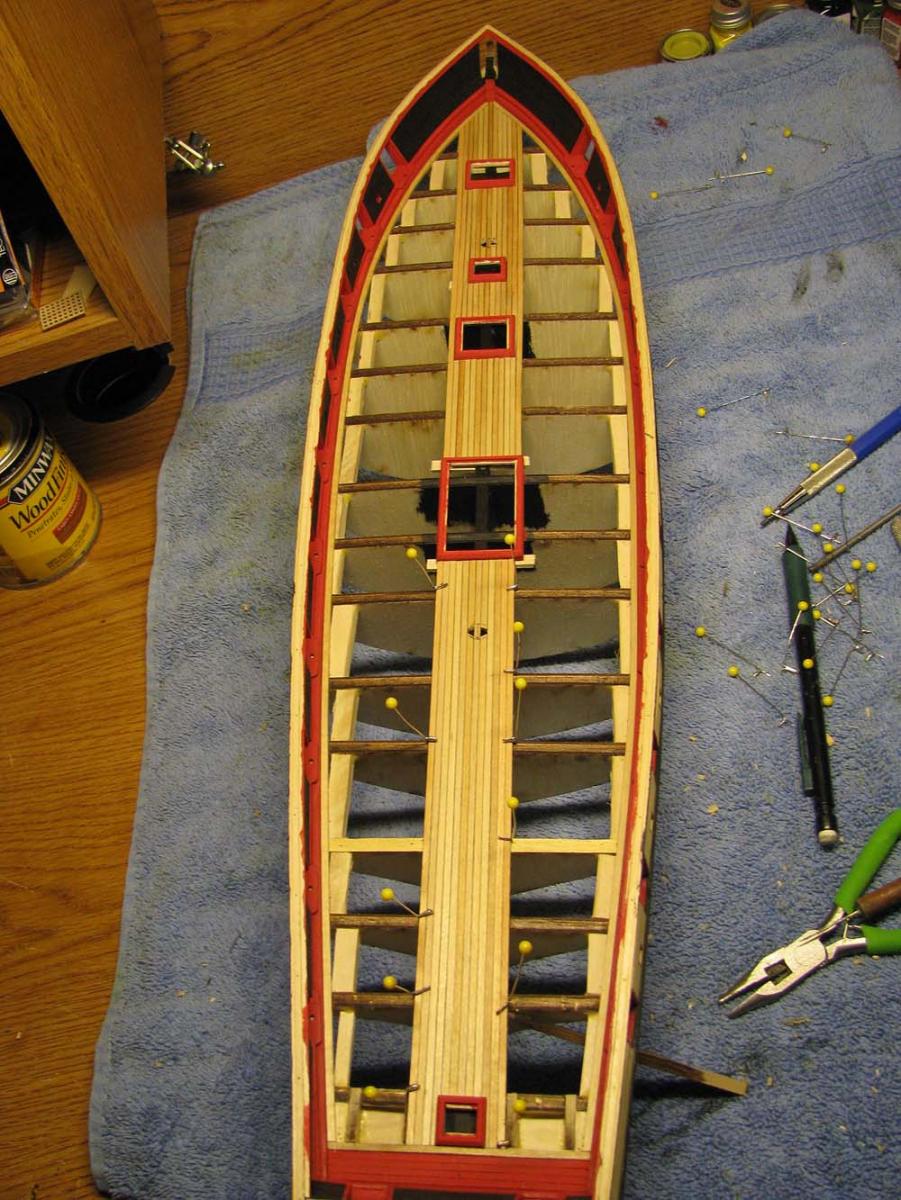
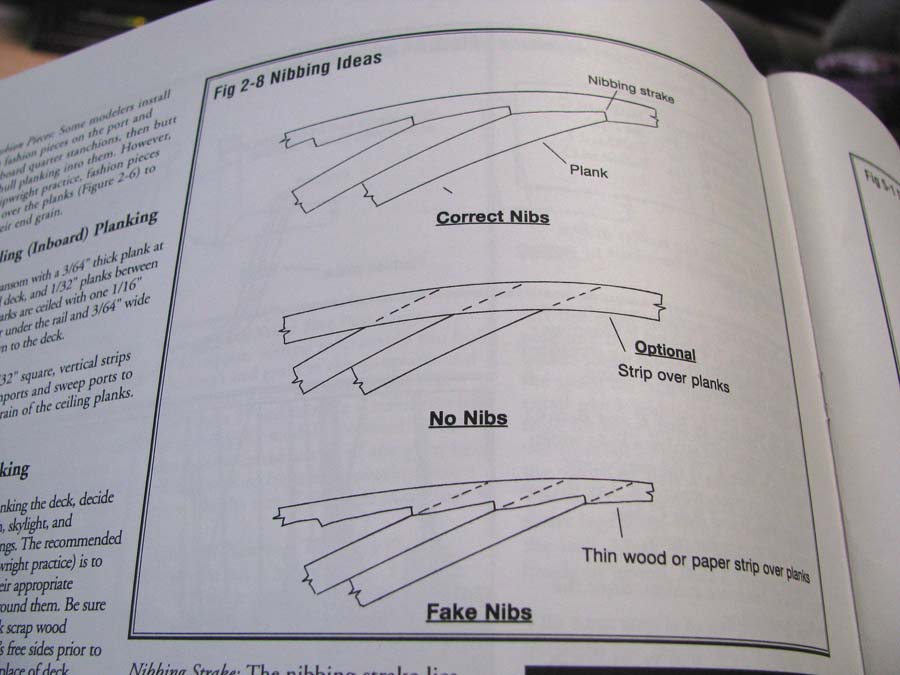
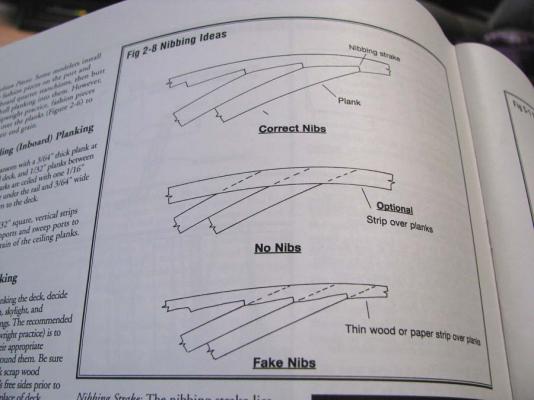
in my build the deck planks will be cut flush to the nibbing strake, not accurate but acceptable. option 2 on the instructions but without the strip over the planks.
- 304 replies
-
- 1
-

-
- niagra
- model shipways
- (and 1 more)
-
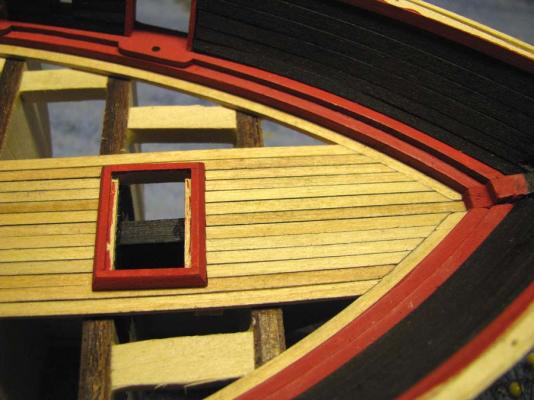
this is the place in the deck planking were you decide to nib the planks along the nibbing strake, done right it looks great. not sure if I'll will do it though, may settle for option 2 on the instructions. I have seen others taper the aft planking along the waterline and I do not care for the results, it just looks messy no matter how accurate. I will probably choose the easier and cleanest method of leaving the planks one size over the build.
-
I do not have any recent photos of this kit build because I was offered a price I could not refuse for the finished hull. I would have liked to have finished it with the mast and rigging. It was always intended to be for sale, but not so soon. I do not usually get into the mast, spar and rigging in my logs because I figure square rigging is common knowledge among ship modelers. I mainly focus on hull construction.
-
for the deck planking I'm using 1/16 x 3/32 wood which has been stained with Minwax Golden Pecan stain. Its still light enough to have a light golden hue to it.
- 304 replies
-
- 1
-
-
- niagra
- model shipways
- (and 1 more)
-
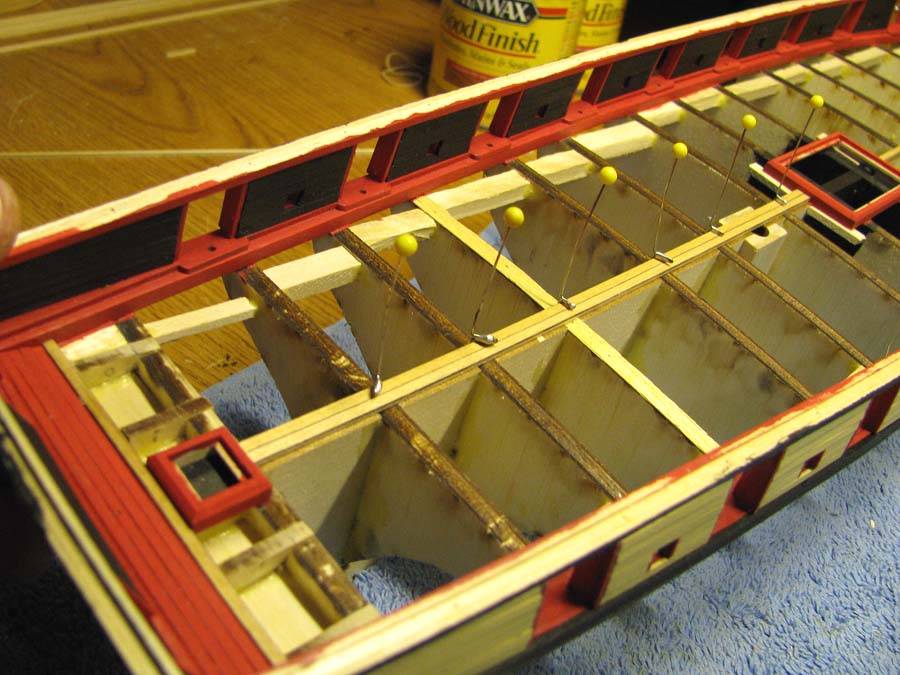
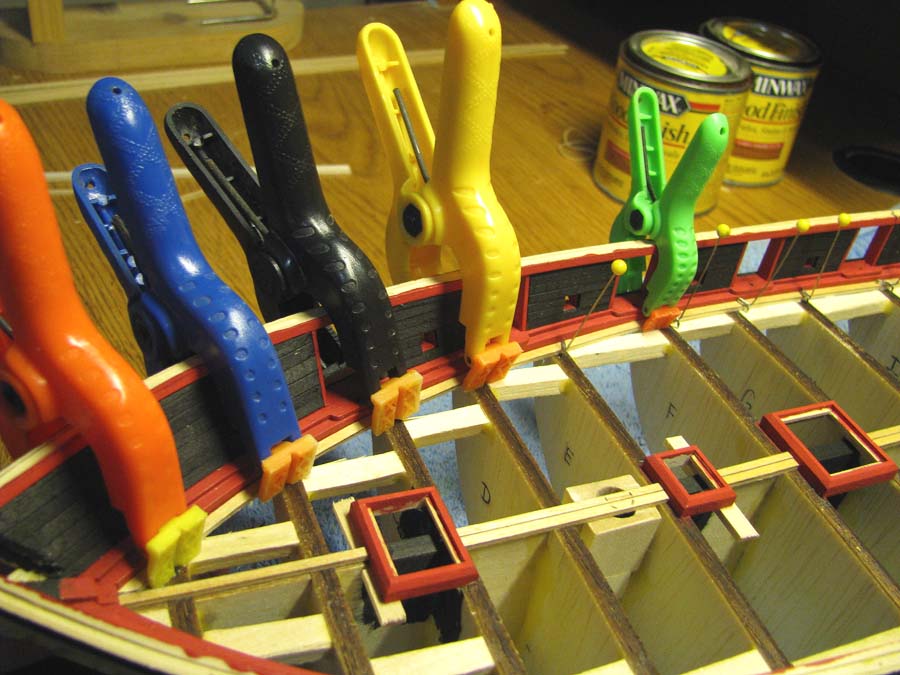
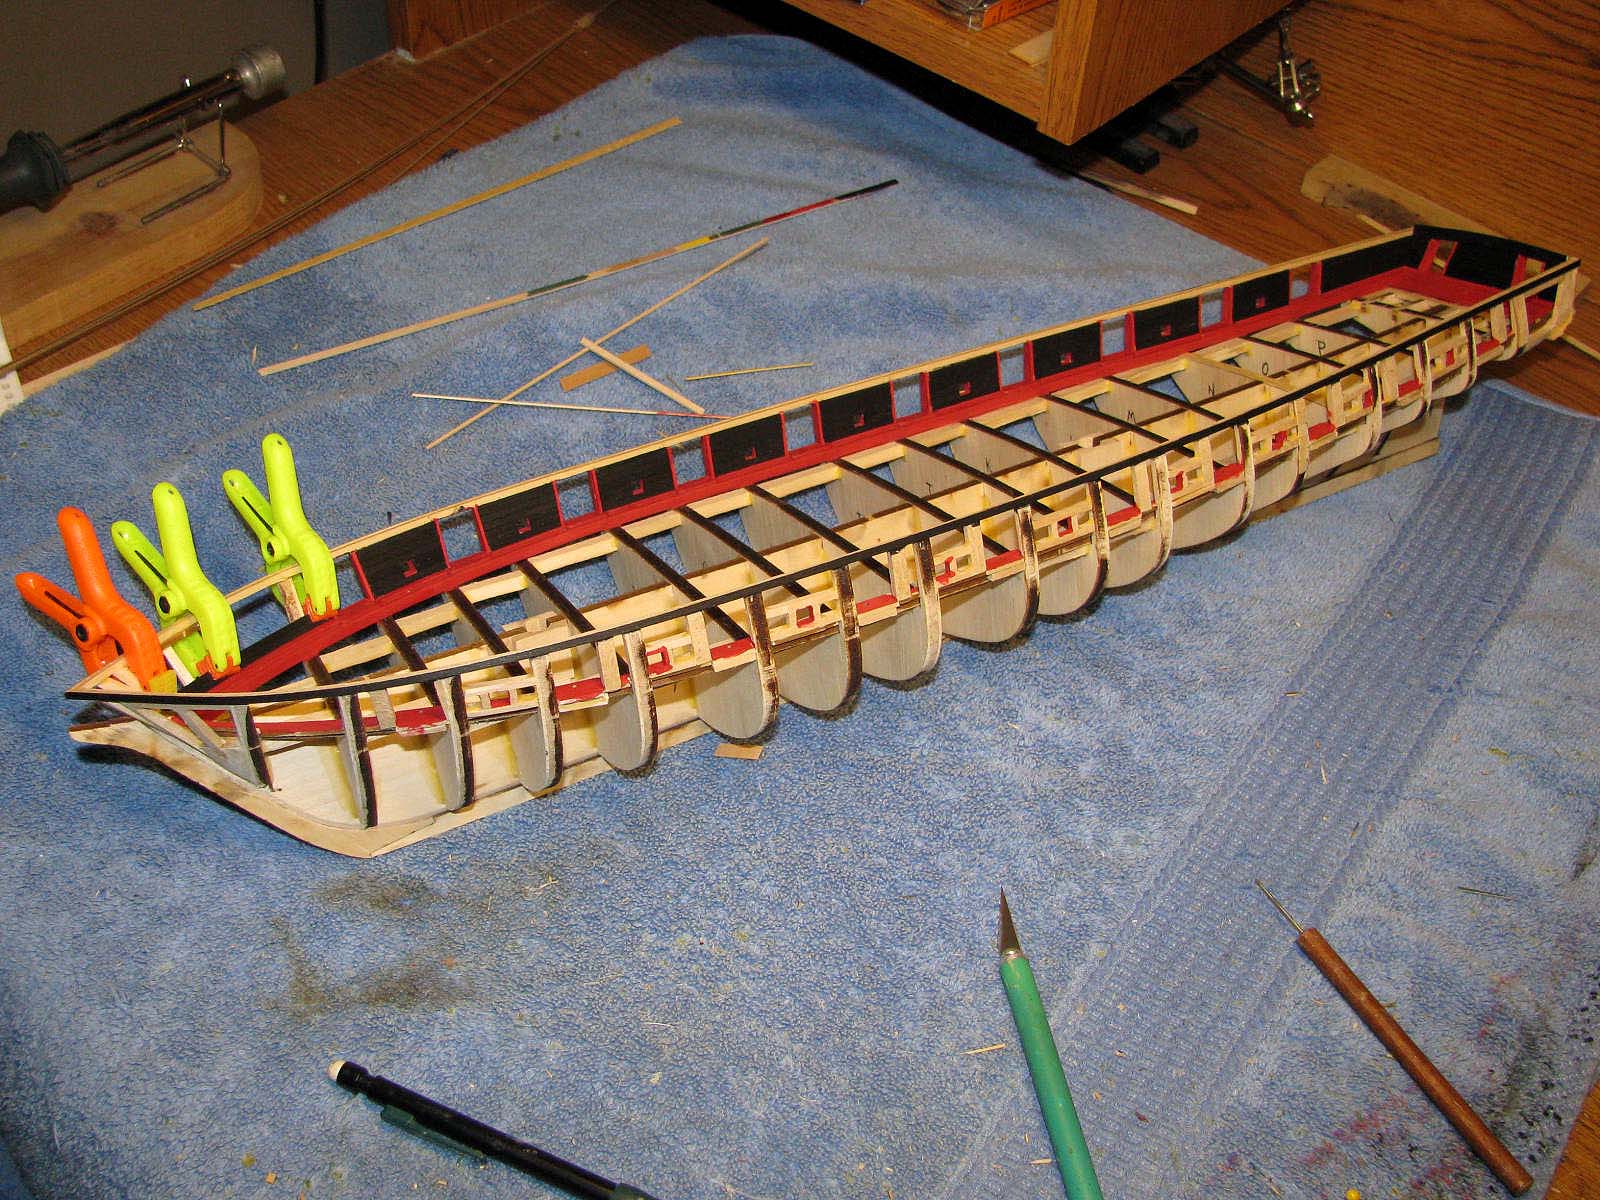
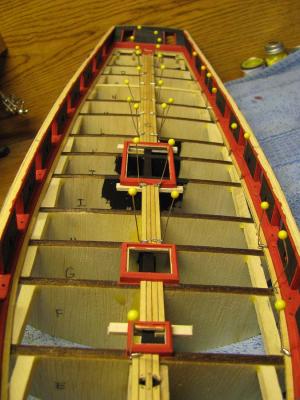
Here I'm using clamps to secure the nibbing strake while the glue dries underneath the strake which is touching the bottom of waterway also

-
Hi salil648, I had the same trouble with the kighthead supports, what a pain, I literally just cut out the holes in the filler block and used lots of glue to fill any gaps the knighthead supports had. I would have thought Model Shipways would have had a better way of creating that area but I am finding out that a lot is left to your own ingenuity. I am learning as I go with this kit, its frustrating at time. I have committed to this build so I have to finish it any way I can.
-
I think I'm too slow to win a race Bob. Matter of fact when I start to get in a hurry I put the build down and walk away until I'm ready to work at an easy unrushed pace. I enjoy building these ships, I don't want to finish them quickly. Too much time on my hands as it is.
-
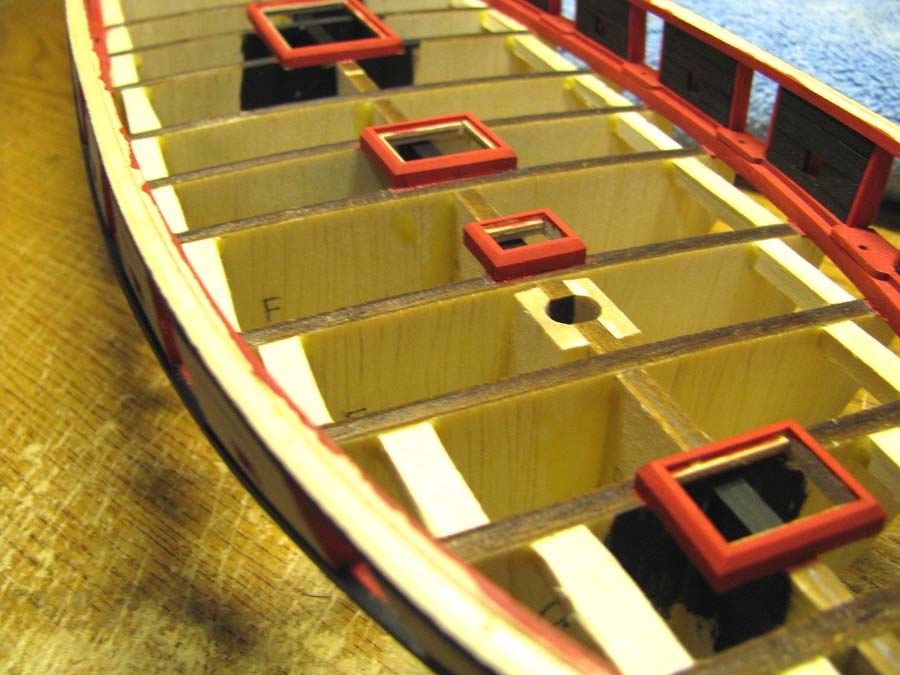
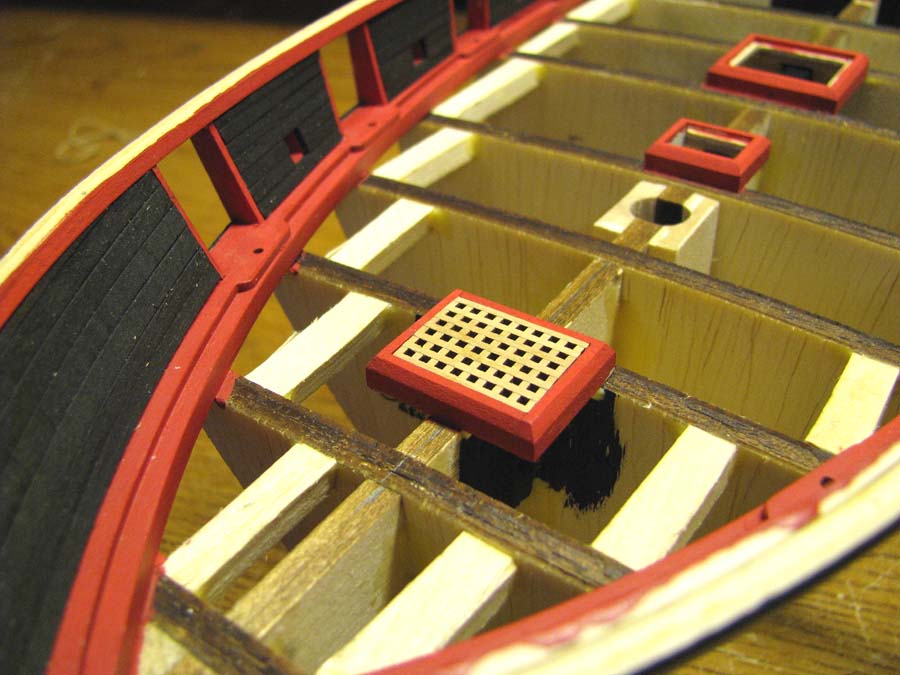
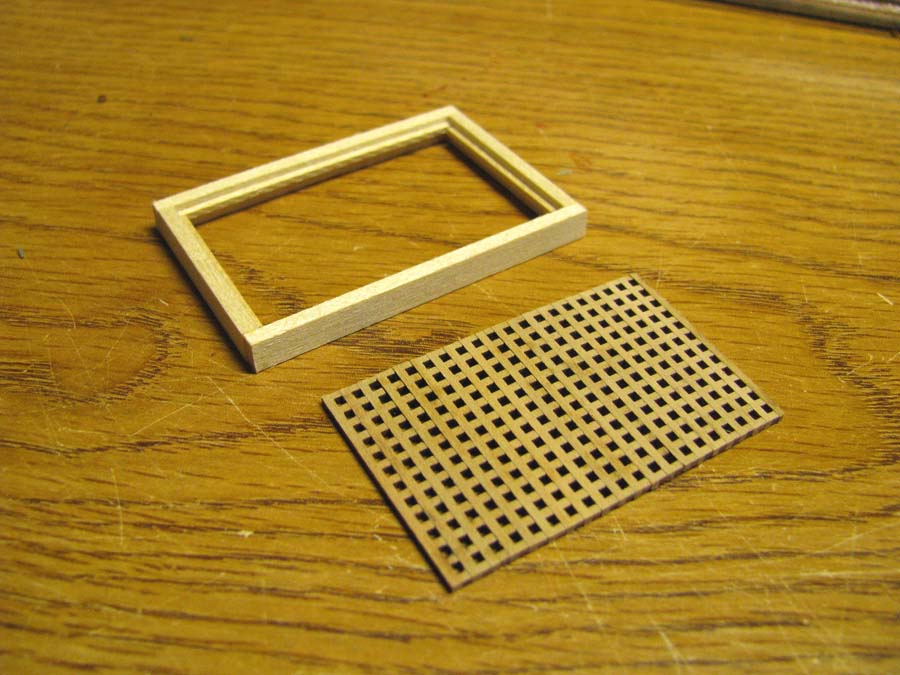
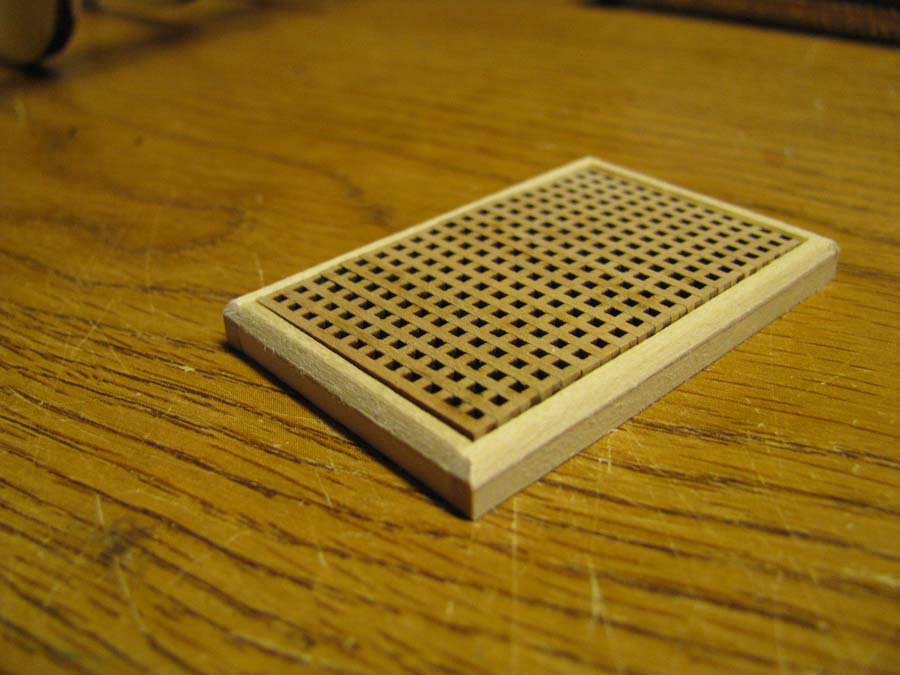
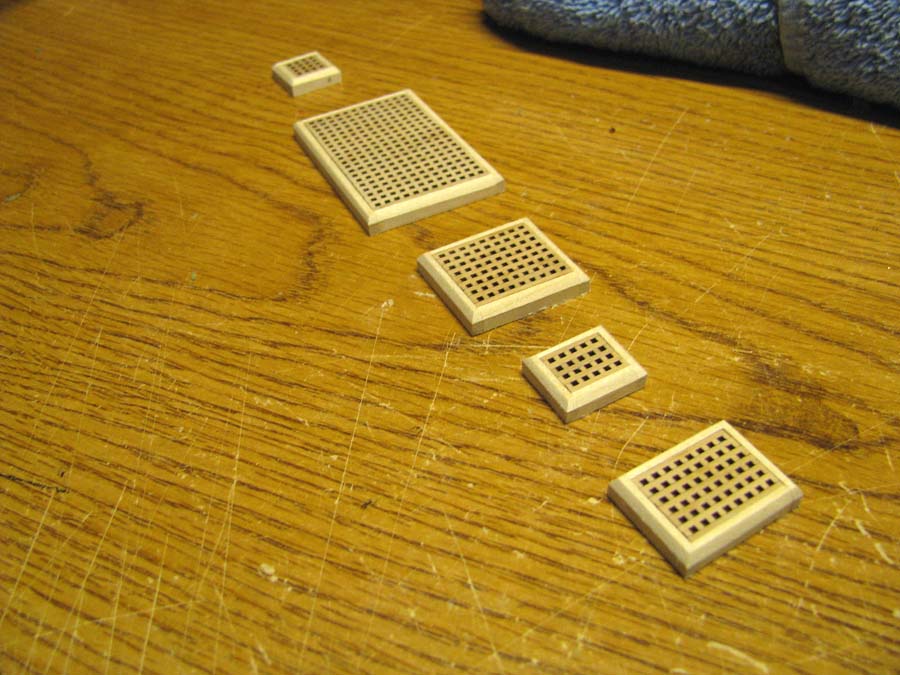
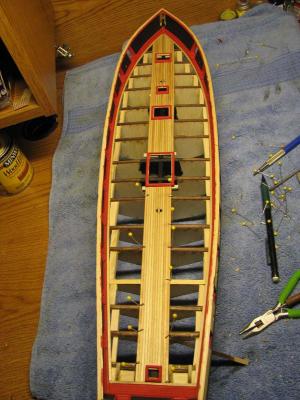
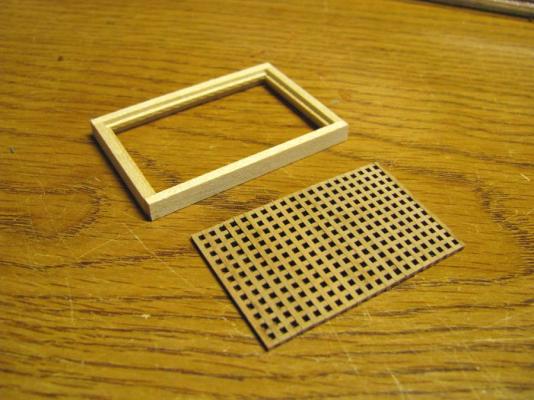
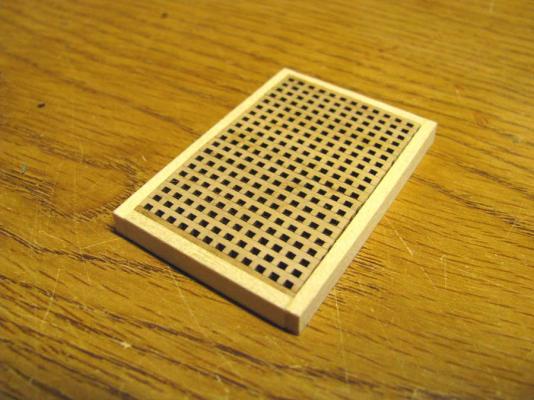
started the coaming and grating. the grates will be the natural color of the wood (sanded with 400 grit) the coaming will be beveled and painted red.


- 304 replies
-
- 1
-
-
- niagra
- model shipways
- (and 1 more)
-
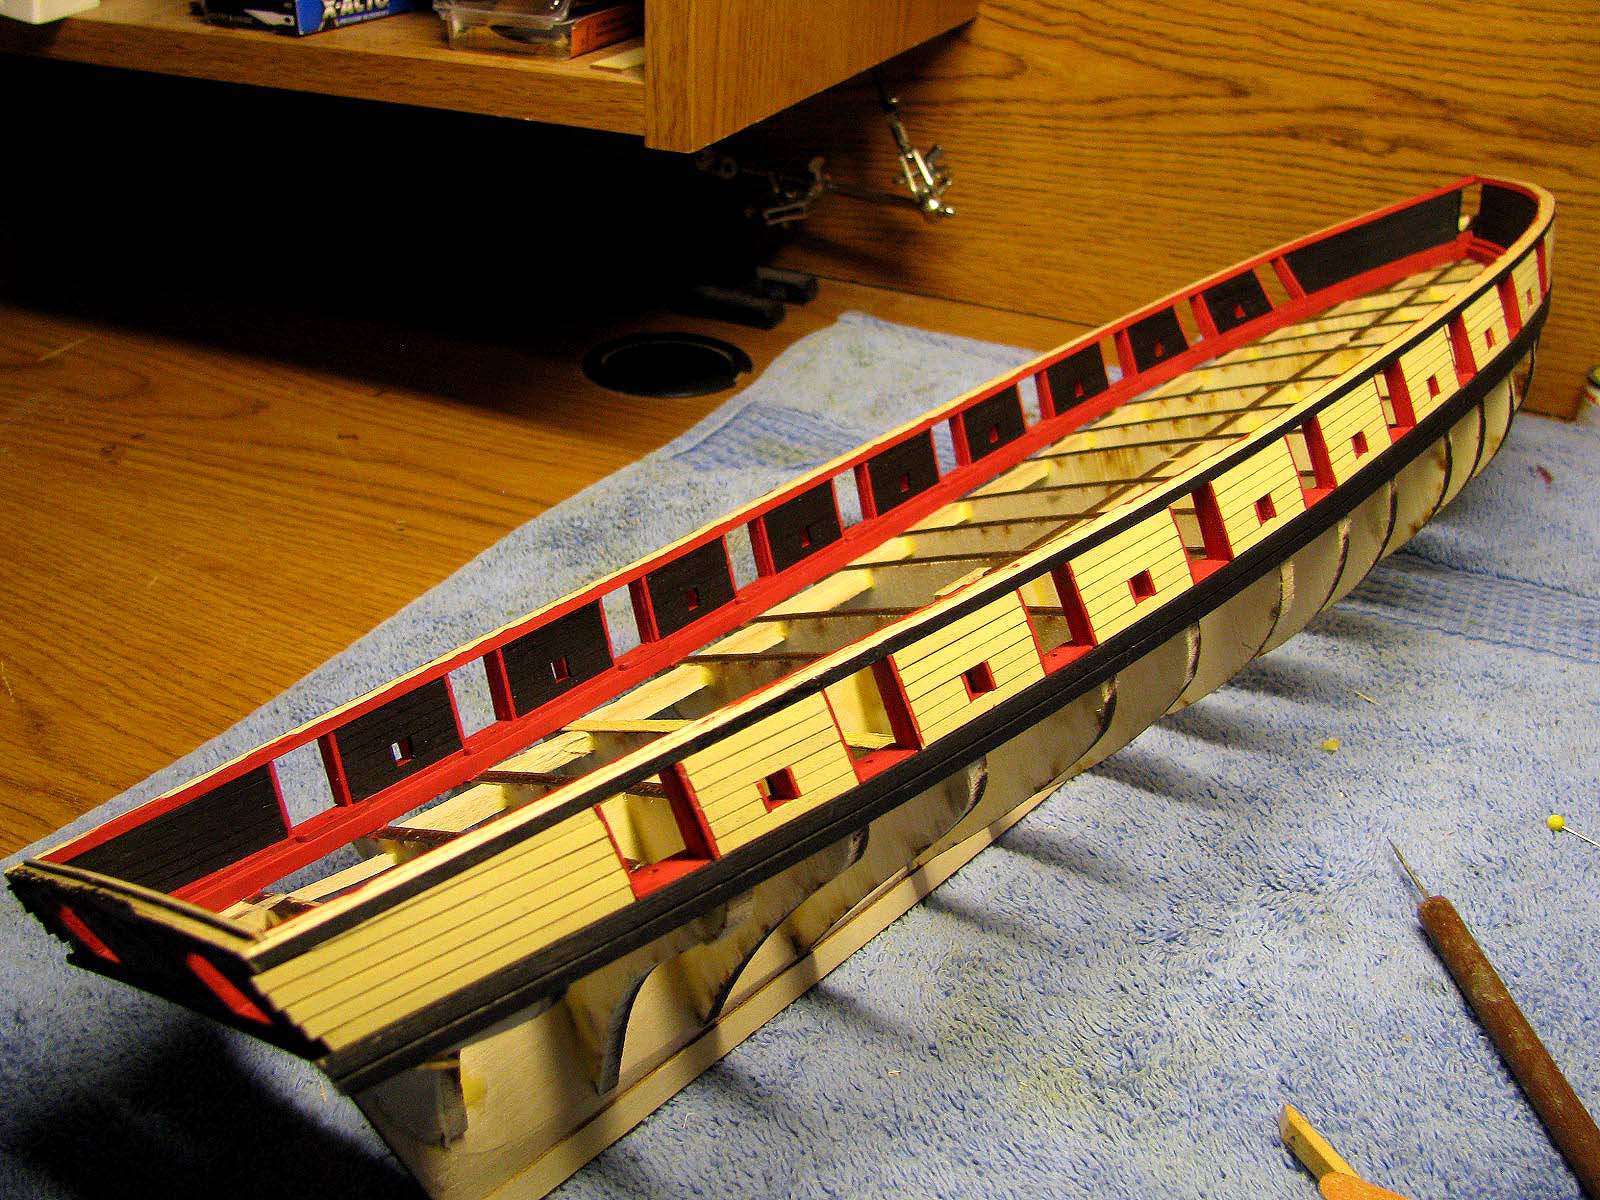
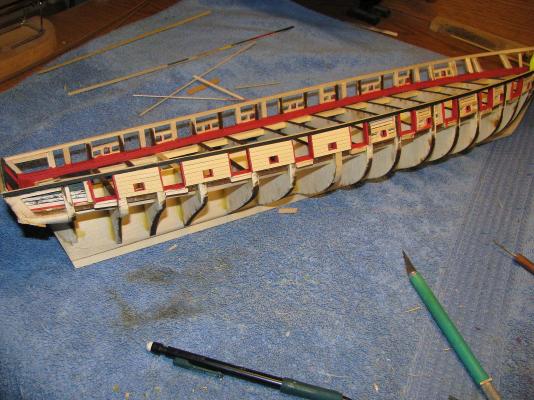
I realize there are a lot of Niagra builds here on MSW with several techniques to creating the bulwarks. Normally consisting of placing the raw wood all in place and sanding down the finished area and then pain stakinly painting with brush or even airbrushing masked areas. I chose a different technique of pre painting the wood before cutting to size to fit onto the bulwarks because I,m just not as steady with a small paintbrush anymore.
- 304 replies
-
- 1
-
-
- niagra
- model shipways
- (and 1 more)
-
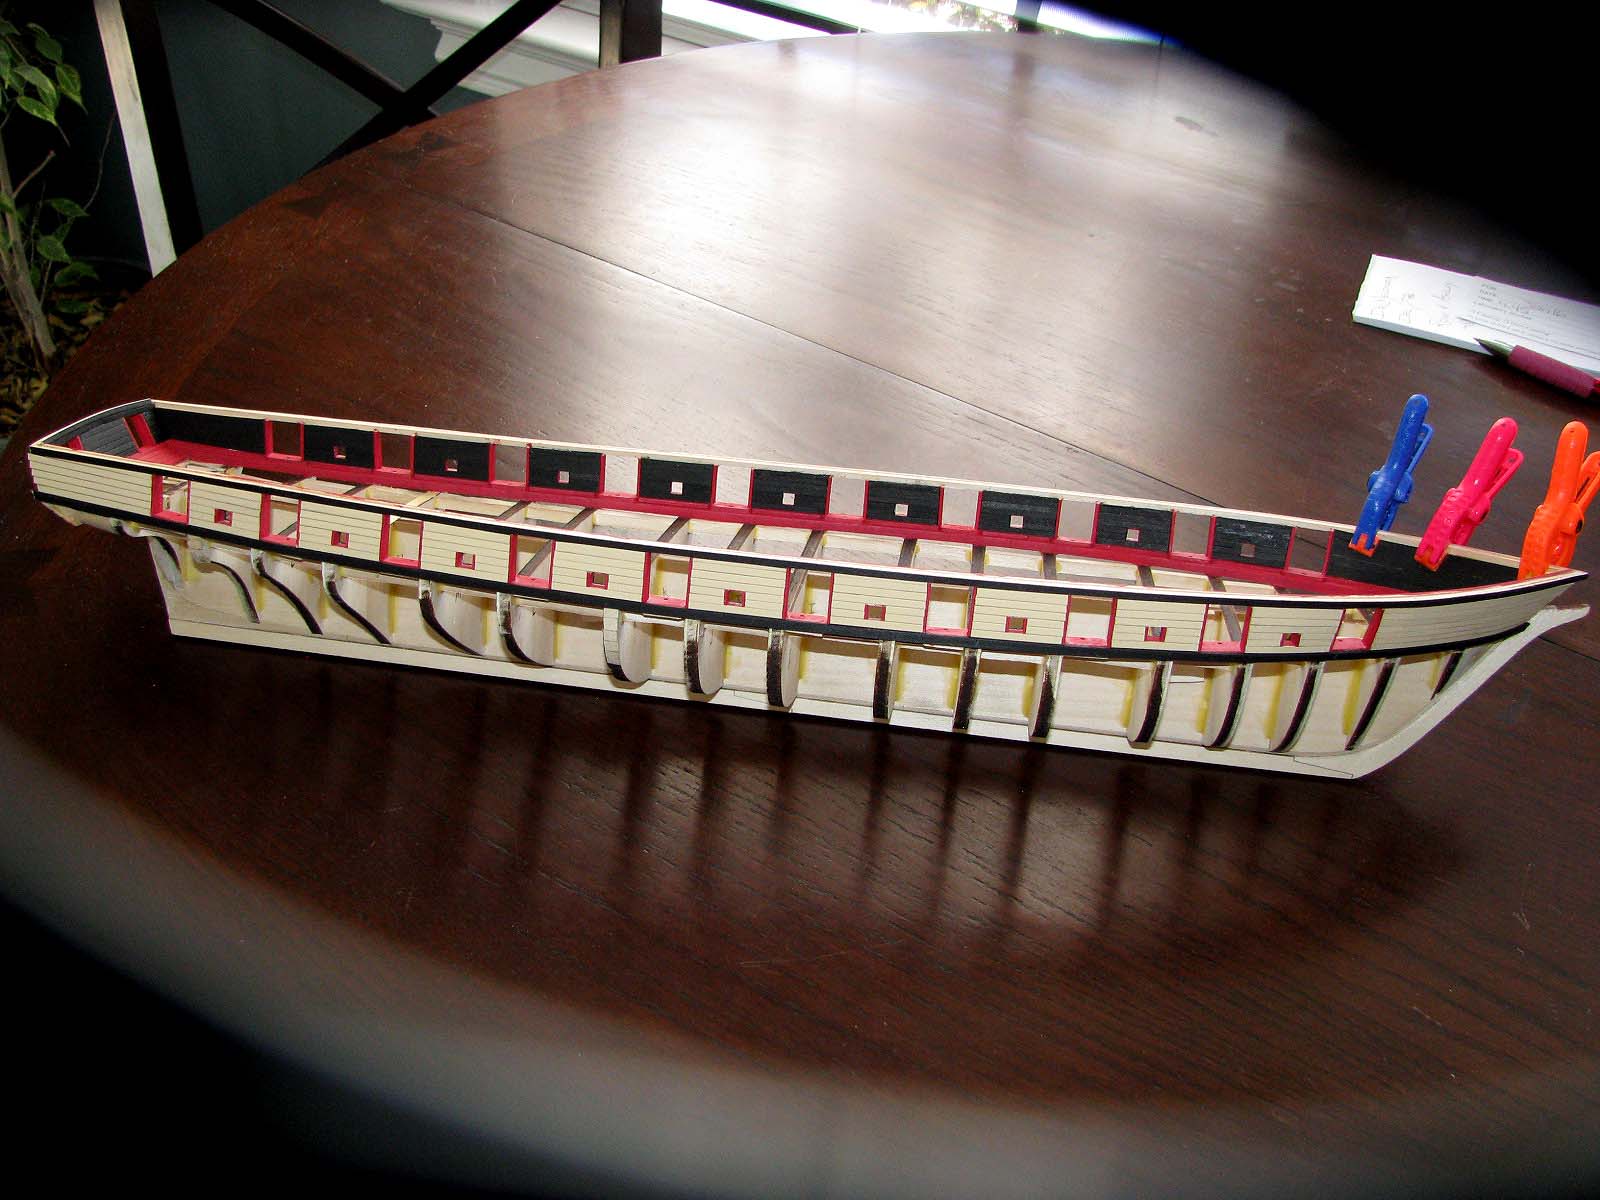
Hello awoodnut, I did not like the original colors of dark green and yellow, I have substituted black for green and light tan for yellow, this is purely a personal touch.
-
I have decided to use a light tan color on the outer bulwarks and black on the inside, and hopefully a copper plated hull

- 304 replies
-
- 1
-
-
- niagra
- model shipways
- (and 1 more)
-
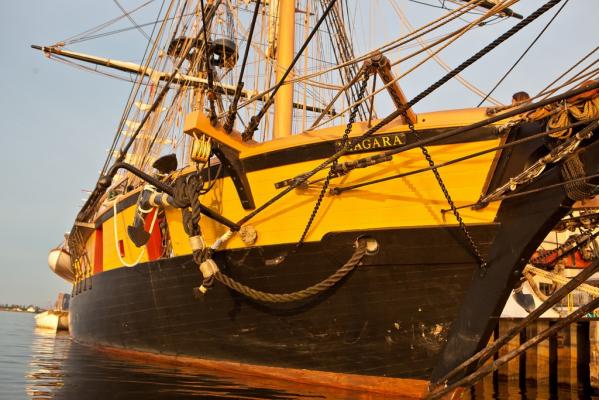
I noticed that the Niagara actually has a copper plated hull below the water line, I guess the green pain on the hull is supposed to simulate a patina copper hull, I may try some of the copper tape also. I'm using this Niagara as a practice model so I can get used to Modelshipways kits, I still want it to turn out nice but also get some experience in order to build the Syren after this.
-
Well , I think that after seeing the yellow paint on the build I have decided since this model is for my personal collection I'm not going to use the colors suggested. I just don't like yellow or green on my ships. I have tried several colors and will post the updates as soon as I find a suitable and complimentary set I,m pleased with.
-
each plank is sanded a little with 400 grit paper and pre painted. its easier to place a painted piece on the bulkheads than to try and cut in the paint with a small brush after its been placed. I use this technique on both sides.

- 304 replies
-
- 1
-
-
- niagra
- model shipways
- (and 1 more)
-
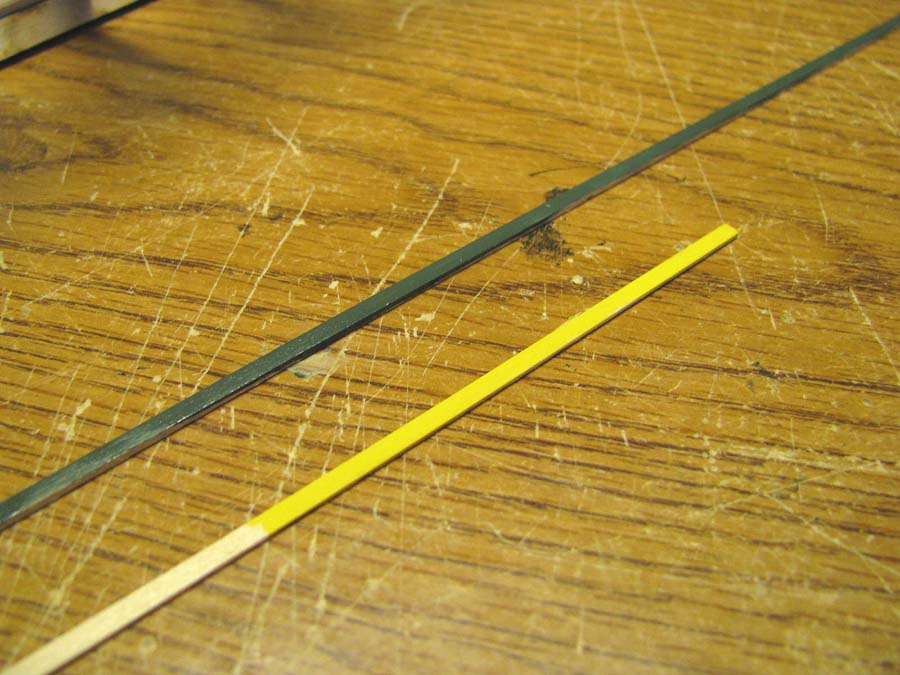
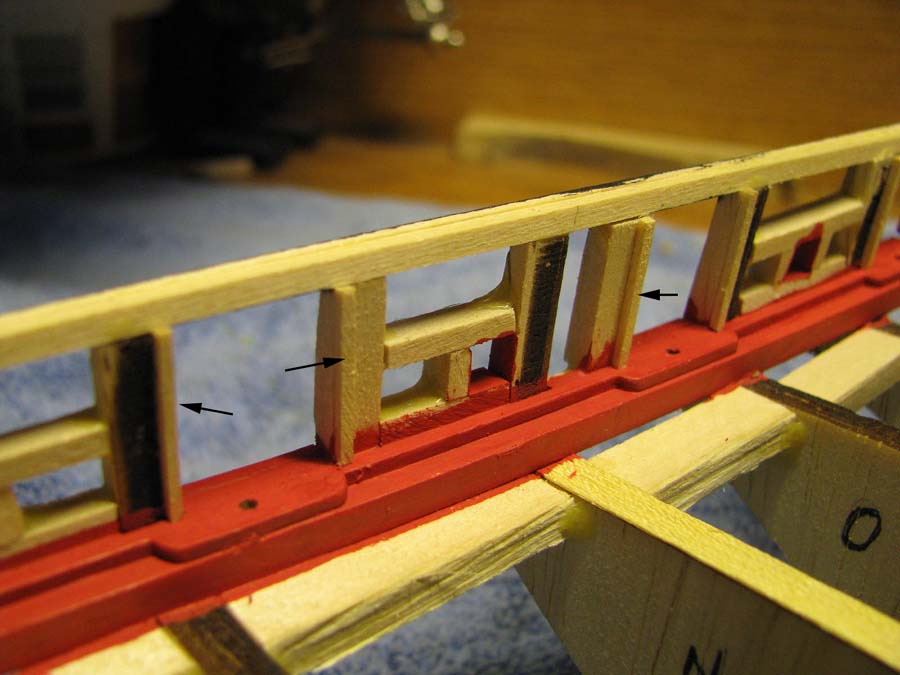
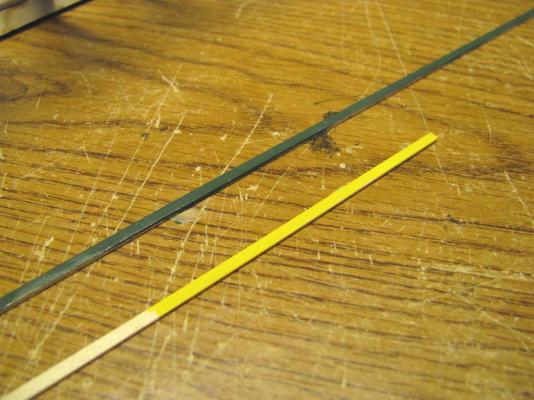
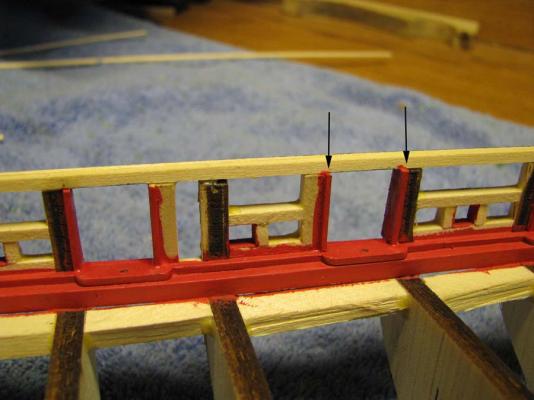
Pre painted planking to form the bulwark, dark green matt color, and yellow matt color
-
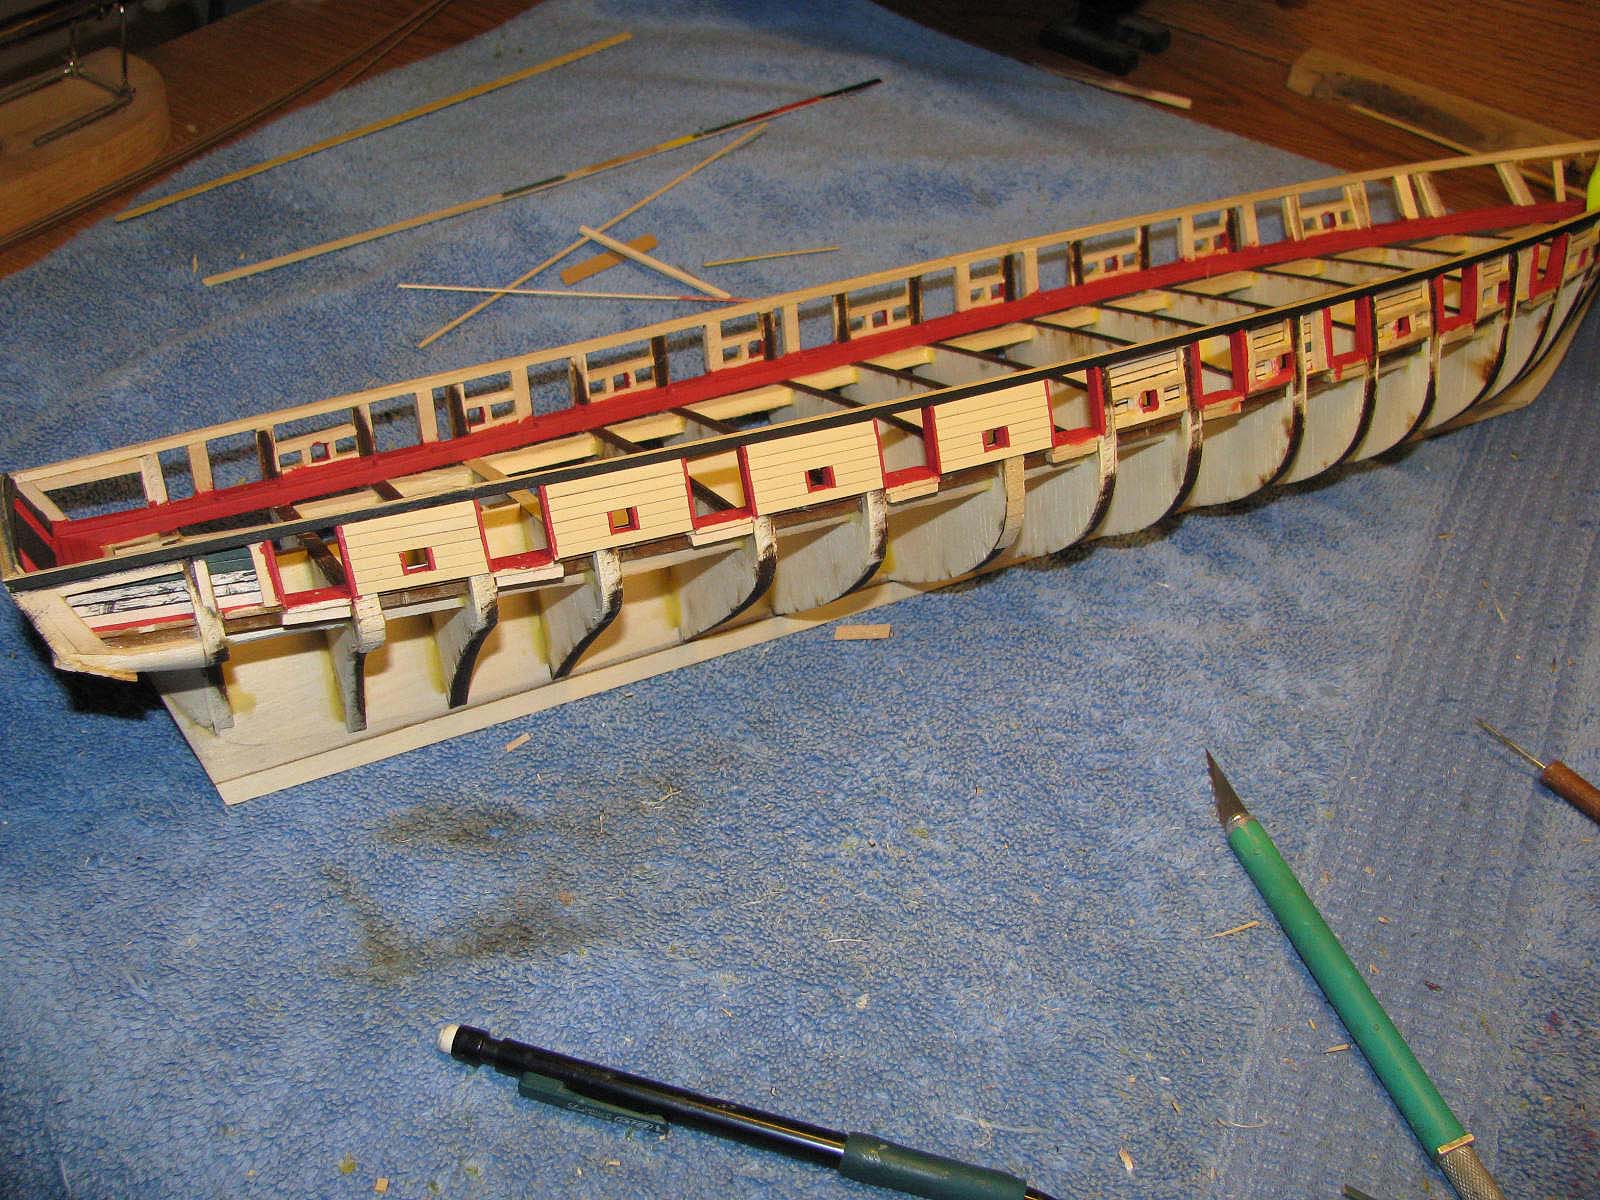
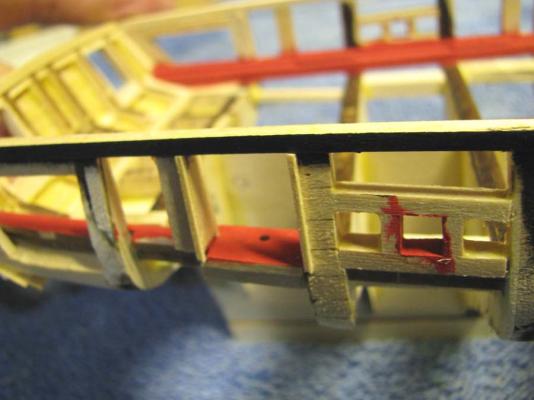
Added bulwark piece end coverings around the cannon ports, 1/32 square on the outside , 3/64 square on the inside. these will be painted and then the pre-painted planking will be placed in between to form the bulwark planks.

- 304 replies
-
- 1
-
-
- niagra
- model shipways
- (and 1 more)
-
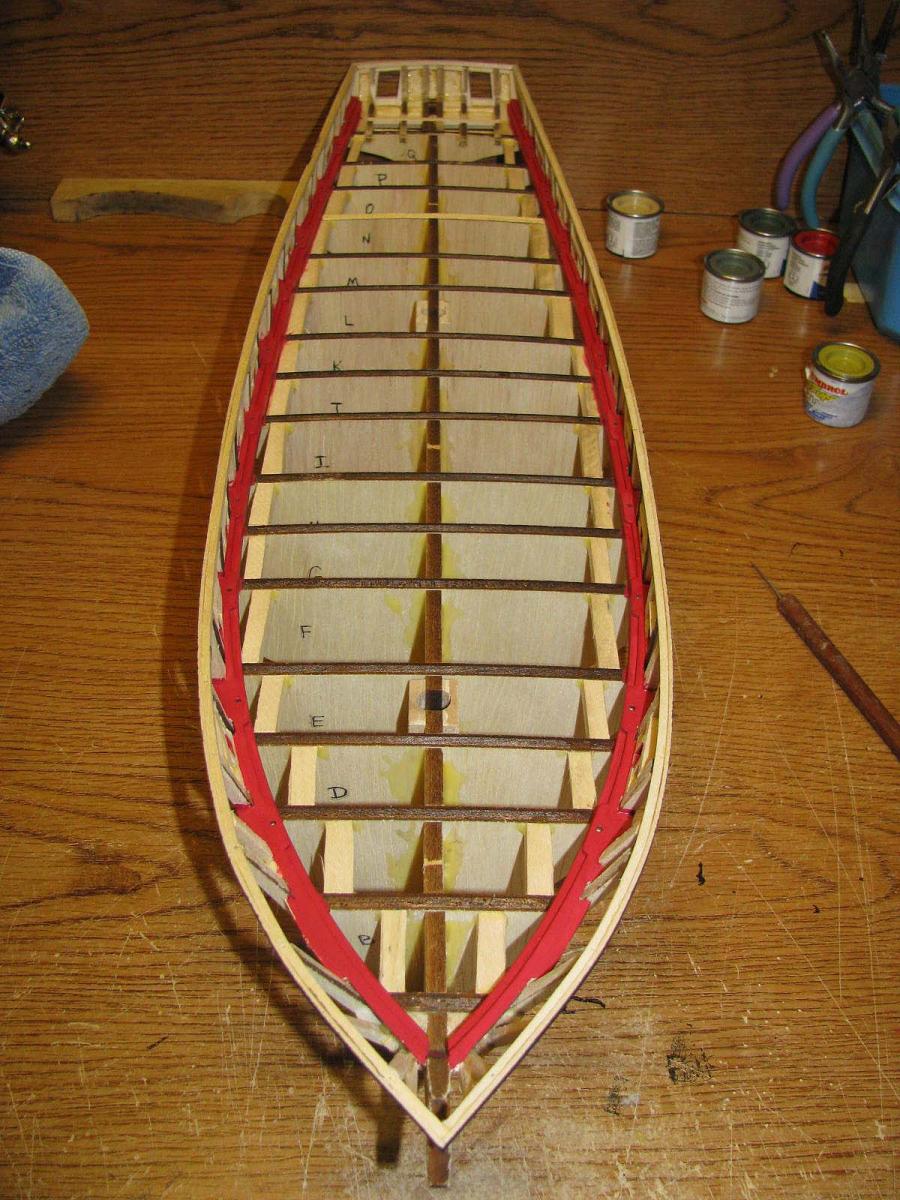
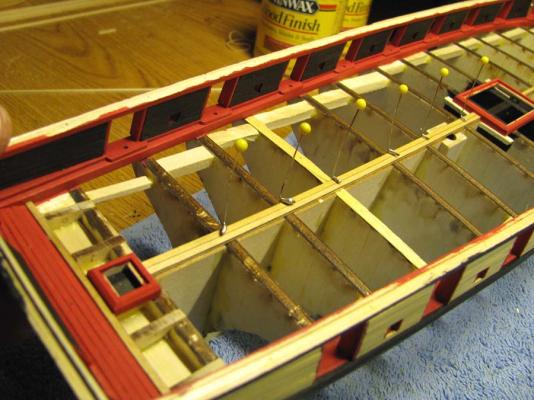
Painted the waterways and planksheer, I tried Humbrol paint but it was too thin a paint and did not cover the scorch marks from the lazer cutting. I went with Testors Matt color since it was thicker and covered the scorched marks.
-
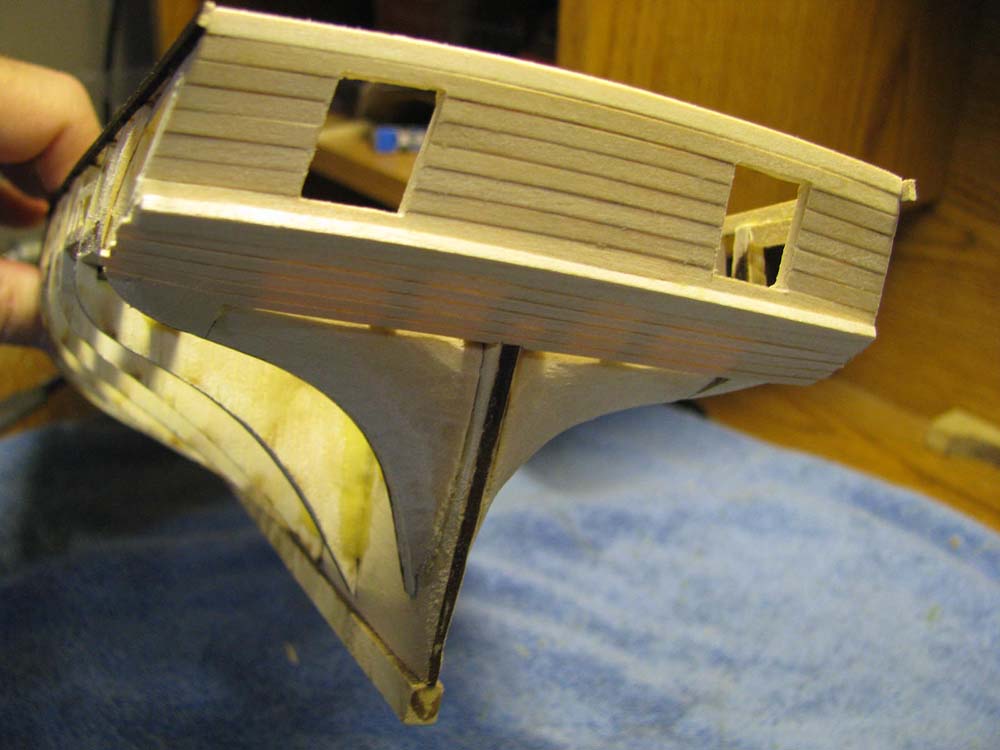
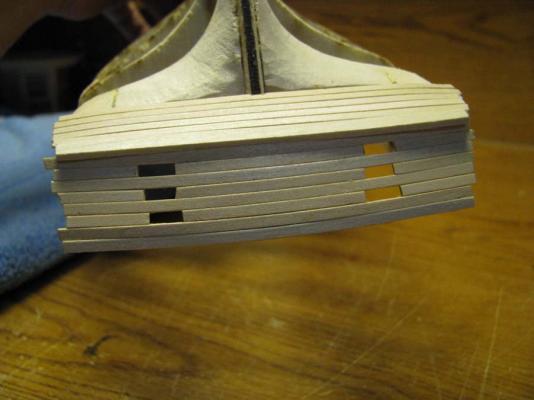
I use 400 grit sandpaper on each plank to round off the corners a little before gluing on to transom.

- 304 replies
-
- 1
-
-
- niagra
- model shipways
- (and 1 more)
-
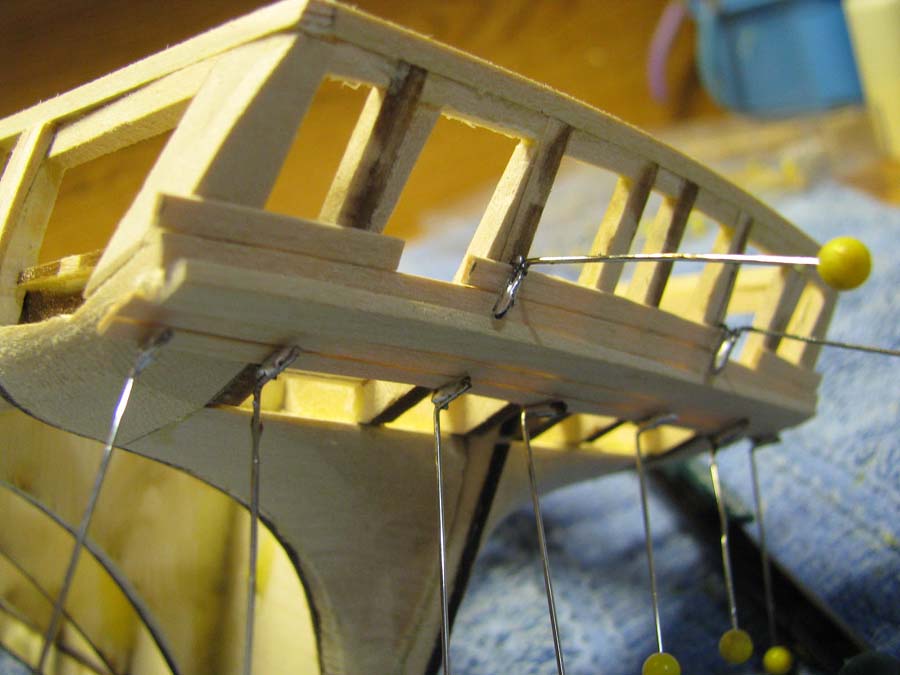
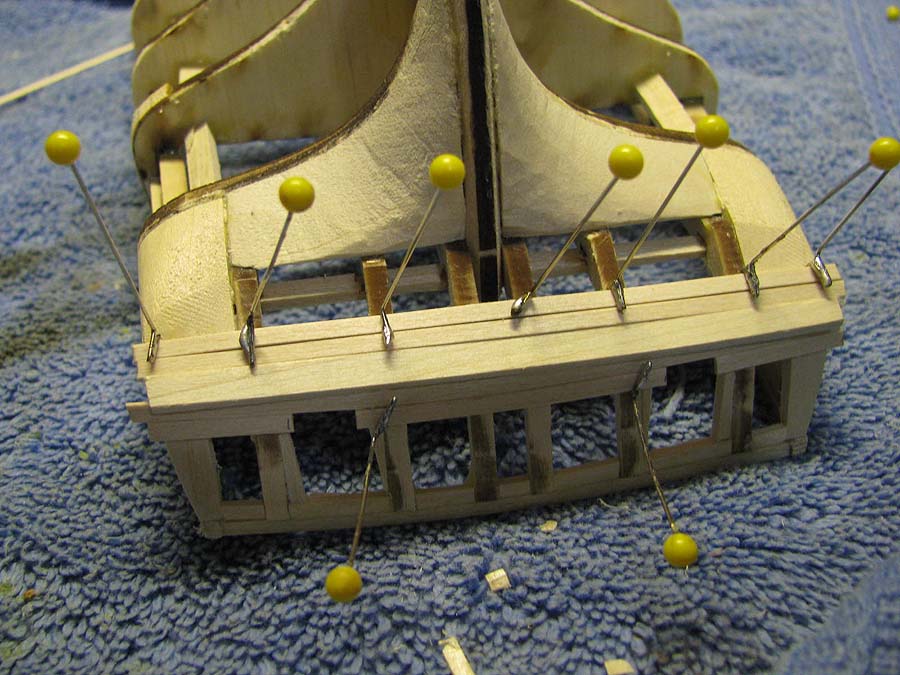
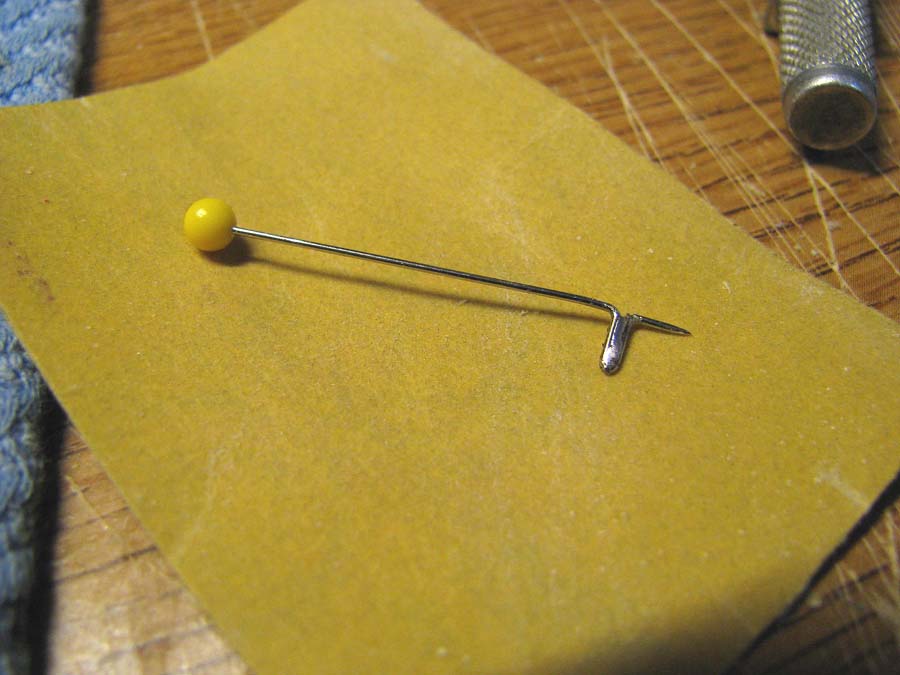
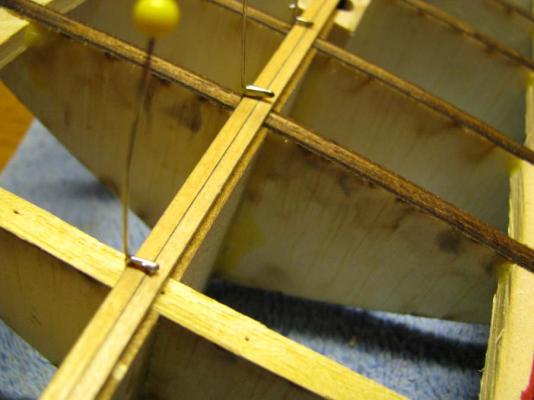
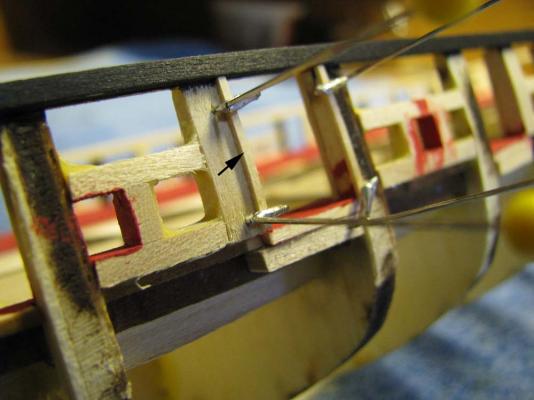
I have made some planking pins using a 1 1/2 inch straight pin. Its bent and soldered at the bends in order to hold the planks onto the bulkheads while the glue dries. I have been using these pins for years on double plank builds, keeps me from putting holes in the final planking.

- 304 replies
-
- 6
-
-
- niagra
- model shipways
- (and 1 more)