HOLIDAY DONATION DRIVE - SUPPORT MSW - DO YOUR PART TO KEEP THIS GREAT FORUM GOING! (Only 20 donations so far - C'mon guys!)
×


greatgalleons
-
Posts
794 -
Joined
-
Last visited
Content Type
Profiles
Forums
Gallery
Events
Everything posted by greatgalleons
-
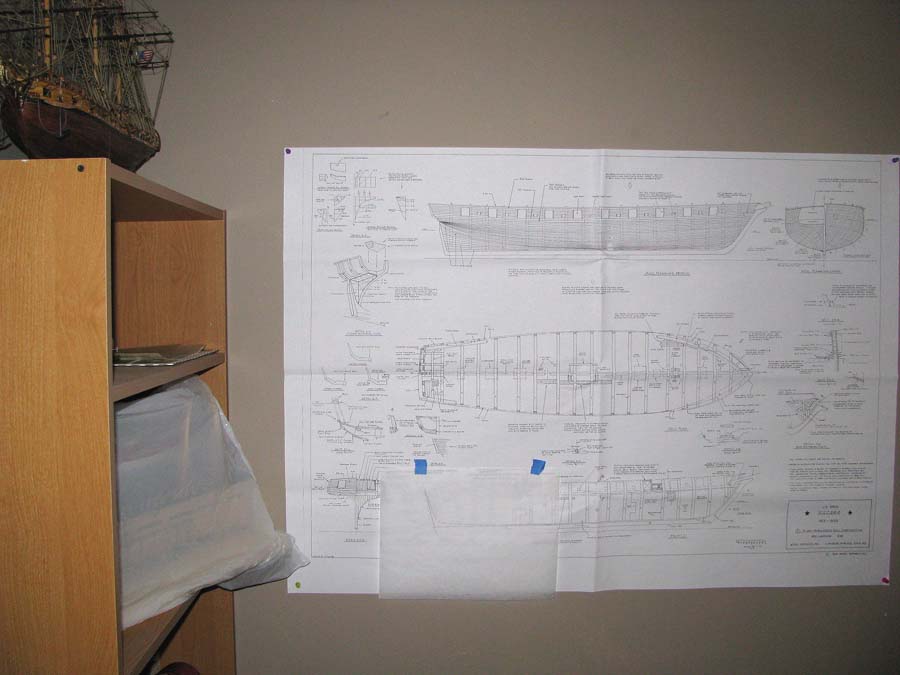
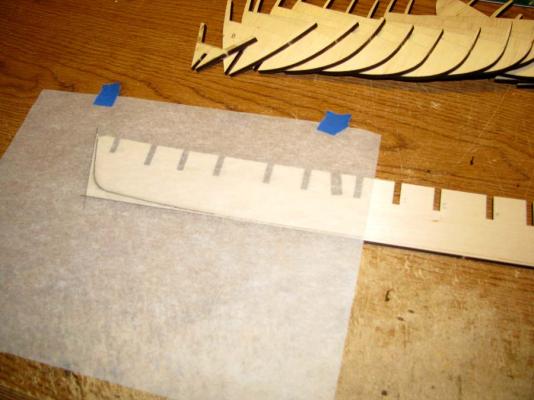
 So first on the list is tracing the bearding line on the center keel and file down the rabbit. The kit calls for the rabbit to be chiseled out after the stem, keel, and sternpost are in place. I'll place those on after I file the rabbit in. Used tracing paper to transfer the bearding line to the center keel

-
Hello Edwin, good luck with the steamer , that was a bit of a challenge for me when I built it as a green horn at modeling. A lot of deck planking as I recall.
-
yep ken that sounds right. that was the size I chose also. thanks
-
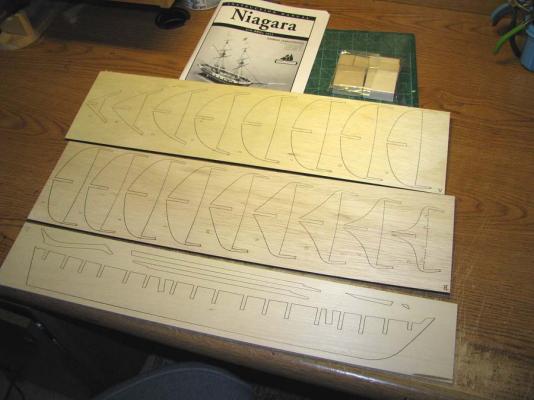
This must be an updated kit because the center keel is one complete piece not 3 separate pieces. That's nice of MS. I don't have a lot of experience with Model Shipways. Only the New Bedford Whale boat which is in the completed gallery here. I really would like to build the Confederacy but I wanted to try the Niagara first before spending that kind of money on a kit.
-
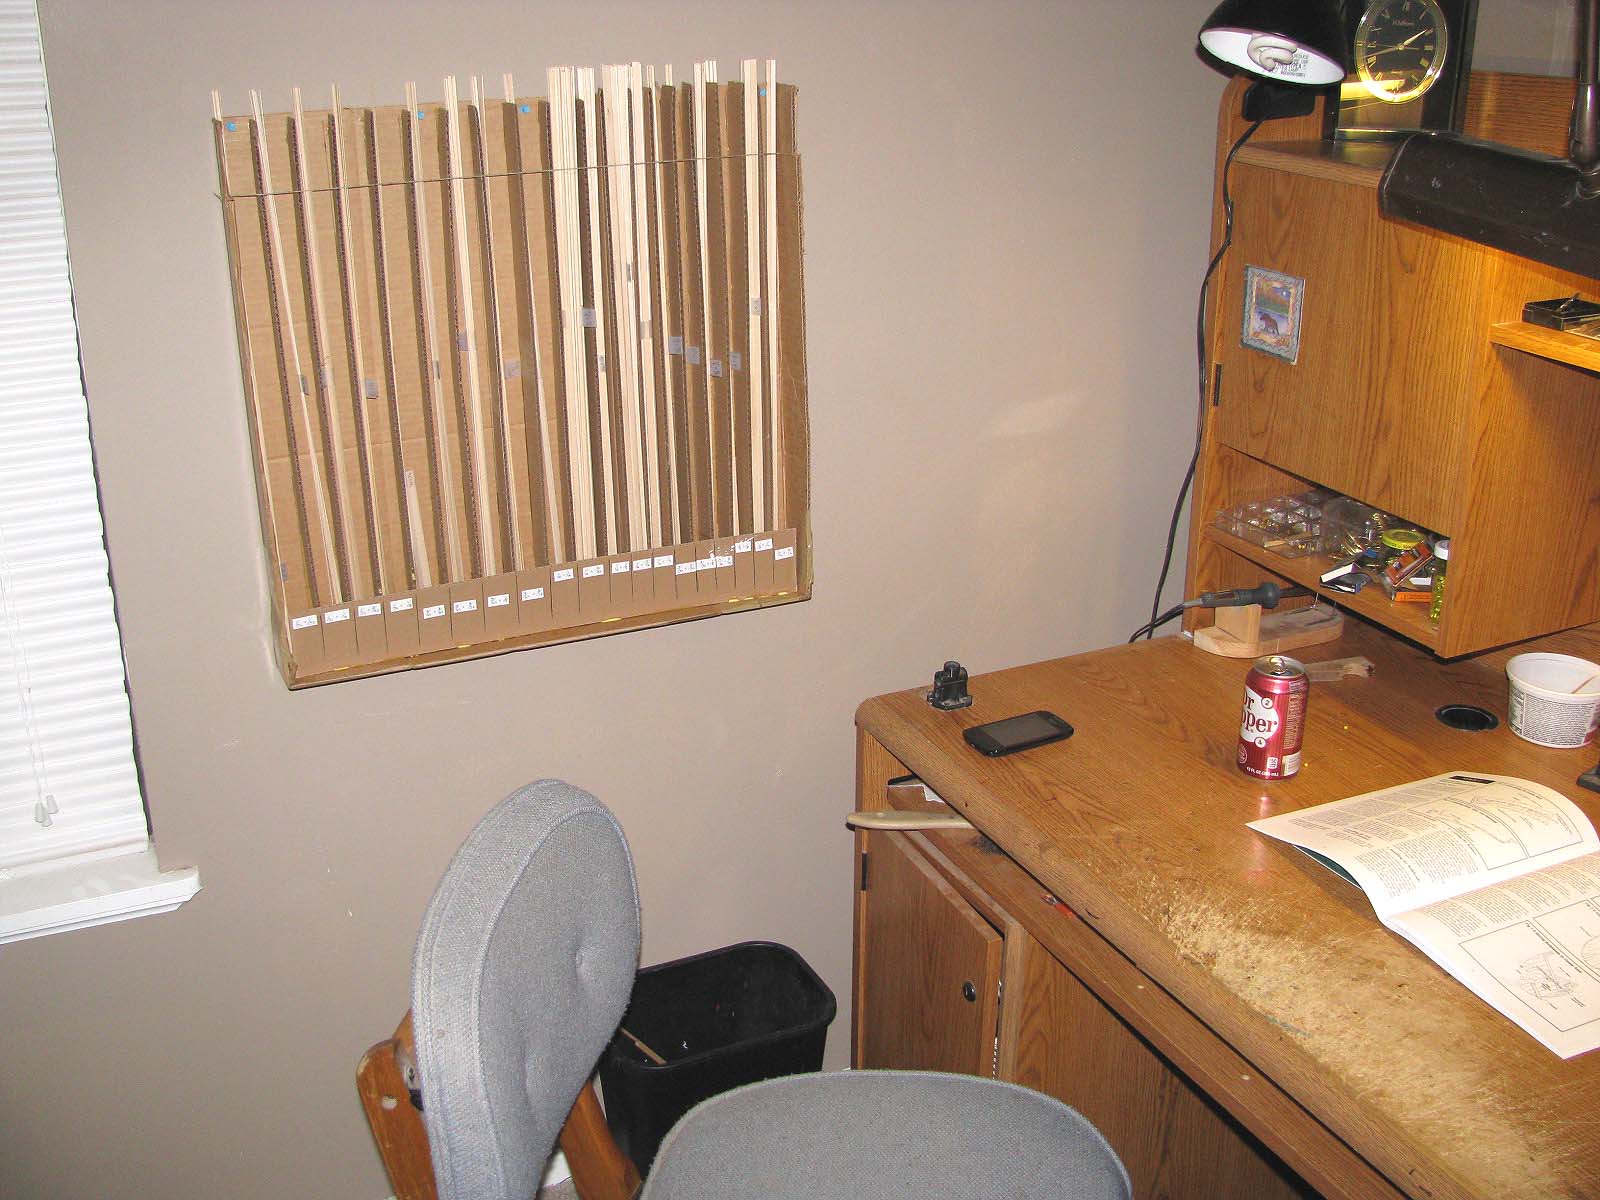
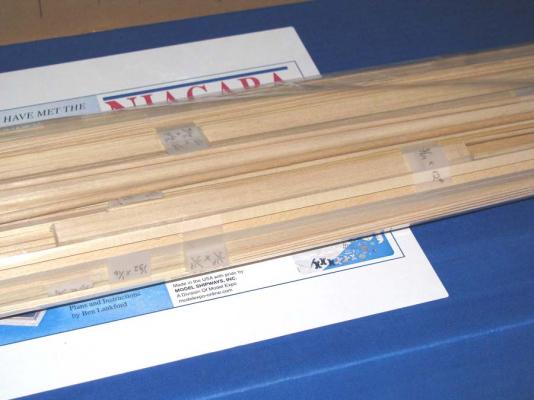
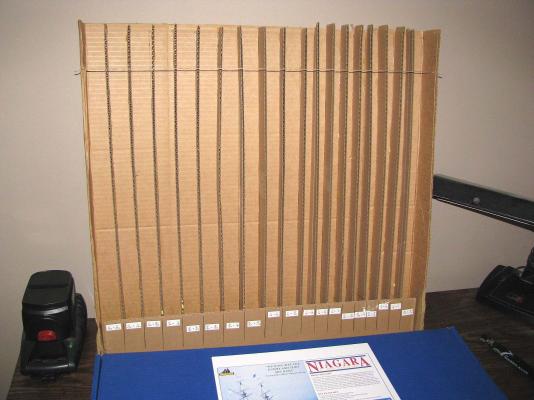
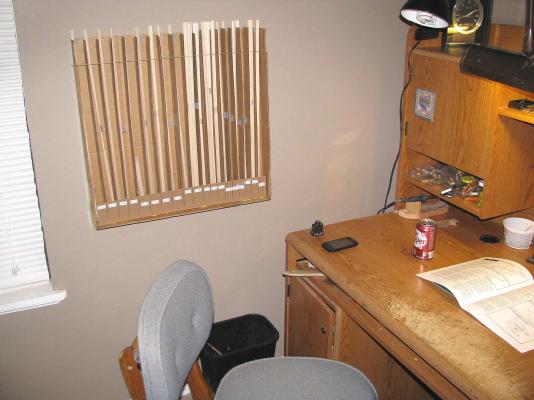
Here I have labeled all the wood. I threw together using cardboard a size separation shelf. Usually they would be on the floor. I tacked it near my work bench.
- 304 replies
-
- 2
-

-
- niagra
- model shipways
- (and 1 more)
-
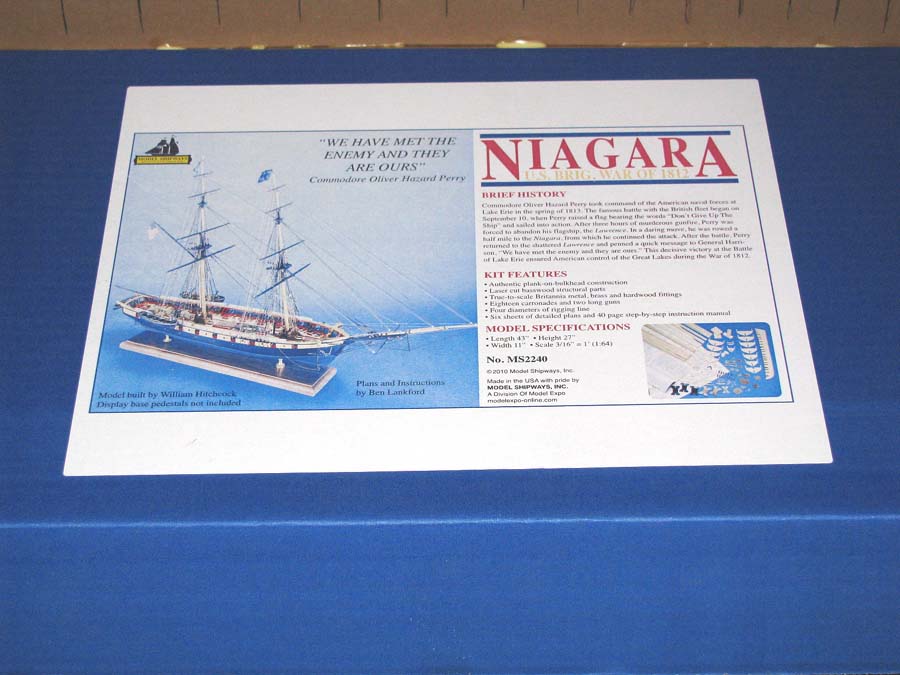
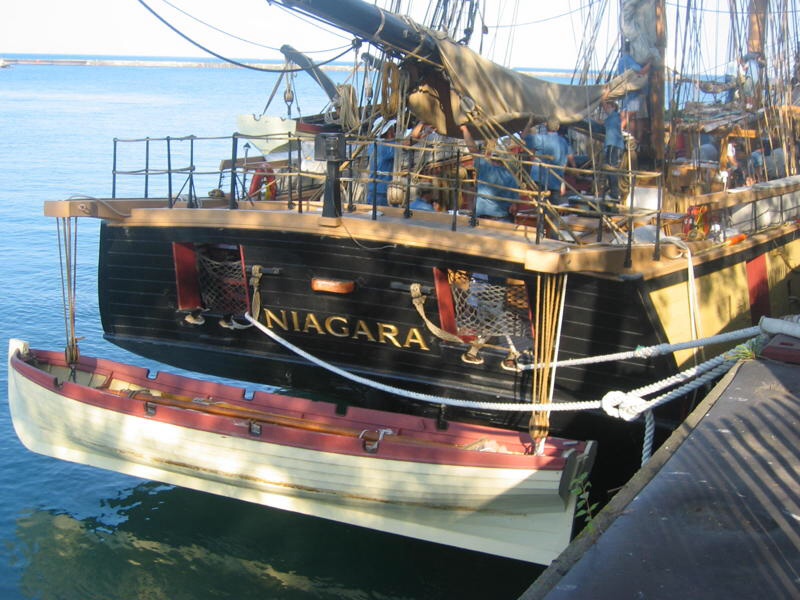
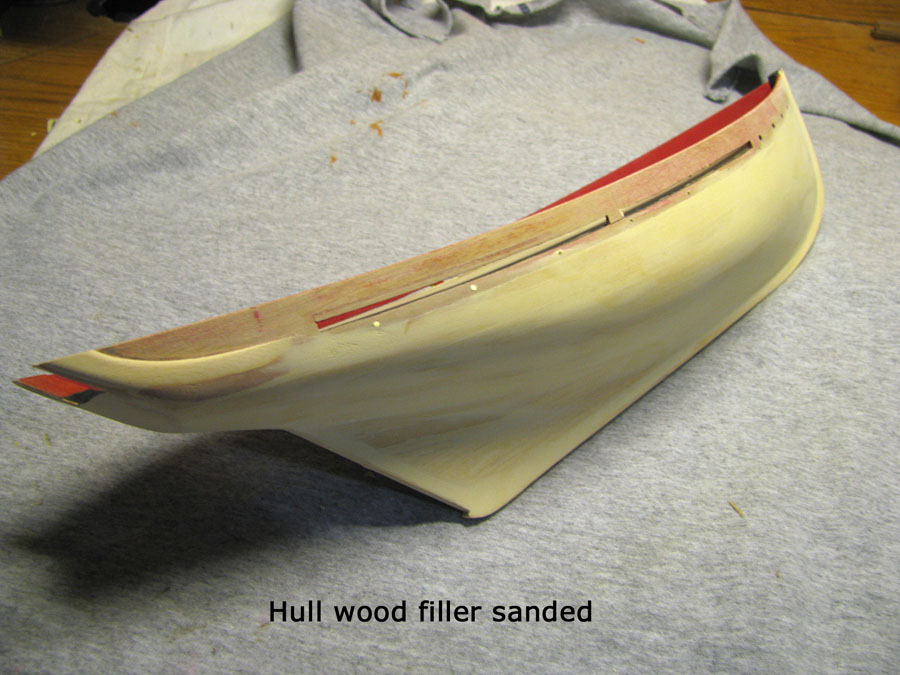
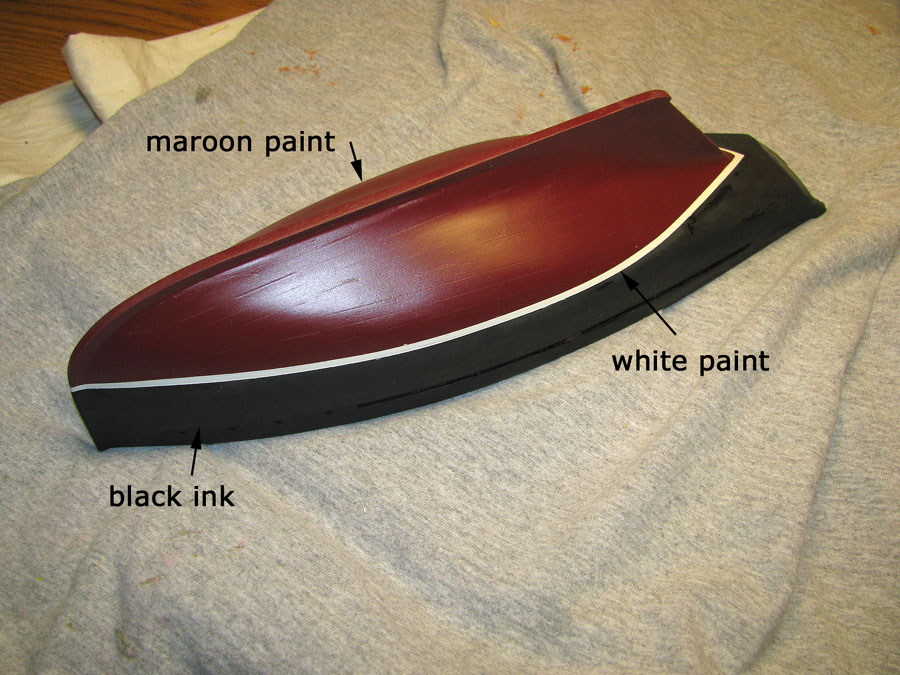
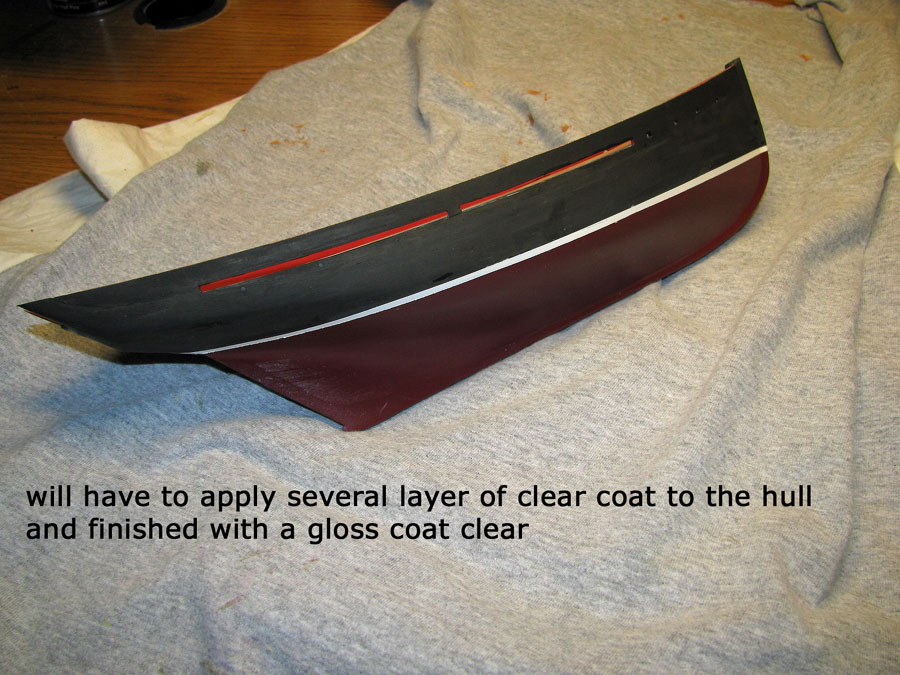
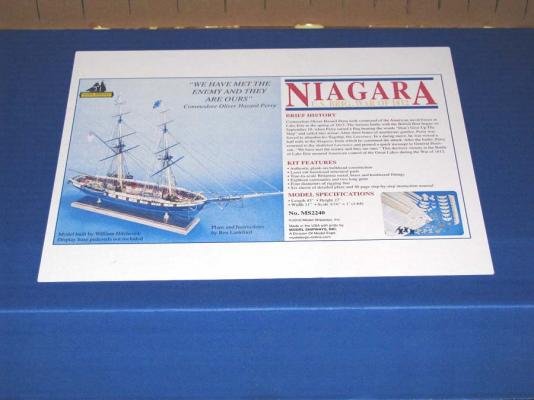
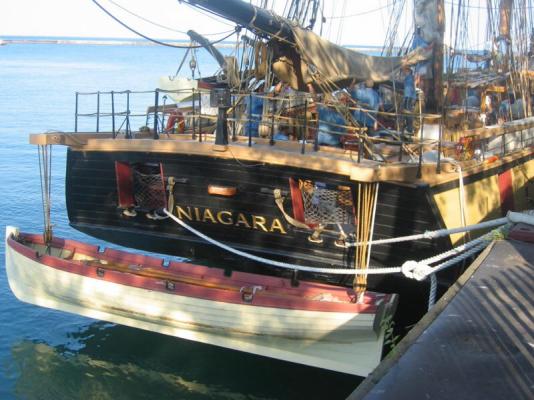
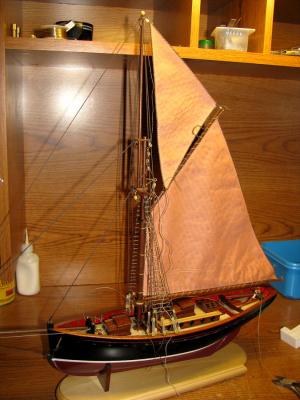
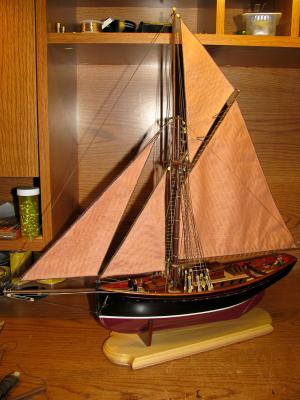
Well its been 3 months since I could start a new model build, spent that time adding a breakfast room to our house and boy am I ready to get into something I enjoy. In the past I would have 3 builds going at the same time. I chose to build 3 ships all for myself. Usually I donate them to auction off for local charities. I chose Model Shipways Niagara kit because its just a beautiful ship and has a great history. Hopefully with some help from the folks here I can do her justice. I do not usually use a lot of paint in my builds, I just don't like to. I practiced a little on my last build with the Jolie Brise build and it worked out alright. Its log is here on MSW. Anyways, here goes:
-
ok, I see where it states that diameter planking but that's just how thick of the wood to use not the width, I suppose its up to the modeler. thanks ken
-
Hi Brian , what size of wood did you use for the transom planking, I've been plotting out my kit before I start it and I cannot find the size in the plans? Thanks A.J.
-
Thanks Bob, I will try to find something similar to these colors in a enamel arisol, sprayed on colors have better uniformity.
-
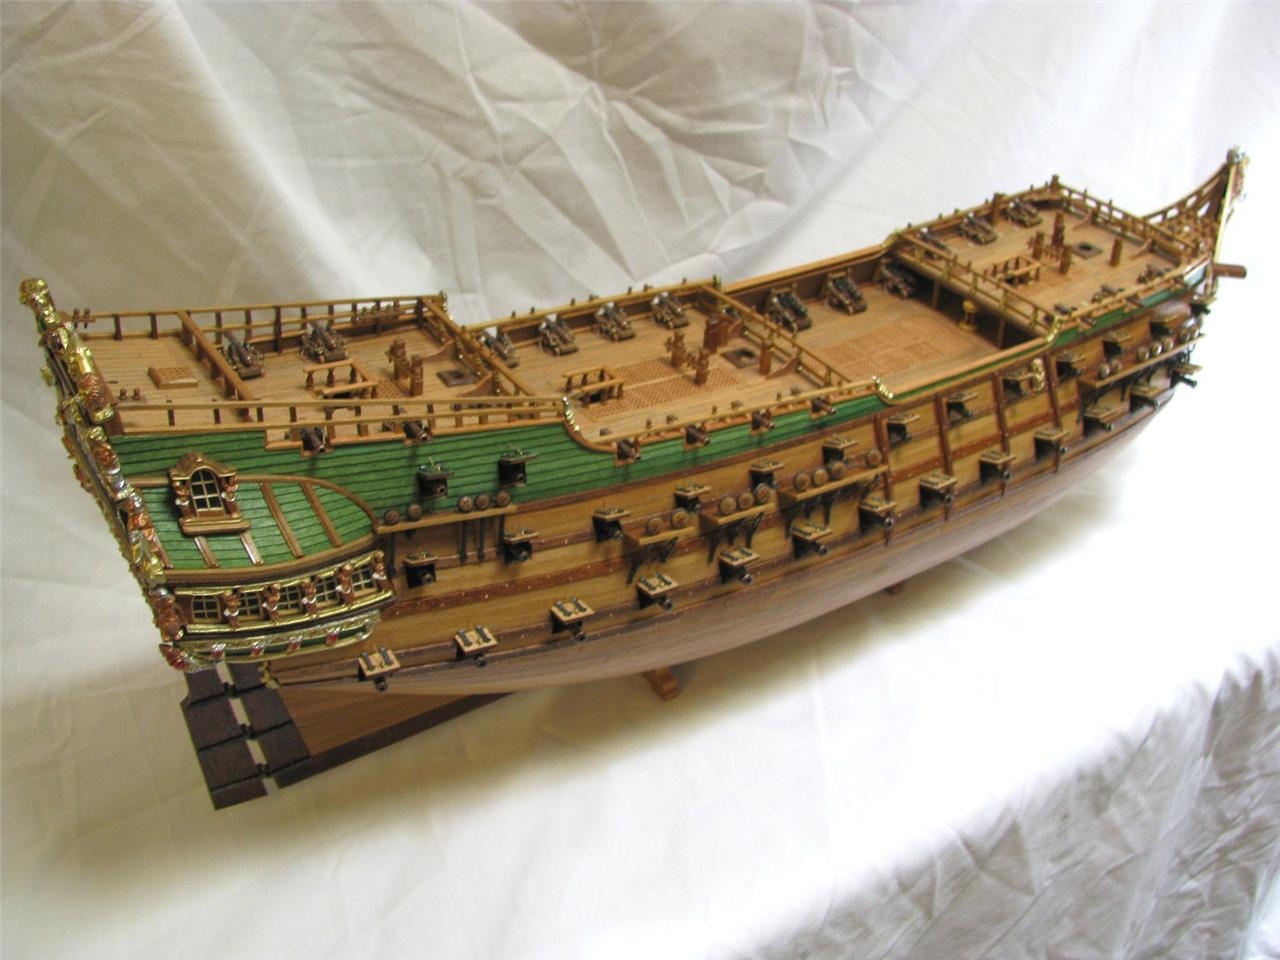
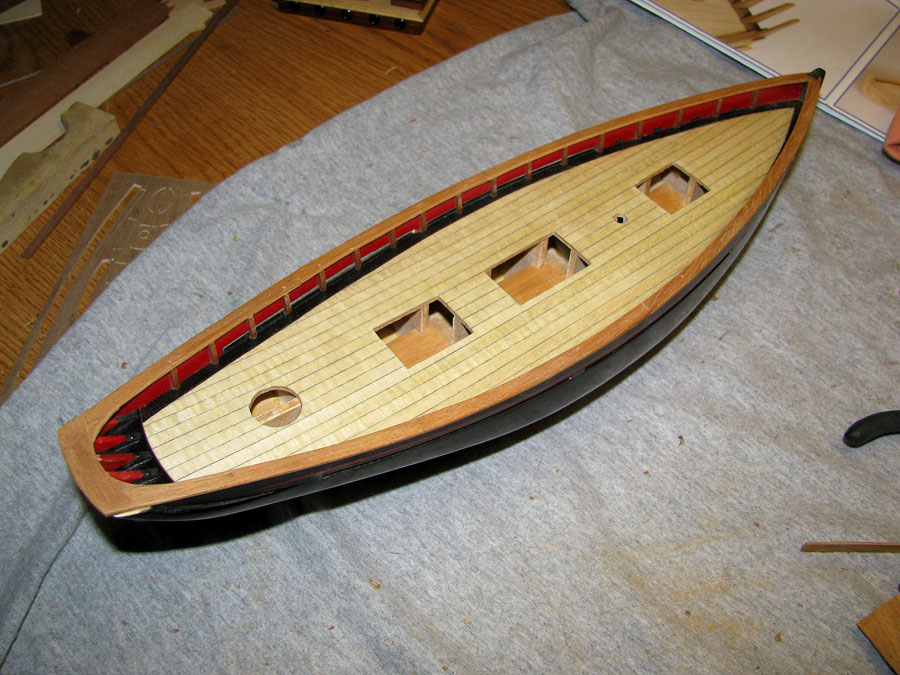
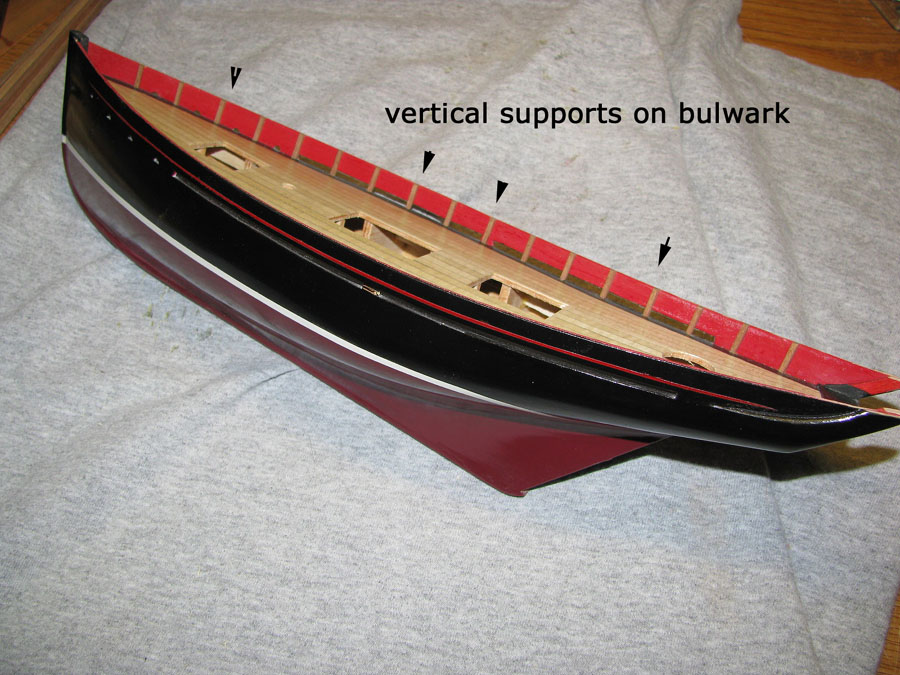
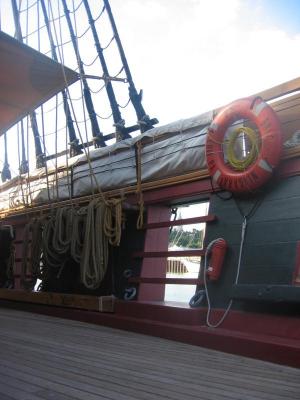
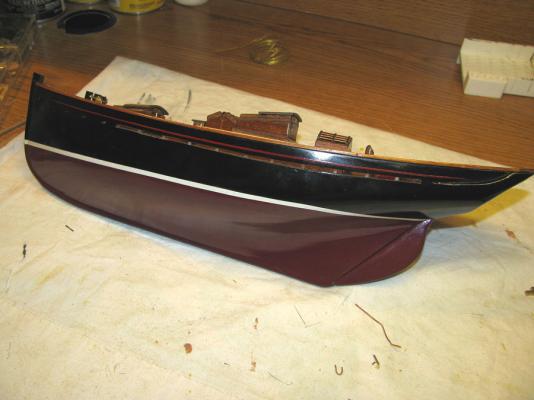
What is the specific name of the color green on the bulwarks and red on the open gun ports. Does anyone know the best application for these colors. The rails are a beige color as are the hatches. It's not the yellow like I've seen on so many models that is use on the hull . I have started the model build and will place the log on MSW in a few weeks. Many thanks for any info. A.J.


-
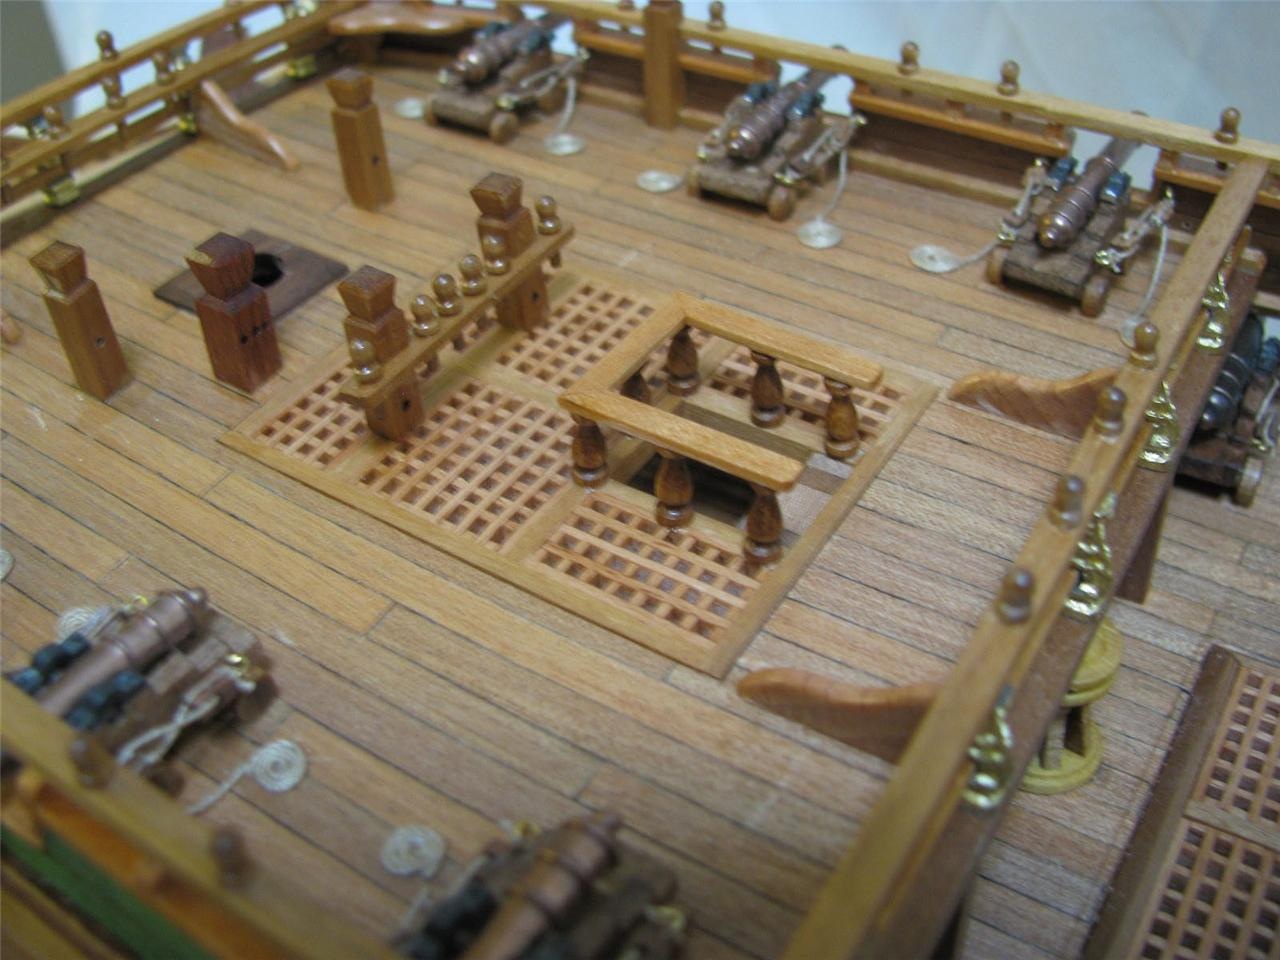
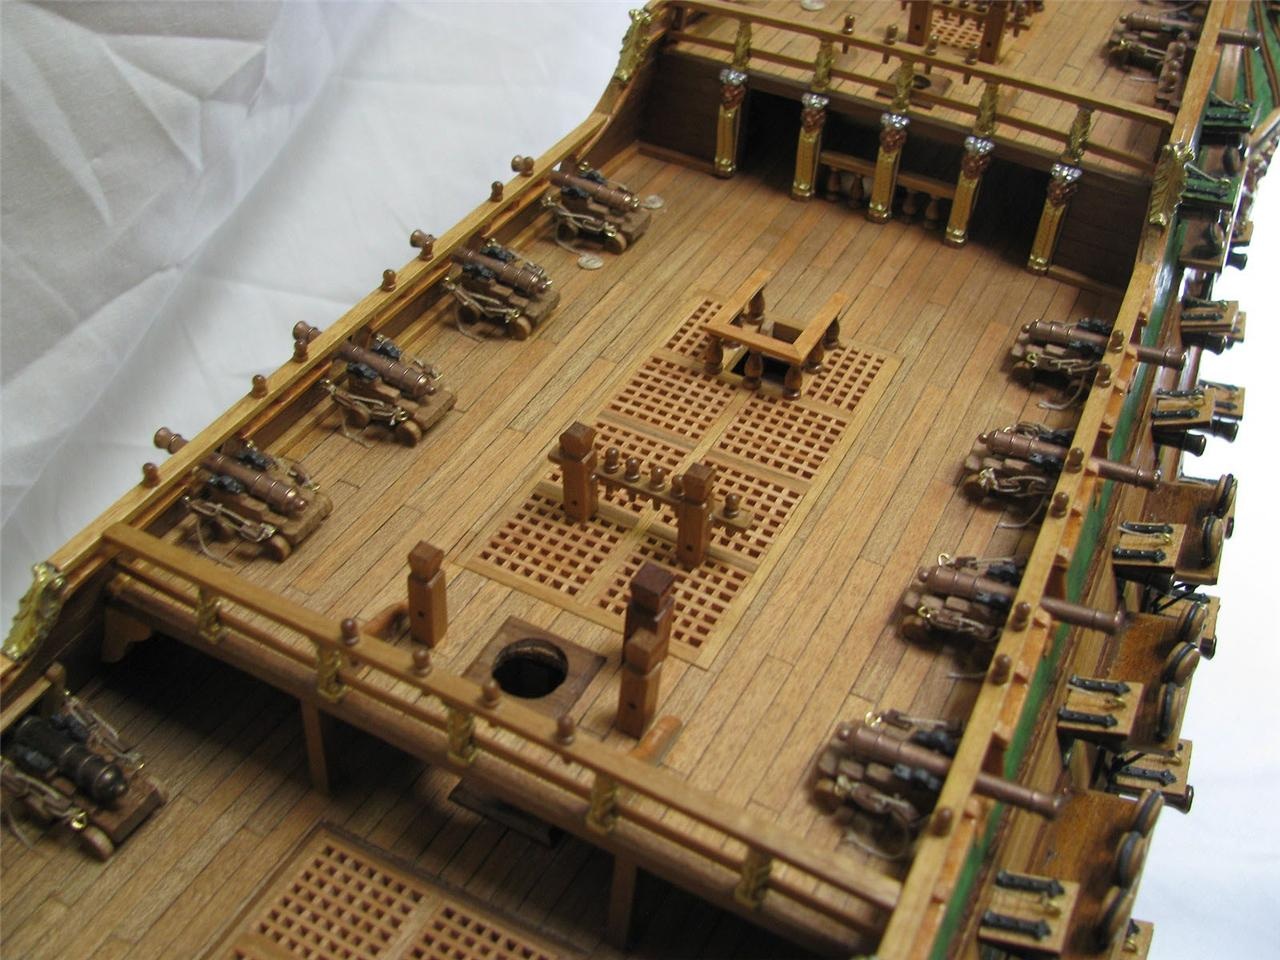
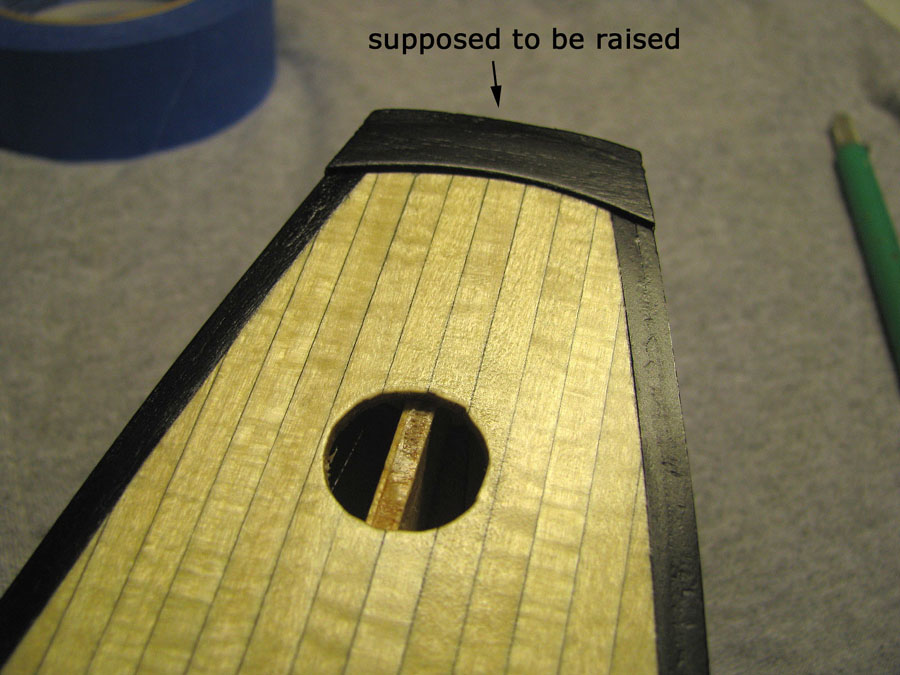
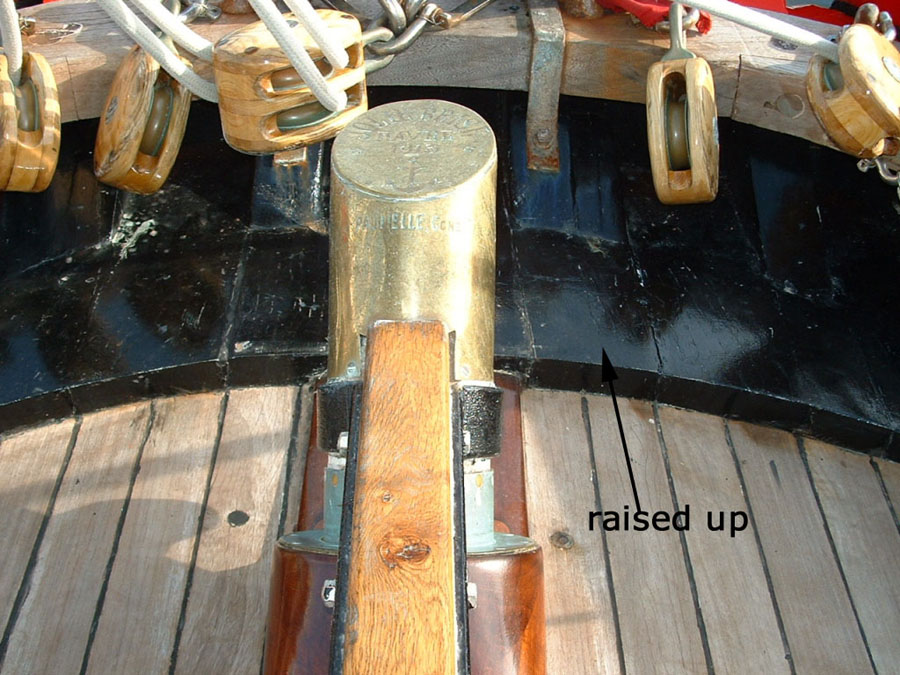
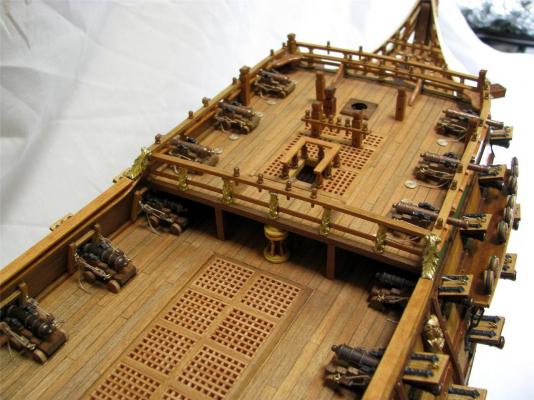
Hello Alfonse, I actually just filed down the ends of each square piece with a fine metal file until they all matched then glued the pieces together to make one piece overall, then I drilled holes in the bottoms to place a small metal nail and to fix to the deck. The grating on the main deck is supposed to be flush with the deck also just like the upper decks, I chose to raise them a little, just a personal touch.
-
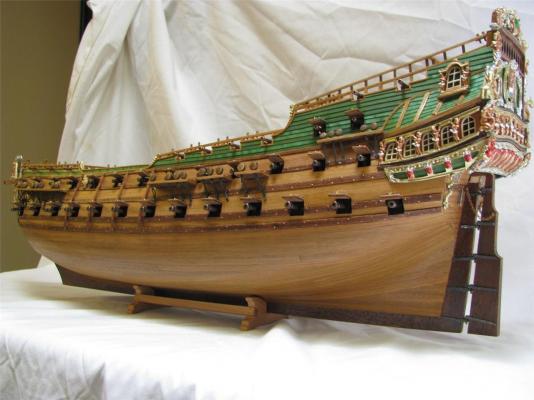
Hi Kim, do you have a all time favorite ship, most ship modelers do for some reason or another. When I saw the Dutch Wasa I was hooked, and now I,m obsessed with all tall ships.
- 118 replies
-
- 2
-
-
- jolly roger
- lindberg
- (and 2 more)
-
This is a great first build Gabe, I can tell you have taken the time to research and accept others help and it is coming along great. It does get easier and even more challenging with each new build. Smooth seas do not create good sailors. Lots of luck to you and hope to see more in the builds future. A.J.
-
Some deck cannons


-
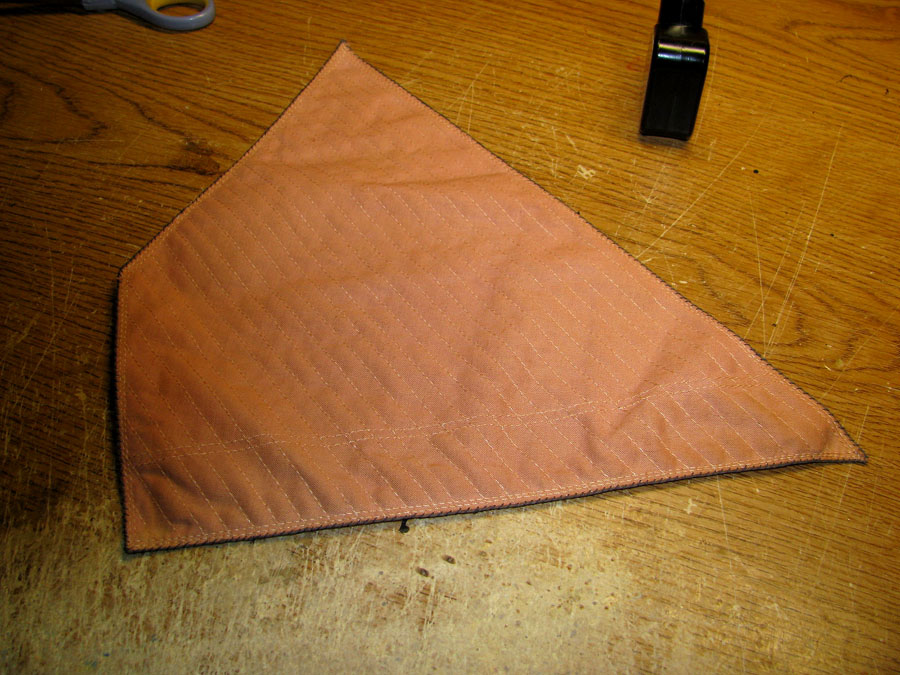
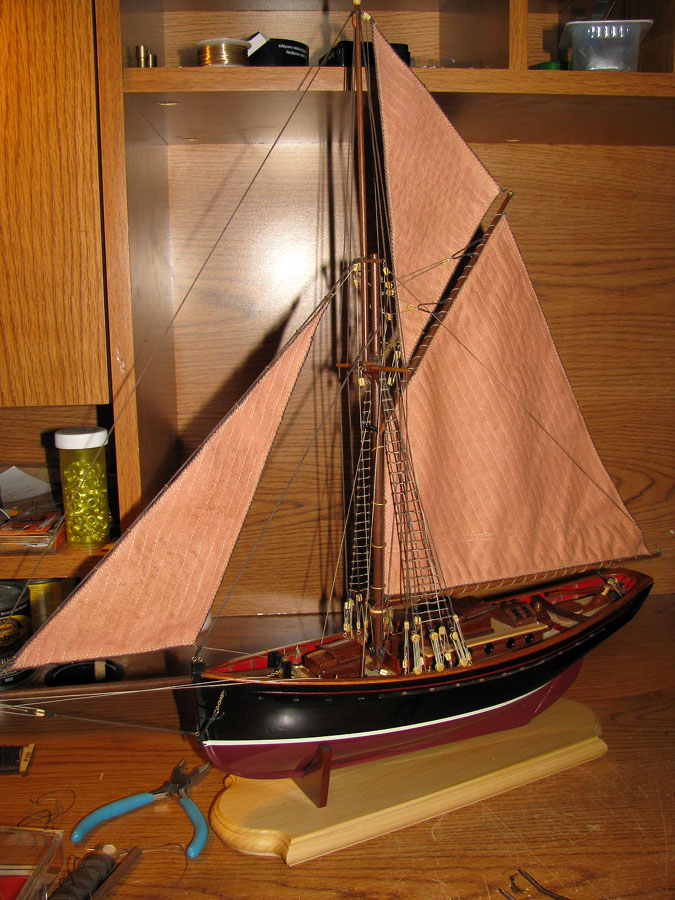
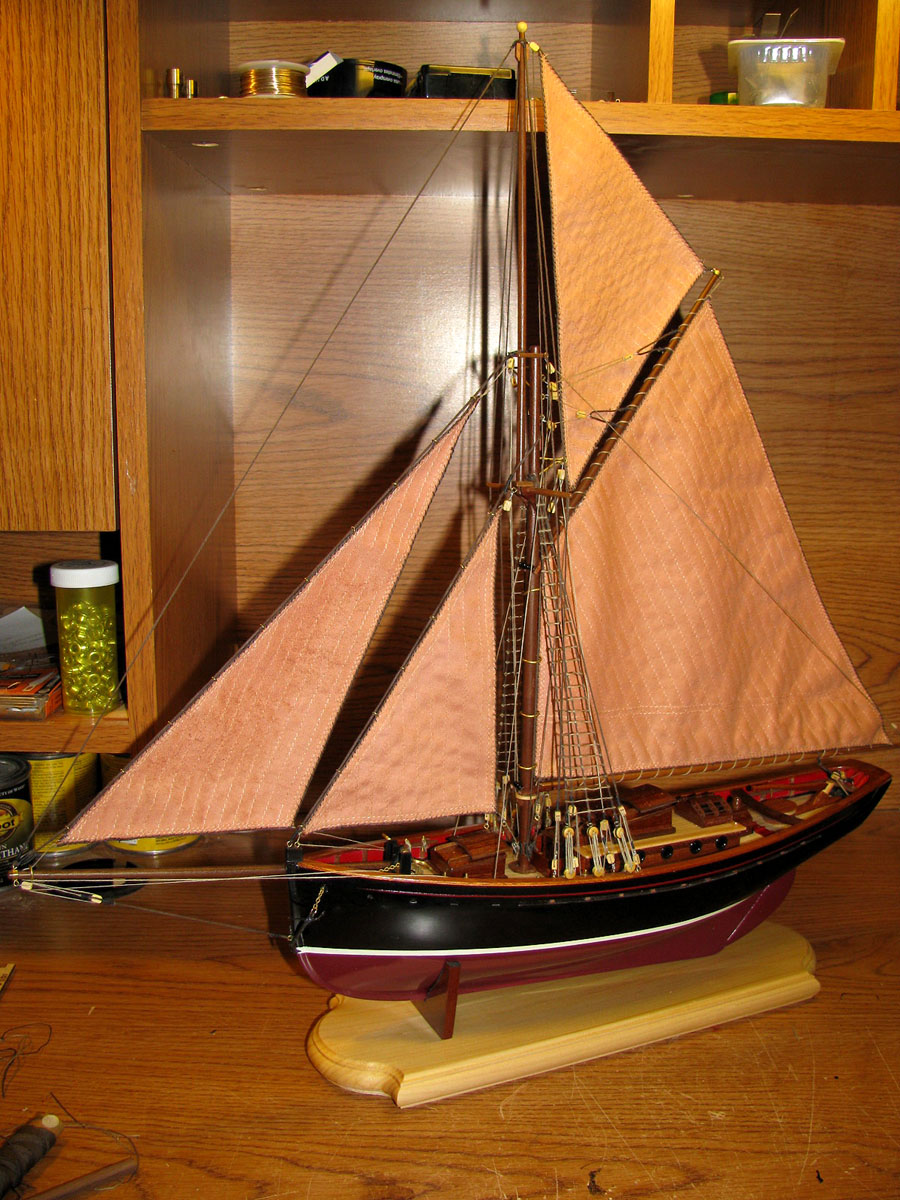
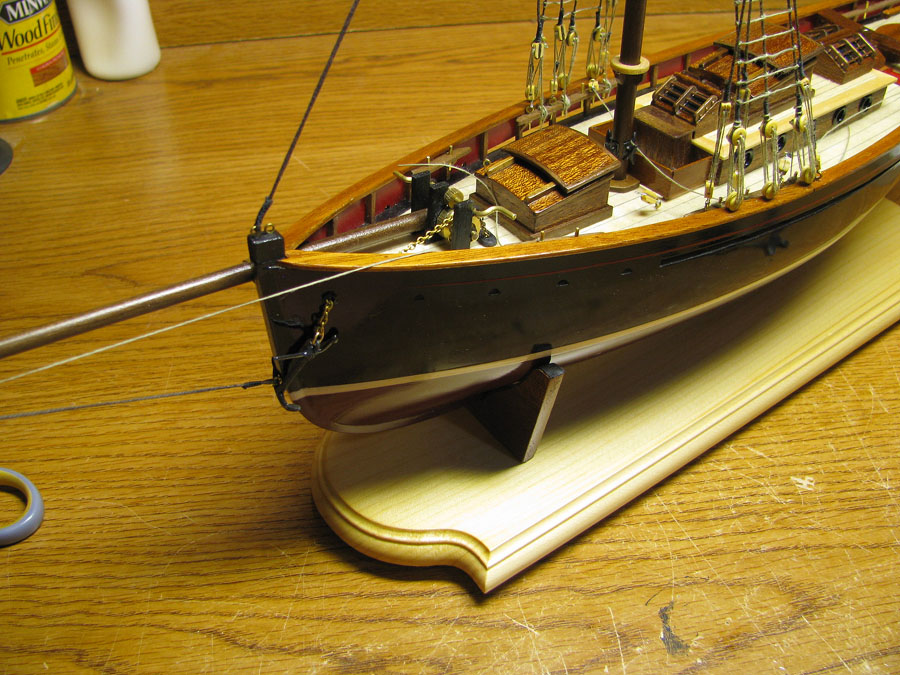
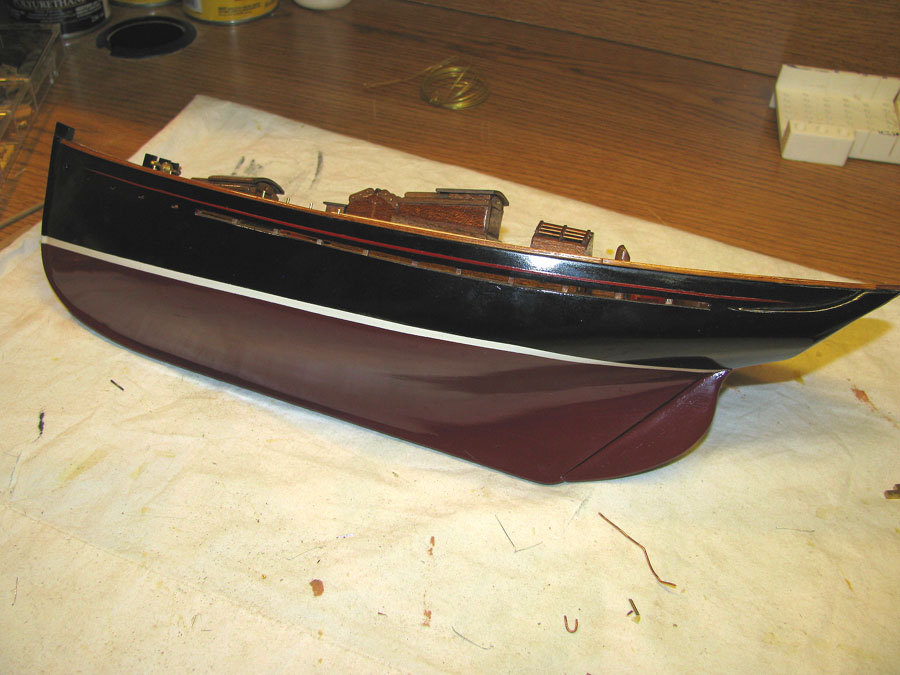
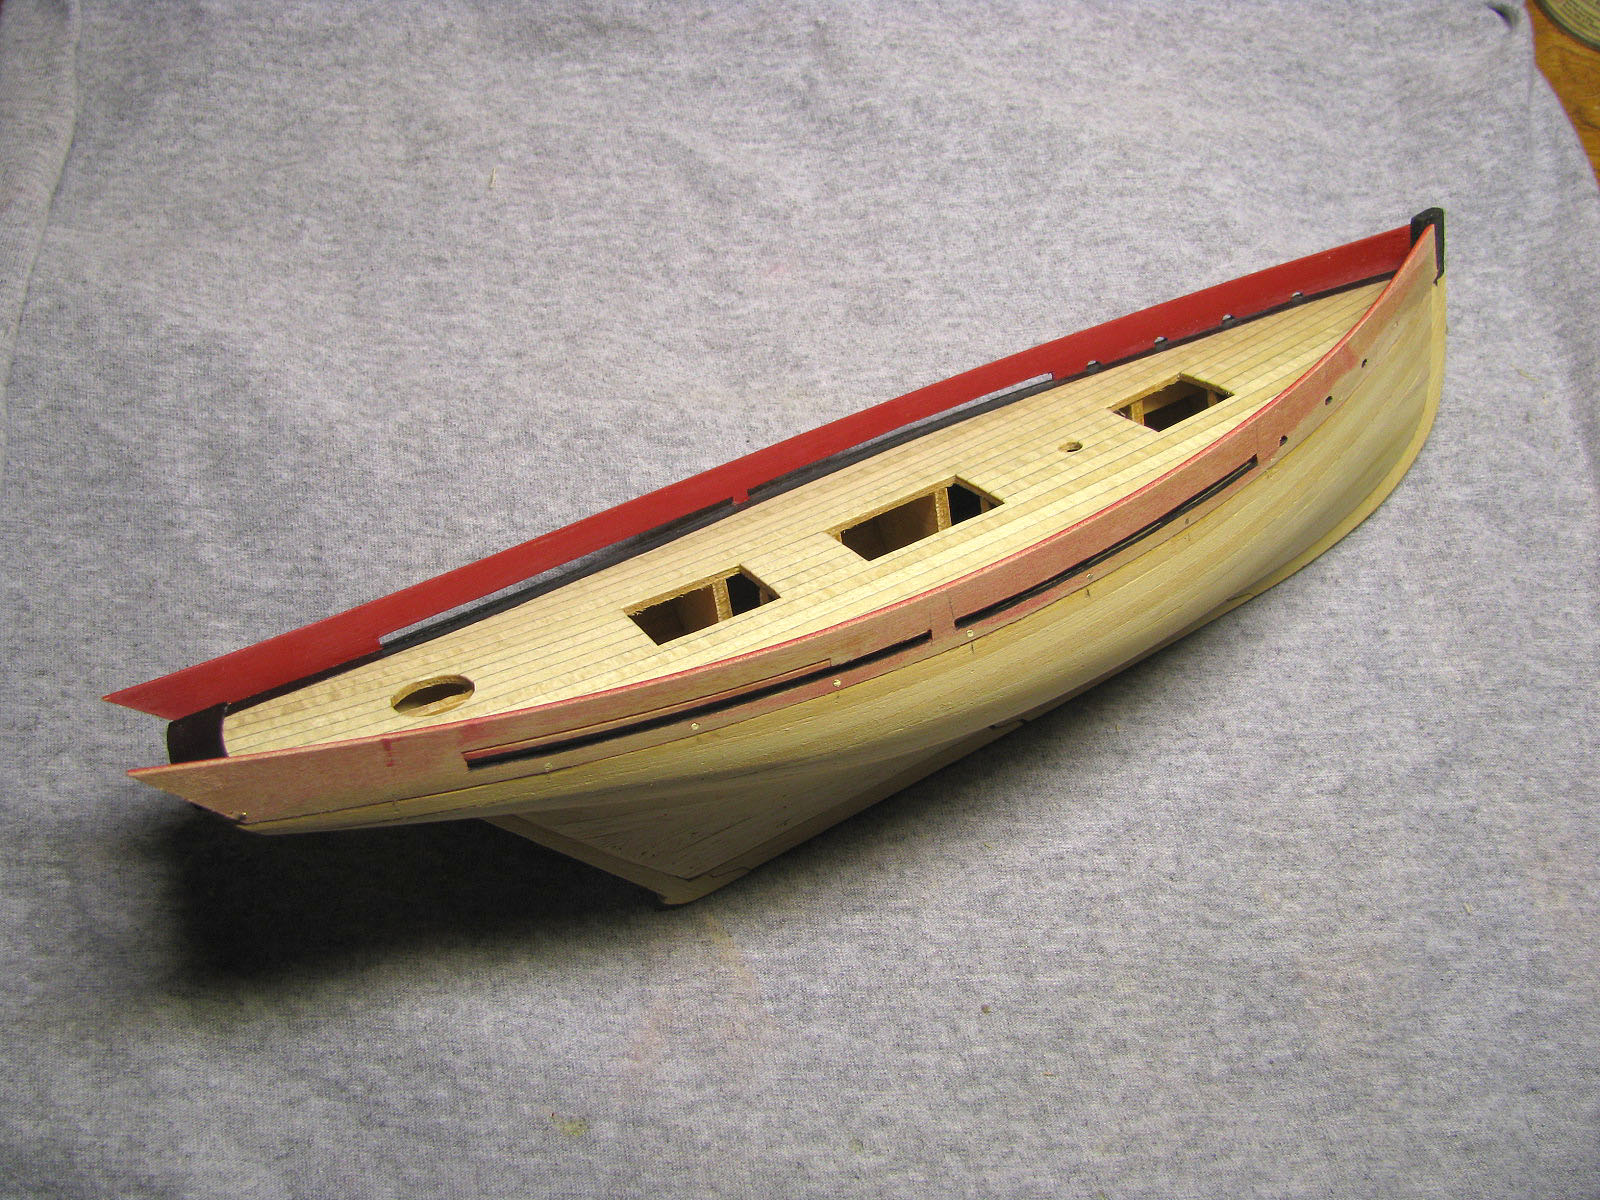
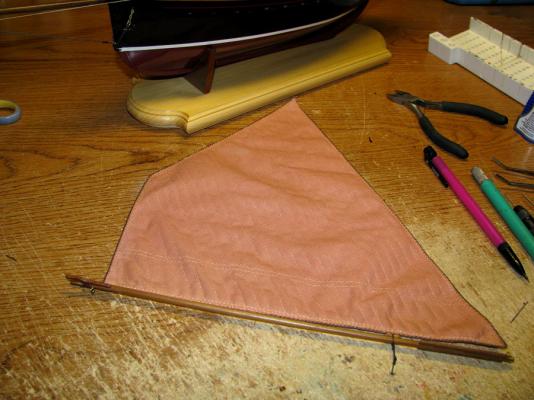
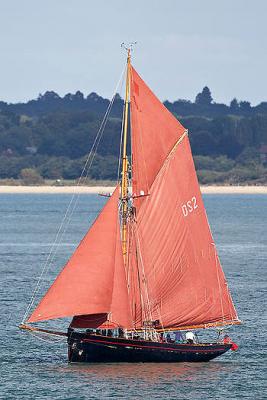
so for the sails I never use the cheese cloth the kits provide. I purchased some light weight off white material at hobby lobby I use for all my builds. The Jolie Brise has a faded reddish set of sails so I used burgundy and brown food coloring with tea stain solution to stain the sails I sewed for this kit. I modified the length for the large spanker sail to fit to compensate for the addition of the coach roof. One little change in the kit will make a difference to other areas of interest.


- 22 replies
-
- 13
-
-
- jolie brise
- artesania latina
- (and 1 more)
-
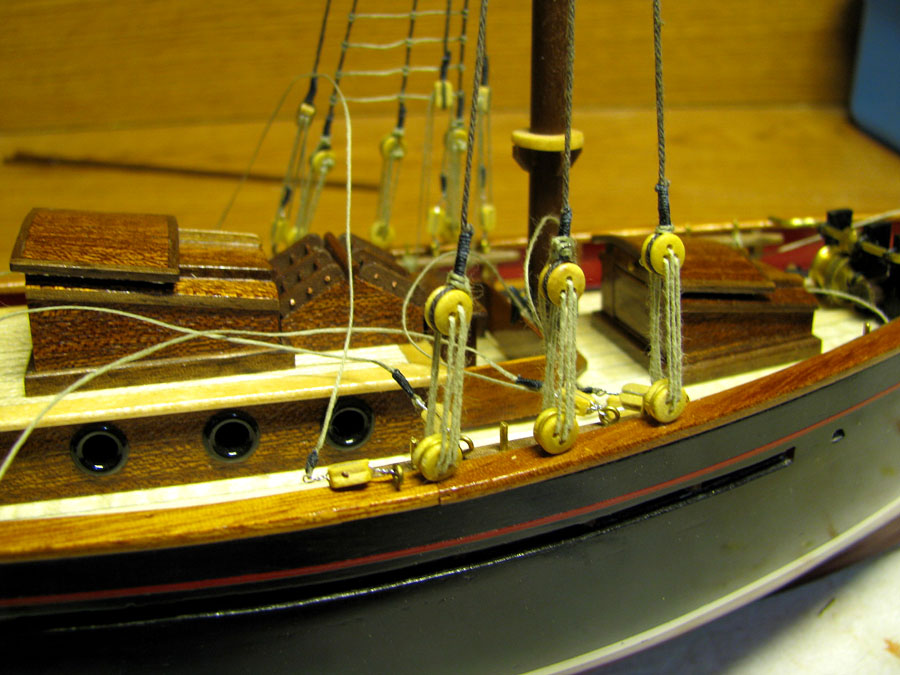
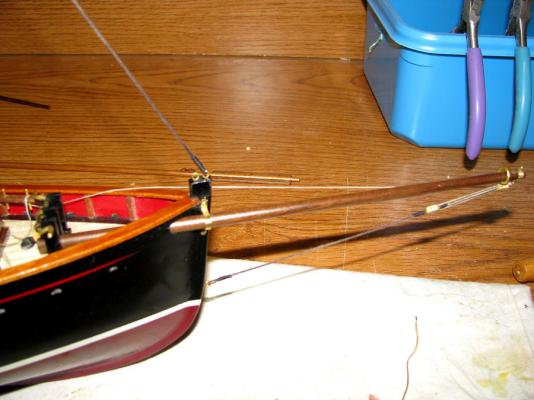
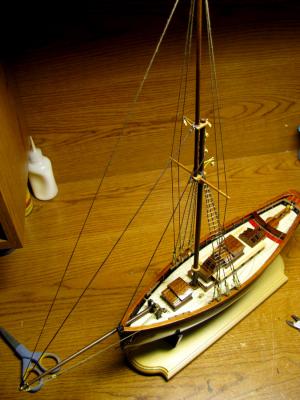
shroud rigging, bowsprit, main mast , gaff and boom


- 22 replies
-
- 5
-
-
- jolie brise
- artesania latina
- (and 1 more)
-
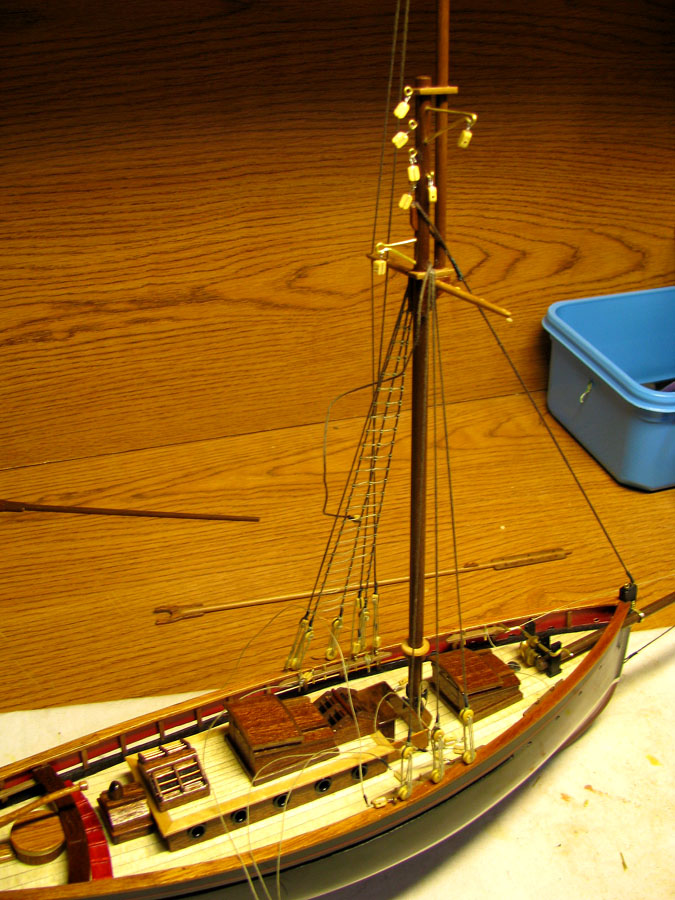
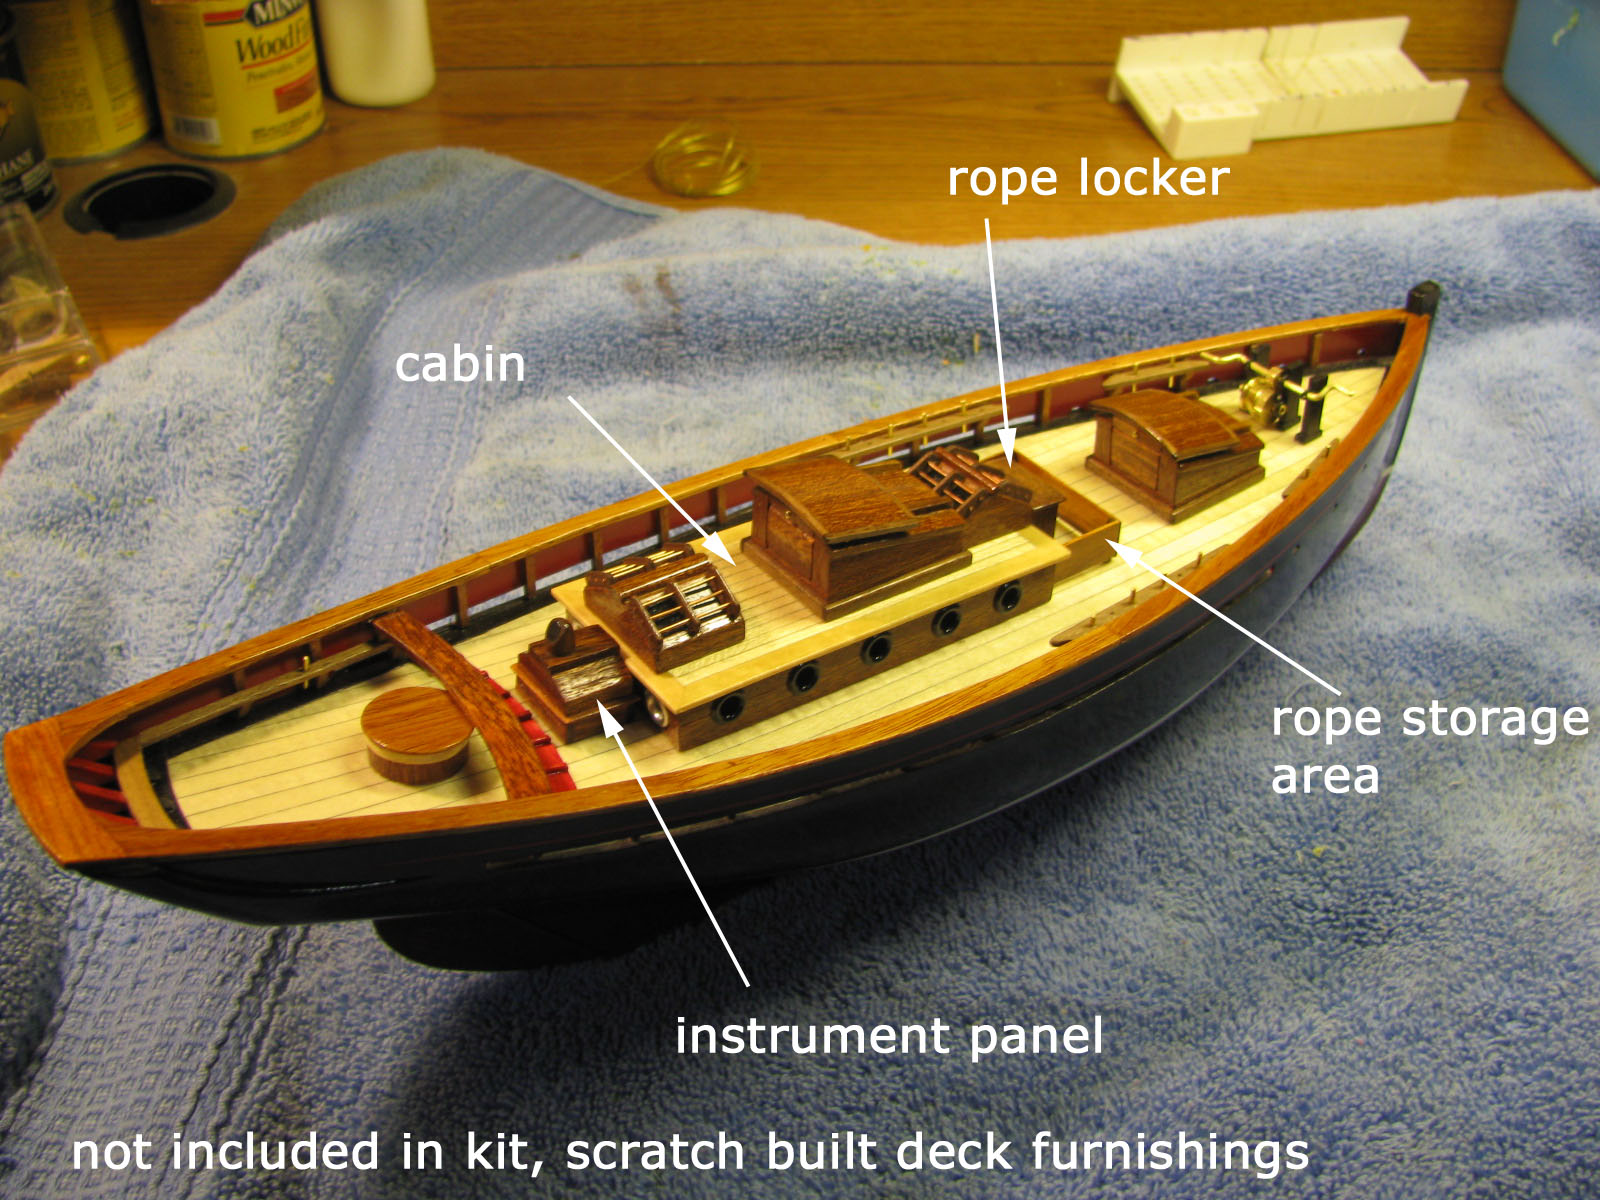
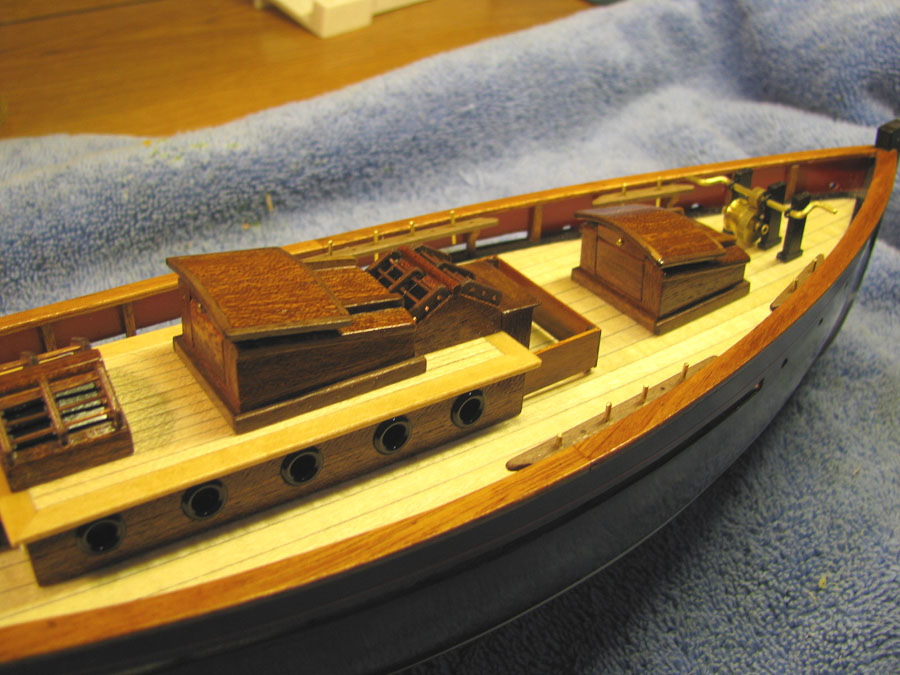
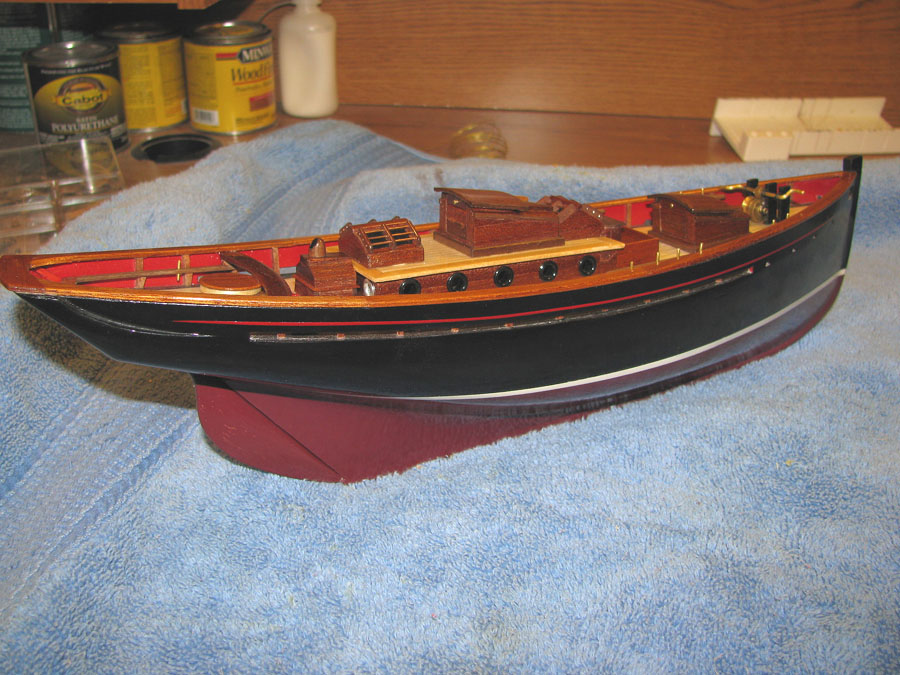
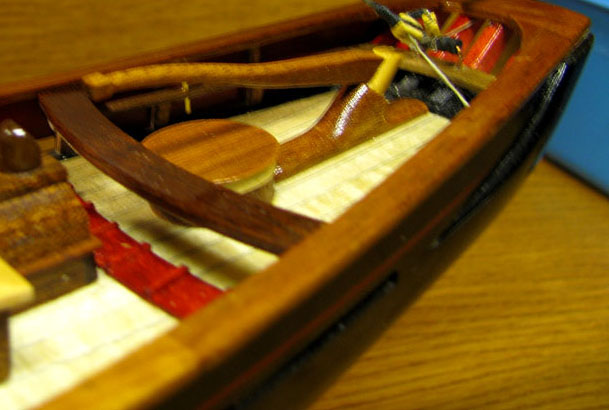
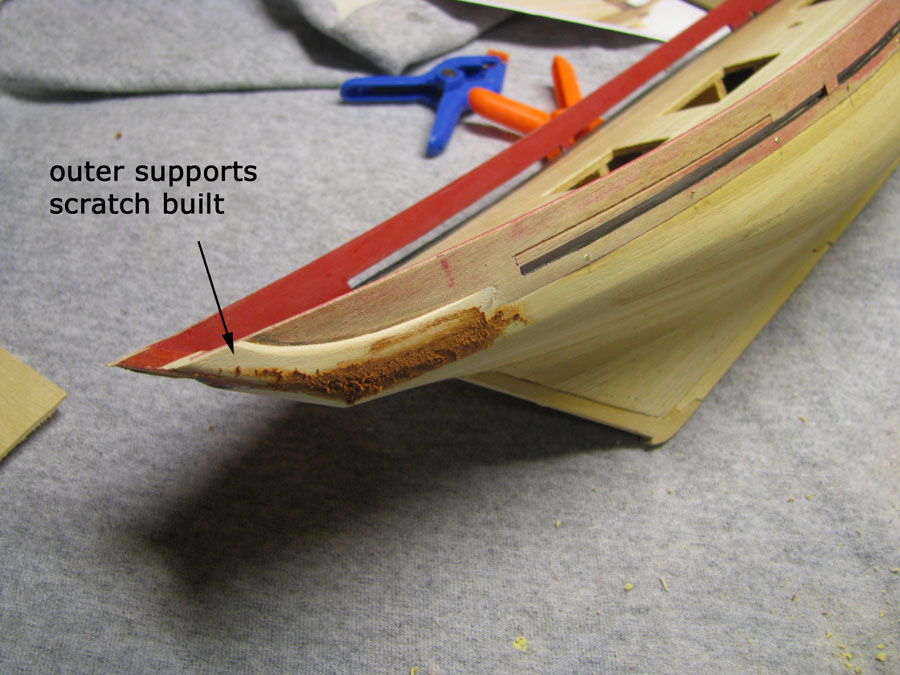
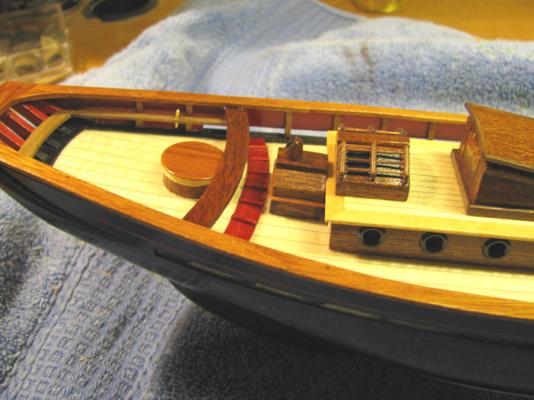
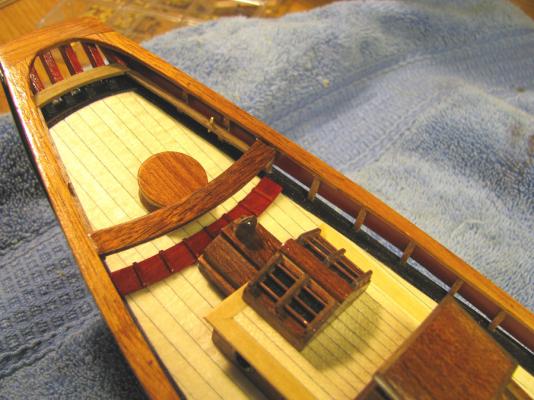
deck furnishings , rope locker & instrument panel not in kit


- 22 replies
-
- 7
-
-
- jolie brise
- artesania latina
- (and 1 more)
-
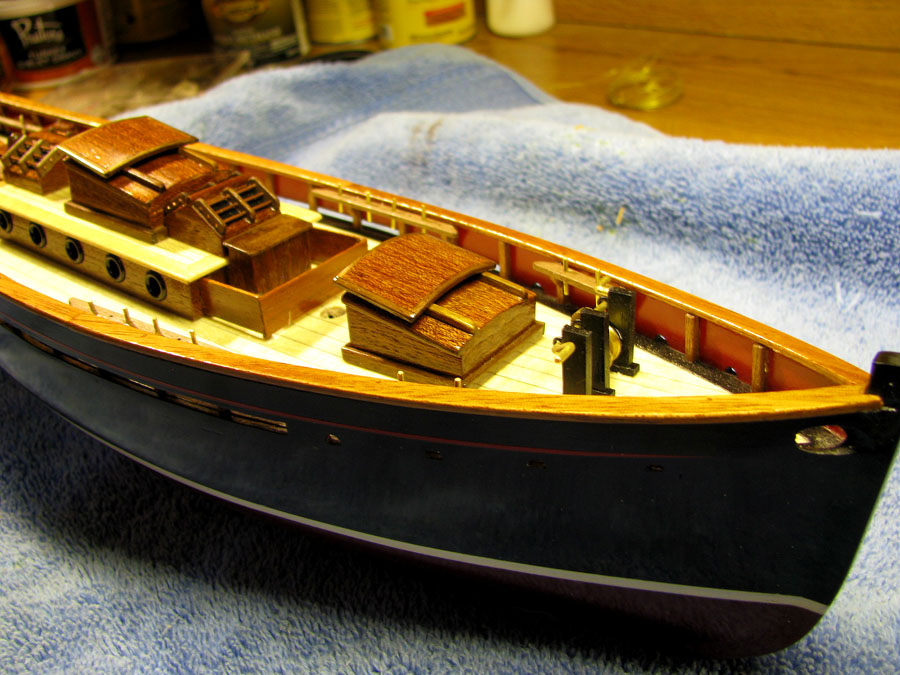
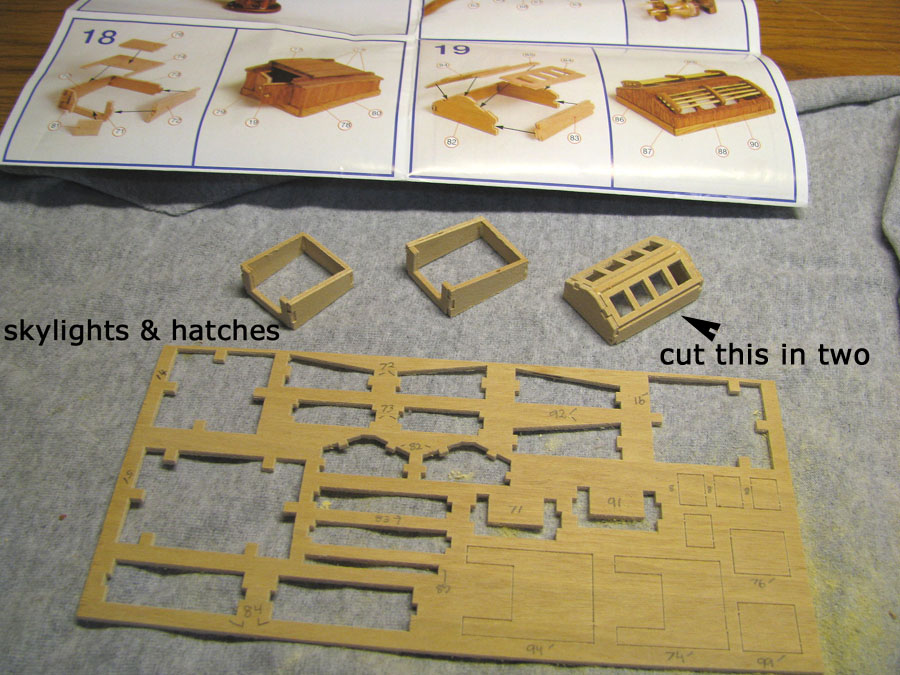
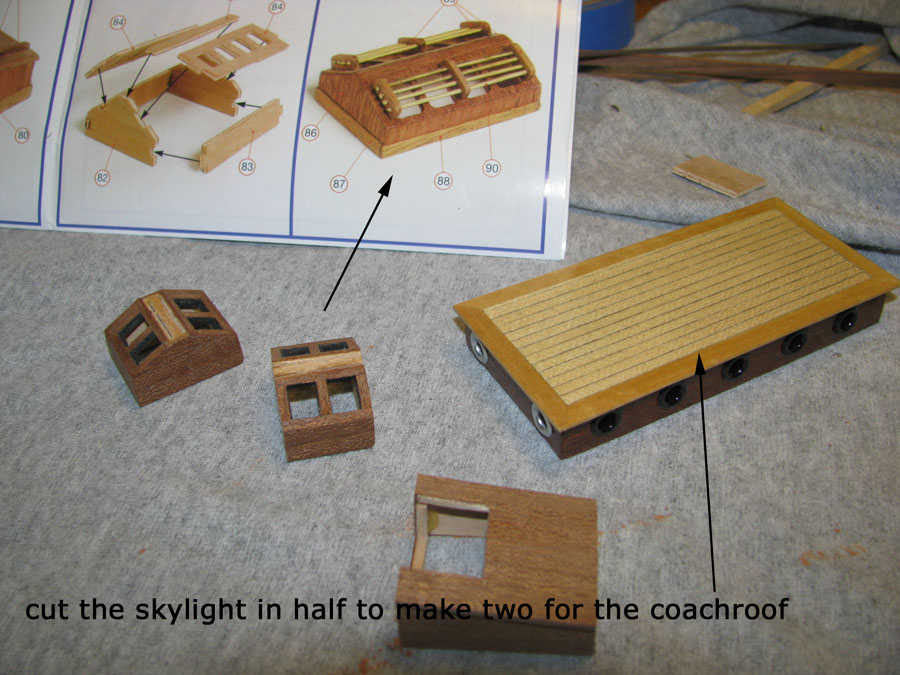
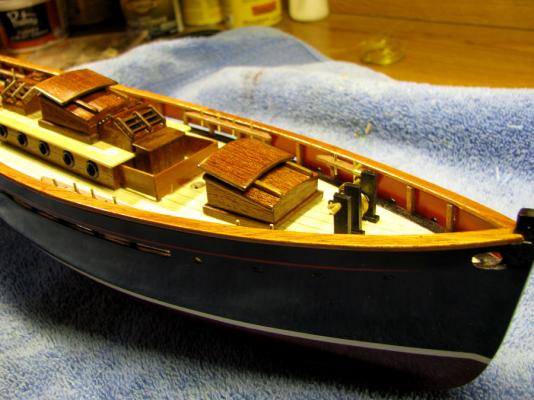
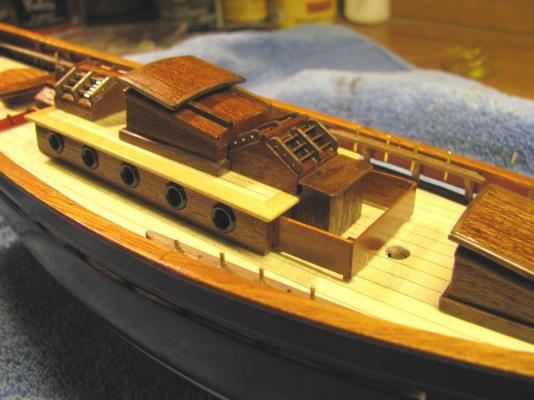
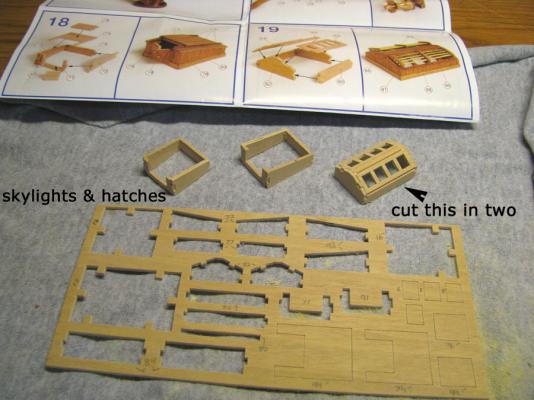
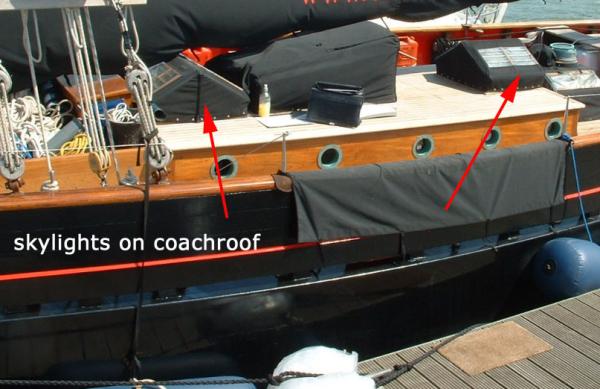
Deck cabin and skylights, scratch made, used one in the kit to make two separate skylights.

- 22 replies
-
- 2
-
-
- jolie brise
- artesania latina
- (and 1 more)
-
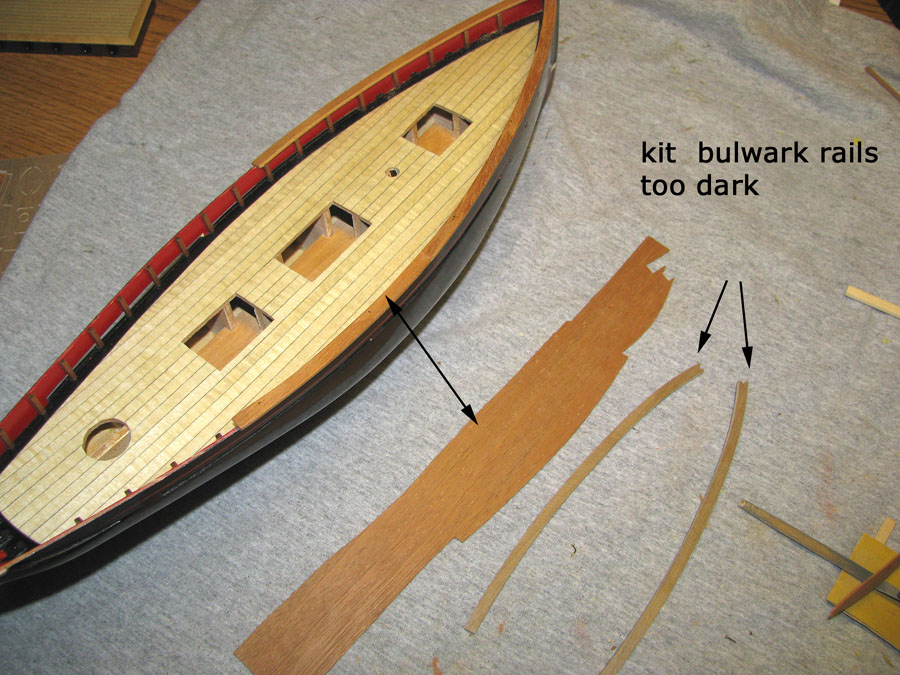
I chose to scratch build some different wood for the rail , the kit wood was too dark and narrow


- 22 replies
-
- 5
-
-
- jolie brise
- artesania latina
- (and 1 more)