KirbysLunchBox
-
Posts
221 -
Joined
-
Last visited
Content Type
Profiles
Forums
Gallery
Events
Everything posted by KirbysLunchBox
-
I appreciate the words of advice and encouragement! I am really working hard on my patience with this thing after that initial list of fails.
-
For sure. I saw the nail idea before I saw yours. I have a band saw, would have been simple. I almost did it that way before I saw your log, but the excitement of the build got the better of me. I have definitely taken a deep breath and I am not going to rush this anymore.
-
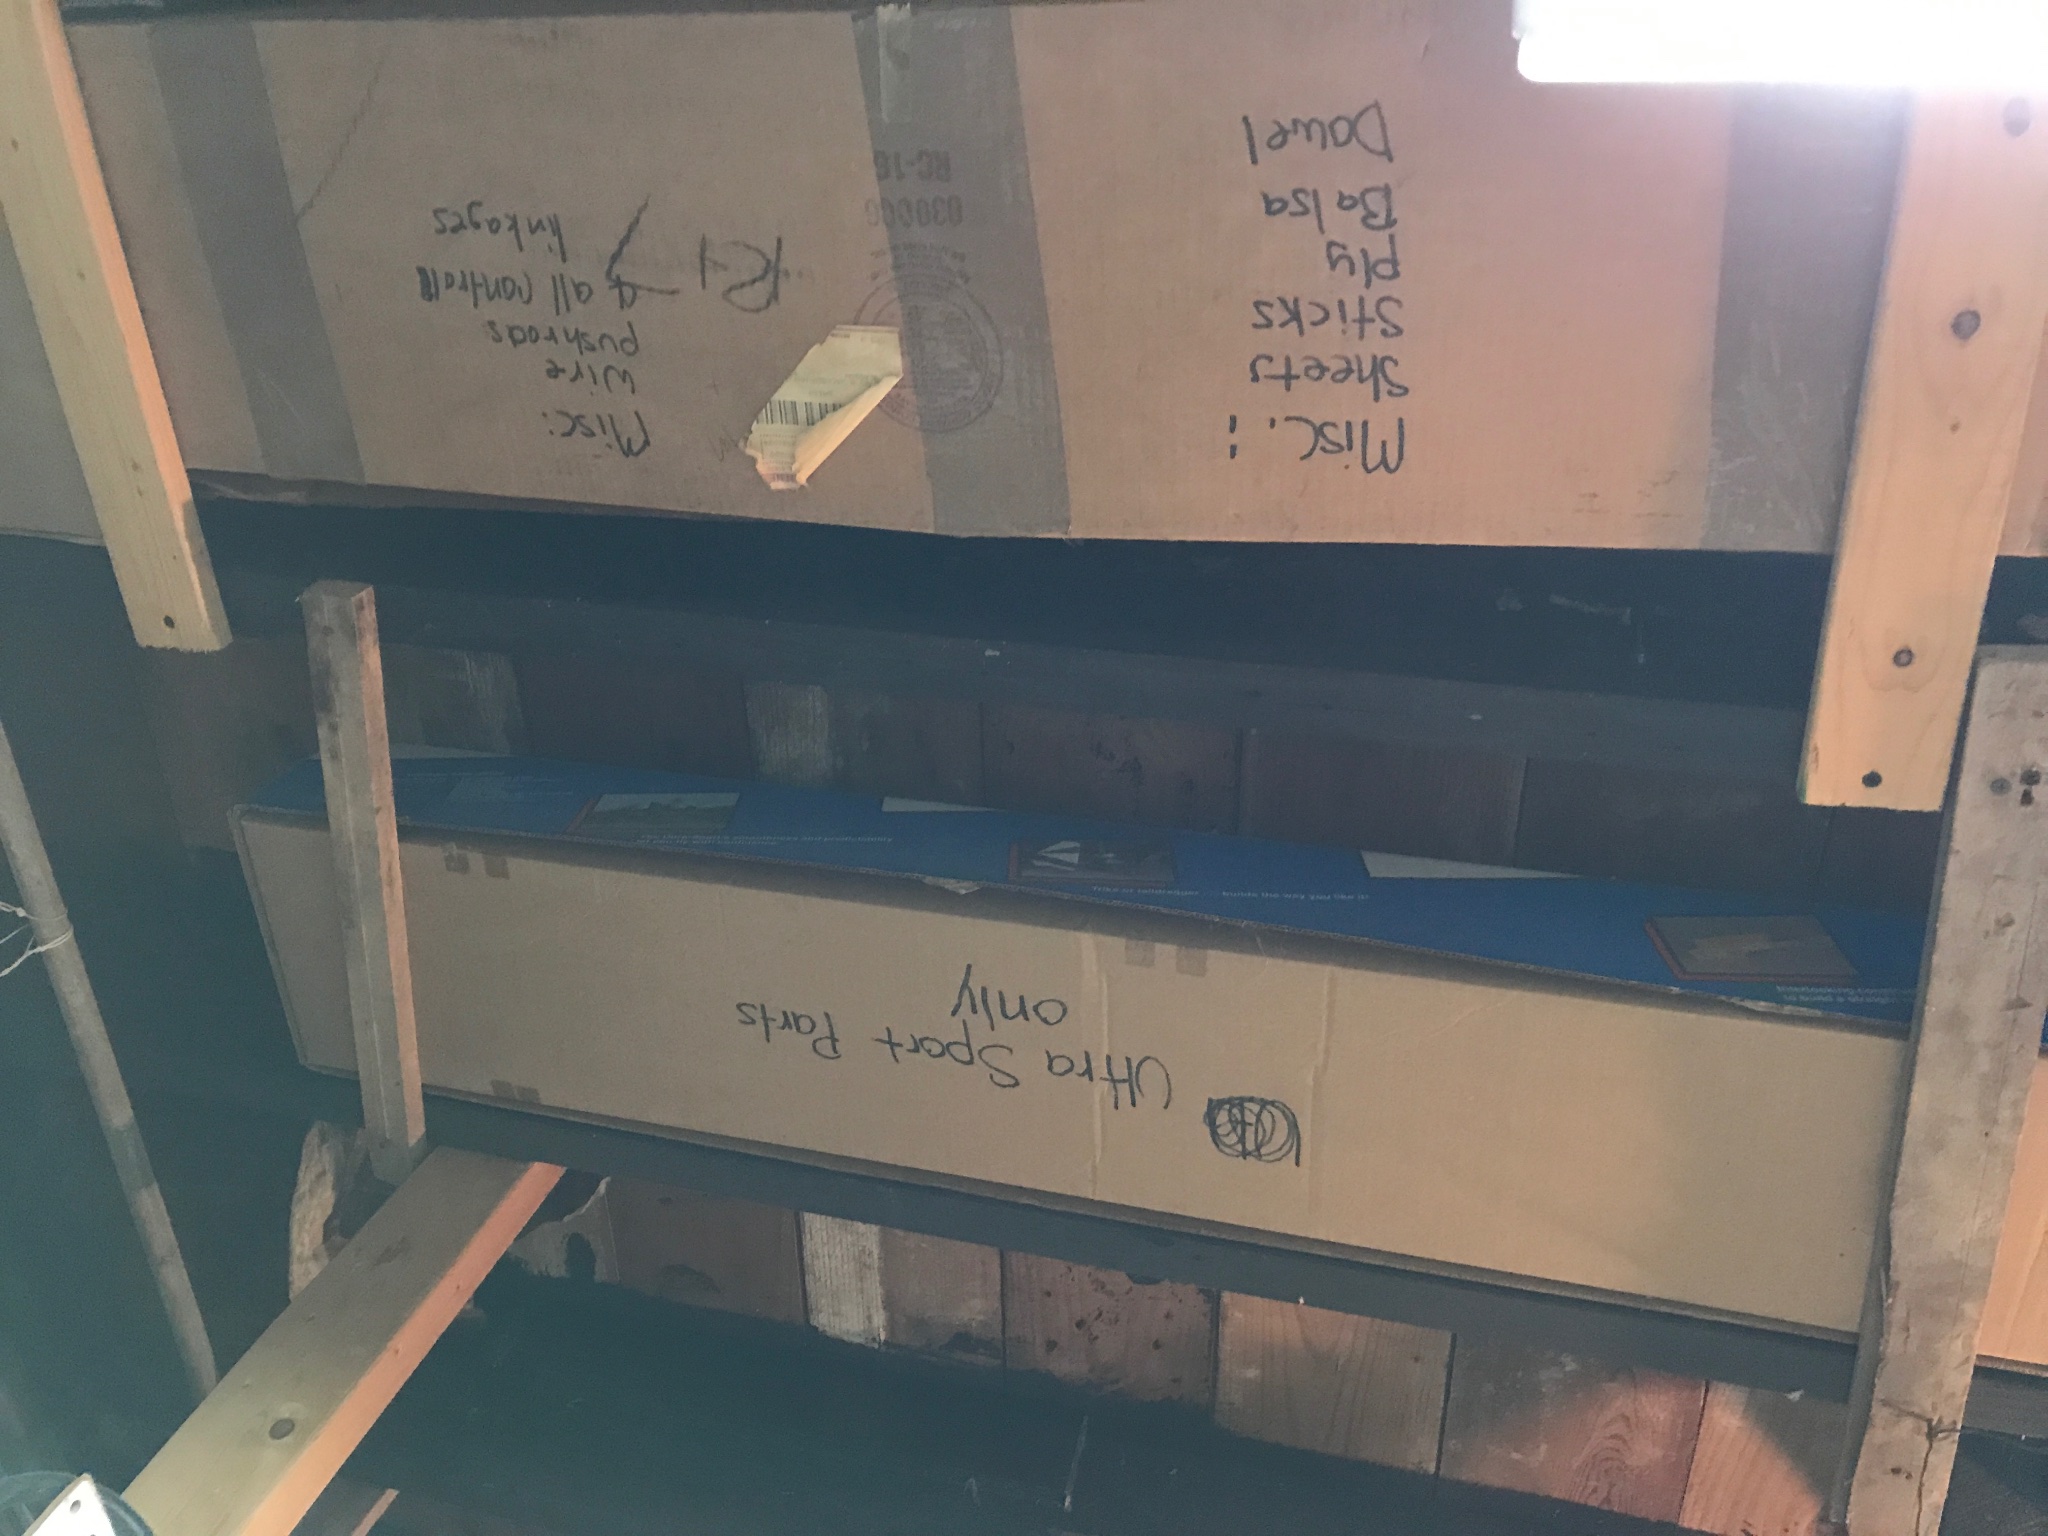
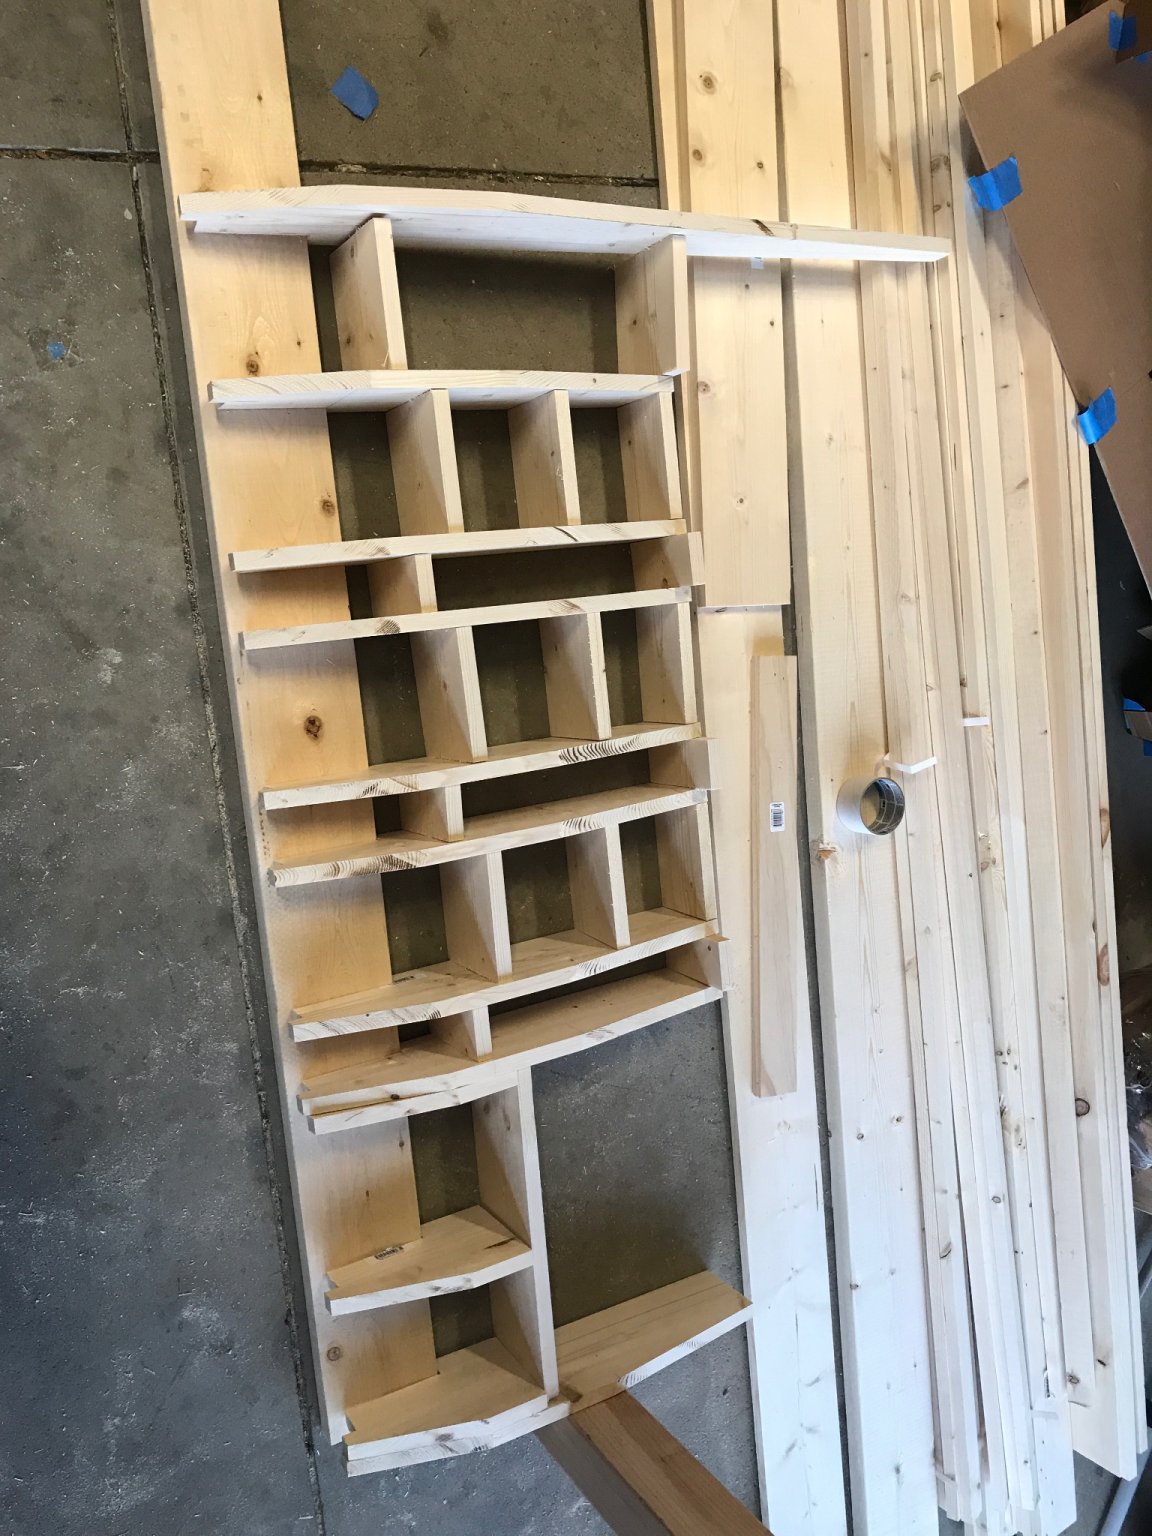
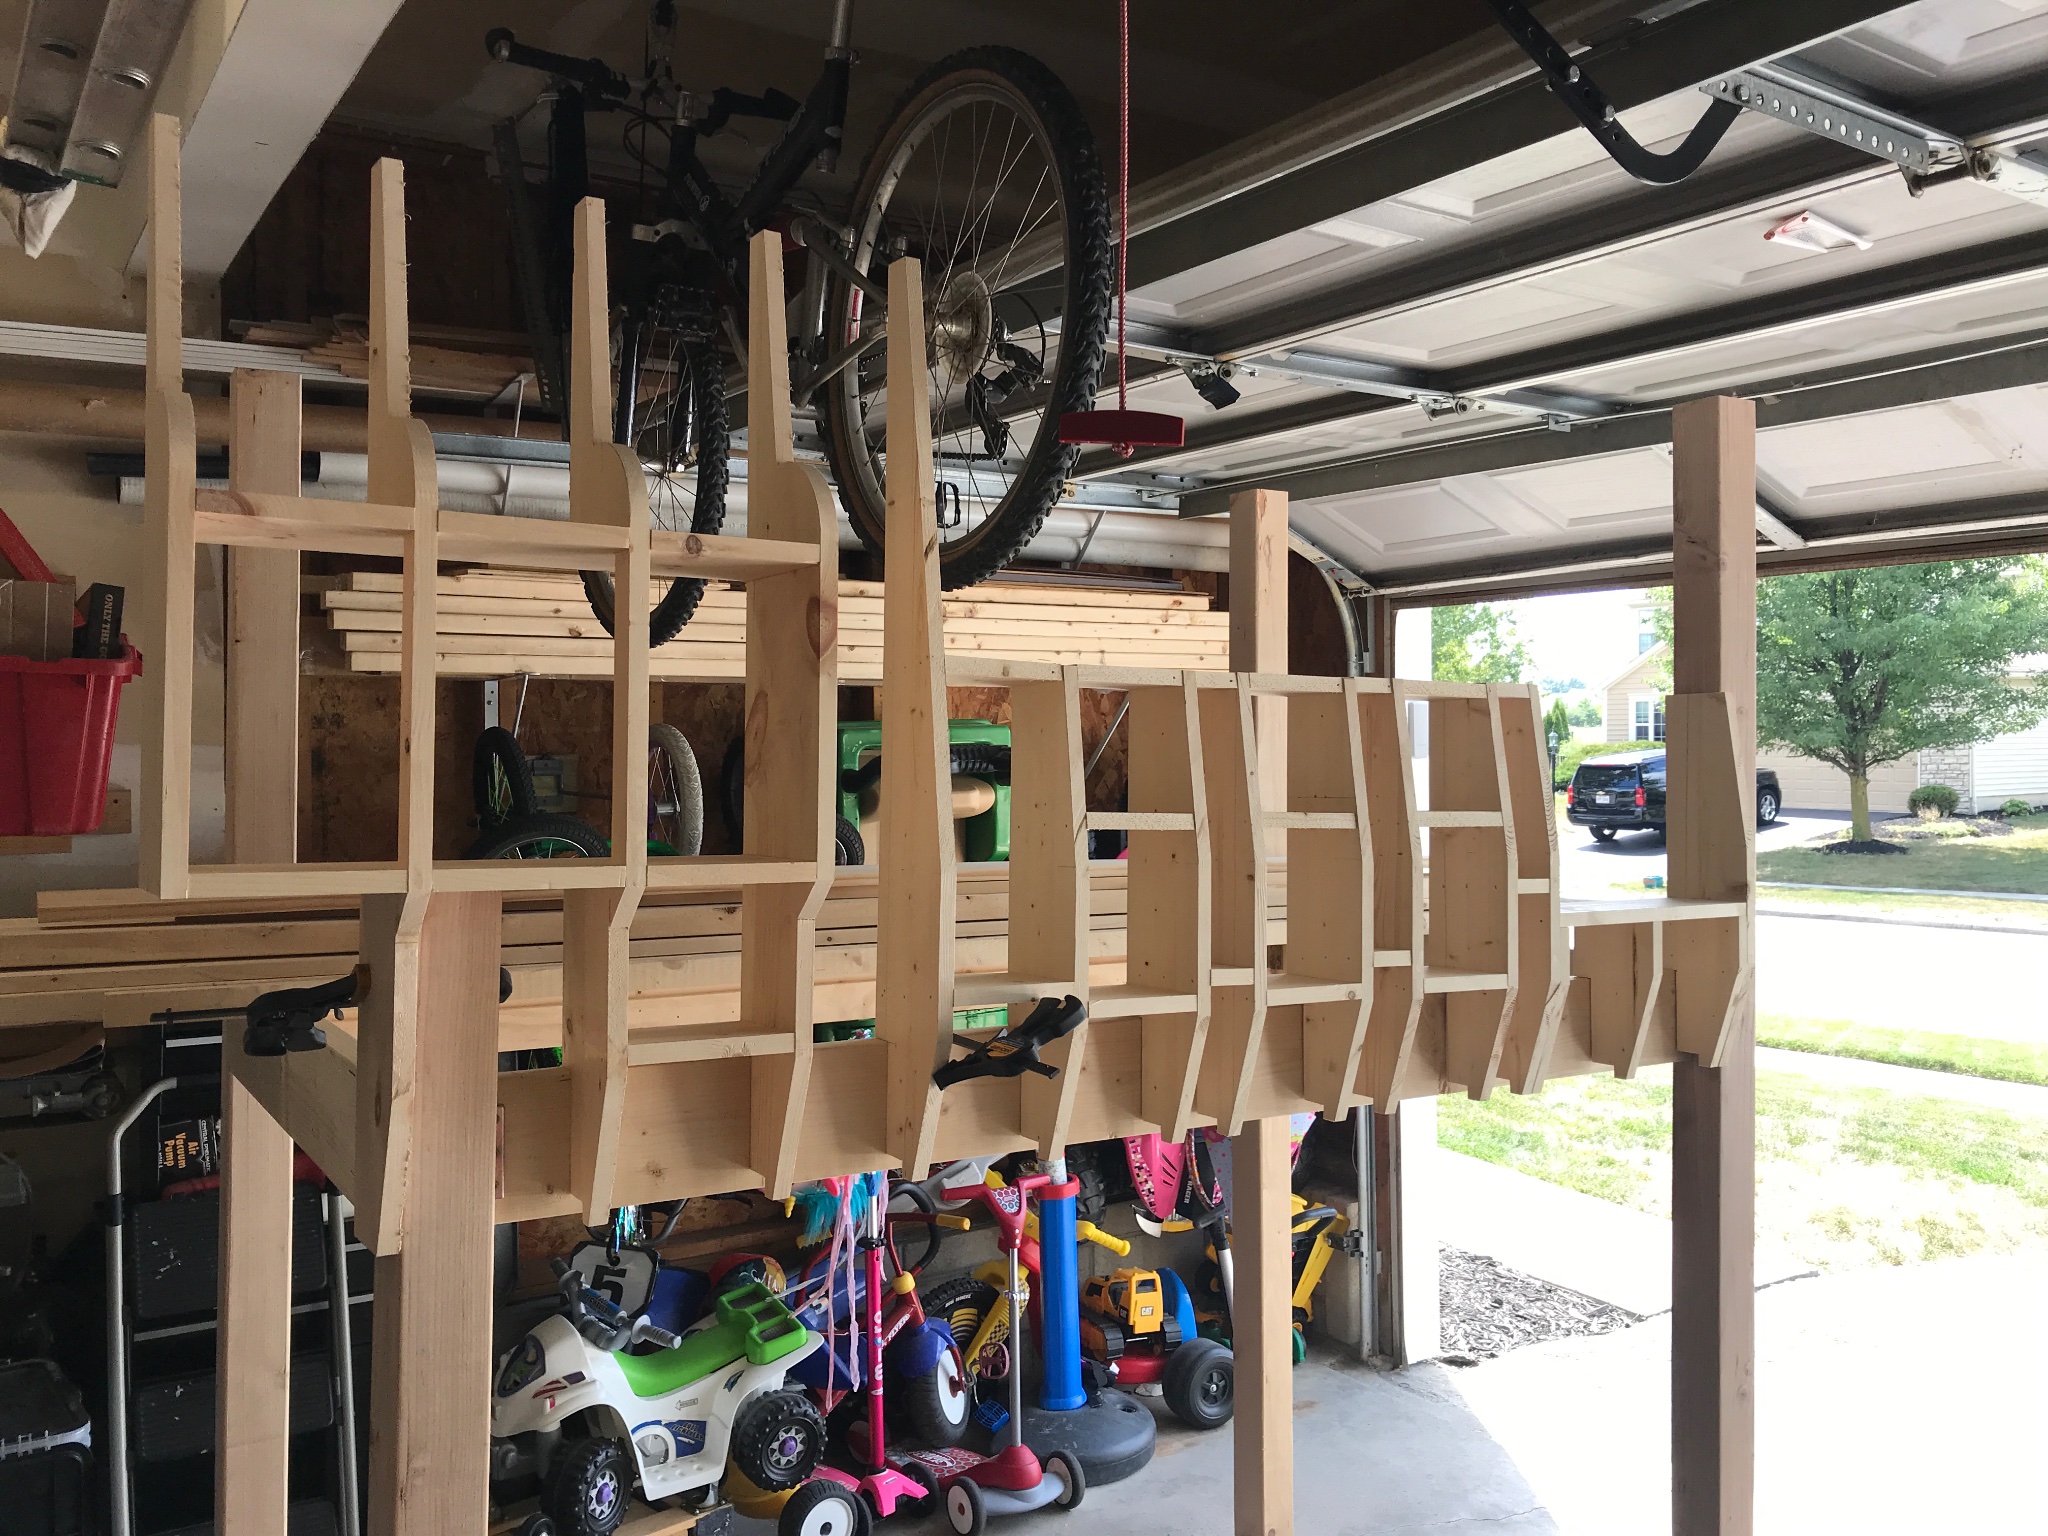
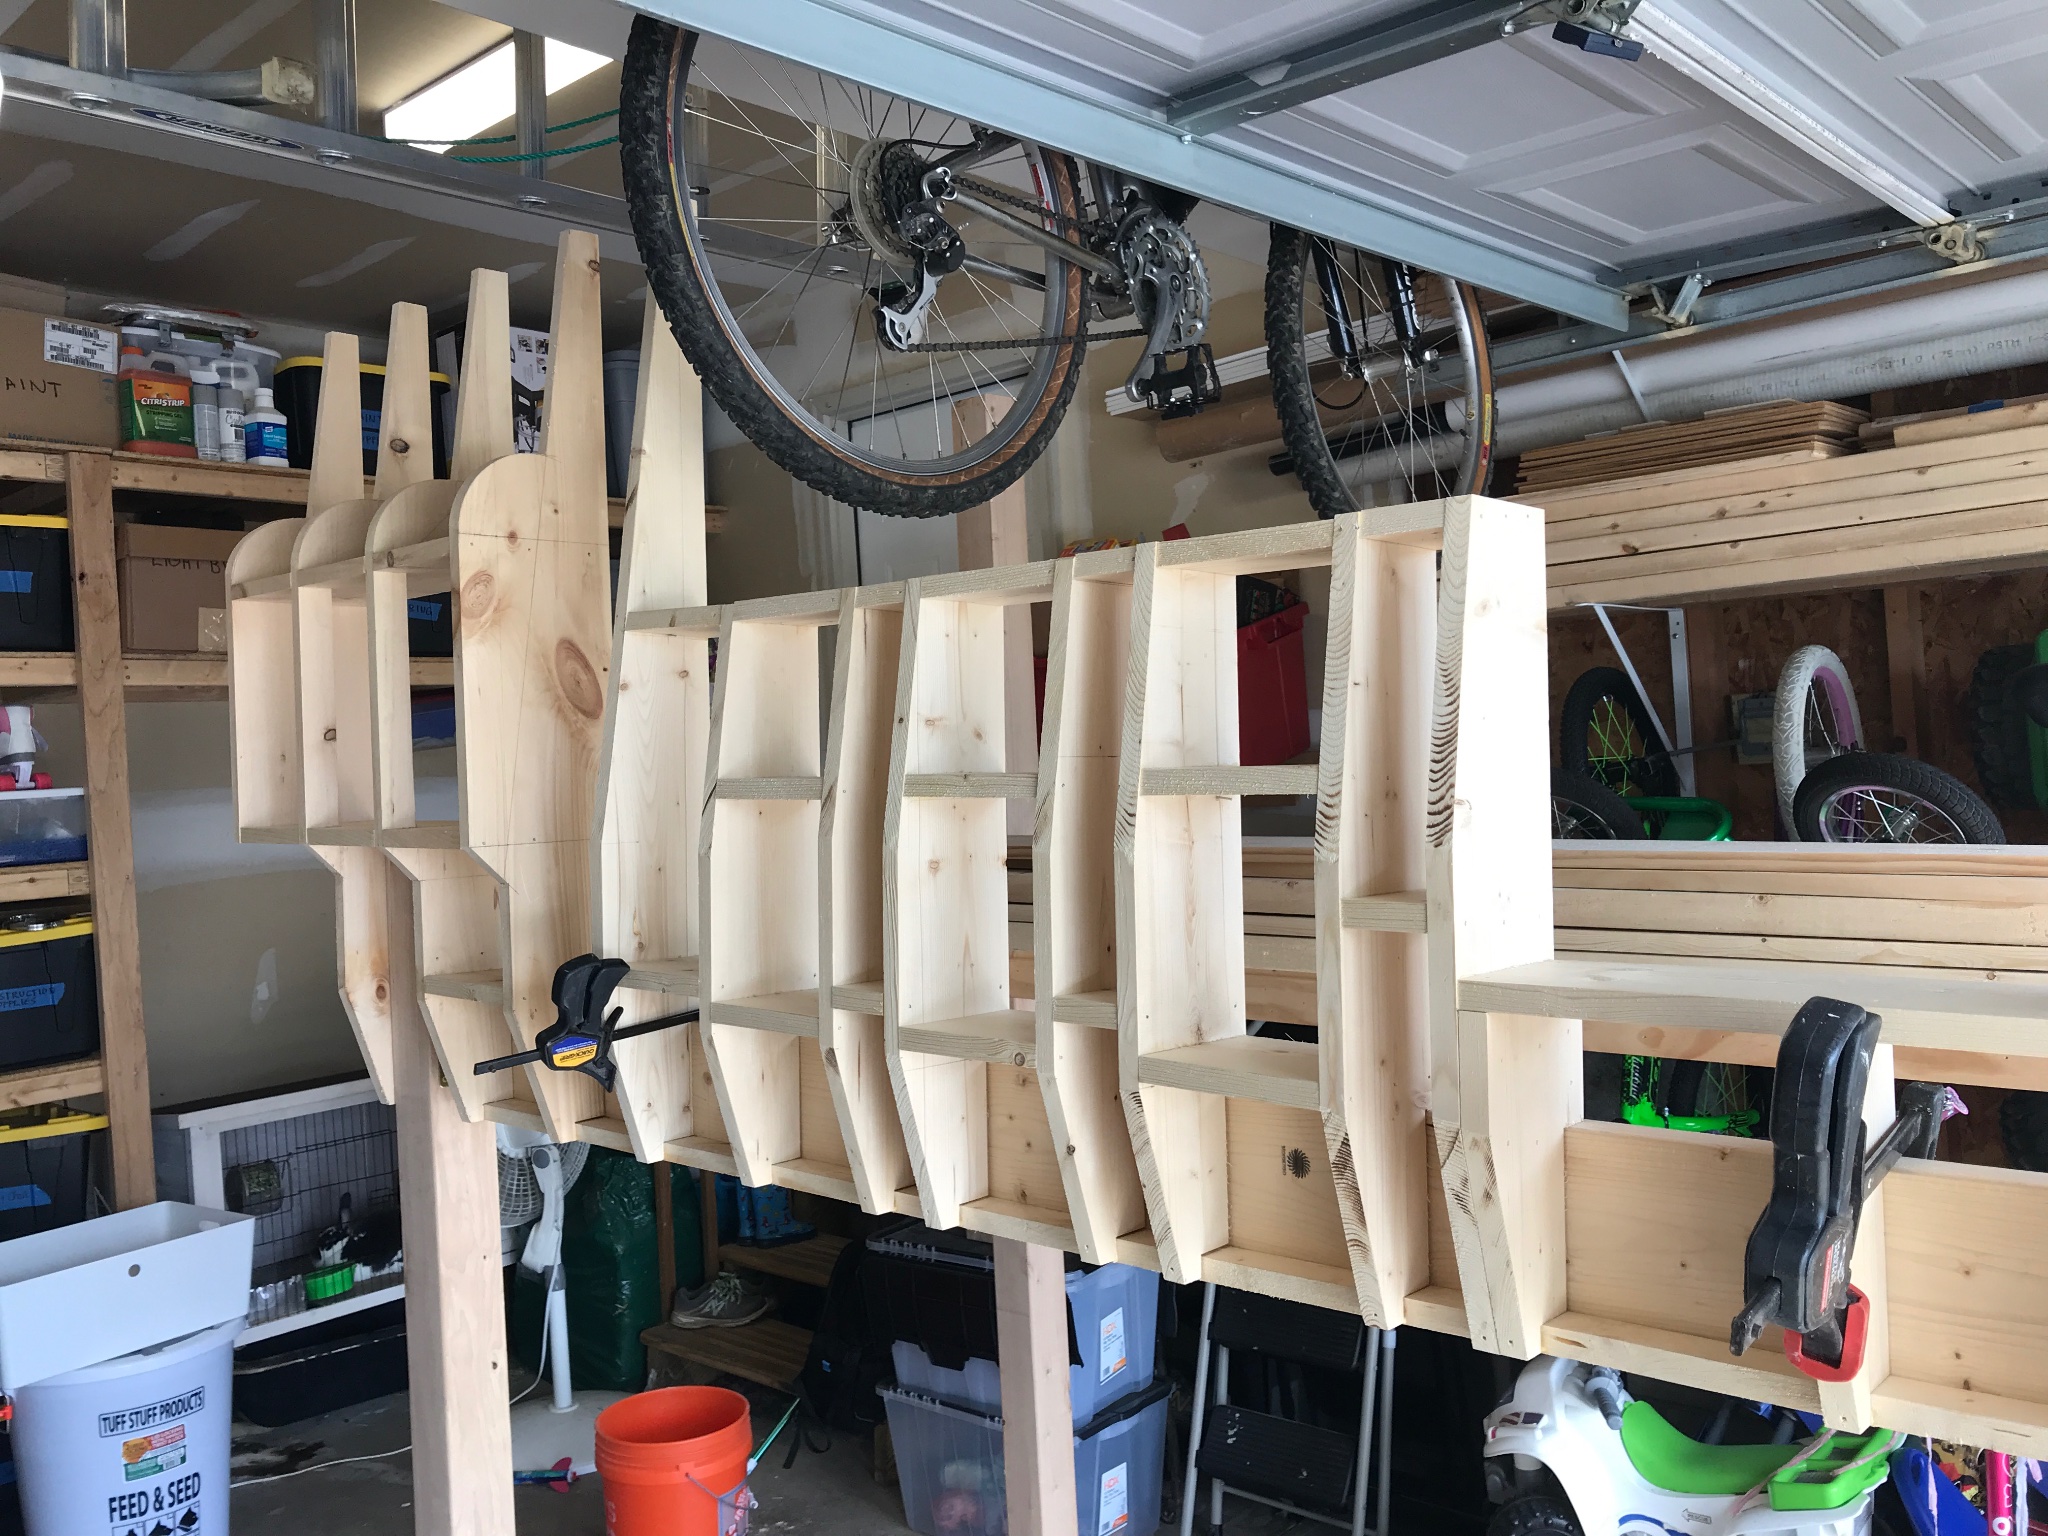
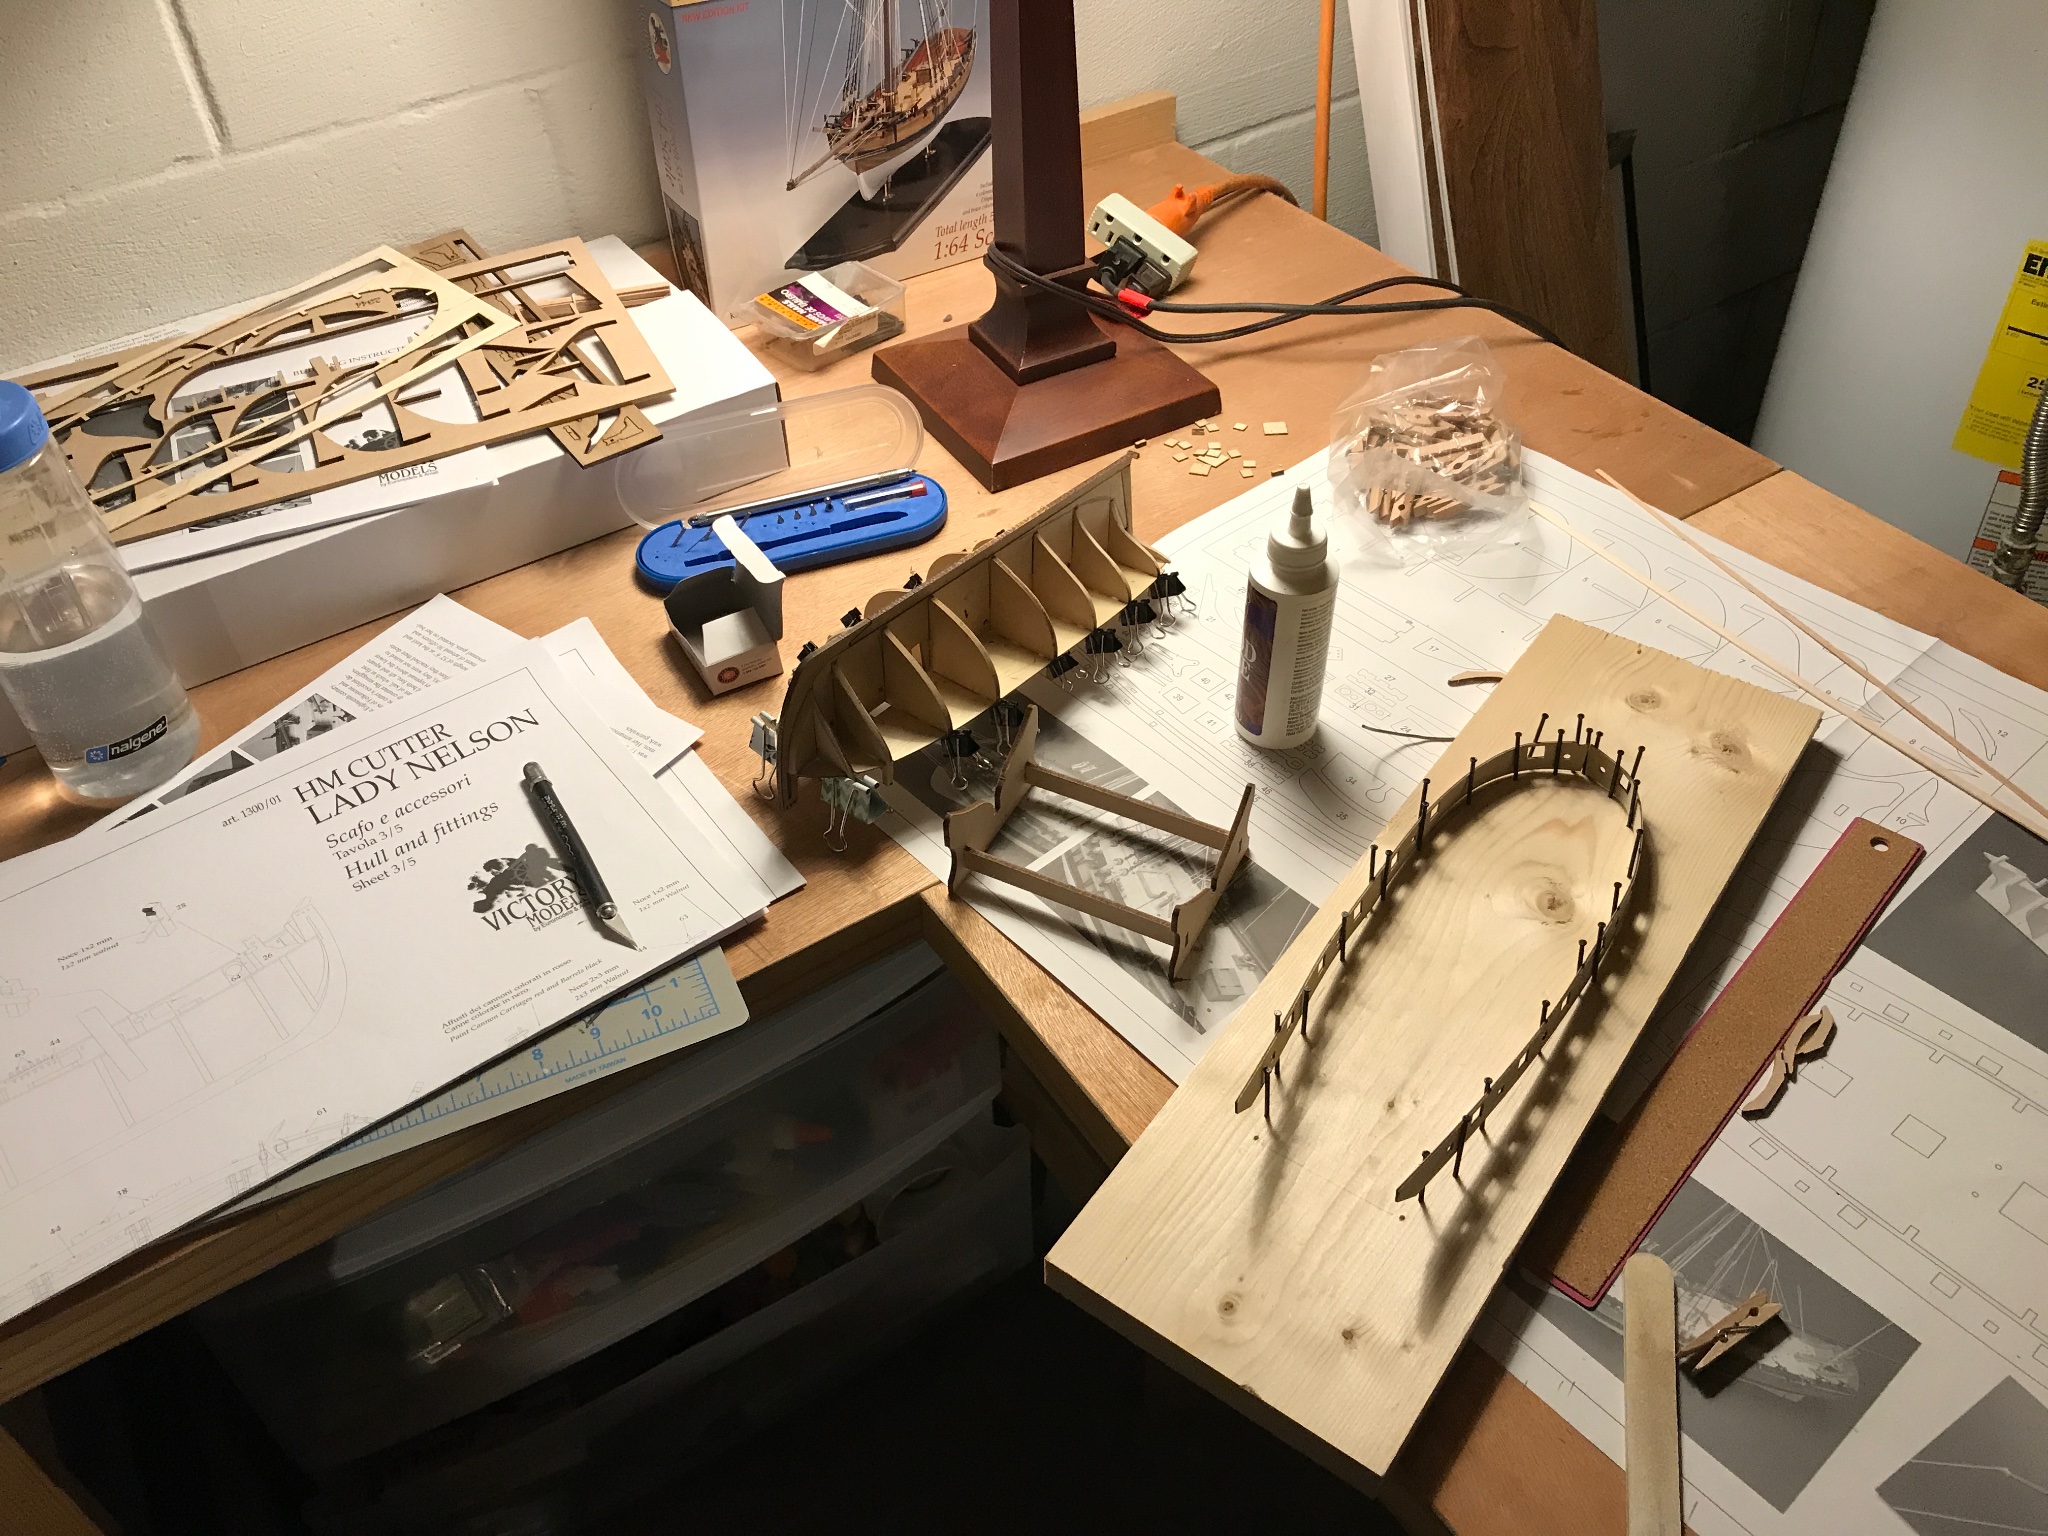
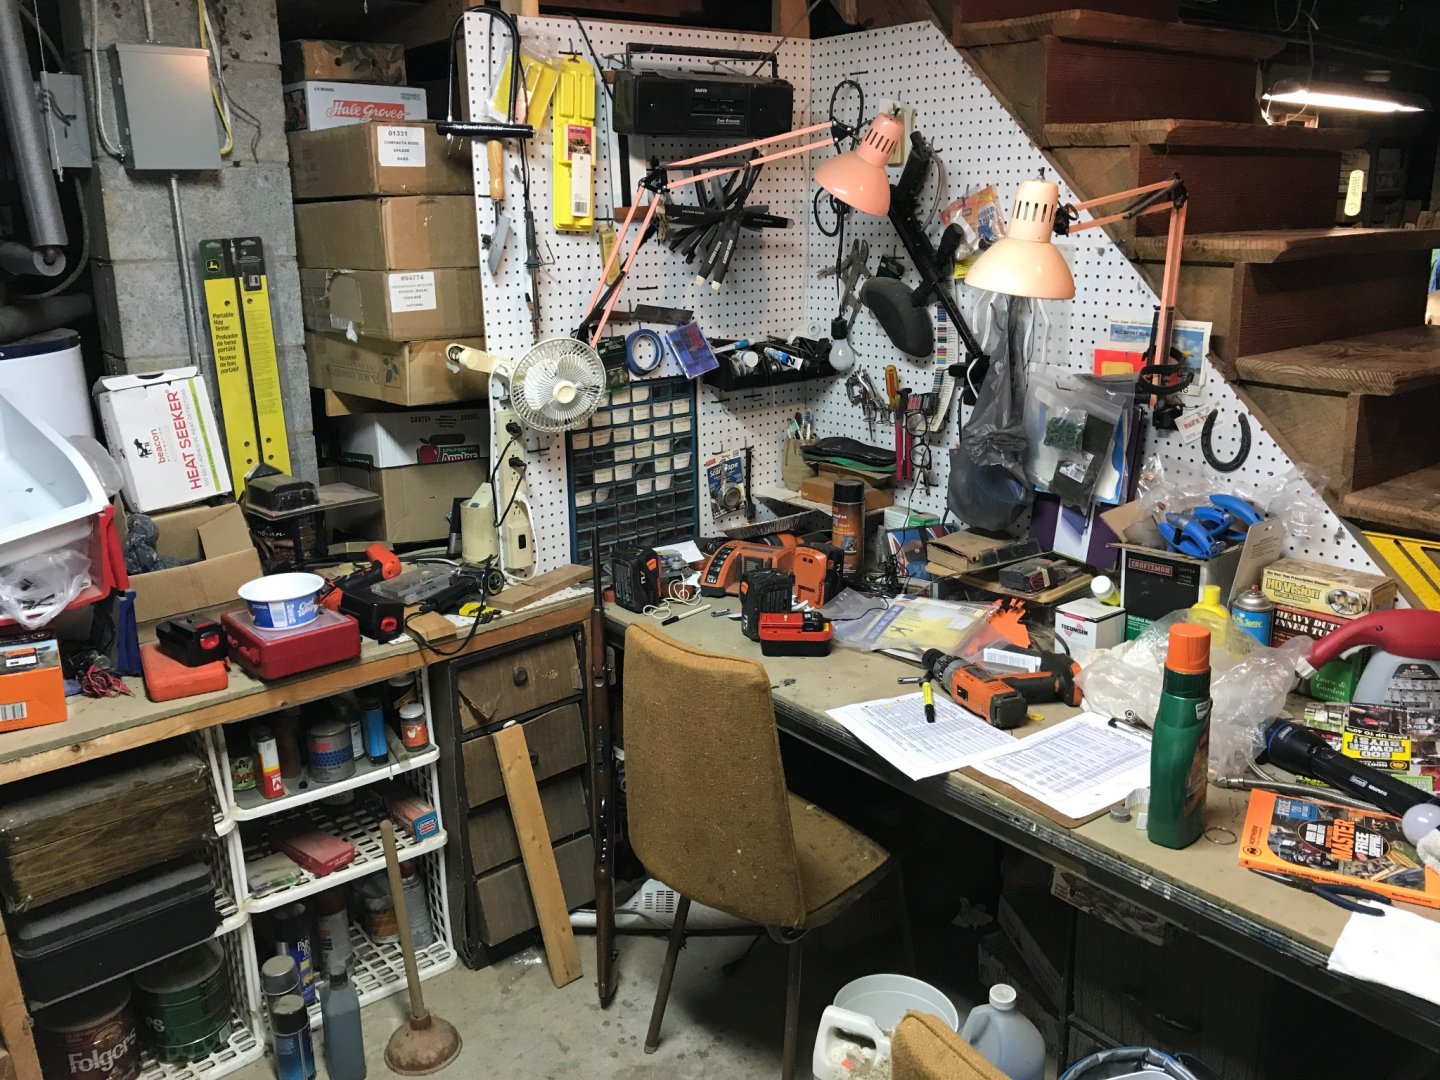
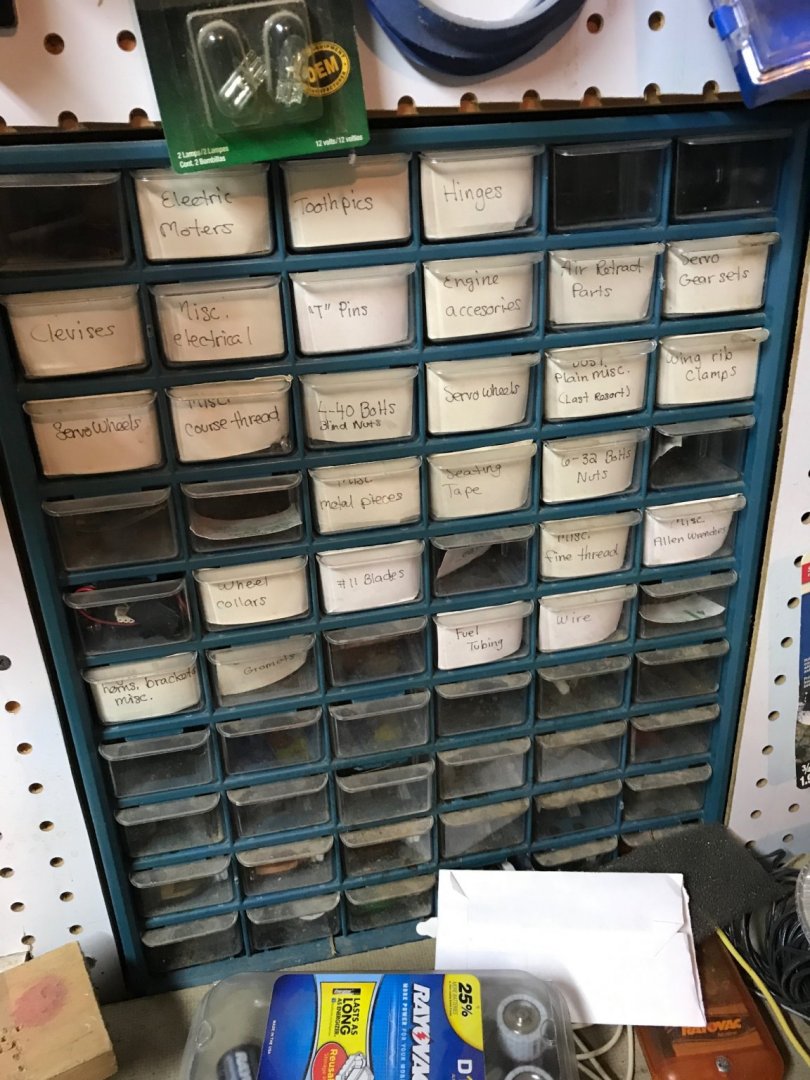
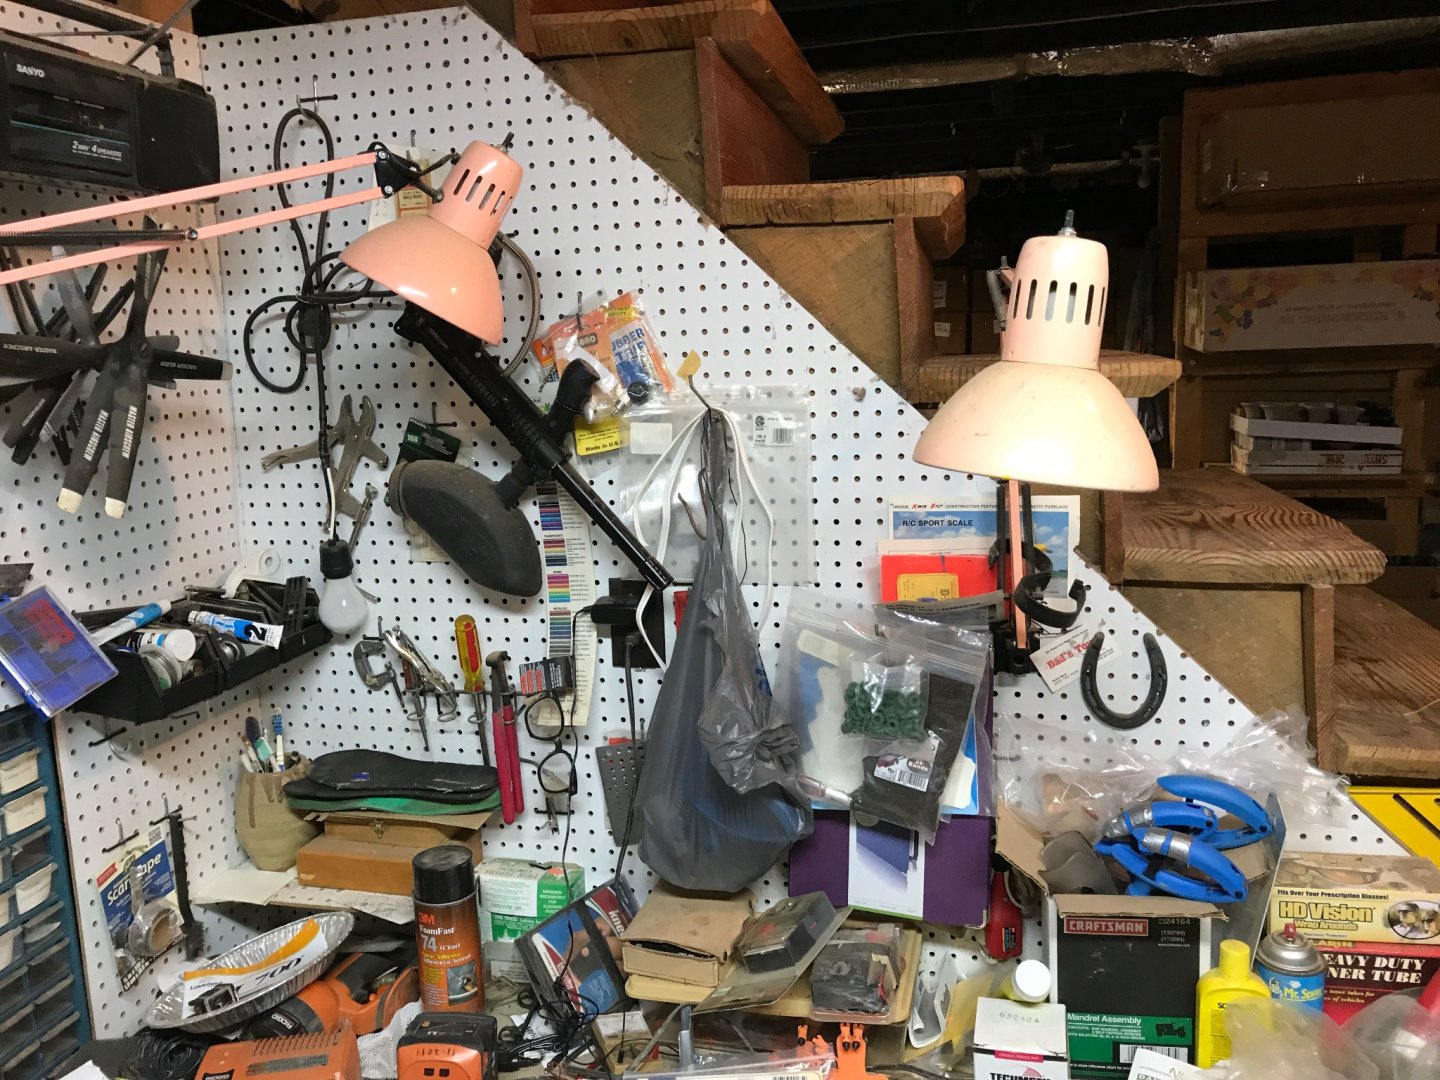
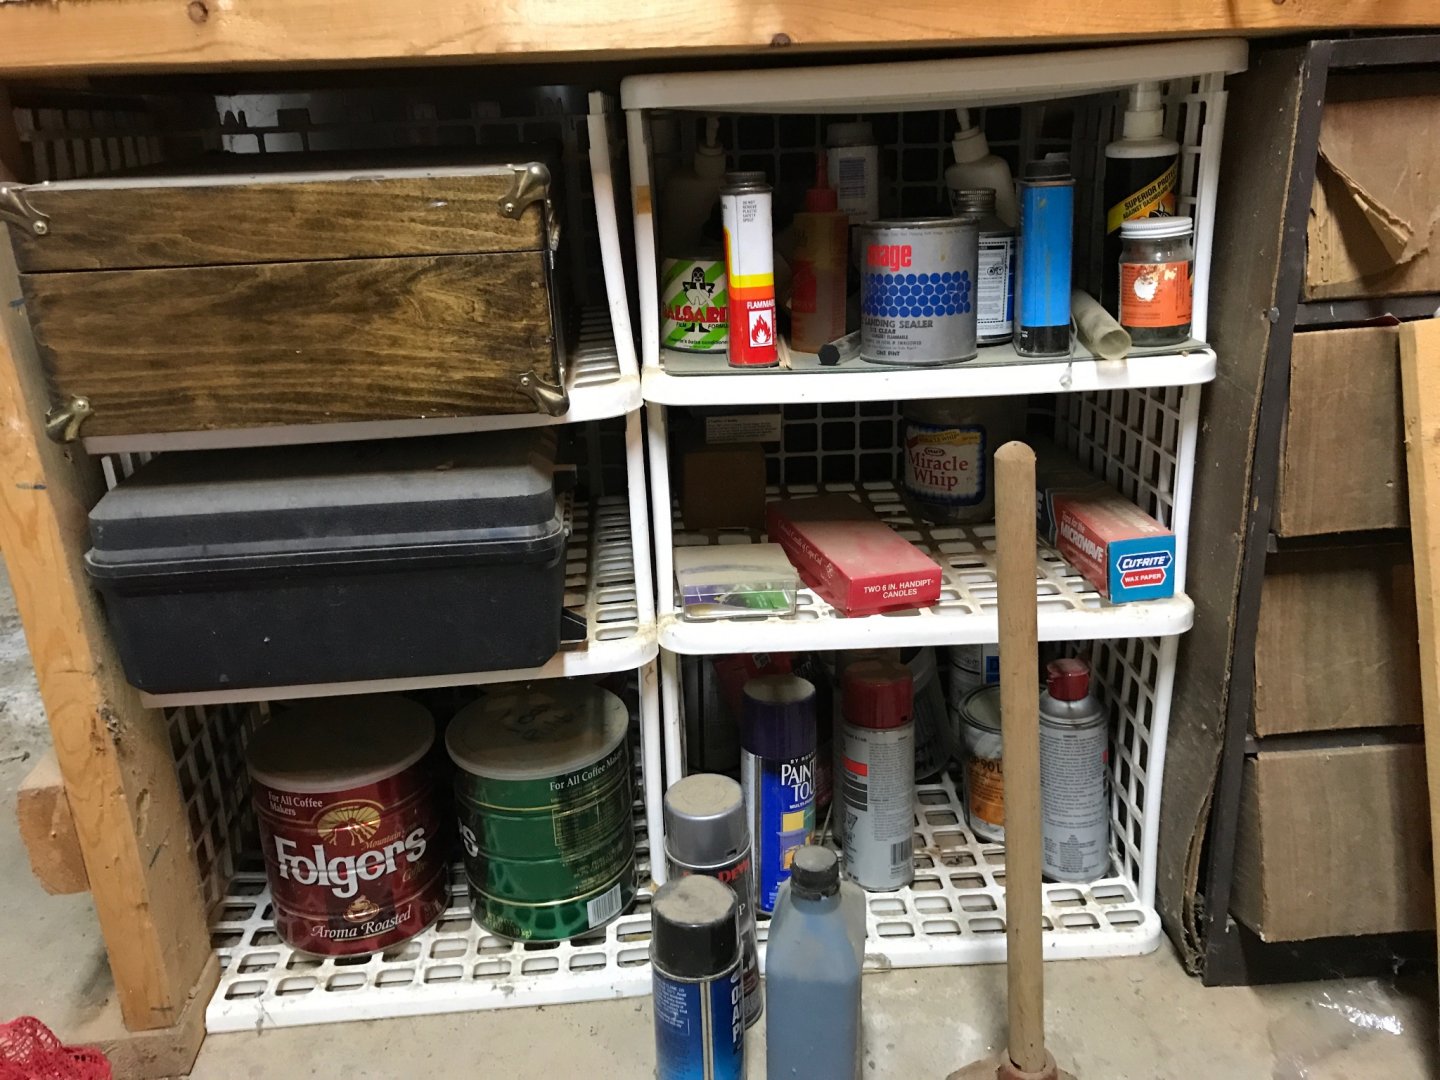
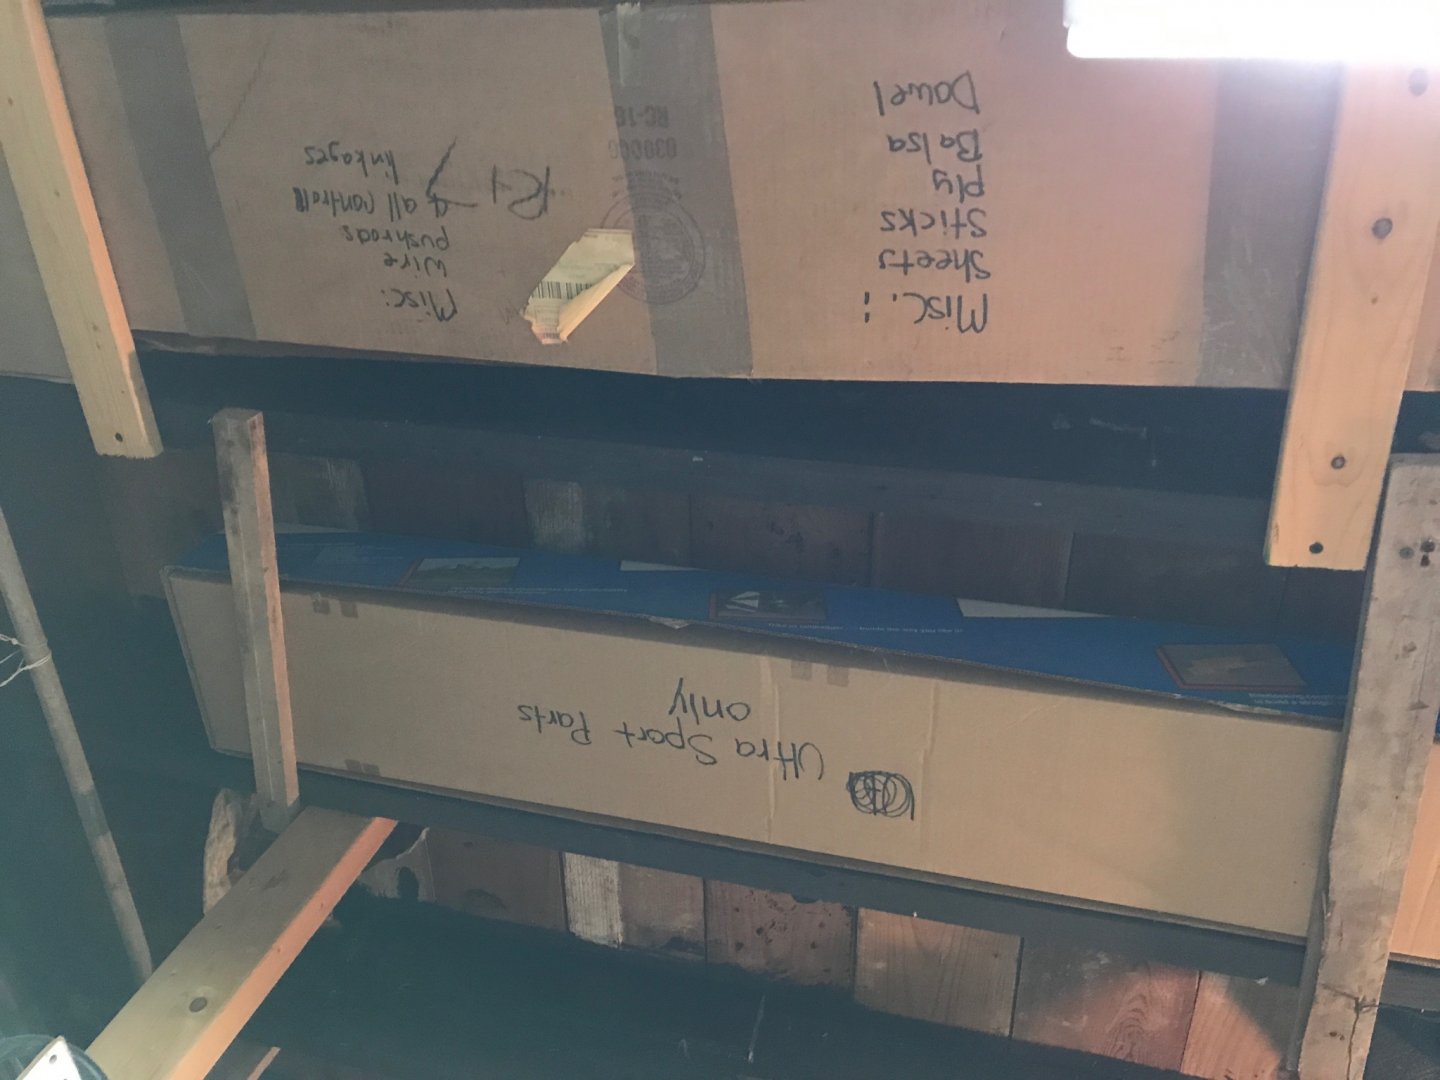
Sorry. I haven’t had much progress. We spent the weekend with my parents and I took a few pics of my work bench from my child hood. Not much has changed in 20ish years. I built a lot of things in this space.


- 139 replies
-
- 1
-

-
- Lady Nelson
- Amati
- (and 2 more)
-
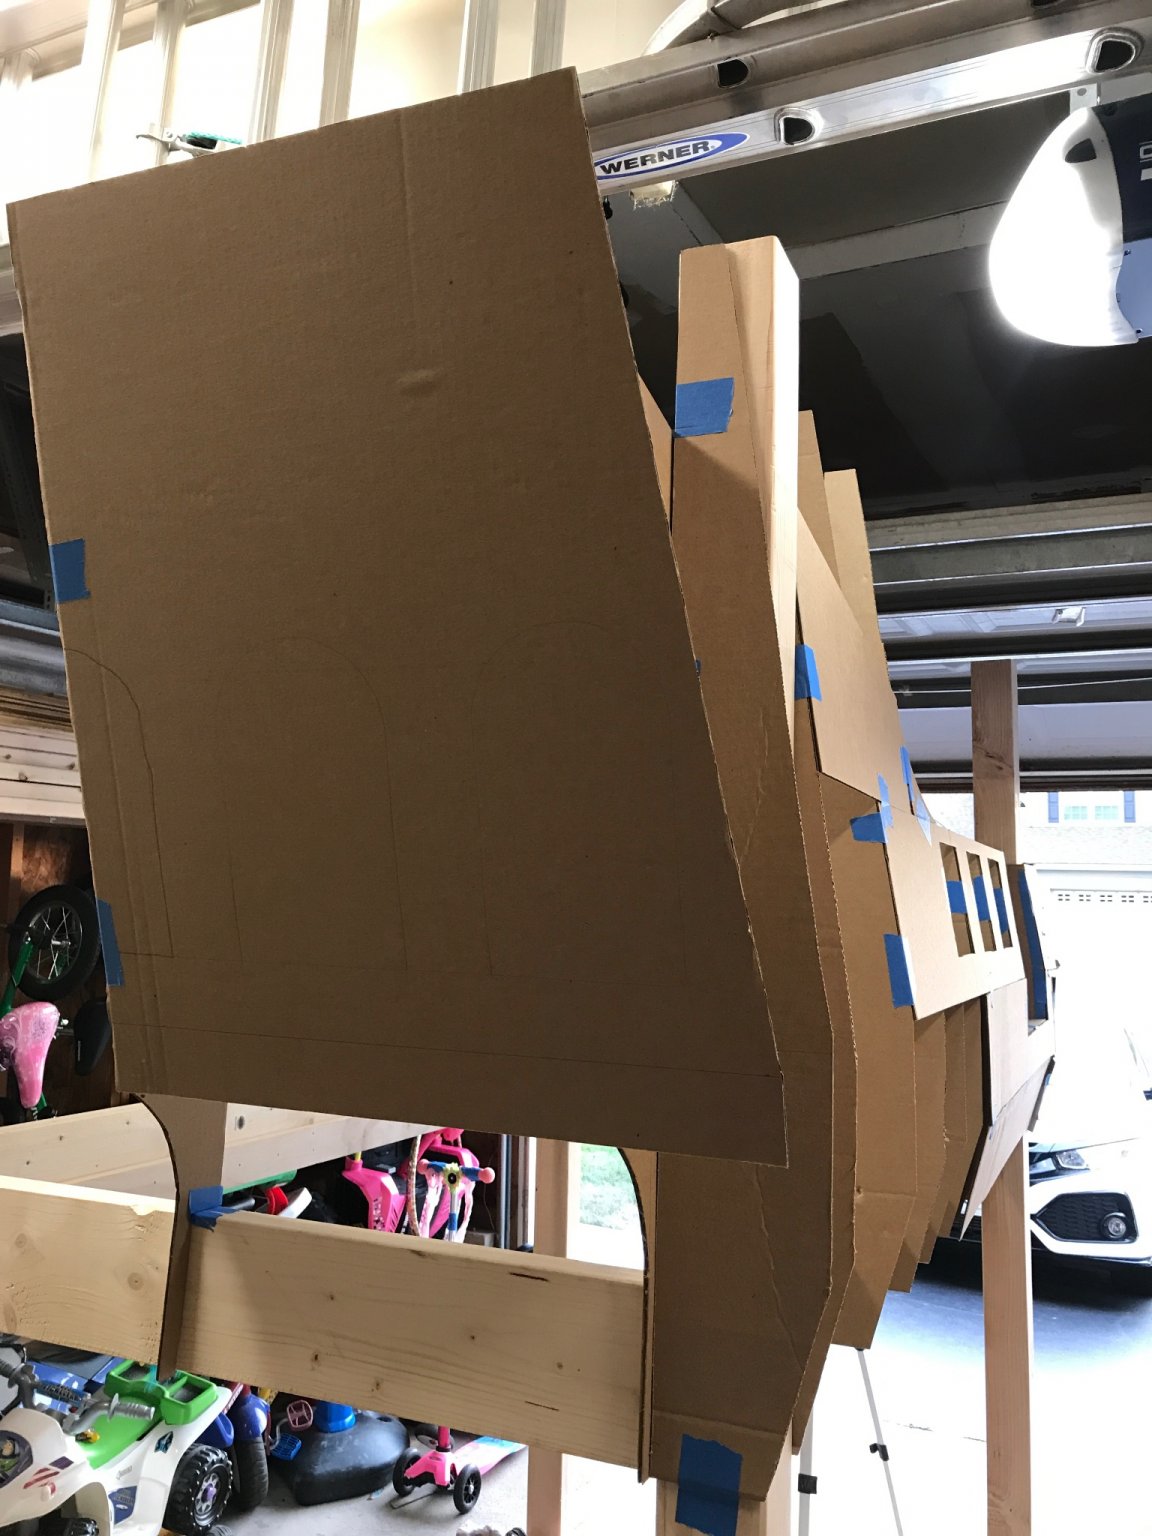
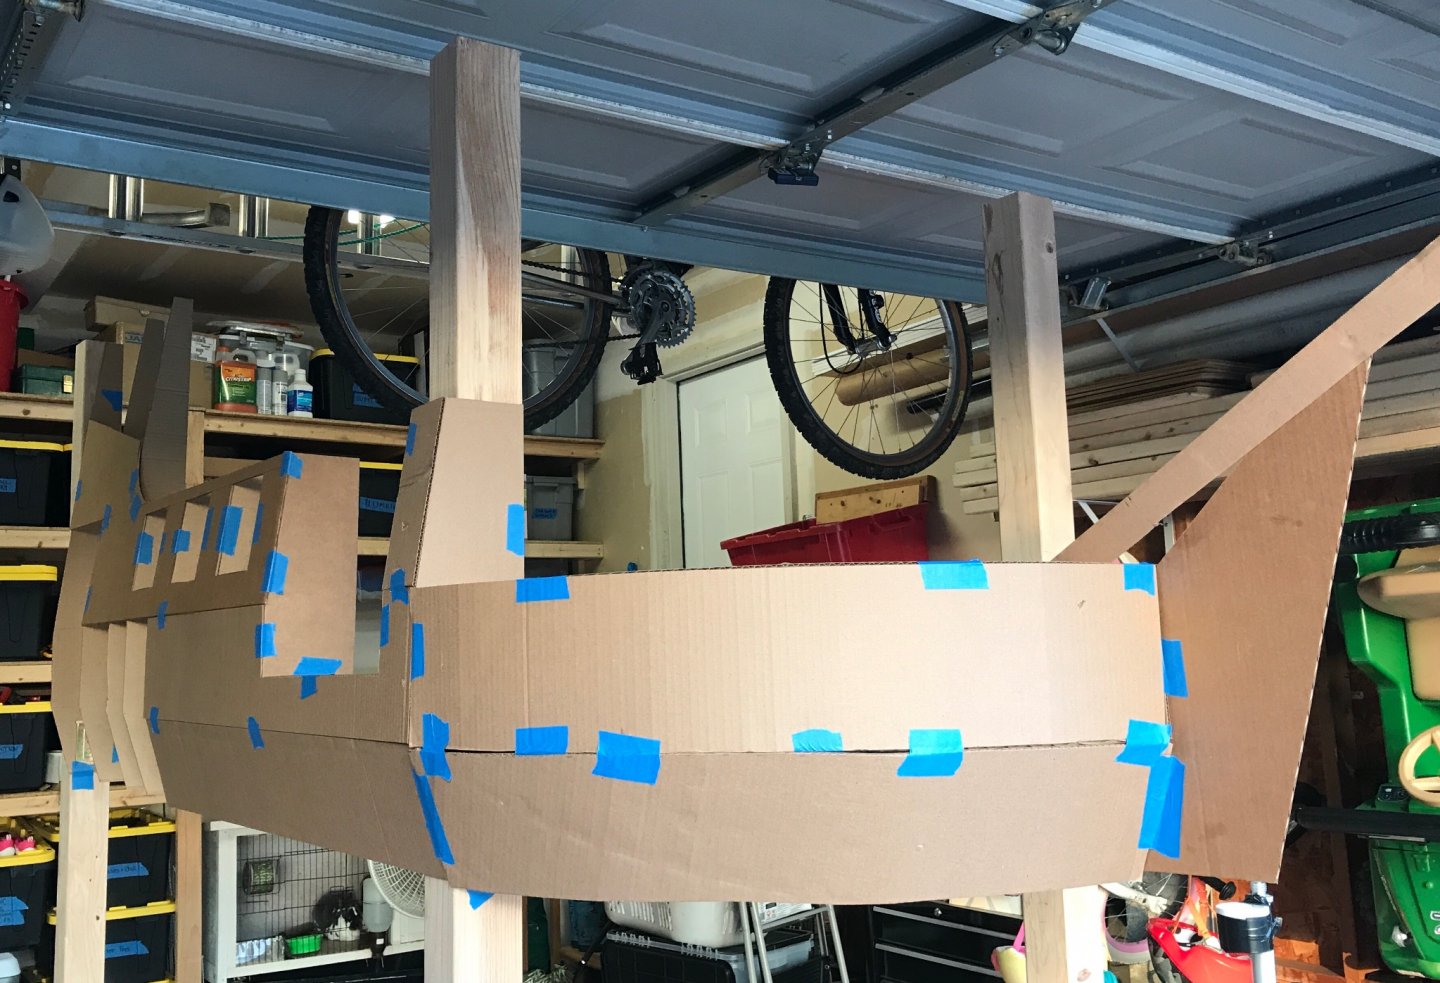
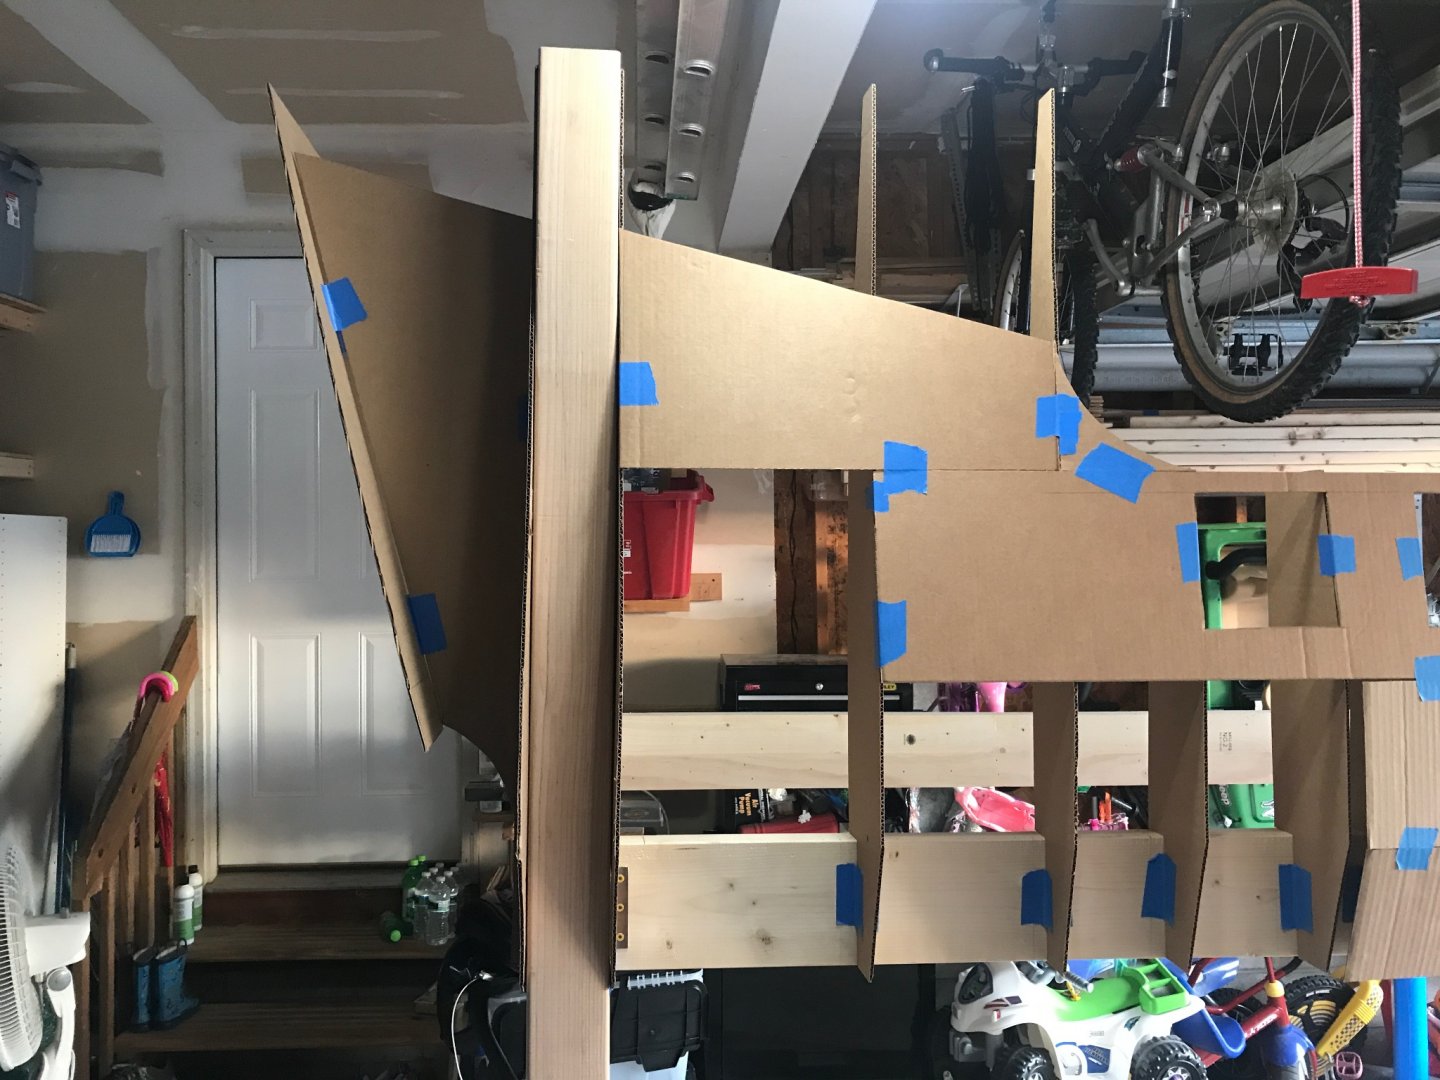
Roger, Haha. Yes. I have a plan for that. When I built my daughters log cabin bed, it broke down into pieces to make it easy to move. This one is no different. My plan is for the sides, stern, and bow to all be separate pieces. Hamilton, Thank you! My hope is that this might inspire others to maybe do the same some day.
-
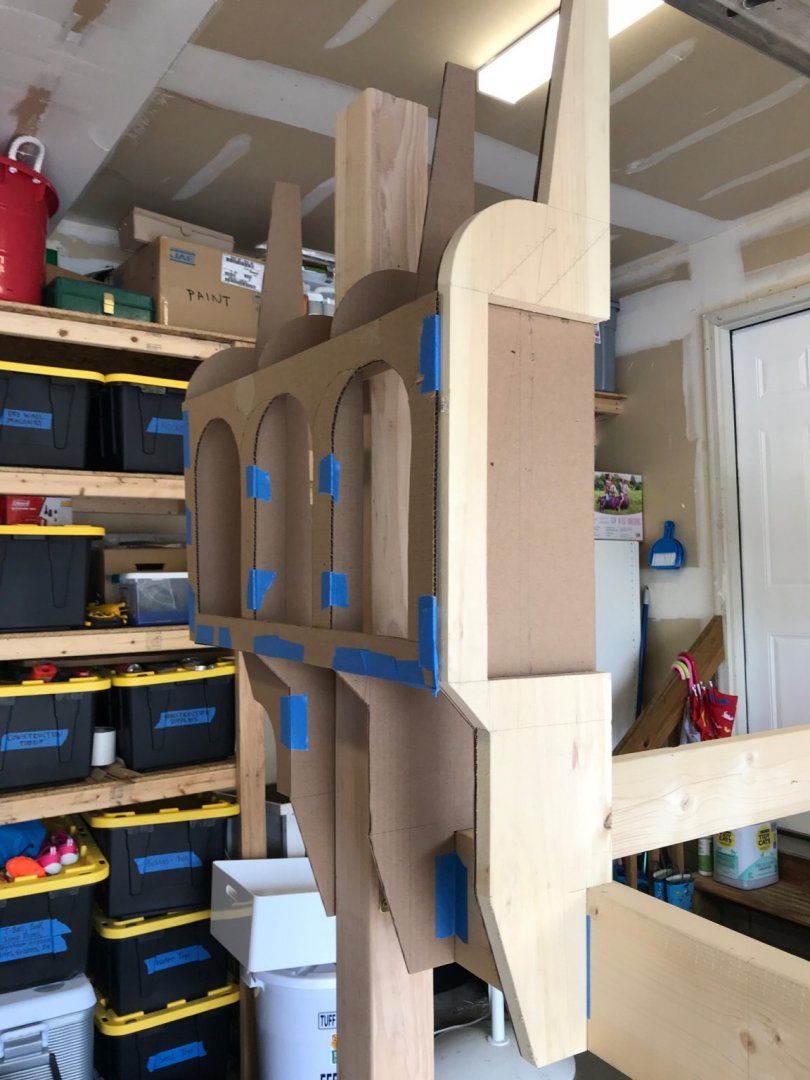
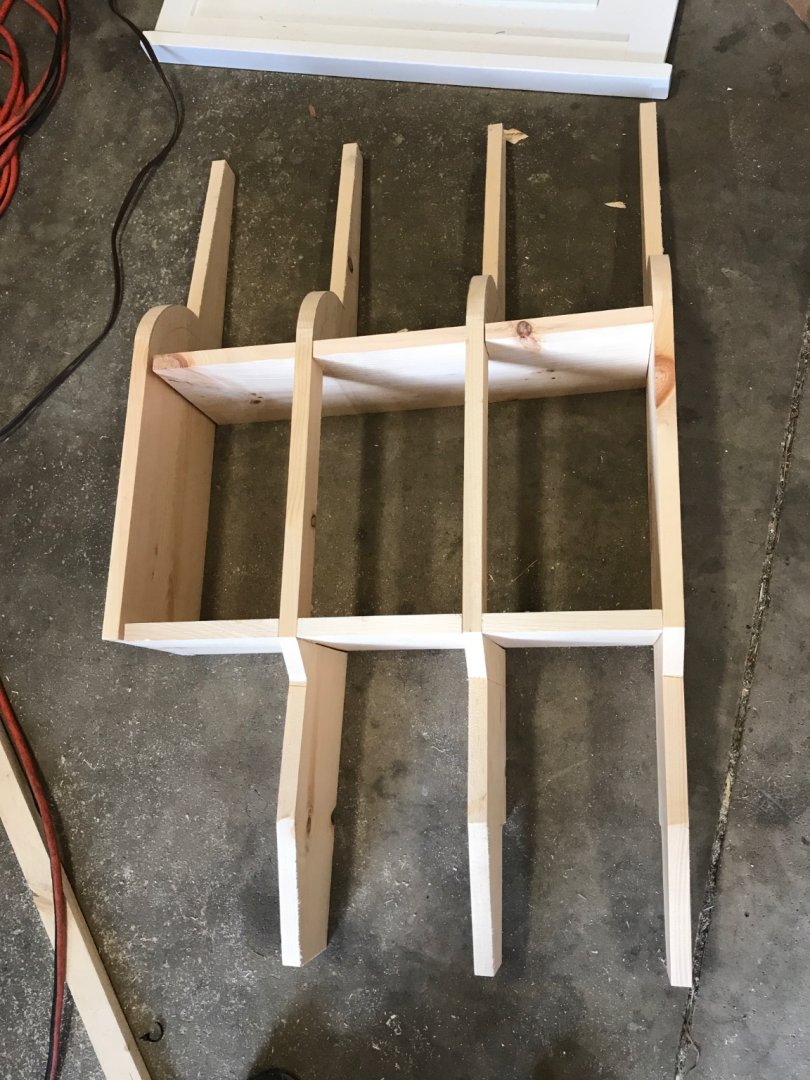
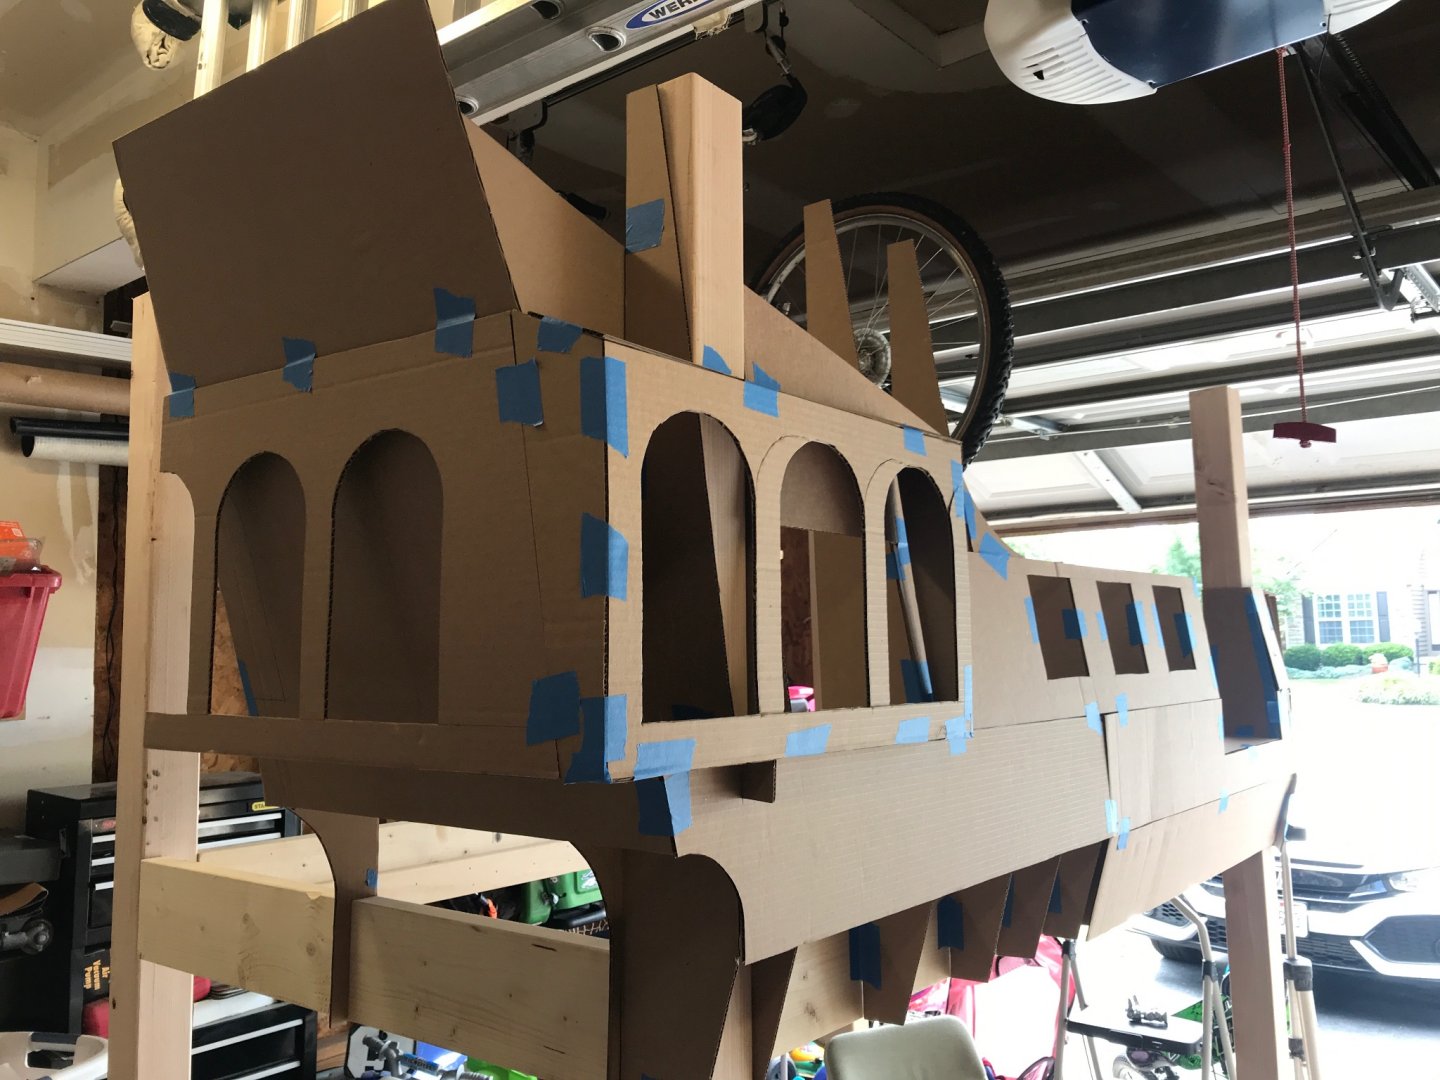
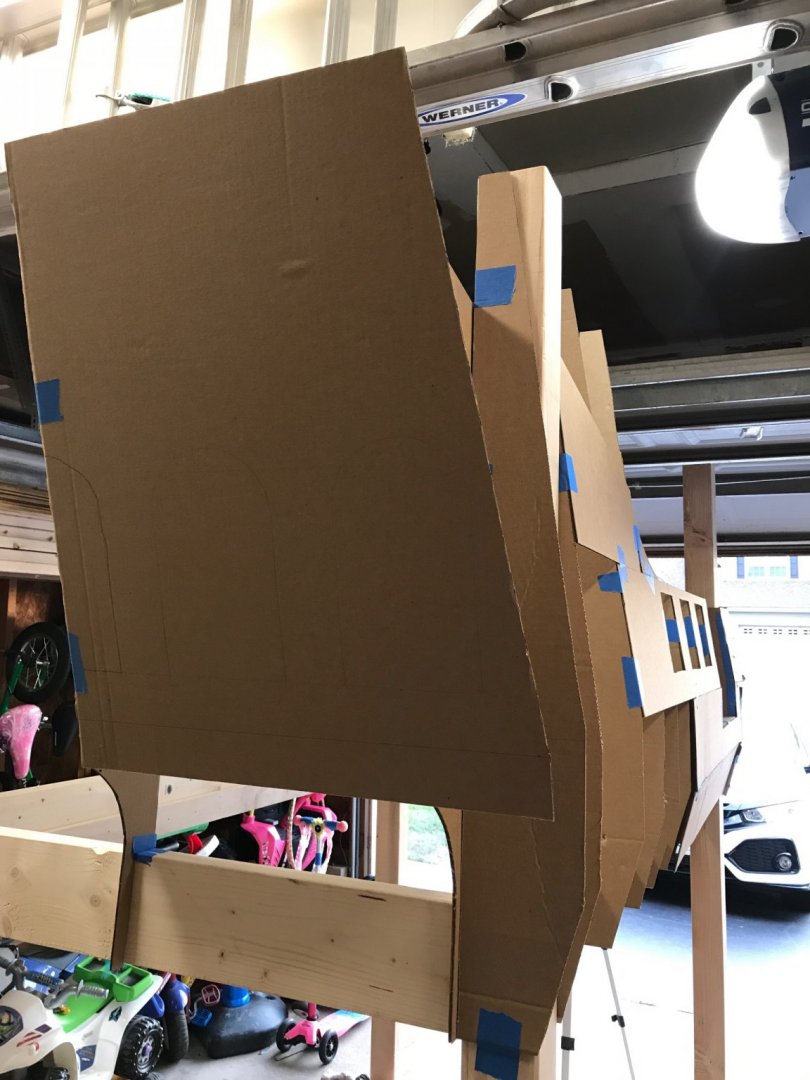
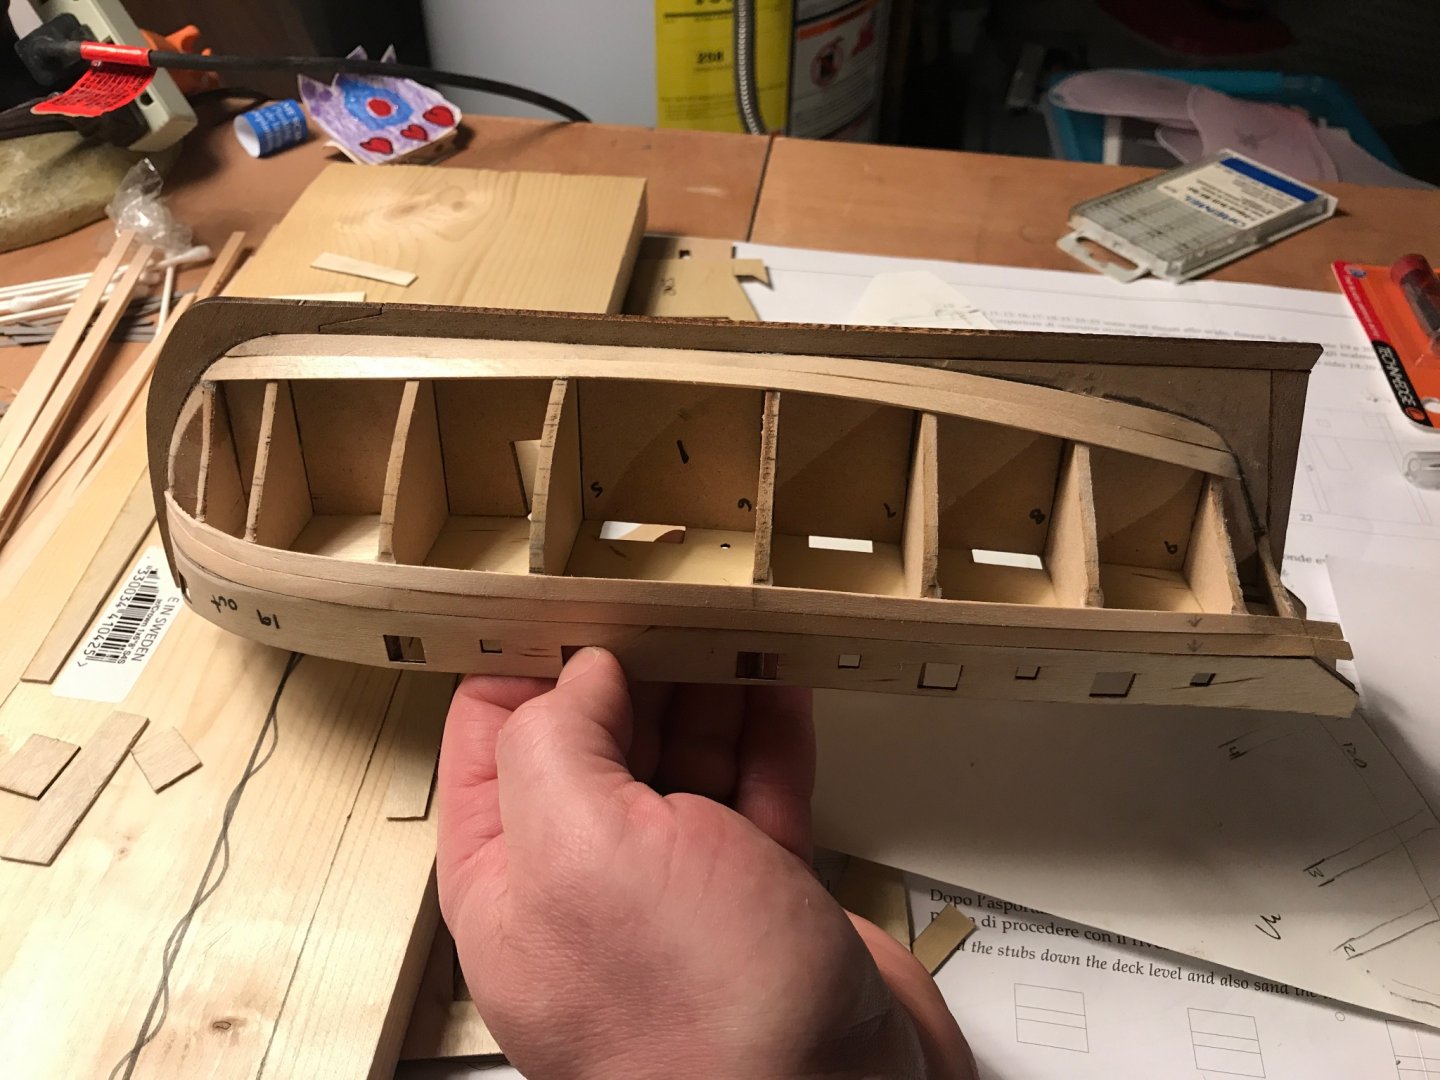
Trying to minimize the number of curves in this thing, but the top of the quarter galleries are curved like the black pearl from pirates of the Caribbean. That is about the only similarity to the pearl though. With the rough shape of the frames practiced in cardboard and a little mathematical checking in CAD, it was time to make some sawdust I used a mixture of 1x boards to make the frames. Combination of jig saw and table saw to make the cuts. Not very accurate, but close enough I think. Three windows in the gallery and three gun ports. Still freaking out about how to do the rest of it. Going to do some planking next.


-
I bet it was a lot of fun! Great memories too!
-
That is really neat! How long did it hold together?
-
I have an app called Shaper3d that I use for planning. It is a 3D modeling app for iPad, but it has 2D sketching capabilities. It is pretty good, but is not parametric like solid works or catia. When I built the bed for my daughter, I designed the whole thing in Autocad. I no longer have that computer though so I am making this work. I did a lot of the design work old school by making card board templates to get the lines of the ship. My goal is to not use any plywood, but the curves of the bow will require it.

-
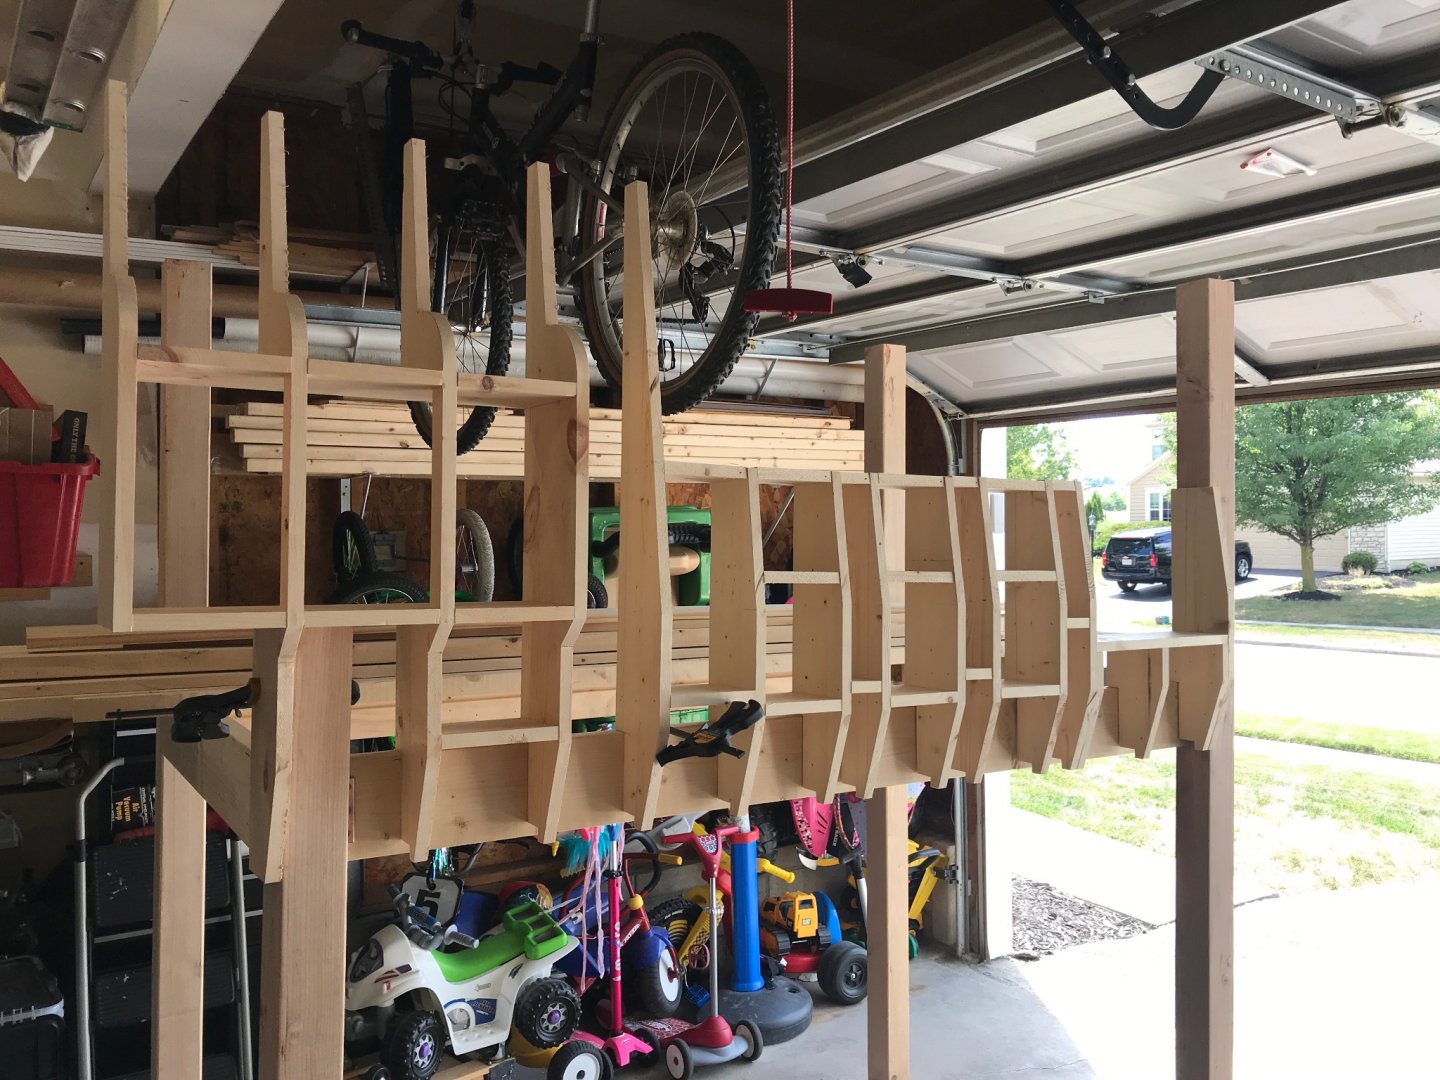
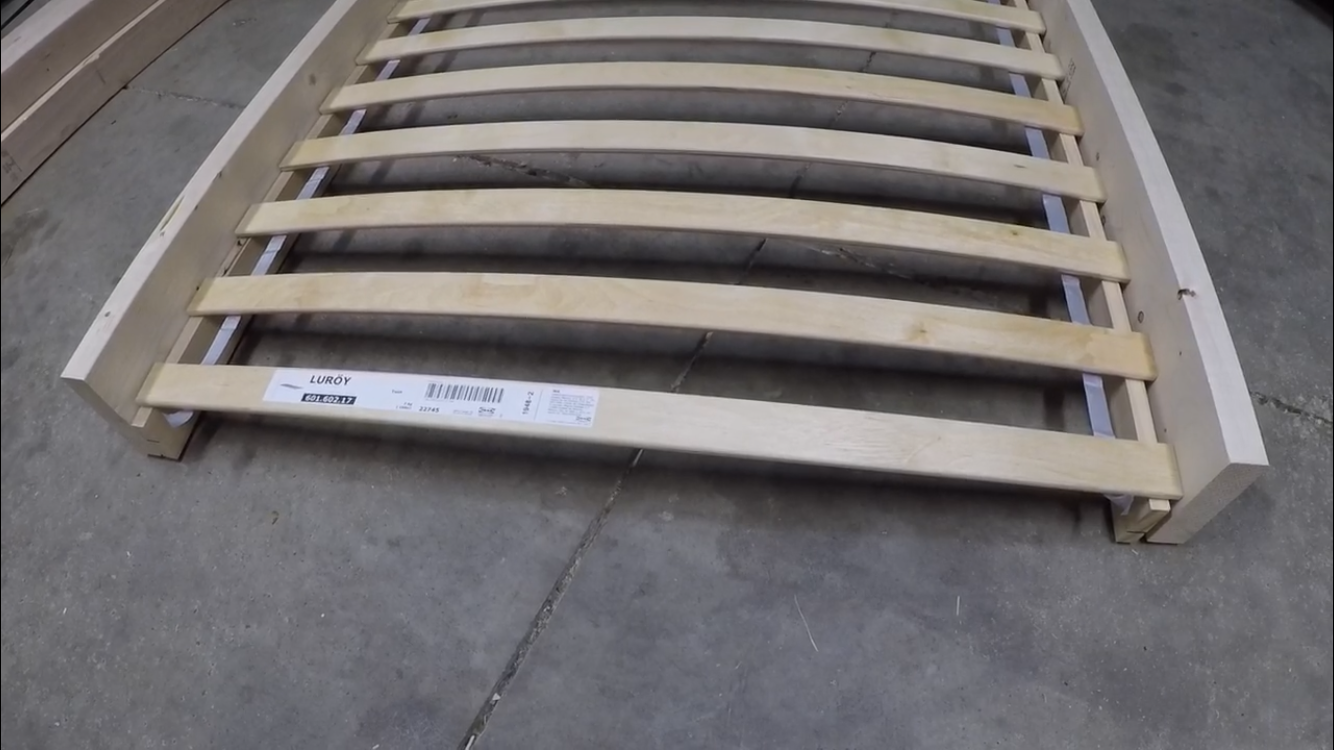
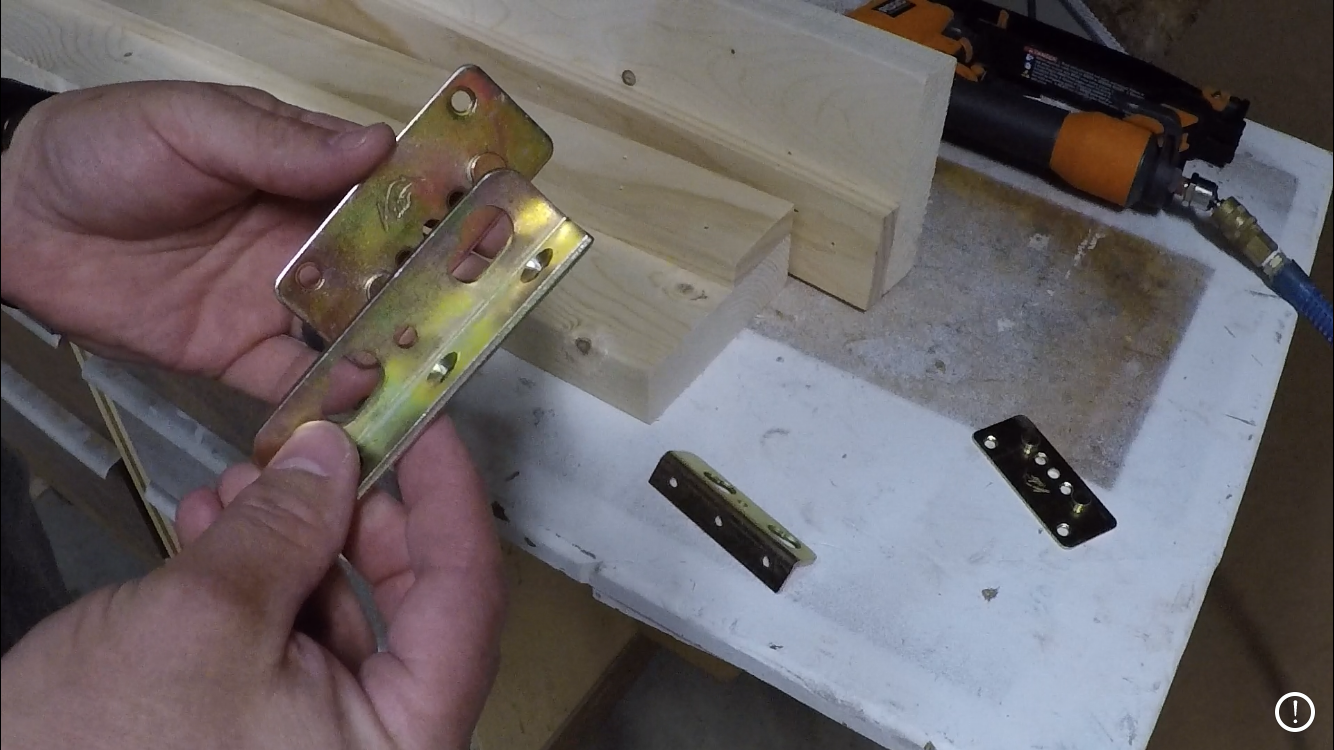
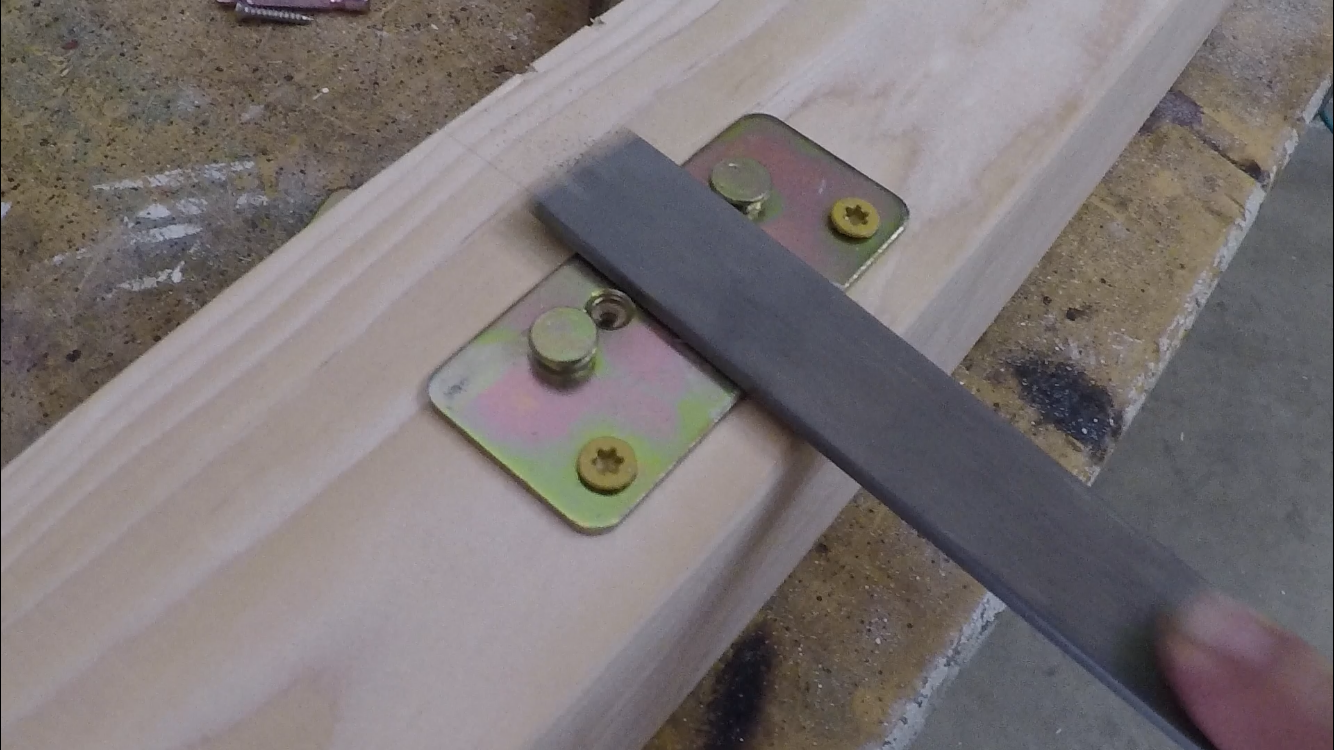
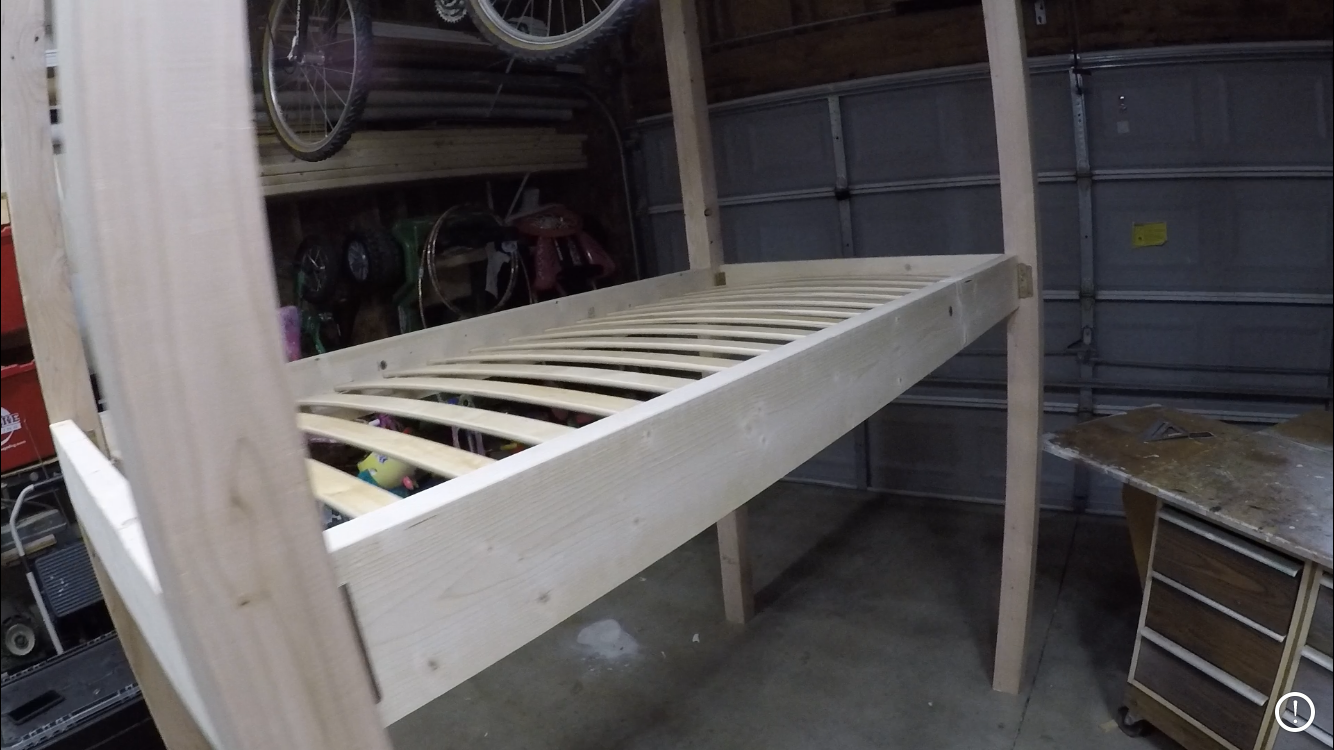
Test fitting the slats to the frame. I used your basic bed frame hardware, but I upgraded the primary screws to decking screws and had to grind and file the secondary screws flush to the brackets to make it all fit together right. The frame assembled. Could just add some simple railings and a ladder and call it done, but what fun is that!?

-
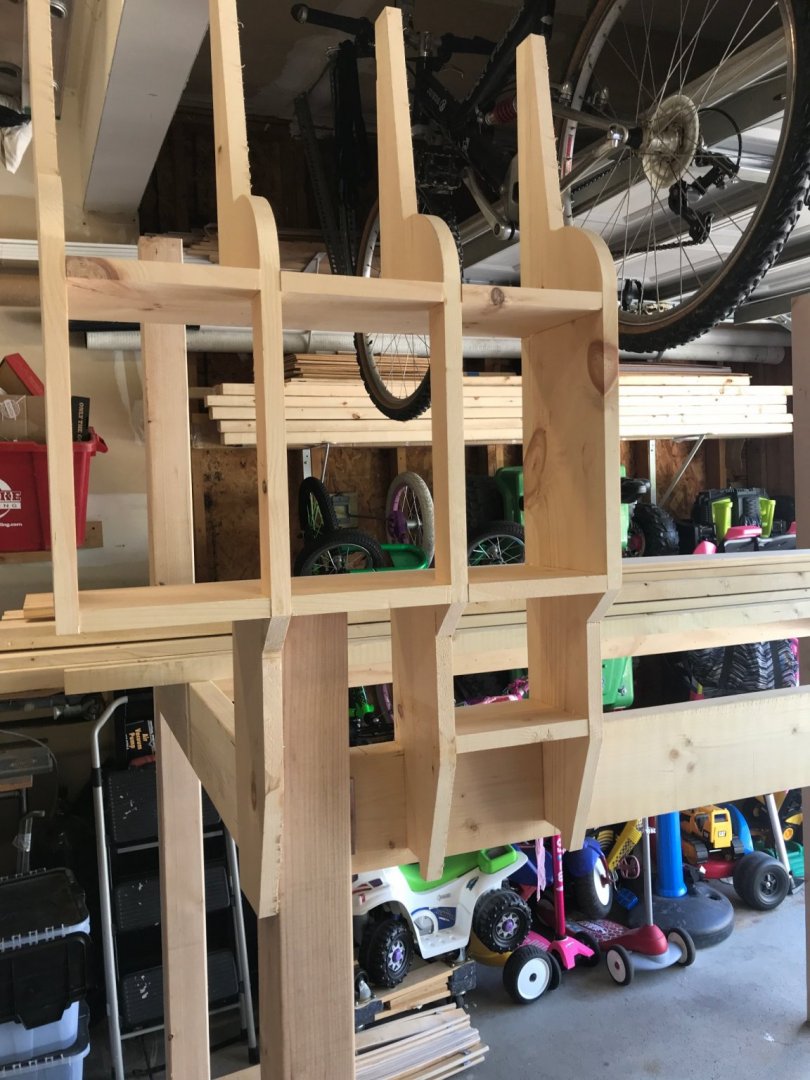
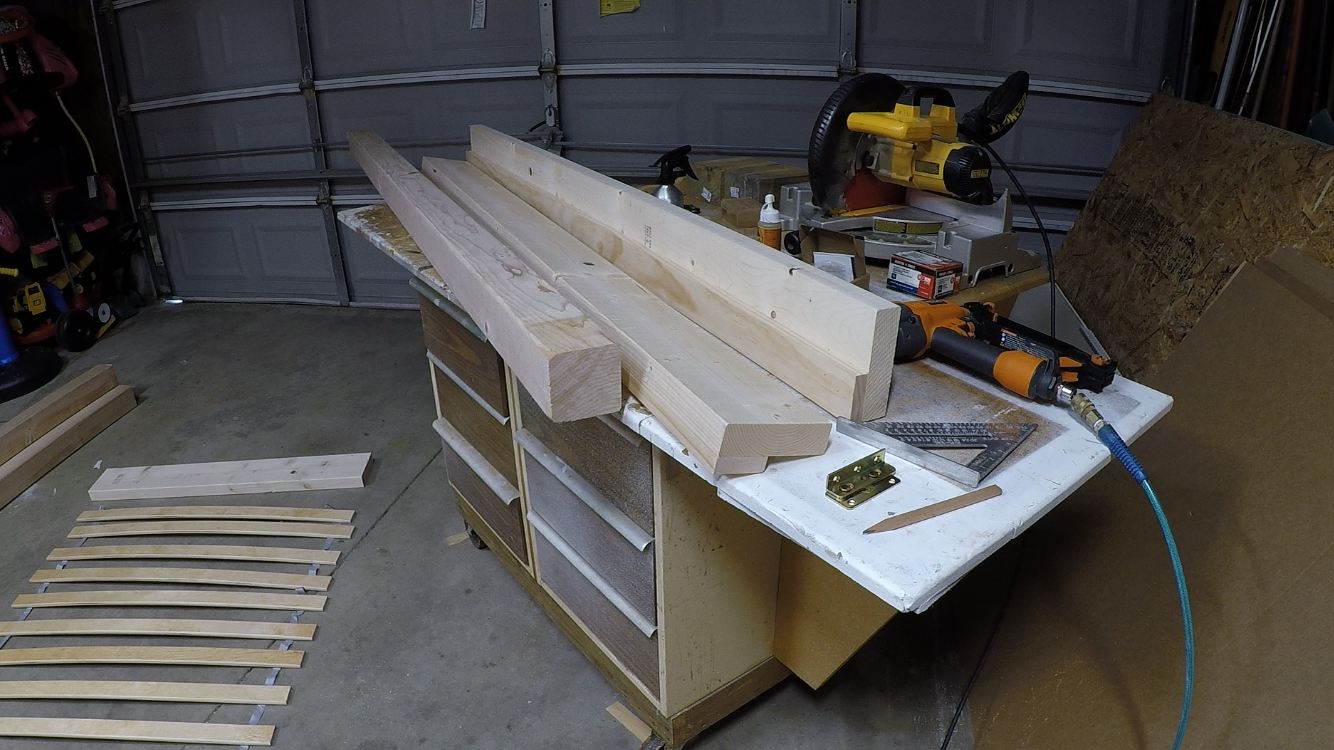
I built a bunk bed / log cabin for my daughter when she came into her 5th year. It was a massive undertaking that took a year to build. As my son also approached his 5th year, I asked what kind of bed he would like me to build. His response was a pirate ship bed. While this has no connection to a real ship, a lot of the construction is similar. I know I would have never tackled a project like this if I had not been for the posts of all the fine logs on this site. I hope you find enjoyment in the process. The bed is a twin size single bunk about 4 feet off the ground. I used 4x4 posts and 2x6’s with a 1x4 attached for the primary frame. The dimensions were set around an IKEA bed slat set.
-
I am definitely going one plank at a time now! I tried tick marking the bulkheads using a planking fan, but counted lines instead of spaces so I made all the marks in the wrong places. 🤦🏻♂️ I decided to do the bottom 2 planks instead. Lots of shaping to get these to fit but I think the results are acceptable. I did not taper these planks though. Going to redo the tick marks For the remaining planks using the planking fan the right way now that the top 2 and bottom 2 planks are on.

- 139 replies
-
- 2
-
-
- Lady Nelson
- Amati
- (and 2 more)
-
This is going to turn out to be a beautiful masterpiece! I am still trying to figure out this planking nonsense, but I would love to build this some day!
- 382 replies
-
- 1
-

-
- Vanguard Models
- Duchess of Kingston
- (and 1 more)
-
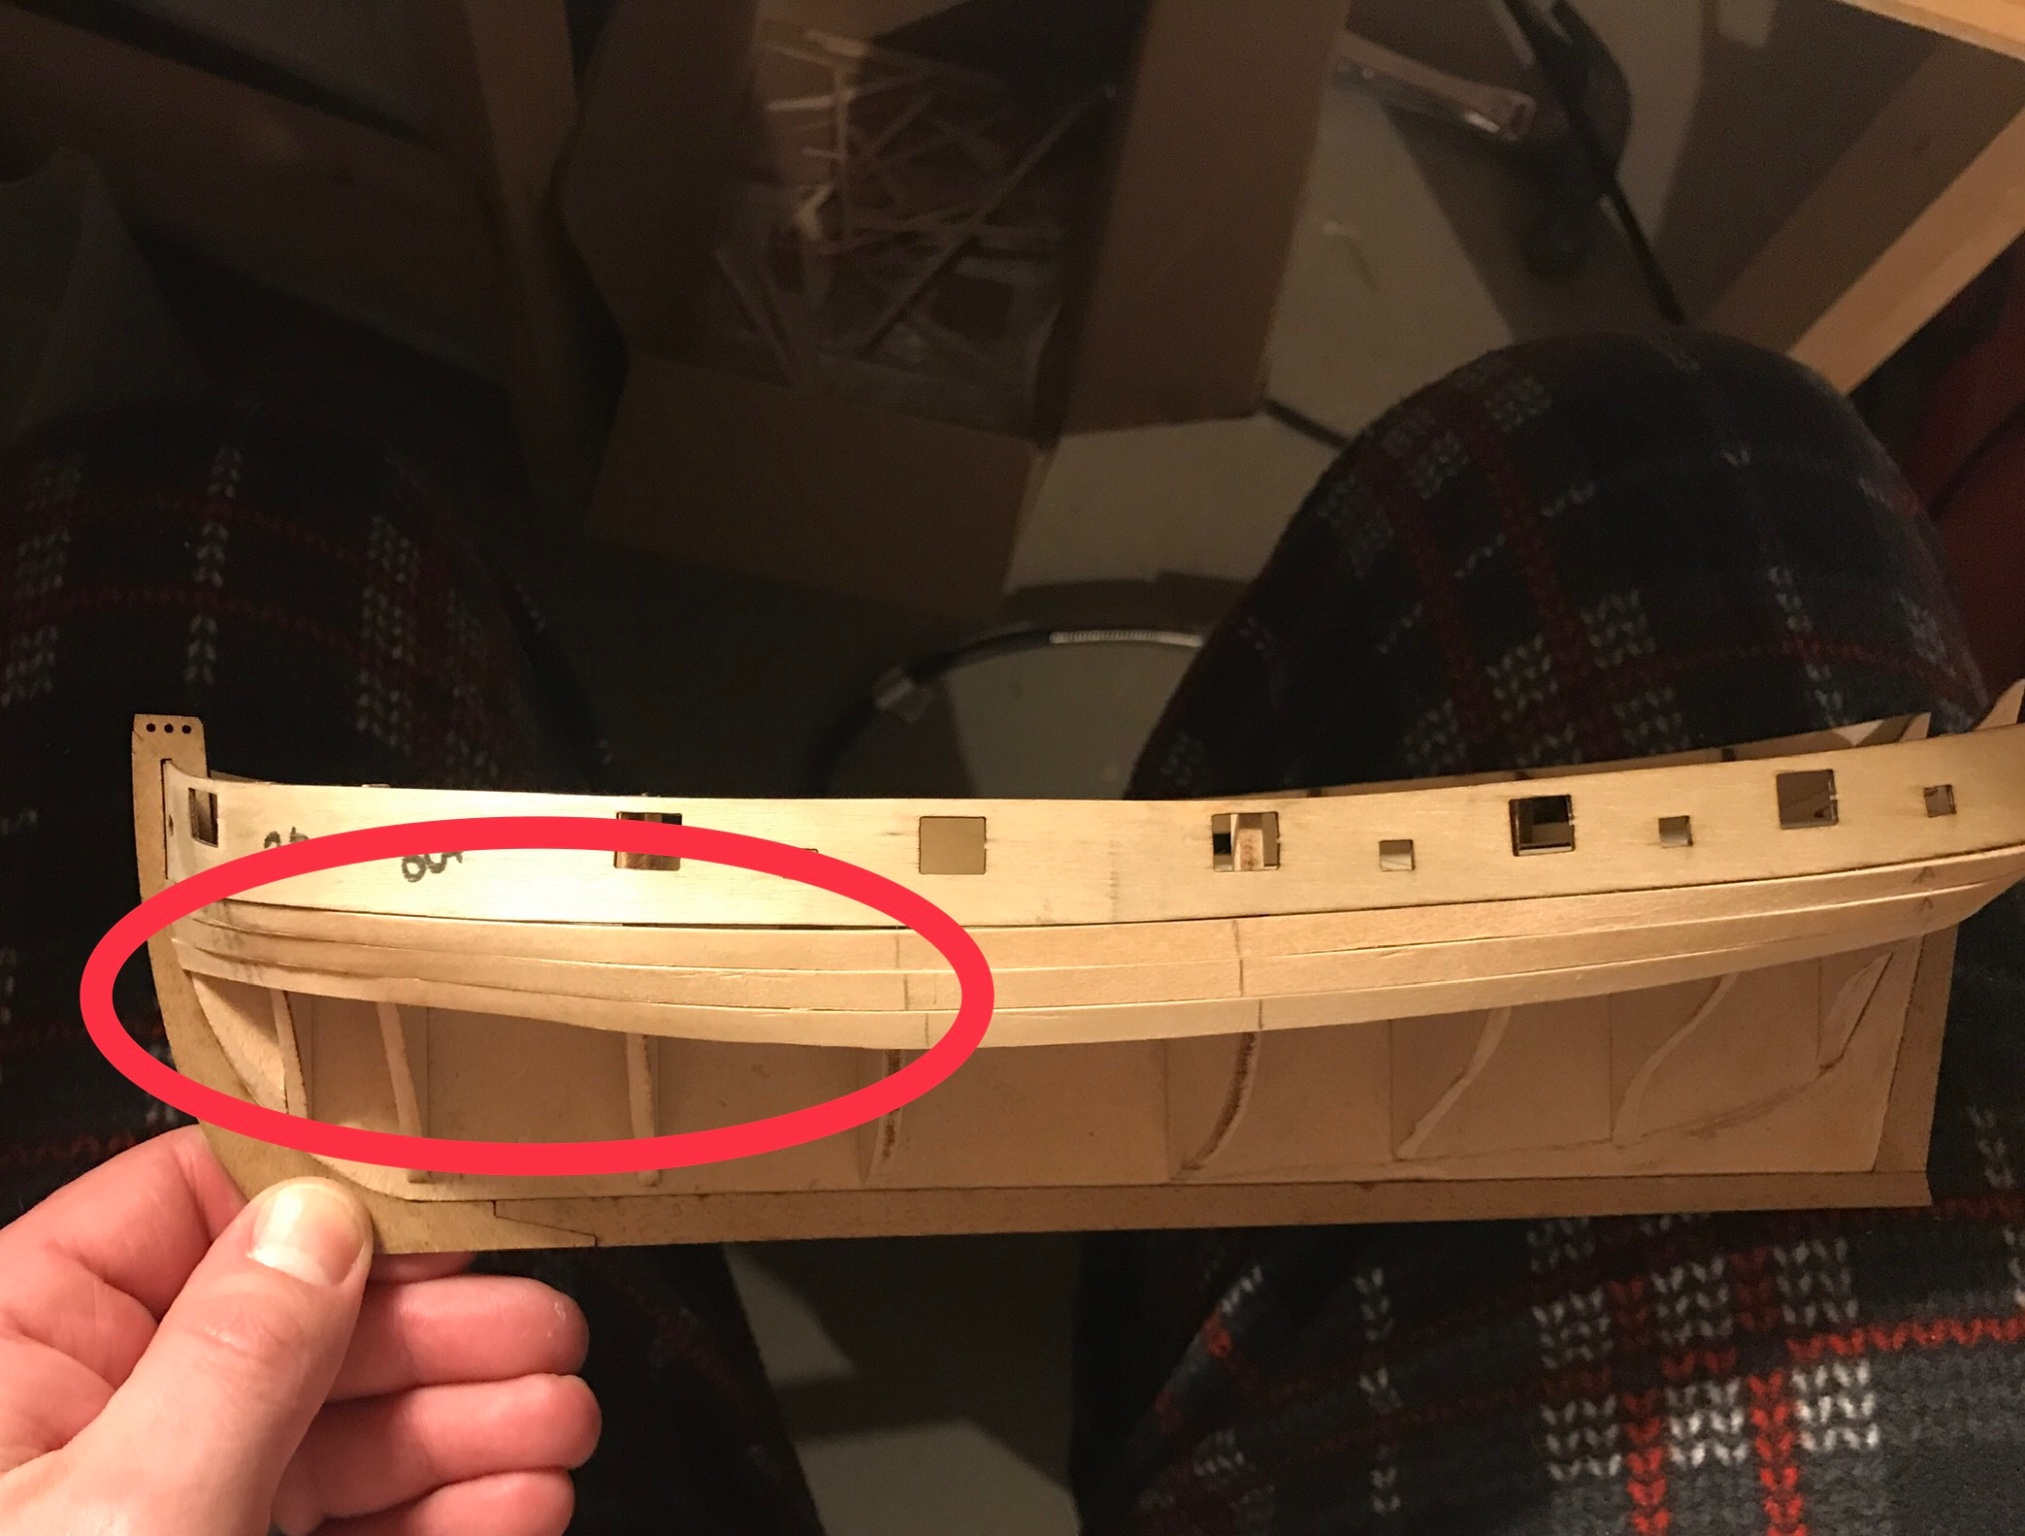
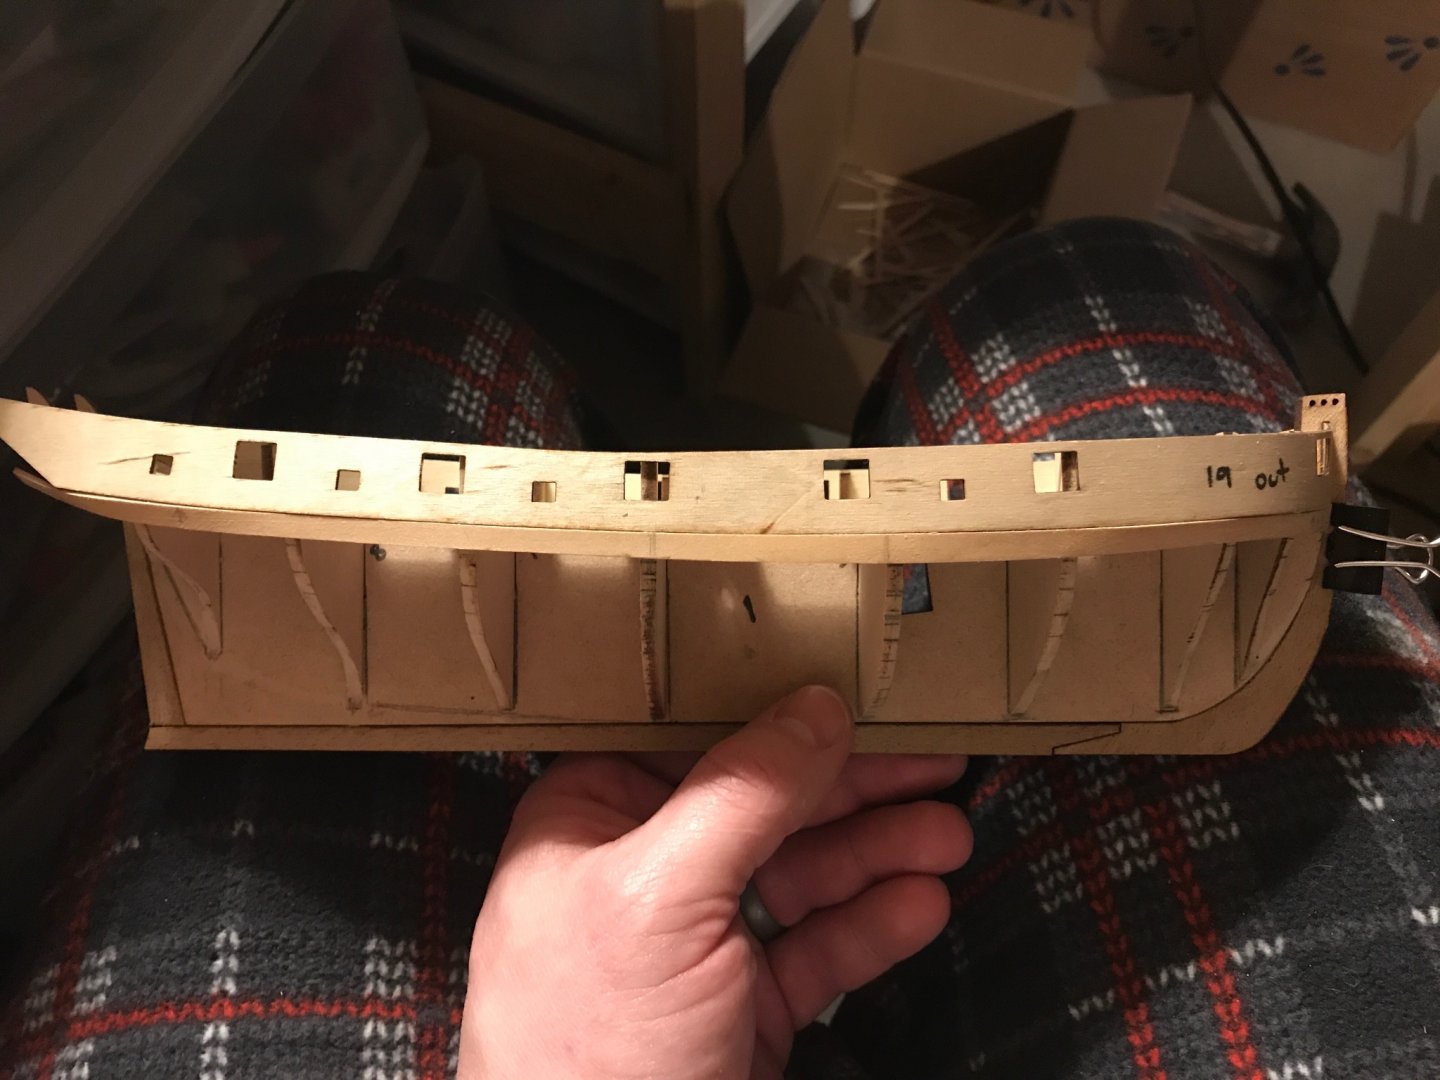
There have been some wins and fails with my planking attempt. Wins: 1. Using clear tape to figure out the shape of the bending form worked perfectly. 2. I only have to soak the planks 10ish minutes to get them to bend around the form. 3. Turns out I can use the iron to lock in the shape as long as I let the plank cool before releasing it. 4. The first plank turned out as good as I think I could make it. 5. I got practice removing planks. 6. I think I know which side is port now. Fails: 1. Due to the first 4 wins mentioned above I excitedly proceeded to work through all of my prepared planks without paying close attention to what I was doing. 2. Even though the bending form worked perfectly, my tapering didn’t. 3. I failed to realize that the planks slowly shifted to stern as I added them until I was about to glue on the 4th plank. You can see how the bulkhead lines are staggered and there is an awful dimple in the curve. The rest of the views looked good though I think. I have since removed the 3rd plank and trimmed the 2nd one to fix the curve. I would have preferred to start all over but I don’t have enough plank strips left. Now that I have learned some more I need to adjust my technique and press on.


- 139 replies
-
- 1
-
-
- Lady Nelson
- Amati
- (and 2 more)
-
I have to say, I don’t know how anybody ever survived building one of these models in the days before the internet. Must have been some really good books out there.
- 139 replies
-
- 2
-
-
- Lady Nelson
- Amati
- (and 2 more)
-
I have read so many things I can’t keep straight what I found where. It looks like I got the lining idea from you and Chuck, but I executed a little differently and the tape came from Chuck for spilling a plank, but I am also using in a different fashion. Fingers crossed this works. I know I don’t have to go to this much trouble for the first planking, but I want to use it as an opportunity to learn for the second.
- 139 replies
-
- 2
-
-
- Lady Nelson
- Amati
- (and 2 more)
-
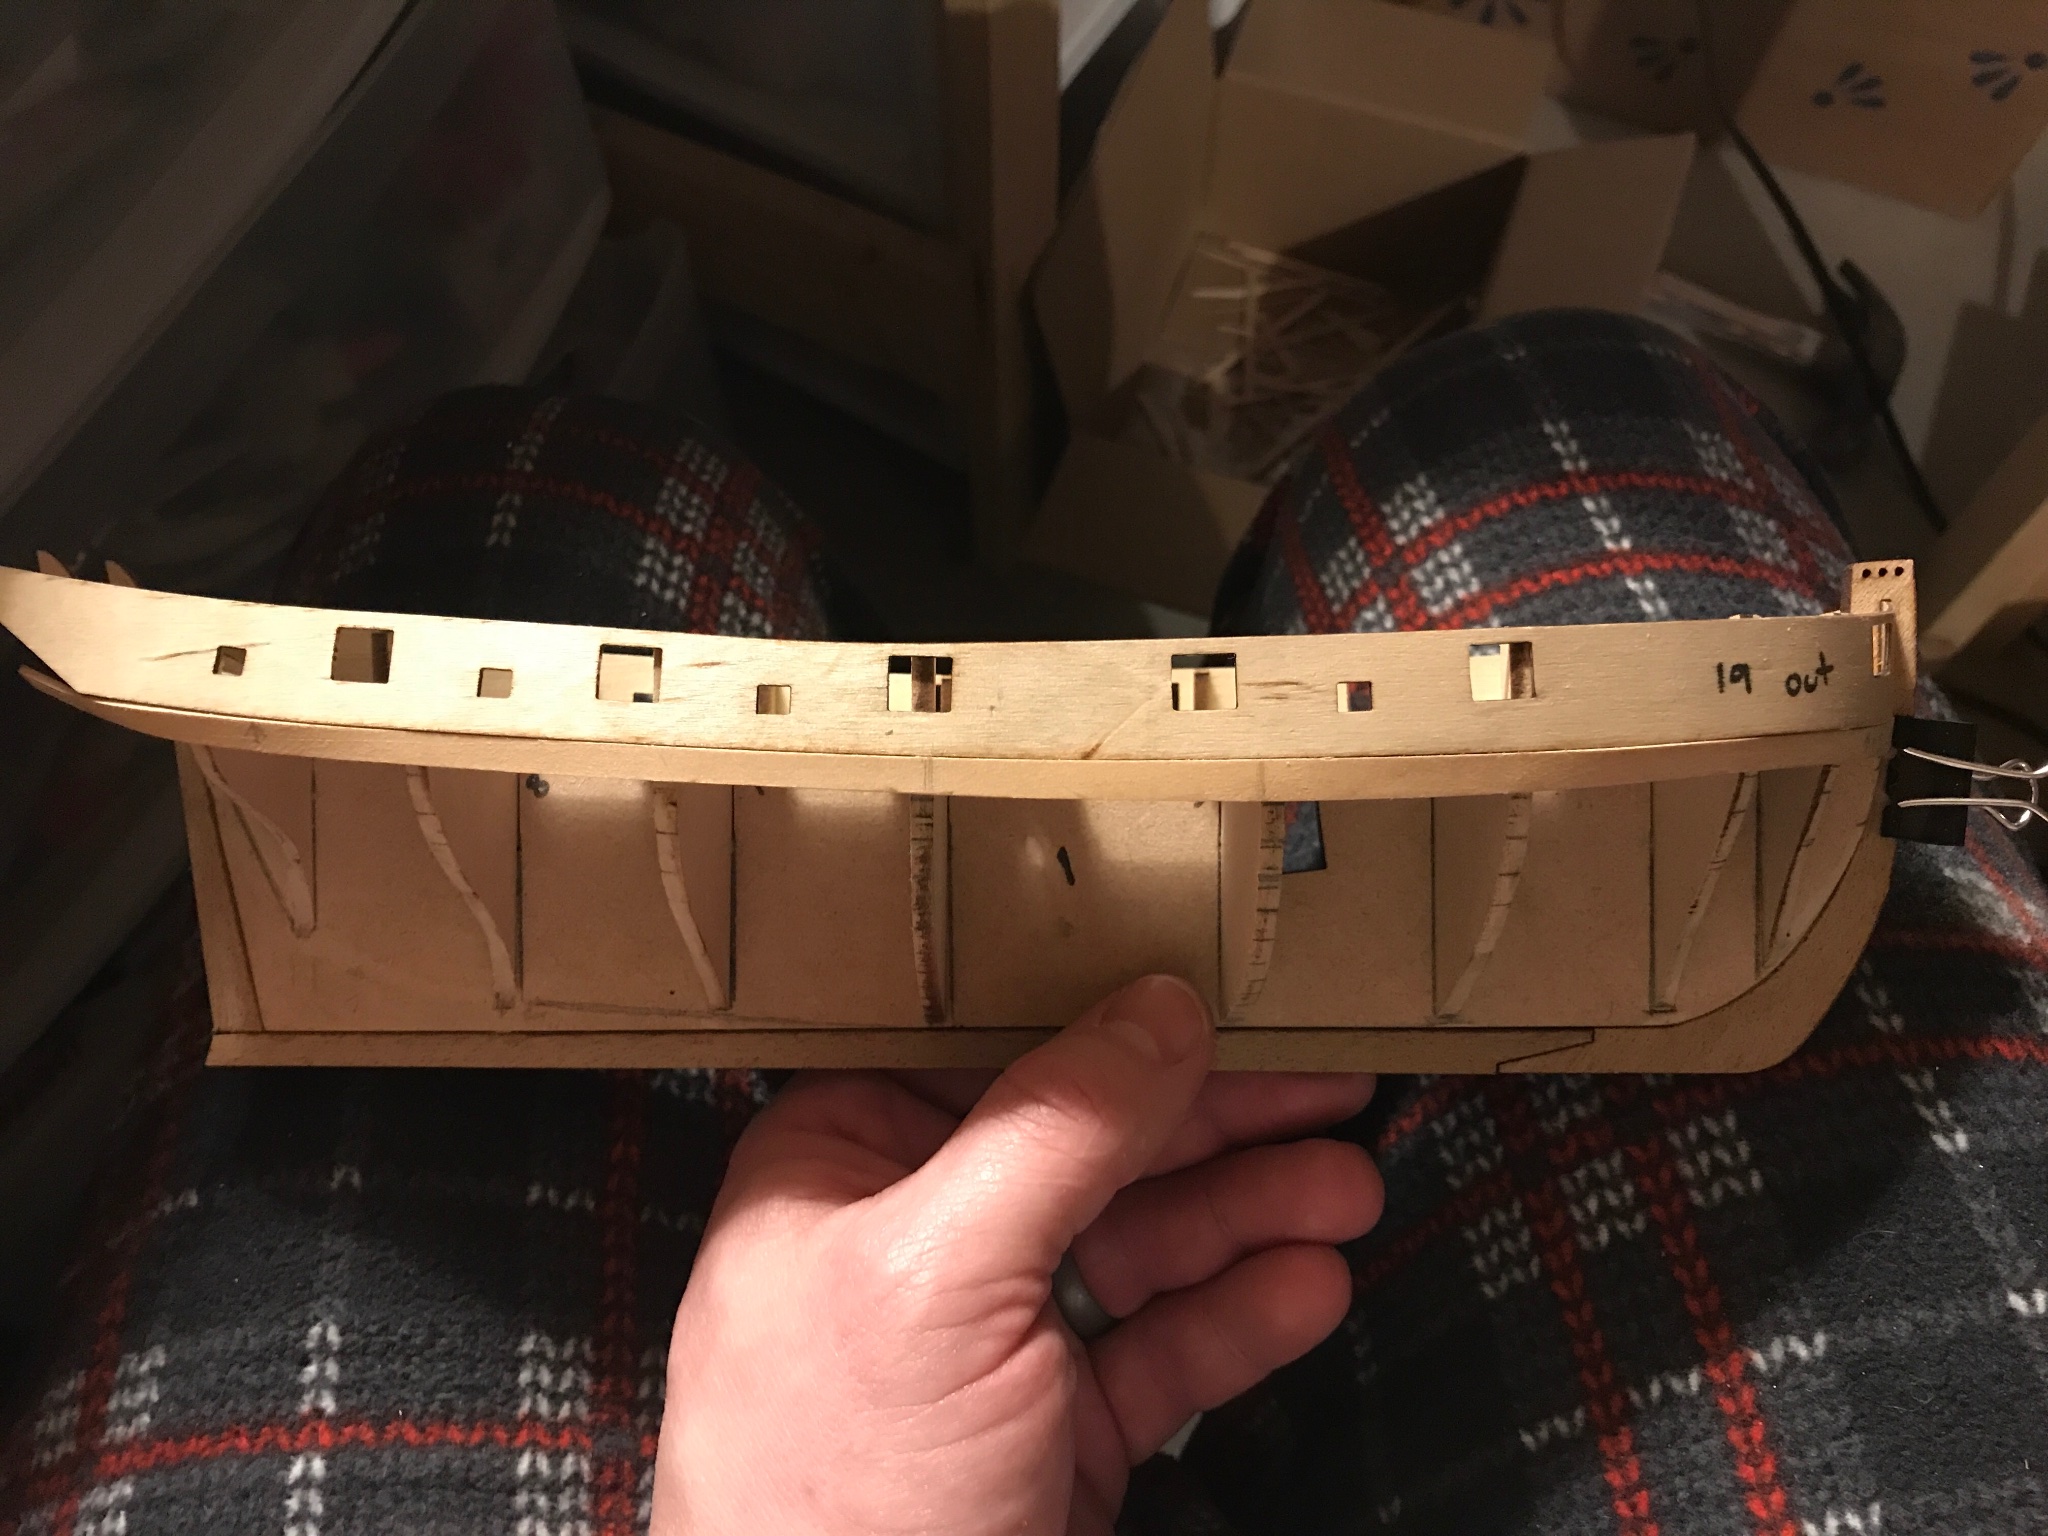
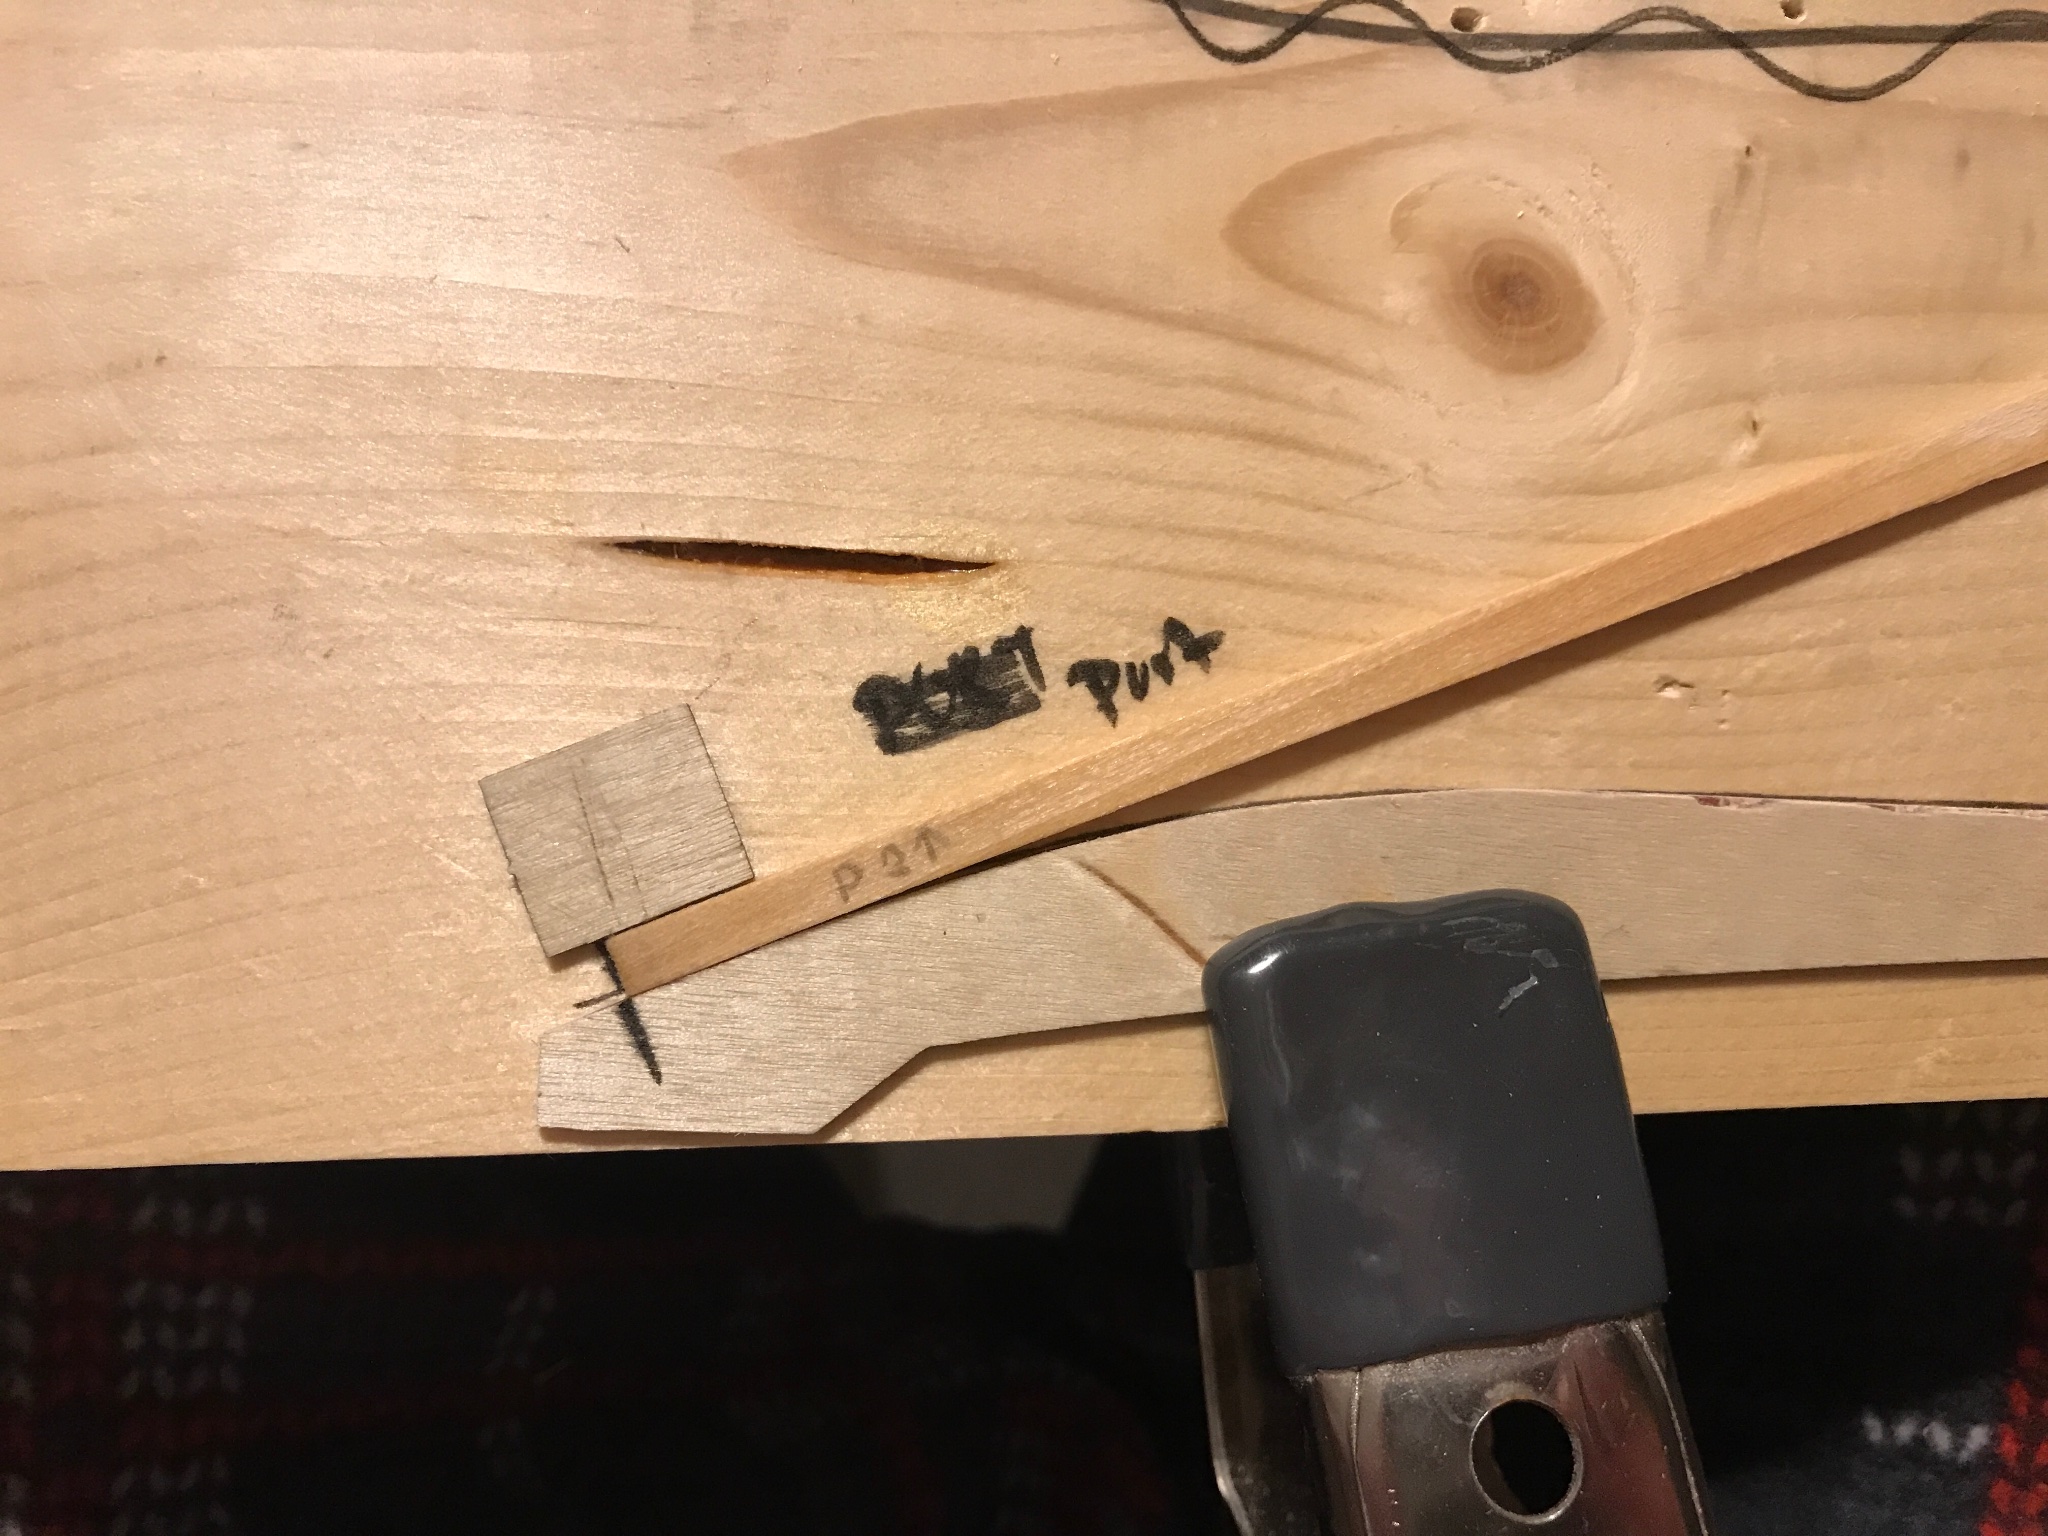
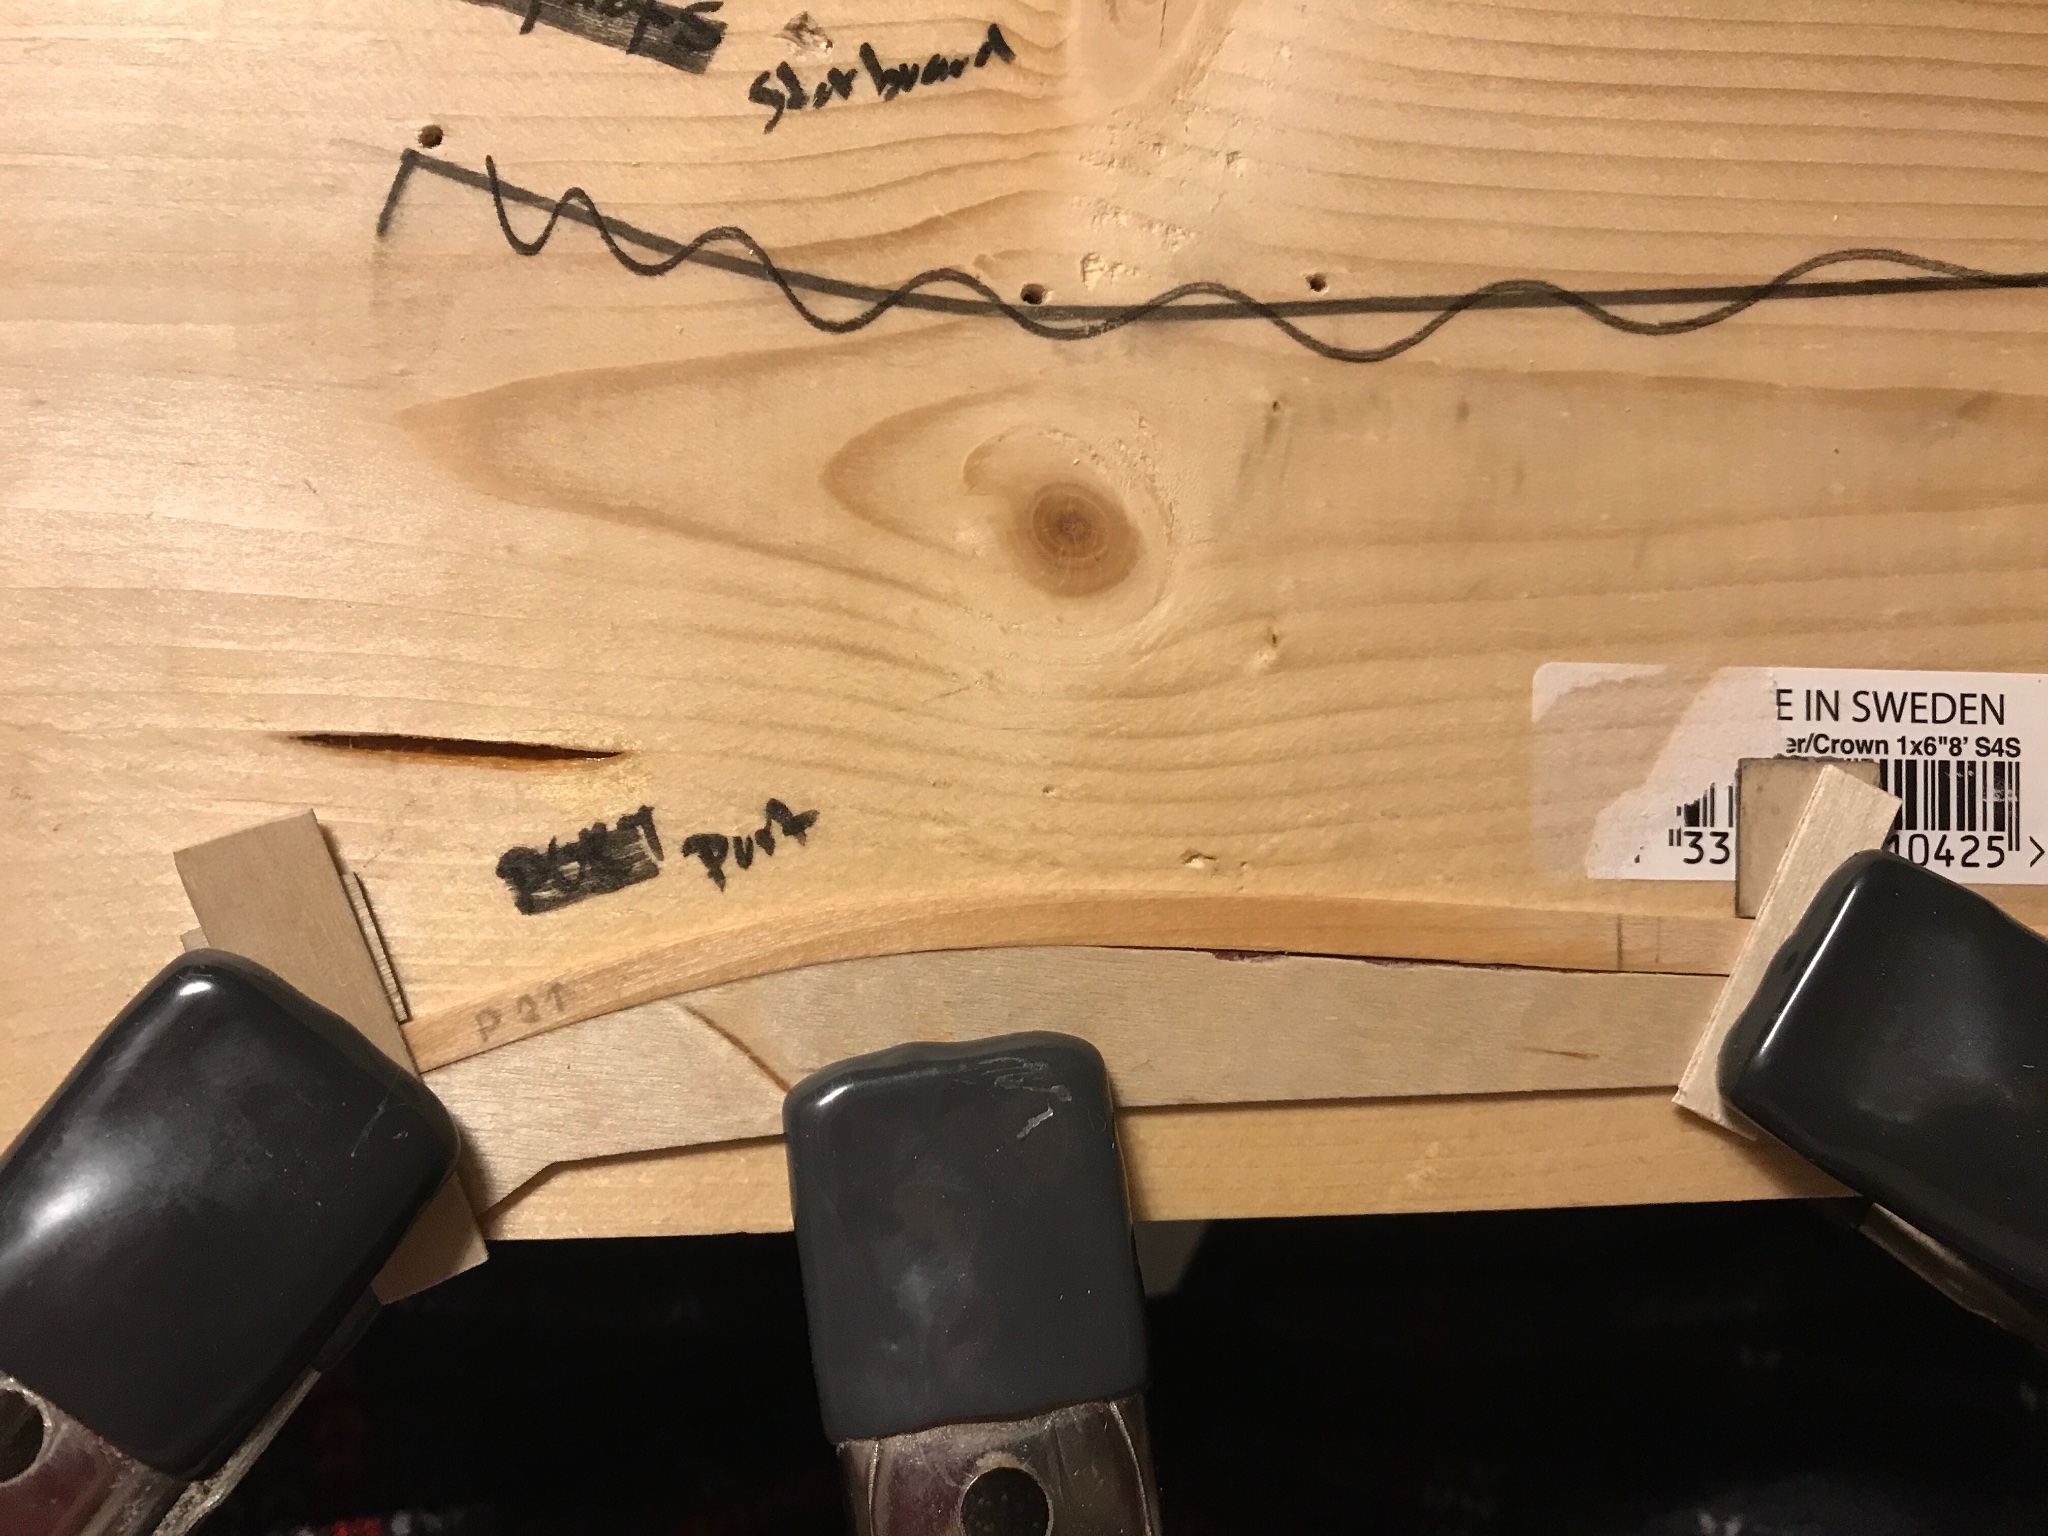
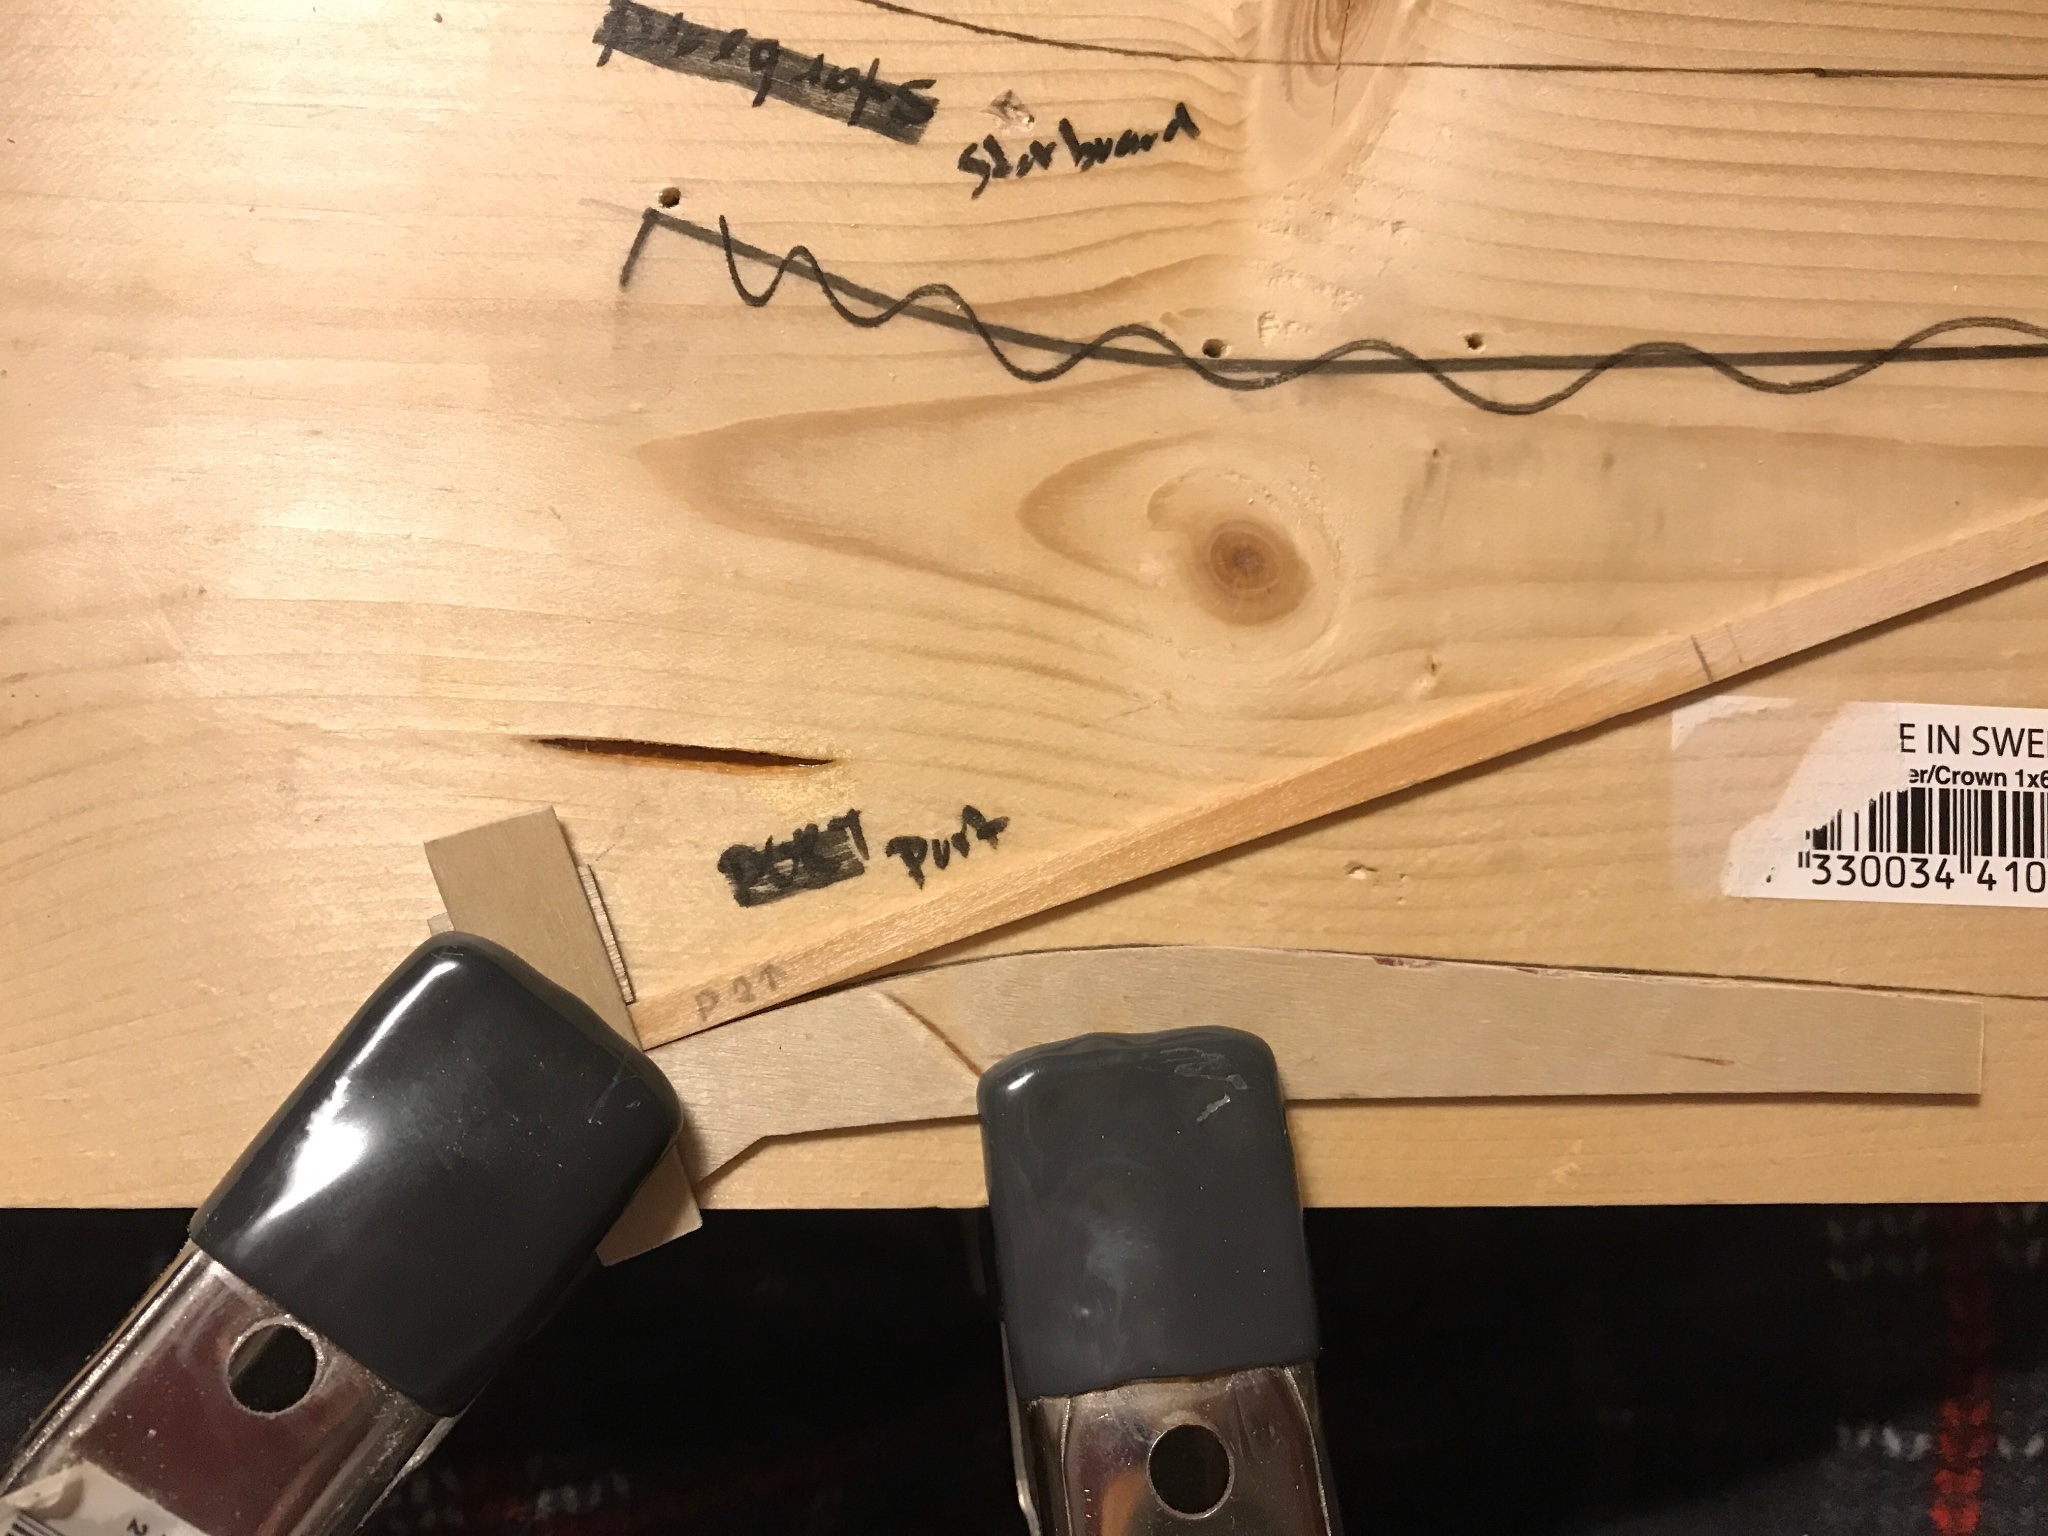
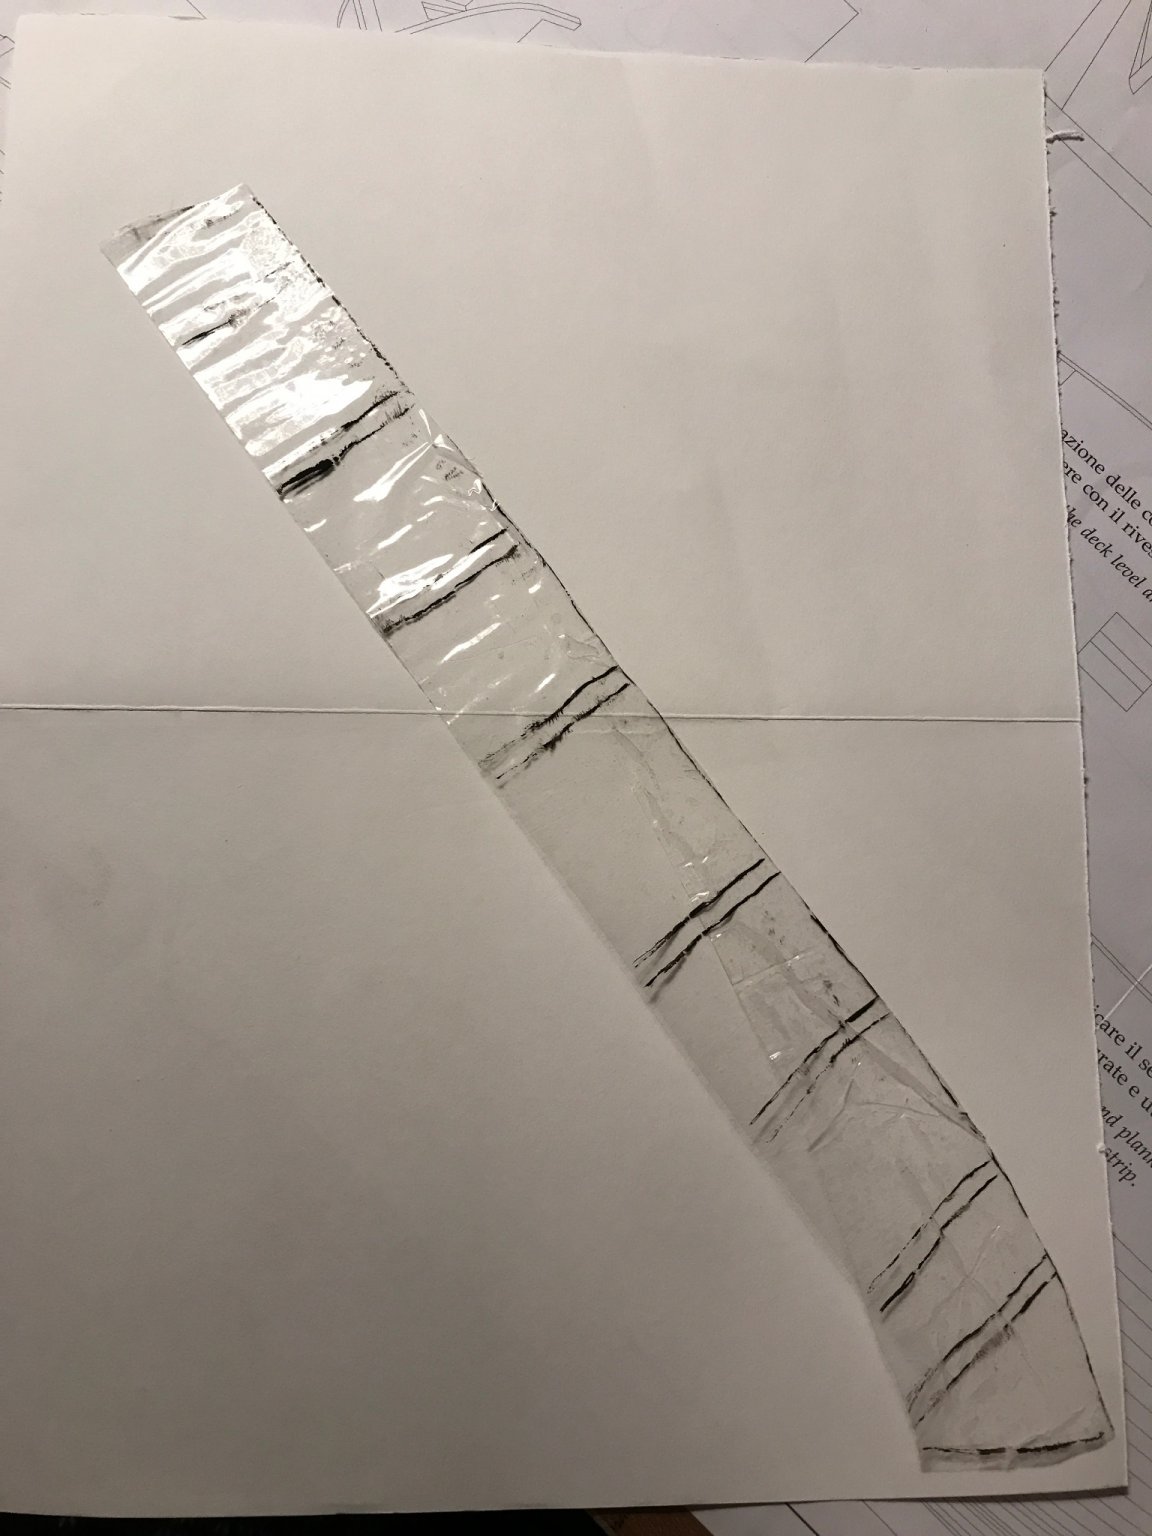
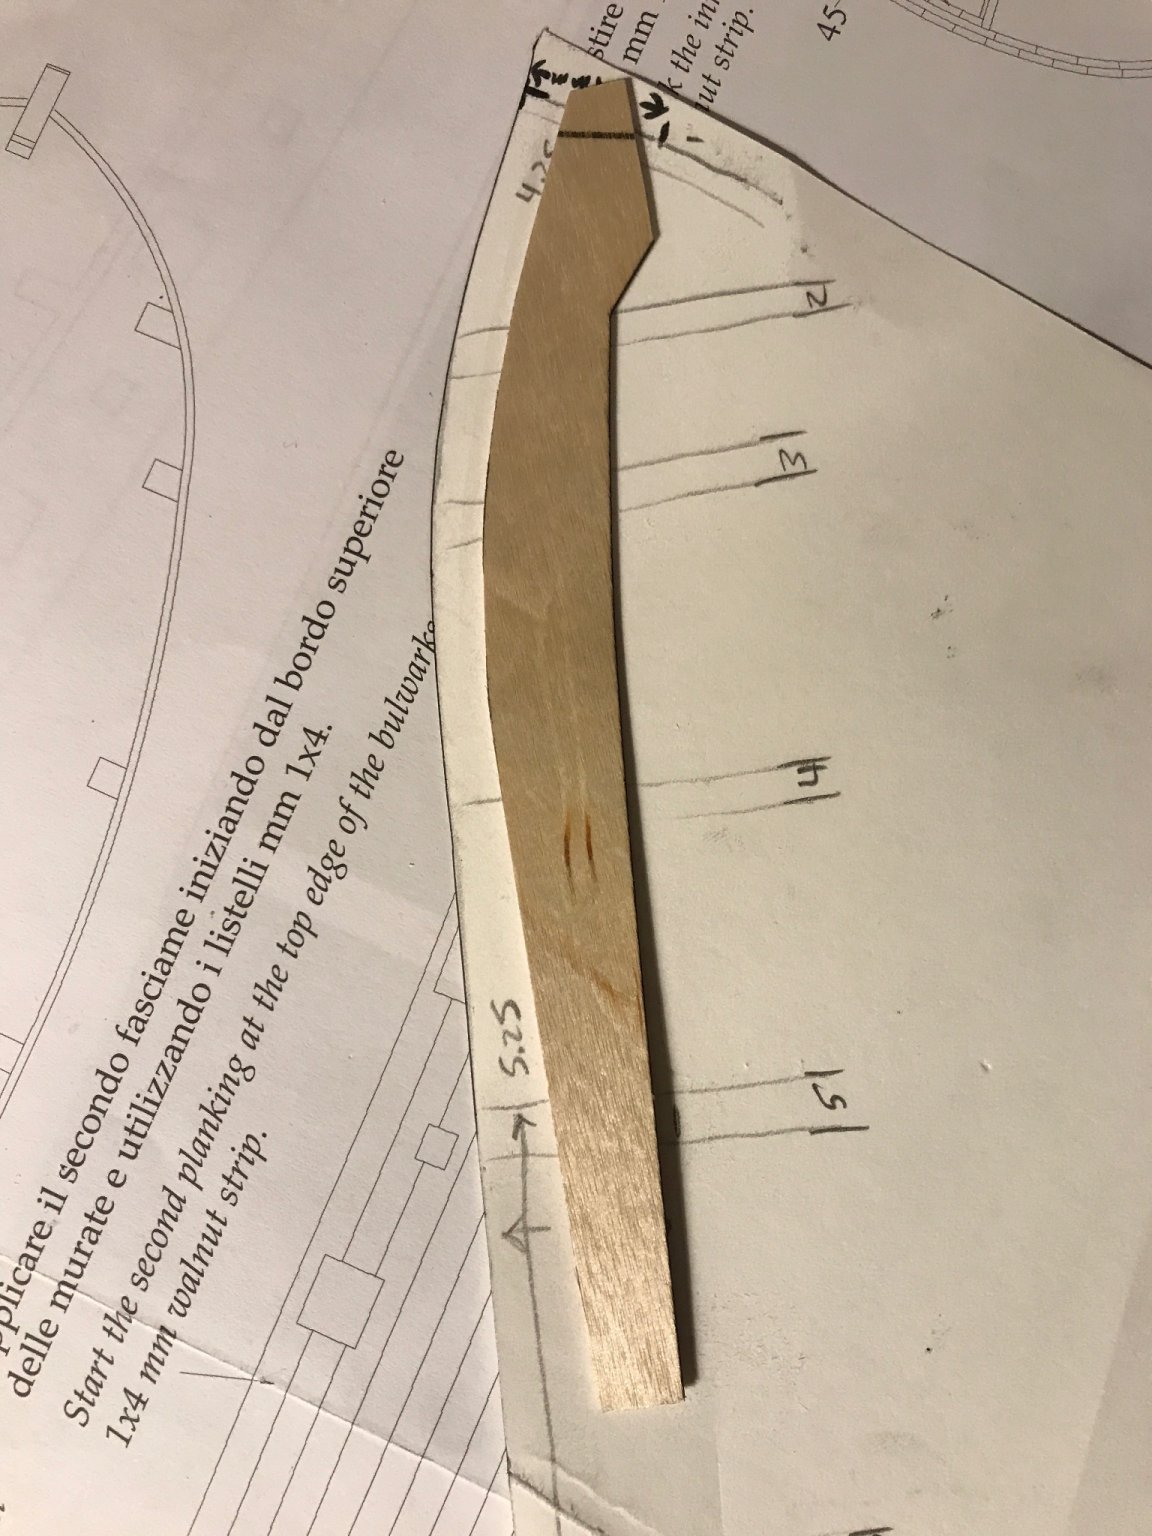
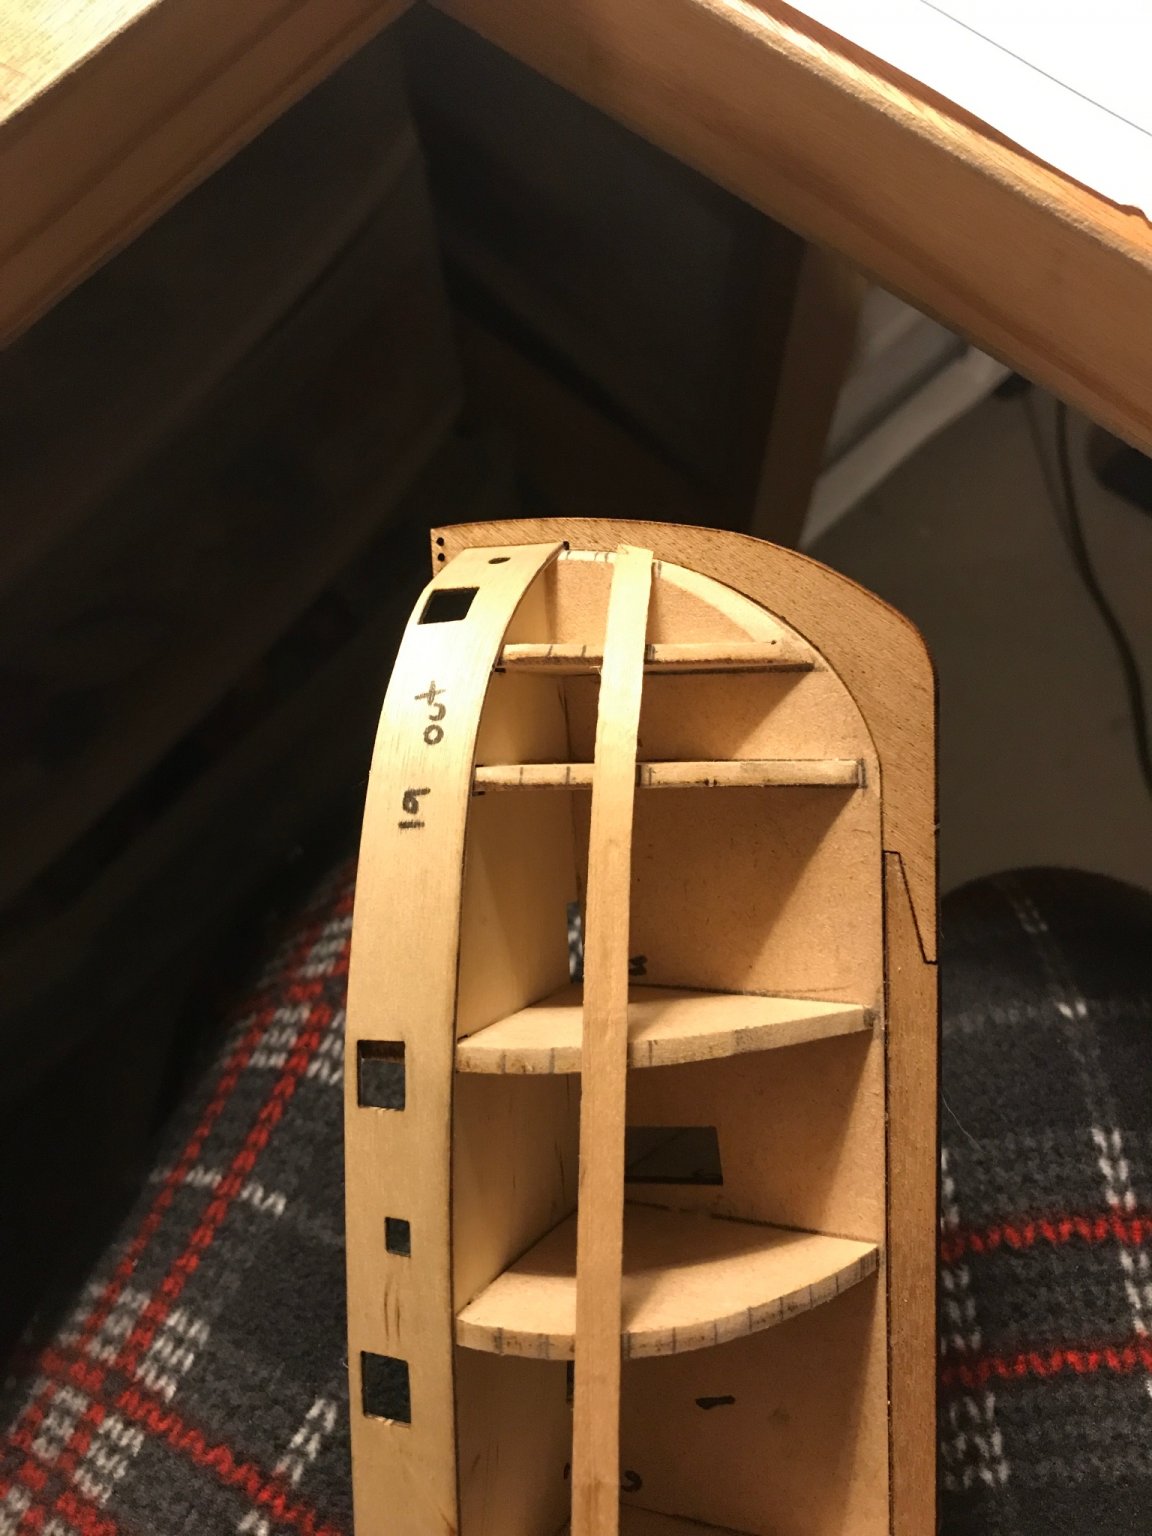
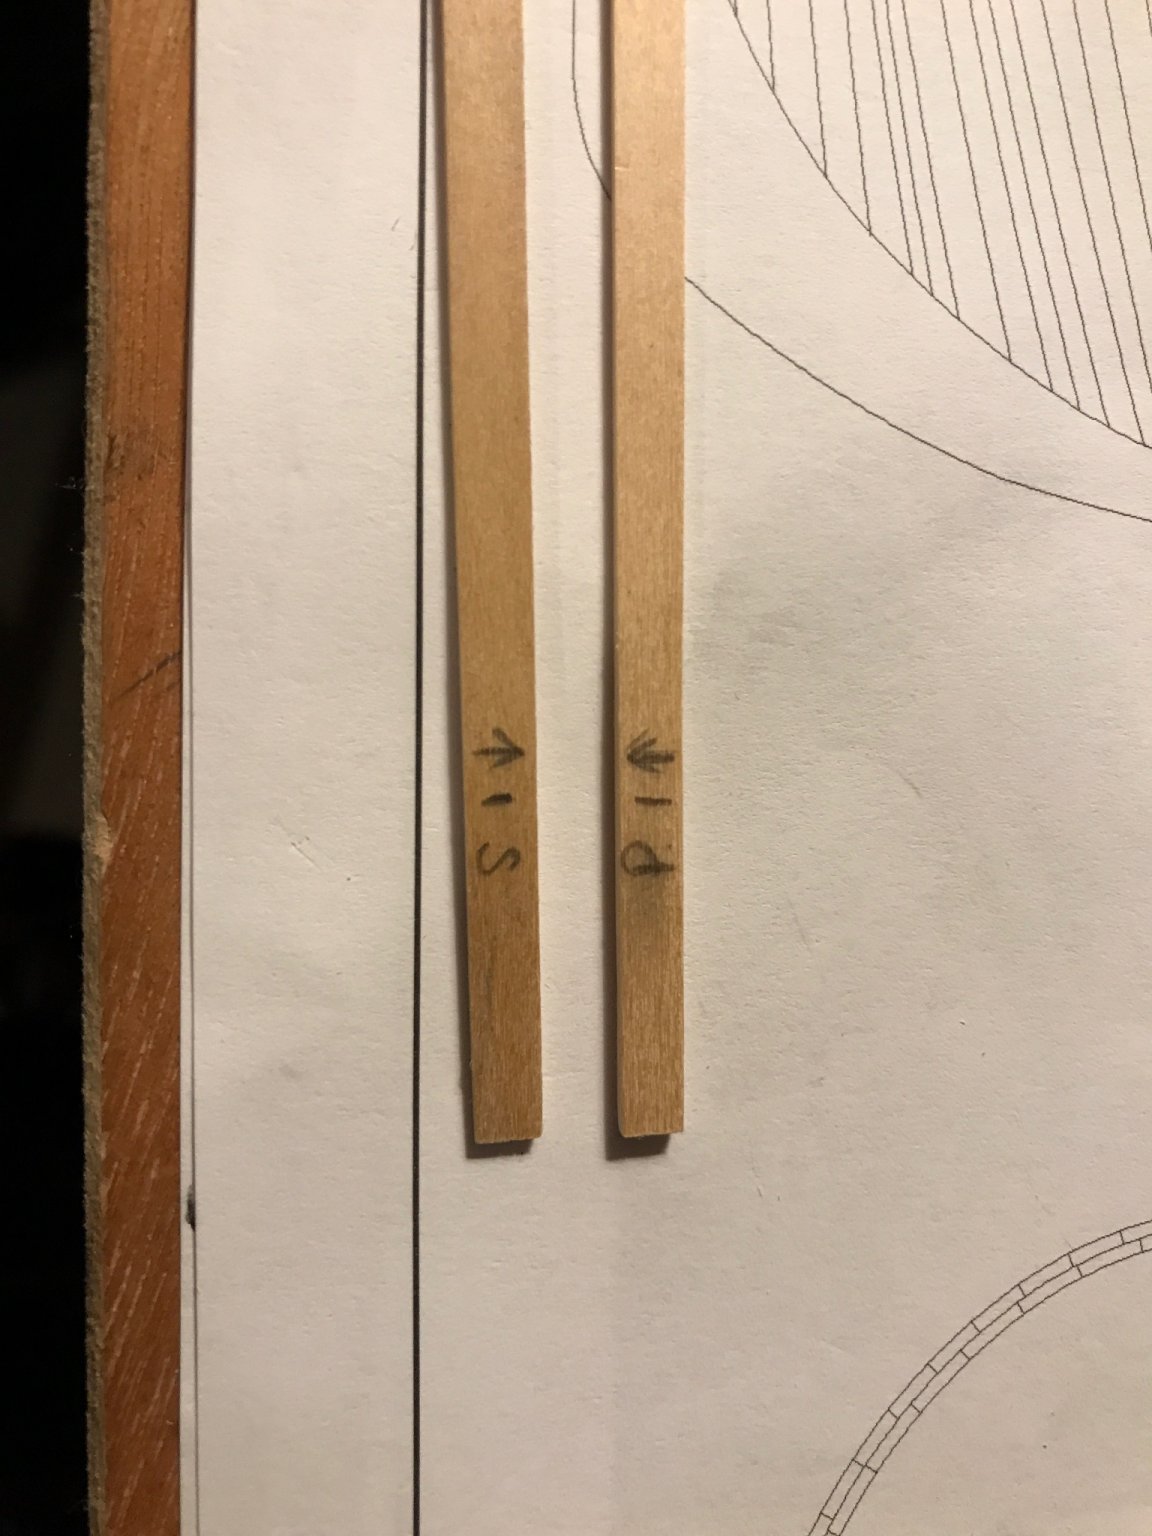
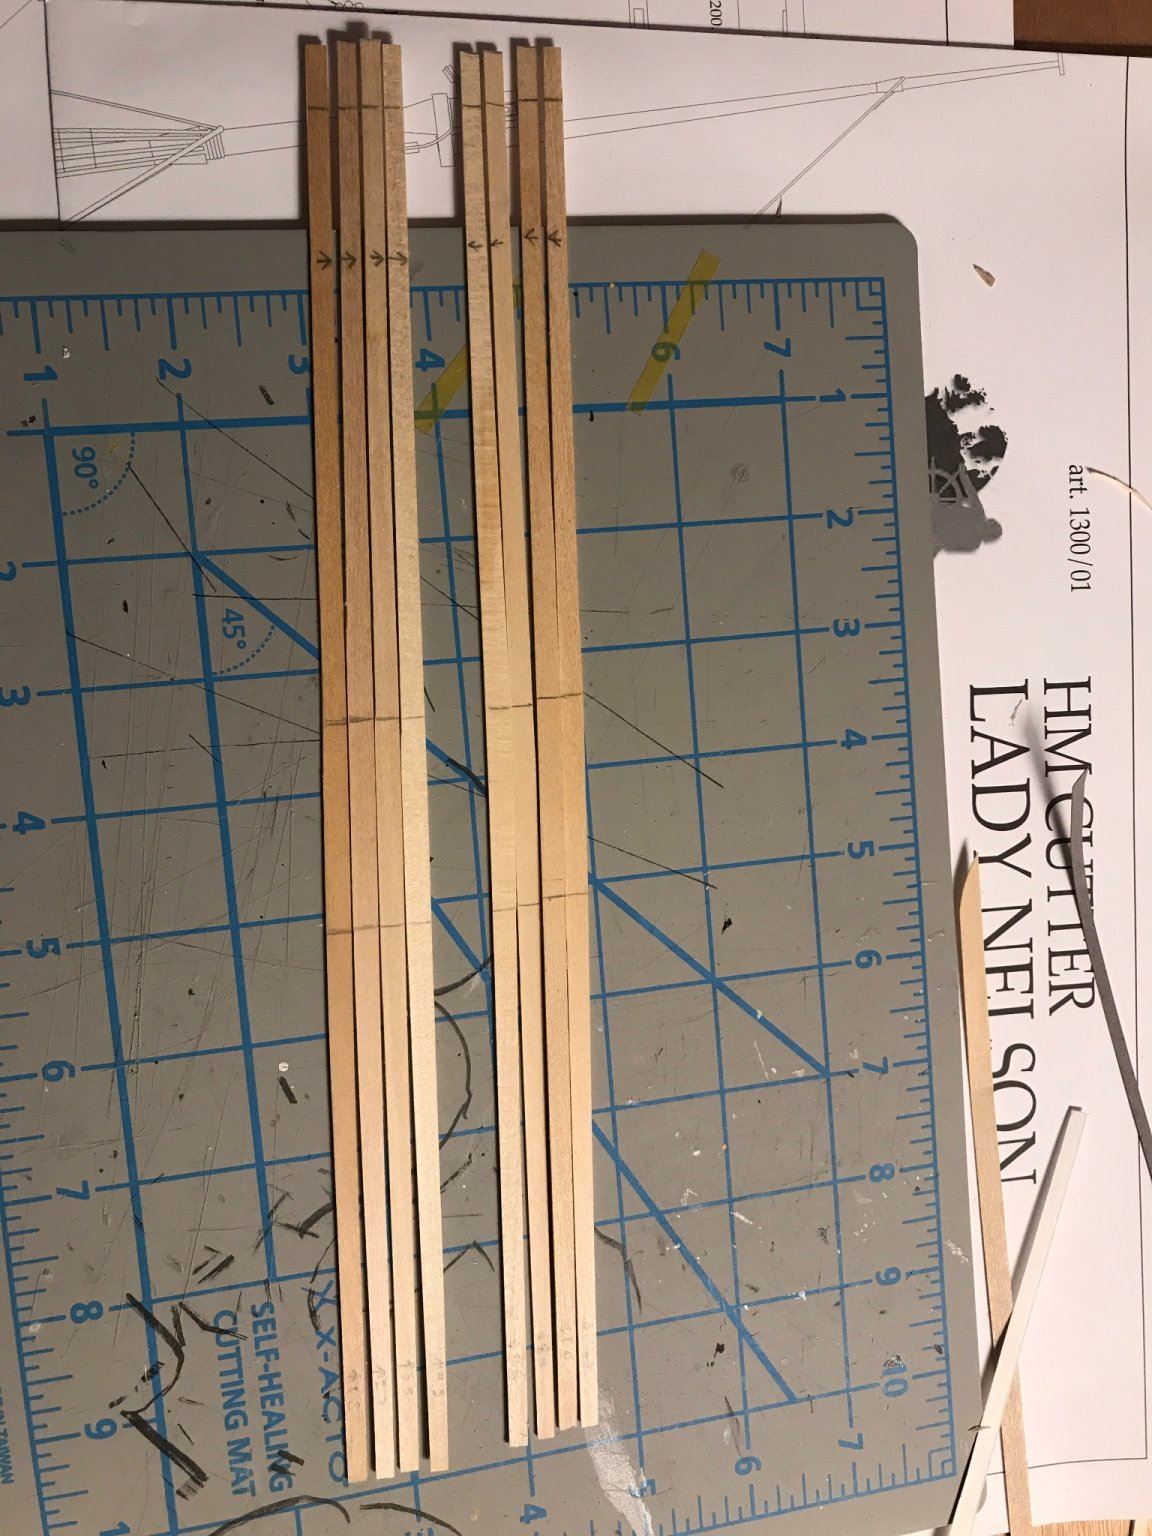
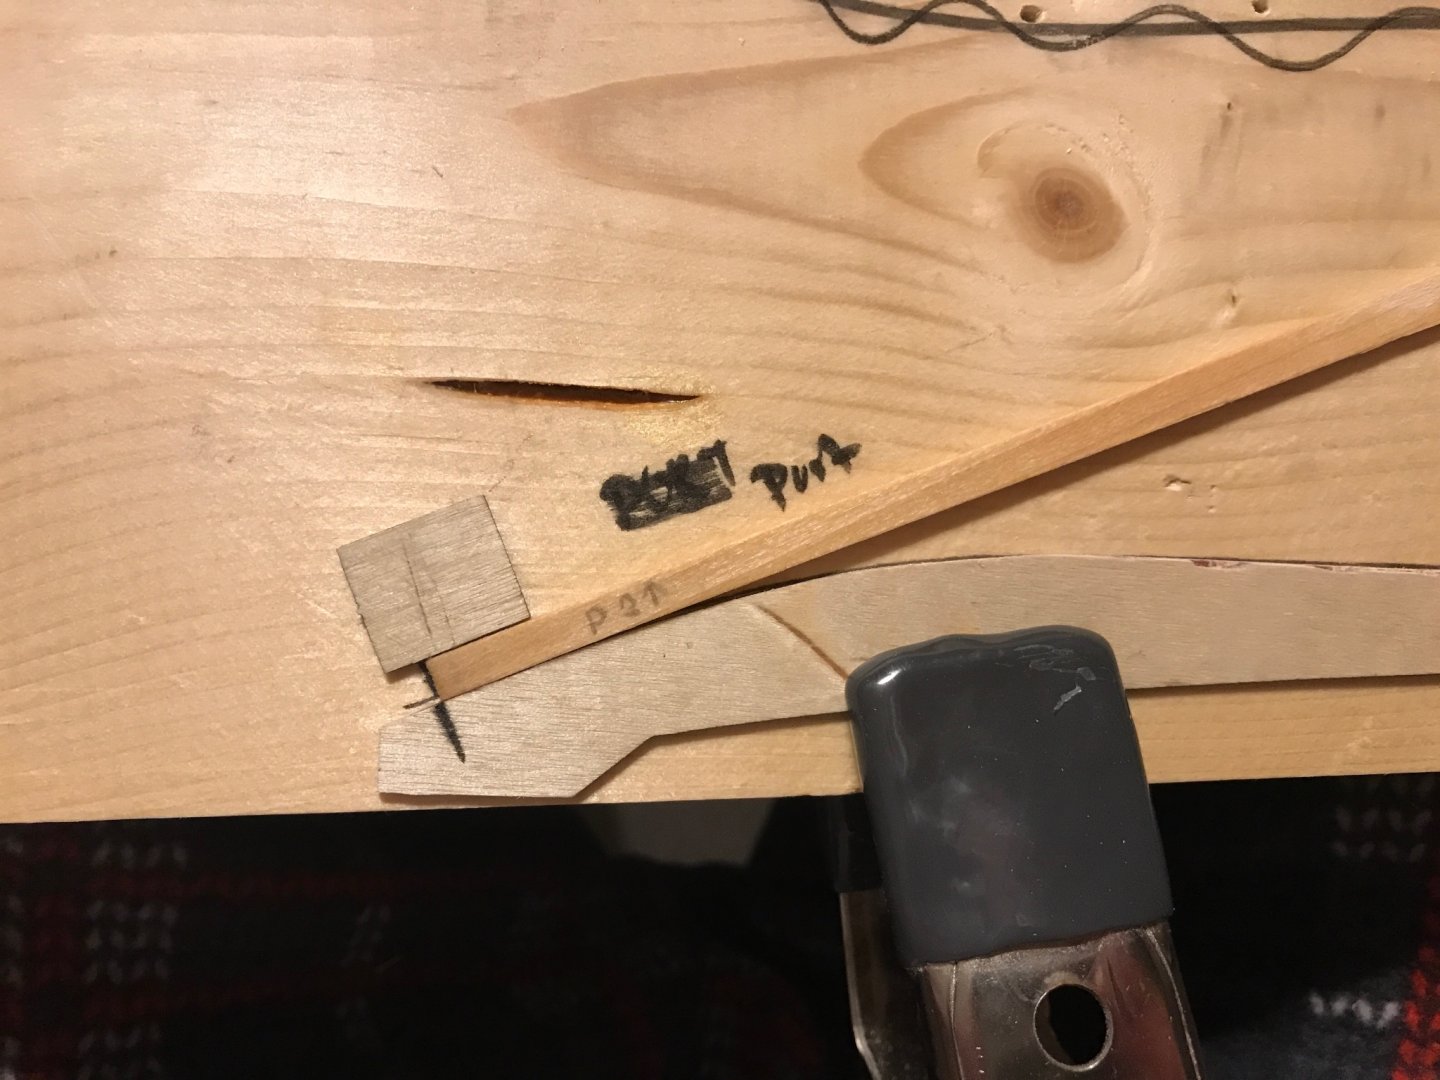
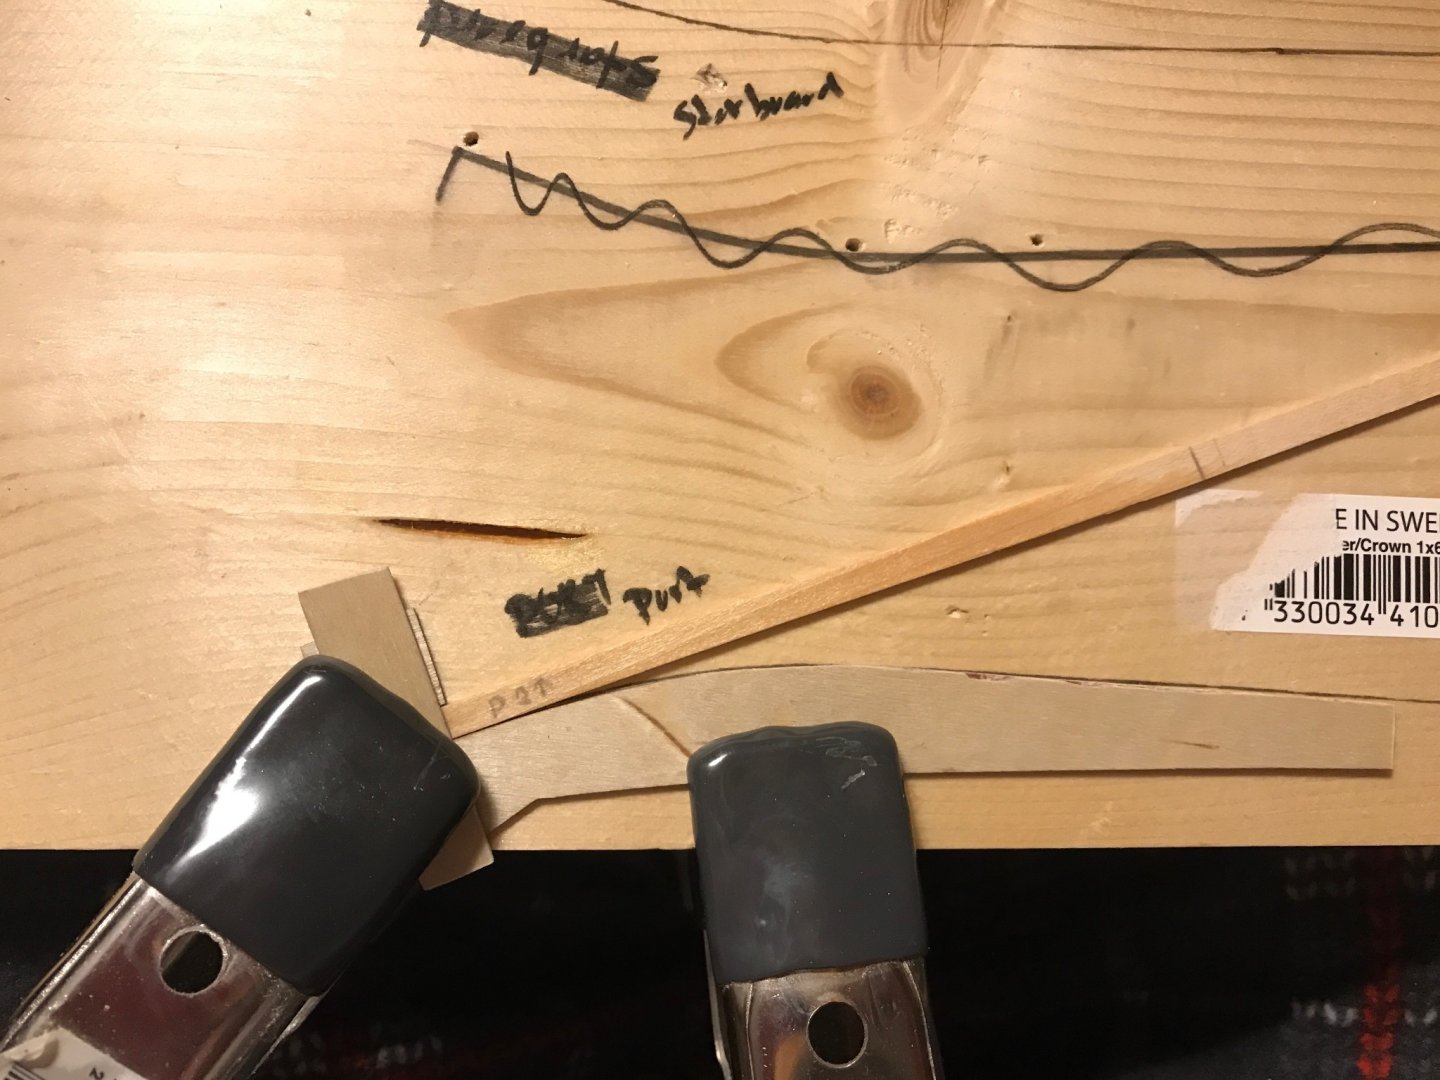
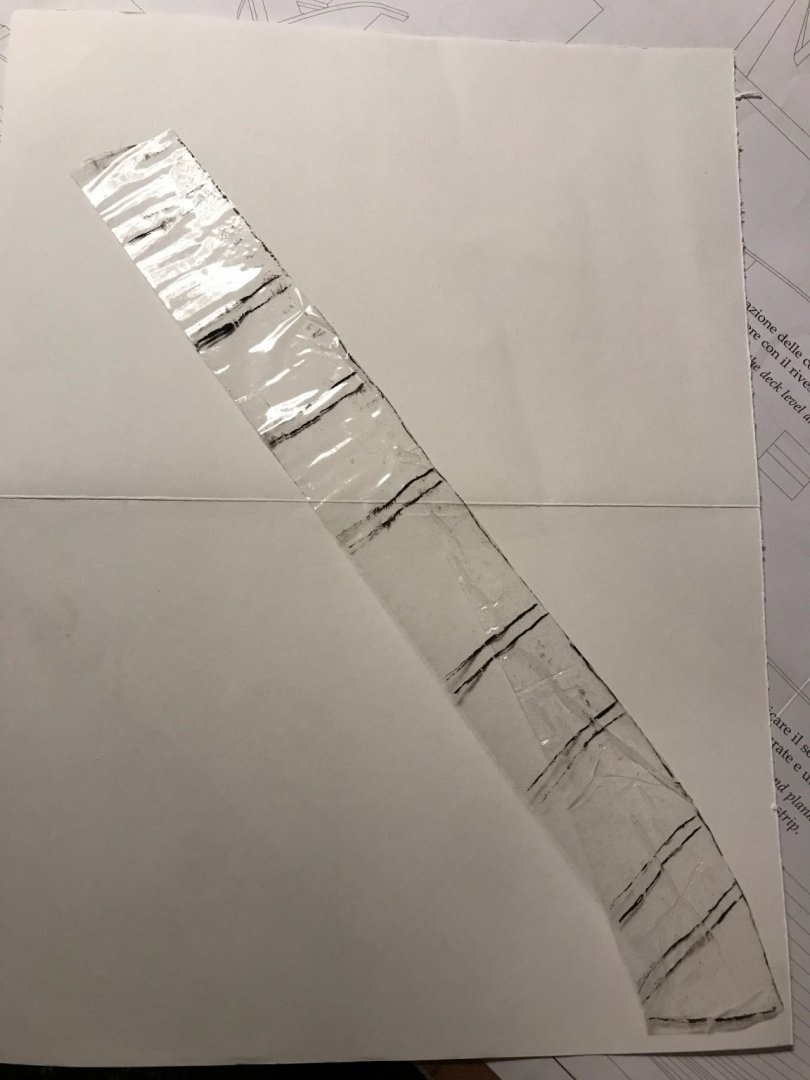
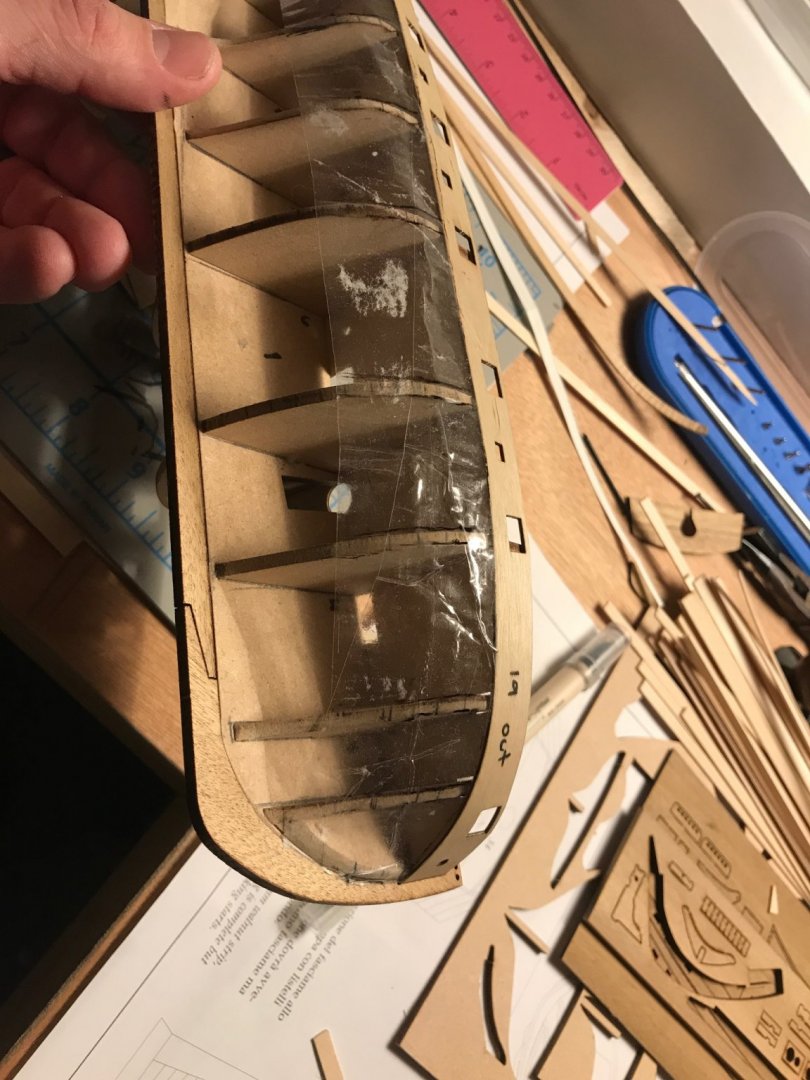
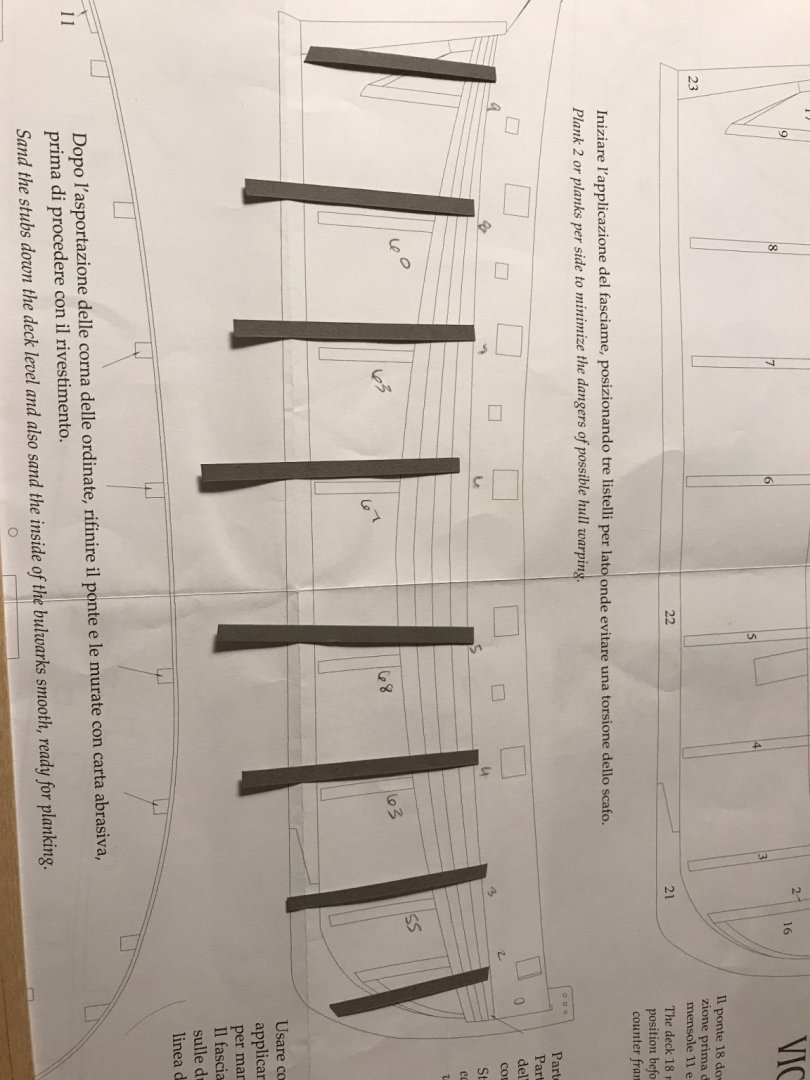
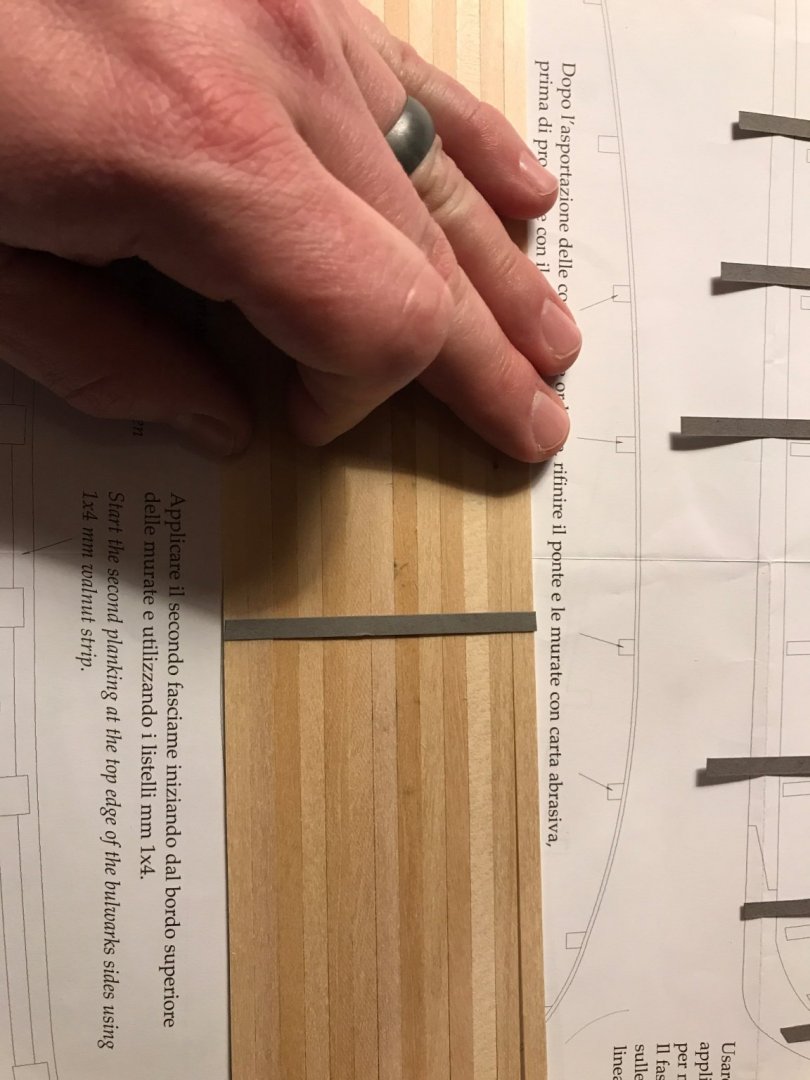
After much more studying, measuring, testing, thinking, tossing, breaking, studying and cussing, I think I finally have a plan. My big concern with the edge bending was that I wanted to make a curve template for repeatability. In one of the many resources I have scrolled though, I can across an idea of using clear tape to figure out the 3D curve of the planks. So I tried it, and used a permanent marker to trace the edge of the bulwark and mark all of the bulkheads. I then transferred this to card stock to get my 2D curve. It just so happened that it matched the accidental profile I bent into my original test strip. I used the card stock to make two forms, one for each side of the ship. I was really hoping to be able to dry bend the strips and use an iron to lock in the shape, but unfortunately, my planking stock is too wide and needs to be soaked to make the curve without breaking. The next challenge was figuring out the taper. I tried the mathematical way of dividing the shortest bulkhead at each end by the total number of planks, but it didn’t seem right. The taper was too extreme. I decided to use my test plank to line off the hull. It will accept exactly 13 planks on bulkhead 5, coming down 4 planks seemed to be a good start for my first section. I basically eyeballed the start and stop of the plank and made marks at the bow and stern. I measured the distance and divided by 4 to get my tapered plank width. In this case it is 4.25mm at the bow and 4mm at the stern. I transferred bulkhead 5 and 6 lines to the planks and then numbered them, labeled P and S and put arrows pointing up, toward the untapered side. Hopefully I am not too far off track on my plan. The first set are soaking for bending tomorrow. This is going to take some time, since I currently can only edge bend one set at a time.


- 139 replies
-
- 2
-
-
- Lady Nelson
- Amati
- (and 2 more)
-
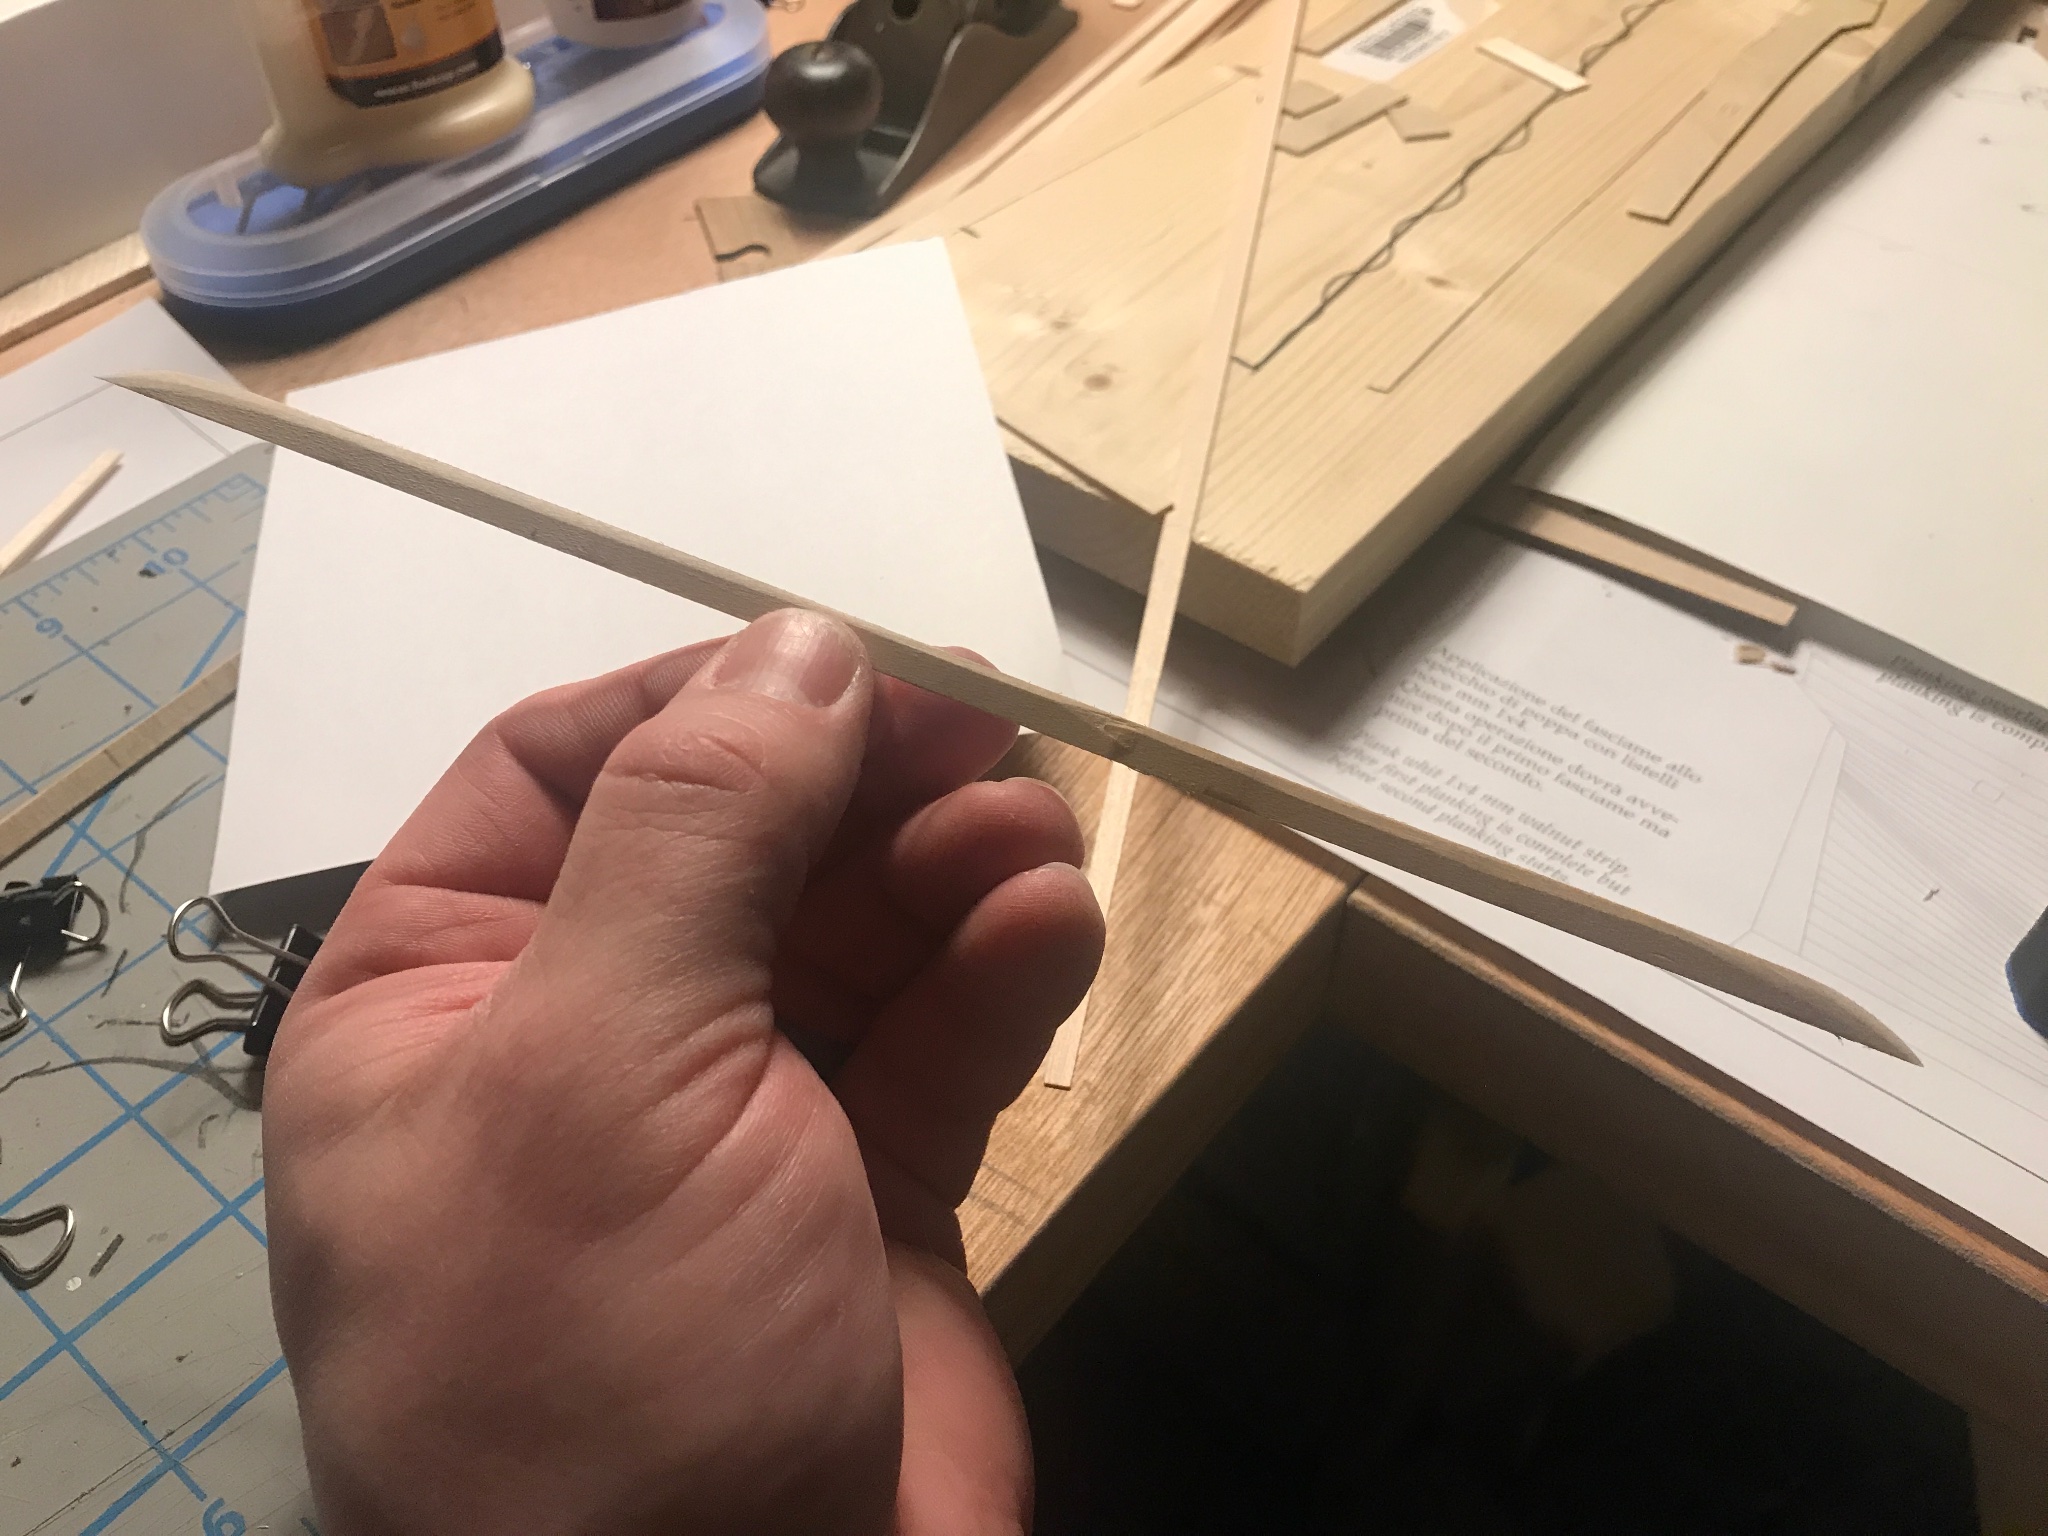
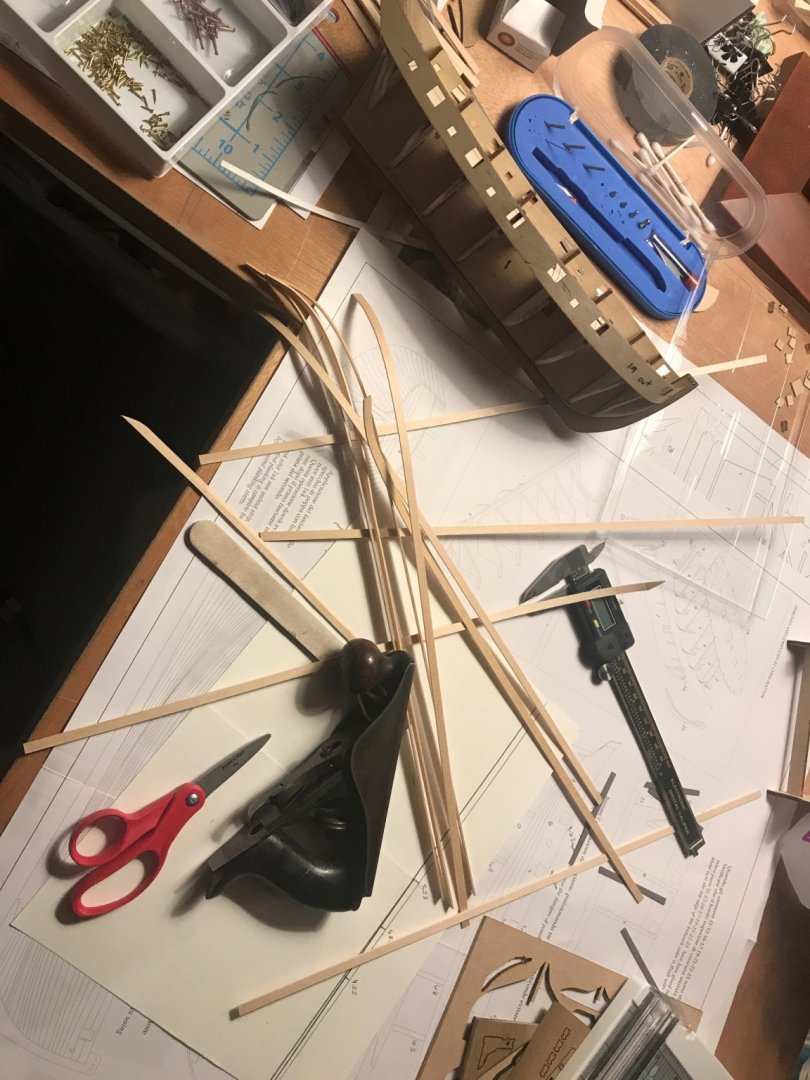
If planking is witchcraft, then edge bending is magic pixie dust. My test plank for edge building came out almost perfect. Now I just need to figure out how to do it consistently! John, thank you for the step by step! I had told myself that I wasn’t going to do the edge bending because I didn’t want to have to build something to do it, but after this test run, I don’t see any other way.

- 139 replies
-
- 1
-
-
- Lady Nelson
- Amati
- (and 2 more)
-
Thank you for the inspiration! Can’t believe you went straight for the Wasa!! I almost bought the USF Constitution as my first kit. So glad I didn’t! I do hope to scratch build one in 1:64 some day. And for the wings... my daughter has since out grown that pair and they are destined for the memories box, but she hasn’t out grown all of her wings yet. ☺️
- 139 replies
-
- 1
-

-
- Lady Nelson
- Amati
- (and 2 more)
-
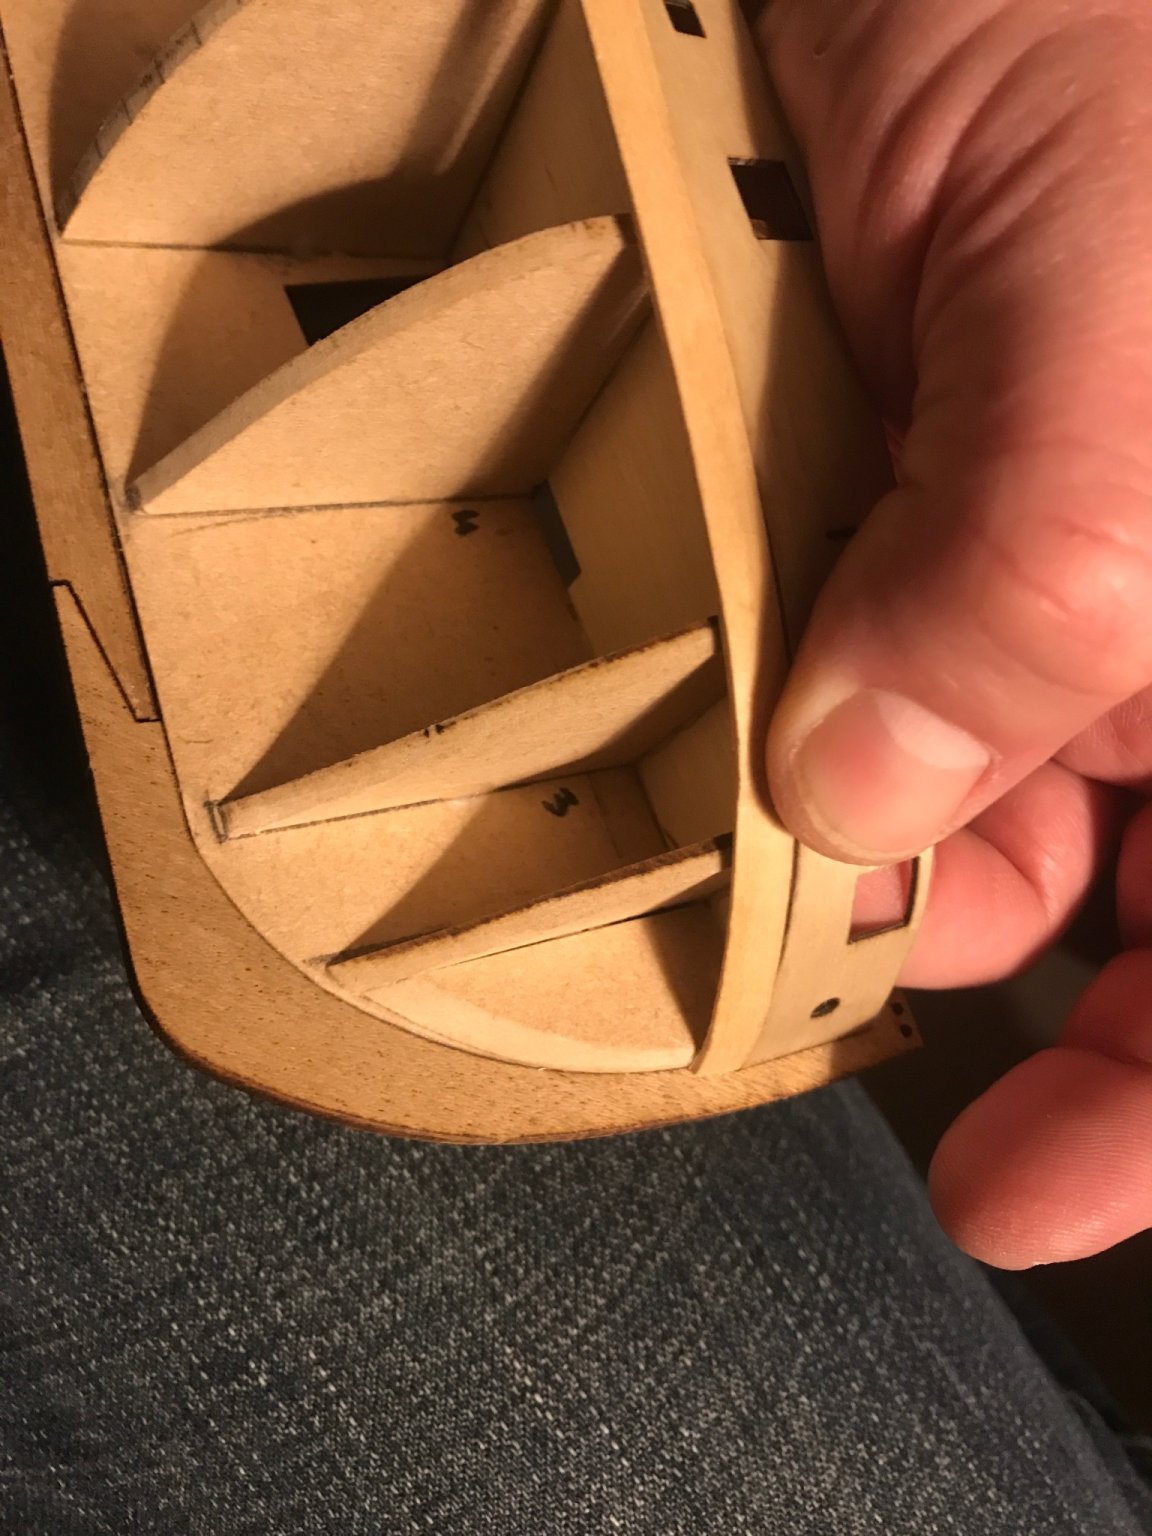
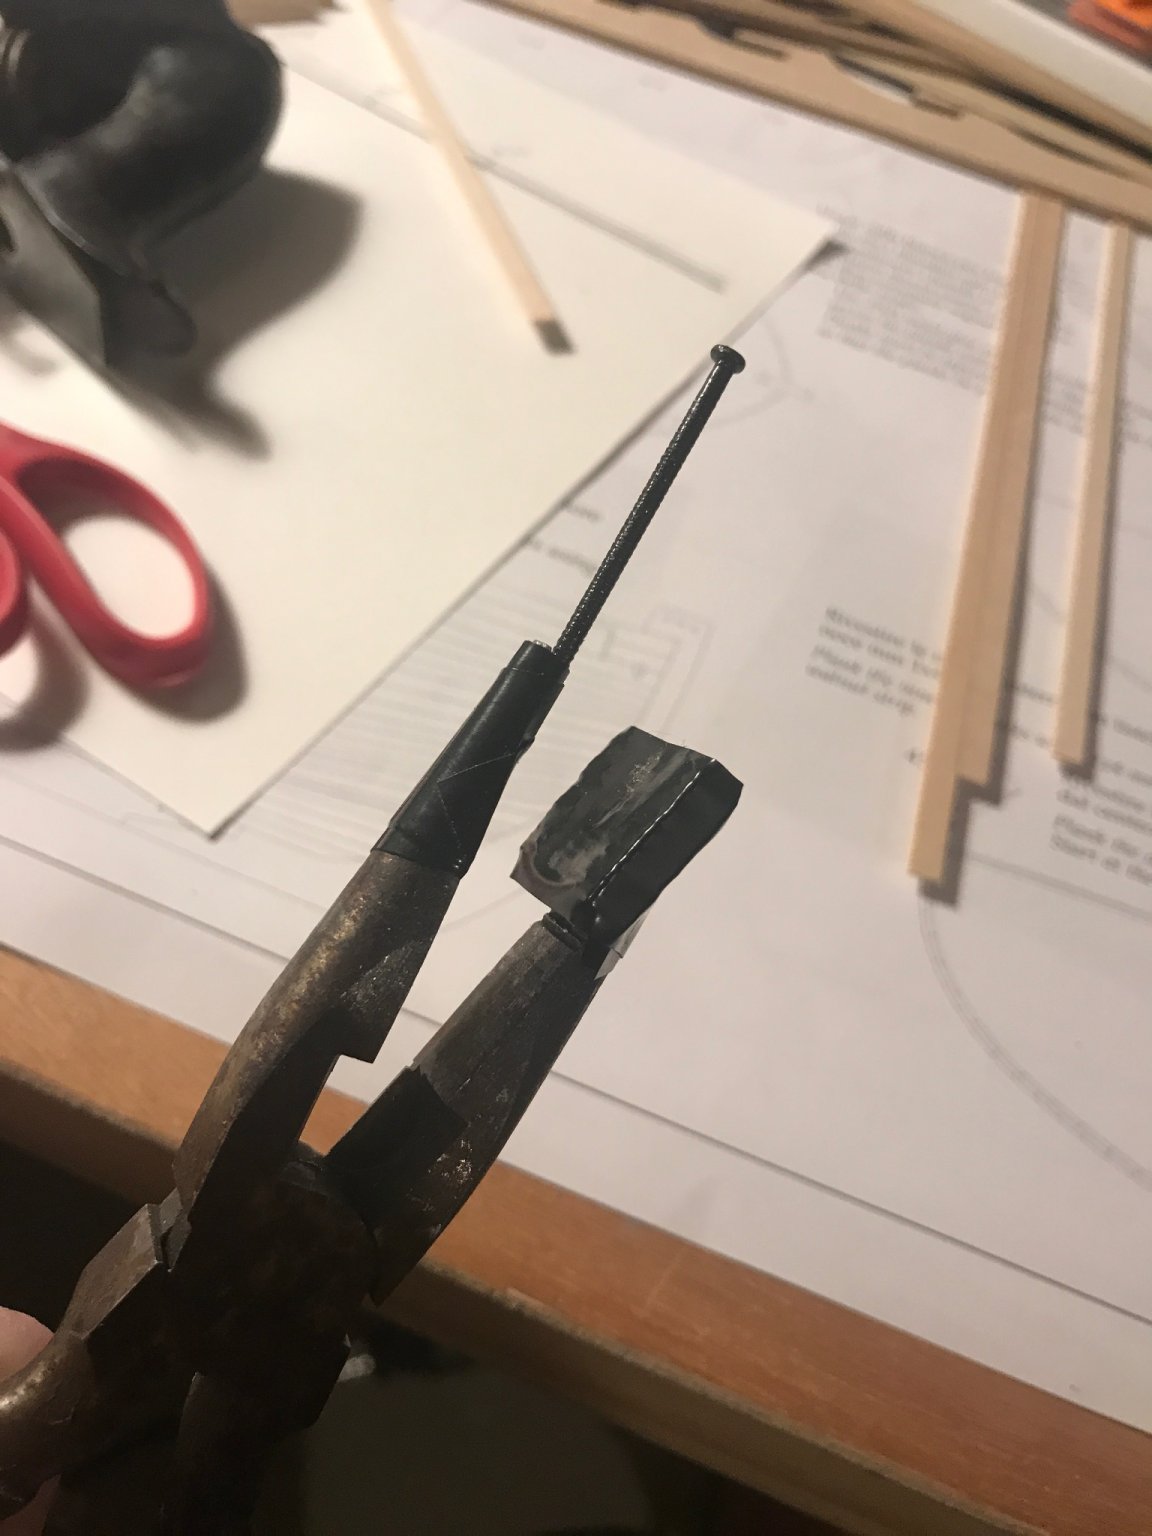
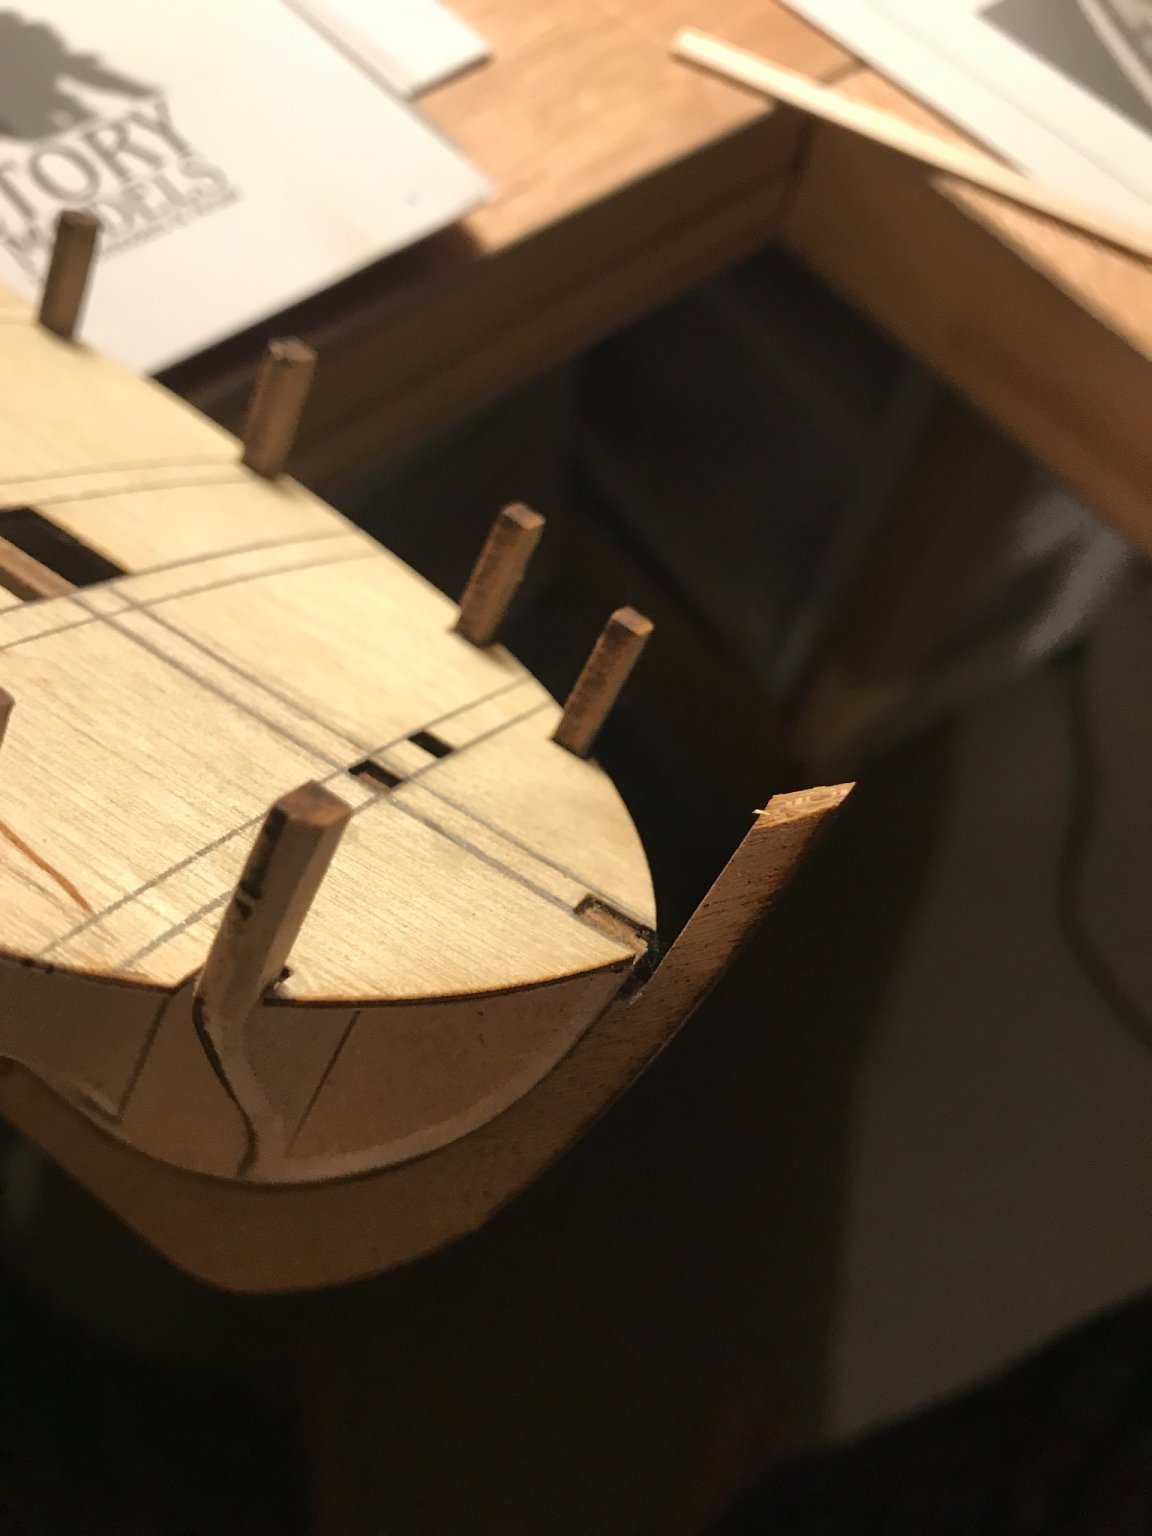
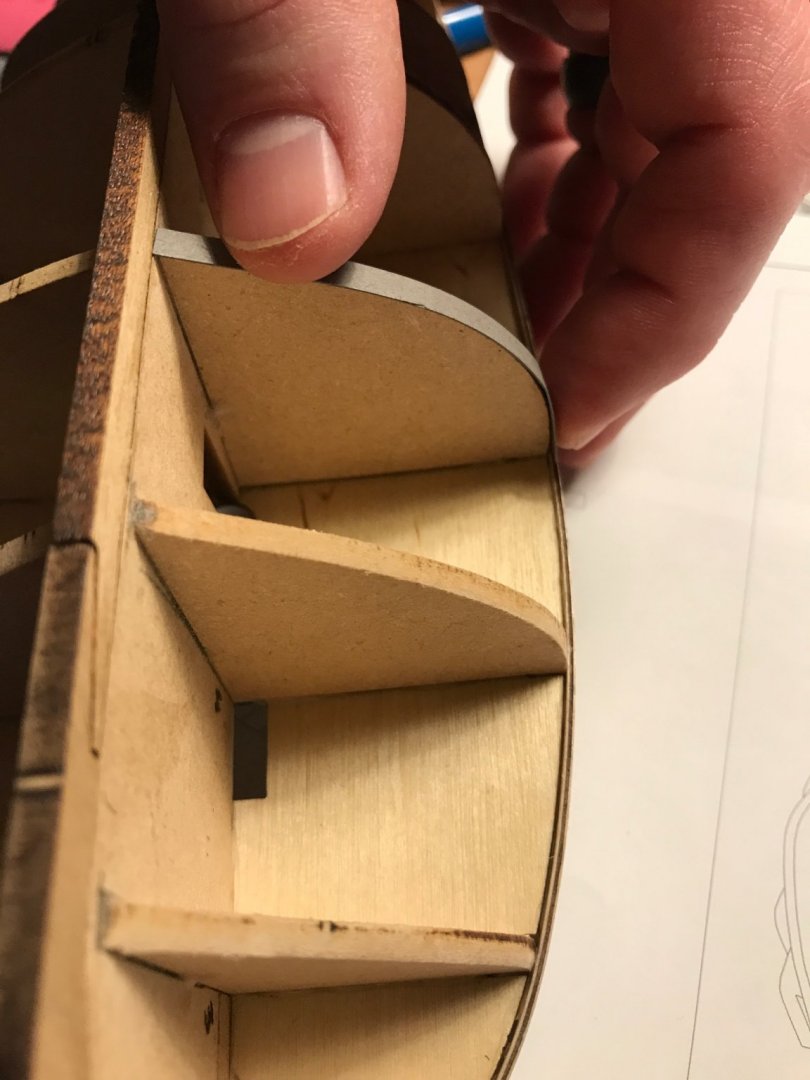
Whelp. I glued the stern post on way before I realized I shouldn’t. I thought you could get PVA to soften with rubbing alcohol, but I was afraid to soak it too much with the MDF false keel. So it is still attached. I think I might be able to chisel out the space for the second planking. I did some fairing before I put the bulwarks on but I did do some more fairing after on the stern after. Everything seems to be right. Speaking of that low spot in the bulwark, it’s on both sides and appears to be the shape of the laser cut. I went through some other build logs and I see the same thing. I need to get some tracing paper and try to lay the plans out on the side like you suggested. I guess I could shift the gun port opening if necessary? I spent a good 3 hours trying to figure out this planking witchcraft. I measured stuff, made paper templates. Got out the calipers and a block plane. Tapered some planks, but something just doesn’t seem right. No actual forward progress was made. If I let a plank curve the way it wants too, it travels way up the bow...higher than the bottom edge of the bulwark. Maybe this is why the wrong way bending technique is out there? I think I am just going to try to get as smooth and clean a job as possible so I have a good base for the second planking. I did McGuiver a pair of planking benders using a needle nose plier, scrap wood, a nail and some electrical tape. 🤣

-
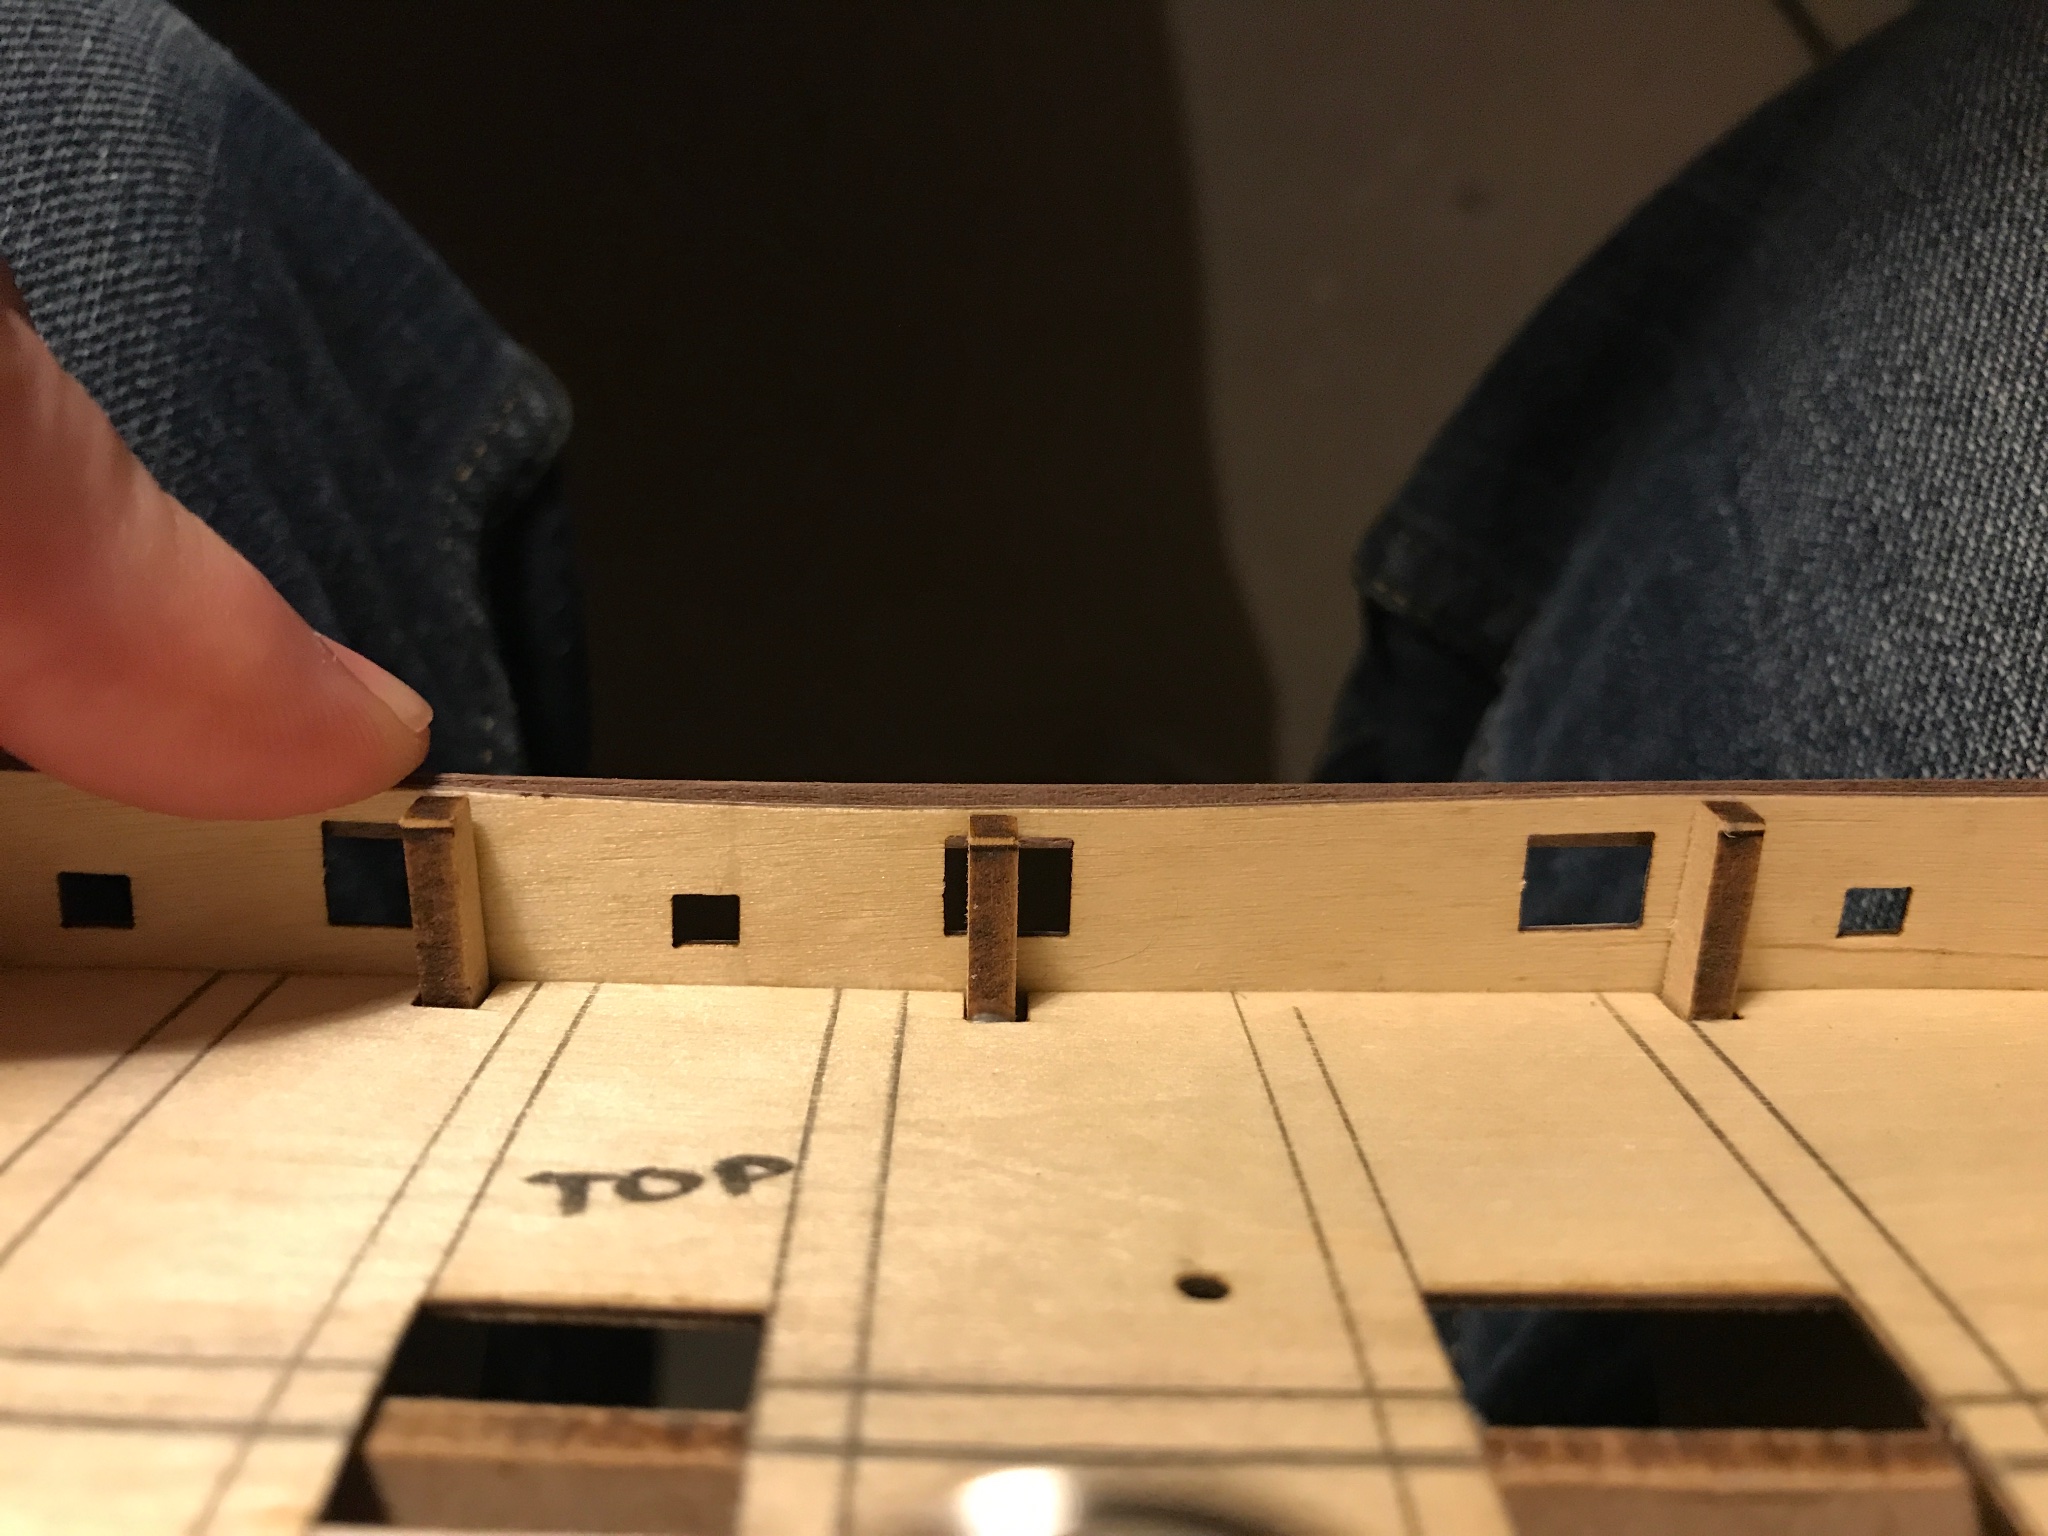
I have realized two things... one even though I read somewhere that I didn’t need a rabbit on this ship, I probably should have tapered the area under the stern so that the second planking would be flush before I glued on the stern post and keel. 🤦🏻♂️ Not sure how I am going to fix that. And two, there appears to be a low spot on the bulwark. I was playing around with planking when I noticed it. I don’t like the way it looks, but I think it will smooth out once the second planing is on.
- 139 replies
-
- 1
-
-
- Lady Nelson
- Amati
- (and 2 more)
-
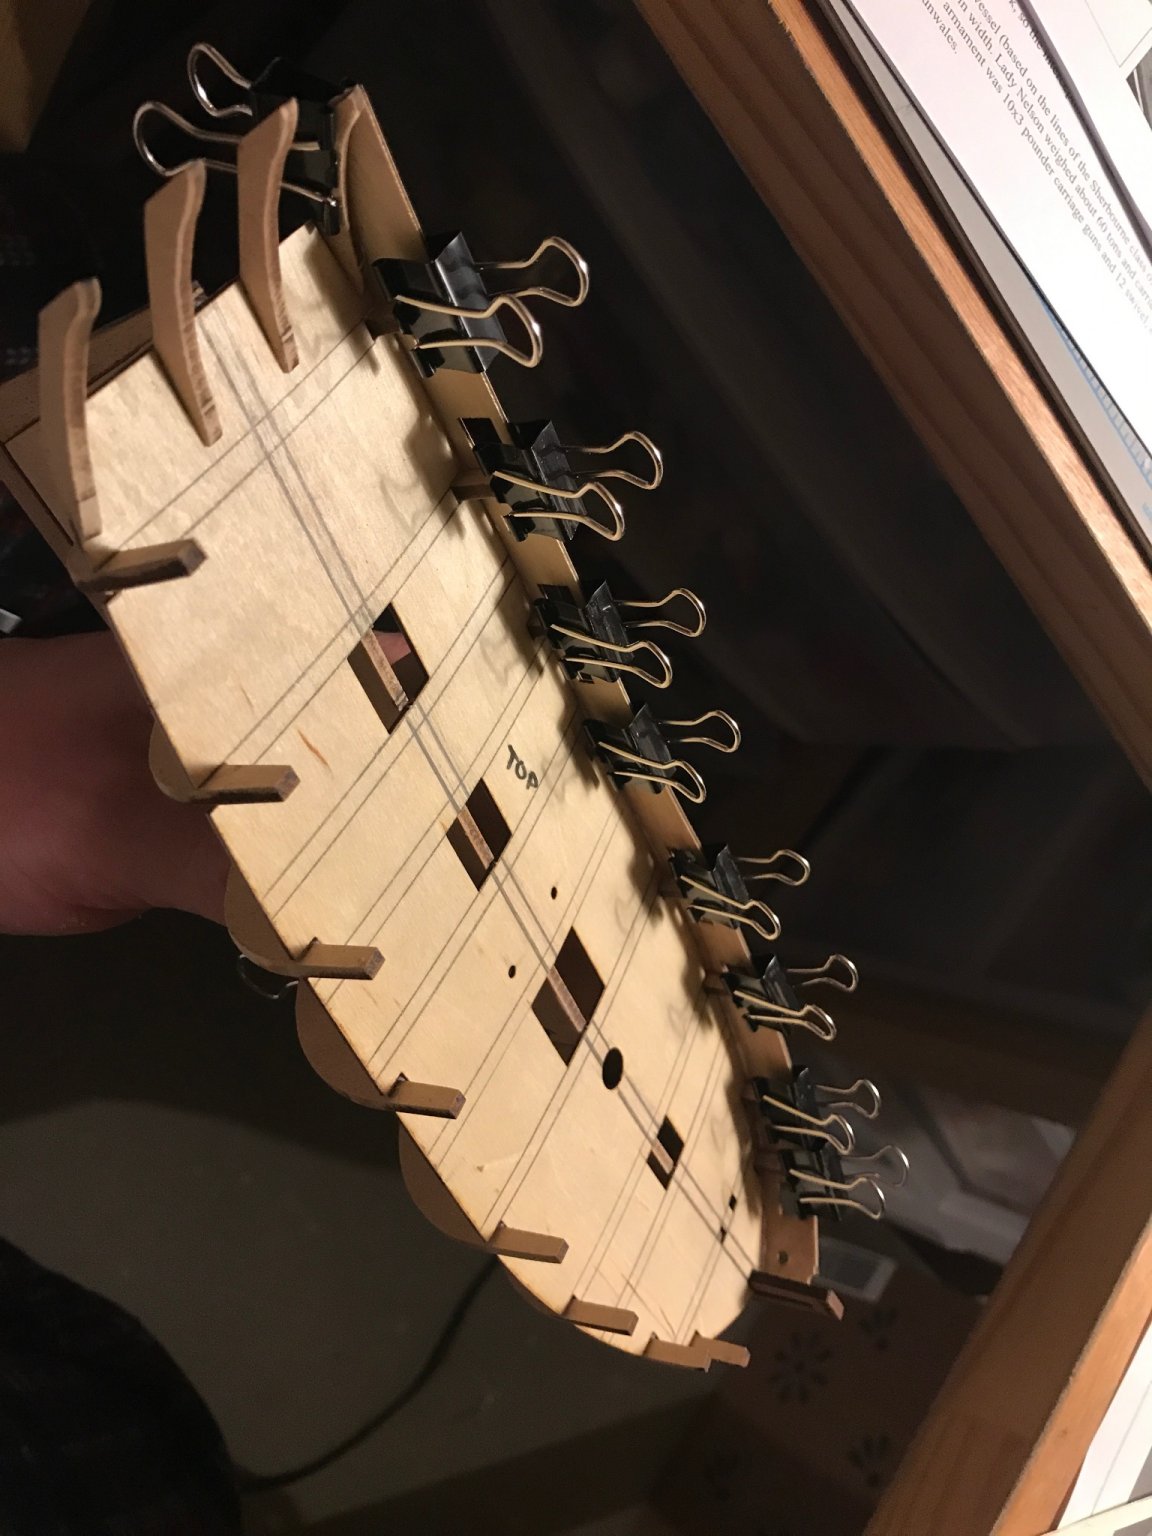
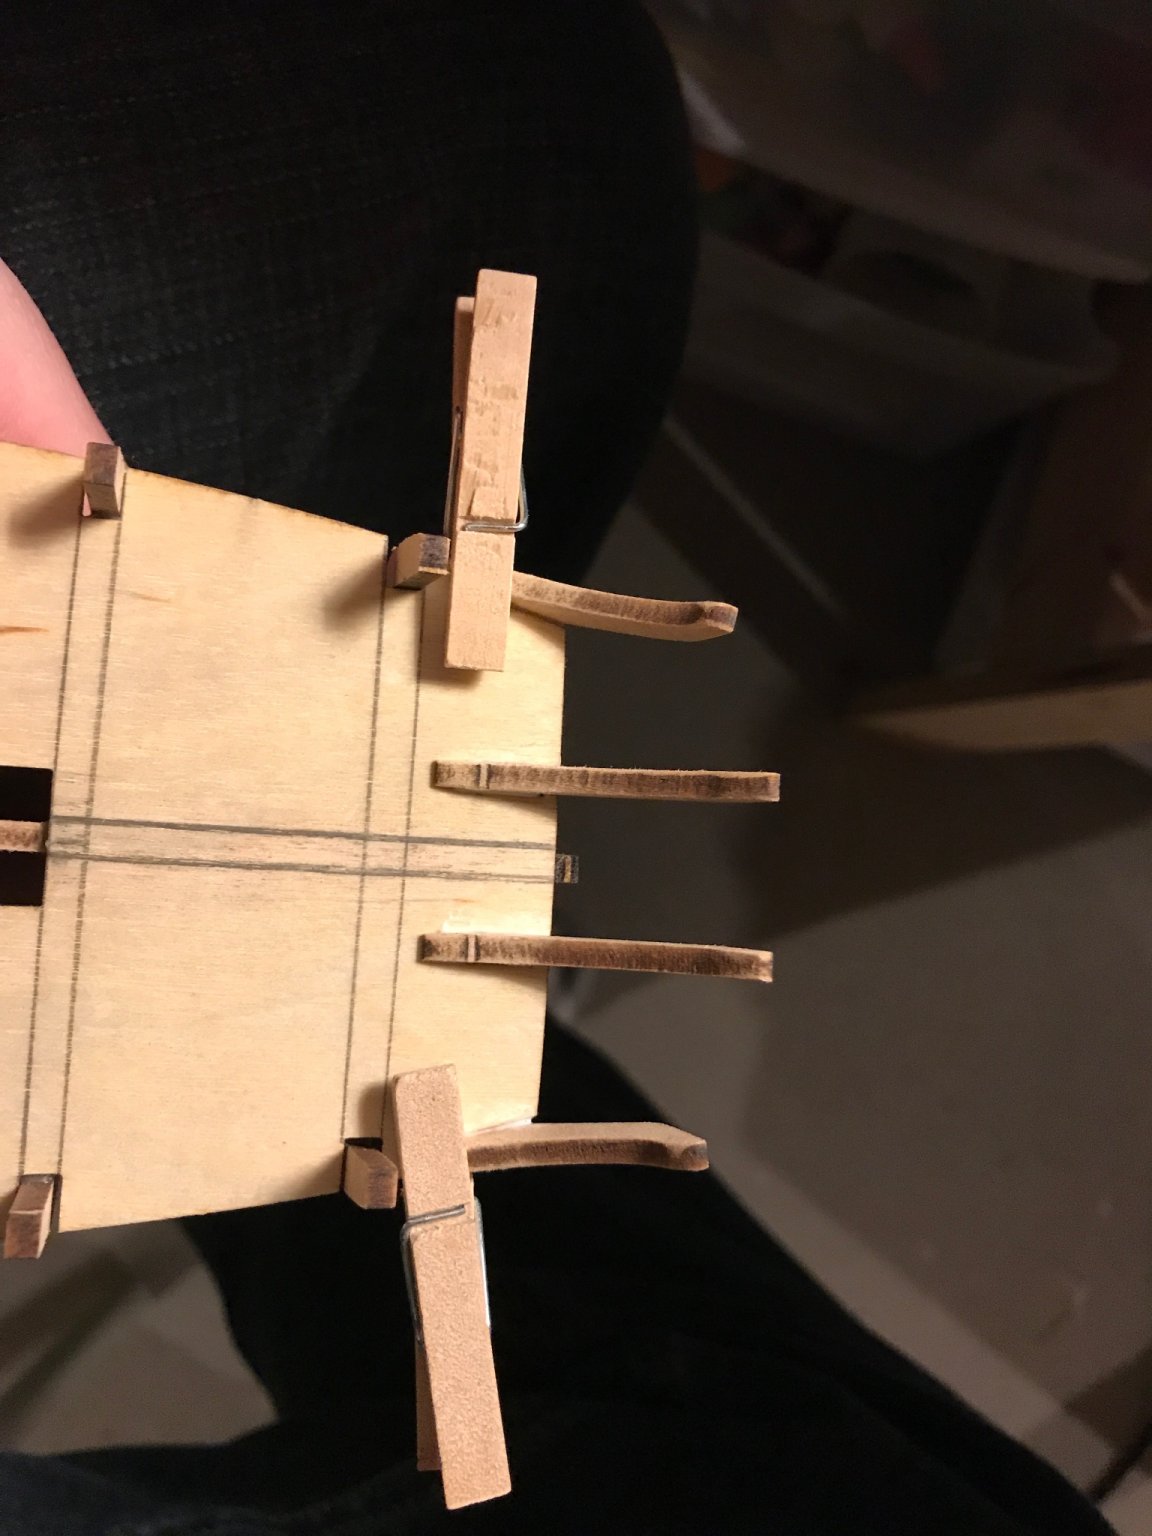
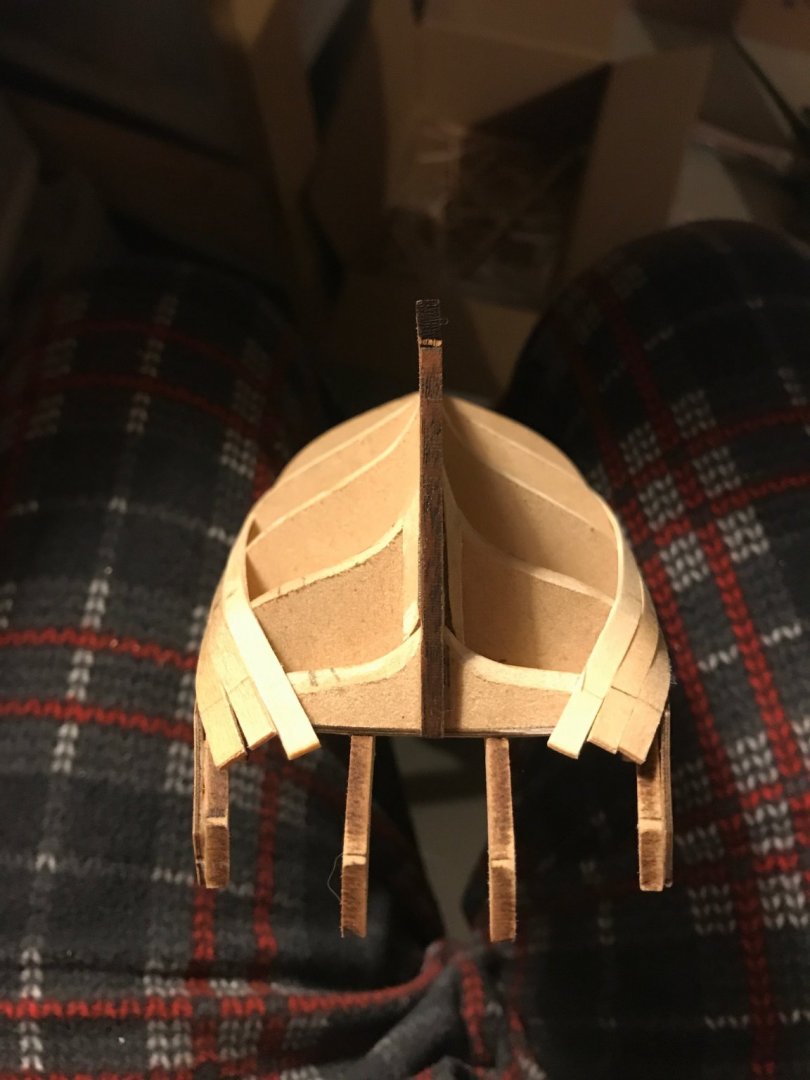
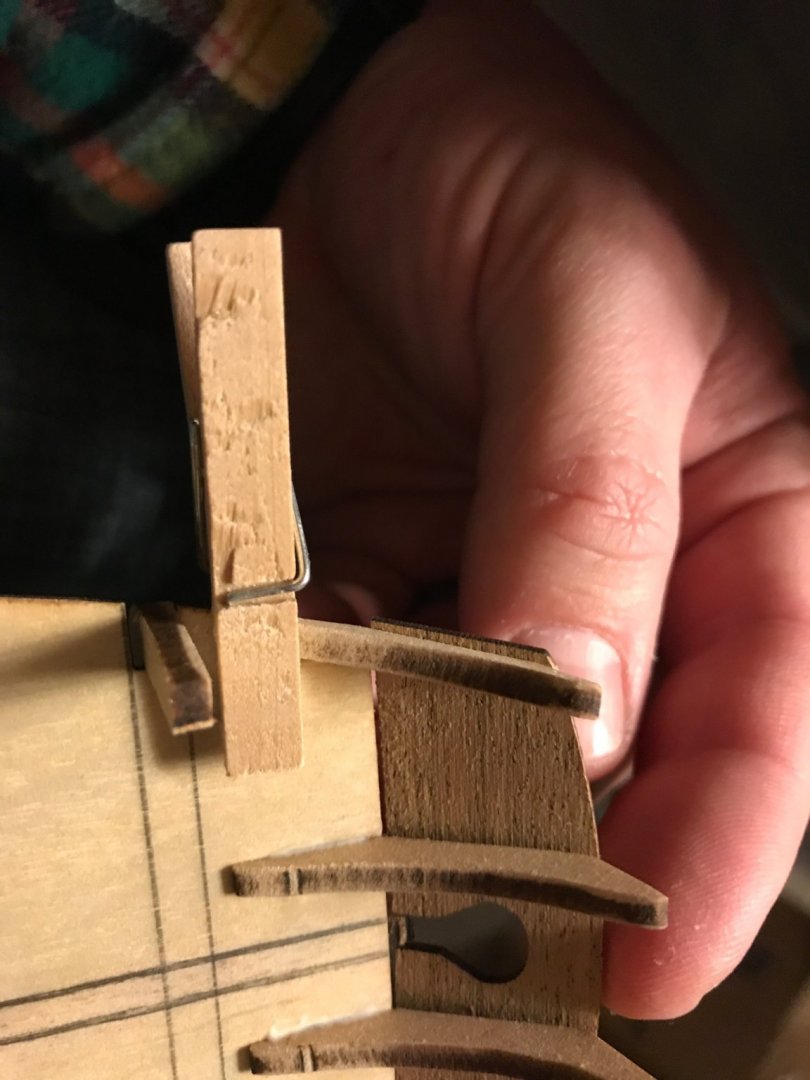
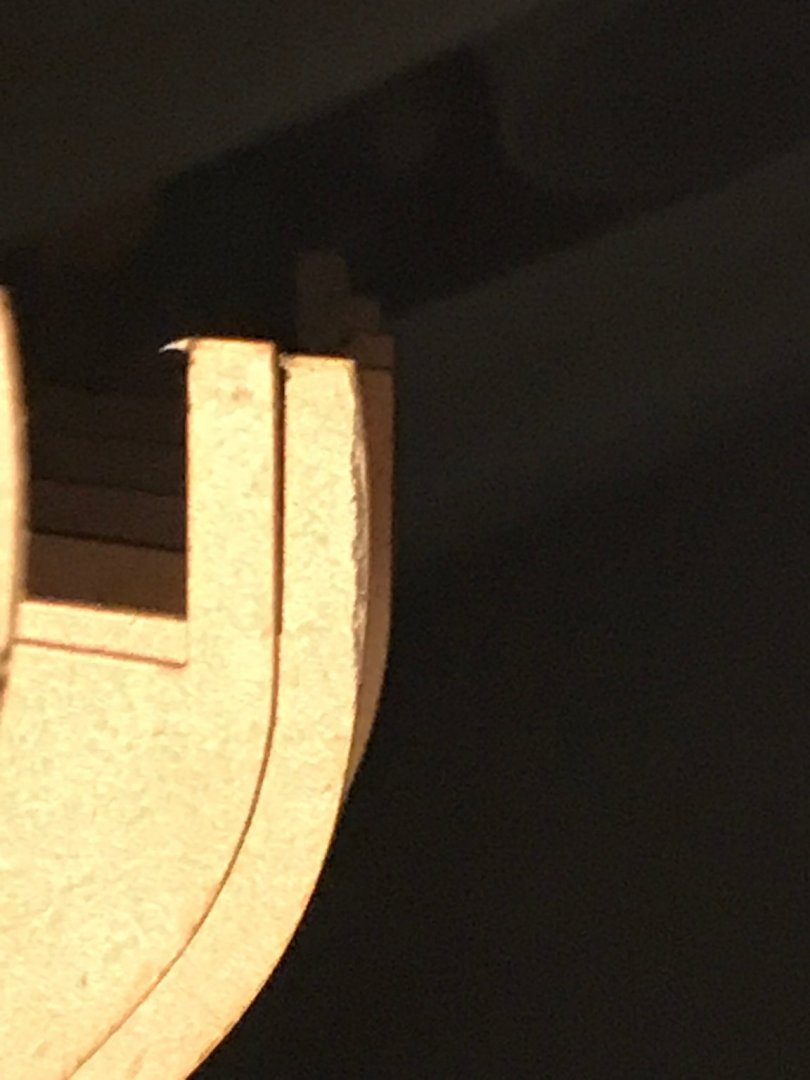
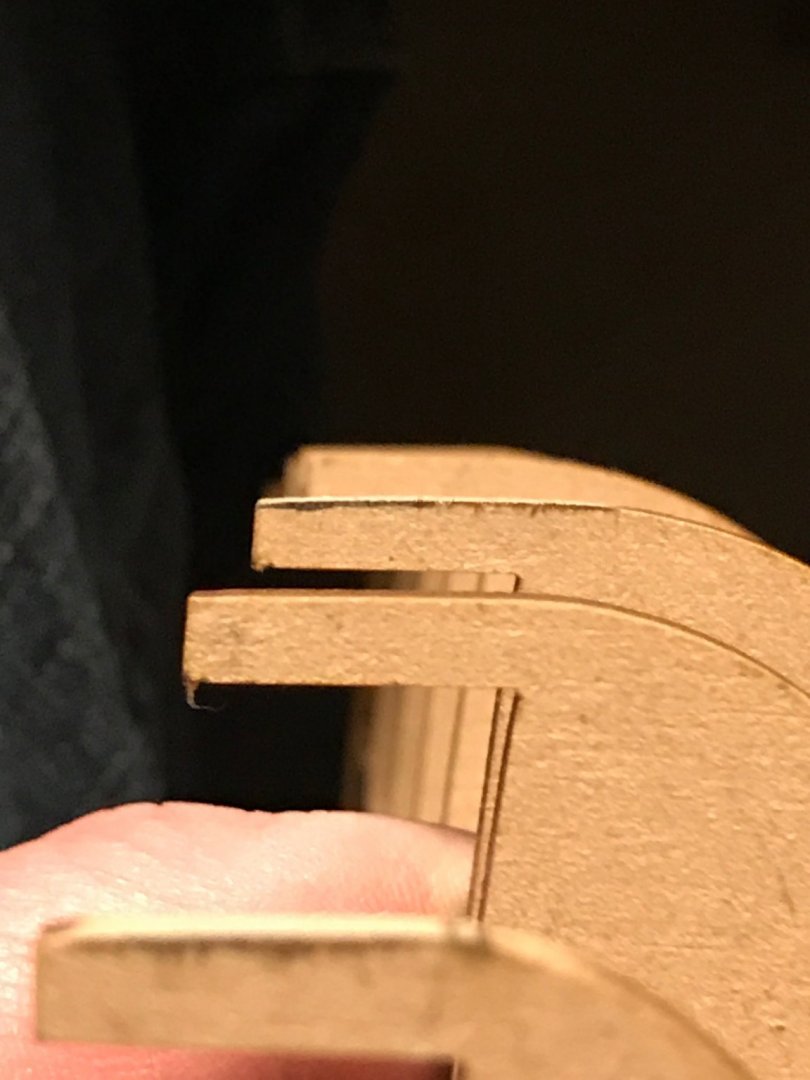
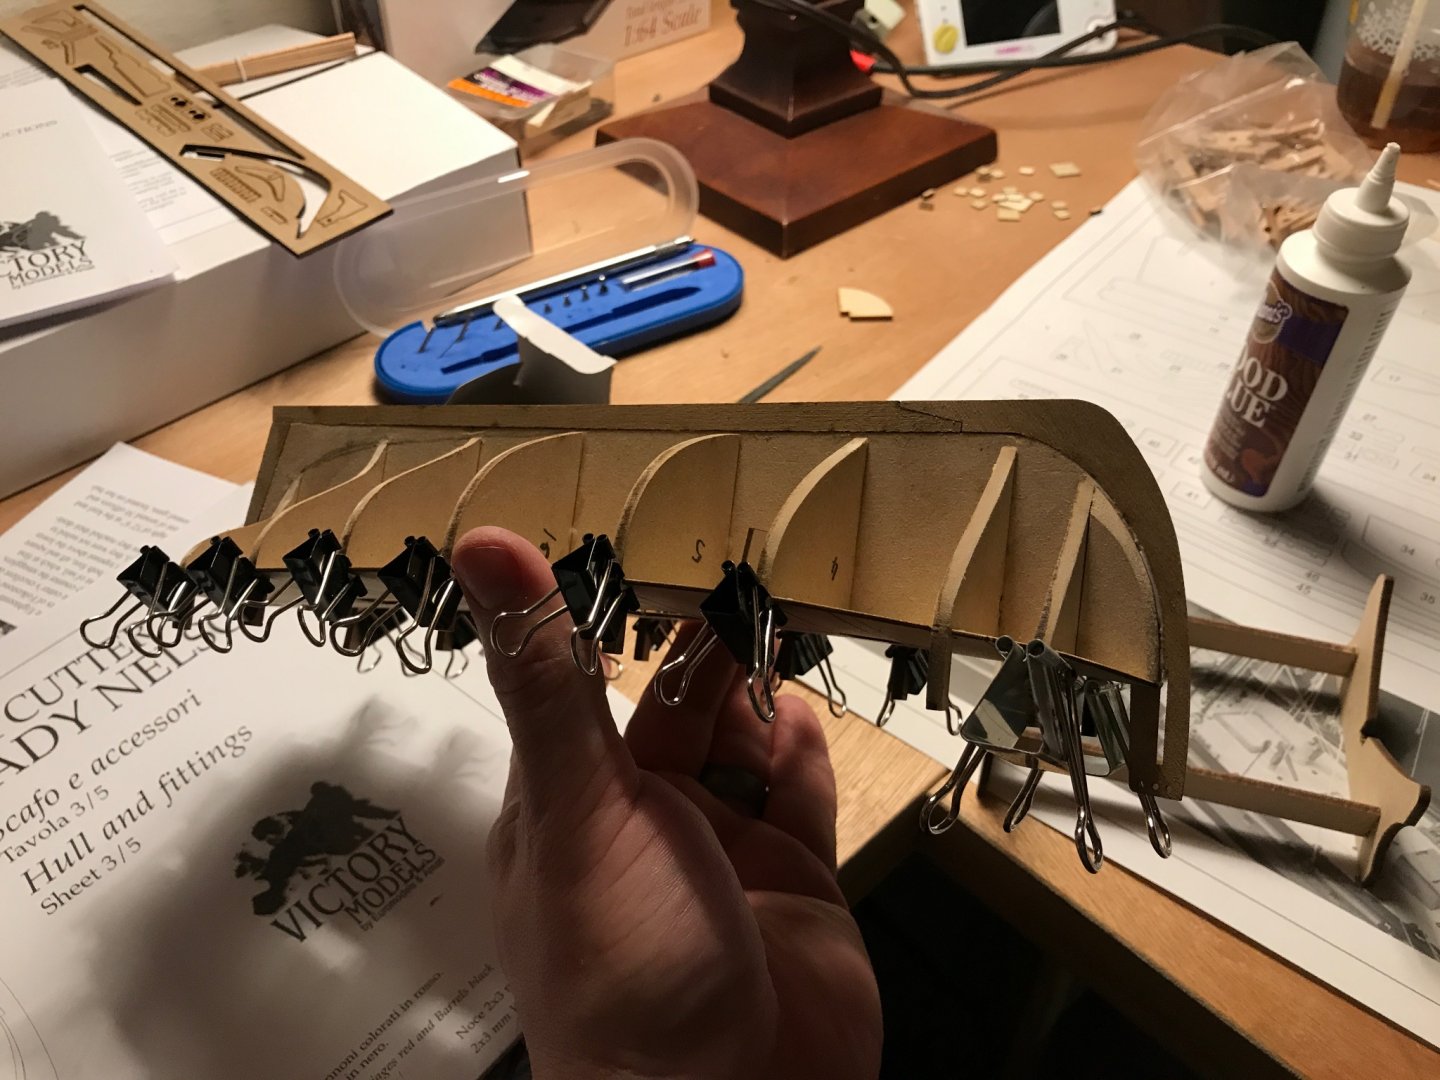
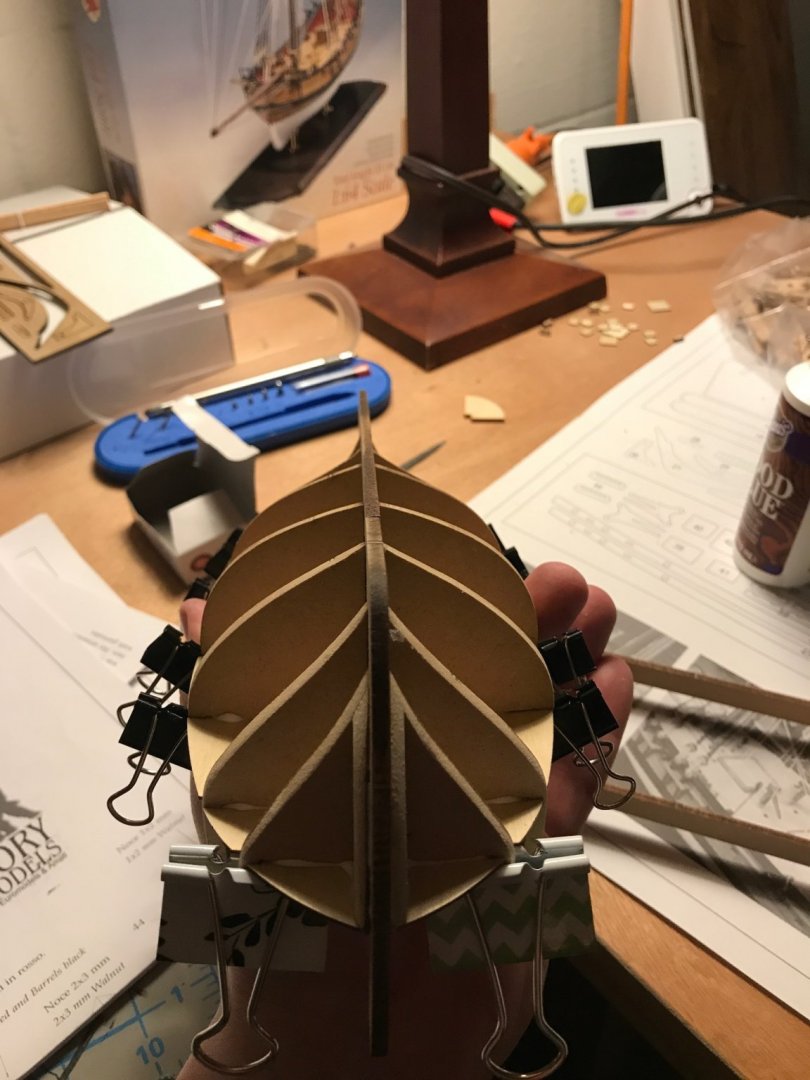
Try number 2 on the plywood bulwarks and I immediately broke off one of the counter sterns and the top of the prow! After waiting for repairs to dry, I tried again. This time I just let the ship bulkheads do the forming and held it all in place with binder clips. Great success! I almost messed up and glued the bulwarks to the top of the bulkheads but caught myself at the last second.


- 139 replies
-
- 2
-
-
- Lady Nelson
- Amati
- (and 2 more)
-
Thank you both! I just started reading through those logs. They are going to be very helpful! I know I am going to have some questions along the way. Probably a lot of questions and I appreciate any and all feedback!
- 139 replies
-
- 2
-
-
- Lady Nelson
- Amati
- (and 2 more)
-
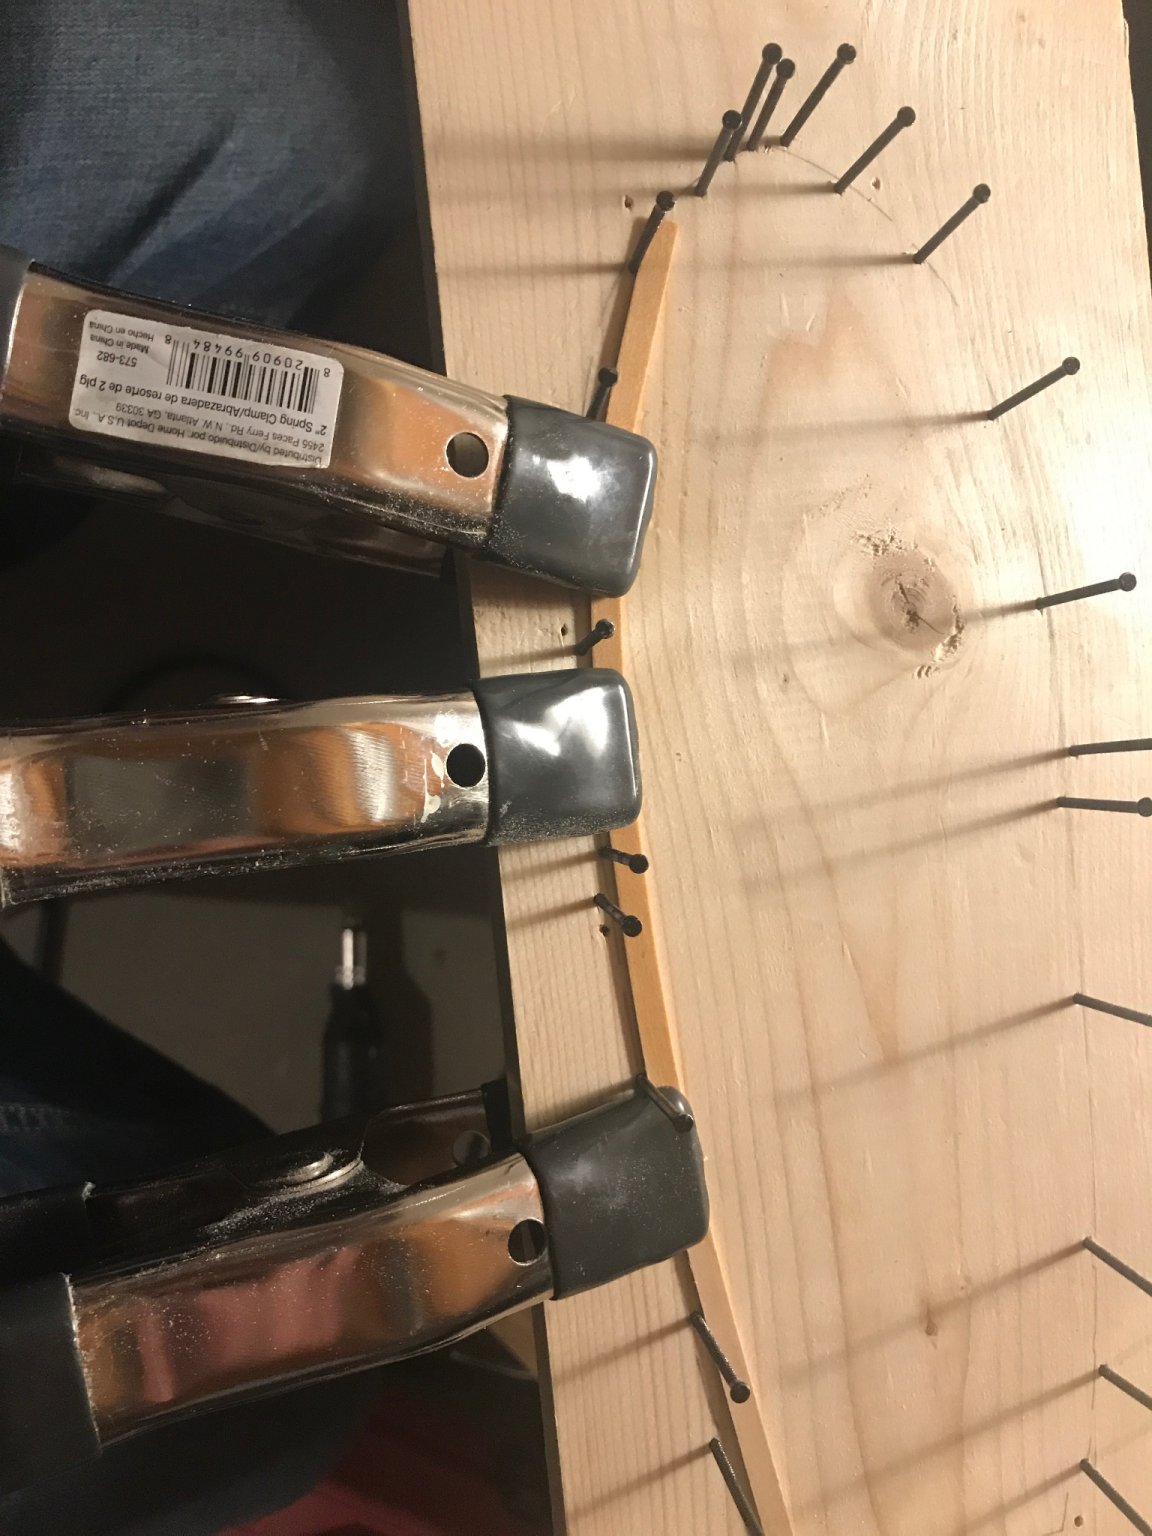
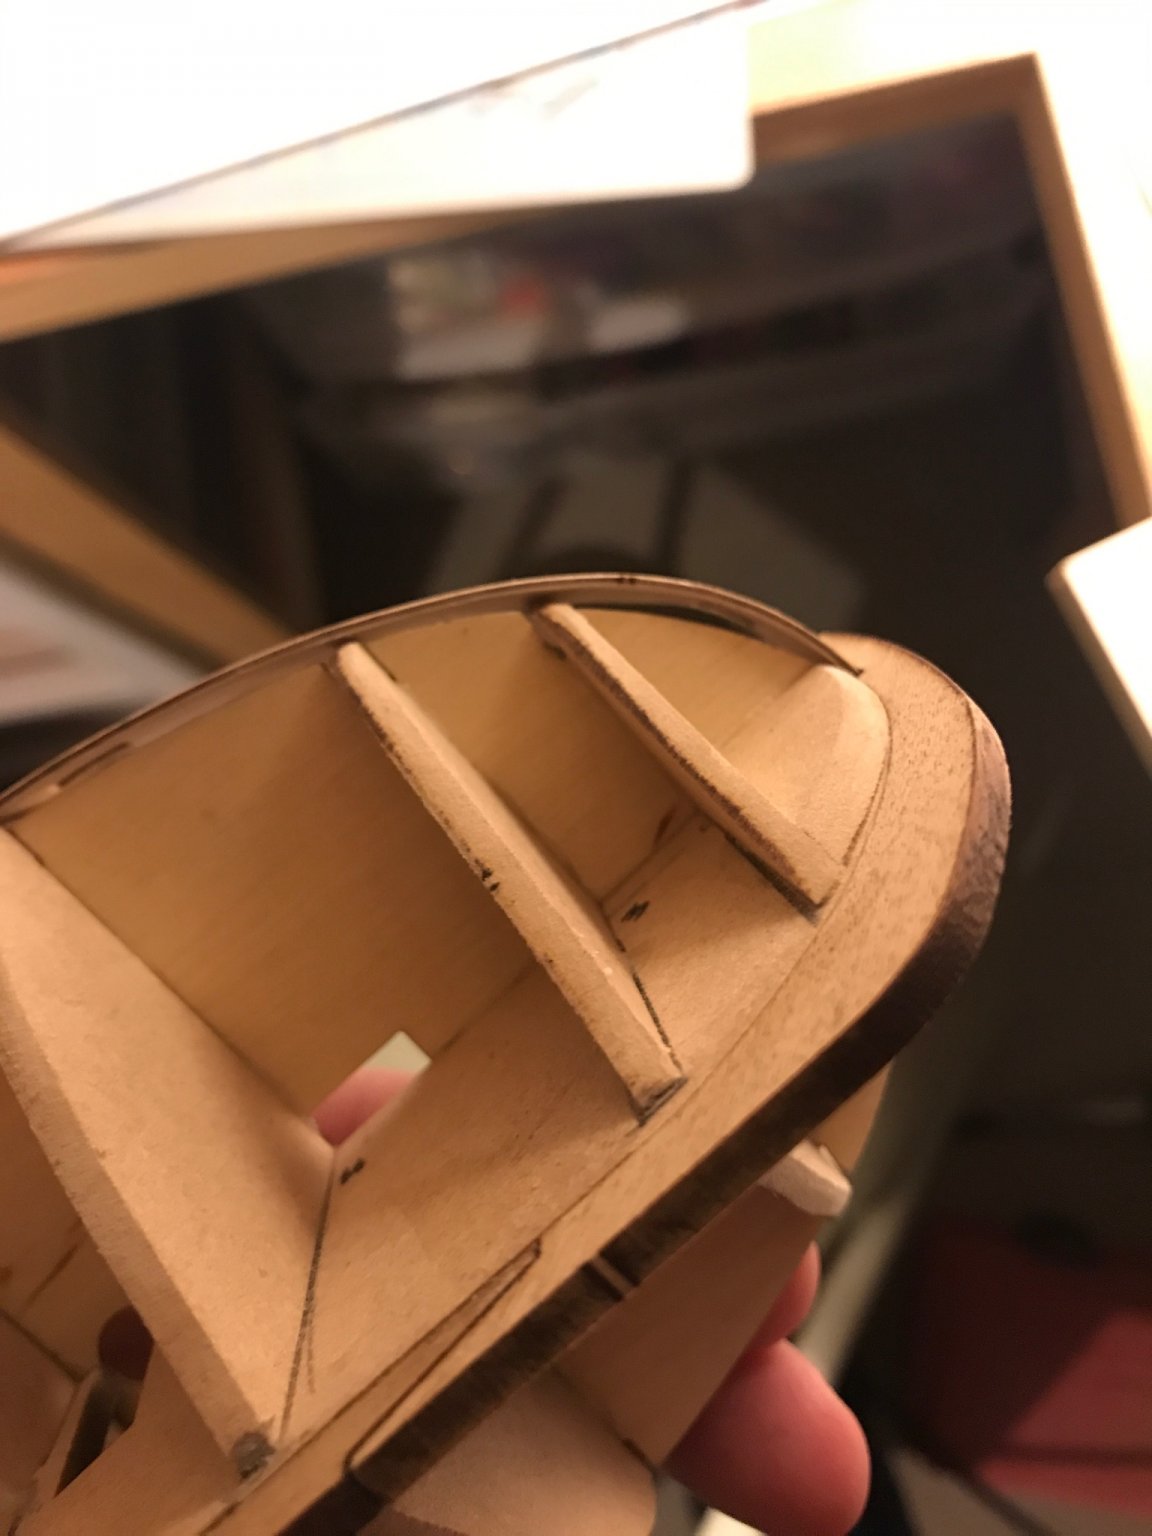
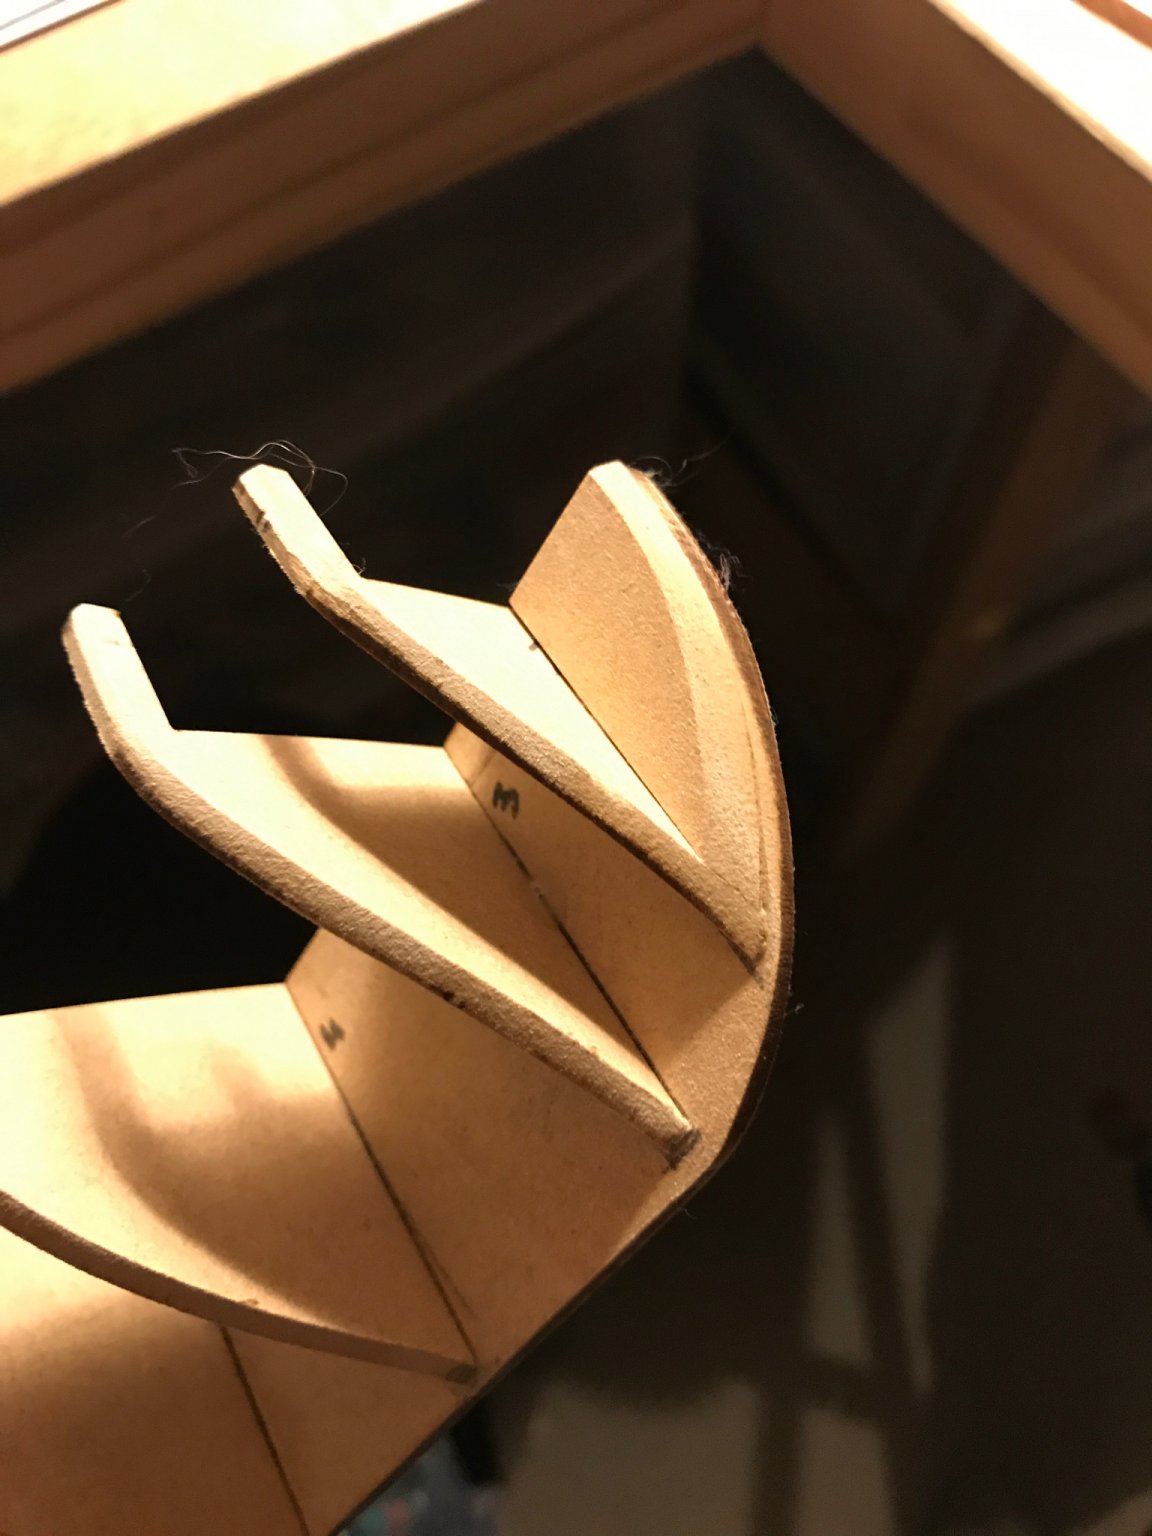
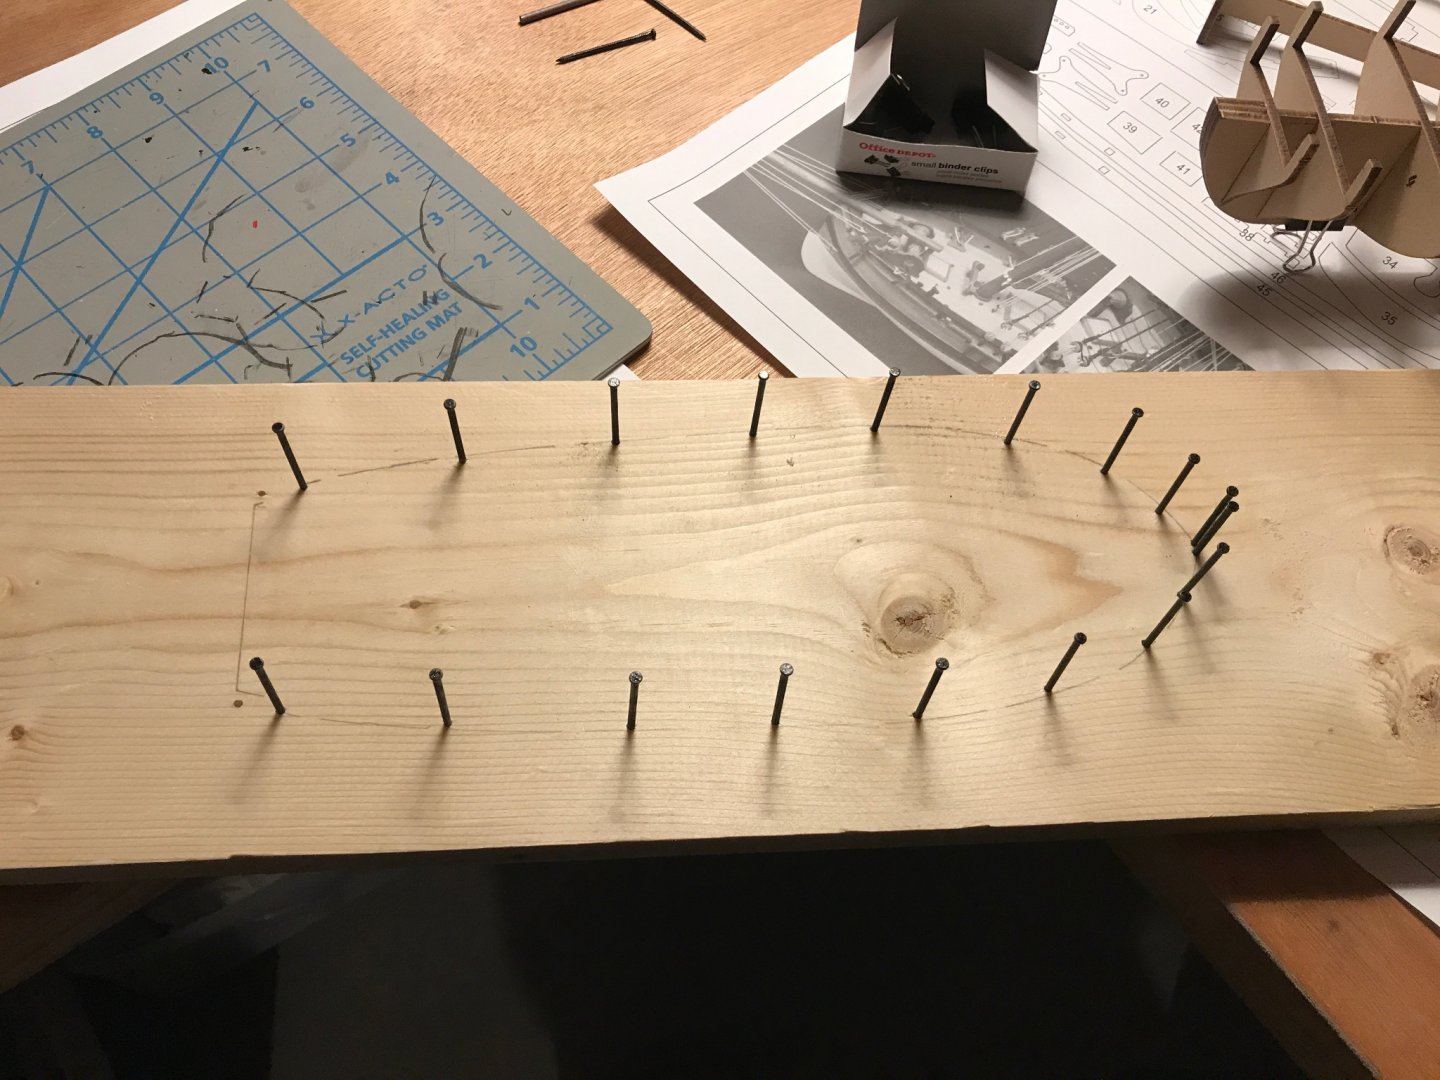
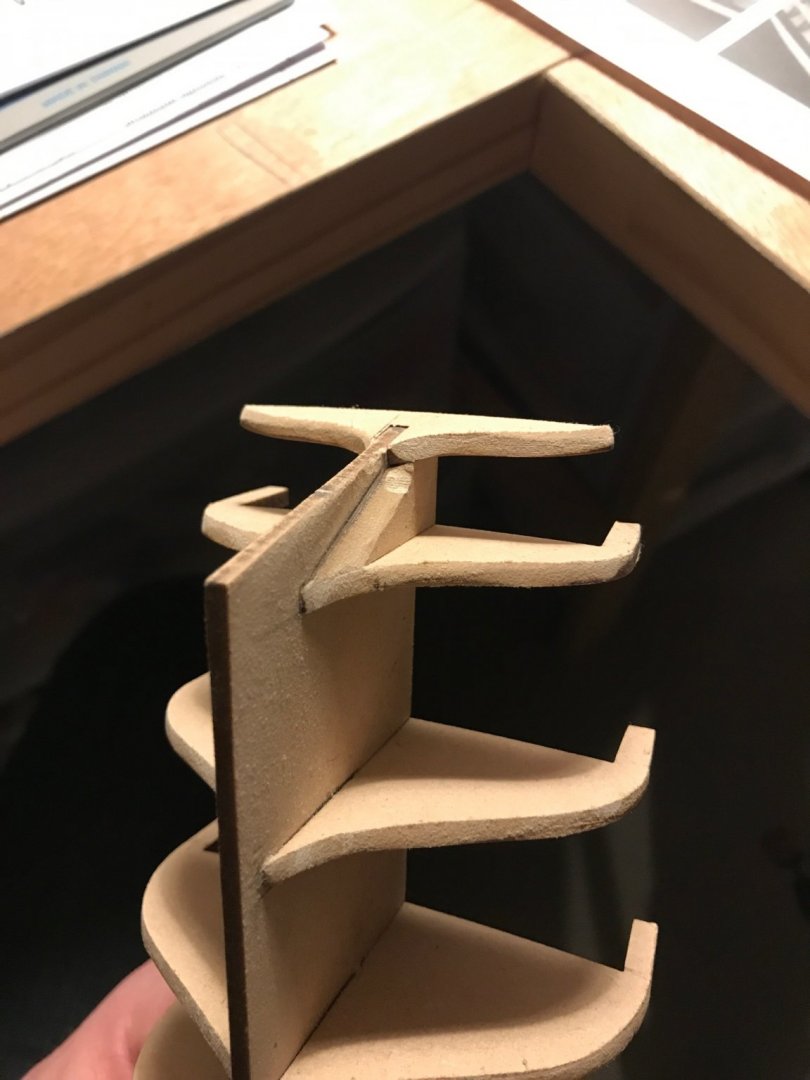
Haven’t had much time to work on this. But hoping for a much more gooder year than last. 😉 I attached the counter sterns using the transom?? as a guide to align them. I also realized that my bending form for the bulwarks was a disaster. I didn’t realize how important it was for the nails to match the exact shape and angle of the actual ship. Oops! Both bulwarks are soaking overnight for hopeful correction tomorrow.


- 139 replies
-
- 1
-
-
- Lady Nelson
- Amati
- (and 2 more)
-
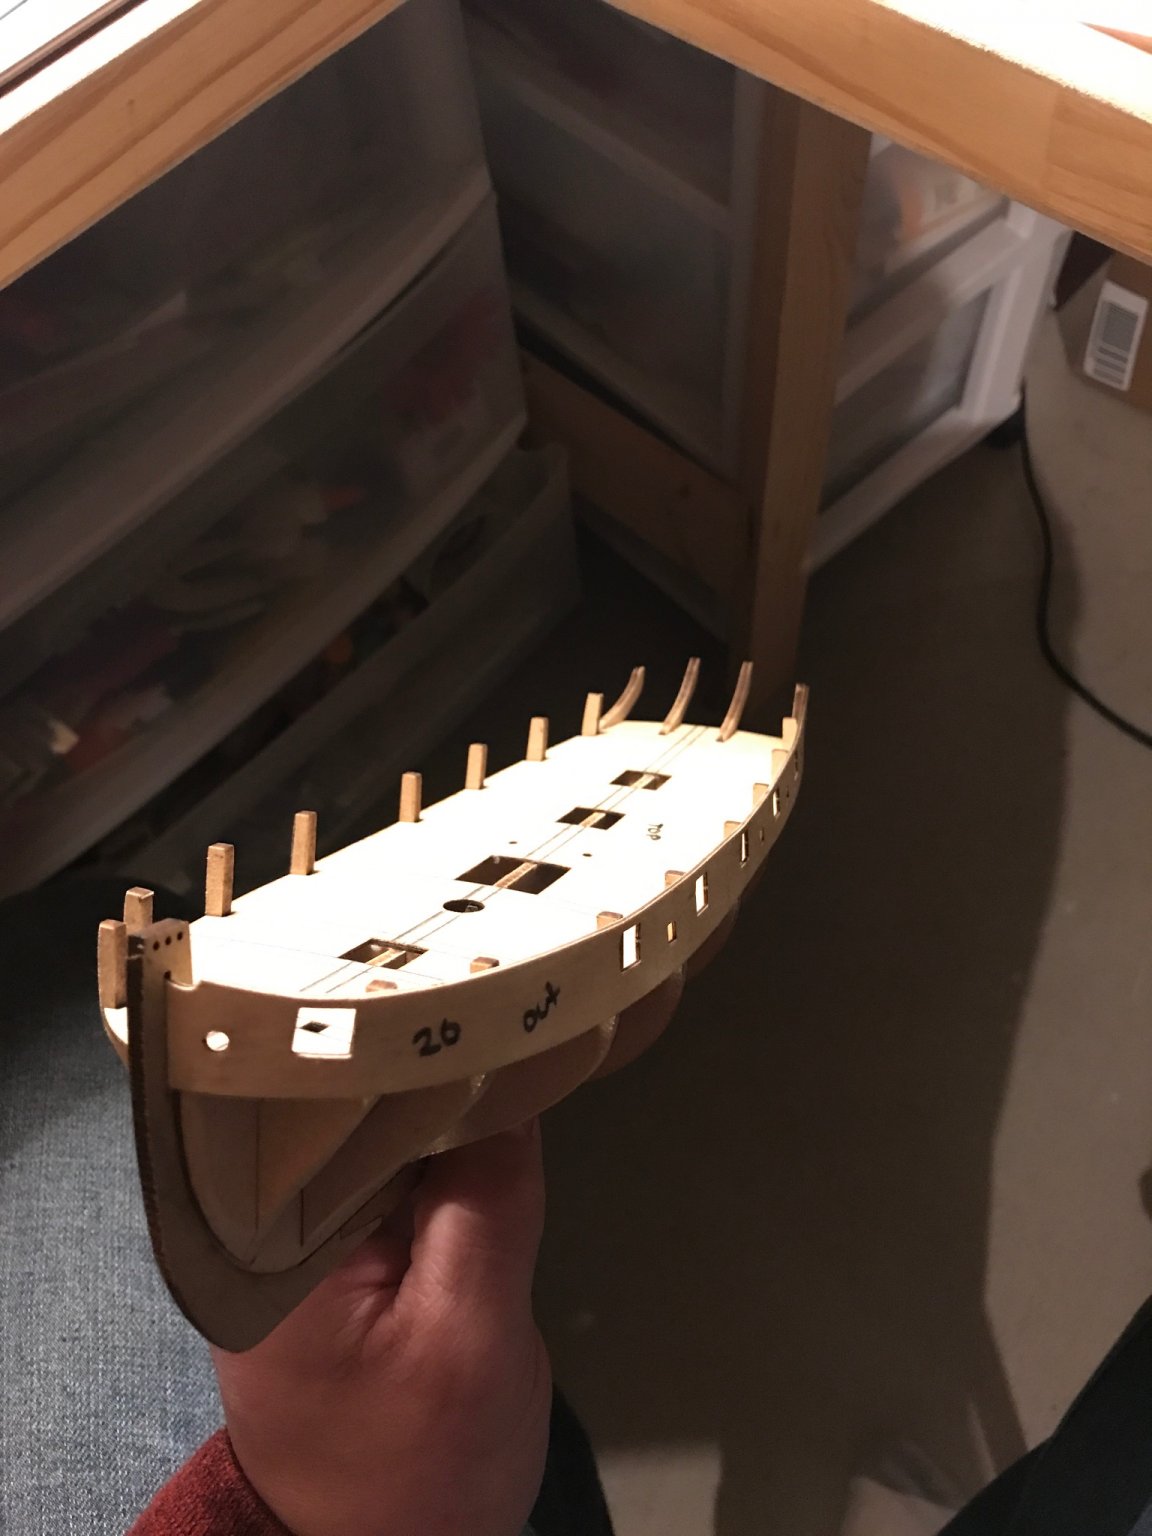
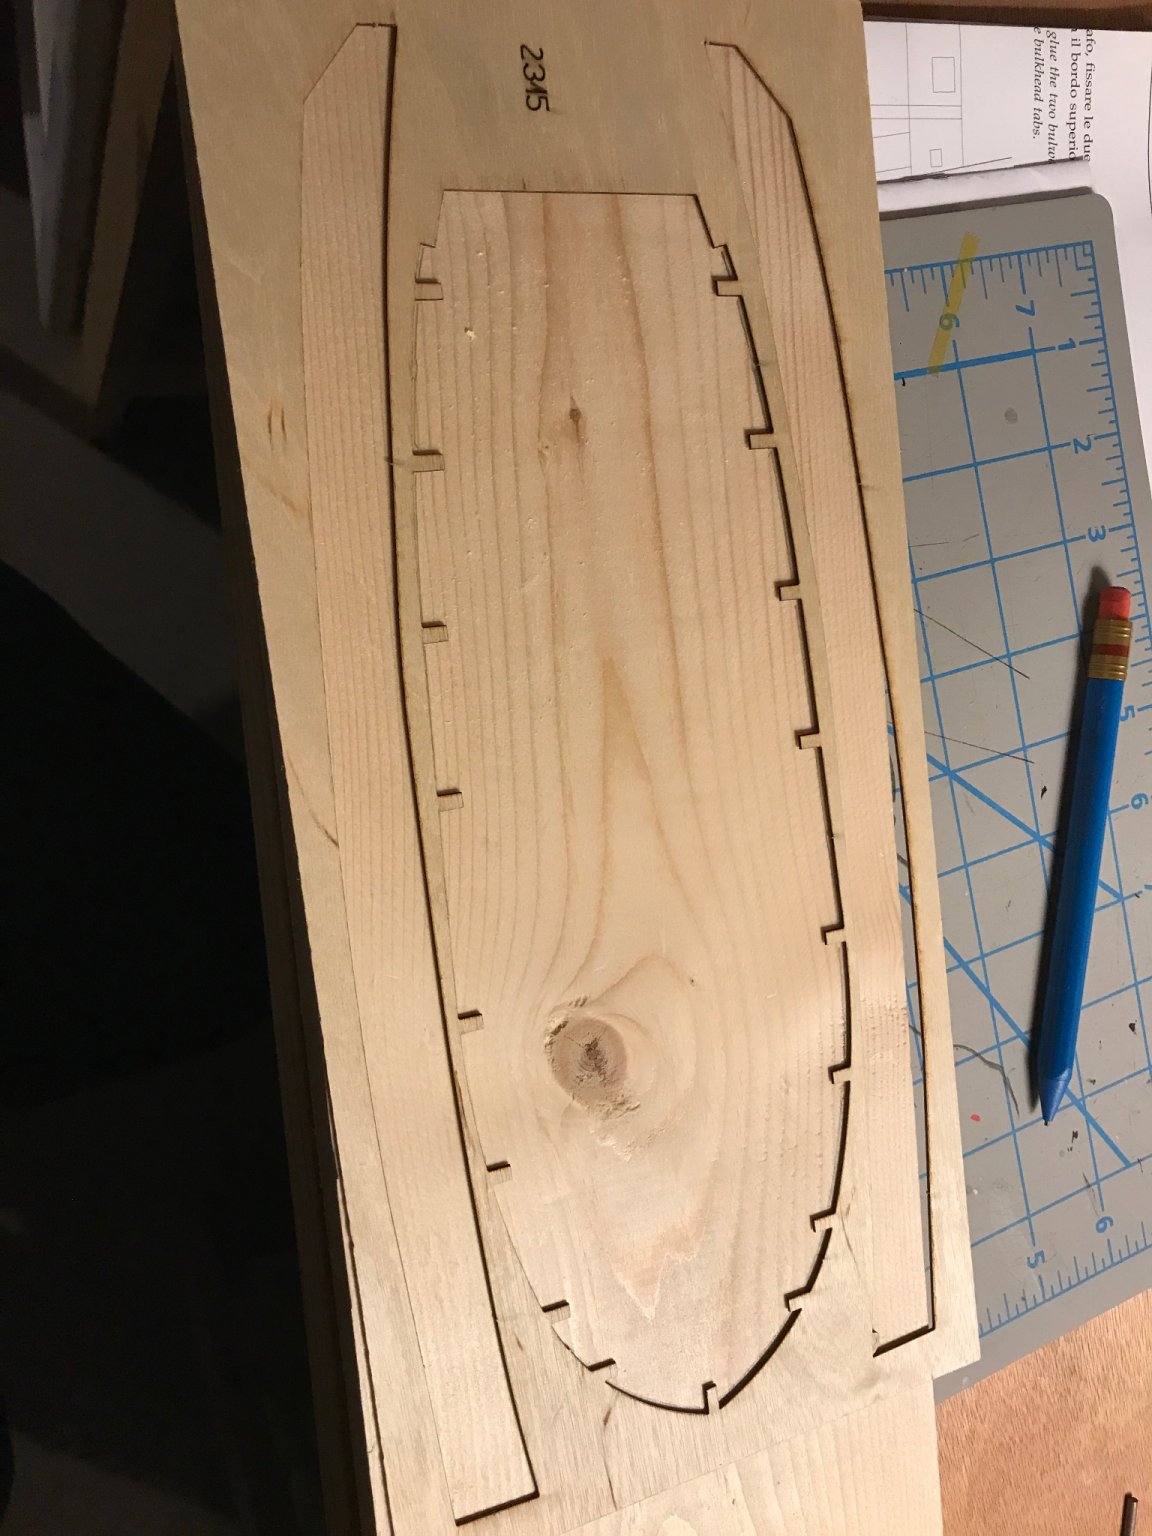
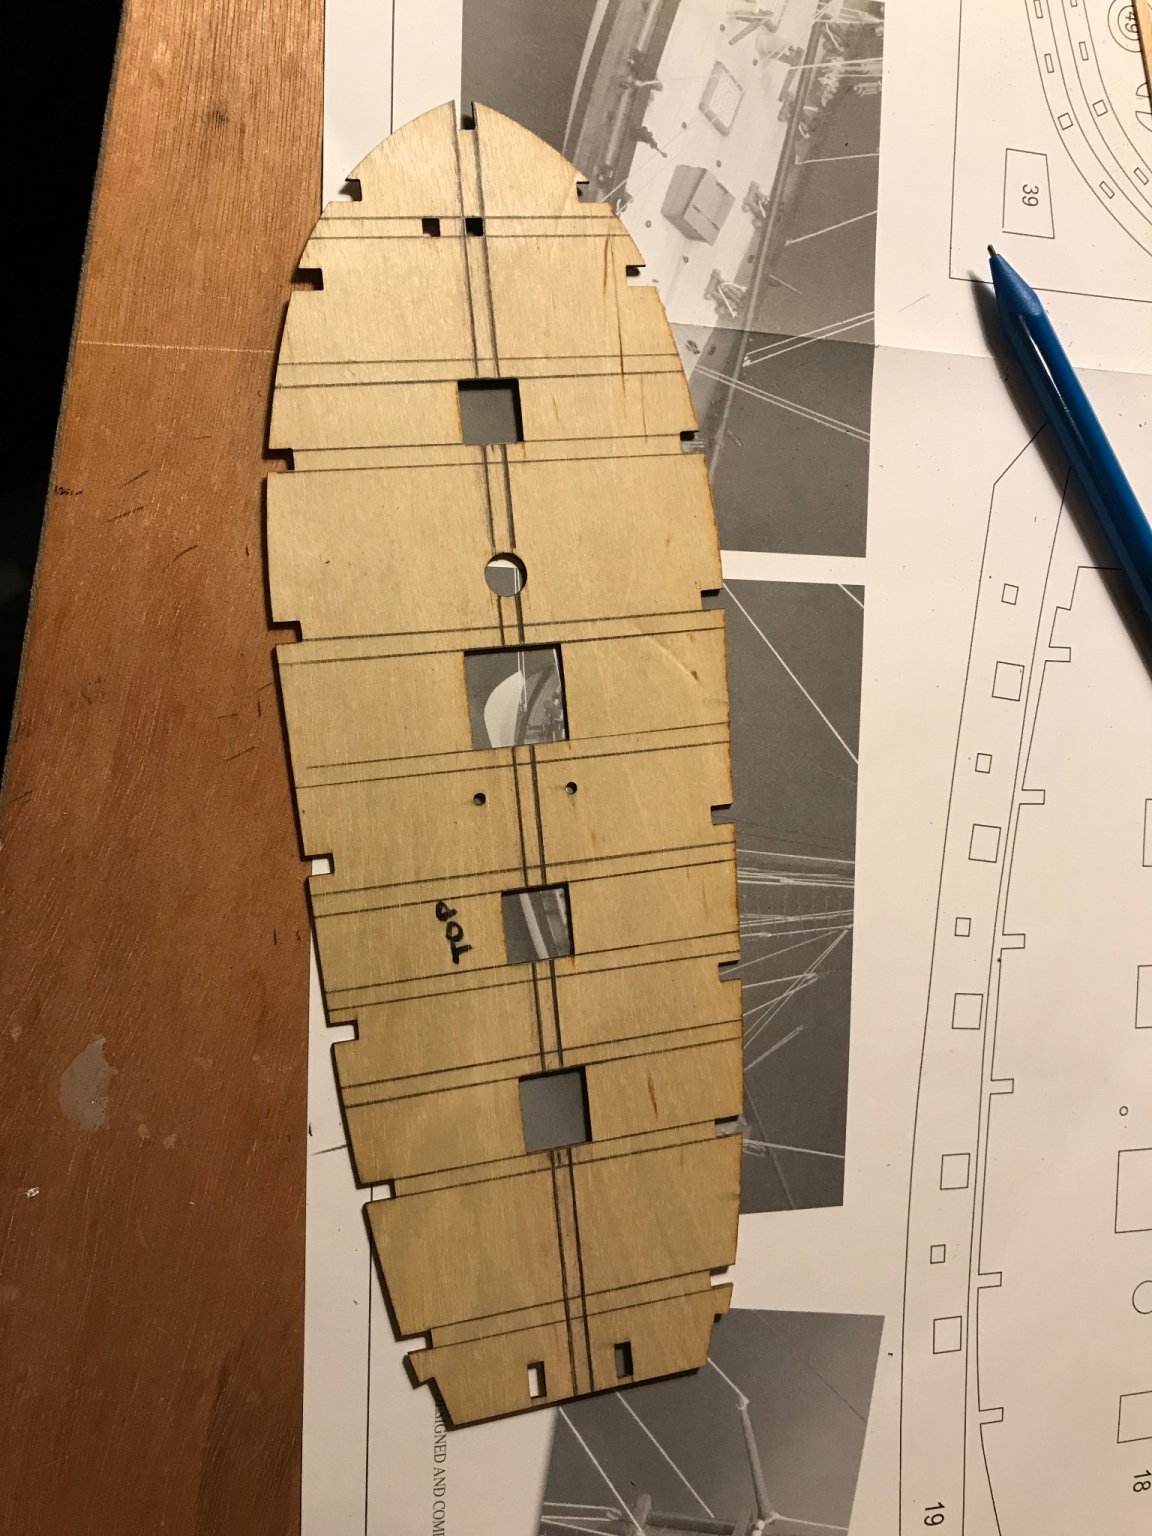
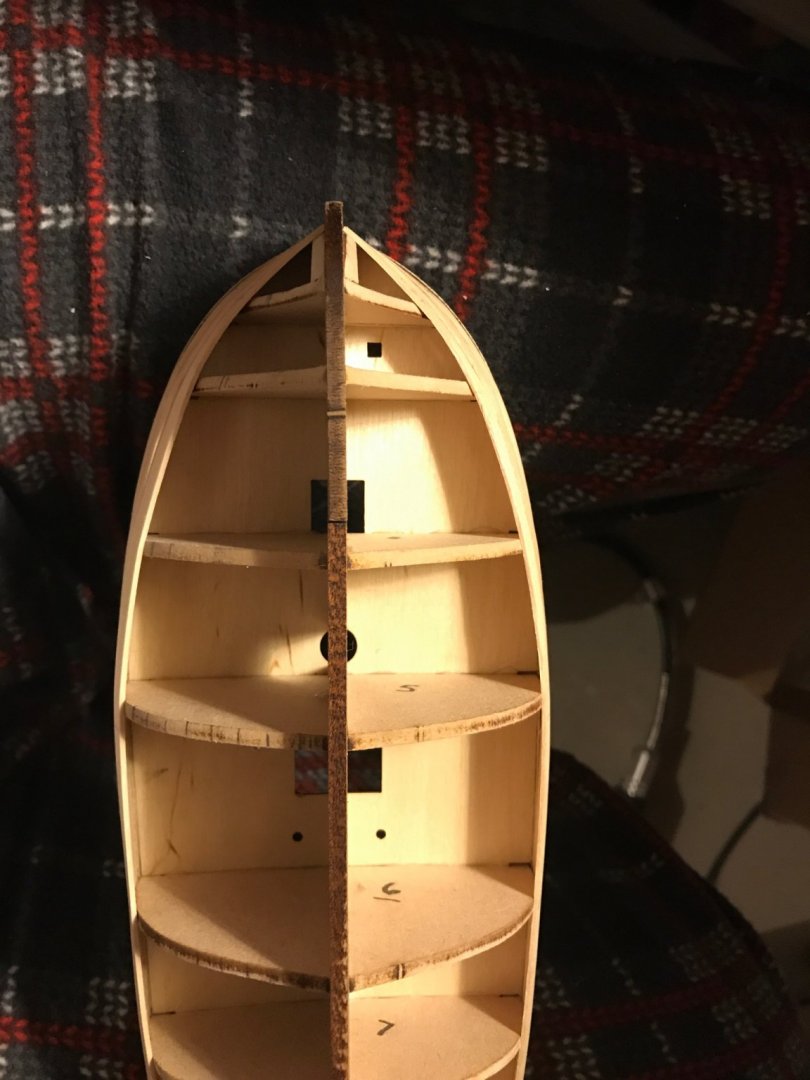
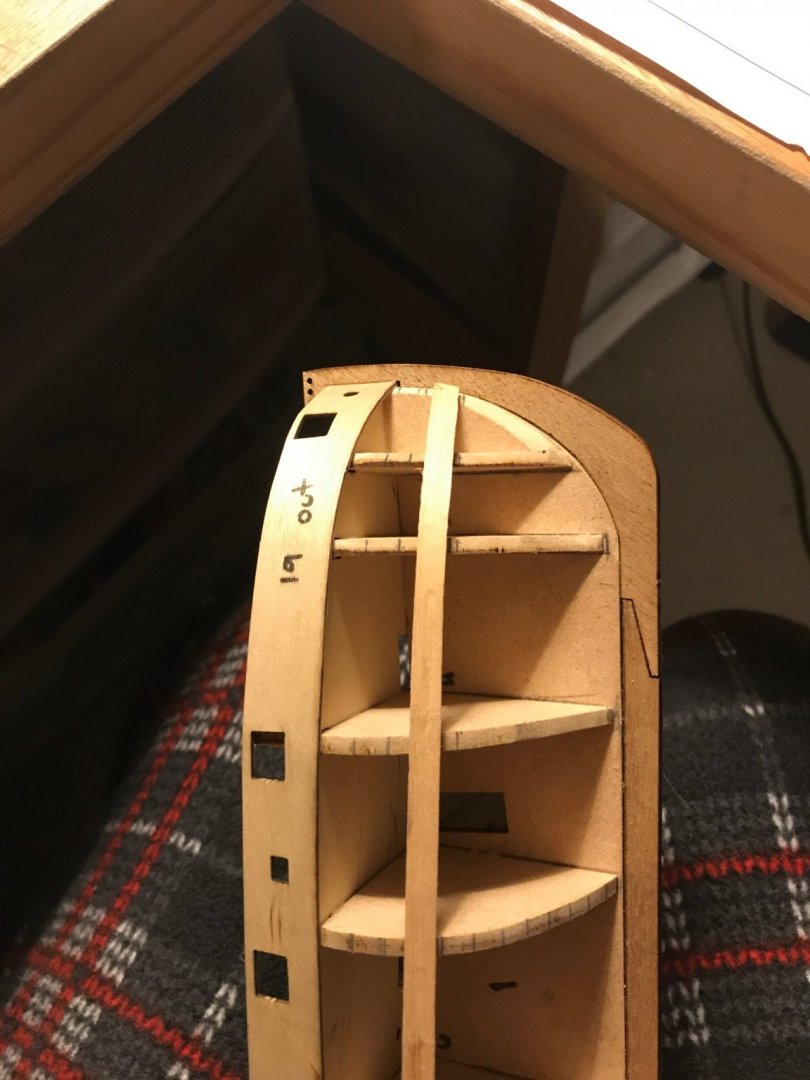
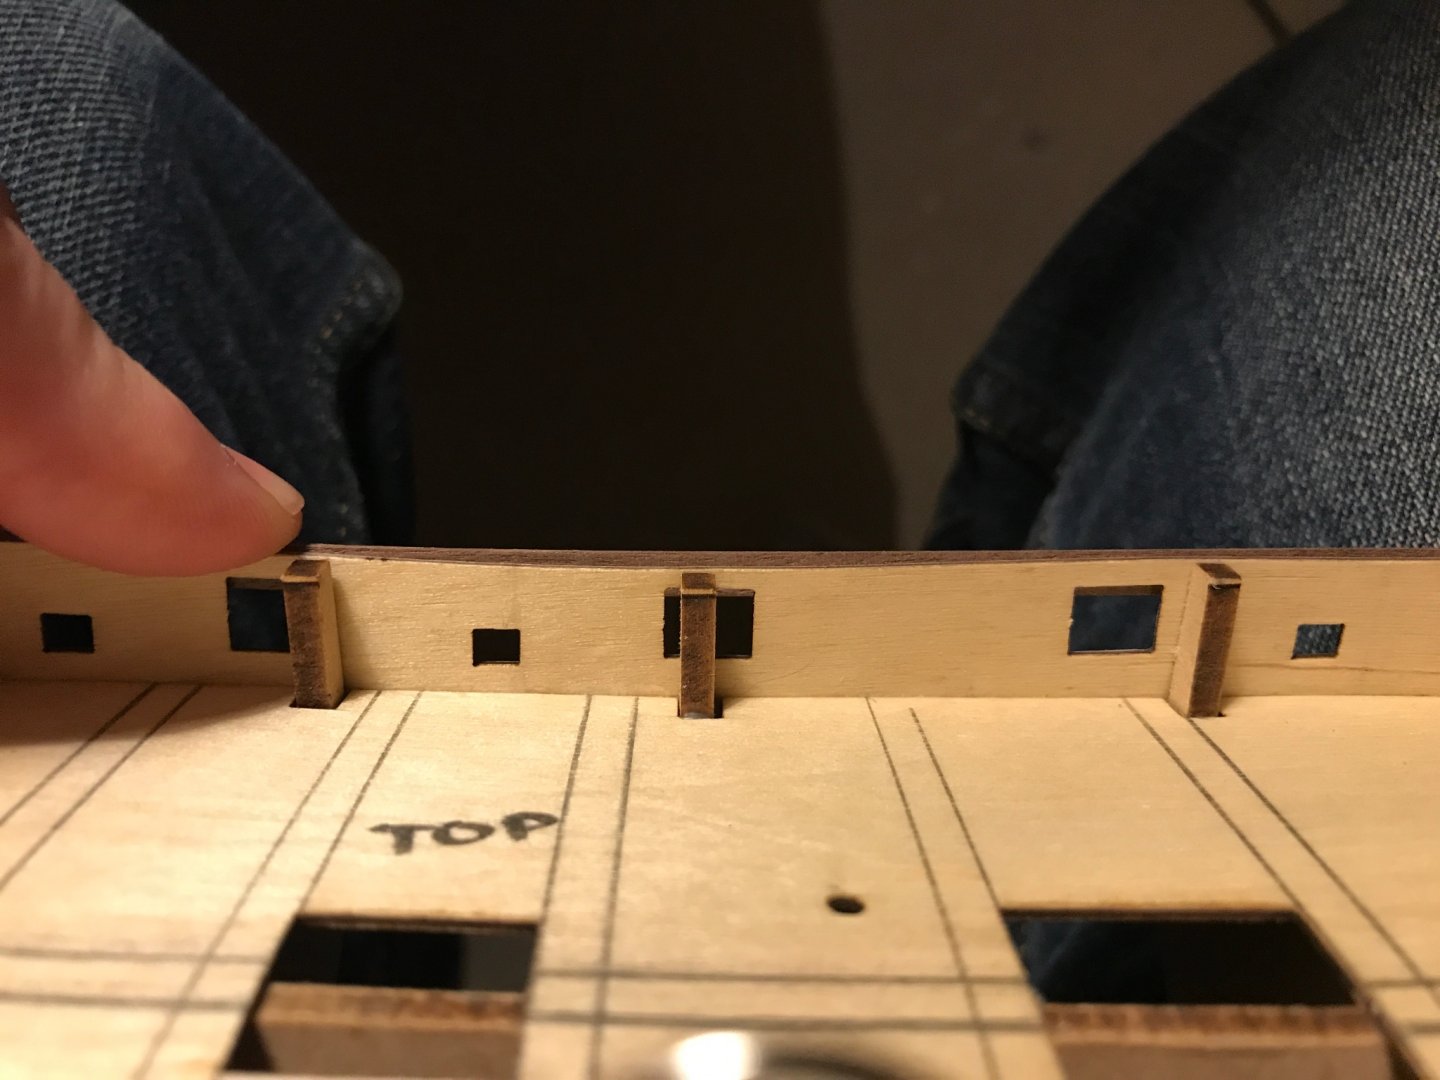
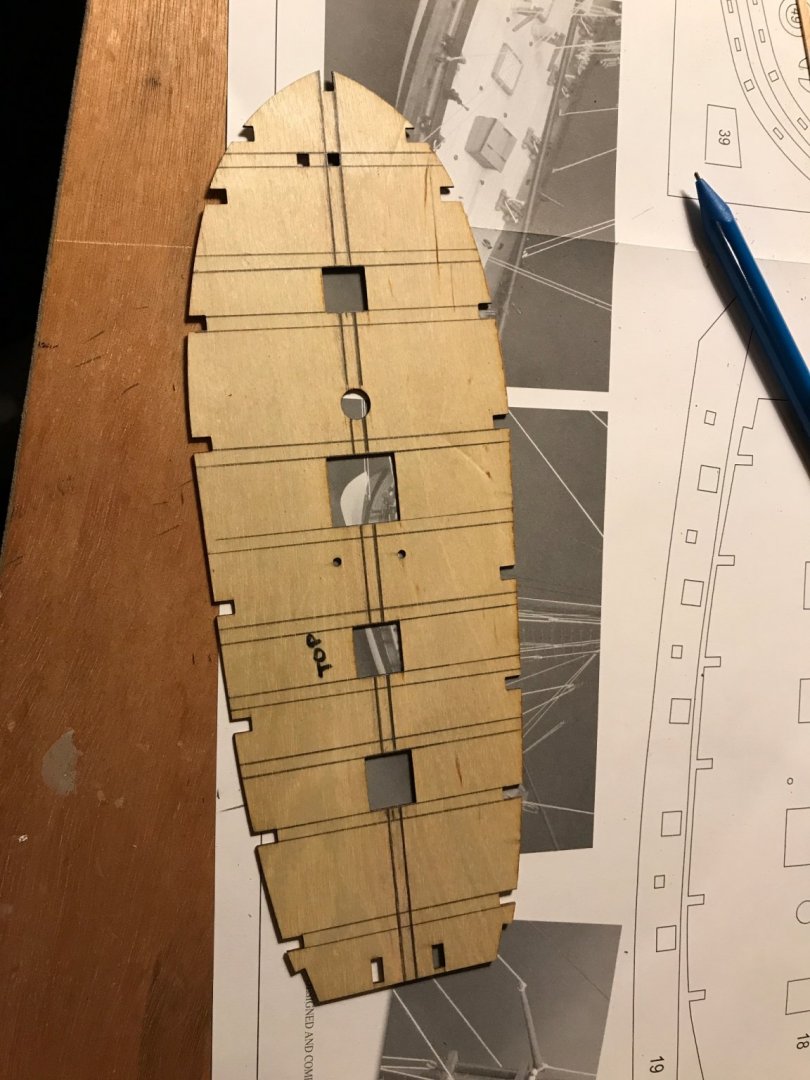
Day 2 I started out by making a bending board for the plywood bulwarks and also let them start soaking while I tried to shape the bulkheads. I am sure it is cheating, but I used a Dremel for the majority of the bulkhead shaping. Not entirely sure what I was supposed to do at the stern, so hopefully I didn’t mess it up. I noticed that two of the bulkheads are curved where the plywood bulwark attaches while all the rest are flat. I decided to flatten them to match. Makes sense to me at least. I couldn’t find Dubz Sherbourne build, but Blue Ensign’s Alert seems very similar. I am not sure if I will attempt to simulate nails on the decking boards, but just in case, I marked my best guess at where beams would be. I thought for a short moment about mapping out the decking like BE did, but only marked the center board in the name of personal sanity. I glued on the false deck and keel and wait impatiently for glue to dry.


- 139 replies
-
- 1
-
-
- Lady Nelson
- Amati
- (and 2 more)