HOLIDAY DONATION DRIVE - SUPPORT MSW - DO YOUR PART TO KEEP THIS GREAT FORUM GOING! (83 donations so far out of 49,000 members - C'mon guys!)
×


KirbysLunchBox
-
Posts
221 -
Joined
-
Last visited
Content Type
Profiles
Forums
Gallery
Events
Everything posted by KirbysLunchBox
-
Glenn and John, I think you guys are maybe trying to save me from having too high of expectations or maybe failing or giving up on the hobby all together. It also feels like I am being scolded for wanting to set higher expectations for myself... Either way, I appreciate all of the advice that you have given and I want to continue receiving that advice! I just want to say that I am enjoying my build and I look forward to each next step! I know I will have questions as I go forward and I will depend on this community to help me find those answers. Thank you for being a part of my journey!
-
I have no dreams of grandeur with this model. I see it as an opportunity to learn and practice. I figure anything I can work through on a cheap and small kit will save me the frustration on an expensive an complicated kit. I appreciate all the words of advice and encouragement!
- 139 replies
-
- 1
-

-
- Lady Nelson
- Amati
- (and 2 more)
-
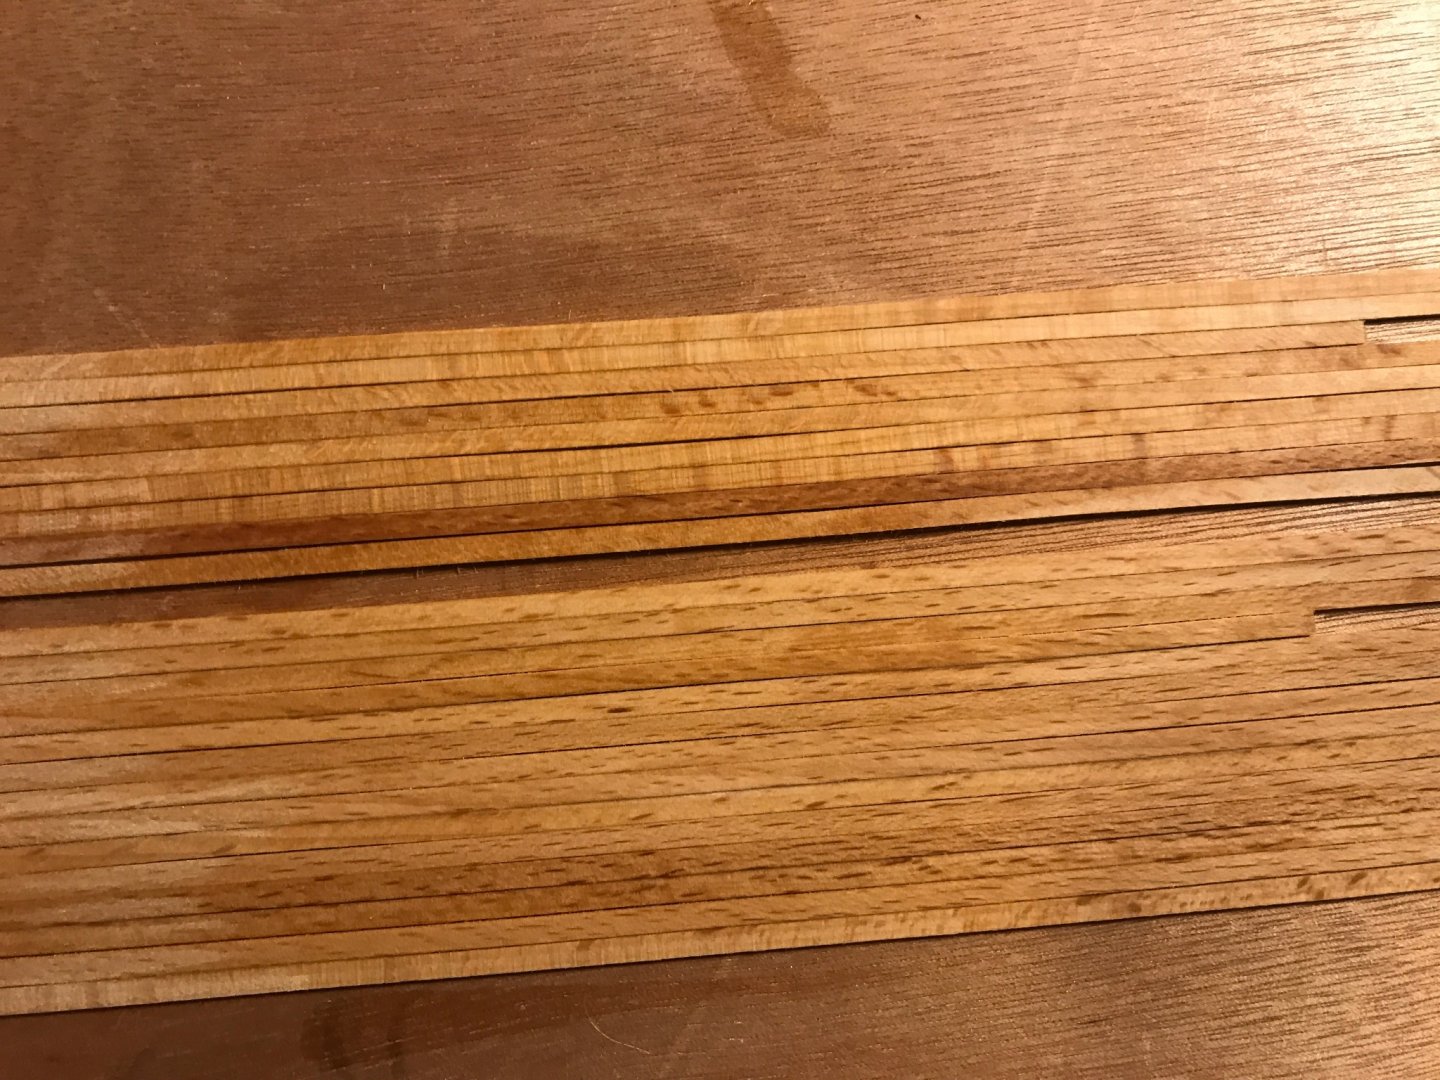
I tried IPA shortly after I realized that I should not have glued on the stern post, but after much soaking and no budging, I stopped because I was afraid of messing up the MDF false keel and bulkheads. I was afraid they they would poof up from the moisture. I know my affliction with the gun ports is silly on a first time build, but I like a challenge. Good, bad or ugly. I am still struggling with the margin plank. Ironically when I google margin plank. Your question post to MSW is the first thing that pops up. I have read through it several times now. I think I am going to go the nib route instead of the hook because I don’t want to mess with curved and tapered deck planking. New boards are going to be a must for me now though. The beachwood planking just doesn’t seem right to me. The grain of the lime wood seems more appropriate. I really appreciate your help with all of this!
-
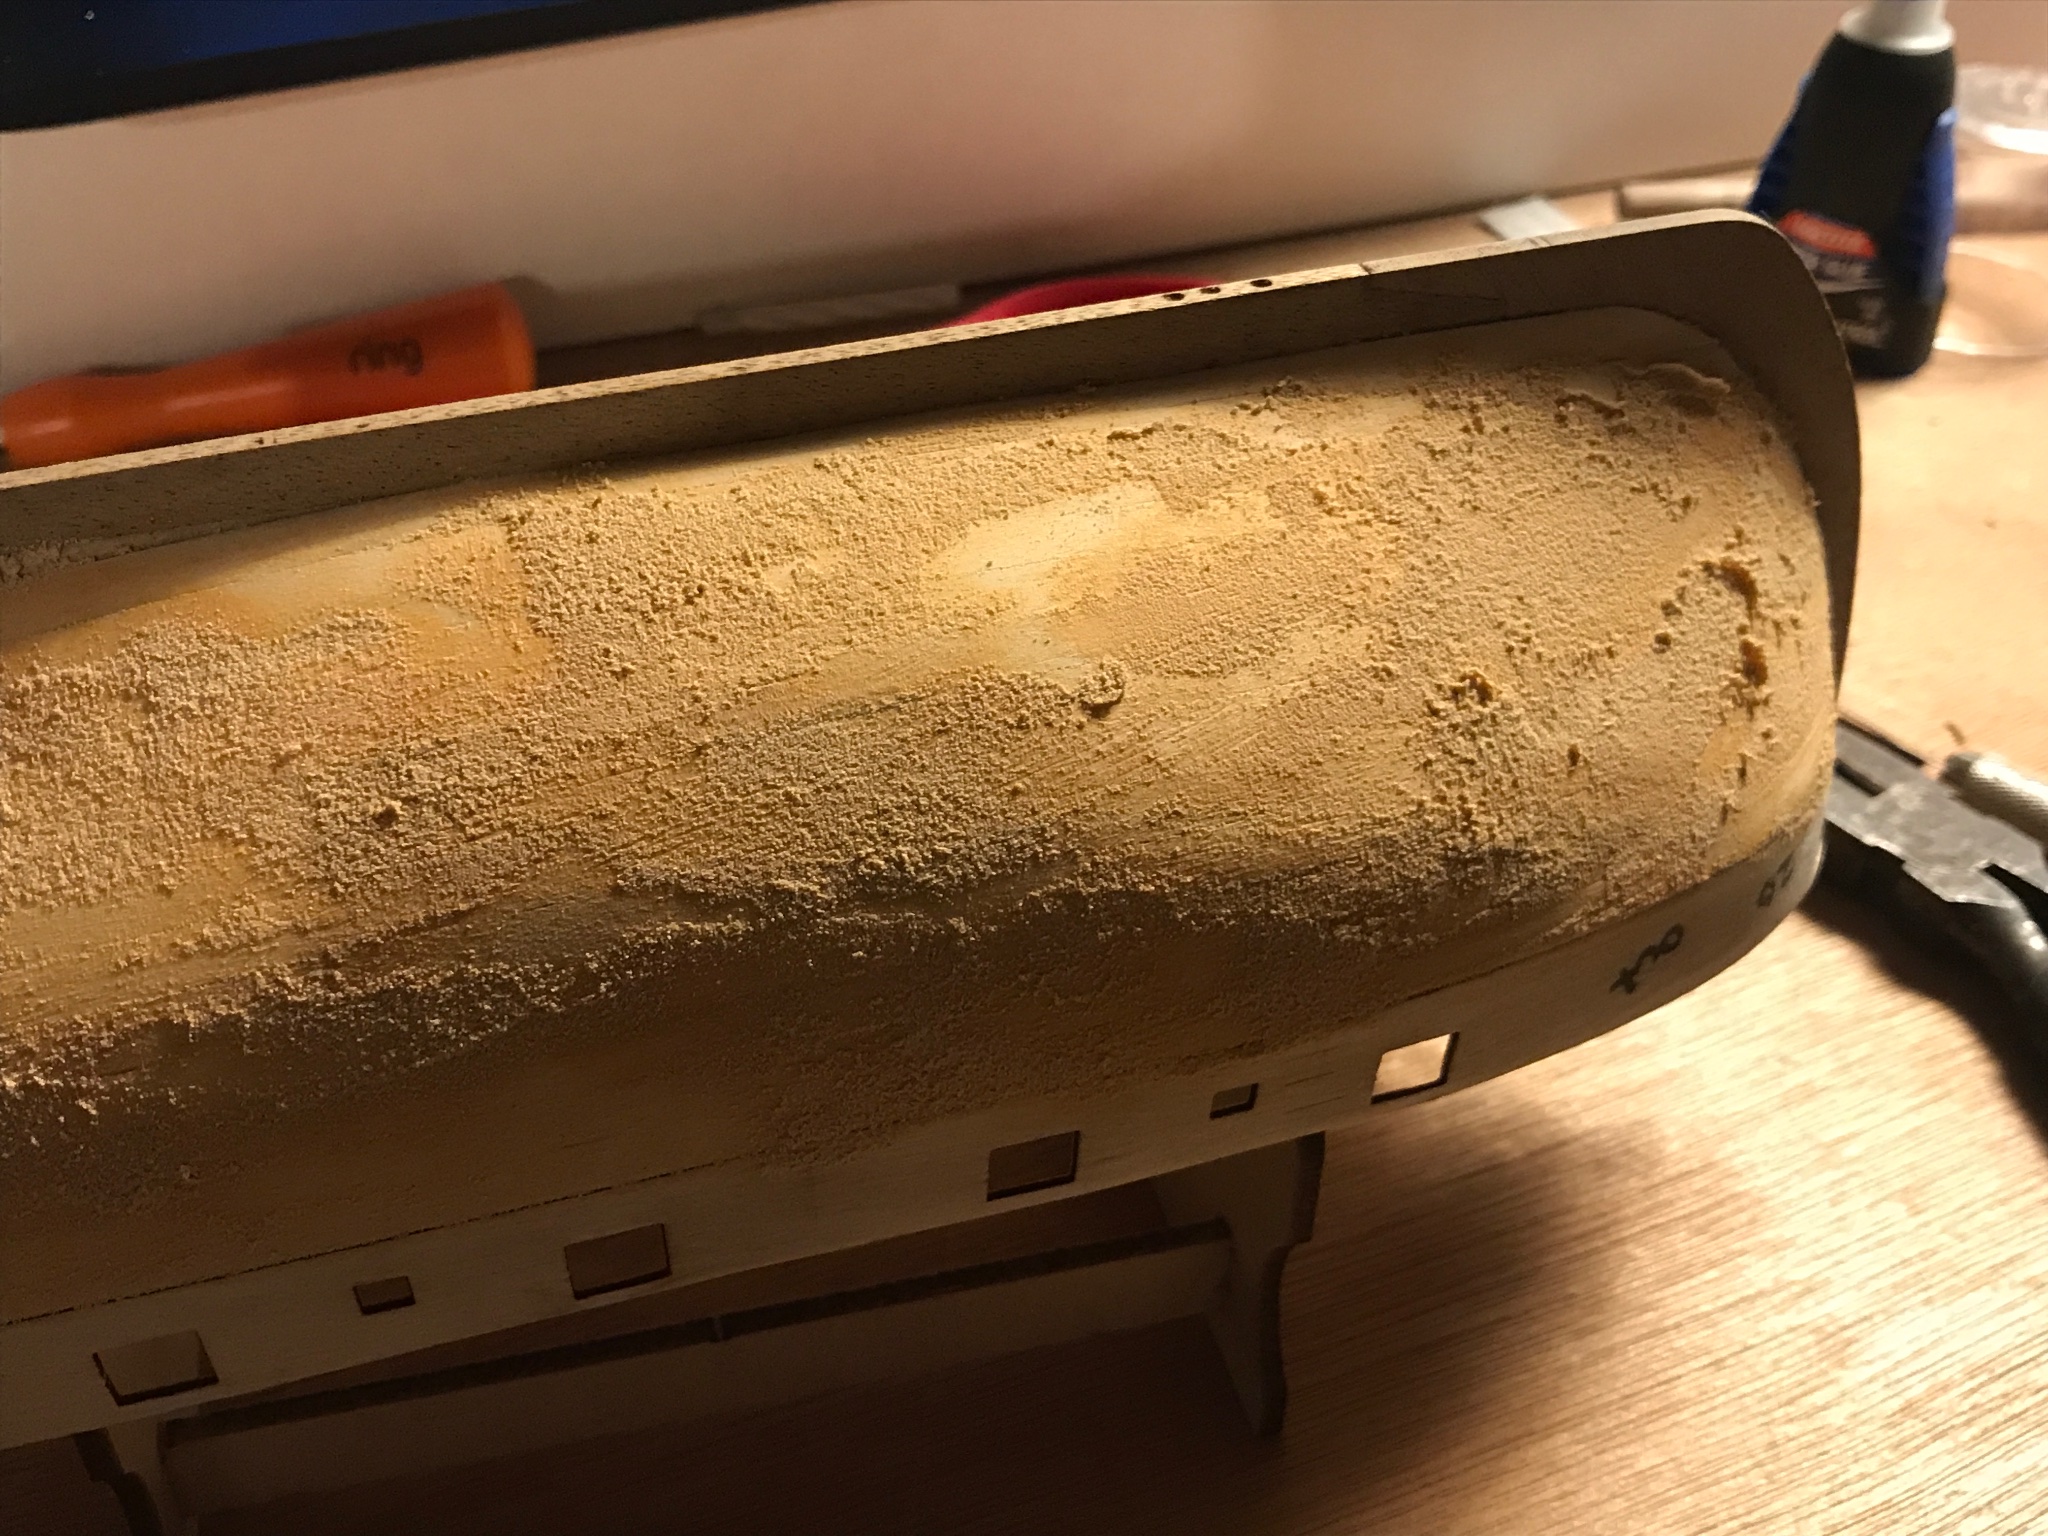
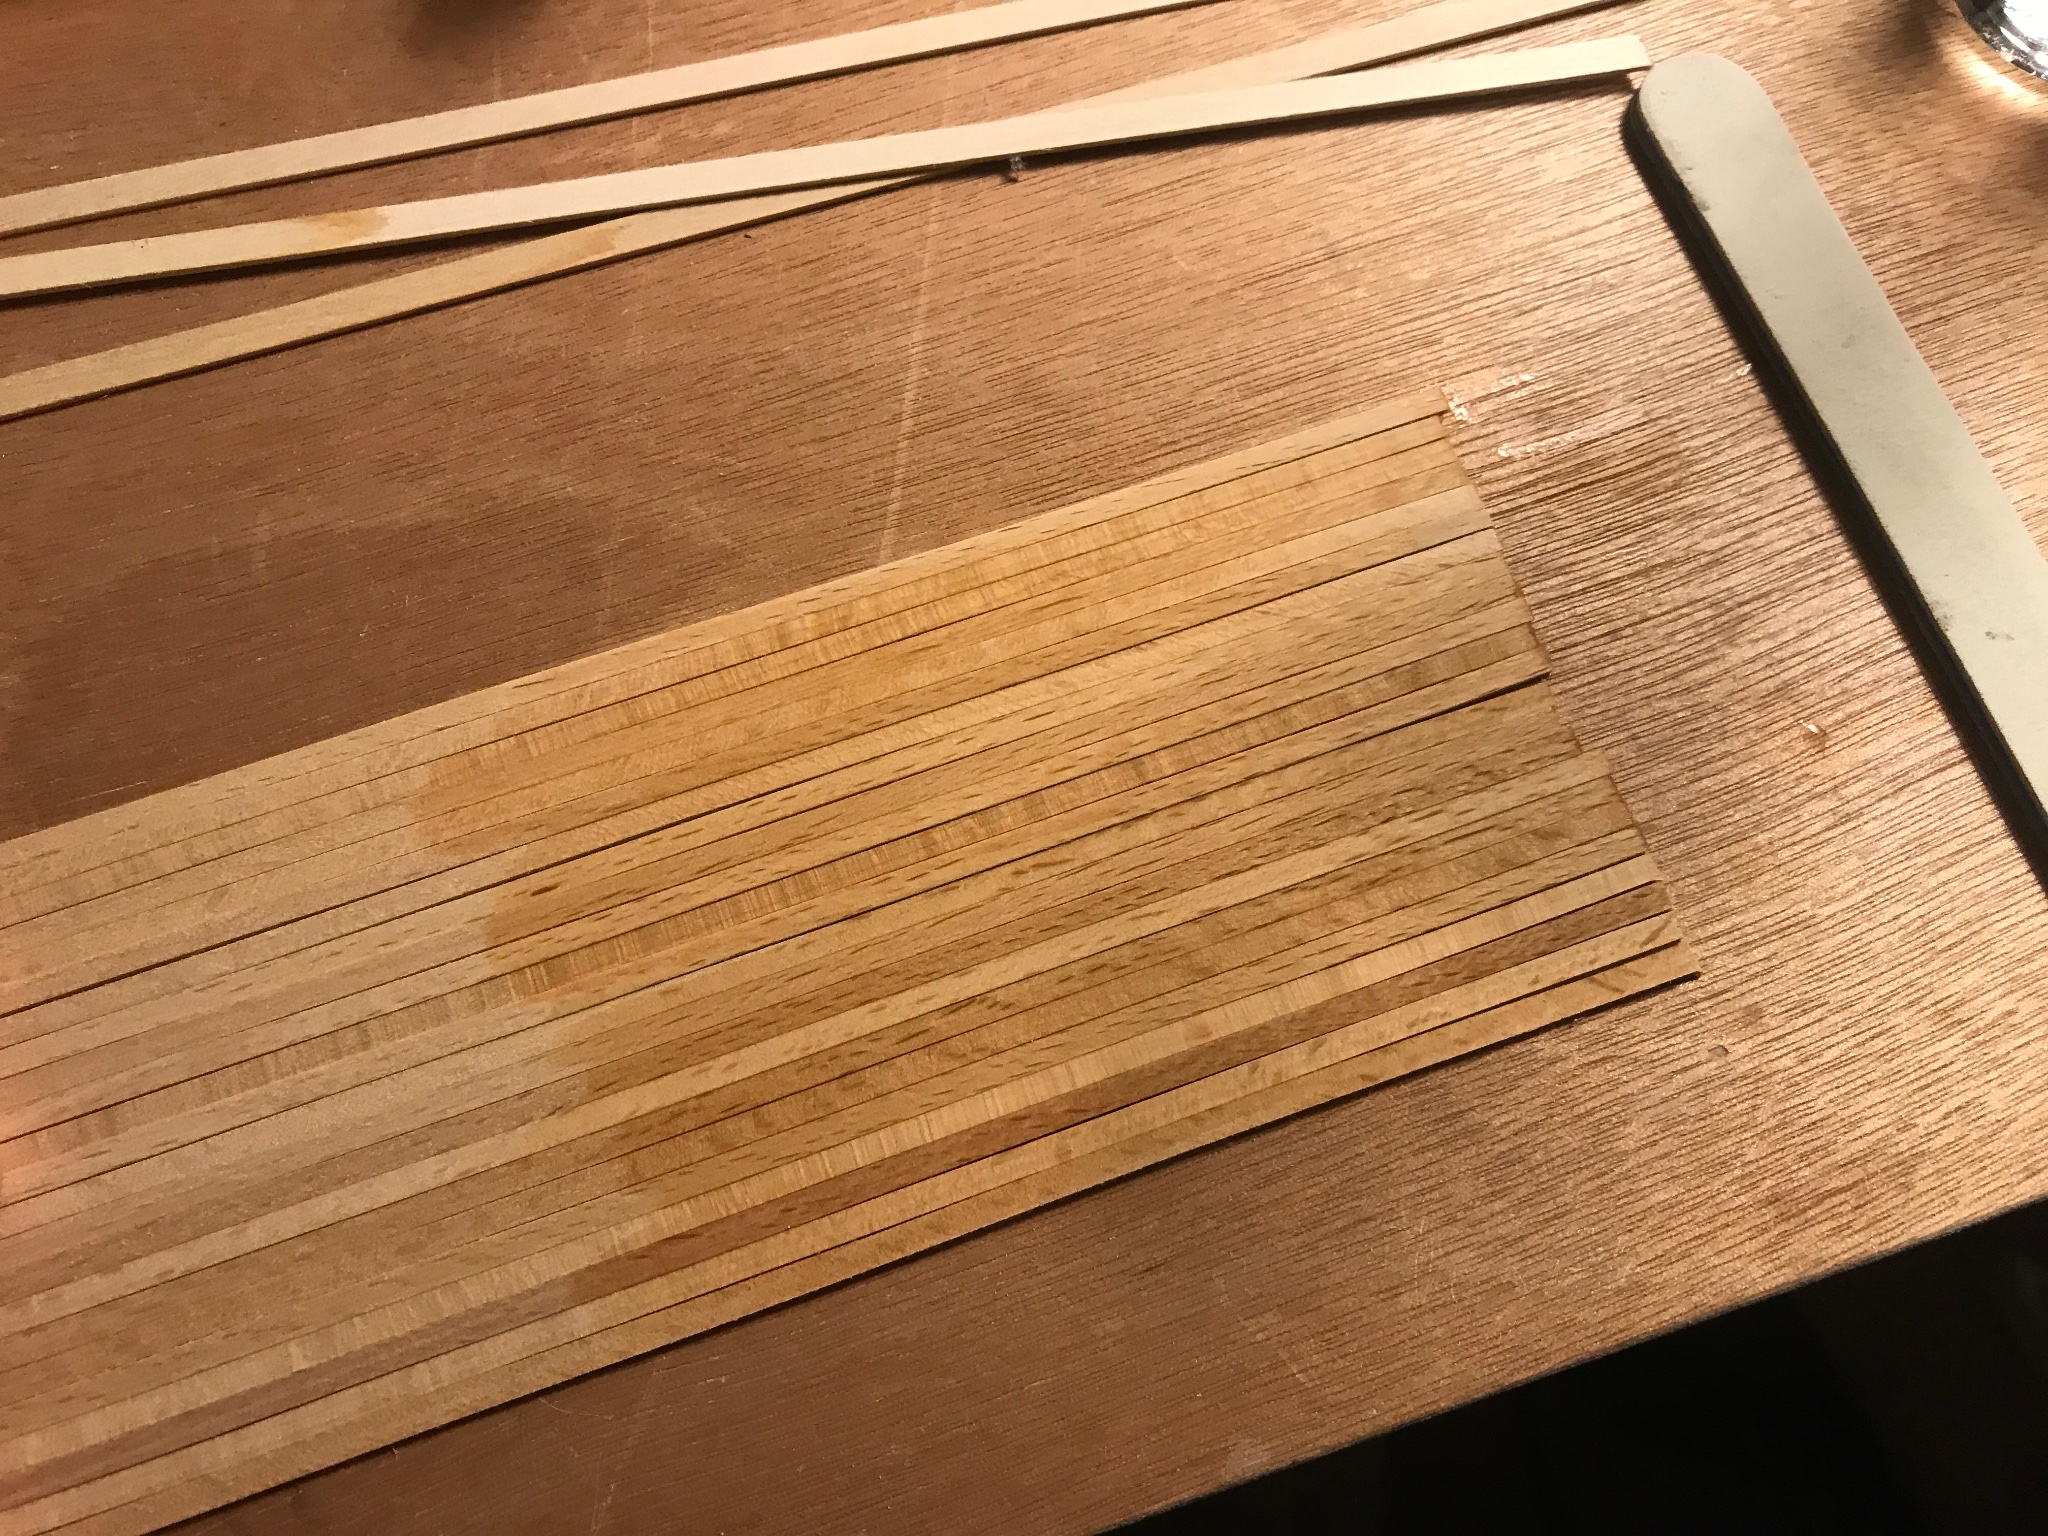
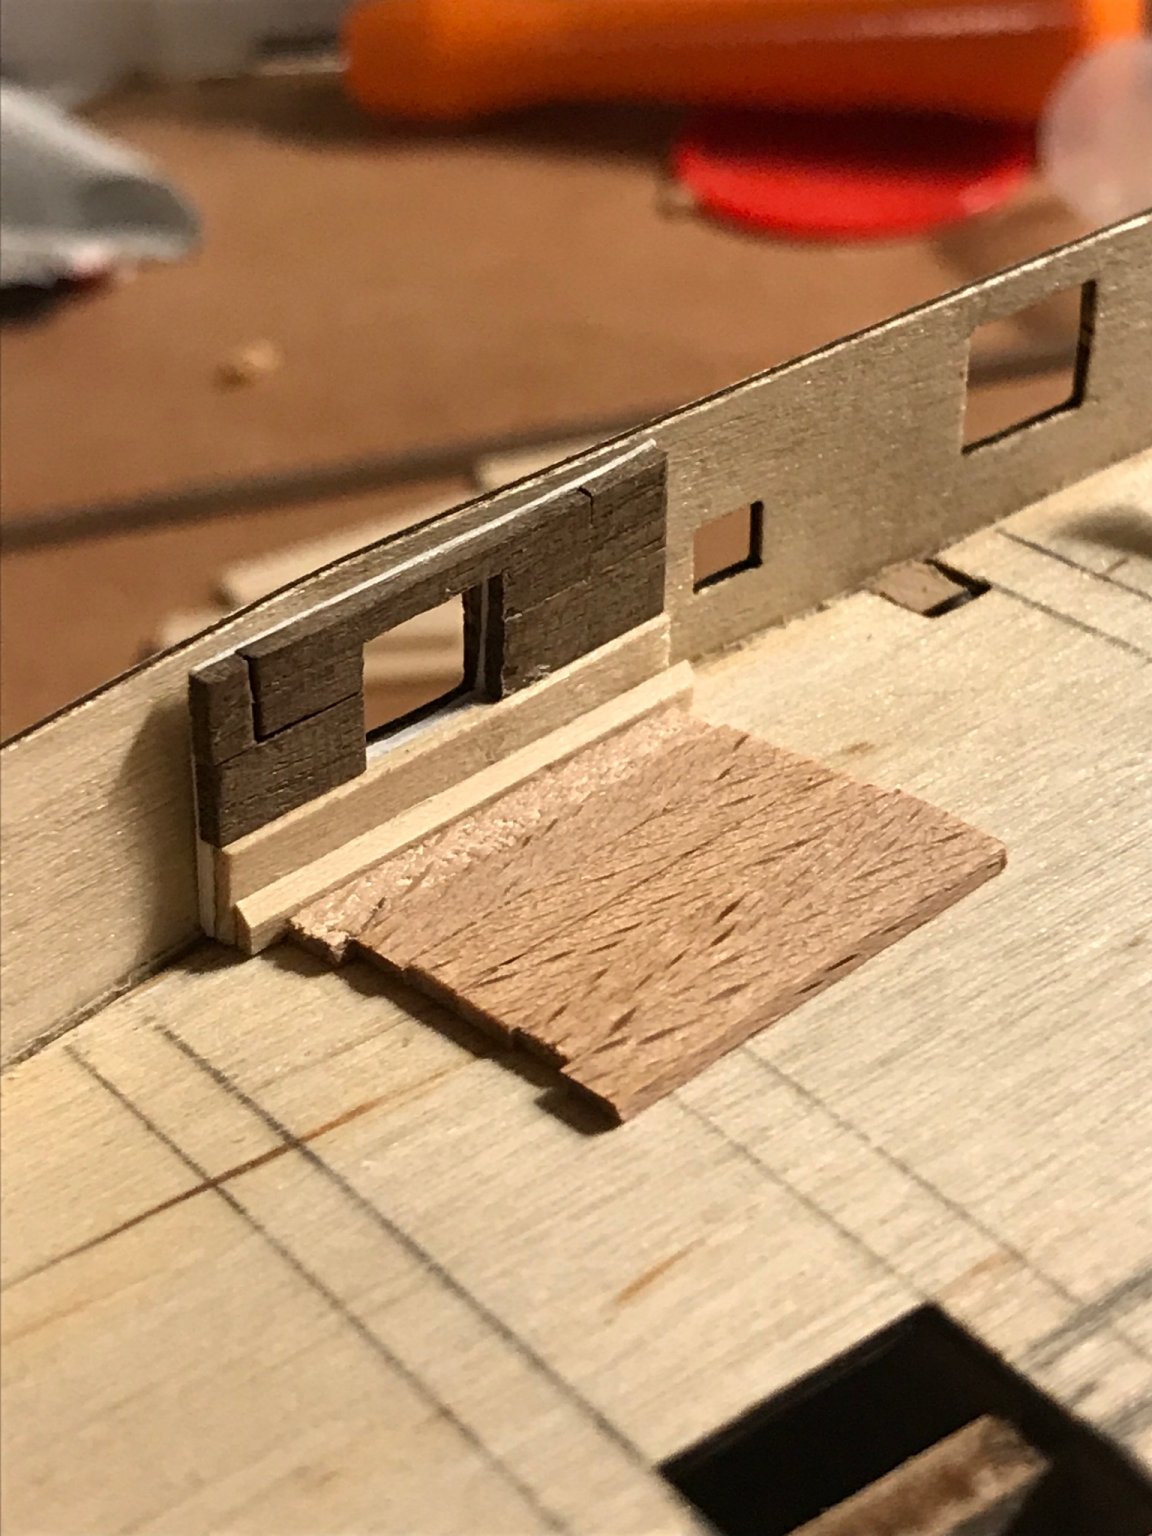
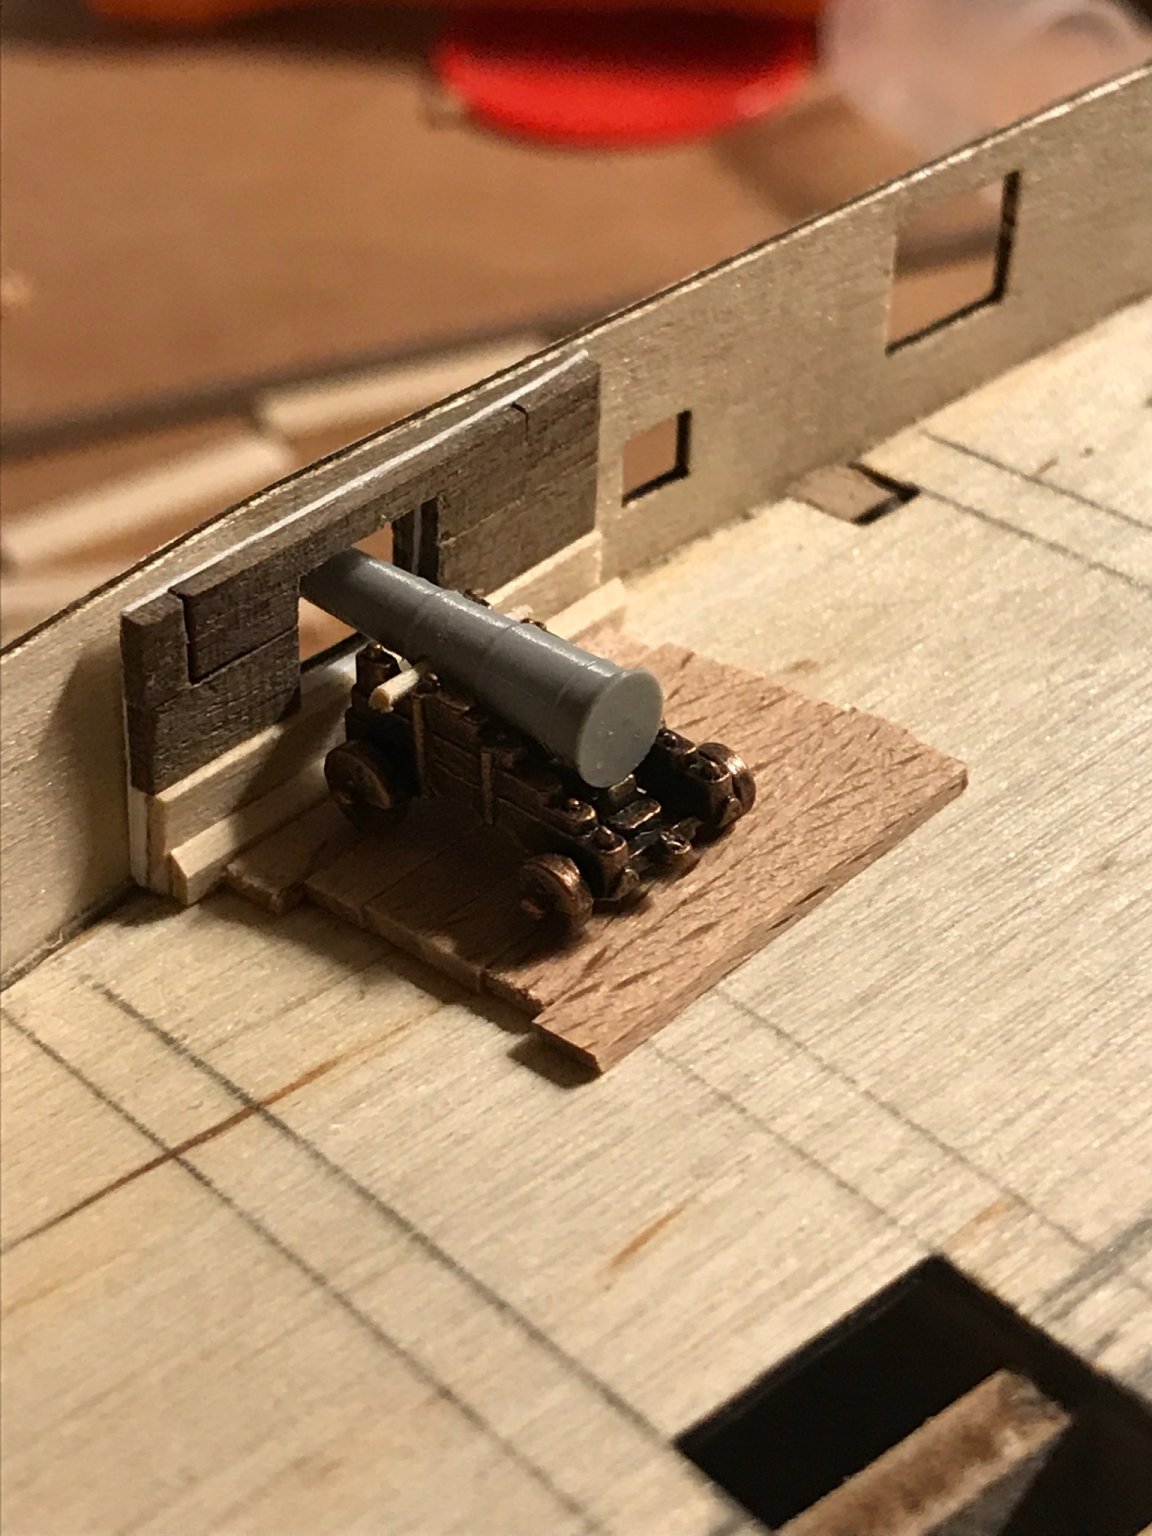
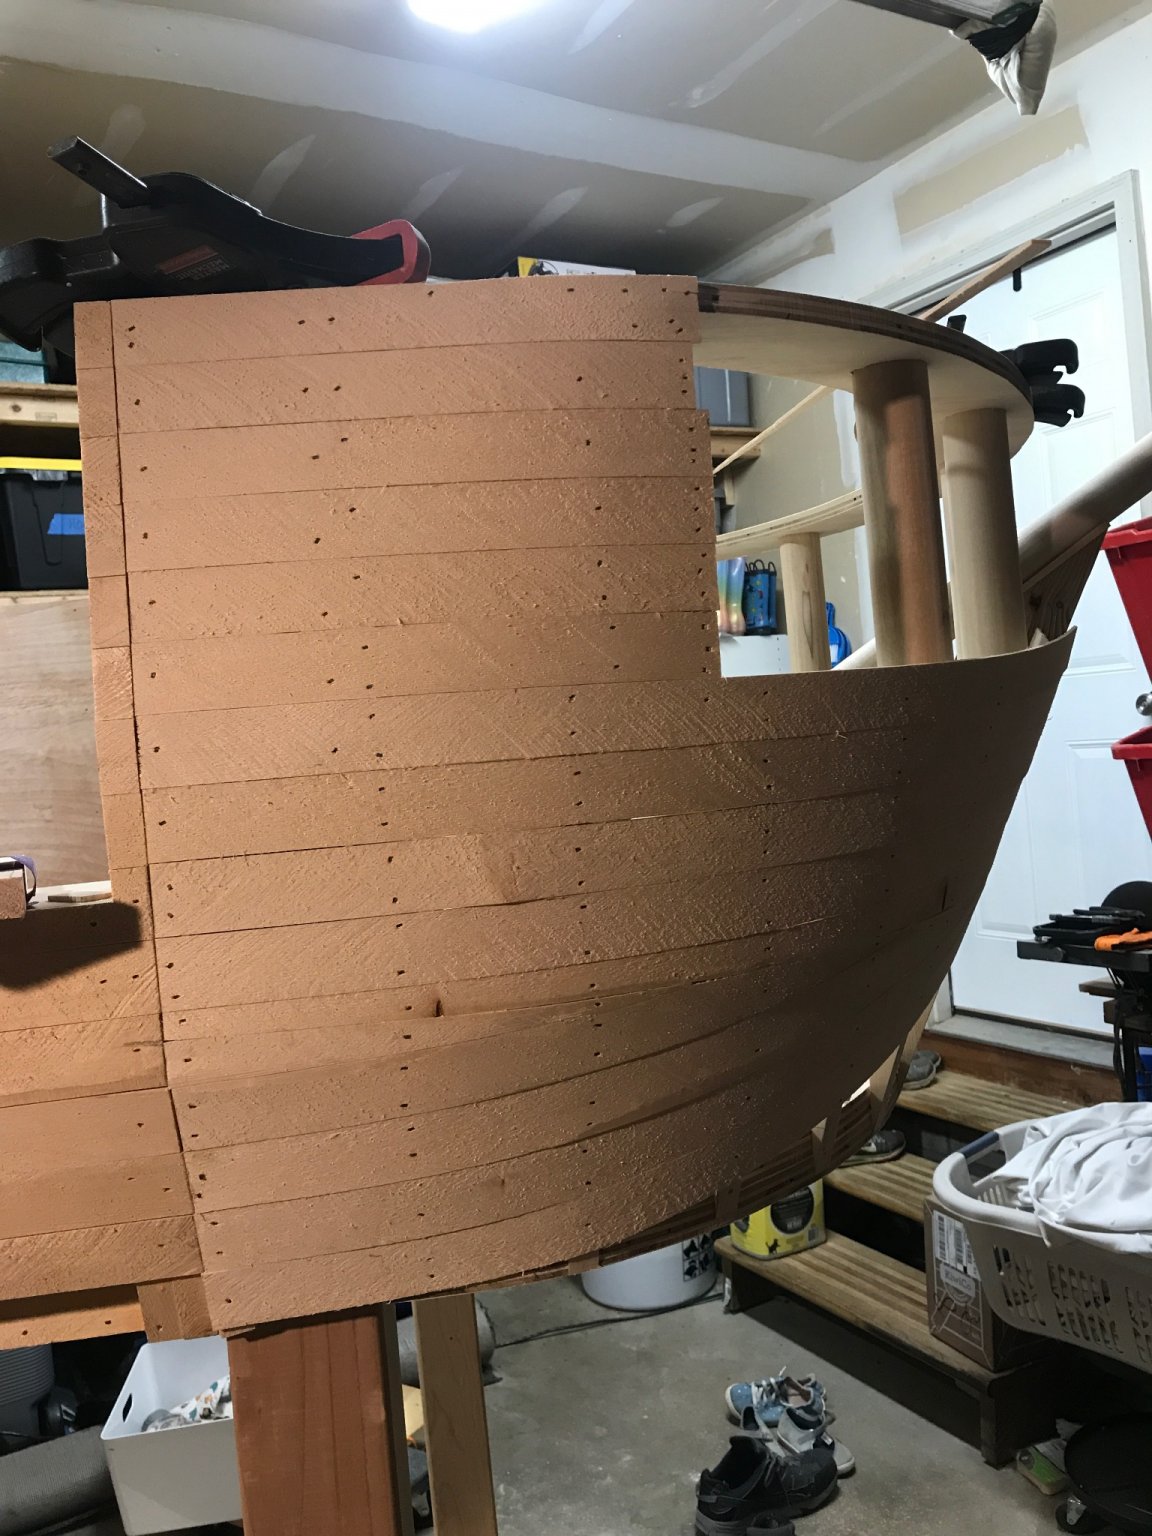
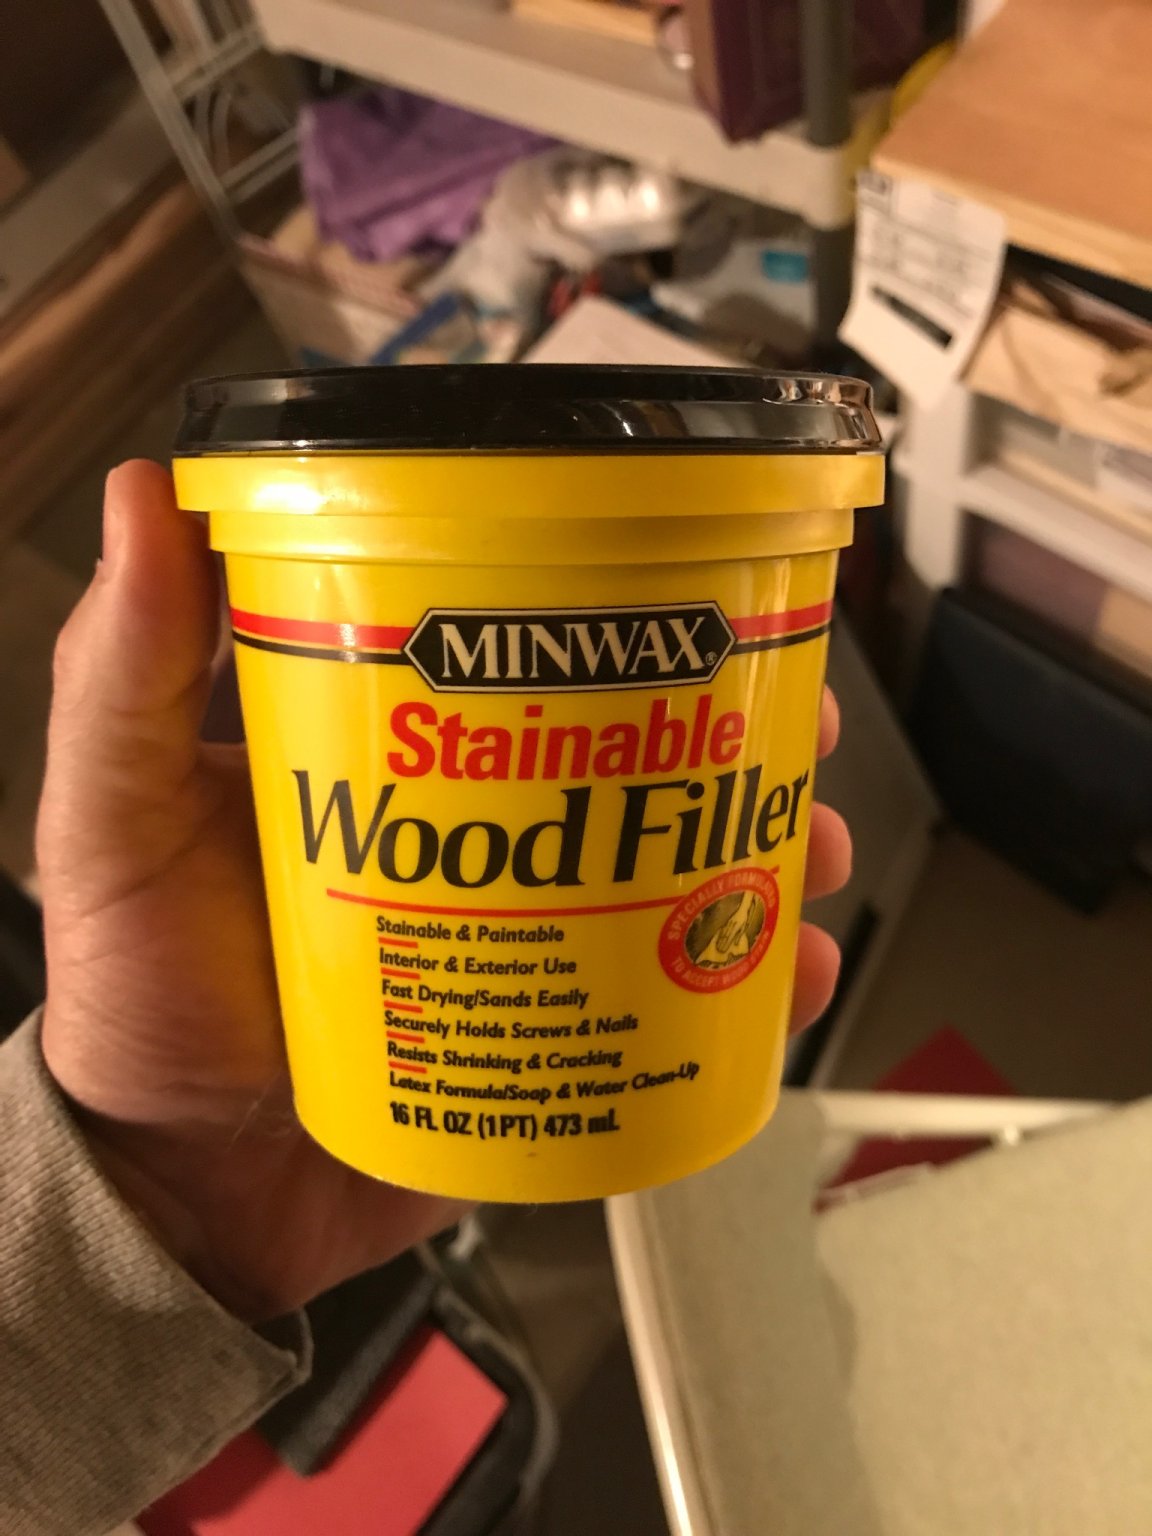
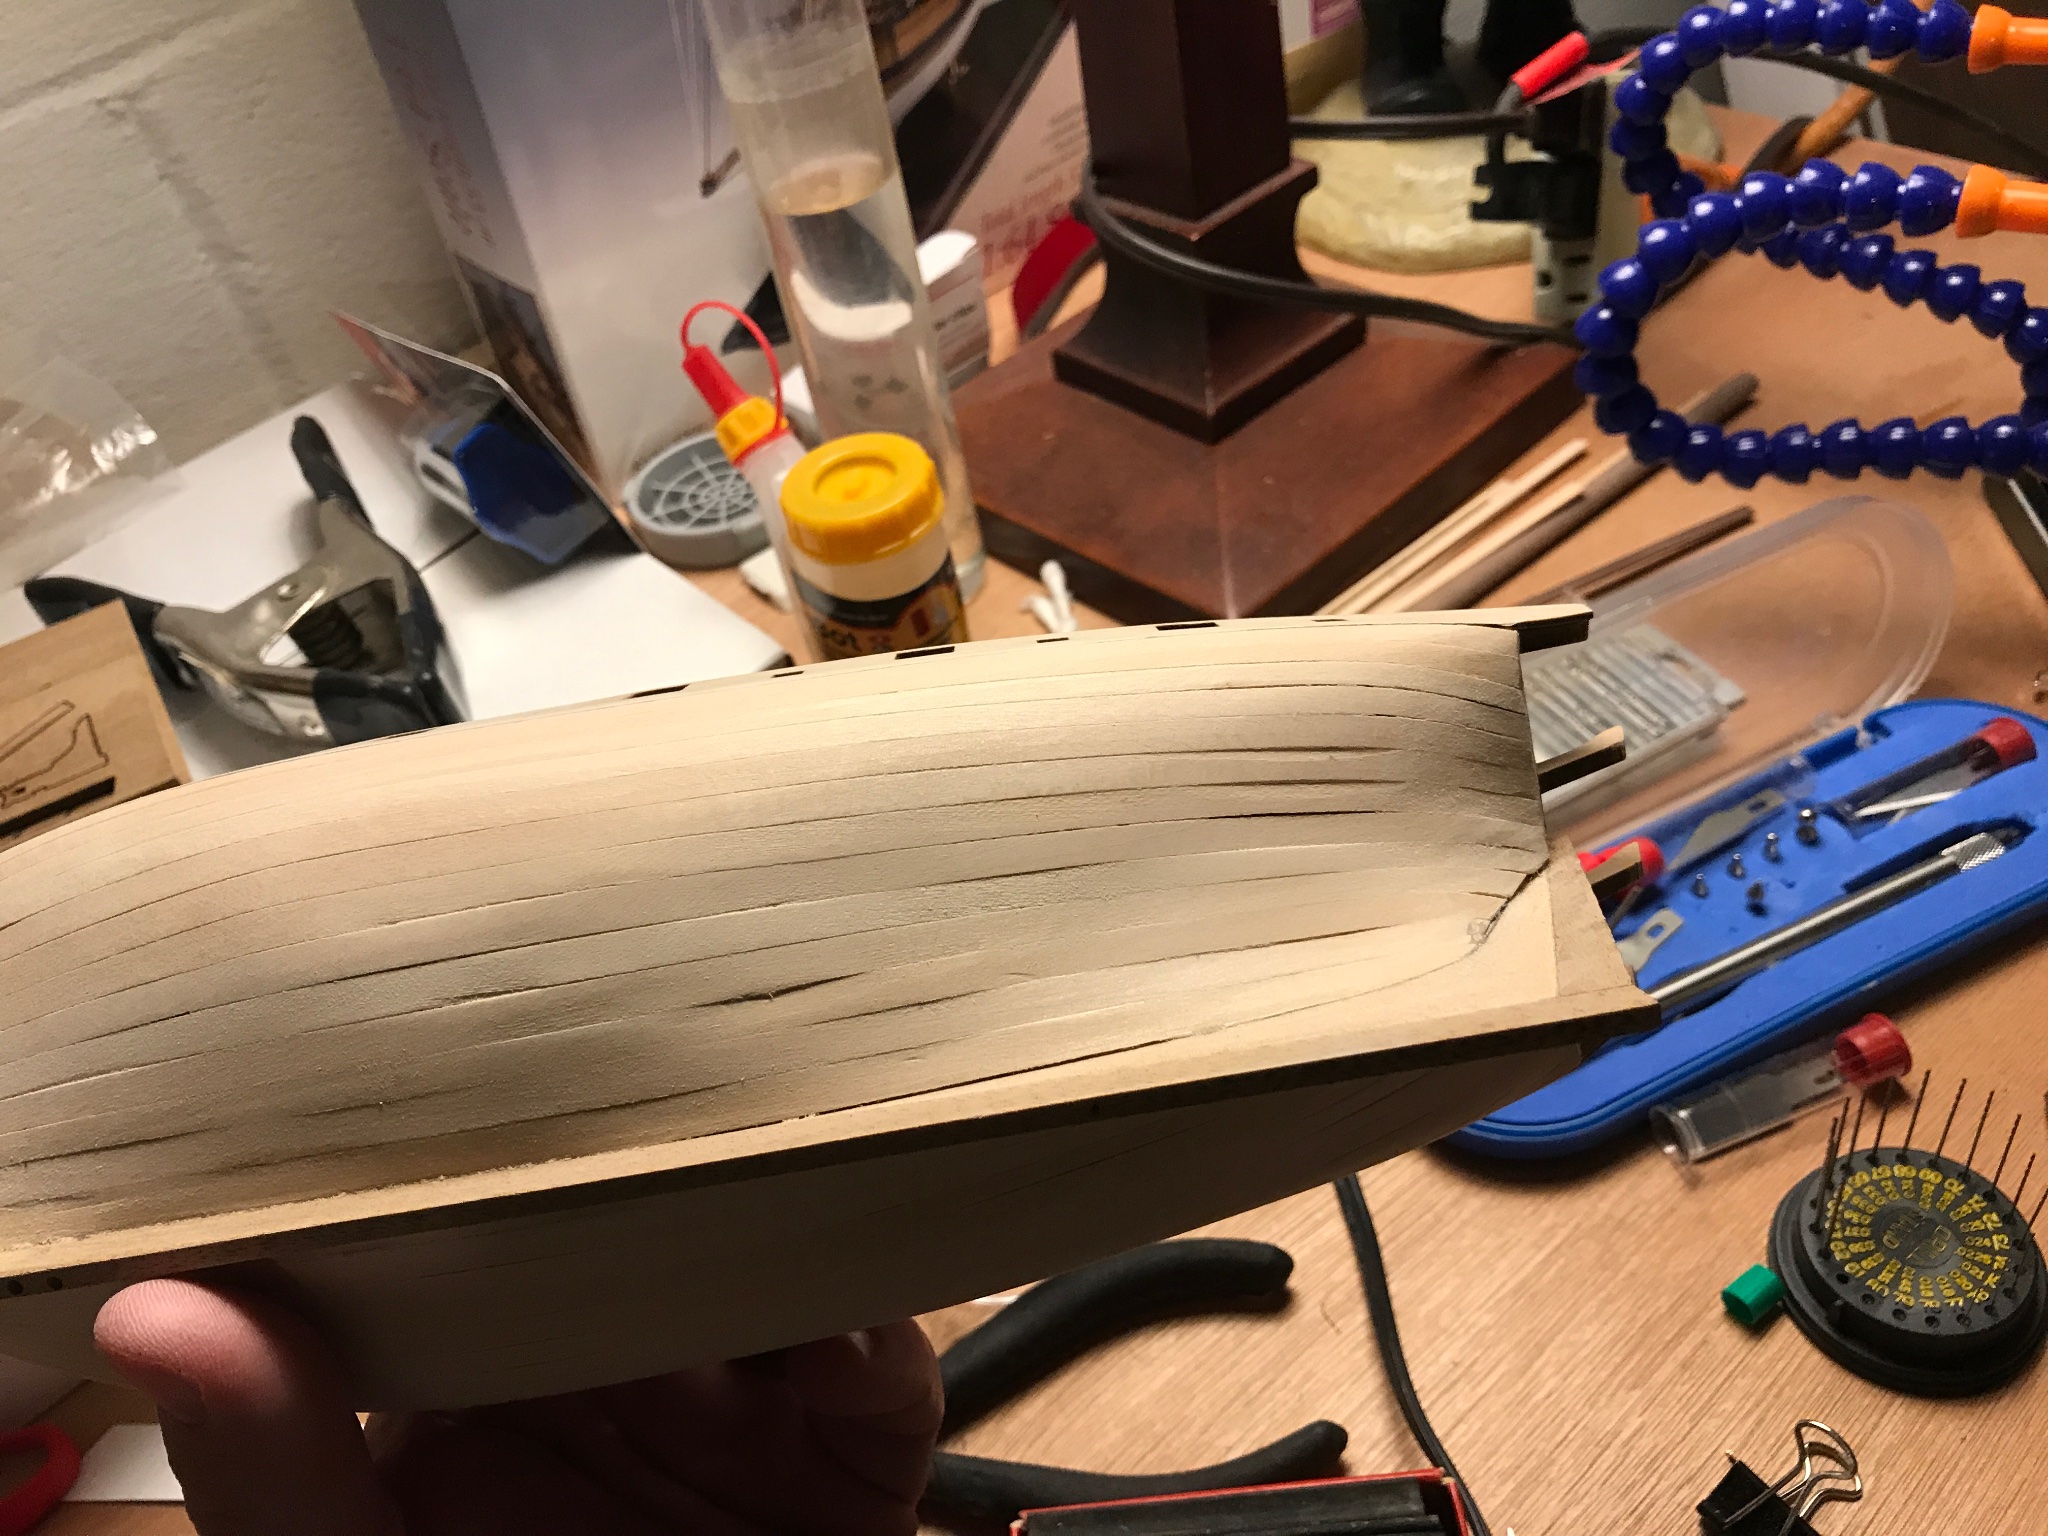
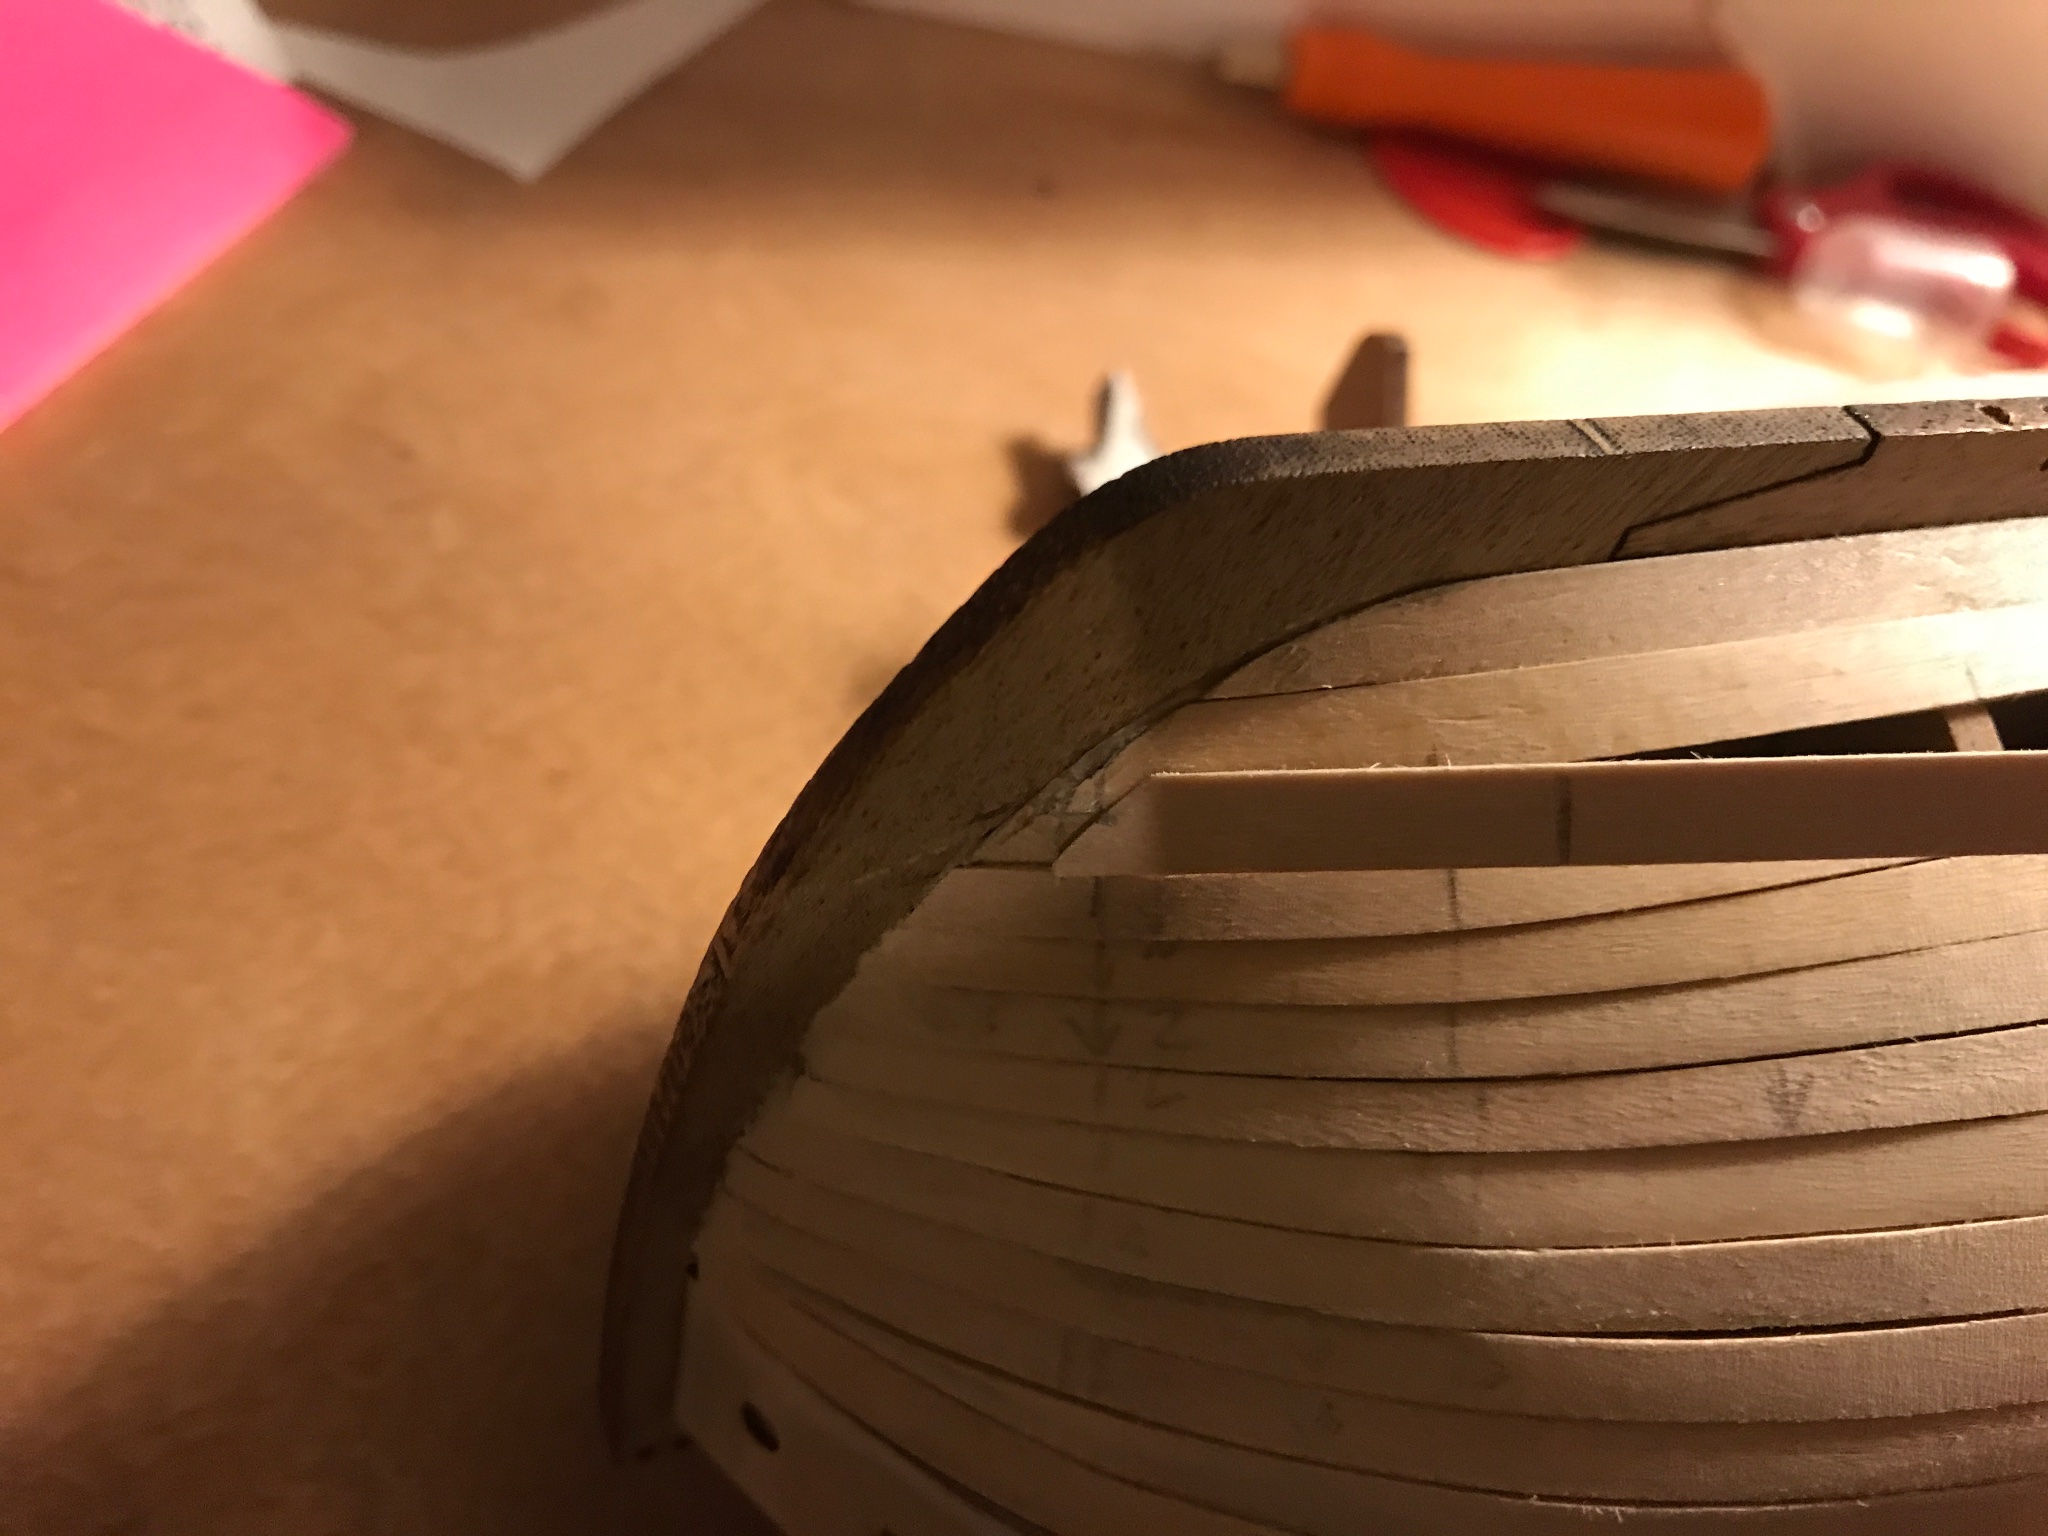
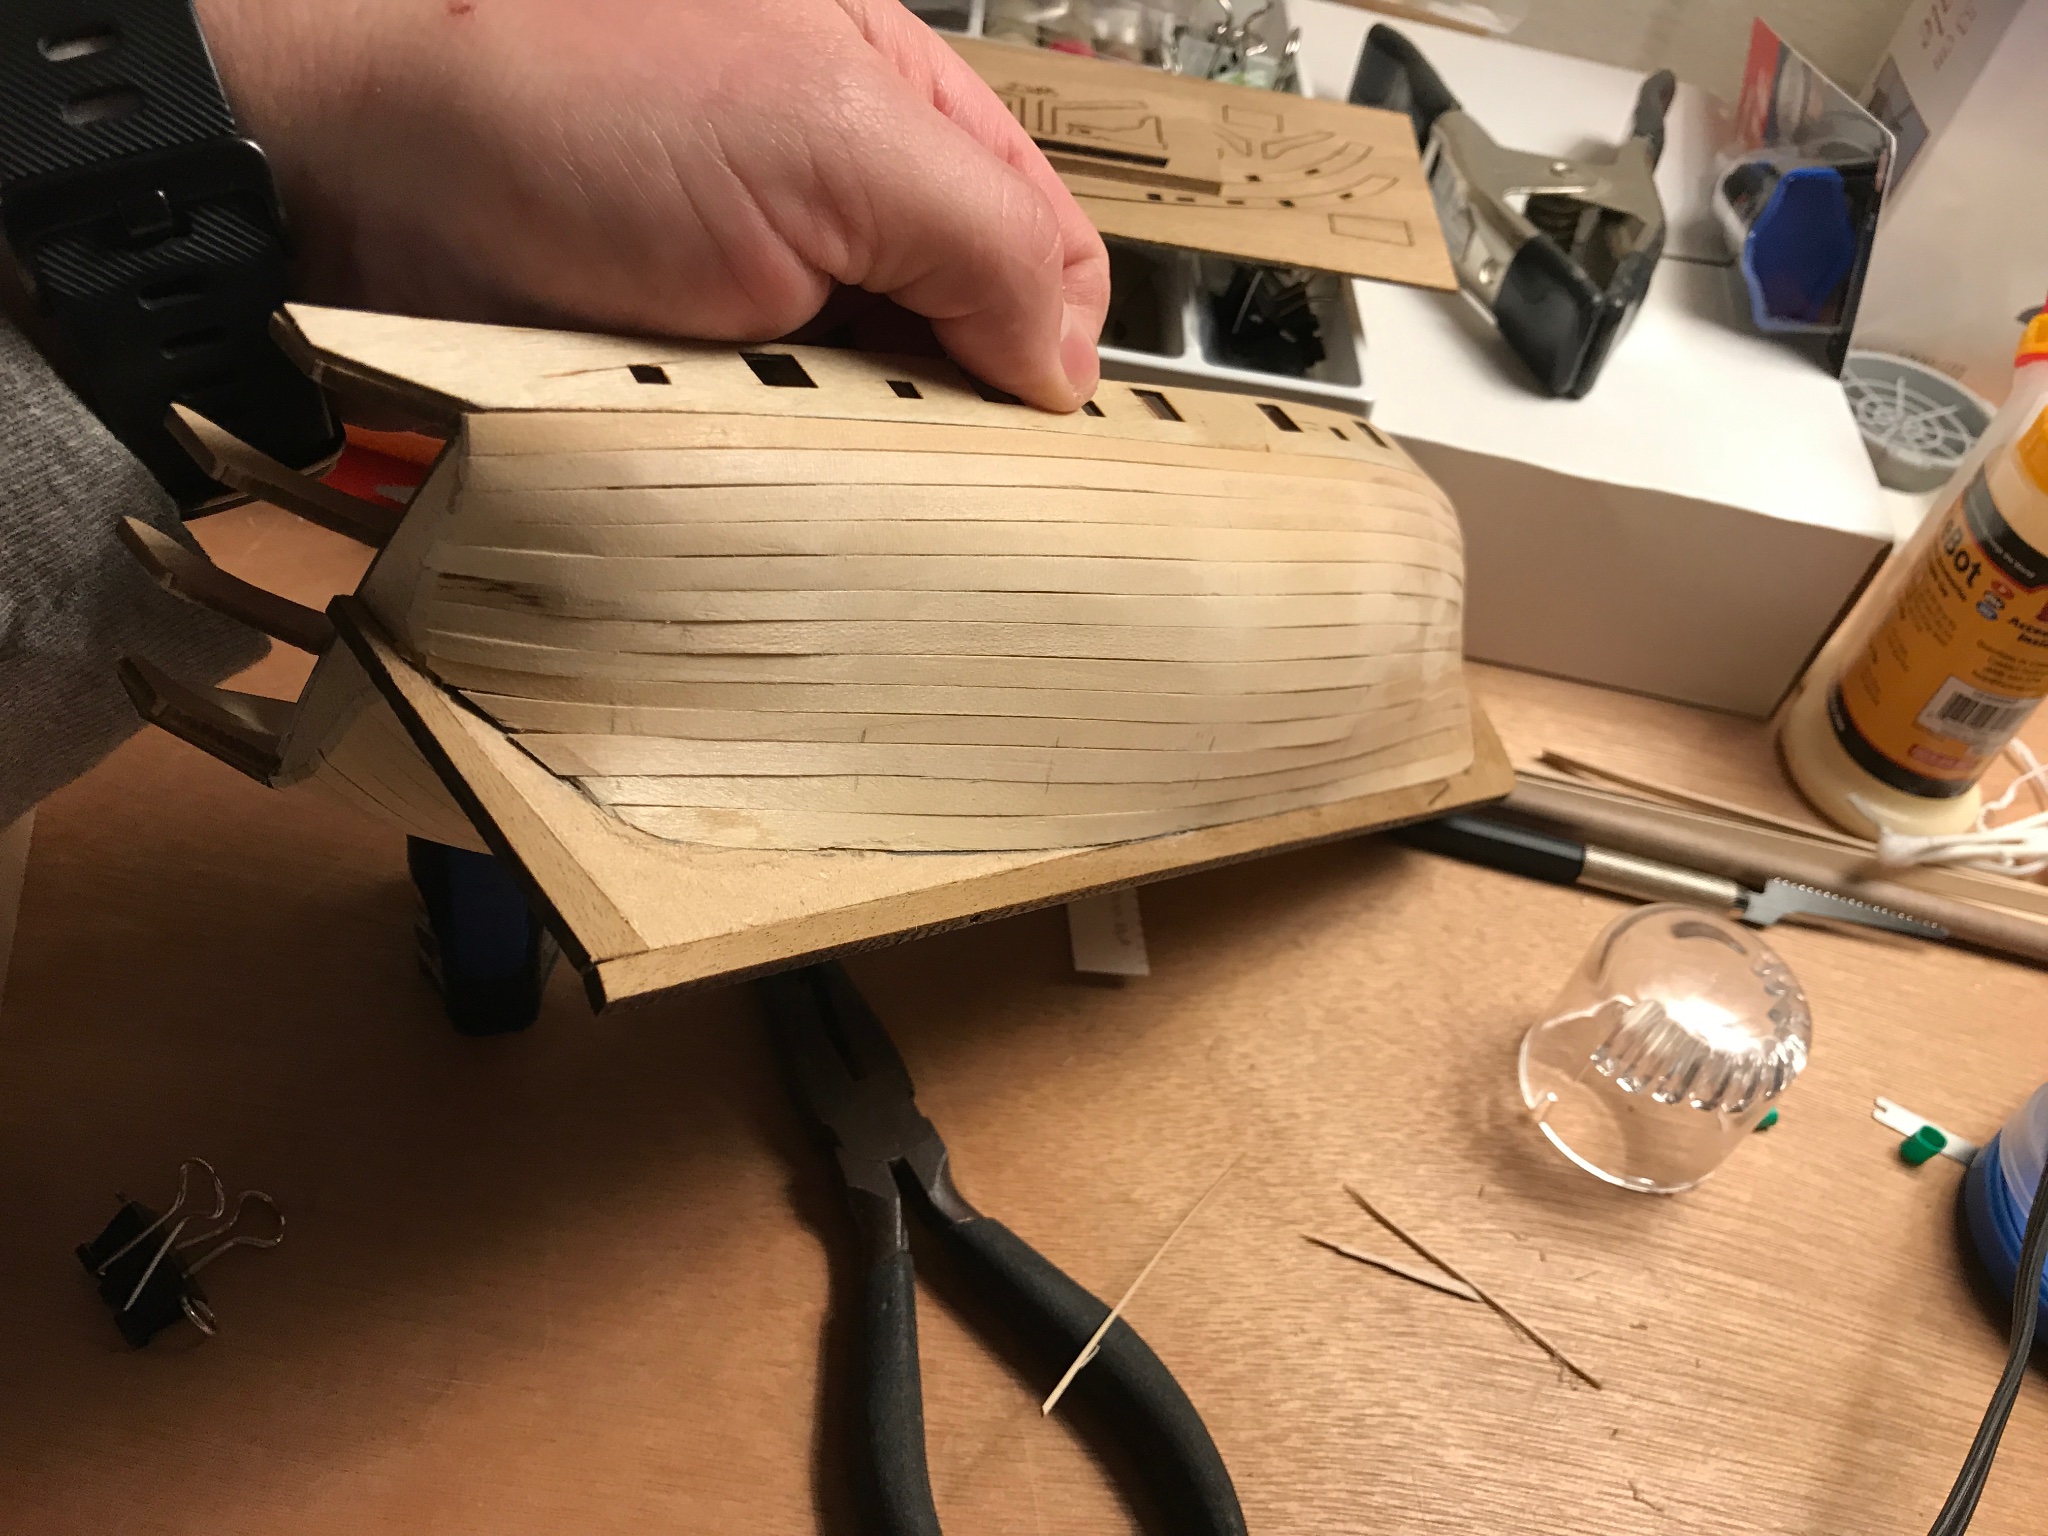
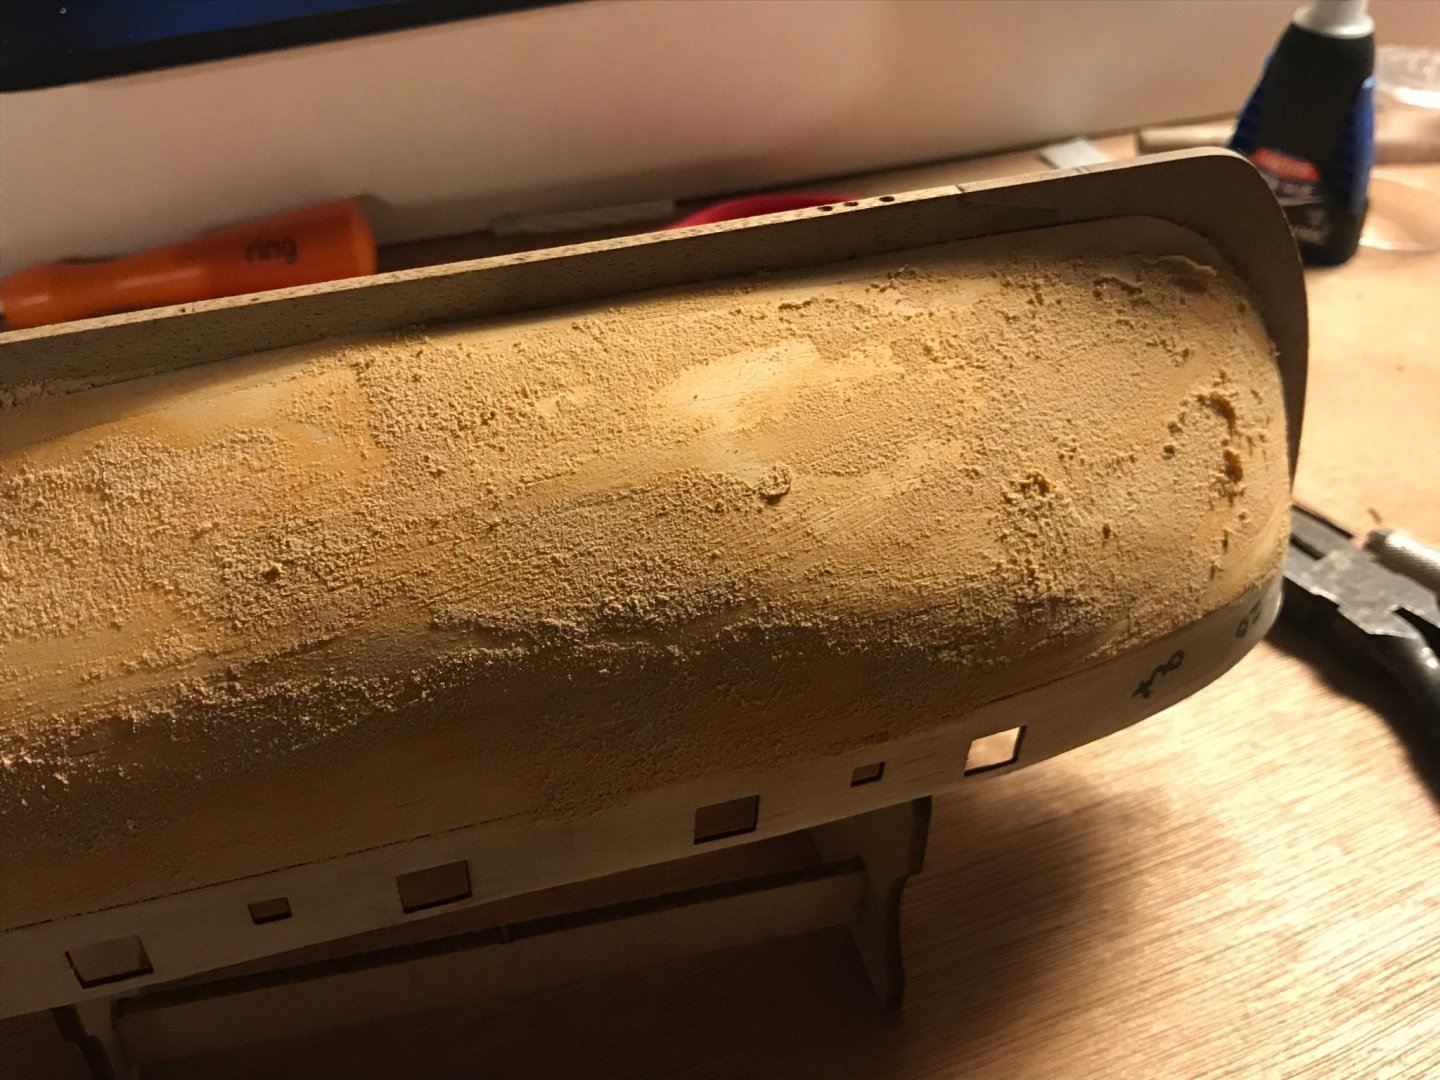
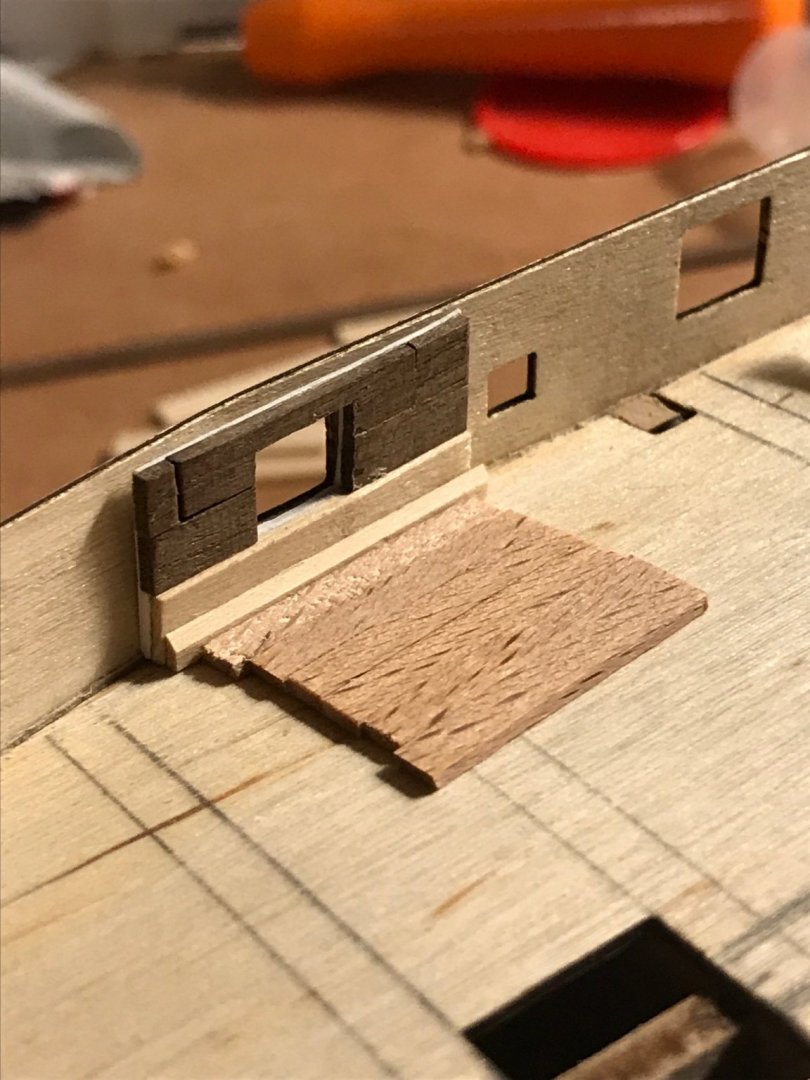
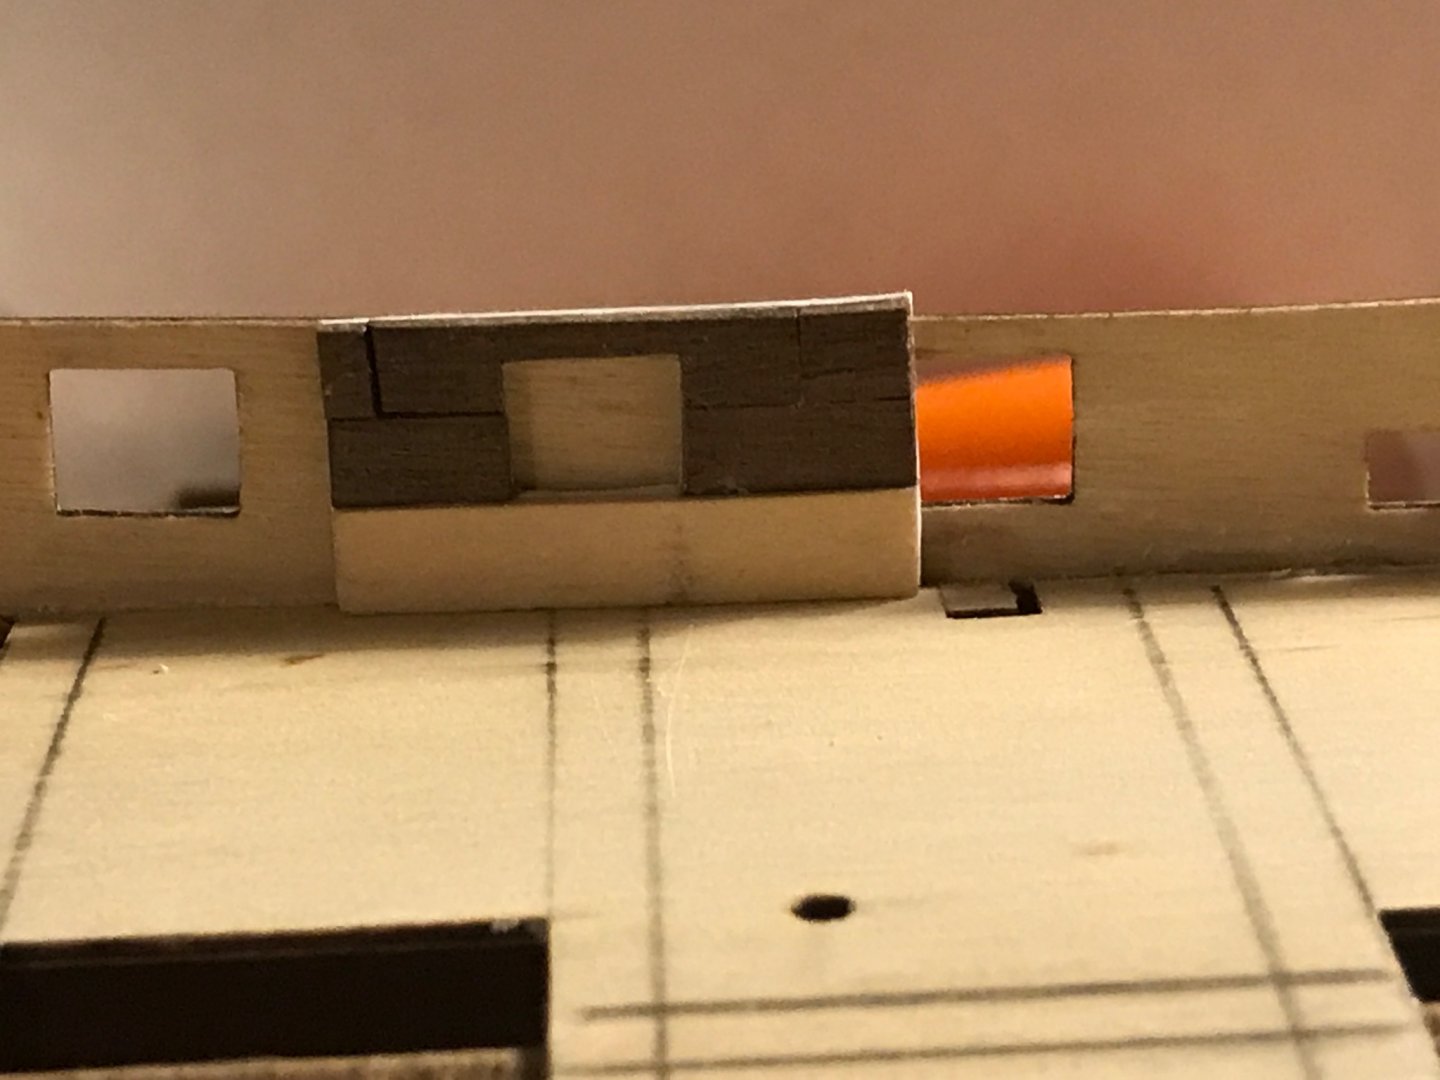
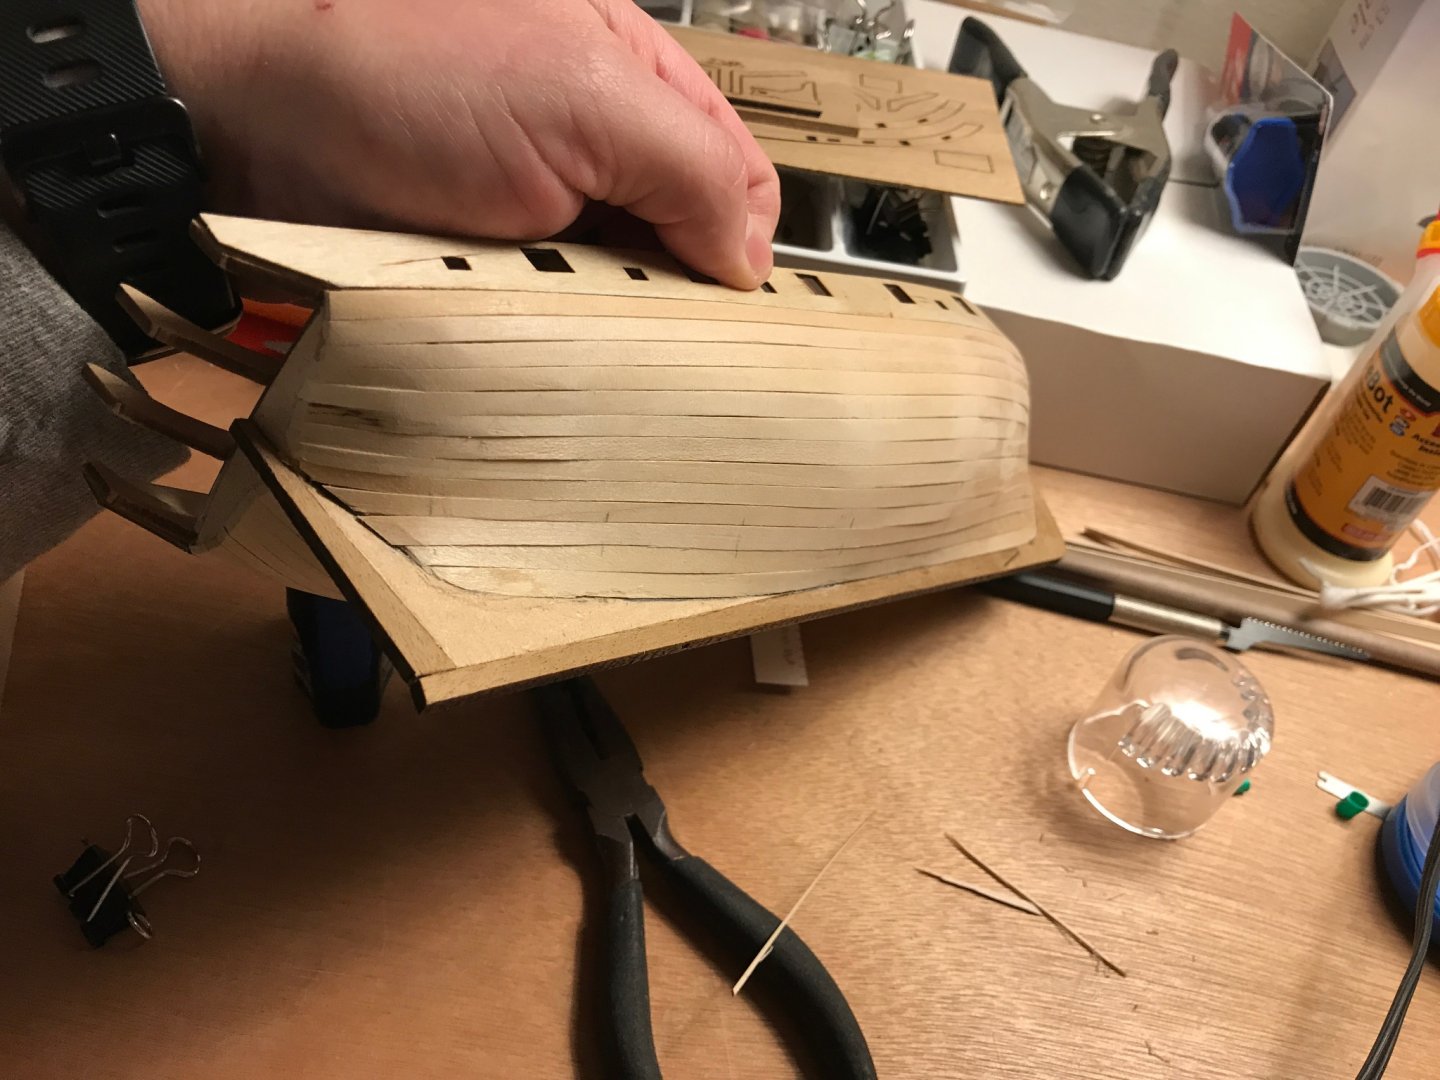
A little update. Some filler and sanding of the first planking. Hopefully this is good enough. I bought a razor saw and cut the stern post off with minimal issue. Made sanding SO much easier. I don’t know if the Elmers filler is like this too, but this Minwax stuff is a mess to use. While I was waiting for filler to dry I did some sorting of the deck planking. It has quite a bit of graining that I am not sure I like. I just ran a wet finger over top to help bring out the color and grain and sorted them so I don’t have any random plank colors. I don’t know if this is a typical trick, but it is something that I picked up years ago building model houses for a friends train layout. You can see how some of the planks are darker and some have a completely different grain pattern. None of it is really that good looking to be honest. After reading some more on other cutter builds, I started to mock up mine. I noticed that there is not a consist line through the gun ports. It really makes me twitch. The plans are the same way. All the other cutter pictures I can find have a consistent thickness on the bulwark planks. (Distance between deck and gun port opening). I also wanted to make sure my modified cannons would line up well. I plan to move all of the gun ports and sweep ports to be parallel with the deck using the pattern I made. The bottom plank has two layers of card stock glued behind it to make it sit proud of the other bulwark planks. This will all be painted red, so I didn’t care that it was different wood. honestly, the first hull planking wood would make better deck planking than the stuff I am supposed to use. If anyone has a suggestion on where to buy better wood, I am all ears! The kit cannons are way to small to be 4 pounders. I drew my own up in cad based on some info from the web and 3D printed a prototype. The one in the picture doesn’t have the end on it yet. I think I will still use the kit carriages, but they might be a bit small.


- 139 replies
-
- 4
-
-
- Lady Nelson
- Amati
- (and 2 more)
-
I haven’t had a chance to get back to it yet. I need to do some more research on the decking and inner bulwark pieces. I have a mental idea, but I need to plan it out on paper.
-
My plan is 1/4”. Just like coopering a barrel... I hope!
-
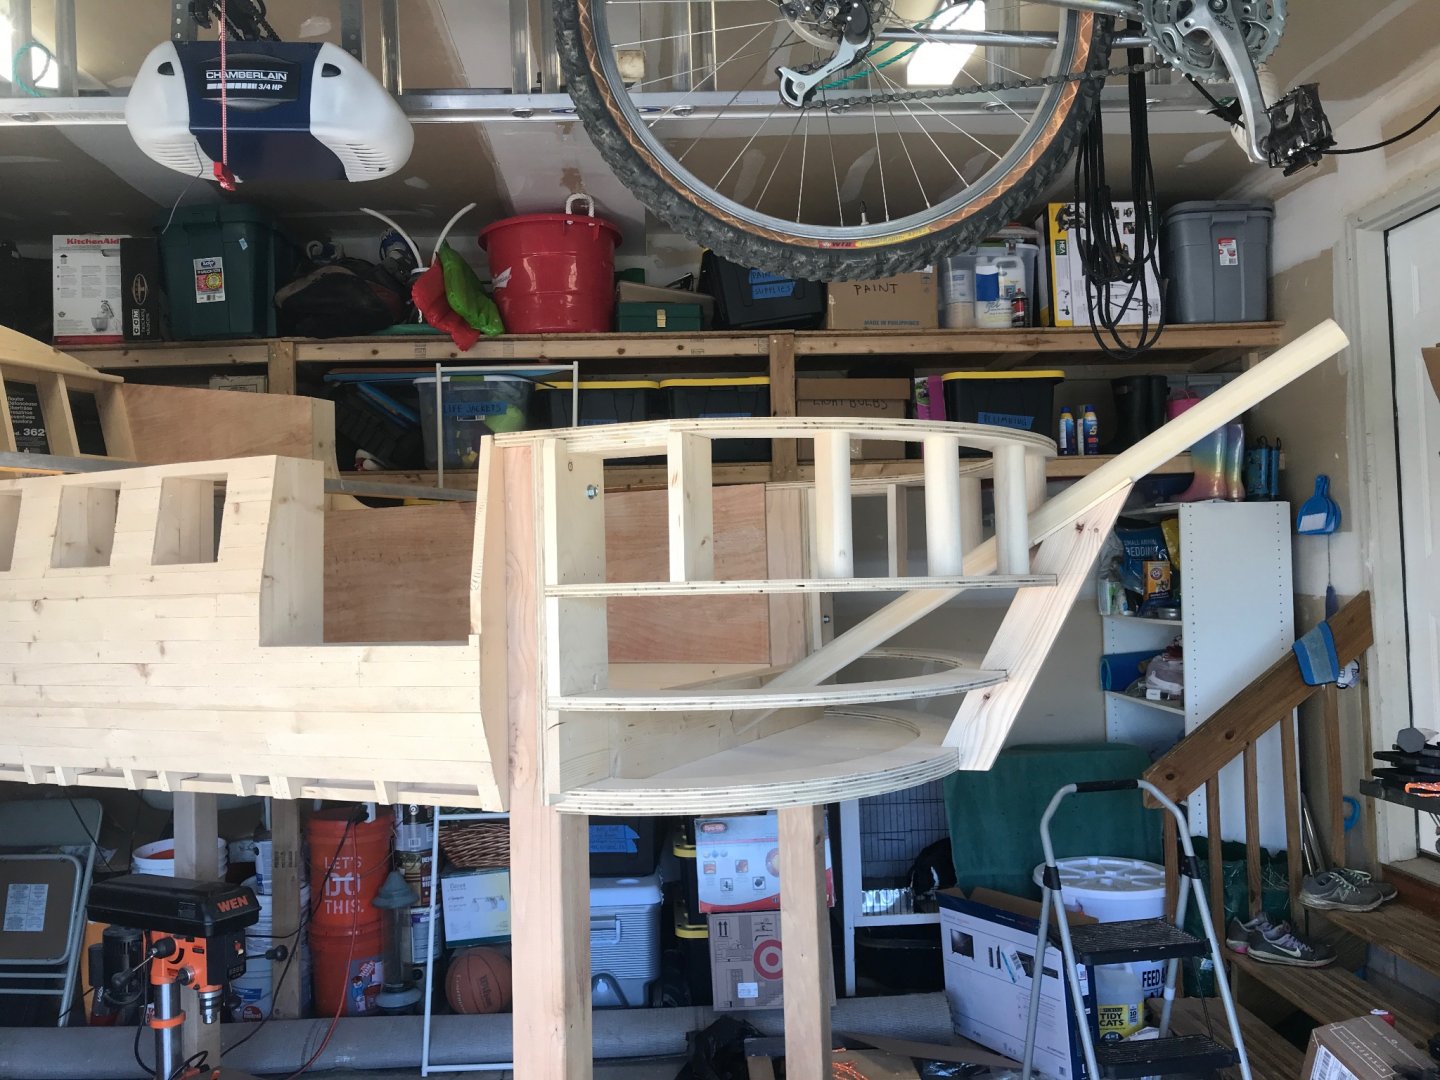
It all breaks down into easily transportable pieces that will fit through a standard door frame!
-
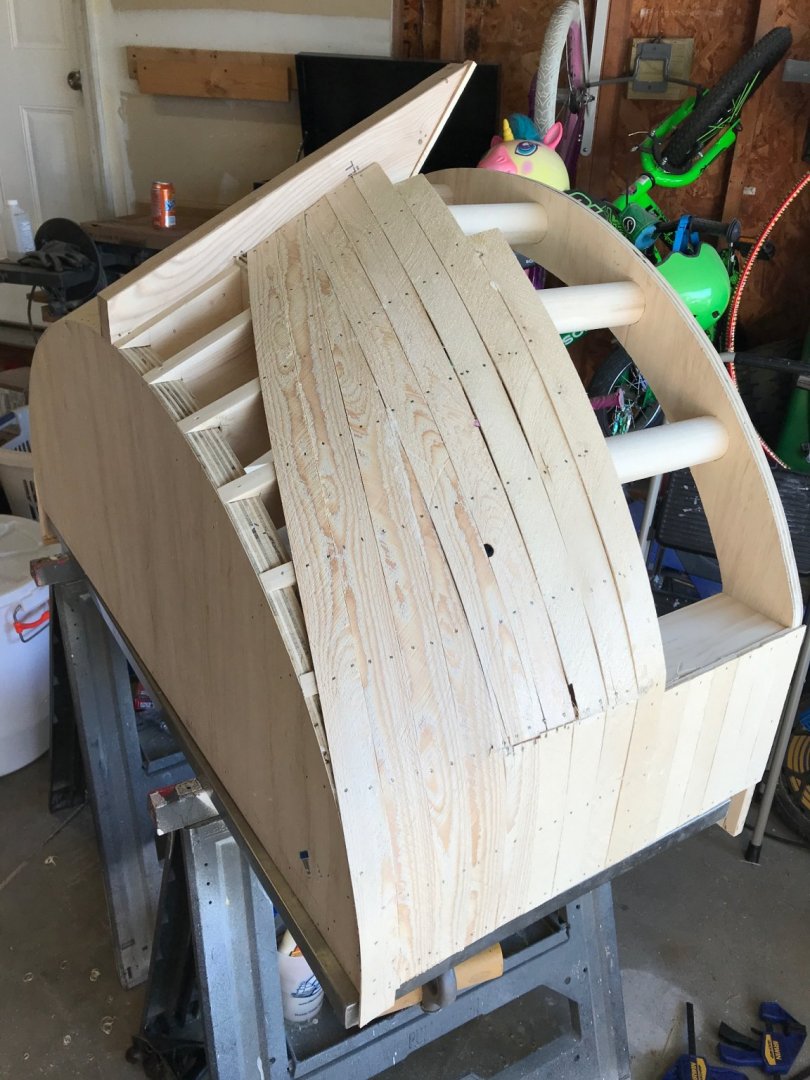
Quality disclaimer: I did what I did to get this thing done. No edge bending but it turned out ok I think. Pay no attention to the bunny.... The internal planking will be another story...


-
I used a gel CA for the planks and everything else is PVA. I imagine I will use a combination on the decking and second planking. Probably all PVA for the first planking runs so I have more time to adjust.
-
Thank you Theo! I am very nervous to sand much more for fear of sanding through. A little filler is far easier to deal with. But now I am concerned about my potential oil based filler. Any others to weigh in? I plan to use acrylic paints when the time comes. Thank you all!
-
Hopefully what I have works!
-
I was afraid you guys might say that. I had bought filler ahead of time expecting I would have too. Hopefully this is ok? I haven’t used the 3rd/4th hand yet. I bought it specifically for building this model. It has a nice heavy aluminum base, an ok magnifying lens and a light. There is no way I can tie the little knots without something to help! https://www.amazon.com/dp/B08K31YHYL/ref=cm_sw_r_cp_api_glt_fabc_BS5KYDGHPCTAJN1WGGFH?_encoding=UTF8&psc=1

-
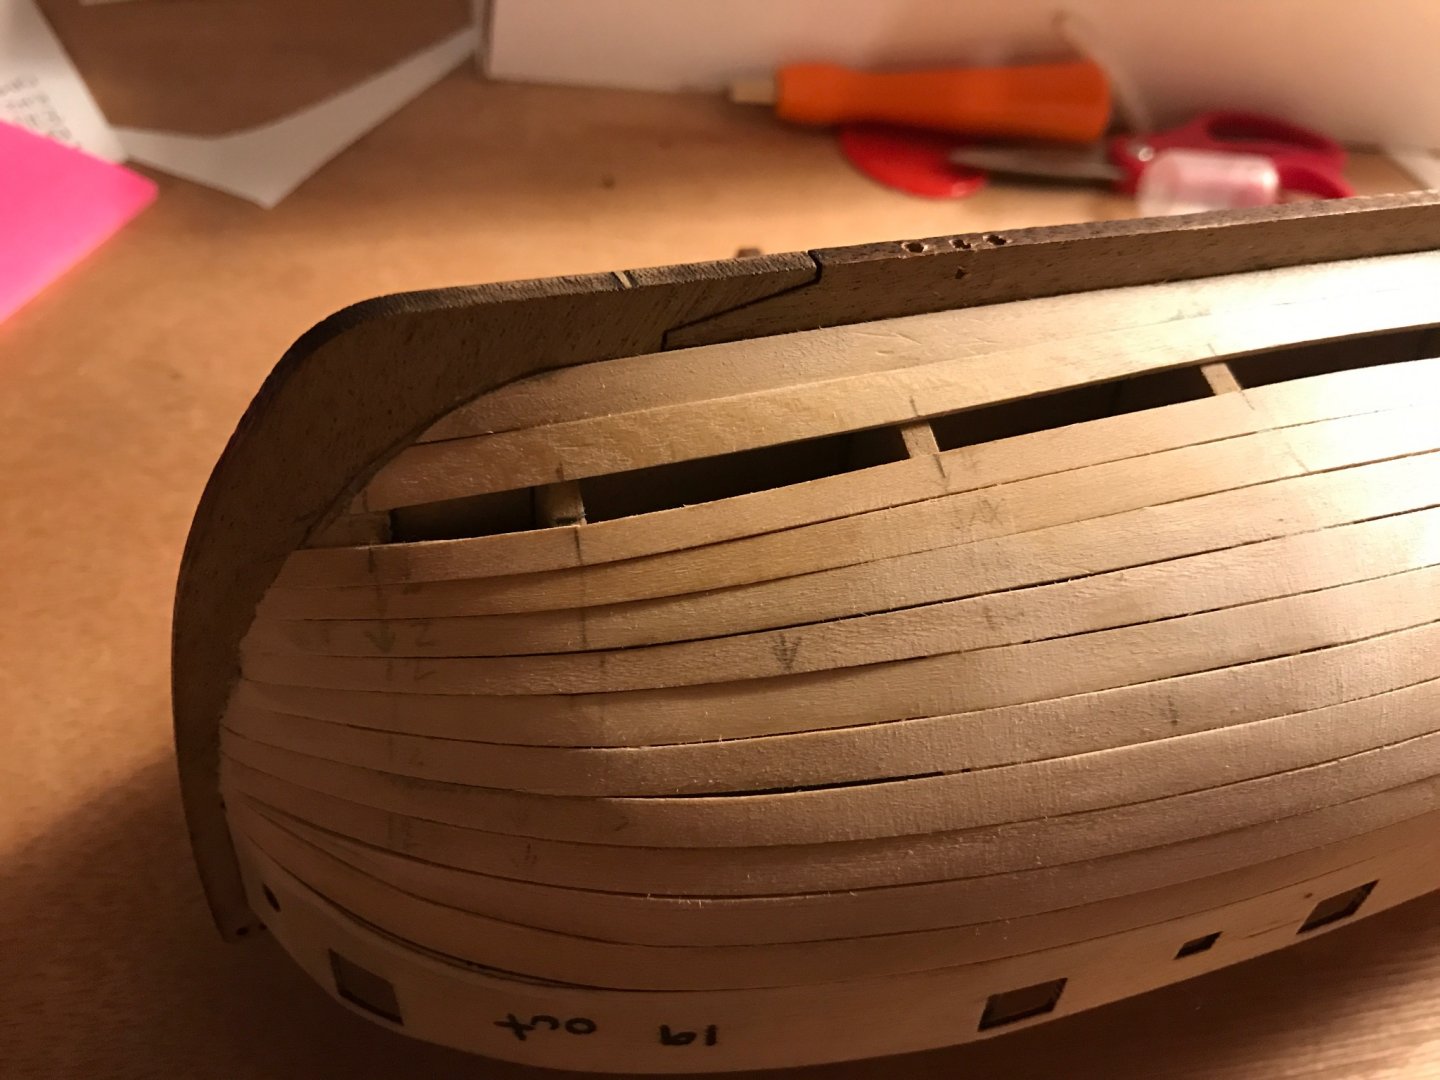
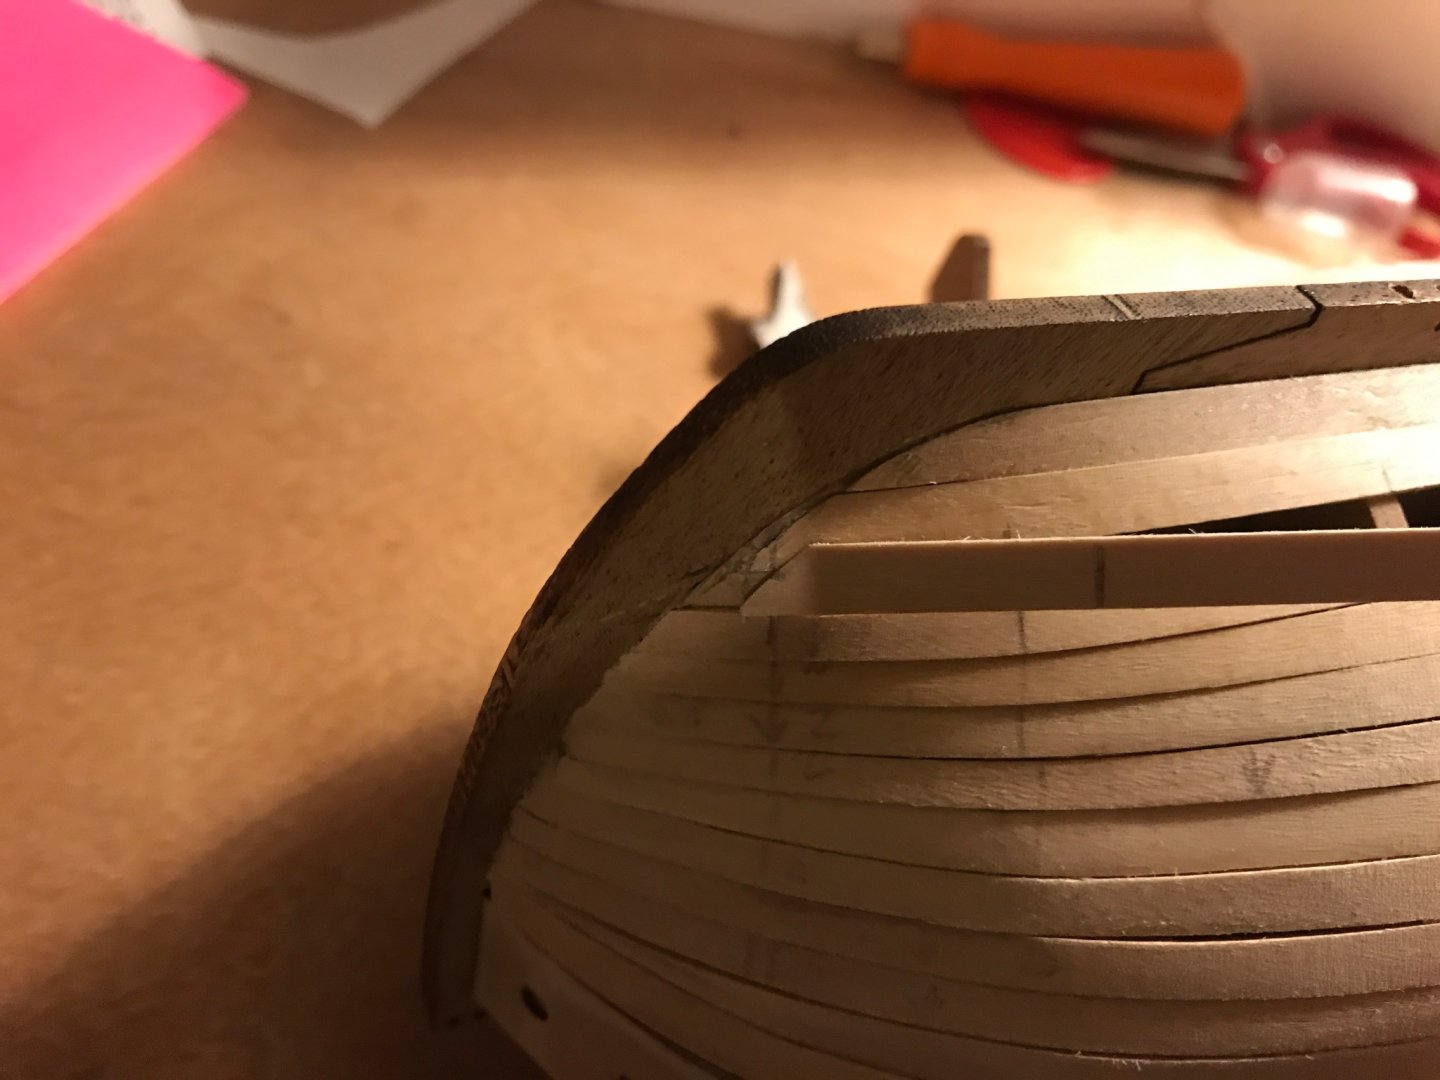
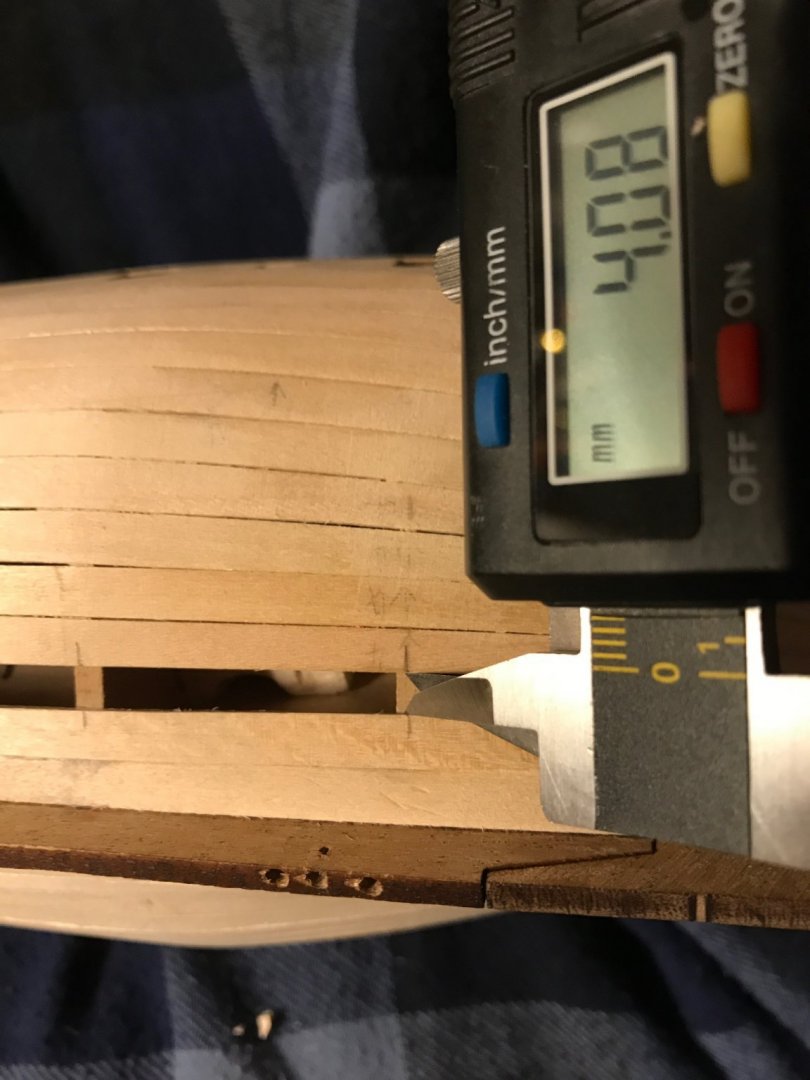
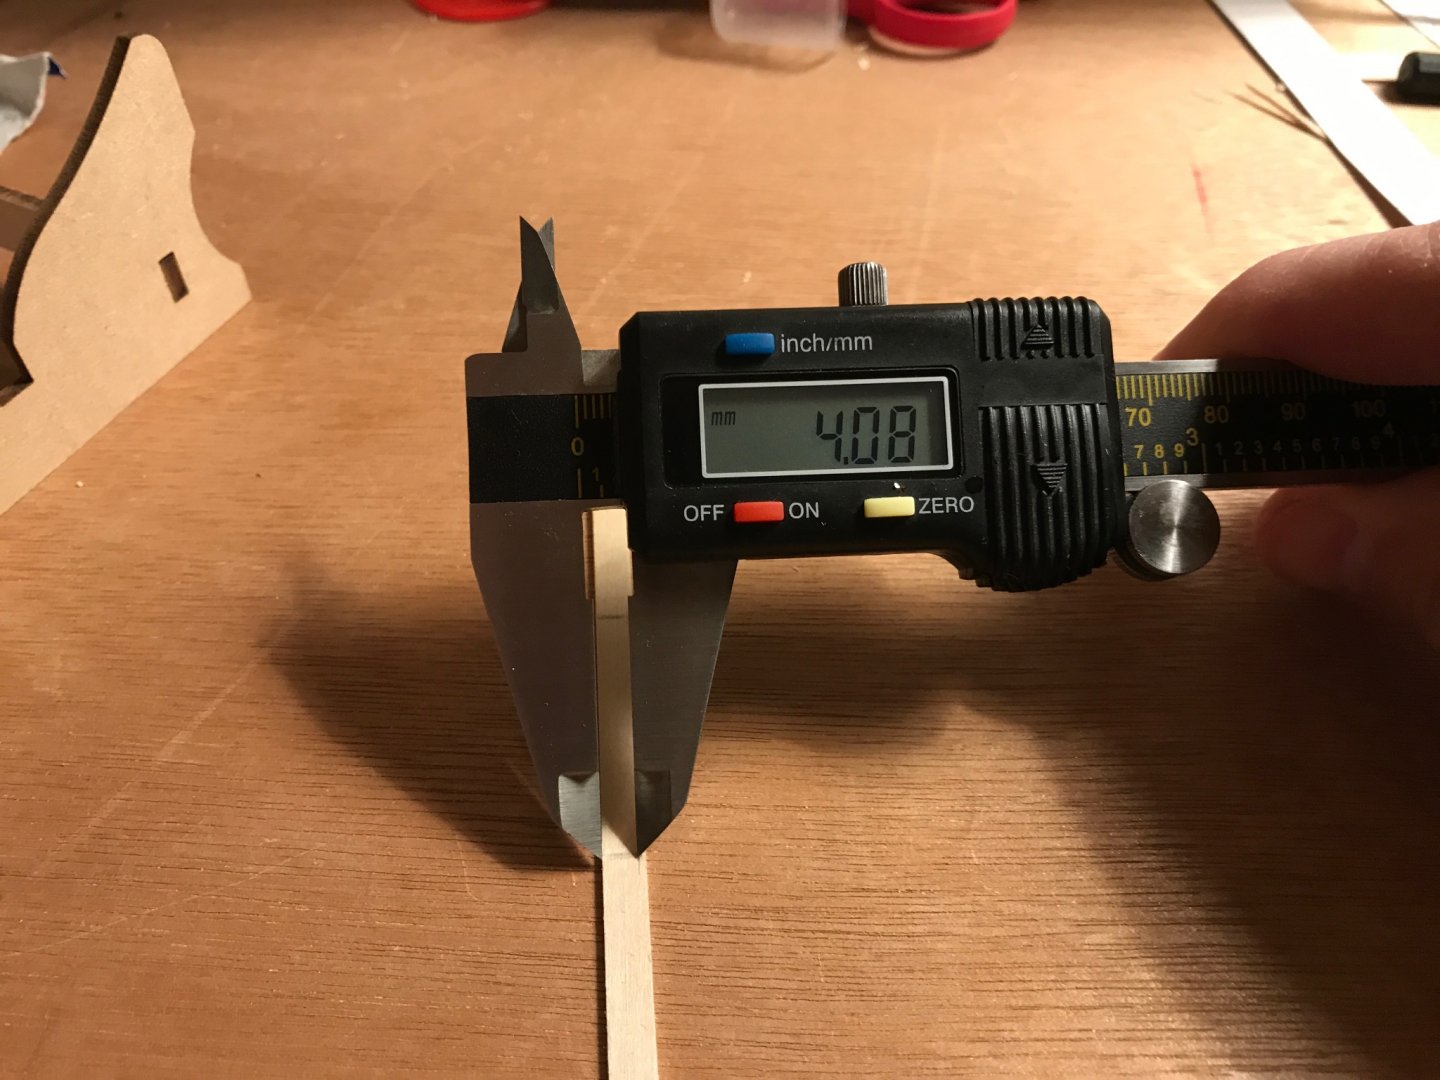
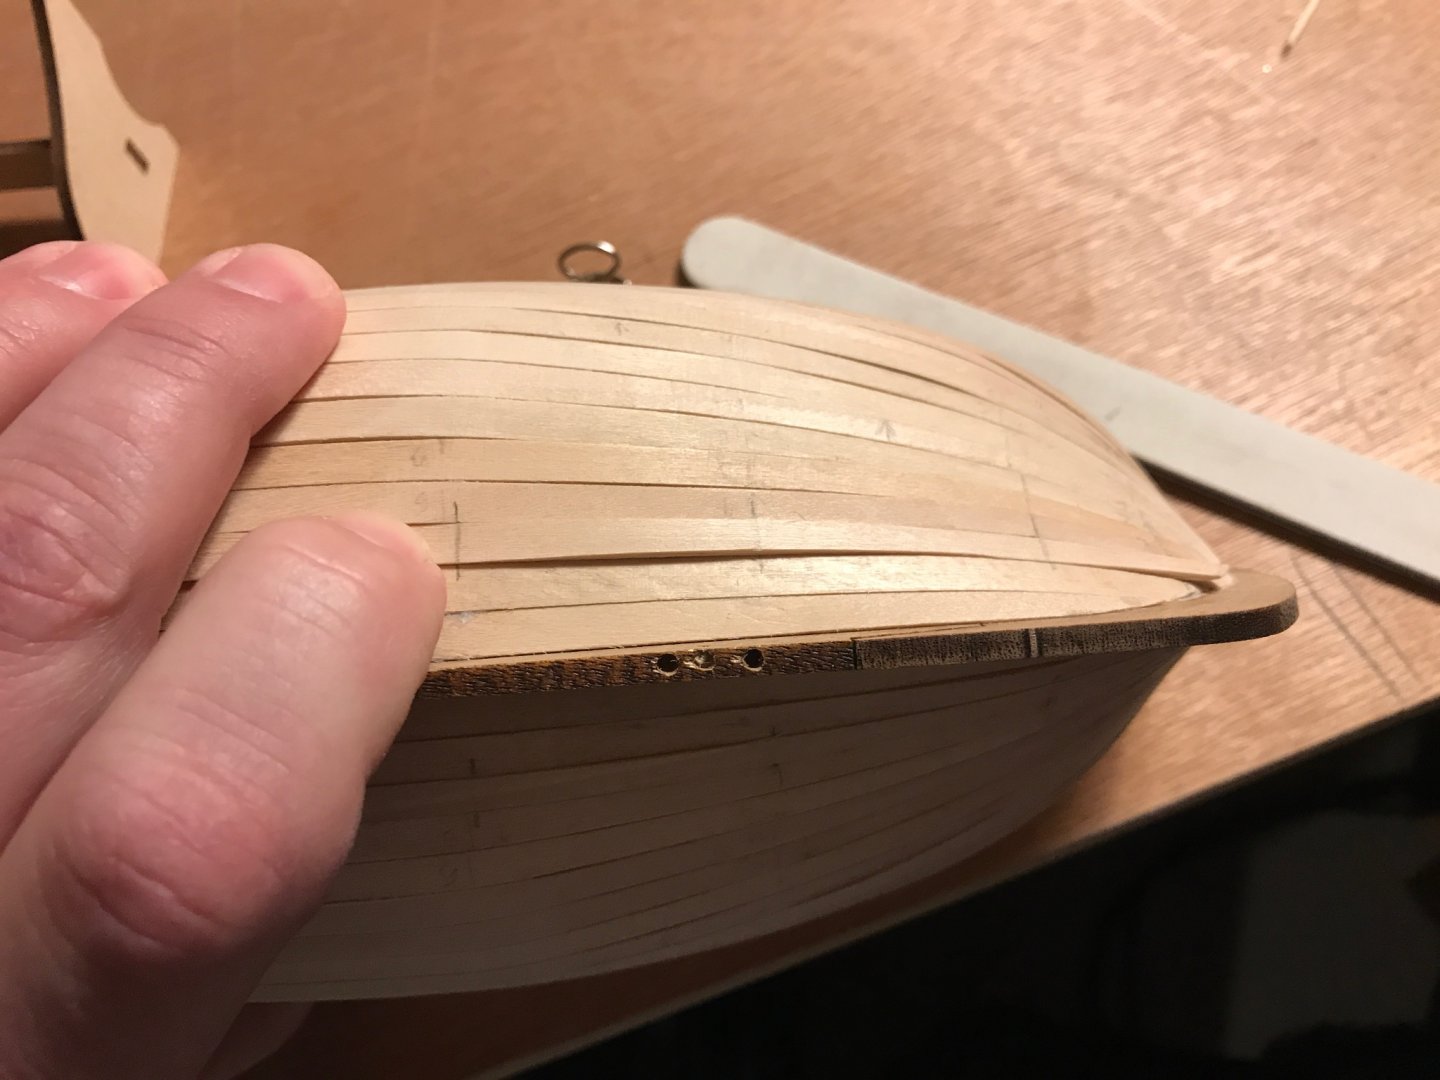
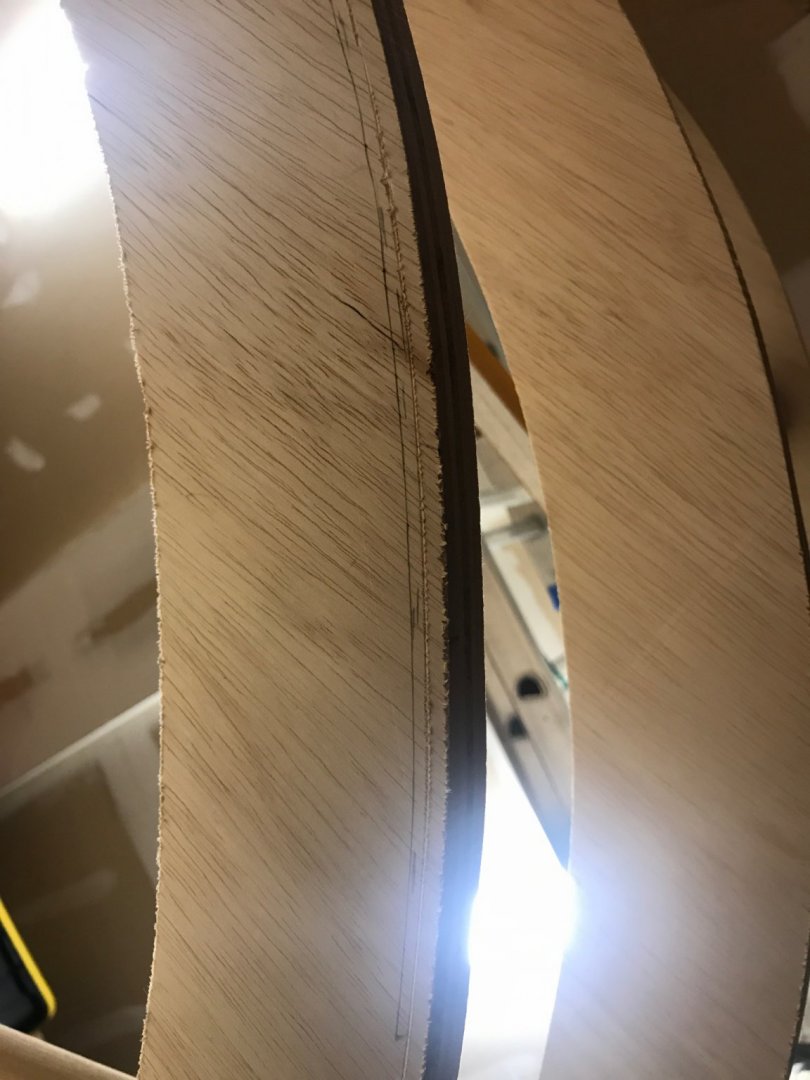
Thank you for the kinda words! I think I want to go deck first then bulwarks and then outside. Not sure if Inside bulwarks Or deck order matters. I think I have seen it both ways. Thank you for the support. Much research I must do! I do have a question for the first planking... Do I need to fill these little gaps or is it good enough?

-
Thank you! Couldn’t have done it without help from folks like you!
- 139 replies
-
- 1
-
-
- Lady Nelson
- Amati
- (and 2 more)
-
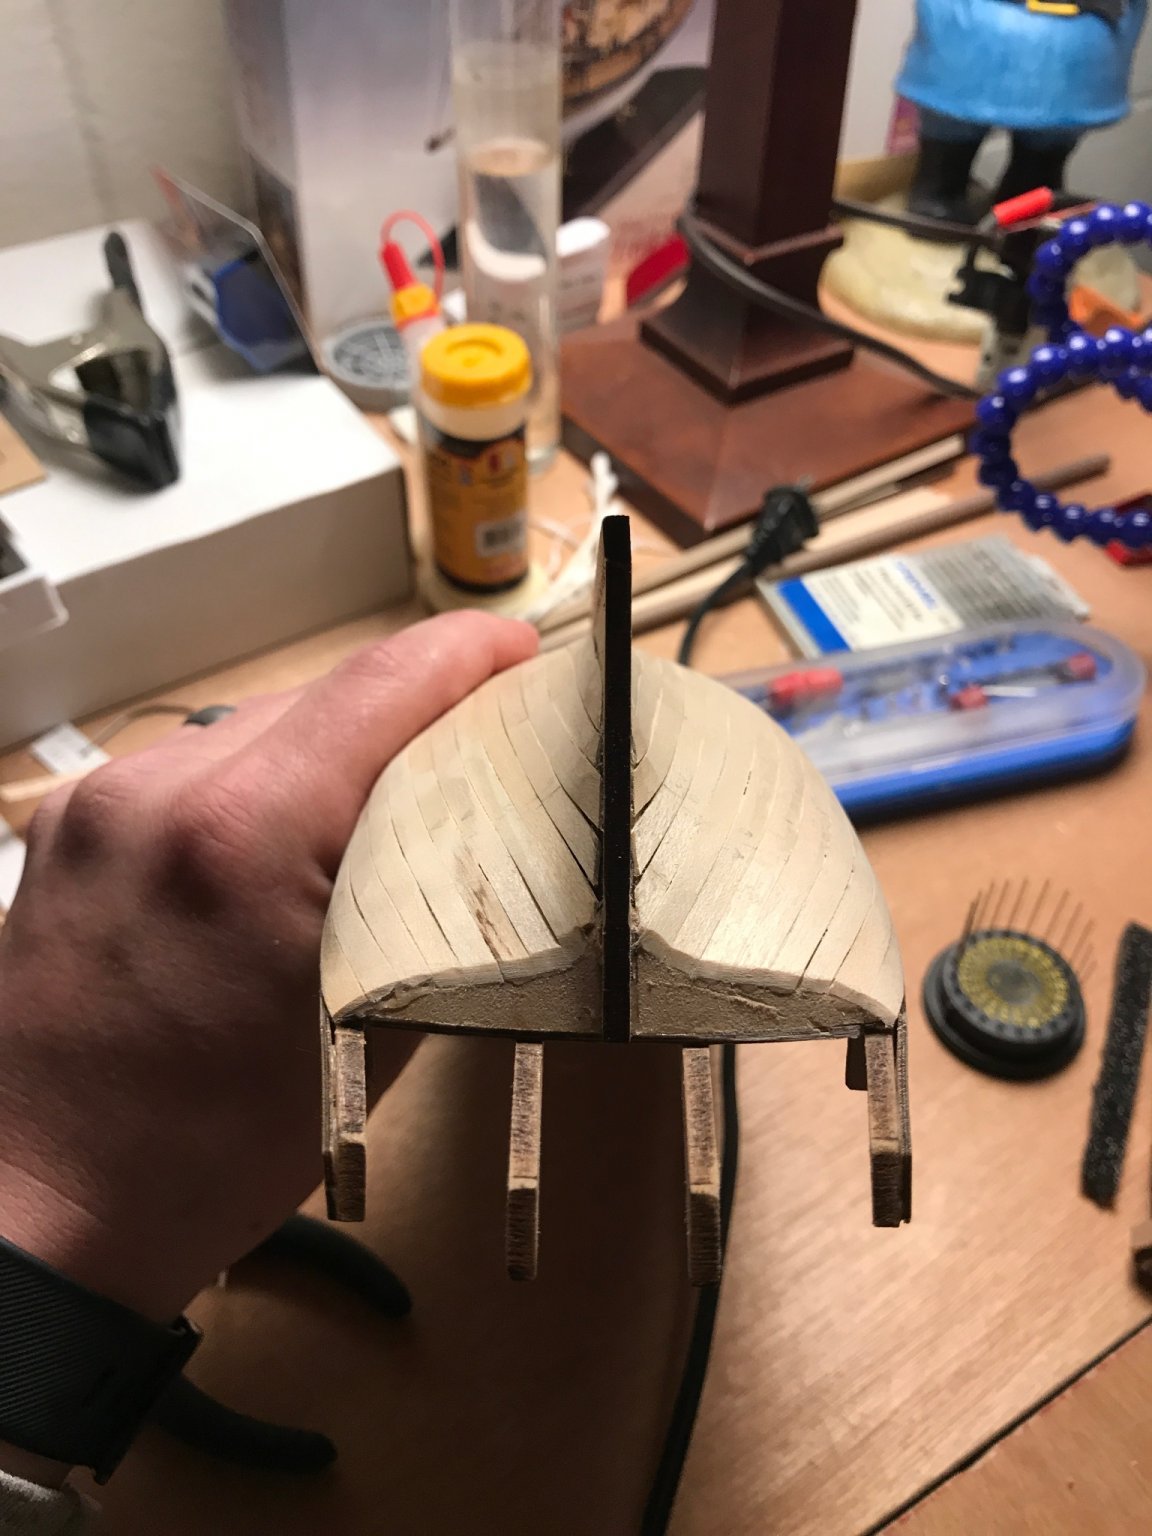
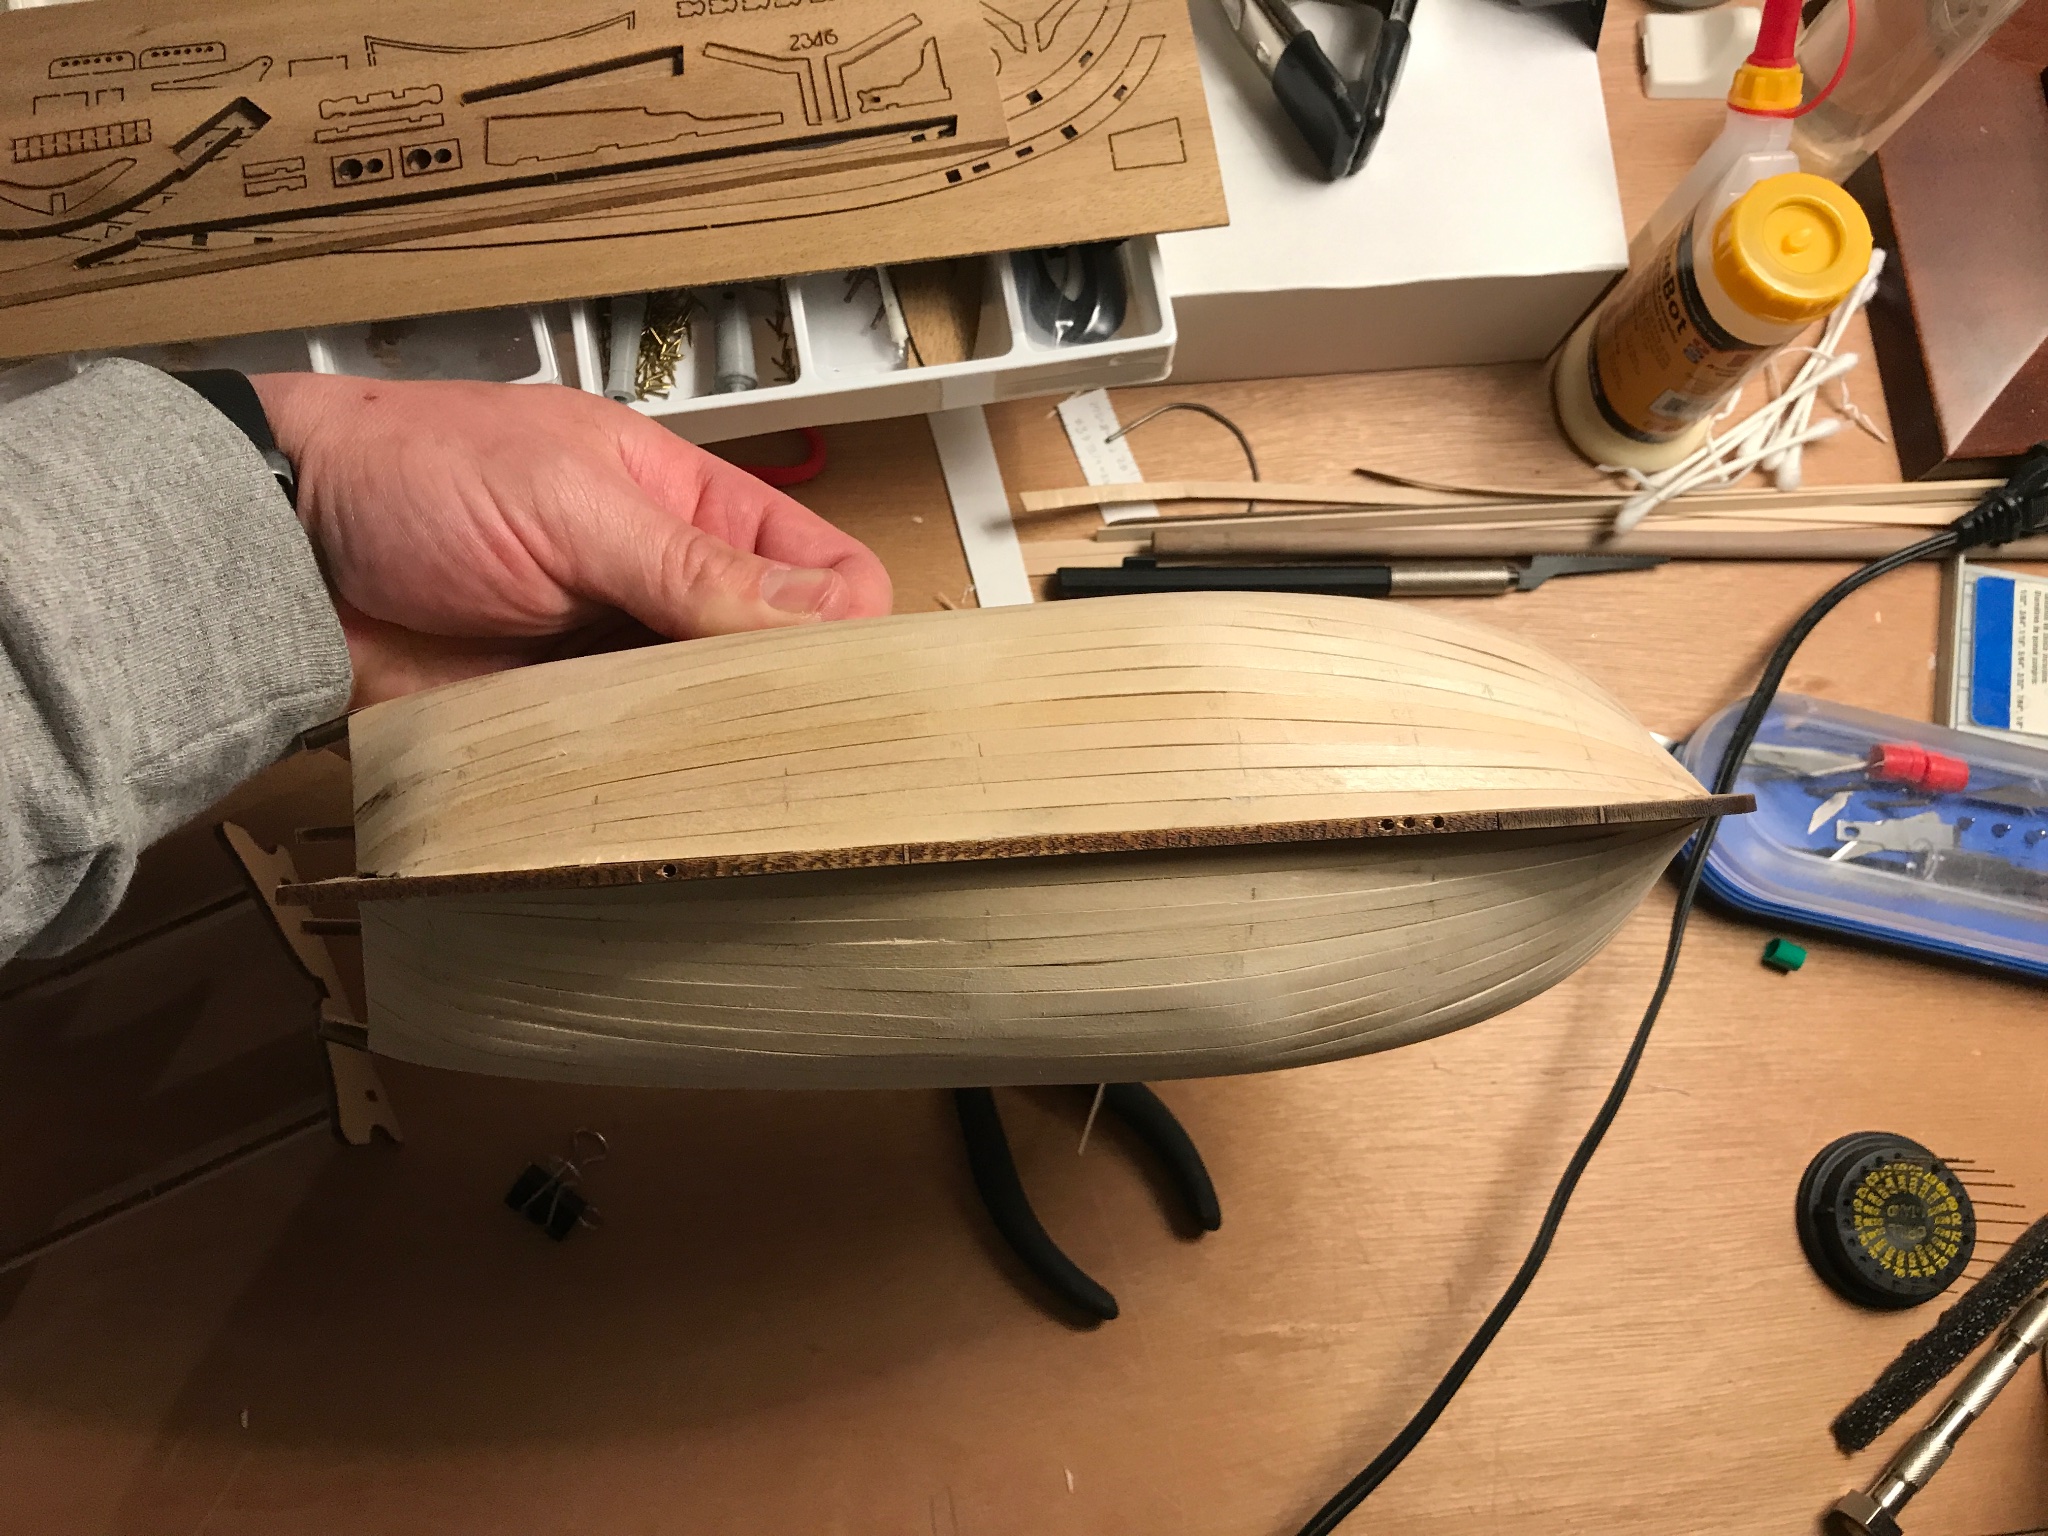
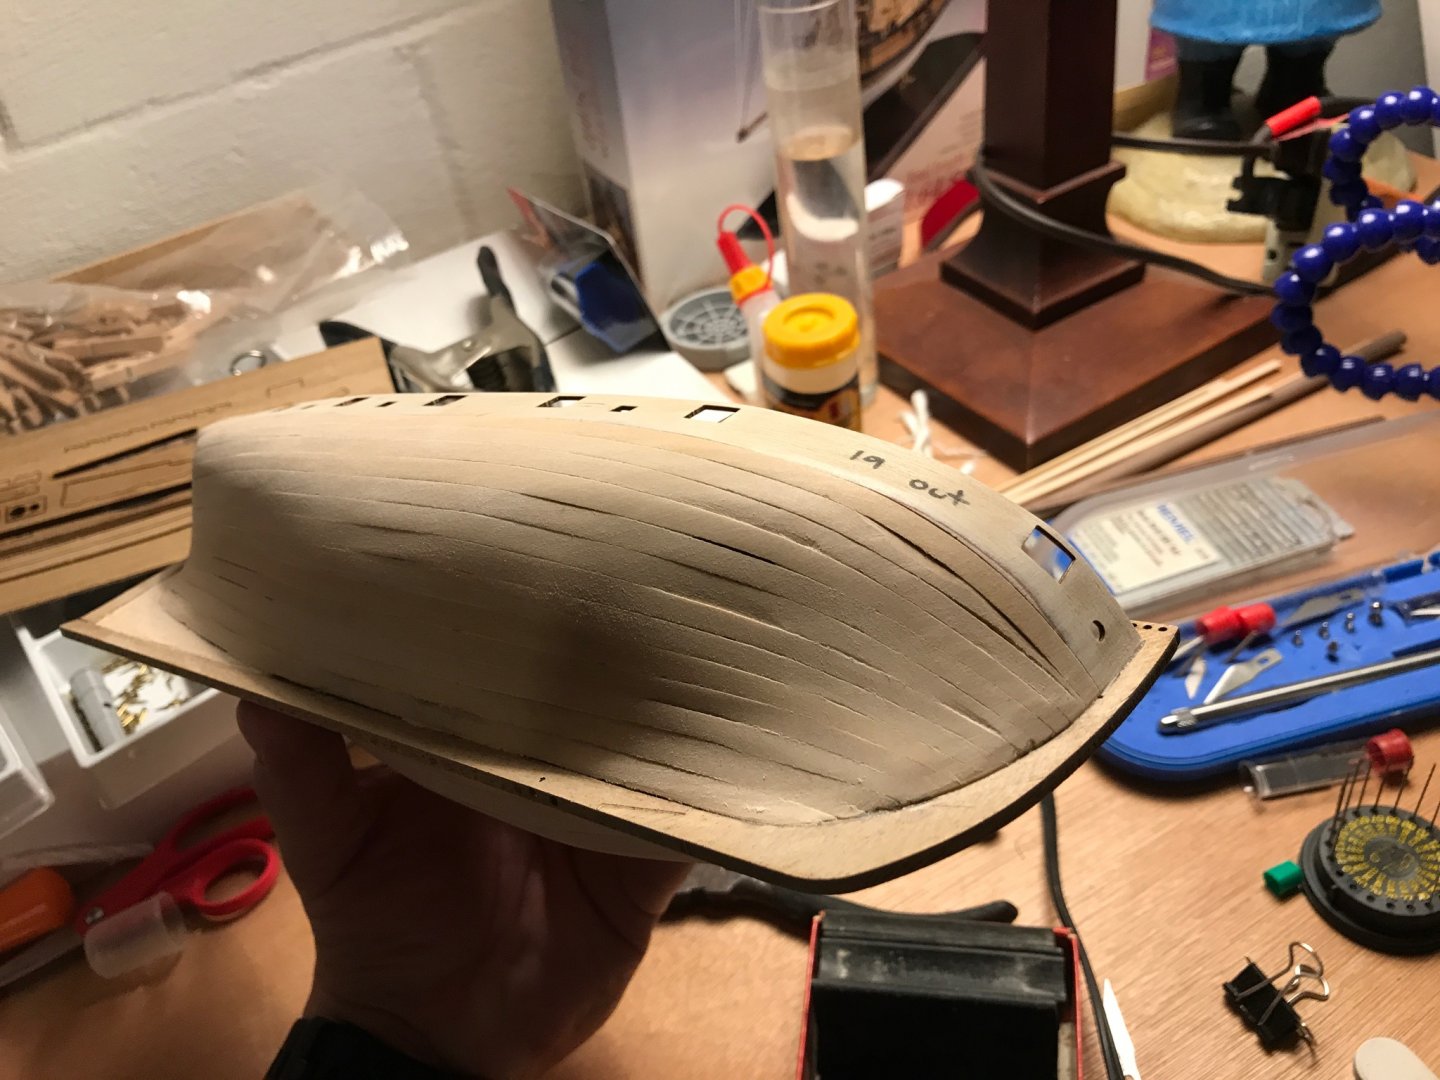
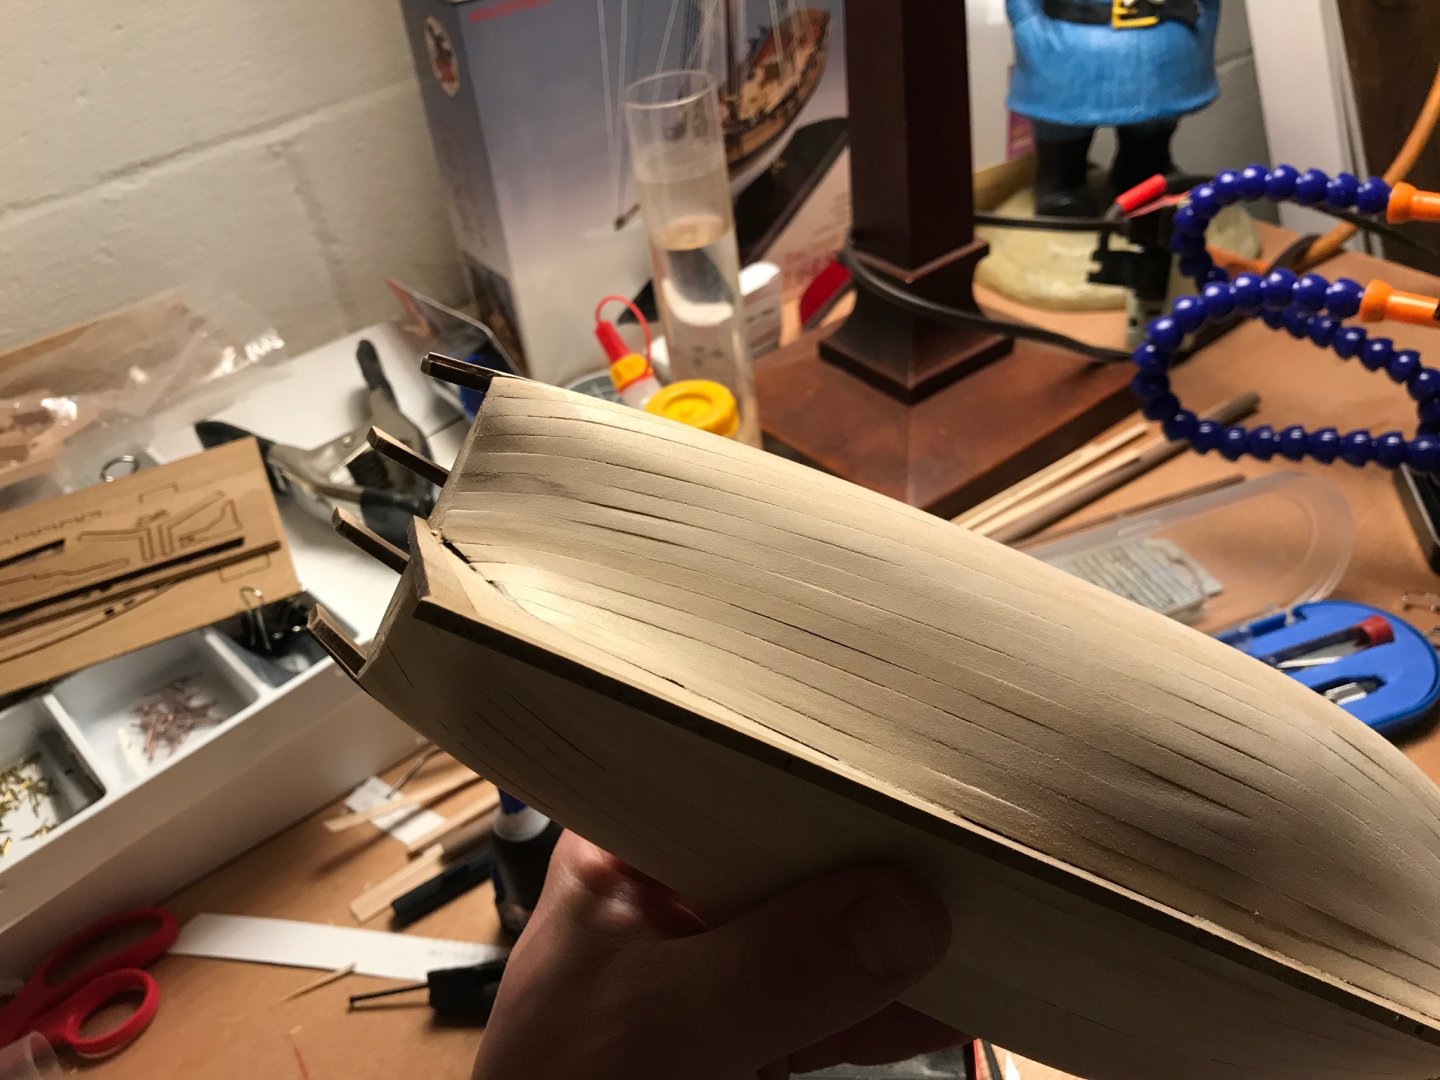
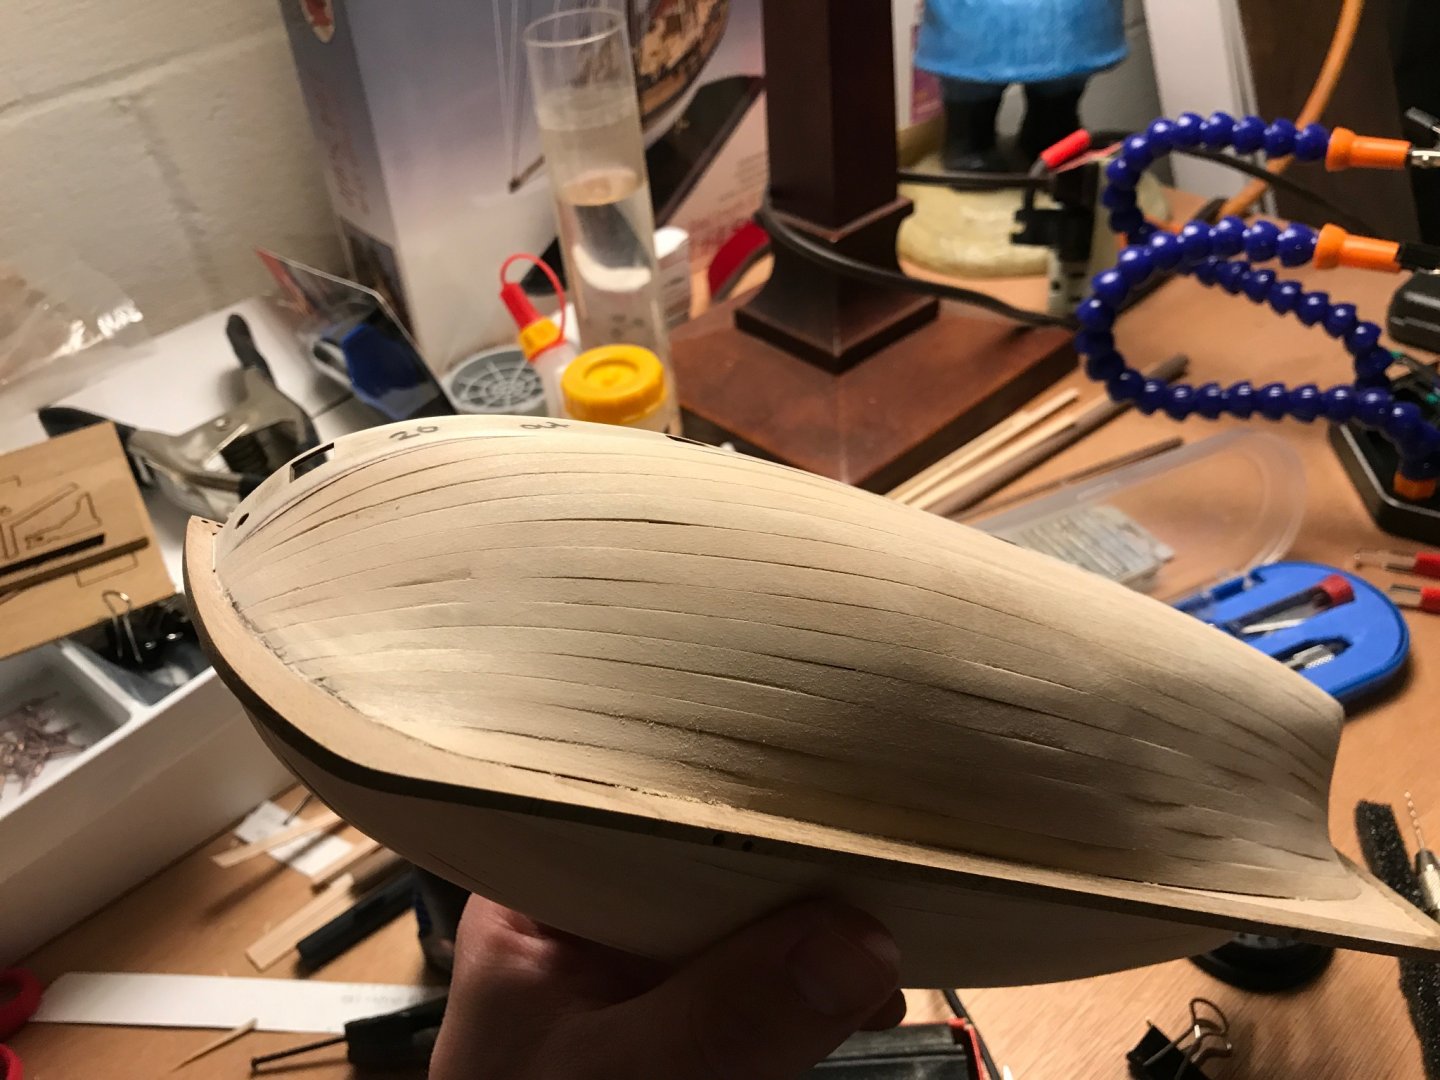
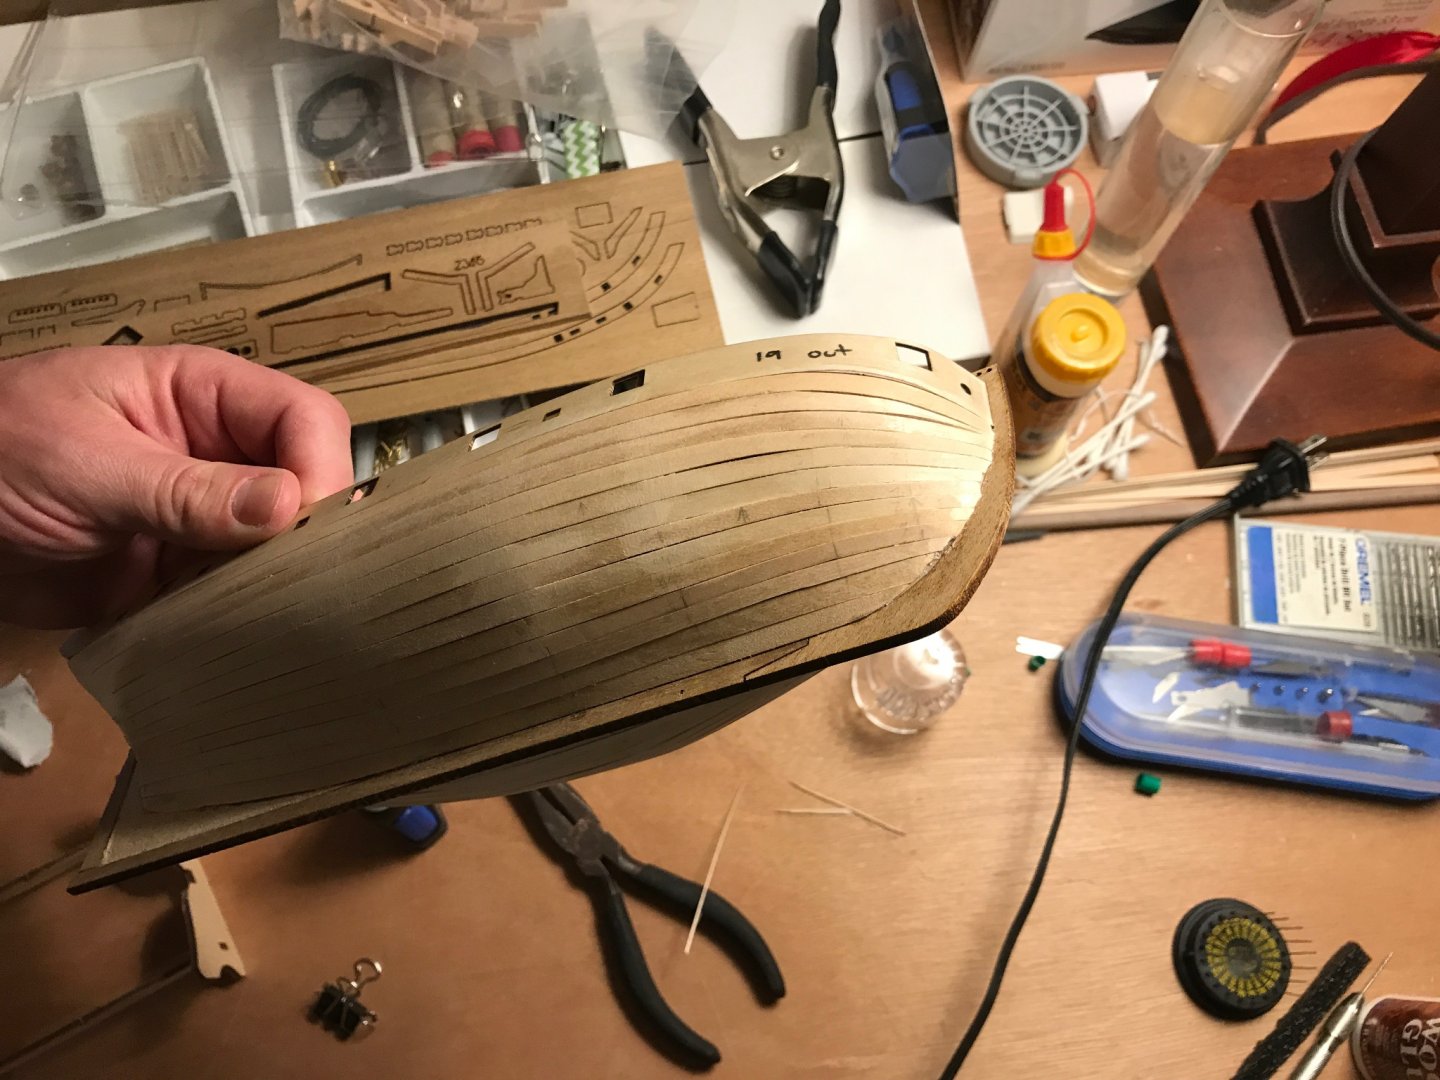
Finally! After 22 hours of work I have the first planking complete. So much learning yet to go, but overall I am pretty happy. I still have some filling and faring and sanding to do before I attempt the second planking, but at least I have made it this far! Some pictures of making the shutter planks and overall... Marking the bulkheads to transfer to the plank. Shaping and marking the bow end. Using calipers to measure and scribe the trim lines. Fine tuning for a slip fit. And done! Thank you to all that have helped me get to this point!


- 139 replies
-
- 1
-
-
- Lady Nelson
- Amati
- (and 2 more)
-
Maybe if you ask nicely she might let you have one. 😉
-
Thank you! Quite honestly, I would have never attempted this if it hadn’t been for MSW. So much talent here. I am just trying to apply some of the techniques at a ridiculous scale!
-
I think my wife might disapprove of the adoption. Lol. Thank you for the kind words! My son has been watching its construction. He recently announced that he is scared of heights and it looks too far off the ground! I have watched him jump off the top of our playset before, so I think he is just nervous of something new?
-
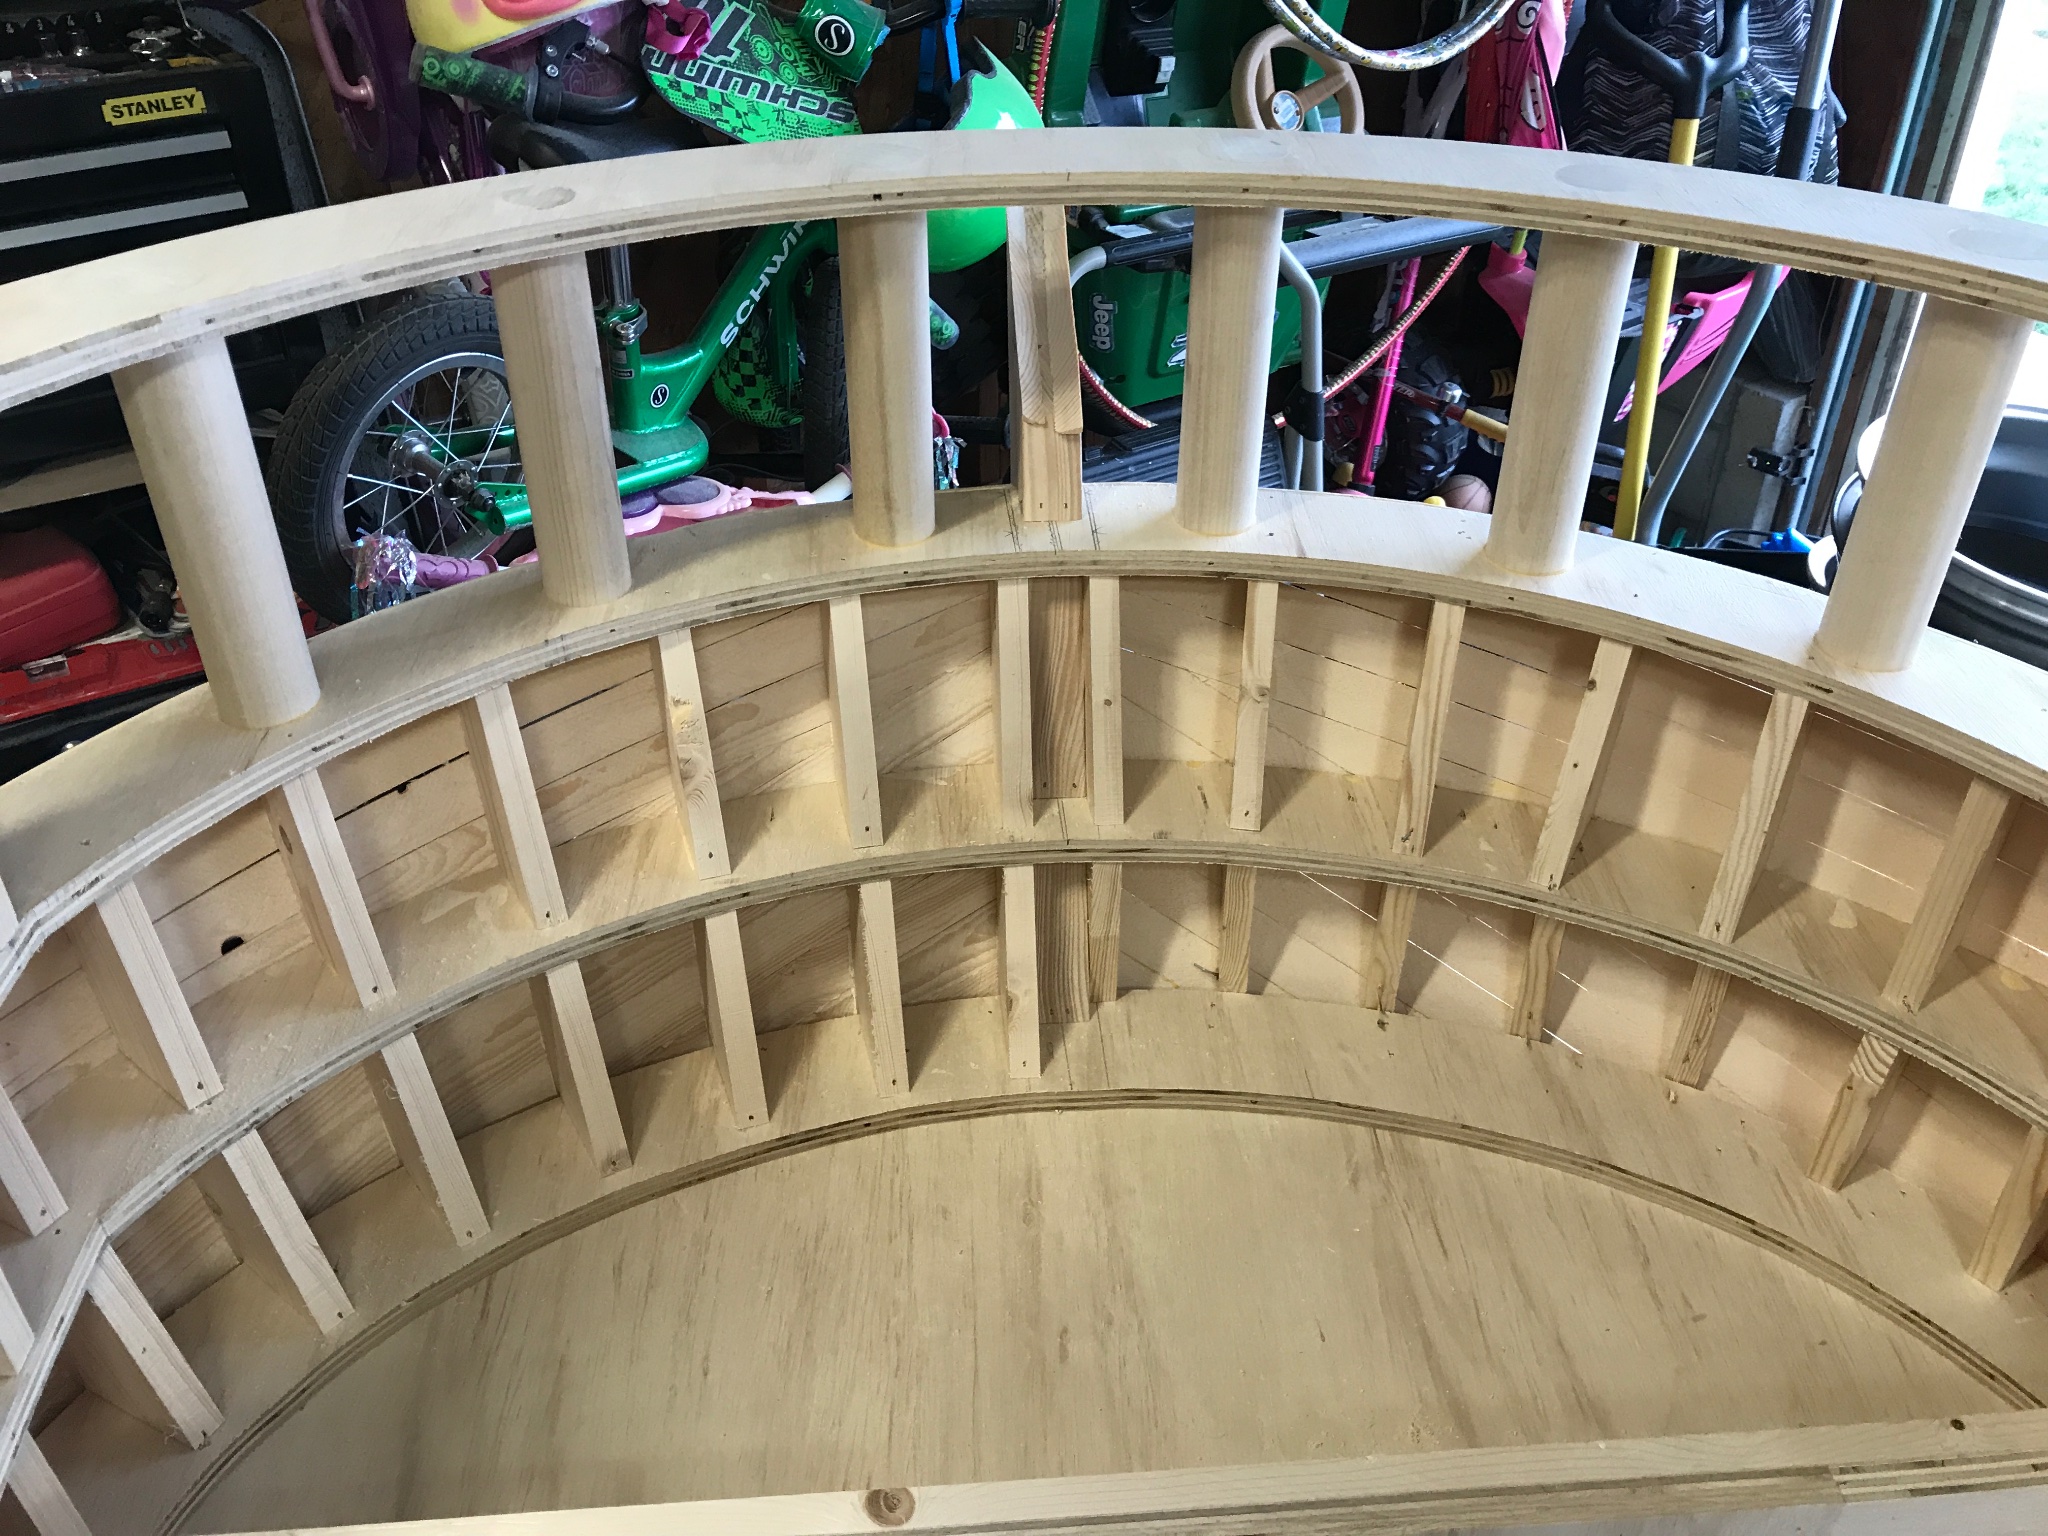
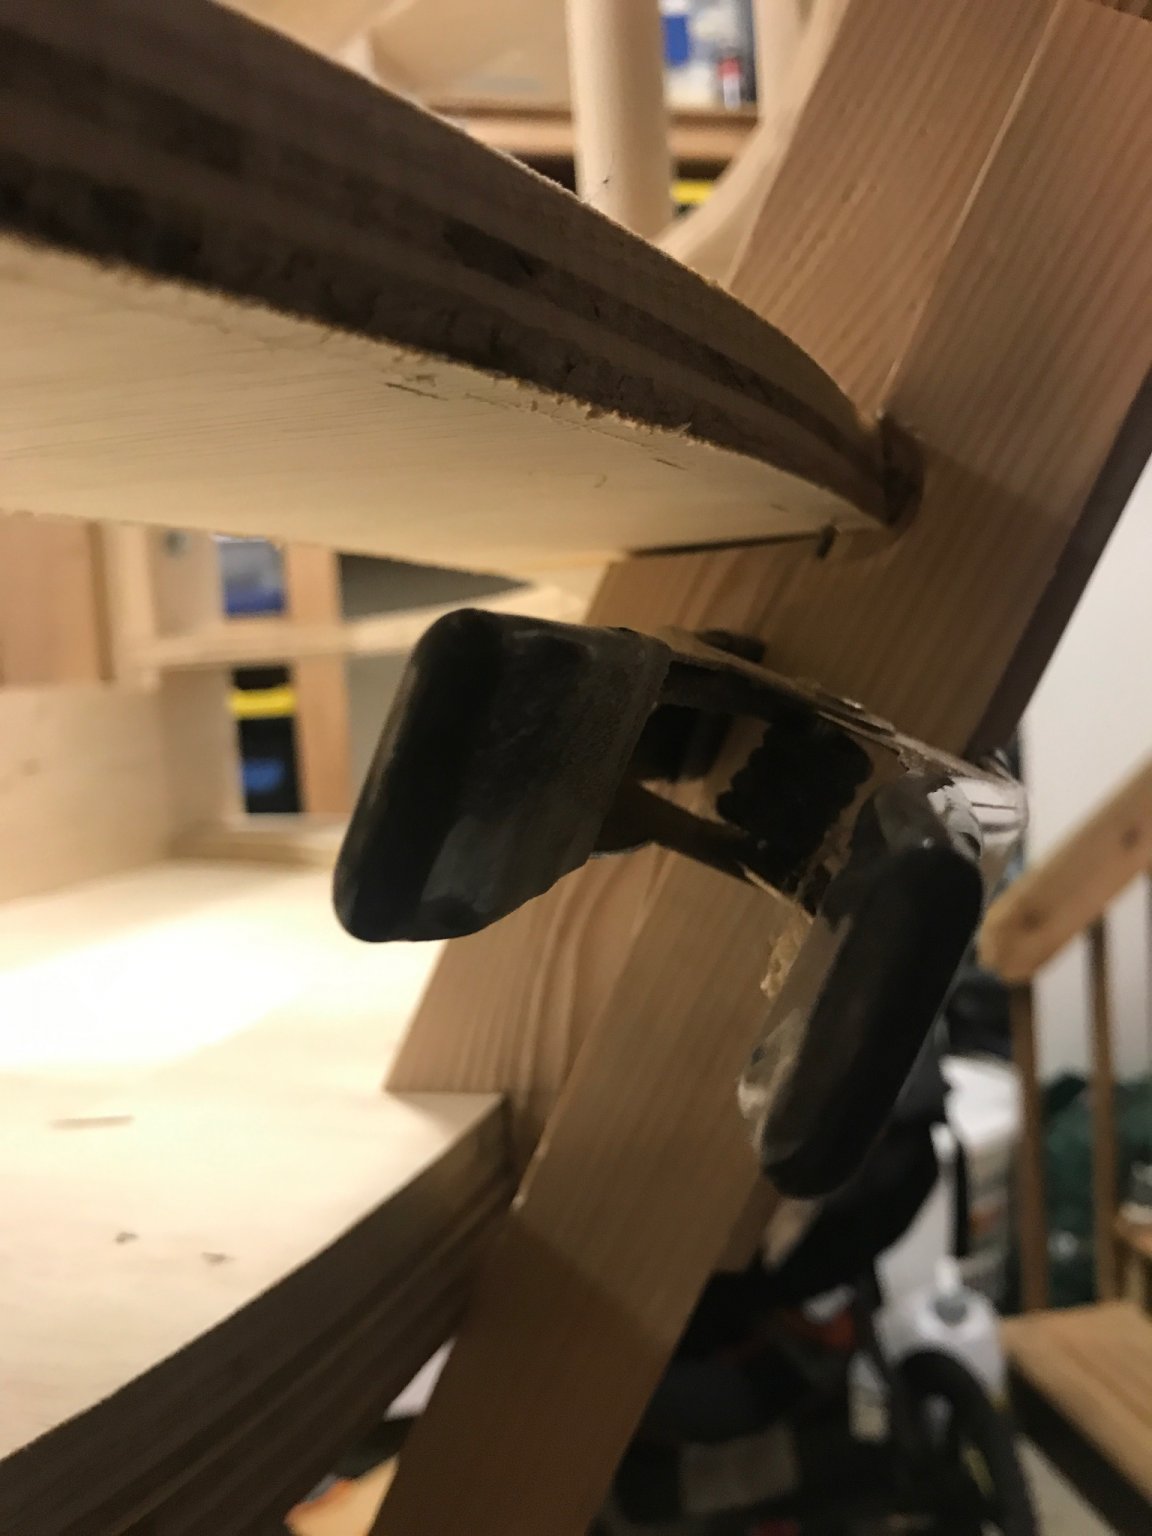
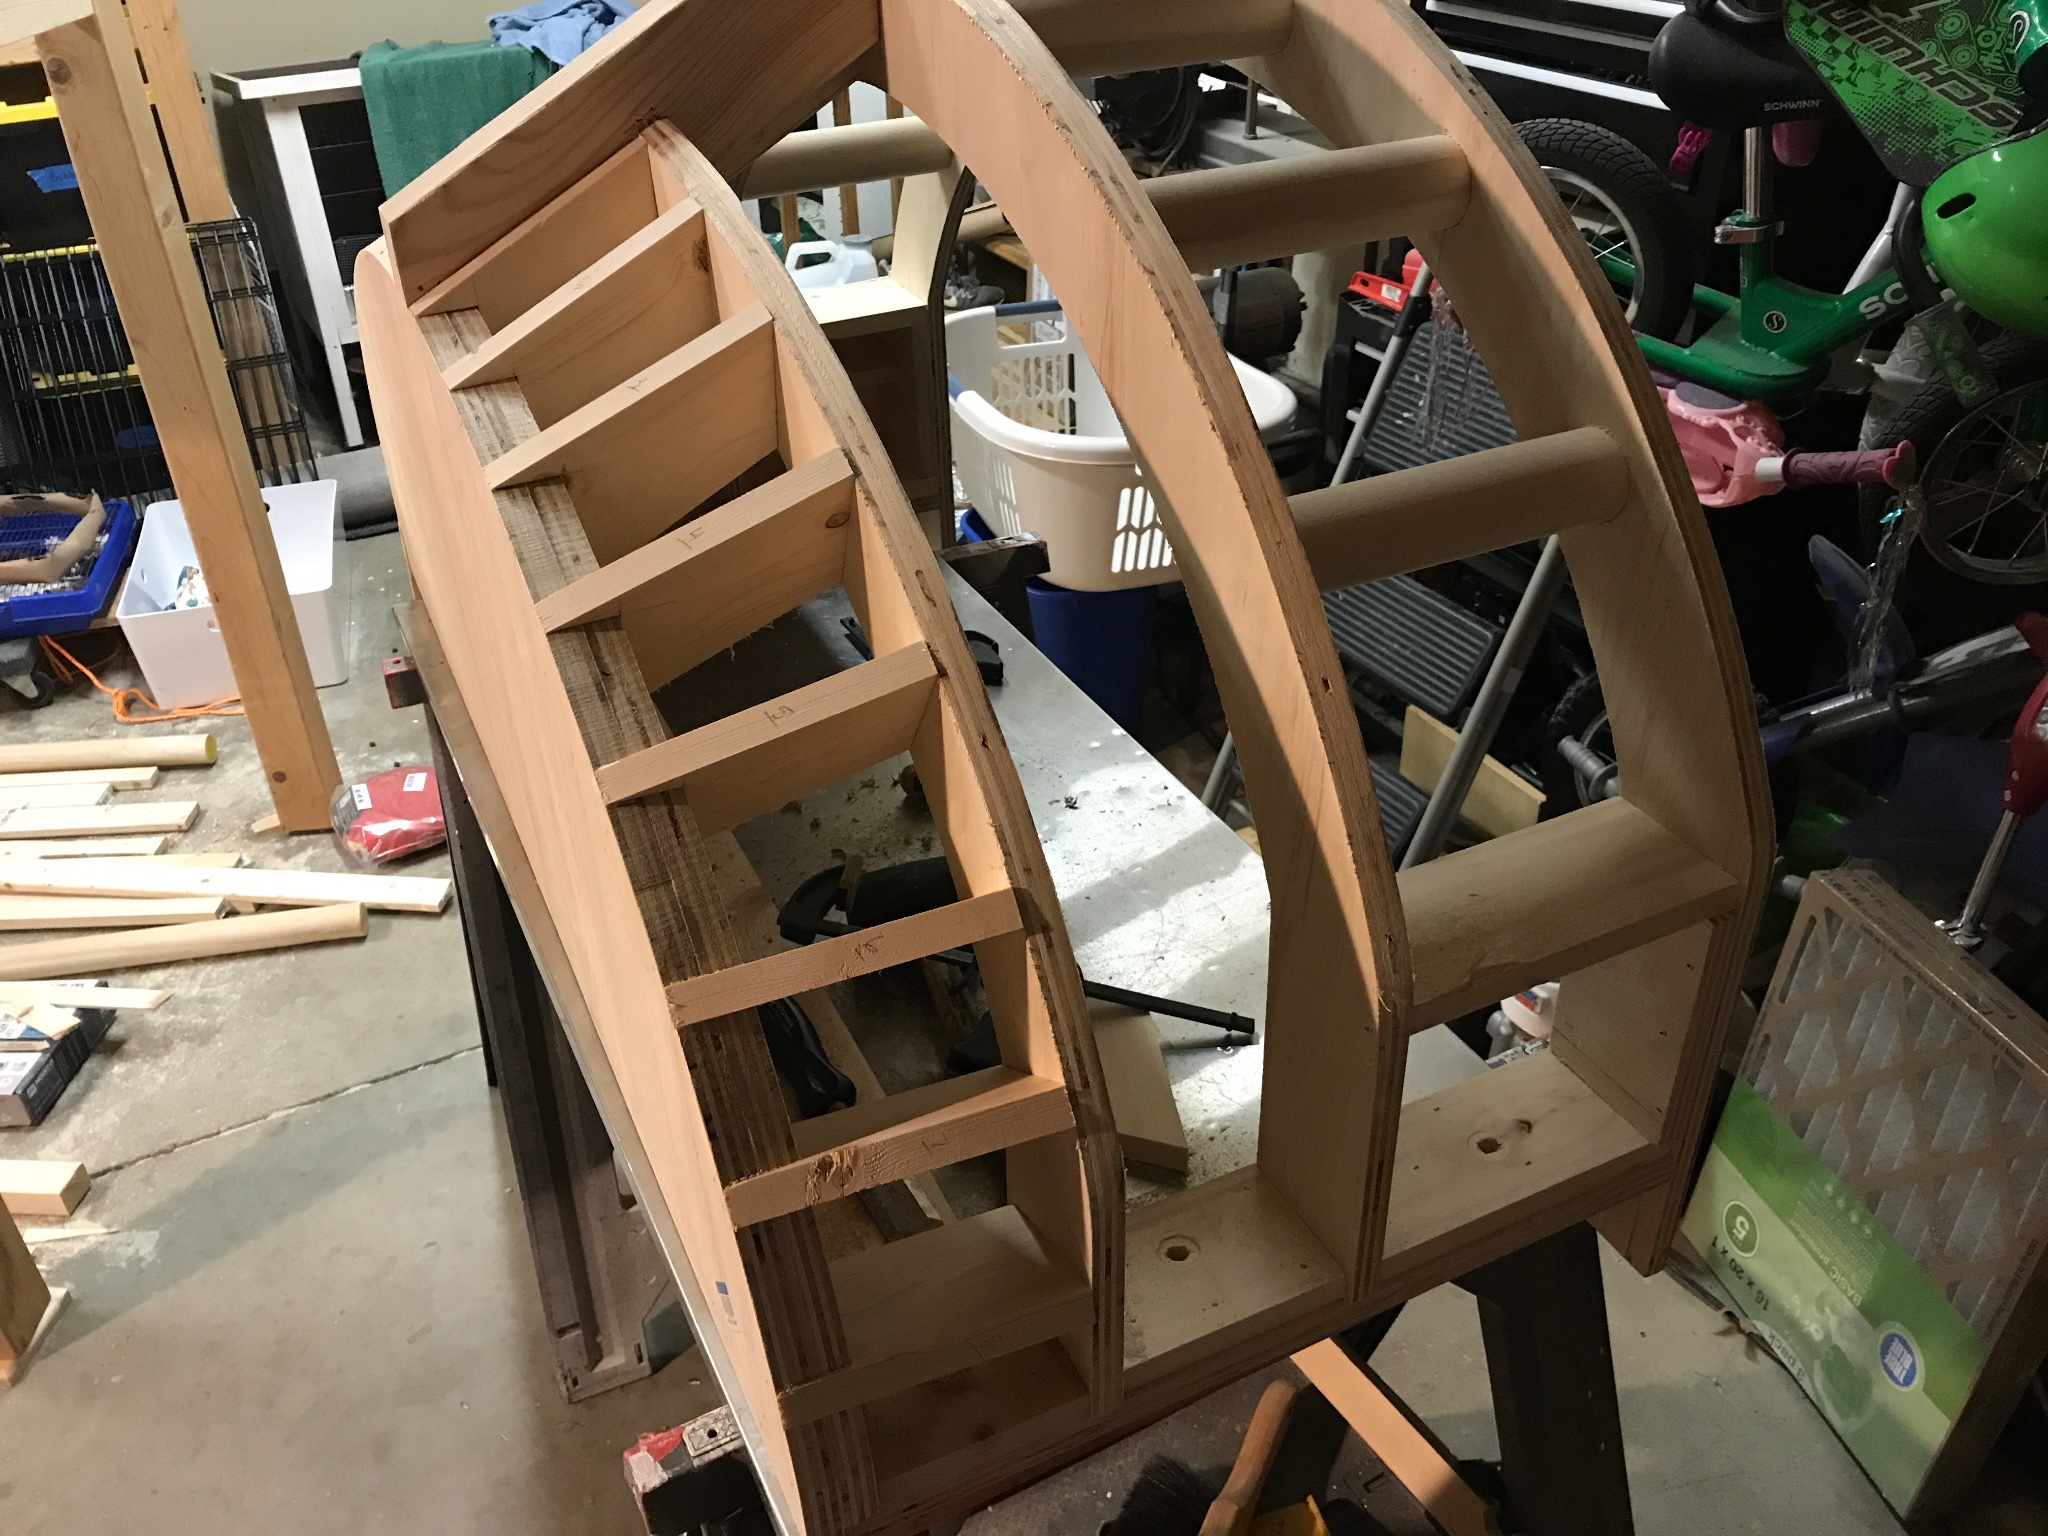
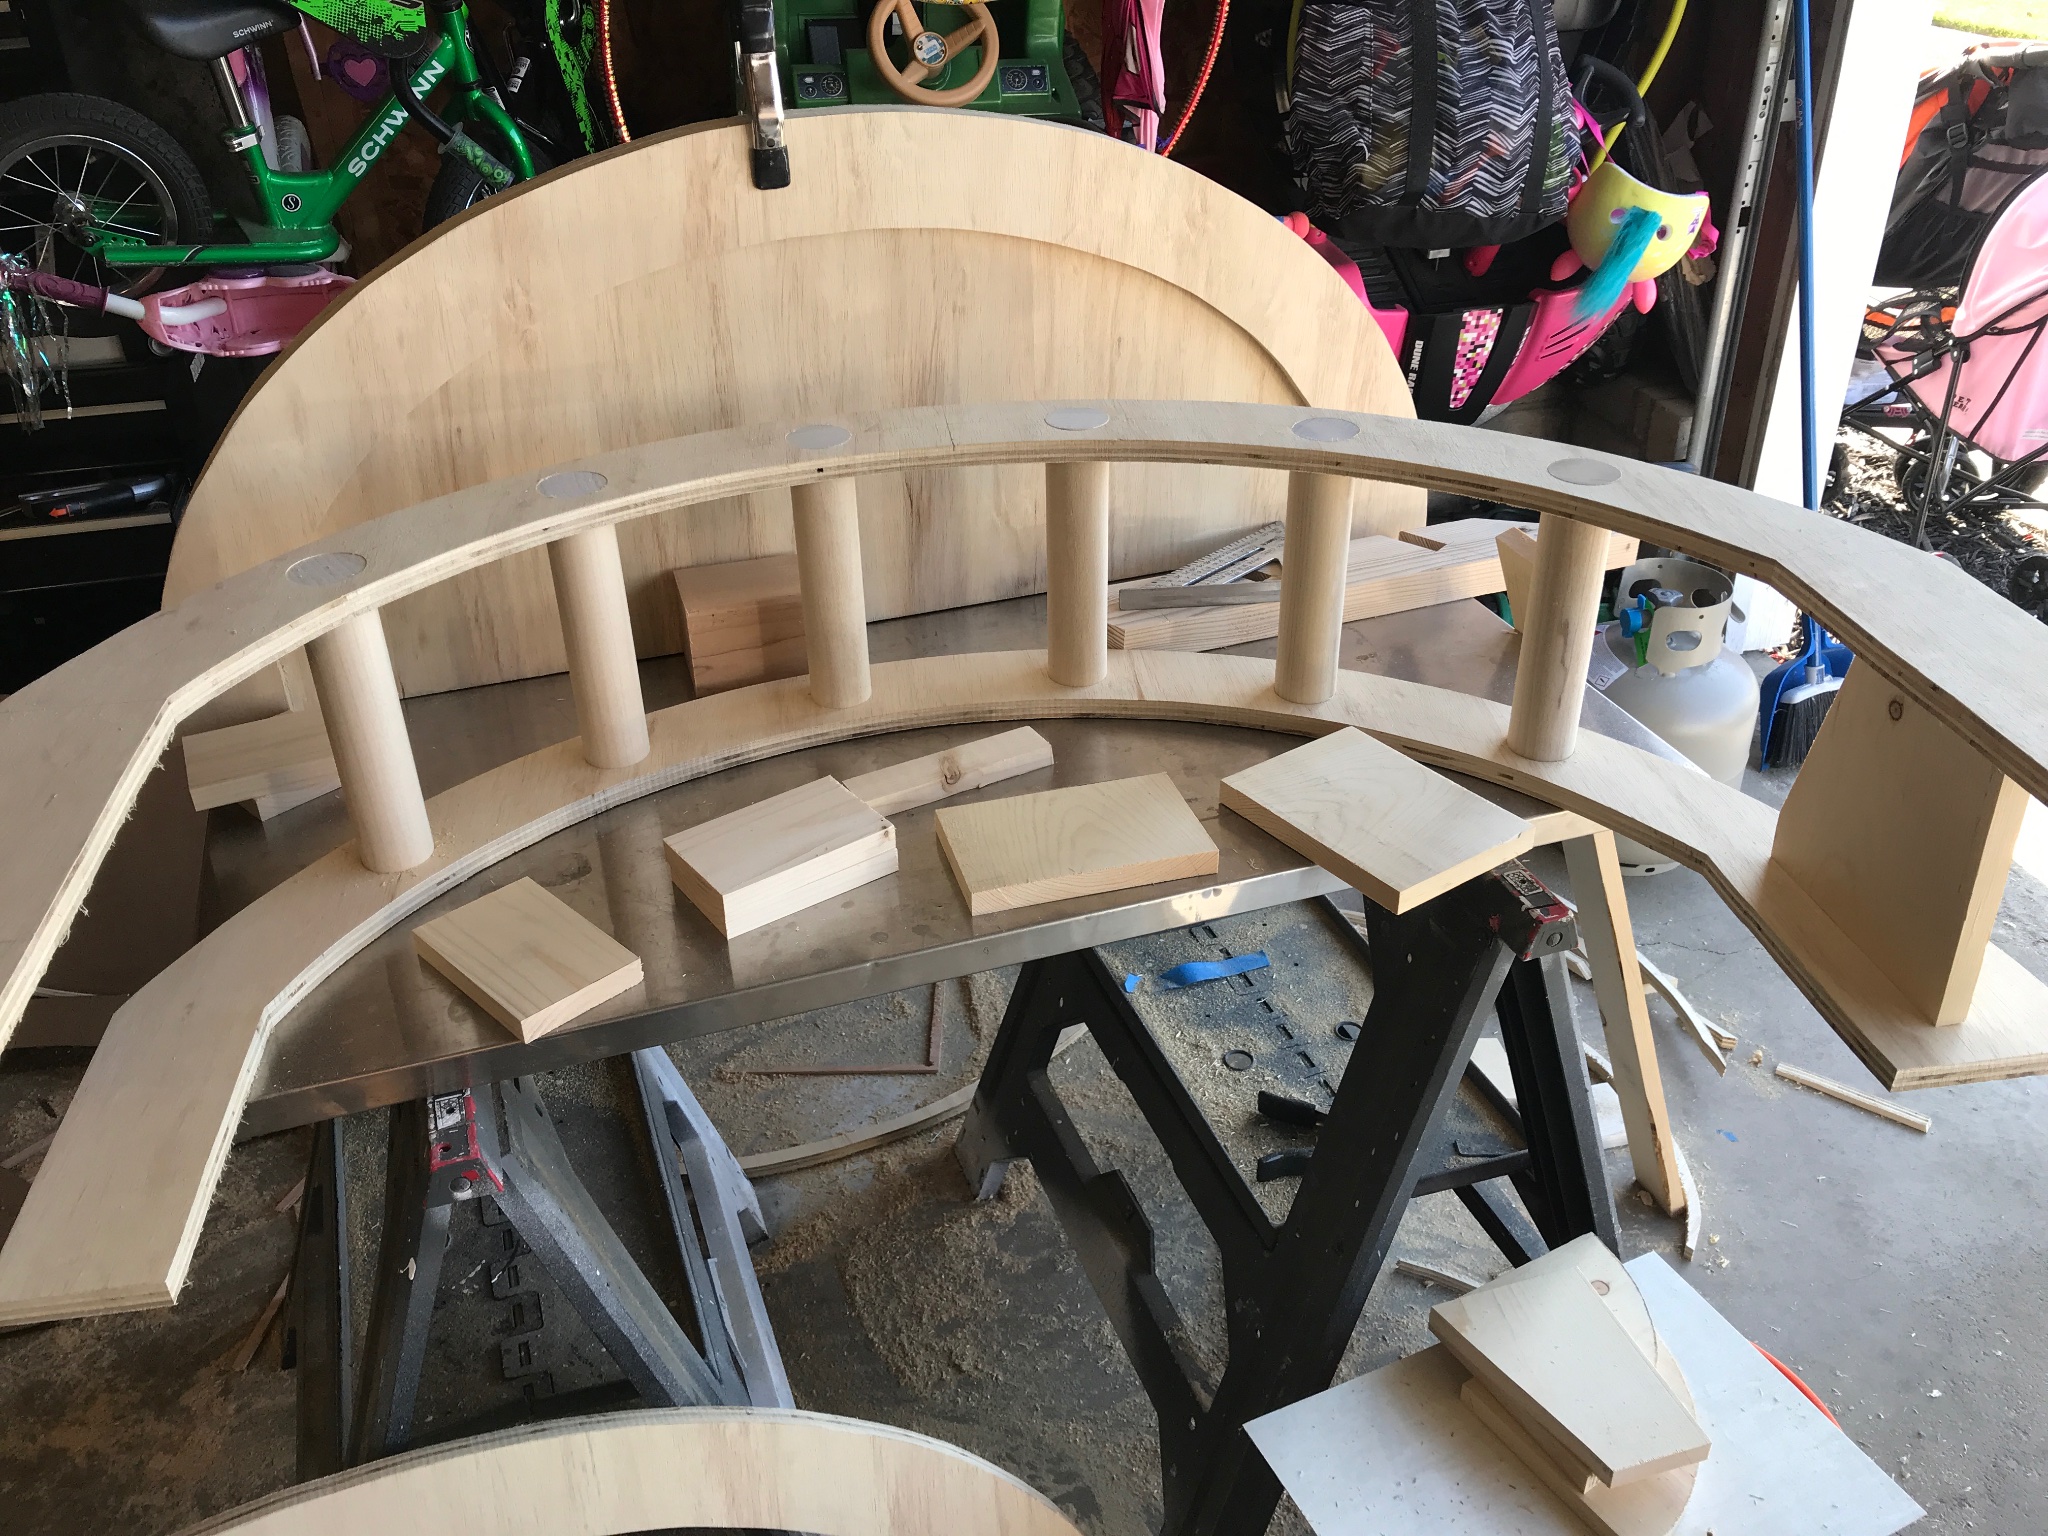
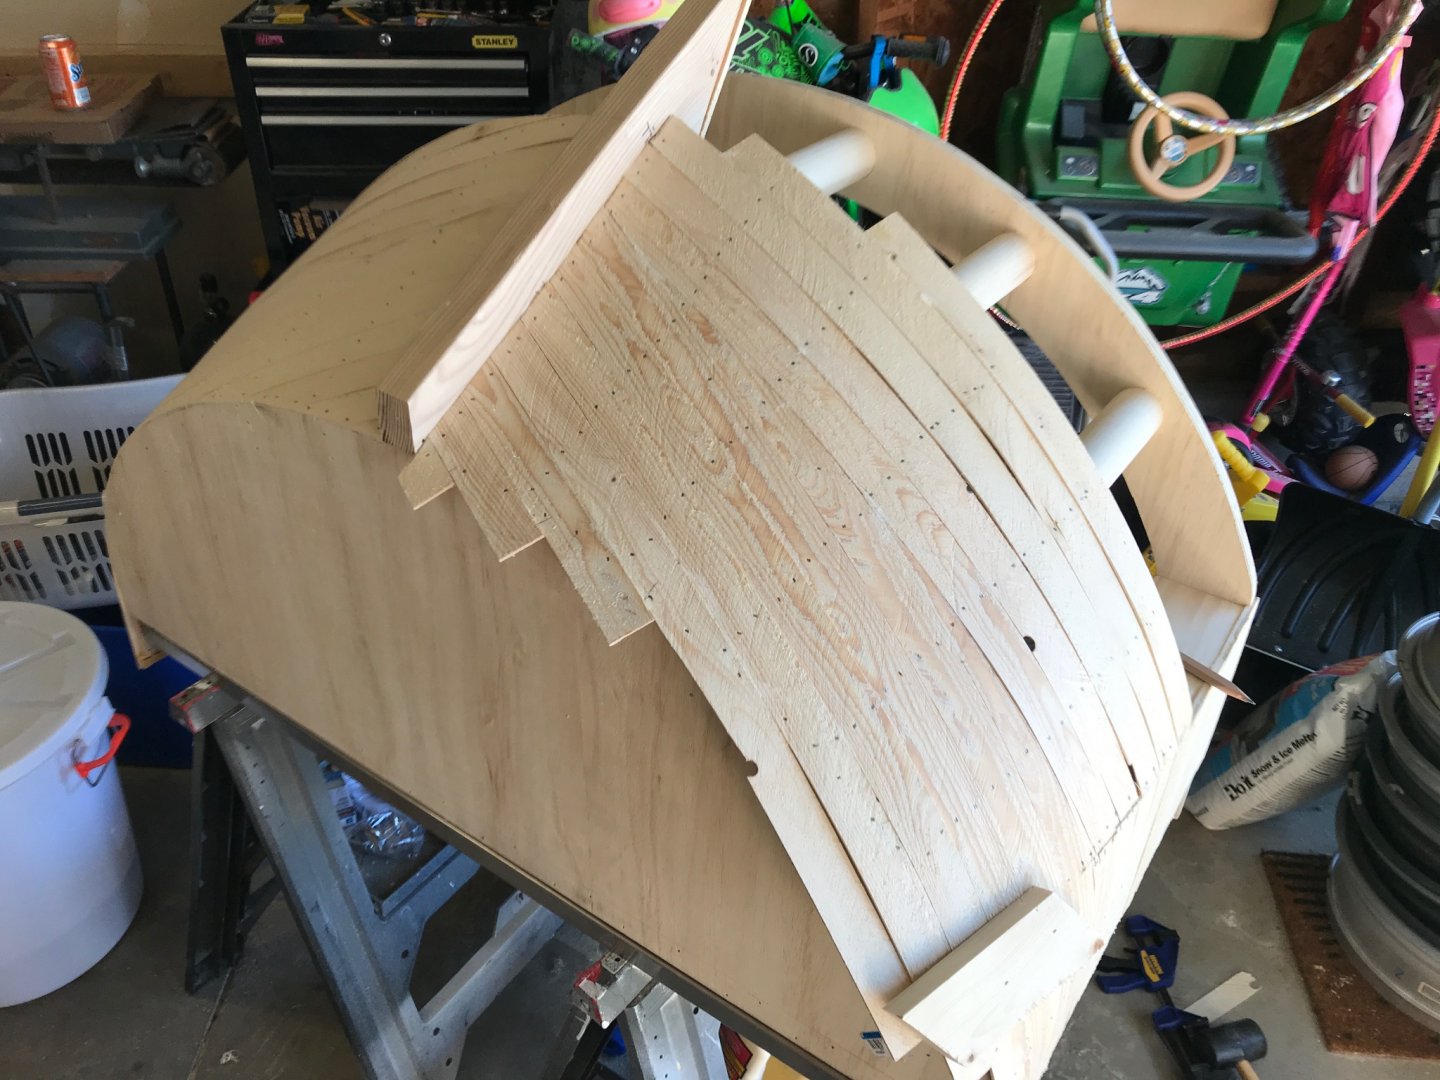
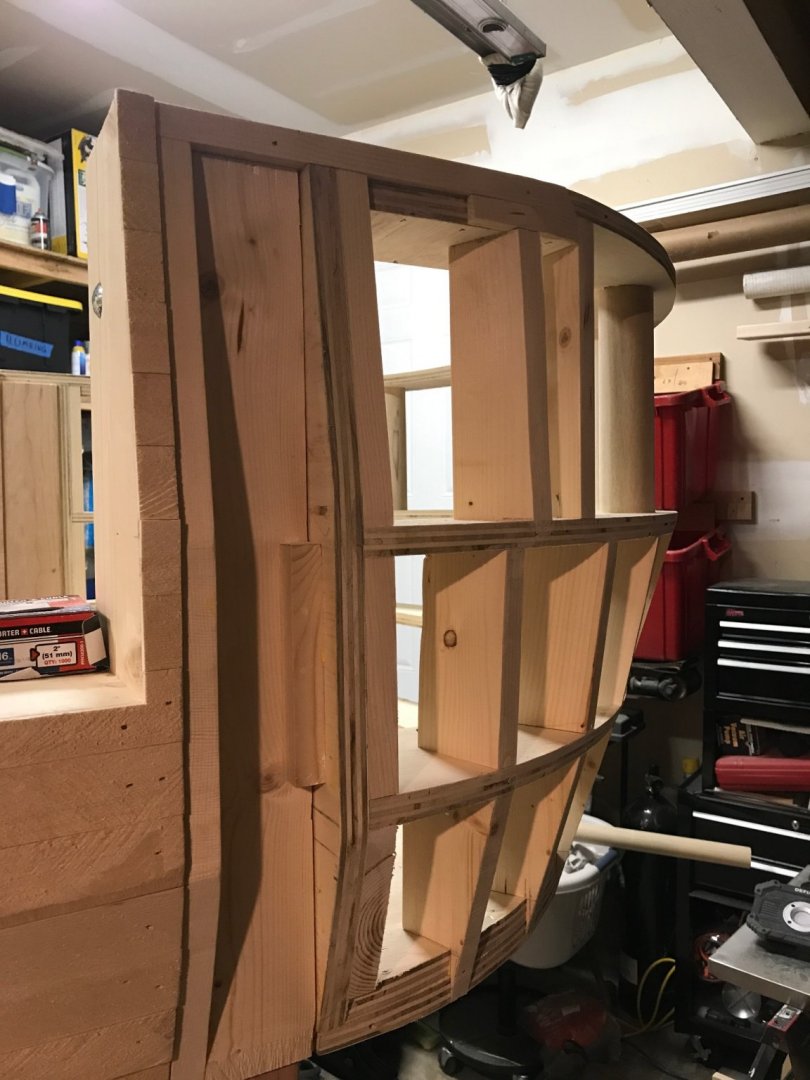
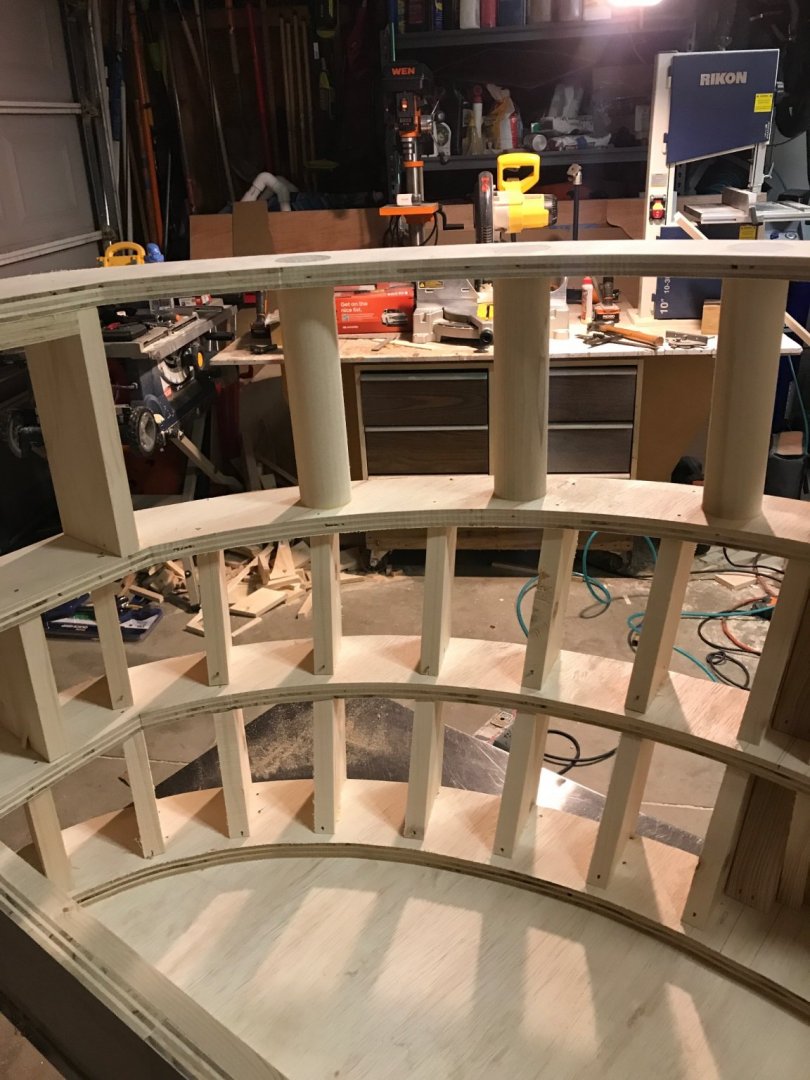
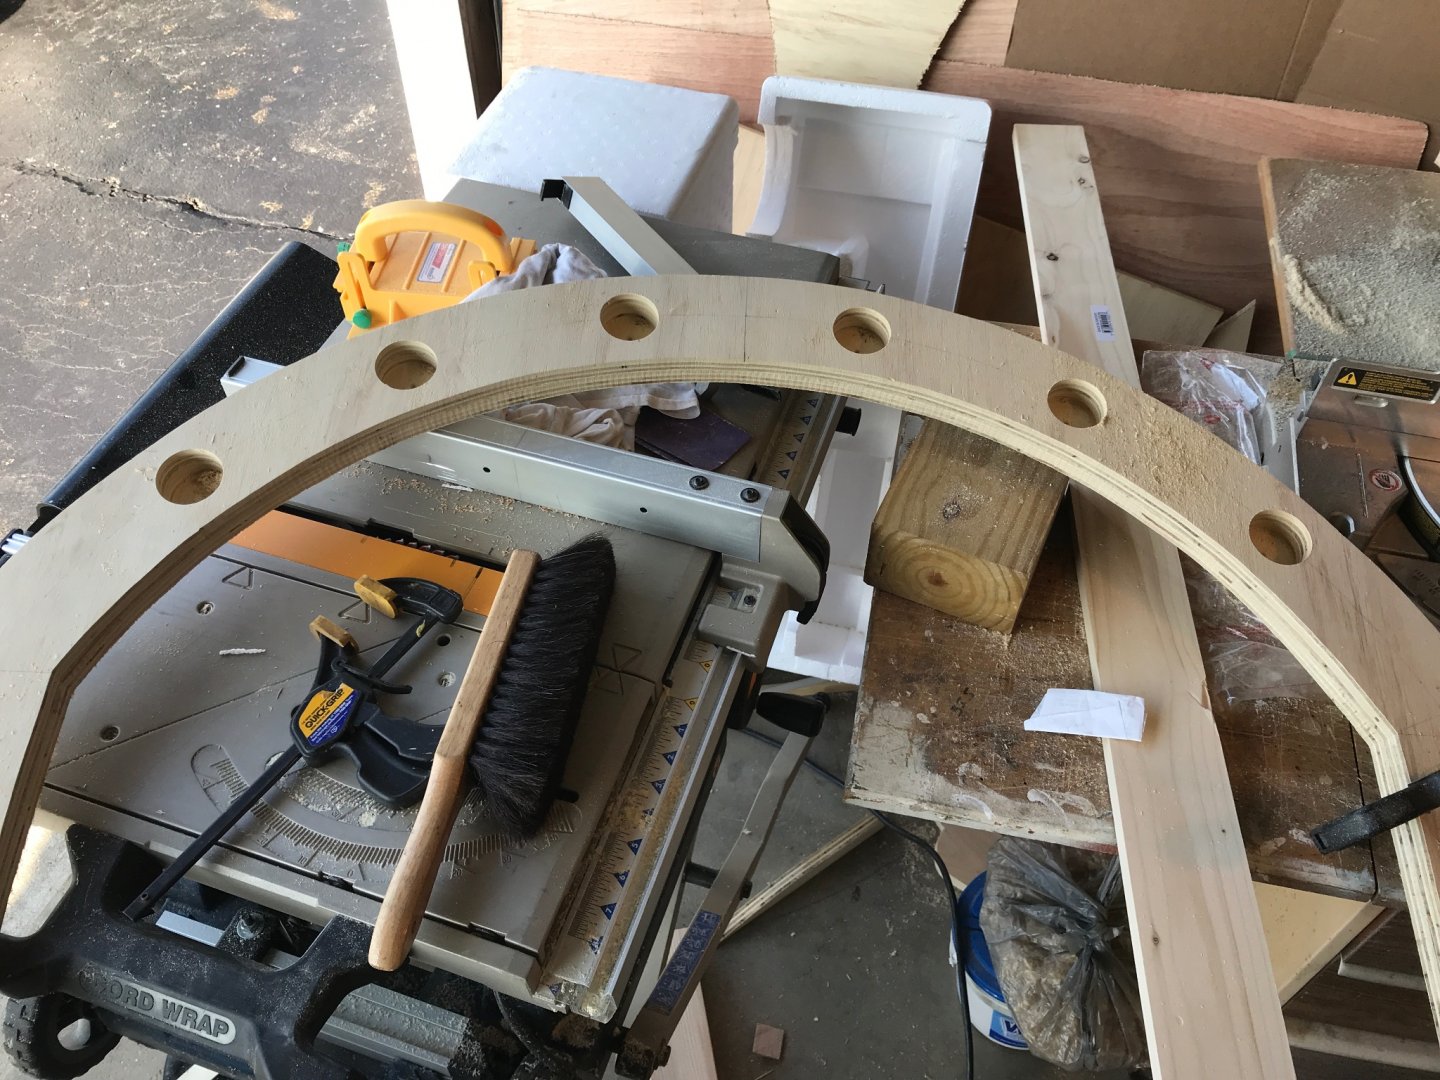
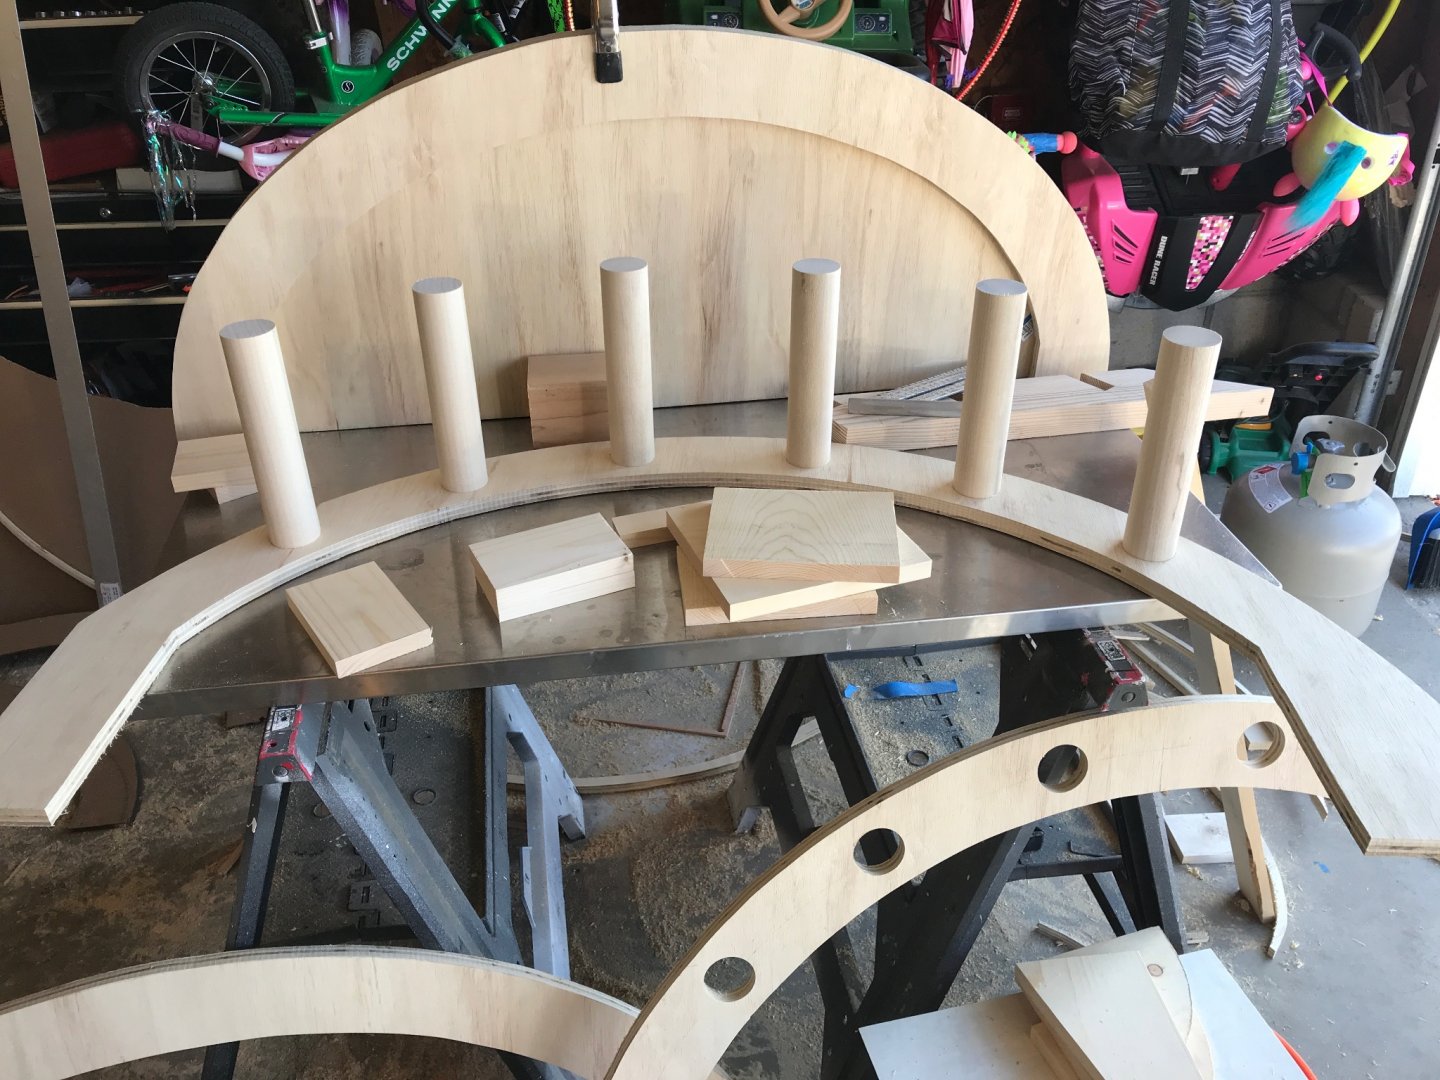
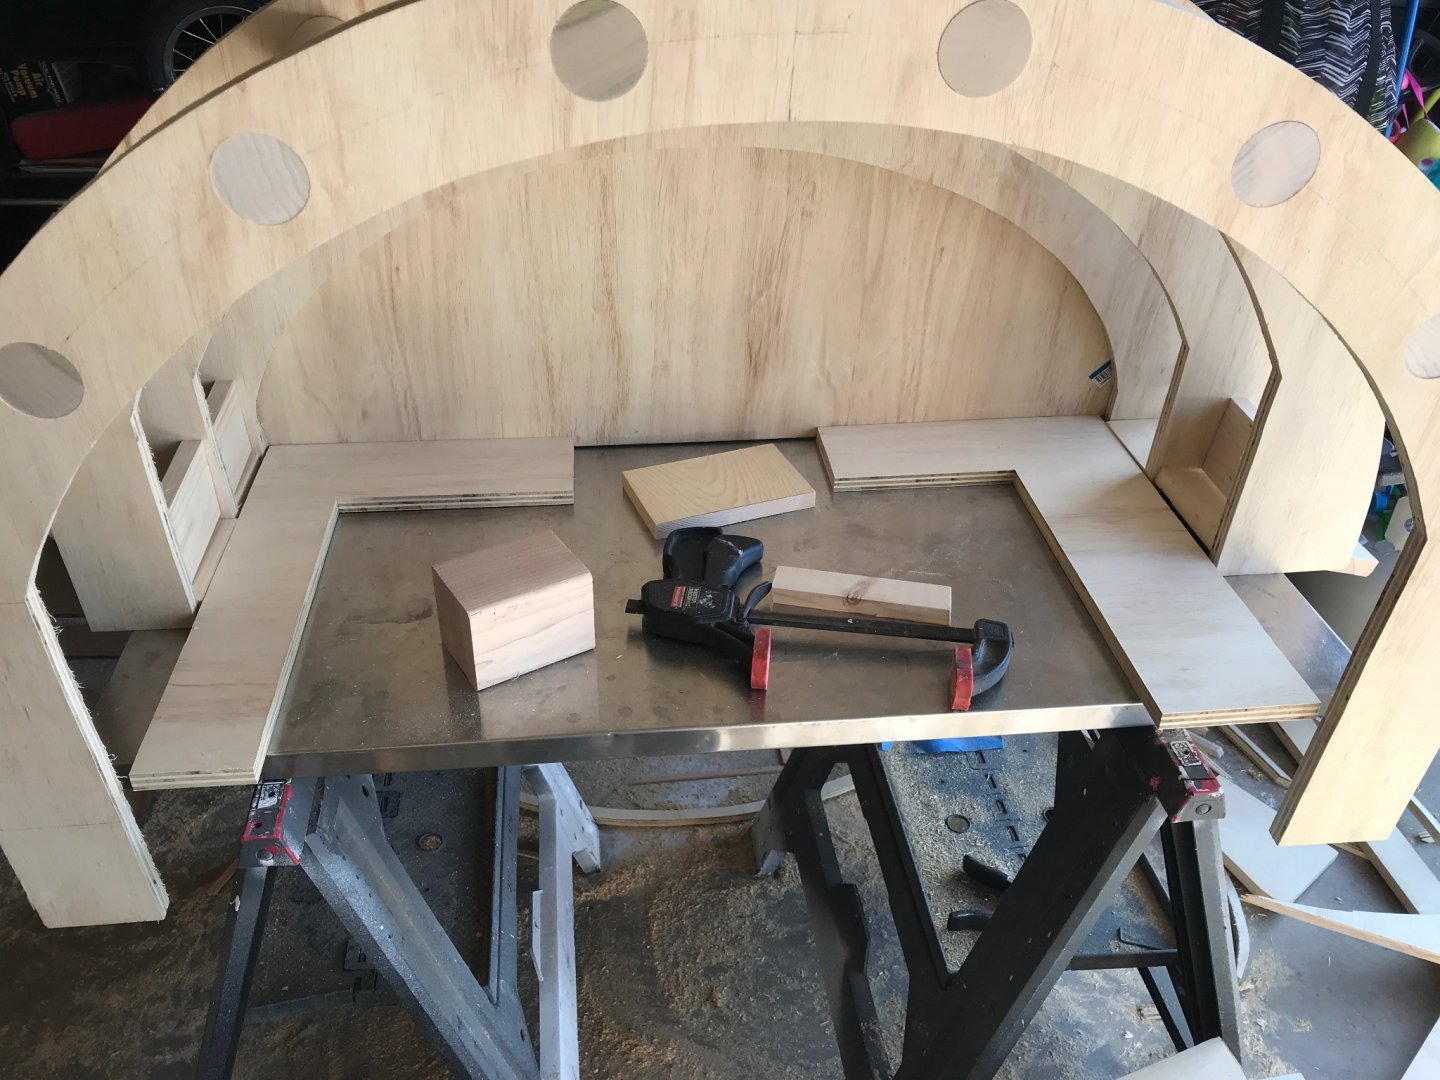
Before I could plank, I needed to add some filler blocks and before I could add filler blocks I needed to fare the rings. I made a little jig to scribe a line on the rings to help. I used a hand held belt sander and a small block plane to fare down to the line. The filler blocks are roughly 3” apart from each other. Each one was custom fit using an old angle finder. Super fiddly, but it worked. Ready for planking!


-
Thank you! Labor of love!
-
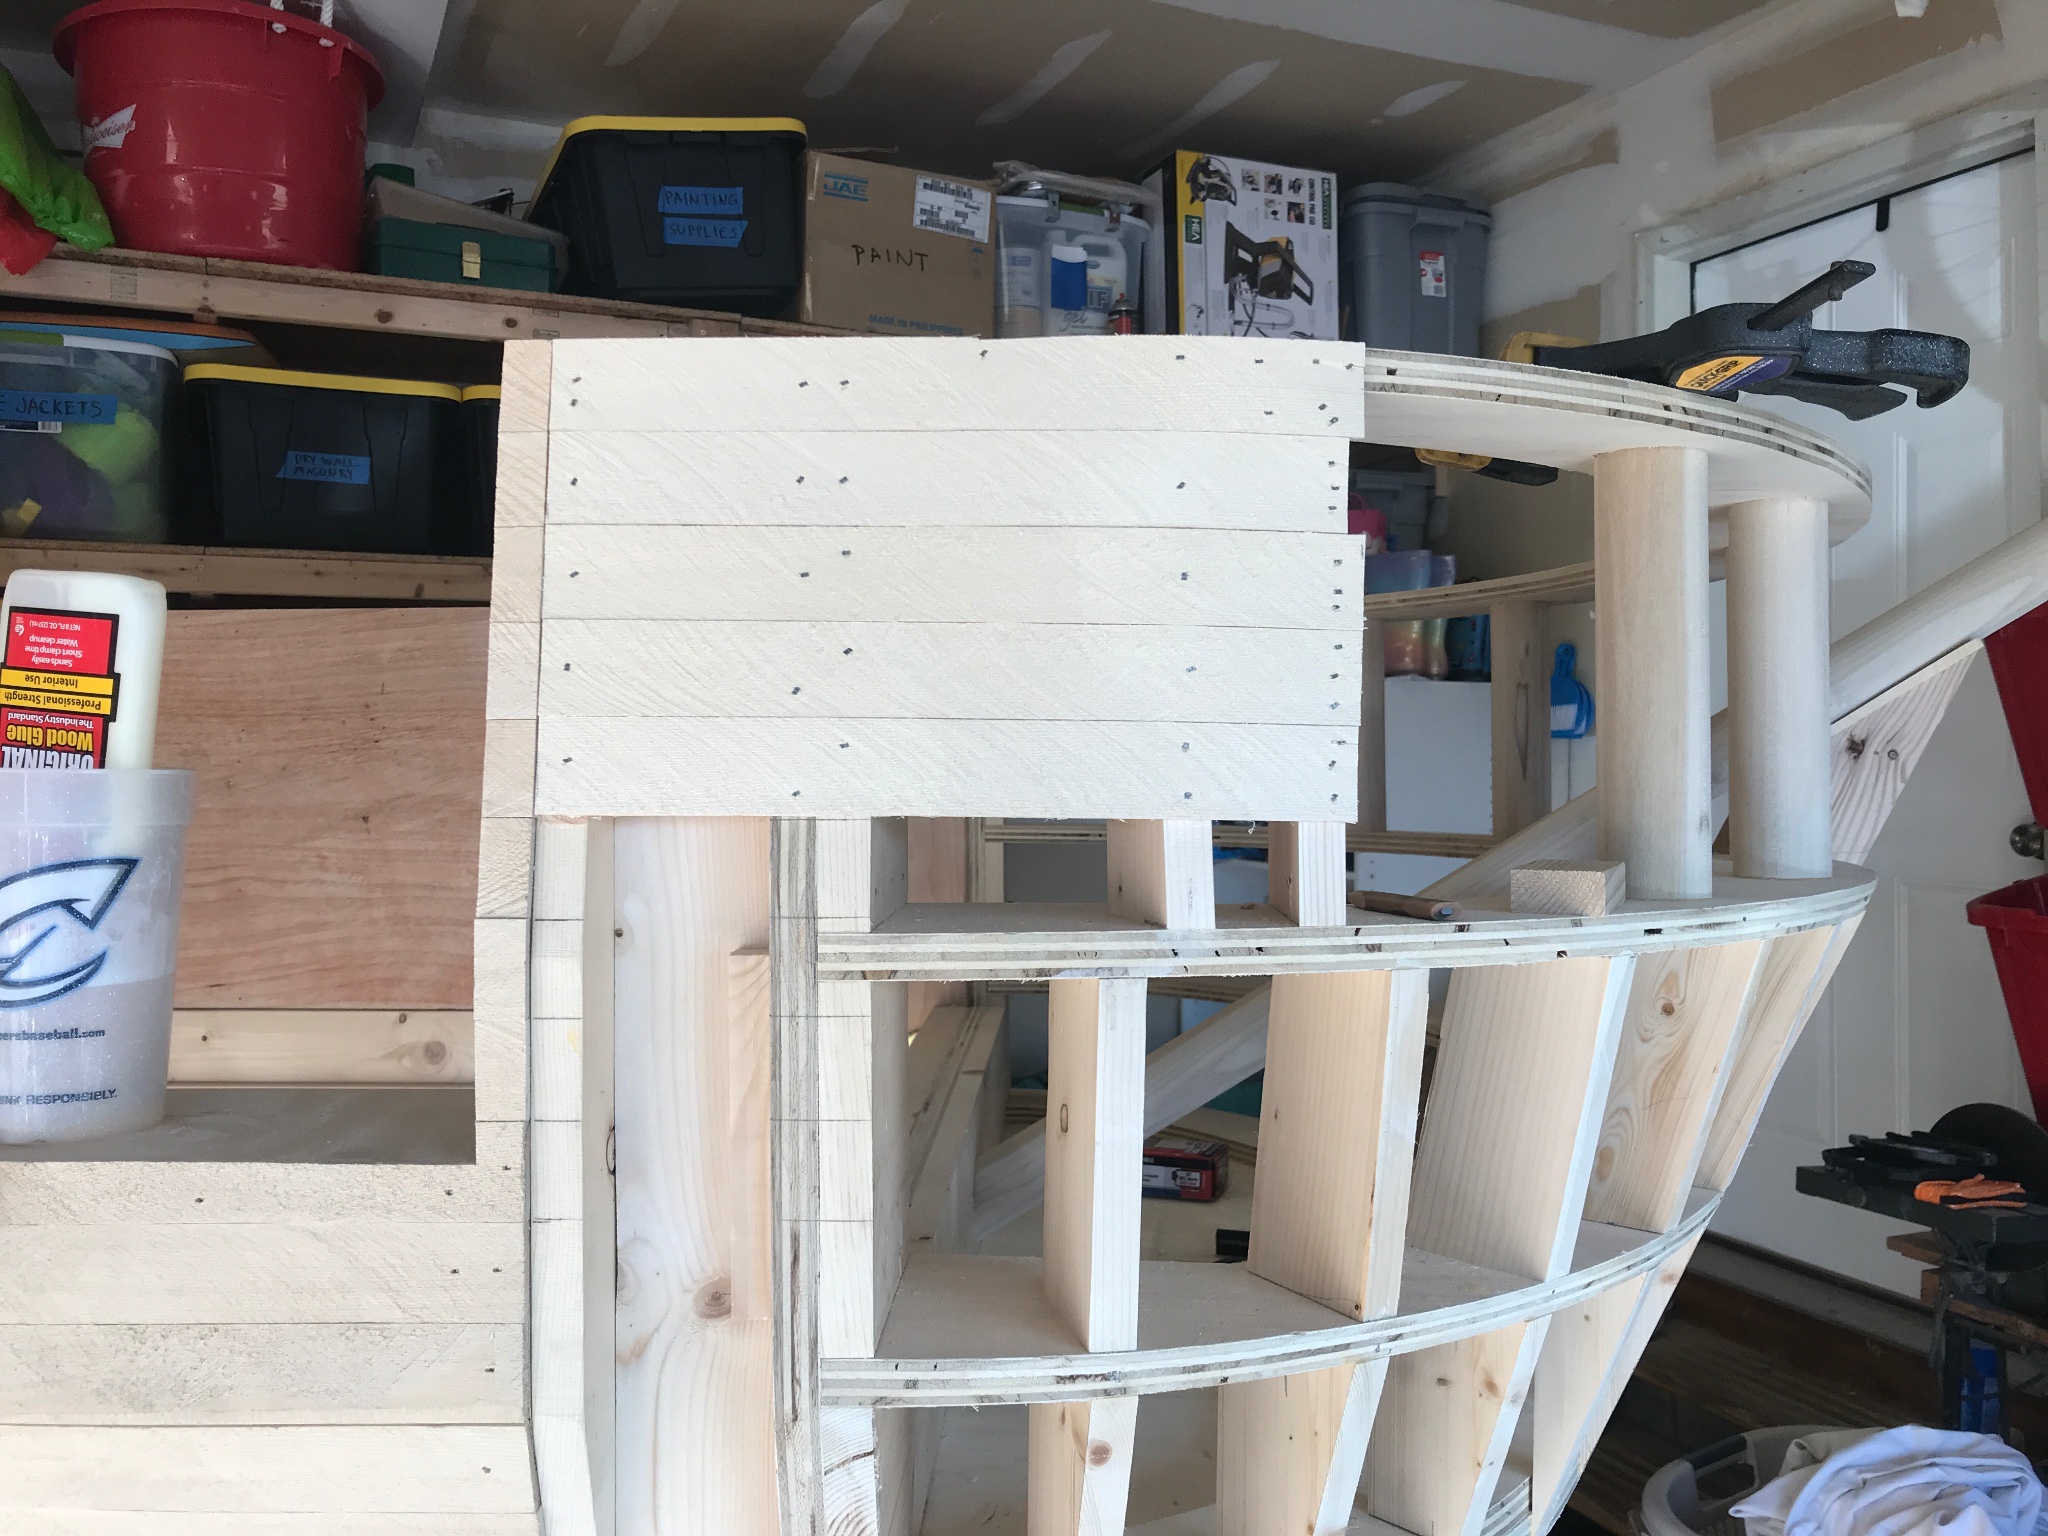
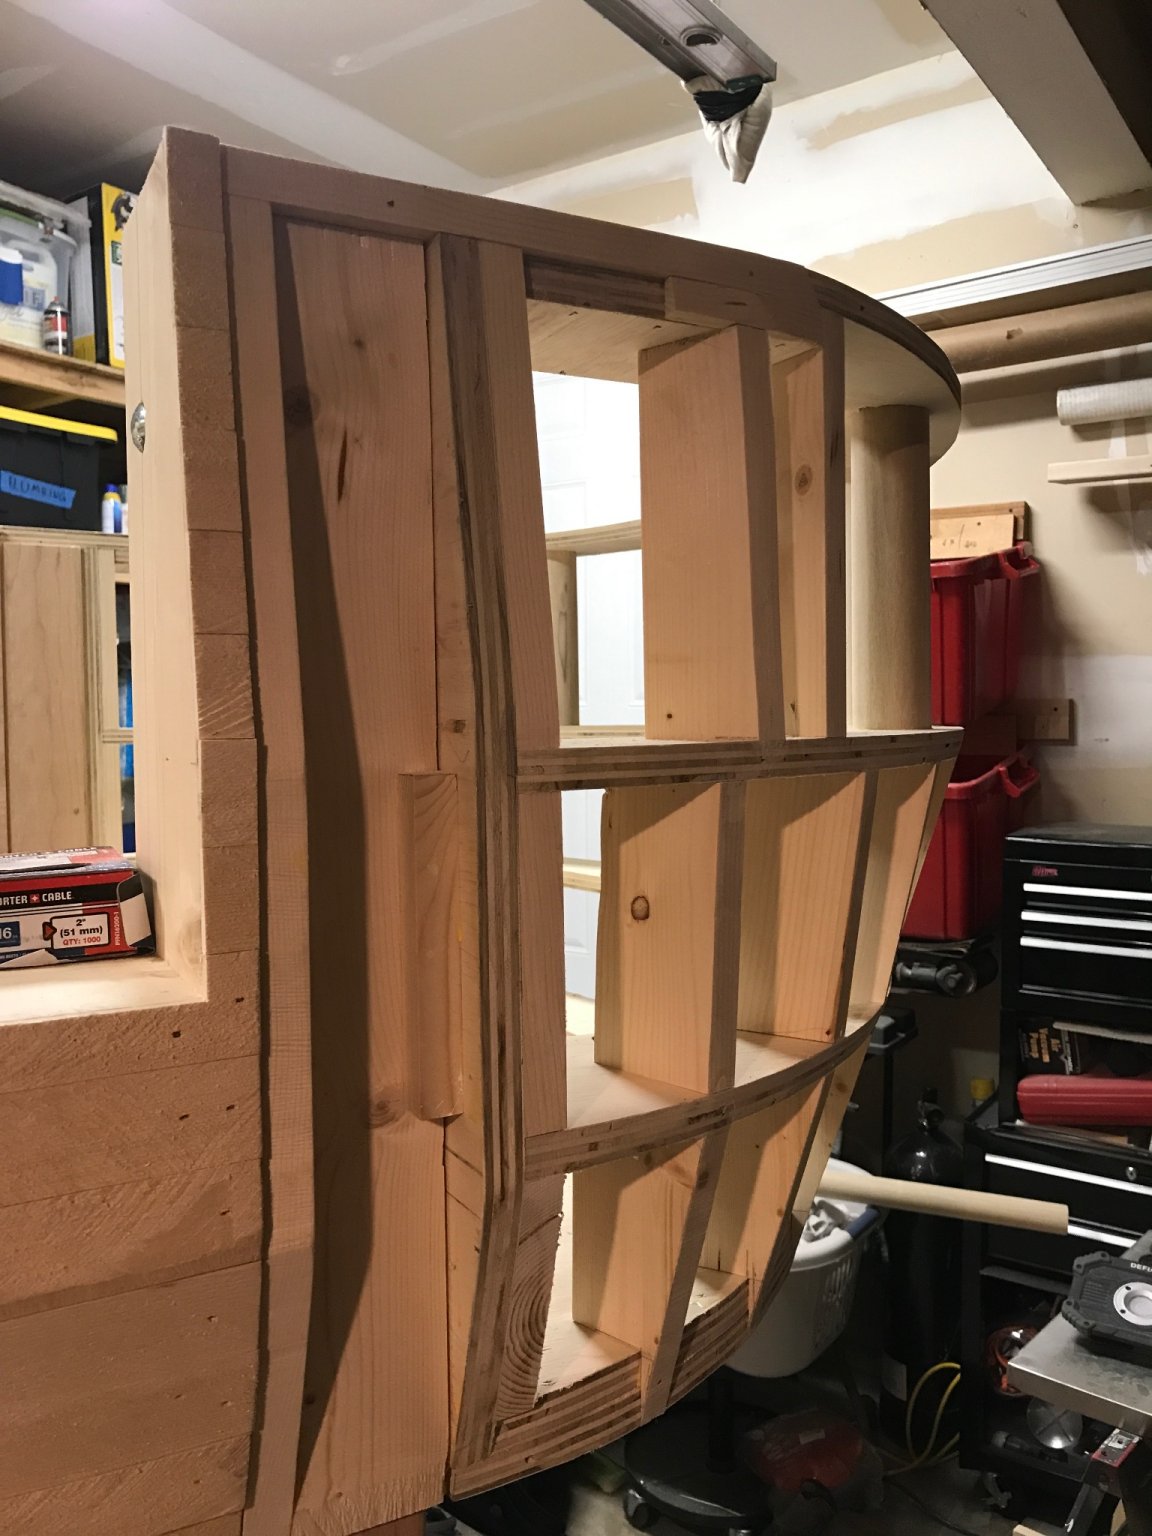
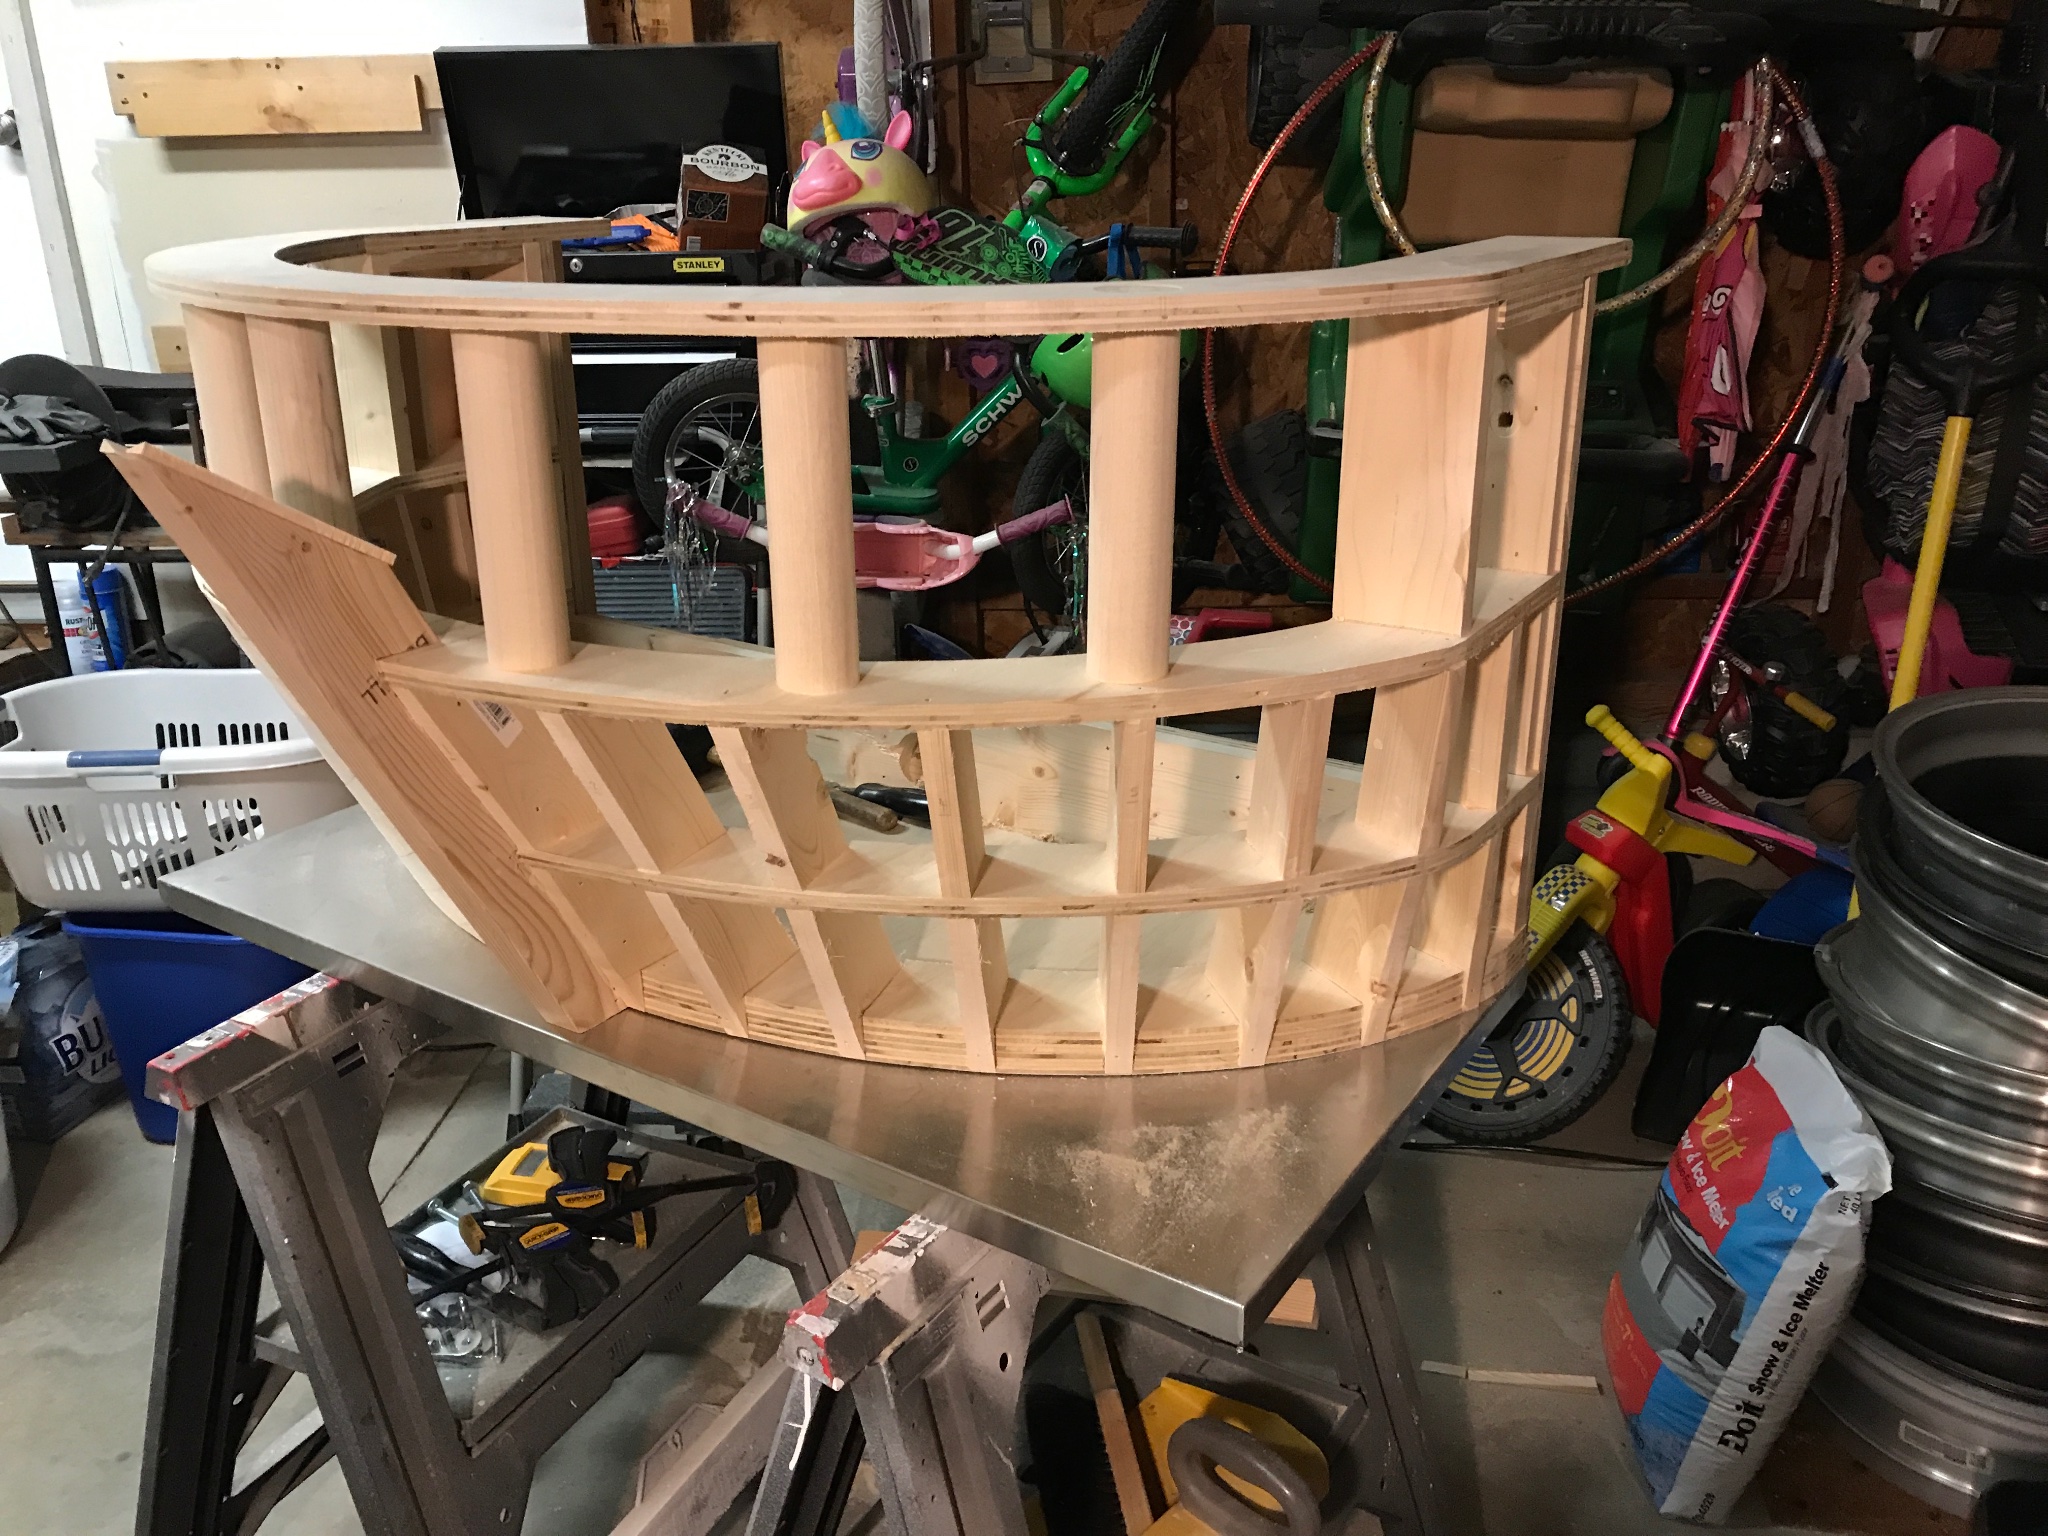
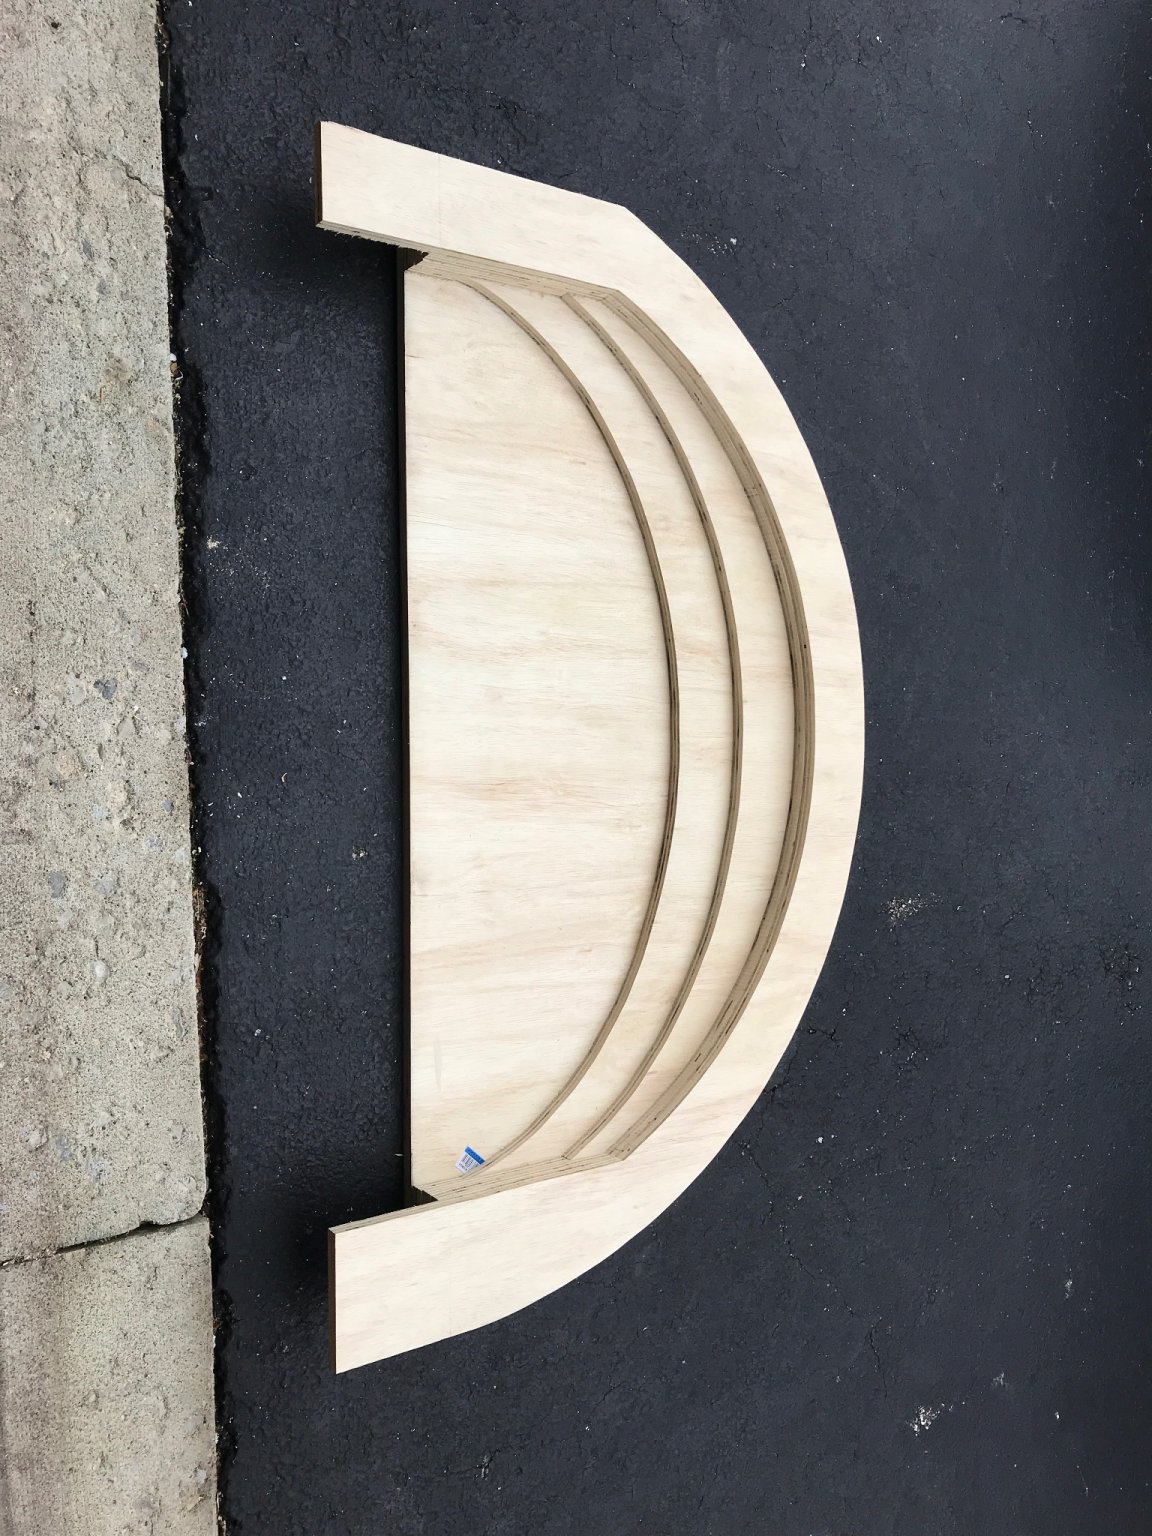
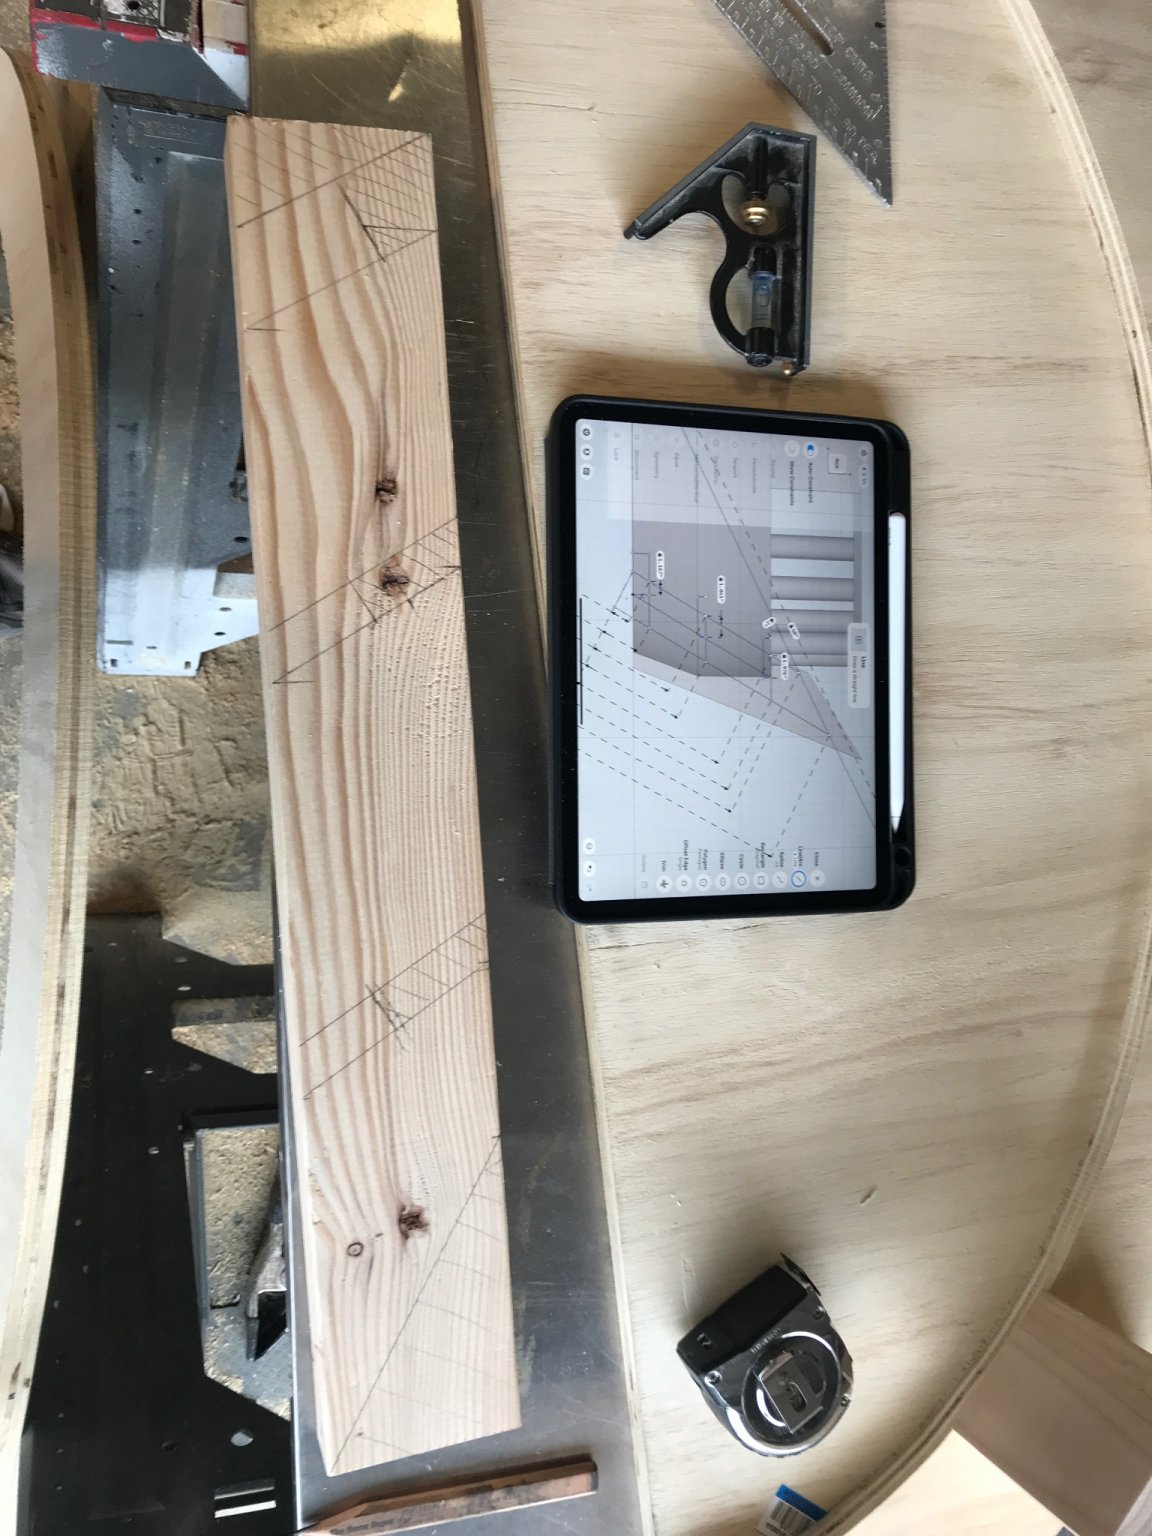
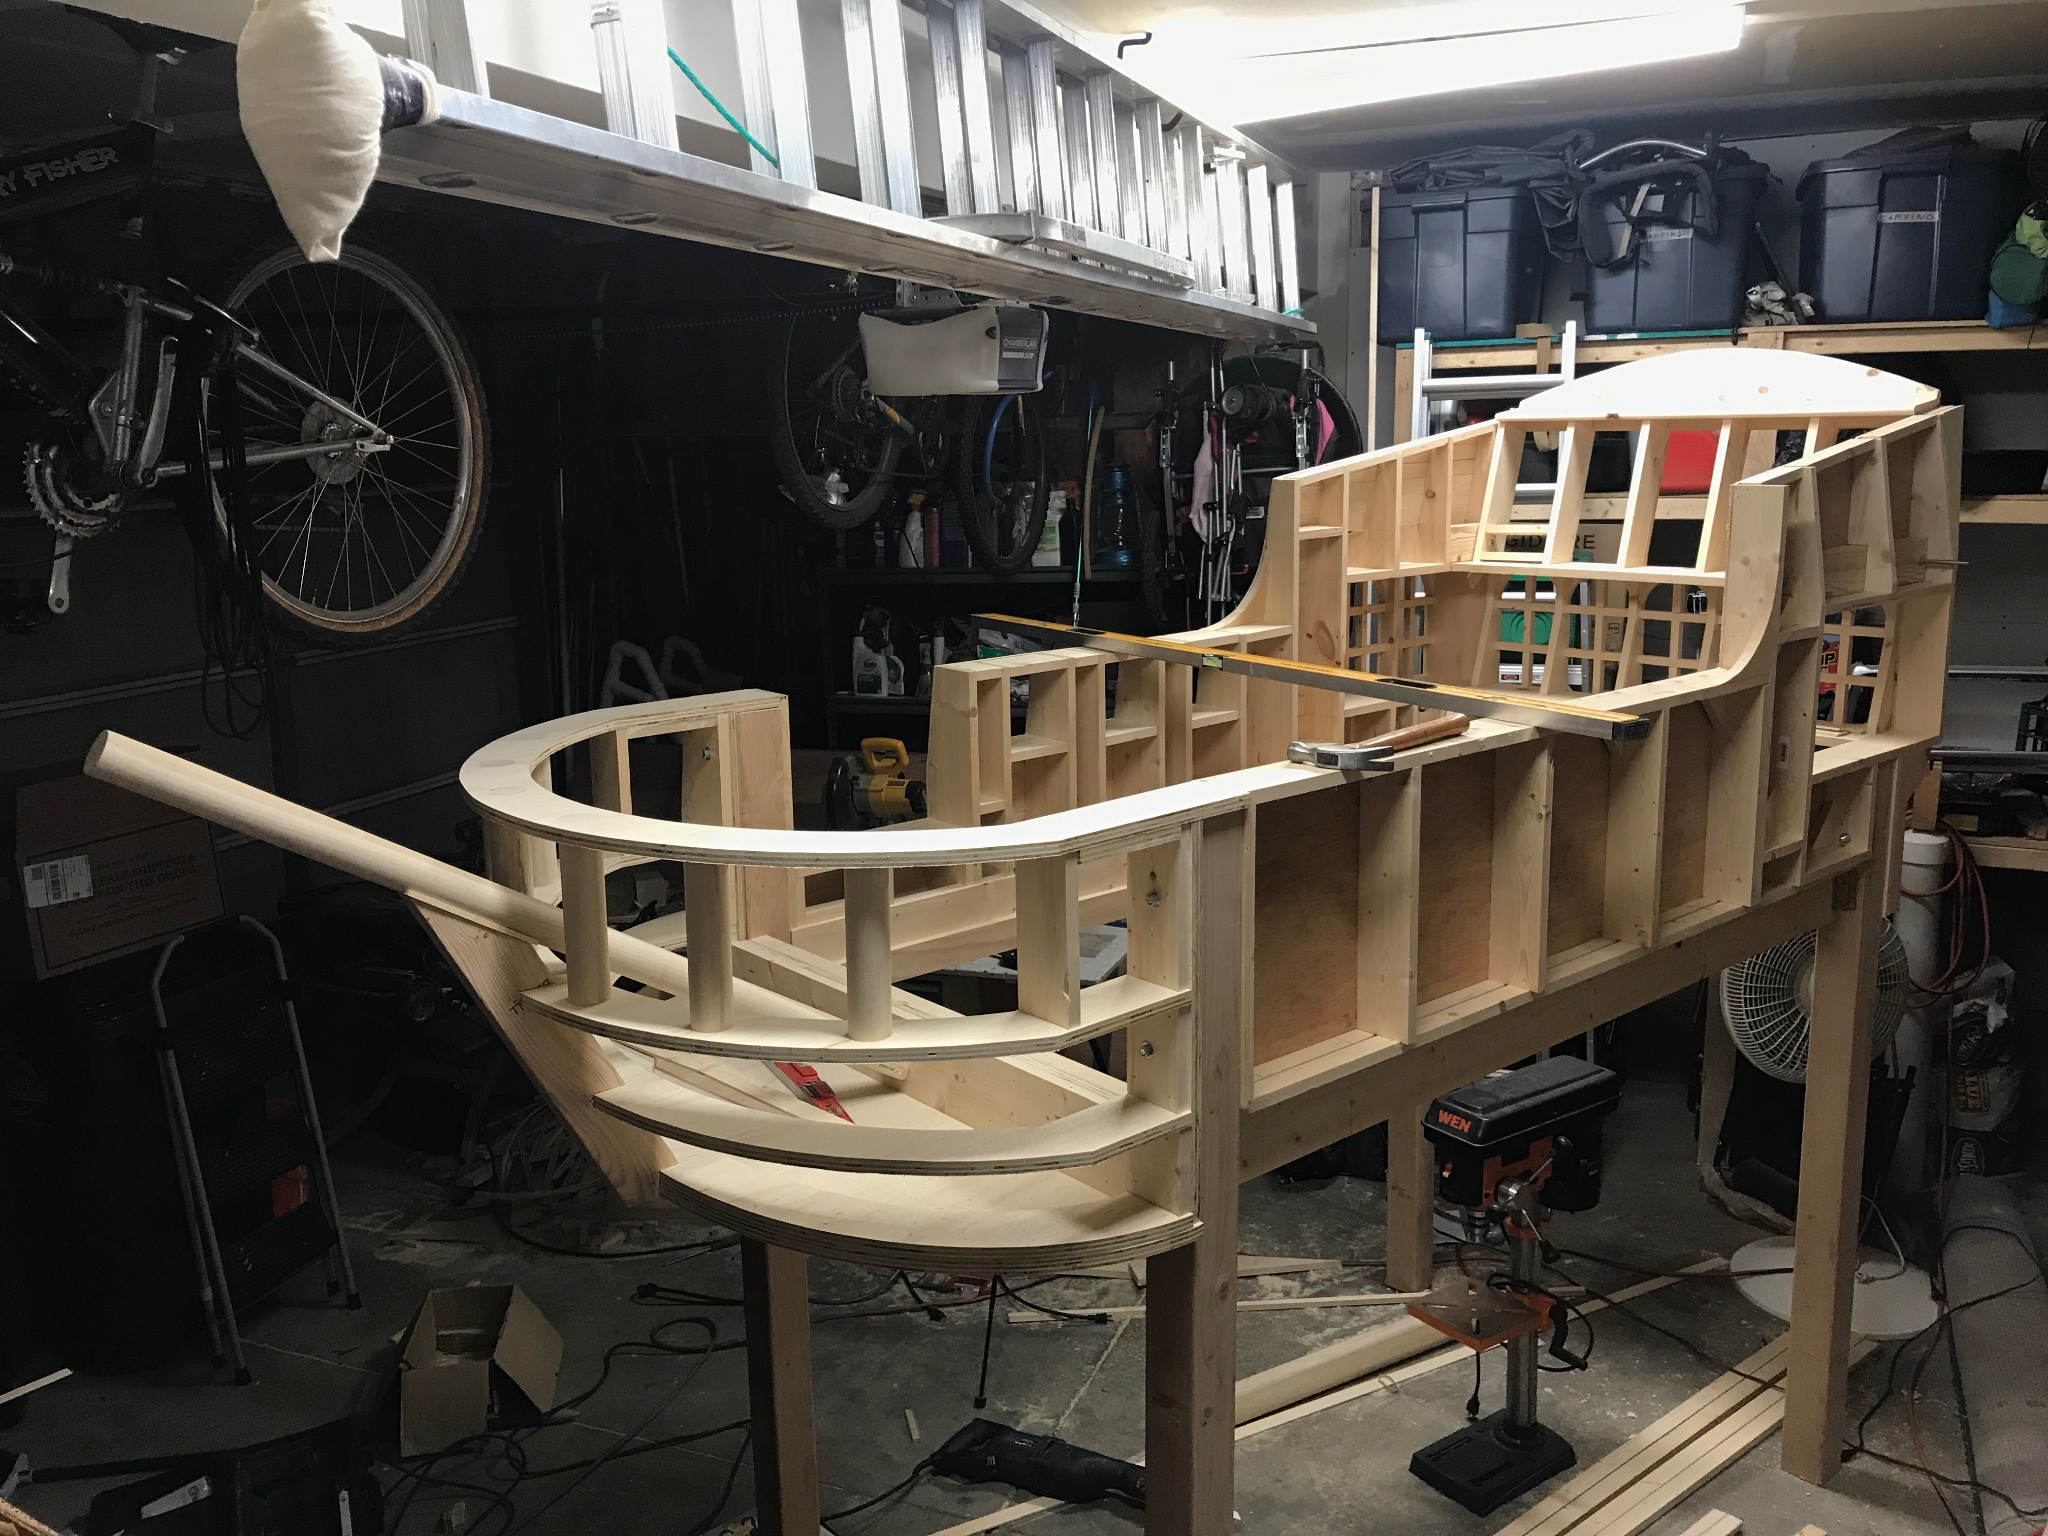
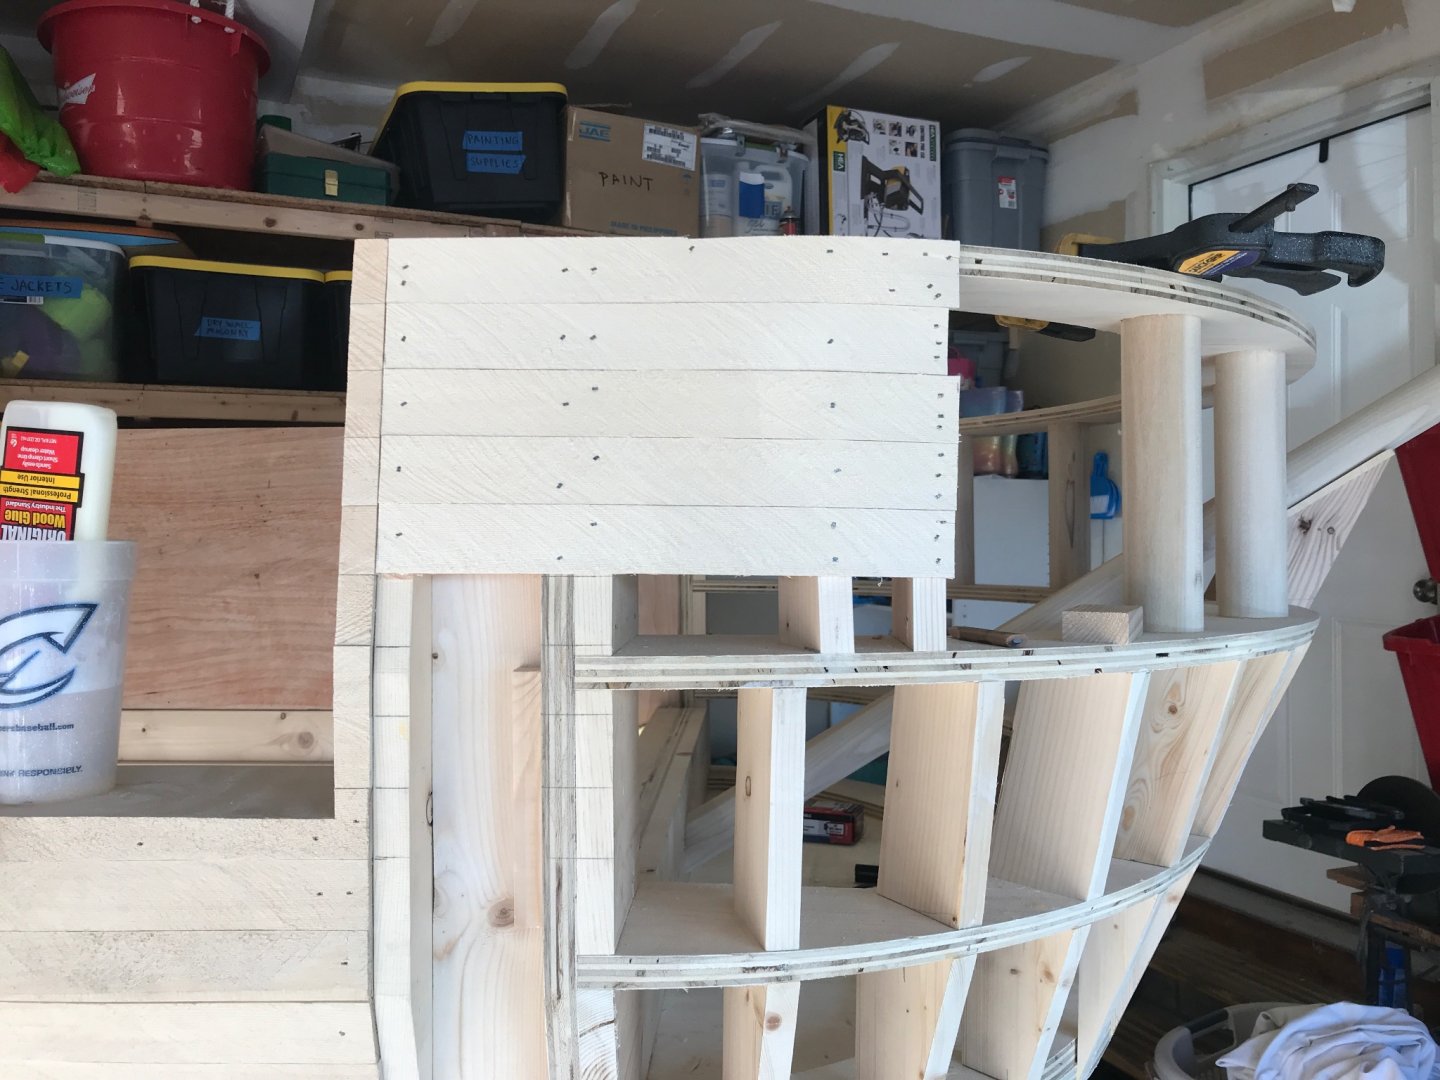
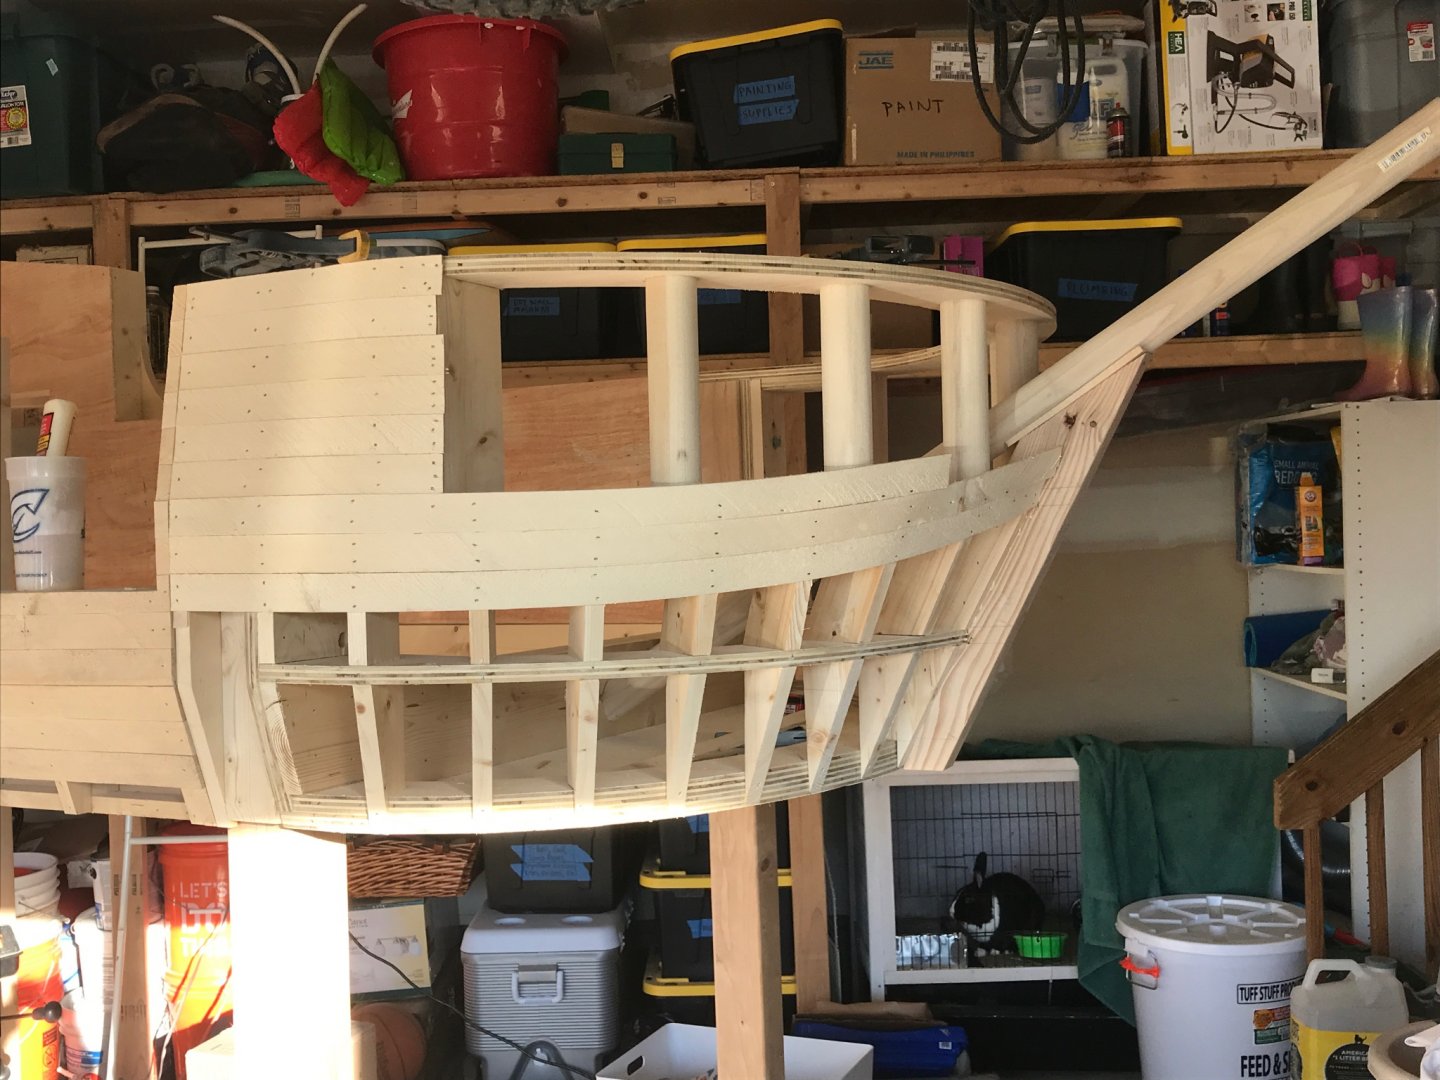
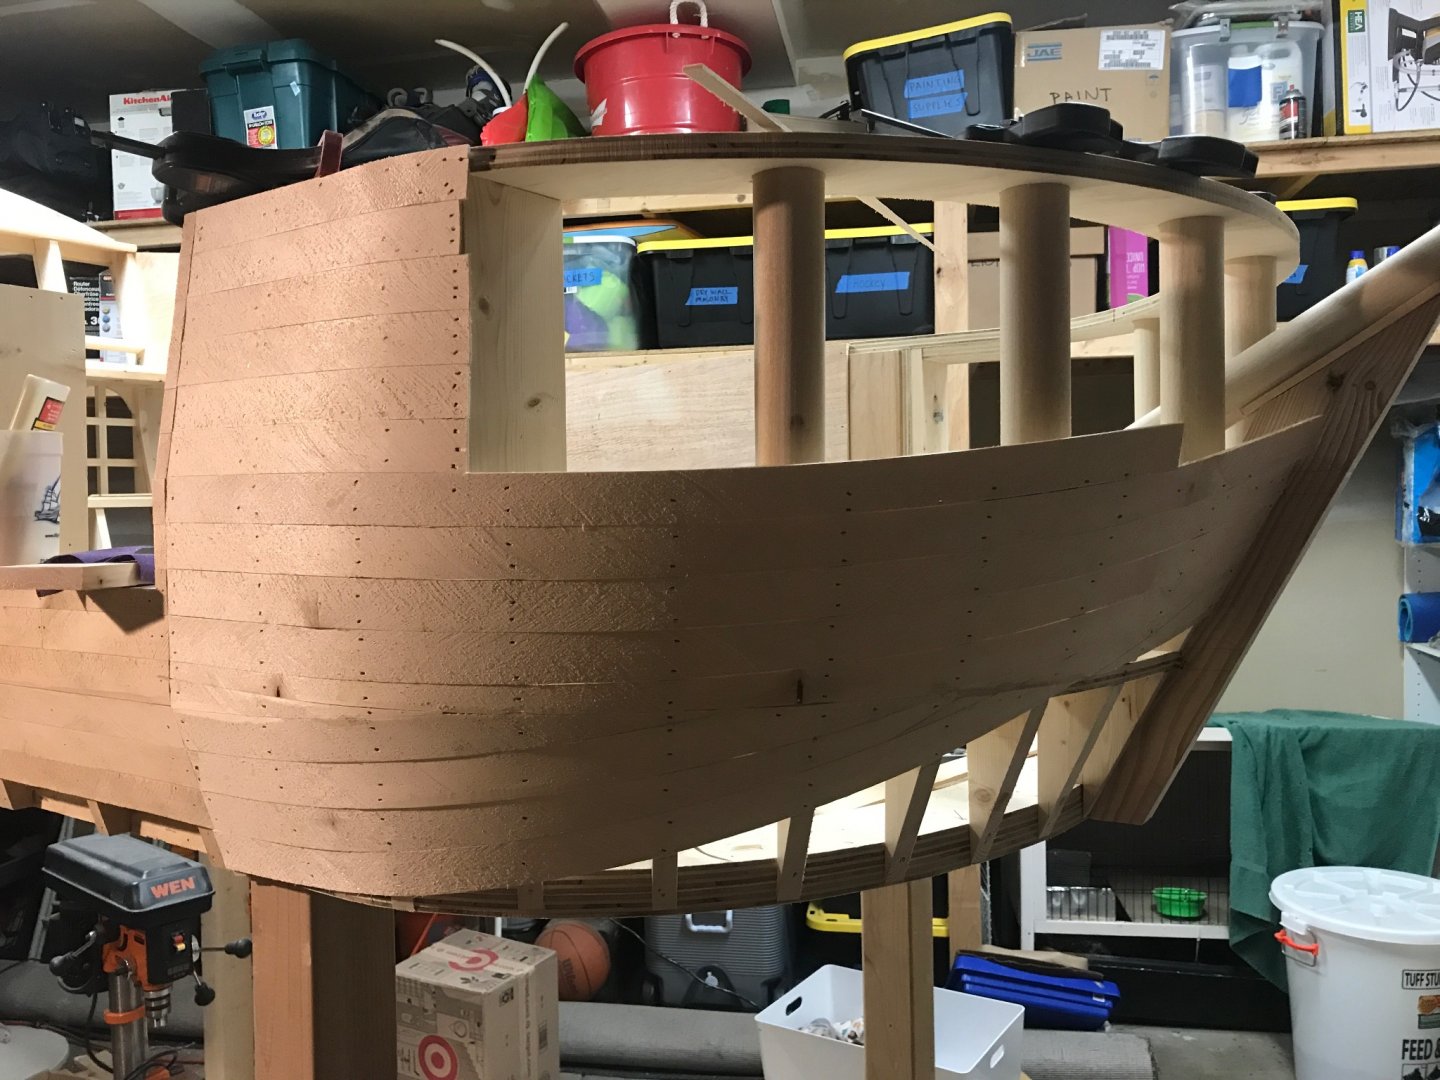
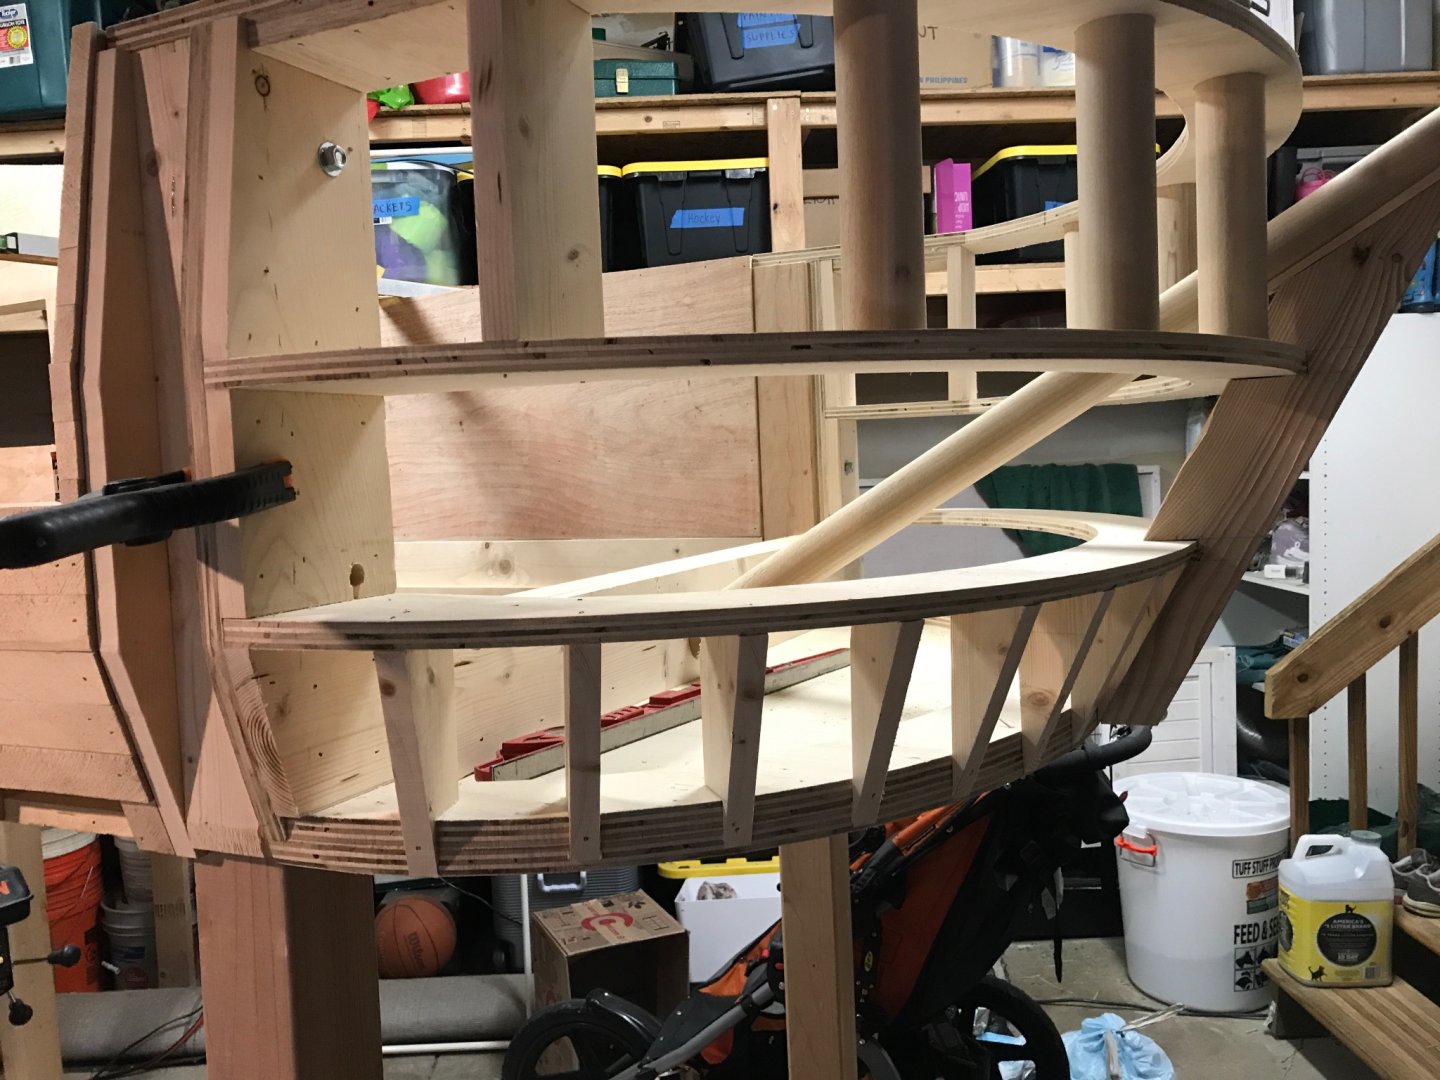
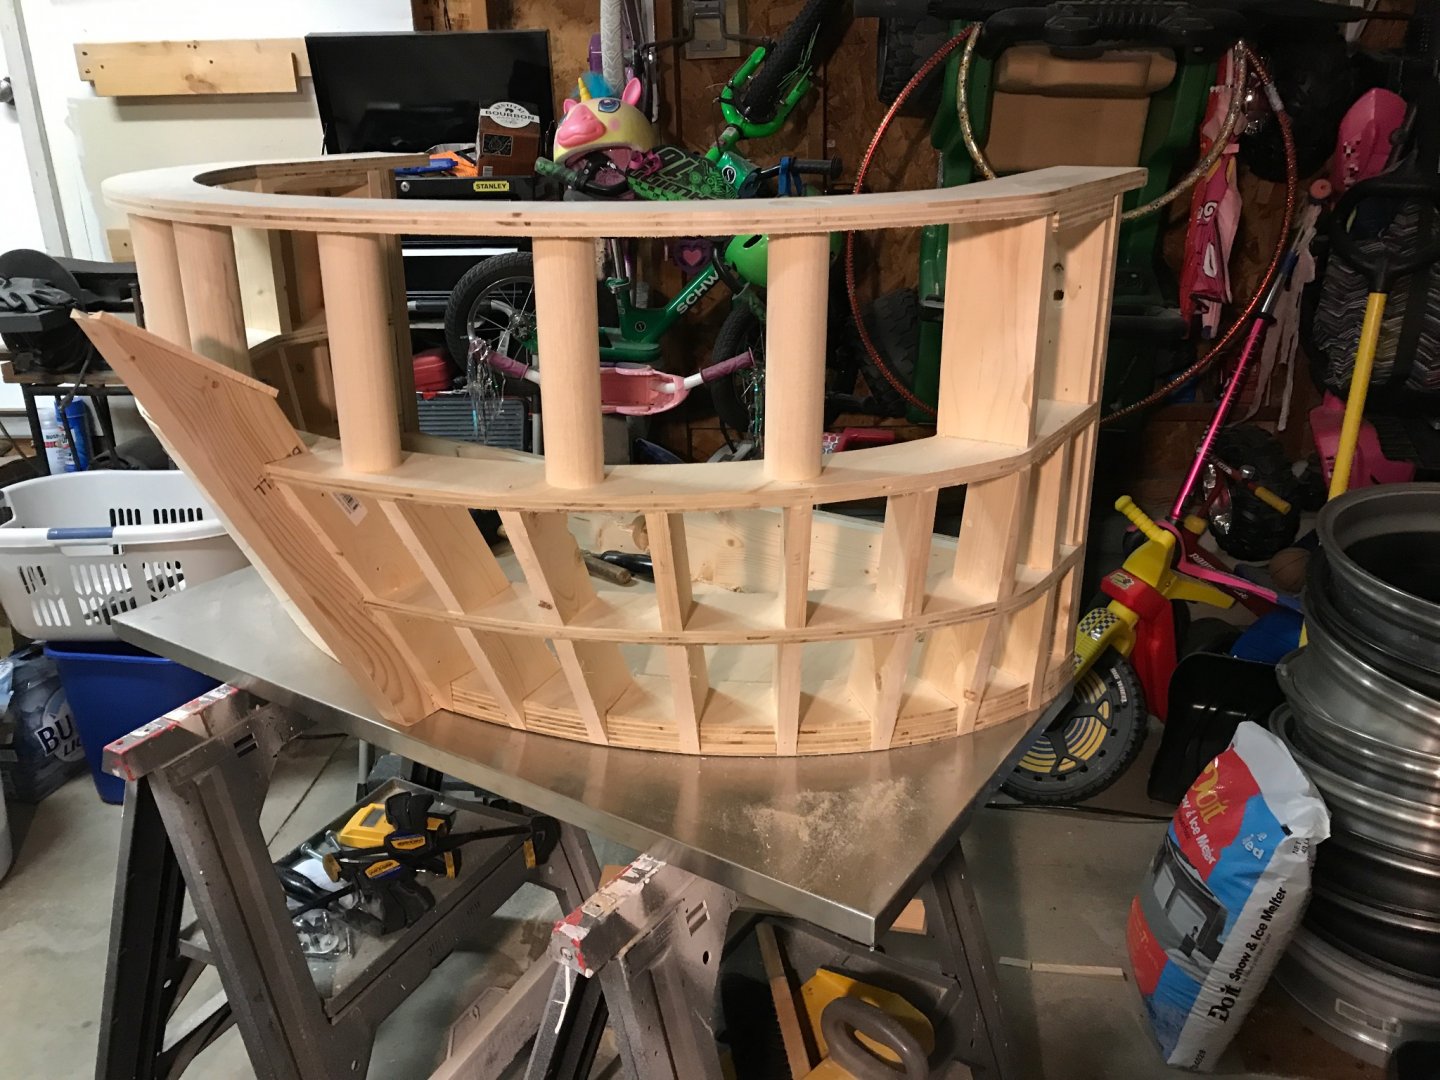
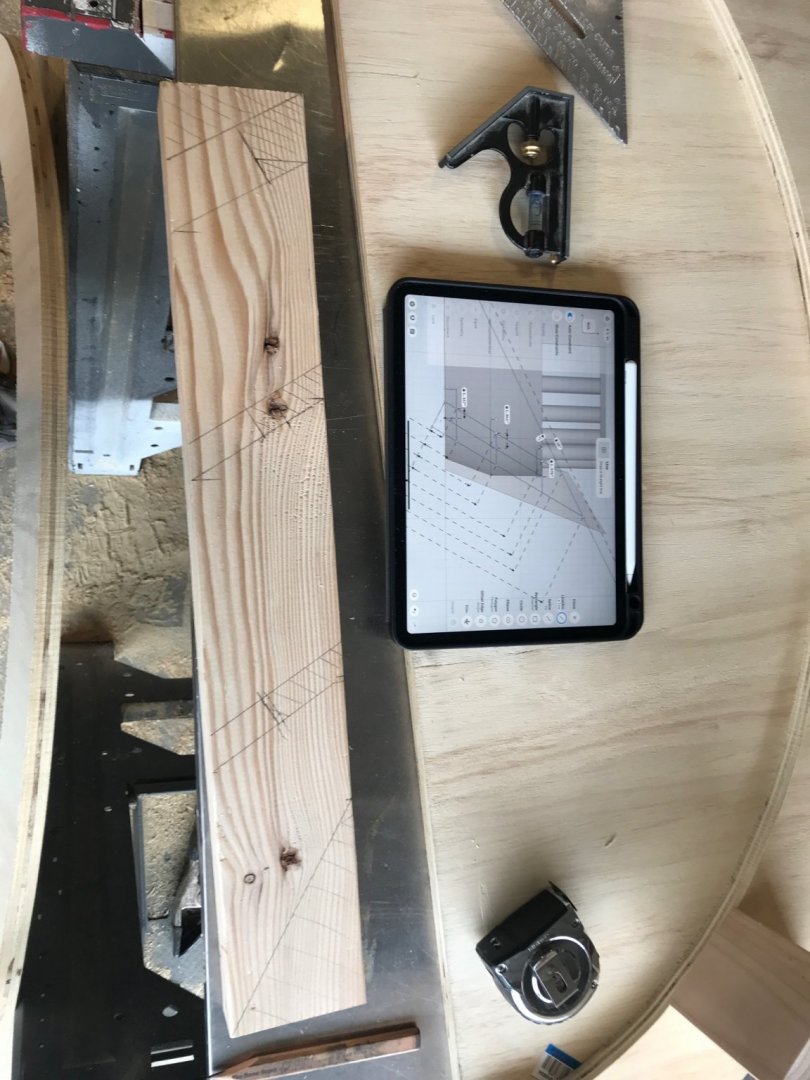
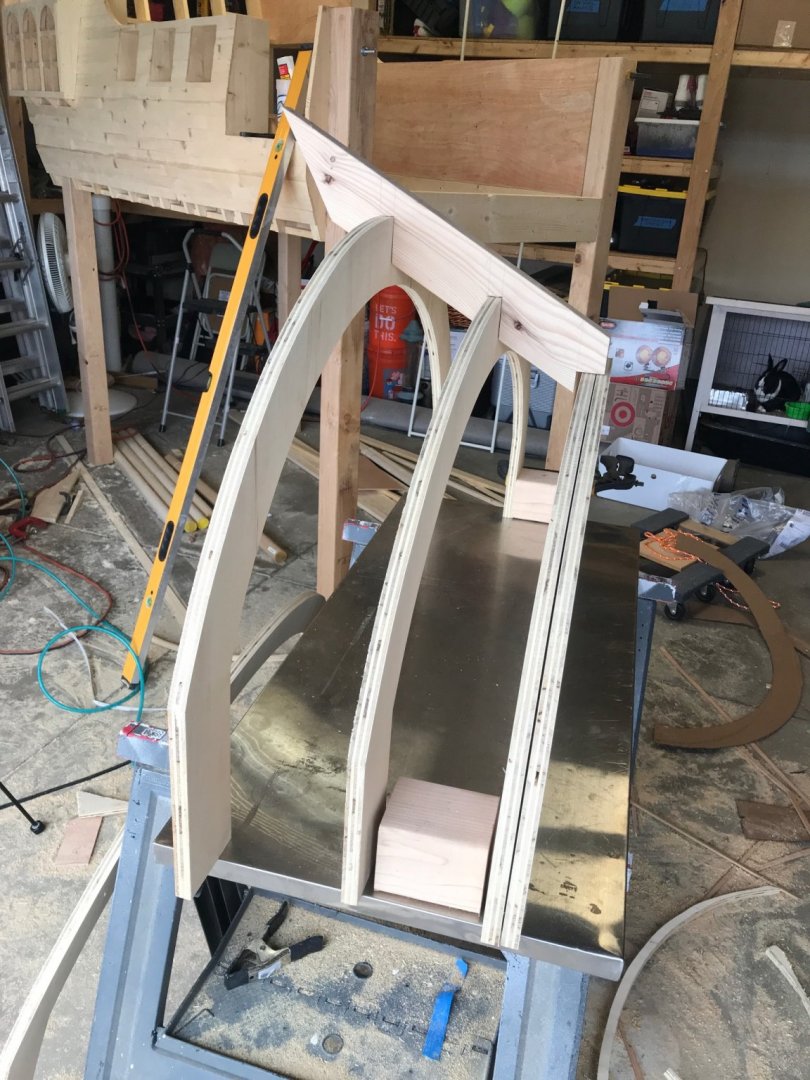
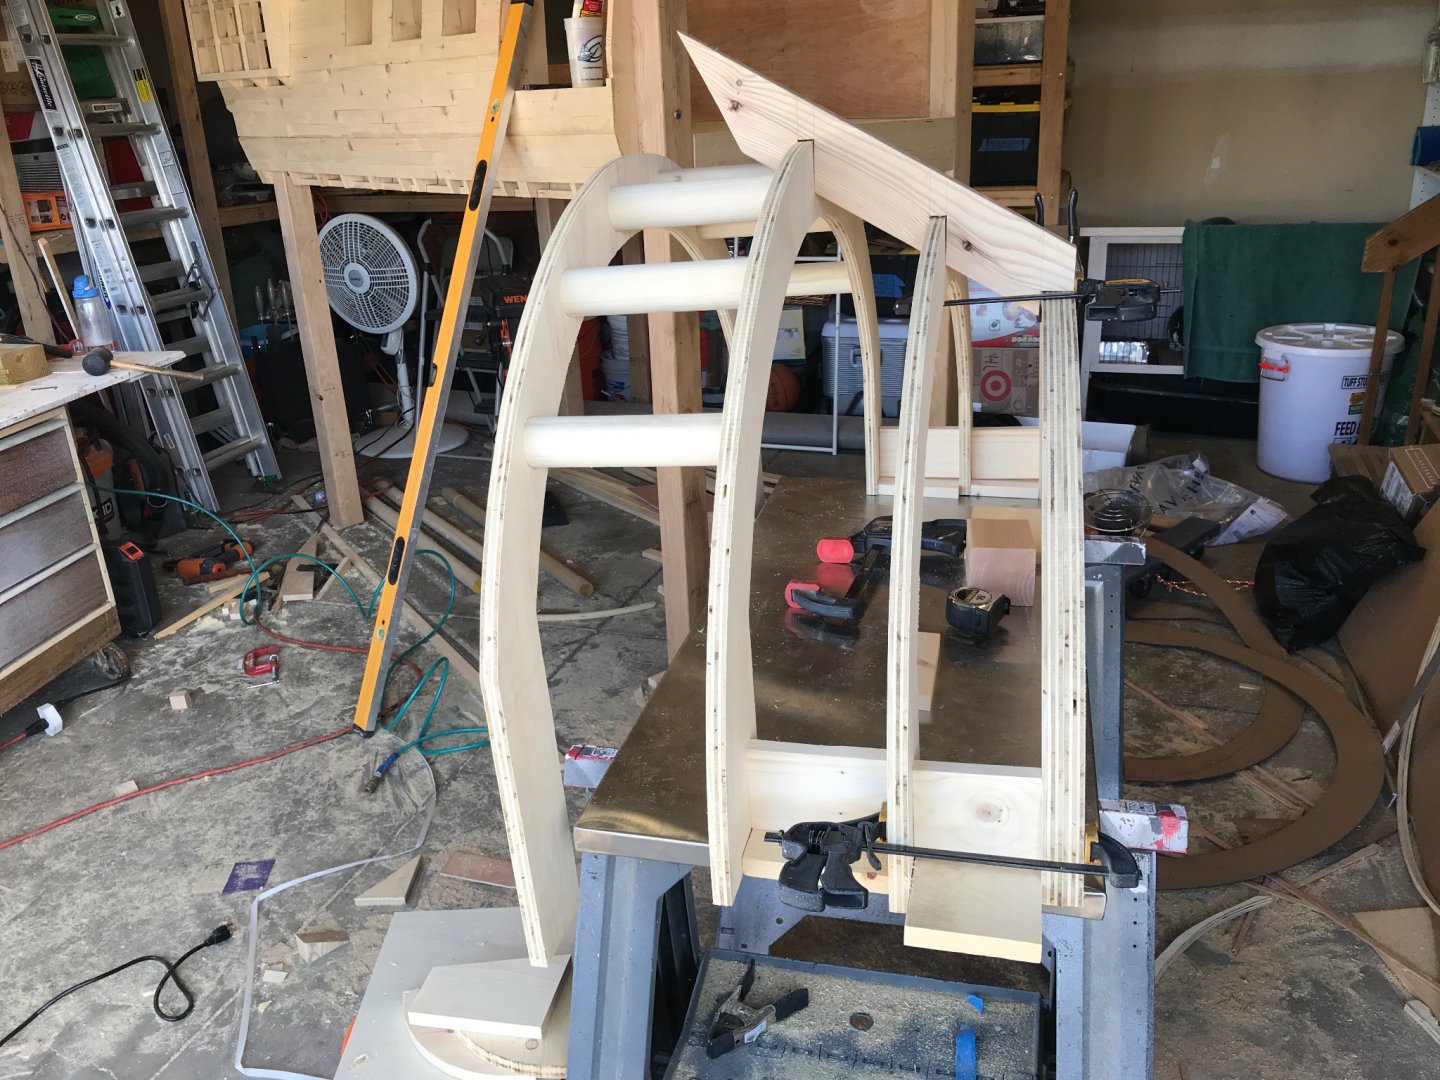
The bow had been a struggle point in my mind since starting this. I designed and redesigned it more times than I can count. I wanted it to look as ship like as possible, but not be too difficult to make and most importantly be strong enough to support my crazy kids playing in it. It consists of four half rings and a floor. I used ellipses for the shapes so they would taper into the sides smoothly. I rough cut them with my jig saw and finish cut them on the bandsaw. The stem is a piece of 2x4 that I notched to accept the rings. My cad software was critical for figuring out the angles. I was very excited that it fit on the first try (not typical)! I used my drill press and a forstner bit to make pockets for 2” dowels for the railings. Hoping that it will be strong enough. The bow will be detachable for transportation. I used two layers of plywood to make a bulkhead. A little test fit...


-
Nicely done!
-
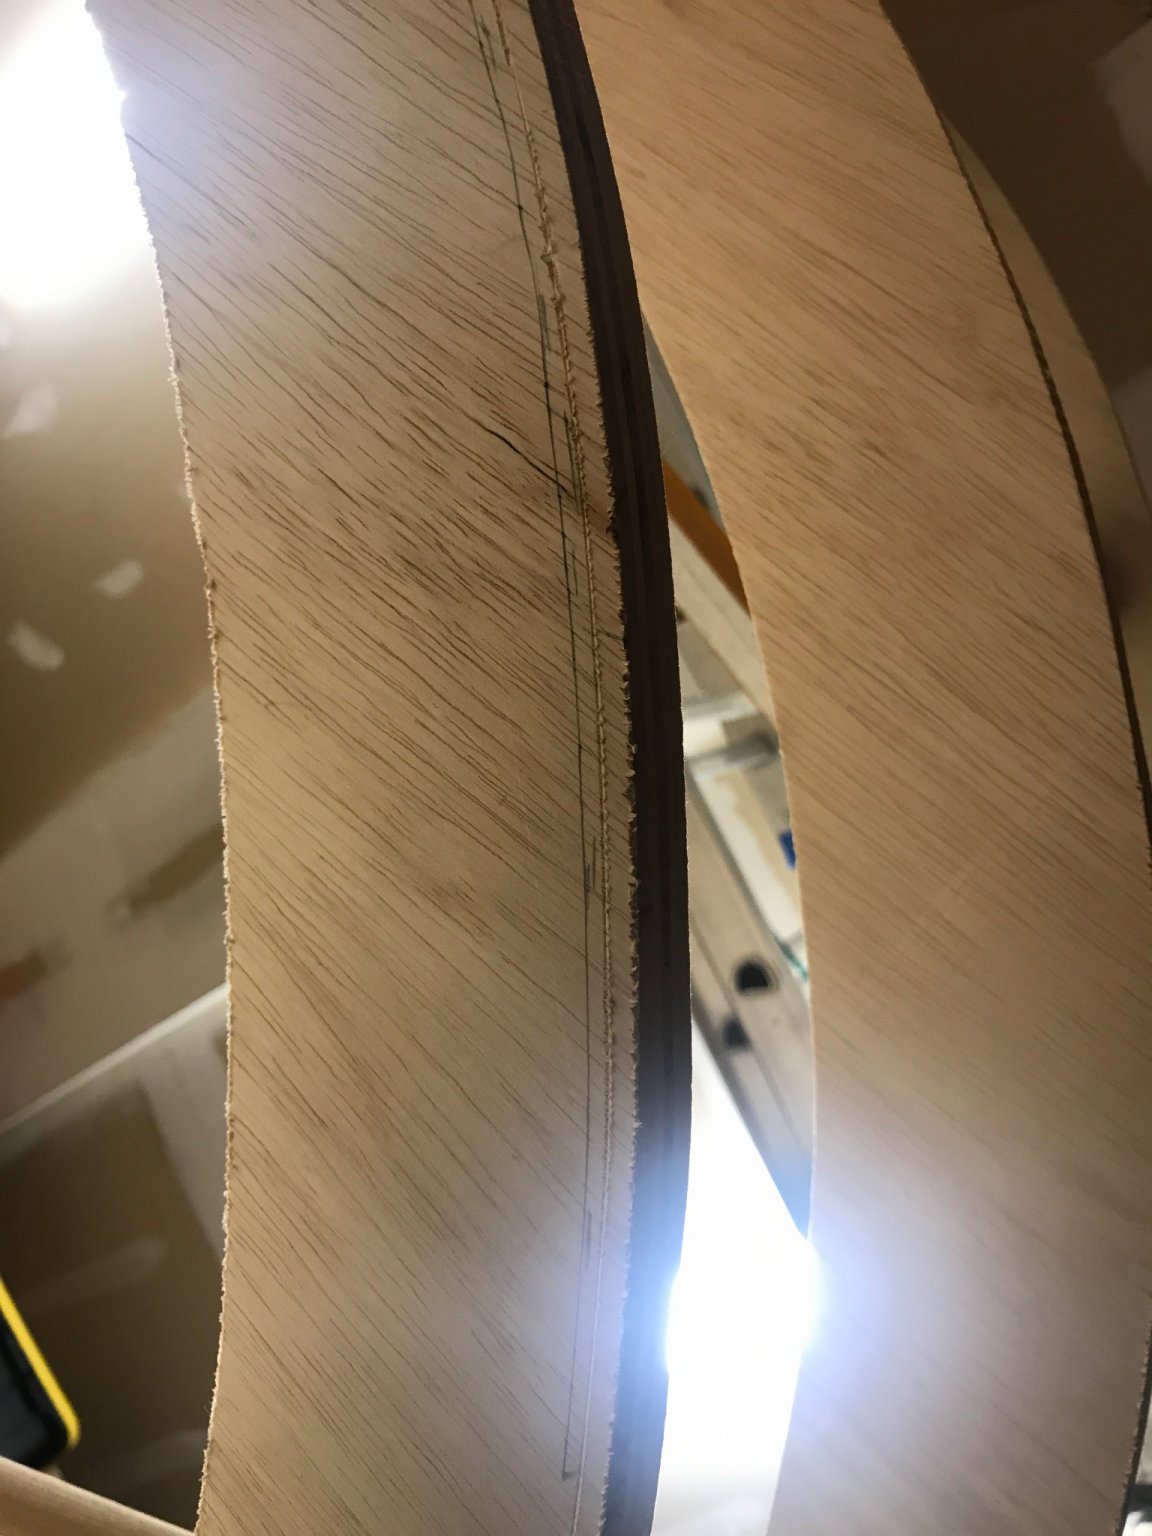
I had good luck with the stem and keel glued on. They make nice pieces for clamps to hold the first planks. I shouldn’t have glued on the stern post, but I managed. I haven’t had time to finish my first planking... only two runs to go. You are off to a way better start than me though. I refused to add the filler blocks... the transition between BH4,5, and 6 is abrupt and I hope that I can smooth it out for the 2nd planking.