KirbysLunchBox
-
Posts
221 -
Joined
-
Last visited
Content Type
Profiles
Forums
Gallery
Events
Everything posted by KirbysLunchBox
-
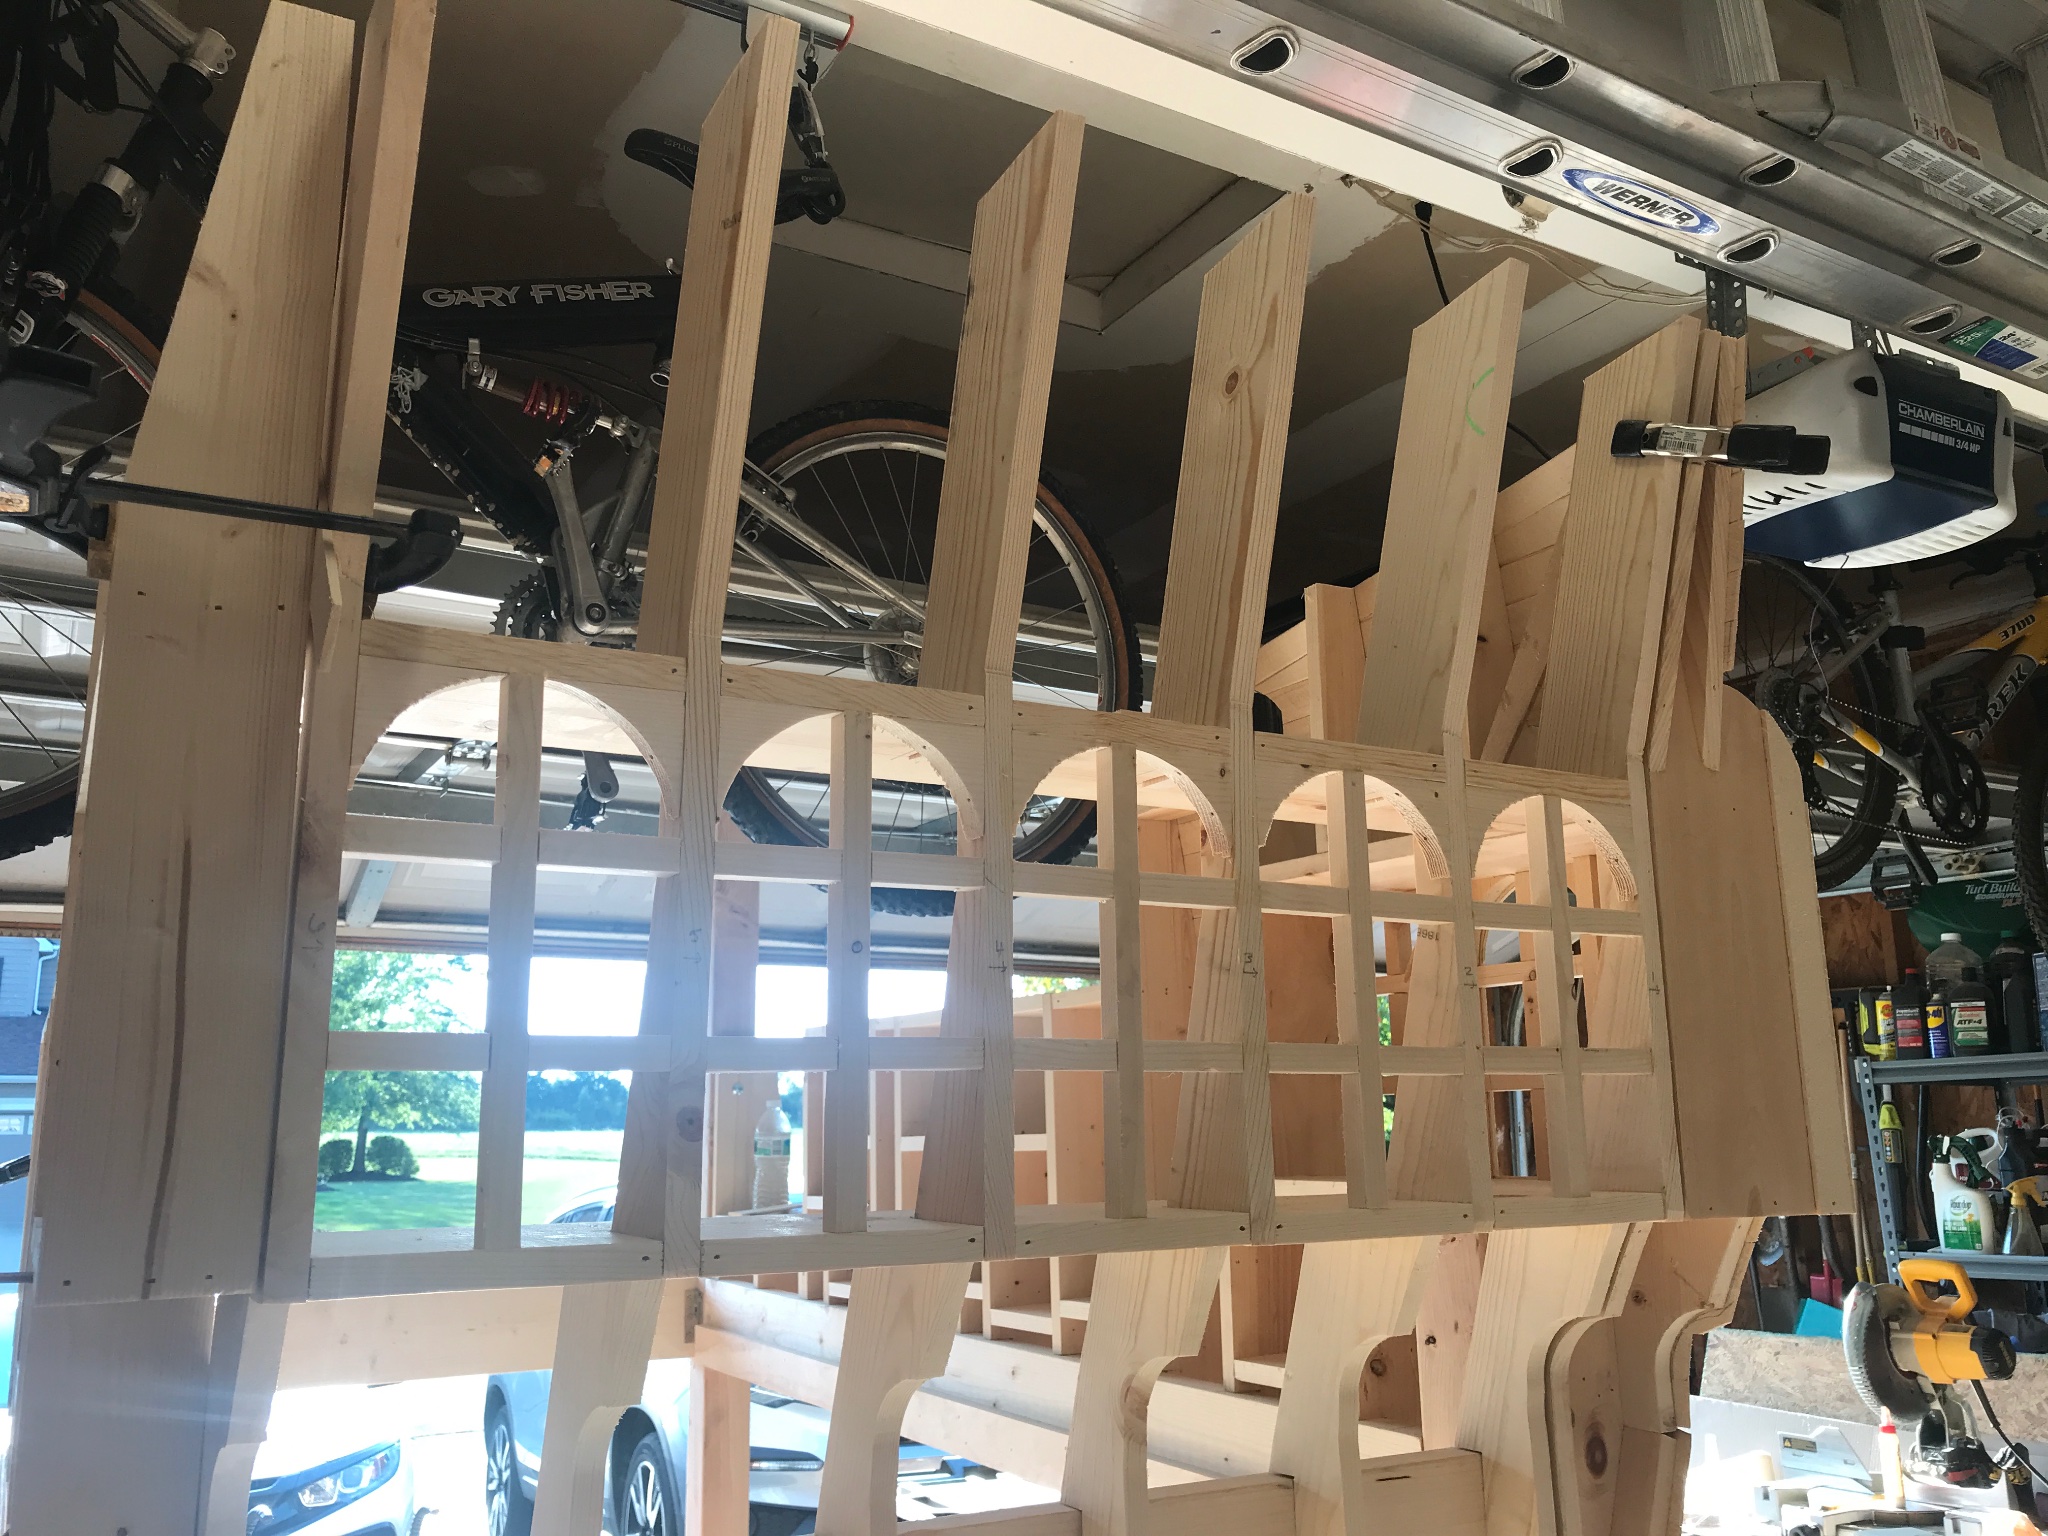
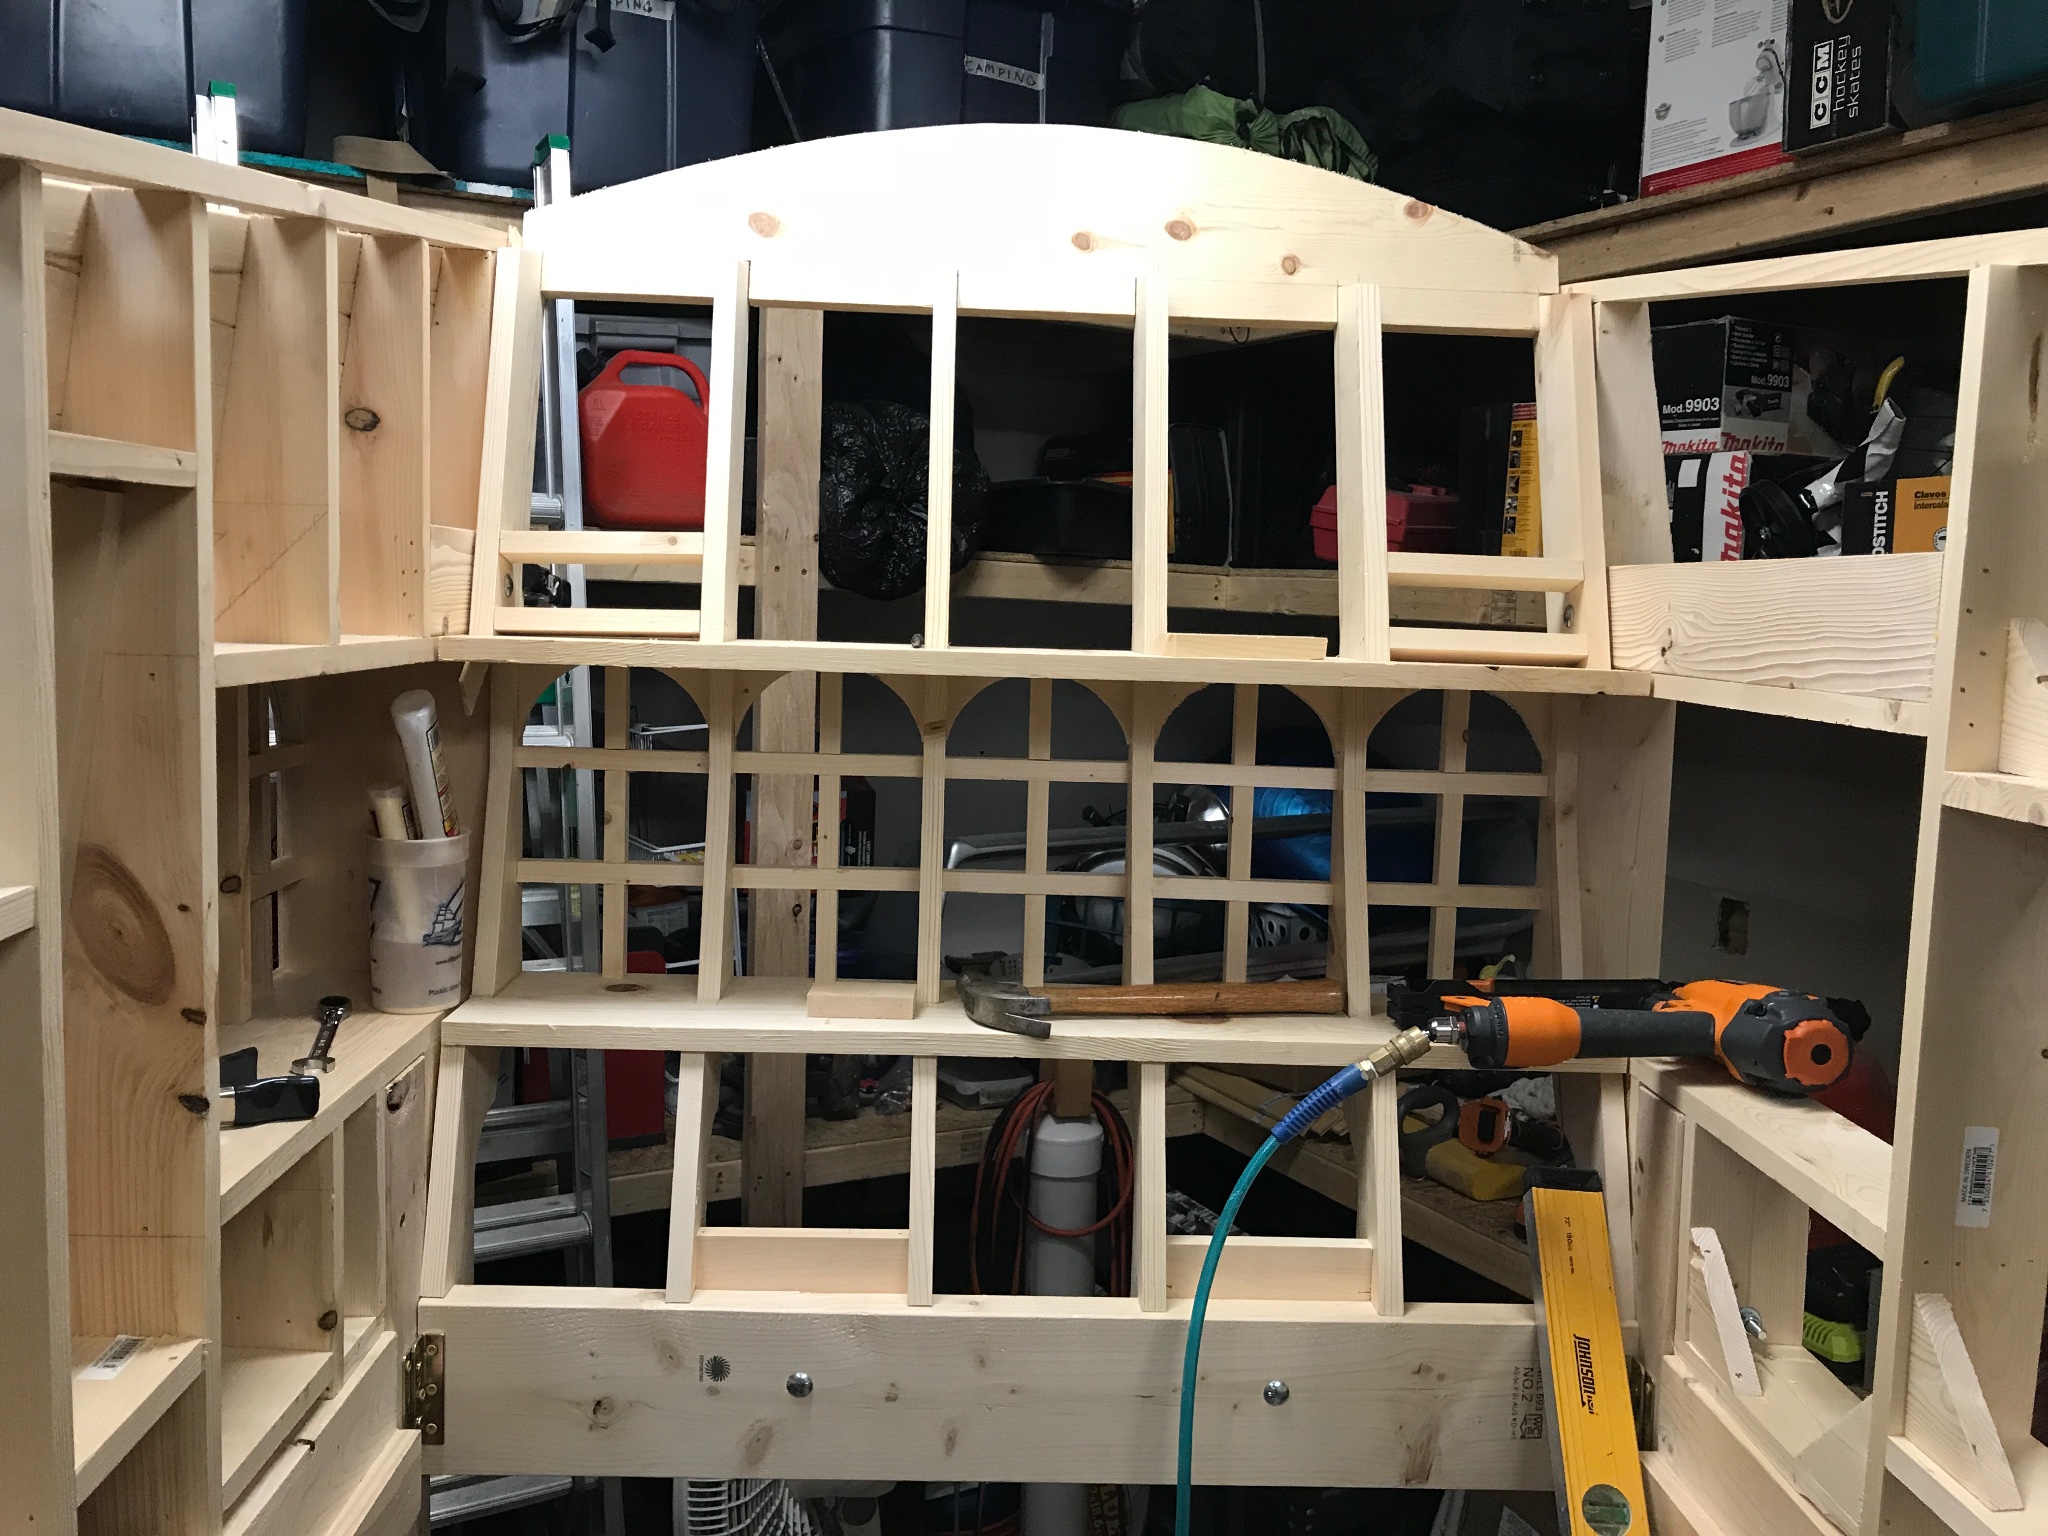
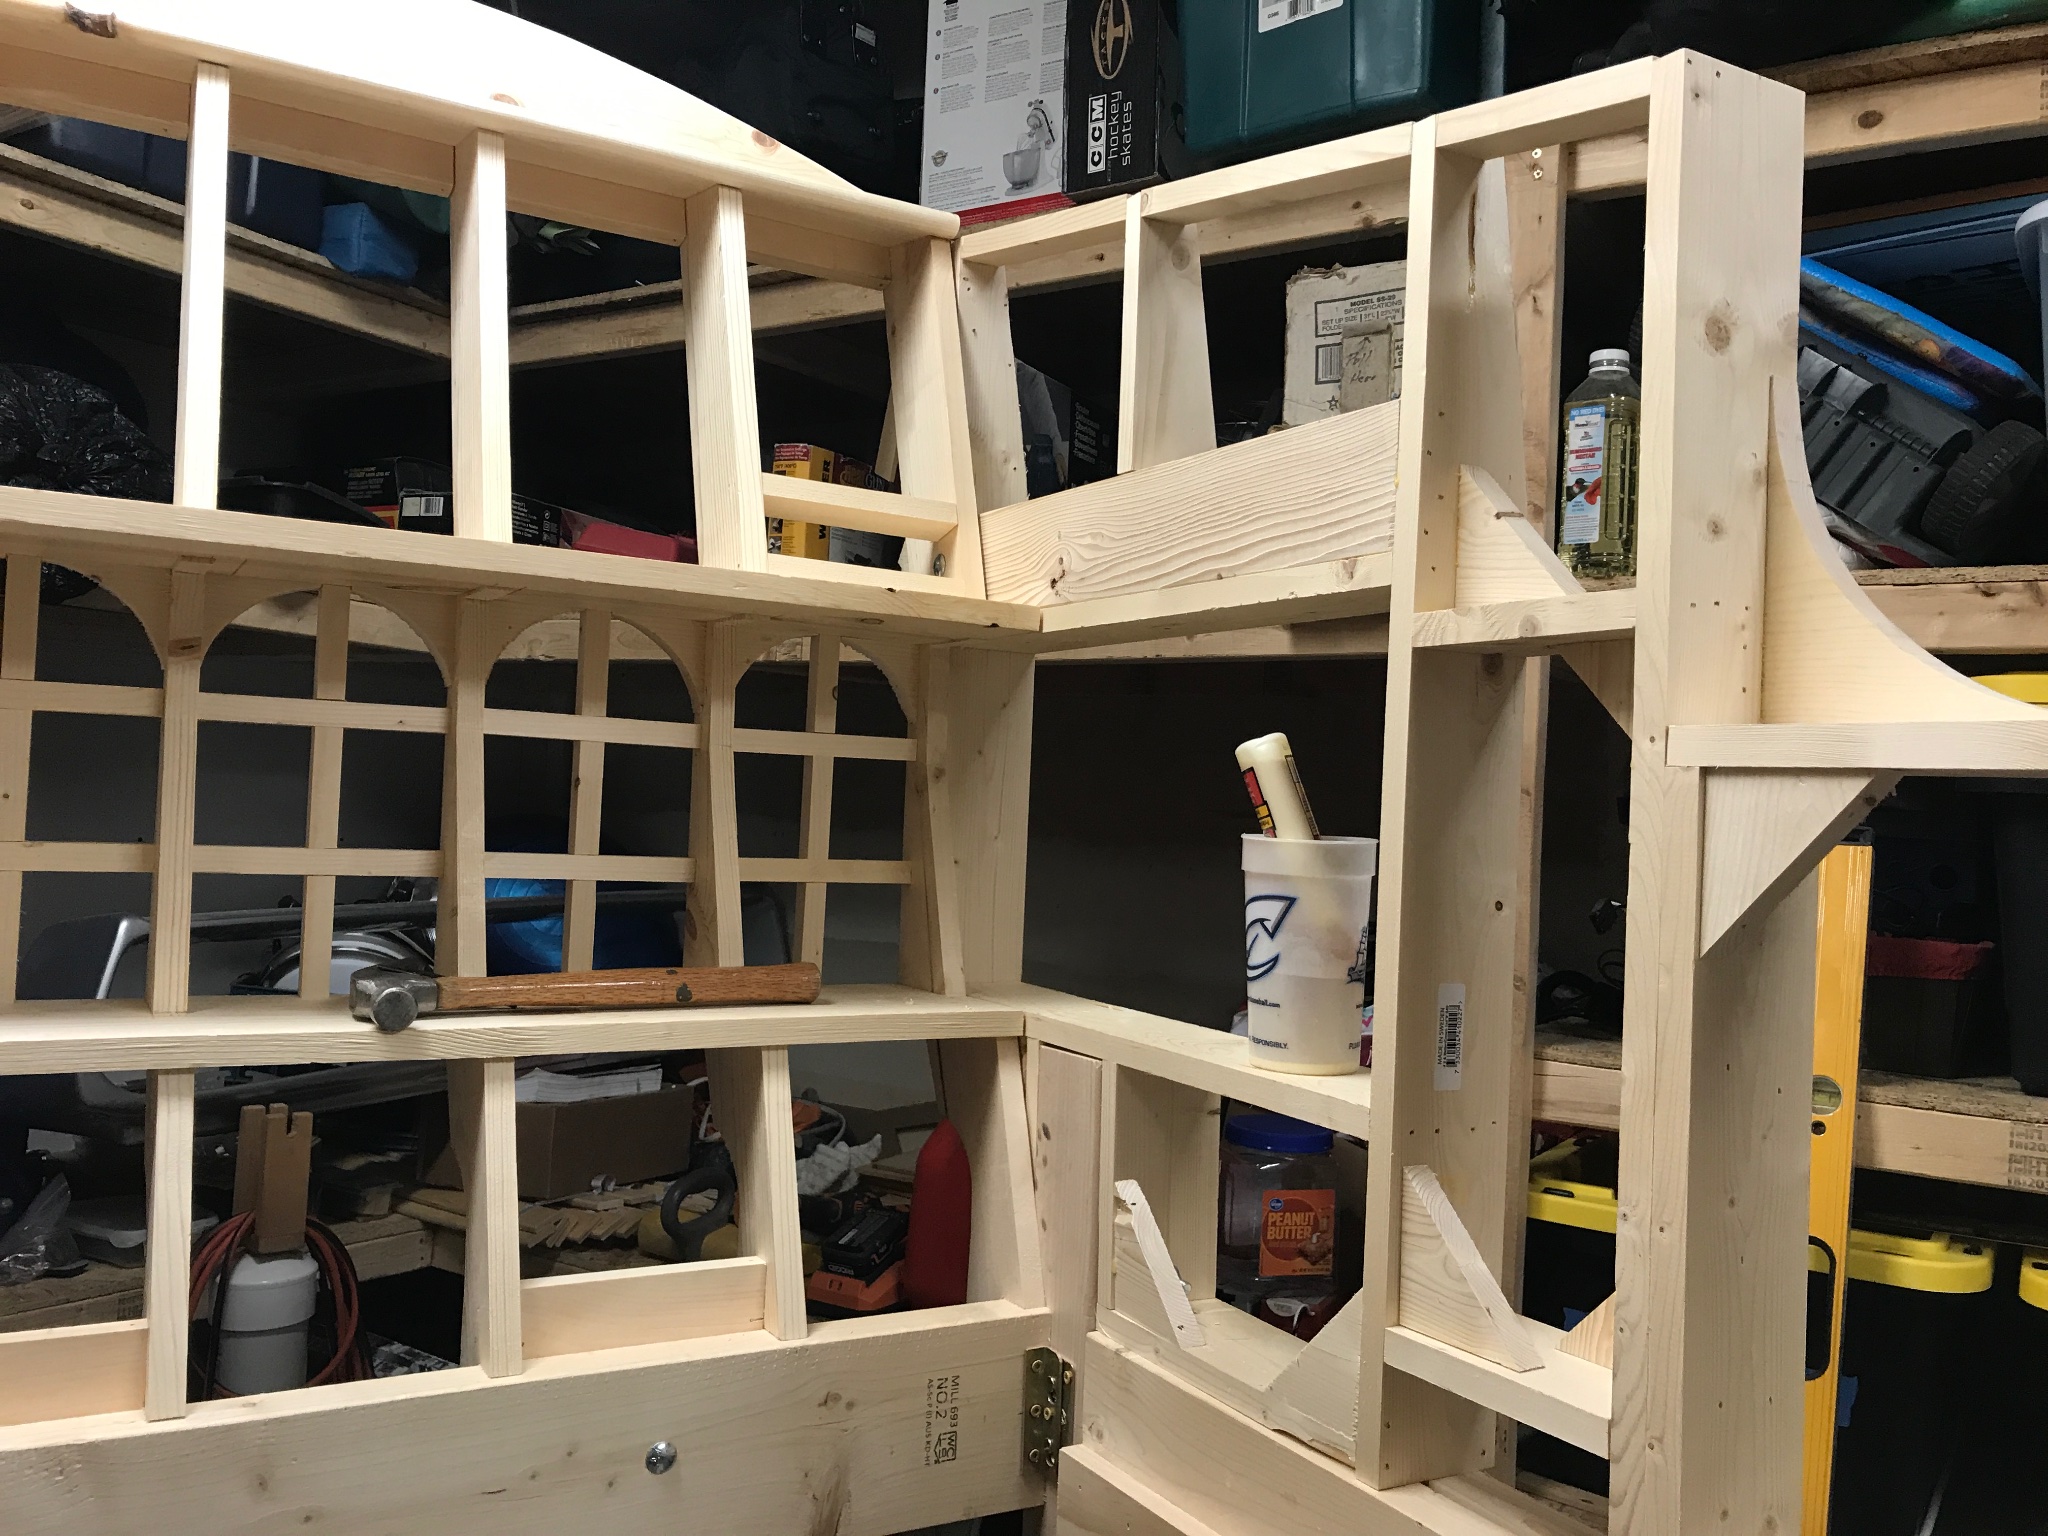
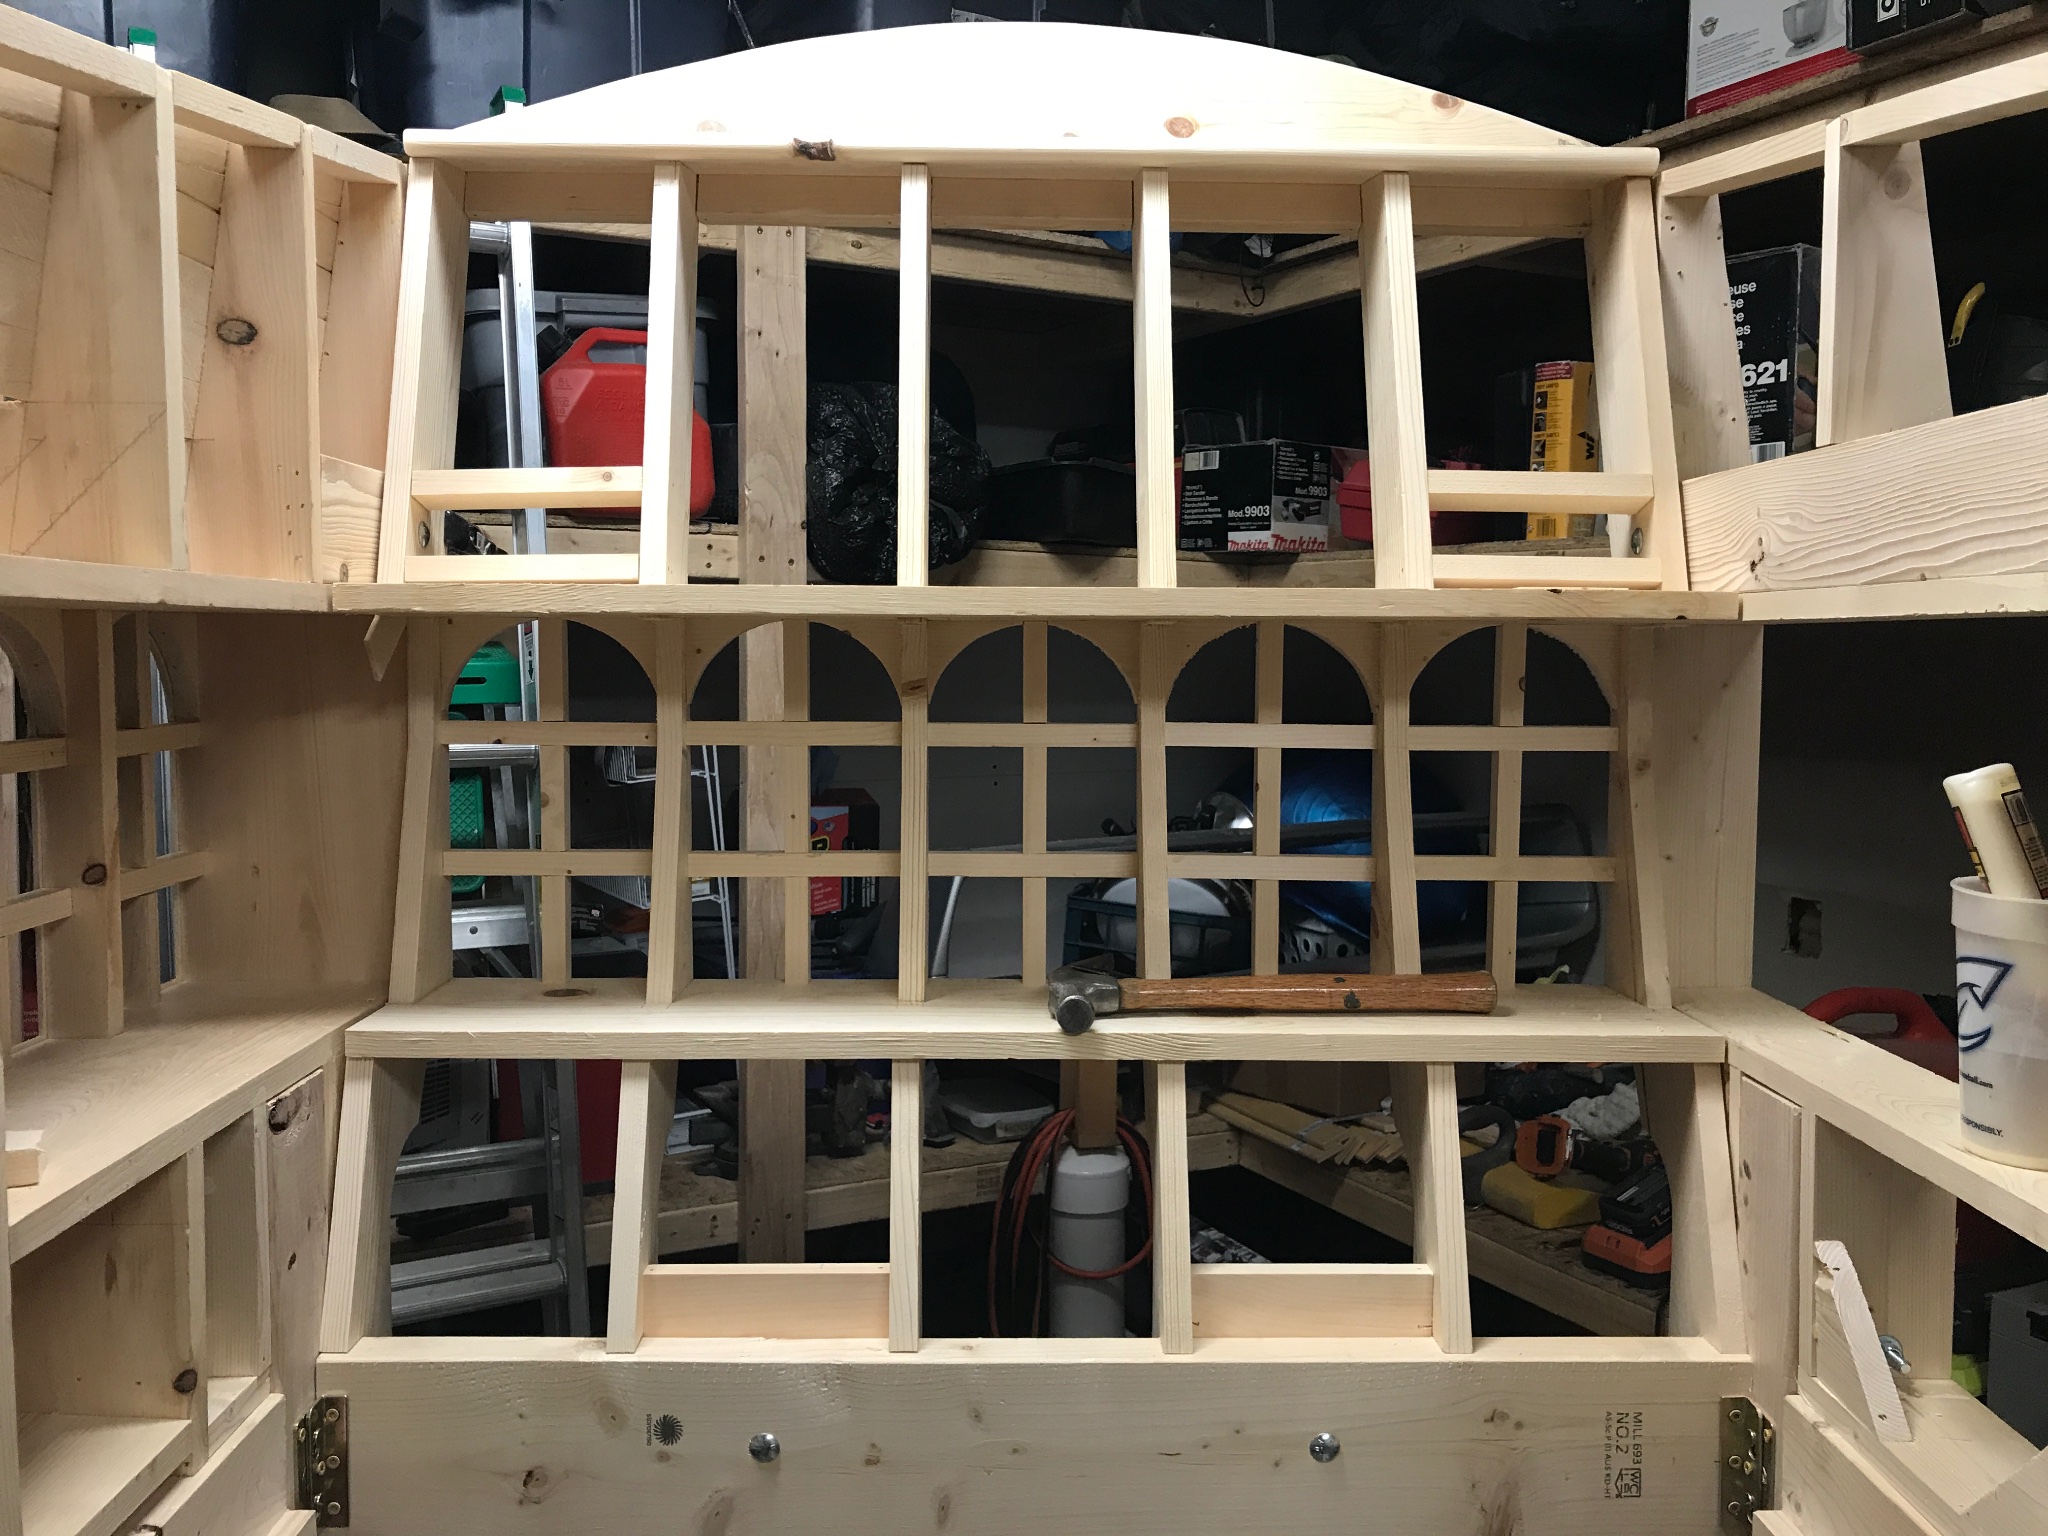
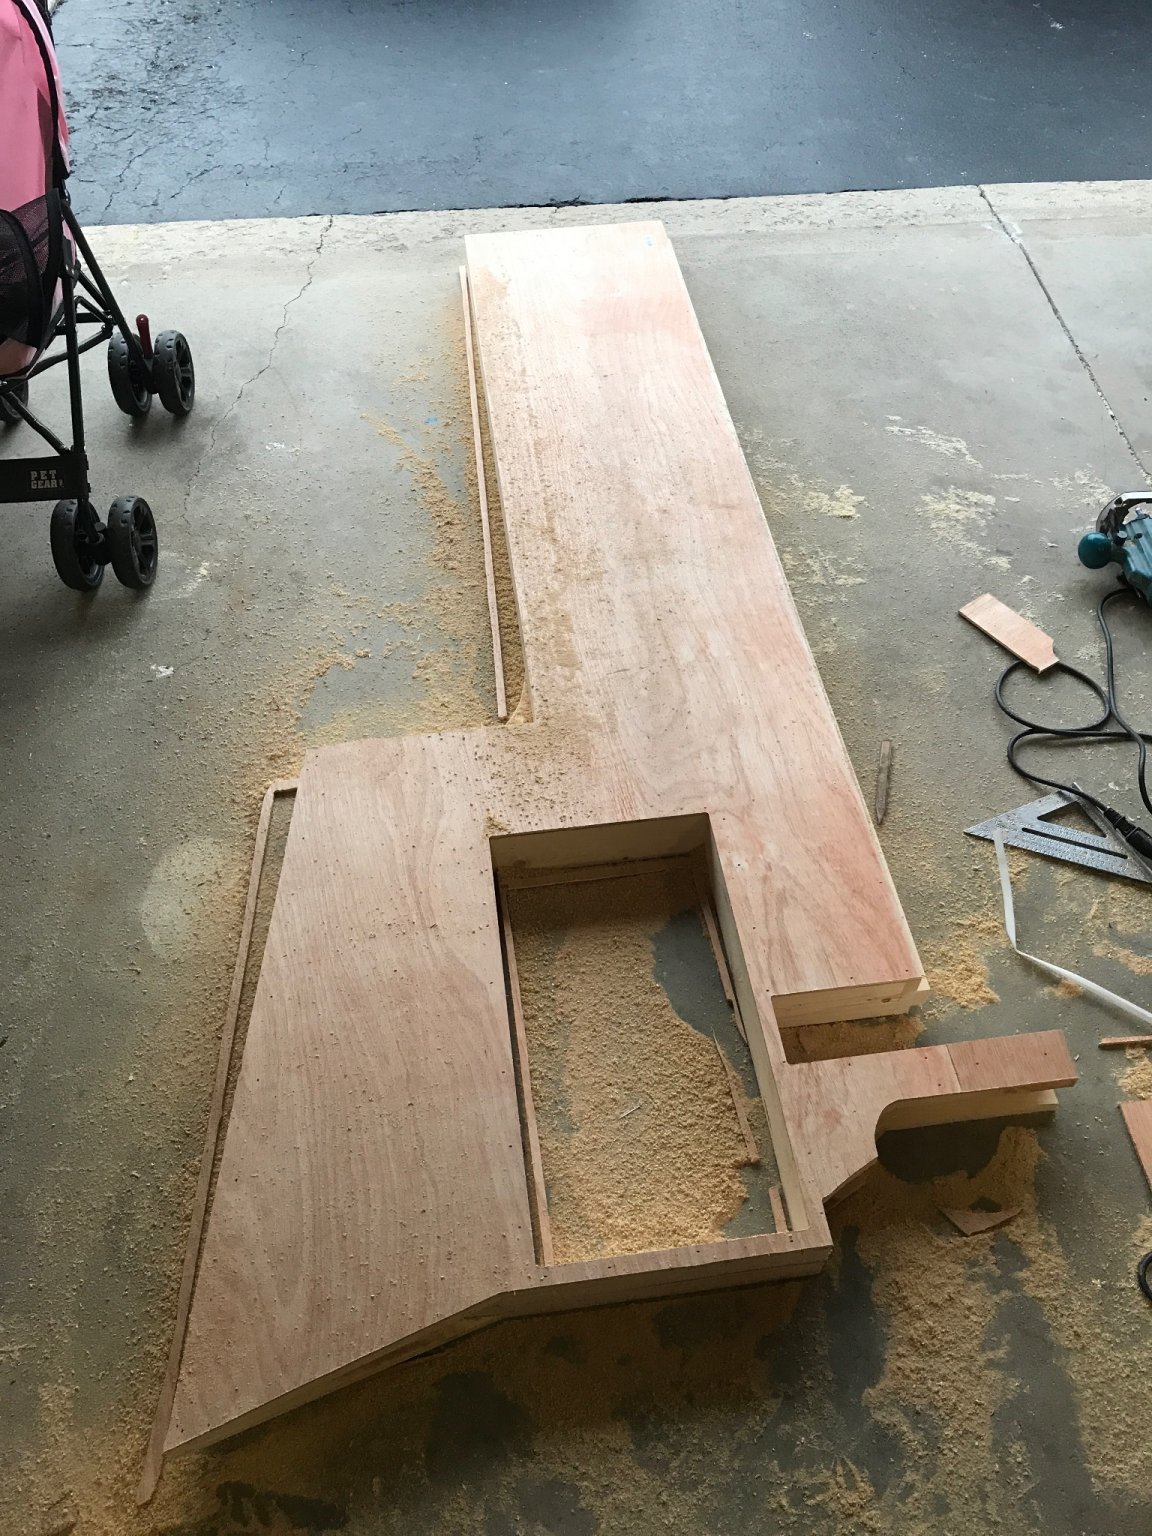
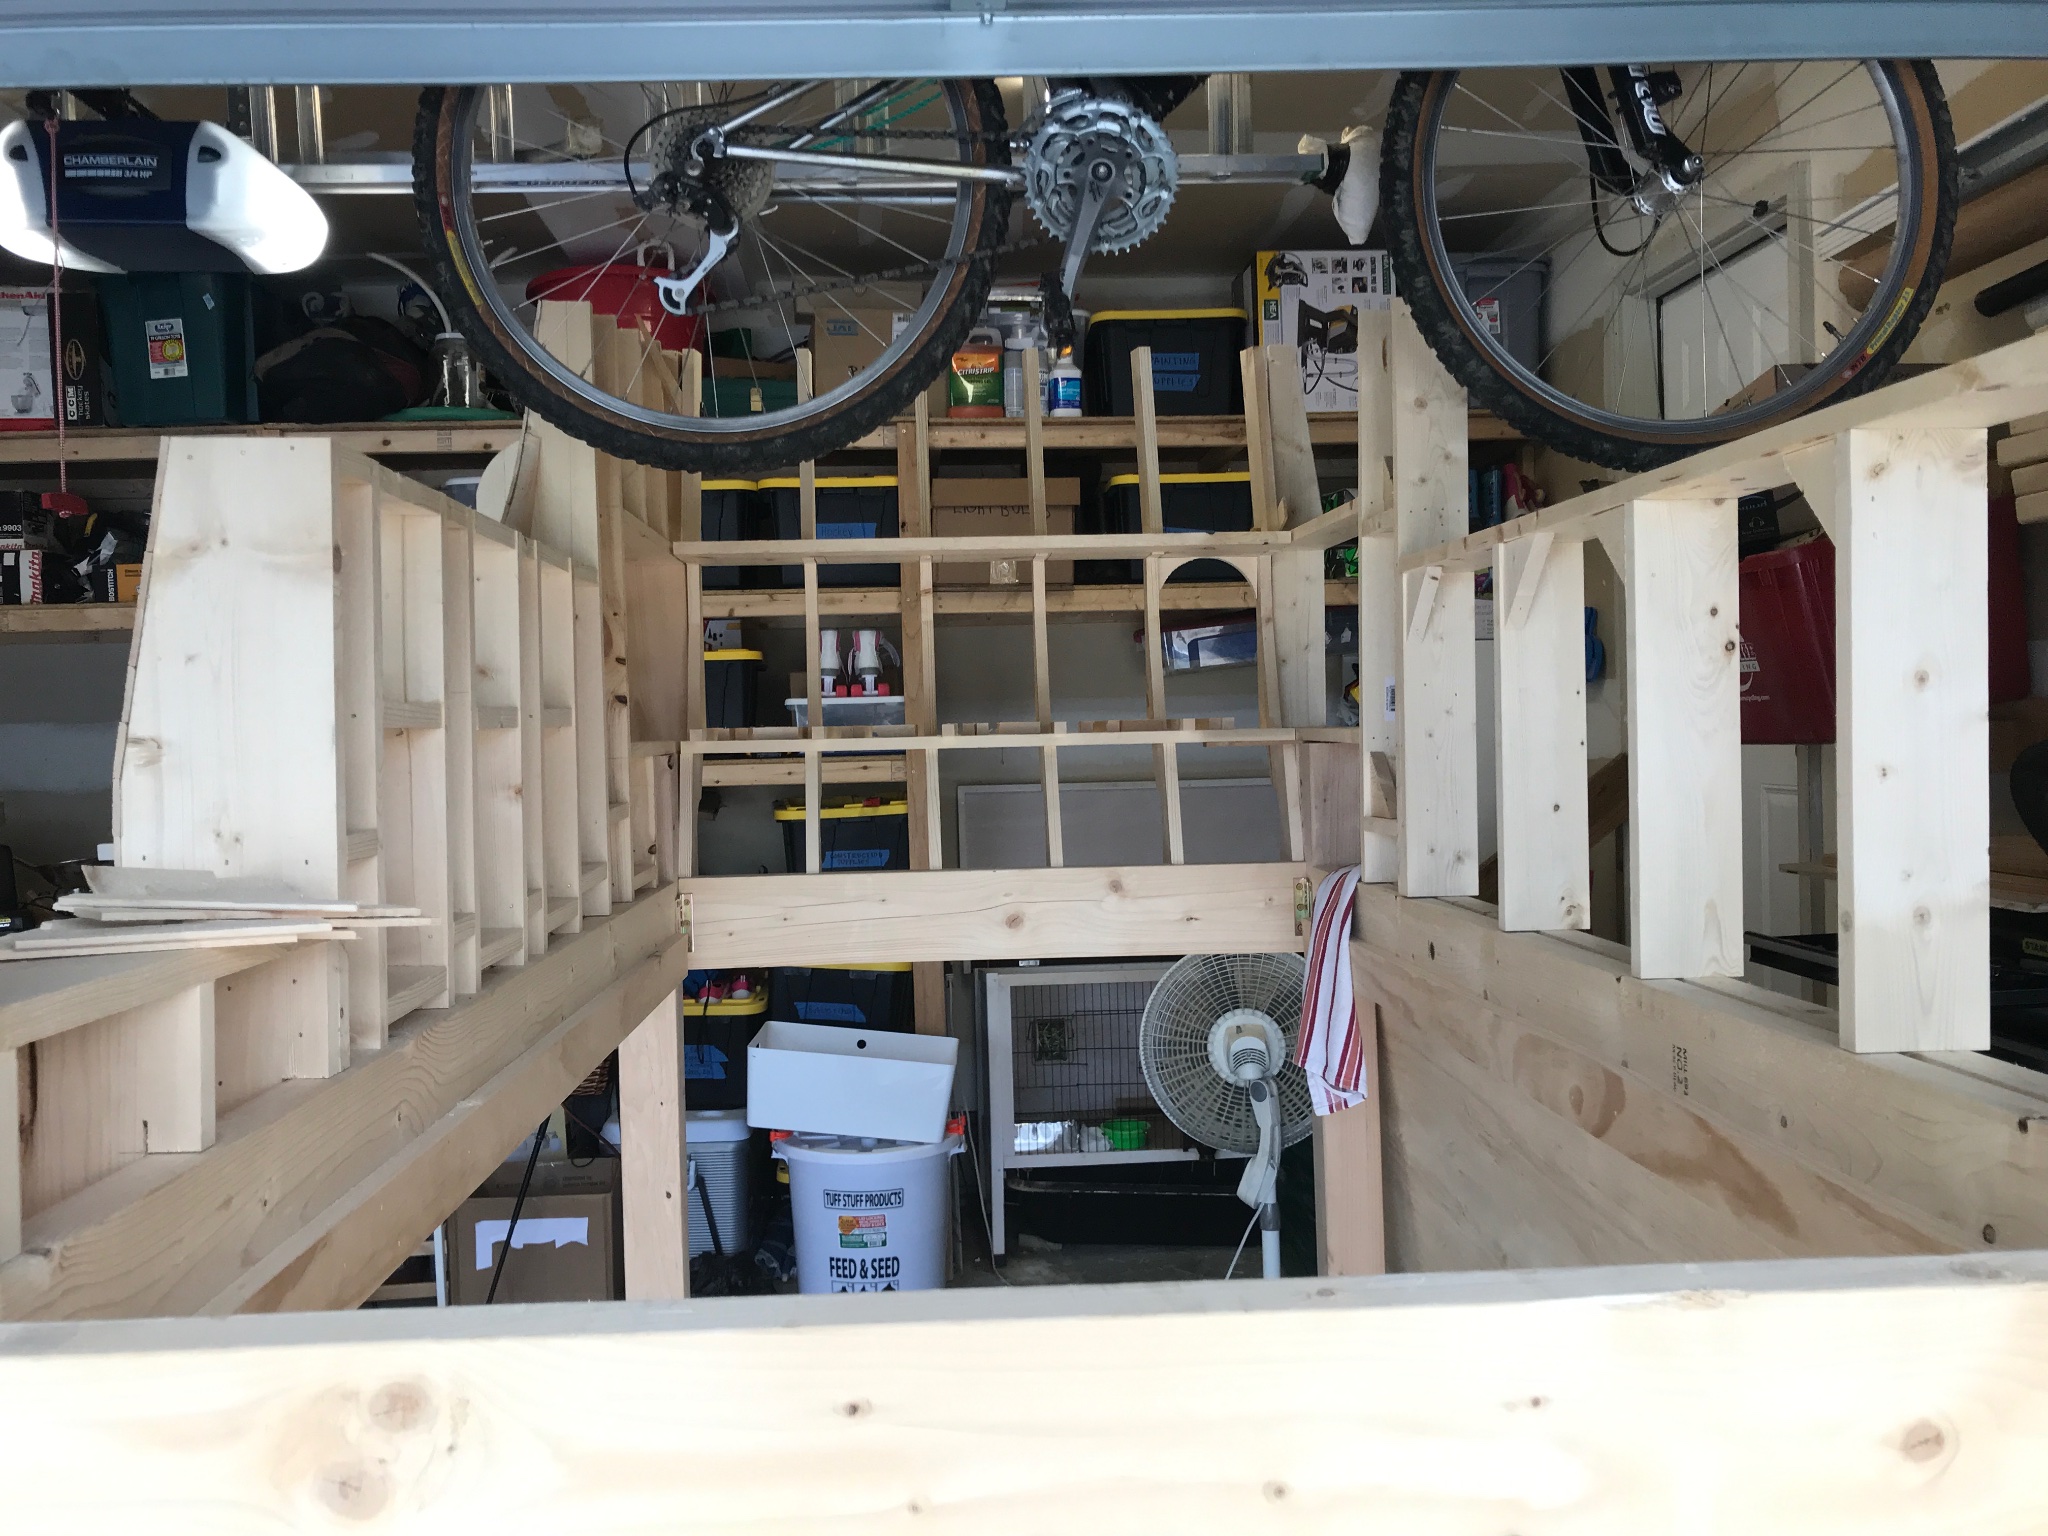
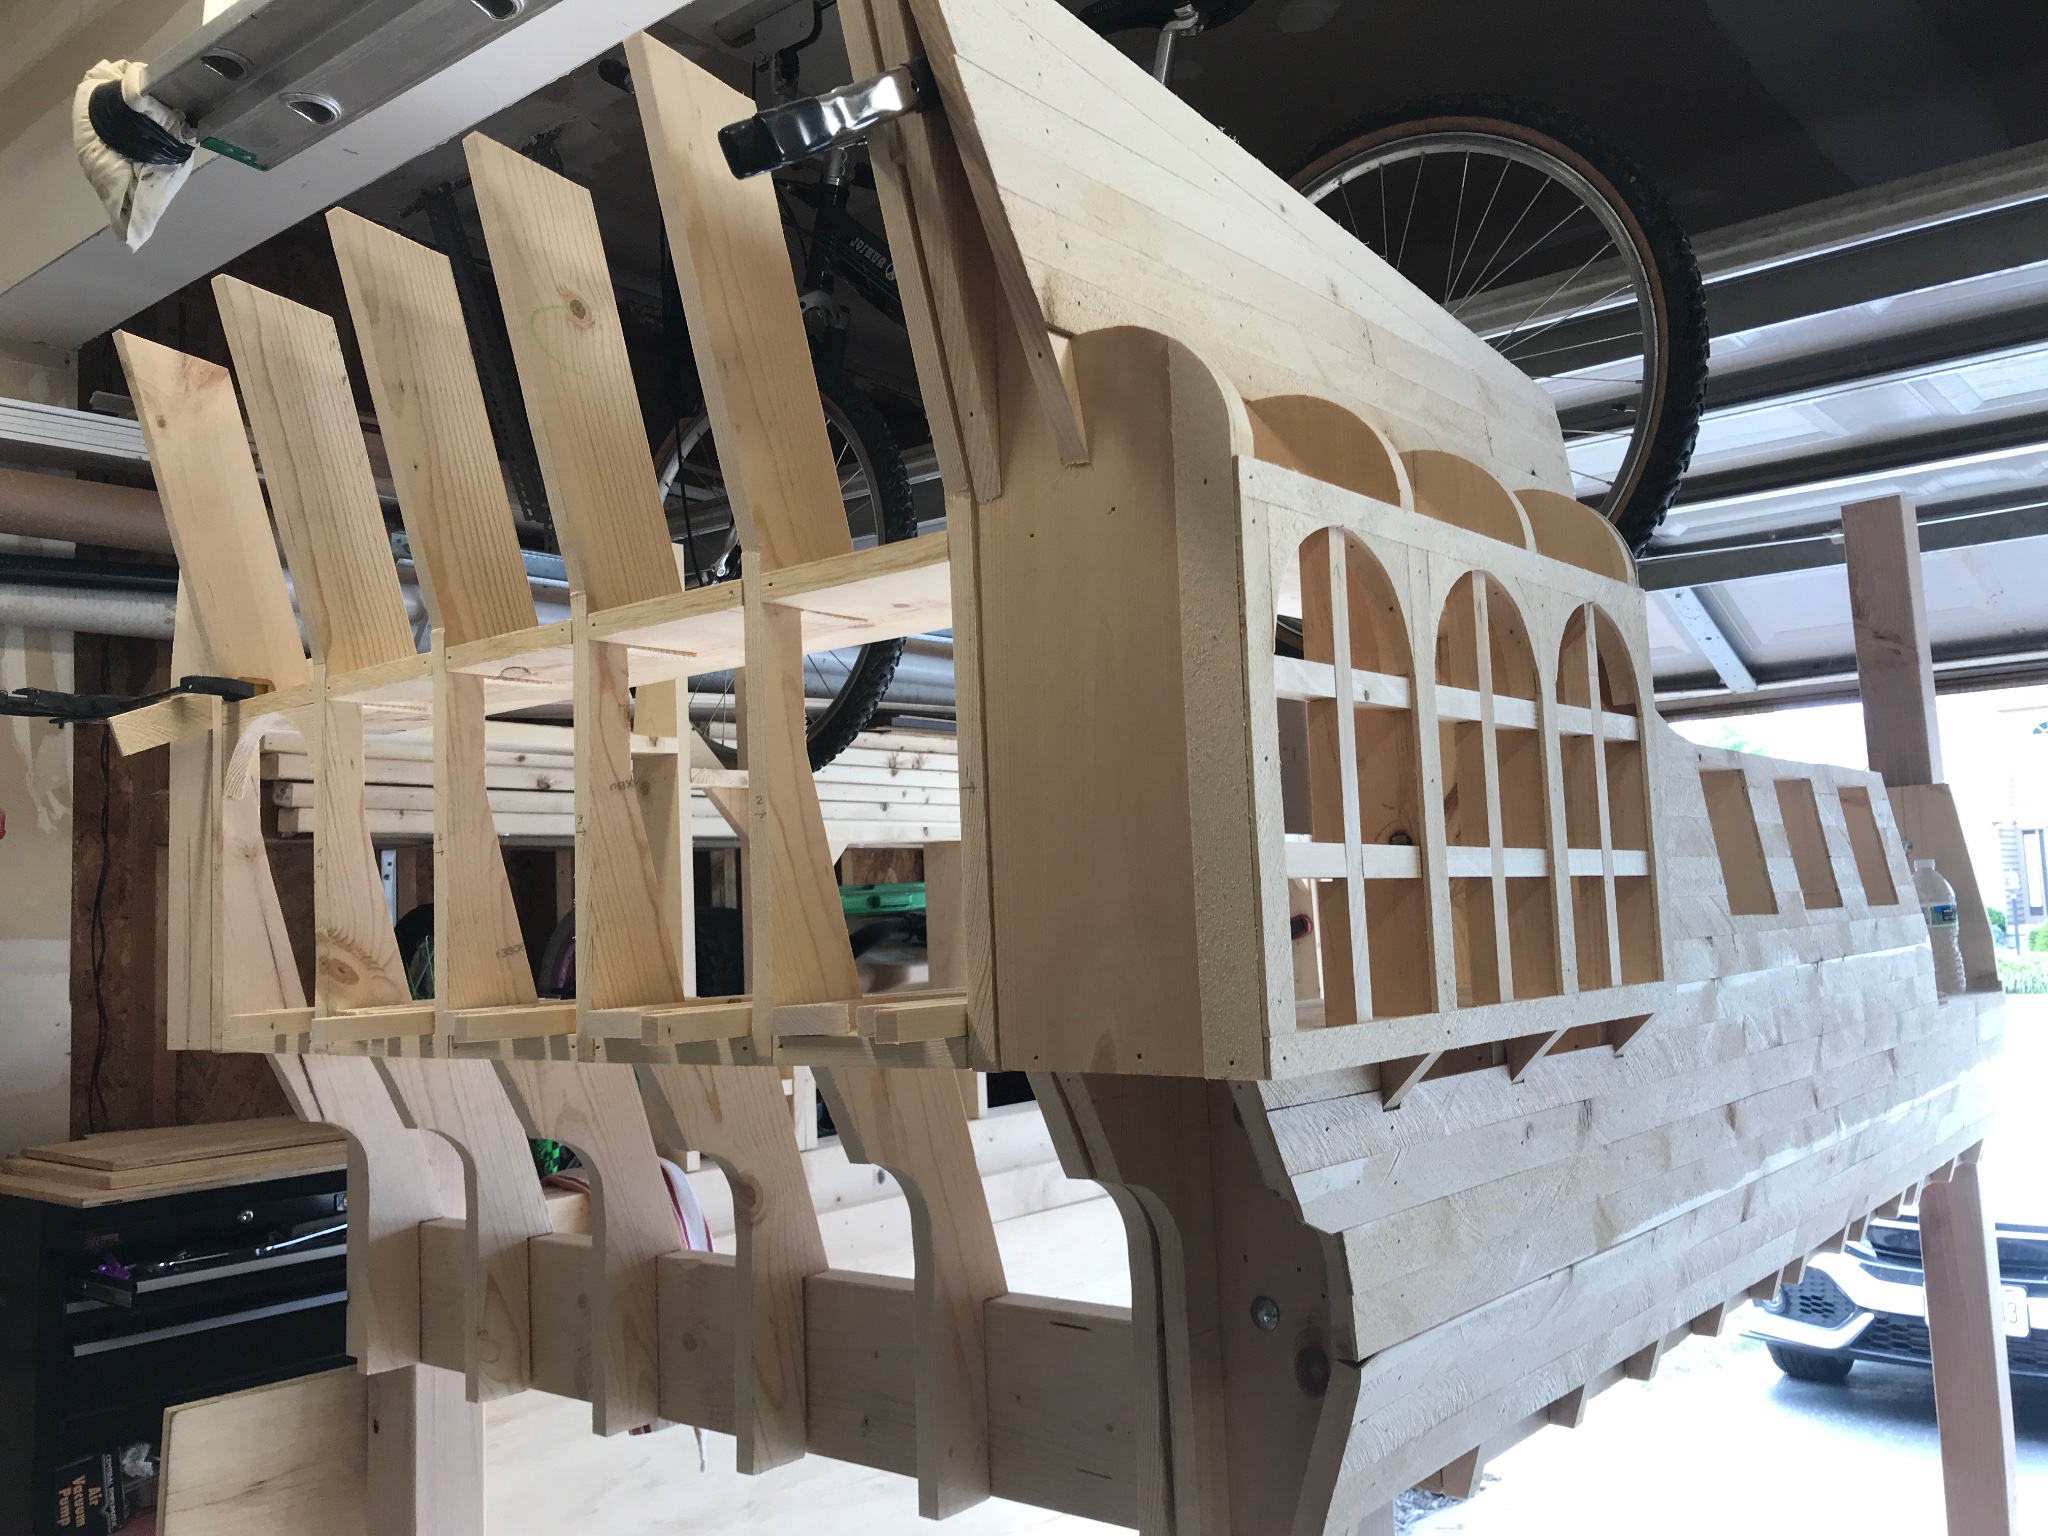
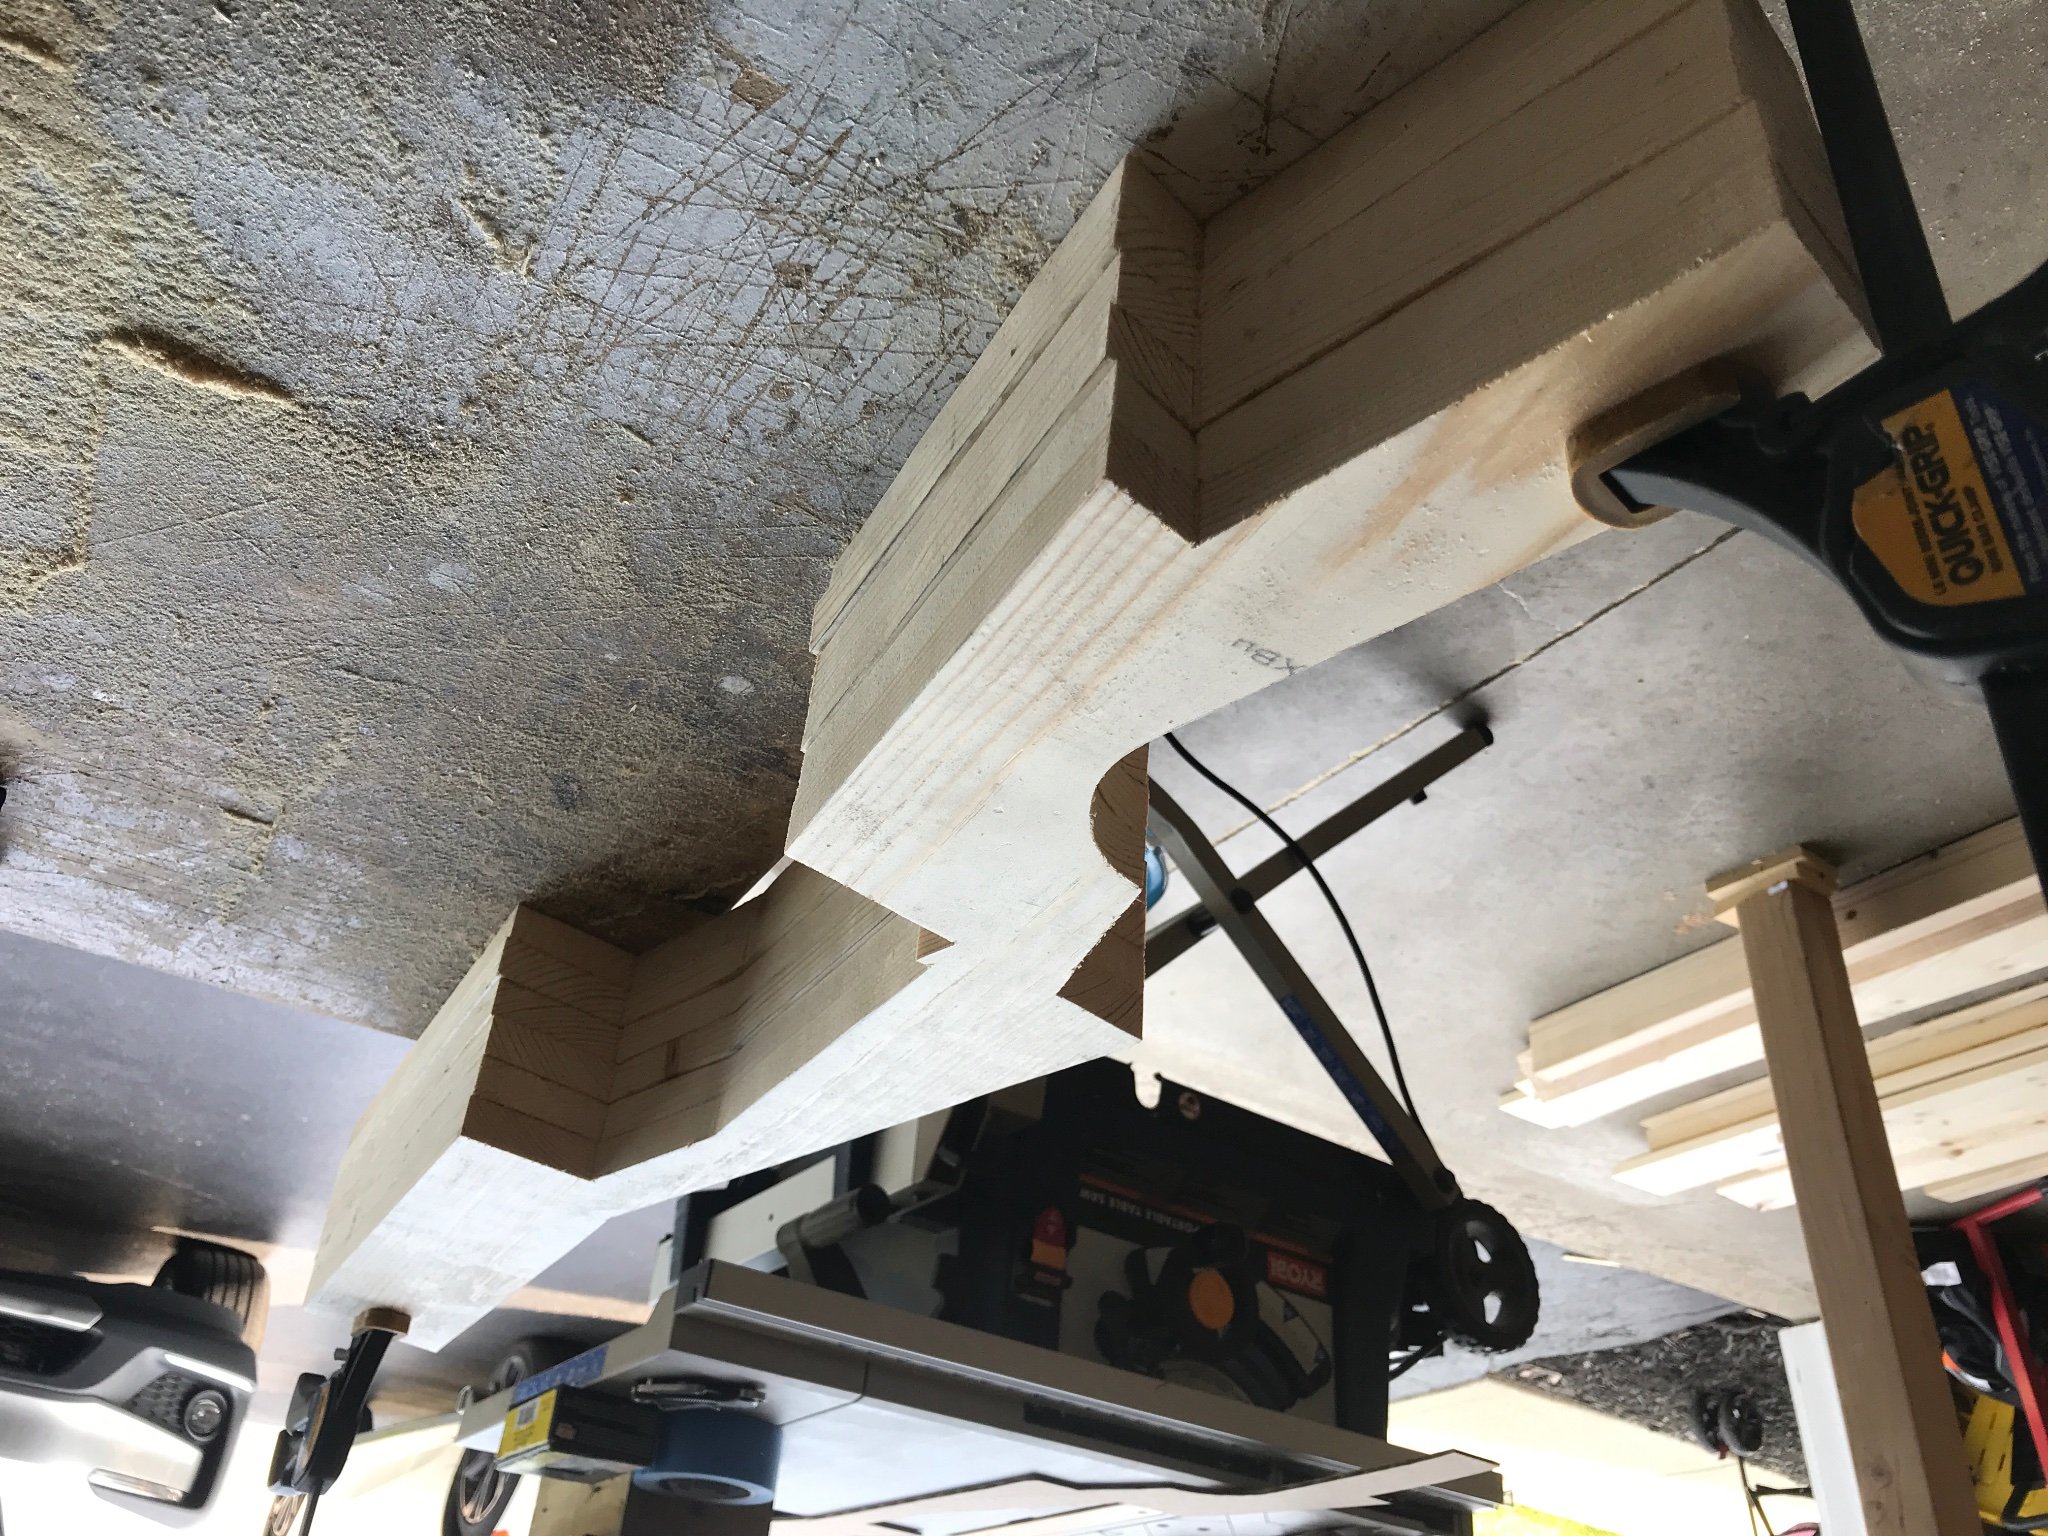
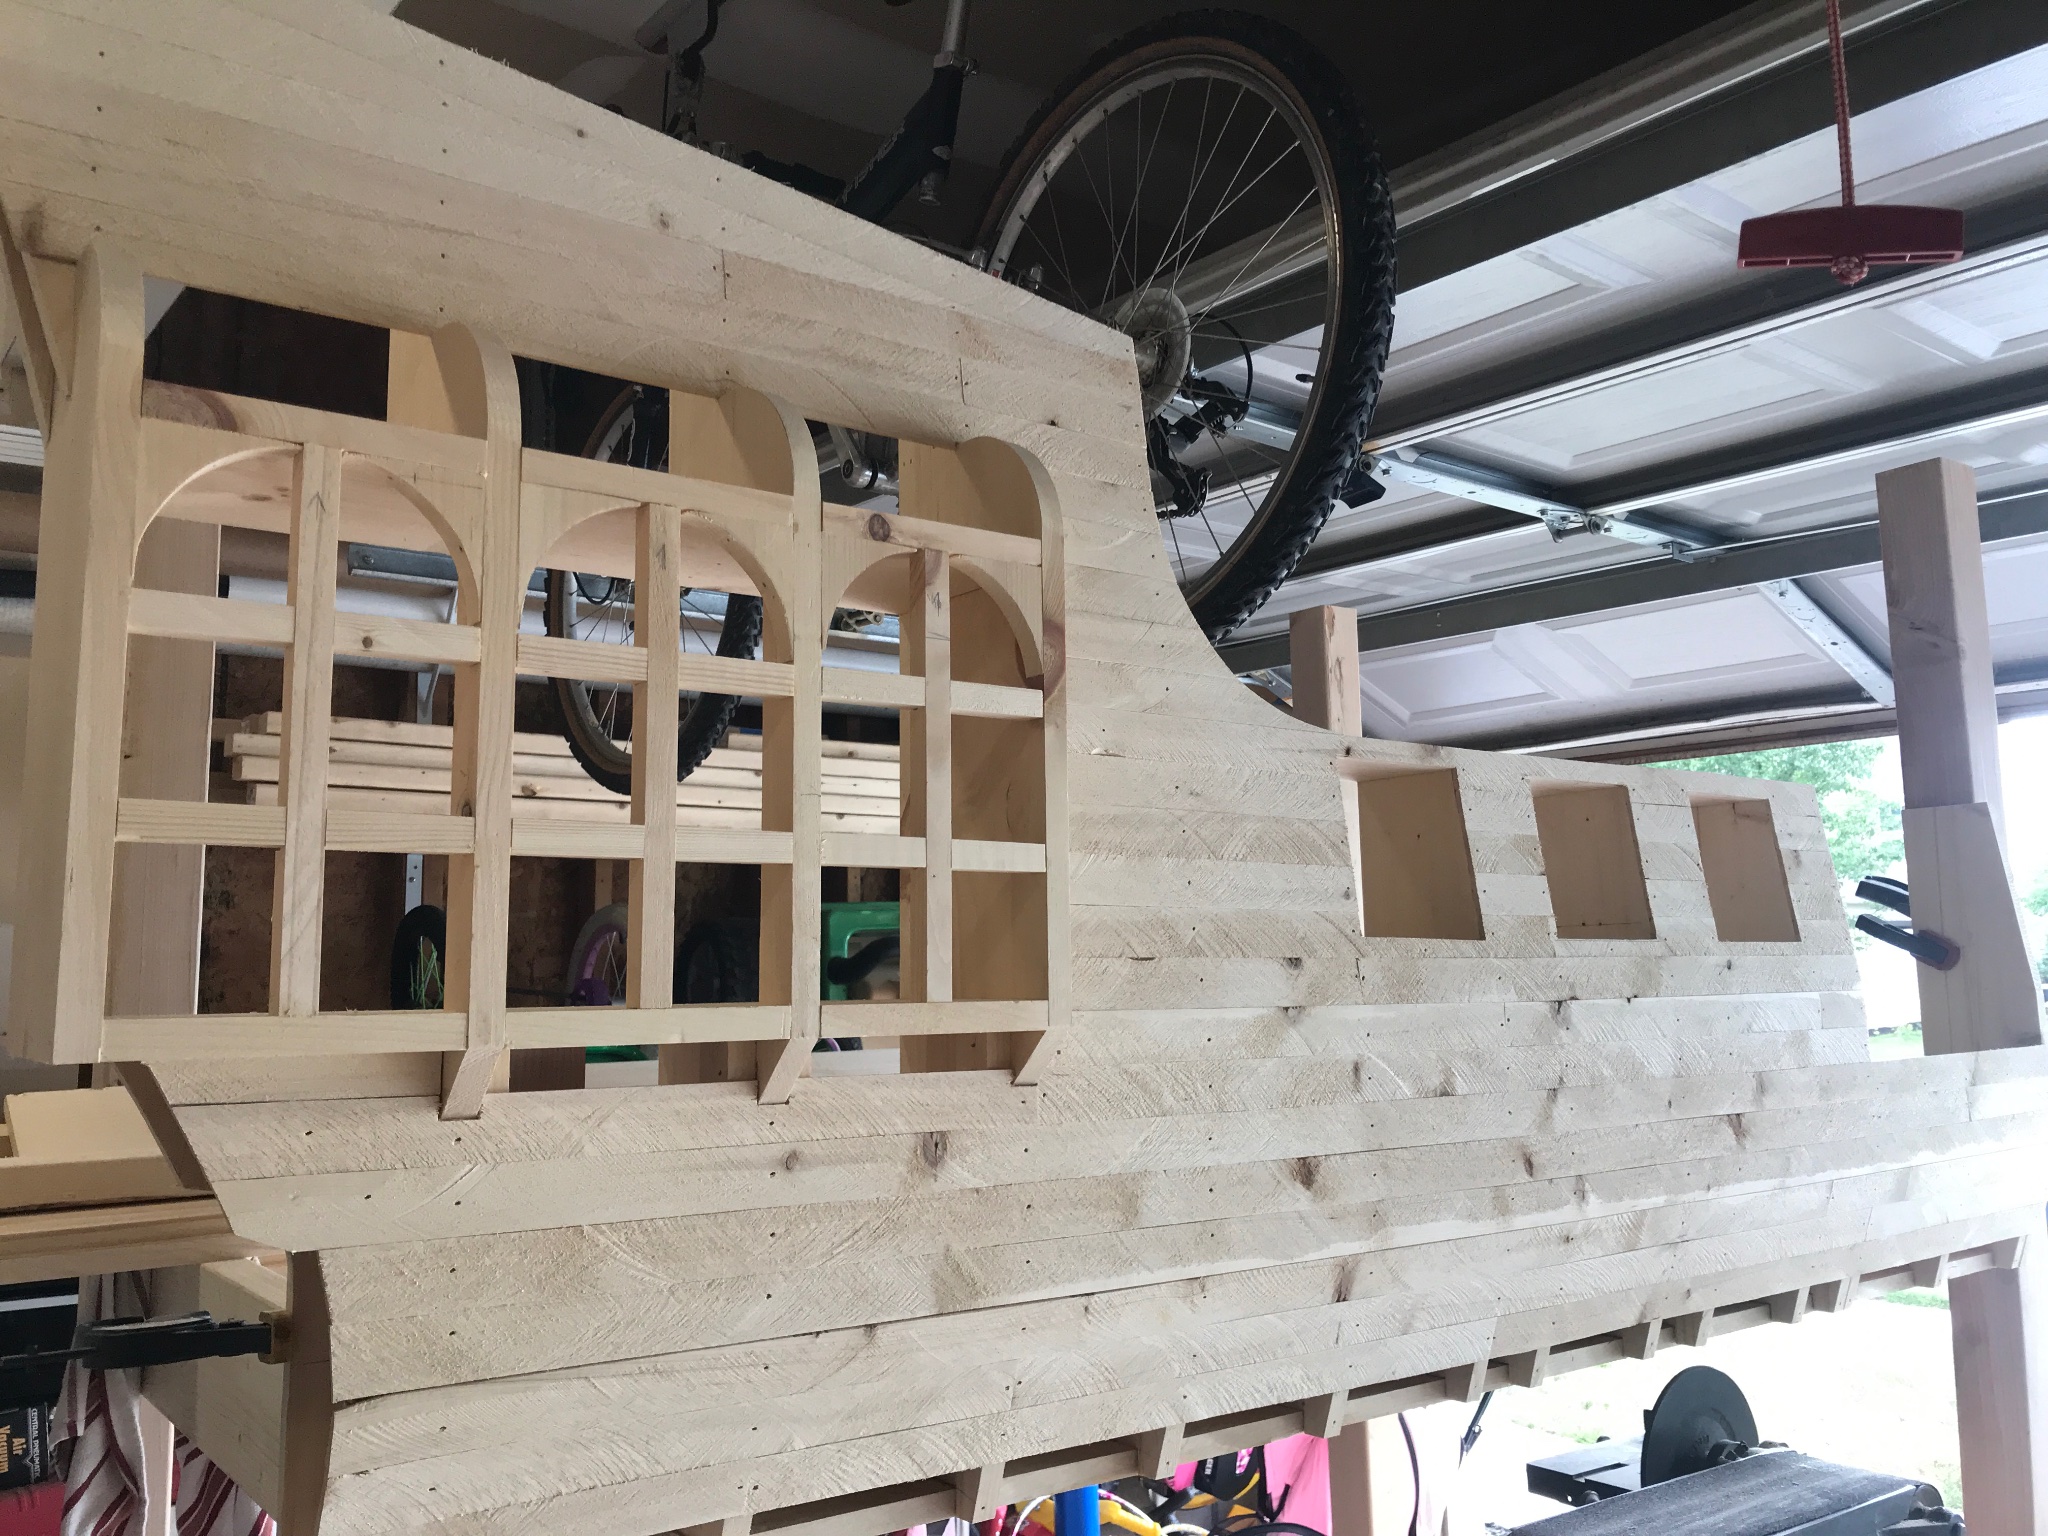
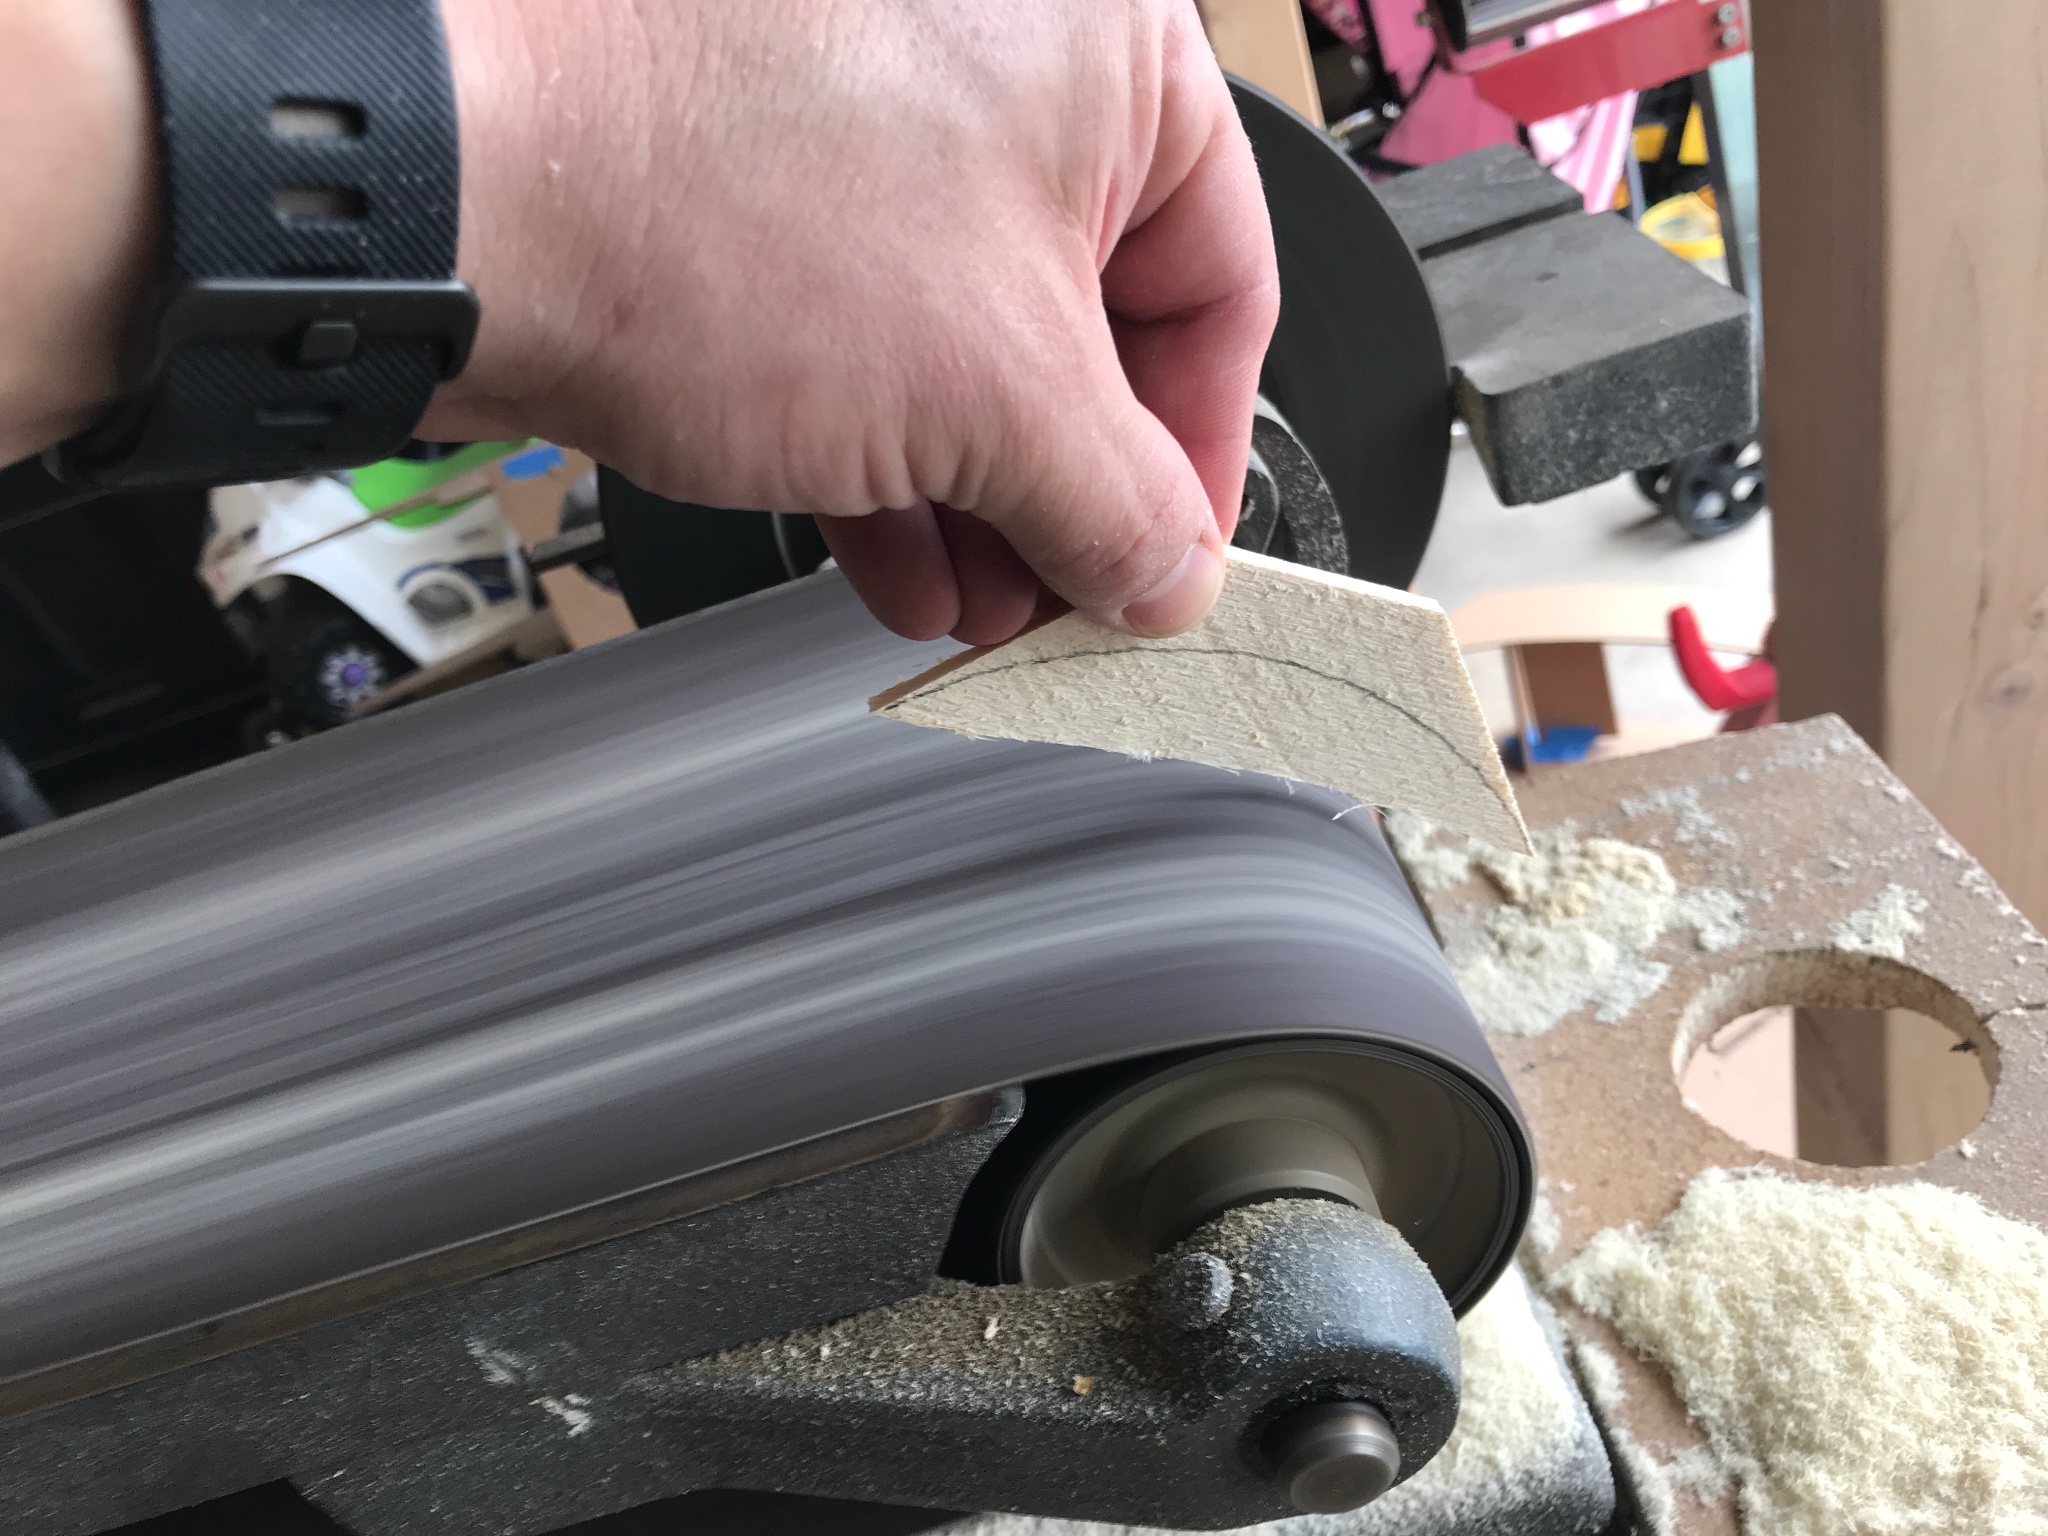
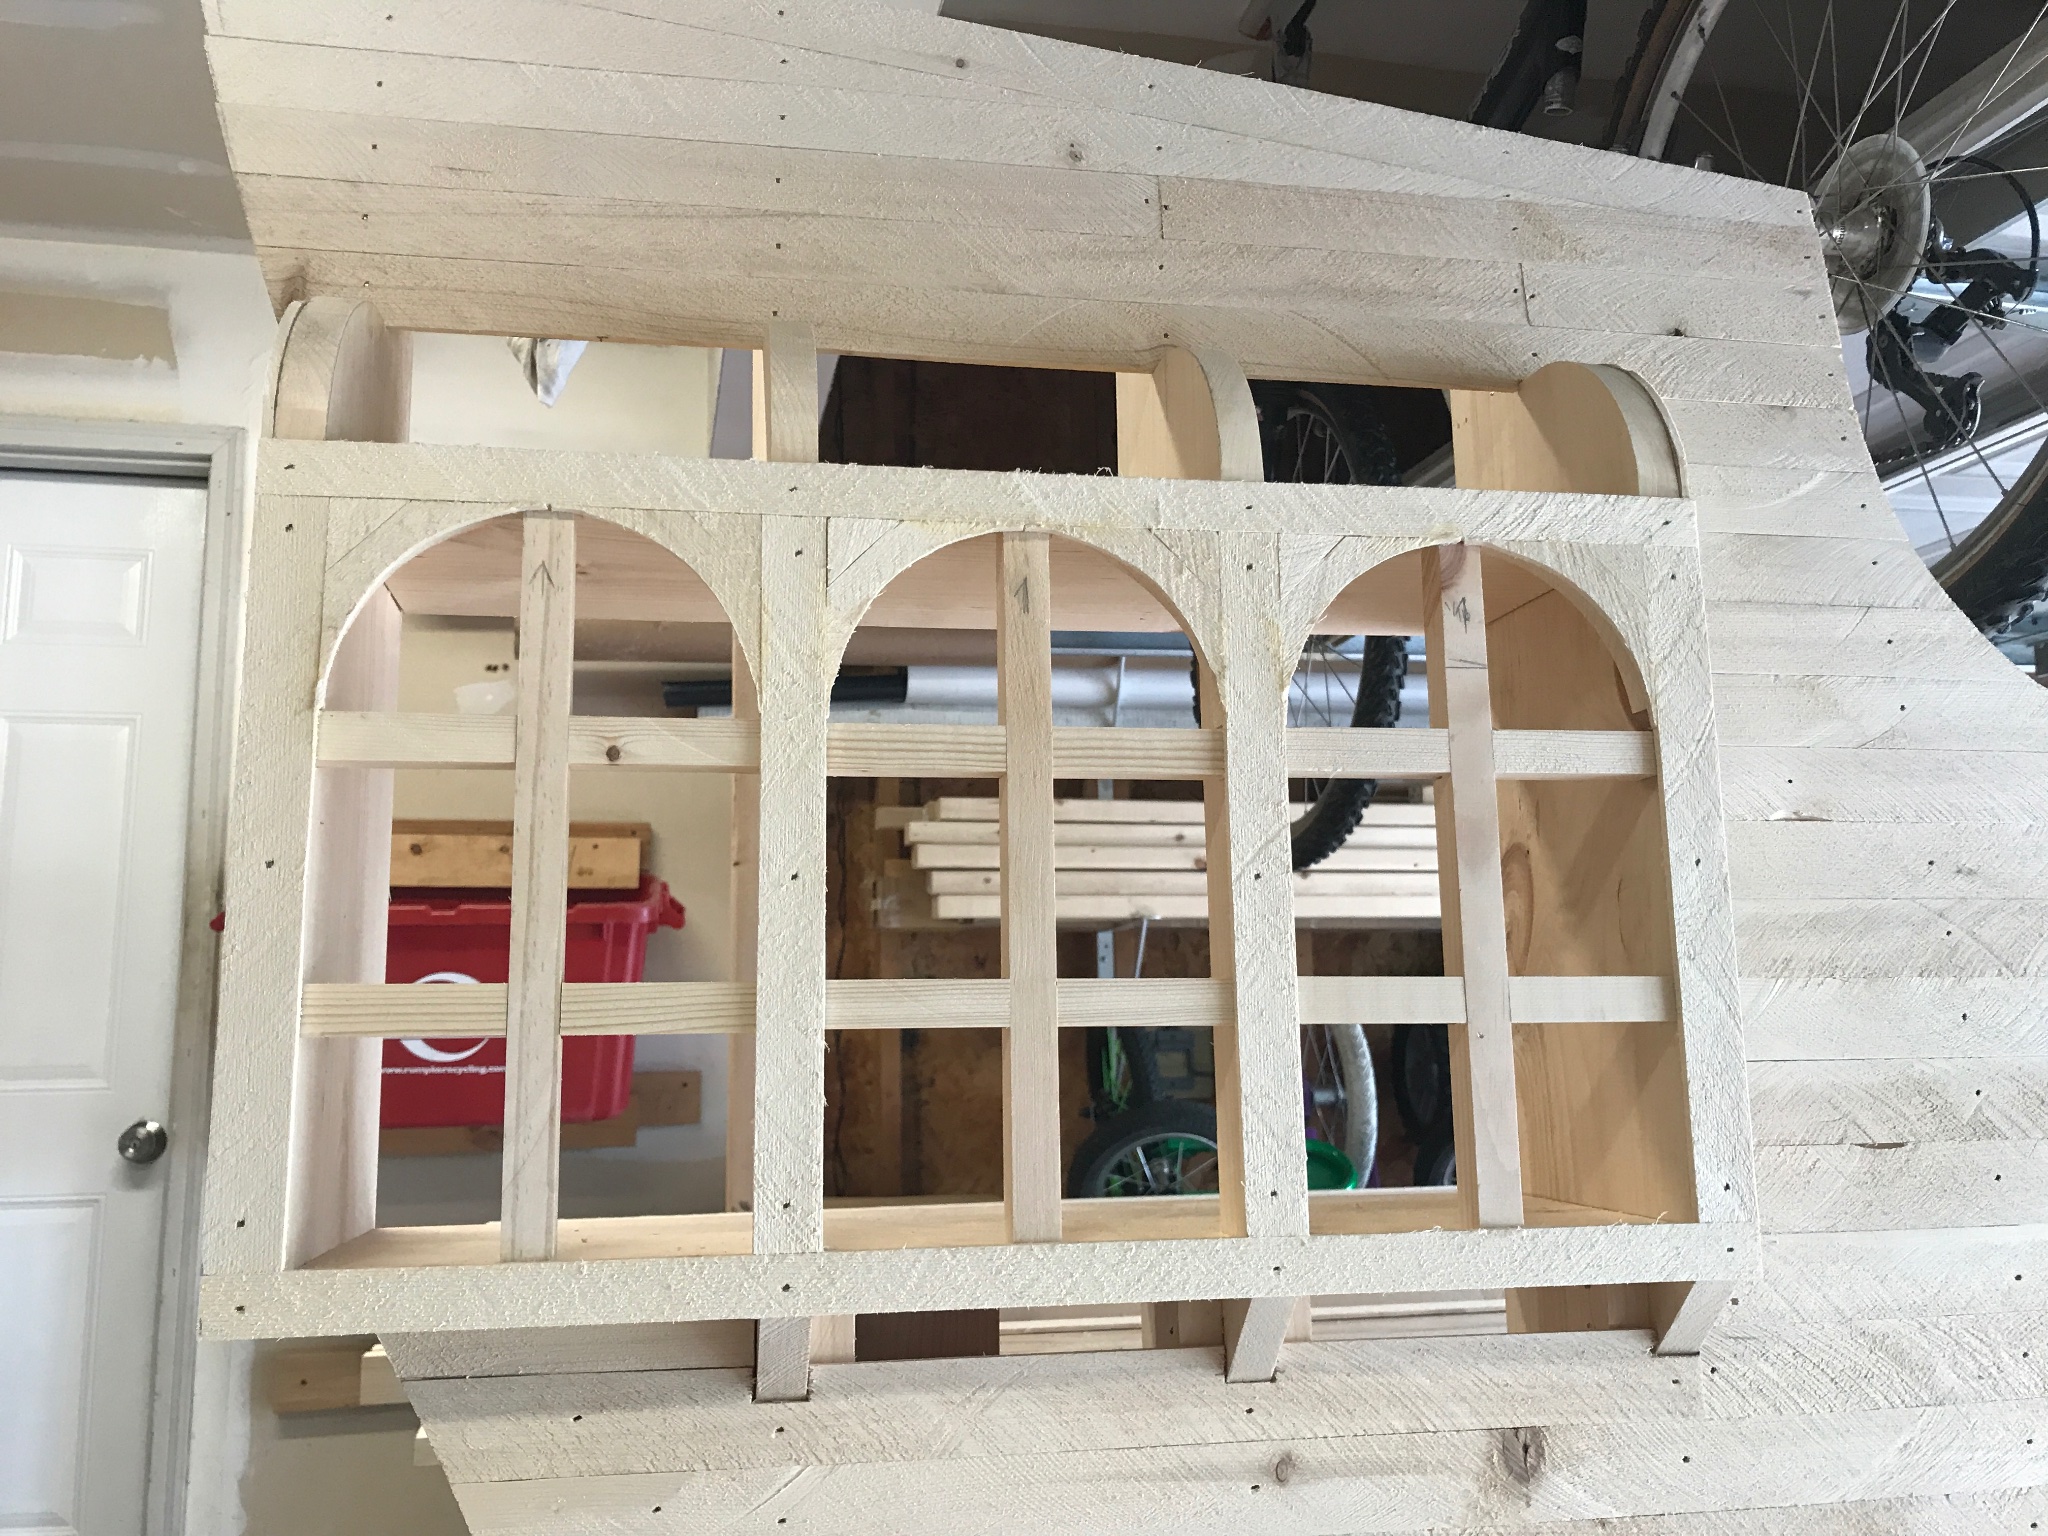
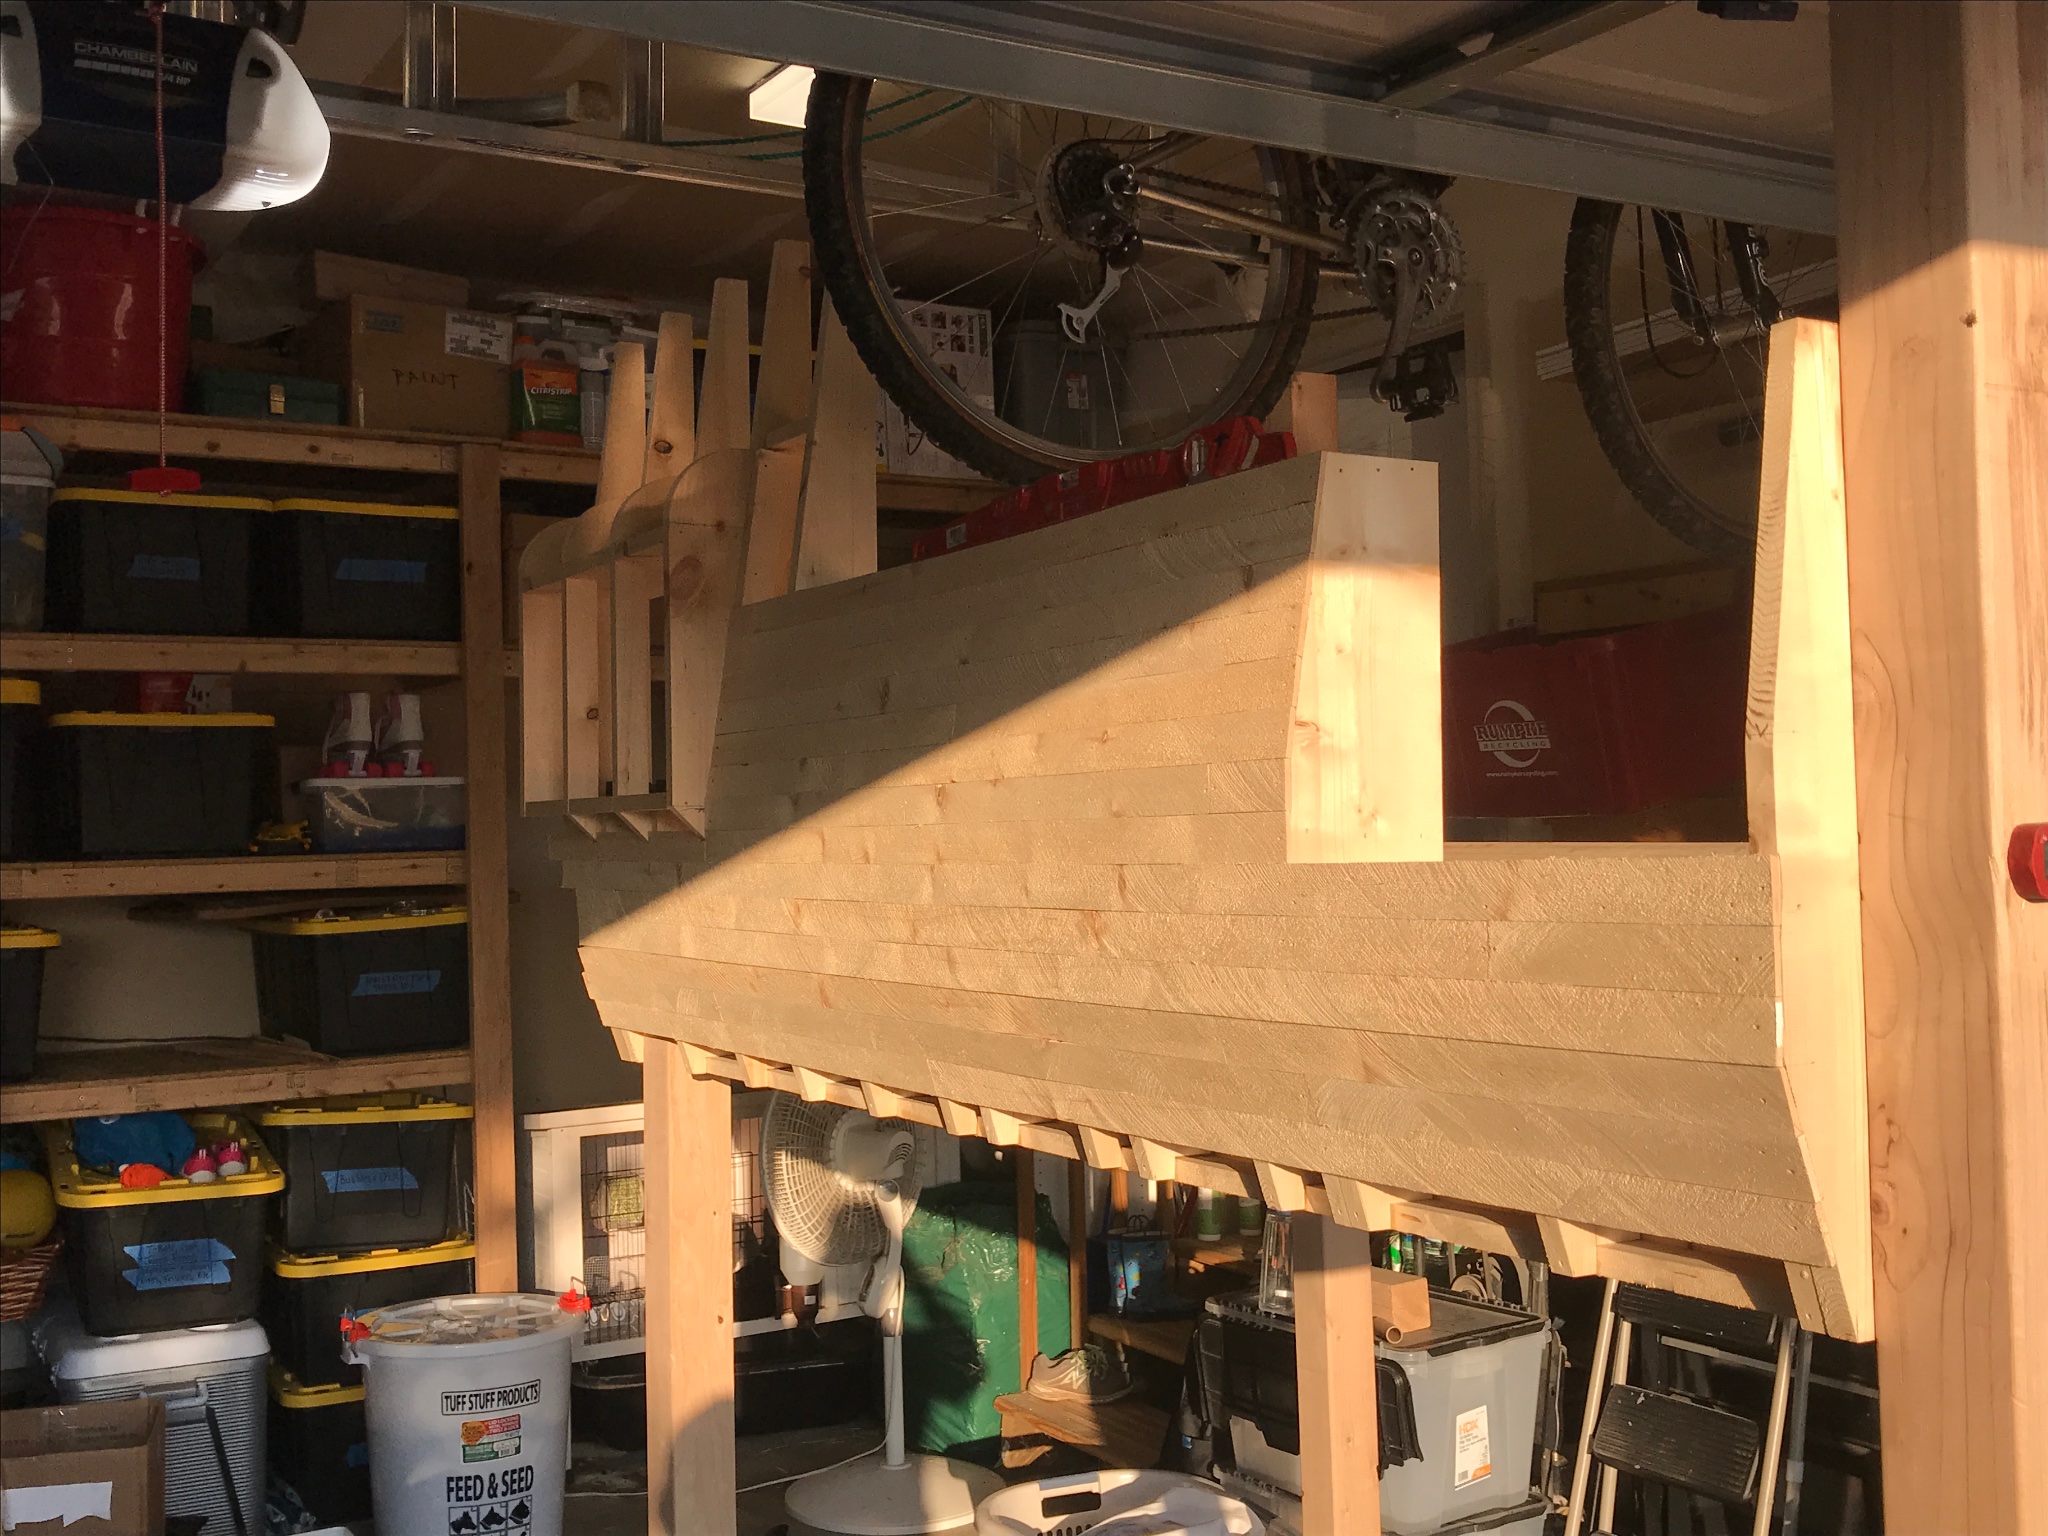
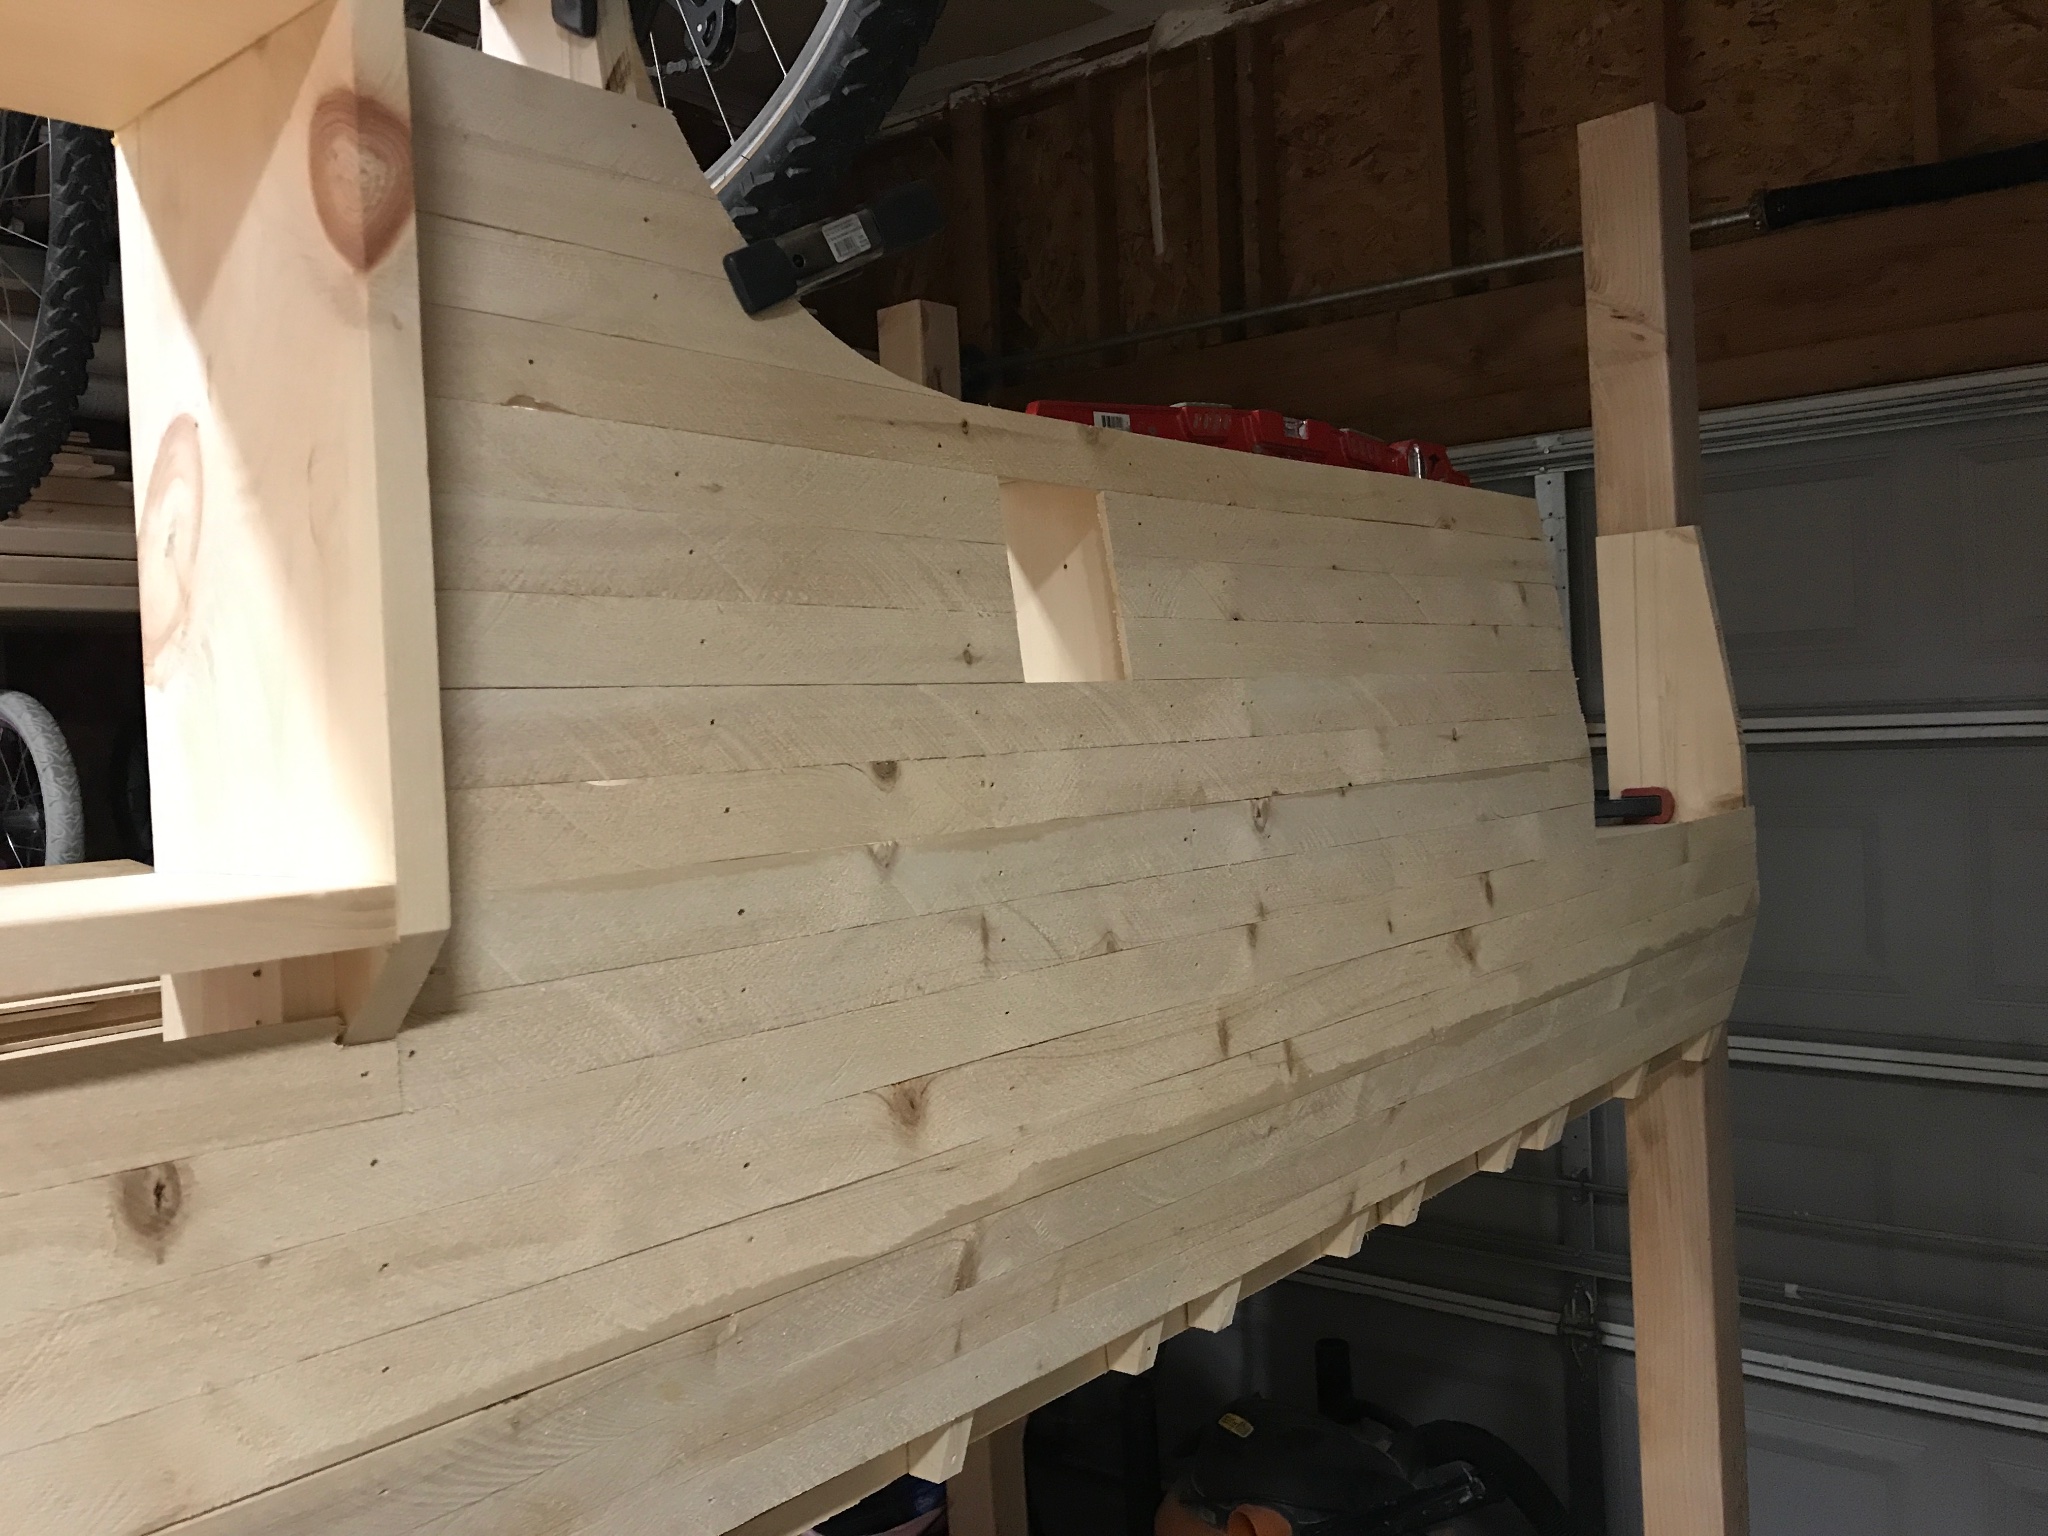
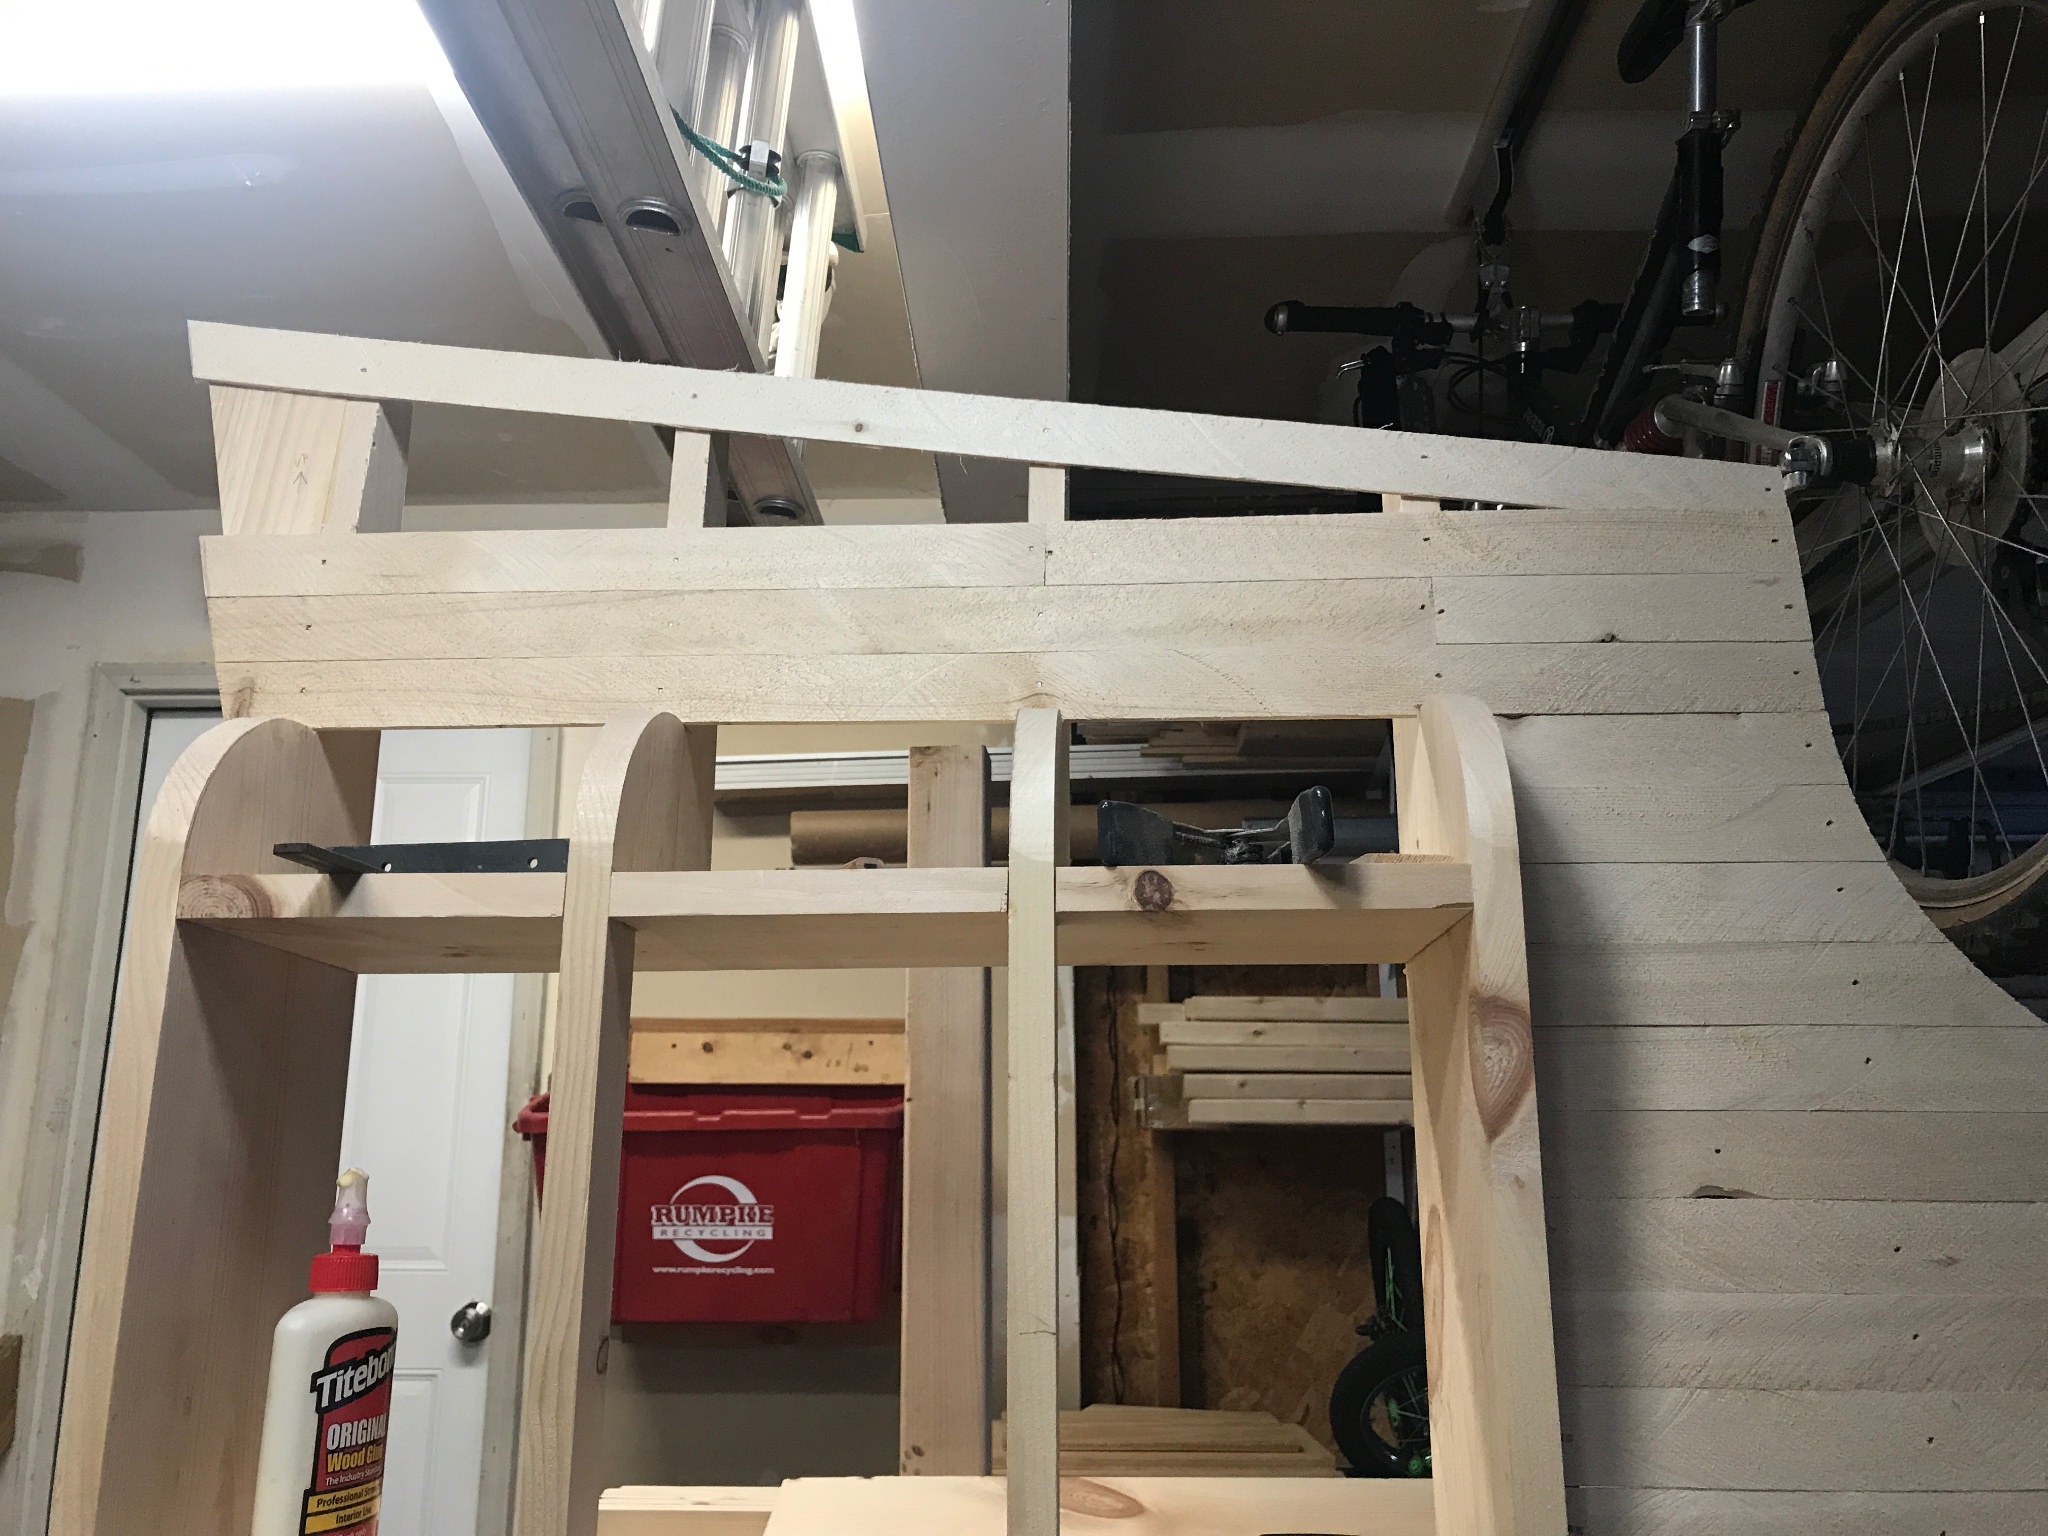
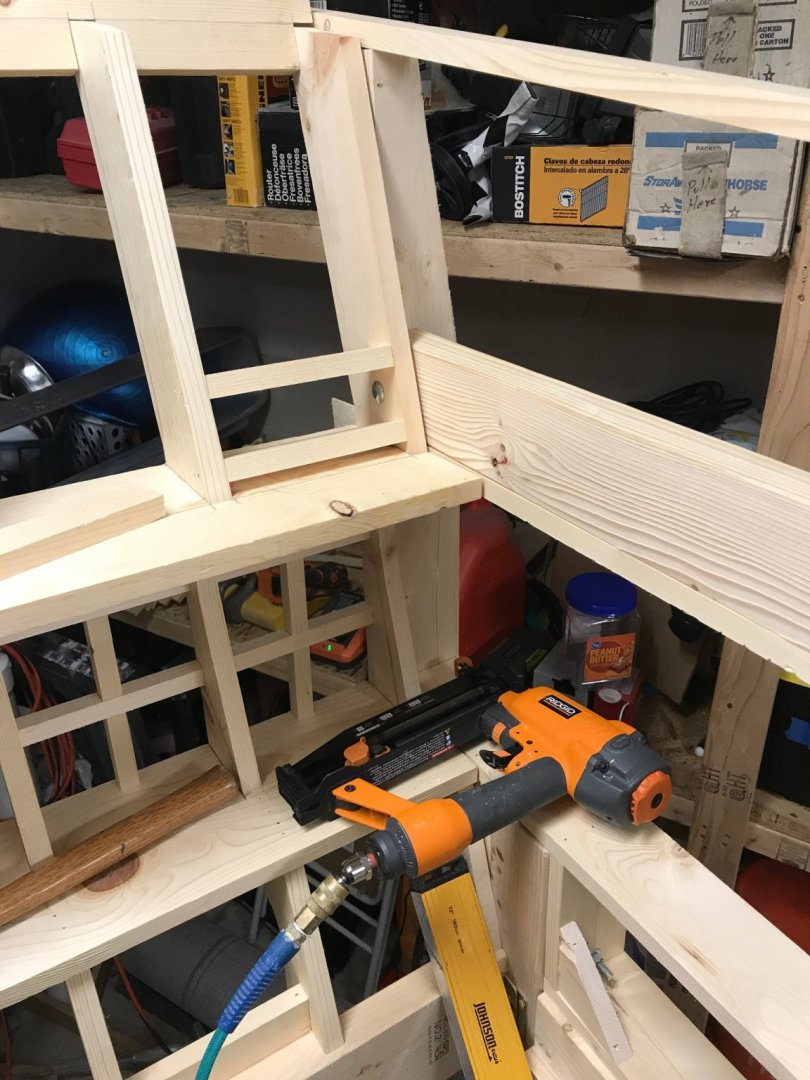
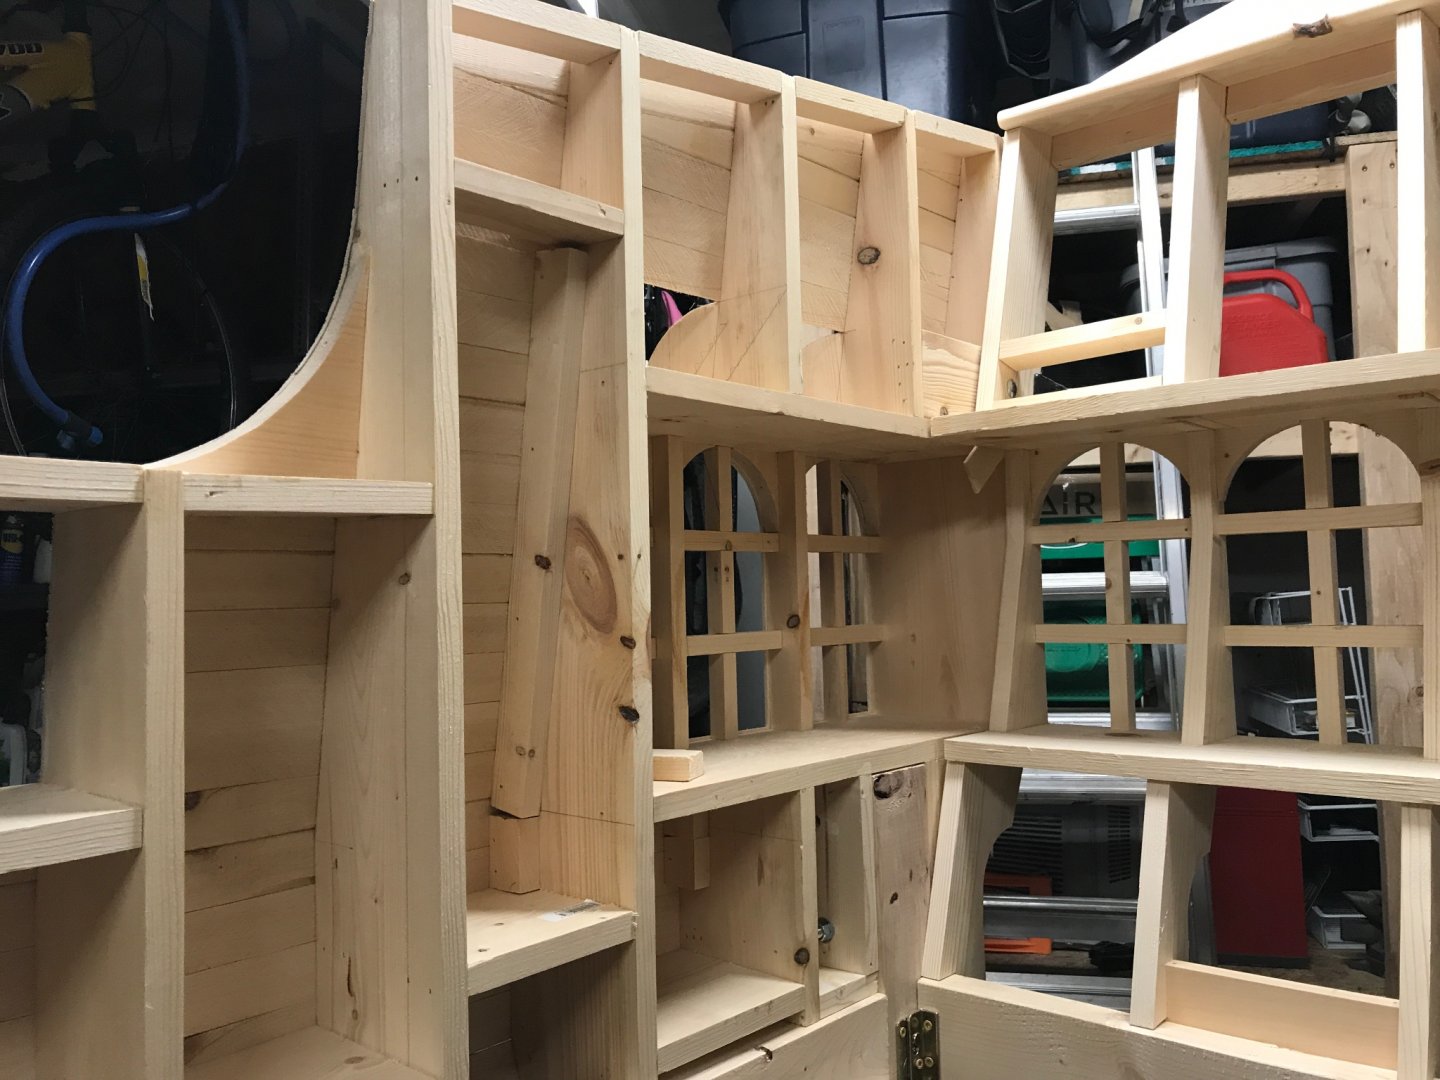
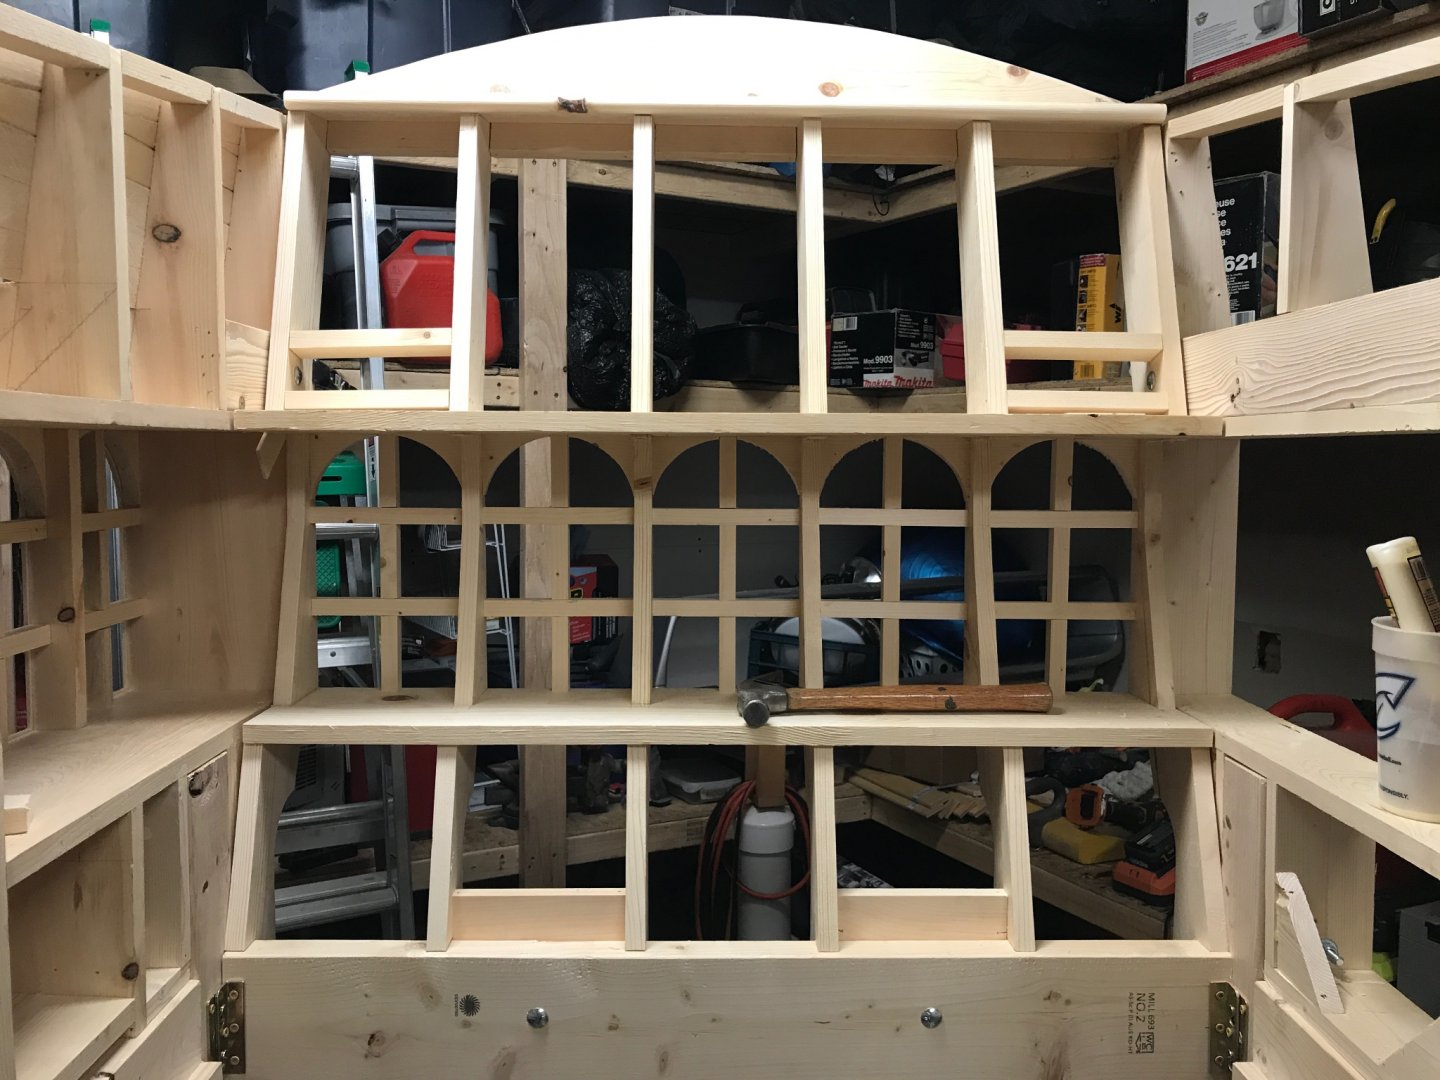
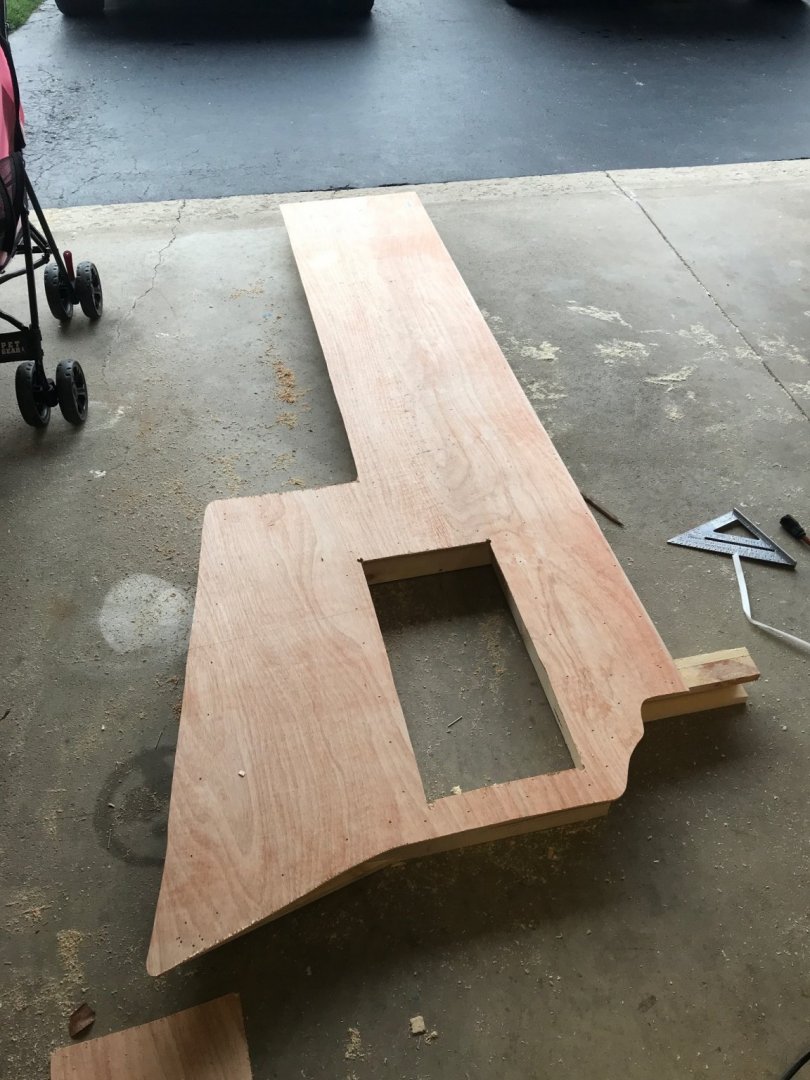
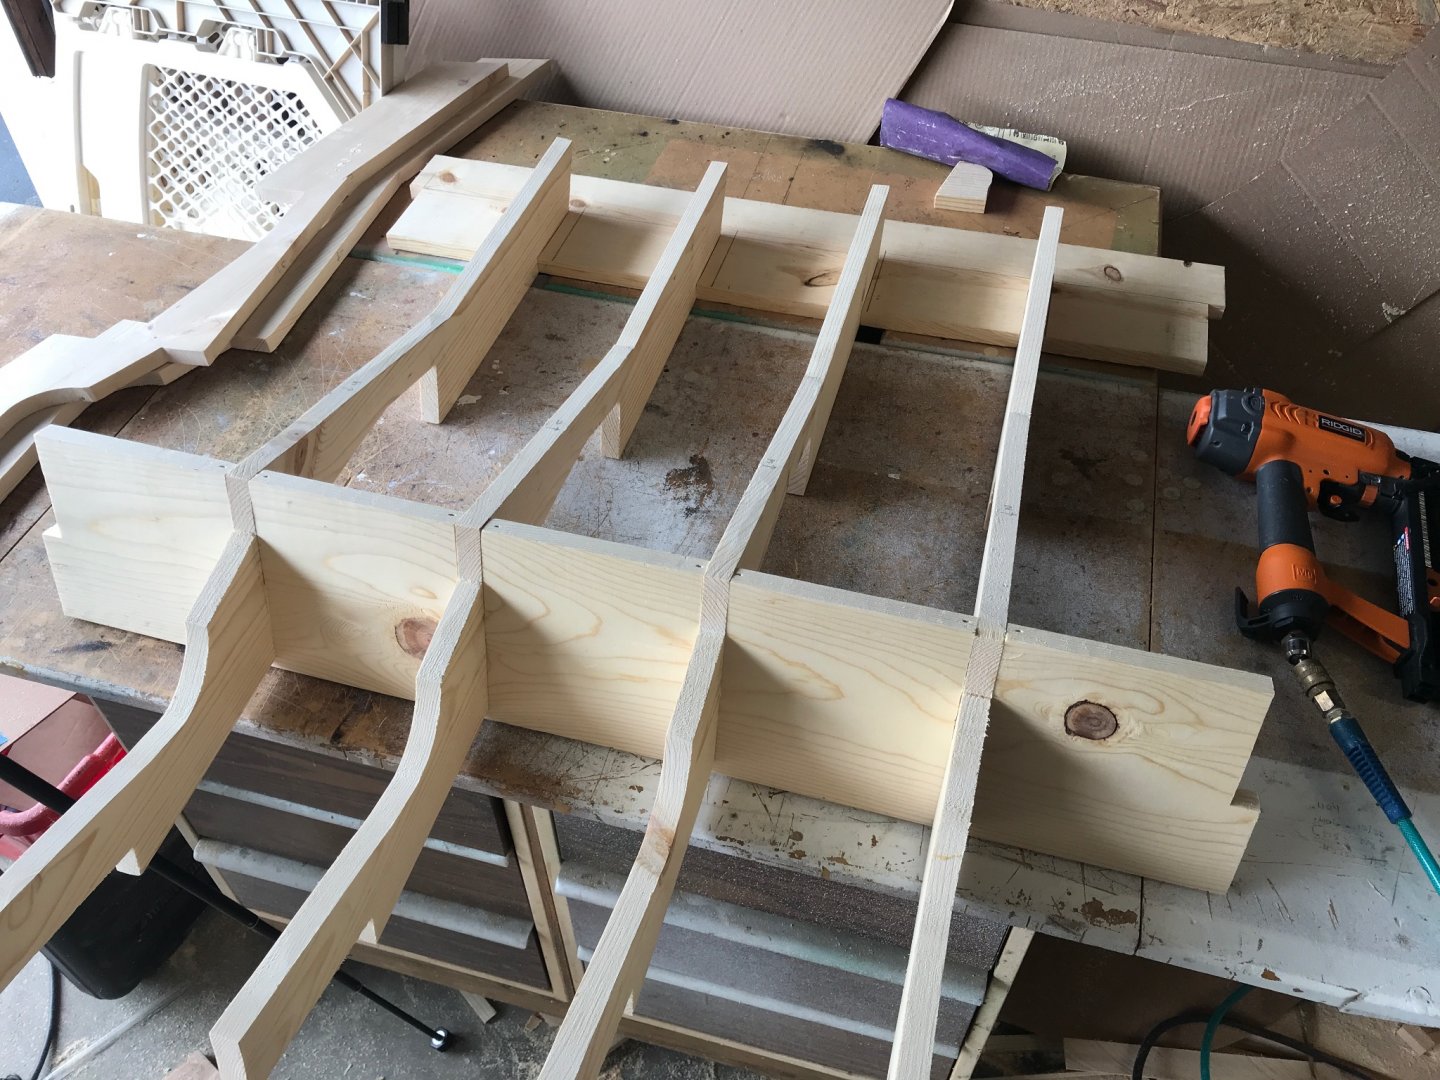
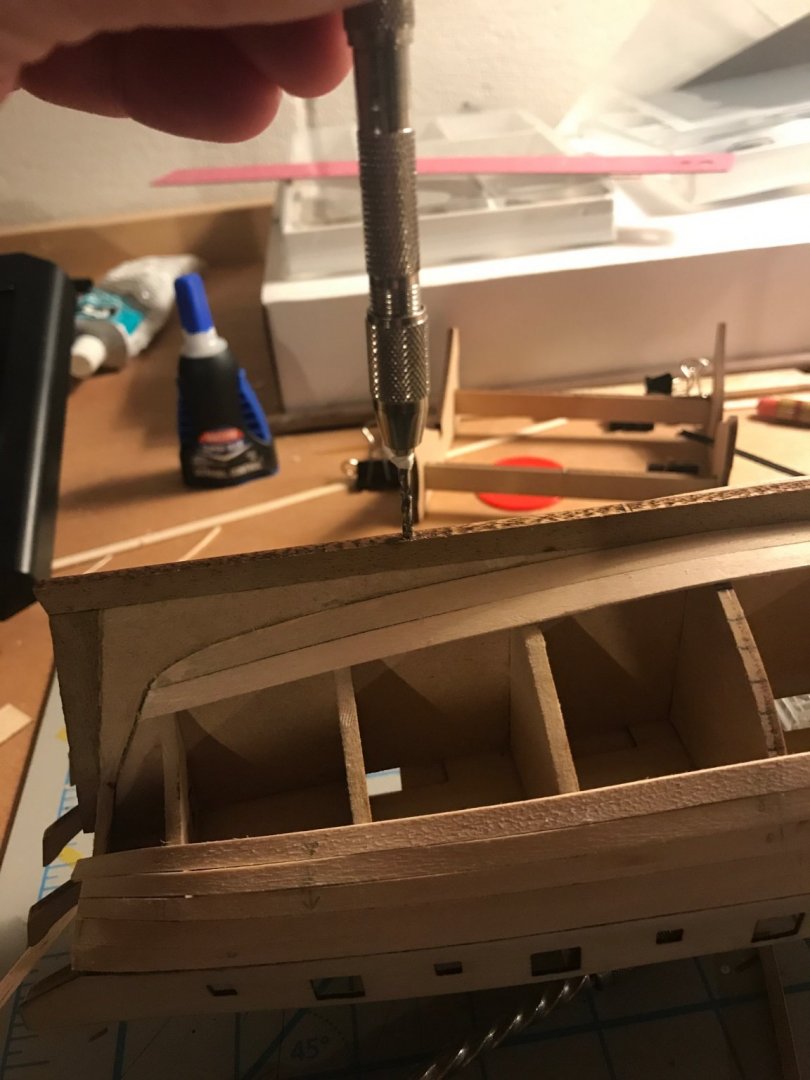
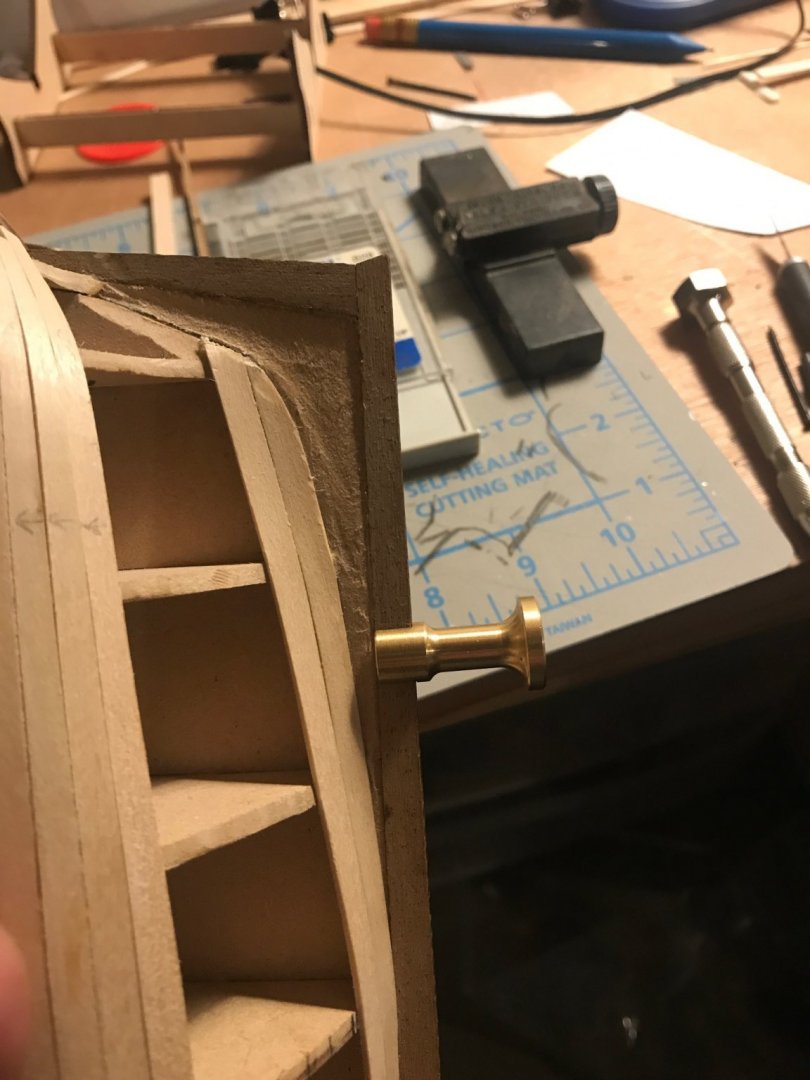
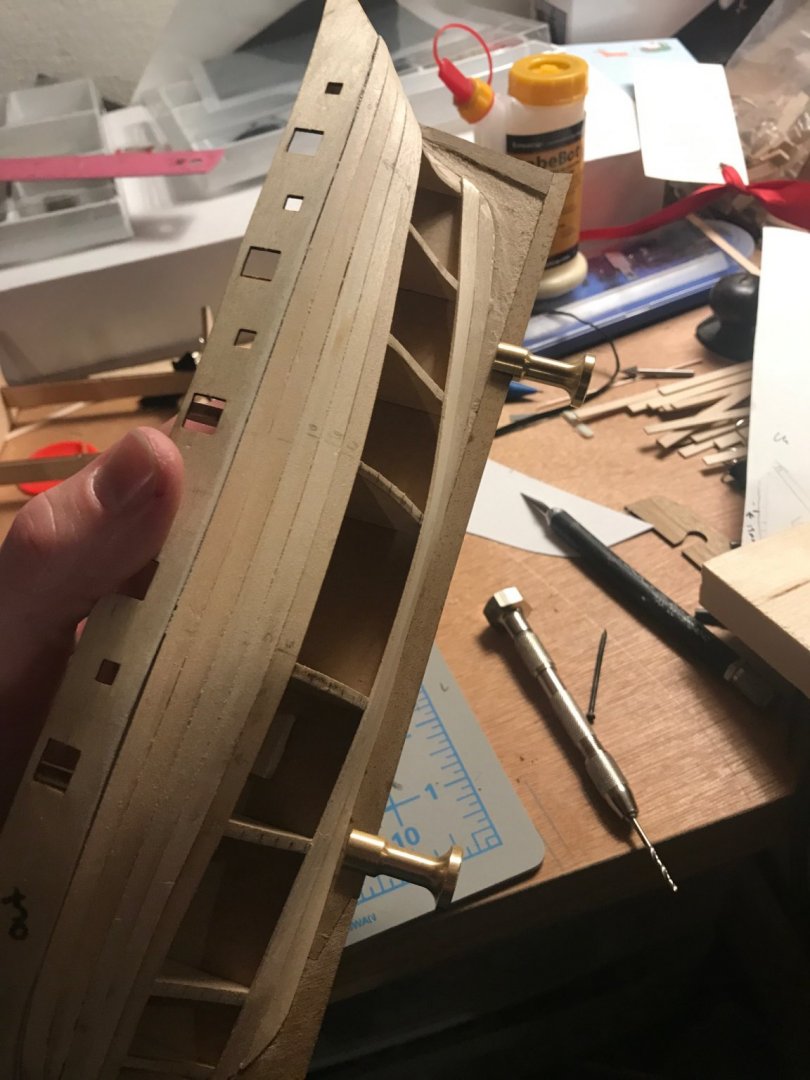
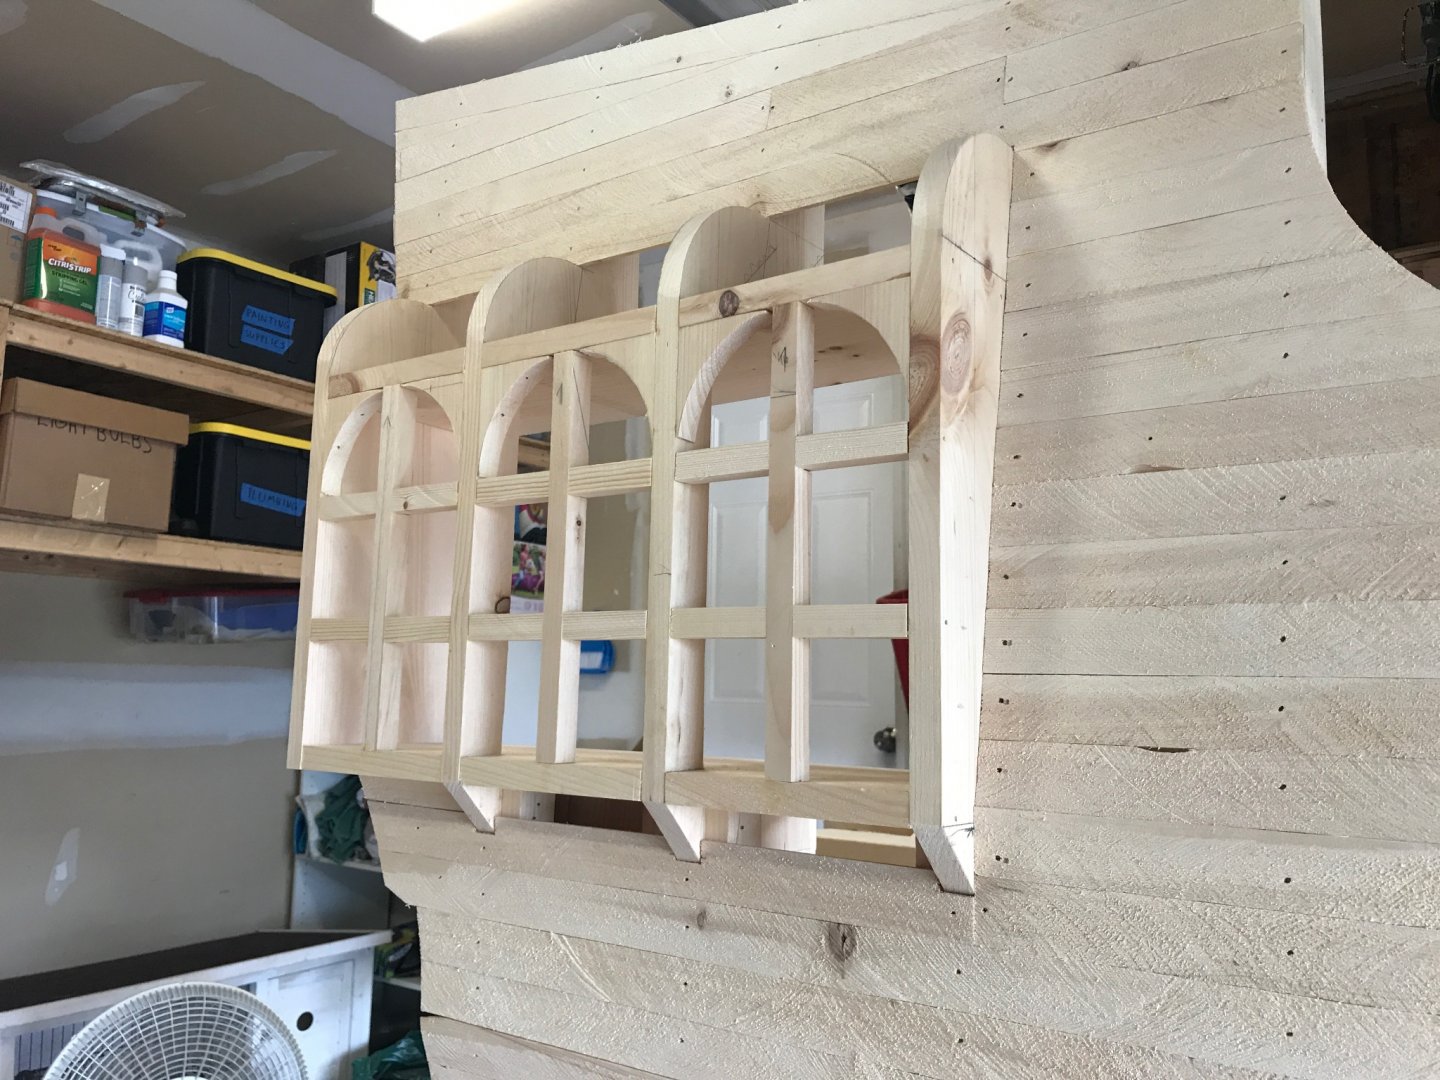
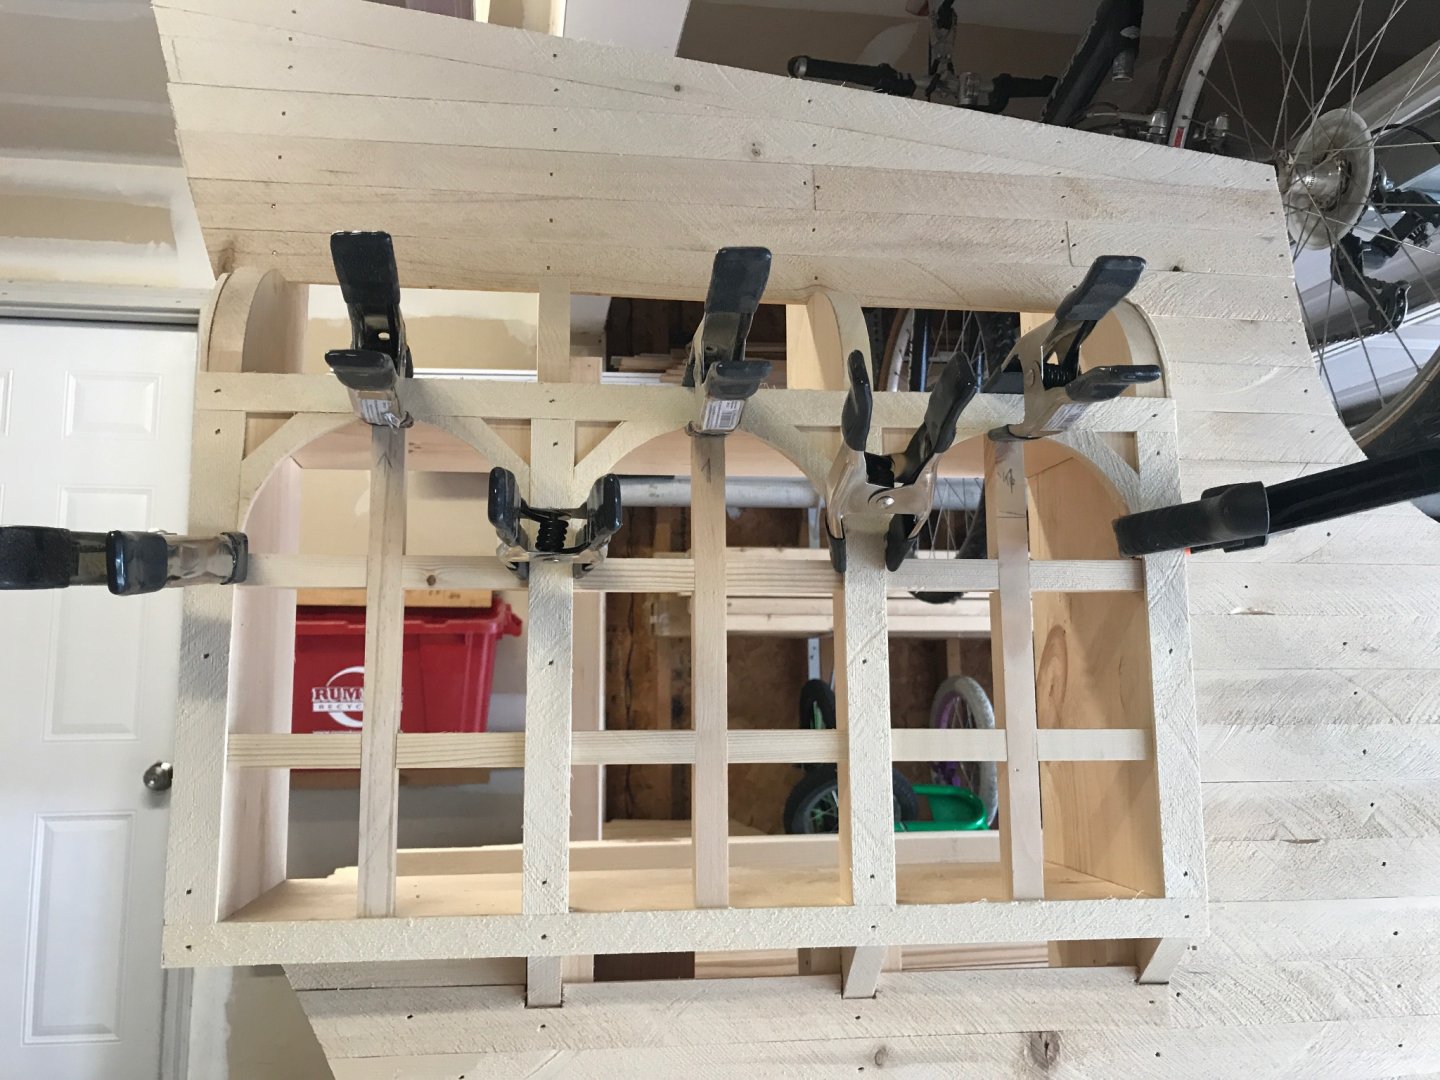
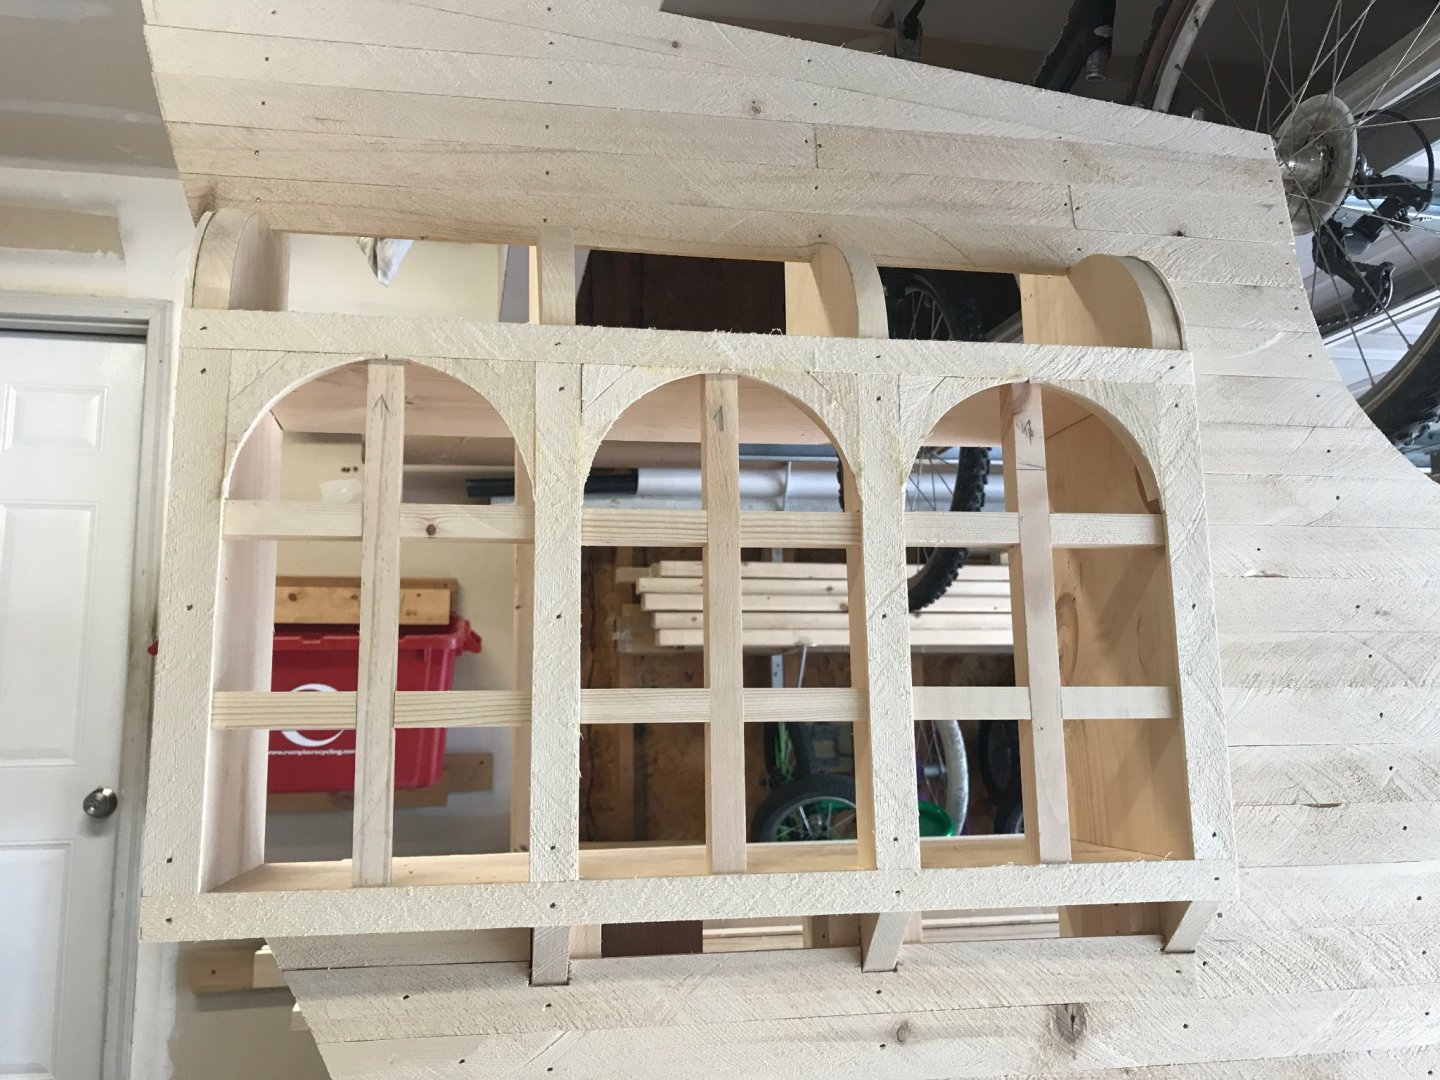
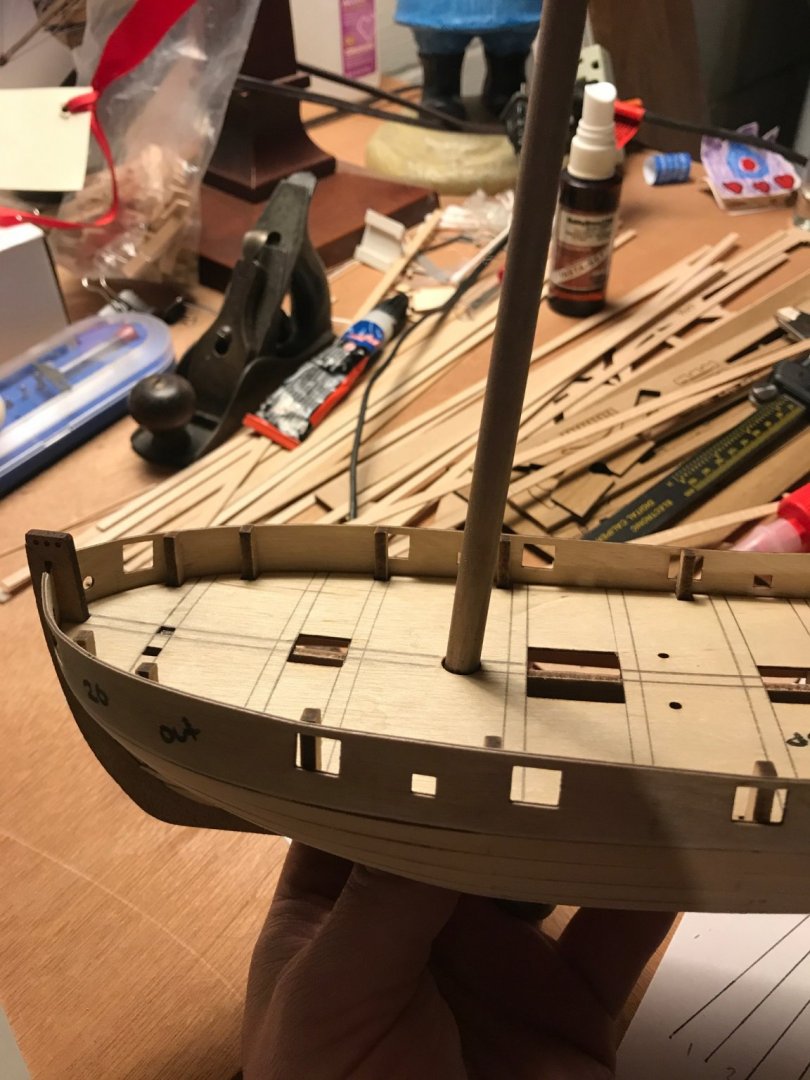
Some work on the stern and port side. Stern windows took some time. Same process as the gallery, just more of them! I am using the dado blade on my table saw to make the half lap joints in the window frames again. That thing is terrifying no matter how many times I use it. I did get a bandsaw since the galleries and that made the curves of the windows much easier to make this time around. I also added a little detail to the top of the stern. I am sure there is a nautical name for it, but whatever you call it, really makes a difference in the appearance I think. I rounded off the edges with my router. The whole thing is designed to bolt together for moving from the garage to a room and wherever. The bolts are internal so I need to make pockets so I can access them. I will either make covers out of wood or 3D print them later. The outside of the ship is planked, but the inside is skinned with 1/4” thick plywood. The port side is simple and flat so I tried the technique on it first. I laid the frame on the plywood and traced the outline. I then used my jigsaw to rough cut the shape leaving about an inch all the way around. I glued and nailed it in place and then used my router and a straight cut bit with bearing to trim it flush. Messy and loud, but the result is almost perfect! The bow is up next!


-
Thank you! It has been quite the under taking. I have had many moments of satisfaction and just as many of frustration trying to figure out how in the world I am going to figure something out!
-
Ah. Ok. We are on the same page. I was planning to sand down the transition. I think i can make it work without deconstruction. Thank you for the input!
-
I thought only the 2nd planking filled the gap to the stern post to keep the thickness down? I guess I have seen it both ways though...
-
My first build too. Not even done with the first planking yet. Probably don’t need a rabbit, but I failed to taper the false keel under the stern and you should do that. I had to dremel and chisel mine after the fact.

- 18 replies
-
- 1
-

-
- Lady Nelson
- Amati
- (and 2 more)
-
Appreciate the likes!
-
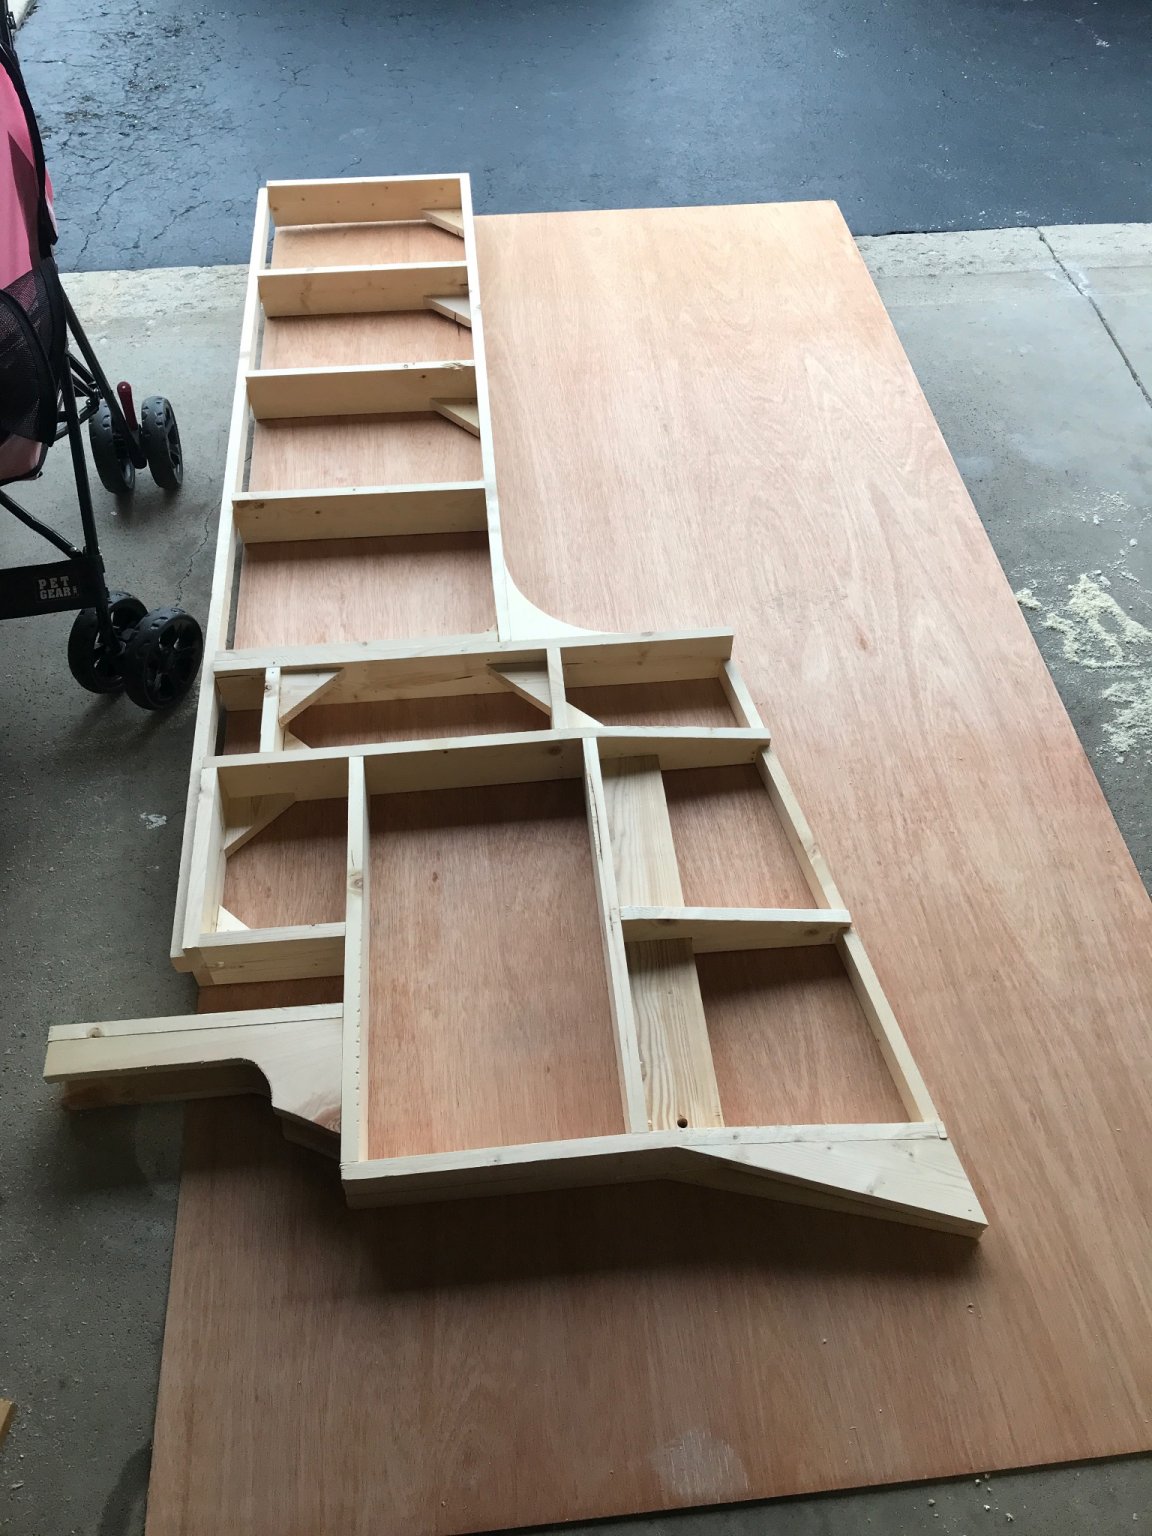
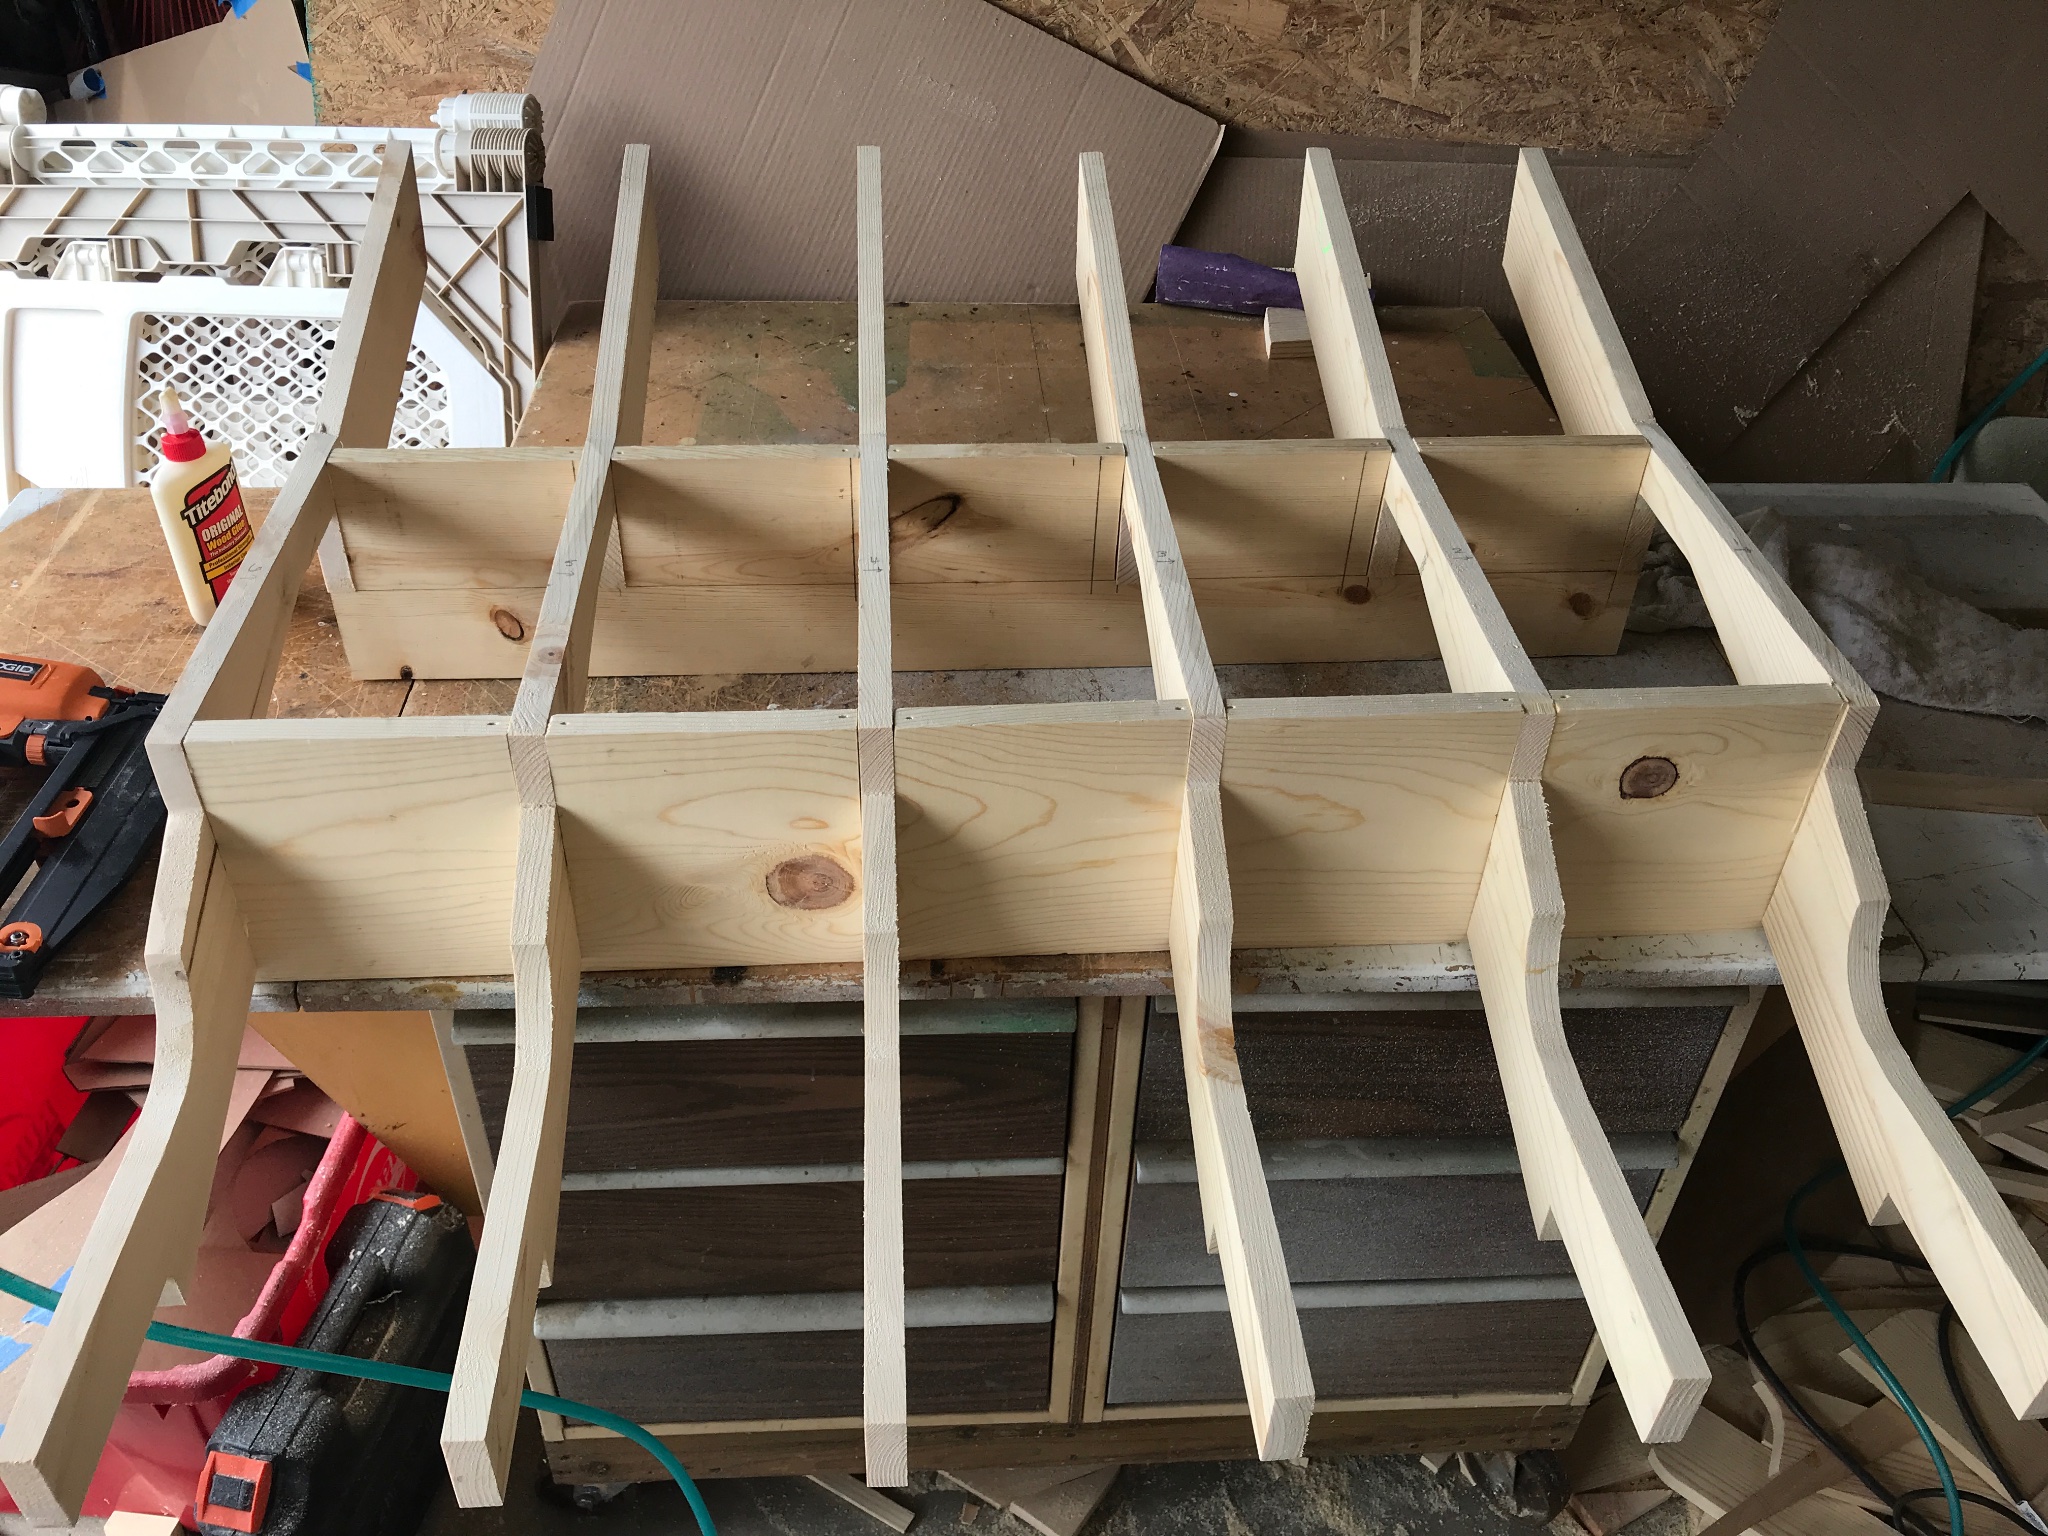
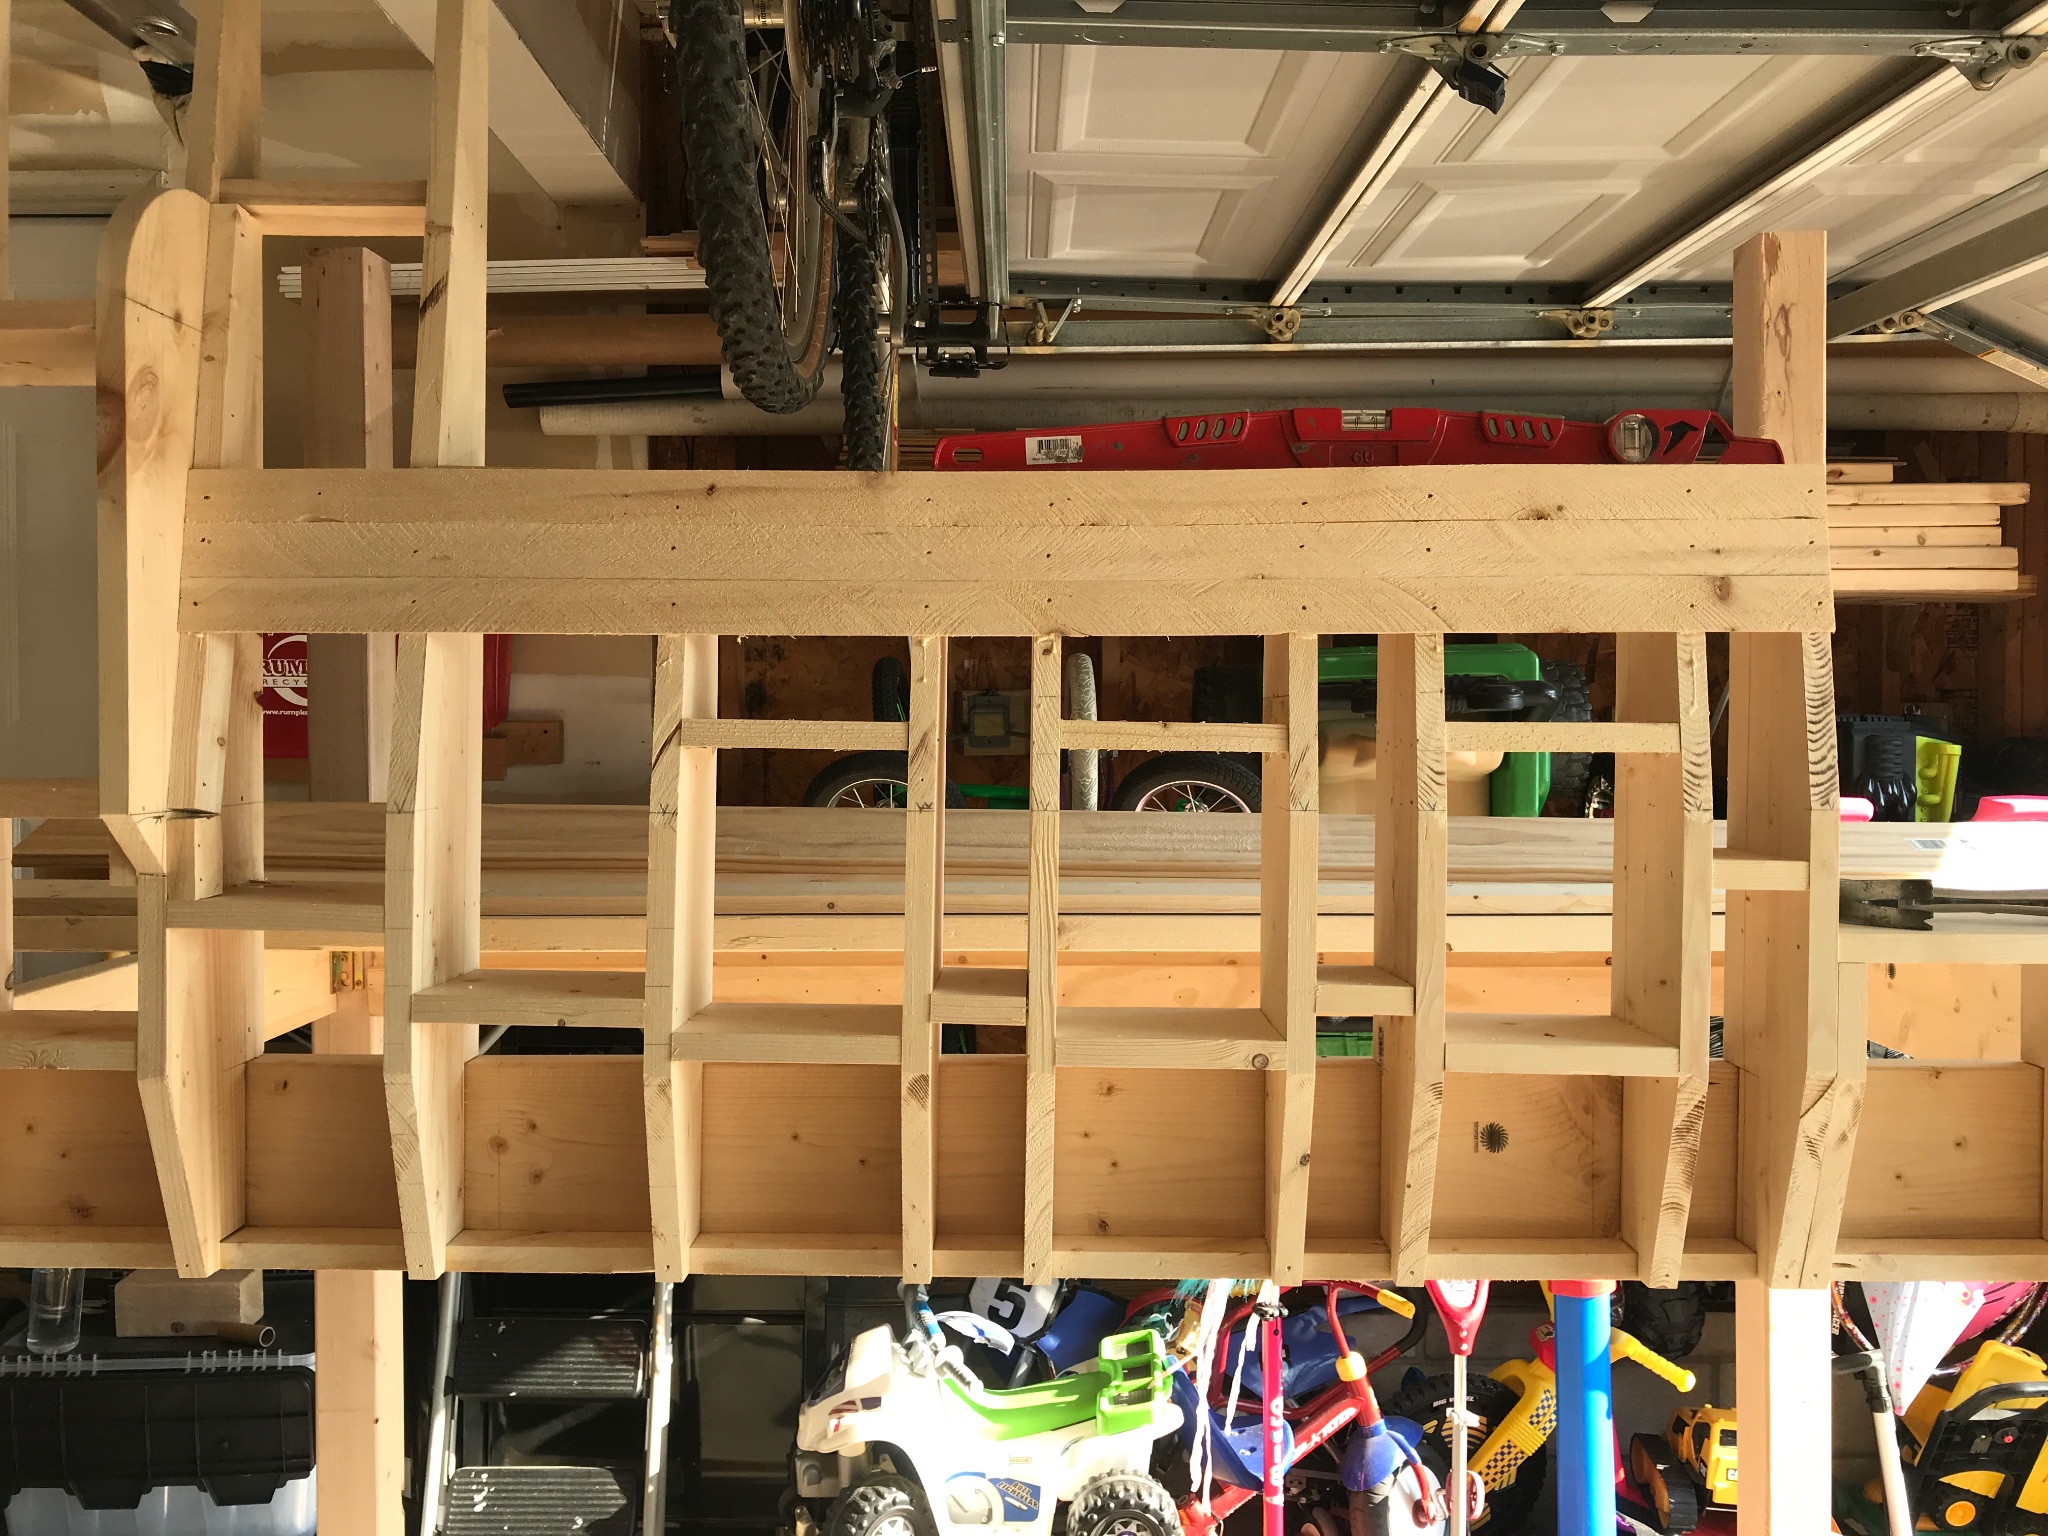
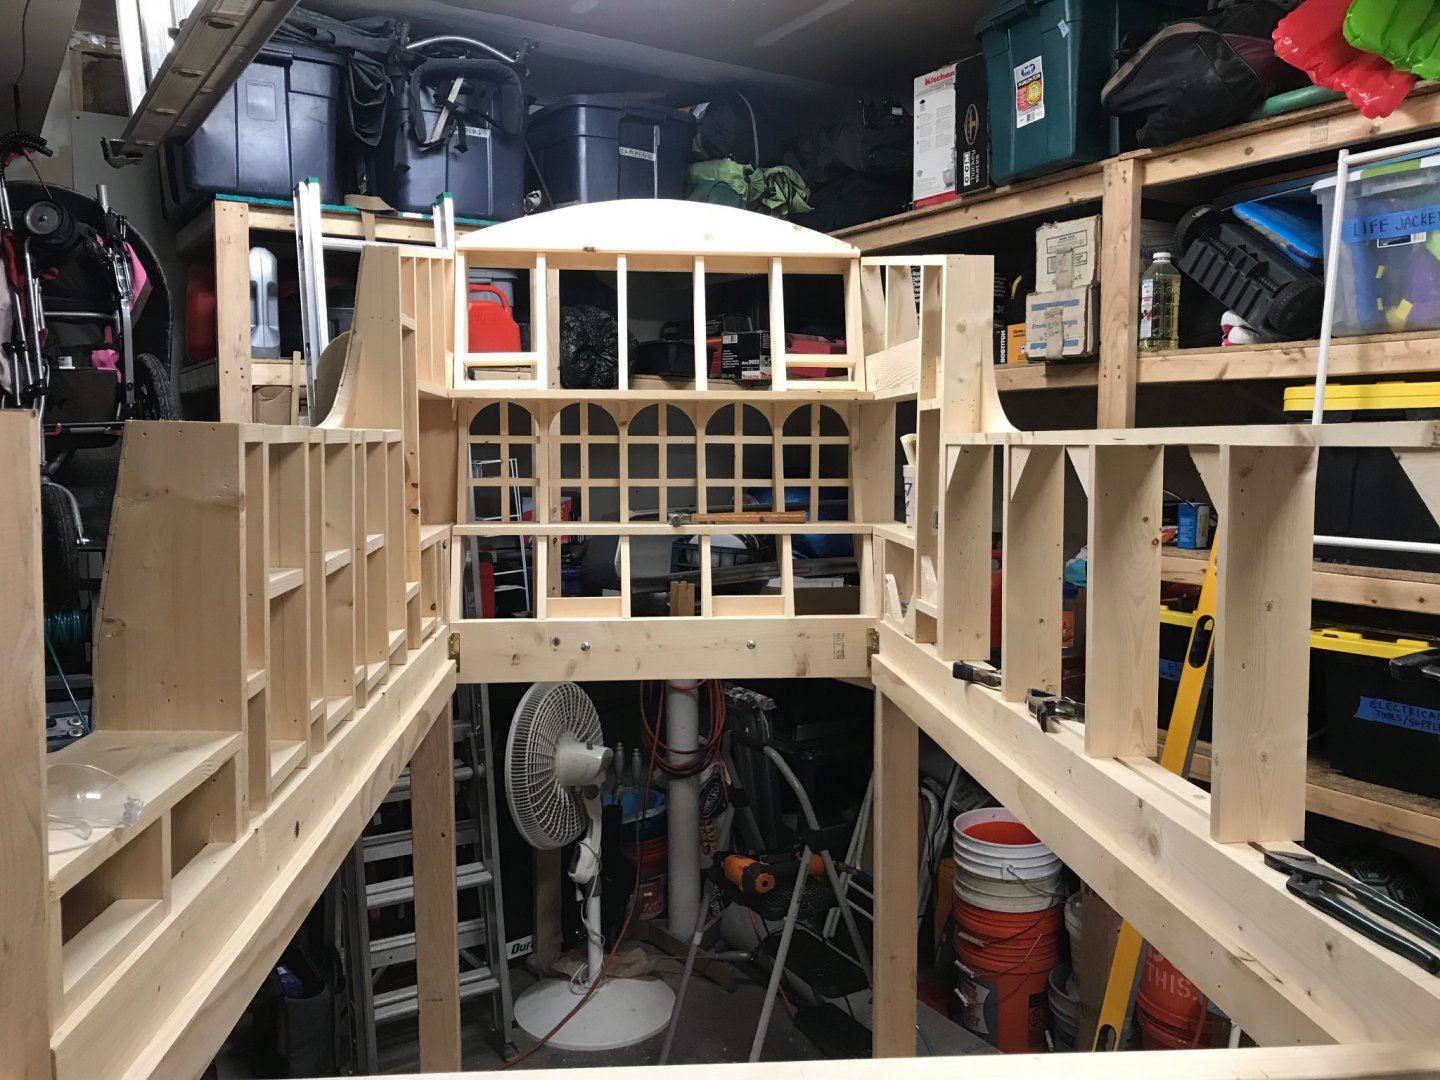
The side of the ship that goes up against the wall is much more simple in construction. Flat sides, just have to mimic the profile of the “fancy” side. I also started the frames for the stern. Lots of figuring and staring and thinking went on. But I got it done. I don’t know why this picture loads upside down, I tried flipping it before loading and it came in upside down both ways. The garage is a disaster at this point...


-
I realized this evening, that I still have 5 runs of the first planking to go plus all of the second planking and inside bulwark planking before I can start decking. Deep breaths....deep breaths...
-
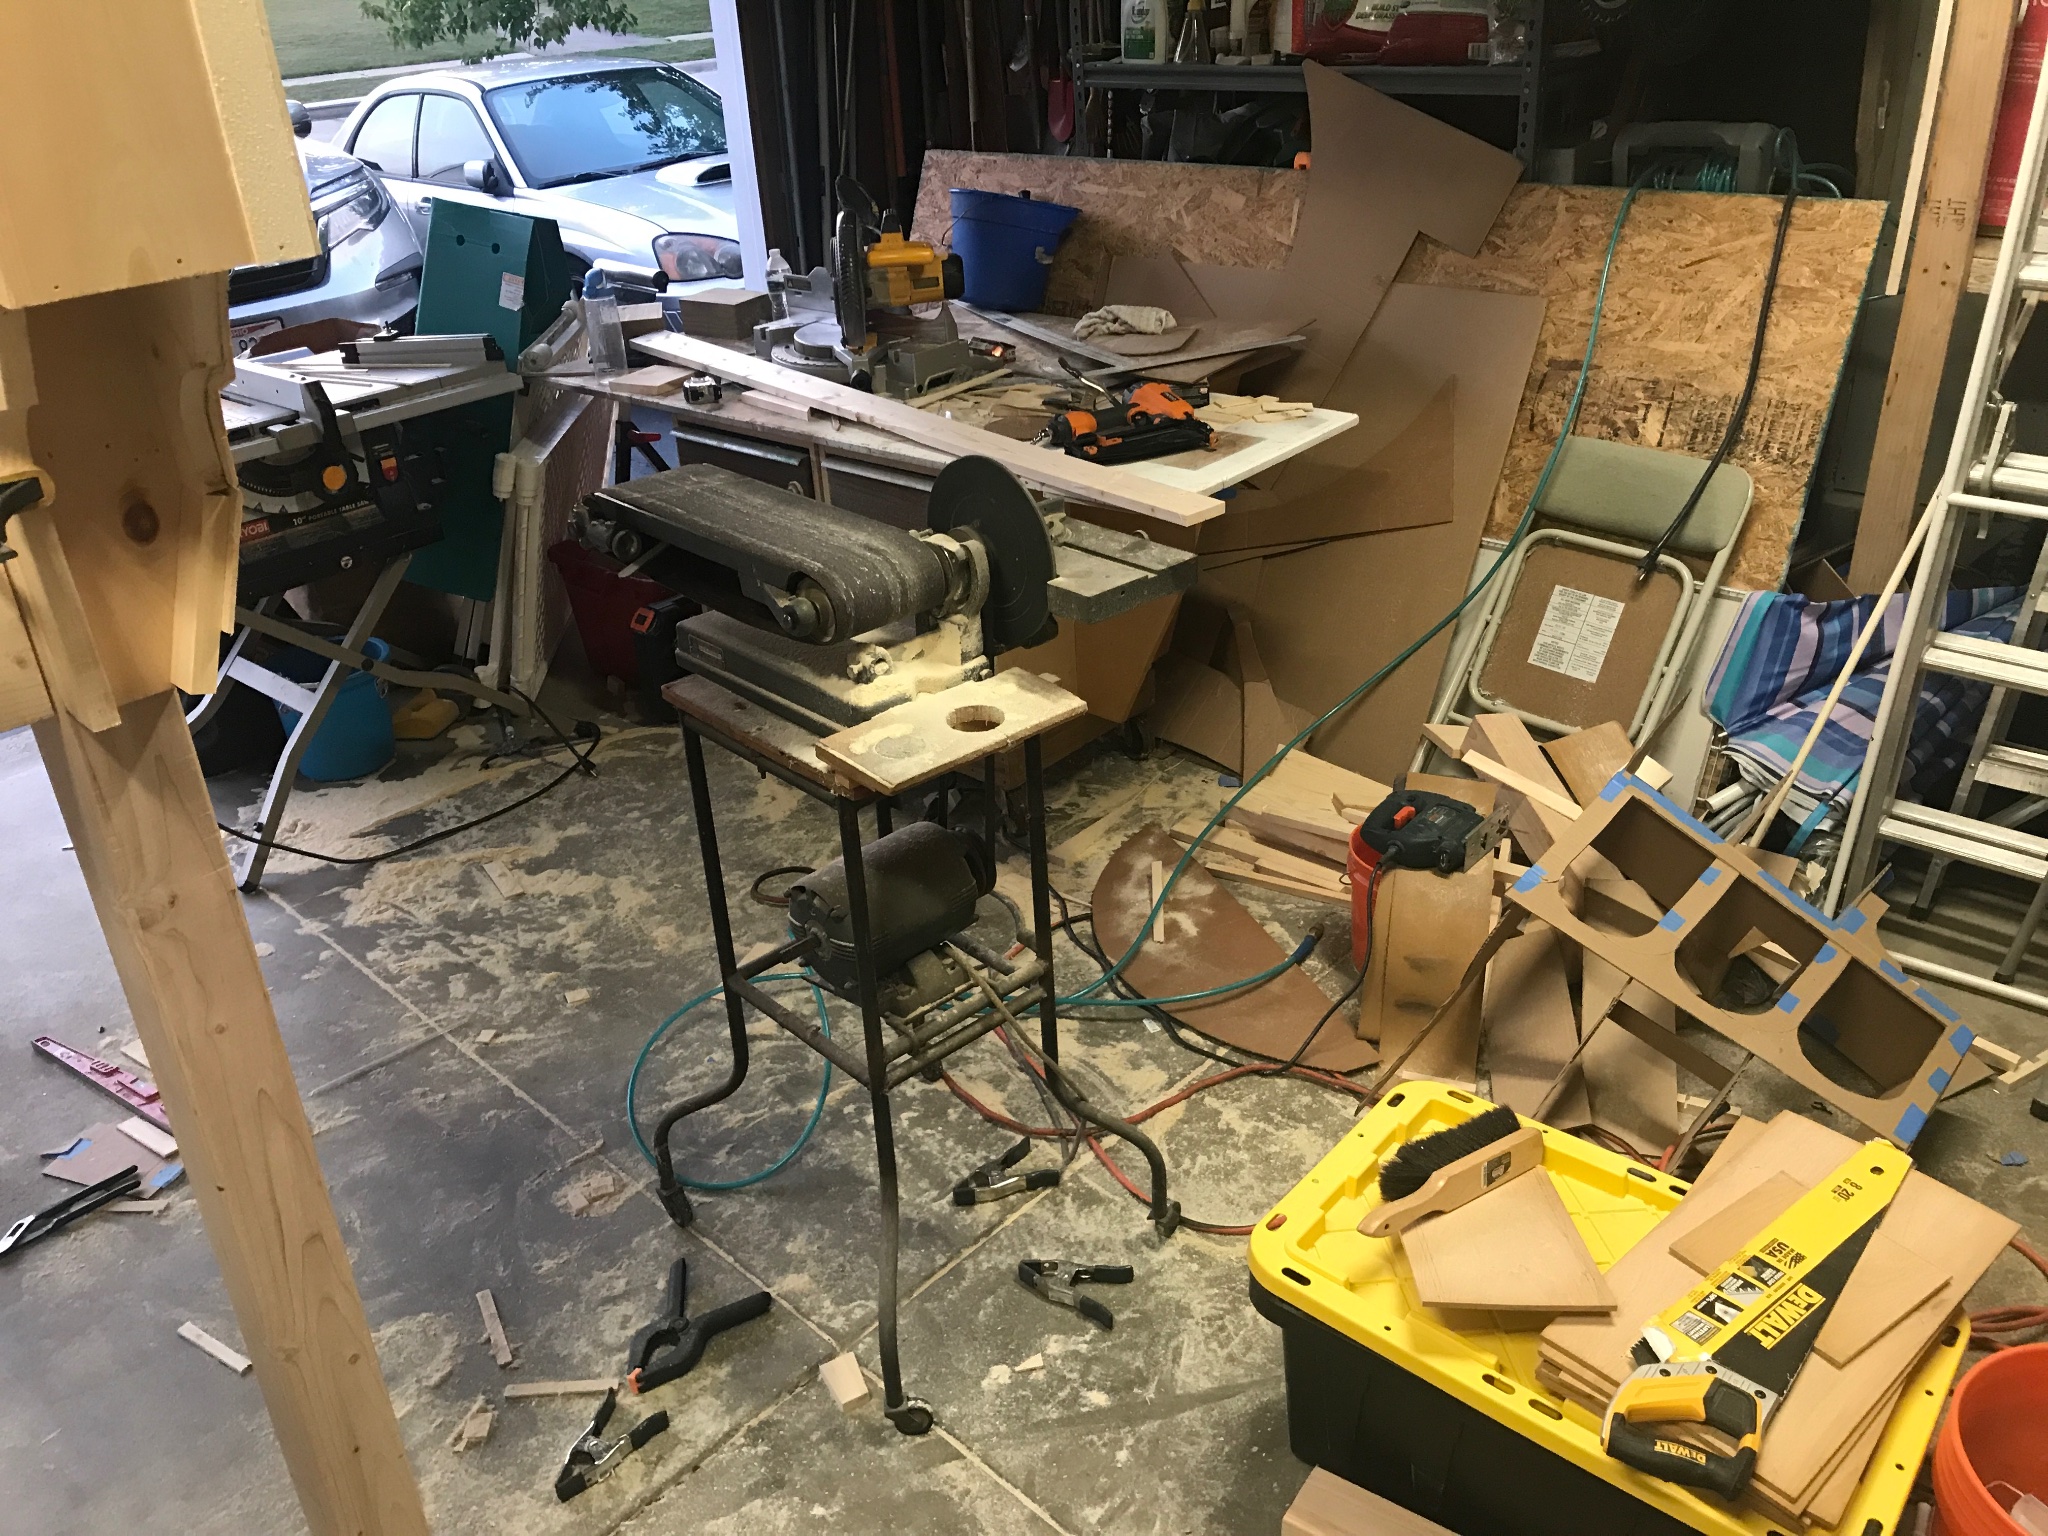
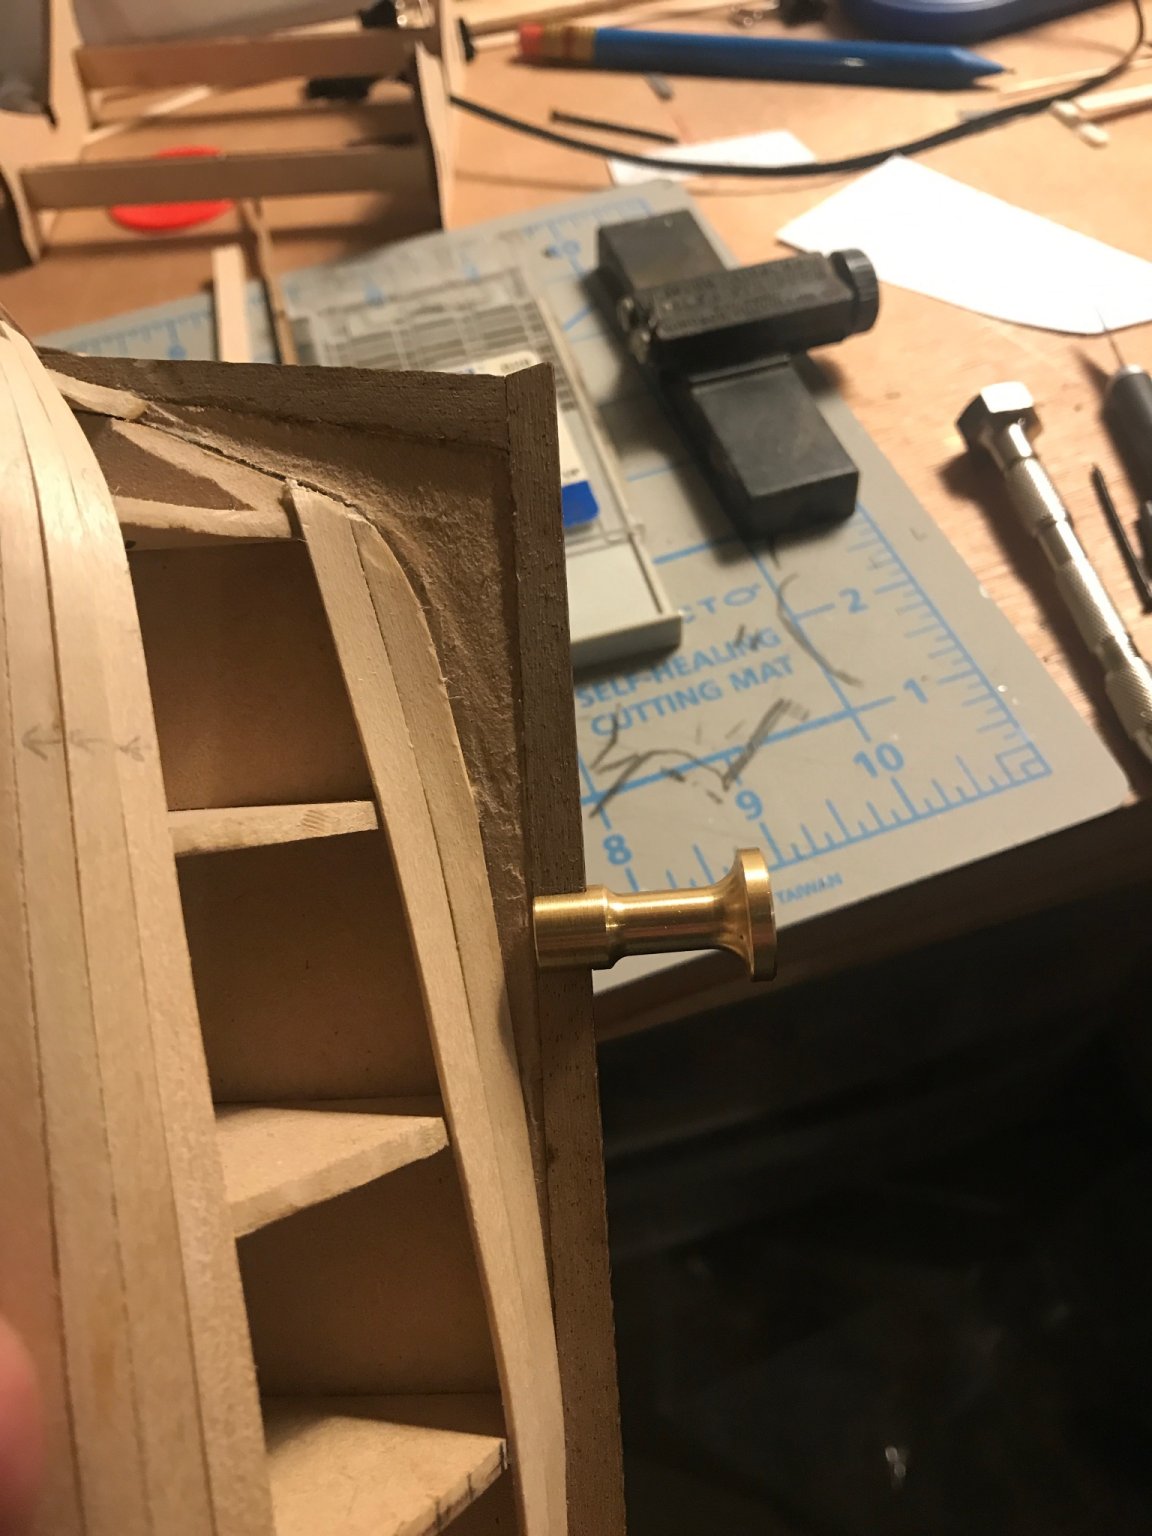
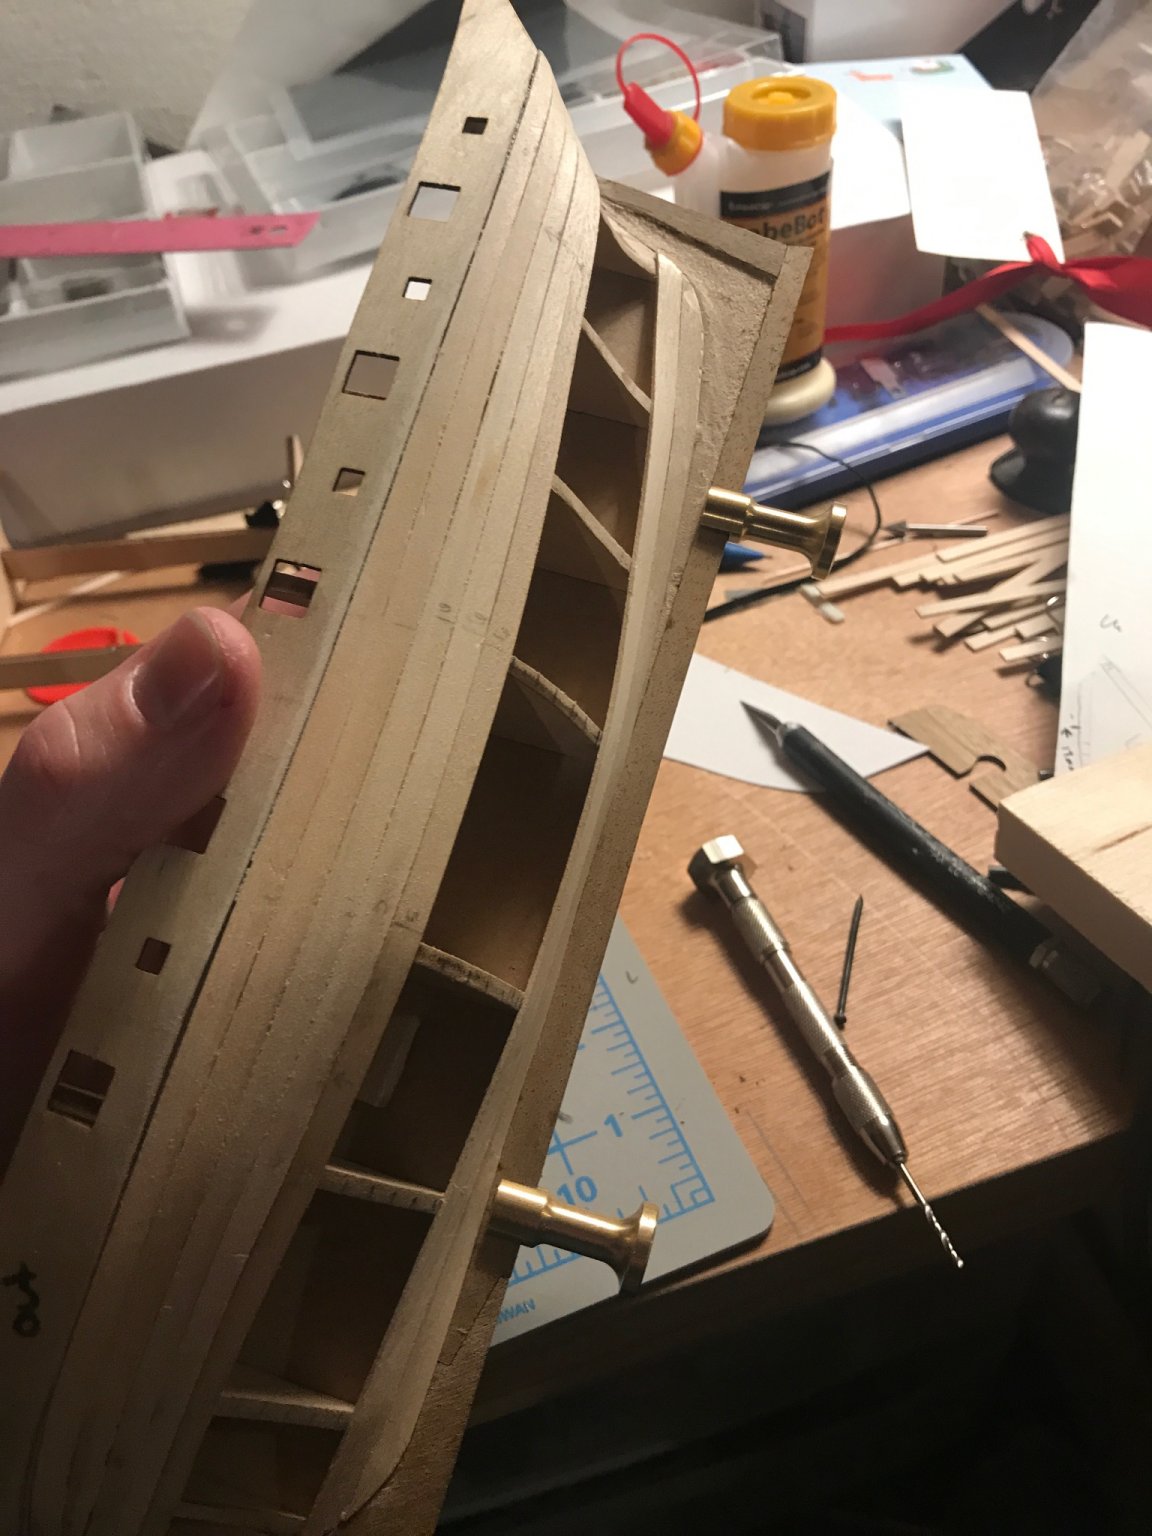
I knocked out the pedestals today. Not sure what drill size I used. Had some nails that were thinner than the keel and long enough to go about an inch into it and the pedestal. I used a hand drill to make the holes in the keel. The pedestals have a big hole in them. As wide as the keel. I used some scrap balsa and a stripping tool to make some square stock to wedge into the holes and then drilled them out to match the holes in the keel. In the end I have a set of pedestals with spikes in them. Still haven’t figured how I will attach the pedestals to the base. Figure some big screws or something. Should be clear to finish the first planking now at least!


- 139 replies
-
- 3
-
-
- Lady Nelson
- Amati
- (and 2 more)
-
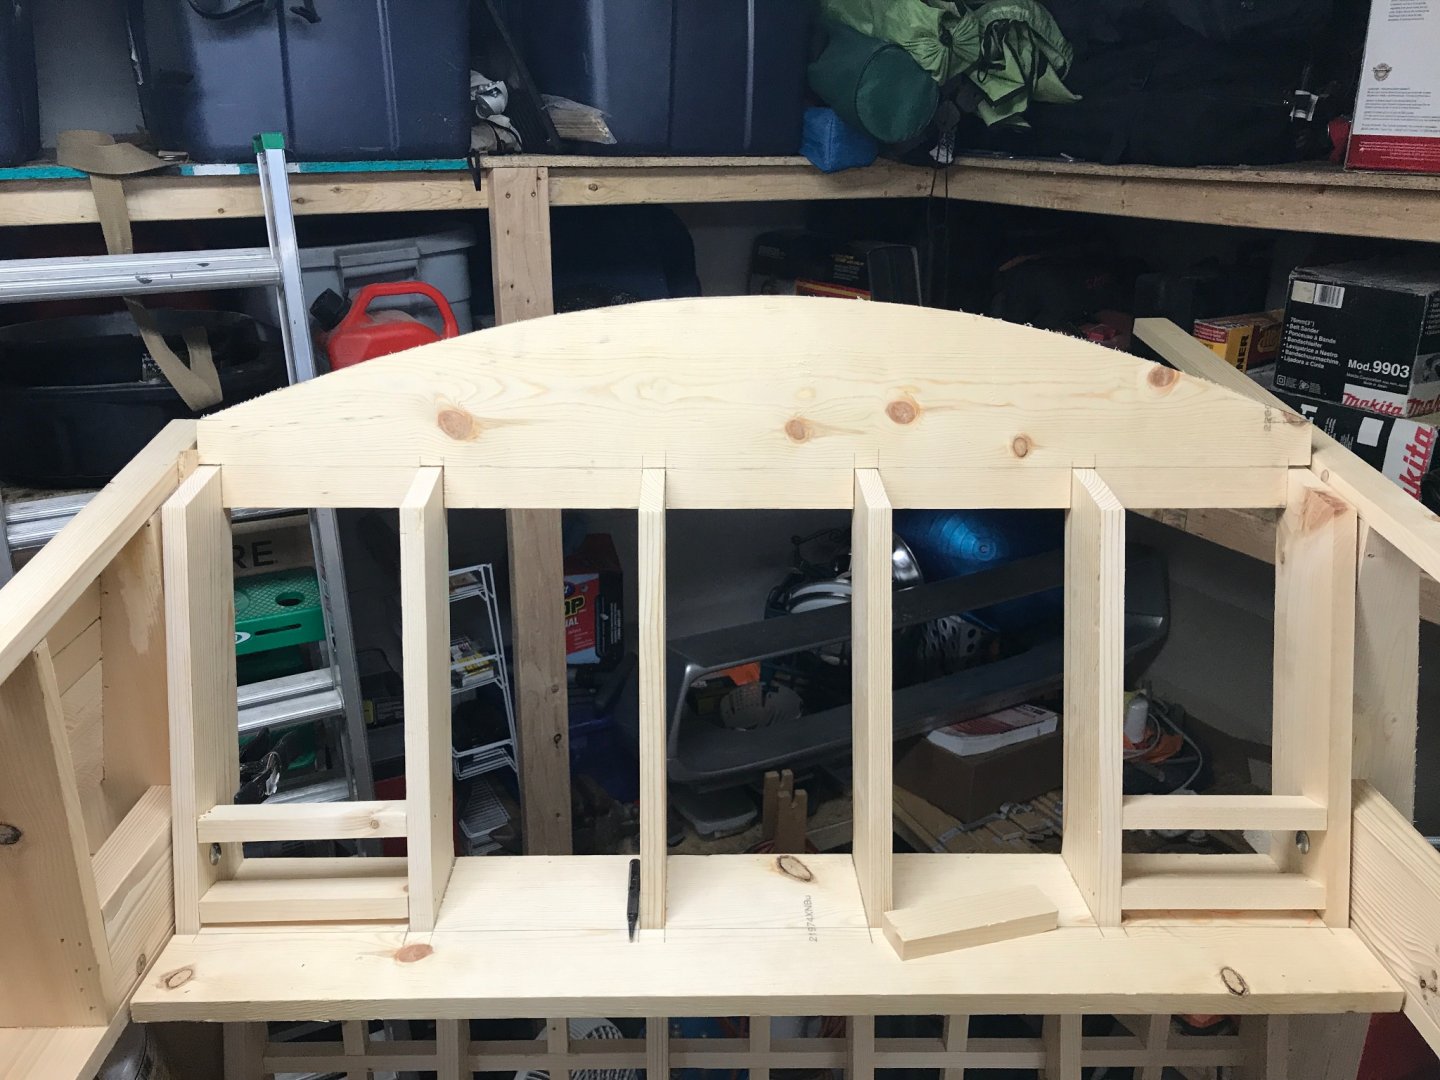
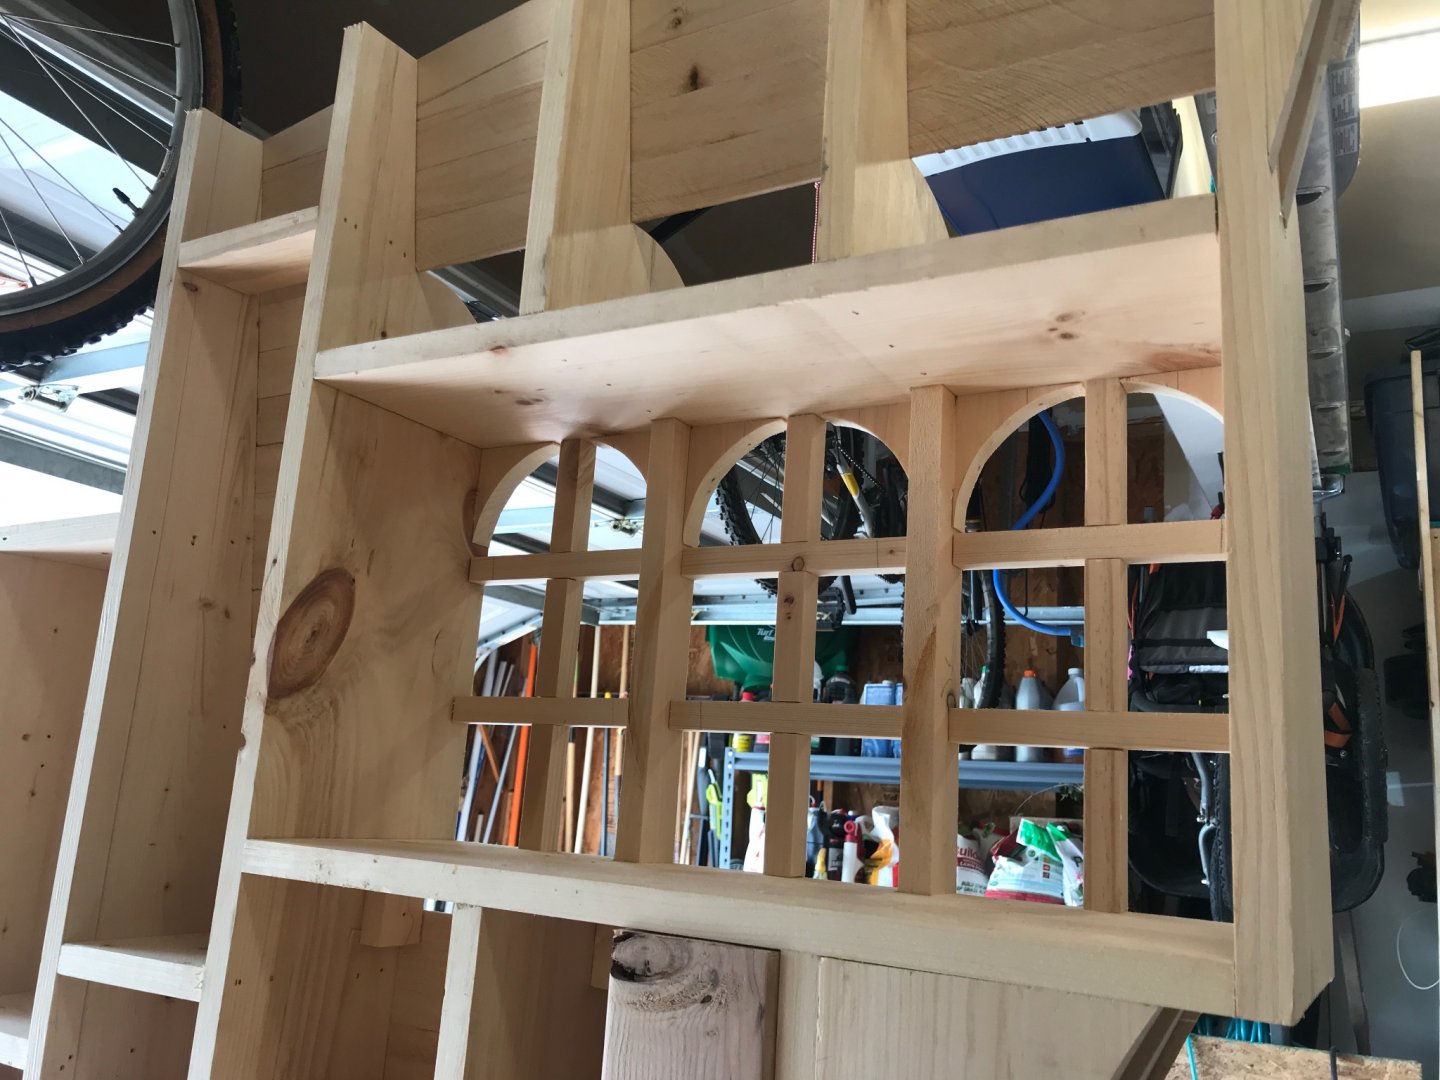
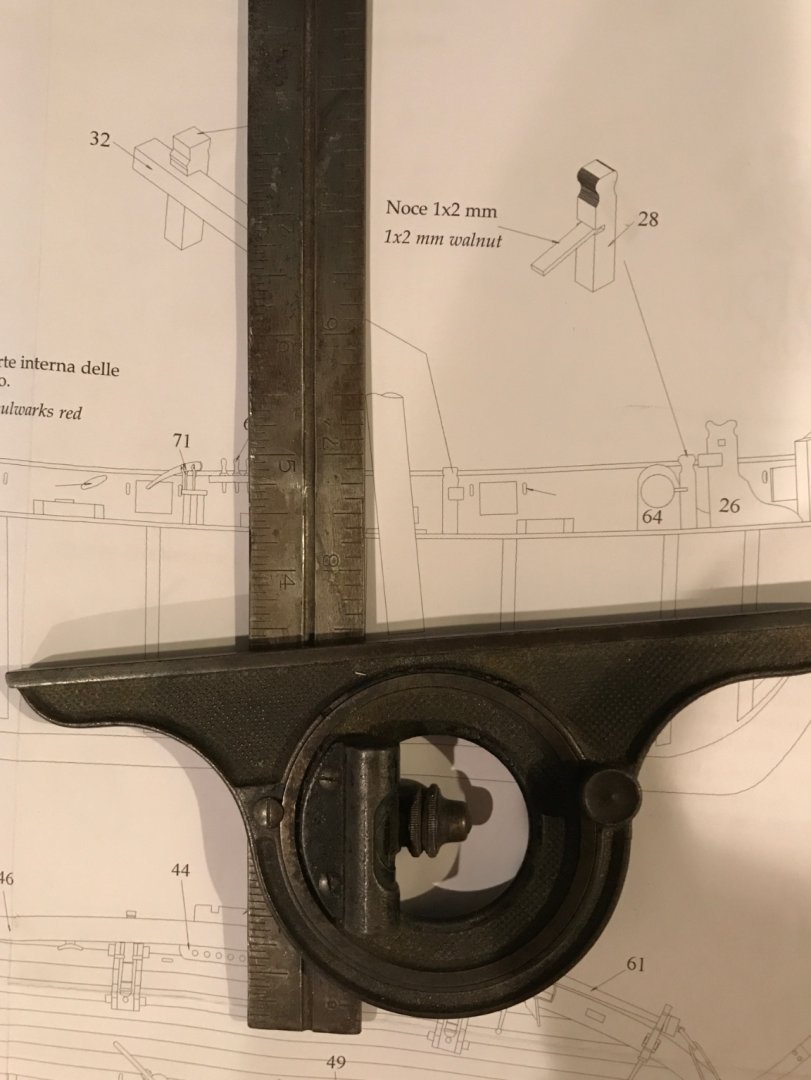
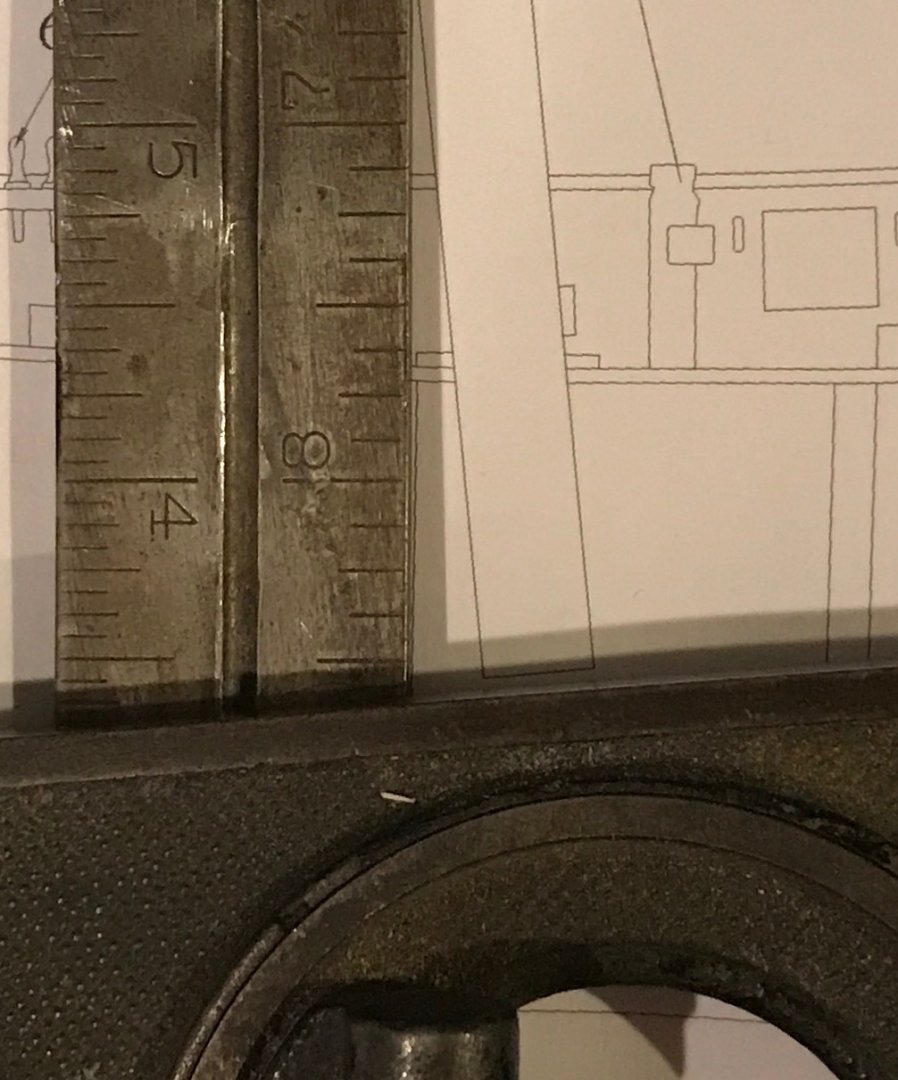
A little work on the quarter gallery. This has to look good and also be safe and strong enough for my rambunctious son to not get hurt or be able to break. I cut down 1x boards into squares. 3/4” x 3/4”. I bought a dado blade for my table saw to make half lap joints for the window panes. I then planked the outside for some detail.


-
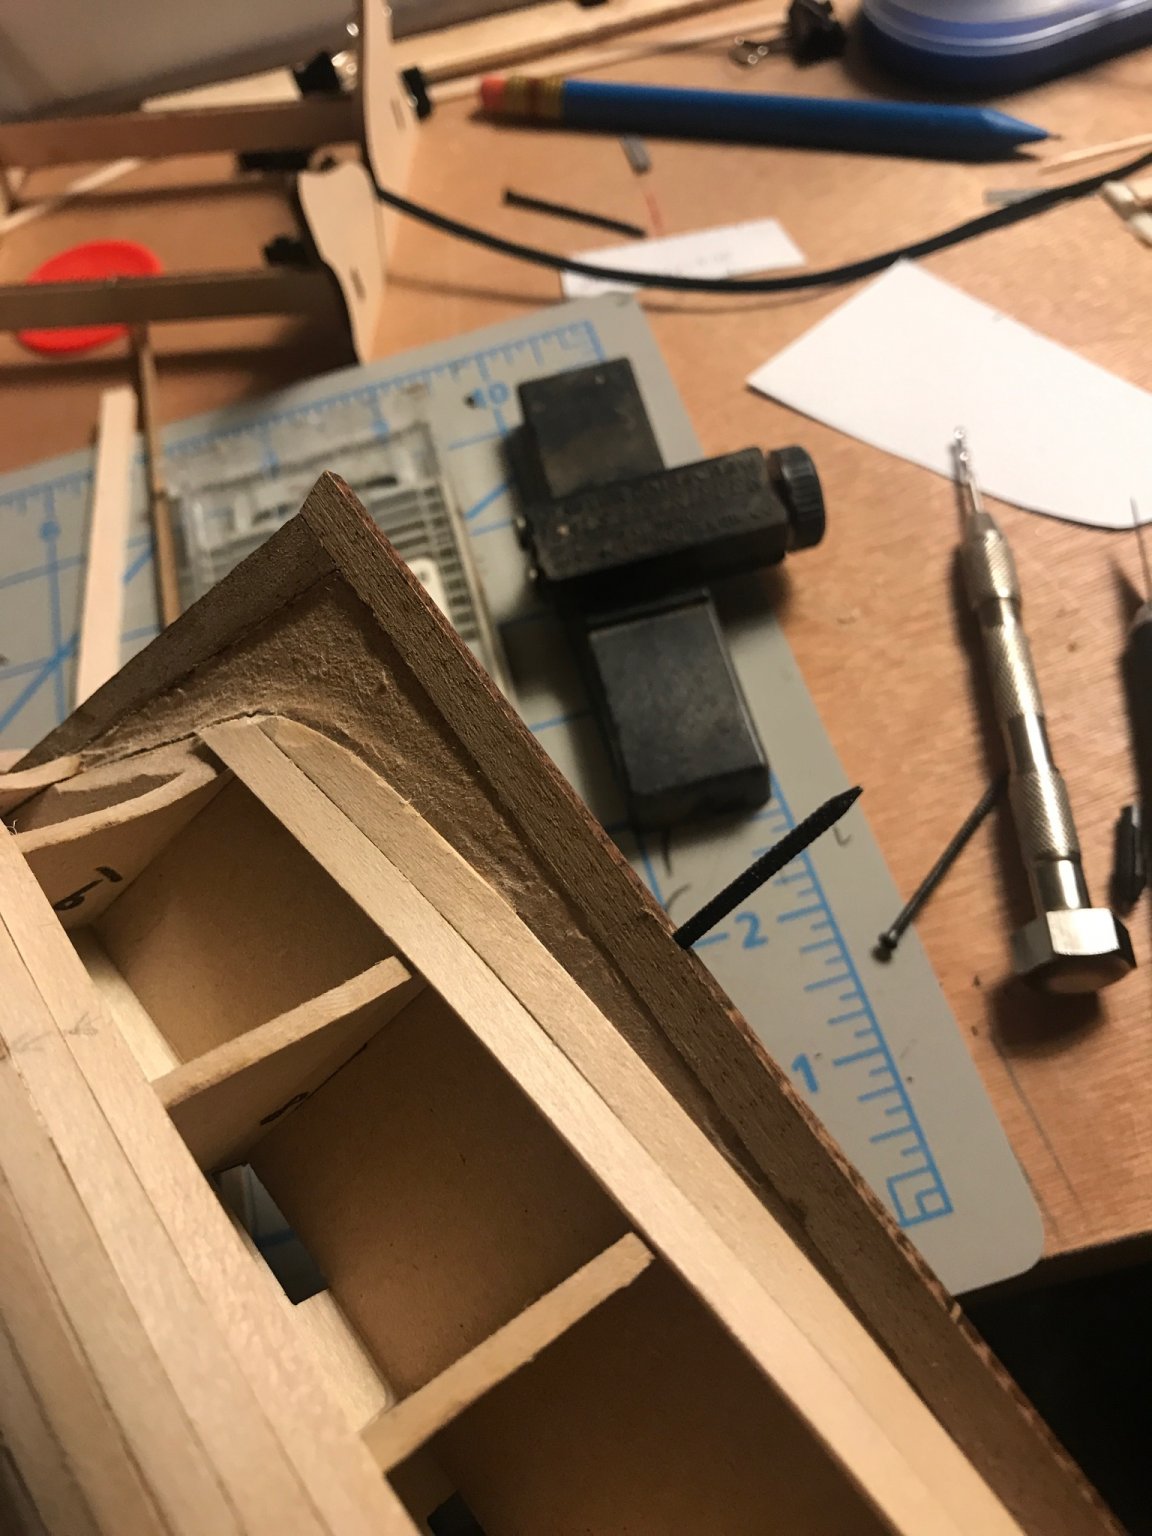
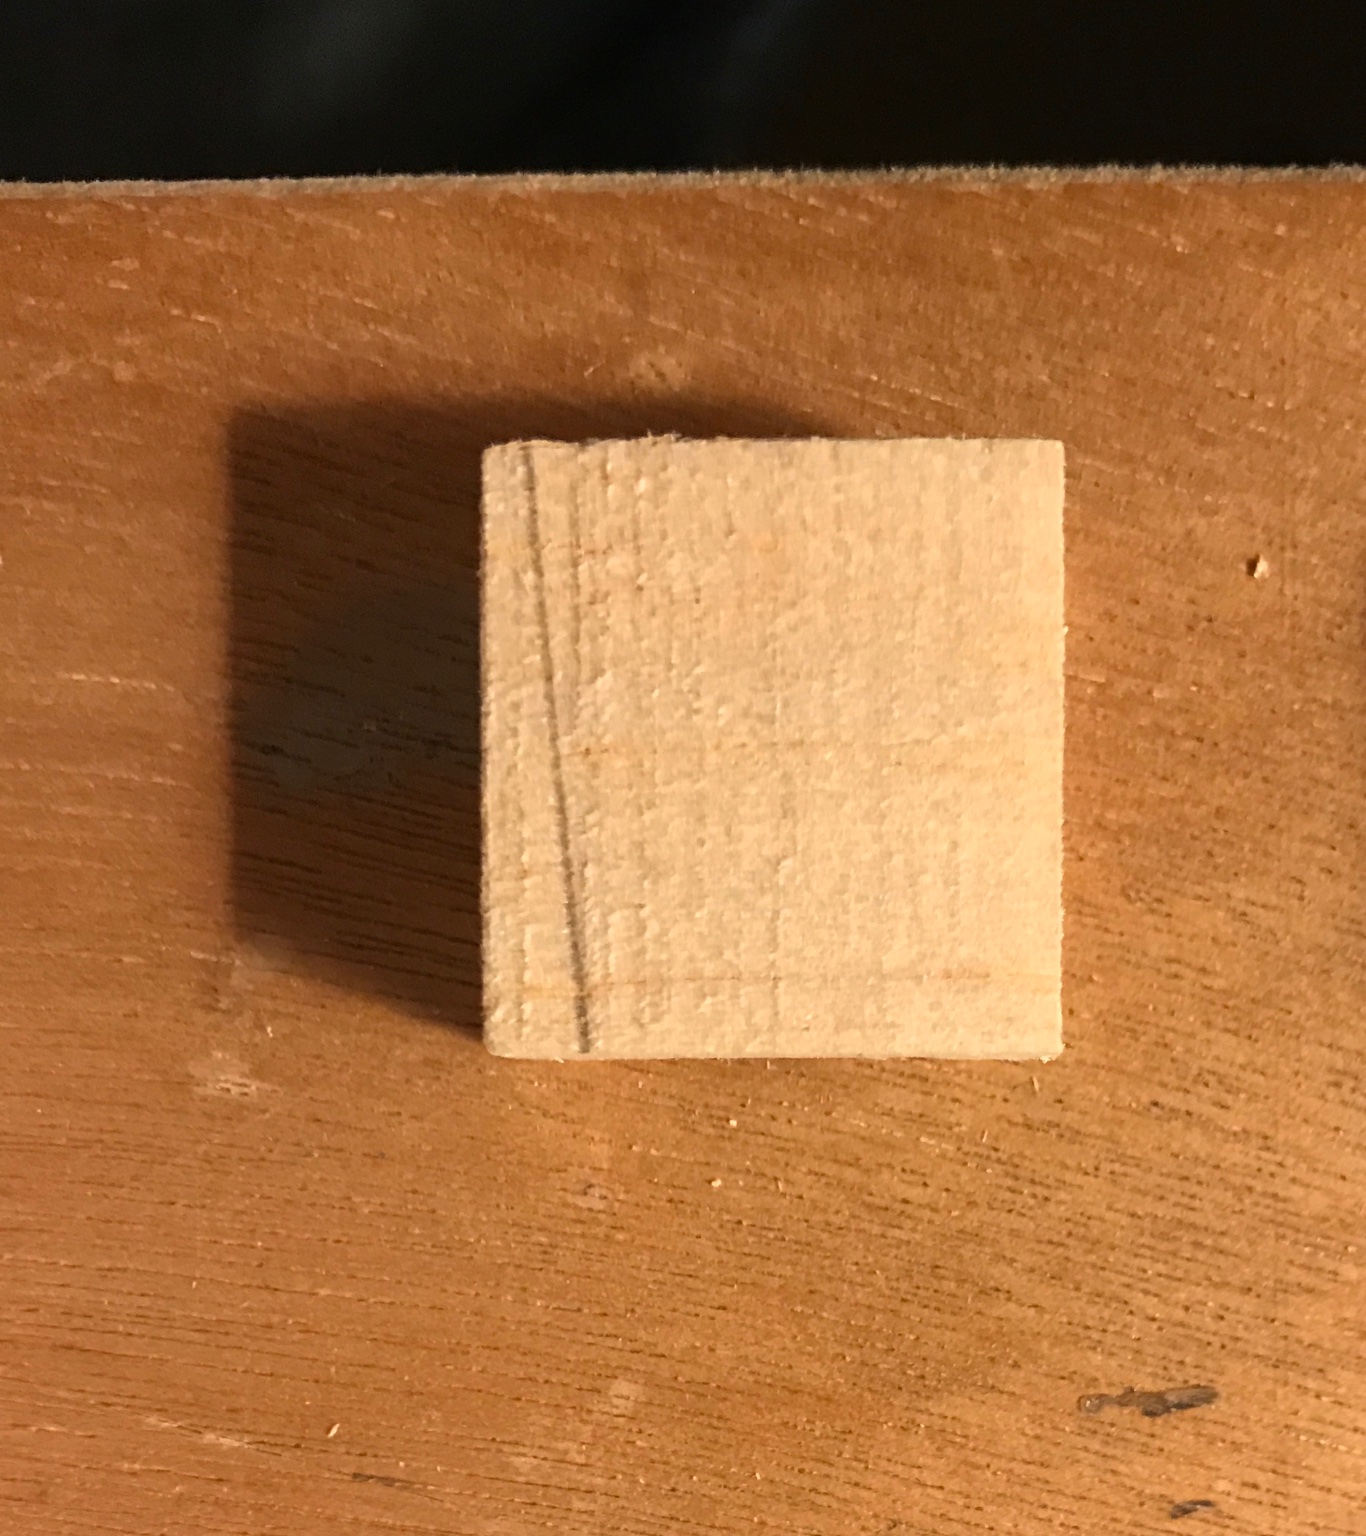
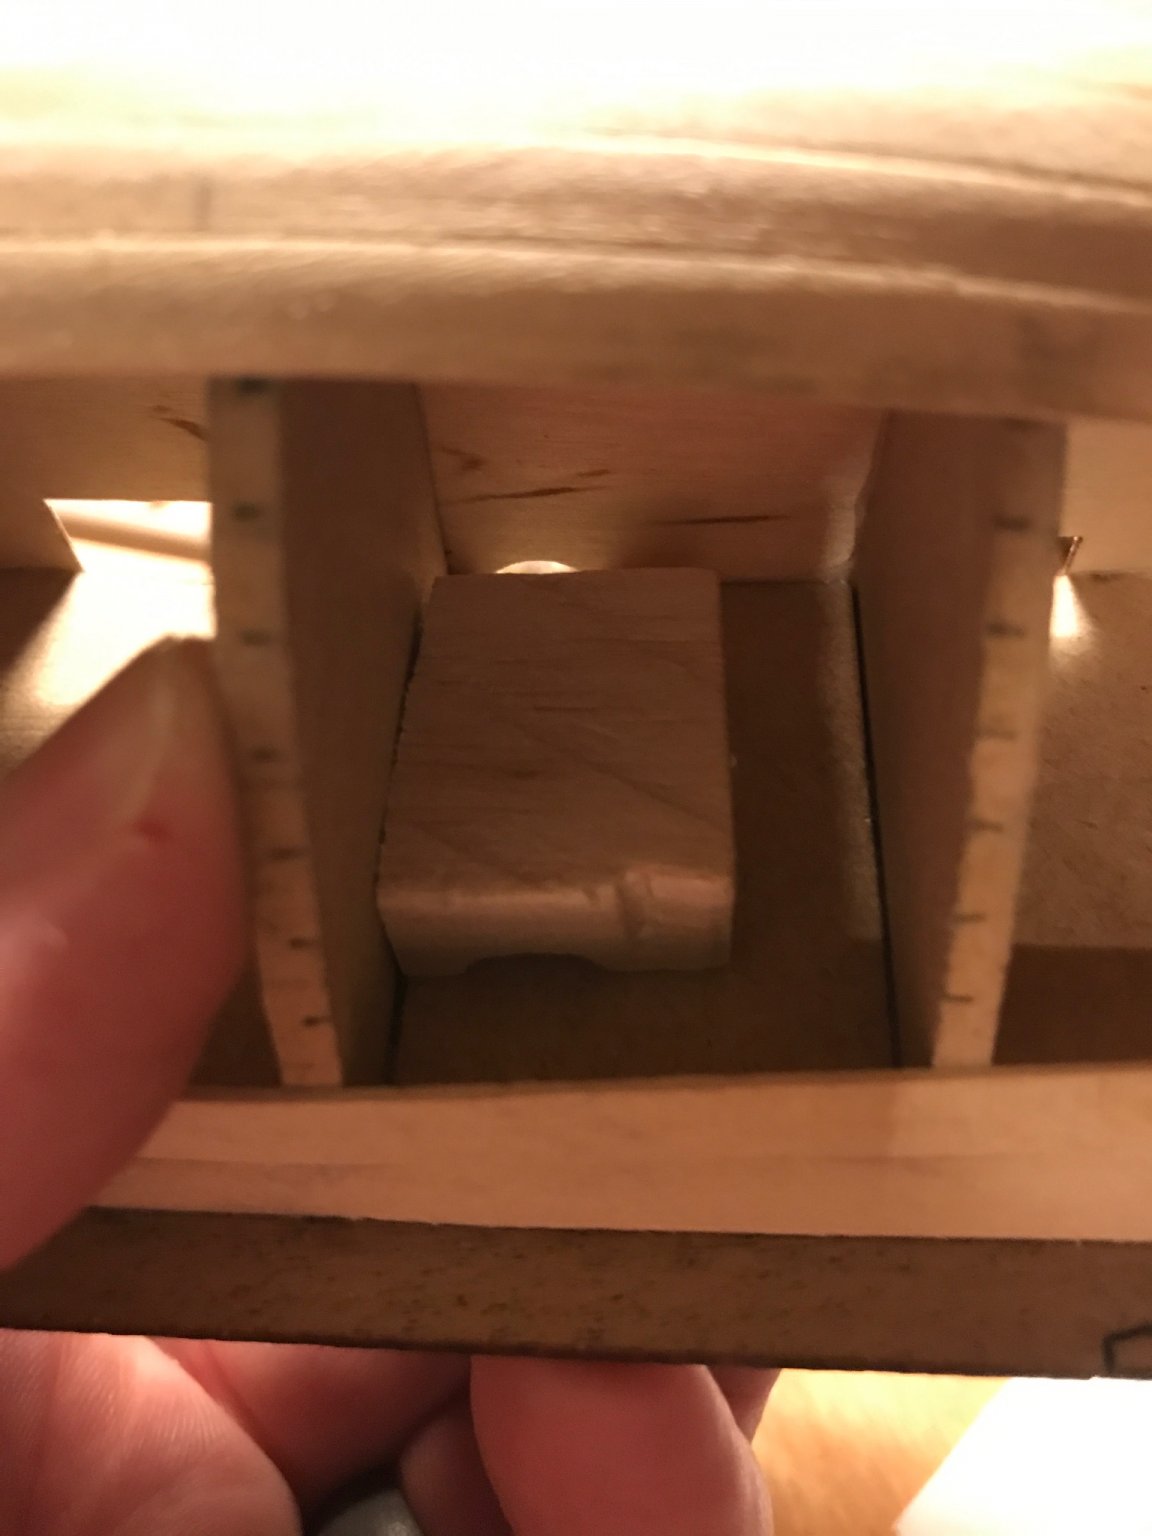
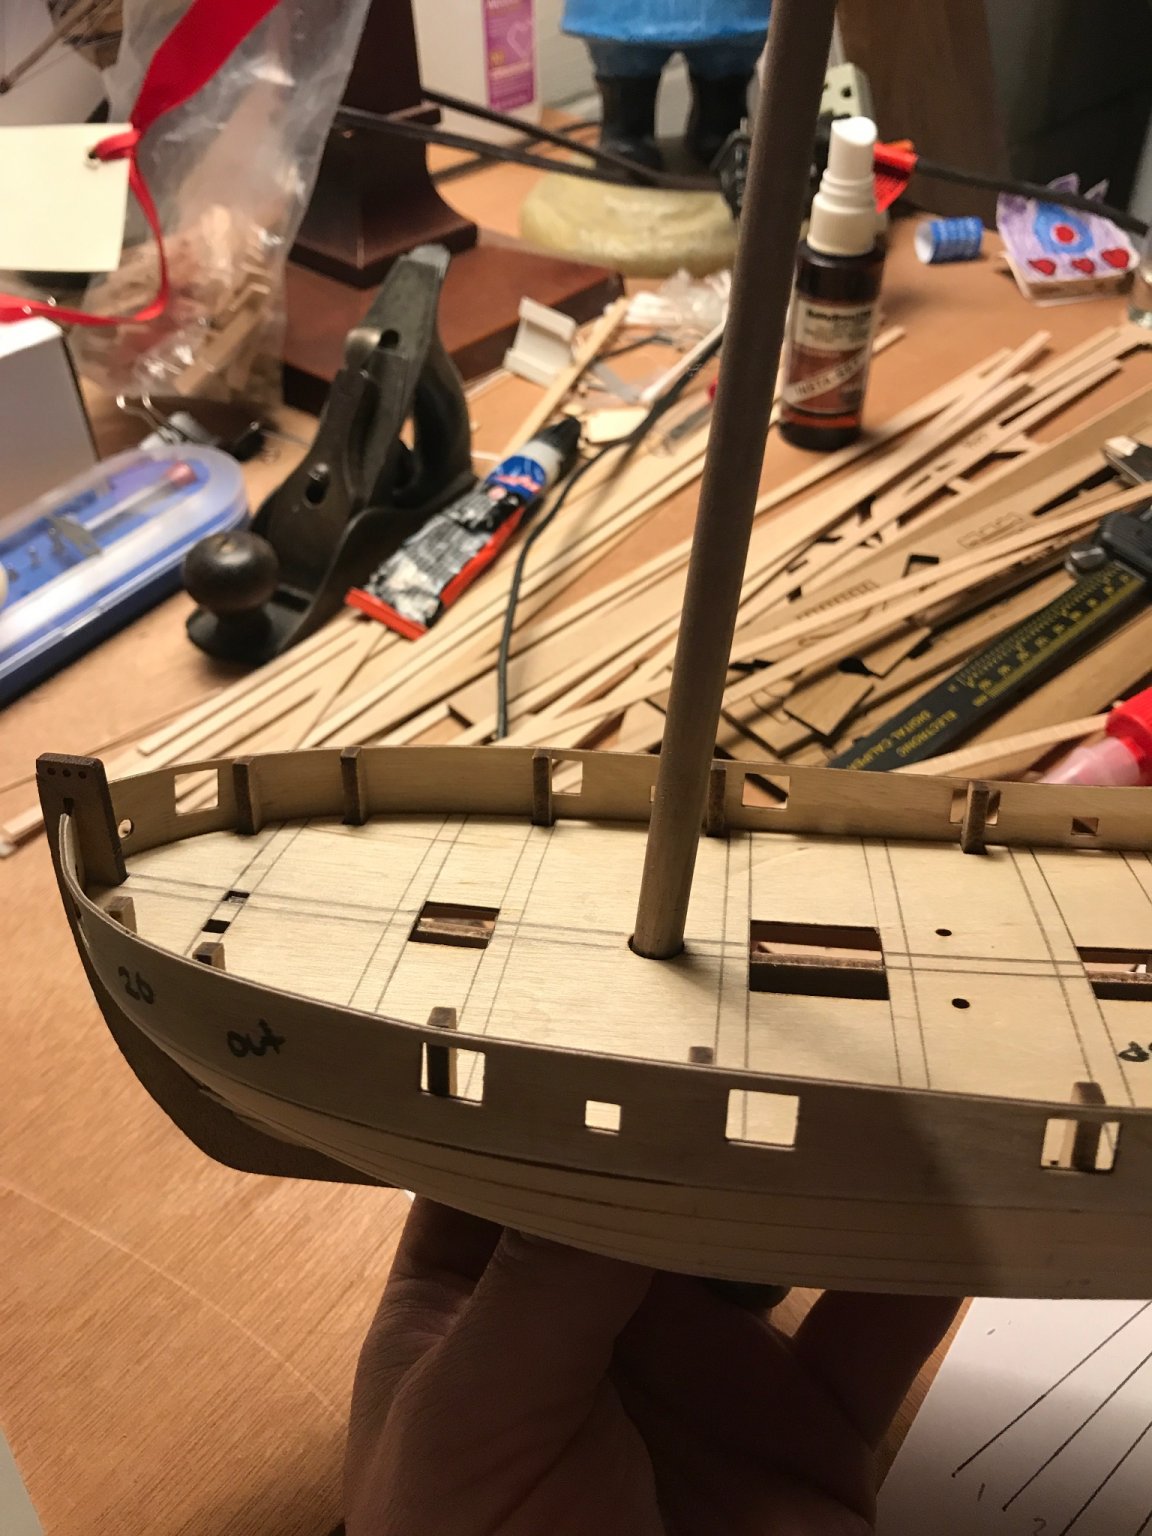
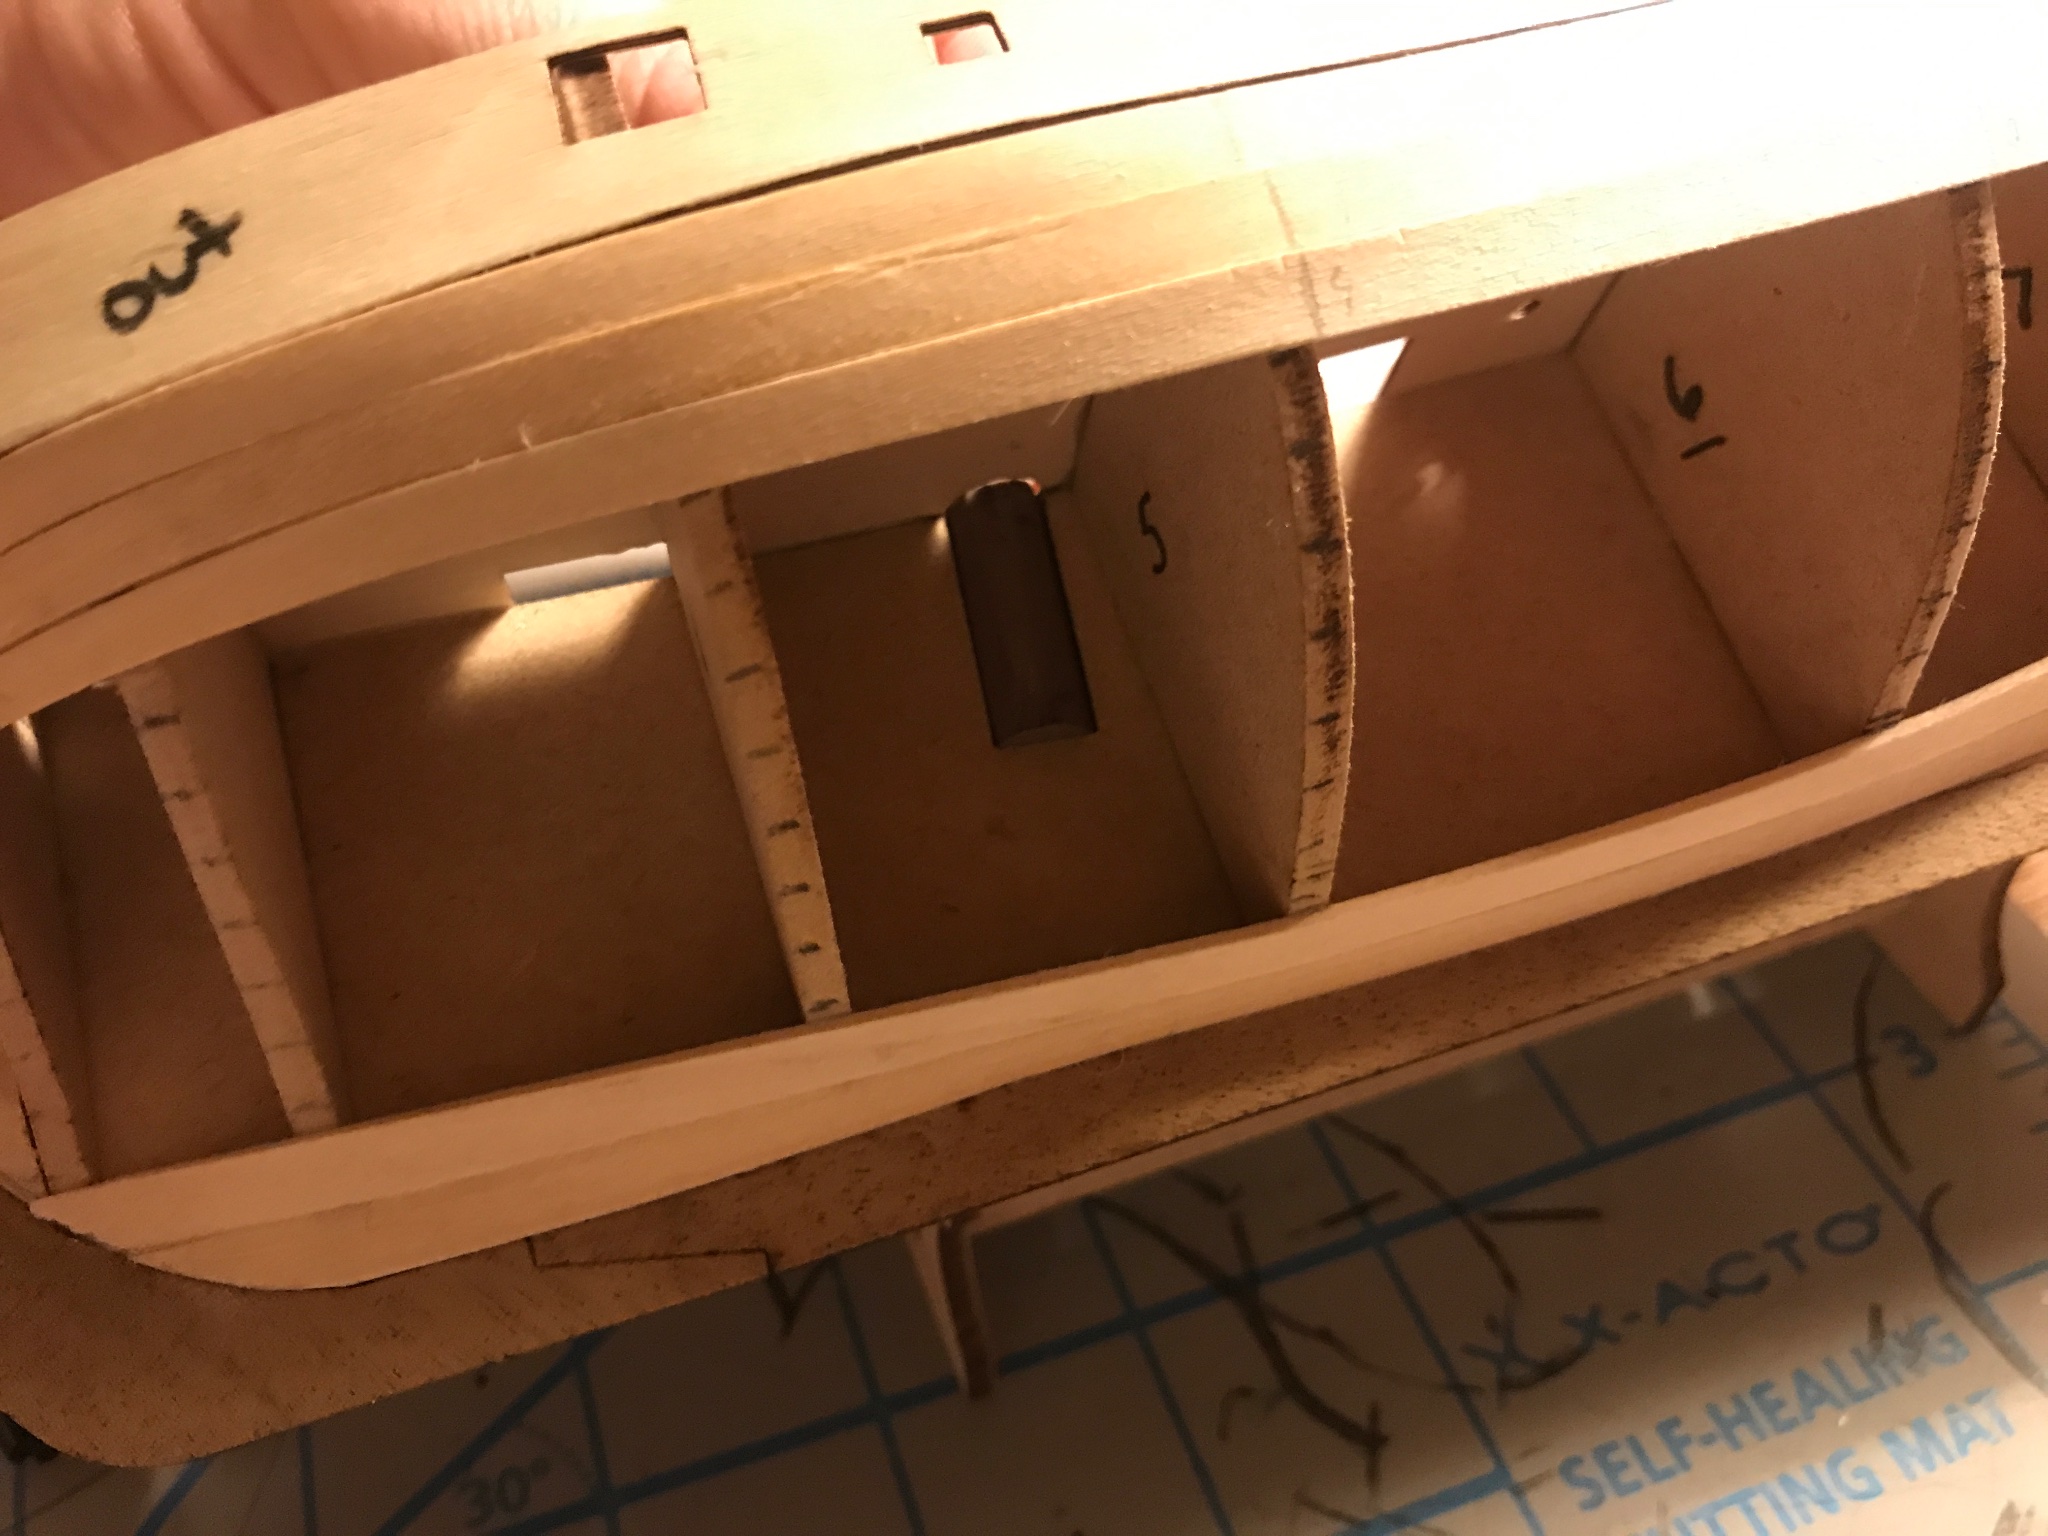
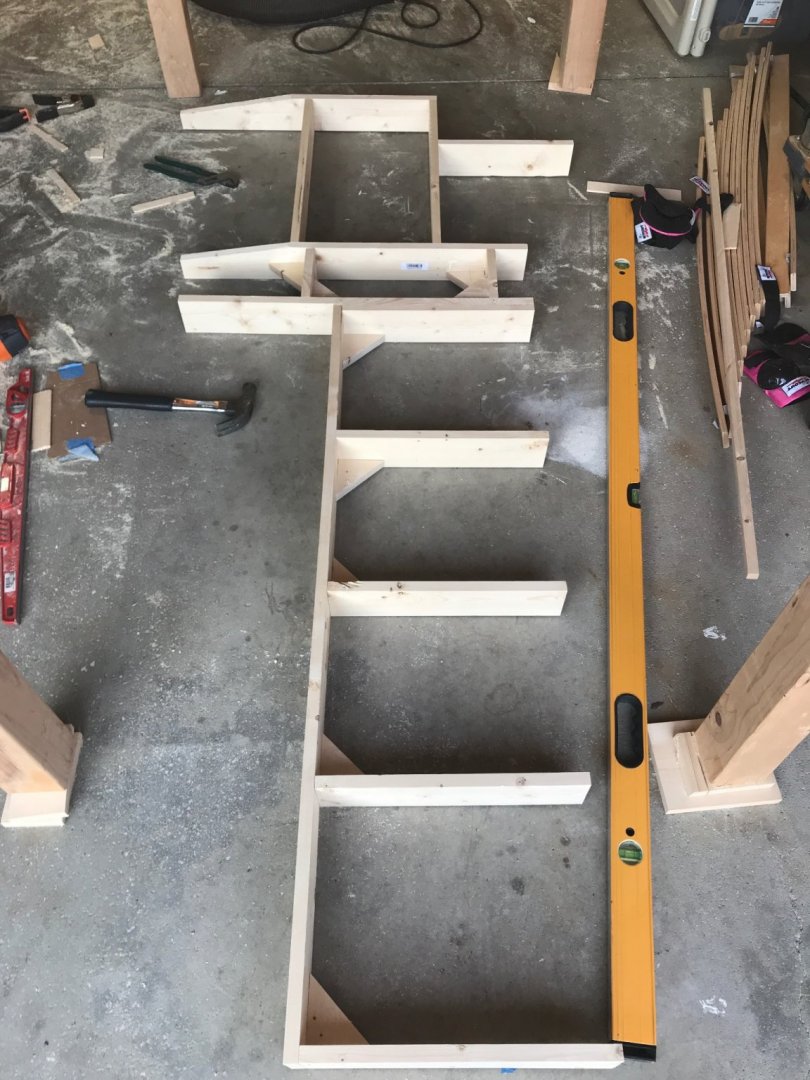
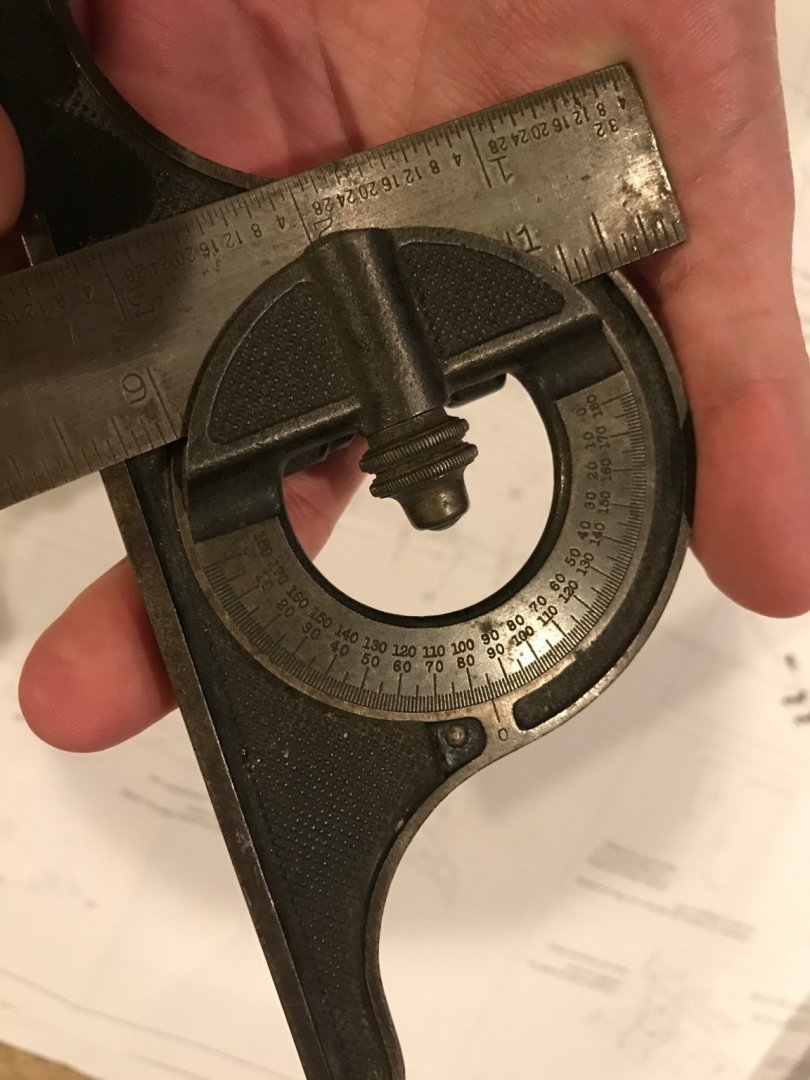
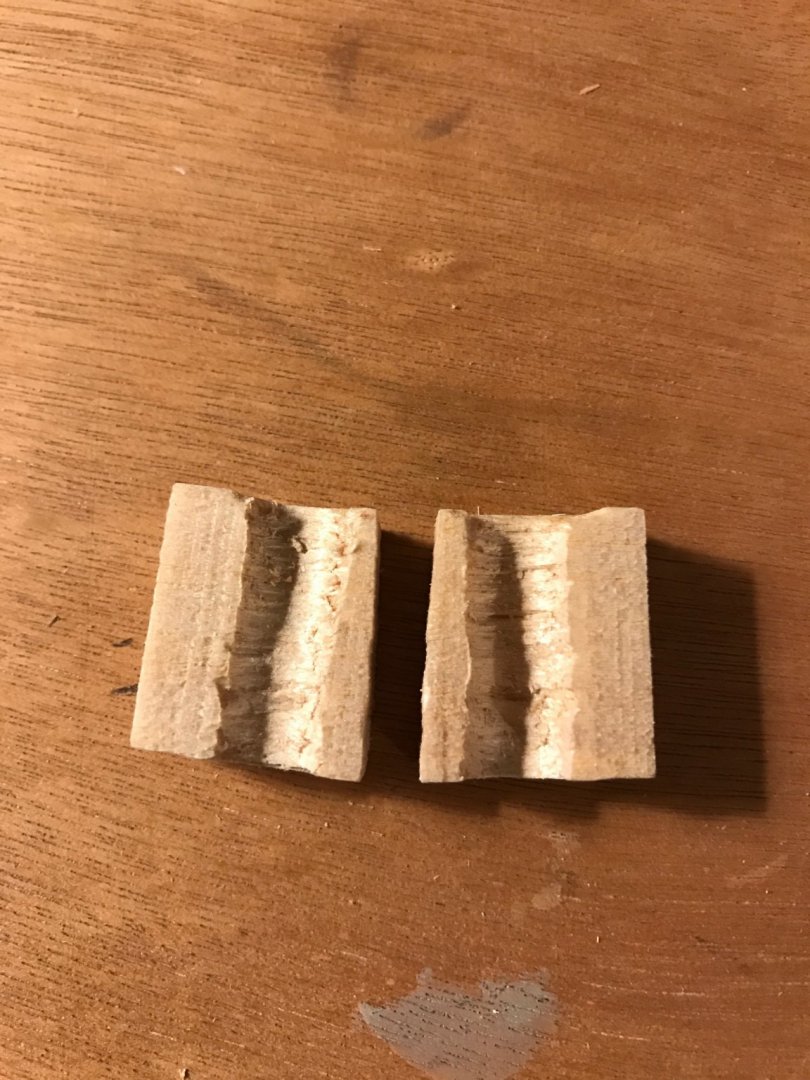
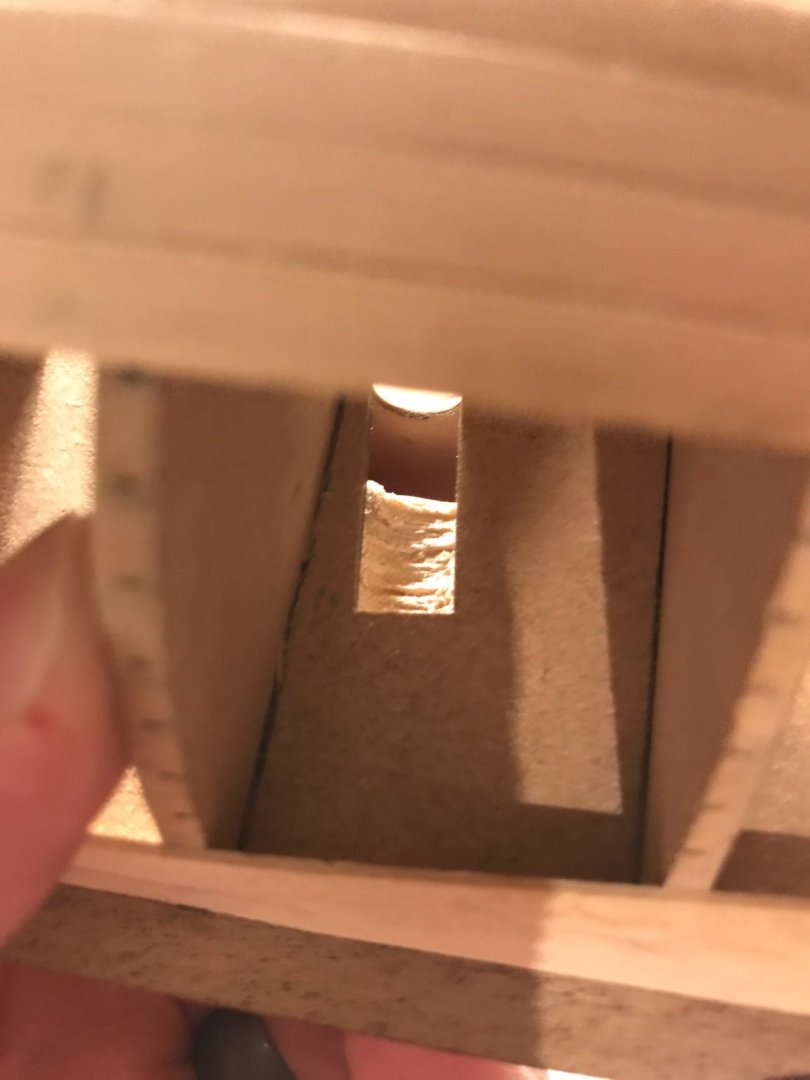
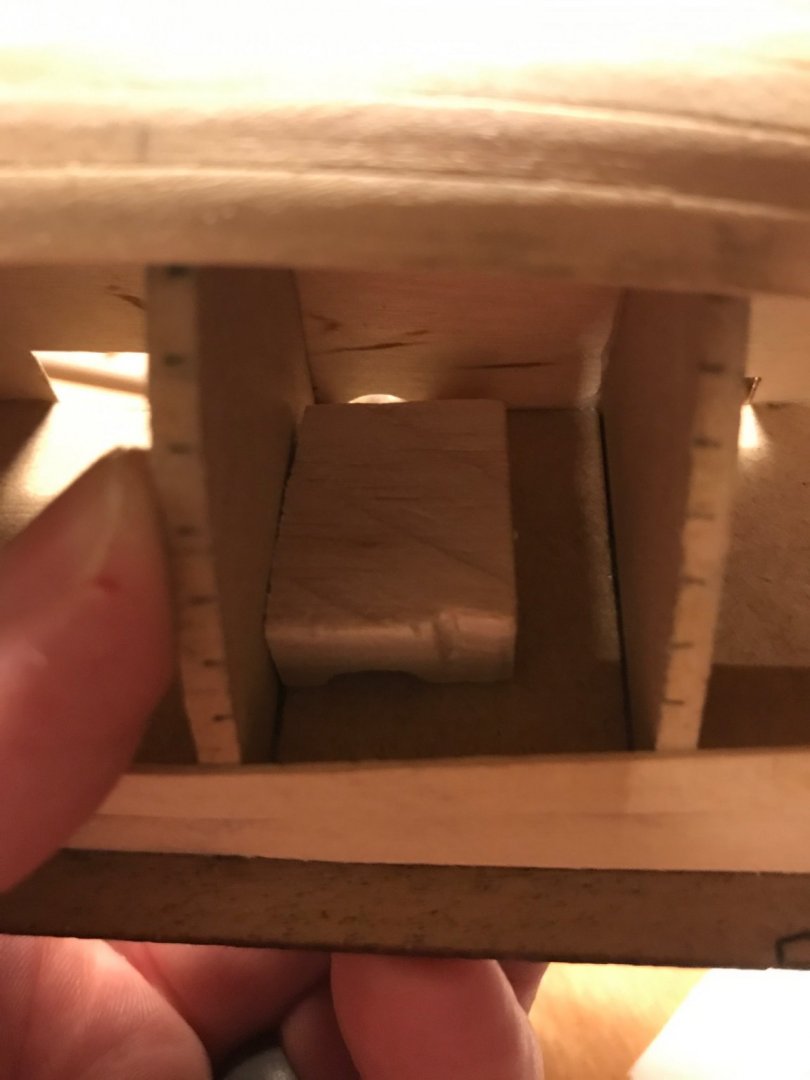
I made support blocks for the base of the mast. I used some balsa wood. I started with just a block. I drilled a hole straight through the block (same diameter as the mast). Using a very old angle finder, I used the plans to figure out the angle from the bulkhead to the base of the mast and transferred the angle to the block. I used my bandsaw to cut the angle on the block and also spilt the block in half through the mast hole. Apparently drilling through balsa is similar to a worm eating though it. 😳 I glued the splits on either side of the groove in the false keel. Lots of glue. I still need to glue some scrap pieces to close up the half holes on the bottom so glue can’t leak out. Since I started with the hole the same size as the mast, the width of the bulkhead gives some wiggle room for setting the side to side angle when the time comes to step the mast. I should also be able to use shims to help lock it in. And lots of glue. I also laid some more planks. I think I have finally got the hang of it! Next will be addressing the mounting posts per Glenn’s suggestion! Current state of the ship. 😬 Gotta say I am really enjoying this build so far!


- 139 replies
-
- 3
-
-
- Lady Nelson
- Amati
- (and 2 more)
-
No wonder you can turn out so much work, in great quality, so fast. I am lucky to find an hour or two a week! Your build is really looking great!
- 382 replies
-
- 1
-

-
- Vanguard Models
- Duchess of Kingston
- (and 1 more)
-
Glenn, I get the idea of the spike you put in the bottom of the mast. I am guessing the only glueing surface with that is in front and back on the false keel? I was thinking about a v notch at the bottom of the mast, but I was afraid I wouldn’t be able to adjust side to side. My other thought was to put some blocks on the bulkheads on either side of the mast. Not tight, but close enough for some wiggle. I don’t have any laser guided equipment like you used, so I will have to rely on squares and the eyeball. 😬 I appreciate your input! I am probably over thinking this.
-
That’s a good point. The real ships masts were held in with wedges and rigging. I think I might add a little bit of support in side the hull with the intention of not glueing the mast. Thank you!
- 139 replies
-
- 1
-
-
- Lady Nelson
- Amati
- (and 2 more)
-
So I was getting ready to sit down to do some more planking and I started thinking about the mast... specifically, should I do anything to the inside of the hull to help support it before I close it up. It has a little bit of wiggle fore to aft, and obviously no support side to side. Will a glob of glue be enough to secure it when the time comes? I have seen logs done with and without additional support. Thank you in advance!

- 139 replies
-
- 1
-
-
- Lady Nelson
- Amati
- (and 2 more)
-
Went out to google for 18th century cutter and it brought me right back to MSW. Not sure why I couldn’t find this while searching the site. I thought that there should be a life boat of some sort. 😬
- 139 replies
-
- 1
-
-
- Lady Nelson
- Amati
- (and 2 more)
-
Ima going to look at those plans again! Thank you!
-
There are no bad habits in making... every path leads to the same end, success!
-
Planking time... as you might have already guessed, no hobby store offers what I need for this build. Nothing scale accurate I think, but it looks good so I went with it. Using my table saw and a ripping blade, I sliced 2x6 pine boards into 3/16” thick planks. I lost half a plank to sawdust for every one that I made. Must have made 50lbs of sawdust doing this. It was everywhere! The results were very acceptable to me. I really liked the rough cut finish the blade made too. I made the mistake of not shifting for the planks for the gun ports, but that just meant I had an excuse to get a dremel oscillating cutter. 😬


-
I have spent quite a bit of time looking over the goodies at Syren. Is there a guide to what size rope to use based on use and scale? Or does everyone just kind of wing it based on what looks right?
-
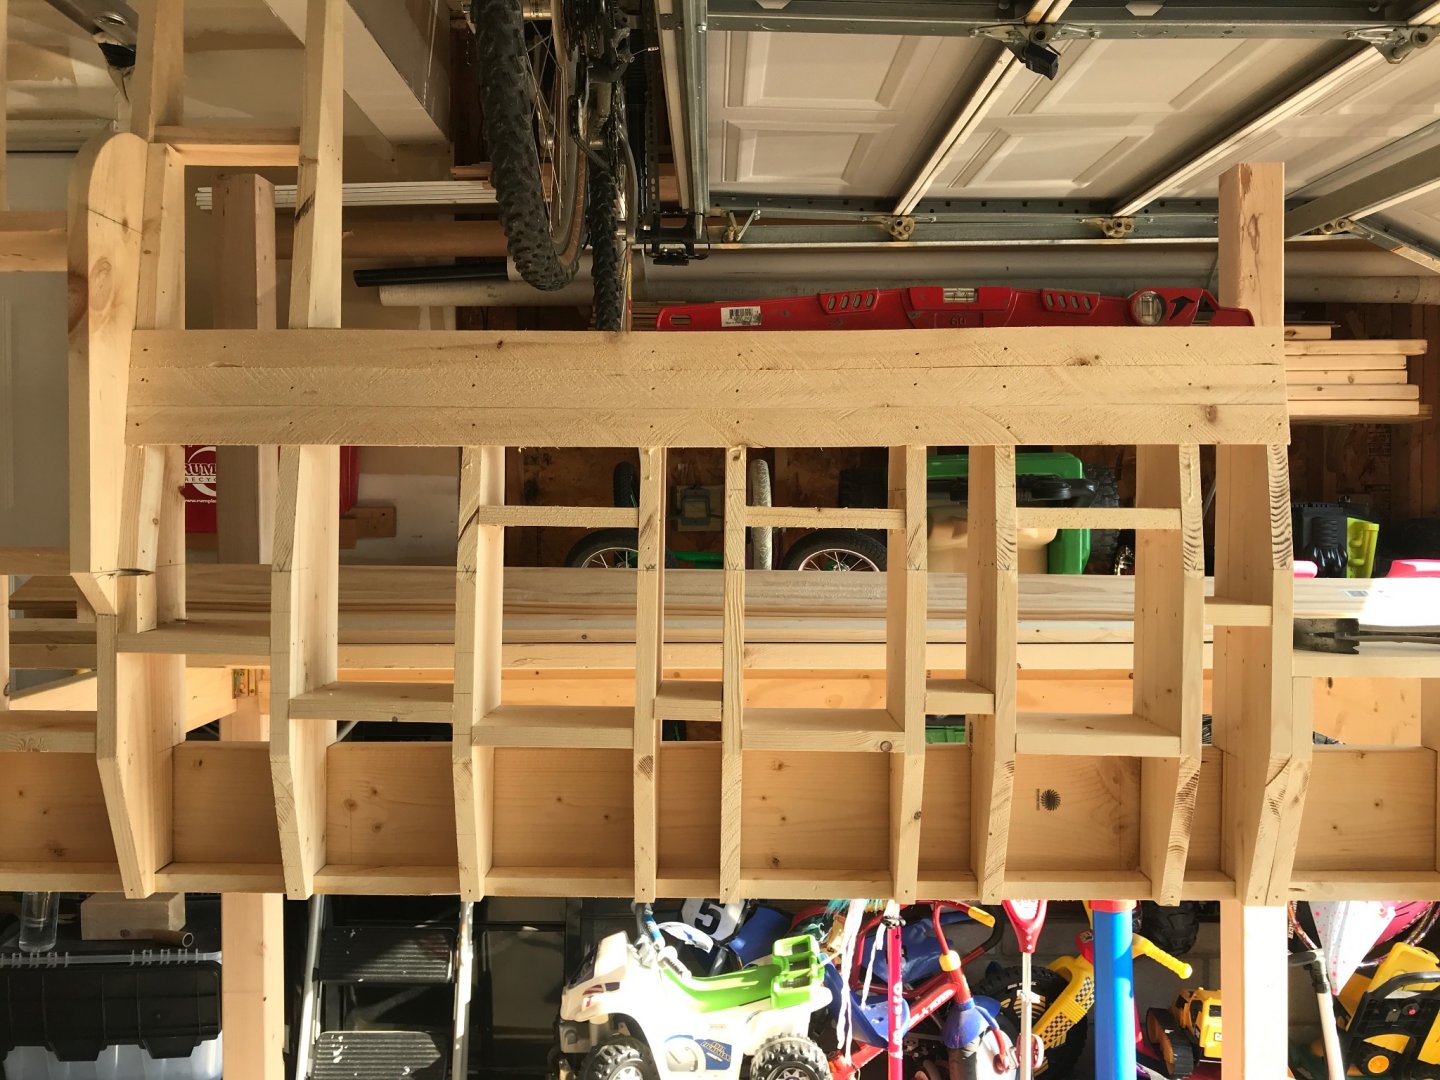
I was truthfully going to just build this thing out of the box and move on, but I just can’t. Probably going to cause it to drag on longer than needed, but if I am being honest, I doubt I will get the chance to build another model for a really long time. My kids are about to be 6 and 8. Time is precious. I have a big project going on in the garage for my son at the moment (also have a build log going for it in the scratch built section). Might as well make the best of the LN, right?
- 139 replies
-
- 1
-
-
- Lady Nelson
- Amati
- (and 2 more)
-
Searched for Cheerful and yours was the first log that came up! 😉
- 139 replies
-
- 1
-
-
- Lady Nelson
- Amati
- (and 2 more)
-
That helps tremendously! Thank you!
-
So I know I have the cart way out in front of the horses here. Pretty sure I lost the horses, but I like to have plans and time to think. Part of why I struggled with the planking is I really had/have no idea what I am doing so I make the best plan I can and adjust. That being said, I want to do as much learning about this process as I can. I know that this wasn’t a real ship, but is a representation or a typical cutter of the time. Are there any good resources out there about deck furniture, rigging, nuances of details that I might try to include? I would like to try to incorporate as much as I can with this model so when I eventually step up to a big boy model I at least have cut my teeth. I have been reading through build logs of other cutters, like the cheerful and alert. They are similar but also different. I have really been struggling with the search feature in this site so any help will be greatly appreciated!