KirbysLunchBox
-
Posts
221 -
Joined
-
Last visited
Content Type
Profiles
Forums
Gallery
Events
Everything posted by KirbysLunchBox
-
Really coming along. It’s going to really pop with all of the white molding!
-
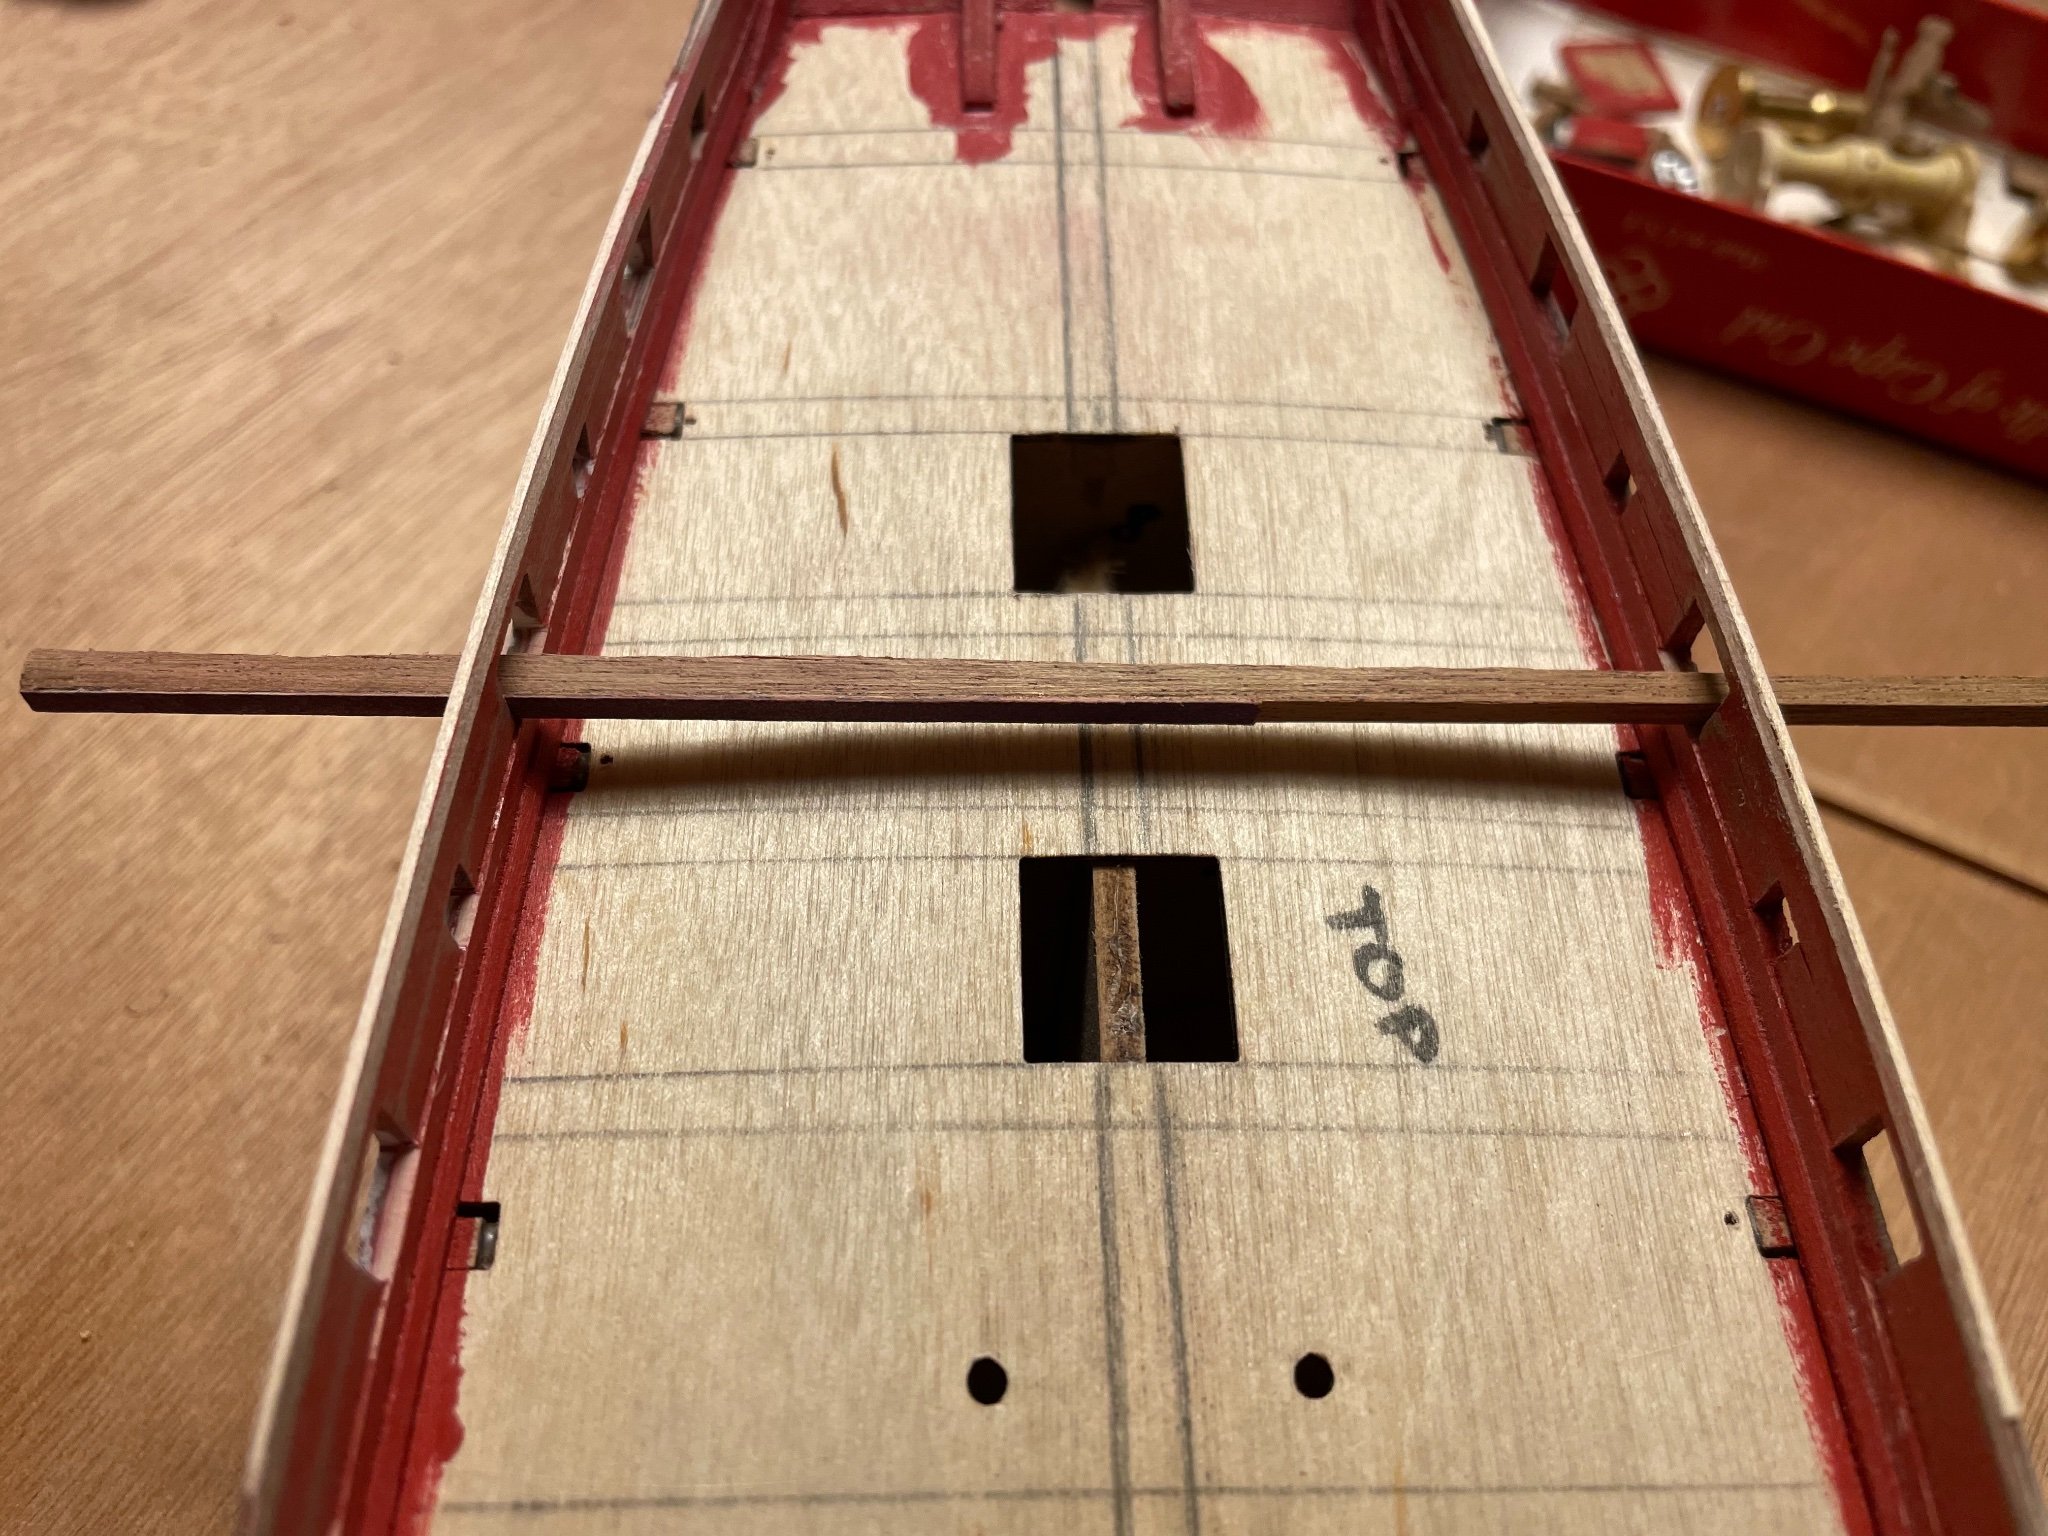
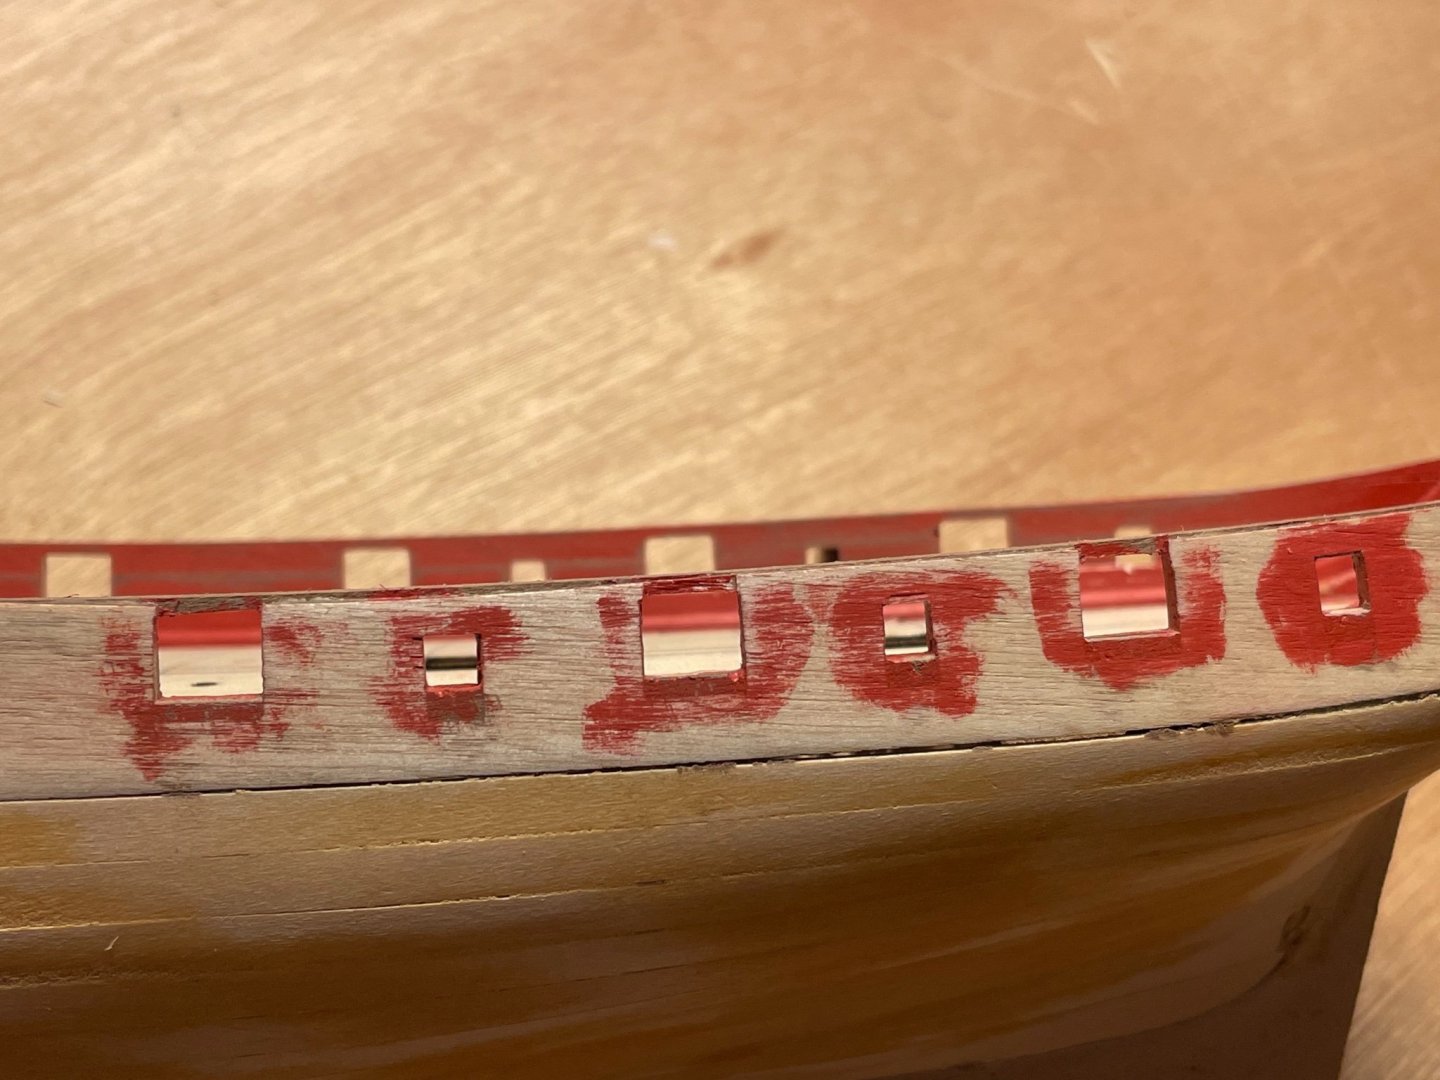
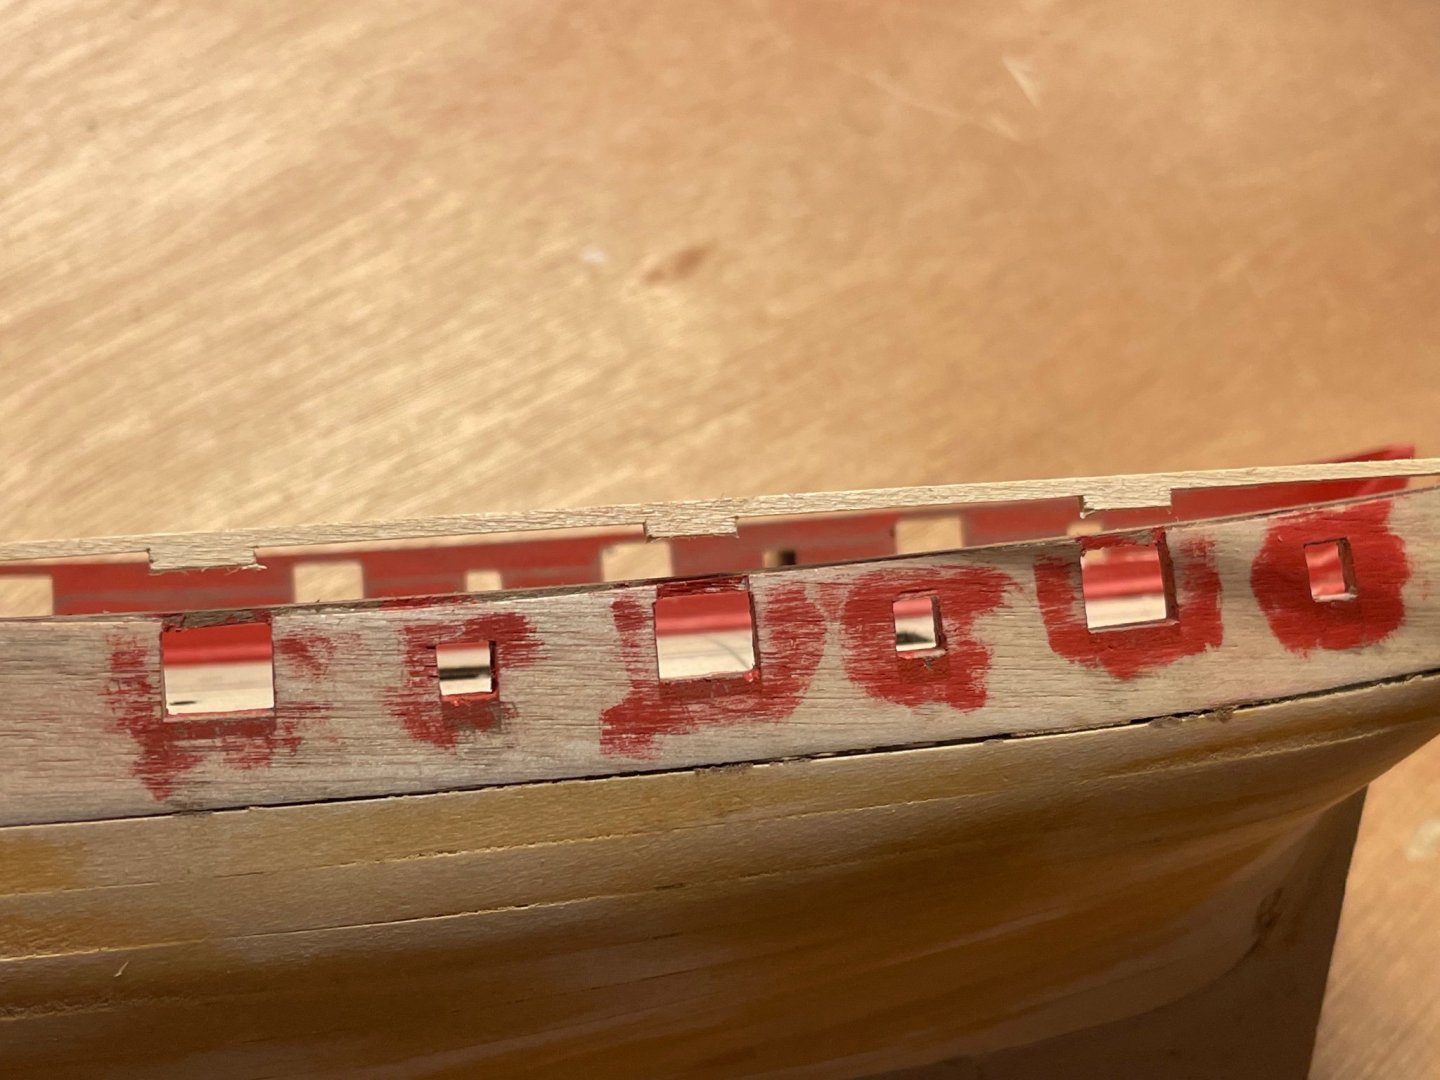
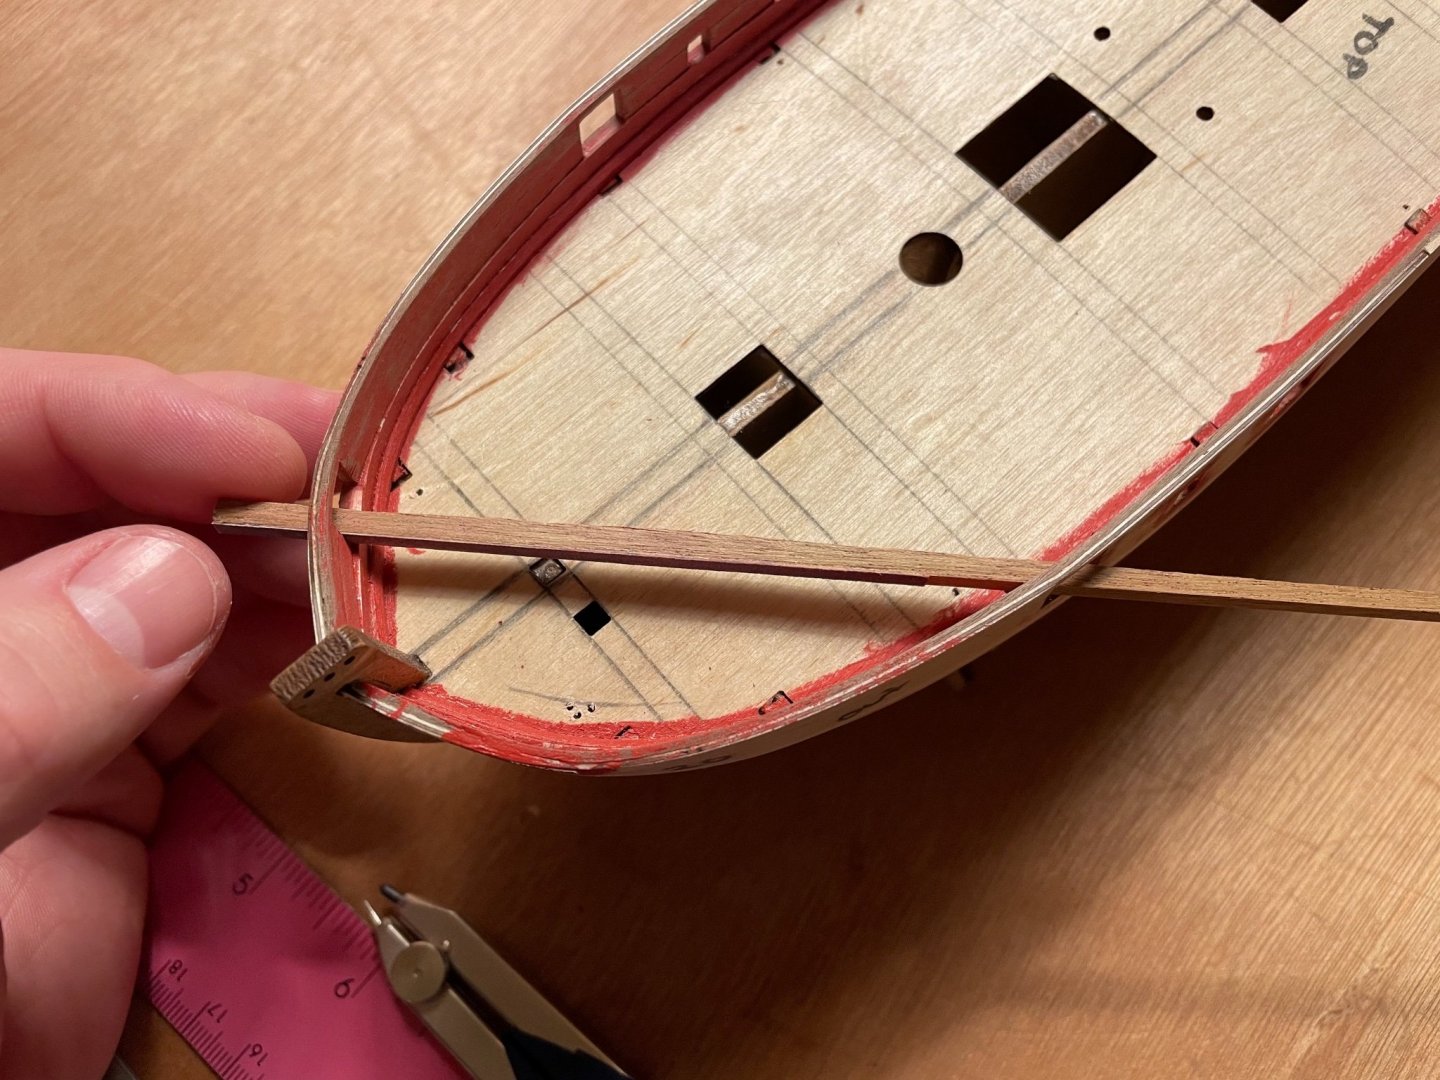
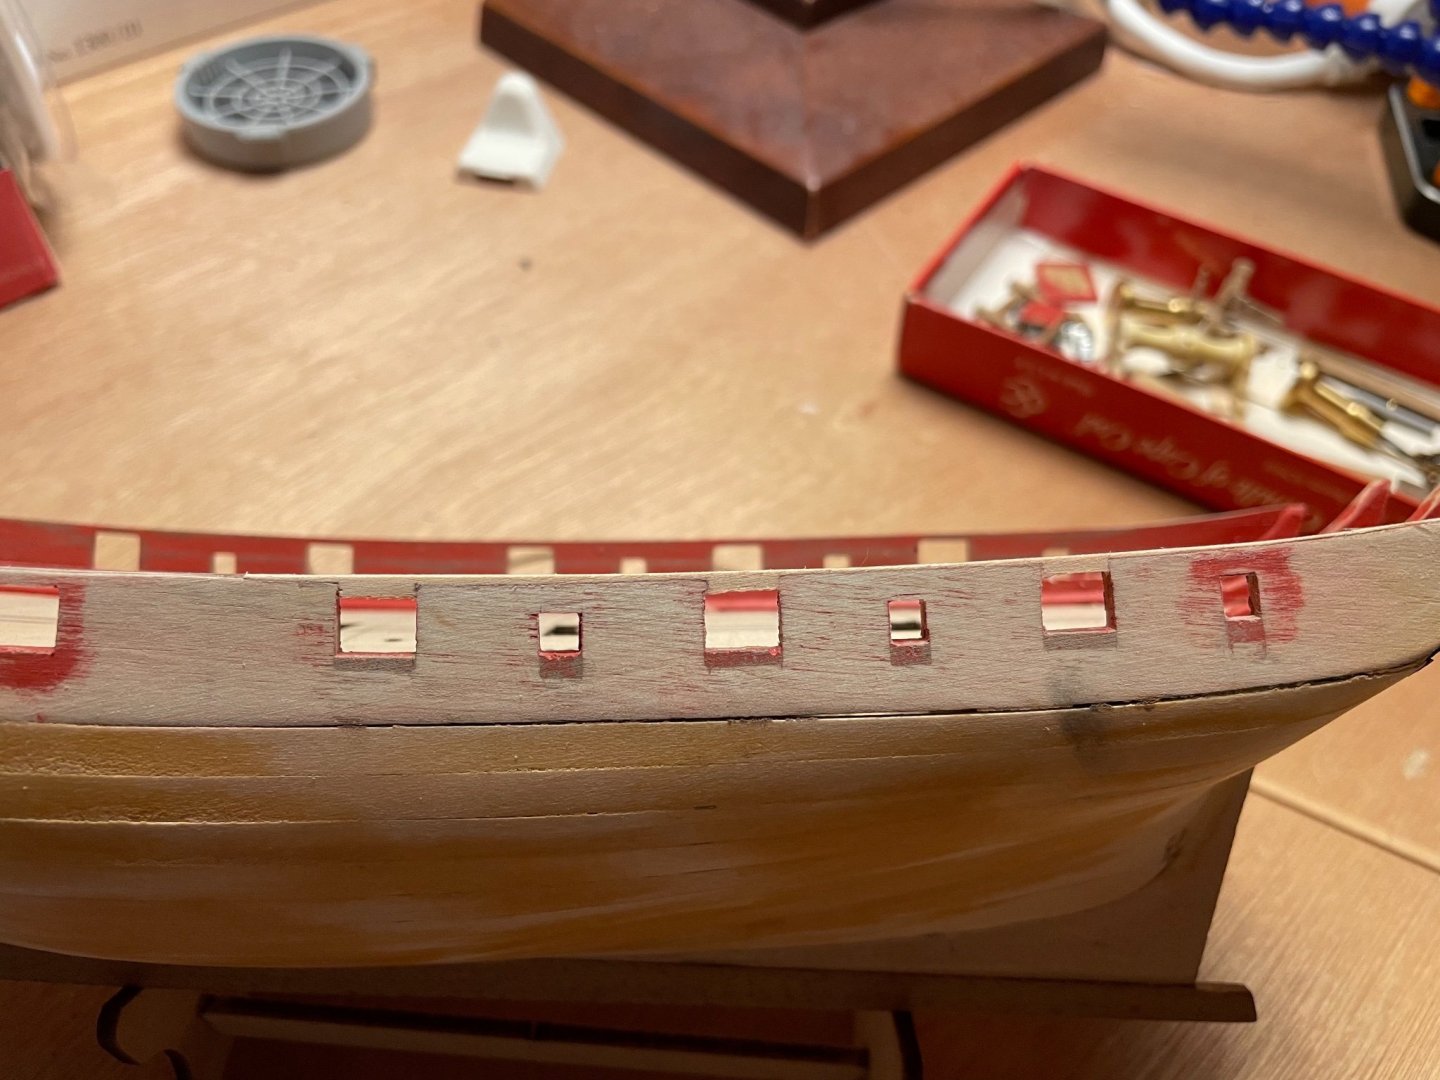
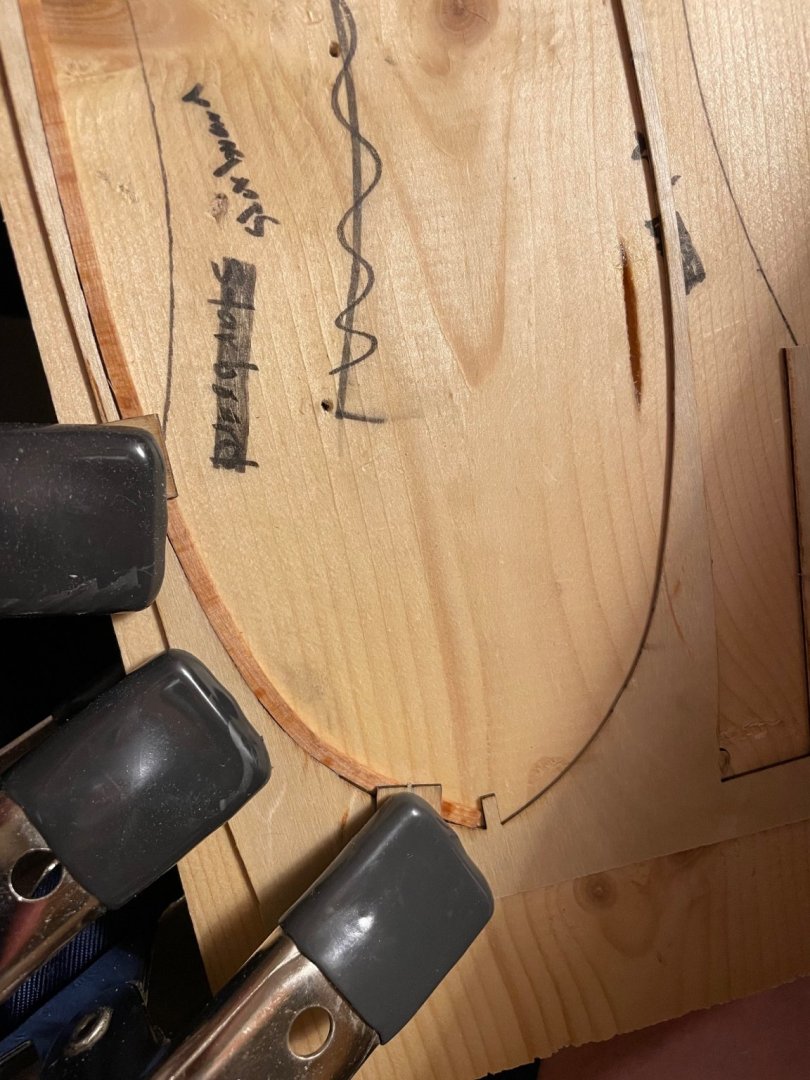
It’s been a bit since I had time to work on the LN, but here comes a tiny update. Since I previously decided to adjust the port openings to follow the deck line instead of the plans, I had some holes to fill. The bottom spots were taken care of with filler, but the top required making a custom piece. The end result came out pretty clean I think. I struggled a bit at first when I was trying to sand the ports from the filling process. I kept sanding the edges over square. I came up with a simple little sanding stick with sand paper on one edge that bridges across the deck to the opposite port. This way as I sand, I keep the edges nice and square. It even worked on the bridle port! I am getting really close to second planking now I think.


- 139 replies
-
- 3
-

-
- Lady Nelson
- Amati
- (and 2 more)
-
Did you model those yourself or find somewhere to download an .stl? I am really interested to see how they look in their final form!
-
Got to have some humor when things don’t go right.
-
Coming along very nicely!
-
I somehow find comfort in a pro like yourself also dreading this task. i love the modifications you are making. Got to take some creative license when you can. It’s what makes this hobby so much fun!
- 857 replies
-
- 2
-
-
- Sphinx
- Vanguard Models
- (and 1 more)
-
Very nice!
-
That is really fascinating! I tried googling sailcloth flooring and just got adds for modern flooring. Lol. Thank you for the lesson!
- 857 replies
-
- 2
-
-
- Sphinx
- Vanguard Models
- (and 1 more)
-
I am not up to speed on my history here… they made that floor pattern using sail cloth? I always assumed it was just painted wood or some form of tile. Much googling I need to do now! Love your build though! Look forward to watching it all come together.
- 857 replies
-
- 2
-
-
- Sphinx
- Vanguard Models
- (and 1 more)
-
Please pardon the pun, but I have flirted with the idea of building this kit some time in the future. 🤣 You are really making a lovely build so far though! I missed your cheerful build, but I plan to go back through it as well. Love your work!
-
Beautiful build! This is going to be a masterpiece foe sure!
-
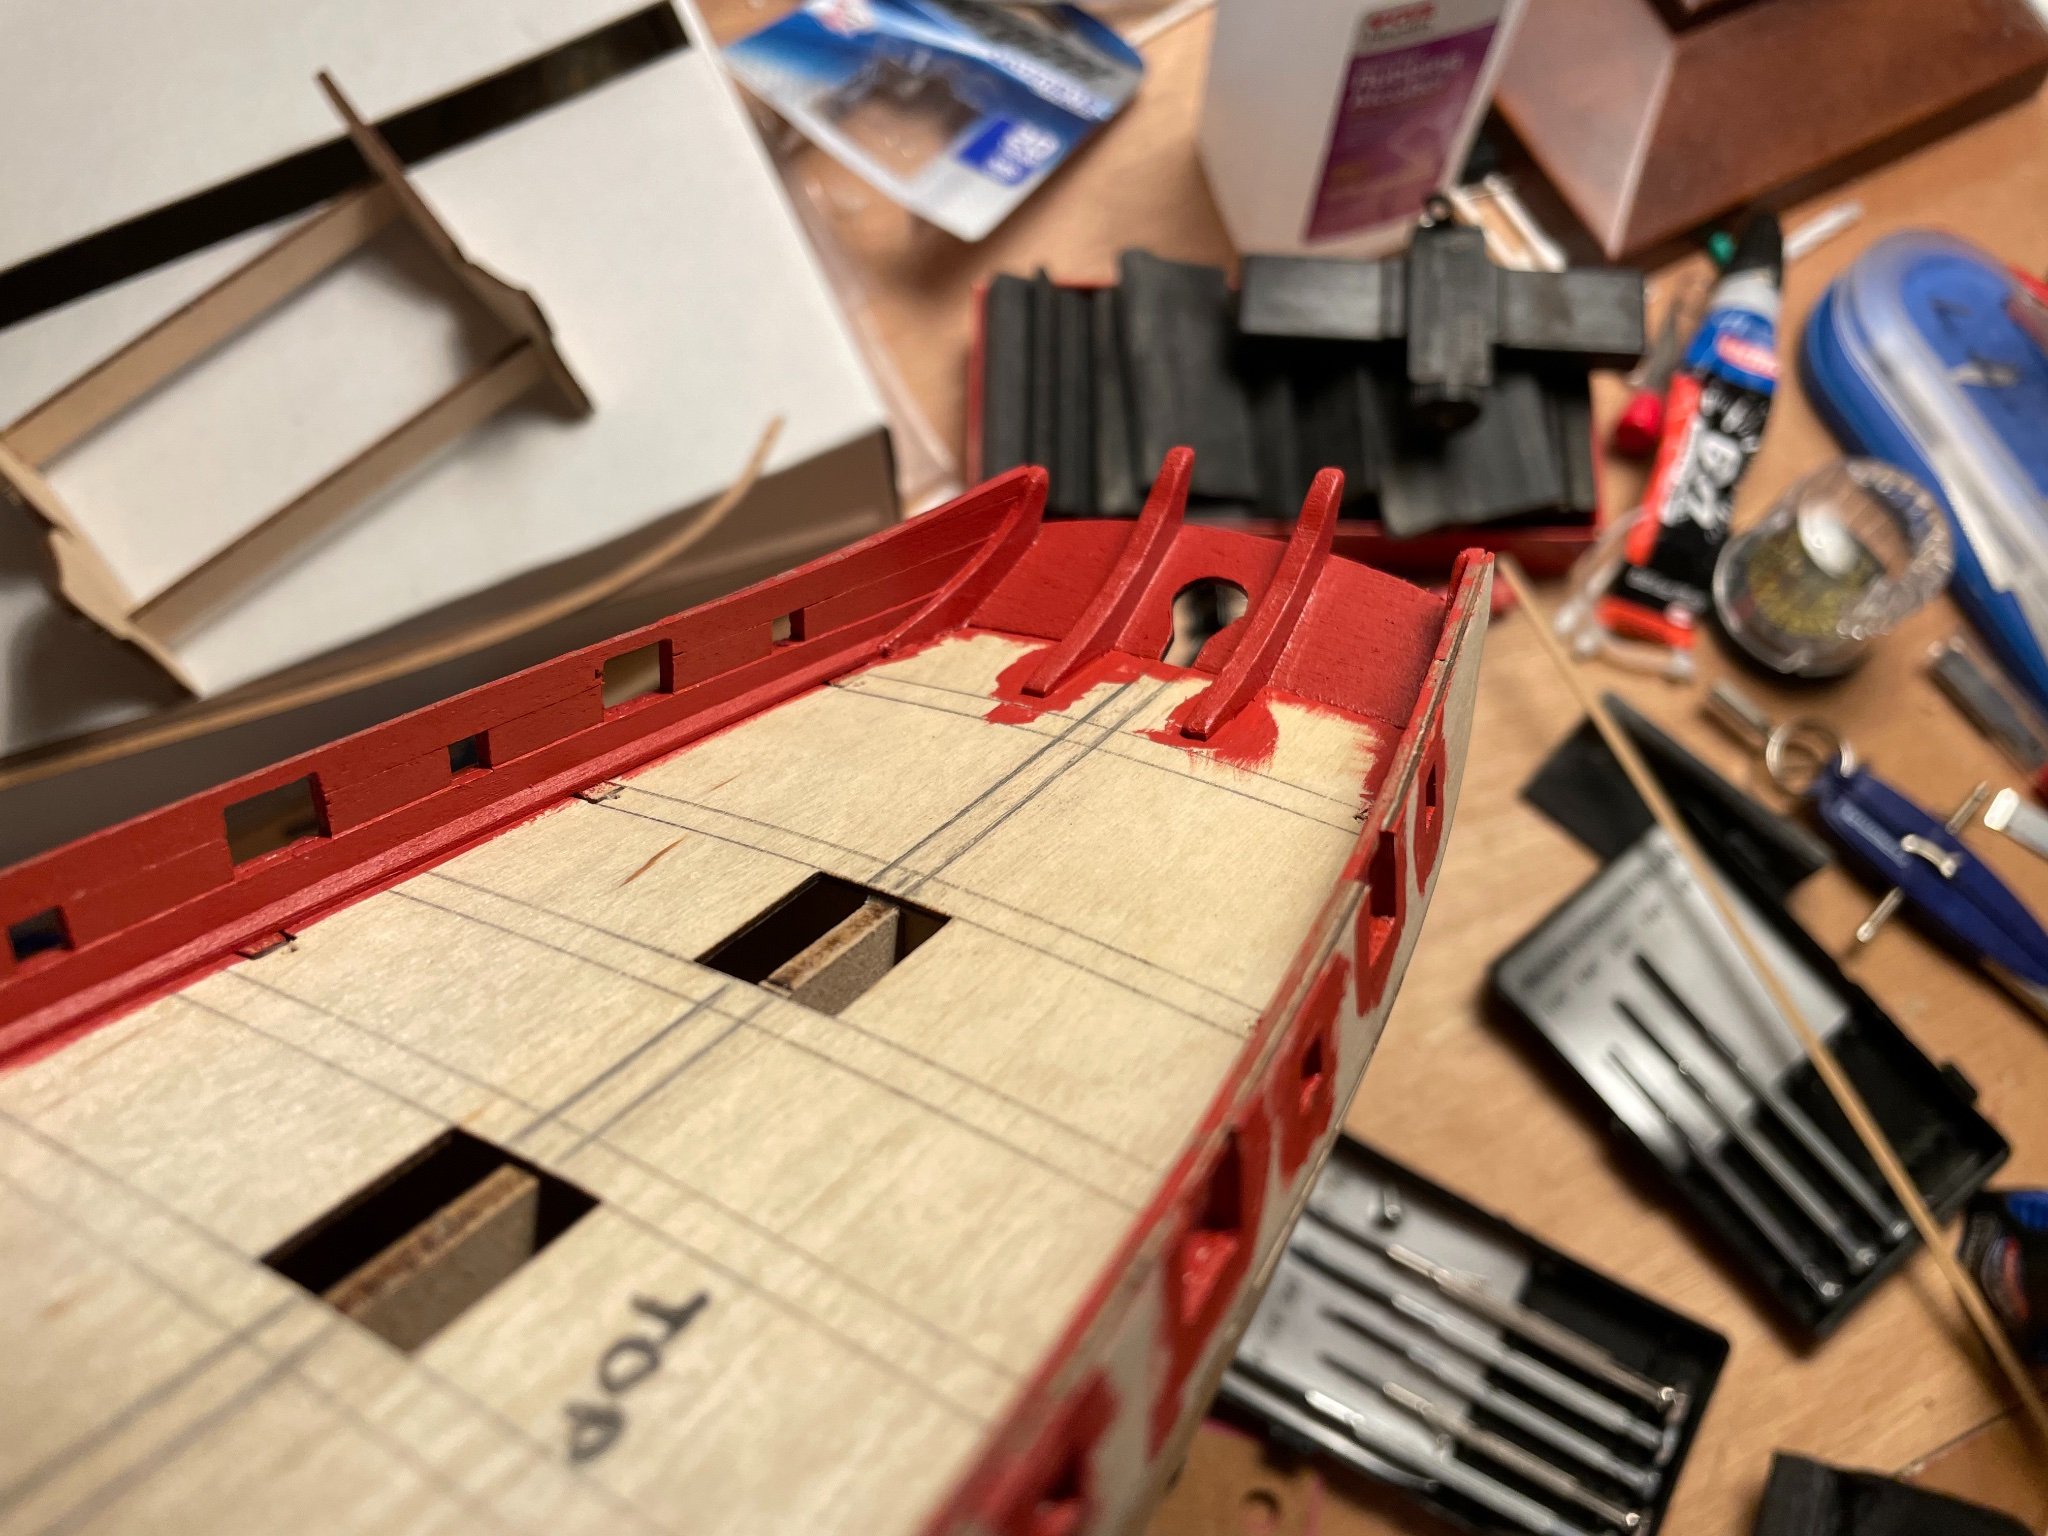
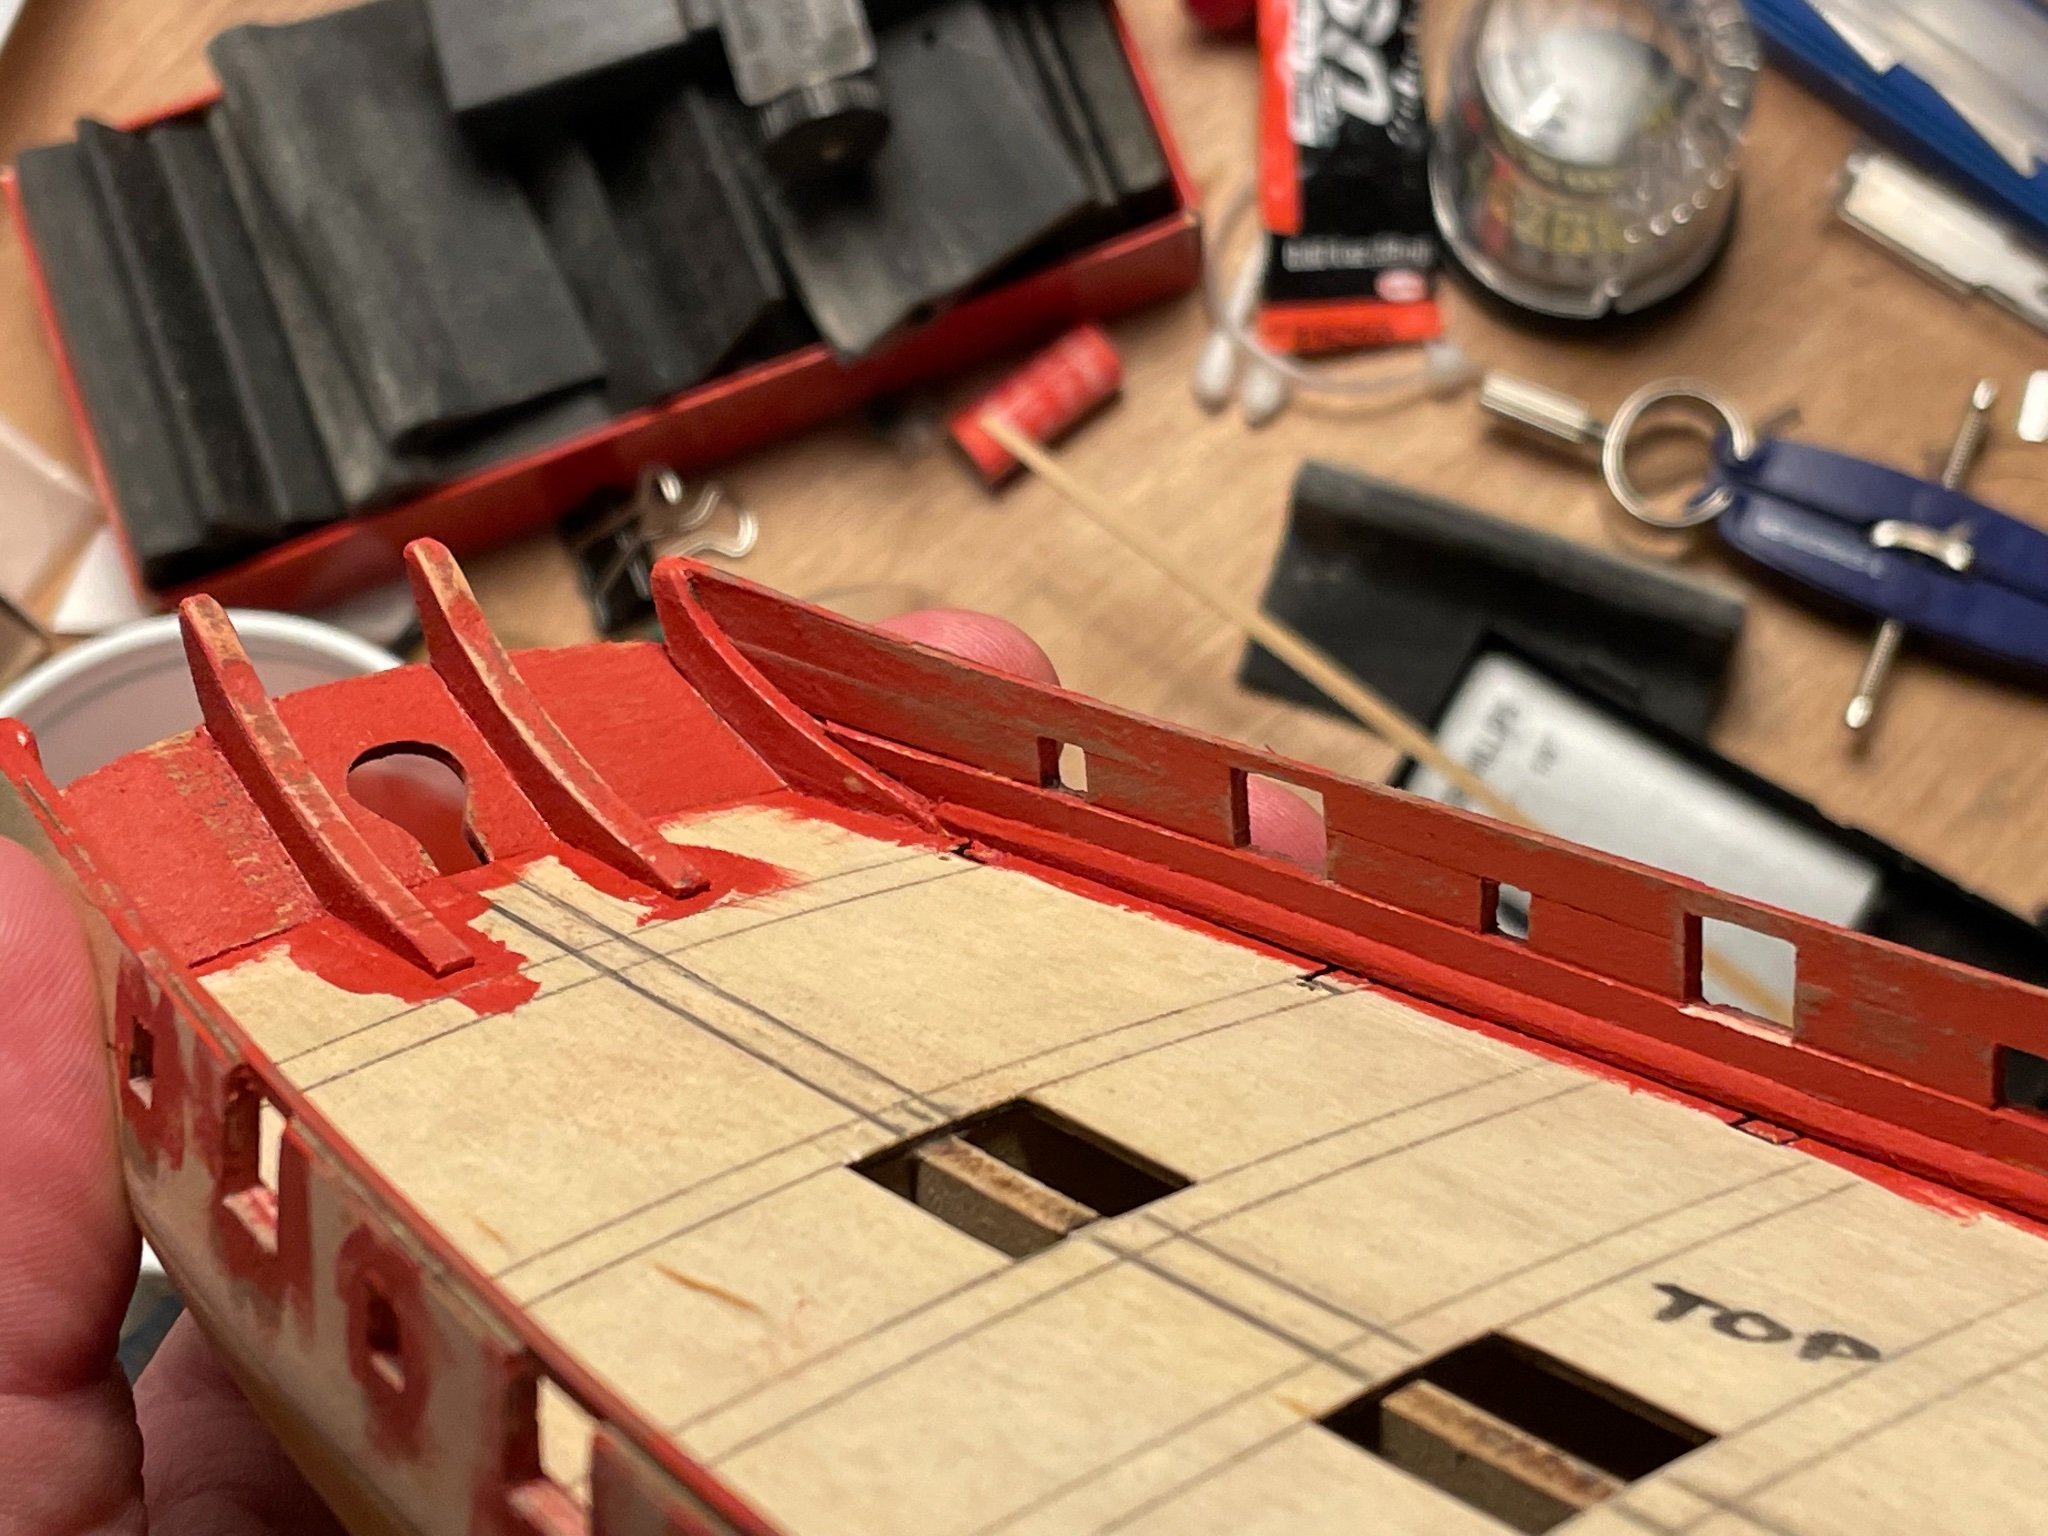
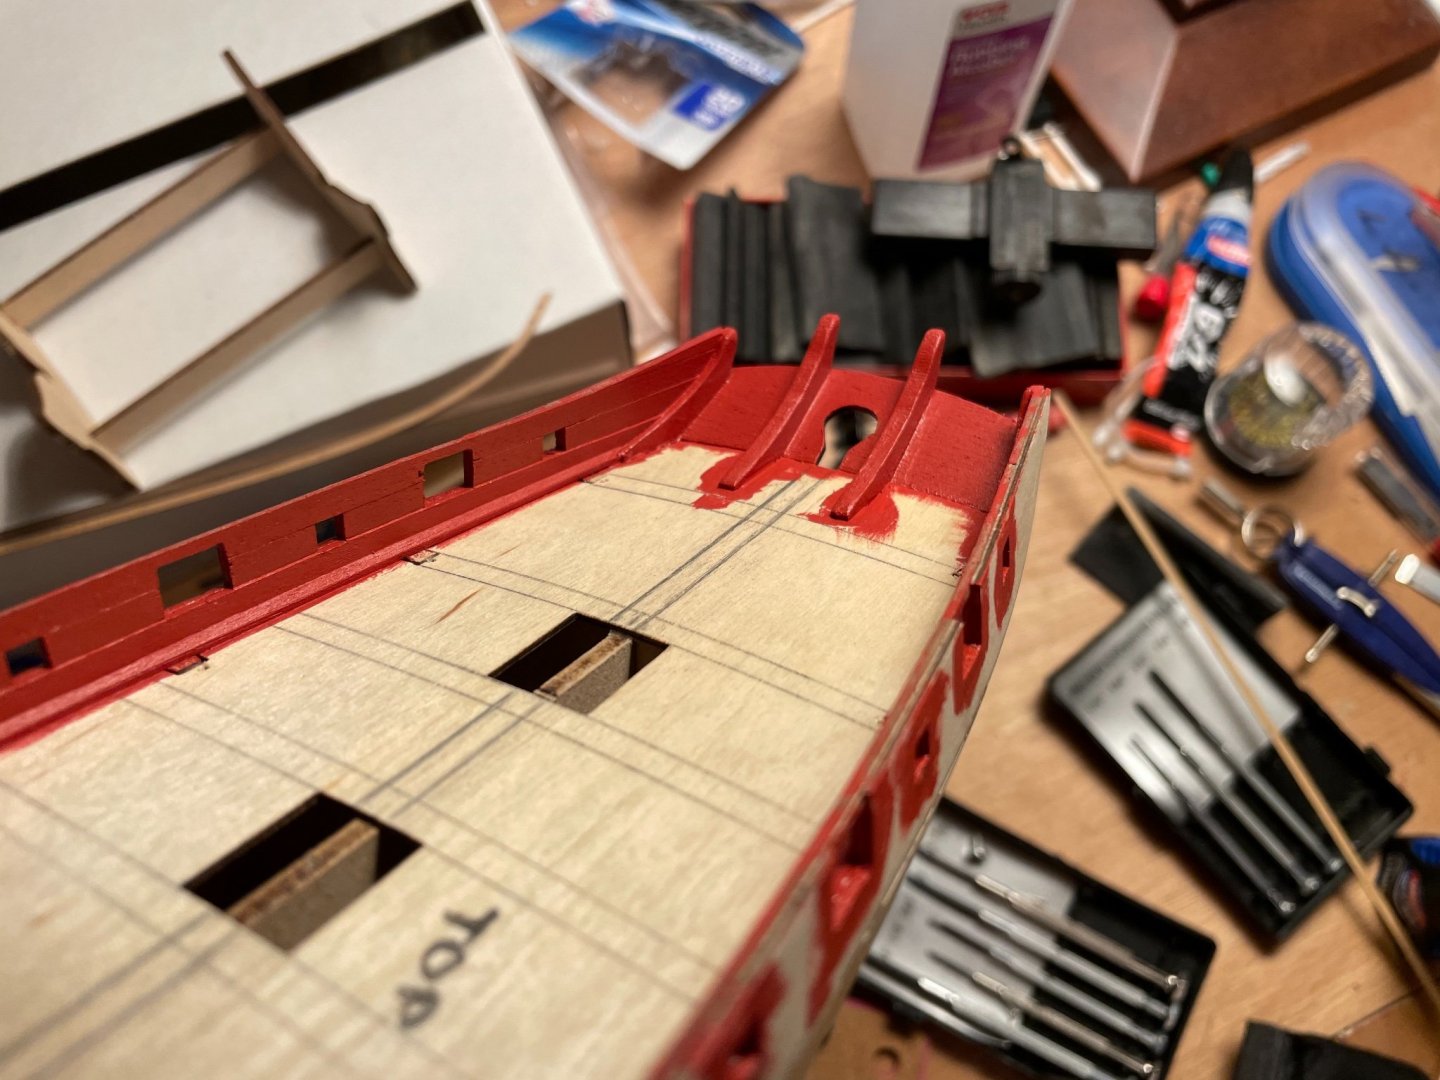
Decided to put some paint on the inner bulwarks. I went with a more rusty color than a bright red. I don’t really know what it’s supposed to be, but I like the look. It did expose more than a few places that need some filling. I probably should have applied some sanding sealer before the paint, but I was planning on two coats with some sanding in between. After sanding, it is funny how it gives it a warm and weathered look. It won’t be staying like that though.

- 139 replies
-
- 4
-
-
- Lady Nelson
- Amati
- (and 2 more)
-
10 hours?! That is some serious patience! She looks fantastic though!
-
This is really impressive to see come together. I had been tempted to buy a Vanguard kit before this one. I really want to buy this for my second build now, but I still can’t believe it will take 400+ hours to complete. One ship at a time… say it with me …. One ship at a time!
-
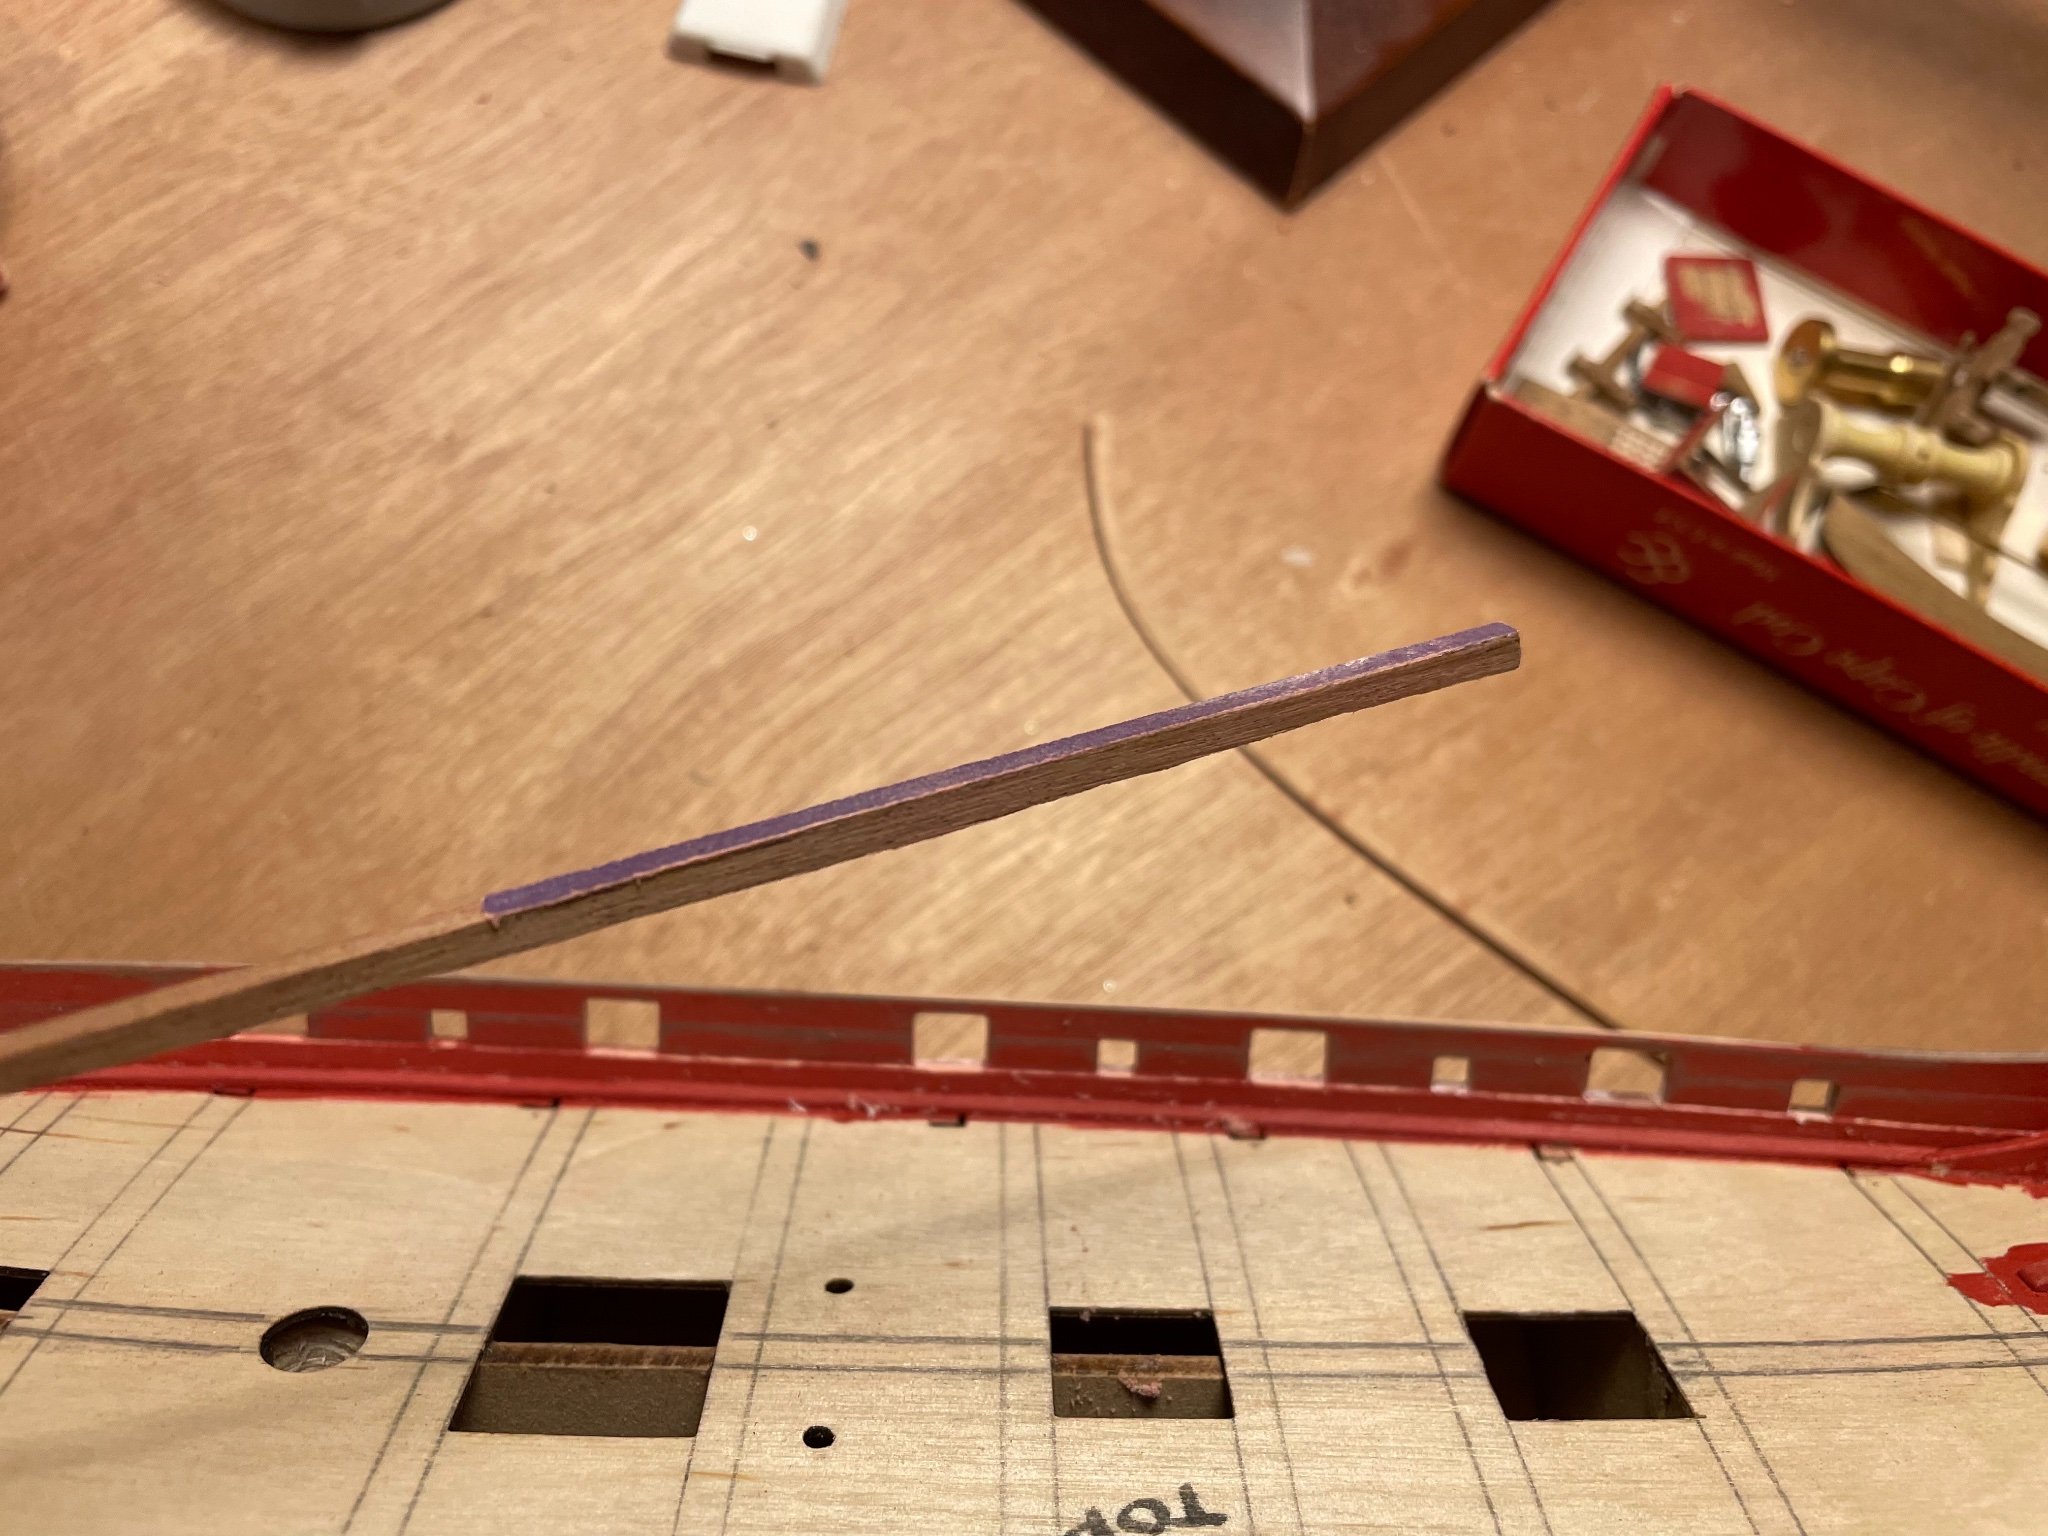
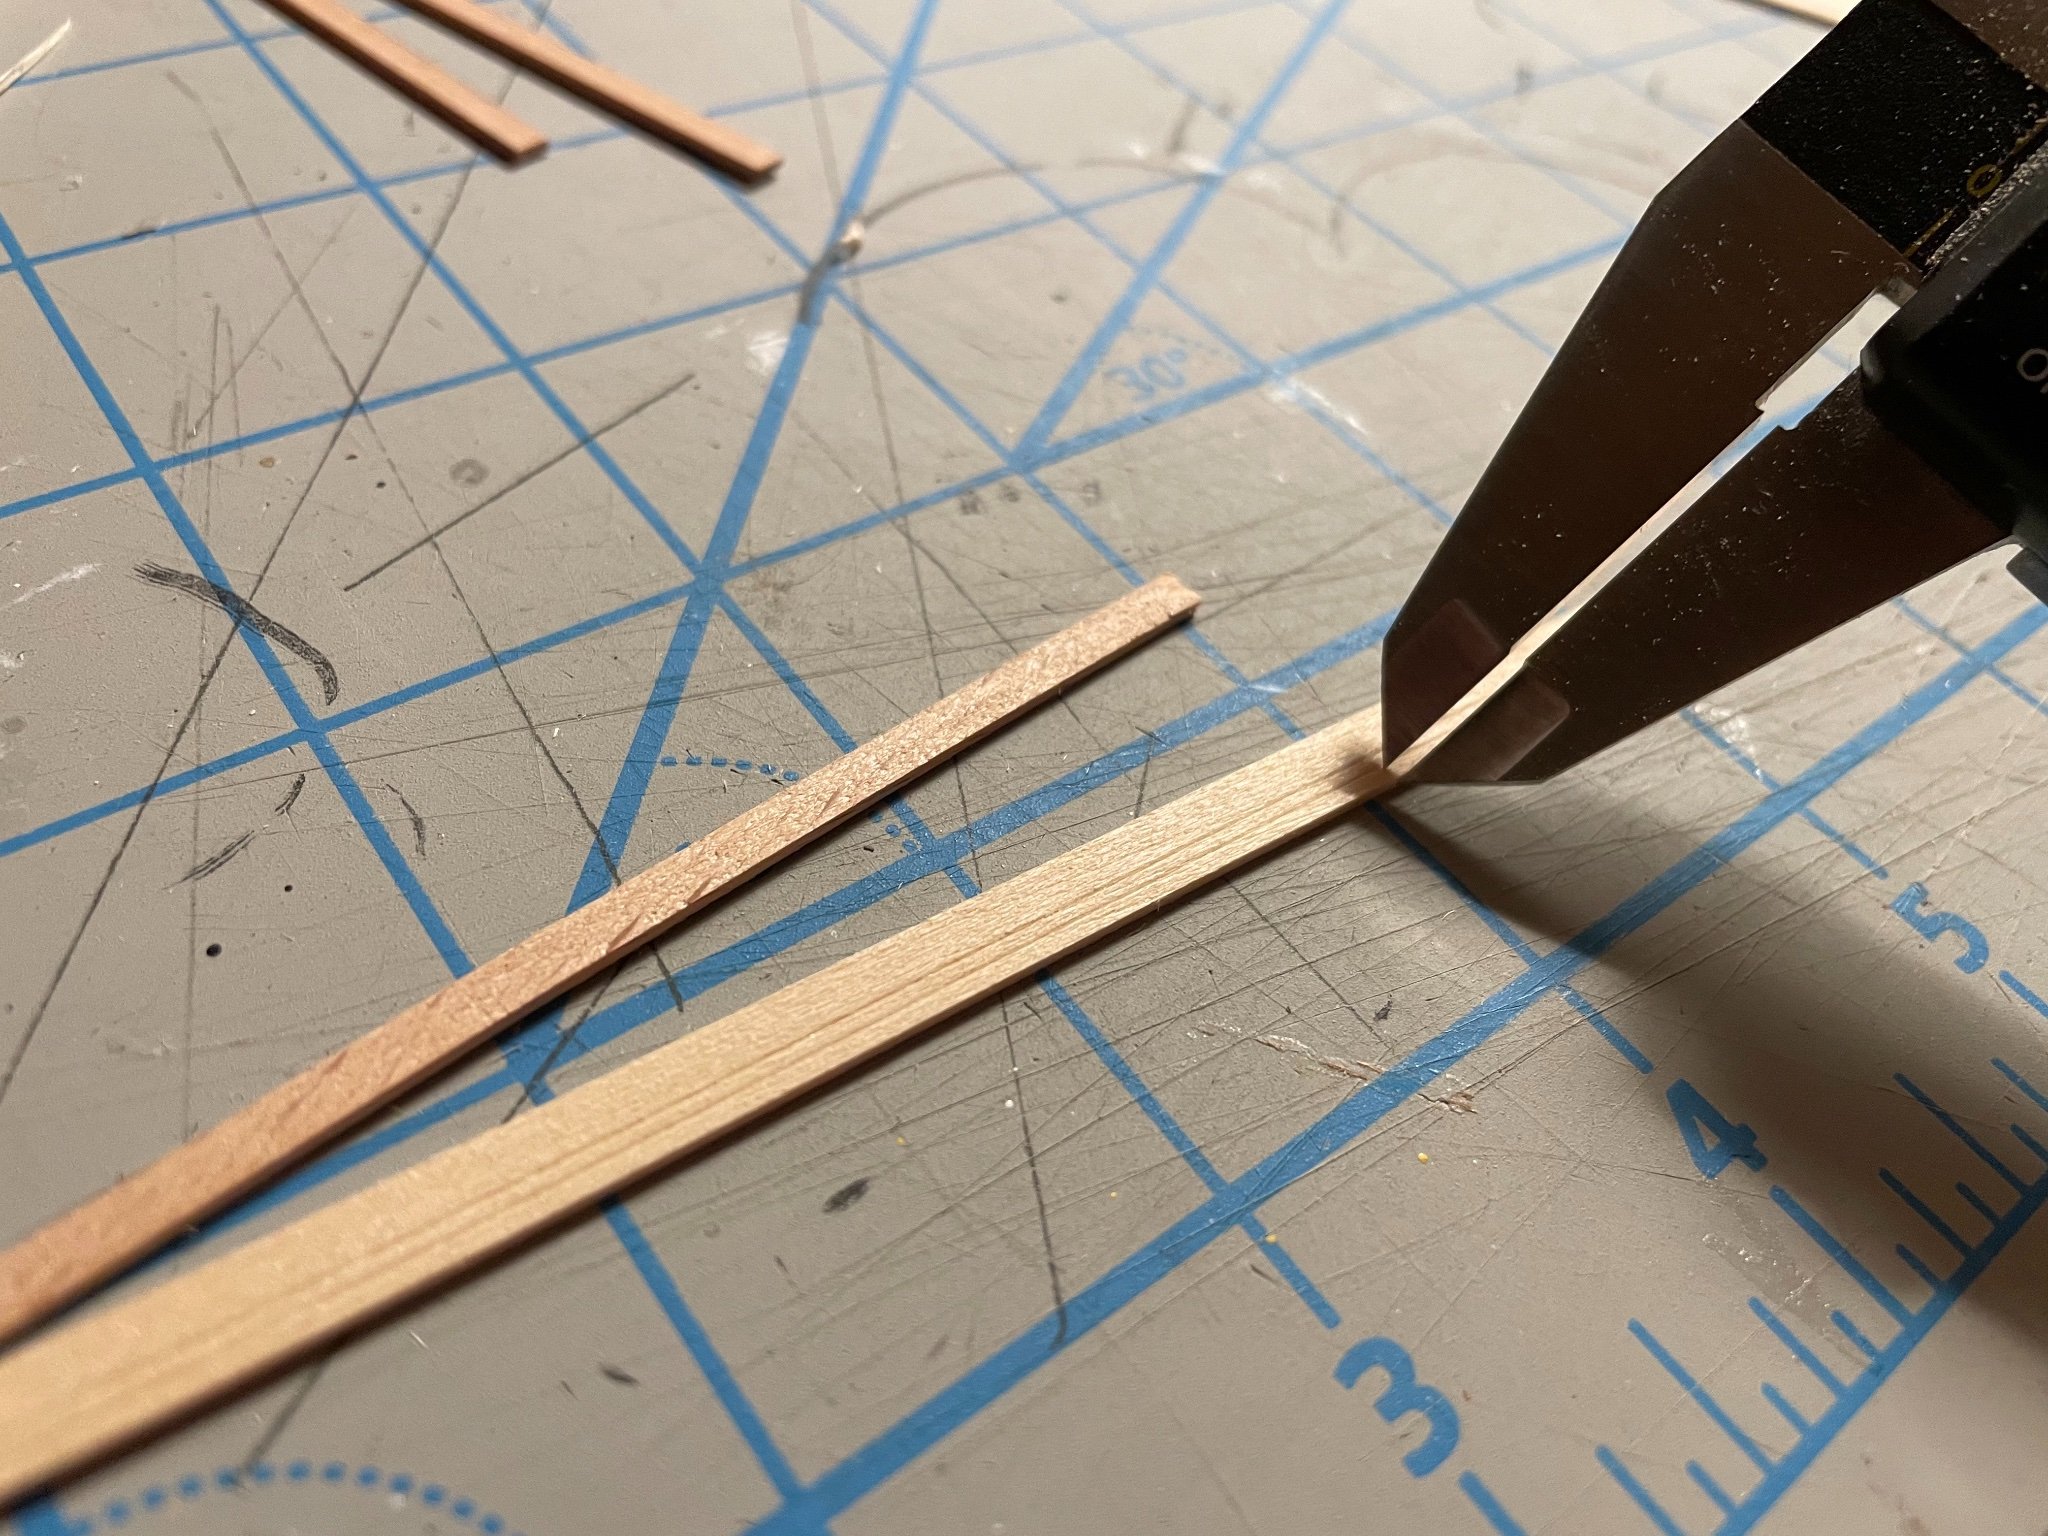
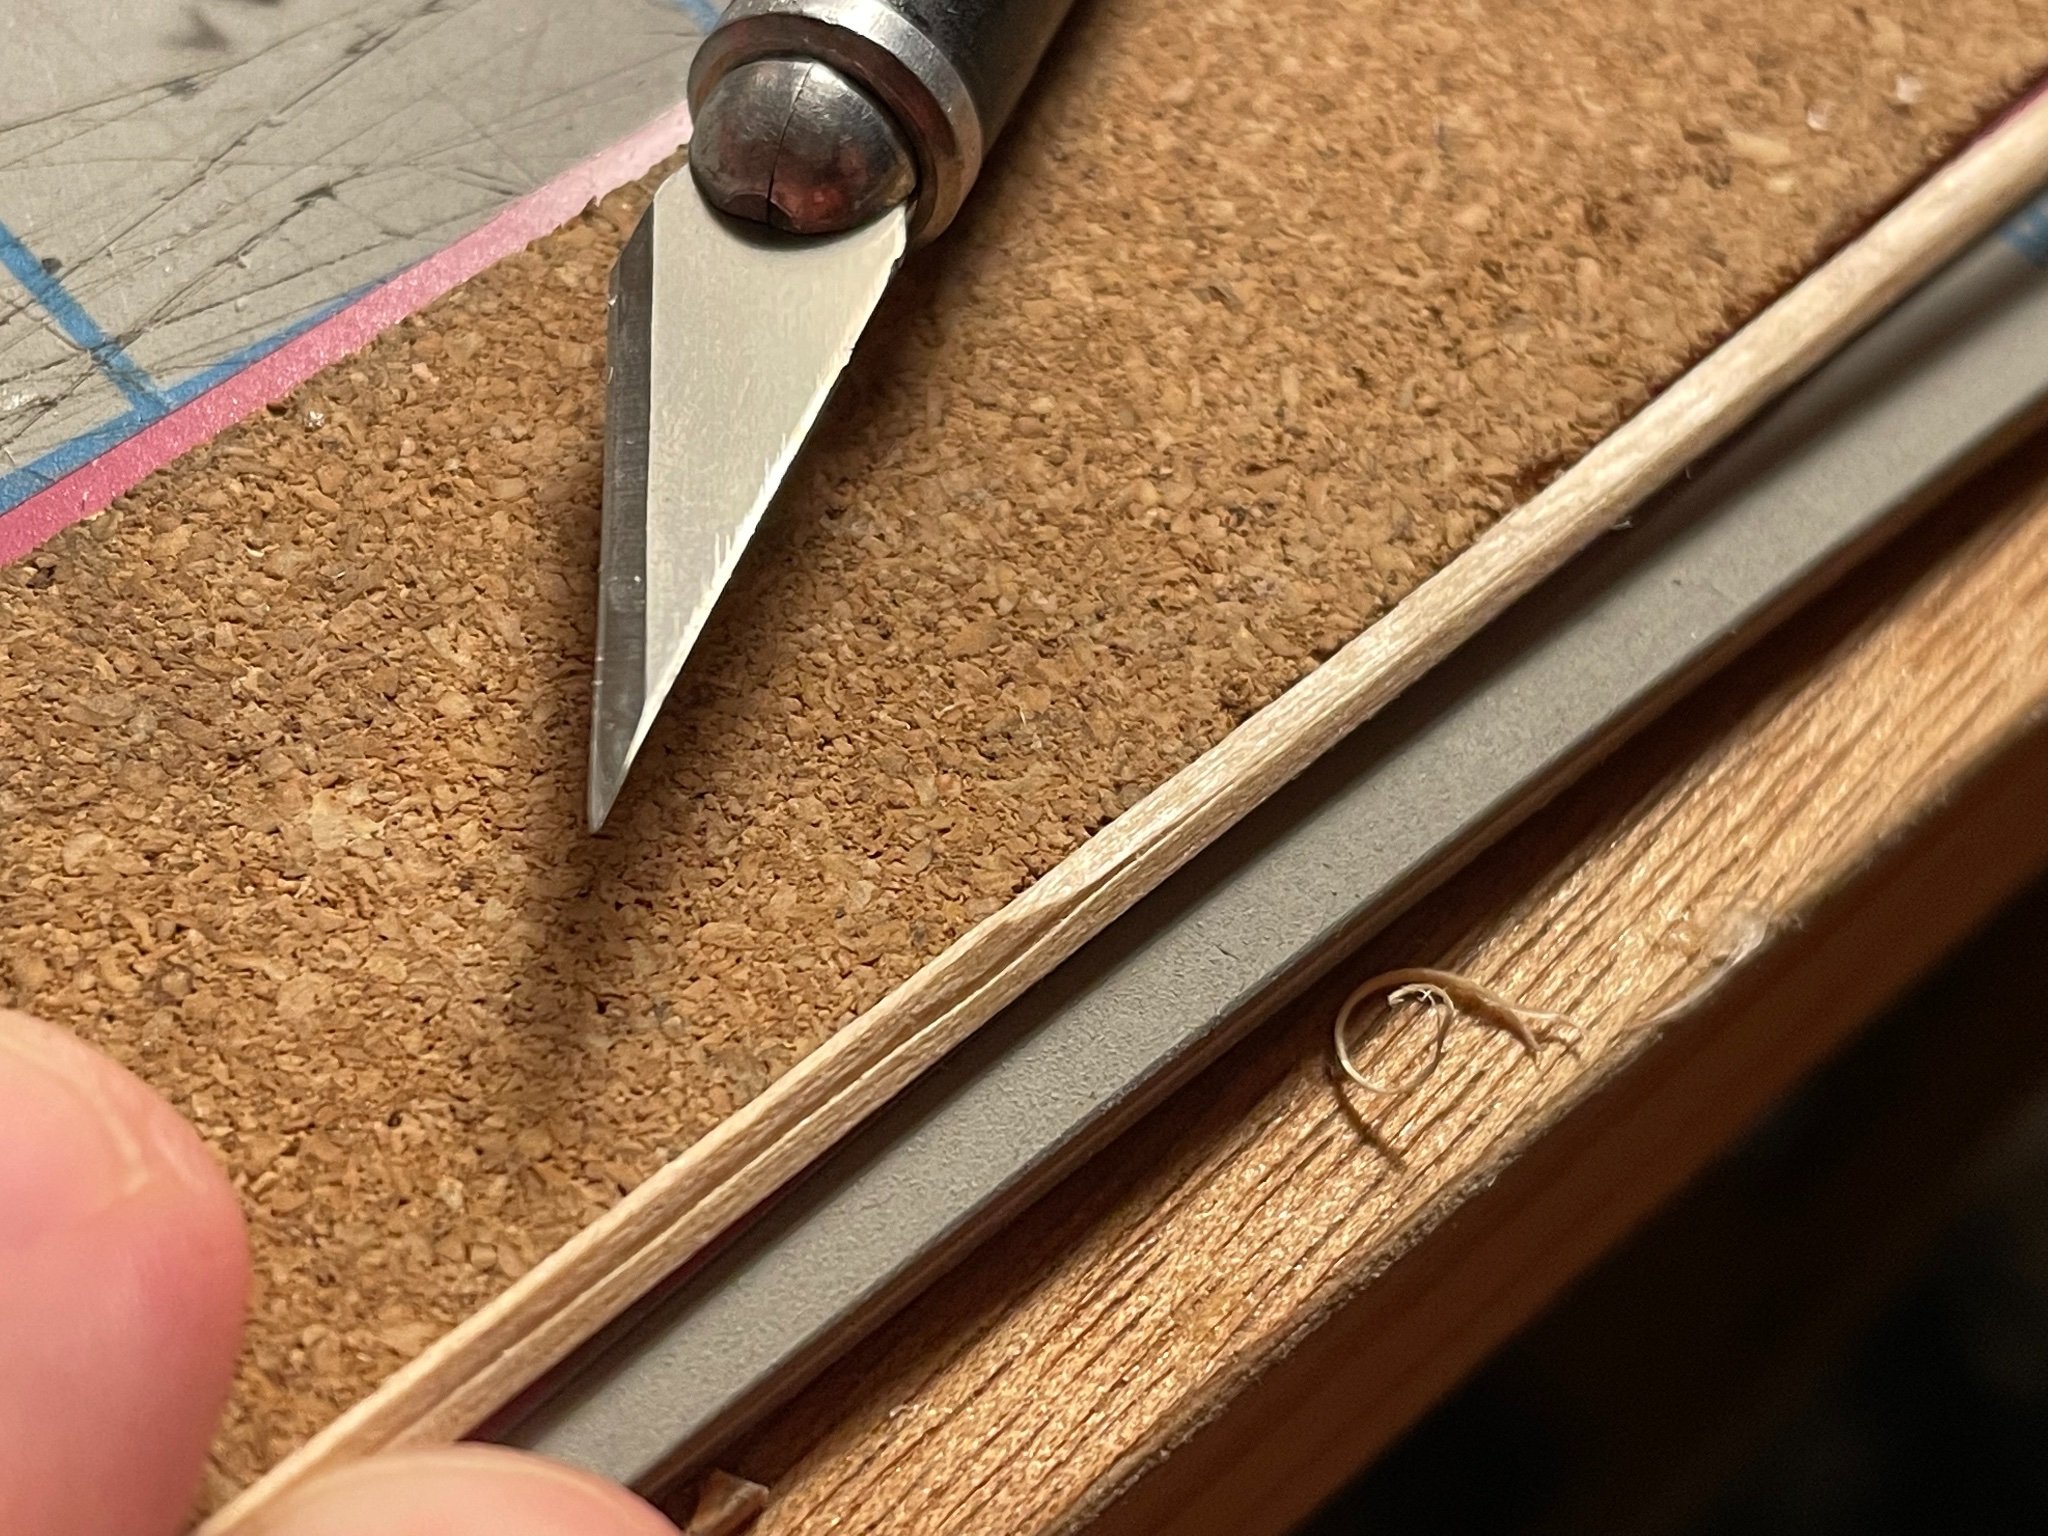
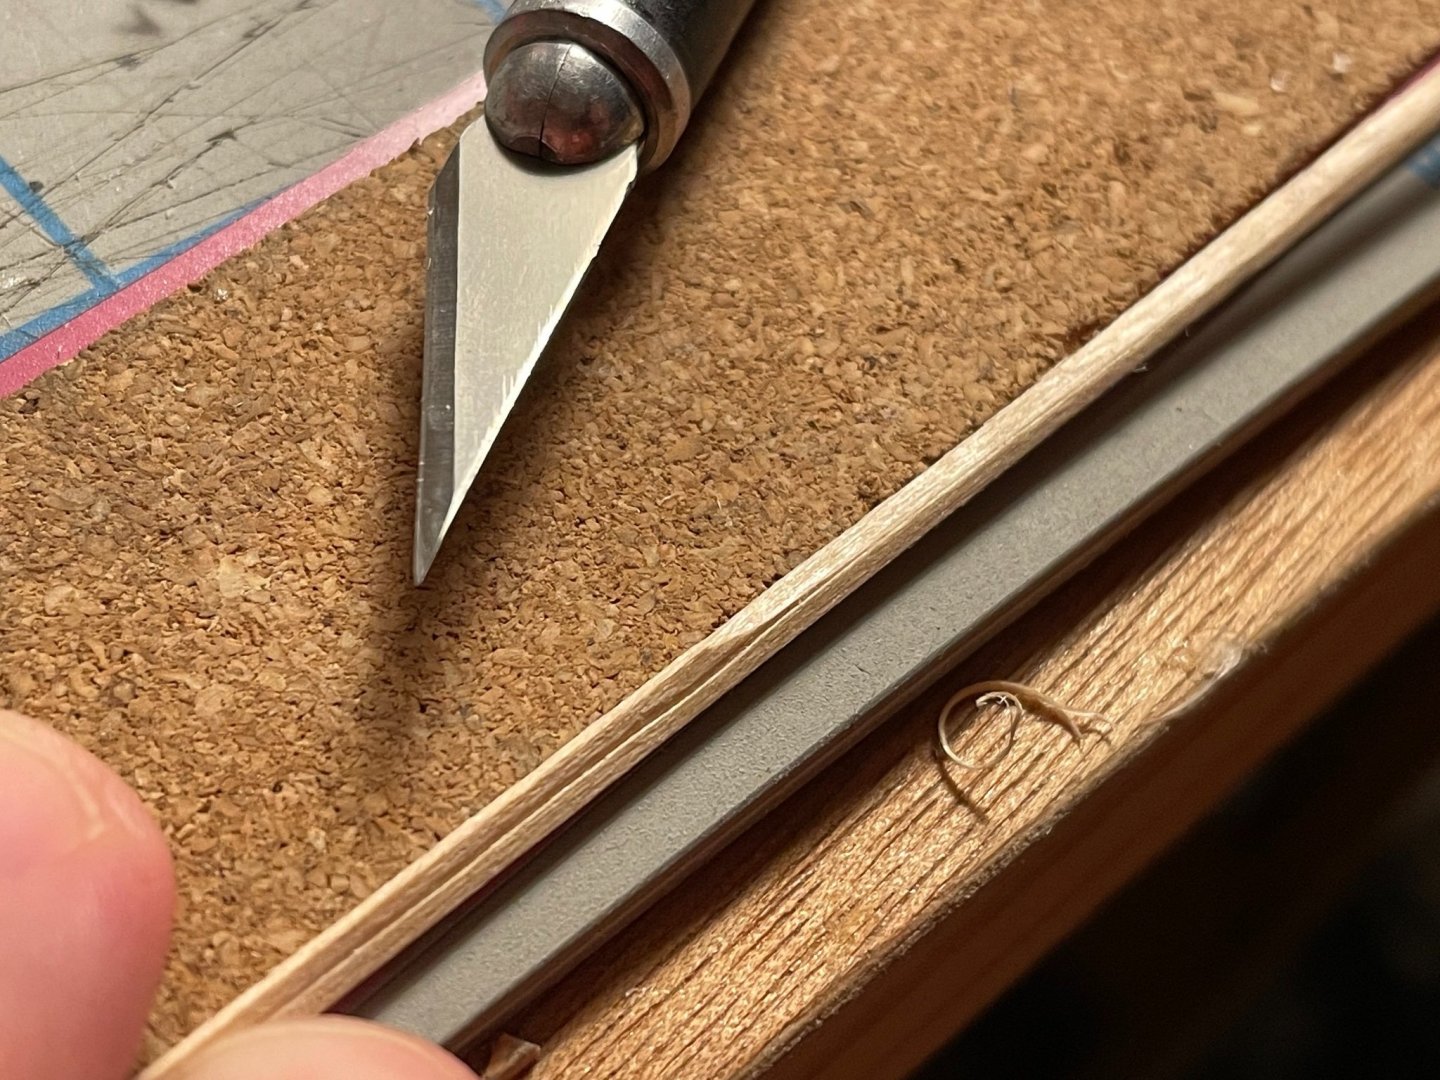
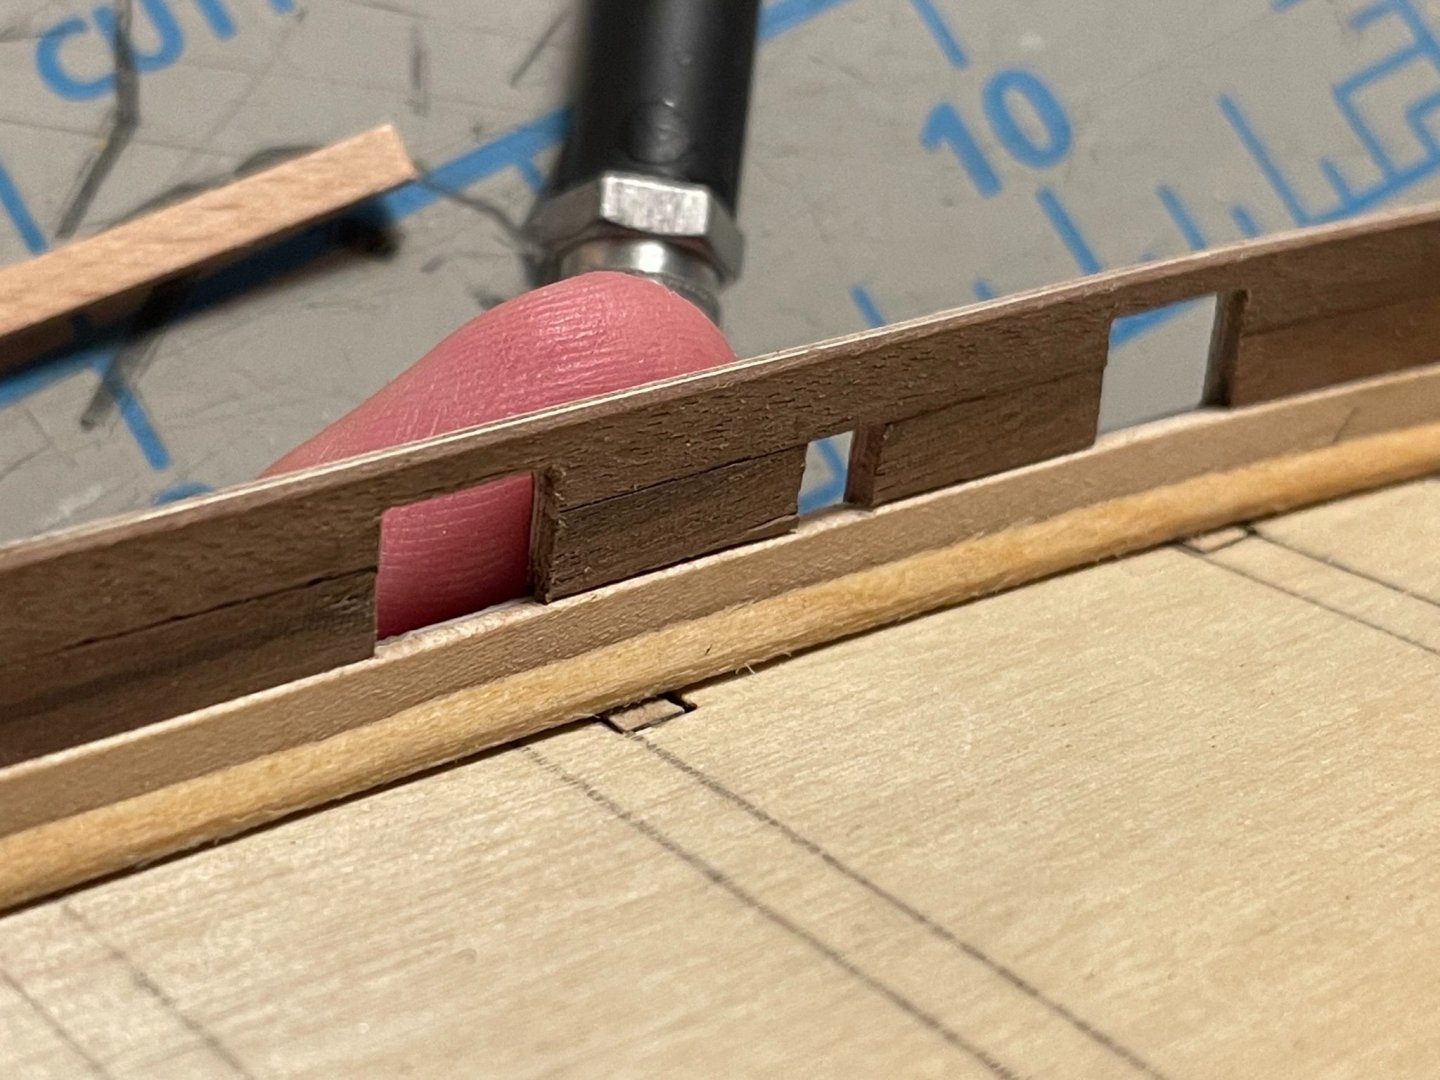
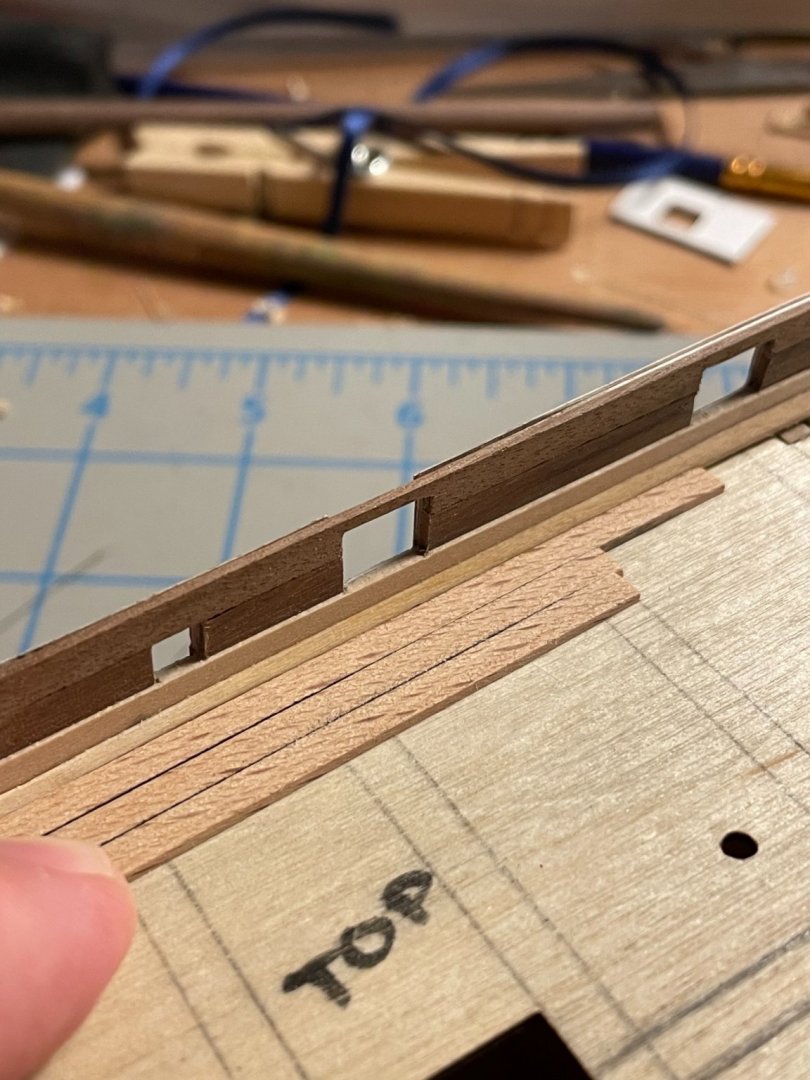
I finished the other waterway. I thought I would document my process. I probably spent an hour trying to make the first one and made at least two scraps for the bin. The second one barely took 15 minutes. I made them out of left over lime wood from the first planking. I took my calipers and measured the thickness of the deck planking (~1mm) and locked the calipers and scored a line along the lime wood plank. Then I opened up the calipers to 2mm and scored another line. I carefully cut along the 2mm line and the even more carefully carved a 45 degree chamfer down to the 1mm line. Some light sanding and the waterway was ready for trimming to fit. I won’t glue these in until I have the margin planks ready so to make sure the chamfer lines up with the top of the planks correctly.


- 139 replies
-
- 4
-
-
- Lady Nelson
- Amati
- (and 2 more)
-
Fantastic details! Never give in!
-
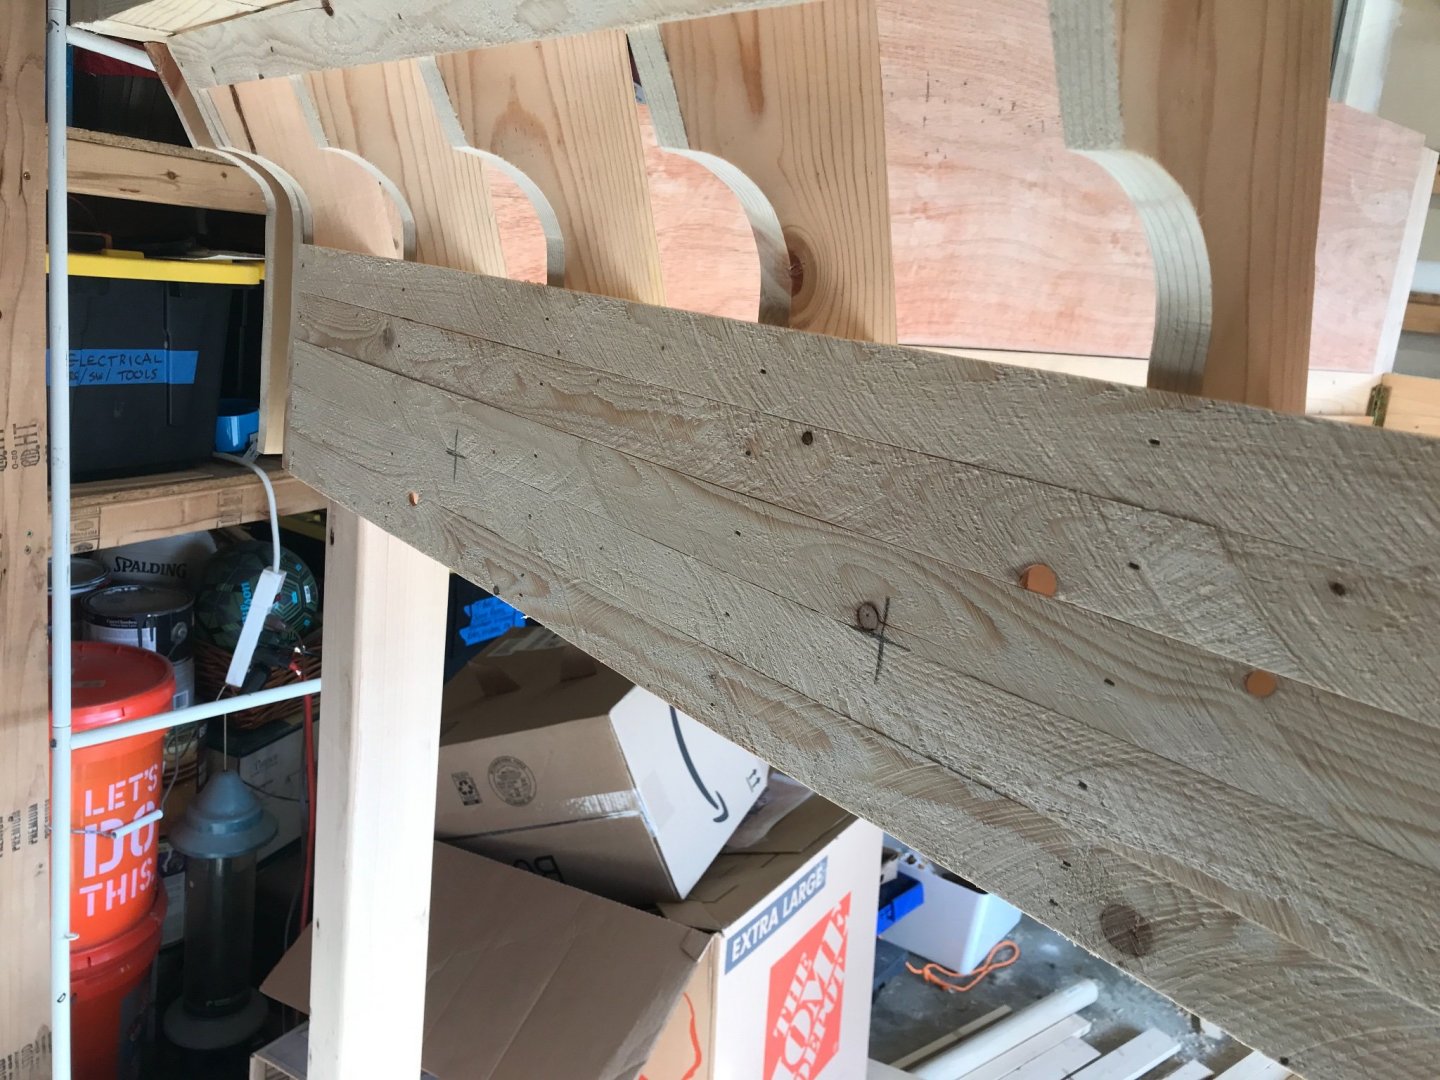
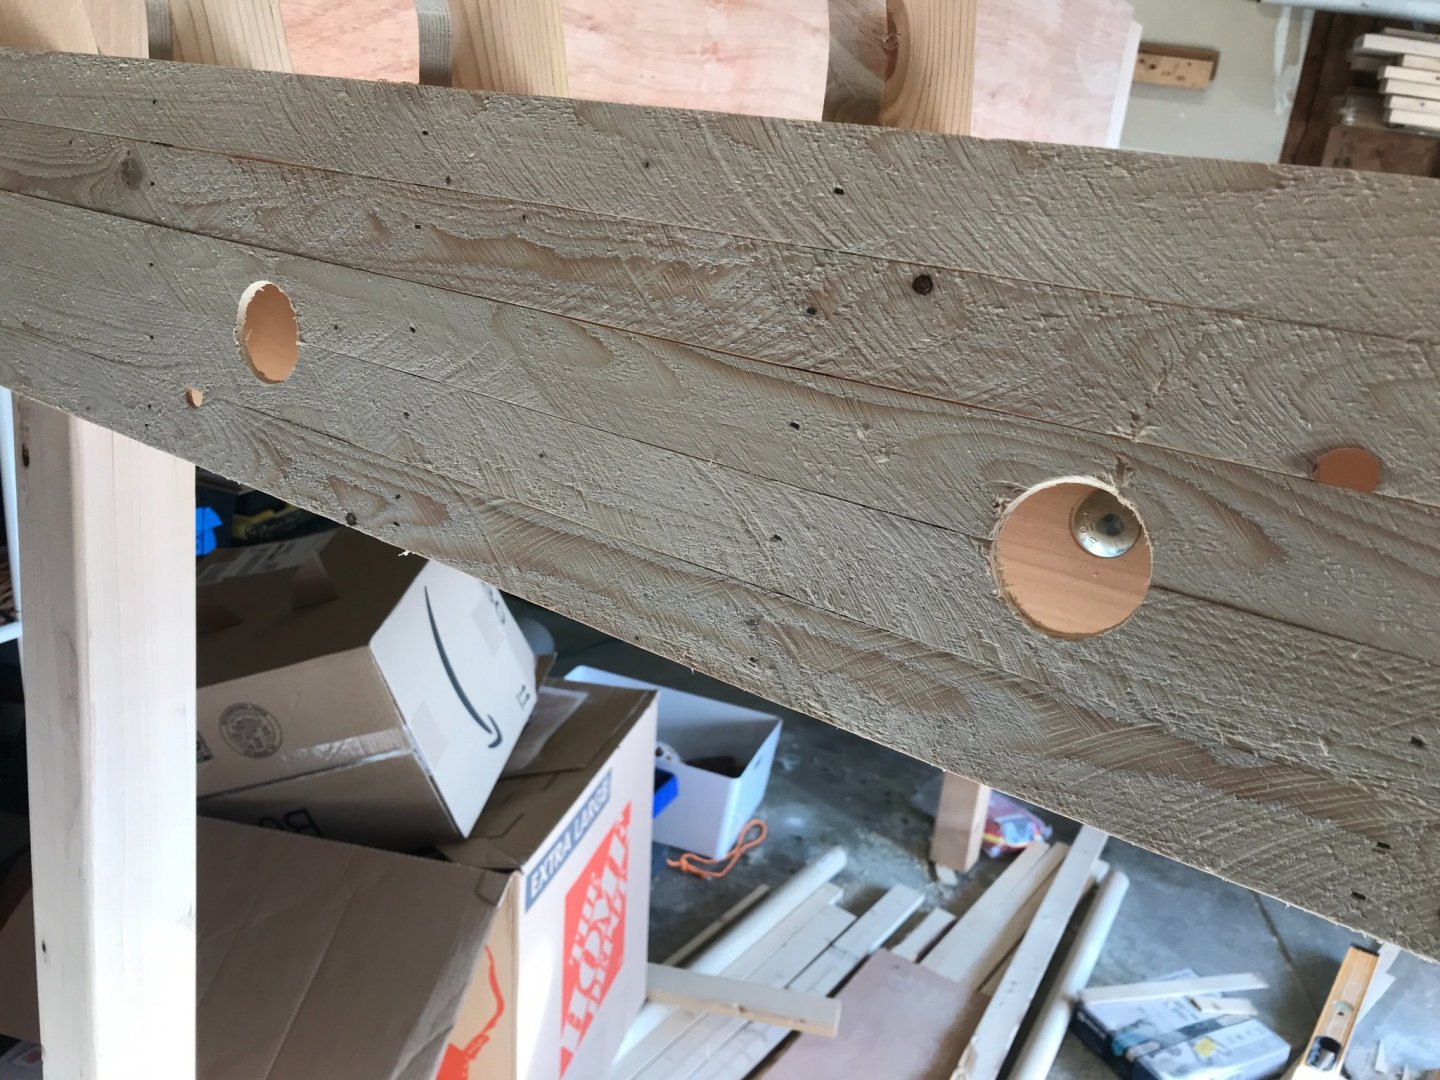
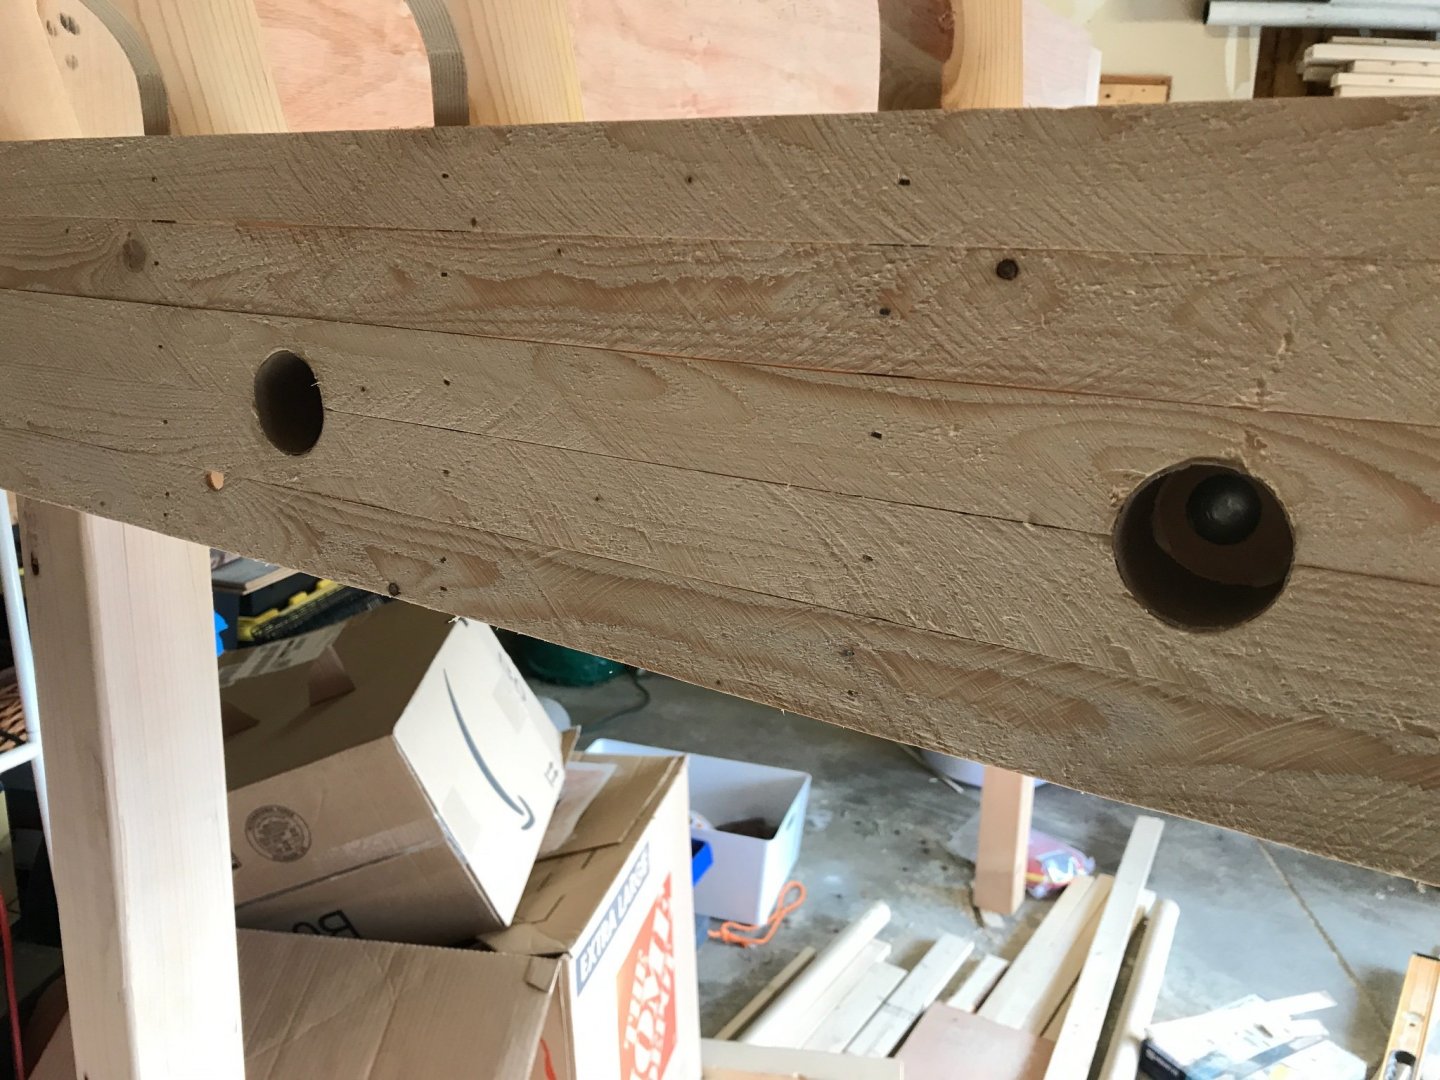
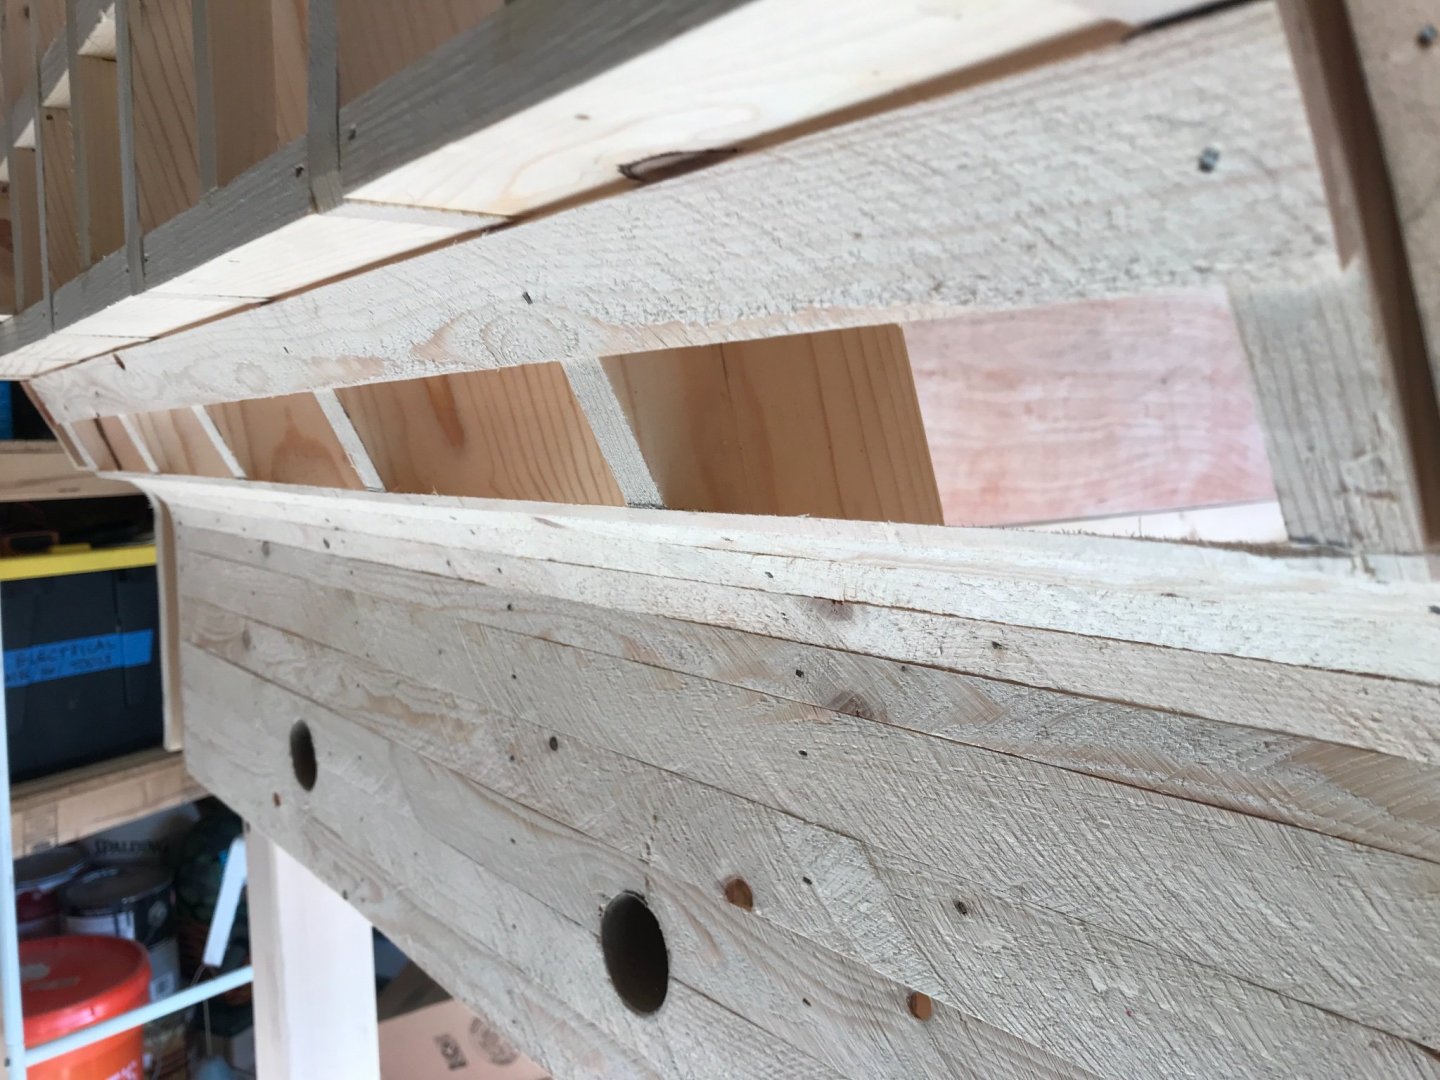
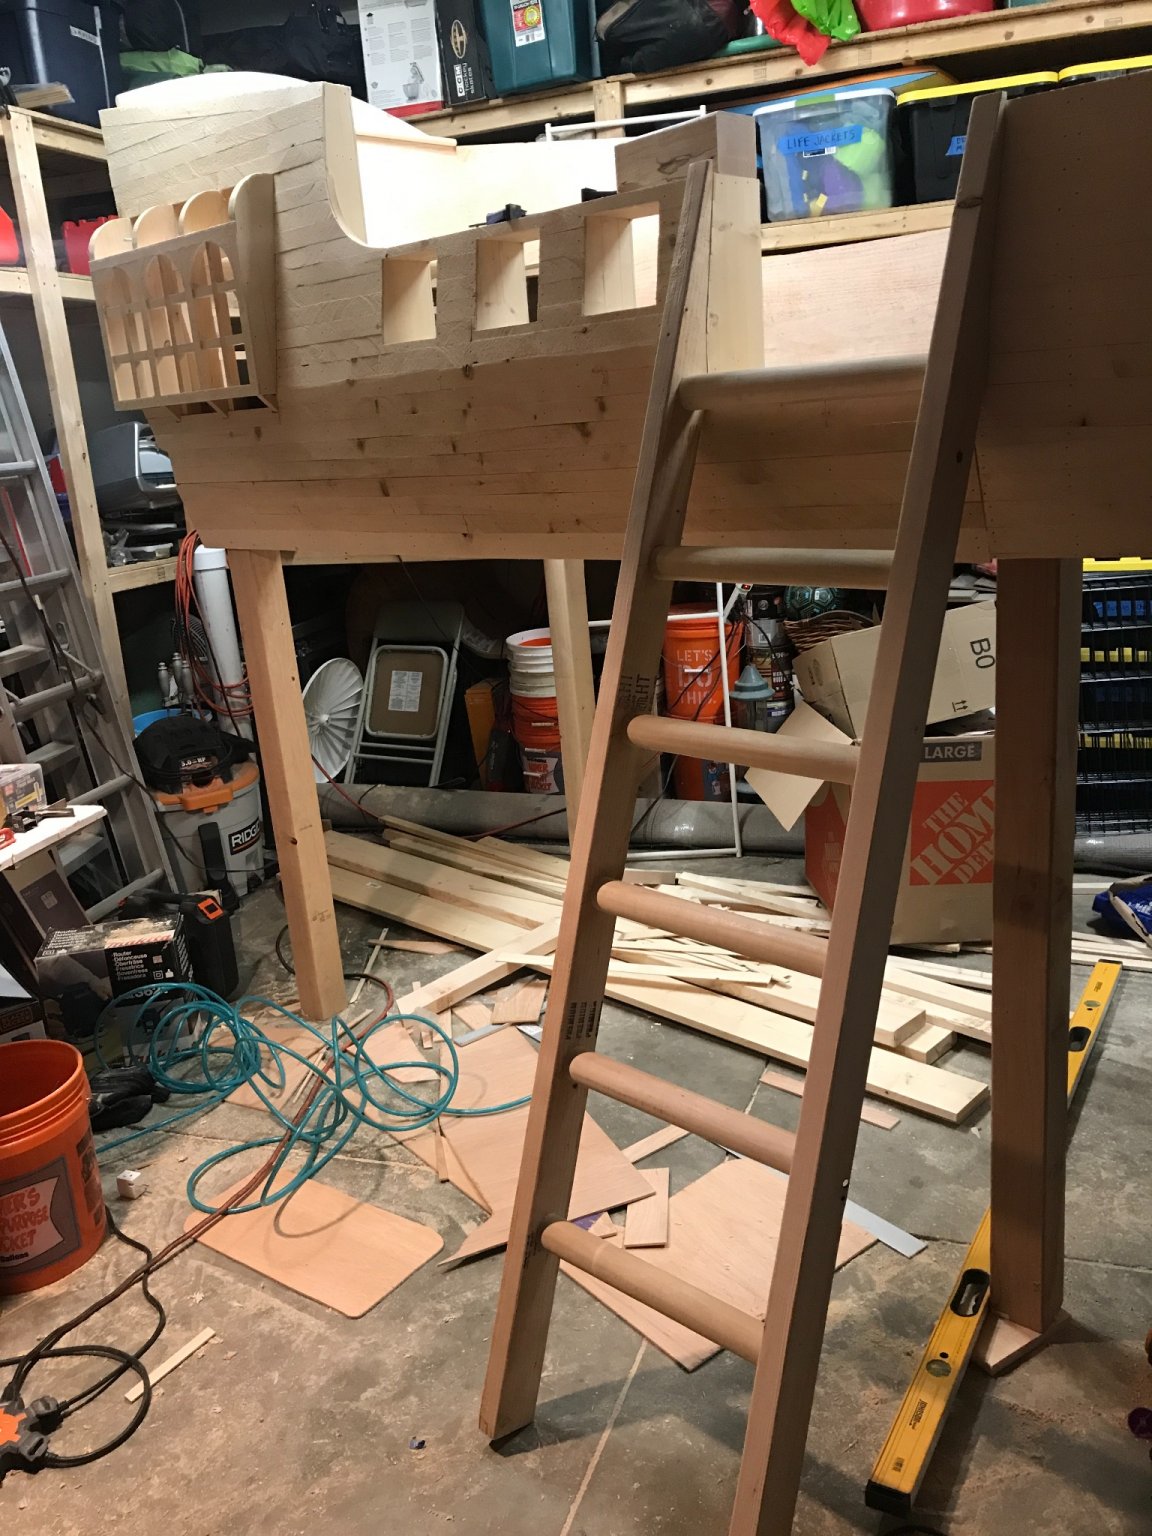
Ladder time! I thought I had a picture of my setup to drill the pockets for the rungs, but apparently not. The side rails are pine 2x4’s and the rungs are 2” hardwood dowels. I used my drill press and a 2” forsner bit to drill down a pocket 3/4”. I had to use a mallet to tap the dowels into the pockets. It was very satisfying! The top of the rails are matched the side of the ship. I won’t trim the bottoms until it’s in it’s final place.


-
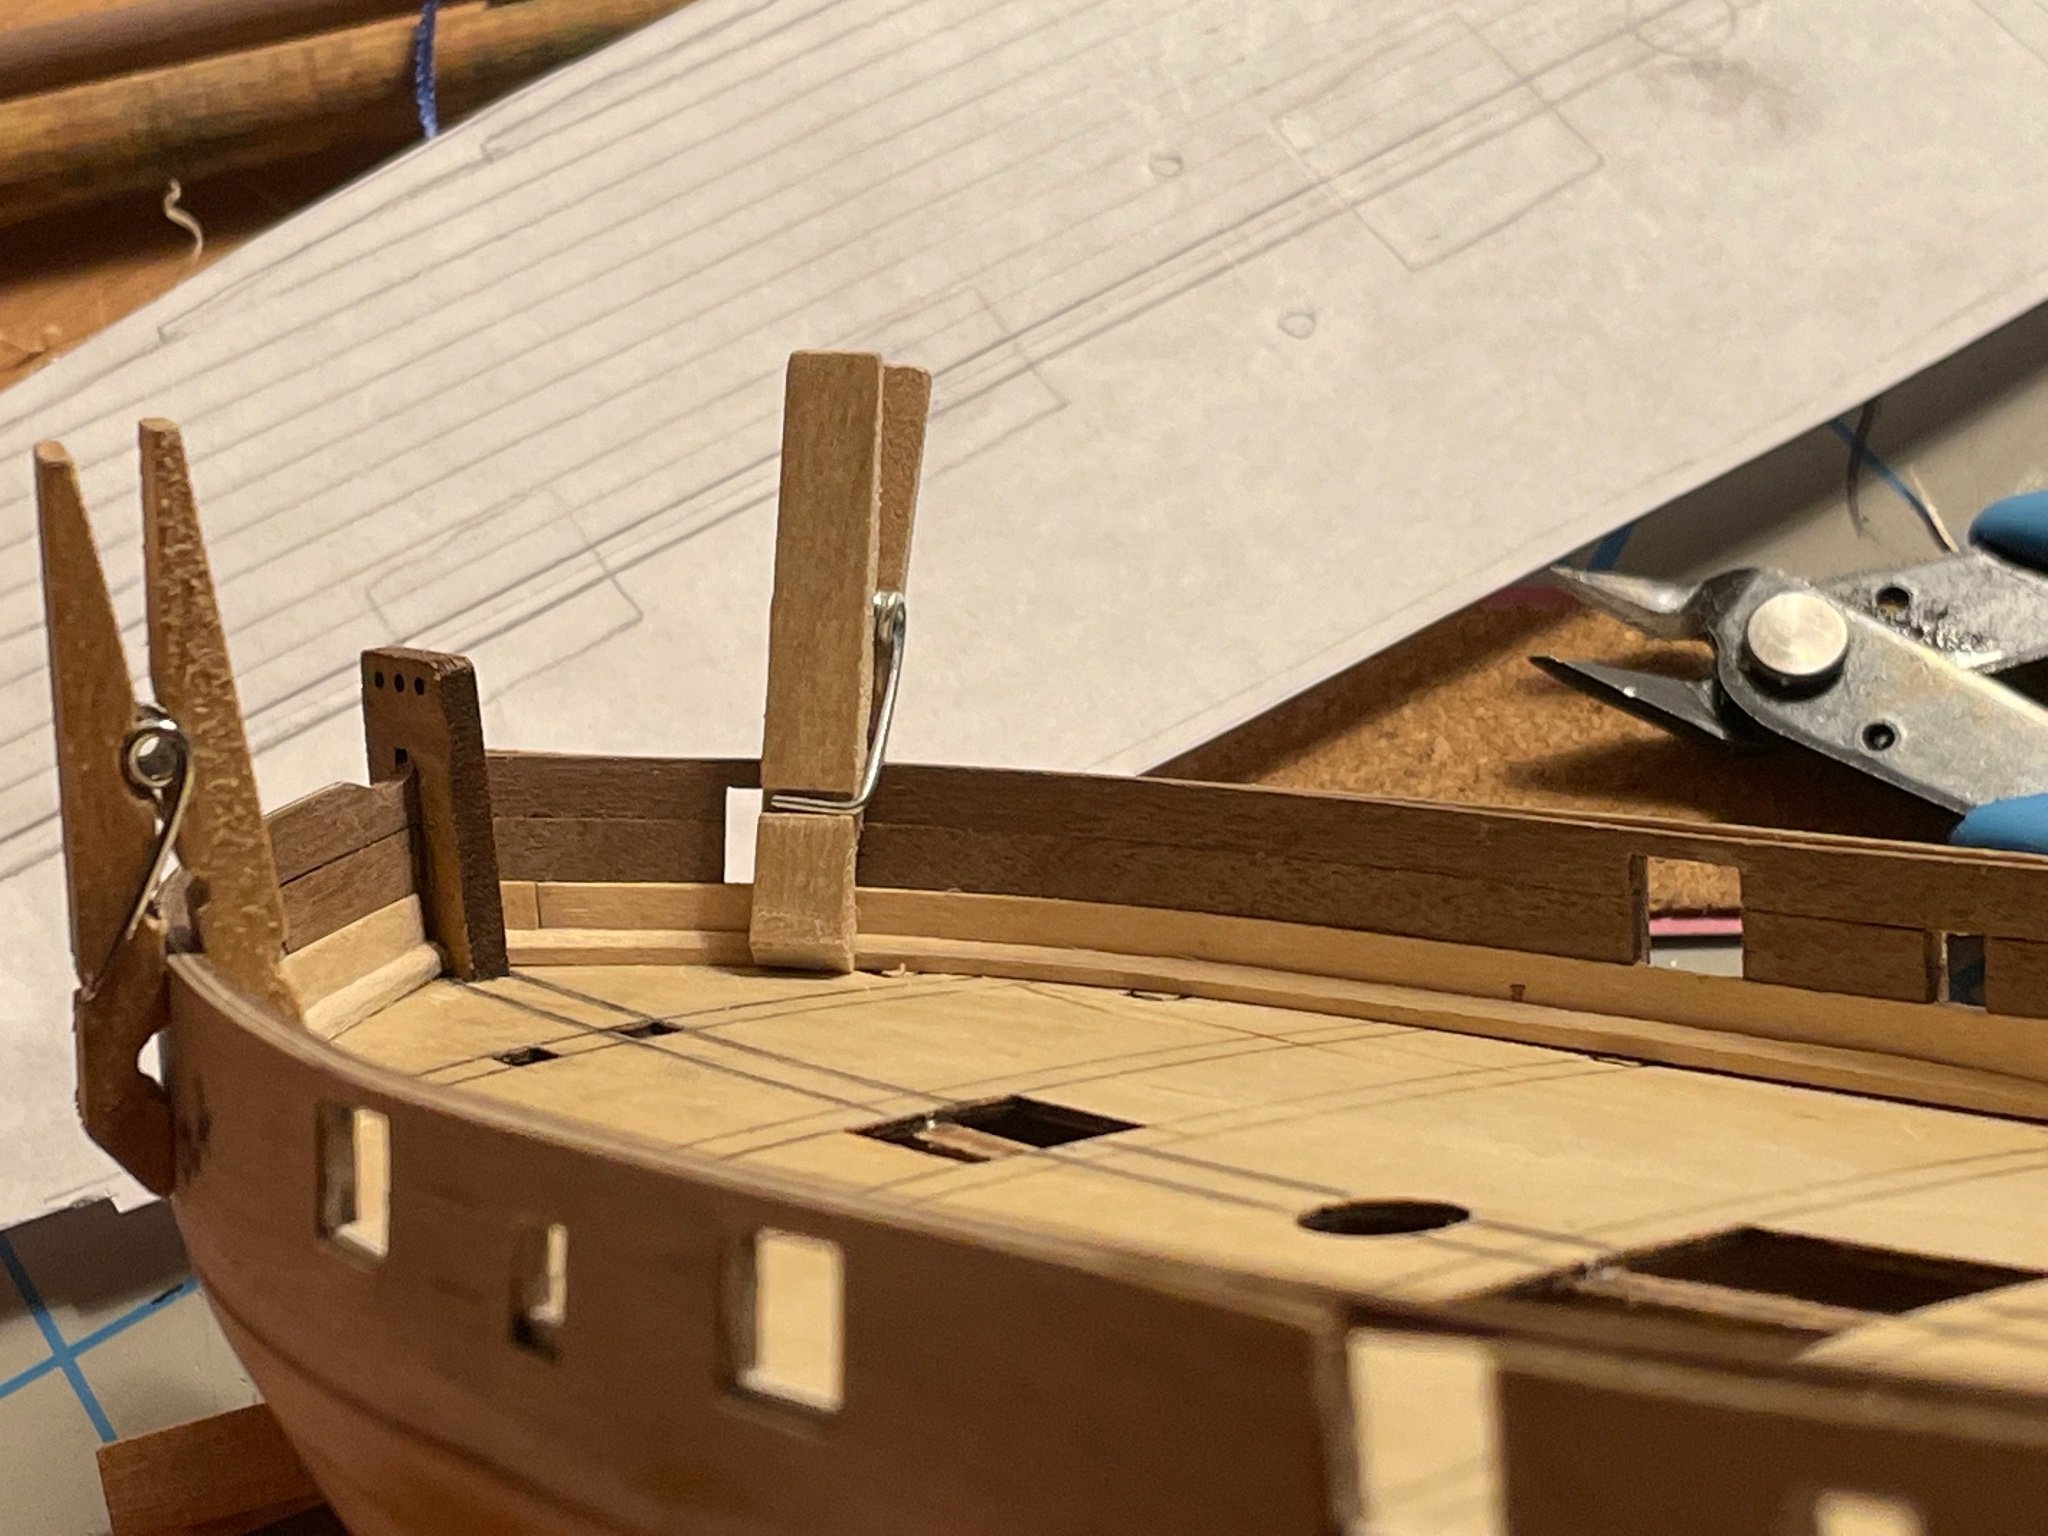
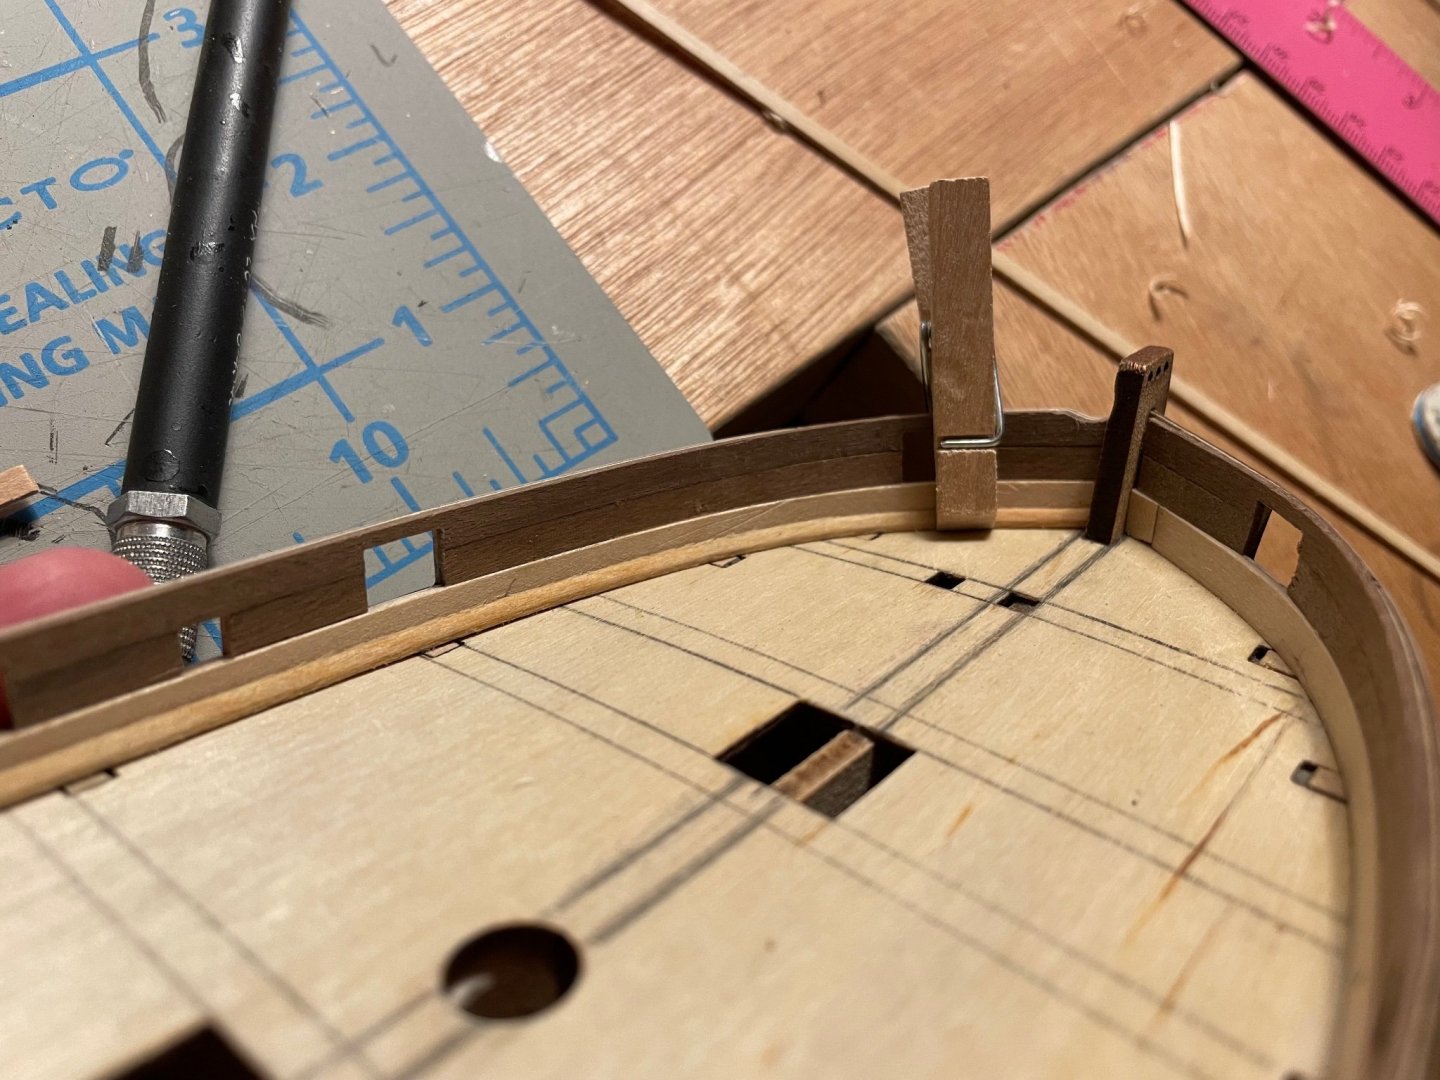
It took three tries to figure out a technique to carve a waterway without having access to a miniature table saw, but I am happy with the result. I also started forming a test margin plank. Nothing is glued yet. Will want to test fit some more to make sure I am happy with it.
- 139 replies
-
- 4
-
-
- Lady Nelson
- Amati
- (and 2 more)
-
I appreciate all of the likes and supportive comments!
-
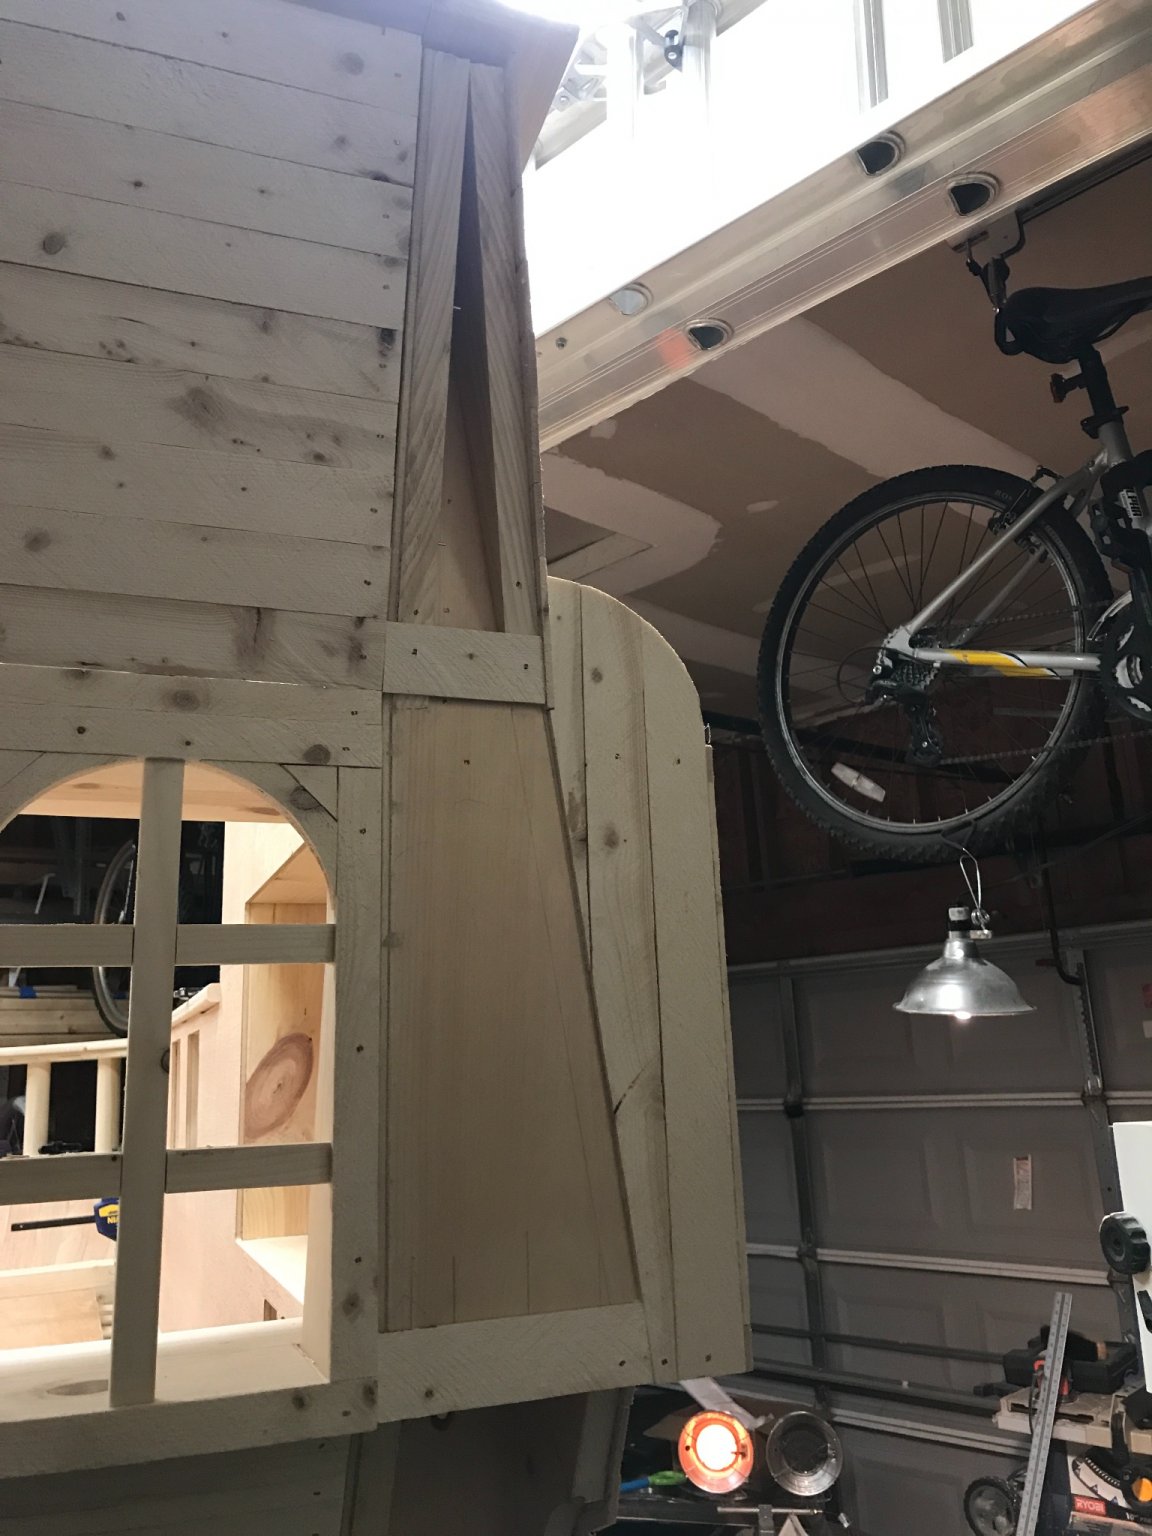
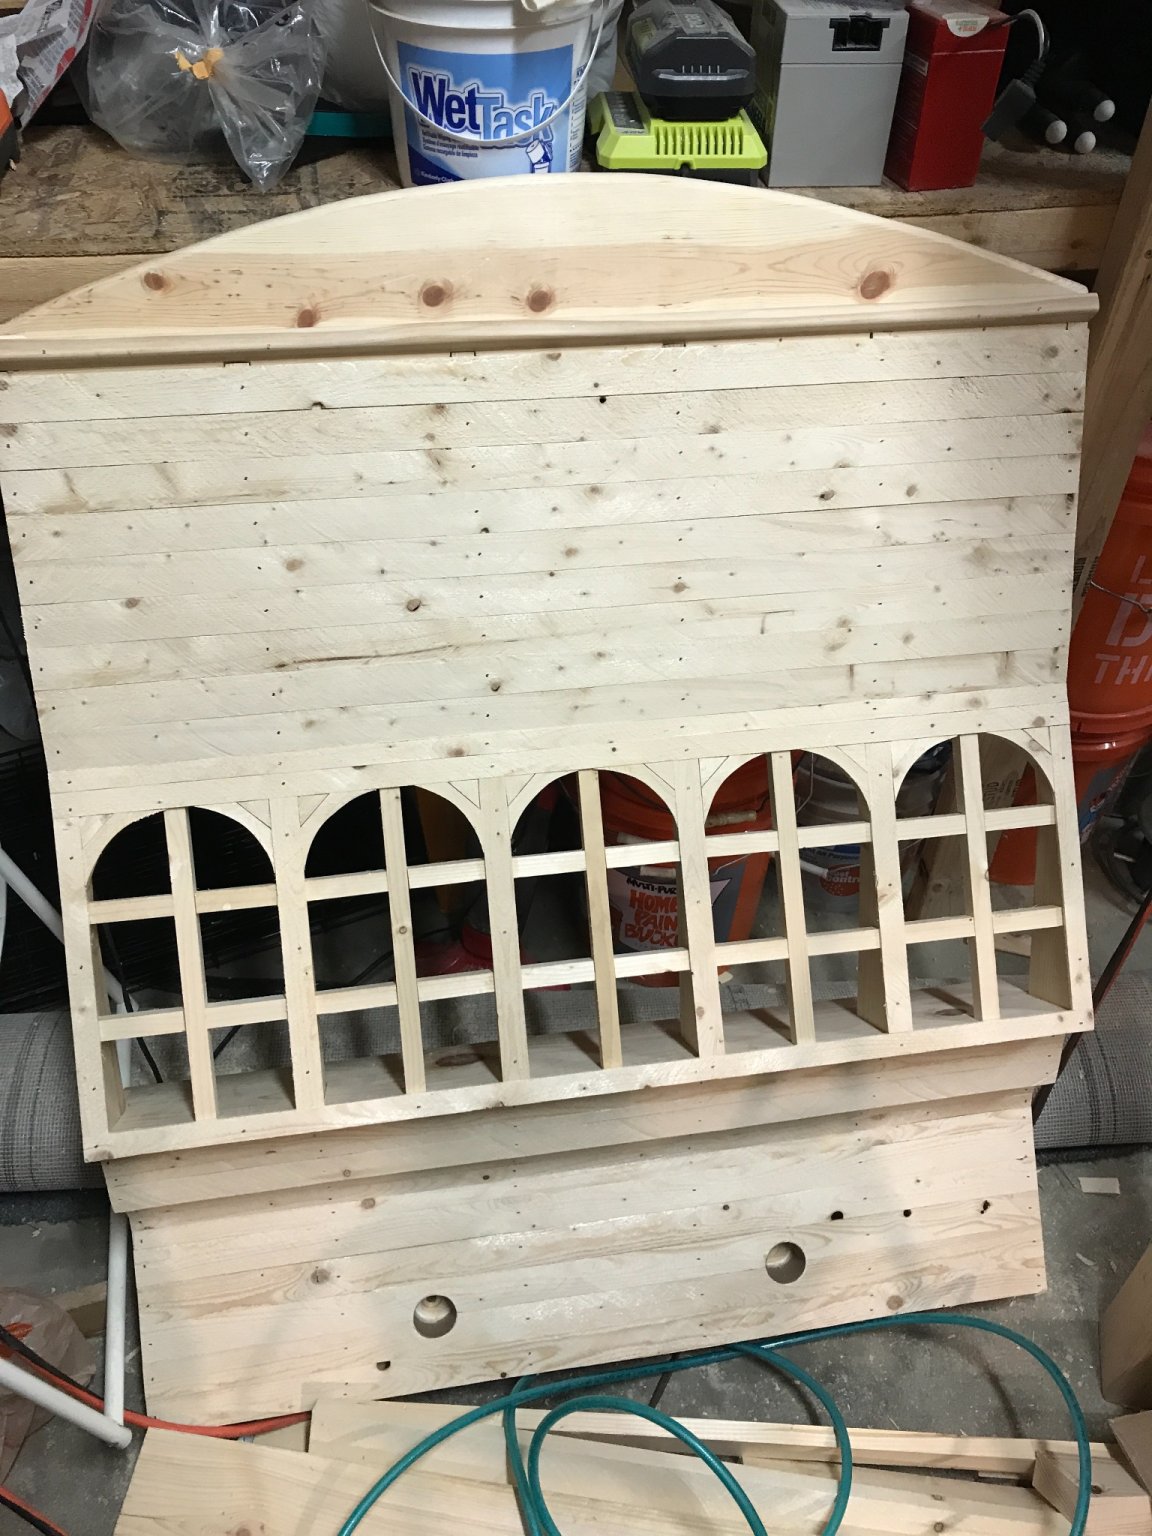
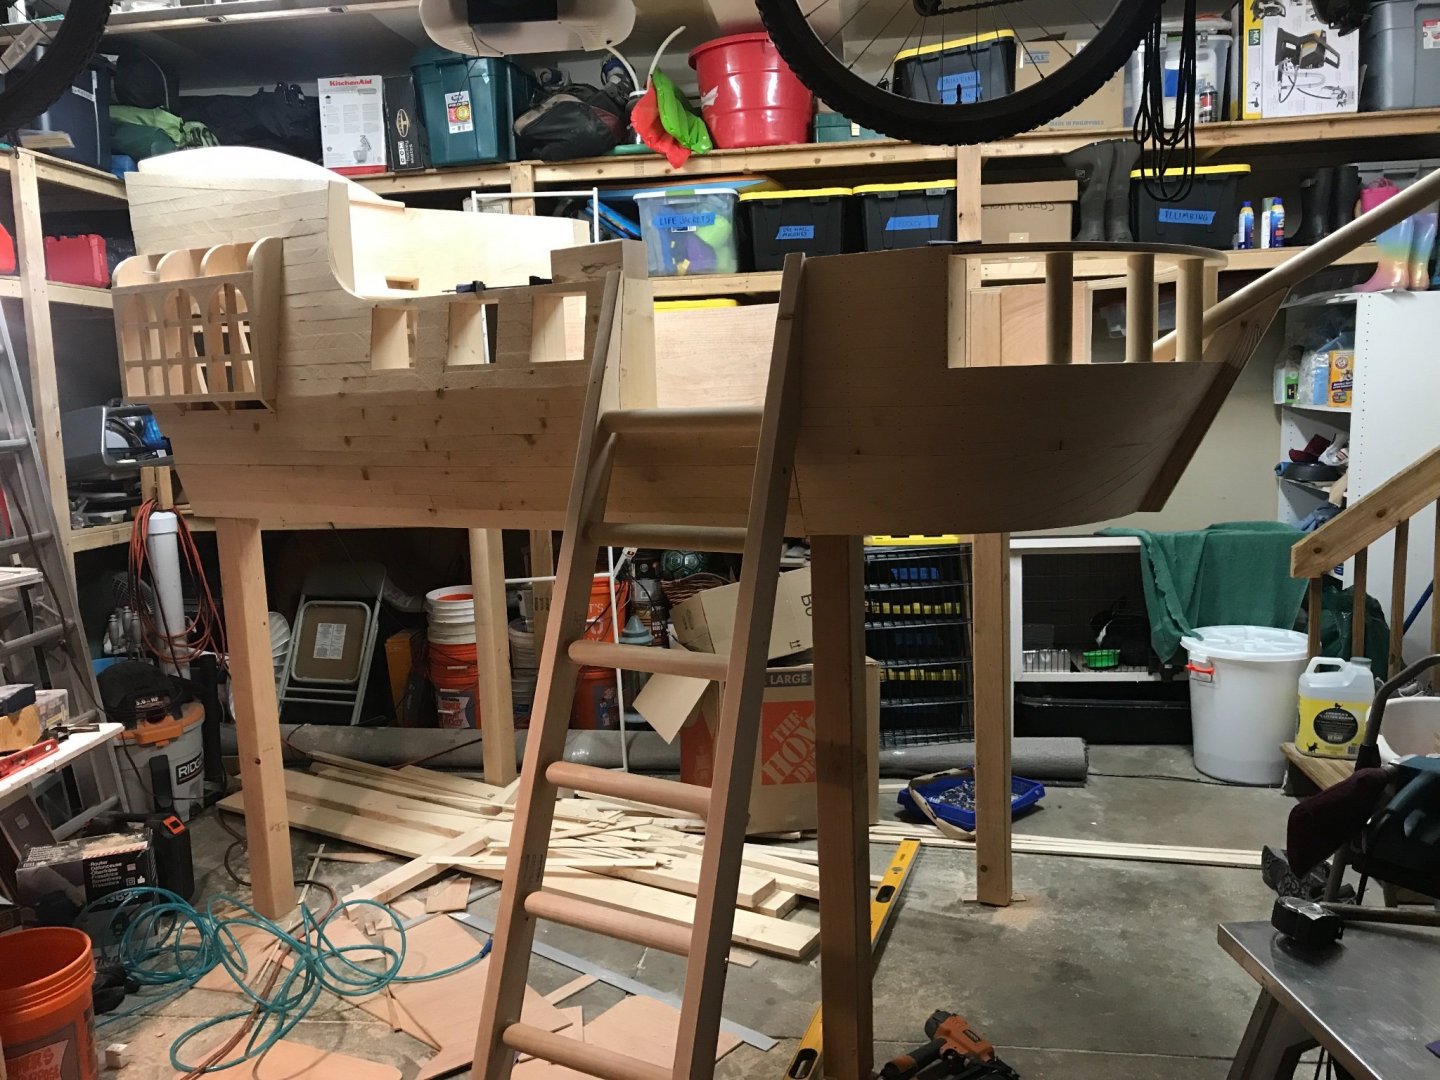
There’s a lot going on with this thing!
-
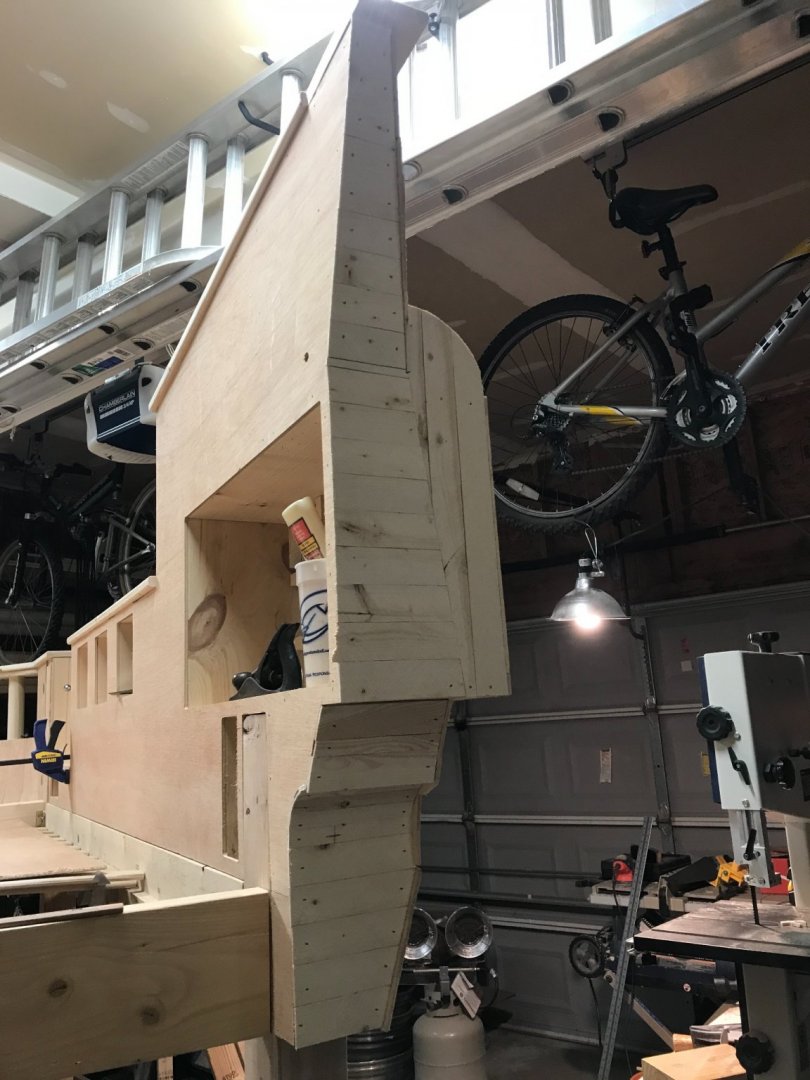
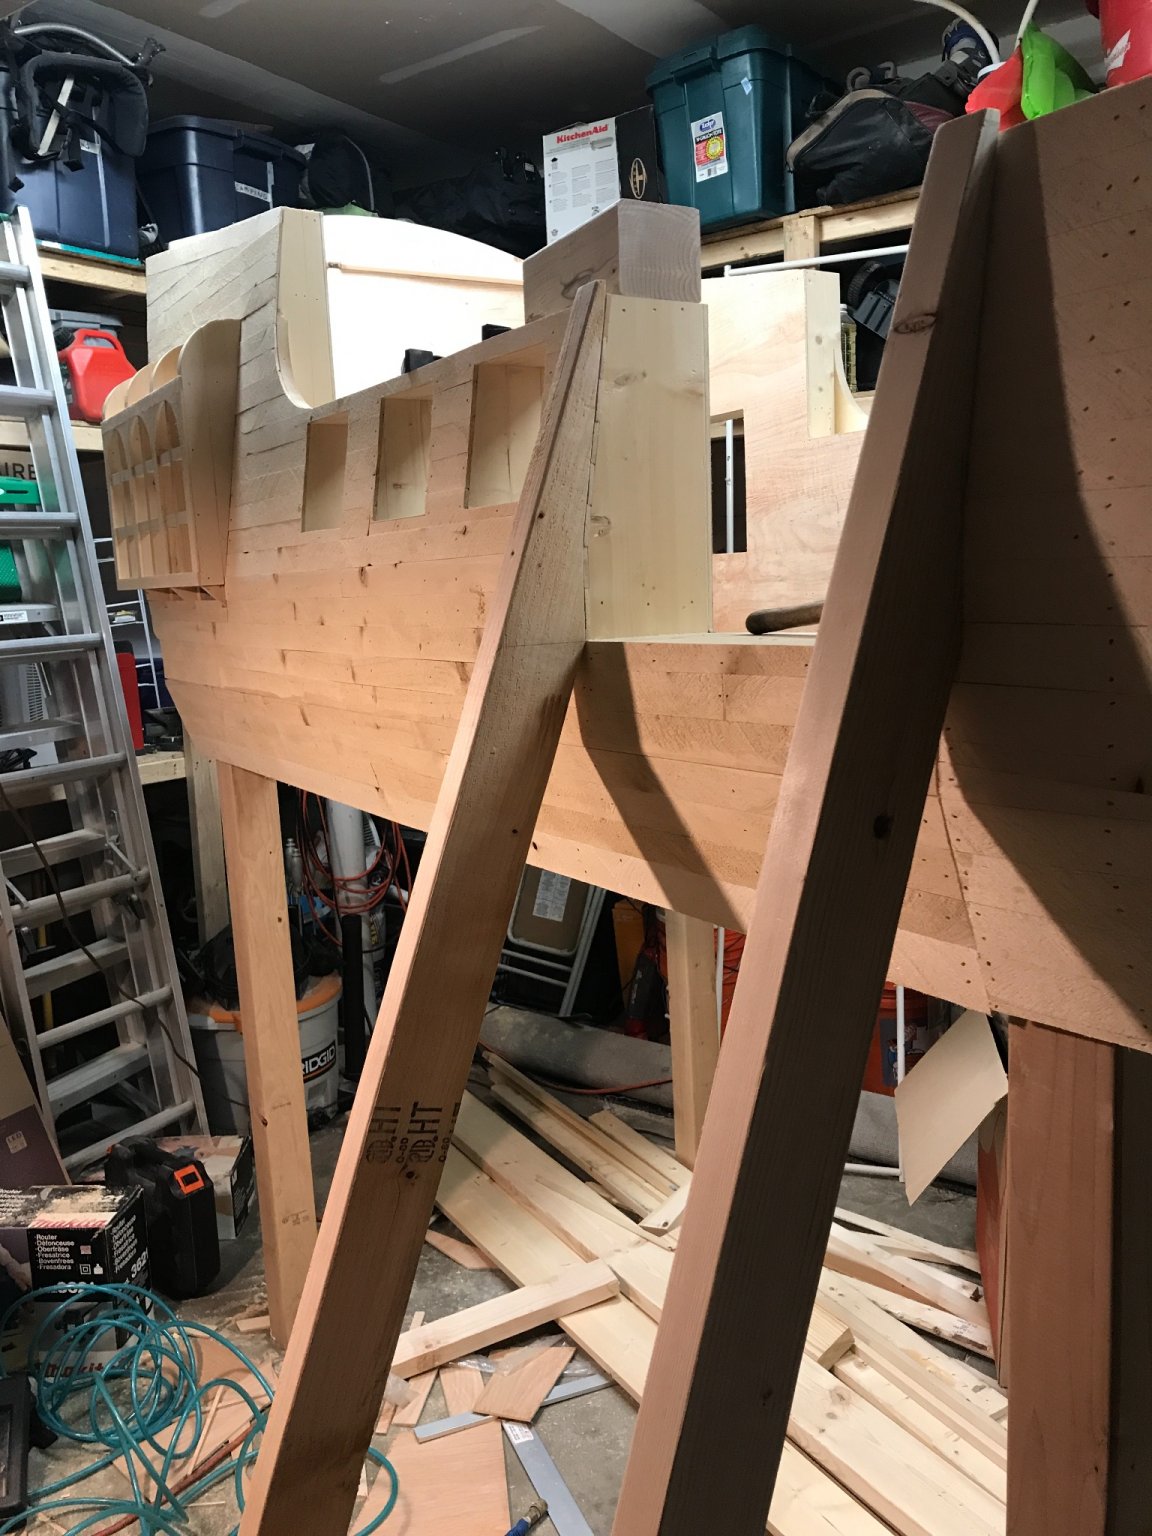
Actually there will be a carving for the stern! I found a neat looking scroll piece at Home Depot that fits nicely! Next up will be the ladder (where the water bottle is in Jasseji’s post) and a few finishing touches before stain and paint. No figure head planned at the moment. My son wants one though. I might try to 3D print something?
-
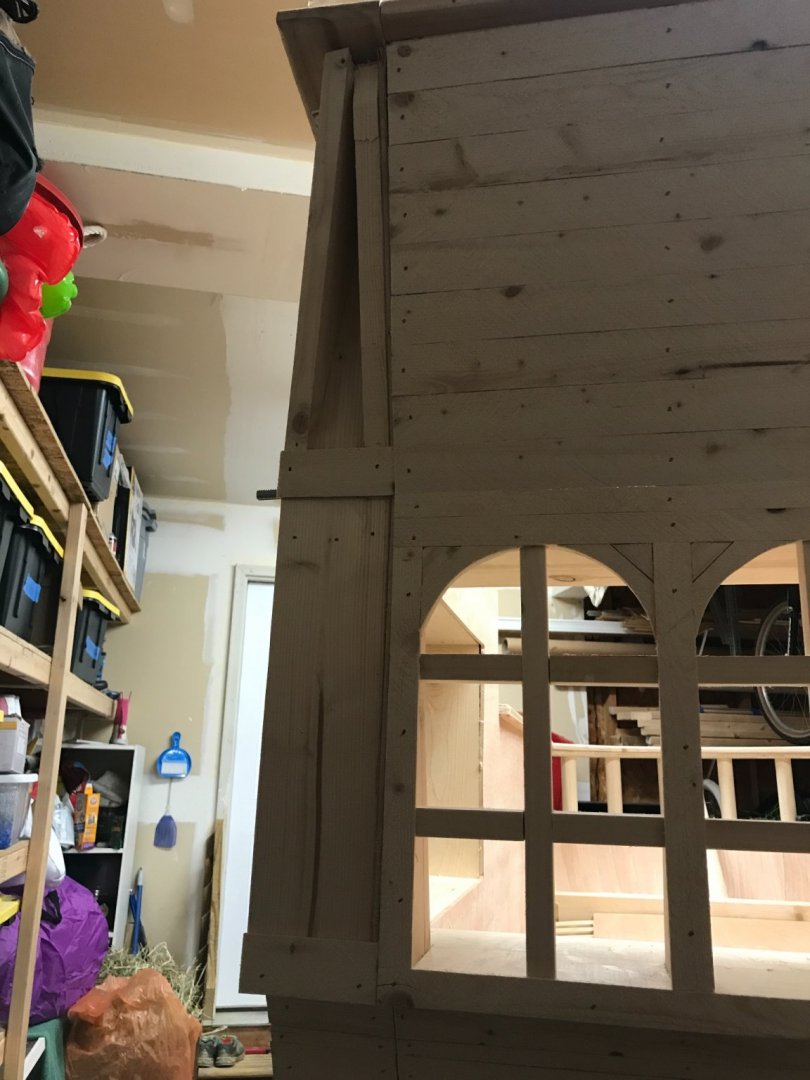
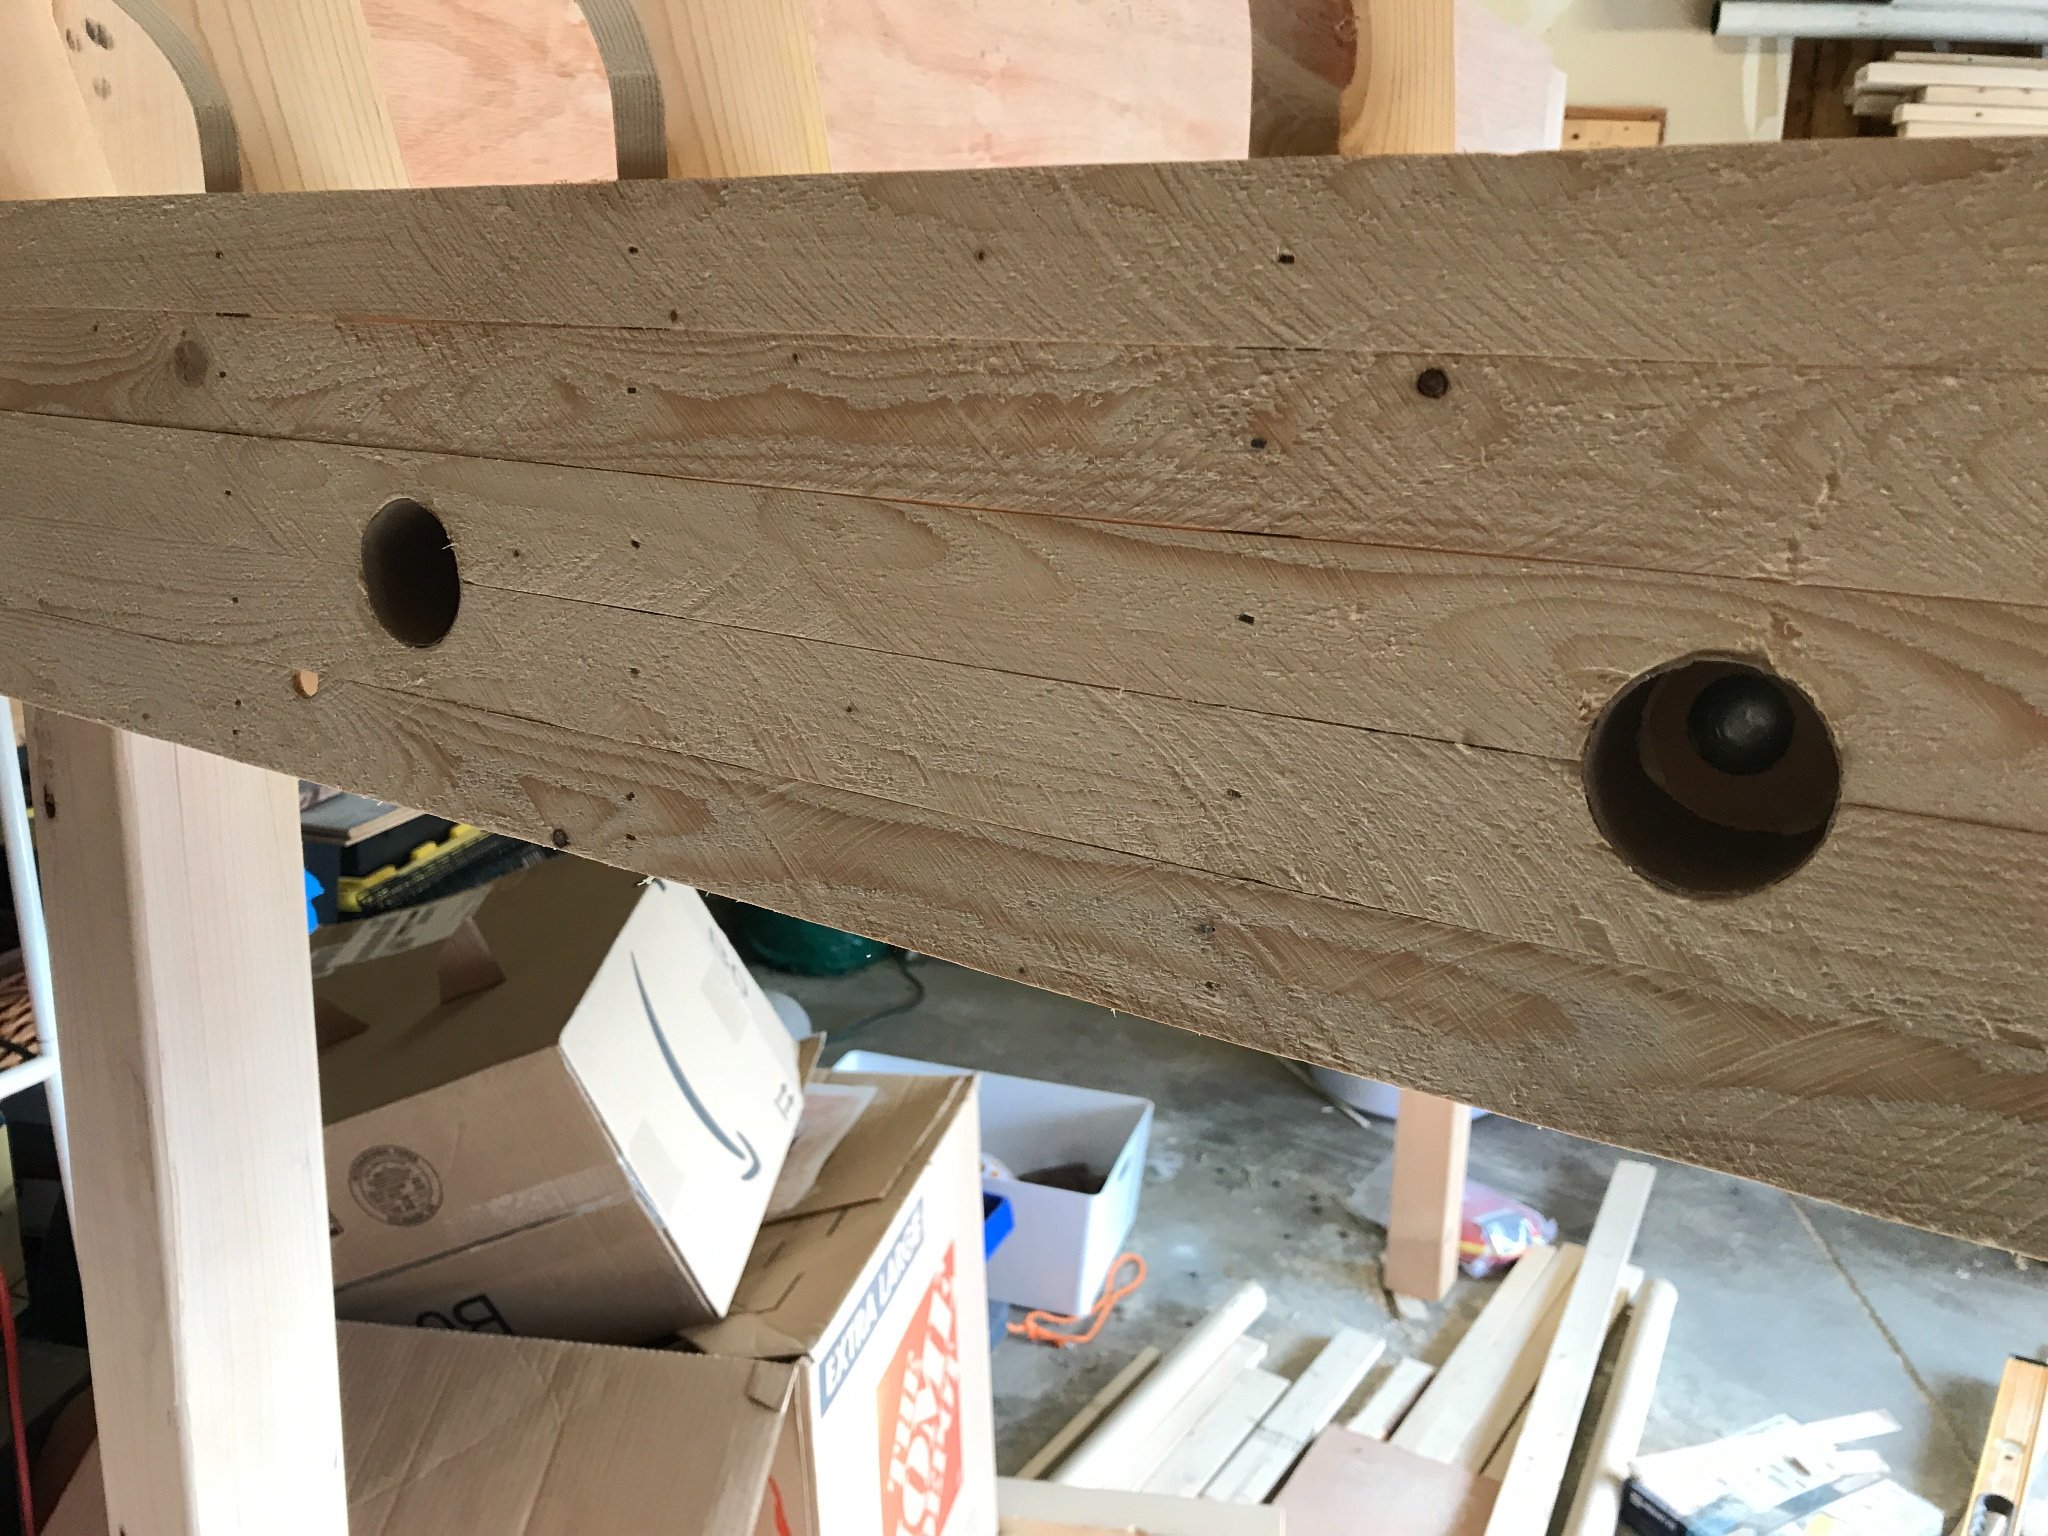
Transom planking! Pretty straightforward, only tricky part was making the holes for the assembly bolts. I was able to use an appropriately sized forsner bit and a paper towel tube to make a little tunnel to the bolt. This was a very fun process. Going back and forth from my saw to the boat to size, mark, cut, nail and repeat! The main part of the transom comes off in one piece. I attached some guide planks to the outer pieces and the finished them with the main piece removed.