kmart
Members-
Posts
195 -
Joined
-
Last visited
Profile Information
-
Gender
Male
-
Location
Atlanta, GA
-
Interests
Current Builds:
USS Constitution ( Model Shipways)
Past Builds
HMS Victory Bow Section
British Armed Launch
Friesland (Dutch 74 - 1663)
Roger B. Taney (US Revenue Cutter )
Recent Profile Visitors
-
 ERS Rich reacted to a post in a topic:
USS Constitution by kmart - Model Shipways - scale 1/76
-
 ERS Rich reacted to a post in a topic:
USS Constitution by kmart - Model Shipways - scale 1/76
-
 Der Alte Rentner reacted to a post in a topic:
USS Constitution by kmart - Model Shipways - scale 1/76
-
 mtbediz reacted to a post in a topic:
USS Constitution by GGibson - Model Shipways - 1:76.8
-
 mtbediz reacted to a post in a topic:
USS Constitution by kmart - Model Shipways - scale 1/76
-
 mtbediz reacted to a post in a topic:
USS Constitution by kmart - Model Shipways - scale 1/76
-
 mtbediz reacted to a post in a topic:
USS Constitution by kmart - Model Shipways - scale 1/76
-
 Unegawahya reacted to a post in a topic:
USS Constitution by GGibson - Model Shipways - 1:76.8
-
 GGibson reacted to a post in a topic:
USS Constitution by GGibson - Model Shipways - 1:76.8
-
 Geoff Matson reacted to a post in a topic:
USS Constitution by kmart - Model Shipways - scale 1/76
-
 kmart reacted to a post in a topic:
USS Constitution by JSGerson - Model Shipways Kit No. MS2040
-
 kmart reacted to a post in a topic:
USS Constitution by JSGerson - Model Shipways Kit No. MS2040
-
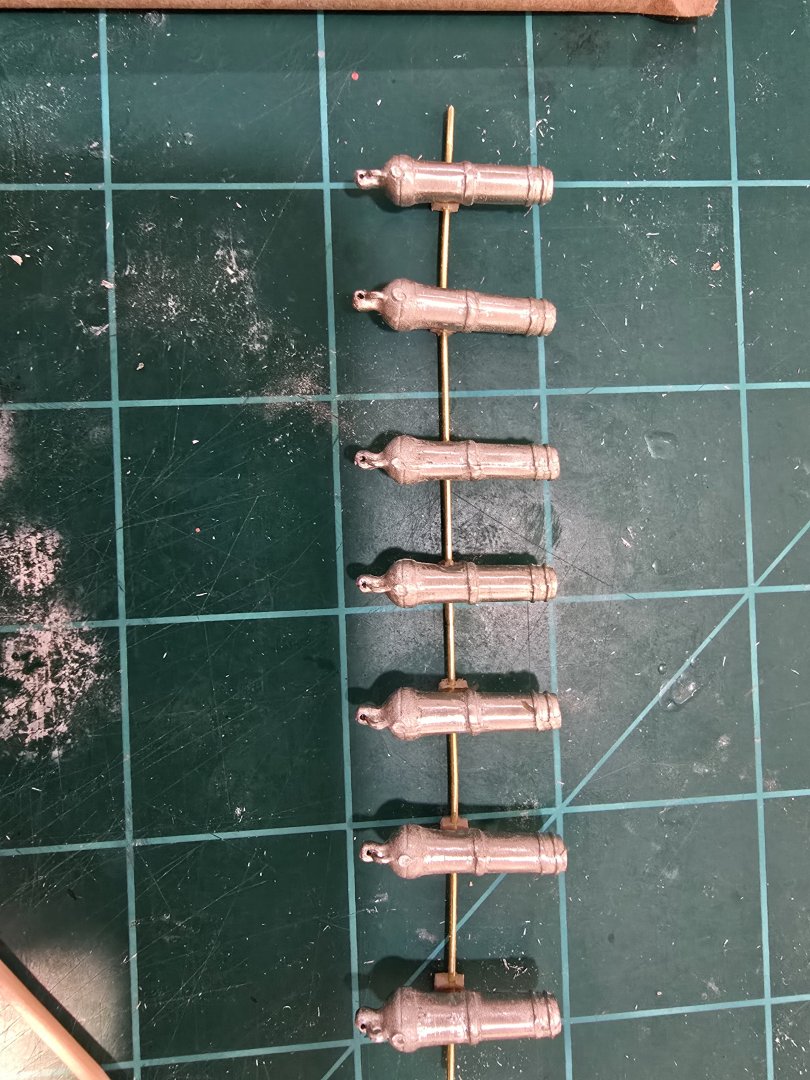
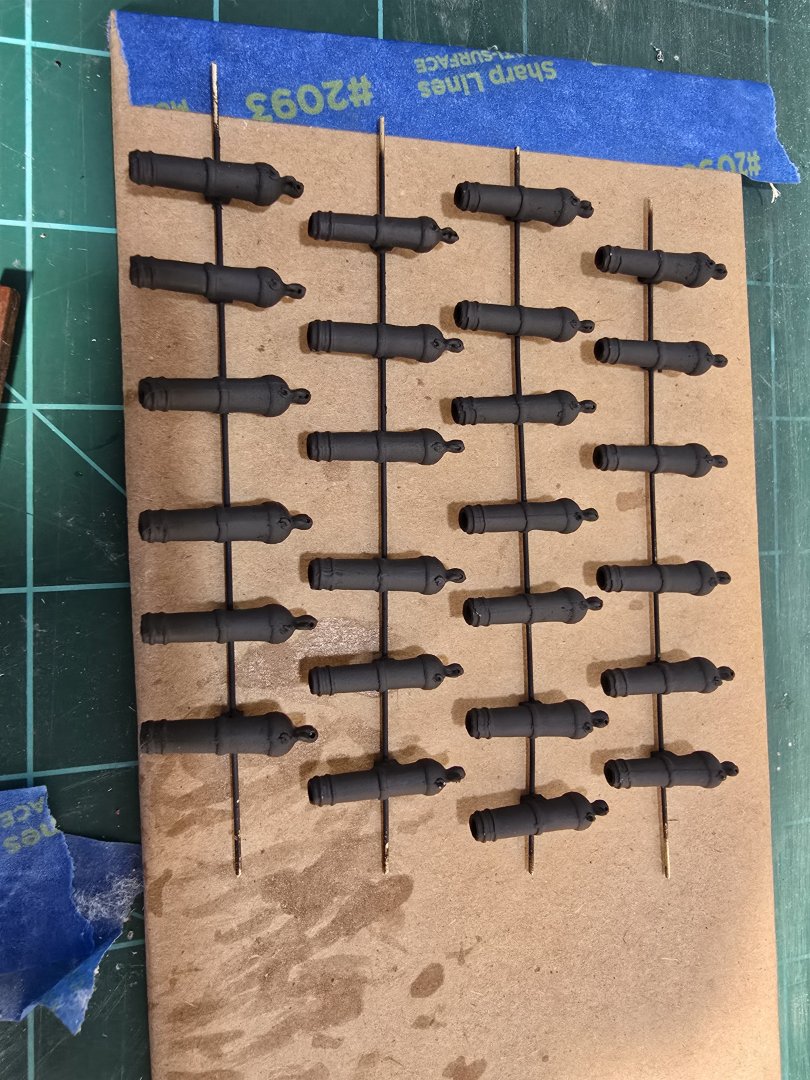
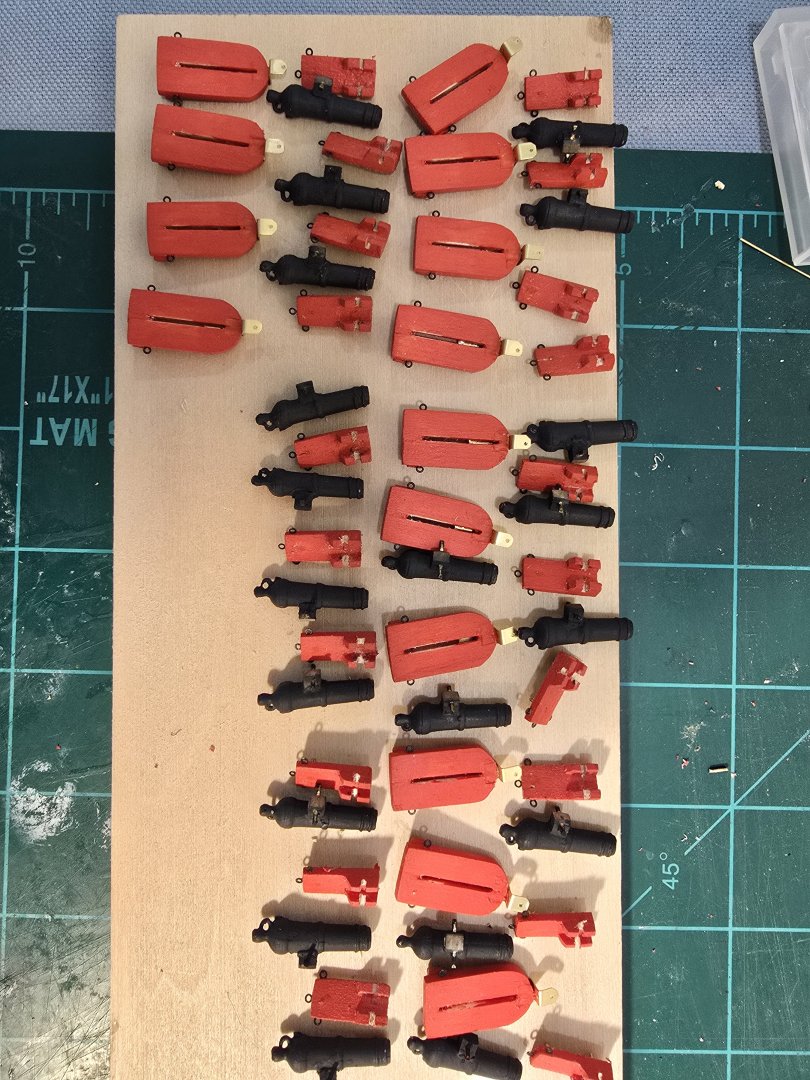
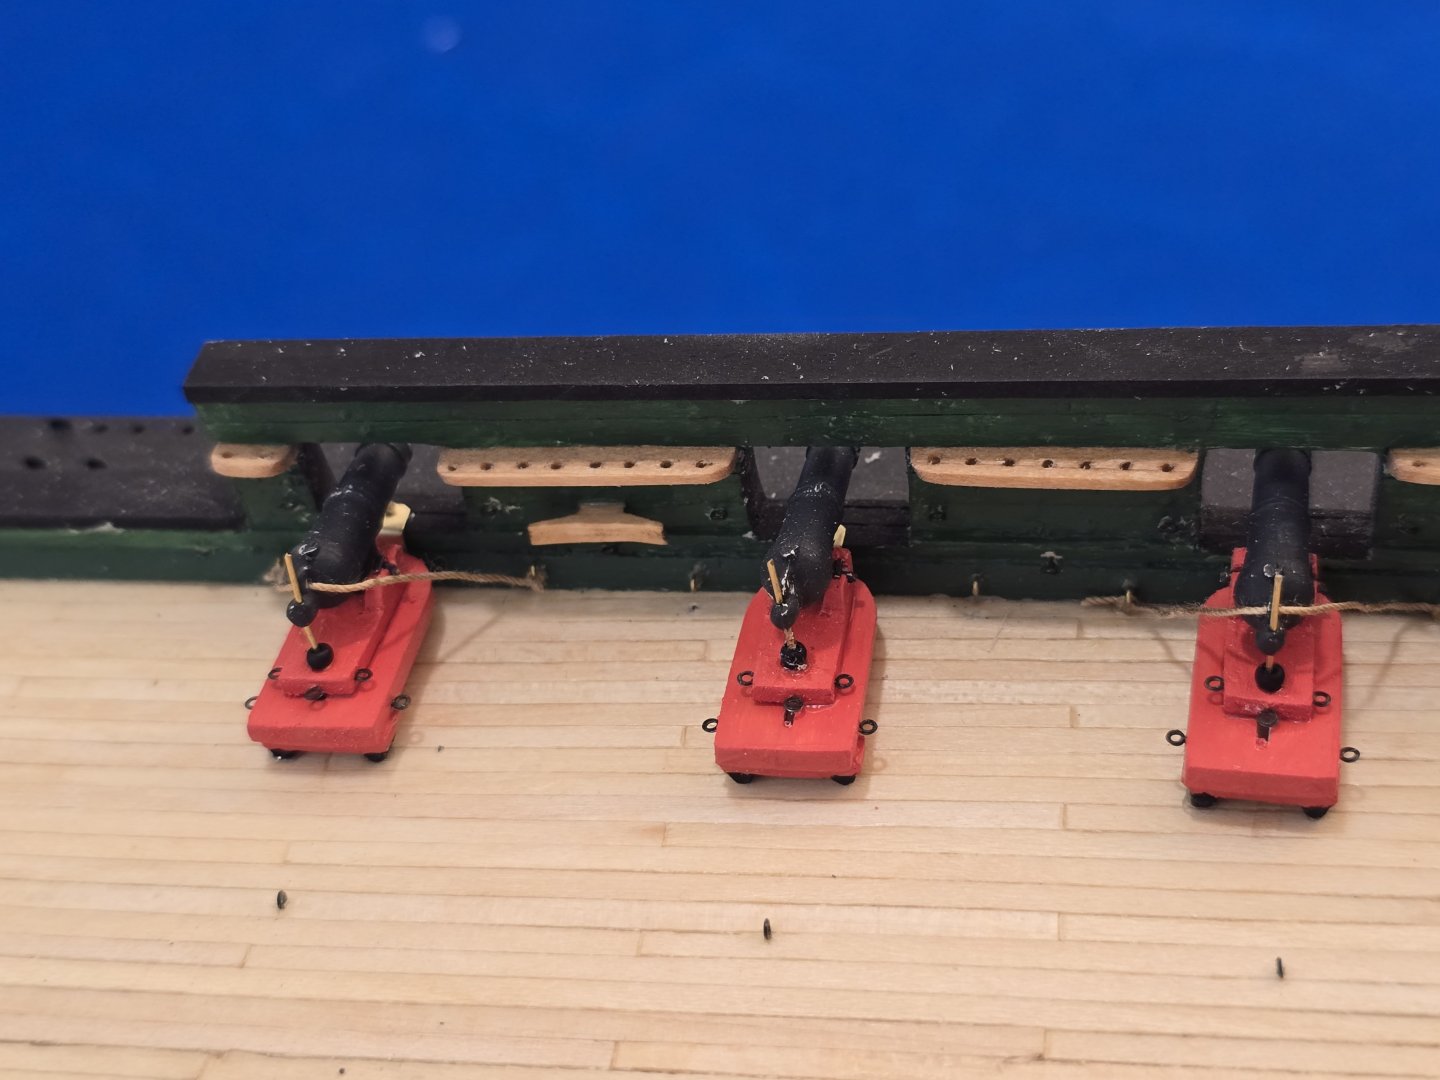
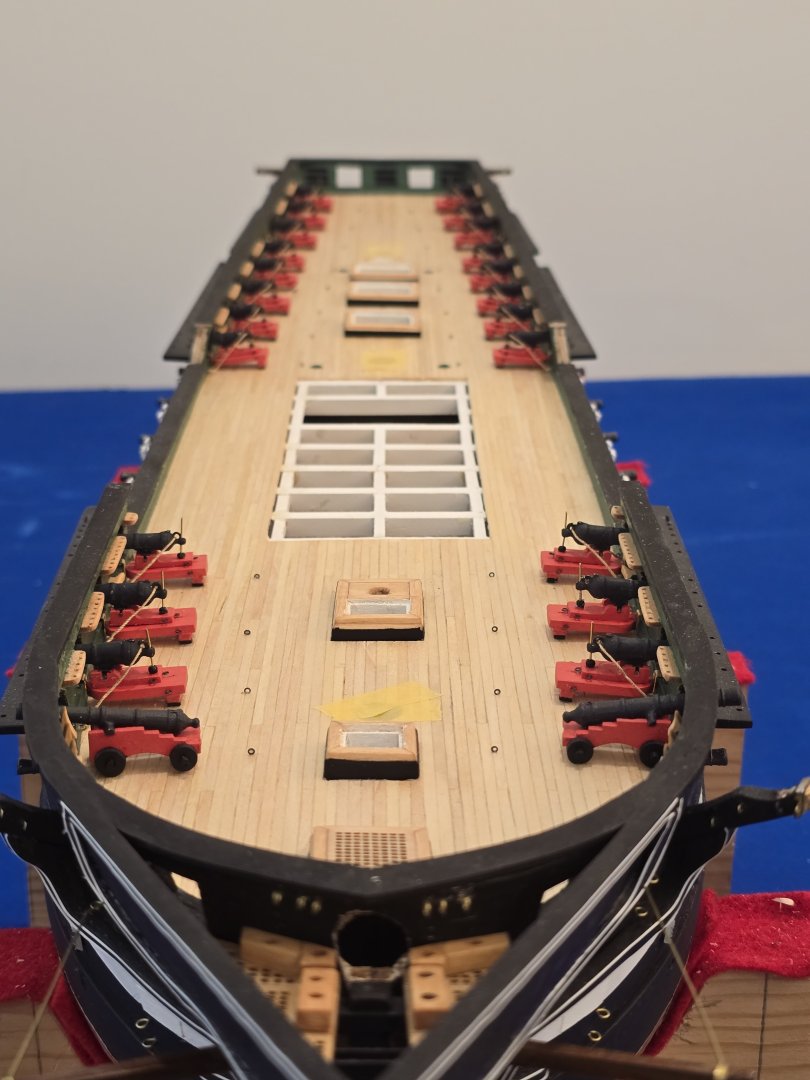
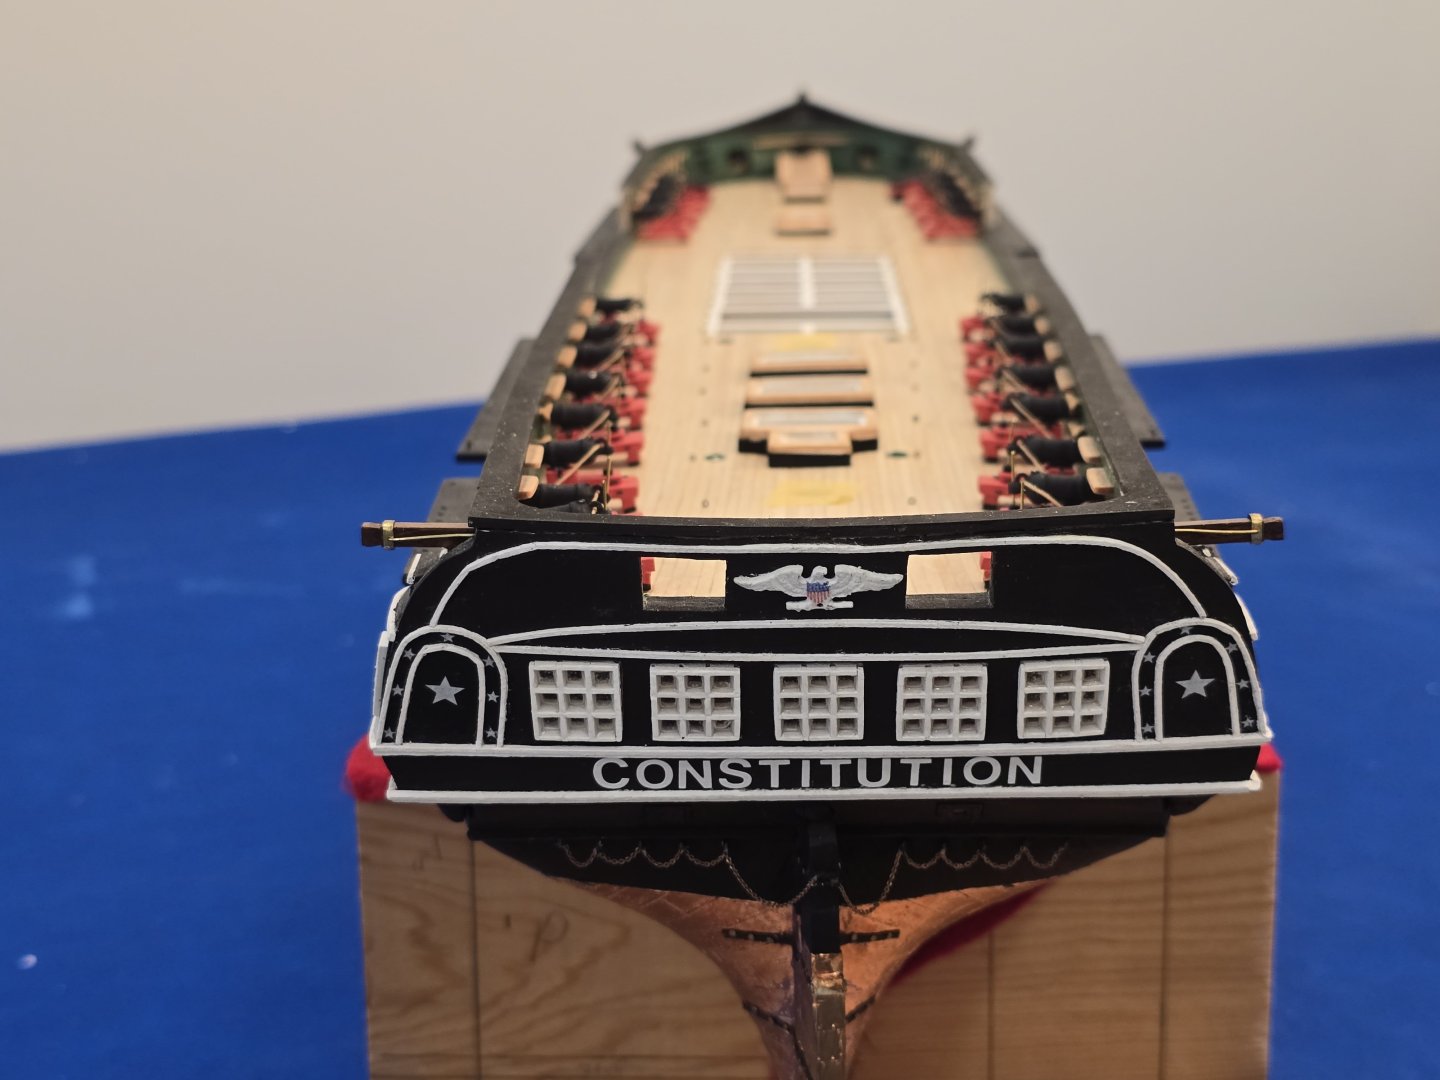
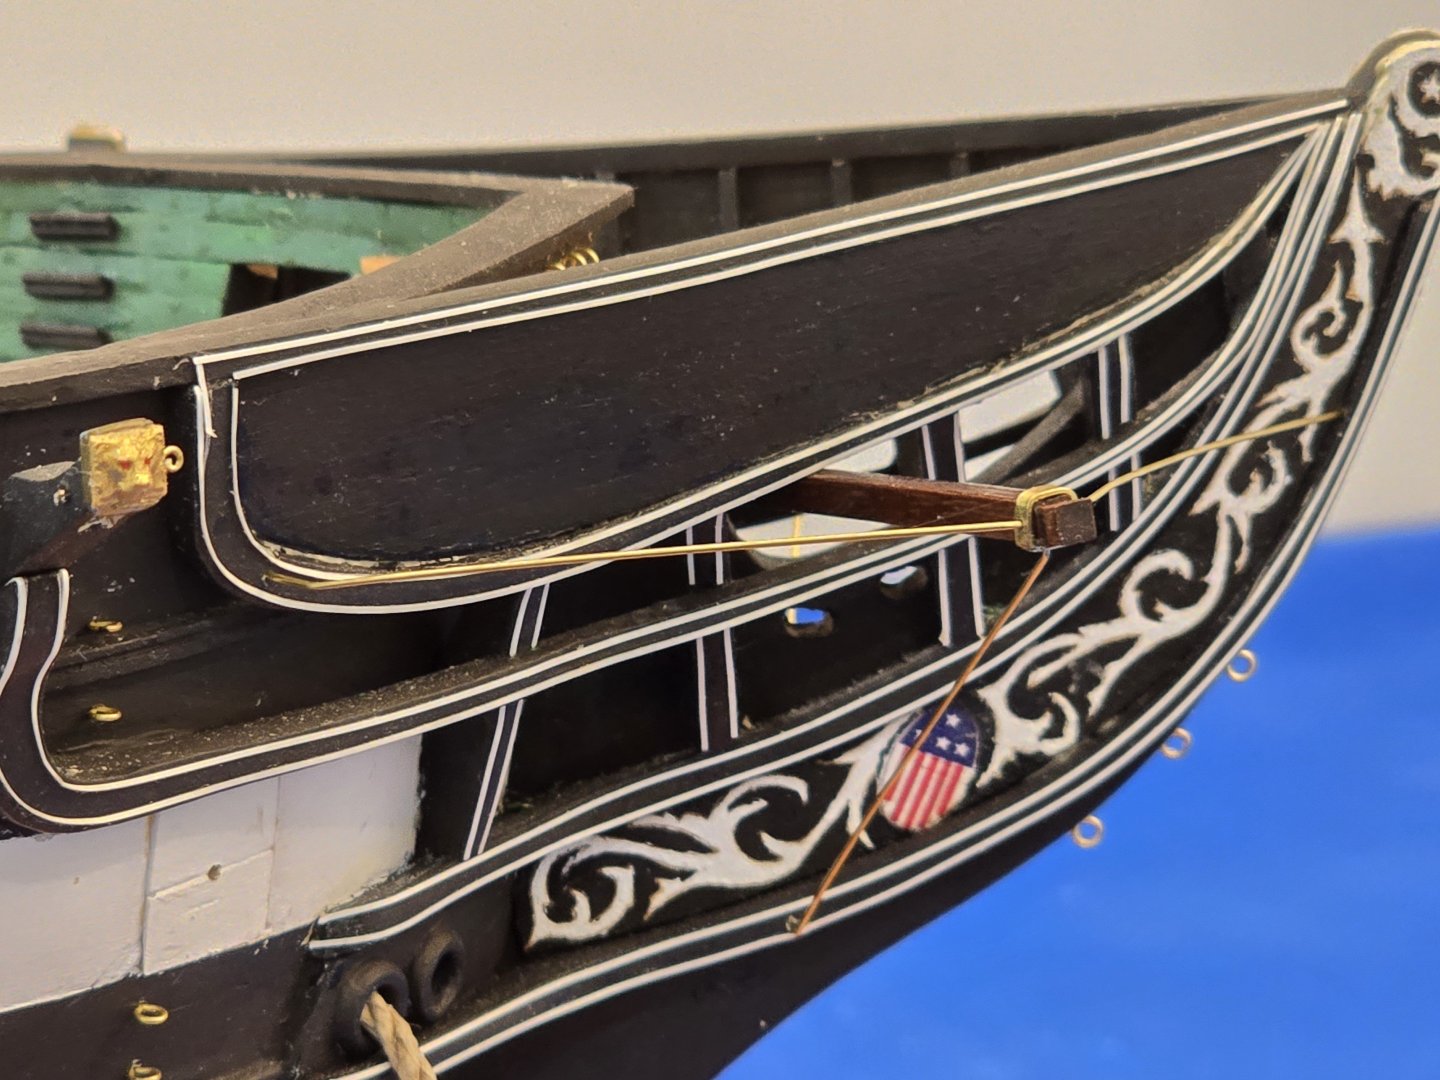
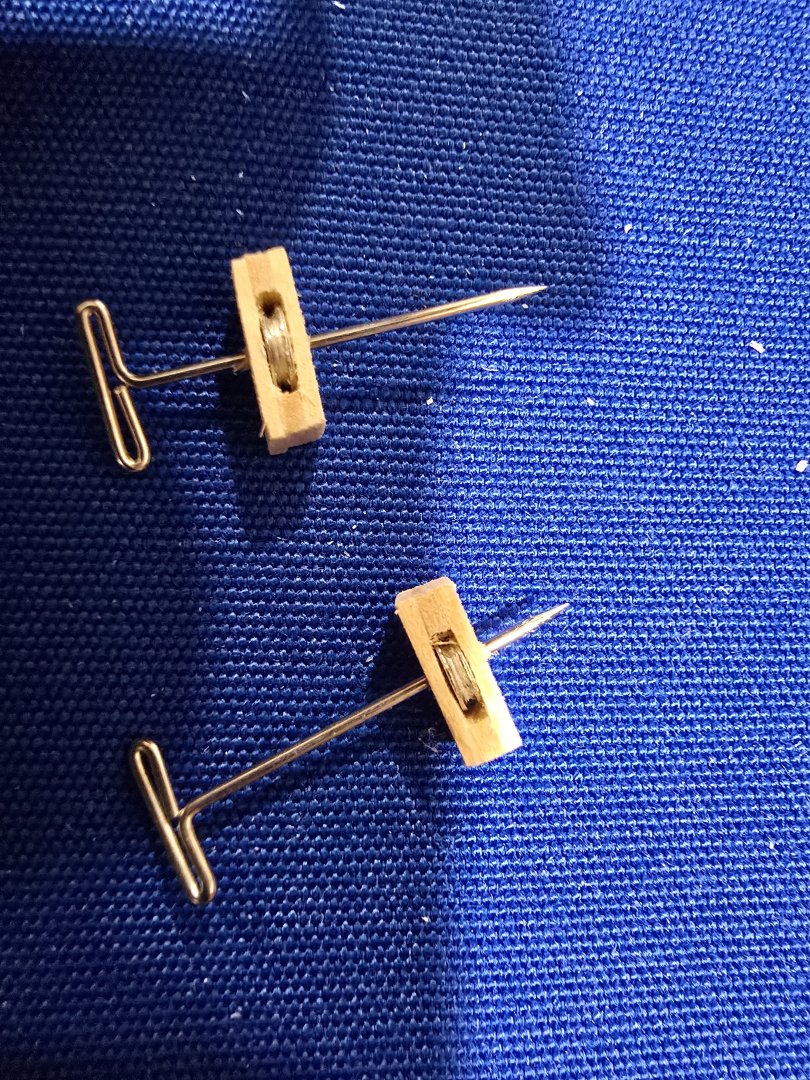
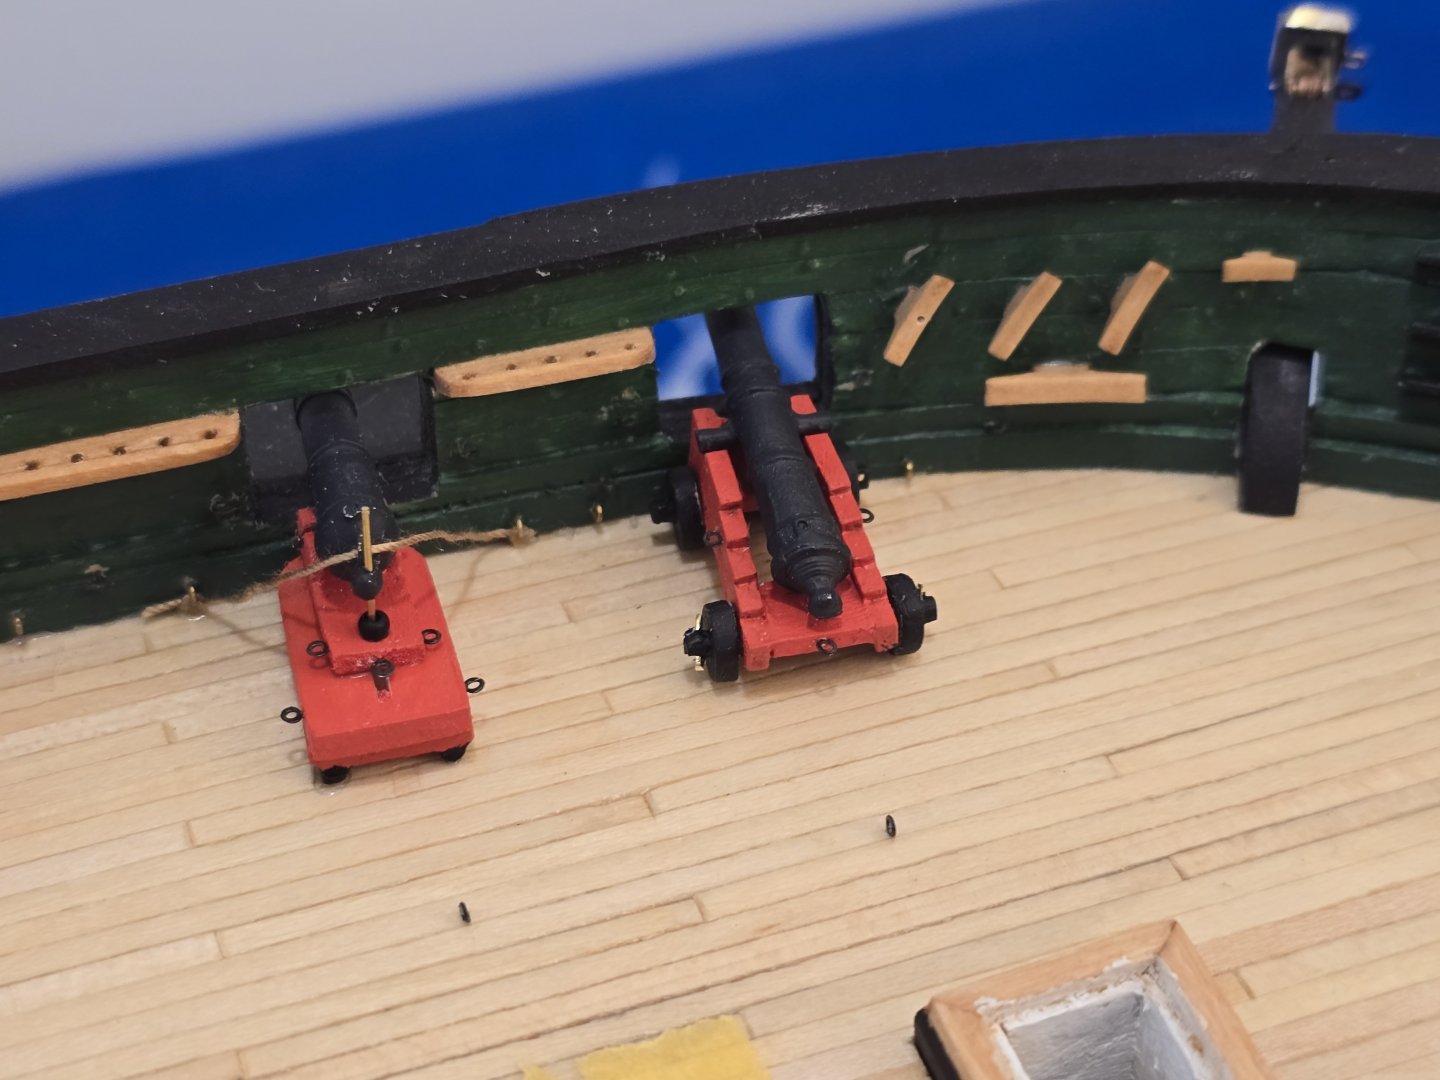
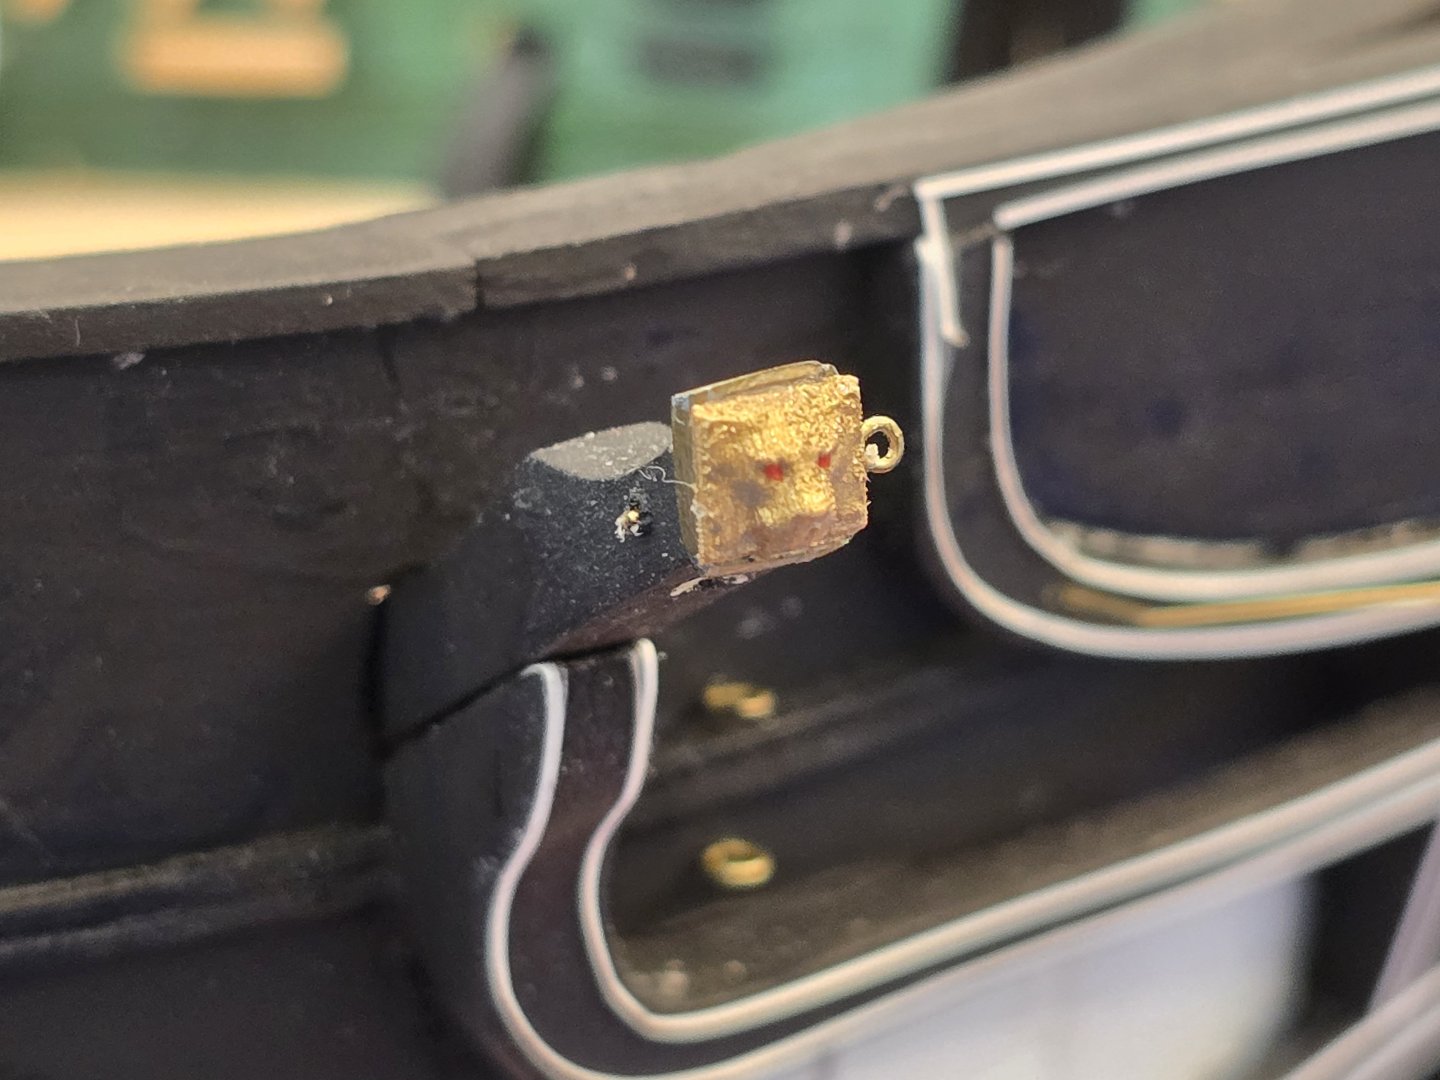
Cannondale.... I did want to go with the 1812 version. I looked at lots of other peoples logs, and lots of google to try i find something I like. I decided to use the barrels that came with the kit. modify them and build my own carriages. I cut of the piddles off the barrels. Cut very small wood blocks drilled a whole and put on copper rode. Then glued the barrel to the wood block. It gets it close to the 1812 barrel with the pindles under the barrel, not on the side Took multiple tries. I've been working on the cannons for 2+ months.... ugg. Just cleaning up the kit castings took forever Several attempts to make the custom carriages I did use the carriage wheels that came with the kit for the rear trucks For the front, i made with some brace to rest on the sill of the gunport I also drilled a small whole in the end of the barrel for the simulated screw. I ordered the properly scaled and blackened eyebolts from HIS Models. Installing the corresponding eyebolts on the bulk works was also a bear In the end, i think they came out ok. Right know only have the breach lines in. Will eventually get to the full rigging Connie has here Teeth Oh yeah. Also put the cap rail on as you can see above Also the bow and stern bumkins are installed. At least until i accidentally hit them and break em off From the stern. Love this view And a side beauty shot Bow Bumkins
-
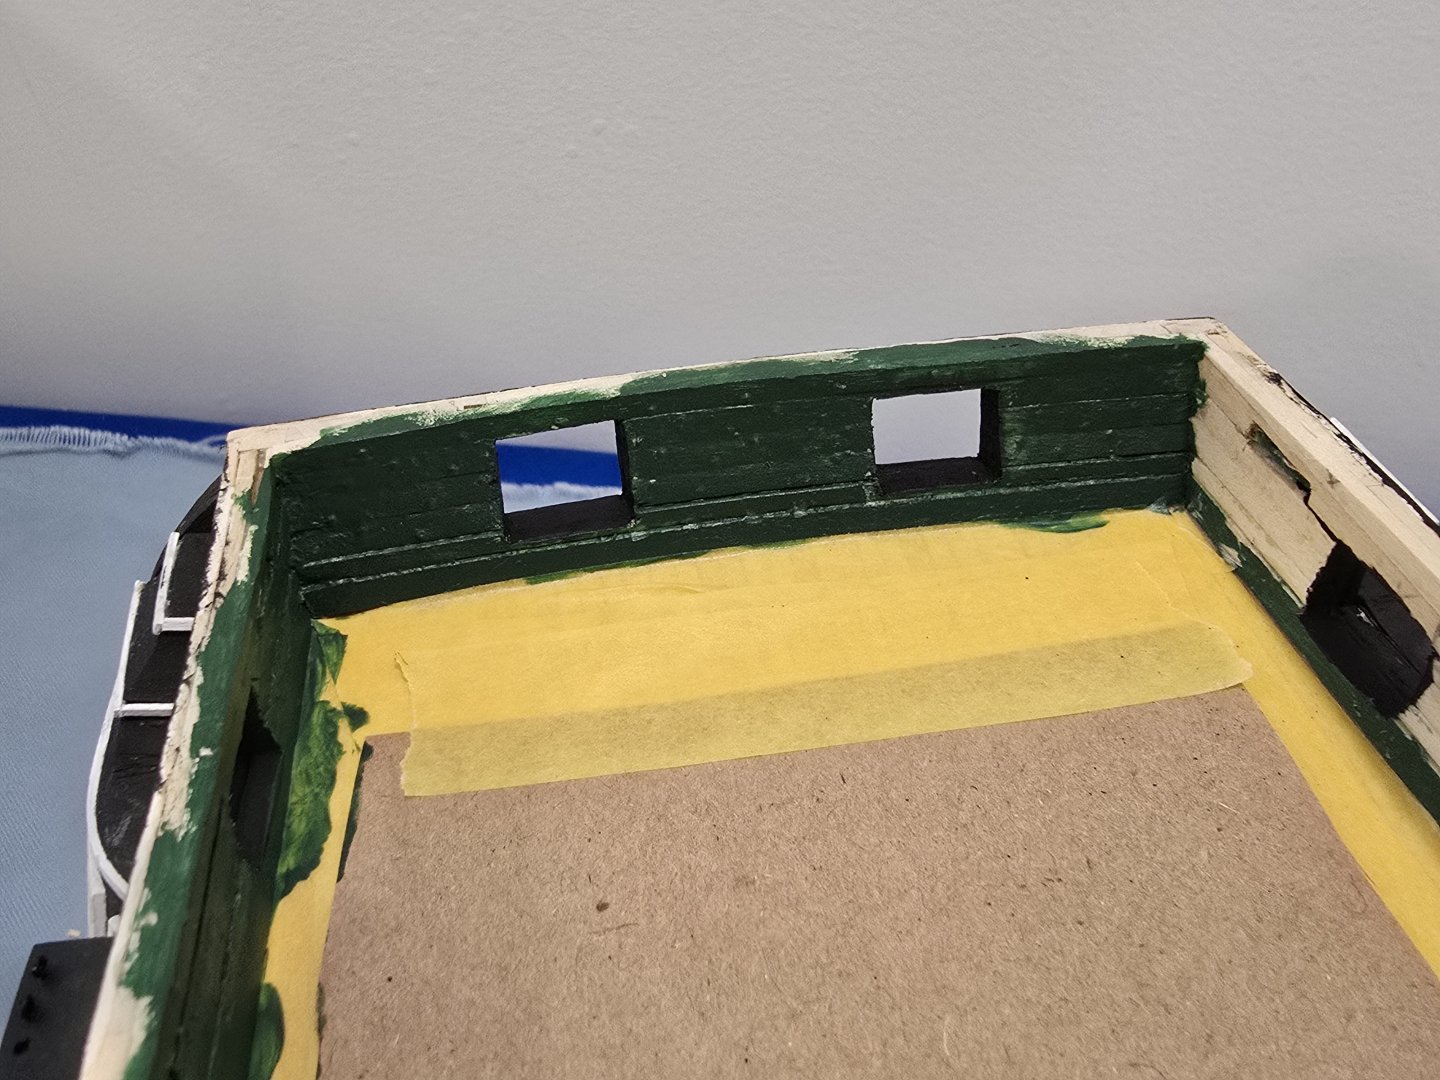
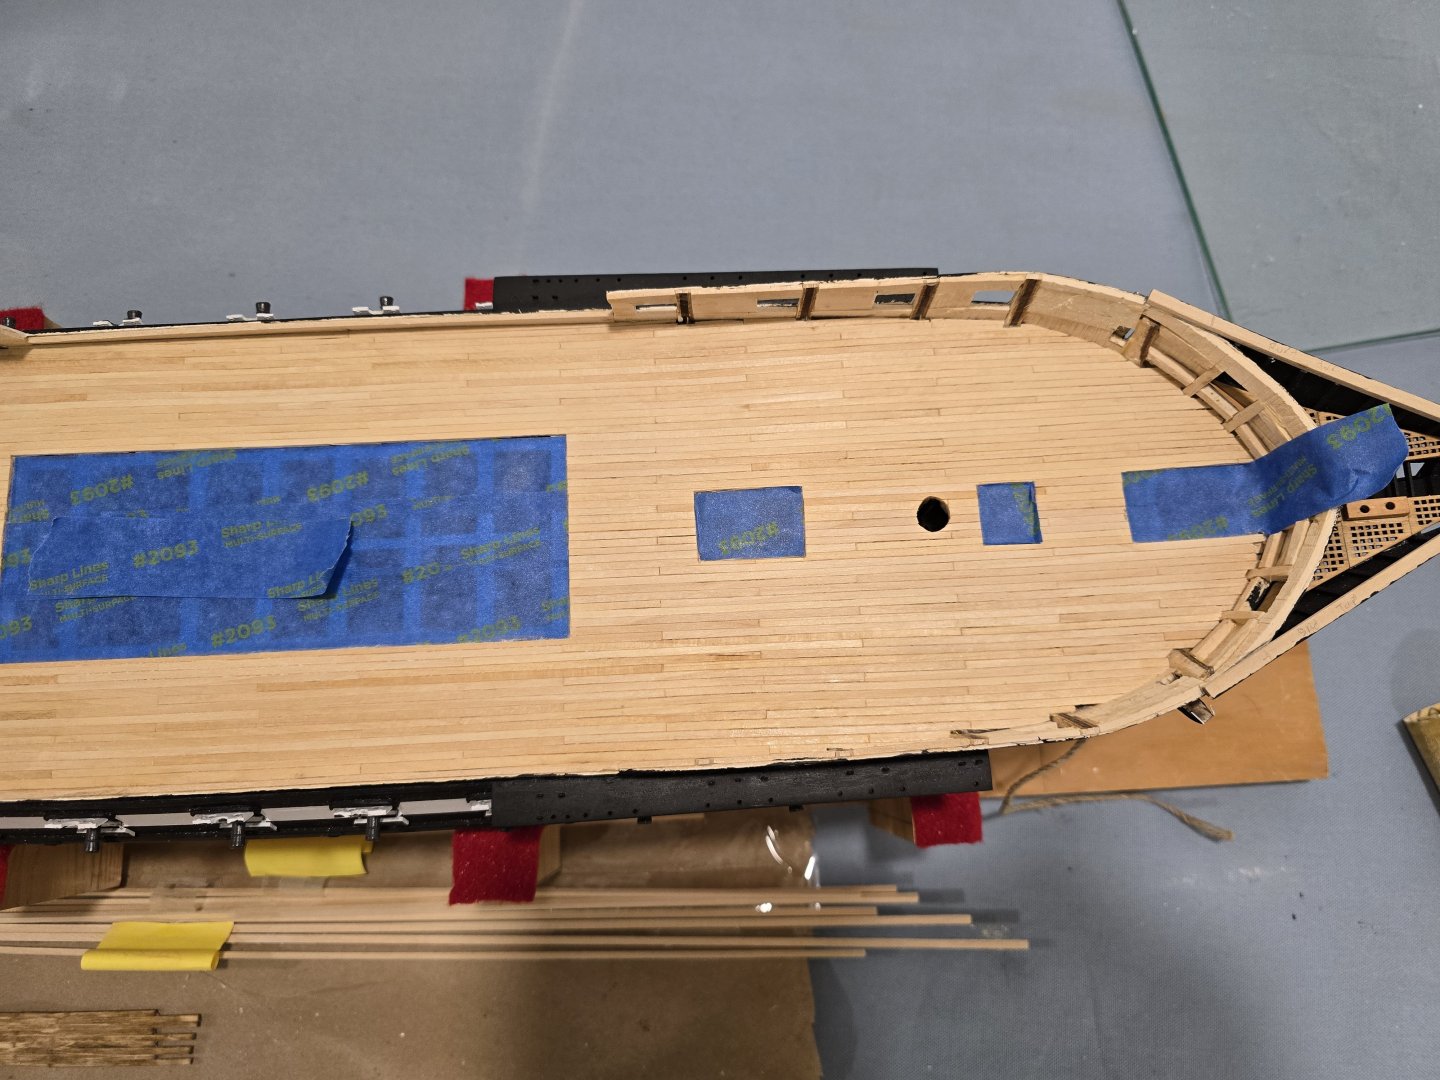
Well, cant believe its been 6 months since i posted. Have been in the shop working.. just neglect on posting. Unfortunately haven't taken as many in progress pics as i should have. But i'll bring you up to where I'm at. Posting the pics i do have. Sorry they are not great or as informative as my past posts. Since my last post. been working on spar deck. Added the bulwarks. and the green. Bolts were simulated with by applying a tiny drop of glue and eyedropper. I did this off the ship on the plank as i was preparing it. kept a very simple pattern evenly spaced drops alternating 1 high and next low edge of the plank. Did this for full length of plank Then when added to the ship, i made sure to stagger the high and low glue dots. Effect came out subtle. and there is a notable bolt pattern if you look. Also added in the sheeves on the side of the hull. Again made them off ship. Then cut rectangle in bulk work and slid it it. You can see it upper left of above pic. Also added all the cleats and pinrails Finished the Catheads
-
 kmart reacted to a post in a topic:
USS Constitution by Der Alte Rentner - Model Shipways - 1/76
-
 kmart reacted to a post in a topic:
USS Constitution by Der Alte Rentner - Model Shipways - 1/76
-
Der Alte Rentner Sorry. delayed response. Just seeing this now. Its been quite awhile since I did the headrails. I created the headrails first. I got the rails as close to mirror/ symmetrical as i could when dry fitted to hull. For the supports, I did start with the shape as per the plans. When they didn't really fit well.. I kept enlarging and adjusting to fit the rails. I the the pic you posted on the top supports, you can see the outline of the plan supports on my version. To get it to work, my supports are both a bit taller than the plan and wider wider. That helps get more surface area touching to the bow stem. making it slightly wider also helped from it breaking at the top where it really thin.
-
 kmart reacted to a post in a topic:
USS Constitution by JSGerson - Model Shipways Kit No. MS2040
-
 kmart reacted to a post in a topic:
USS Constitution by Der Alte Rentner - Model Shipways - 1/76
-
 kmart reacted to a post in a topic:
USS Constitution by Der Alte Rentner - Model Shipways - 1/76
-
 kmart reacted to a post in a topic:
USS Constitution by mtbediz - 1:76
-
 kmart reacted to a post in a topic:
USS Constitution by mtbediz - 1:76
-
 kmart reacted to a post in a topic:
USS Constitution by mtbediz - 1:76
-
kmart started following Der Alte Rentner
-
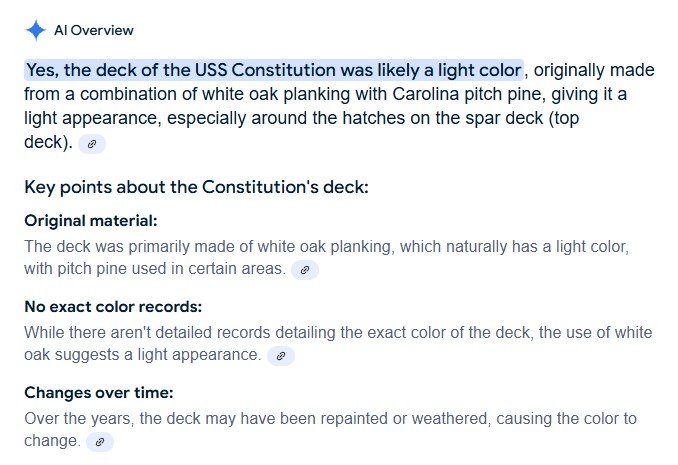
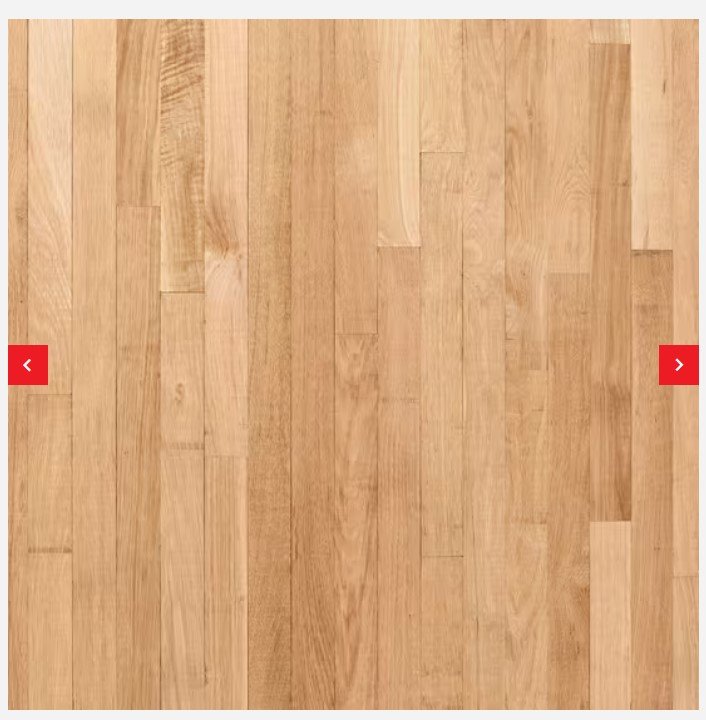
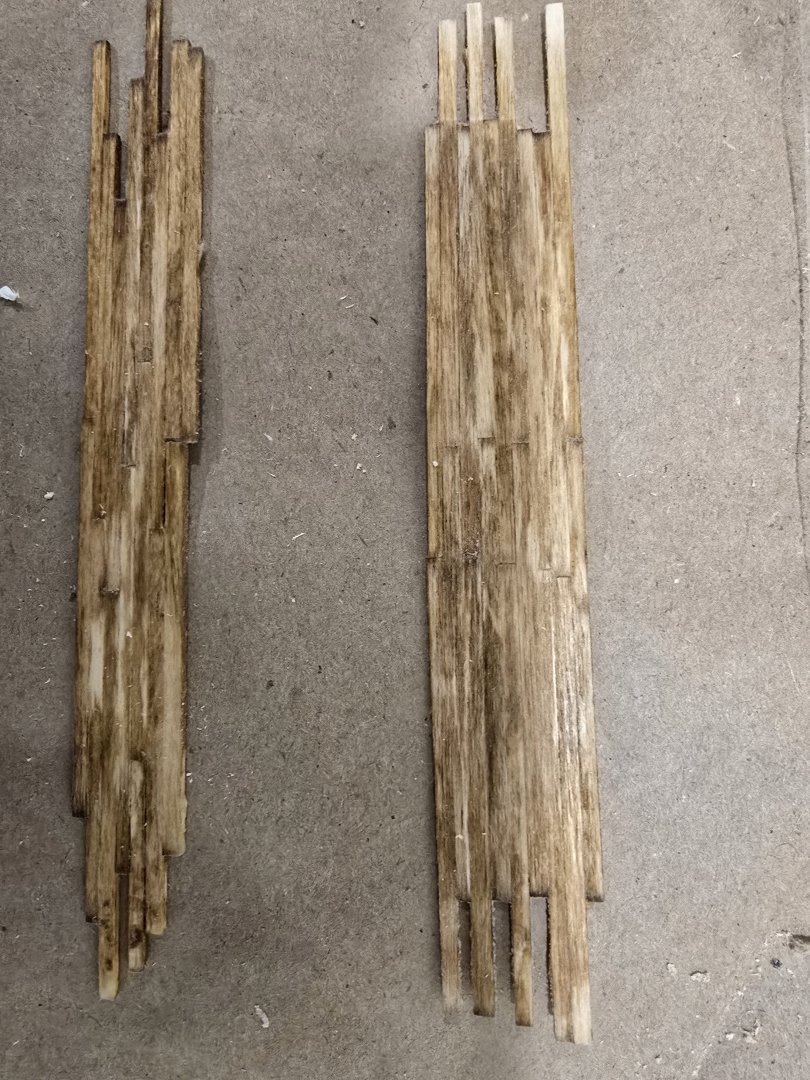
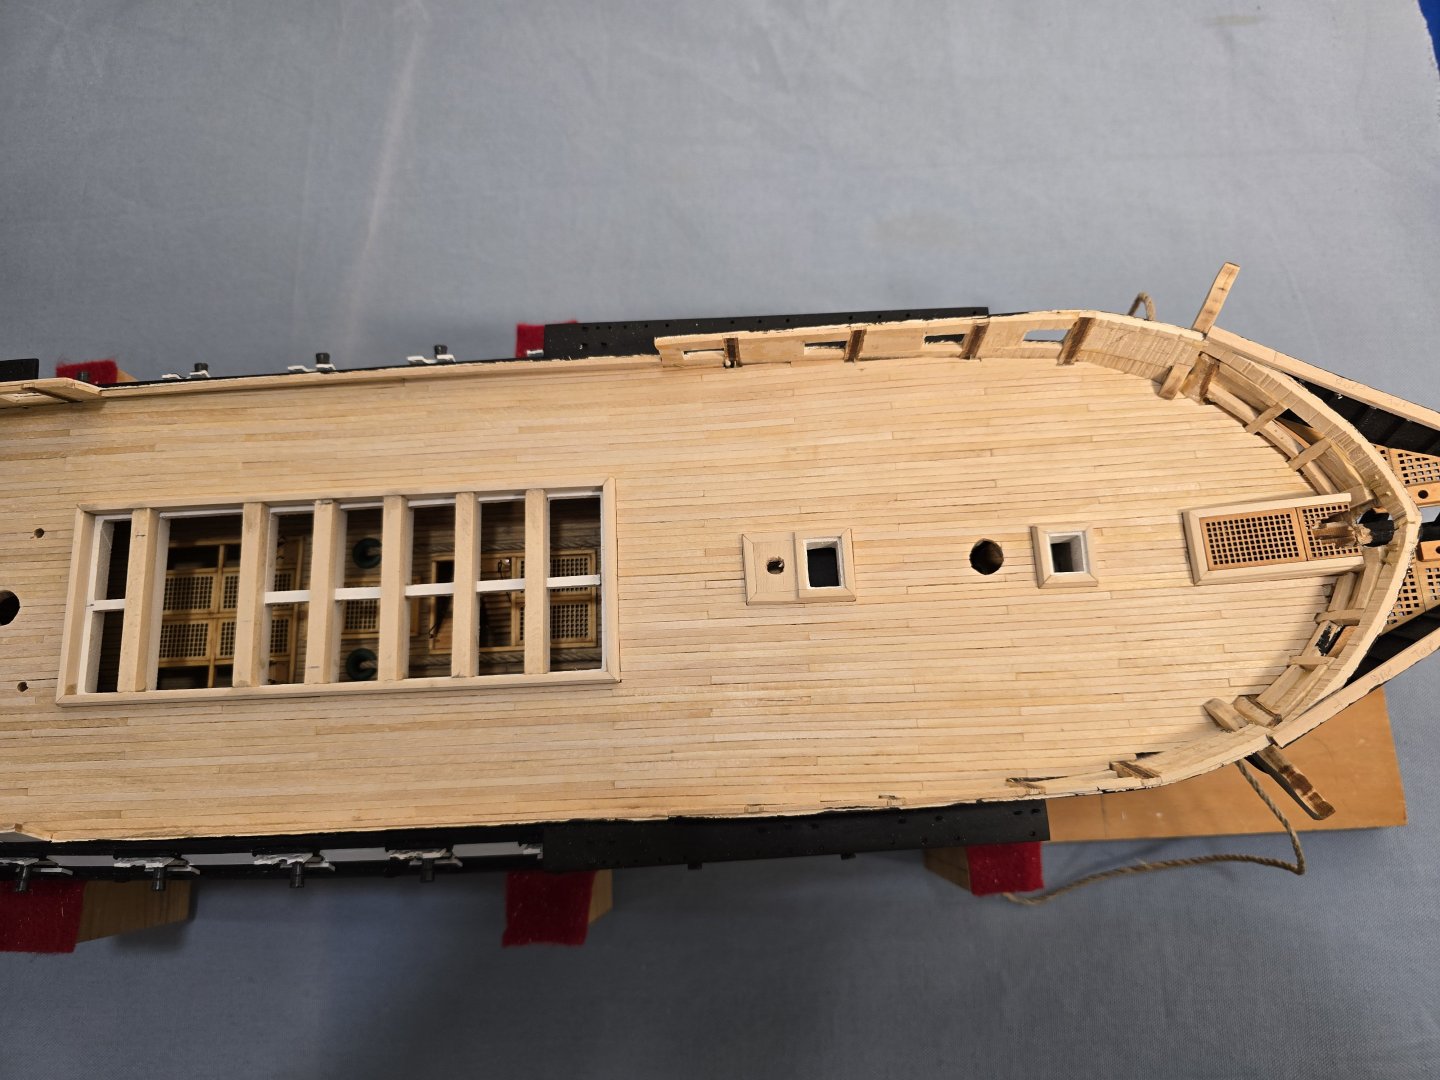
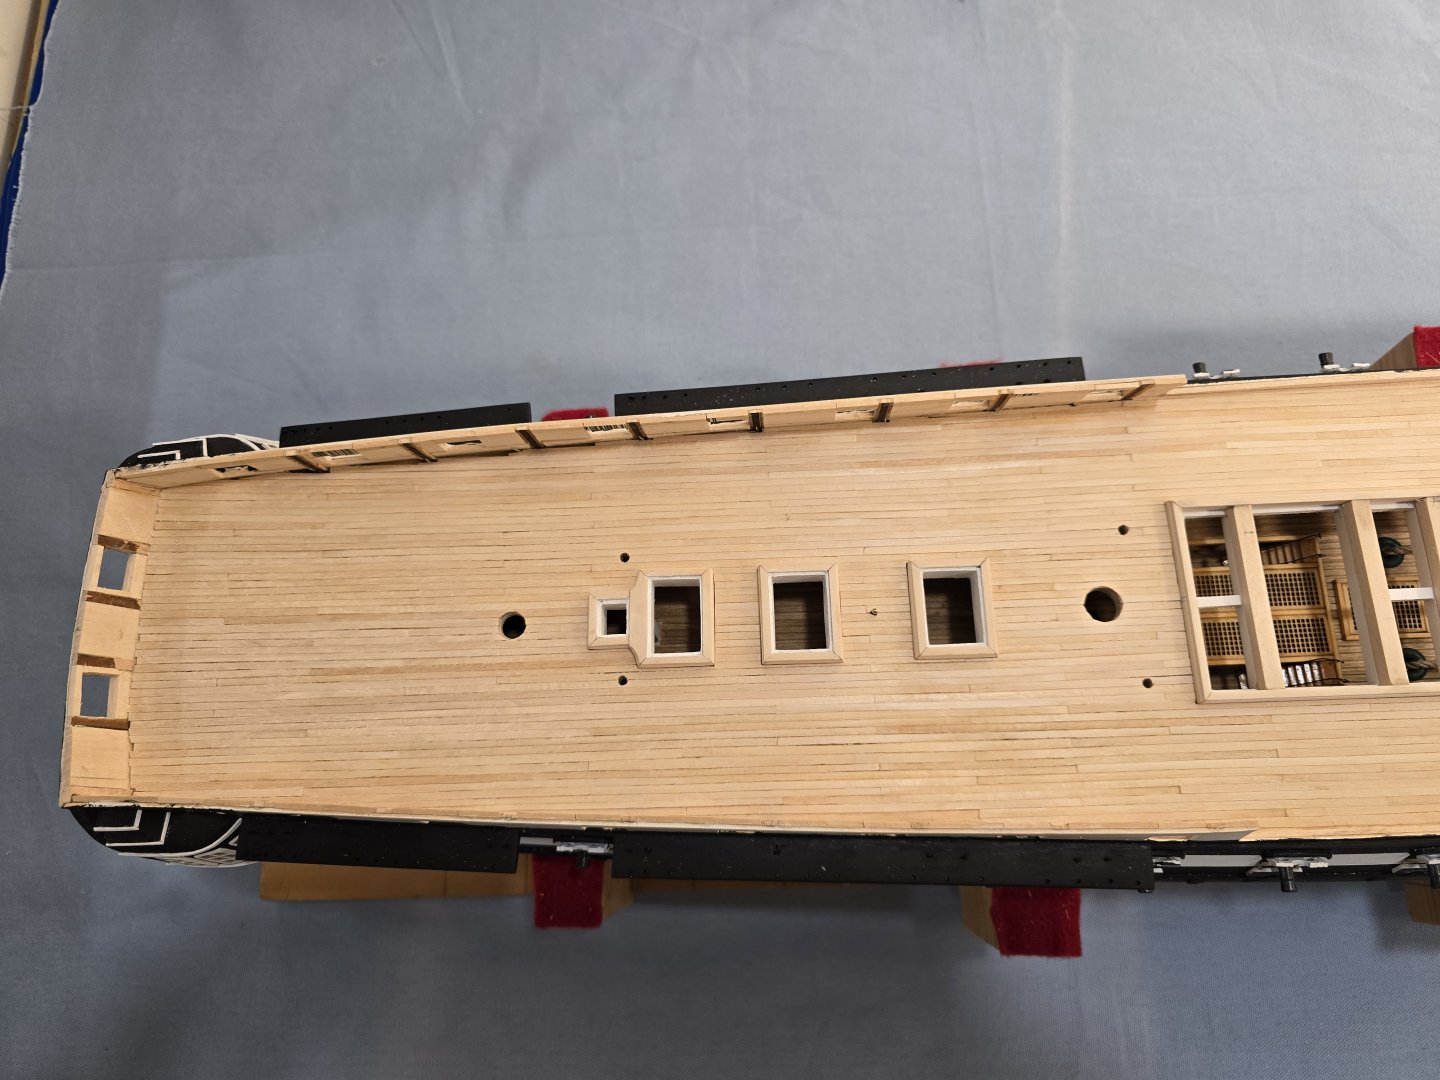
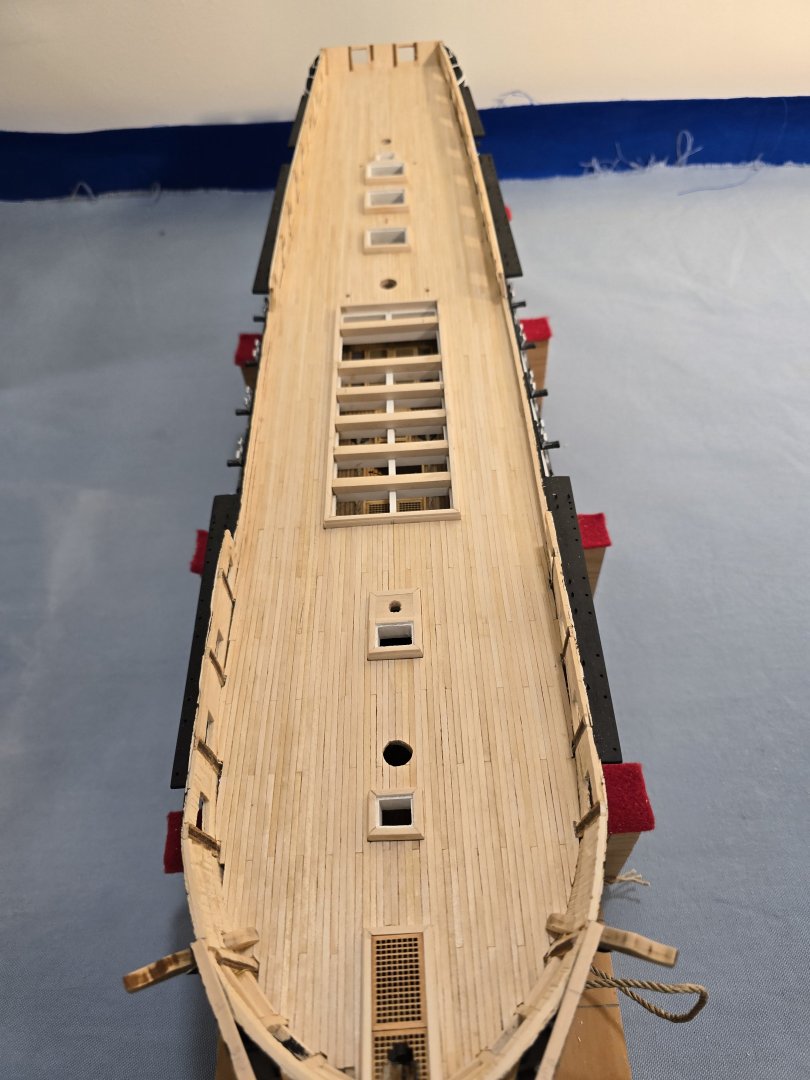
My plan for the spar deck was to use minmax golden oak stain. (oil based.) I made multiple test pieces. Basically glued leftover strips into small section... including butt ends and edge to edge. Scraped and then sanded them down with 220 grit. Basically the same as the planking on the model. Watched many utube videos by minwax on the propre application and techniques Treated with MinWax Pre stain wood conditioner and then stained. Did bout 5 separate attempts. Never got it to look even close to acceptable. Always splotchy. not a uniform color. Not sure if it was due to residual glue on the wood. (I did scrap and sand to bare wood) played with time of pre stain and stain on wood before wiping it off. All No joy. Still deciding how I want to move forward on the deck. Wont do anything until i test it successfully off the model Don't want to screw up the decks at this point. I'm considering leaving it bare or just matte clear coat polyurethane. Google did indicate some references that at some point early in her life...the deck was light color. ( It is "White oak" after all)
About us
Modelshipworld - Advancing Ship Modeling through Research
SSL Secured
Your security is important for us so this Website is SSL-Secured
NRG Mailing Address
Nautical Research Guild
237 South Lincoln Street
Westmont IL, 60559-1917
Model Ship World ® and the MSW logo are Registered Trademarks, and belong to the Nautical Research Guild (United States Patent and Trademark Office: No. 6,929,264 & No. 6,929,274, registered Dec. 20, 2022)
Helpful Links
About the NRG
If you enjoy building ship models that are historically accurate as well as beautiful, then The Nautical Research Guild (NRG) is just right for you.
The Guild is a non-profit educational organization whose mission is to “Advance Ship Modeling Through Research”. We provide support to our members in their efforts to raise the quality of their model ships.
The Nautical Research Guild has published our world-renowned quarterly magazine, The Nautical Research Journal, since 1955. The pages of the Journal are full of articles by accomplished ship modelers who show you how they create those exquisite details on their models, and by maritime historians who show you the correct details to build. The Journal is available in both print and digital editions. Go to the NRG web site (www.thenrg.org) to download a complimentary digital copy of the Journal. The NRG also publishes plan sets, books and compilations of back issues of the Journal and the former Ships in Scale and Model Ship Builder magazines.

