CDW
-
Posts
7,730 -
Joined
-
Last visited
Content Type
Profiles
Forums
Gallery
Events
Everything posted by CDW
-
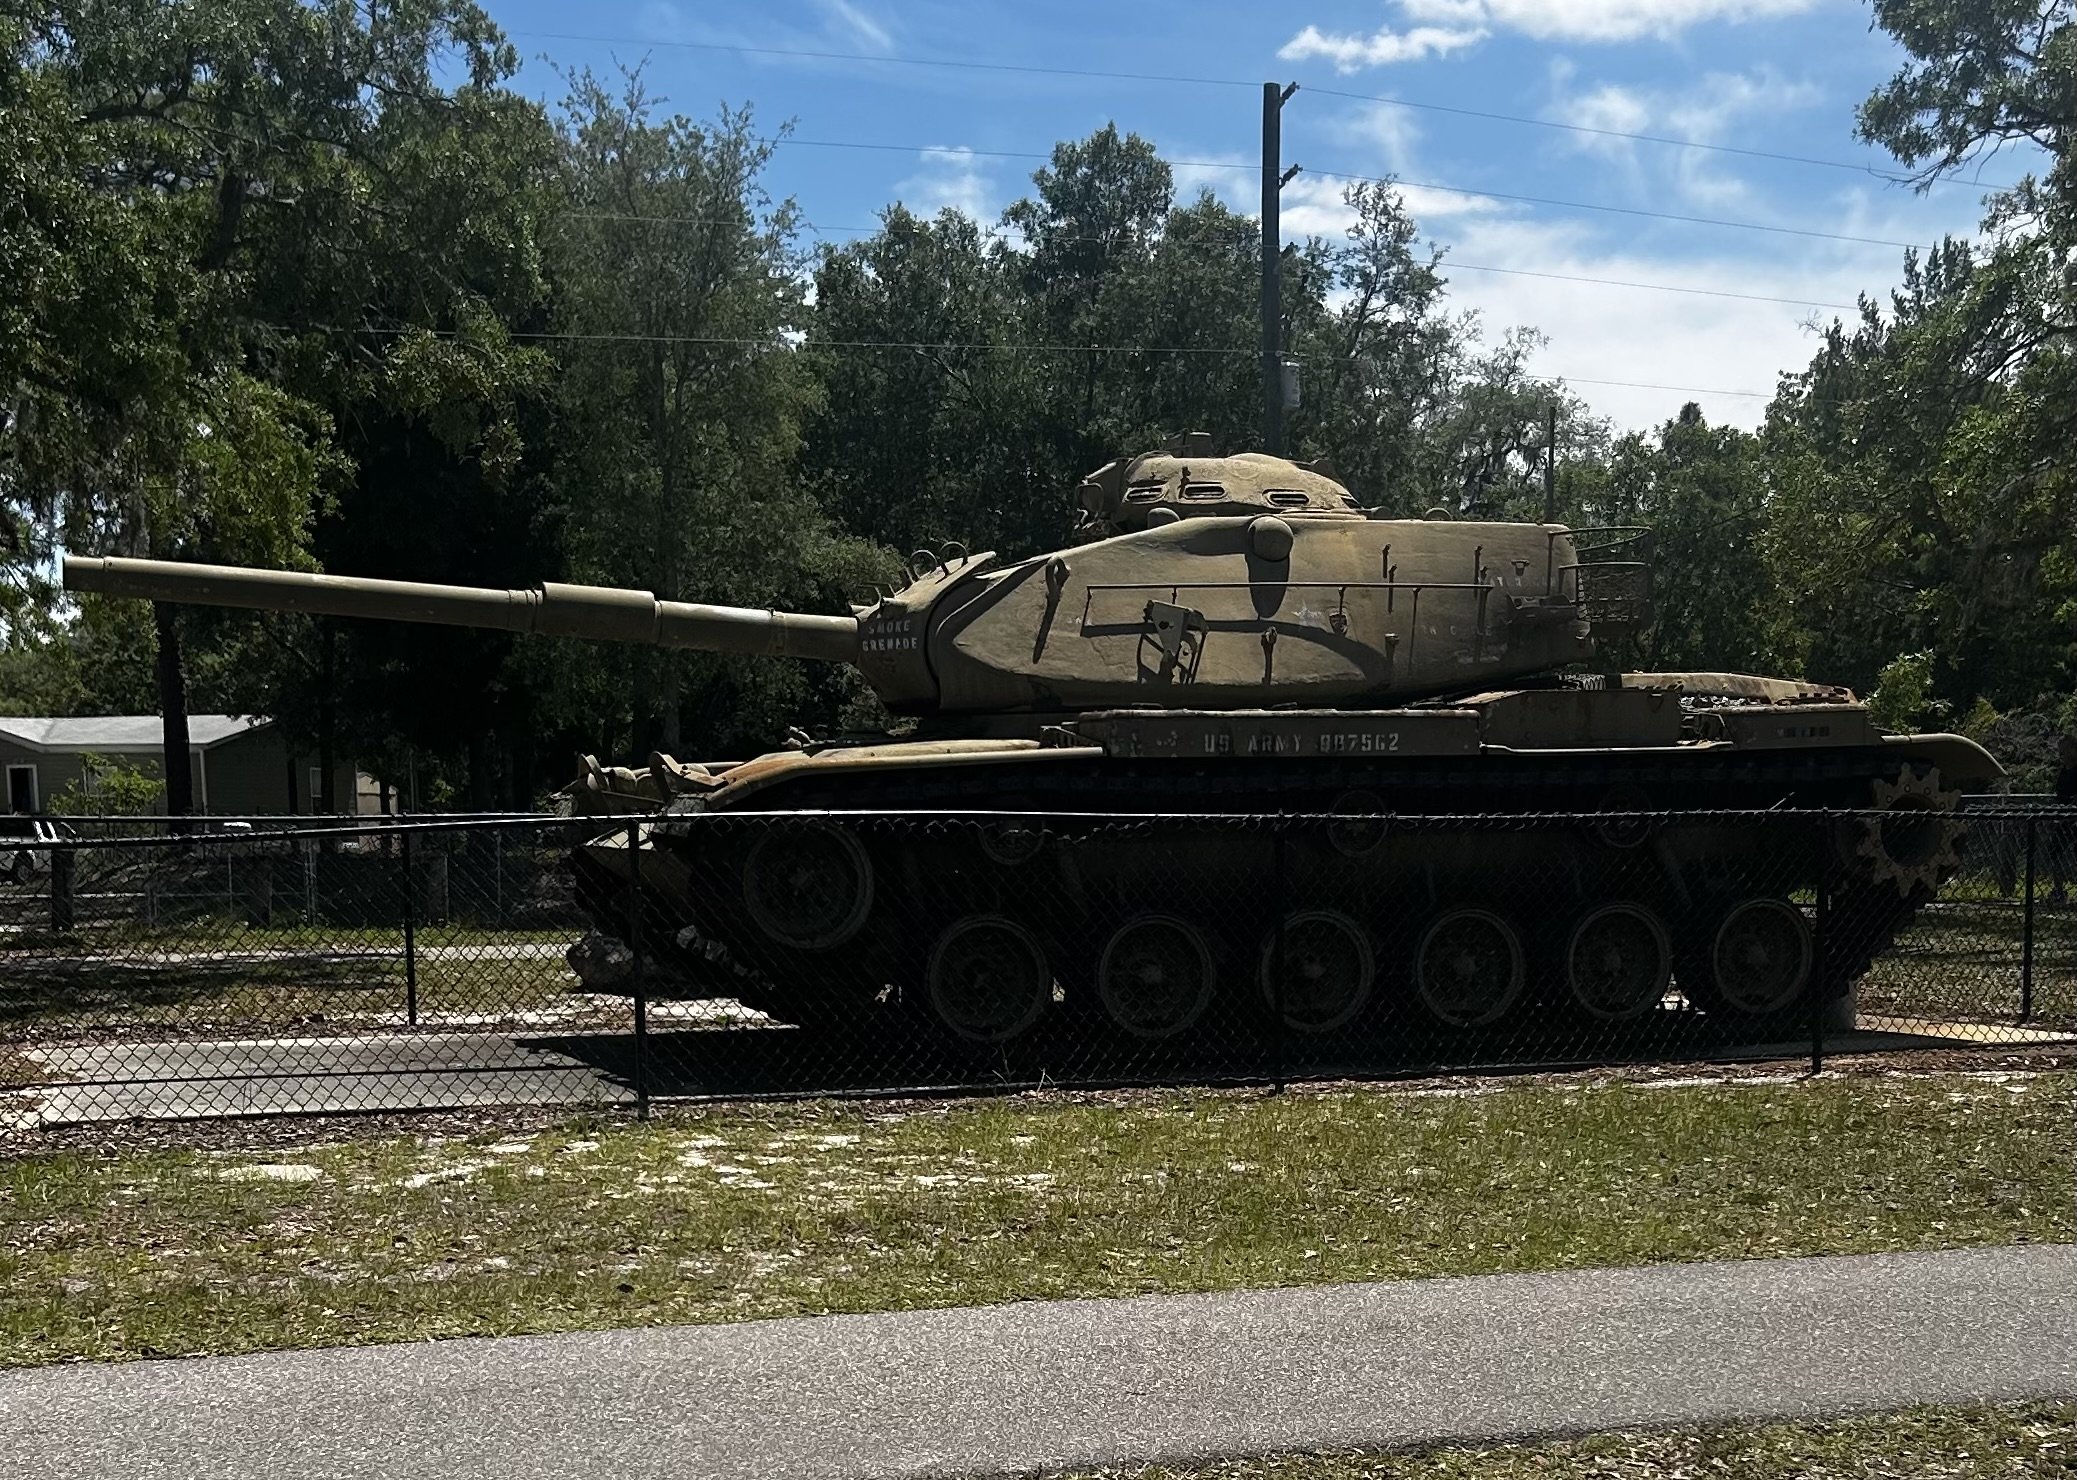
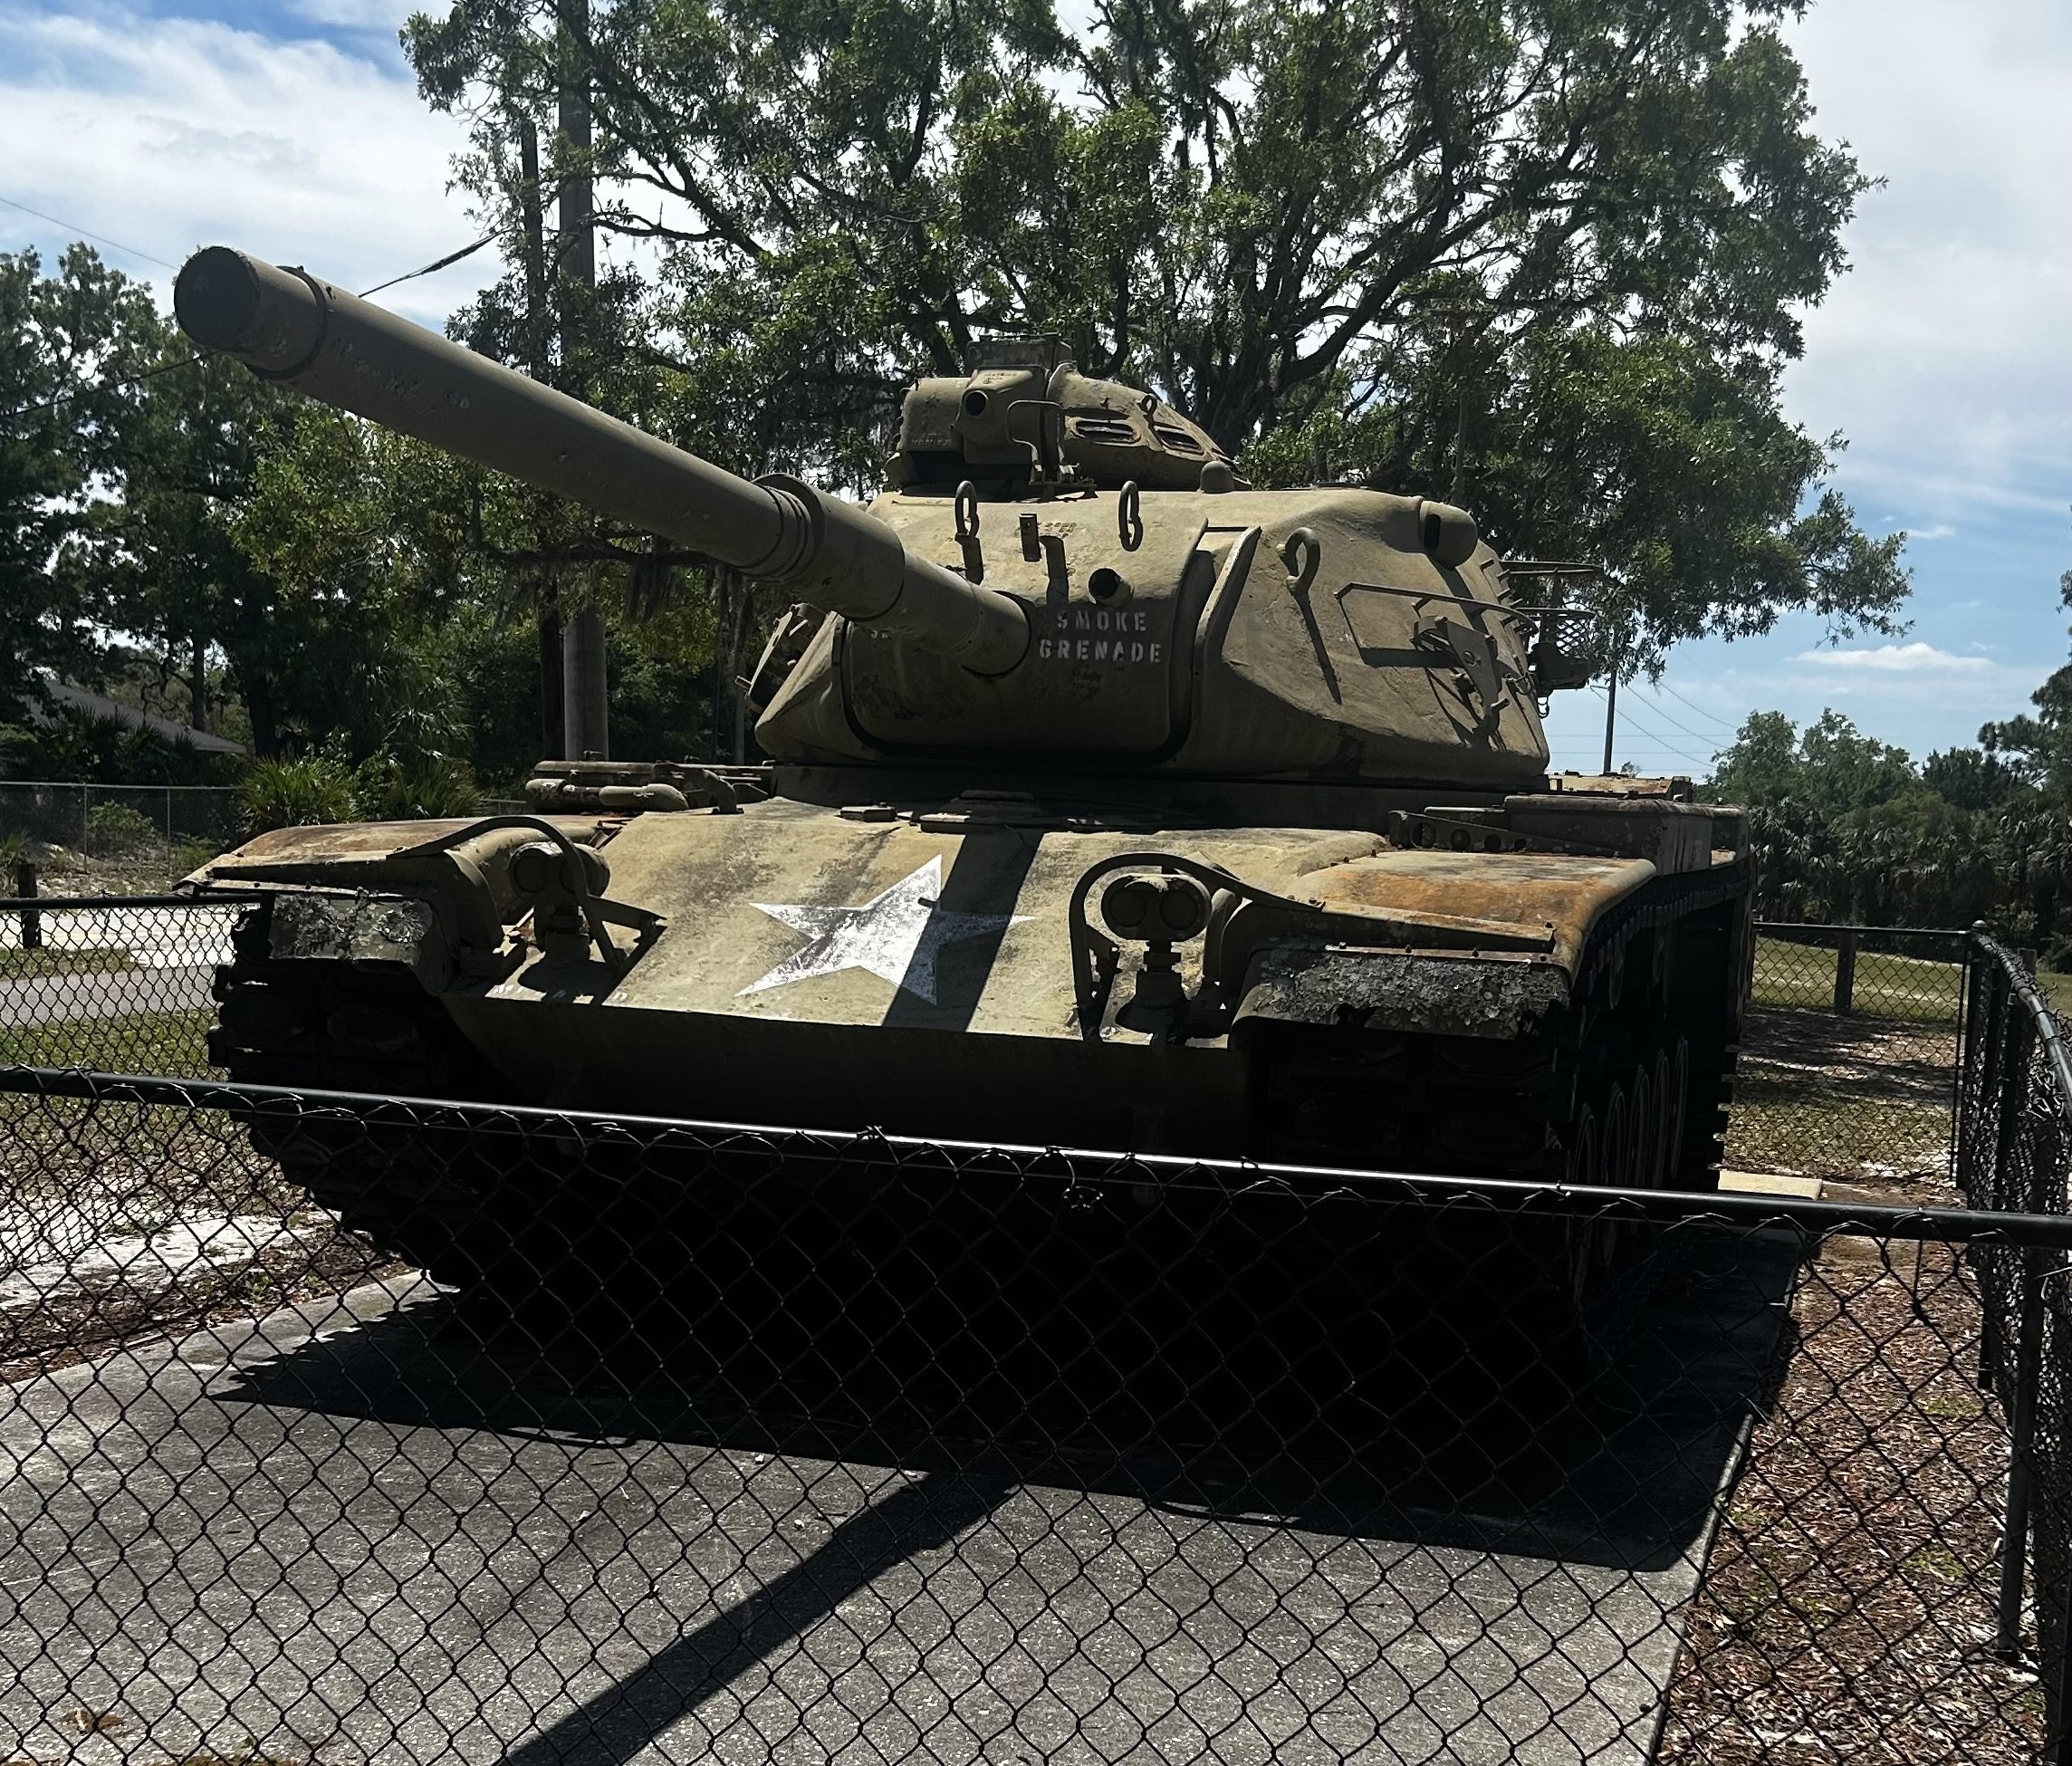
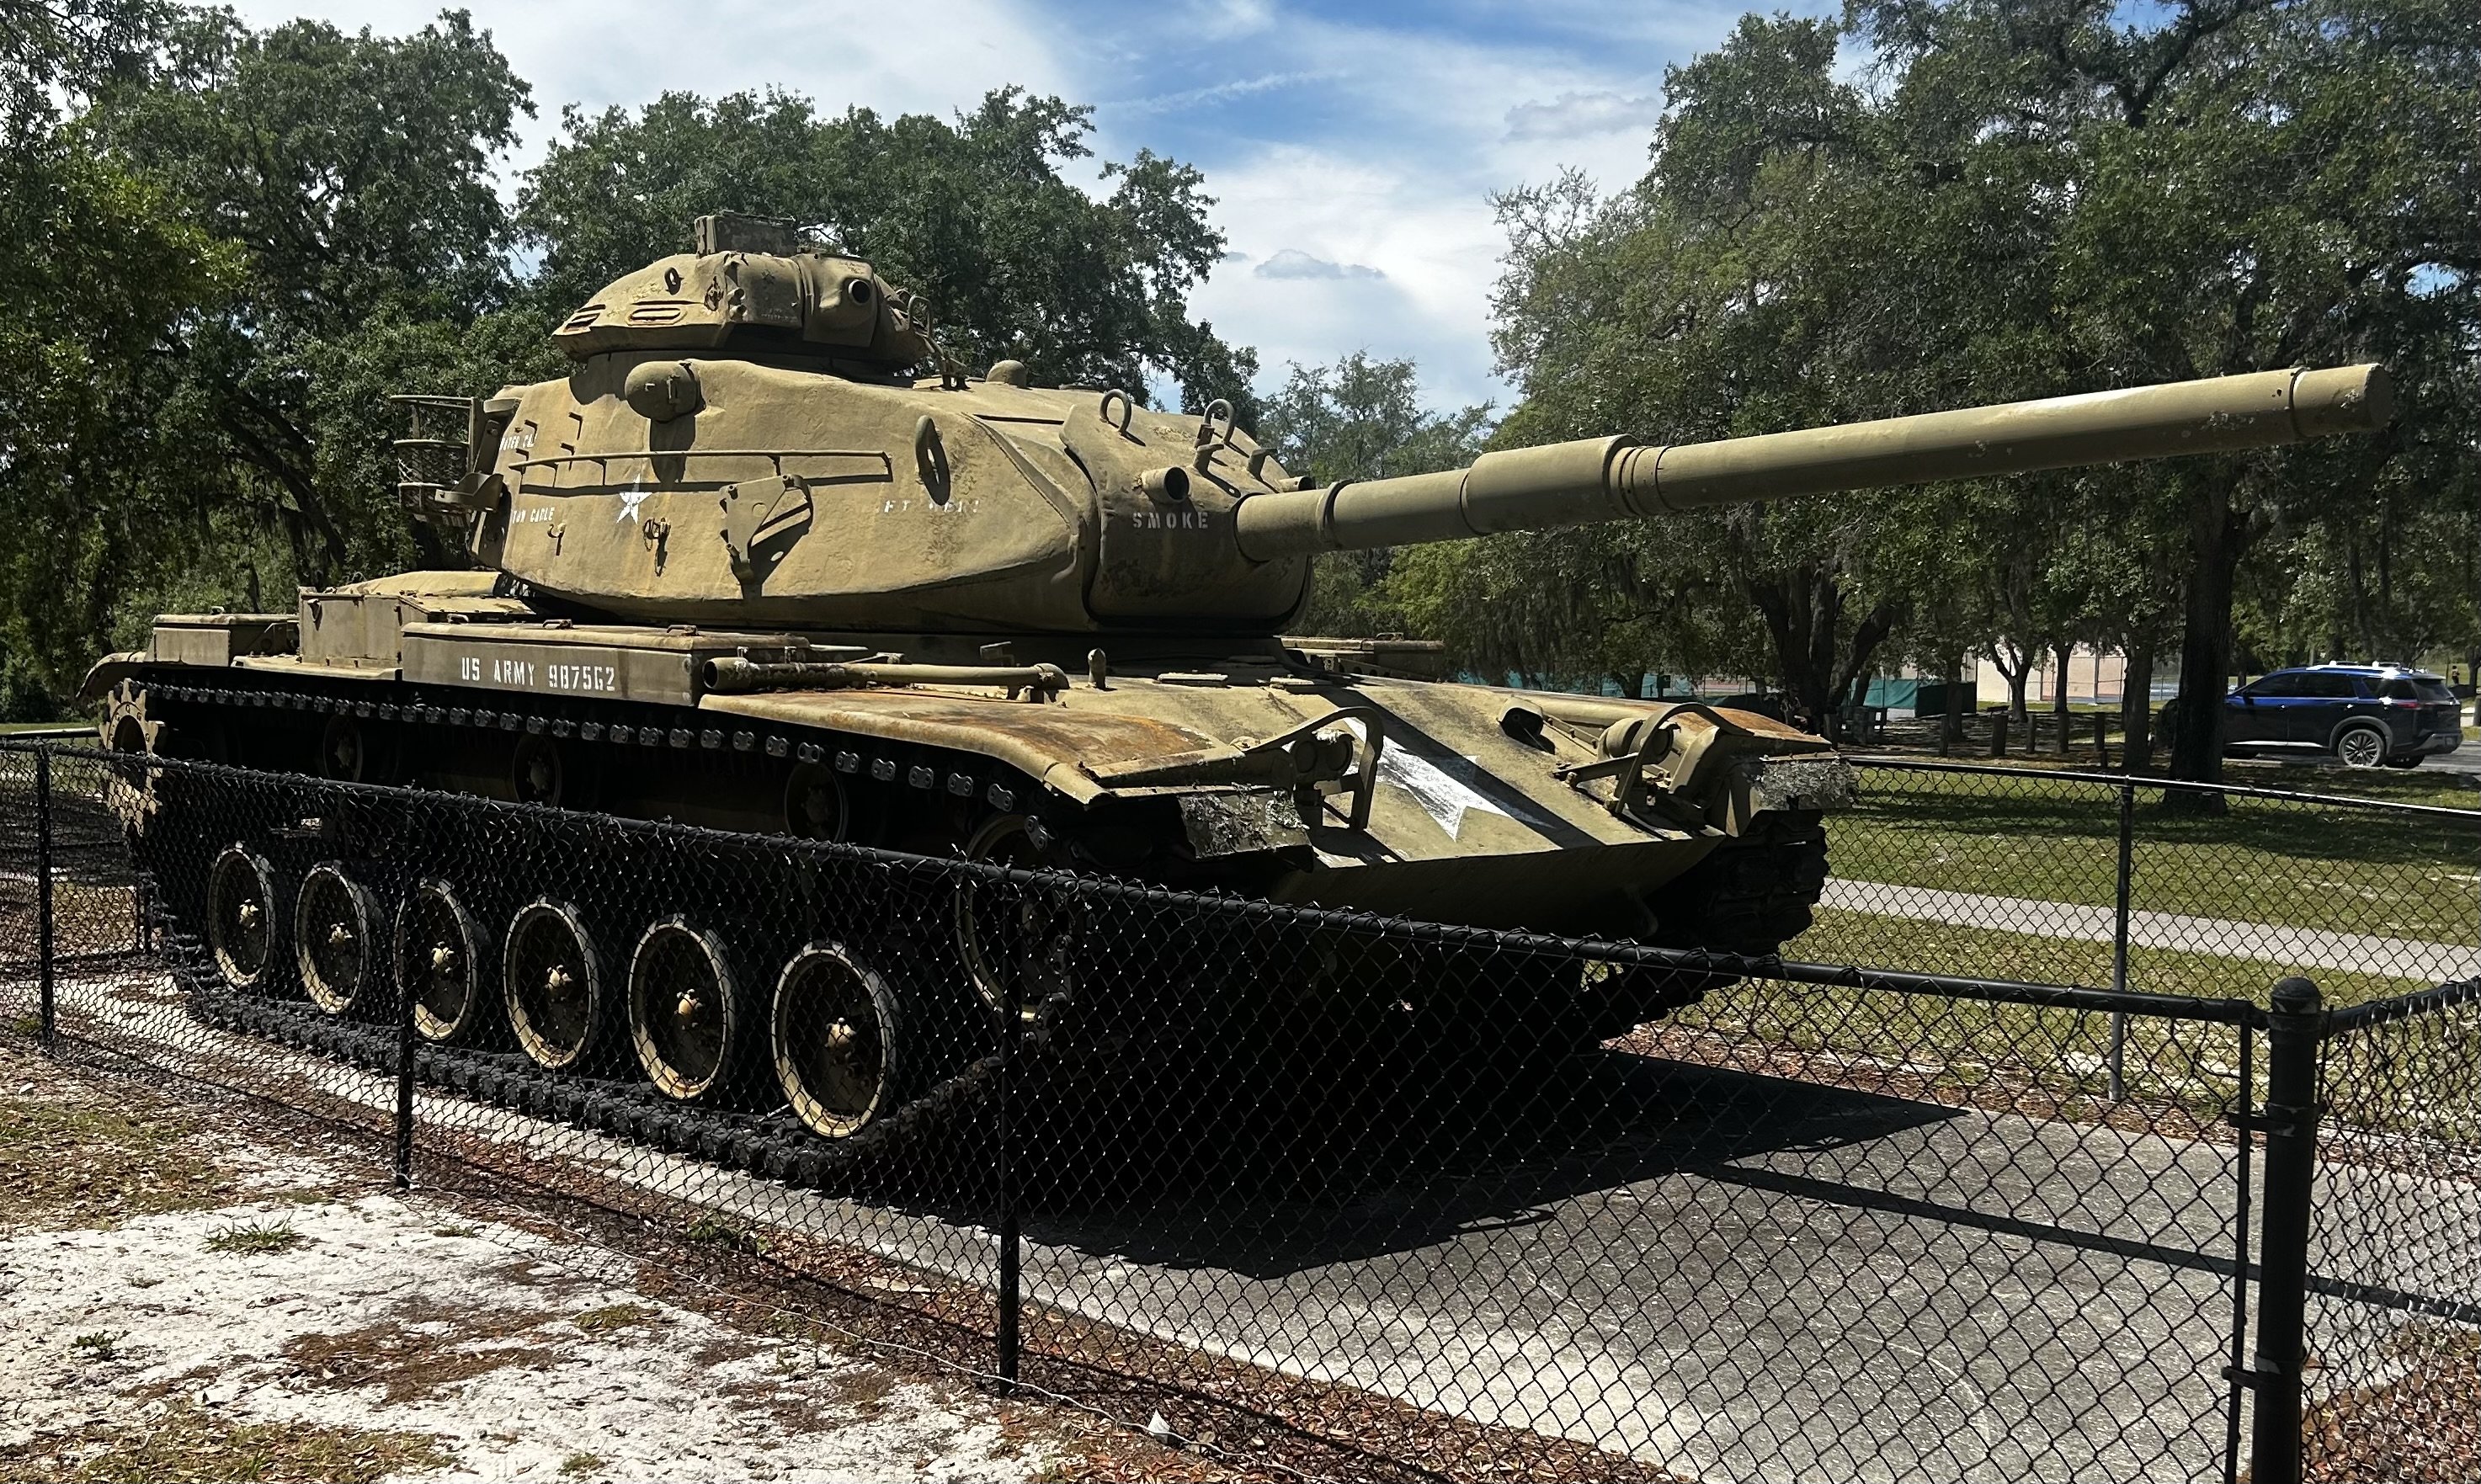
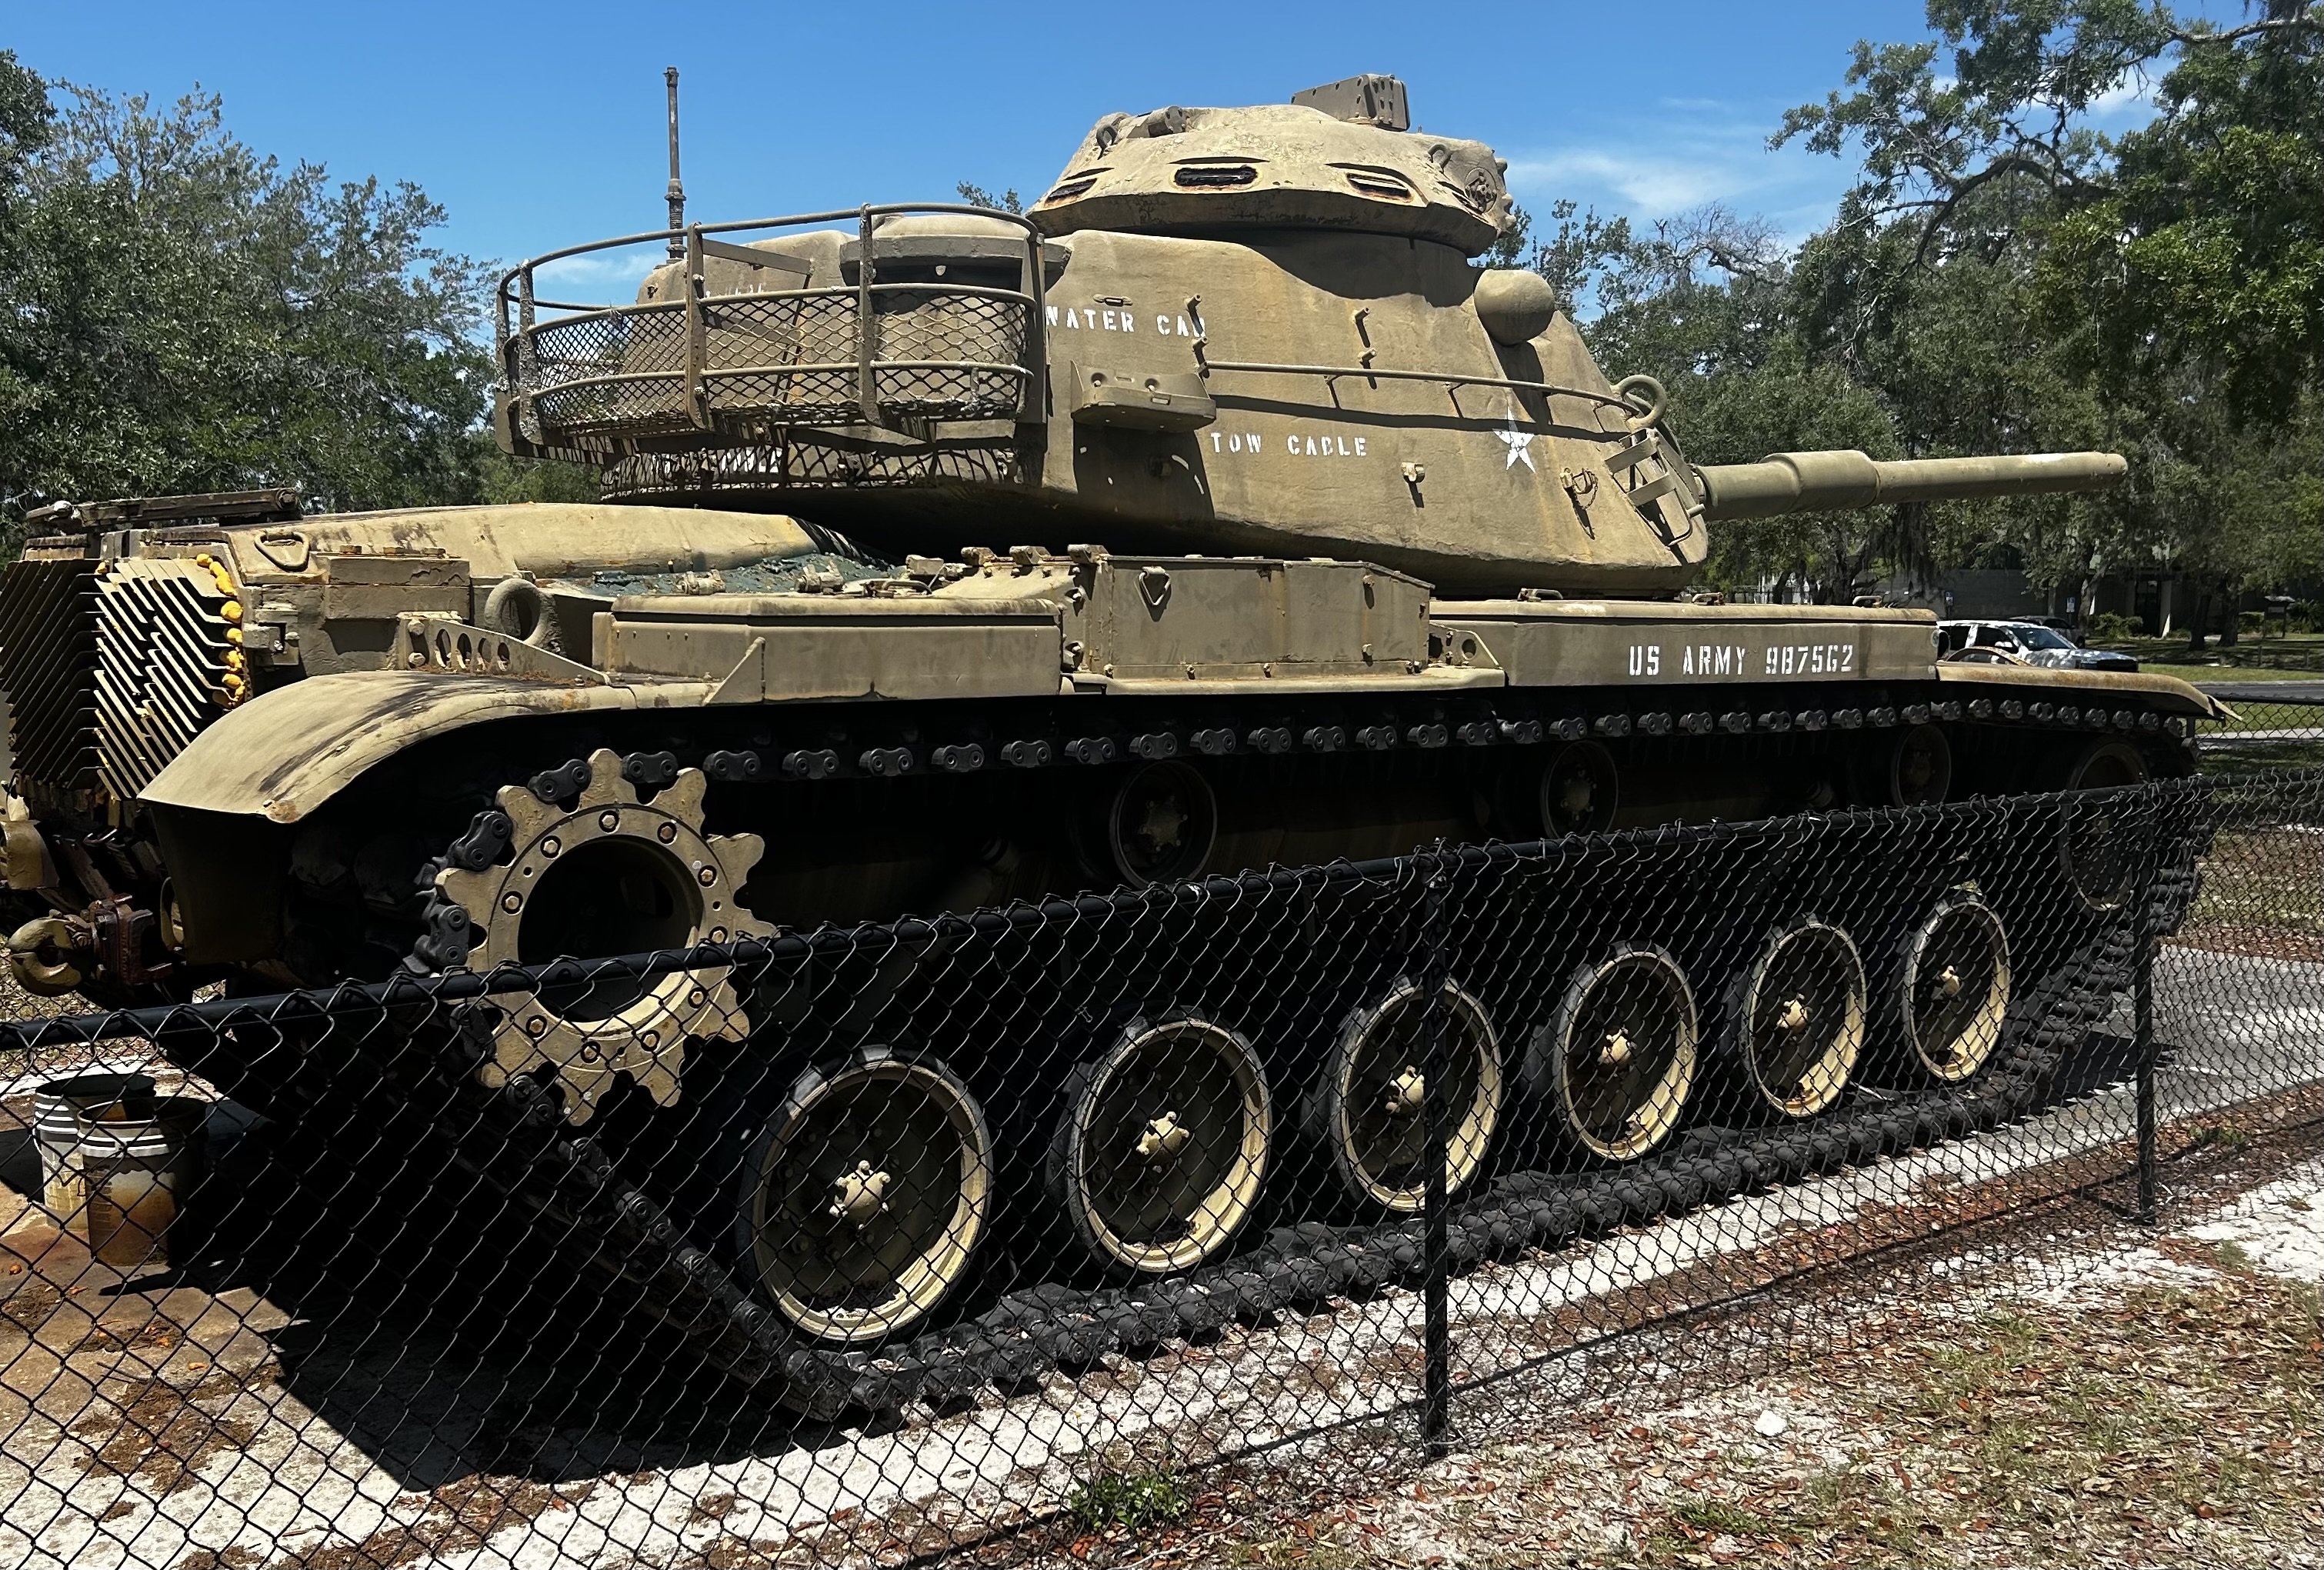
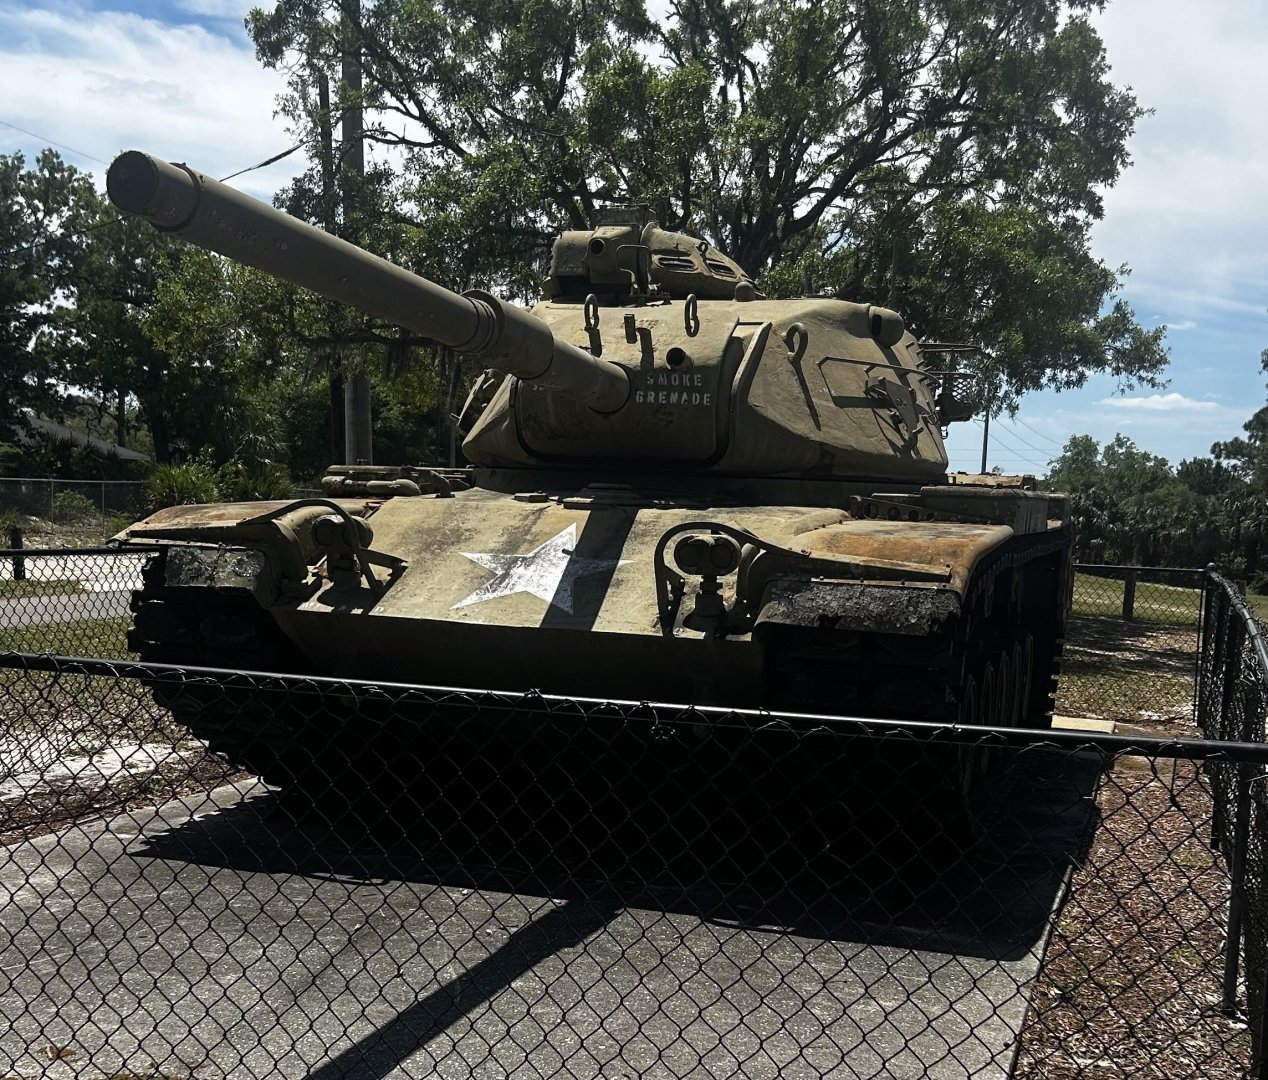
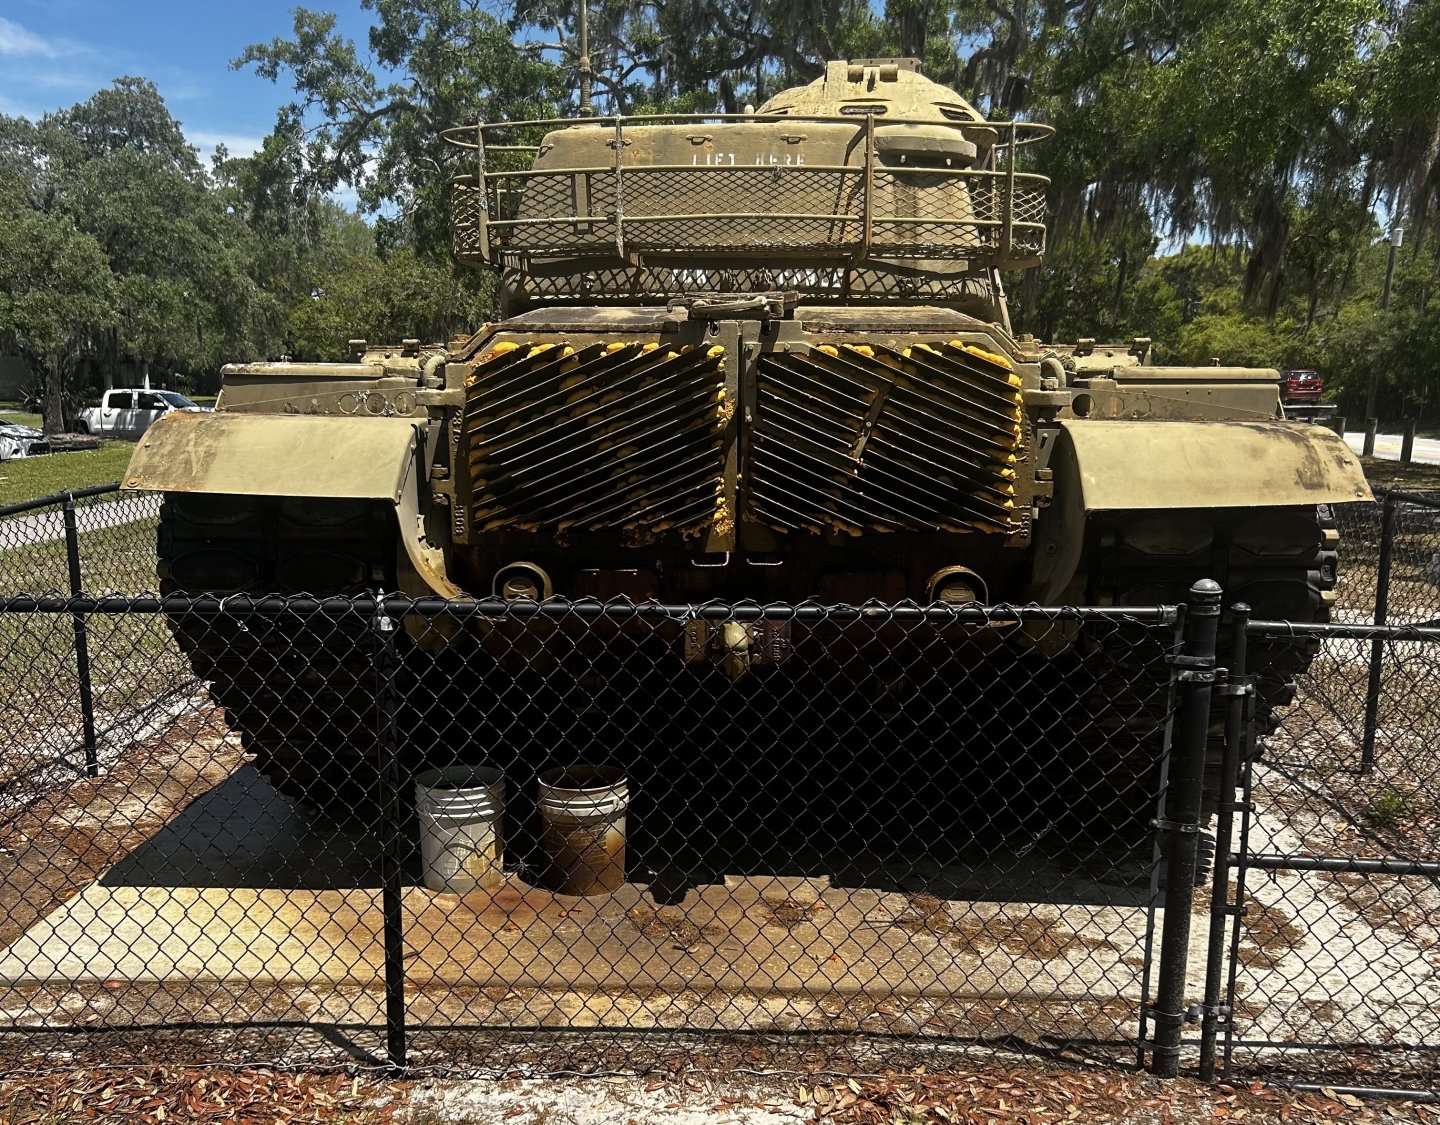
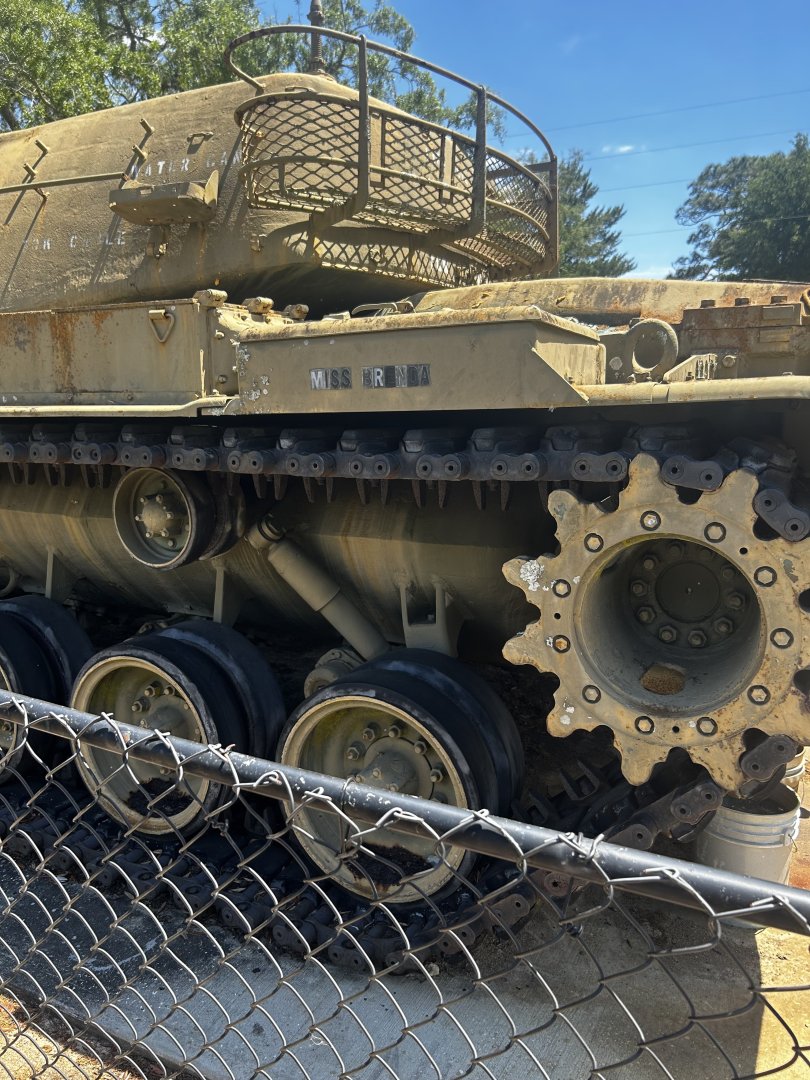
 Driving my wife's sister home today, I saw this M-60 on the side of the road, so I got down and took a few photos. Man, that's a lot of steel right there. "MISS BRENDA"
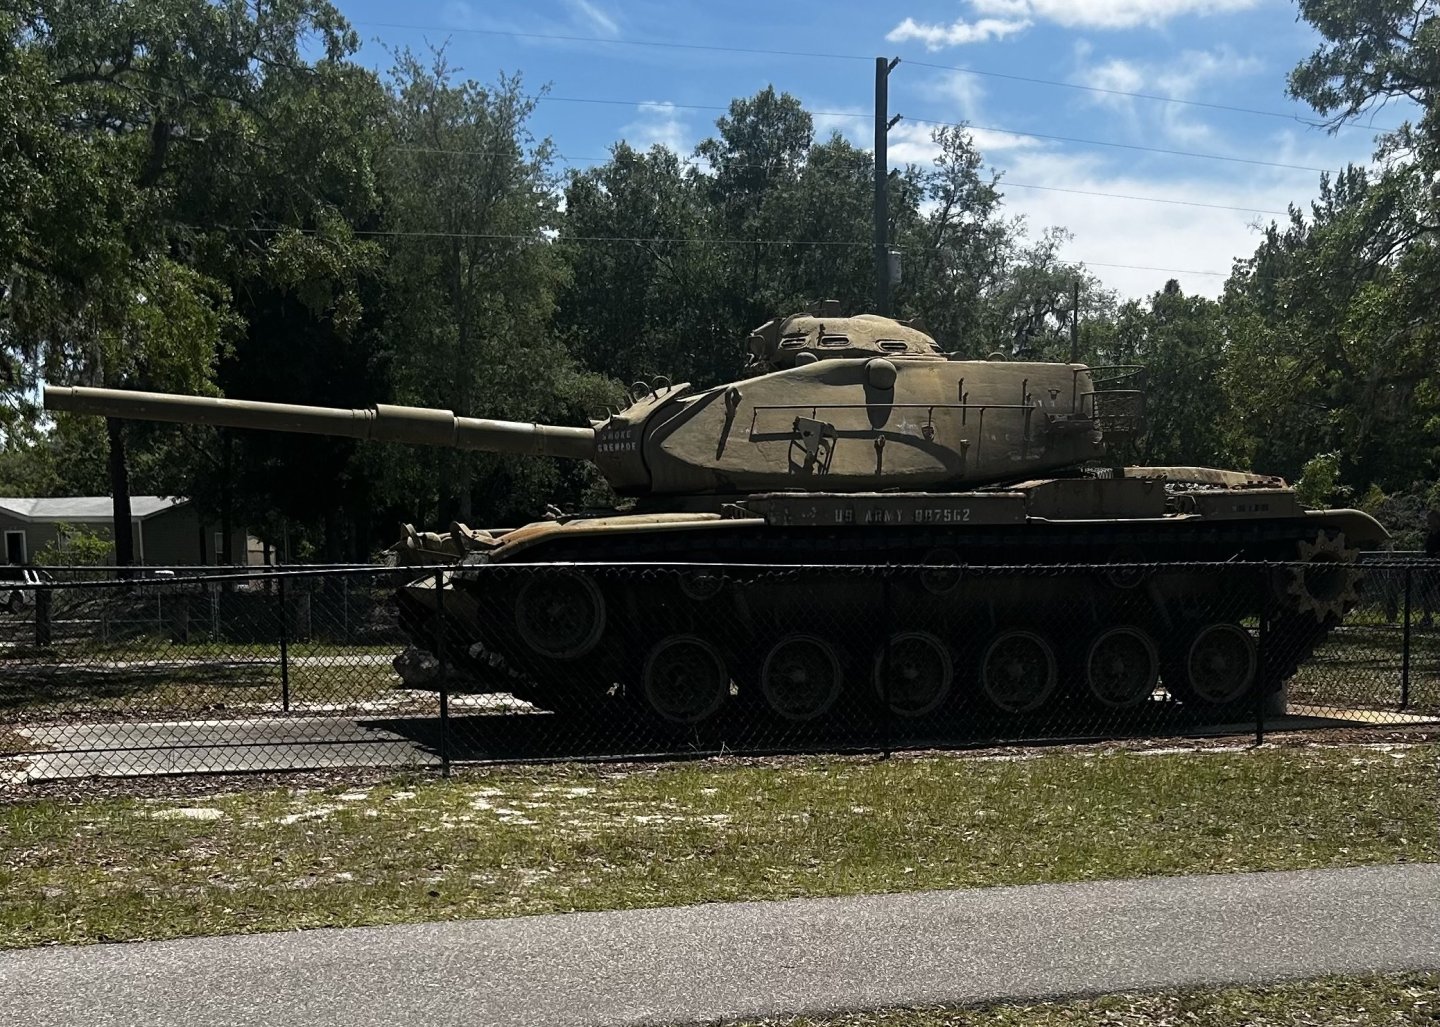


- 127 replies
-
- 10
-

-
The seats in the lower rows are not your friend at clay tracks. Besides that, I've seen cars go flying over the barriers and into the stands on more than one occasion.
-
What about the ever popular “figure eight” races. Wow, what a thrill those were! Sometimes those demolition derbies got real nasty and personal, too.
-
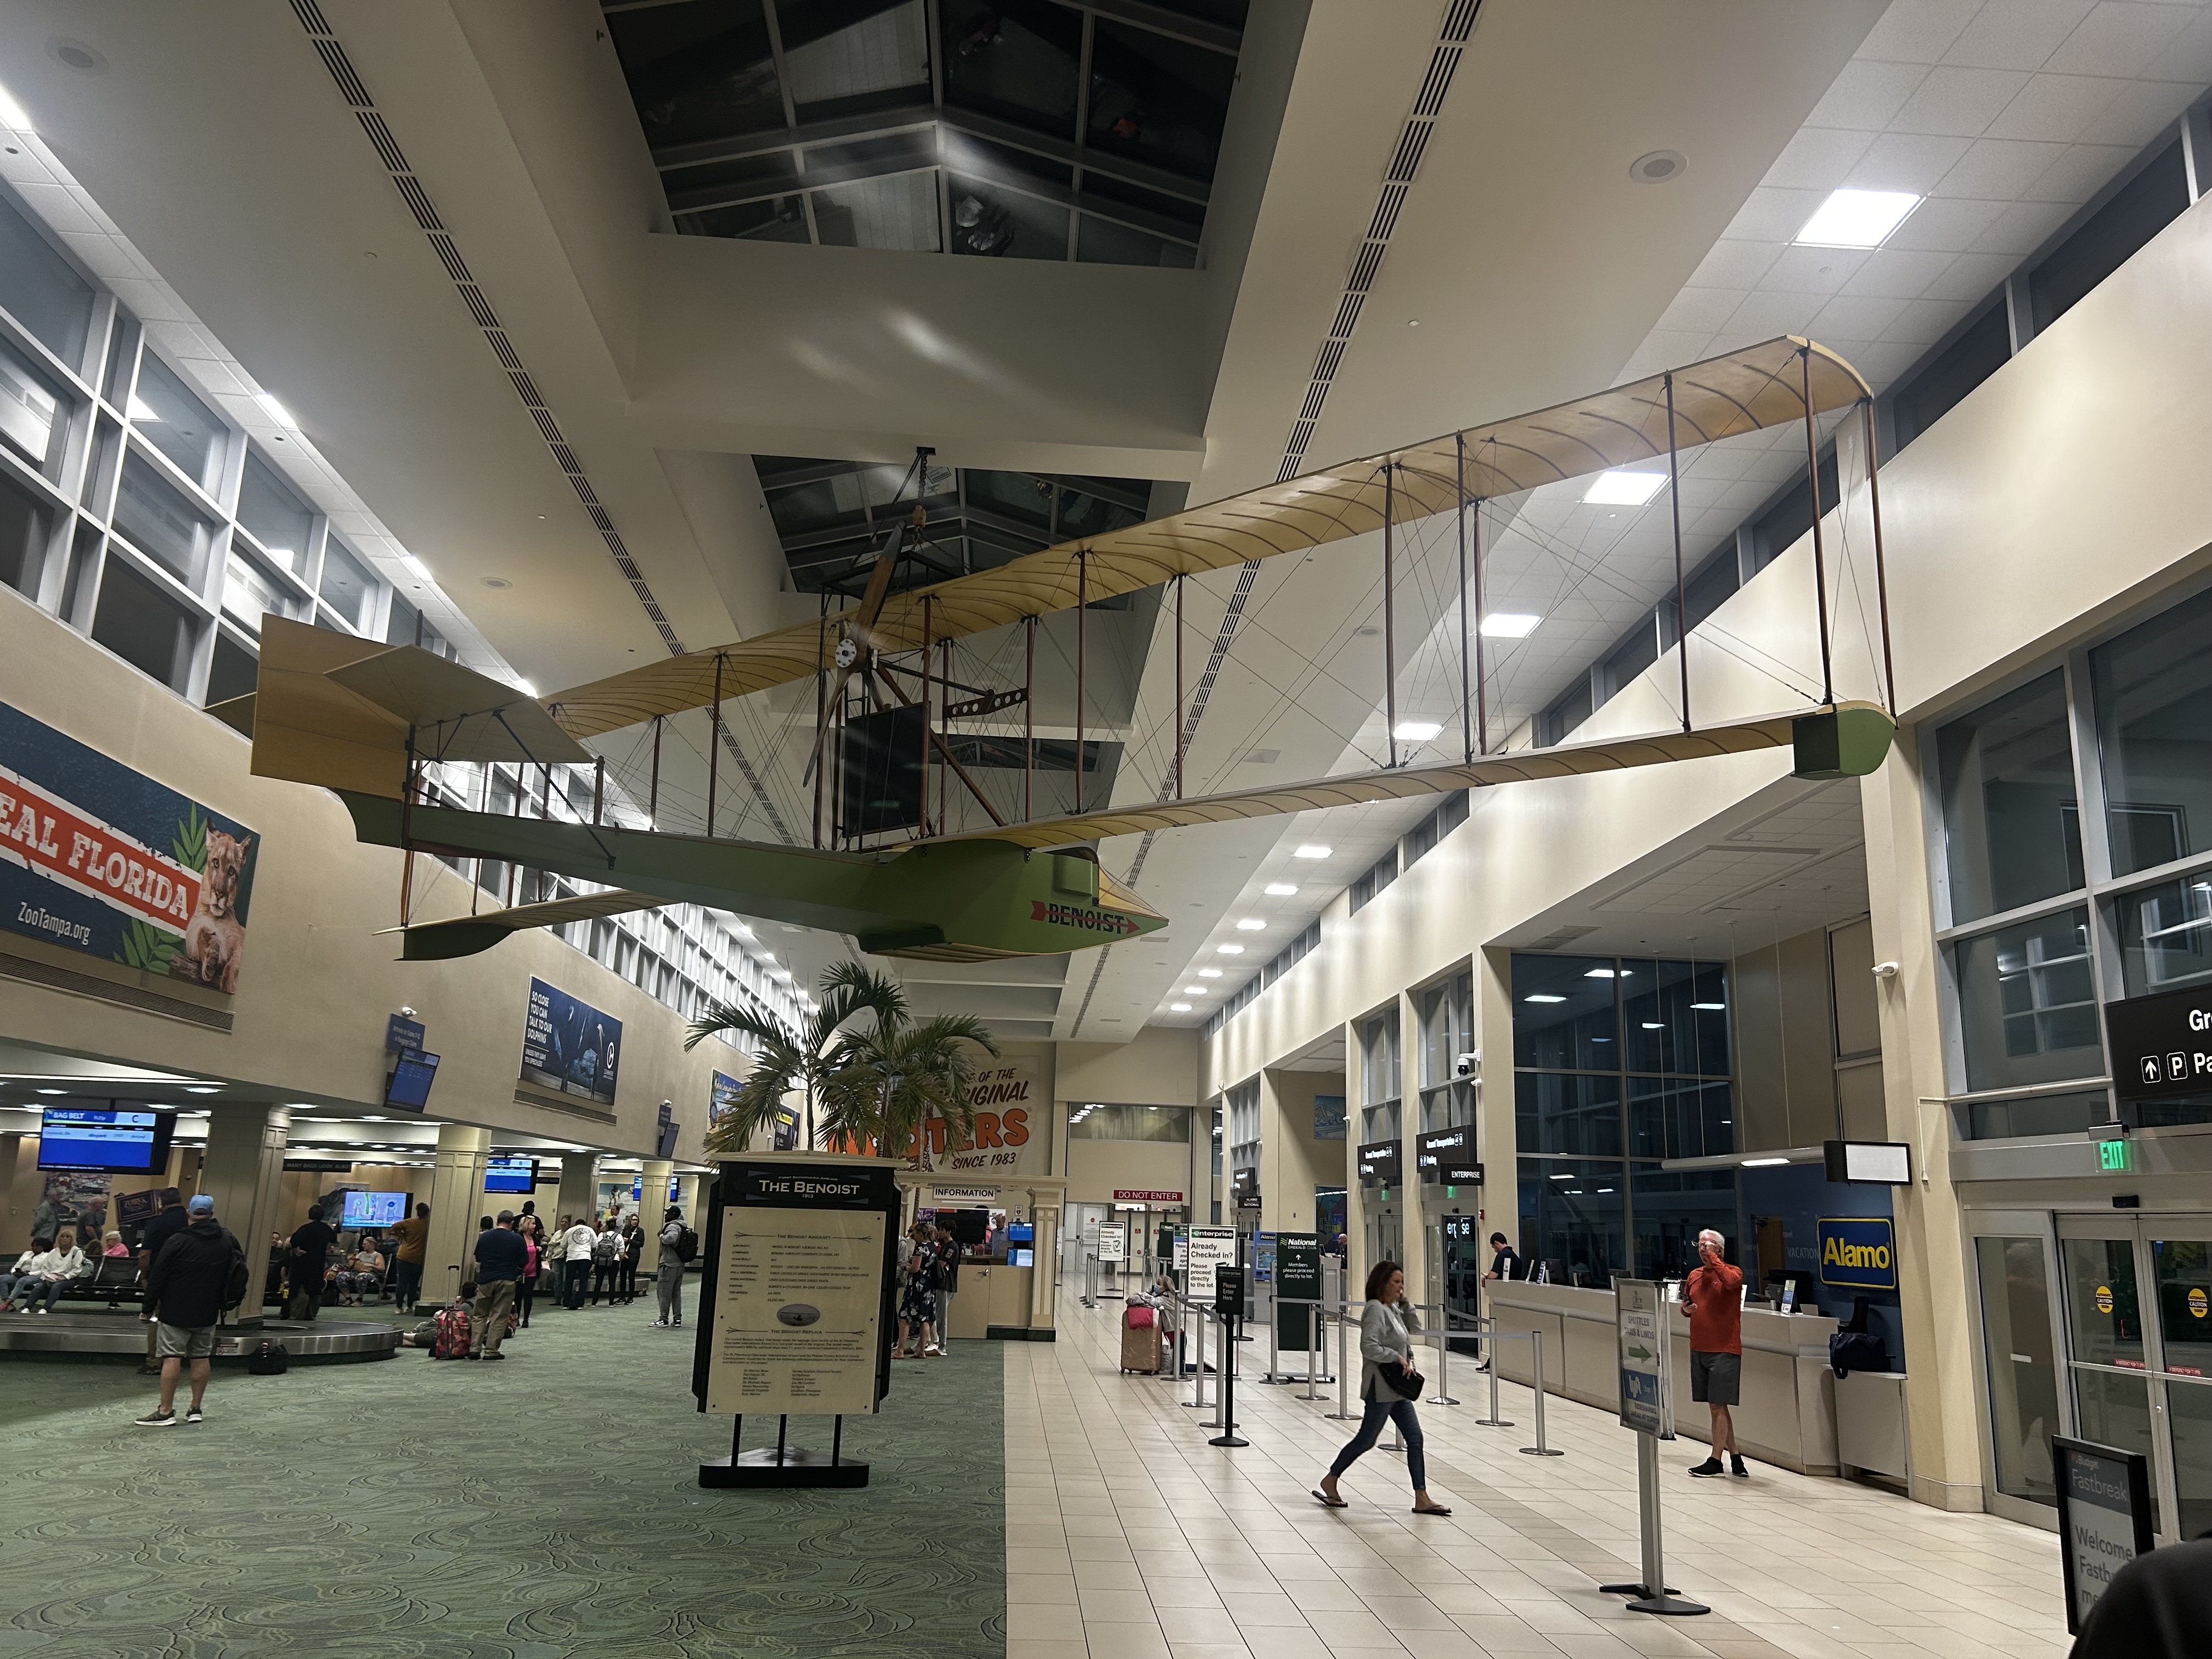
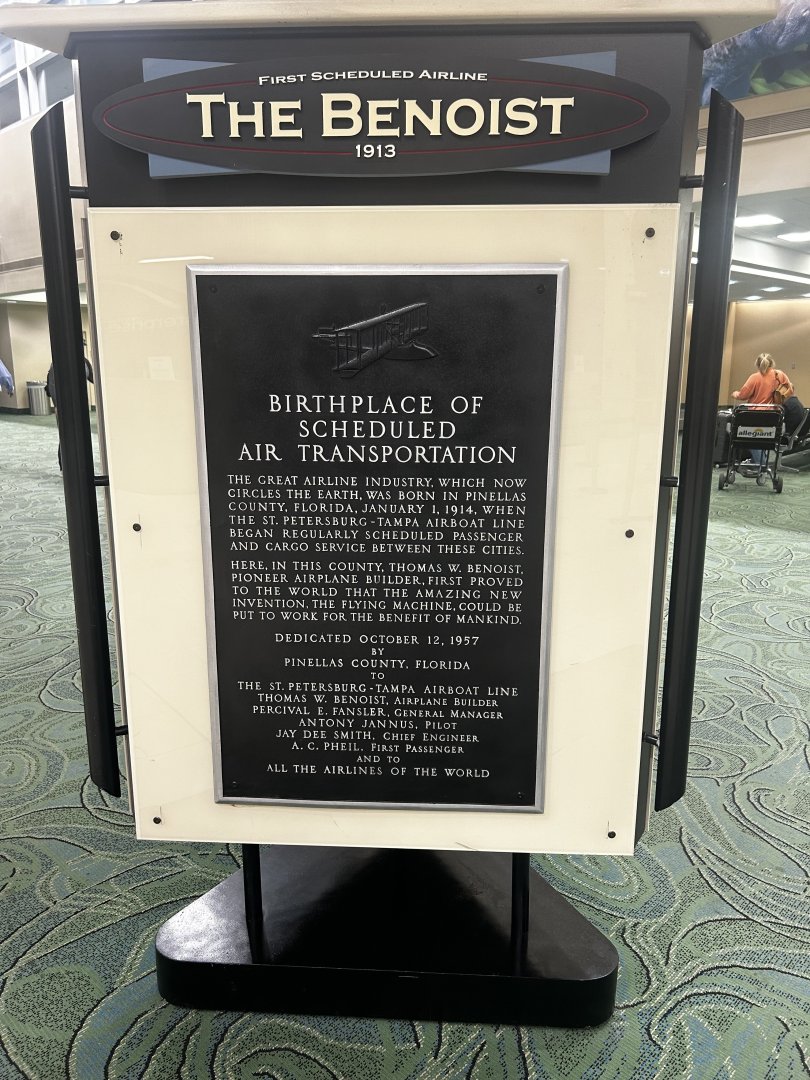
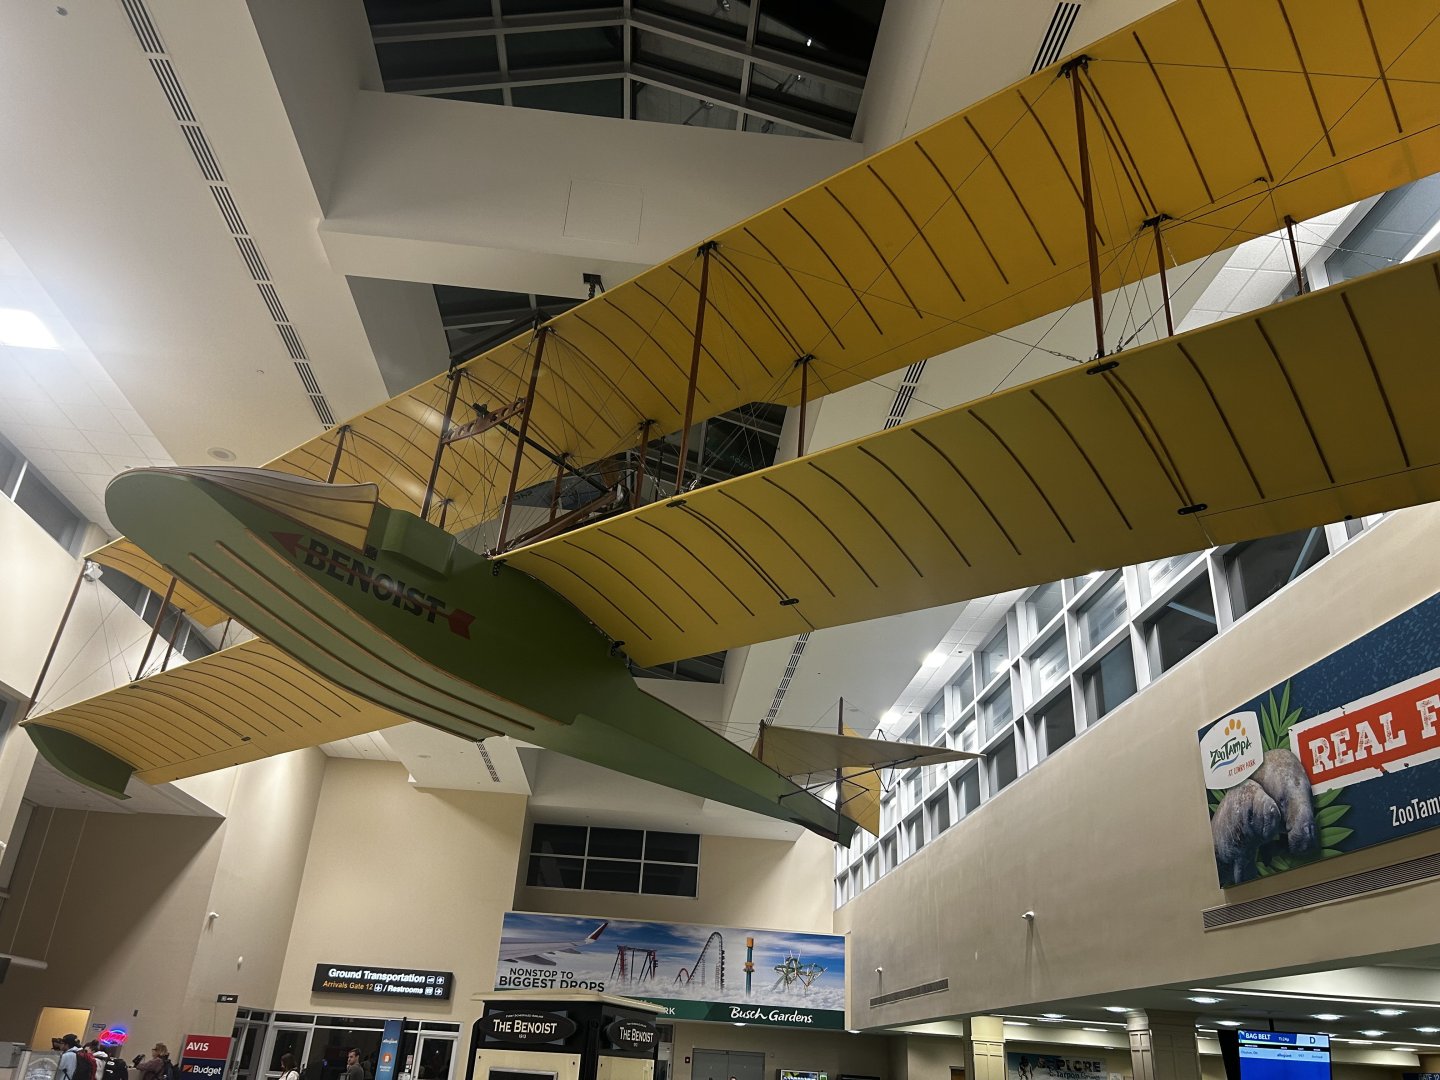
Waiting for the wife’s flight to arrive, took a few photos of a historical item of interest.

- 127 replies
-
- 13
-
-
Similar situations in the South. Many tracks that were once filled to capacity on weekends and Friday nights are gone. There are a few that remain but only a handful compared to earlier years. Average guys were the ones who campaigned those race cars of old. The sport has become far too expensive to keep a car on the track anymore. I had a friend we called "DLD", an acronym for dead last Danny. The fellow had a literal junk-yard on his rural property where he salvaged car parts to build his racers. I always gave him props for having the fortitude and determination to get in there and race because he rarely ever won, placed or show. Always at or near dead last. Last I heard not more than a few months ago, he's still racing. My dad was a huge racing fan. He loved auto racing, motorcycle racing, horse racing, buggy racing, trotters, you name it. If it raced, he went to see it. I was blessed to have him take me with him all the time except when he travelled out of town to races like Indy. My fondest racing memories were of the fairgrounds clay track where they raced sprint cars and motorcycles. Man, I saw some thrilling, hair-standing action with some of the best drivers on the planet for those type races. Back in that day, Offys were king in the sprint cars and midgets while Harleys ruled the motorcycle events.
-
In the past, I have seen a single, lonely tire and wheel combination lying around somewhere in my modeling areas (I have a large building and one smaller area in separate places) and I would not have thrown it away. But for now, I just cannot recall where I saw it. Eventually I will run across it again, but it may not have been this Ferrari item. Not going to sweat it, just roll with it. 🙂
-
At this moment, SalvinosJR are taking pre orders on a new line of modern Indy car kits they are producing. I am looking forward to these as it’s been a long while since Indy racers have been in styrene plastic. By the way, their line of NASCAR speedway racers are fabulous.
-
Watch the video I posted.
-
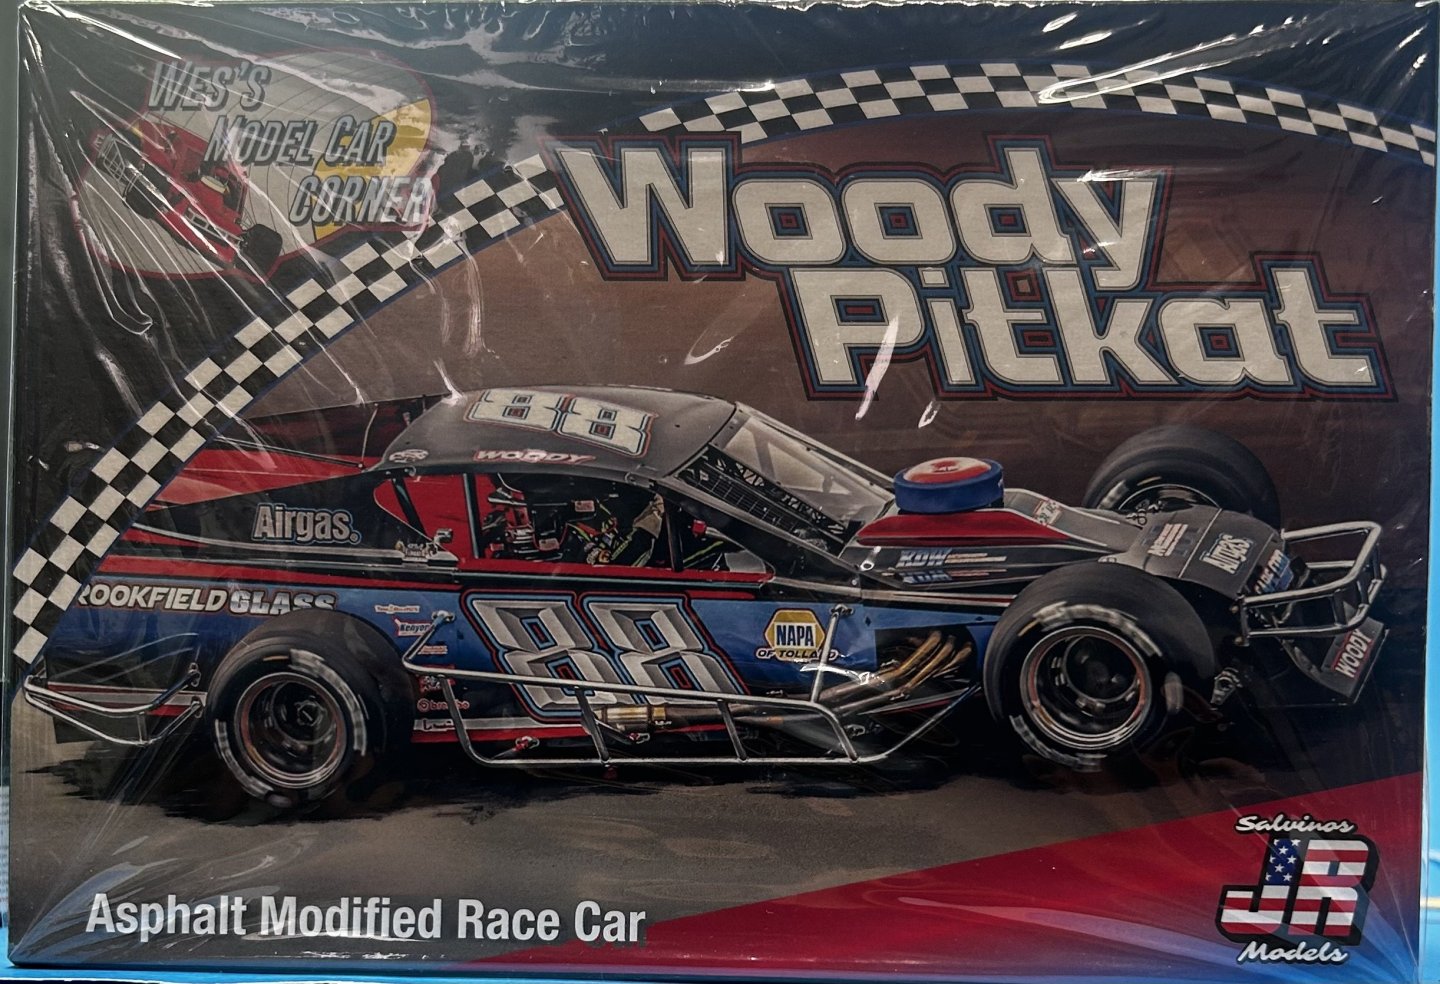
SalvinosJR is one of a few(?) companies who manufacture model kits in the USA these days, located in California. To this point their focus has been on NASCAR kits where they offer them for sale at major NASCAR events throughout the country as well as online. Recently, the kits have been finding their way into local hobby shops as well, including my local haunts. I've never been a big fan of NASCAR kits, but seeing the Asphalt Modifieds piqued my interest, so I bought one at a local shop. When I checked out the contents of the kit, I was very pleased at the quality of the model. When you pick up the box, you know it's substantial from the weight of it. Lots of plastic parts. Here is an interesting and informative video that explains the NASCAR Asphalt Modified series, it's history and the current cars racing in that division.
- 46 replies
-
- 10
-
-
That would be a sight. 😅 It's tempting, but I'll pass for now. Too many other kits waiting to be built in my stash. Thanks for the research EG!
-
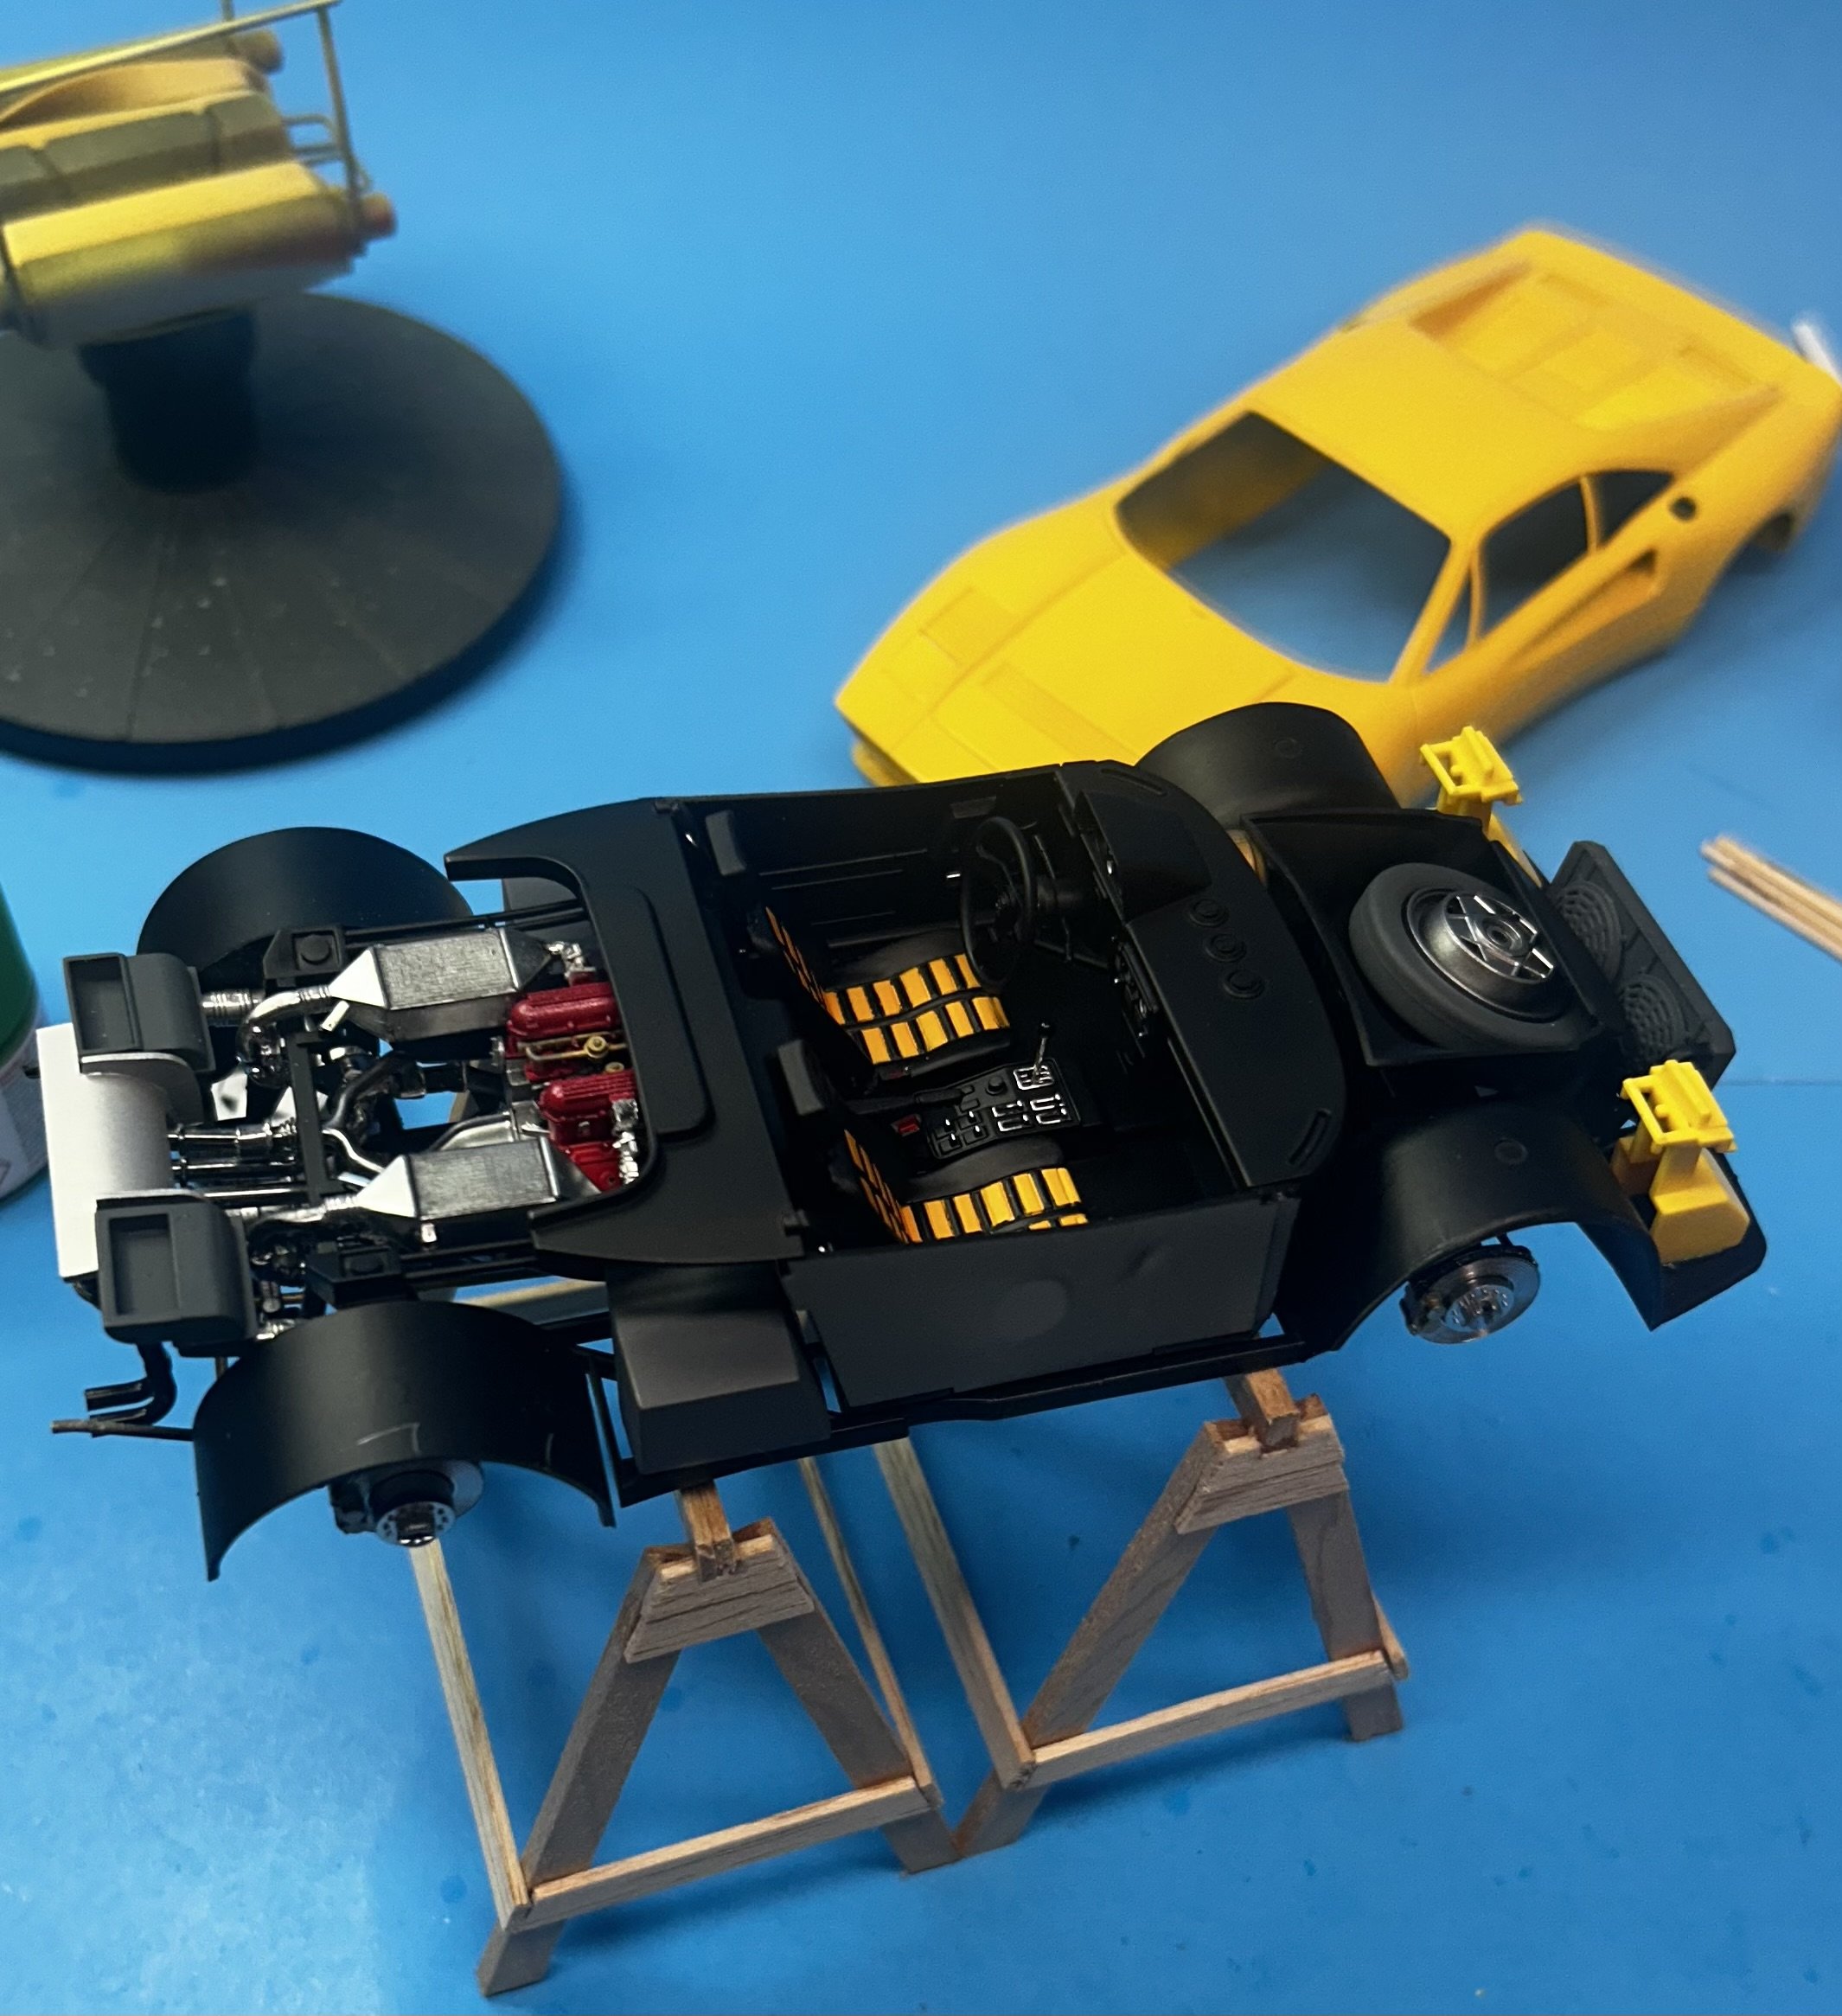
If fortune smiles on me and I run across a suitable spare, I will snatch it up. Otherwise, on the Jack stand she will go for a tire maintenance pose.
-
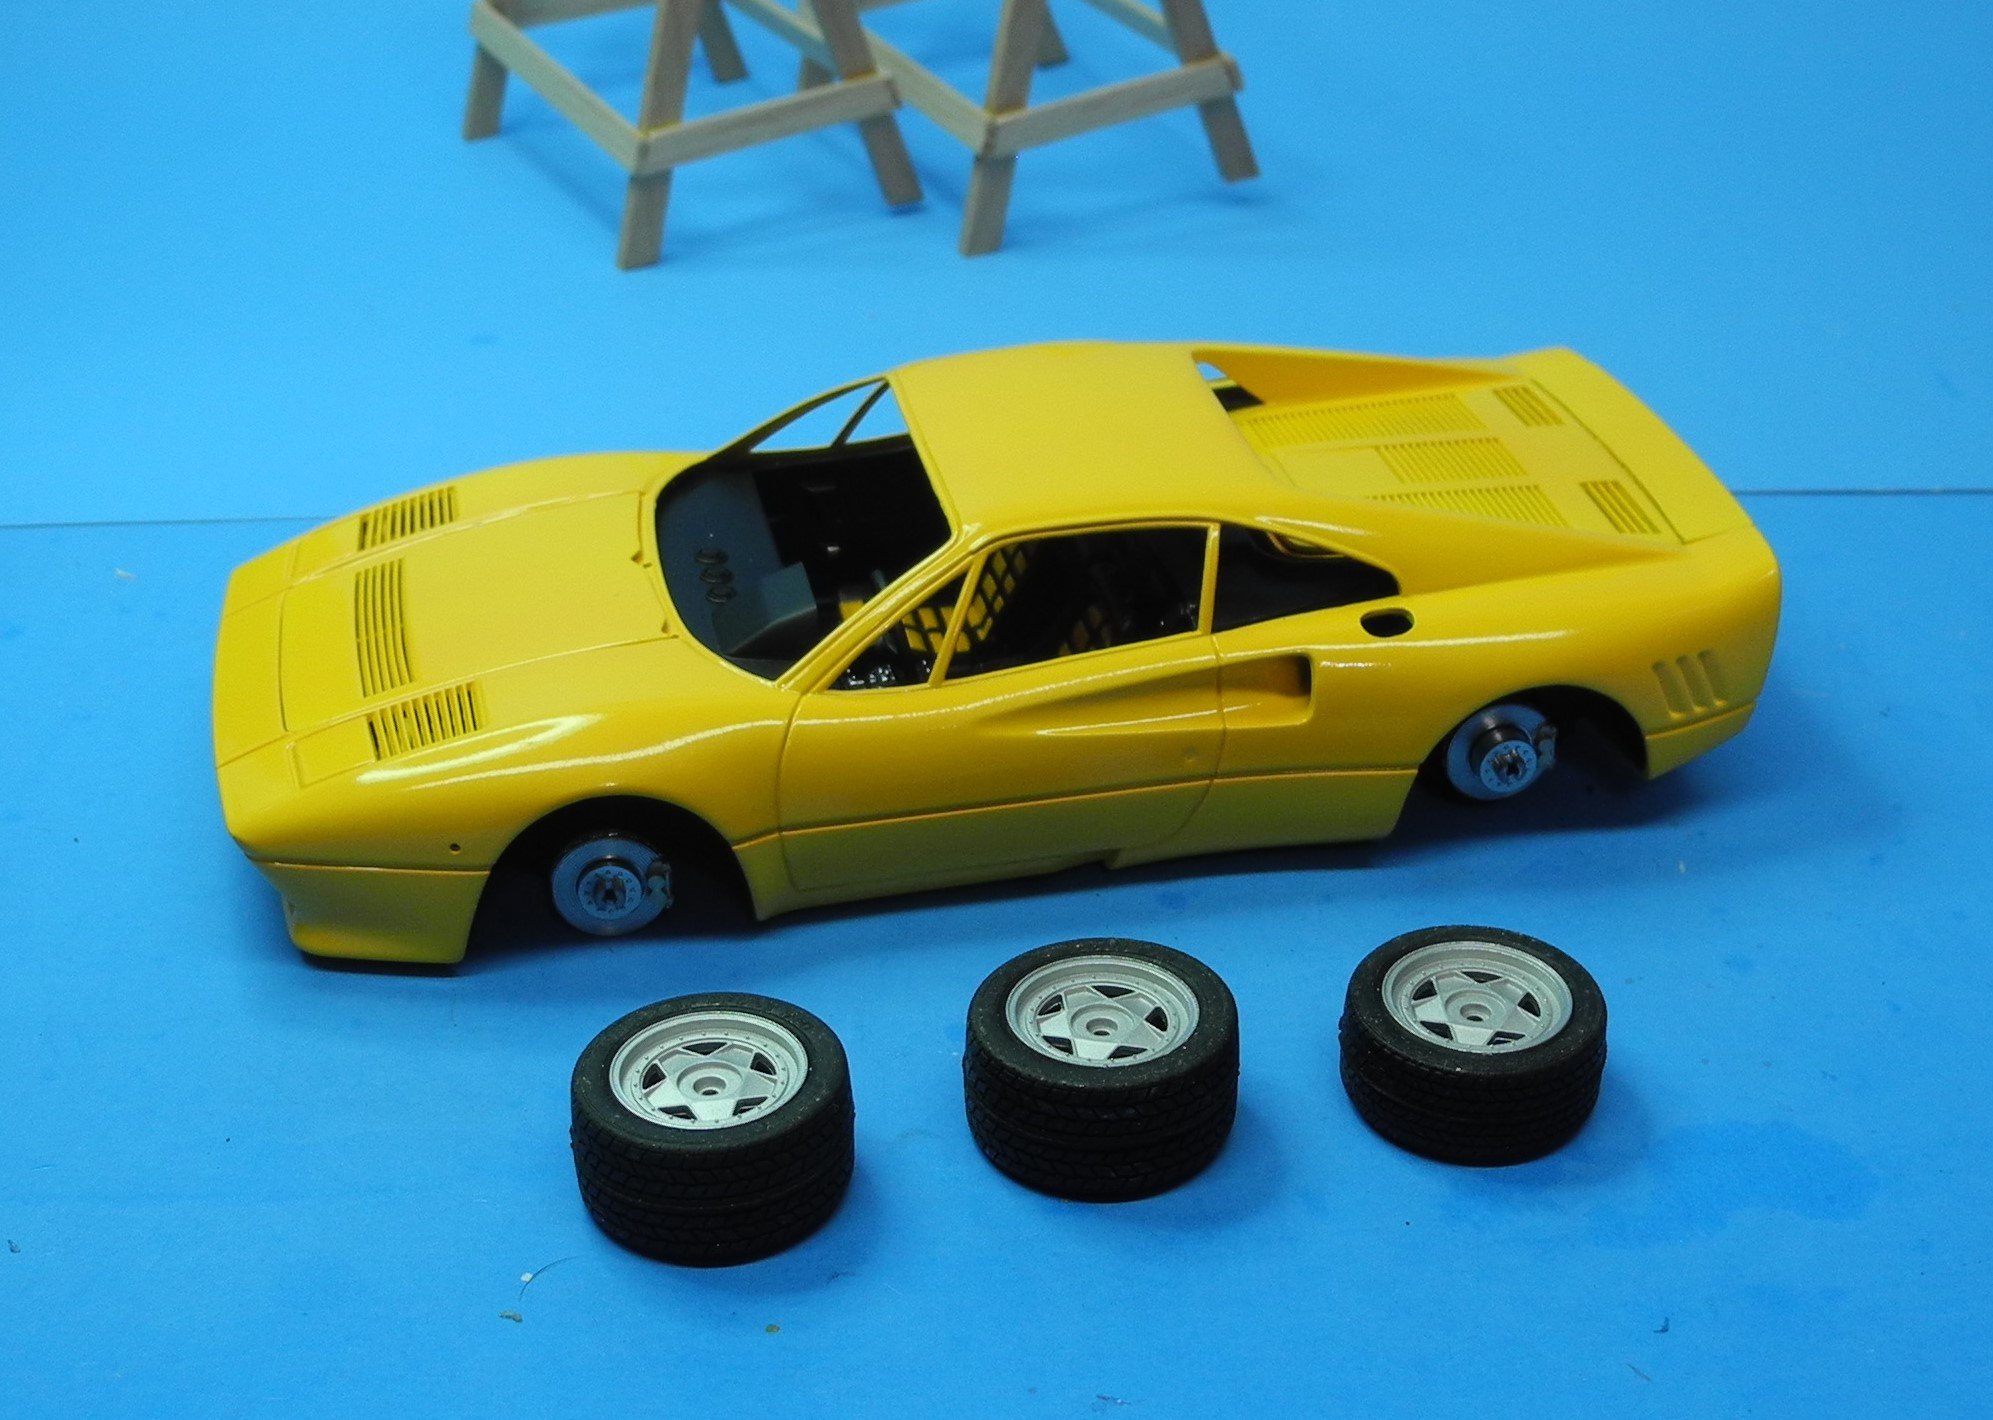
If you laugh at me for what I'm about to tell you/show you, I won't blame you one bit. I'm laughing at myself, just to keep from crying (in a metaphorical sense of course). After owning this particular kit for close to 30 years, bought it second-hand, I'm only just now realizing I'm missing one front wheel and tire. Was it missing when I bought it? Did I lose it somewhere along the way since I bought it? I have no idea, but I do know that it is gone now. Hmmmm....what to do next. I guess I'll start looking for a suitable replacement, or maybe an entire different set of wheels and tires? I'll just have to see what I can find and what's reasonable. I do know this kit has become more costly and difficult to find and it wouldn't make sense for me to buy an entire kit just to rob one tire and wheel. Sheesh. What a goofy lack of attention and consequence. Had I known this was missing, I would have never gone this far building and painting it. Or then again, maybe just display it in the Fujimi garage, with it jacked up and one tire off for repair? That could be a potential, reasonable solution.

- 127 replies
-
- 12
-

-

-
-
As soon as I saw that straight 6 engine, I knew it was a Chevrolet. It looks almost identical to the engine that was in my ‘51 Chevrolet. Down to the detail.
-
Remarkable detail in this MiniArt kit. Super job on it, Richard.
-
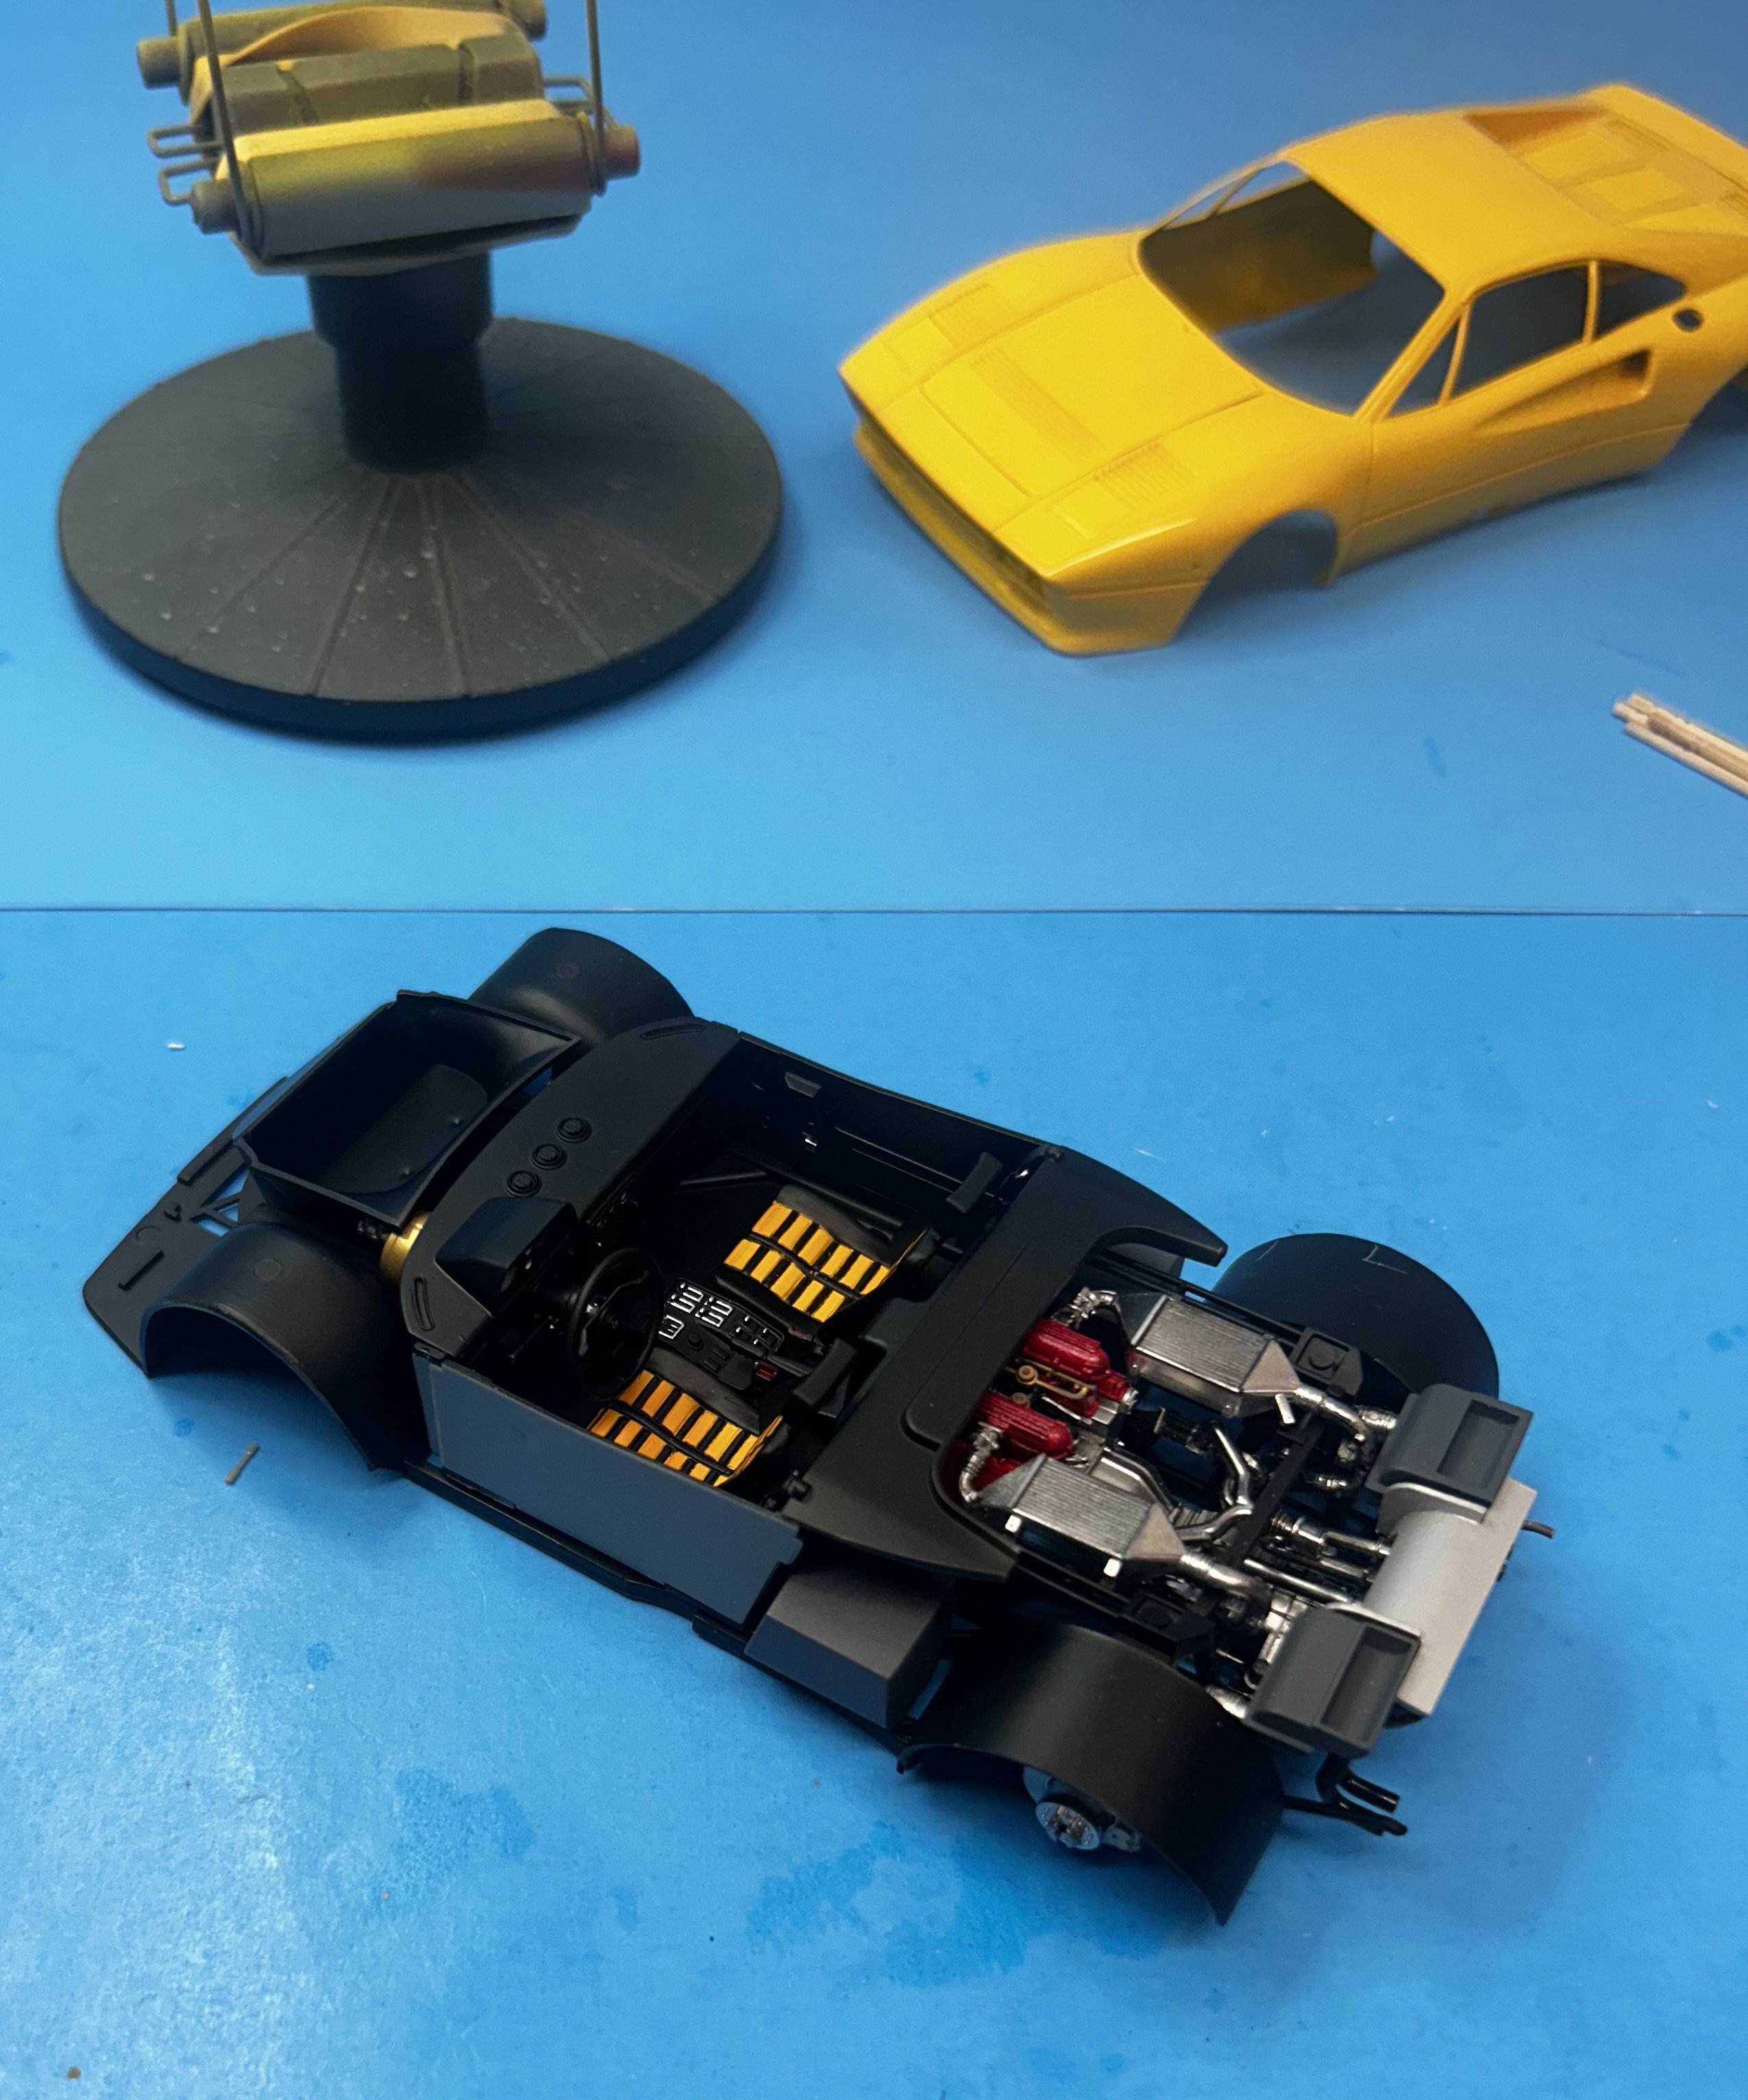
The videos I've watched on this car indicate it was made for racing in a new class that never materialized. It's possible the spare tire was a requirement of the class, and it was made as light weight as possible just to satisfy the requirement. All up weight on the car was at or very near just 2500 pounds.
-
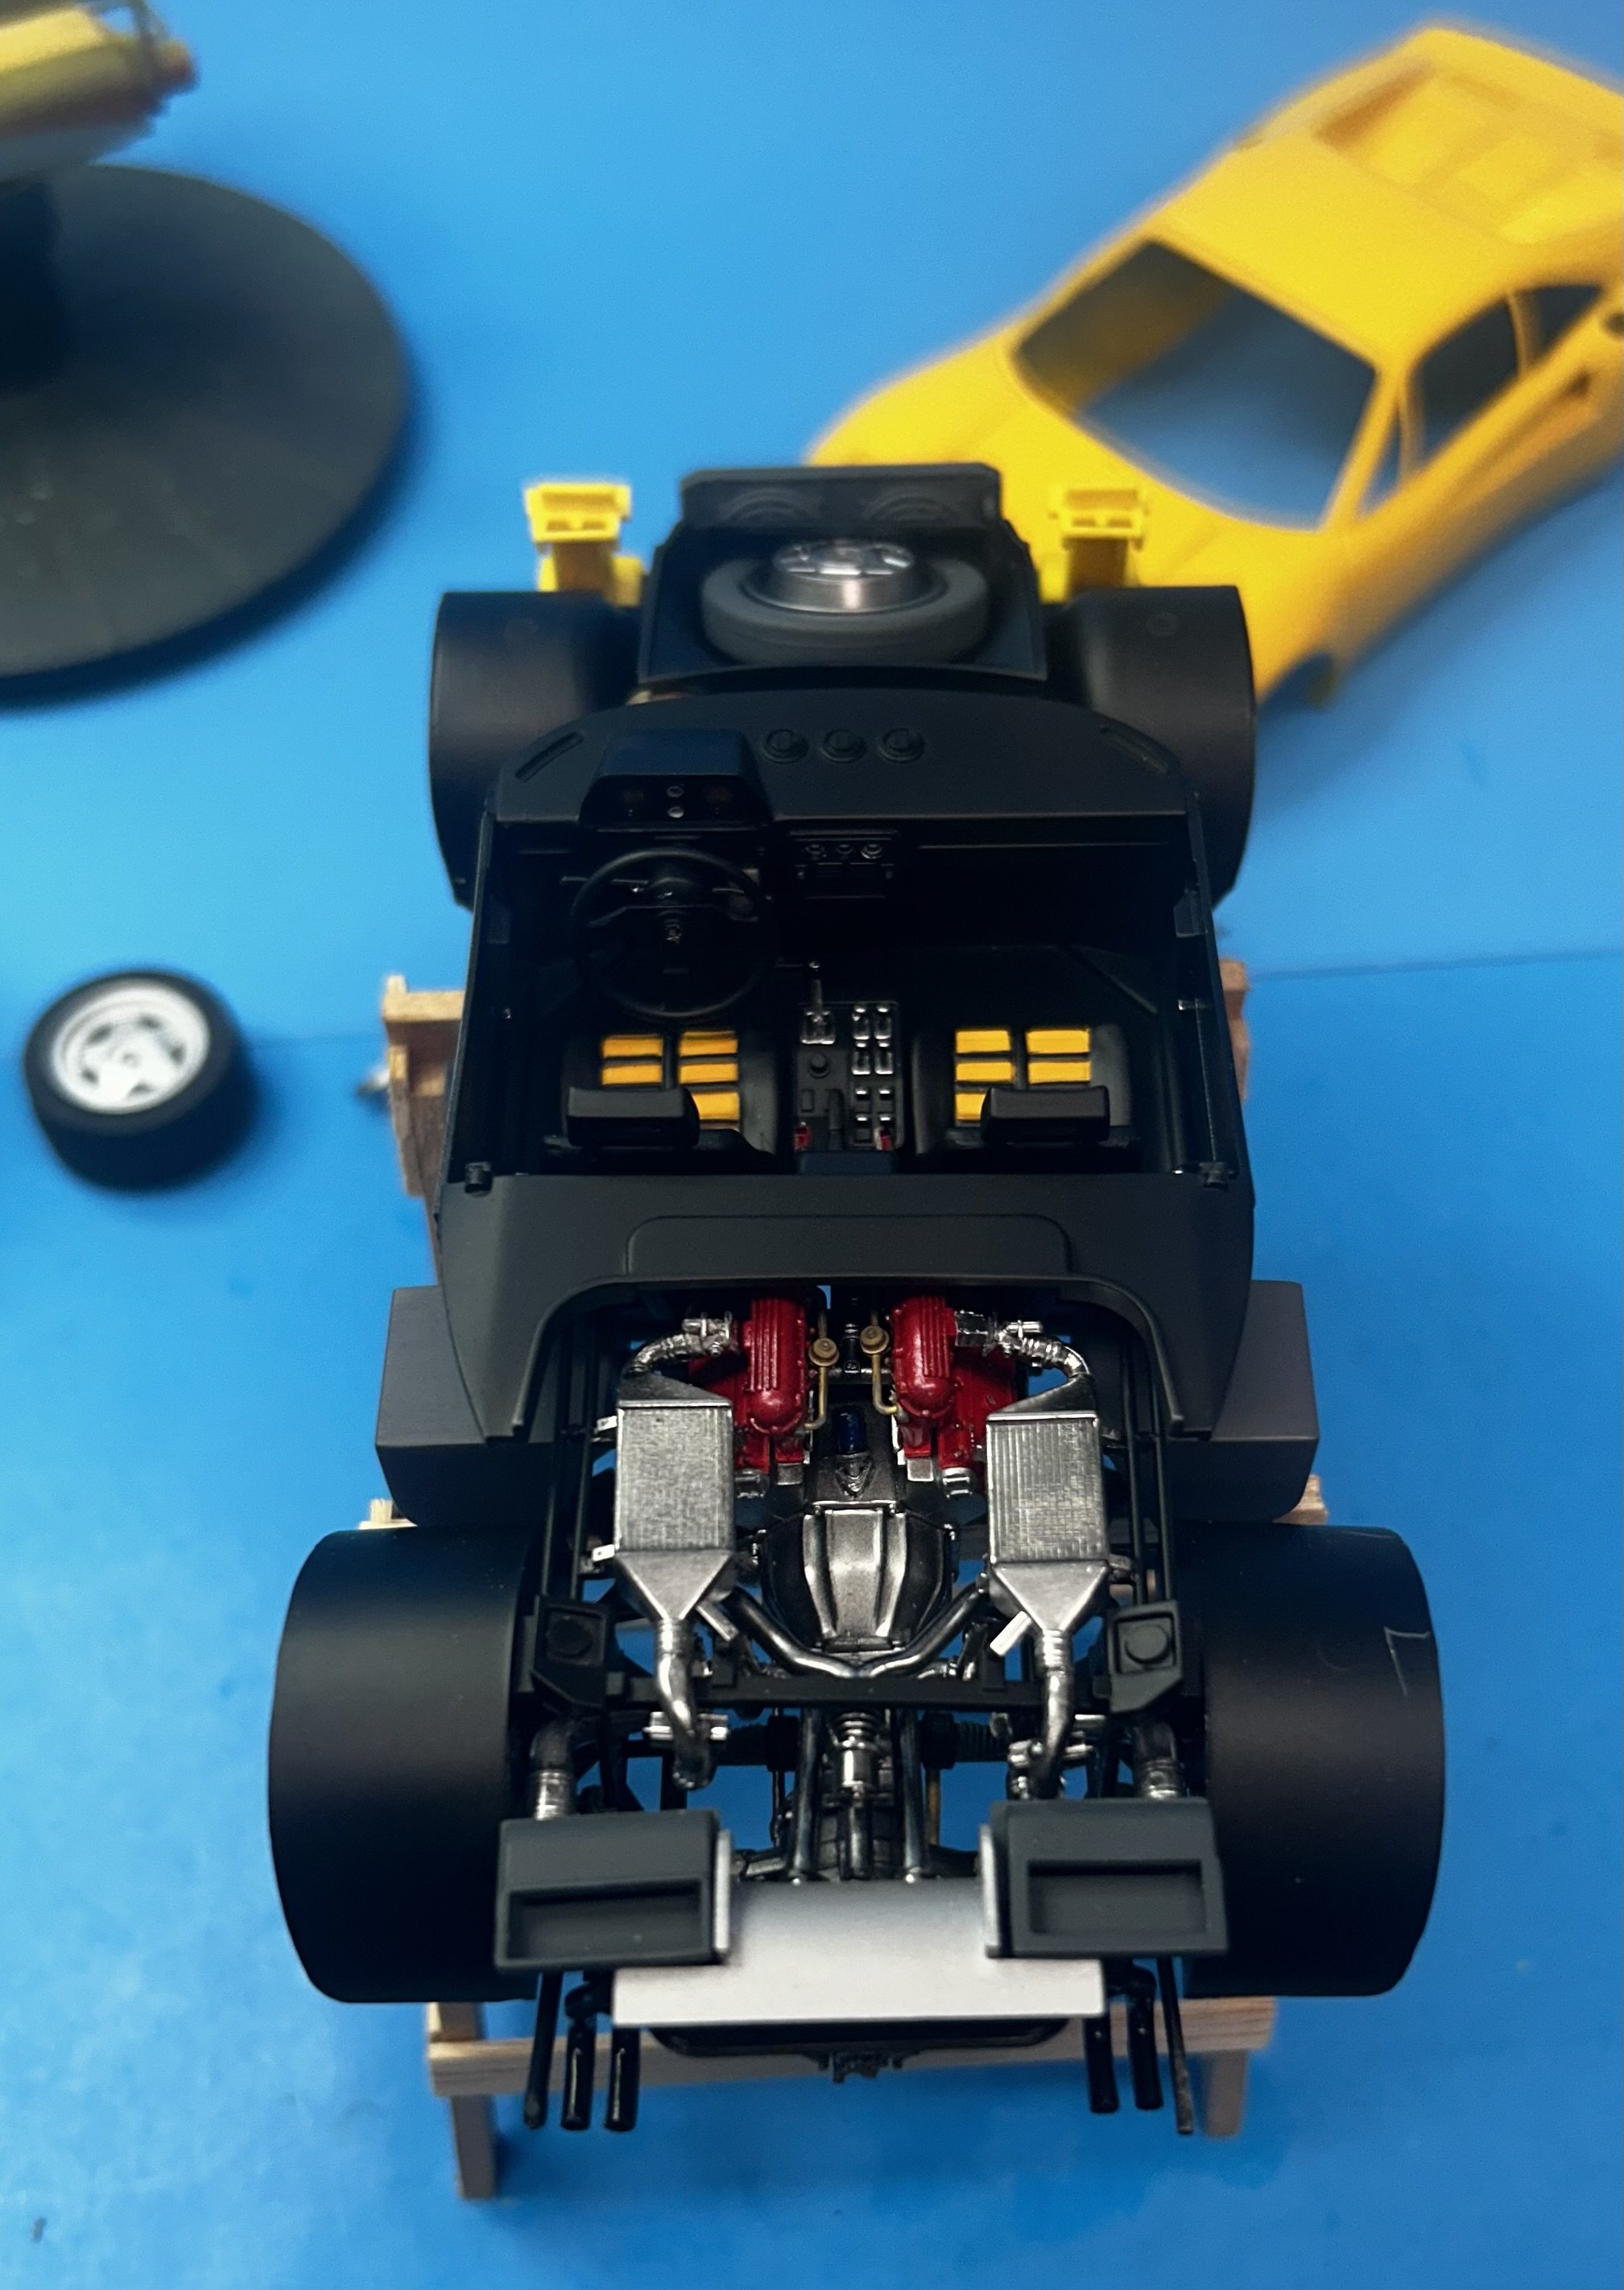
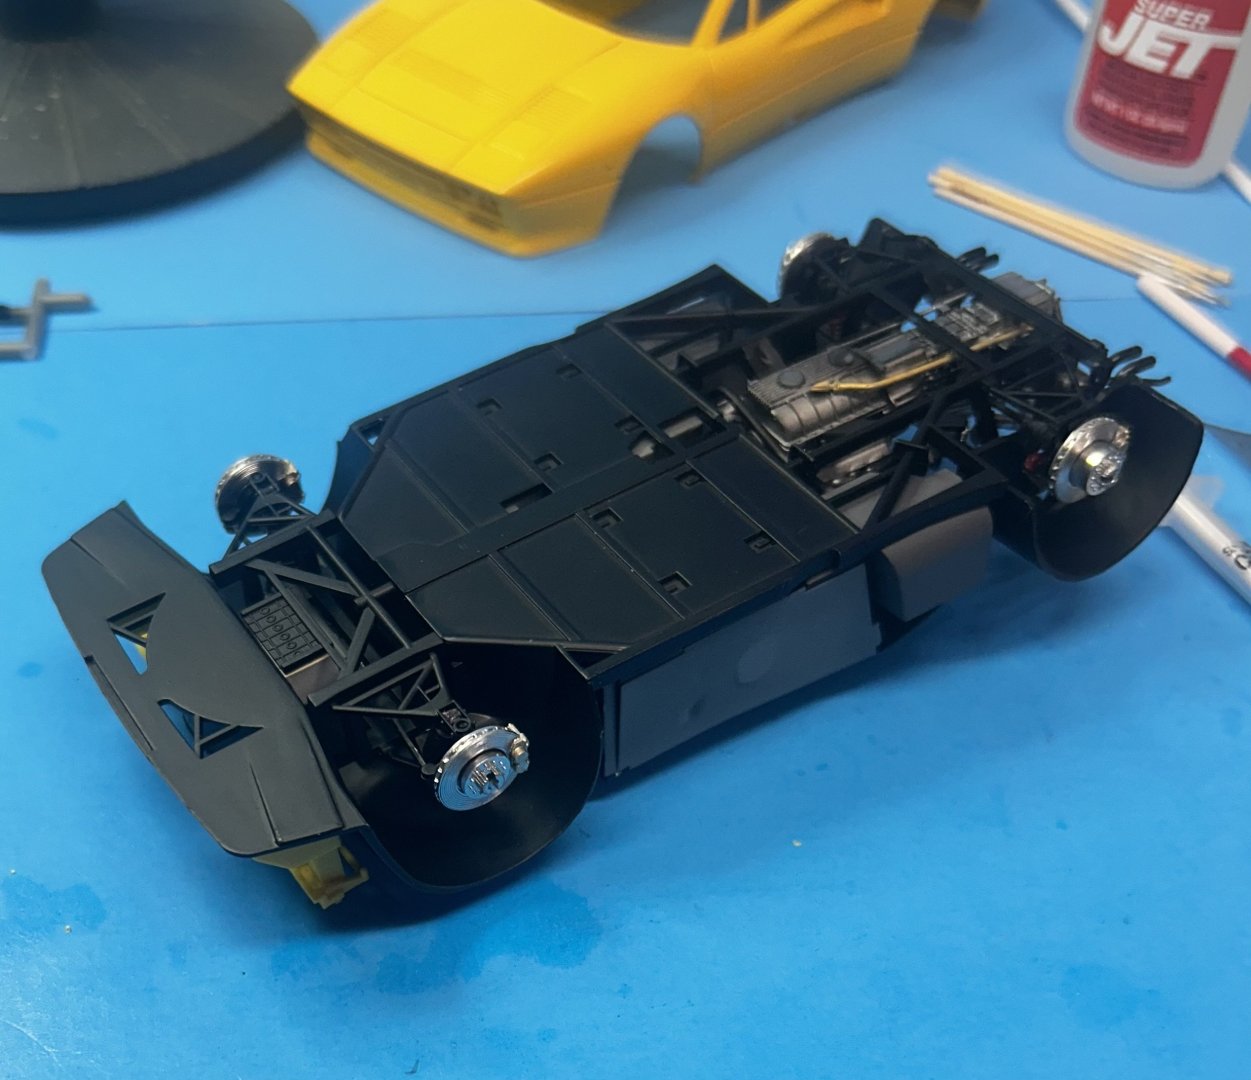
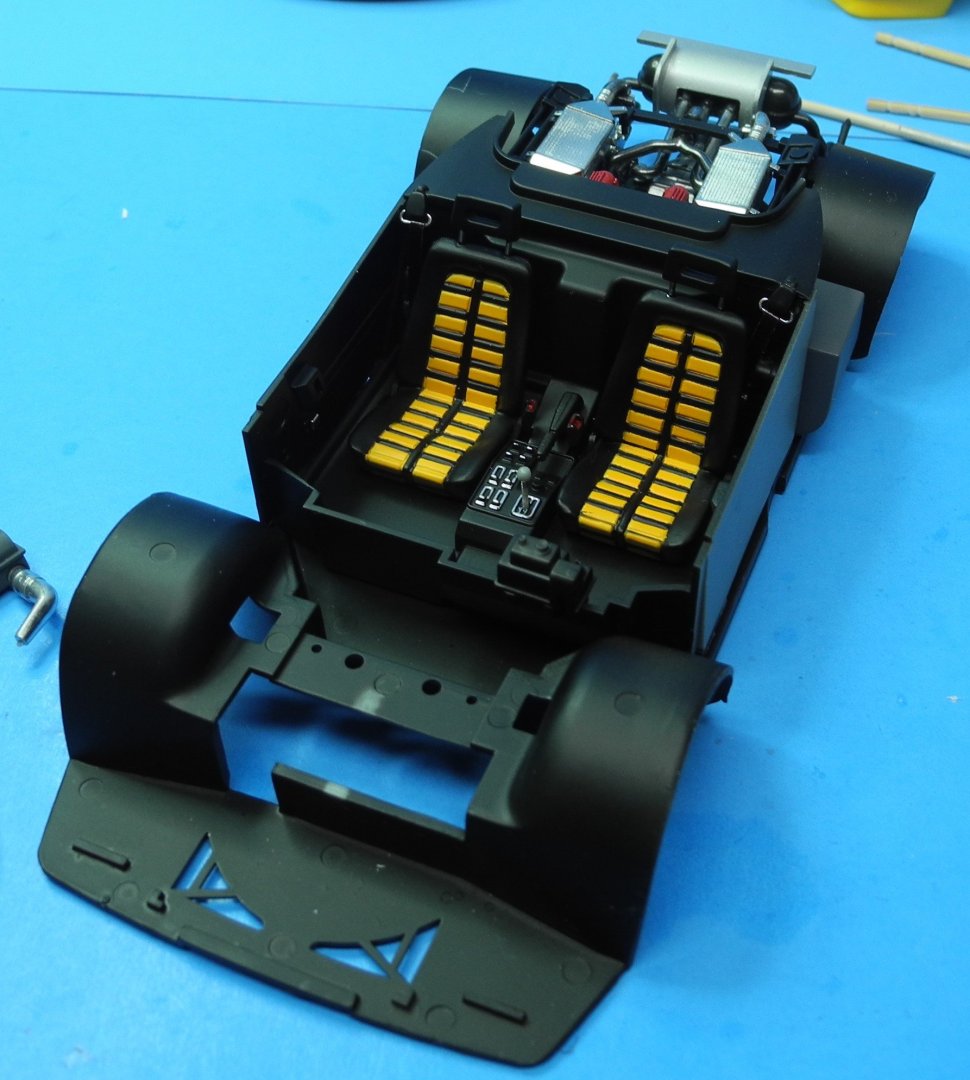
Chassis is finished now. Will begin masking and detail painting the body tomorrow. Thanks for tuning in.


- 127 replies
-
- 14
-
-
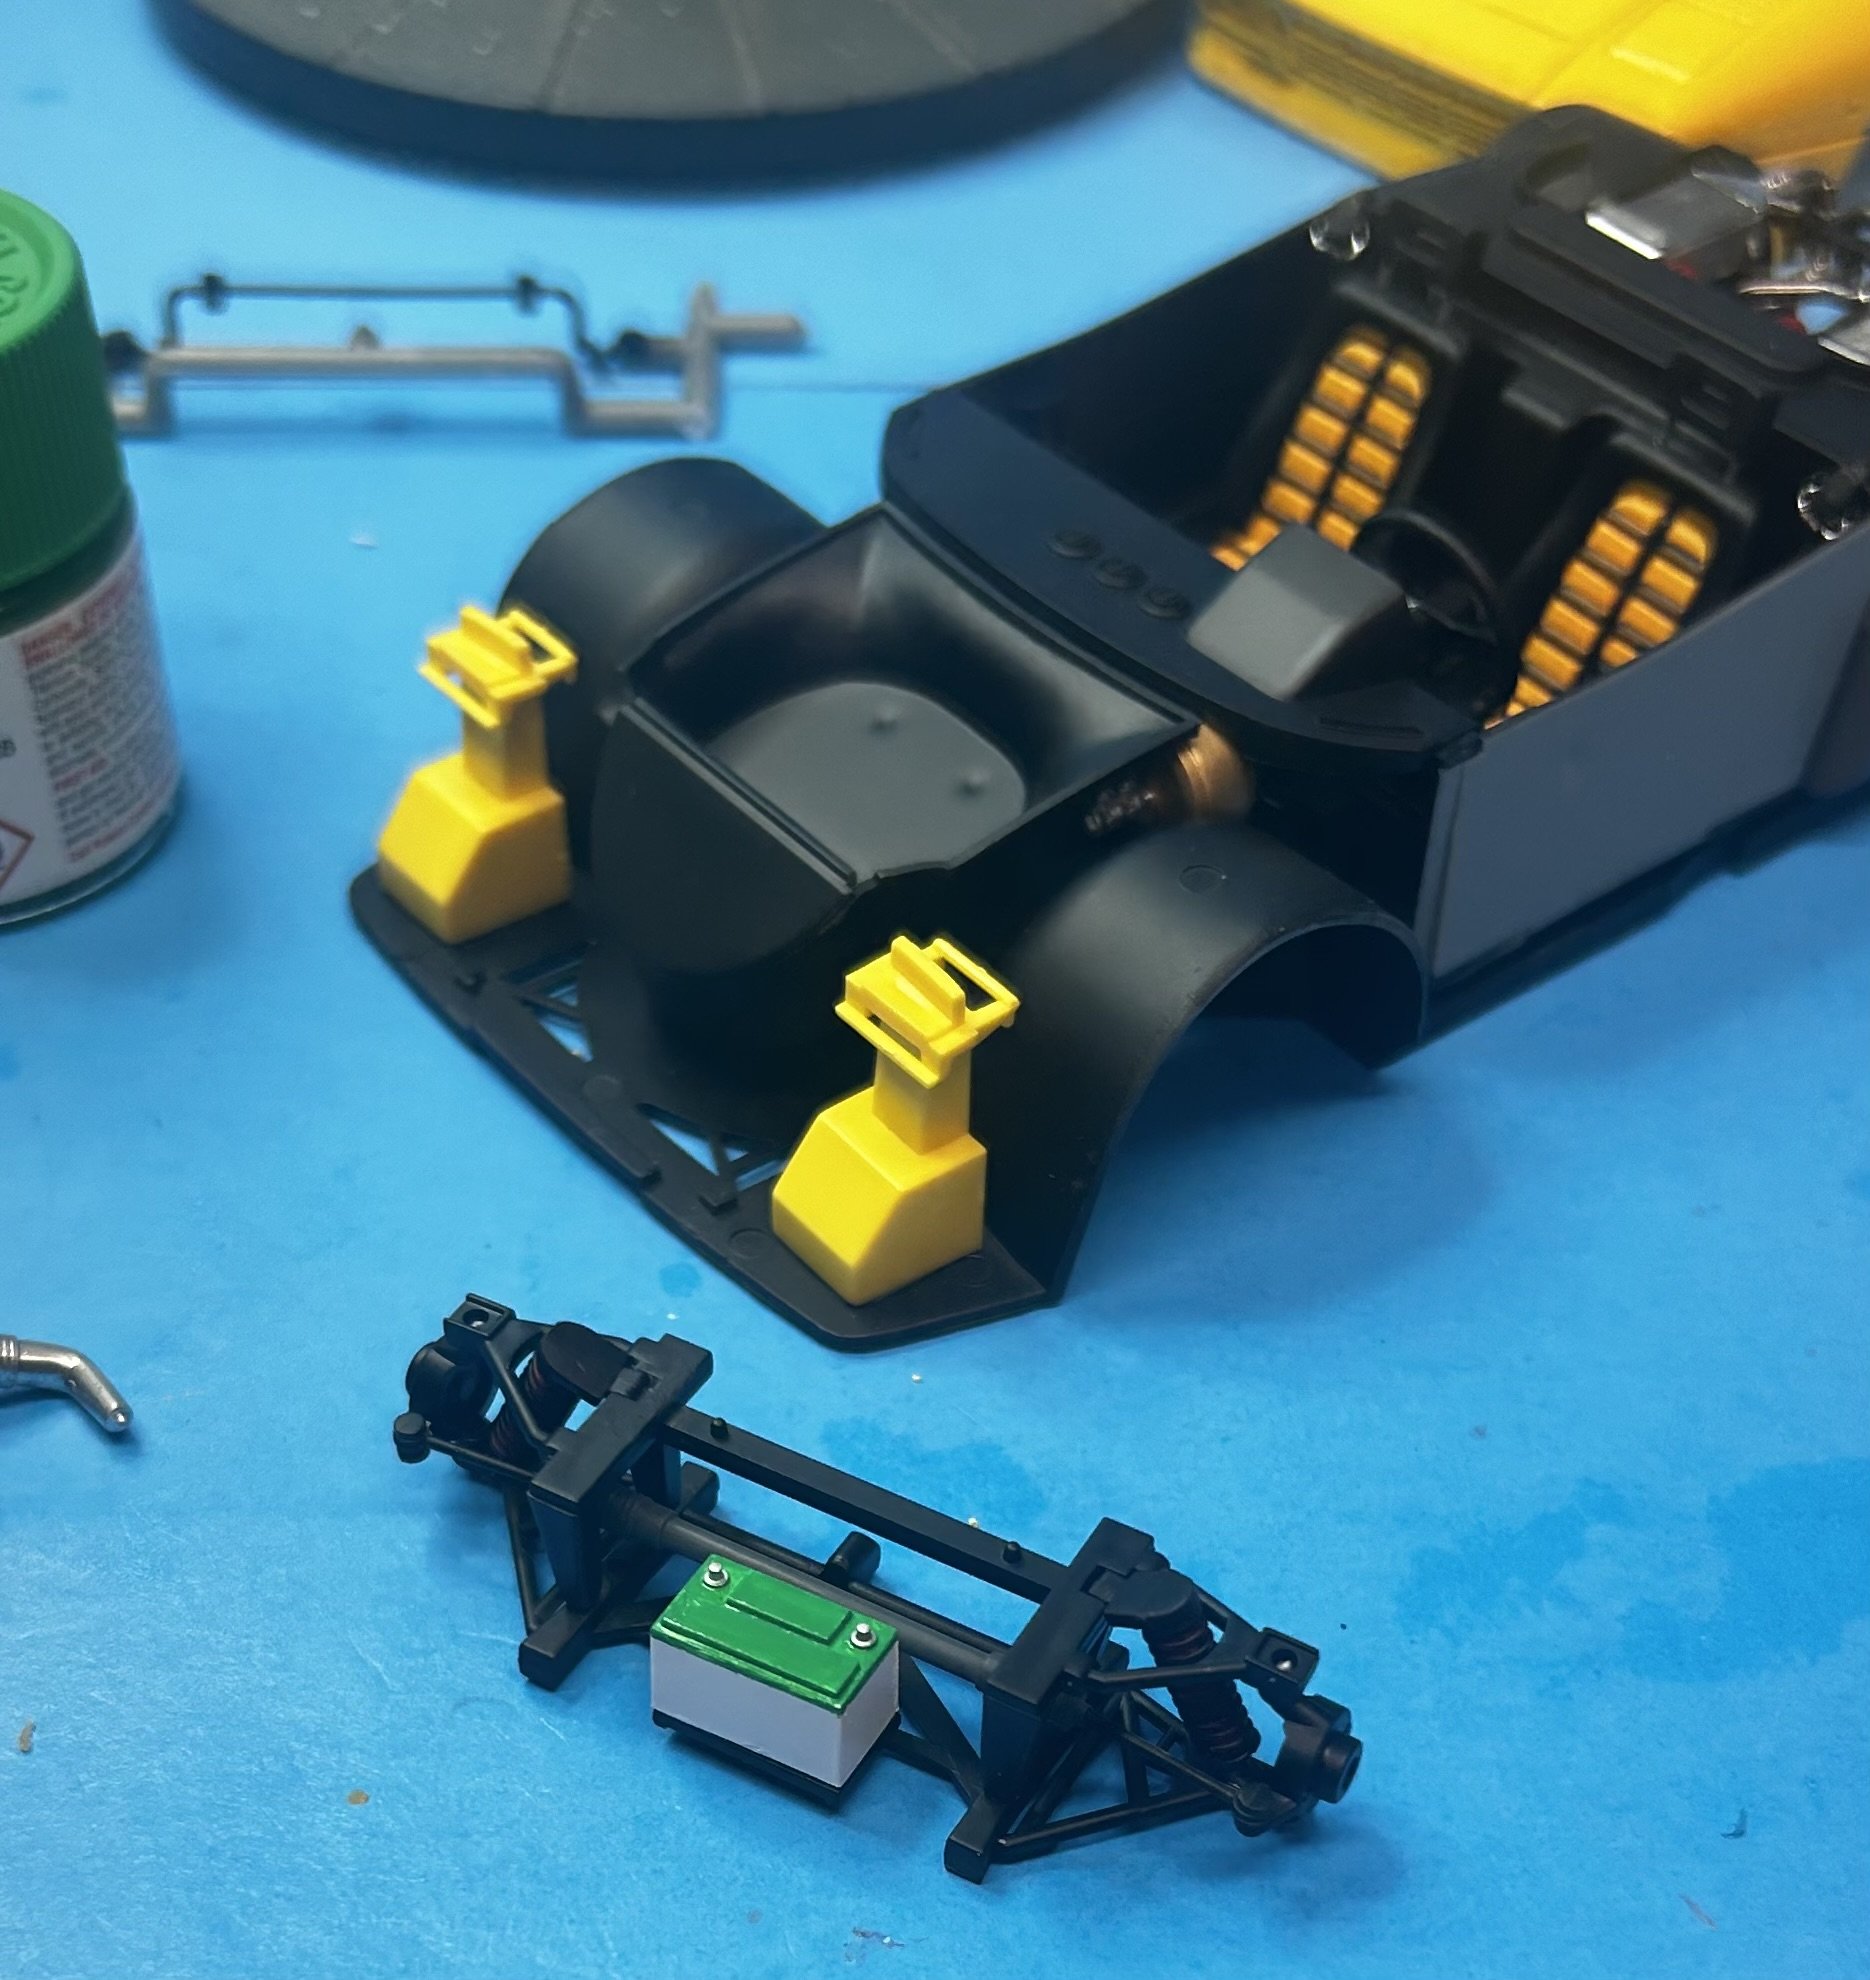
After spending the time to paint and detail that battery, it all gets hidden under other objects. Win some, lose some.

- 127 replies
-
- 10
-
-
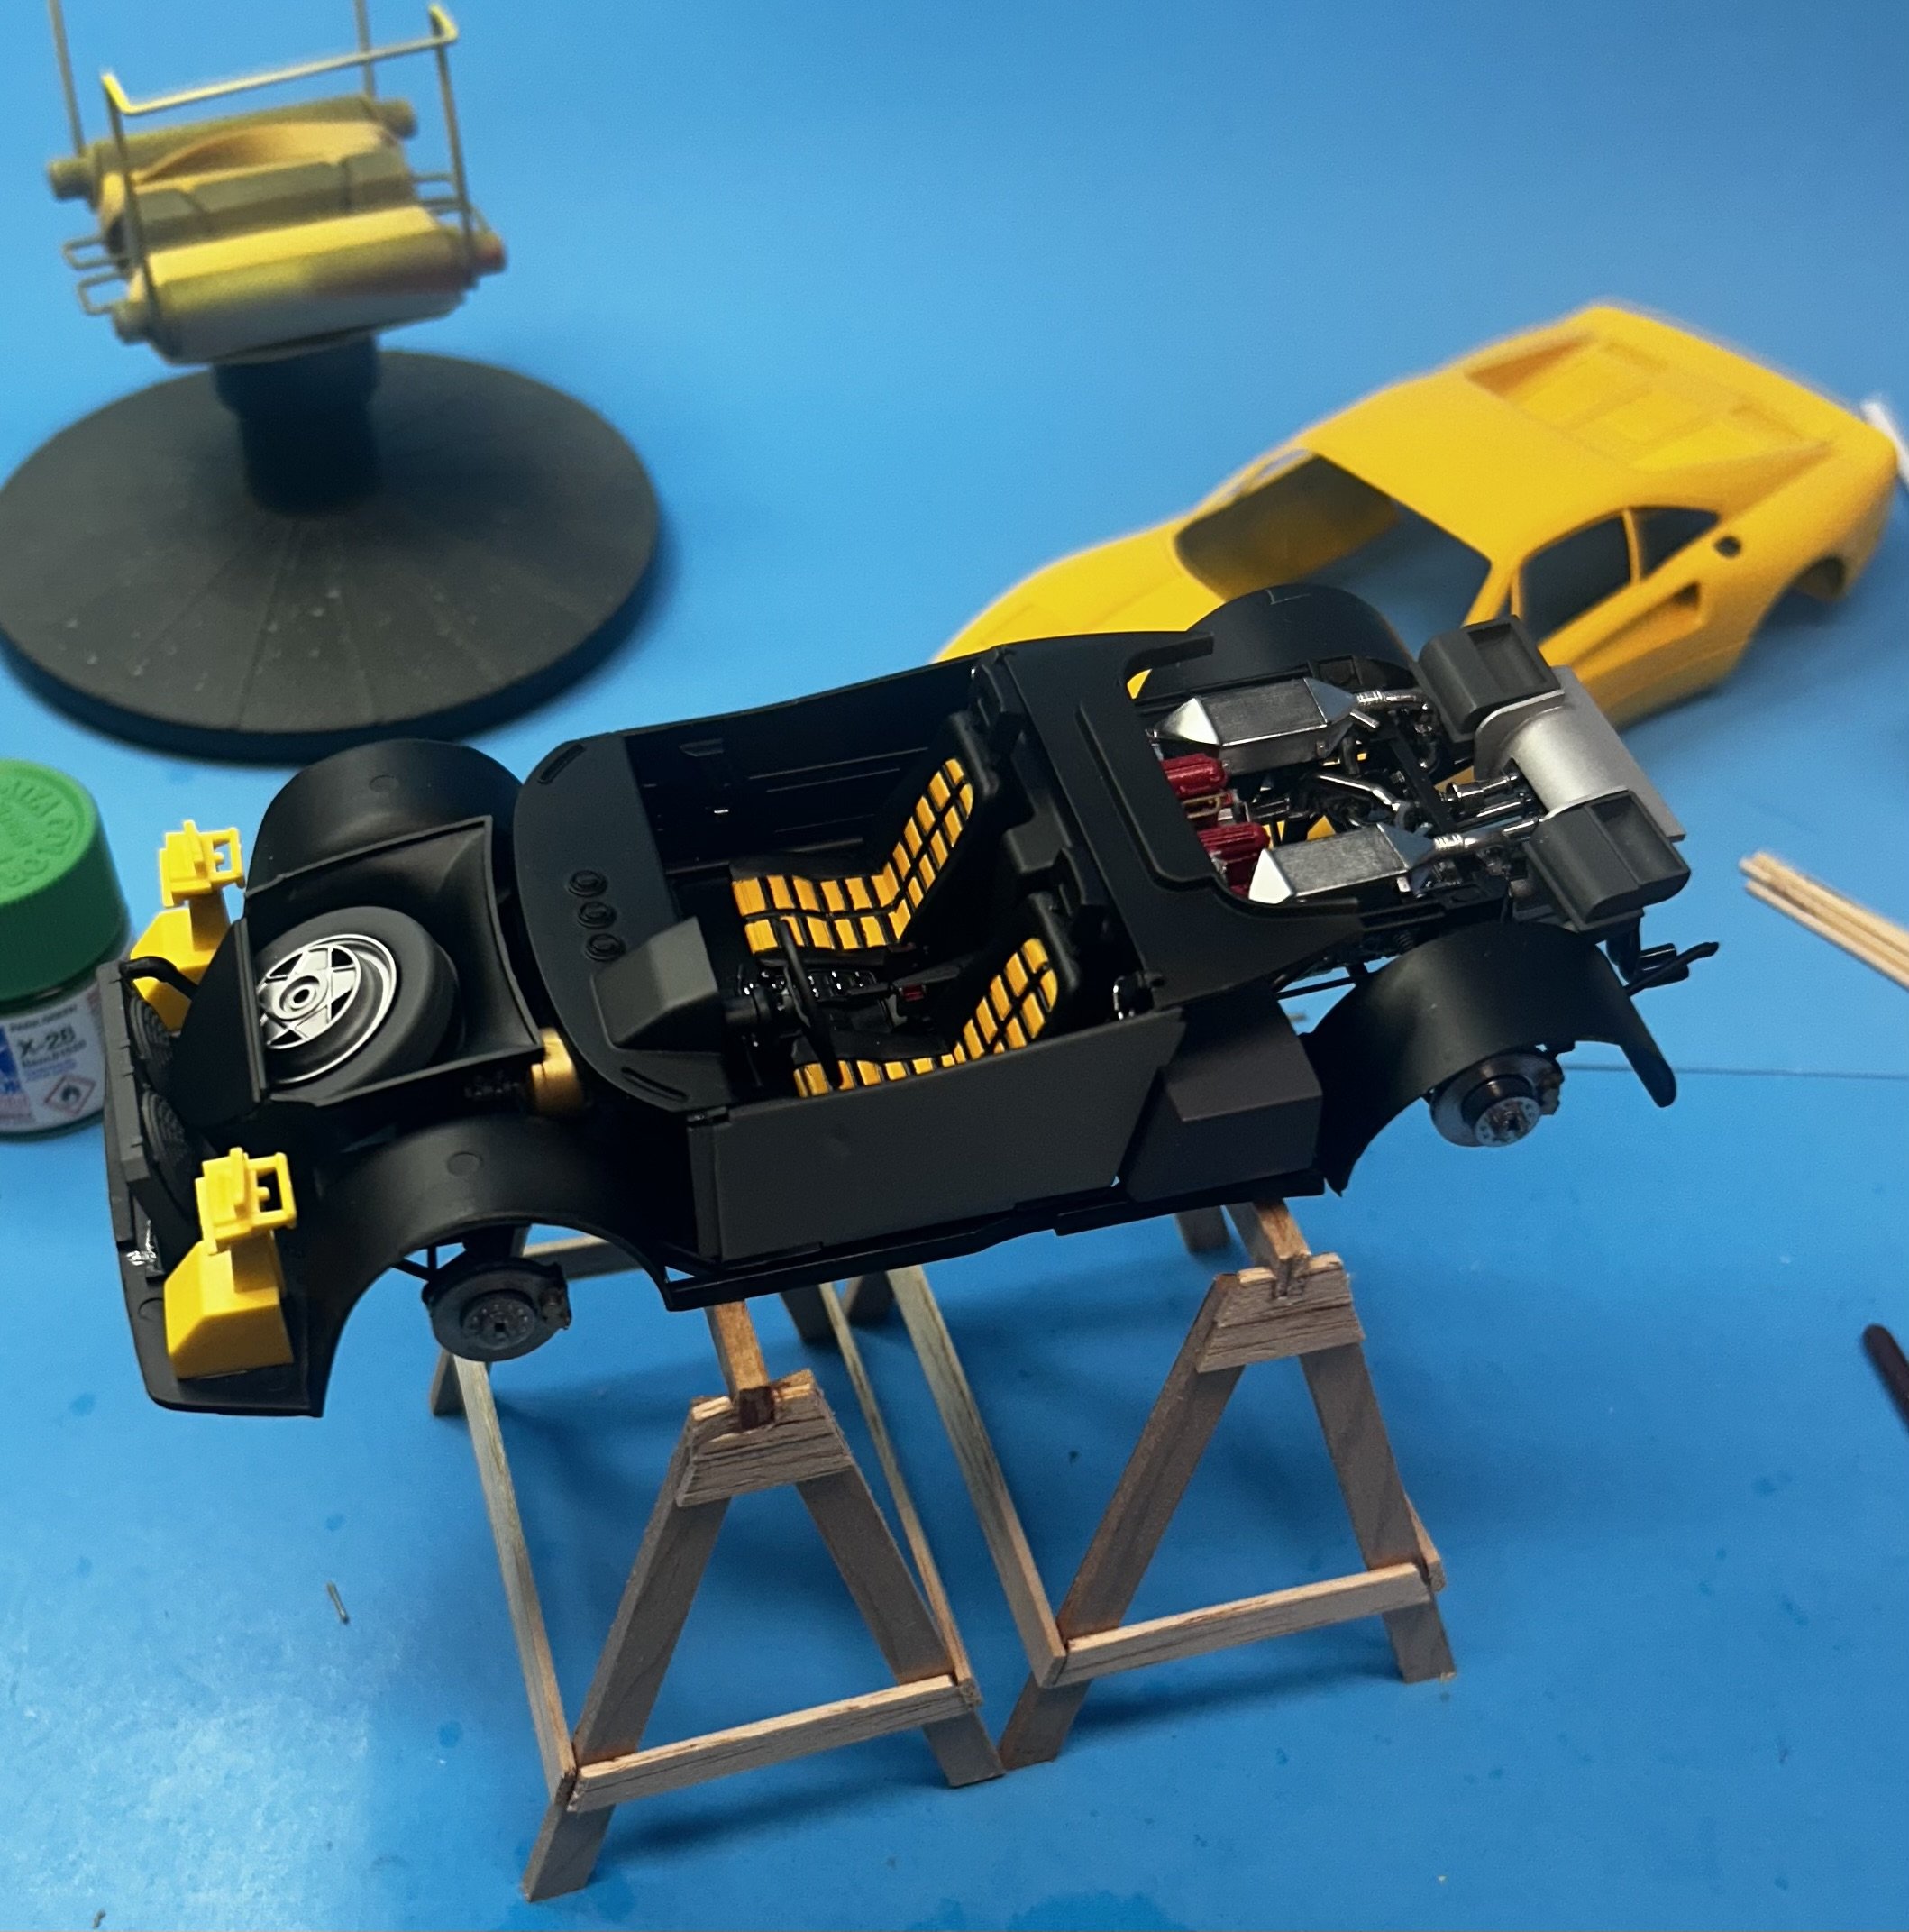
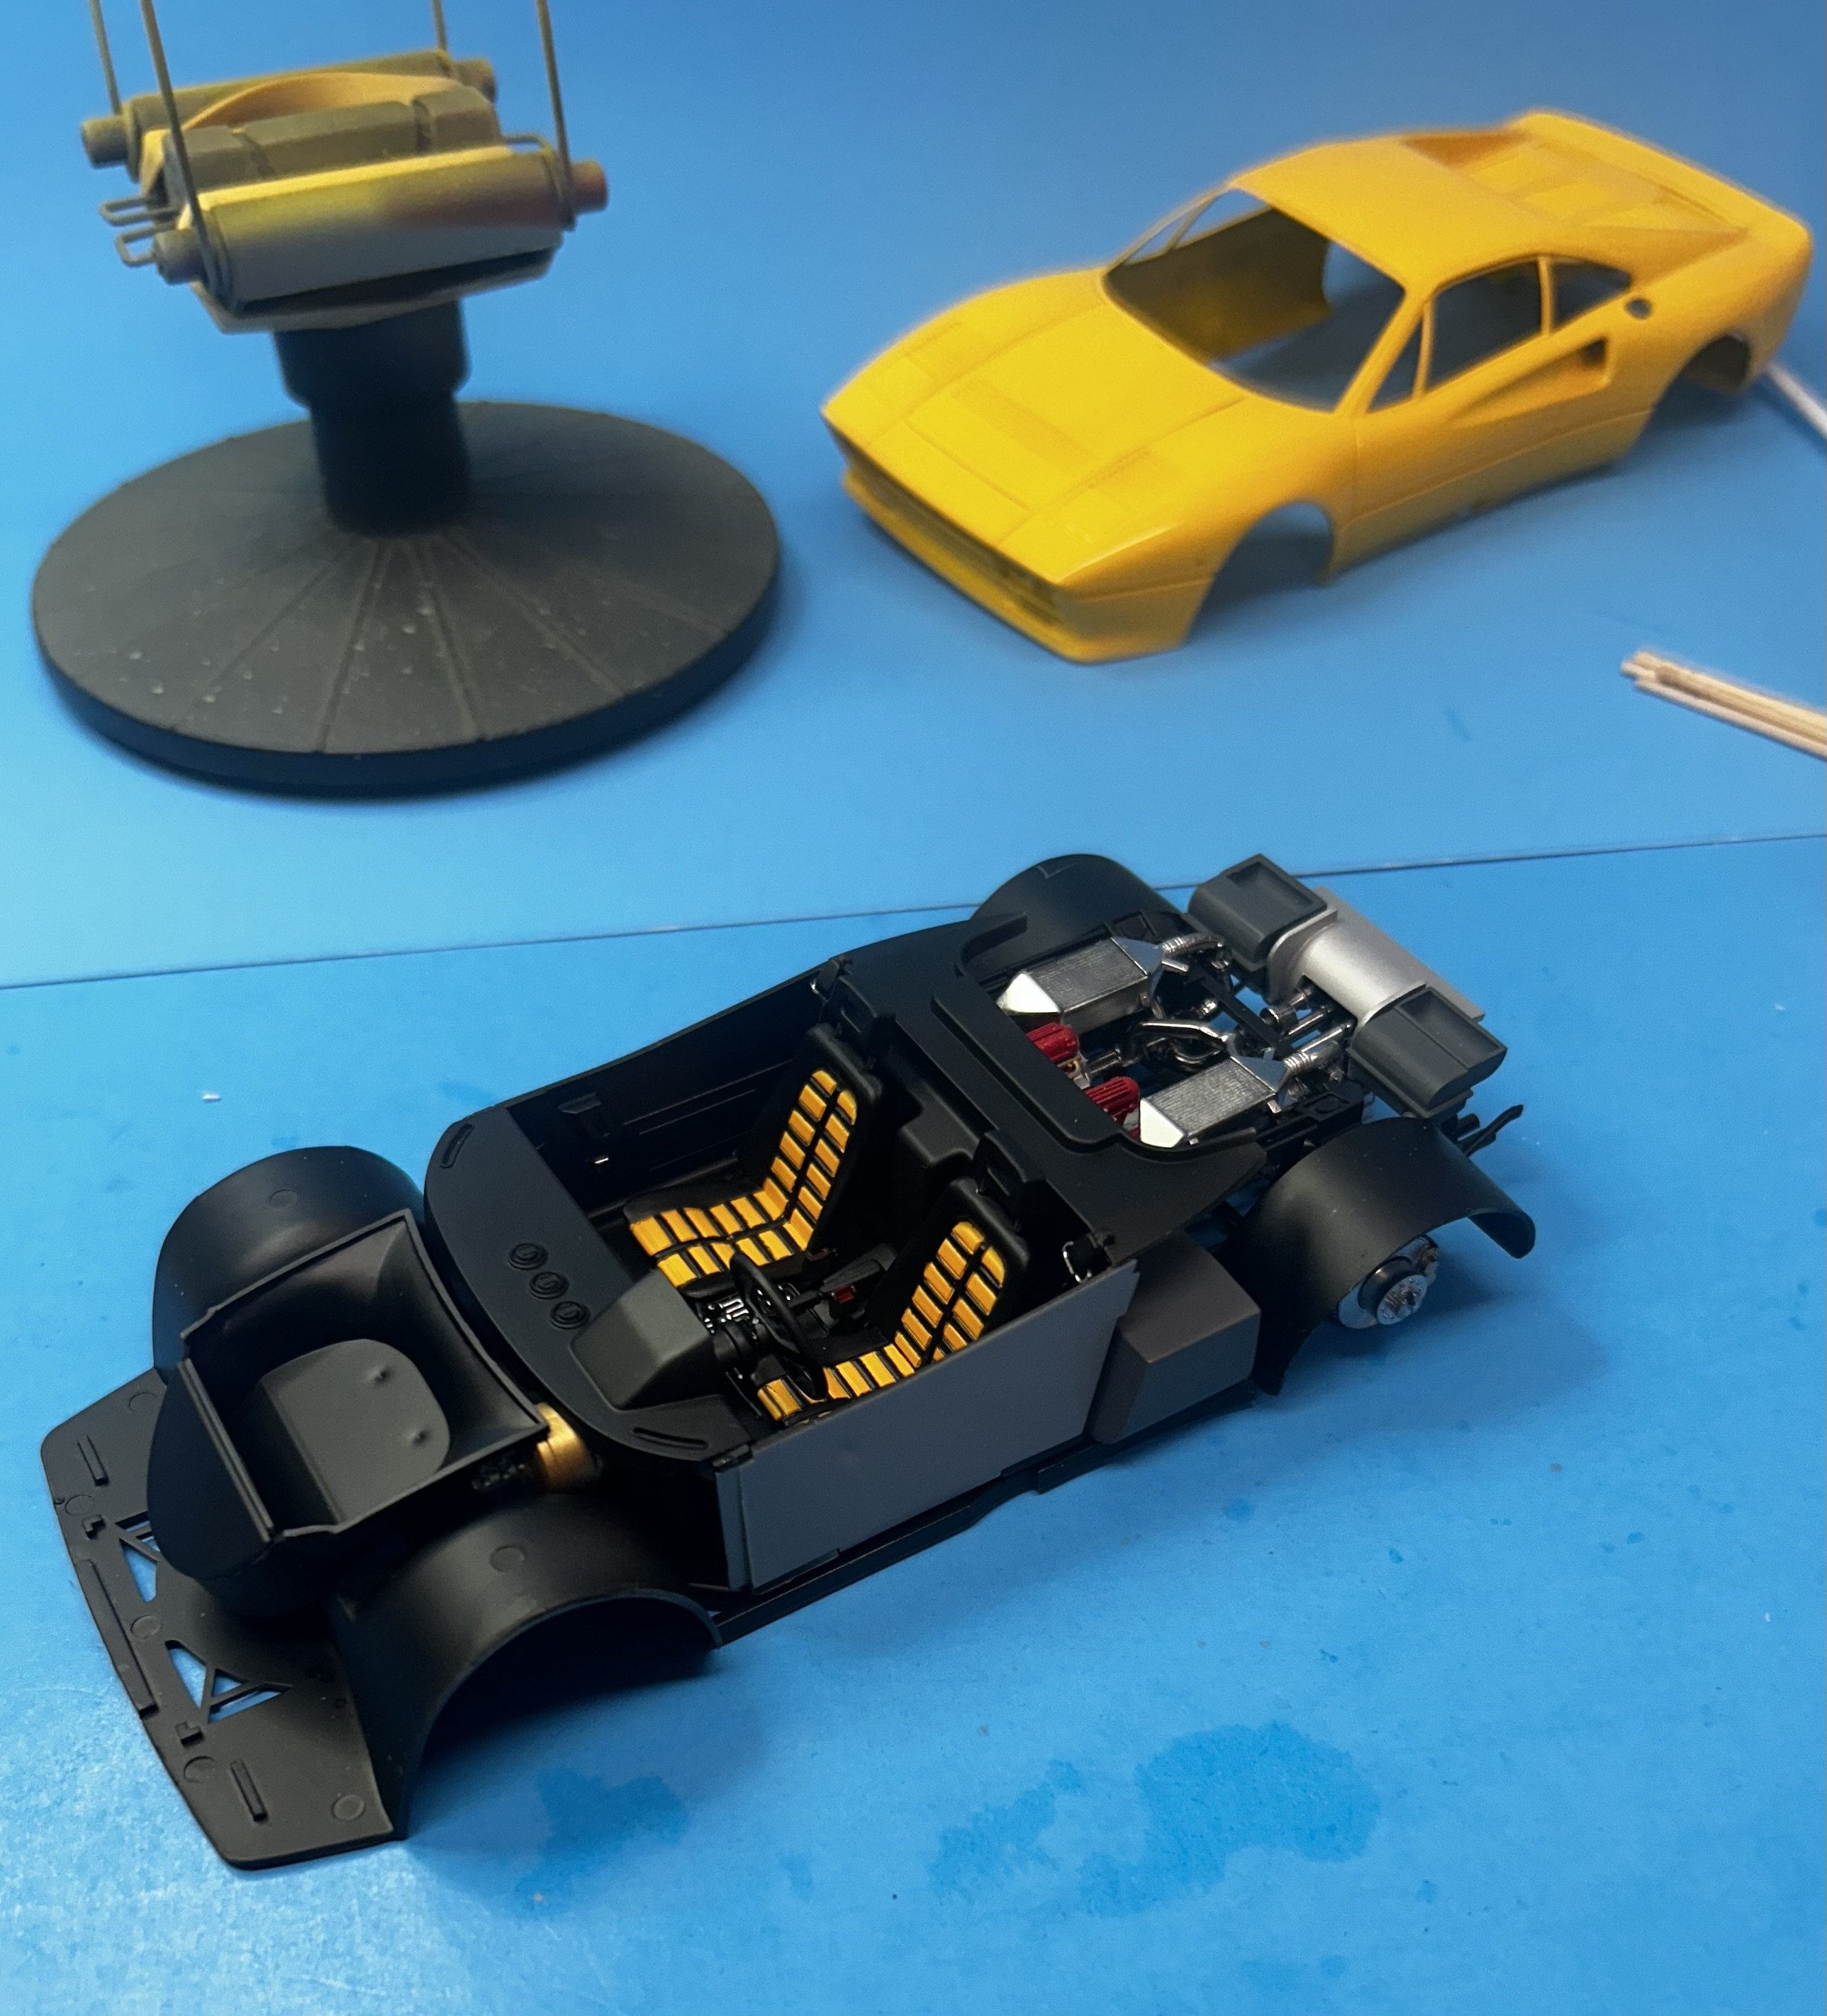
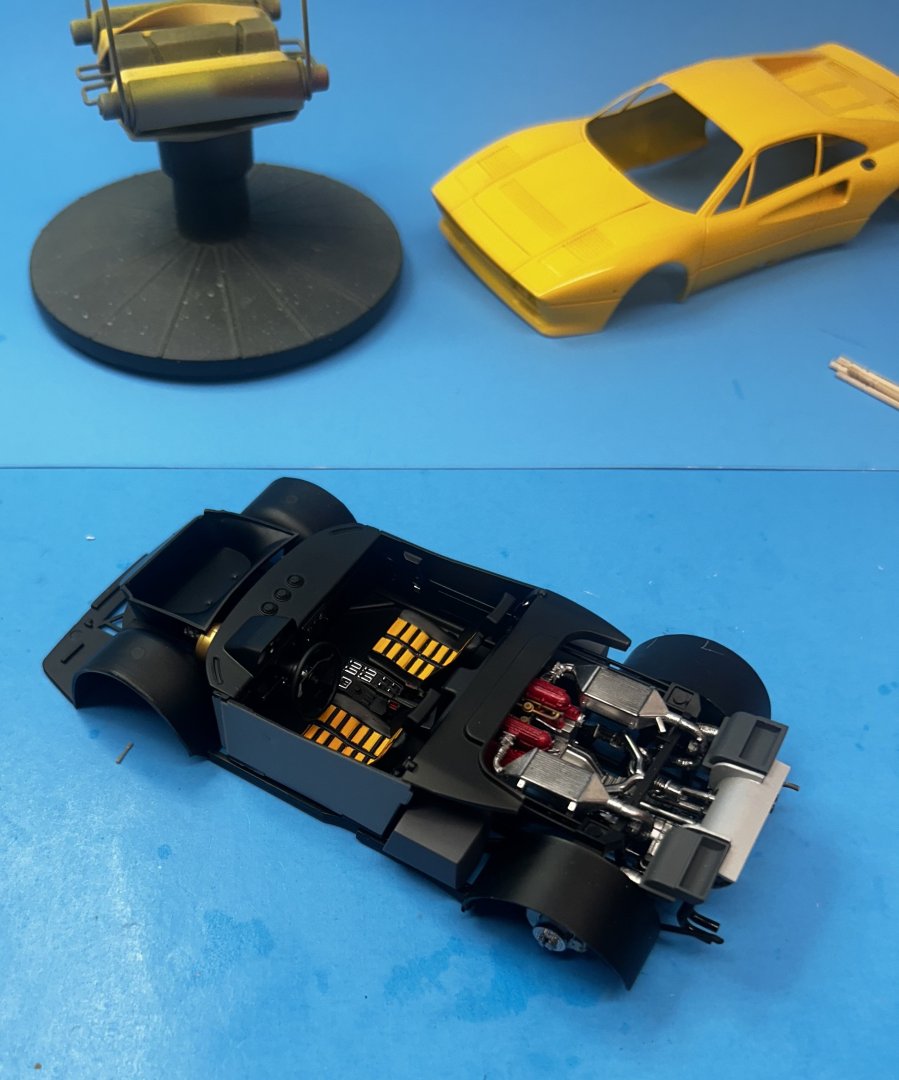
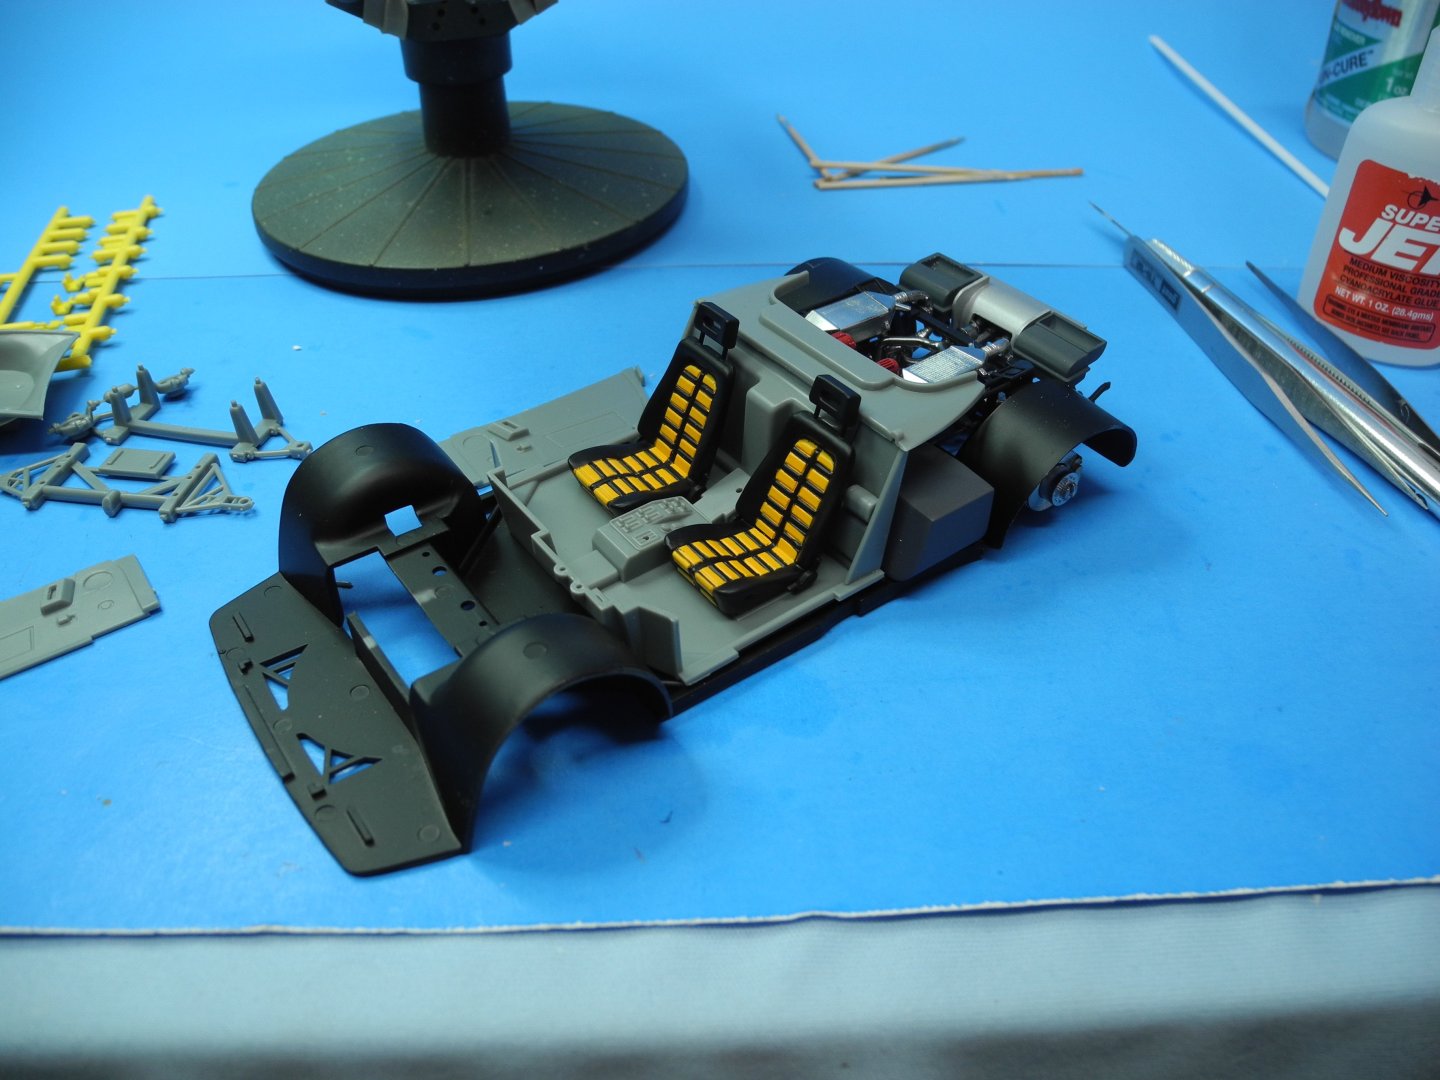
In front is a spare tire compartment that rests under the front bonnet. The gold colored object is a brake booster and master cylinder. Before I put the chassis in place within the car body, I need to mask off the car body to paint all the black trim, then set the glass in place. A lot of masking ahead.

- 127 replies
-
- 12
-
-
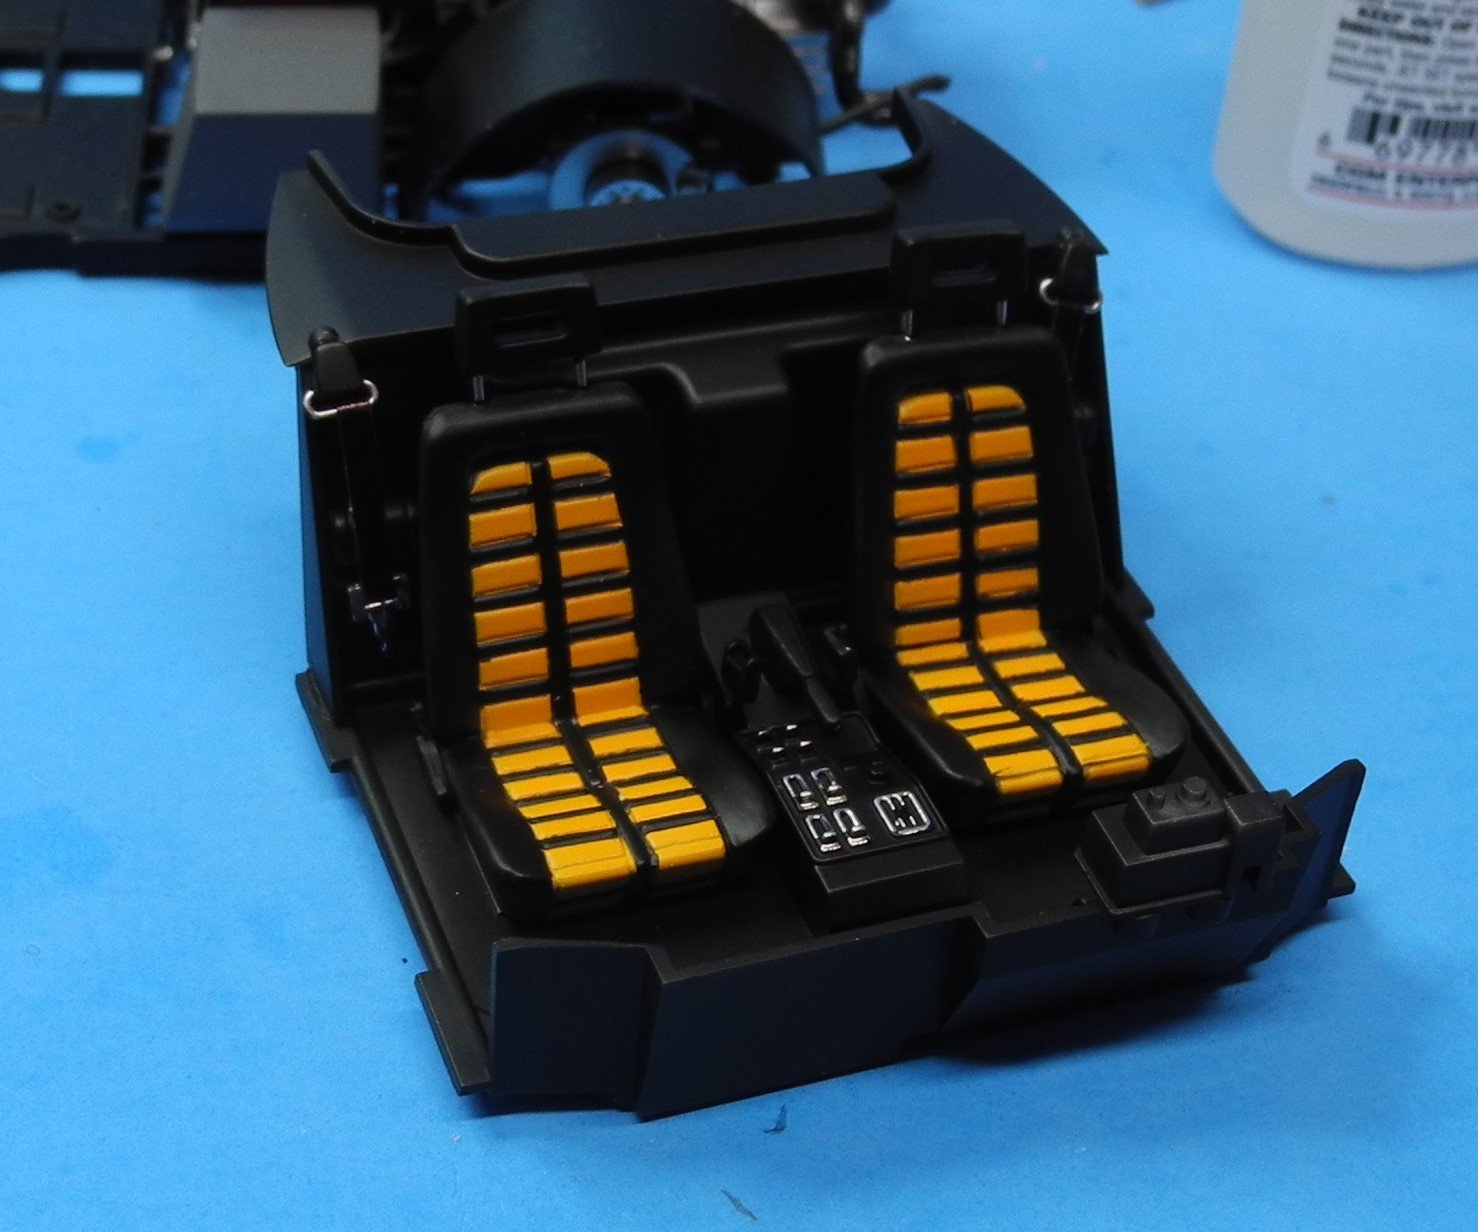
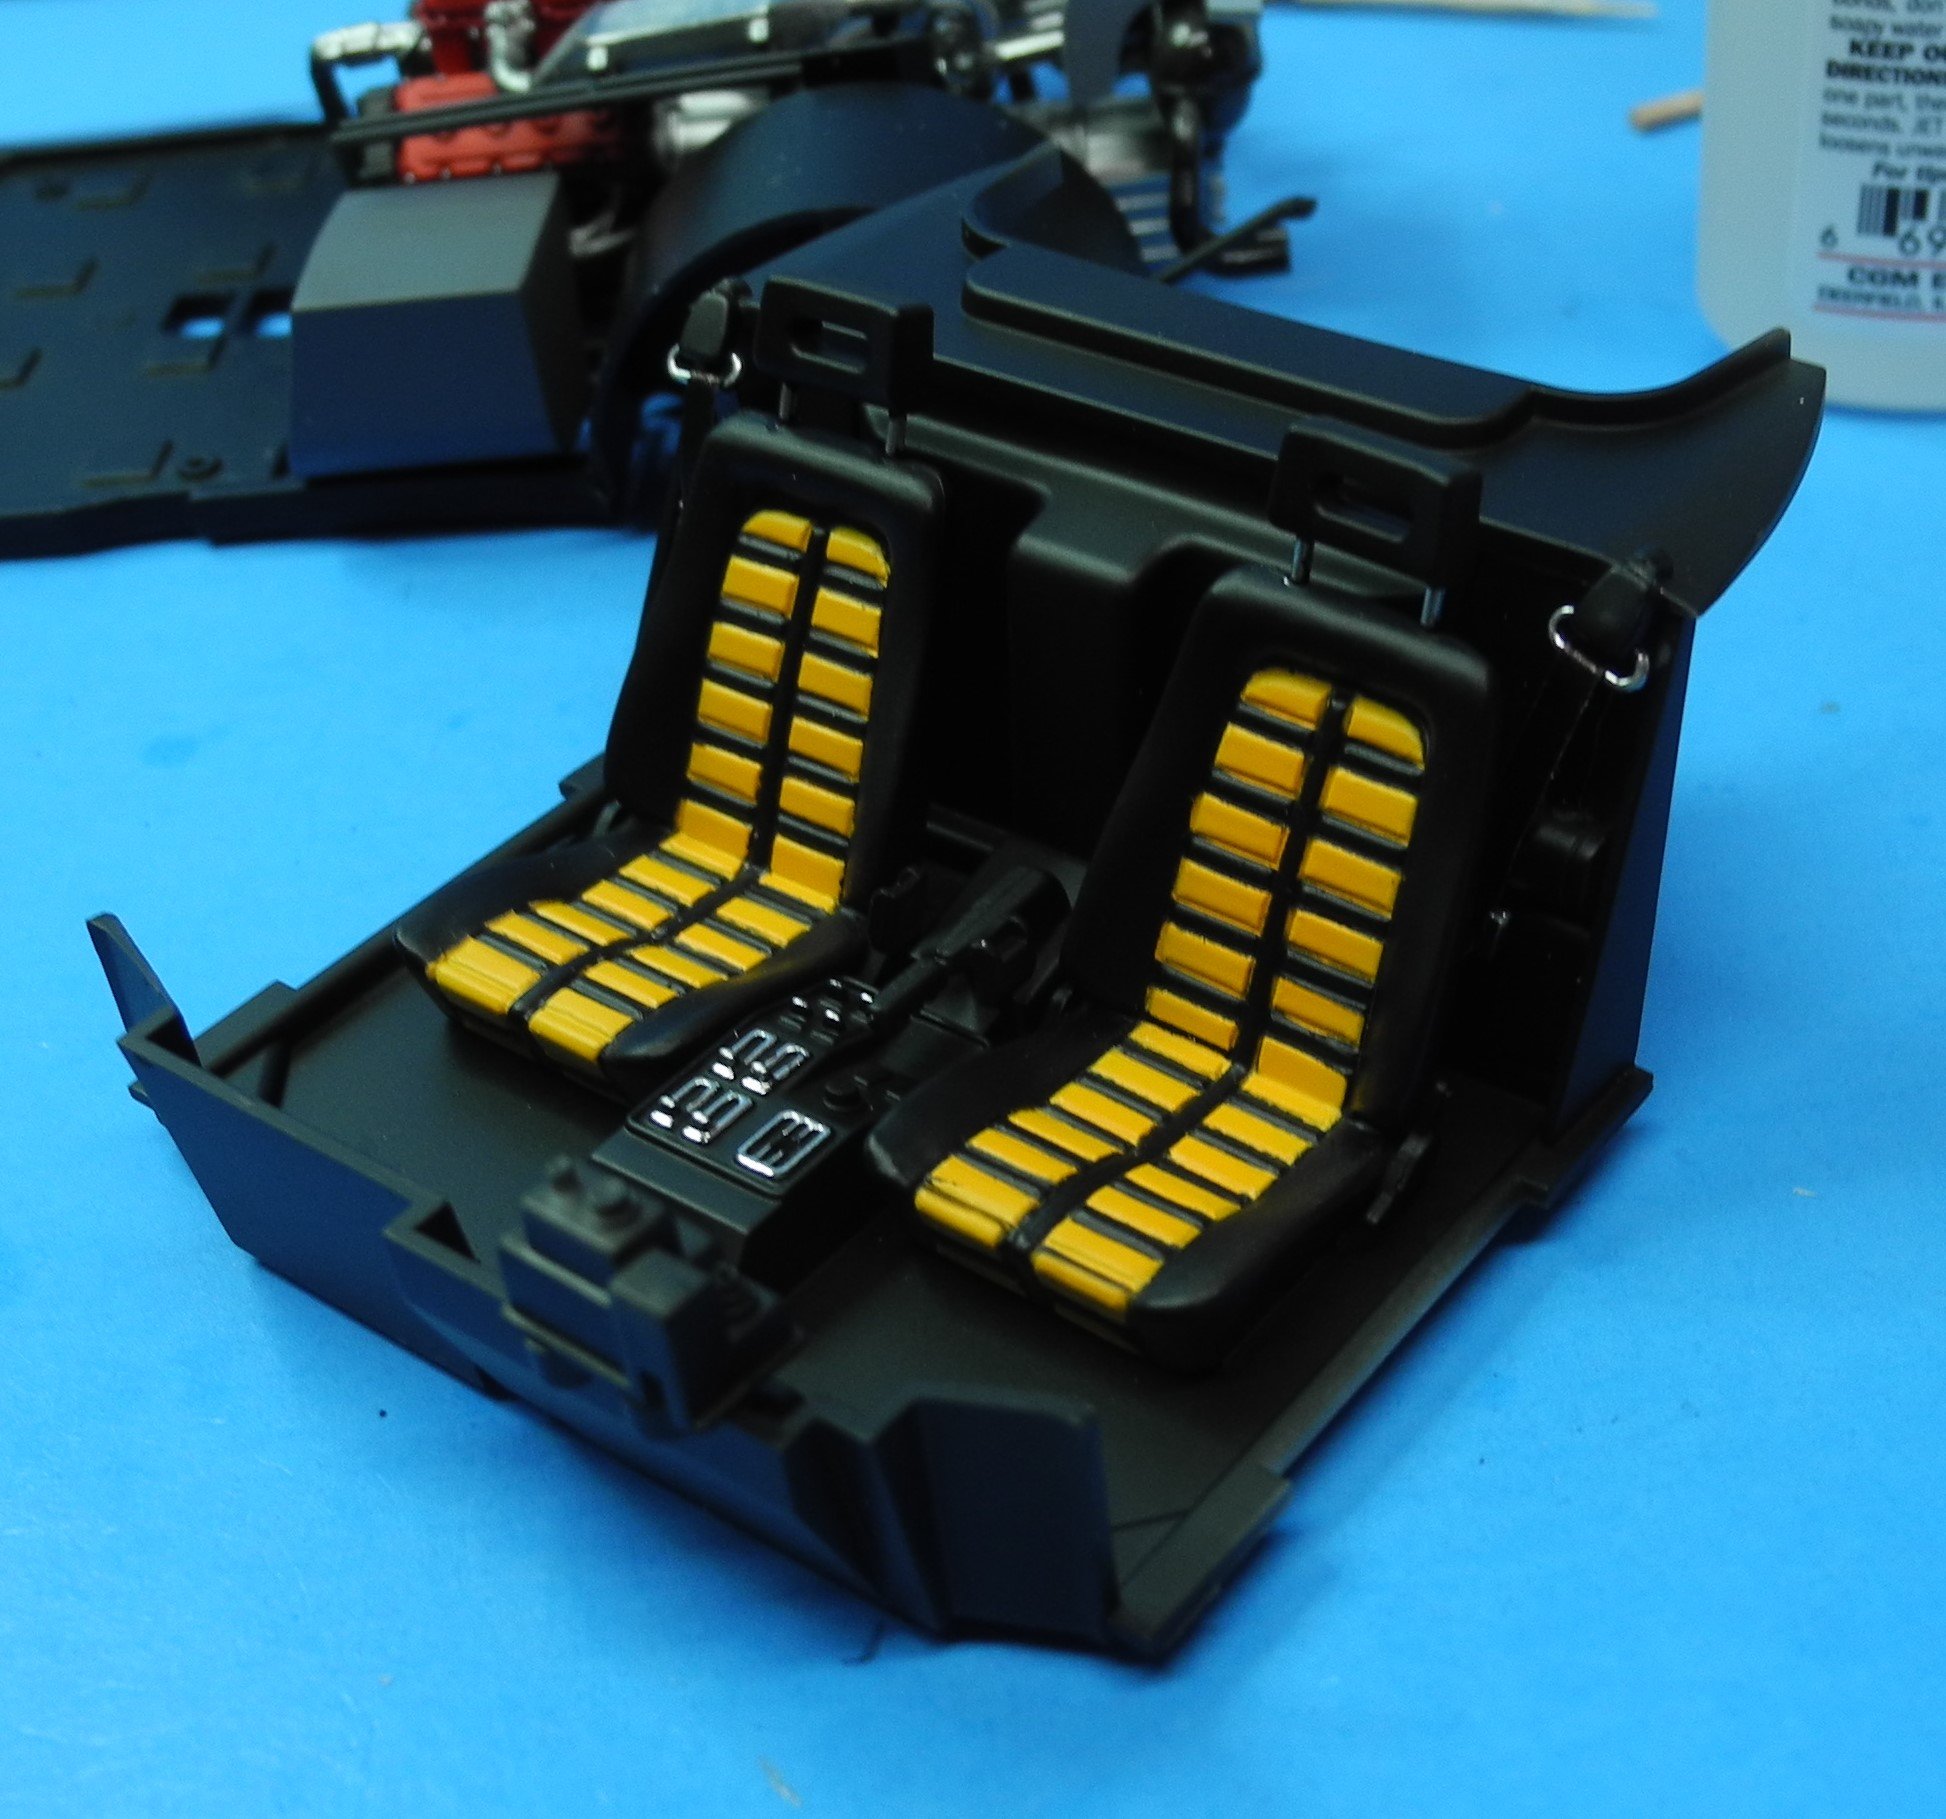
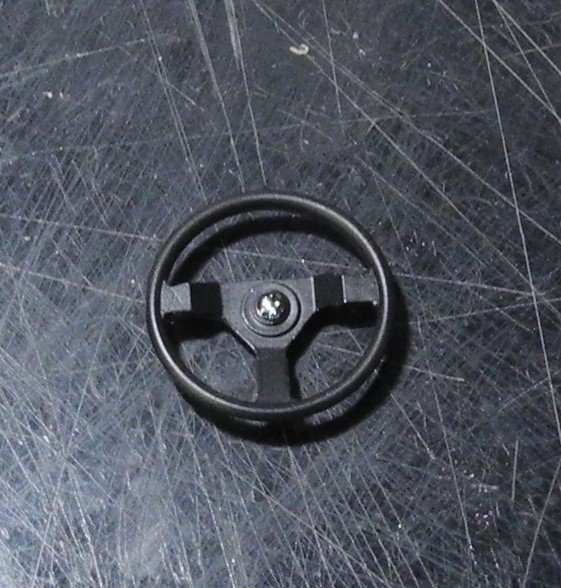
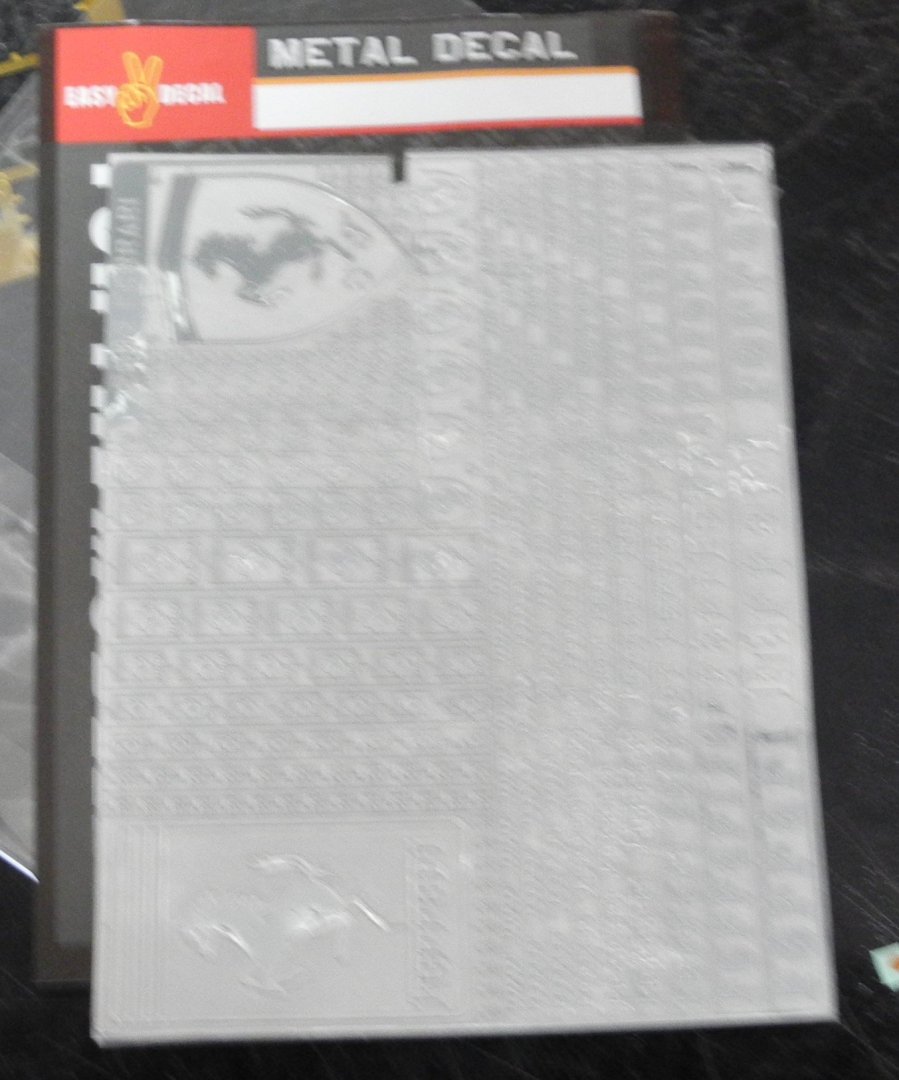
The interior is almost finished while waiting for some details to dry before wrapping it all up. A while back, I found a vendor who sells a large fret of chrome Ferrari badges in various scales, self-adhesive-backed. These will come in handy on this as well as other Ferrari model builds in the future. I used the smallest prancing horse badge on the steering wheel. Almost too hard to see with the naked eye. At least with my naked eye/s. 🙂 The shoulder belts are done with masking tape cut into 3mm strips. My model gave no indication of lap belts on this model of Ferrari and I didn't notice any on interior photos found on the net.


- 127 replies
-
- 10
-
-
King Tiger Diorama by chadwijm6 - FINISHED - Airfix - 1/35
CDW replied to chadwijm6's topic in Non-ship/categorised builds
Your King Tiger came out great, James! Bravo -
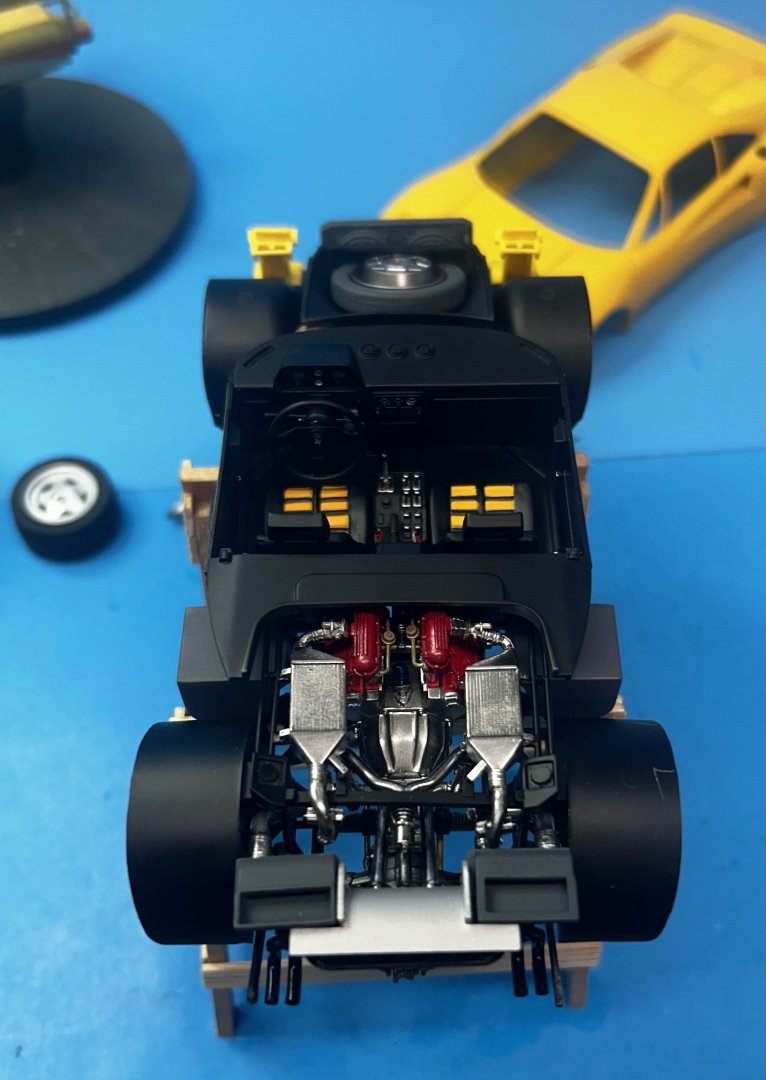
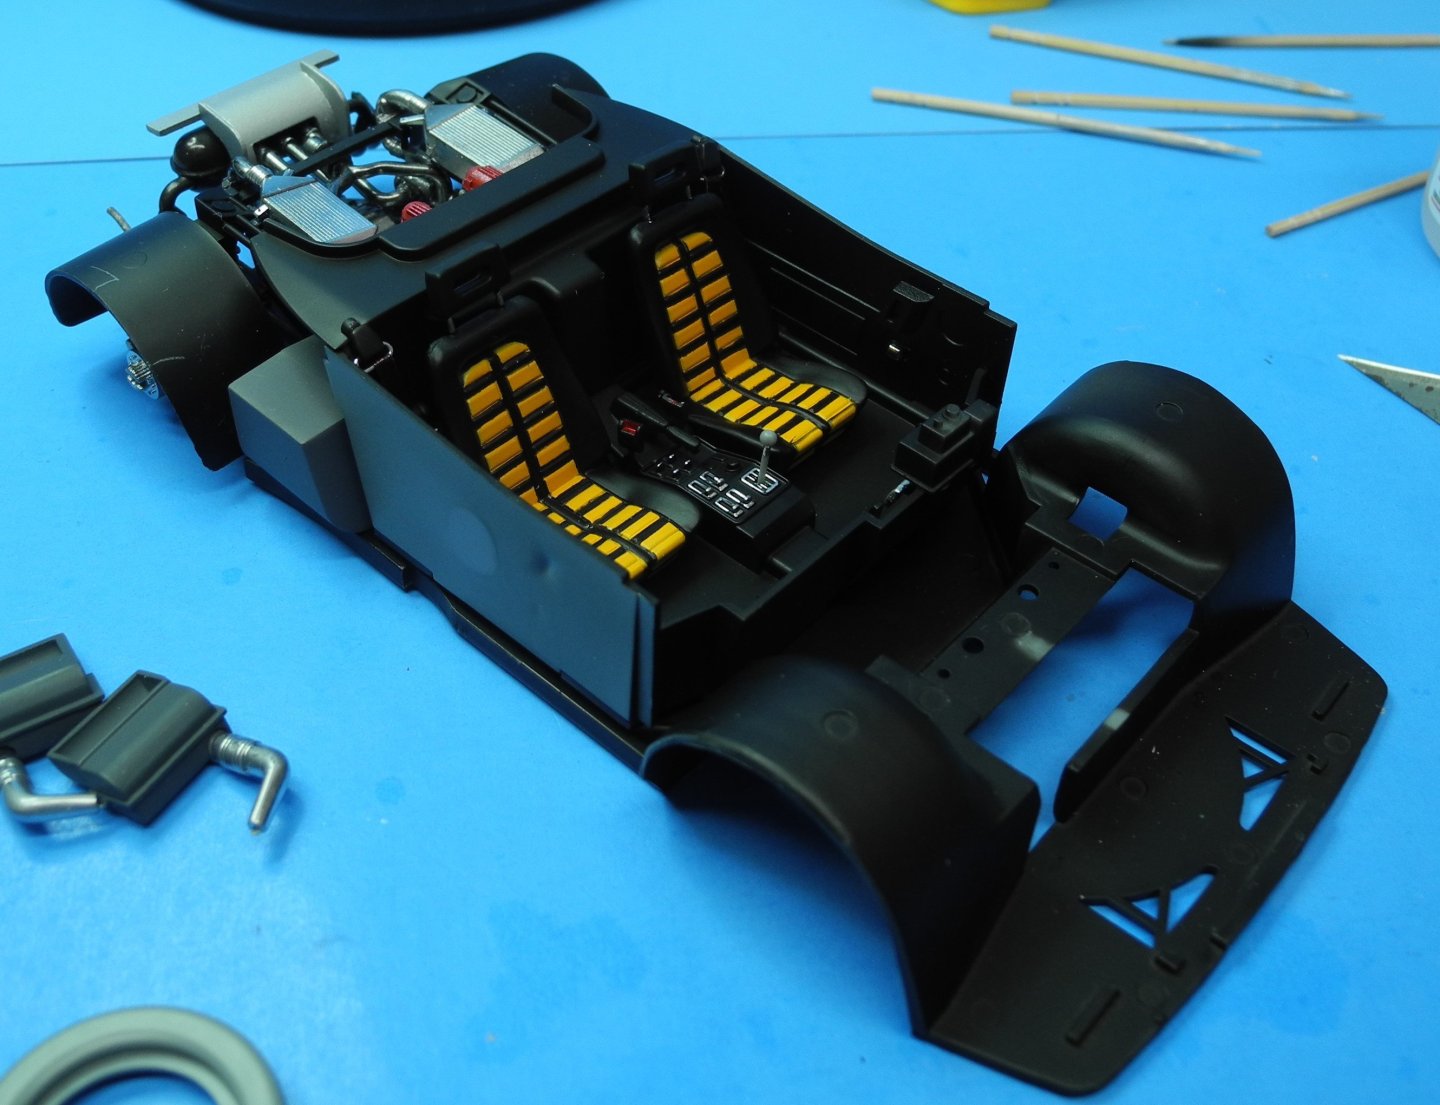
With that twin turbocharged V-8 engine sitting directly behind the driver and passenger, seems the cockpit might get uncomfortably warm in the summer. When I was young, I owned a custom 1955 Dodge pickup truck with a 440 cubic inch V-8 engine. It got so hot inside the cab, in summer months, it was too uncomfortable to drive.
- 127 replies
-
- 11
-
-
Hey, I resemble that remark. 😄
-
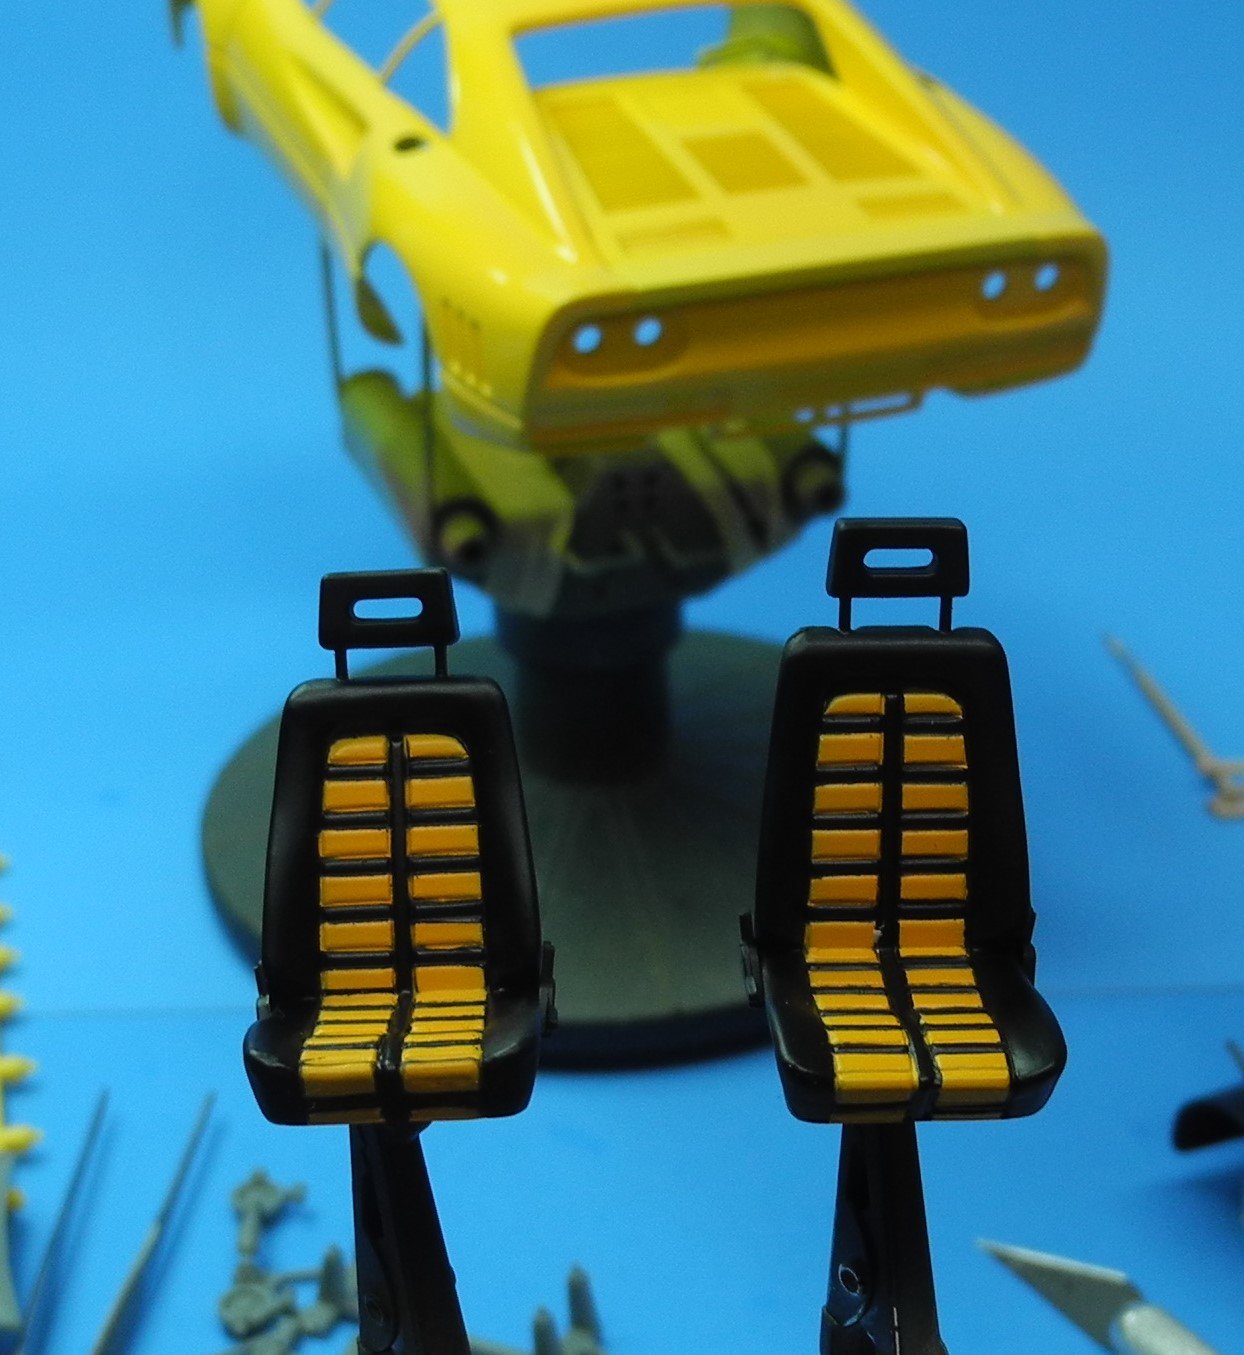
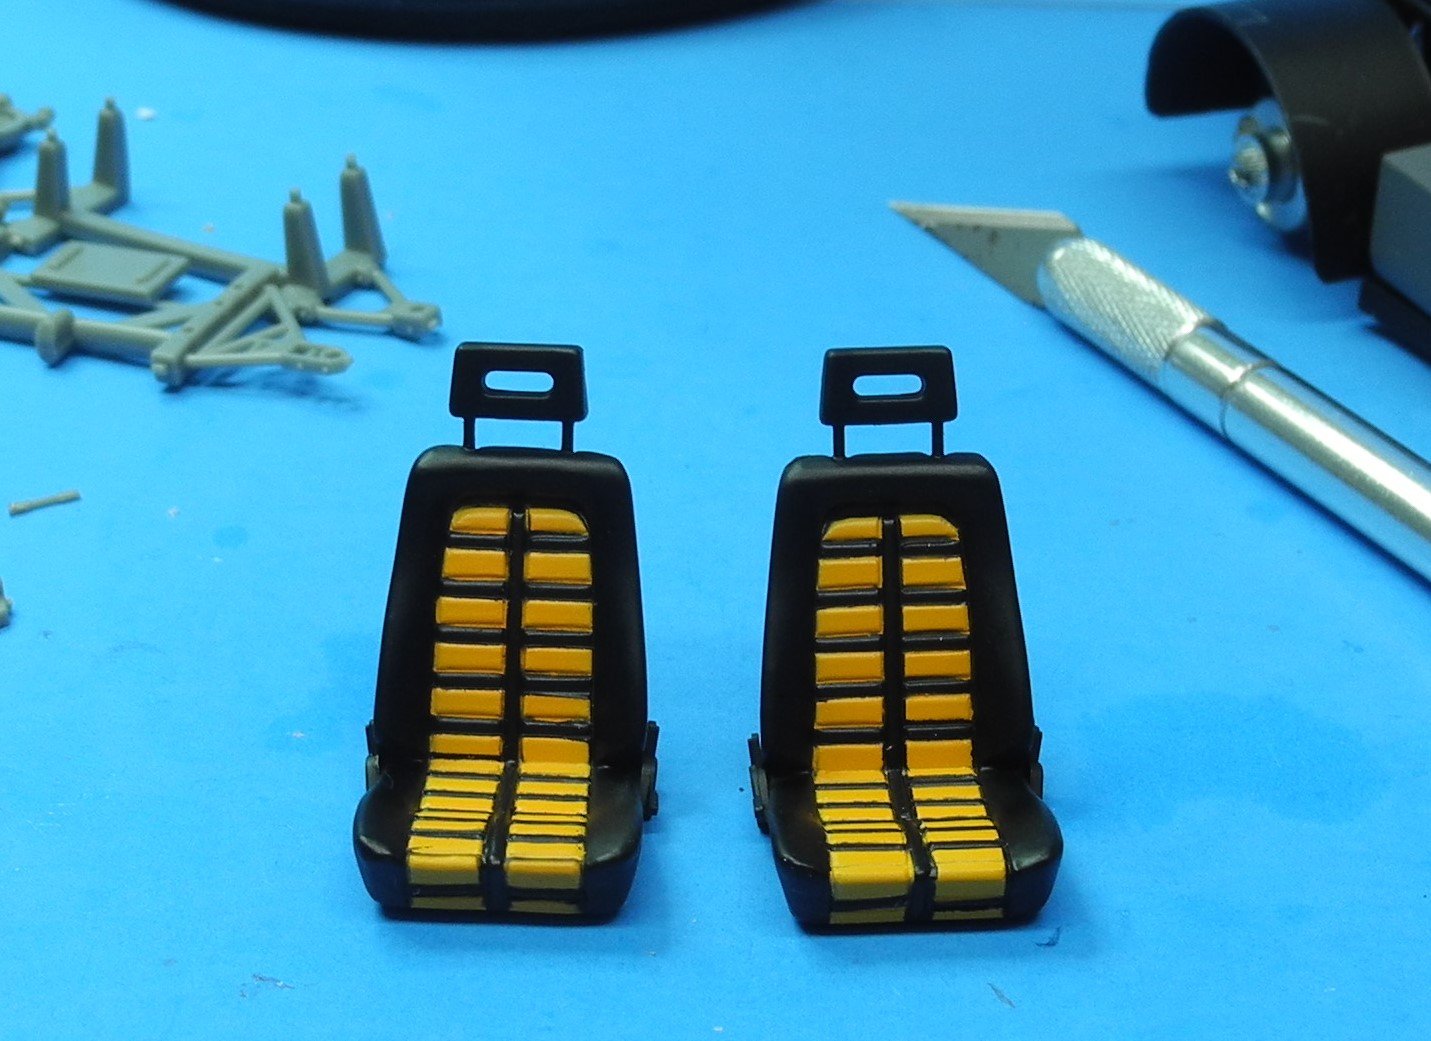
Here's my interpretation of the seats for the Ferrari 288 GTO Yellow. Are they close to correct? I'm not sure, but they will have to do.

- 127 replies
-
- 13
-
-
I robbed the .50 caliber machine gun from my Walker Bulldog kit to use on another tank project. I ordered this little kit to replace the machine gun. It's a shame to pay 1/3 the cost of the entire kit for one itty bitty machine gun but I did. SSMODEL SS835866 1/35 Model Upgrade US Browning M2 HB 0.50 Machine Gun 1pc | eBay
-
Do you have "Ollie" stores in NY? They bring in cases of random model kits from time to time and sell at a deep discount. Typically, model car kits that normally sell for $30 and up are selling for $12.99, sometimes less. A couple of months ago, I bought a brand new 2 cycle string trimmer/edger for $69.99 at Ollies. That's less than half the cost of Home Depot or Lowes.