CDW
-
Posts
7,755 -
Joined
-
Last visited
Content Type
Profiles
Forums
Gallery
Events
Everything posted by CDW
-
 Home improvement projects and a model club project for the month of June has this project on a temporary hold. Will return to it ASAP. Thanks for following along.
 -
F-14D Super Tomcat by CDW - AMK - 1:48 Scale
CDW replied to CDW's topic in Non-ship/categorised builds
Home improvement projects and a model club project for the month of June has this project on a temporary hold. Will return to it ASAP. Thanks for following along. -
The details look excellent!
-
You do mean 600cc, I'm guessing? 60cc is minibike size displacement.
-
If there is a distributor there must be a coil and a coil wire to the distributor.
-
Maybe the wire 7 lead to the coil under the tank and out of view? Does the bike have a battery?
-
That primer looks smooth as silk.
-
I am not familiar with this particular motorcycle, but I suspect this may be part of the spark advance/retard mechanism as the old bikes used mechanical means to perform this function. On old Harley Davidson bikes, the left hand grip twisted one direction for retard and the opposite for advance.
-
I bought some of the black and gold packs/box myself back in that day. PS: some in my family farmed tobacco in South Carolina. After picking, the leaves are hung in a barn to dry out. Just a drop of that liquid residue that drips down, if accidentally ingested, will make the person sick as a dog. I was always told it was the strong chemicals that were sprayed on it to keep it insect-free that caused the severe nausea. I wouldn't doubt that's not why smoking it causes such turmoil with a body.
- 62 replies
-
- 10
-

-
I'm in on this one with you, Gary. Looking forward!
-
Triumph 3HW by Tim Moore - Italeri - 1/9
CDW replied to Tim Moore's topic in Non-ship/categorised builds
If you check into it, I'm pretty sure at least some of these "Italeri" motorcycle kits were actually produced in Japan. Maybe produced there for Italeri? Anyway, I just checked yesterday on Ebay by running generic searches...found 1:9 BMW's, 1:9 Zundapps, 1:9 Trumpets, 1:9 Harley Davidsons. Many for less cost that you might think. In some cases, $50 or just a shade more. Even AMT Blueprinter boxed and sold the 1:9 kits in a generic white box with black print. No graphics. It's all the same plastic inside. I actually have examples of them in my stash, so I can say this for certain. They came boxed as Italeri, AMT, ESCI, Aurora, and more. they are all the same kits. -
Triumph 3HW by Tim Moore - Italeri - 1/9
CDW replied to Tim Moore's topic in Non-ship/categorised builds
Awesome-looking bike right there! I bookmarked that page, too. -
Triumph 3HW by Tim Moore - Italeri - 1/9
CDW replied to Tim Moore's topic in Non-ship/categorised builds
Hey Tim If you search around, you can find from Italeri, the BMW with and without a sidecar, the Zundap with and without a sidecar, and the Harley Davidson 45 V-twin. All are in 1:9 scale and often came boxed and sold by other companies. All are WW2 vintage, like the Triumph. -
F-14D Super Tomcat by CDW - AMK - 1:48 Scale
CDW replied to CDW's topic in Non-ship/categorised builds
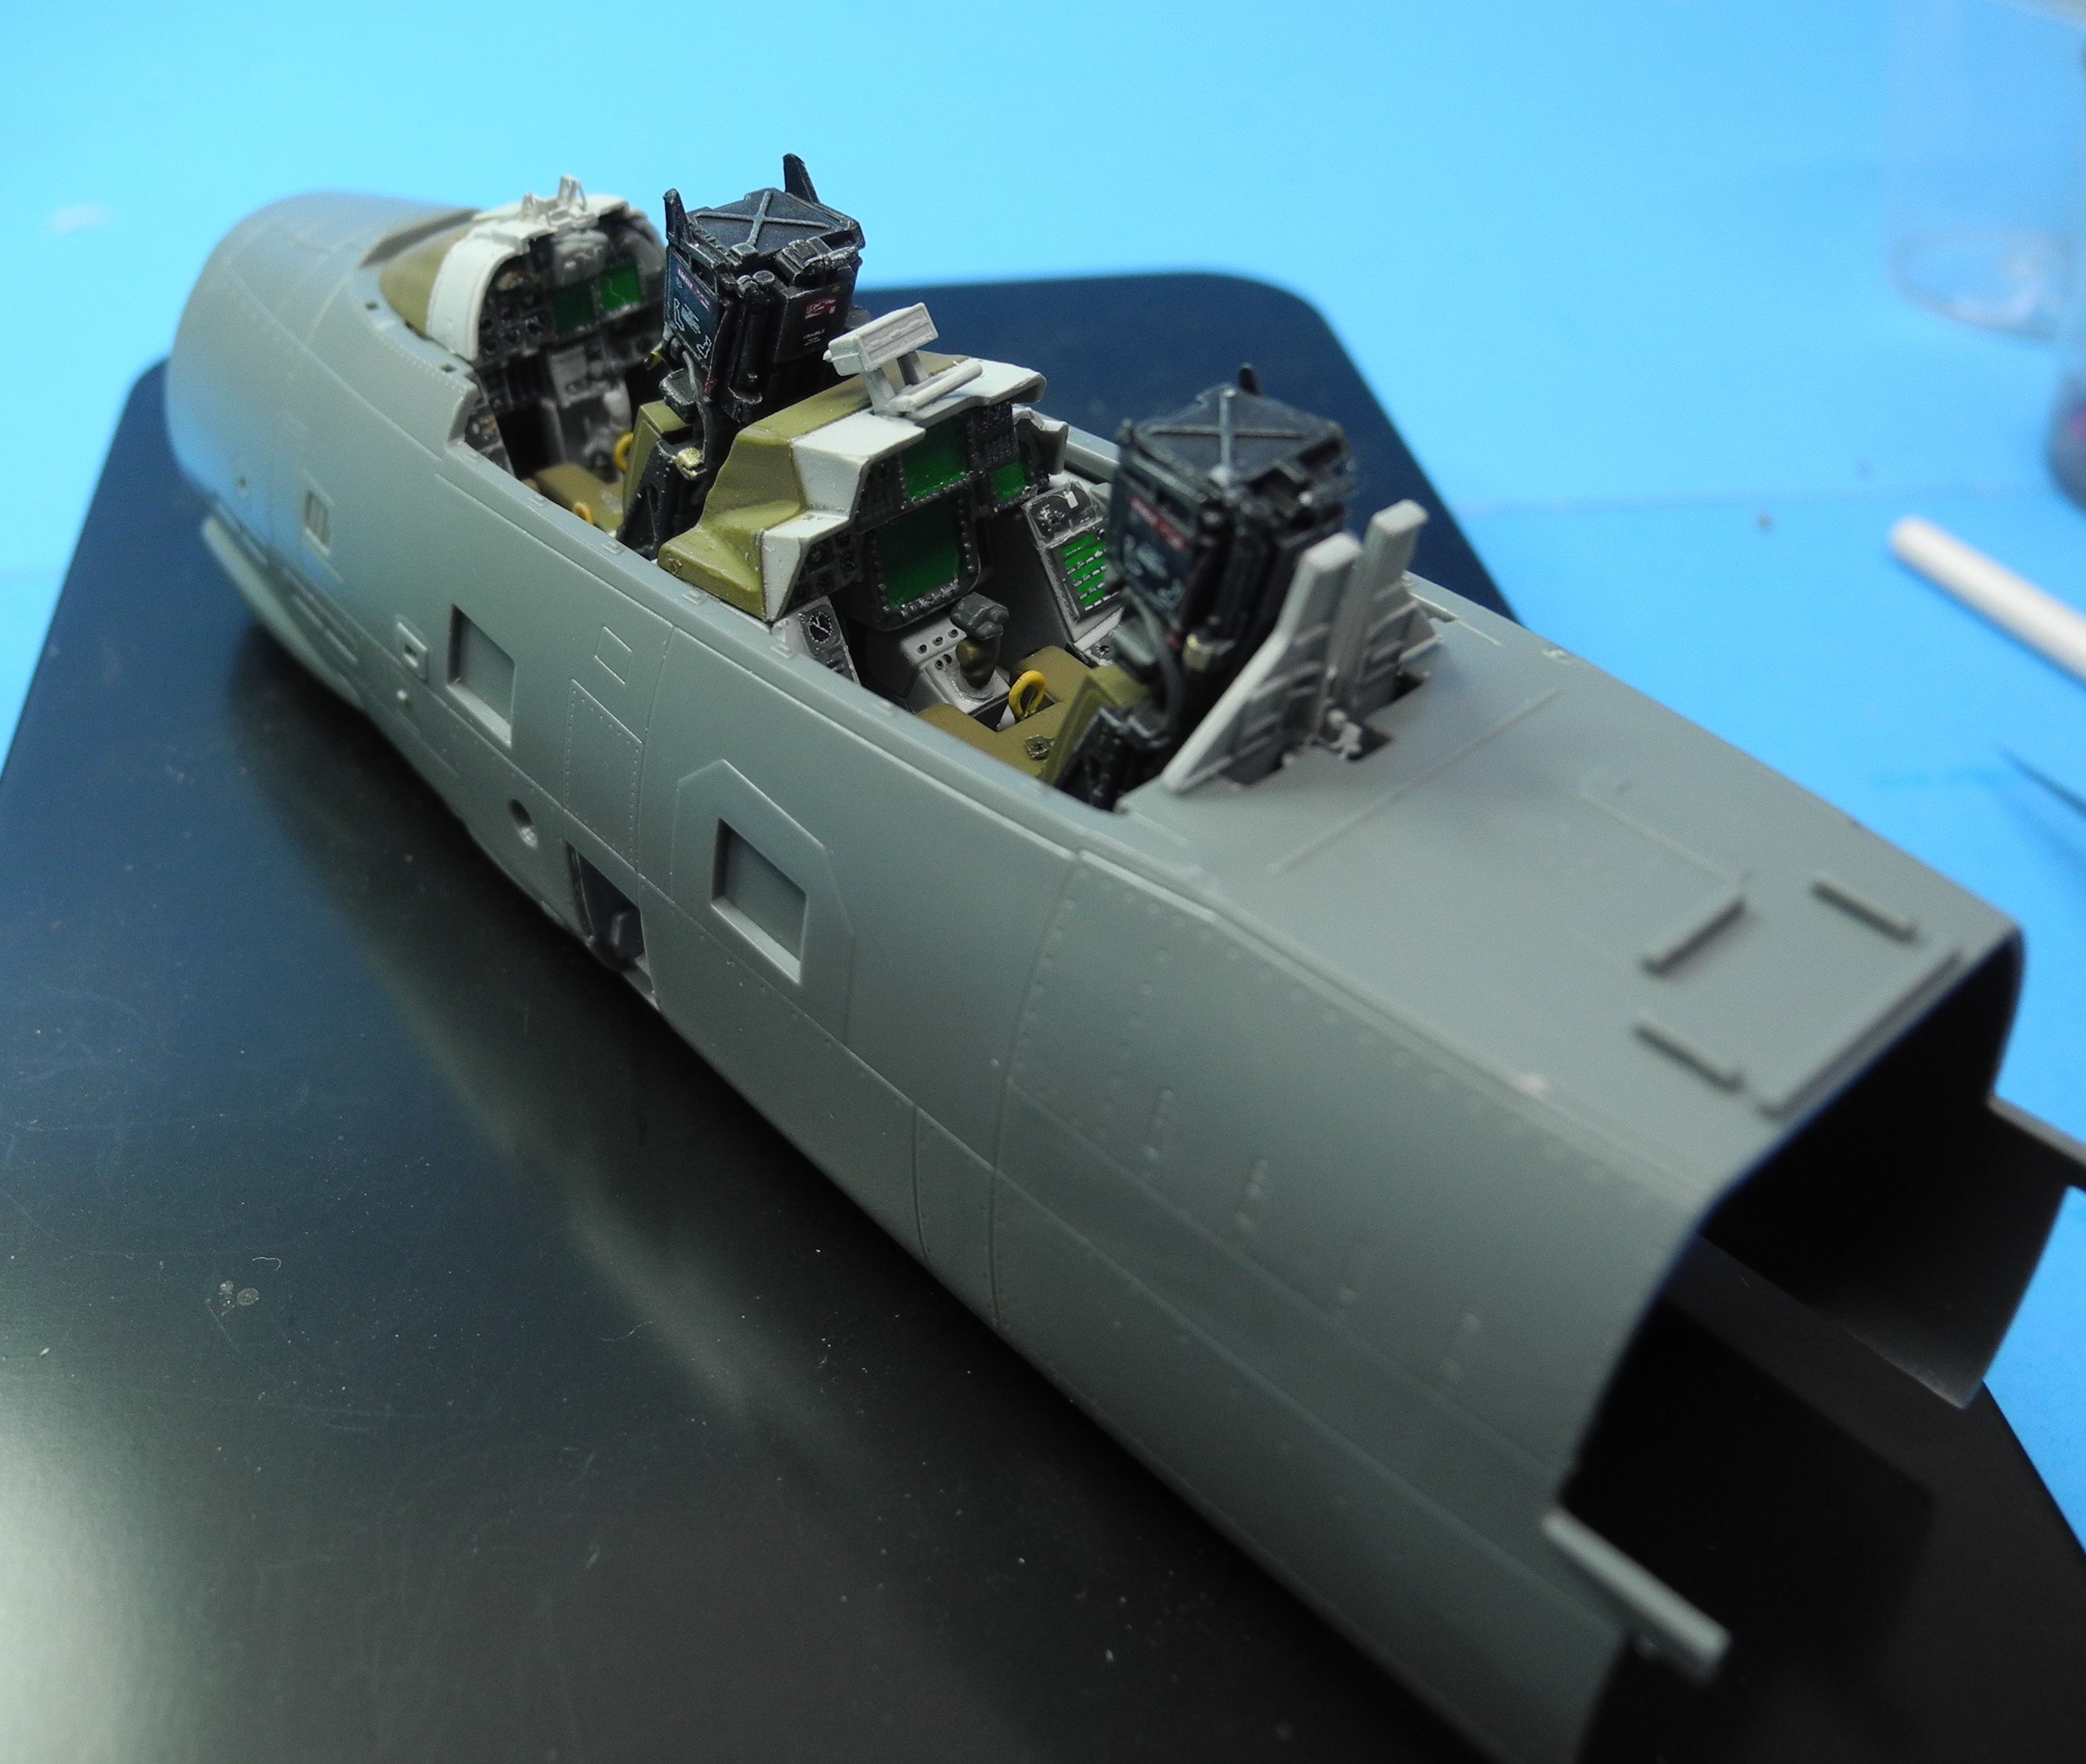
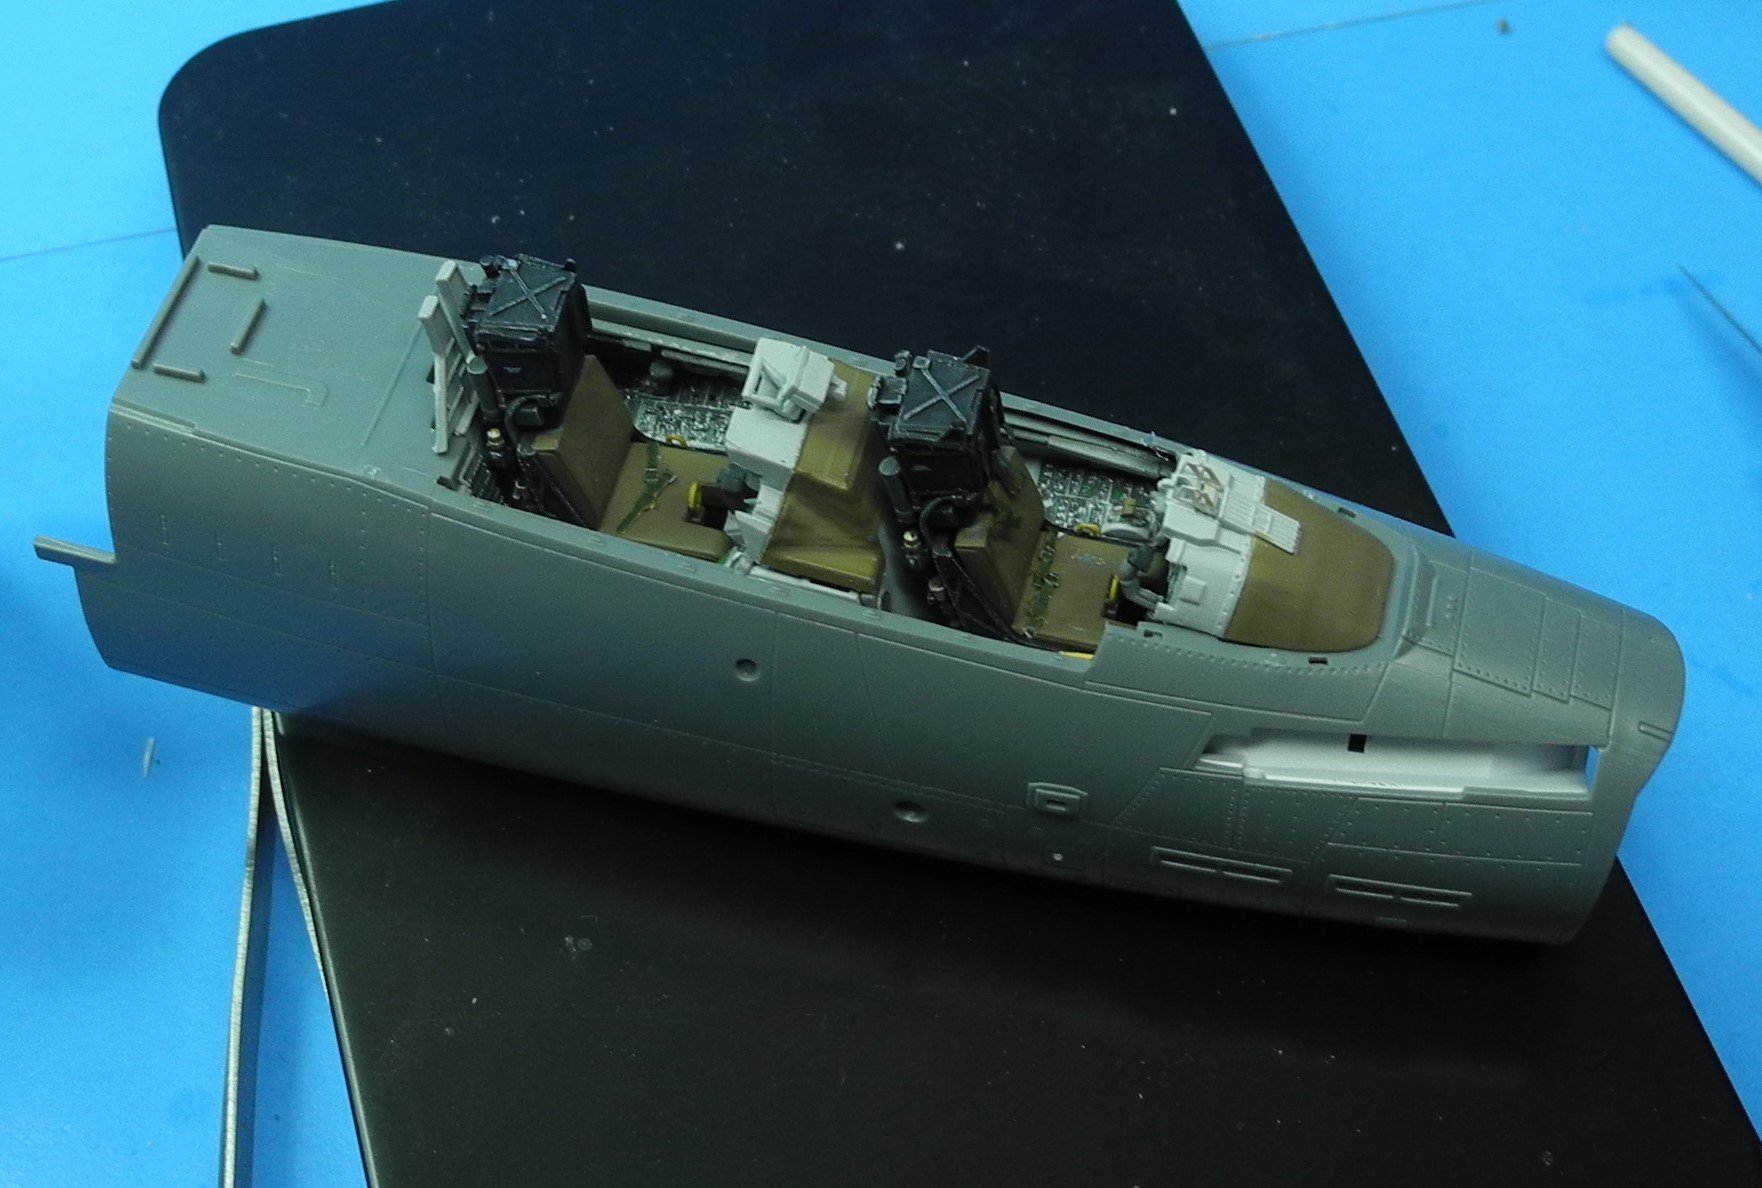
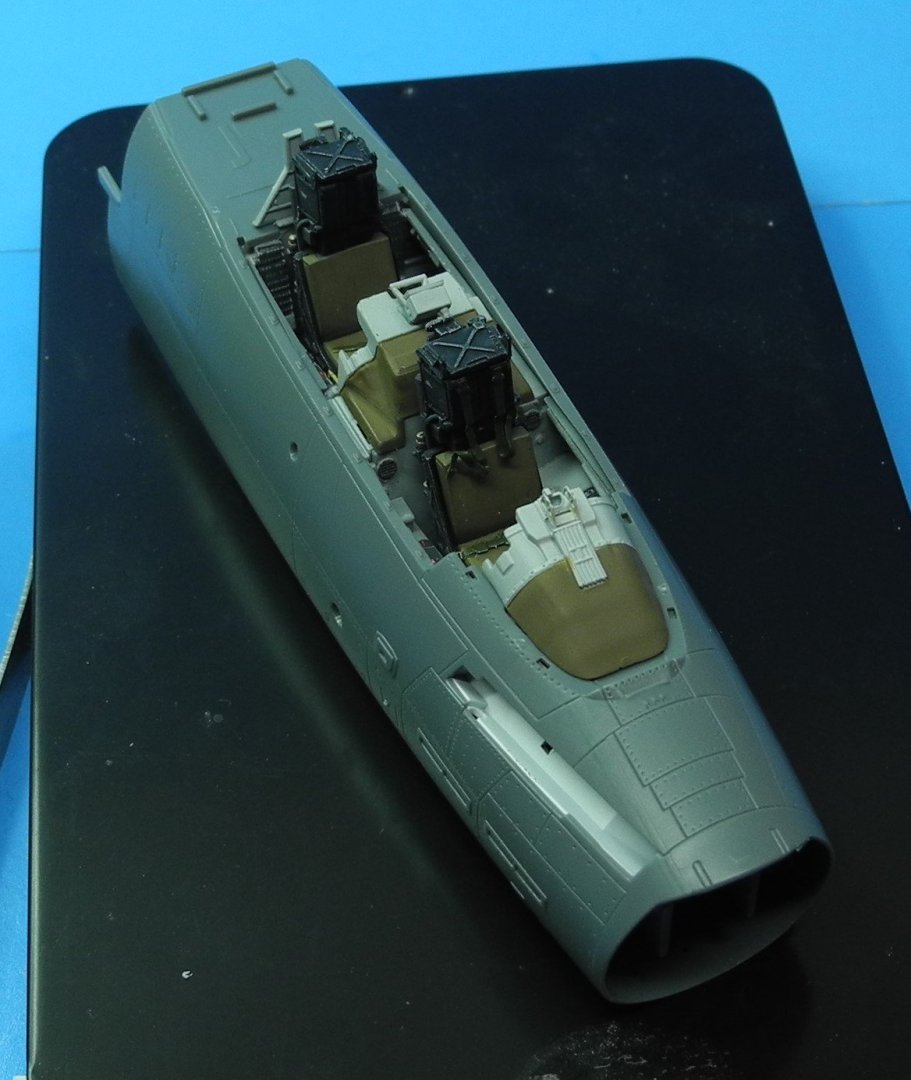
I've got too many irons in the fire. Very little time has been available for the tom kitty but the cockpit is nearing a finish with some minor details, a little detail painting, and a dull coat to finish it up. Somehow I managed once again to see a small part go flying off into the netherworld, never to be found again (yet). This time it was a shoulder harness strap. Hence, the rear seat has no shoulder harness straps attached yet. I will not attach the gun site glass pieces until the very end before the canopy goes on. These are all box stock parts from the kit, no aftermarket used at all.


- 45 replies
-
- 13
-
-
Did the tumbler come with two sizes of pins, or are those purchased separately? In the ads I've seen for the unit, did not see the options for pin size selection/purchase. it simply says it comes with pins, not stating size.
-
I love your choice of subject here, a MFH kit in particular. I've had my eye on that same tumbler for a while now but never decided to purchase it. Your show of how well it works has helped me clearly see its value. Trying to clean up all those tiny parts by hand would be a monstrous task. I first got the idea of the tumbler by watching a fellow who builds MFH kits on YouTube. He suggested it in his builds. What will you use as a cement for the metal parts of the kit? PS: one other question about that tumbler...how long does it take for the parts to clean up?
-
Triumph 3HW by Tim Moore - Italeri - 1/9
CDW replied to Tim Moore's topic in Non-ship/categorised builds
Sharp bike! -
F-14D Super Tomcat by CDW - AMK - 1:48 Scale
CDW replied to CDW's topic in Non-ship/categorised builds
The way I'm thinking about doing the ordnance, I'll be able to switch out to whatever loadout I want. My plan is to use some micro size magnets to hold the ordnance in place on each pylon/station. I learned this technique watching a modeler who builds on commission. He uses this to mount all the weapons and other fragile pieces because they tend to get broken off in shipping. Everything he builds has to eventually be boxed up and shipped out. (158) Primedmodelworks - YouTube -
Best wishes to your pup for a complete and quick recovery
-
F-14D Super Tomcat by CDW - AMK - 1:48 Scale
CDW replied to CDW's topic in Non-ship/categorised builds
Here is a great site for future reference. Tons of info and photos. VF Fighter Squadrons FITRON US Navy (seaforces.org) -
It may not be long. My niece and her husband both work in the maritime industry. She is an executive for an ocean-going tug company, and he is the first mate on a super-tanker. Their new home is decorated with many nautical items, and I mentioned to him he needed a ship model on display. I am going to give him several choices with that PT boat being one, and then build his choice for display in their new home. Will wait to see what he decides he would prefer.
-
Ferrari Dino 246gt by gsdpic - FINISHED - Fujimi - 1/24th scale
CDW replied to gsdpic's topic in Non-ship/categorised builds
Those photos look amazing, Gary. Very well done. I like your models and admire your photography skills. -
Paid $60, brand new in the box. 😁 Gotta love swap meets
-
F-14D Super Tomcat by CDW - AMK - 1:48 Scale
CDW replied to CDW's topic in Non-ship/categorised builds
That's quite a dramatic difference between the three. -
F-14D Super Tomcat by CDW - AMK - 1:48 Scale
CDW replied to CDW's topic in Non-ship/categorised builds
The Last WW2 Triple Ace, Bud Anderson, Dies At 102 Bud Anderson, the last World War II ‘triple ace,’ dies at 102 - Task & Purpose (taskandpurpose.com)