CDW
-
Posts
7,730 -
Joined
-
Last visited
Content Type
Profiles
Forums
Gallery
Events
Everything posted by CDW
-

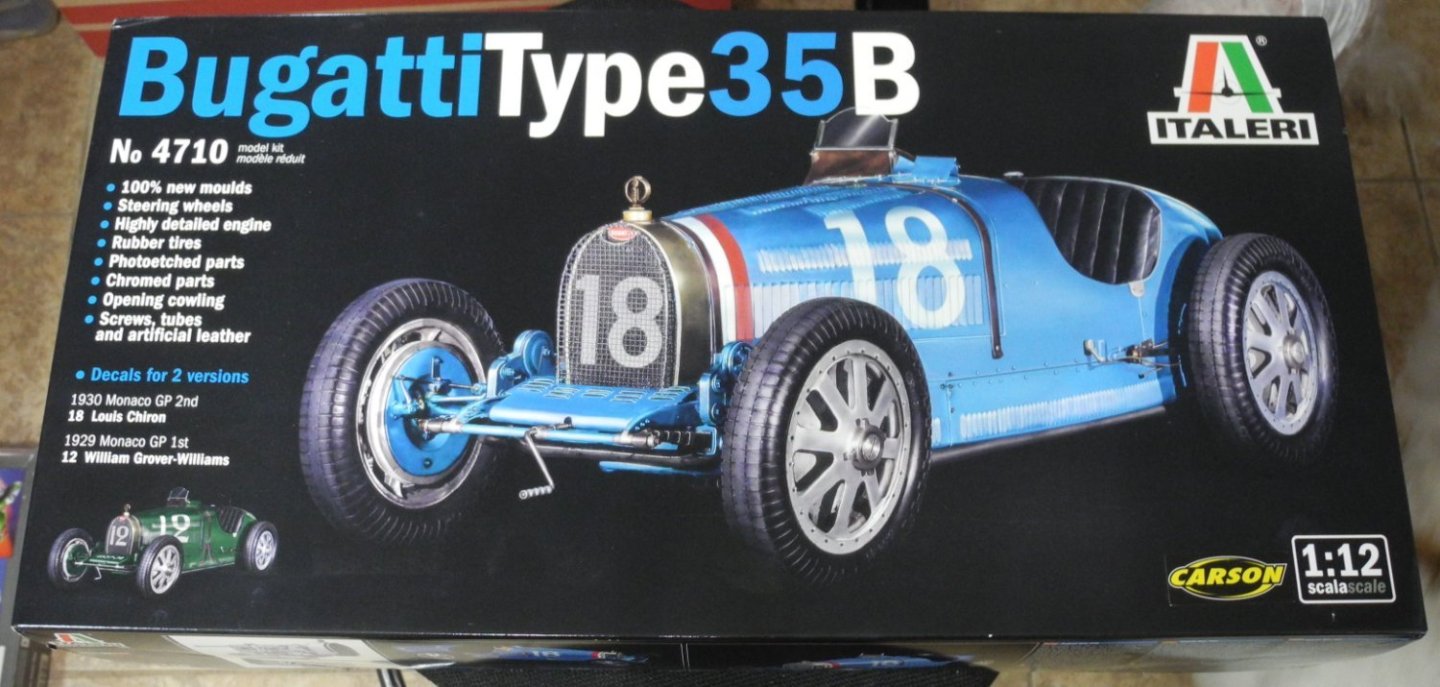
Bugatti Type 35B by CDW - FINISHED - Italeri - 1:12 Scale
CDW replied to CDW's topic in Non-ship/categorised builds
Thanks Yves. Noel Smith had indicated he just acquired the kit for his stash so I was hoping it might be a help to someone else who planned to build the model. Of course, some modelers may prefer acrylic paints vs the lacquers I am using here. -
Bugatti Type 35B by CDW - FINISHED - Italeri - 1:12 Scale
CDW replied to CDW's topic in Non-ship/categorised builds
Thanks OC but we’ll get it banged up and grimy later this week. Stay tuned. -
Bugatti Type 35B by CDW - FINISHED - Italeri - 1:12 Scale
CDW replied to CDW's topic in Non-ship/categorised builds
With the main colors of the chassis all laid down, will let it cure overnight before moving on to weathering tomorrow or the next day.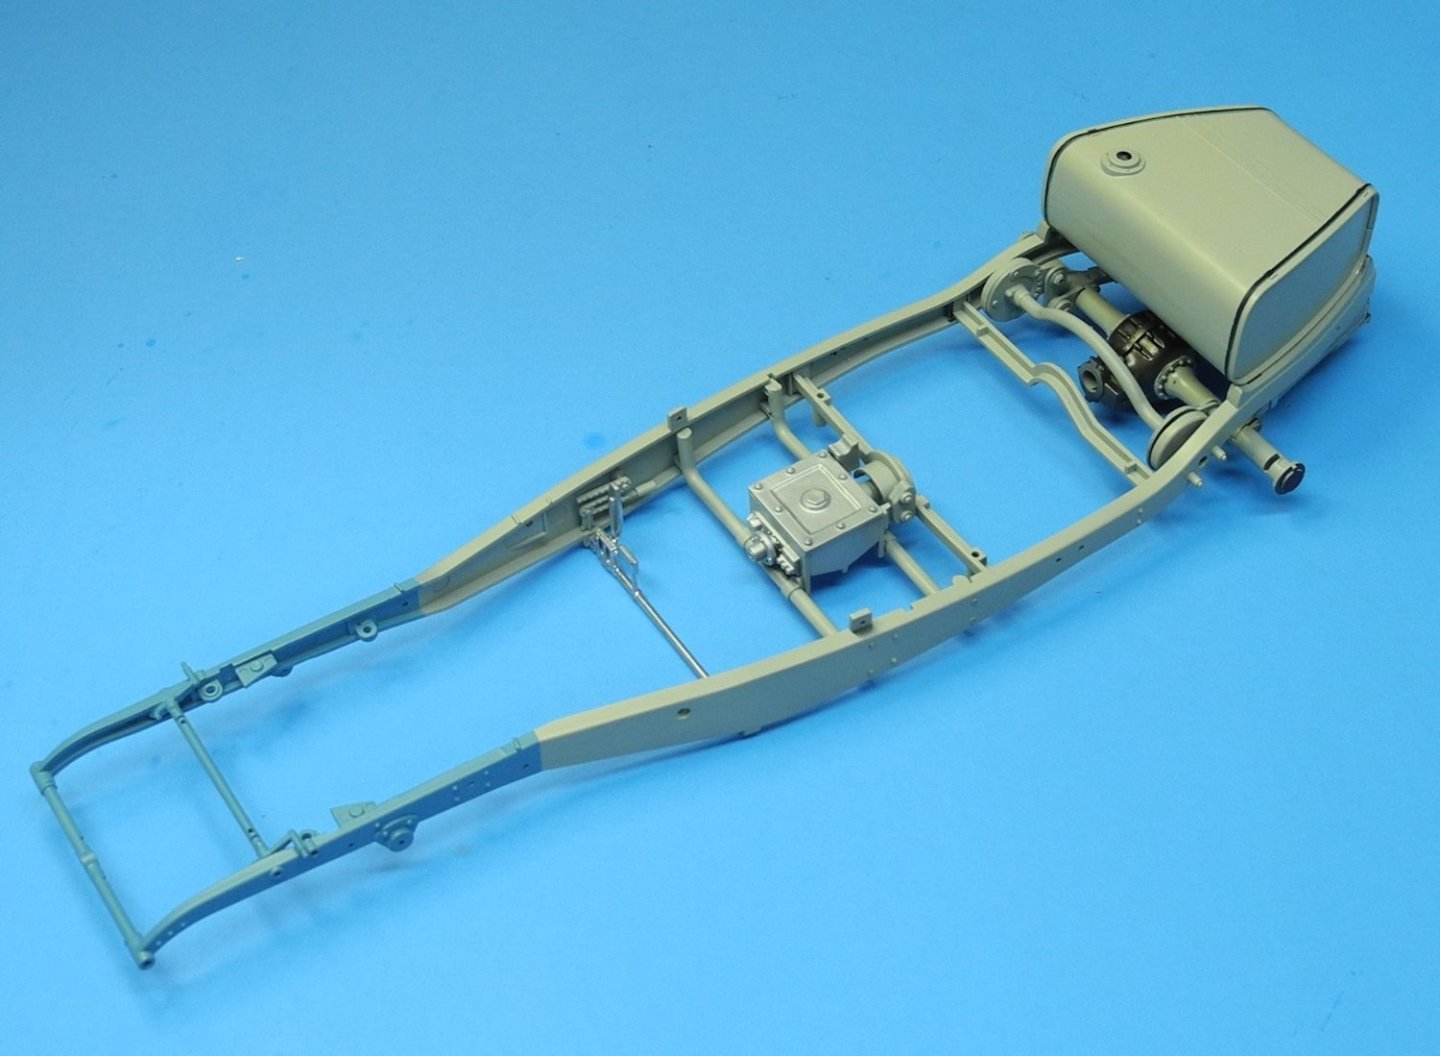


- 155 replies
-
- 13
-

-
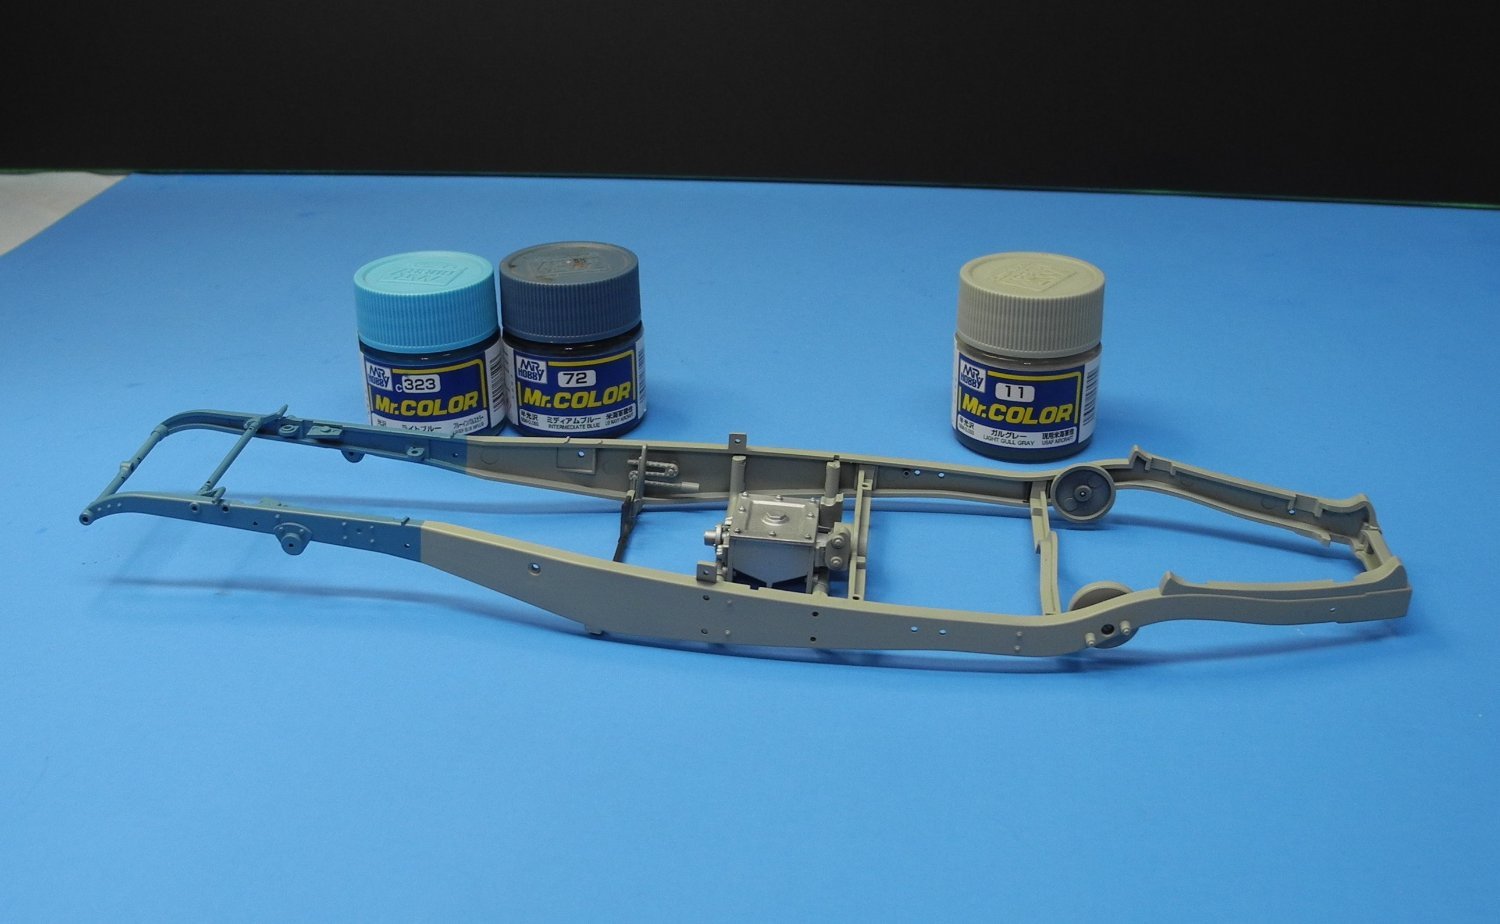
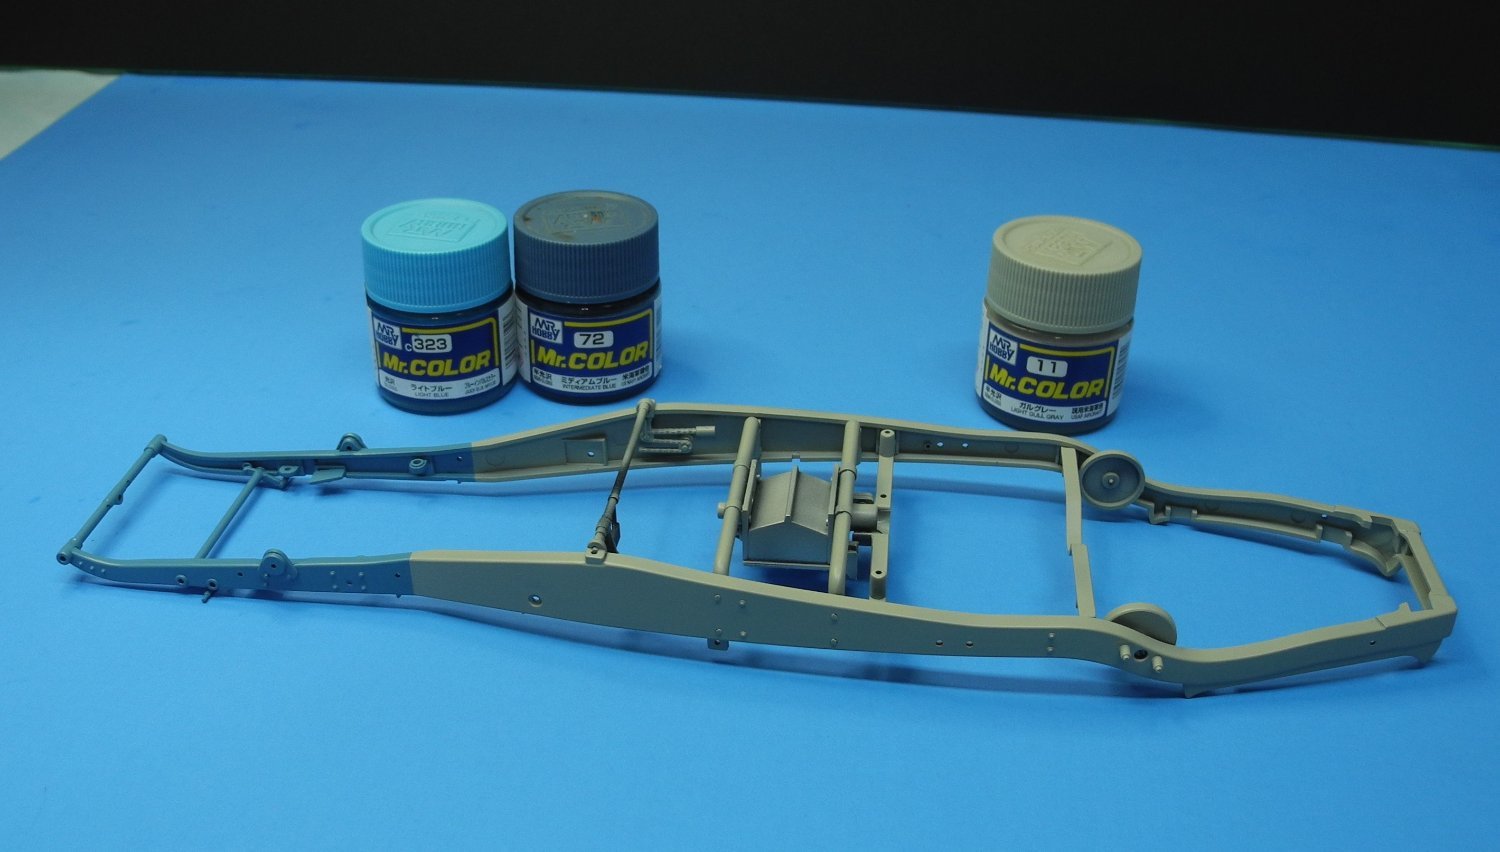
Bugatti Type 35B by CDW - FINISHED - Italeri - 1:12 Scale
CDW replied to CDW's topic in Non-ship/categorised builds
The chassis gets painted in light gull gray, the front of the chassis in the body color, light blue + intermediate blue. Various chassis components will be painted in metallic colors as suitable for the particular parts.

- 155 replies
-
- 15
-
-
You are one of the best model brush painters I have seen, so I believe you will get by just fine without an airbrush. I have watched some videos of a modeler who works exclusively with brush painting and his work is phenomenal. Yours is and will be, too.
-
Bugatti Type 35B by CDW - FINISHED - Italeri - 1:12 Scale
CDW replied to CDW's topic in Non-ship/categorised builds
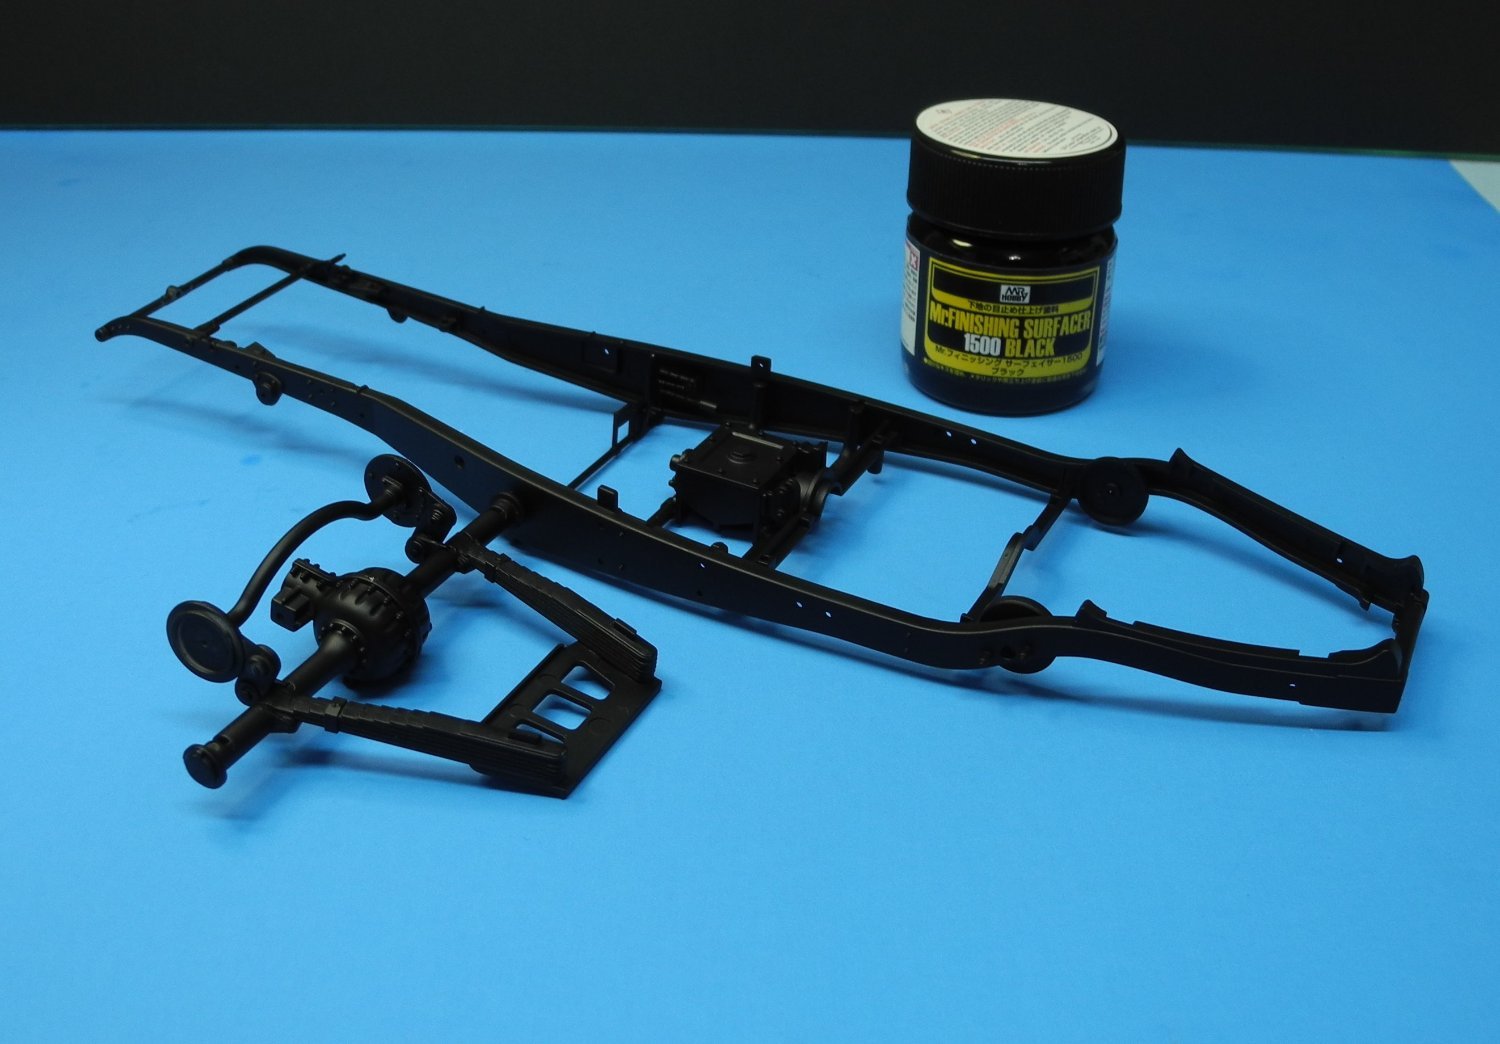
Chassis and differential all primed out in black Mr Surfacer 1500 mixed 50-50 with Mr Color Leveling Thinner.
- 155 replies
-
- 12
-
-
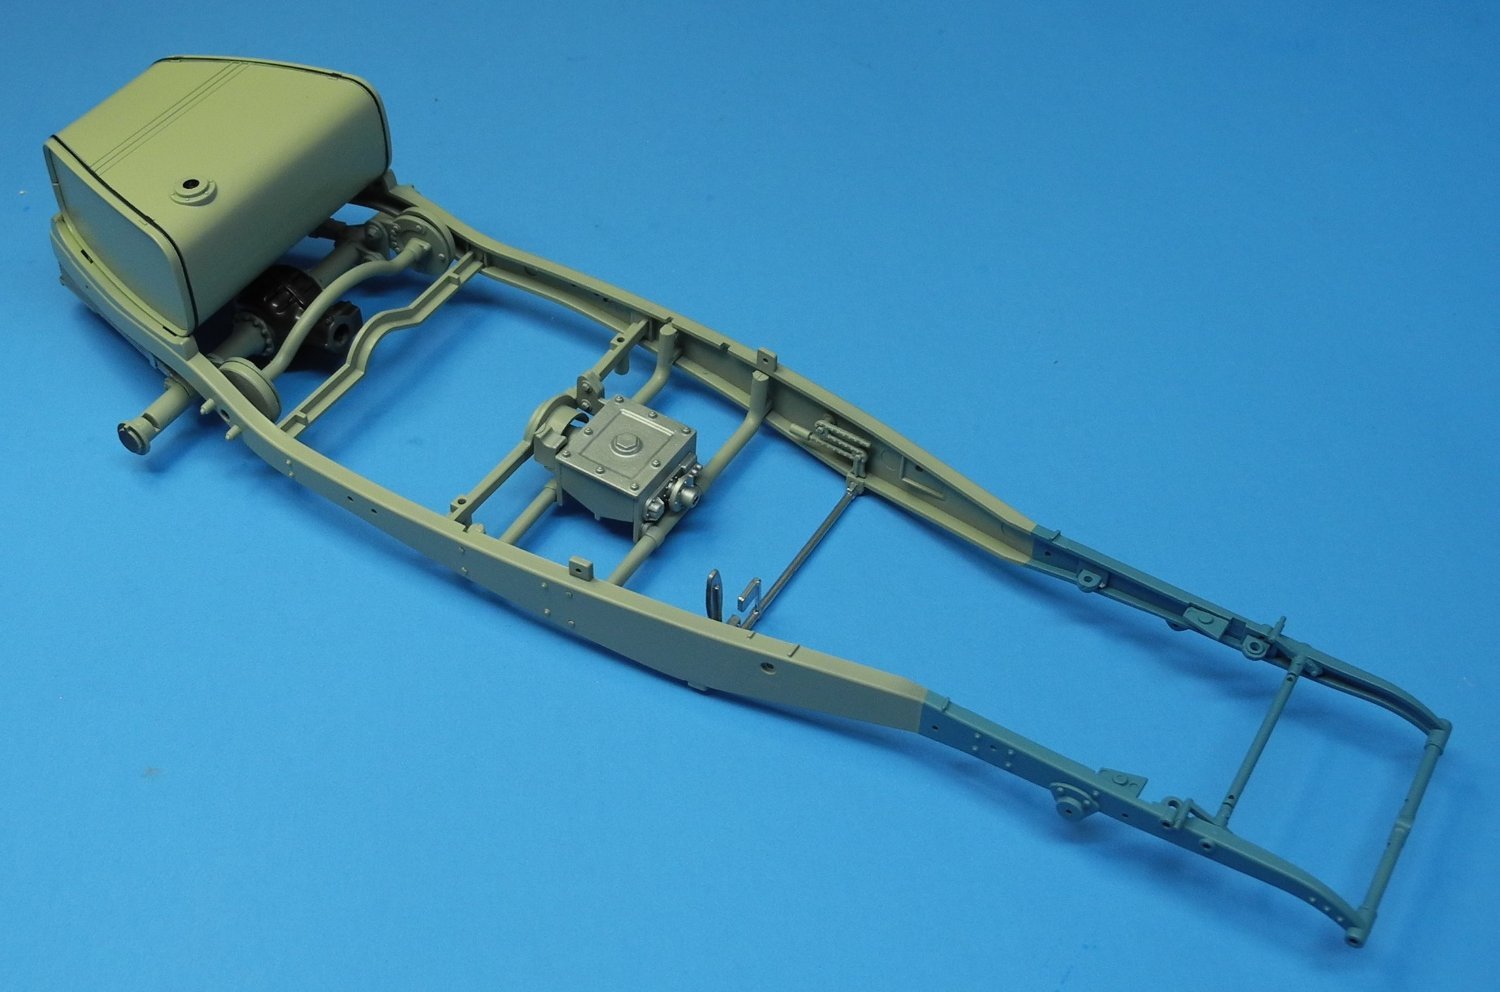
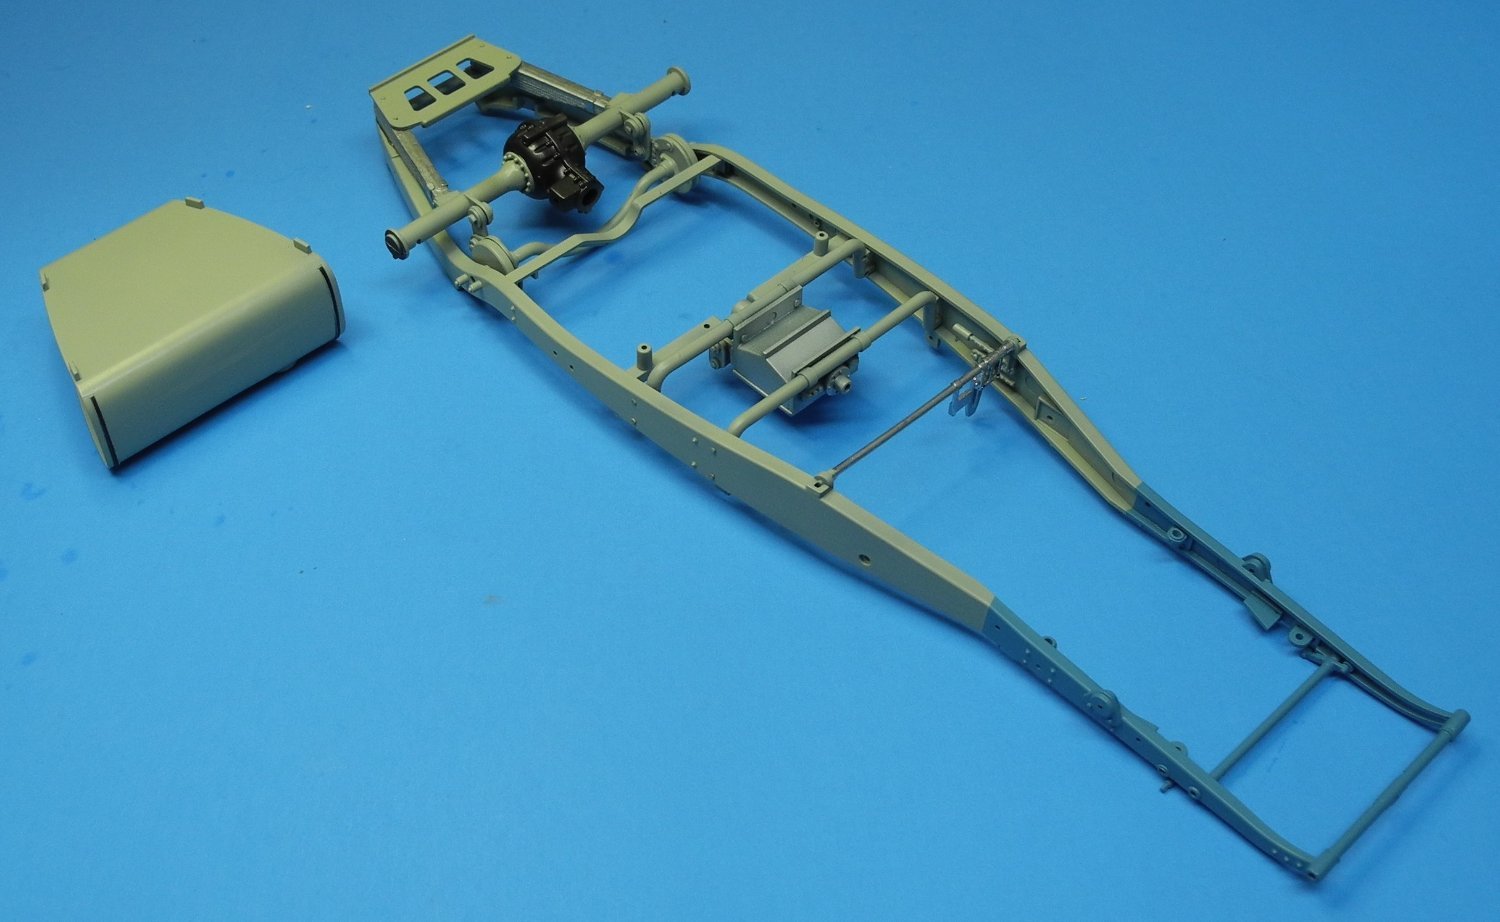
Bugatti Type 35B by CDW - FINISHED - Italeri - 1:12 Scale
CDW replied to CDW's topic in Non-ship/categorised builds
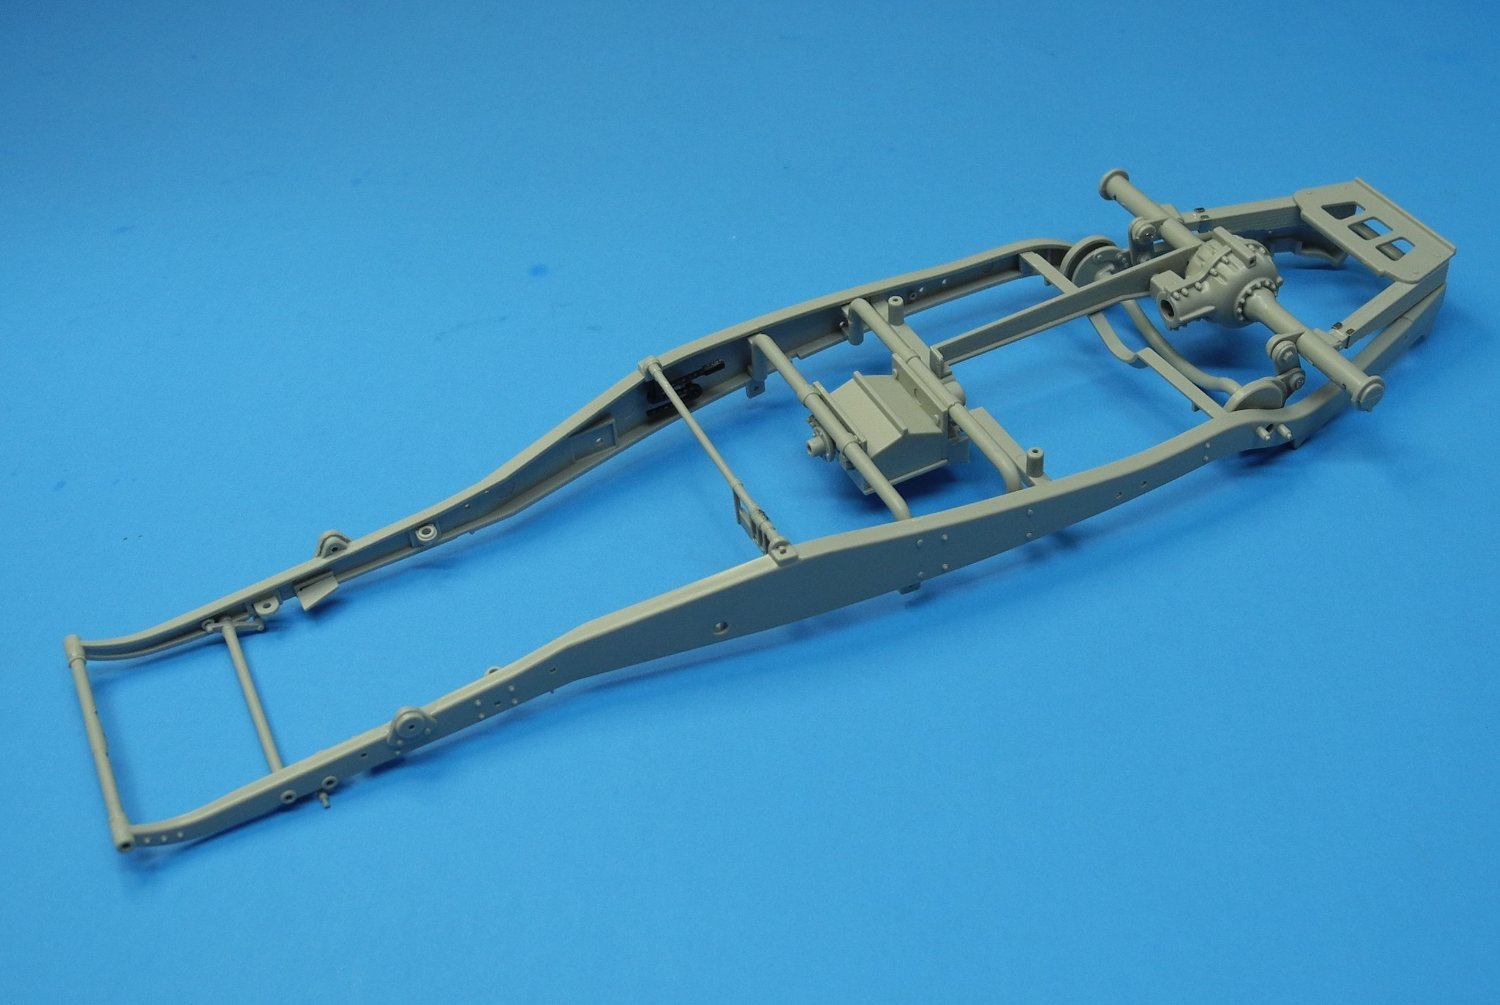
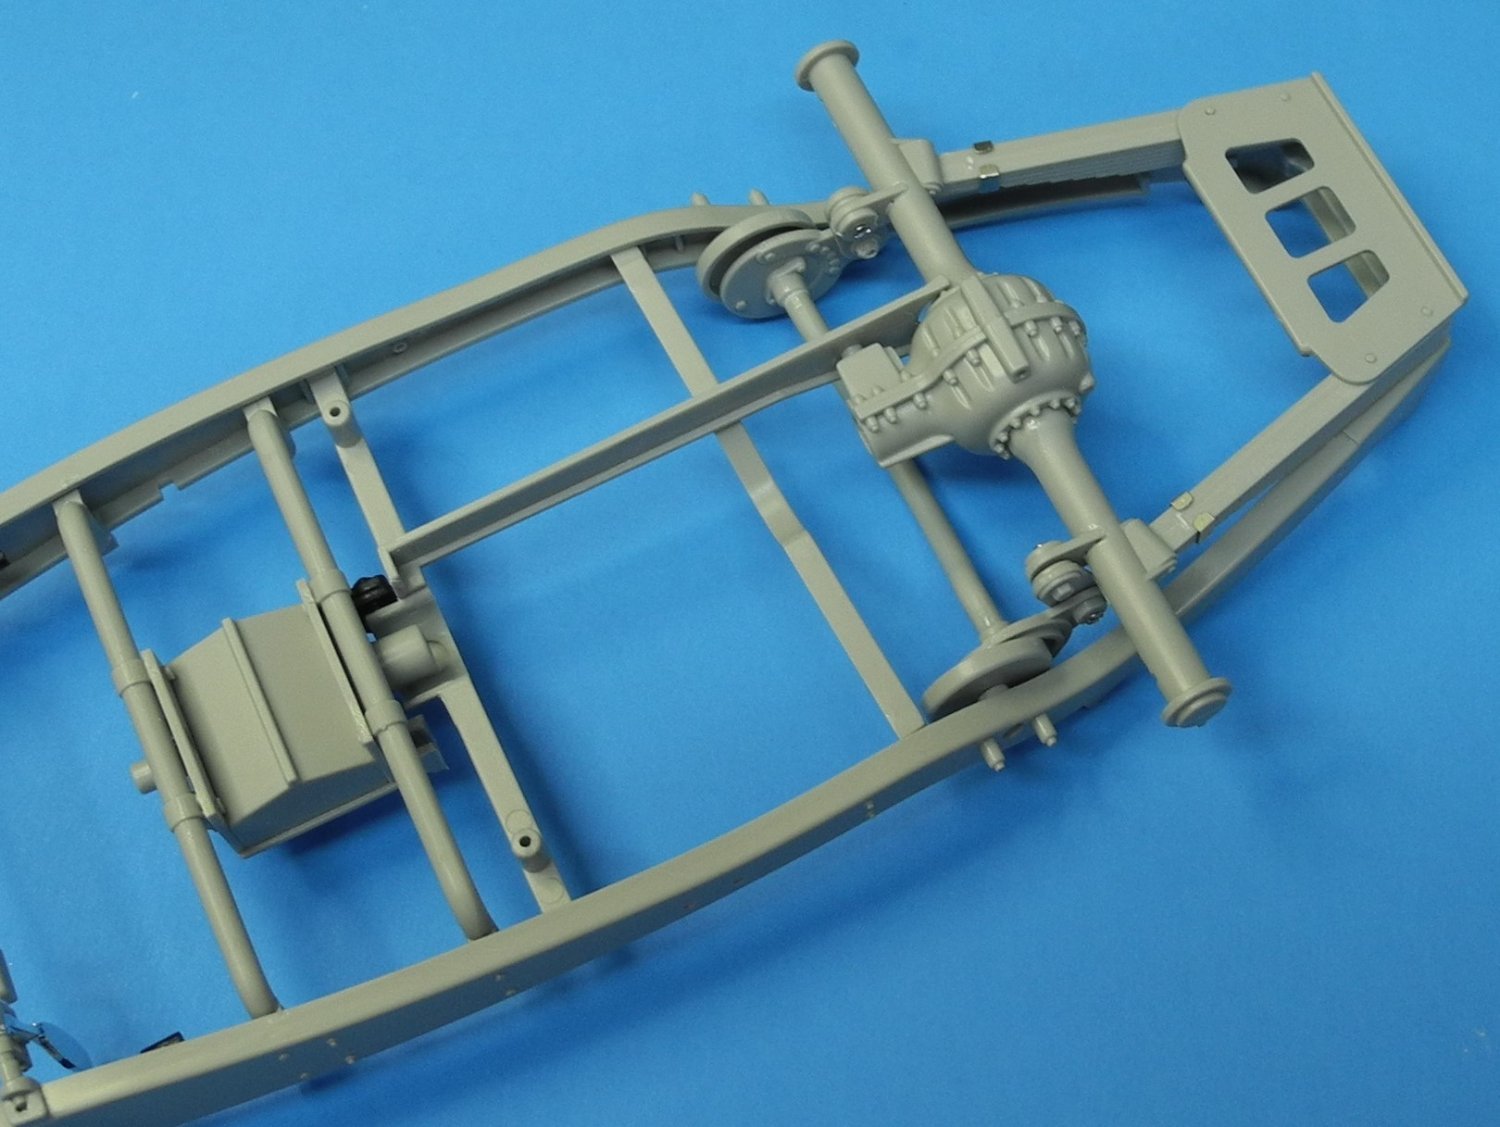
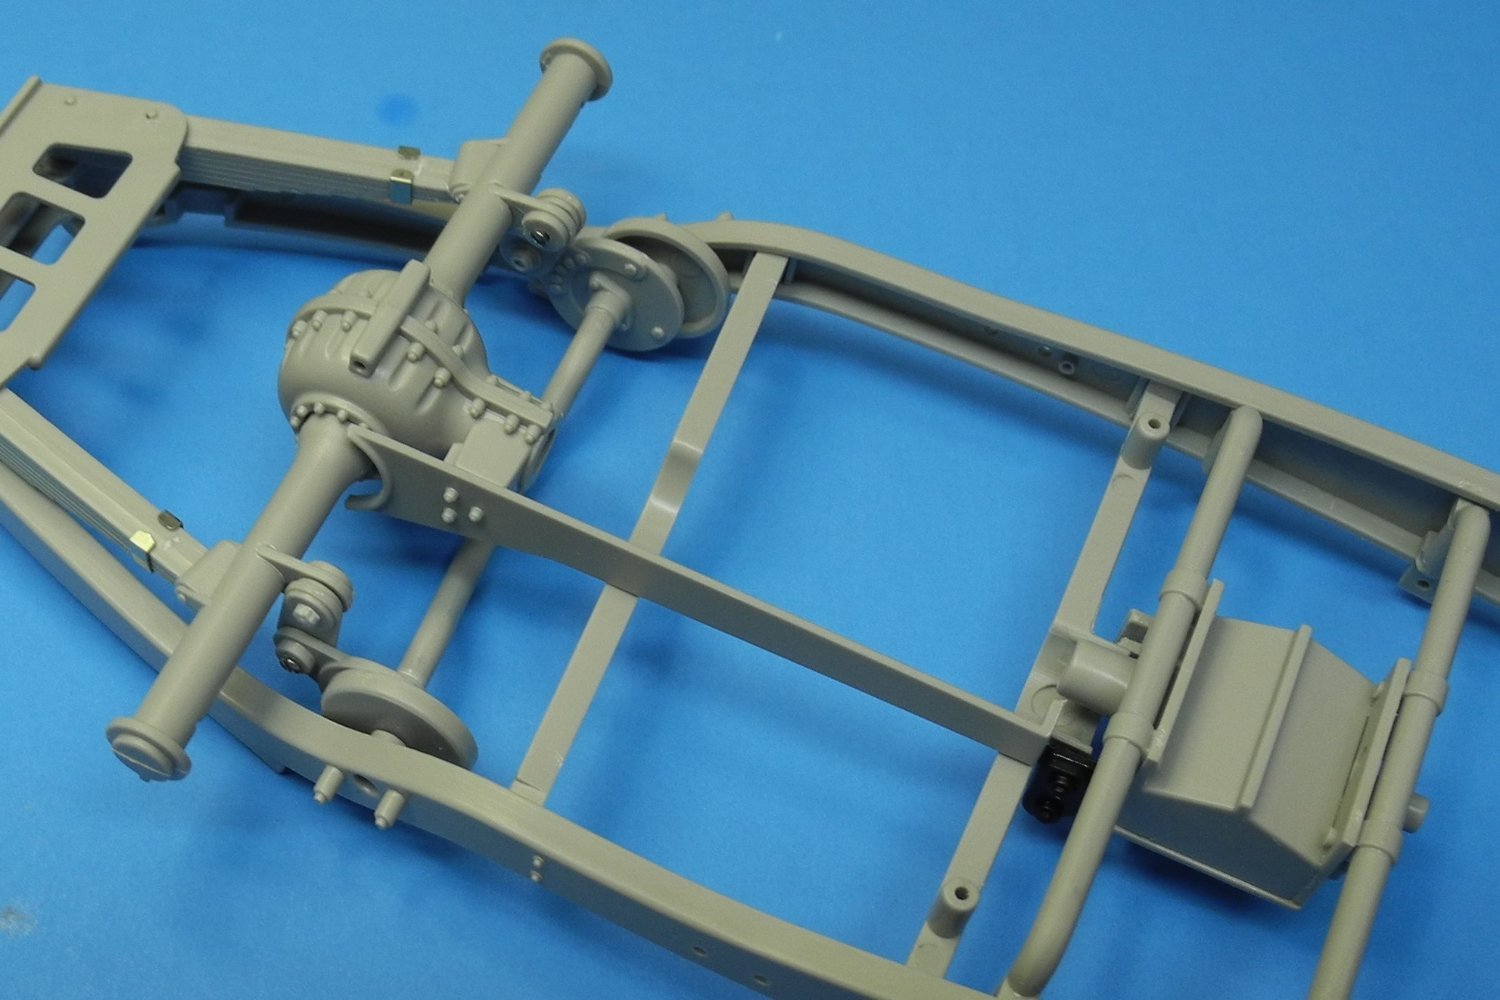
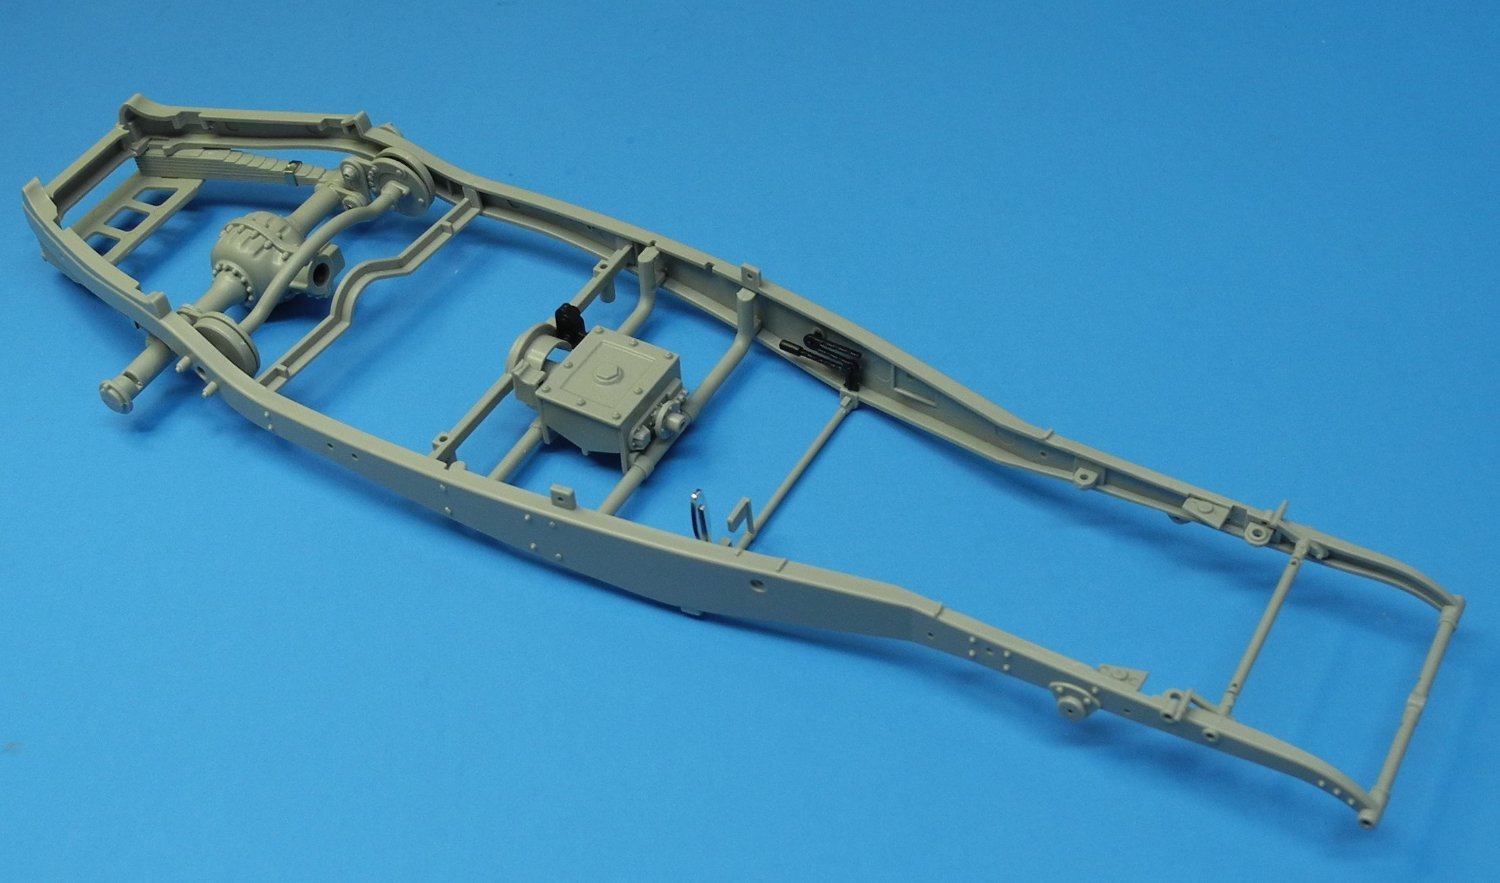
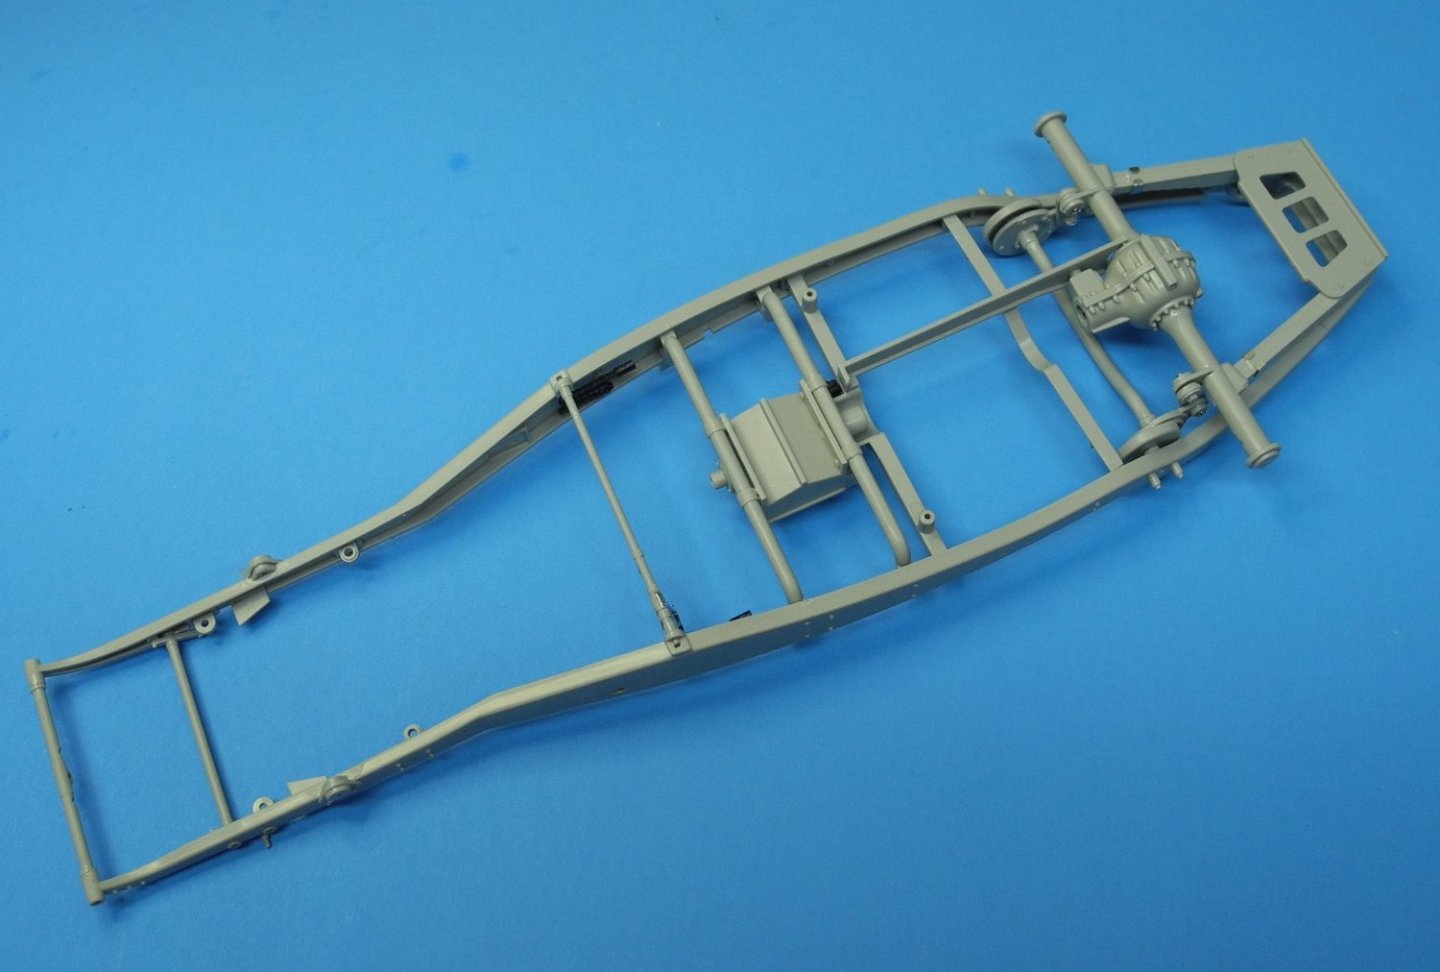
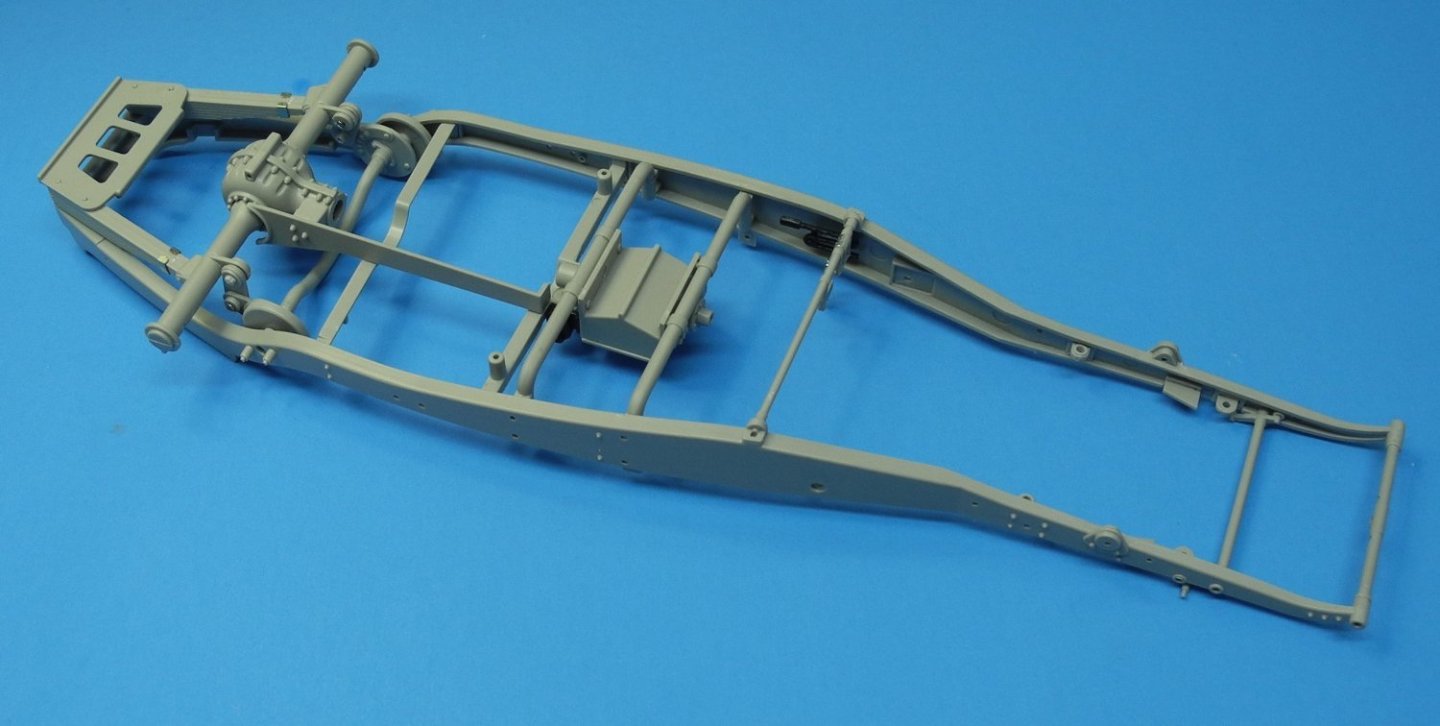
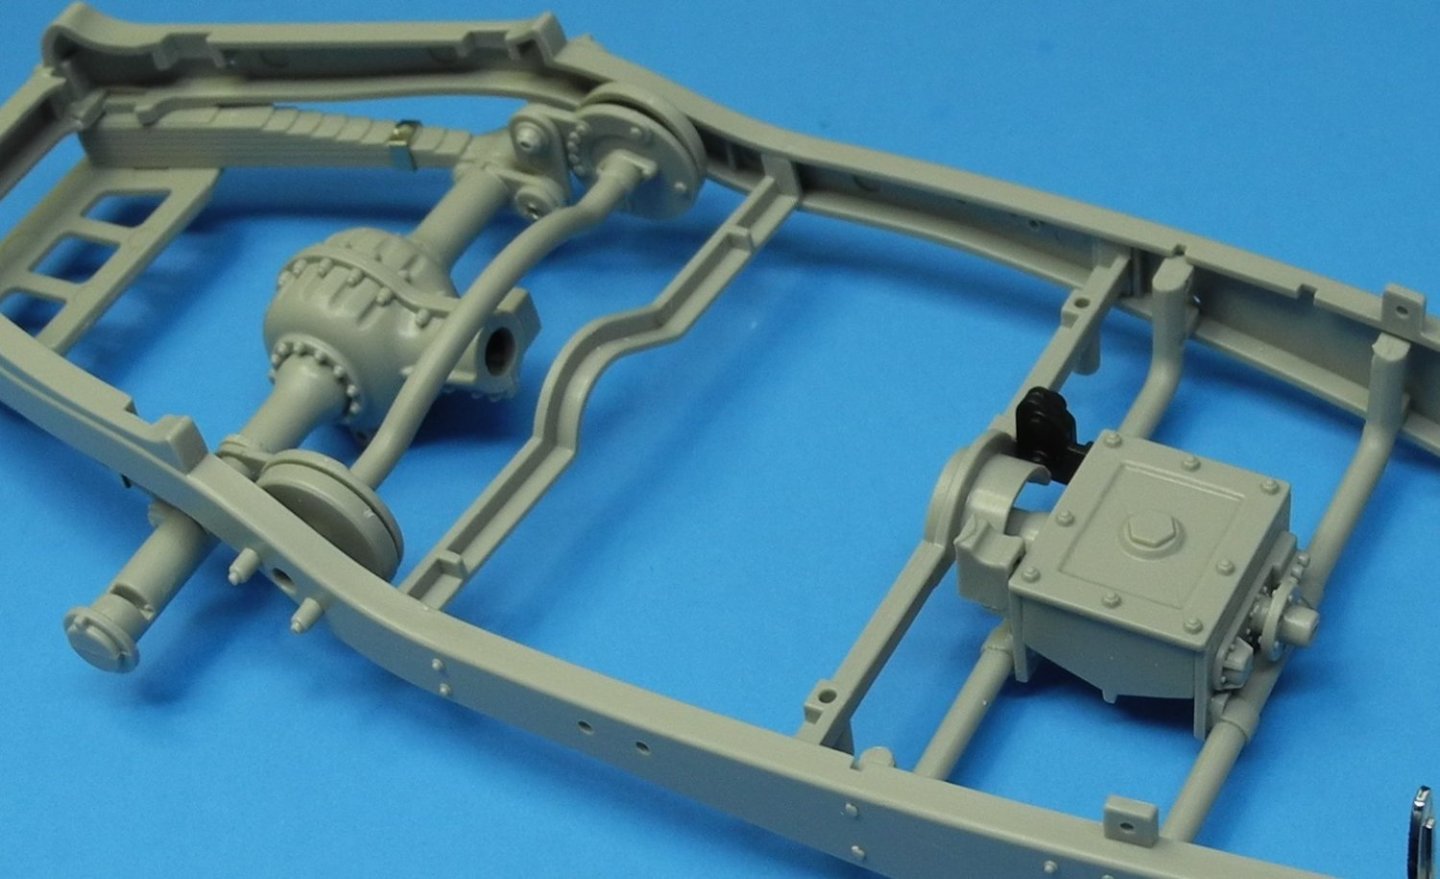
Before getting carried away with primer, paint, and weathering, thought it would be a good time to show some photos of the chassis in the raw. The differential/leaf springs/dampers assembly sits there dry fitted which gives the appearance of a poor fit, but it's not in reality. Just need to keep the assemblies unglued at this time and will fully assemble after painting and weathering are done. Parts fit has been good so far. A minimum of flash and ejector pin marks to clean up. It seems Italeri has done a good job with this kit but will reserve final judgement after full assembly has been done.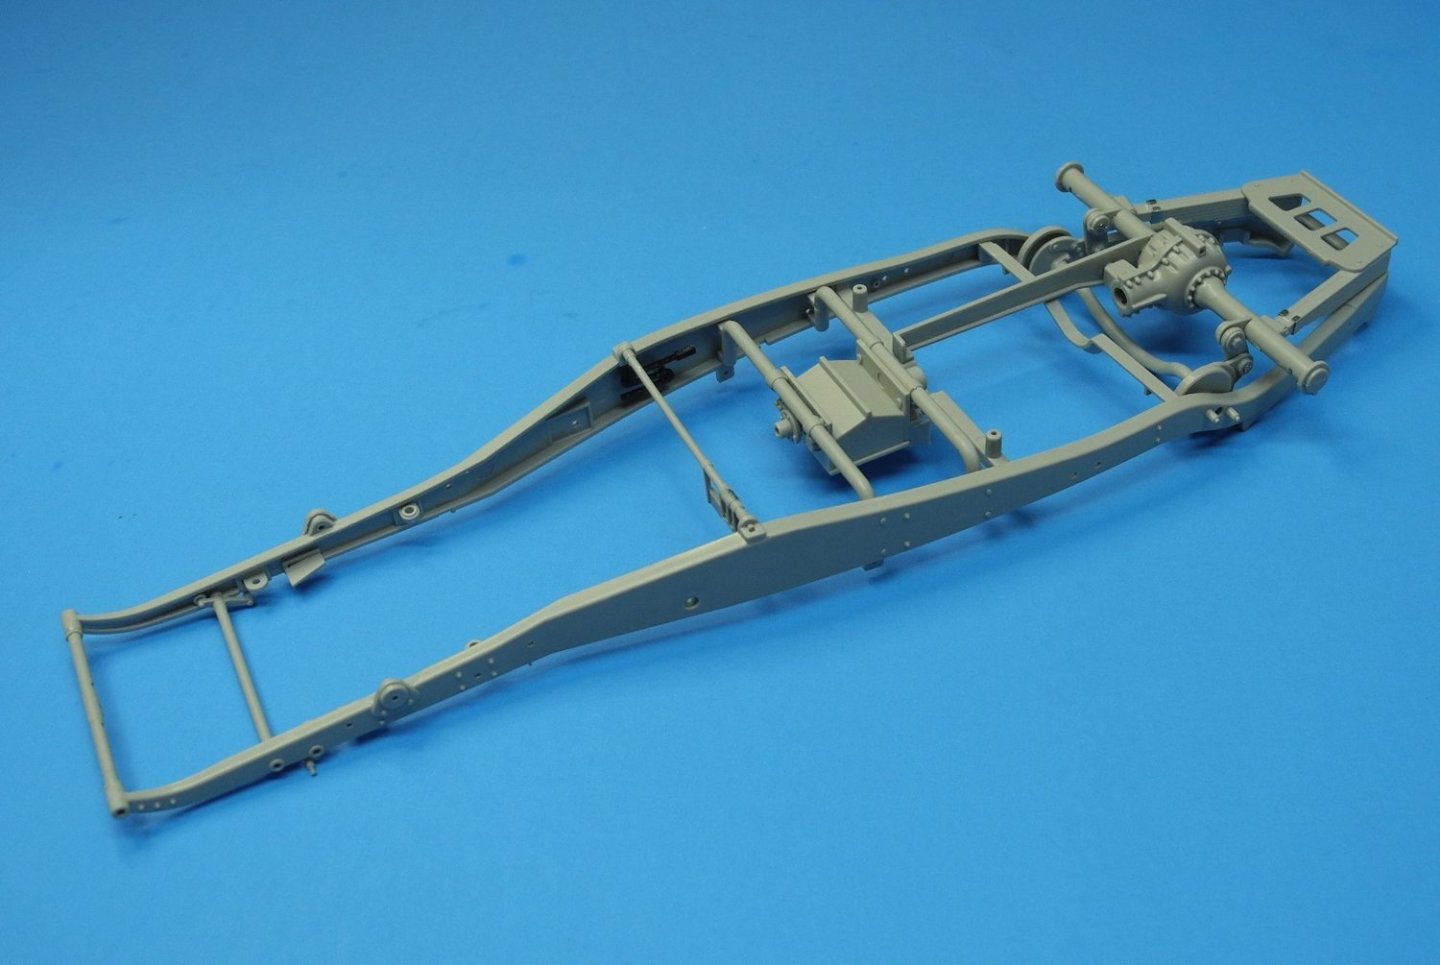


- 155 replies
-
- 14
-
-
Loarre Castle (Spain) by King Derelict - Aedes Ars 1/200
CDW replied to king derelict's topic in Non-ship/categorised builds
Beautiful stone work Alan. -
Bugatti Type 35B by CDW - FINISHED - Italeri - 1:12 Scale
CDW replied to CDW's topic in Non-ship/categorised builds
Thanks to all for jumping in and for your comments. I'll take another day to sort out my work area before I get started in earnest on this model. Too many things scattered across my work space. -
Lotus 72D by gsdpic - FINISHED - Tamiya - 1/12 - PLASTIC
CDW replied to gsdpic's topic in Non-ship/categorised builds
Exceptional work. Love that gear box and suspension assembly. -
Bugatti Type 35B by CDW - FINISHED - Italeri - 1:12 Scale
CDW replied to CDW's topic in Non-ship/categorised builds
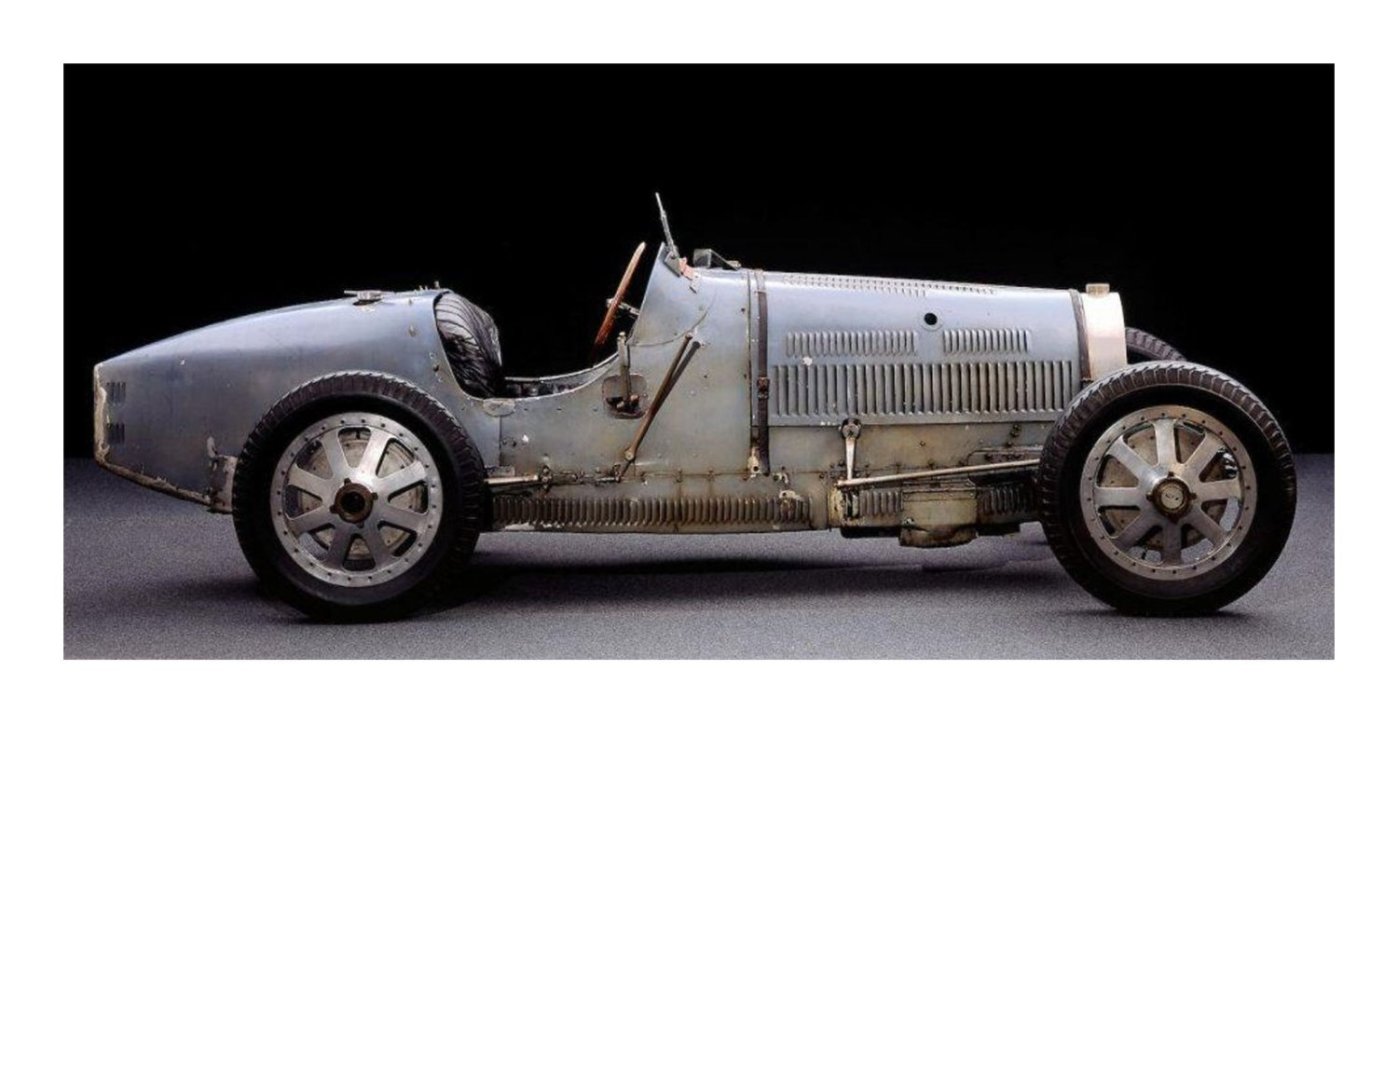
The Revs institute car, SN 4959 (from 1930) is not this one. This one is SN 4914 and was built I believe in 1928. I'm not really certain of its whereabouts today. The article I read about it and the reference photos are from an article in Hemmings, 2016. It's interesting to note that this car was originally painted in green when it won the first Monaco Grand Prix. It was sold by Bugatti to a private owner following that initial win. The new owner painted it red. Later on, it was painted again, this time in blue, then once more in a different shade of blue. The car remained unrestored as it is pictured above in 2016. To model the car, it will be necessary to possibly show, in various places, chipped paint that exposes the several colors and shades the car was painted. Should be fun and more satisfying (to me) than a brilliant new paint job. -
I intend to model my 1:12 Italeri Bugatti Type 35B after the unrestored winner of the first Monaco Grand Prix race in 1929.
- 155 replies
-
- 15
-
-

-
SU-85 WW2 Soviet Tank Destroyer by CDW - MiniArt - 1:35 Scale
CDW replied to CDW's topic in Non-ship/categorised builds
Another WW2 vintage Red Army AFV on the shelf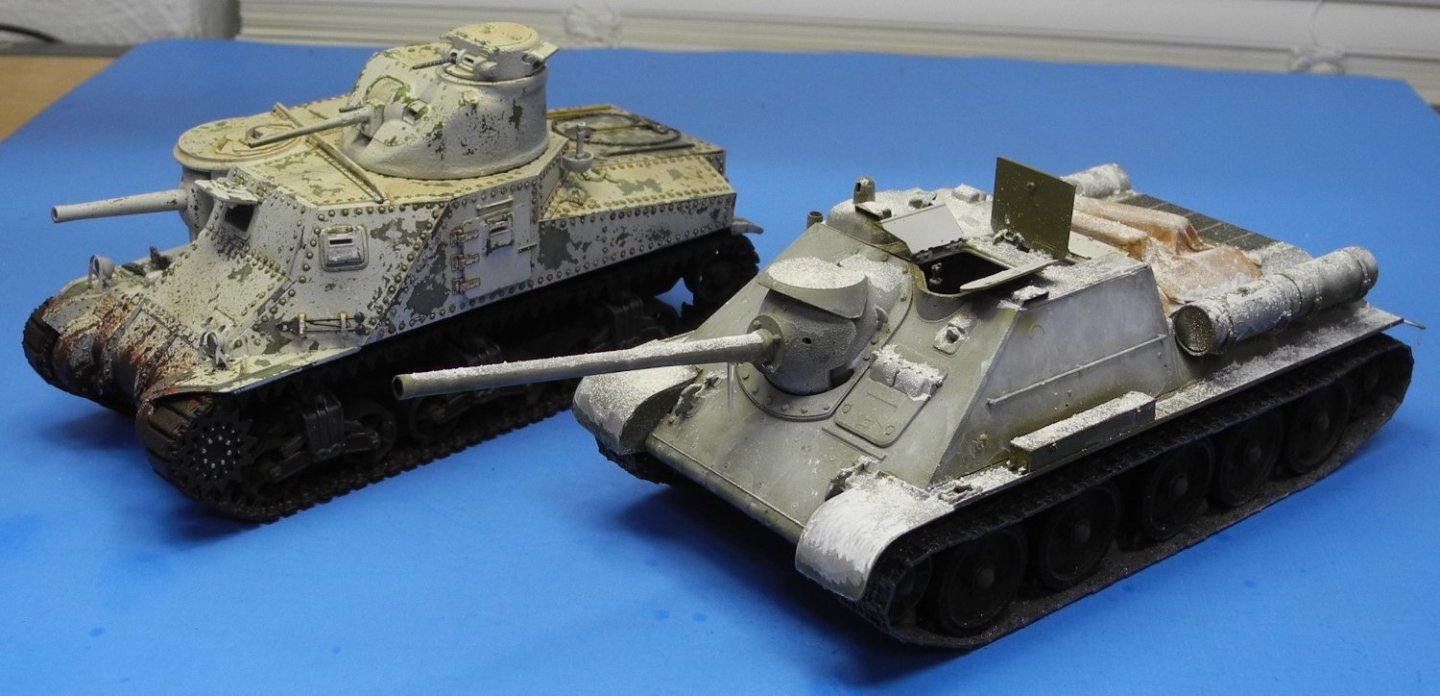
- 96 replies
-
- 11
-
-
SU-85 WW2 Soviet Tank Destroyer by CDW - MiniArt - 1:35 Scale
CDW replied to CDW's topic in Non-ship/categorised builds
With a few more pieces added, I am getting near finished with this model but there are a lot of small details and weathering I want to add before officially calling it finished. In the meanwhil. I have another project I want to start and will finish this one up in between sessions with the new project.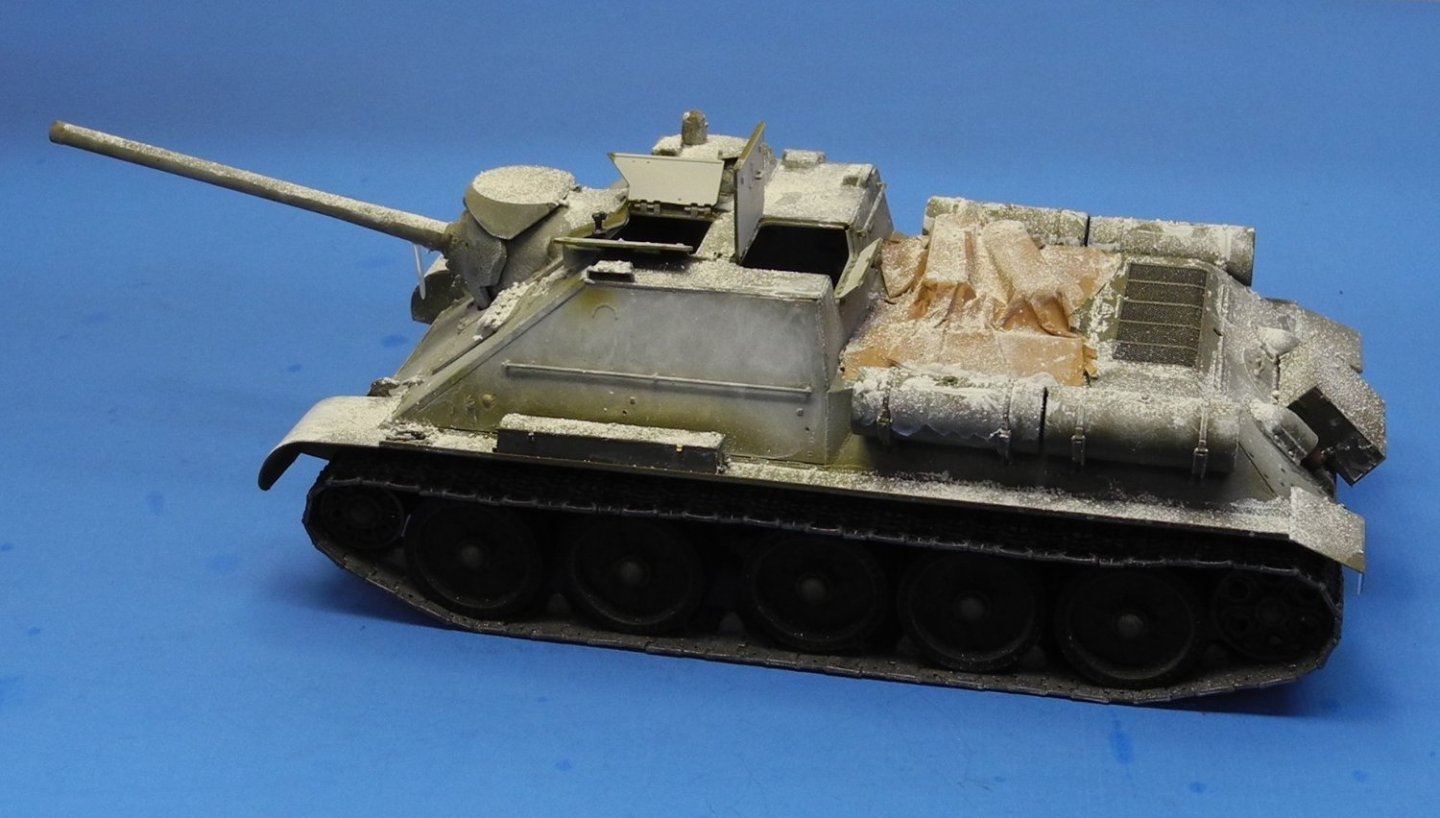


-
P-38J Wicked Woman by DocRob - FINISHED - Tamiya - 1/48
CDW replied to DocRob's topic in Non-ship/categorised builds
For me, even after all the years of doing it, it's never perfect. But being satisfied is 99.9% of the end result desired. -
P-38J Wicked Woman by DocRob - FINISHED - Tamiya - 1/48
CDW replied to DocRob's topic in Non-ship/categorised builds
I really admire your work, Rob. I know how difficult it is to get a near-perfect natural metal finish like that. Beautiful. And I love that subject too, it's always been a favorite of mine the P-38. -
SU-85 WW2 Soviet Tank Destroyer by CDW - MiniArt - 1:35 Scale
CDW replied to CDW's topic in Non-ship/categorised builds
Stretched clear sprue for the icicles and Vallejo gel. Don't want to get too carried away with icicles, just keep it to a minimum. I agree with what Rob said and want to go back to create a melting effect where the show is touching the exhaust port shrouds and partially on the engine deck. Will try the gel there (maybe).

- 96 replies
-
- 11
-
-
-
SU-85 WW2 Soviet Tank Destroyer by CDW - MiniArt - 1:35 Scale
CDW replied to CDW's topic in Non-ship/categorised builds
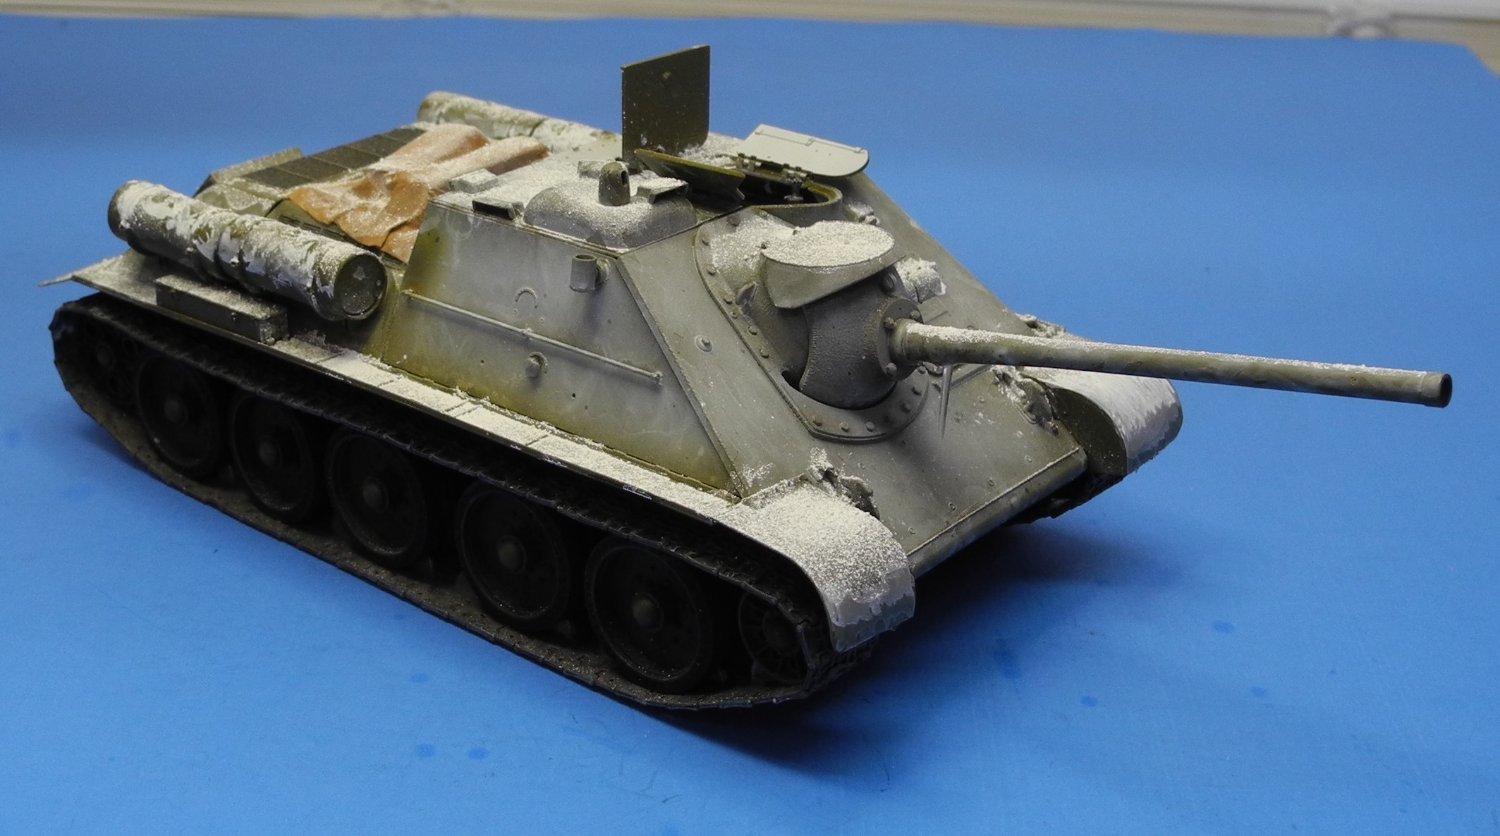
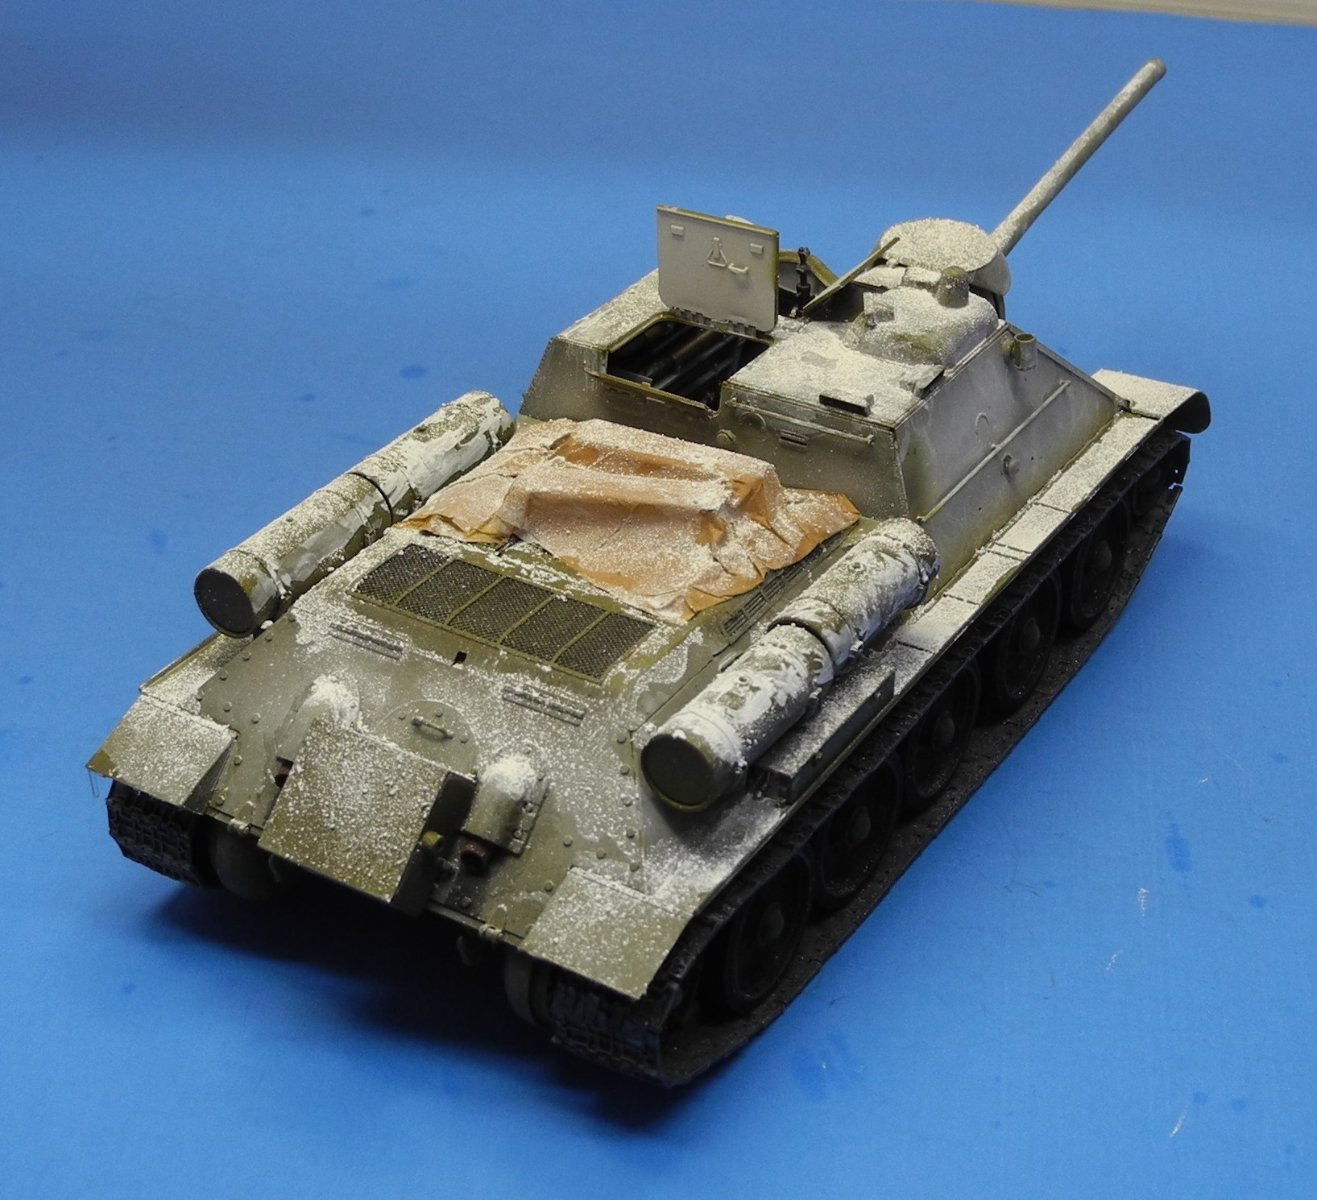
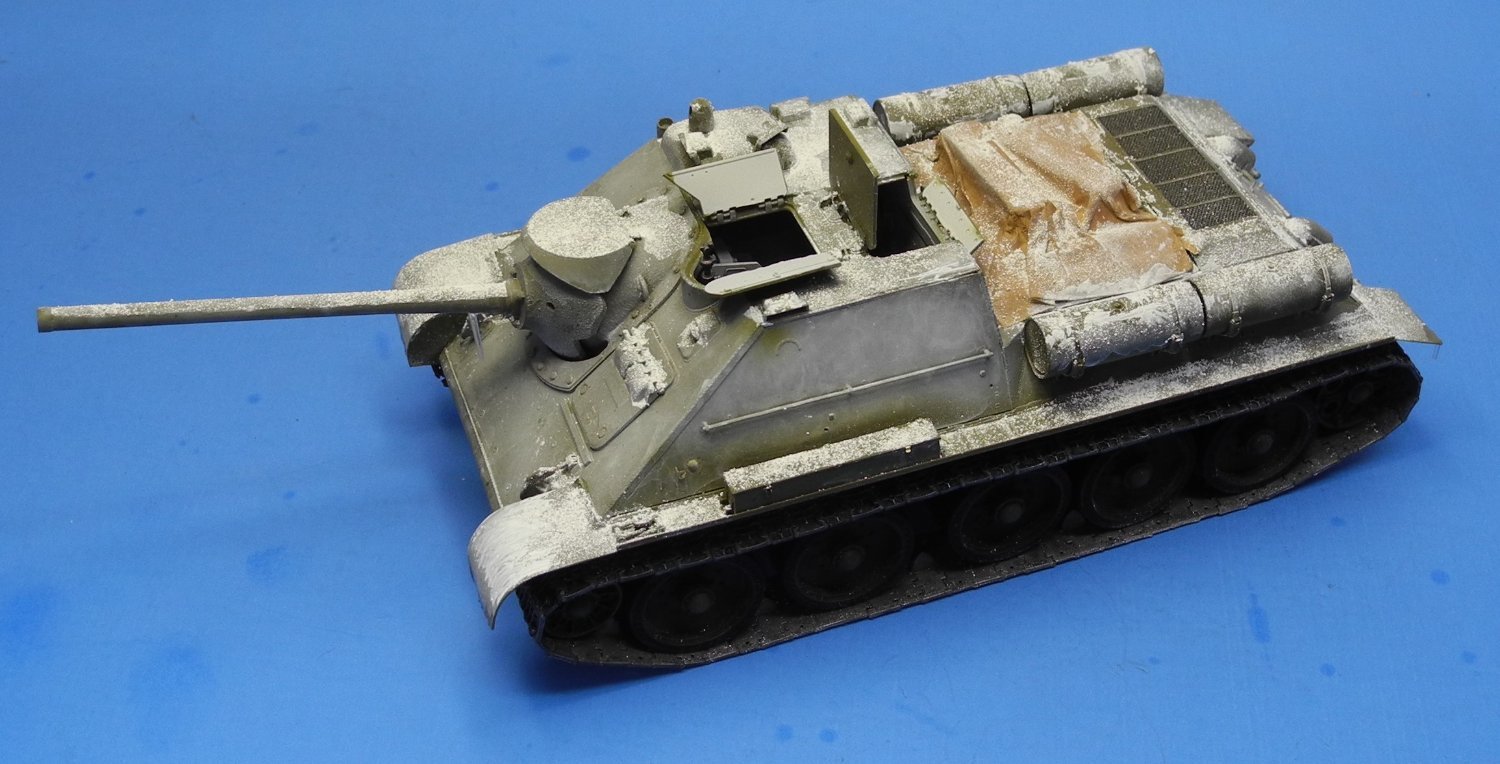
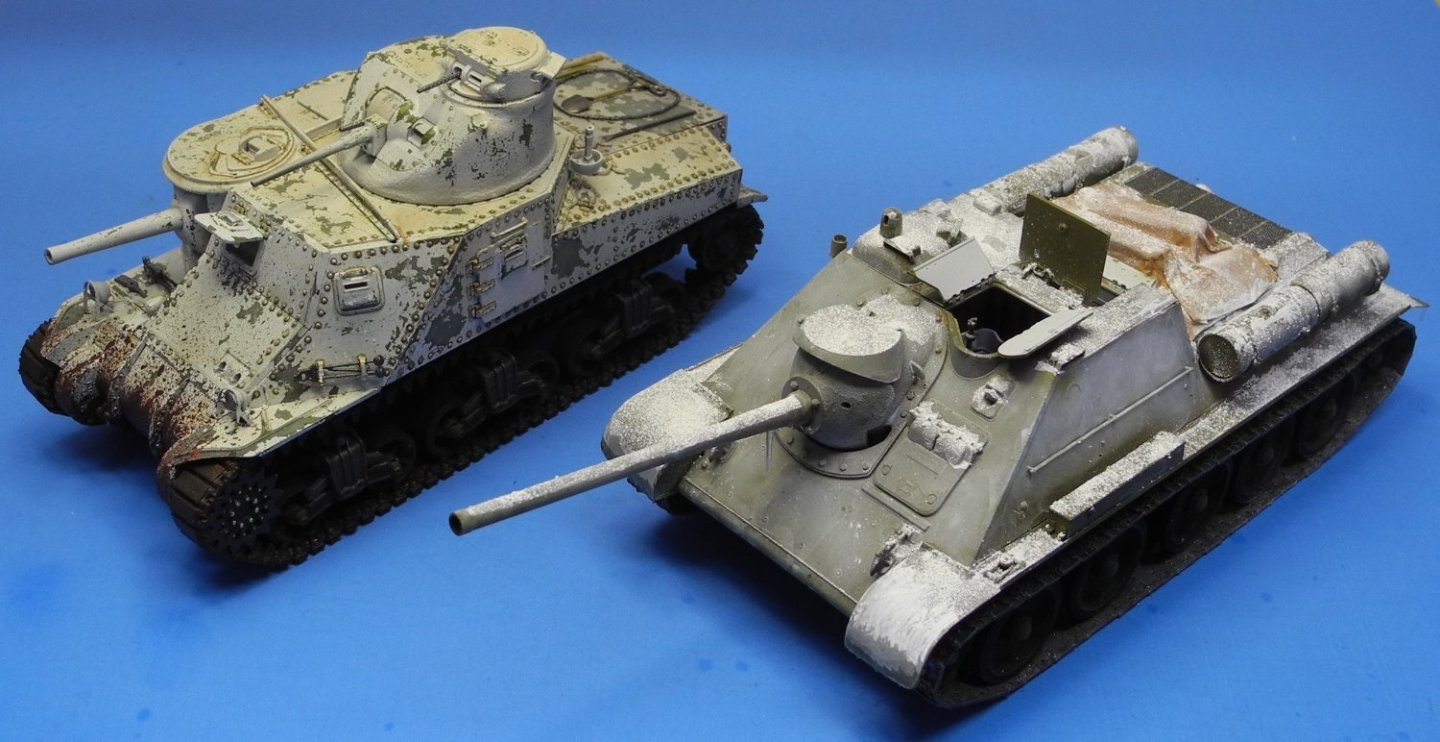
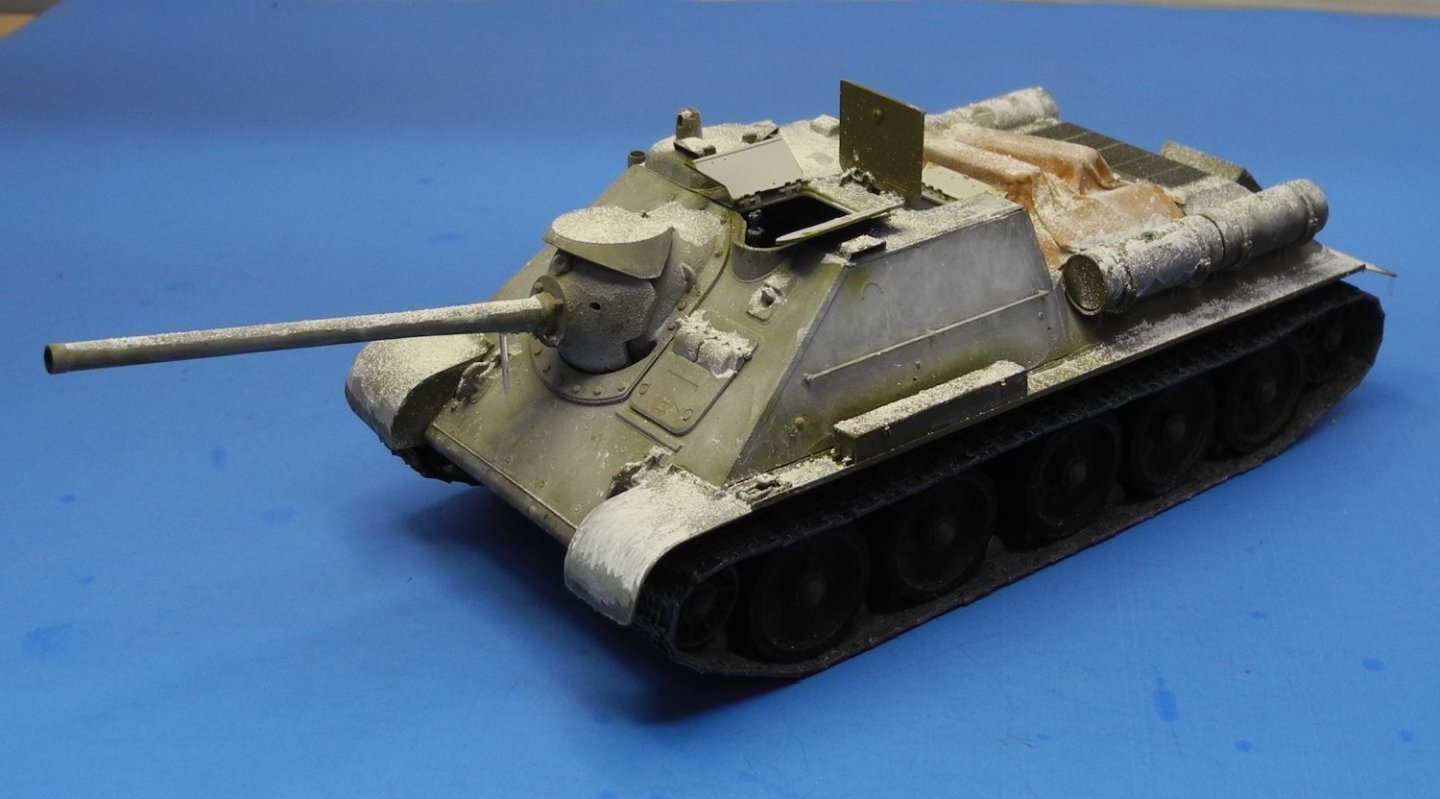
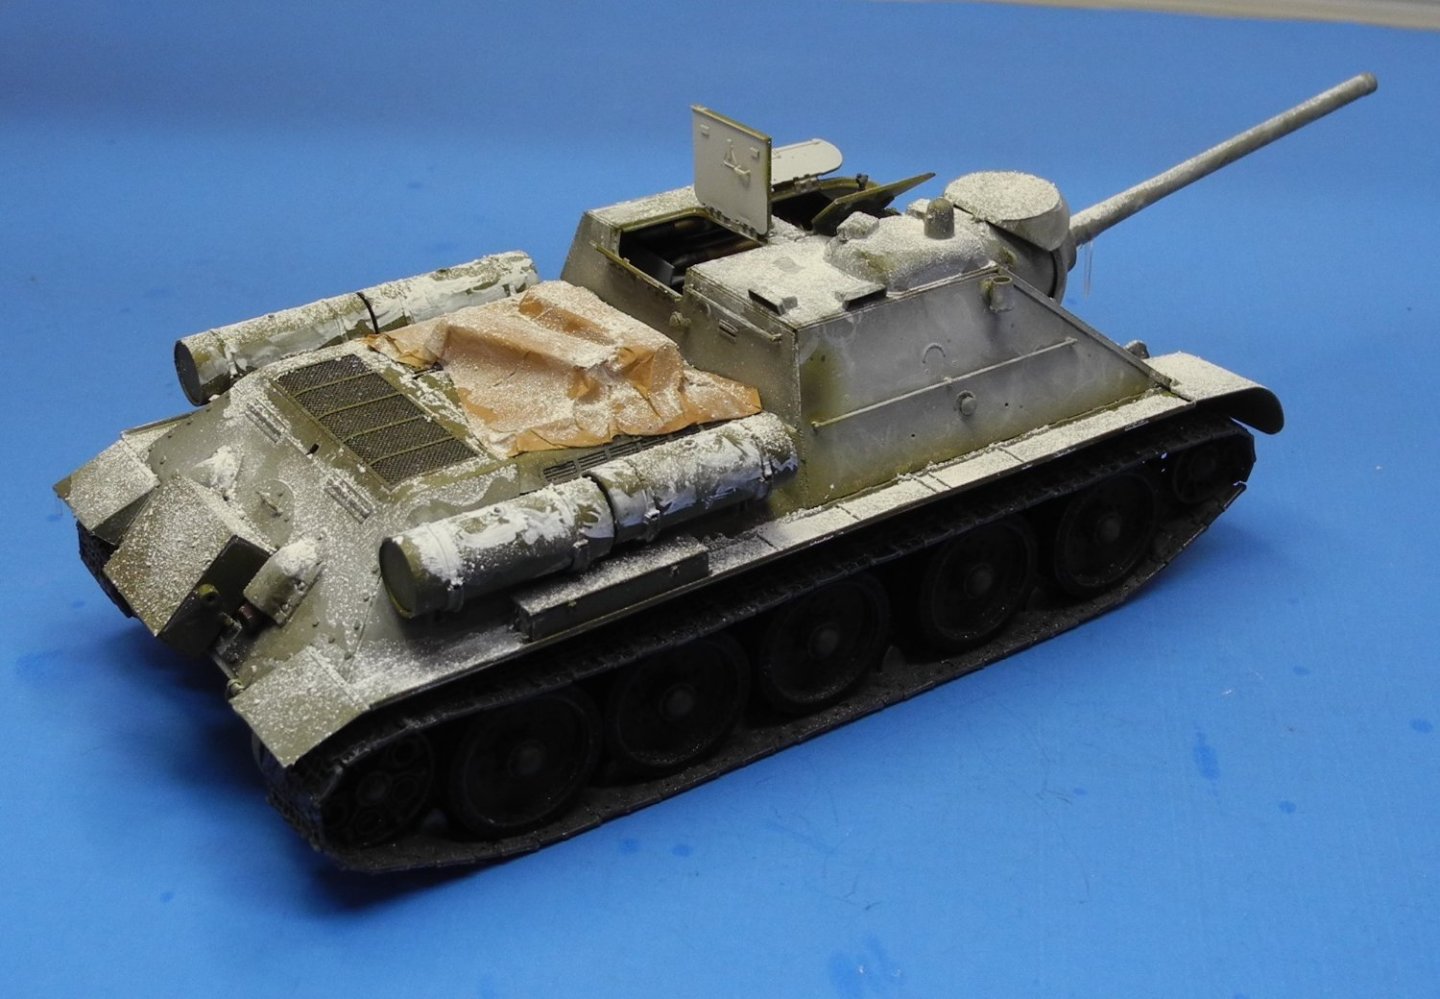
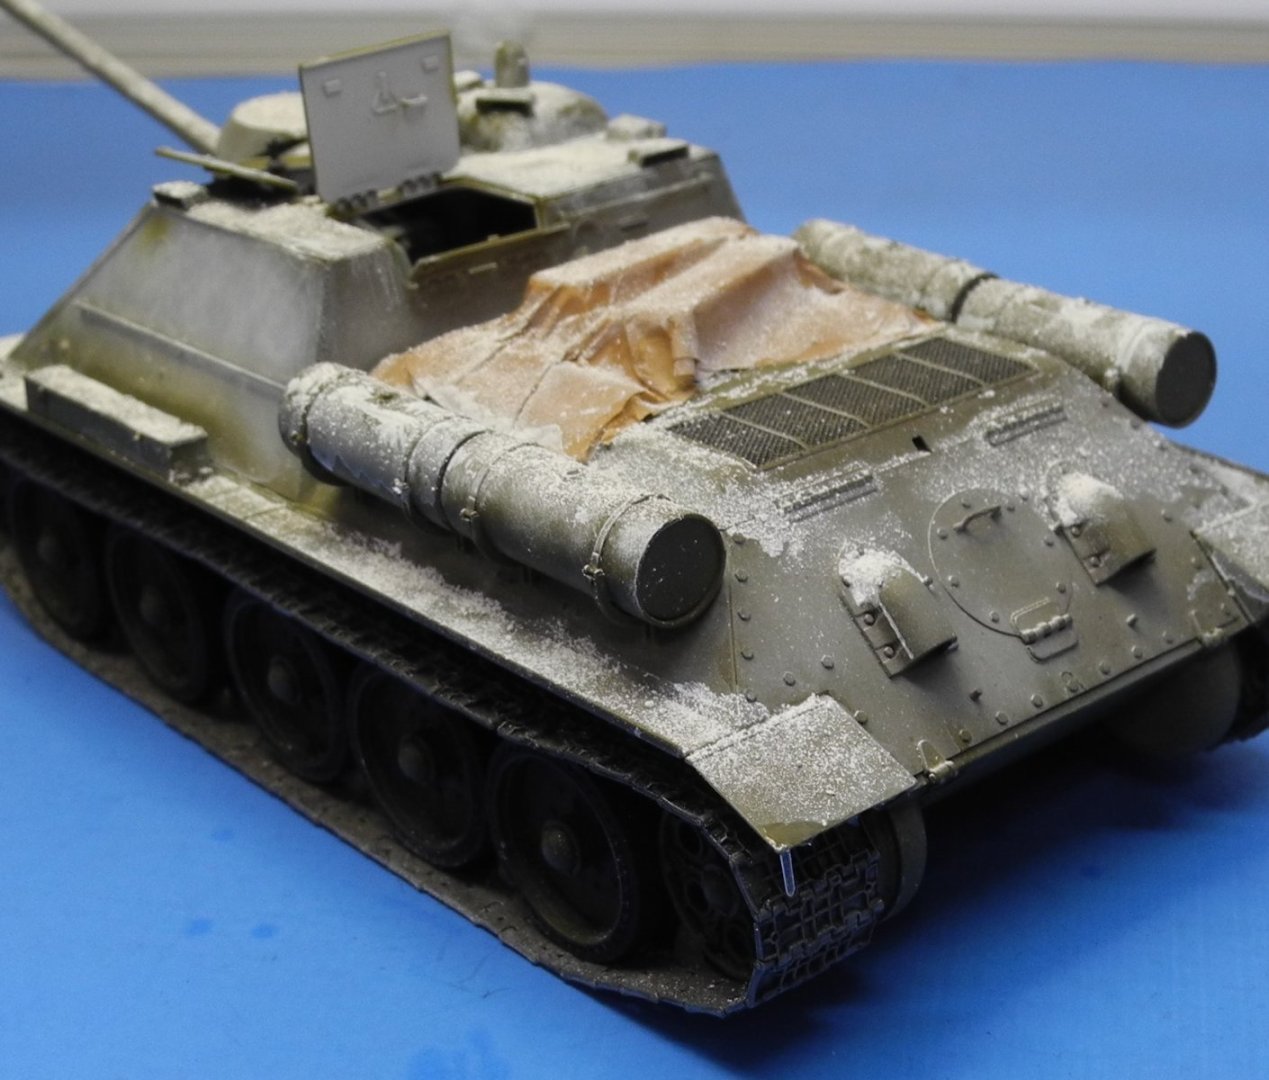
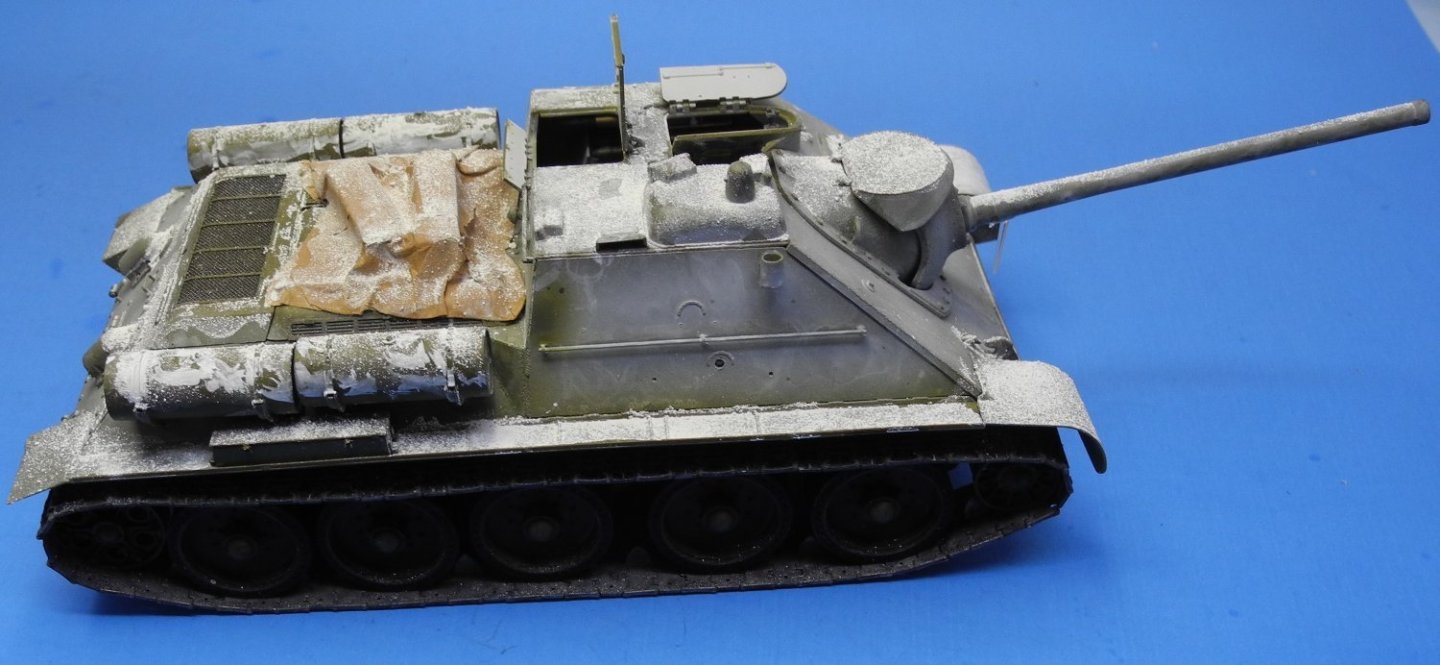
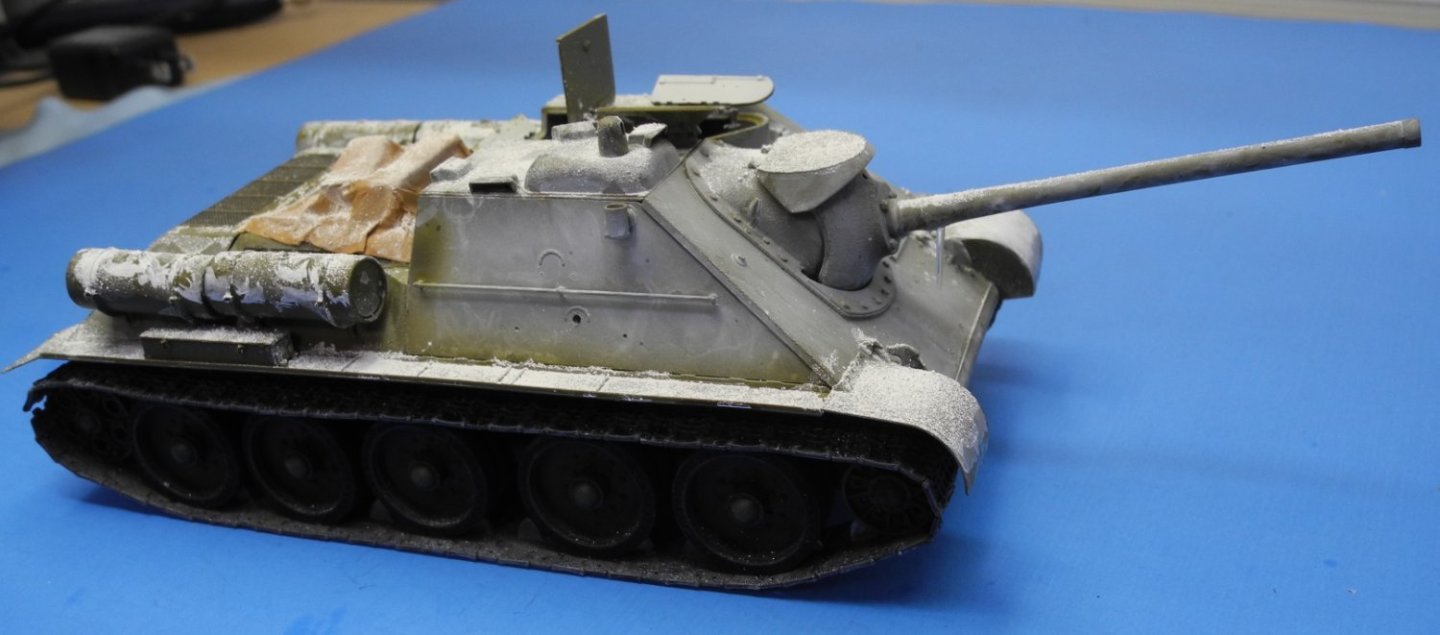
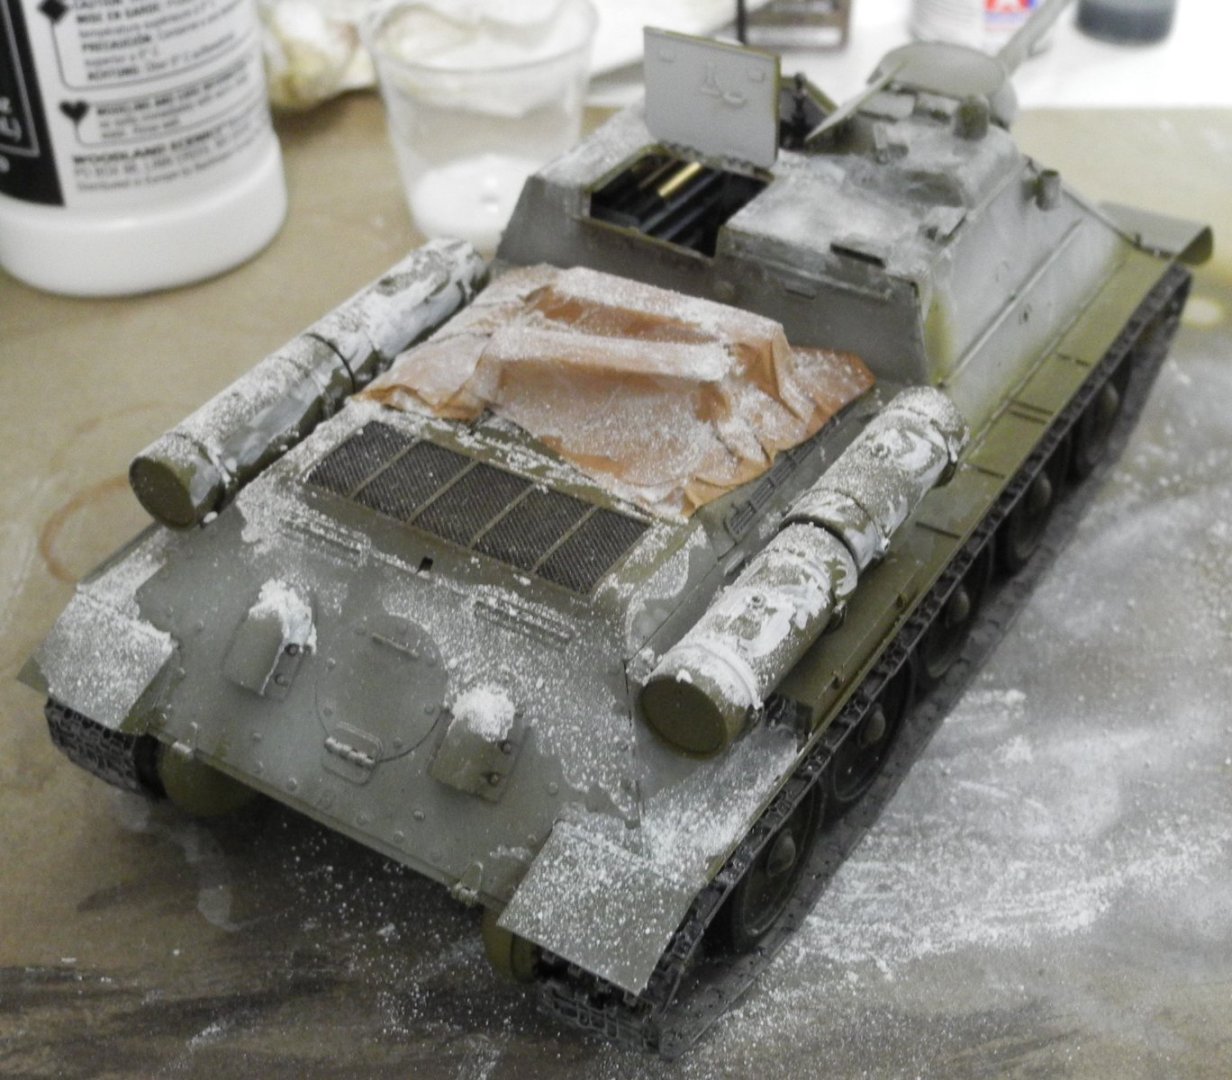
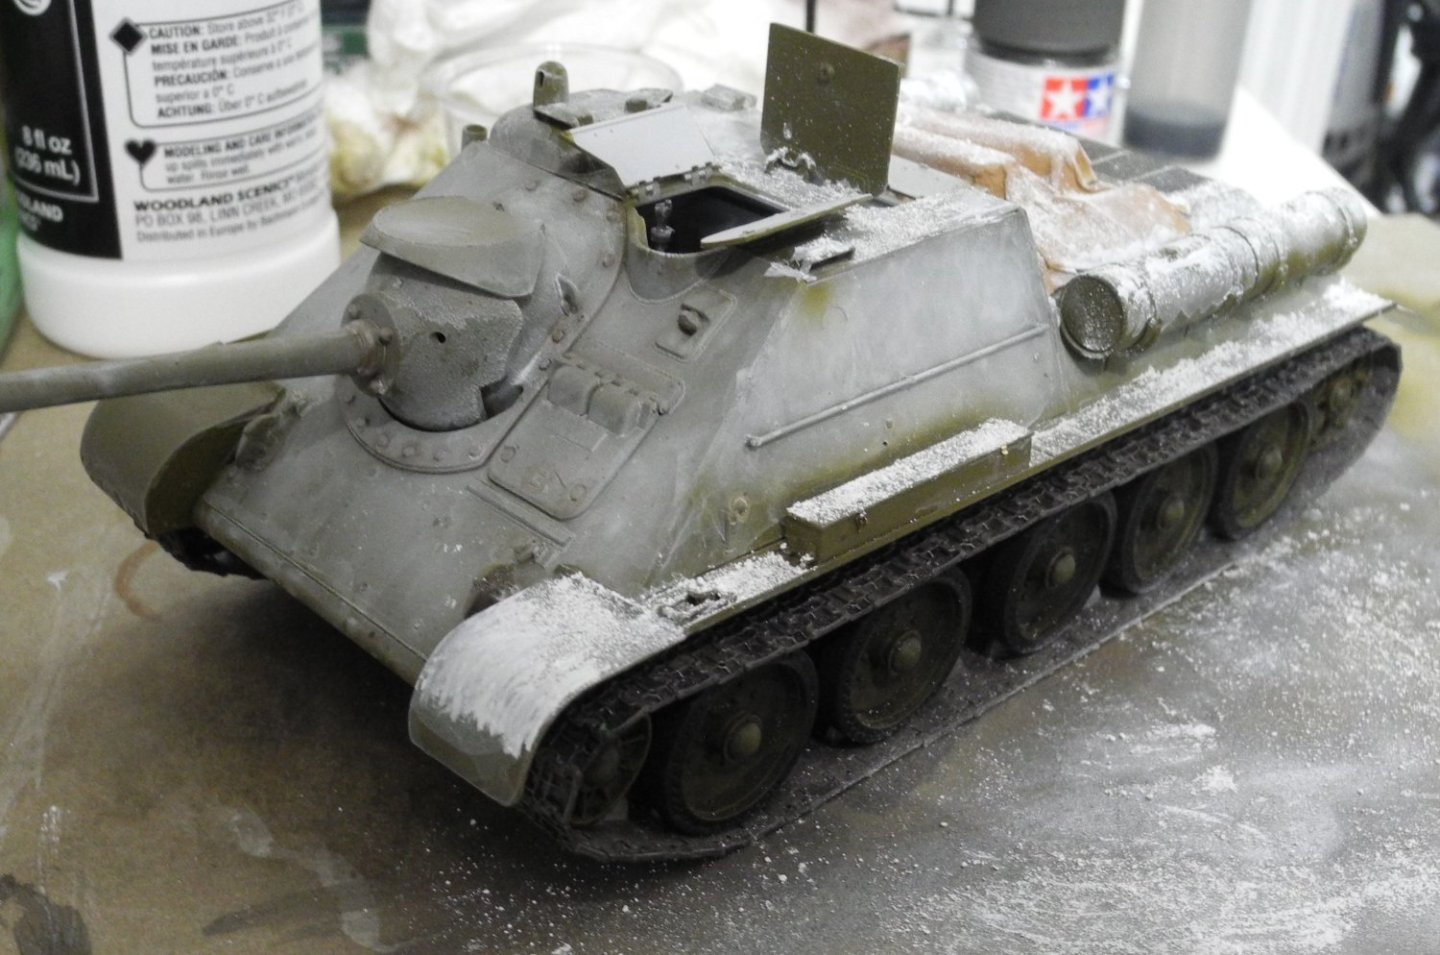
For the snow I used Vallejo white pigment sprinkled over a wet watered-down coat of white paint. -
SU-85 WW2 Soviet Tank Destroyer by CDW - MiniArt - 1:35 Scale
CDW replied to CDW's topic in Non-ship/categorised builds
Thanks Ken. I'm going to give Doc Rob's suggestion a try and attempt to create a few icicles here and there. Never tried it before but have wanted to. Now's the time. -
SU-85 WW2 Soviet Tank Destroyer by CDW - MiniArt - 1:35 Scale
CDW replied to CDW's topic in Non-ship/categorised builds
Making a feeble attempt to create snow effects on the model. I'm halfway in and at a point of no return now. The small "canvas tarp" laying on the engine cover is made of tissue paper. Under it are some small sections of 1:4 inch square balsa stock to add some appearance of a cargo the crew is trying to protect. No more room inside the fighting compartment.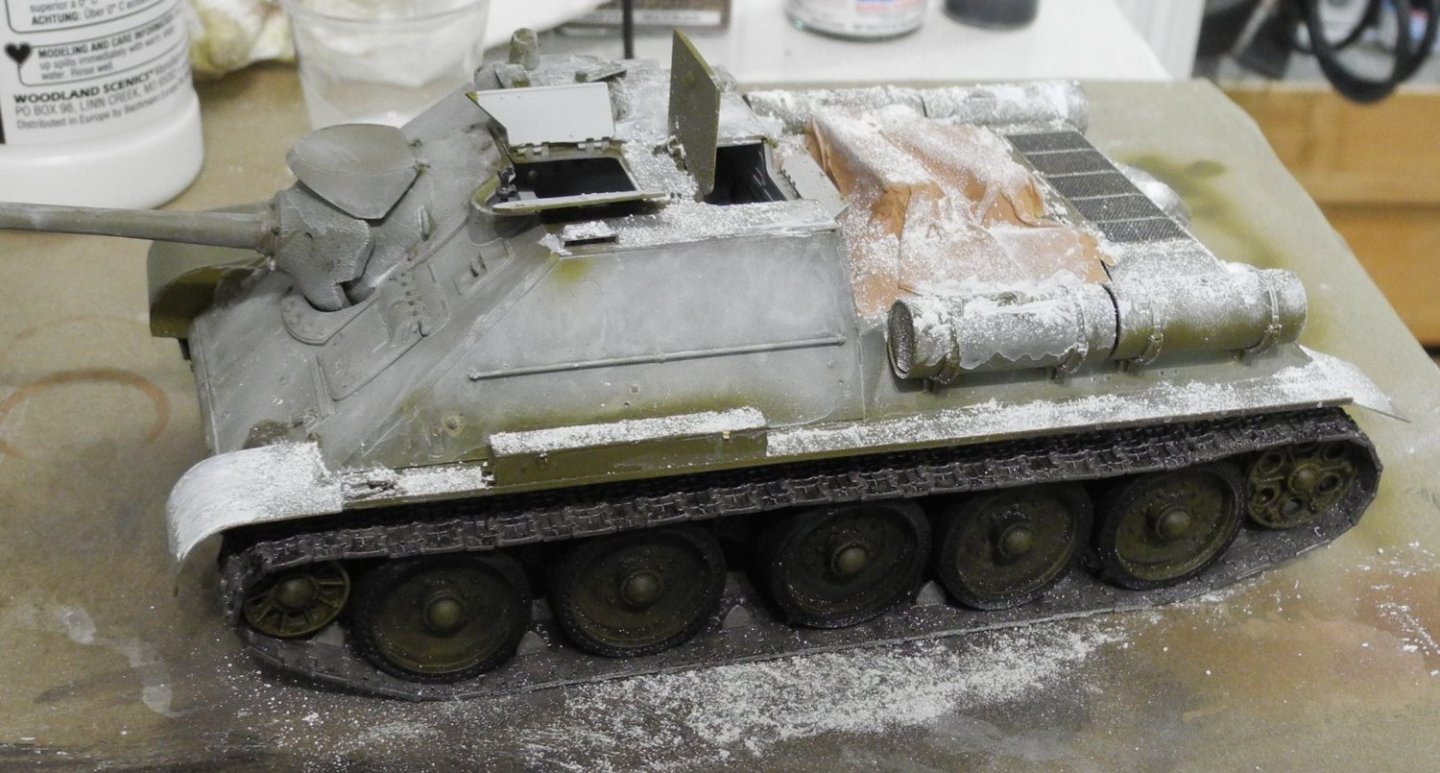
- 96 replies
-
- 10
-
-
-
SU-85 WW2 Soviet Tank Destroyer by CDW - MiniArt - 1:35 Scale
CDW replied to CDW's topic in Non-ship/categorised builds
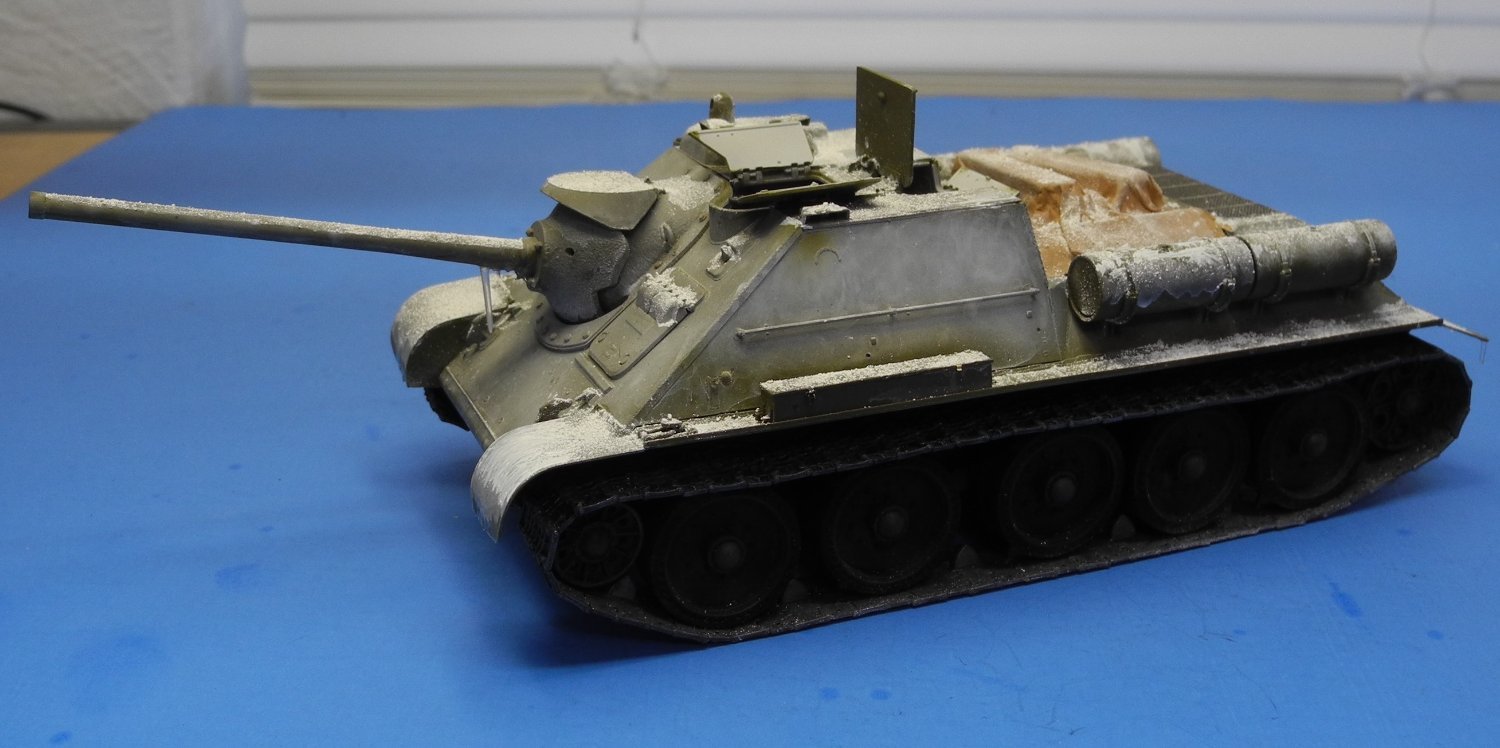
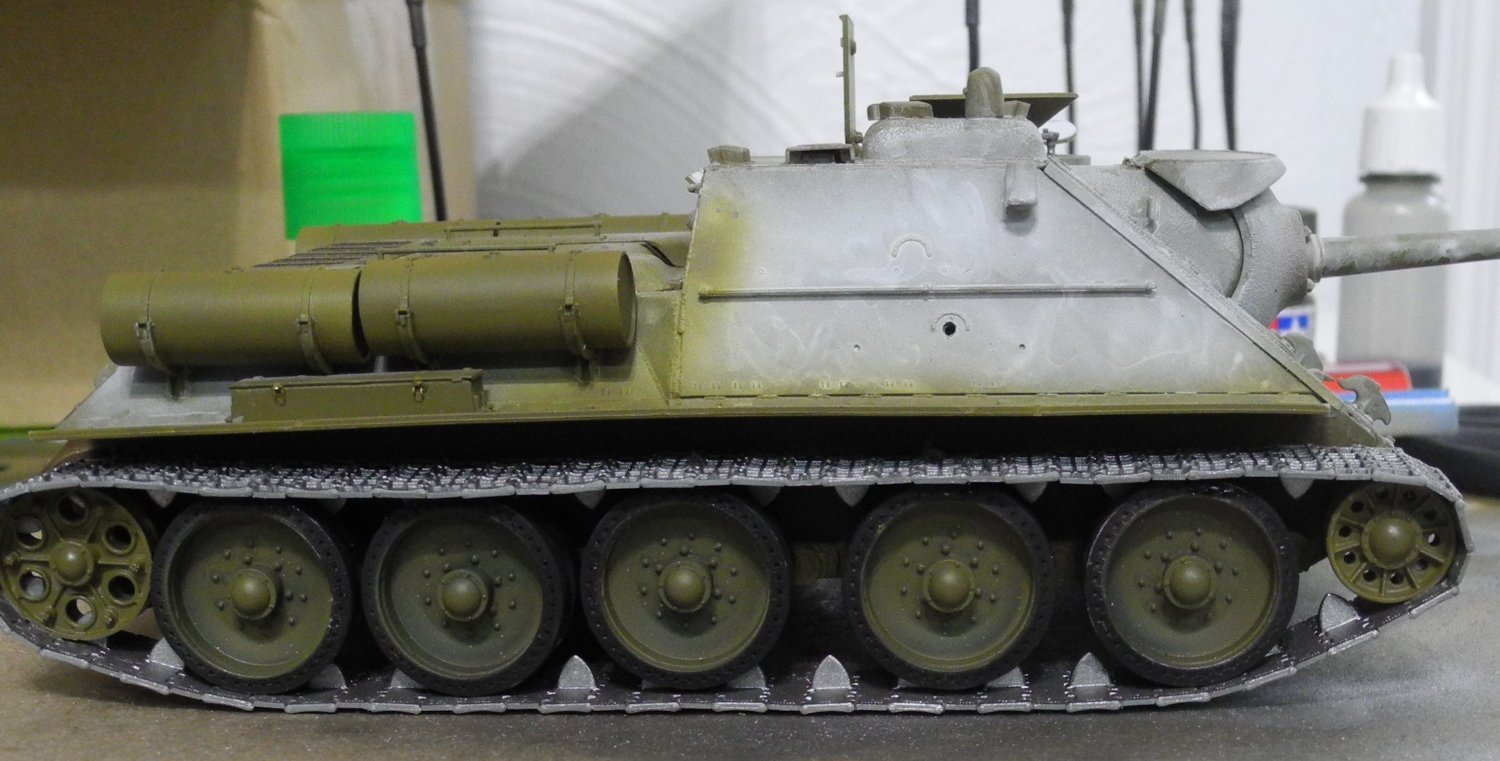
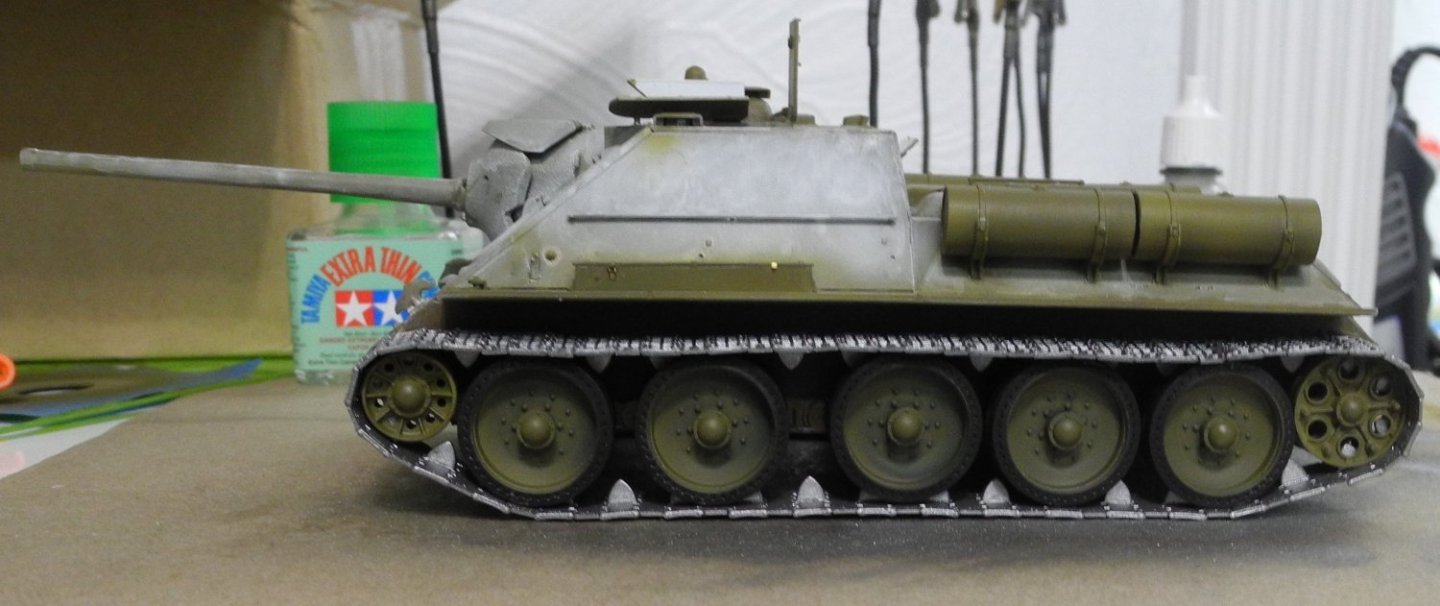
With the tracks painted, the wheels and track are placed back on the model. I've used some scrap pieces of foam to bring the top part of the tracks down onto the road wheels and give it the natural appearance of sag seen on real tracked vehicles. With this being said, it finishes the saga on tracks and will now move forward with adding the remaining details and weathering the model.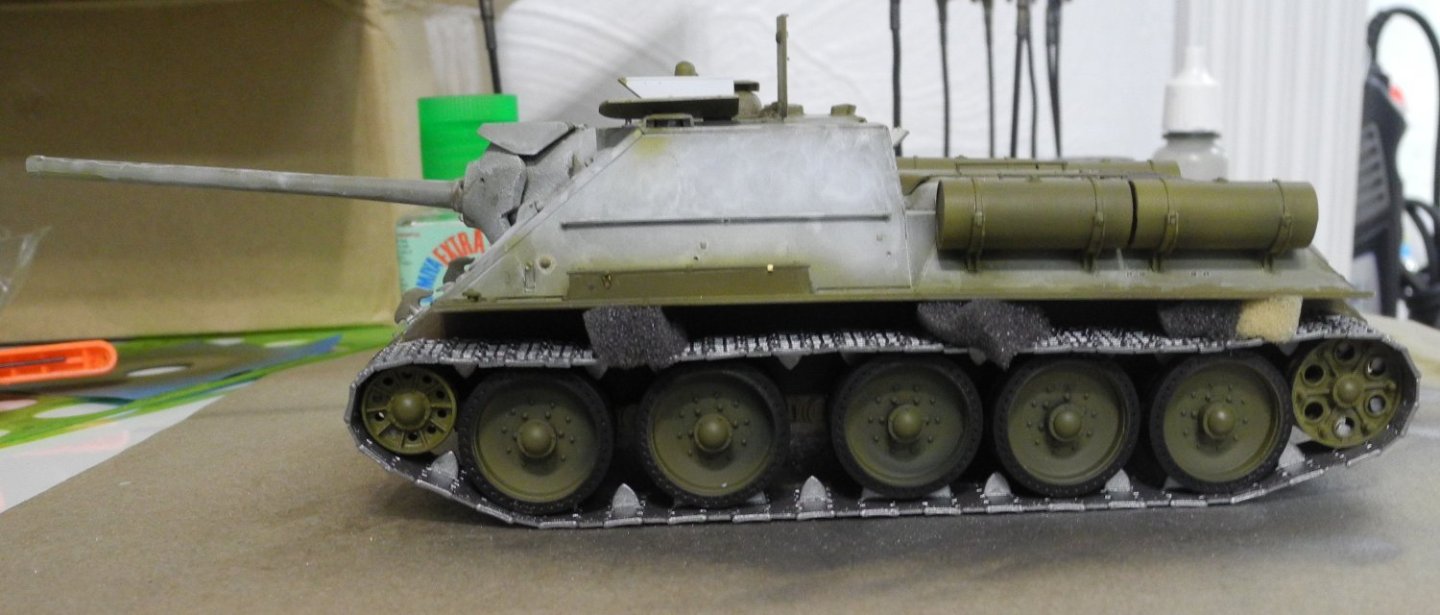

-
P-38J Wicked Woman by DocRob - FINISHED - Tamiya - 1/48
CDW replied to DocRob's topic in Non-ship/categorised builds
That's a very fine model with an excellent selection for markings. The aluminum finish is brilliant. -
SU-85 WW2 Soviet Tank Destroyer by CDW - MiniArt - 1:35 Scale
CDW replied to CDW's topic in Non-ship/categorised builds
The red arrow points to the mounting shaft for the idler wheel. This part can be rotated forward or back to add or release tension on the tracks. It's important to initially fit this part dry and only cement it into place after proper tension is put on the tracks after link assembly. The kit instructions do not point this out, it's just one of those things you learn through trial and error and/or careful thought and examination of the entire assembly.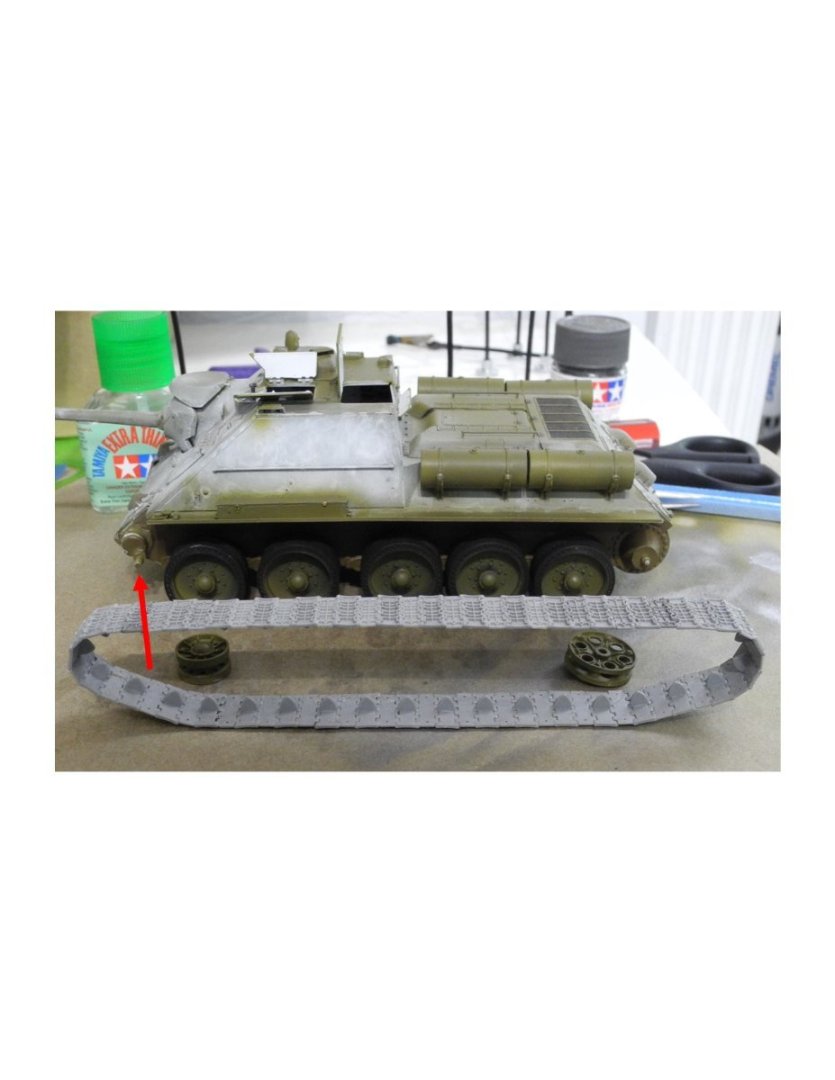
-
SU-85 WW2 Soviet Tank Destroyer by CDW - MiniArt - 1:35 Scale
CDW replied to CDW's topic in Non-ship/categorised builds
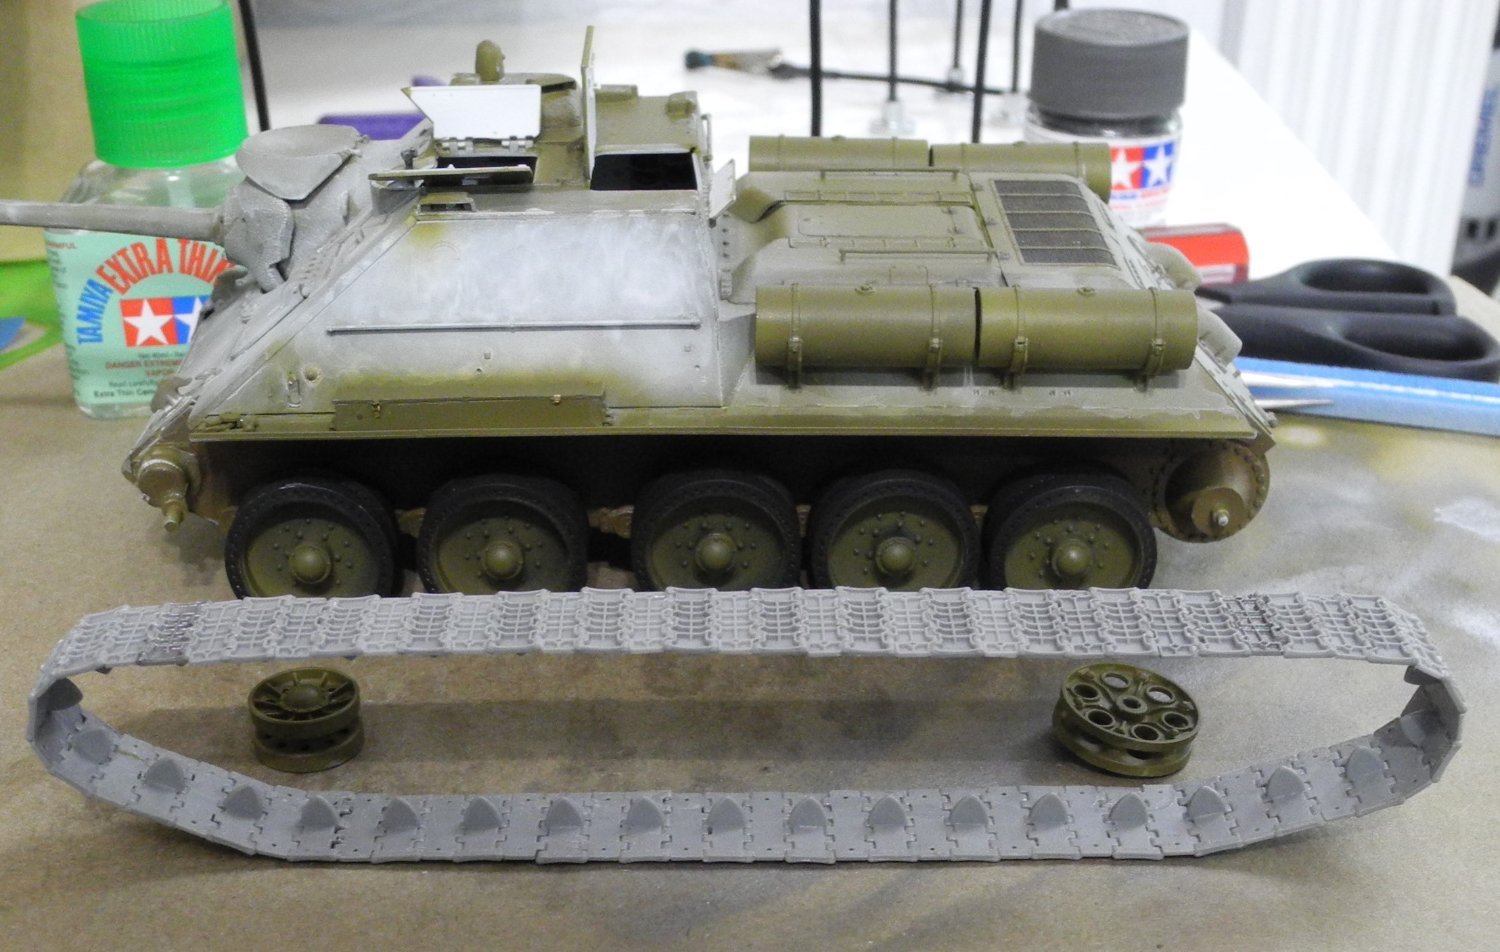
With the straight sections of track glued in place and dried, the idler and drive wheel can be slid off to remove the entire track for painting. After painting, will slide everything back in place.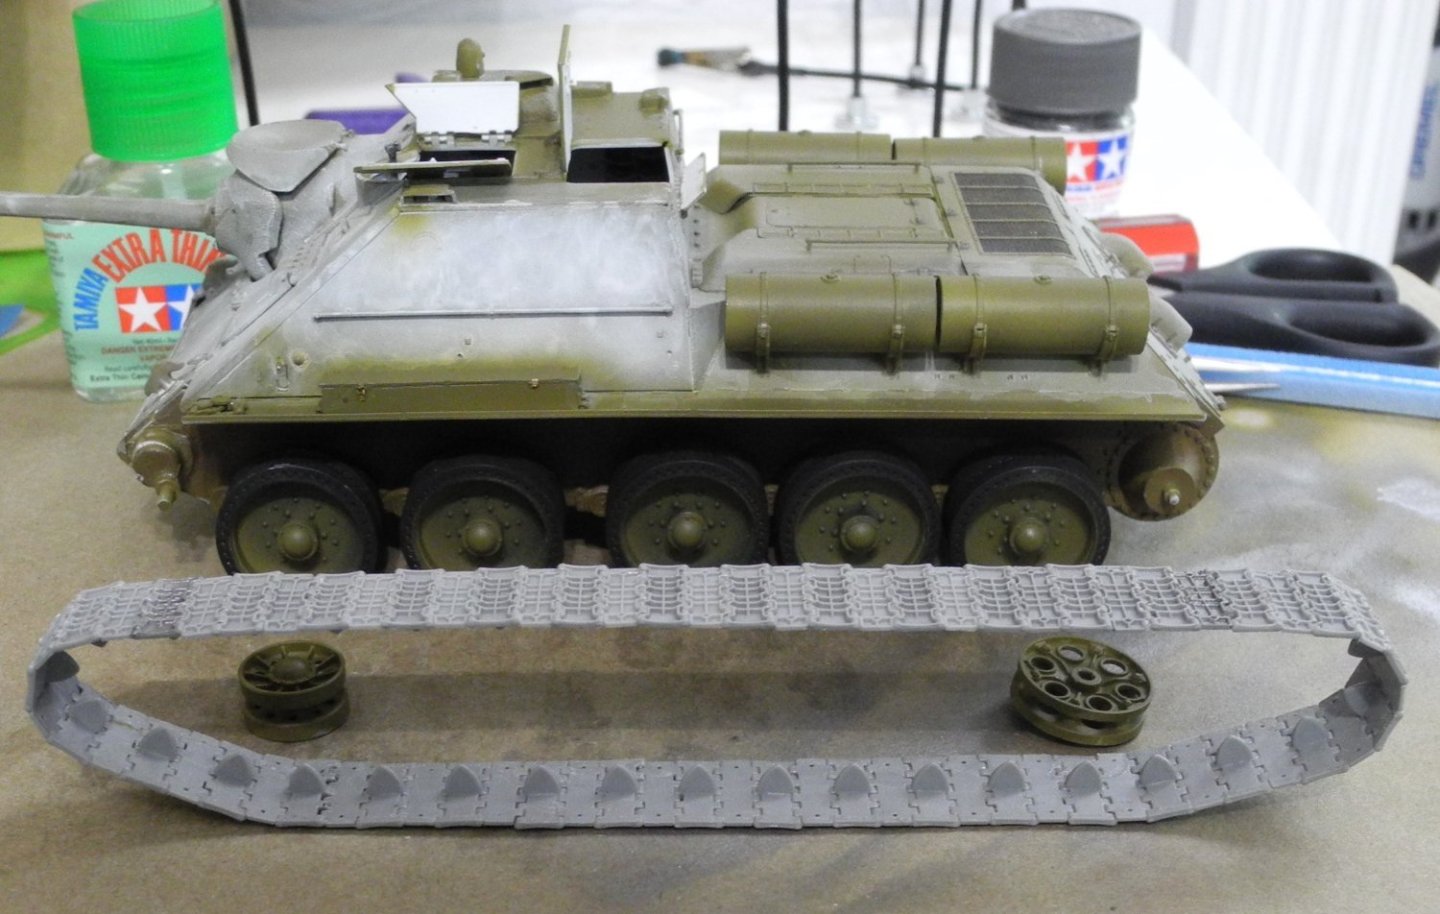
-
SU-85 WW2 Soviet Tank Destroyer by CDW - MiniArt - 1:35 Scale
CDW replied to CDW's topic in Non-ship/categorised builds
Glad I could help. It's a pain compared to rubber band tracks.