HOLIDAY DONATION DRIVE - SUPPORT MSW - DO YOUR PART TO KEEP THIS GREAT FORUM GOING! (Only 13 donations so far - C'mon guys!)
×


Torbogdan
-
Posts
252 -
Joined
-
Last visited
Content Type
Profiles
Forums
Gallery
Events
Everything posted by Torbogdan
-
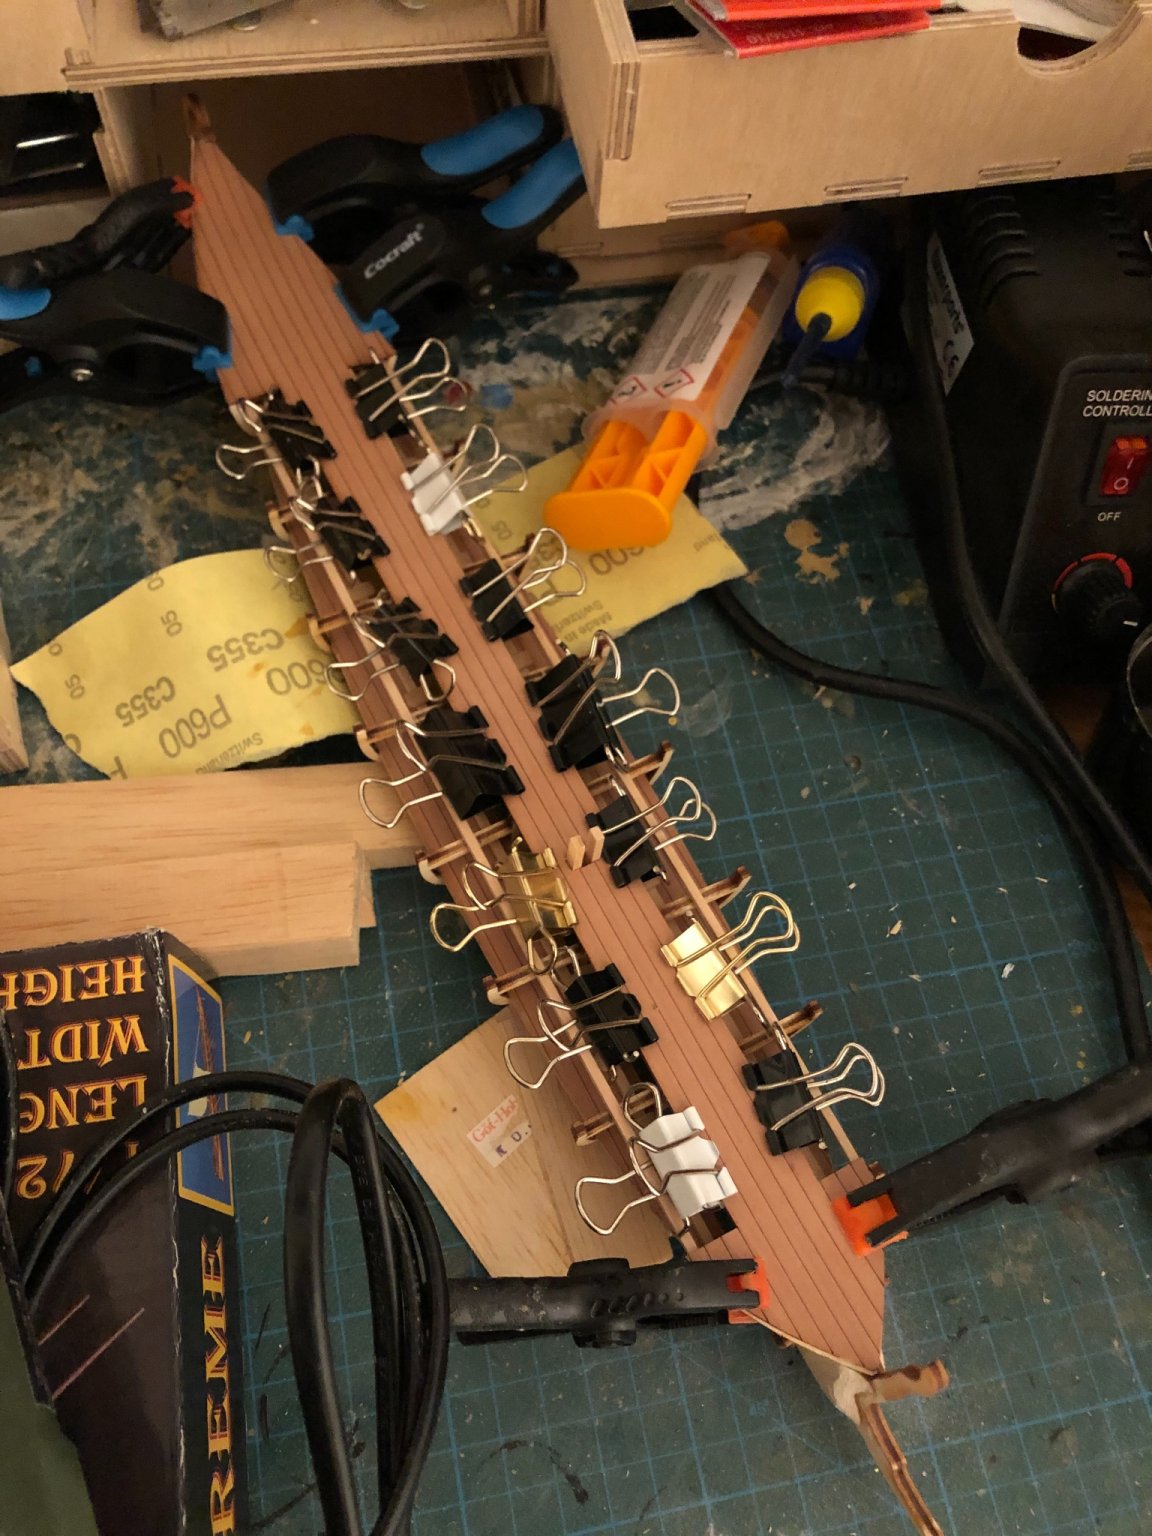
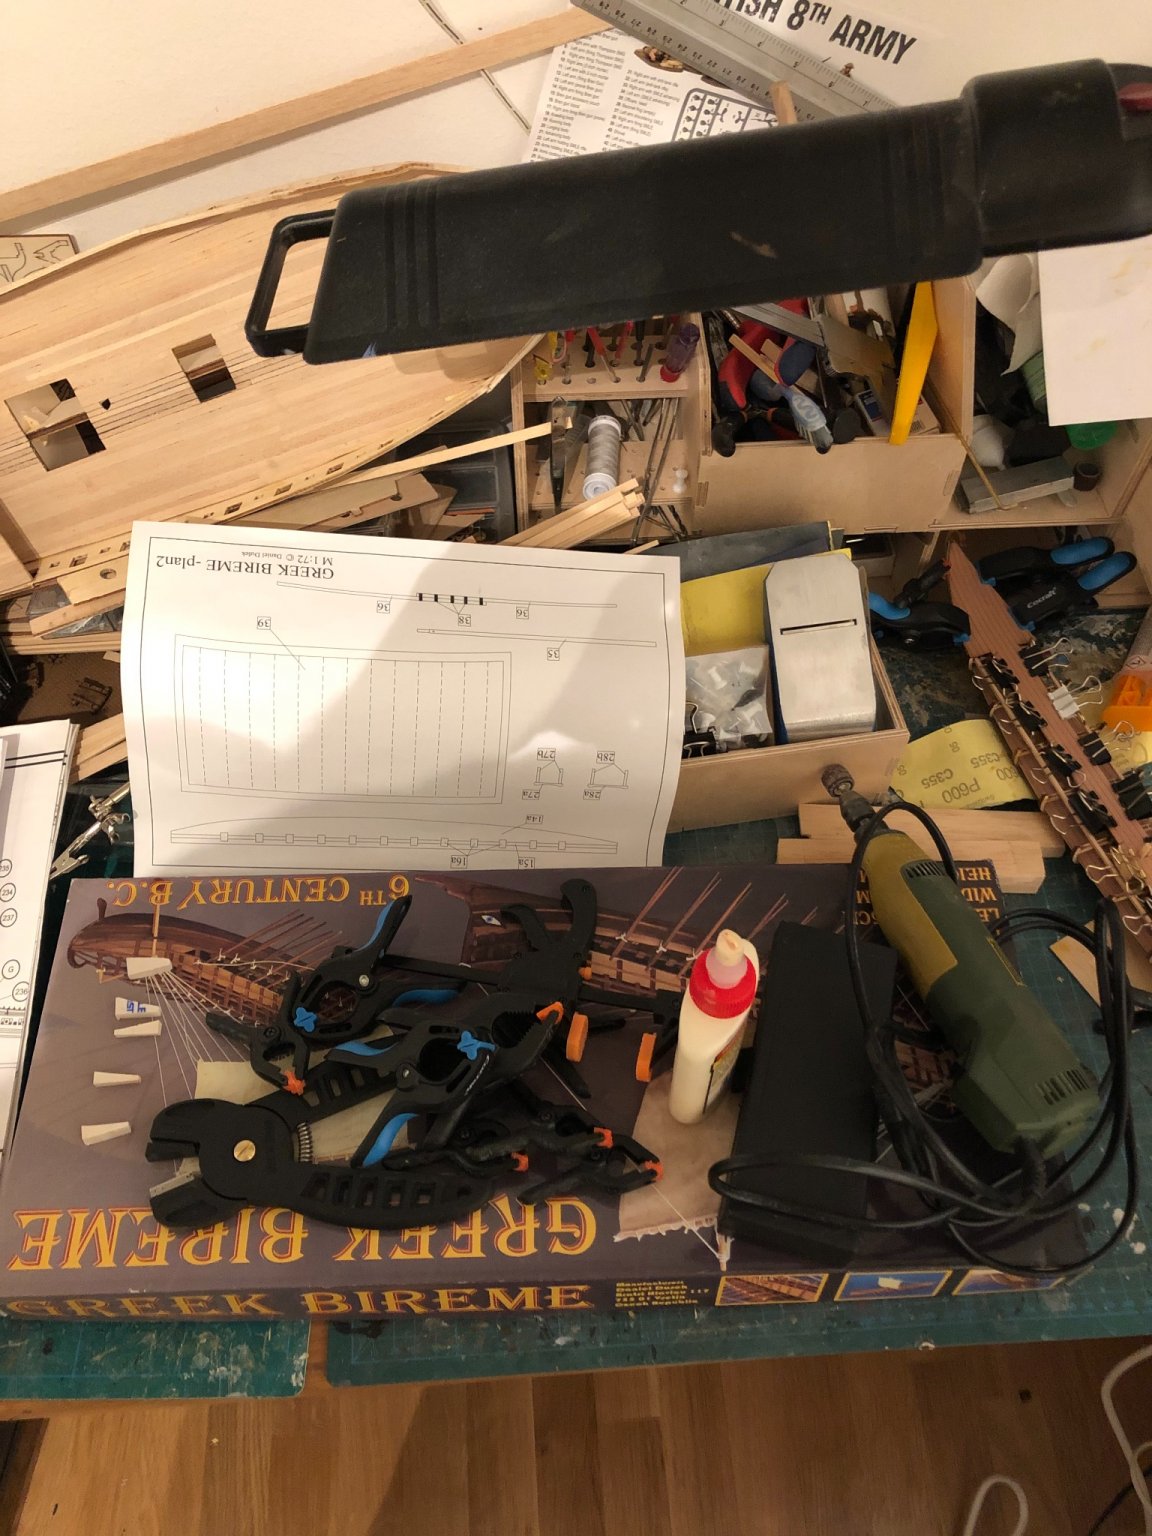
The deck has been attached. The wood/veneer is really thin so it warps easily. I glued it with quick drying white glue. Next time I'll use more slow drying glue as this is almost too quick. As I said before this will be a "quick and dirty" build, (quick in shipbuilding for me still means quite some time...) It is my third Dusek kit, I must say I am fond of them. Good models, excellent instructions and pleasant to build. A cluttered picture of stuff. I'll join the family for some vacation (they are already in the mountains but I'm still working). but leaving tomorrow. Of course I'll bring some stuff to hopefully get some time to build.


-
After som professional help I have been able to insert a picture! It might be a small step for mankind but a giant leap for me... @ccoyle If we were on the same continent I would buy you a beer as a thank you, but unfortunately I´m in Sweden. But if you happen to visit Sweden I will buy you one and show you the Wasa museum!
-
8701949A-D489-4F76-B6DB-79A444DA3892.heic Thx for good info! I have many skills but working with computers is not one of them... I will try to improve.
-
Even no picture I noticed. Photobucket is not cooperating... Will have to find another place from where to upload pictures.
-
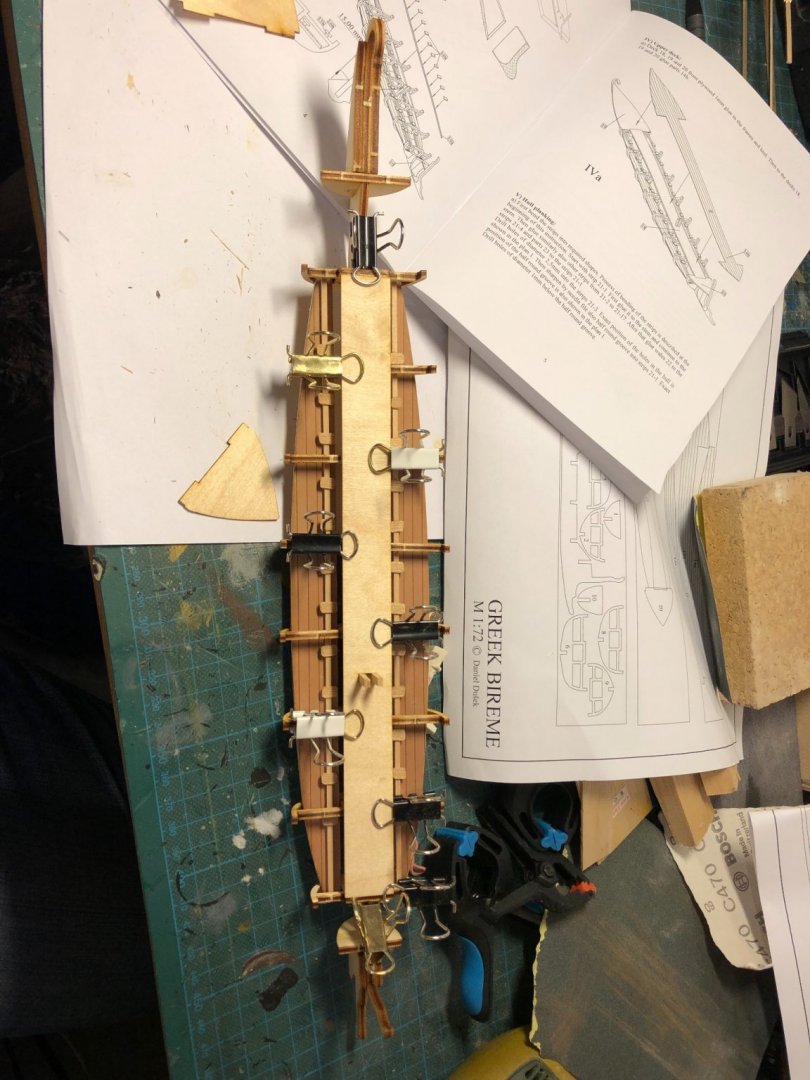
After a long break from ship modeling, for many reasons, I started building OcCres Cazador. But it felt like all my wood working skills hade abandoned me. Whatever I did pieces broke, did fit, or ended up the wrong way. Basically I failed in everything. Finally I decided to take a break and work on an easier kit to get some confidence back. From the vaults I got my trusty Greek Bireme and started to build it instead. So far only one (lousy) picture but more is on the way. Anyway, the mode lkit is great (as all Duseks are according to me) and is going together smoothly. There are other Bireme builds here which are and will be much much nicer than mine. I will build it straight out of the box.
-
Thanks alot. It is in very good condition. Box has been opened but nothing else. So intouched by human hands ;)
-
I have the chance to buy the Friesland 1663 from Mamoli. What would be a reasonable price to pay for it? I have seen all kinds of prices for it.
-
I would suggest the Pinta as a good starting kit from Dusek. I have built it and it is an fairly easy build. The instructions are very good. The kit is not that expensive either. So if it matches your criteria in period, accuracy and so on it is a good one to start with.
-
There might not be a good tutorial for the model you choose. Hopefully there is a thread here on this forum, but don't count on it. Check out the ships from Dusek. I have built two models from them and have a third in the closet. The instructions have been very good. In many cases they are available on their webpage to down load. that way you can have a look at them before you decide if you want to go ahead and buy and build. If you really feel for a more advanced model go ahead and buy it and start to build! It is a hobby after all, nothing "important". In the absolute worst case you realize it was not for you and you have lost a little money, no-one is hurt or anything like that. So go ahead and try! you will find lots of helpful people and advice here. Go slow when building and have persistence, do not give up. Do some work every day and sooner or later you will be done. The hobby is not rocket science and if you break a part you can always build a new one as you work with wood. I would say the most important trait to have is persistence, to do the same thing again and again and again.
-
Are you a complete beginner to building models or do you have any previous experience with other forms of models? Have you built plastic models? Have you worked with wood, building other things in wood (model houses, wagons, cannons?) Are you patient? Do you enjoy doing the same thing many times over without being bored? Building ship models demands patience and the ability to do repetitive tasks again and again and again. Finally to be a bit blunt if you tried the Golden Hind and failed chances are you will fail with the next "big" model also. I STRONGLY suggest you start with something smaller and easier kit before going on to something big/difficult. I know it sounds boring but it is better to learn some skills with something small and easy than with something big and expensive. If you just want a nice ship model on display, buy one and save many hours of spare time.
-
Great build! Excellent work.
-
Fokker Dr.I by Torbogdan - FINISHED - Model Airways
Torbogdan replied to Torbogdan's topic in Non-ship/categorised builds
Long time no posts😀 I'm currently working in country where there is no possibility to do any modeling. But late summer 2020 I will be back in civilization! So to prepare for that I have started to scout for suitable models! Back home on the workbench Occres Cazador Is waiting, but I think about Billings HMS Renown. That is a small quick easy build of an interesting boat/ship. I also, by mistake, found out about Artesanias Sopwith Camel in 1:16 scale. As soon as I saw it I got a tightness in my chest and I know I will build it sometime. Sometimes things get into my mind and stays there as a small nagging feeling that won't go away until I have given into it. Seeing that model Is one of those obsessive thoughts... So already a few years worth of building plans laid out... Planning, dreaming and waiting is really the best part of the hobby! -
Very interesting thread to follow. Did the guns have some kind of cooling system for the barrels?
-
Very nice. Great build. Im very impressed.
-
Great build. Very nice. What are the leading edges made of? it looks like thin brass or some kind of metal foil?
-
I've built the model Airways Fokker. Haven't built this one so I cannot compare the two. But, the instructions for the Model Airways was very good. In the beginning I did not like the instructions but as the build progressed I really learned to read the instructions and follow them exactly and things would go fine. It was not an easy build but by being careful, dry fitting parts, following instructions and having great patience it finally became finished. Like most models it is not the "difficulties" that will beat you, it is doing the same thing over and over and over again that will (I think) make people quit. So be like a mule and never, ever quit and you will do fine.
-
Fokker Dr.I by Torbogdan - FINISHED - Model Airways
Torbogdan replied to Torbogdan's topic in Non-ship/categorised builds
Thanks! The reason (according to Shepard Paine, legendary diorama builder) is that if objects are parallel to the edge it plays a "mind trick" and it looks like the scene is constrained by the frame. It is difficult to "imagine" that the diorama is a snapshot/cut out of reality and goes on outside the diorama. With things parallel it looks like the scene is made to fit inside the frame (I hope I'm not too unclear) I find it very good advice. Just moving objects a few degrees of 90 degrees makes a huge difference. Of course it doesn't matter if a few small things are parallel but major focus points like vehicles, roads, houses, railroad tracks, fences and such should not be parallel. -
Fokker Dr.I by Torbogdan - FINISHED - Model Airways
Torbogdan replied to Torbogdan's topic in Non-ship/categorised builds
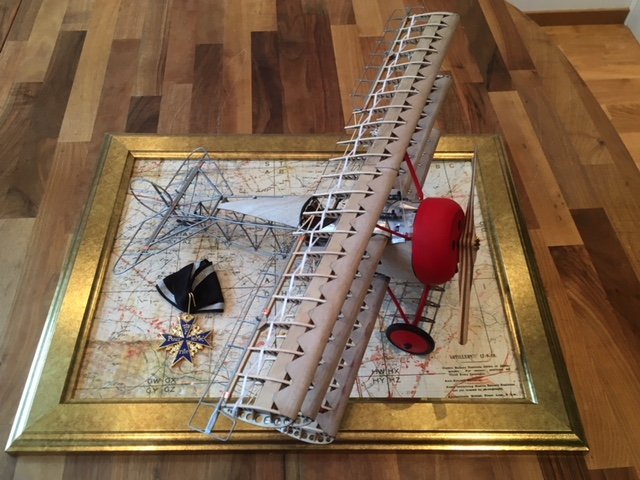
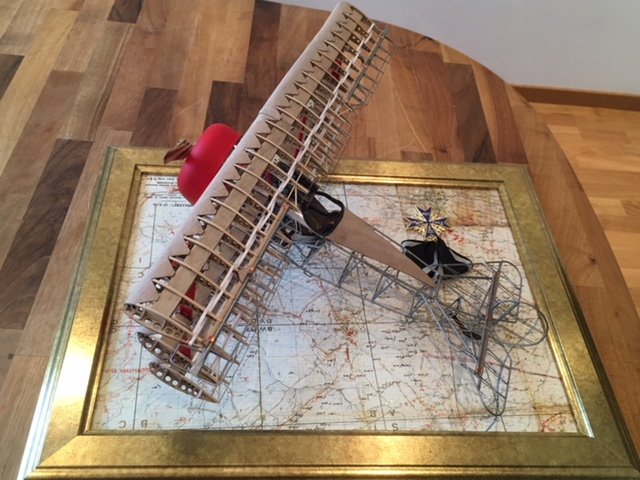
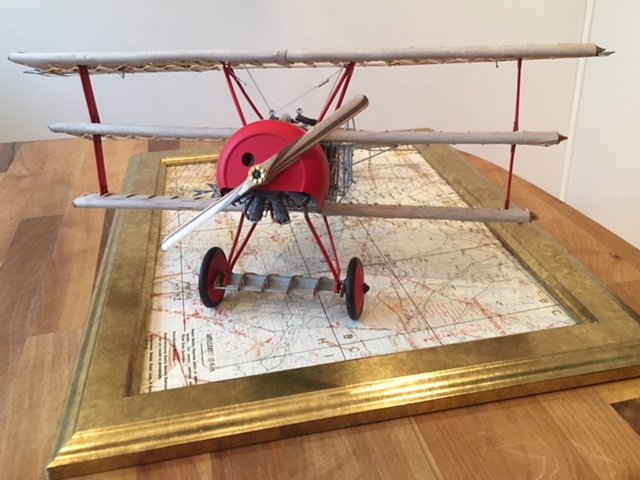
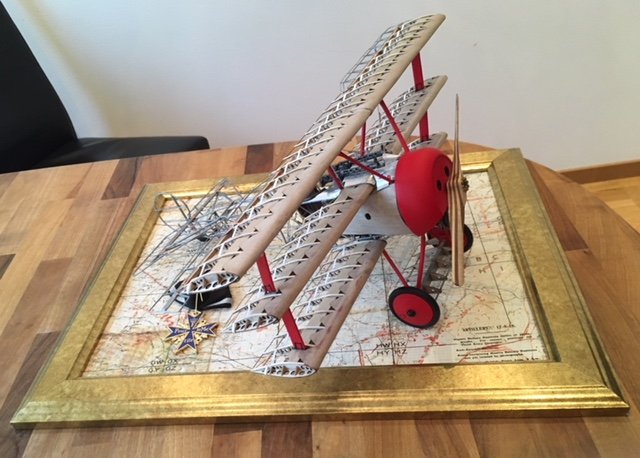
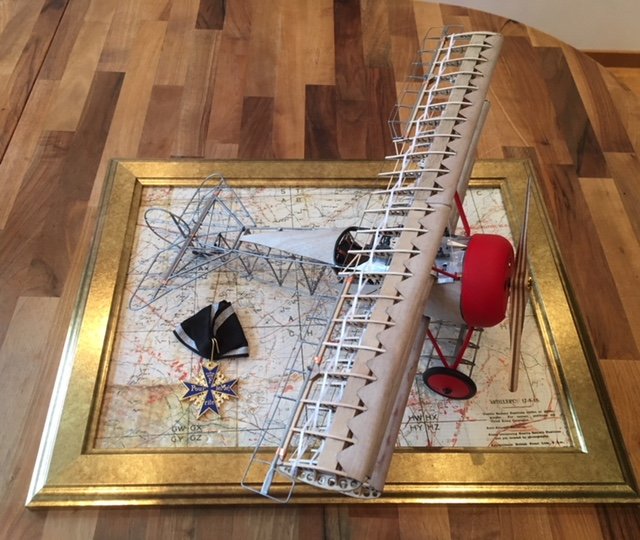
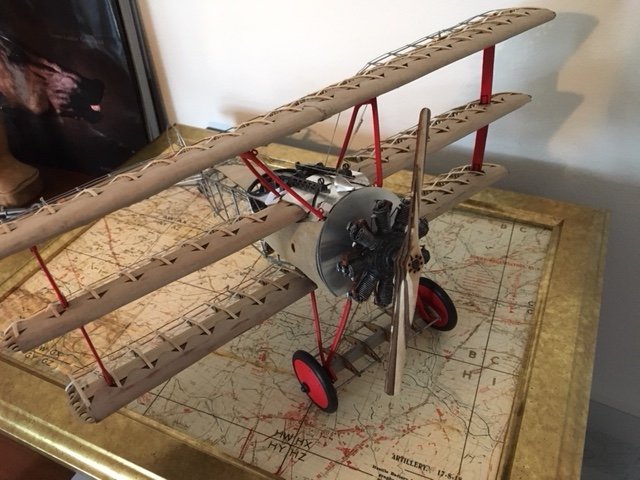
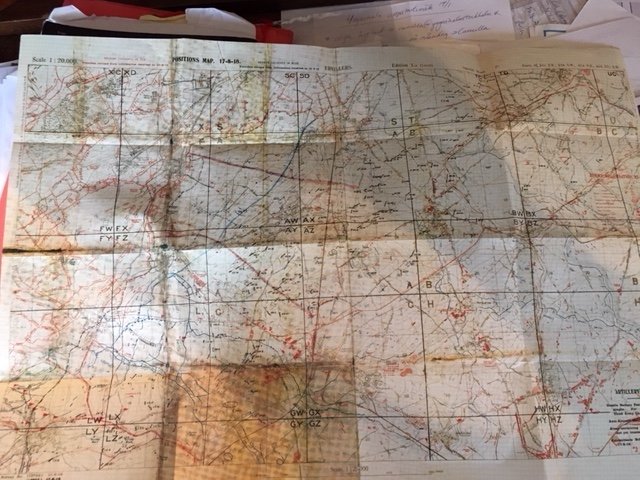
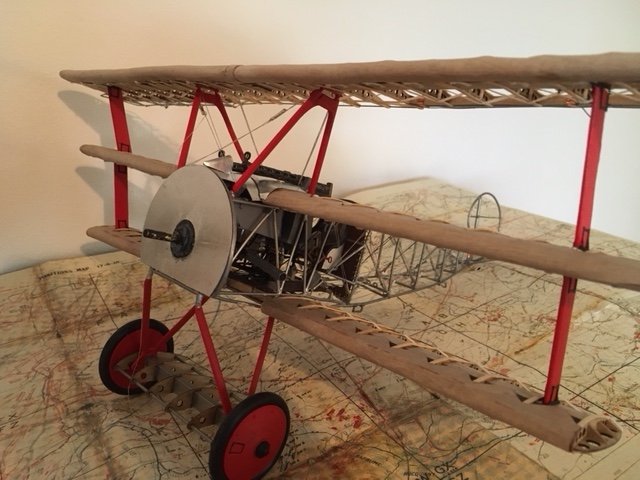
Well, drum roll... It is done! I´m pleased with it. It was a fun kit to build. Some processes were difficult, I would not recommend this kit unless you have some experience in model building and working with different materials. I remember that I did not find the instructions clear in the beginning. I take that statement back. the instructions were very good. Read the carefully and follow the exactly and things will go fine. A very tricky part was adding the rudder wires through the rollers. Take care when you build the rollers and maybe install the wires before adding the roller wheels. This is the only deviation from the instructions which I would recommend. So instead of finishing the wings with the roller wheels and everything and adding the wiring in the end, install the wiring and then add the wheels. This way you have more space to work with when you install the wiring. So installing the rollers would be the last part you do before the model is finished. The map as I used as a base is from the Imperial war museum. It is a bit "offset" to the frame as I use an old diorama rule that states "nothing parallell to the edge". Technically this is not a diorama but anyway. The medal I put there to make it look a bit more interesting. Also the Red Baron got it, so I thought it would be nice to include it. I will try go get a friend, who is a much better photographer than me take a few pictures of better quality than the ones below. "What ever" you say, we want pictures! Well here are a few!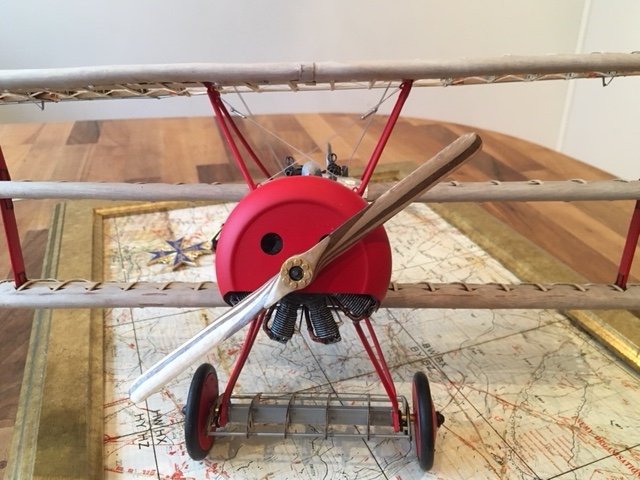


- 250 replies
-
- 15
-

-
Fokker Dr.I by Torbogdan - FINISHED - Model Airways
Torbogdan replied to Torbogdan's topic in Non-ship/categorised builds
I was going to finish this yesterday. Then late thursday my boss/watchcommander called and said i needed to work friday (which was my day off). So no luck. Work this weekend and next week, but maybe I'll actually be allowed to have my day off next tuesday? -
Fokker Dr.I by Torbogdan - FINISHED - Model Airways
Torbogdan replied to Torbogdan's topic in Non-ship/categorised builds
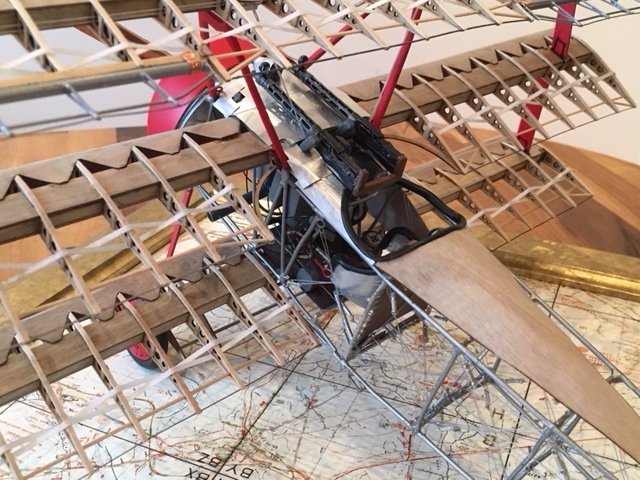
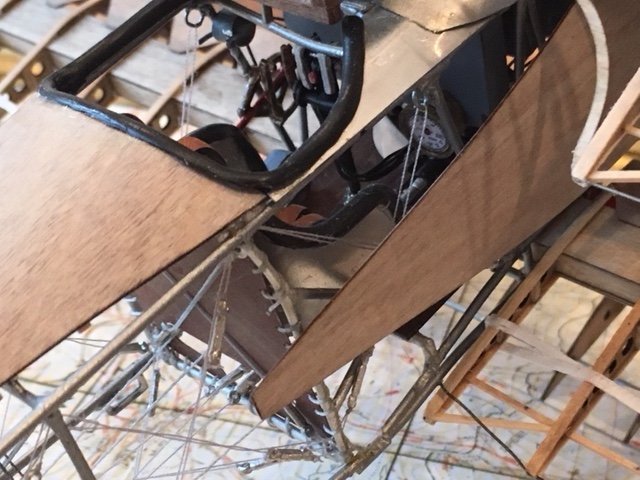
It is close now! The map has been glued to the picture frame. The propeller isn't finished, it needs more sanding and then varnishing. I also need to strengthen the pro-shaft to avoid it "drooping". I might leave the engine cowl off to show off the engine. I have also ordered a replica Pour le Merite model to add to the base. There is also the last metal cowling to add to the right of the MG:s. Hopefully it will be 100% finished next week. I started building 3rd of december last year so it has taken slightly more than a year to build. But it has been a very leisurely pace. I could have built it much faster but it is hobby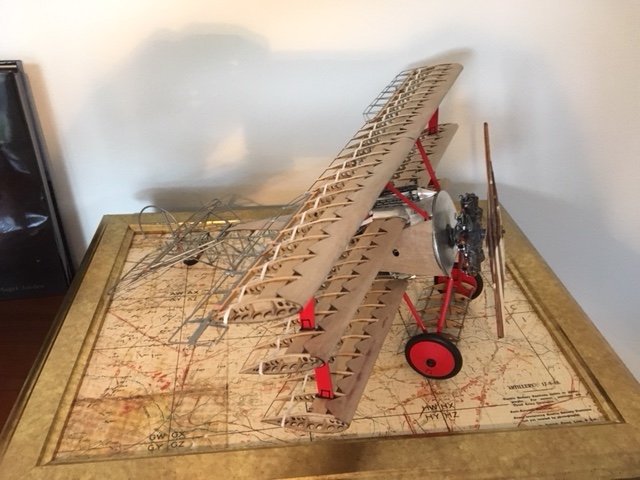
- 250 replies
-
- 11
-
-
Fokker Dr.I by Torbogdan - FINISHED - Model Airways
Torbogdan replied to Torbogdan's topic in Non-ship/categorised builds
After such a long break it seemed there was a bit more to do than I had previously thought. I hade made the wing tip skids but had left them off as they are a bit fragile. So I added those. Also the tail skid had broken off so I had to reattach it. The wing struts between the top and middle wing are finally attached. The bracing wire between the top wing and the fuselage in front of the MG:s were added. The engine cowling has been spray painted red. An old aluminum beer can has been used to add small parts of "cowling" around the front end of the aircraft. In the last picture a paper part can be seen to the right of the MG:s. After dry fitting I will cut a part like it from the beer can and do the final tweaking before gluing it in place. Earlier this winter I was in London and visited the Imperial War museum and bought a map there to use as back drop. It is called "Trench map, German artillery positions at Ervillers". I will iron it to make it flat and glue it to a board and use it as a base for the finished model. You can kind of see the end result in two of the pictures.I´m thinking about leaving the cowling off to show off the engine. Haven't decided quite yet. I'm also thinking about buying a Pour le Merit replica medal and adding it to the board. I want to make a nice presentation but don't want to overdo it. As it was bit more than I had remembered to do I don't think it will be done by tomorrow as I also have to work tomorrow. Was supposed to have the day off but then the boss called and...


-
Fokker Dr.I by Torbogdan - FINISHED - Model Airways
Torbogdan replied to Torbogdan's topic in Non-ship/categorised builds
Today I finally continued to build my Fokker! It has been a long break due to work, lack of inspiration and too many other things which had a higher priority and a general lack of willpower to build. But now it s about to be finished. I attached the wires today to the ailerons. I hope to finish it completely this thurs- and Friday. Then I will also get some pictures up. -
Great job! You should be proud of yourself. You have created a very fine shipmodel.
- 473 replies
-
- 5
-
-
- greek bireme
- dusek
- (and 1 more)
-
Instead of tinfoil try to use lead foil. It can be bought in well sorted hobby stores or, of course, over the internet. The best way to obtain tinfoil is to buy a nice bottle of expensive wine. Lead foil is used to seal the cork in the bottle. So carefully remove the lead foil and use the bottle and its contents during a nice dinner. Led foil is thicker and much "sturdier" it will keep its shape and does not crumble like aluminum foil. In Sweden we have something called "oven foil" it is aluminum foil but thicker than "ordinary" aluminum foil. Maybe that can work?
- 473 replies
-
- 3
-
-
- greek bireme
- dusek
- (and 1 more)