HOLIDAY DONATION DRIVE - SUPPORT MSW - DO YOUR PART TO KEEP THIS GREAT FORUM GOING! (Only 44 donations so far out of 49,000 members - C'mon guys!)
×


kentyler
-
Posts
86 -
Joined
-
Last visited
Recent Profile Visitors
760 profile views


-
 Guillermo Gallegos reacted to a post in a topic:
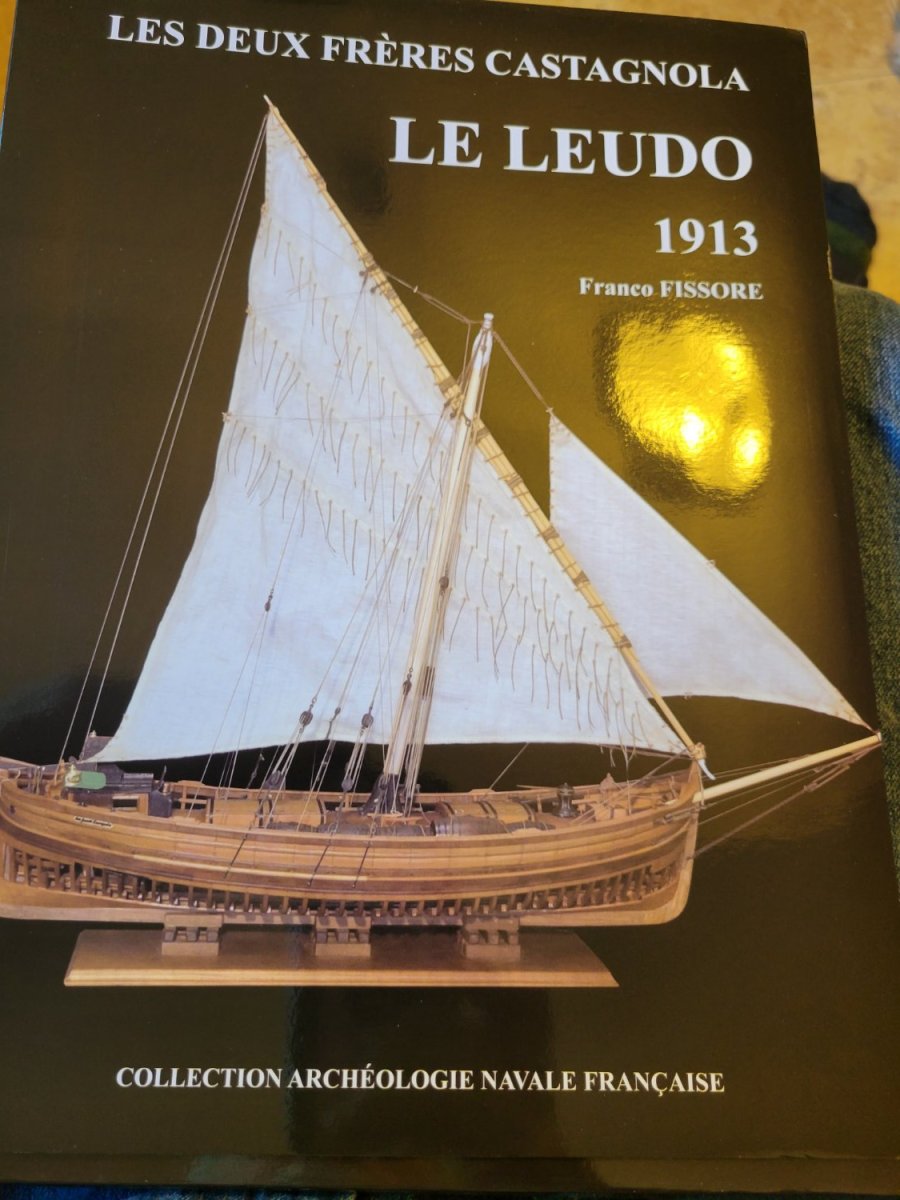
Le Leudo 1913 by kentyler - 1/36th - CARD - from Ancre plans
Guillermo Gallegos reacted to a post in a topic:
Le Leudo 1913 by kentyler - 1/36th - CARD - from Ancre plans
-
 etubino reacted to a post in a topic:
Allege d'Arles by kentyler - WAK - CARD
etubino reacted to a post in a topic:
Allege d'Arles by kentyler - WAK - CARD
-
etubino reacted to a post in a topic:
Allege d'Arles by kentyler - WAK - CARD
-
BobG reacted to a post in a topic:
Le Leudo 1913 by kentyler - 1/36th - CARD - from Ancre plans
-
Tobias reacted to a post in a topic:
Le Leudo 1913 by kentyler - 1/36th - CARD - from Ancre plans
-
Tobias reacted to a post in a topic:
Le Leudo 1913 by kentyler - 1/36th - CARD - from Ancre plans
-
Tobias reacted to a post in a topic:
Le Leudo 1913 by kentyler - 1/36th - CARD - from Ancre plans
-
Tobias reacted to a post in a topic:
Le Leudo 1913 by kentyler - 1/36th - CARD - from Ancre plans
-
Tobias reacted to a post in a topic:
Le Leudo 1913 by kentyler - 1/36th - CARD - from Ancre plans
-
KeithAug reacted to a post in a topic:
Le Leudo 1913 by kentyler - 1/36th - CARD - from Ancre plans
-
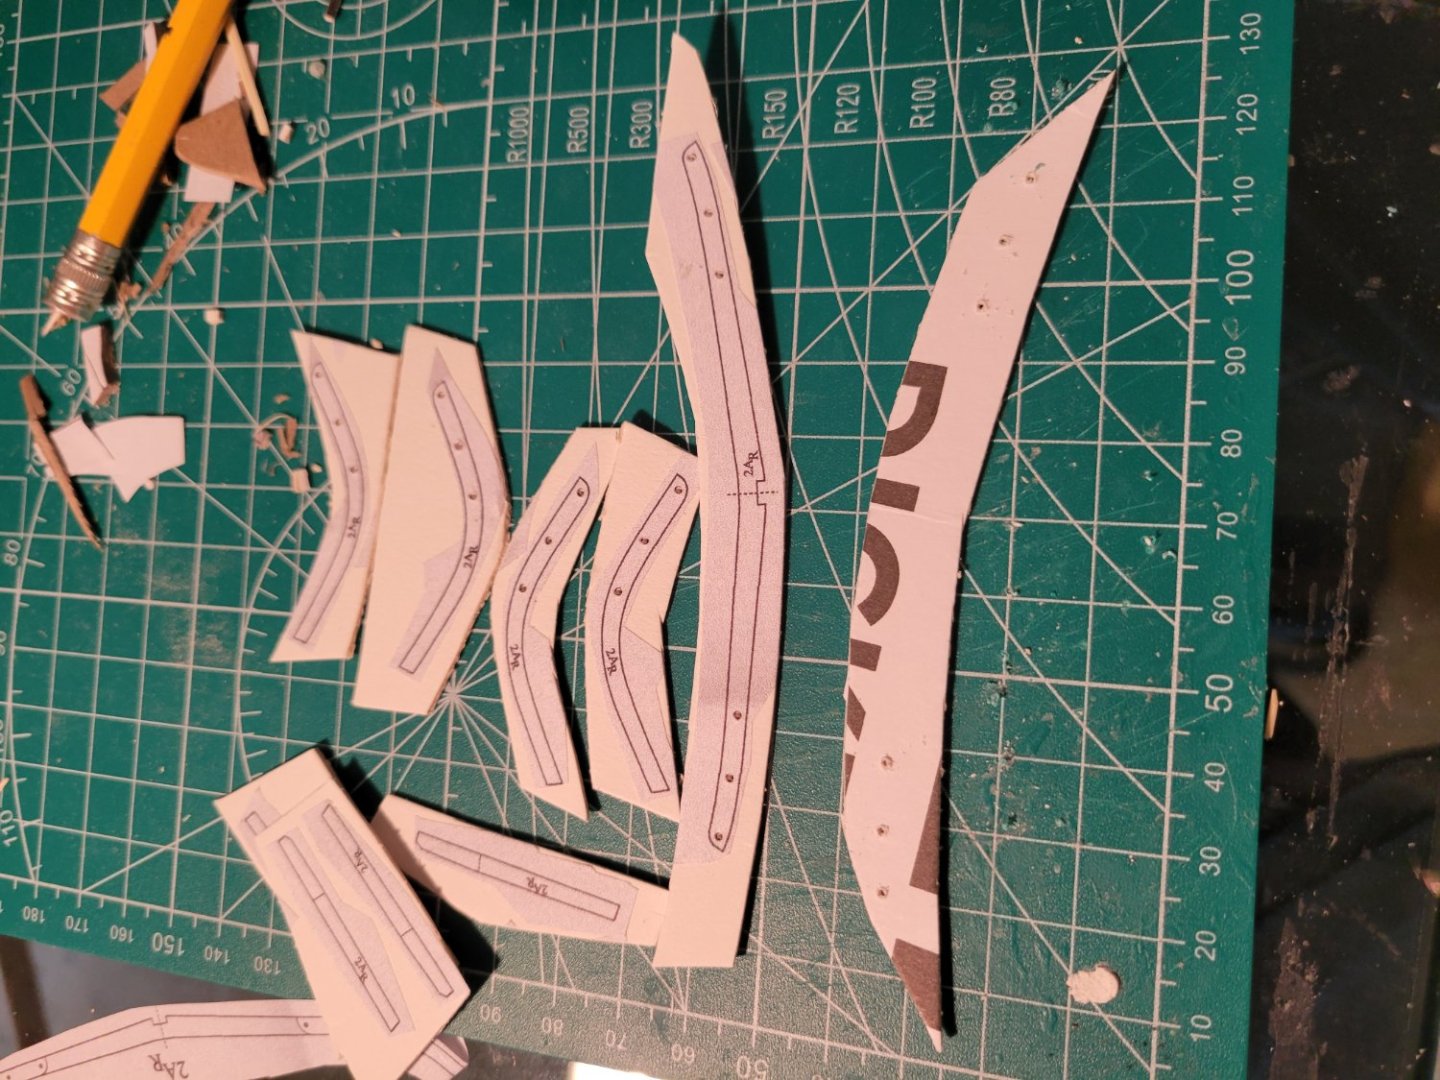
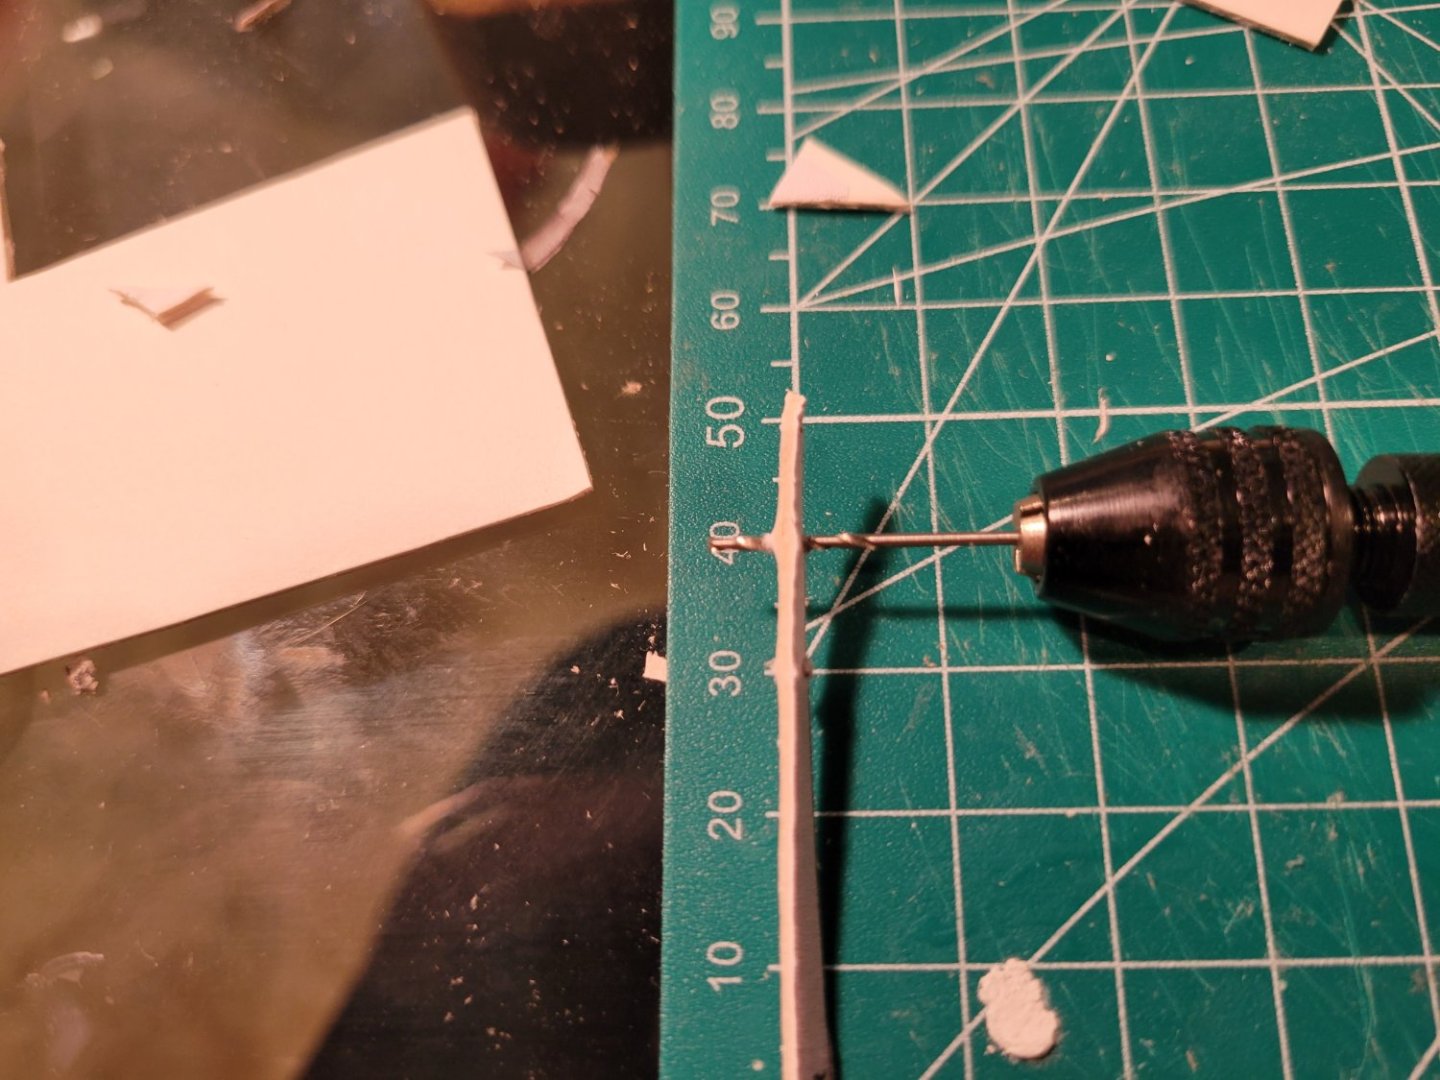
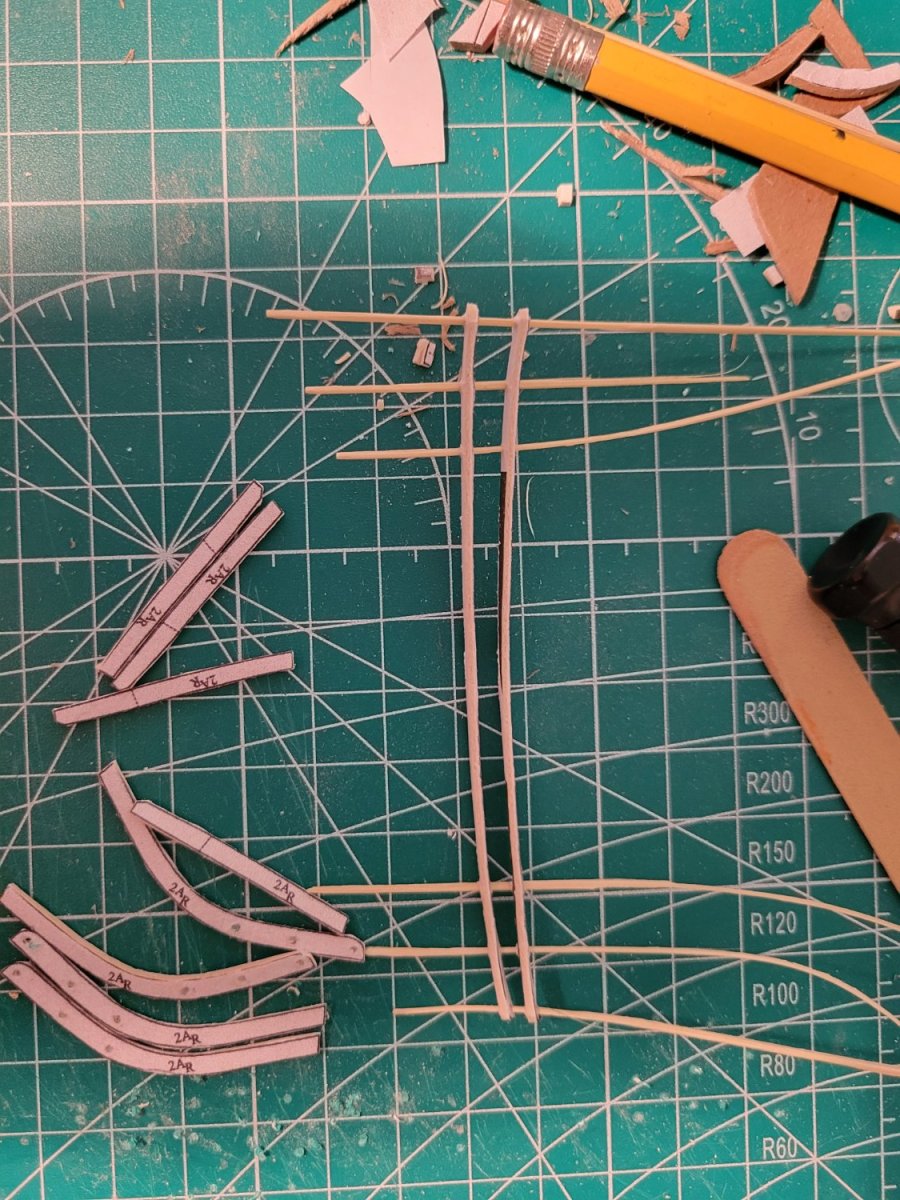
 Staggering the bamboo pins makes it easier to assemble the pieces. Center punching and drilling the holes causes fewer problems if it is done before cutting the frames out. I decided I had to cut the angles on the filler pieces at stem and stern...but had no reference in the plans....so i just winged it. My feeling is that it is more likely i will cut them to thick than to thin....and they will be hard to cut or shape once all the frames are on
-
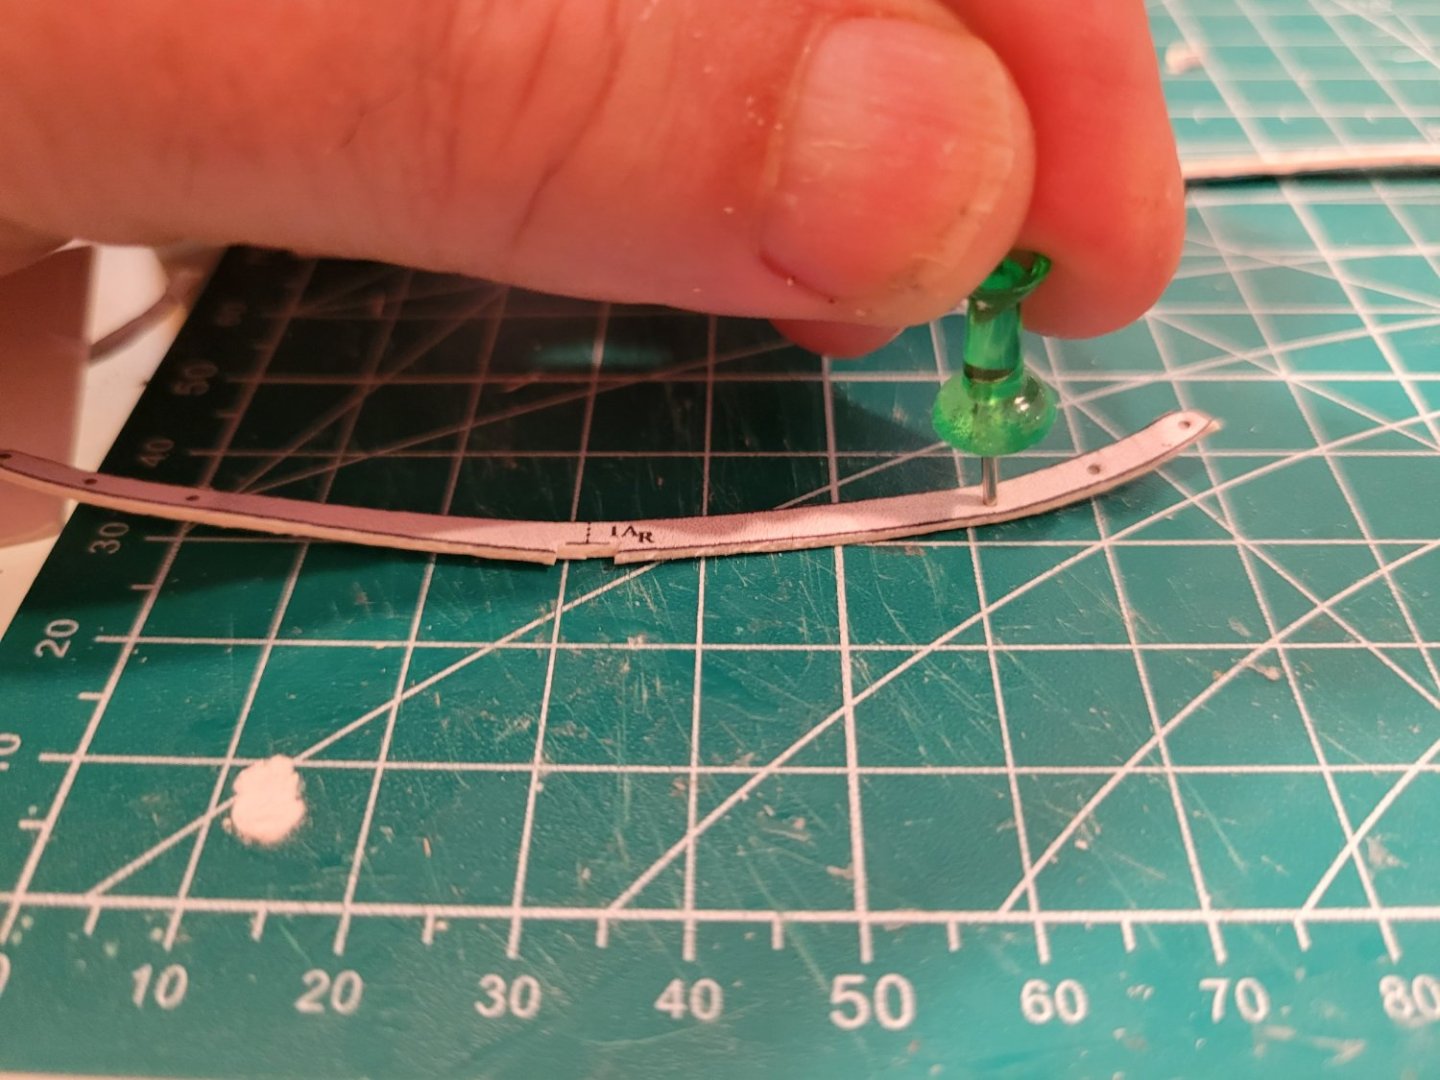
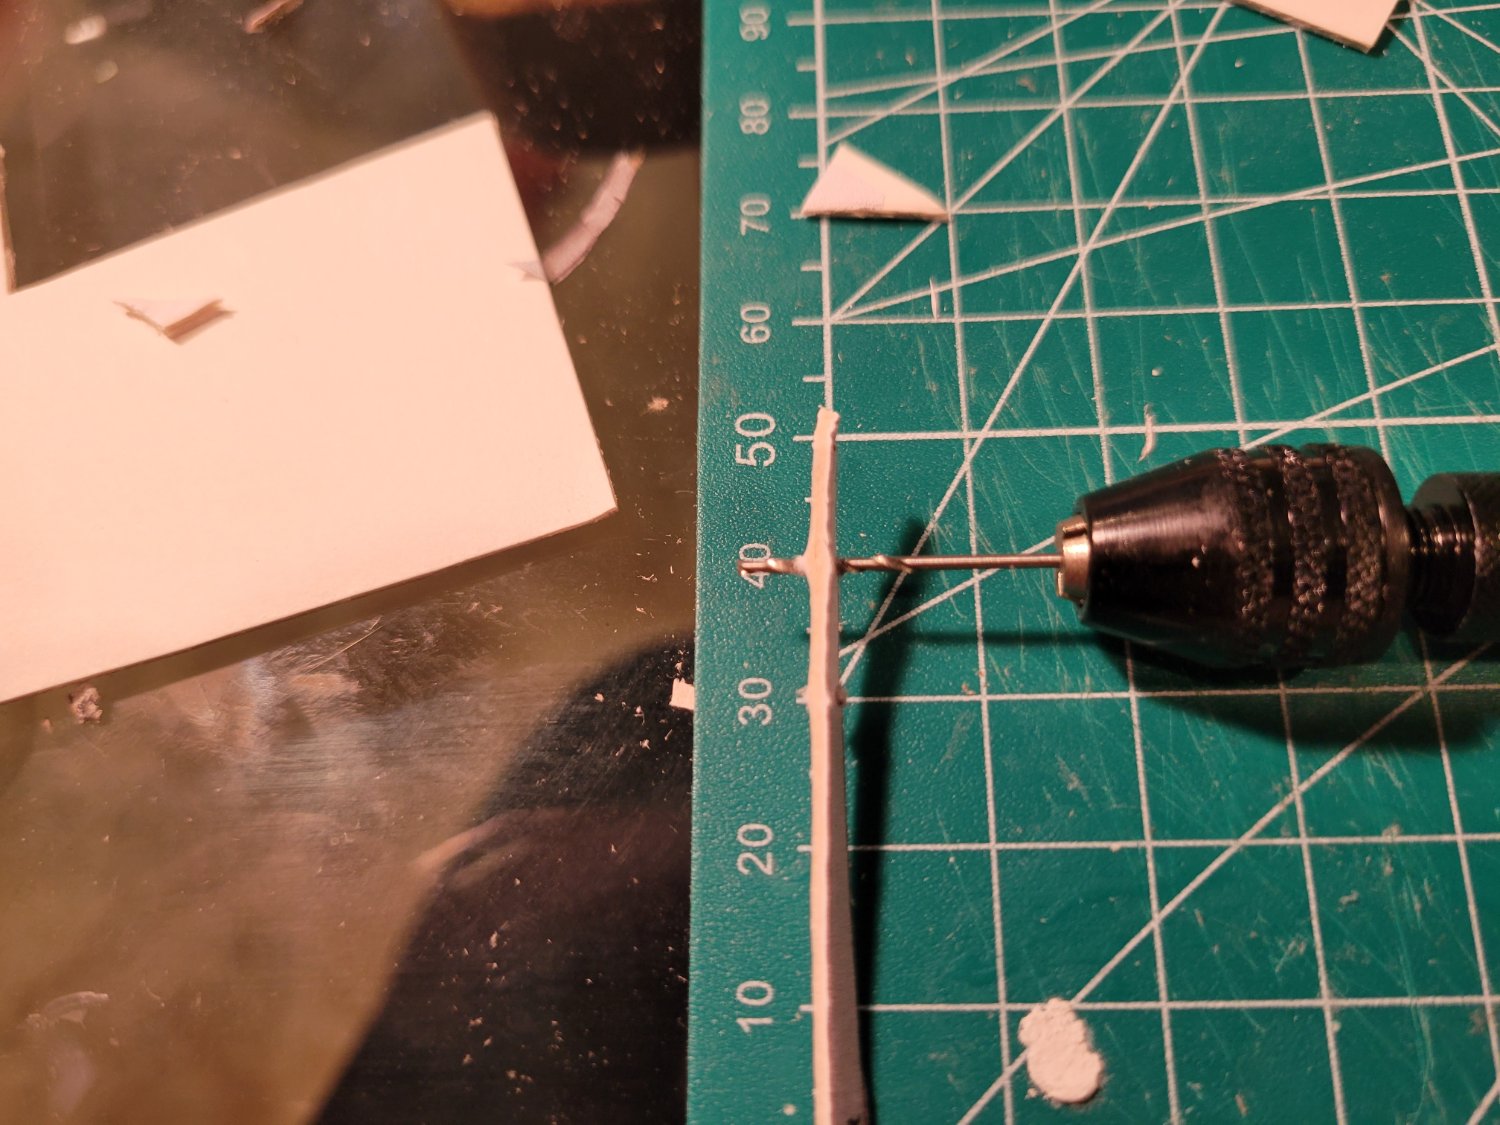
back to the frames i had to back track. the frames are to narrow and the card to fragile to drill straight holes through 2 pieces glued together so, i cut a new set of pieces (i did figure out that i should drill the pieces before finishing the cutting, so they would not be so slender) and used a push pin as a center punch to start the holes i drilled the holes and sanded down the bumps the drill made when exiting the other side of the piece and then made some very, very slender bamboo pins and pinned all 4 pieces of the frame together before gluing then i glued then and clipped off the ends of the pegs one down, upteen to go


-
found some images from a swan class sloop log by Sturgo that help with my dilema over the bow and stern parts
-
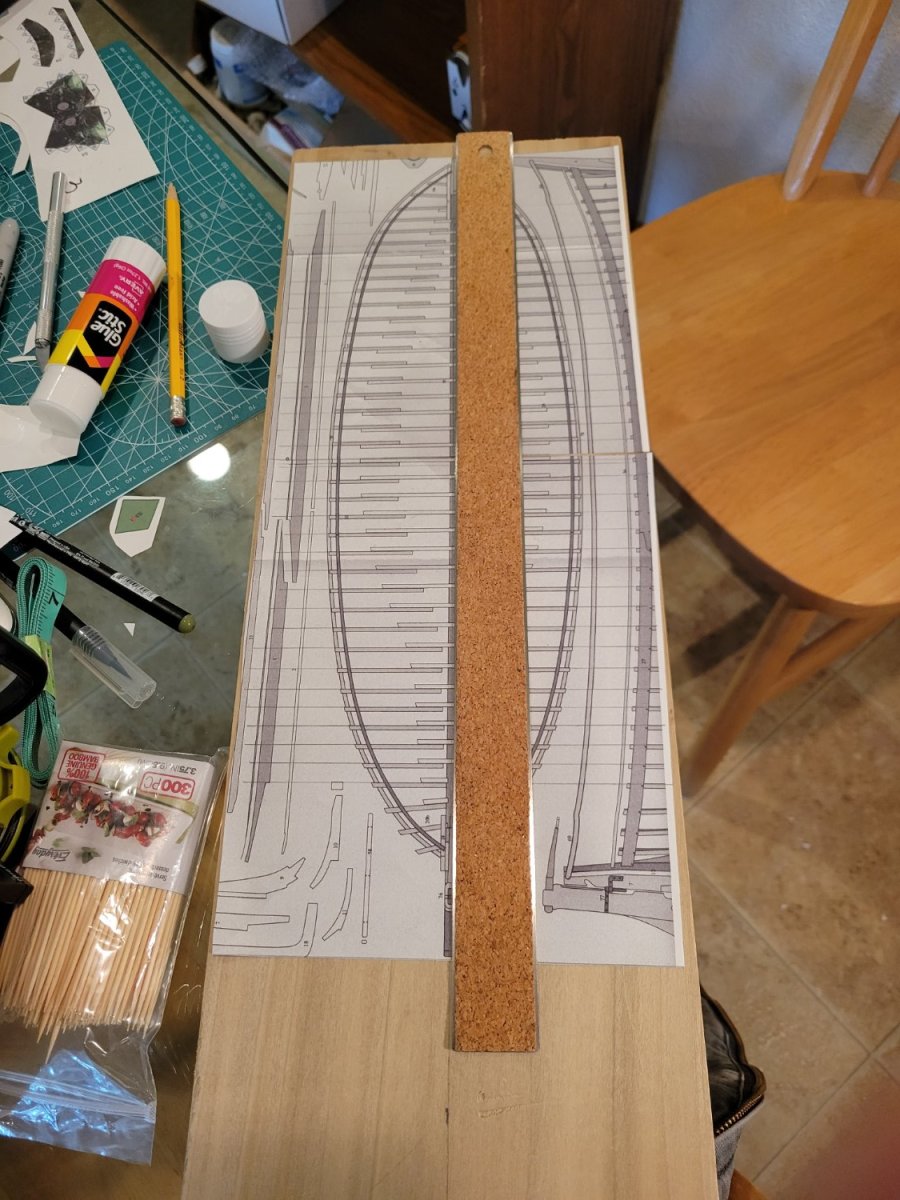
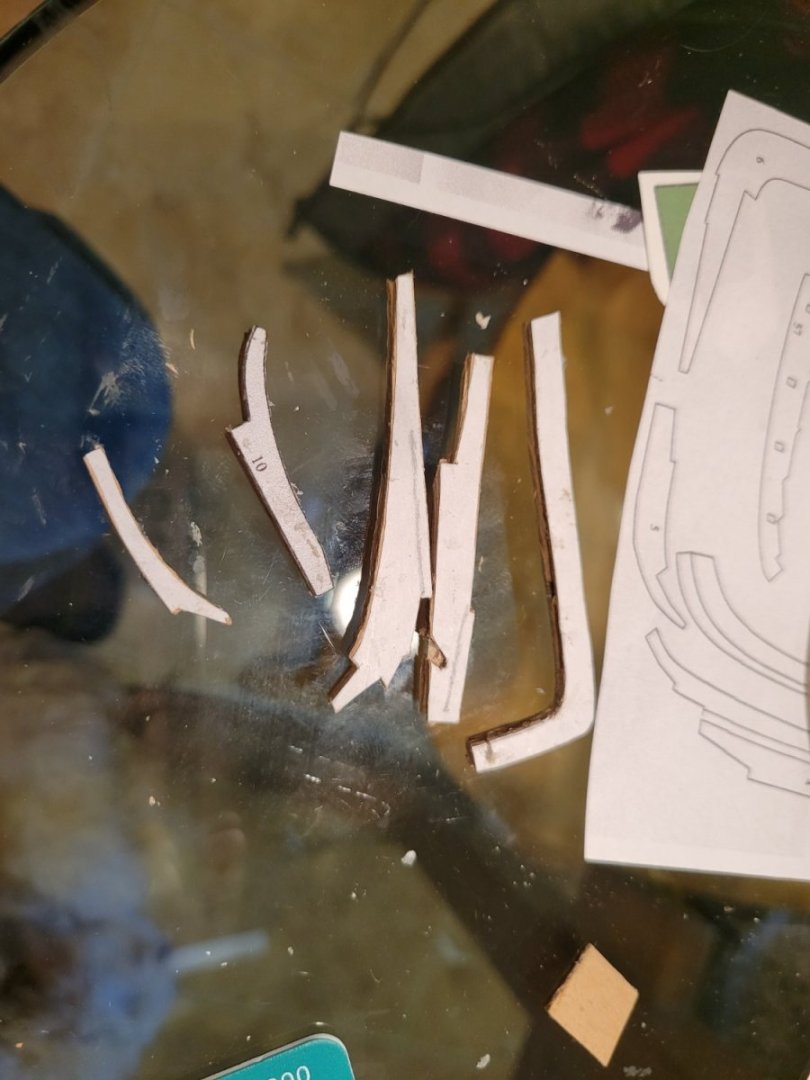
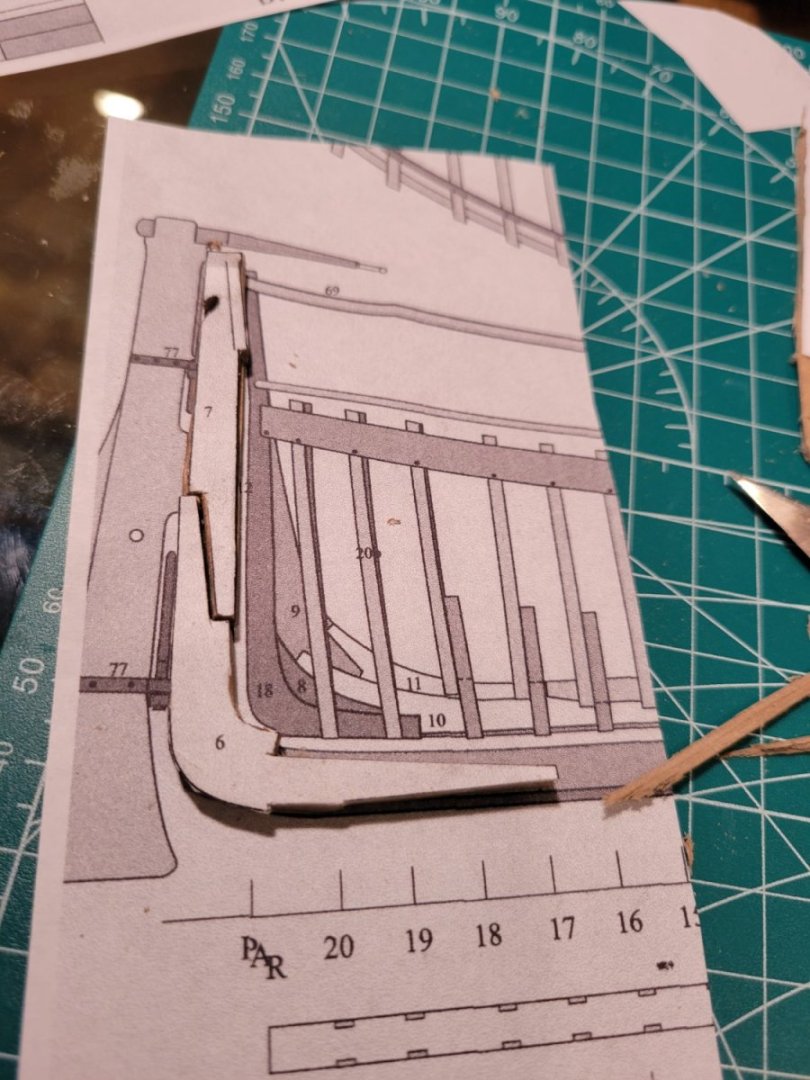
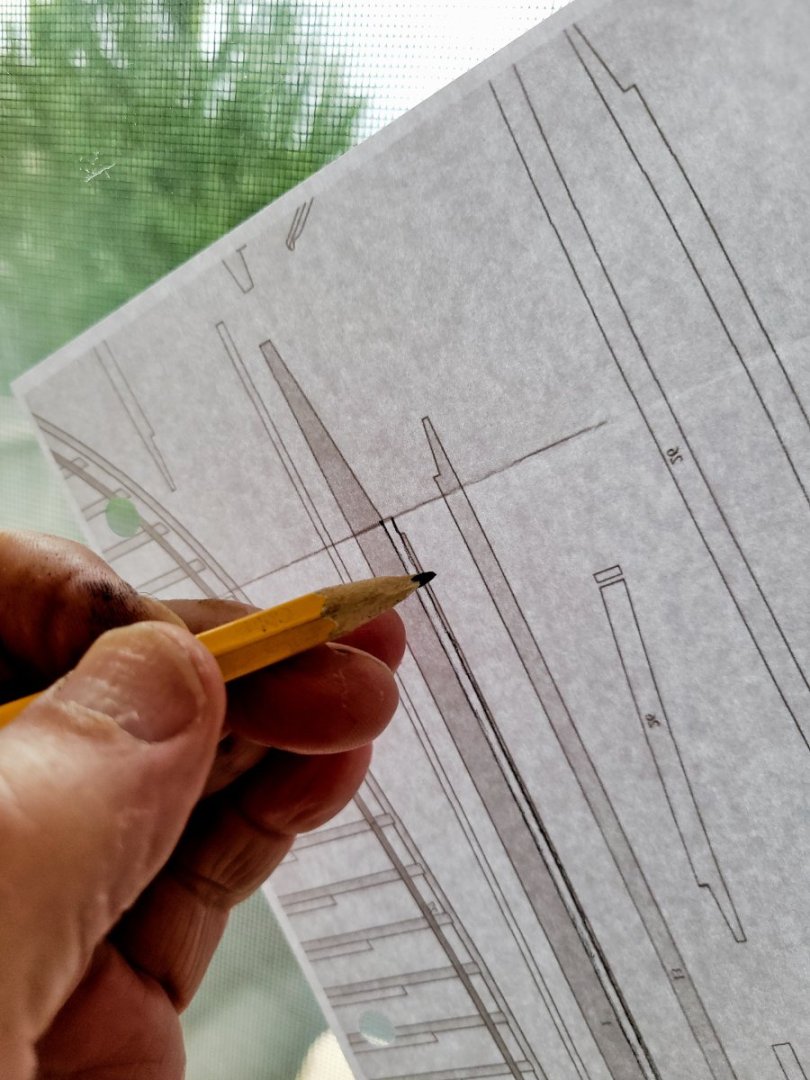
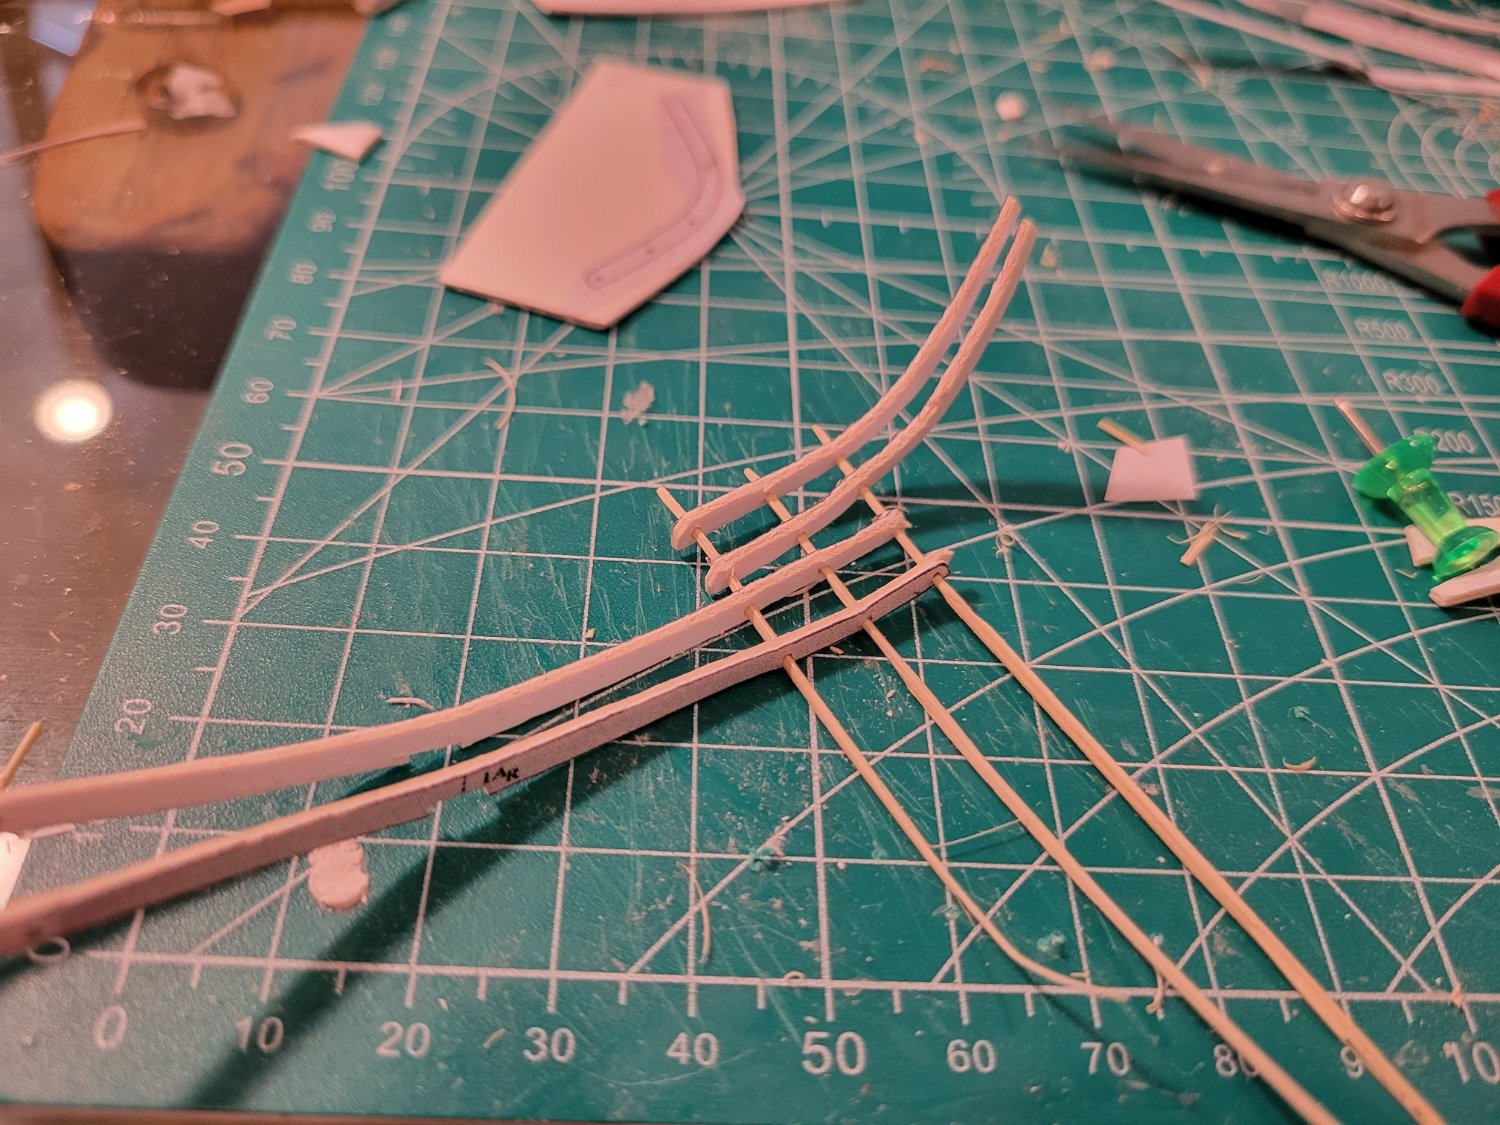
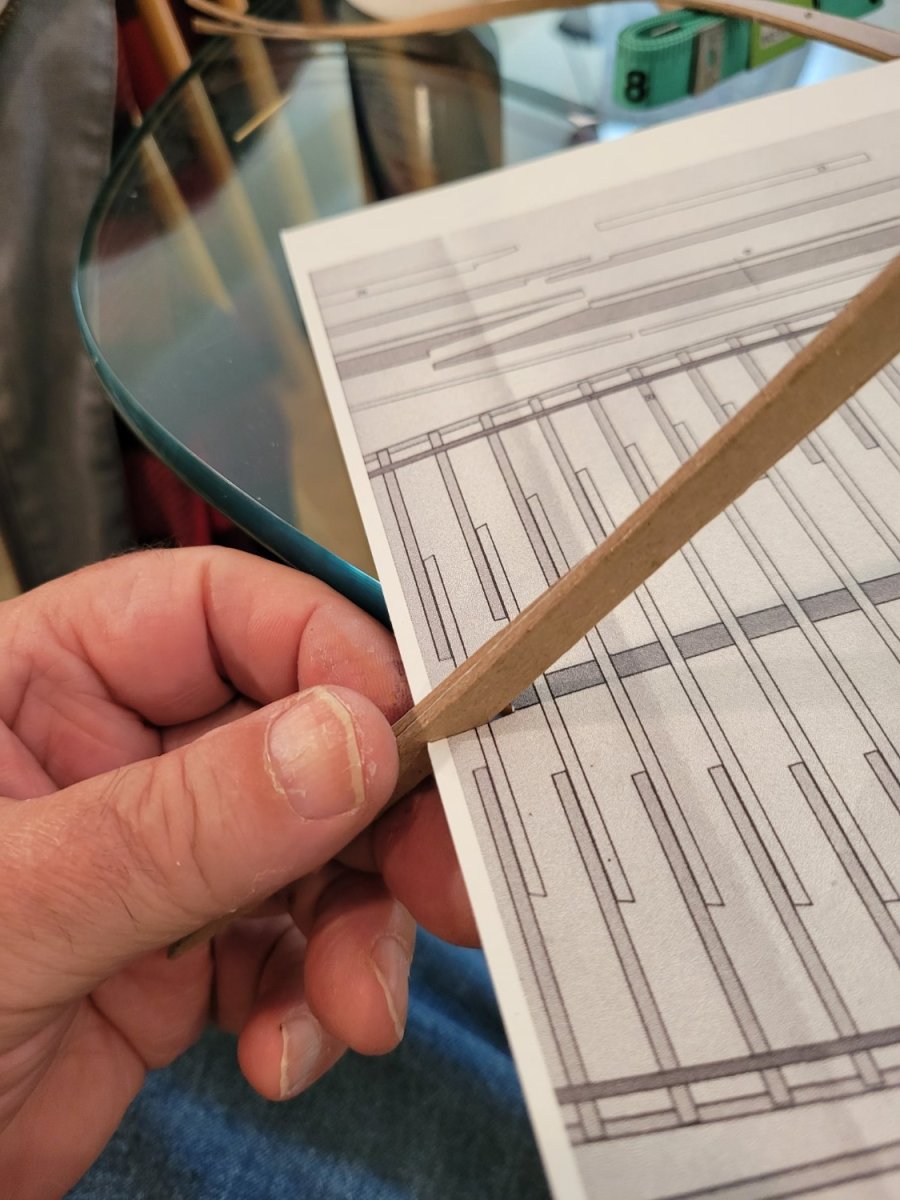
have not resolved that question...so i'll let it hang fire while i cut parts first i cut out the strip from the plans that locates the frames on the keel and used it to mark the keel then i cut out the parts for the center frame (the frames are in 2 layers) based on the notch in the frames my keel is just a little wide.....so i cut the notches a little wider
.thumb.jpg.6adc3f1d91ebfdde56ae3511c360b8ec.jpg)


-
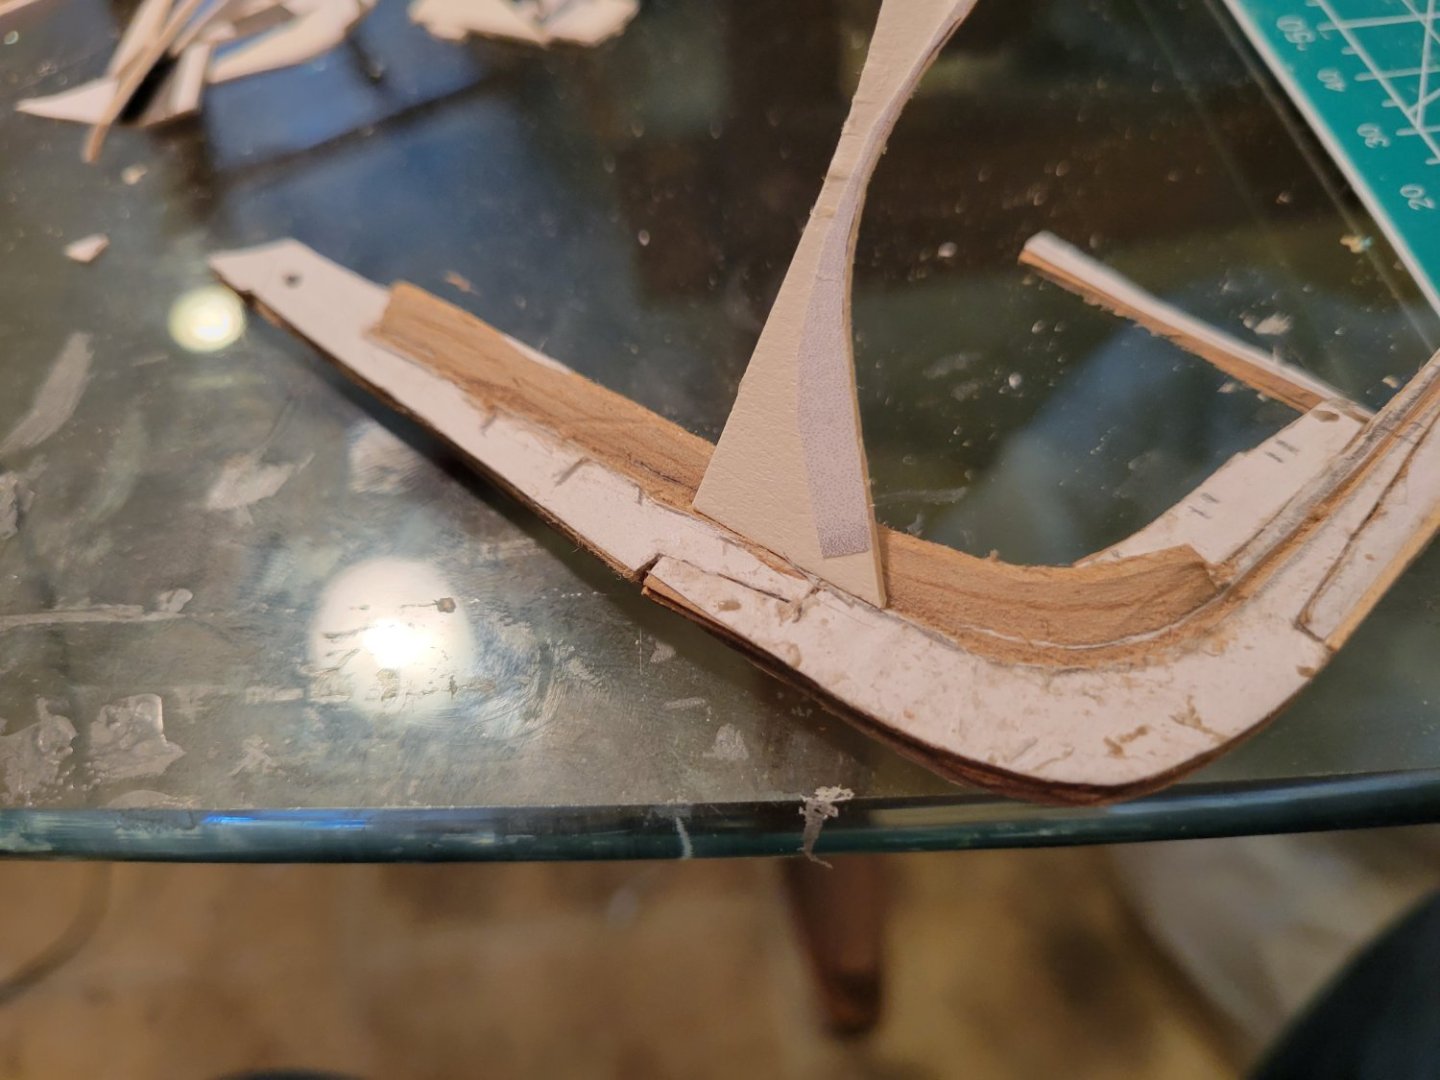
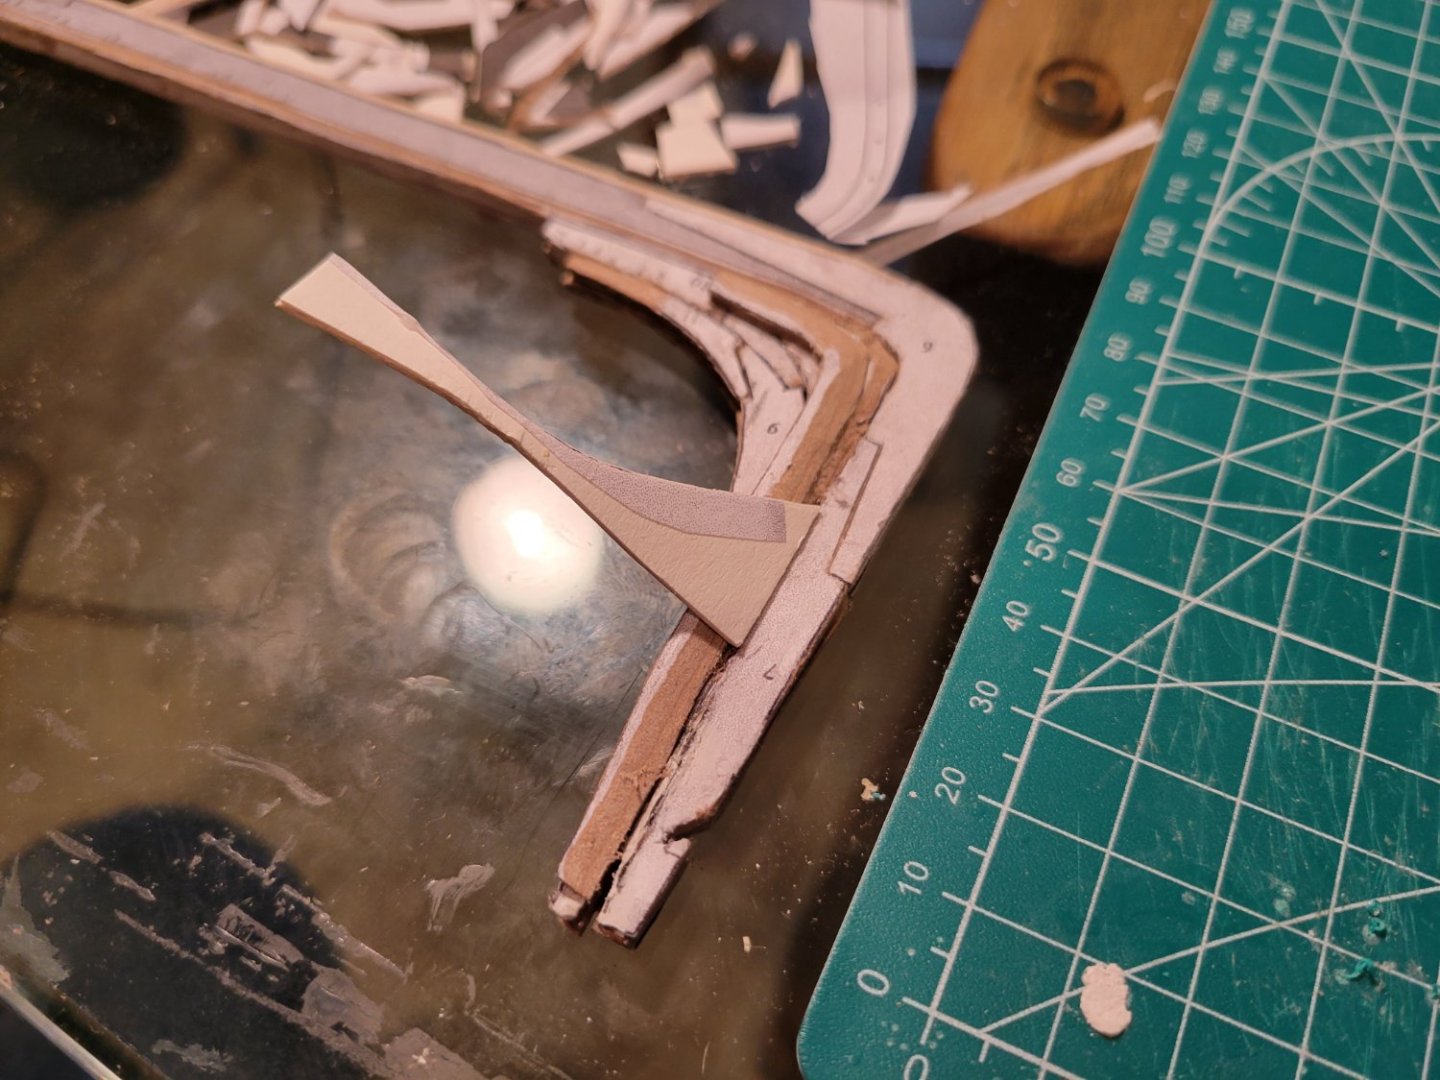
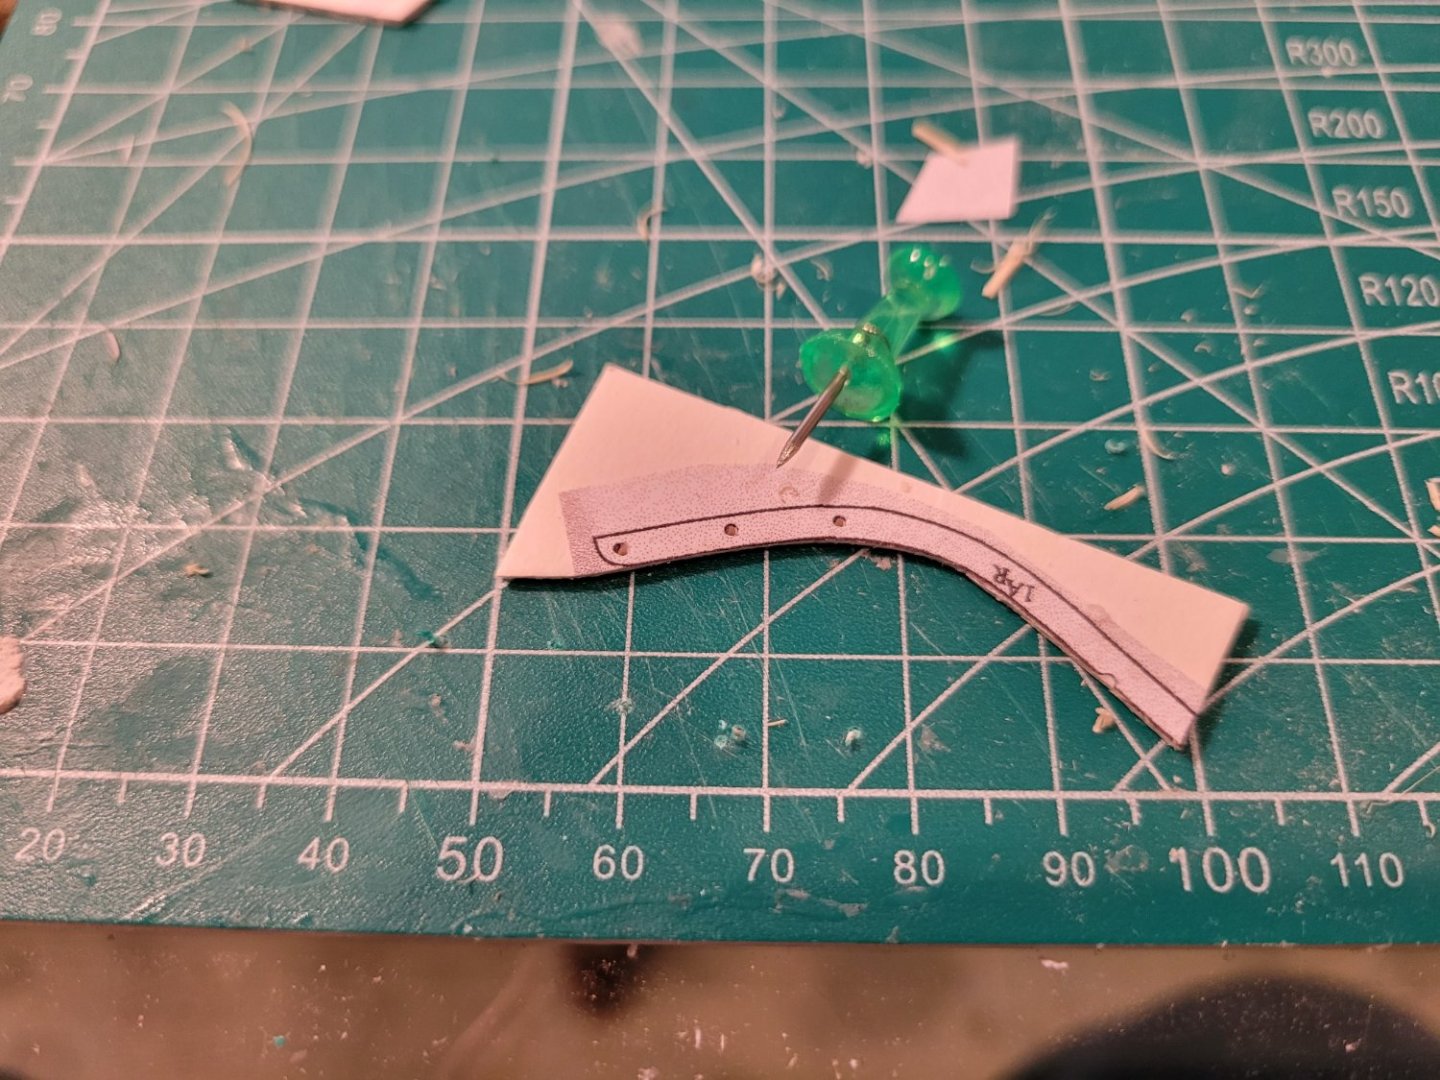
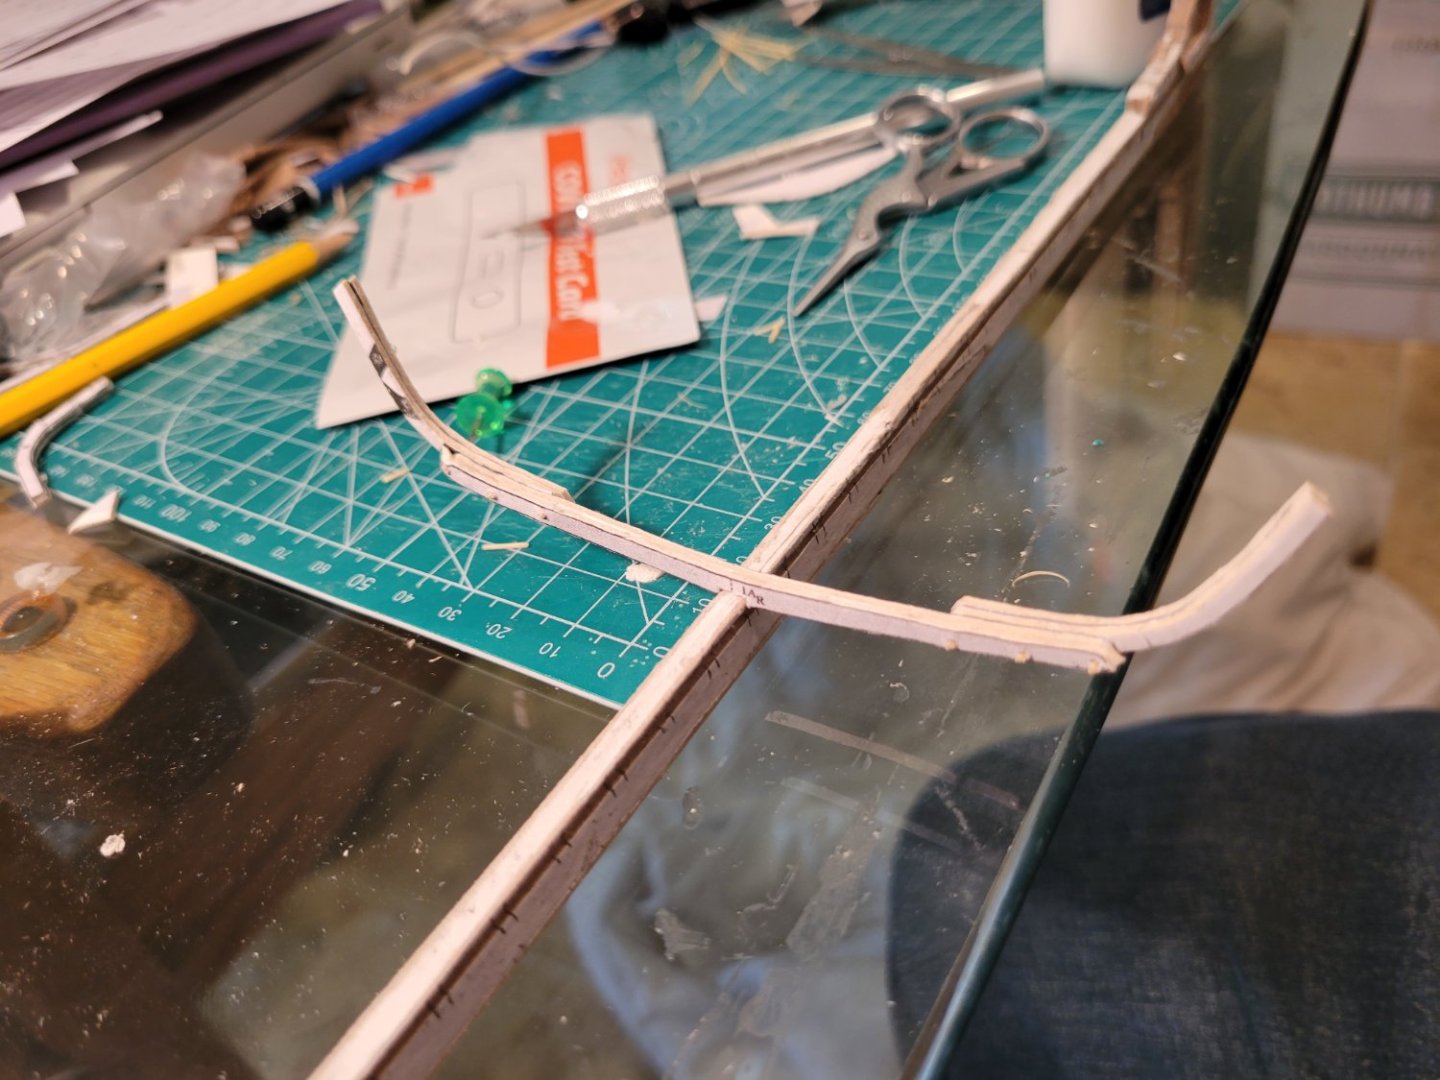
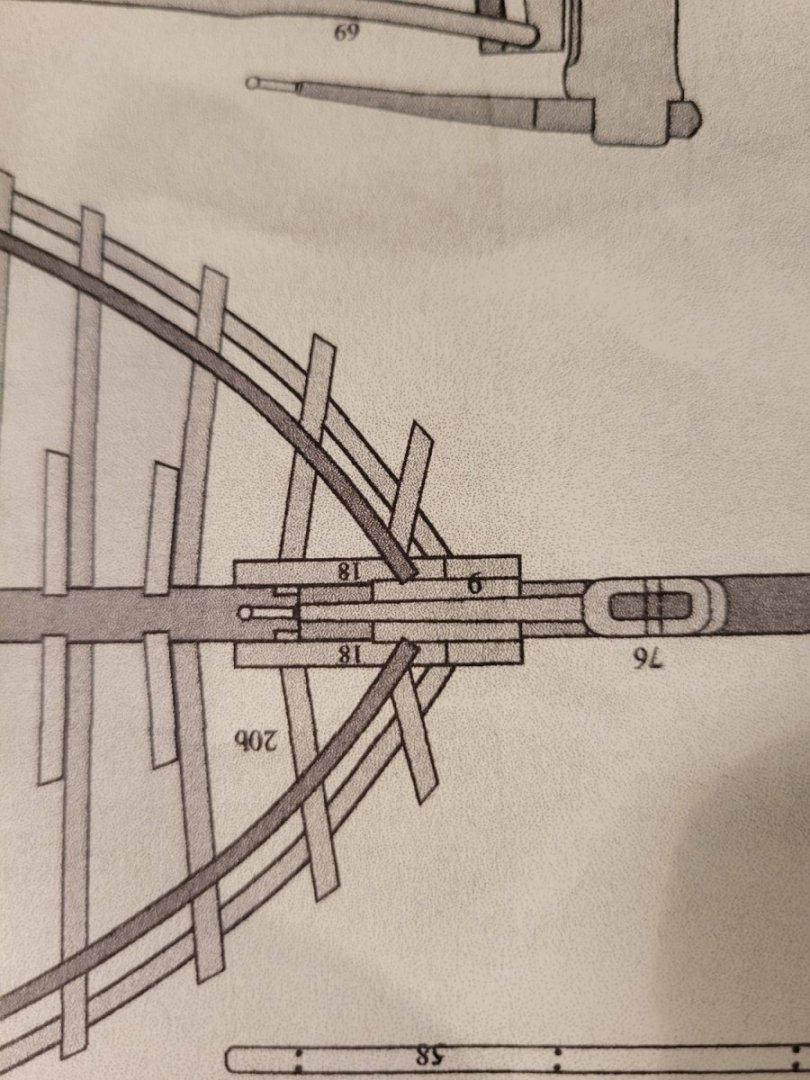
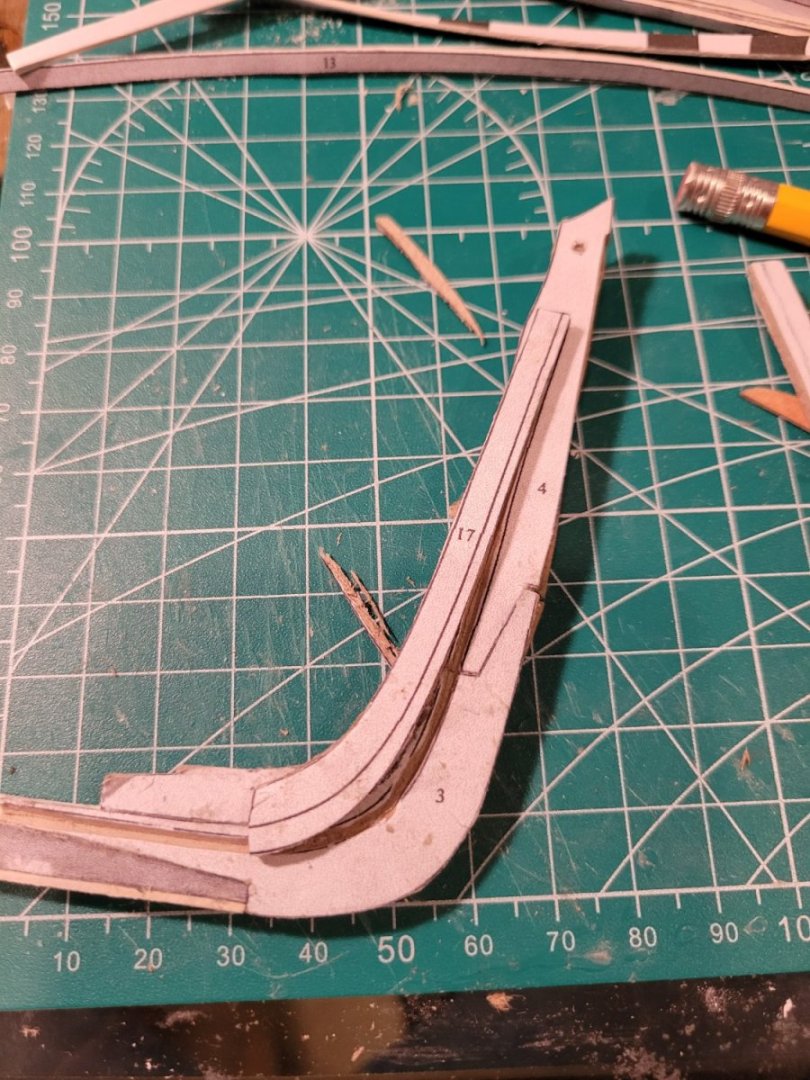
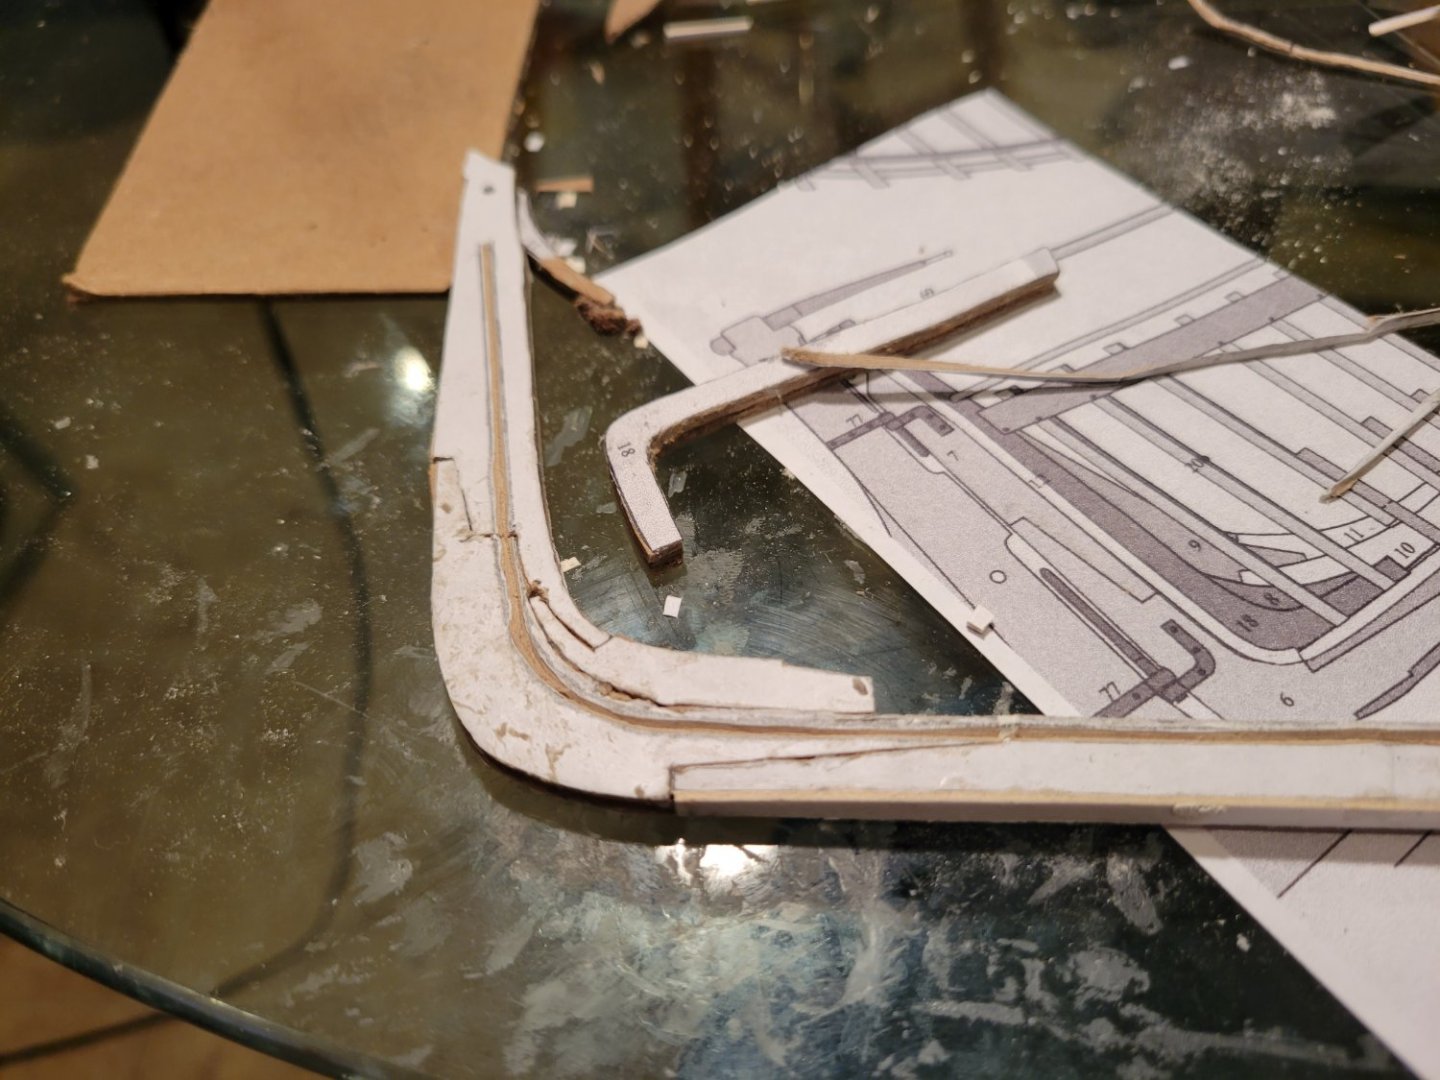
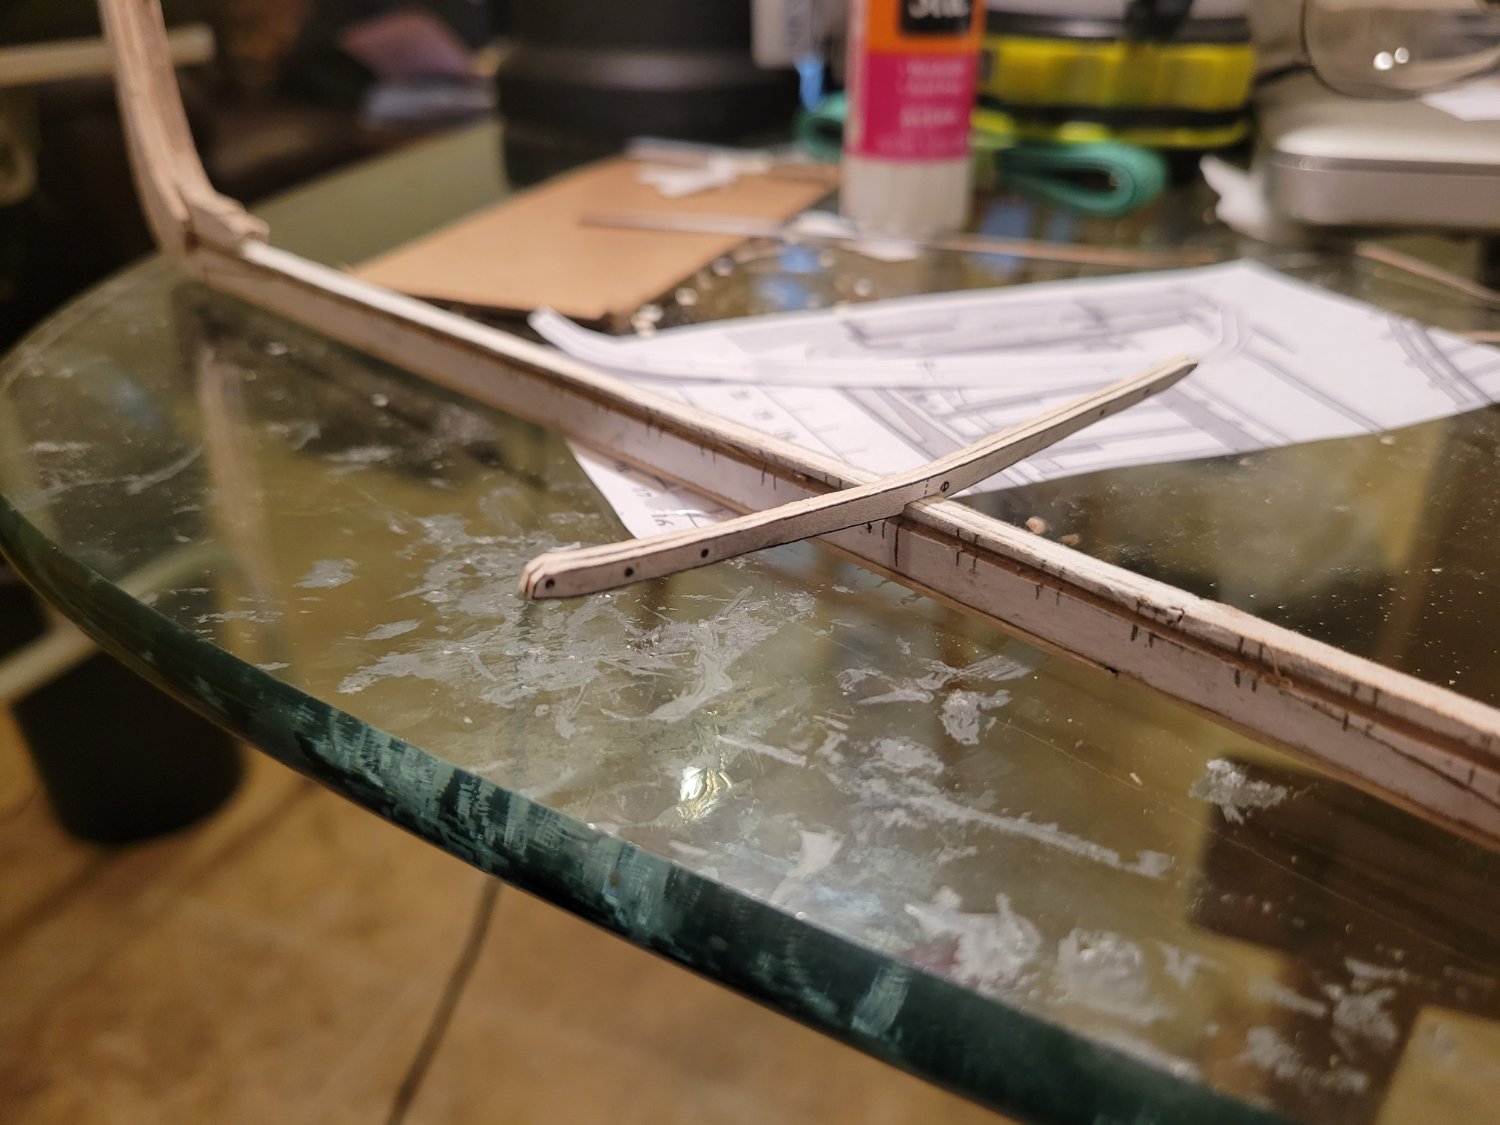
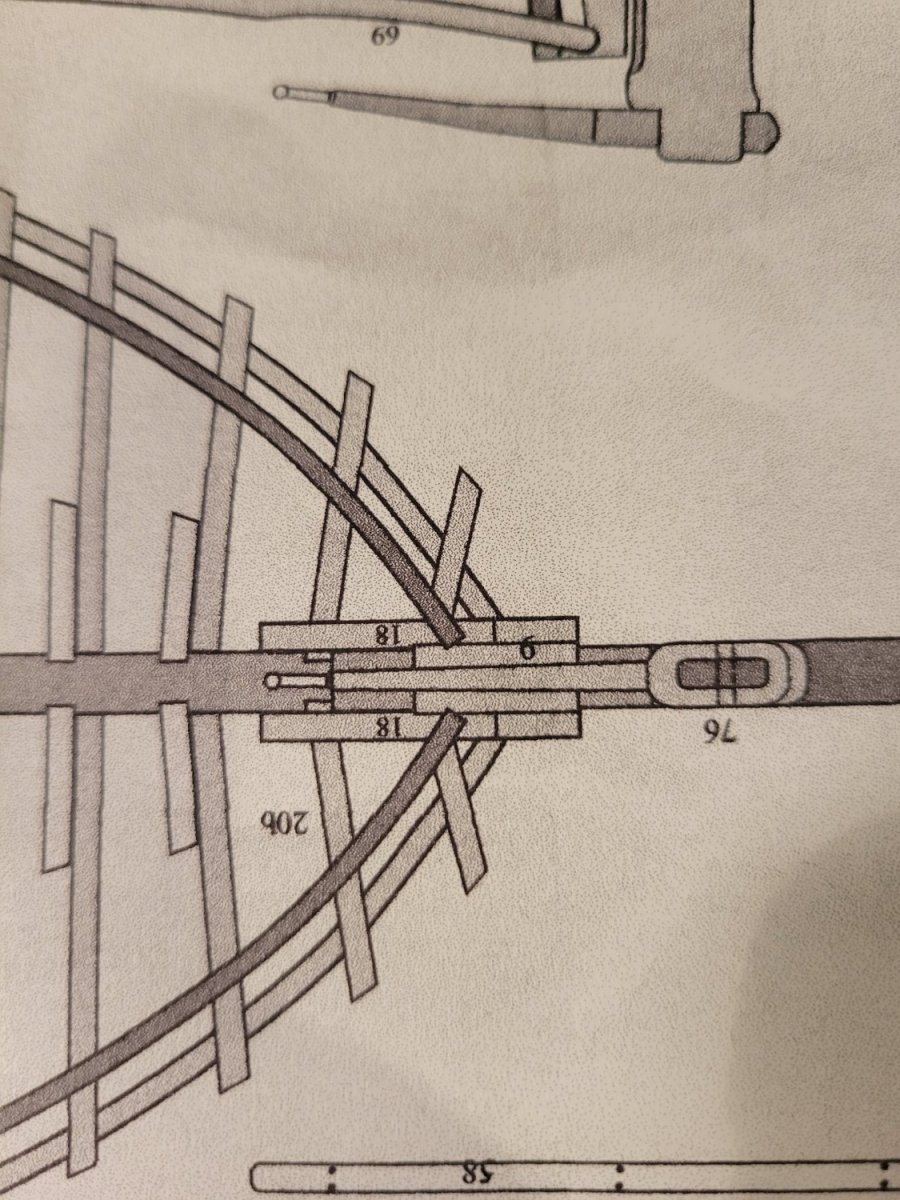
in trying to finish the keel i have to deal with 2 problems, same problem at each end. There are timbers that only show in the plans in the top view. They reasonably look like boards that fill out the stem and stern and give the planks a little more surface to be fastened to. but they don't show up on any illustration or side view so i'm hoping someone can confirm my placement

-
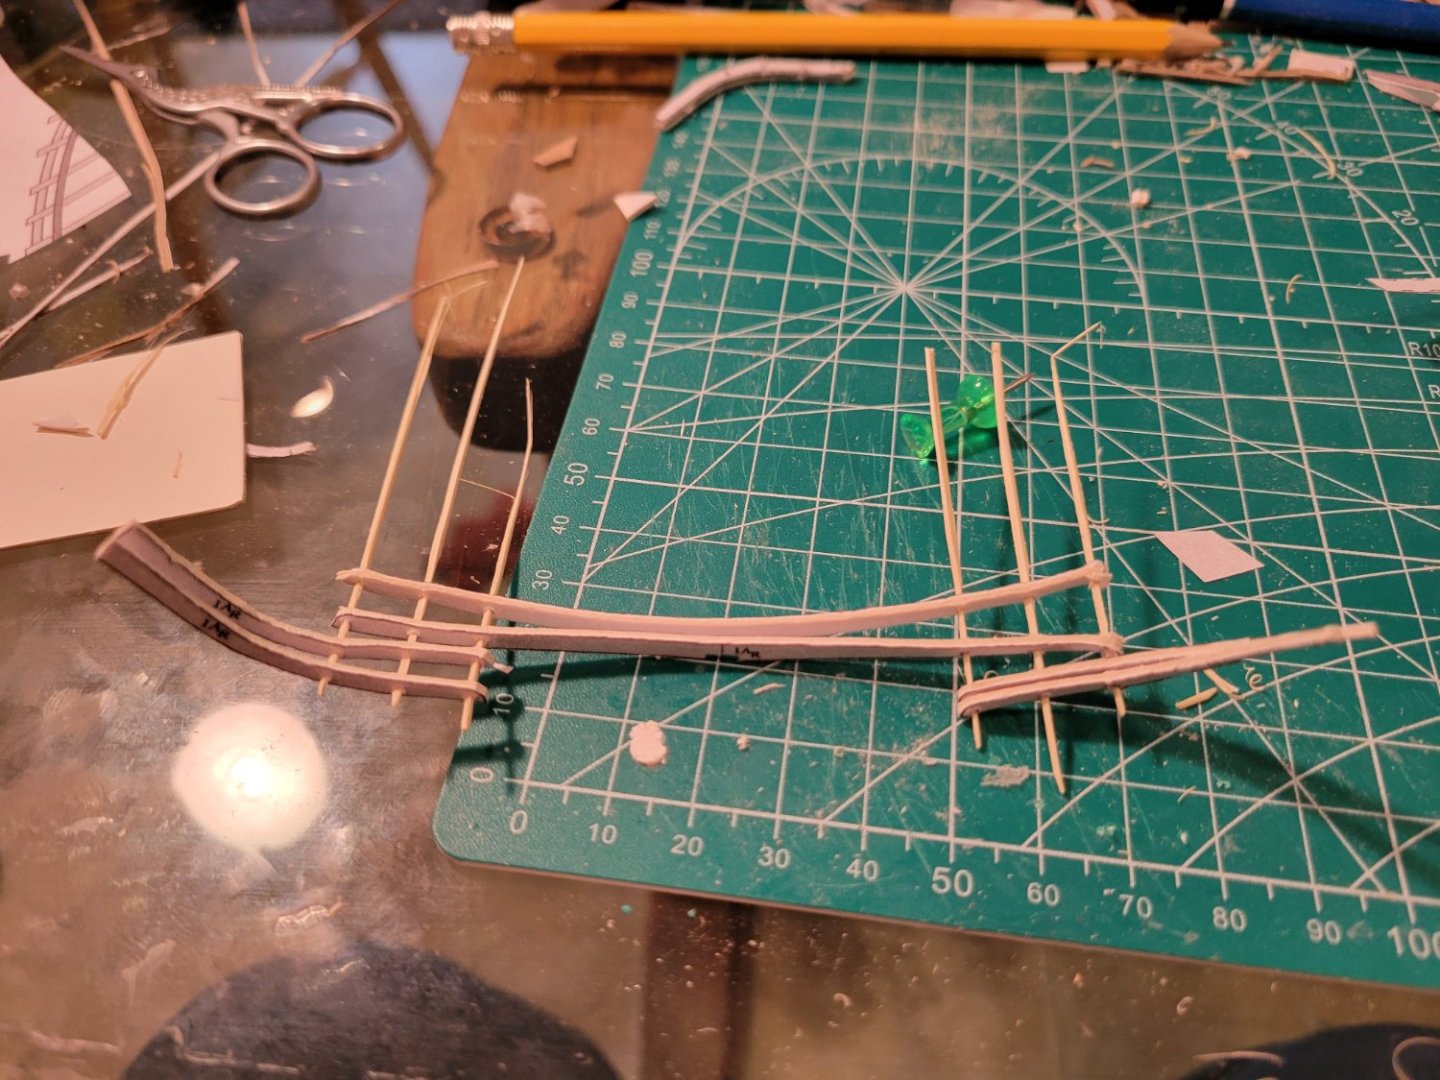
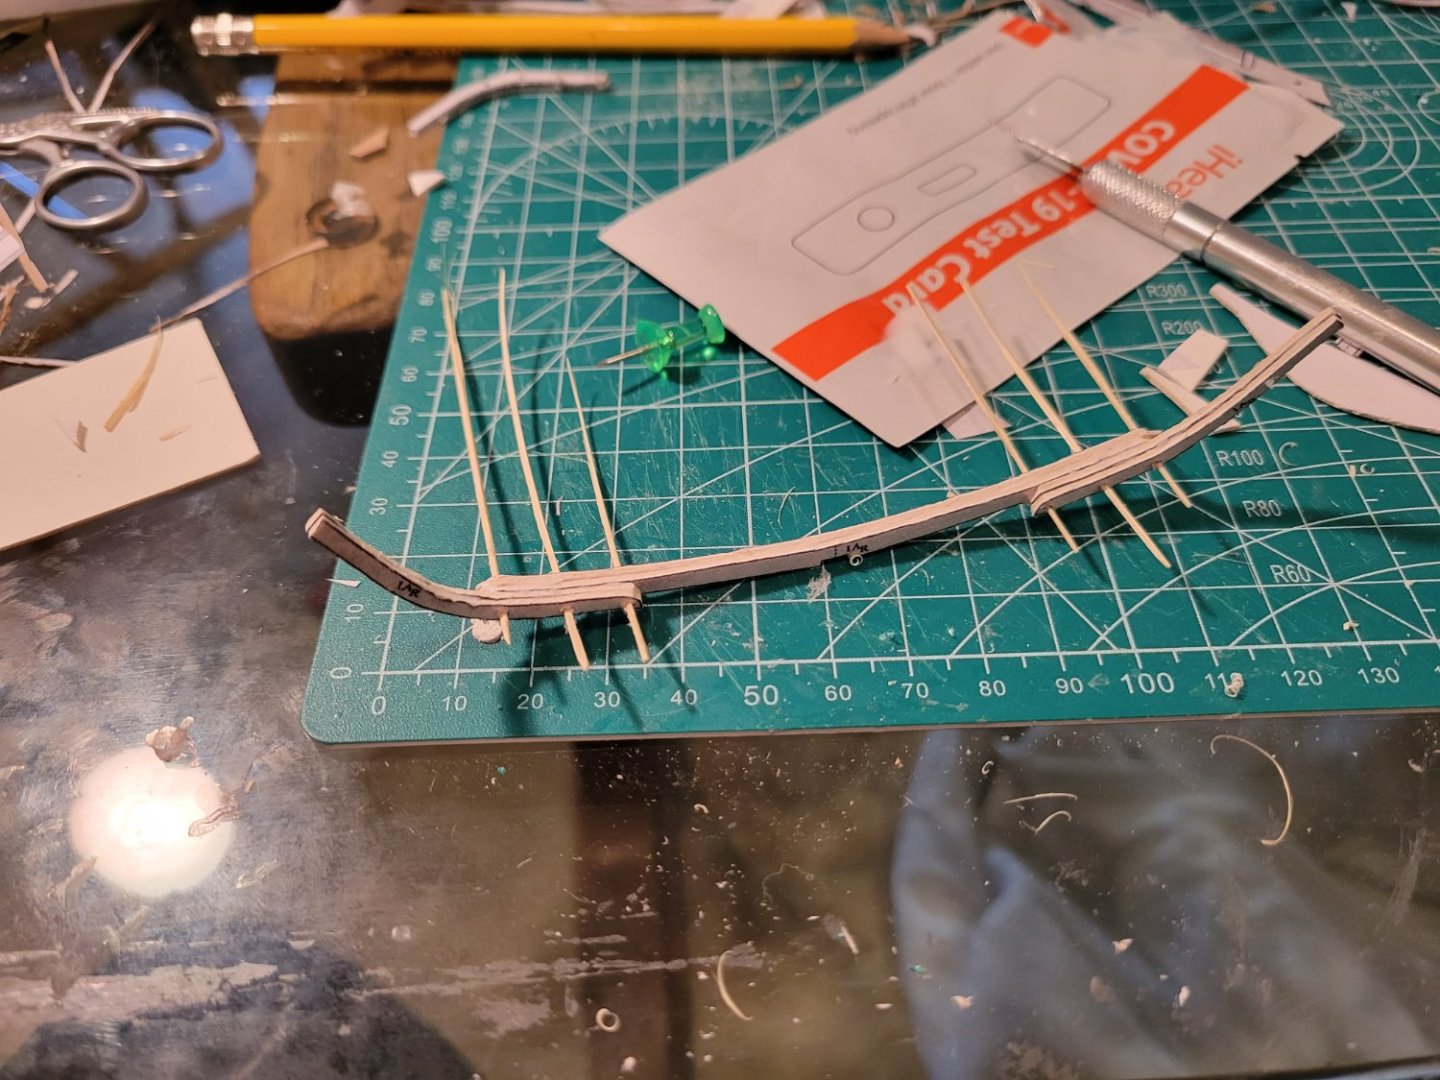
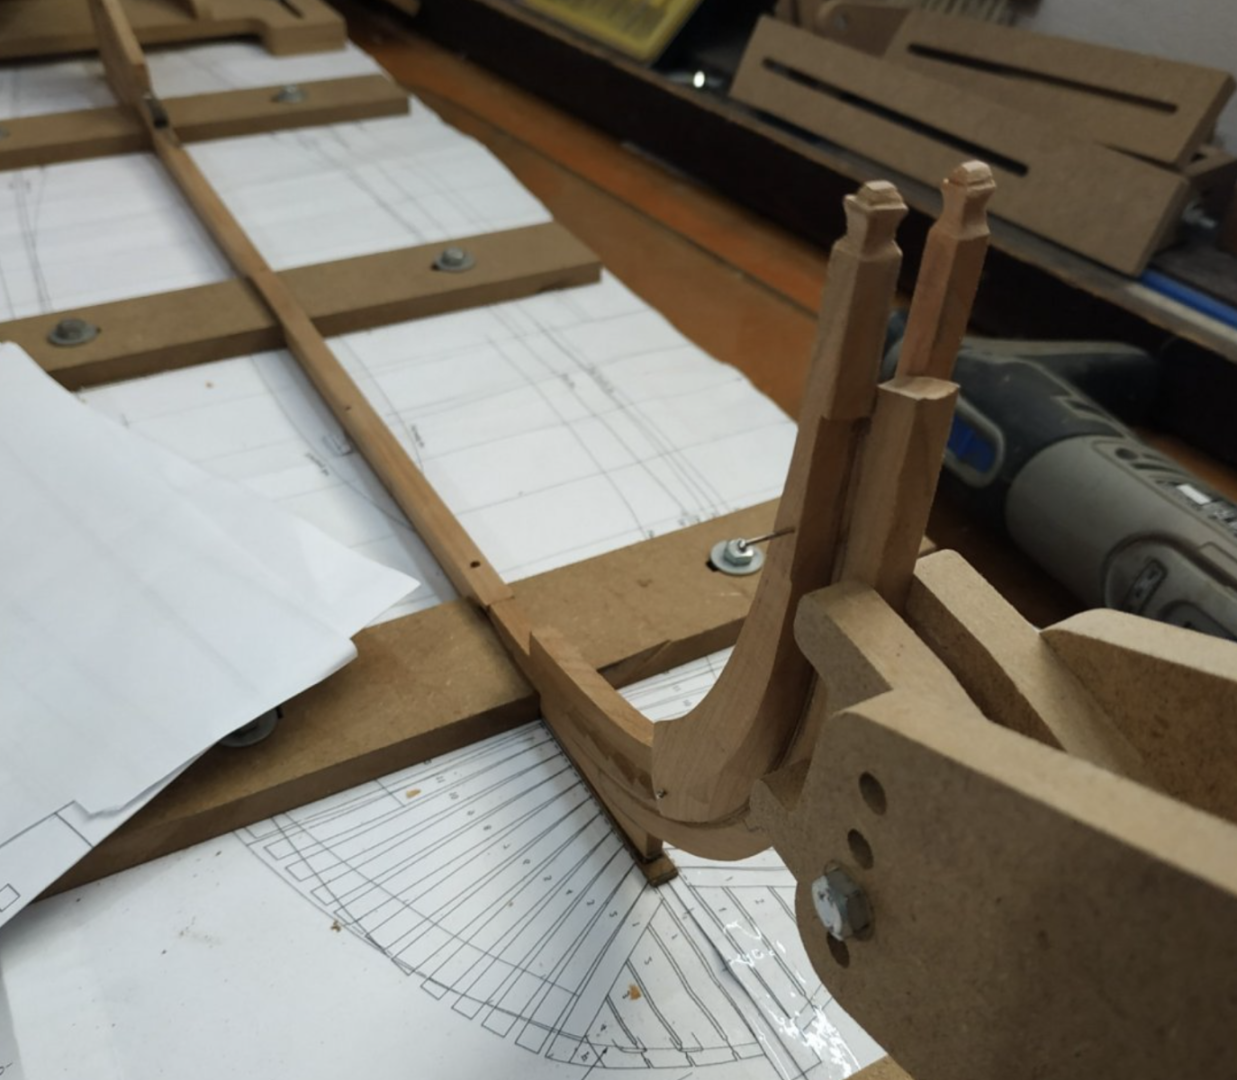
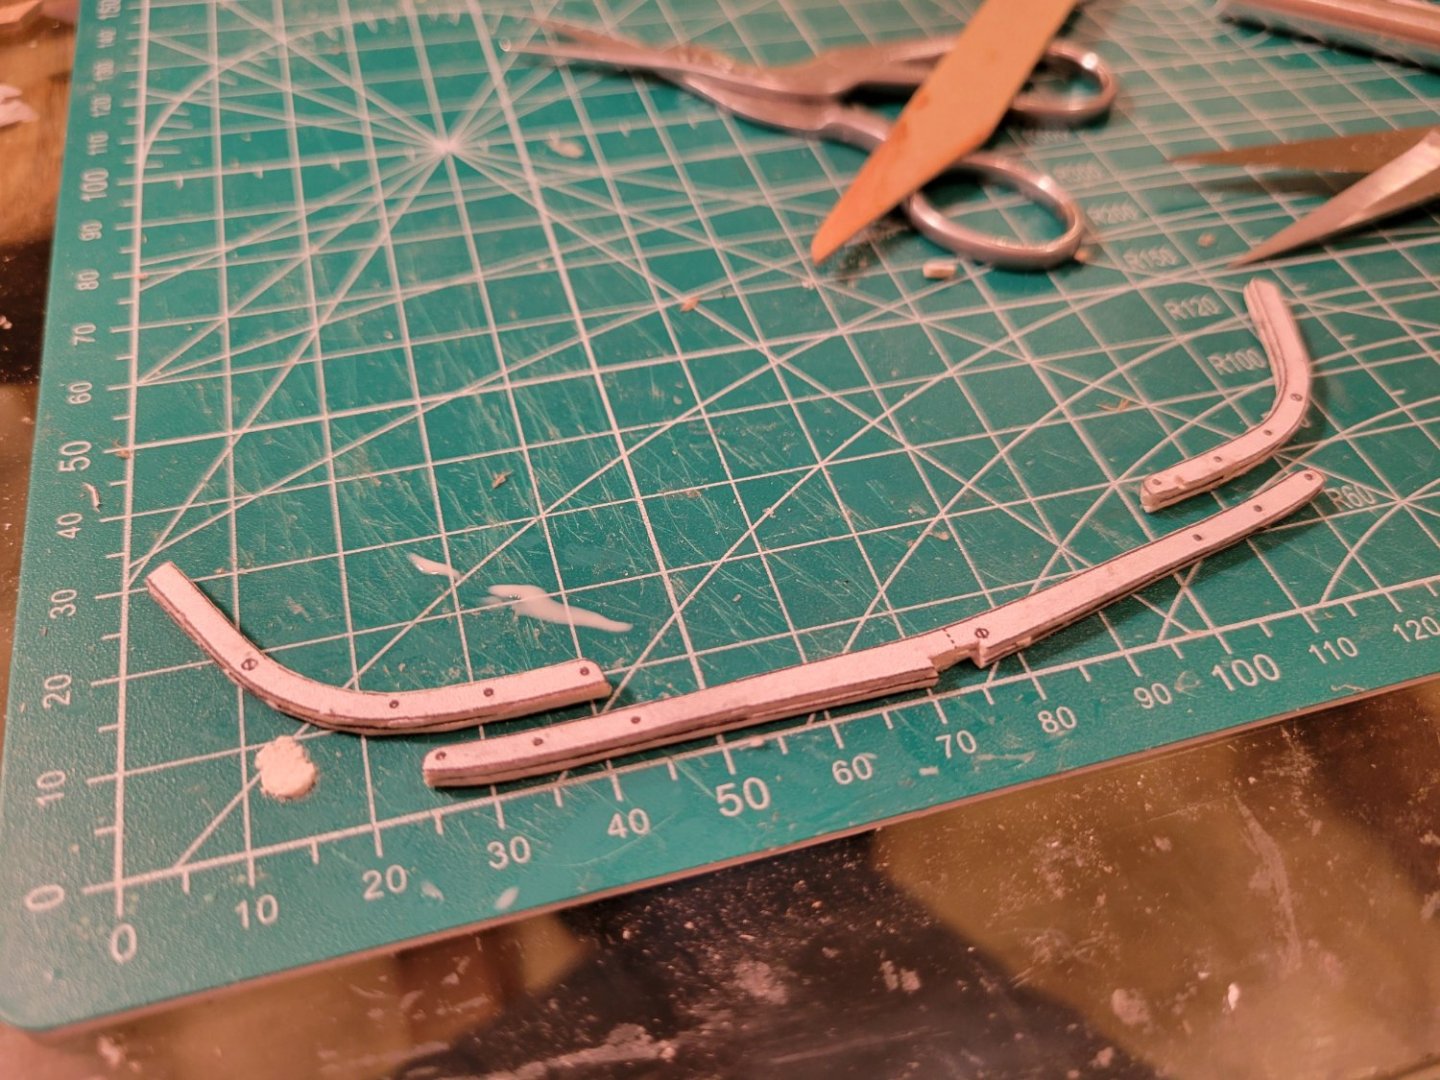
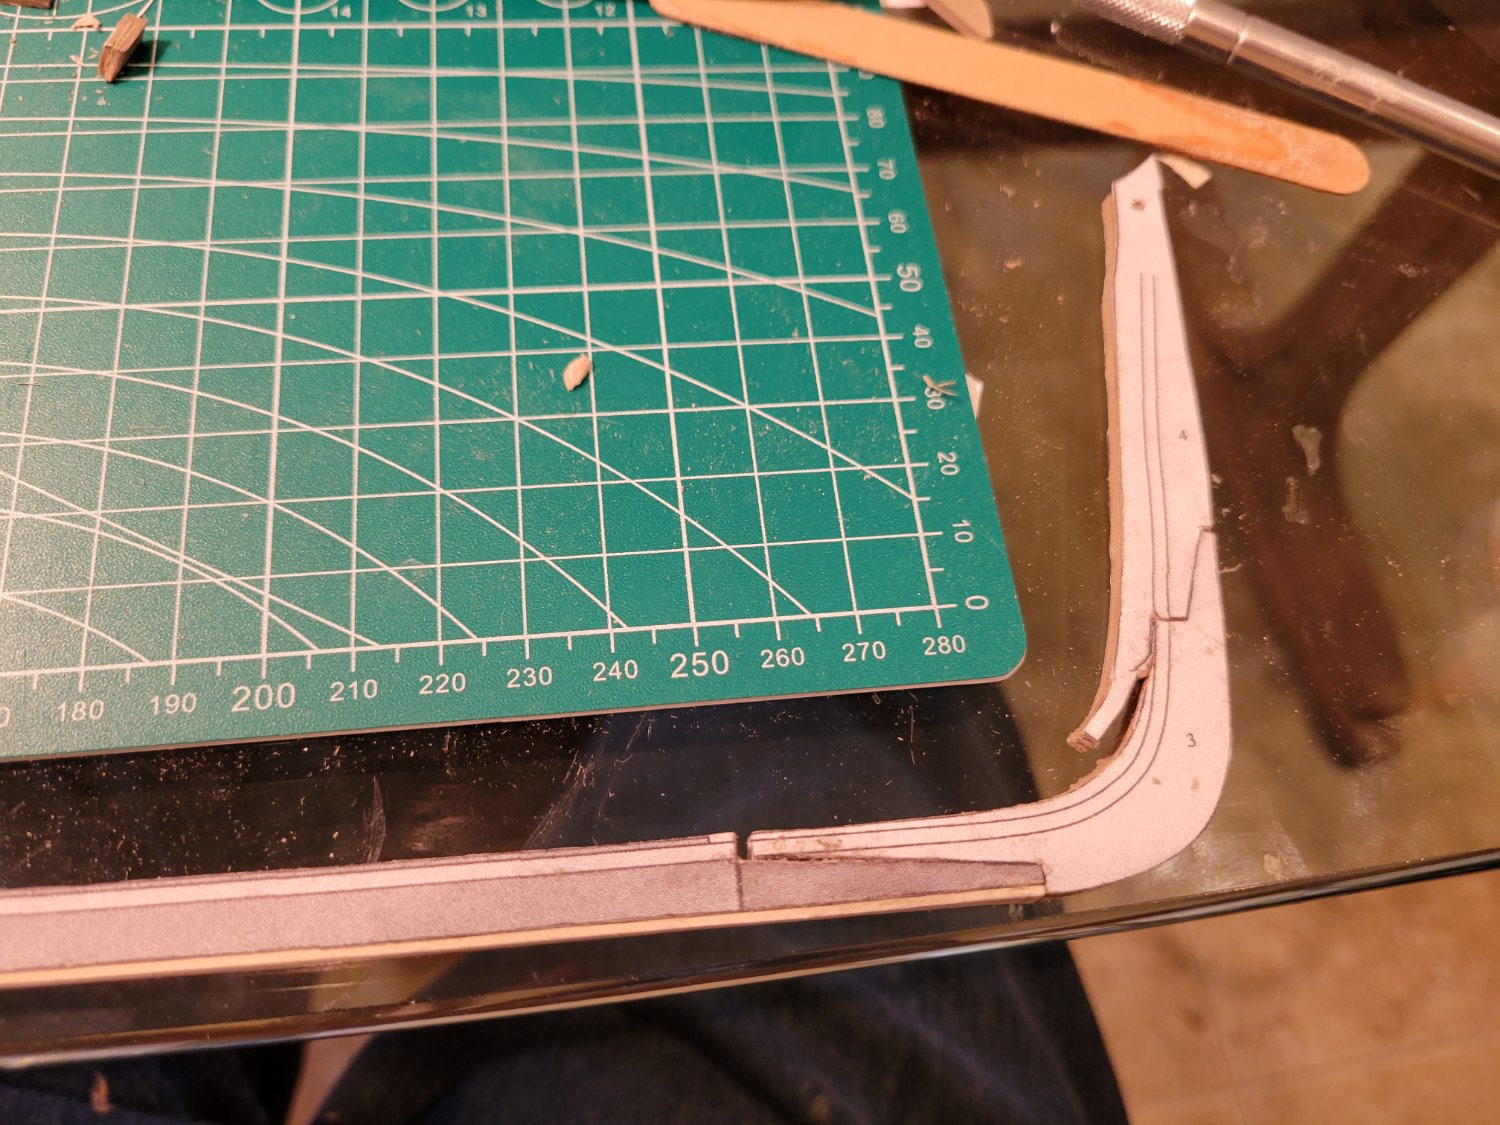
went down a blind alley. there are no convenient 3 dimensional views in these plans and the description of the build in the book skips over all the details. i spent a long time puzzling over the keelson and finally built it with notches for the frames. it wasn't til i got it finished and ended up even more puzzled when i tried to put it into place. the penny finally dropped....the keelson goes "above" the frames. so.....starting over. time to finish the details on the keel, since once the frames are on it will not be possible to sand it...and time to cut the rabbet, always a moment of great anxiety. i am always anxious about having things turn out perfect....it's the thing that keeps me from working on the model and lot of time. so i'm trying to be more relaxed, you know, it's only paper...if i screw up i'll just patch it
.thumb.jpg.9d16bcac93e27d9ec7b5529f3bf2a1d1.jpg)
.thumb.jpg.77f1c46c43ed48b88aca55a40d86492f.jpg)
-
Rarely. The Elmer's glue does quite a lot. But basically once you sand and paint things are in pretty good shape. I take extras steps only for small or delicate parts...although lately i just make those out of wood (i'm not much of a purist :))
-
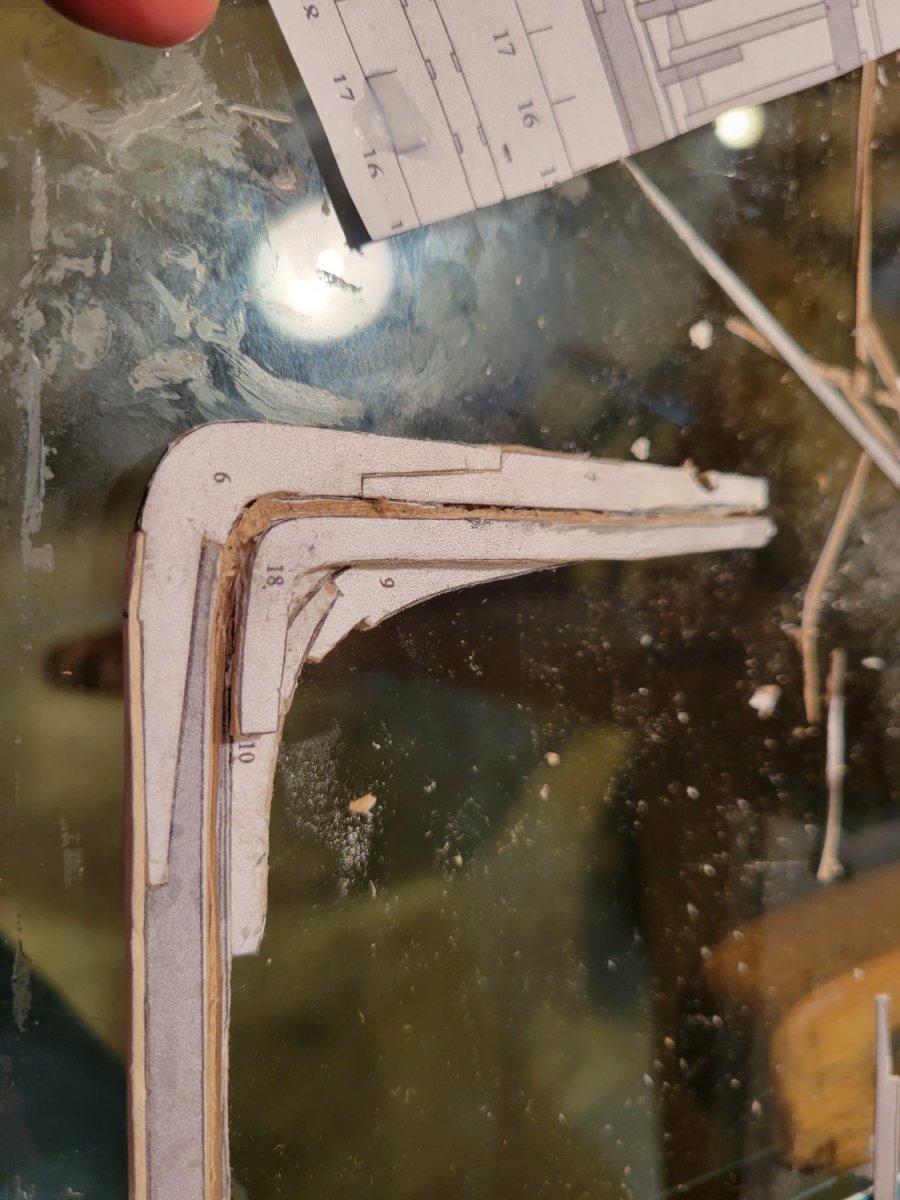
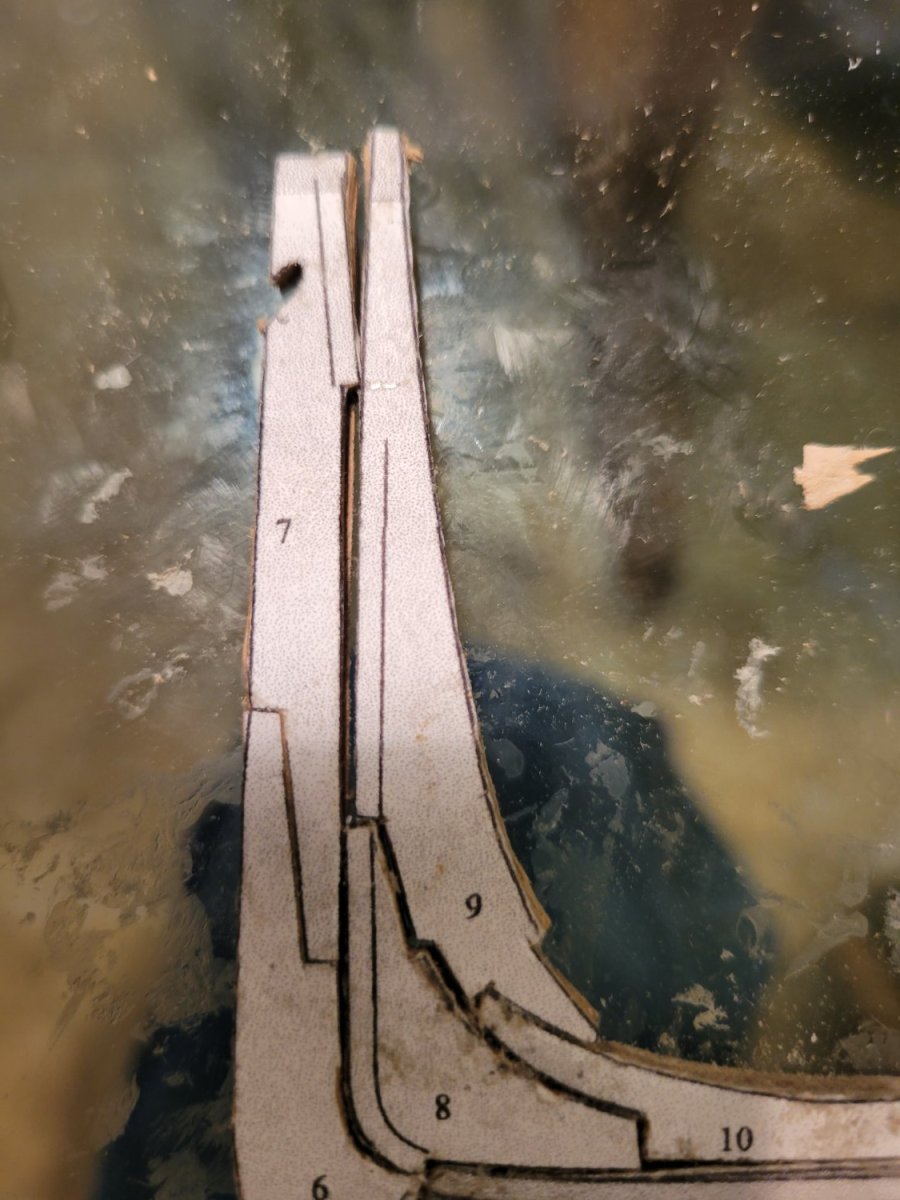
and...i run into my first glitch in the plans...at least as I see them. I'm feeling pretty good at this point, so I just trimmed off the excess on part 7

-
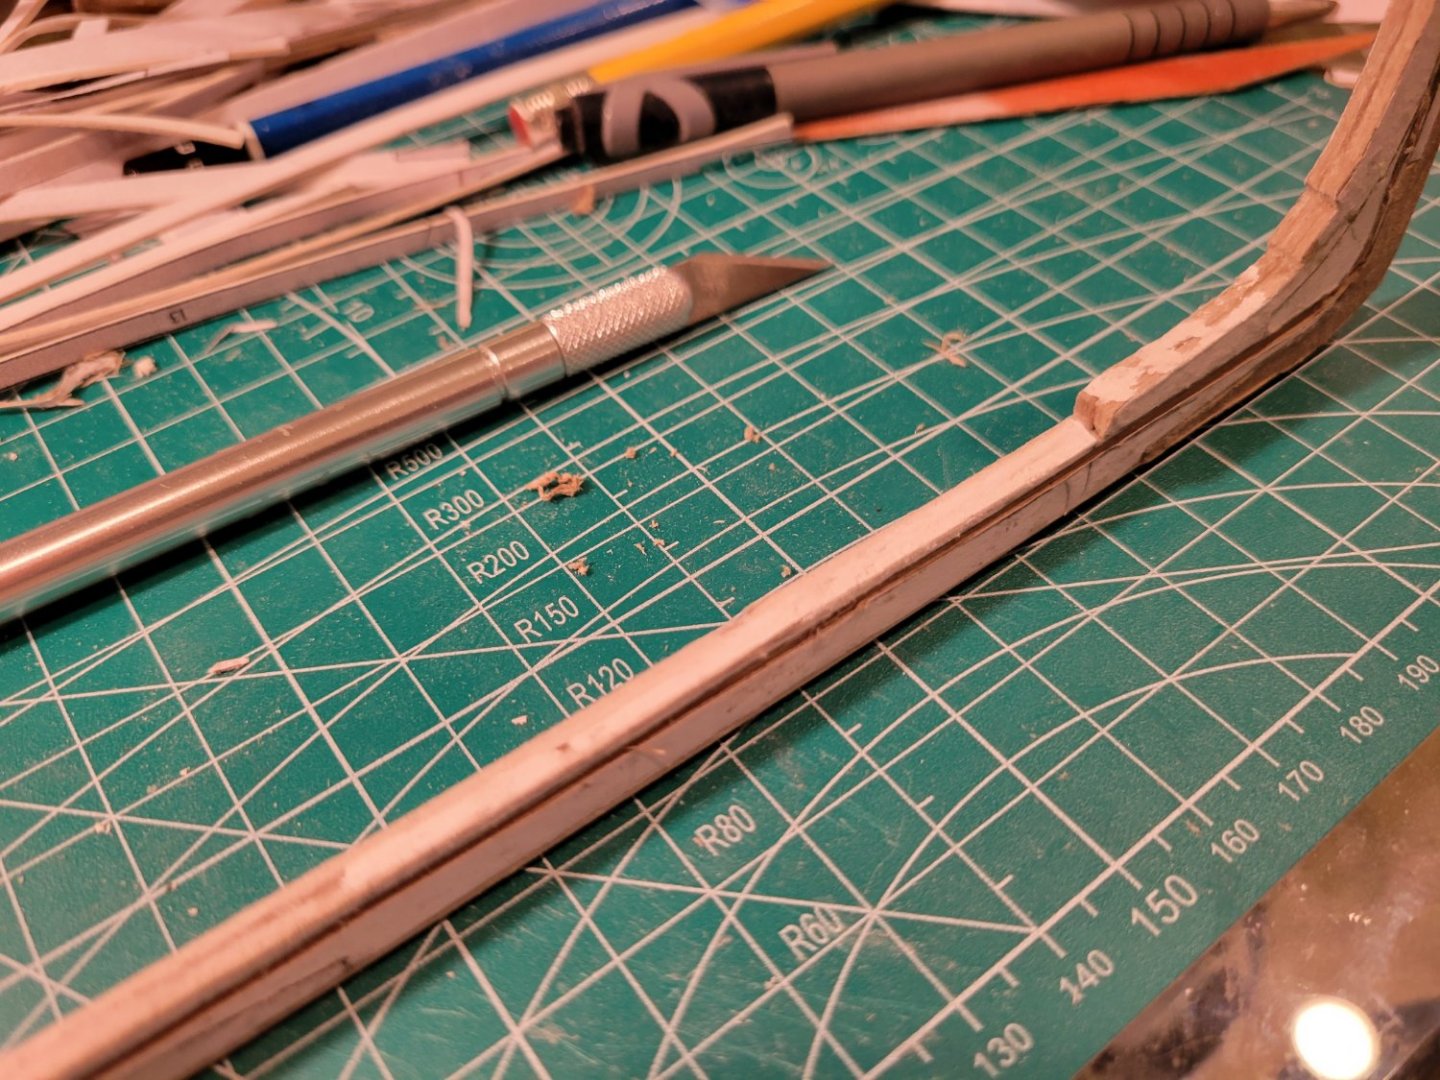
For me, there is always a trade off between using thicker card (which is much harder to cut) and building up heavy parts by laminating thinner car. I went the thick card route on this model ..... regretting it already. because my cuts are rarely perfectly perpendicular, I have to smooth and trim the surfaces of any joints so they will be tight.
-
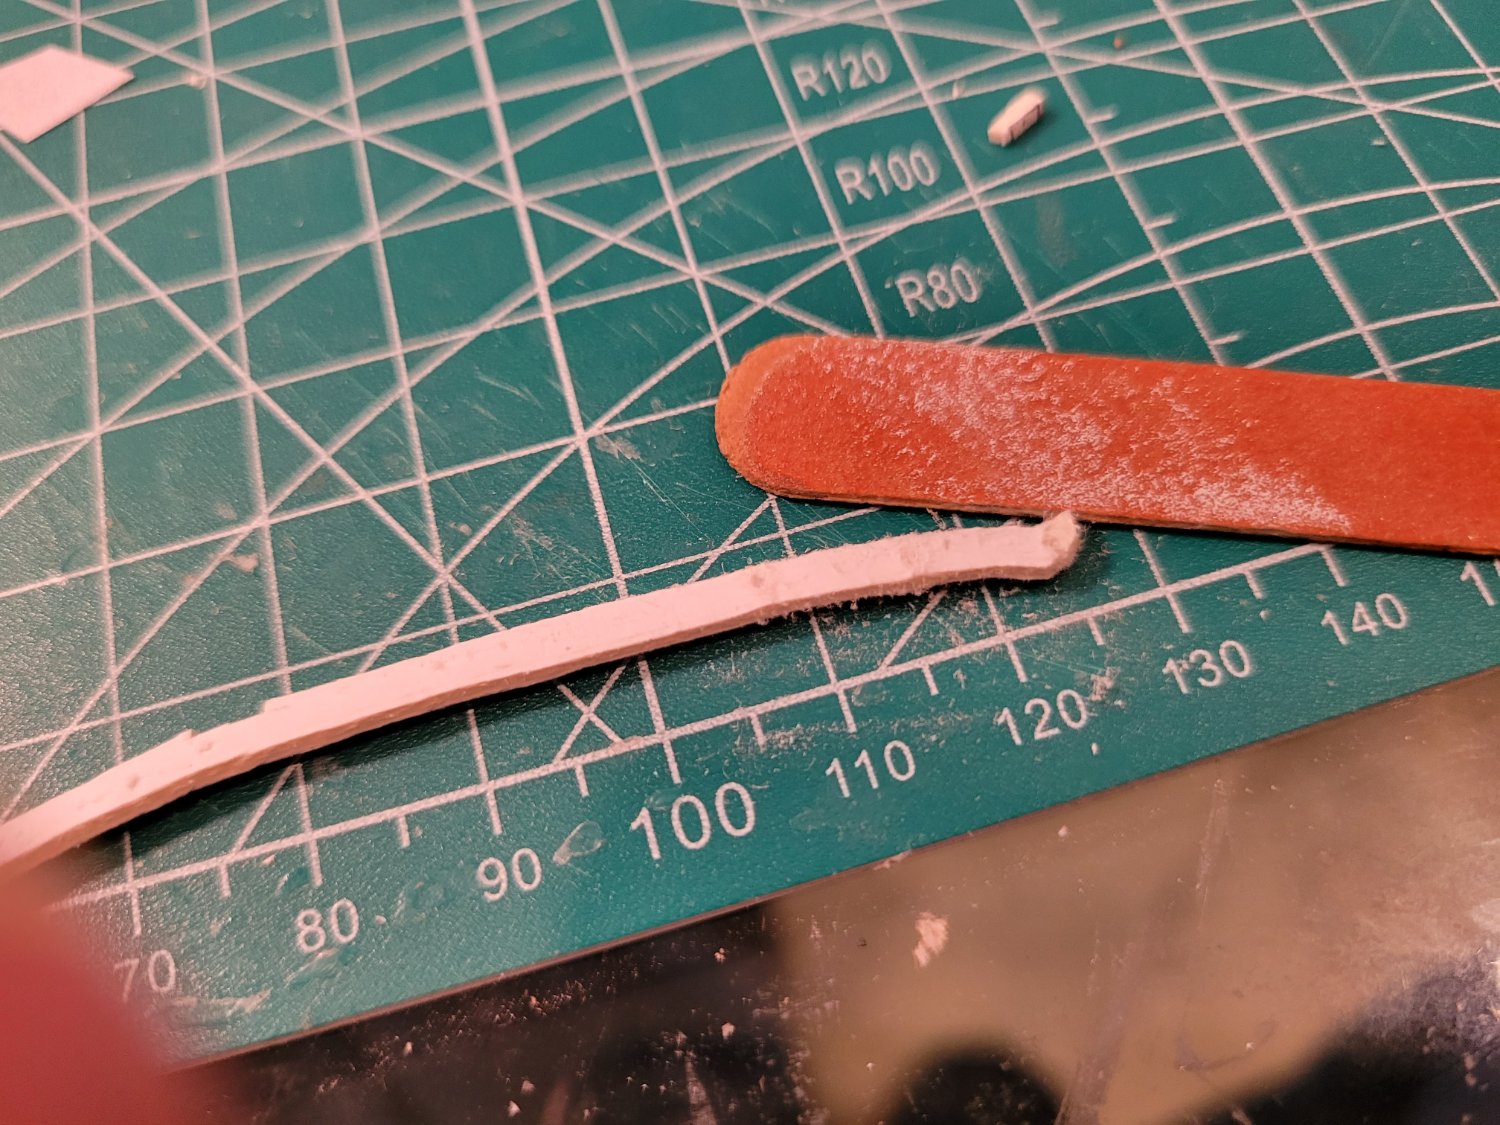
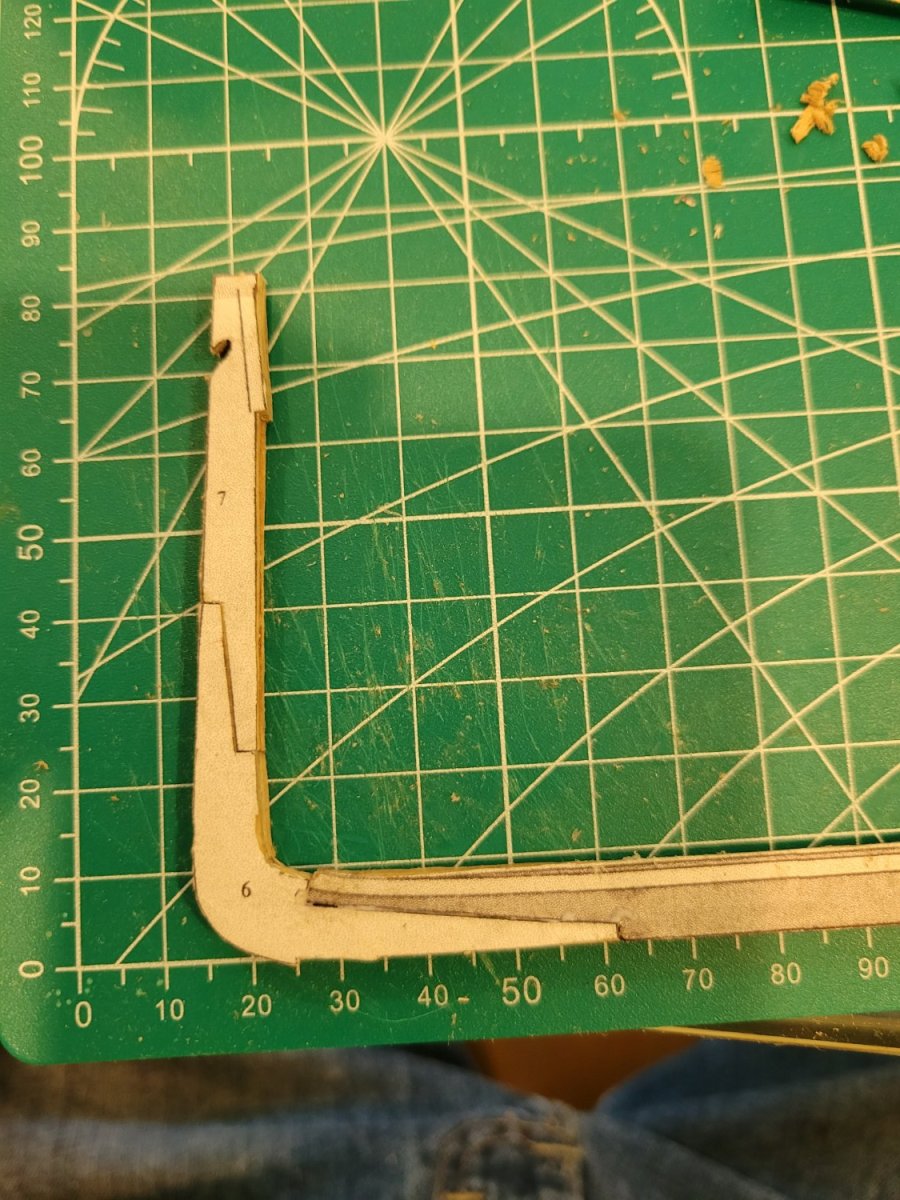
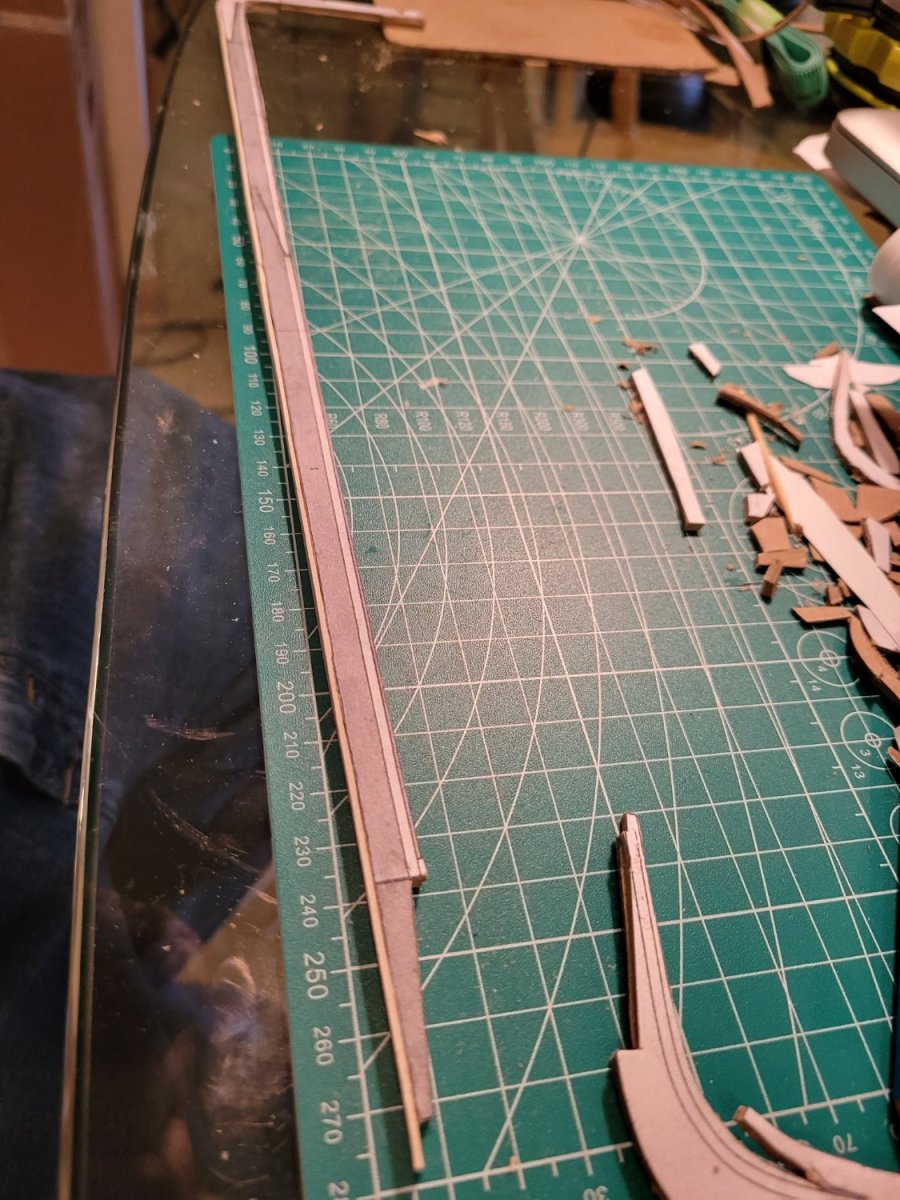
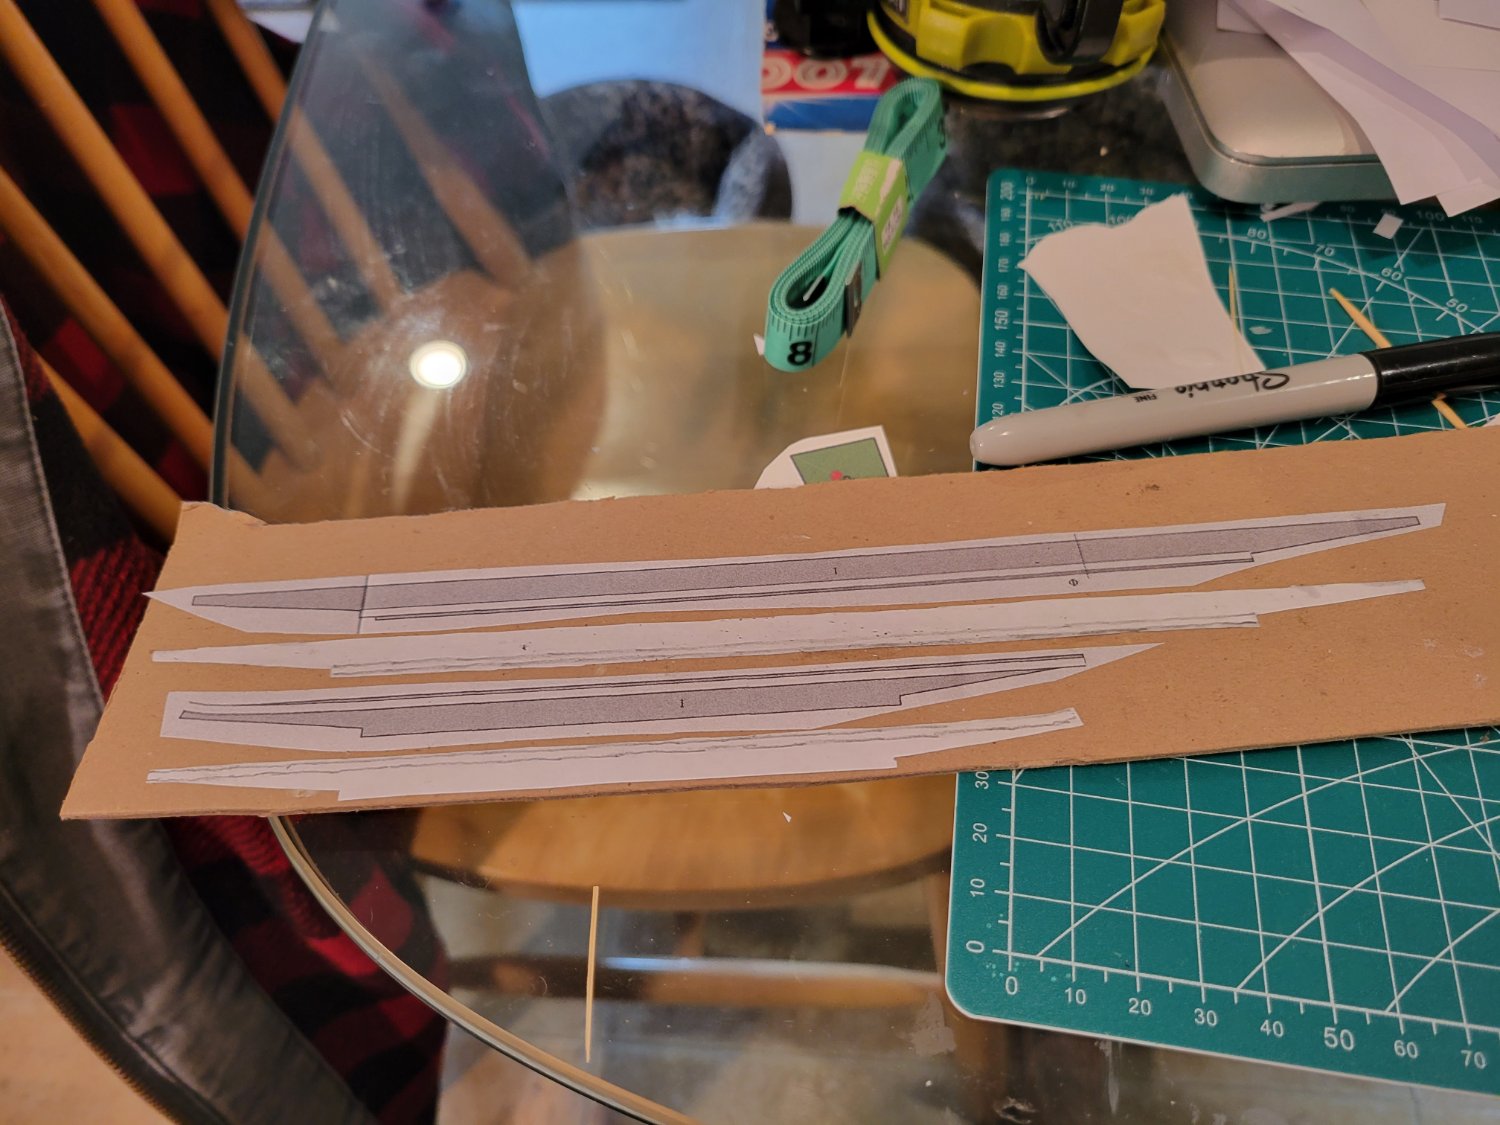
Using heavy card for the keel (did I mention this is a paper model ?) Testing against a jig cut from a spare plan to see that 2 layers of my card will give me the right width Since i need the lines to cut a notch I have to transfer them to the other side of one of my pieces of paper. Gluing up. A little time for the glue to dry and we cut. Long straight lines with shears...smaller cuts with xacto knife. Glue them together and presto, a keel. It will require some sanding and filling and some straightening (you bend it in your hands) then I have to put some blocks on the modeling board to hold it in place. Away we go.....


.thumb.jpg.a2f08138a50d4302d554b0d8822513b8.jpg)
-
in which i come up with a clever idea cursing and making more blocks the paper is just a little on the soft side and the blocks are too small to hold and do anything with then the lightbulb went off i flattened down some soft wood (chopstick) cut a slot (that will eventually be the hole in the block) and glued the sides of the block on either side and it worked, the blocks are easy to cut off and they are "hard" enough to try and trim down the ends so they don't look so square
- 54 replies
-
- 2
-
-
- allege darles
- wak
- (and 1 more)
-
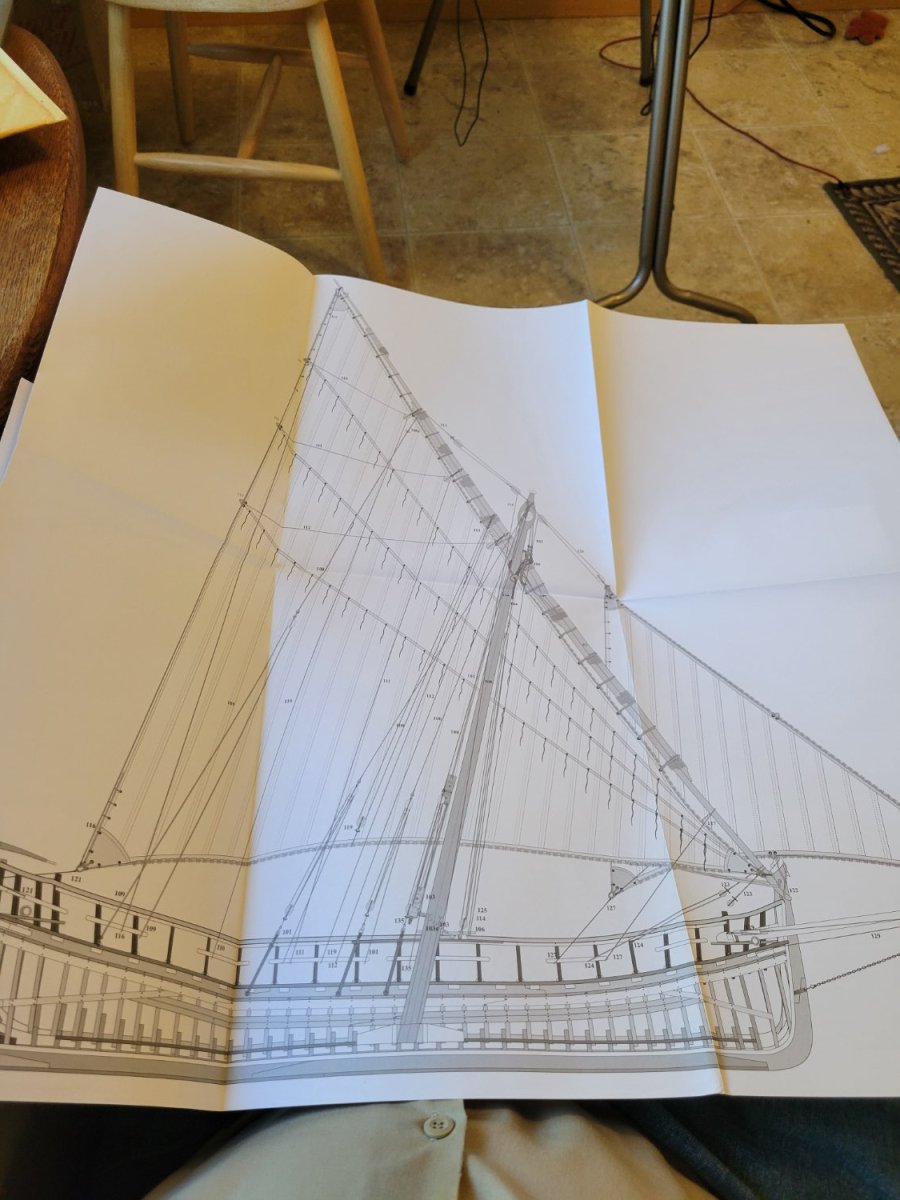
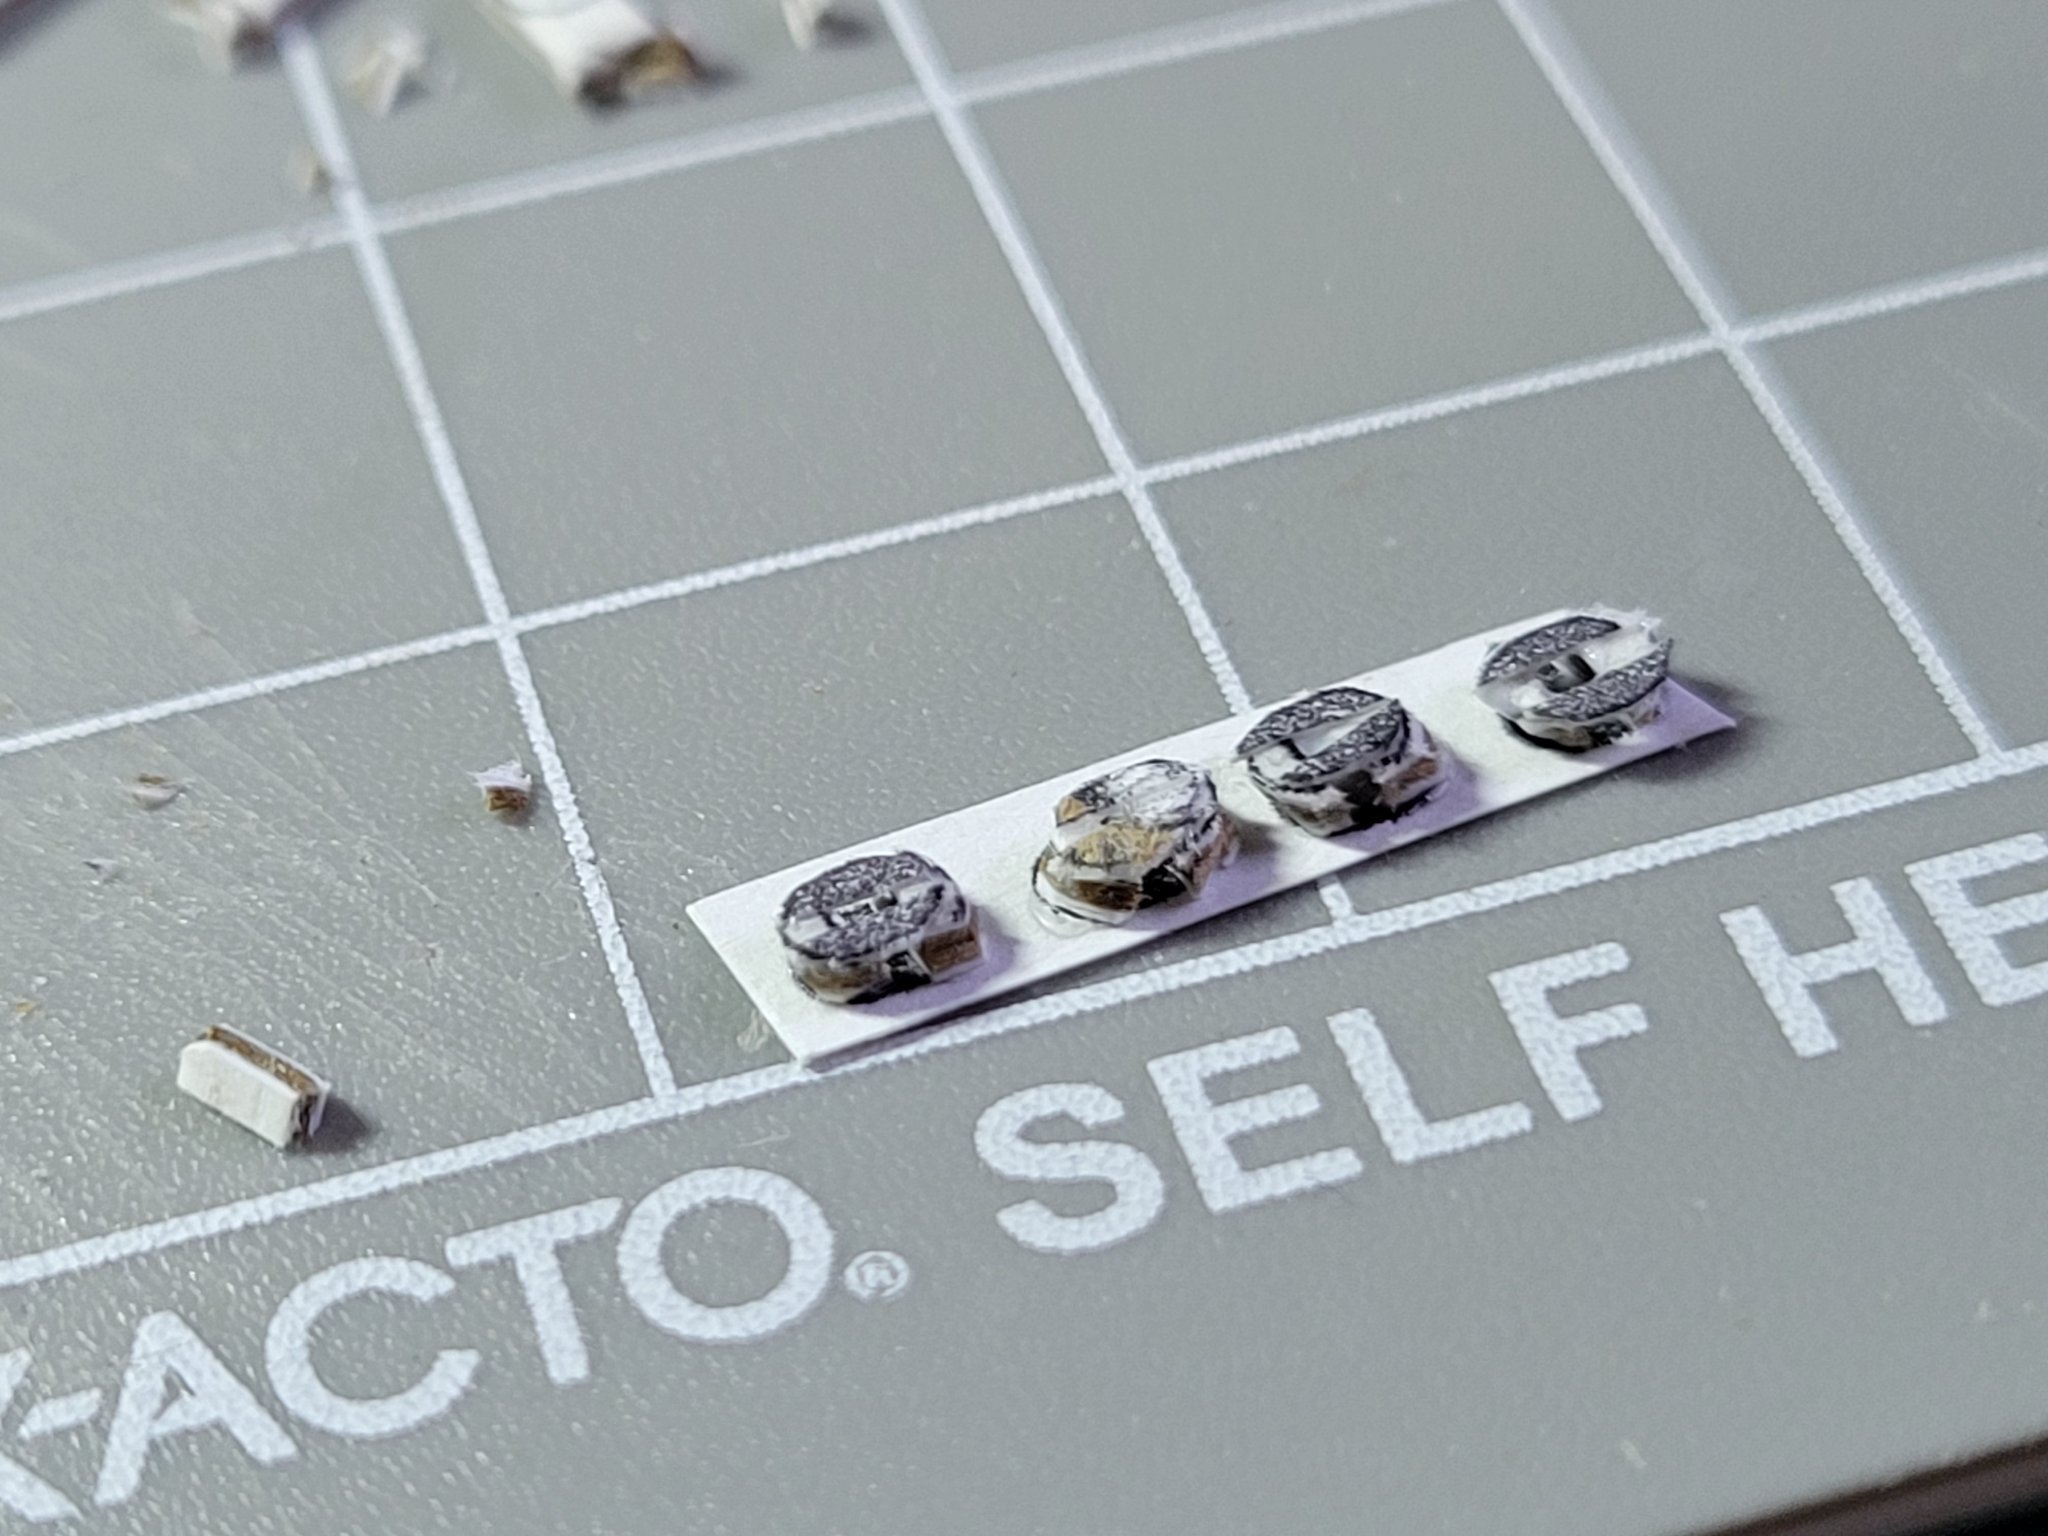
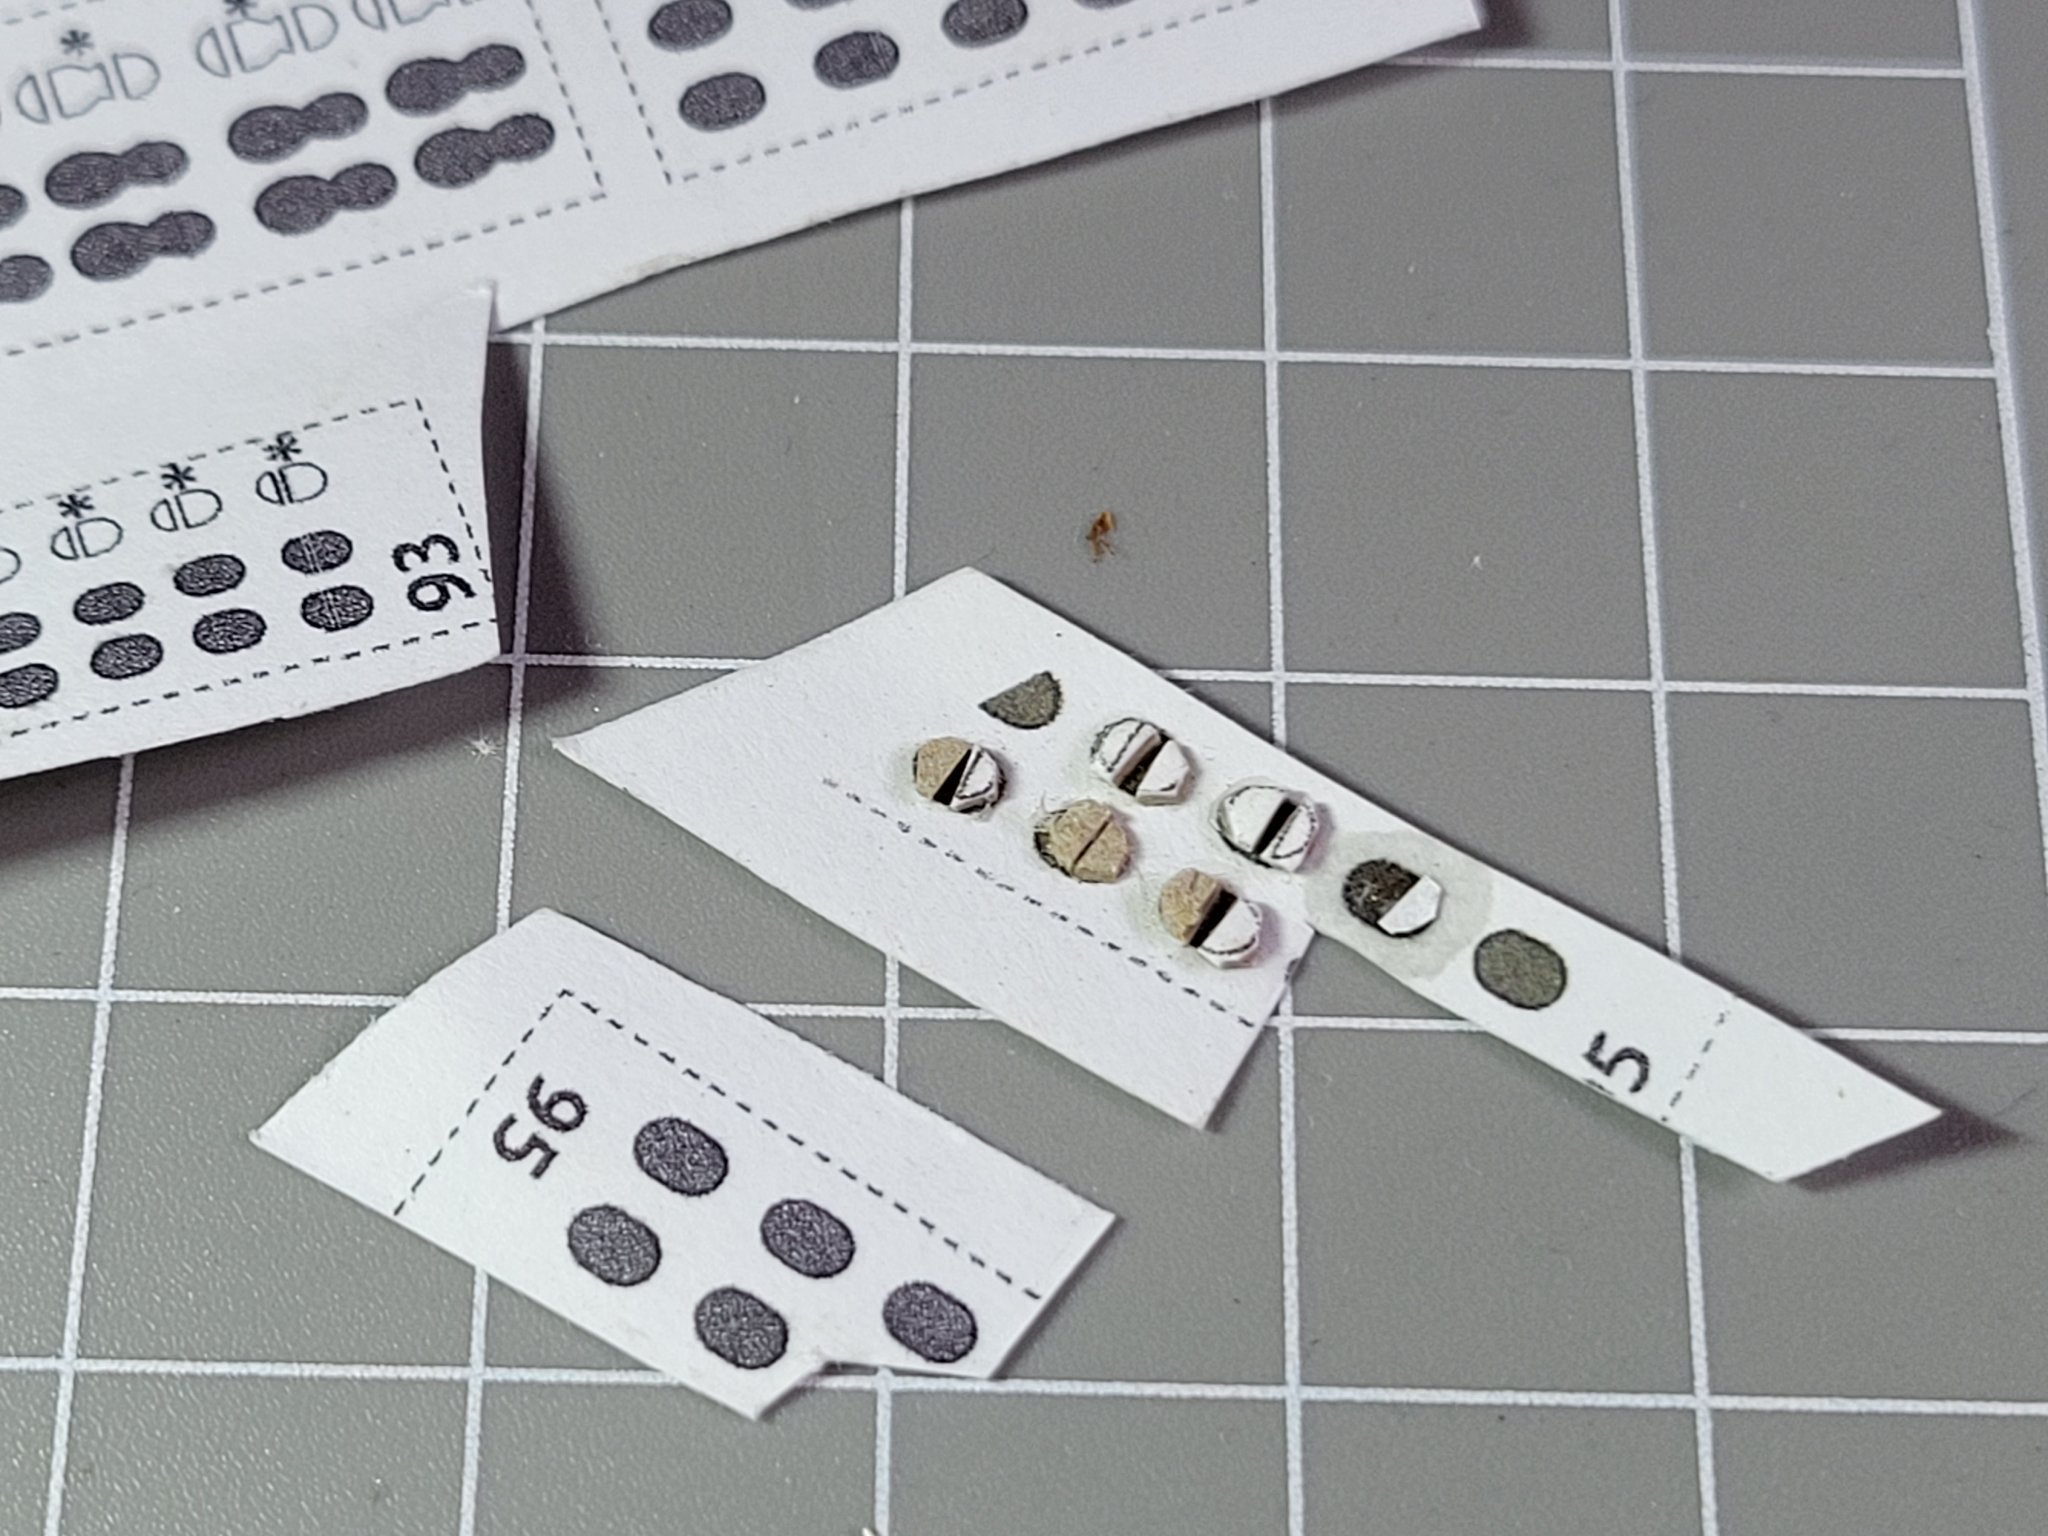
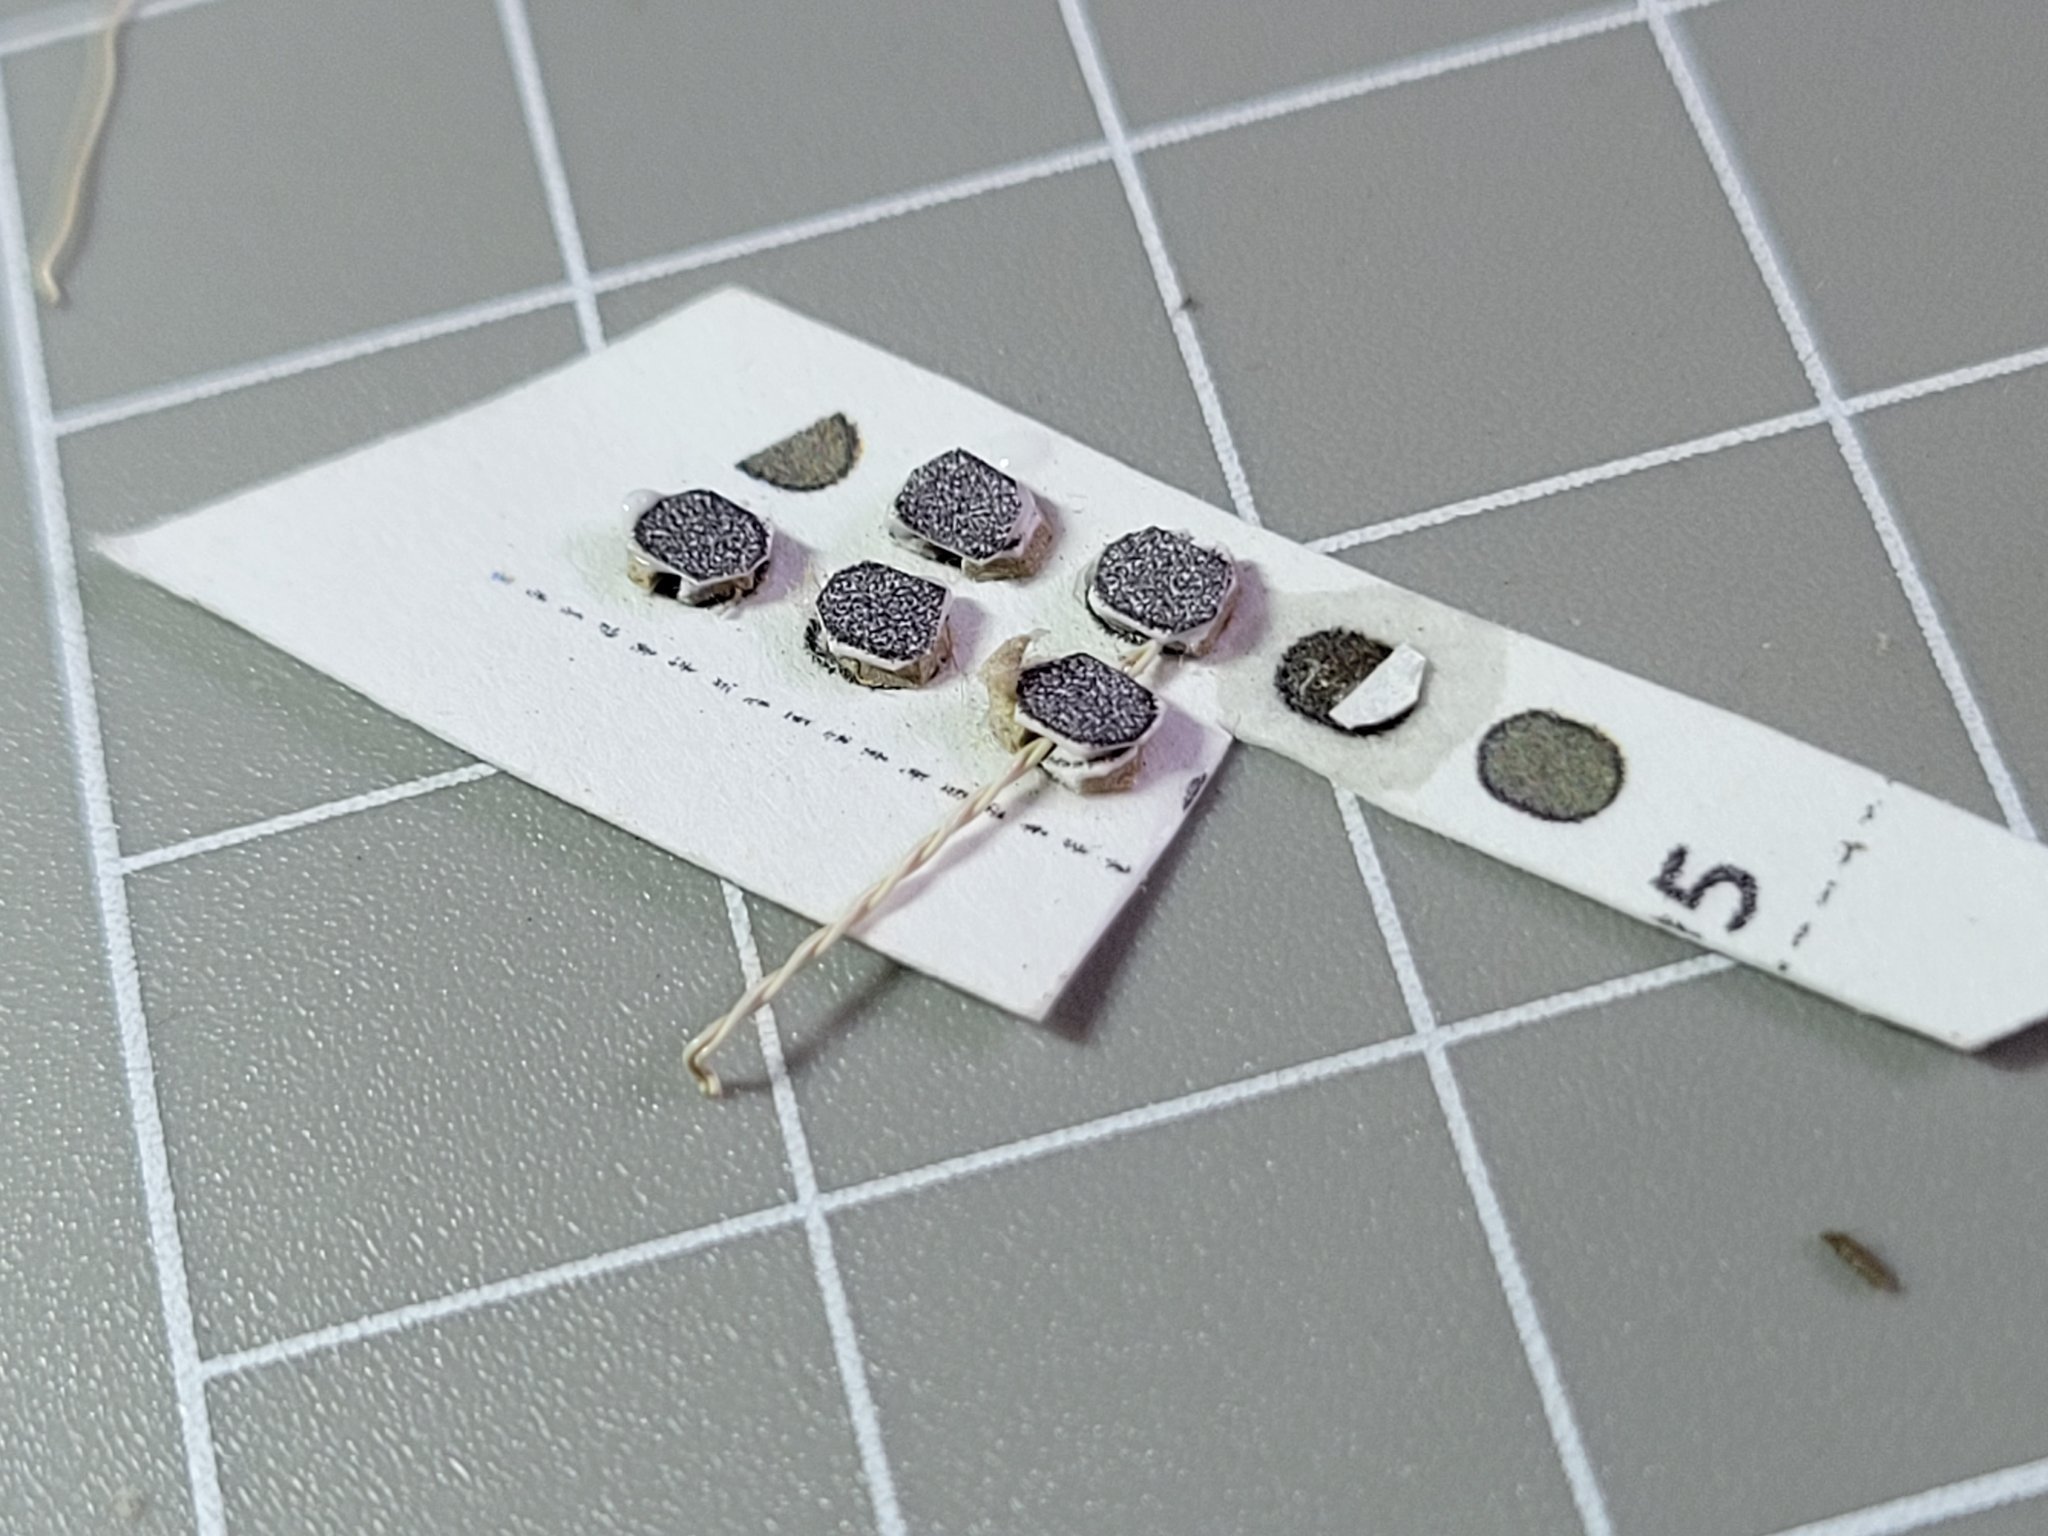
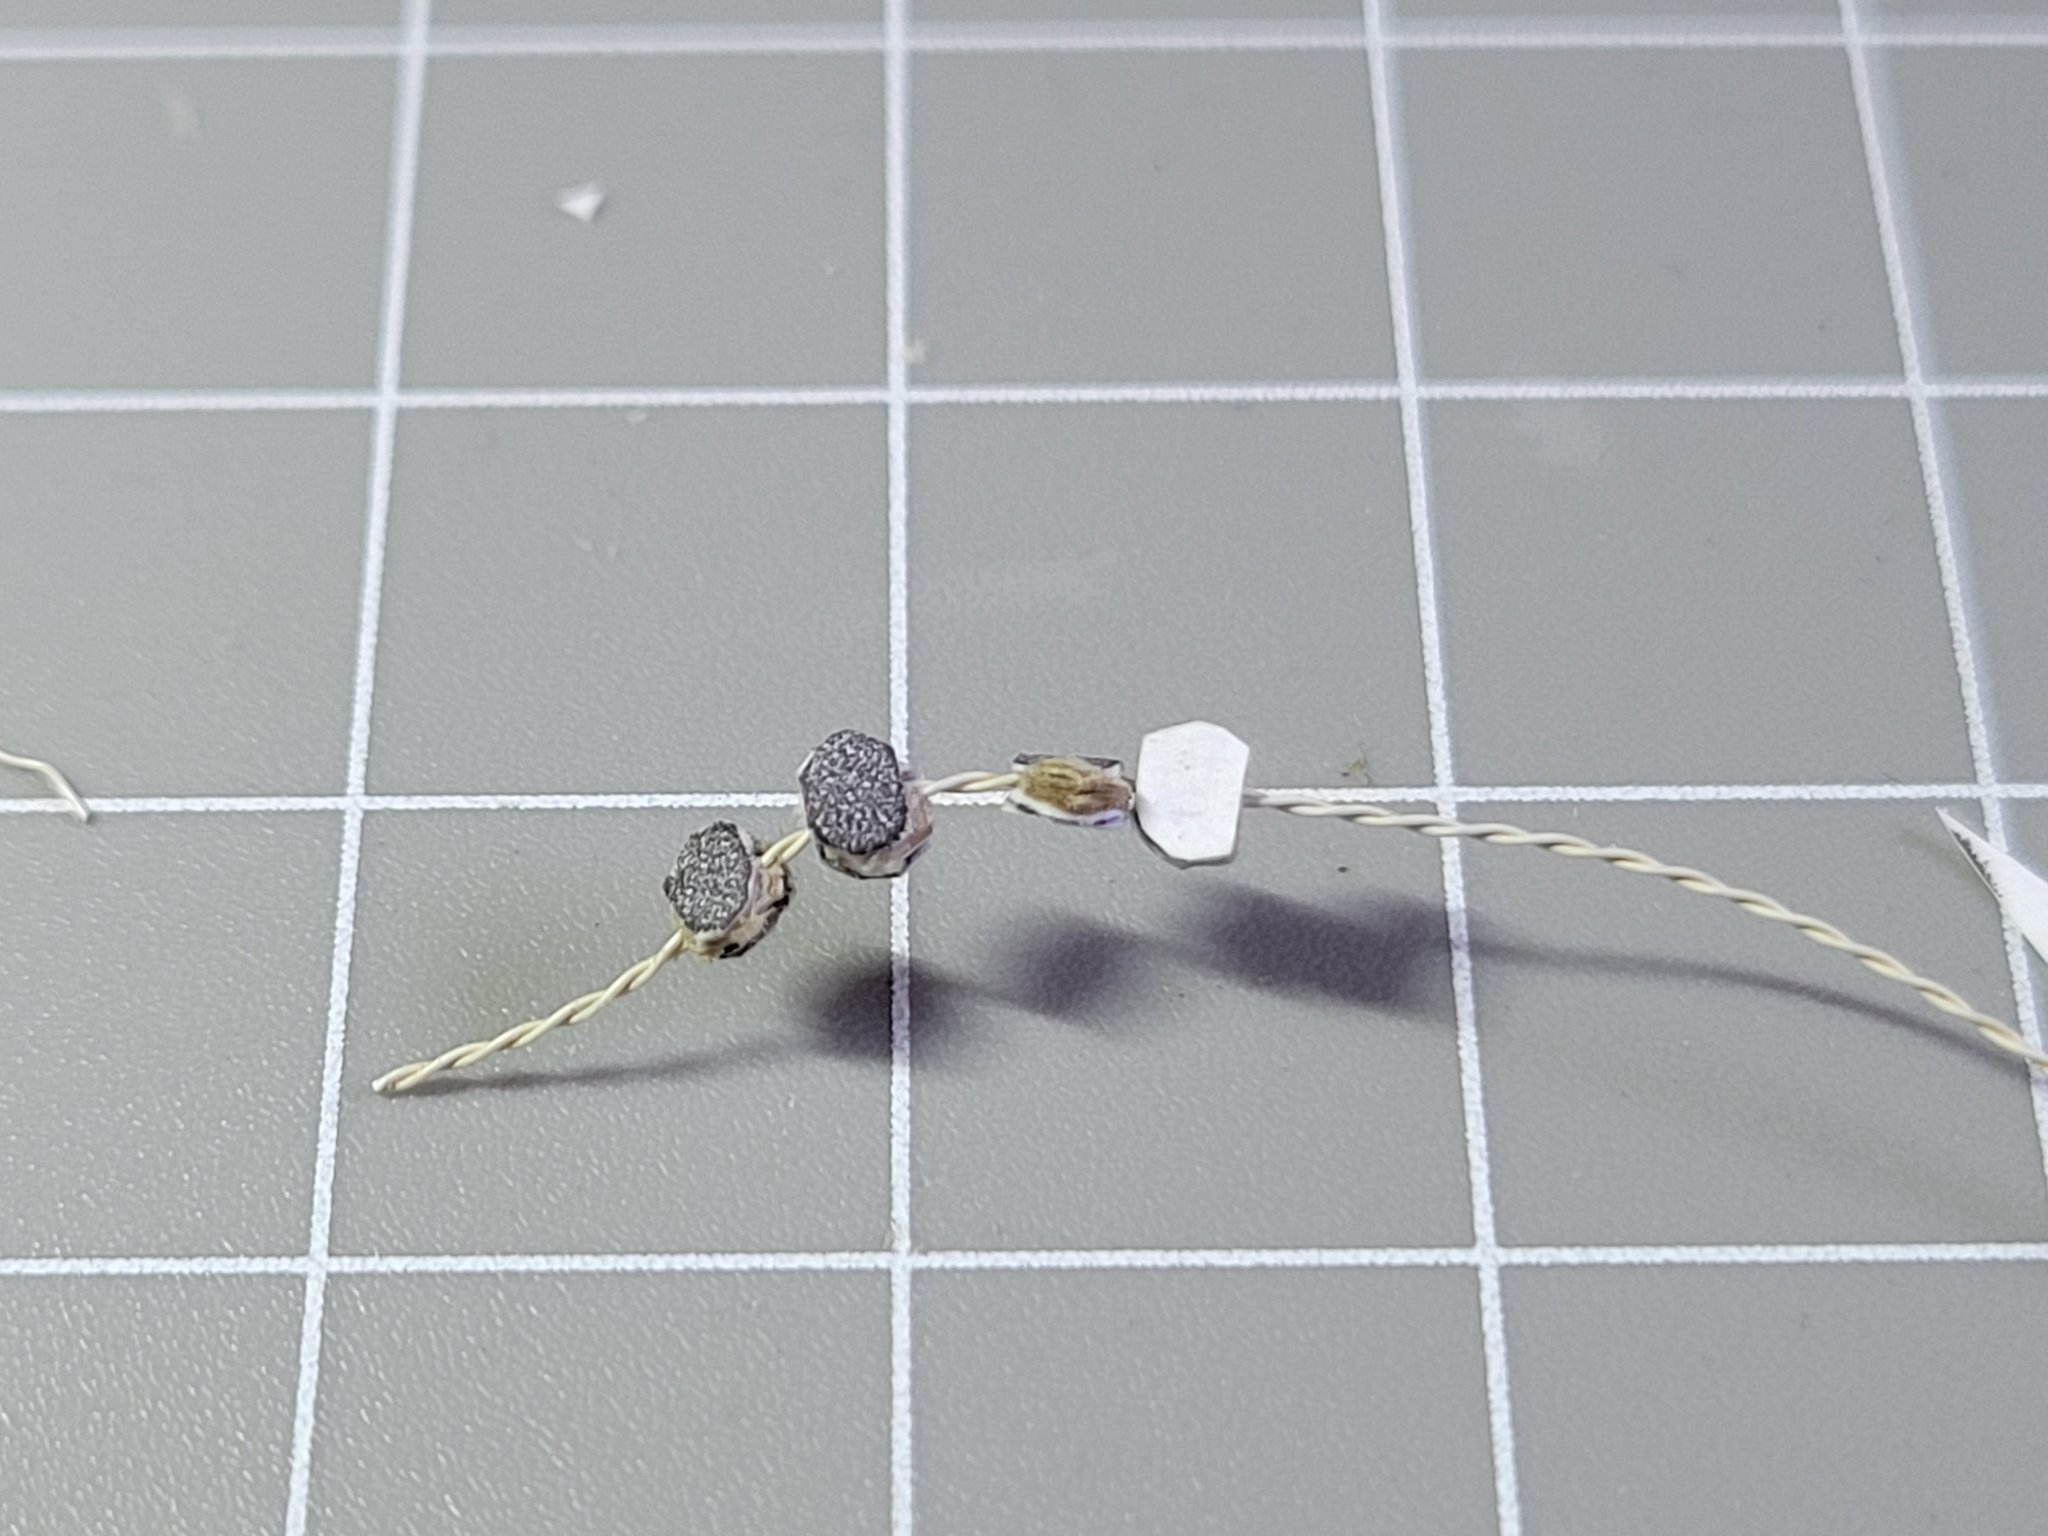
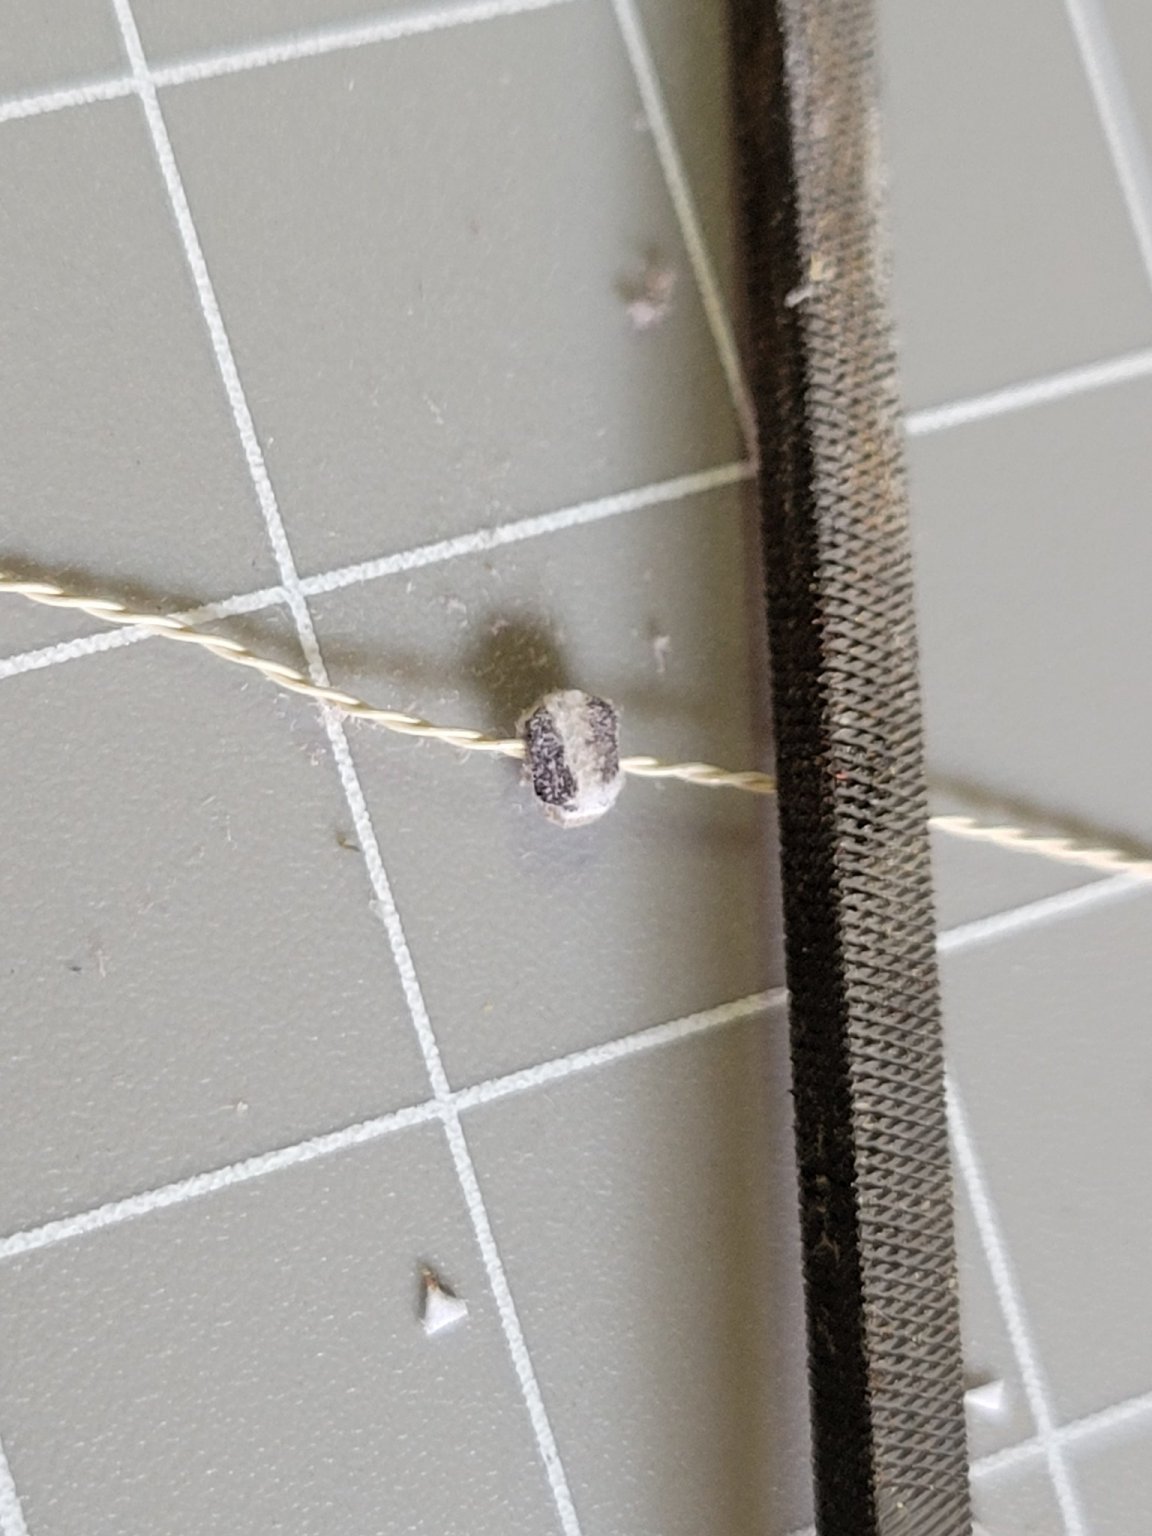
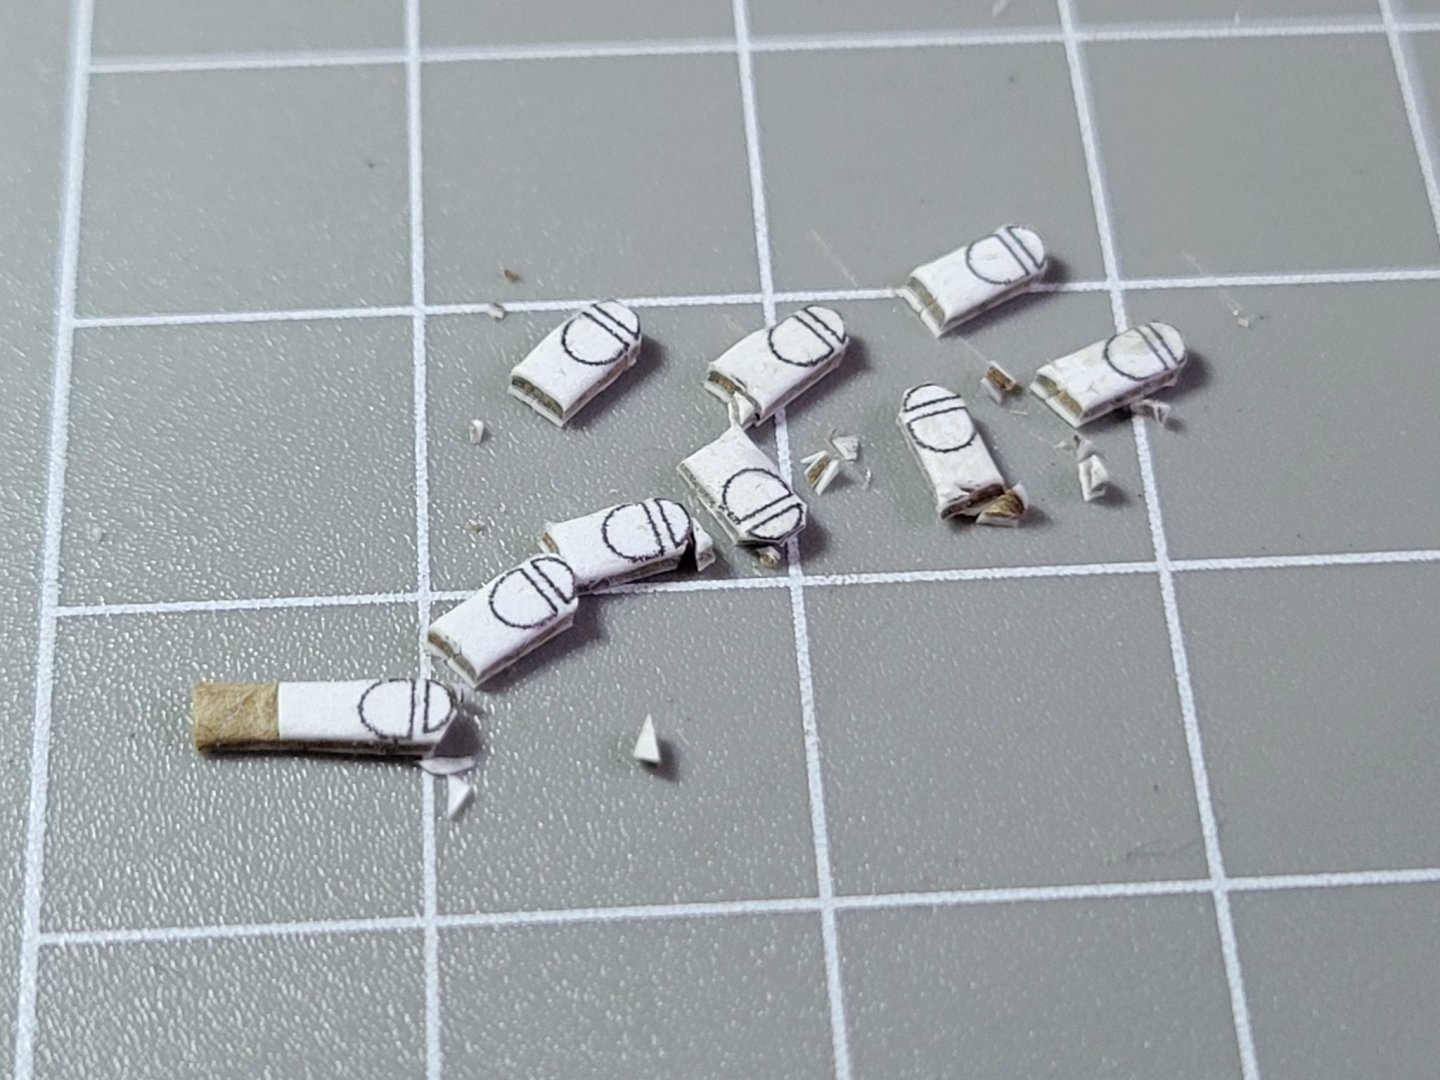
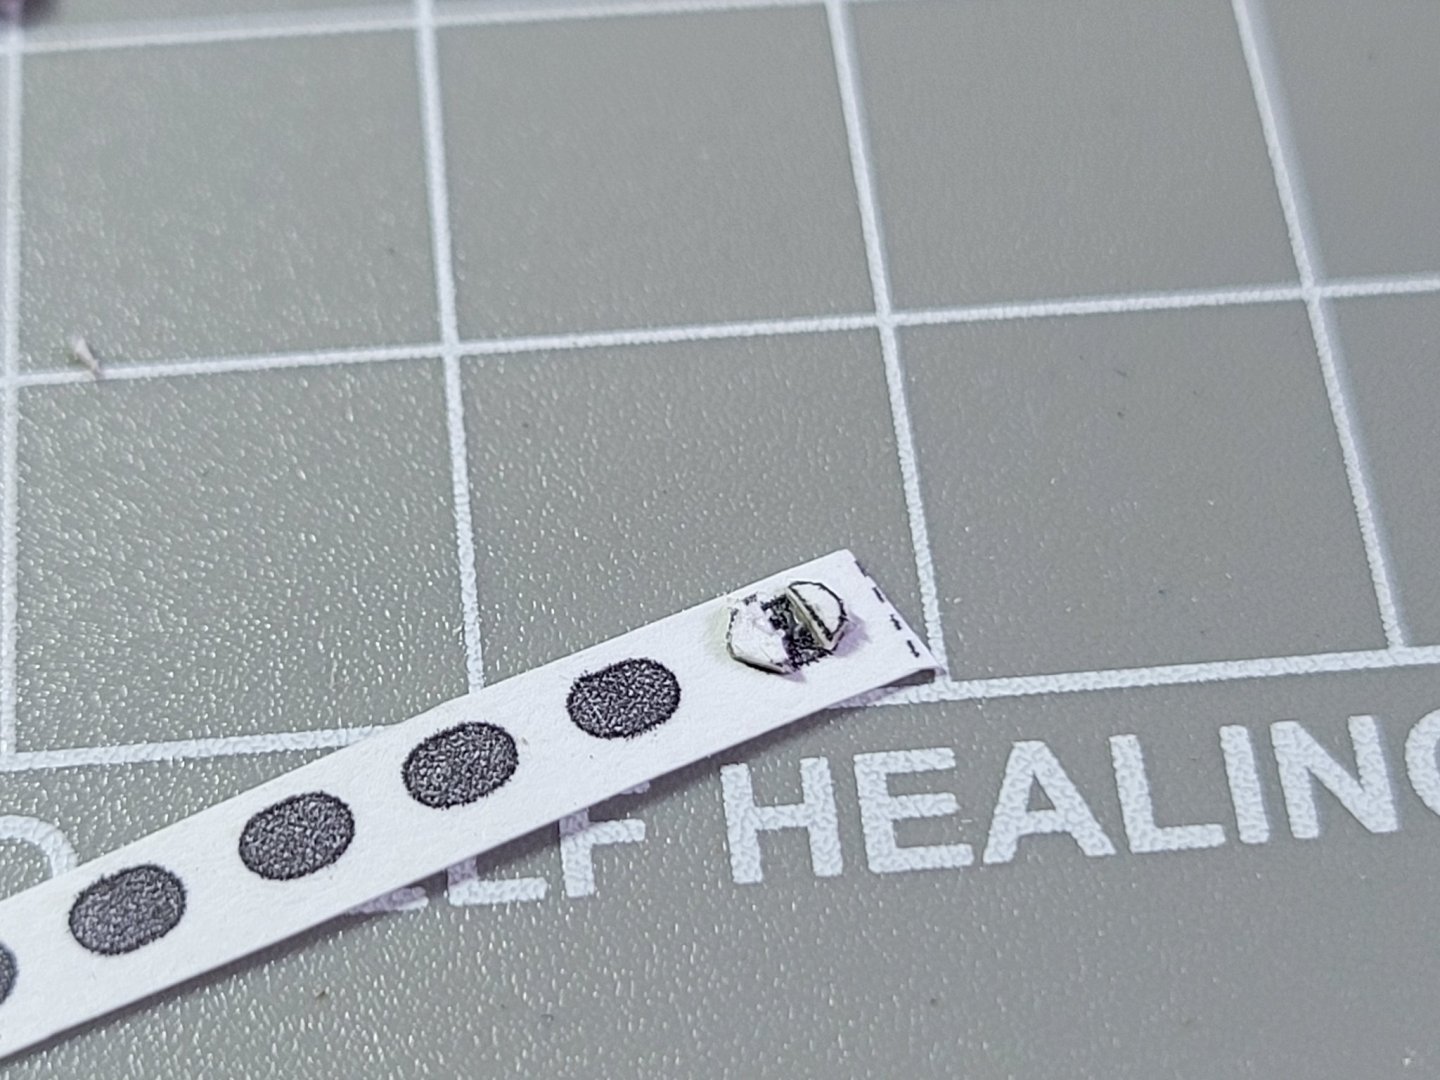
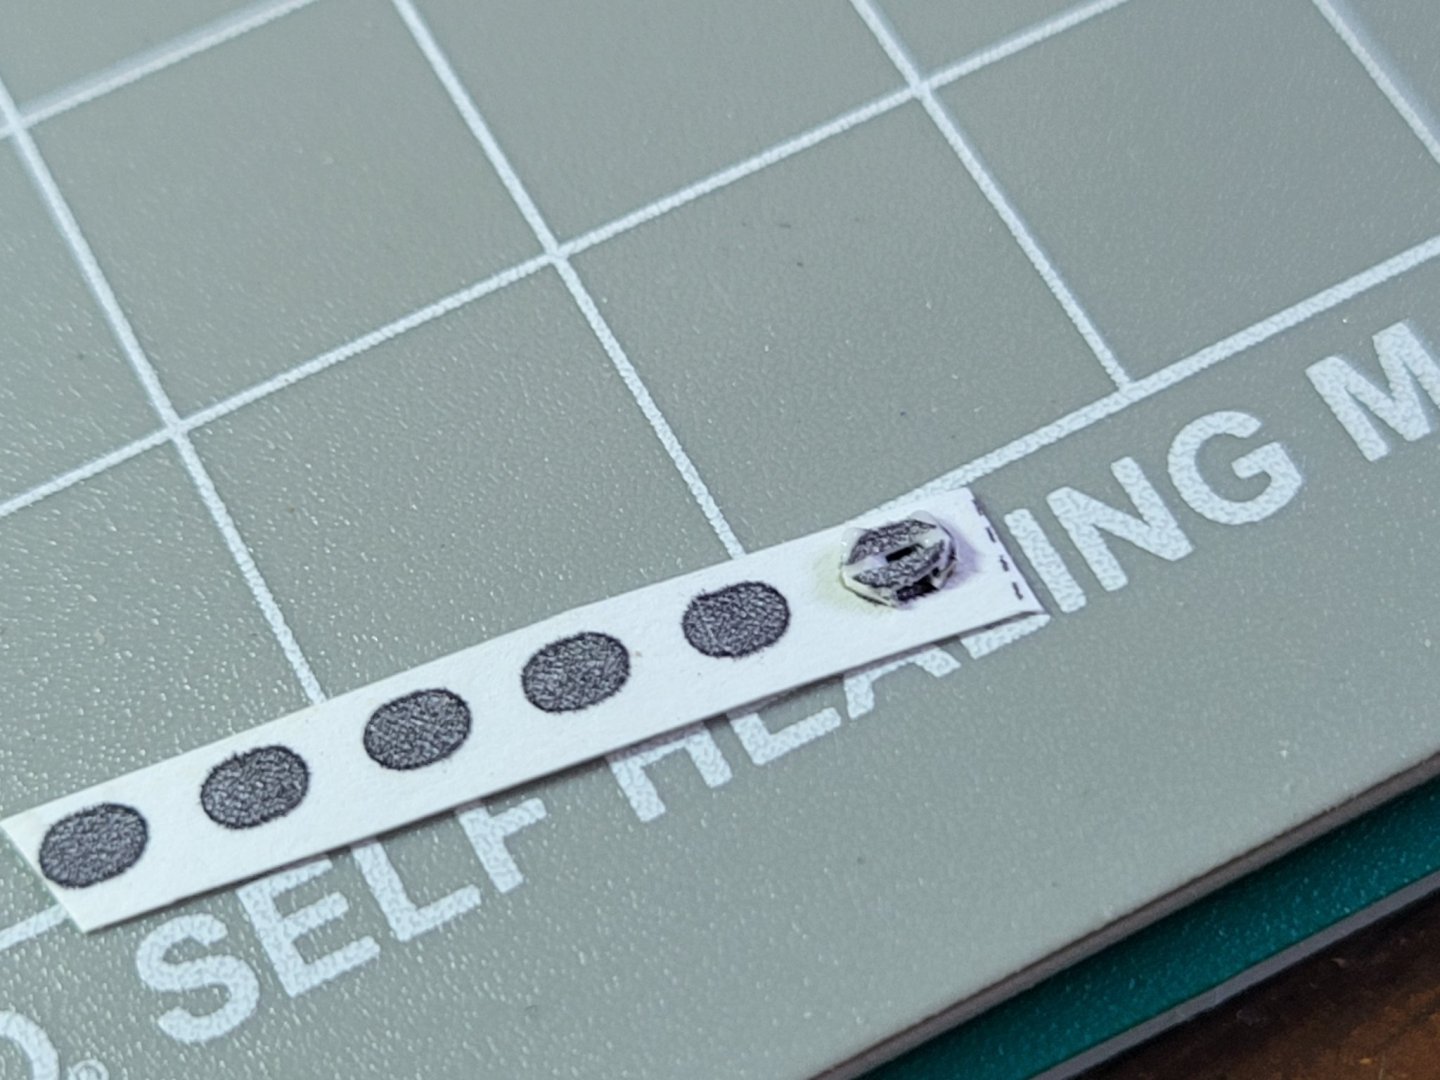
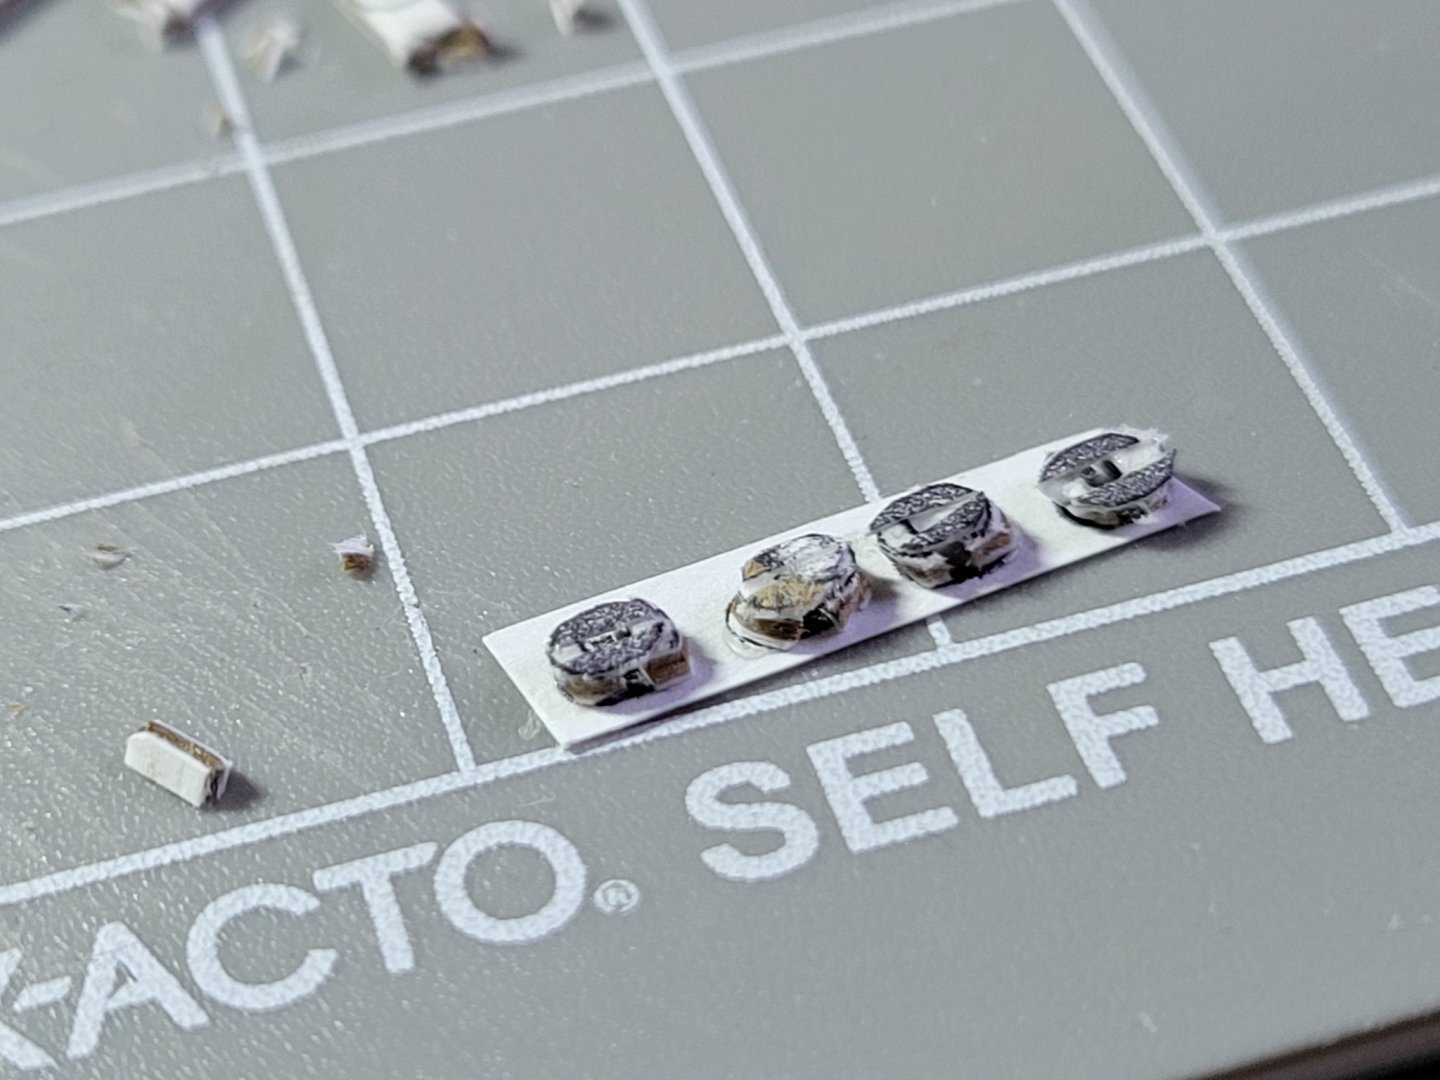
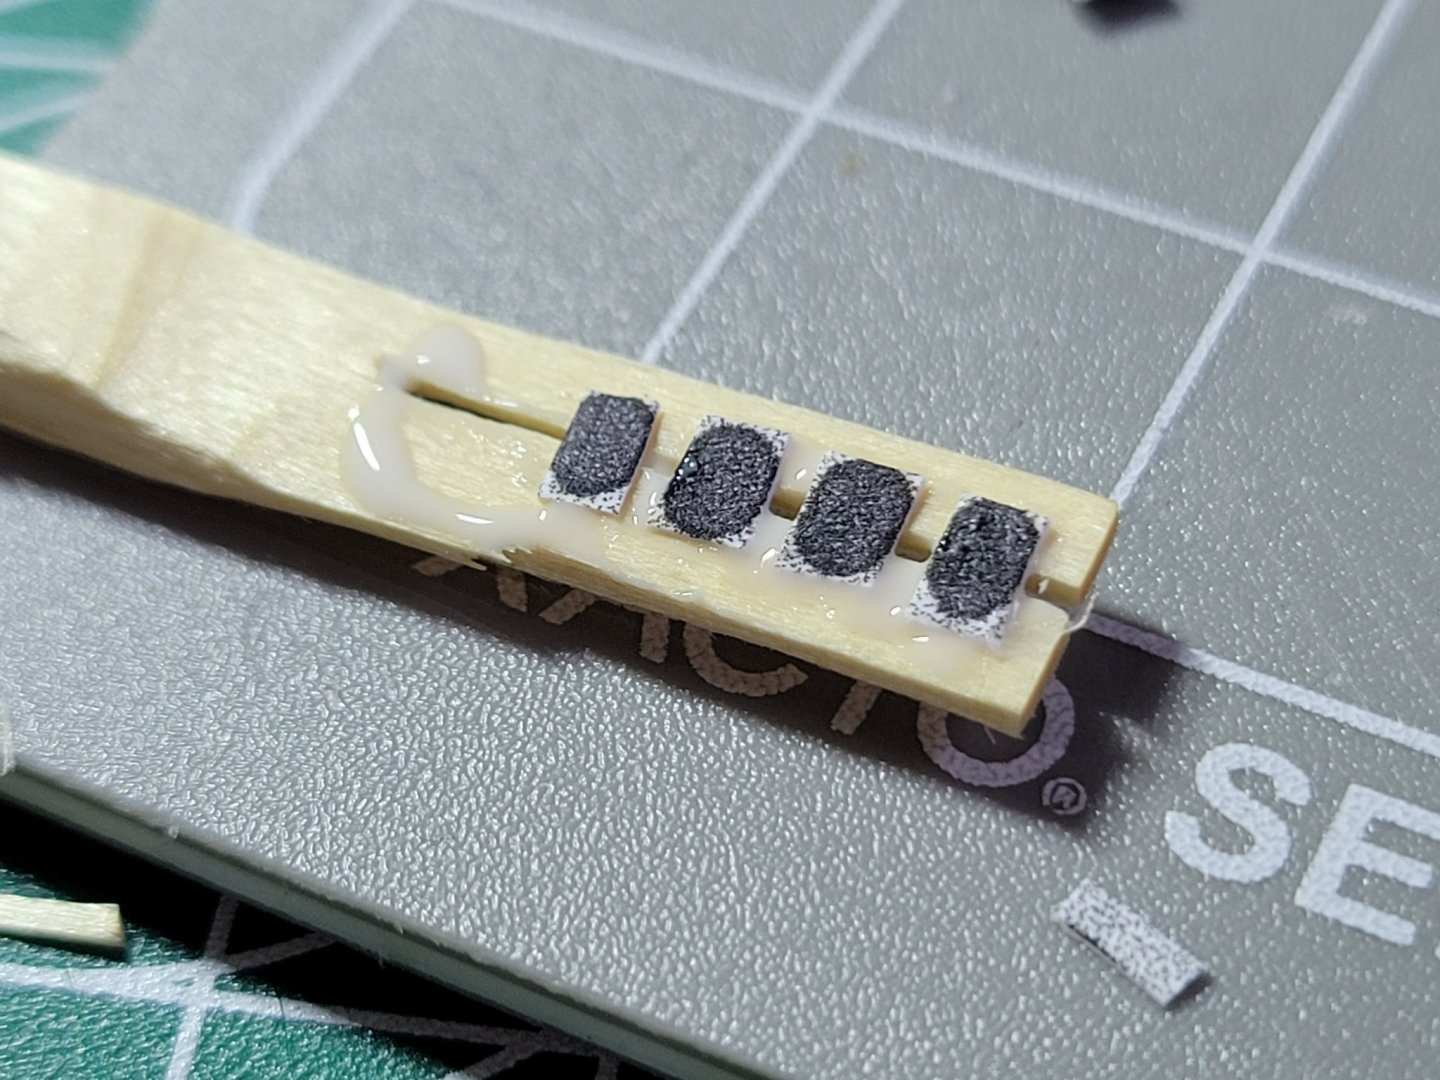
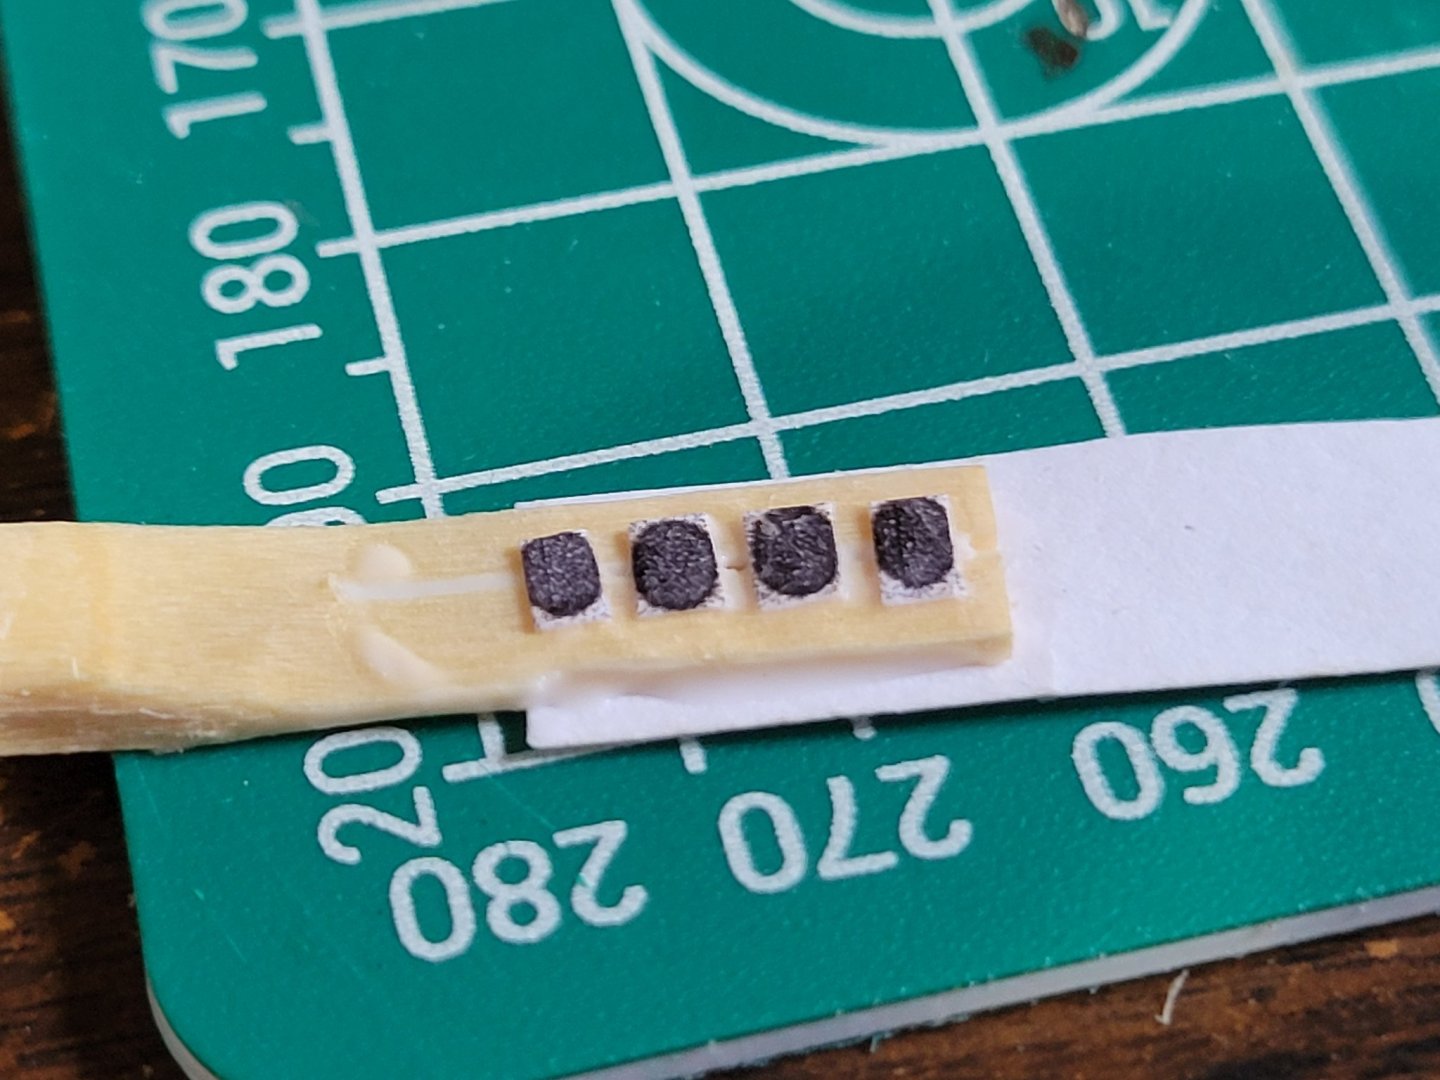
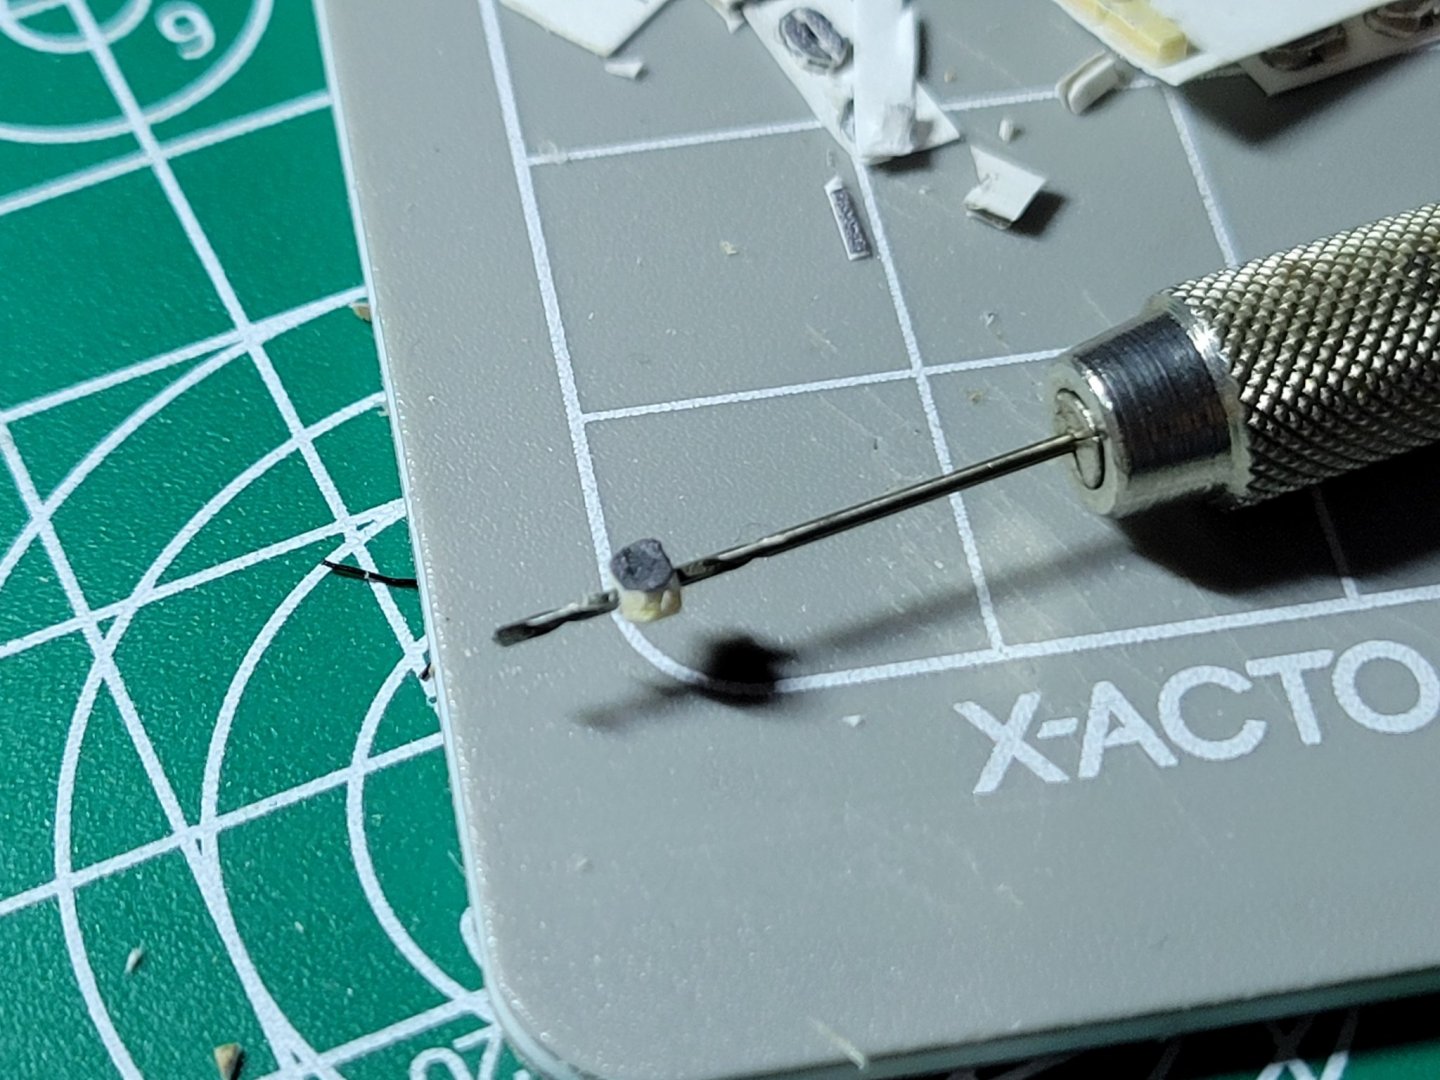
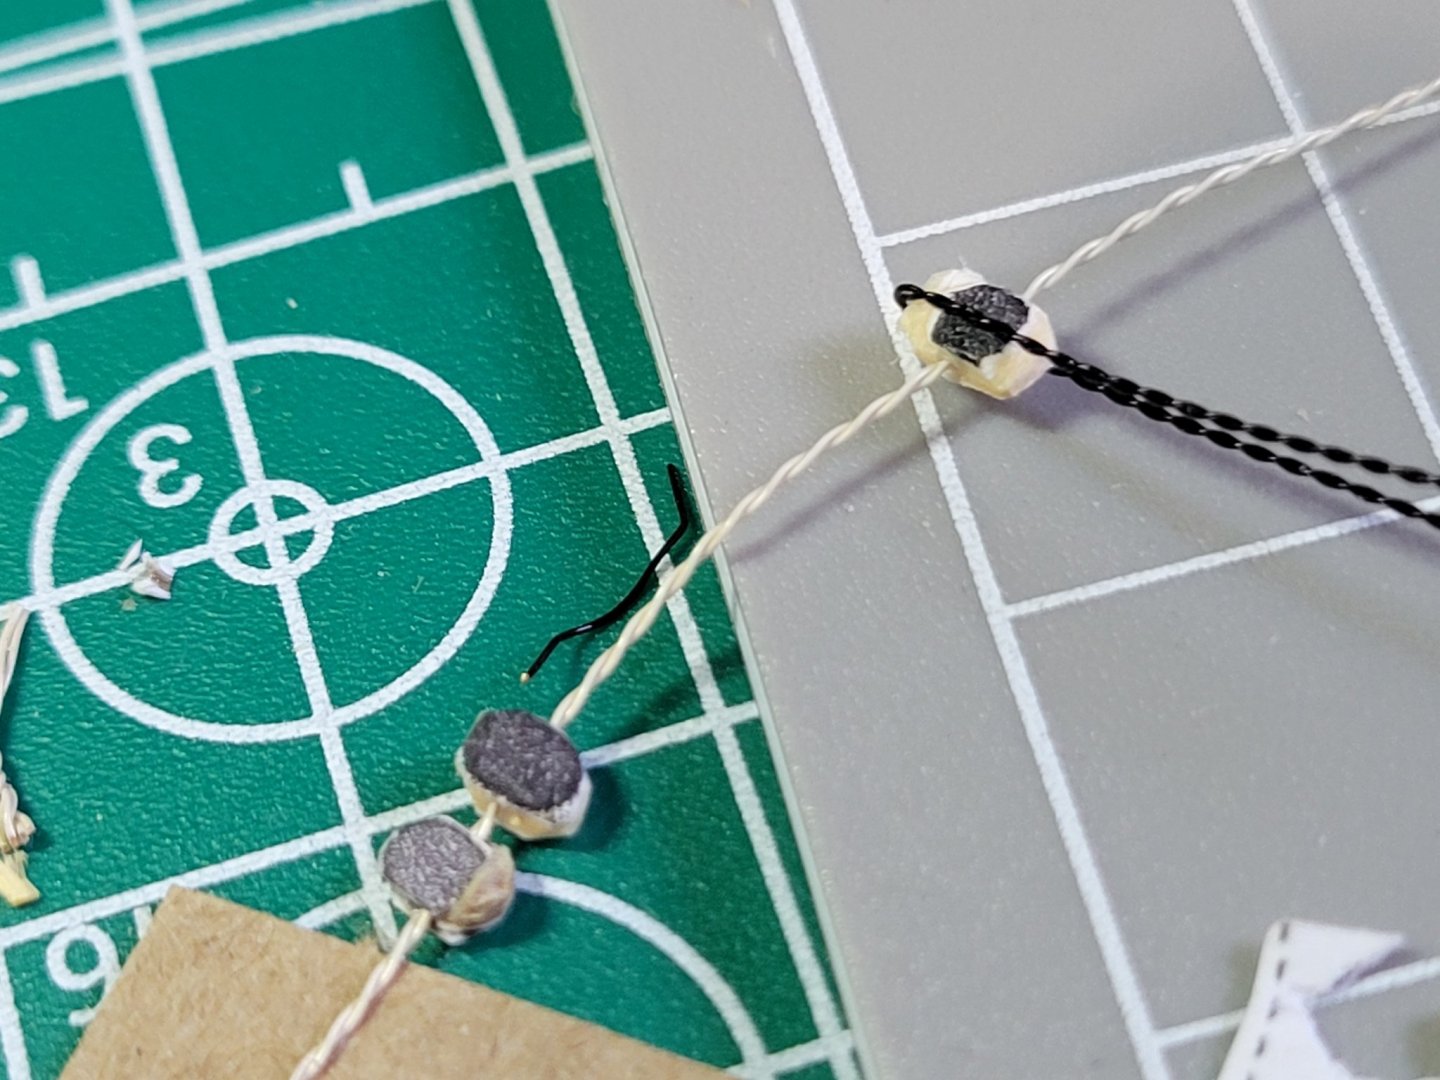
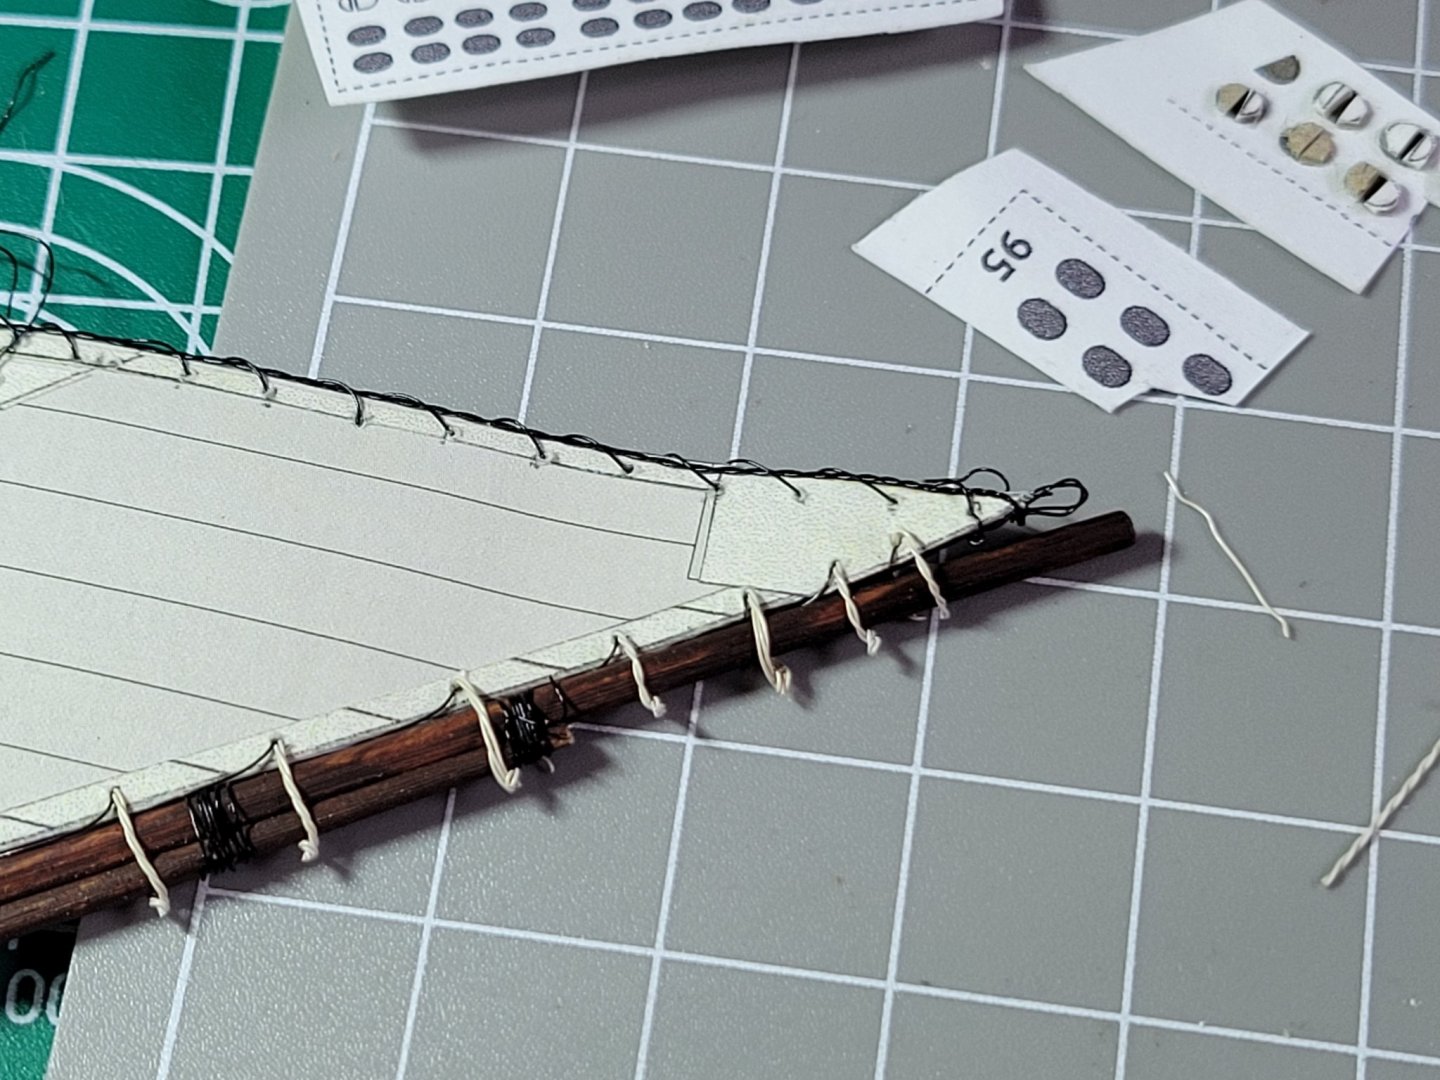
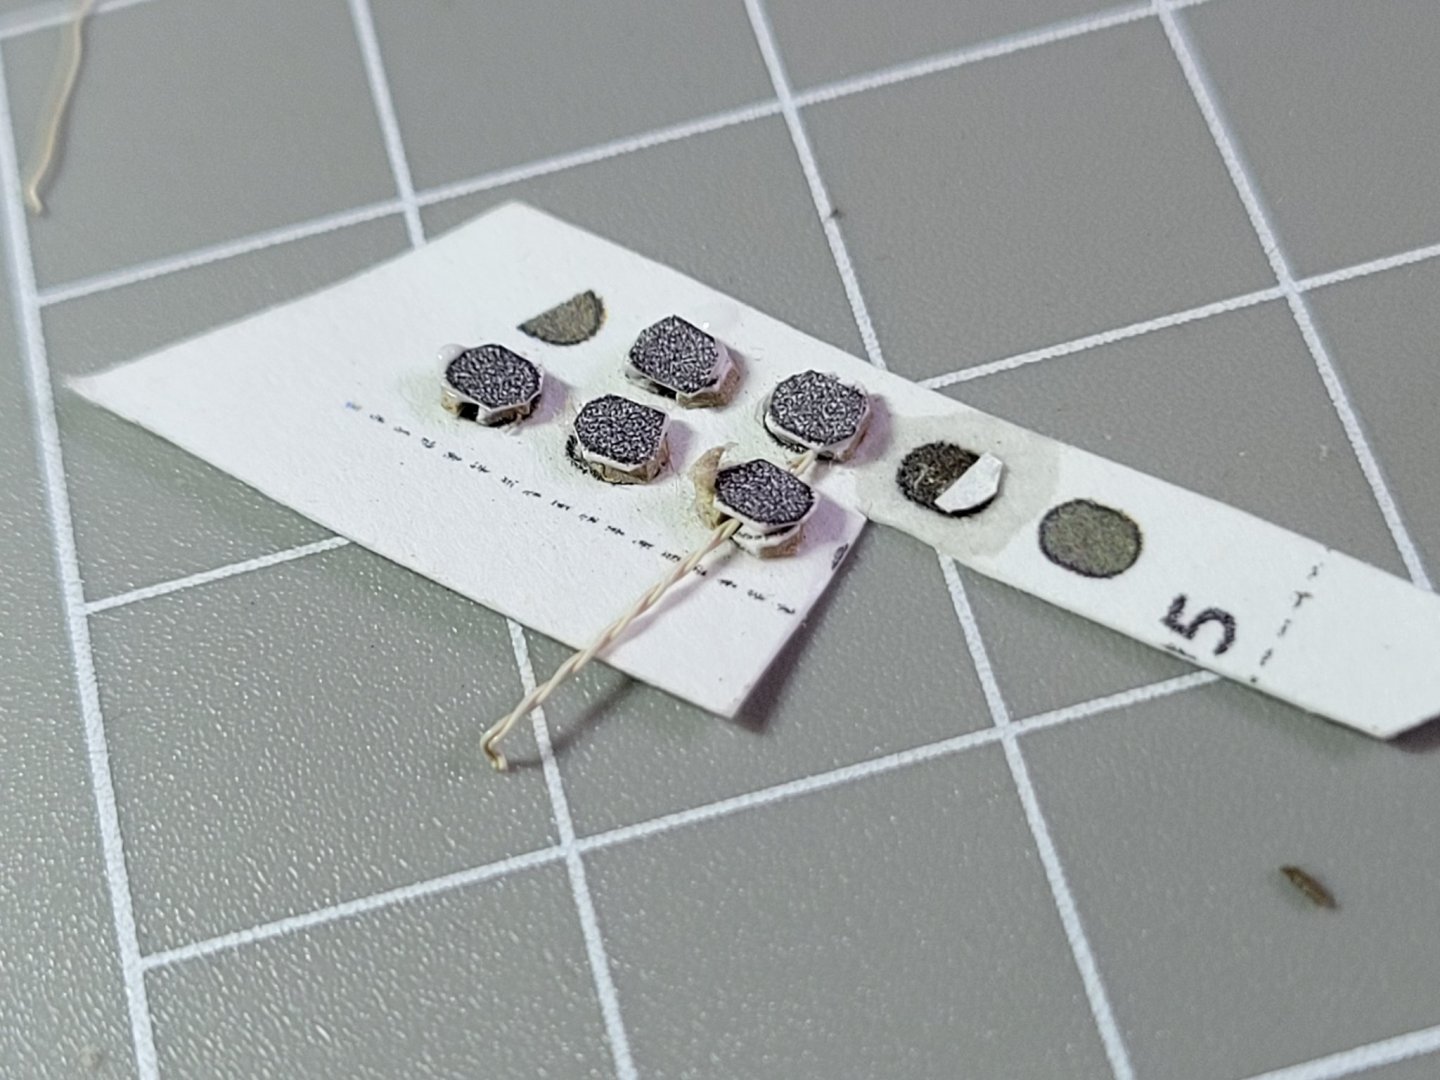
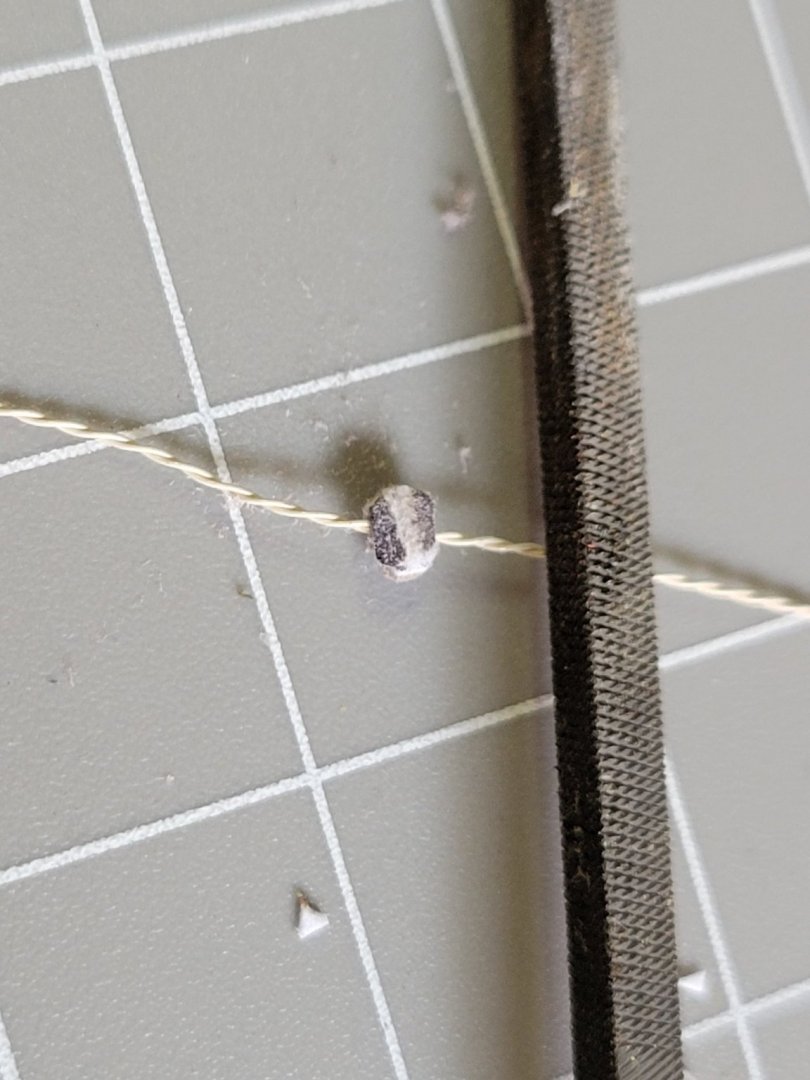
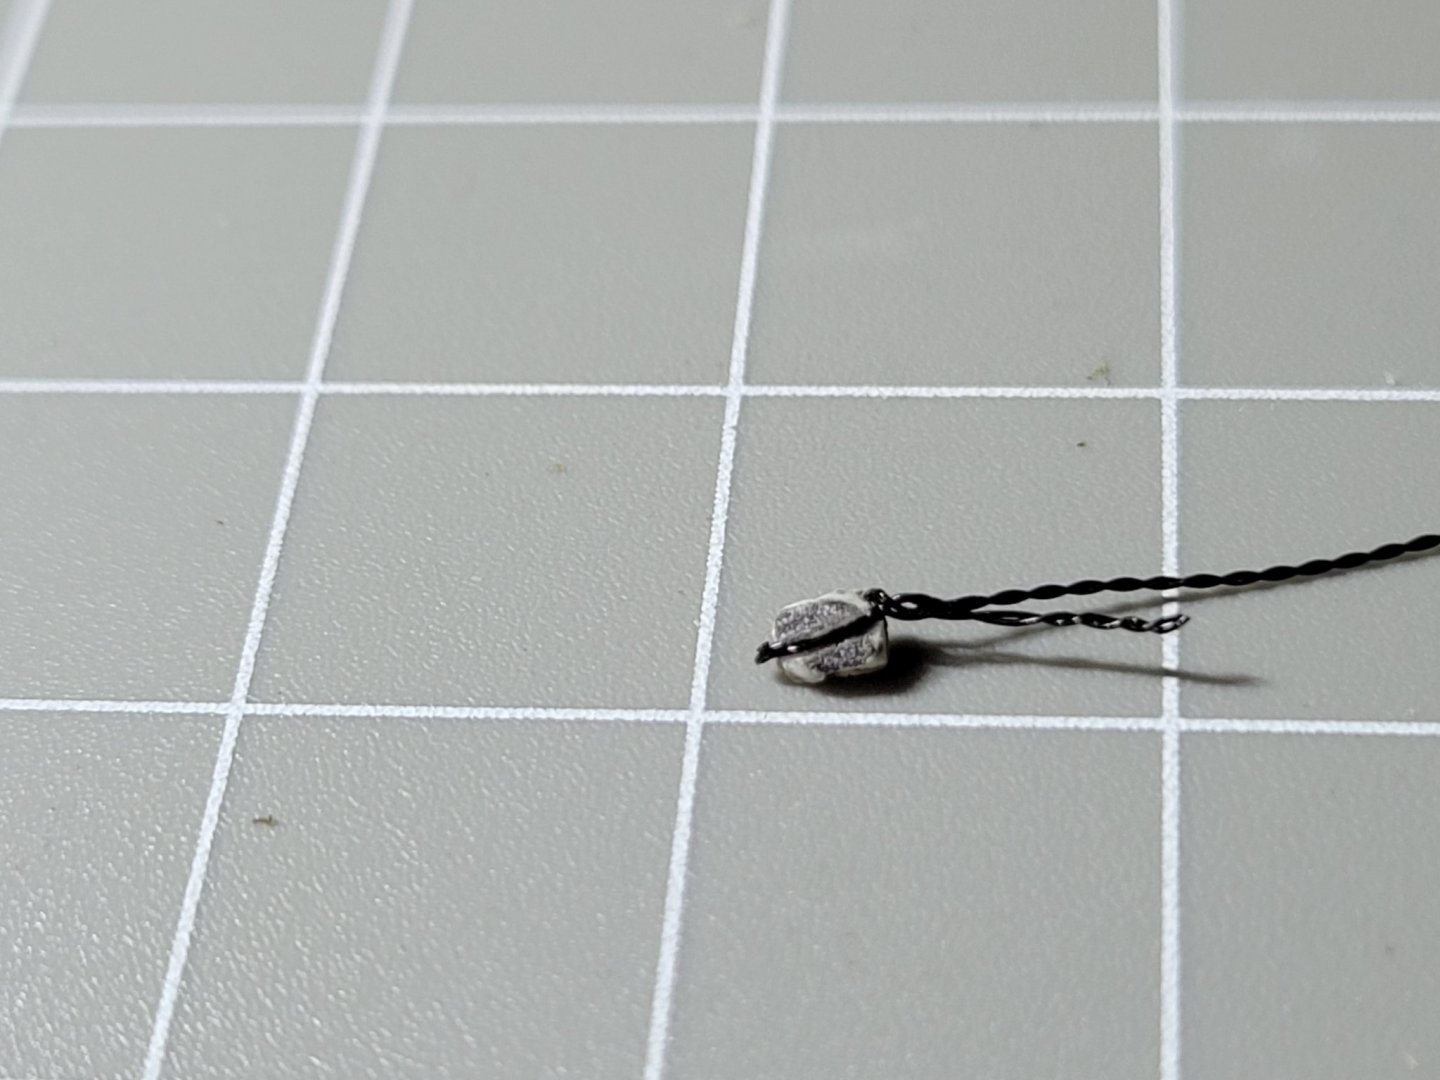
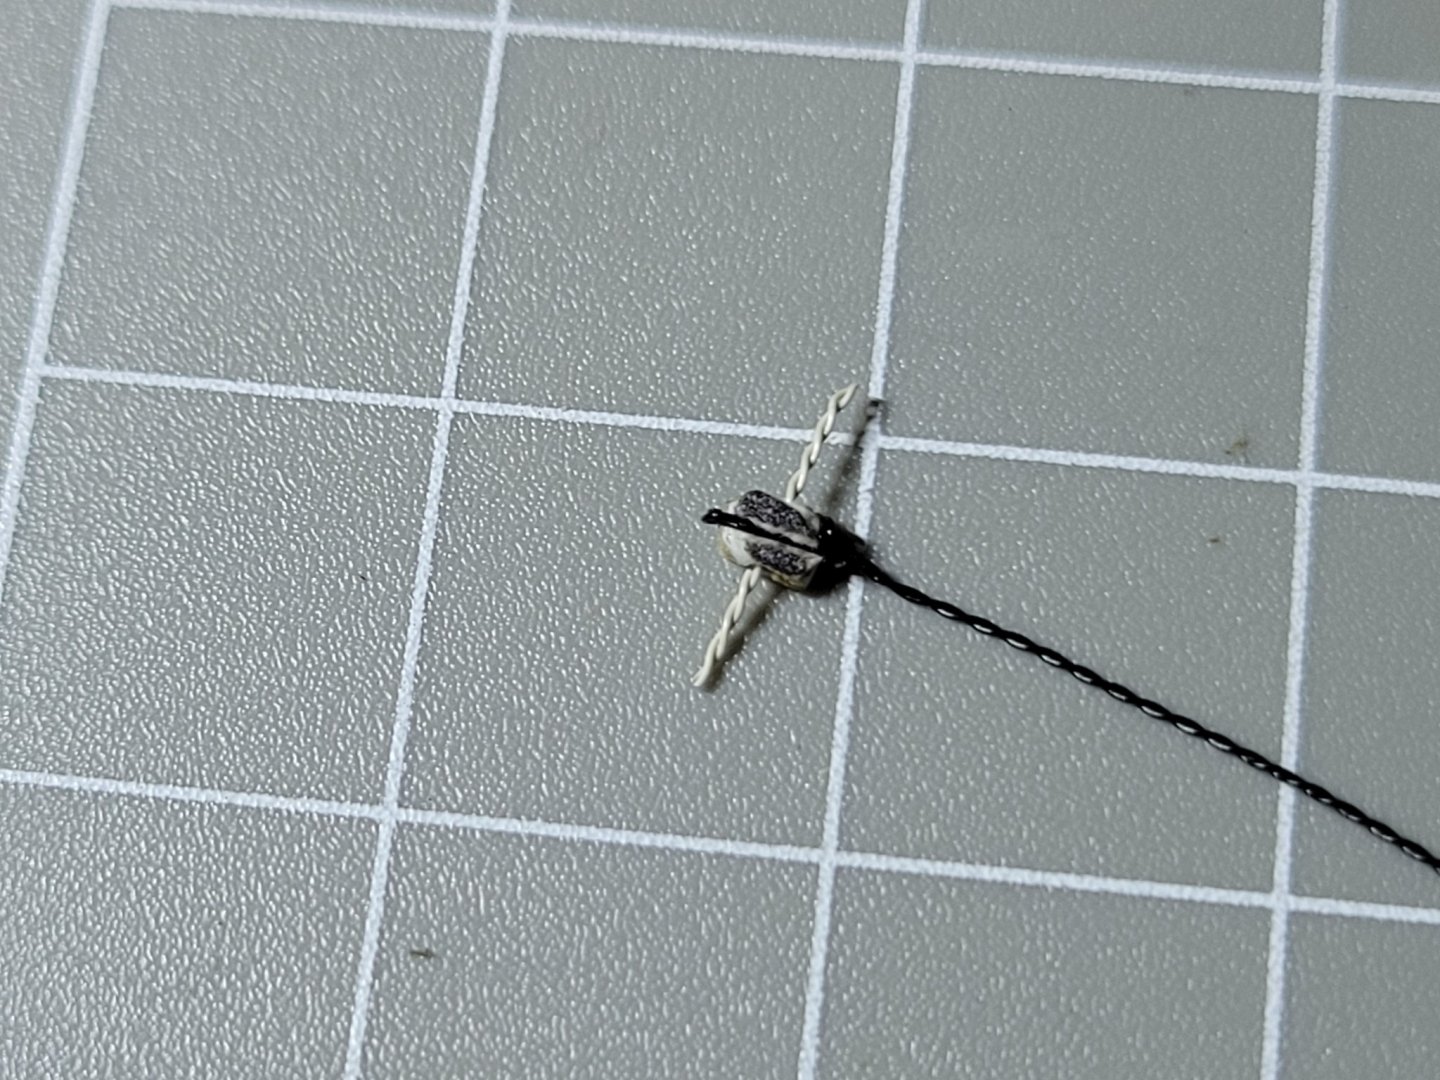
now for some fiddly bits card blocks at this scale are painful i thread them on a wire to keep track of them cut something of a slot by starting with a knife cut and then using the corner of a square file this is rigging that is not indicated on the model plans, it comes from the Ancre plans


- 54 replies
-
- 3
-
-
- allege darles
- wak
- (and 1 more)


.jpg.8ac35ea0b30cccb444aa1762276764a6.jpg)


.jpg.265710fce65e9db09d4357db55e62078.jpg)
.jpg.00a8775c2f1c2c3d4813a5e625b7493c.jpg)


.jpg.874d9413973f4526d1b205d93145cac7.jpg)


.jpg.96232a4c61191e4de3d3d282d4254485.jpg)