HOLIDAY DONATION DRIVE - SUPPORT MSW - DO YOUR PART TO KEEP THIS GREAT FORUM GOING! (Only 24 donations so far out of 49,000 members - C'mon guys!)
×


Bender
-
Posts
213 -
Joined
-
Last visited
Content Type
Profiles
Forums
Gallery
Events
Everything posted by Bender
-
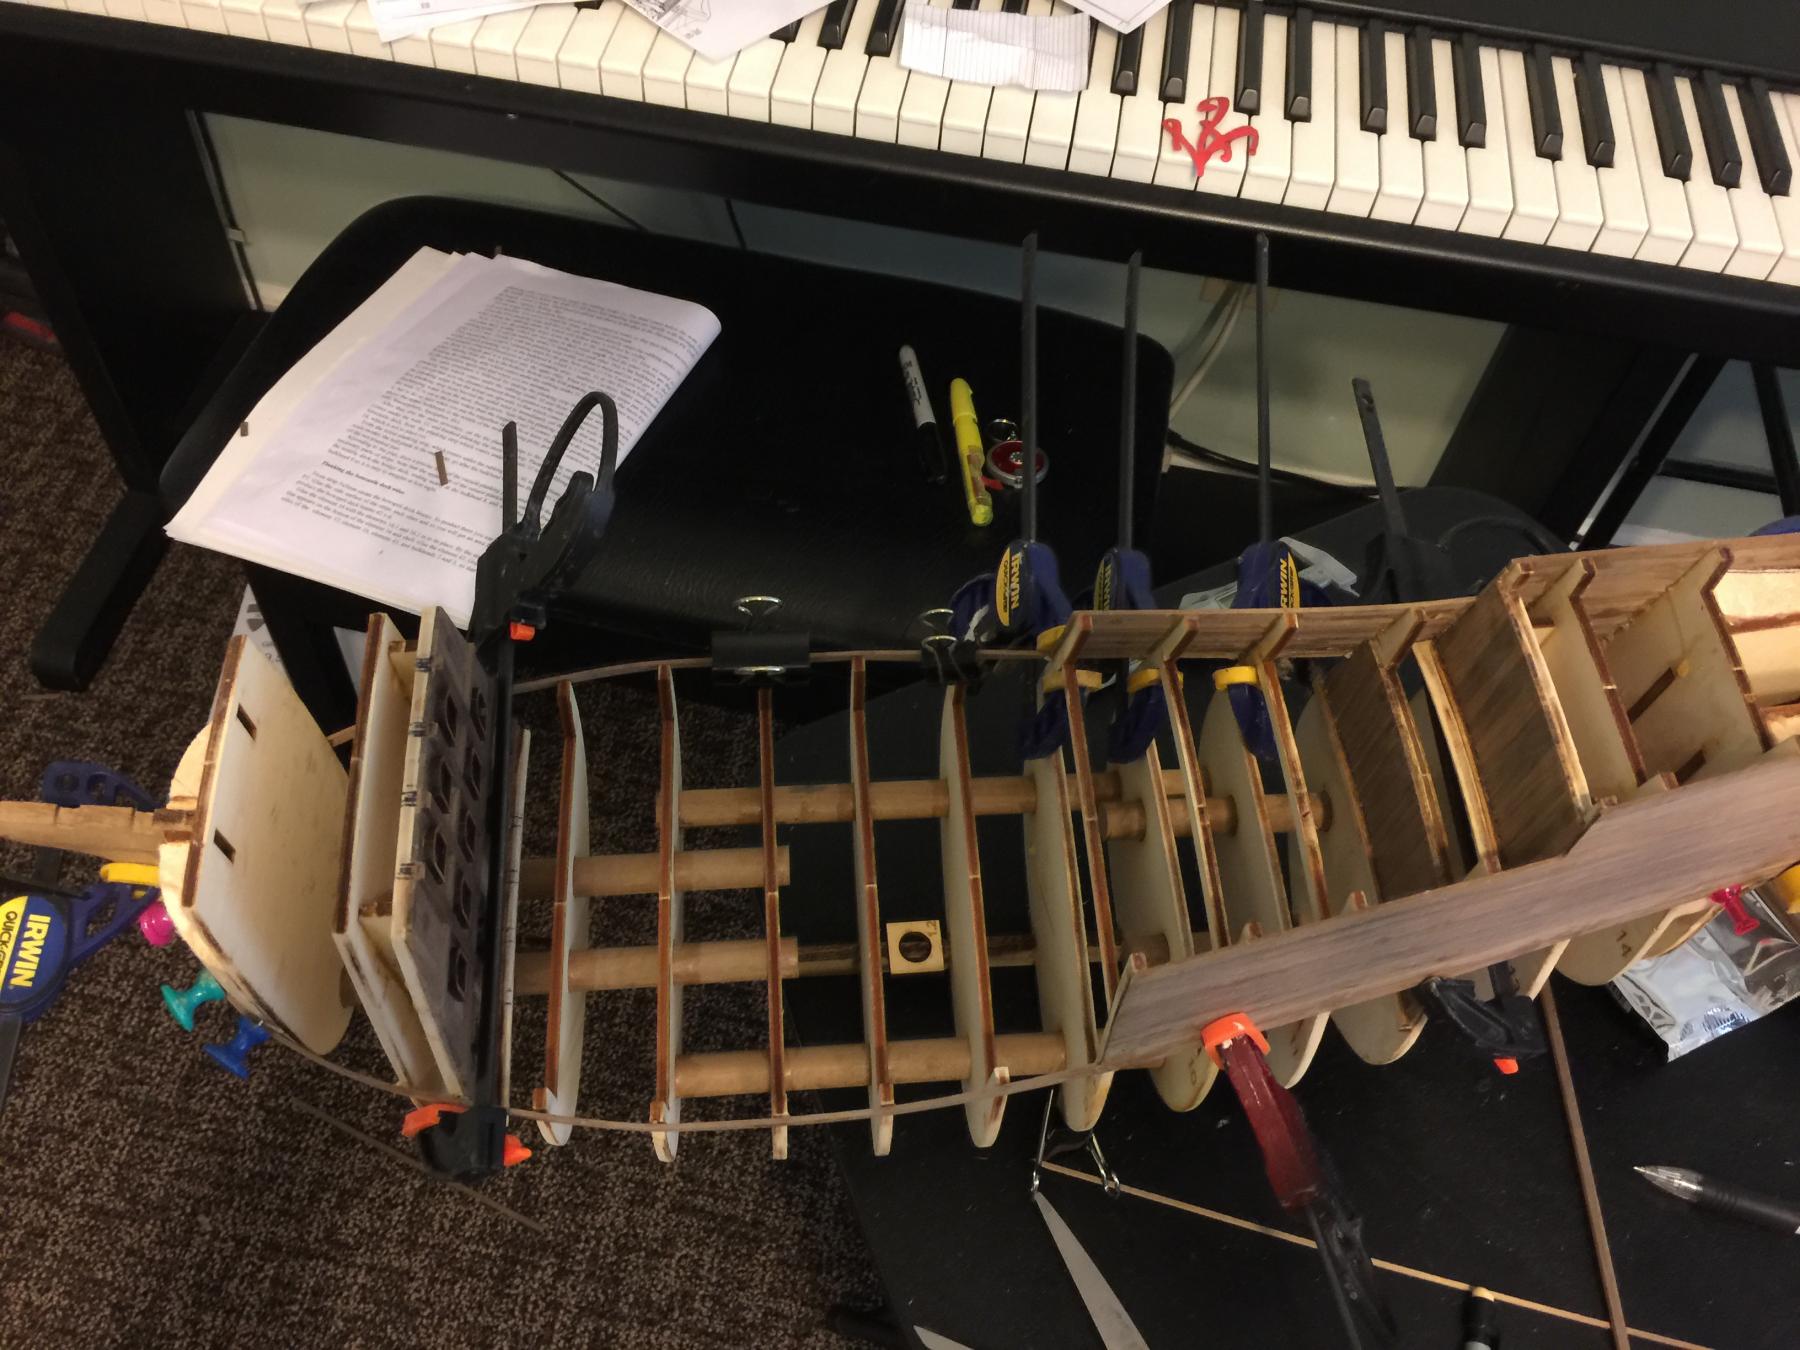
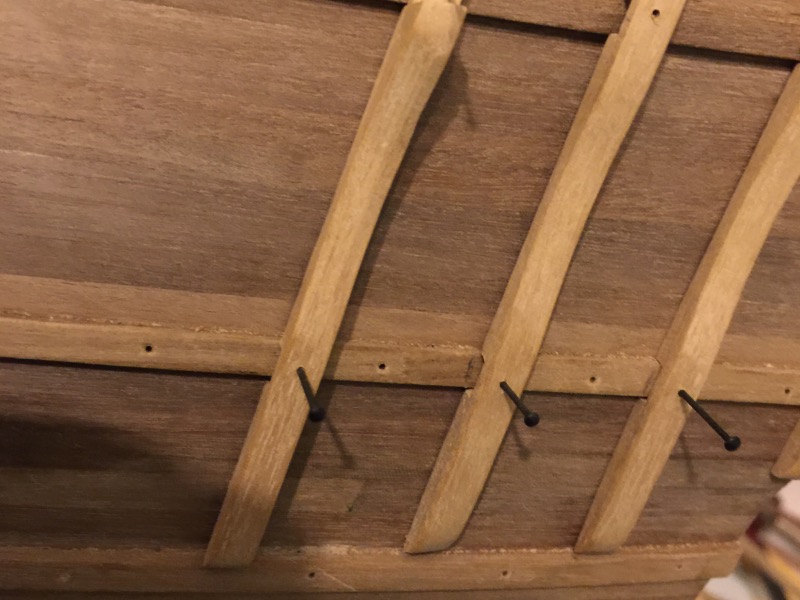
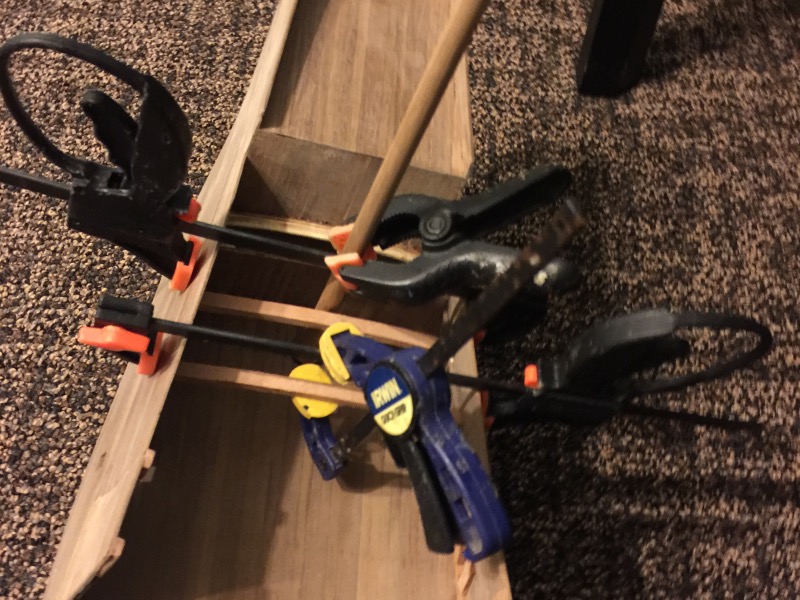
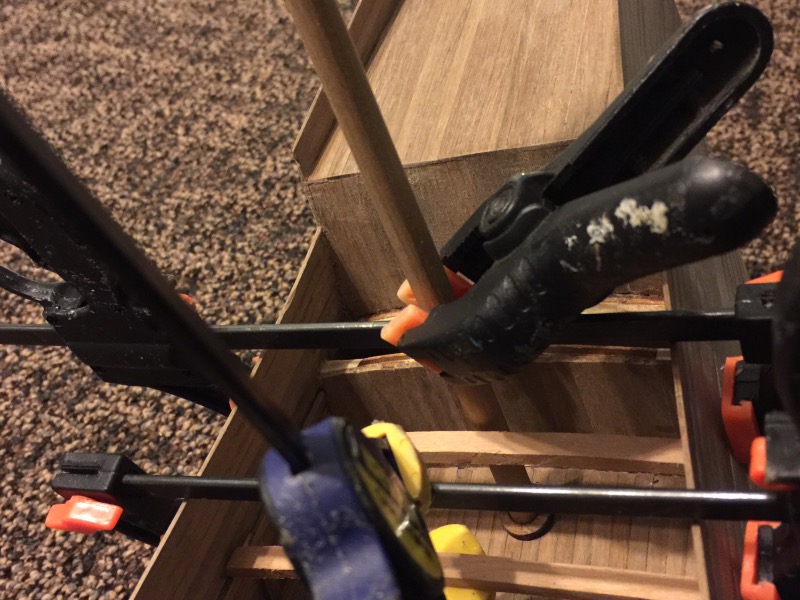
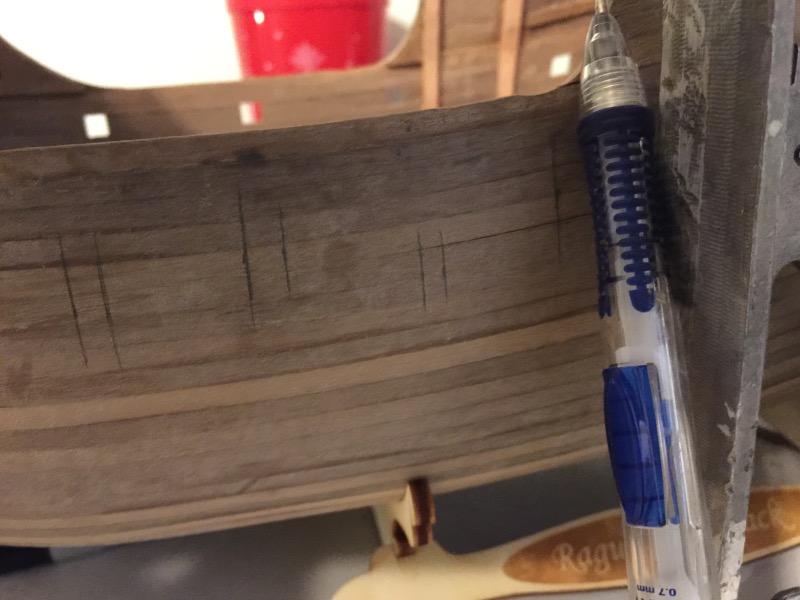
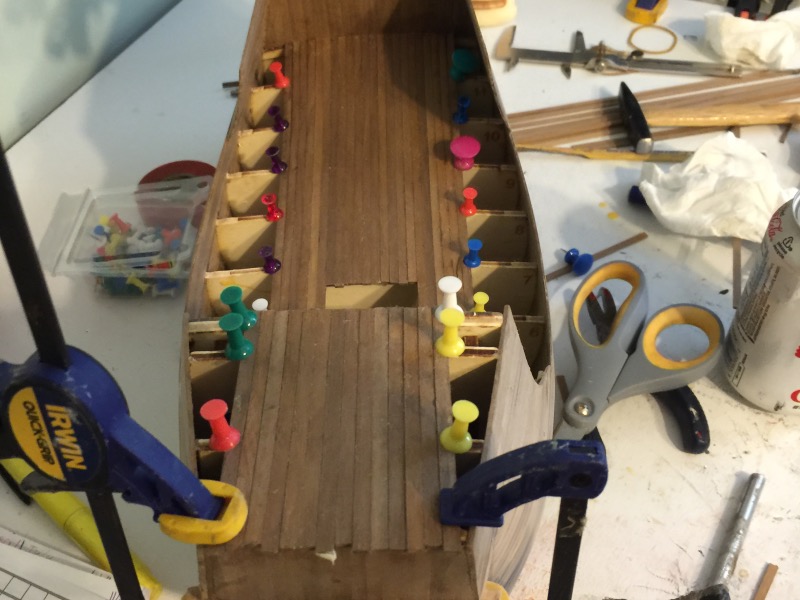
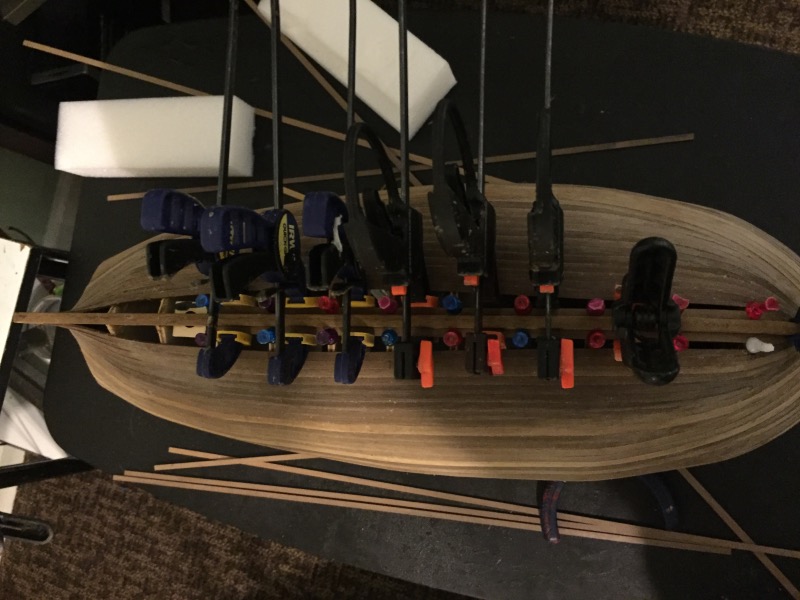
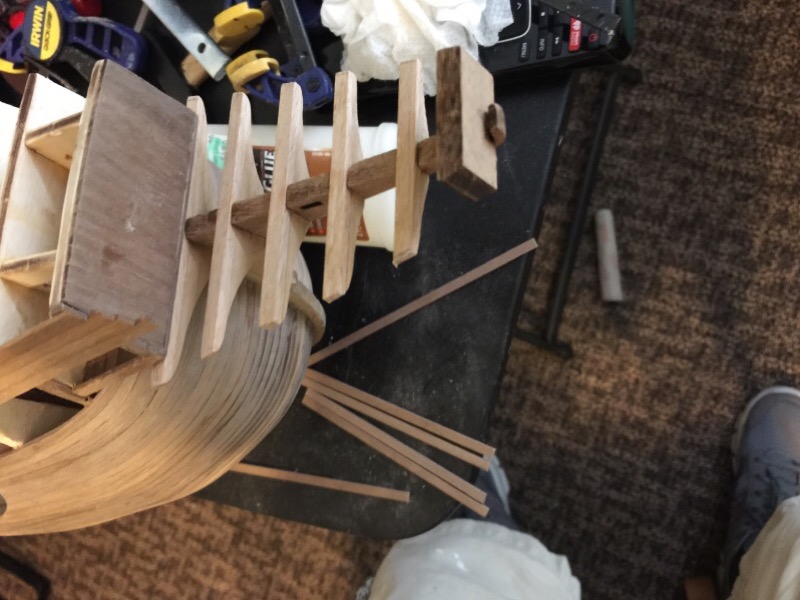
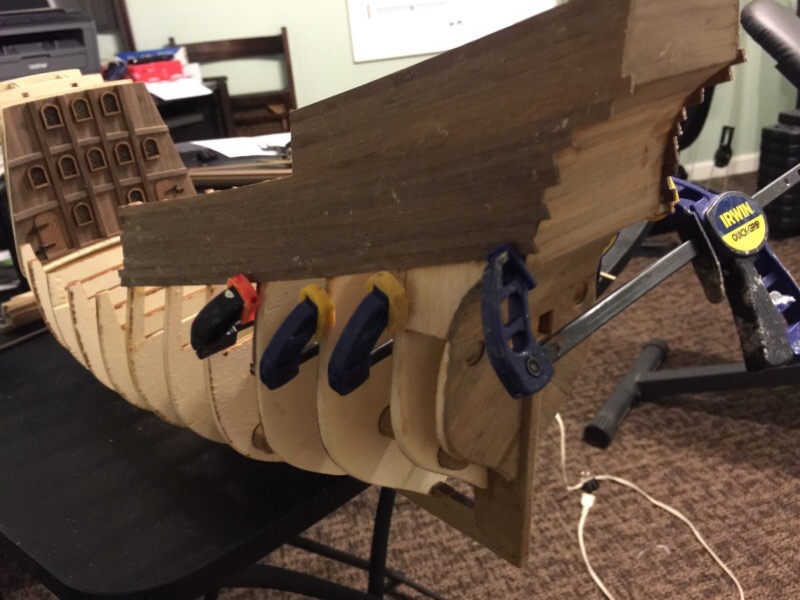
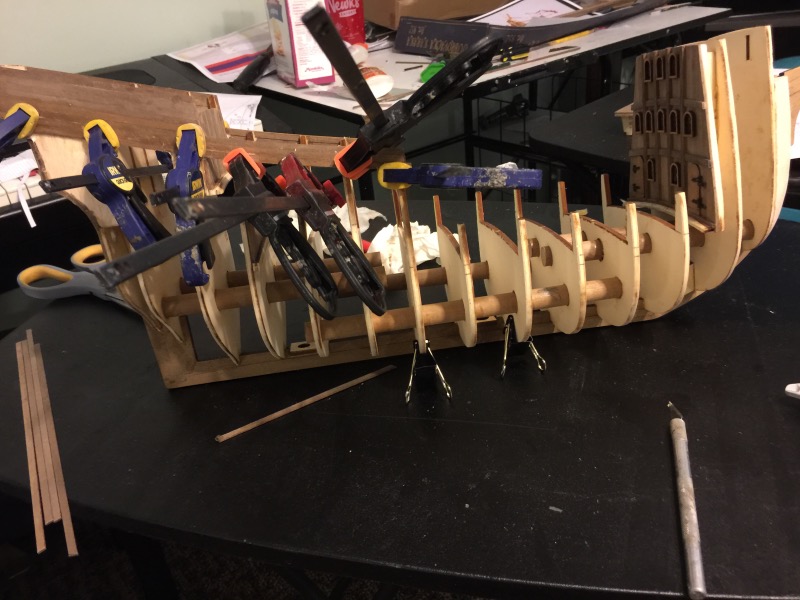
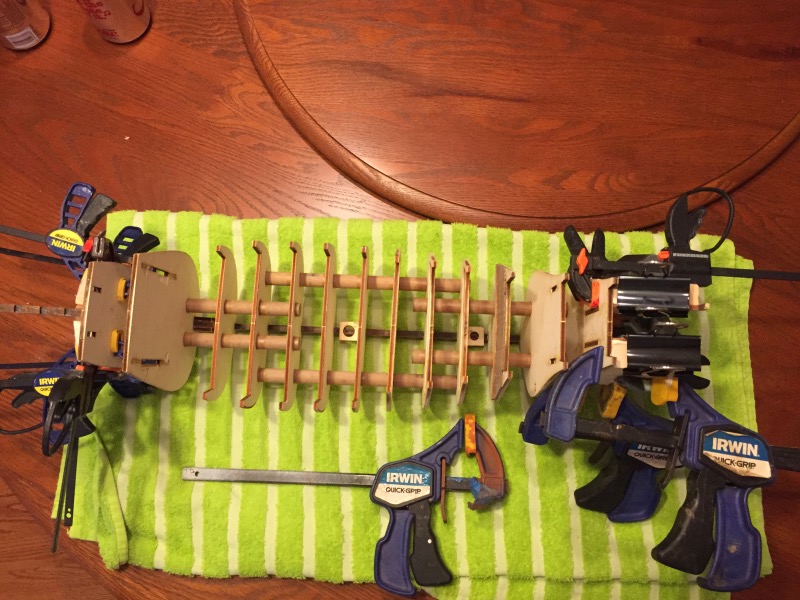
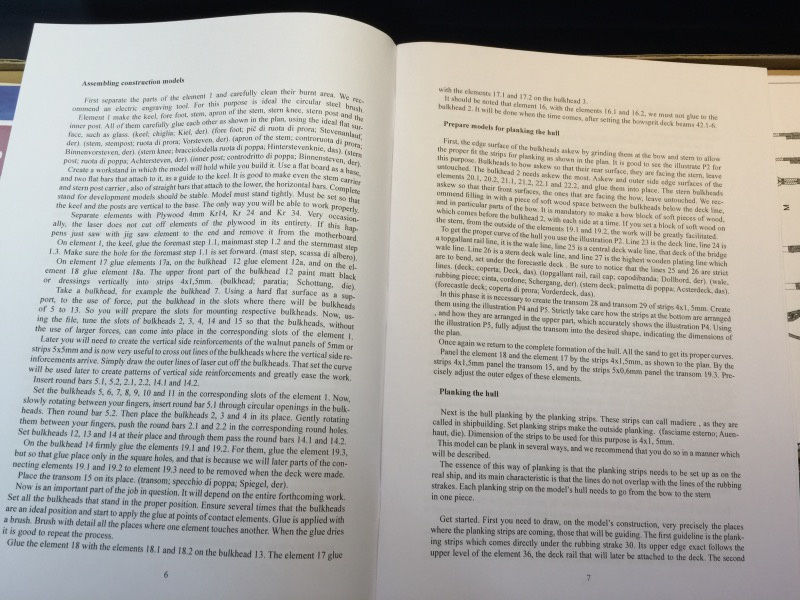
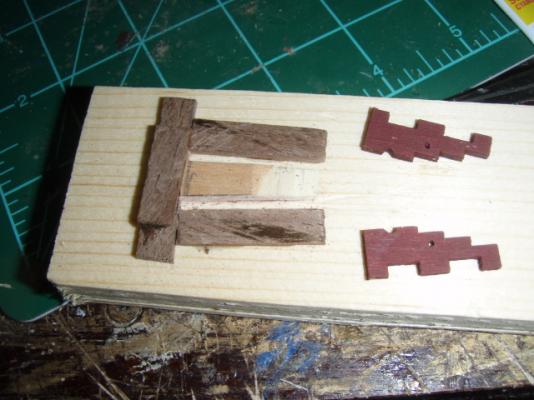
 This picture show the start of the vertical timbers. I measured and pinned the vertical reinforcement timbers in place. I did this in sets of 5 and made sure the five were perpendicular to the keel and parallel with each other.
-
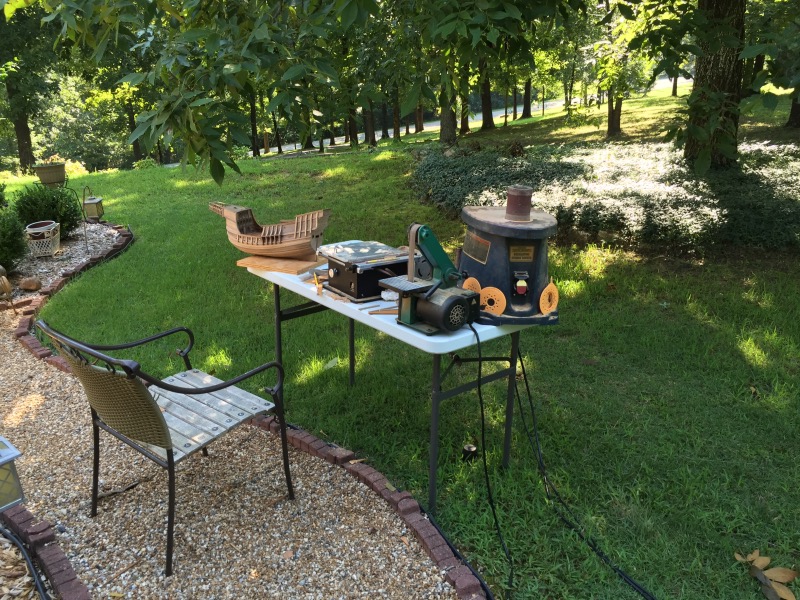
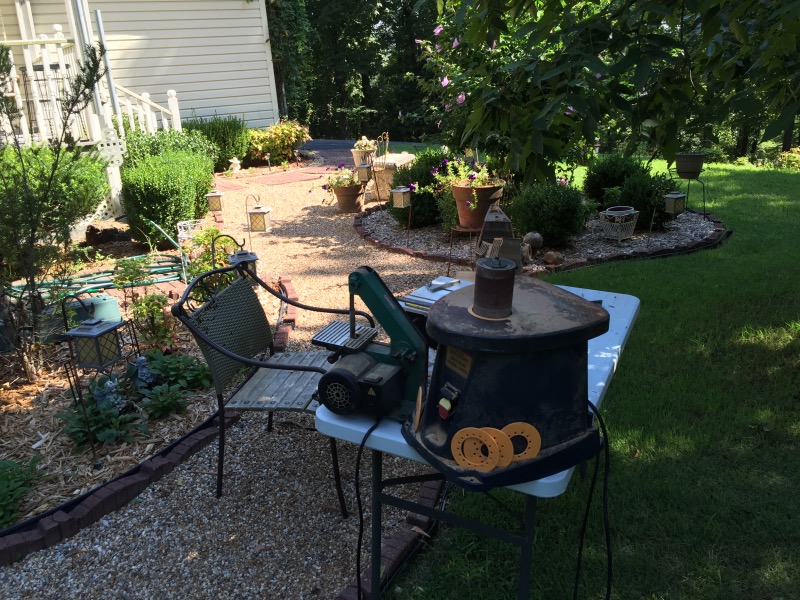
Thank Zoran for looking in on the build. You have made a good kit, but it is a challenge to my rusty skills. Hi Red. You ask about the skill level. The round bow is very hard to plank. It is single planked with 1.5X4mm walnut. I broke a few strips The maker of the kit, Zoran from MarisStella--who made the post right above yours--has written the direction for this kit with a skilled person in mind.. This would not be a good choice as a first kit but third, fourth, or fifth would be okay. This is my twelve the kit. Don, on the mitres I use paper board and "cut and check" until I have it. And I still end up throwing away some wood pieces. I don't have any updates but wanted to show a picture of my work shop. I try to get outside early while it s cool and cut enough pieces to keep me busy inside. It was 92*F or 33* C today when I finally went in. I am about a week behind in posting pictures.
-
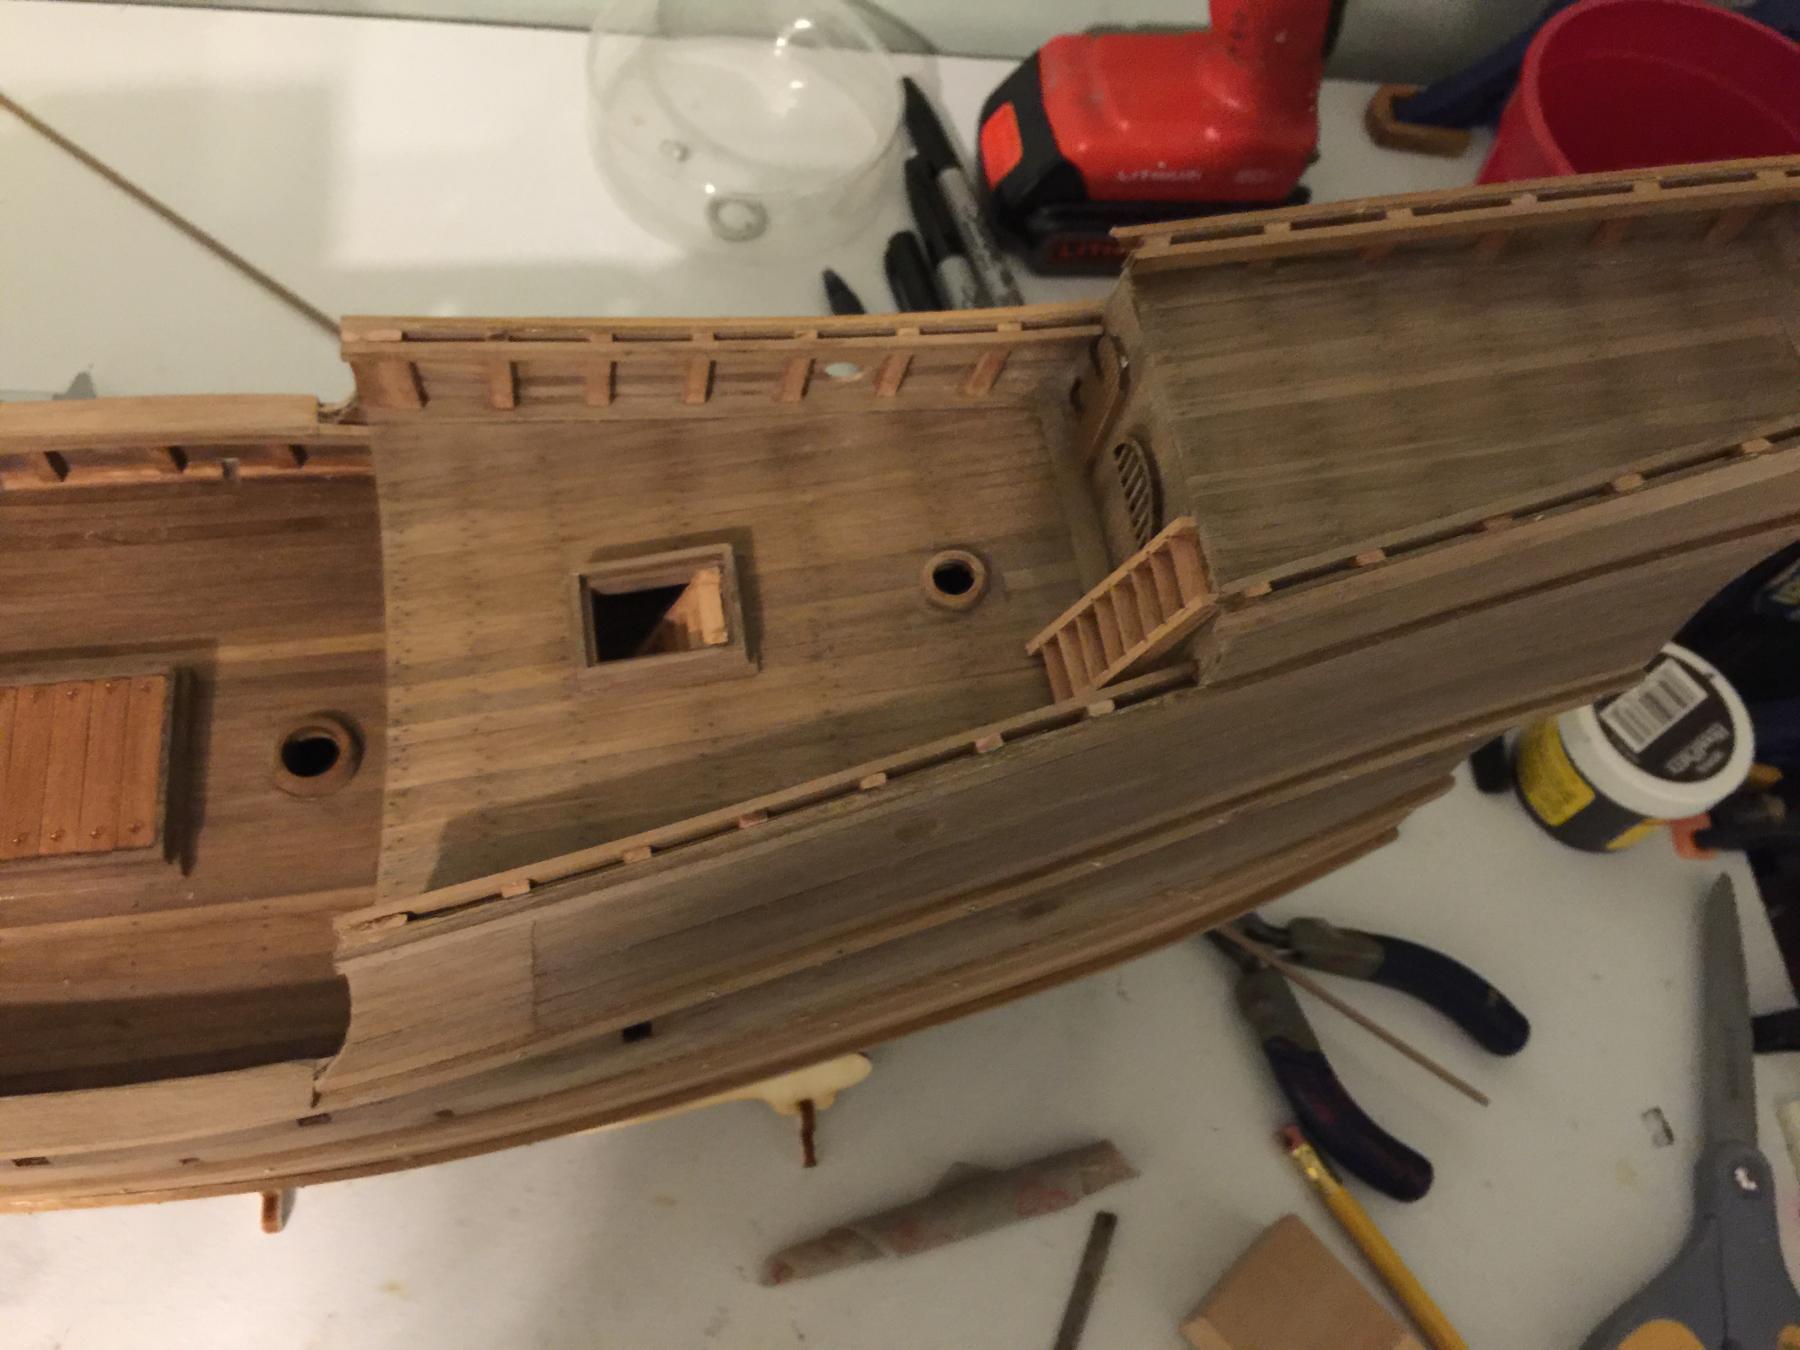
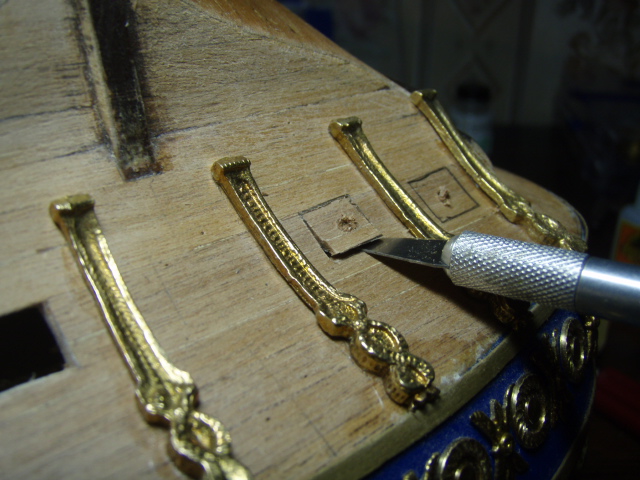
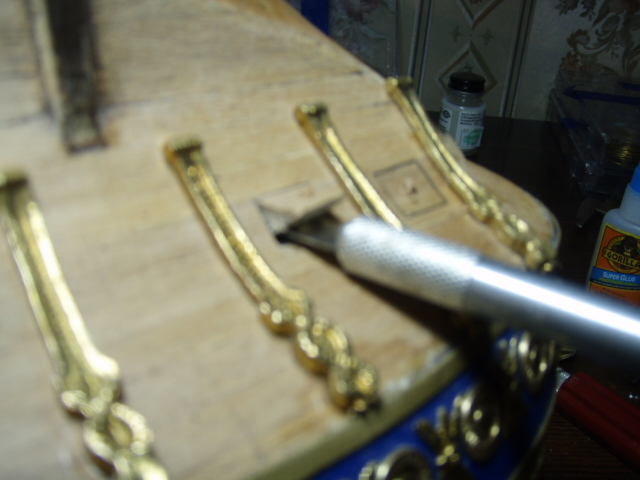
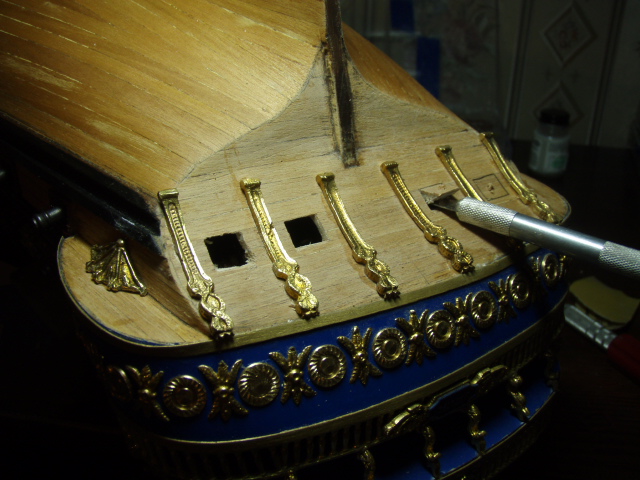
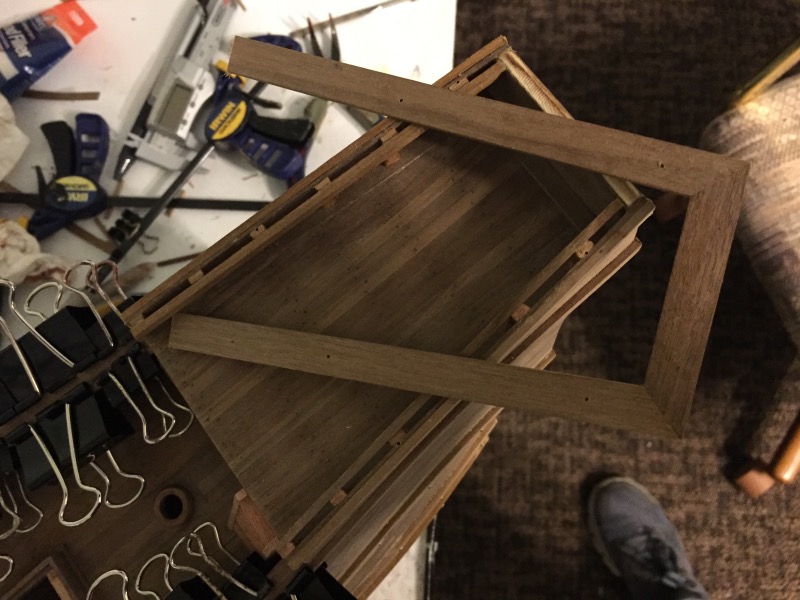
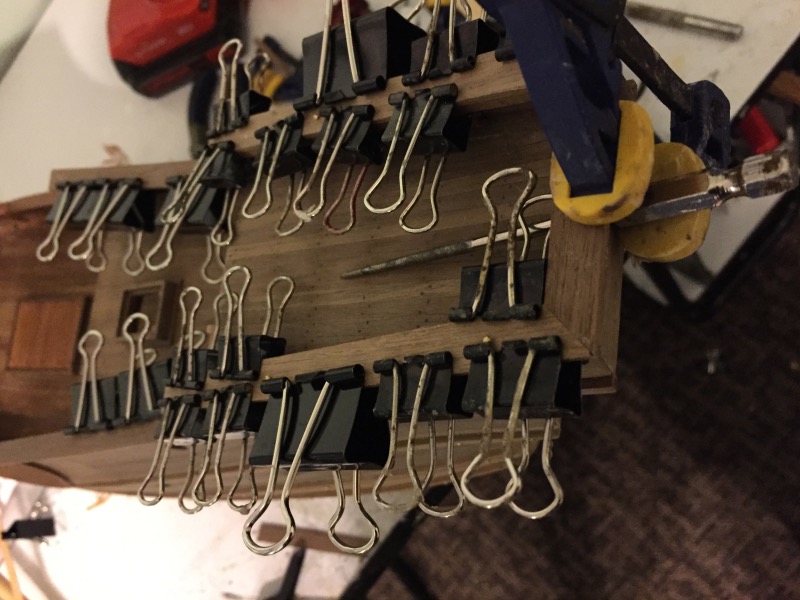
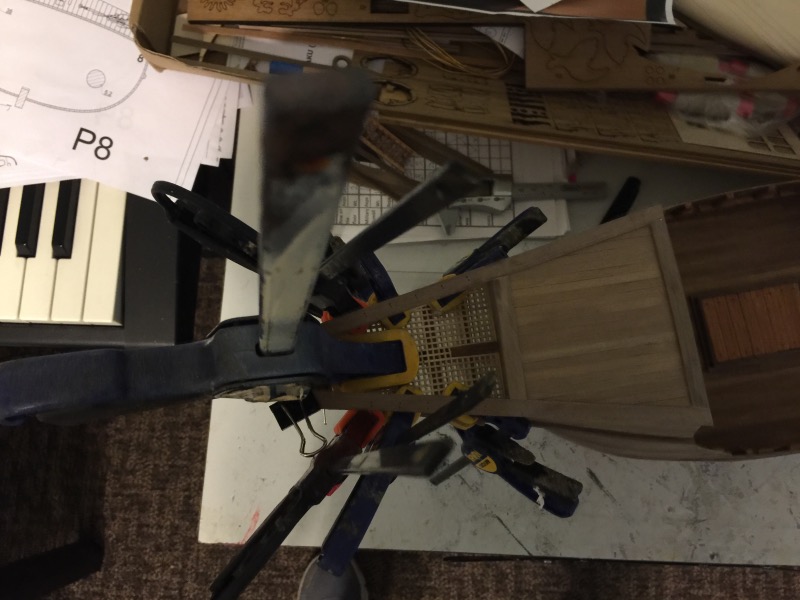
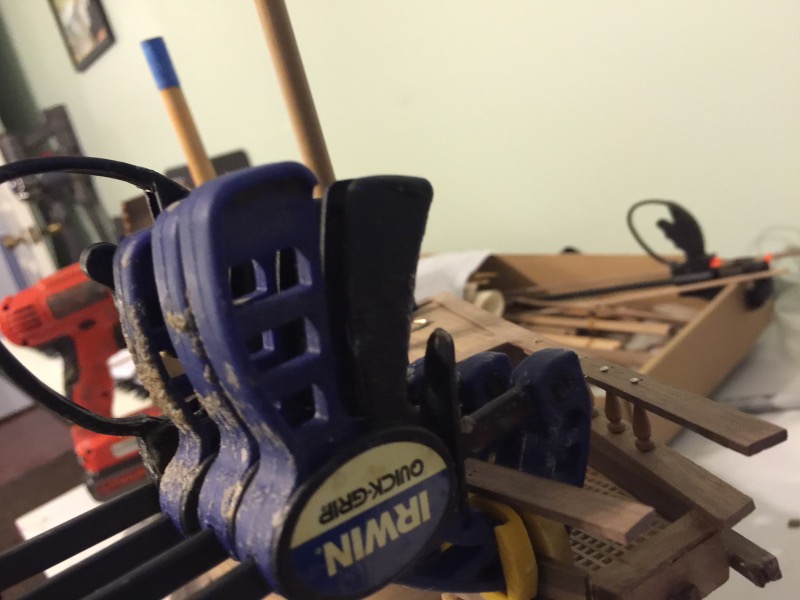
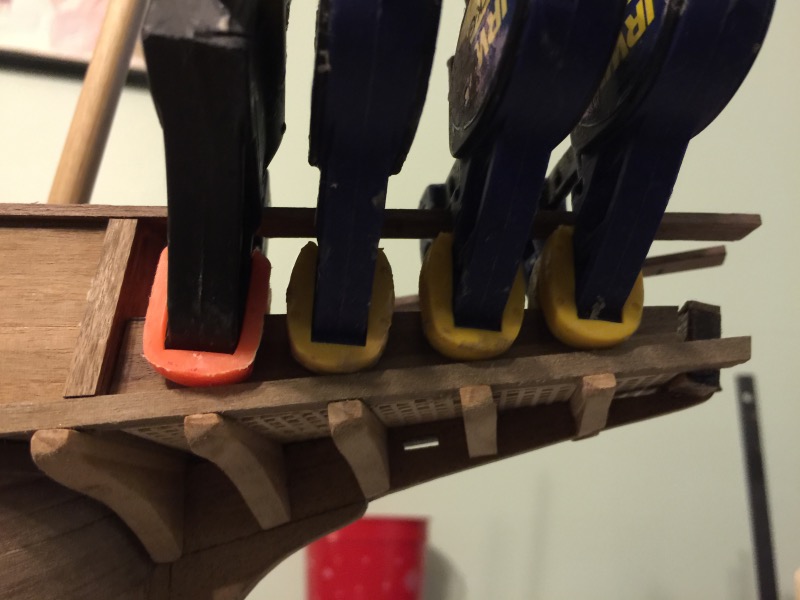
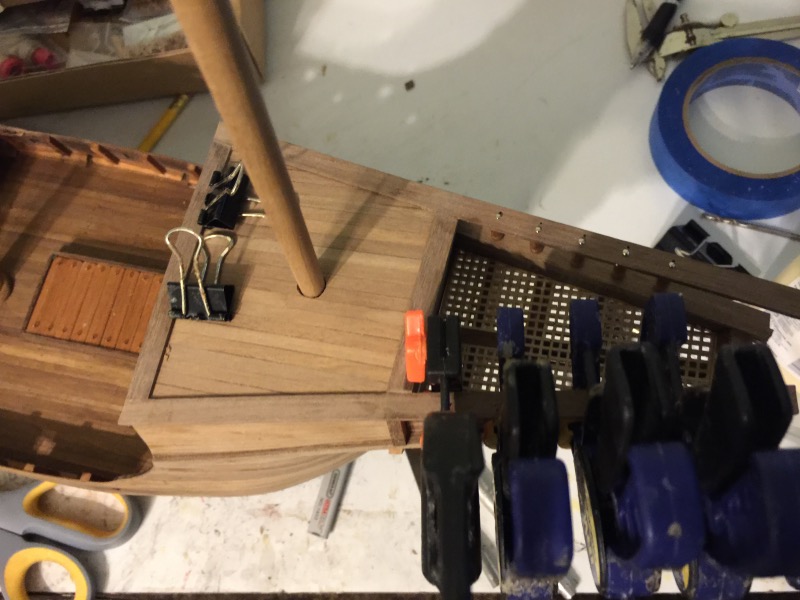
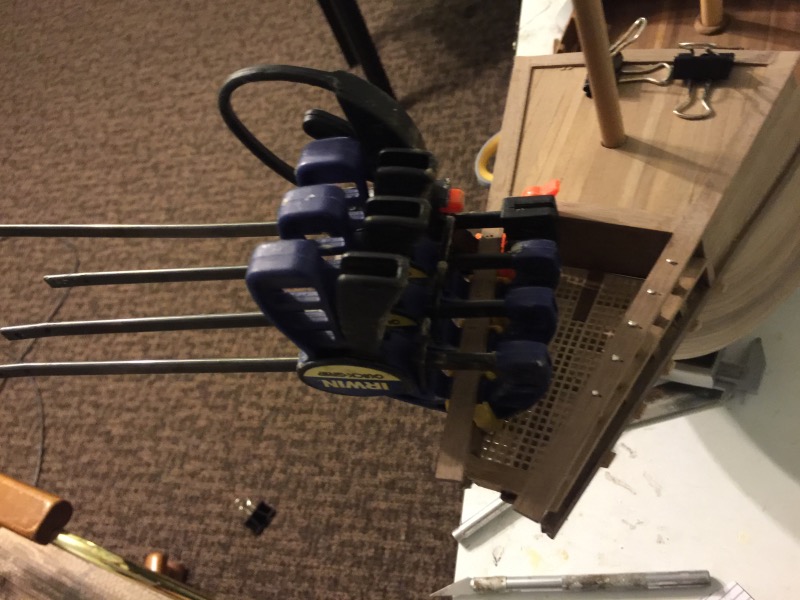
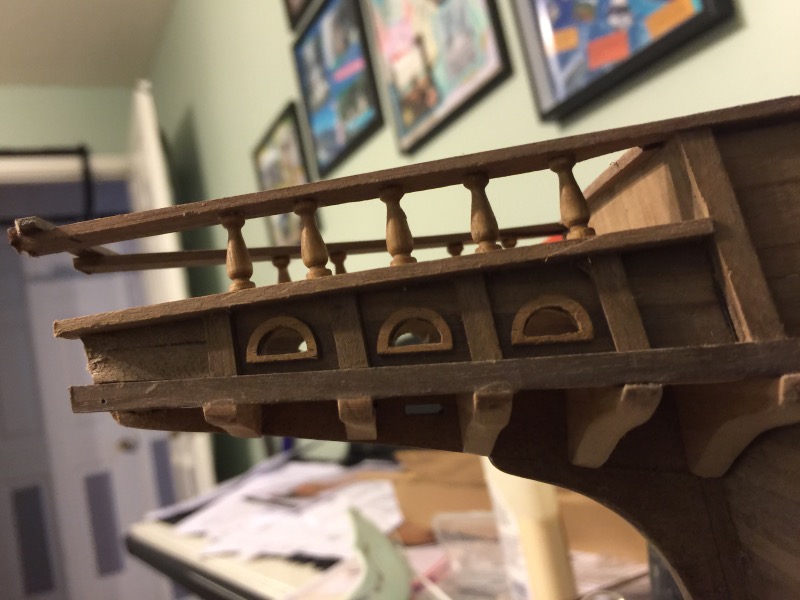
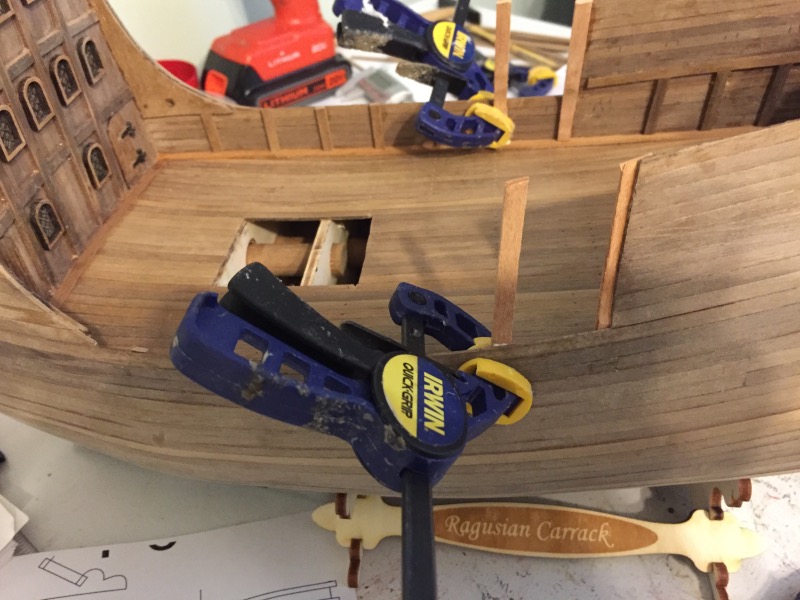
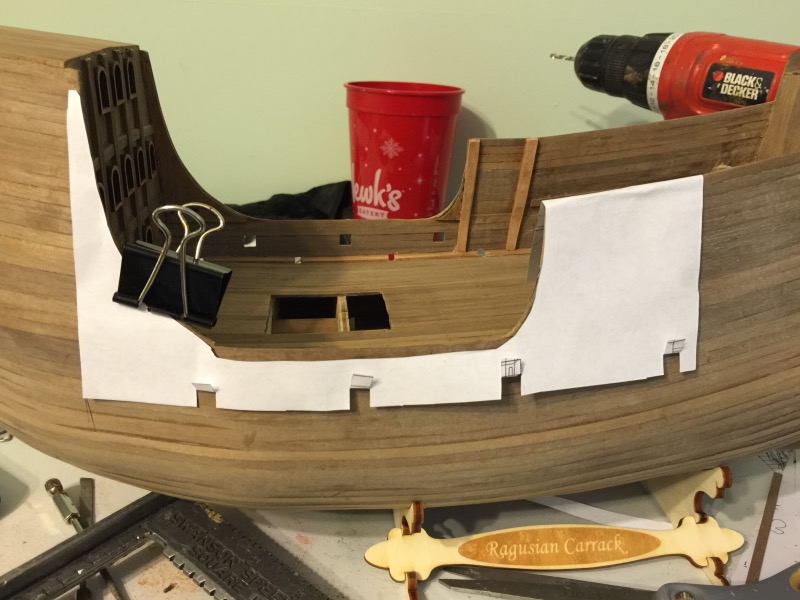
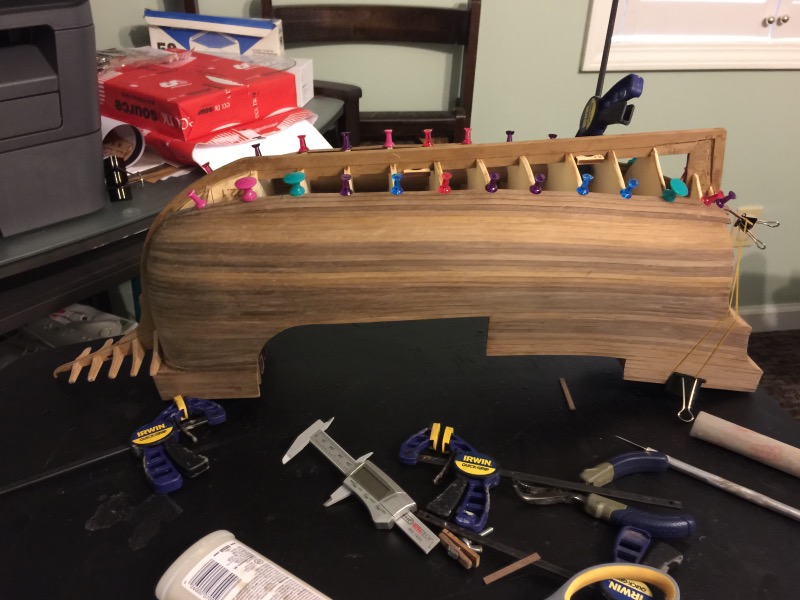
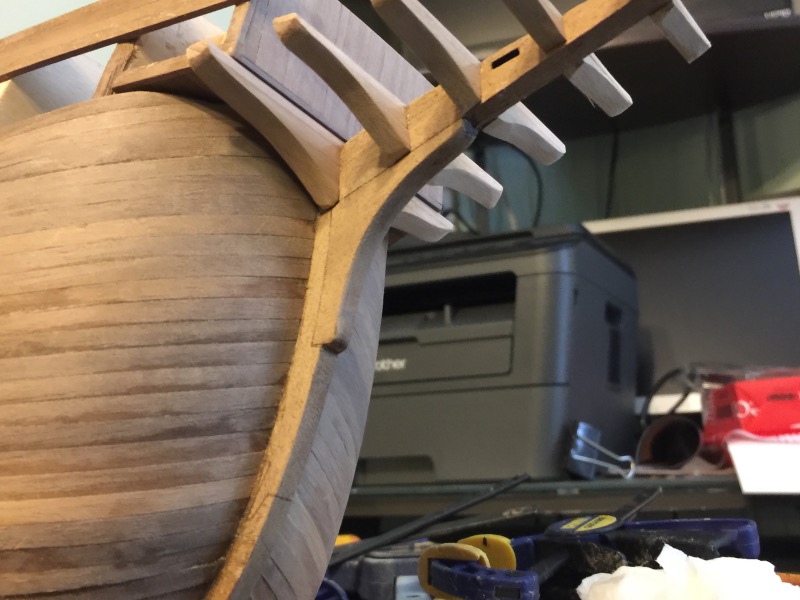
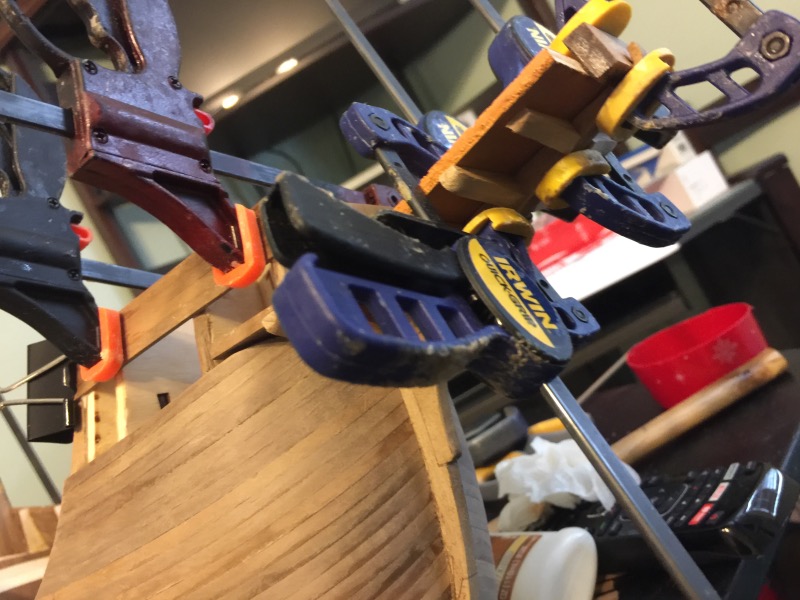
Hi Don. I have been playing around with linseed oil. I like how it looks on this light colored walnut. I've never used it before so I need to read up on some how tos. I started attaching the top gallant rails. I need to add some explanation here. The plans did not have the top gallant rail curving up from horizontal on the bulwark to vertical up the back side of the forecastle and font side the bridge deck. The plans had the rail running parallel to the main deck between the fore castle and bridge deck. And then once the rail was in place, breakwaters were placed on top of the rail and against the forecastle. I had a hard time matching the mitered edges while attaching this rail on the aft deck, so I glued the edges together first. It was much easier this way. Sometimes you just have to stop and clean up the mess.
-
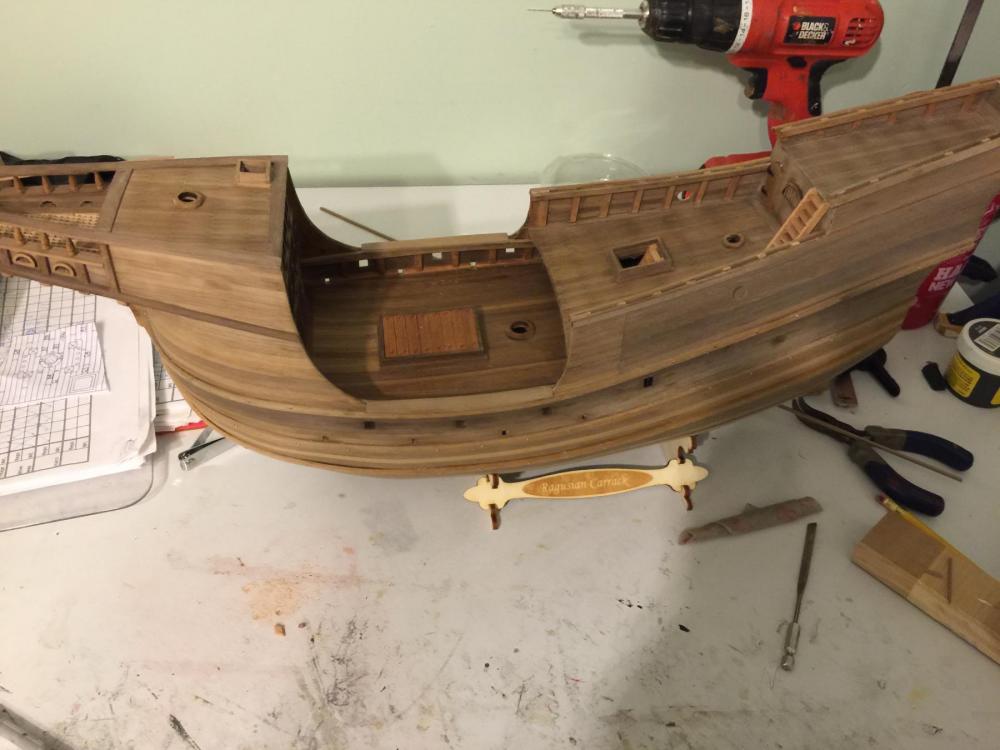
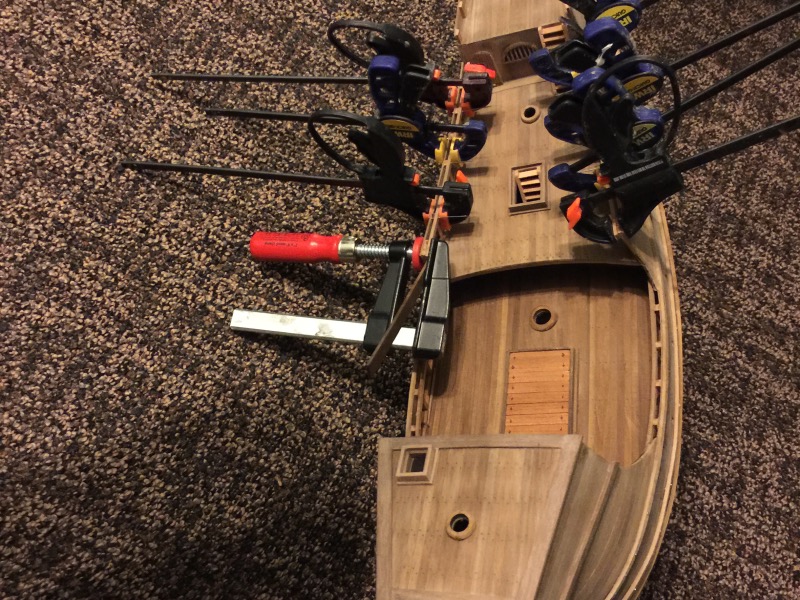
I did a lot of sanding on the hull and deck, and attached a few more pieces.


-
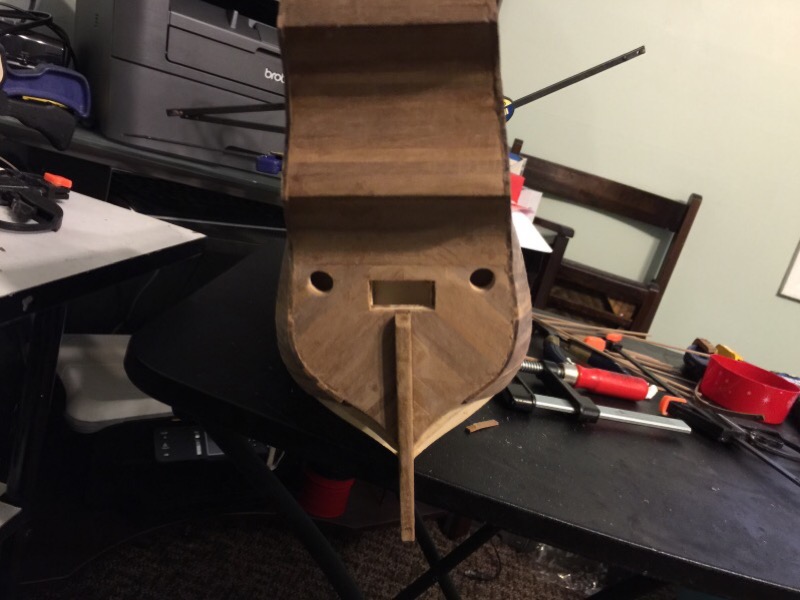
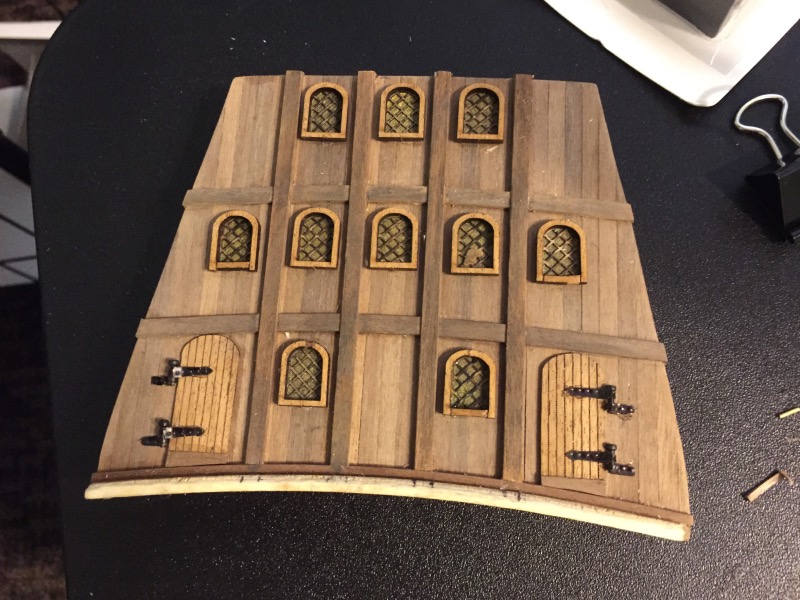
Thanks Mark, Red and Don for looking in and for your comments, and thanks all for all the "likes" Here are some pictures I took while building the head.

-
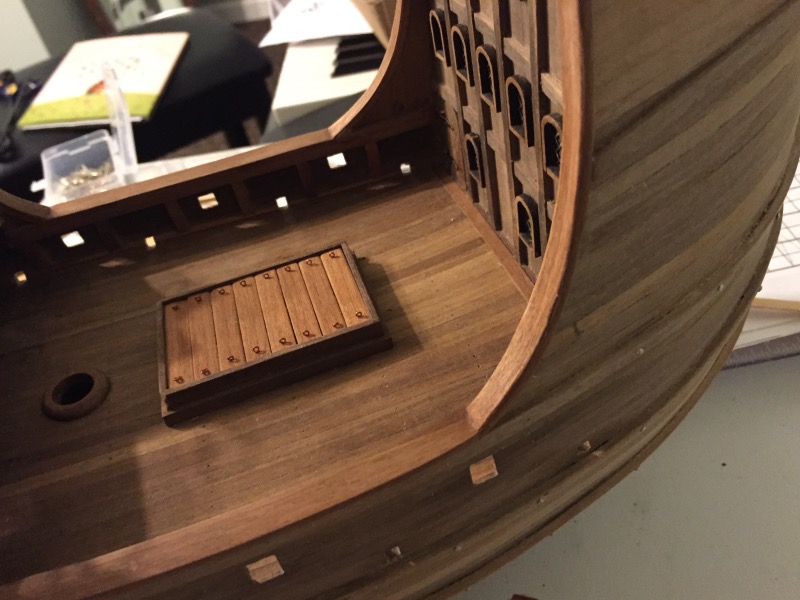
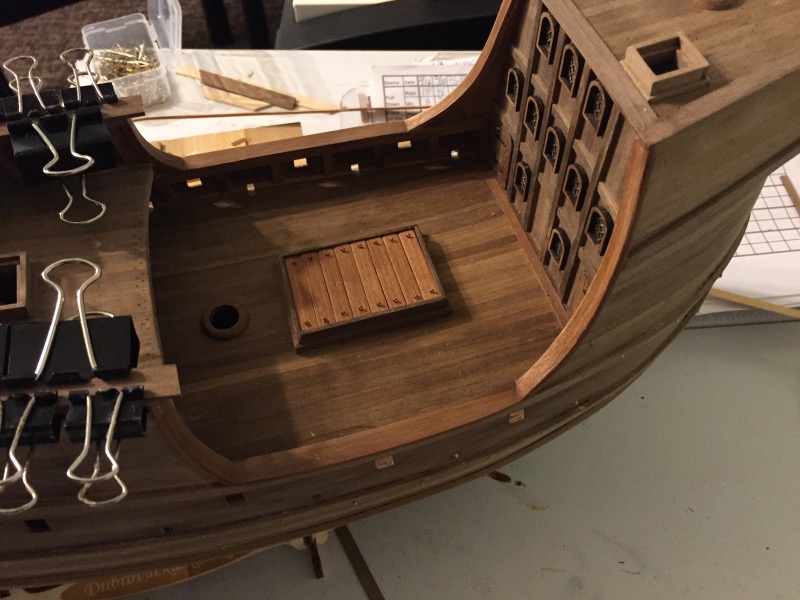
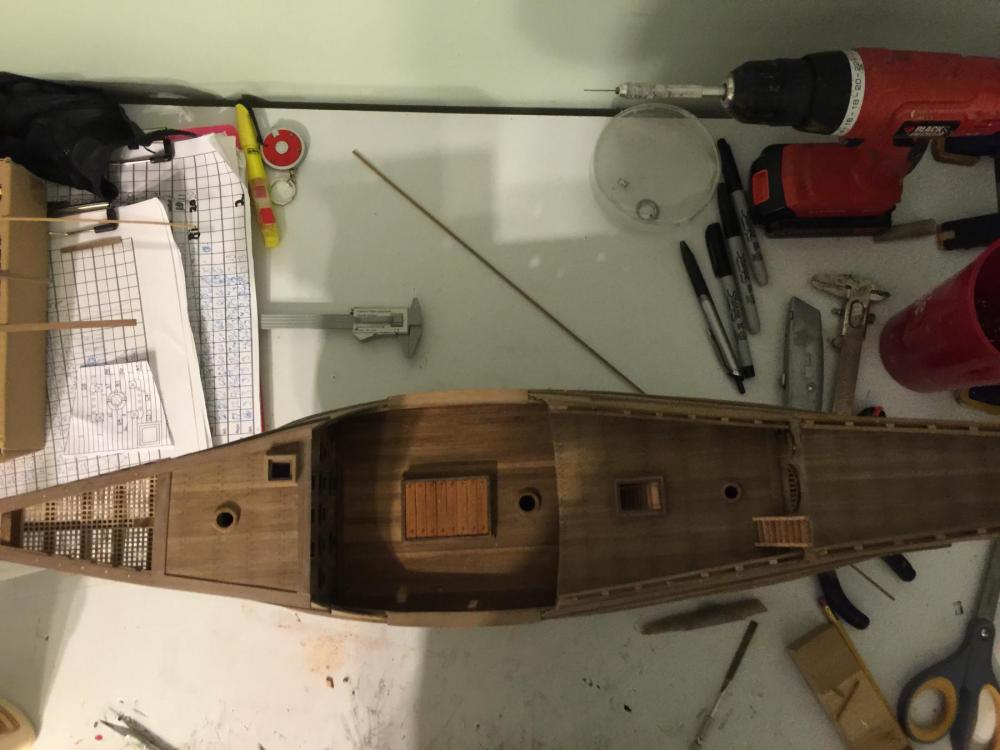
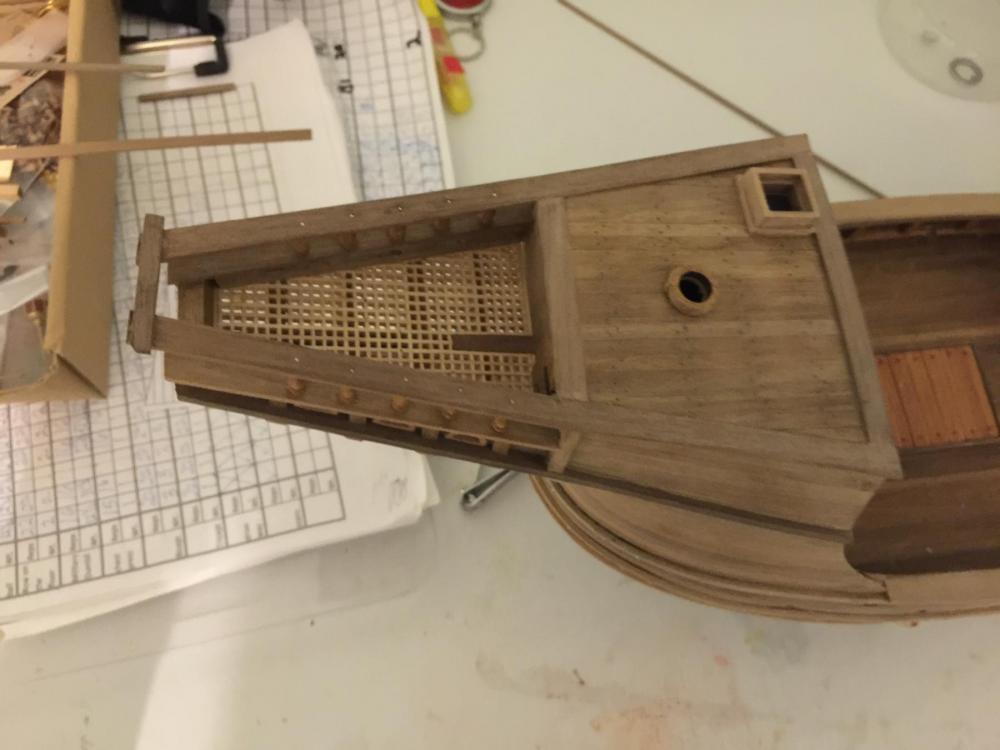
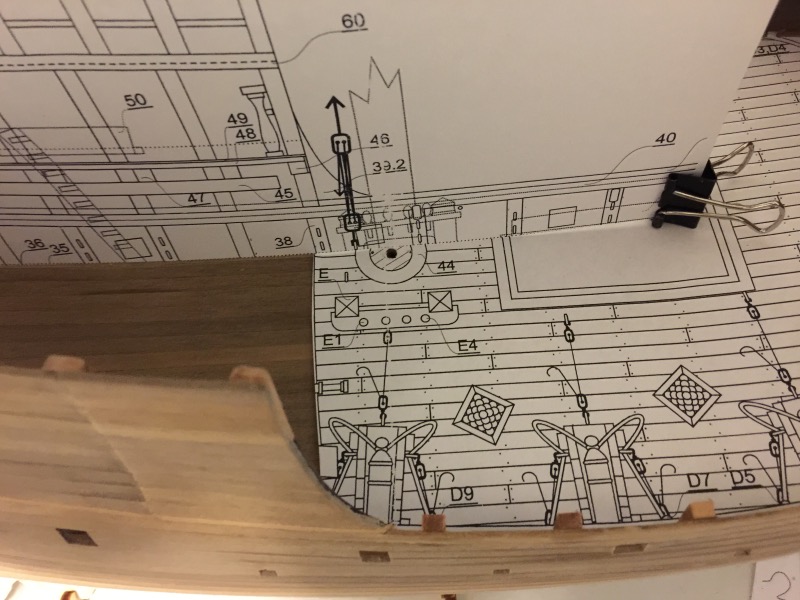
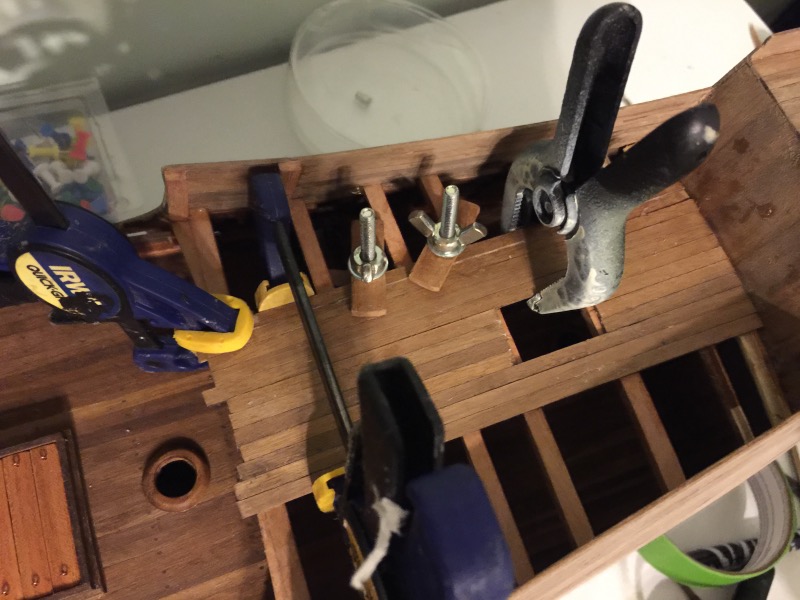
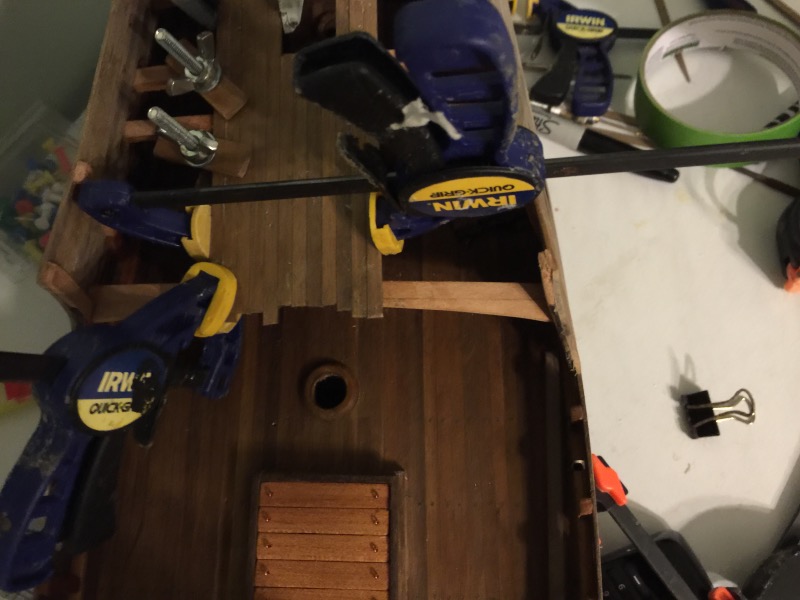
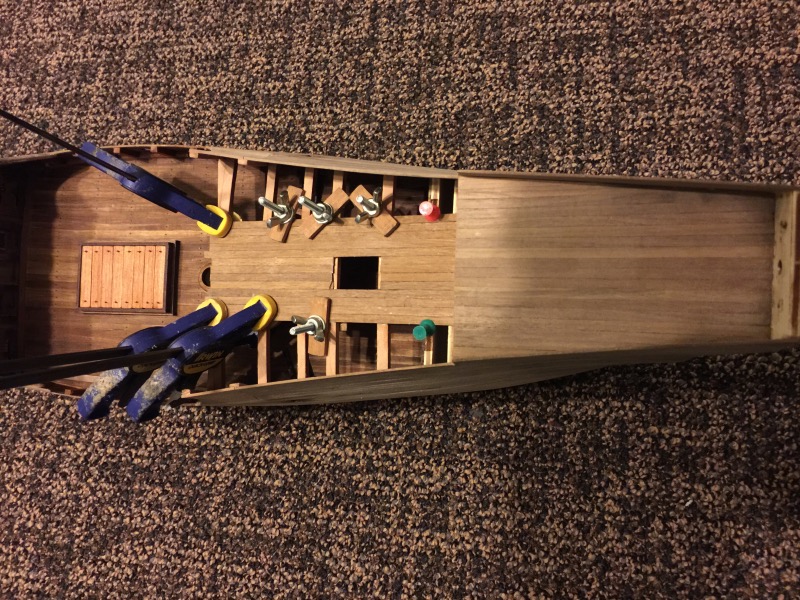
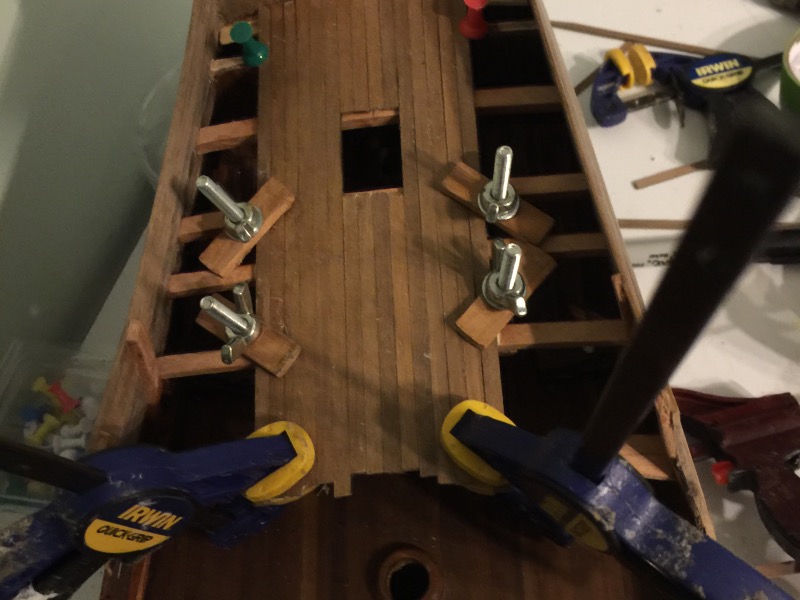
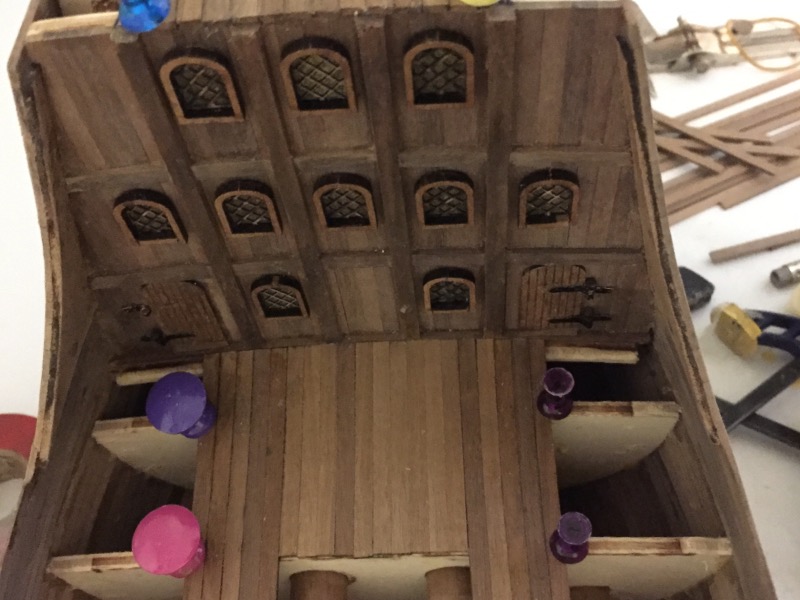
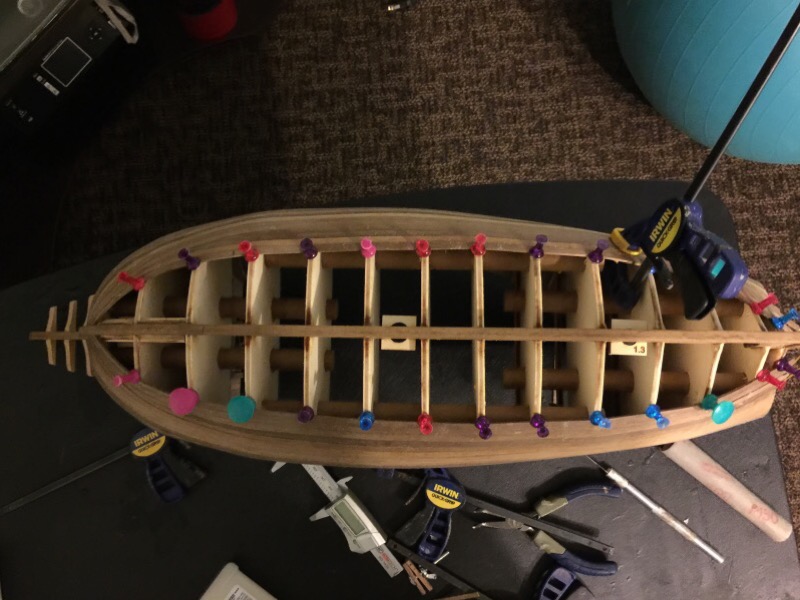
I'm about two weeks behind in posting pictures. After finishing the decking on the main deck, the bridge deck comes next. I first needed to cut the holes for the main mast and mizzen mast. Here a picture of marking the main mast hole. The directions said to use the supplied 4X4 walnut and bend to the correct shape or cut and shape from a larger pieces. I had some cherry wood, and decide it would be easier to cut and shape the beams. . These last pictures show the decking going down.
-
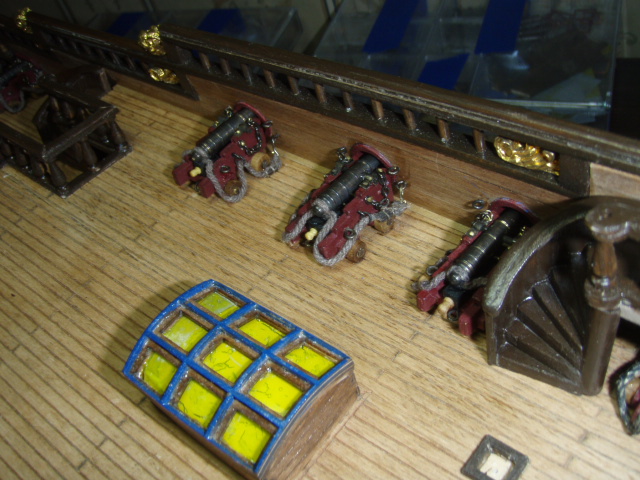
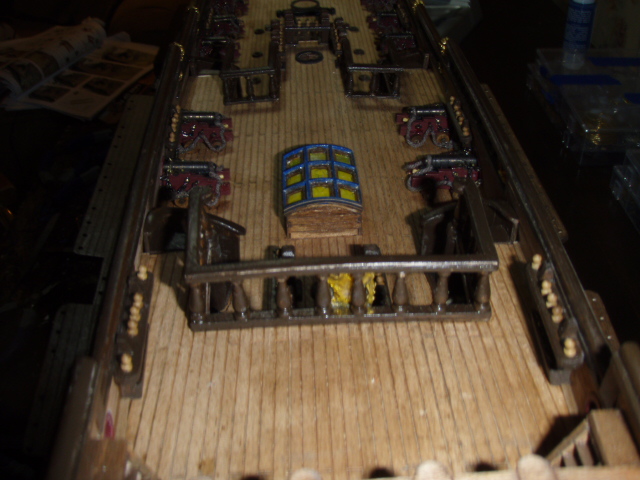
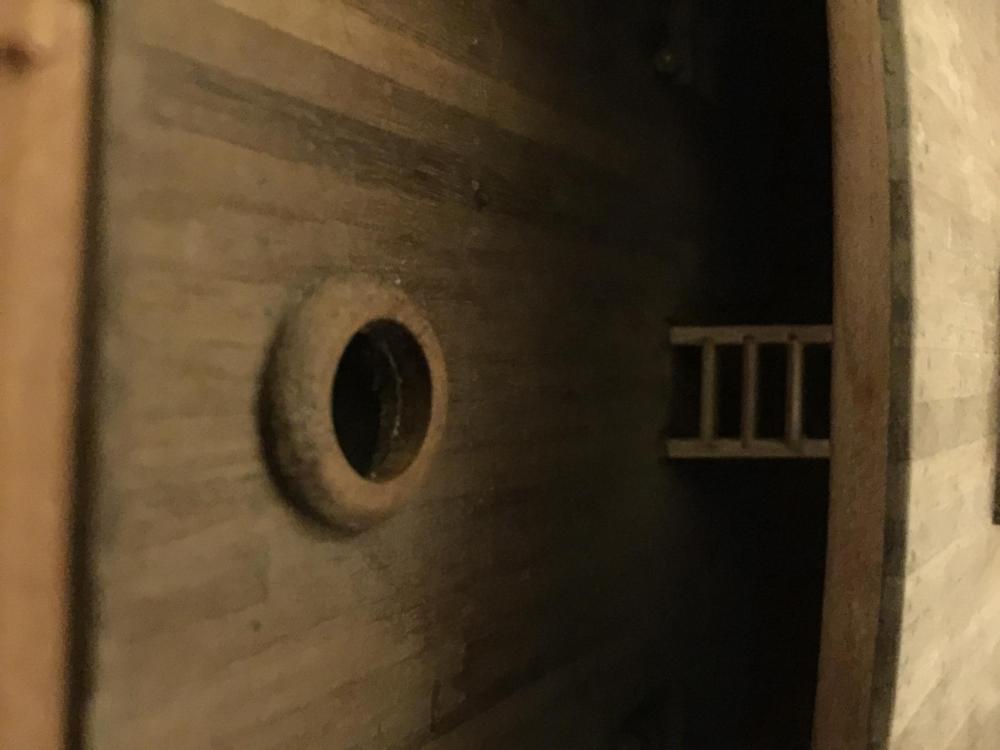
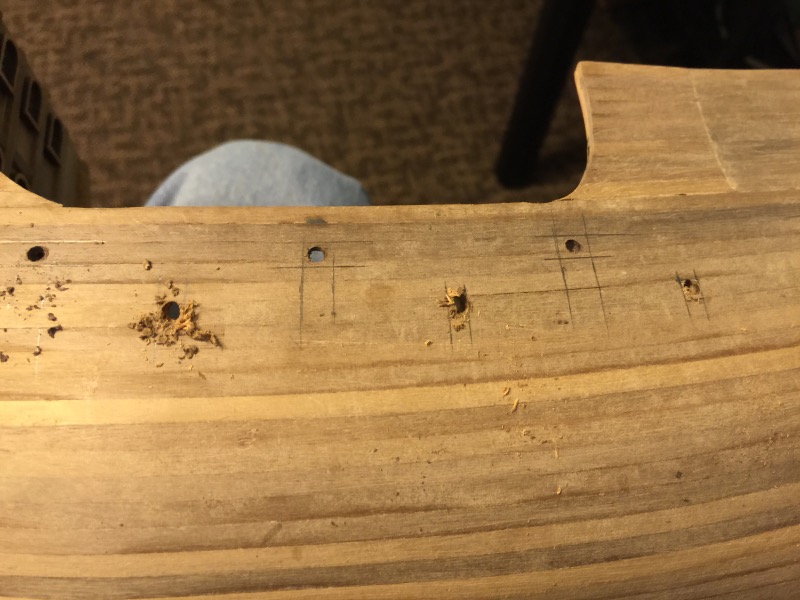
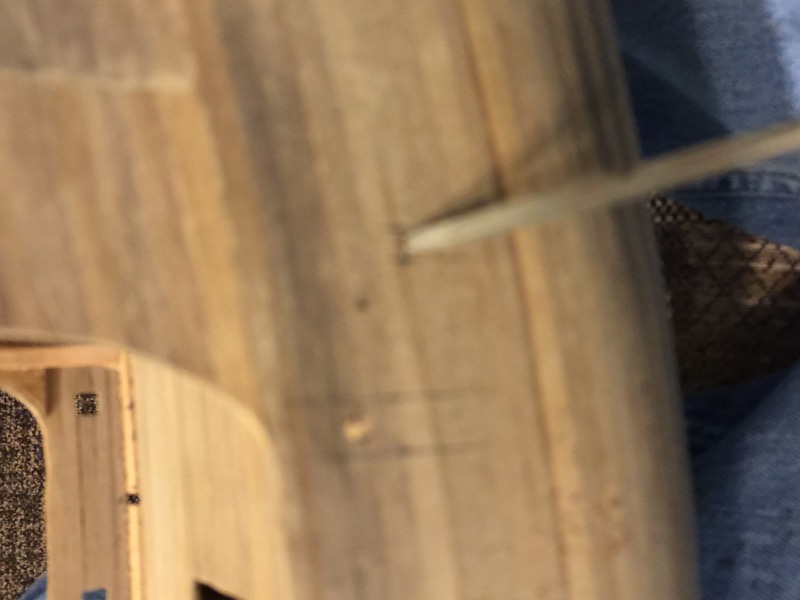
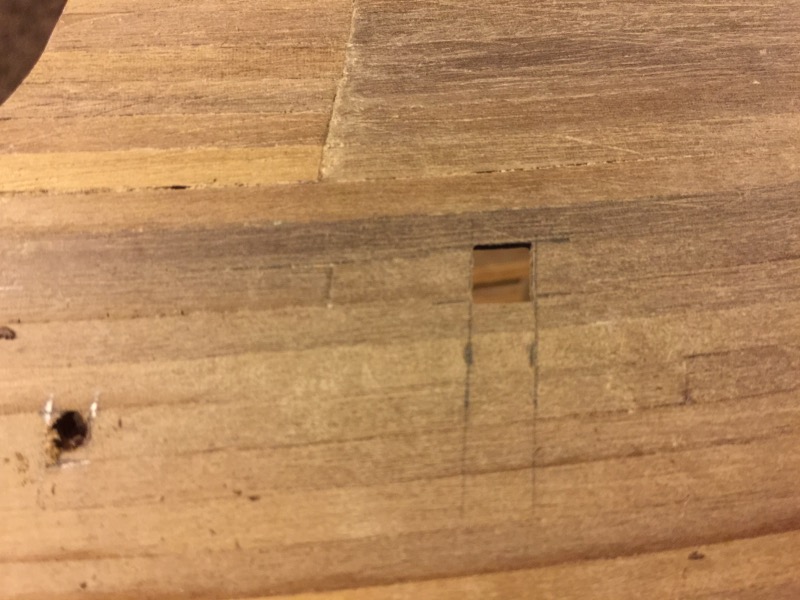
I cut the cannon holes and the deck drain holes. I leveled the keel to the work table and used a building quick square to mark the side of the holes. Drilled holes Used a file and a knife to cut the hole to shape. Inside view
-
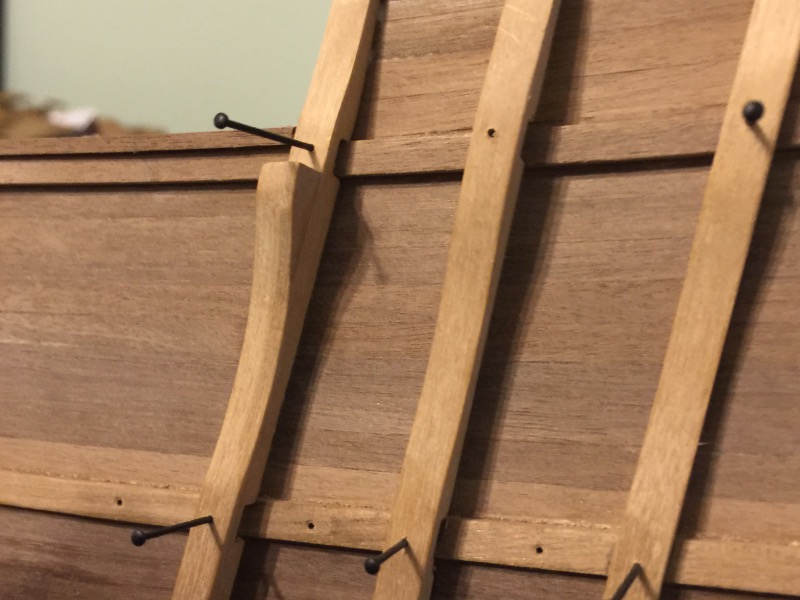
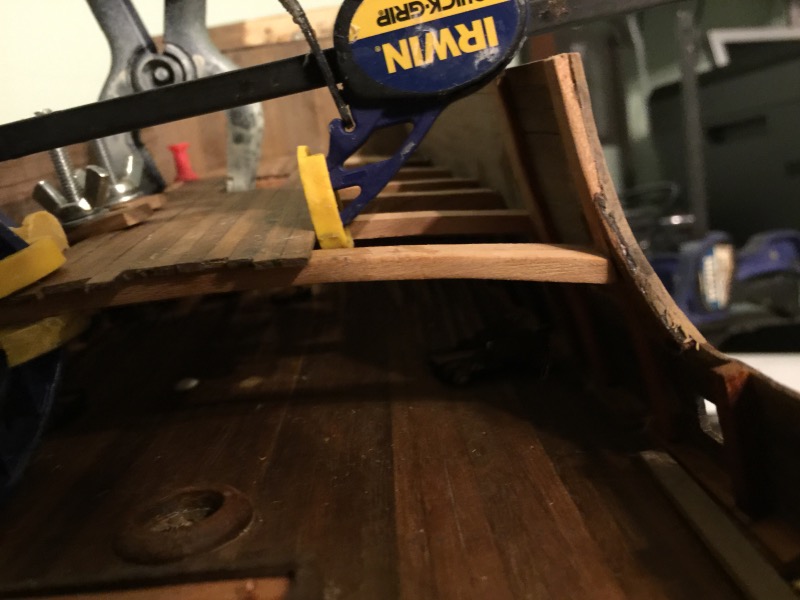
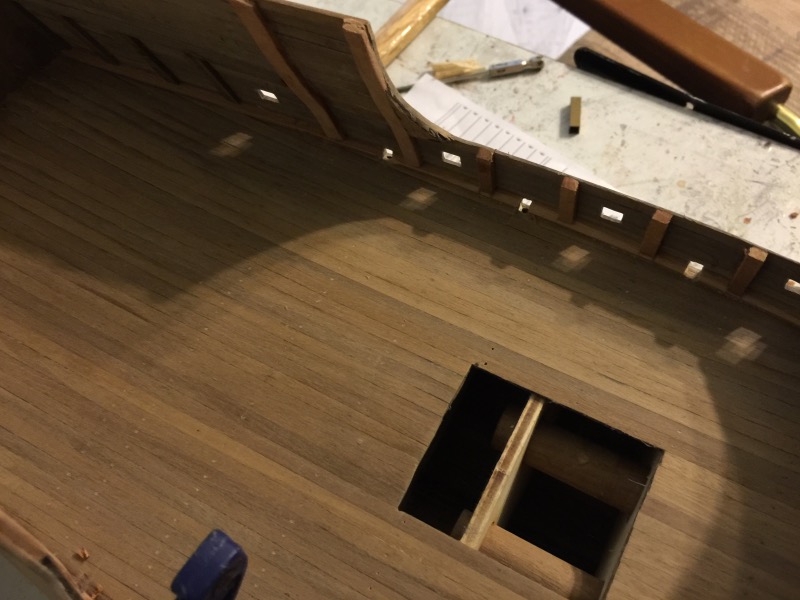
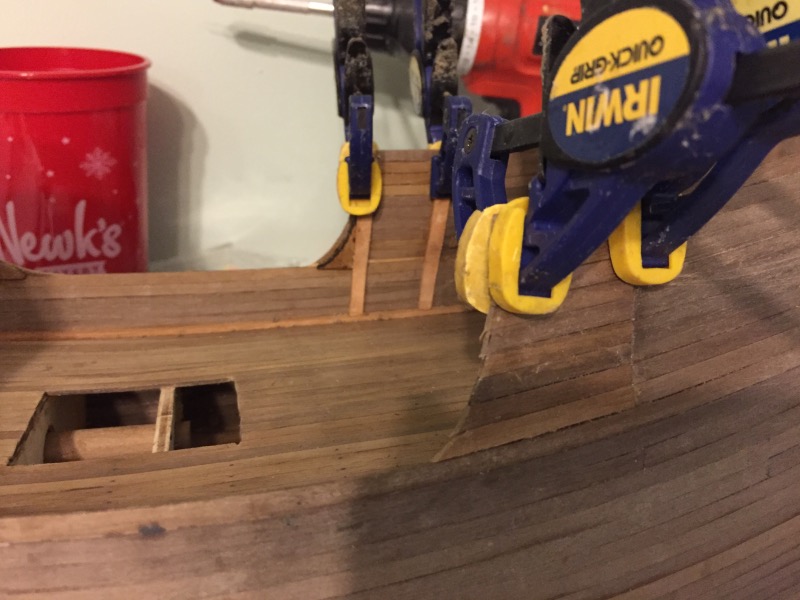
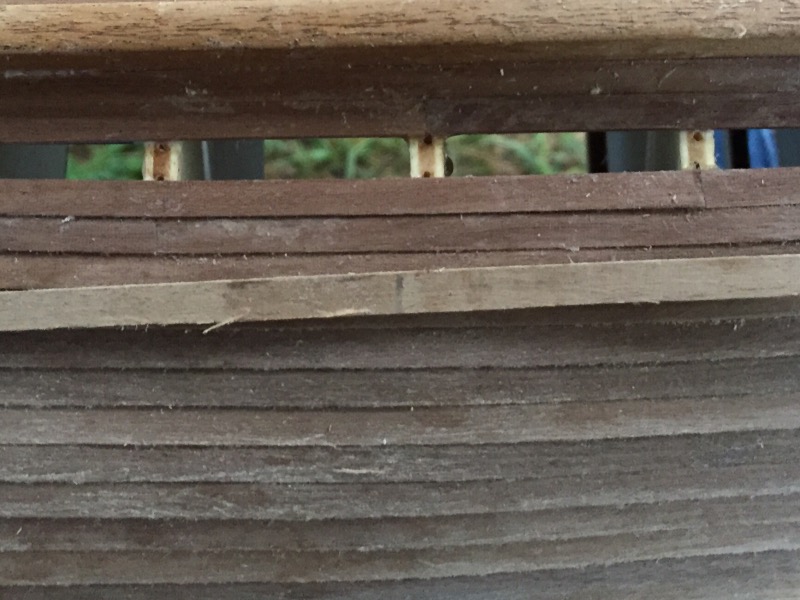
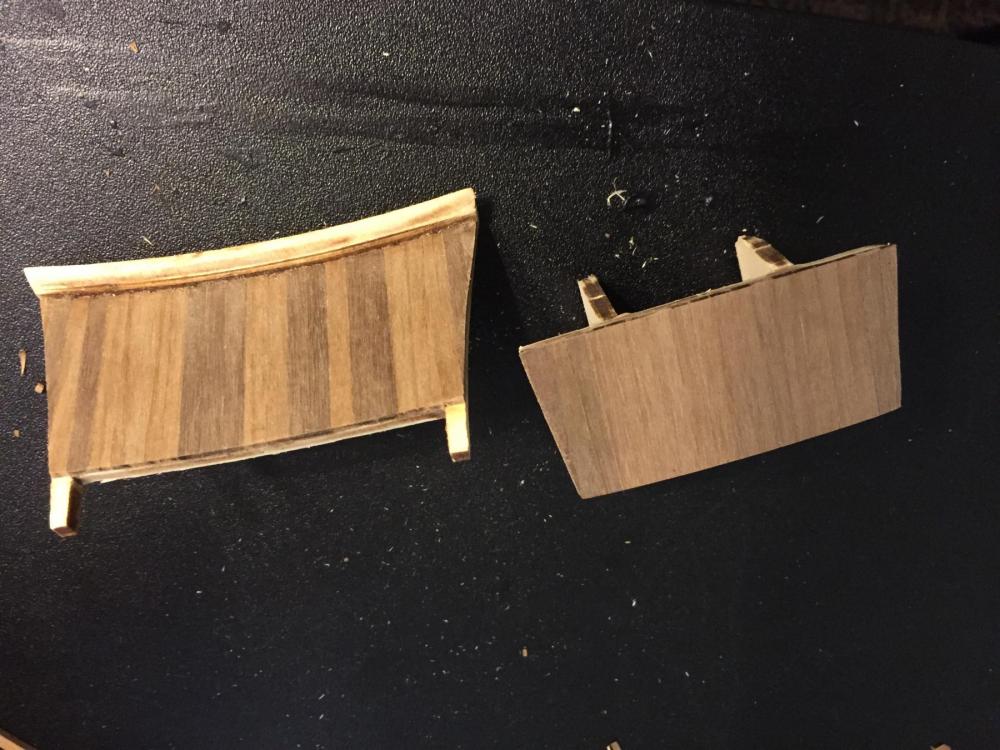
Well, I made a mistake. I'm a firm believer in reading the directions very well, and then maybe changing things if I think it might be easier or look better. This mistake is 100% me not reading the directions correctly. Notice in this picture from earlier in the build: Starting at the bow there are three bulkheads that are tall and solid. These are bulkheads 1,2,3. Next are five bulkheads that are short. These are bulkheads 4,5,6,7,8. Next are four taller bulkheads that form the bridge deck. These are bulkheads 9,10,11, 12. The direction clearly state to extend the planking along bulkheads 13,12,11,10,9 and nearly to bulkhead 8. The direction say to refer to the drawing to get the measurements to know how much past bulkhead 9 toward 8 to extend the planking. I stopped at bulkhead 9. In order to fix this I made two pieces for each side. And attached one where bulkhead 9 was--which is where the planking ends--and one where the planking should have ended. I then ran planking up the gap. I tried to match the color of each run of planking. Now the side profile matches the drawing. I did get lucky. A timber goes on the outside on top of the seam. Here are some pictures of the drawings that show the timber. I used a small file as a pointer to indicate which timber


-
Zoran, I do not consider the shipping information you gave as an disruption. If someone is looking for a new ship model to build, then it is good to have all this information available in one location. I am delighted that you are watching the building of one of your models. I sometimes don't follow all the directions, and I occasionally change little things.
-
Stevinne, Zoran at Maris Stella is great to work with. The shipping was 36 usd, but Zoran took care of half the cost. I had the model in ten days.
-
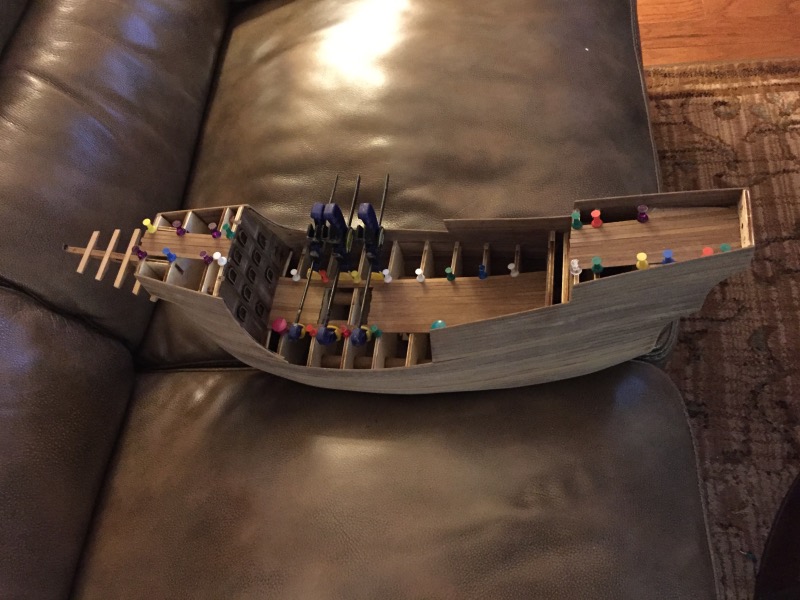
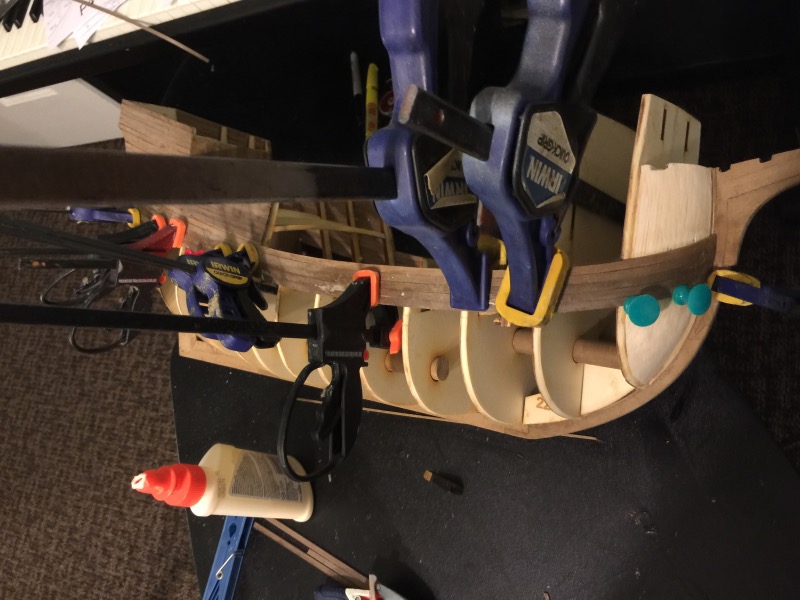
I started the decking. You can also see on these pictures where the upper parts of the bulk heads were removed.


-
A few more pictures of the planking near the Keel. Next is removing all the upper ends of each bulk head that sticks above the deck. You can see in this picture from earlier in the planking the twelve bulkheads that will need the upper "ears" removed.


-
Thanks, Don, Brain, and Ian, for your commits. Don, before I ordered this kit from MarisStellia, I searched for someone else that had dealt with the company. I guess I didn't do the search correctly because I missed your Trabakul build. I have finished planking but haven't resized all the pictures yet. Here is a picture of the last plank before being glued in. I'll post more pictures tomorrow.
-
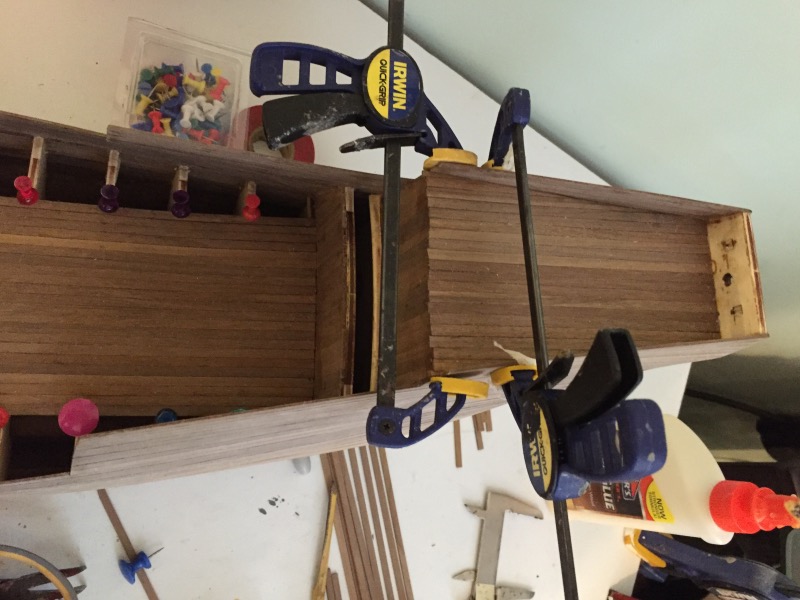
More pictures as the planking continues. This is a single planked kit, and the planks are 4mm X 1.5mm walnut. As I get closer to the keel, the planks need to be bent against the 4mm width. In three days I've managed 3 planks on each side. To take a rest from plank bending, I jumped to deck beams at the head of the ship. Now back to the plank bending. I lack 15 planks on each side.

-
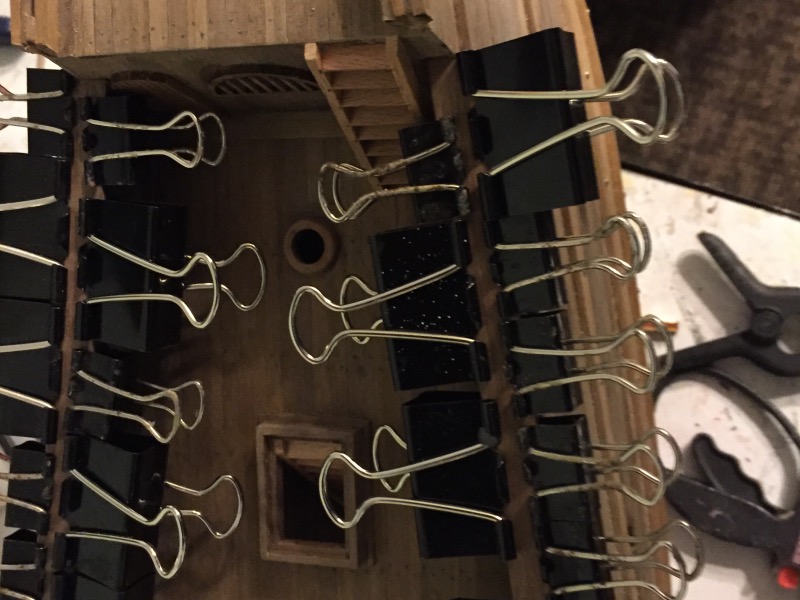
I am almost finished with the planking. The aft end needed to be finished and shaped first. I didn't take a picture when I finished planking the aft end, but here is a picture as it sits now. I started at the aft side rail and worked my way down.

-
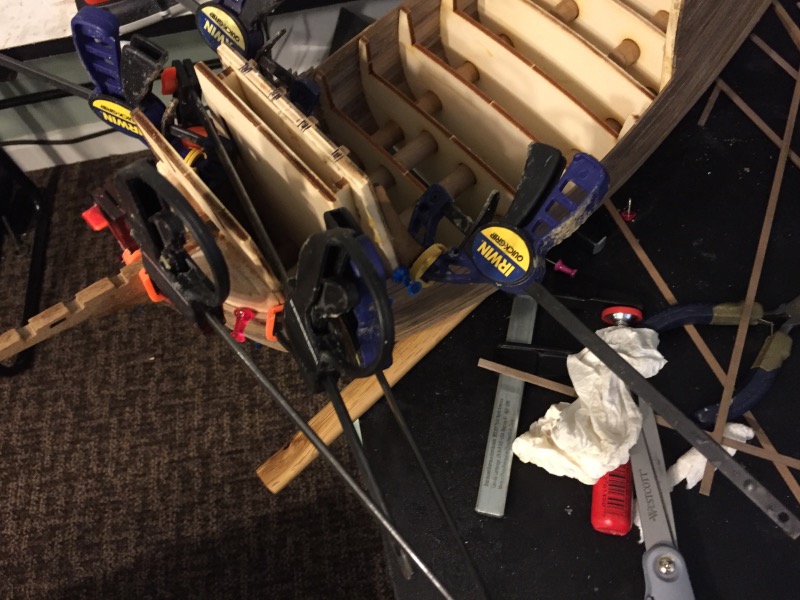
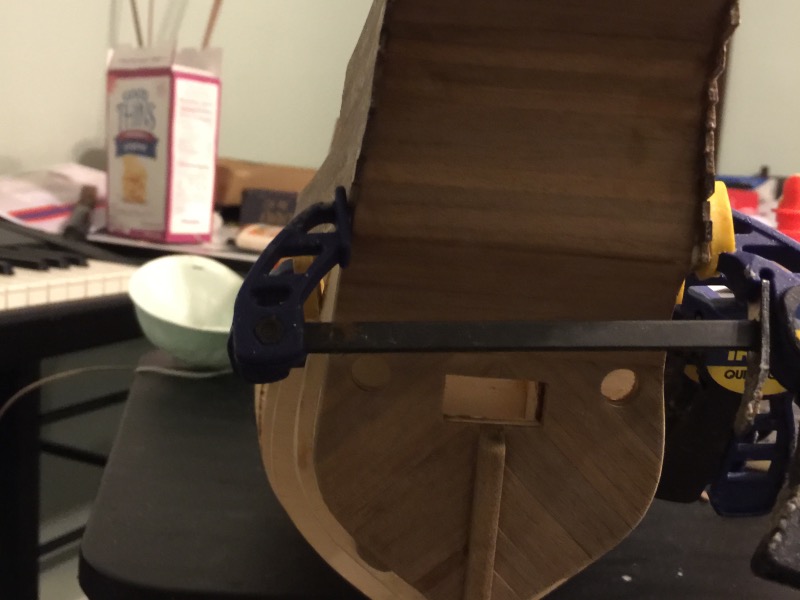
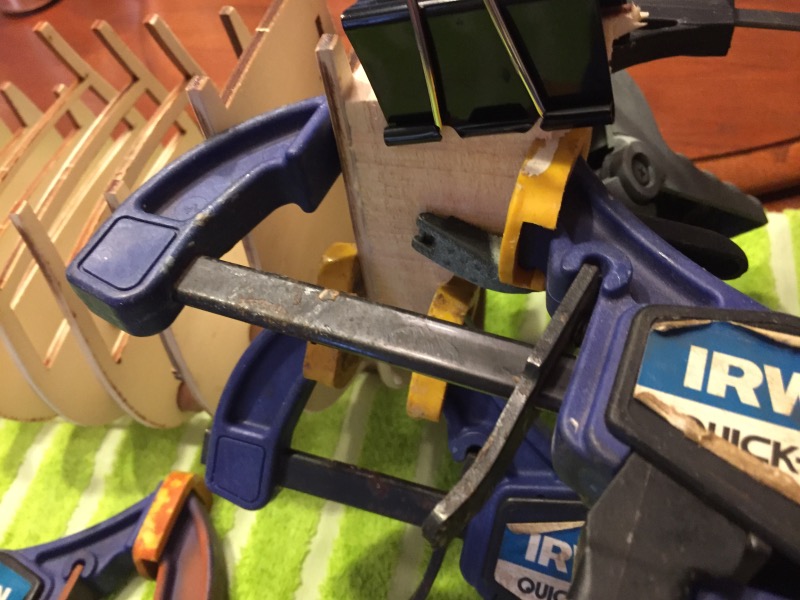
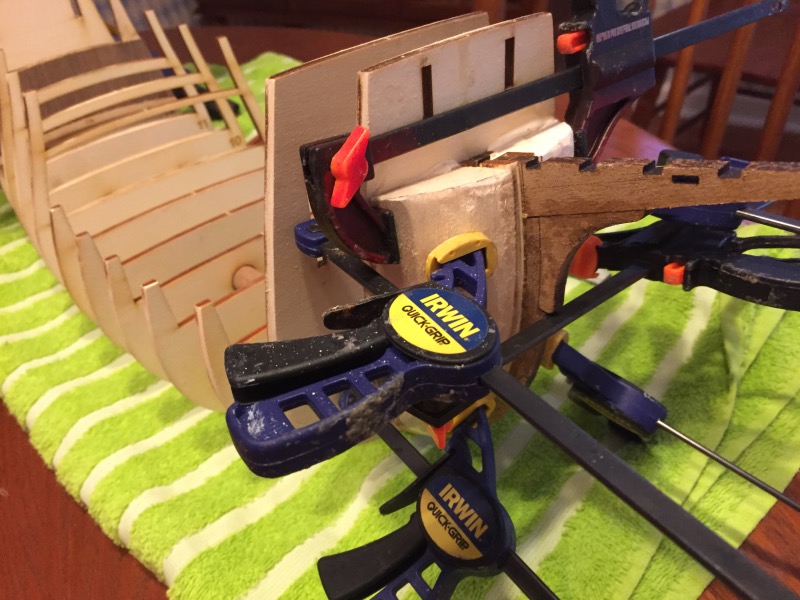
Thank you everyone for looking in on my build log and for the encouraging commits as I jump back into ship modeling. I have added filler blocks at the bow and stern. . Before the hull planking starts, I had to plank three of the bulkheads.
-
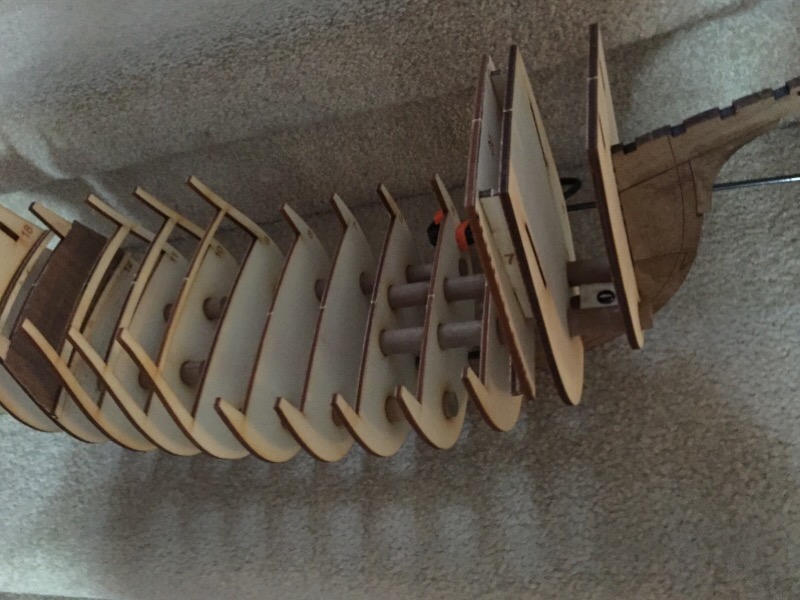
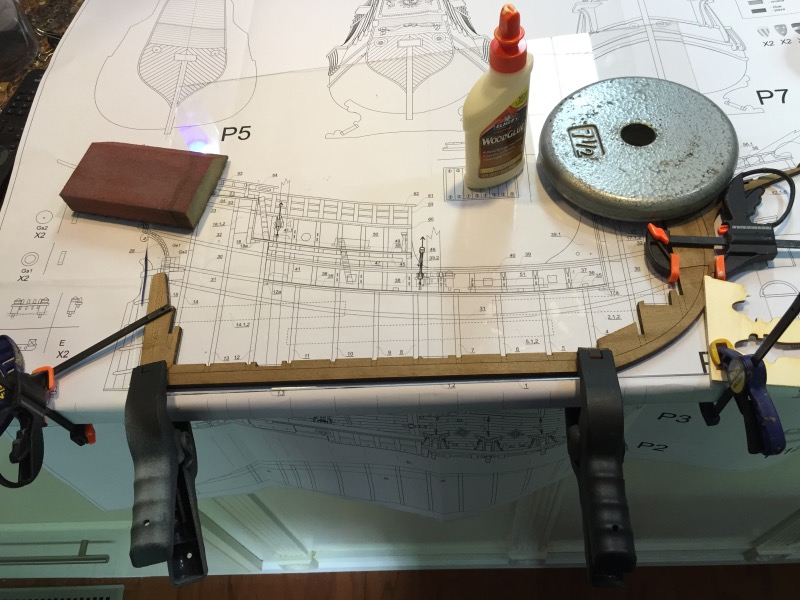
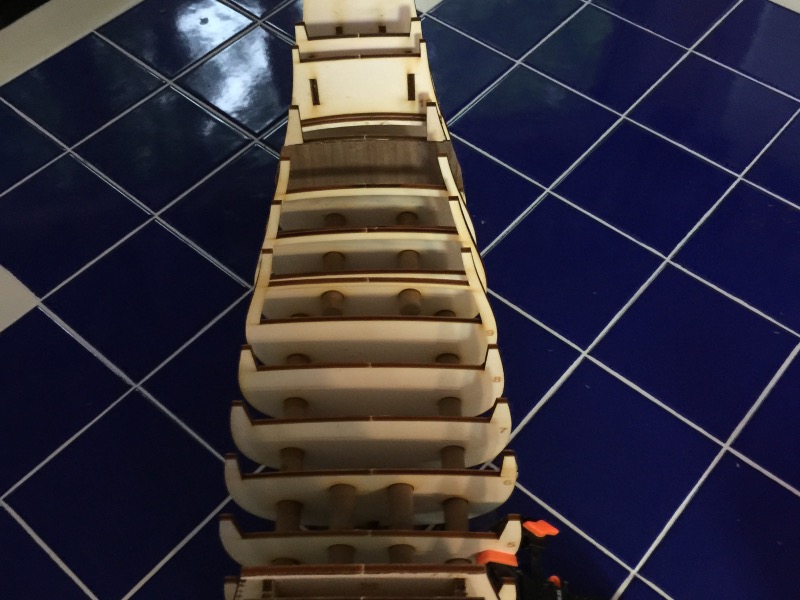
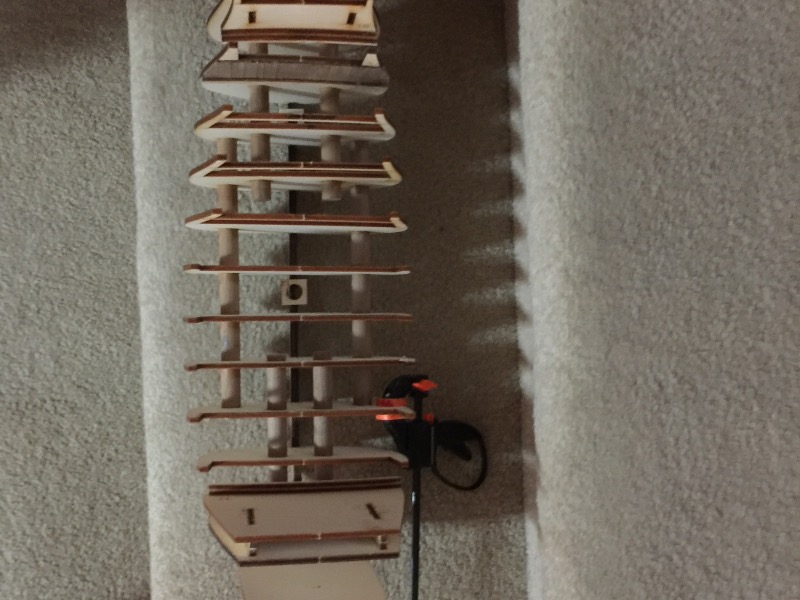
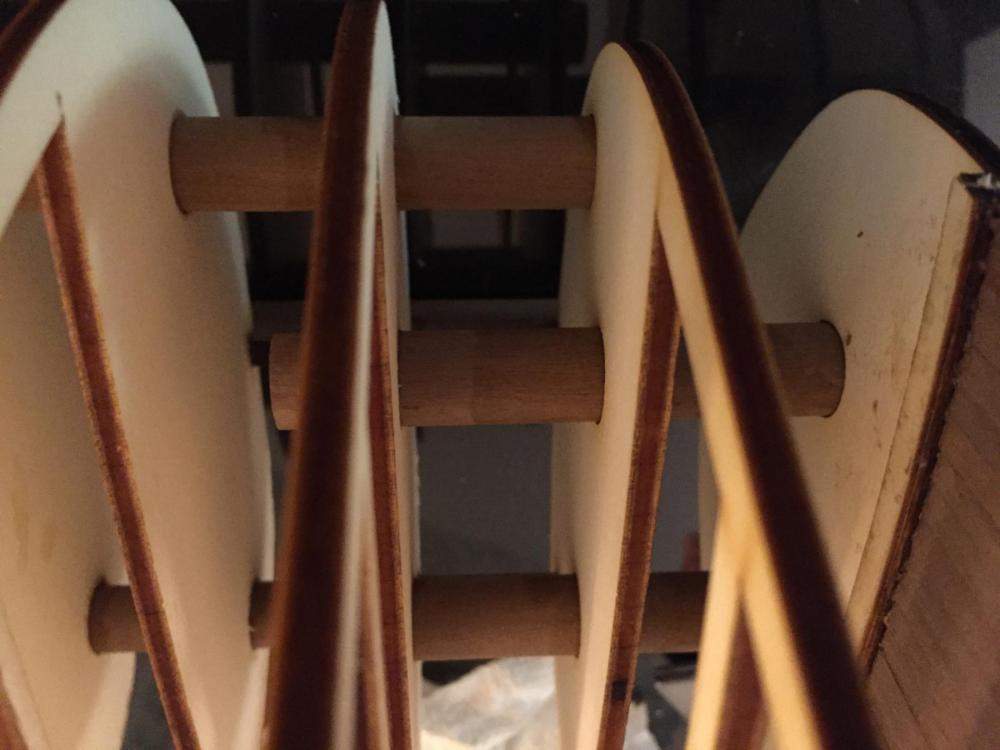
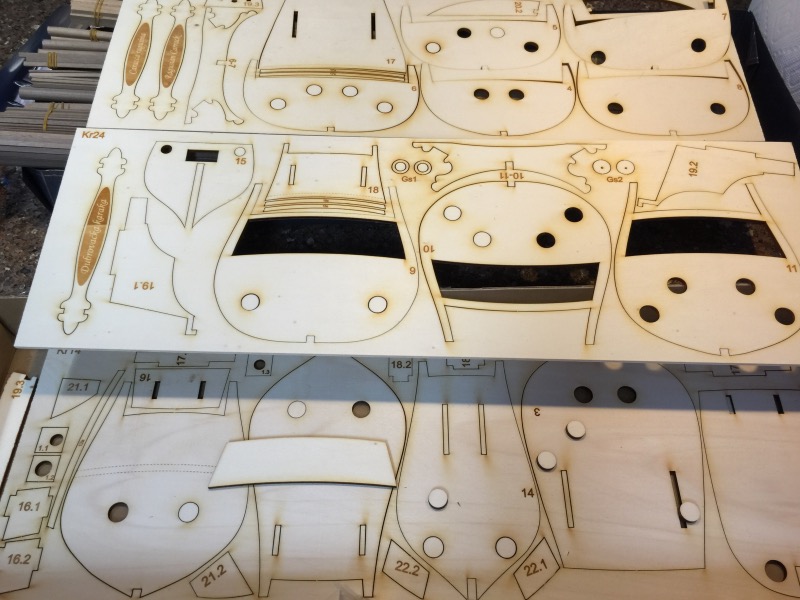
The keel, stem, stern knee, stern post went together well. All these parts are laser cut from walnut. The only thing that I needed to do was scrape and file the laser char off the glue joints. The bulkheads are laser cut from plywood. Fit was near perfect. . The bulkheads are held in the proper position with wooden dowels. Each bulkhead has two or four holes, and the dowel is inserted. These dowels help hold the bulkheads all level with each other and keeps them square. If a bulkhead is not seated correctly, the dowels will not slip through the hole.


-
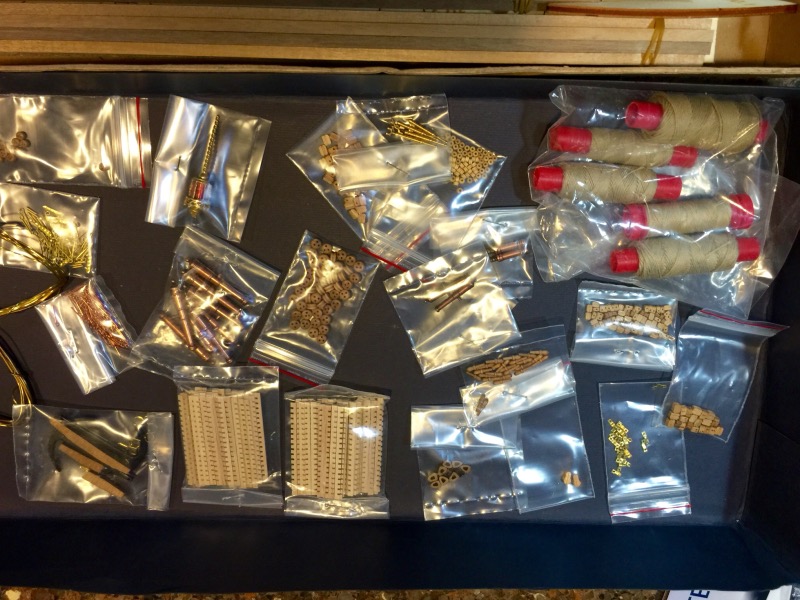
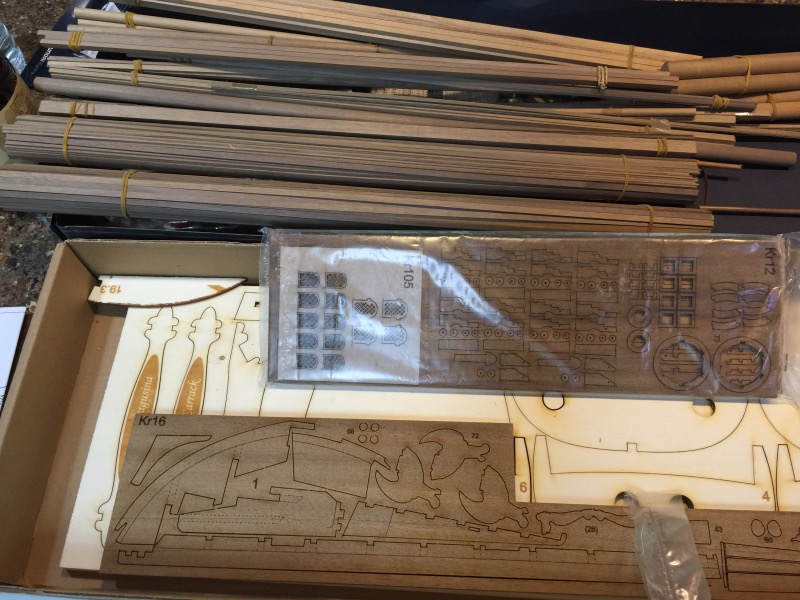
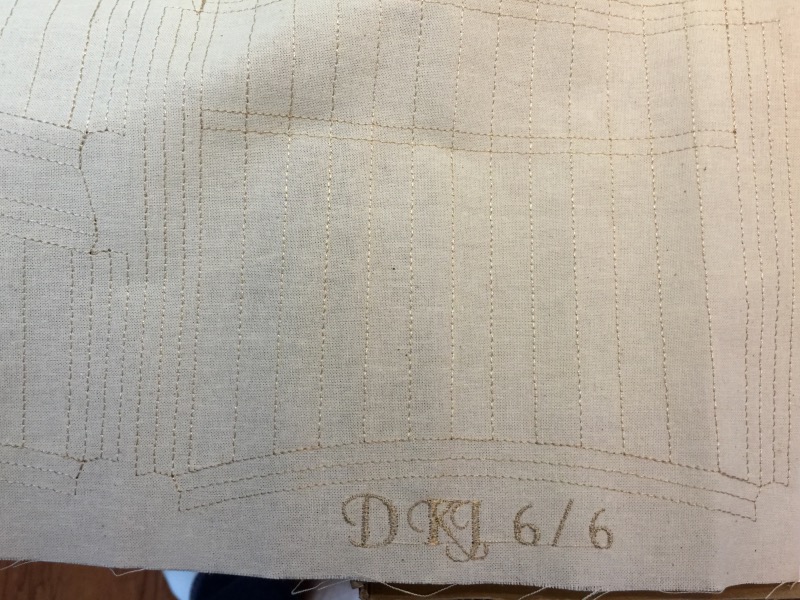
It has been a few years since I have started a build log or worked on a model ship. There are many things I will need to re-learn. I noticed the ad banner for Marisstella Models on Model Ships World's home page and found this model of a Ragusian Carrack. I emailed the company, and Zoran Pavlocic' replied. The process went smoothly. I ordered and paid by PayPal, and 12 days later the mailman dropped off the package. The model box was packaged inside a sturdy cardboard box. All the material is top quality. I'm very impressed. The sails have already been stitched. Directions are in English . The building will start tonight, and I will have pictures tomorrow. It looks like I need to learn how to take pictures with my iPhone.

-
Radek, I will look through my box of plans and see if I can find any prints of the flags.
-
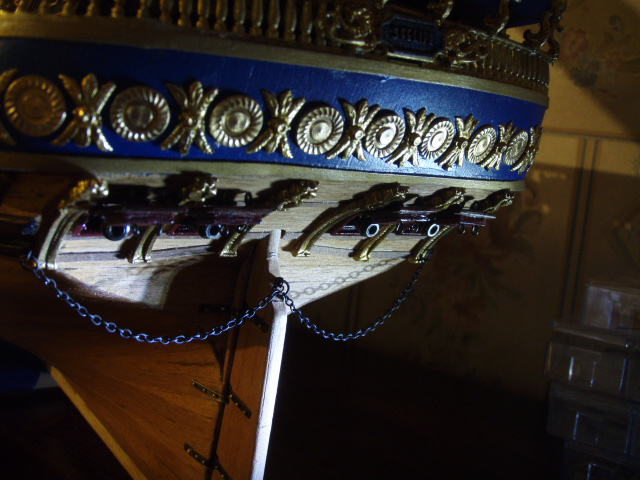
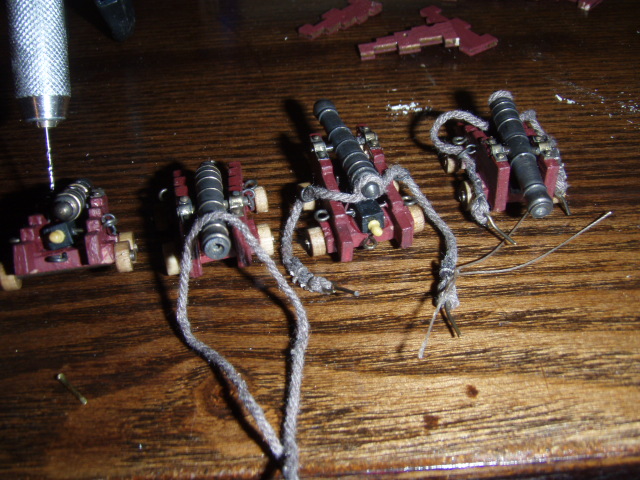
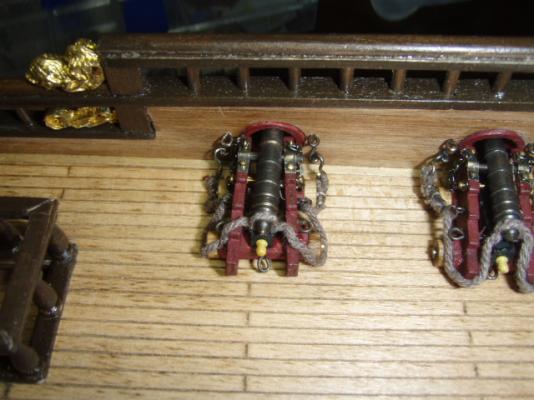
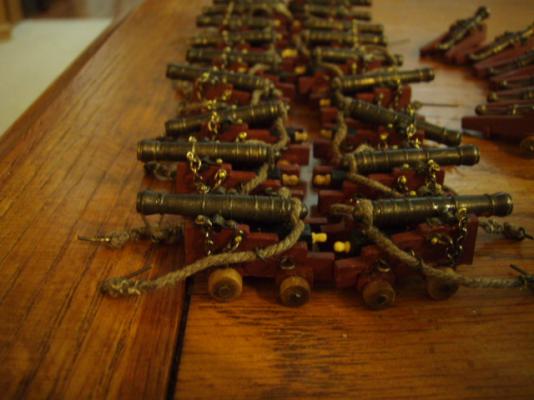
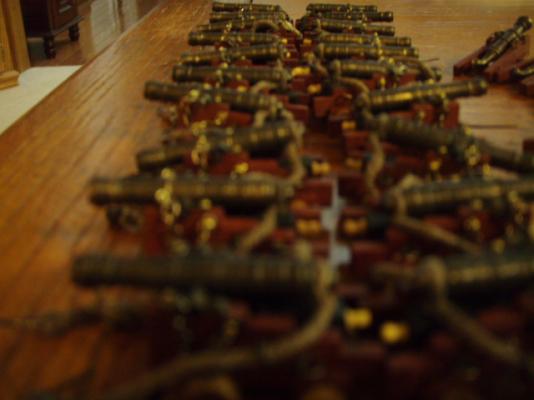
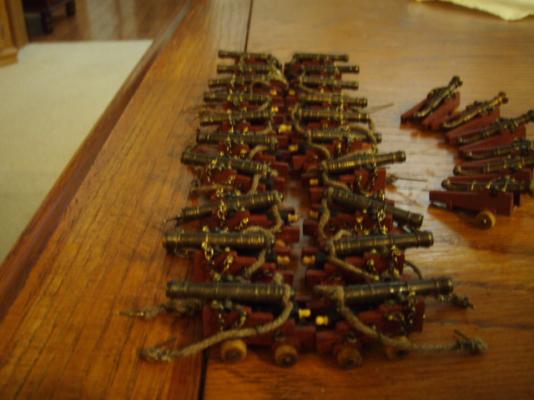
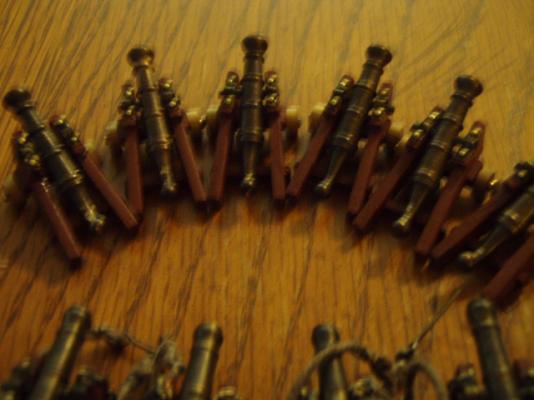
Don't be tailgating me guns.


-
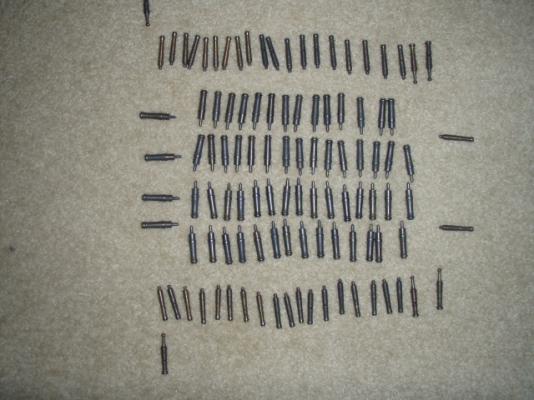
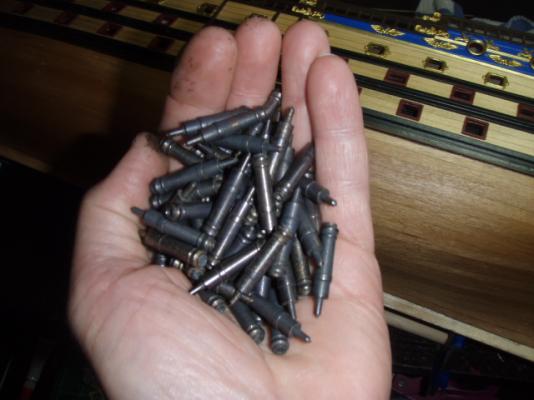
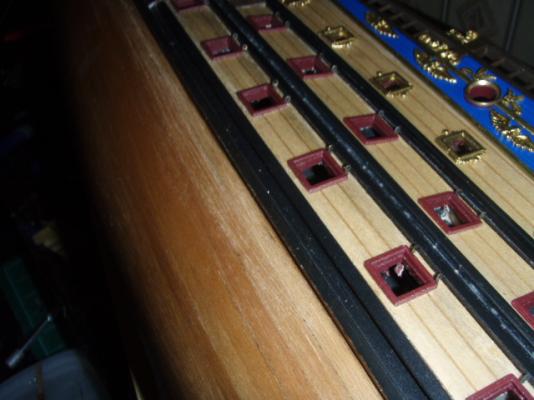
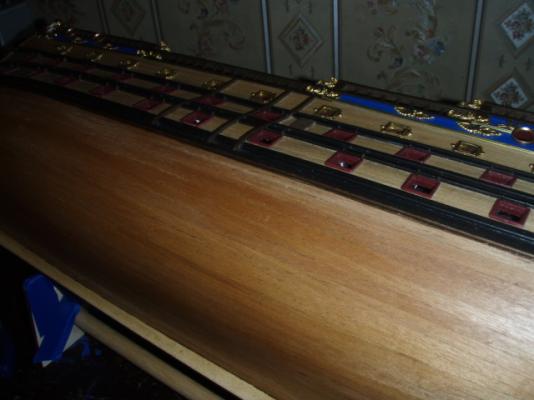
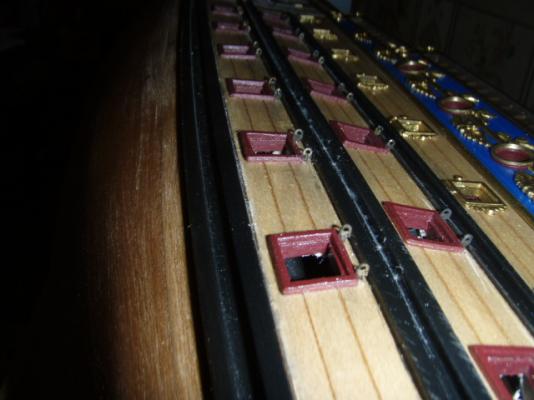
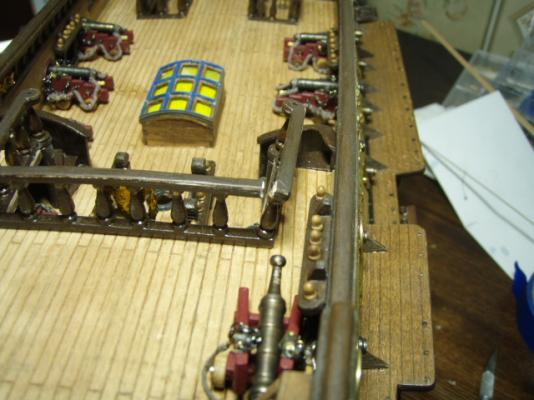
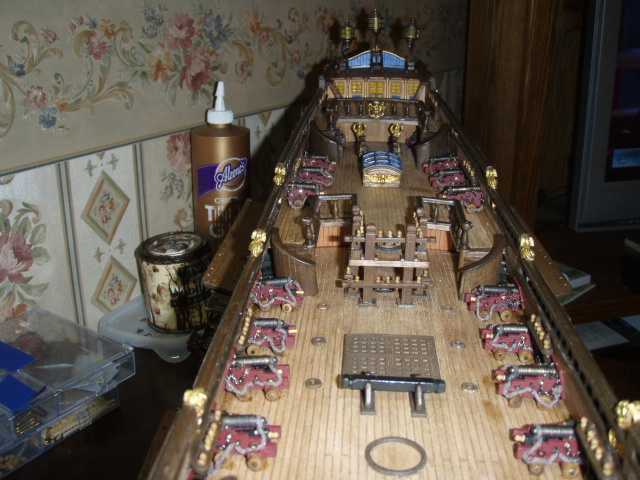
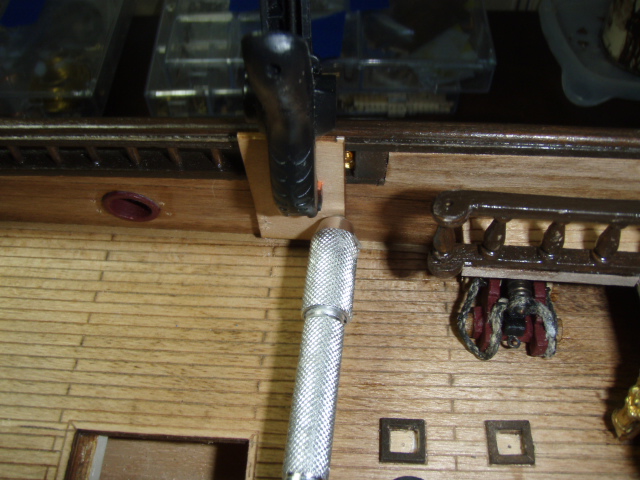
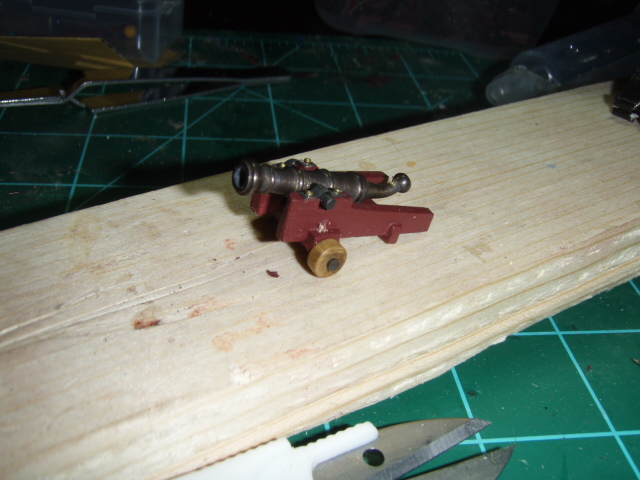
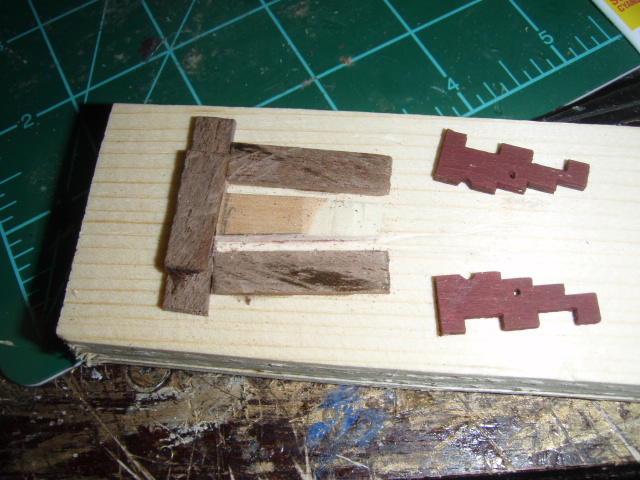
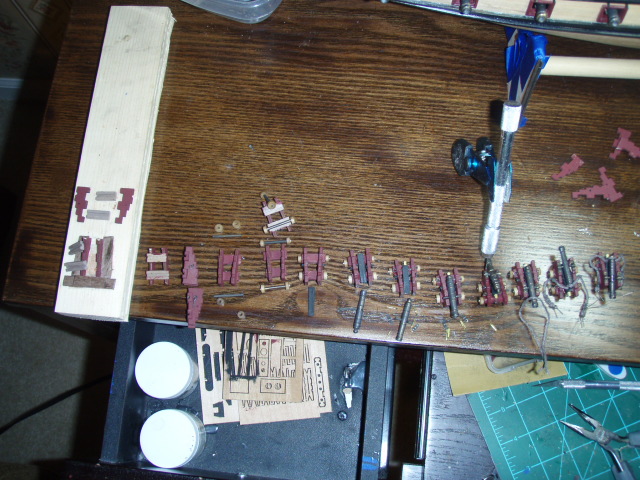
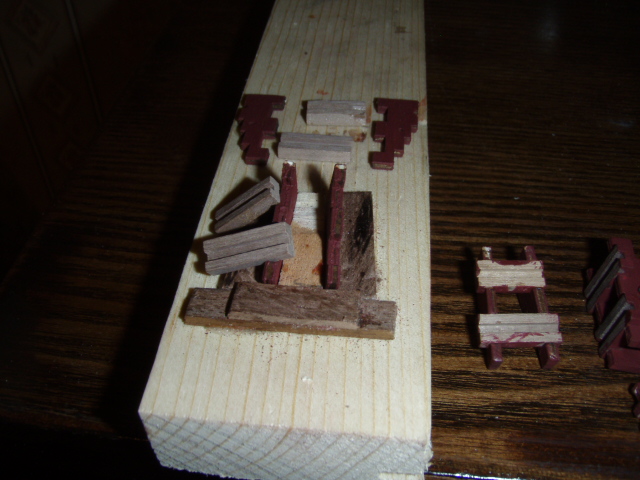
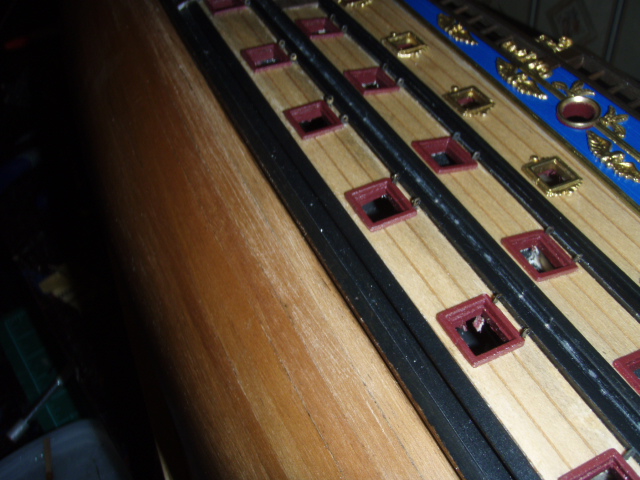
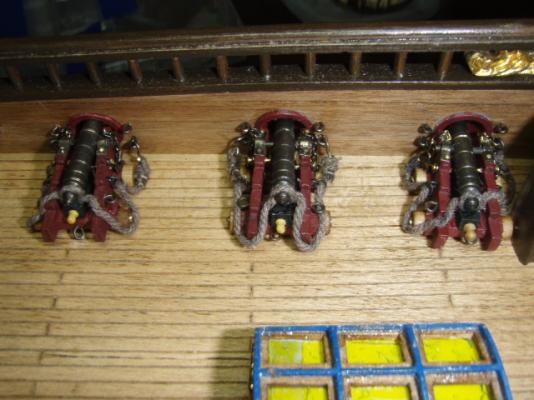
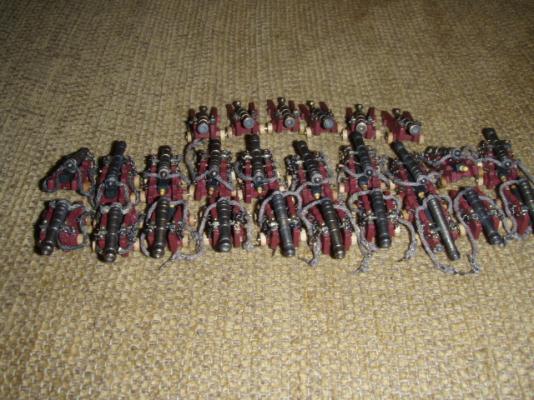
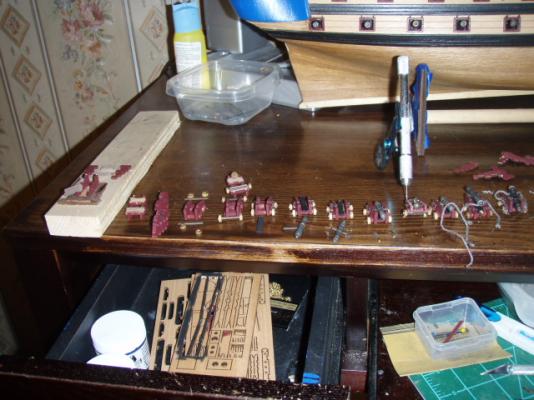
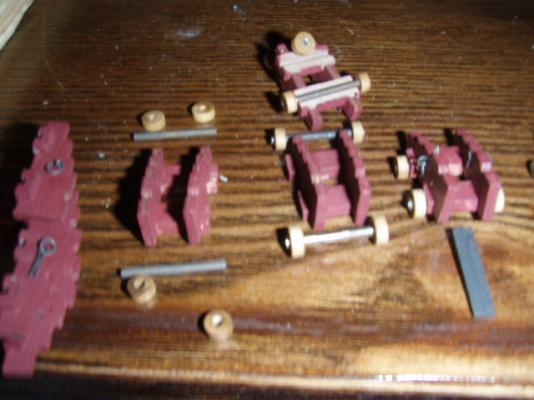
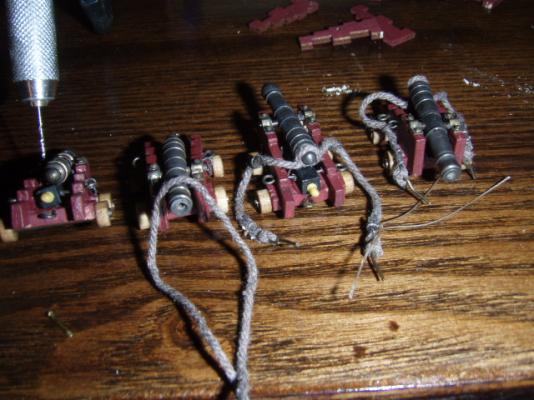
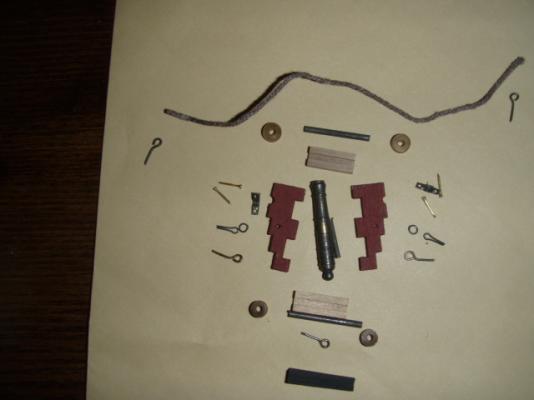
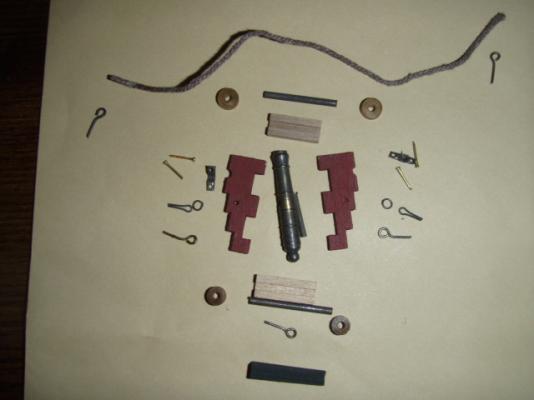
More cannon pictures.


-
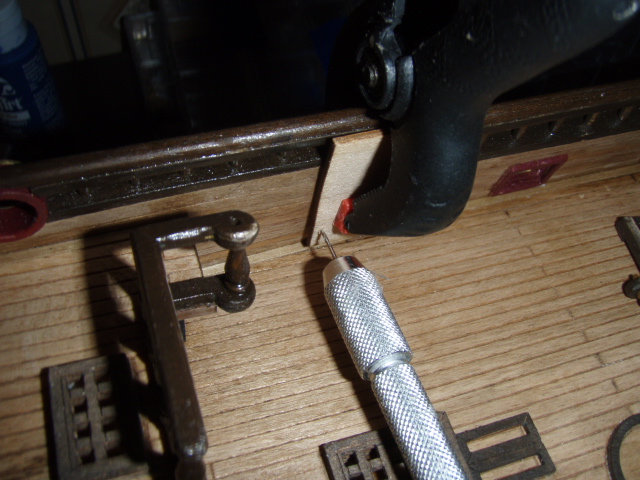
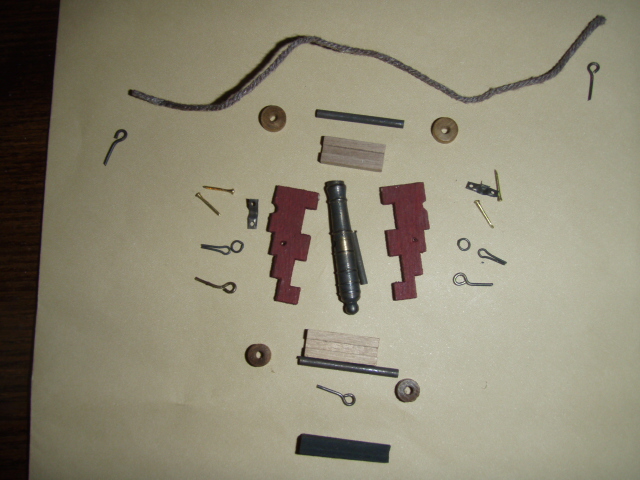
More cannon pictures. This is a template for drilling the holes.


-
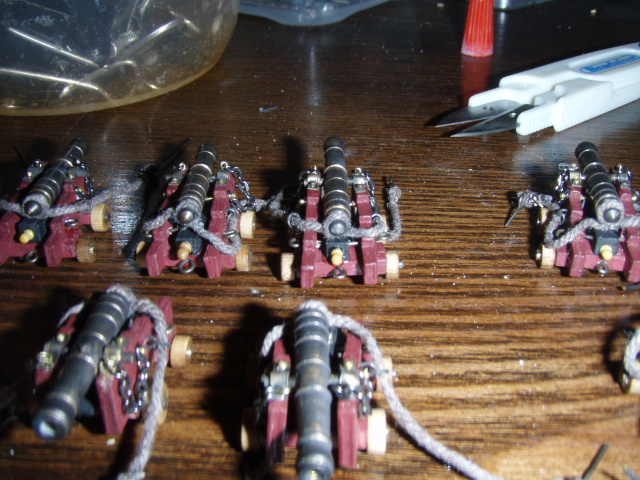
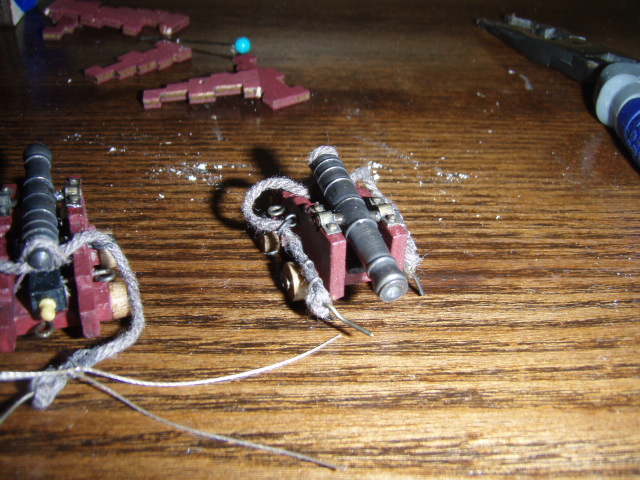
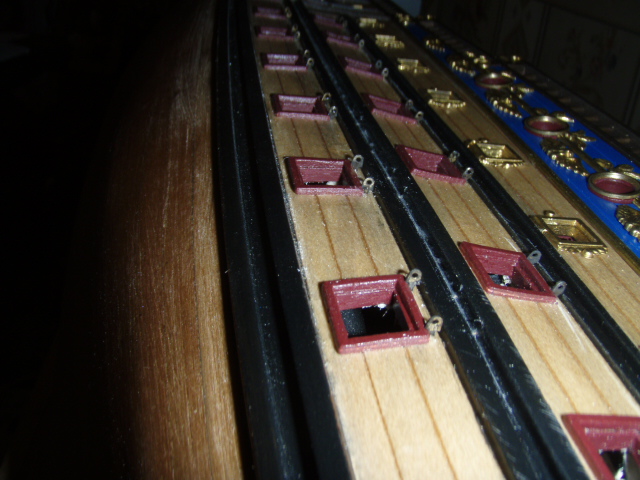
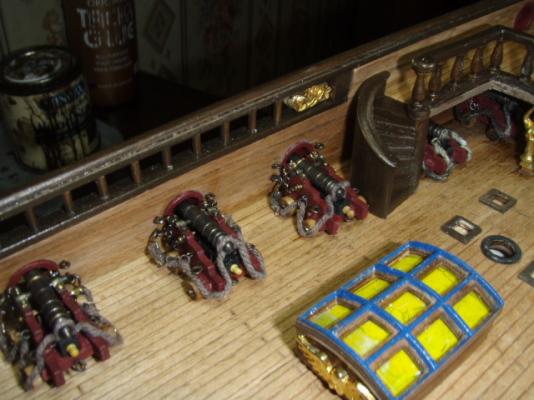
More cannon pictures.


-
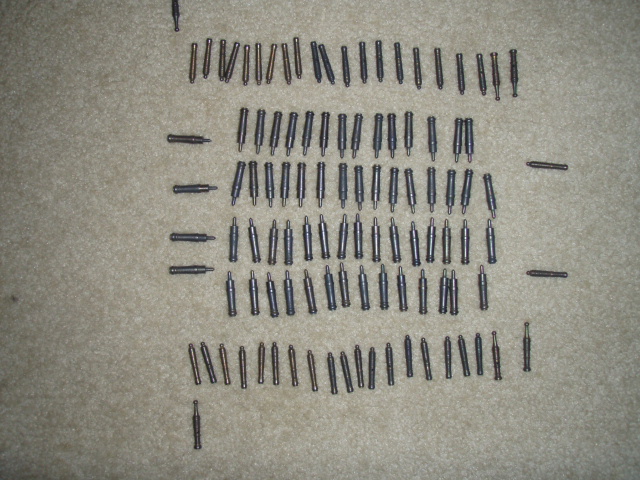
More cannon pictures.


-
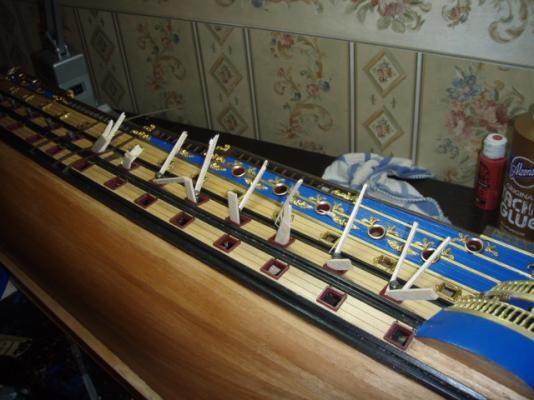
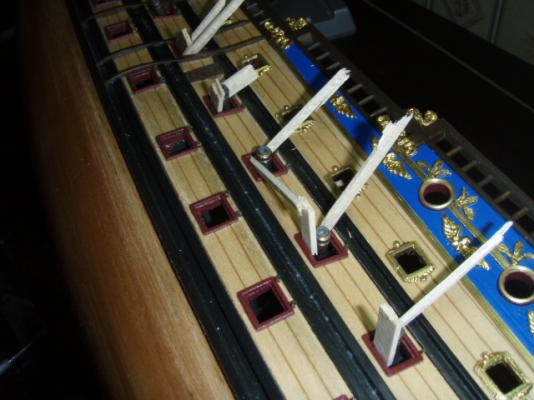
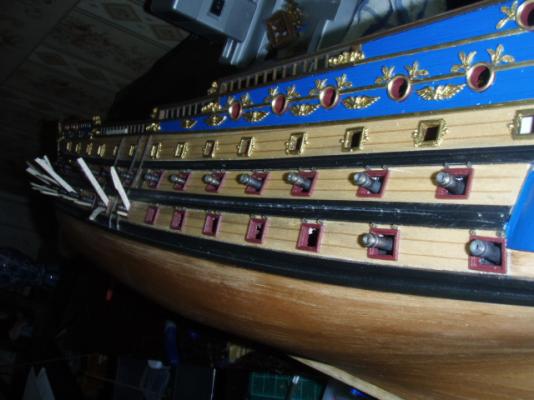
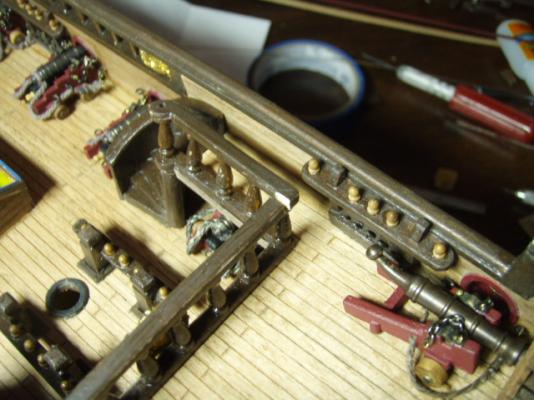
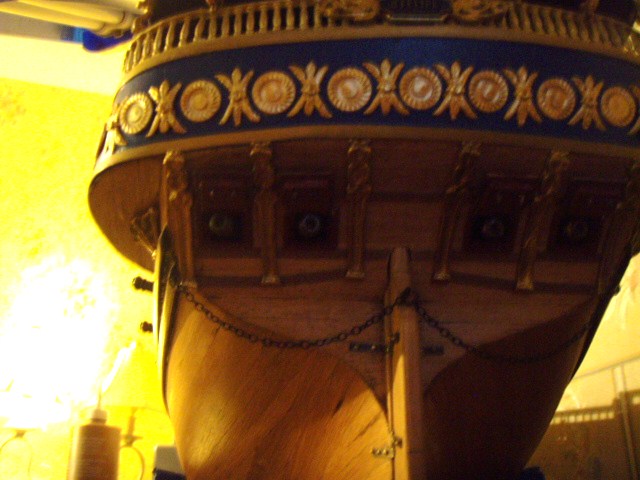
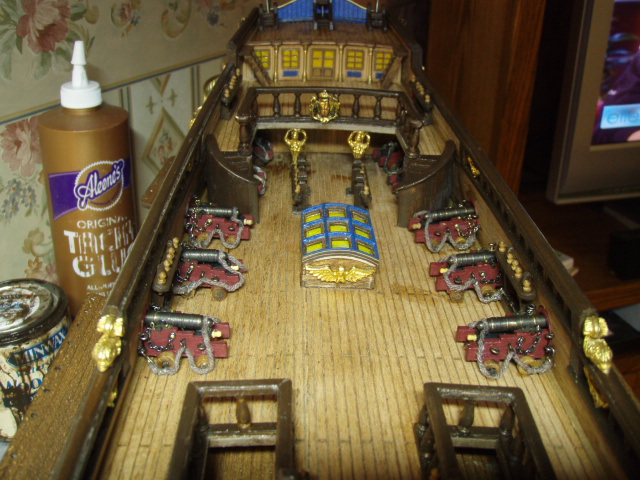
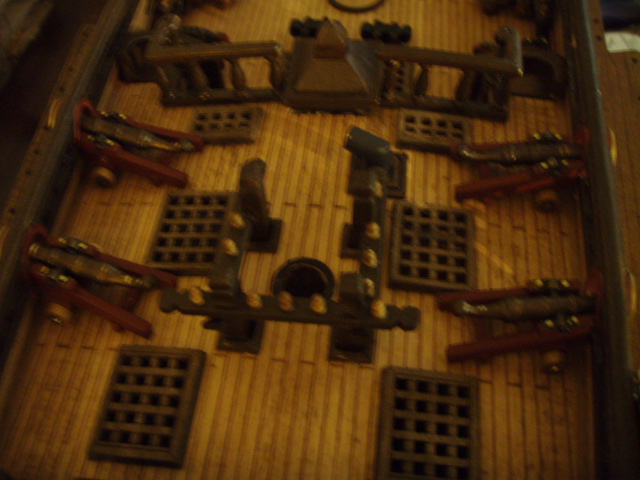
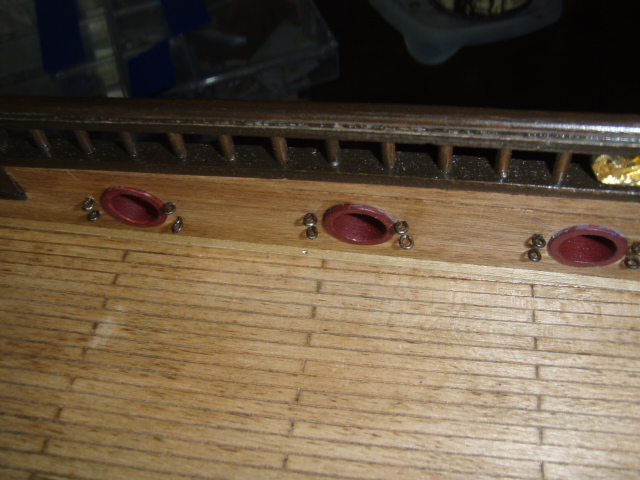
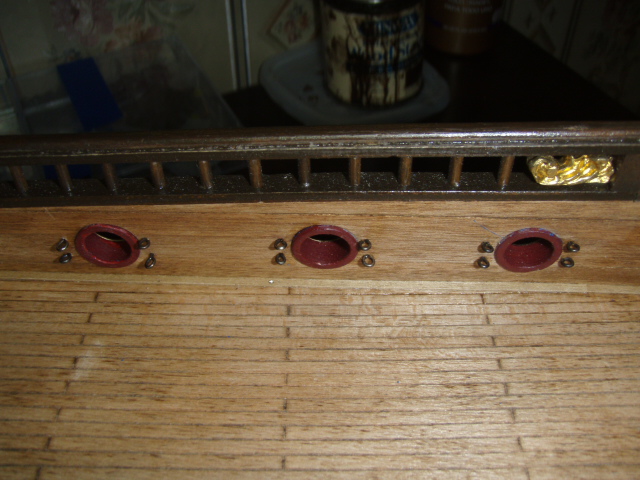
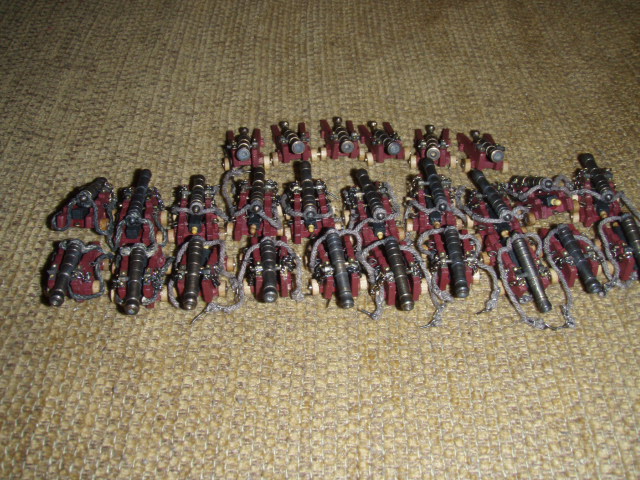
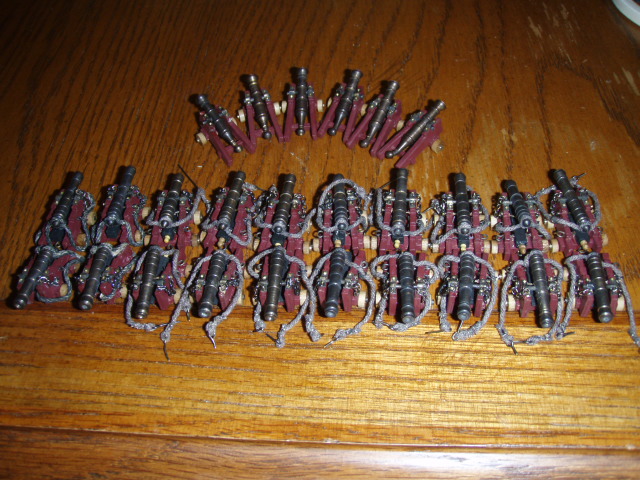
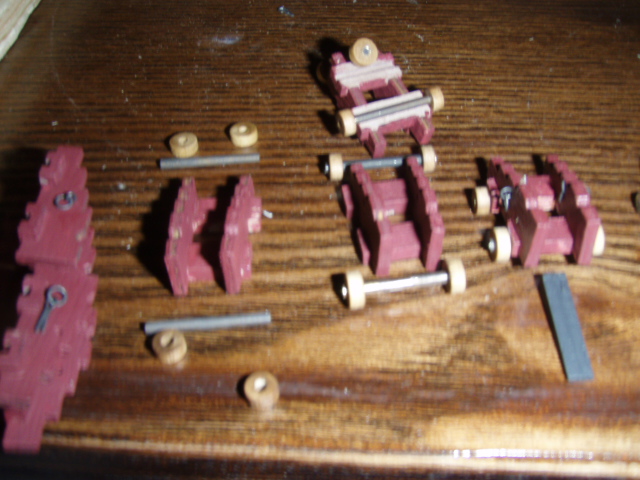
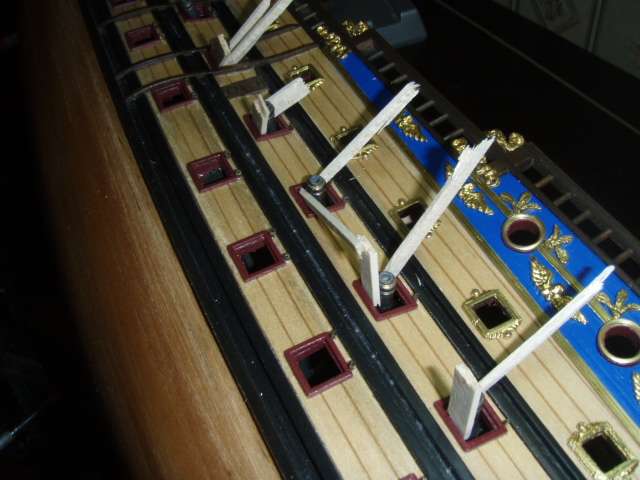
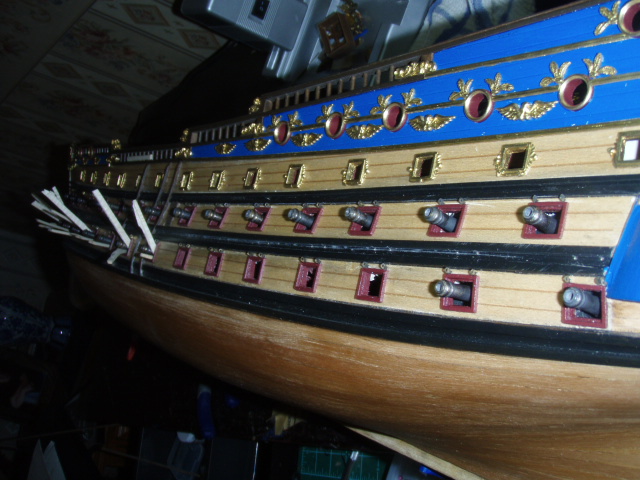
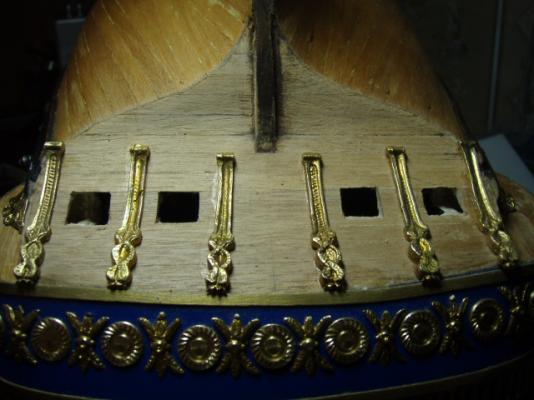
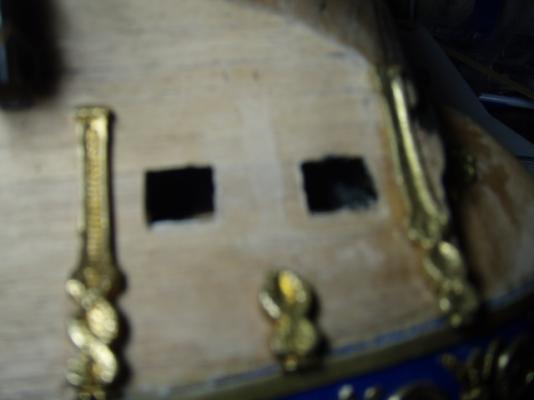
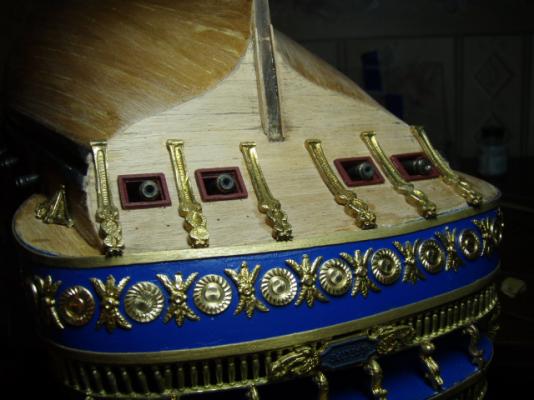
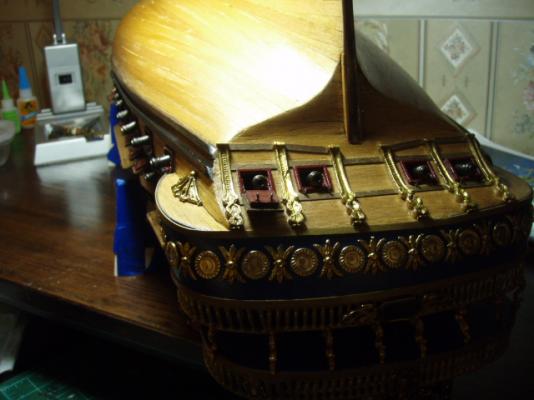
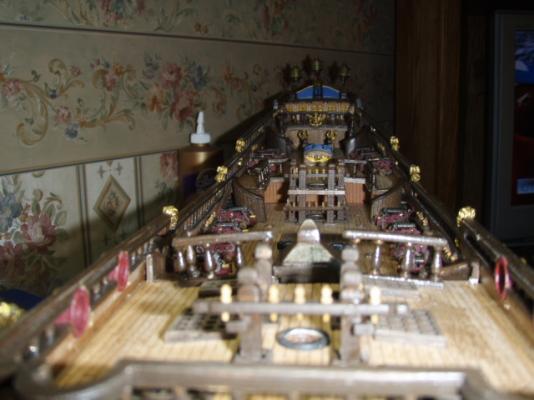
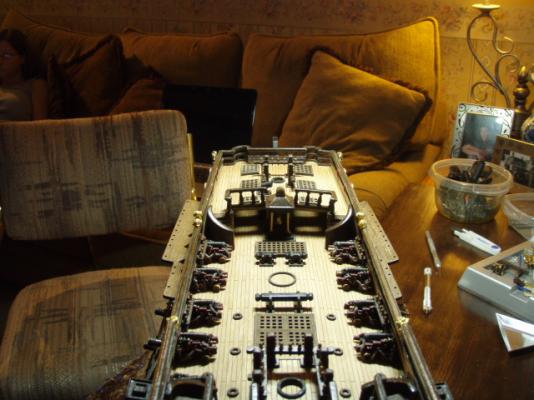
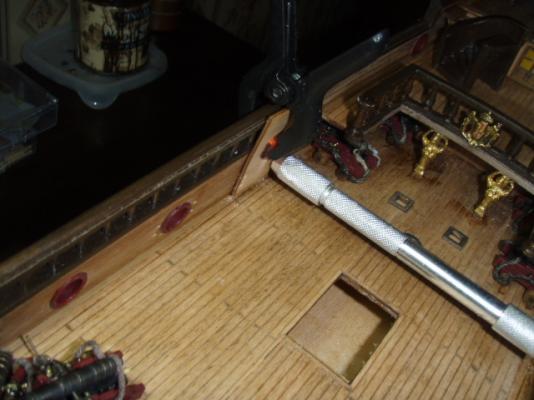
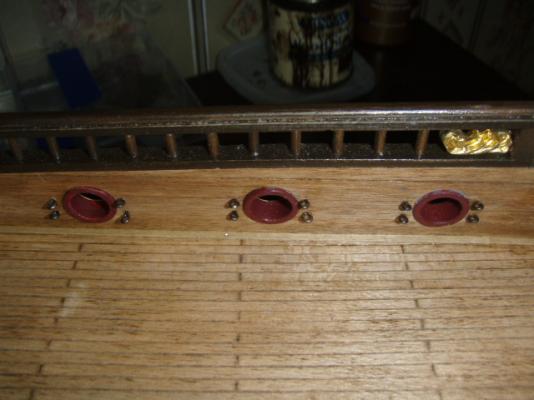
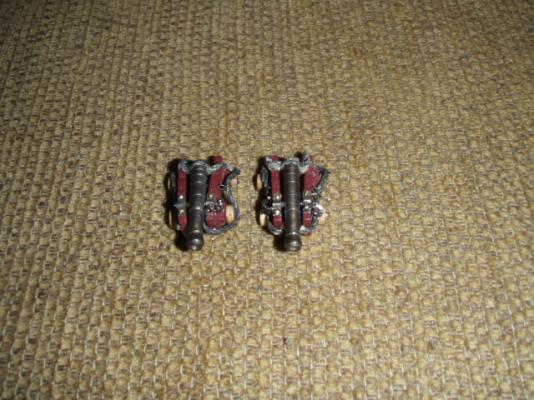
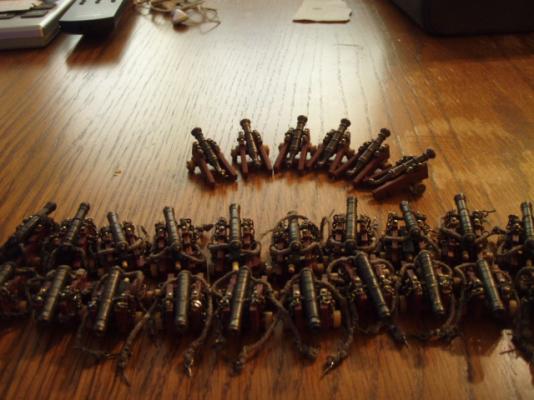
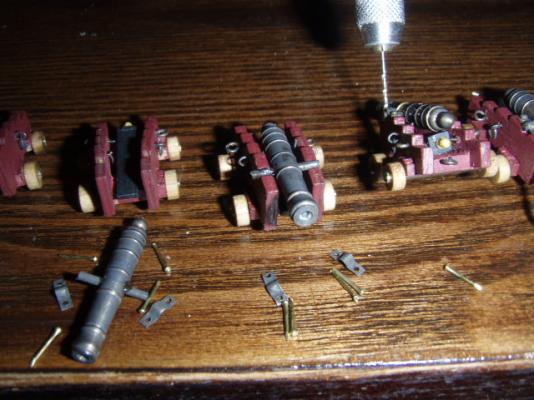
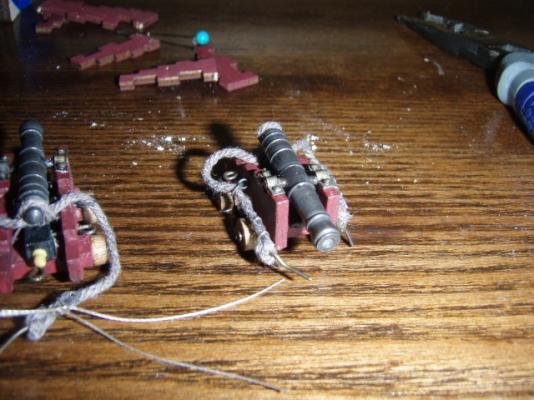
The following was originally posted June 30, 2009. The cannon are done and installed. I haven’t decided if I will add the block-and-tackle to the cannons. I installed the hook-eyes to the cannons and beside each port just in case. Only six cannons will be in clear sight to a casual observer. I might fully rig those six. Also, there are six cannons that I have no idea how to rig. The parts list calls these cannons “falconets-pumps”. They have only two wheels. I looked back in the gallery, but only one San Felipe had any rigging on these six falconets. I have included two pictures of the falconets. They are the last two pictures in this post.