HOLIDAY DONATION DRIVE - SUPPORT MSW - DO YOUR PART TO KEEP THIS GREAT FORUM GOING! (Only 24 donations so far out of 49,000 members - C'mon guys!)
×

Bender
-
Posts
213 -
Joined
-
Last visited
Content Type
Profiles
Forums
Gallery
Events
Everything posted by Bender
-
 A little backtracking. Here are some pictures of yard being cut.

- 115 replies
-
- 1
-

-
- reale de france
- corel
- (and 1 more)
-
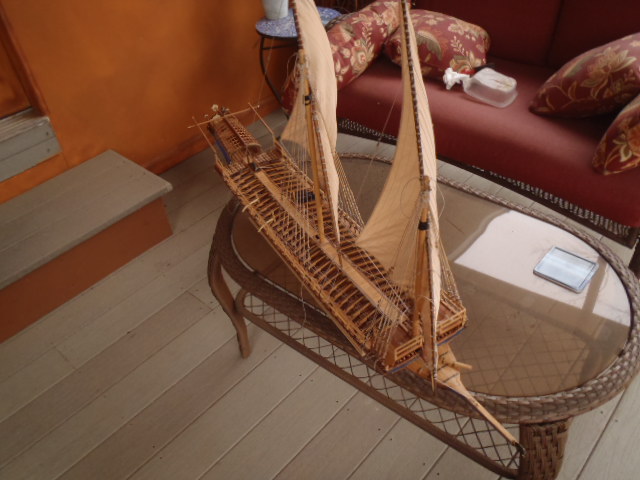
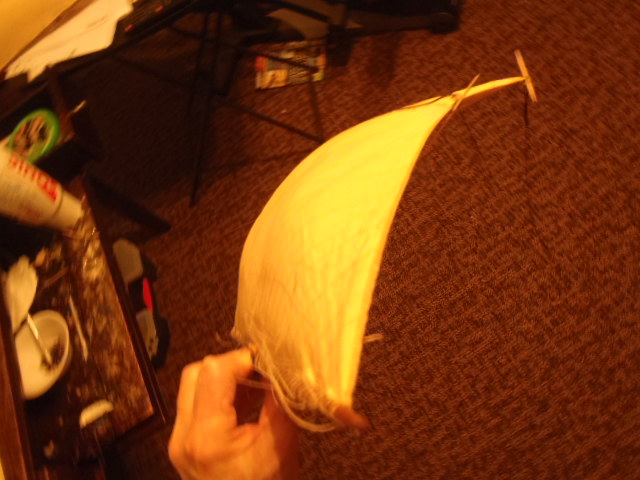
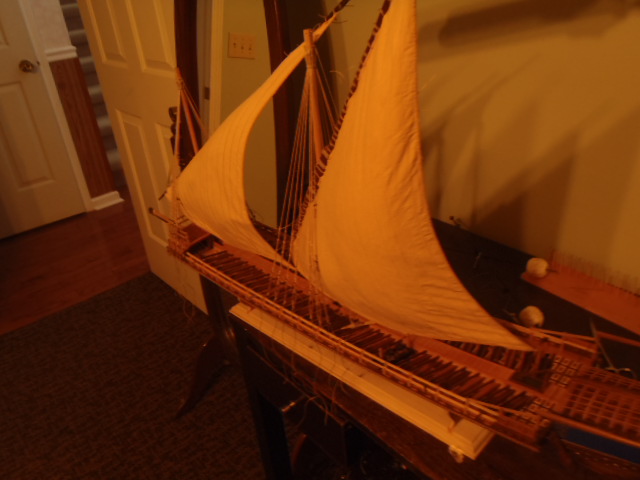
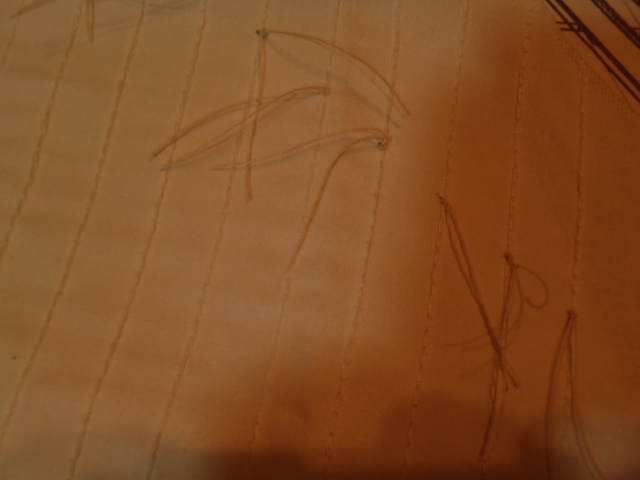
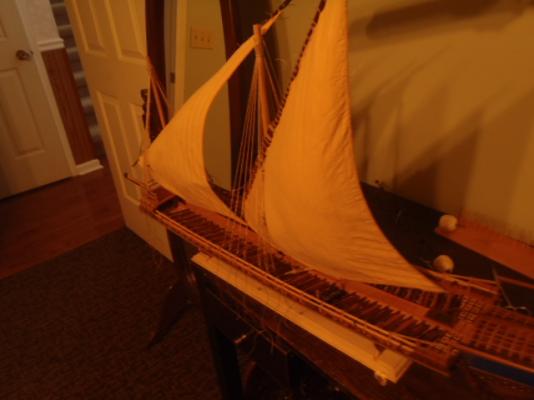
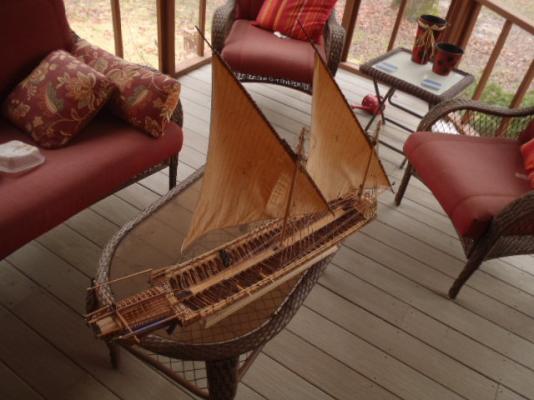
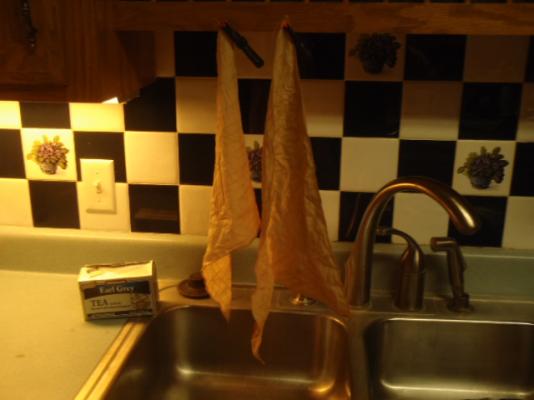
I don't remember from who I pick up the process of using tea to stain sails. But it was from some one here on MSW. Here are the sails after the glue has dried.


- 115 replies
-
- 1
-
-
- reale de france
- corel
- (and 1 more)
-
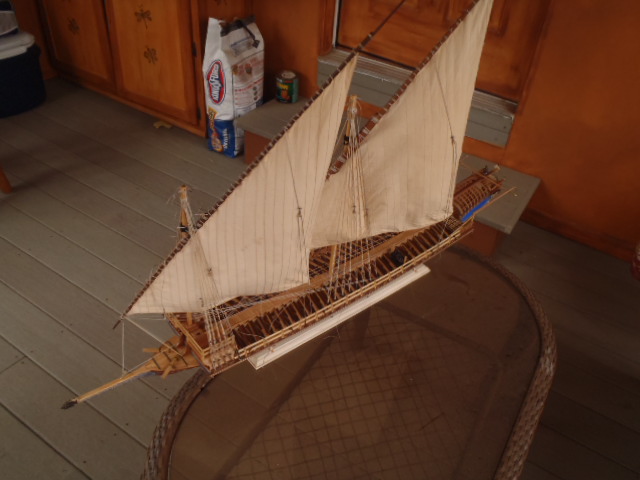
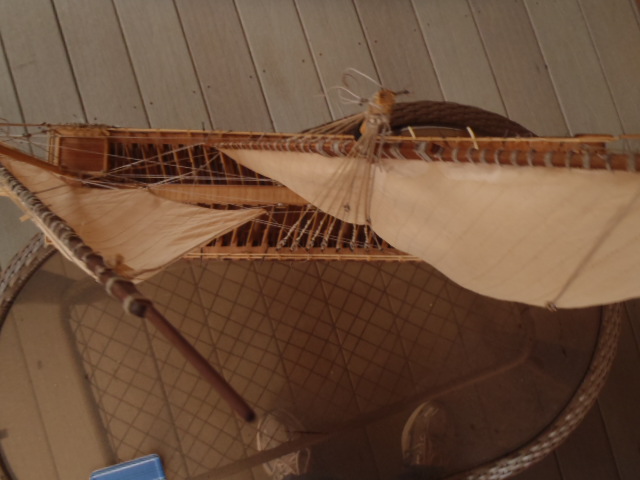
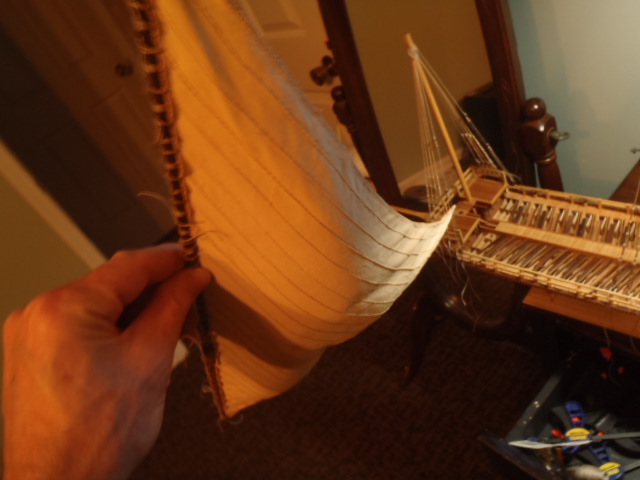
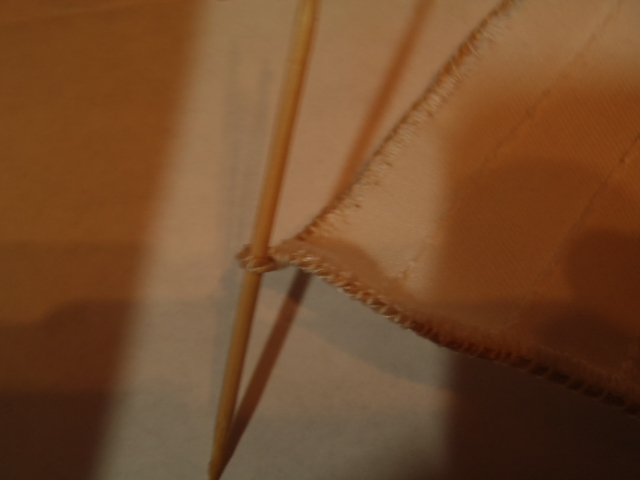
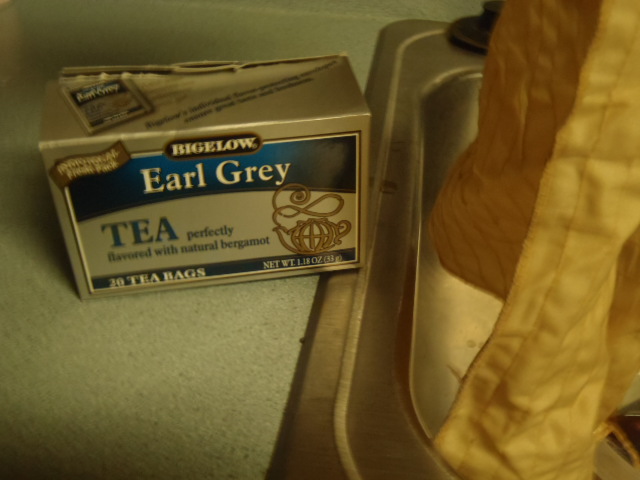
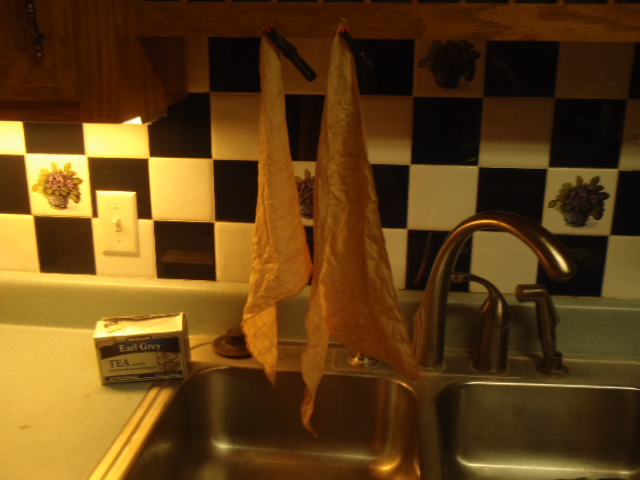
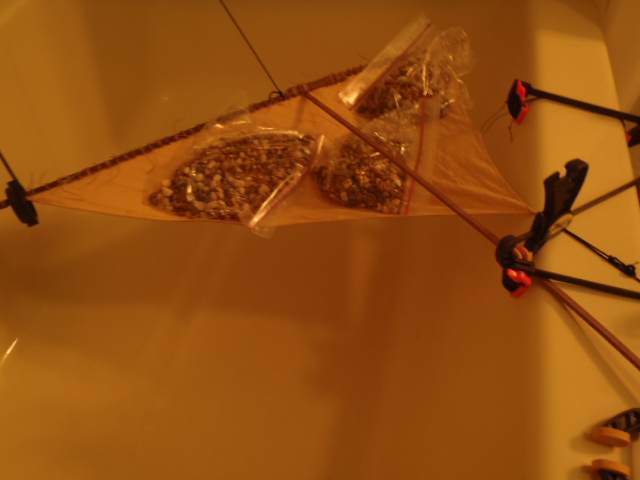
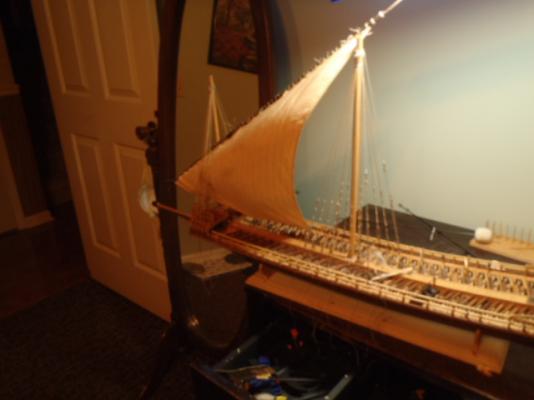
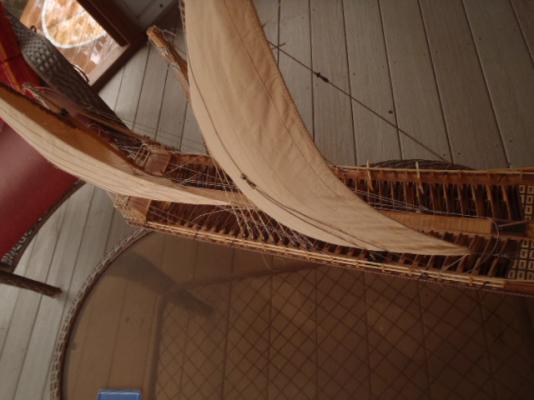
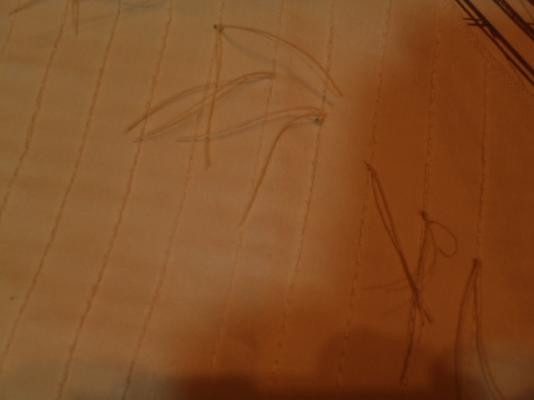
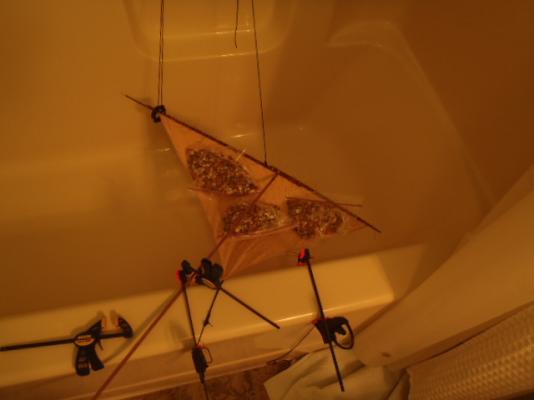
Making the sails. This is the tea mixed with wood glue. Drip drying a little. I used bags of gravel to form the sail into a bellowing shape.


- 115 replies
-
- 3
-
-
- reale de france
- corel
- (and 1 more)
-
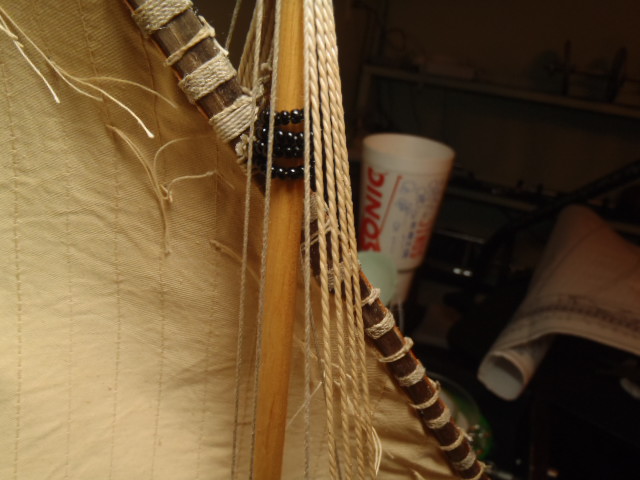
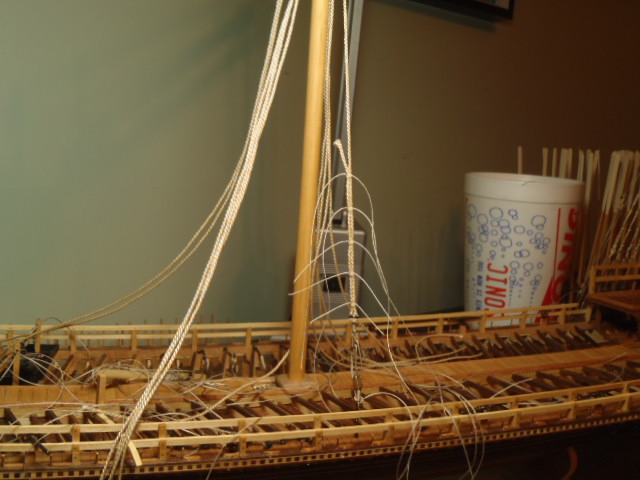
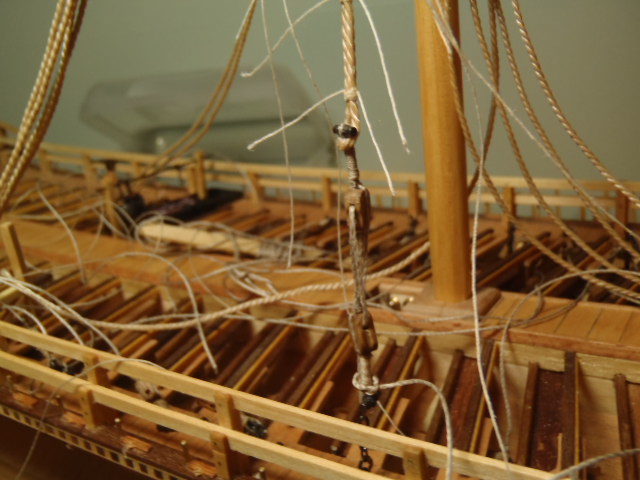
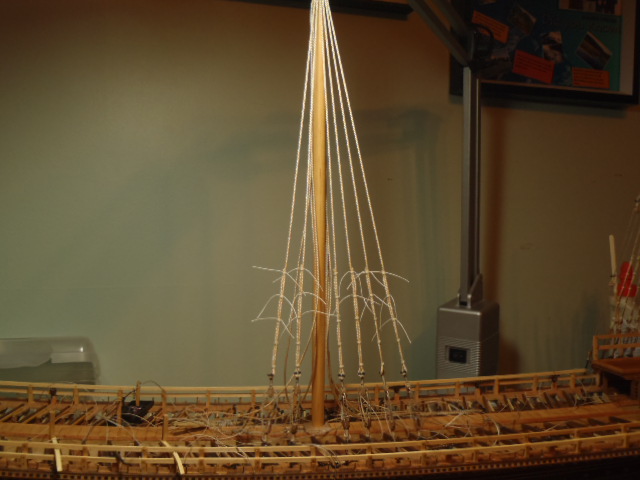
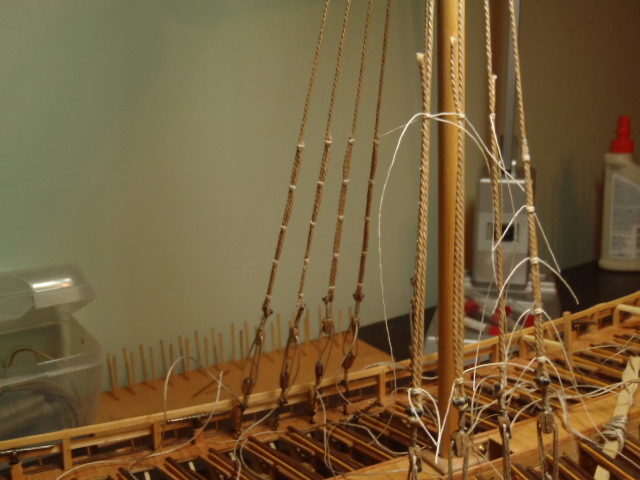
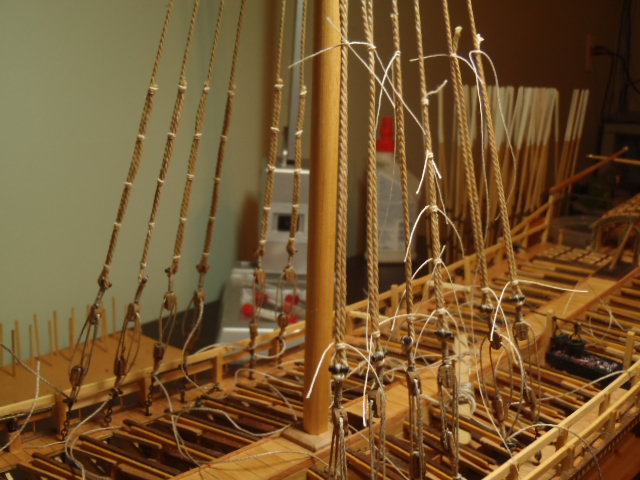
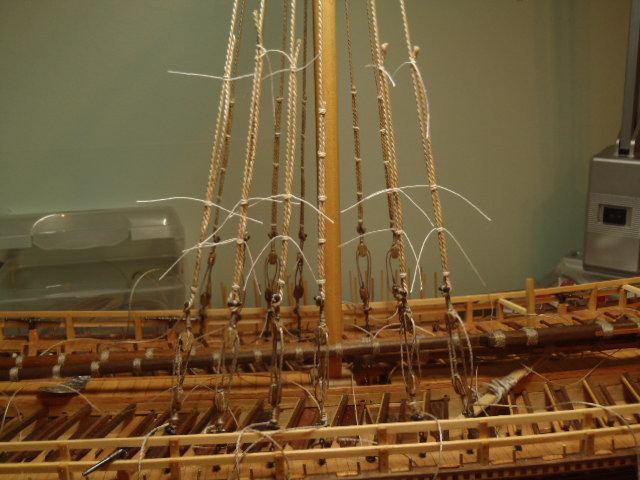
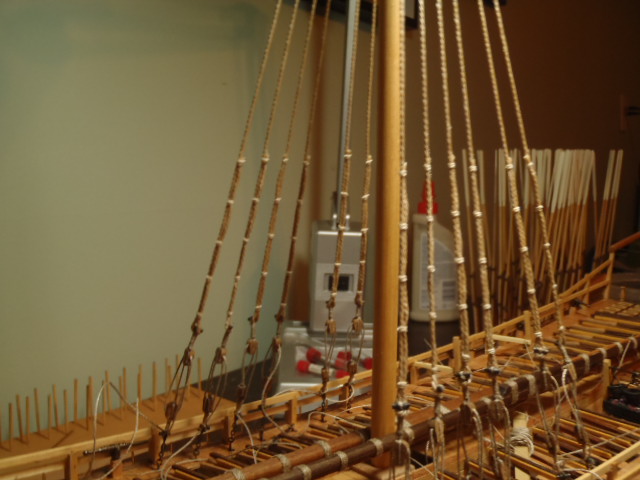
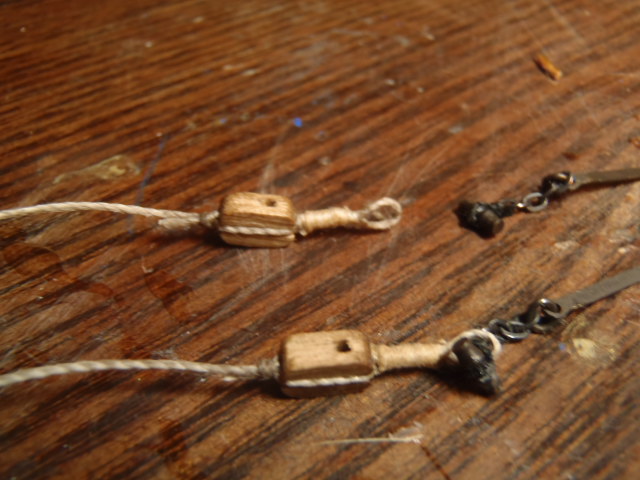
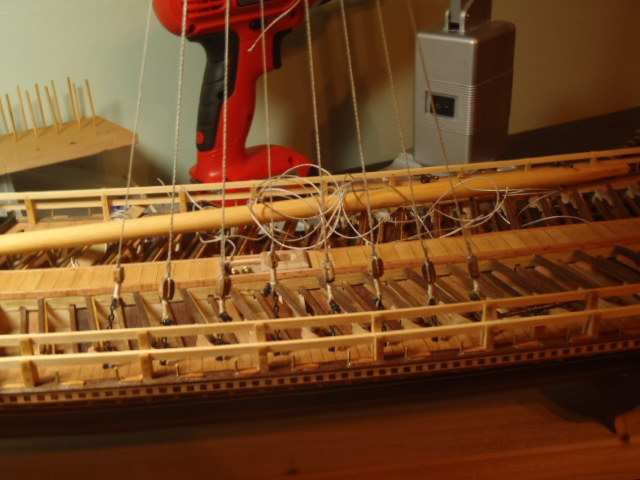
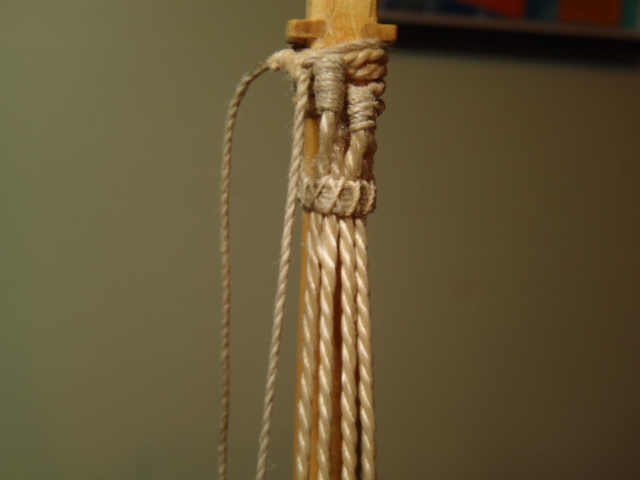
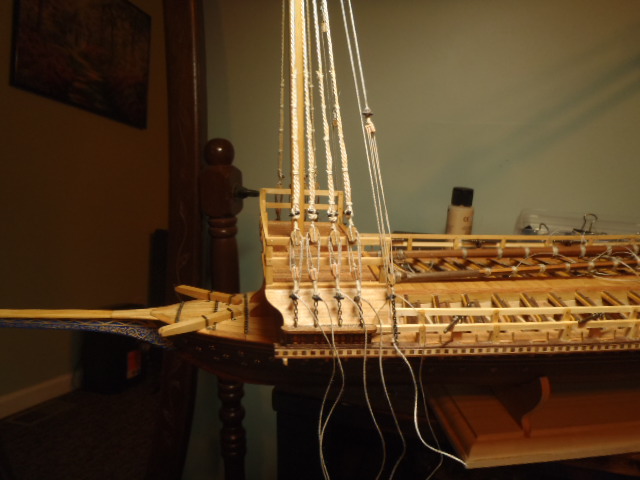
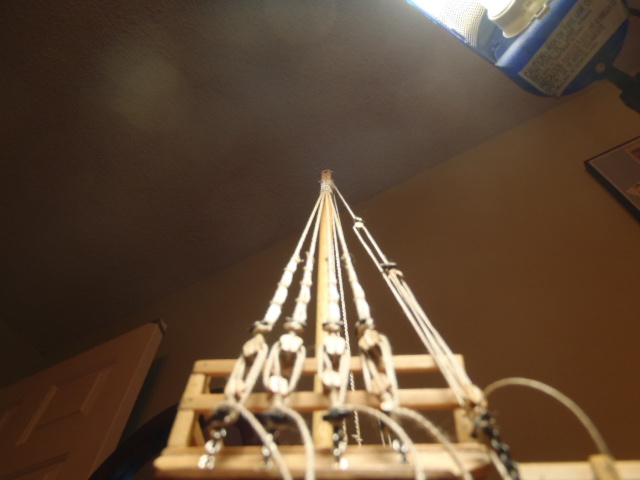
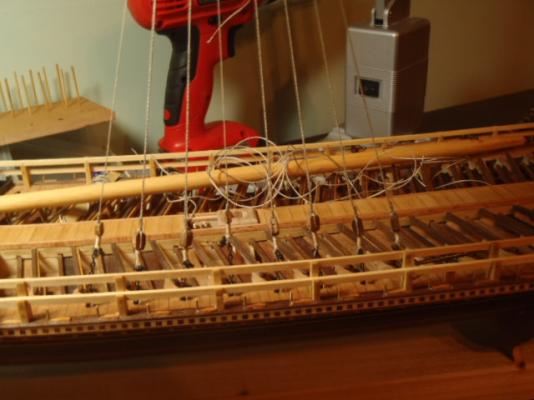
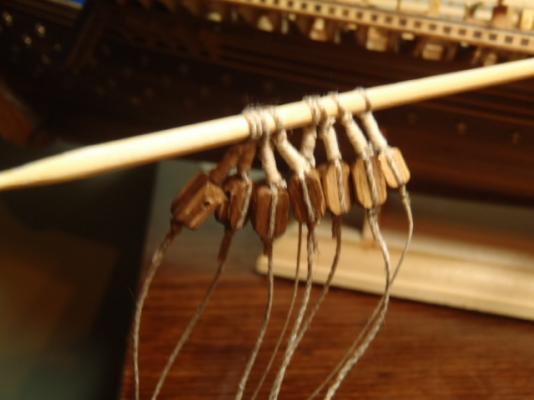
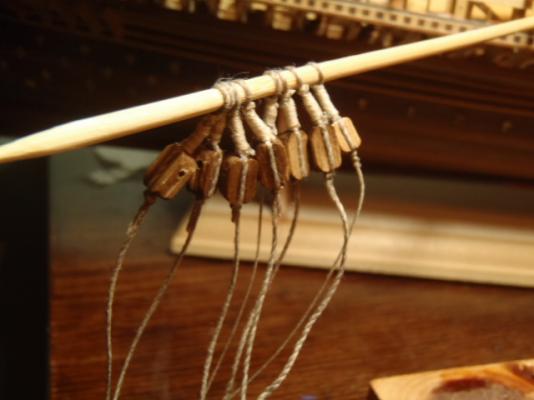
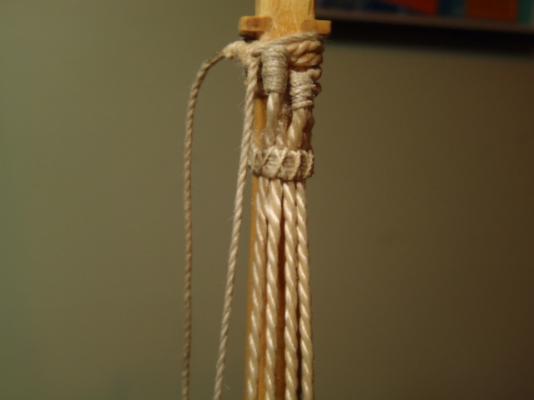
Starting the main shrouds.


-
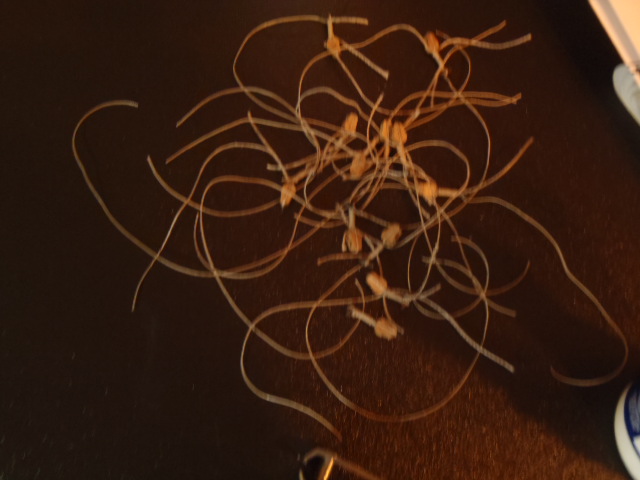
Here are some pictures of the fore shrouds. I cut off the first three attempts.


- 115 replies
-
- 1
-
-
- reale de france
- corel
- (and 1 more)
-
Incredibly beautiful.
-
Wow! Great job on those small pieces.
-
Thanks each of you for you kind words. I added some more of the kit supplied decorations.


- 115 replies
-
- 2
-
-
- reale de france
- corel
- (and 1 more)
-
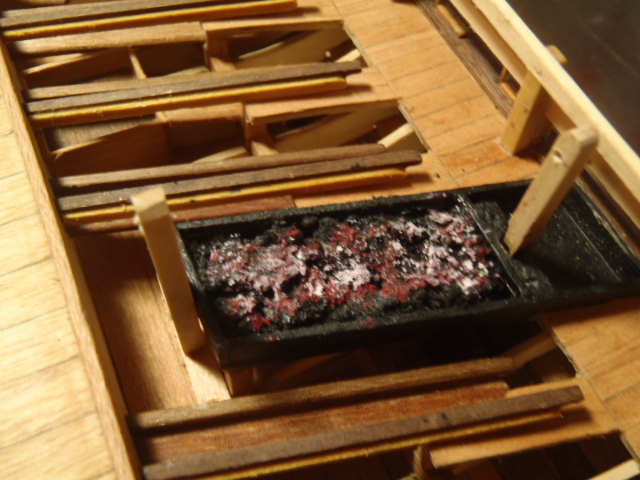
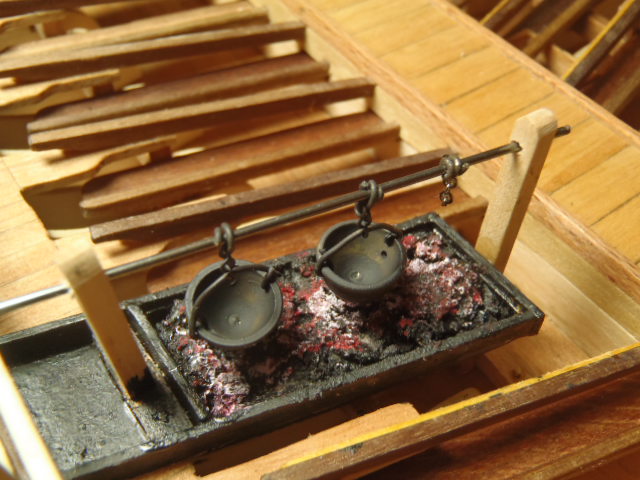
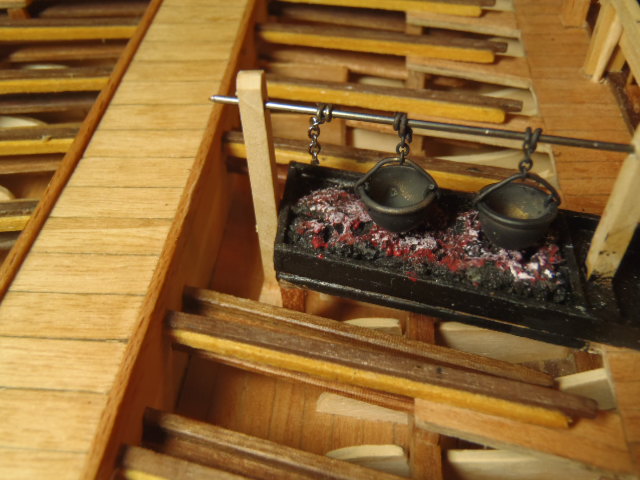
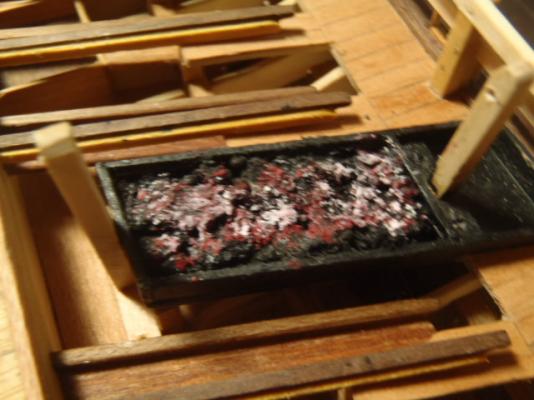
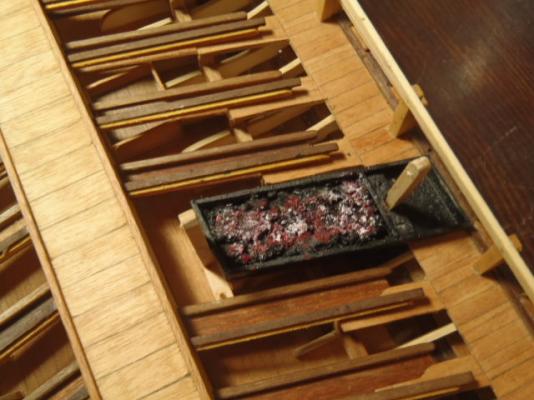
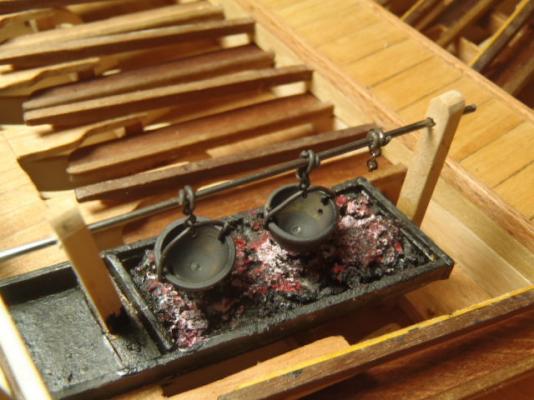
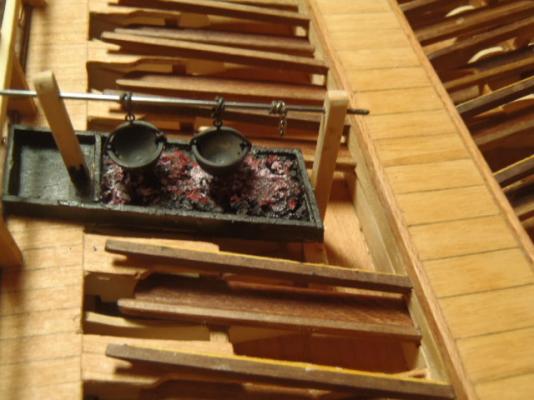
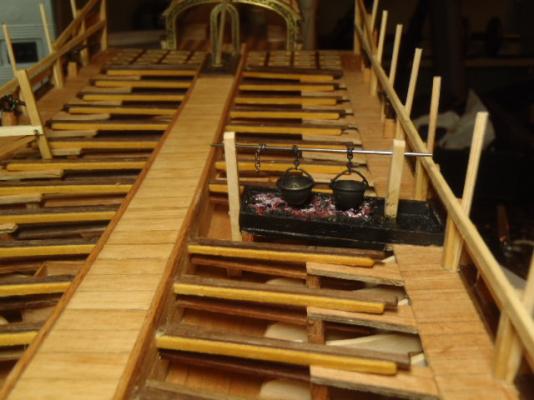
Next was the cooking box. This brings up a point. The actual ships of this type had 59 oars, each manned by 7 men. That is 413 men eating a lot of food. The deck on these ships were low. This allowed the waves to wash over the deck. Think of this as flushing the toilet. I mixed together charcoal and diluted glue, and pressed this into the box. When it was dry I used red fingernail polish to give the appearance of glowing embers.


- 115 replies
-
- 2
-
-
- reale de france
- corel
- (and 1 more)
-
John, it's been a few weeks when I last looked through your build log. It looks great. Very fine workmanship.
-
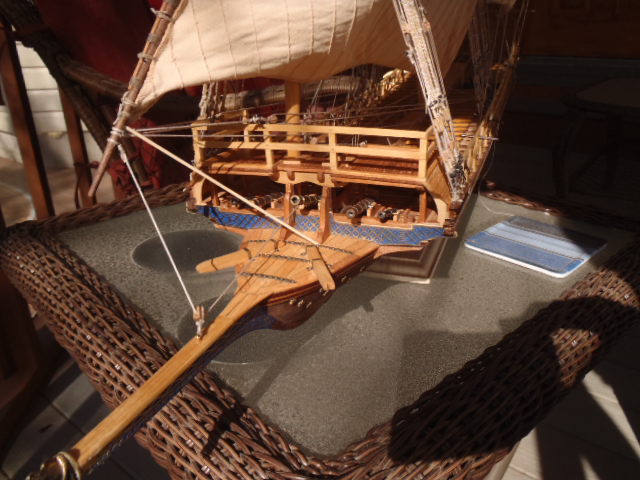
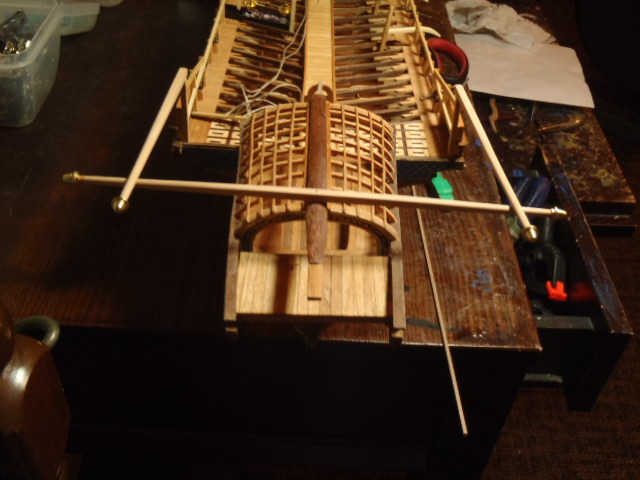
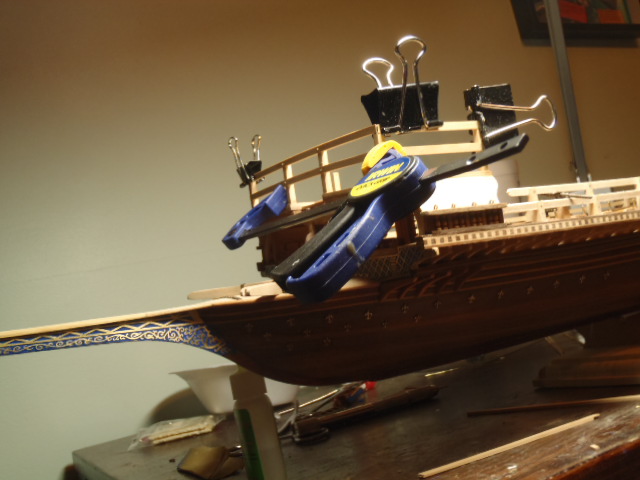
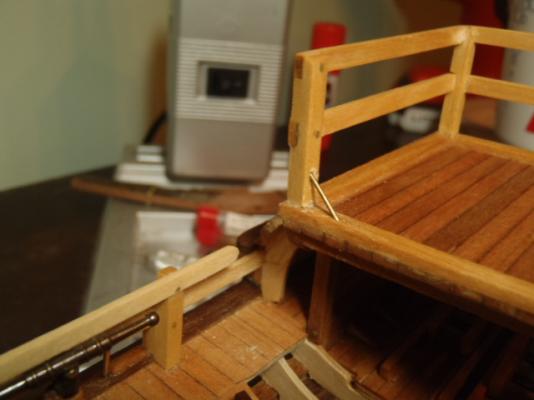
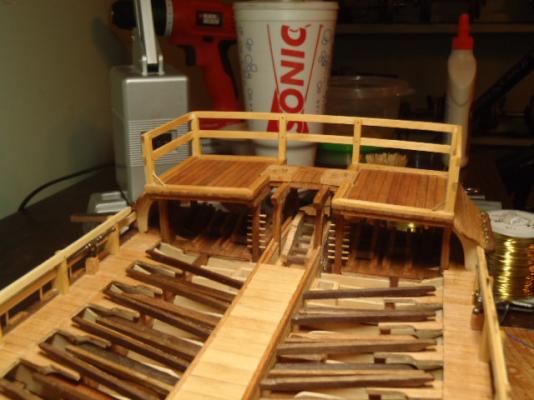
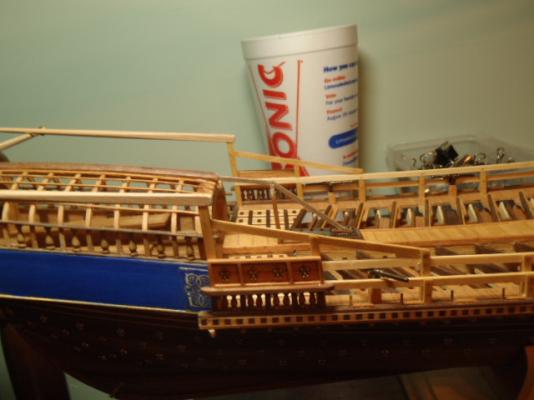
I really appreciate each of your commits. Here are some pictures of the finished fore castle. This piece was build off the ship and then installed. This structure will hold the shade canopy.


- 115 replies
-
- 2
-
-
- reale de france
- corel
- (and 1 more)
-
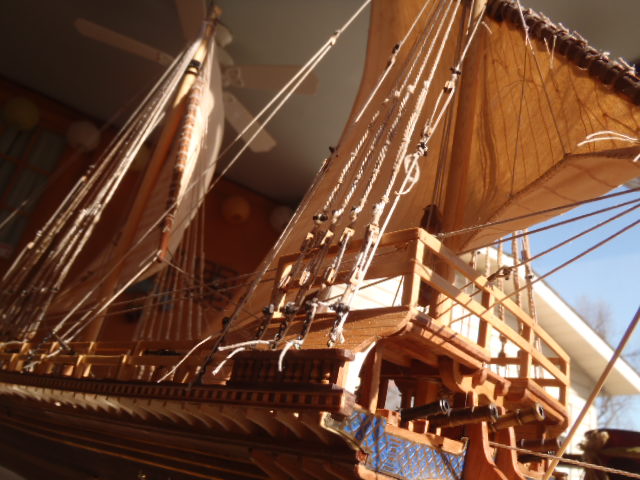
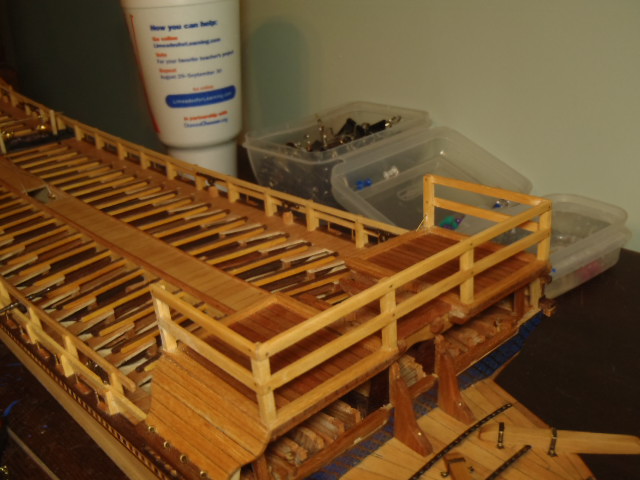
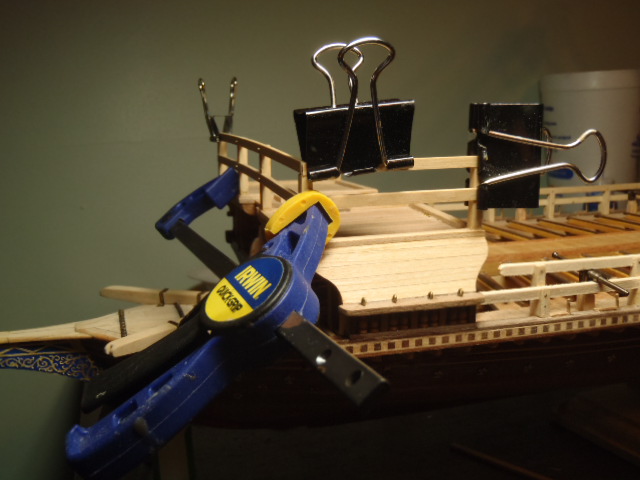
Next was the rails on the fore castle. I added the brass pins for added strength.


- 115 replies
-
- 2
-
-
- reale de france
- corel
- (and 1 more)
-
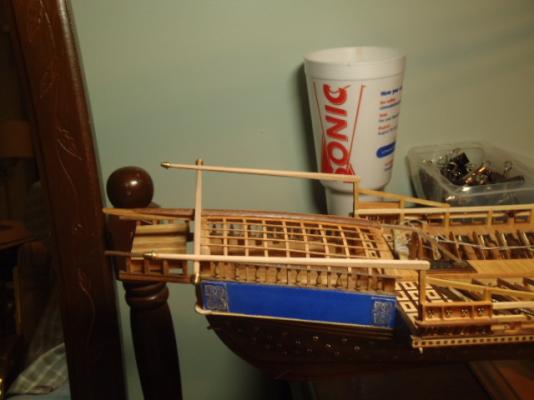
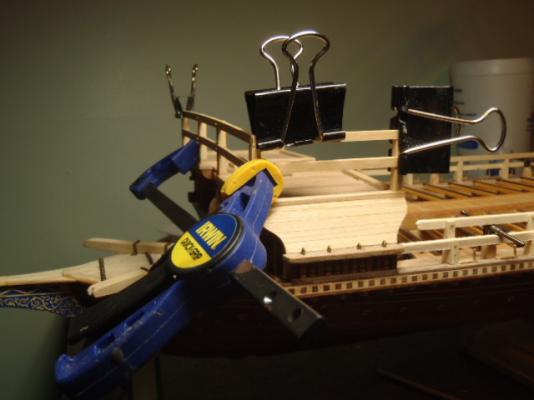
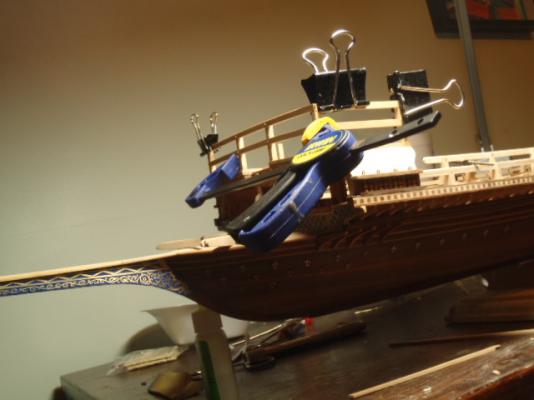
Thanks very much Michael. I added the swivel gun supports.


- 115 replies
-
- 1
-
-
- reale de france
- corel
- (and 1 more)
-
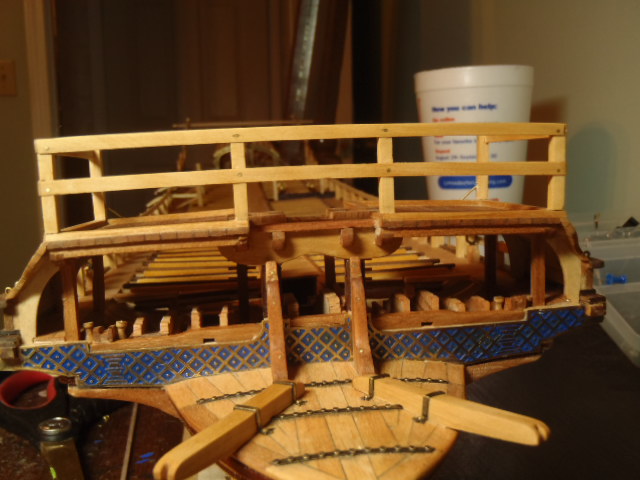
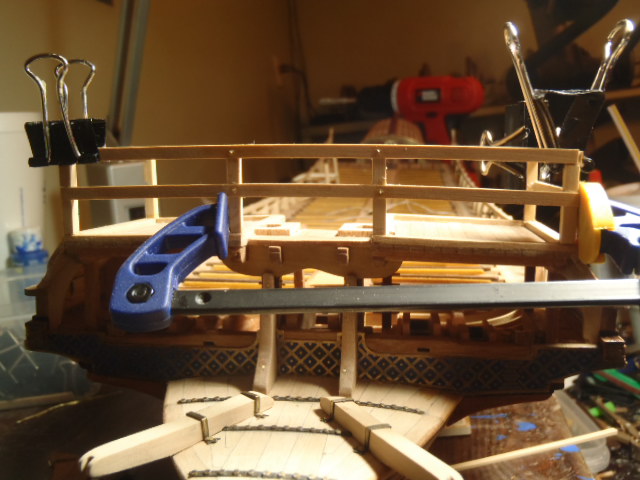
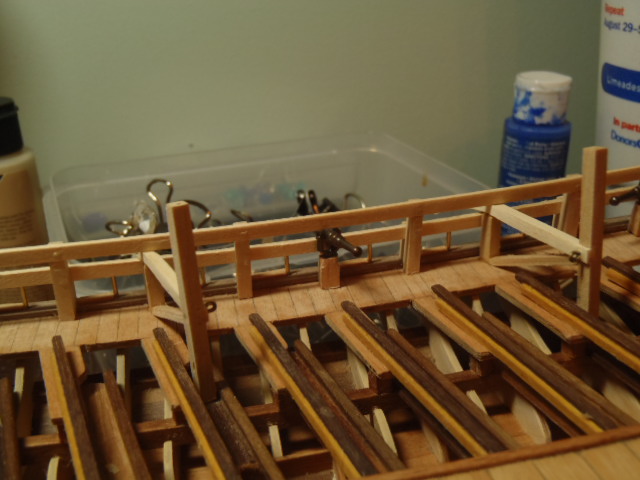
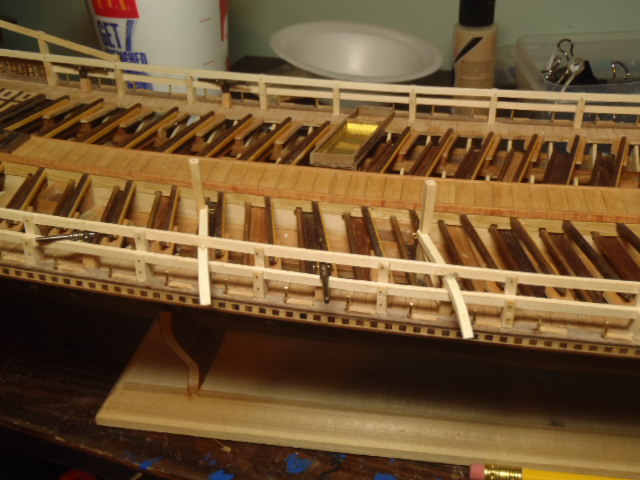
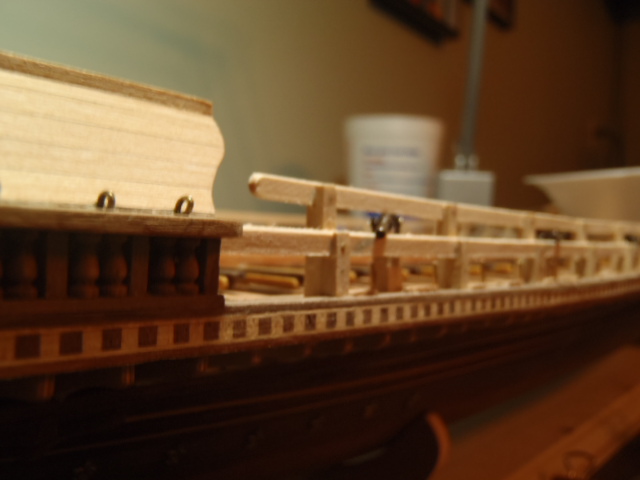
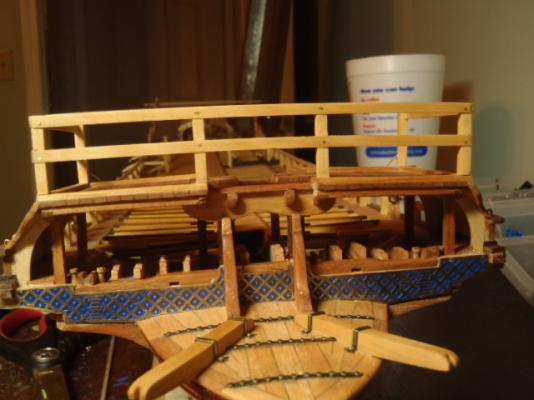
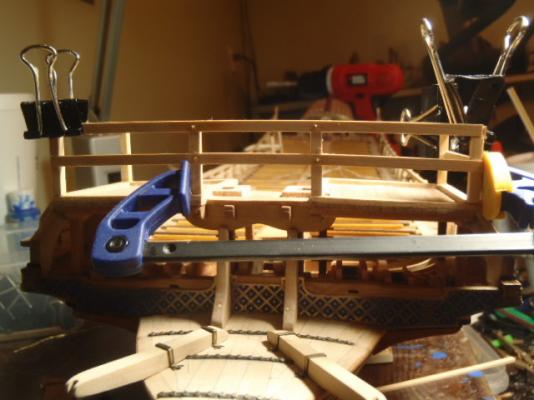
Mark, it is good to be back at it. Thanks for looking in . . . again. Sara, the decorative brass pieces are supplied in the kit. I've replaced most of the wood pieces. Here are some pictures of the overdeck handrails.

- 115 replies
-
- 1
-
-
- reale de france
- corel
- (and 1 more)
-
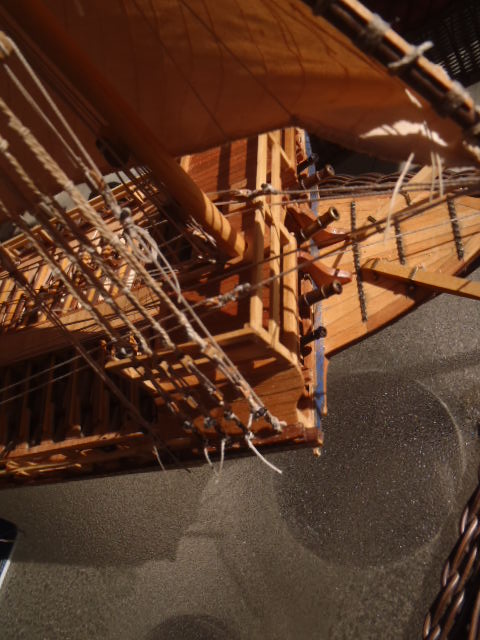
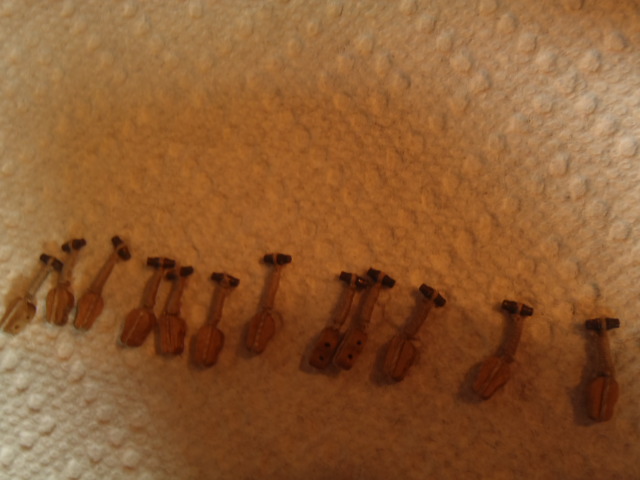
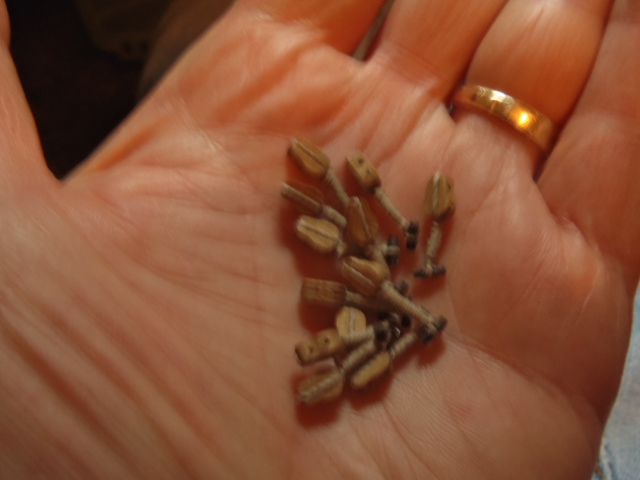
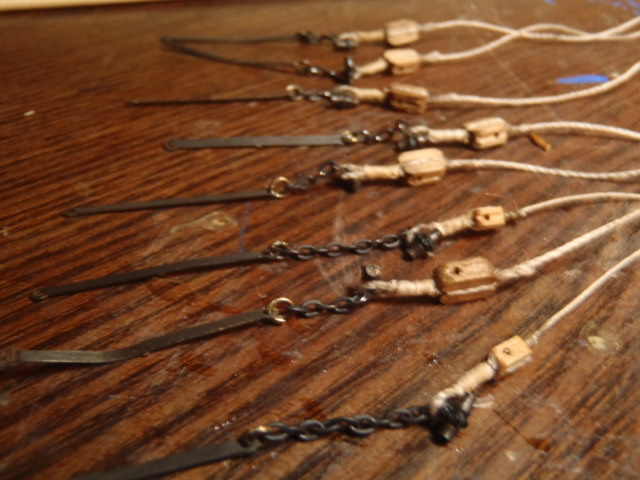
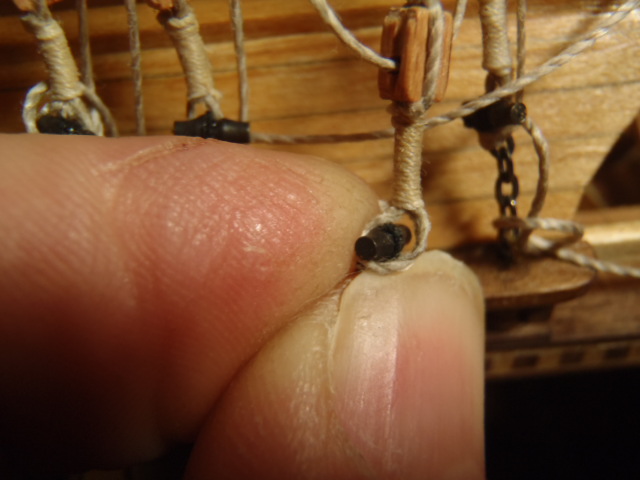
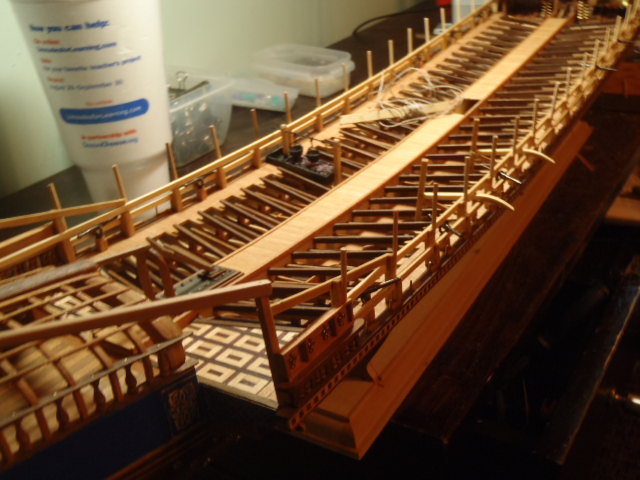
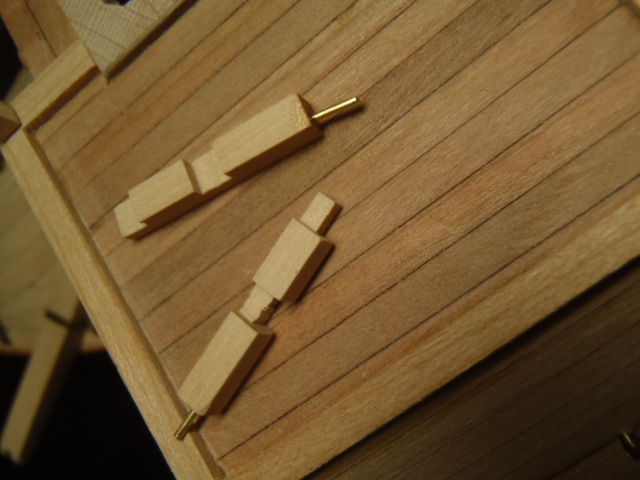
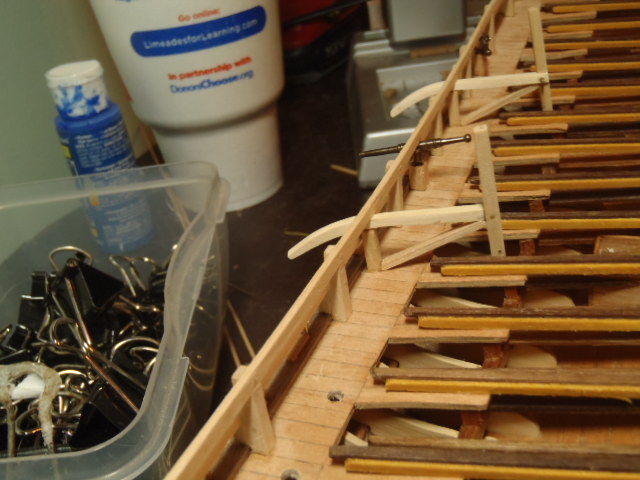
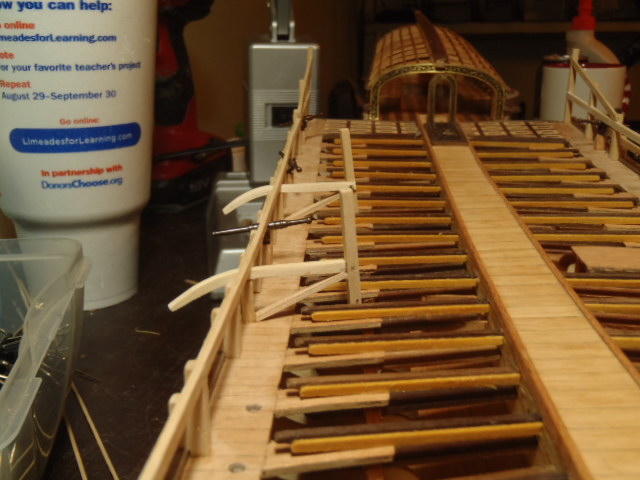
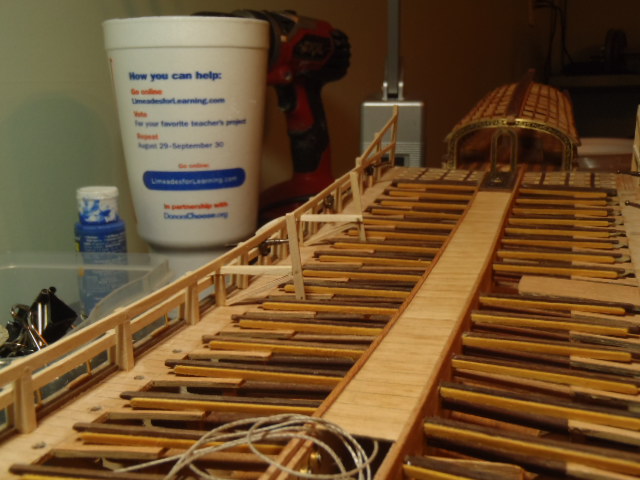
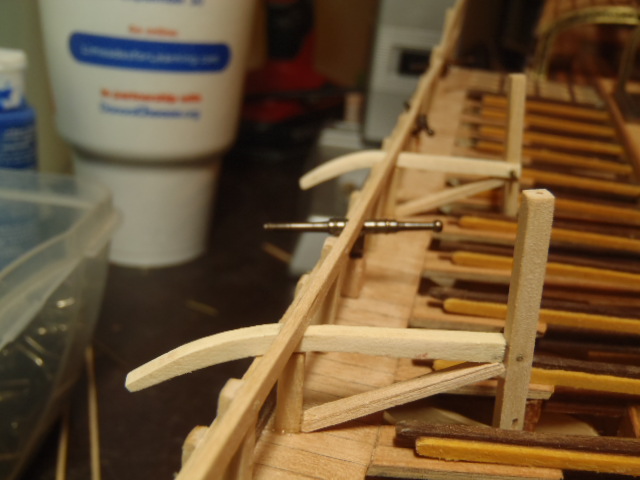
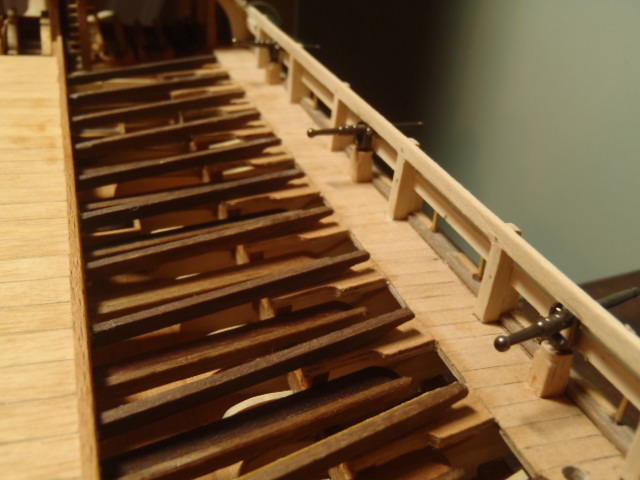
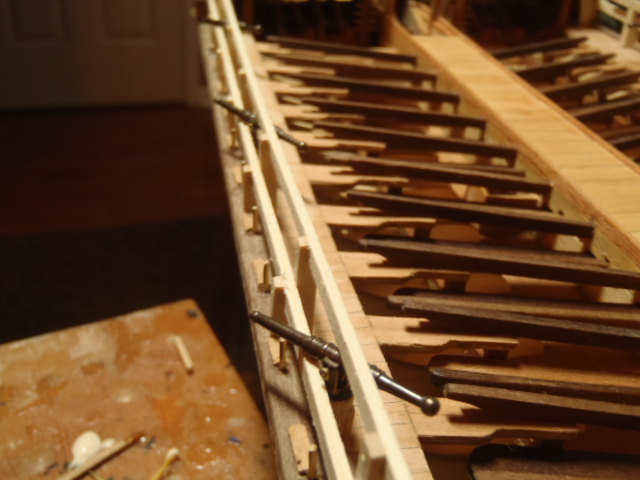
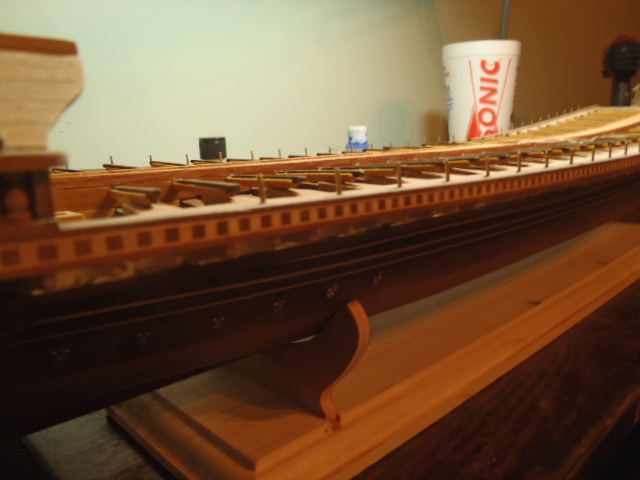
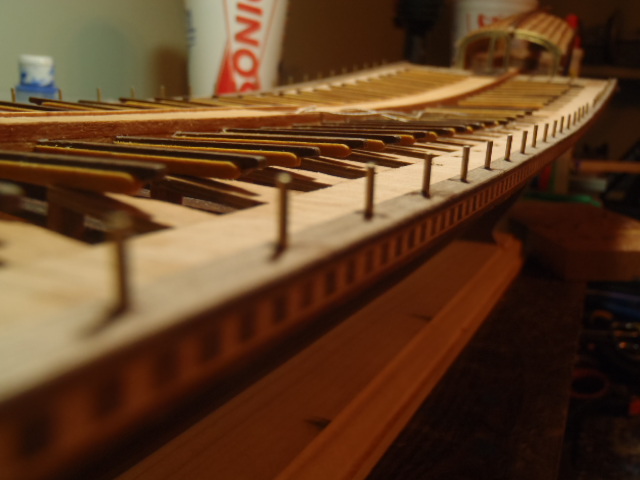
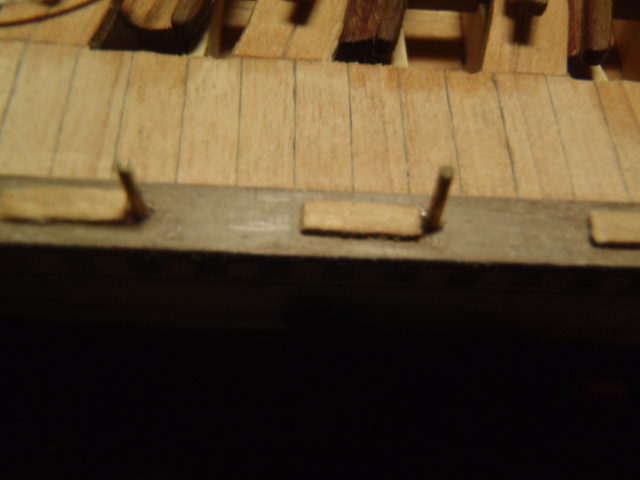
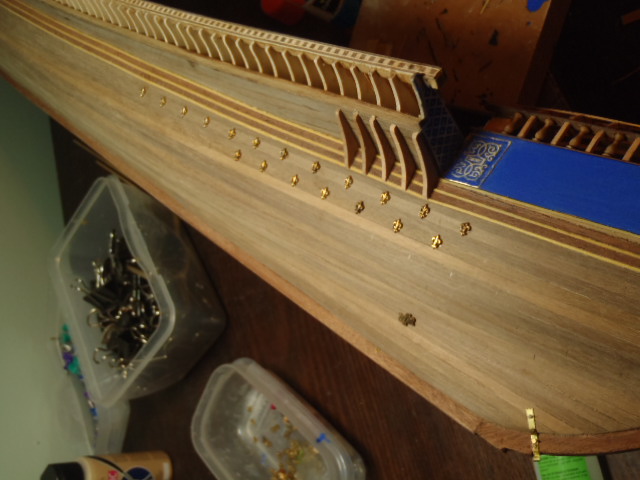
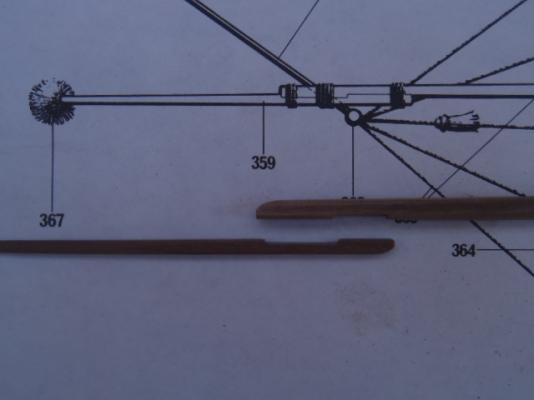
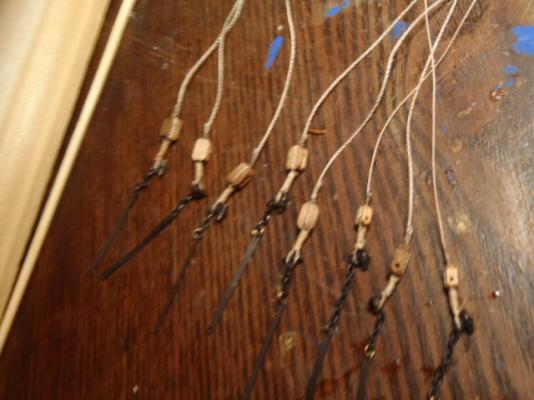
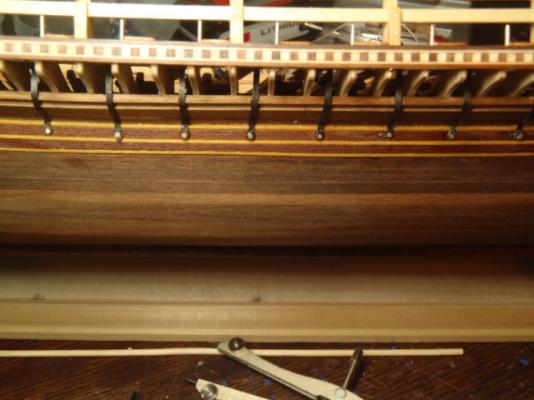
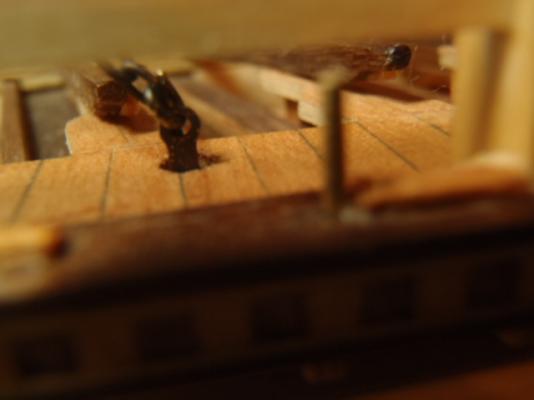
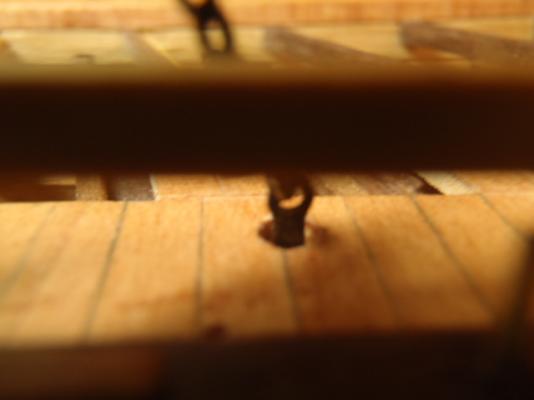
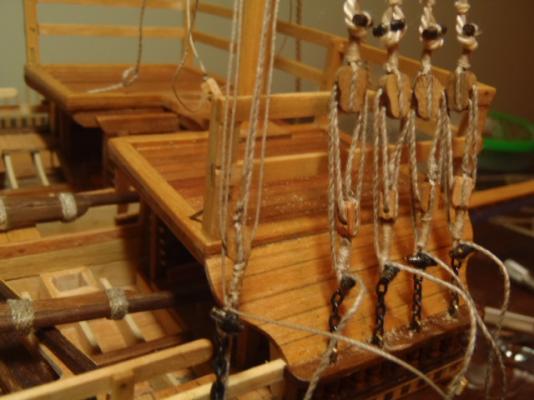
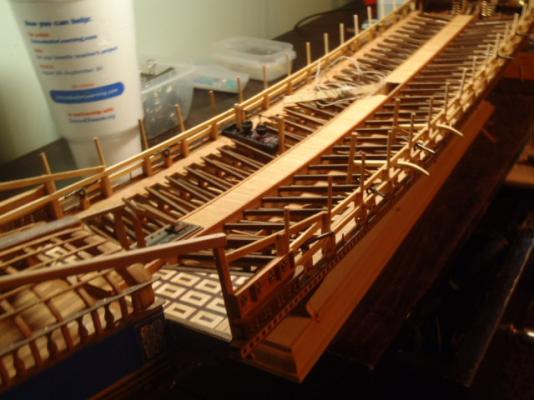
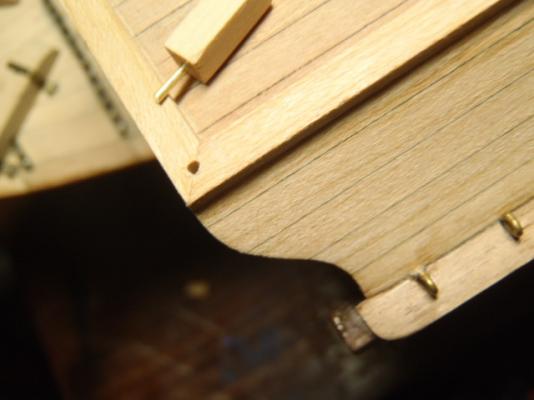
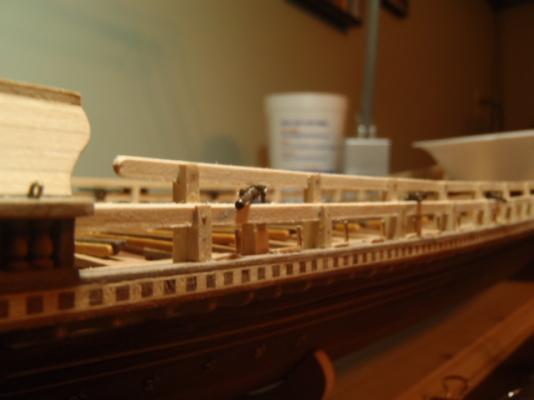
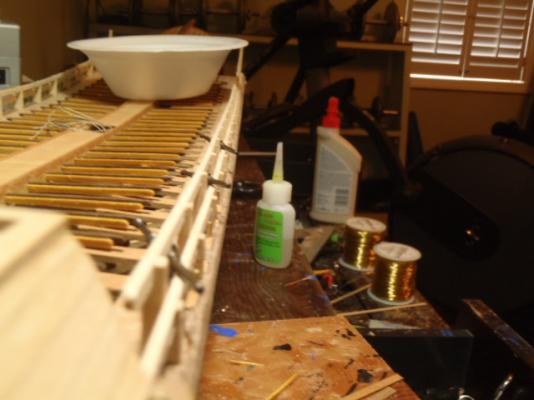
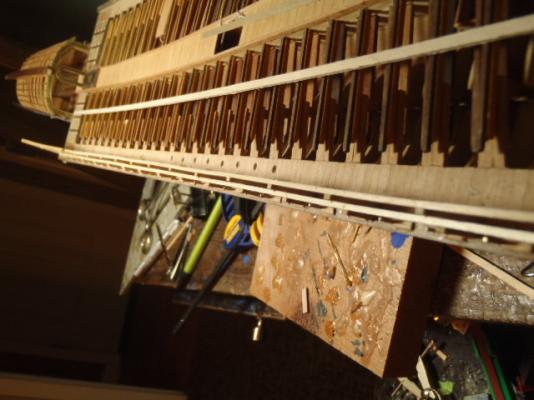
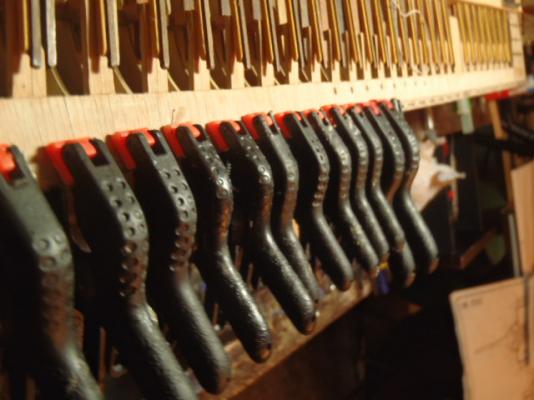
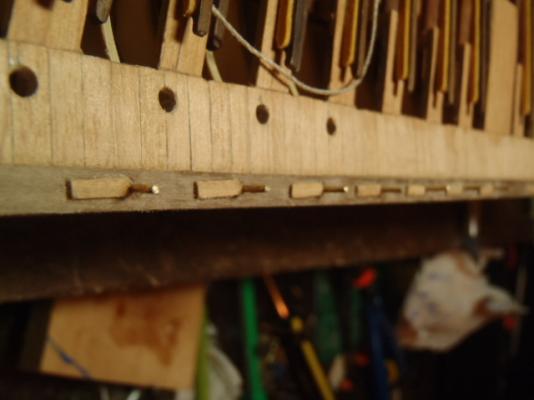
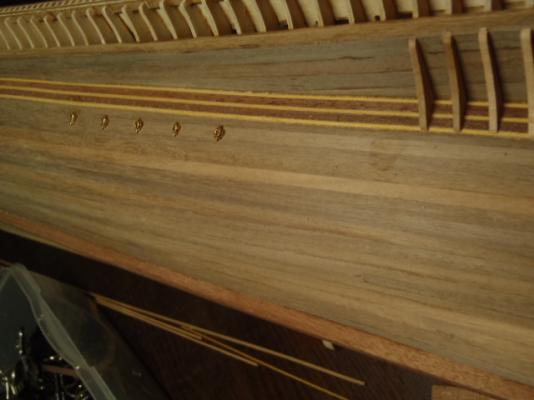
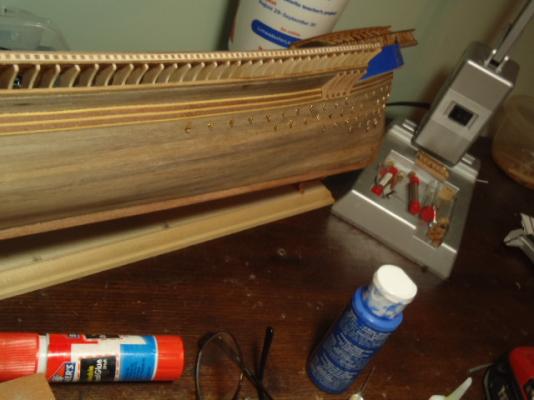
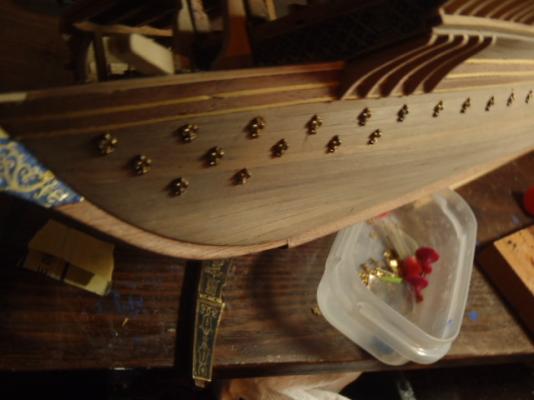
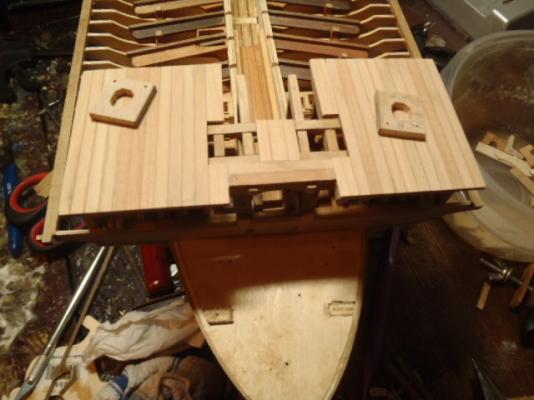
Before building the handrails I needed to attach the Oar thole-pins (Oarlocks) and the Oar wear pads. On the real Reale de France the thole-pins wound have been a wood. I used brass rods. The wear pads. The shrouds will pass through these four holes and attach to the chain plates.


- 115 replies
-
- 3
-
-
- reale de france
- corel
- (and 1 more)
-
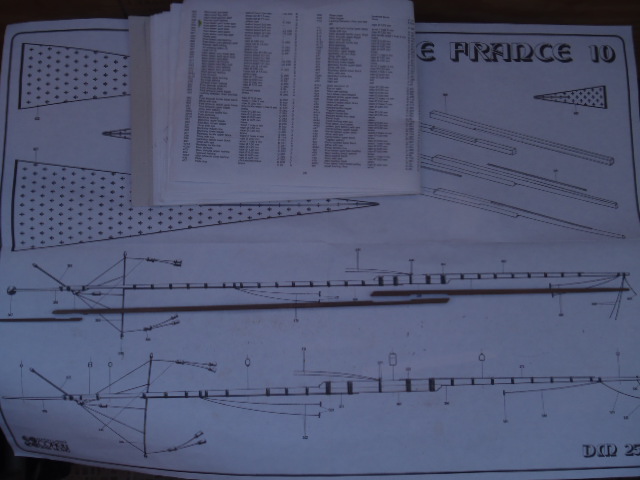
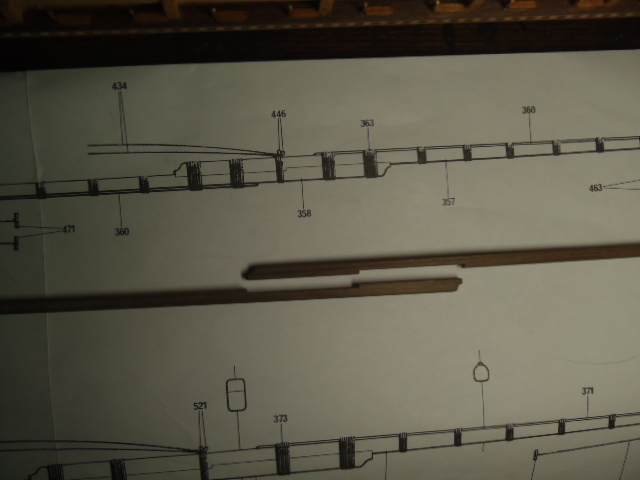
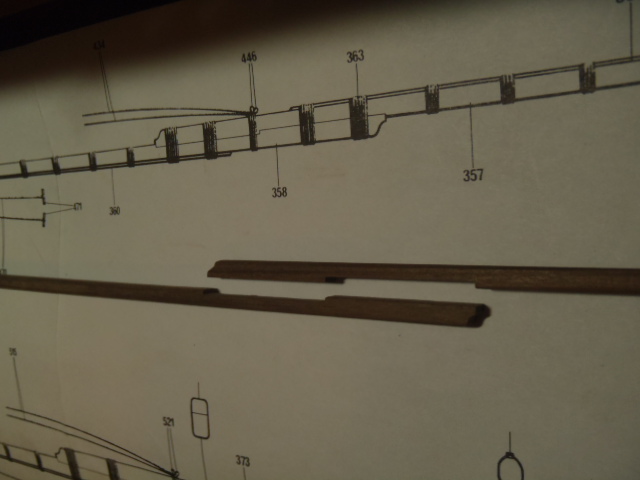
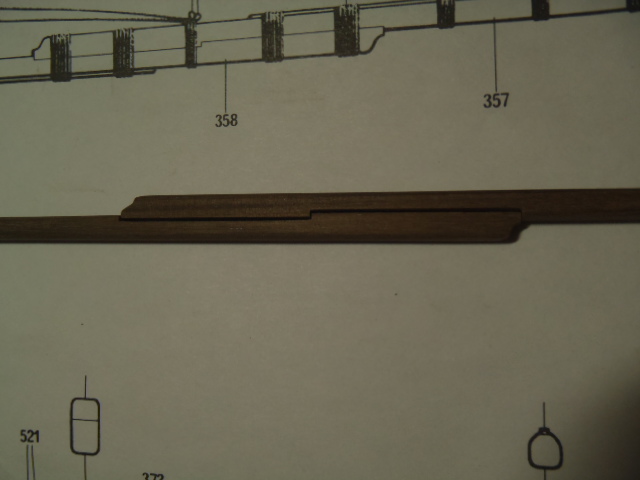
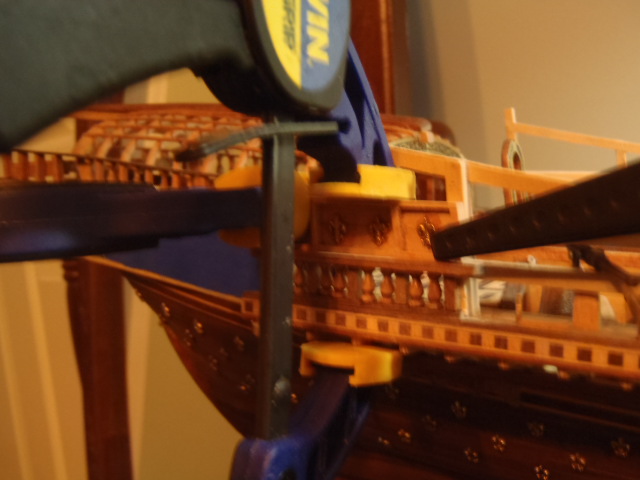
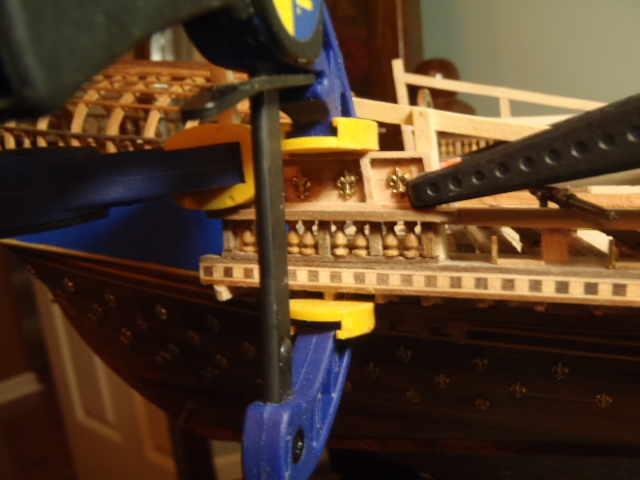
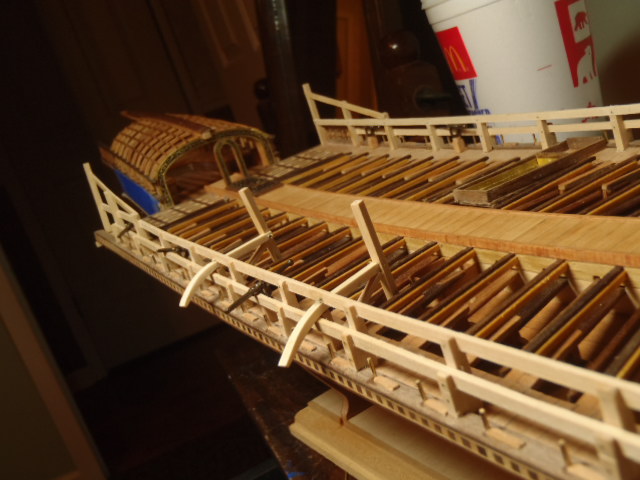
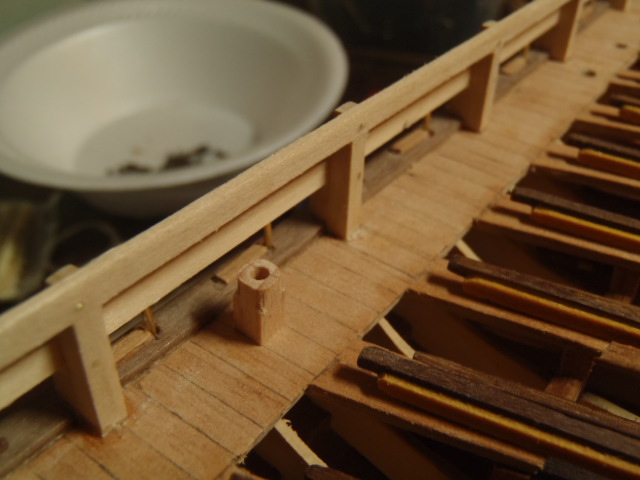
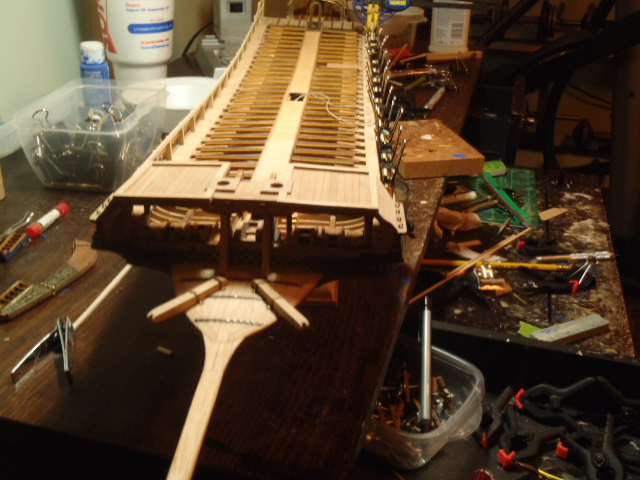
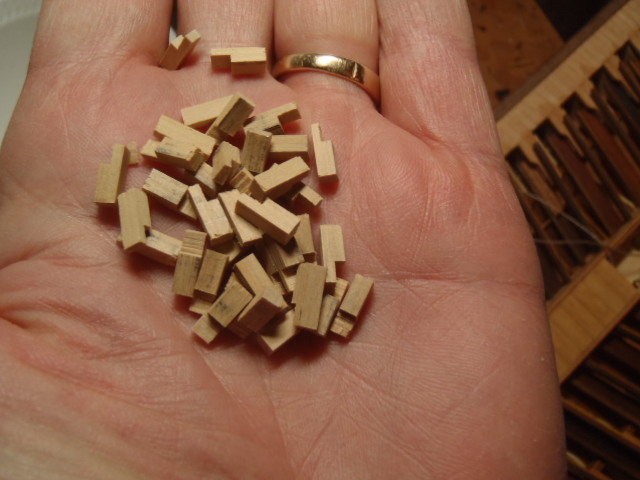
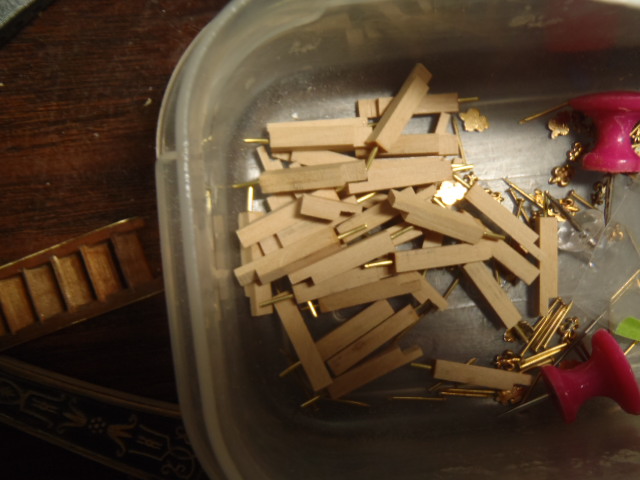
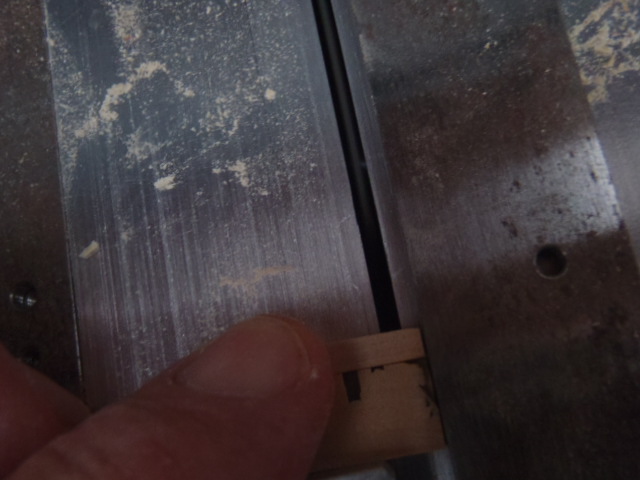
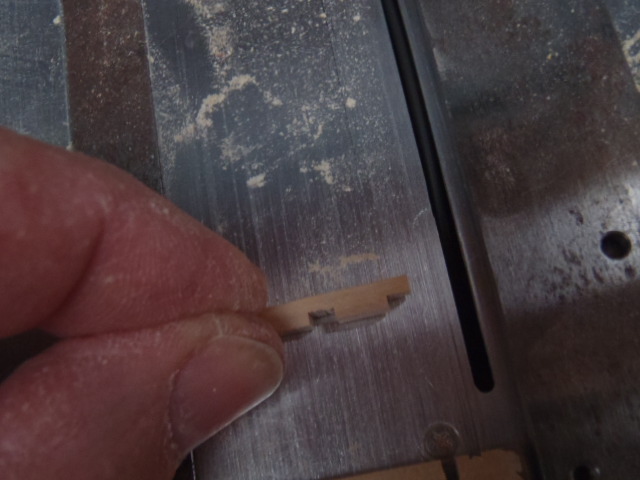
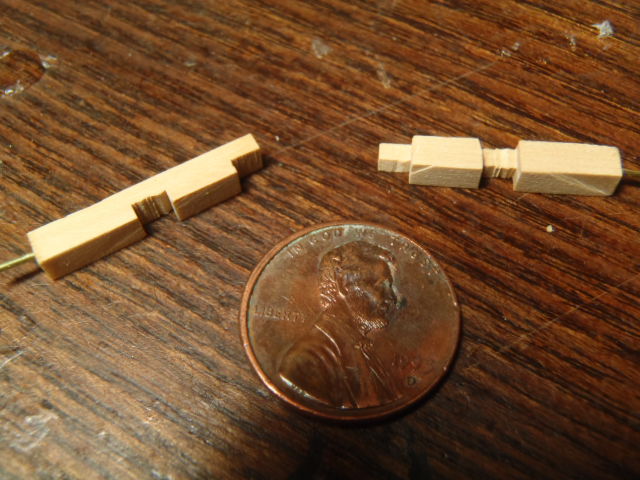
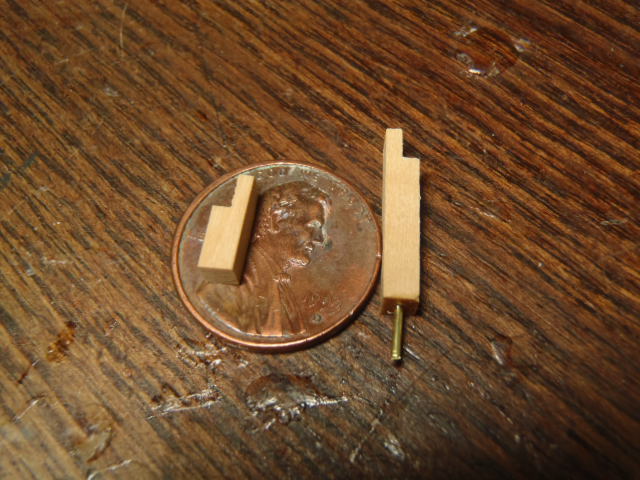
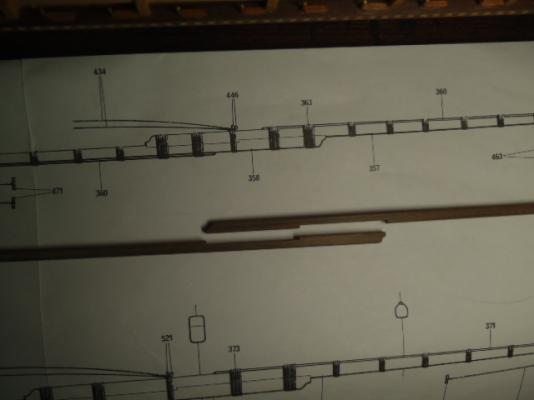
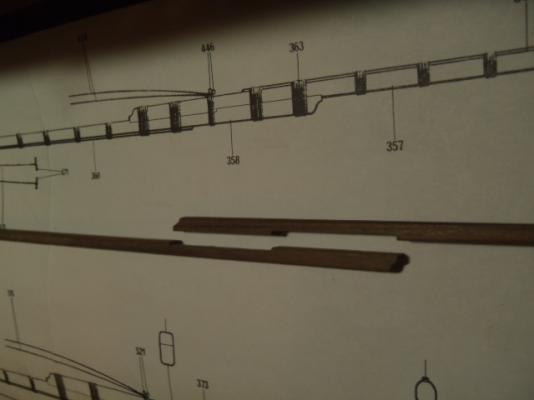
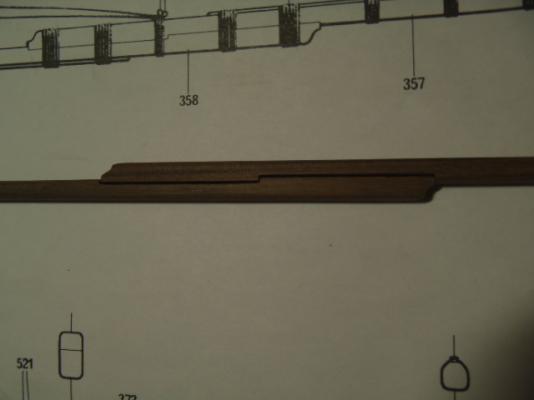
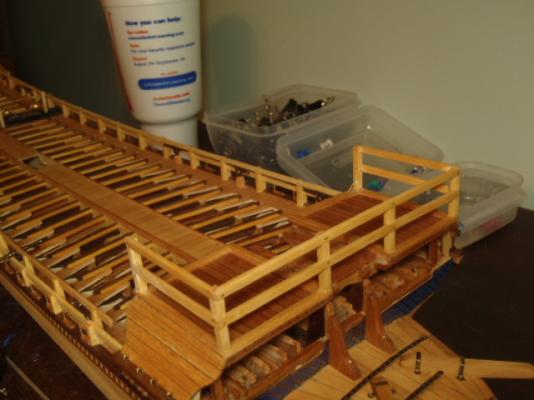
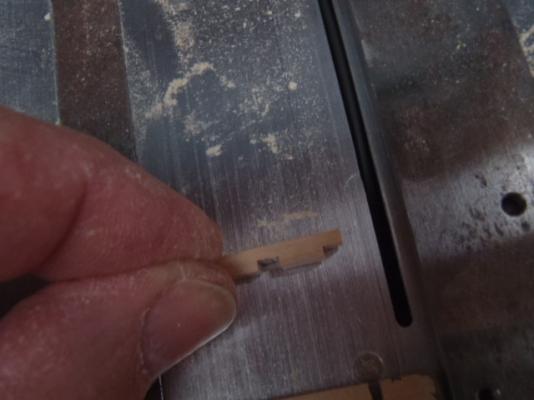
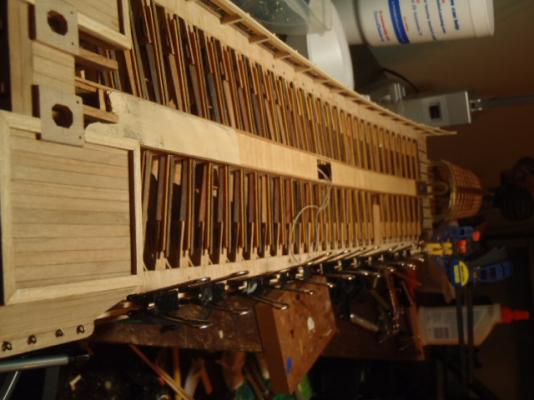
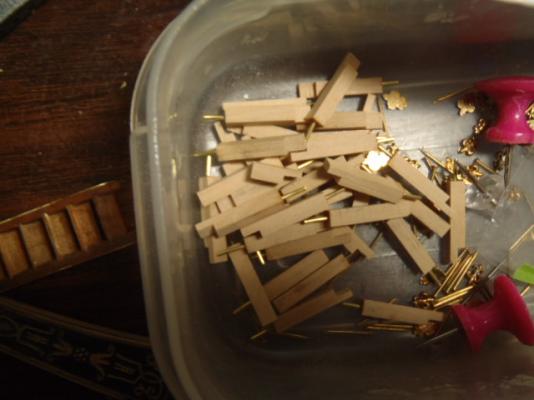
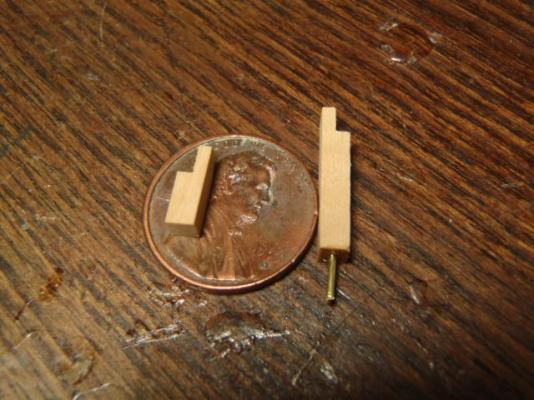
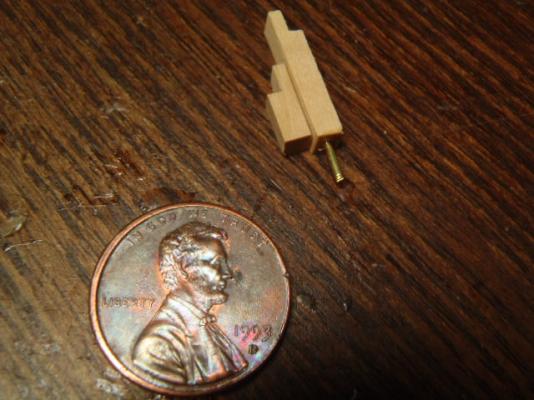
Next was cutting the vertical posts and handrails for the overdeck and the forecastle. The post for the handrails on the over deck are made from two pieces of wood and a brass pin for added strength when attaching to the deck. I need 34 assembled post. Cutting the posts for the overdeck Cutting the post for the forecastle handrails.


-
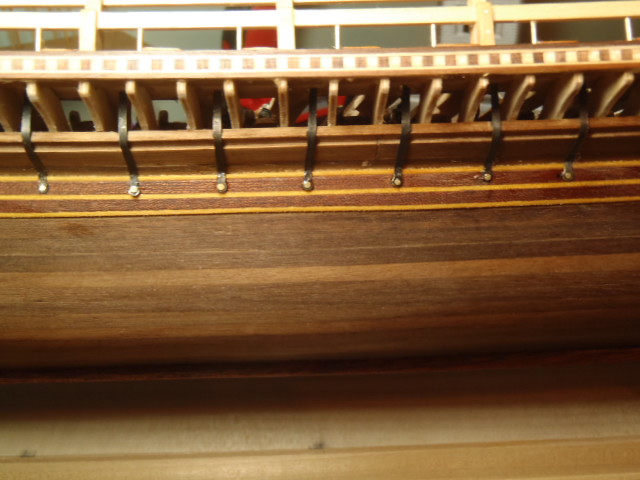
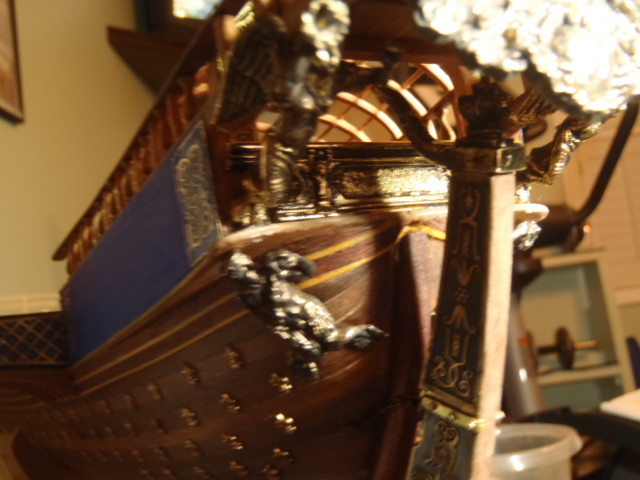
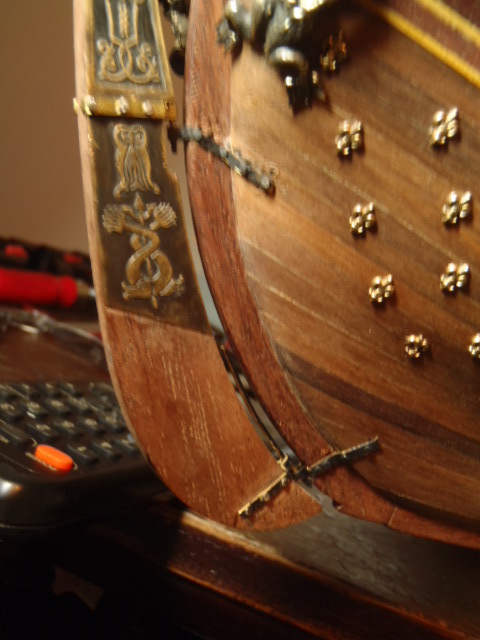
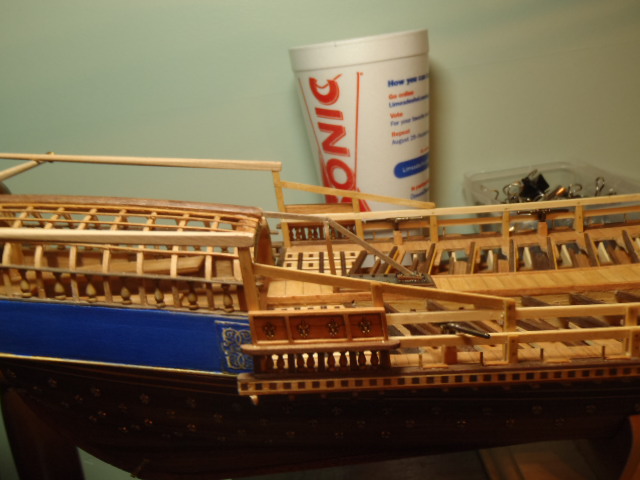
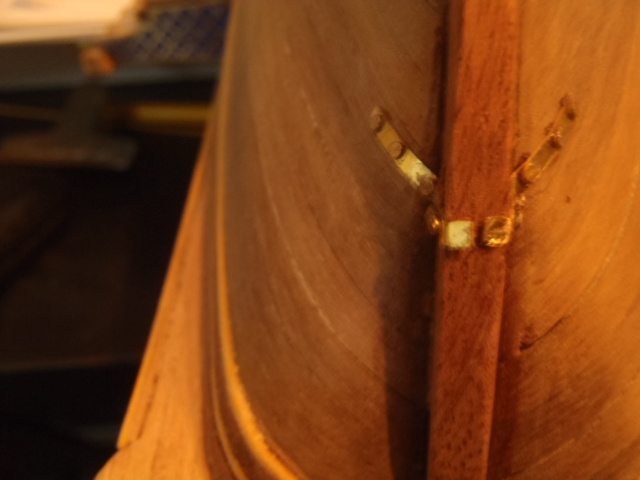
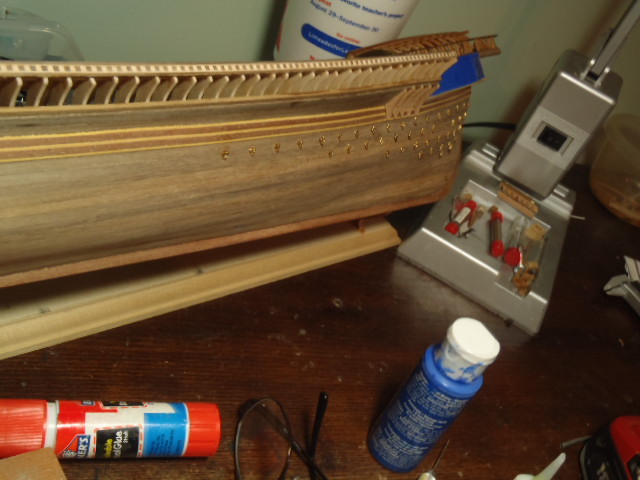
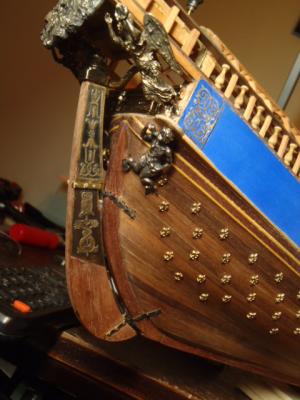
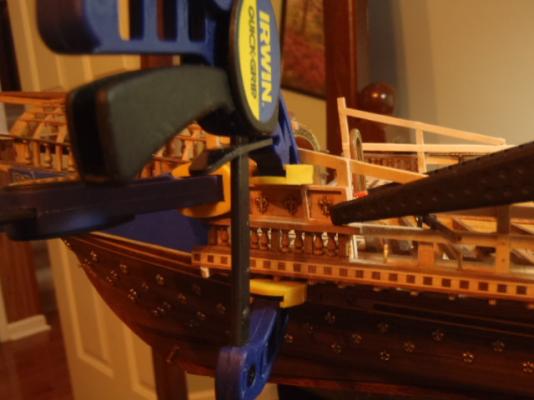
I added some more of the kit supplied decorations and attached the wale. In the next four pictures you can see the little brass stars that are attached along the hull. This last pictures is the kit supplied rudder hinge. It did not hold out very well.


- 115 replies
-
- 2
-
-
- reale de france
- corel
- (and 1 more)
-
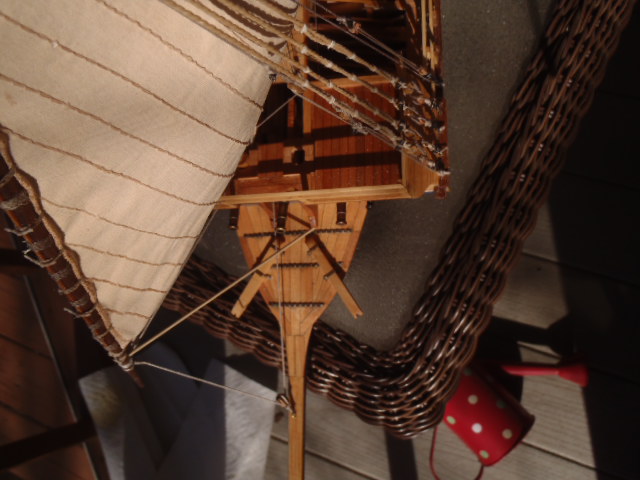
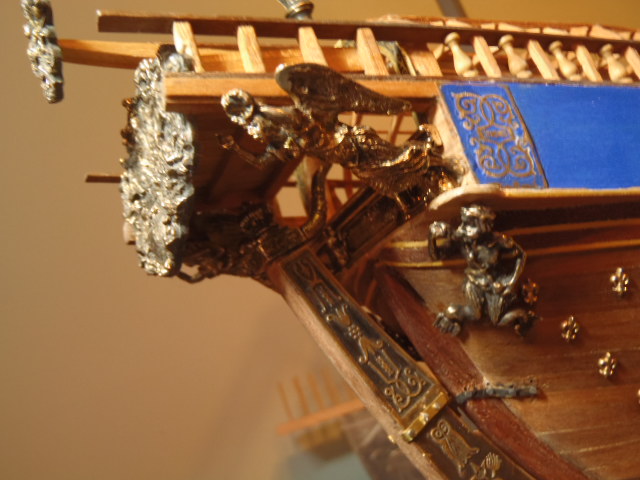
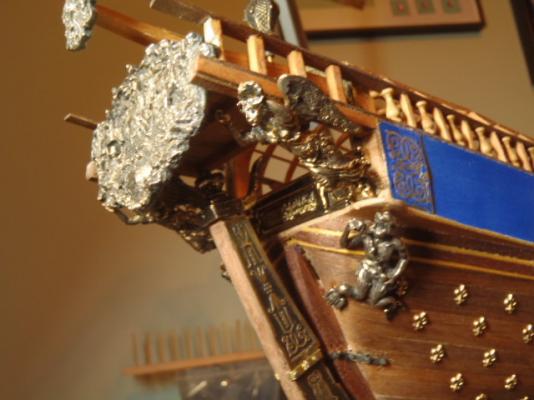
This picture shows the cat heads being attached. The last four pictures show the cat heads from different angles.
- 115 replies
-
- 2
-
-
- reale de france
- corel
- (and 1 more)
-
Thanks, Sherry, Craig, John and Joachim for looking in and leaving the encouraging words.
-
Hi Sherry. The framing looks great.
-
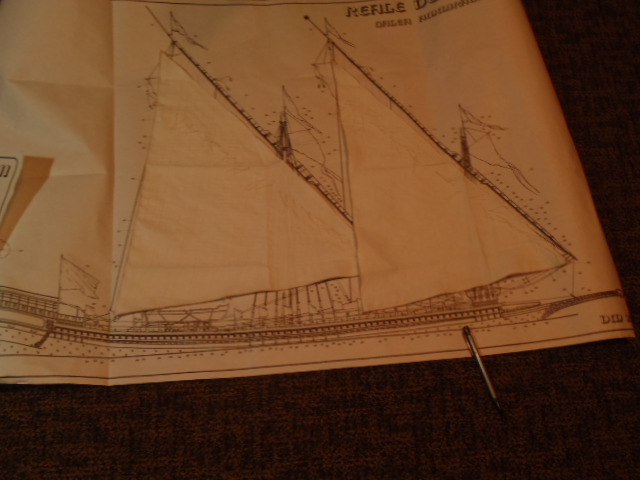
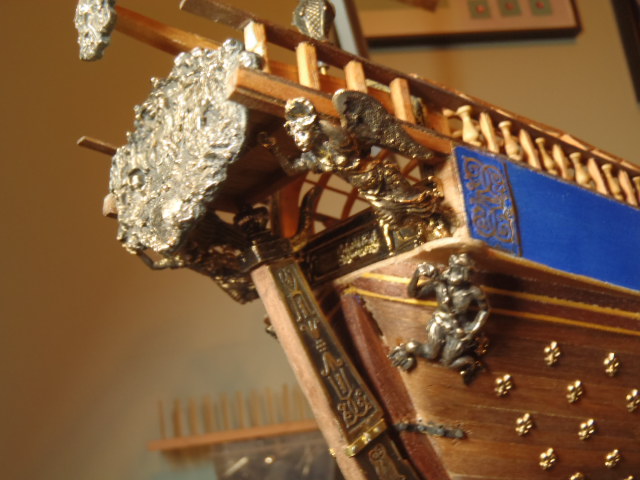
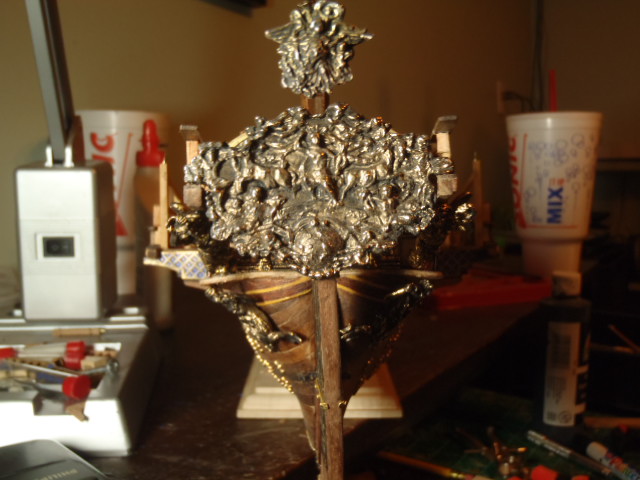
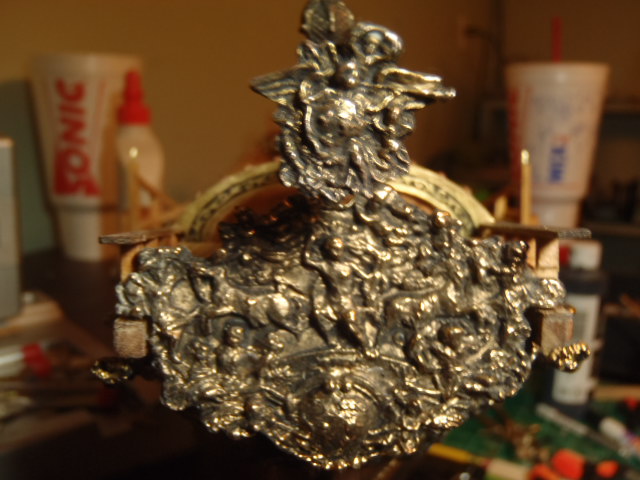
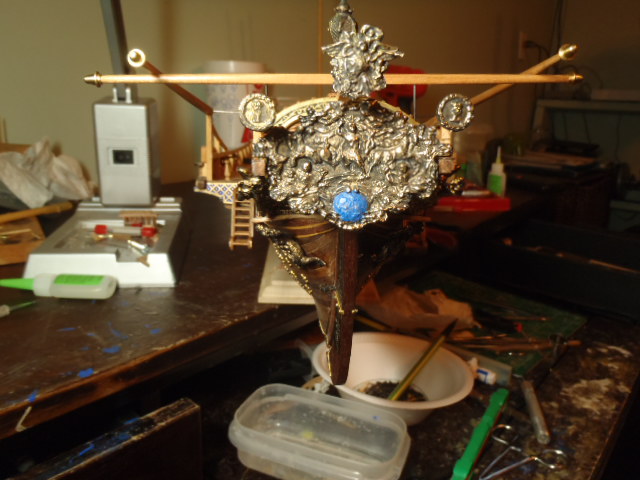
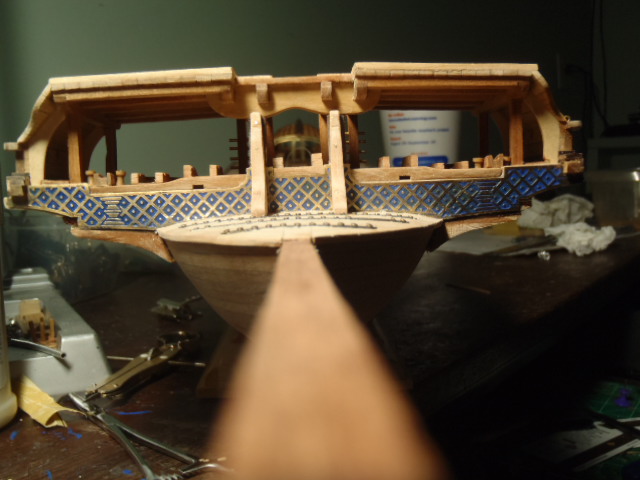
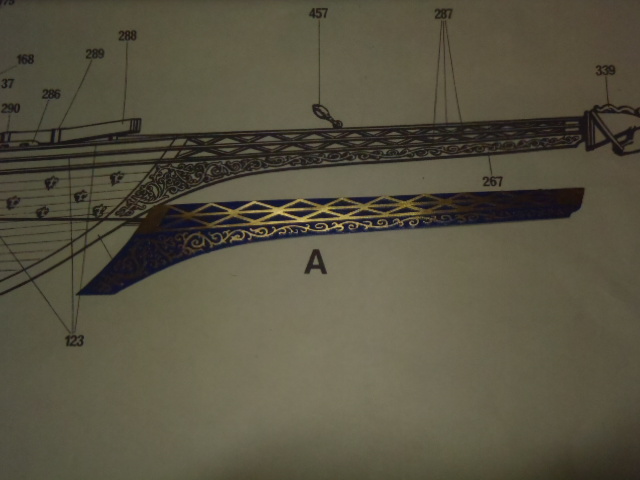
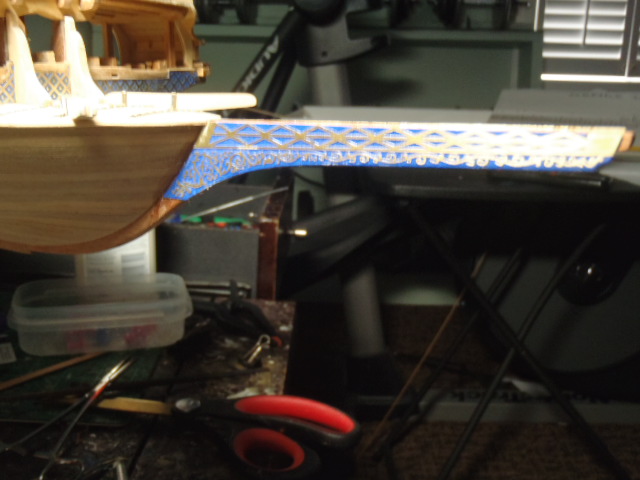
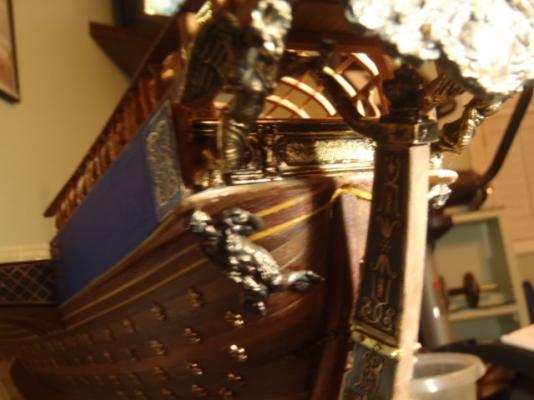
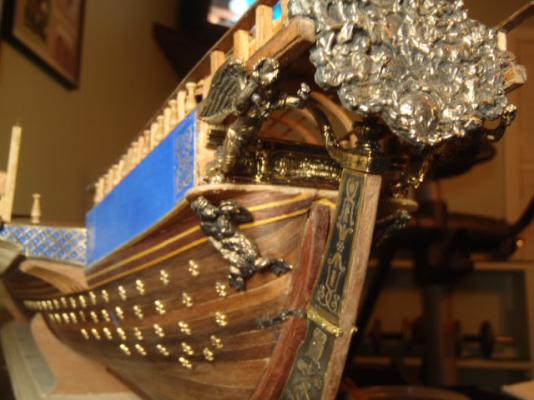
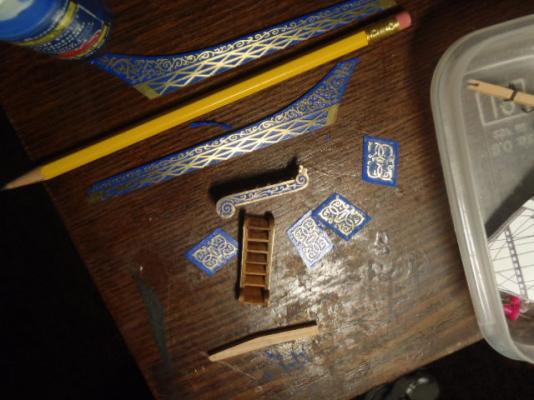
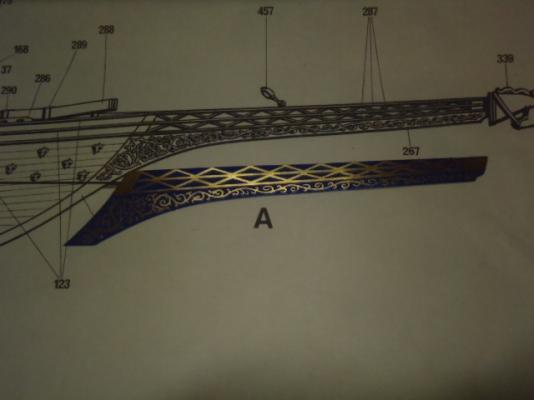
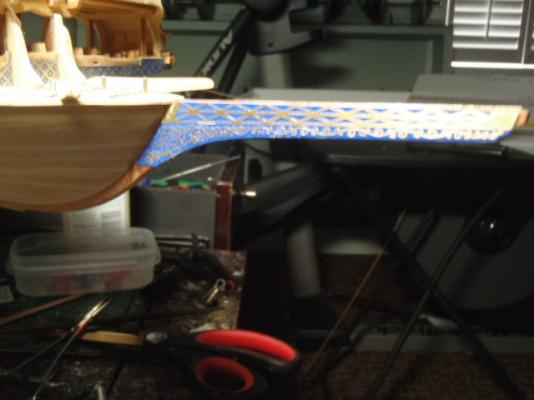
Some more photo etched brass. I painted these pieces blue and then sanded. The blue remained in the low spots. The next five pictures show the Blue/Brass decorative piece that covers the bow yoke. The reinforcement knees that sit each side of the midway cannon are installed. This picture shows two ladders: one ladder on edge, one sitting flat. The two blue/brass decorative pieces that will sit each side of the head. Two cat heads. One of the cat heads is in the plastic dish. The other four pieces are what I salvaged from the damaged brass piece I mentioned three post back. The blue/brass decorative head piece sitting on the drawings. The brass piece attached to the head.


-
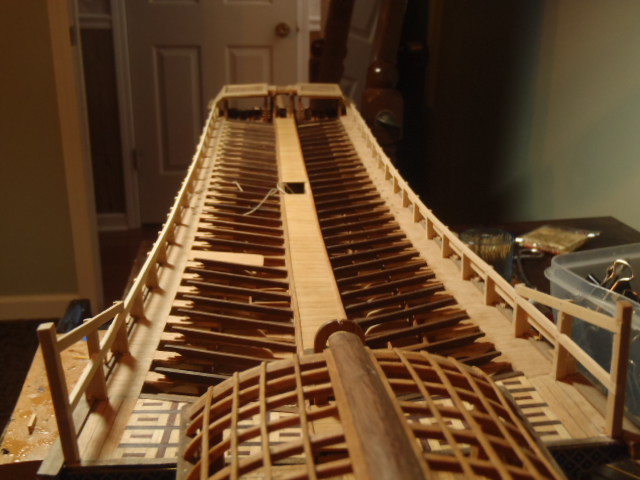
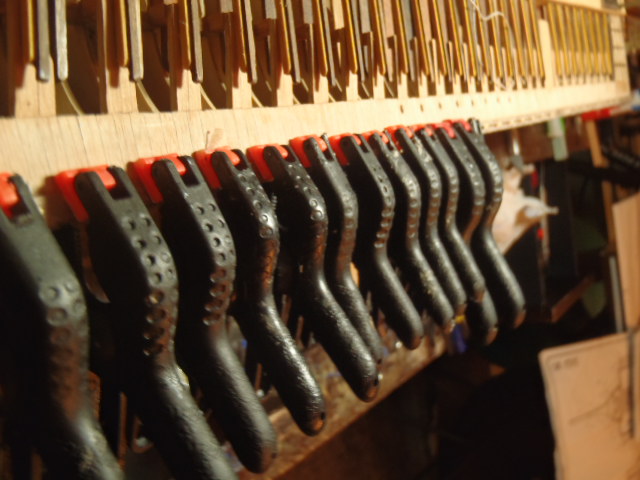
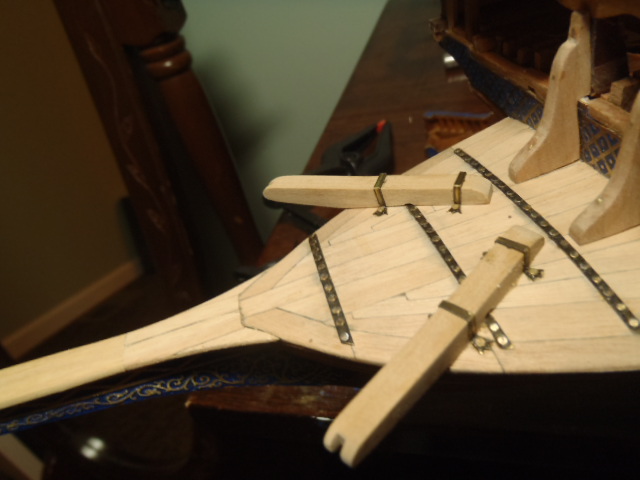
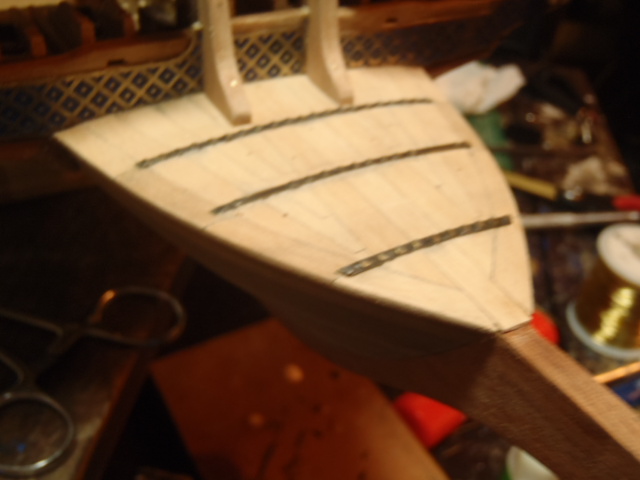
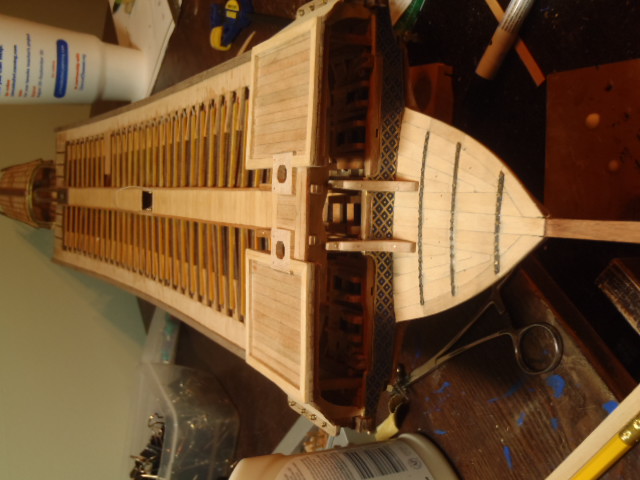
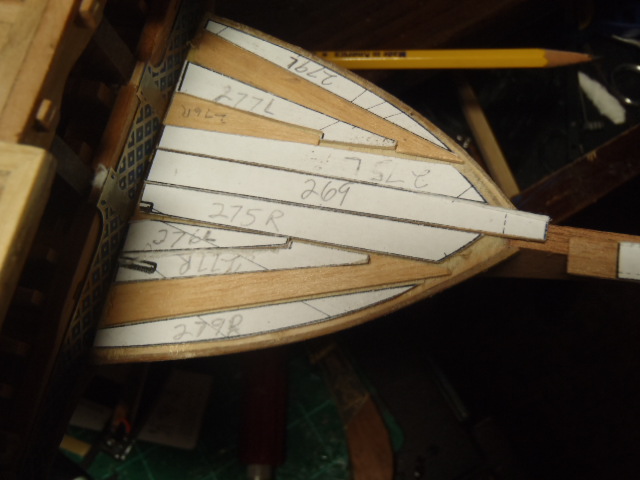
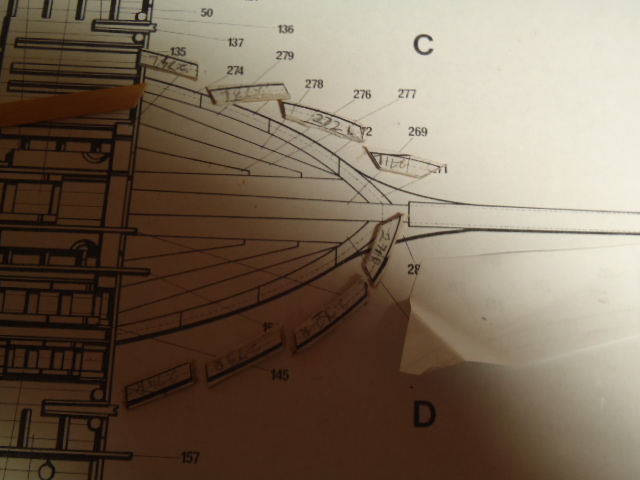
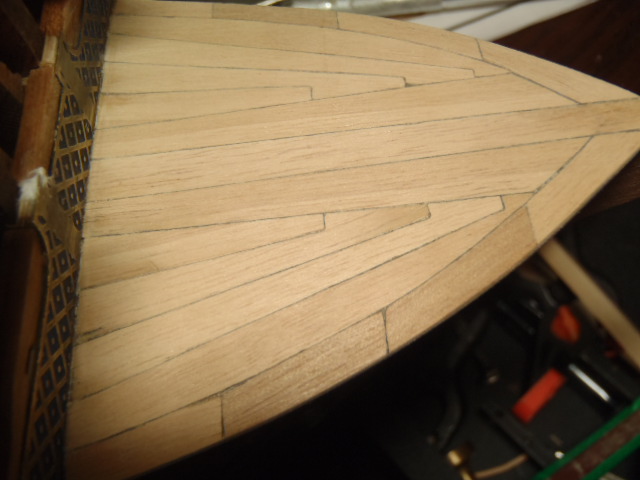
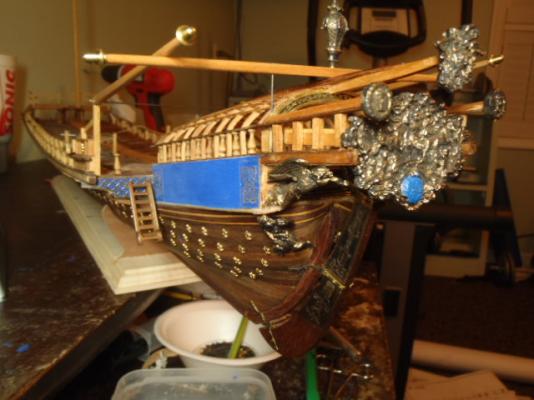
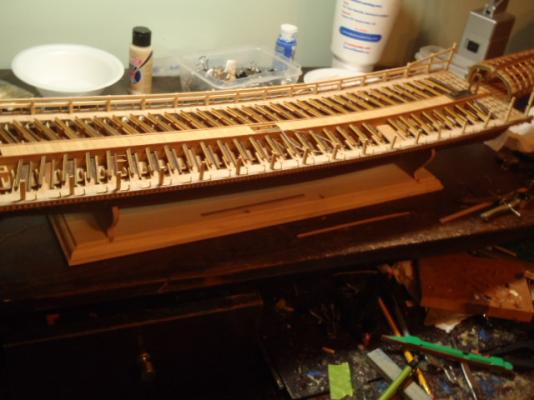
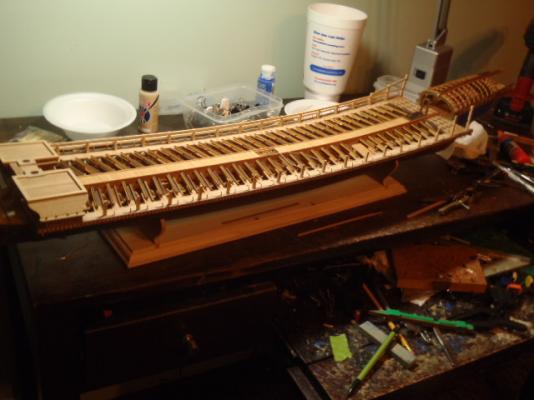
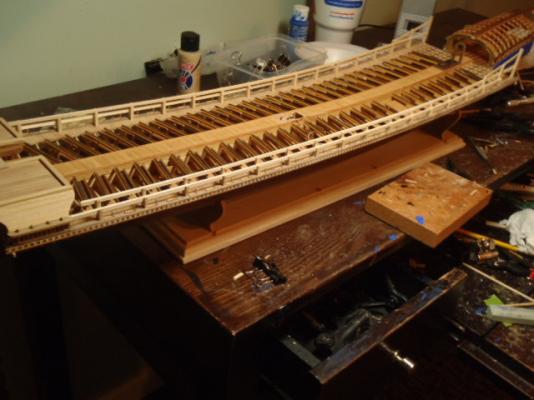
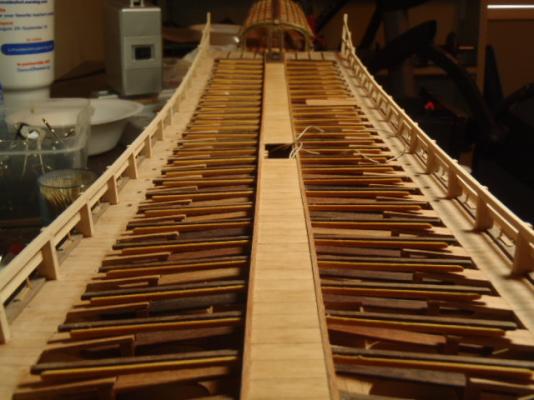
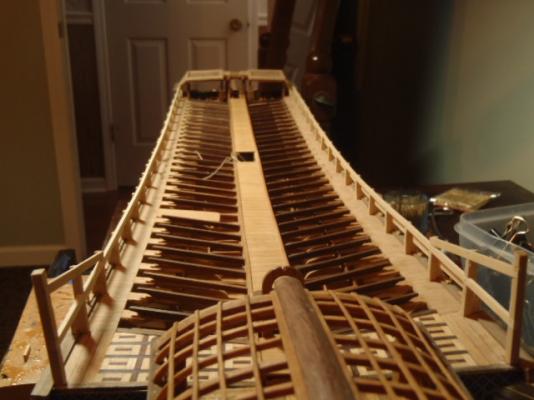
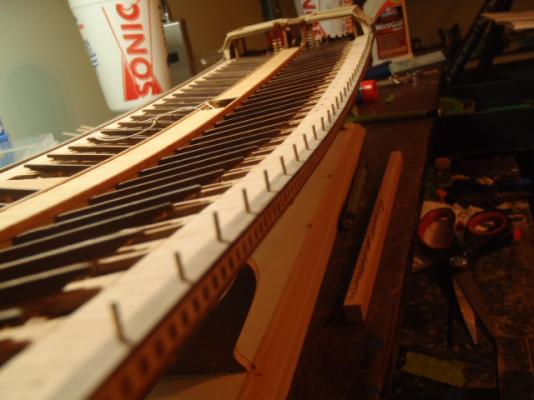
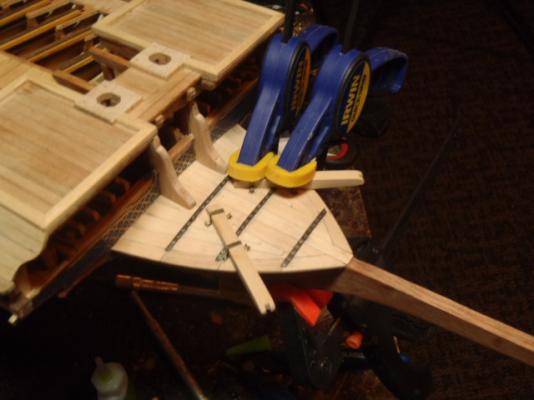
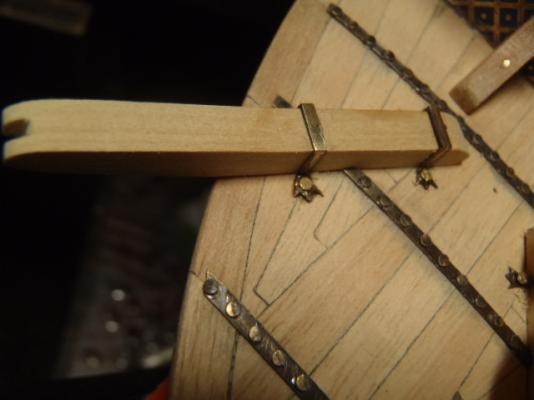
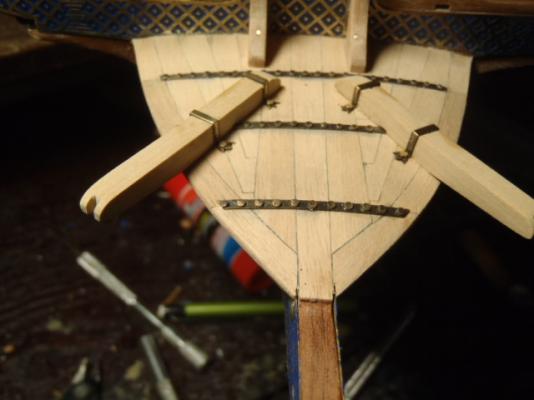
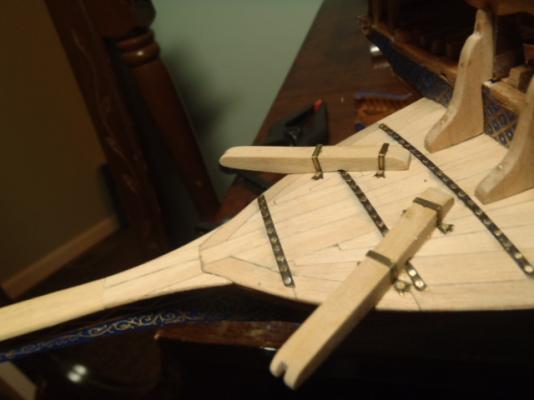
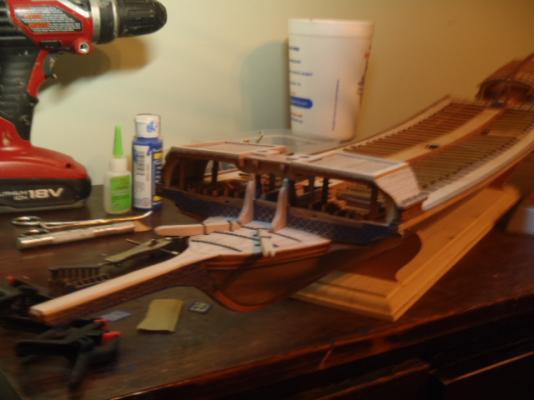
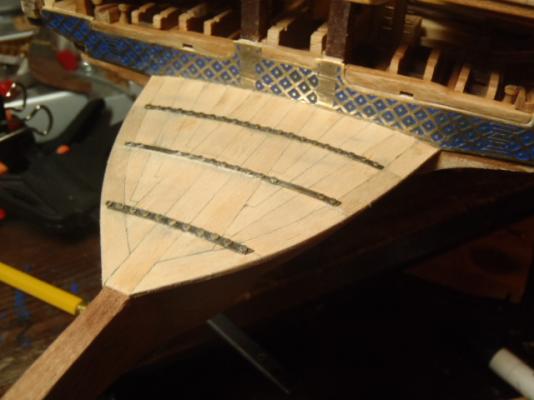
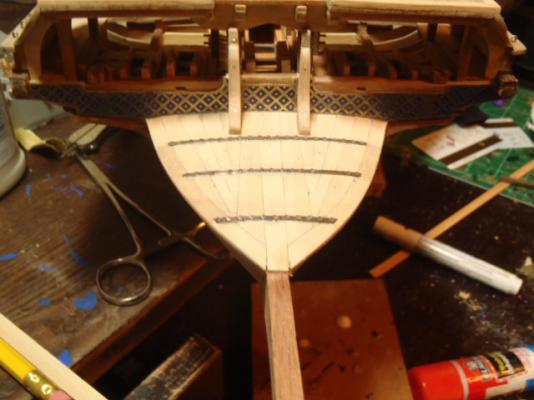
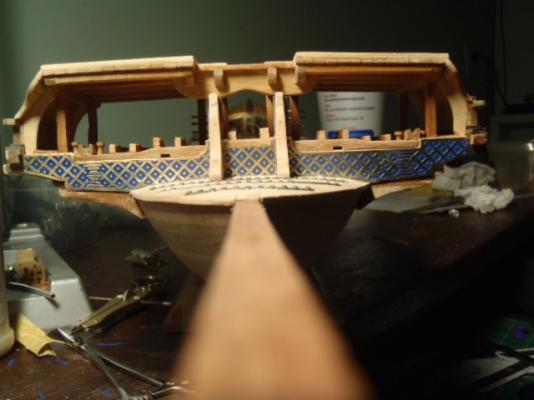
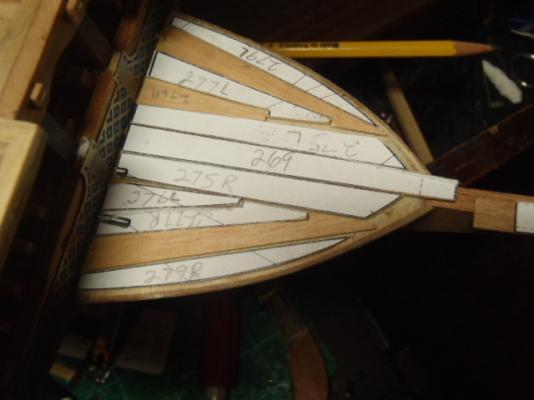
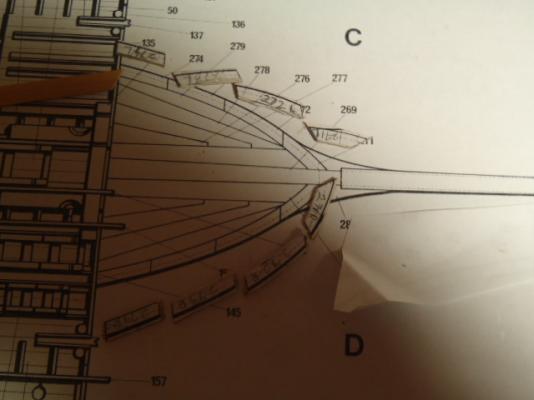
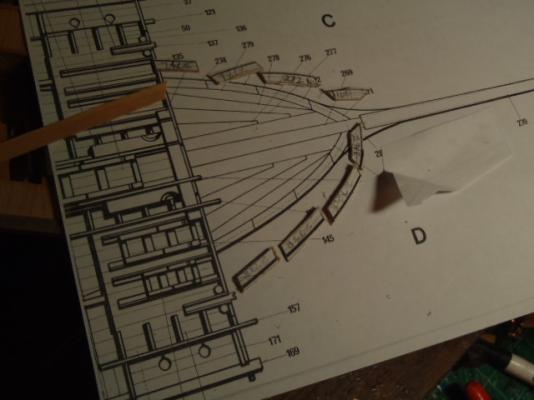
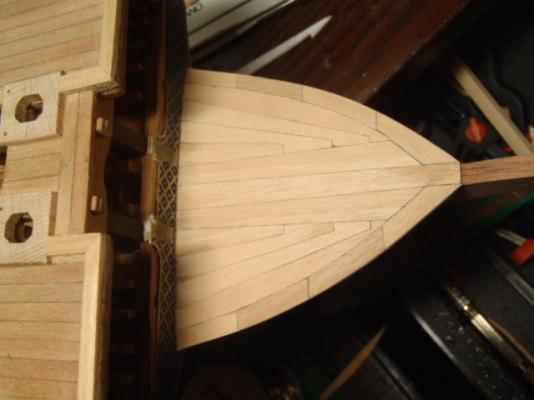
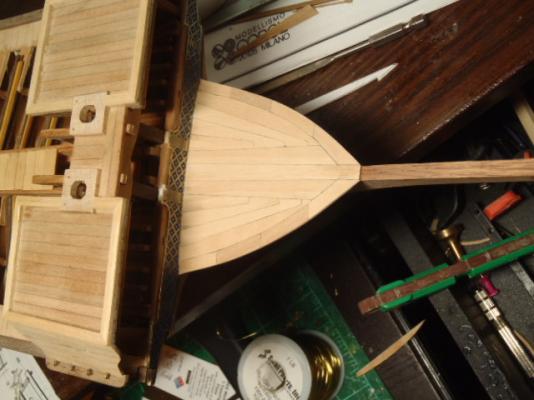
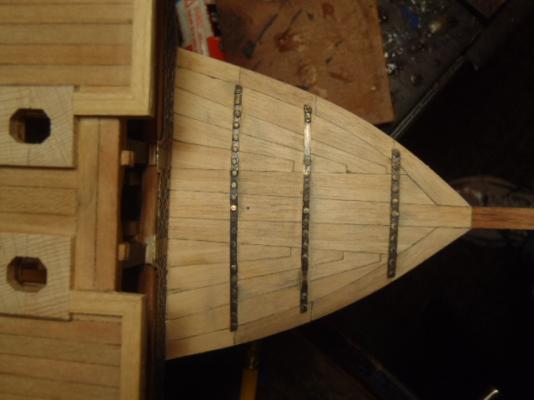
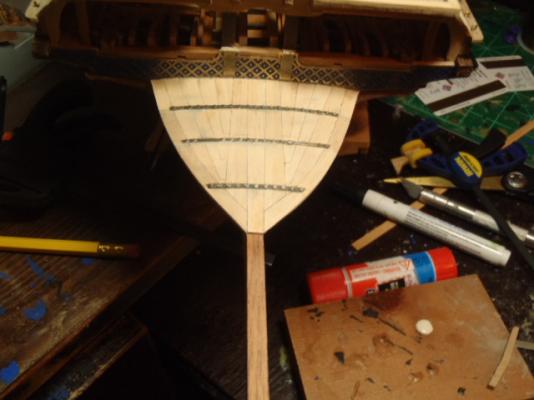
Next is to cover the bow with planks. This is the last of the plywood to be covered. I made several copies of the plan and cut out a pattern for each plank. I use kid's stick glue to attach the patterns to the wood. This pictures show how the planks fit together. Some of the pieces still have the paper pattern attached. The deck planked. The real Reale had Iron straps to help strengthen the deck. Here I used brass strips. This type of ship would ram other ships, so the deck needed these reinforcement.

- 115 replies
-
- 1
-
-
- reale de france
- corel
- (and 1 more)