HOLIDAY DONATION DRIVE - SUPPORT MSW - DO YOUR PART TO KEEP THIS GREAT FORUM GOING! (Only 13 donations so far - C'mon guys!)
×

Hsae
-
Posts
225 -
Joined
-
Last visited
Content Type
Profiles
Forums
Gallery
Events
Everything posted by Hsae
-
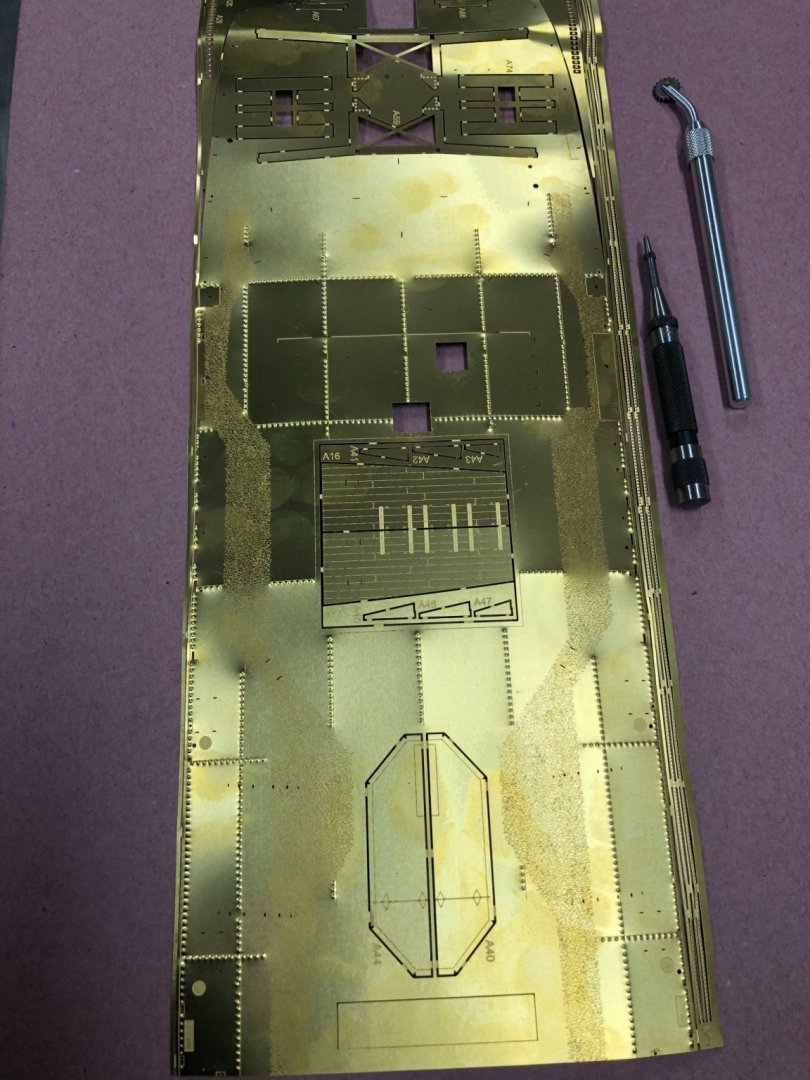
 Mark, I have to agree. Kevin, since you are way ahead of me, I appreciate your input! To remove the spring might be the solution. I did put the spring on the lowest tension though, but it is still too much. Live & Learn! I did try the rivet tool again this morning and I think it looks much better.
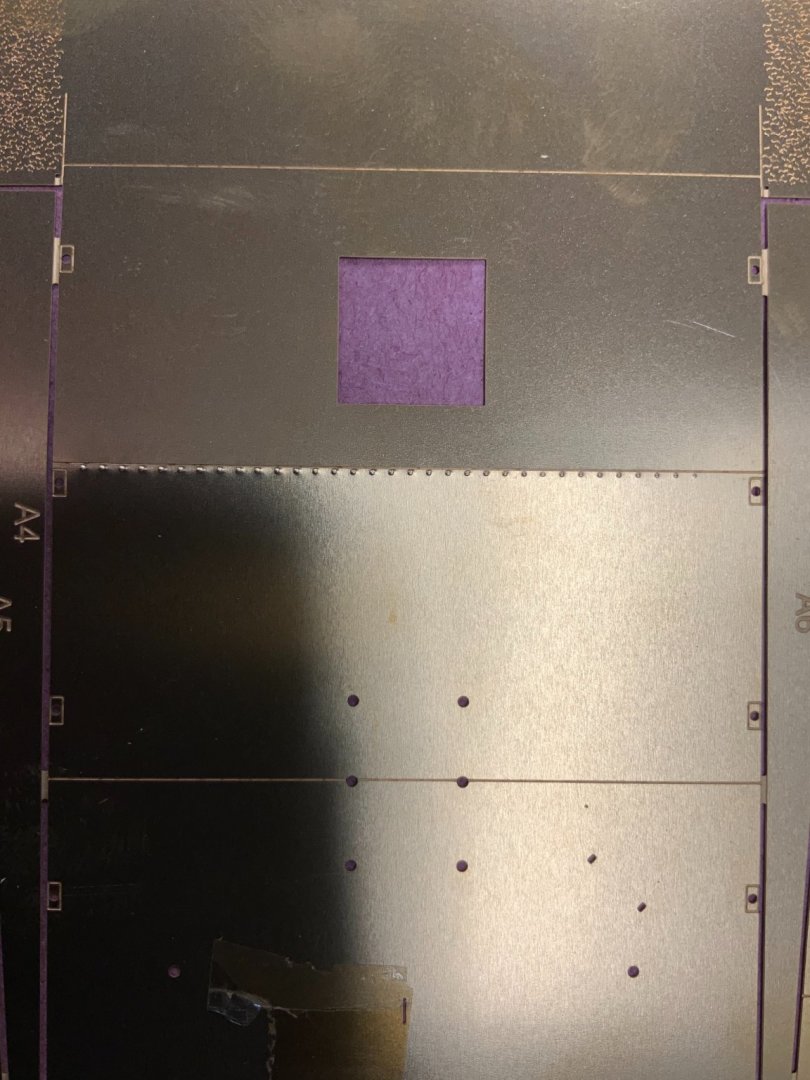
-
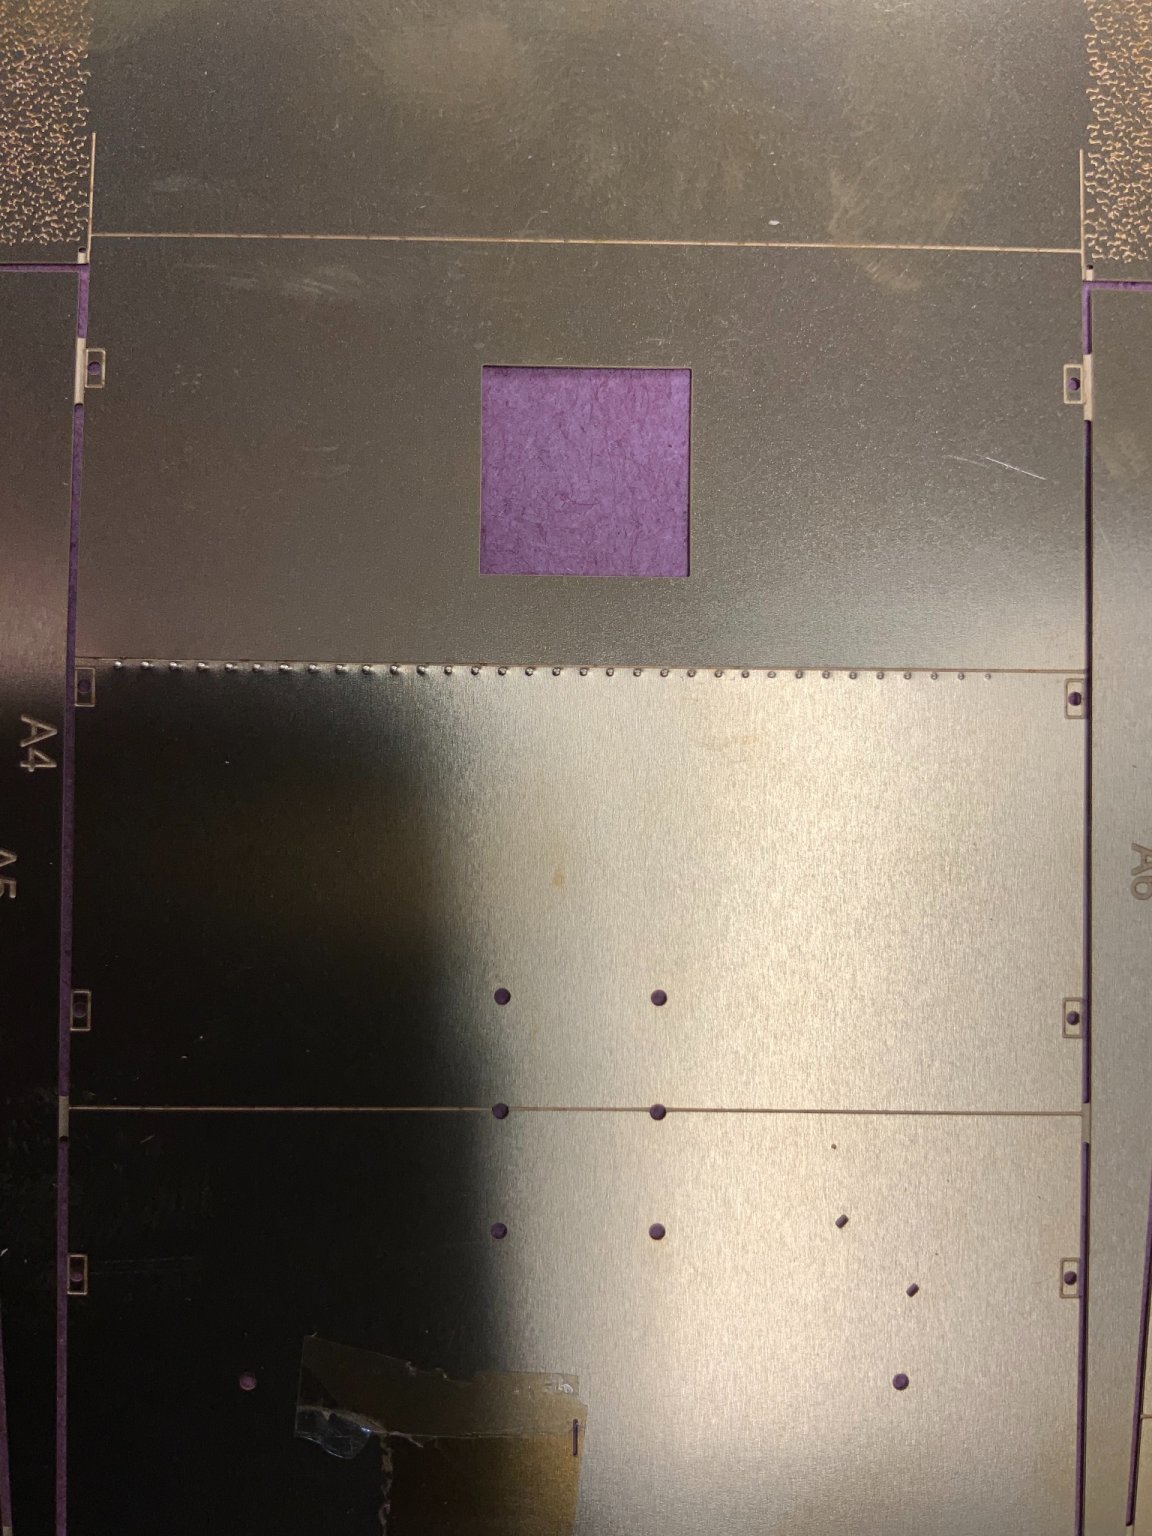
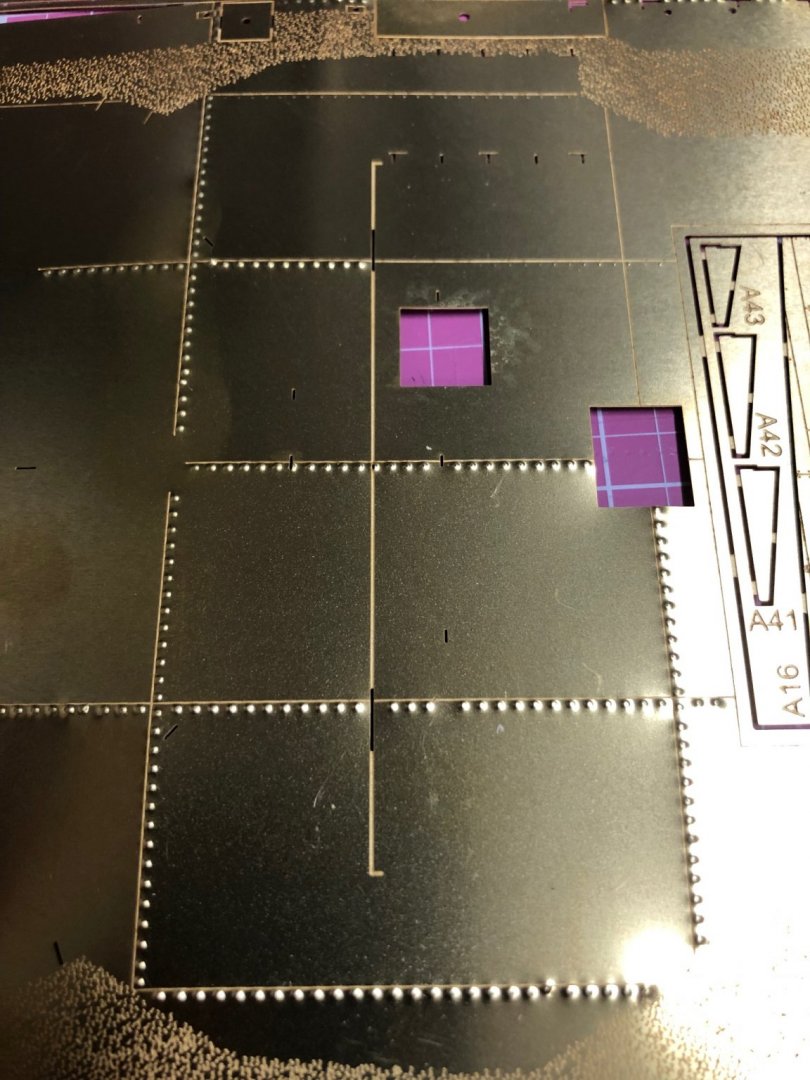
Tonight I was starting to “pop out” the rivets. First I tried a rivet tool, but that was a little bit too tricky. After that I did it with an automatic center punch tool. You can see the results below. The lightly rivets were made with the rivers tool. Top row. Unfortunately not very good visible. I do think that the rivets with the punch are a little bit too heavy.
-
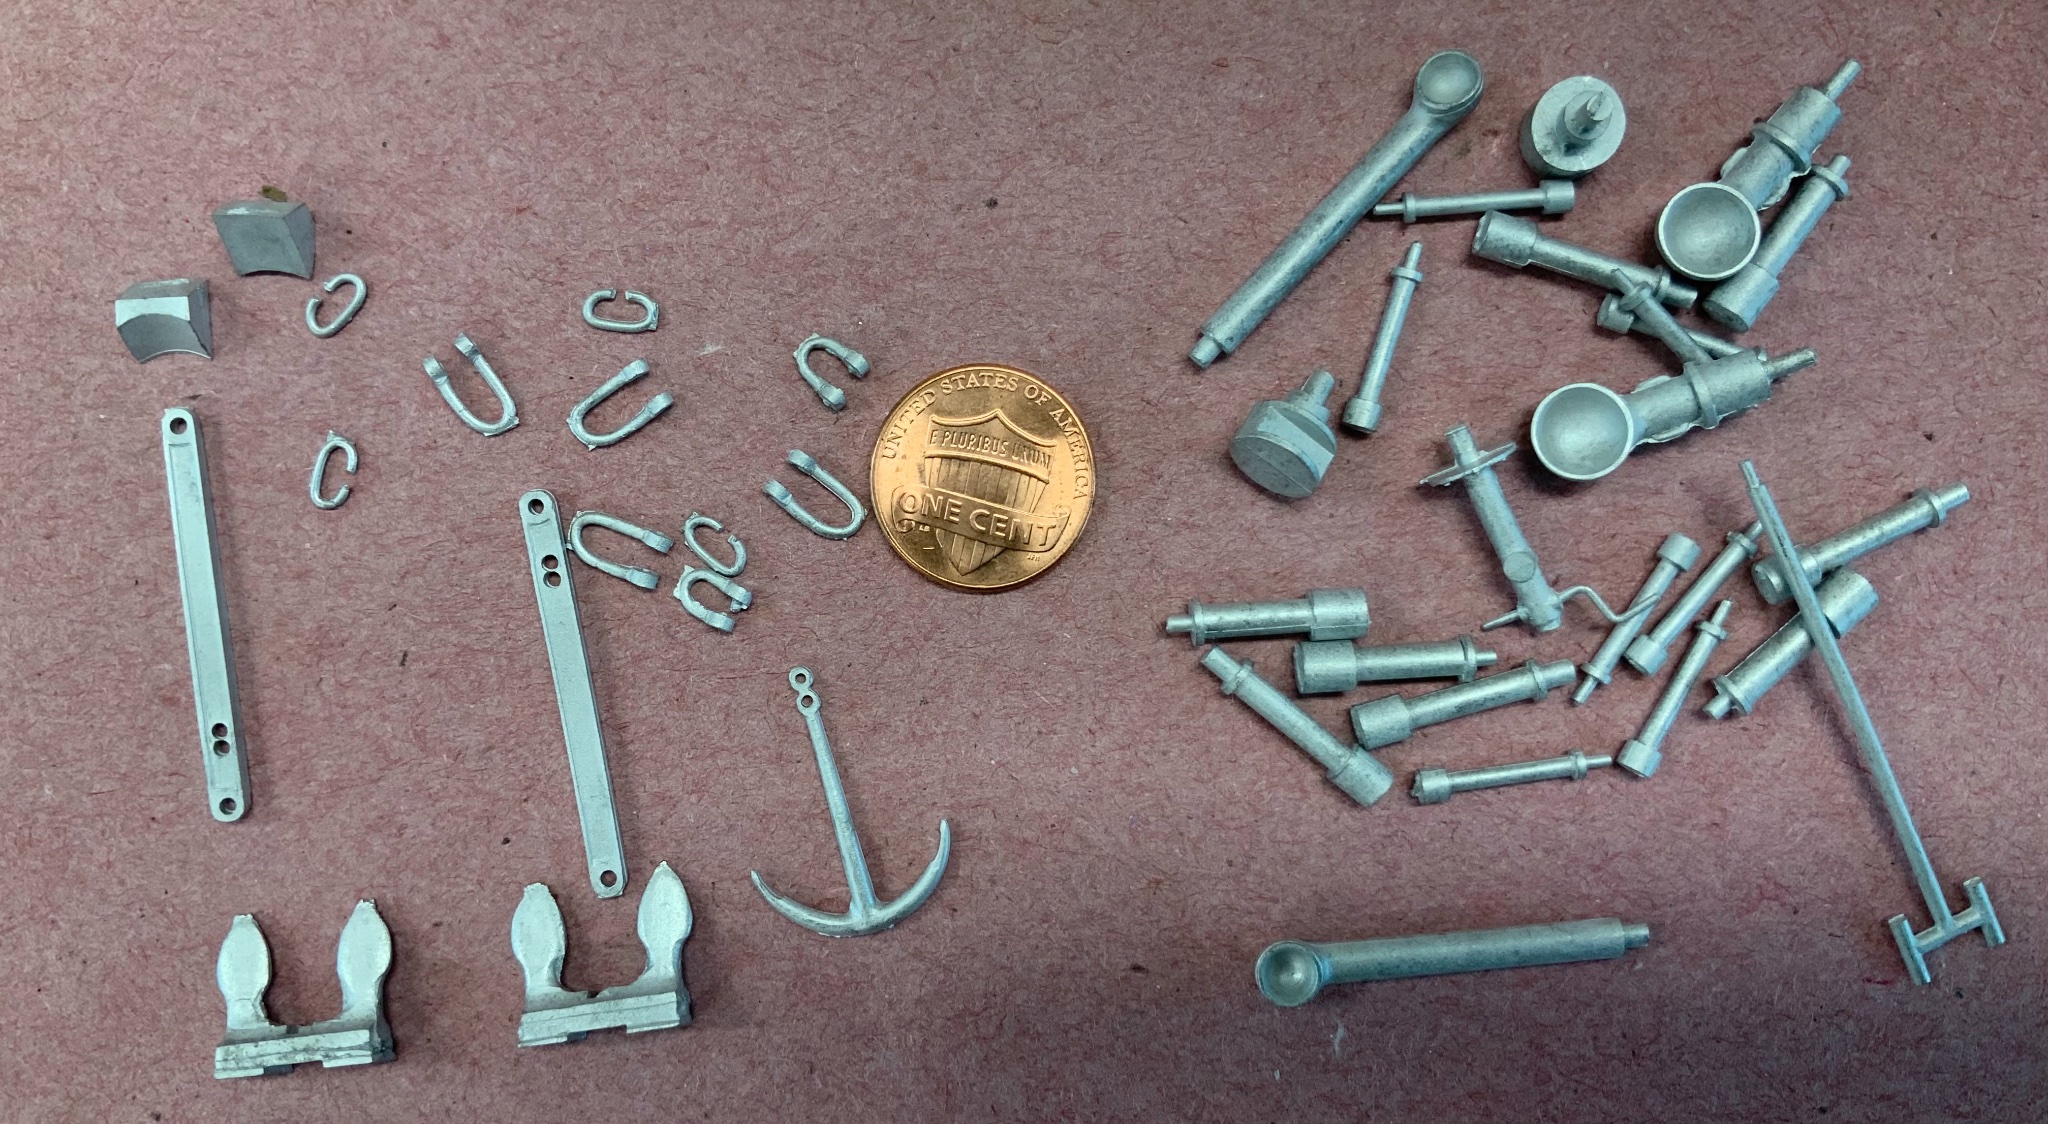
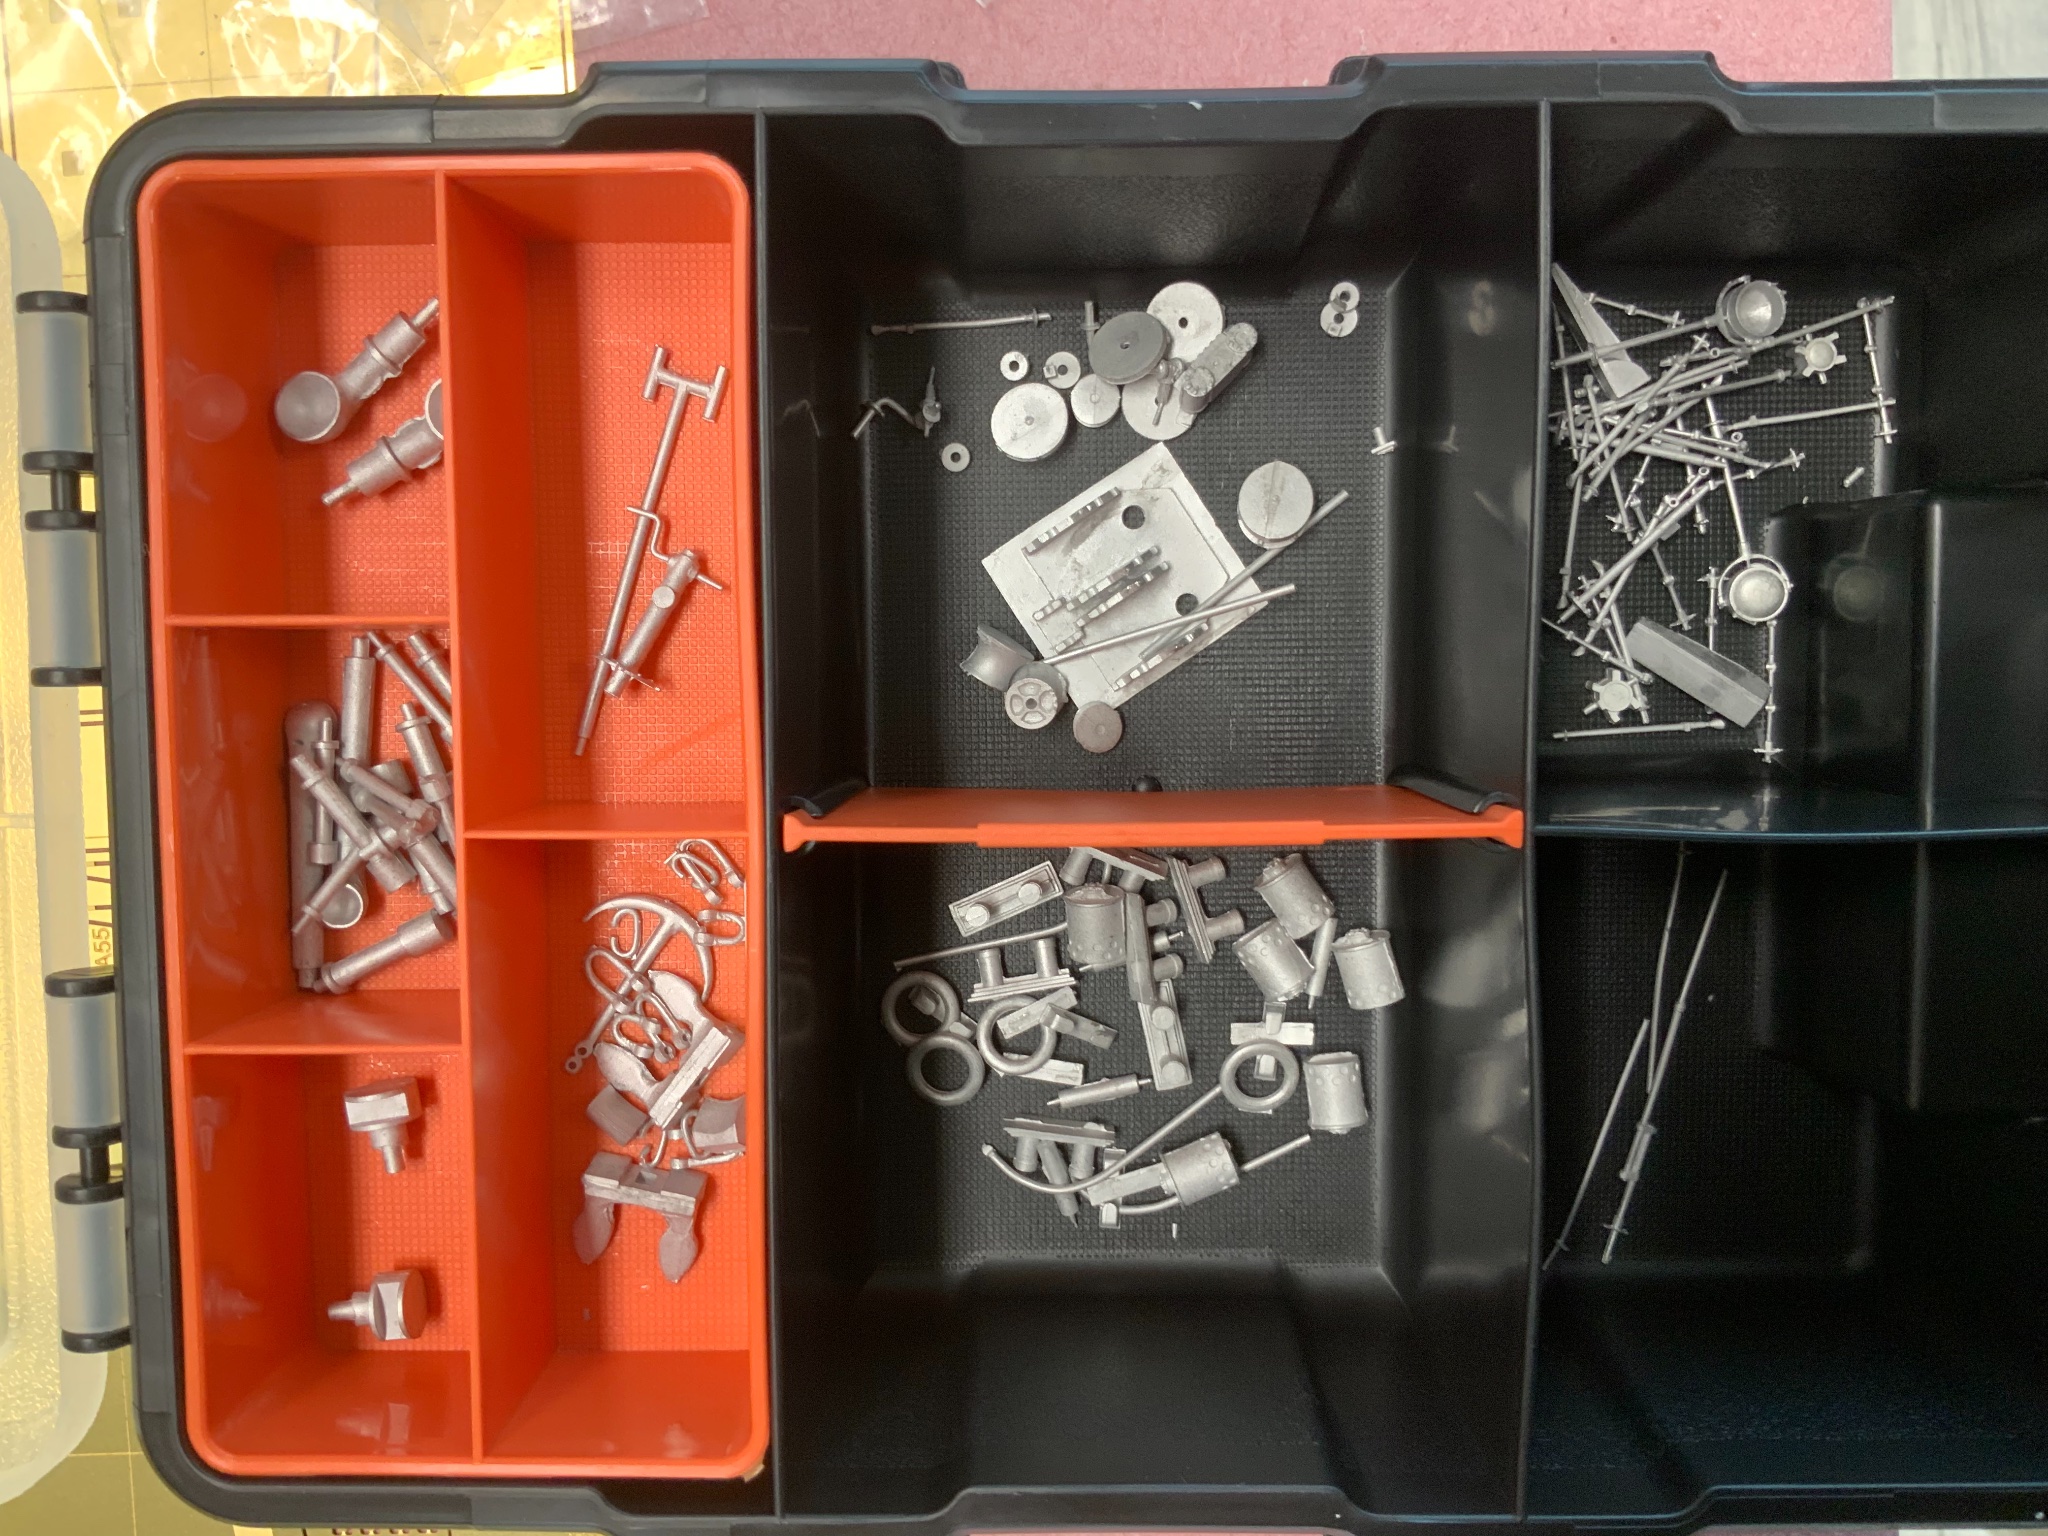
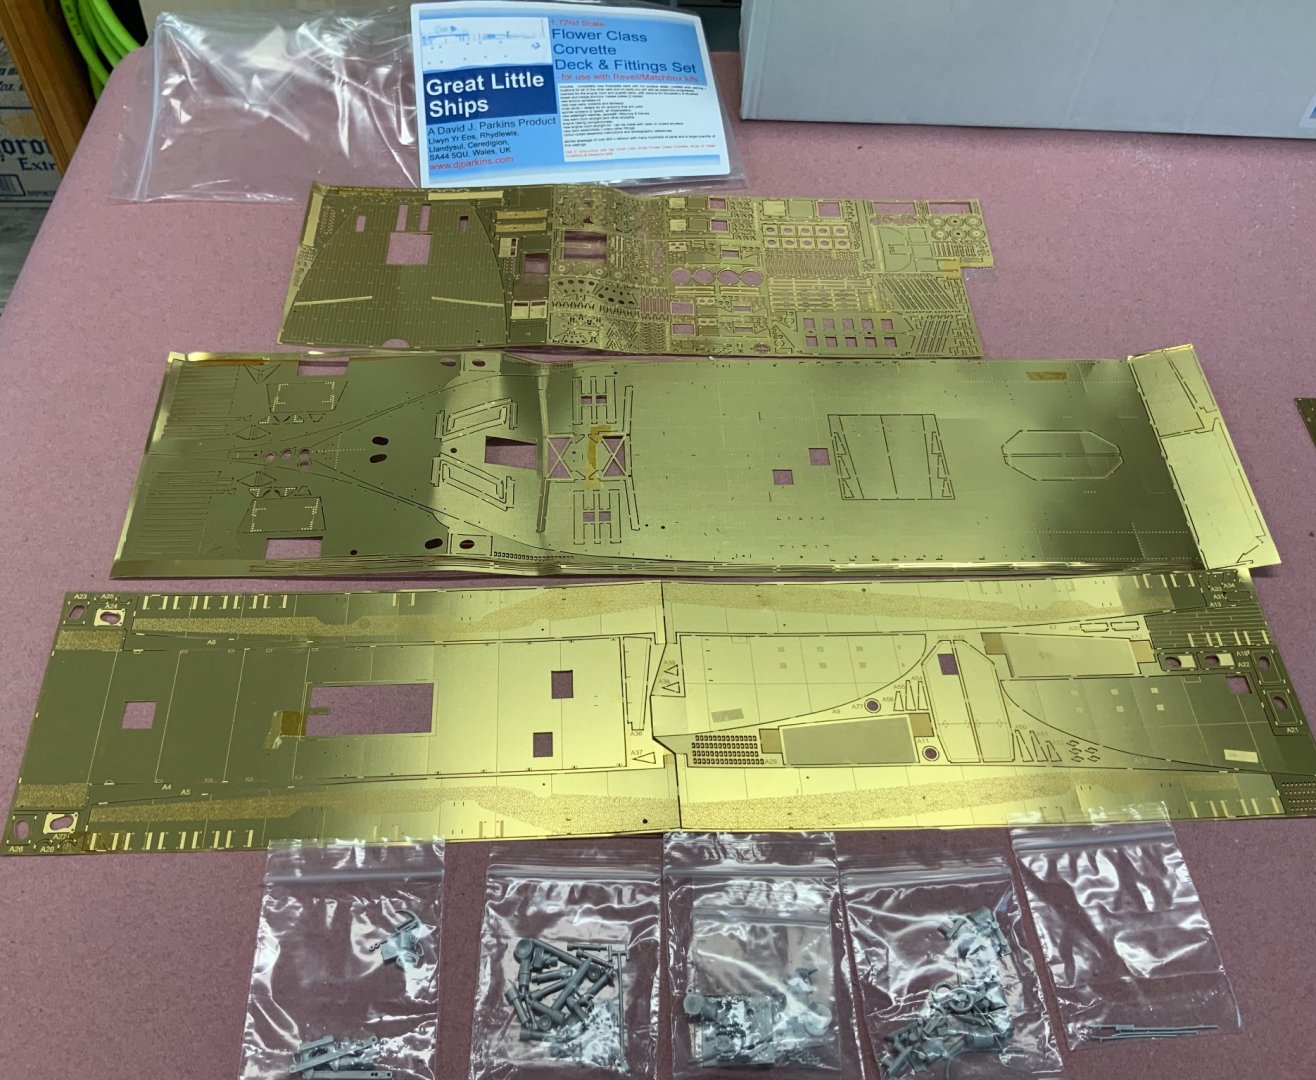
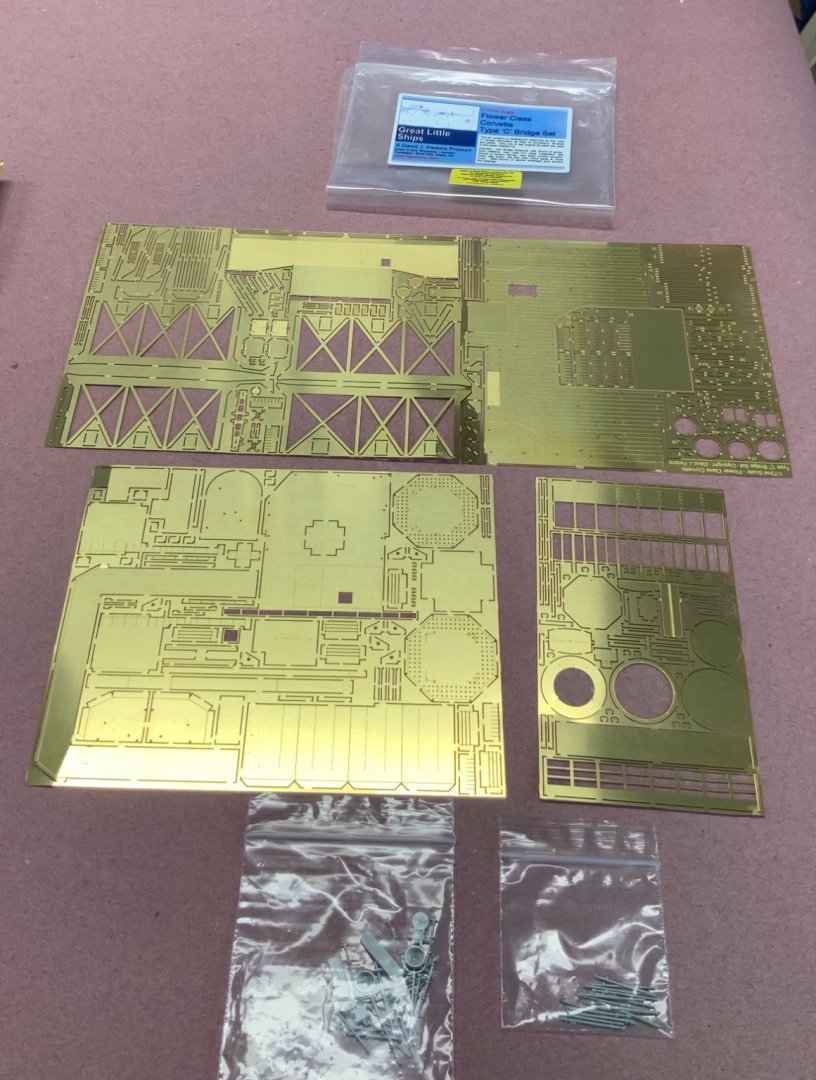
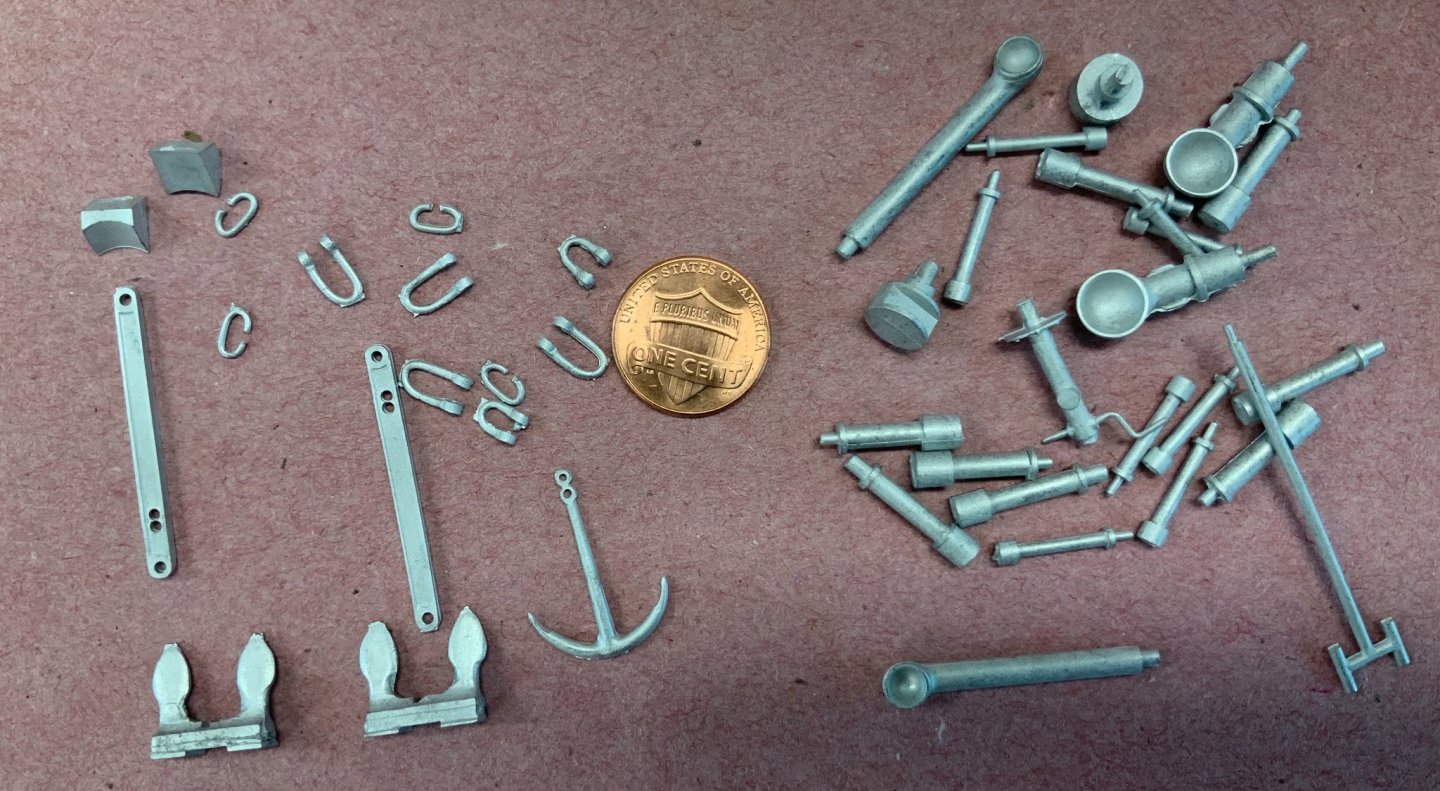
I had in the past ‘white metal’ parts, which frankly, we’re not usable at all. With the parts of Great Little Ships I am pleasantly surprised. They do need work, OK, but they are mostly usable.
-
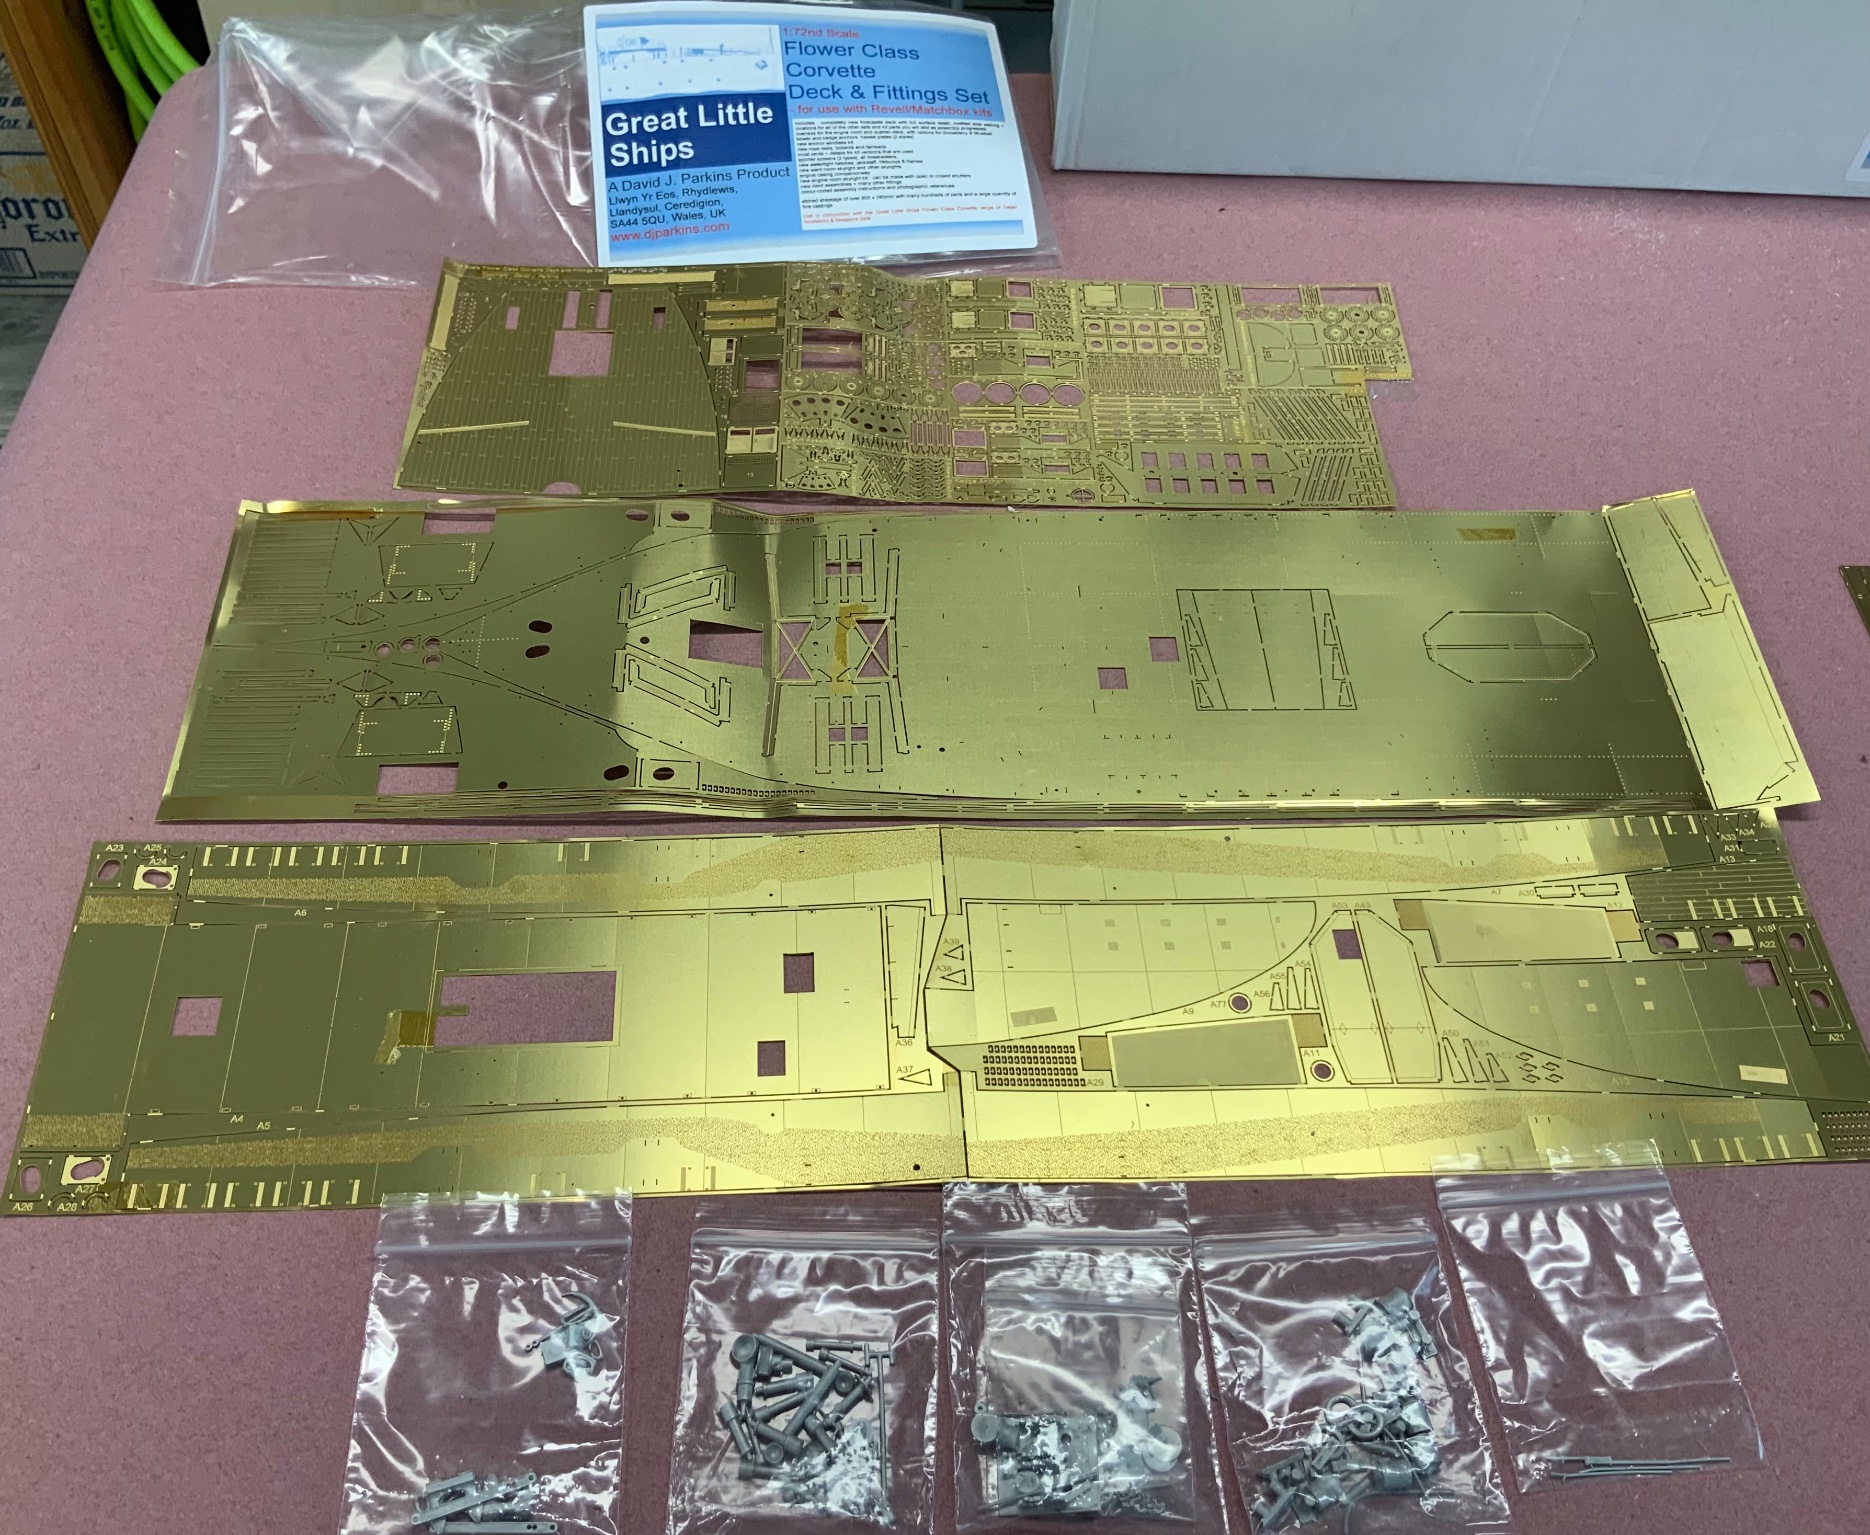
I received today a package from Great Little Ships. - Flower Class Corvette Deck and Fittings Set - Flower Class Corvette Type ‘C’ Bridge Set I am amazed about the “white metal” quality. I was looking forward to it with mixed feelings. Keeps me busy for a while. Lol

-
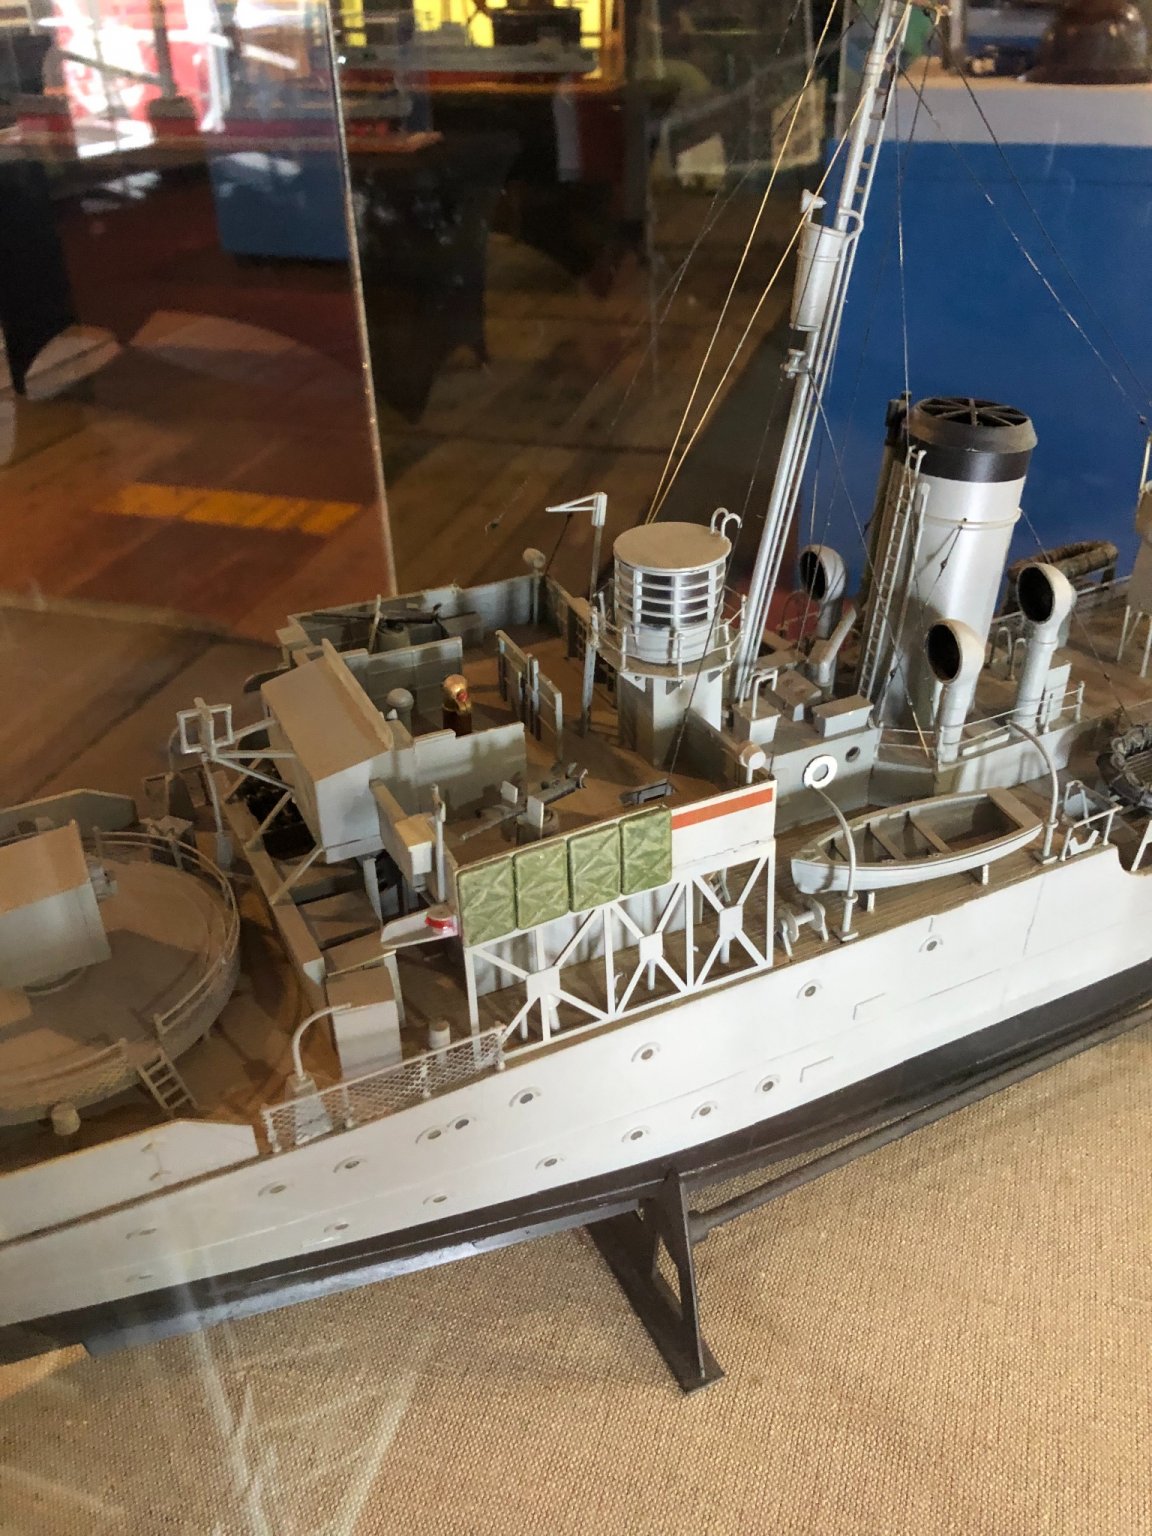
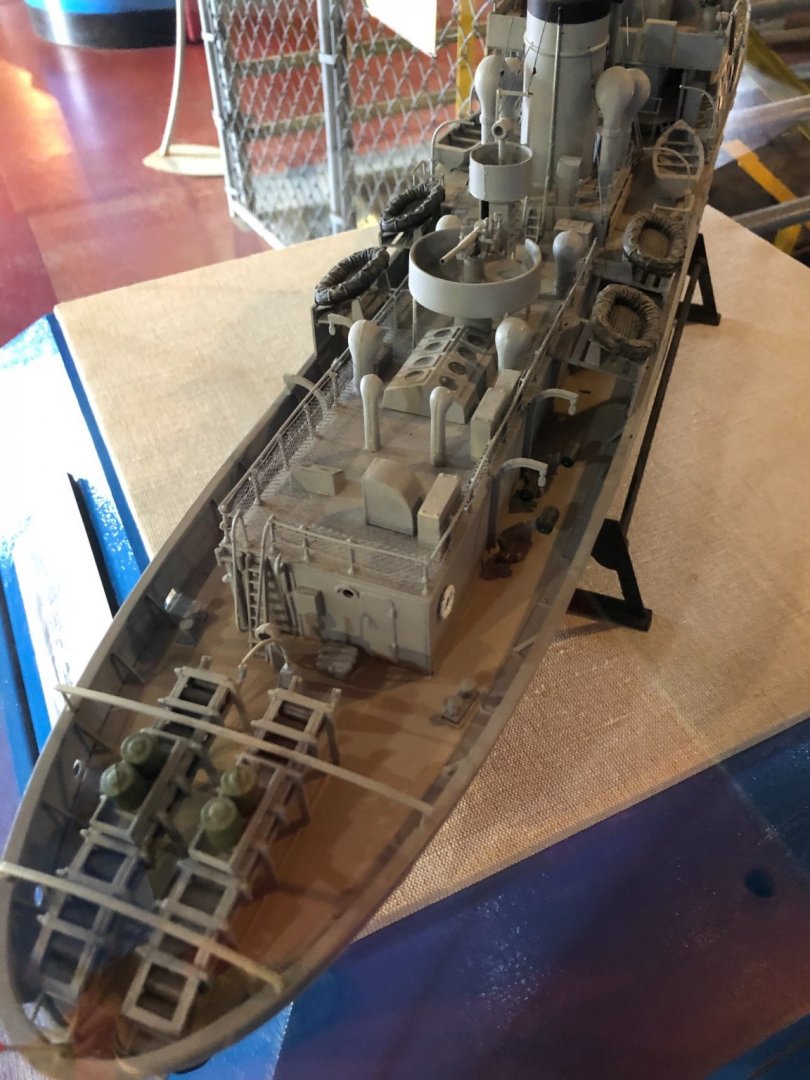
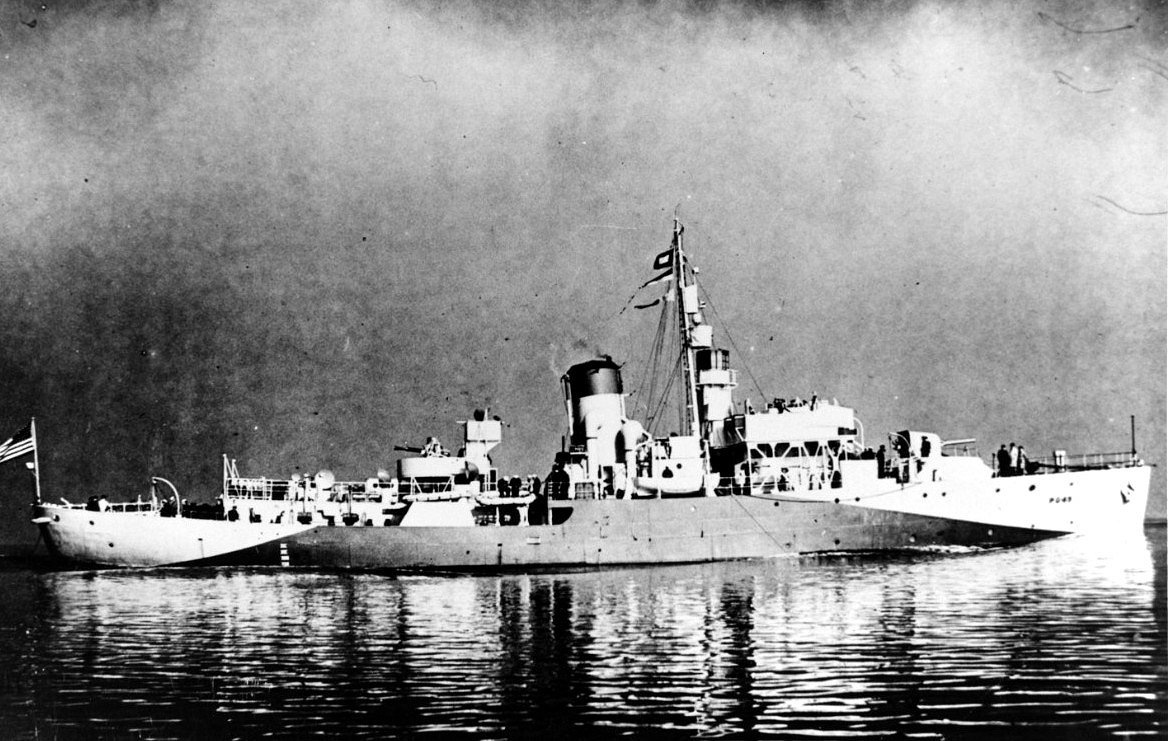
Mike, at the weekend I visited the Victory ship in Tampa. https://www.americanvictory.org/ They had the Saucy as a model on display. I believe the 4” gun is not correct. If I am not mistake, shouldn’t it be a US Navy gun? Also the mast doesn’t look right.


-
Actually, I am still debating if I am not building the Sackville. Didn’t have a chance to come to Halifax yet to see her in person. Thanks for the link! Hermann
-
I agree with O.C. But you still can finish it. That’s the nice thing with modeling, you can leave it for months or years and finish it later.
-
Congratulations Chris and best of luck for the future. You have amazing models! Your models are on my bucket list. I hope your wife has a speedy recovery. Hermann
-
Lou, 3D printing is the Holy Grail, if you have the money. Although not much modeling anymore. The challenge is to paint it right. Actually, I played with the idea to build the Sackville, but decided to build the Snowberry instead. Oh well, maybe in 1/144 at one time. BTW, I have to agree. I will work on lowering the hull. Thanks for your opinion.
-
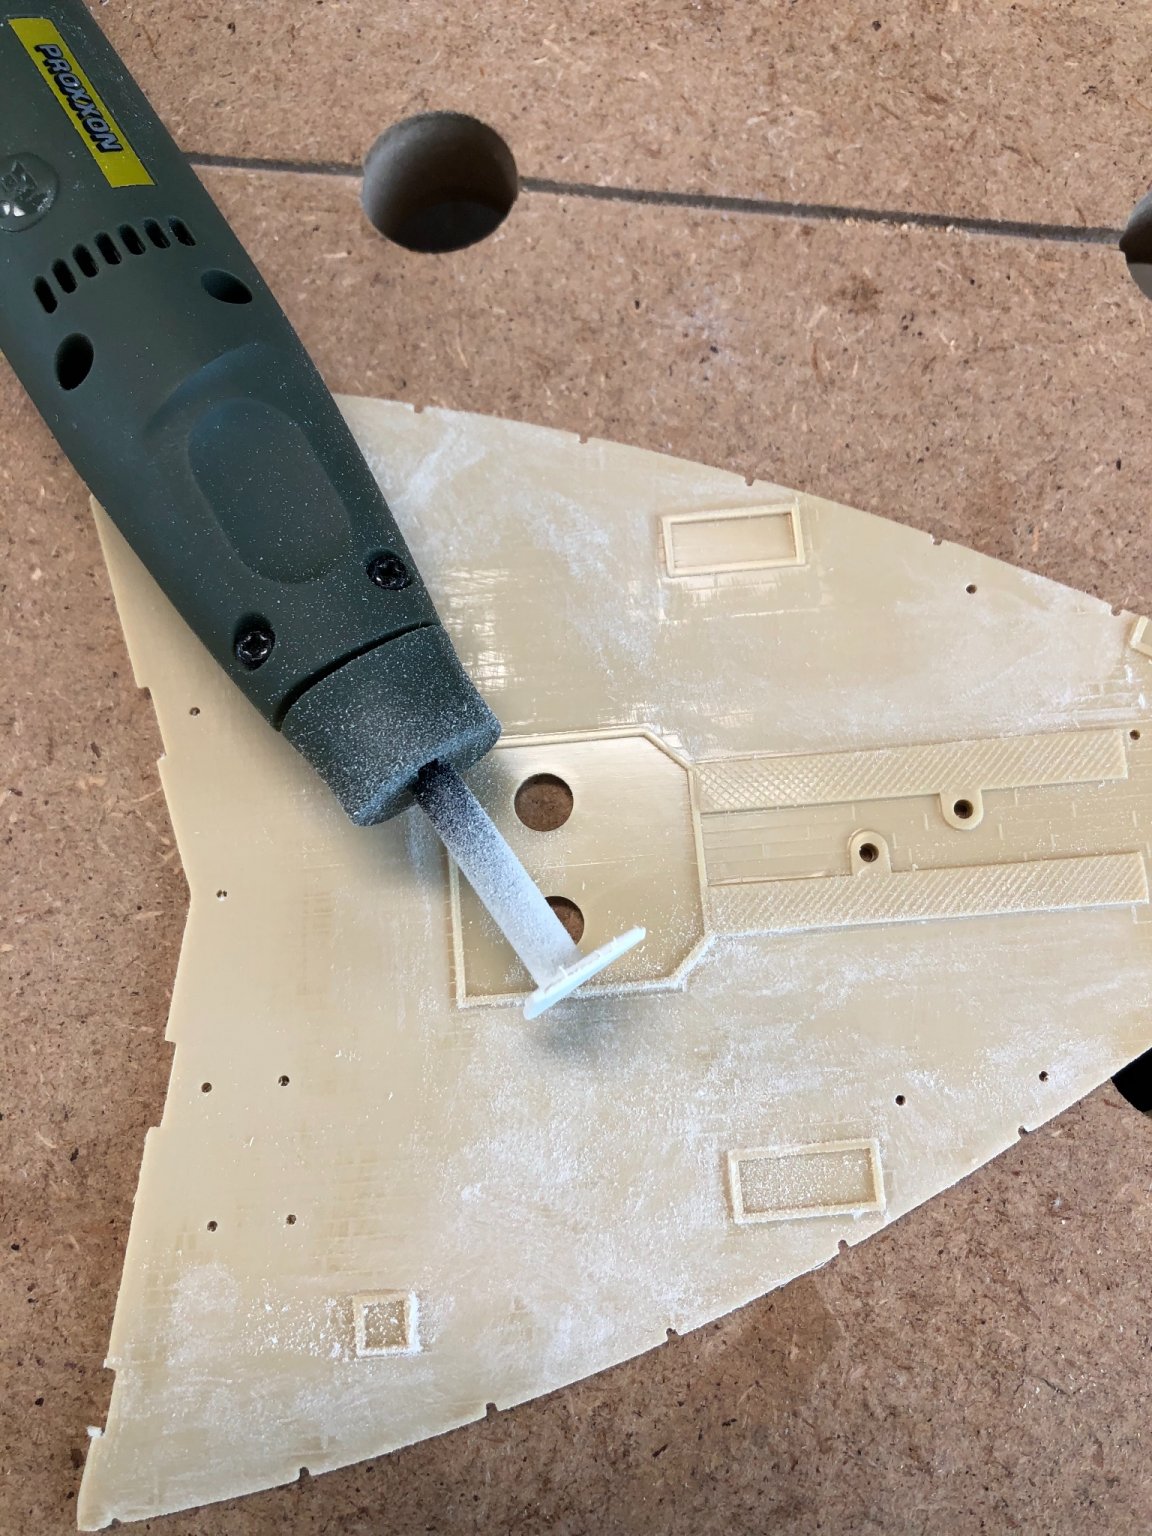
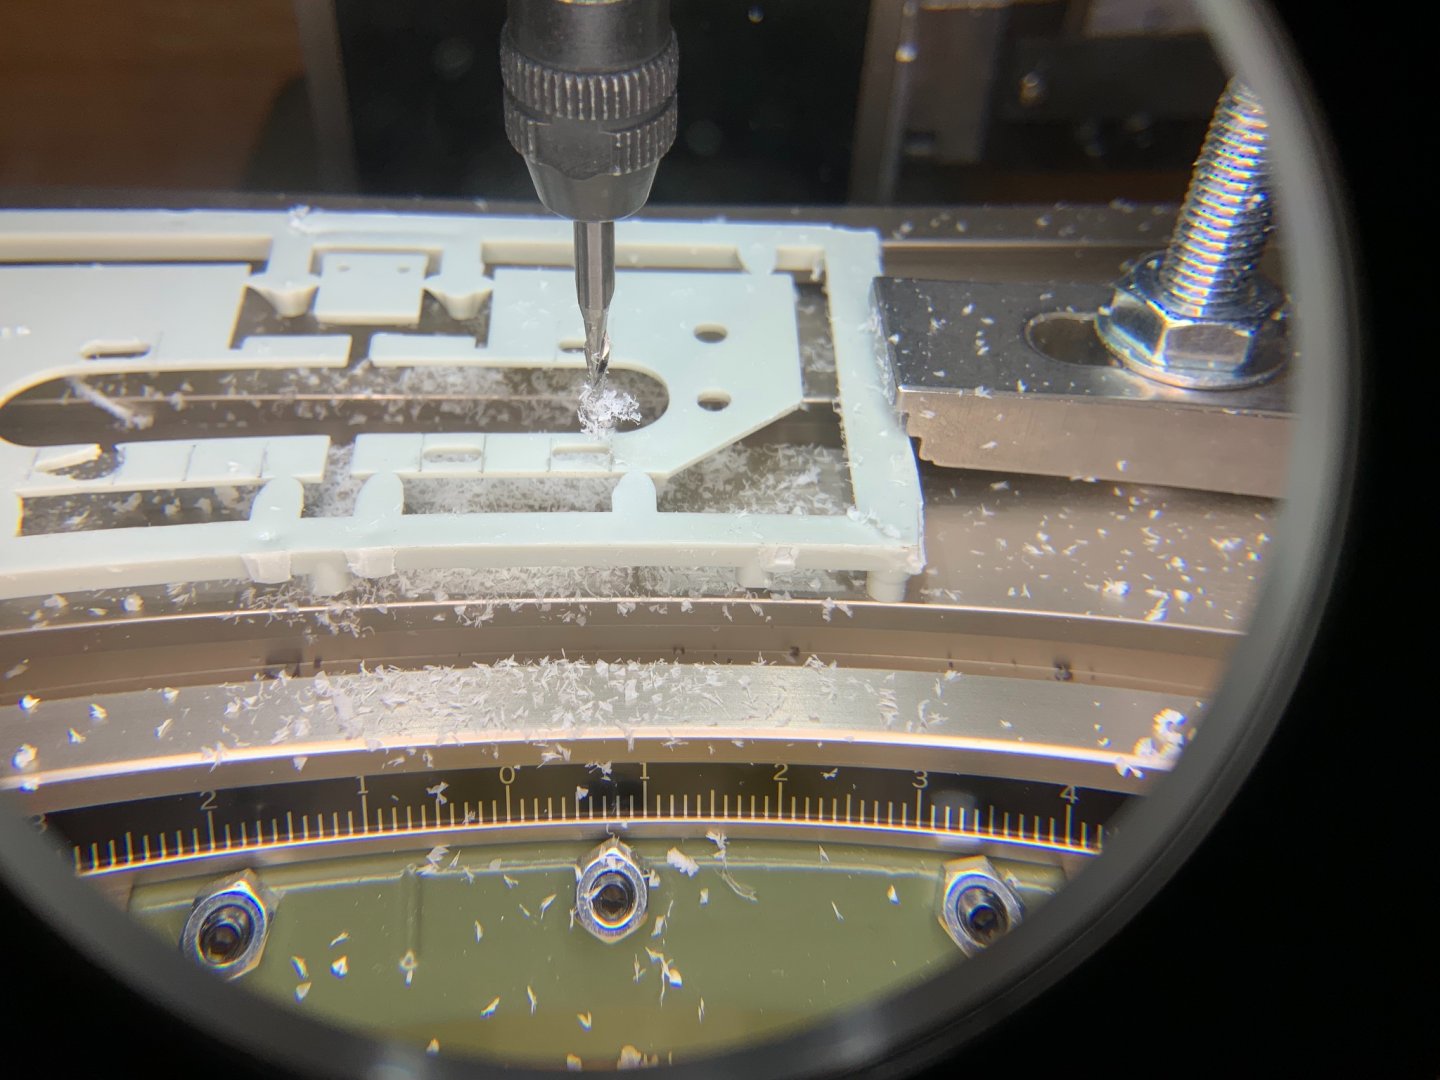
Thank you all for the likes! Working on improving the kit with mixed results. I was trying to add the additional opening in the connection between wheelhouse and the galley. And I messed it up. I did choose the wrong bit. After changing to a different bit it was easy. Live & learn!

-
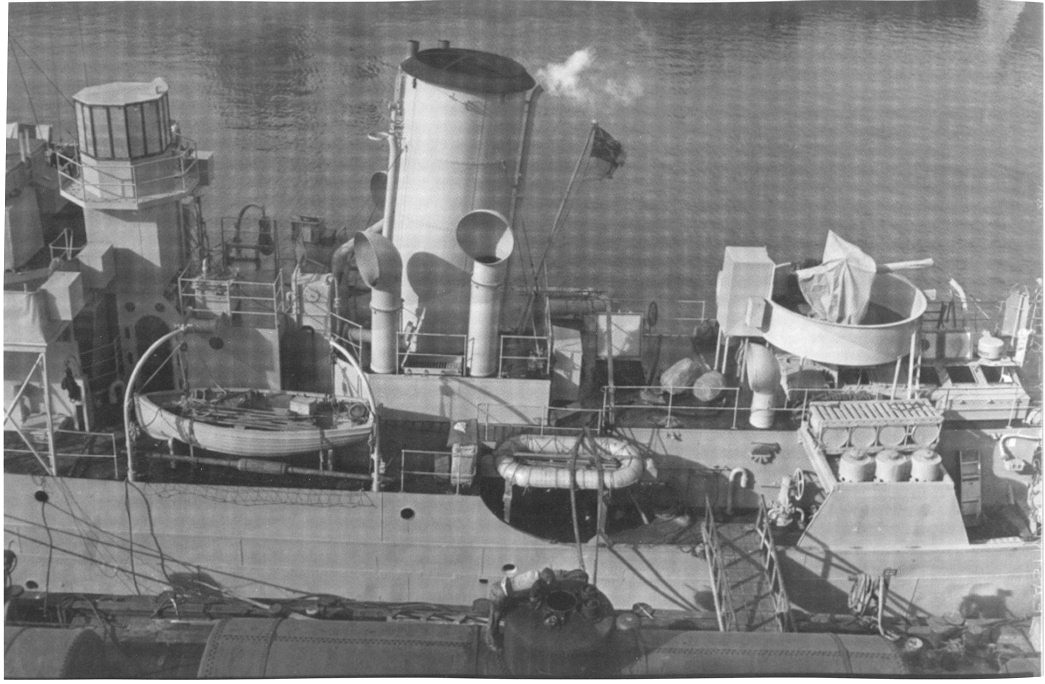
Yep. Bottom line is do your research. Find as much info about your ship at a certain time you can get. During wartime ships upgraded in weapons and were repainted quite often. In my case I am building the HMCS Snowberry, because there are some good photos on the web. But I am still missing a layout drawing. I think a good source would have been the booklet Warship Perspectives: Flower Class Corvettes in World War Two. But unfortunately it is out of print for a long time. I do know that there are some photos / drawings in it.
-
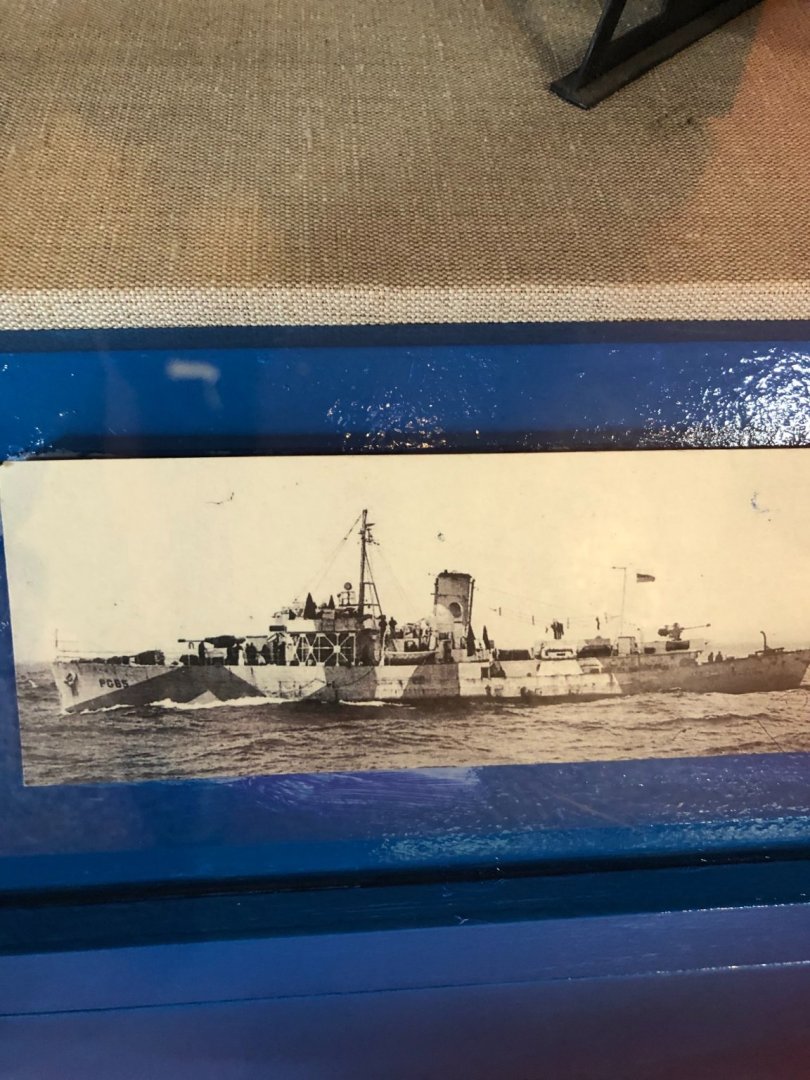
This one is just as she got back to the RN, renamed to HMS Snapdragon (K 73), 1945 Note the different weapons.
-
Mike, Thank you for posting. It’s quite interesting that they had 3D view way back then. But I think the colors are not quite accurate. For instance the deck of the Snowberry was Dark Deck Gray NARN54. But maybe it was not even intended to have an absolute accurate model. 😎
-
Quite impressive work in 1/700! that would be nothing for me, way too small. My limit is 1/350 Hermann
- 127 replies
-
- 3
-

-
- Akitsushima
- Pit Road
- (and 2 more)
-
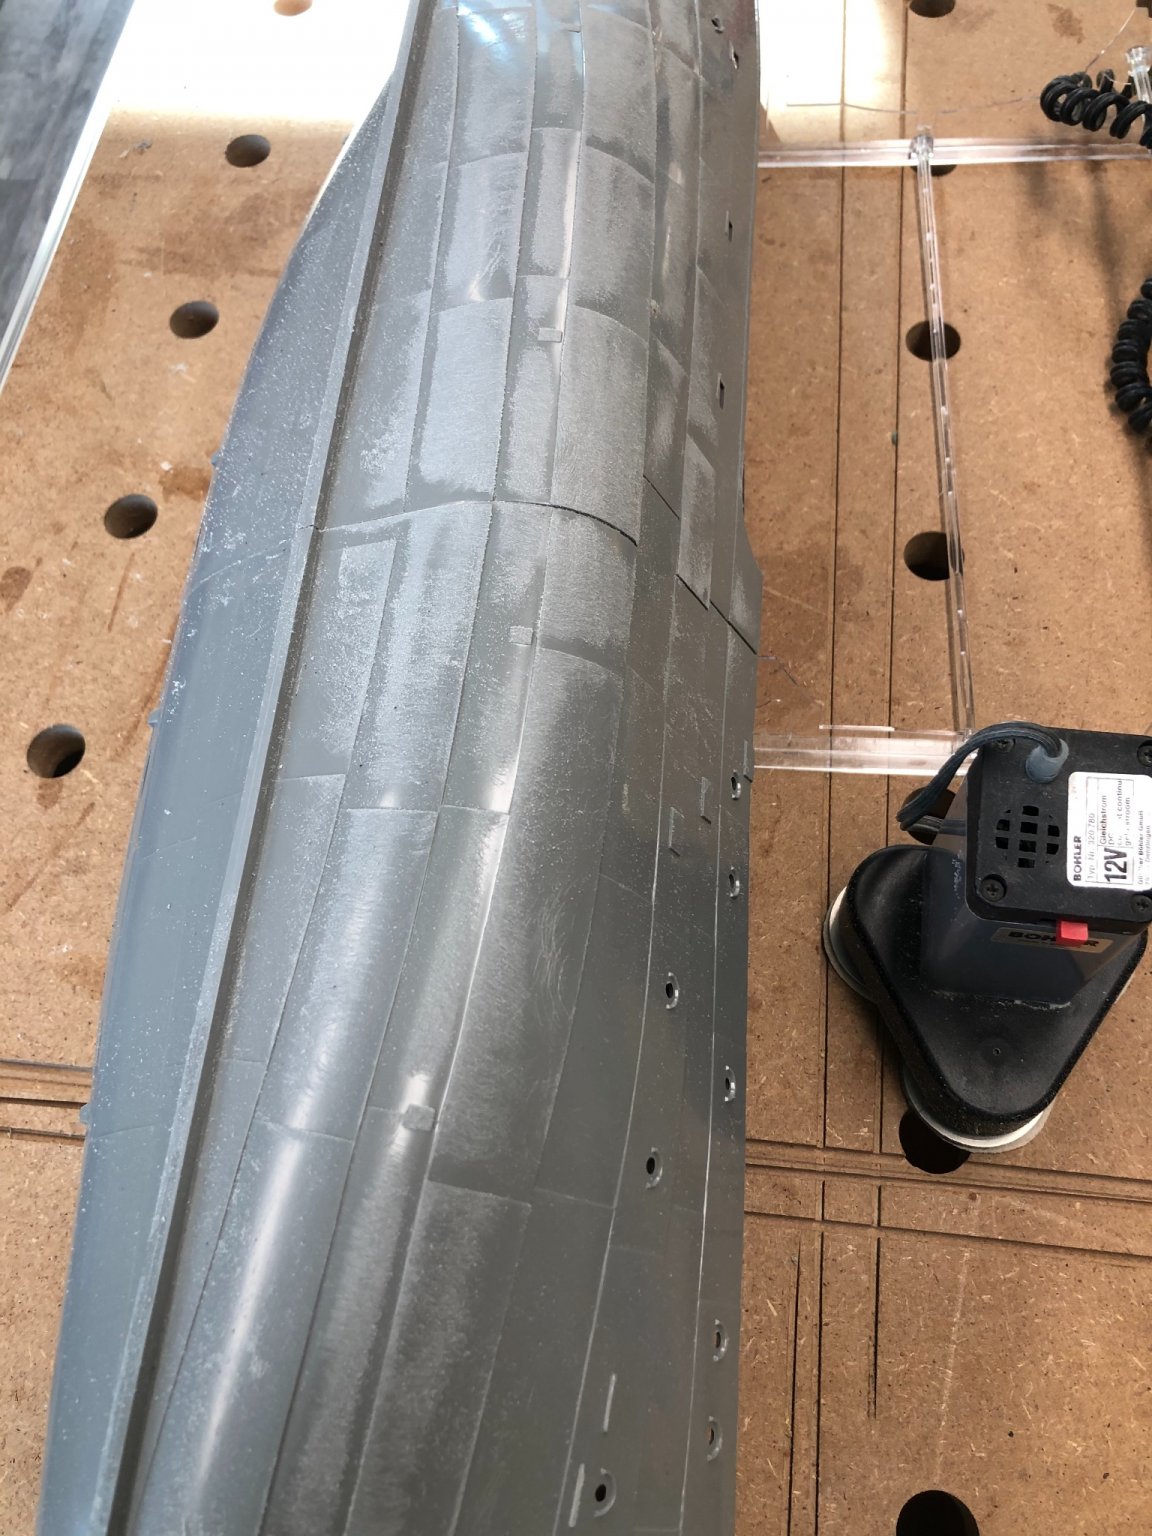
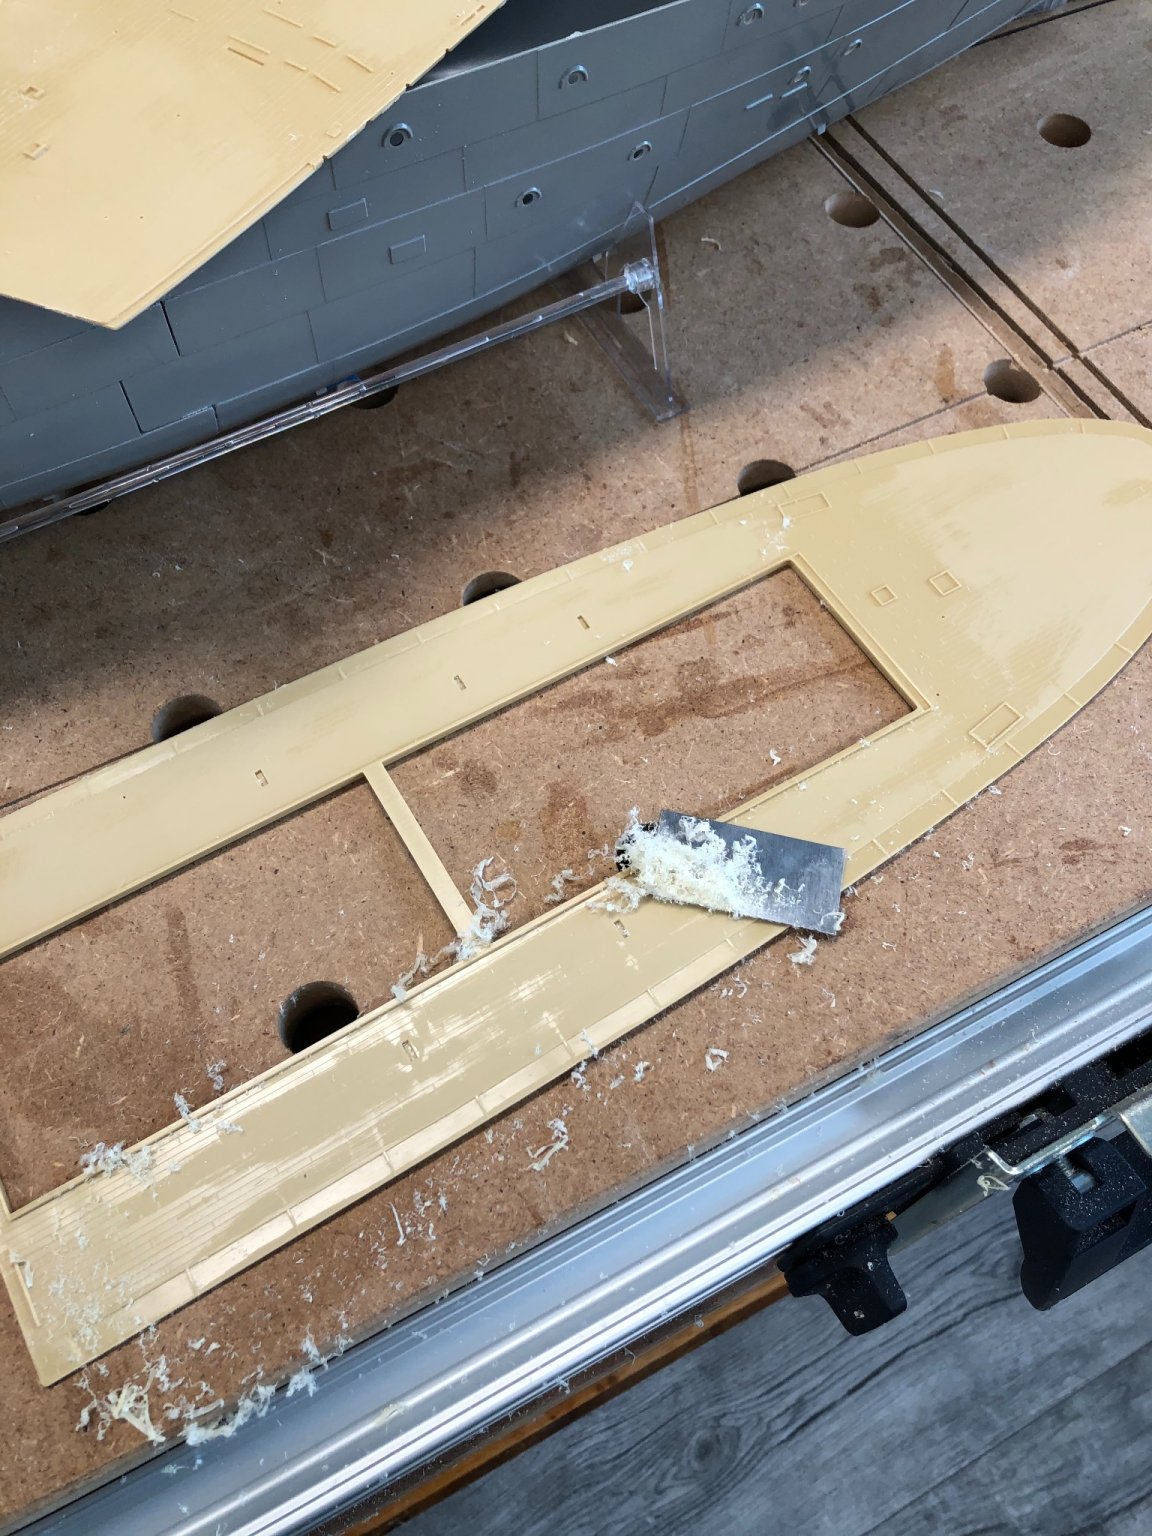
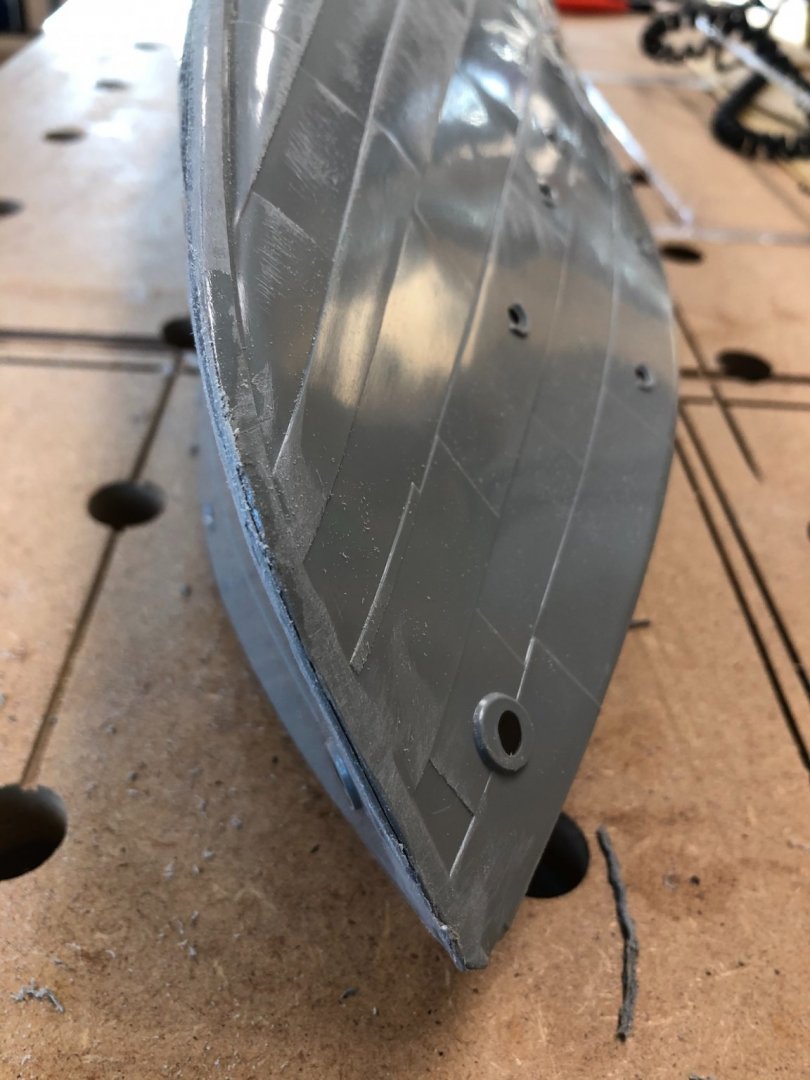
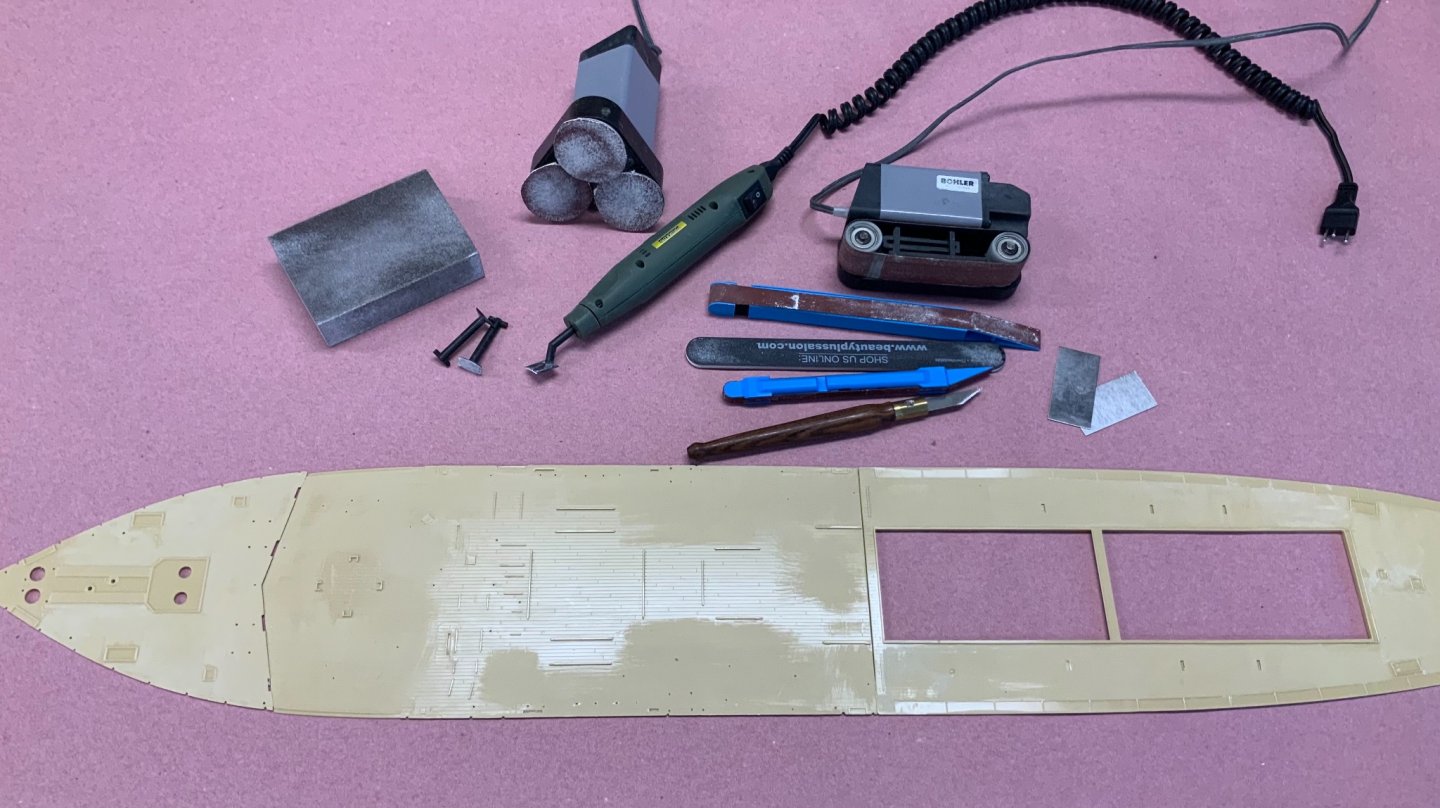
Preparation of the hull / deck: - sanding the entire hull - sanding down the bow / stem bar to a sharp point - sanding down the keel don’t need to replace the bilge keels and the propeller because you can’t see them (less work for me) sanding down all the decks for accepting the brass deck from Great Little Ships (GLS)


-
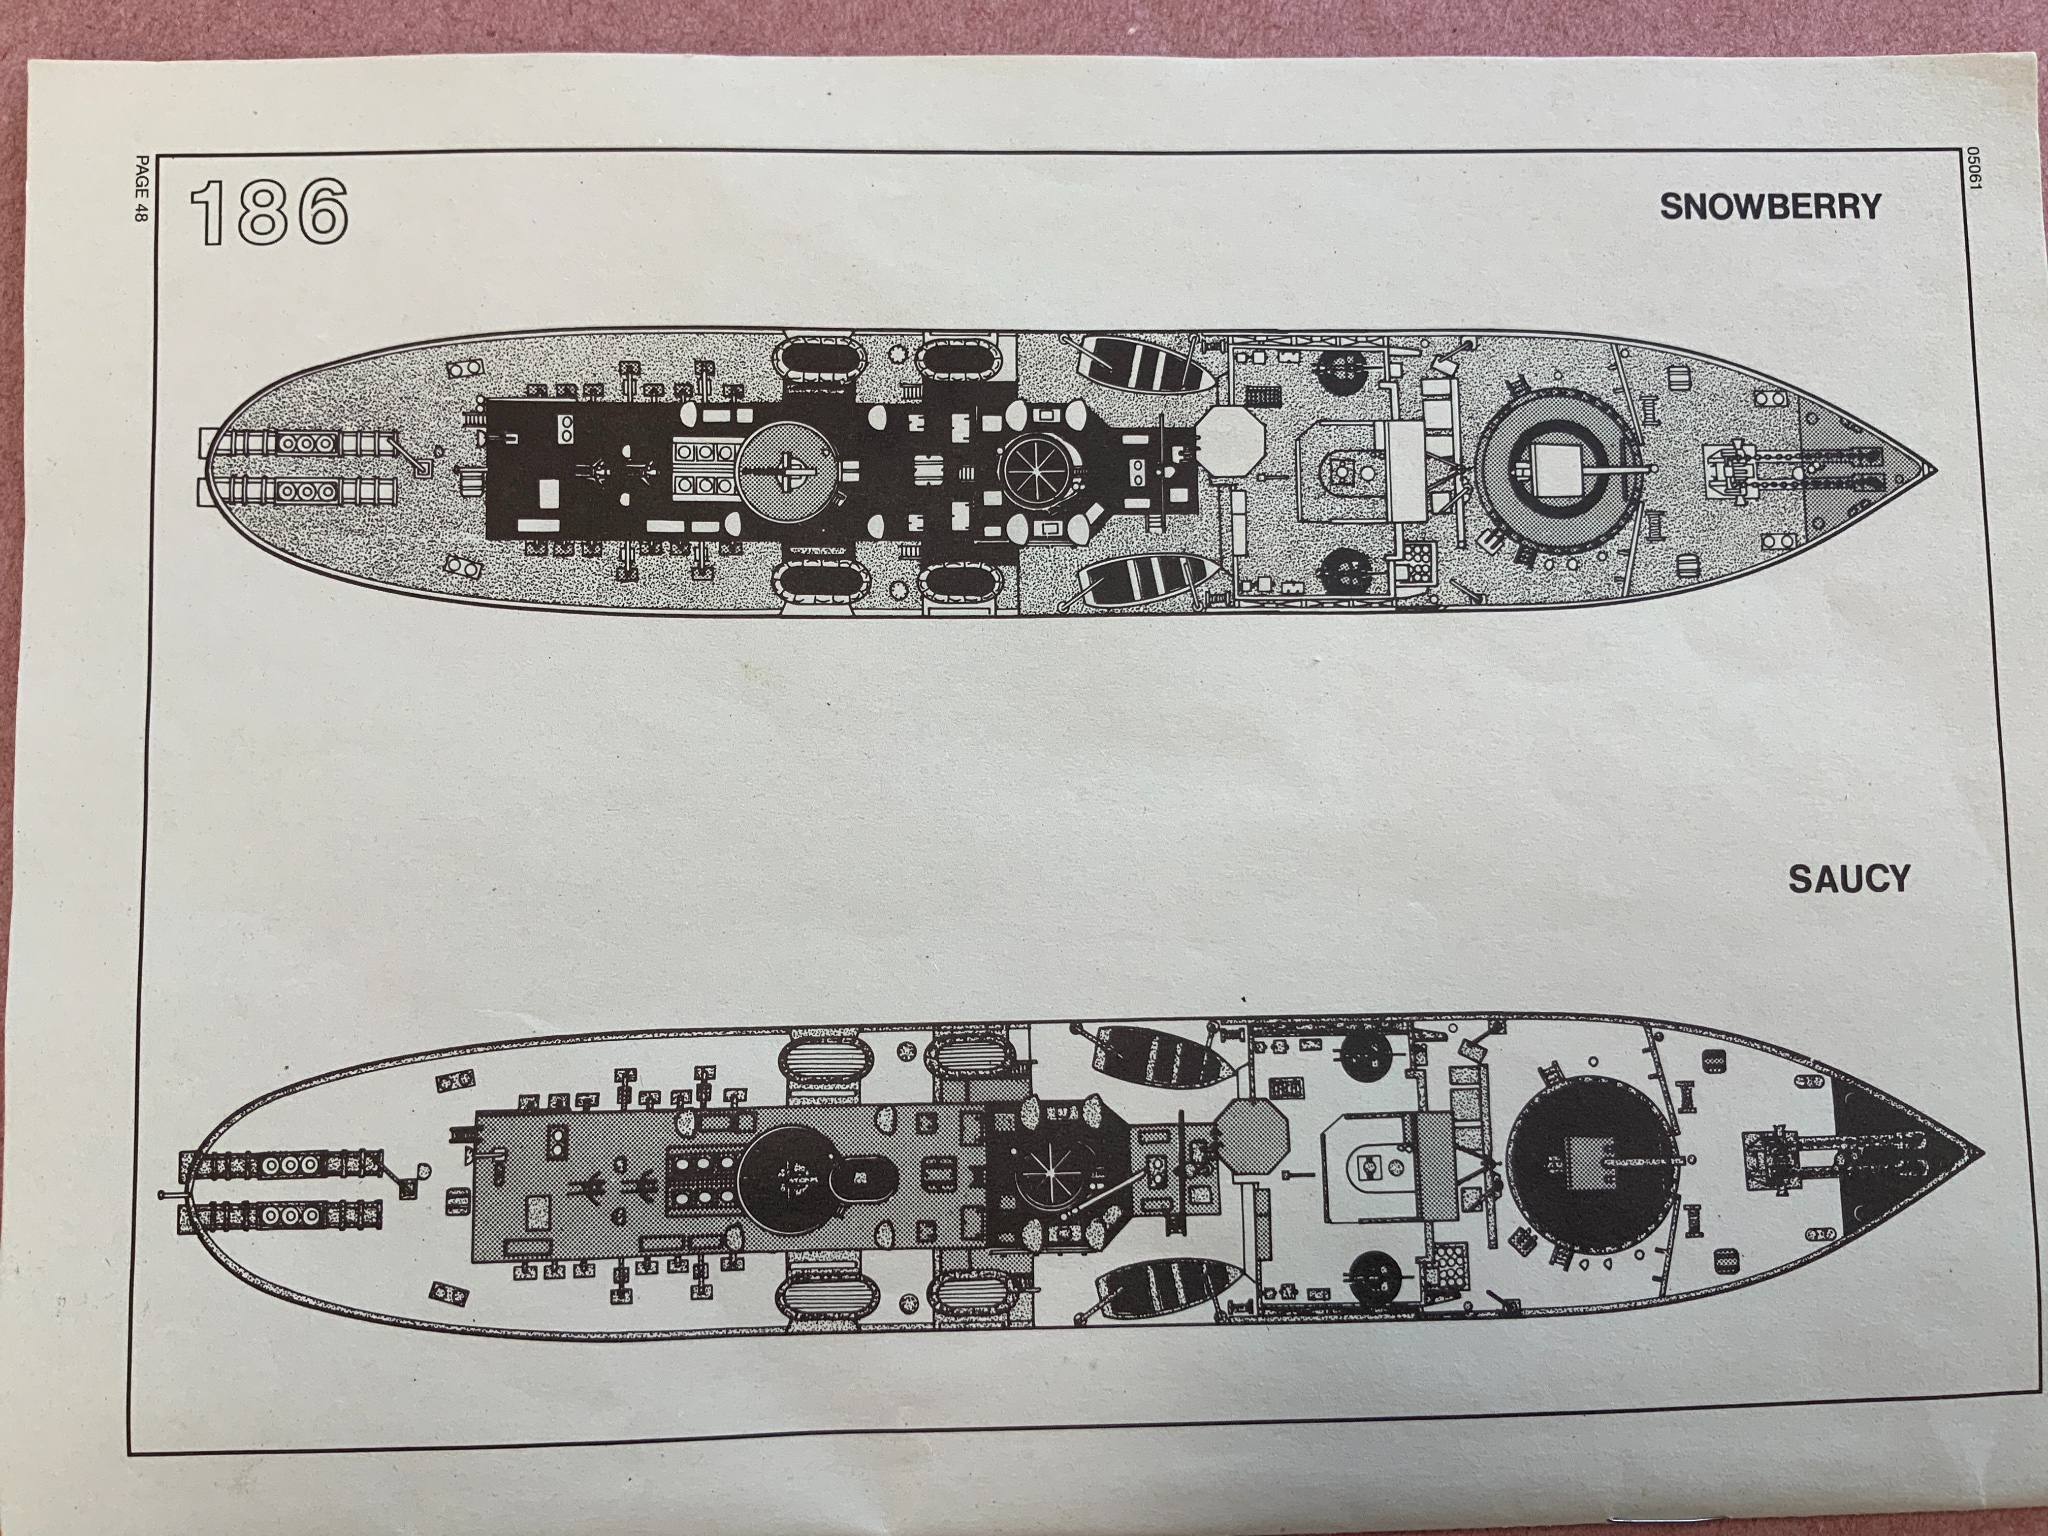
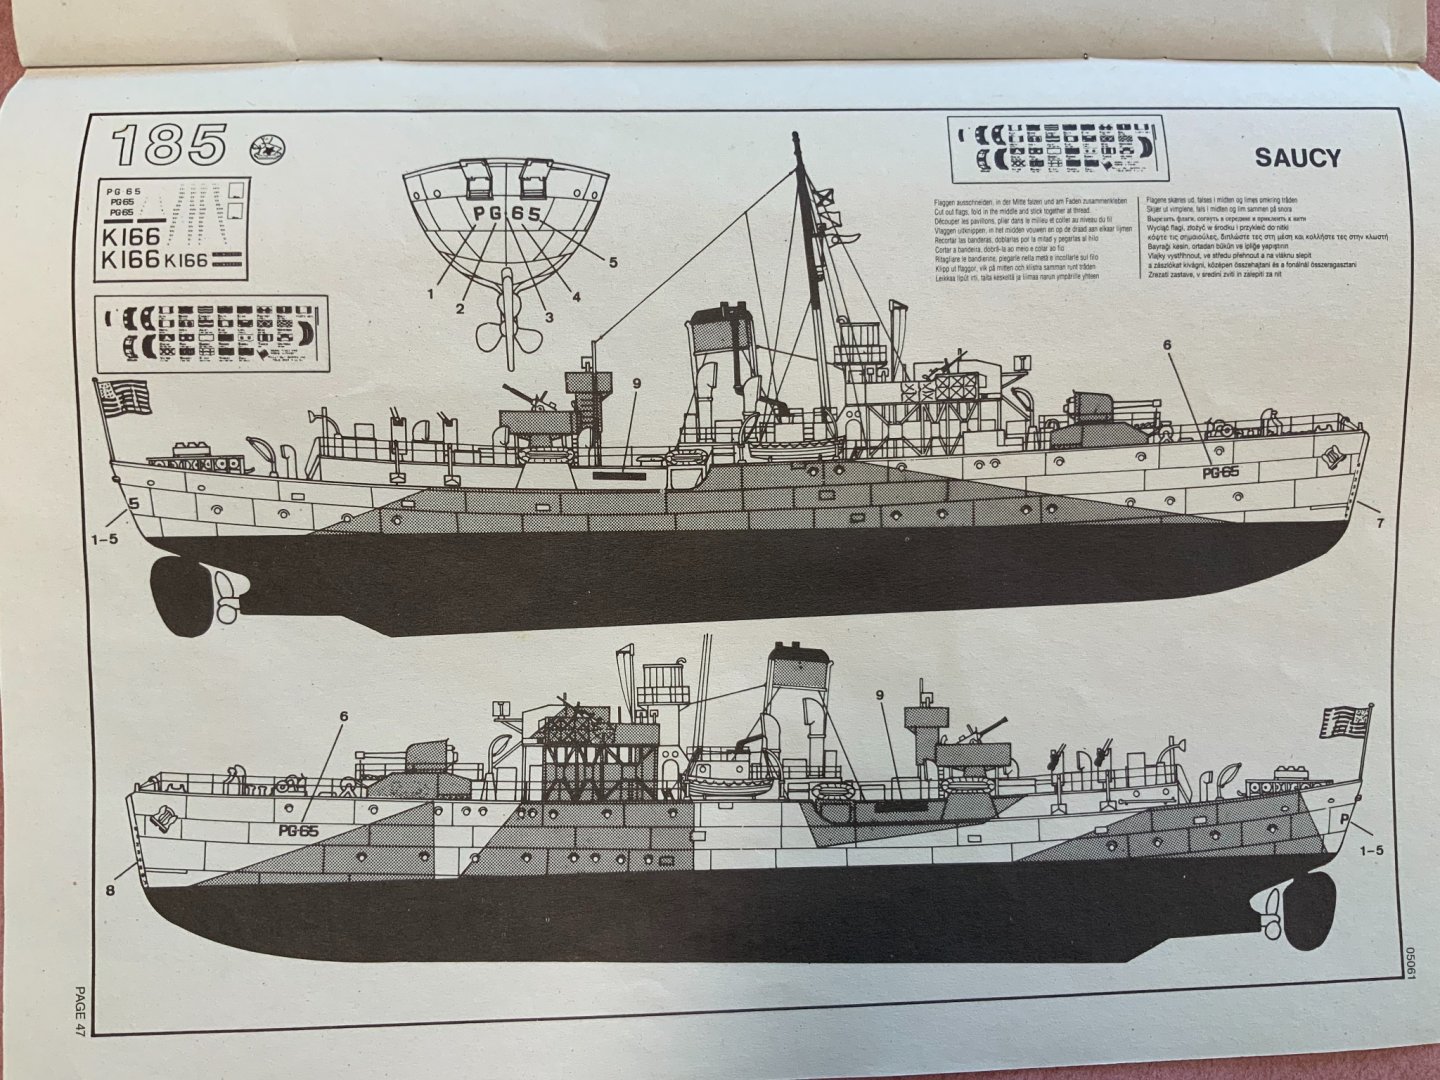
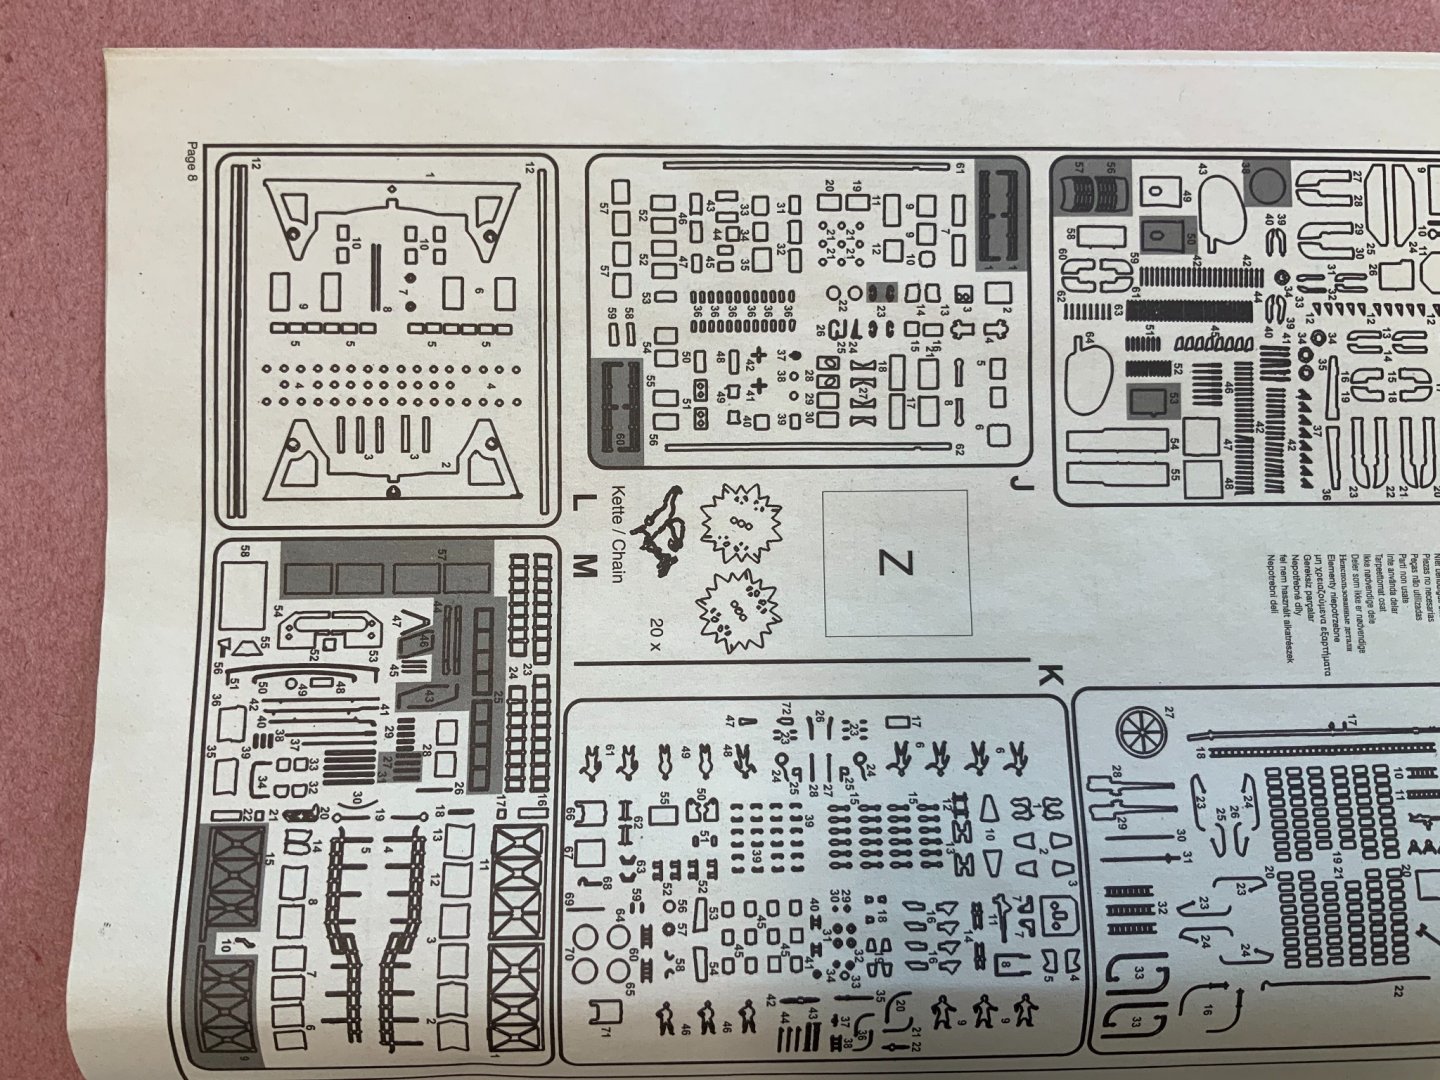
Funny thing. The kit I have has the “Saucy” in it. I bought the kit many, many years ago. Lol The shaded parts are not needed for the “Snowberry “ maybe for another ship?
-
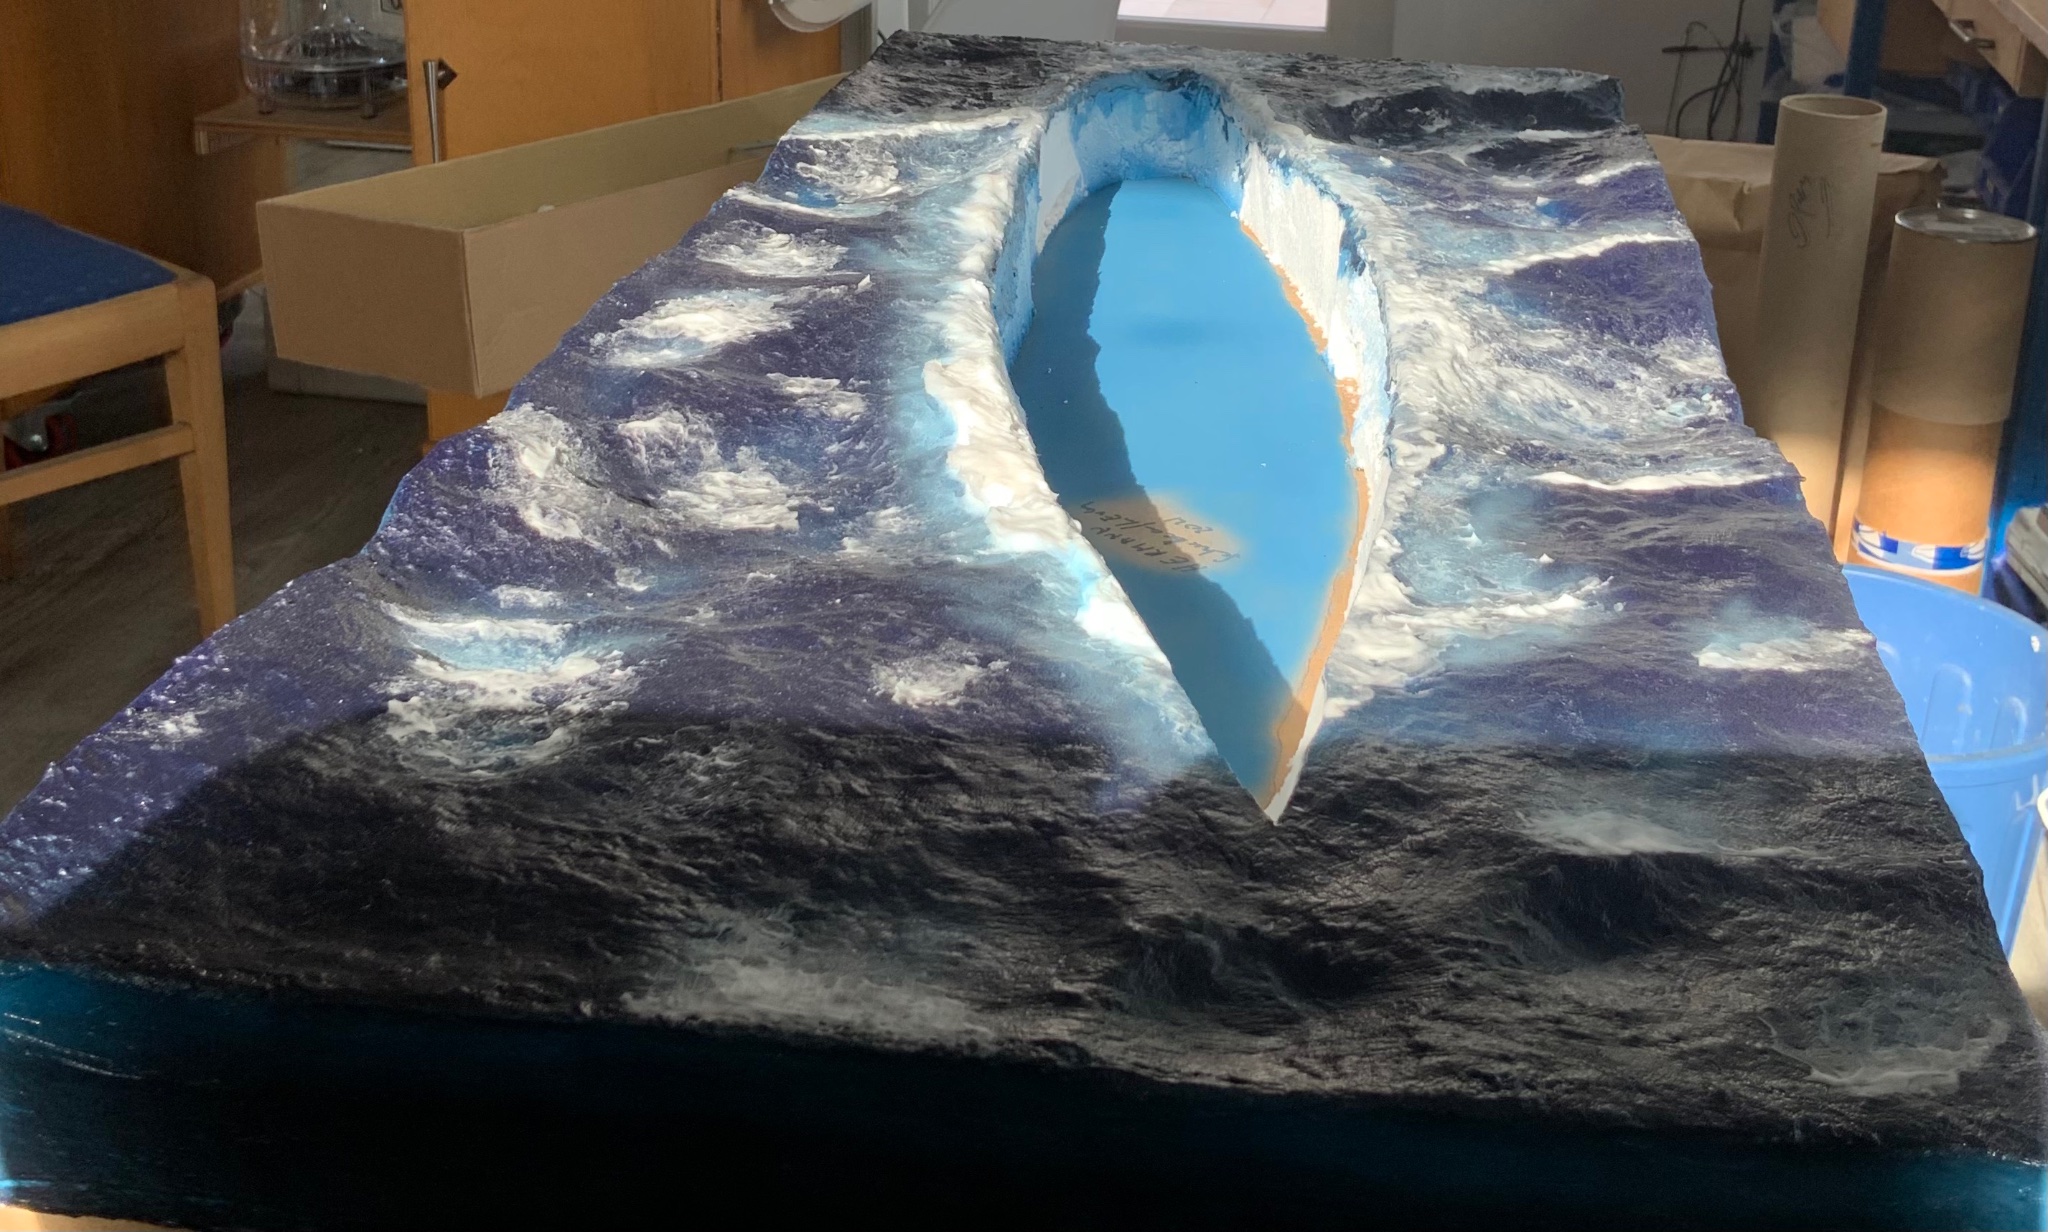
Mike, If you use Epoxy, you can seal the bottom of the hull to the board with hot glue for instance. You should be Ok with pouring Epoxy afterwards. You have to experiment a little bit what works best. Hermann
-
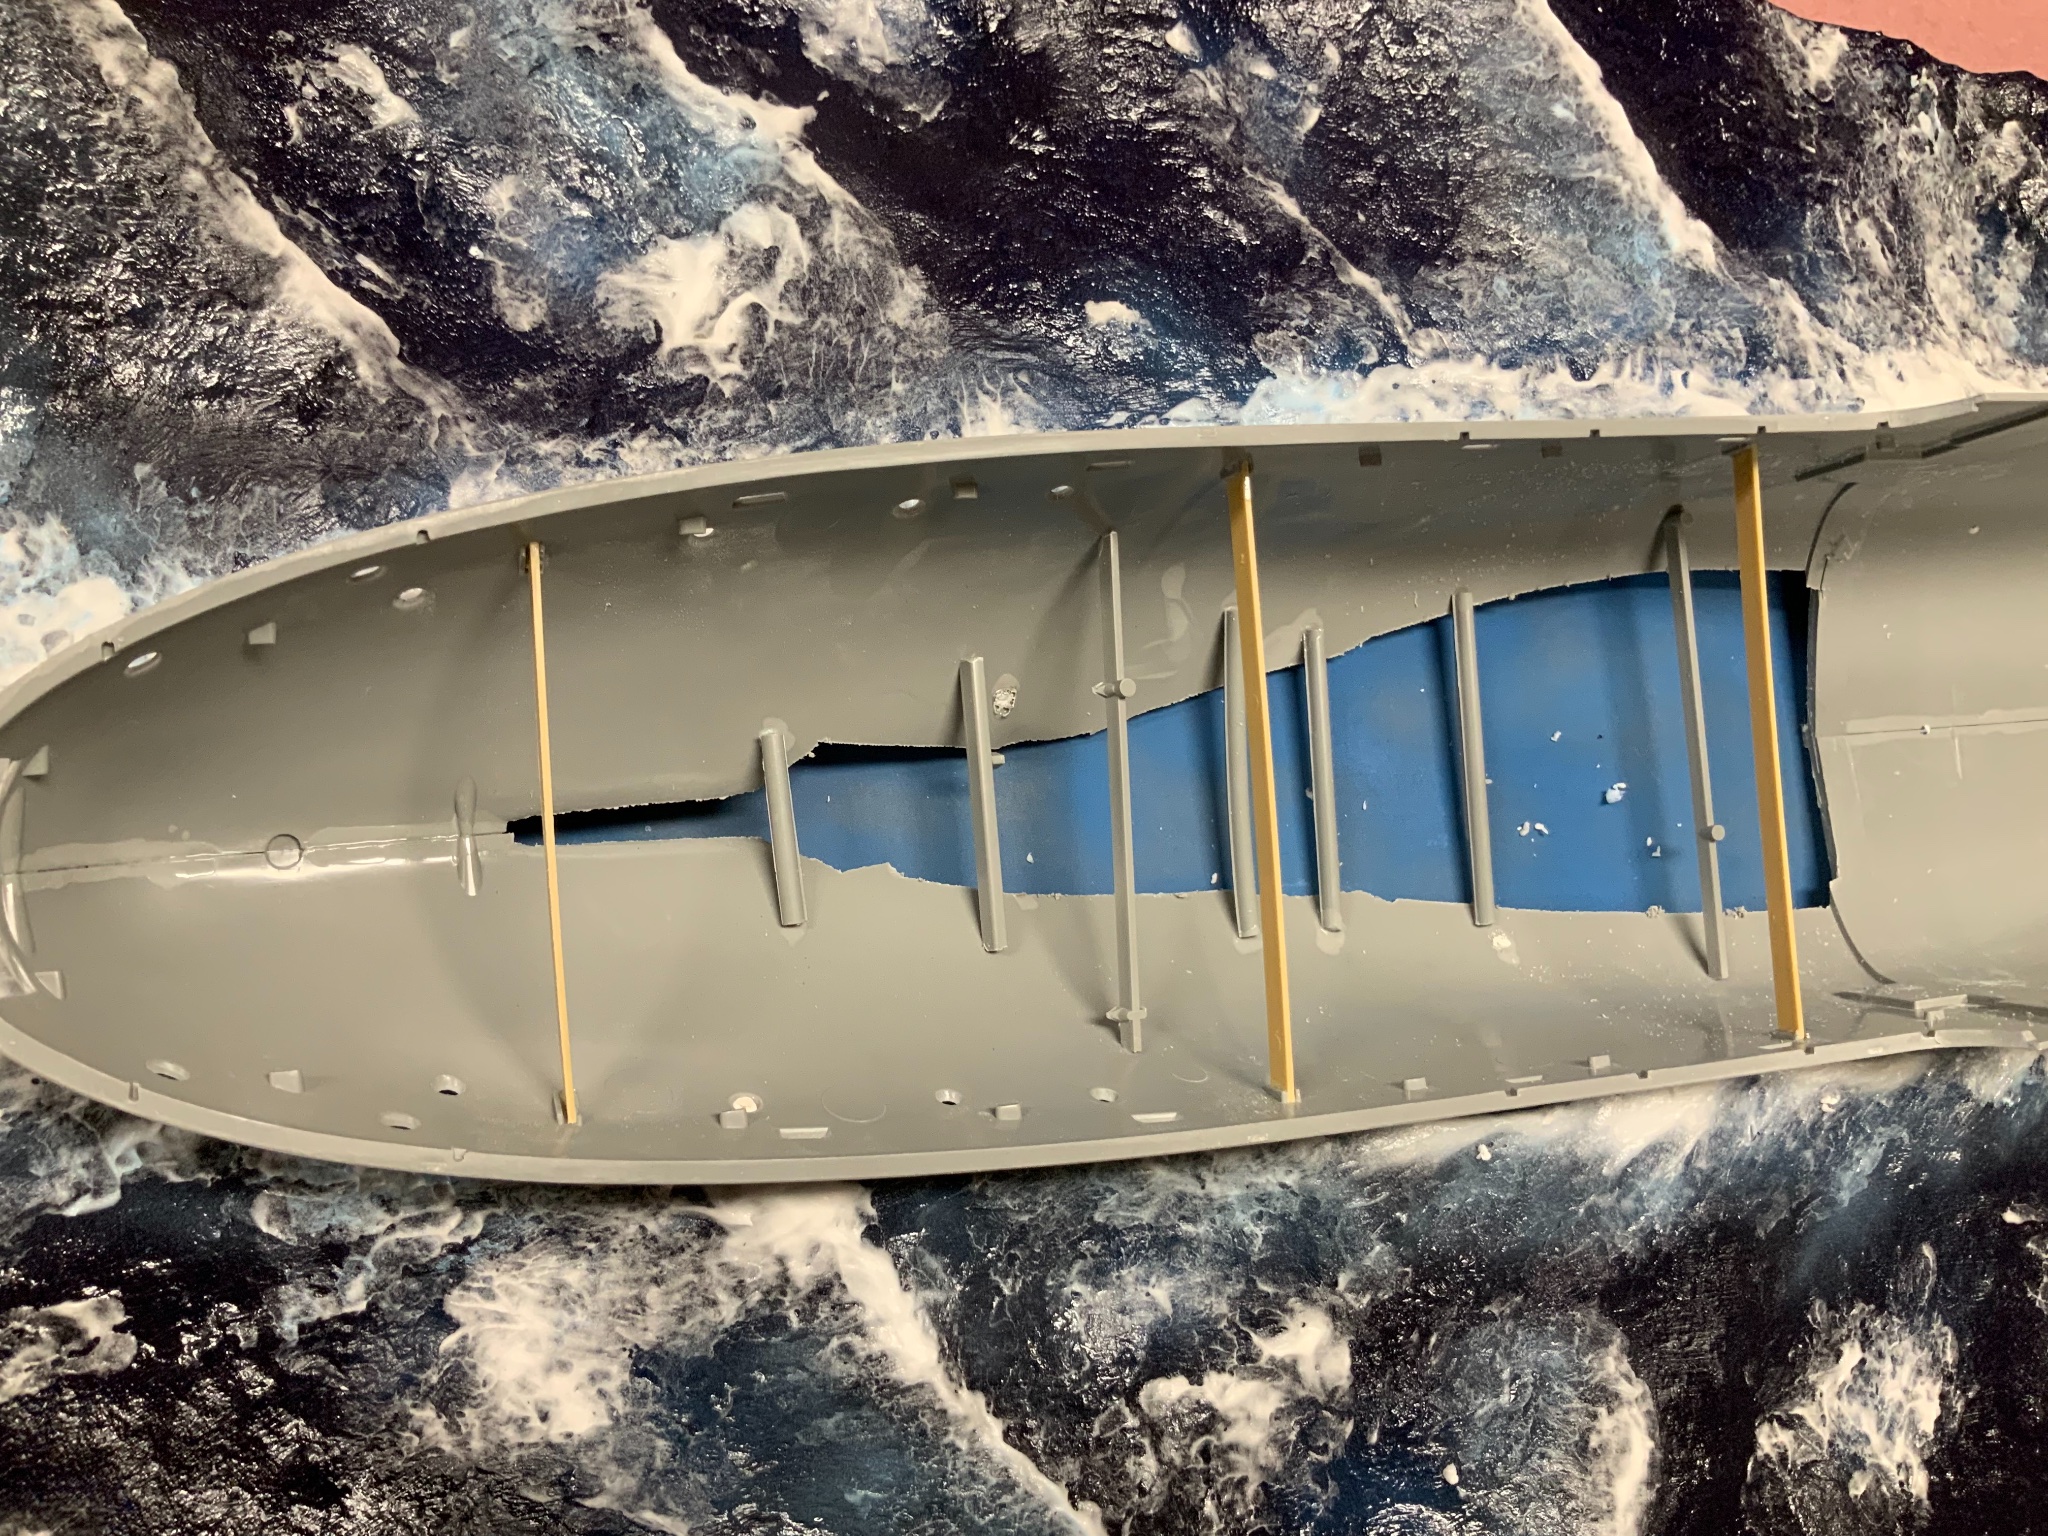
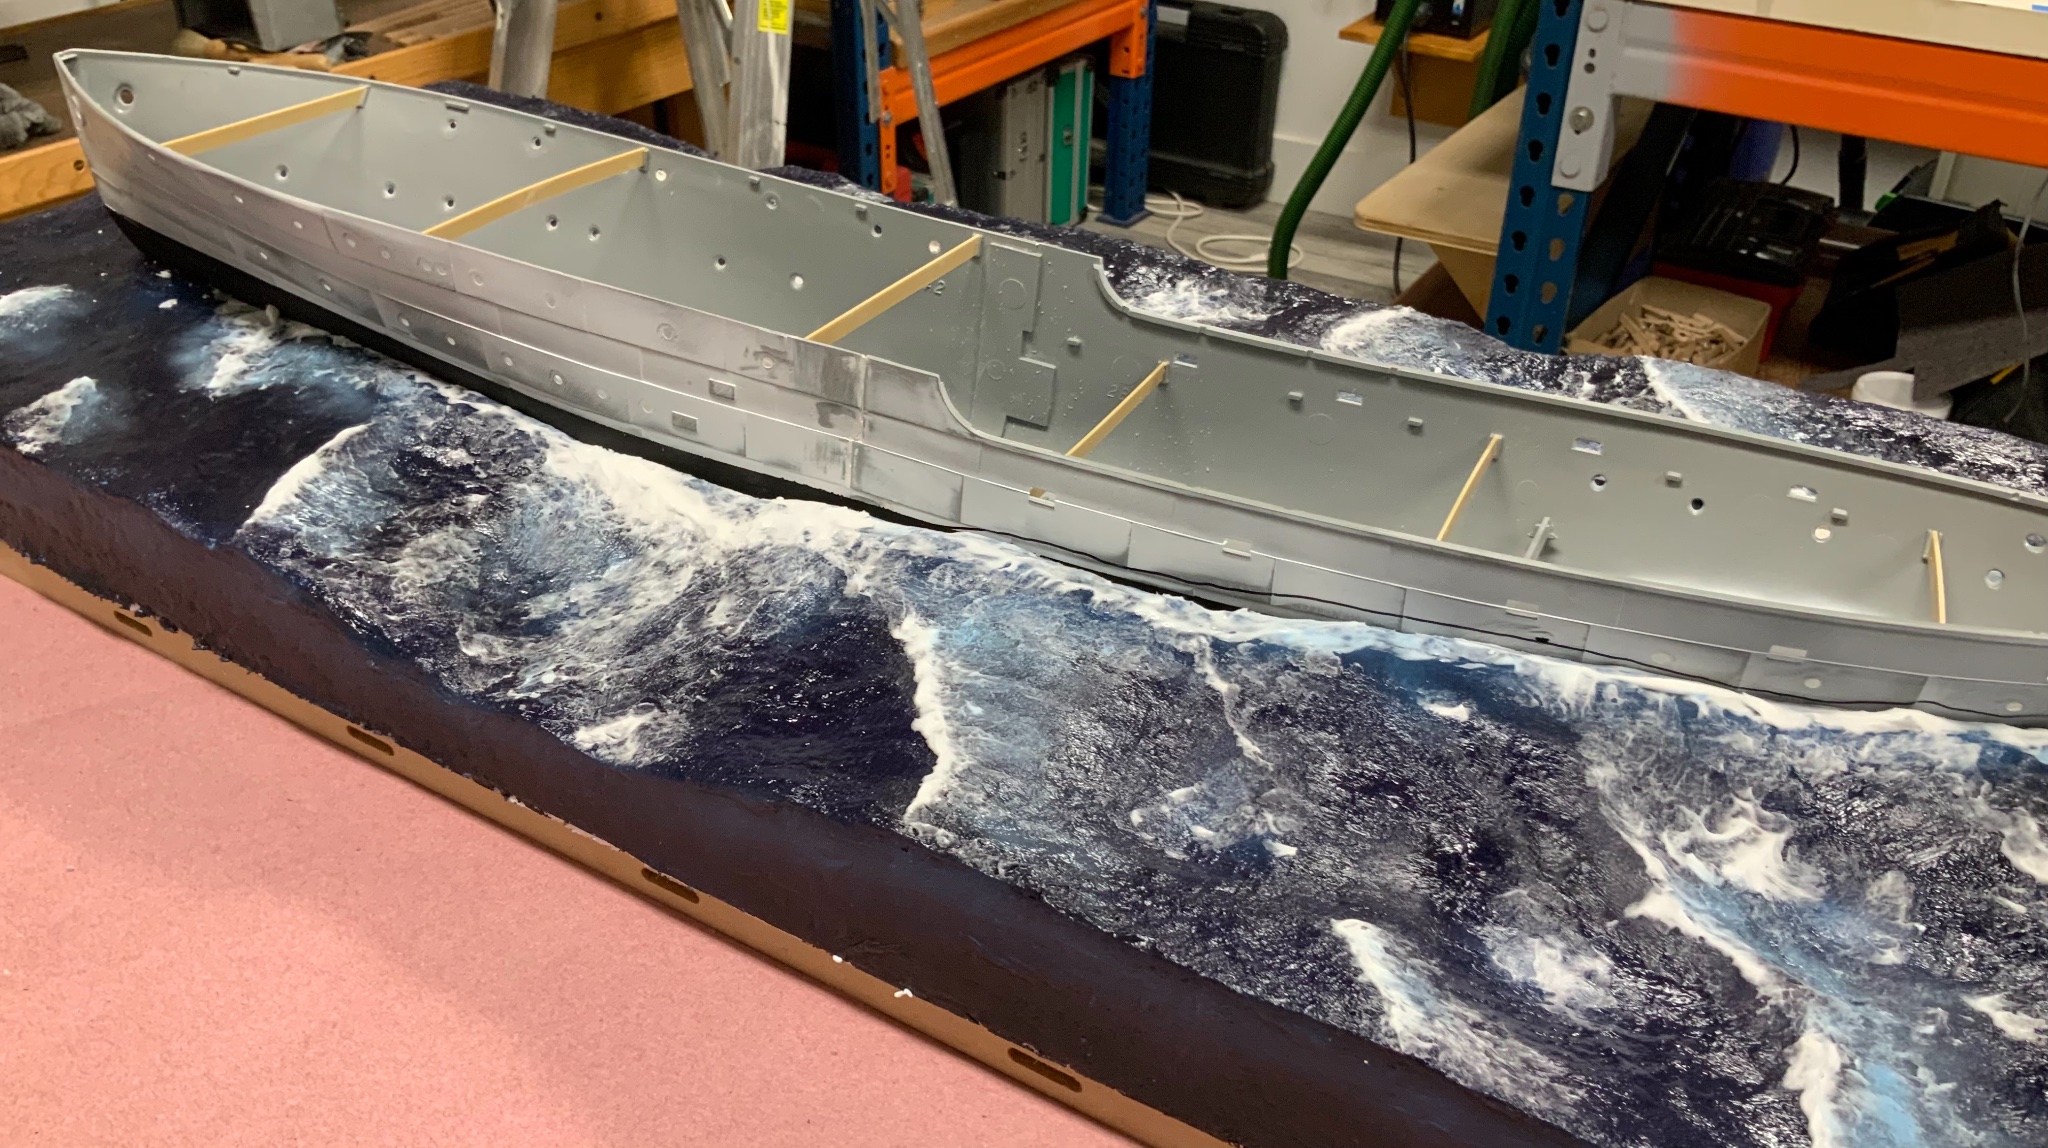
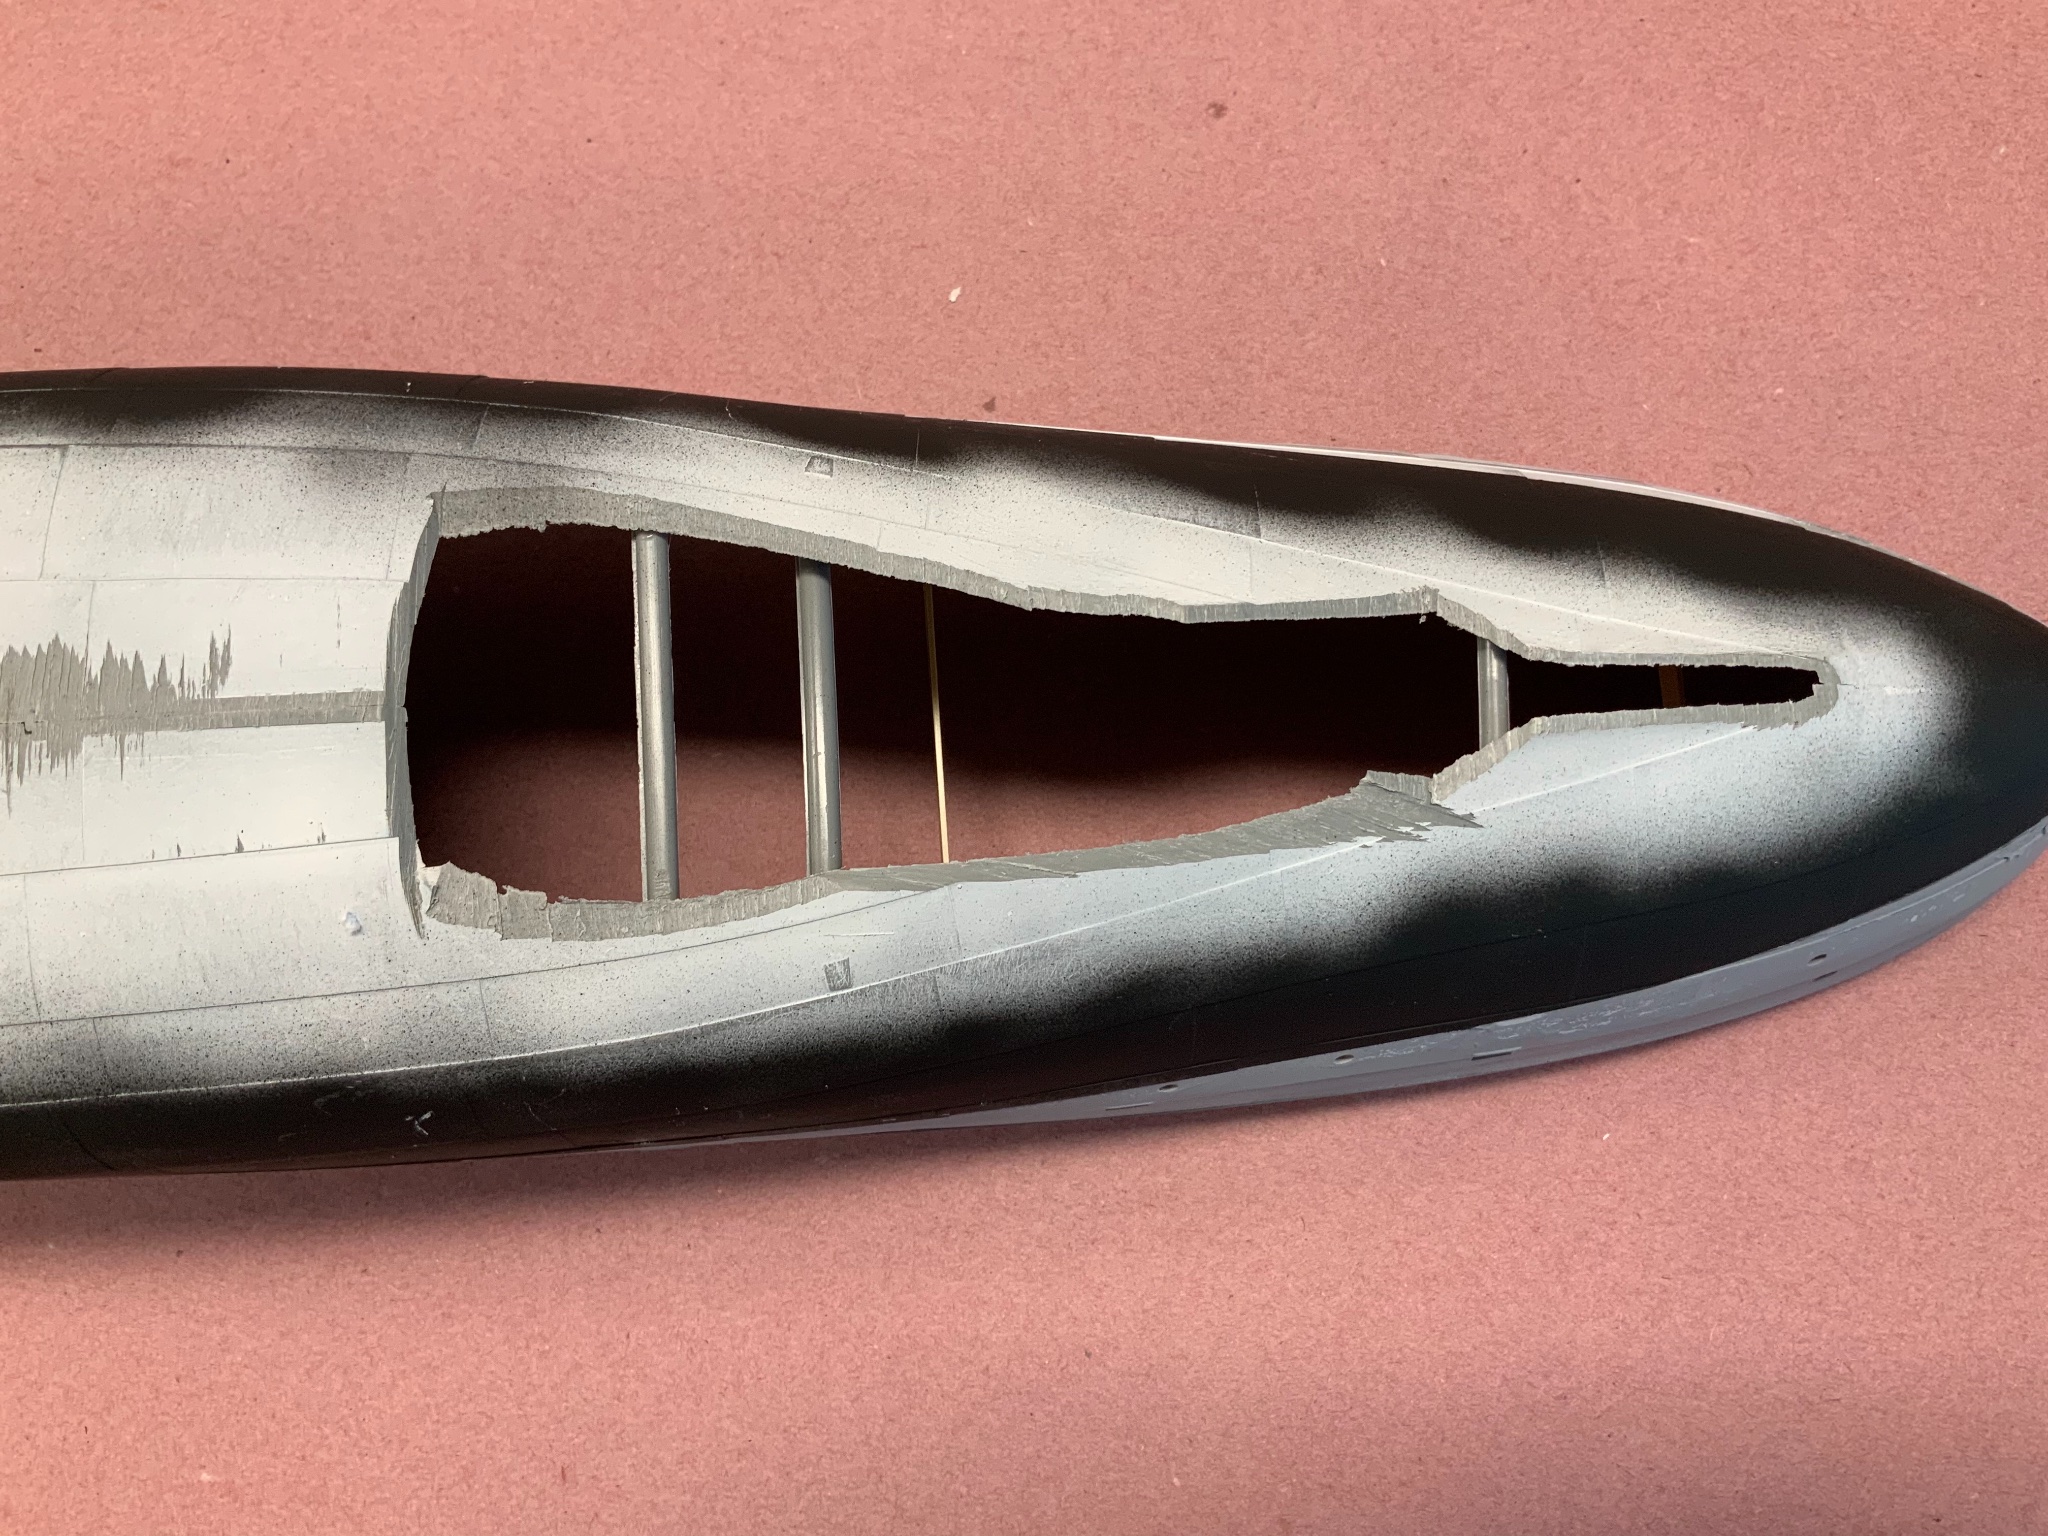
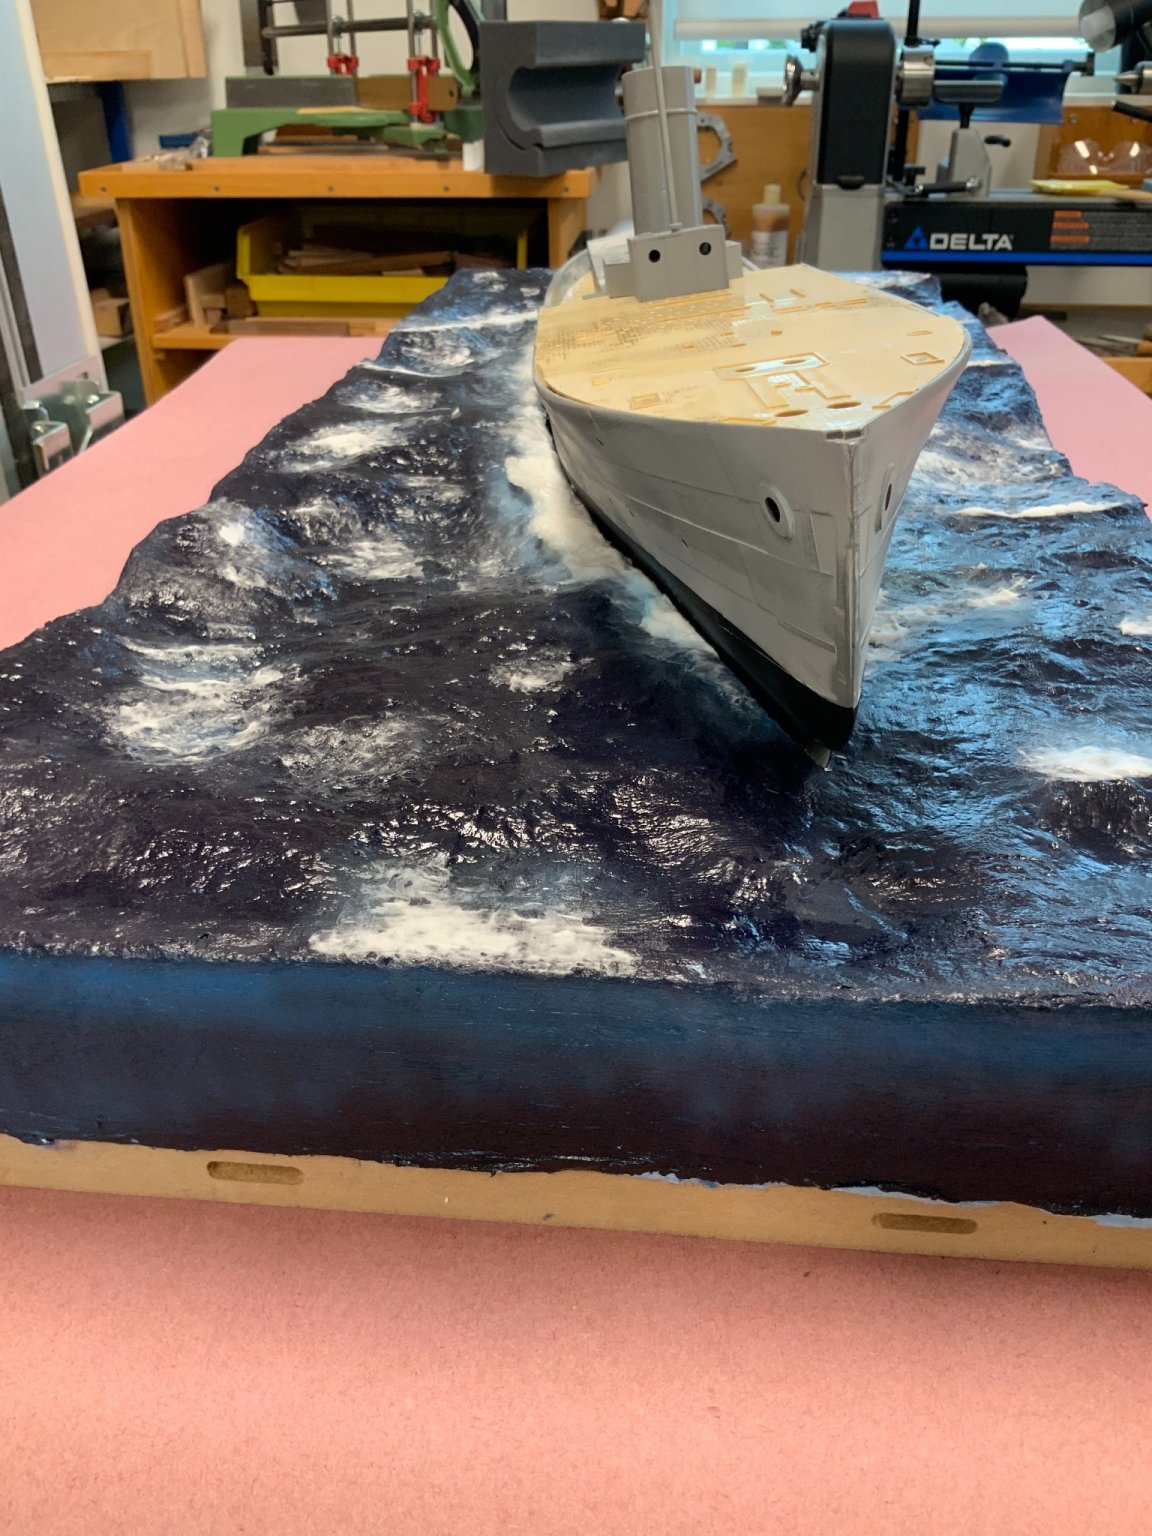
Thank you guys for the “likes” and the input. I am still not entirely happy with the looks. Do you think the hull is riding too high?
-
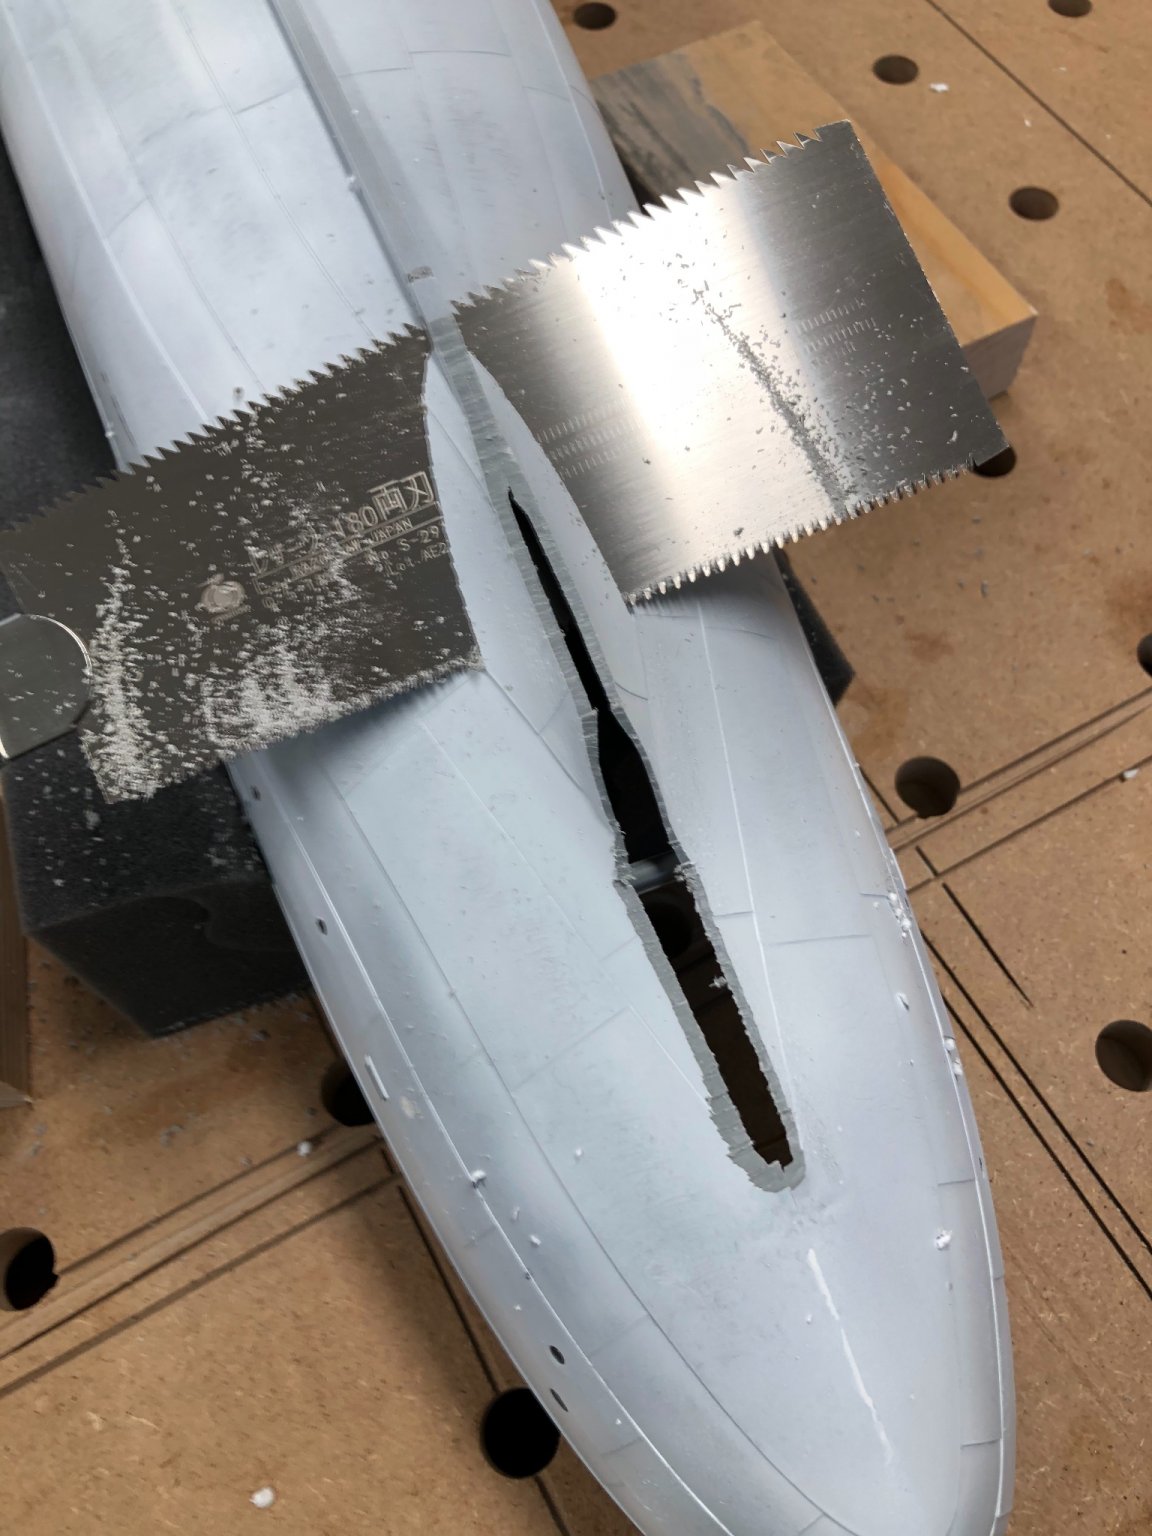
I had to cut the hull on the button to get it somewhat right. I am still not happy with the looks, it seem it is riding still to high.


-
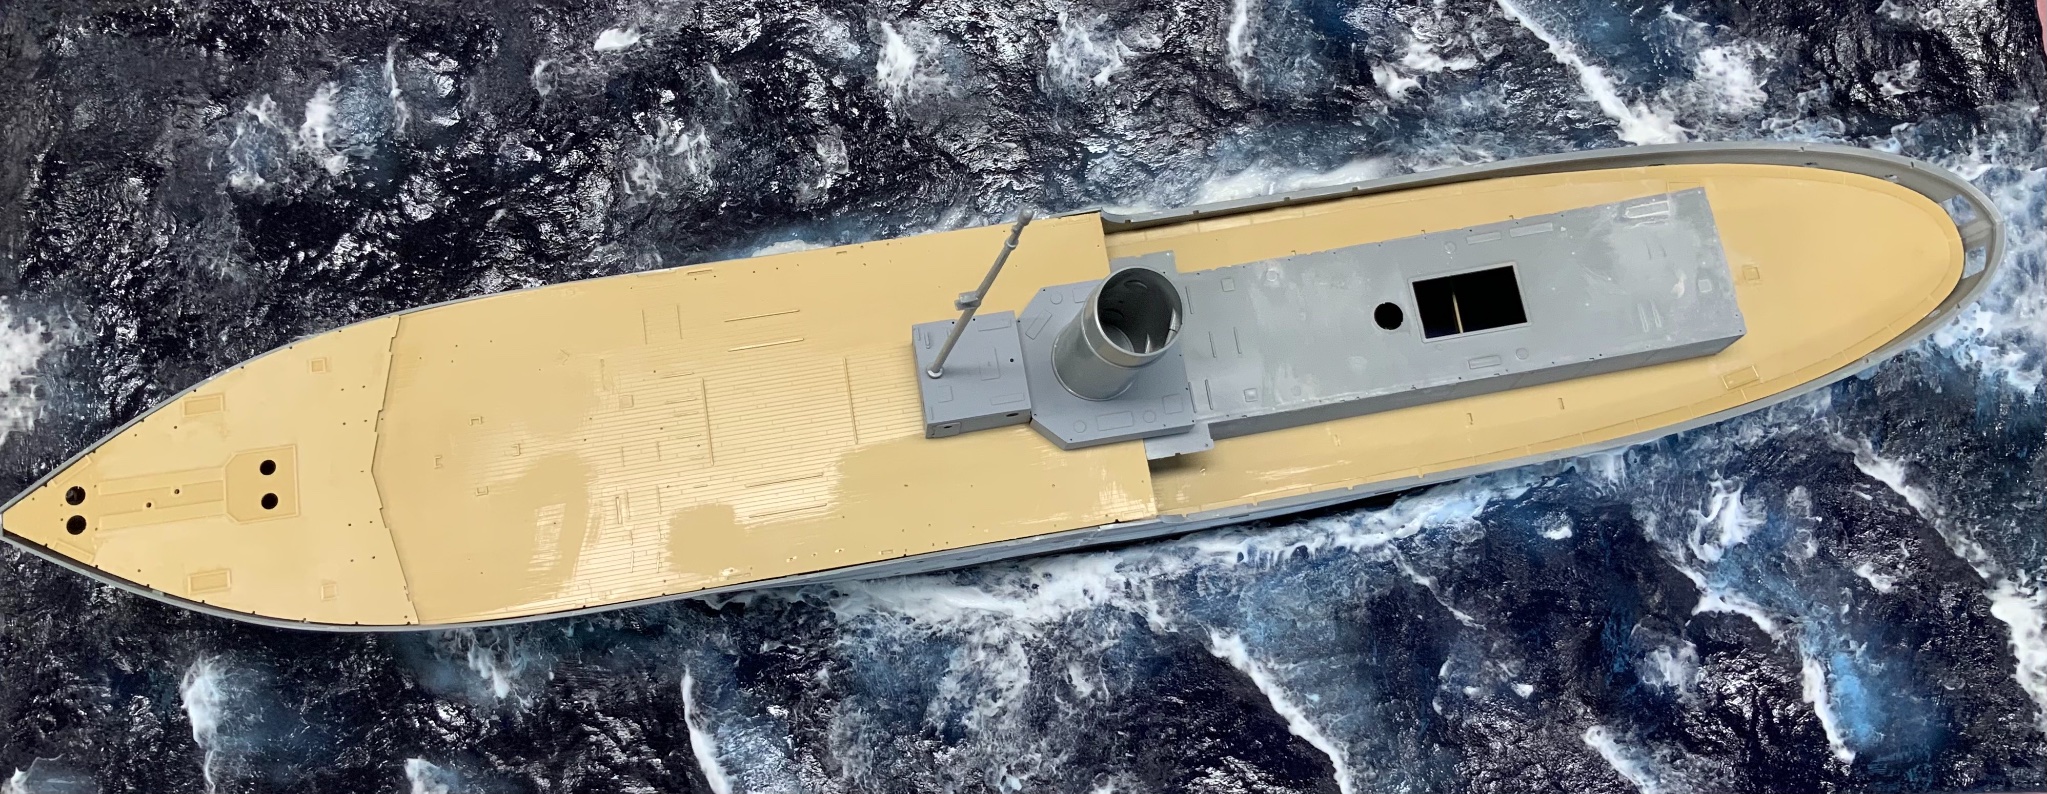
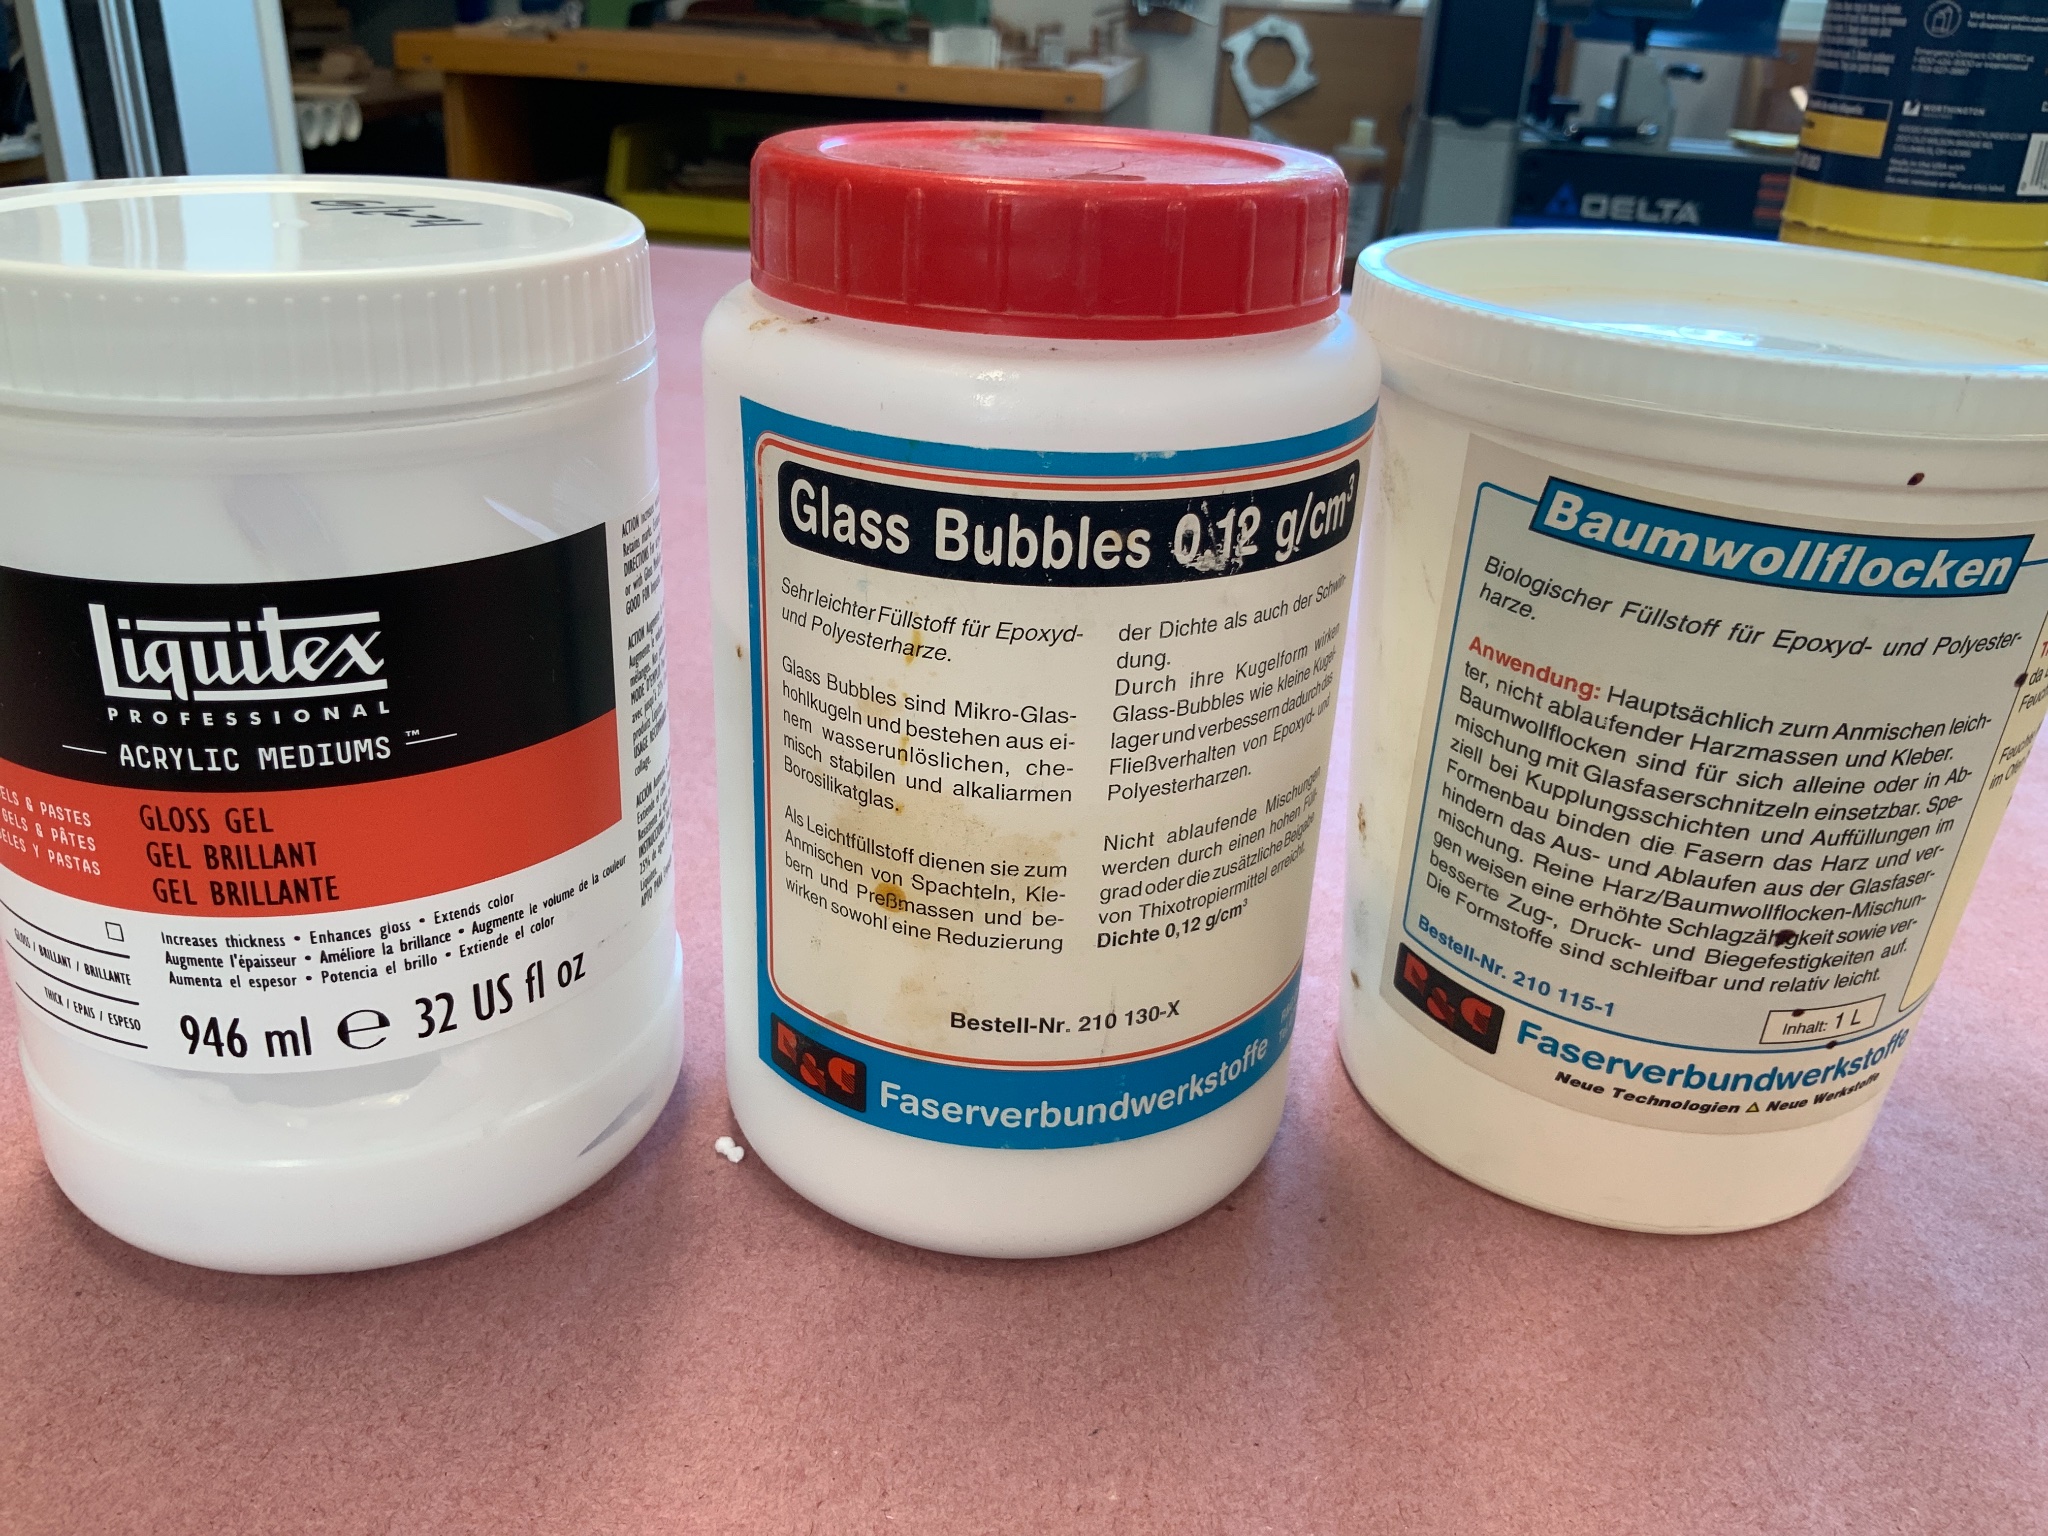
Next step is to create some foam on the waves. I did mix the gel with very tiny glass bubbles (it is like powder) and cotton flakes for bigger stuff. They are both used in the Epoxy world to thicken it.