HOLIDAY DONATION DRIVE - SUPPORT MSW - DO YOUR PART TO KEEP THIS GREAT FORUM GOING! (89 donations so far out of 49,000 members - C'mon guys!)
×

Hsae
-
Posts
225 -
Joined
-
Last visited
Content Type
Profiles
Forums
Gallery
Events
Everything posted by Hsae
-
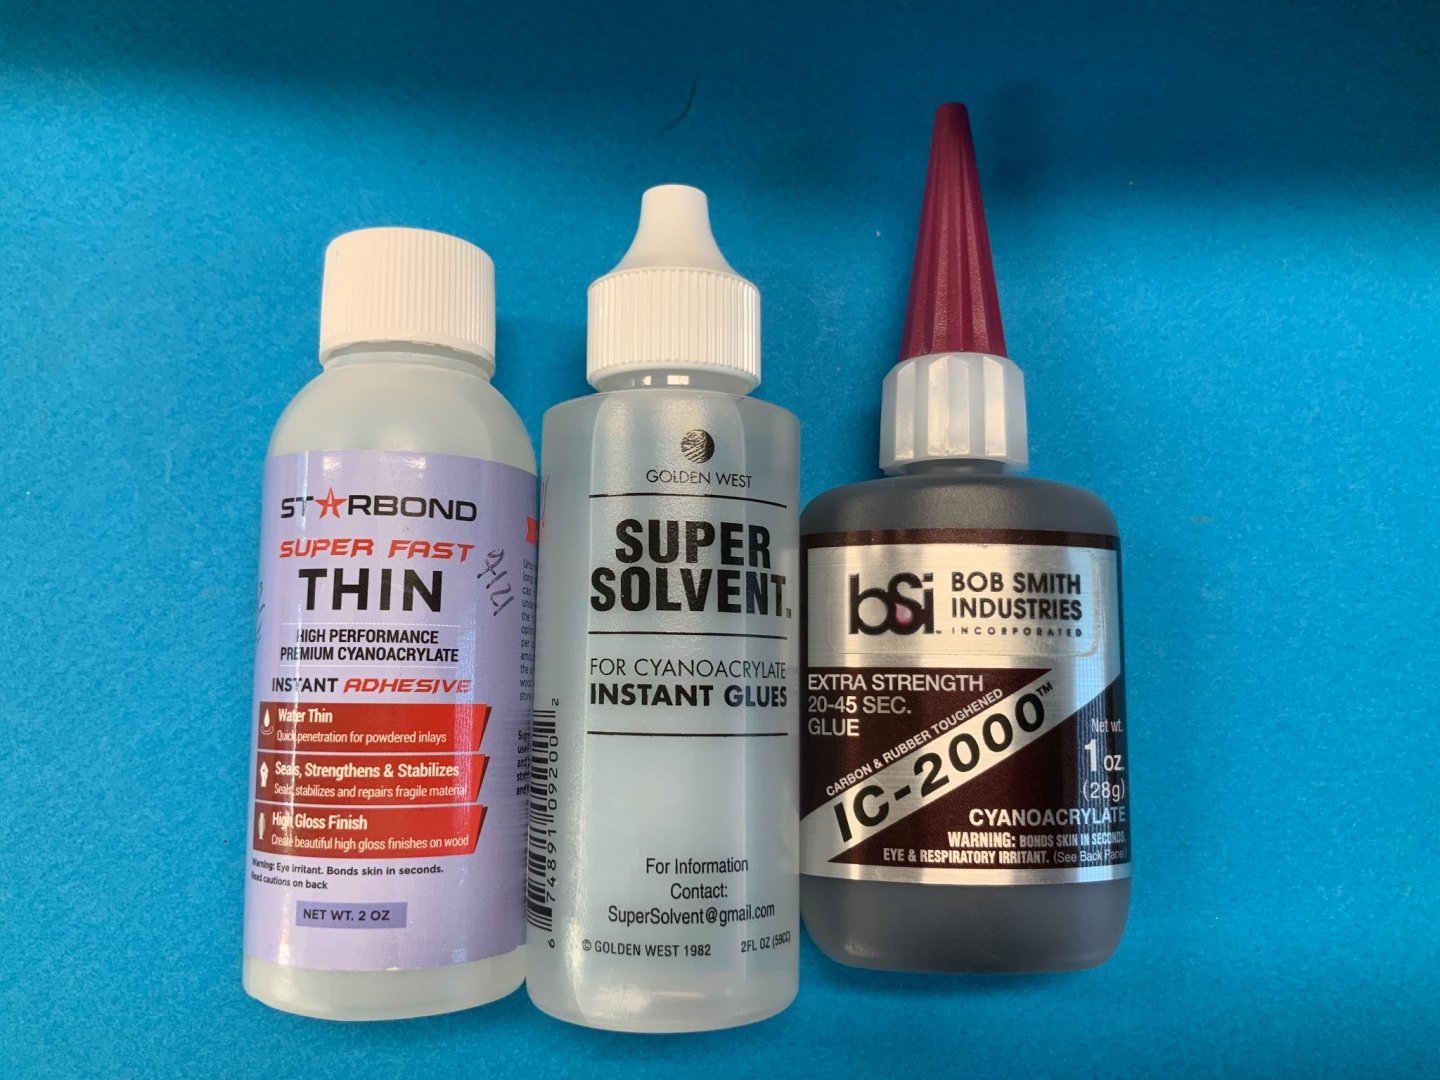
 I didn’t notice that. But you should always try it on a scrap piece. I just remove super glue overflow with it. Using a flat brush, moist with the solvent. Works very well.
 -
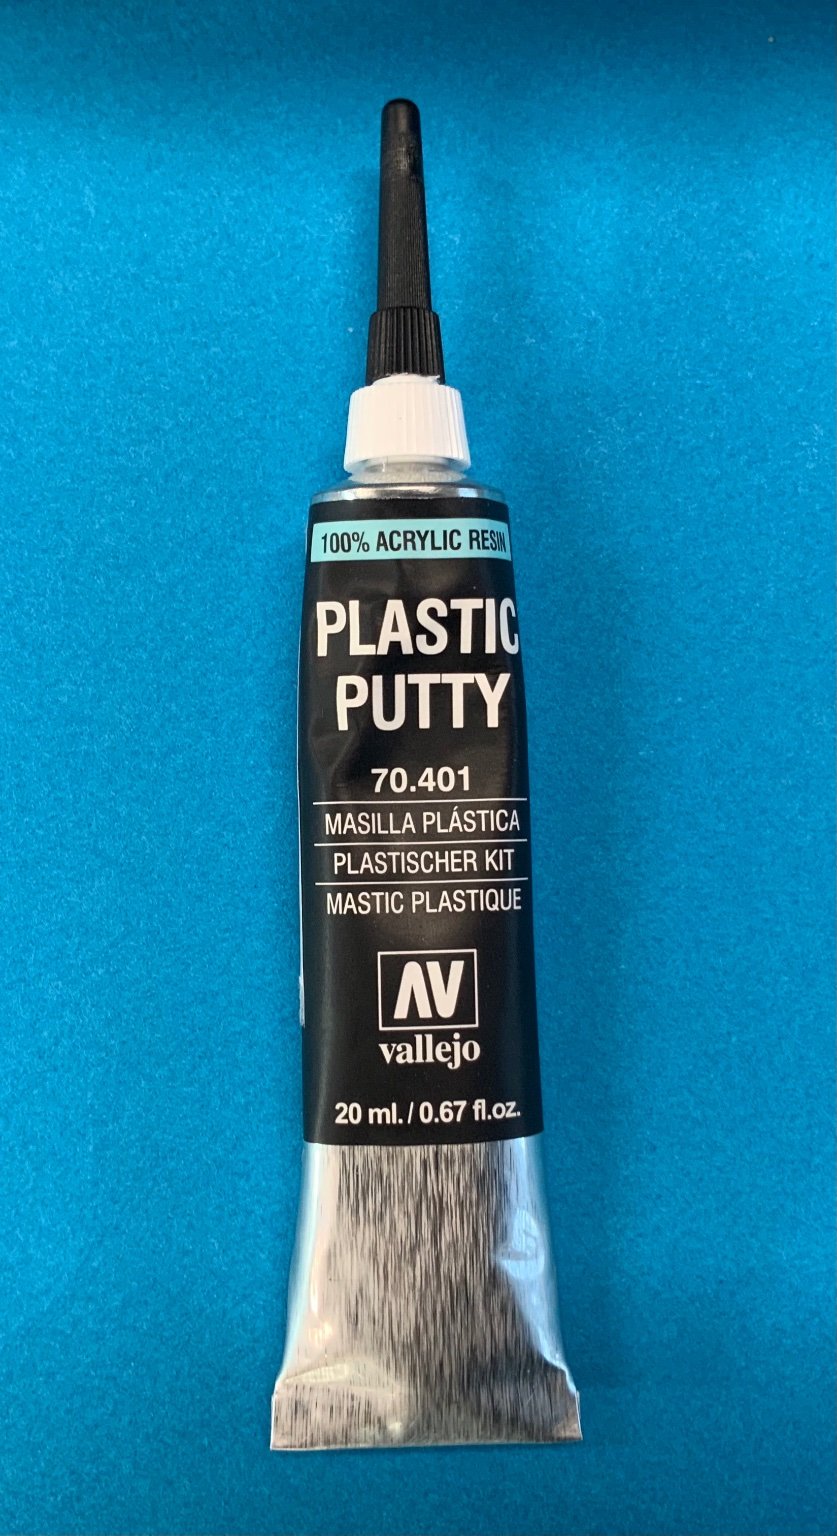
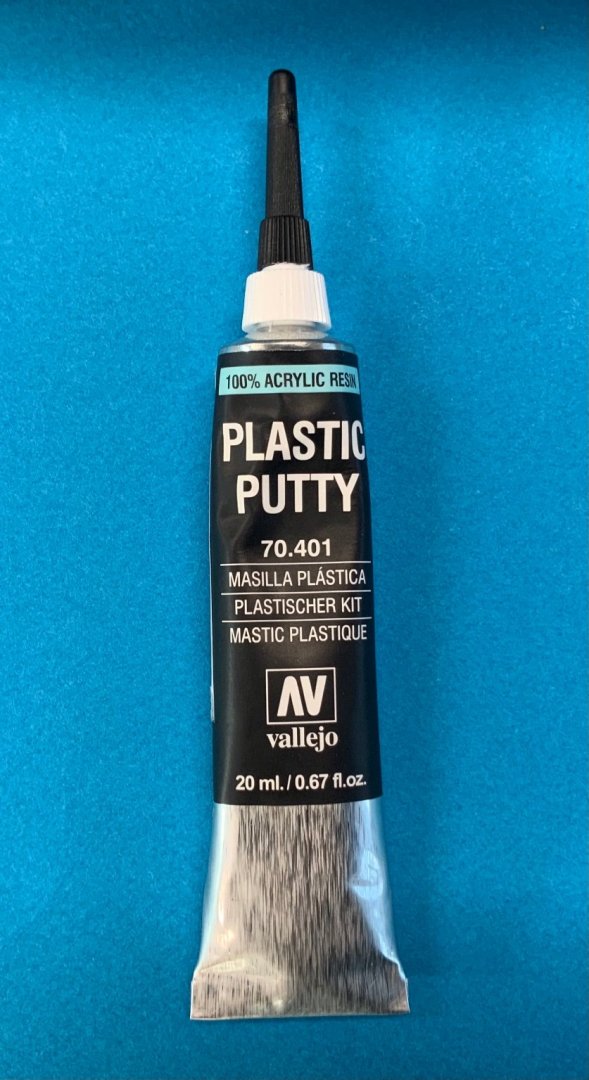
The best glue at this time is “thin” and “rubberized” super glue. You can clean it up with a brush and Cyanoacrylate remover. Also I discovered a nice putty, Vallejo Plastic Putty. The excess can be easily removed with a brush and water. Excellent for filling small gabs.
-
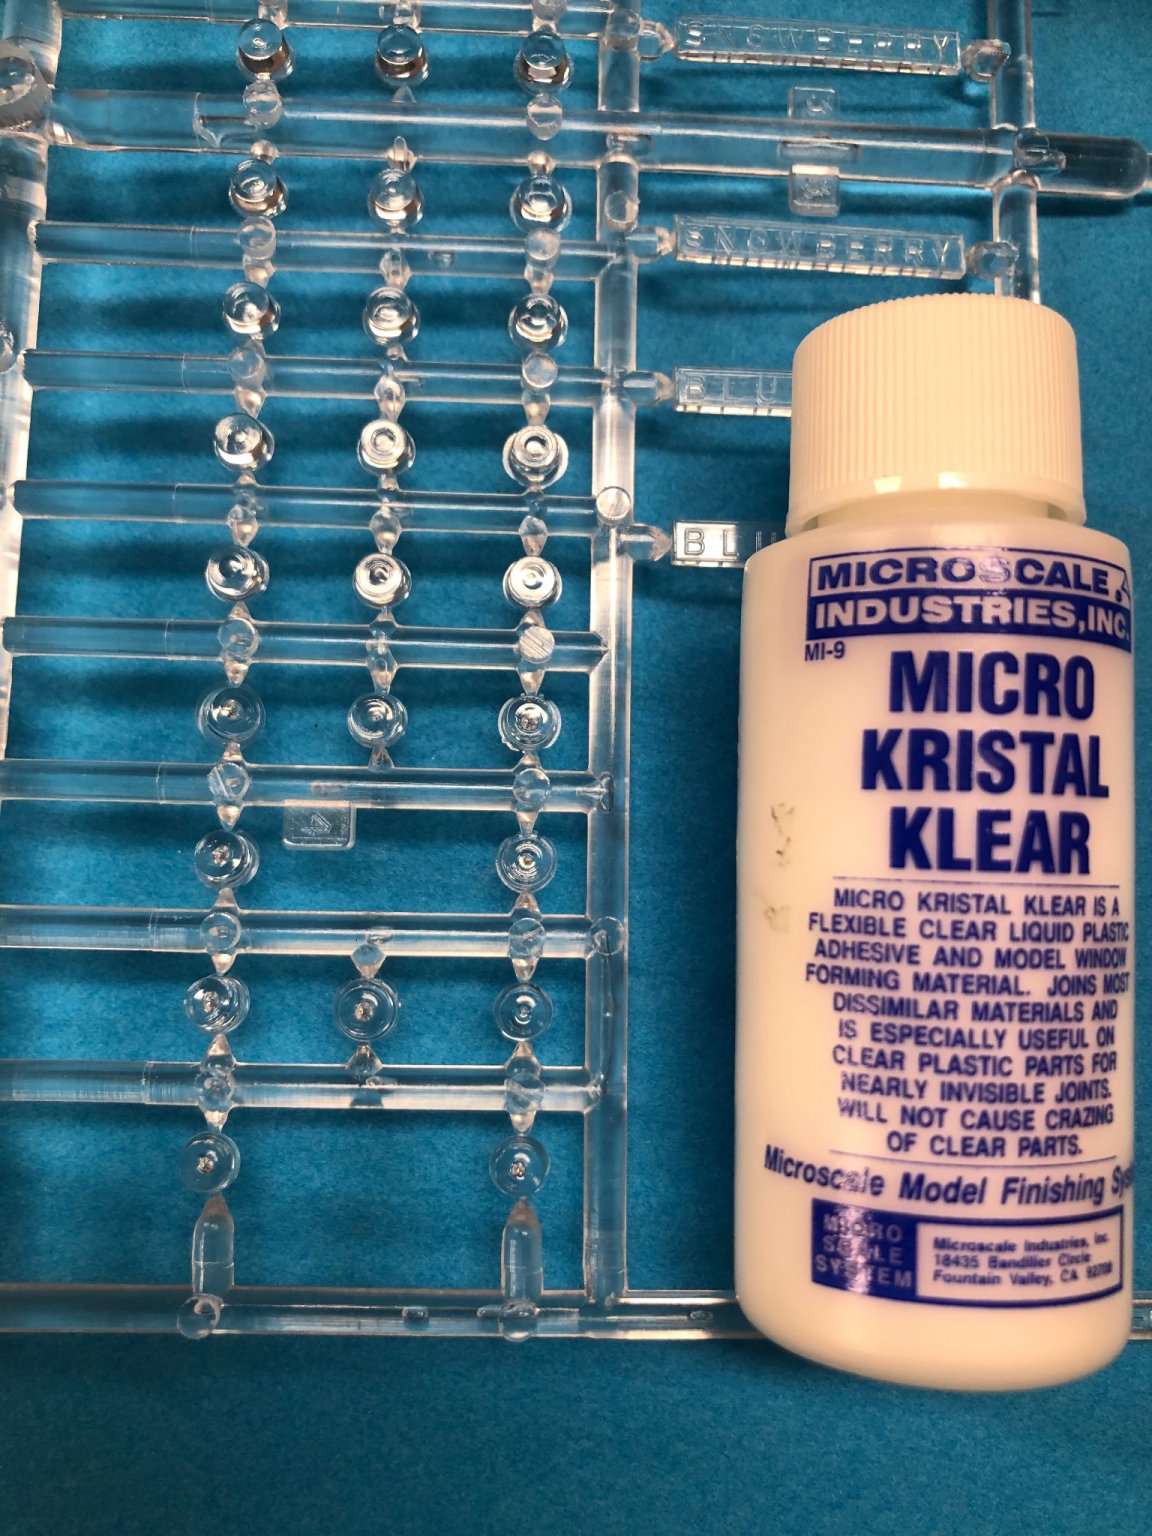
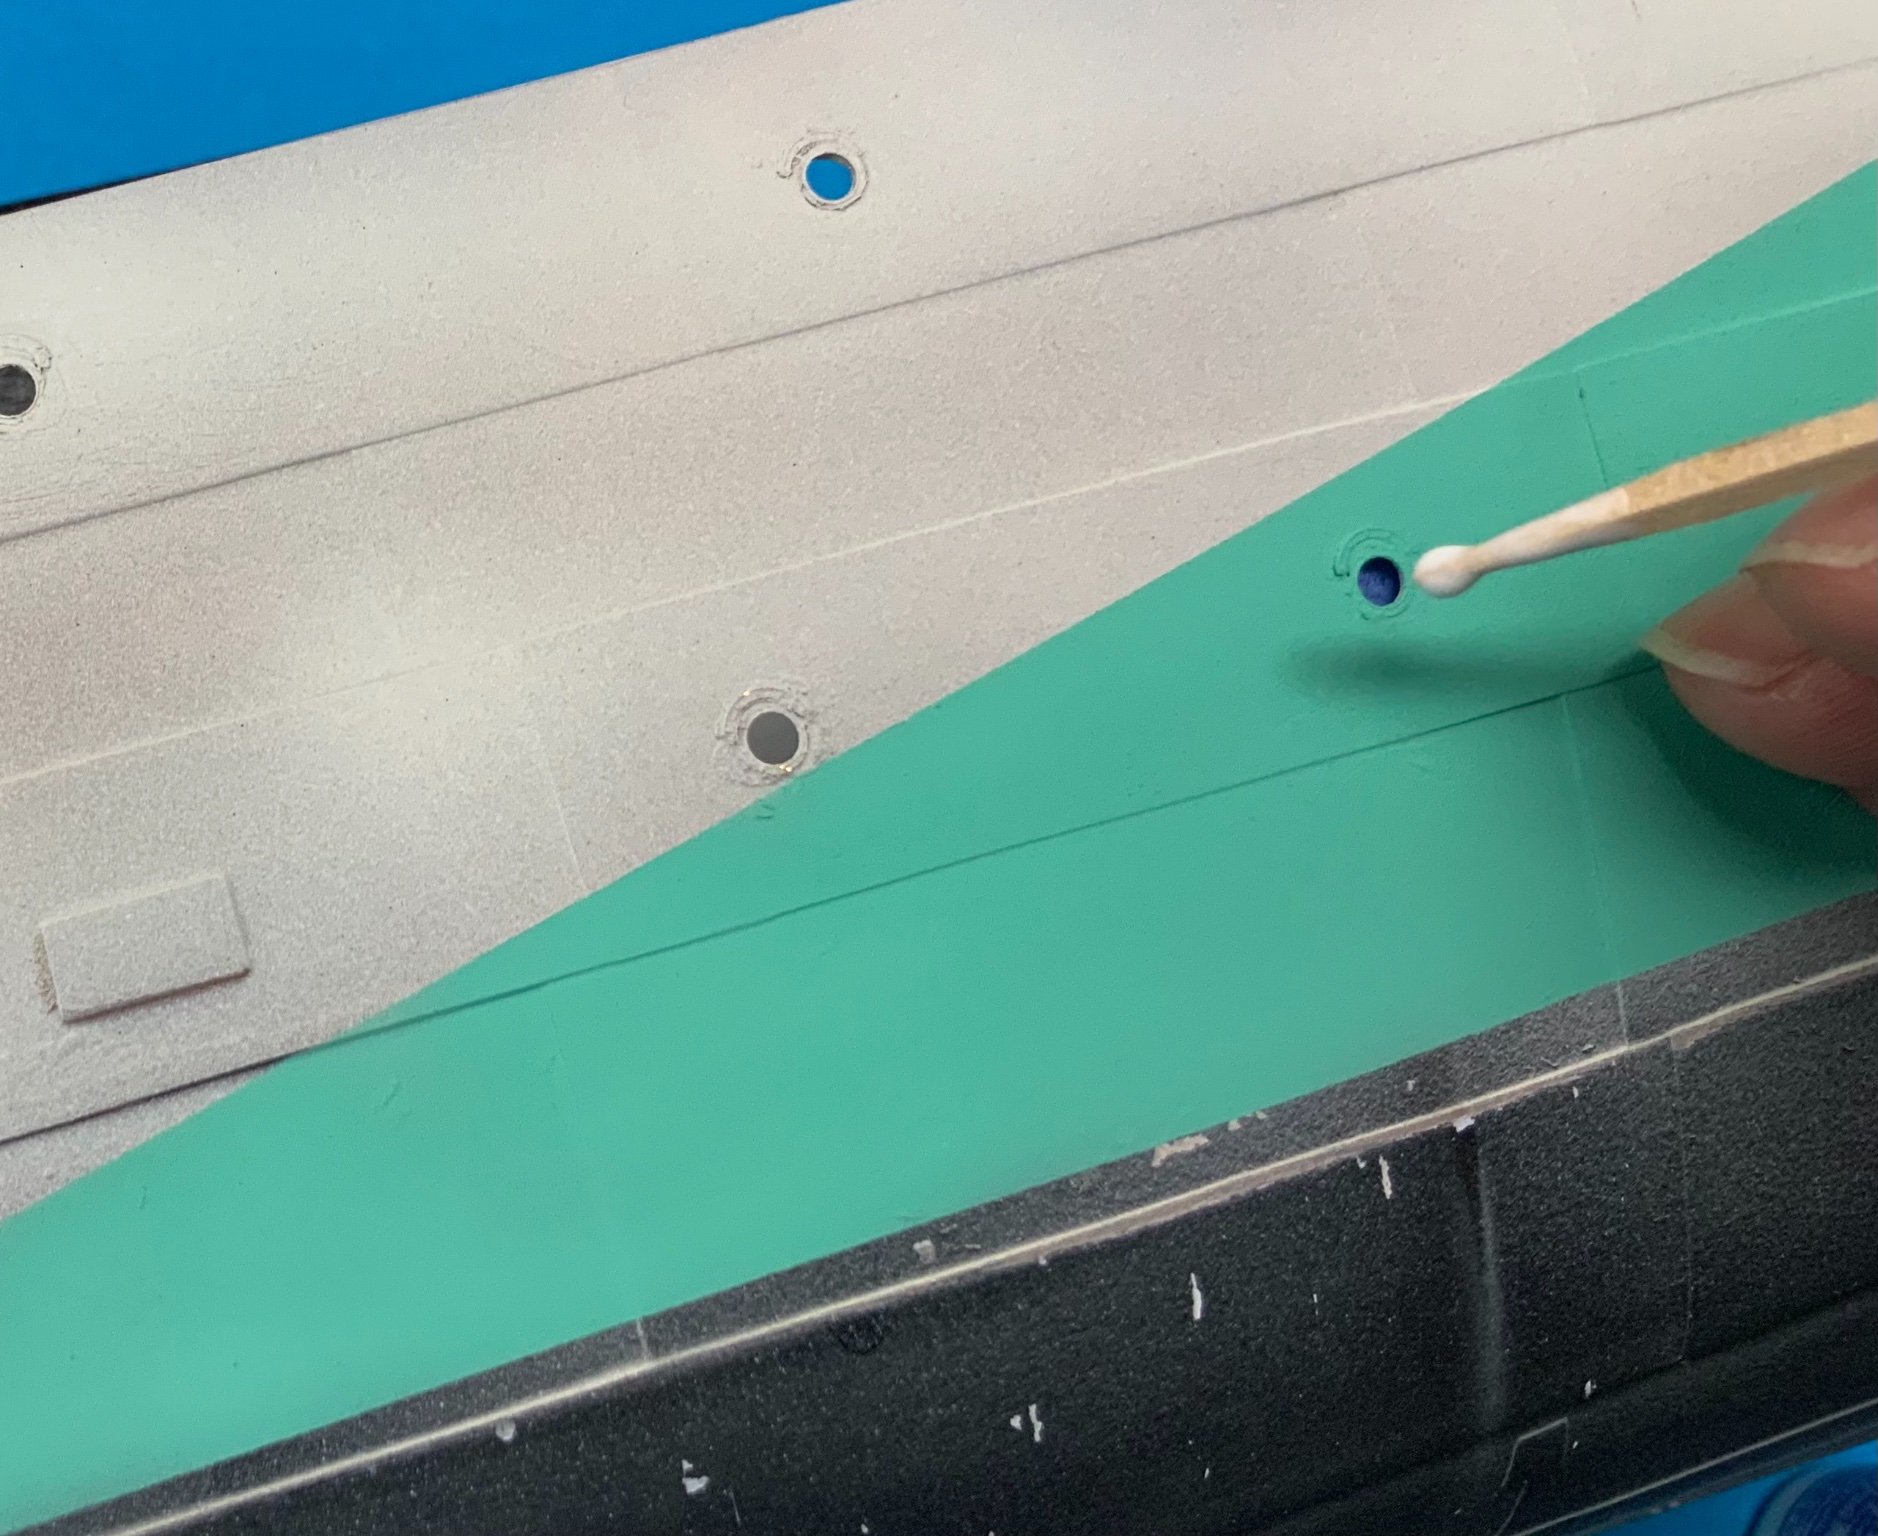
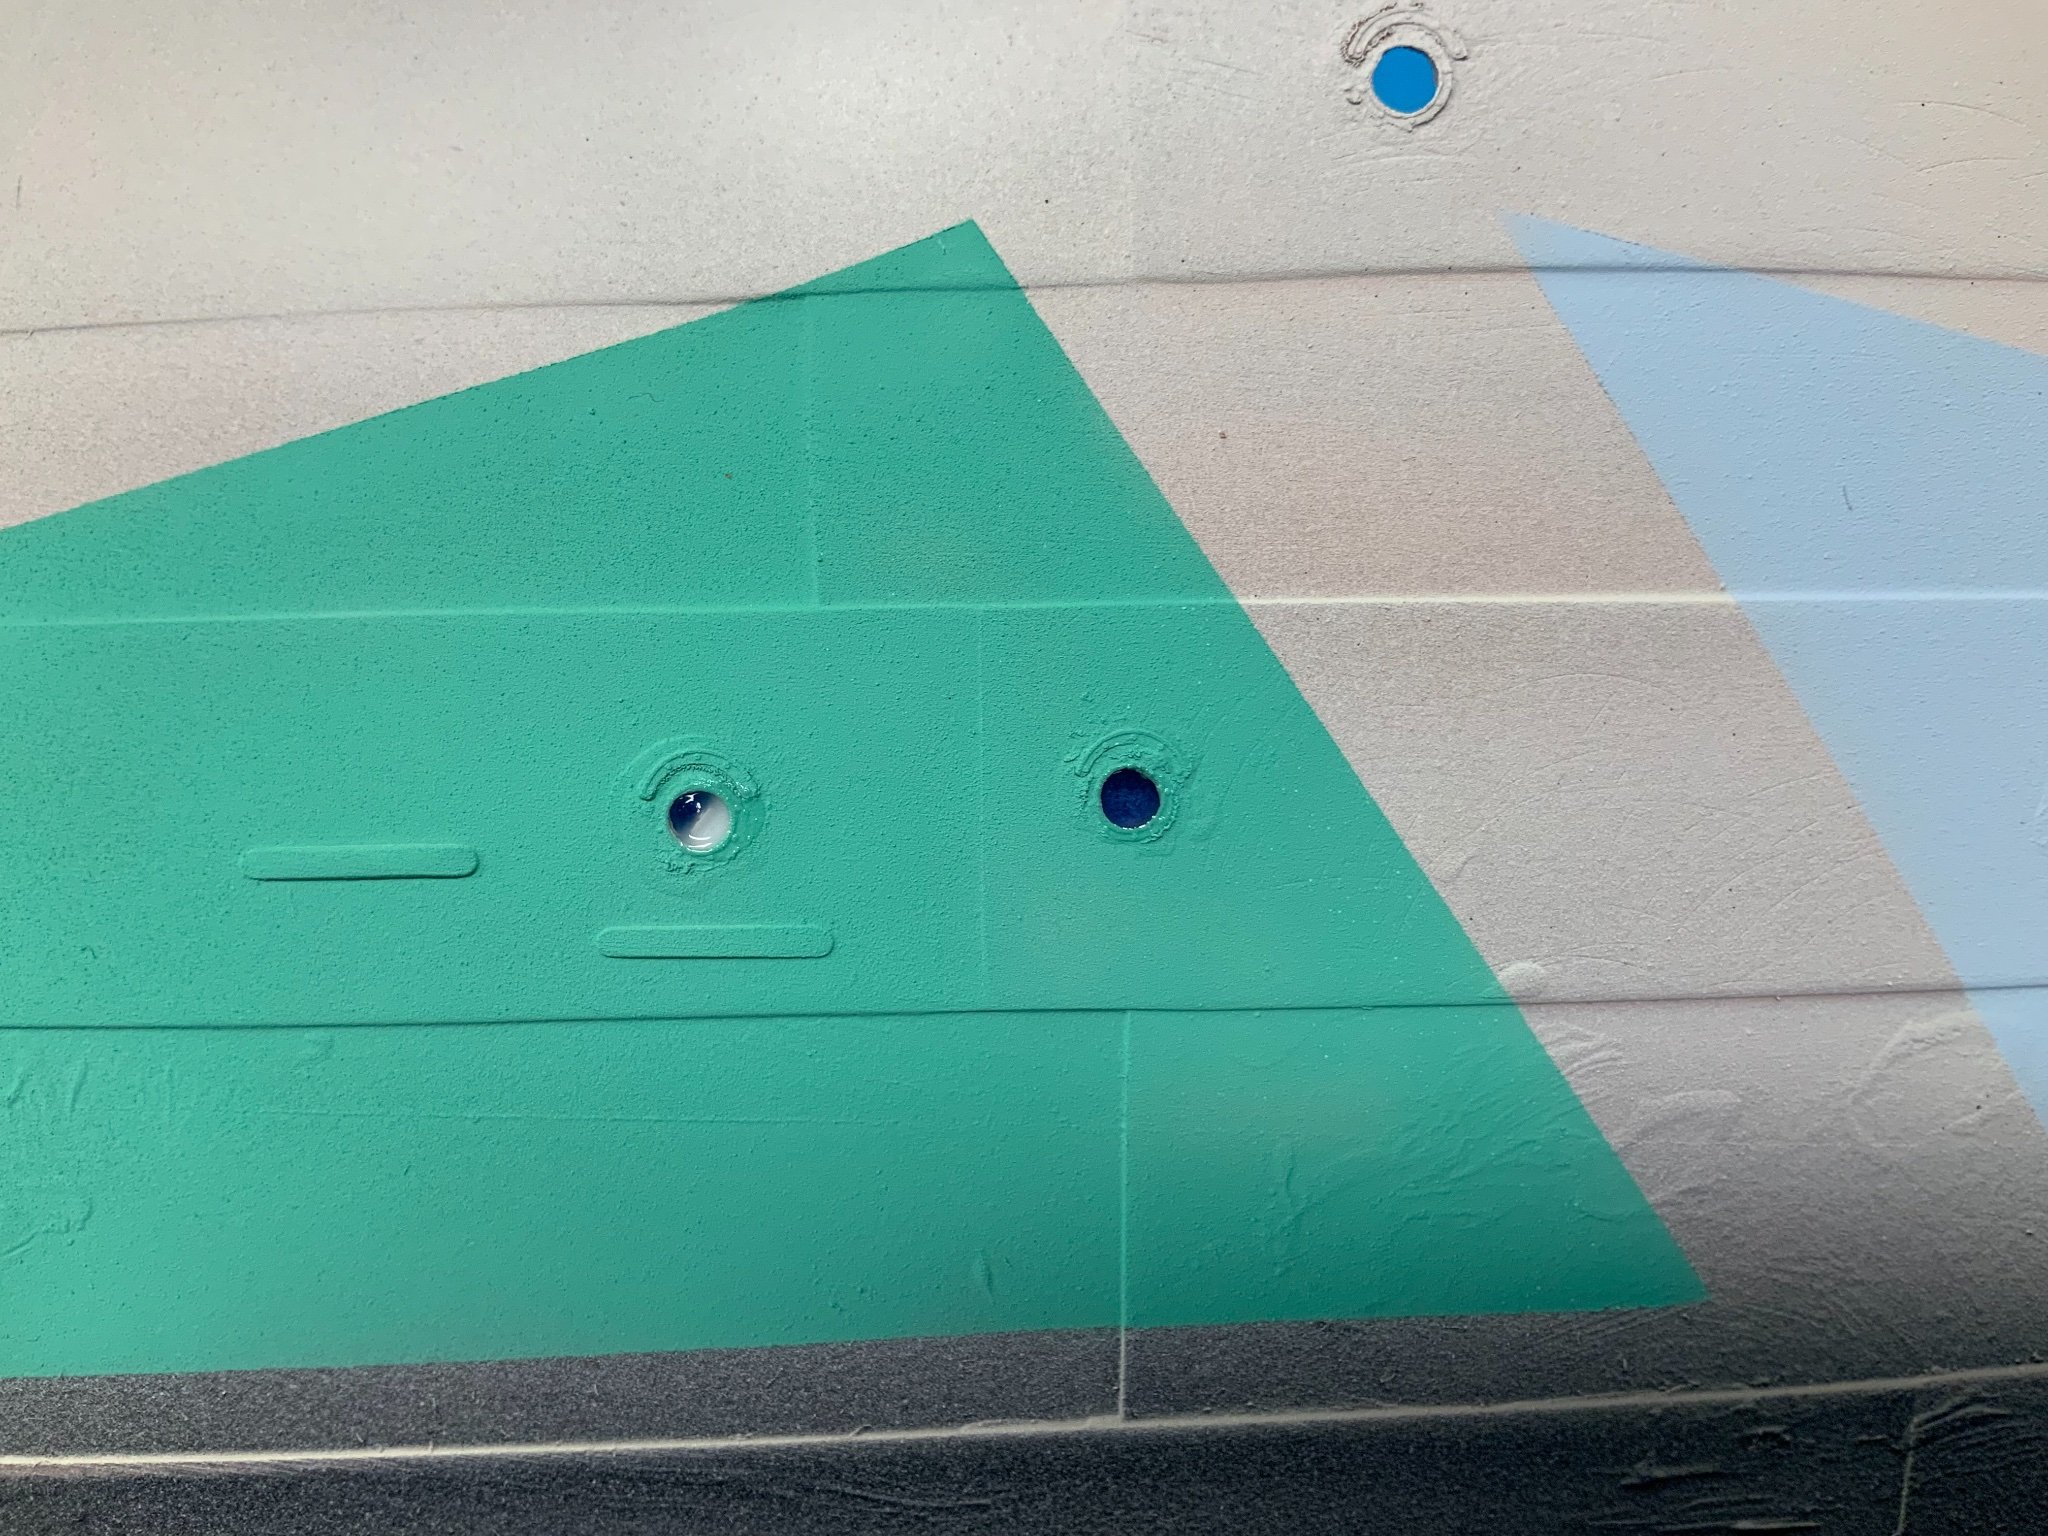
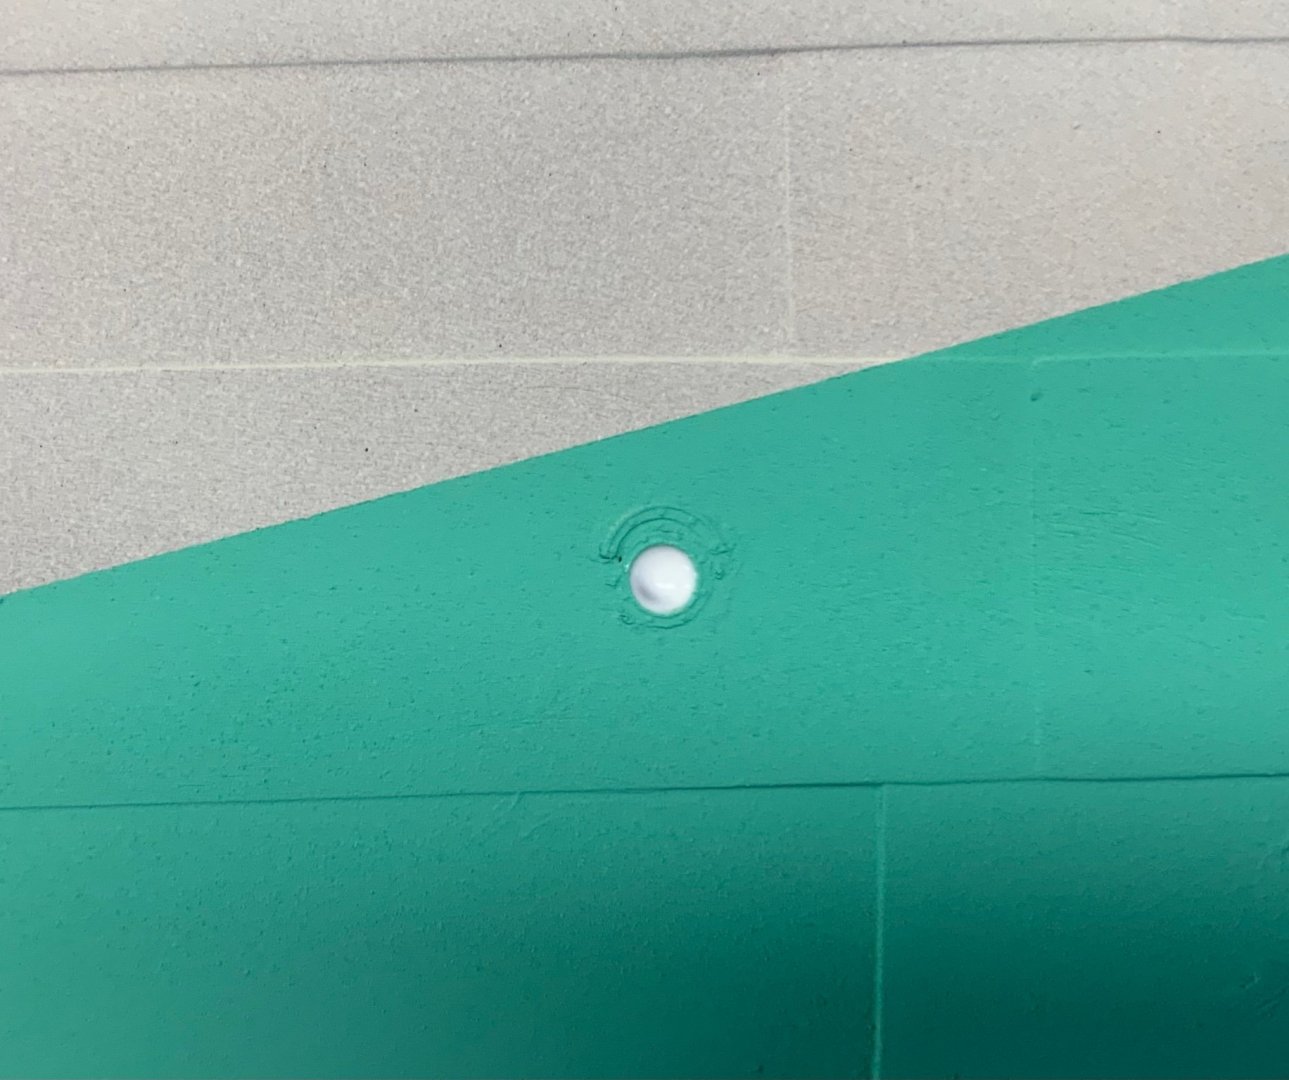
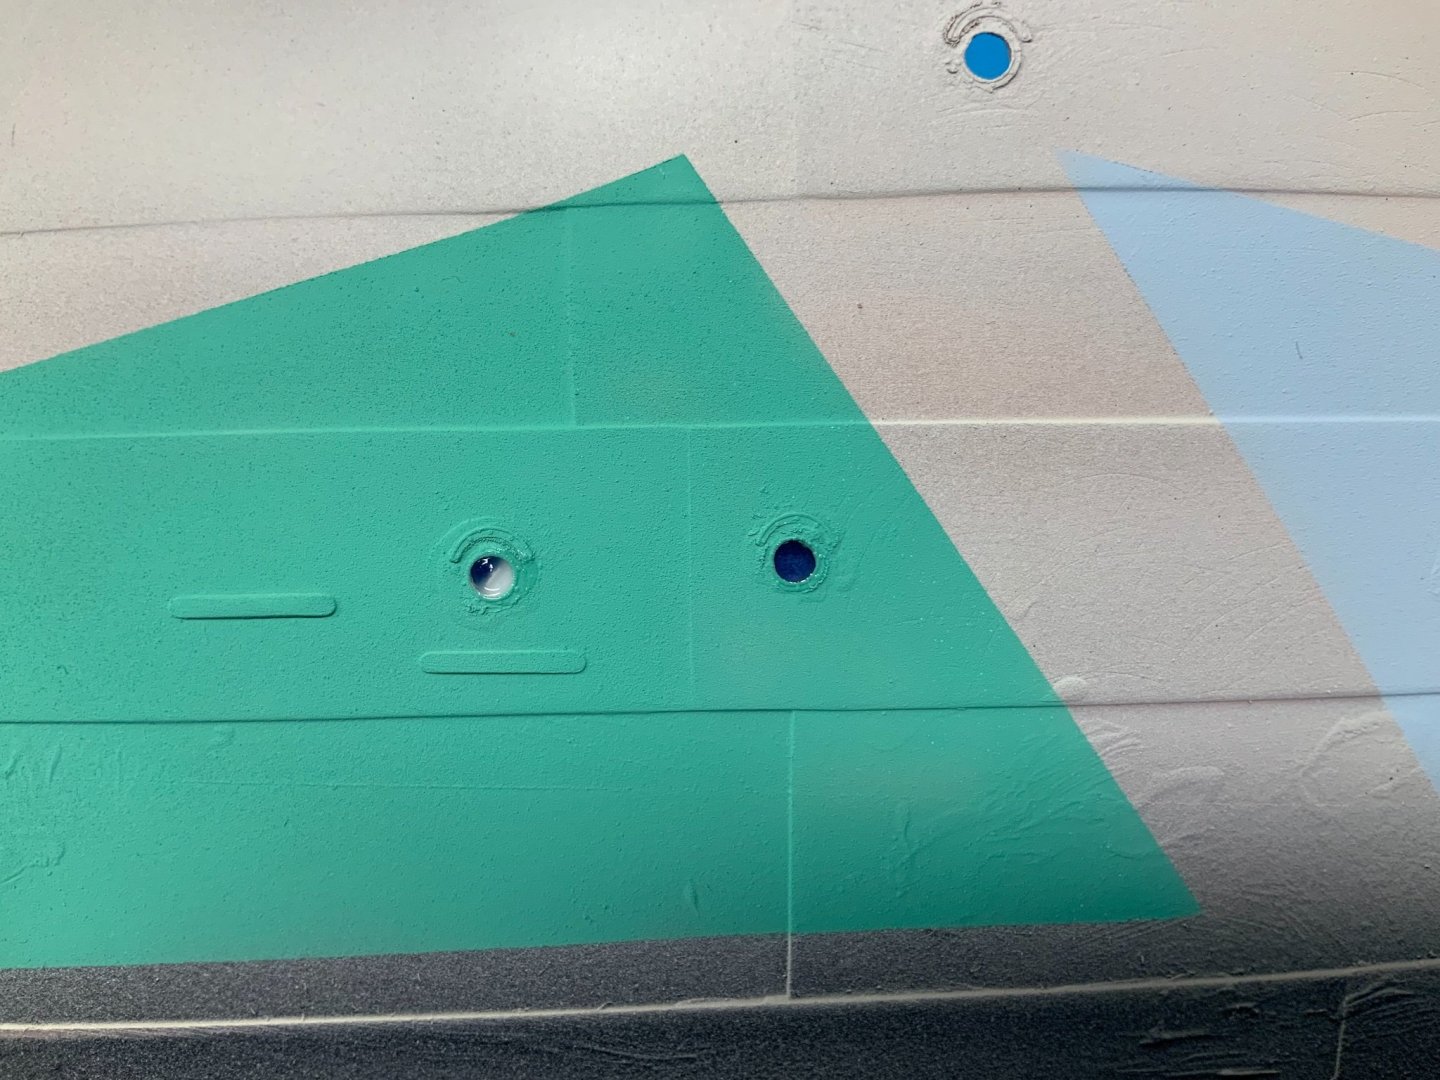
I started to do the portholes to fill with Micro Kristal Klear ( thank you Yves, I almost forgot that I have it!). You can use it also on say plexiglass / acrylic glass sheets, if you have scratches on it (I ruined it with “regular” super glue), you put it on and the scratches disappear like magic. What I noticed is, that the scuttles are not very well glued to the hull. But it is too late now to fix it. I discover too late the right glue for it (thin super glue). The “glass” from the kit is not usable, IMO.


-
NRG VIRTUAL WORKSHOP - AUGUST 21
Hsae replied to kurtvd19's topic in NAUTICAL RESEARCH GUILD - News & Information
Probably has to be August not April in the “News Line” …. -
Cool! What a beast! Well done! I like the stencils. But didn’t you forget the pilot? 😉 Hermann
- 19 replies
-
- 10
-

-

-
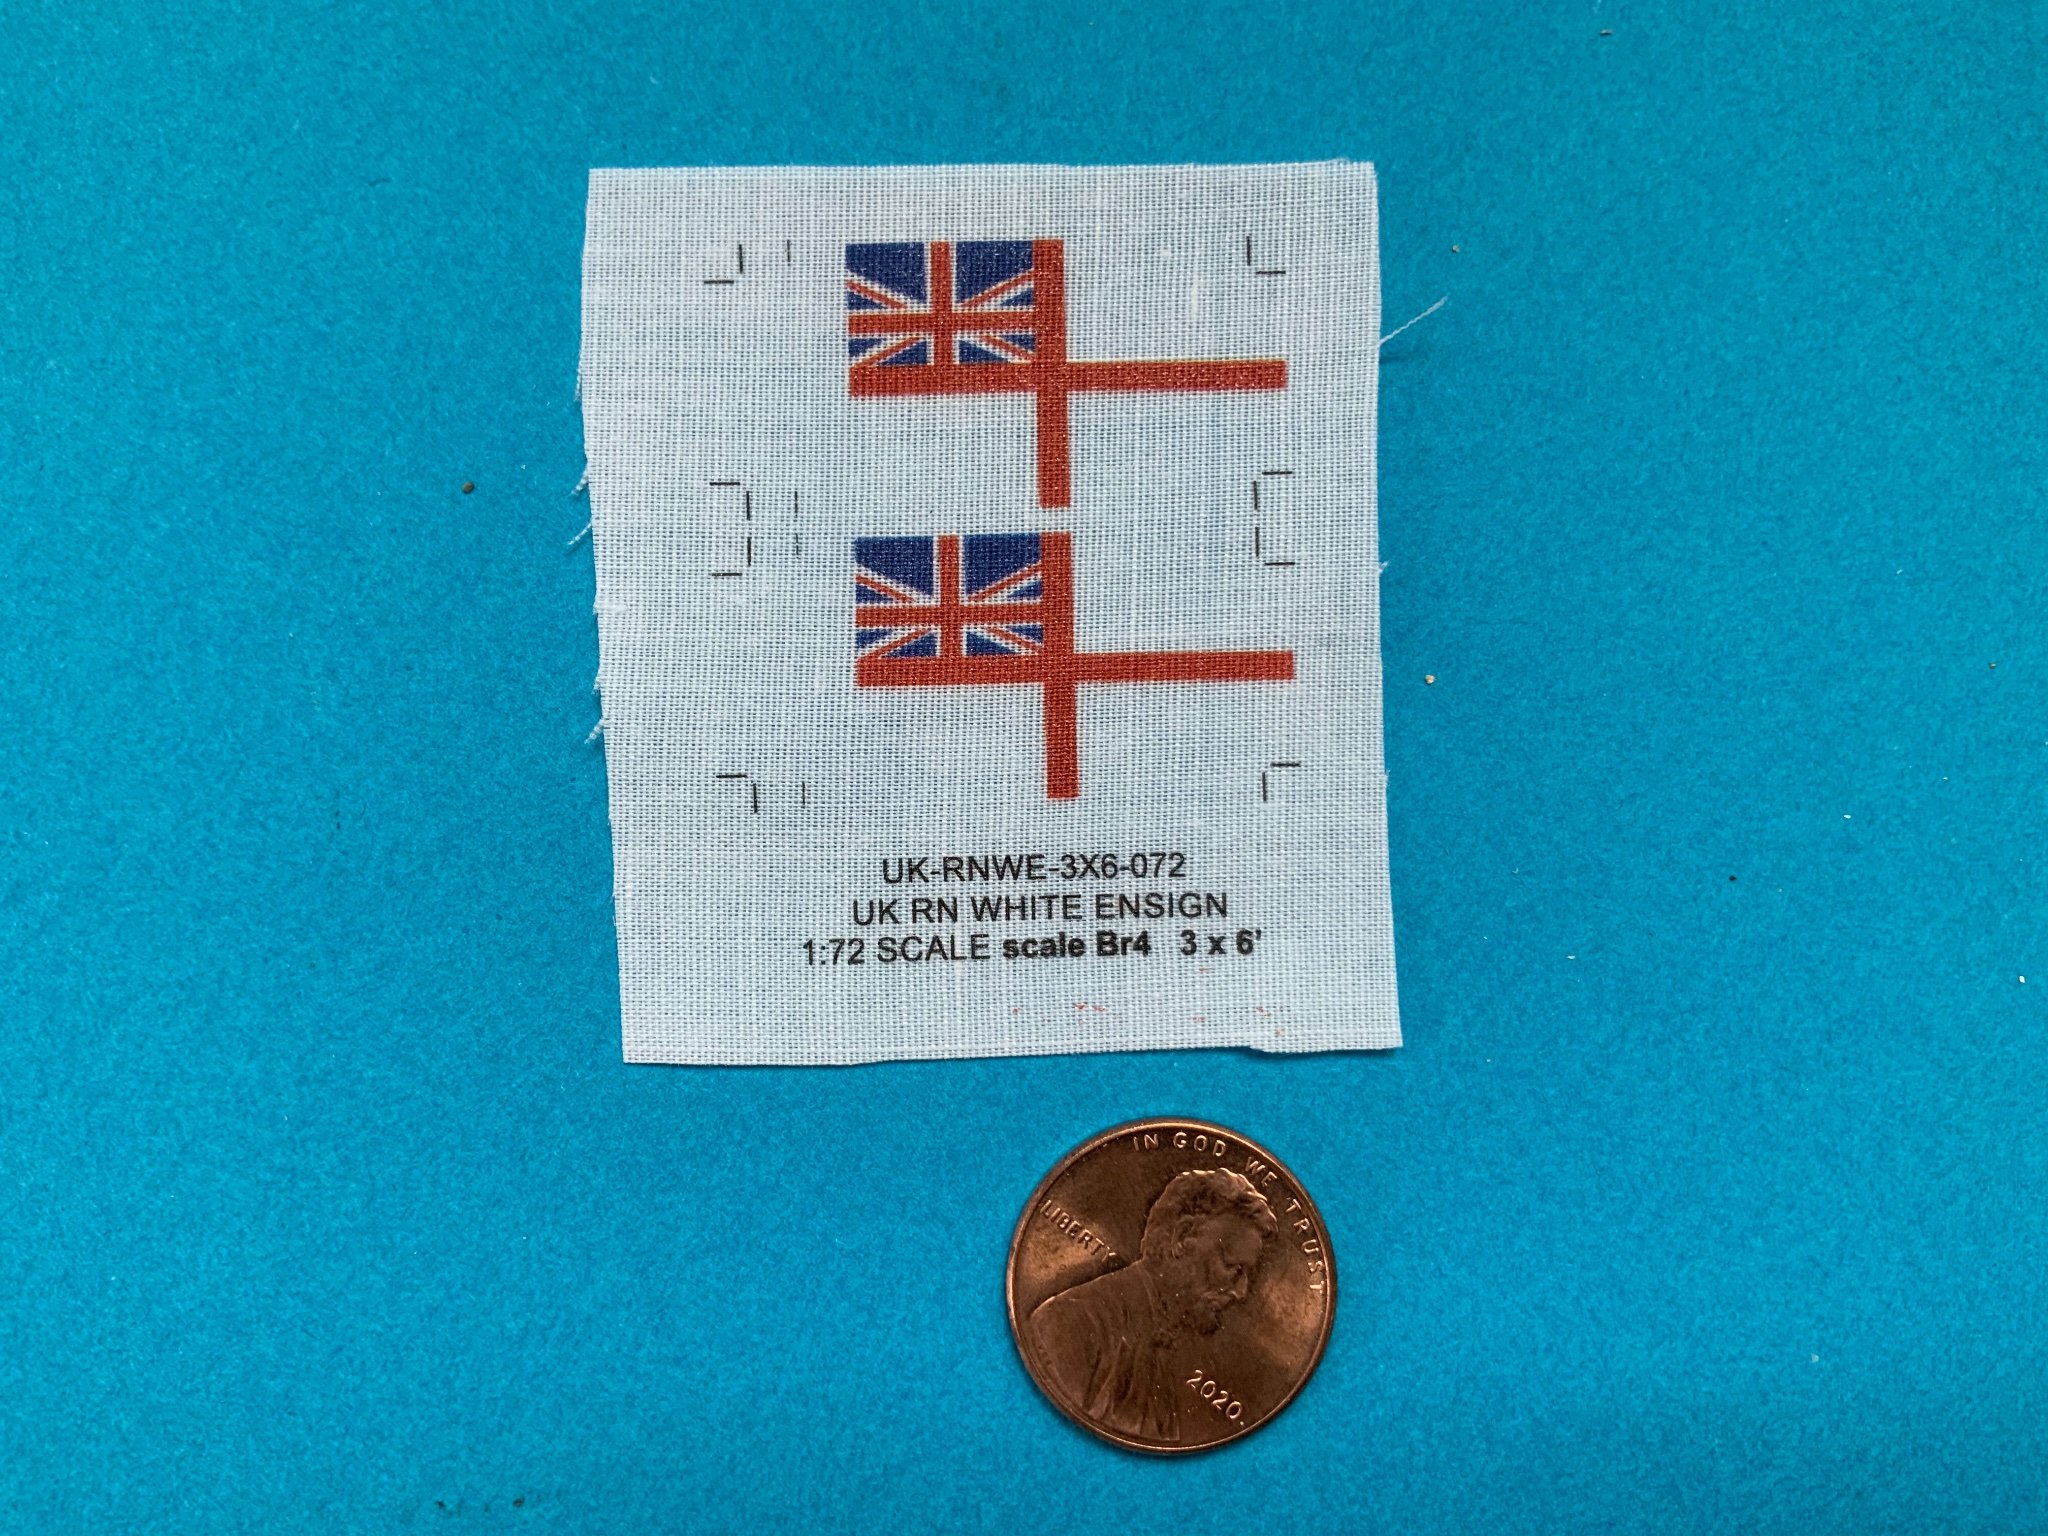
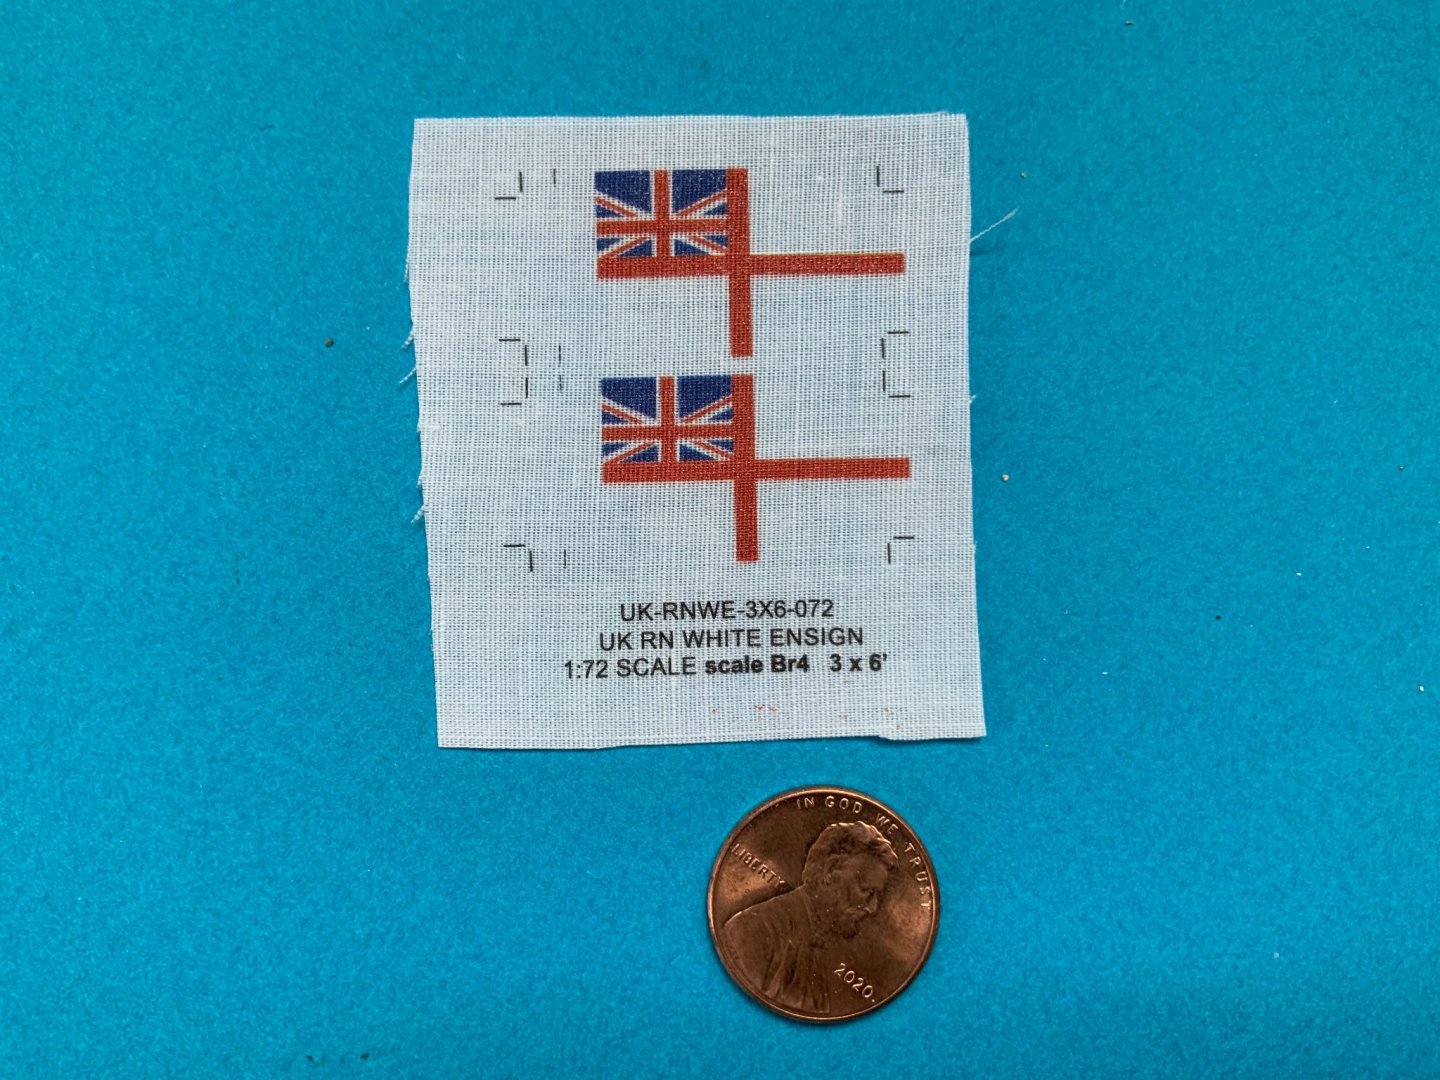
I got today my flags from AMP (Accurate Model Parts). They look pretty good. However, you have to be patient to get them. I ordered them beginning of June!
-
Thanks Yves. One thing I don’t understand with your model is, why didn’t have the hull rivets? I would think that is an easy task when you draft the hull. And I would assume the printer doesn’t have a problem with it.
-
Bob, Very nice executed, well done! 👍 👍👍 I hope I will be there at one time. Hermann
- 78 replies
-
- 1
-
-
- medway longboat
- Syren Ship Model Company
- (and 1 more)
-
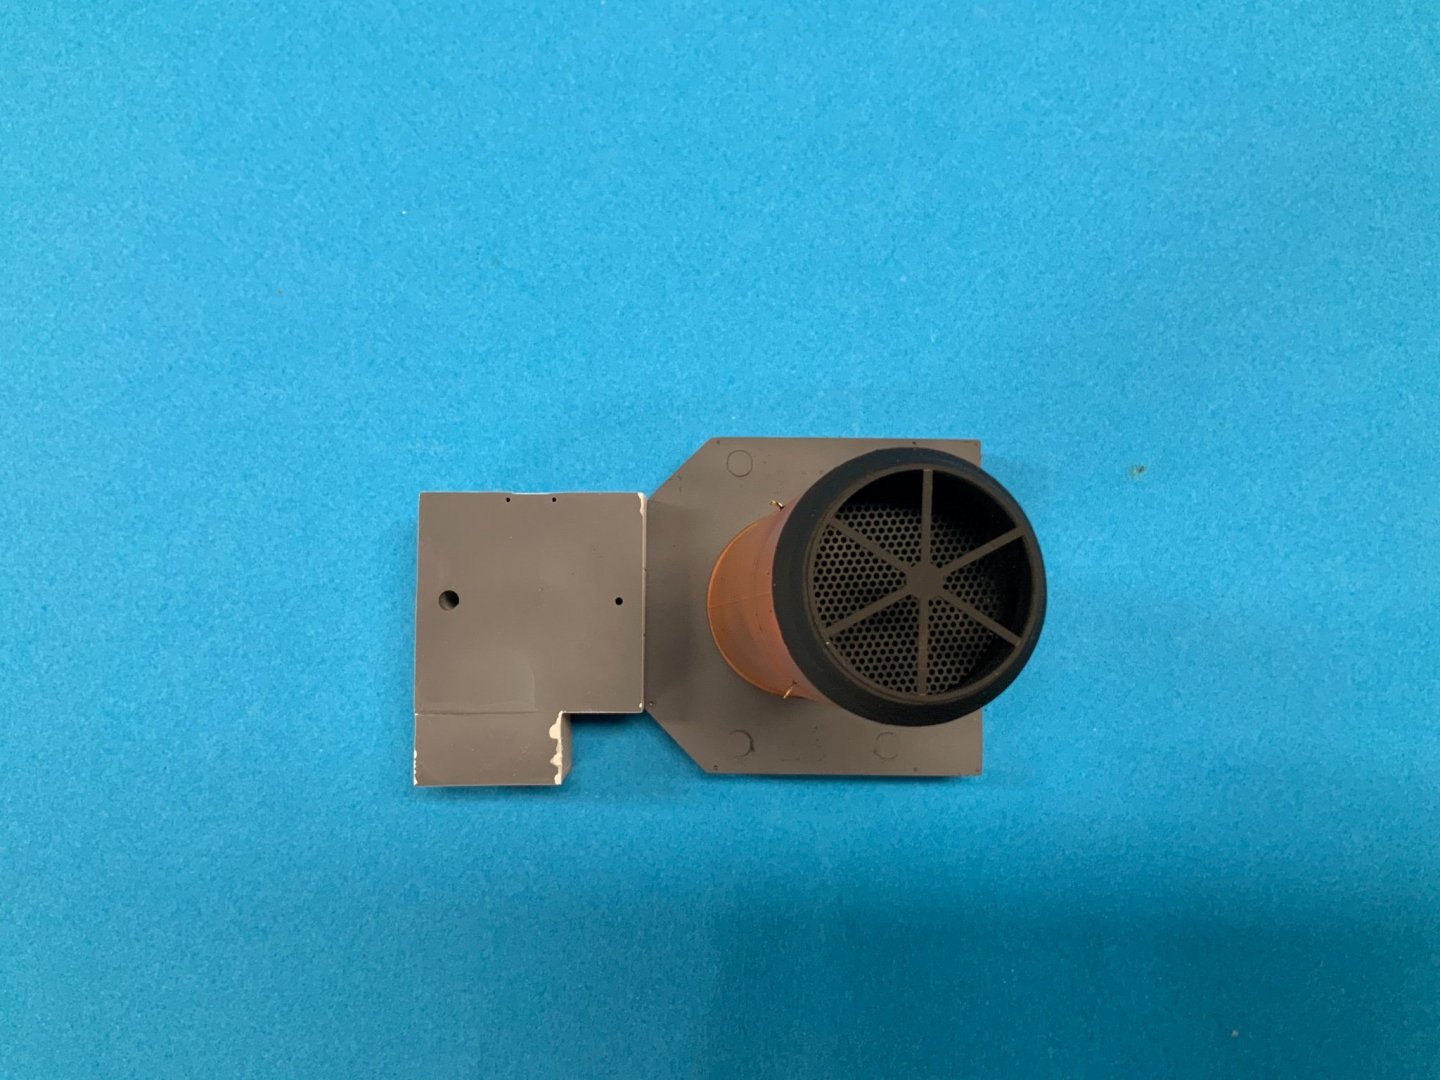
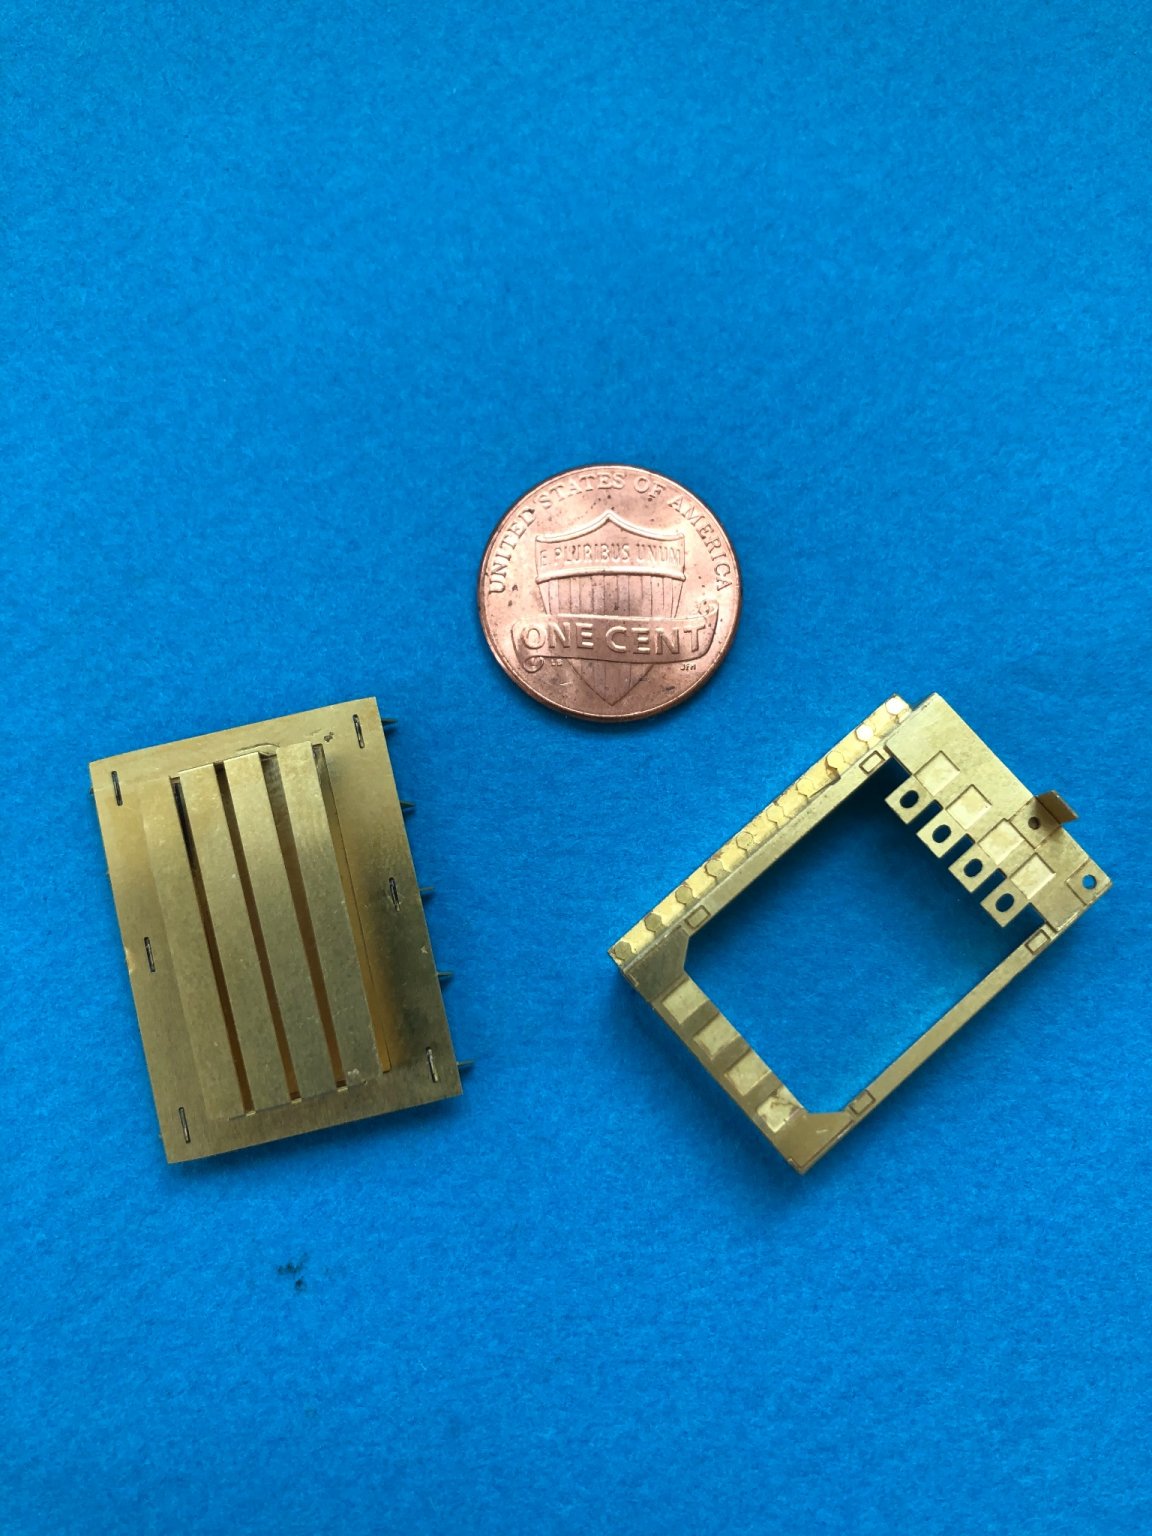
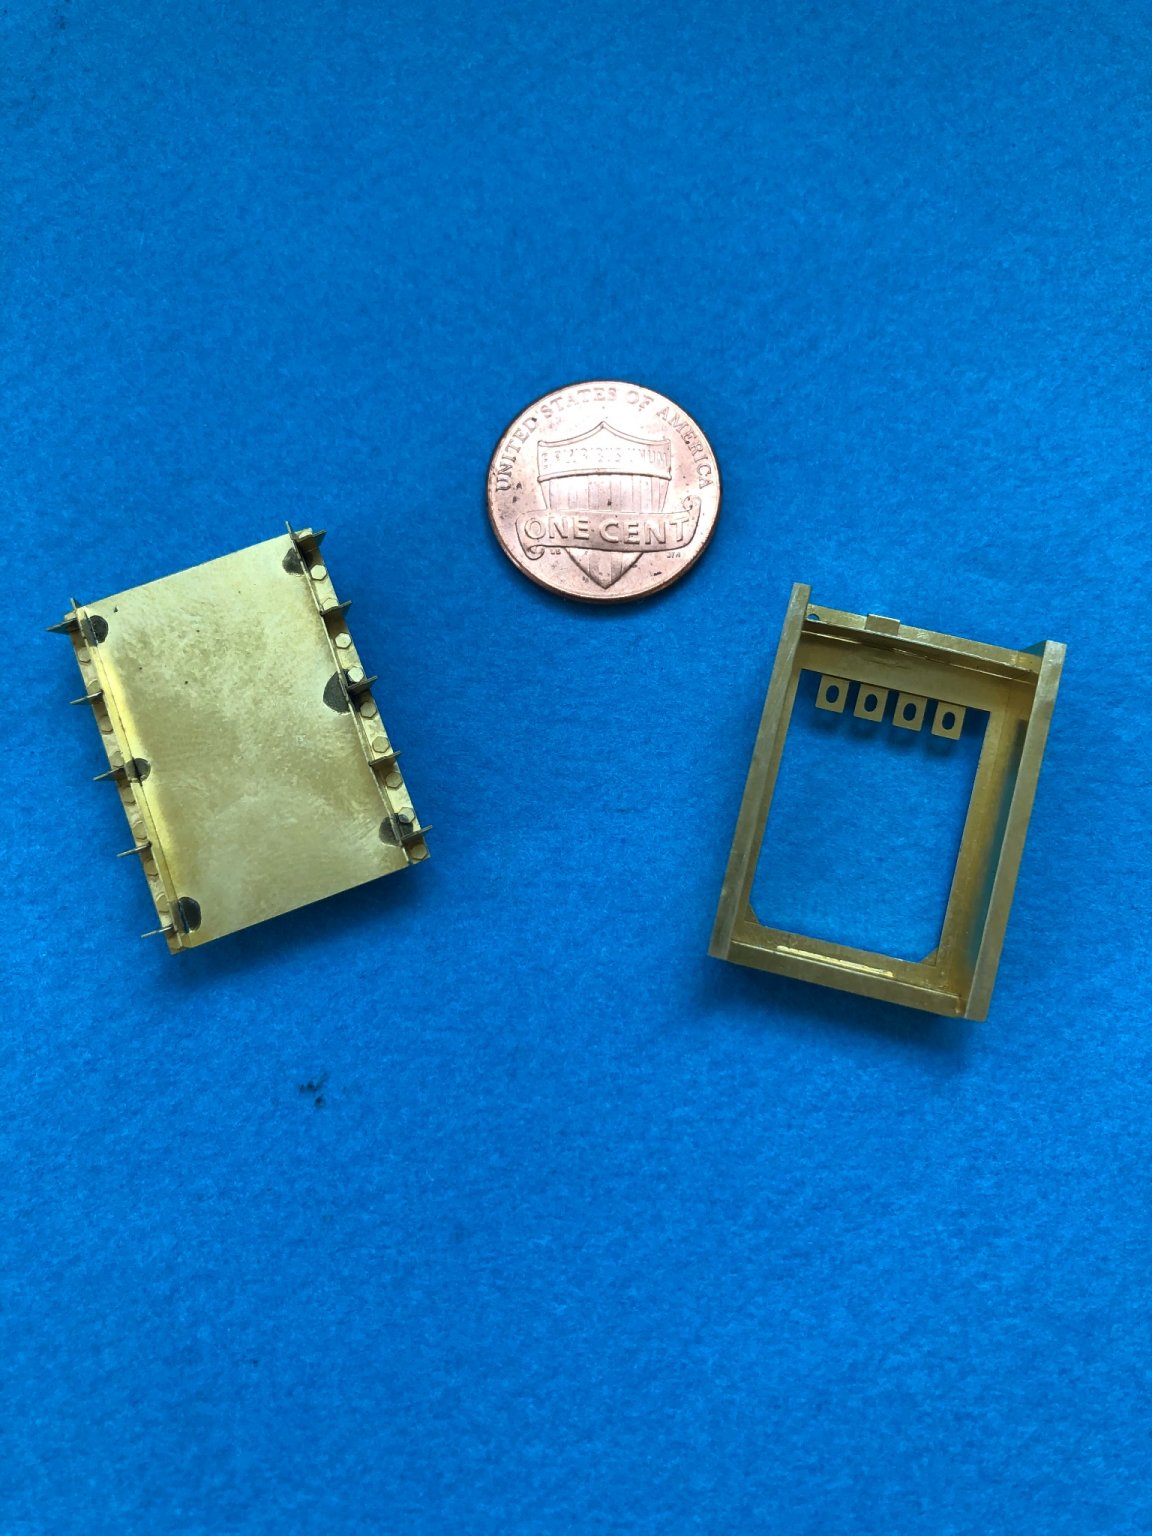
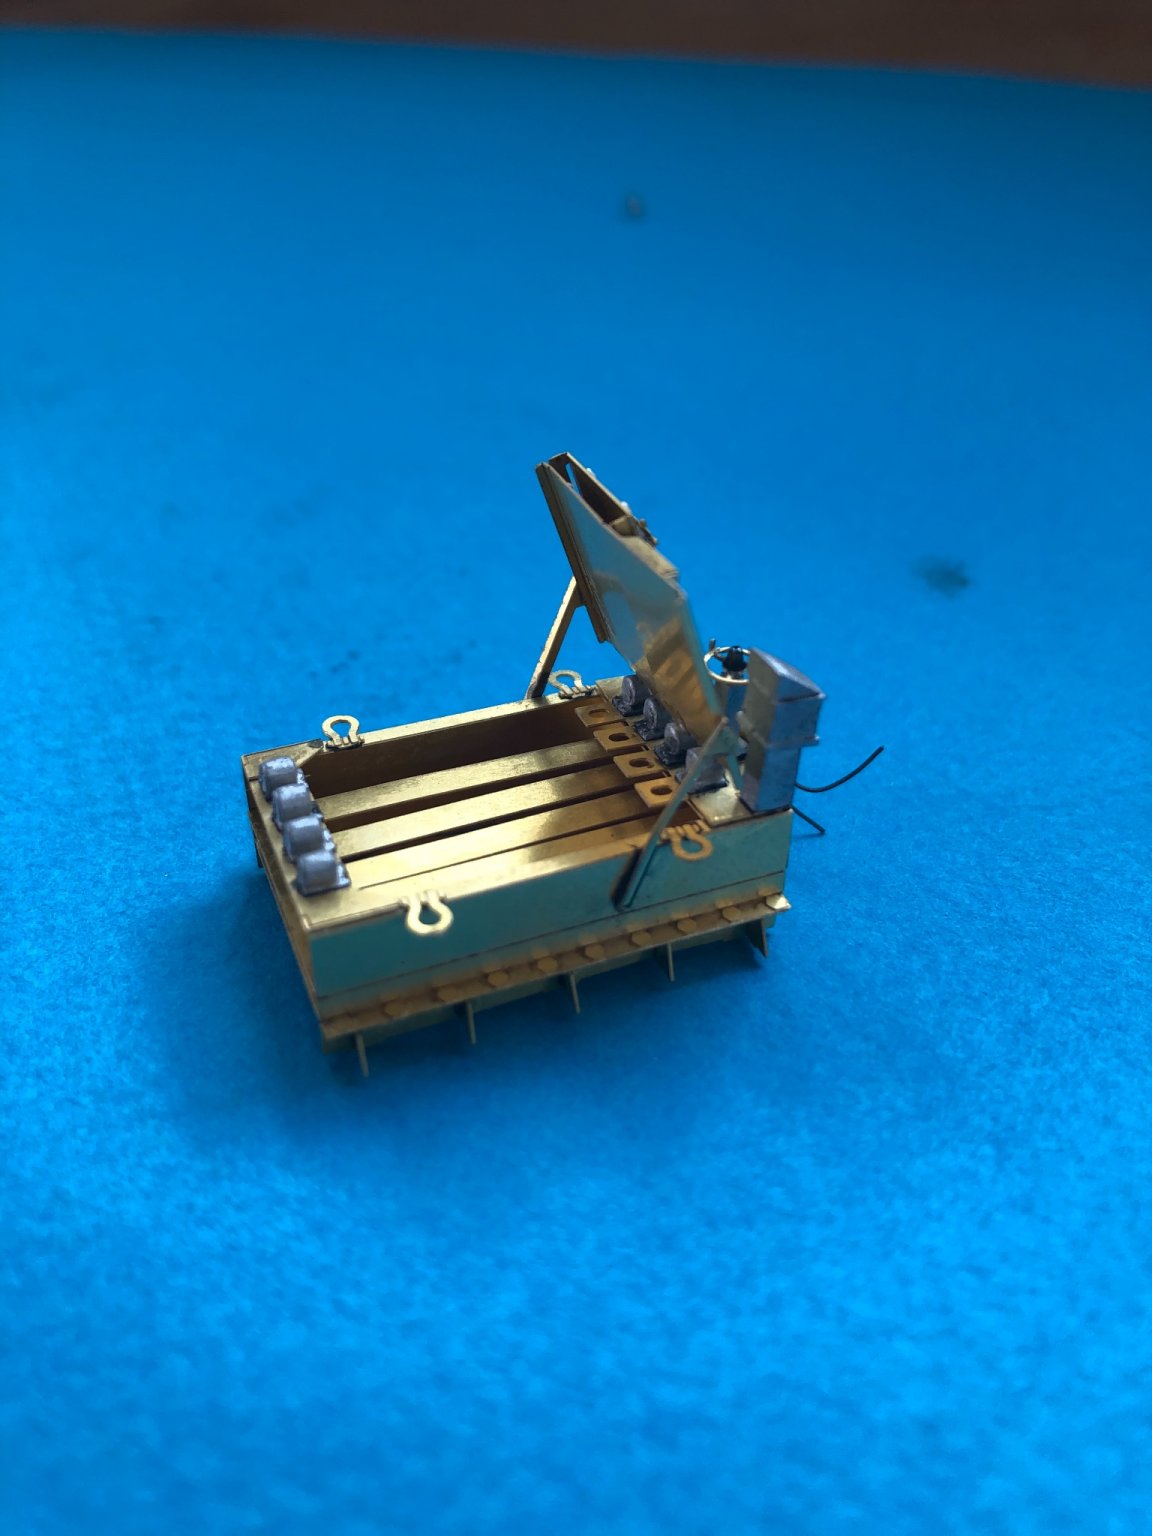
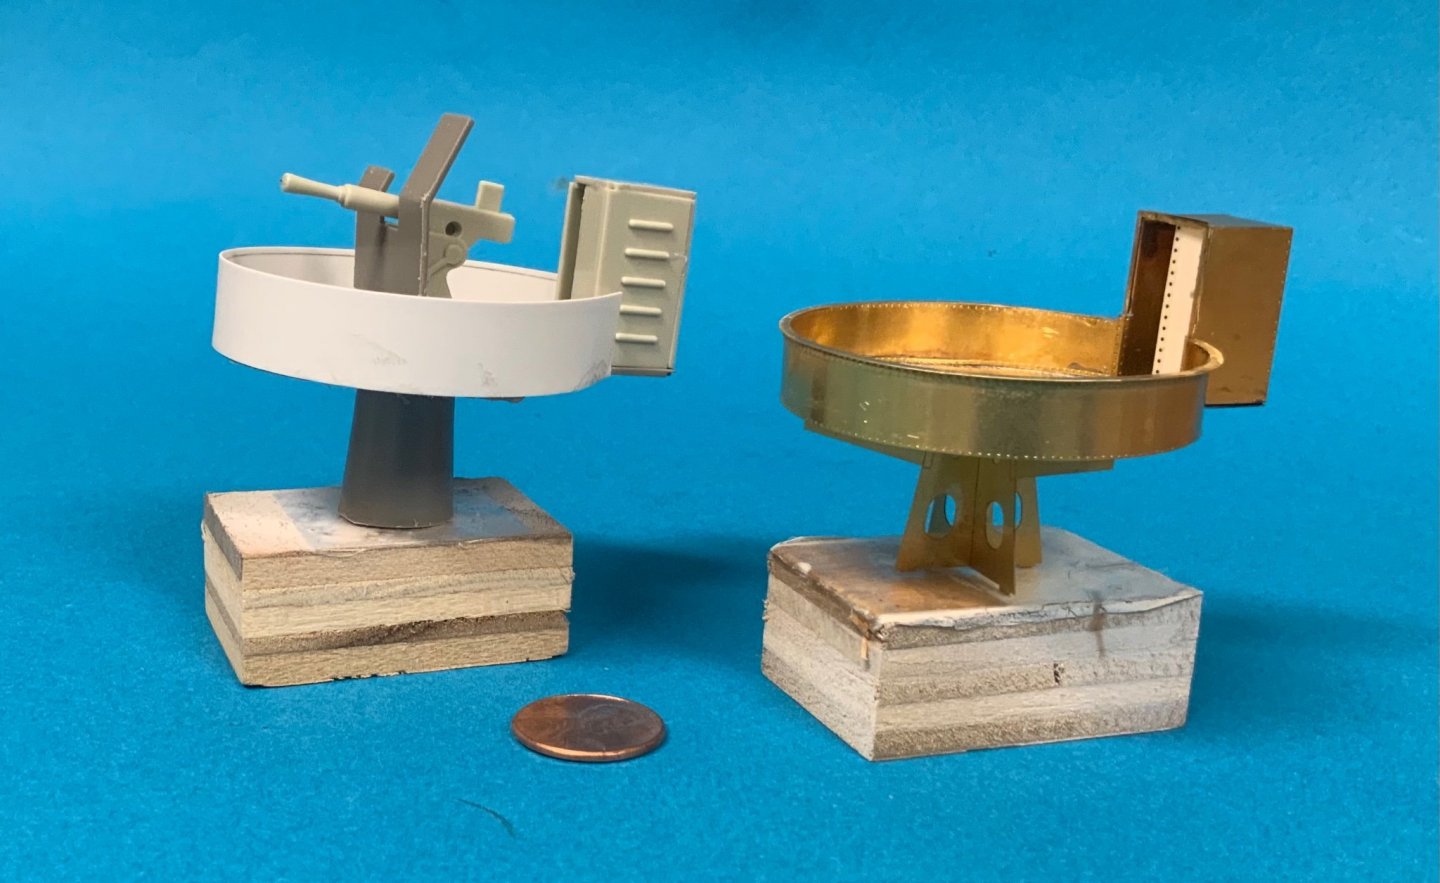
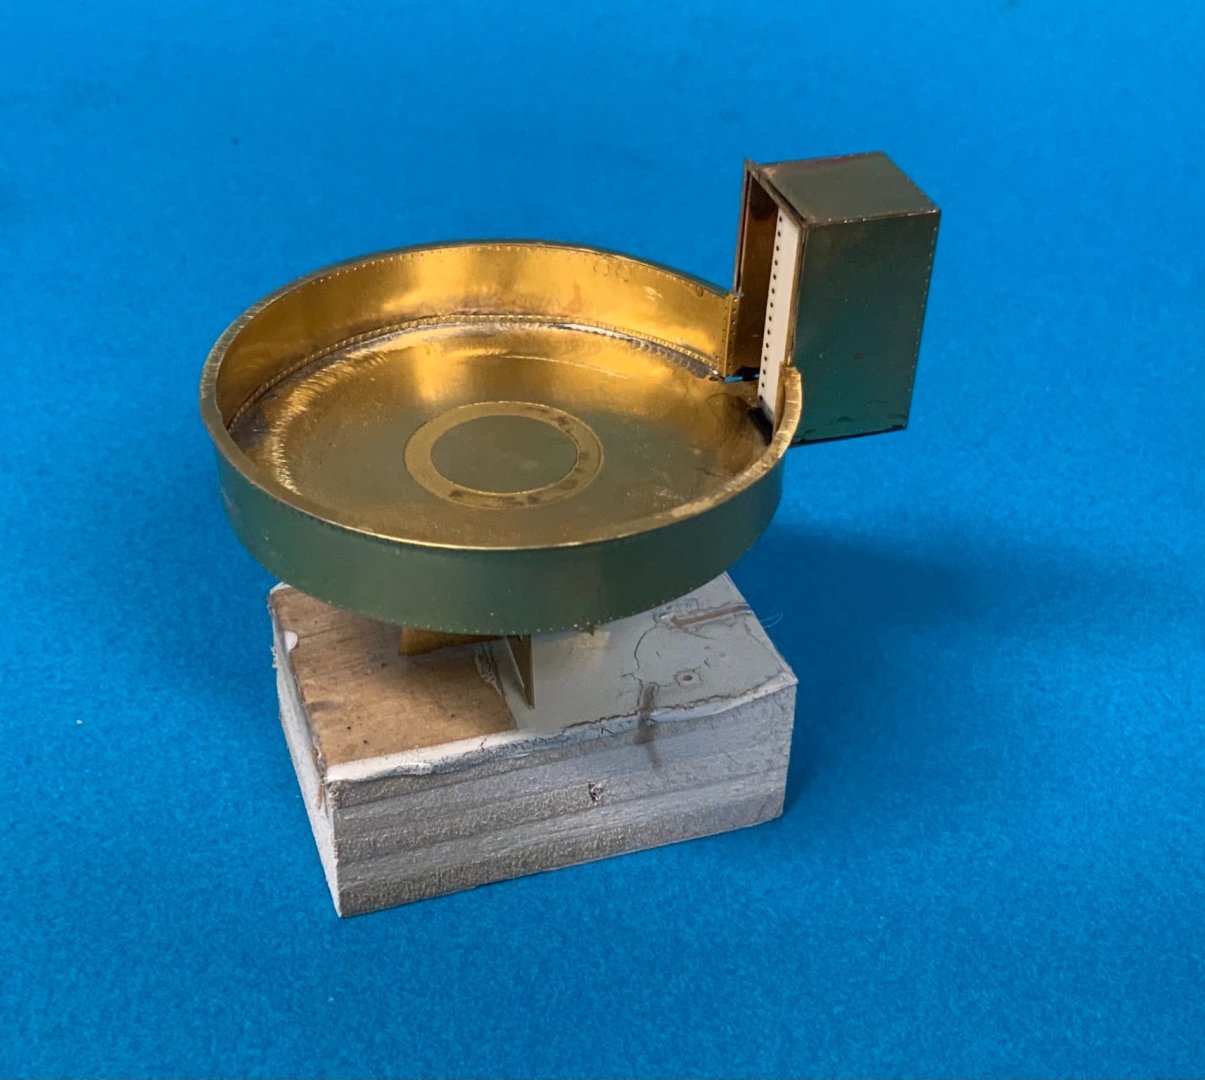
Today I was working on the bandstand for the 2pdr. Gun I glued the two bottom pieces together and soldered the bandstand side wall to it. Which was easier than I thought it would be. After that, I glued the rivet strips to the side wall. The handrail was a challenge but with patient it was finally done. The crew shelter was bend and glued together. It was actually with one bottom sheet, but I blended it one time in the wrong direction and it separated. Luckily it was not a big deal. You can see the big difference between the kid bandstand (although modified already) and the GLS bandstand. The quality of the GLS parts are outstanding.
-
Did you use black cardboard for the caulking or something else? Looking good! Hermann
-
Jeff, Here are some more carving tools. I believe Fine Tools are shipping to the US, or you try to find these tools elsewhere in the US. https://www.fine-tools.com/japcarv1.html Hermann
-
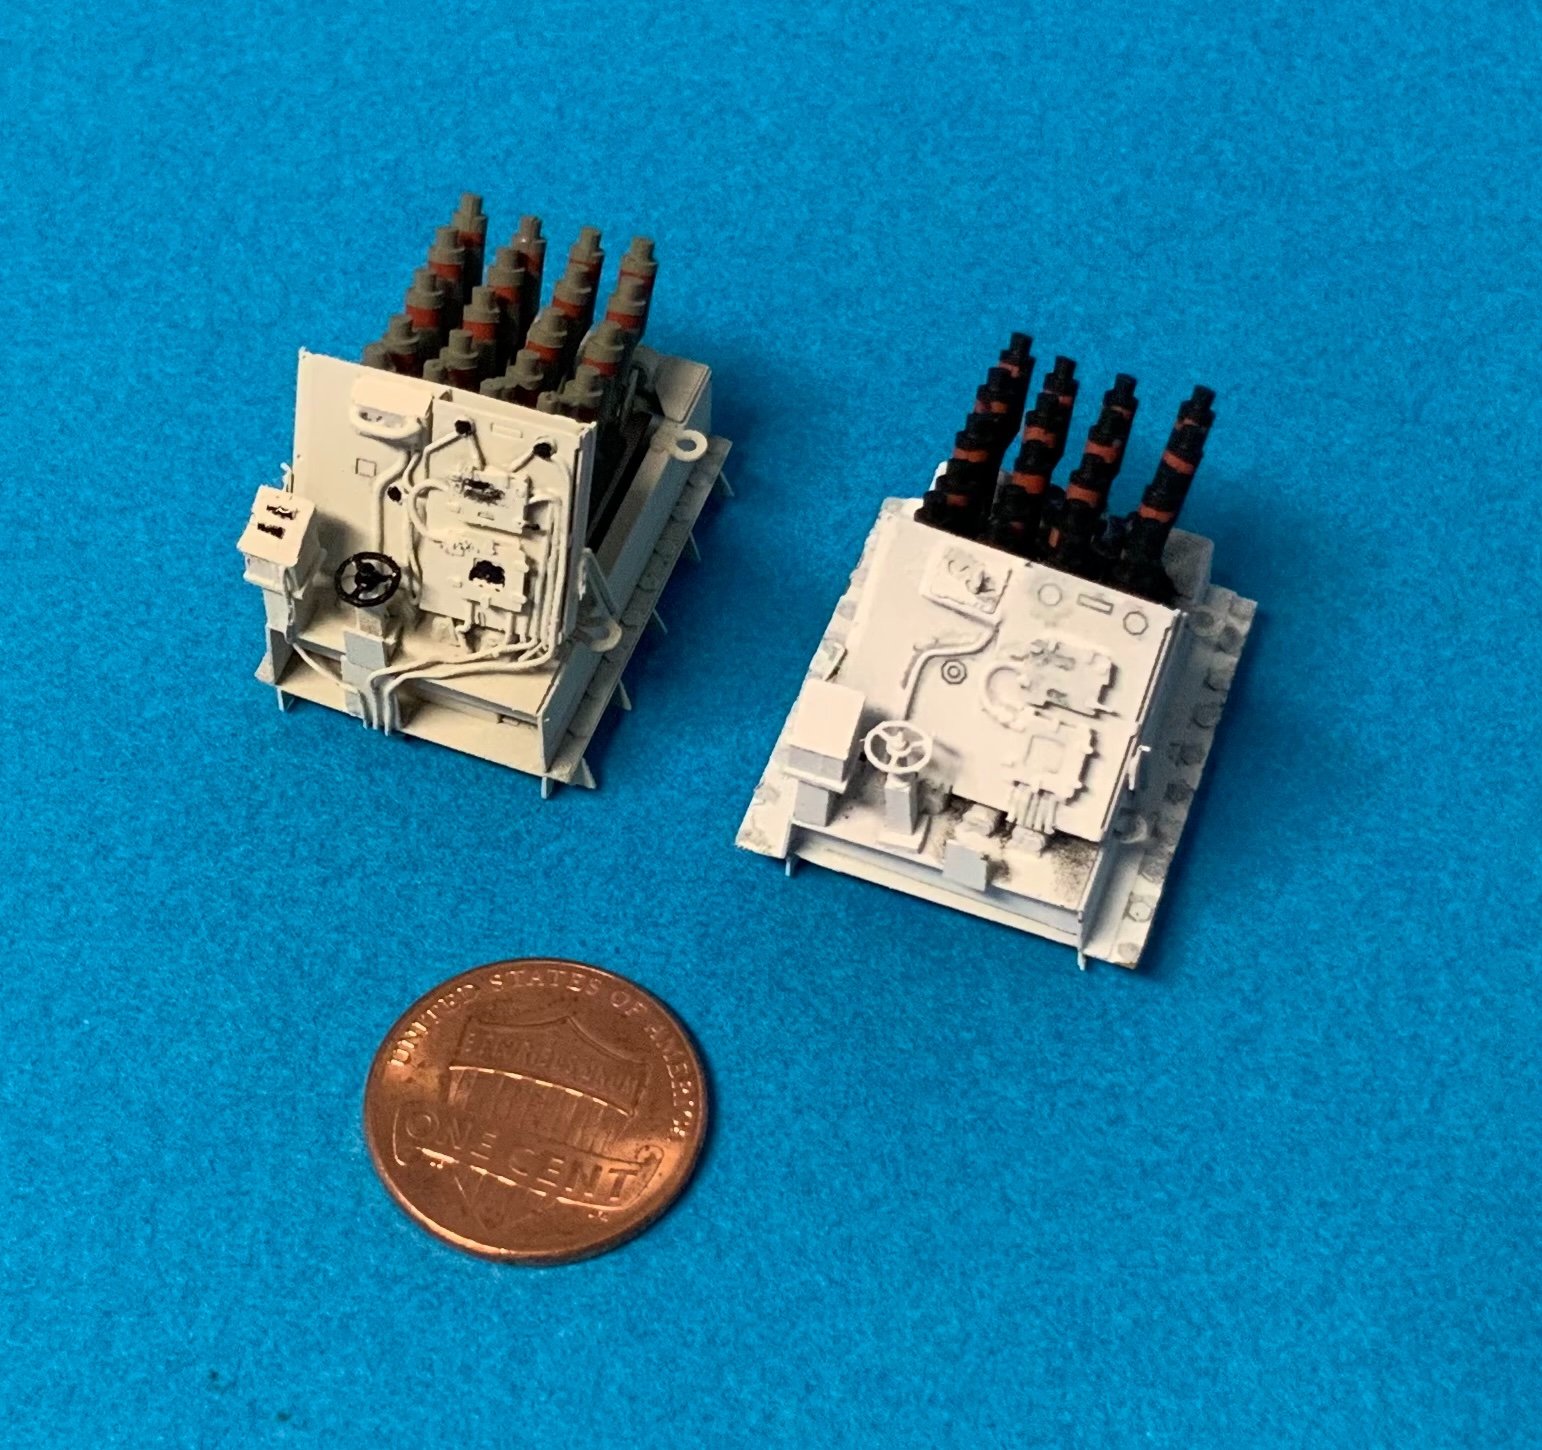
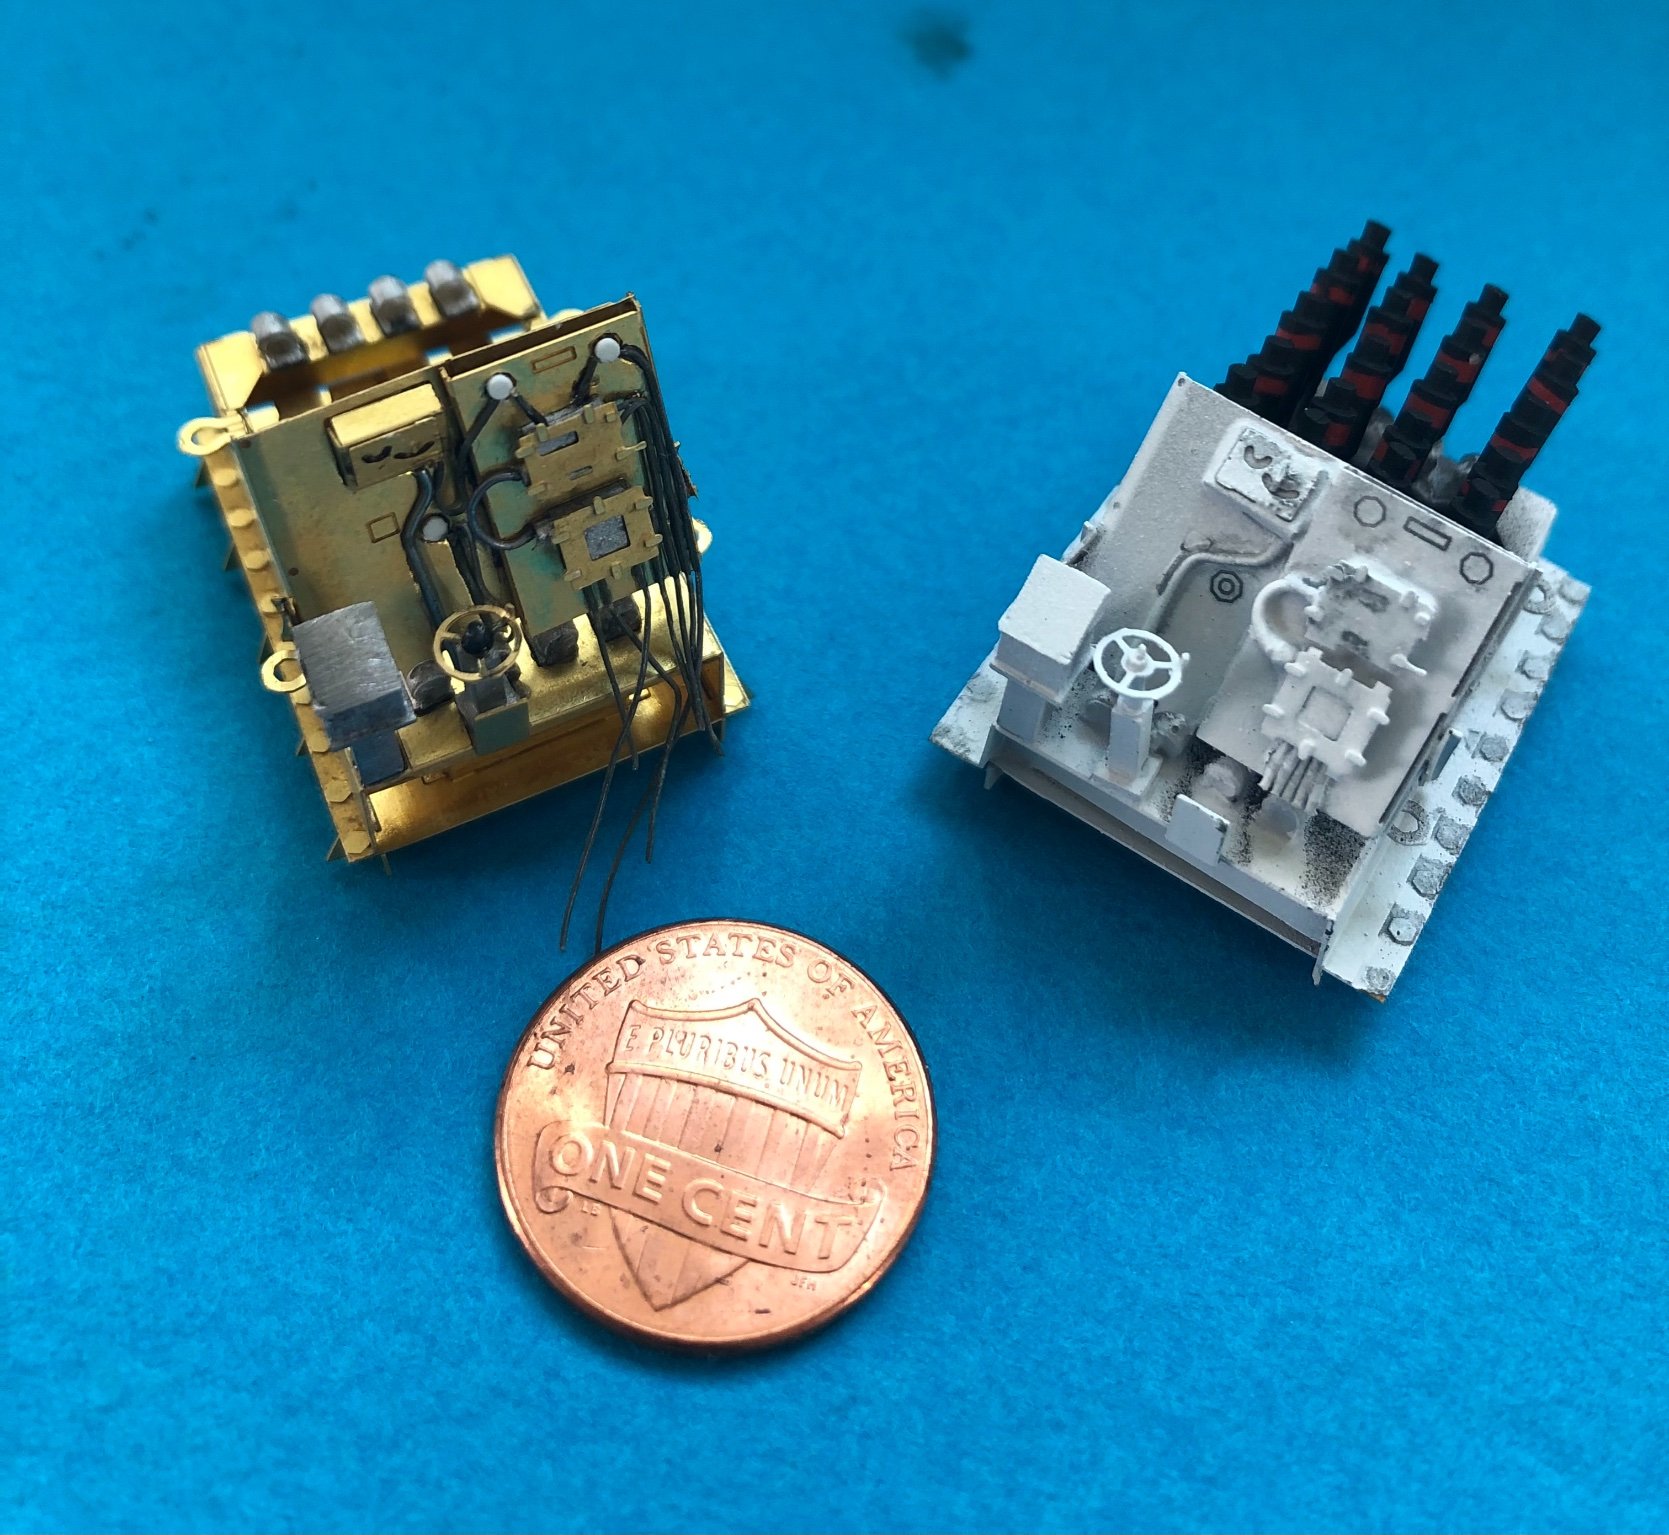
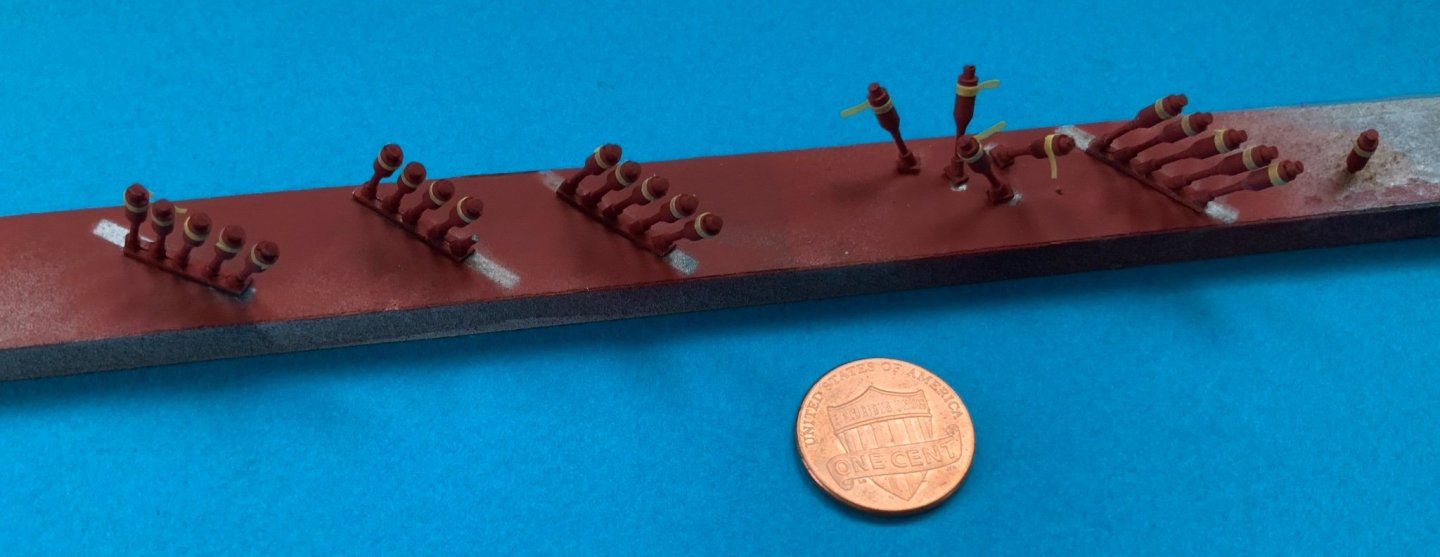
OC, Lou and Ken, thank you for the your kind words. Yes, the kid hedgehog is a far cry from the GES kit.
-
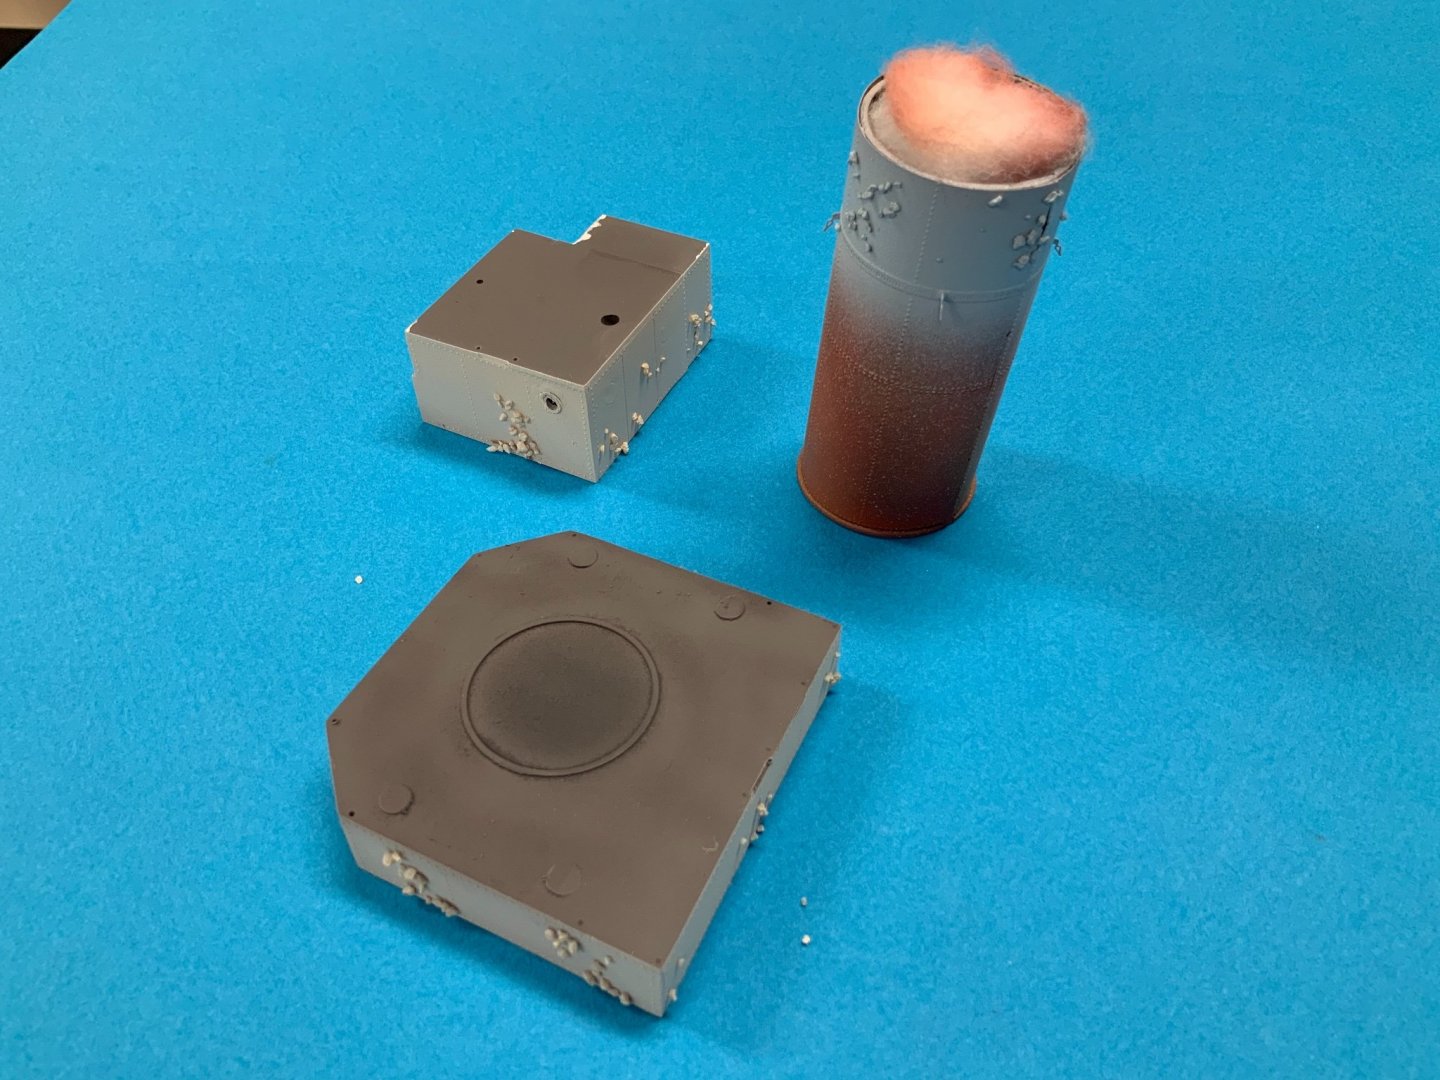
So hedgehog is done, I think. Just a little bit touch up, when it is installed. Of cause I broke one hedgehog, while trying to align it. 😡

- 159 replies
-
- 10
-
-
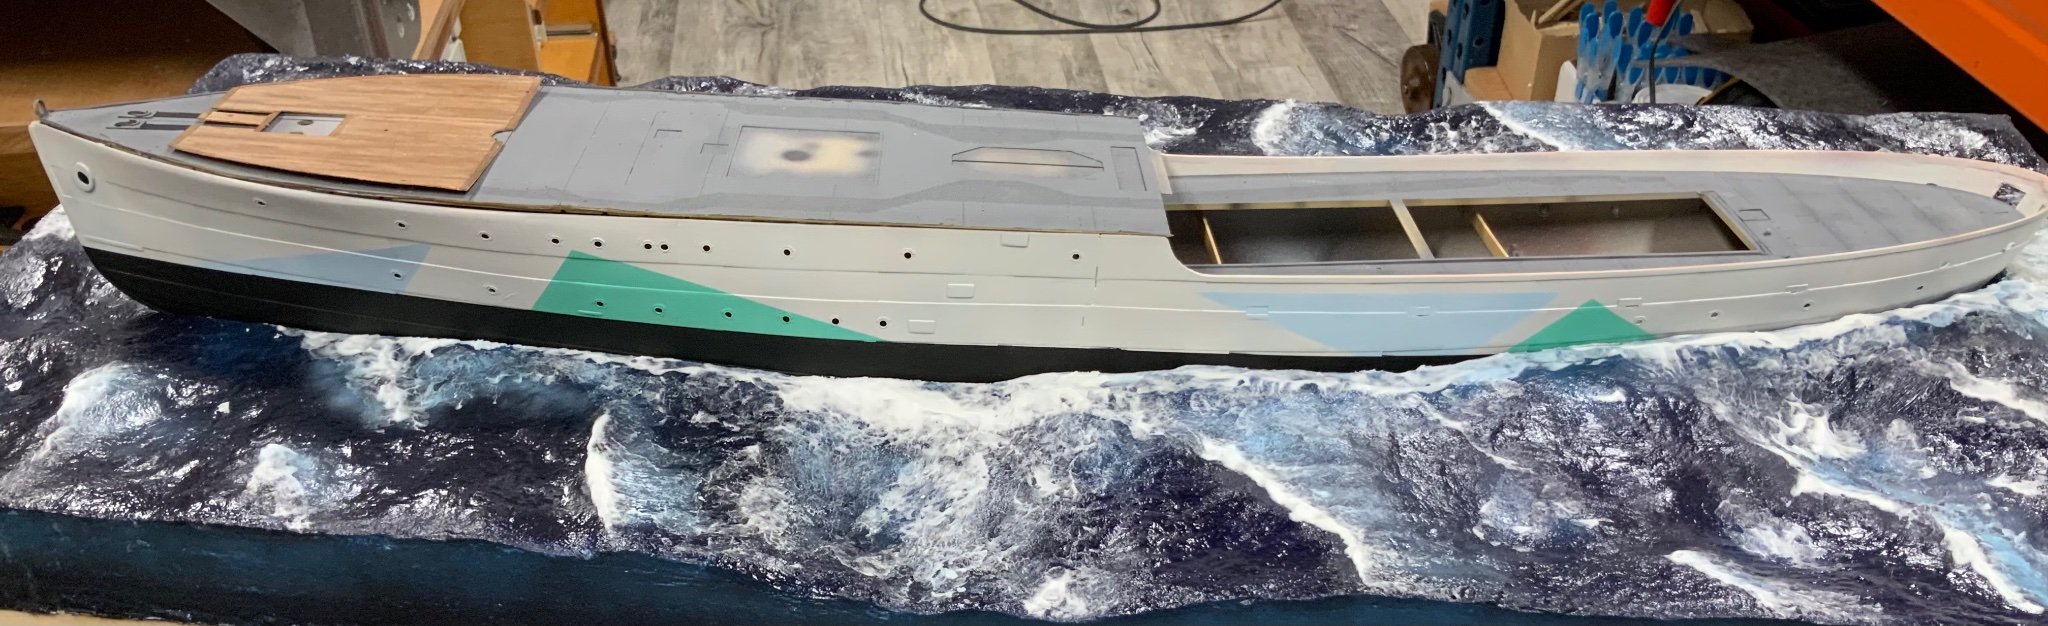
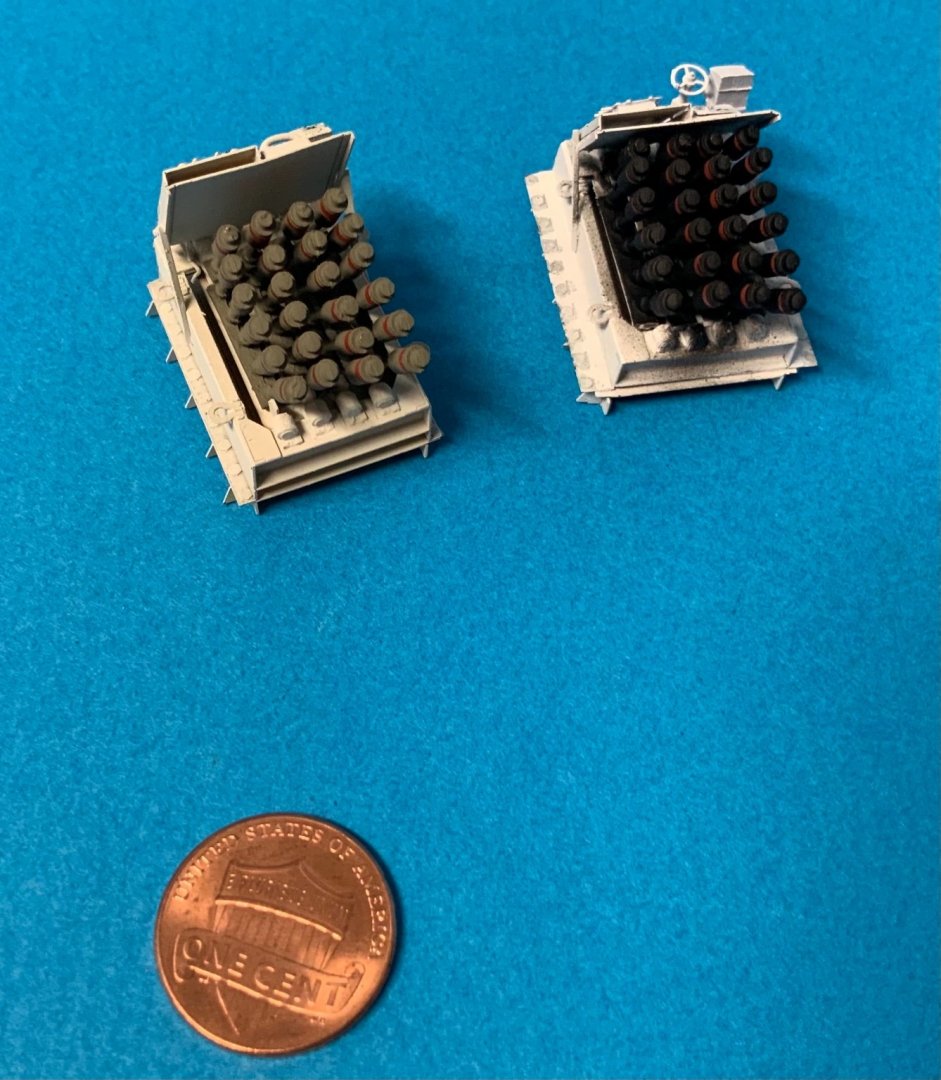
Well, I was thinking of that. But I decided to do just a little bit like she is coming just from a refit. But it would be interesting to do so. There are many photos which are showing beaten up corvettes.
-
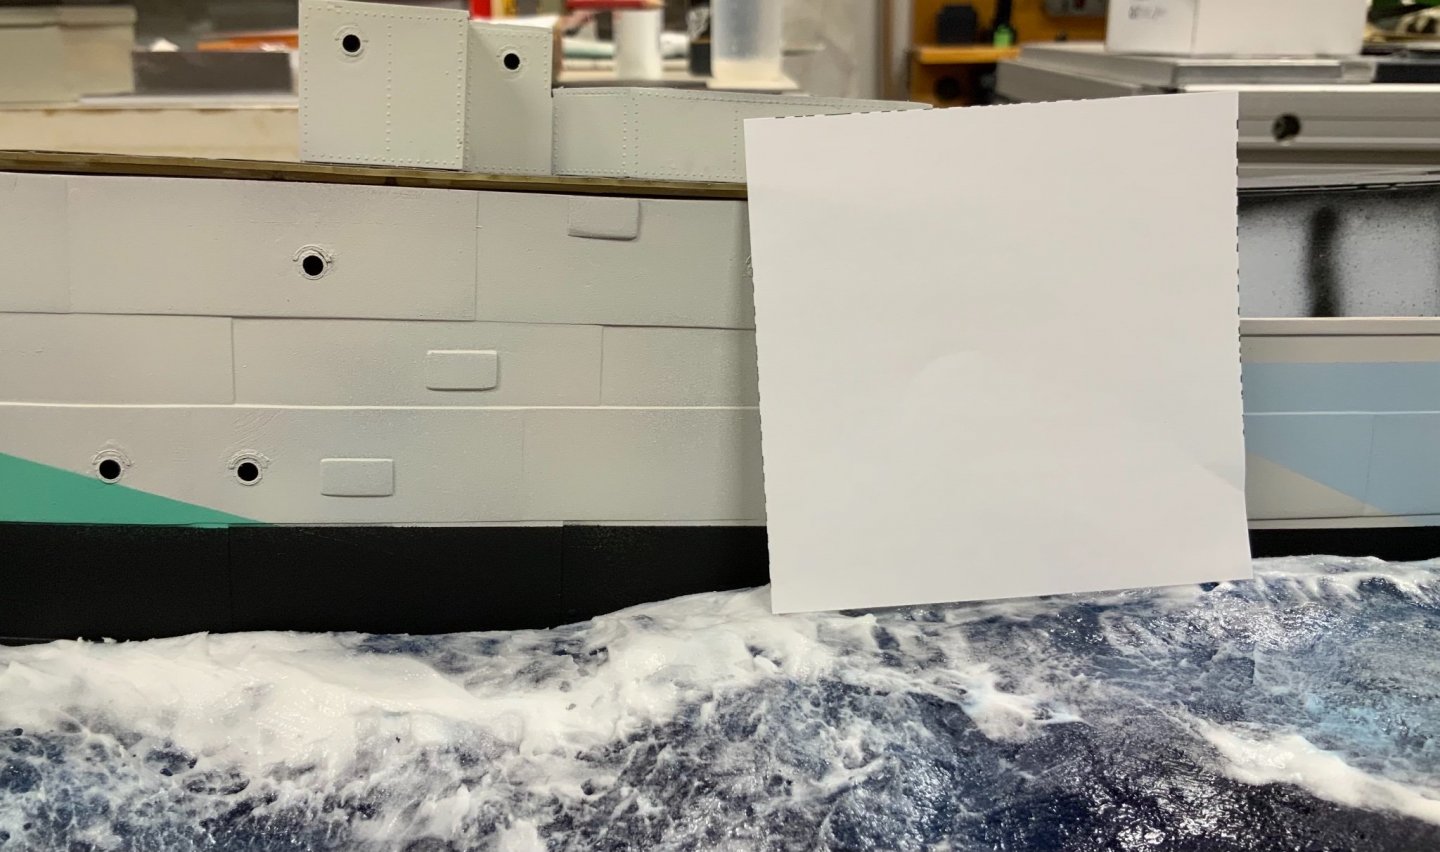
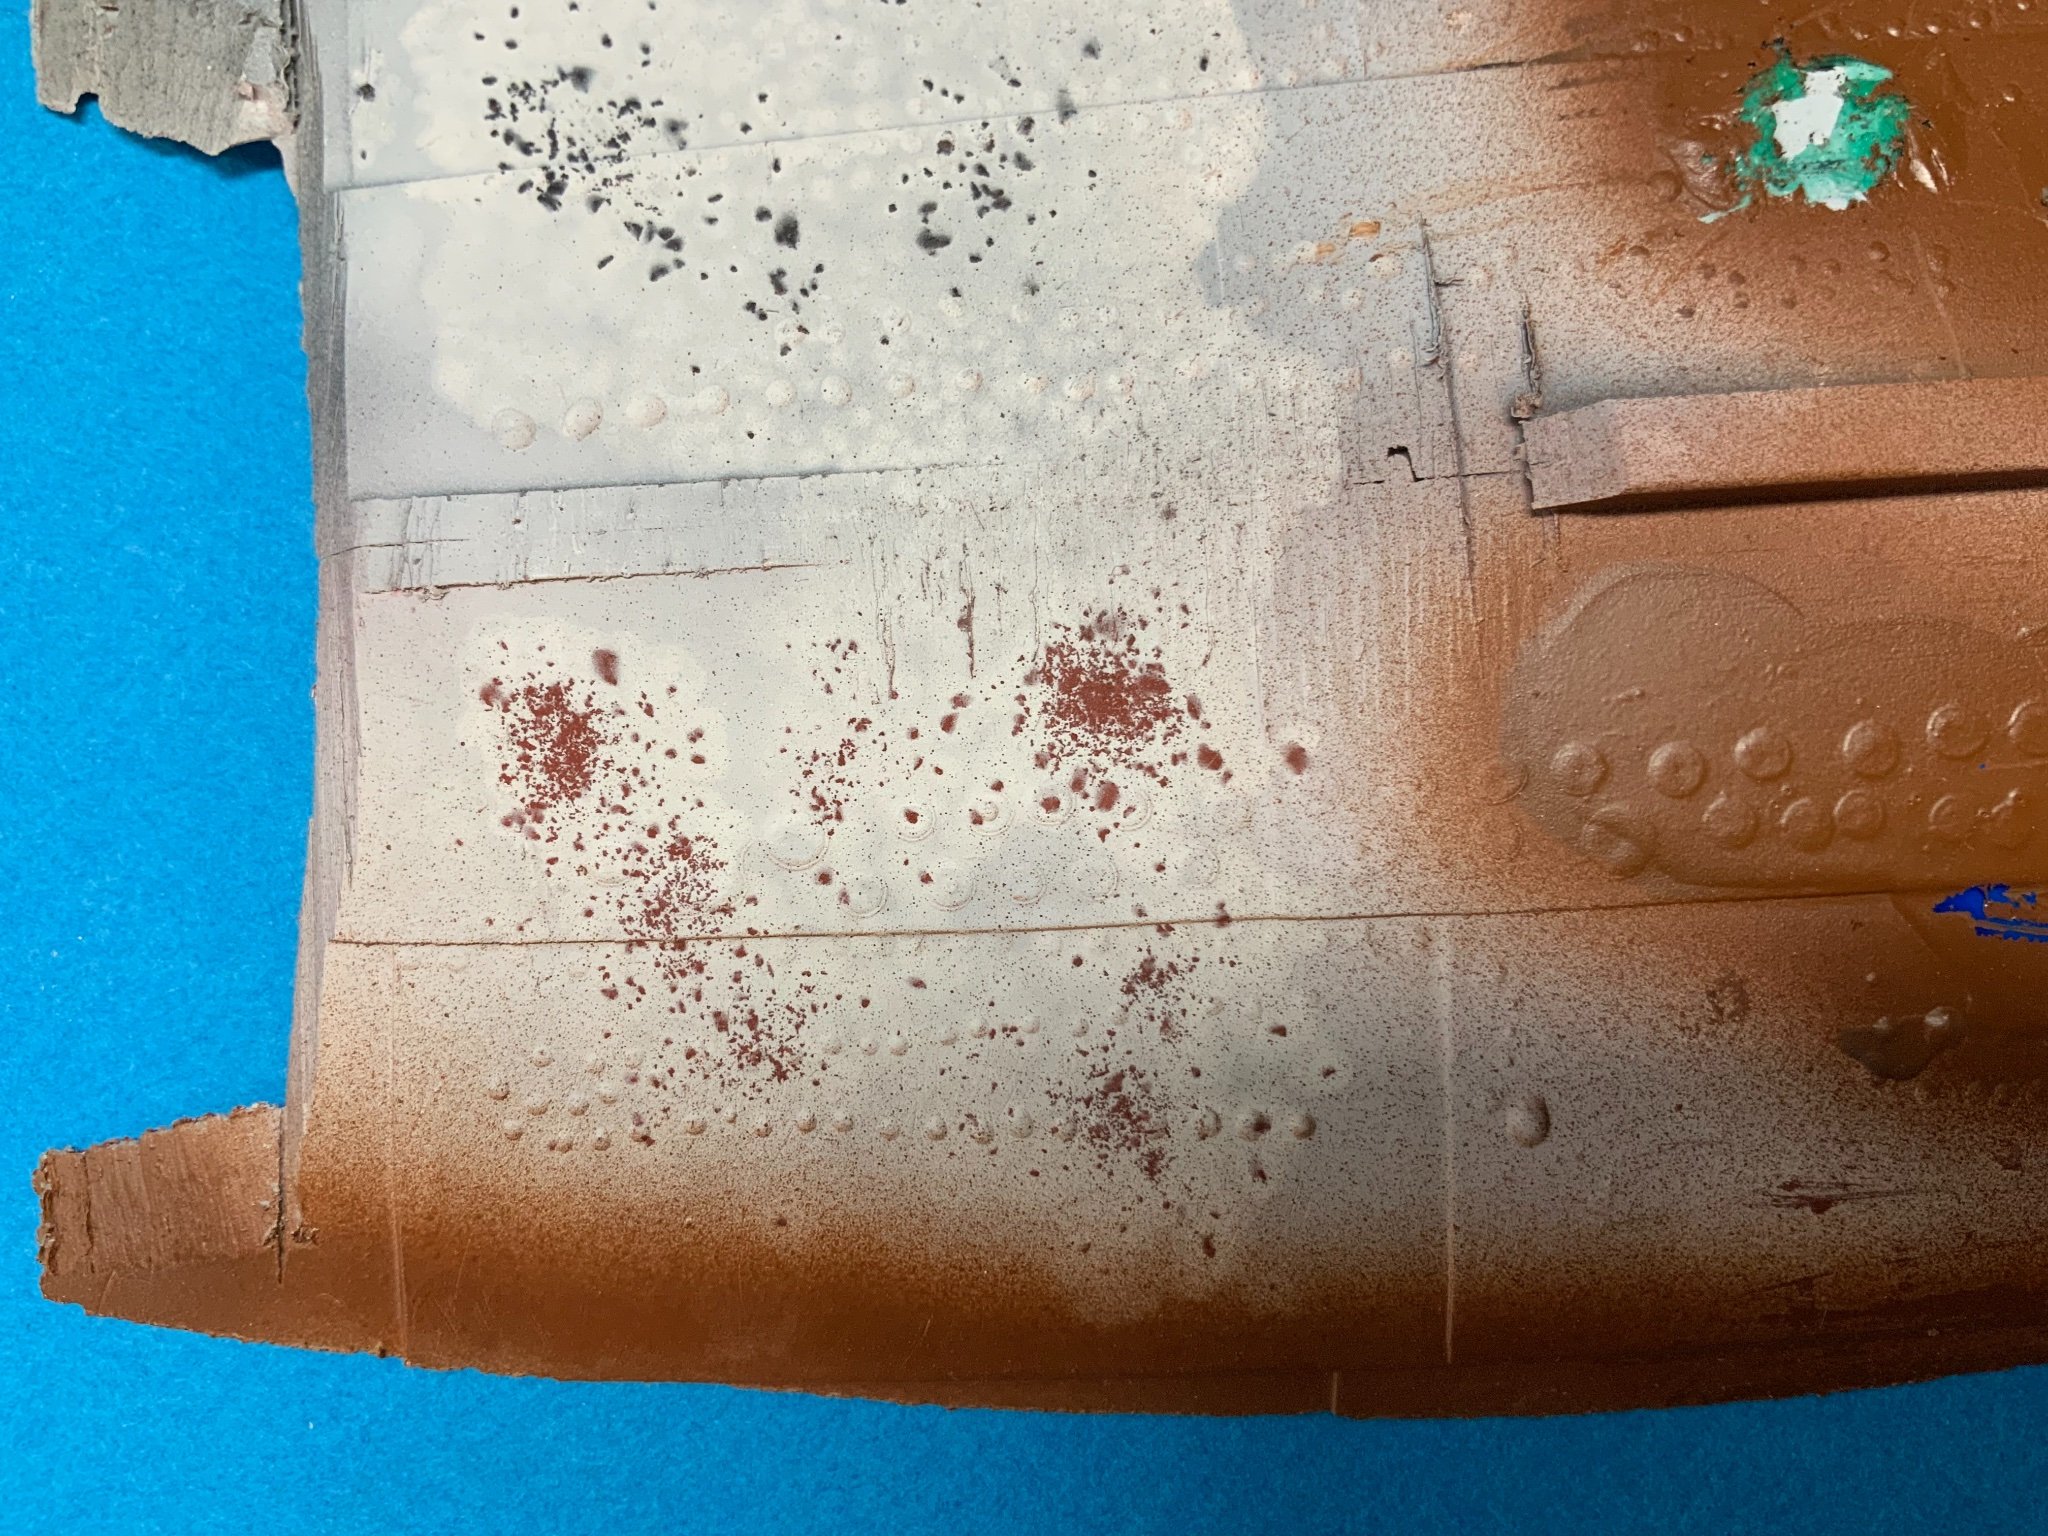
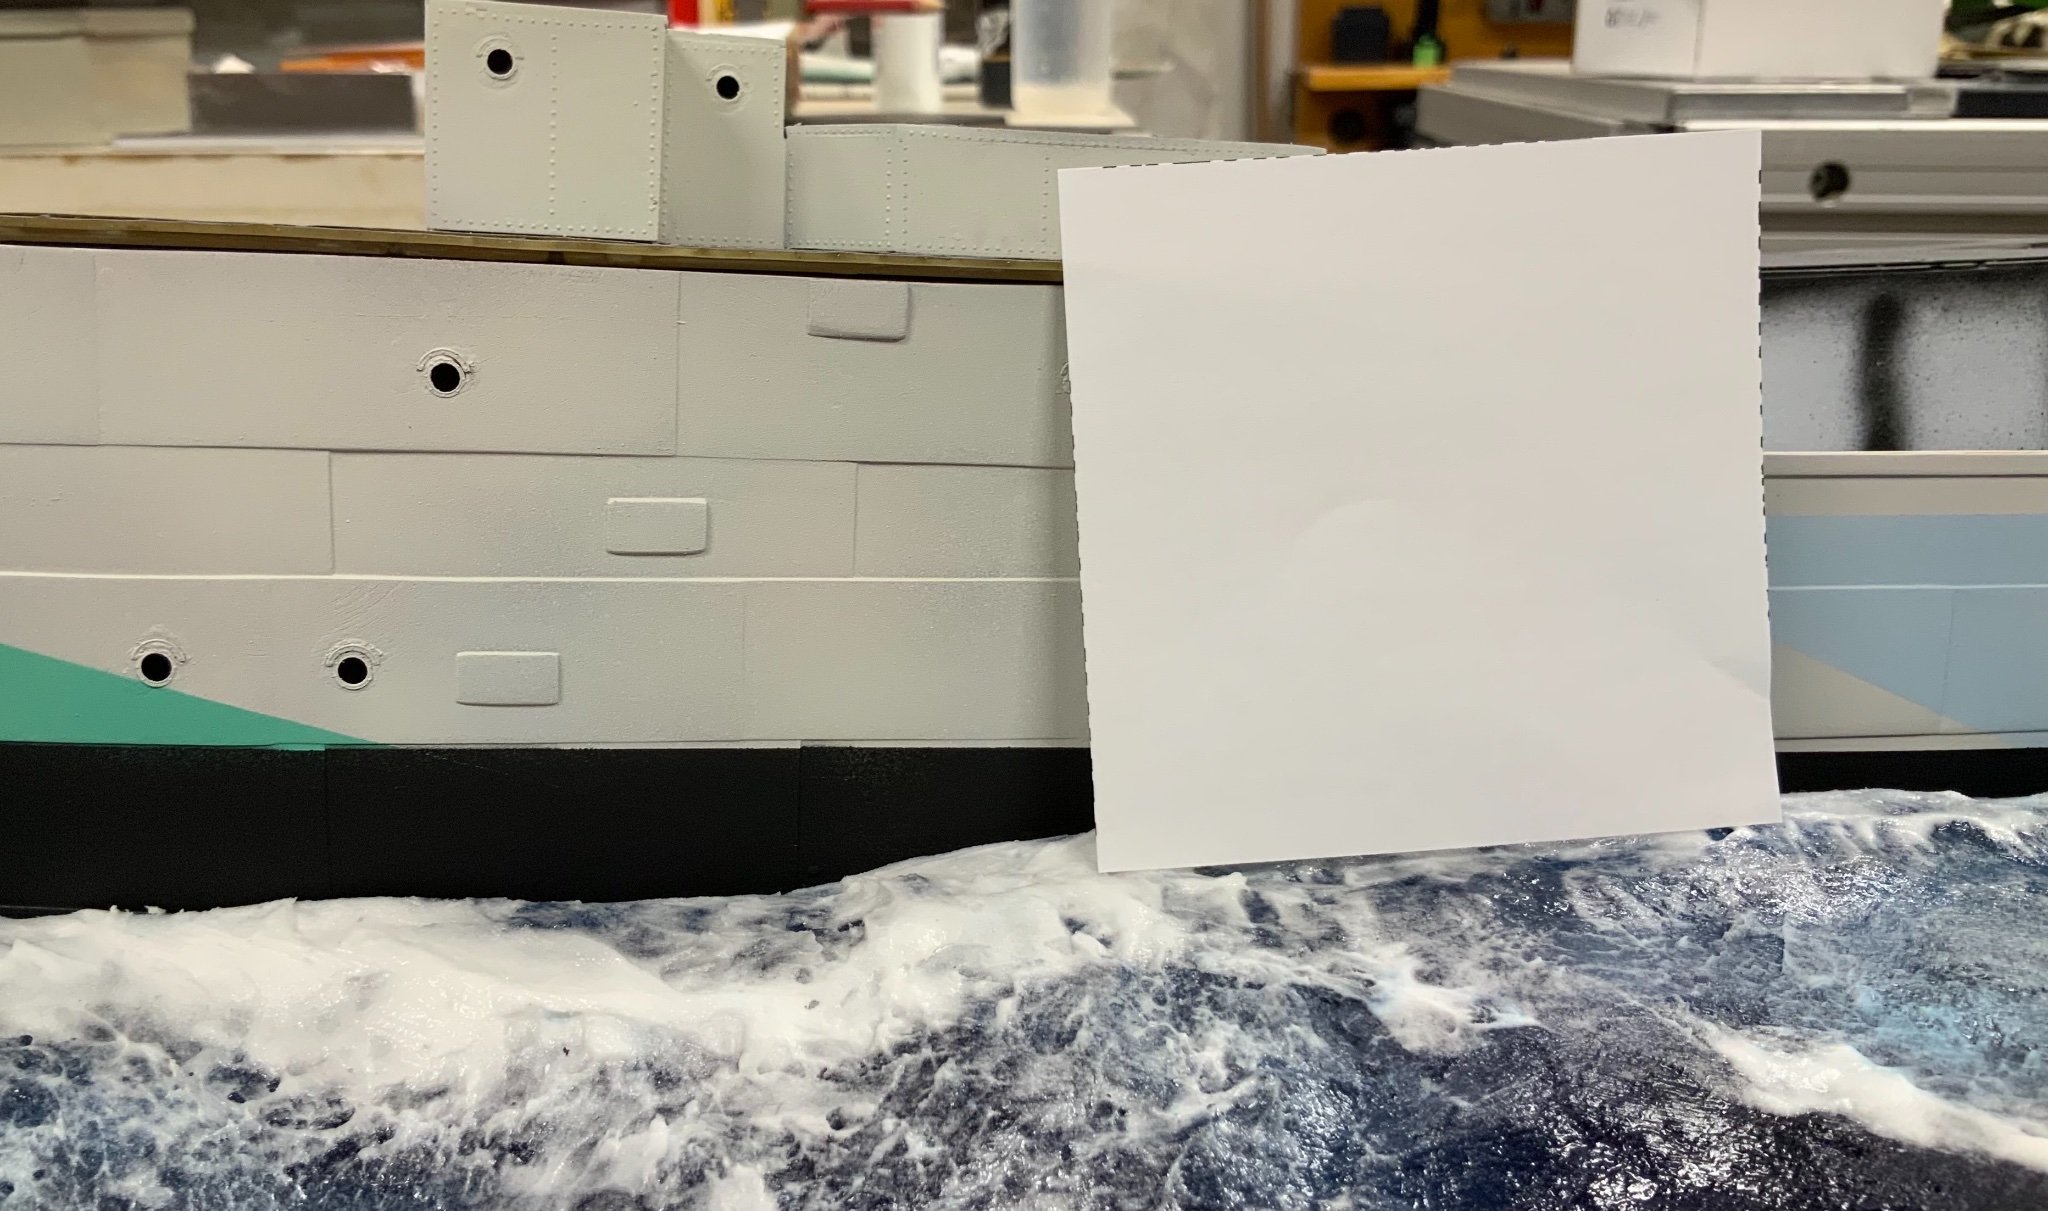
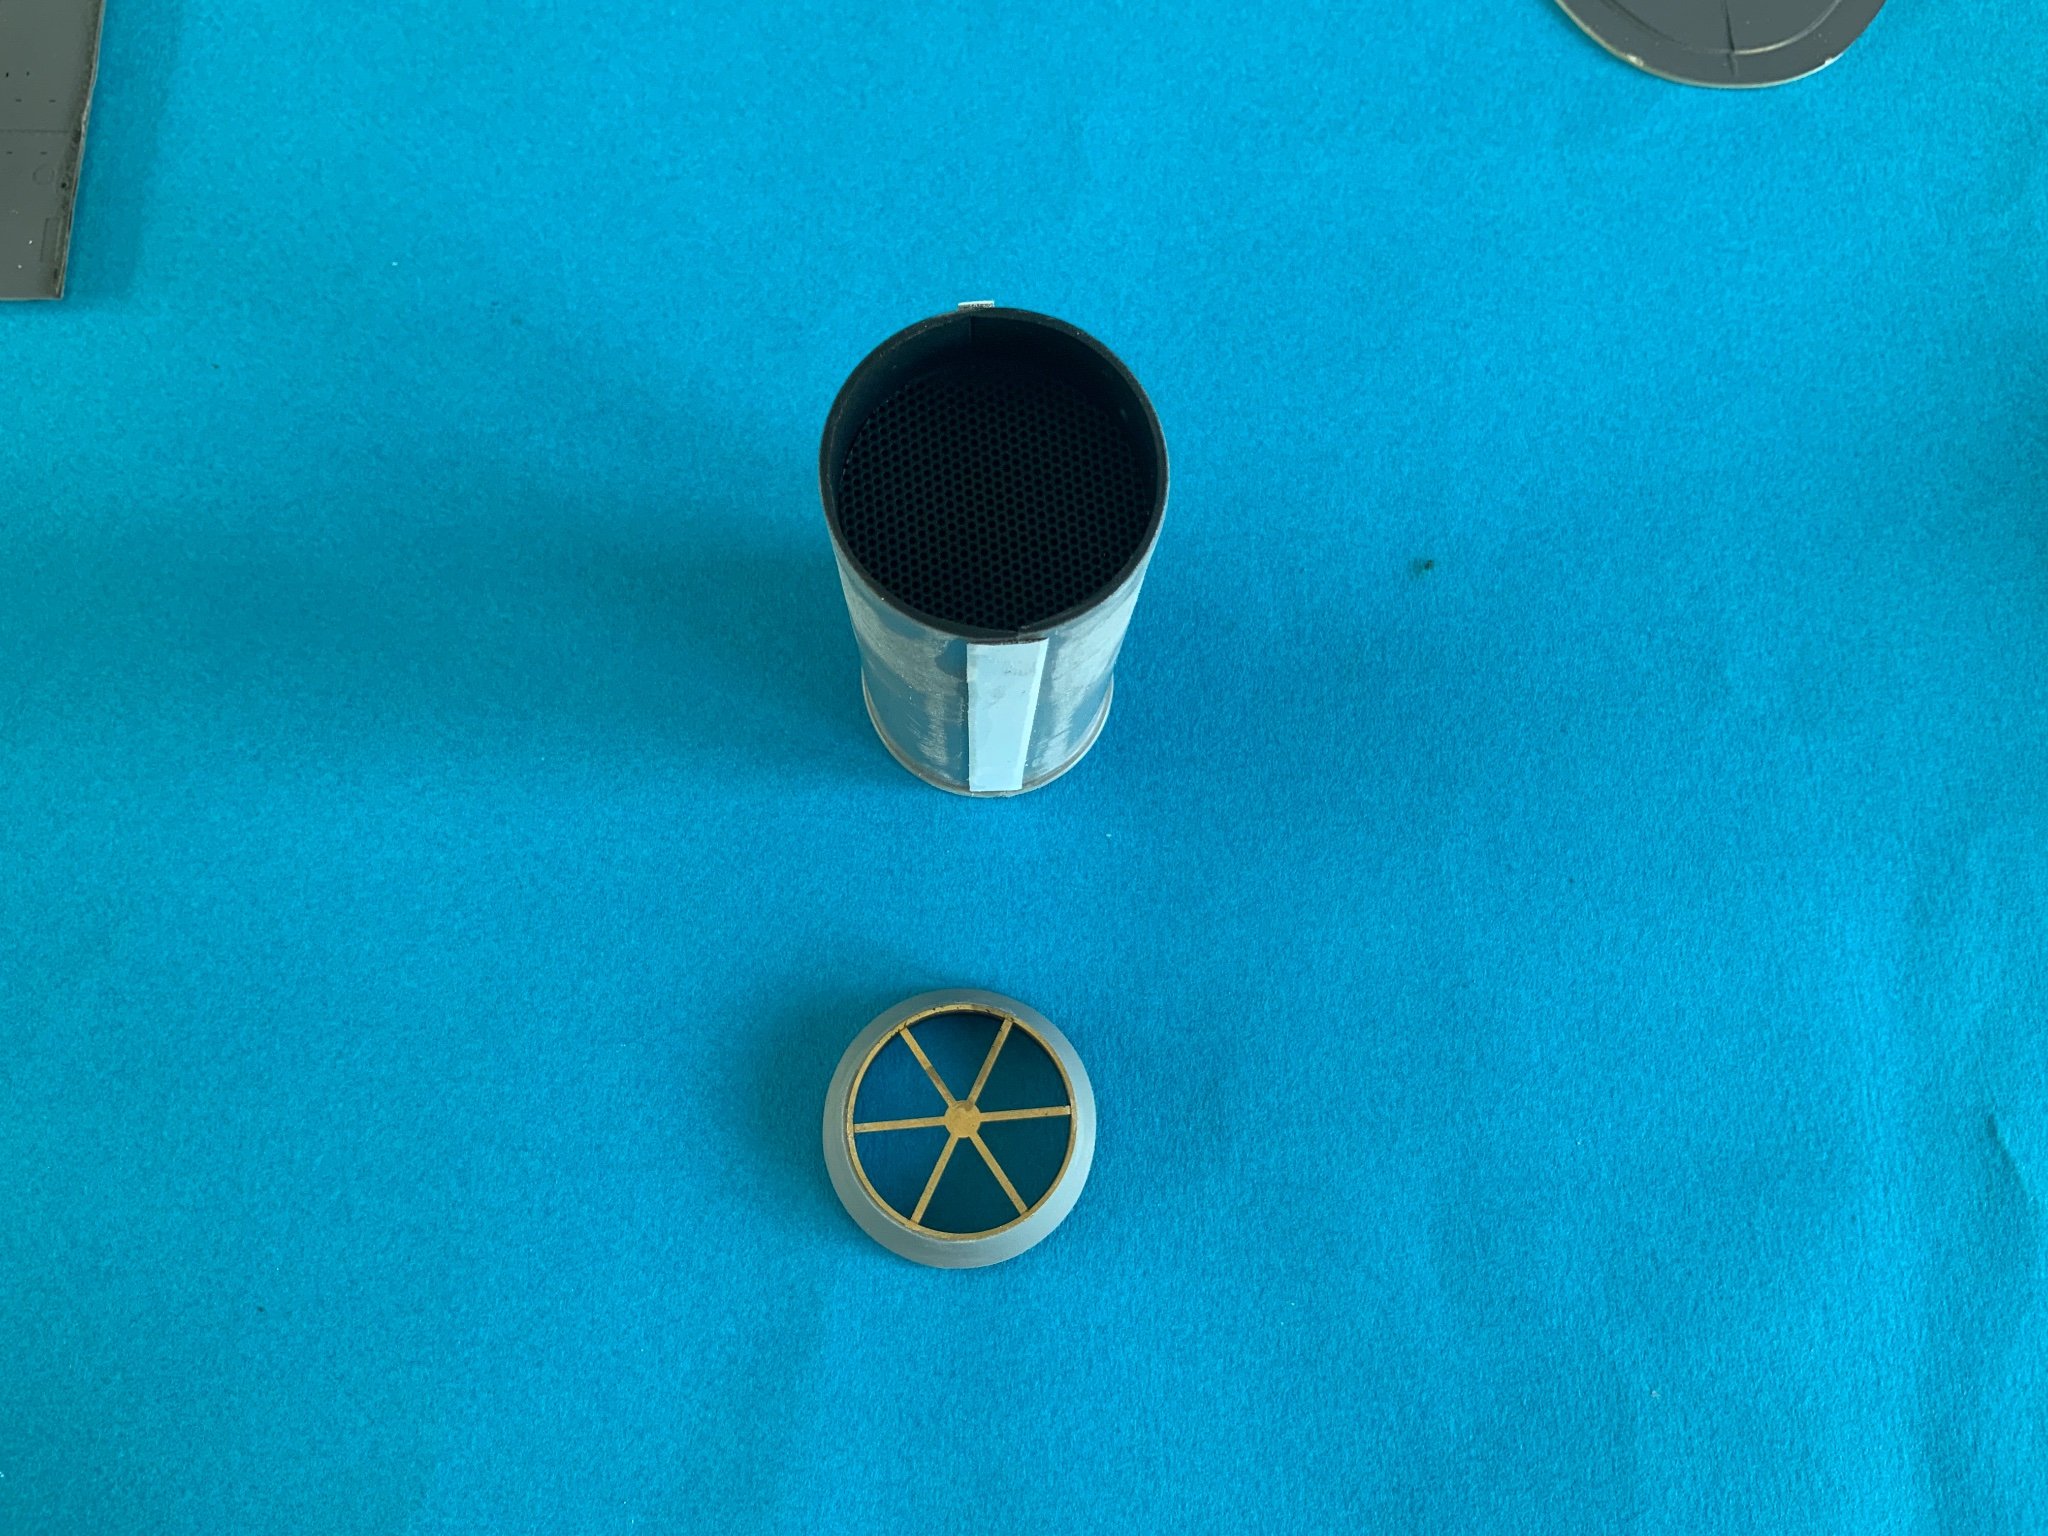
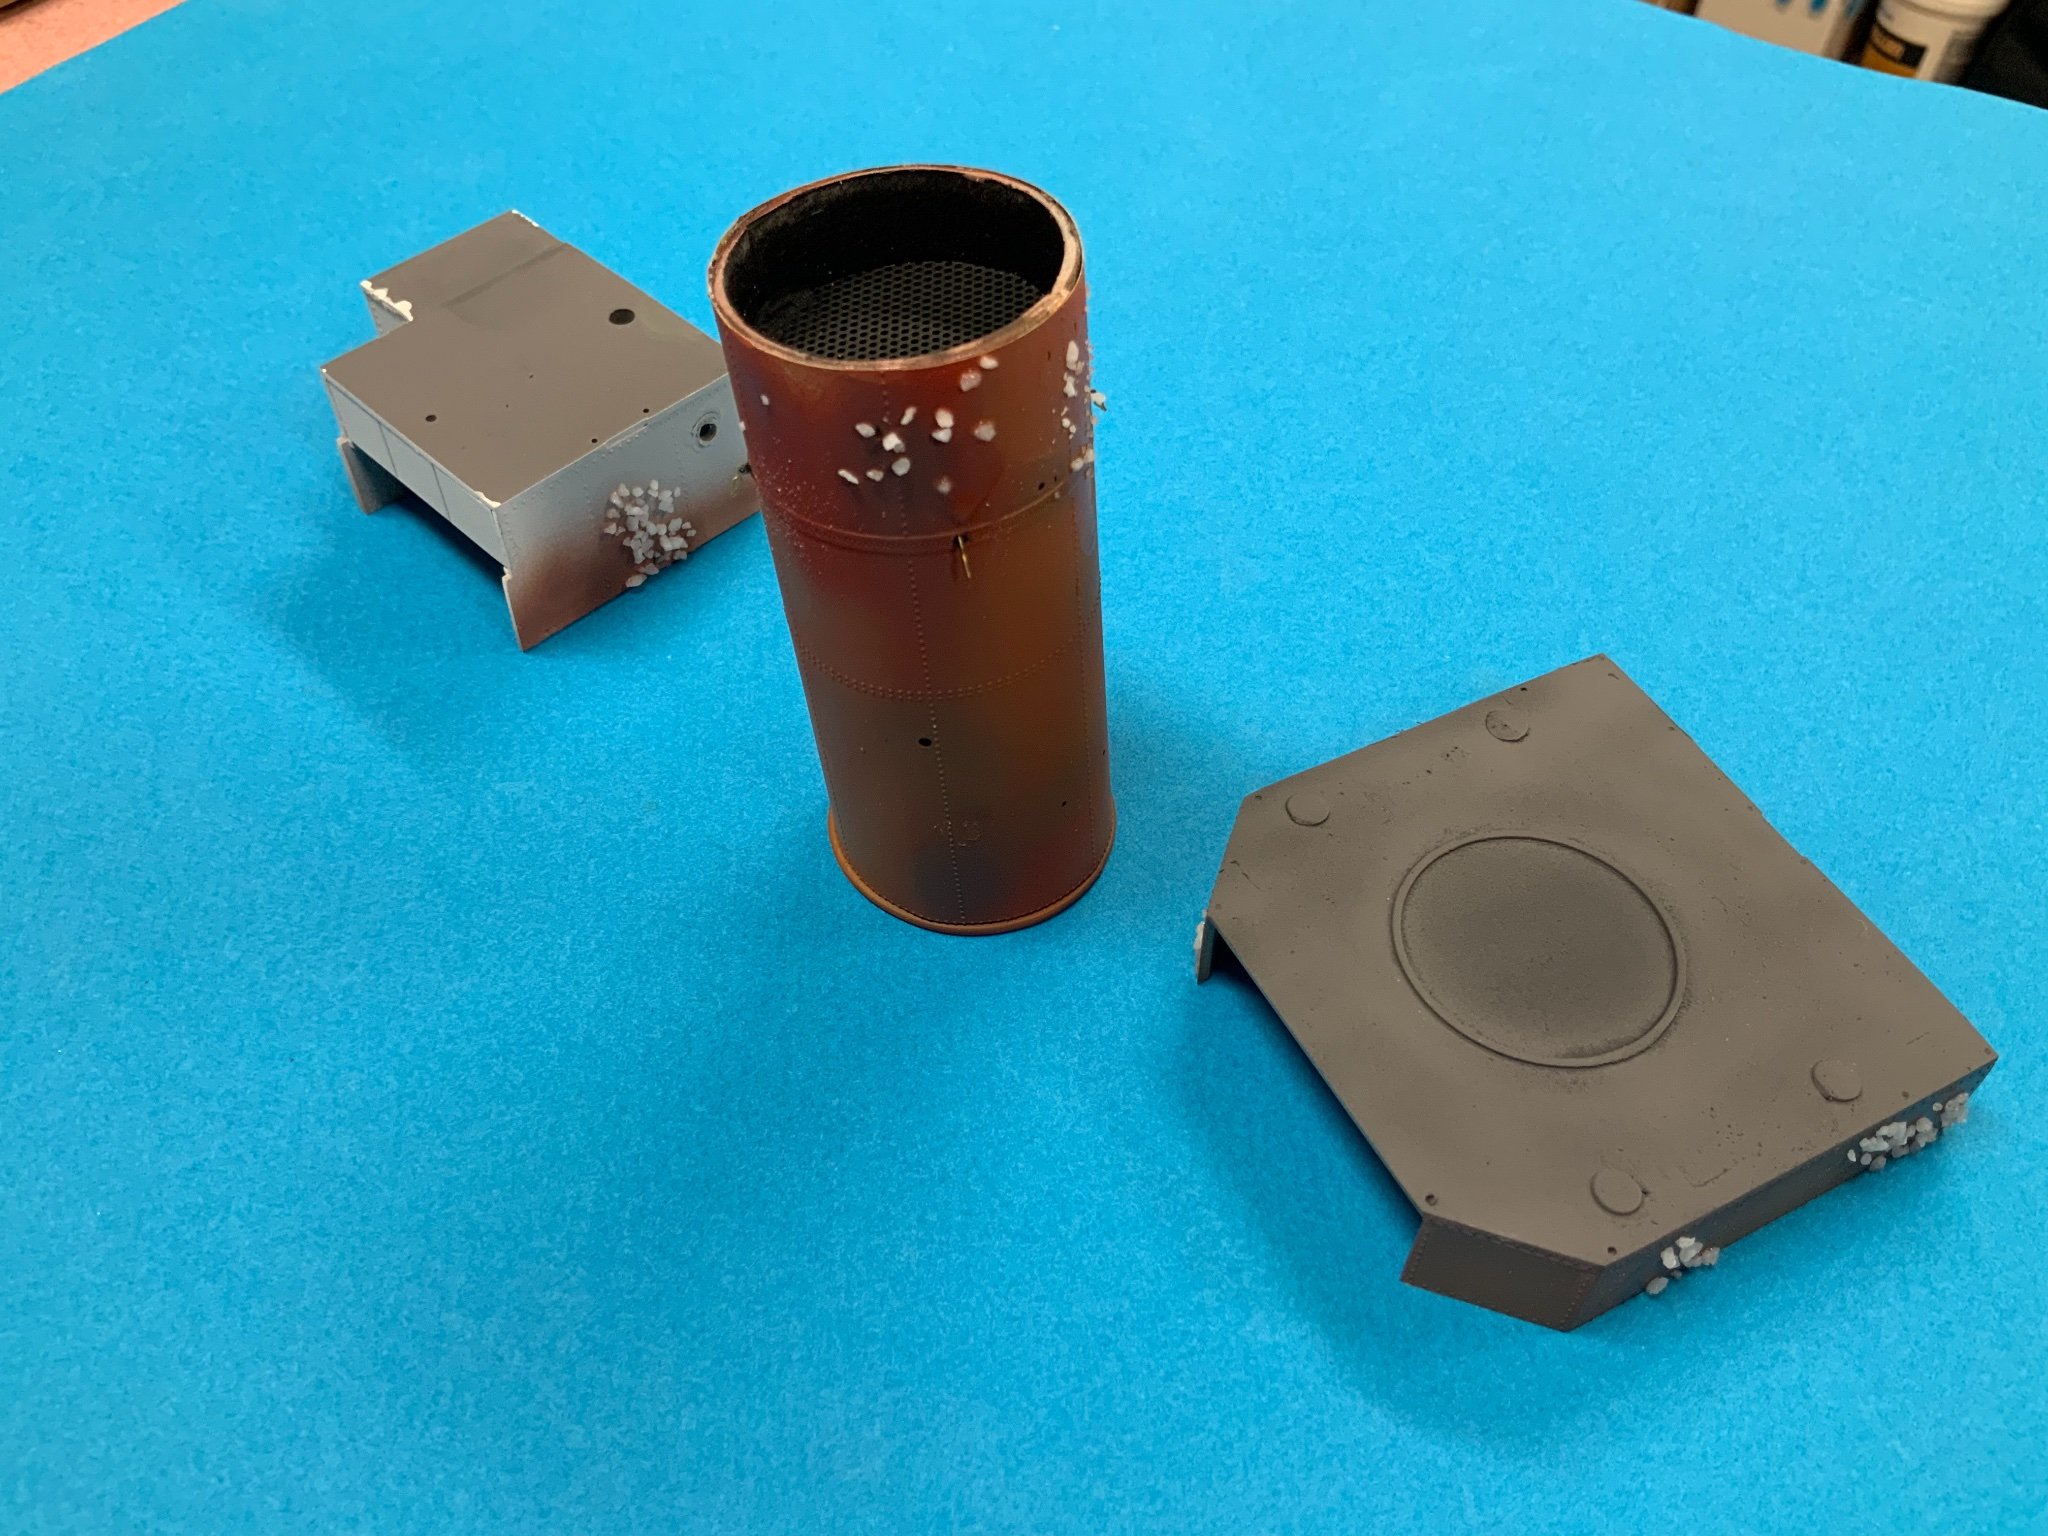
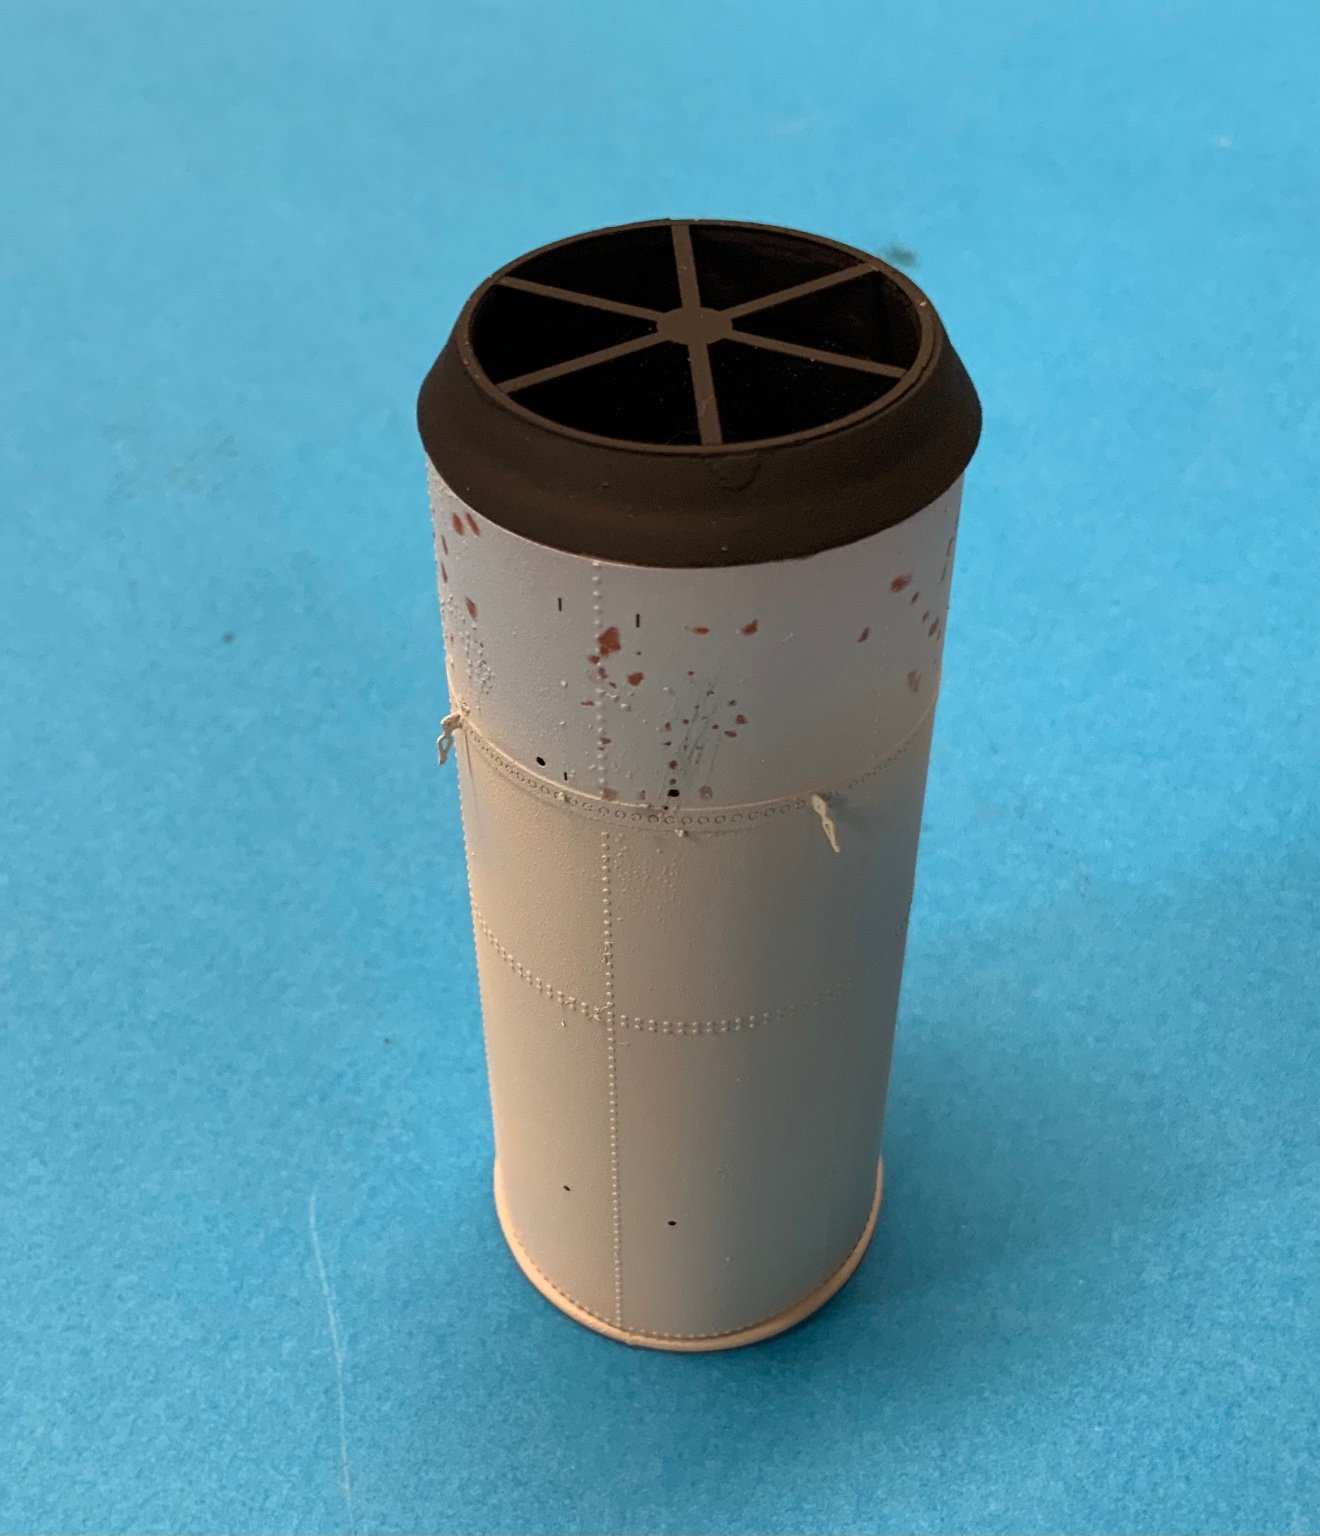
At the weekend I was fuzzing around with some paint. I was trying the “salt” method, but I didn’t really like it how it came out. I also painted the hull with “Schnellboot Weiß” because I didn’t get the original white (RN10), but I hope it is still Ok, compared to the true white. For my taste it was just too white. I had also some fun with the funnel. It was too thin! But I was able to fix it with some styrene strips.